Double Chocolate Chunk Mint Cupcakes.

Share
Facebooktwitterpinterestlinkedintumblr

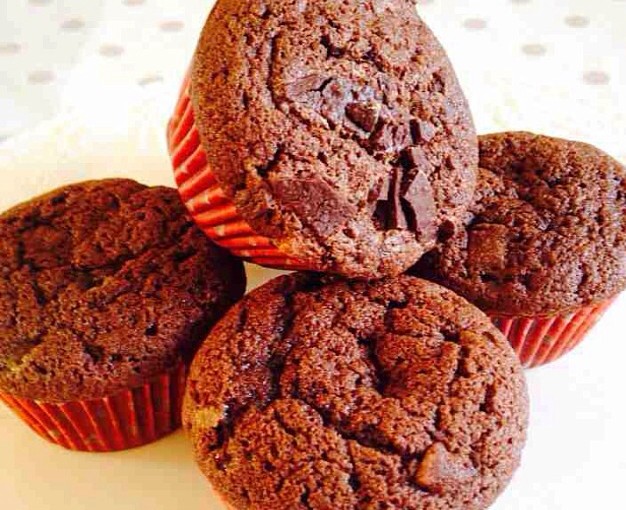
Hi there, I hope you are having a good day and hopefully this recipe for Double Chocolate Chunk Mint Cupcakes will make you smile and encourage you to get baking!!!!

So late (7.30pm – that’s late for me!) the other night, I was in bed and our lil man popped his head round the door and said “Mummy it’s the school bake sale tomorrow.  Do we have anything that I can take in?”.  Looking at me with his angelic, freckled face and gorgeous green eyes, hopeful, expectant.  Mummy’s can sort anything out, at a moments notice – can’t they????

Well of course we can!  Improvisation is one of the most important parenting tools any mum or dad learns.

So, fortunately my cupboards are groaning under the weight of baking ingredients at the mo, due to being unwell over Christmas – see there’s a silver lining to every dark cloud!  If I was going to bake I was definitely going to blog about it.  Only problem with that is, have already posted Chocolate Chunk Cupcakes (chocolate cupcakes guaranteed to sell and make the most money!), I needed a different chocolate recipe.  So I invented a new recipe on the spot – Double Chocolate Chunk Mint Cupcakes!

They look and taste soooo good!
Double Chocolate Chunk Mint Cupcakes. They look and taste soooo good!

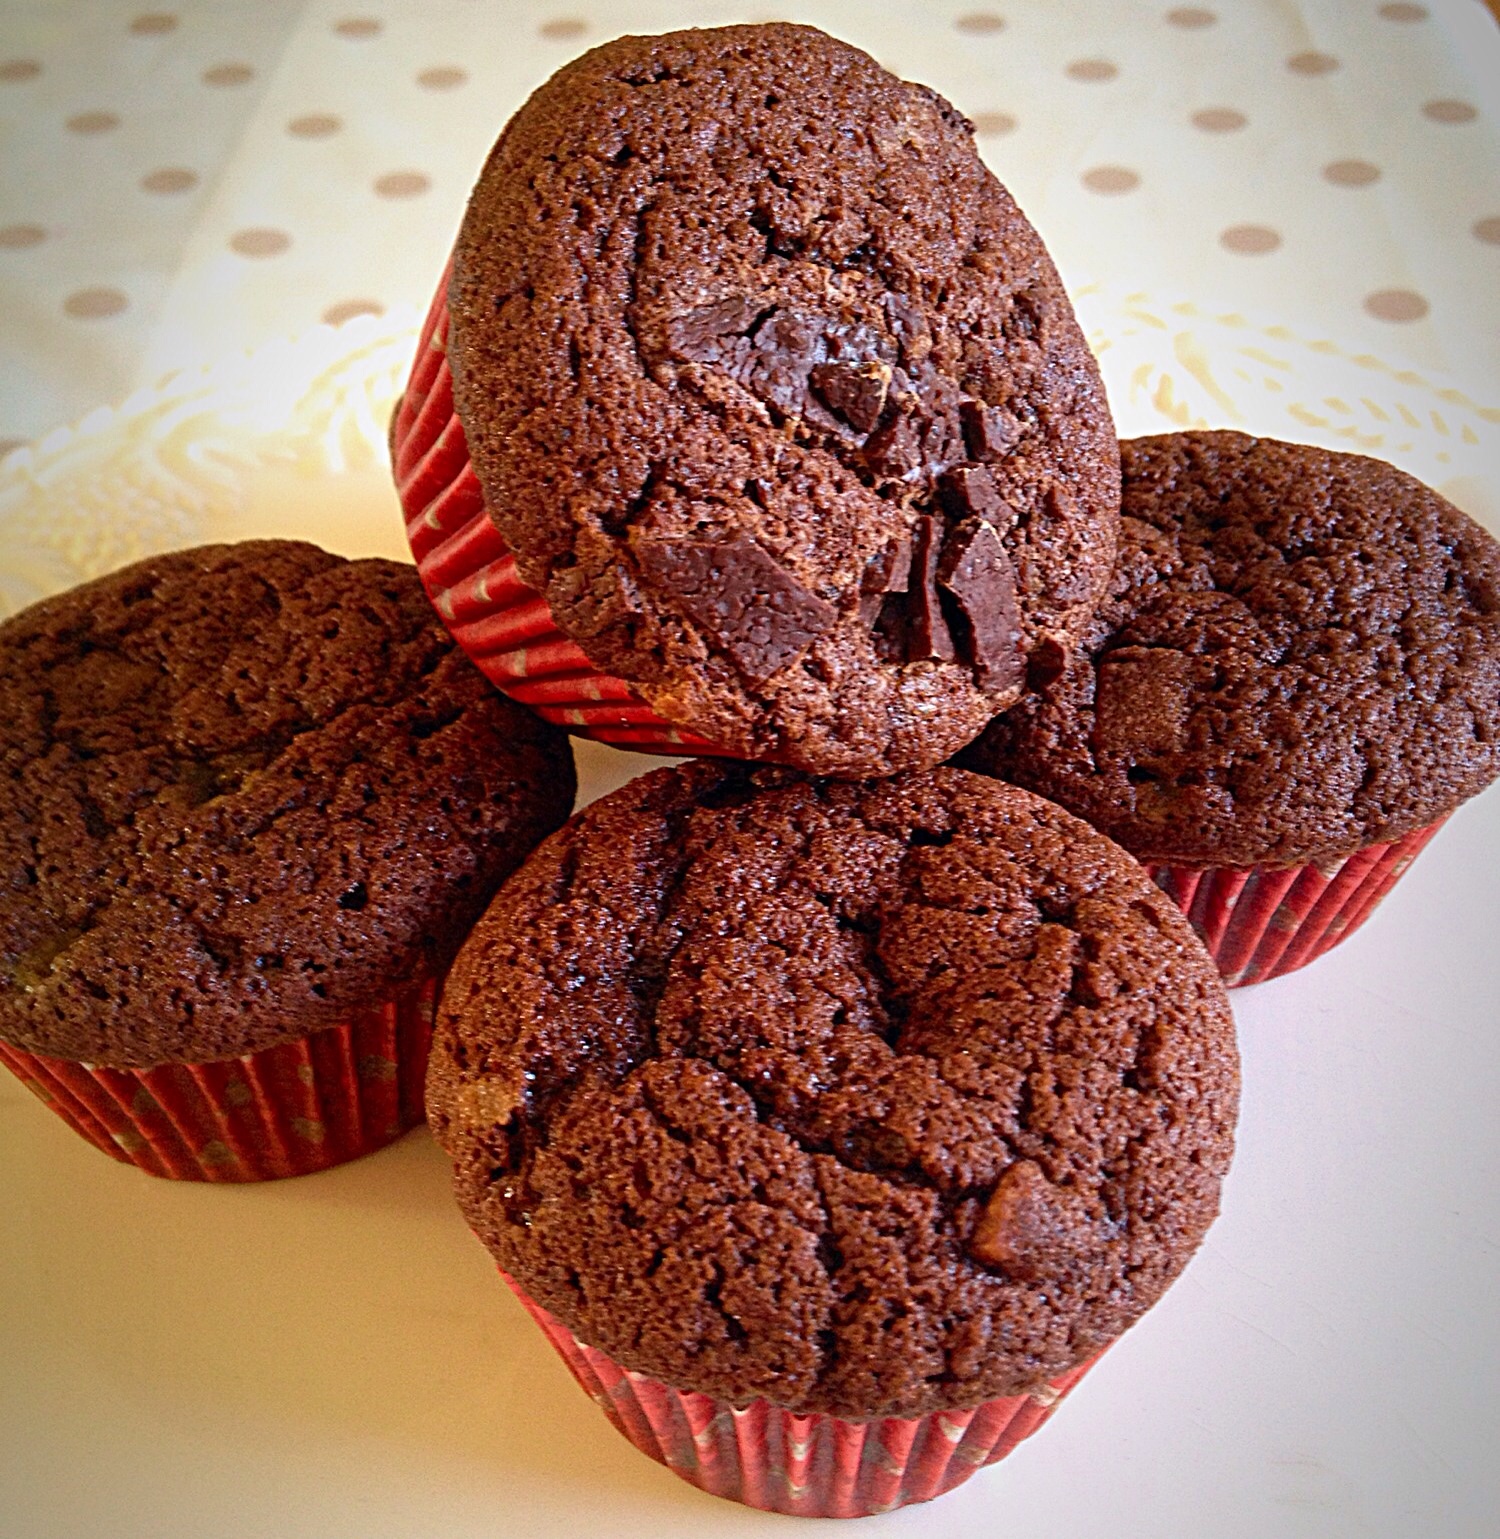
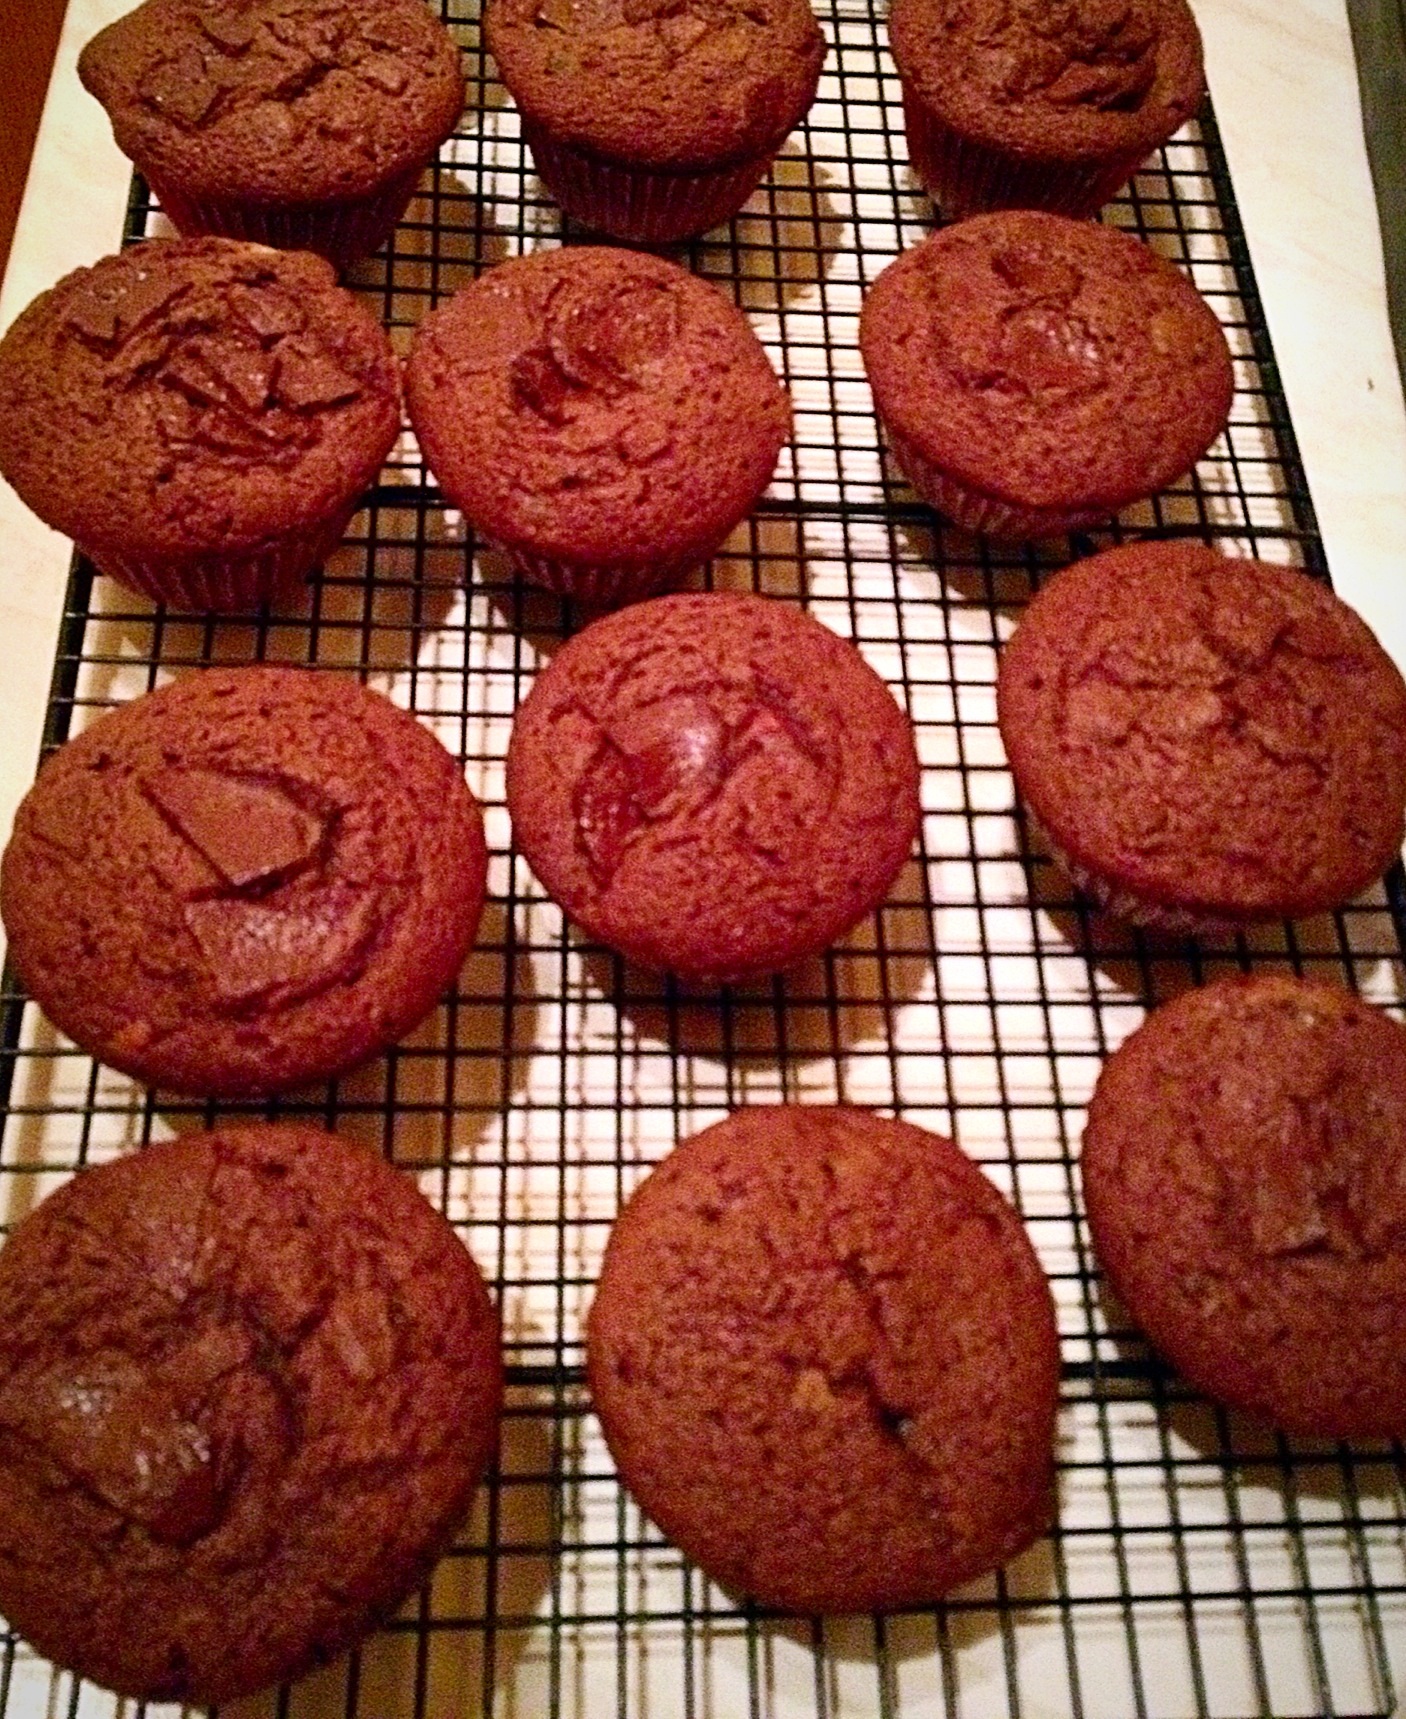
Given my desire to get back to bed ASAP I decided not to frost these cupcakes. Sprinkling each individual cupcake top with chopped up crunchy after dinner mints turned out better than I hoped for.  The crunchy mint chocolate shards didn’t melt, or lose their shape and once cooled provided an excellent topping in itself!  Ditching the frosting also made it much easier for my lil man to transport these scrumptious (WHAT?? – of course we had to try them!!!) cupcakes to school.

Recipe : Makes 33-36 Cupcakes

1lb/450g  Unsalted Butter – at room temp

1lb/450g  Light Soft Brown Sugar

8 Eggs – Large, room temp – pref free range

2tsp. Vanilla Extract

1tsp. Peppermint Extract

1/4tsp. Salt – I use Kosher (free flowing and additive free)

12oz/350g White Self Raising Flour

4oz/100g  Cocoa Powder

8oz/225g  Milk Chocolate Chunks (or chips)

4oz/100g  Dark Mint Chocolate

Method :

Preheat oven to 190C (175C fan).

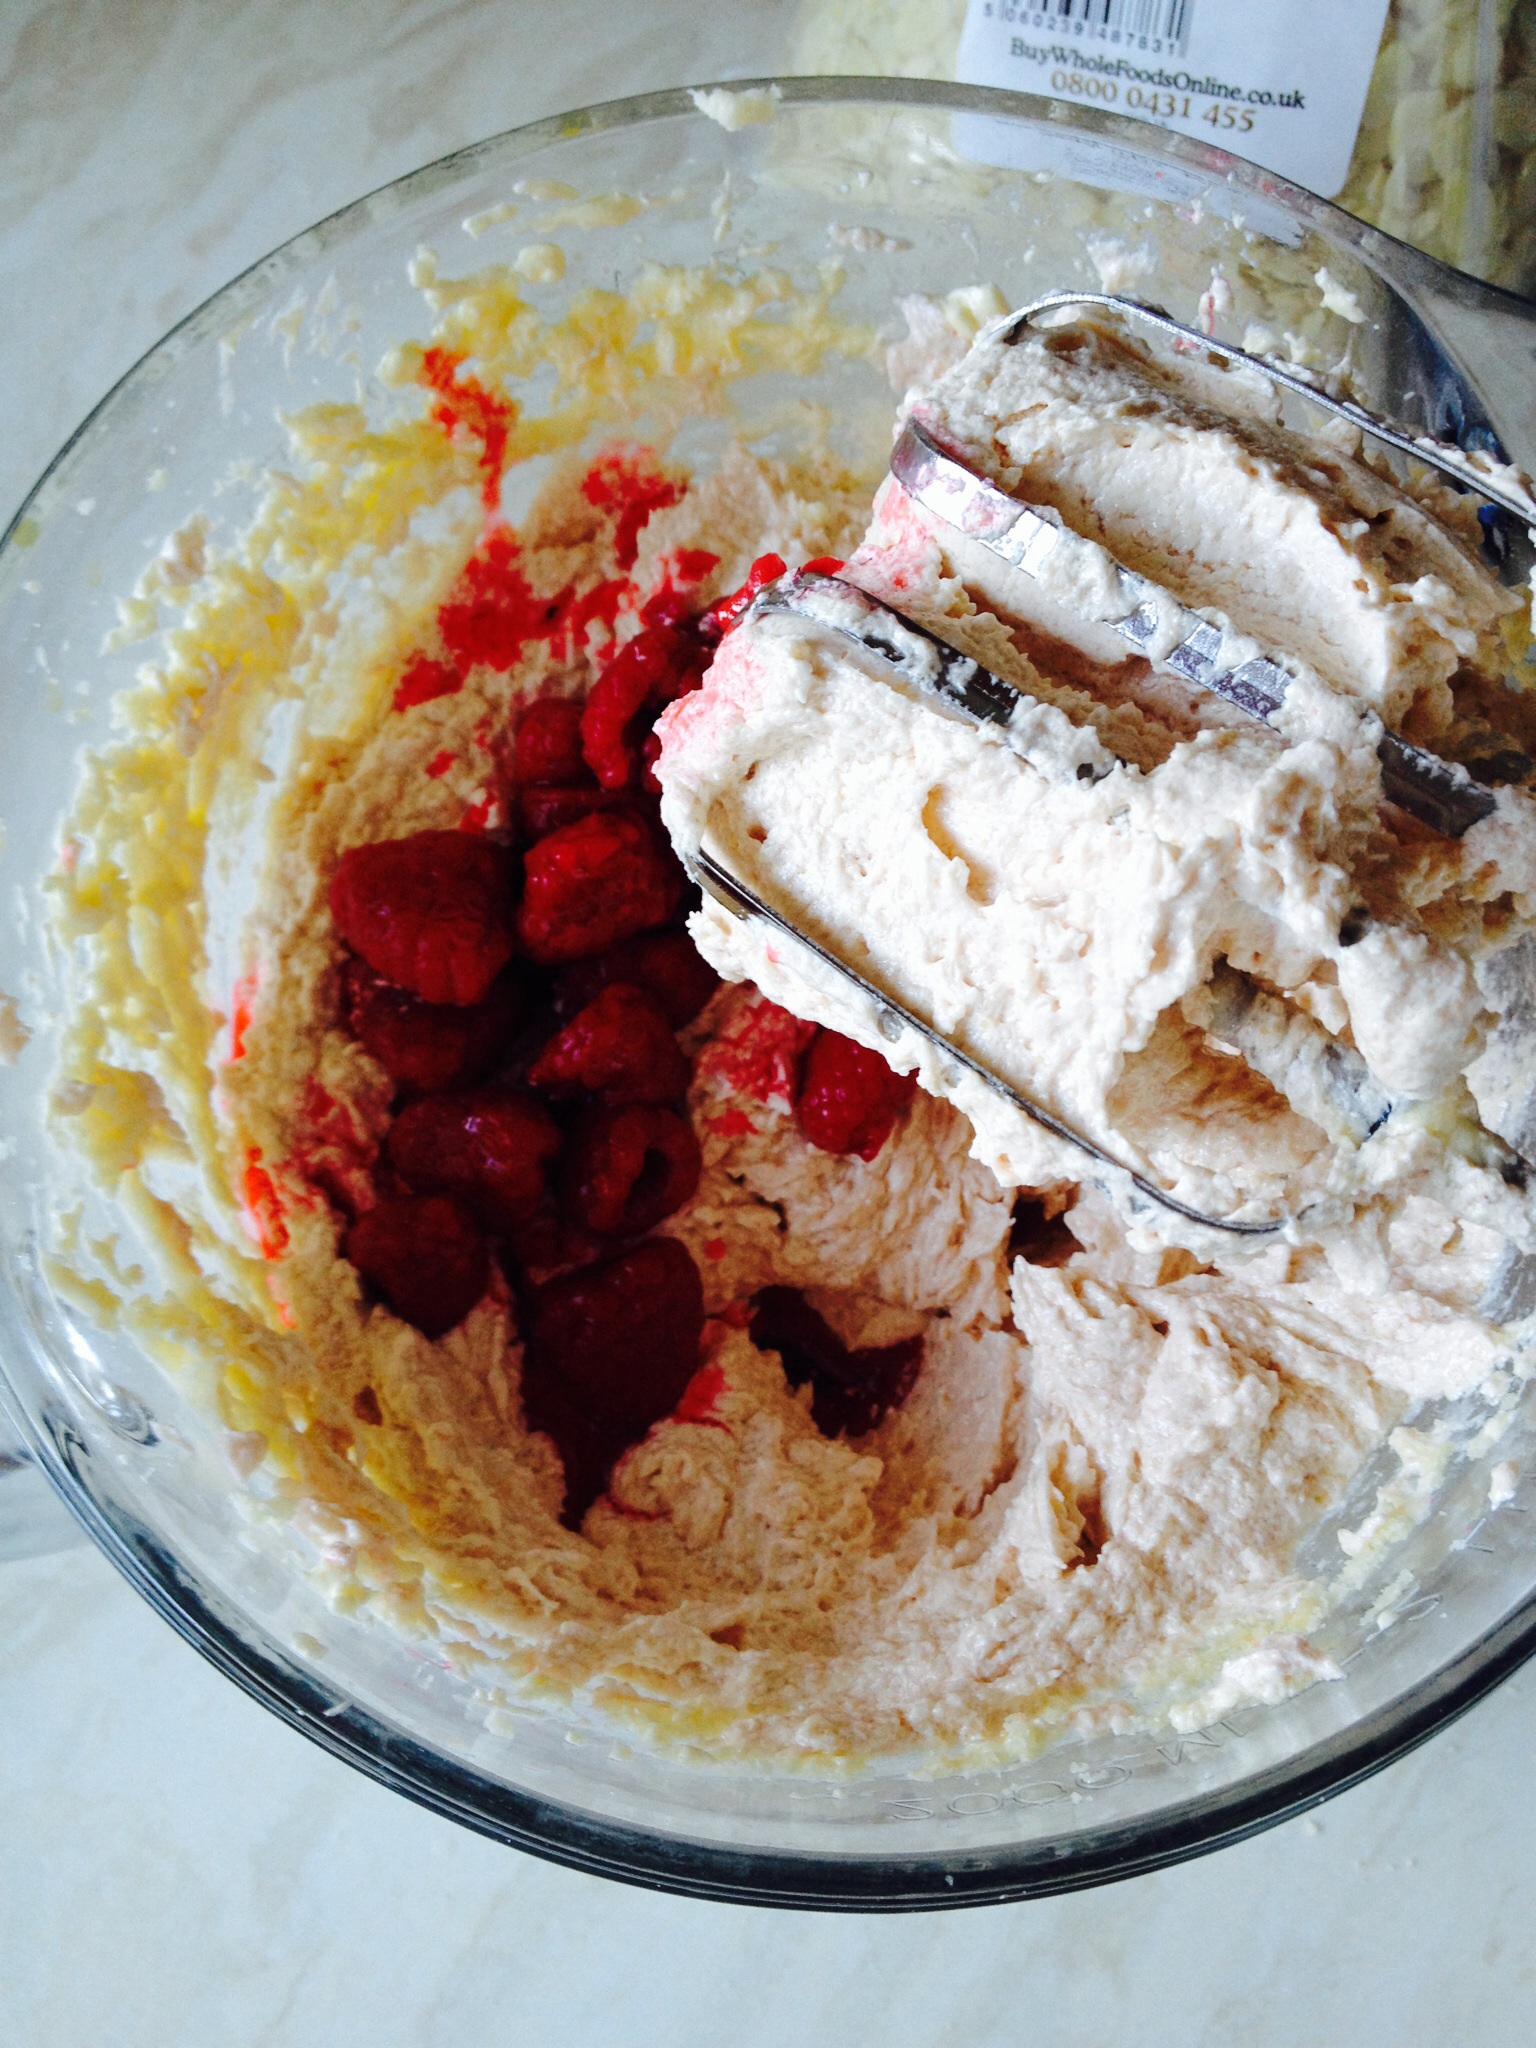
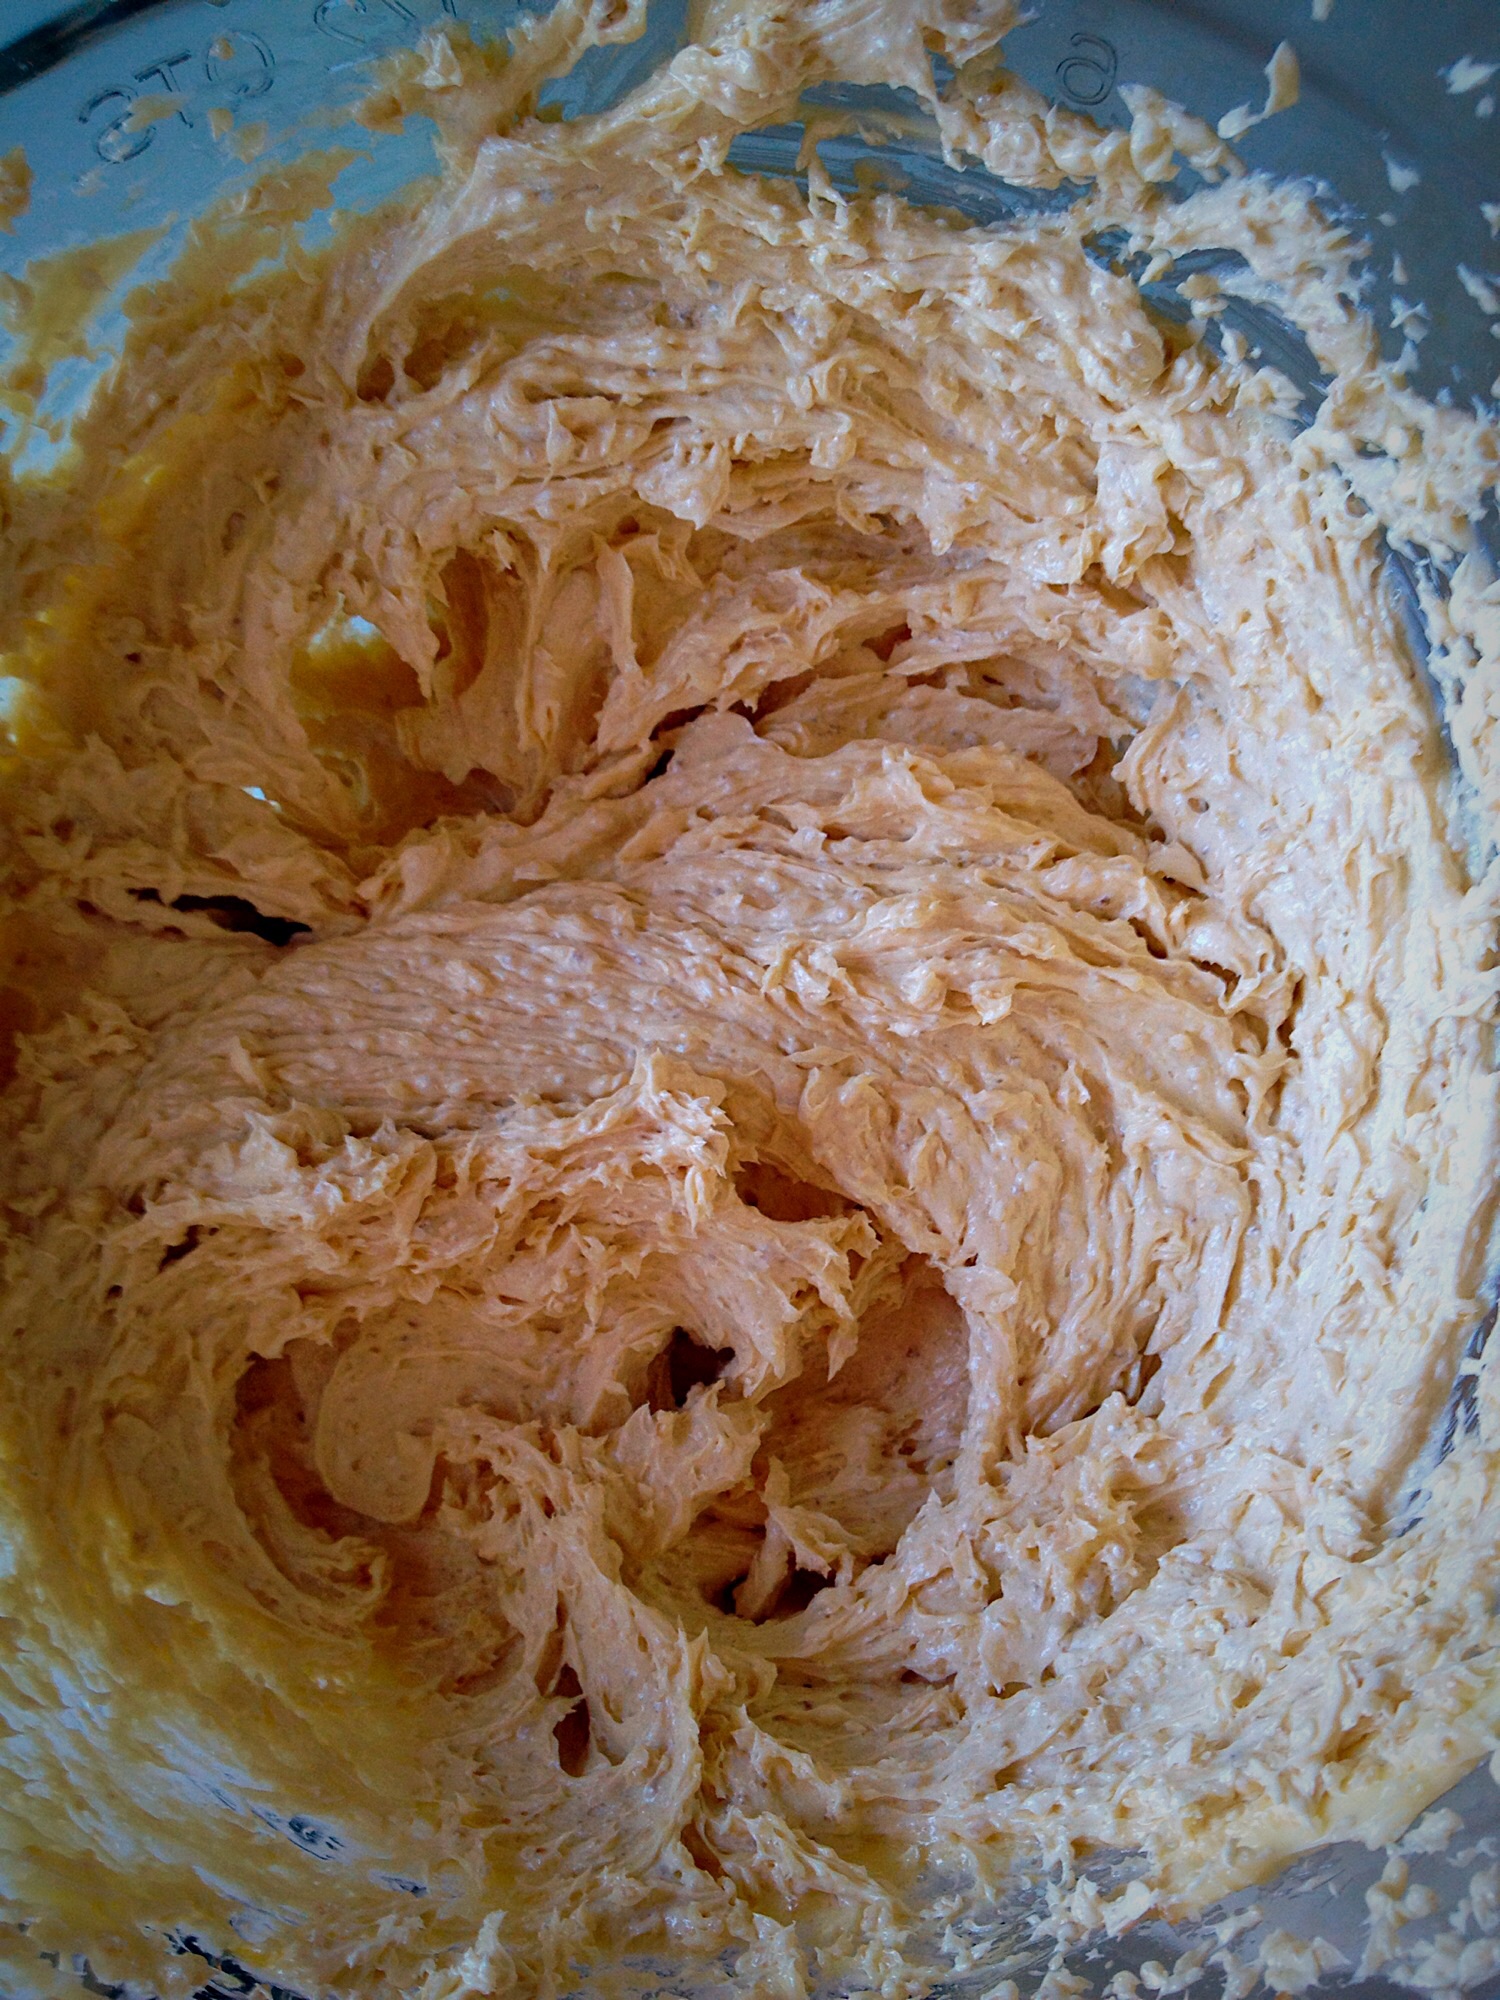
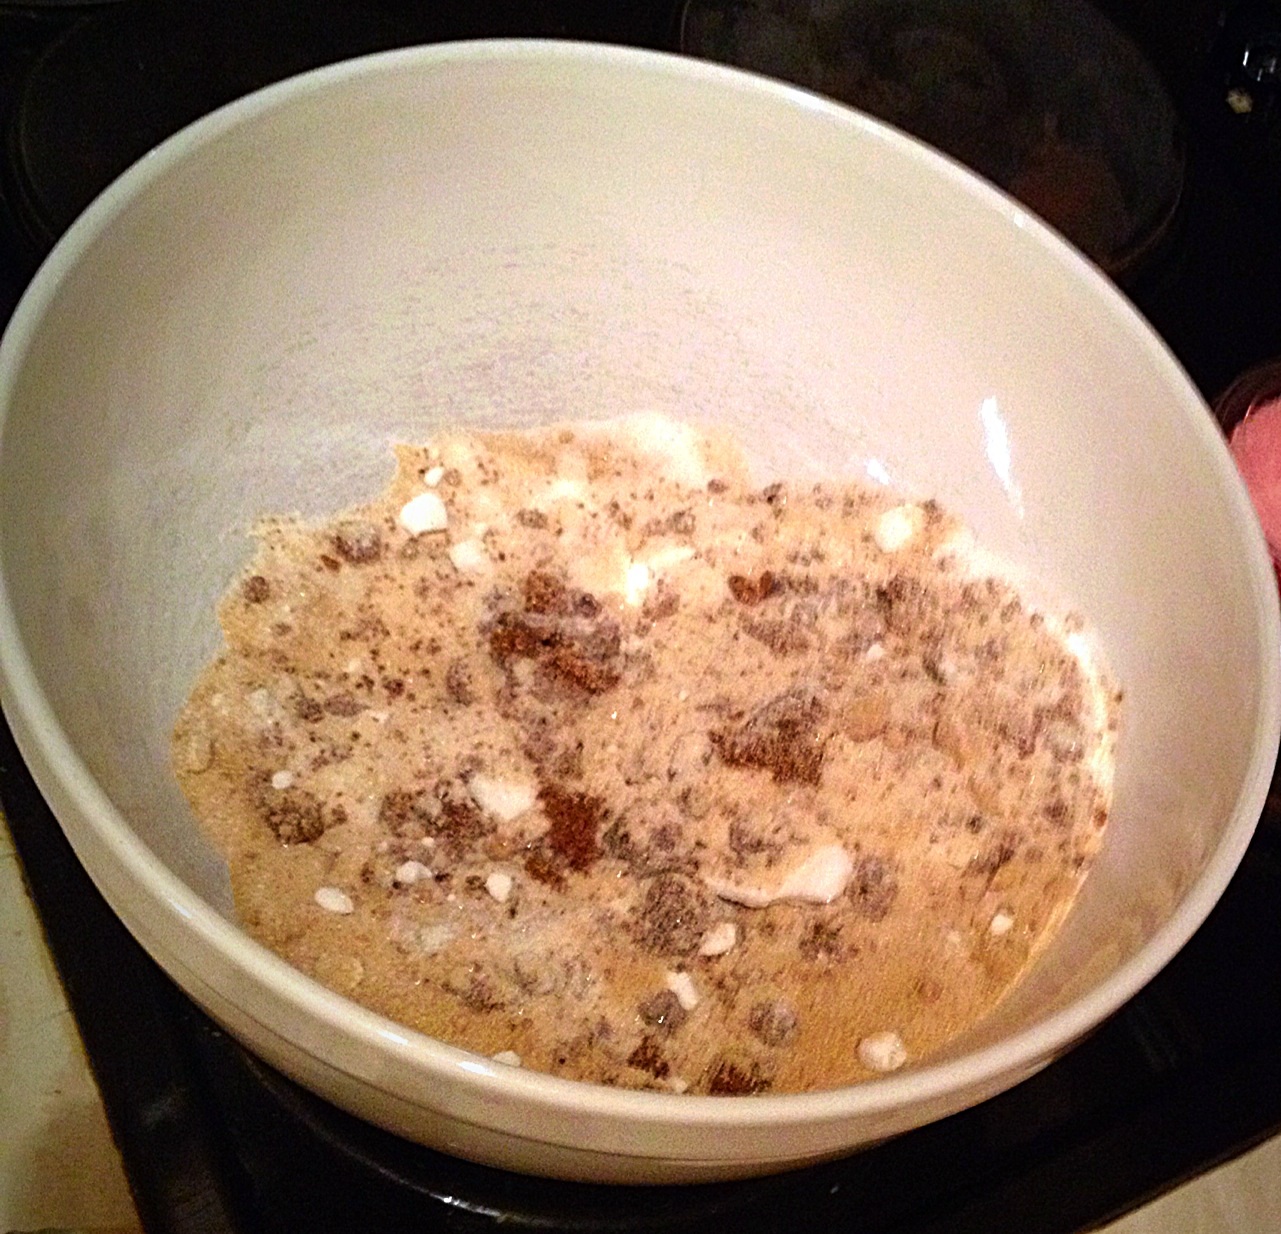
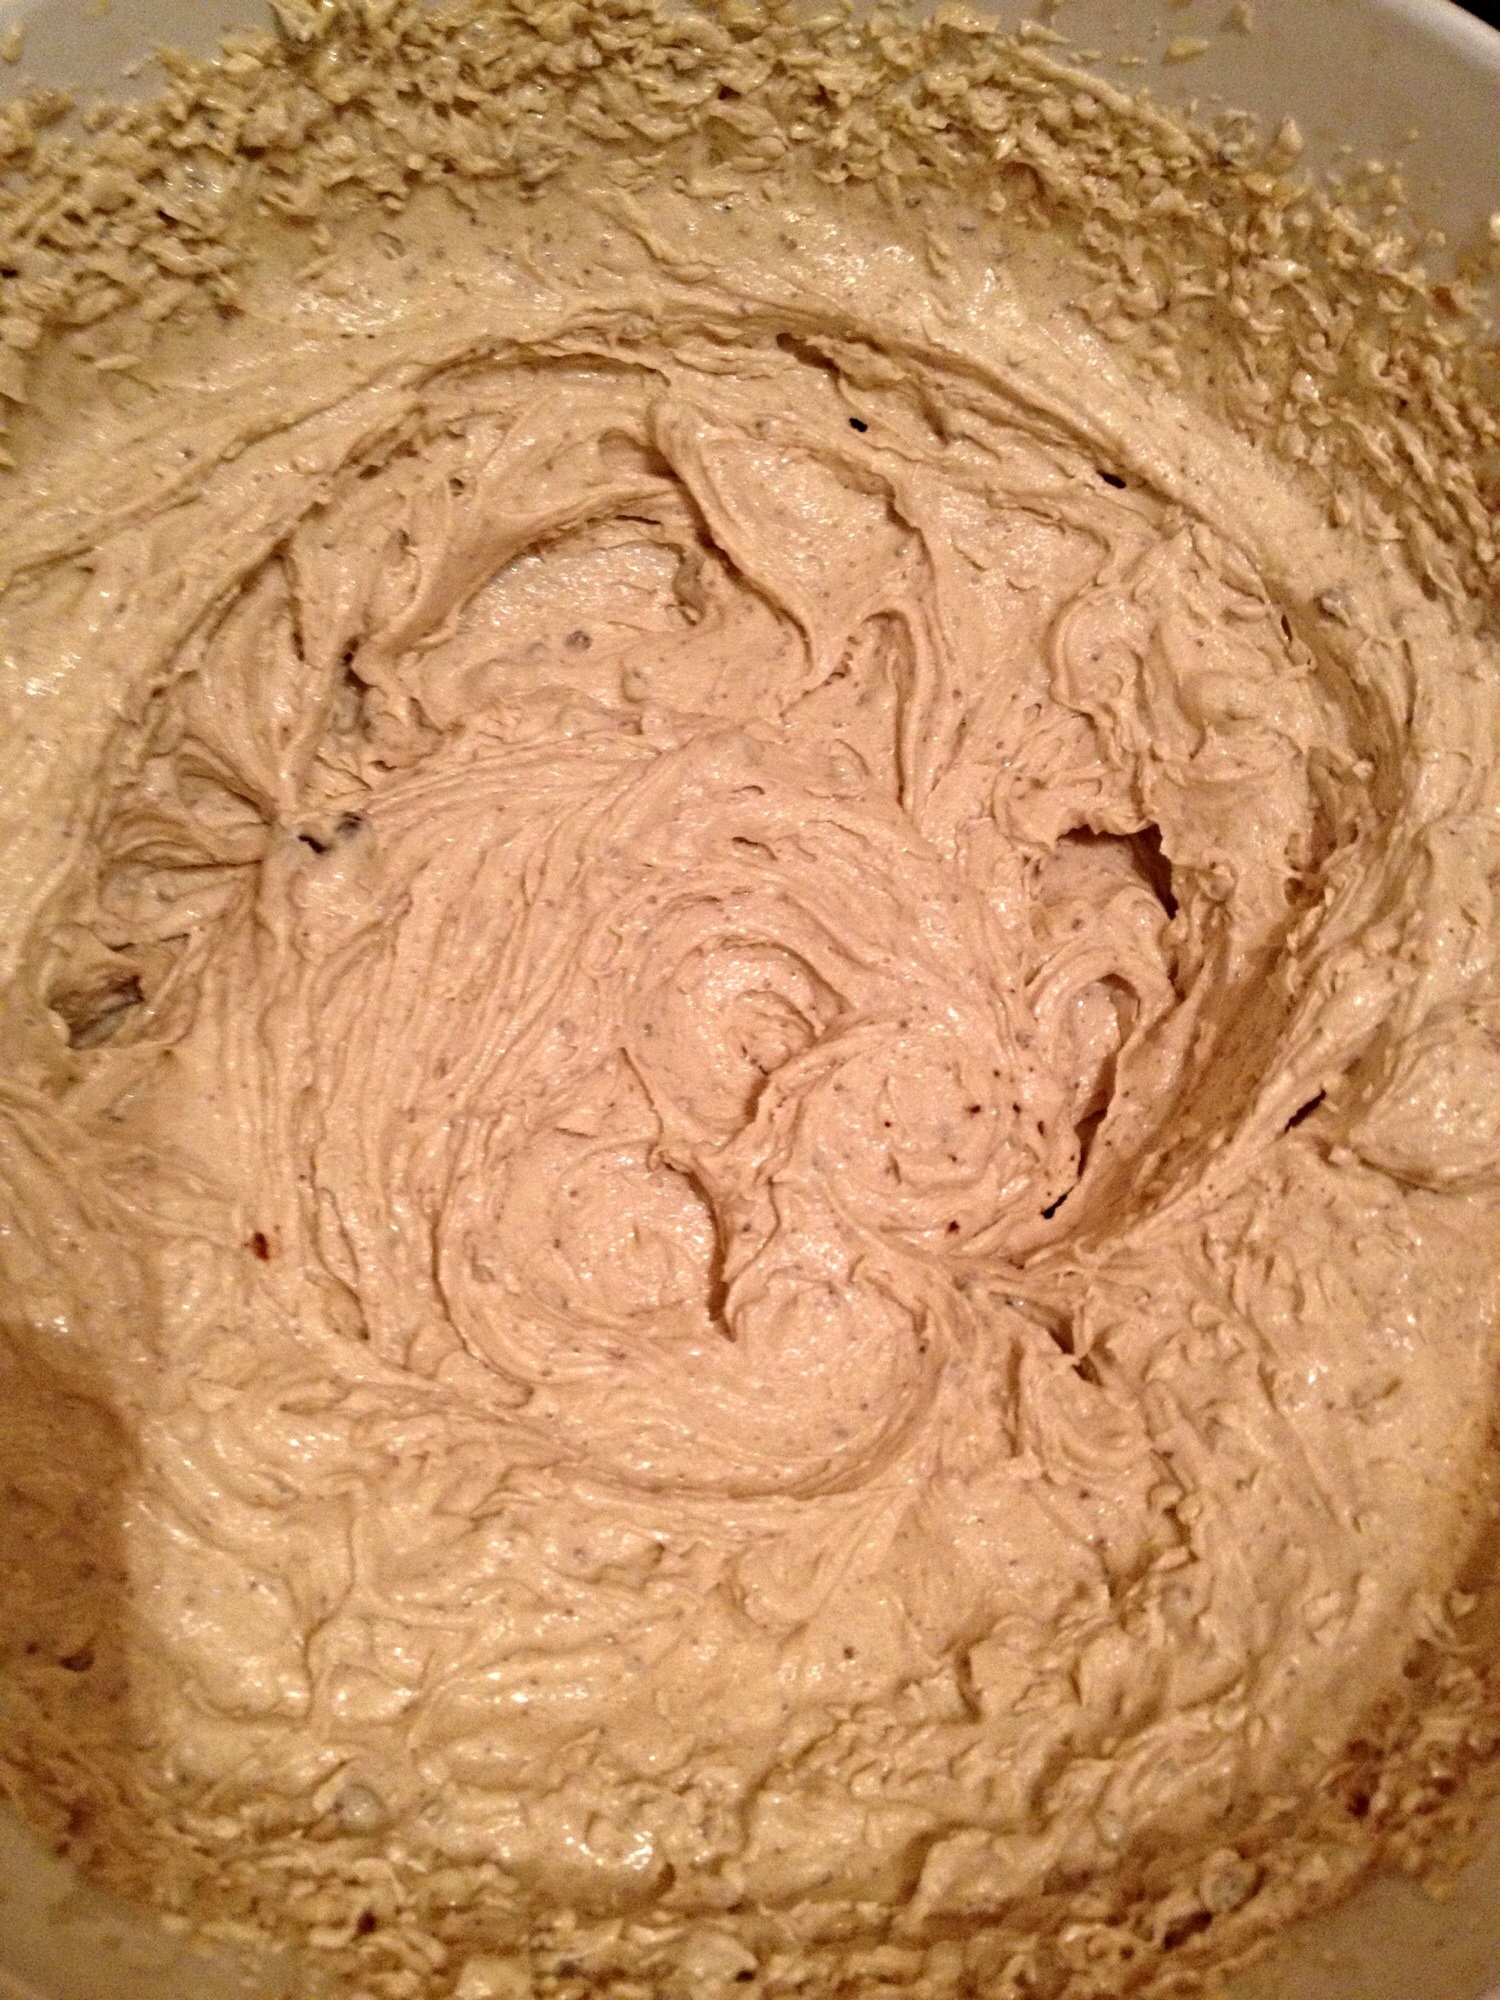
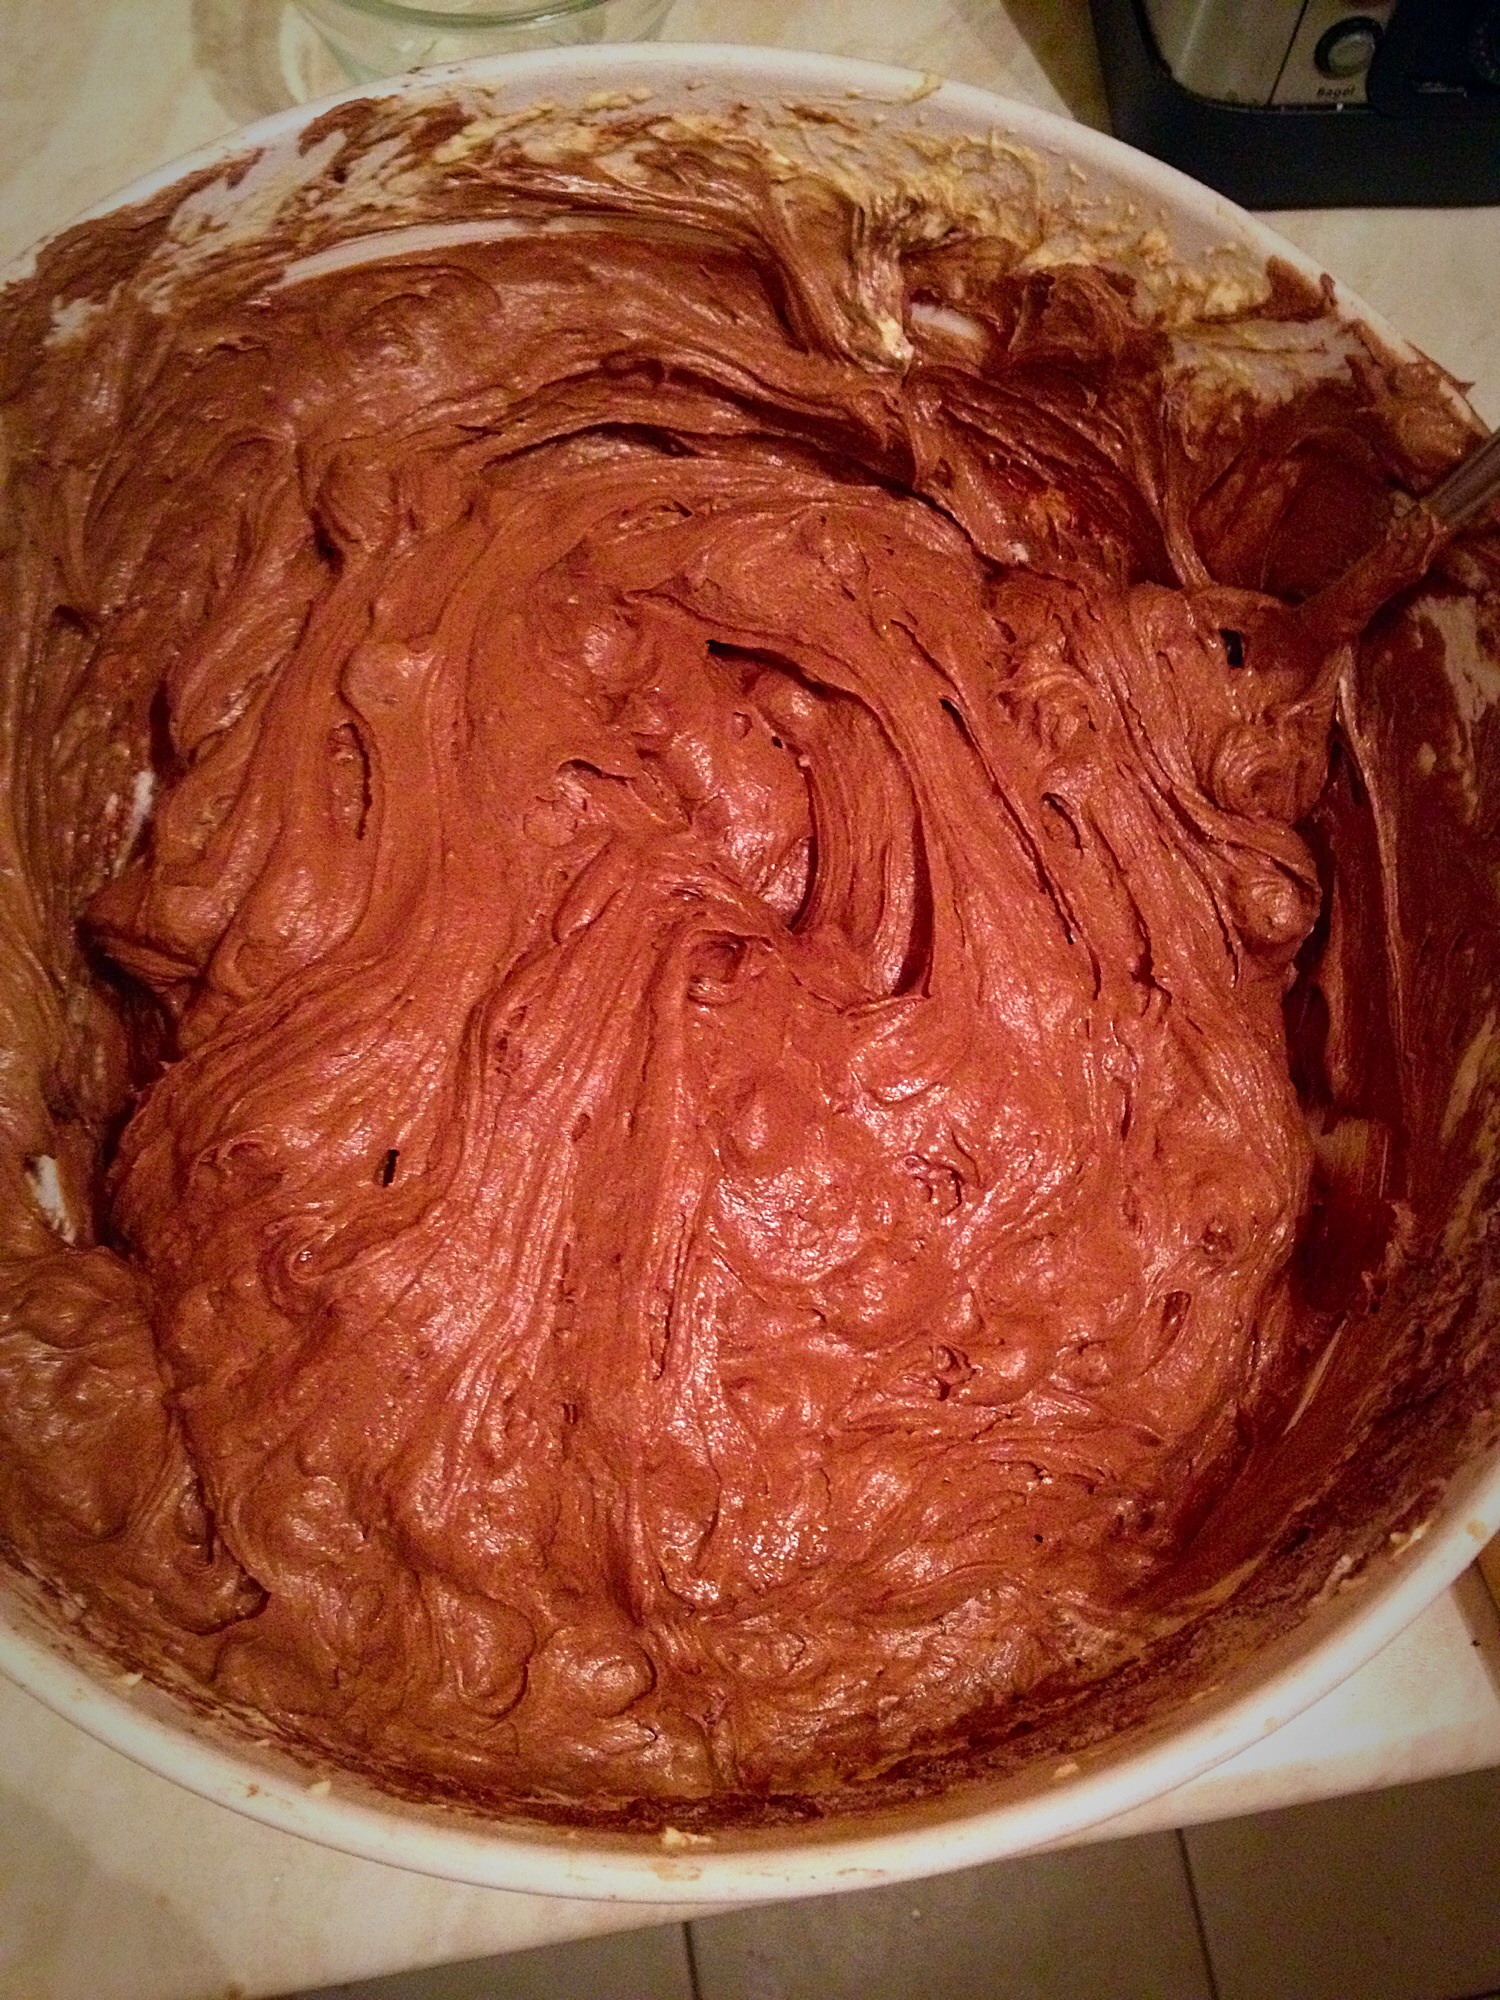
Place the butter and sugar into a large bowl and whisk (using an electric whisk, or beater paddle in a stand mixer) until completely combined (this is called creaming) and light and fluffy in texture.

A mix of sugars. Dark and light brown and white caster - it was late and it was the best I could do!!!!
A mix of sugars. Dark and light brown and white caster – it was late and it was the best I could do!!!!
It all whisked up beautifully - breathed sigh of relief!!!!
It all whisked up beautifully – breathes sigh of relief!!!!

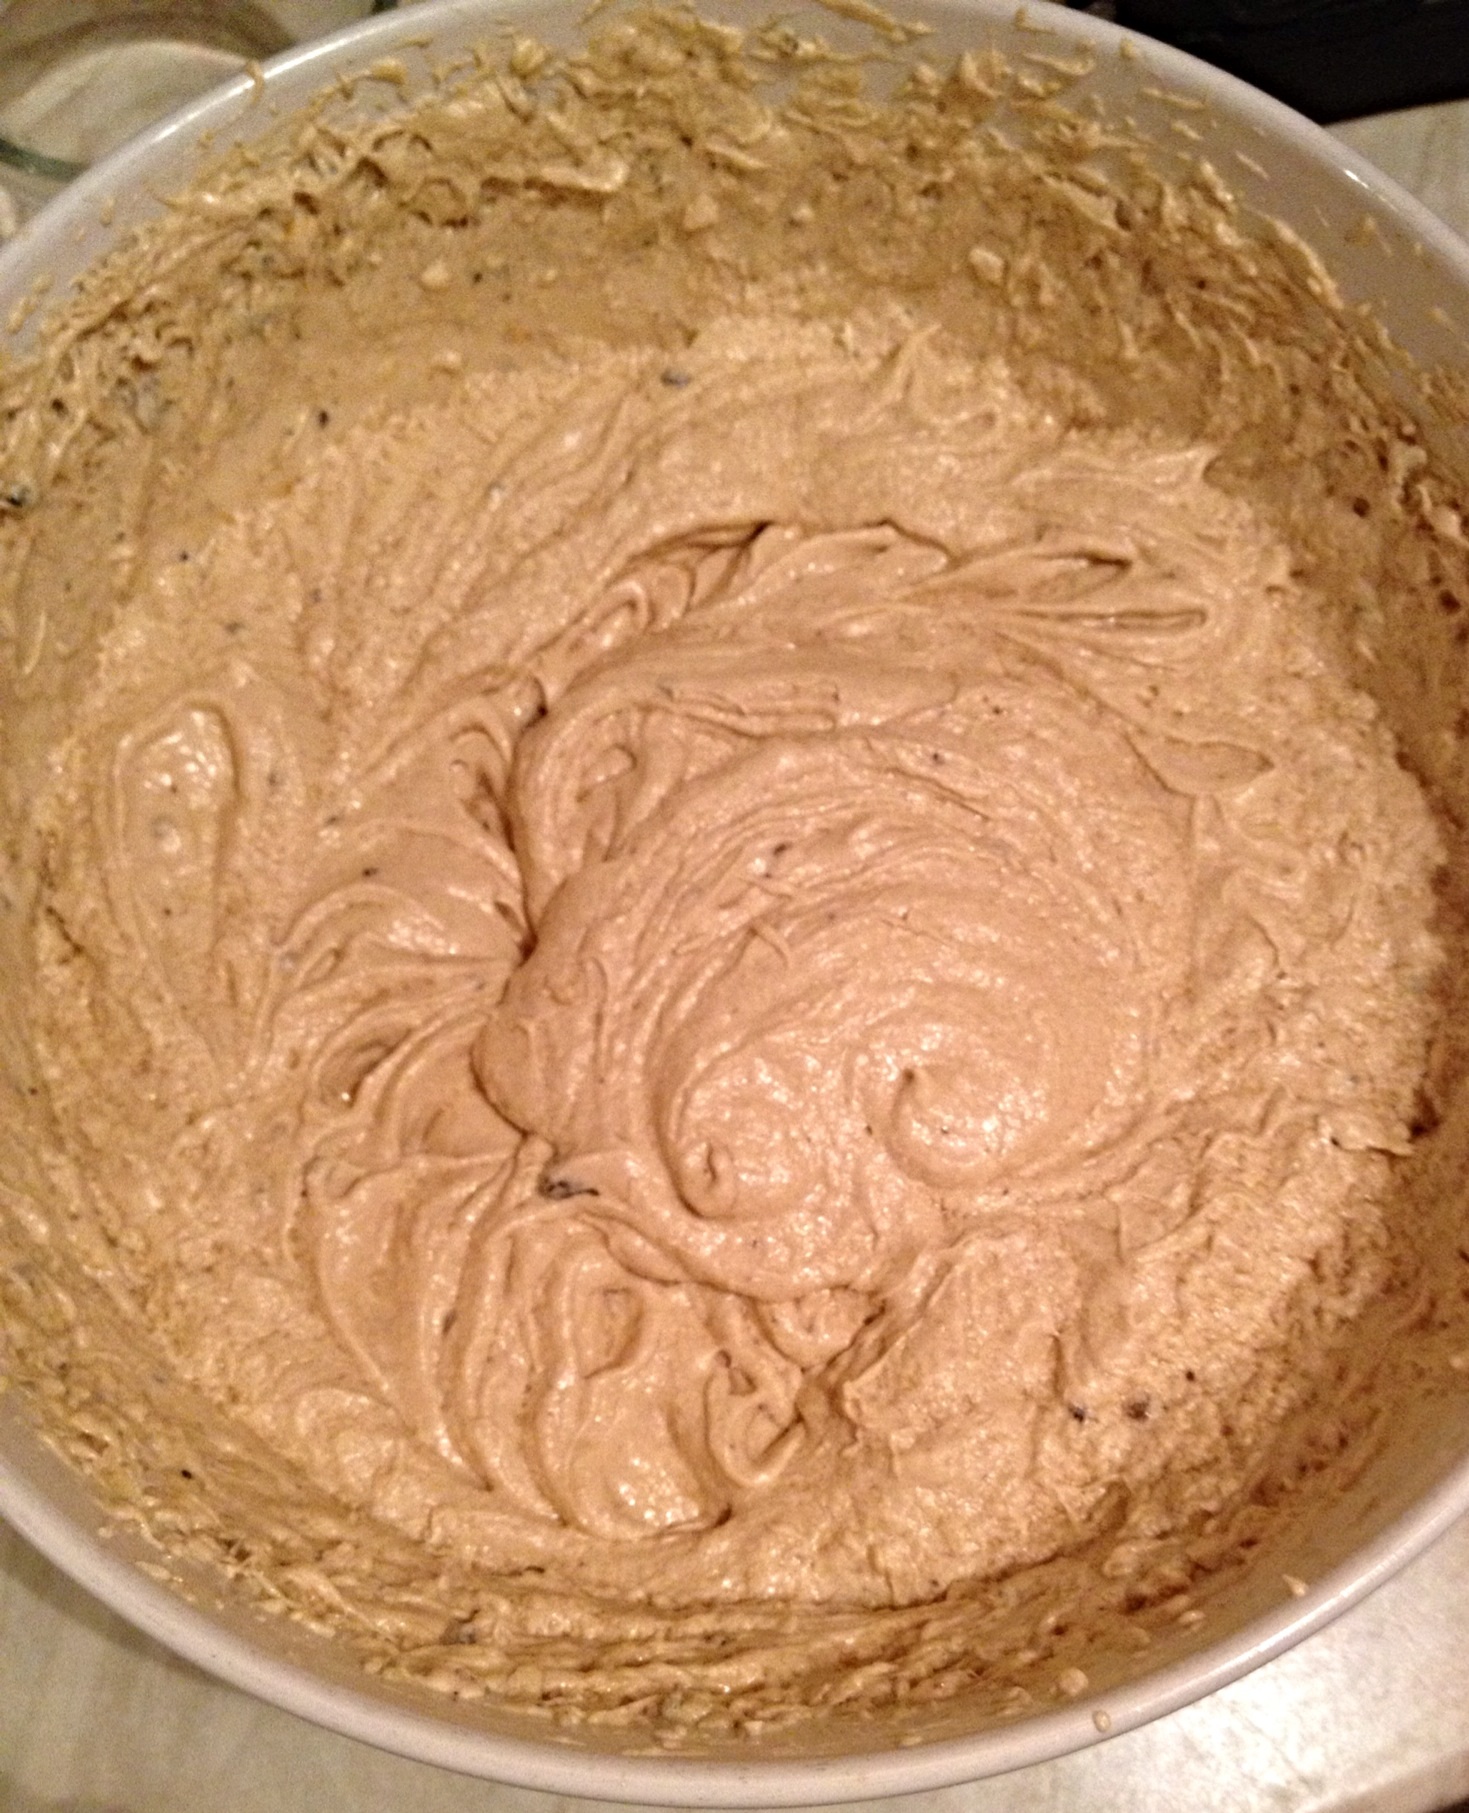
Add the vanilla/peppermint extracts and the salt. Whisk in thoroughly.  Now add the eggs, one at a time, whisking between each addition – I break each egg into a separate bowl before adding it to the mixture –  it helps keep any errant eggshell out of the batter.  If the eggs are at room temp then the batter shouldn’t curdle, however, if it does start to curdle just add 1 tablespoon of your flour and the mixture will come back together again.

All 8 eggs whisked in and no curdling! I was relieved.

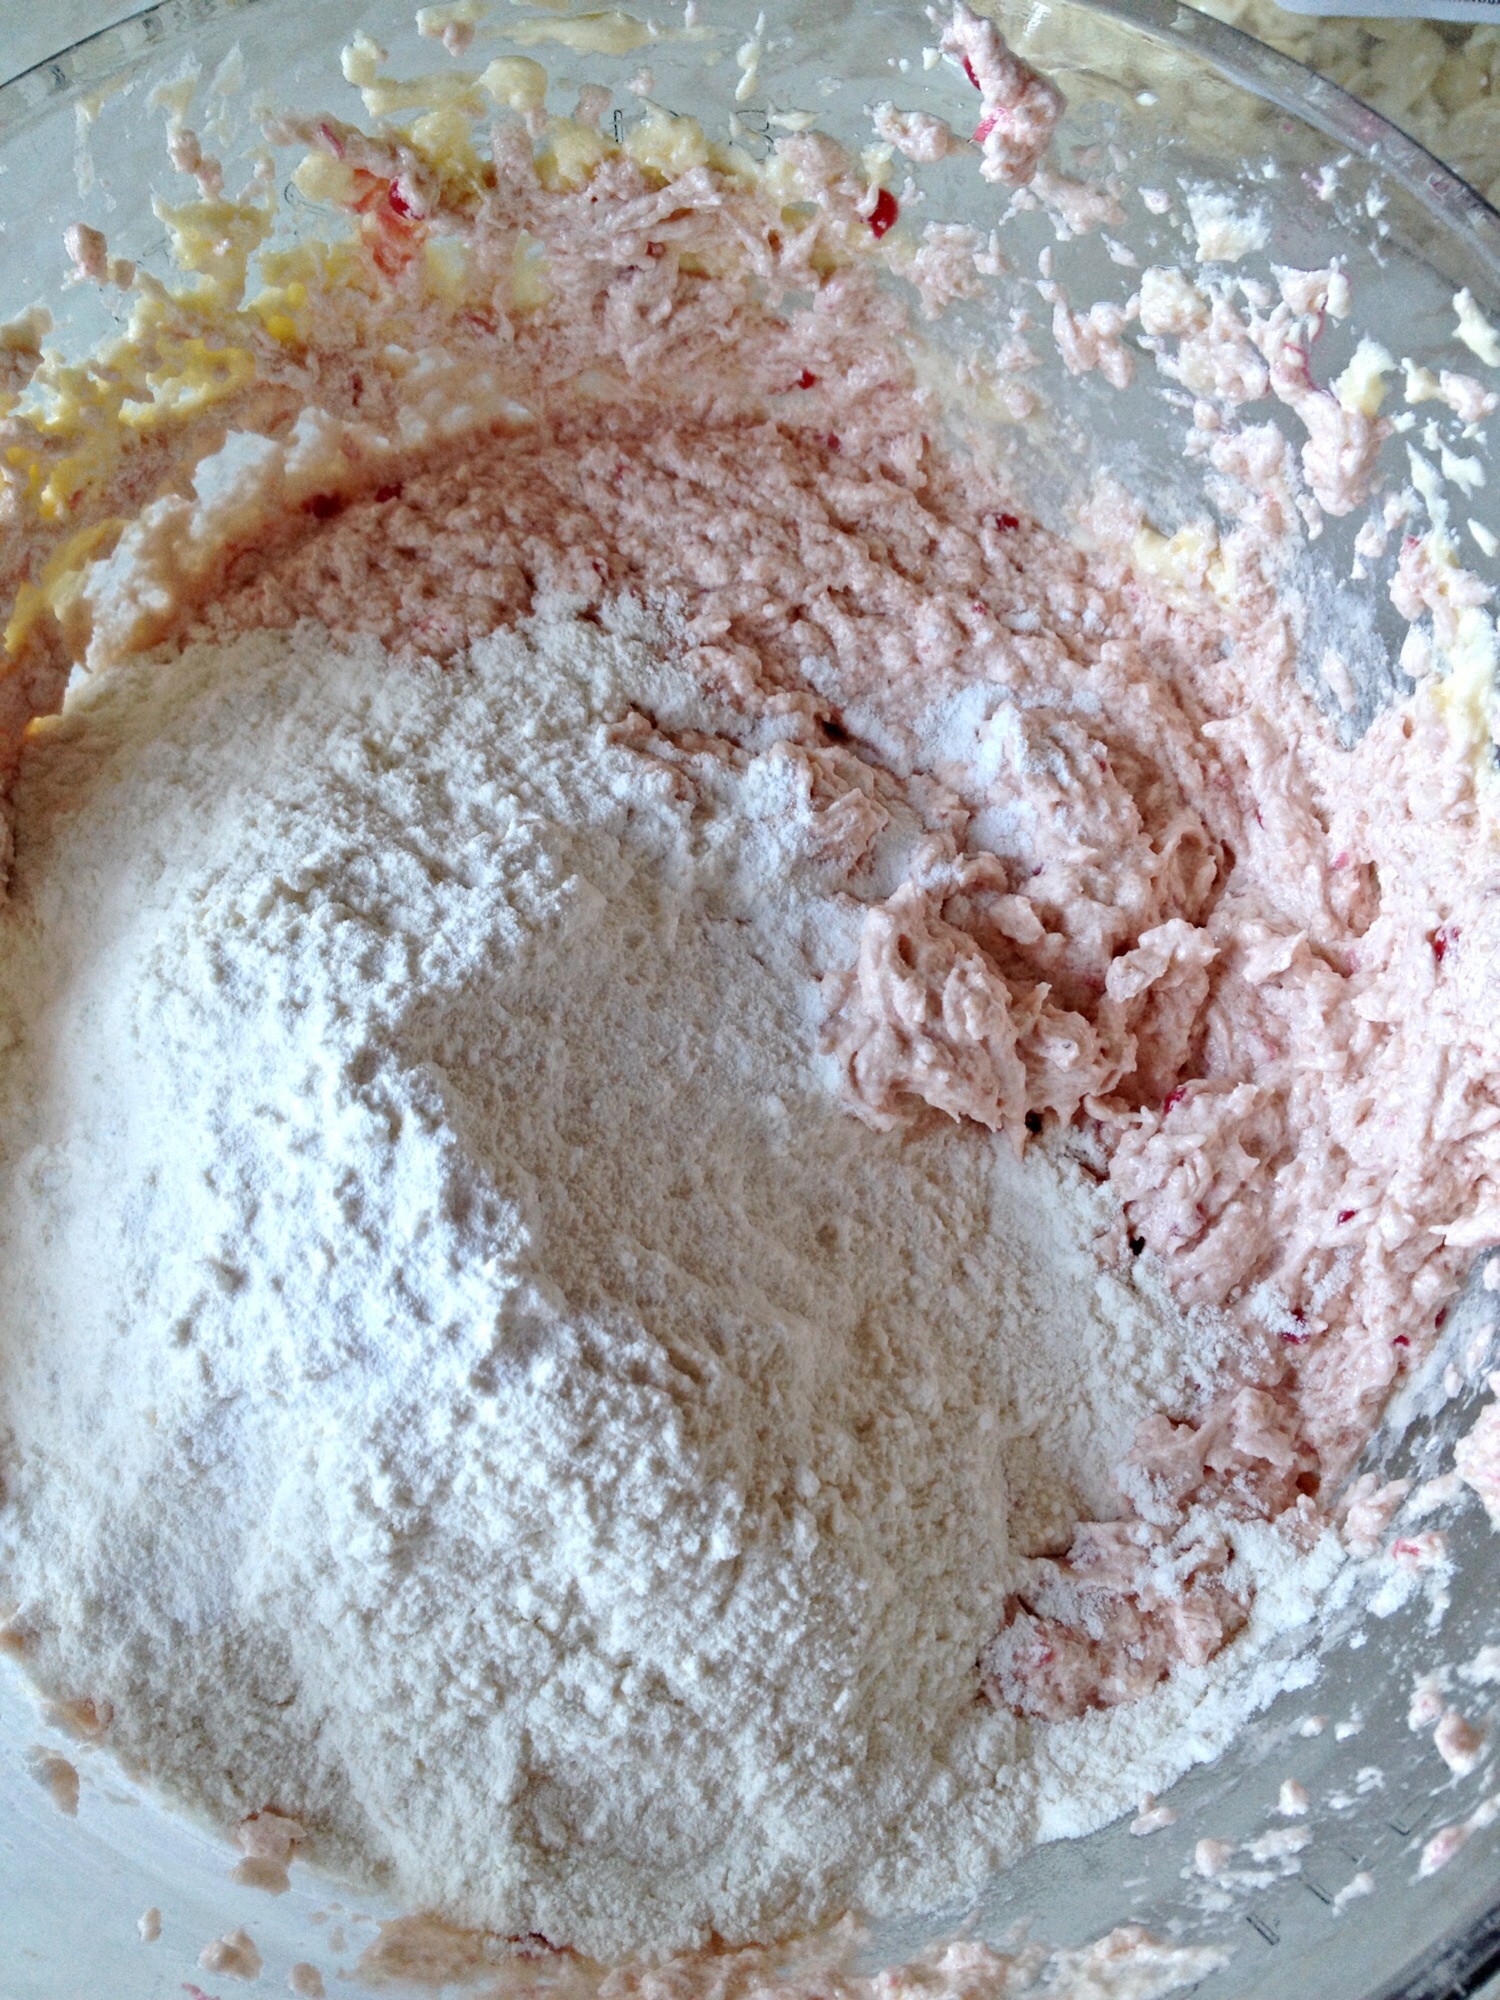
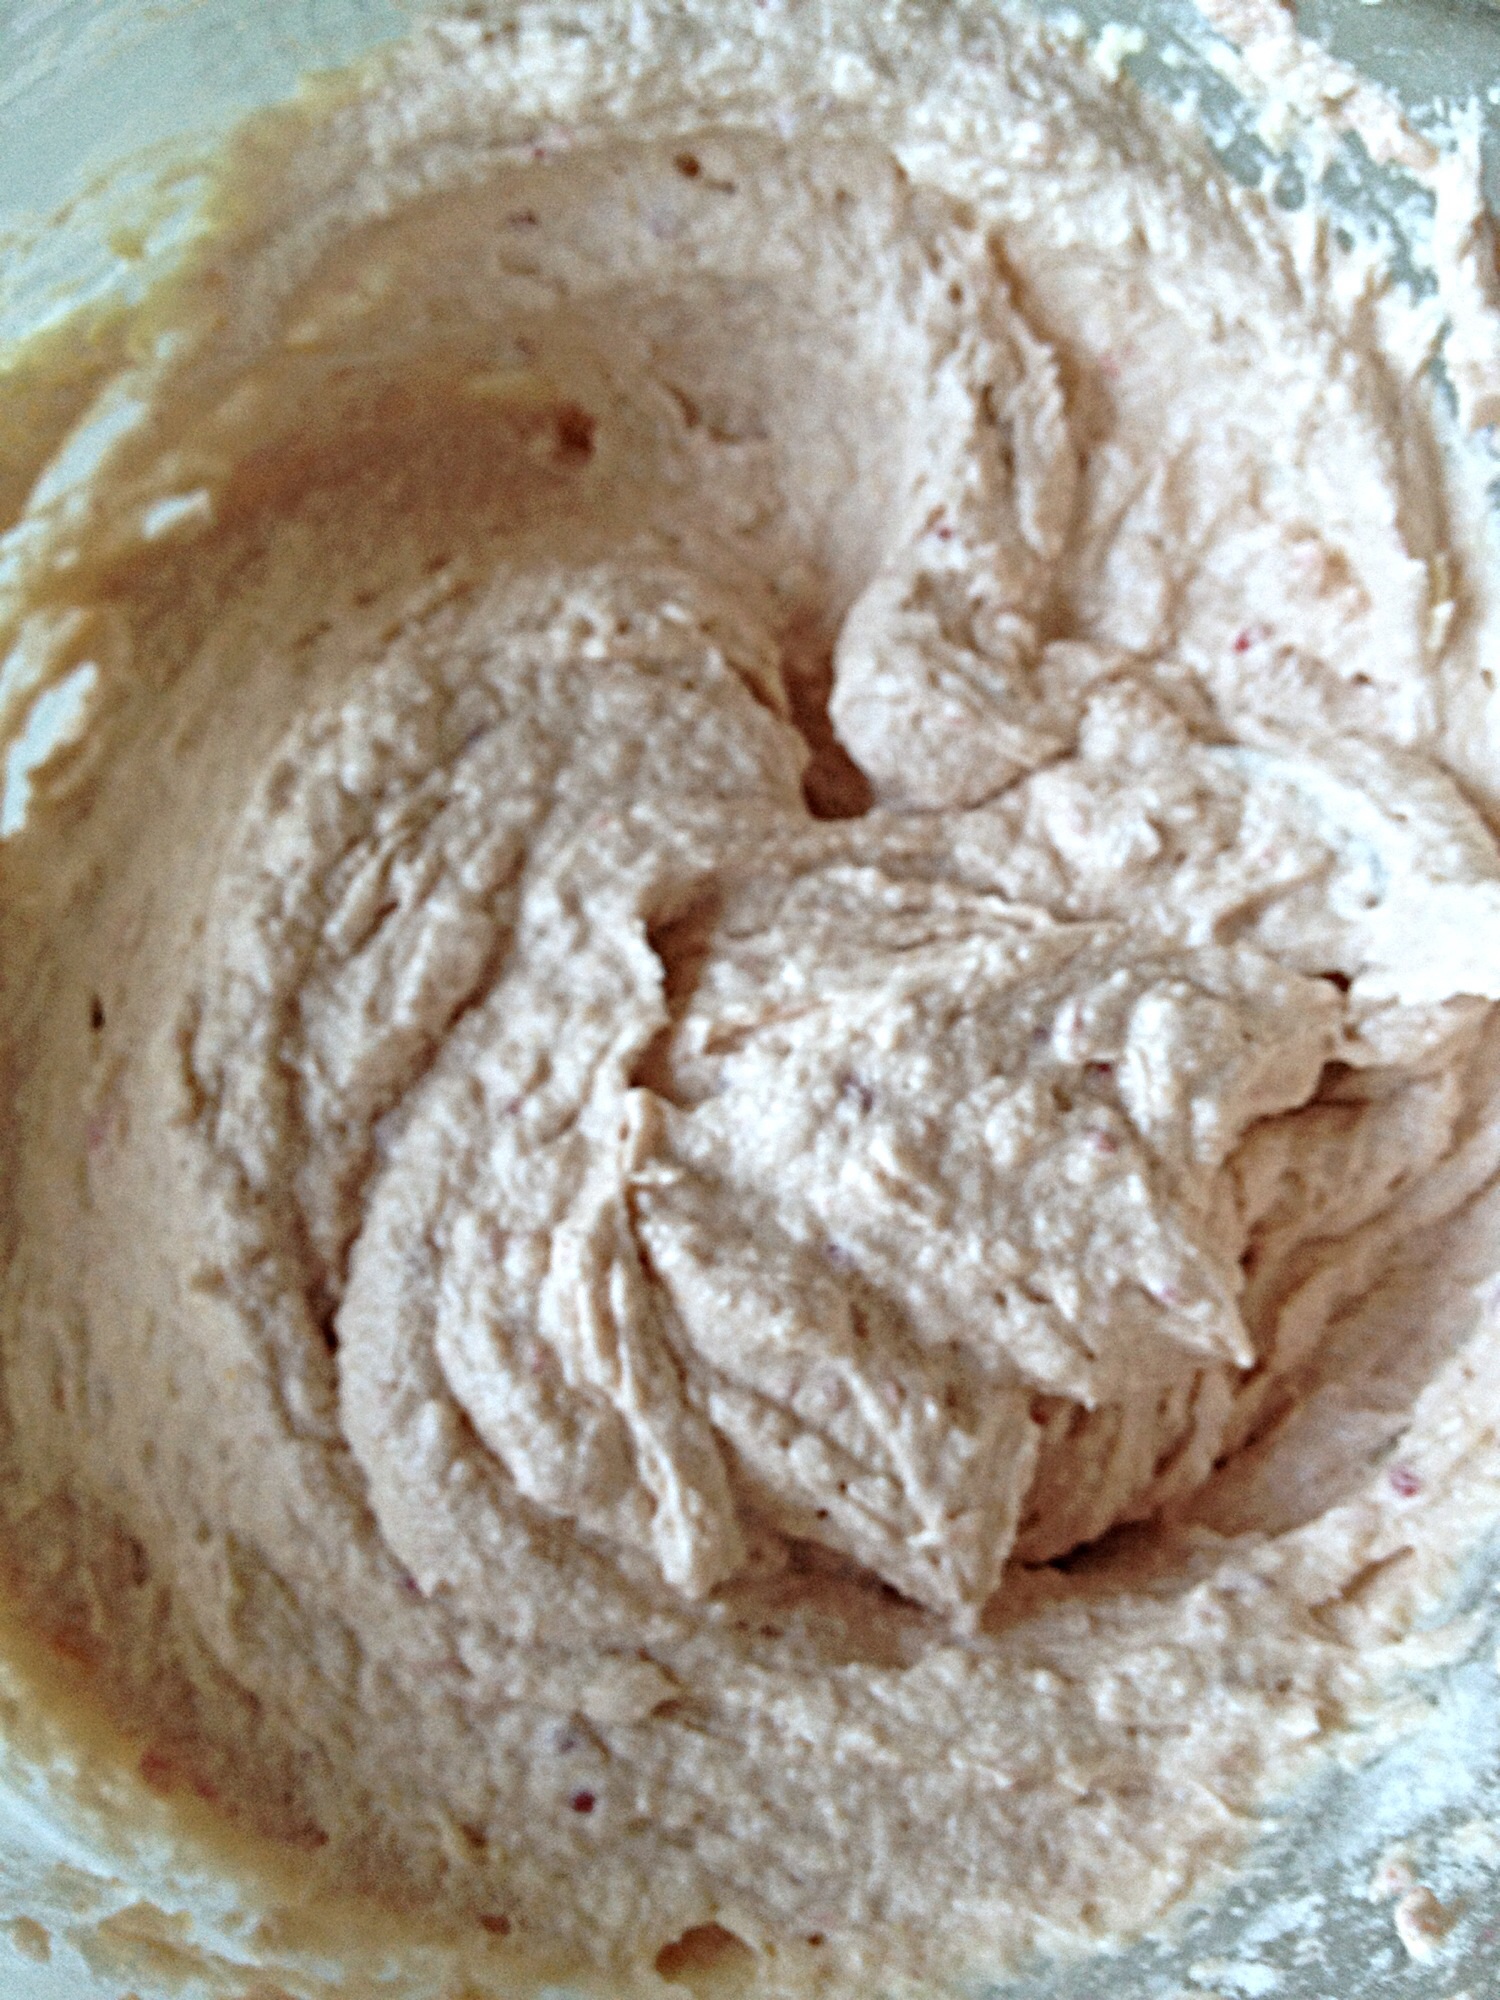
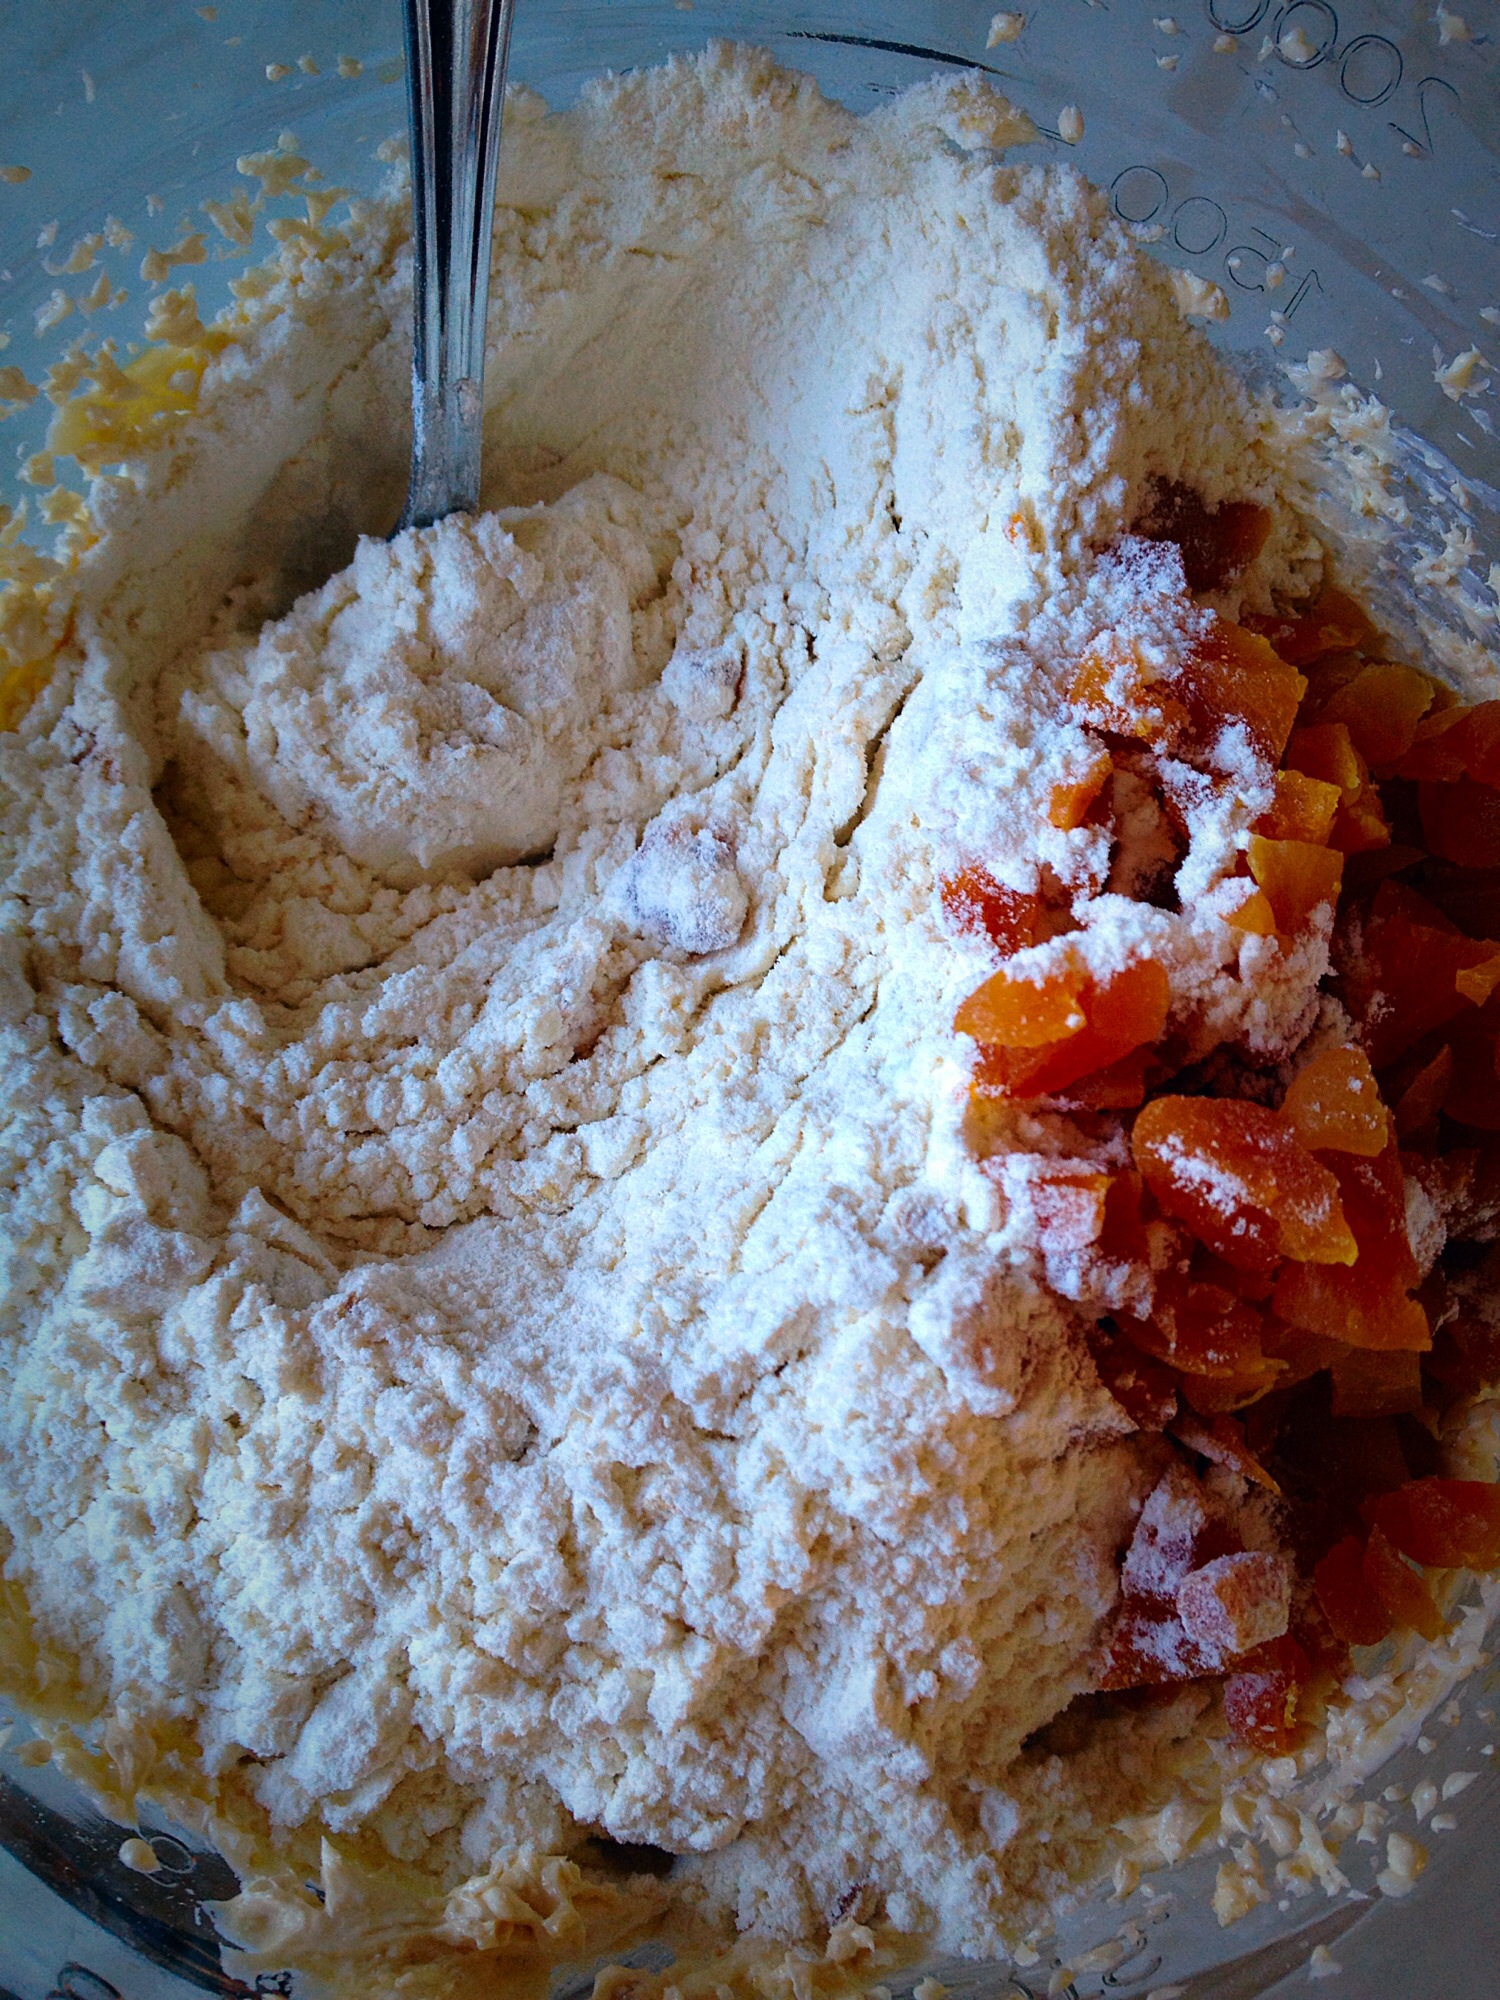
Next sift in the flour and cocoa powder.  Fold this in using a spoon/spatula, using a gentle figure-of-eight movement rotating the bowl to ensure the flour/cocoa become fully incorporated. The idea is to keep the mixture light and not lose too much of the trapped air from the whisked in eggs.

Add the milk chocolate chunks and fold these into the Cupcake batter so they are evenly distributed.

This mixture looks, smells and tastes scrumptious!

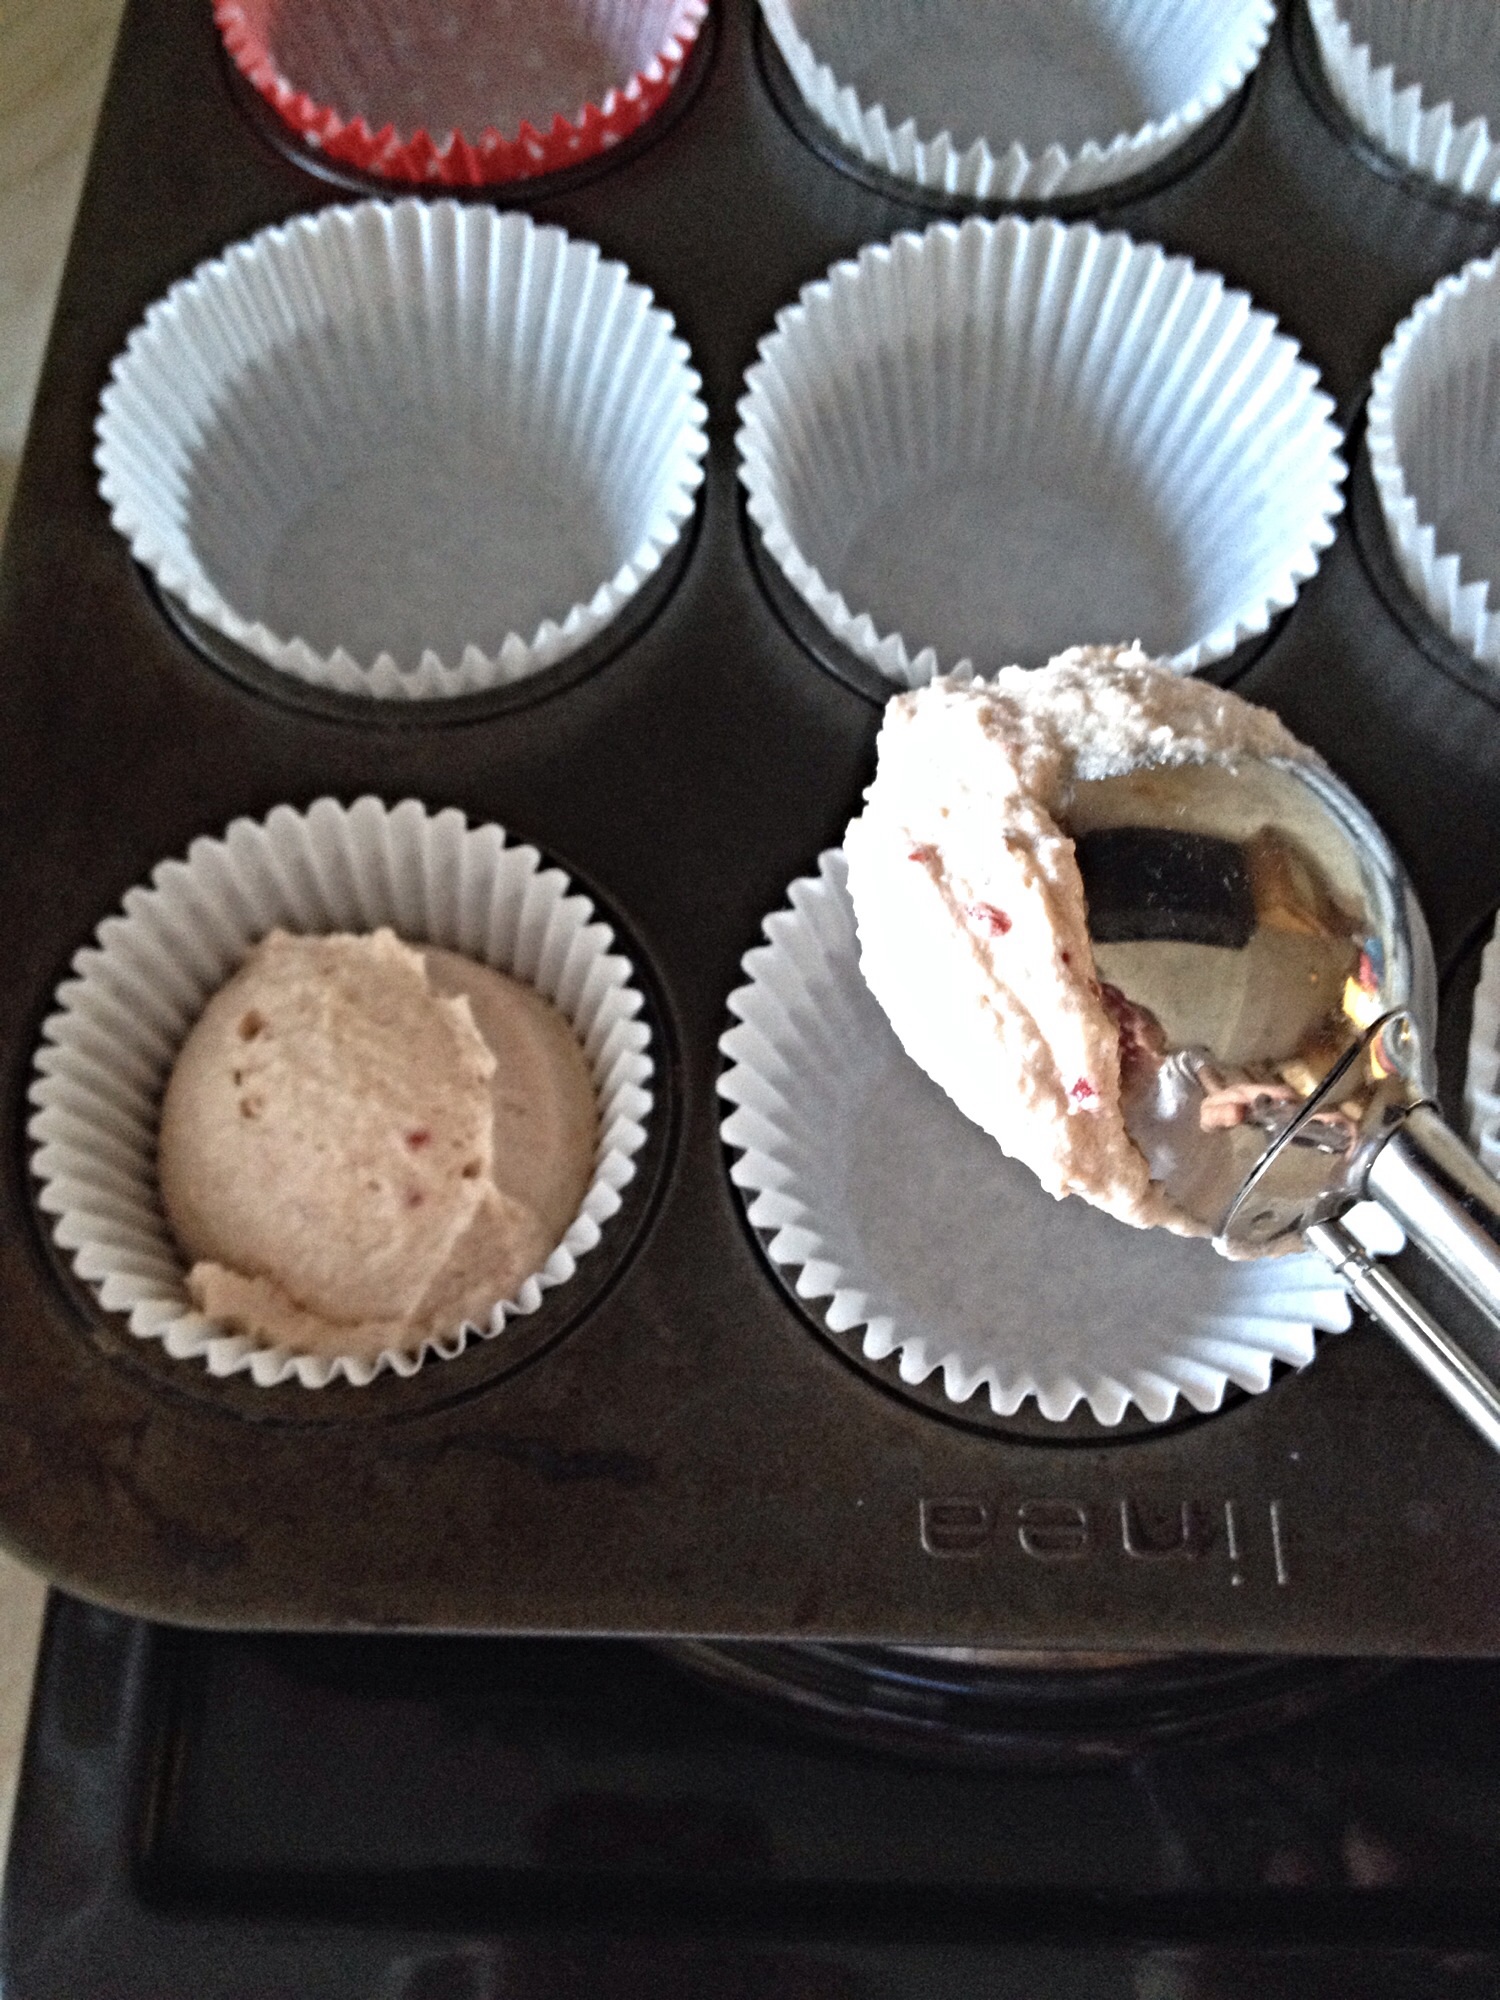
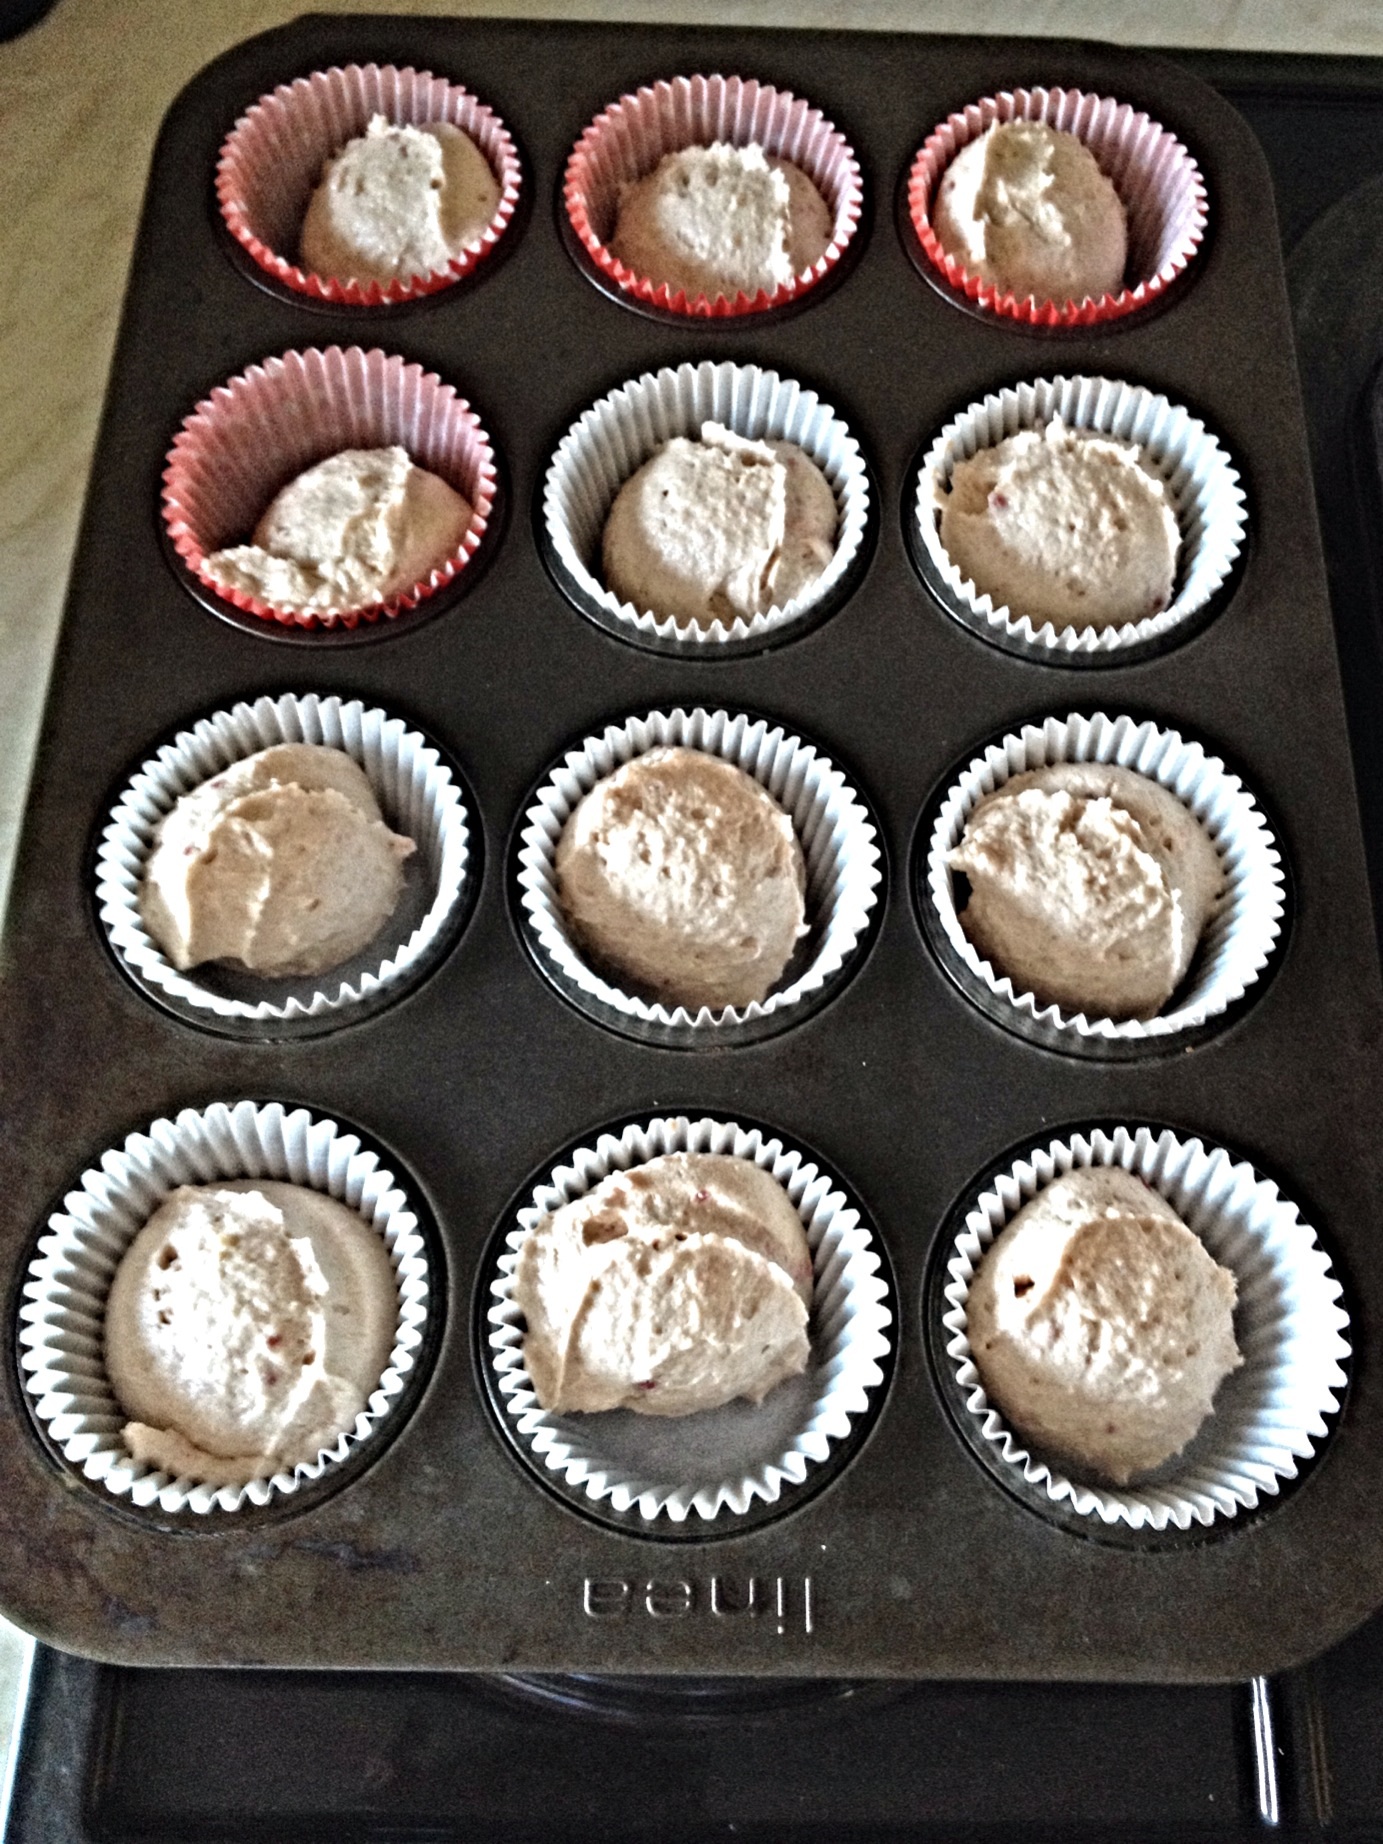
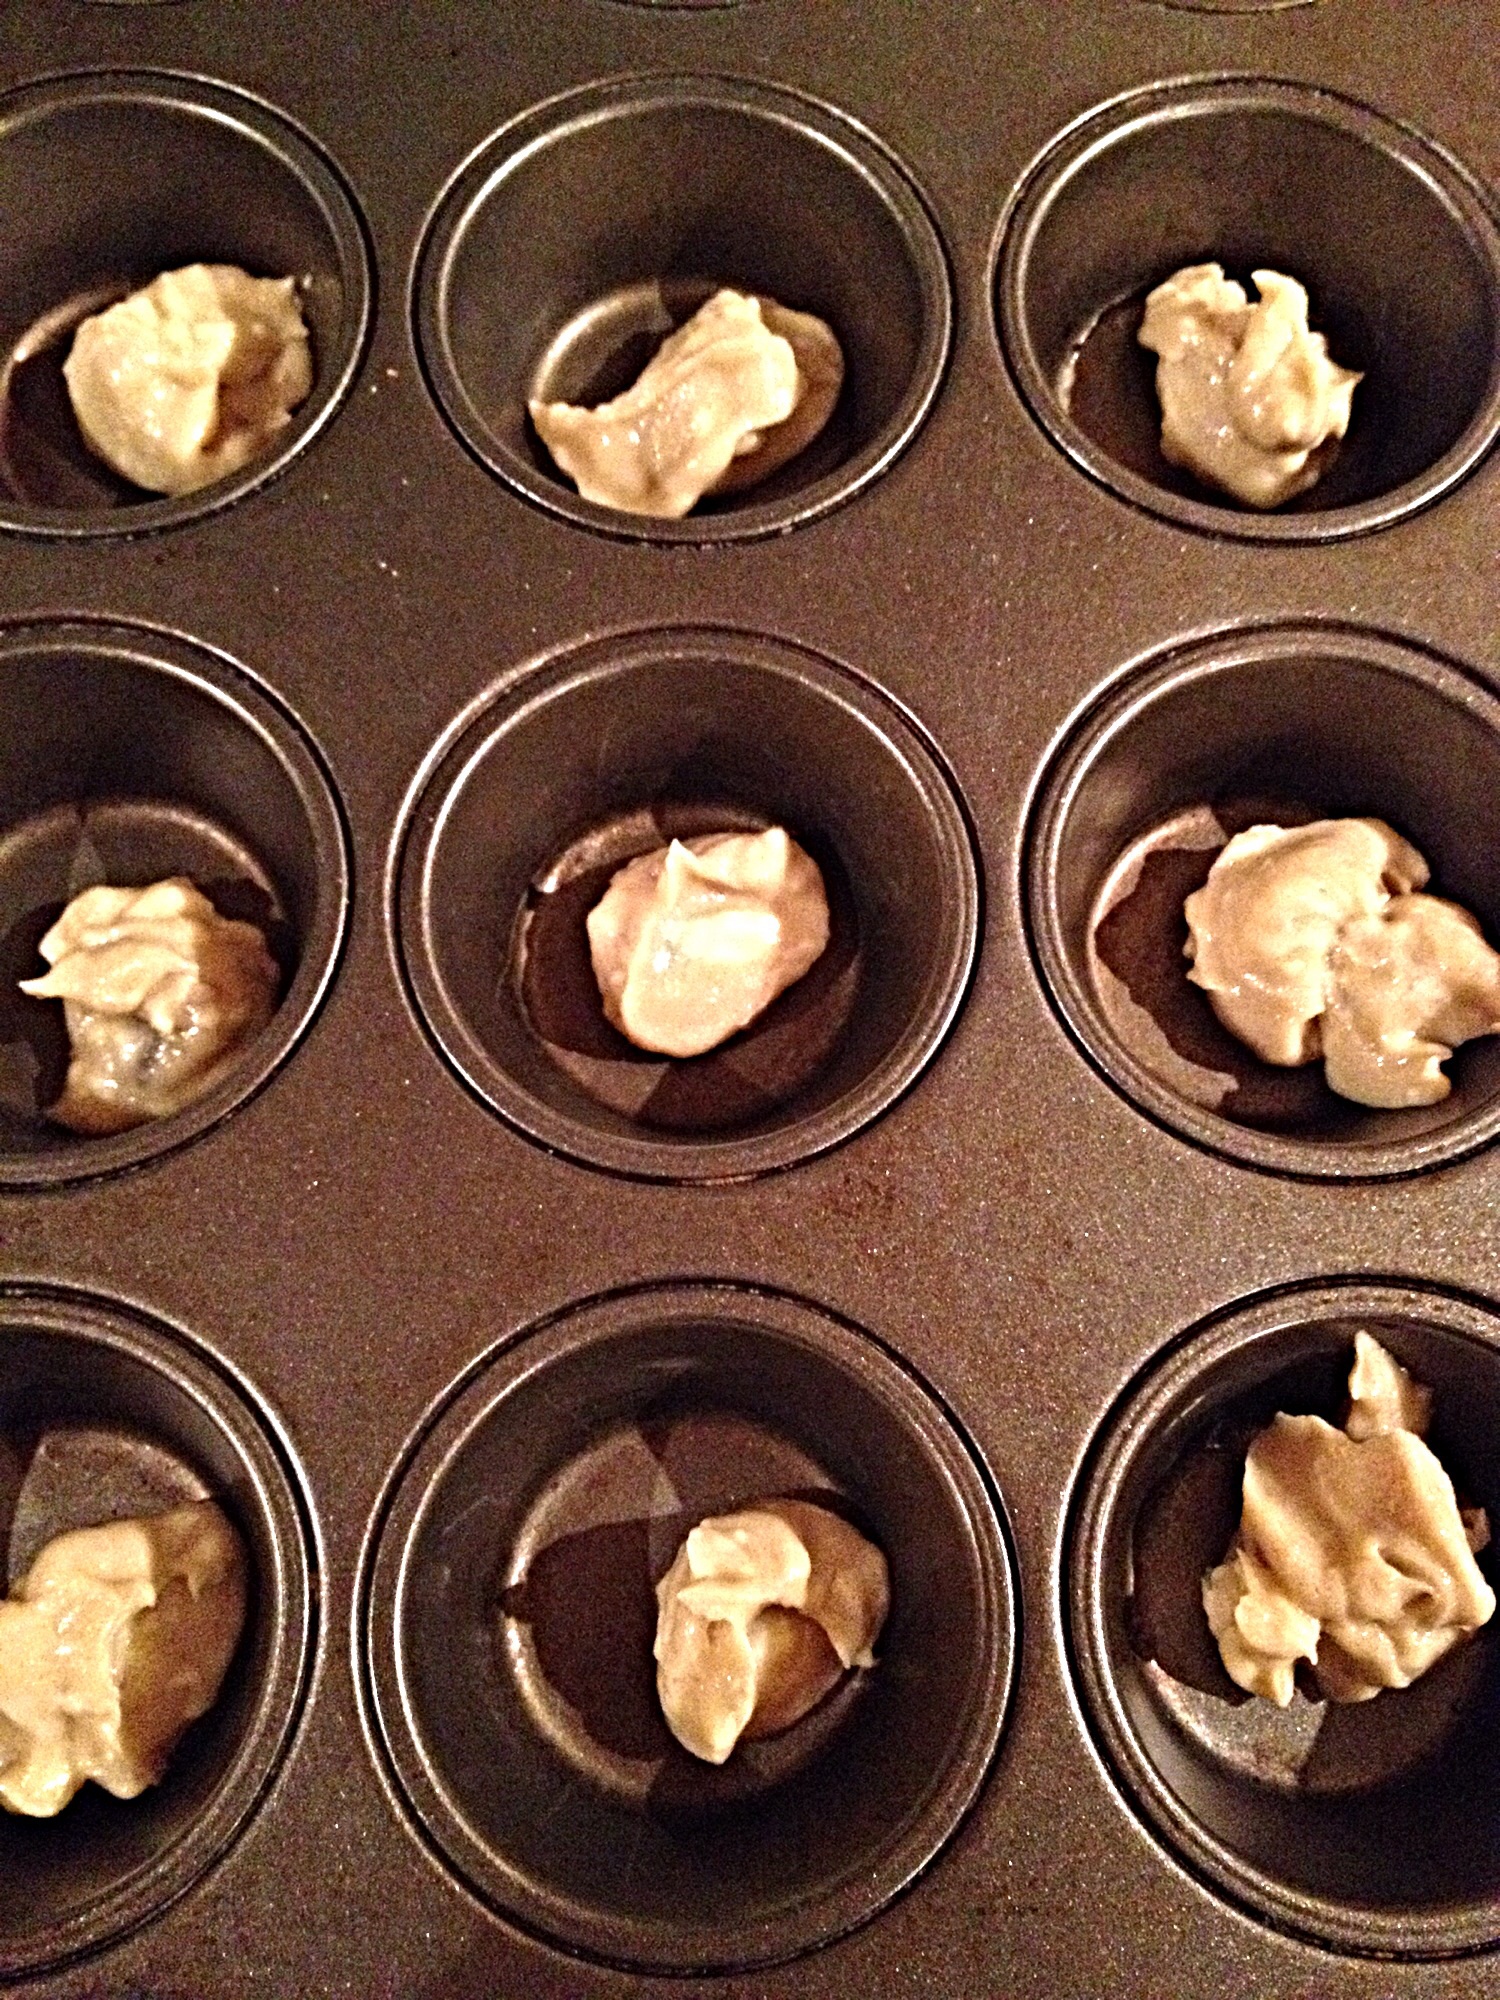
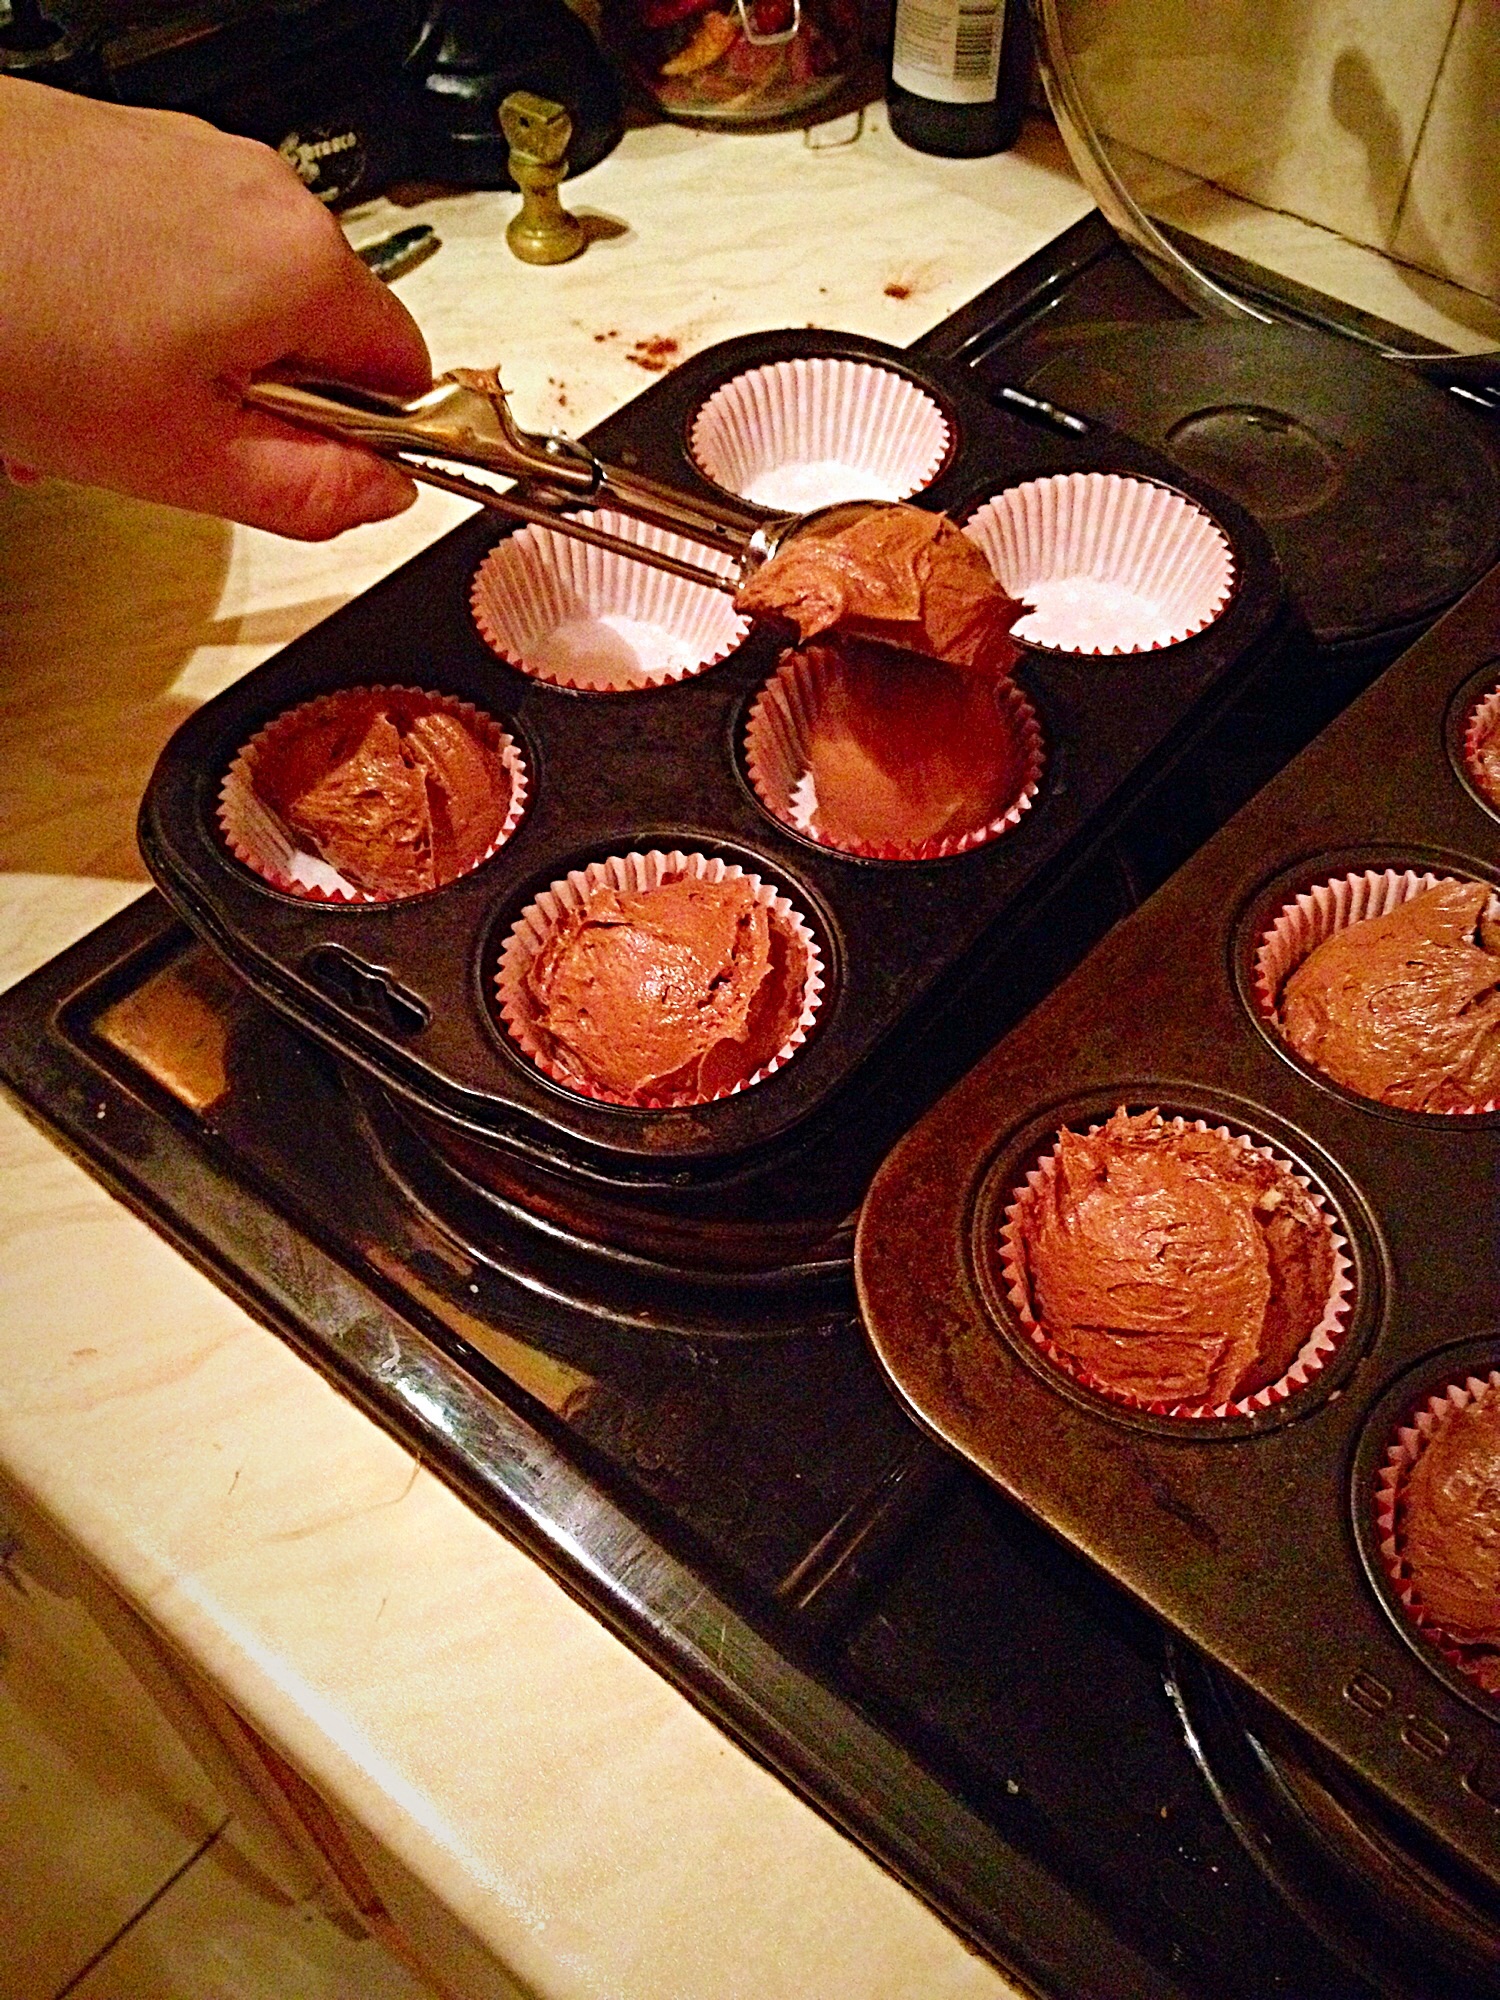
Line you cupcake/muffin tin with cupcake cases and using an ice cream scoop, fill the  cases 3/4 full (one scoop full).  Remember I’m not frosting these cupcakes so I want them to have a nice rounded top!

Ready....
Ready….
Squeeze.....
Squeeze…..
Plop! The exact amount of batter drops into the cupcake case - brilliant - and quick - and much less messy than using 2 spoons!
Plop! The exact amount of batter drops into the cupcake case – brilliant – and quick – and much less messy than using 2 spoons!

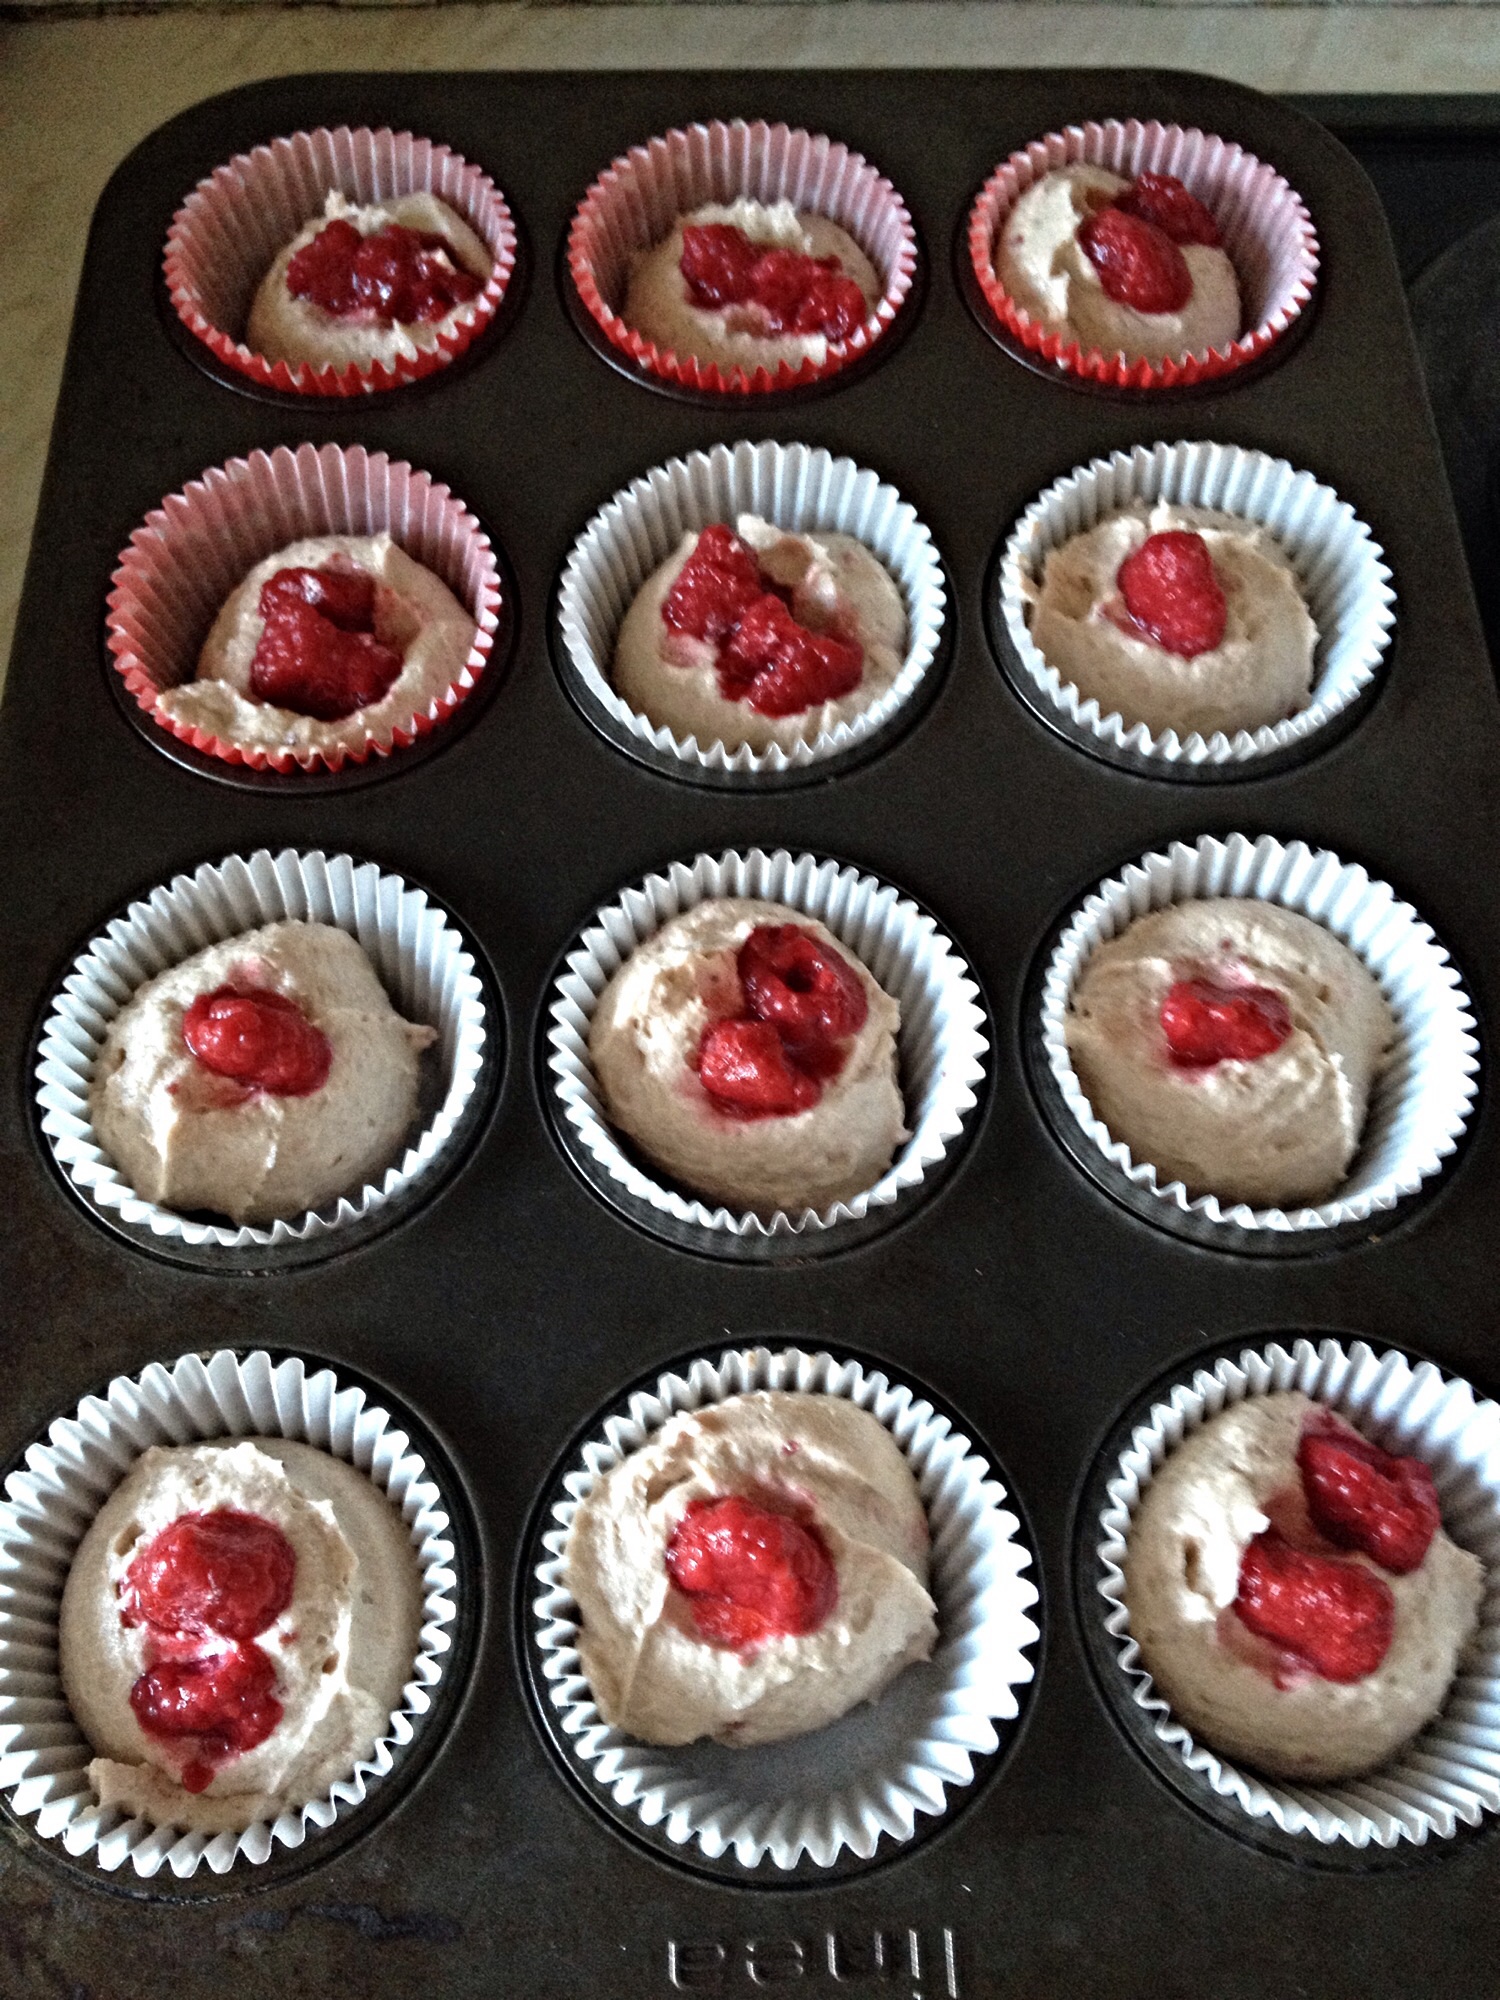
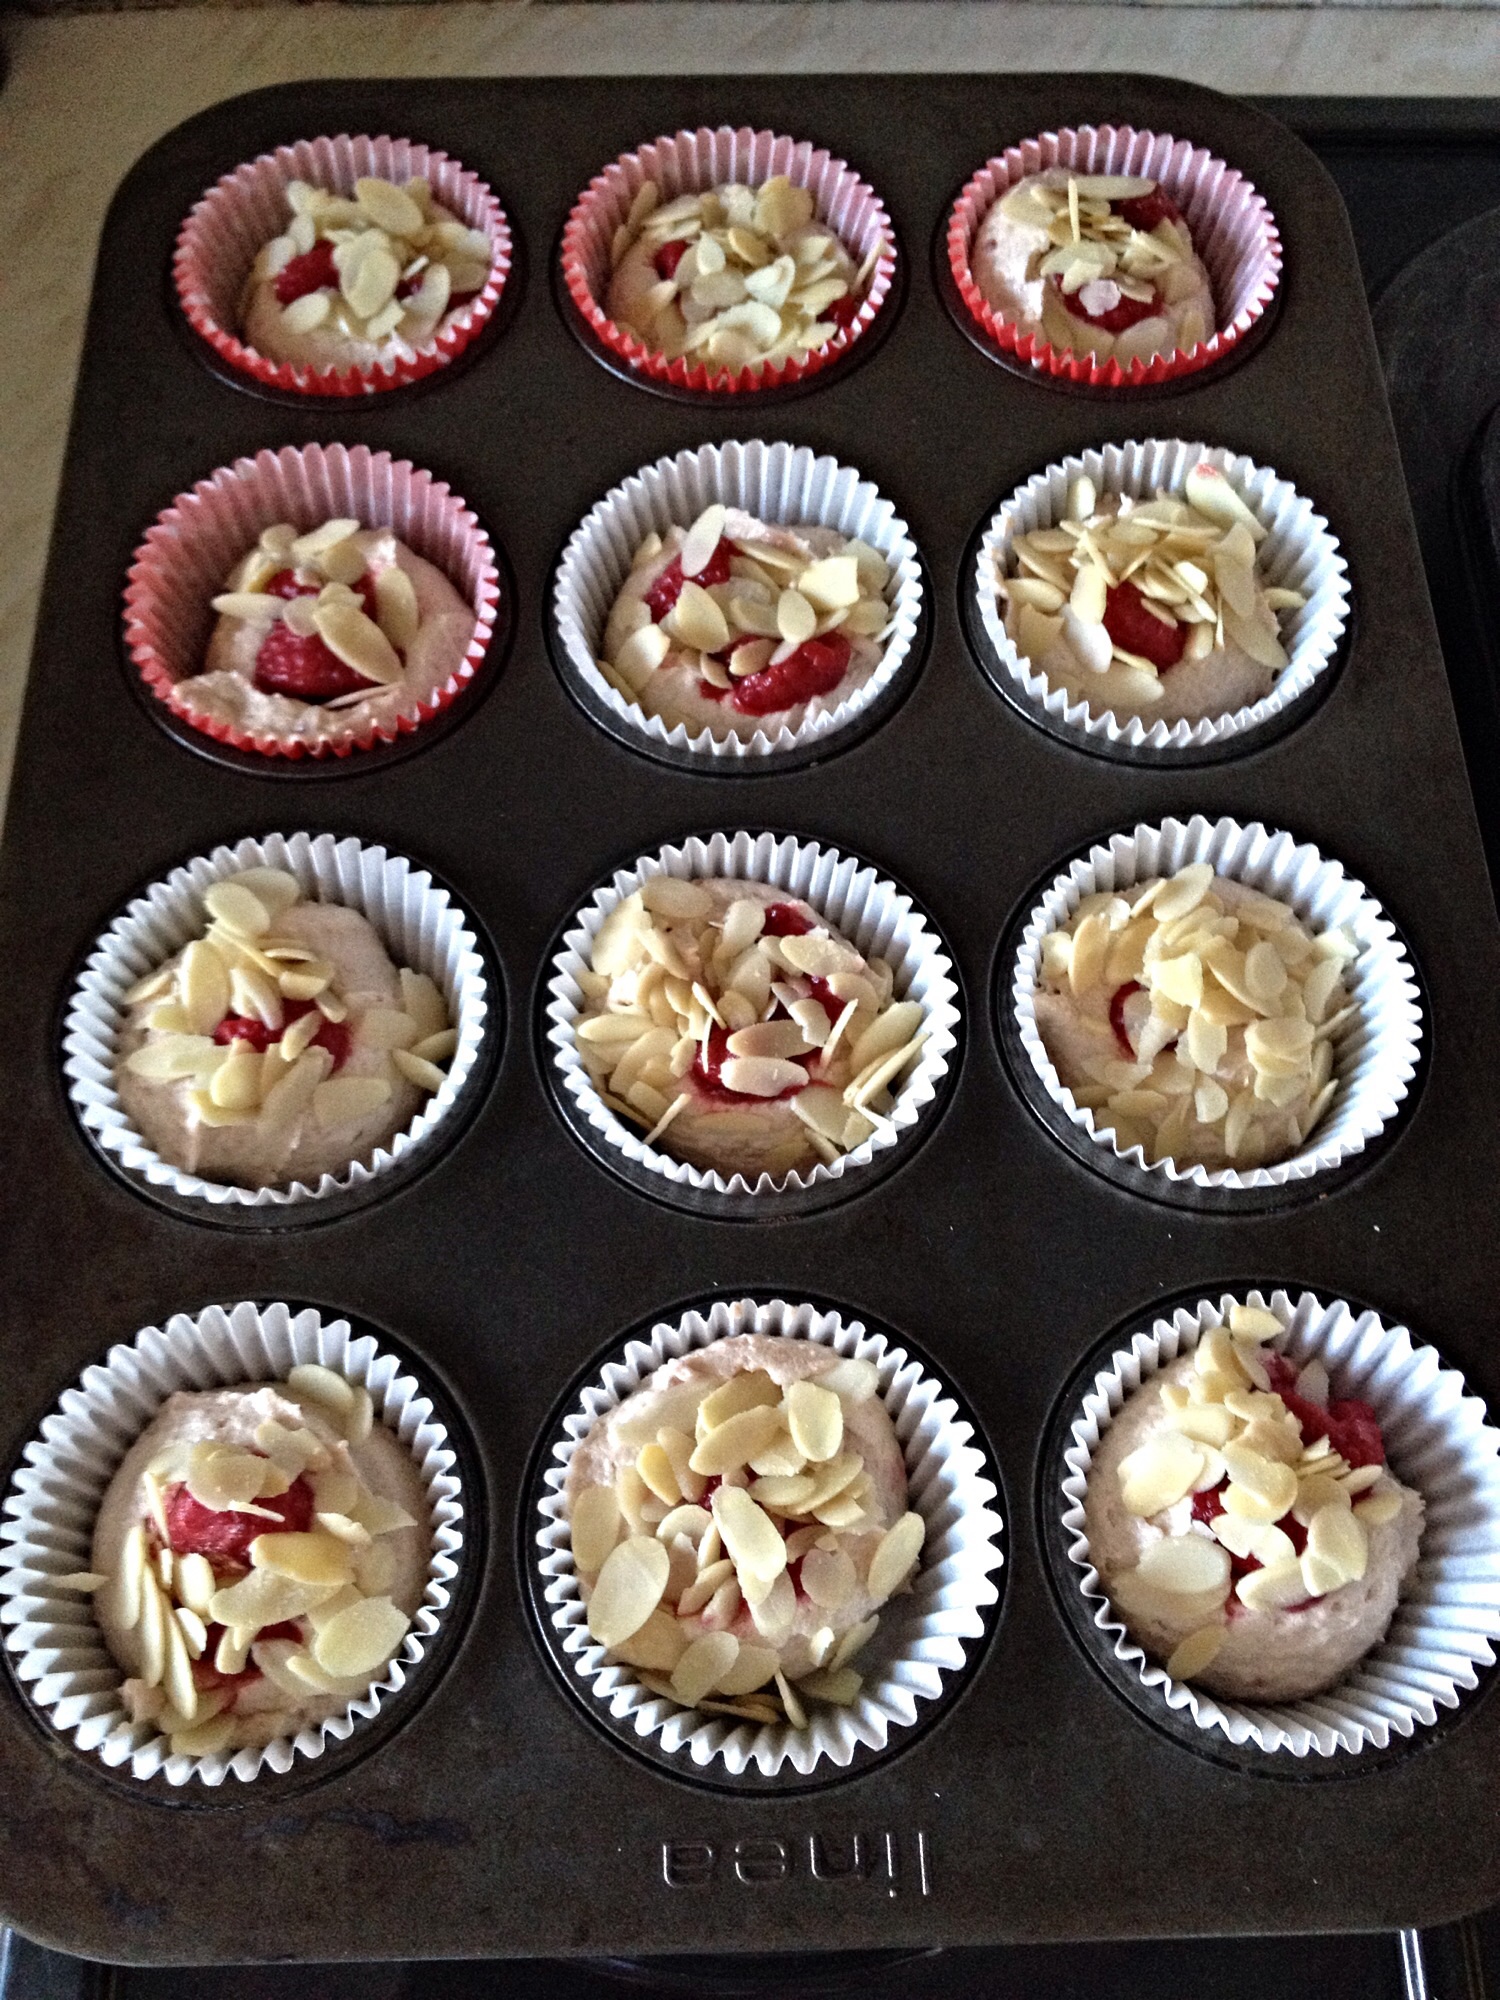
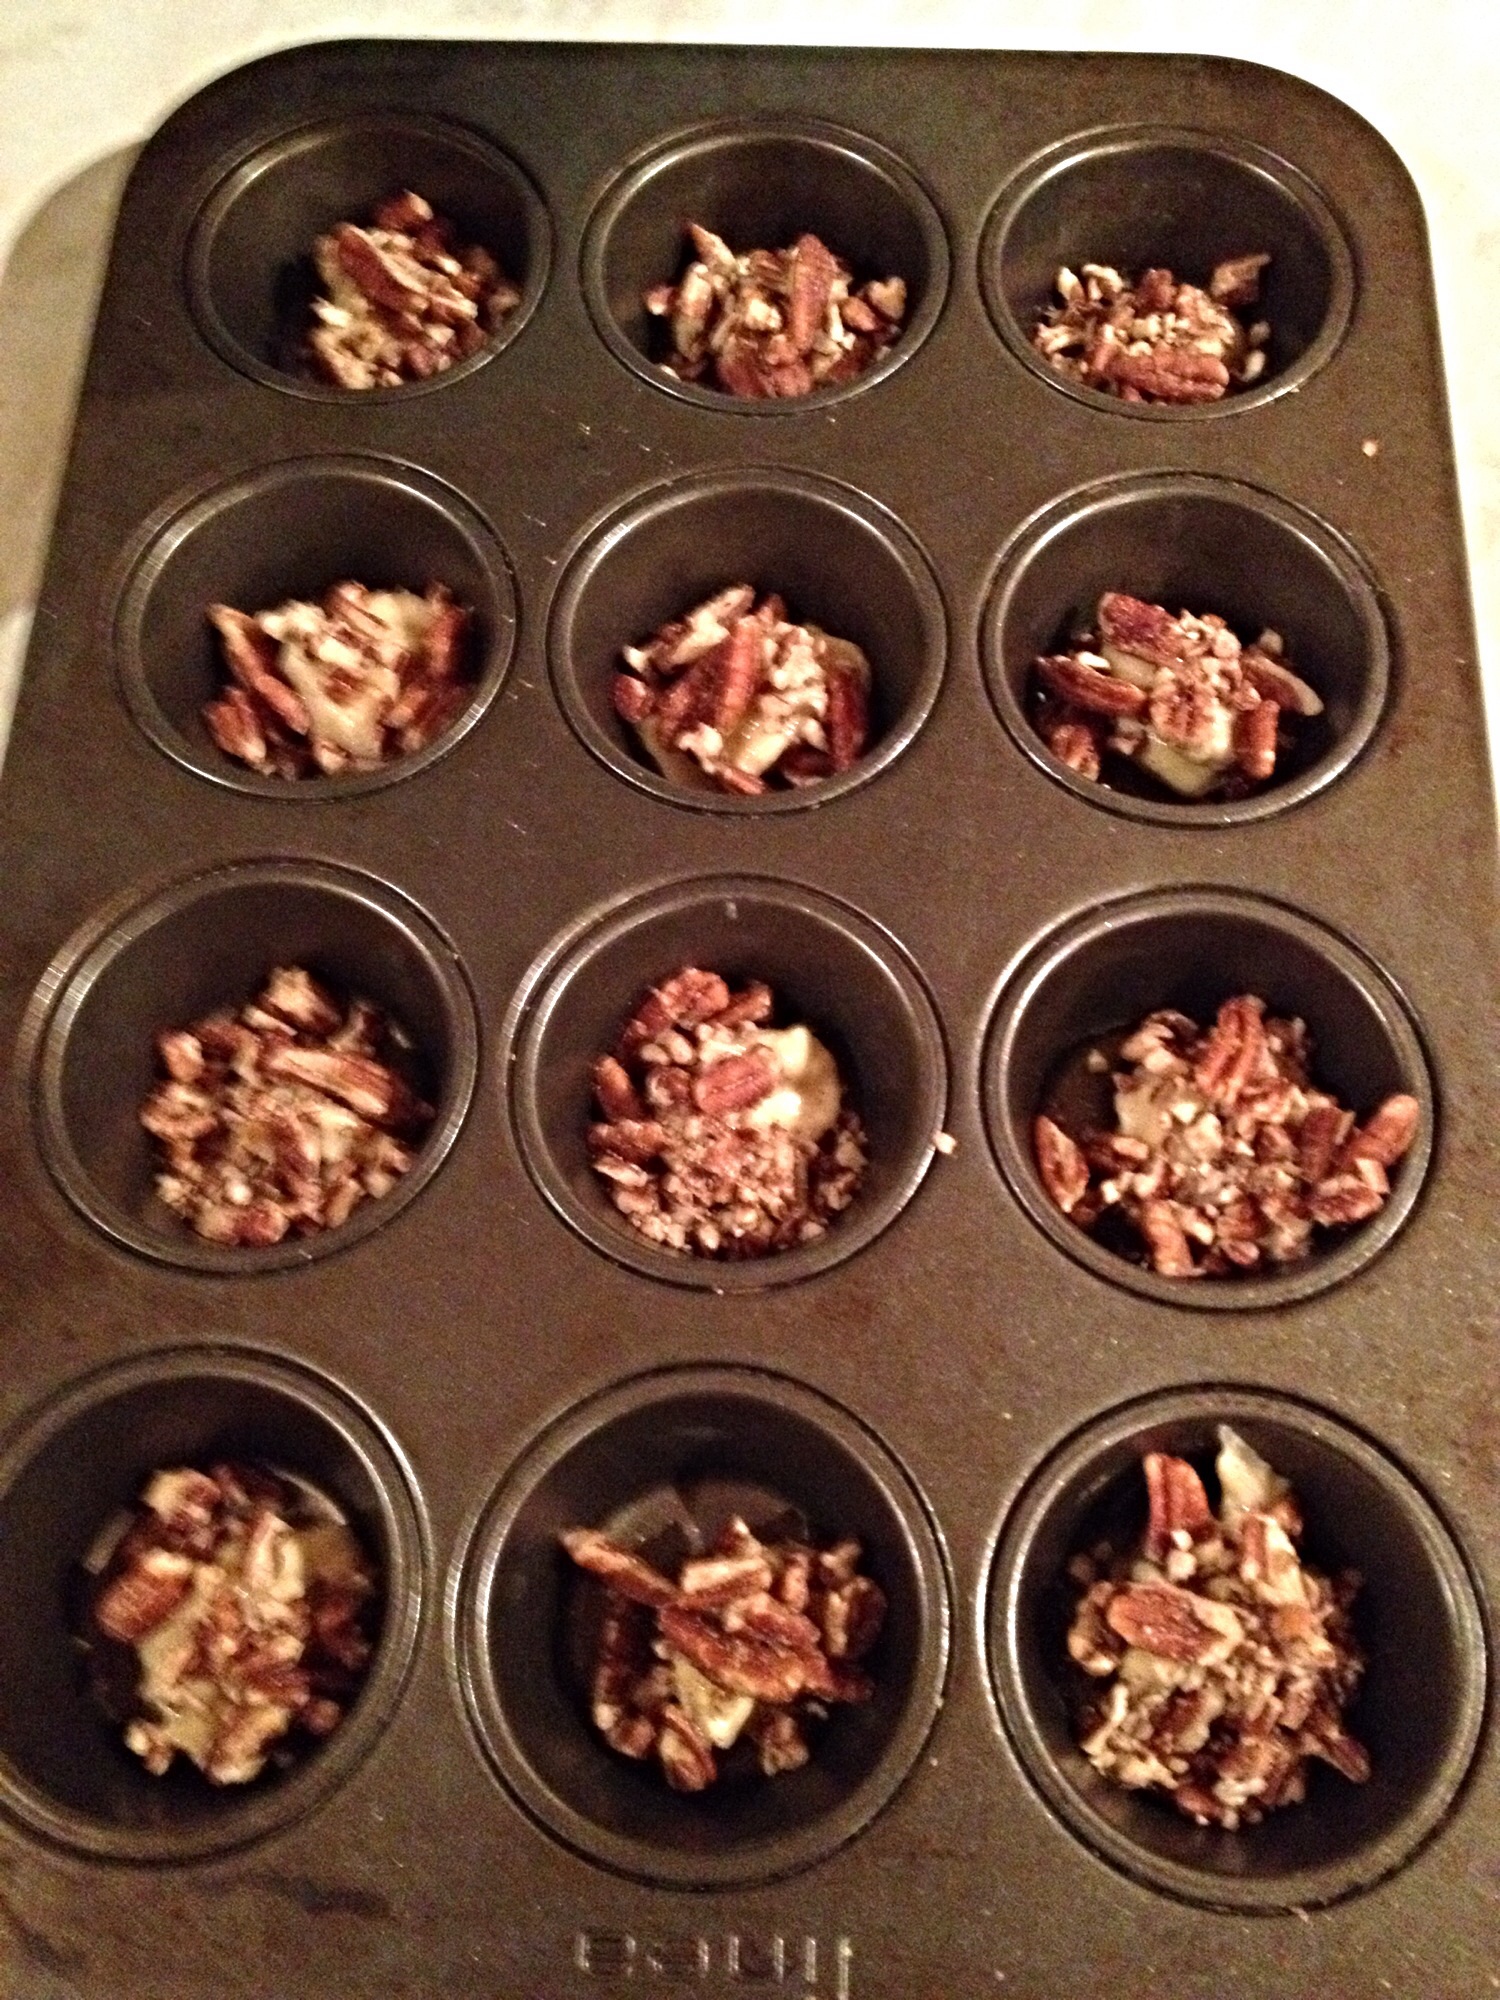
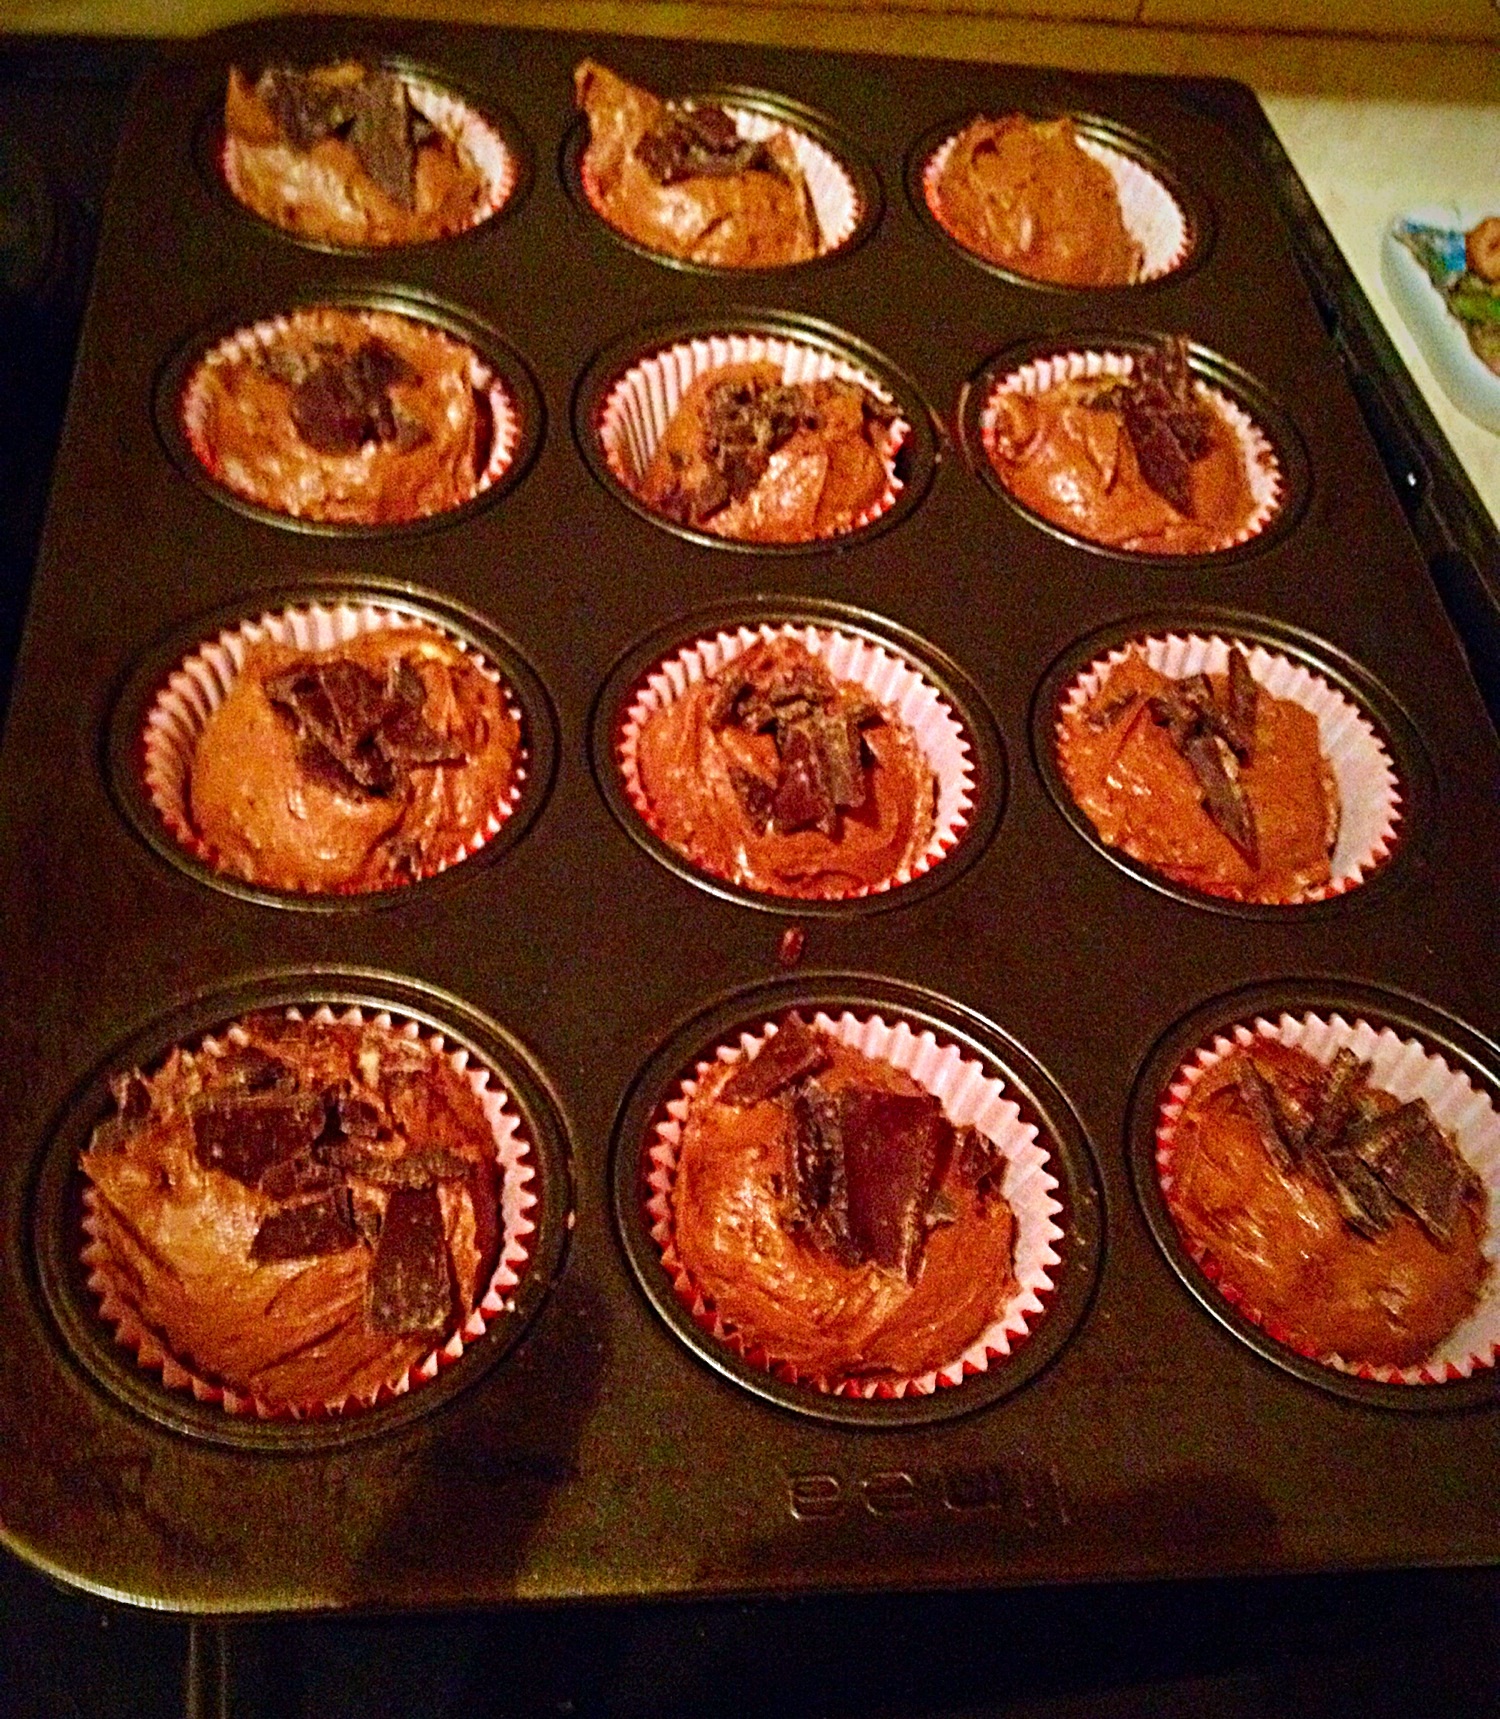
Sprinkle the crunchy, dark mint chocolate shards over the top of each uncooked cupcake, pushing slightly into the batter.

Ready for the oven!
Ready for the oven!

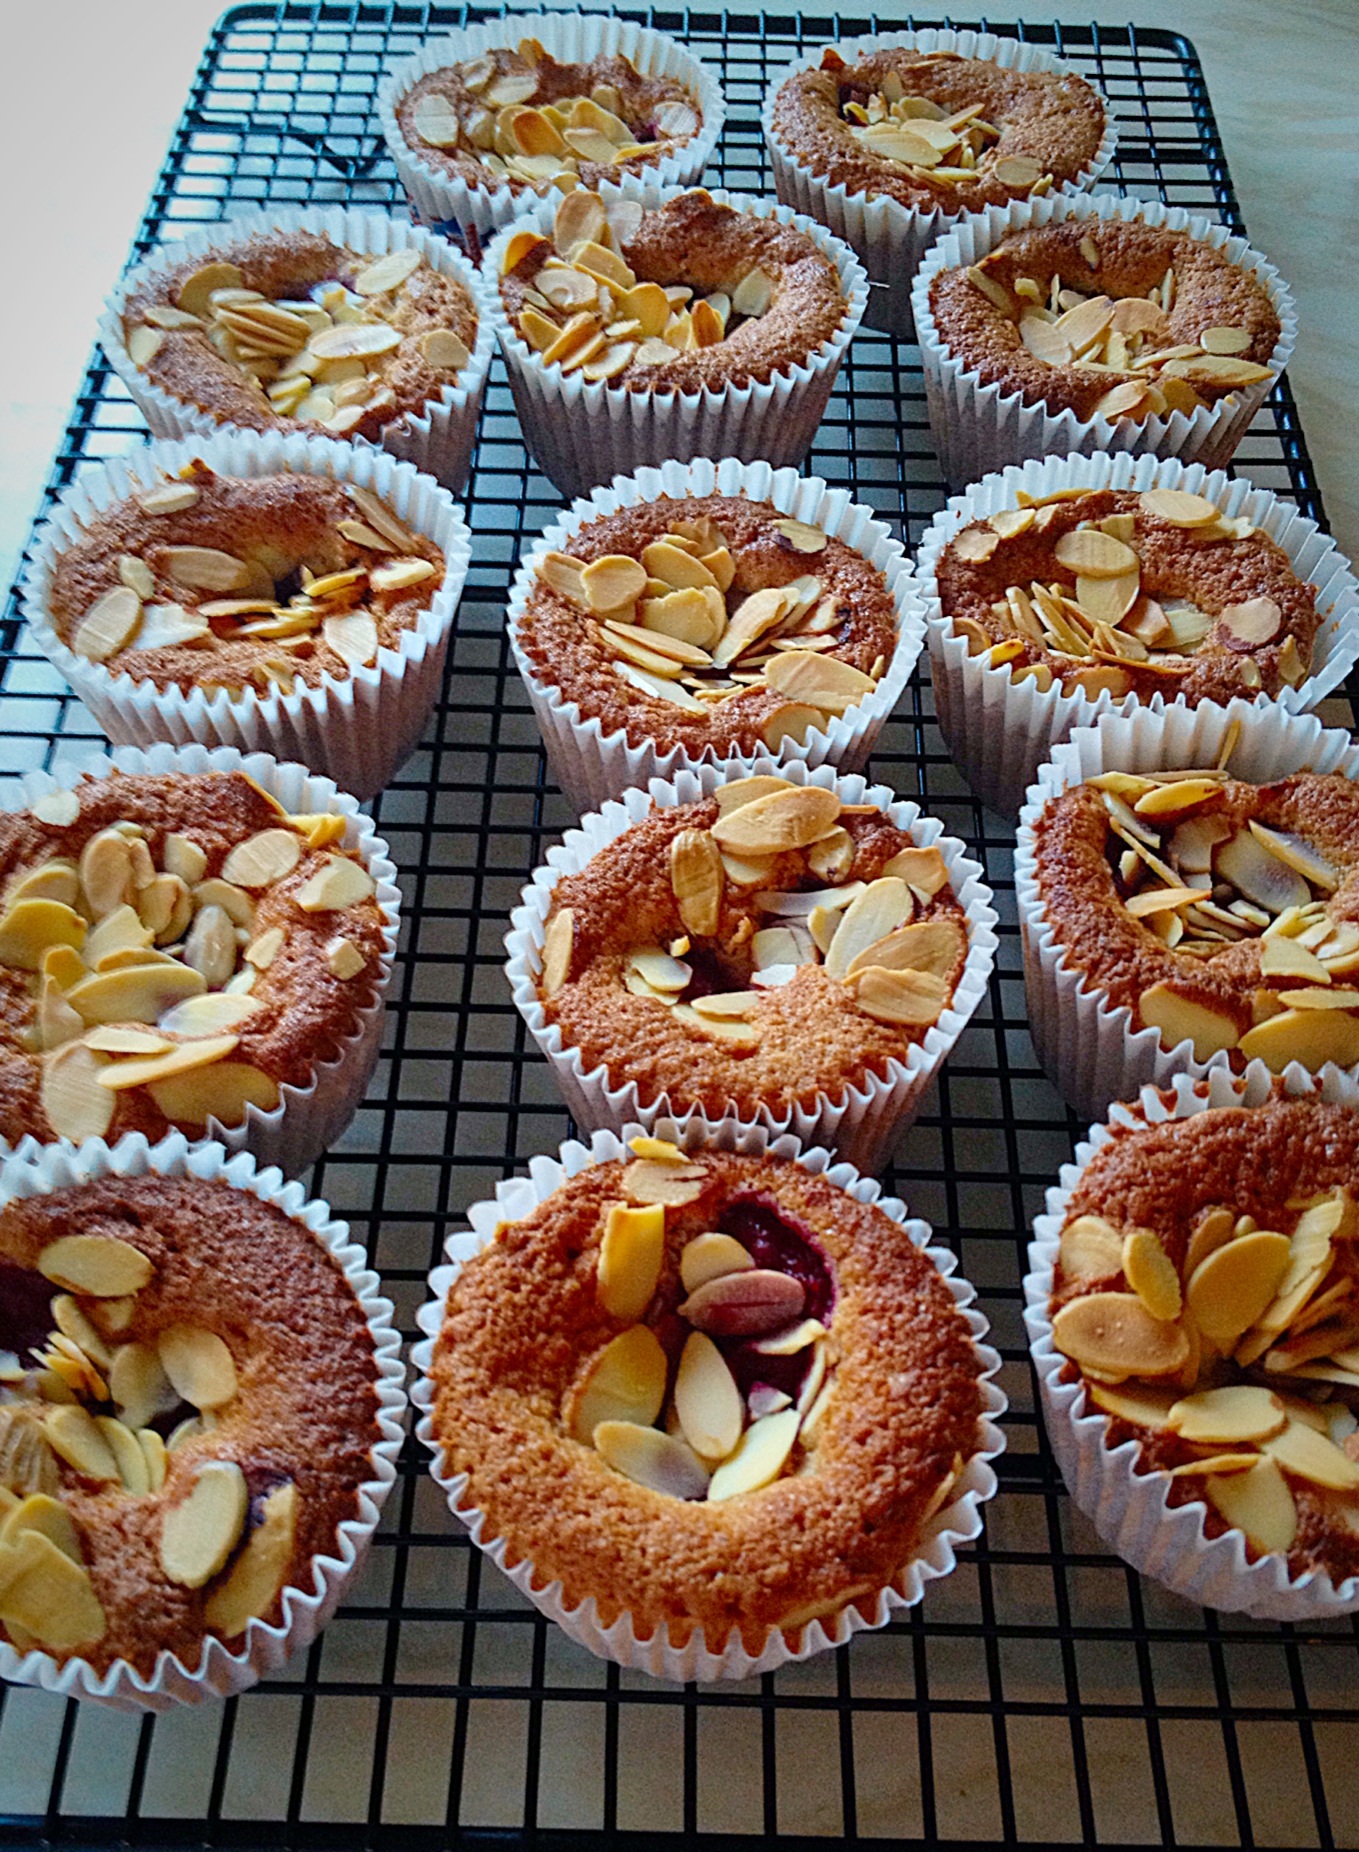
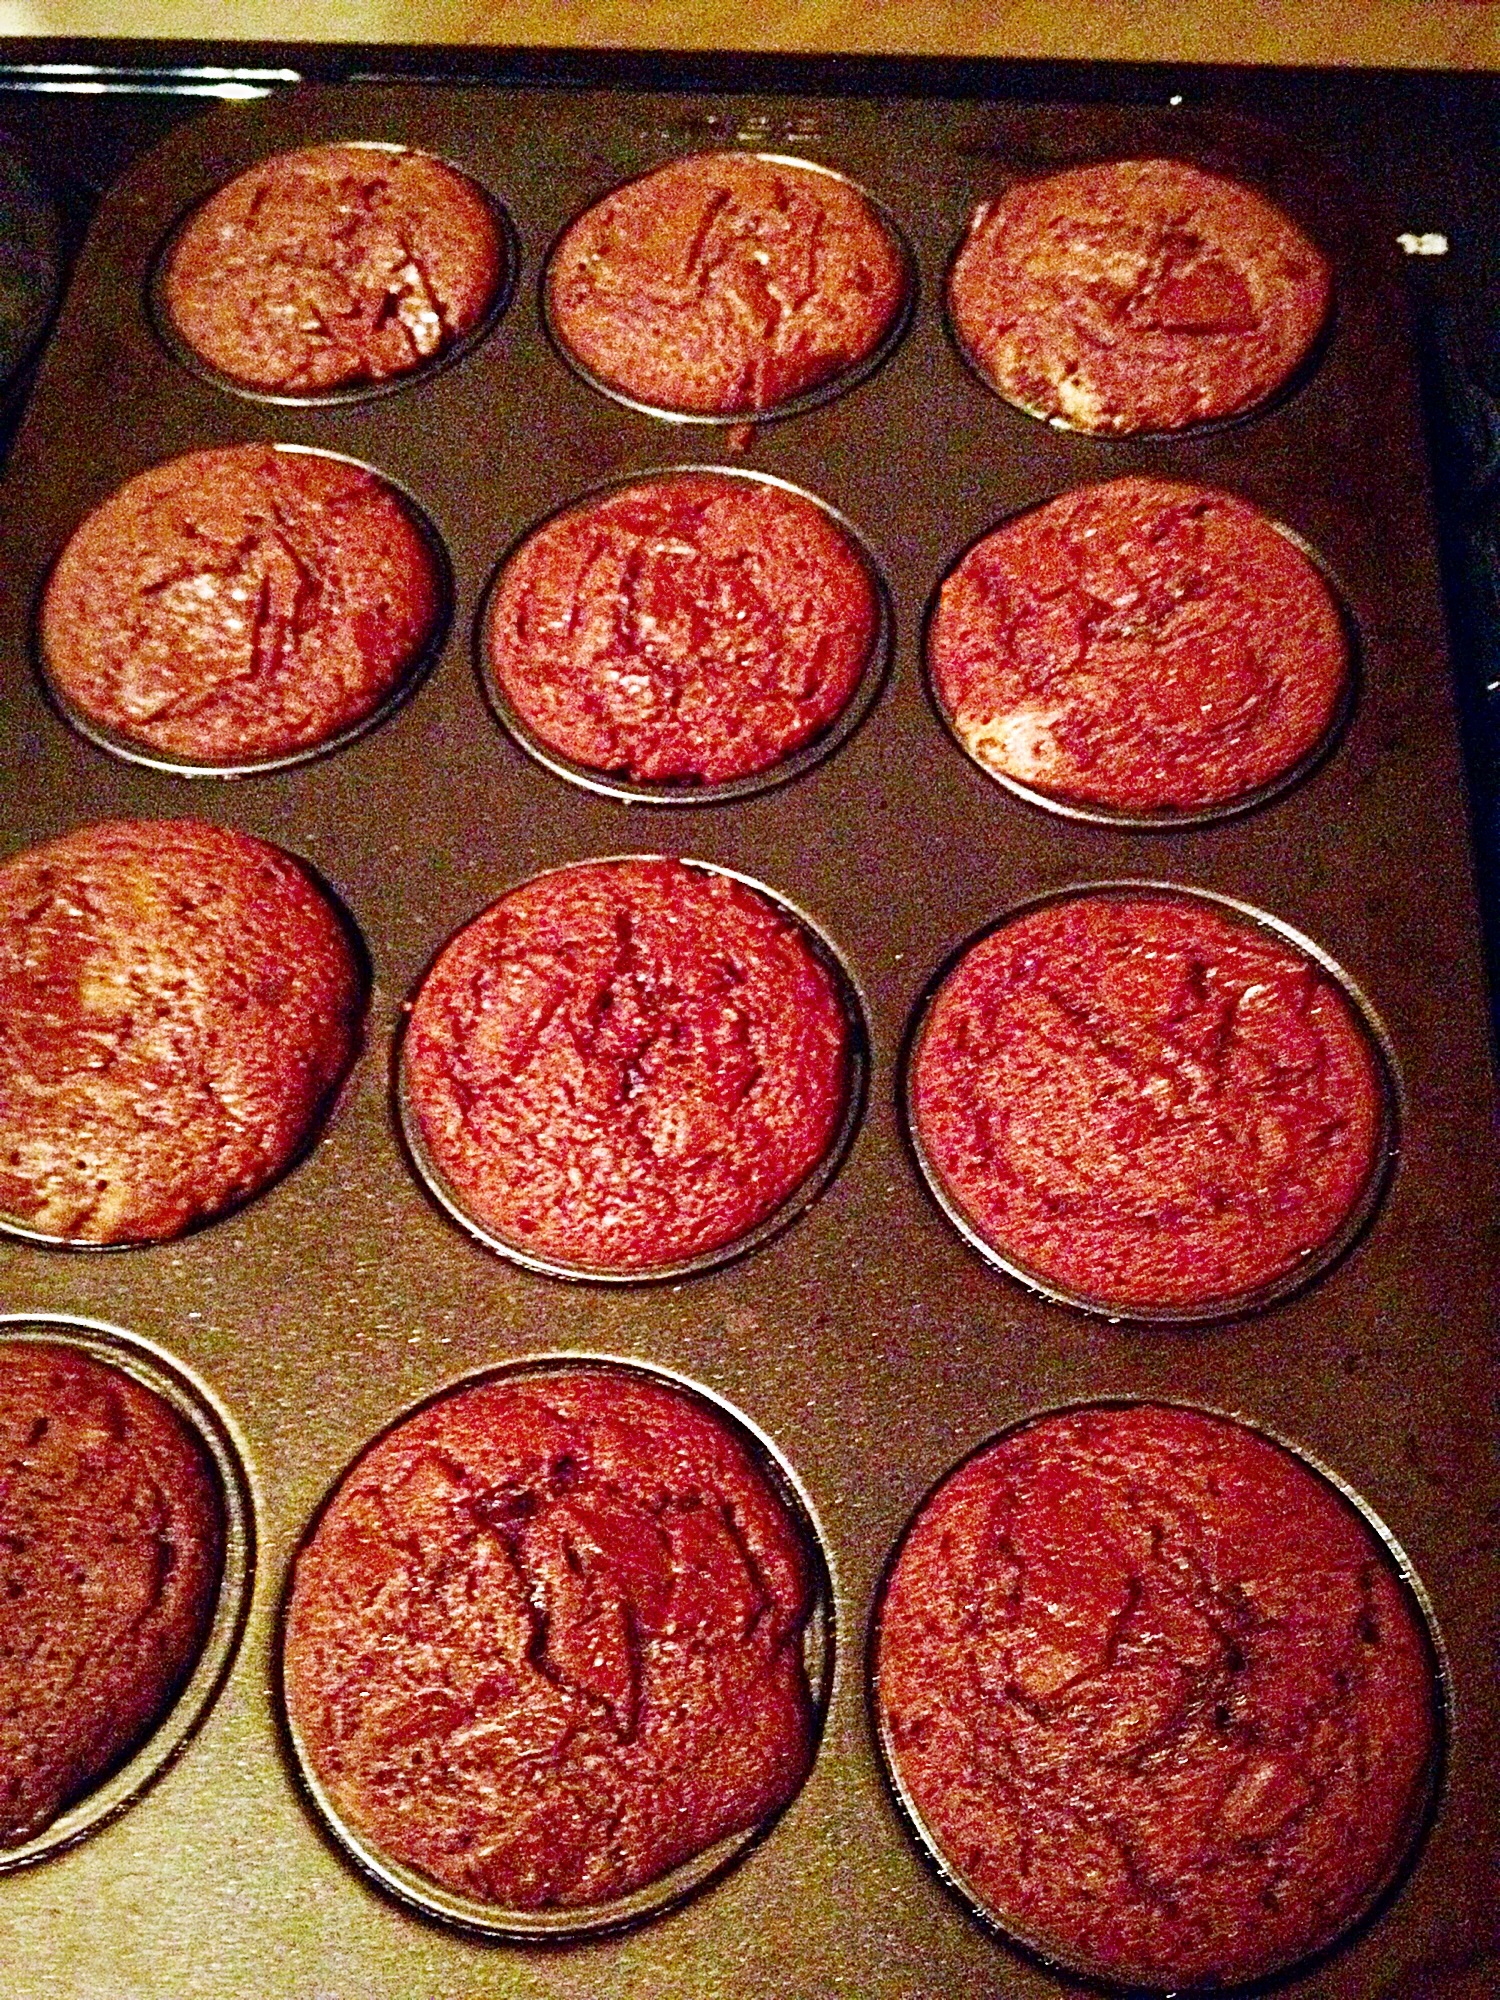
Bake the cupcakes for 15-20 mins depending on your oven.  I usually test if cupcakes are cooked by lightly pressing in the middle and if it springs back it’s cooked.   I DON’T suggest you do this – I did, forgetting there would be melted chocolate on the top – OUCH!!  So, when the Double Chocolate Chunk Mint Cupcakes are risen, with a nice dome shape, lightly press the SIDE of the cupcake top.  If firm remove the cupcakes from the oven, if it’s still a bit sticky and wobbly, leave them in the oven for 3-5 minutes until firm and then remove.

Leave to cool for a good 5 minutes before removing to cool on a baking rack.

If you’ve only got a couple of cupcake tins you can pop them on the garden bench to speed up the cooling process, so you can decant the cupcakes, wash the tins, get the next batch in the oven and get back to bed!!!!

Come on babies, cool quickly please?

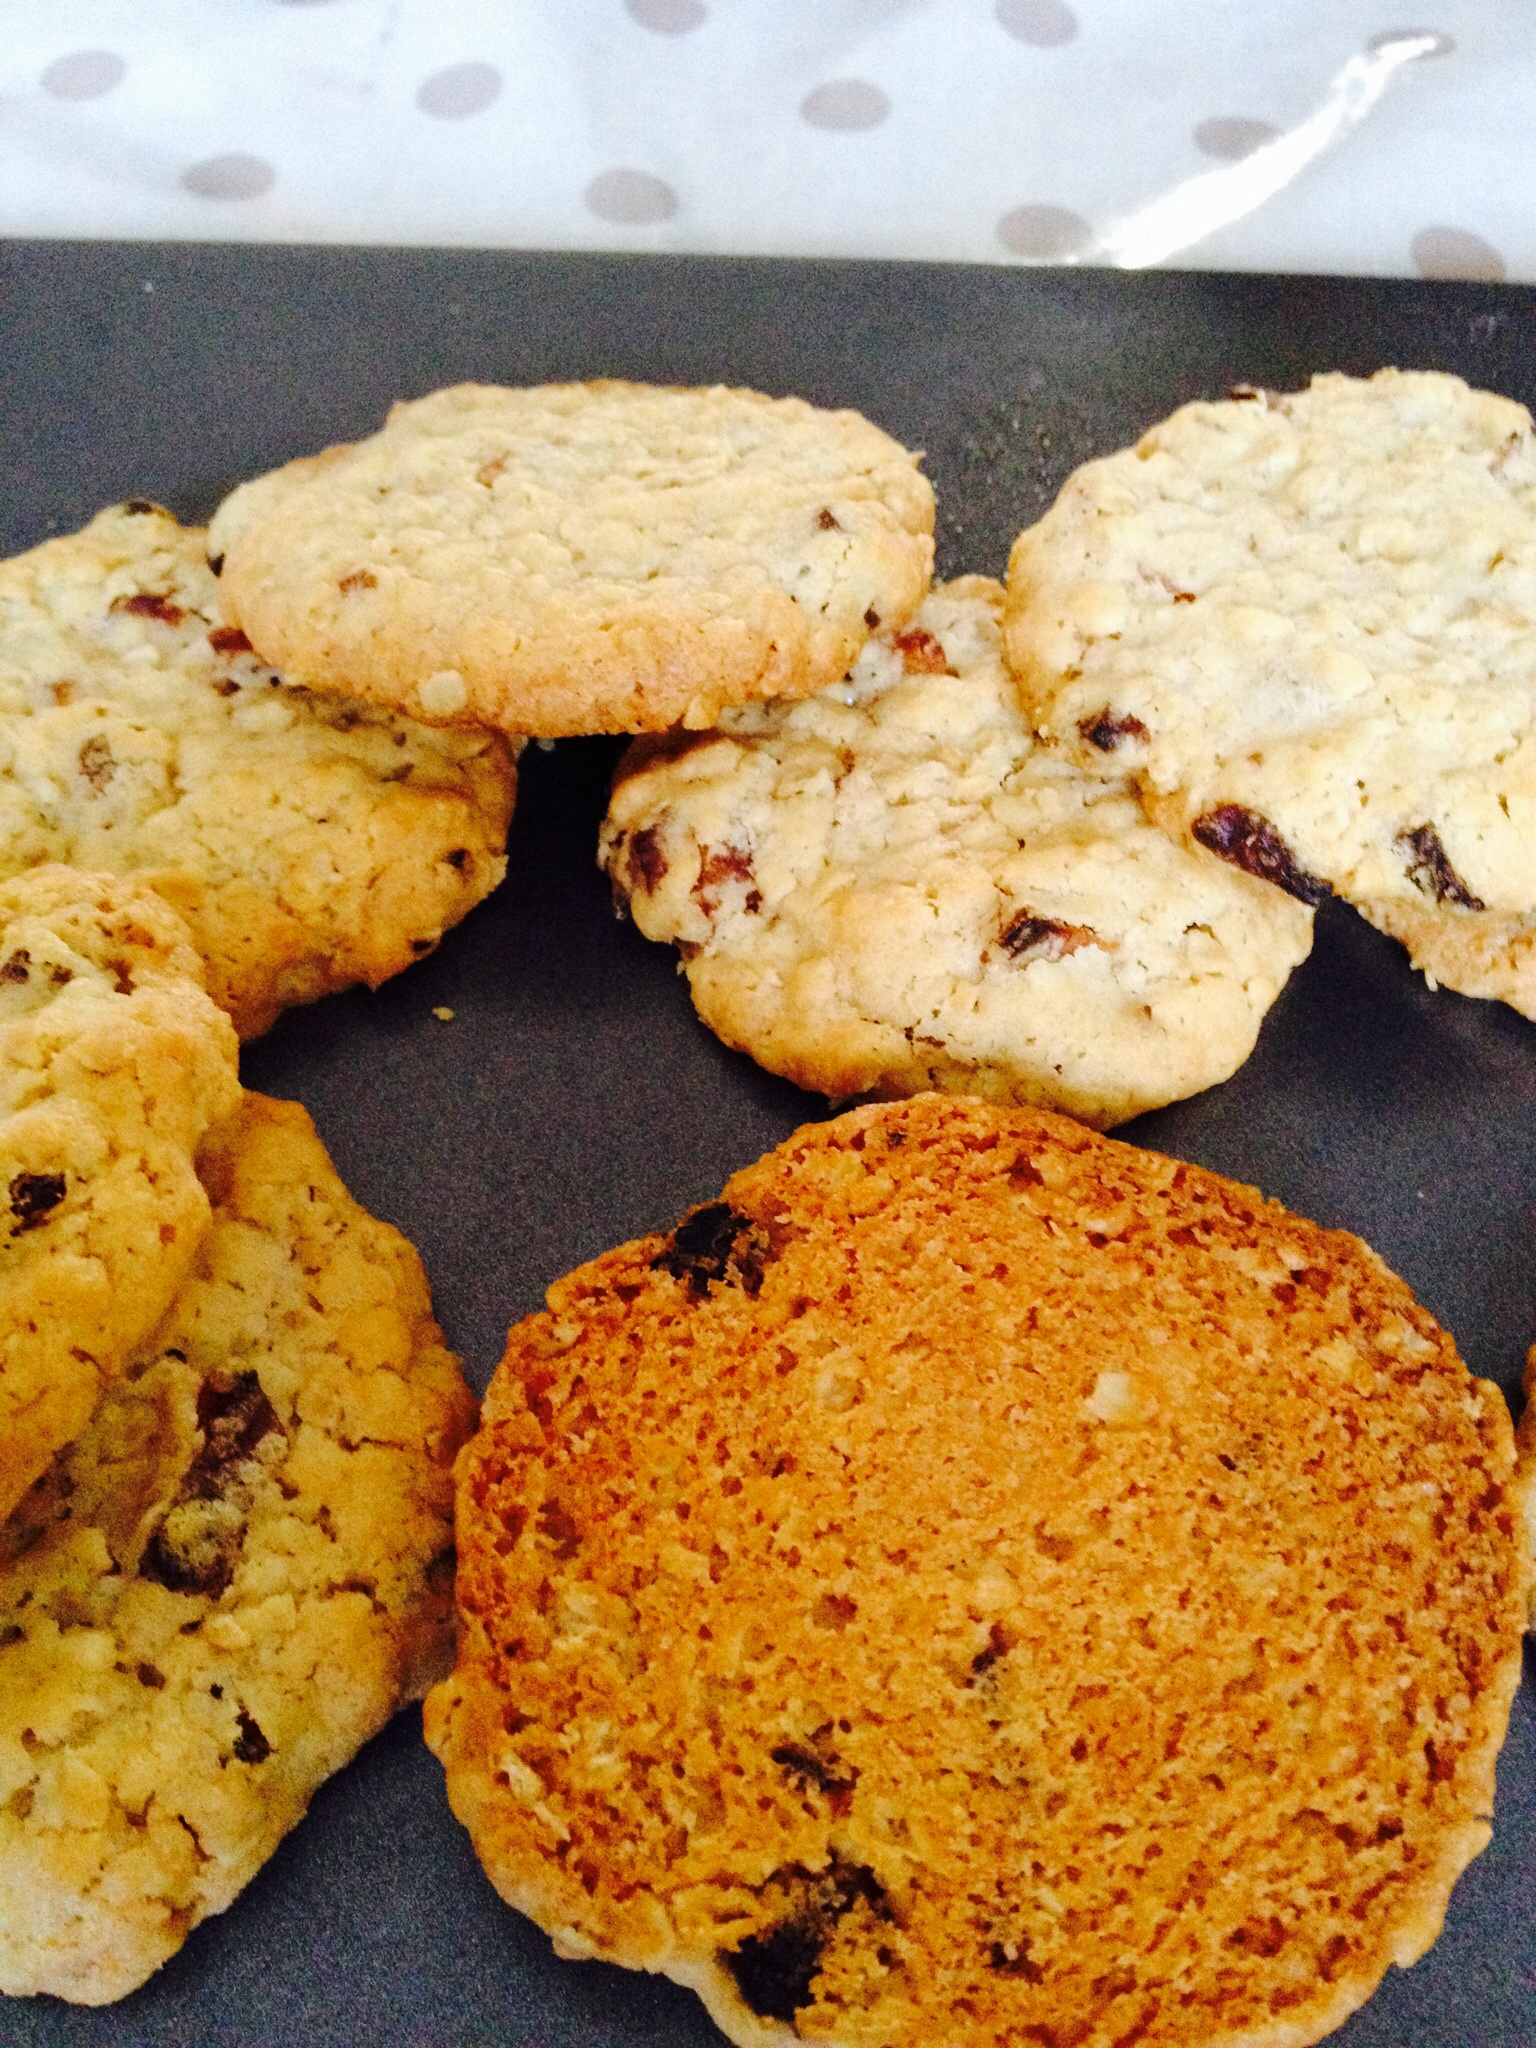
When the cupcakes are all cool, pack into an airtight container, cupcake box for school bake sale or place one on a plate pour a glass of milk and take it up to bed to enjoy!!!!

All Double Chocolate Chunk Mint Cupcakes were sold out in 2 minutes the next day, raising £10 for the charity Mencap!!!

The fun bits……..

Who needs a dishwasher......
Who needs a dishwasher……
When you have chocolate loving children

You could easily halve this recipe, should you not have a cake sale to bake for, or, here’s a thought – use the recipe, as is, and surprise someone with a tin/box/plateful of scrummy cupcakes!!

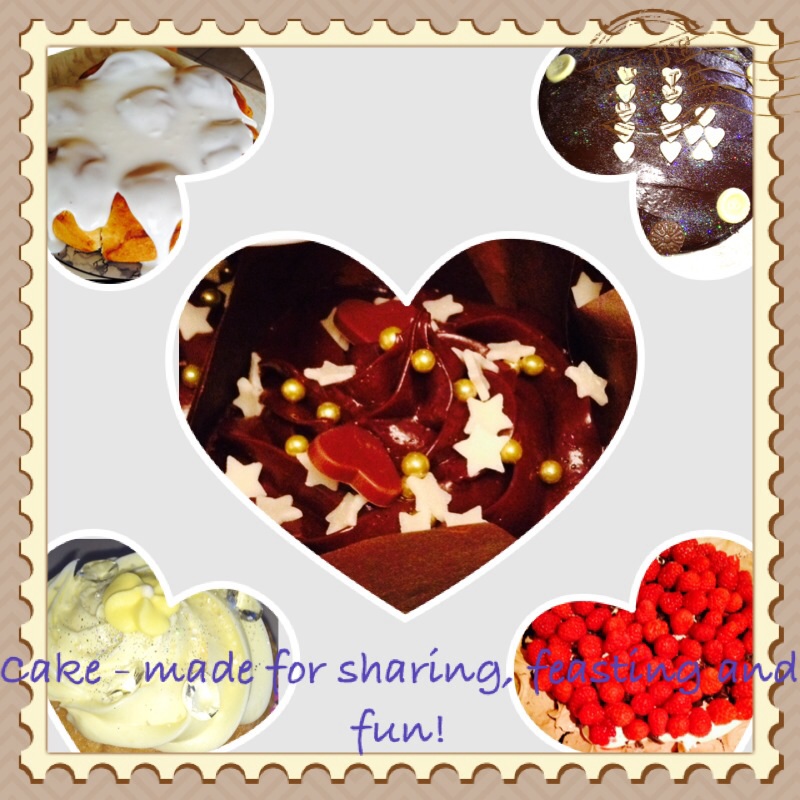
Remember Food Tastes Better When It’s Shared. Happy Feasting!

Sammie x

Share
Facebooktwitterpinterestlinkedintumblr

Crunchy Seeded Bread

Share
Facebooktwitterpinterestlinkedintumblr

Hi there, thank you for stopping by.  So today I have this Crunchy Seeded Bread recipe to share with you. And it tastes utterly amazing. Because each mouthful is filled with the taste of freshly baked bread and nutty, mixed seeds, including; poppy, sunflower, sesame and pumpkin seeds. So easy to make, either by hand, bread maker or stand mixer with dough hook attachment.

Crunchy Seeded Bread

Making this bread using my bread maker, stand mixer and by hand. Especially as each method is rigorously tested and gives consistently delicious results. While the seeds give this bread incredible crunch and flavour, especially good when toasted.

Added wholemeal (20%) seeded bread.
Crunchy seeded bread with added fibre

Alternatively, for a higher fibre bread loaf, as seen above, use 90g of strong wholemeal flour and 360g of strong white flour. All other ingredients and method stay unchanged.

Country style loaf with one crust cut off.

Recipe : Makes One Crunchy Seeded Bread Loaf

260ml  Water – tepid

7g  Sachet Dried Yeast – I use Allinson easy bake

1tbsp  Runny Honey

450g/1lb  Strong White Bread Flour

4tbsp  Mixed Seed (I used a mixture of poppy, sesame, sunflower and pumpkin)

1tbsp  Unsalted Butter – plus extra for greasing the loaf tin

7g Salt – I use Maldon

Method :

Bowl – refers to bread maker tin, stand mixer bowl or large bowl for hand mixing.

Making The Bread Dough

First of all, place the water, yeast and honey into the bowl.  Swish around with clean fingers to mix.  Add the flour, butter and salt. Do not add any seeds yet.

If using a bread maker set to mix and prove. Add 3 tablespoons of mixed seeds when prompted by your machine during the mixing process.

When using a stand mixer, attach a dough hook, mix for 8 minutes.  Now add 3 tablespoons of mixed seeds and continue to mix for a further 2-3 minutes. Remove dough and place in a buttered bowl cover in cling film and leave until doubled in size (1-2 hours).

And if hand mixing, bring all the ingredients together with your hand.  Place on a very lightly floured worktop.  Knead for a good 10 minutes.  If the dough gets sticky, keep kneading and working it, because if you add extra flour the finished bread will be dry.  After a good 10 minutes kneading, the dough should have a smooth elasticity.  Add 3 tablespoons of mixed seeds and knead into the dough until evenly dispersed. Place the kneaded dough into a buttered bowl, cover in cling film and leave until doubled in size, 1-2 hours.

Shaping The Dough Into A Loaf

Turn the seeded bread dough out onto a lightly floured work top. Stretch the dough out and fold each end (a third of the dough) back into the centre. Turn the dough by a quarter and repeat. Turn and repeat the folding twice more (4 times in total).  Doing so builds structure into your loaf.

Shaping the crunchy seeded bread for a loaf tin before it’s second proof.

Next, place the dough into a buttered 2lb place your shaped loaf.

Cover with a clean cotton tea towel and put in a draught free place until doubled in size – 1-2 hours.

Adding The Crunchy Seeded Topping

Lightly brush the surface with water, or spray with water and sprinkle over the remaining tablespoon of mixed seeds, pressing them lightly into the top of the dough.

Risen dough in the tin ready for baking.

Preheat the oven to 220C/200C fan, gas mark 7, 425F.

Baking The Seeded Bread

Place the proofed dough into the oven and bake for 20-25 minutes.  The bread should be a golden brown and sound hollow when knocked with your knuckle on the base. For an extra crunchy crust, I turn my loaf straight out onto the oven rack to crisp up the base for  a few minutes, while I quickly wash the loaf tin up. CAREFUL THE TIN IS VERY HOT!!

As soon as the Crunchy Seeded Bread is baked remove from the oven. Turn out of the tin, if not already done and place on a cooling rack. Leave to cool completely.

Breathe in deeply.  It doesn’t matter how many times I bake bread, the smell is amazing!!

Most importantly you should wait until the loaf is cooled, or only just warm. Otherwise, cutting through the bread when it’s hot will result in a squished loaf! It’s worth the wait, I promise.

A sliced loaf of crunchy seeded bread on a wooden board.

Also, allowing the bread to cool makes the crumb lighter, helps the loaf keep it’s shape and is more easily digested.


Toasting takes this bread to another level!!

Yummy, scrummy a big bite for my rumbly tummy!

You have to taste this to believe it!

I love eating this Crunchy Seeded Bread sliced and toasted ( I know I’ve also said  that about my Oat Bran White Bread – I can have two favourites?!). Also it is ideal for dunking in soup, eating with chilli – in fact this bread is perfect for any occasion which requires bread!  So I guess you could call this an easy, everyday  loaf, perfect for feasting and sharing!

If you have enjoyed this recipe for Crunchy Seeded Bread you may also like these:

Easy Home Cottage Loaf

Easy homemade cottage loaf
Easy Homemade Cottage Loaf

Seeded Cob Loaf

Seeded cob loaf of bread on a wooden board.
Seeded Cob Loaf

Lighter Wholemeal Loaf

Lighter wholemeal bread loaf.
Lighter Wholemeal Loaf

Baking bread at home is such a rewarding experience and a great way to get children involved in the kitchen. Since it is very difficult to over work bread made by hand, dough is the perfect medium for them to practice with. Also, I find when they have had a hand in making something, such as my Better Than Takeout Pizza they are much more inclined to eat what they’ve made and also try new flavours. And this can work for adults too!

So, whatever you are making, baking and creating in your kitchens, have fun preparing and sharing your feast.

Sammie x

No part of this post may be reproduced or duplicated without the written permission of the owner. Please see my Disclosure Policy.

Crunchy Seeded Bread recipe with descriptive graphics for Pinterest.

Share
Facebooktwitterpinterestlinkedintumblr

Raspberry Almond Muffins

Share
Facebooktwitterpinterestlinkedintumblr

Hi there everybody, thanks for stopping by to take a look at these delicious , Raspberry Almond Muffins. Ideal with a mug of steaming coffee for Breakfast, Elevensies, Mid Afternoon Snack, or anytime your tummy rumbles and your next meal is too far away!!

Crunchy flaked almonds hide the moist, raspberry and almond muffin!

What I love about these Raspberry Almond Muffins is they aren’t too sweet, they are proper muffins, dense and moist. Each mouthful filled with the tartness of Fresh Raspberries and the sweet crunch of the flaked Almonds!

Just dive right in. So scrumptious!

This recipe is very easy, you can use fresh or frozen Raspberries (defrosted) and from start to finish these can be made and baked in half an hour!

Recipe : Makes18 Muffins

8 oz:250g  Unsalted Butter – room temp

8 oz/250g  Caster Sugar

4 Large Eggs – pref free range

1/4 tsp  Salt – free flowing (I use Kosher)

1/4tsp  Almond Extract

1 tsp  Vanilla Extract

4 oz/125g  Fresh Raspberries (or frozen raspberries defrosted.

4 oz/125g  Ground Almonds

4 oz/125g. Self Raising White Flour

1/2 tsp  Baking Powder

4 oz/125g  Flaked Almonds

Method : Preheat oven to 175C (160C fan)

Whisk or beat the butter and sugar until pale, light and fluffy. I used an electric whisk, you’ll see why as you read through the recipe!

Add the eggs slowly, one at a time, until they are fully incorporated in the batter. The eggs MUST be room temp for the mixture not to curdle (curdling makes a slightly heavier muffin/cake ). If the mixture starts to curdle add in a tablespoon of your flour, whisk away and watch as your mixture comes, beautifully together again!

Next add the salt, vanilla and almond extracts and half of your raspberries (along with any juice, if using defrosted, frozen raspberries). Whisk until thoroughly combined and enjoy the pretty, natural pink colour!!

Oh, just wait - pink is just a whisk away!!!!
Oh, just wait – pink is just a whisk away!!!!

Now add the ground almonds, flour and baking powder.

That pink's so pretty- oh did I already mention that????
That pink’s so pretty- oh did I already mention that????

I now switch to a spoon and finish mixing the batter by hand. Using the folding technique I mix until the batter is just combined.

So pretty and yummy, I just couldn't resist a taste!!
So pretty and yummy, I just couldn’t resist a taste!!

Place 18 Muffin/Cupcake cases in Muffin tins.  Then using an ice cream scoop (or 2 spoons) fill each Muffin case with a scoopful of Raspberry and Almond Muffin batter (if using spoons fill the cases halfway).

An ice cream scoop provides just the right amount of batter!
Using a scoop fills the cases in next to no time!

For the final finish, pop a raspberry (or two – depending how many you have) on the top of each mound of batter.

They look a bit like noses!!!

Next evenly sprinkle the flaked almonds over the top of the uncooked Muffins, very gently pressing them into the batter.

When cooked the flaked almonds will hide the tart, crimson raspberry beneath!!

Place the muffin tins into the preheated oven and bake for 20-25 minutes. Don’t be alarmed if they turn a darker, golden colour than vanilla cupcakes – these Muffins have whole Raspberries whisked into a batter that is 50% ground Almonds  (instead of 100% flour) the darker colour means they’re cooked!!!

So pretty and yummy, you just have to share these!

Gorgeous, crunchy on the outside, soft and moist inside. The perfect balance of sweet and tart.

Definitely feasting food, made to share!


Share
Facebooktwitterpinterestlinkedintumblr

Showing Sharing Loving Caring

Share
Facebooktwitterpinterestlinkedintumblr

Hi everyone how are you? I hope you are enjoying the start to 2015.  My theme and aim for this year is Showing Sharing Loving Caring. It’s really the essence of why I set up this blog. Showing Love through Sharing, Caring enough to spend time, whether it’s family, friends, neighbours or someone new.

I know for some however, that  Christmas, the New Year and Winter in general can be a really tough time. So wherever you are I’m sending you a big, warm hug. Life can be very tough and it’s during these tough times that we need to show love and be shown love more than ever.

Now I can’t physically visit every single person and sit, listen and spend time with them. But we can all take time to show love to one person, outside of our family and friendship group.

Am I freaking you out or scaring you yet? Yes. Good!!! We can all get comfortable in our own lives, which I  do understand are busier than ever. Even though we have time saving gadgets galore, we still live in a ‘time pressed’ society.

It is still our choice though how we spend our time, what we prioritise as important and those things that are less important. For me my life has no meaning if I don’t show love. That can mean spending time listening whilst someone unburdens their heart. Or no words, just a big warm hug. I also love to cook or bake for people.

Sharing is central to who I am. Once I made a very simple Victoria Sponge Cake for an elderly couple, one of whom had just spent time in hospital. Their faces broke into huge smiles at this surprise gift, but more importantly they felt loved and cared for.

Reach out, you may be surprised by the results!

I’m most definitely not trying to portray myself as some perfect Saint. I am a pretty normal, fun loving, individual – just like so many other people. So I really want to encourage you to step outside of your comfort zone and reach out to just one person, who you wouldn’t normally interact with.

A cup of tea, cookie and natter can become a feast. A feast of time! There is no greater gift, than the gift of love. As a Christian I have the gift of love inside me. God’s love. He has shown me limitless love through His Son JESUS. I am completely accepted and loved for who I am and because of that great love, I want to share love.

We can all have the love of Jesus in our lives – see ‘Important Stuff!!!’ for more information and help, you can also leave a comment (I can reply and do not have to publish your comment if you preference privacy).

I am very blessed to have a wonderful, loving family, the best friends anyone could ever hope for and I love them all. One of my favourite things is a family get together, where we always have the best feasts! Not only do we feast on delicious food, but also on each other’s company. We laugh, smile, share and love.

Feasting does not have to be in large groups. Sharing a bowl of soup with a lonely neighbour, can itself be a feast. How about inviting someone who is on their own for Sunday lunch? Or, slicing up a cake that is left over from a celebration and popping a slice or two round to your neighbours?

Having fun making my pics look pretty!

The excitement and sense of fun, before delivering a meal or slice of cake is priceless. You can have all the money you need, but it will never bring you the happiness and peace that sharing caring and loving bring.

So I encourage both you and myself to be greater at sharing and showing love during 2015. Your life will be enriched as you start Showing Sharing Loving Caring and of course Feasting and having Fun.

Sammie x


Share
Facebooktwitterpinterestlinkedintumblr

Sticky Pecan Sultana Buns

Share
Facebooktwitterpinterestlinkedintumblr

Hi there, how are you today?  These Sticky Pecan Sultana Buns are so easy to make and are perfect for weekend breakfast with a large mug of Coffee!  They truly define the meaning of Lazy Weekend Breakfast Feasting.

FF Sticky Pecan Sultana Buns
Sticky Pecan Sultana Buns

Obviously, you don’t have to restrict eating these at breakfast time or just at the weekend – although, as scrummy as they are, I wouldn’t recommend having them everyday! These Sticky Pecan Sultana Buns are treats, in fact I had them for my birthday brekkie last year (& that was mid week!).

This recipe was inspired by Ina Garten, the Barefoot Contessa herself.  After following her recipe a few times I fiddled with it a bit.  The buns were scrummy, but I wanted Pecan nuts inside my buns and preferred the use of Sultanas.  I also changed the ratio of ingredients, as I changed from American cup measures to Metric weight.  I was extremely pleased with the results, I hope you will be to and this easy recipe will inspire you to have a go at making these buns!

Pecan Sultana Sticky Buns www.feastingisfun.com

Upside down buns

Firstly, I should say that these Sticky Sultana Pecan Buns are made upside down!  That is, they are very similar, in method, to an upside down cake – meaning that you place a brown sugar/butter mixture along with Pecan nuts into the bottom of a deep muffin/cupcake tin, place the buns in top and then when cooked turn the buns out so the bottom of the bun becomes the top!

Don’t worry!  It’s not as confusing as it sounds and I am ALWAYS amazed that the buns turn out perfectly, they never stick and always look so impressive for such little effort.  In fact it really is a Ta Dah moment (I imagine a drumroll in my head!) that never ceases to amaze me and I always end up with a huge smile on my face!

Just a quick note : A proper deep muffin/cupcake tin must be used for this recipe.  A bun/fairy cake tin is too shallow, not only will it be too small for your buns, but you’ll also end up with butter dripping all over your oven.  I also place a baking sheet, a little larger than my cupcake tin, on the rack below, just in case any butter bubbles up and drips over – soo much easier to clean than the whole oven!!

Recipe : Makes 12 Sticky Pecan Sultana Buns

For the Topping:

150g/5oz  Butter – unsalted and softened

75g/3oz Light, Soft Brown Sugar

100g/4oz Pecan Nuts – roughly chopped

1/4tsp Salt – I use Maldon

For the Buns :

450g/1lb Pack Shop Bought All Butter Puff Pastry

1tbsp  Butter – melted

1 1/2tsp  Cinnamon

150g/5oz Light, Soft Brown Sugar

250g/9oz  Sultanas

100g/4oz Pecan Nuts – roughly chopped

Method :

Preheat the oven to 200C (180C fan), 400F, gas mark 6

Making The Sticky Bun Topping

Firstly, for the topping of the buns mix the softened butter, sugar and salt until well combined.

Using a teaspoon (not a teaspoon measure) scoop 1/2 a teaspoon of the butter/sugar mixture and place into the bottom of the muffin tin, repeating 11 more times.

1/2 a teaspoon is just enough!
Each muffin cup has a dollop of the sugar/butter mixture!

Next, divide the 100g of Pecan nuts between each of the muffin cups, placing them on top of the sugar/butter mixture.  Remember, although this is going into the bottom of the tin, when turned out this will become the topping of the Sticky Pecan Sultana Buns!

The Pecan nuts become caramelised, golden and sticky during cooking. Yummy!!

Assembling The Buns

Lightly dust the worktop with plain, white flour.  Roll out the all butter puff pastry, with a floured rolling pin. You need a square shape that is approx 34 x 34cm.

All butter pastry really is essential as it adds to the flaky, buttery flavour of the buns.

Next, trim the top and bottom of the pastry square and brush with the melted butter.  Then sprinkle the sugar evenly over the whole of the square.

Don't worry about the odd few lumps in the sugar, they'll just add to the stickiness of the buns!!
Don’t worry about the odd few lumps in the sugar, they’ll just add to the stickiness of the buns!!

Sprinkle the cinnamon evenly over the sugar layer.

The smell of cinnamon fills the house when these buns are baking.

Now you can sprinkle firstly the Sultanas and the the chopped Pecan nuts, so they cover the pastry evenly.

Nice and evenly spread, now it's time to get a-rolling!!!
Nice and evenly spread, now it’s time to get a-rolling!!!

Starting at the front edge of the pastry, evenly roll over the edge of the pastry, tucking it under itself ( not too tightly). Then proceed to roll until you have a log shape, with the join underneath.

A nice even roll along the front edge of the pastry.
Keep rolling so the pastry is an even log shape.
Trim the side edges of the log.

Shaping the buns

Next, using a sharp knife, mark the middle of the log. Then mark each half of the log in the middle. Now divide each marked section into 3 separate pieces. You should now have 12 buns!

Use a very sharp knife to slice through each section - so you get a nice clean edge to each bun.
Use a very sharp knife to slice through each section – so you get a nice clean edge to each bun.

Carefully place each bun, cut side up, on top of the butter/sugar/Pecan mixture in the muffin tin. Squish a little bit if needed and don’t worry if a little of the filling falls out in transit, you can always pop errant Pecans and Sultanas into any gaps once all the buns are in the muffin tin!

All ready to be popped into the preheated oven.

Baking the Sticky Pecan Sultana Buns

Place the tin into a preheated oven and bake for 30 minutes. The Sticky Pecan Sultana Buns are cooked when the pastry is golden and puffed.

Ooh yummy! But be careful, they will come out of oven very hot.

I just love to watch them bubbling and breath in their cinnamon scent when they first come out of the oven – it’s the little things in life that give me most pleasure!!!!!

Turning The Sticky Pecan Sultana Buns Out

Wait a few (3 ish but no longer than 5) minutes, then wearing oven gloves place a baking sheet (that is at least the same size as your muffin tin) over the top of the muffin tin and turn over. I promise the buns will drop out! Remove the muffin tin and stare in amazement at your gorgeous Sticky Pecan Sultana Buns– all 12 of them!! See I told you, they really are easy and they turn out every single time.

Perfectly turned out Sticky Pecan and Sultana Buns.

Leave to cool – remember all that bubbling and sizzling was butter and sugar boiling very hot!!

Serve warm with nothing but a hot drink of your choice, sit back, relax and smile!

Made for sharing

These Sticky Pecan Sultana Buns are perfect for breakfast, brunch, mid afternoon coffee. I think these are at their most delicious shared with friends and family who unexpectedly pop round! These are best served warm, so pop in a 140C oven whilst the kettle boils and serve with a steaming cup of coffee and a smile!

These scrummy Sticky Pecan Sultana Buns keep well in an airtight container for up to 5 days. They can also be frozen for up to 1 month. When needed, remove from freezer, place on a baking sheet and allow to defrost (this doesn’t take long 1-2 hrs depending on the room temperature), refresh and warm in a 180C oven for 5 minutes and serve.

FF Sticky Pecan Sultana Buns
Sticky Pecan Sultana Buns

I really hope that you give the Sticky Pecan Sultana Buns a try as not only are they easy to make, they are scrumptious and everyone who tries them has a big smile on their face!!!

Sammie x


Share
Facebooktwitterpinterestlinkedintumblr

Fun!!

Share
Facebooktwitterpinterestlinkedintumblr

Hi there.  I hope that you are having a good day?  I’ve been pondering why, as people, we have fun? What makes popping bubble wrap feel sooo good and is so much fun to do?  Why, as fully grown adults, do we wrap up and run outside, in the middle of Winter, as soon as there’s a dusting of snow on the ground?  Then we rush to the top of the nearest hill, sit on a piece of plastic or metal and spend an entire day sliding down, walking up, sliding down, walking up –  you get the picture – and we thoroughly enjoy ourselves? Why do we need fun in our lives?

Great fun was had building this snowman!'n
Great fun was had building this snowman!’n

I can quite clearly remember the very first time our eldest daughter laughed. She laughed at something on the TV (not me or her Dad!!!!).  It was an amazing moment.  This beautiful baby girl finding fun and laughing.

Why do we laugh harder and longer at something when we are in the company of others who are laughing too?  Why do we find things funny in the first place?

Our cat was chasing his tail the other day. Every time he caught it, he gave it a lick, sat down, noticed his tail again, like it was something he had never, in his life seen before and then proceeded to turn round and round chasing it again!! It was hilarious. Our whole family were laughing at this silly, grey, pussy cat chasing his tail. I’m not sure if the cat was having fun, but we certainly were watching him!!

Our poor cat dressed up in Reindeer Antlers!!!

My hubby and I got together at a ‘Bad Taste’ fancy dress party.  He in the widest flared trousers I’d ever seen and me in red & black striped tights under some hideous hot pants!  You can imagine (or maybe you’d rather not – that’s fine) we weren’t looking our best. Yet we were having fun, looking silly!

Our lil man running with his kite - there was not a single breeze in the air - but he was having FUN!
Our lil man running with his kite – there was not a single breeze in the air – but he was having FUN!

I often look at butterflies, sunsets, twinkling stars in the night sky and wonder why I find such beauty in them? If I evolved, what purpose does beauty like this have? The same can be said of fun.  Why are we all different, finding beauty in different places and laughing at different things?

"Hey dudes, I'm totally rockin these shades!" Bud on 6 hour car journey. She's one cool cat - I mean dog!!
“Hey dudes, I’m totally rockin these shades!”
Bud on 6 hour car journey. She’s one cool cat – I mean dog!!

Jesus went for a boat ride with some of His mates, then gets out of the boat and walks on the water.  Whoa seriously fun!  I mean how much fun must that have been, not only that but one of His friends joined Him (there’s no mention of a body, surf or paddle board in the bible – just saying!).

So is this just some anomaly of Evolution?  Sitting on a trampoline whilst someone else bounces away and giggling so much that you beg them to stop, because it’s almost too much fun!! What, if we didn’t evolve – getting radical here – if we were designed, to have fun?

I know that I am a creation of God.  Designed on purpose, made with intent.  There is only one of me and trust me that’s enough!! I am unique.  My hubby and I have 3 gorgeous children who are all completely different.  Surely if we evolved then wouldn’t people be more alike?

God’s Word (the Bible) says that He “knitted us together in our mother’s womb”.  He made us and He made us all uniquely individual. When He made us, He gave us a sense of fun so that we can enjoy our lives.

So have a think about it?  Why do we like to have fun?  Why do we sometimes need to have a good old belly laugh (yes I know it releases endorphins, which in turn make us feel better)?  So yes having fun can be good for us, but it doesn’t explain the desire to have fun.

I hope that what I’ve written causes you to think and makes you smile!  During the coming week I hope that your eyes are opened to the outstanding beauty of this amazing world we live in and see the Creator in His Creation.

Sammie x


Share
Facebooktwitterpinterestlinkedintumblr

Apricot Oat Crumble Cookies

Share
Facebooktwitterpinterestlinkedintumblr

Hello, how are you today?  If you’ve taken a look at my blog before, you might have noticed that I rather like Cookies, ooh and Biscuits (is there a difference?)!  Although this recipe for Apricot Oat Crumble Cookies started forming in my brain last week, it had to wait as I out of oats.  So, I am very glad I ordered some with my shopping because these Cookies are scrumptiously delicious.

FF Apricot Oat Crumble Cookies
Apricot Oat Crumble Cookies

Because I like to play around with textures as well as tastes, these Crumbly Oat Cookies have yummy nuggets of dried Apricot which have a lovely chewy texture.  While the addition of Demerera sugar also adds a very slight toffee taste and extra crunch.  So all good then!

So, the first batch of Apricot Oat Crumble Cookies were made and baked. And my special friend and chief taste tester could not wait to try them.  The result was a big thumbs up! Obviously I had to try one as well and they are scrummy, plus with fruit and oats in them they must be good for you.  Well that’s my theory anyhow!

Recipe: Apricot Oat Crumble Cookies make approximately 20

50g/2oz  Demerera Sugar

75g/3oz  Caster Sugar

225g/8oz  Unsalted Butter – at room temperature

1 Large Free Range Egg Yolk

1tsp  Vanilla Extract – I use Nielsen-Massey

1/4tsp Salt – I use Maldon

100g/4oz Dried Apricots

100g/4oz  Ordinary Rolled Porridge Oats (not quick cook)

175g/6oz  Plain White Flour

Method : Preheat the oven to 180C/160C fan, 350F, gas mark 4

Making the cookie batter:

First of all, in a bowl cream the butter and sugars together, ideally with an electric whisk (by hand with a wooden spoon is fine, just ensure the mixture is well beaten).

The whisked butter and sugars. The Demerara sugar gives the mixture more colour.

Add the egg yolk, vanilla extract and salt to the mixture and beat in well.  Take the dried Apricots and chop them roughly into small 1/2cm pieces.  You want the pieces of Apricot small enough so that they distribute evenly throughout the cookie dough, but big enough to be golden nuggets of chewy fruit that contrast with the crumbly cookie texture.

Here's a pic of how I chopped the apricots!
Here’s a pic of how I chopped the apricots!

Into the bowl add the oats, flour and place the chopped apricots on top.  Mix together until just combined.

Placing the chopped apricots in top of the flour helps to stop them all clumping together.

Shaping the cookies:

Scoop a desert spoonful of the cookie dough and shape into a ball using your hands. I placed 6 cookie dough balls on both of the baking trays I used. Obviously the bigger the ball, the larger the cooked cookie will be!

Note : Unless you are confident that your baking trays are non stick, it’s best to line them with baking parchment paper.

Lightly press down on the dough balls, to flatten them into an even round shape.

Baking the cookies:

Finally, place the baking trays into the preheated oven and bake for 15-25 minutes until golden brown on the bottom (see photo).  Again the cooking time will depend on the size and thickness of your cookies.

Note the underside is much deeper in colour than the top.

If the bottom is not golden (as above) return your cookies to the oven for an extra couple of minutes.  The first tray I got out of the oven looked fine, however, when I tried to turn the cookie over to check the underneath, it completely fell apart – I put the tray bake in the oven for an extra 5 minutes and the photo above shows the result!

When cooked properly, even whilst still warm, the cookie will hold it’s shape, allowing you to check the underside.  Leave the cookies to cool completely on the baking tray.

FF Apricot Oat Crumble Cookies
Apricot Oat Crumble Cookies

While cooling, ring a friend, or your mum, or someone you’ve been meaning to invite round for ages.  Pop the kettle on, quickly clean up (vacuum, throw some bleach down the loo, anti bac wipe the cat…..). No, no, no!! Whoever you’ve invited round doesn’t want to see you (and the cat!) frazzled to within an inch of your life. Relax.  Put on some whale music if necessary (although if you need that you might want to invite so and so tomorrow – just saying!!!).

If you have enjoyed this recipe for Apricot Oat Crumble Cookies you may also like these:

Extreme Chocolate Cookies 

FF Apricot Oat Crumble Cookies
Extreme Chocolate Cookies

Cherry Bakewell Cookies 

FF Apricot Oat Crumble Cookies
Cherry Bakewell Cookies

Sour Cherry Chocolate Chip Cookies 

FF Apricot Oat Crumble Cookies
Sour Cherry Chocolate Chip Cookies


Finally, enjoy feasting and having a good natter, with a friend, over Apricot Oat Crumble Cookies.  Have fun catching up and sharing in each other’s news. Because one of the most precious gifts you can give is your time. We all feel loved and valued when others take time out of their busy schedules to share part of their day with us!

I know, because my sister – who is the best sis in the world – took time out of her day for me today.  Thanks babes, love you with all my heart xx.

Sammie x

No part of this post may be reproduced or duplicated without the owners written permission. Please see my Disclosure Policy.


Share
Facebooktwitterpinterestlinkedintumblr

Meatballs In Tomato Sauce

Share
Facebooktwitterpinterestlinkedintumblr

Hello, I have the most delicious and comforting recipe to share with you today, Meatballs In Tomato Sauce. Flavour packed ‘meaty’ meatballs made with both beef and pork and lots of herbs, cooked in the easiest tomato sauce you will ever make.

Meatballs are always a hit with my family, especially when served with spaghetti. It’s a classic combination for a reason. Alternatively you can serve them with mashed potato, baked potato, rice and even in baguette. And I suggest, if serving in baguette or rolls, top with lots of grated cheddar, pop under the grill to melt for ultimate gooeyness!

Since I use a combination of beef mince and pork sausage meat for these l meatballs as it gives them a rich, meaty flavour.  While I do make them using all beef, they can be a little heavy. So, in my opinion the mix of pork and beef gives a better flavour and texture.

A quick note:  Although there’s a bit of prep work involved in making these meatballs, the tomato sauce is so quick to make. Also, it really takes no longer than making a bolognaise sauce. And the meatballs really do make a delicious change so I think it’s worth it.


Recipe : Meatballs In Tomato Sauce

For the Meatballs

1  Large Onion

1 tbsp  Olive Oil

675g/1.5lb Beef Mince – preferably with less than 10% fat content

450g/1lb Pork Sausage Meat – use the best quality you can afford

1  Large Garlic Clove

2  Fresh Sage Leaves – 1/4tsp dried sage

3  Fresh Thyme Sprigs – 1/4tsp dried thyme

1tsp  Sea salt – I use Maldon

1 tsp  Freshly Ground Black Pepper

For the  Tomato Sauce

2 x 400g Tinned Chopped Tomatoes

2tbsp  Tomato Puree

1/2tsp  Sugar

2  Sprigs Fresh Thyme – 1/4tsp dried thyme

1/2tsp  Sea salt (1/4tsp free flowing salt)

1/2tsp  Freshly Ground Black Pepper


Making the Meatballs

First of all, peel and chop the onion as finely as possible.  Add the oil to a frying pan and sauté over a low-medium heat for 5-10 minutes until the onion is soft and translucent, but not browned.

Sautéed chopped onions.

Set the pan aside and allow the onion to cool down.  While the onion cools strip the fresh thyme leaves from the sprigs and finely chop the sage.
Next, place the minced beef, sausage meat, cooled onion, seasoning, minced garlic and herbs into a bowl.

Beef mince, pork sausage meat, herbs, seasoning and onions in a bowl to make meatballs.

Using a fork, gently combine all the ingredients together.  I’ve found, if I squish them together using my hands the meatballs end up too dense.

Mixing beef and pork mince together with a fork for light meatballs.

Next, scoop about a teaspoonful of mixture and lightly roll into a ball in between your hands – wet hands make the job easier!  Continue until all of the meatball mixture is used up. I managed 54 meatballs!

Bite size, uncooked meatballs.

Heat the pan that you used for sautéing the onions on a medium heat – I didn’t add any more oil, but feel free if yours isn’t non stick.  Add the meatballs so they only form one layer in the pan (overcrowding the pan means the meatballs won’t have contact with direct heat and won’t brown properly). Leave them for 1-2 minutes and then gently turn, repeating the process until the meatballs are nicely browned all over (as they were so small I found it easier to turn them in the pan using 2 desert spoons instead of tongs). Remove from the pan and place on a clean plate.


Making the Tomato Sauce

Using the same pan as before, discard any remaining oil safely – it will be hot so allow to cool and wipe the pan with a handful of kitchen roll.  Now add 2 tins of chopped tomatoes, refilling each tin, roughly halfway with water, swill around to catch every bit of juice a pour into the pan.  Add the tomato purée, herbs, sugar,salt and pepper.  Bring to a  simmer and leave to bubble away gently for 30-40 minute.  The Tomato Sauce is done!!

Tomato sauce in a pan cooking.

Finally, place the meatballs in a large, ovenproof dish and pour over the tomato sauce. Heat through for 30-40 minutes, until piping hot and then serve with pasta, rice, or chunks of crusty bread.

Meatballs in tomato sauce.

Also, this recipe can easily be a gluten and dairy free dish. Instead of sausage meat use pork mince as this will be free from rusk. Ensure any cheese as a topping is dairy free, there a lots of alternatives available.

If you have enjoyed this recipe for Meatballs In Tomato Sauce you may also like these:

Spicy Sausage Bean Casserole 

Spicy sausage bean casserole.
Spicy Sausage Bean Casserole

Creamy Tomato Spinach Chicken Pasta

Creamy tomato spinach chicken pasta
Creamy Tomato Spinach Chicken Pasta

Tomato Thyme Garlic Focaccia Bread

Tomato Thyme Garlic Focaccia Bread


Creating recipes that my family love and that I can share here on my blog is such fun. And you can trust the recipe because they are well tested. Since I’m aware of the cost of ingredients, it’s extremely important to me that they work every single time. Also they must be easy to make and delicious to eat. So that you can make them will full confidence. Resulting in a delicious dish that everyone that can be shared and feasted on by friends and family!

So whatever you are making, baking and creating in your kitchens, have fun preparing and sharing your feast.

Sammie x

No part of this post may be reproduced or duplicated without the written permission of the owner. Please see my Disclosure Policy.


Meatballs in tomato sauce Pinterest pin with descriptive graphics.

Share
Facebooktwitterpinterestlinkedintumblr

Turkey And Leek Pie

Share
Facebooktwitterpinterestlinkedintumblr

Hello, thank you for stopping by to take a look at my recipe for Turkey and Leek Pie, topped with mountains of mashed potato. Because, this is a fantastic recipe for using up leftover Turkey after Christmas or Thanksgiving. Alternatively you could use cooked chicken such as my Lemon Thyme Roast Chicken.

Turkey And Leek Pie


Waste Not, Want Not:

Since the news if filled with statistics and reports of how much food we throw away and waste as a nation, creating recipes using up leftovers is a priority for me. While I am not suggesting you try to make a pie out of the gooey apple, fermenting at the bottom of the fruit bowl, there are ways that we can use up leftovers. And, as many of us eat turkey over the Christmas period and roast chicken throughout the rest of the year, there can be leftover meat. So, having delicious, easy recipes that use up leftovers, makes both practical and economical sense.

While we had a delicious, roasted turkey crown for Sunday dinner yesterday, I was left with a complete, cooked turkey breast. Although I enjoy cold turkey and chutney sandwiches, my aim was to create a meal out of the leftovers.

So, today I decided to make this turkey and leek pie, topped with creamy mashed potatoes. Alternative toppings for this pie could include; sliced potatoes, flaky pastry, savoury crumble topping, herbed breadcrumbs. If you do try any of these suggestions, please let me know how you get on?

Recipe : Turkey and Leek Pie serves 6

1 1/2 – 2 lb  (750g/1Kg) Cooked Turkey  – or chicken, cut into 1 inch/2.5cm chunks note: if the turkey or chicken has been frozen AFTER cooking the pie cannot be re-frozen

2  Medium Leeks

100g/4 oz  Butter (split in two)

1 tbsp  Olive Oil

2 tbsp  Vermouth or White Wine – use Martini Extra Dry

1 tbsp  Plain White Flour – *alternatively to make this gluten free add 1tbsp cornflour mixed with 2tbsp water after adding the milk to the sautéed leeks.

1/2 of a Chicken/Vegetable Stock Cube – I use Knorr

6tbsp  Whole Milk – alternatively you can use double cream (heavy cream)

1.5 Kg/3.5lb Peeled Potatoes (Maris Piper/Desiree or any floury potato suitable for mashing)

2  Sprigs Fresh Thyme

Salt and Freshly Ground Black Pepper

Method :

Preparing the mashed potato topping:

  • First of all peel and chop the potatoes, place in a saucepan and cover with water.
  • Add a pinch of salt, bring to the boil and then simmer until tender when pierced with a knife.
  • Drain the potatoes, place them back into the saucepan with 2 tbsp of butter and a splash (3tbsp) of milk. Clamp on the lid and leave off the heat for 5 minutes.
  • Next, adding a good grinding of black pepper, mash the potatoes, set aside to cool.

Creating the pie filling:

  • Chop the leeks into small dice, rinse thoroughly and pat dry with a clean kitchen towel.
  • Place 2 tablespoons of butter and 1 tablespoon of olive oil into a frying pan over a medium heat.
  • As soon as the butter melts add the leek to the pan.

Bright green, uncooked leeks. They fill the pan!!

  • Add a pinch of salt and sauté over a low heat until they become soft and slightly translucent.

The sautéed leeks have lost their bright colour and shrunk in the pan as they've cooked!

  • Next add 1 tablespoon of flour, stirring so the chopped leeks are covered in the flour. Continue to cook for a couple of minutes. *see recipe for gluten free option.

The flour mixes with the butter and oil to thicken the sauce once the liquid has been added.

  • Add a splash of Vermouth or white wine. Mix thoroughly over a low heat, cooking for a couple of minutes.
  • Next add 3-4 tablespoons of milk and stir continuously.

The sauce will have a very thin consistency. Keep stirring!!!

  • The sauce will still be thin at this stage. Continue stirring. After a few minutes the sauce will thicken.

After a couple of minutes the sauce will thicken.

  • Crumble in half of a chicken stock cube. Alternatively dissolve the stock cube in a couple of tablespoons of hot water, then add to the pan.
  • As soon as the stock is incorporated have a quick taste and season to taste.
  • Strip 2 fresh Thyme sprigs and add the leaves to the sauce.
  • Set to one side and allow to cool.
  • Cut the cold, cooked turkey (or chicken) into 1 inch chunks and place into a pie dish. Cover with the cold leek sauce.

Turkey chunks covered in leek sauce, flecked with Thyme leaves.

  • Spoon the mashed potatoes around the outside edge of the pie, working towards the centre.
  • Using a fork, ensure the mash seals the pie around the edge to stop any sauce leaking out during baking. Likewise ensure the potato topping covers the pie evenly with no gaps.
  • Drag the fork across the surface of the mashed potato. As doing so will ensure an extra crunchy topping once baked.

Ensuring the mash reaches the edges of the pie dish will help stop the sauce from leaking out during cooking.

Storing, baking and serving the pie

  • At this stage the Turkey and Leek Pie can be wrapped in cling film and placed in the fridge for a couple of days until needed.
  • Alternatively, double wrap in cling and popinto the freezer for up to one month – defrost overnight in the fridge before reheating.
  • To bake the pie, preheat the oven to 190C/170C fan, 350F, gas mark 4.
  • Place the pie dish on to a baking sheet and place  in the middle of the oven.
  • Bake for 1 hour until bubbling around the sides, golden and crunchy on top and piping hot all the way through.

The ultimate comfort food. I like to serve this turkey and leek pie with steamed savoy cabbage.

If you have enjoyed this recipe for Turkey And Leek Pie you may also like these:

Steak Leek And Ale Pie

FF Turkey And Leek Pie
Steak Leek And Ale Pie

Quiche Lorraine 

FF Turkey And Leek Pie
Quiche Lorraine – a great way to use up gammon, ham and bacon.

Roast Chicken Noodle Soup

FF Turkey And Leek Pie
Roast Chicken Noodle Soup

When I am creating a meal using leftovers, it gives me an extra buzz. Because not only am I reducing waste, an entirely new dish is being made. Especially over the holiday period, when large joints of meat are cooked there can be a temptation to simply bin any leftovers. Whereas having a few, simple recipes on hand can actually make it easy and fun preparing meals.

So, whatever you are making, baking and creating in your kitchens, have fun preparing and sharing your feast.

Sammie xx

No part of this post may be reproduced or duplicated without the written permission of the owner. Please see my Disclosure Policy.

Share
Facebooktwitterpinterestlinkedintumblr

Baking and Why I Love it?

Share
Facebooktwitterpinterestlinkedintumblr

Hello, I hope you are having a good day. Why do I love baking?

The BEST Carrot Cake with Cream Cheese Frosting.

Firstly and above all other reasons, I find it really relaxing.  I’m constantly amazed that I really can have a batch of cookies, a cake or loaf of bread baking in the oven in literally minutes!

Secondly I’m always surprised when recipes turn out well.  I’m not sure why this is – as I do have a tendancy to ‘interprete’ recipes, as opposed to following them strictly.

I'm amazed every time I bake these Pecan & Sultana sticky buns. They are scrummy!
I’m amazed every time I’ve baked these Pecan & Sultana sticky buns. They are scrummy!

Thirdly, I have learnt, over the many years of baking and cooking to trust my nose.  Following on from my bad habit if not entirely following recipes to the letter, I also very rarely time things as they are baking or cooking!  I know, sooo bad.  But, since I’ve started my blog I’m getting better.  It’s a work in progress!!!!

Not enough pastry for a Sausage Plait, so made a huge Sausage Roll a cut a diamond pattern to make it look pretty!!
Not enough pastry for a Sausage Plait, so made a huge Sausage Roll a cut a diamond pattern to make it look pretty once baked!!

Next (fourthly didn’t sound quite right?!) I love the smell emanating from the oven as something is nearing it’s cooked stage.  In fact it is this very thing that stops me from timing how long something takes to bake.  My nose alerts me, with alarming accuracy!

As with planting a seed, caring and watering the plant that grows, then picking the produce or flowers, so too, in all types of cookery and baking, the ‘magic’ of turning a wet, lumpy mess into moist, delicious muffins never, ever fails to thrill me.  Yes I make mistakes, but I am all the better for it, tweaking ingredients, methods etc. It’s fun!!

A sticky, wet, Morello Cherry and Almond batter....
A sticky, wet, Morello Cherry and Almond batter….

Once cooked, cooled and sliced looks like this…,.

A moist, cooked cake, with a scrumptious Morello Cherry centre!!!!
A moist, baked cake, with a scrumptious Morello Cherry centre!!!!

Baking and cooking allow me to explore the creative side of my nature and I am never short of taste testers who give me the honest feedback I value.

Lastly and following on from the previous point, I get to share! l love the reaction from anyone I share my food with, whether it be the latest homemade ice cream flavour, devoured by our children and their cousins, or an individual portion of lasagne, given to one of my best friends, after a days serious walking (we’re talking 6-10miles here people!!!), knowing, she not only doesn’t have to think about what to have for dinner, but half an hour in the oven and a home cooked meal is ready.

Sharing is such an important part of who I am and so it naturally translates to my baking and cooking.

Made for sharing, totally delicious & good for you!!! Well they contain fruit......
Made for sharing, totally delicious & good for you!!! Lemon iced baked fruit buns.

Many people’s diet is restricted by the fact that they live alone.  If I’m making a Chilli for five of us it’s not any bother to make it for 6 people and it is always greatly appreciated.

None more so than by me.  The week following our eldest daughter’s birth, neither my husband or I cooked.  Family and friends brought round a main meal, everyday of that week.  Now I can honestly say we’ve probably tried every single type of Shepherds pie ever made!  But do you know what?  To a nursing mum (me) and a severely sleep deprived couple, who had absolutely no idea of what parenting was all about, each evening meal was truly wonderful.  I was constantly hungry and my gorgeous hubby has never, ever been a fan of cooking and our needs were met.

Beautiful Pink Cupcakes, made by my wonderful Mummy, for our Daughter's Birthday. Love you Mummy xxxx
Beautiful Pink Cupcakes, made by my wonderful Mummy, for our Daughter’s Birthday. Love you Mummy xxxx

I have never forgotten the love and practical kindness shown to us, during the earliest days of parenthood (where bathing the baby would take over an hour – I’m not joking!!!).

My aim is to now show that same practical love to others and in doing so encourage others to also share.

Handing my shopping delivery man a cupcake. Thank you for carrying all my heavy shopping through to the kitchen.

It’s amazing how many people you can make smile, just because you take a moment to notice them and share with them!

Try it.  I’d love to know how you get on?

Sammie xx

Share
Facebooktwitterpinterestlinkedintumblr