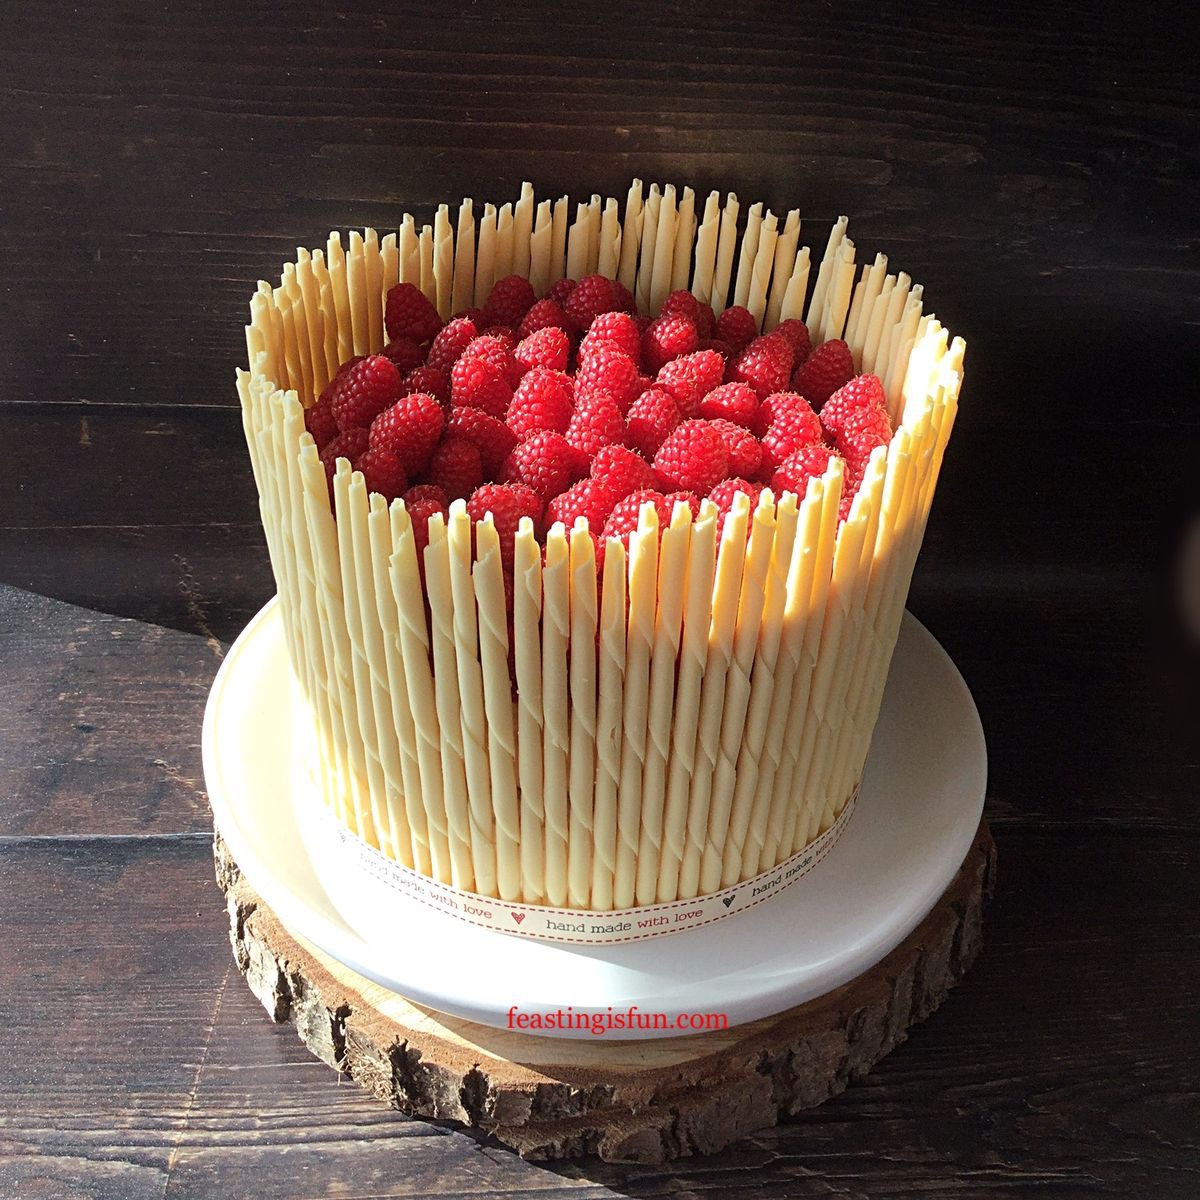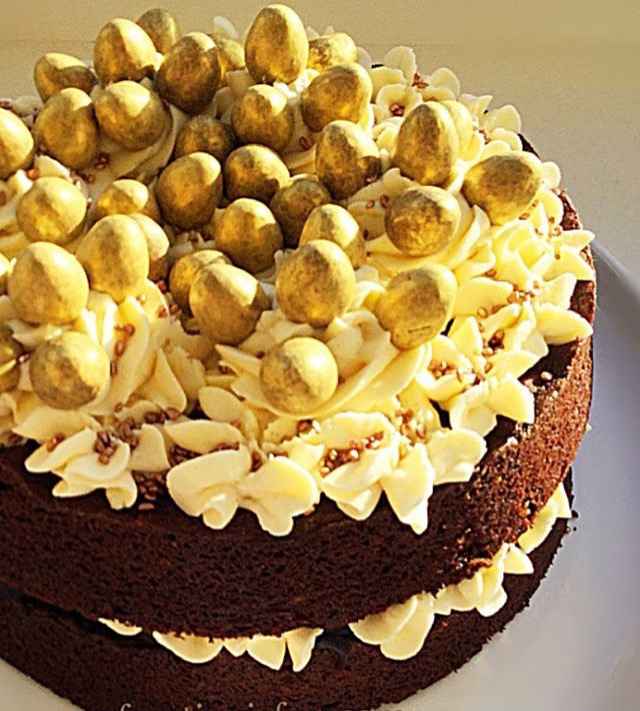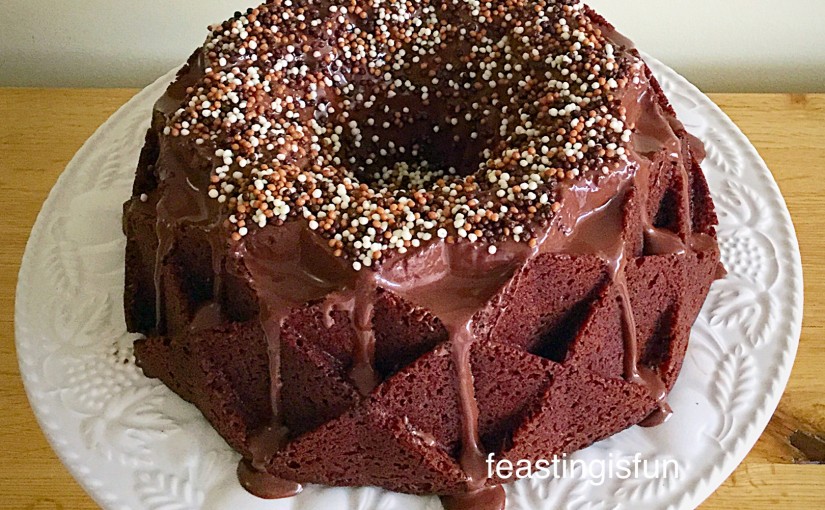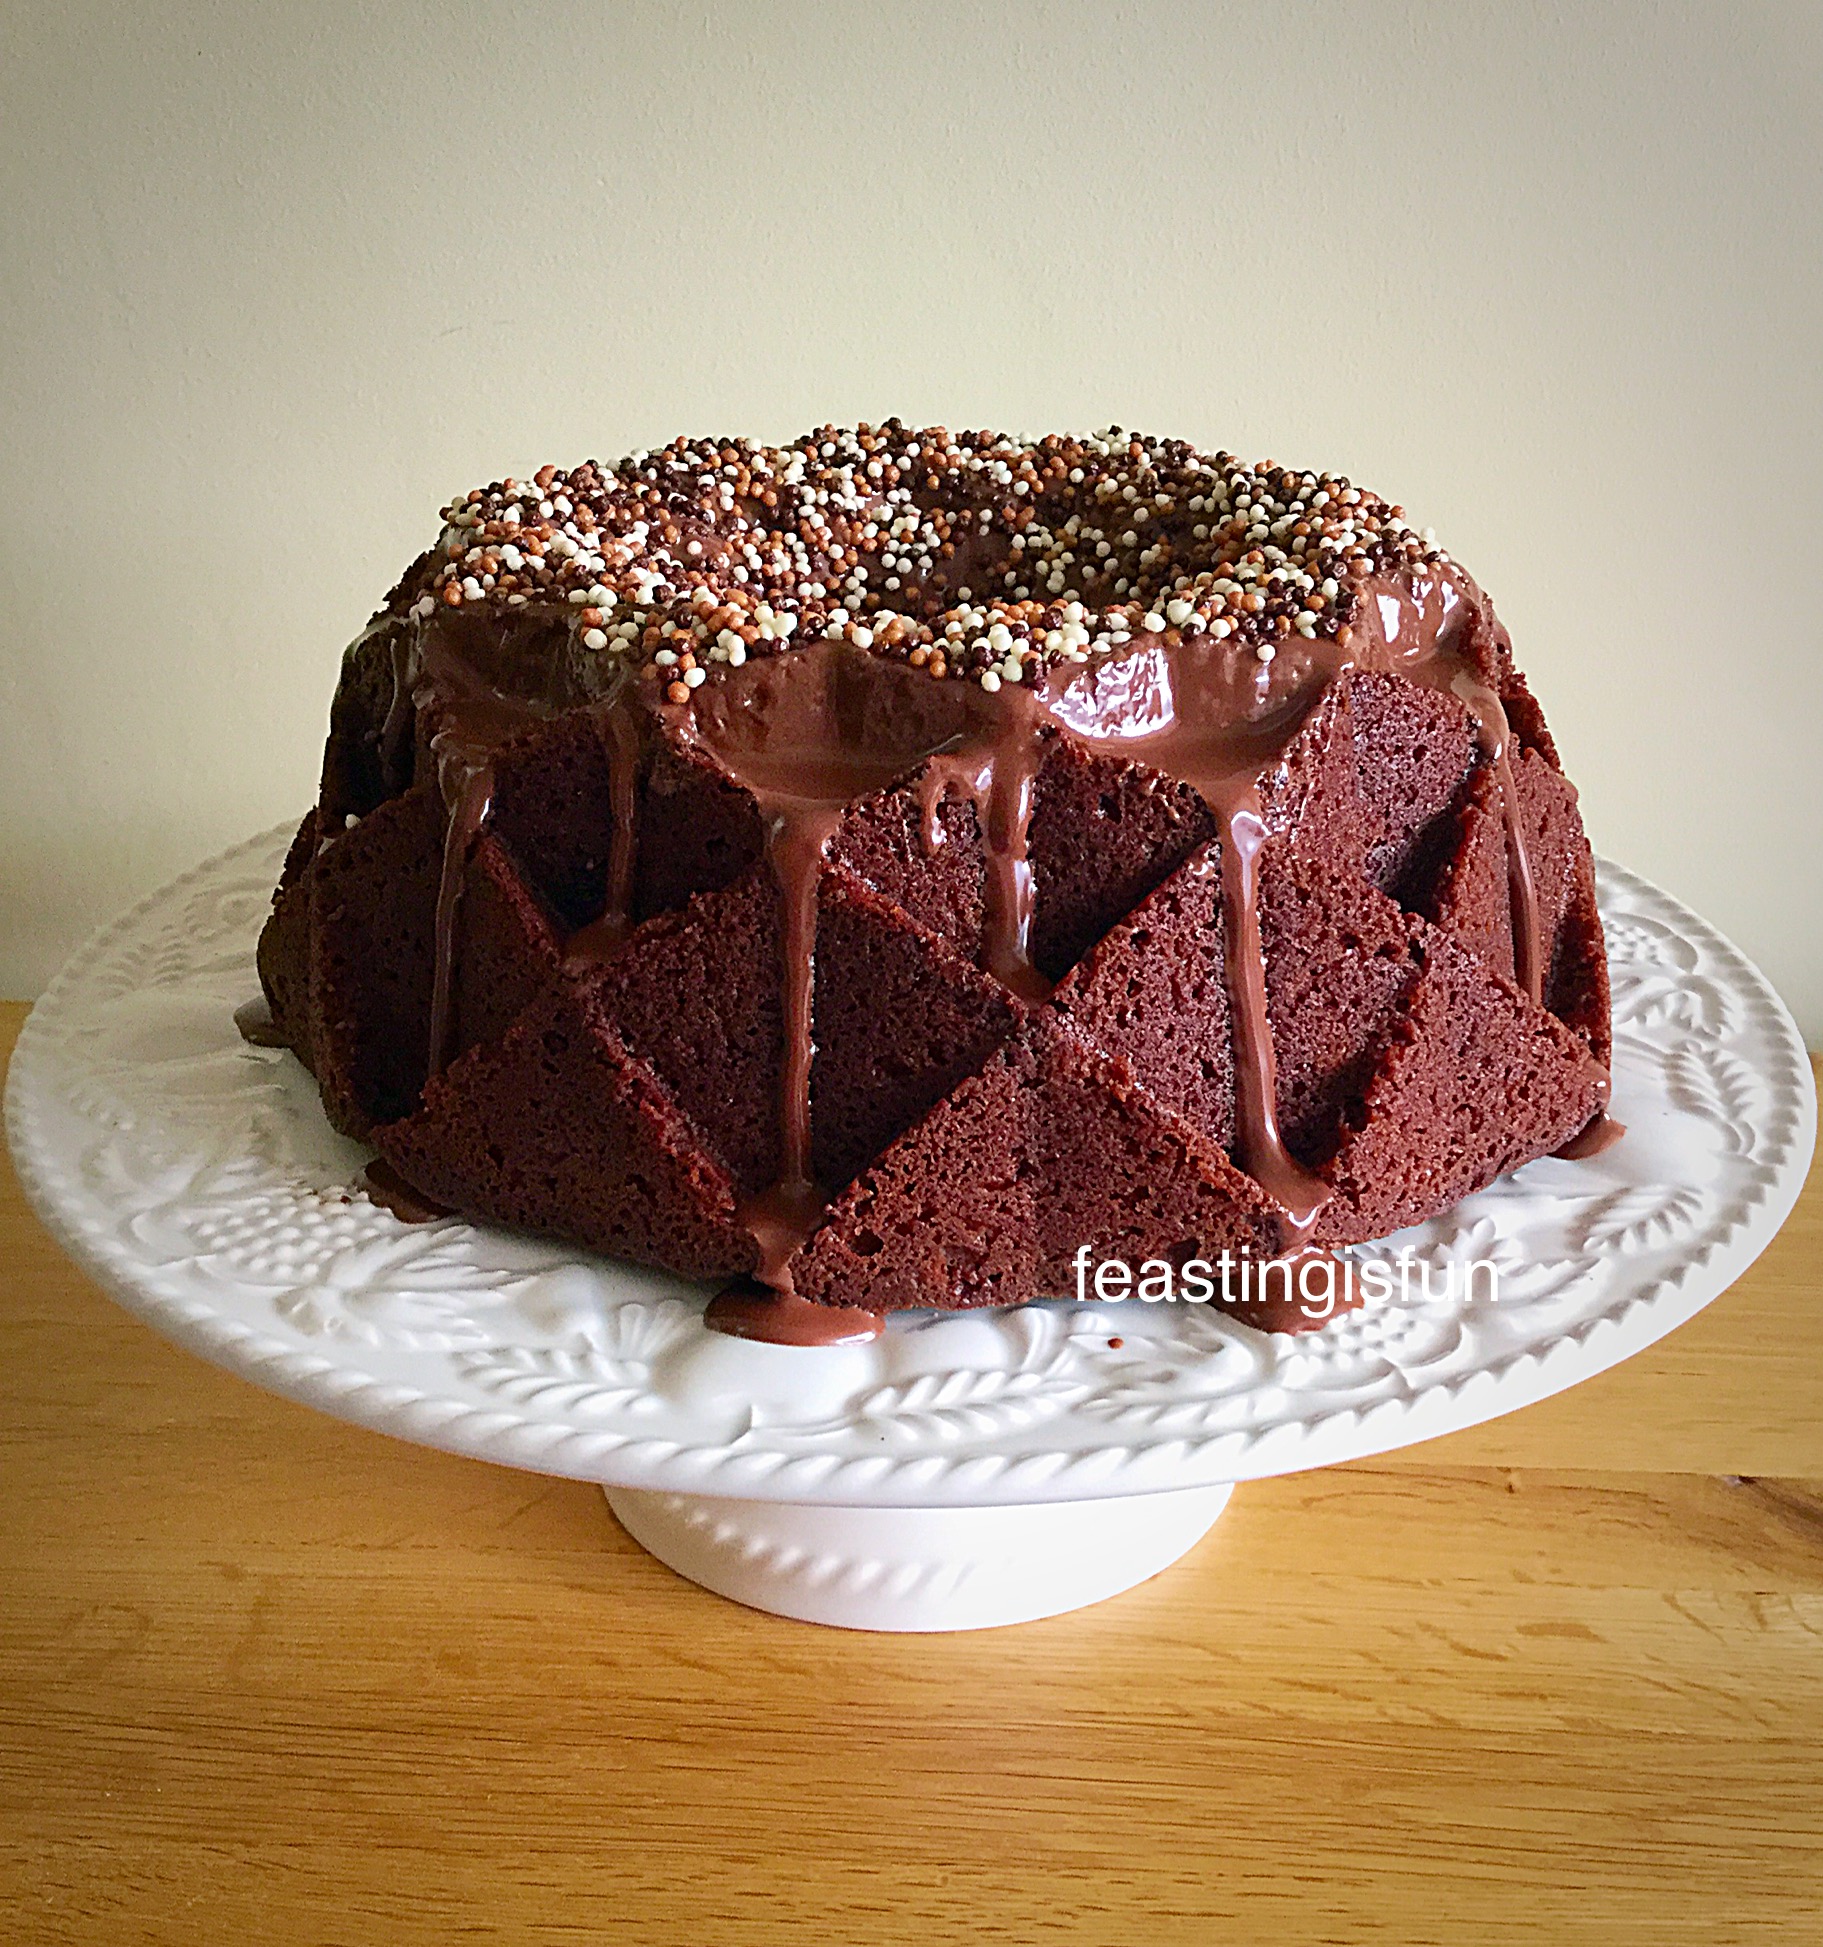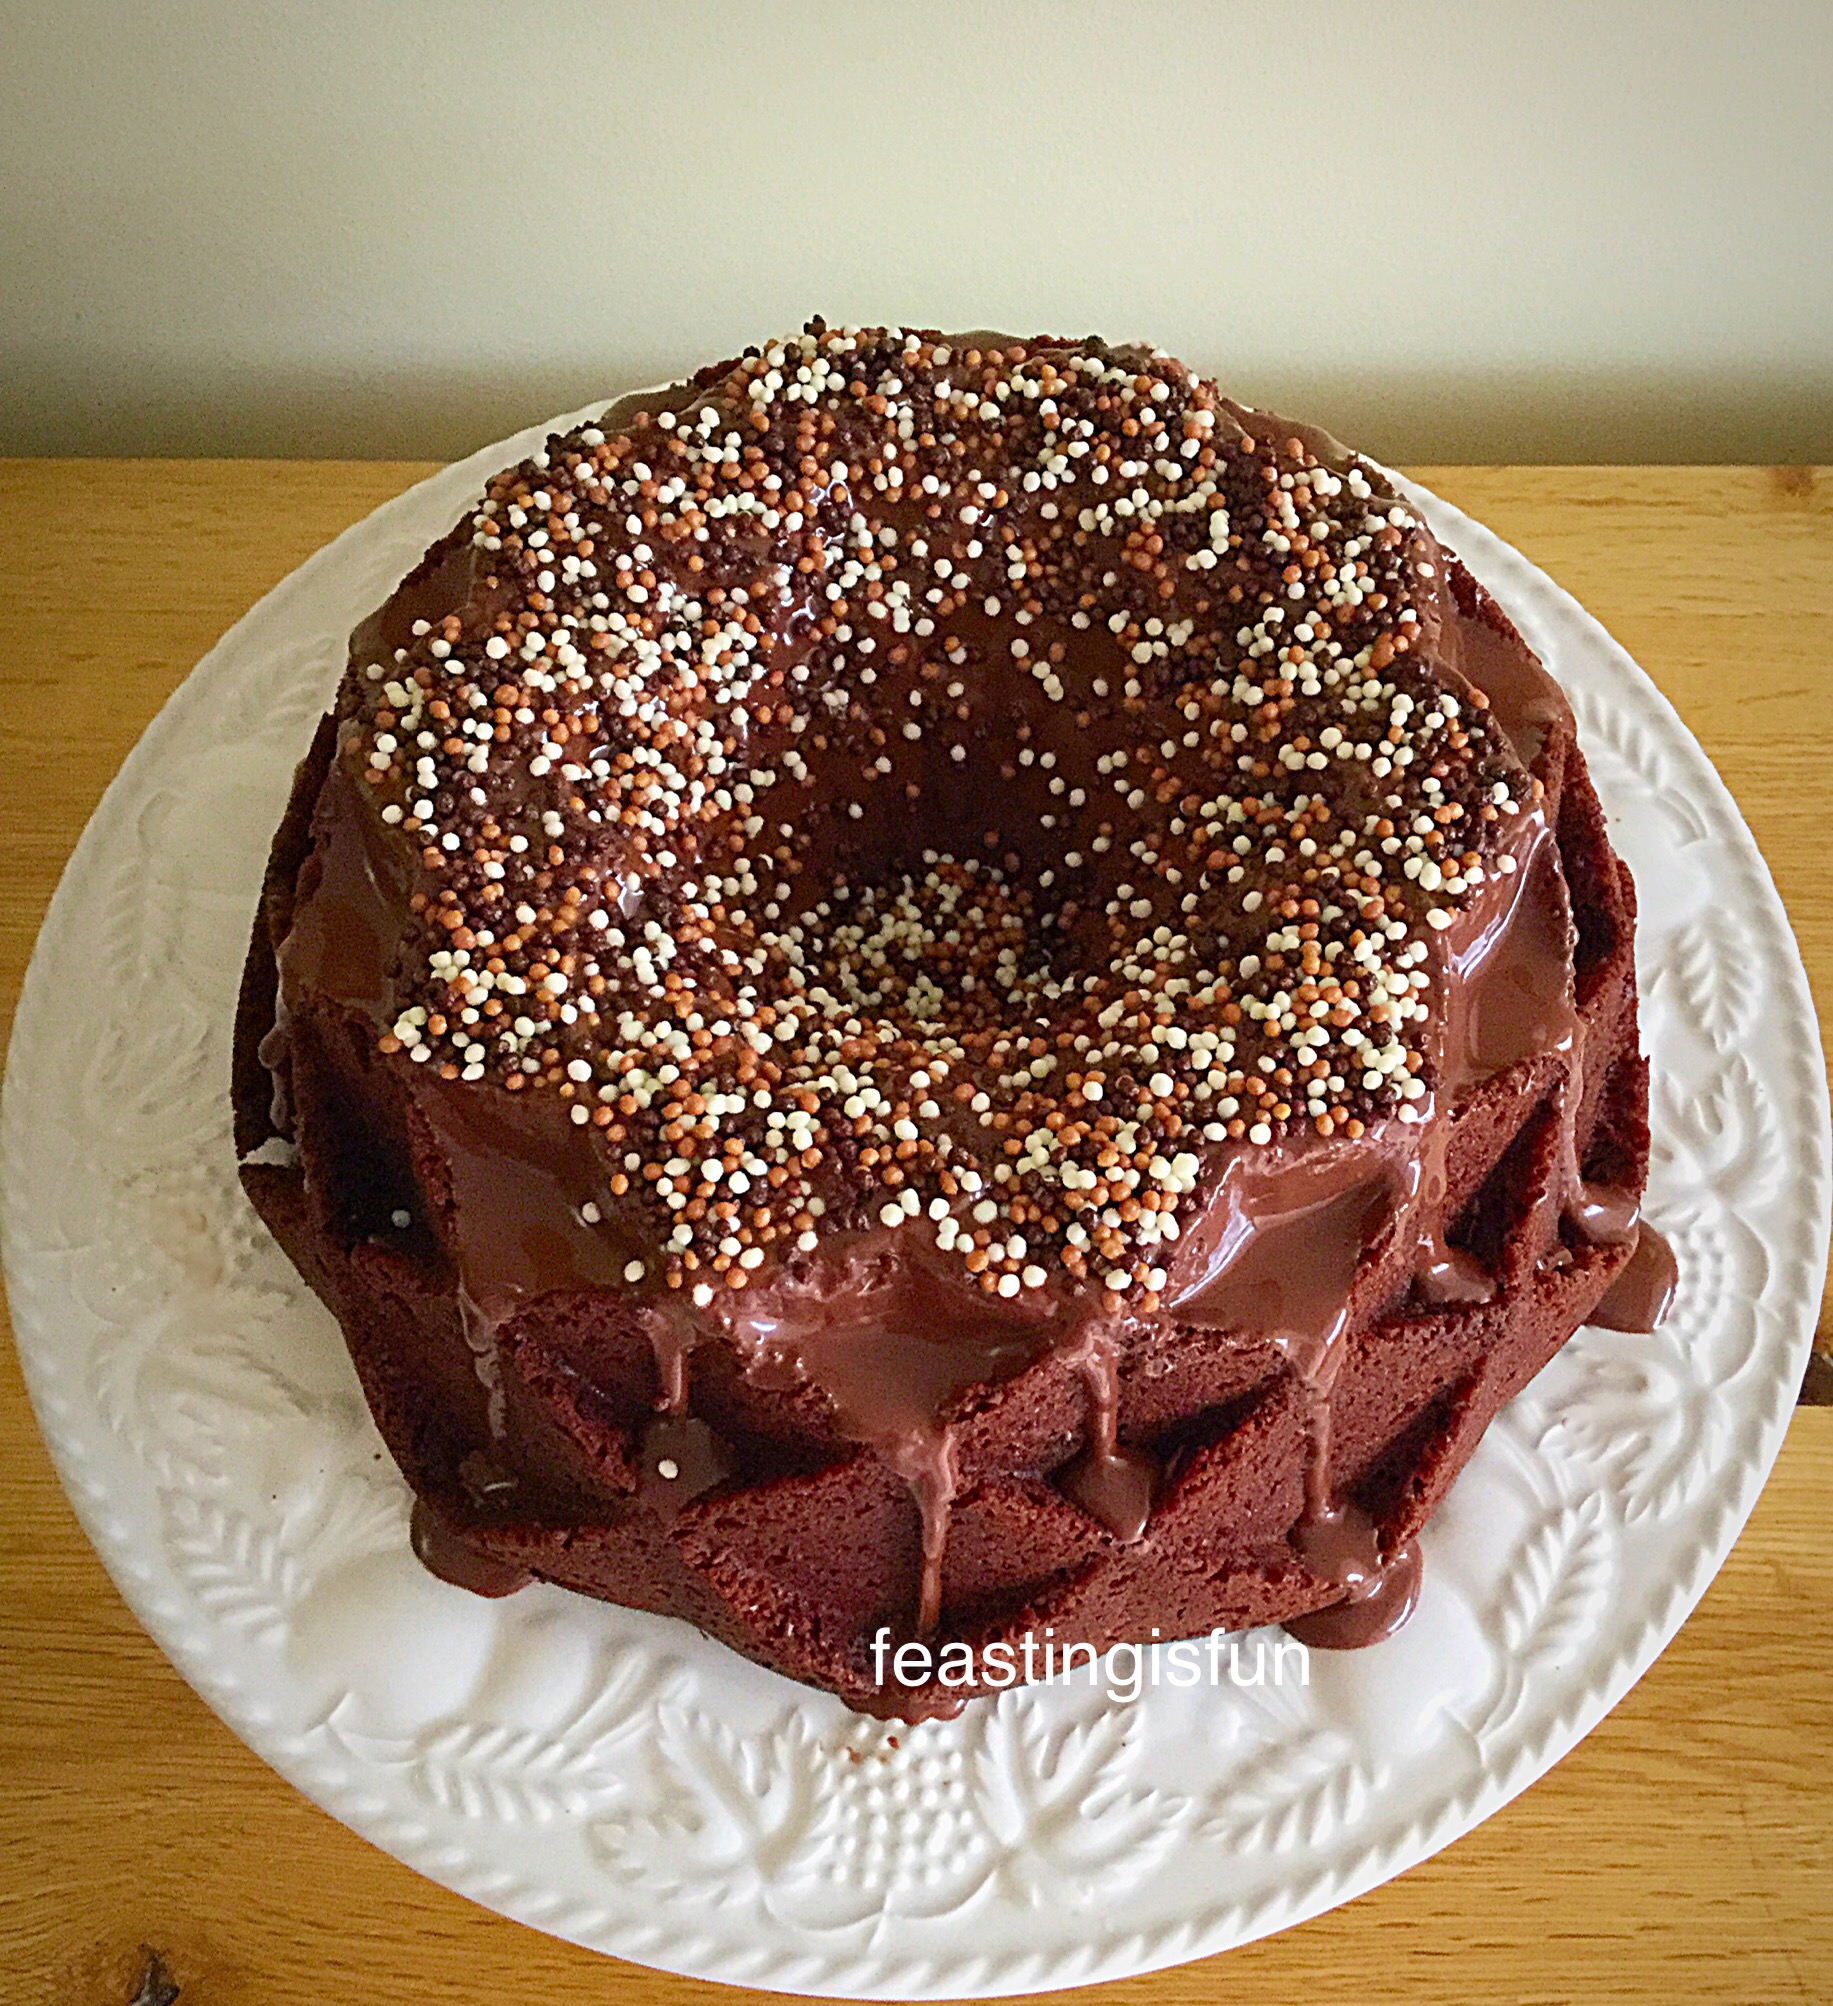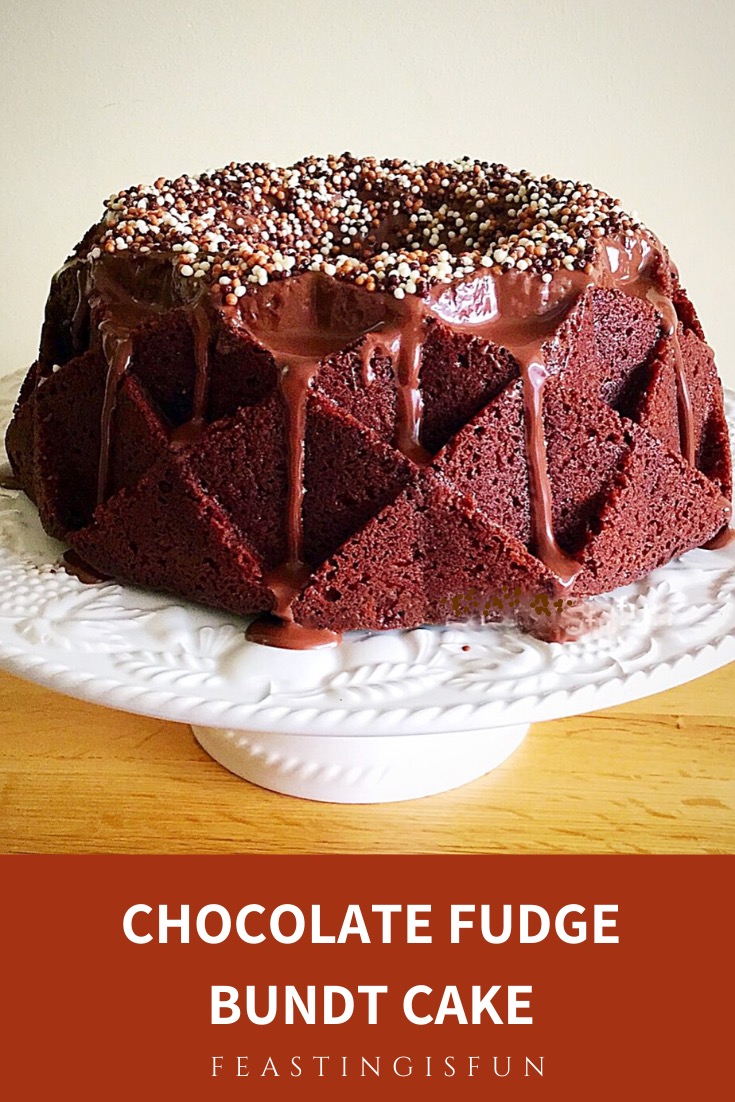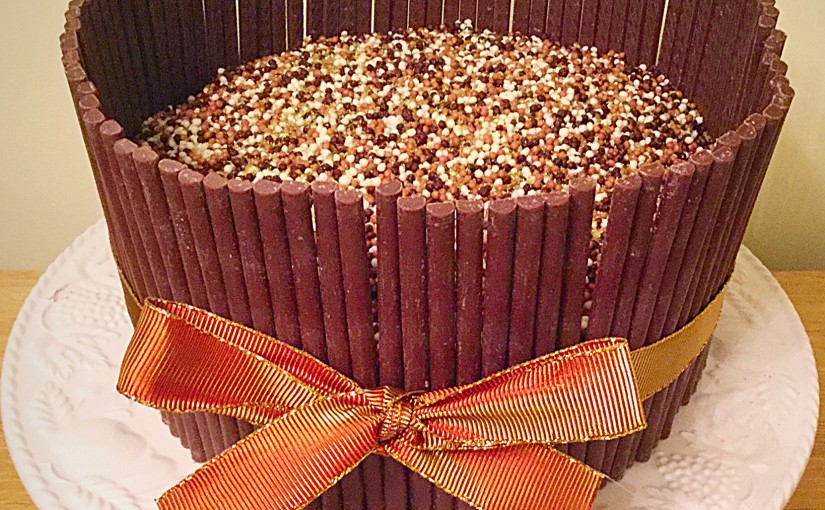
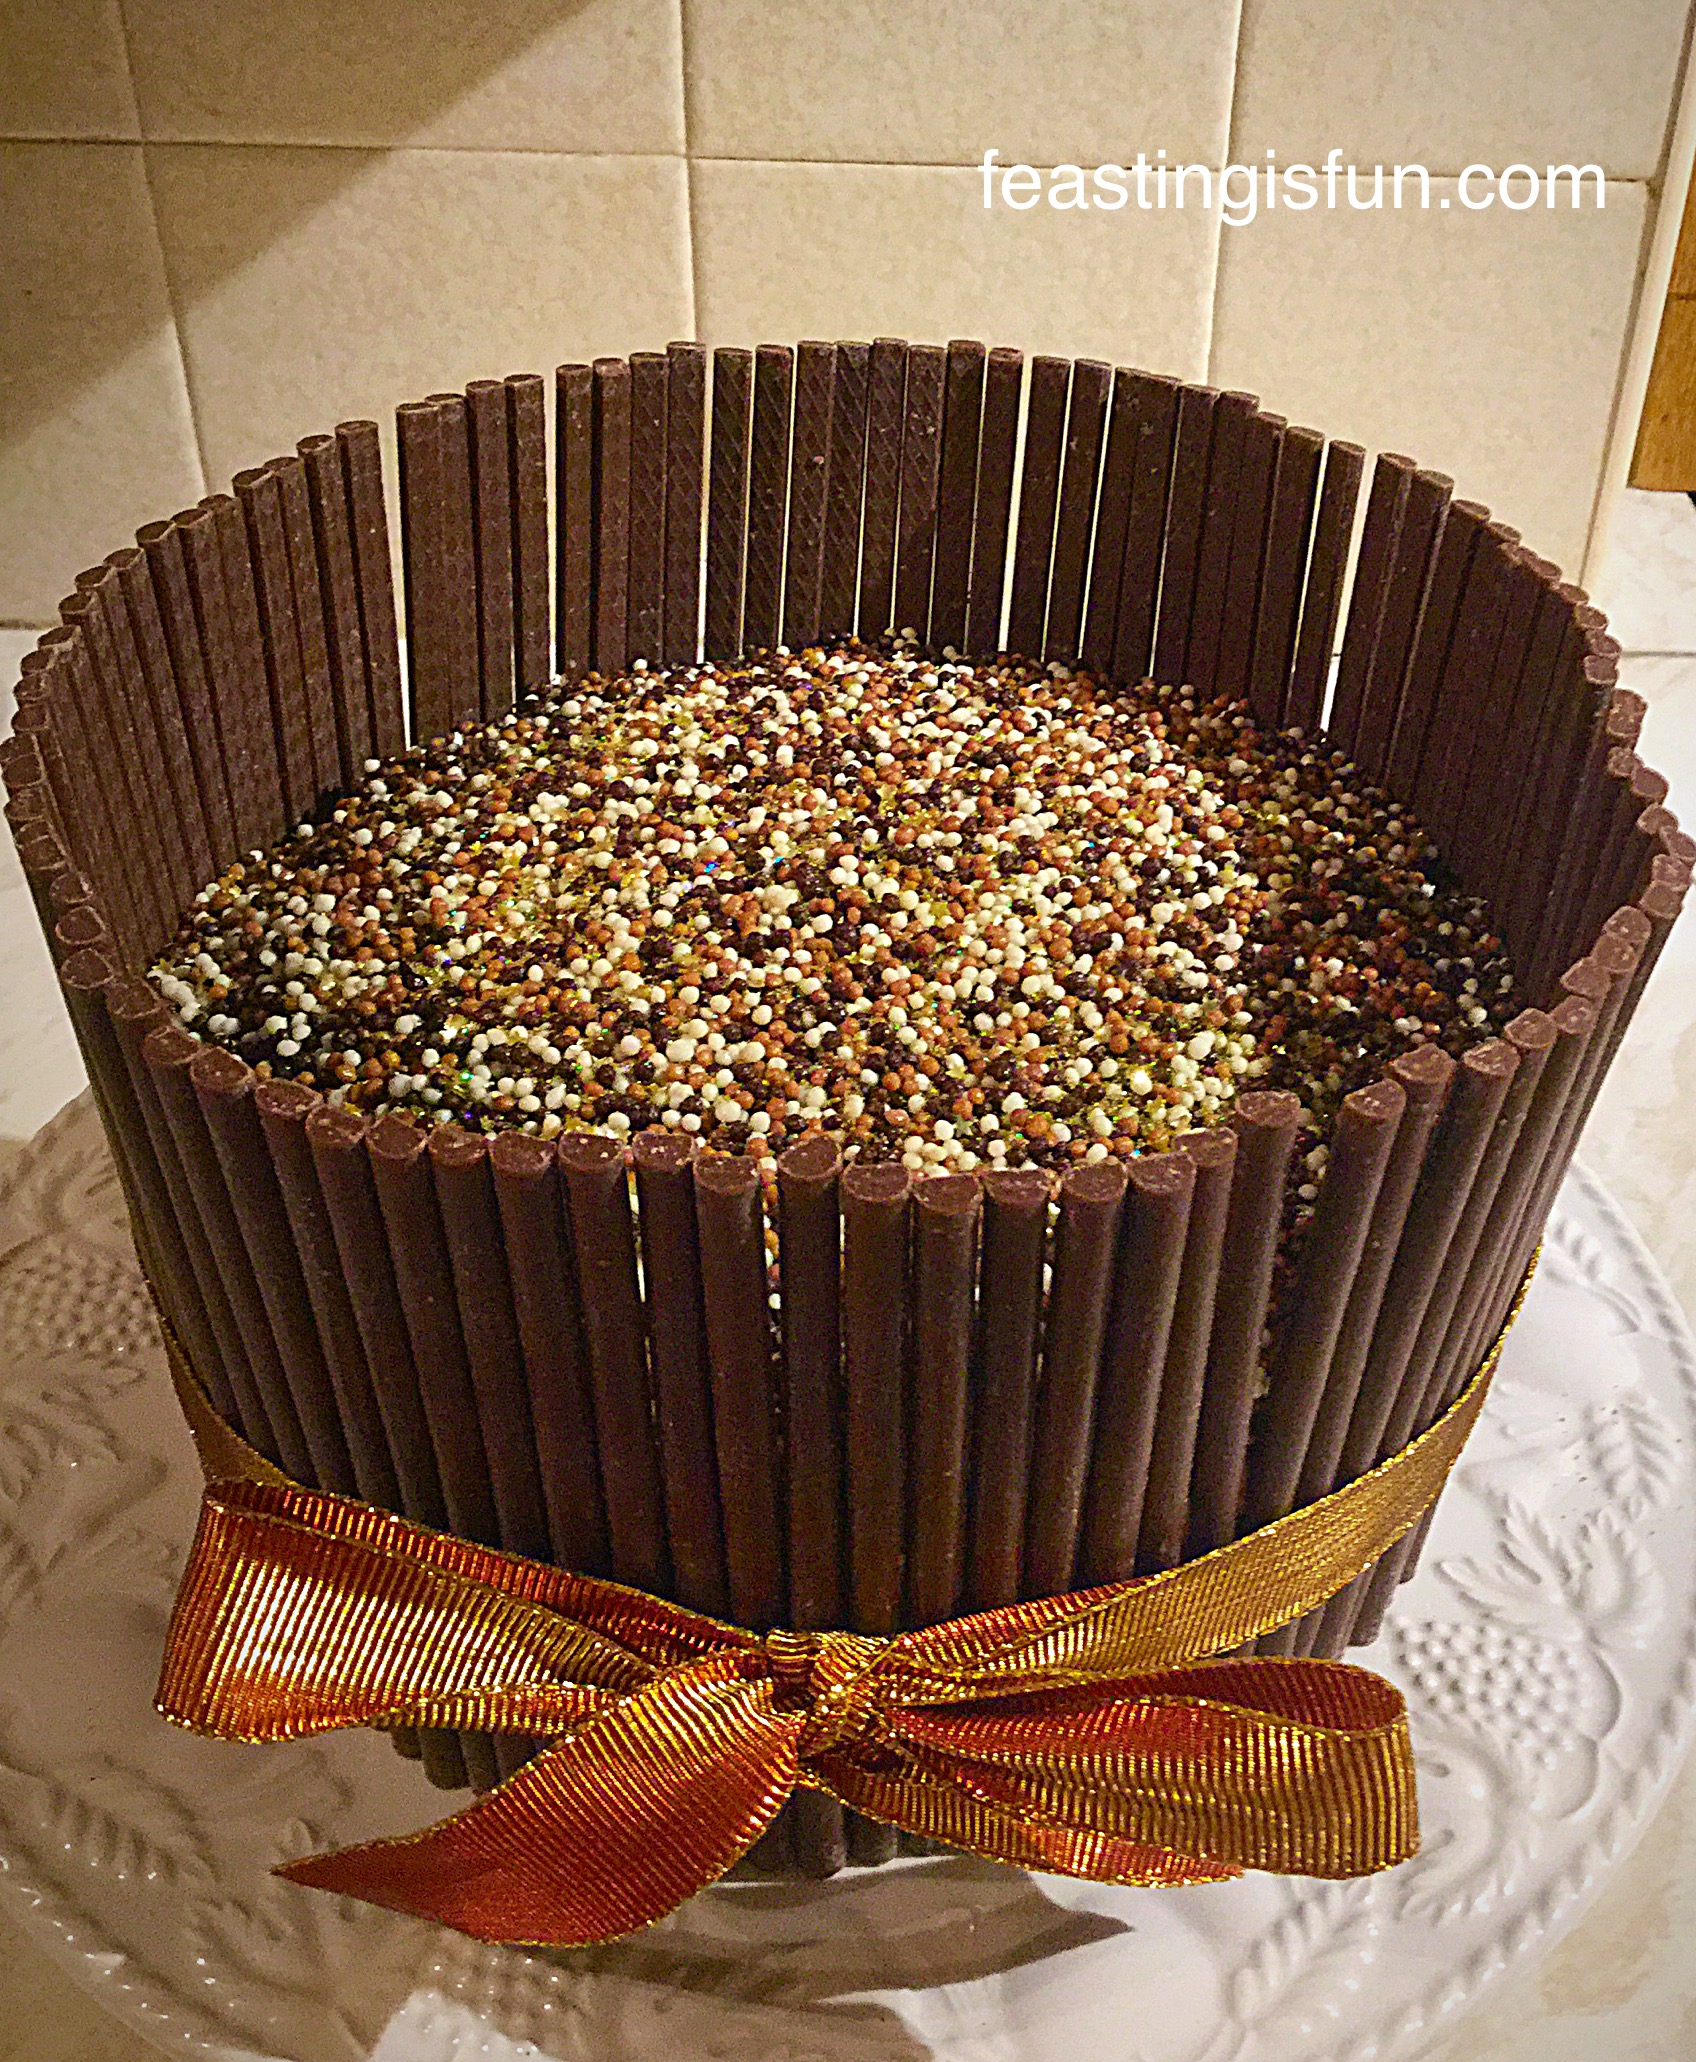
Chocolate Amaretto Cake is the easiest, wow factor cake, you ever need to make. Delicious, moist, almond and chocolate sponge, covered in chocolate, Amaretto whipped cream and surrounded by Elizabeth Shaw amaretto flavoured chocolate flutes. Finally, tied together with a pretty ribbon!
This delicious cake is subtly flavoured with Amaretto liquer. While the delicious Elizabeth Shaw amaretto flutes surround the whipped, chocolate cream, covered chocolate cake.
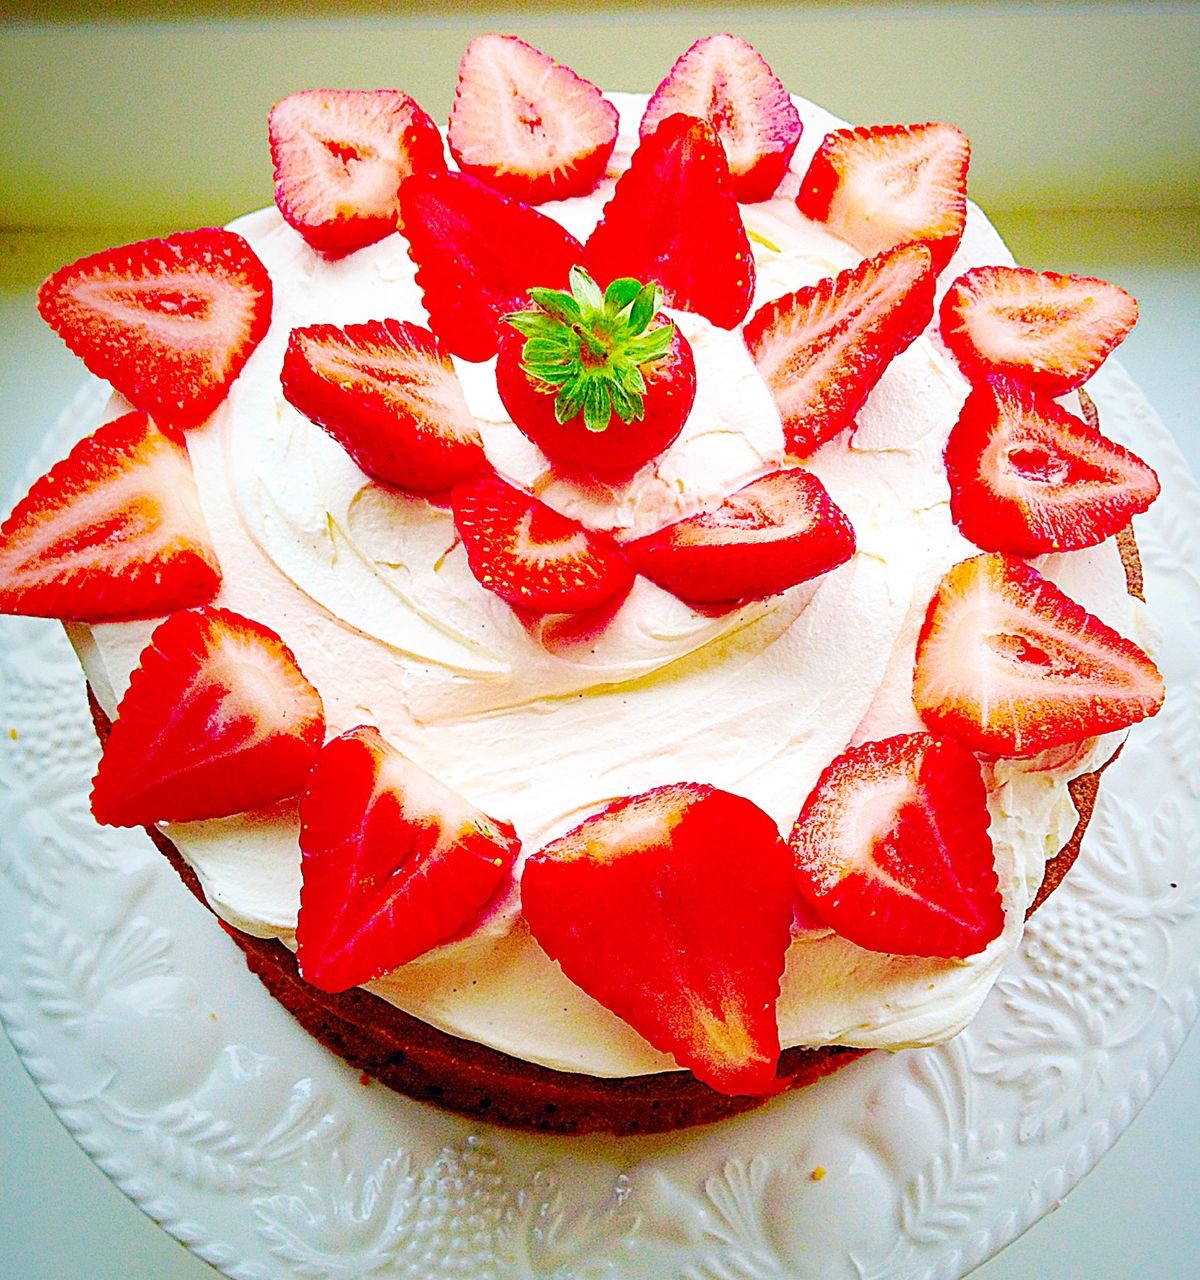
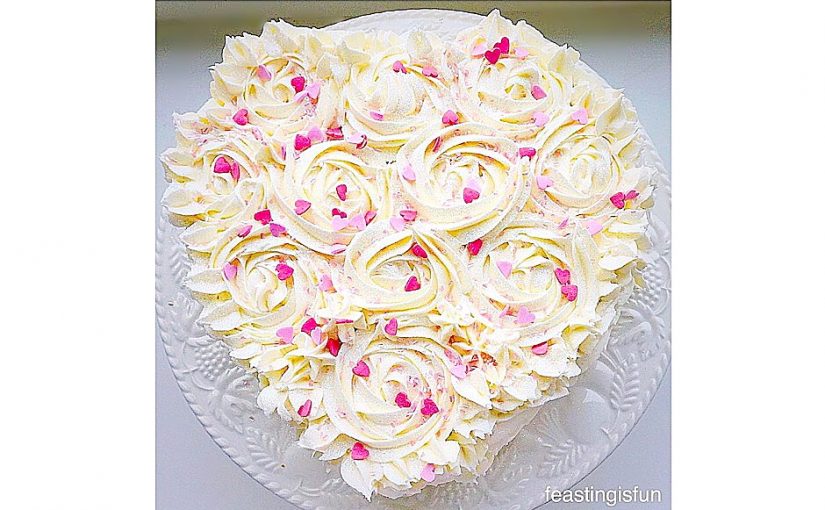
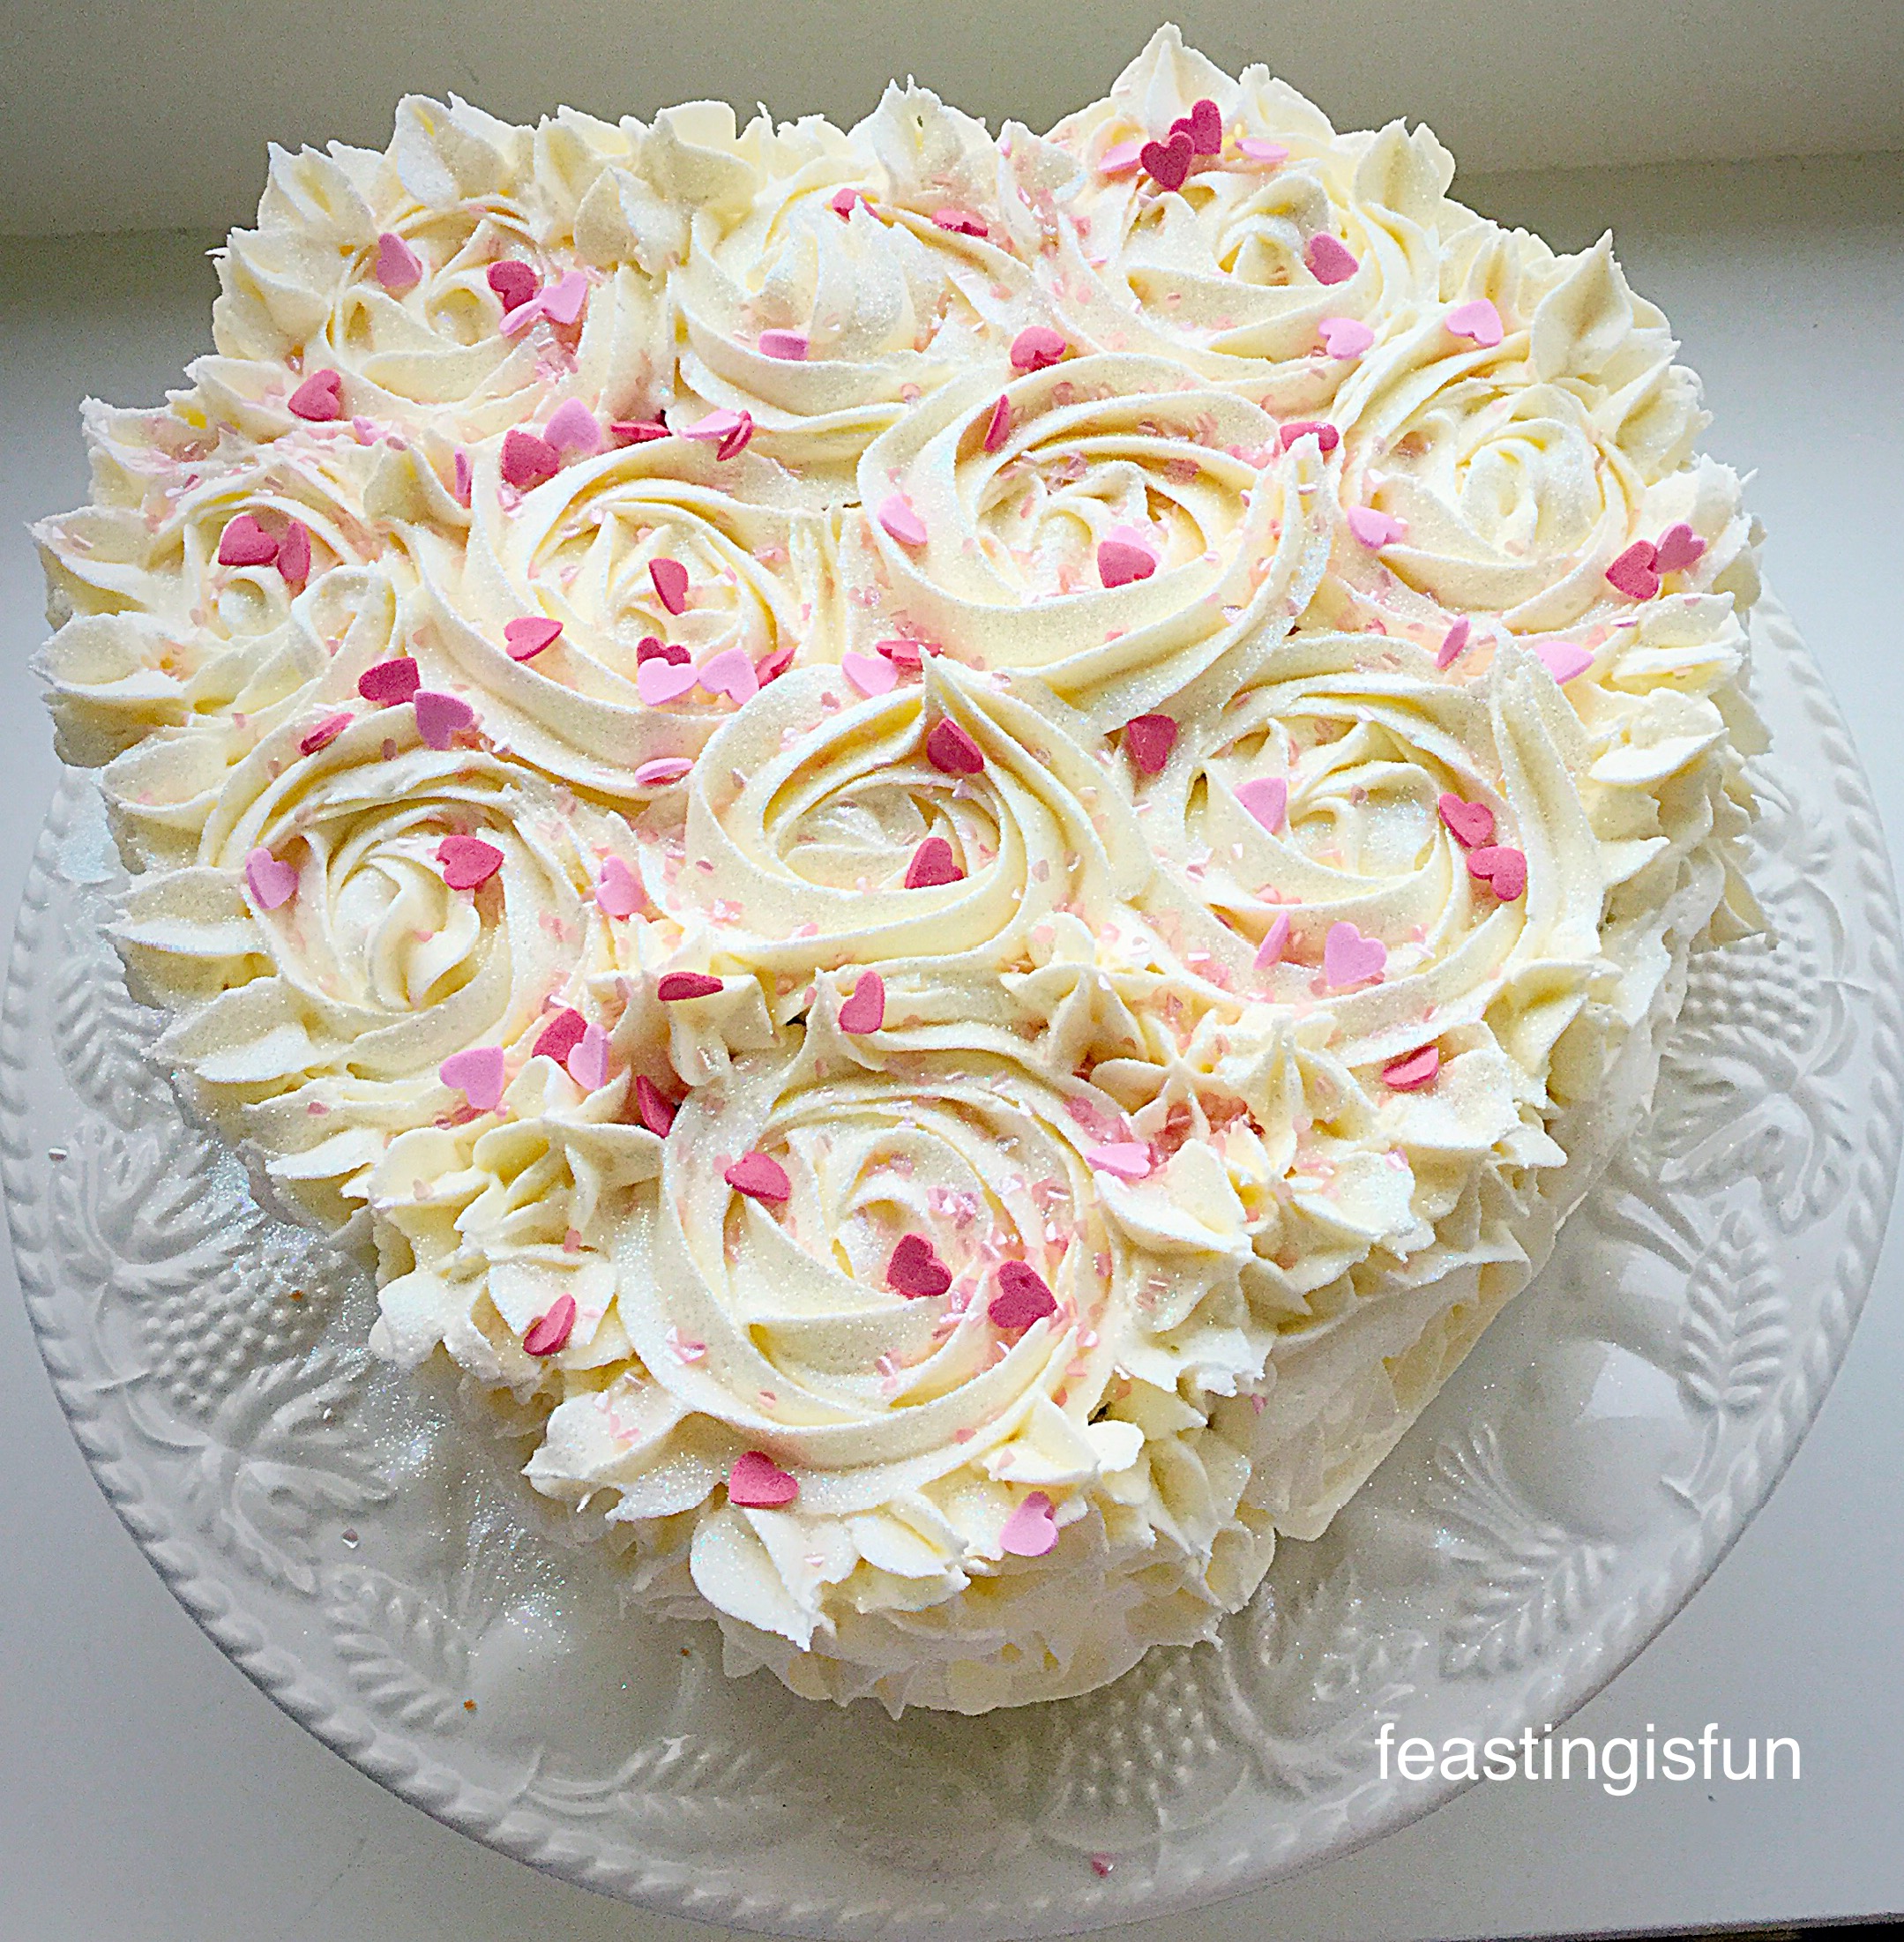
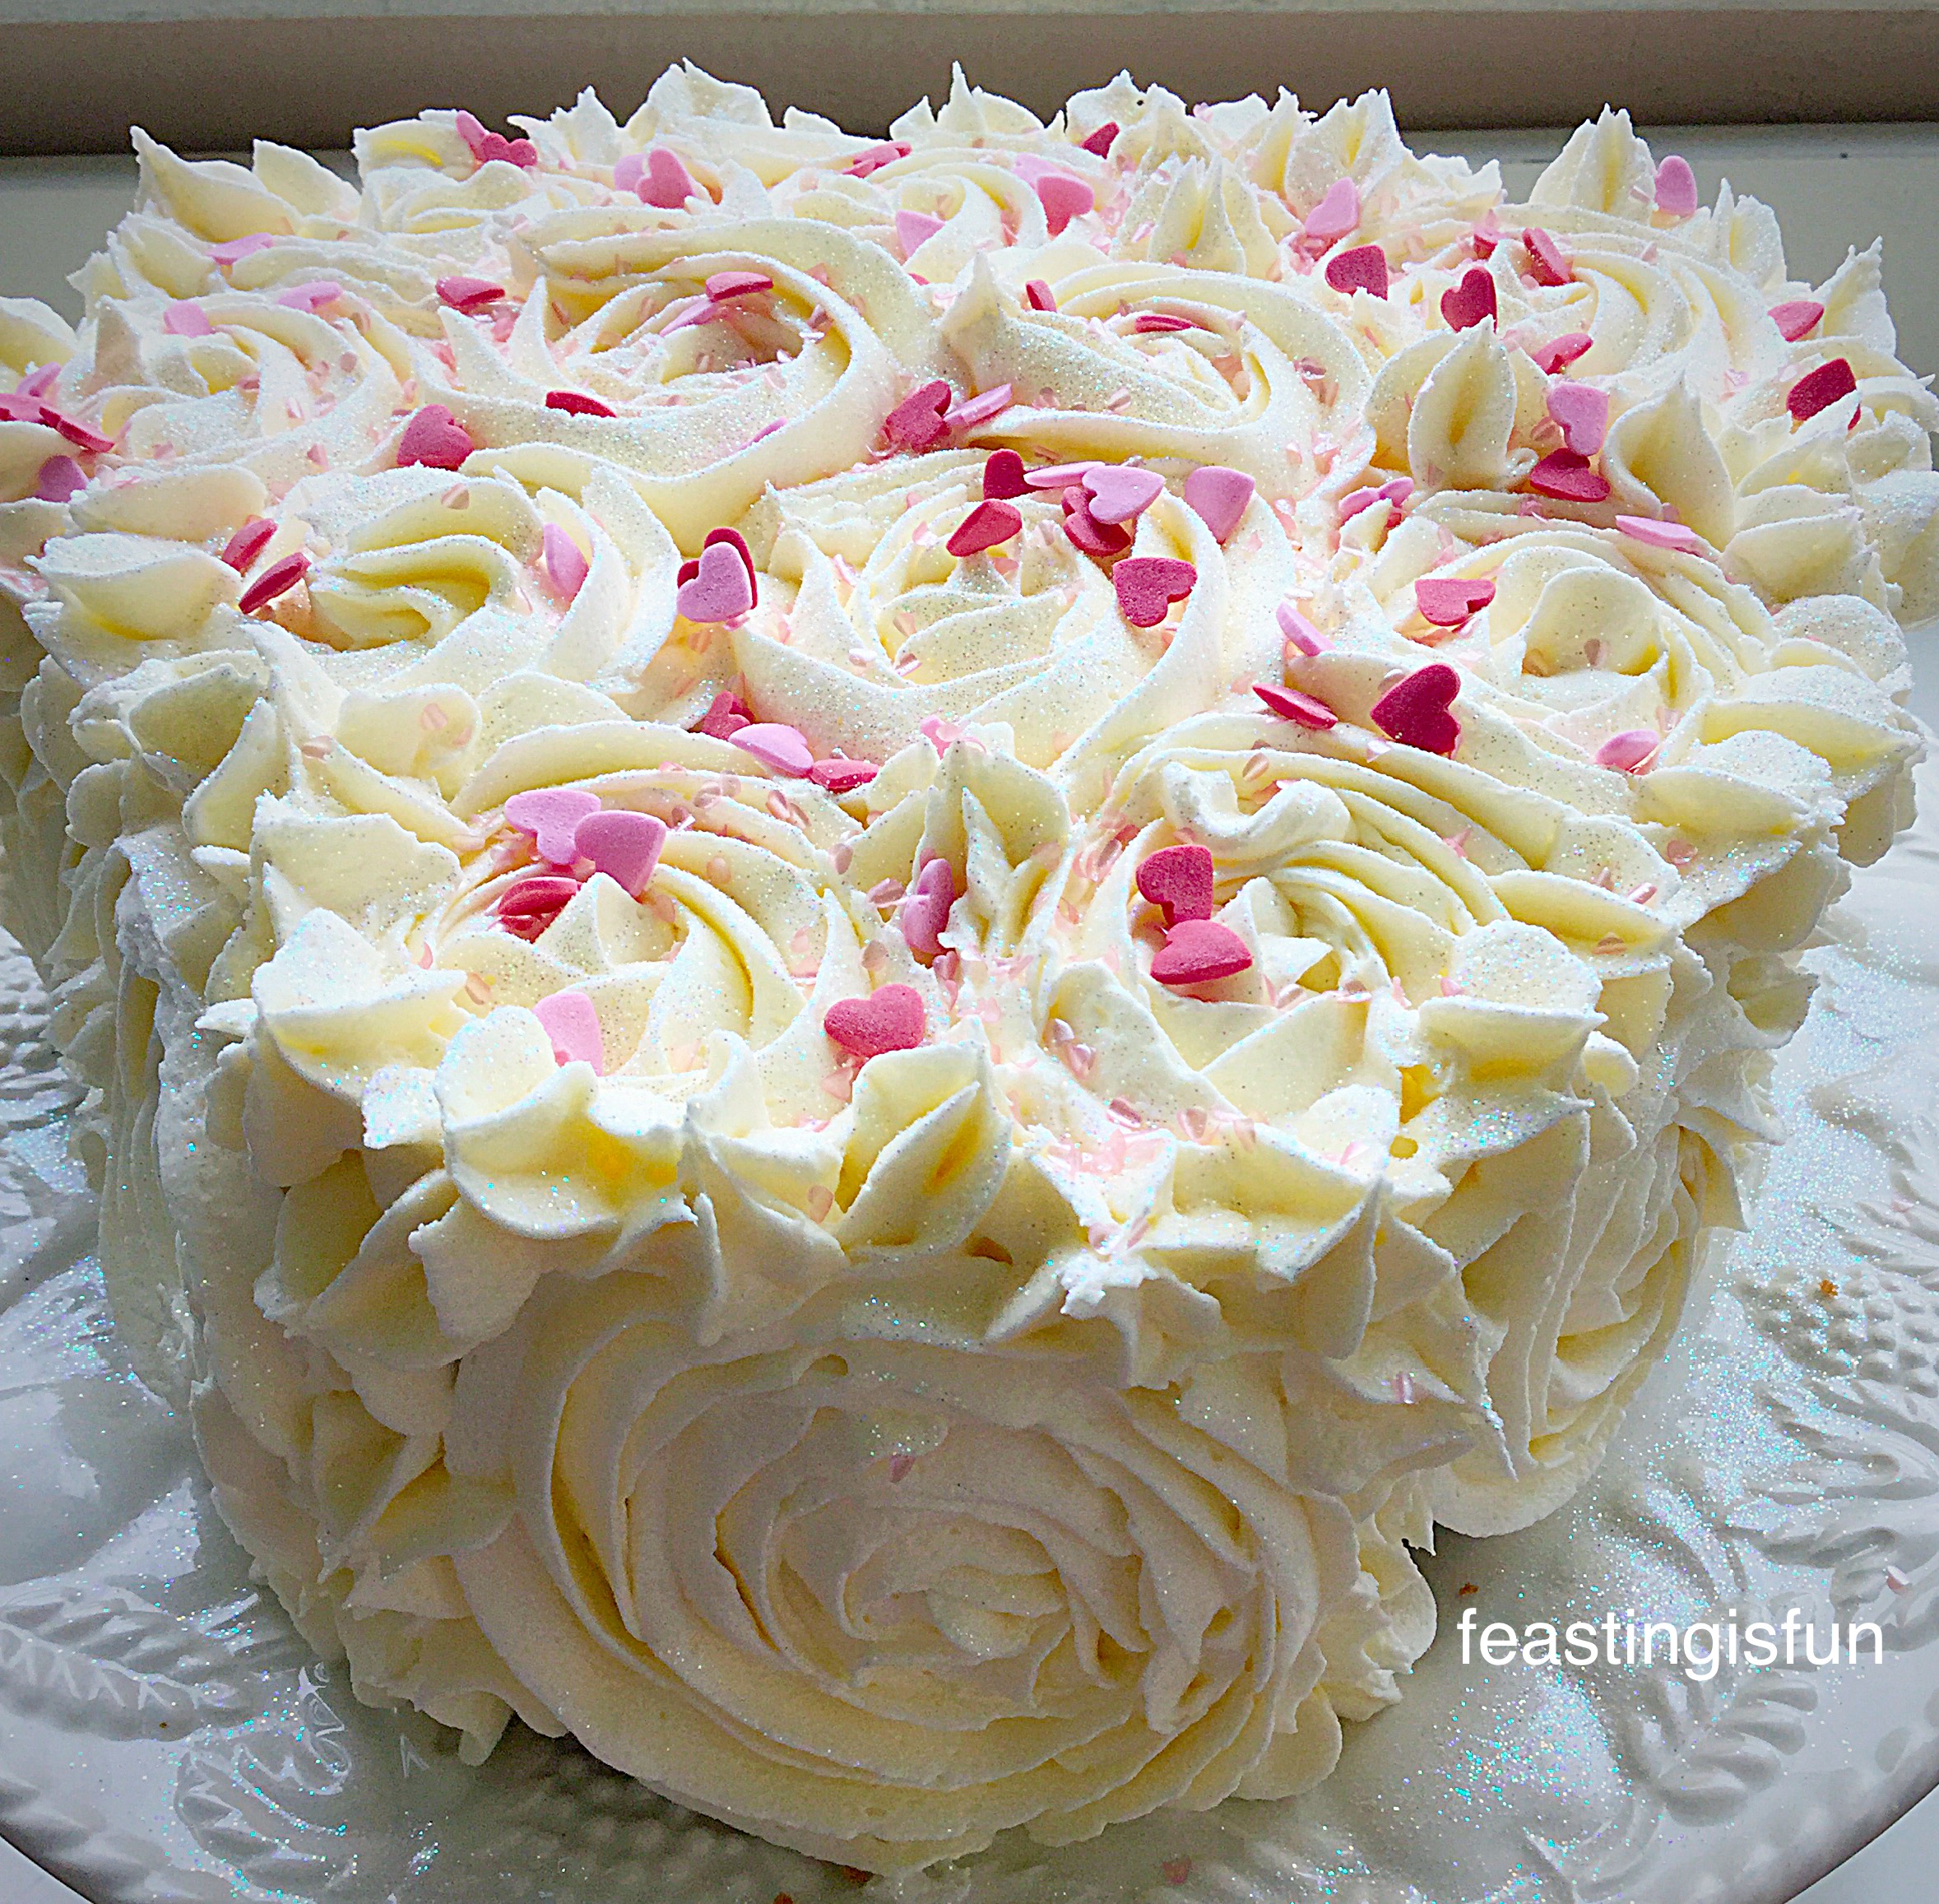
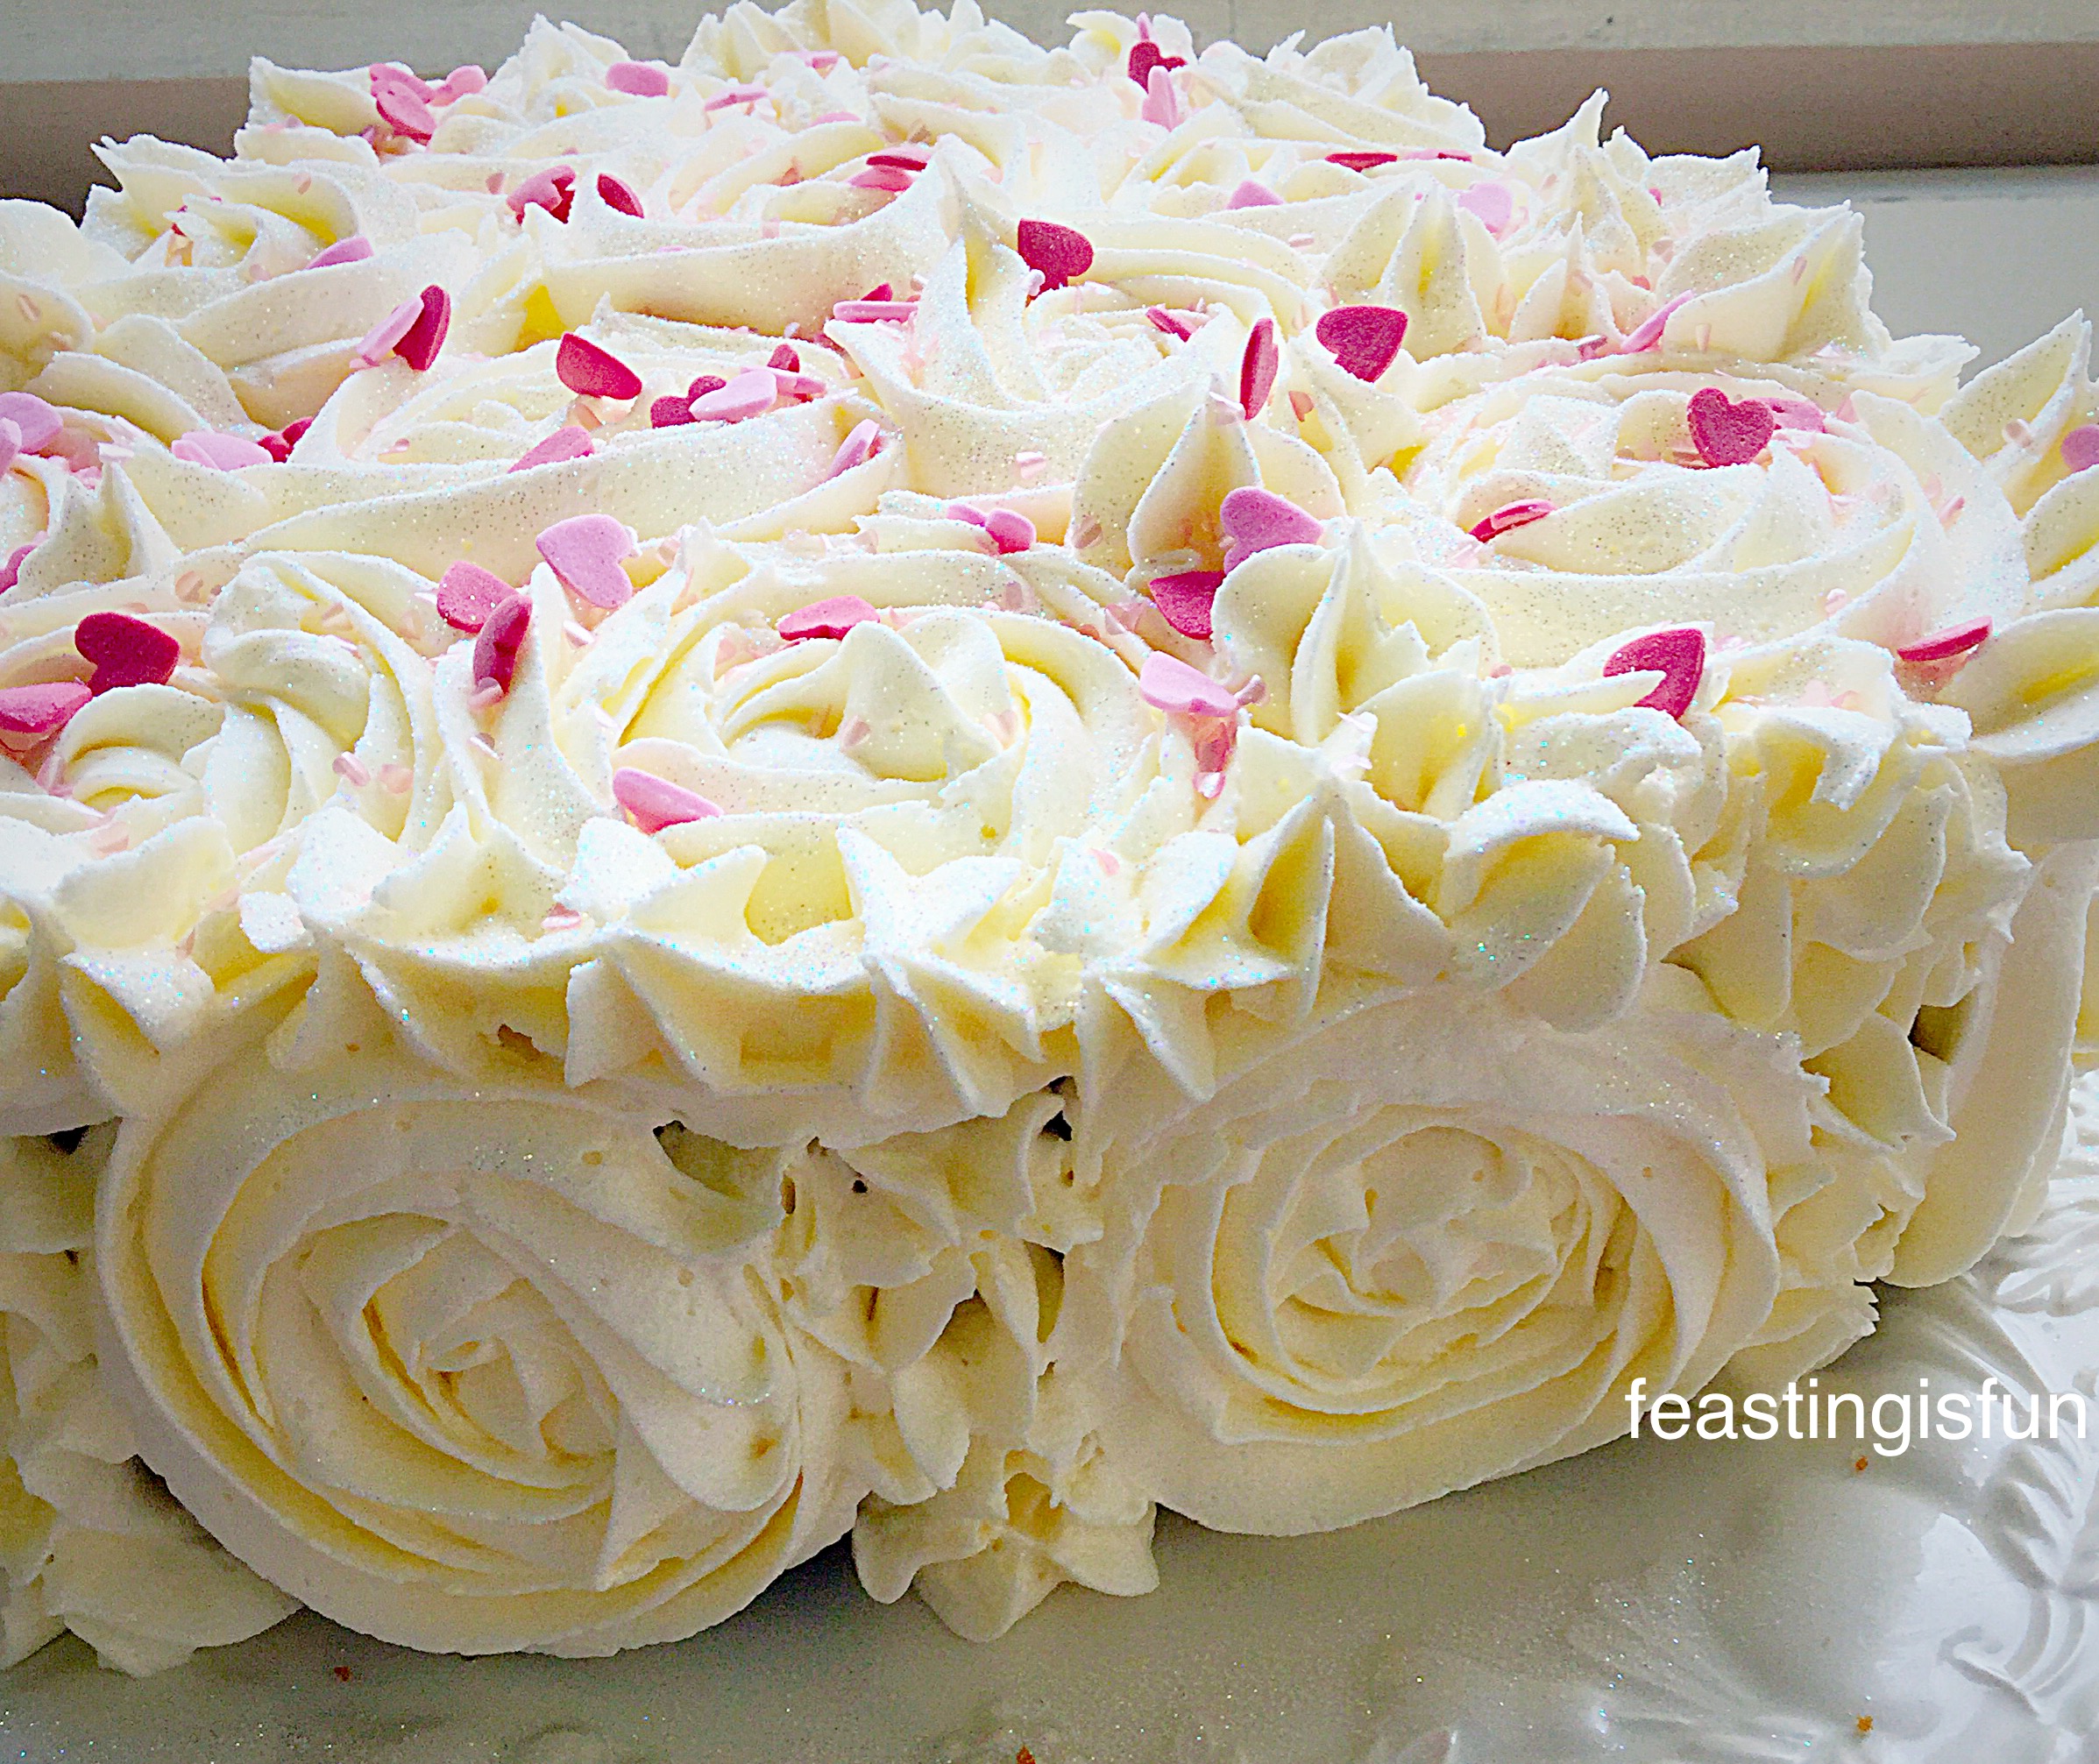
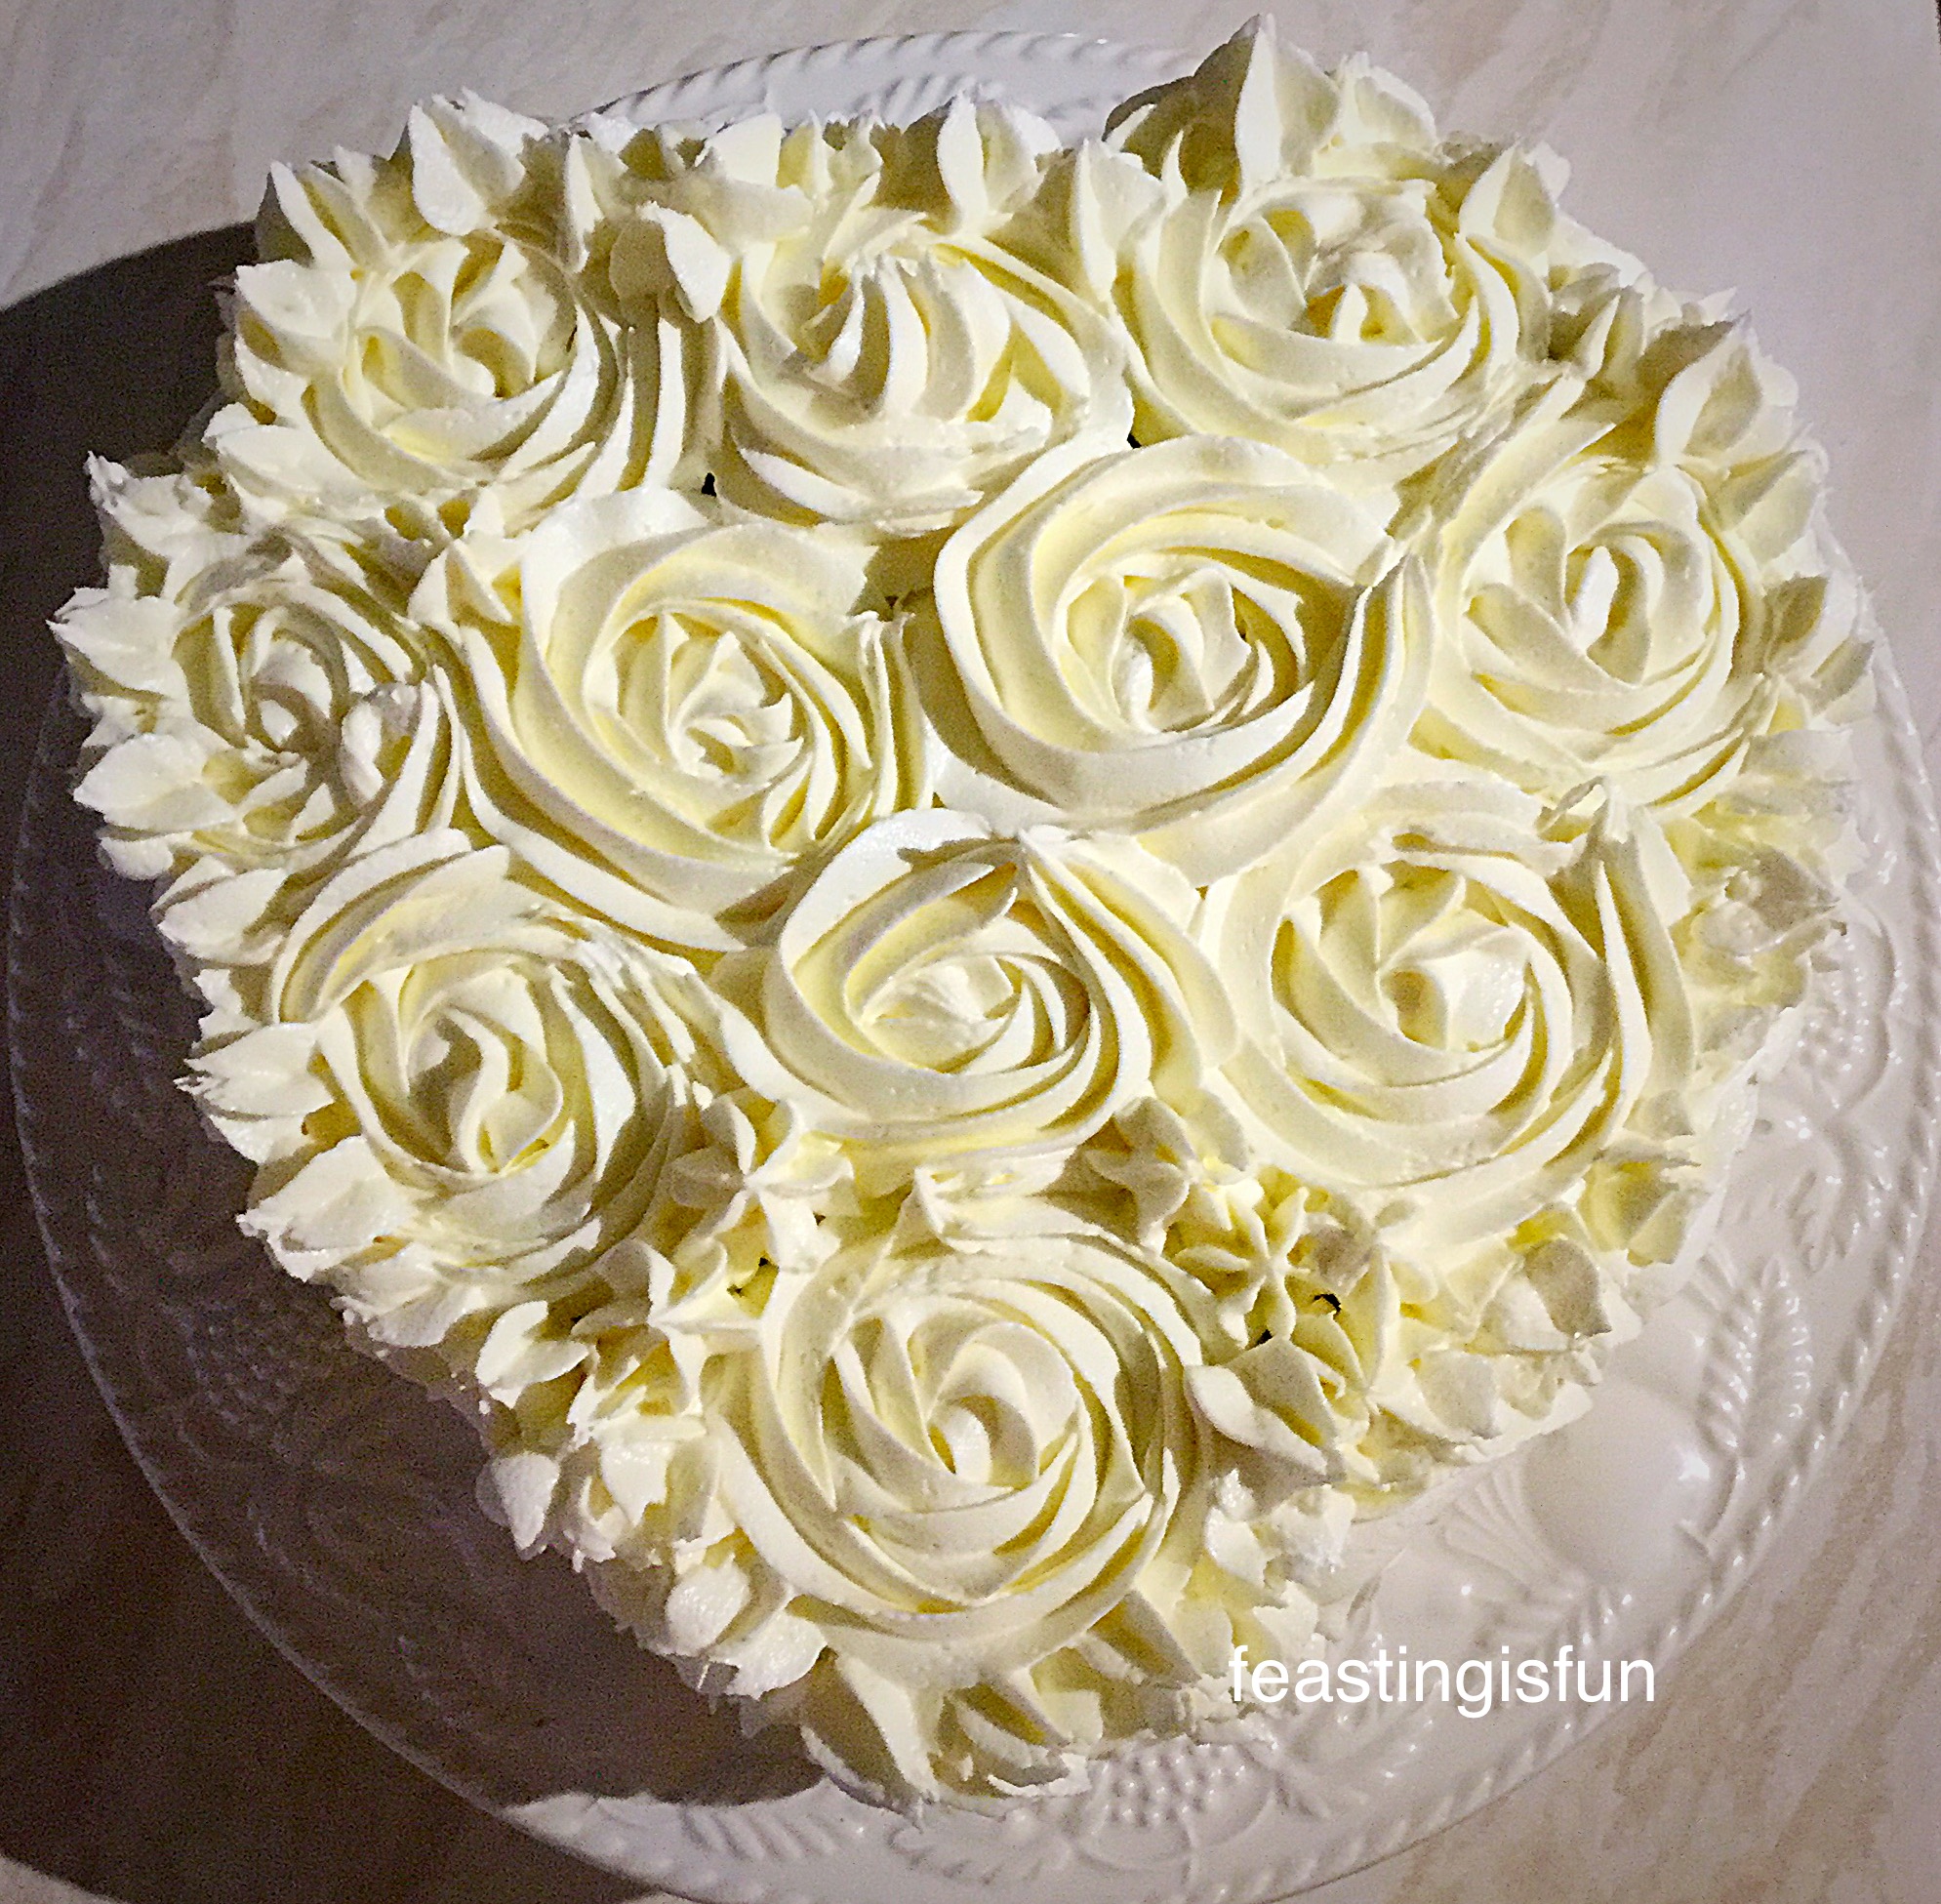
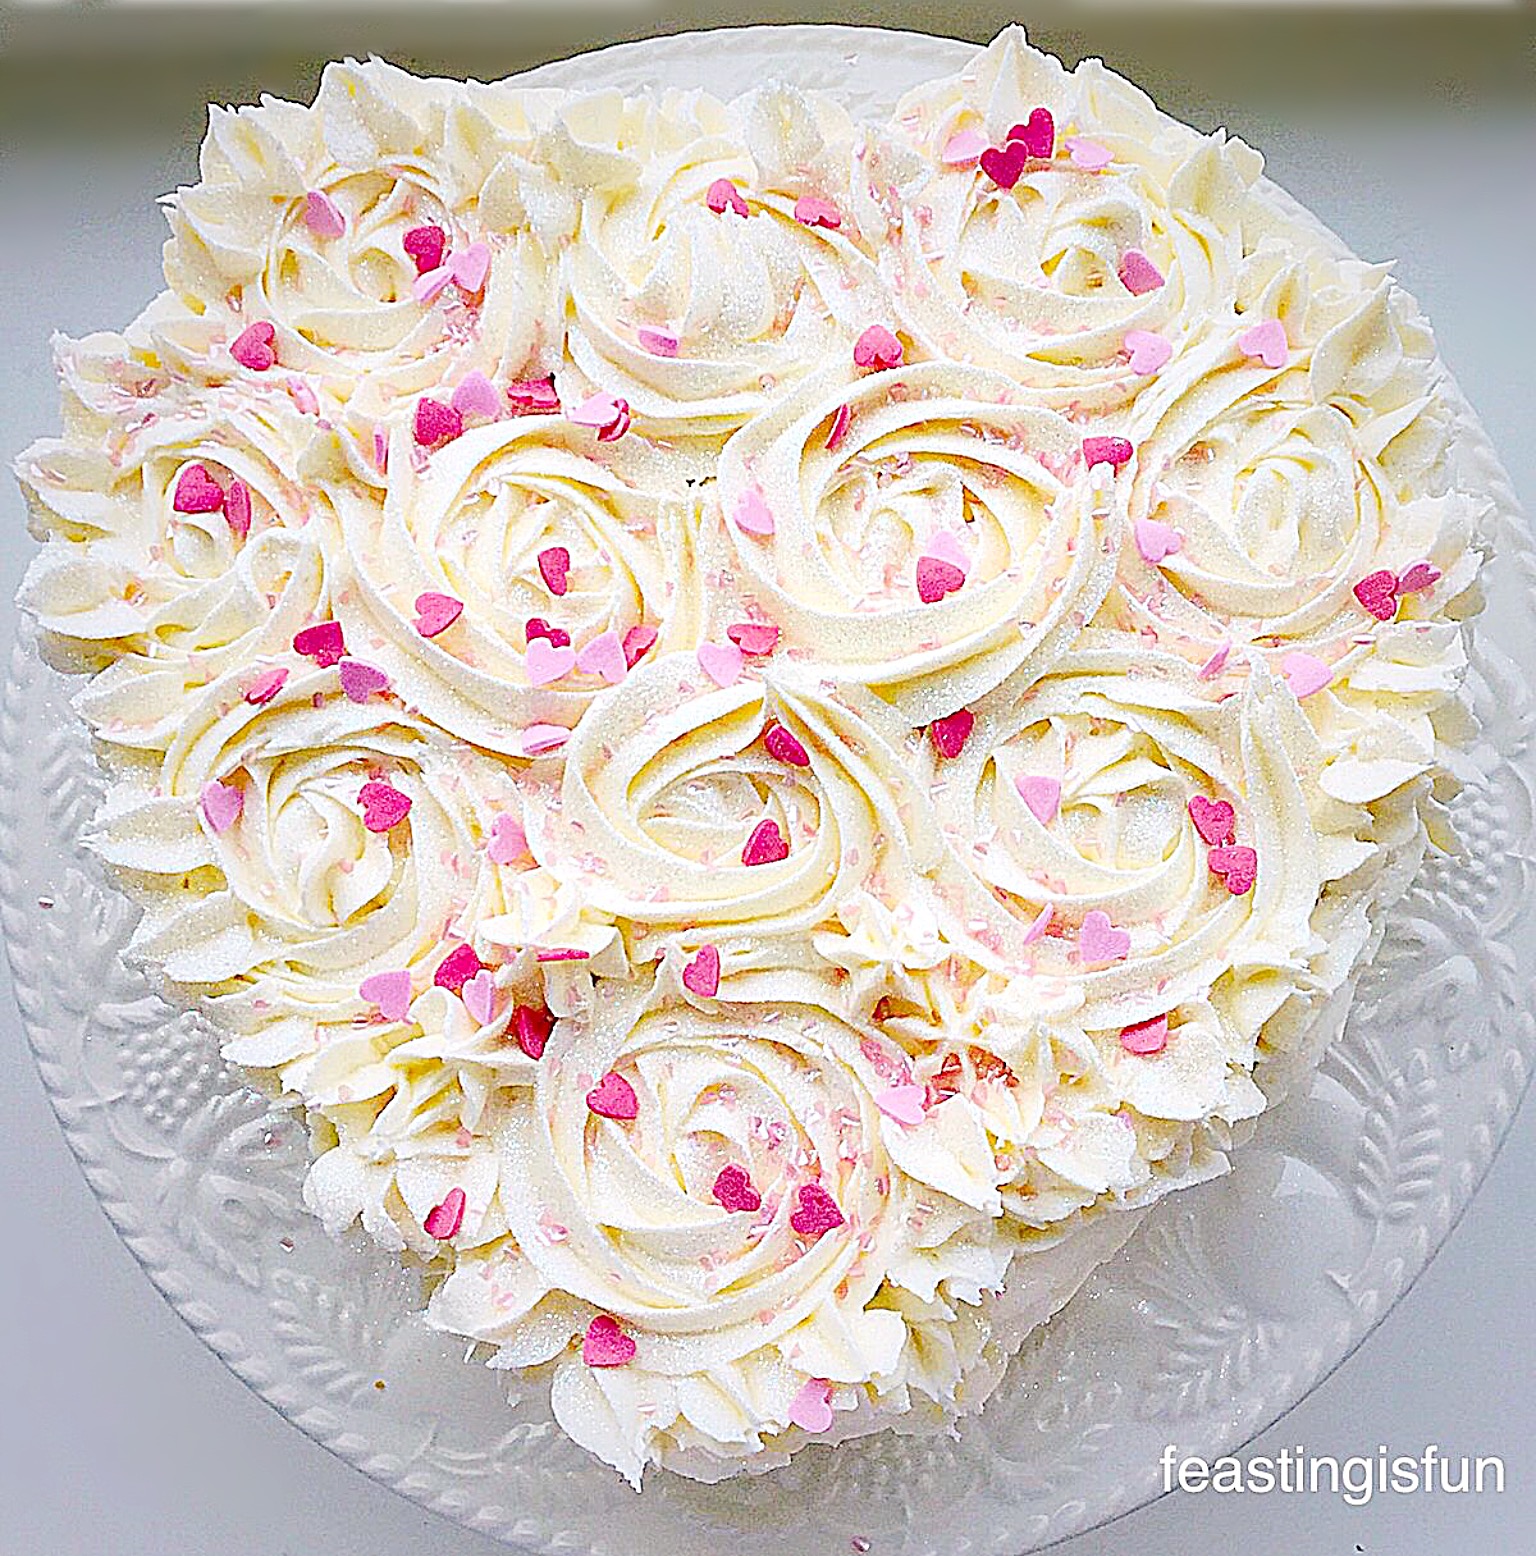
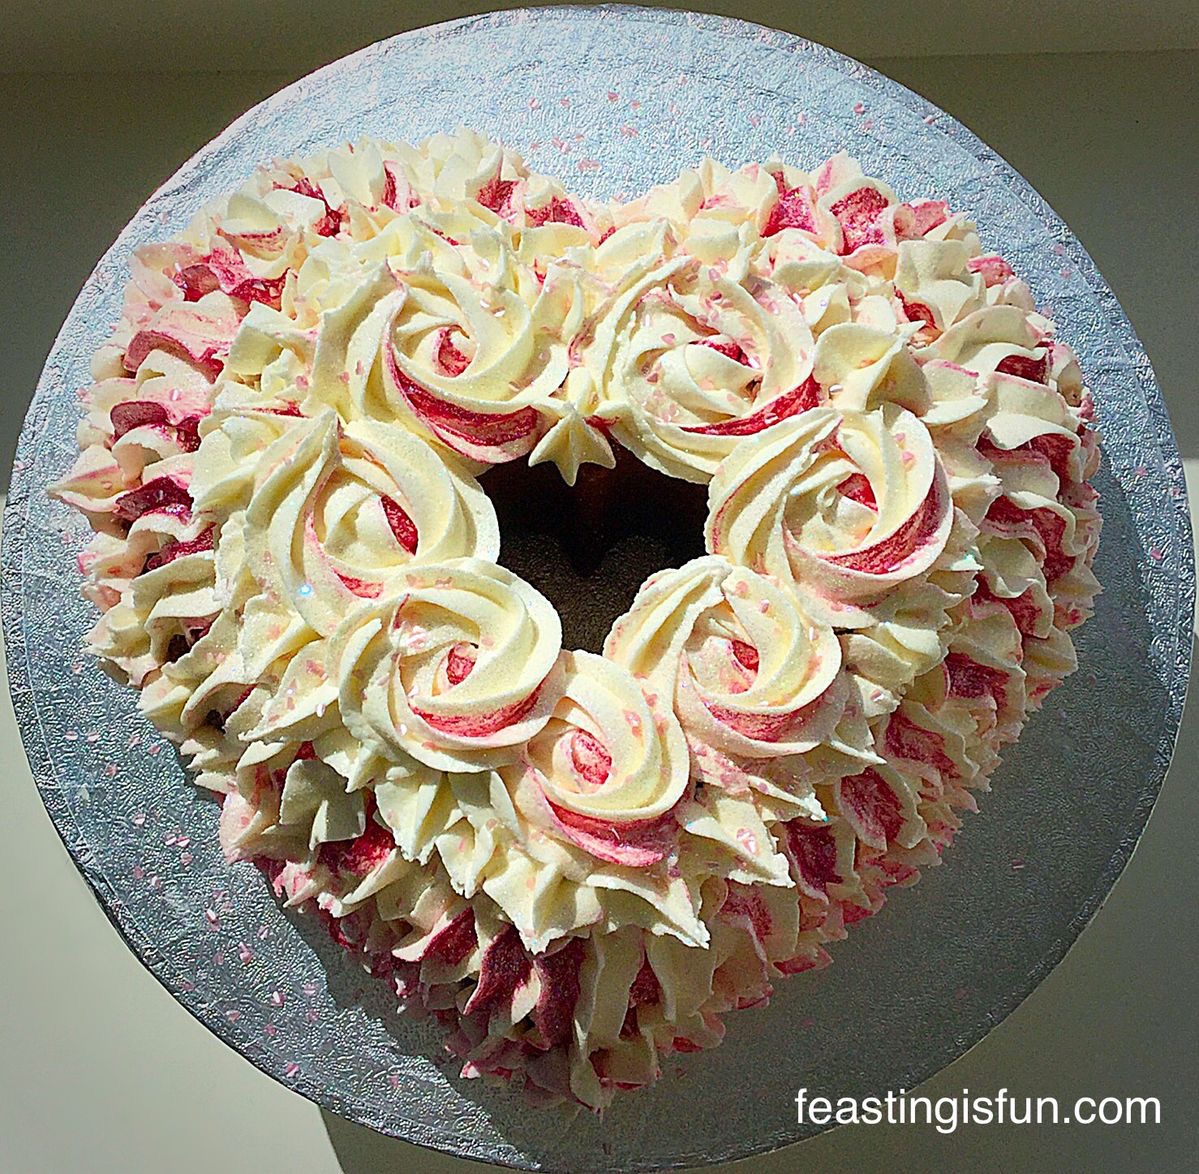
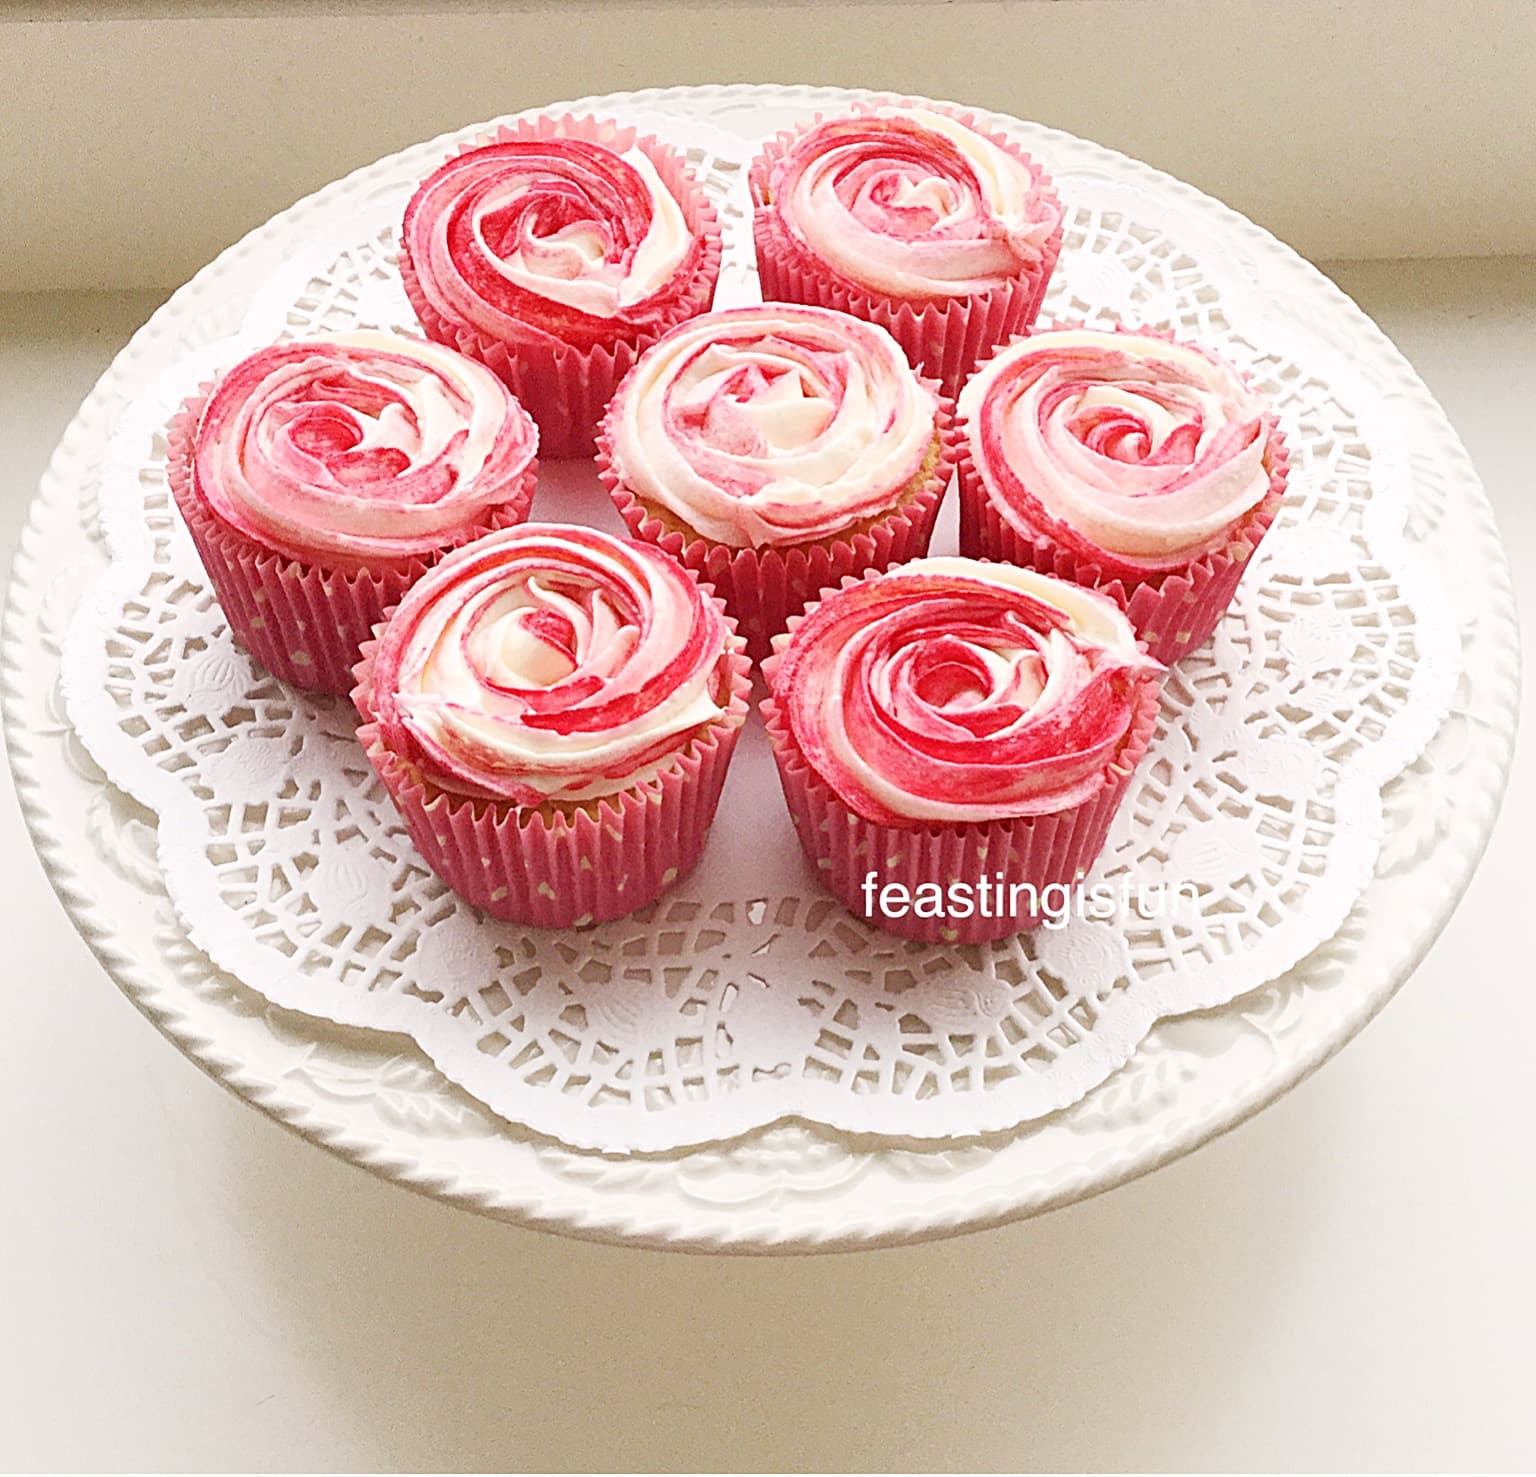
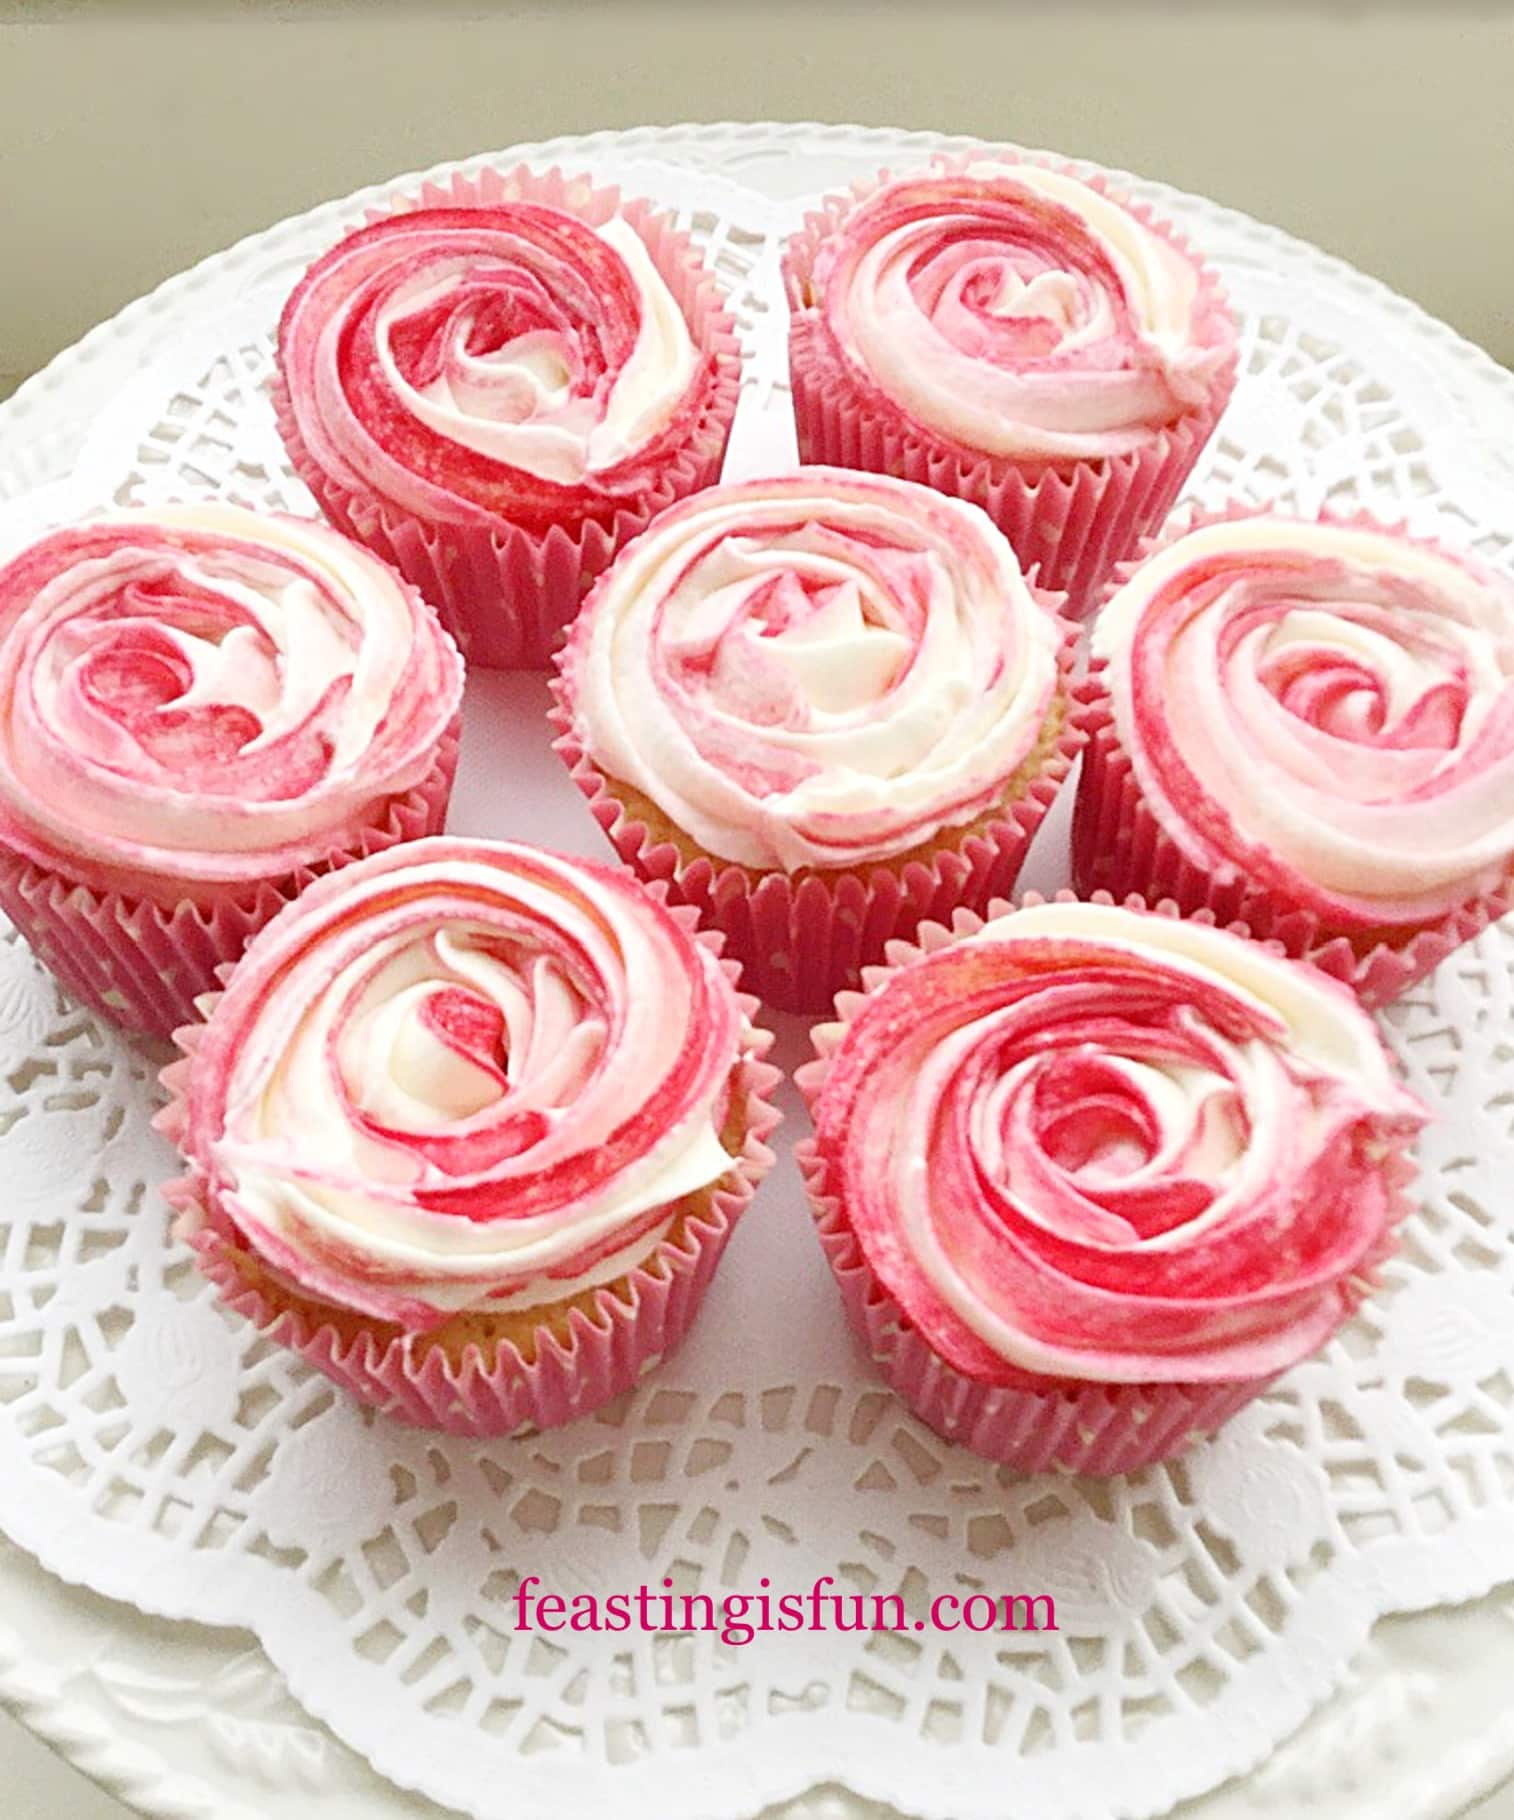
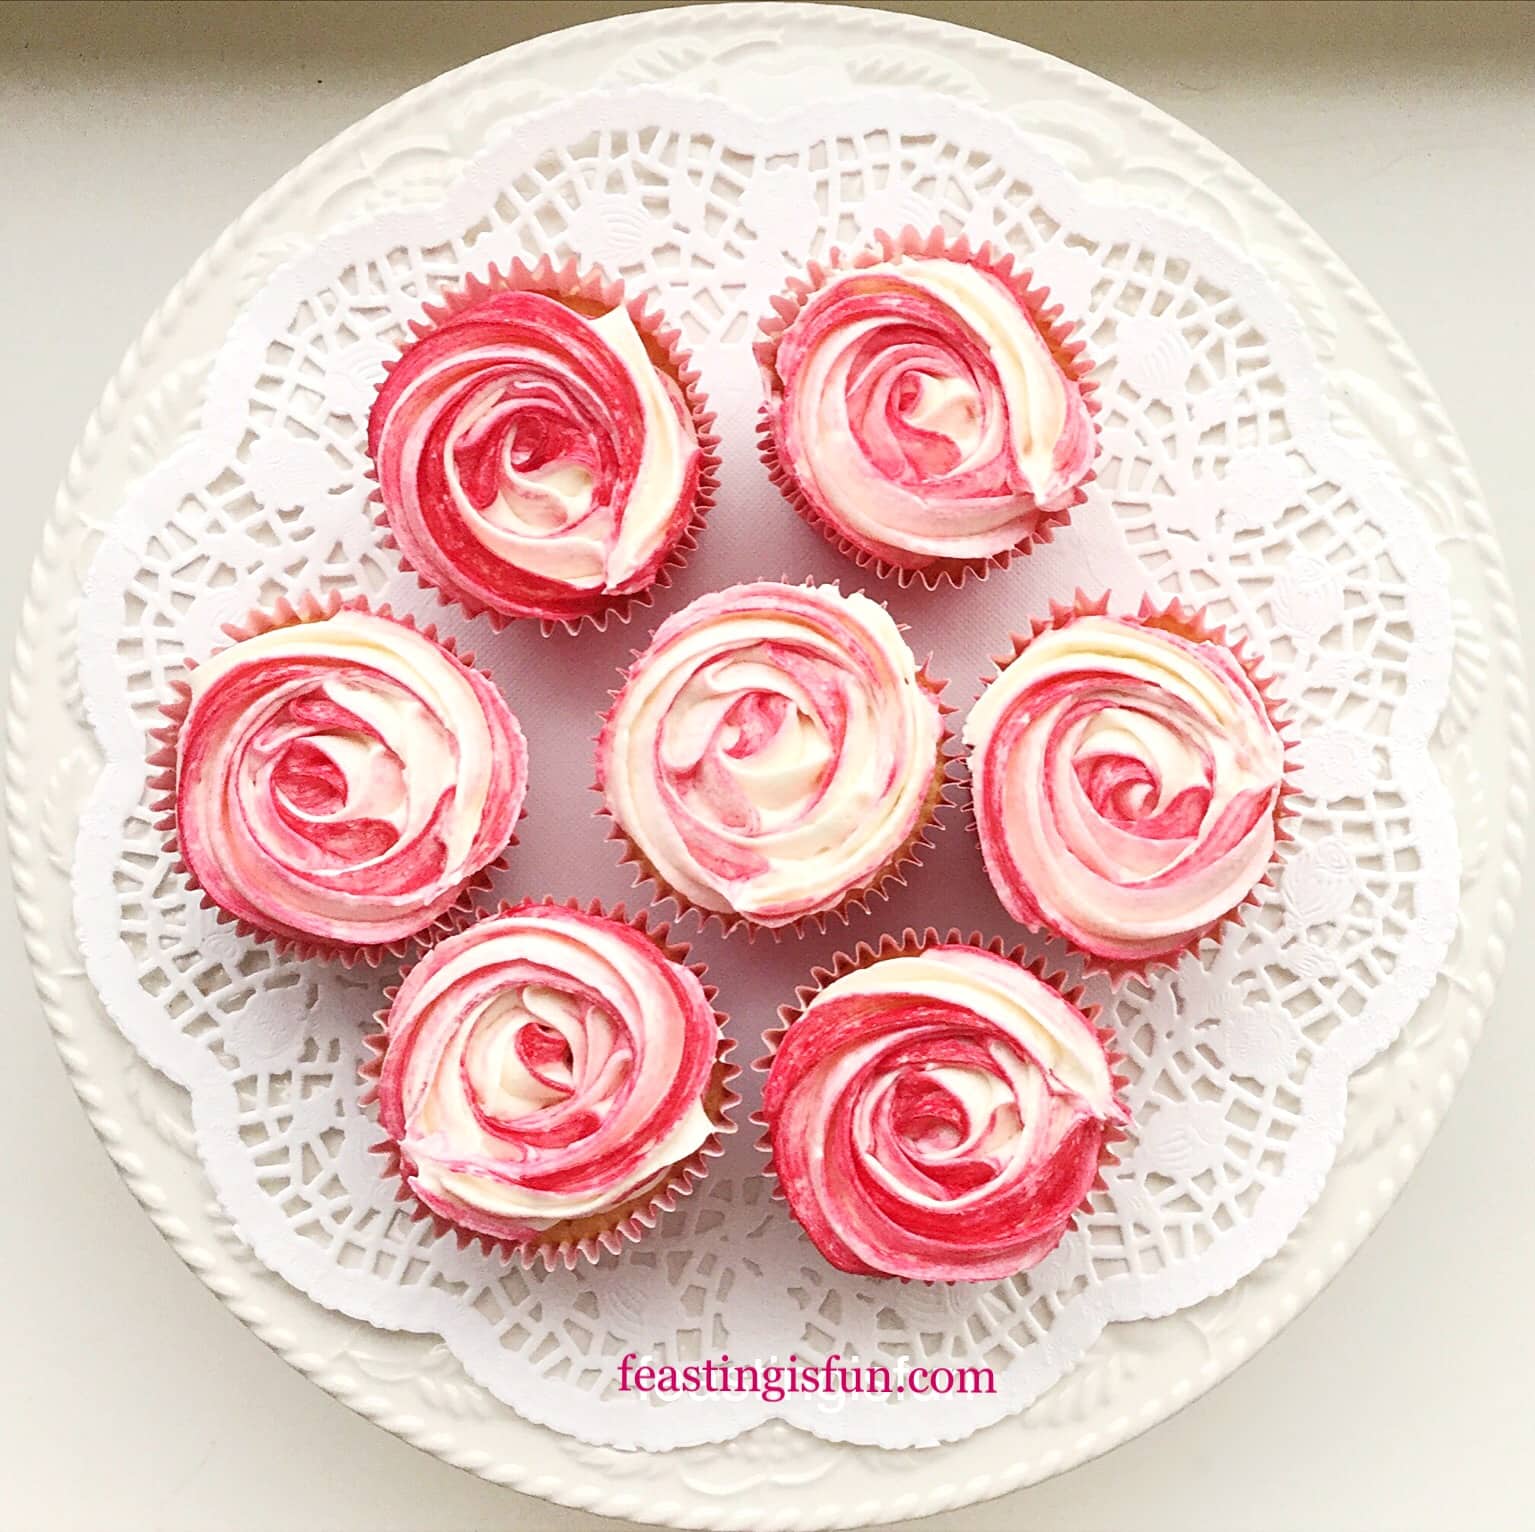
Following on from the beautifully piped Strawberry Sweetheart Cake I wanted to create a cake that anybody could make, regardless of their cake decorating ability. And with Mother’s Day being celebrated in only one weeks time, this is the perfect cake to make for your mum, as a surprise, a thank you for everything she has done for you.
Most importantly, I cannot think of a better gift for any mum to receive that is better than a homemade cake and this Chocolate Amaretto Cake is sure to wow any mum, or dad!
A Cake That Can Be Made By Anyone – no matter their skill level!
Look even though I am going to give you the recipe for this cake, I want you to absolutely KNOW, that you can create this knockout cake, without any culinary skills what-so-ever. So, just this once, if you feel more confident using a cake mix from a box, I’ll turn a blind eye.
Yes I did really give you permission to cheat. Because, everyone has to start somewhere and I’d rather you used a packet mix and gave this cake a go, than be too overwhelmed by the whole ‘baking’ process to even try.
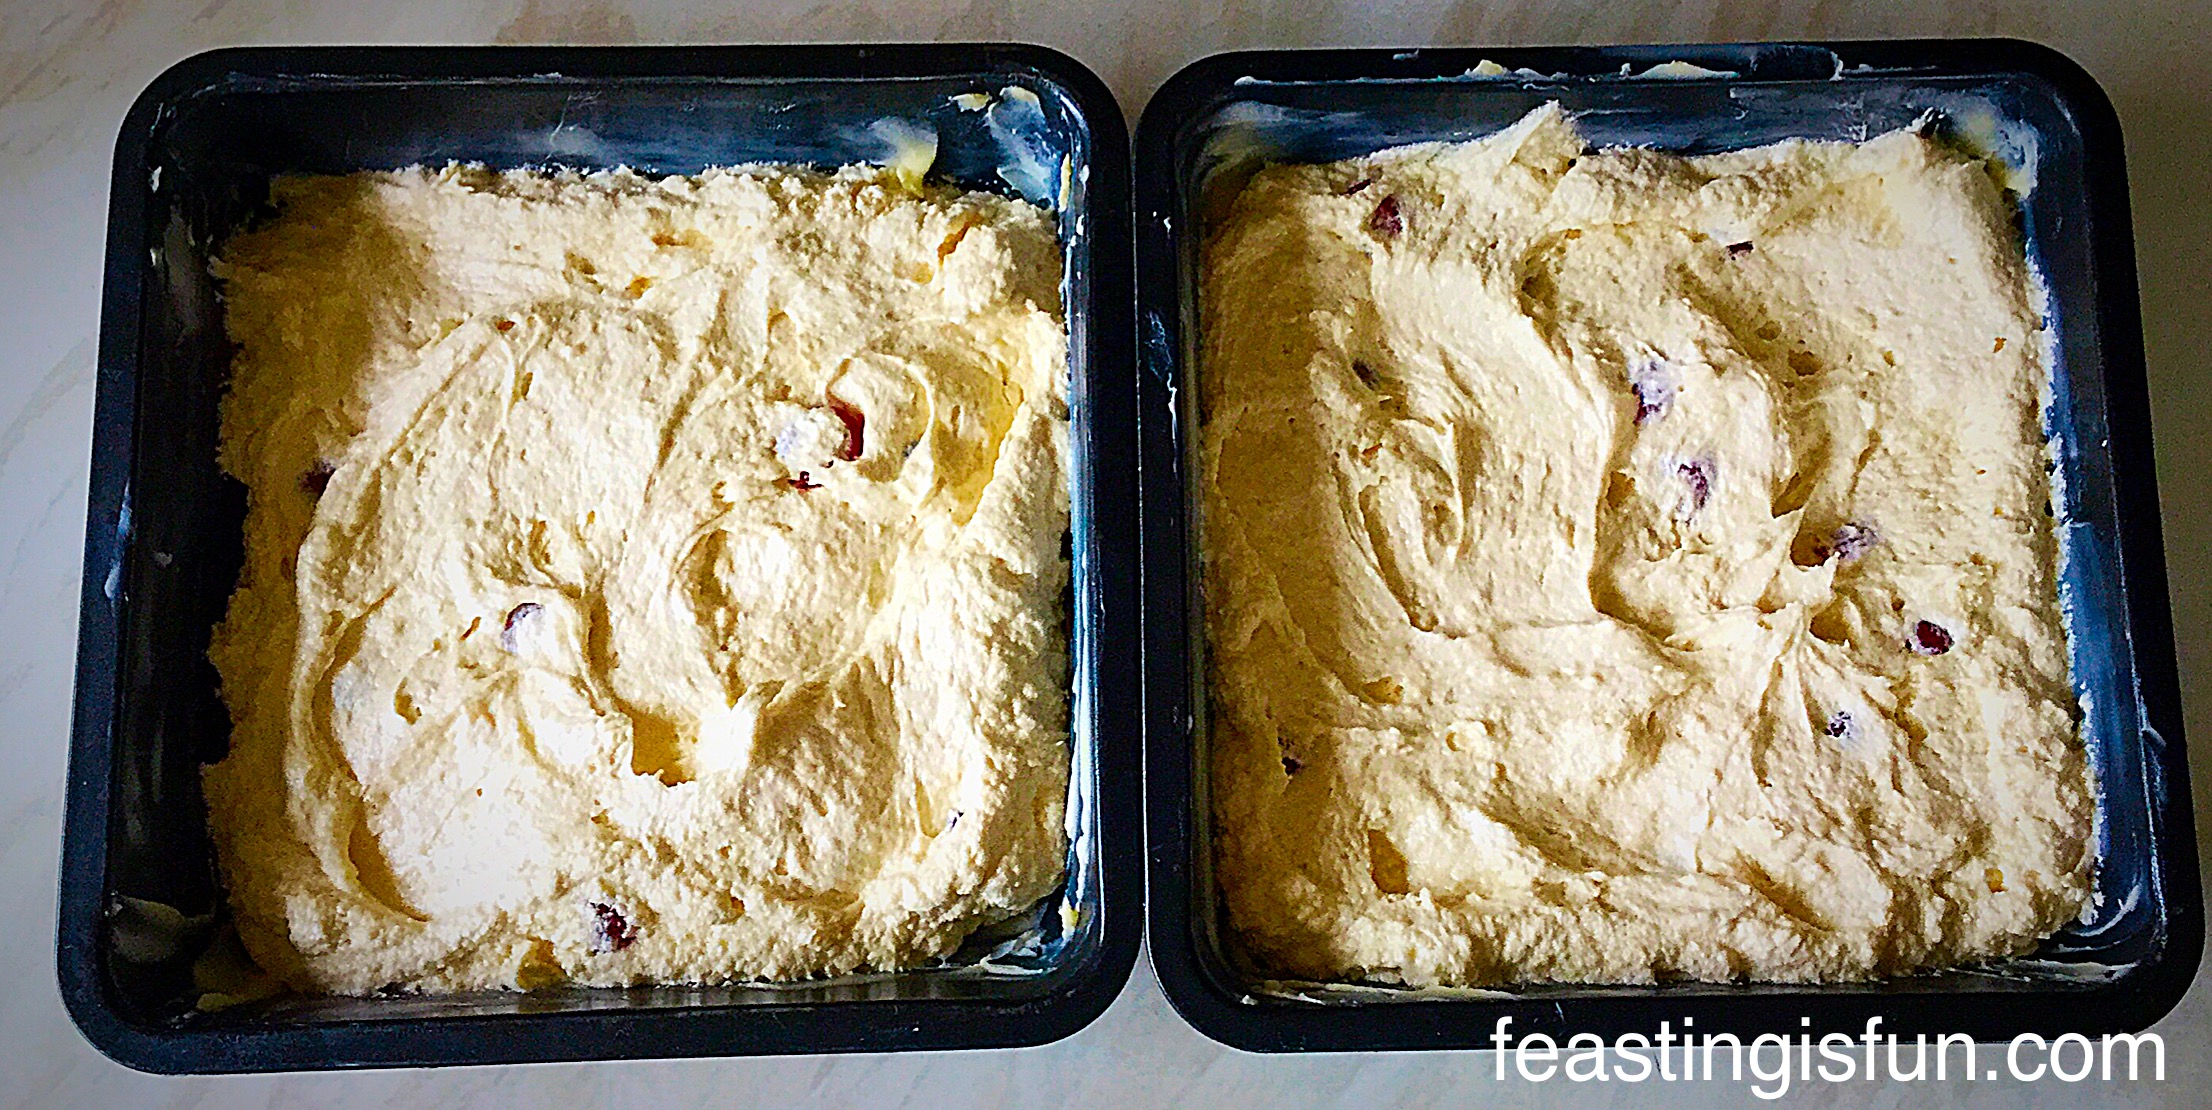
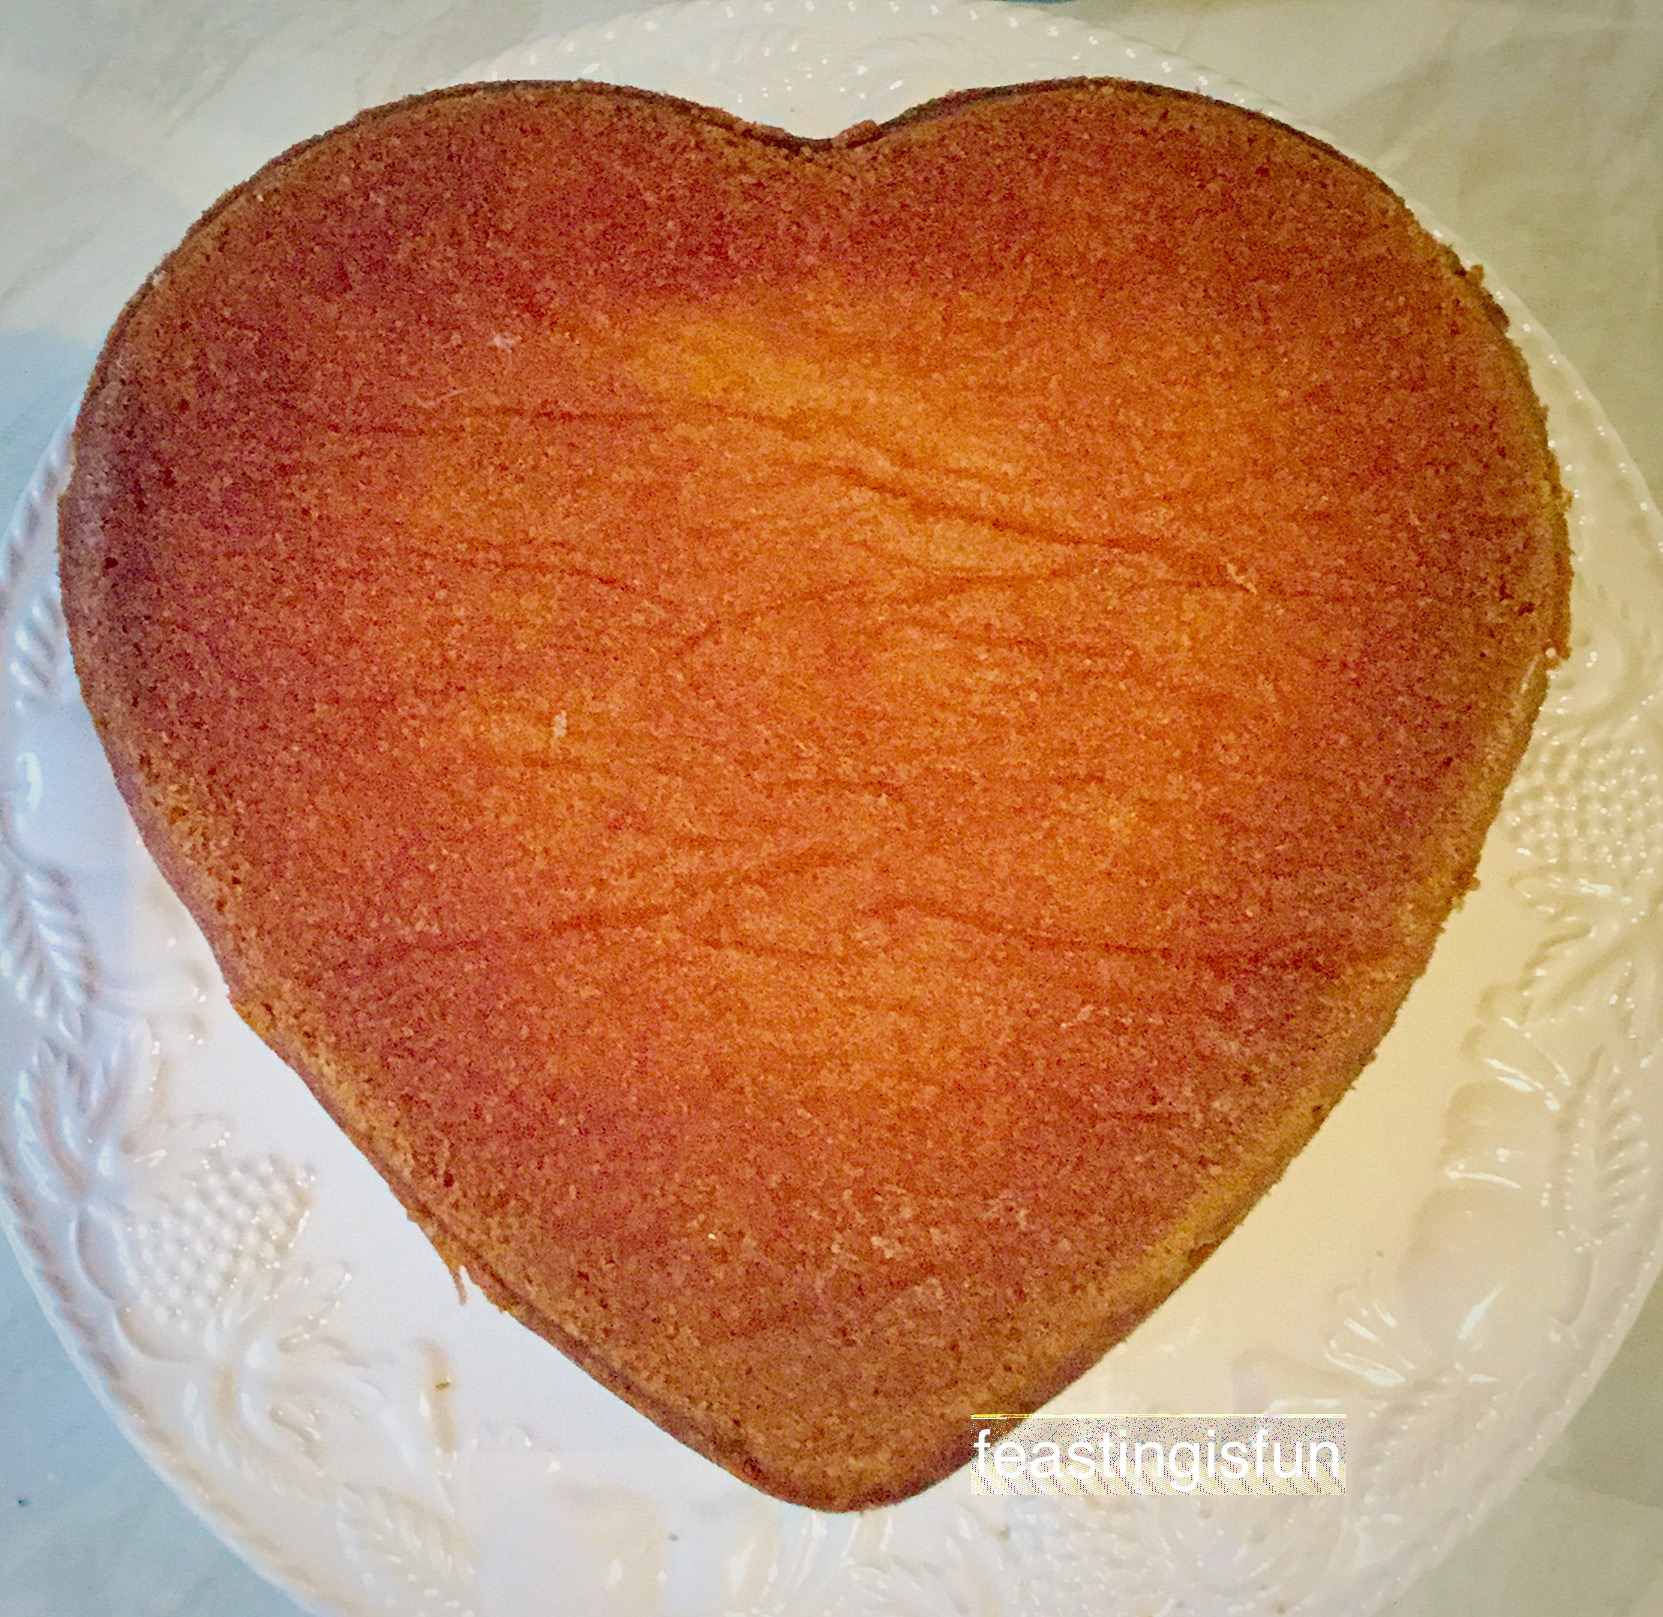
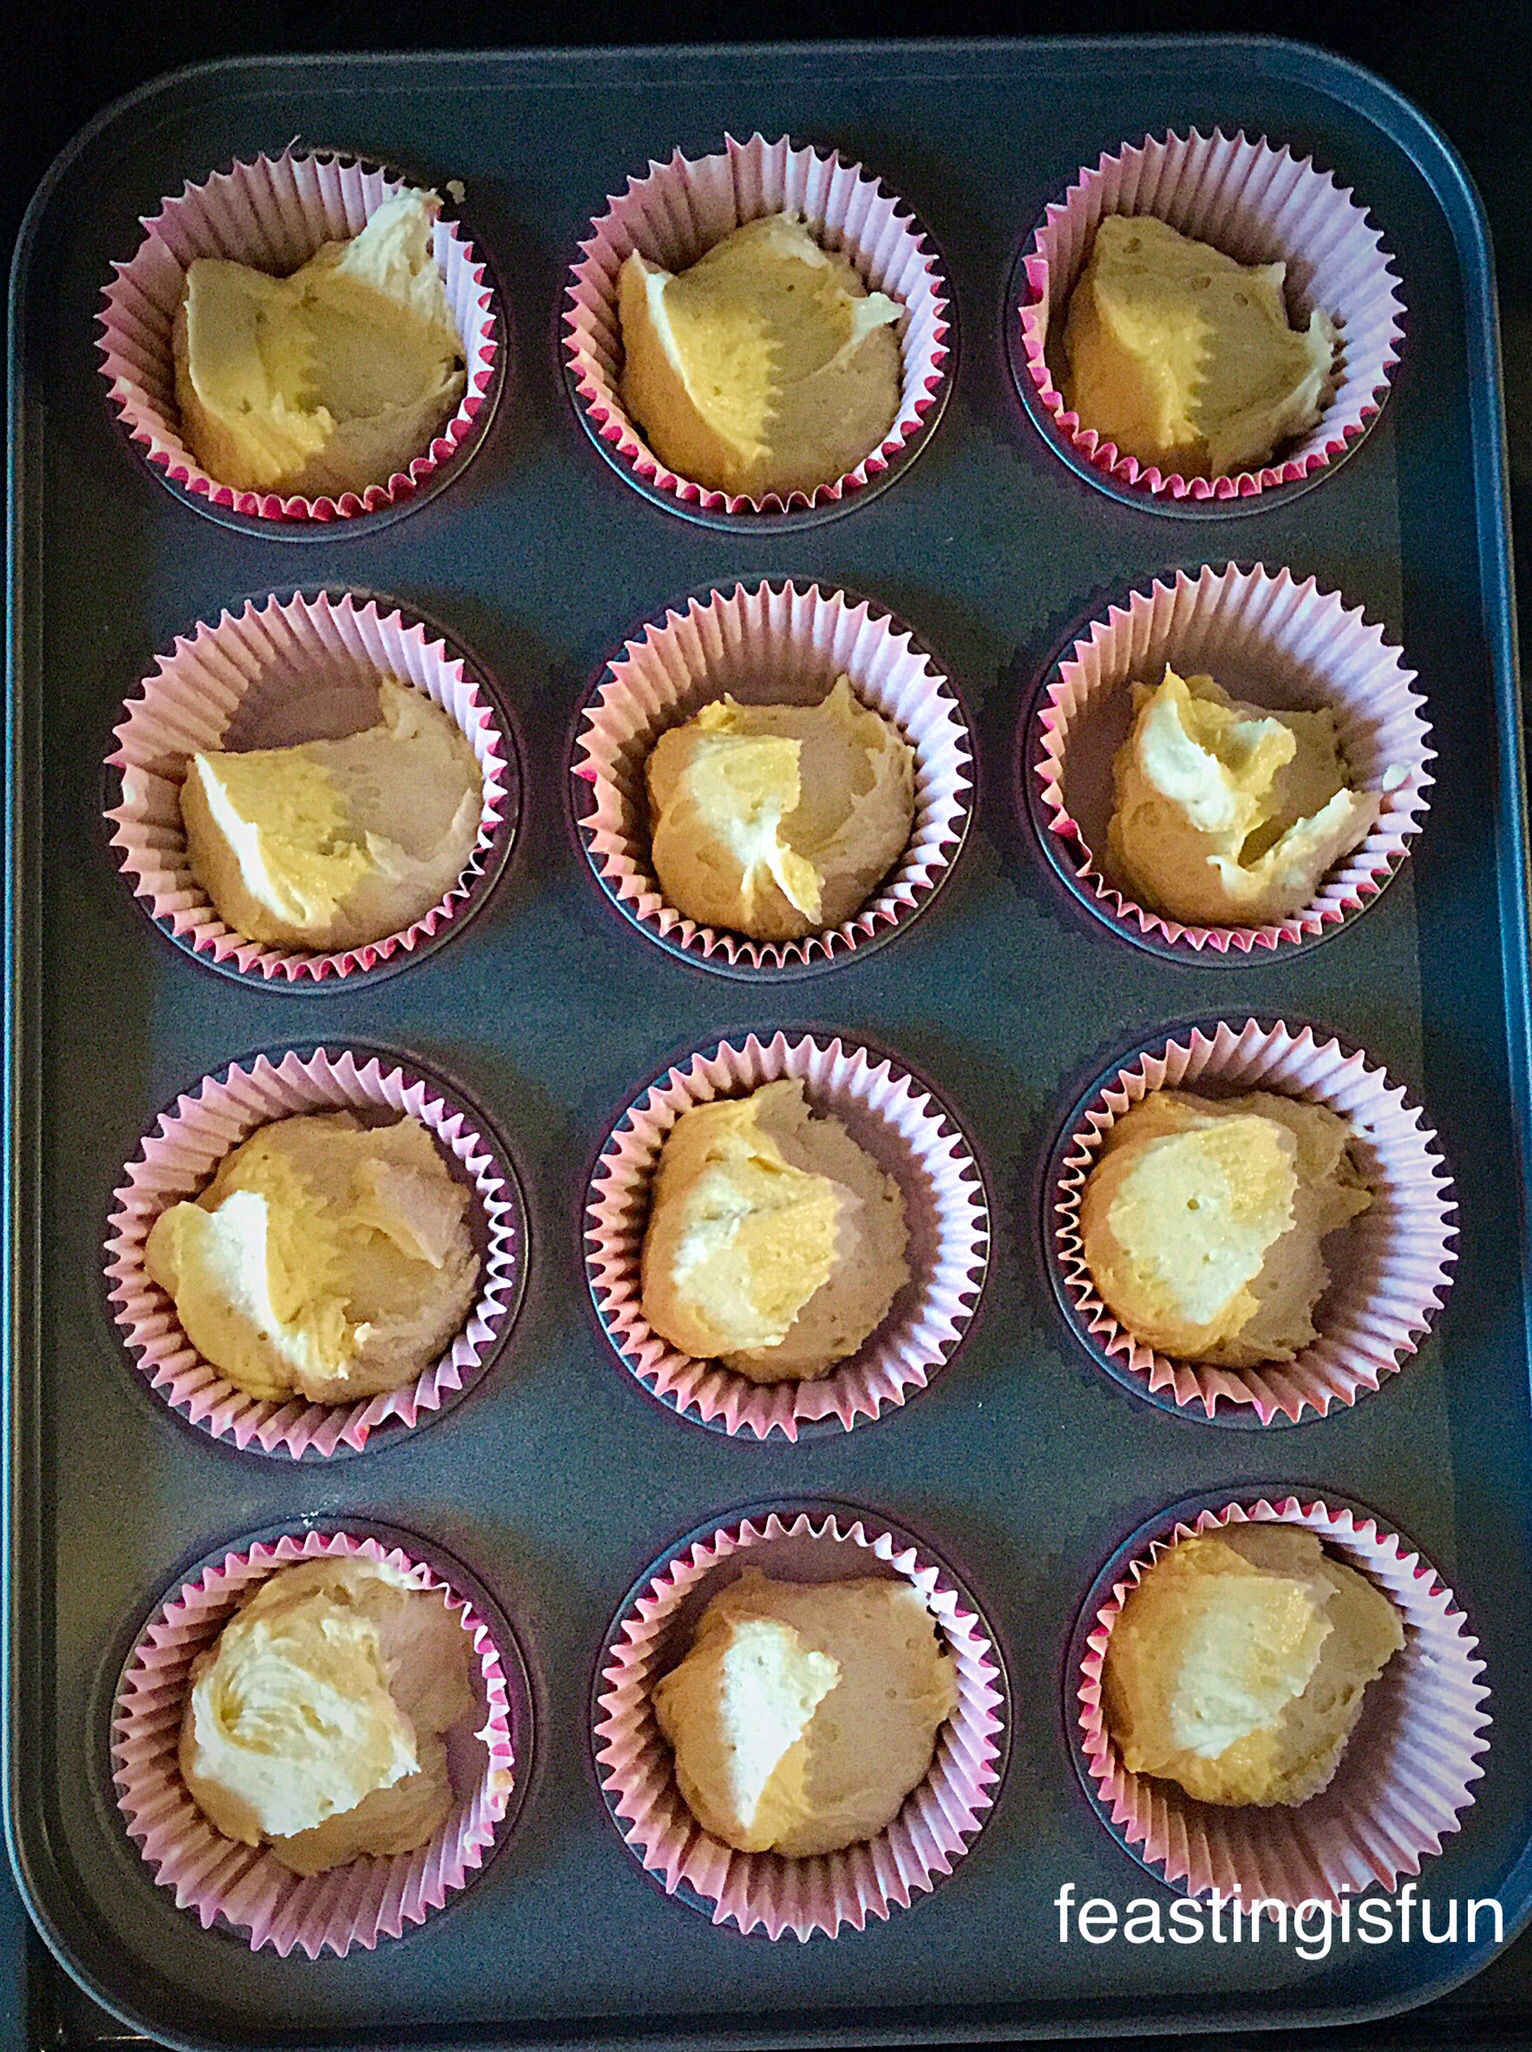
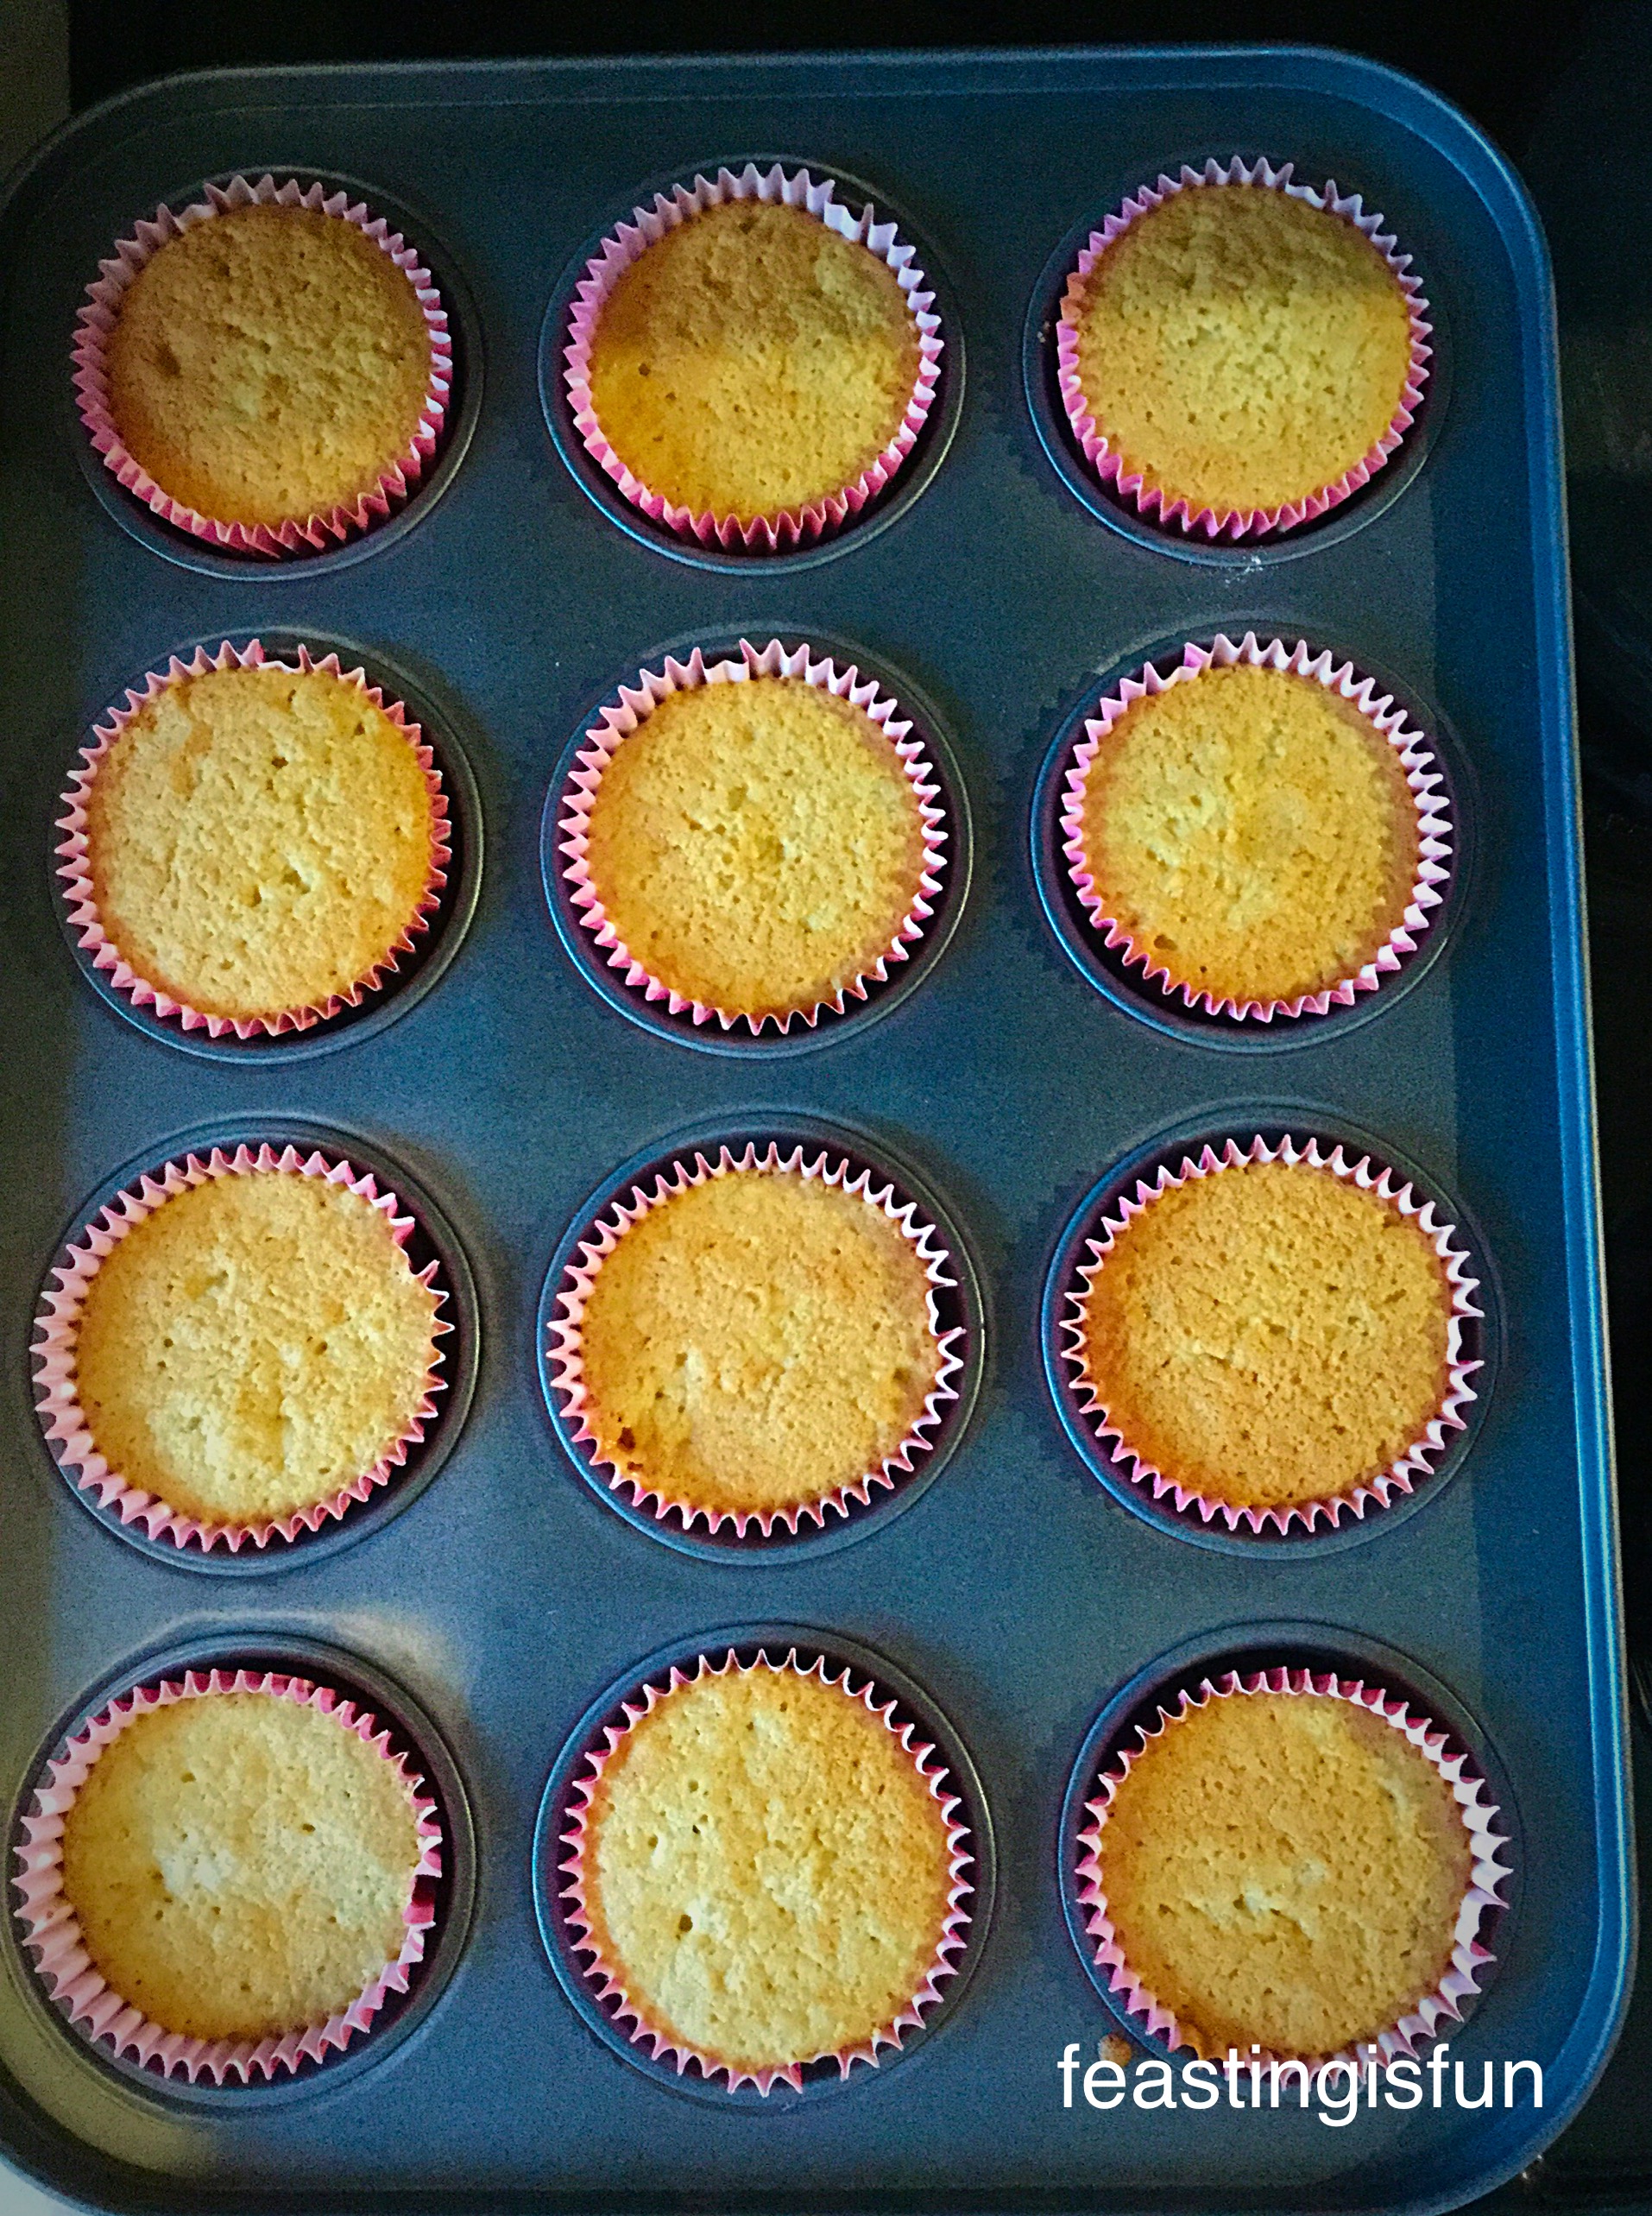
Most importantly, make sure you bake the cake, whatever recipe/packet mix you use, in a deep 8 inch round cake tin and regardless of how much cake mixture you have, only fill the tin two thirds full. And use any spare cake batter up, by baking a few cupcakes, once the main cake is baked.

Home Baked With Lots Of Love
As a mum myself, receiving home made gifts is always very special. I was given a three layered Victoria Sponge Cake a couple of years ago. So, following orders to keep out of my beloved kitchen, I returned home to a wonderful smelling house, but a very frazzled husband.
After baking two sponge layers with the children, followed by shopping for more self raising flour that ‘worked’, another two layers were baking beautifully in the oven. And then crisis point hit, when the children removed these from the oven and declared them a disaster.
Finally, I was allowed back into the kitchen to try and help. The sponges were perfect and had risen beautifully. The problem was simply that instead of using my 6 inch sponge tins, they had used my 9 inch spring form pans! So of course the cake batter spread further, but was still perfectly usable.
Since I’d declared the cakes edible our children immediately spread Nutella on one sponge and devoured it, purely for research purposes. I was then presented with a three layer sponge cake that I have to say, not only tasted fantastic, but meant more to me than anything they could have bought.
Any mum would be thrilled to be given this Chocolate Amaretto Cake for Mother’s Day, birthday, or just because I love you mum day!
Recipe: Makes one Chocolate Amaretto Cake serves 12
For the cake:
225g/8oz Soft Light a Brown Sugar
225g/8oz Unsalted Butter – at room temperature, plus a little extra for greasing the cake tin.
1tsp Vanilla Bean Paste – I use Nielsen-Massey
1/2tsp Almond Extract
6 Large Free Range Eggs
200g7oz Plain White Flour – plus 1tbsp extra for dusting the cake tin
75g/3oz Cocoa Powder
1/4tsp Salt – I use Maldon Sea Salt
2.5tsp Baking Powder
50ml/2fl oz Whole Milk
For the frosting:
350ml/12 fl oz Double Cream
100g/4oz Dark Chocolate – I used Elizabeth Shaw Dark Chocolate Crunch Bar
1tbsp Amaretto Liquer – or 1tsp Almond Extract
For the chocolate edging and topping:
4 Packets of Elizabeth Shaw Amaretto Flutes
200g/7oz Chocolate Crispearls or one box of Elizabeth Shaw Sharing Crisp Assortment
Optional – Edible glitter – I used gold holographic as it toned with my colour theme.
Suitable length of ribbon to tie around your cake
Making The Cake
Preheat the oven to 170C/150C fan, gas mark 3, 325F.
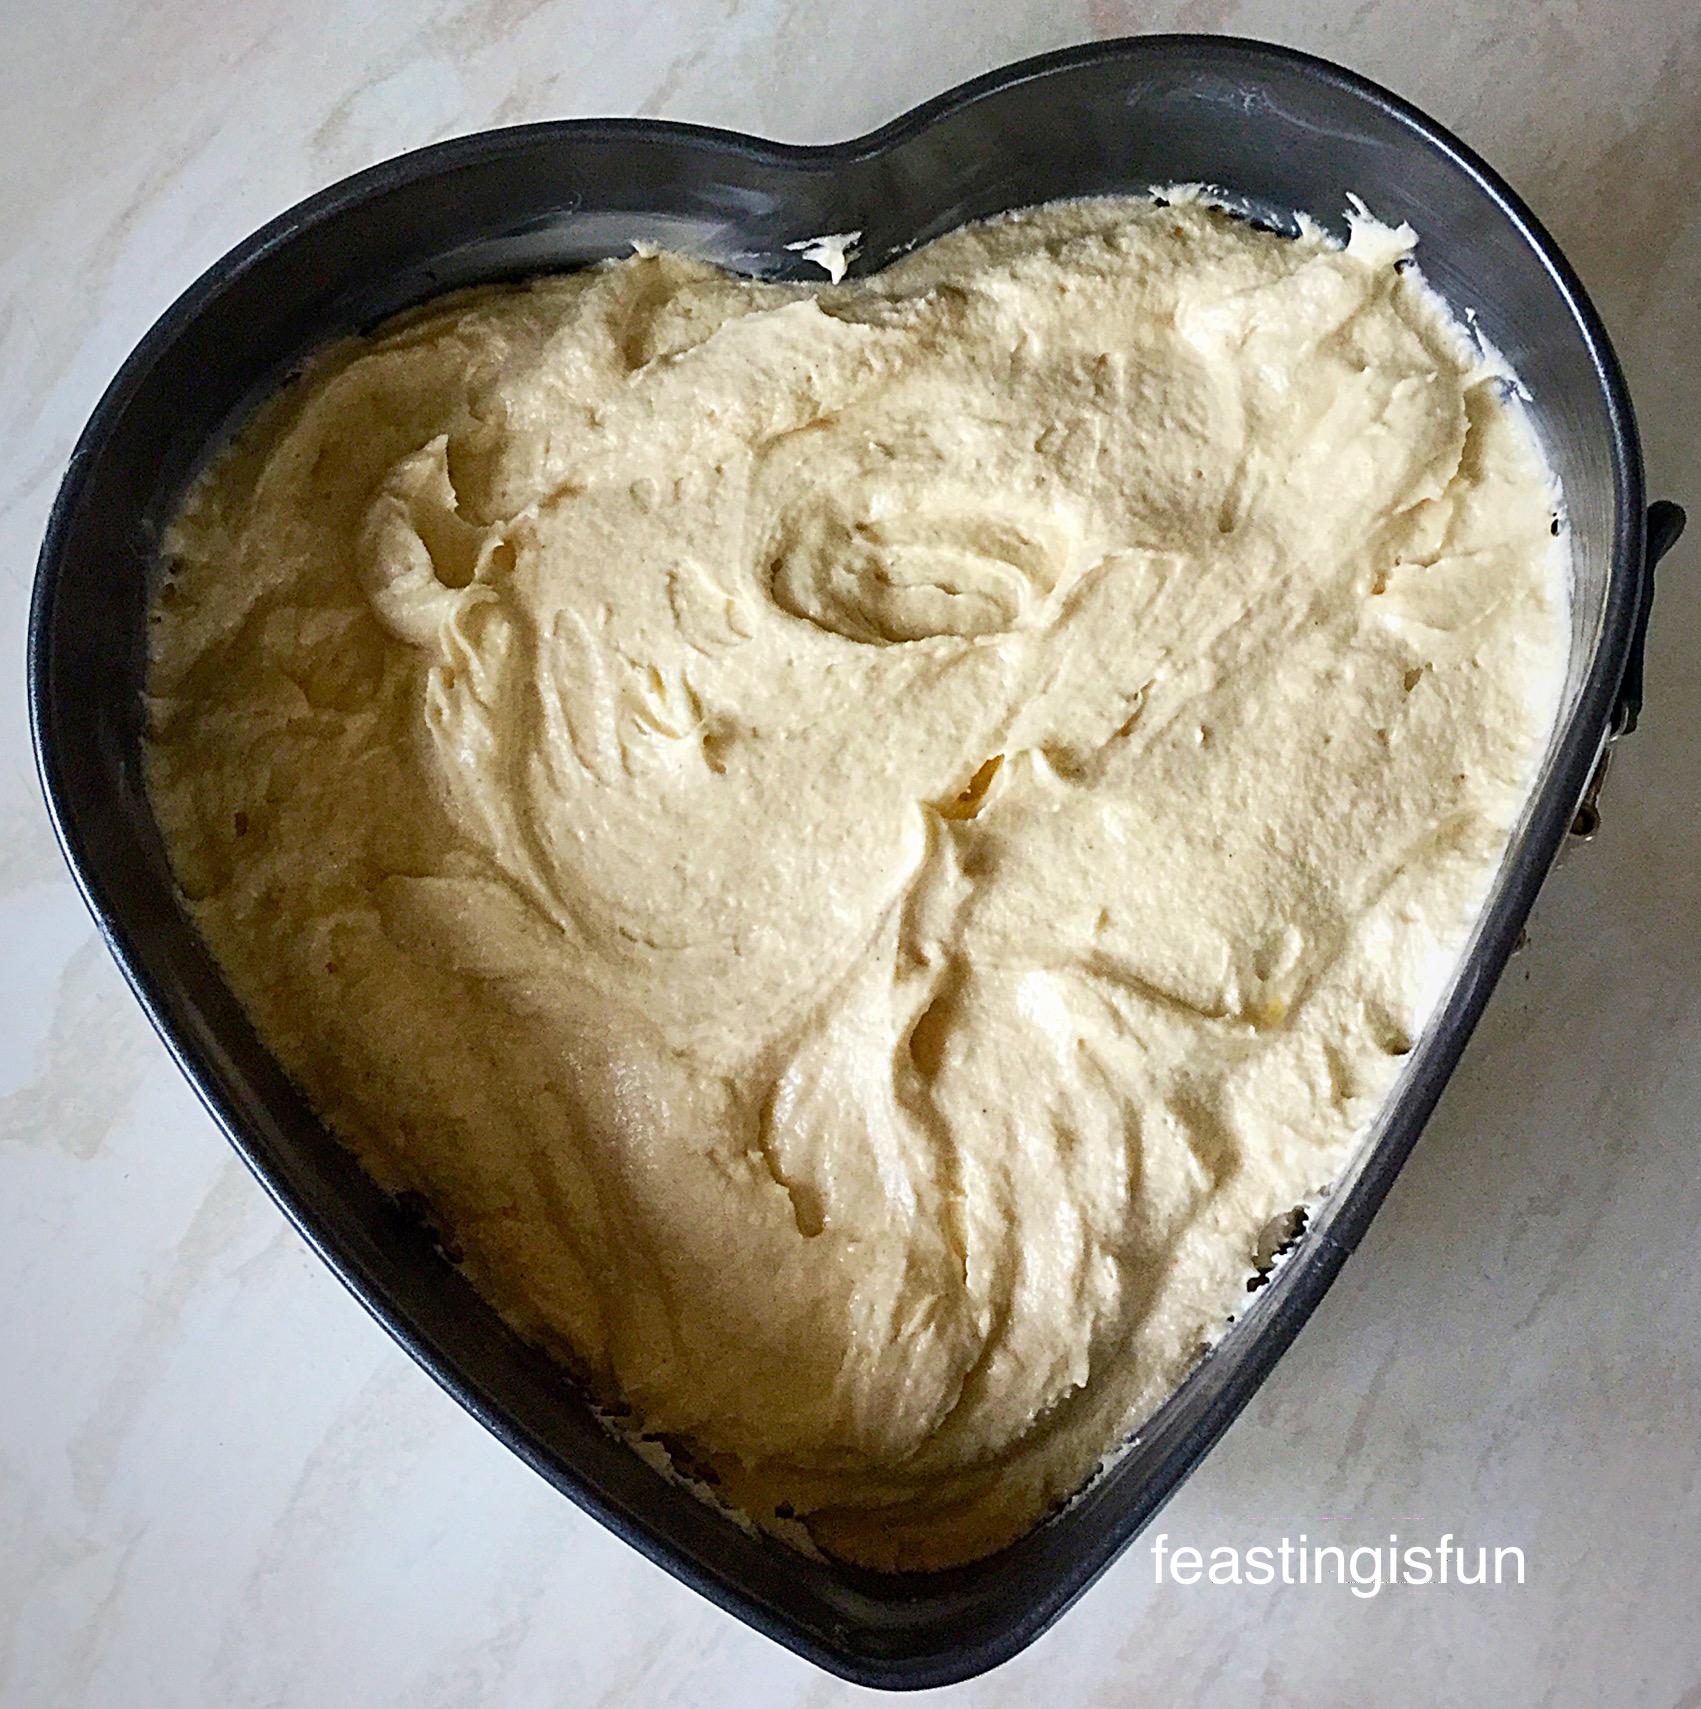
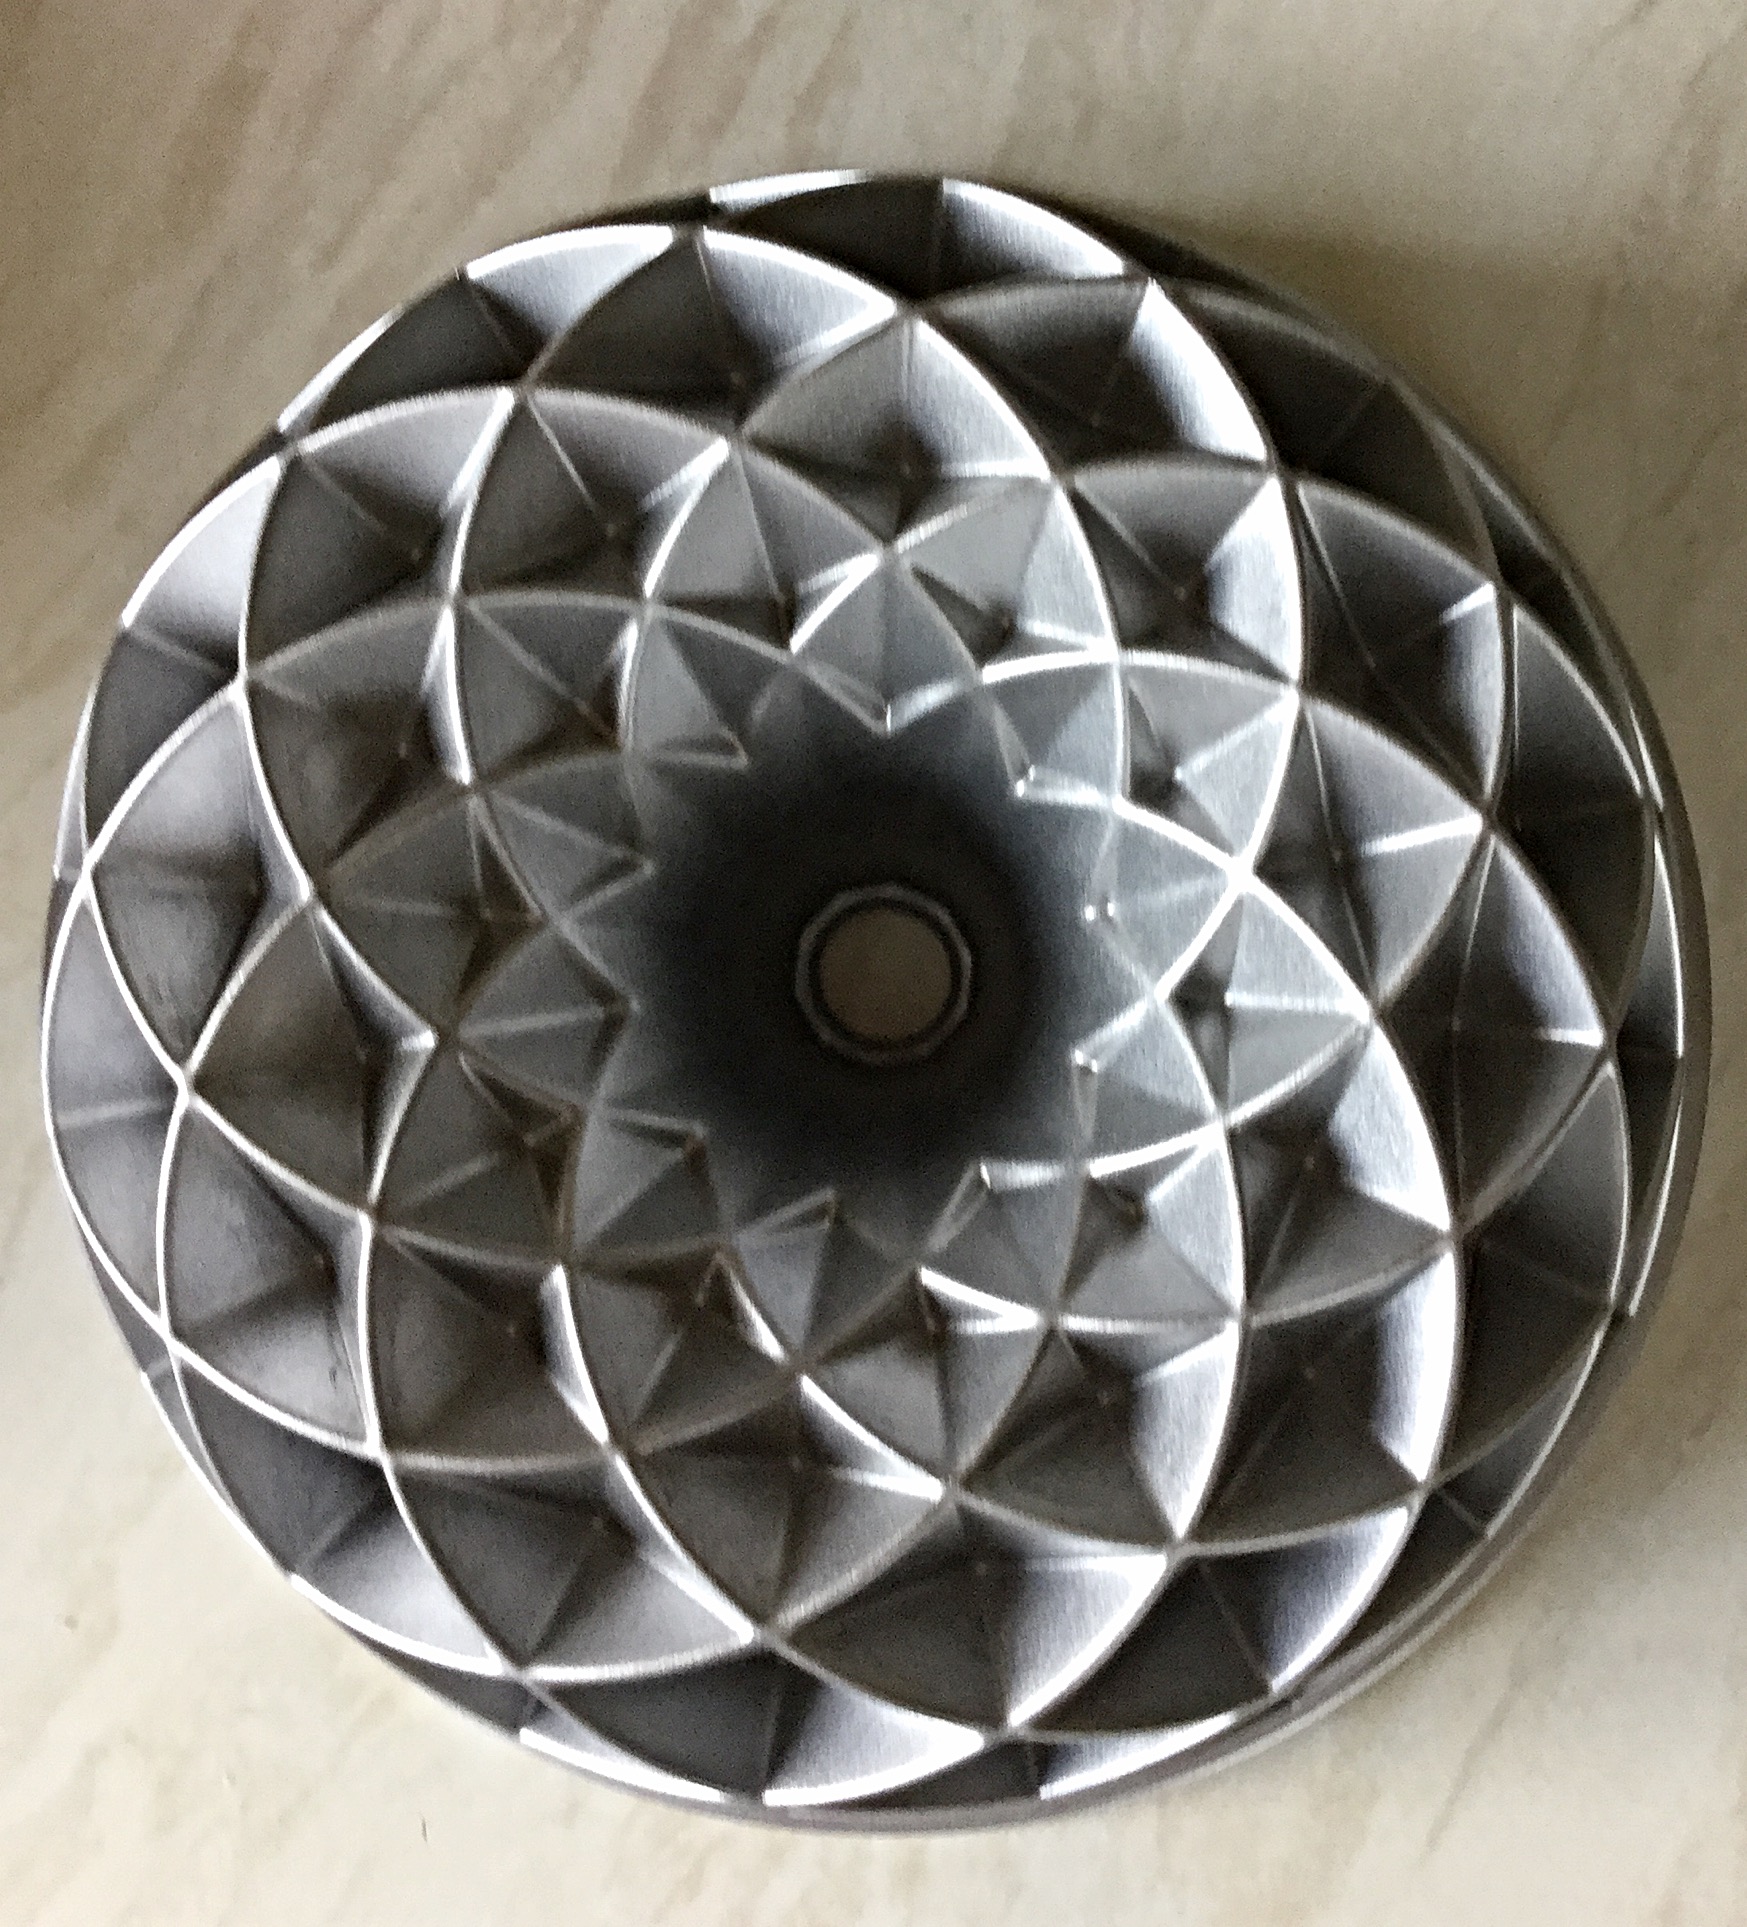
- Grease an 8 inch round cake tin with butter. Line the base with baking parchment cut to size. Add 1tbsp of flour to the cake tin and turning the tin on it’s side, over the sink, rotate the tin, tapping as you do, so that the flour coats the sides of the tin. Tip any excess flour out into the sink.
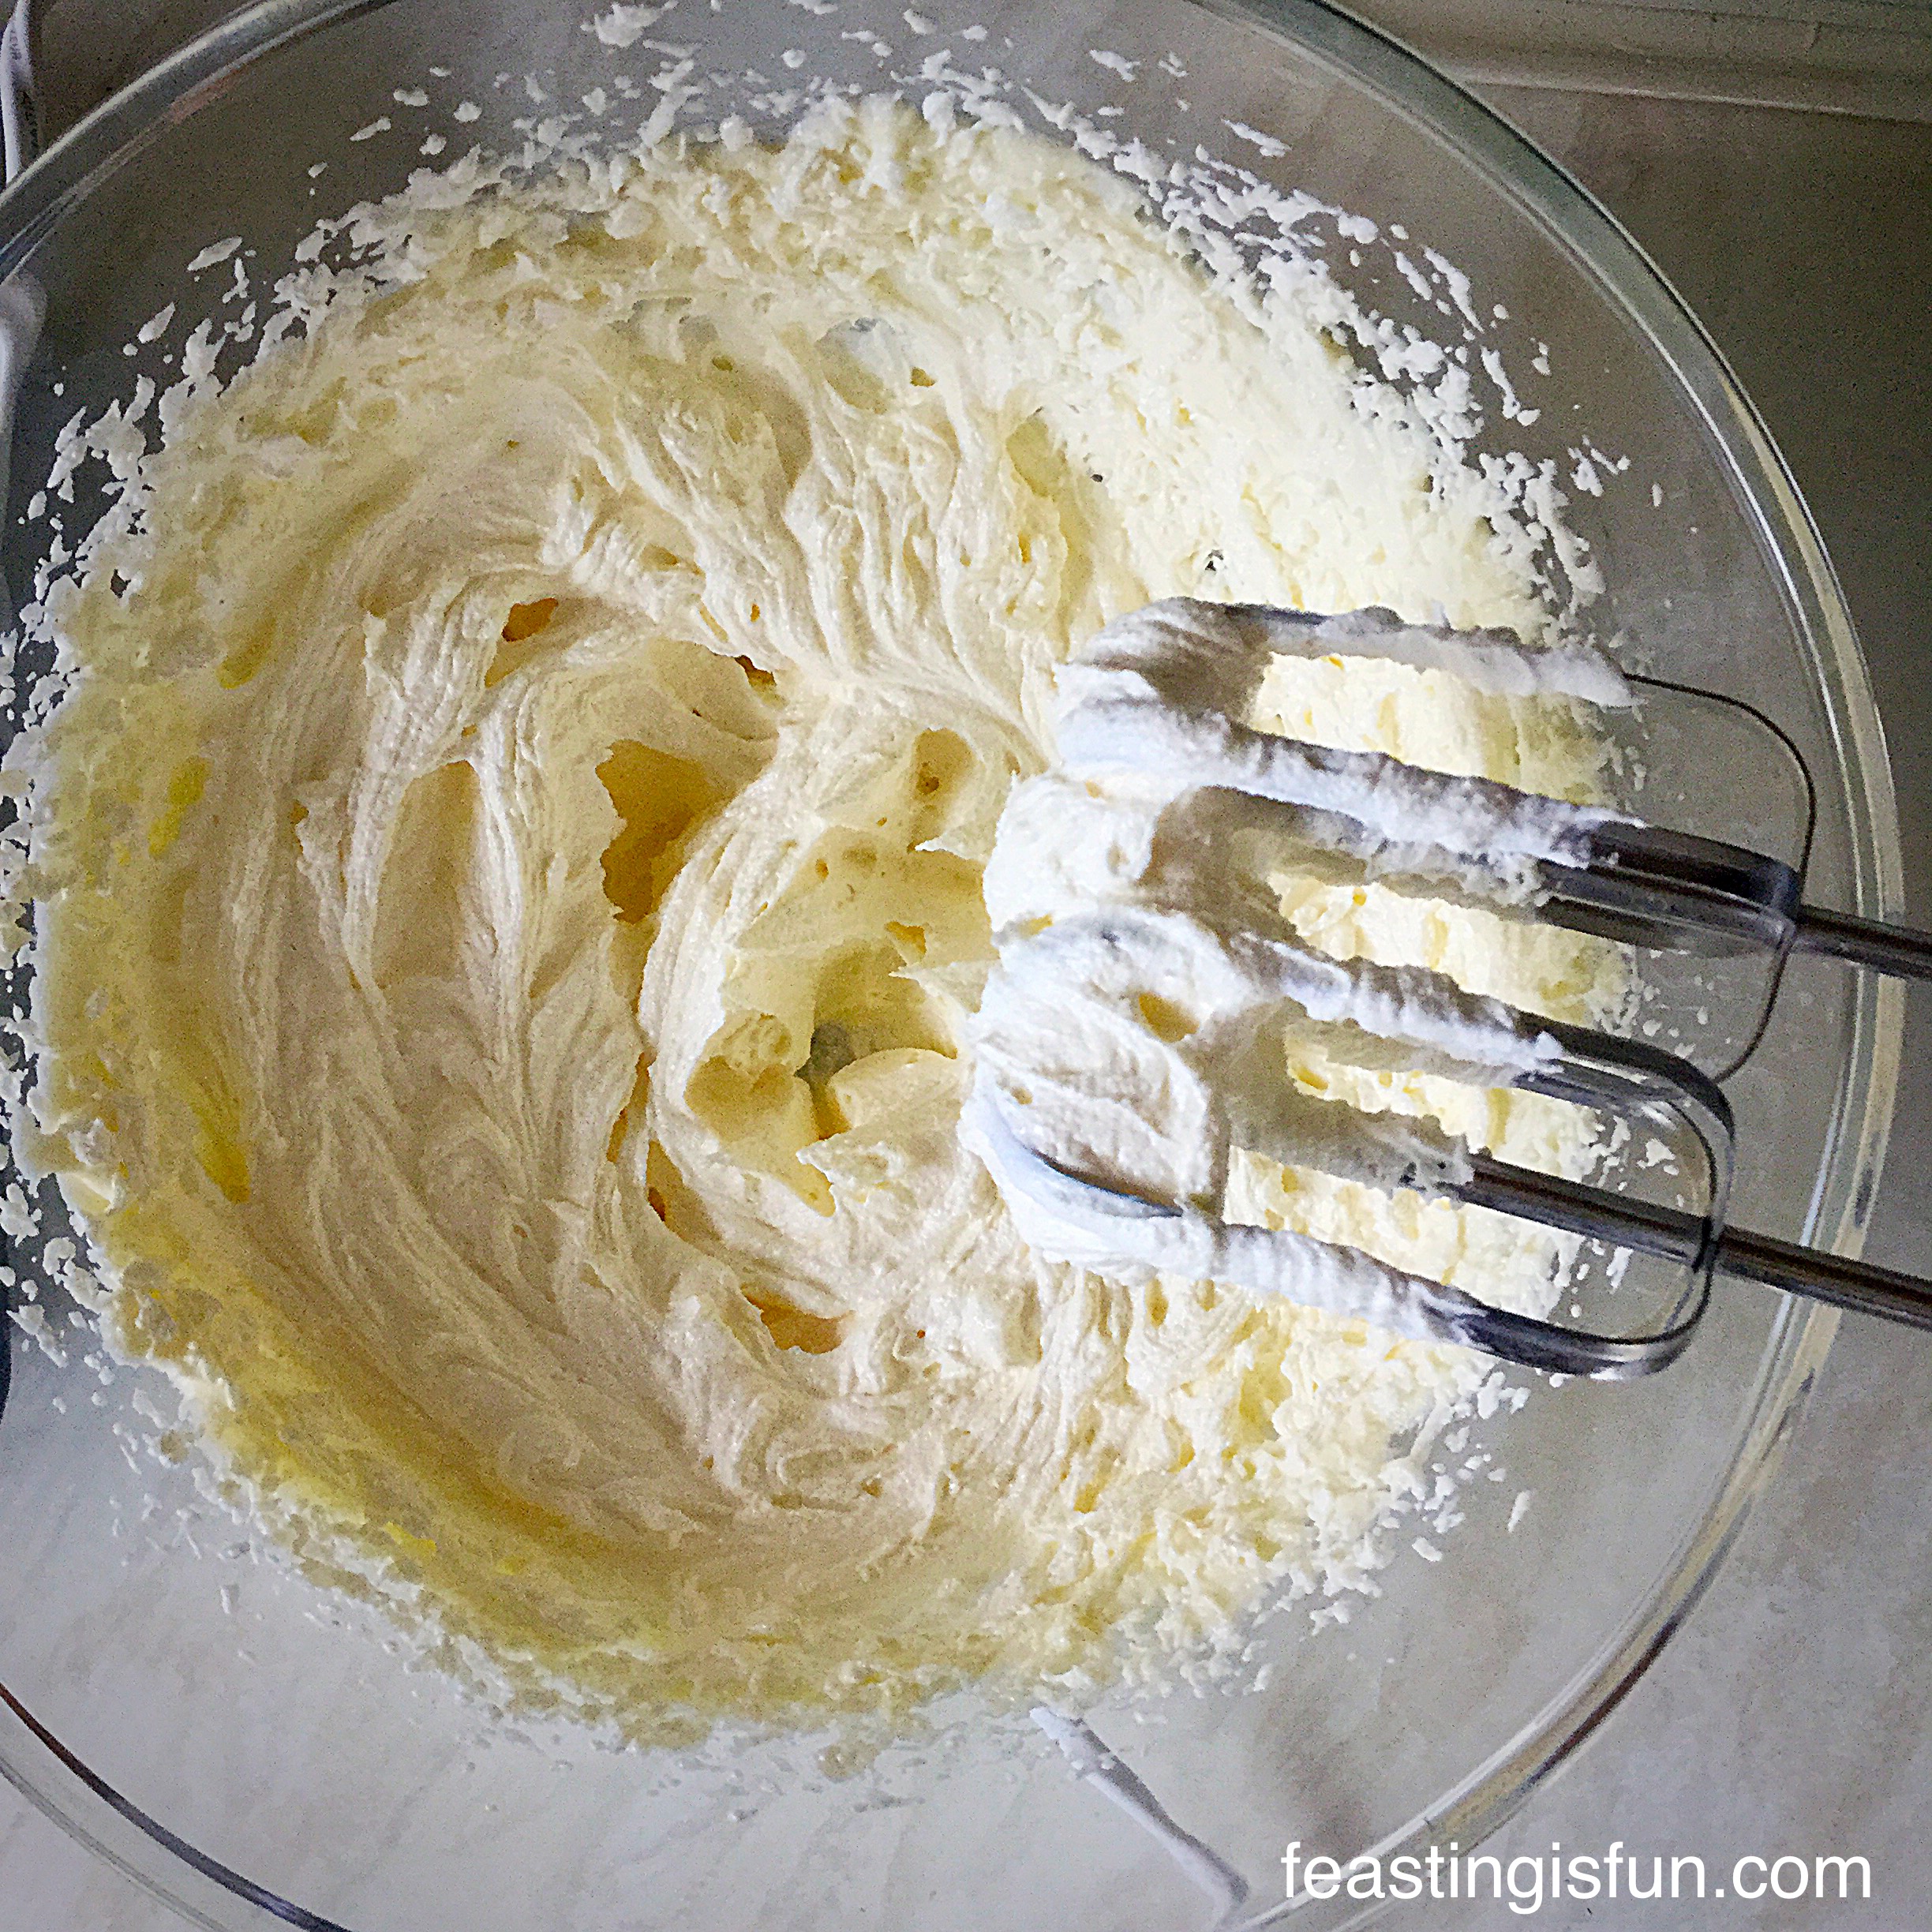
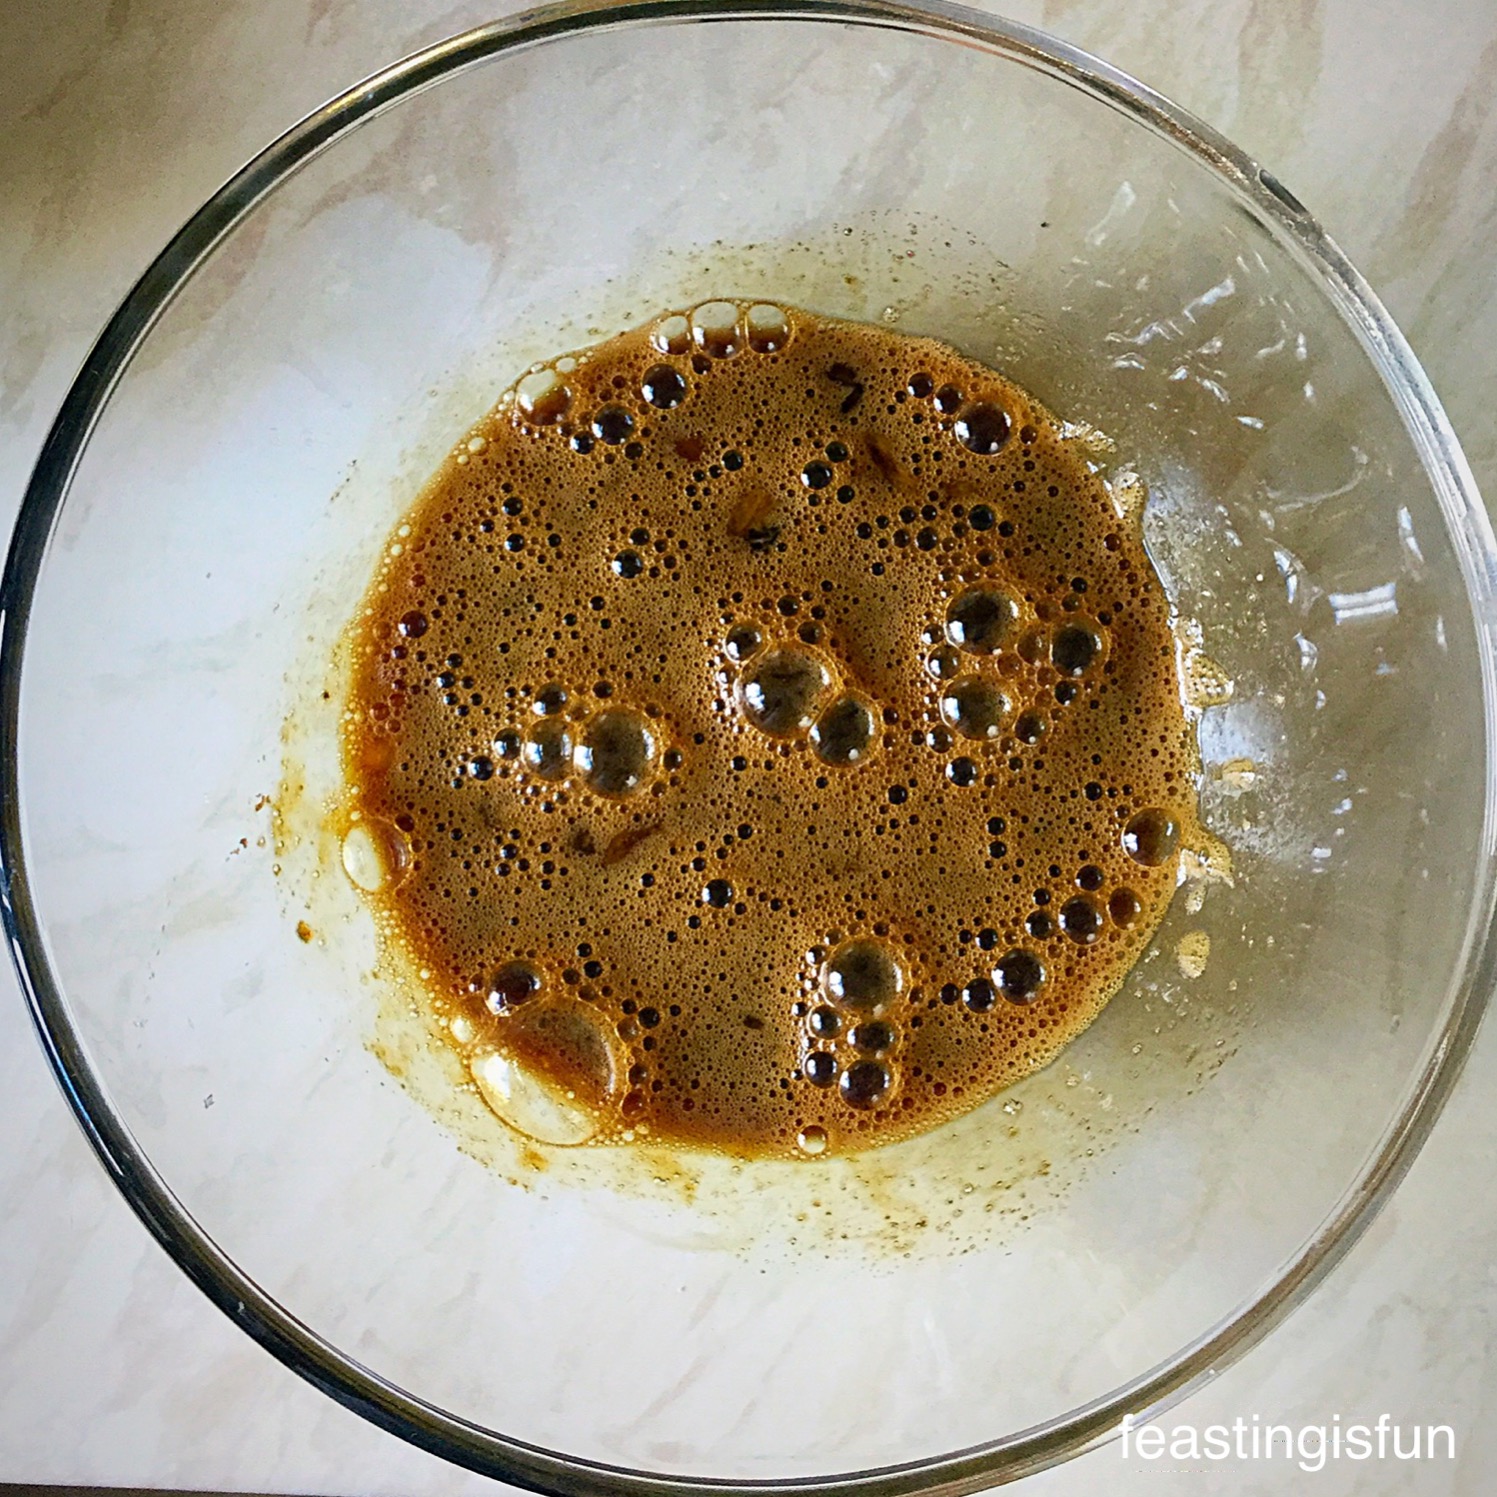
- Place the sugar and butter into a large bowl.
- Whisk for 5 minutes until creamy and smooth.
- Add the vanilla bean paste/extract and almond extract.
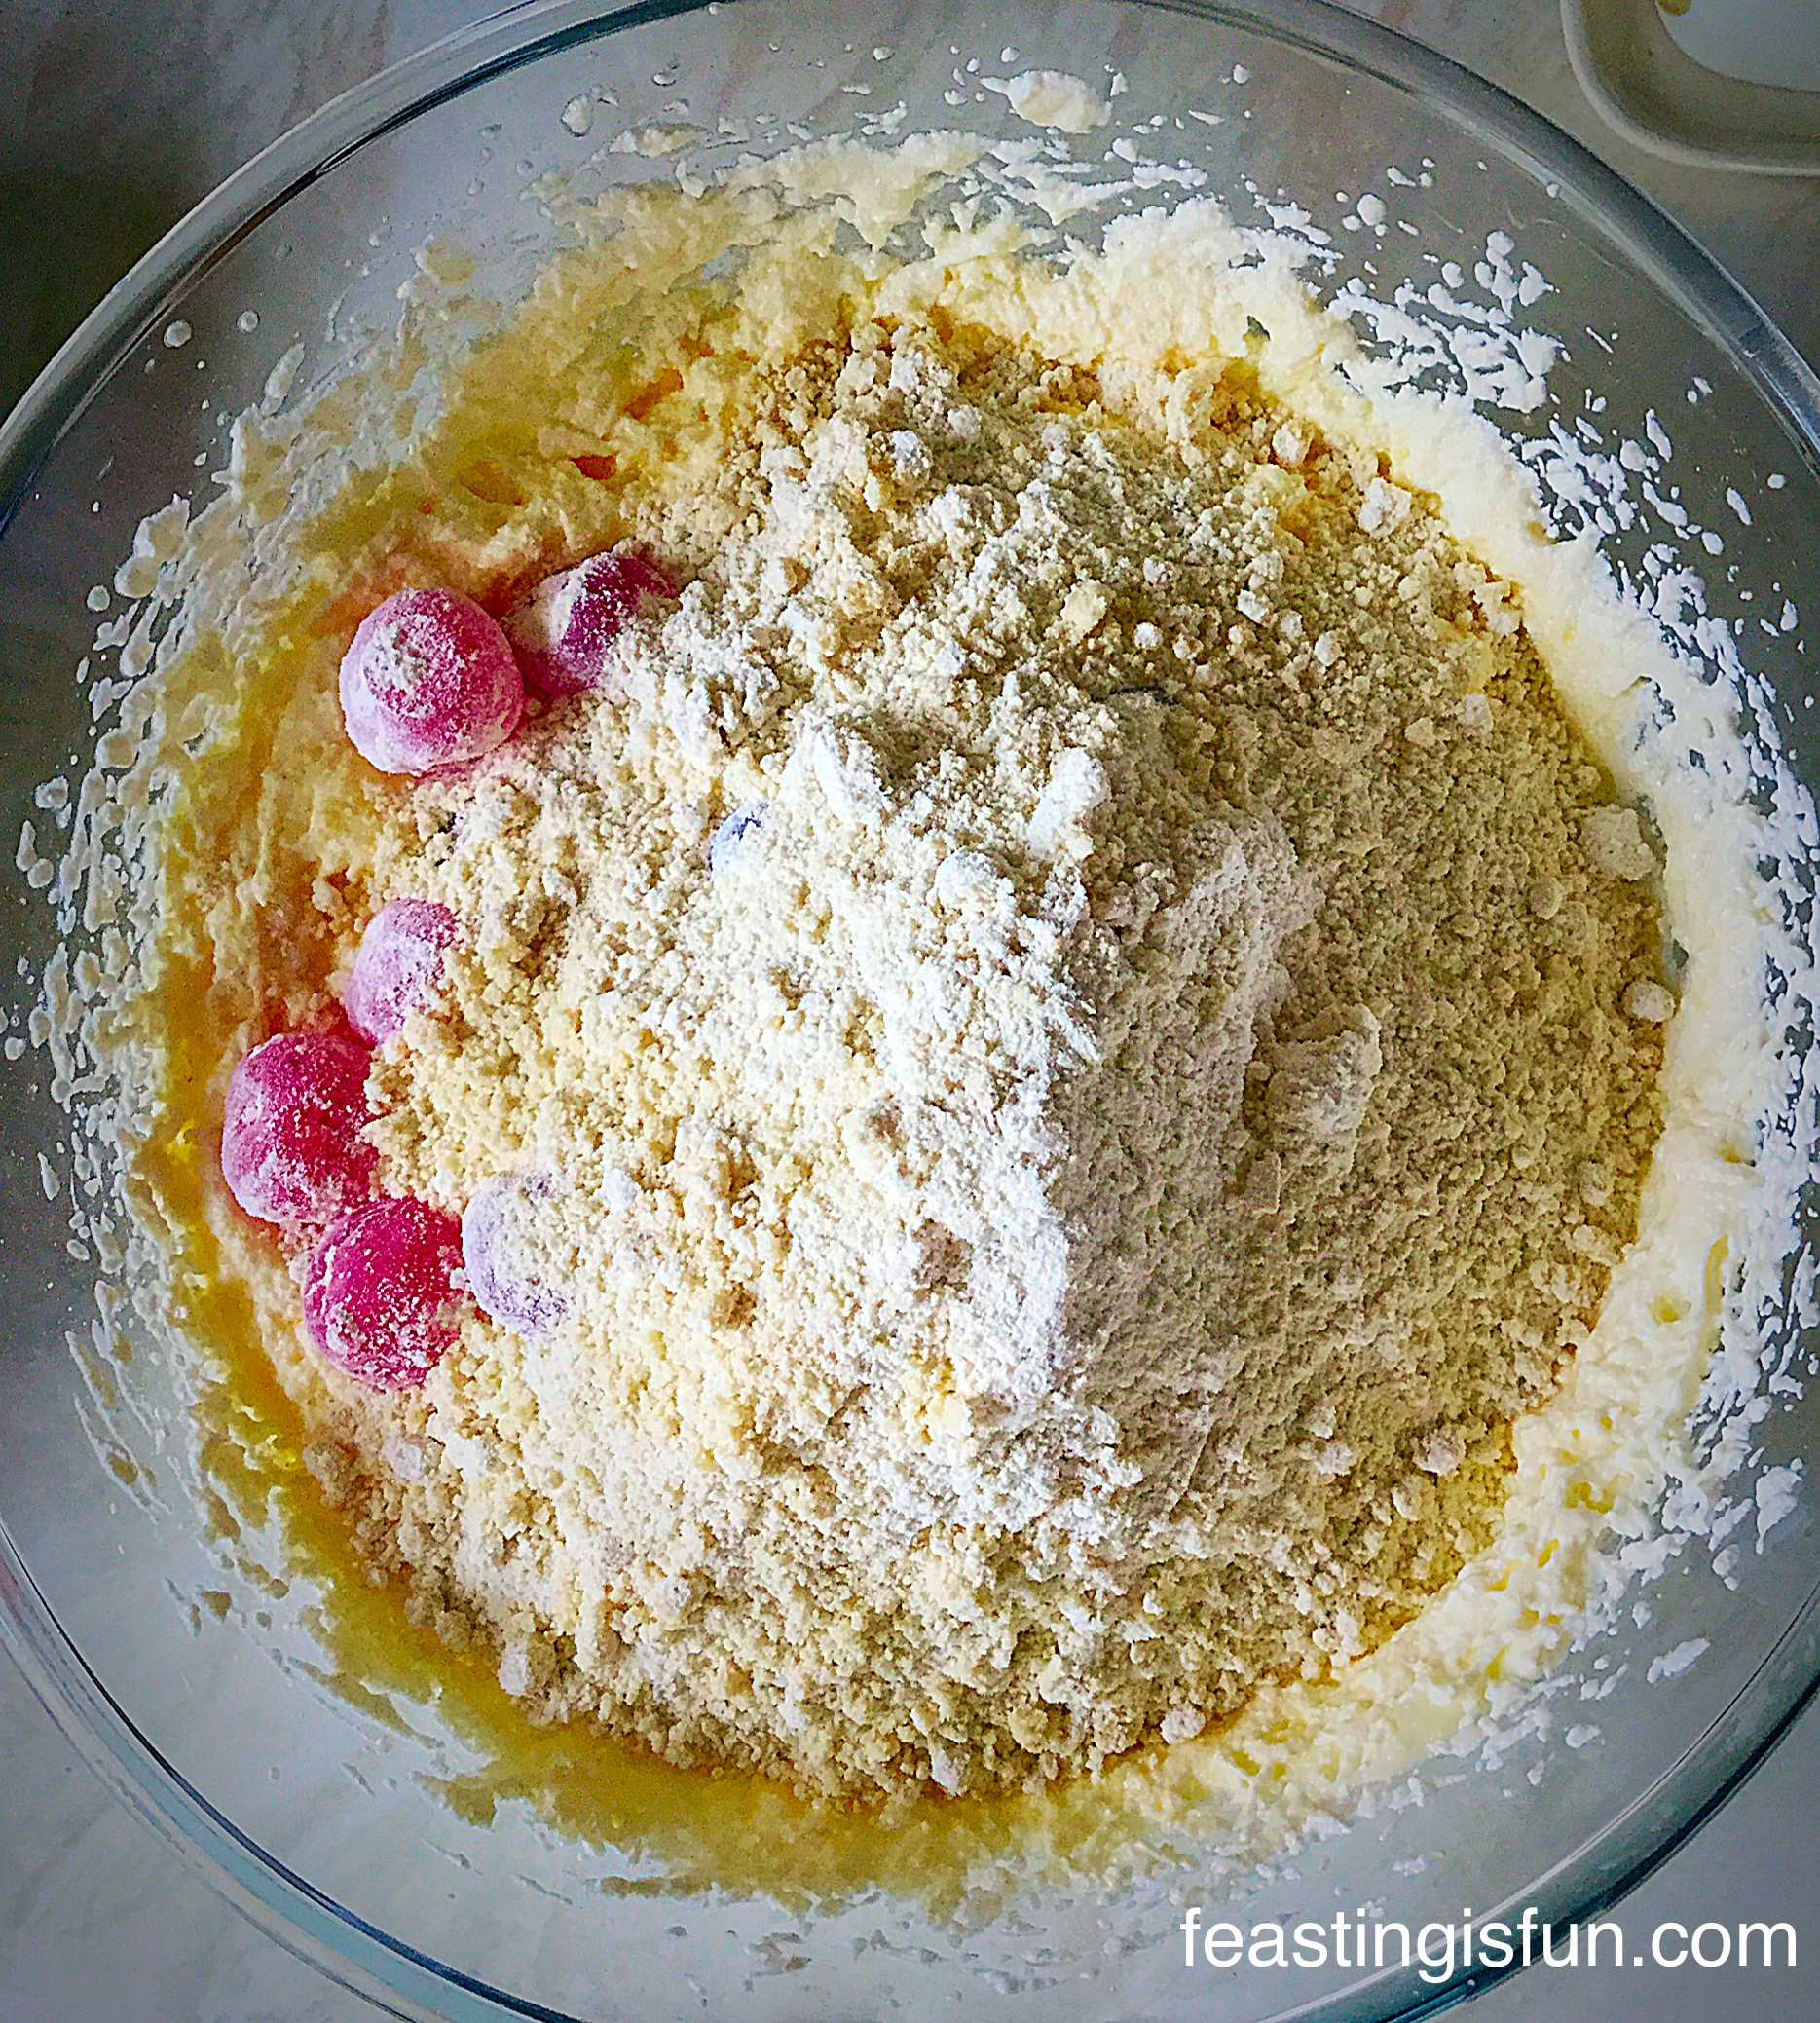
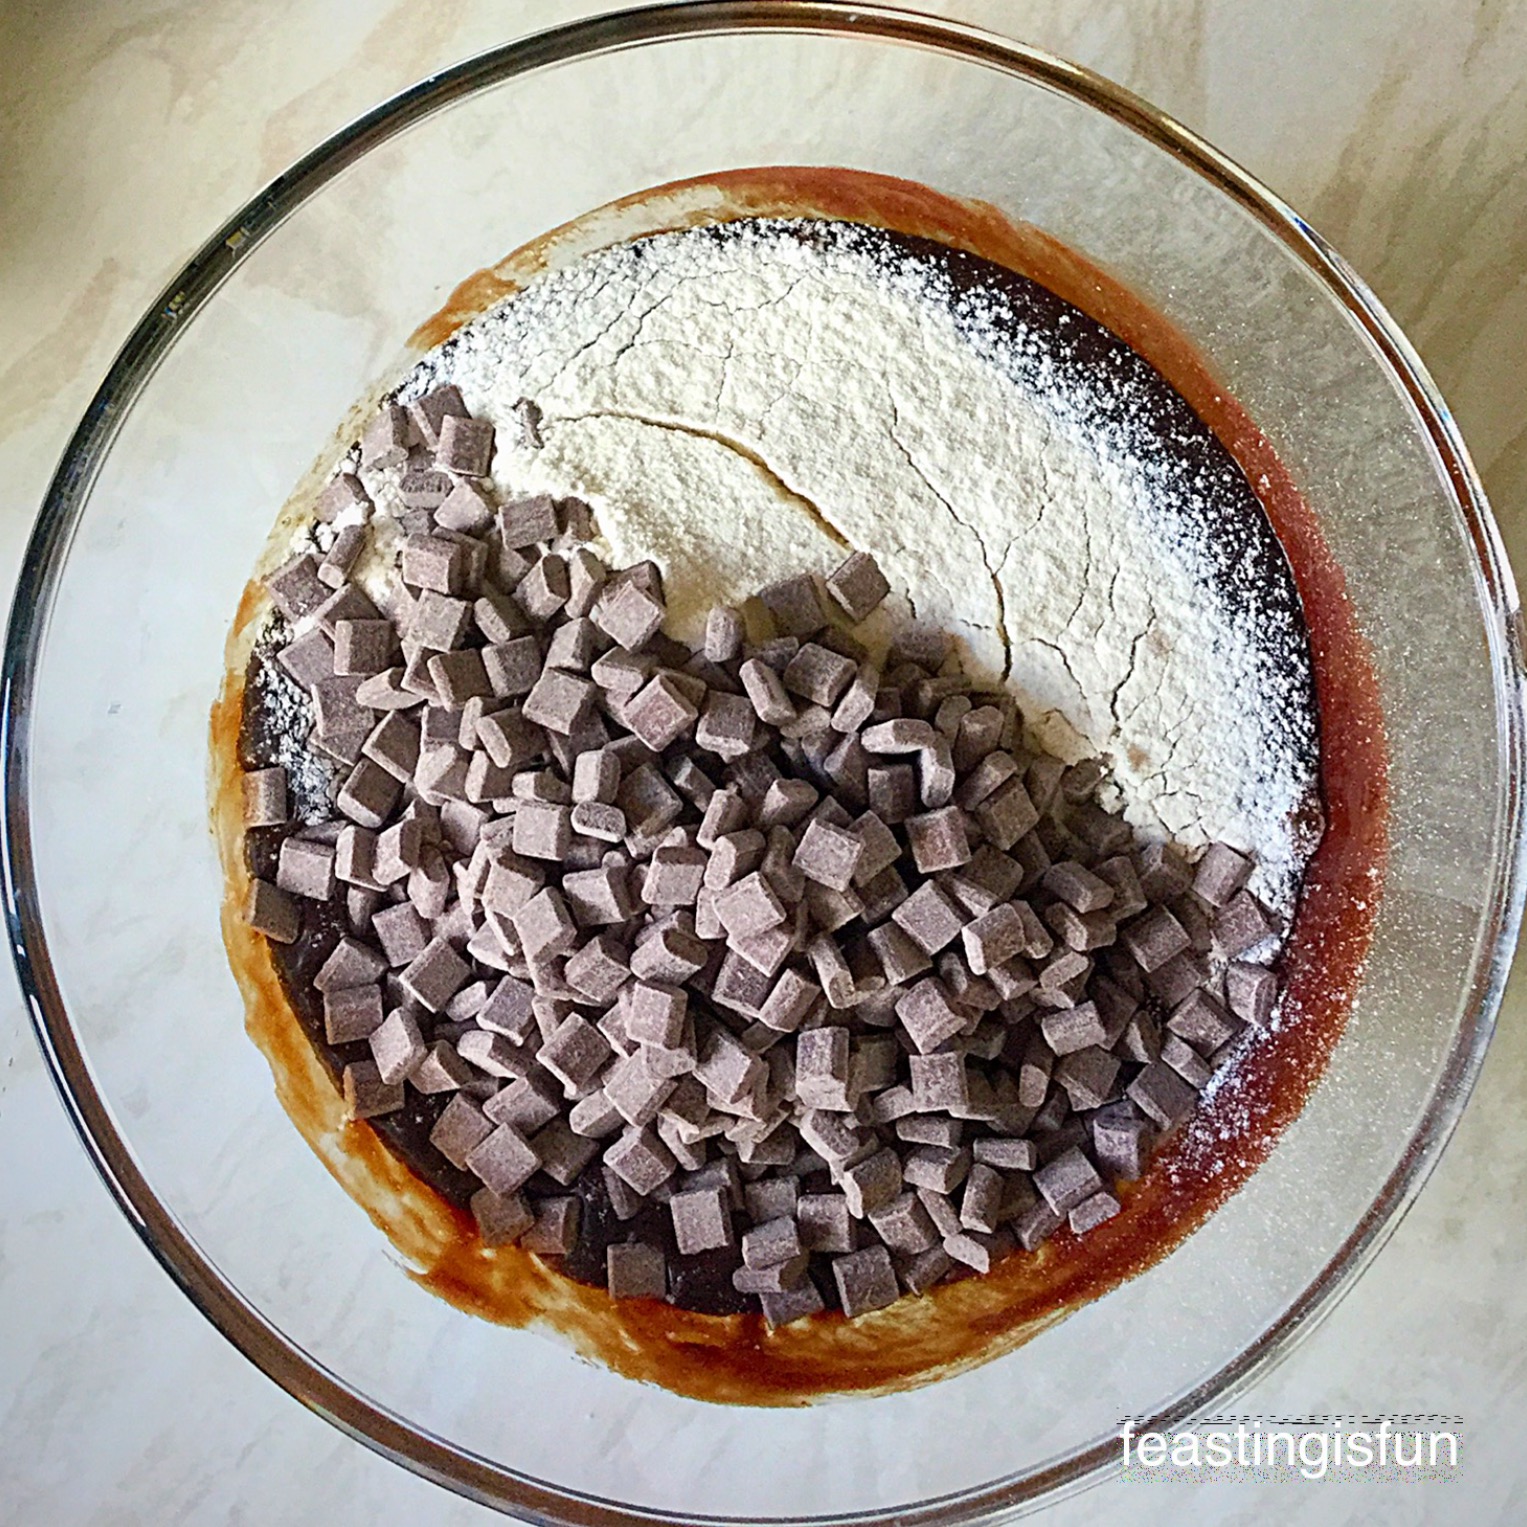
- Sift the flour, cocoa powder, baking powder and salt into a separate bowl – dry ingredients.
- Add 1/3 of your dry ingredients and 3 eggs to the creamed butter/sugar mixture.
- Mix slowly until the ingredients are combined.
- Repeat the last 2 steps.
- Add the milk and the last 1/3 of the dry ingredients to the bowl.
- Mix slowly until nearly combined.
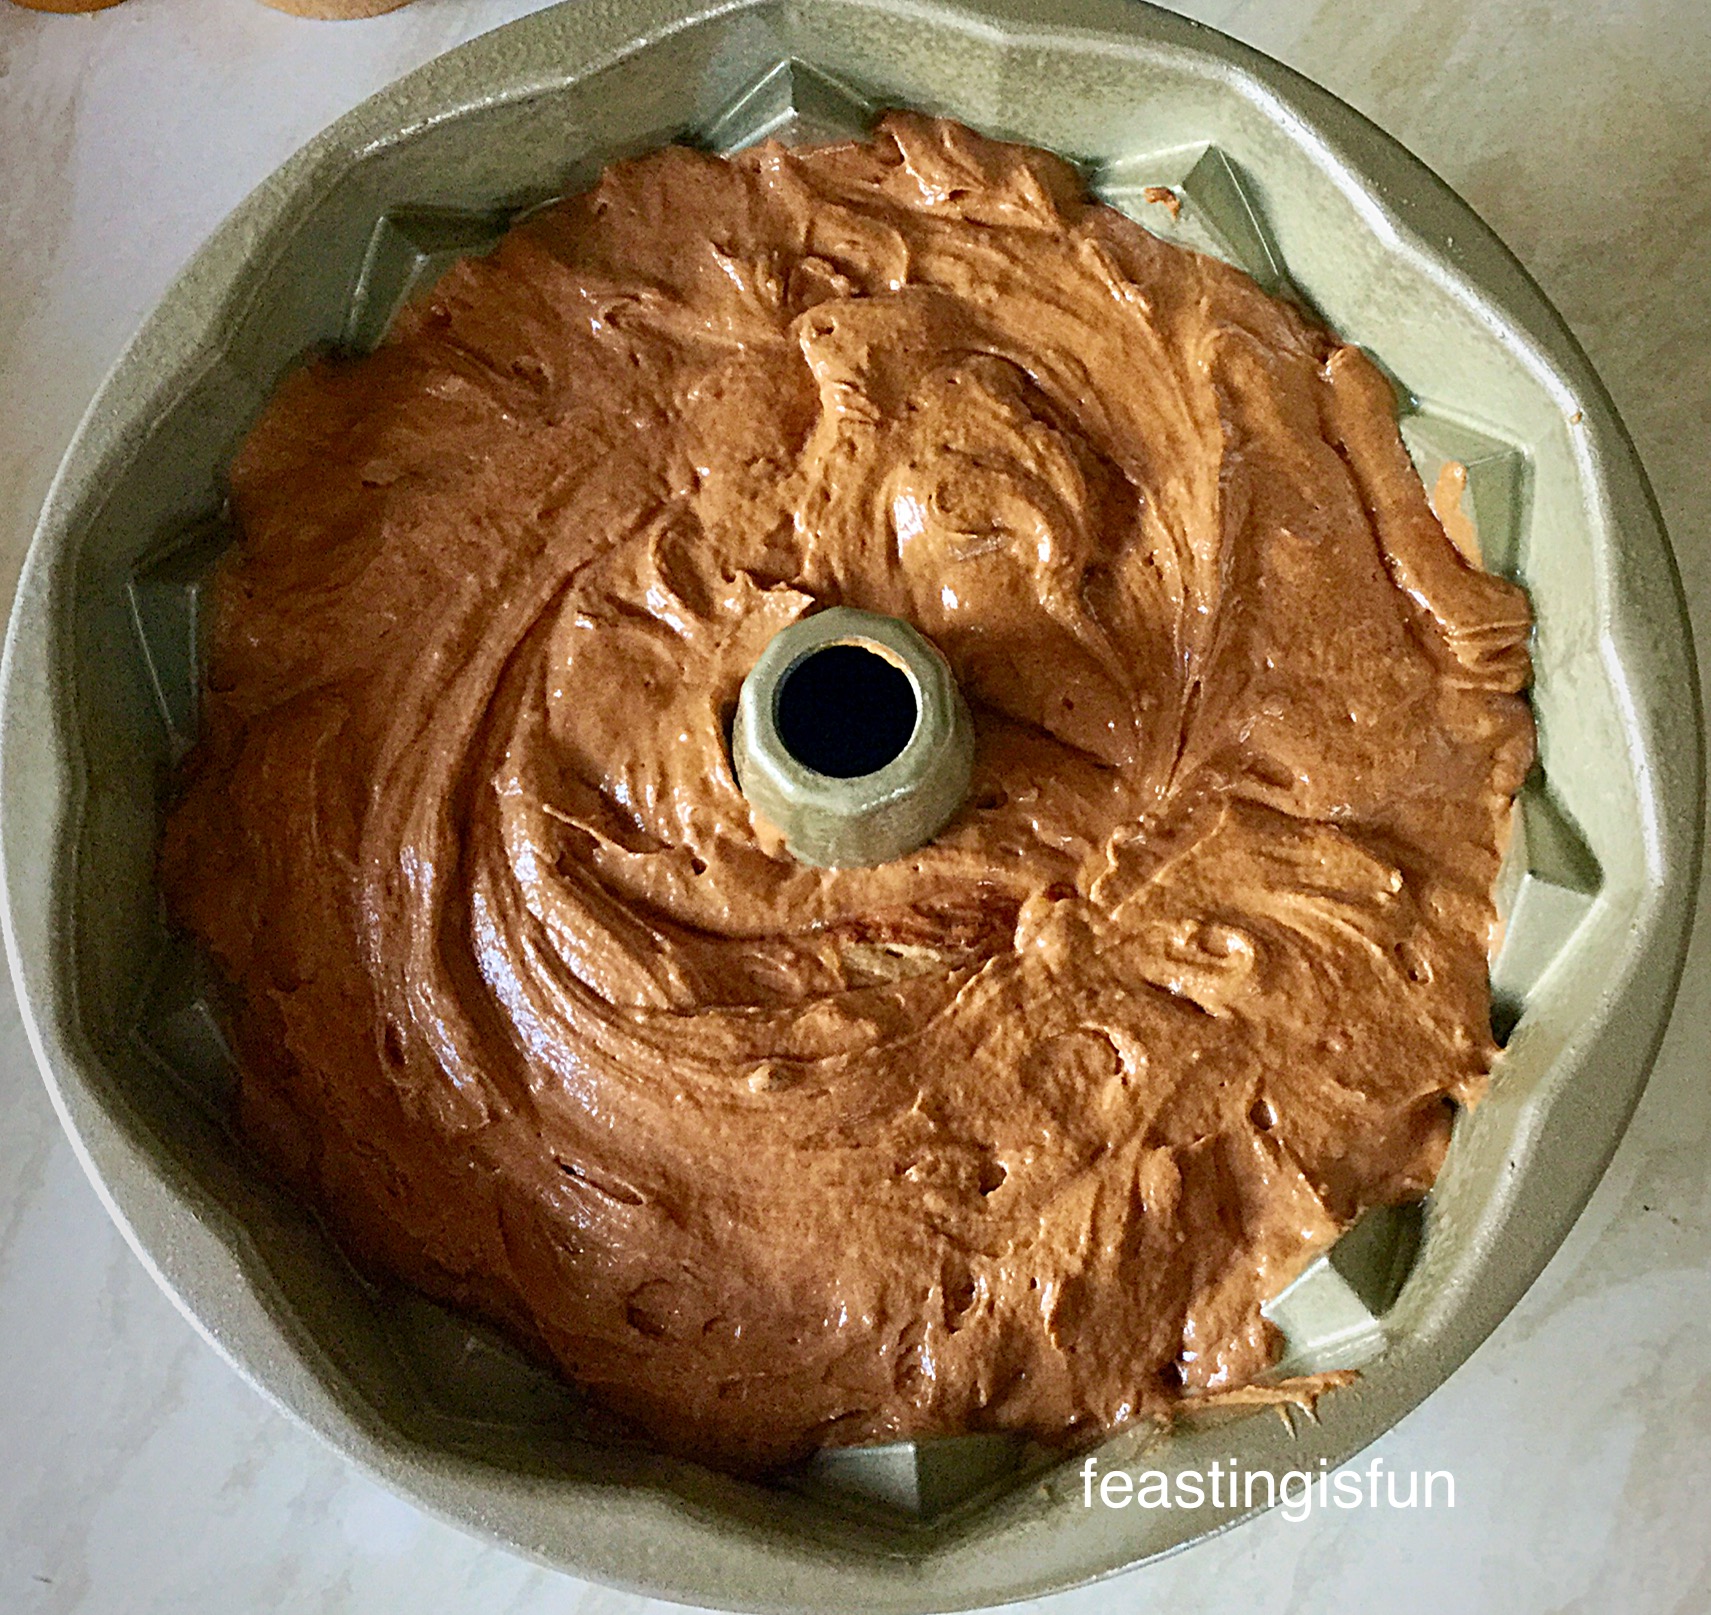
- Switch to a metal spoon or a spatula and mix the cake batter by hand until thoroughly combined.
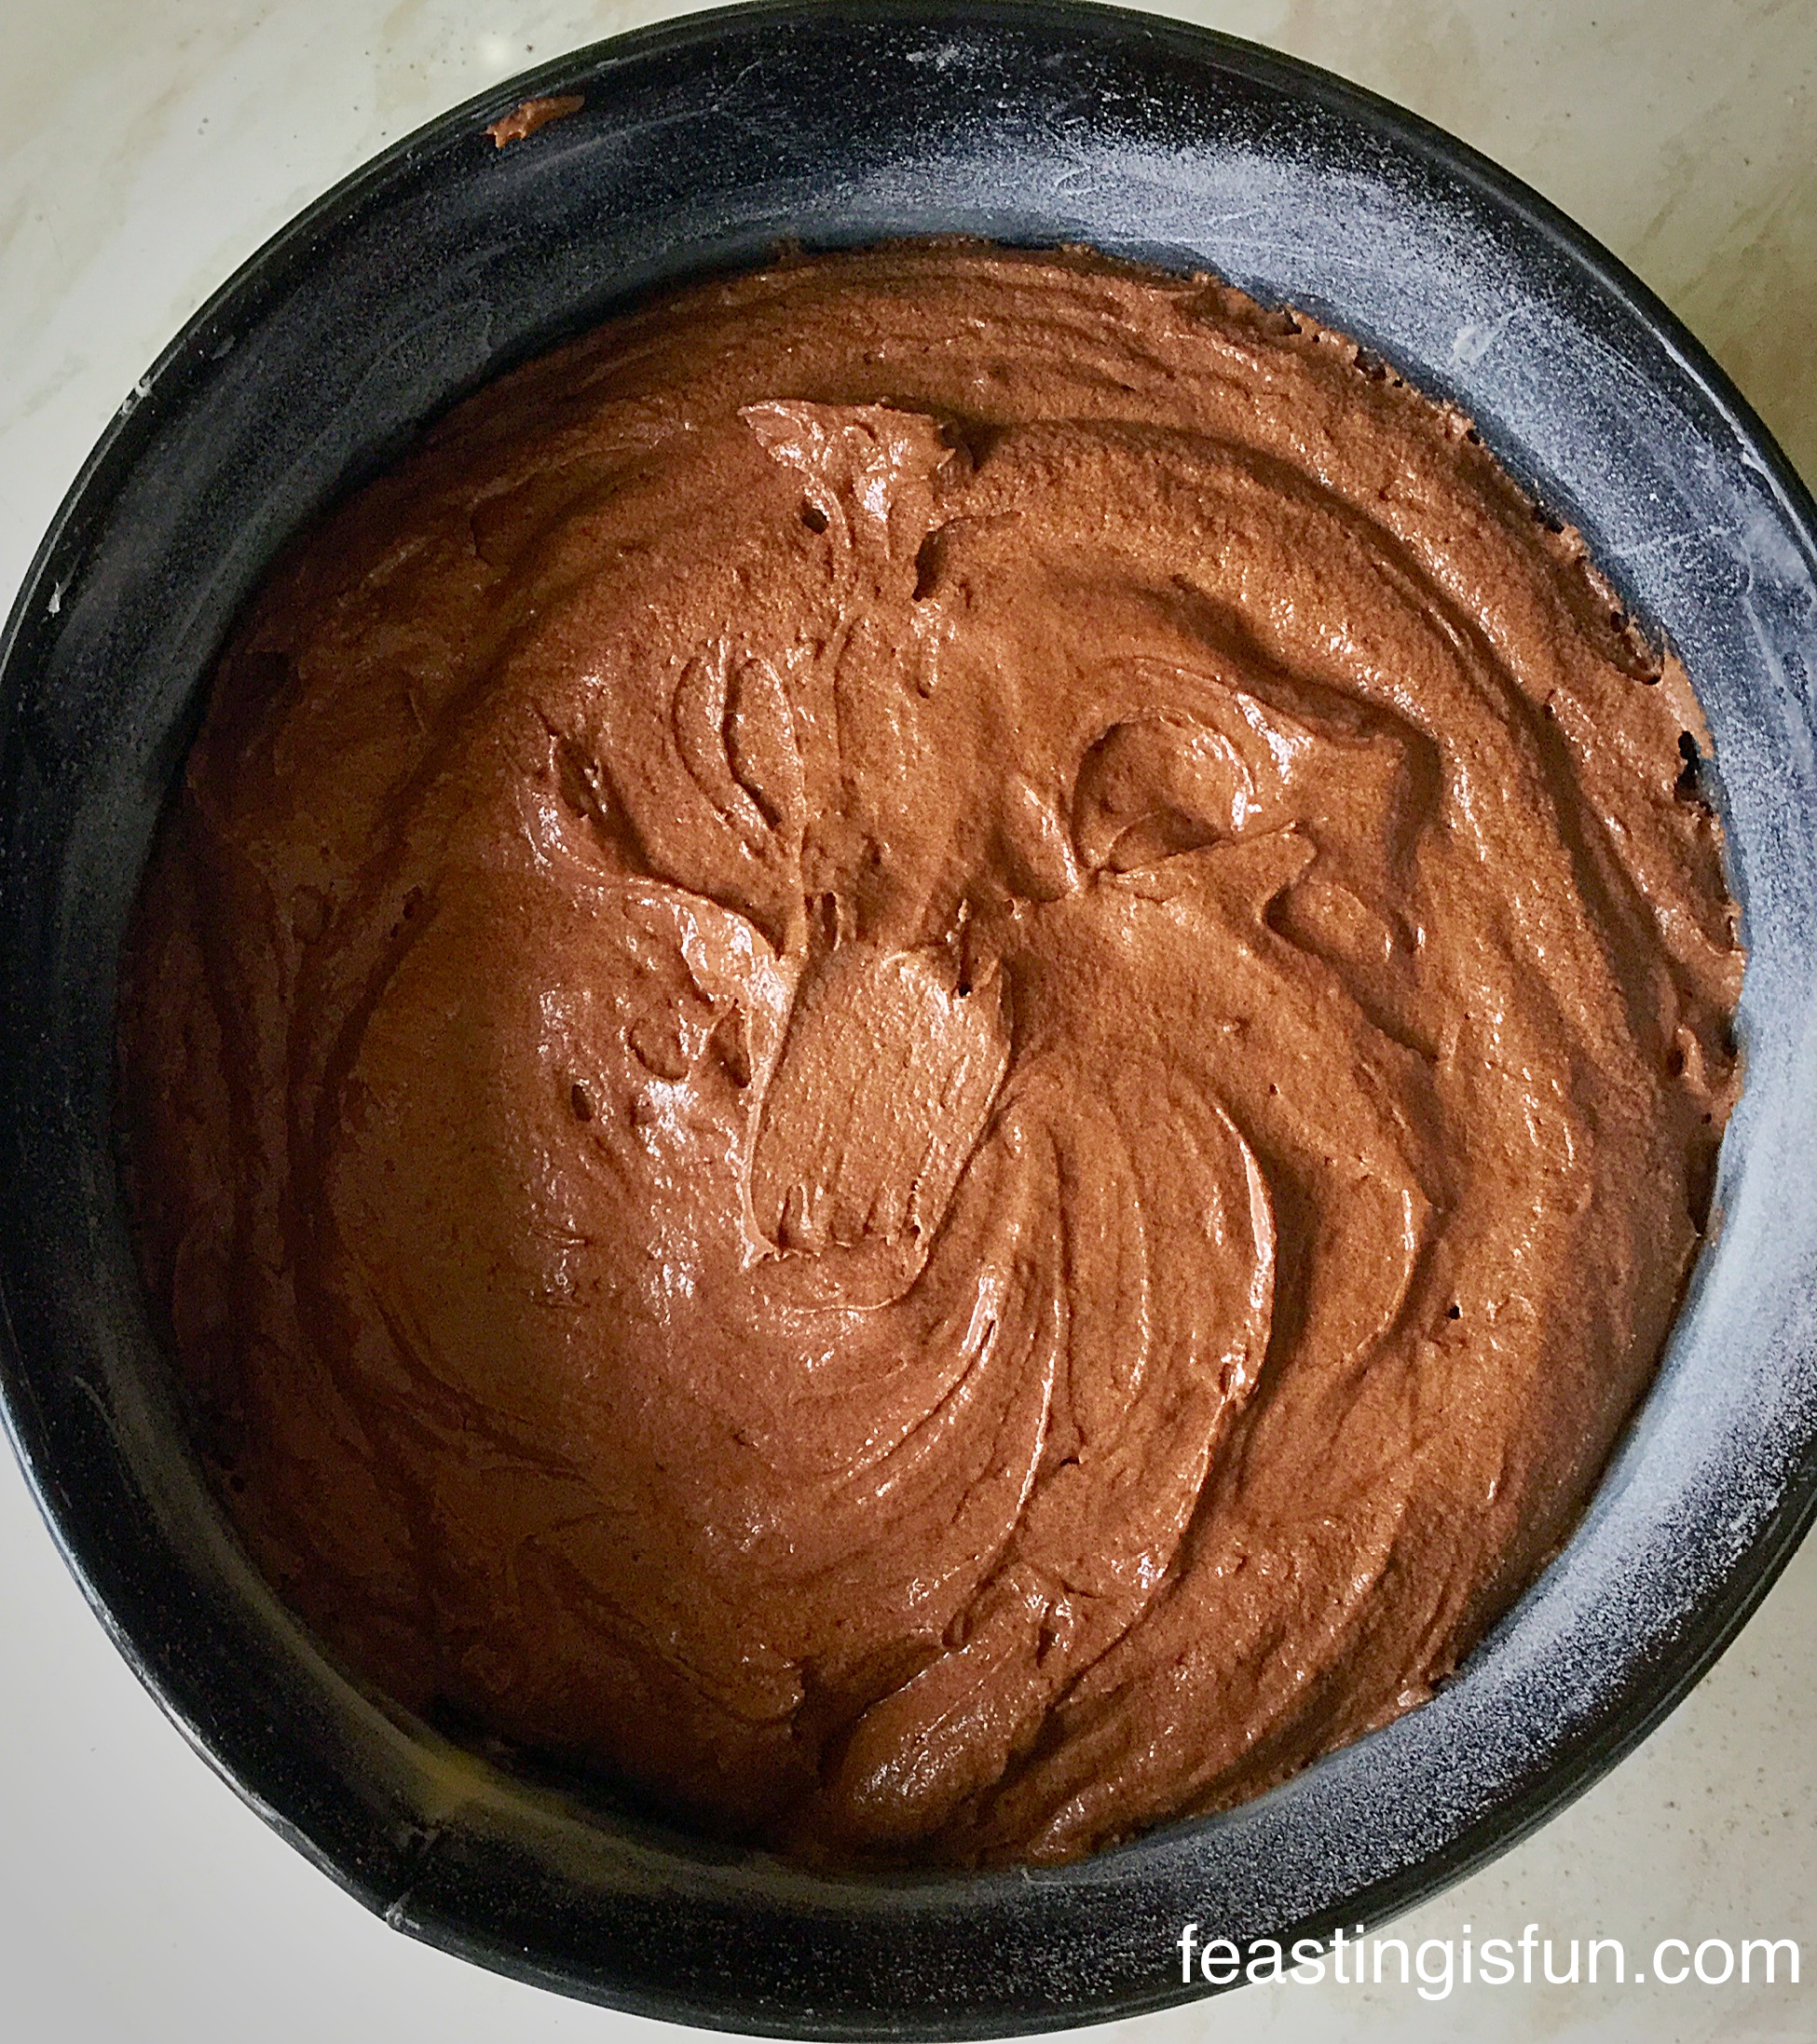
Baking The Cake
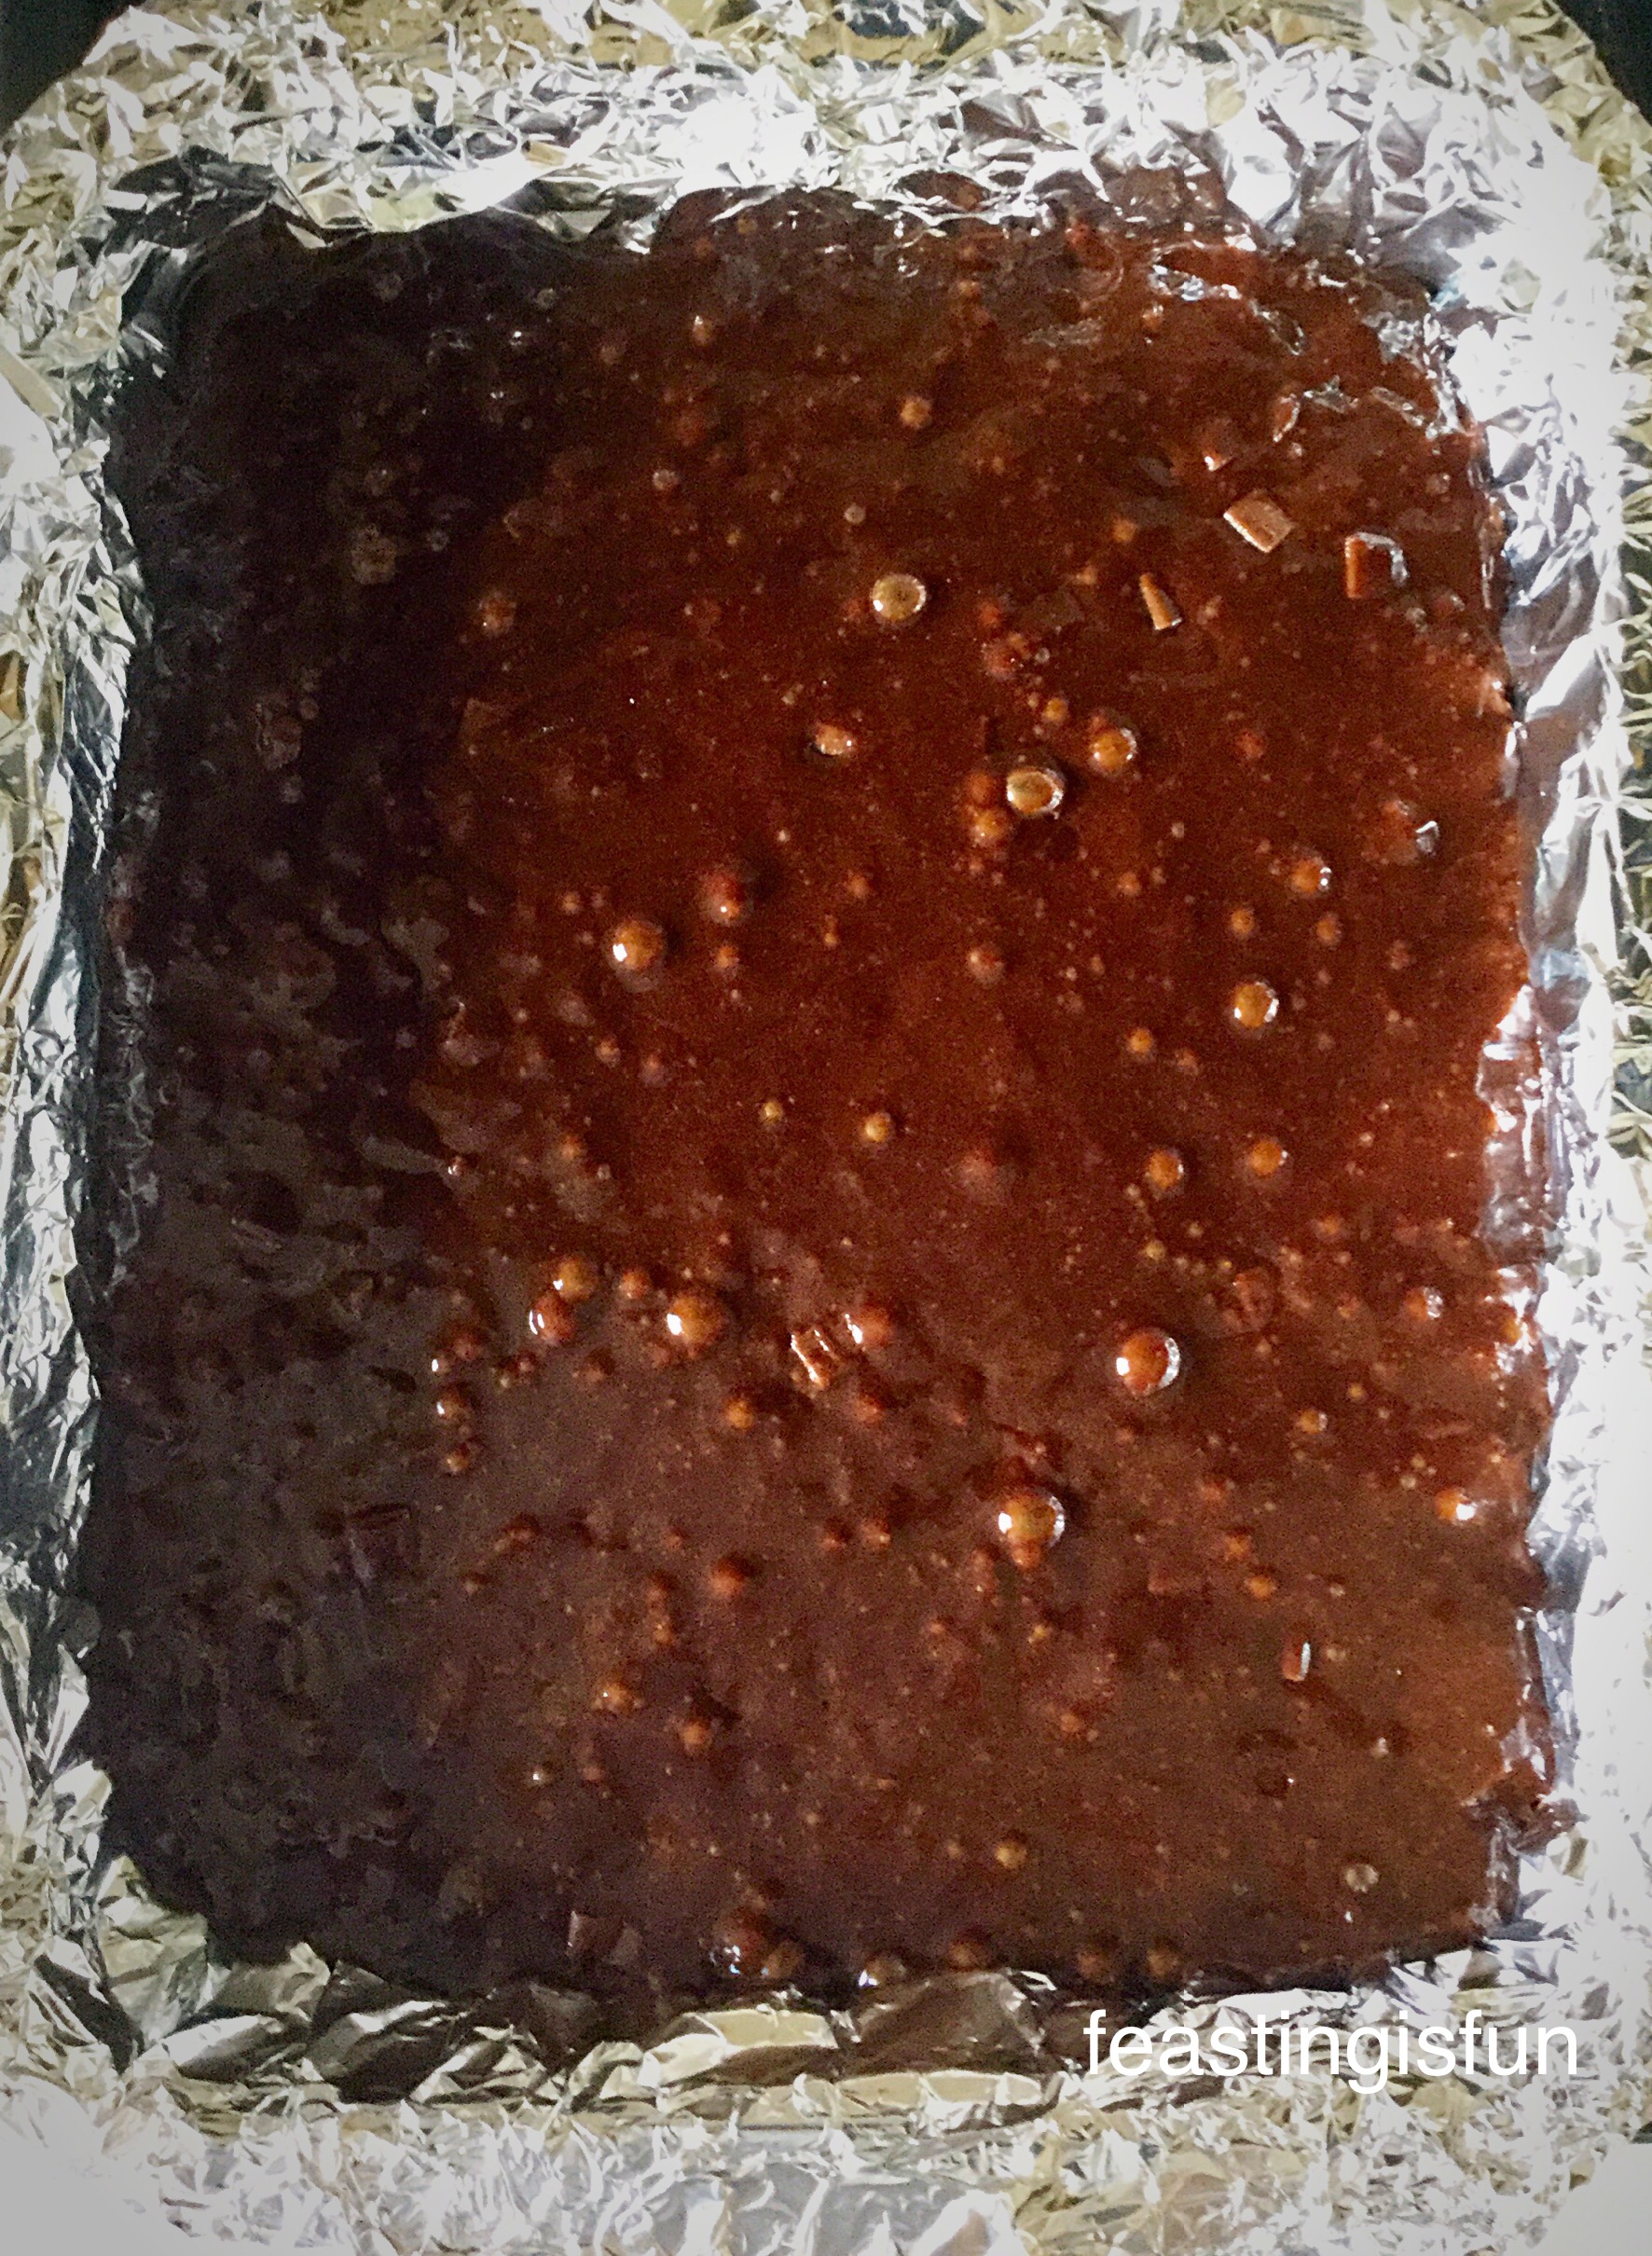
- Place the cake tin into the centre of the oven.
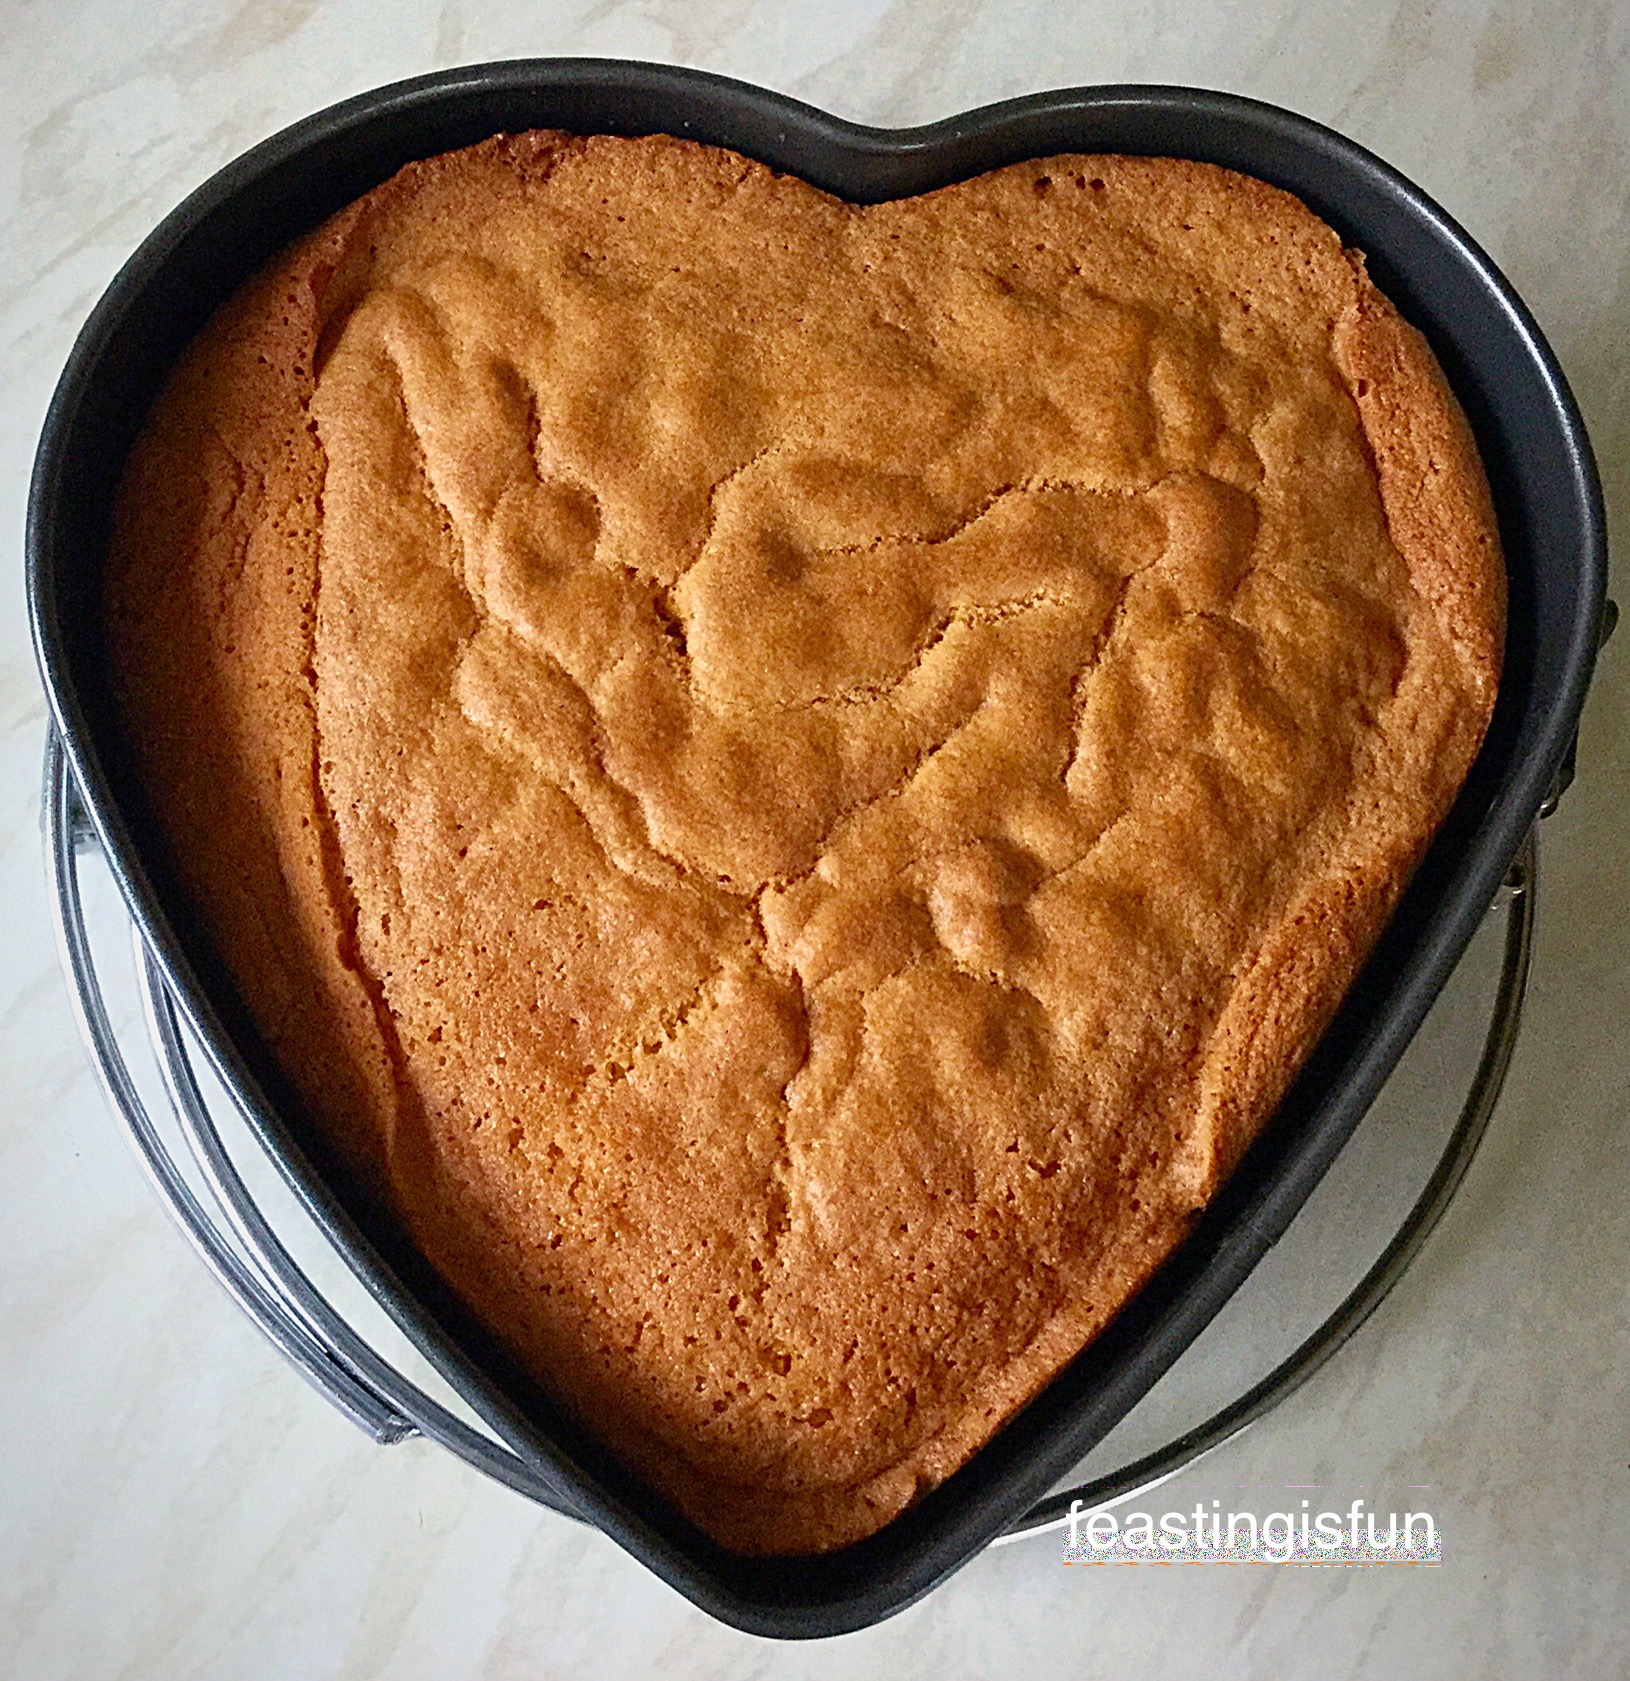
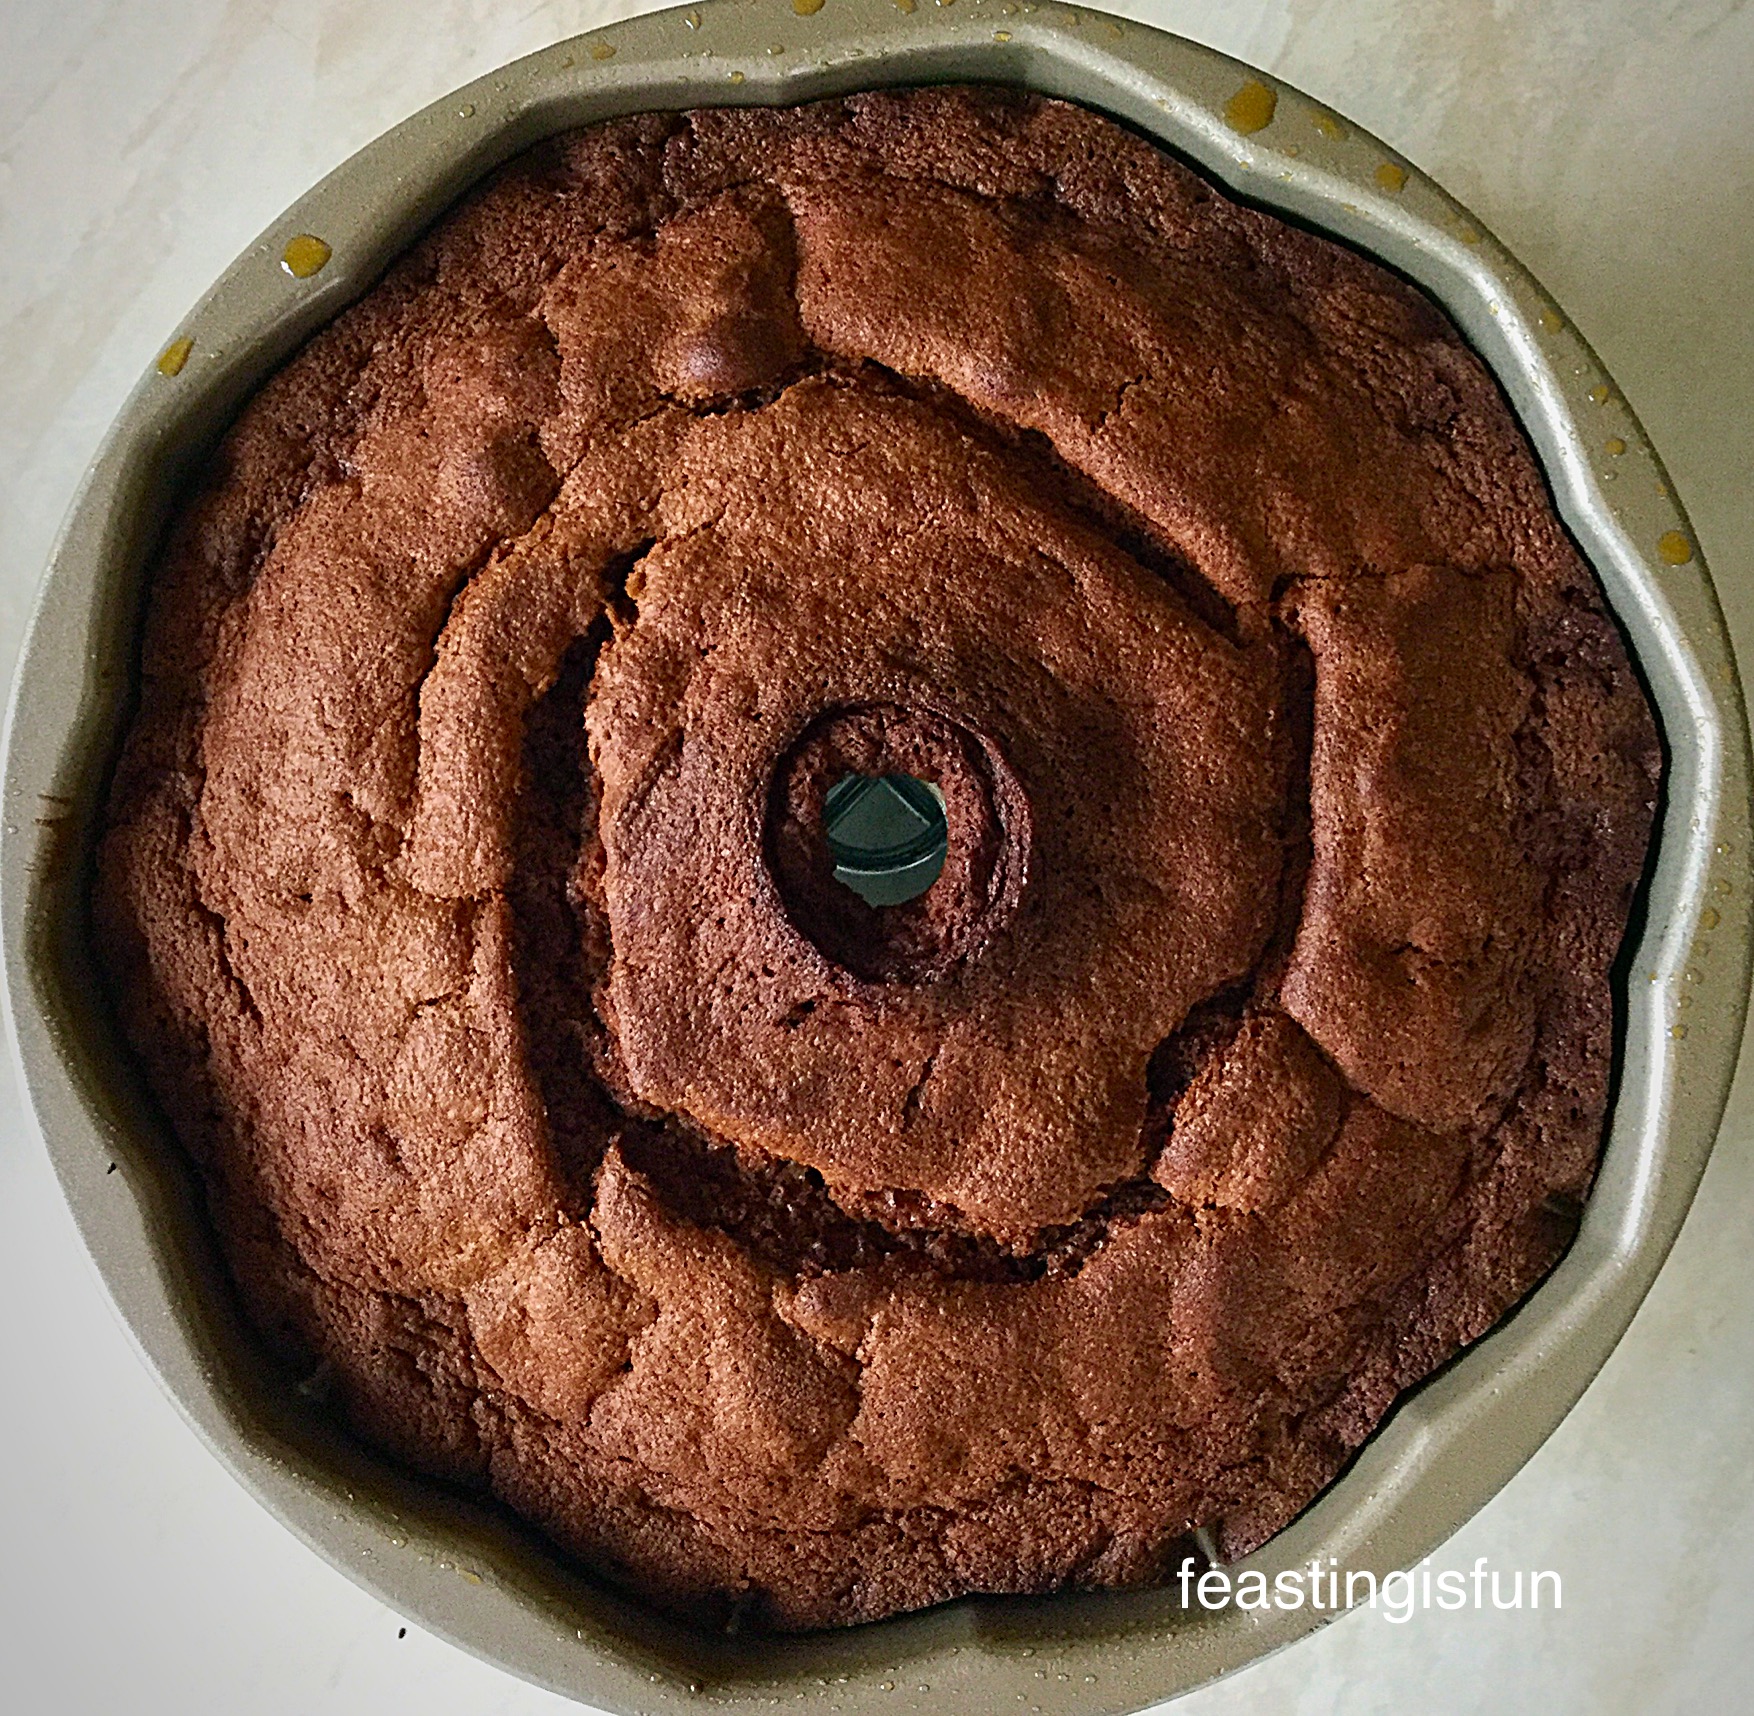
- Bake for 50 minutes – 1 hour.
- The cake is baked when an inserted skewer comes out clean.
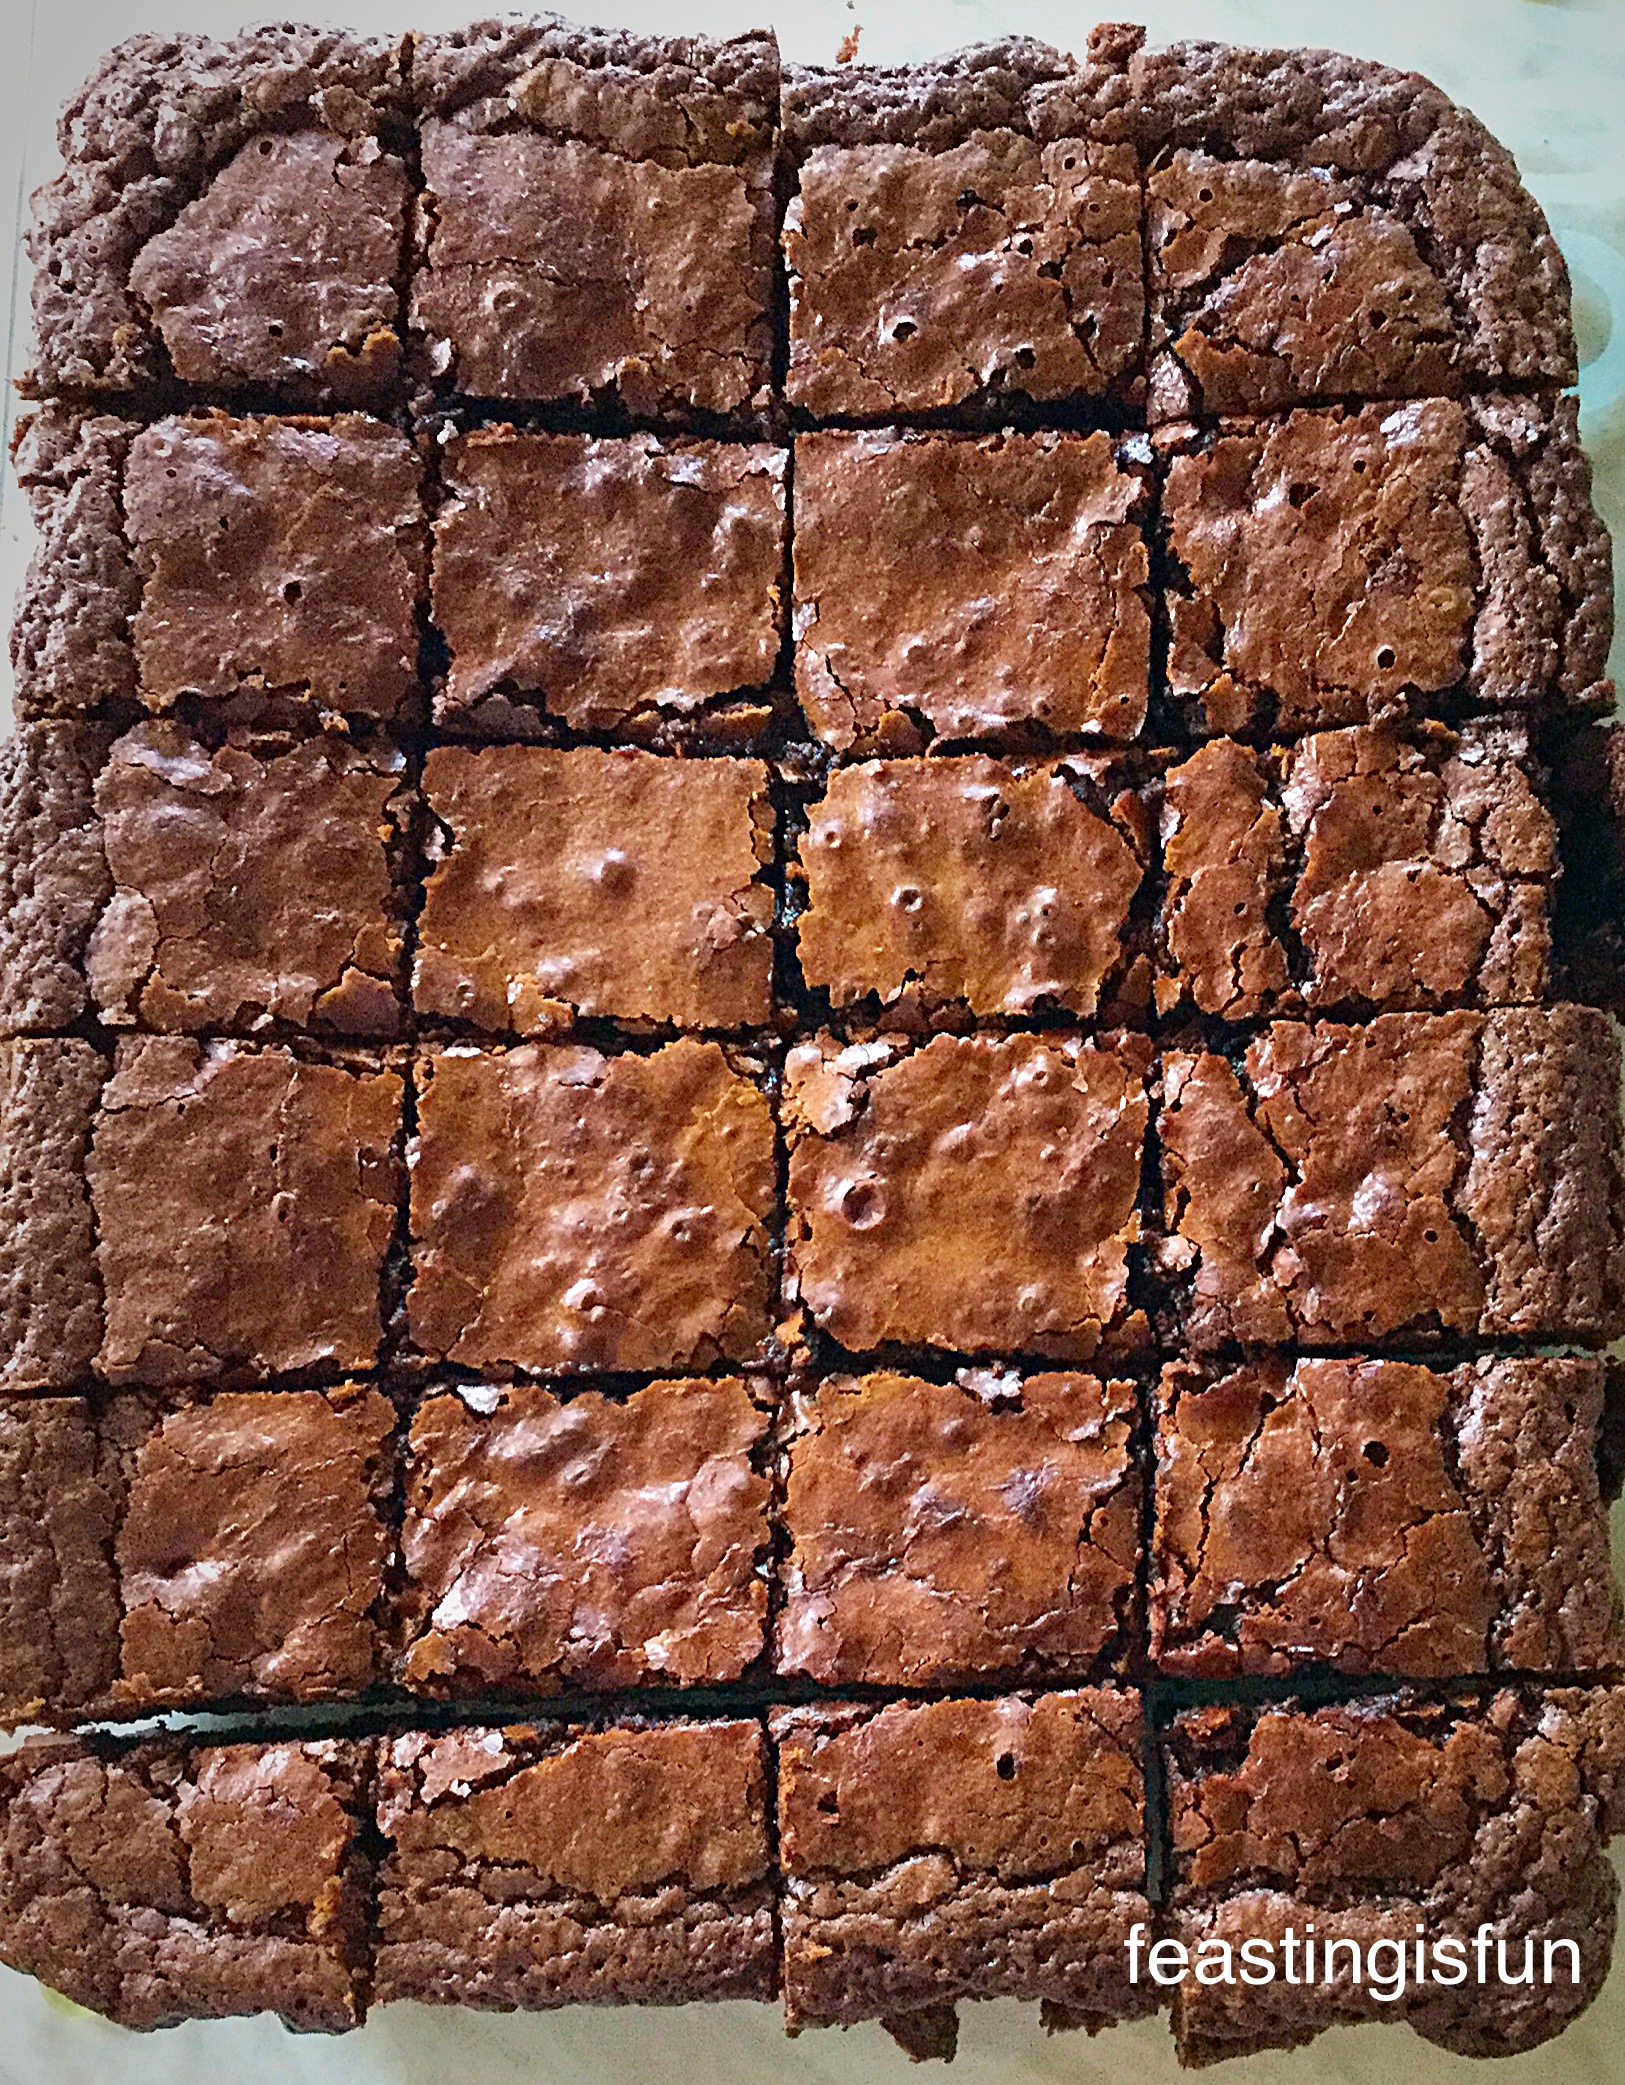
- As soon as the cake is baked remove from the oven.
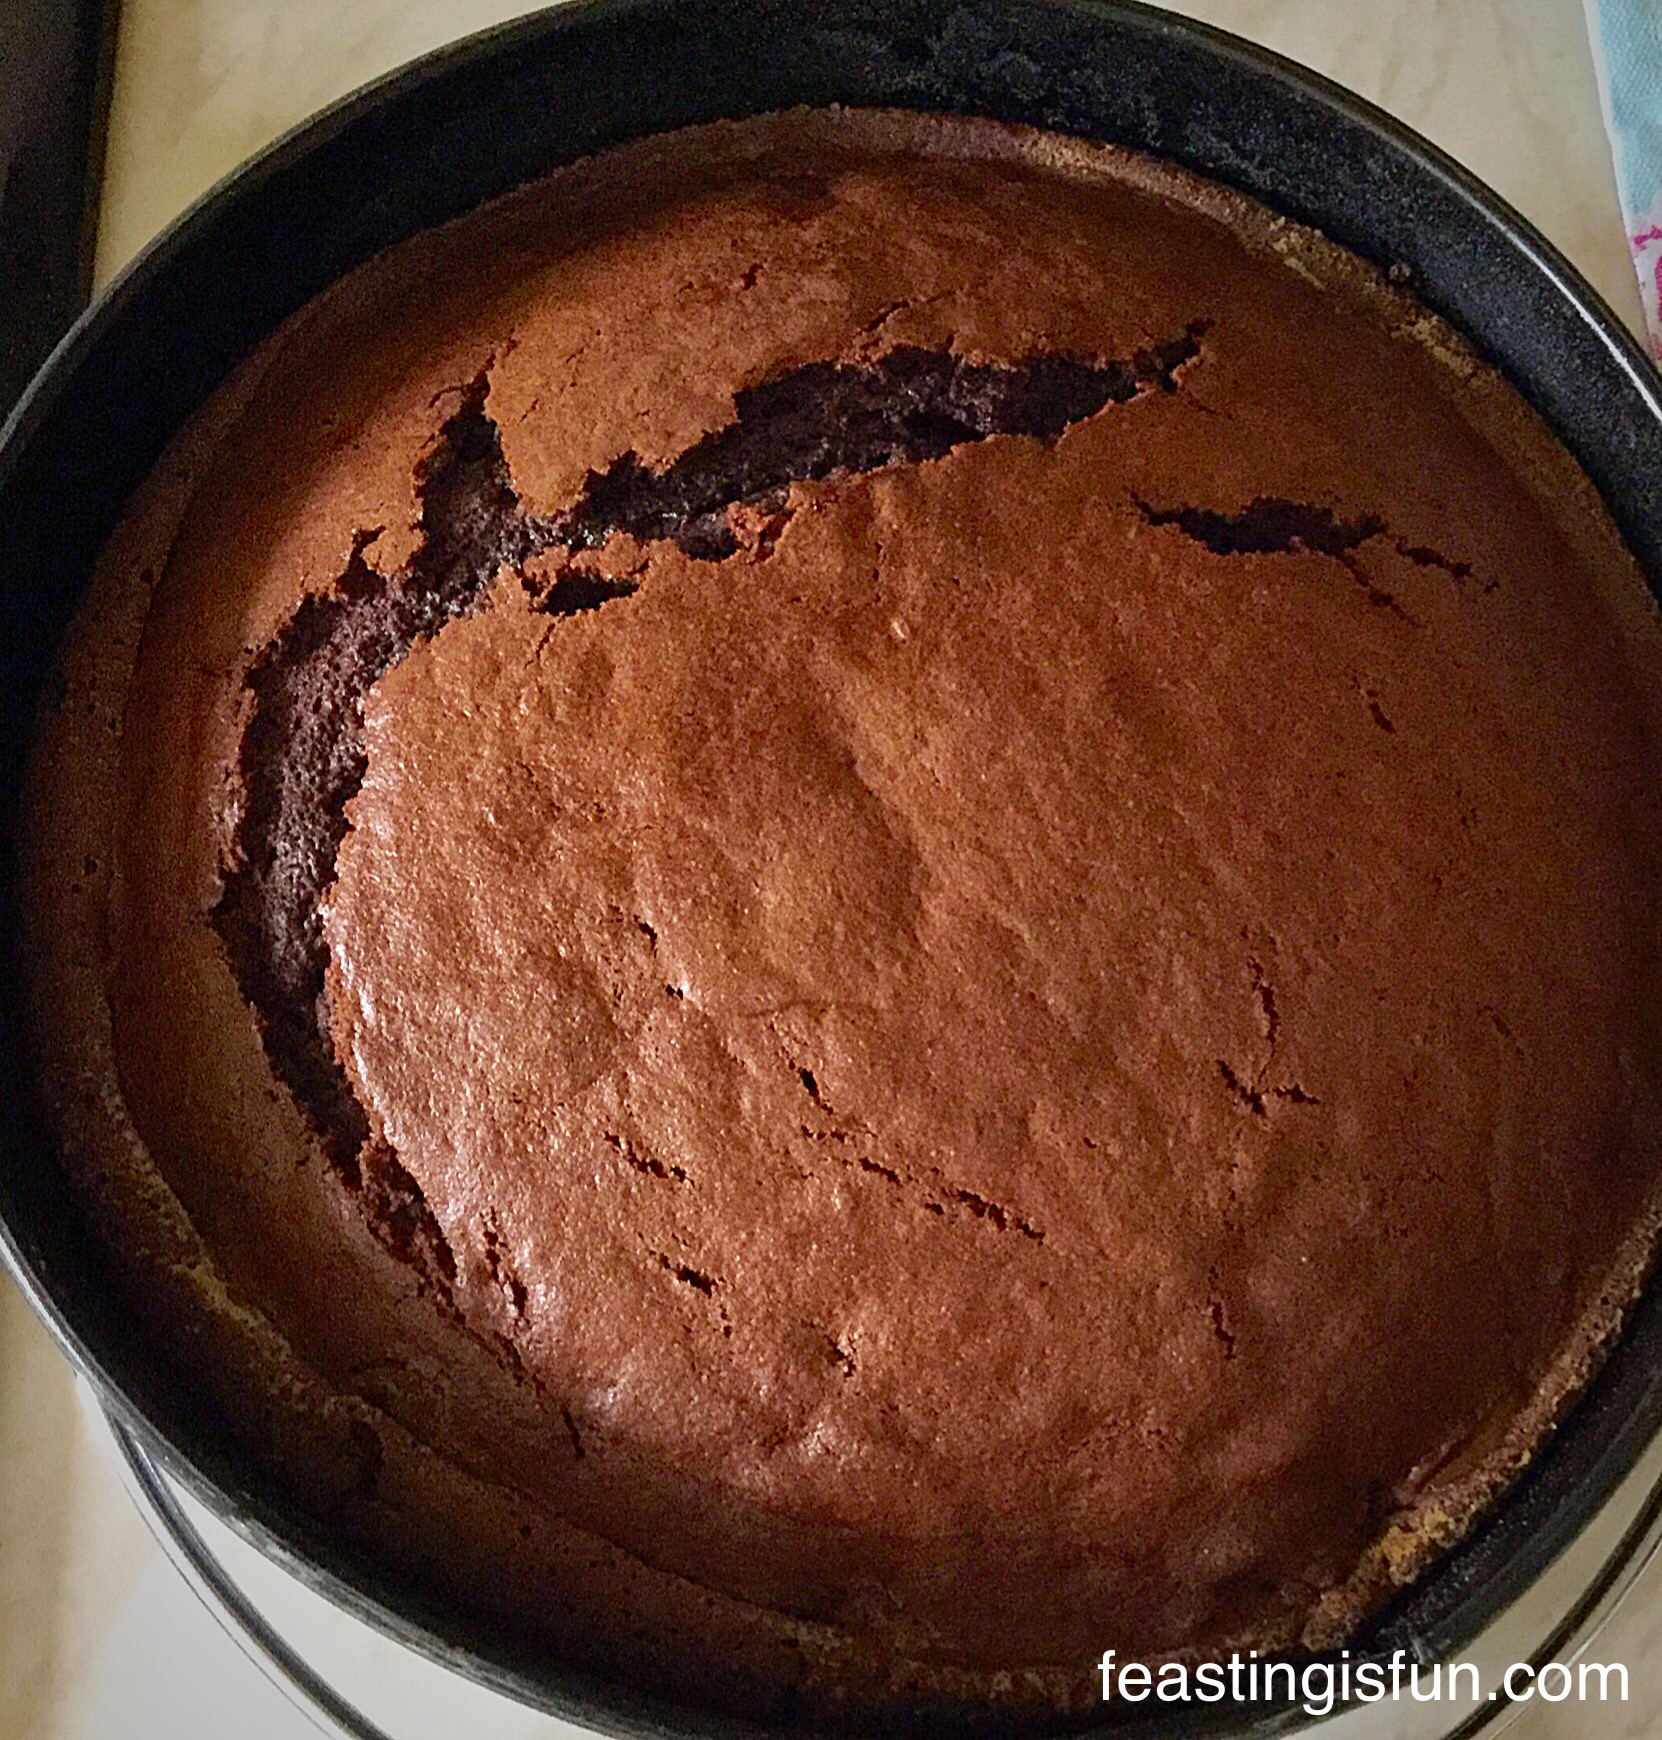
- Allow the cake to cool completely in the tin.
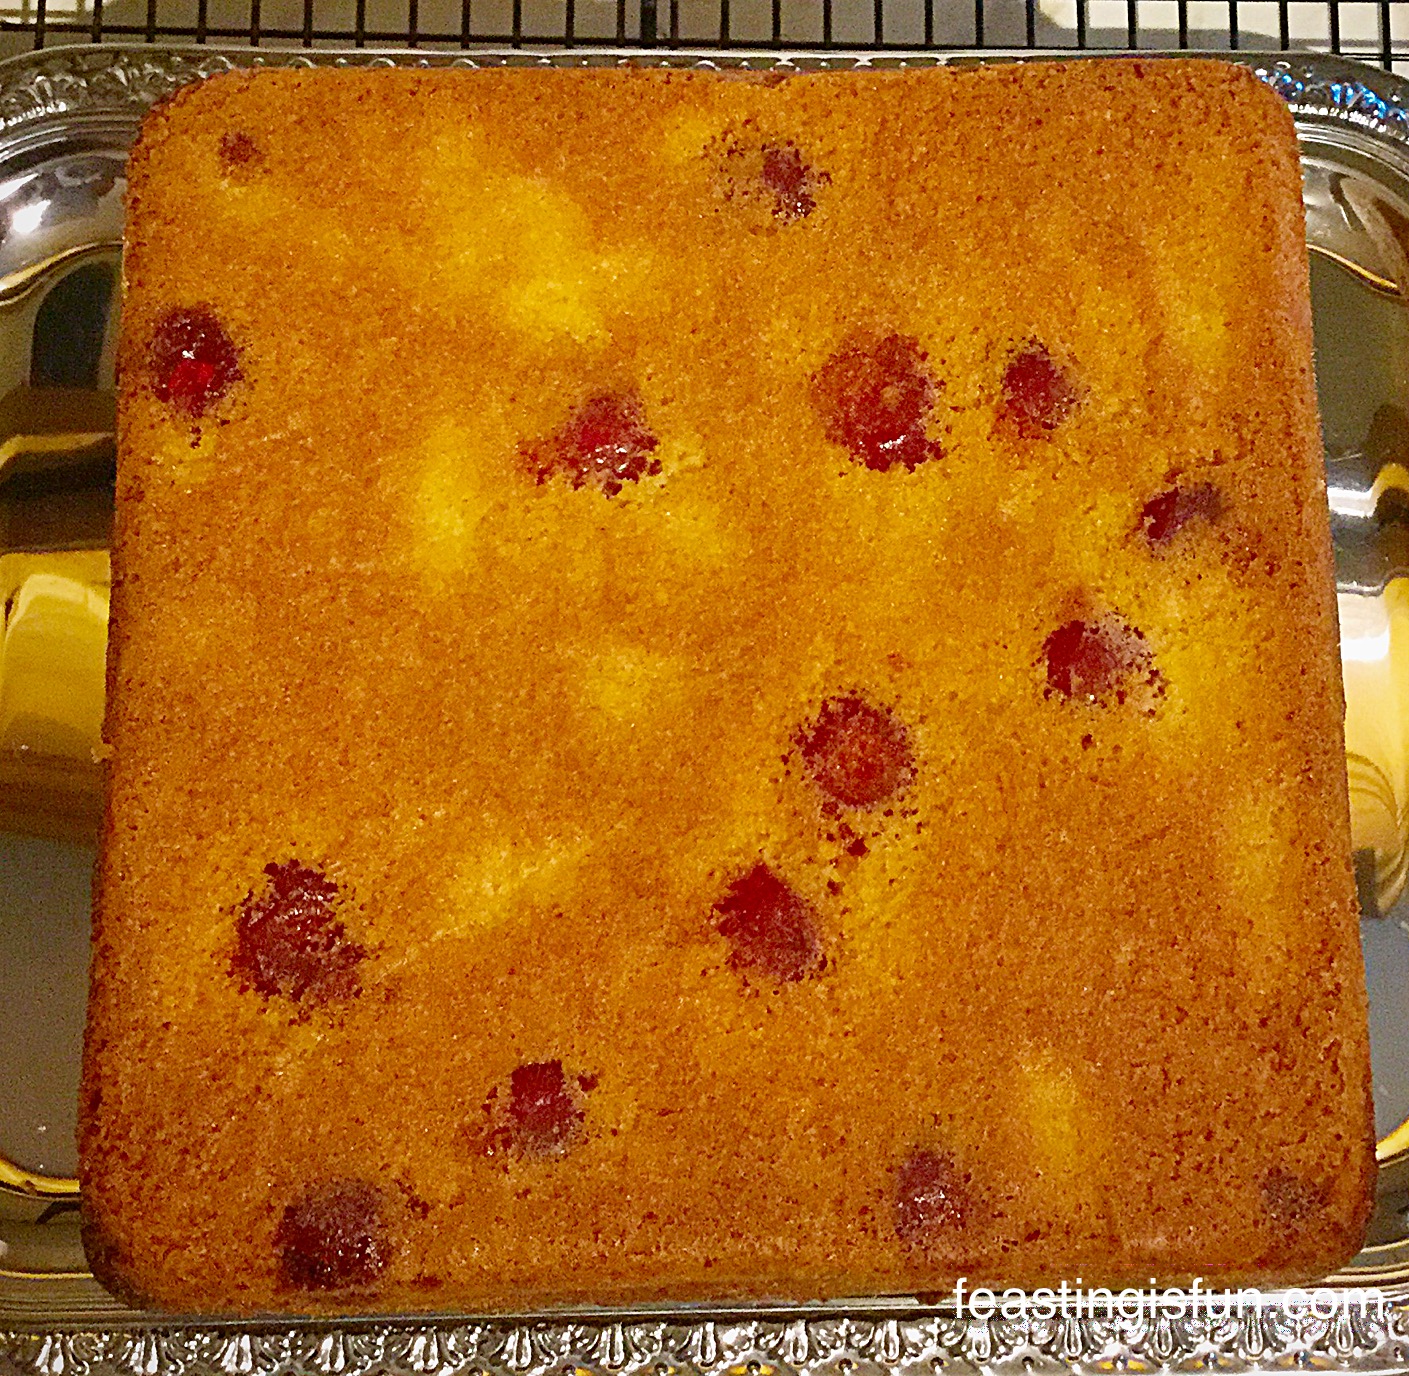
- Don’t worry if the top has a small crack.
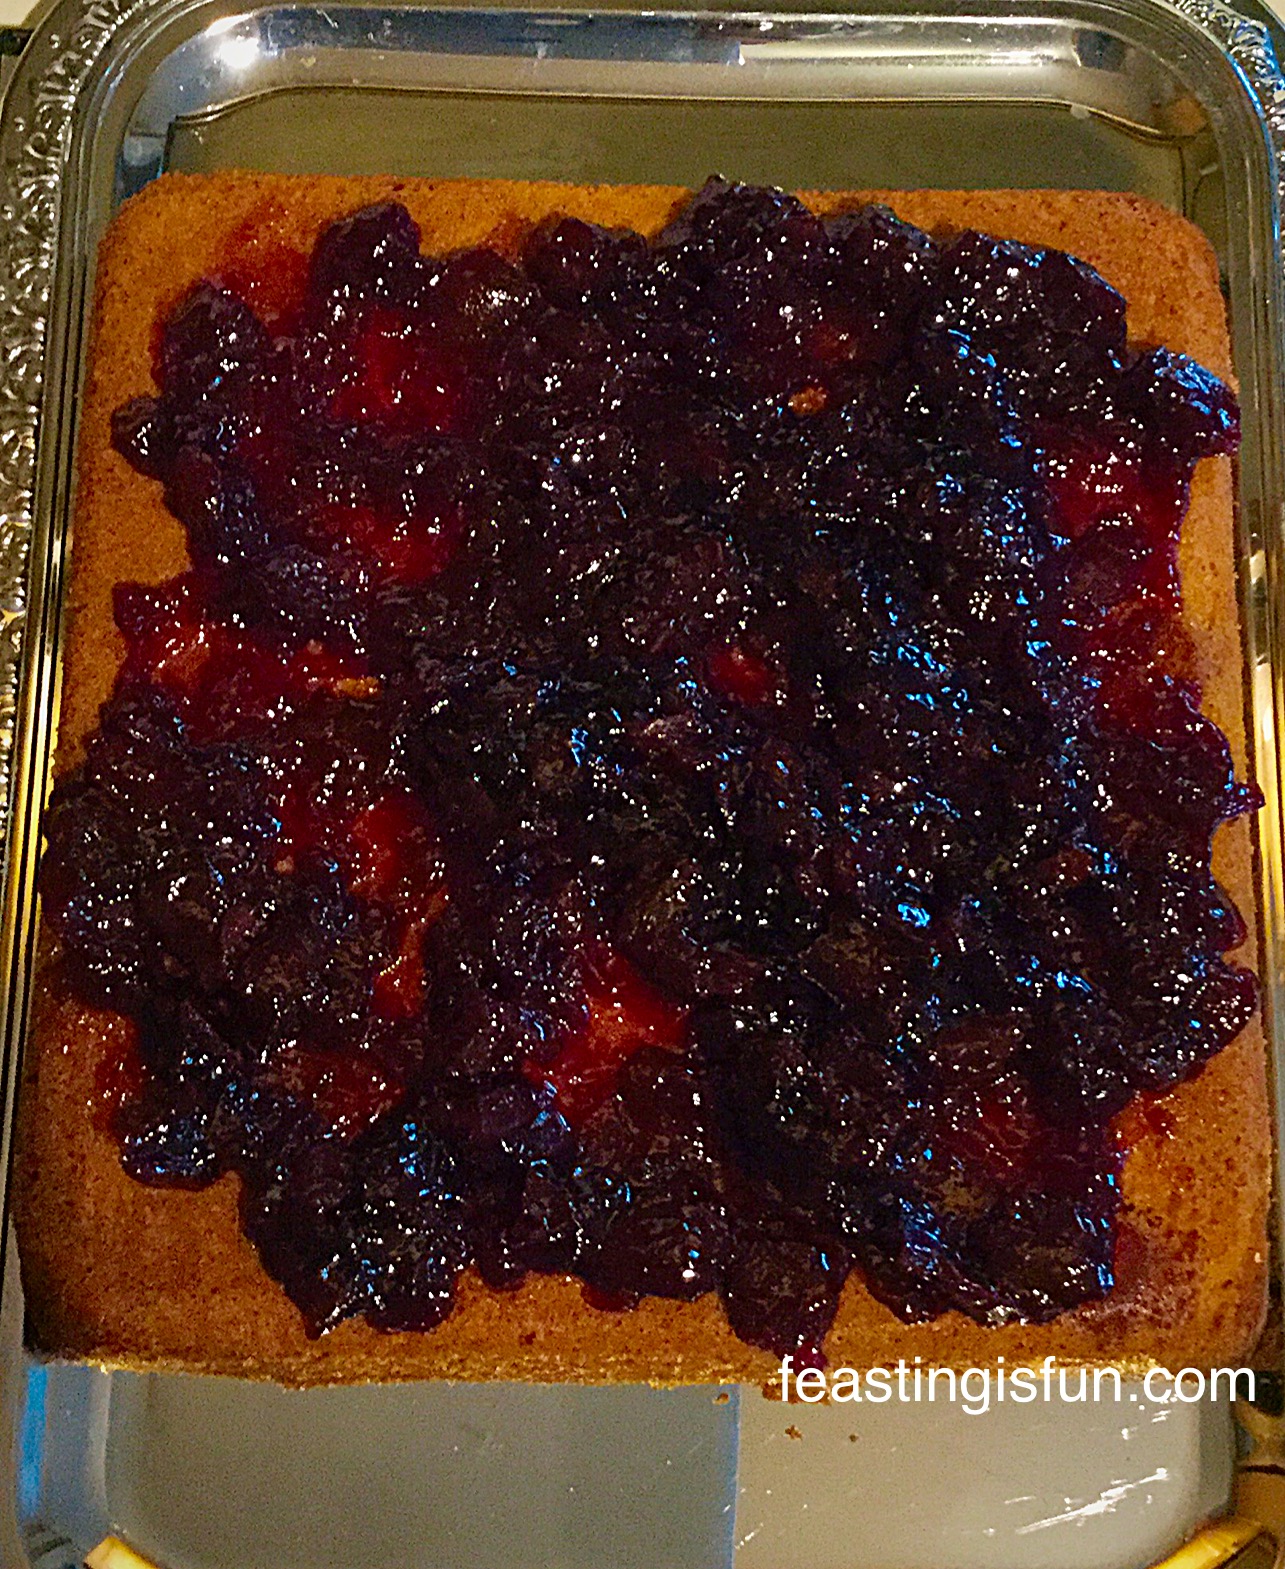
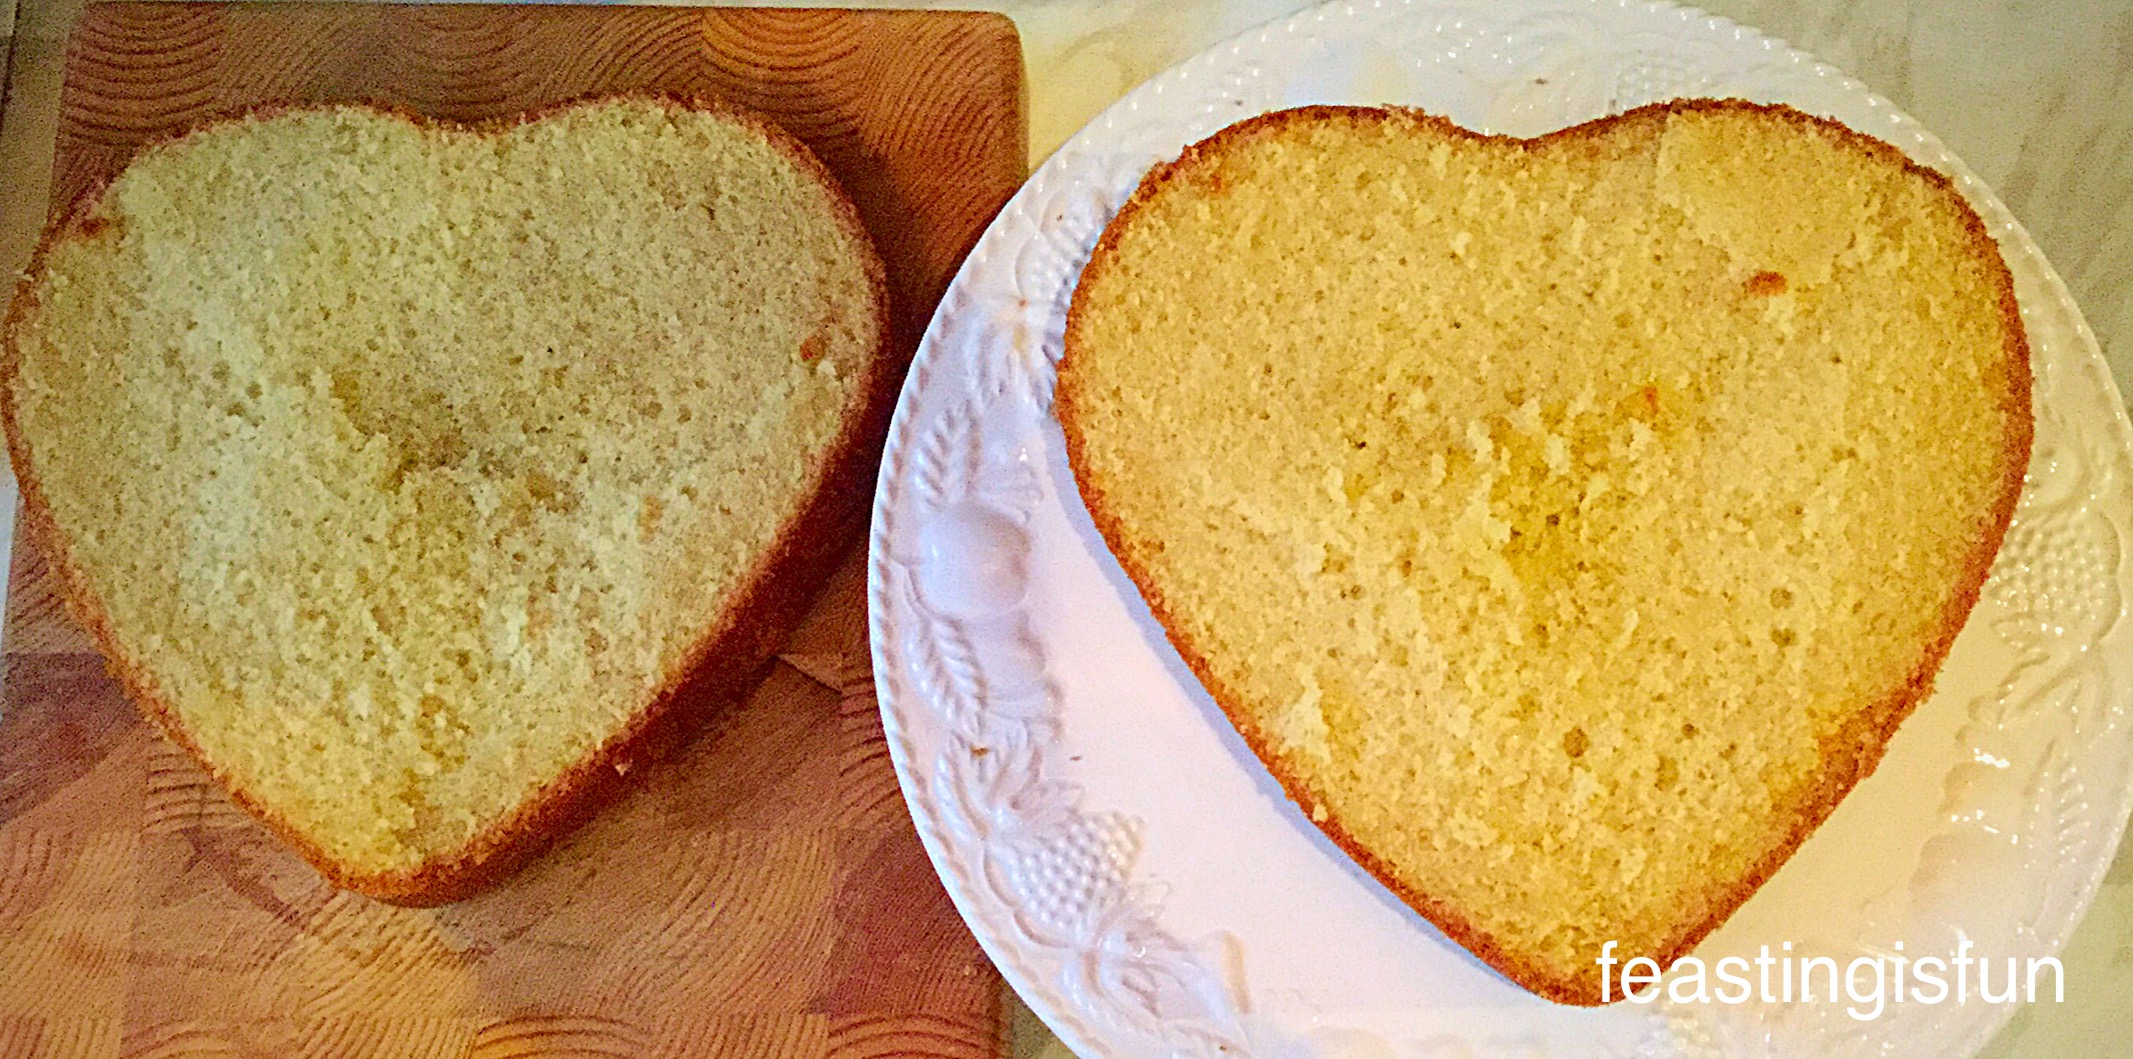
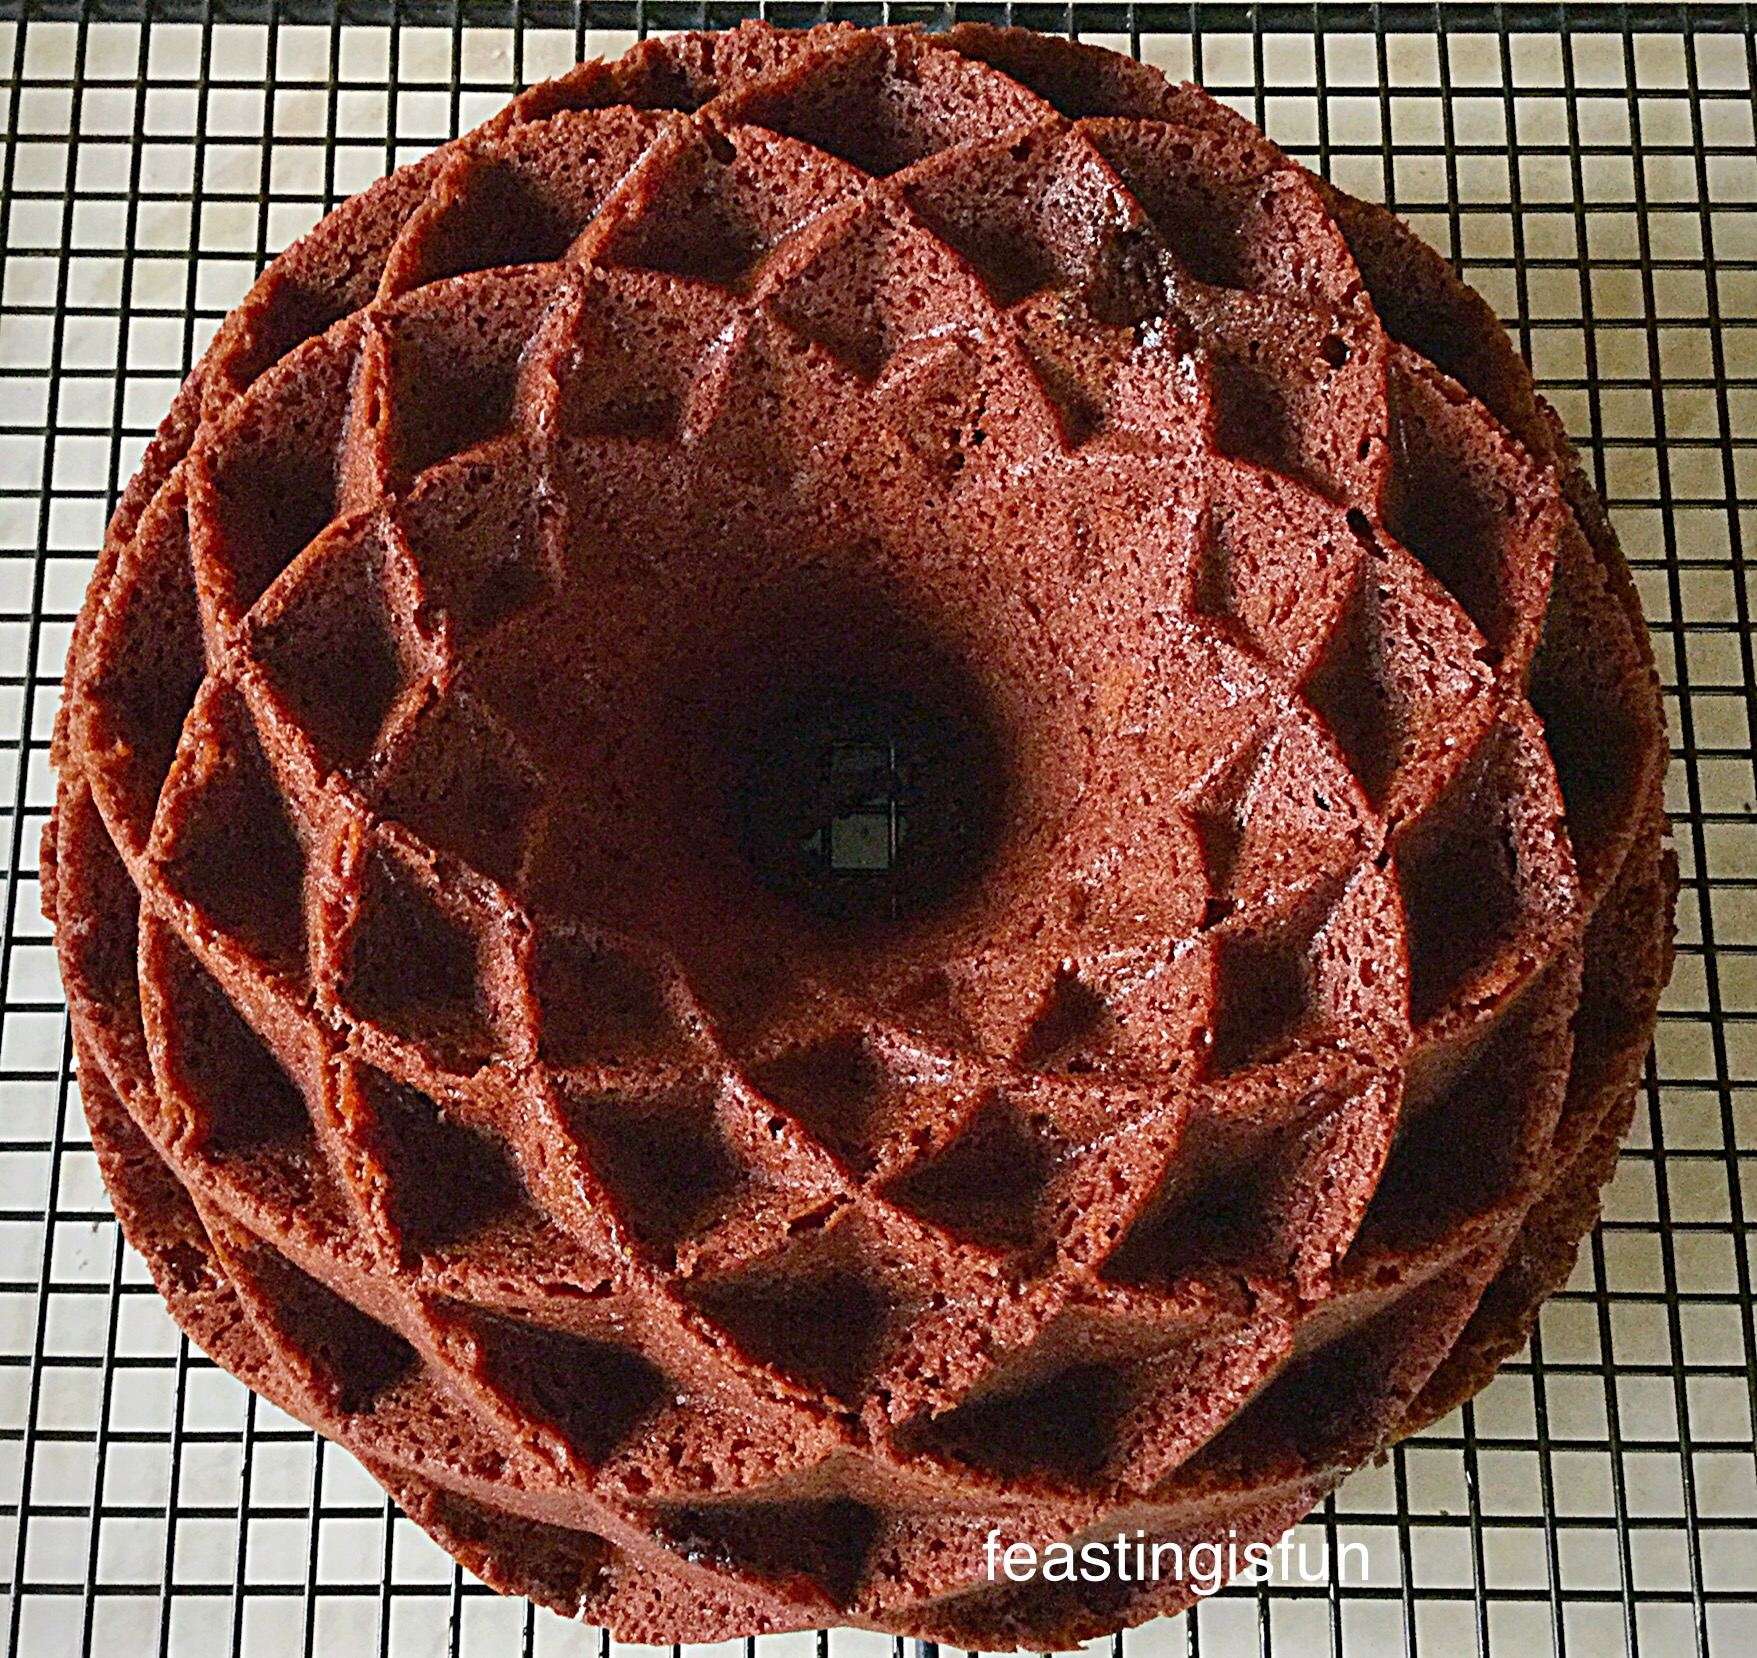
- Once cooled turn the cake out onto a cake board or stand, so that the bottom of the cake is now the top.
- Peel away the baking parchment carefully.
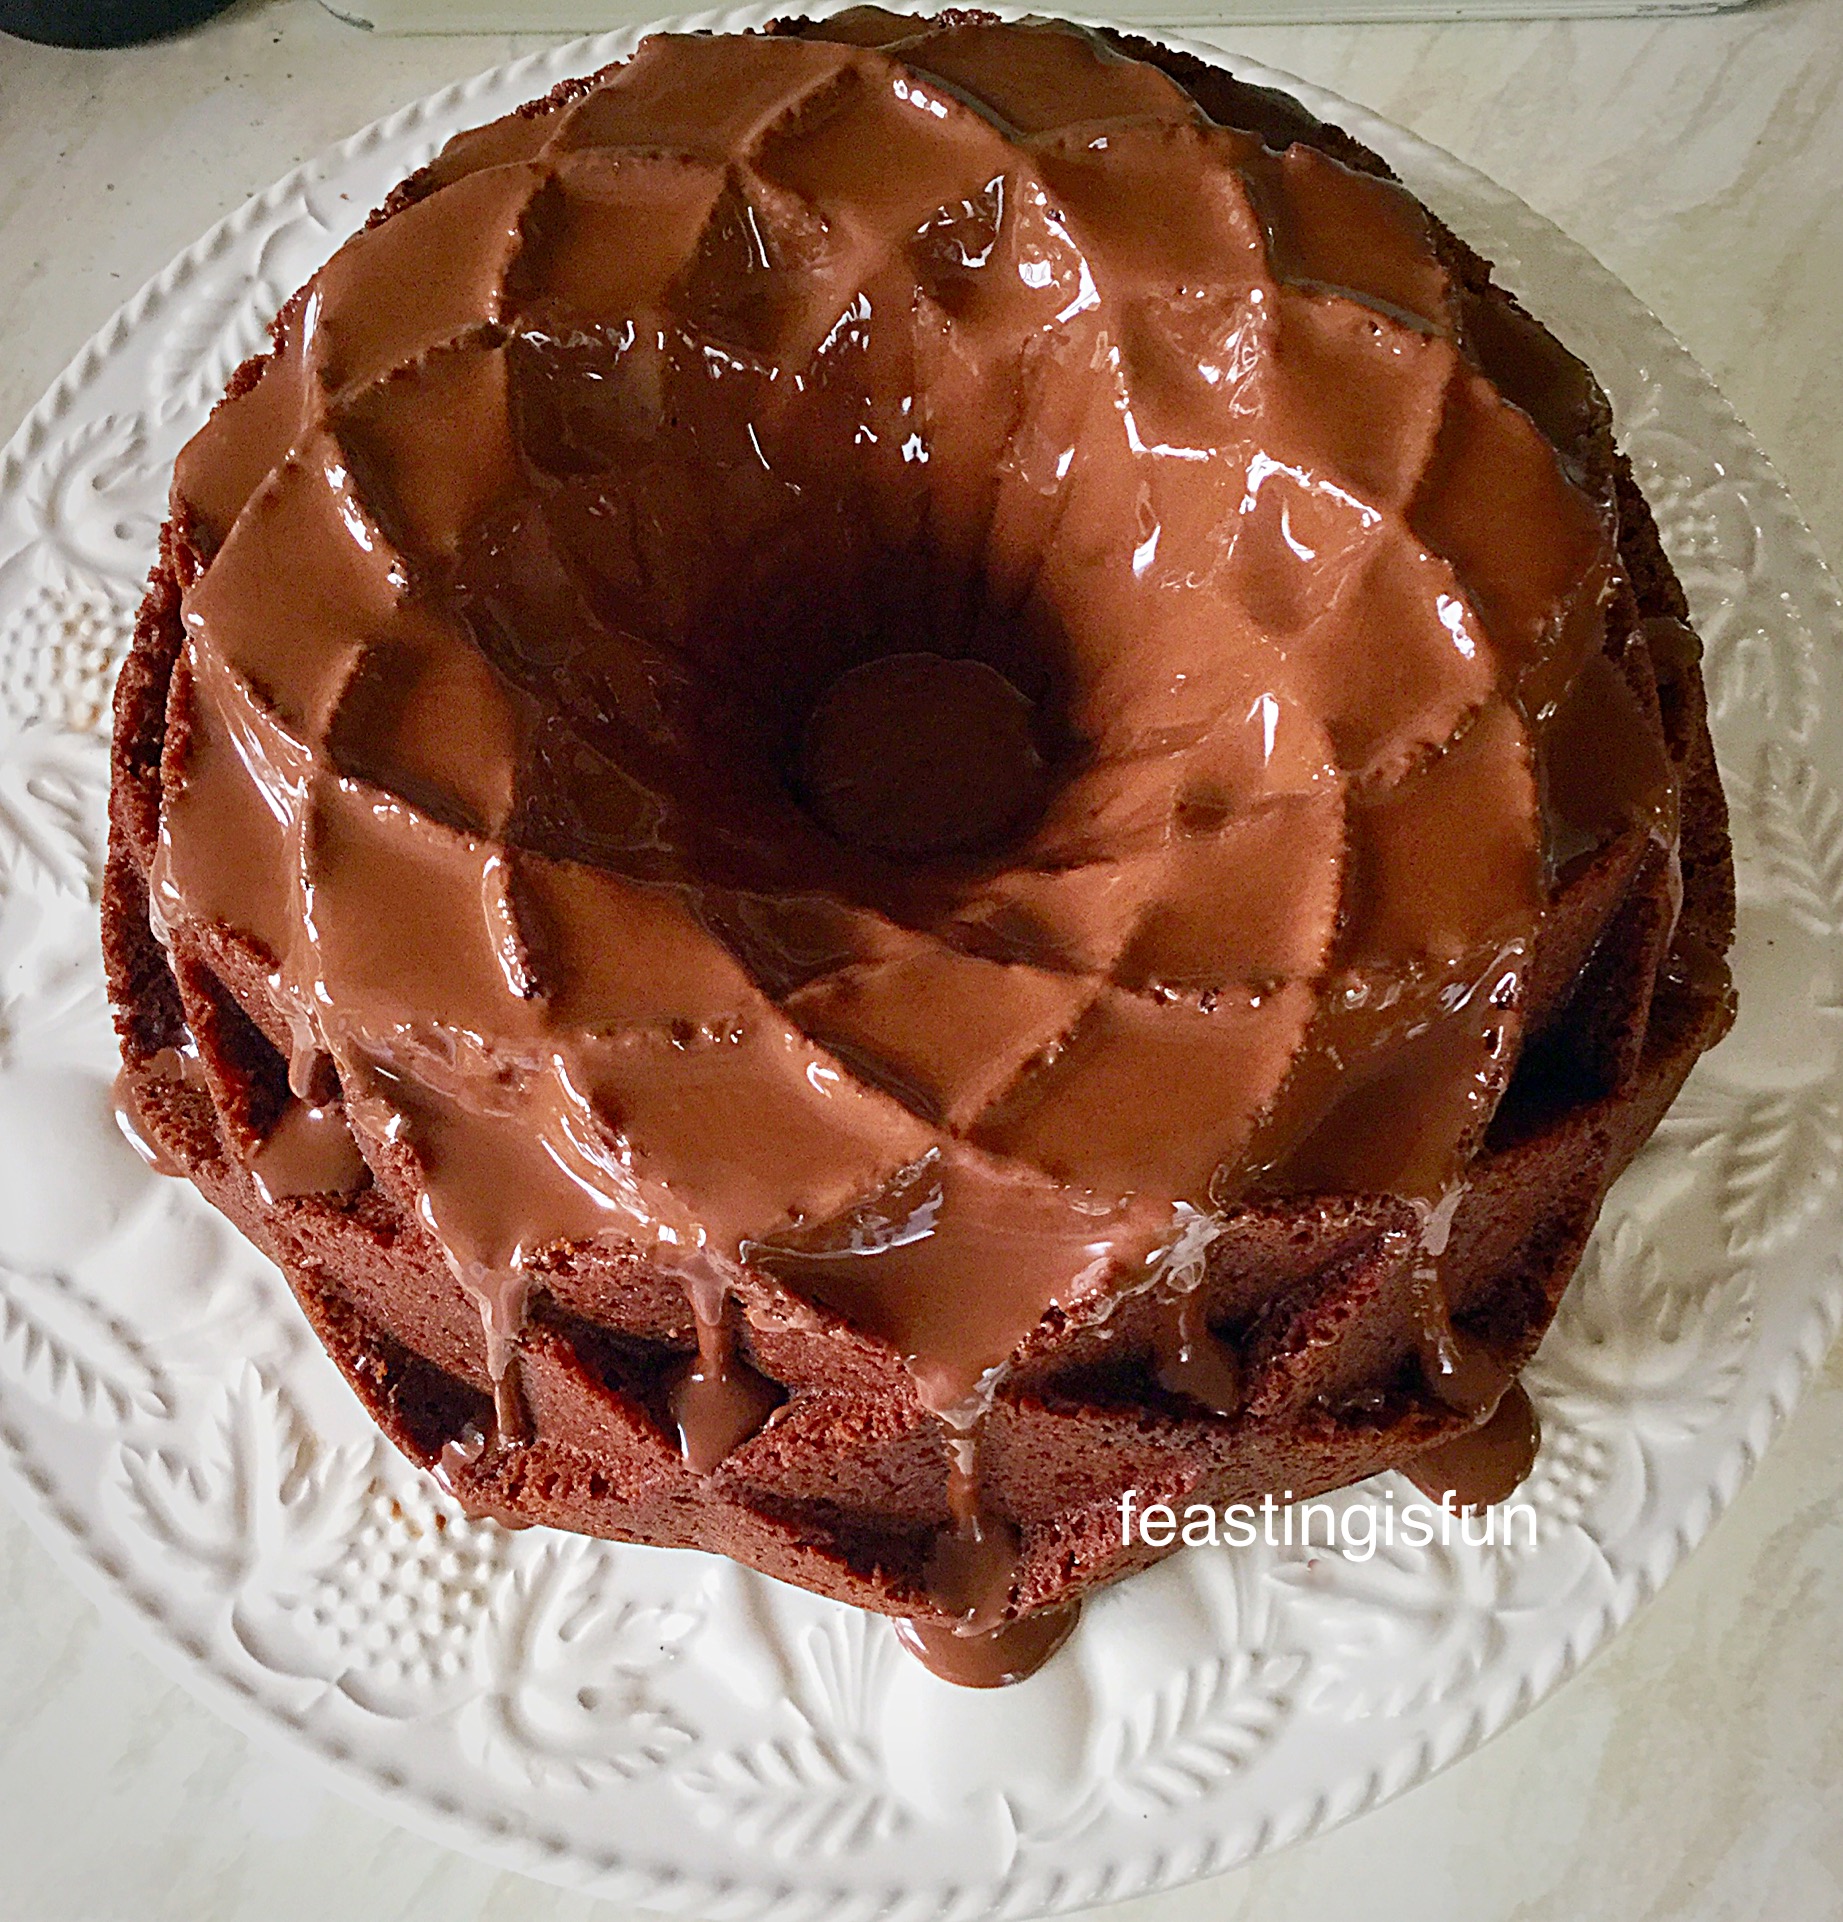
Making The Chocolate Amaretto Ganache
- Break up the chocolate bar and place in a heatproof, microwaveable bowl.
- Zap for 20 second bursts, in the microwave, stirring in between each zap, until the chocolate has melted. Set to one side to cool a little.
- Pour the double cream into a large bowl and whisk until the cream just starts to thicken and hold it’s shape.
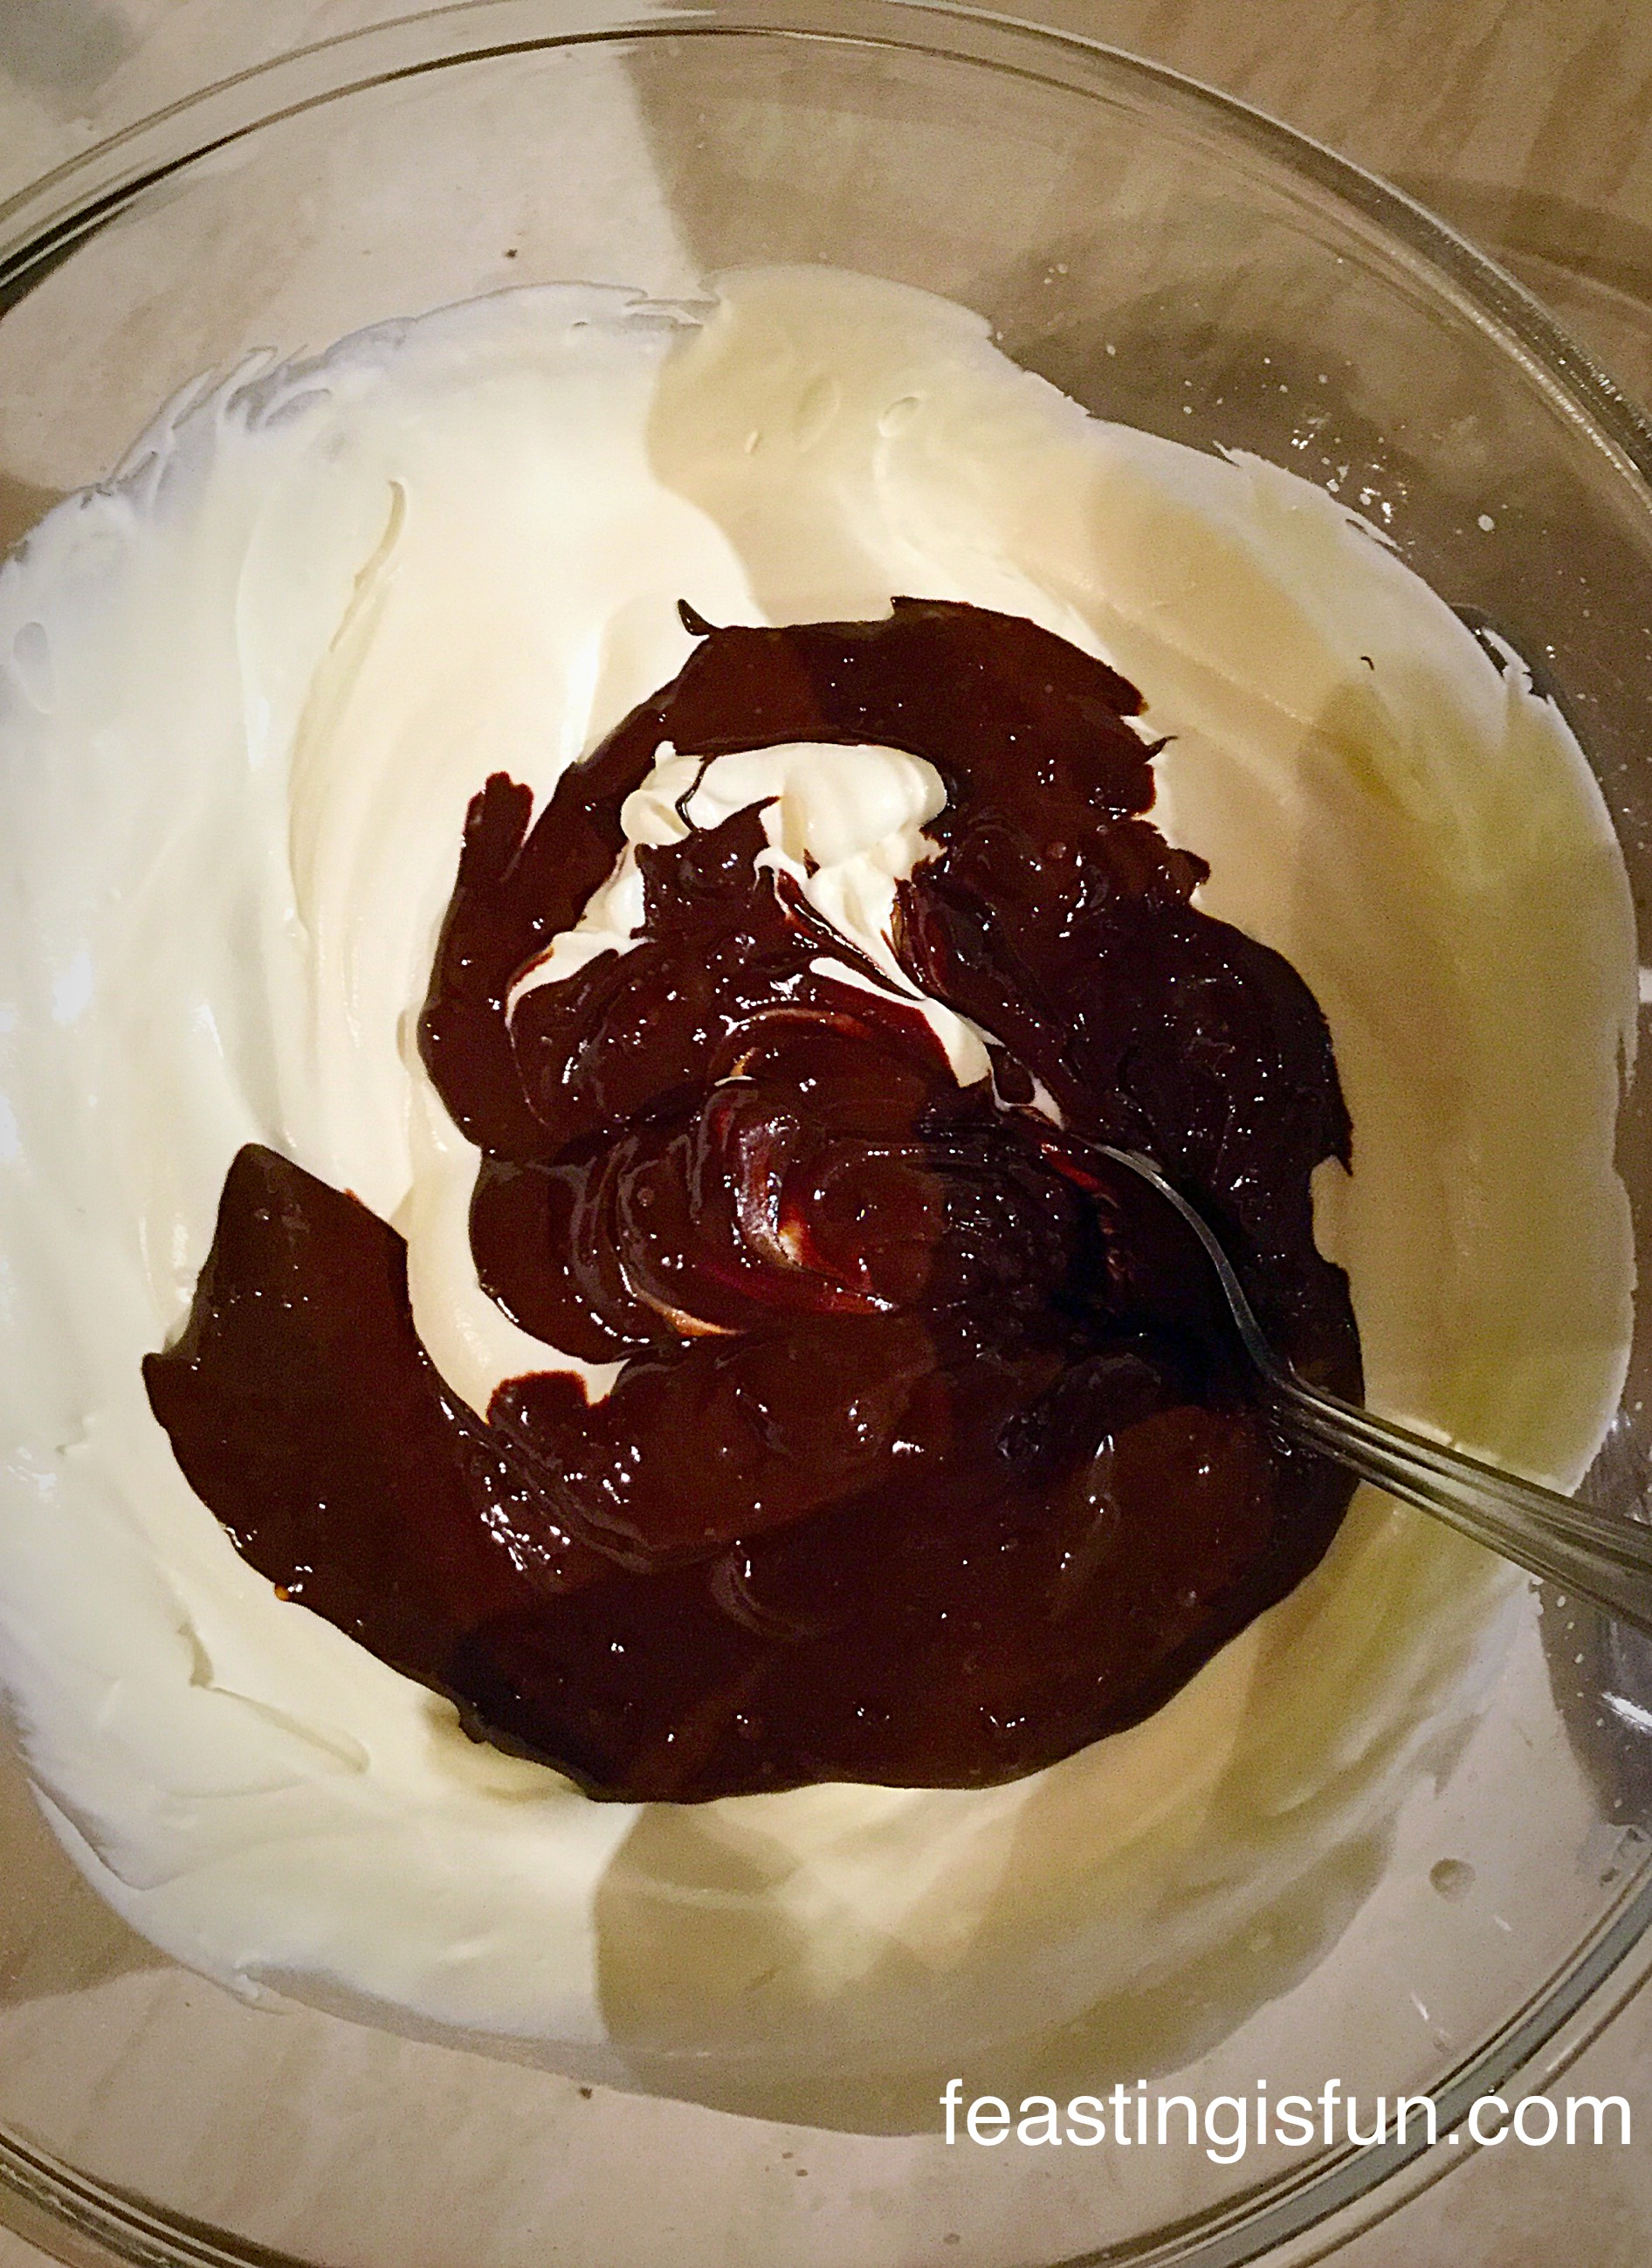
- Add the Amaretto liquer, or almond extract and mix until you have chocolate cream.
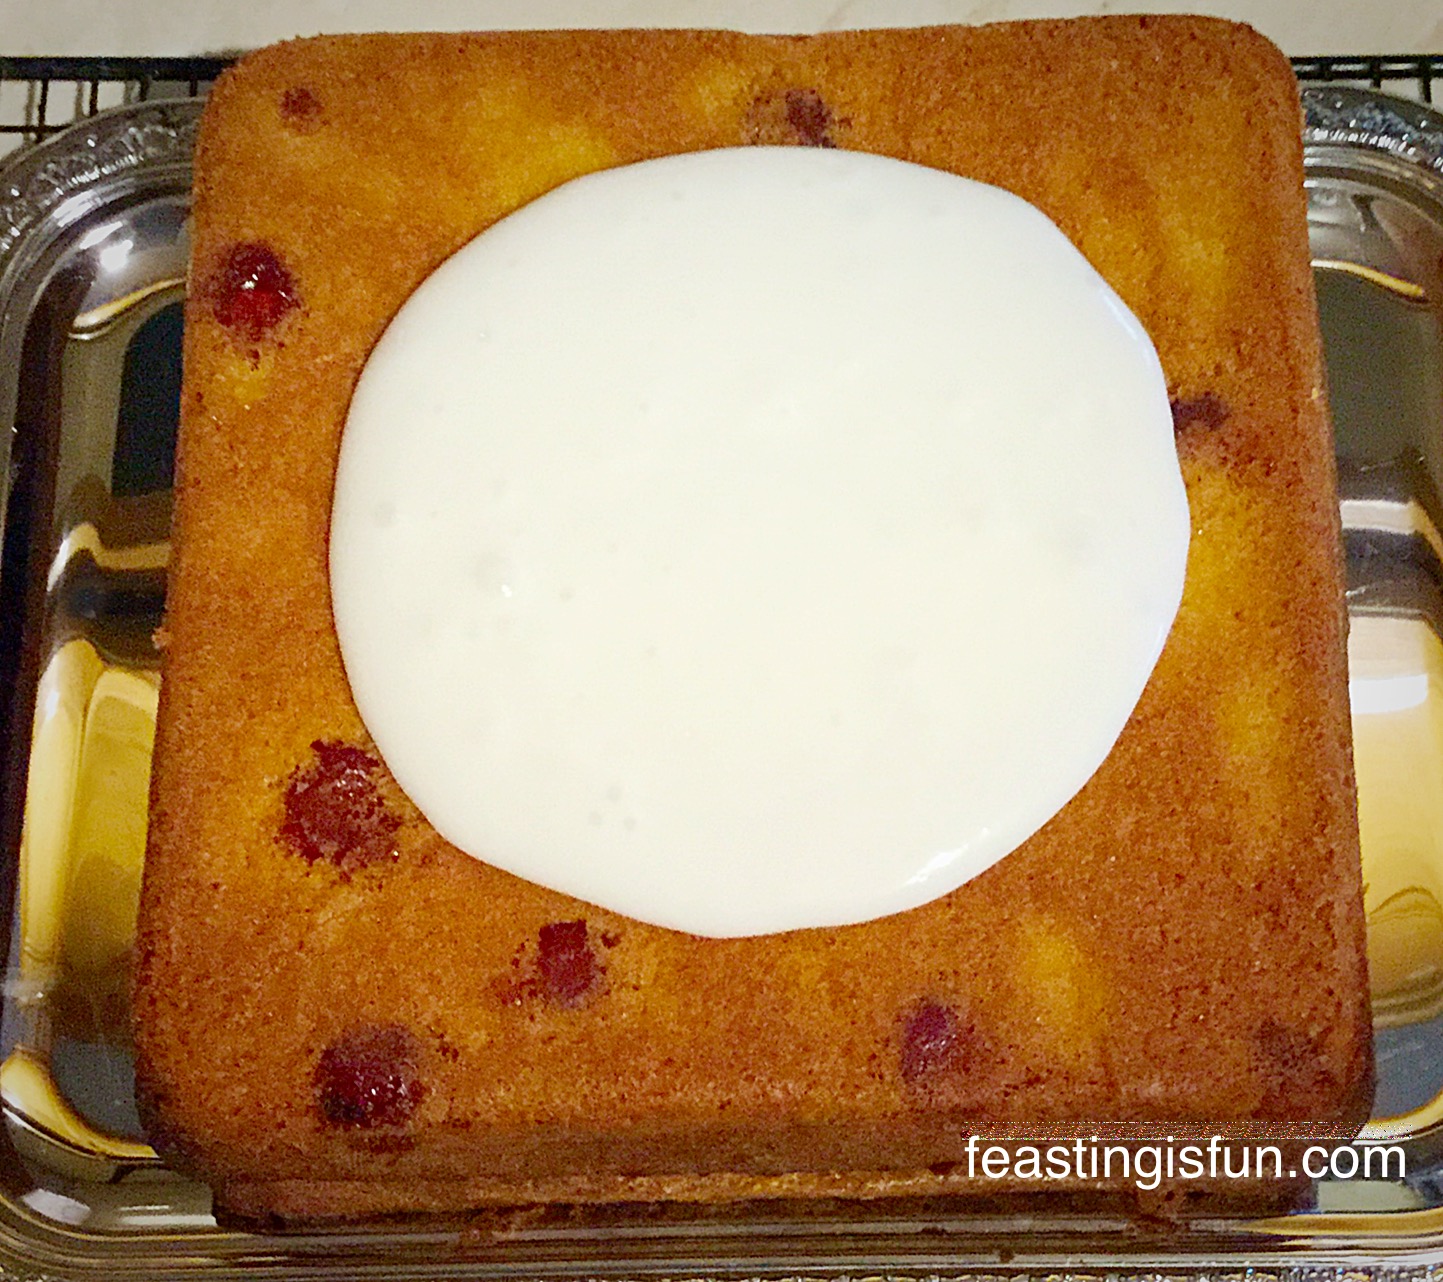
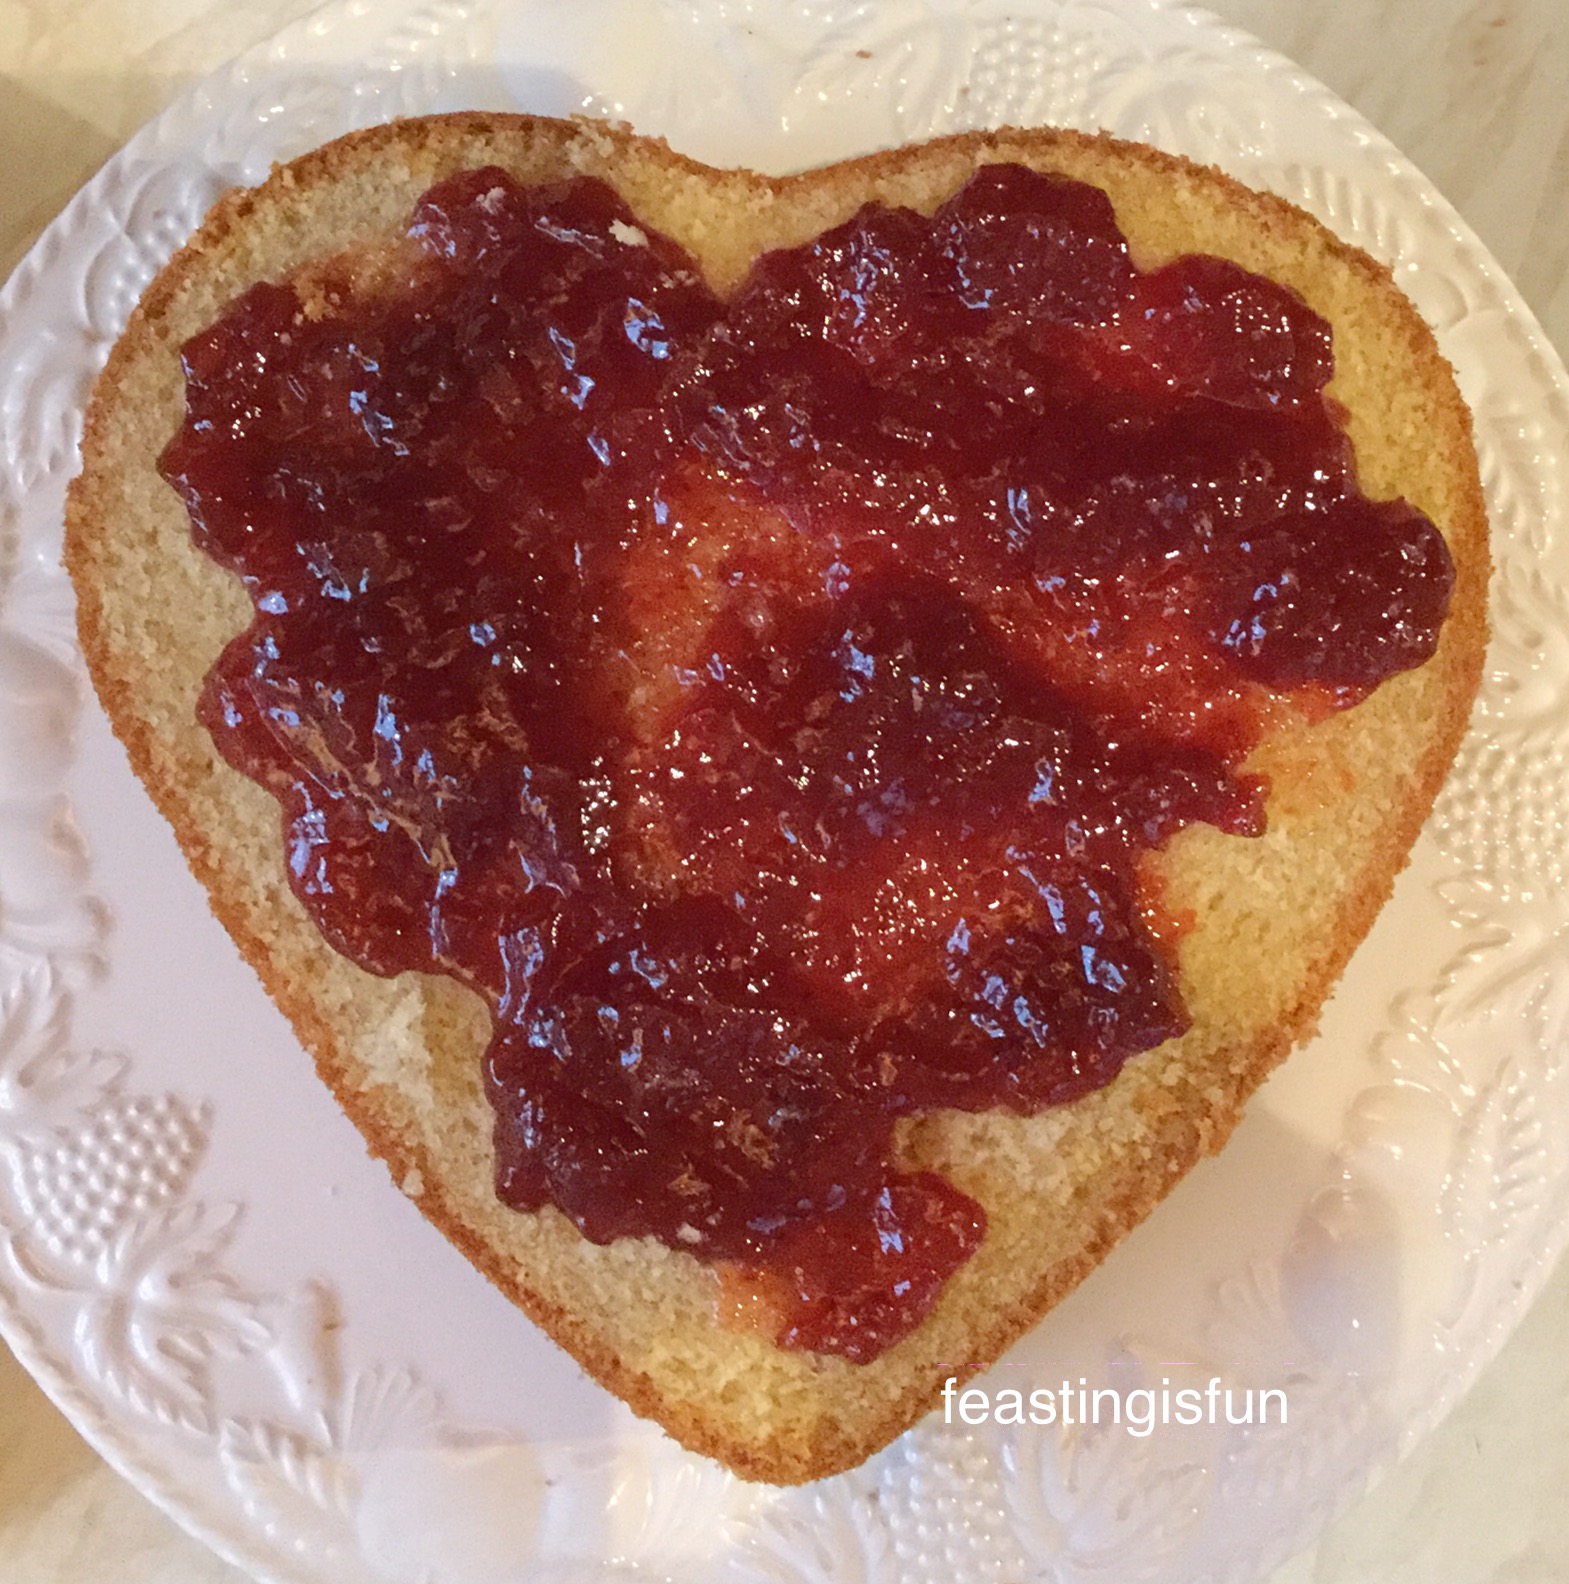
Covering The Cake With Whipped Ganache


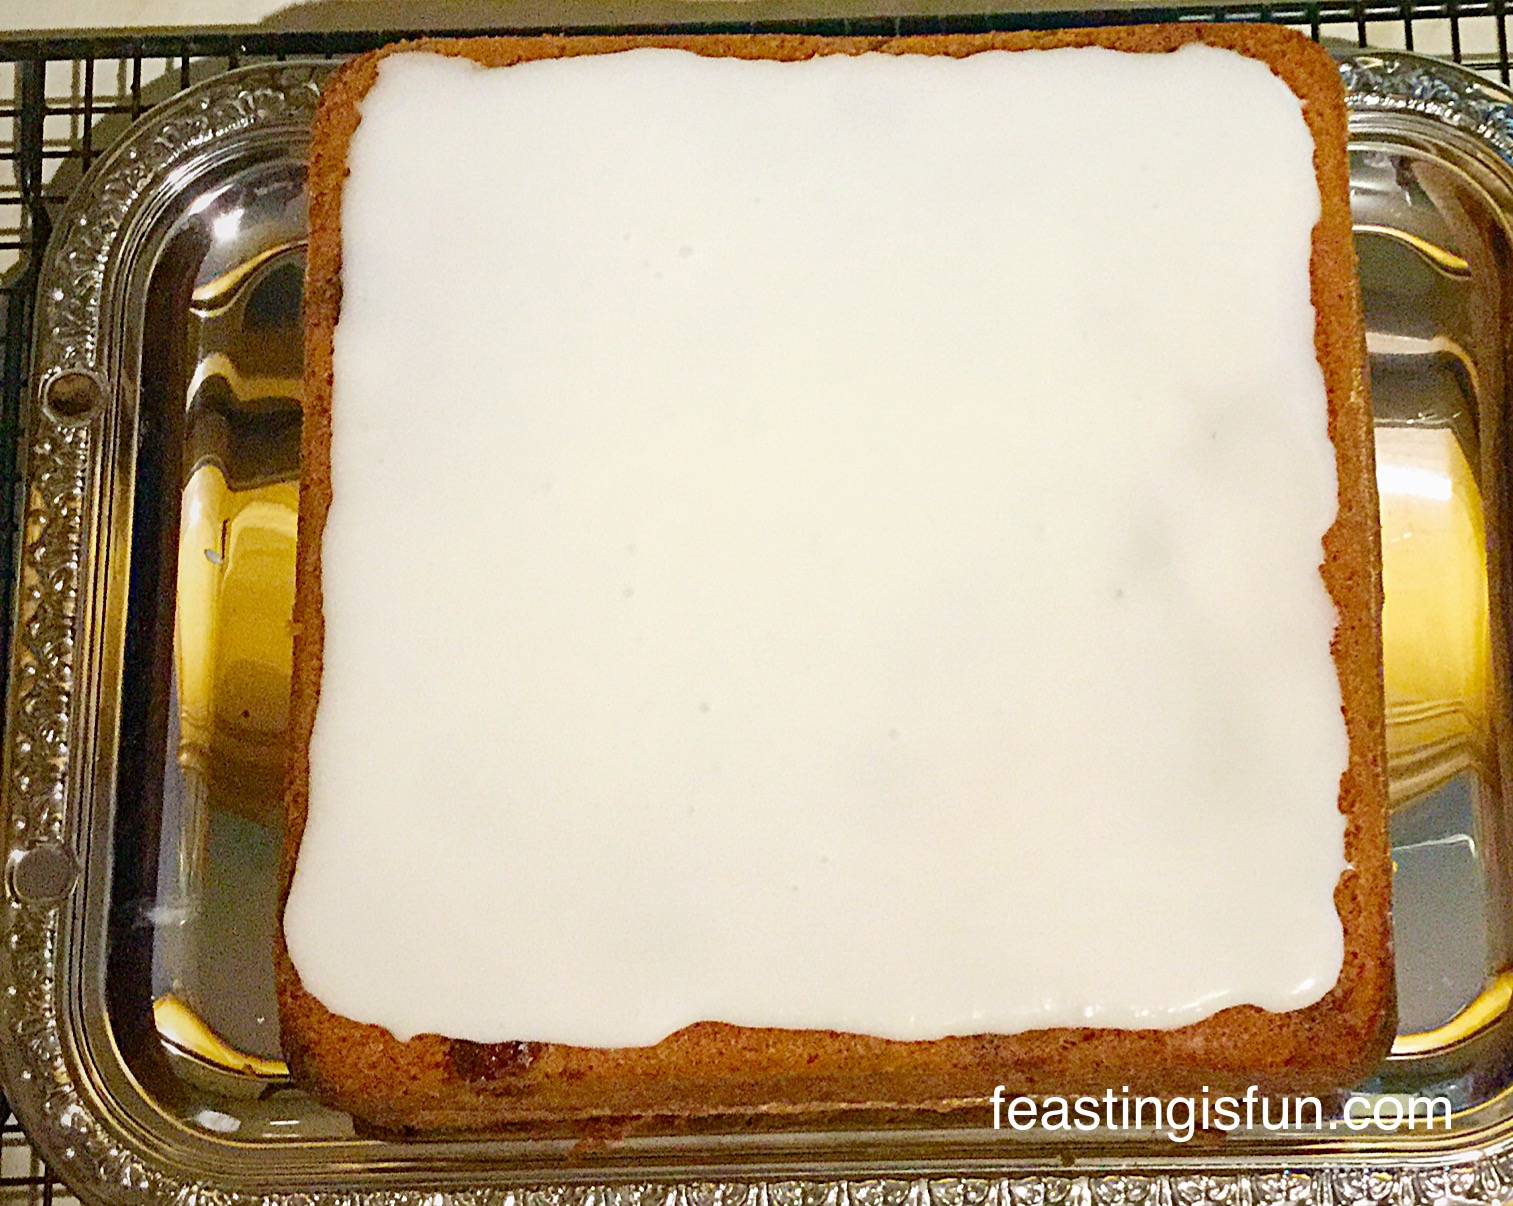
- Add more of the chocolate cream, smooth using the offset palette knife, until you have an even cover of cream over the cake.
- Hold the clean palette knife flat against the side of the cake and rotate the stand/cake board.
- This last step ensures the covered sides of the cake are flat and even, ready for sticking the flutes to!
- Gently wipe around the base of the cake with kitchen roll to remove any chocolate cream that may have fallen from the cake during the last step.
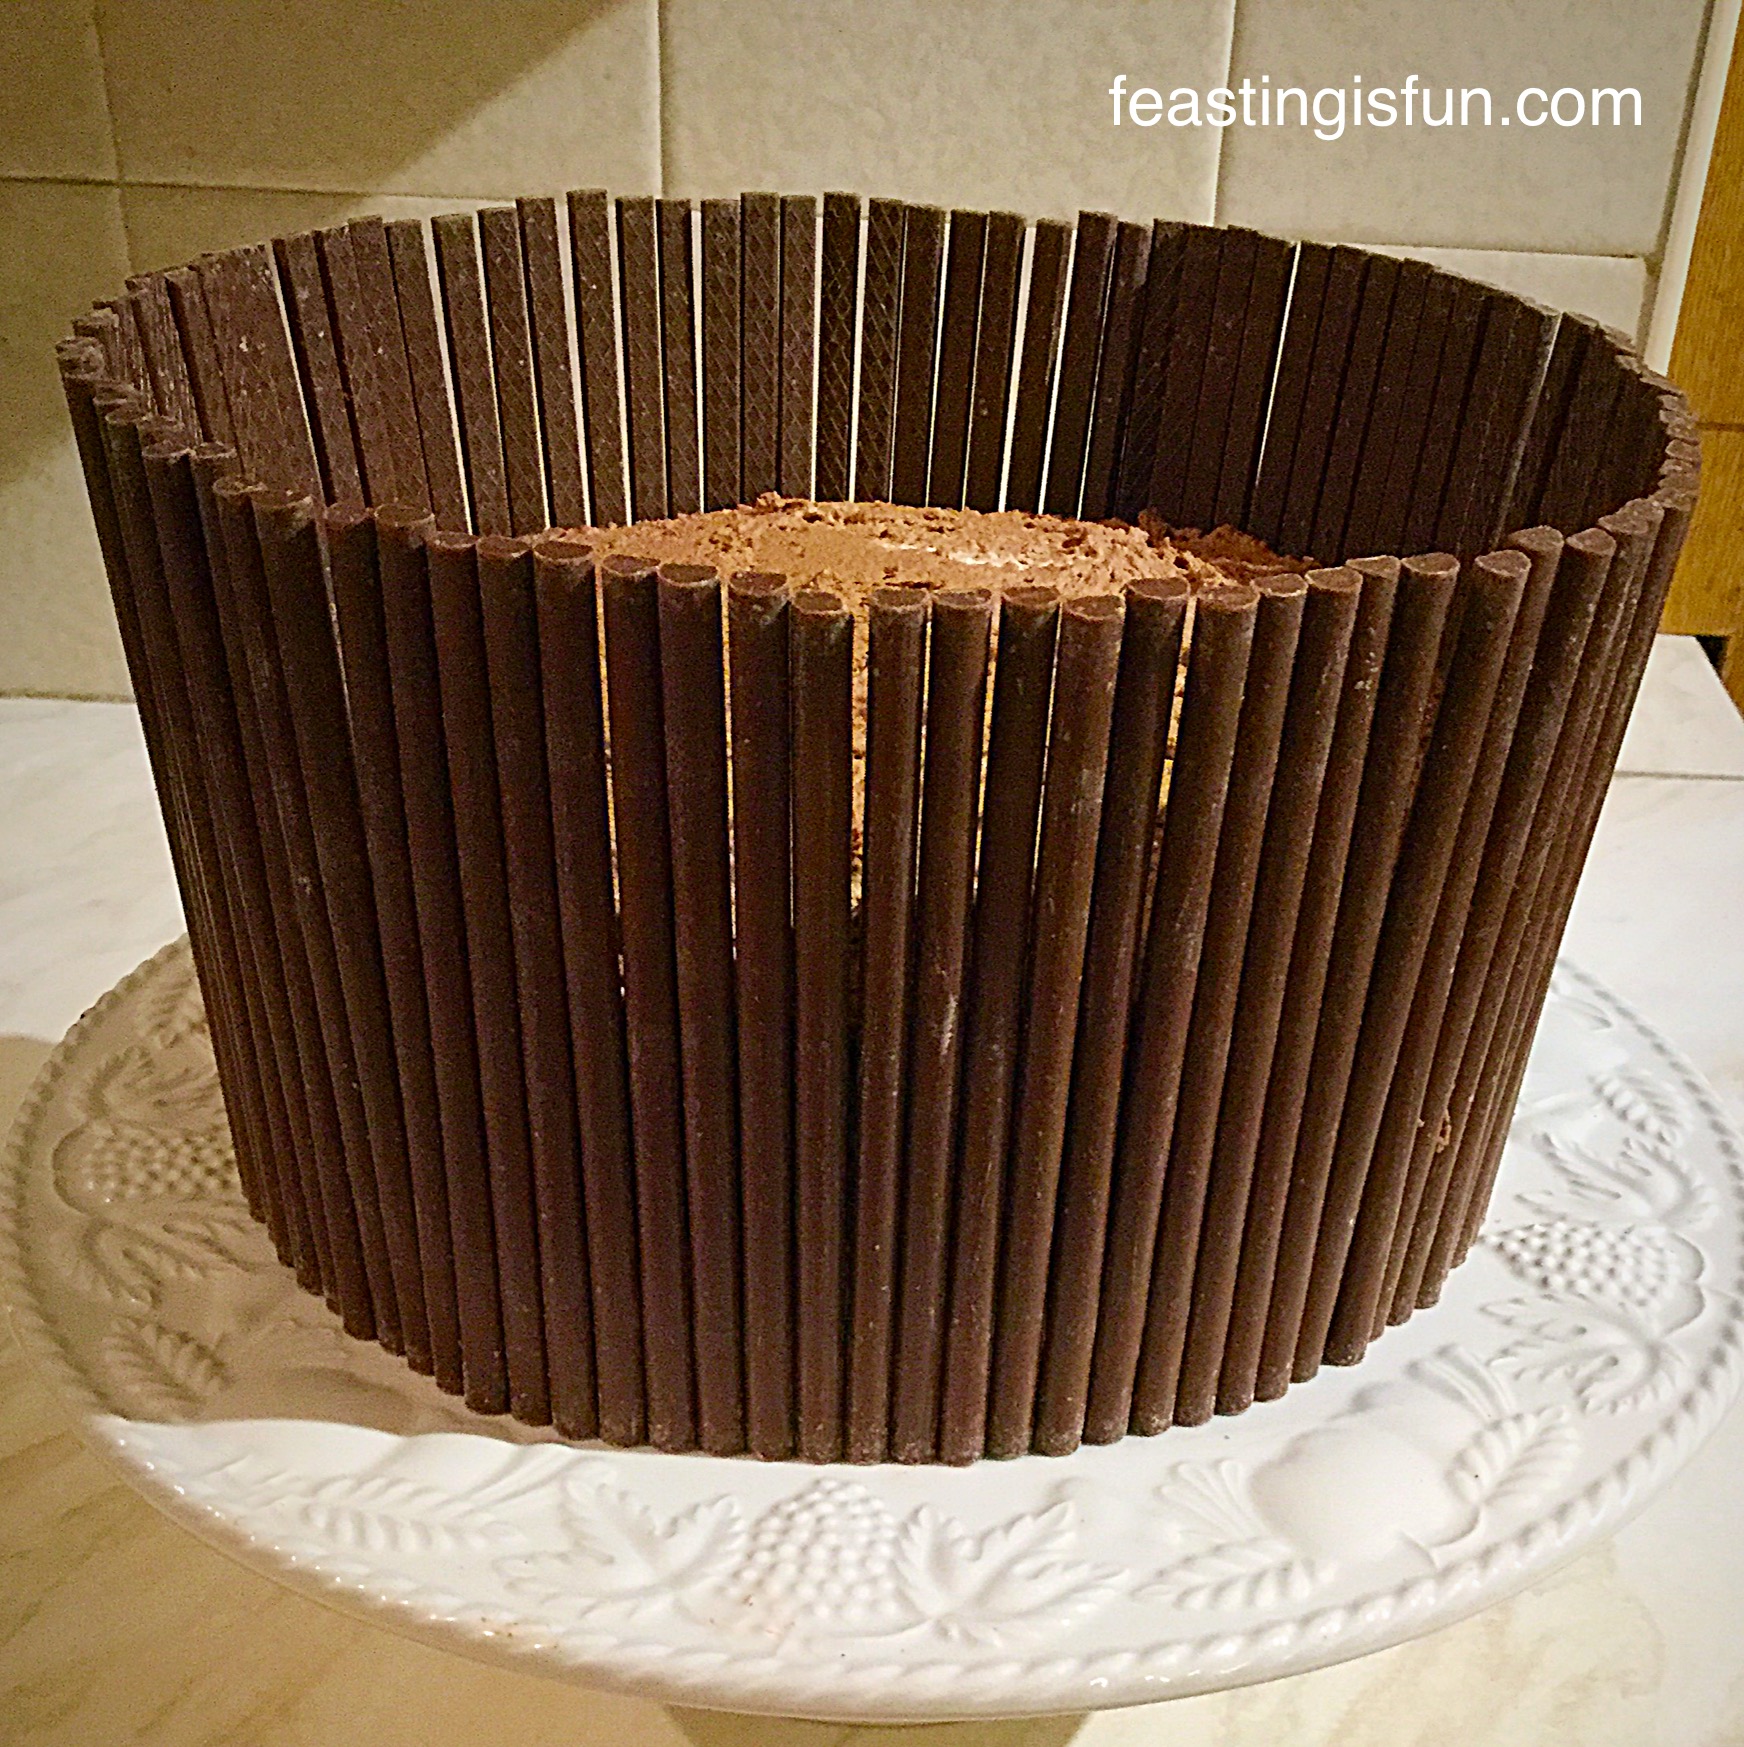
Decorating The Cake With Chocolate Flutes
- Open the packages of flutes and tip the flutes out onto a plate.
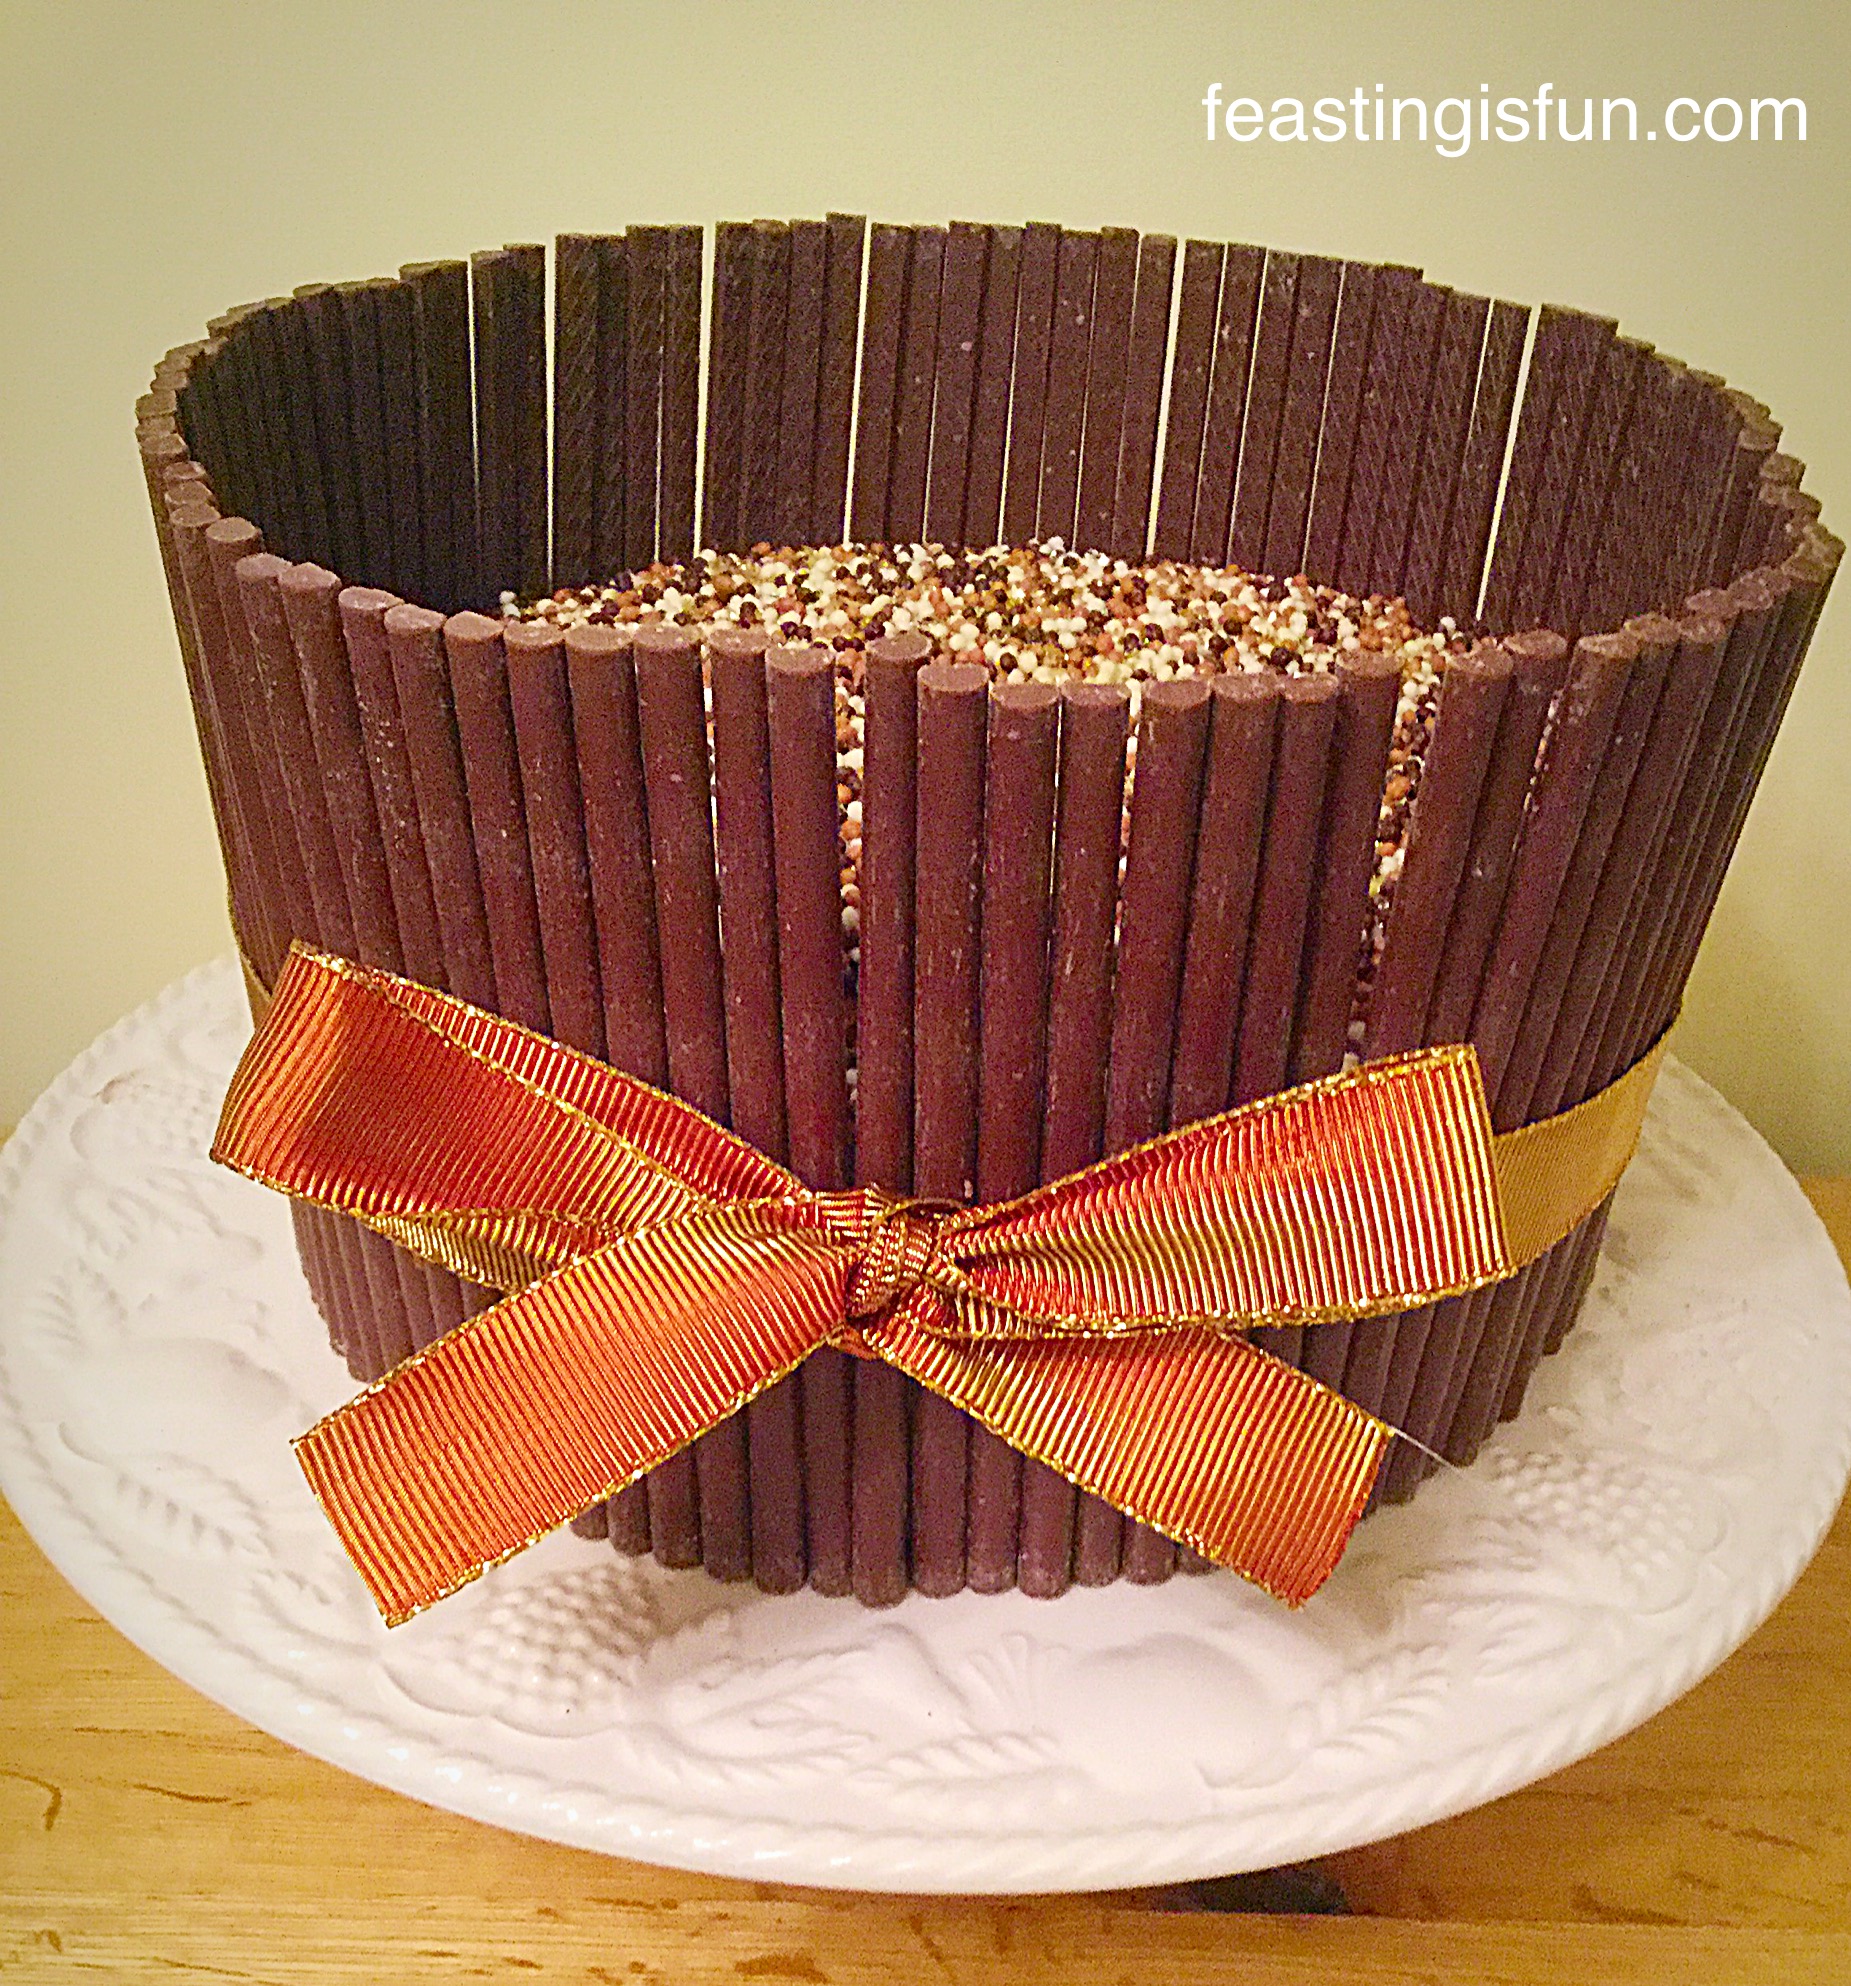
- You will notice that one side of the flute is flat. Press this flat side against the side of the cake, so that it is straight.
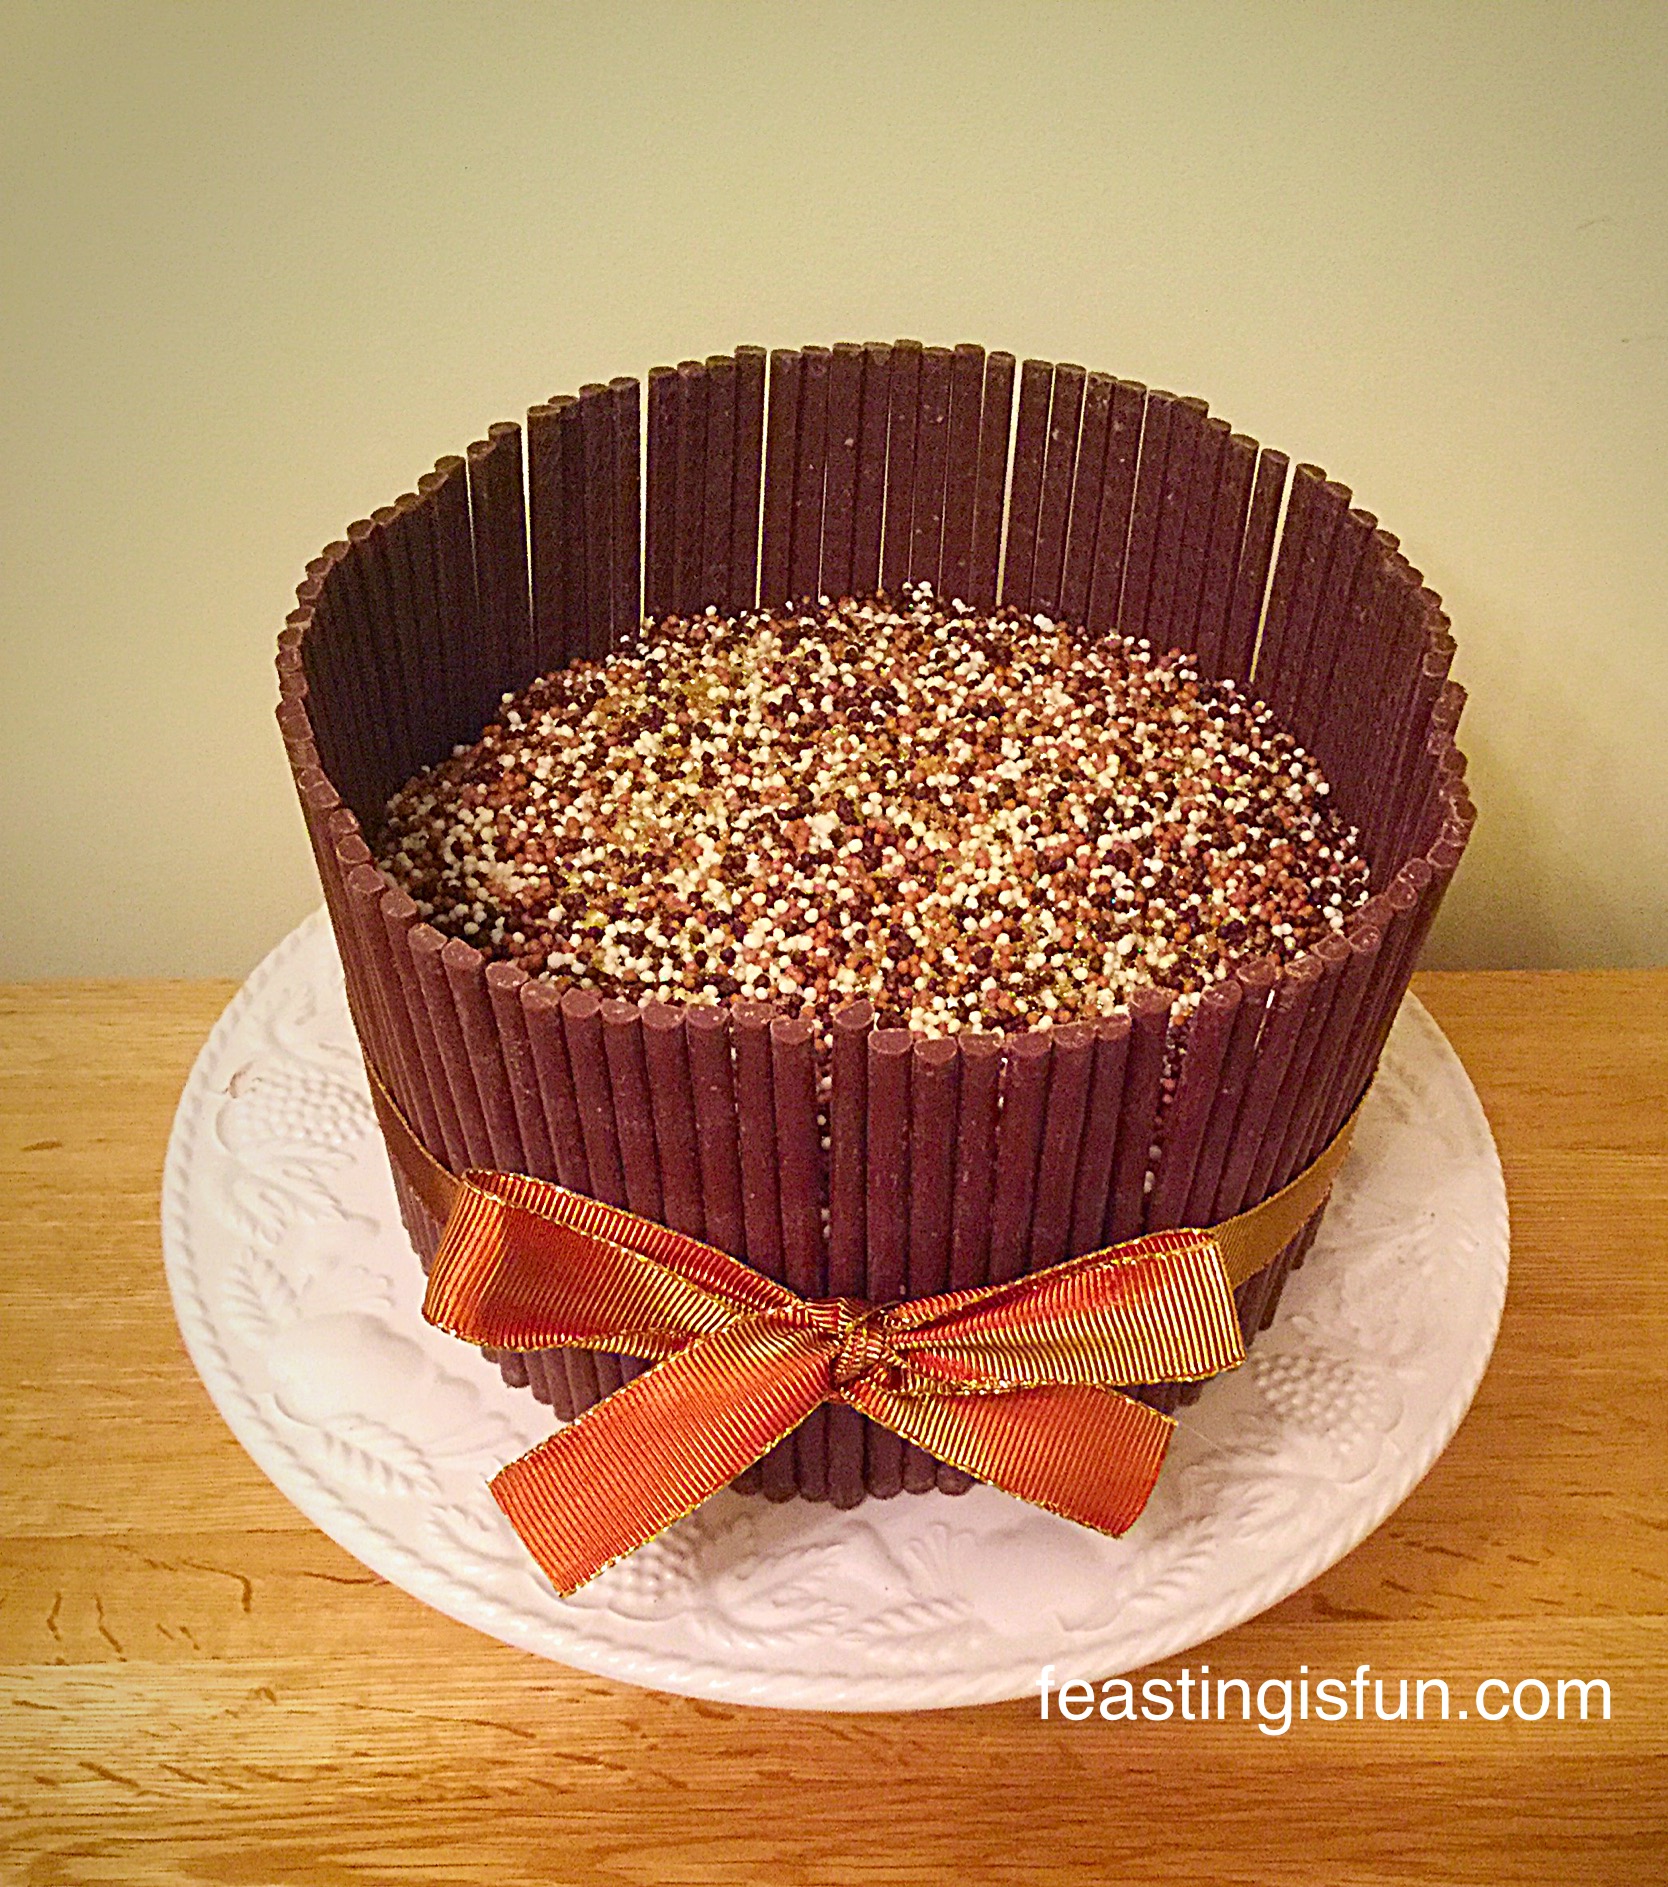
- Repeat the last step, placing each flute as close as possible to the next, until the cake is completely surrounded with chocolate flutes.
- Trust me you will have enough flutes – I had 4 left over!
- Using both hands gently press around the sides of the cake to ensure each flute is evenly adhered, by the cream, to the Chocolate Amaretto Cake.
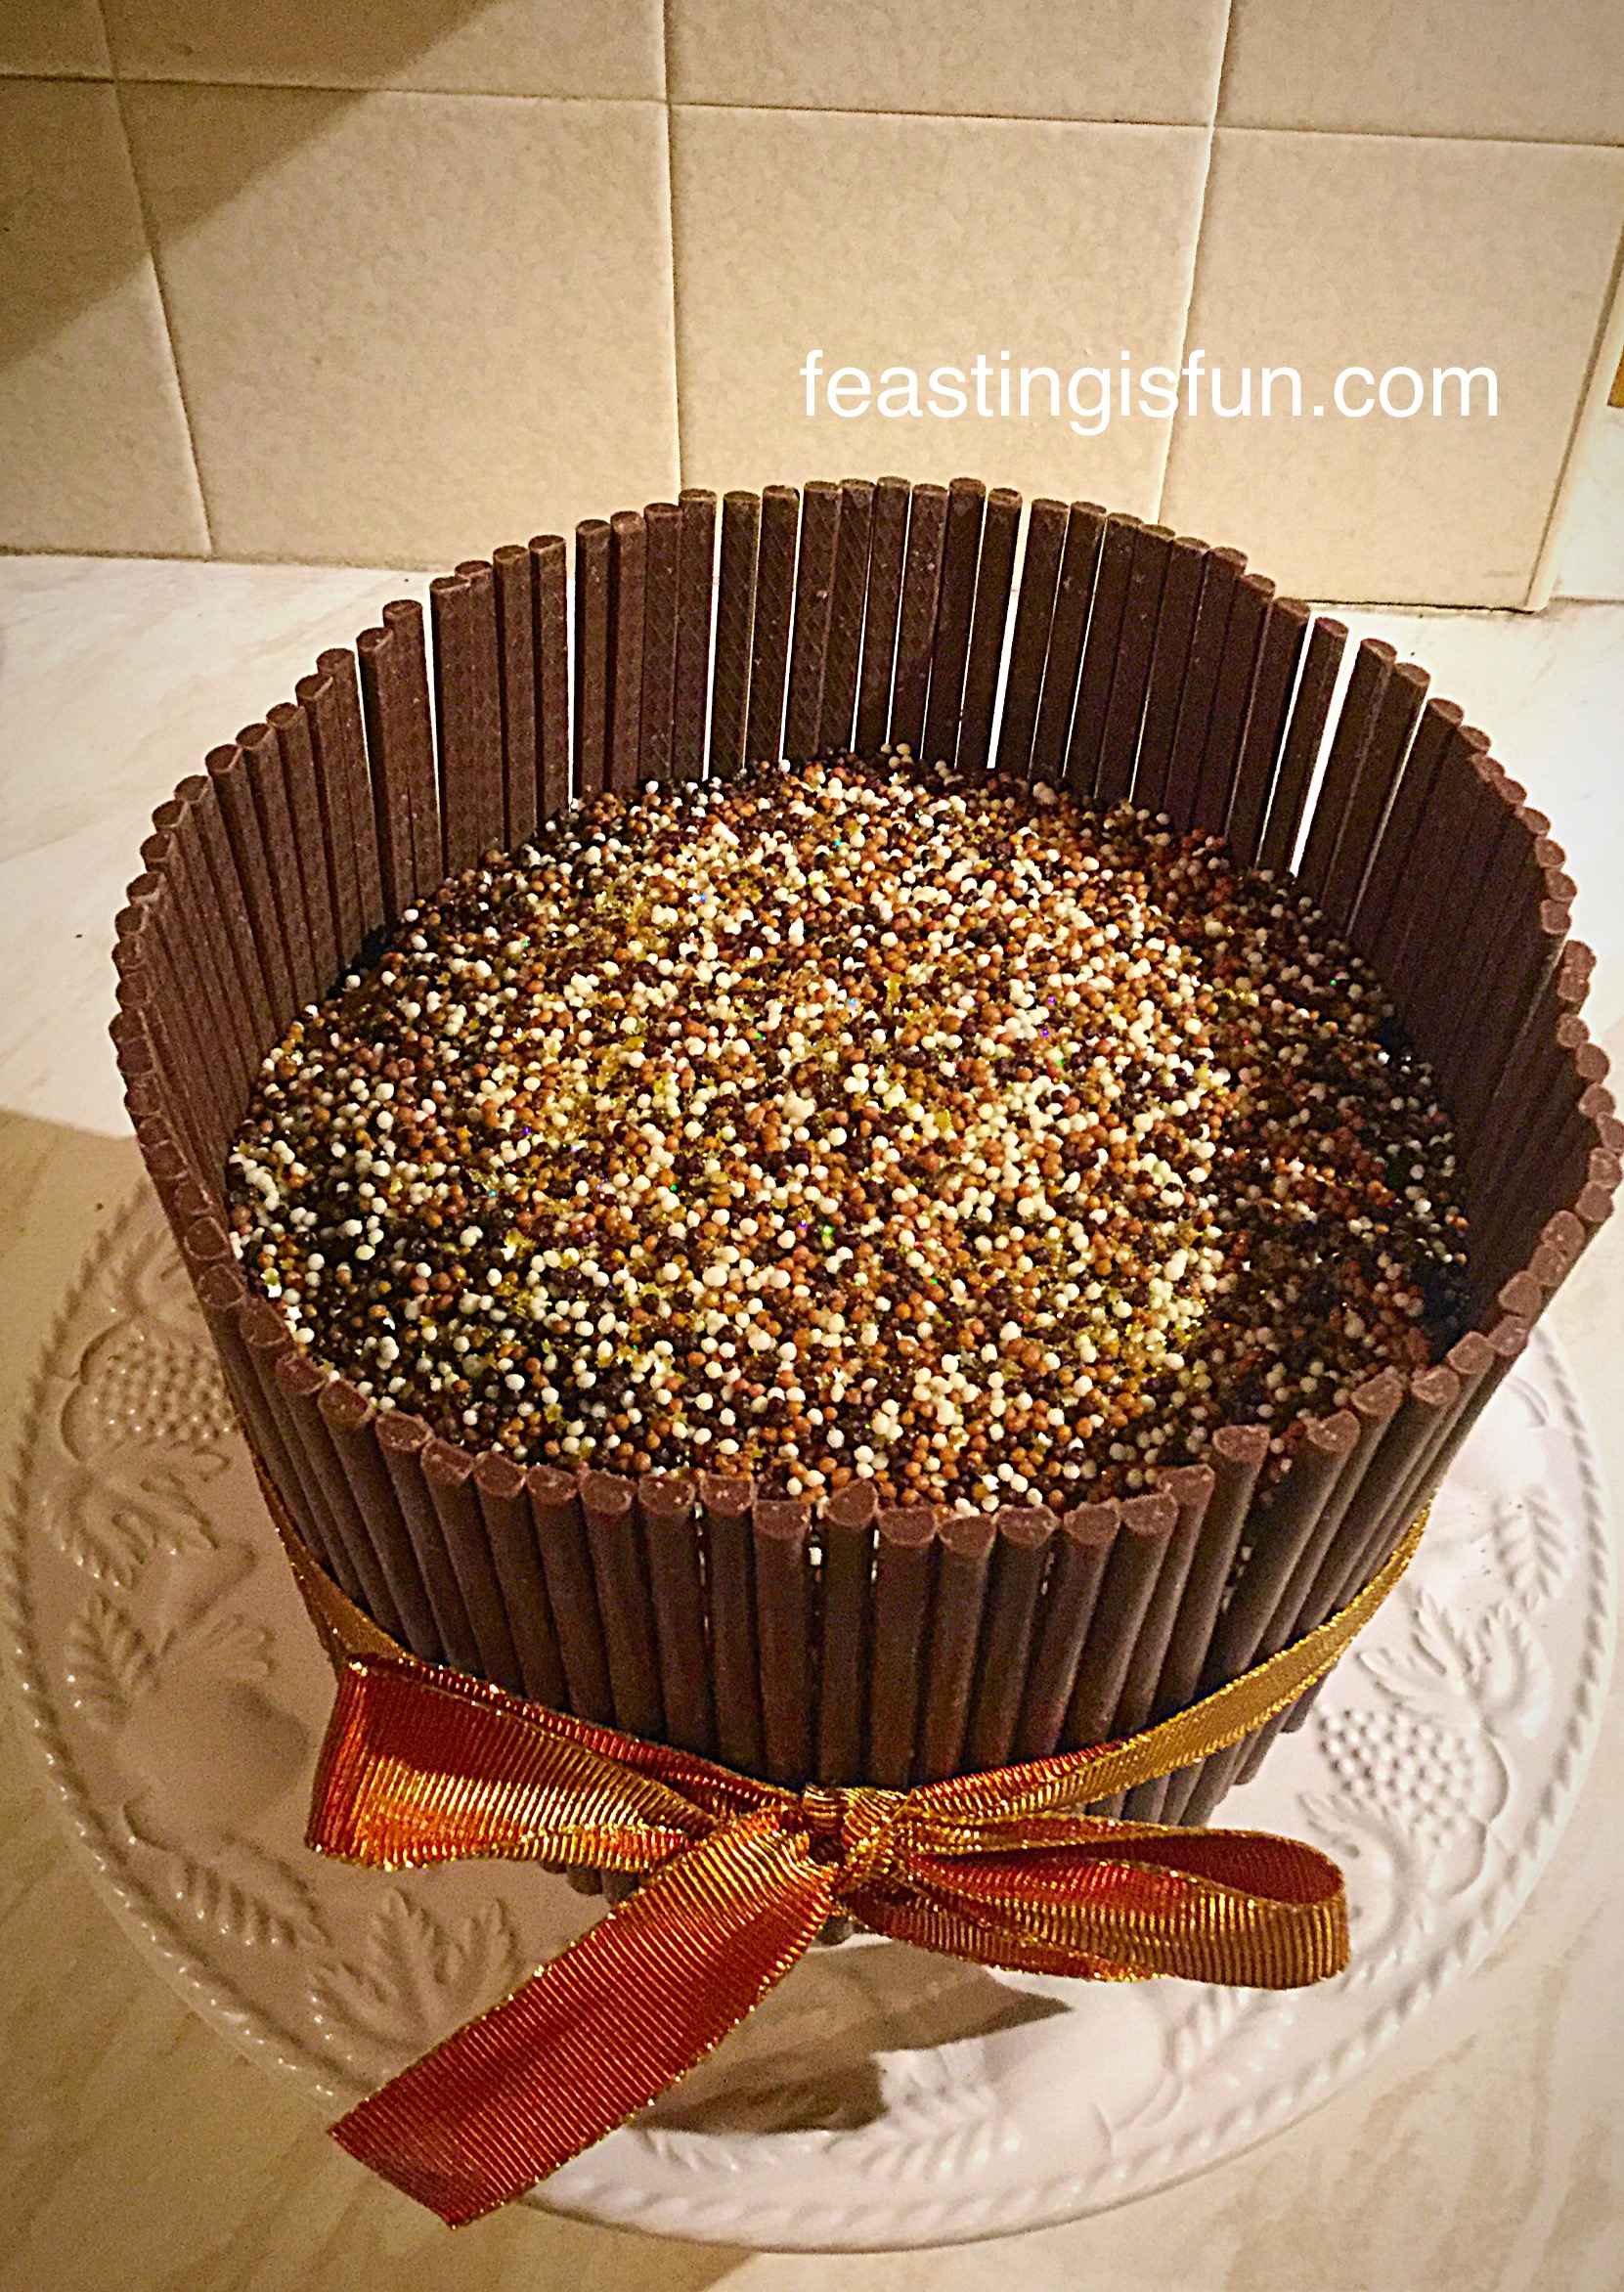
- Tie the ribbon, midway up the cake (not the flutes) – I found I needed help from someone, putting their finger on the knot as I tied the bow.
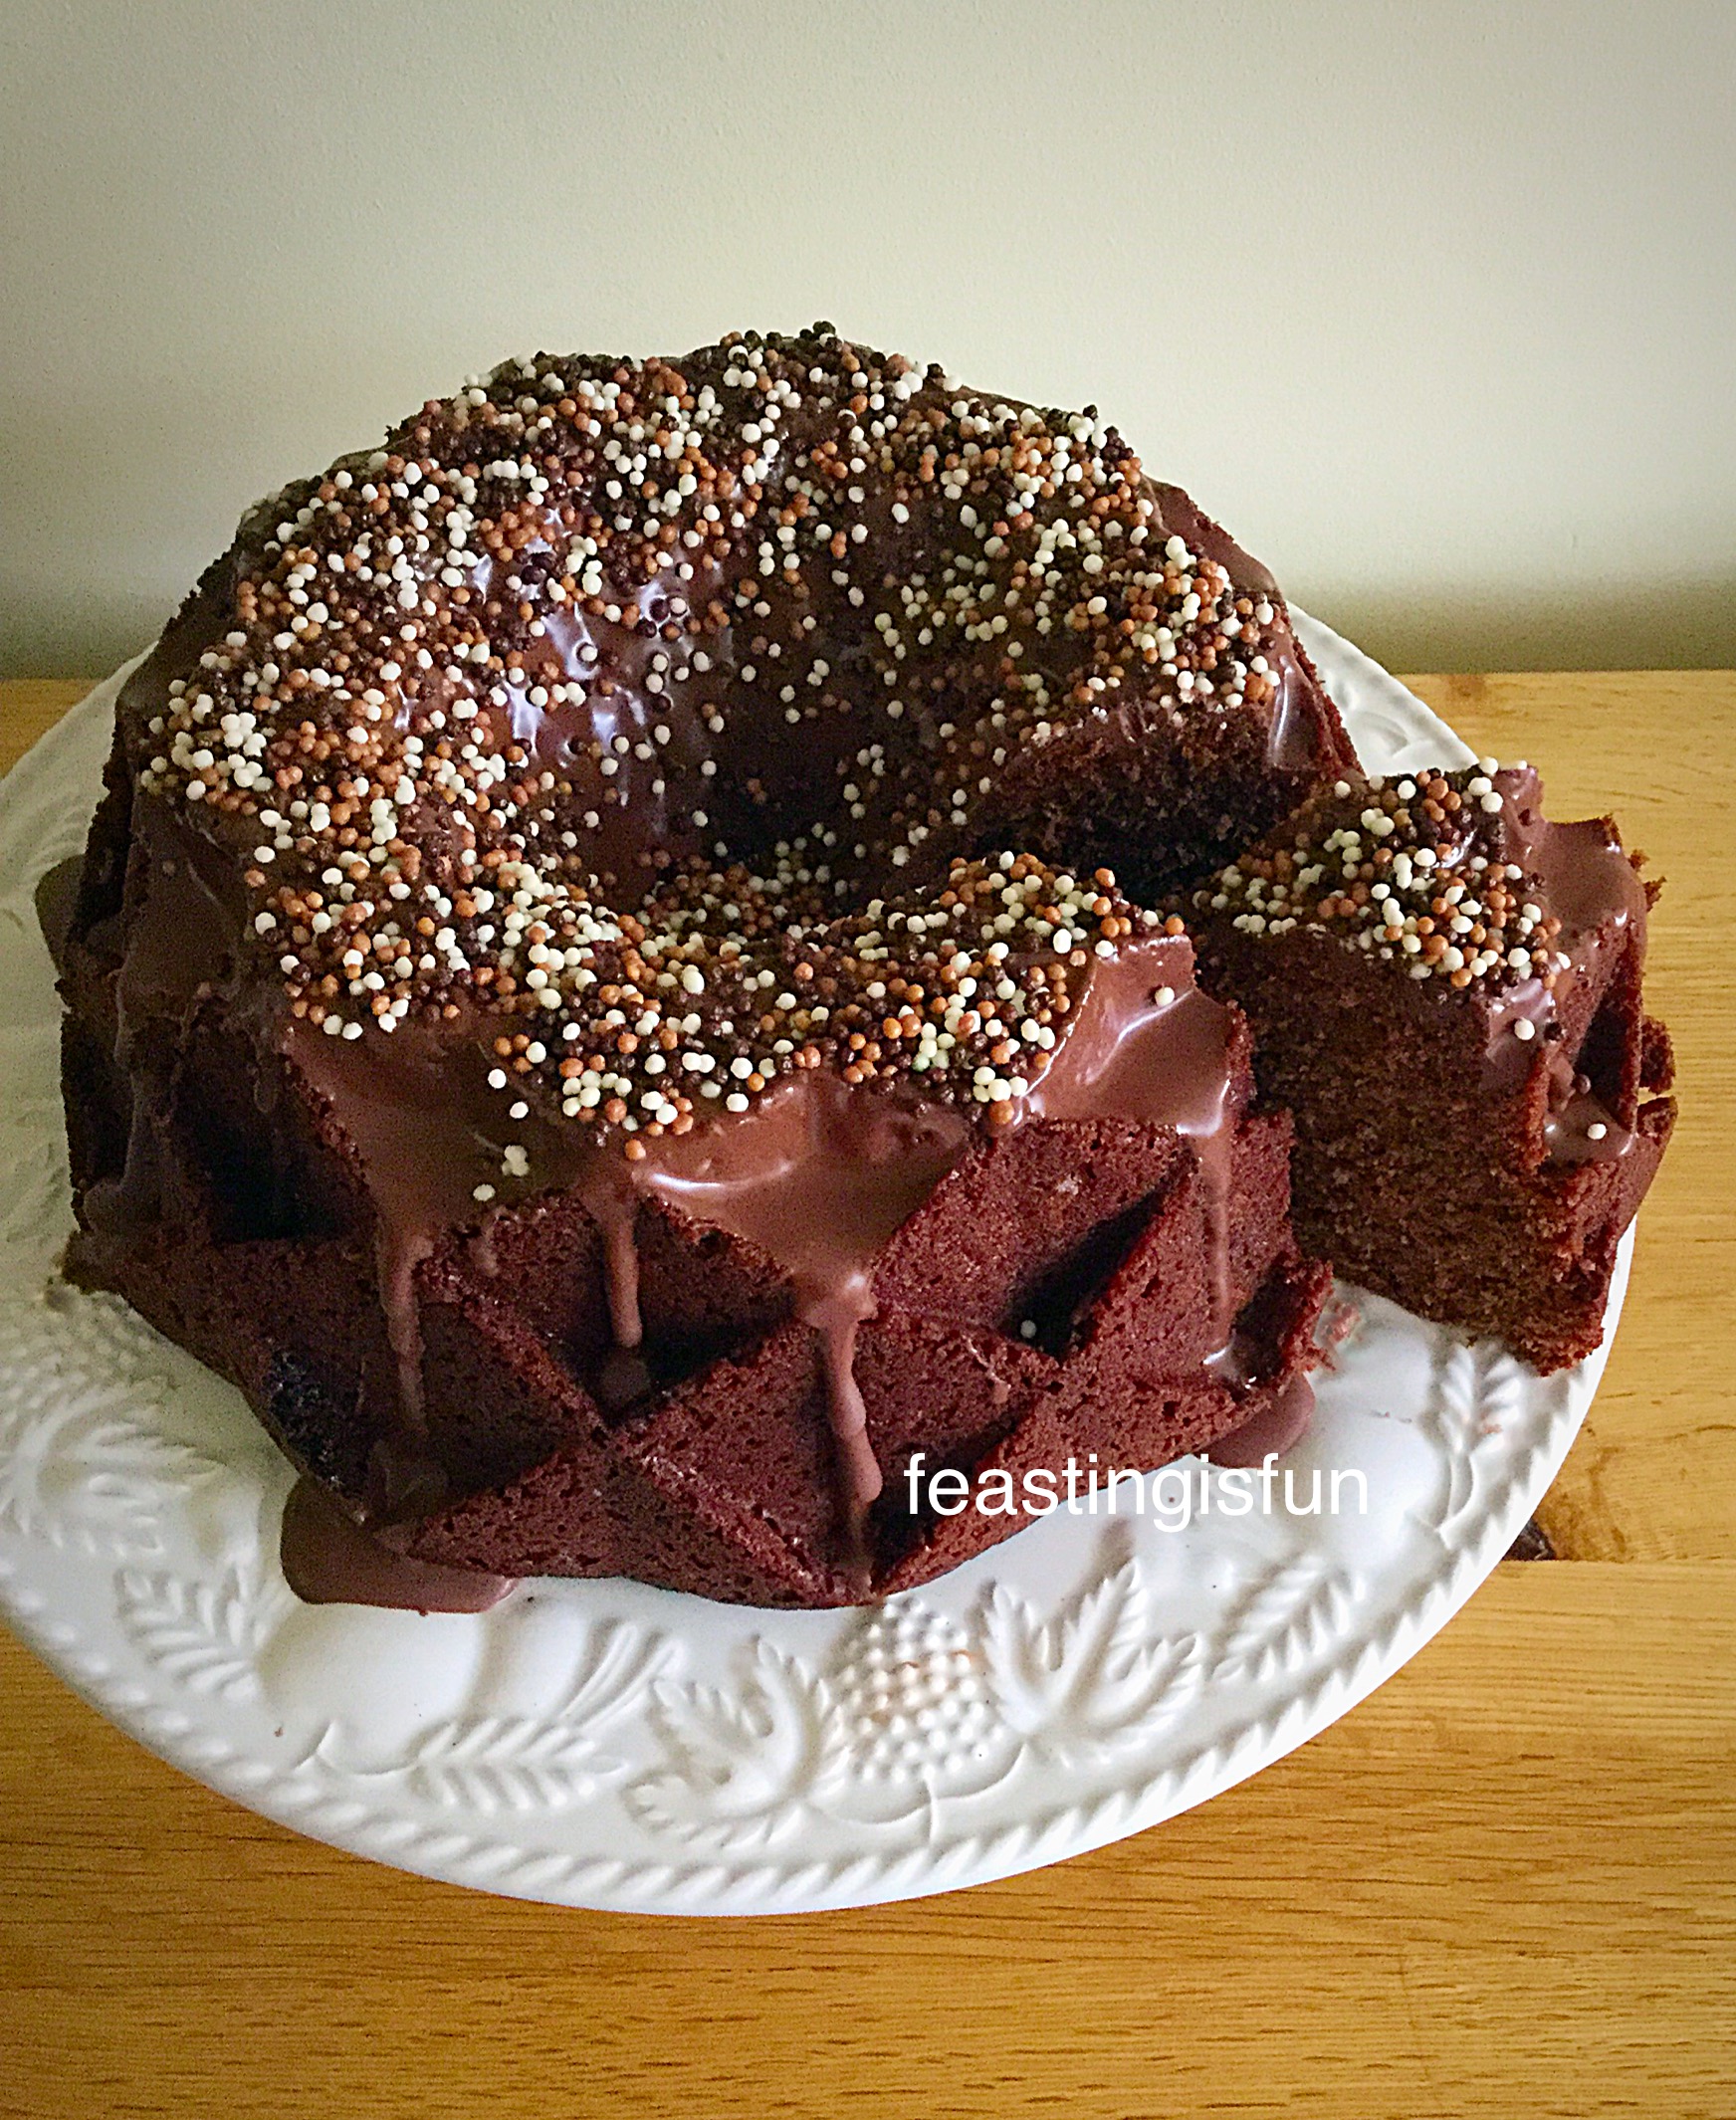
Adding The Cake Topping Decoration
- Next add your topping. I used Chocolate Crispearls with added holographic, gold, edible glitter! However the Elizabeth Shaw sharing crisp assortment would have looked beautiful, especially left unwrapped, as the colours would have worked beautifully with the ribbon I used.
- Once you have filled the top of your cake, place in the fridge to firm up for at least an hour.
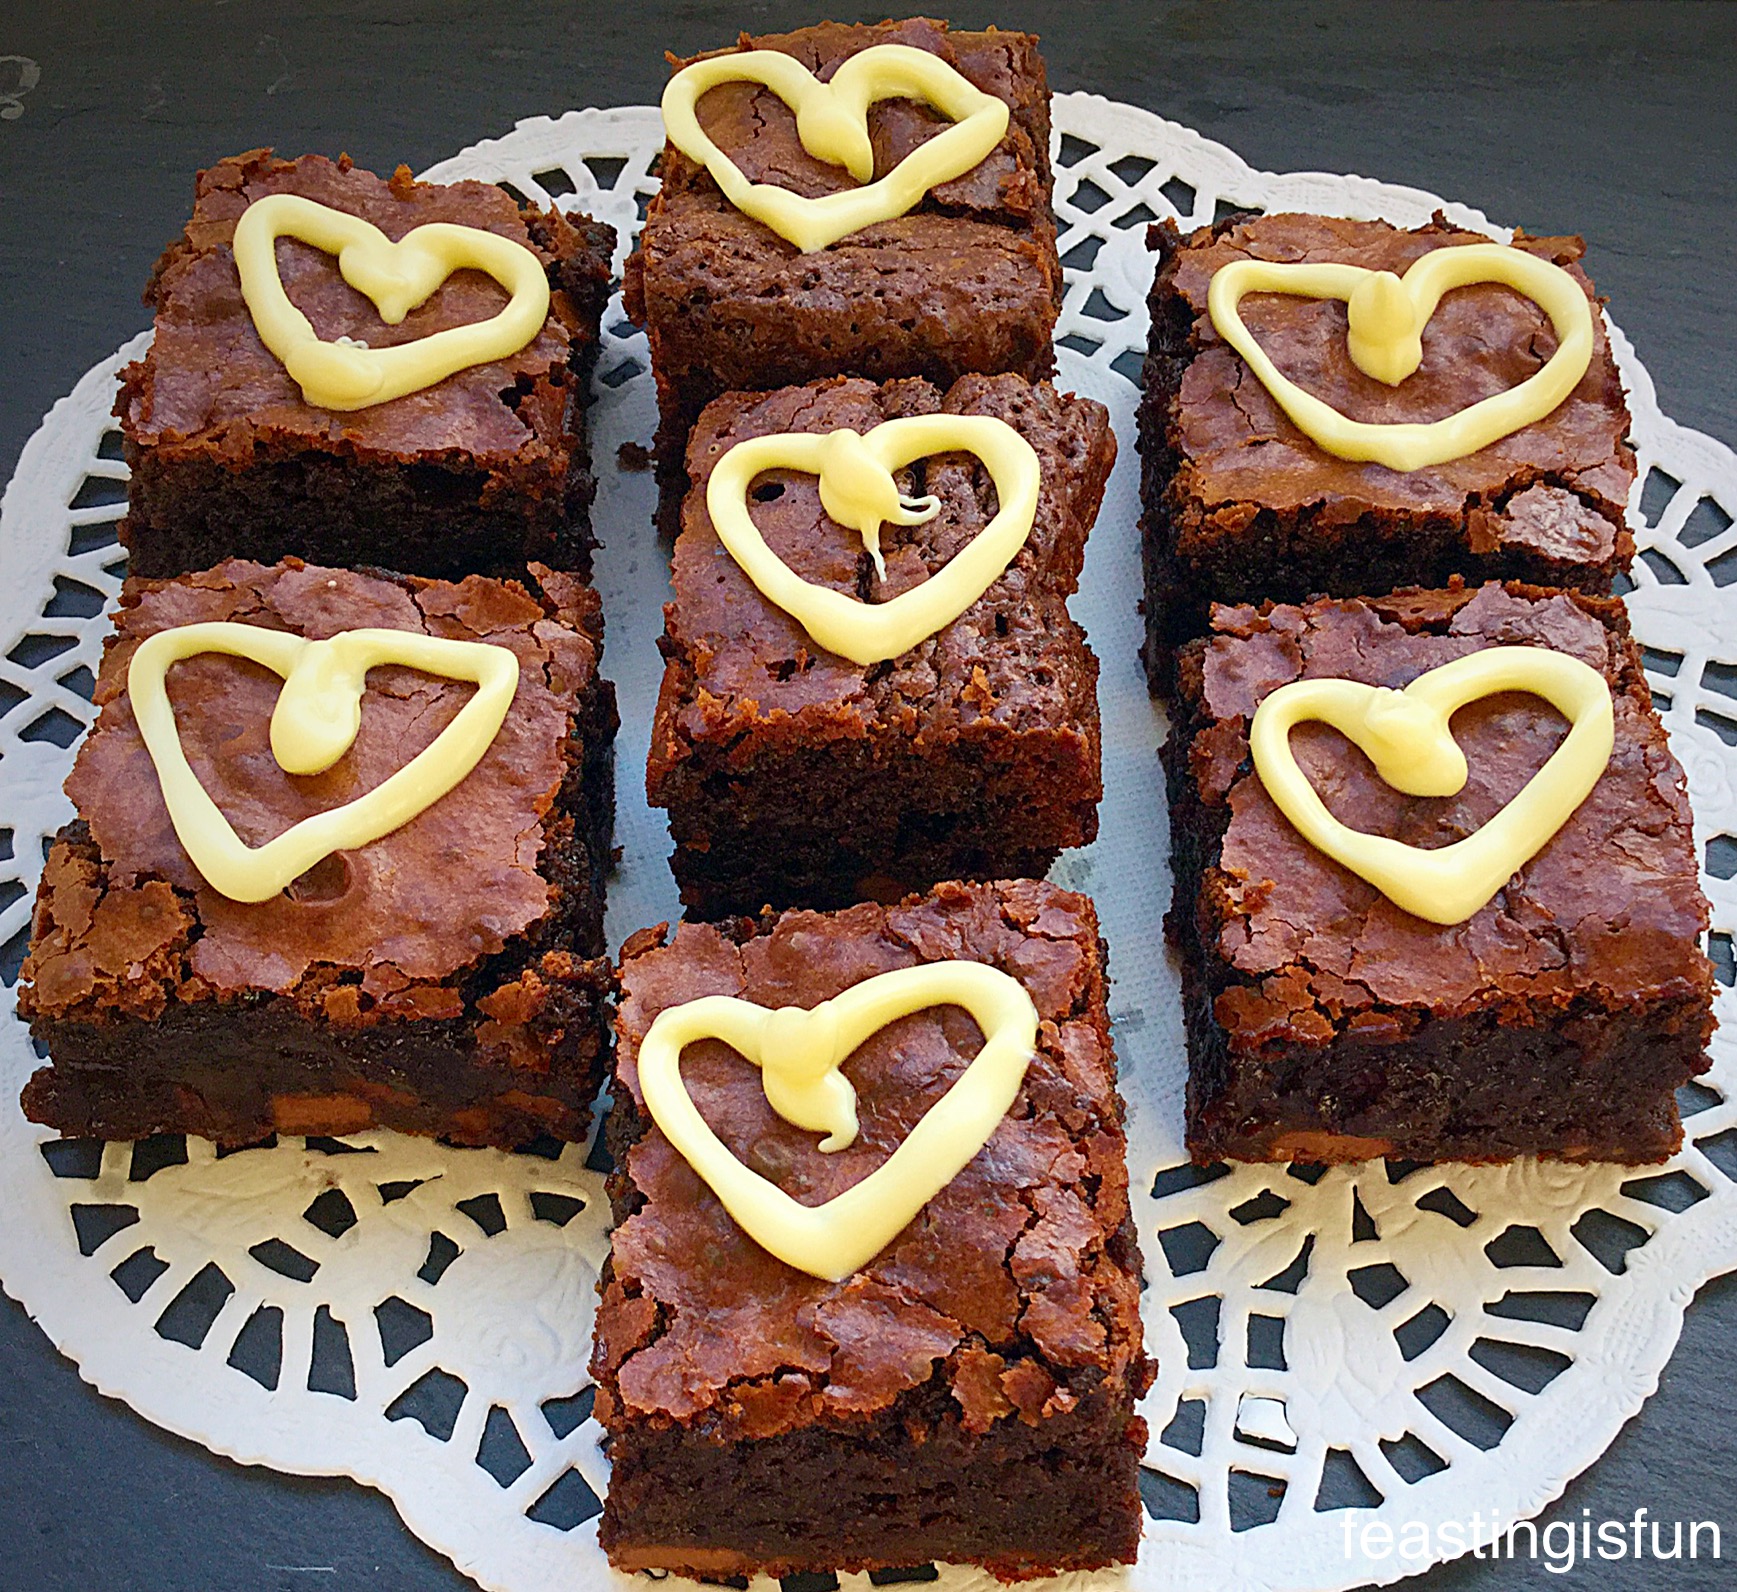
I was absolutely thrilled with how well this Chocolate Amaretto Cake turned out.
Creating A Beautiful Cake With Minimal Skill
The only real skill needed to create a cake that looks this stunning is patience. I really believe anyone can make this cake. Yes young children may need some supervision and if they are going to be eating the cake I would definitely recommend using almond extract in the whipped cream, not alcohol!
Is there someone you know, who has a special occasion coming up and would be blown away if given a cake like this?
If you do make this cake please send me a picture via Twitter/Instagram?
I hope, given the step by step instructions (and cheat if needed!) that you try making this cake. Elegant and professional are two words I use for this cake. You too can create a cake that is both elegant and professional looking.
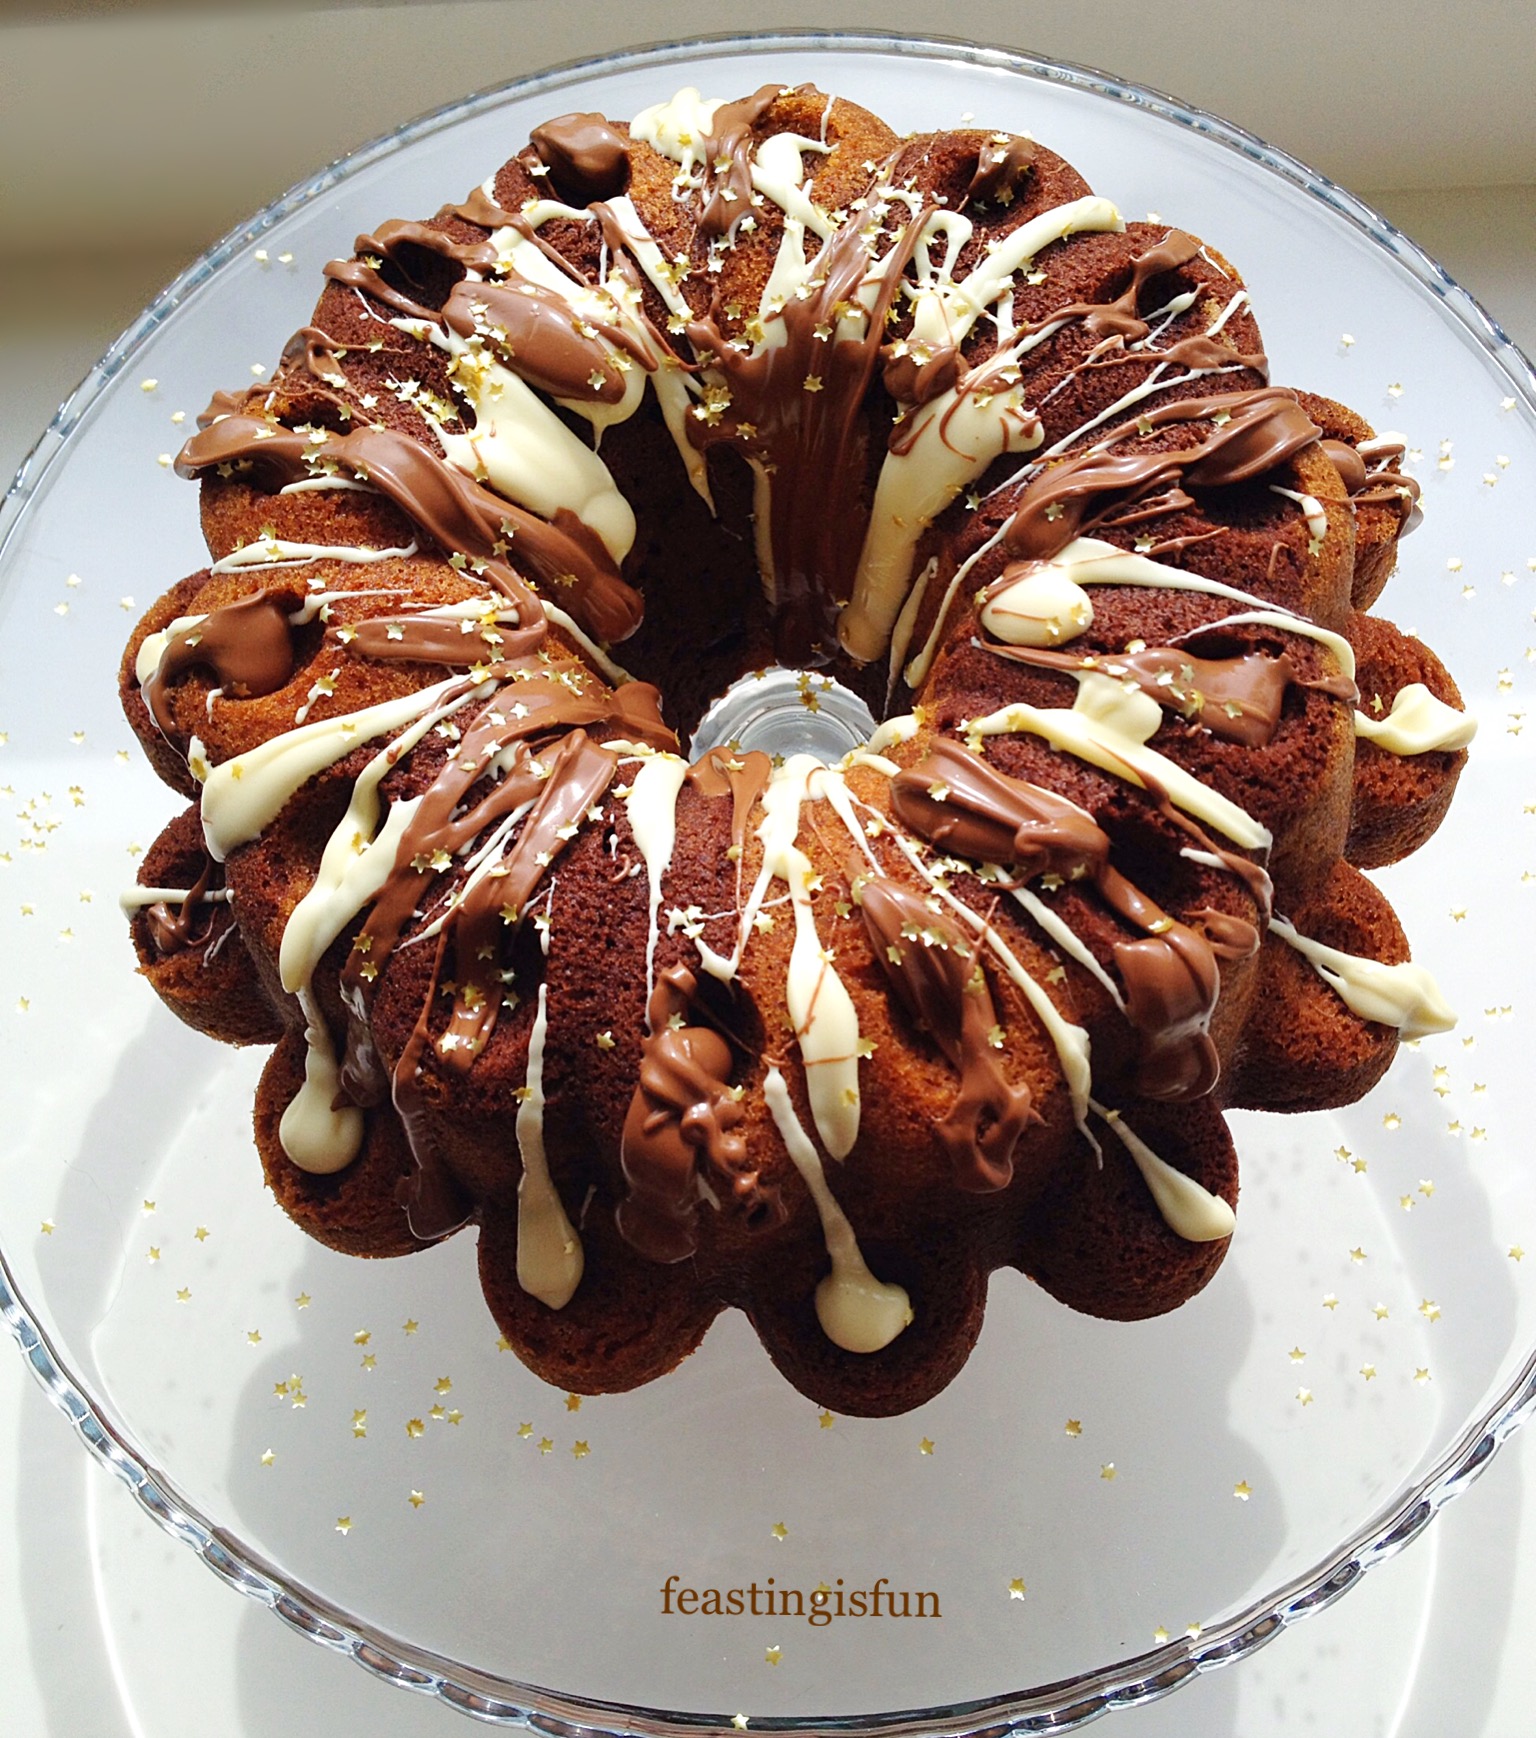
If you have enjoyed making this Chocolate Amaretto Cake and want to make more, here are some recipes to try:
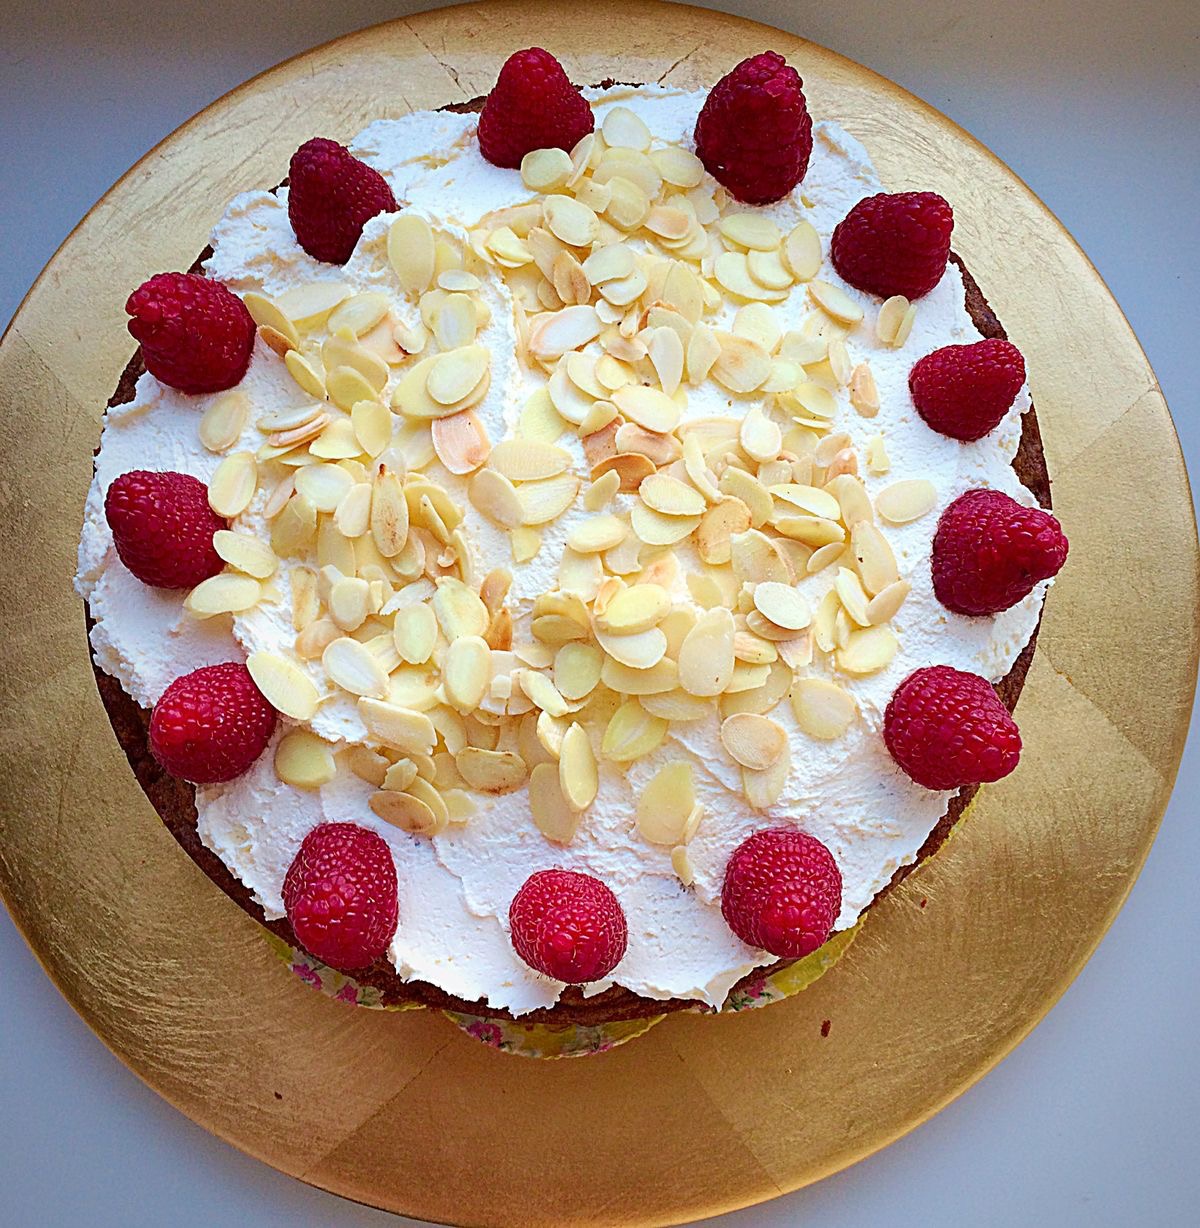
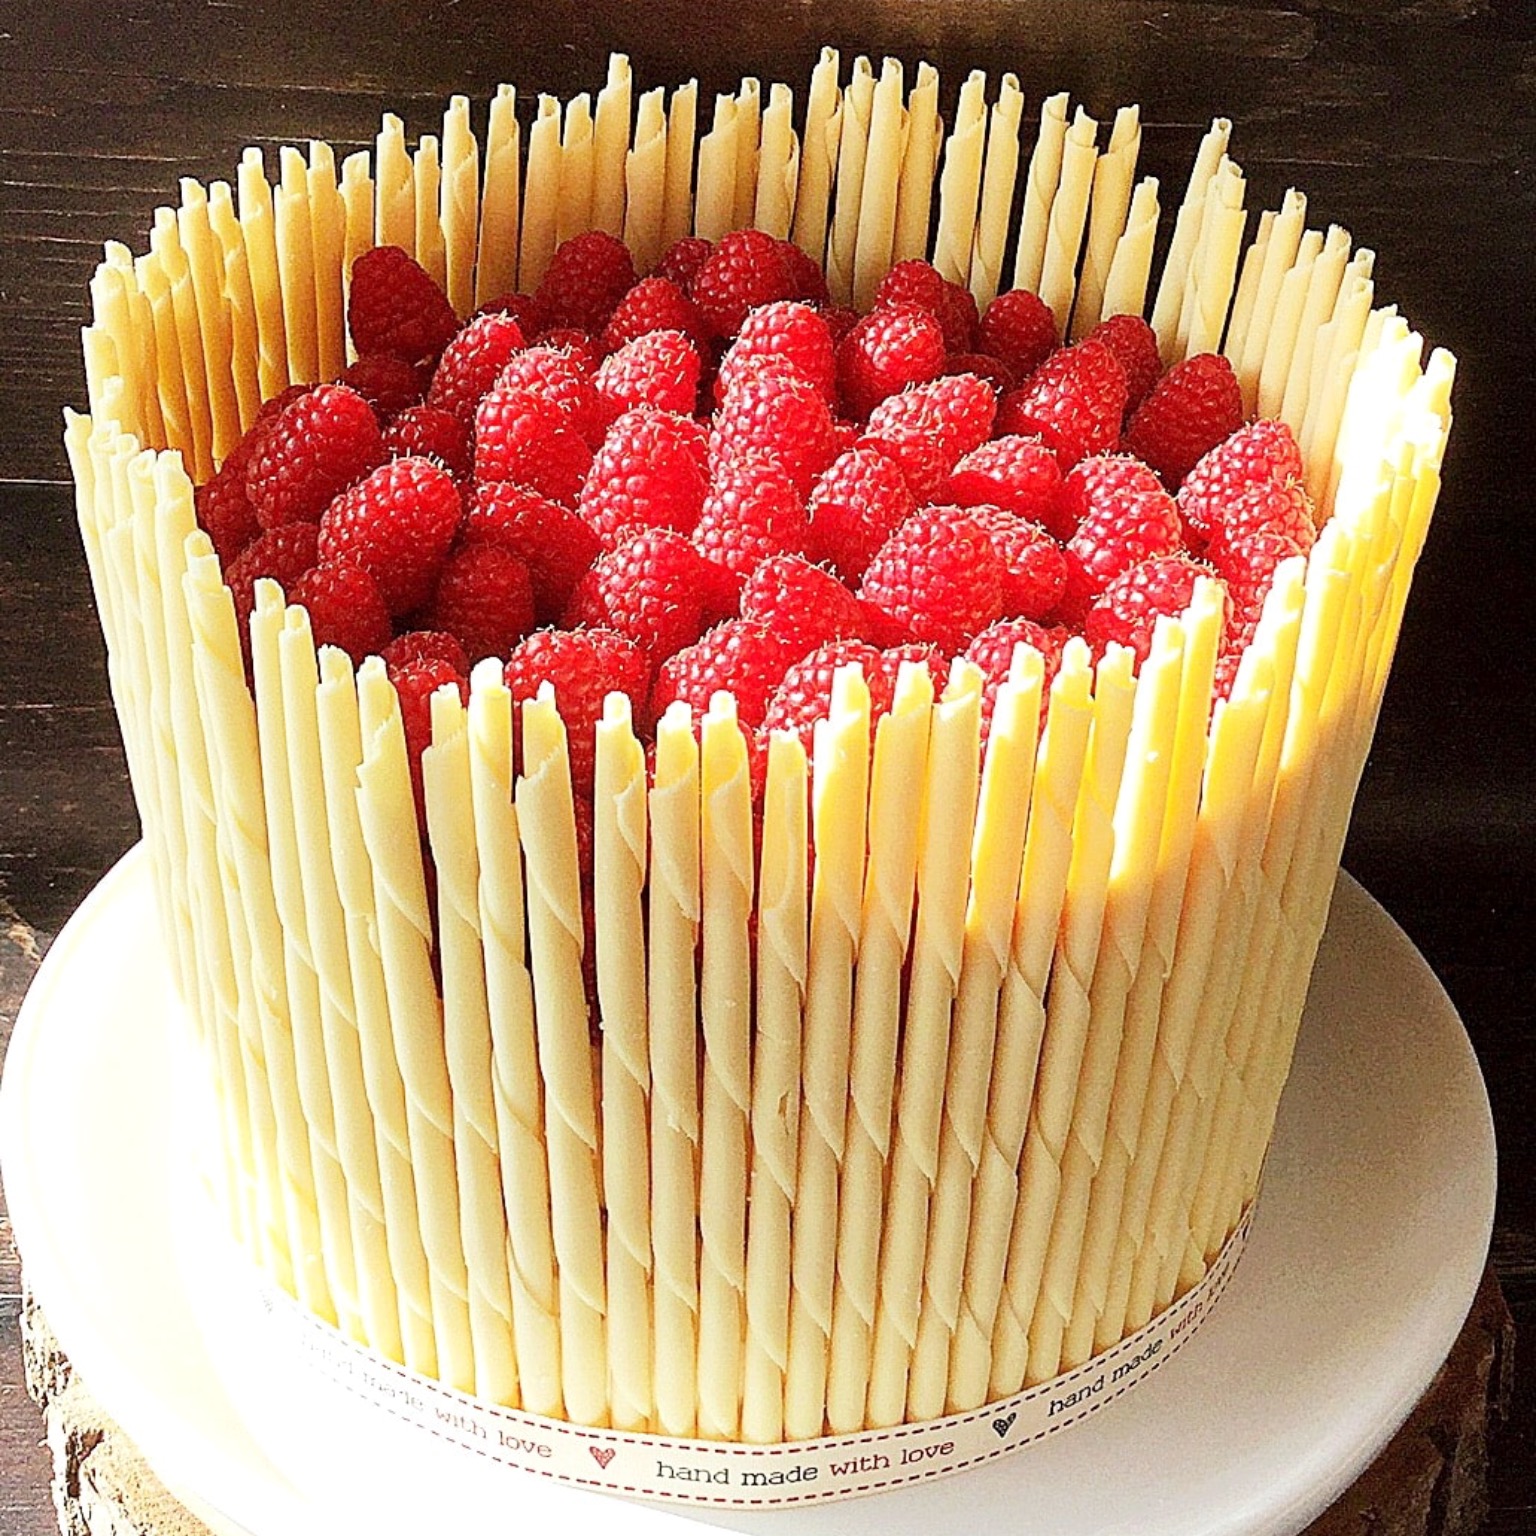
Raspberry Lemon Celebration Layer Cake
So, whatever you are making, baking and creating in your kitchens, have fun preparing and sharing your feast.
Sammie xx
@sammiefeasting Twitter/Instagram/Pinterest
Elizabeth Shaw provided me with the Chocolate Flutes and Dark Chocolate Crunch Bar used in this post. All opinions, content and recipes are my own. Please see my Disclosure Policy.