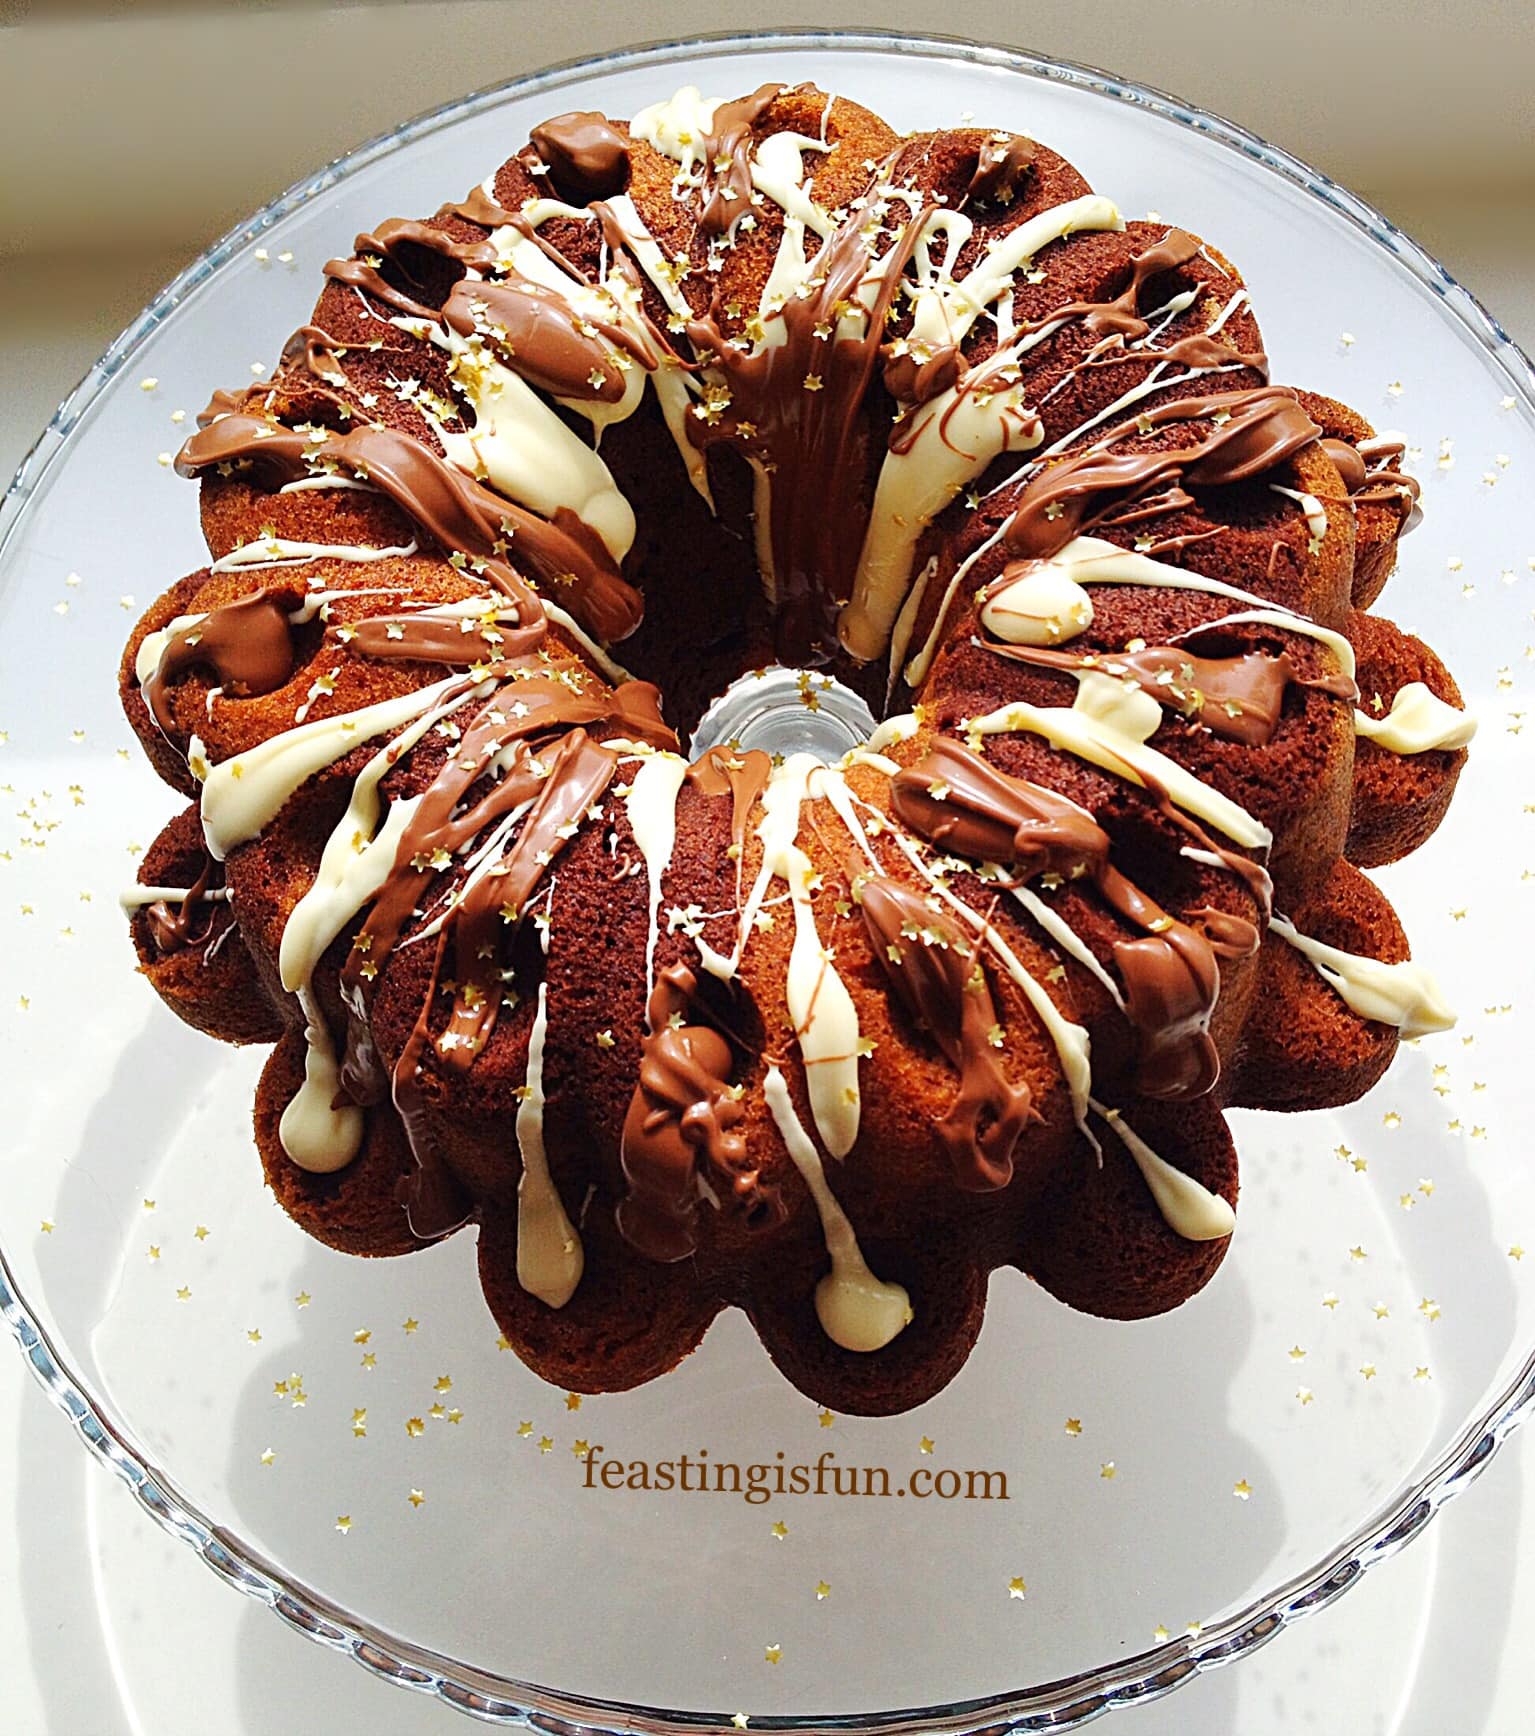
Hi, thank you for stopping by. While I assume that you like cake, because you’re here on this page, do you also like Maltesers? Delicious chocolate covered balls of malted loveliness that are almost impossible to stop munching on, once the packet/box is opened. So, I’ve come up with a cake that incorporates all of those lovely flavours. Introducing my Malted Marbled Chocolate Cake.
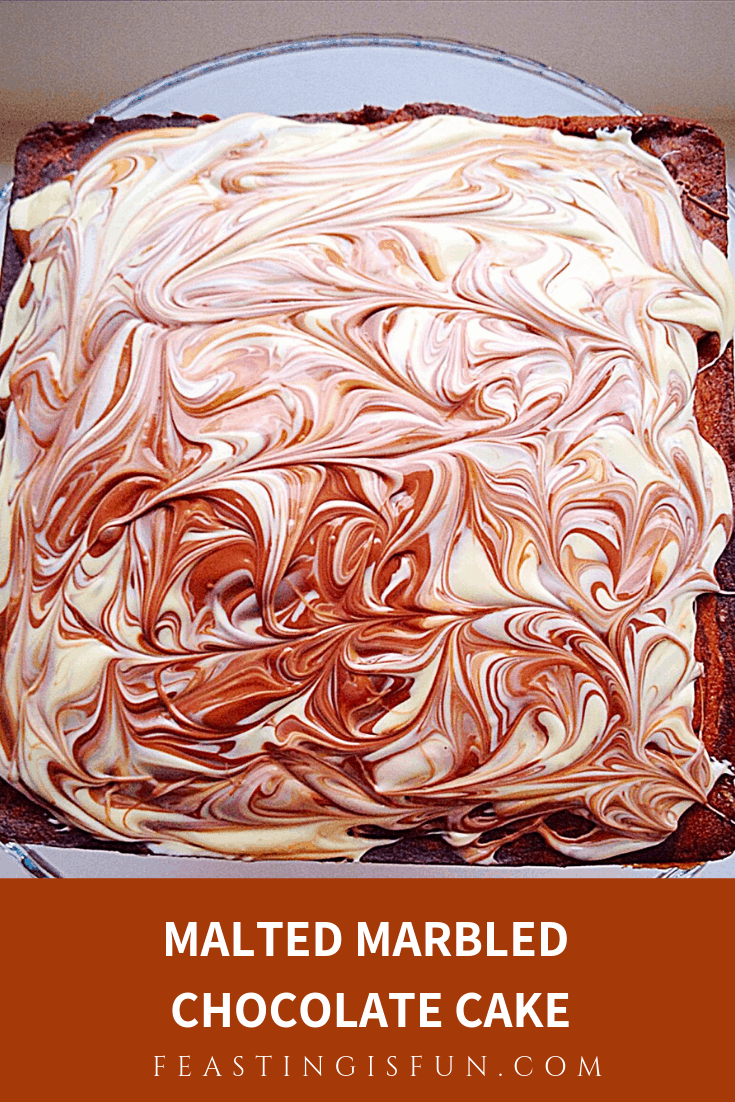
A cake that tastes of Maltesers
While I started from scratch with this cake recipe I am thrilled with how well the cake has turned out. Aside from adjusting the cooking temperature and time I am pleased to say it was a success!
Since Wilko gave me some products to review (post coming soon) I decided to make this Malted Marbled Chcolate Cake in the square cake tin I had been sent. And, as I already have a Maltesers Popping Candy Cupcakes on my site, I knew that switching up the recipe and including the yummy malt flavour would create a winning flavour.
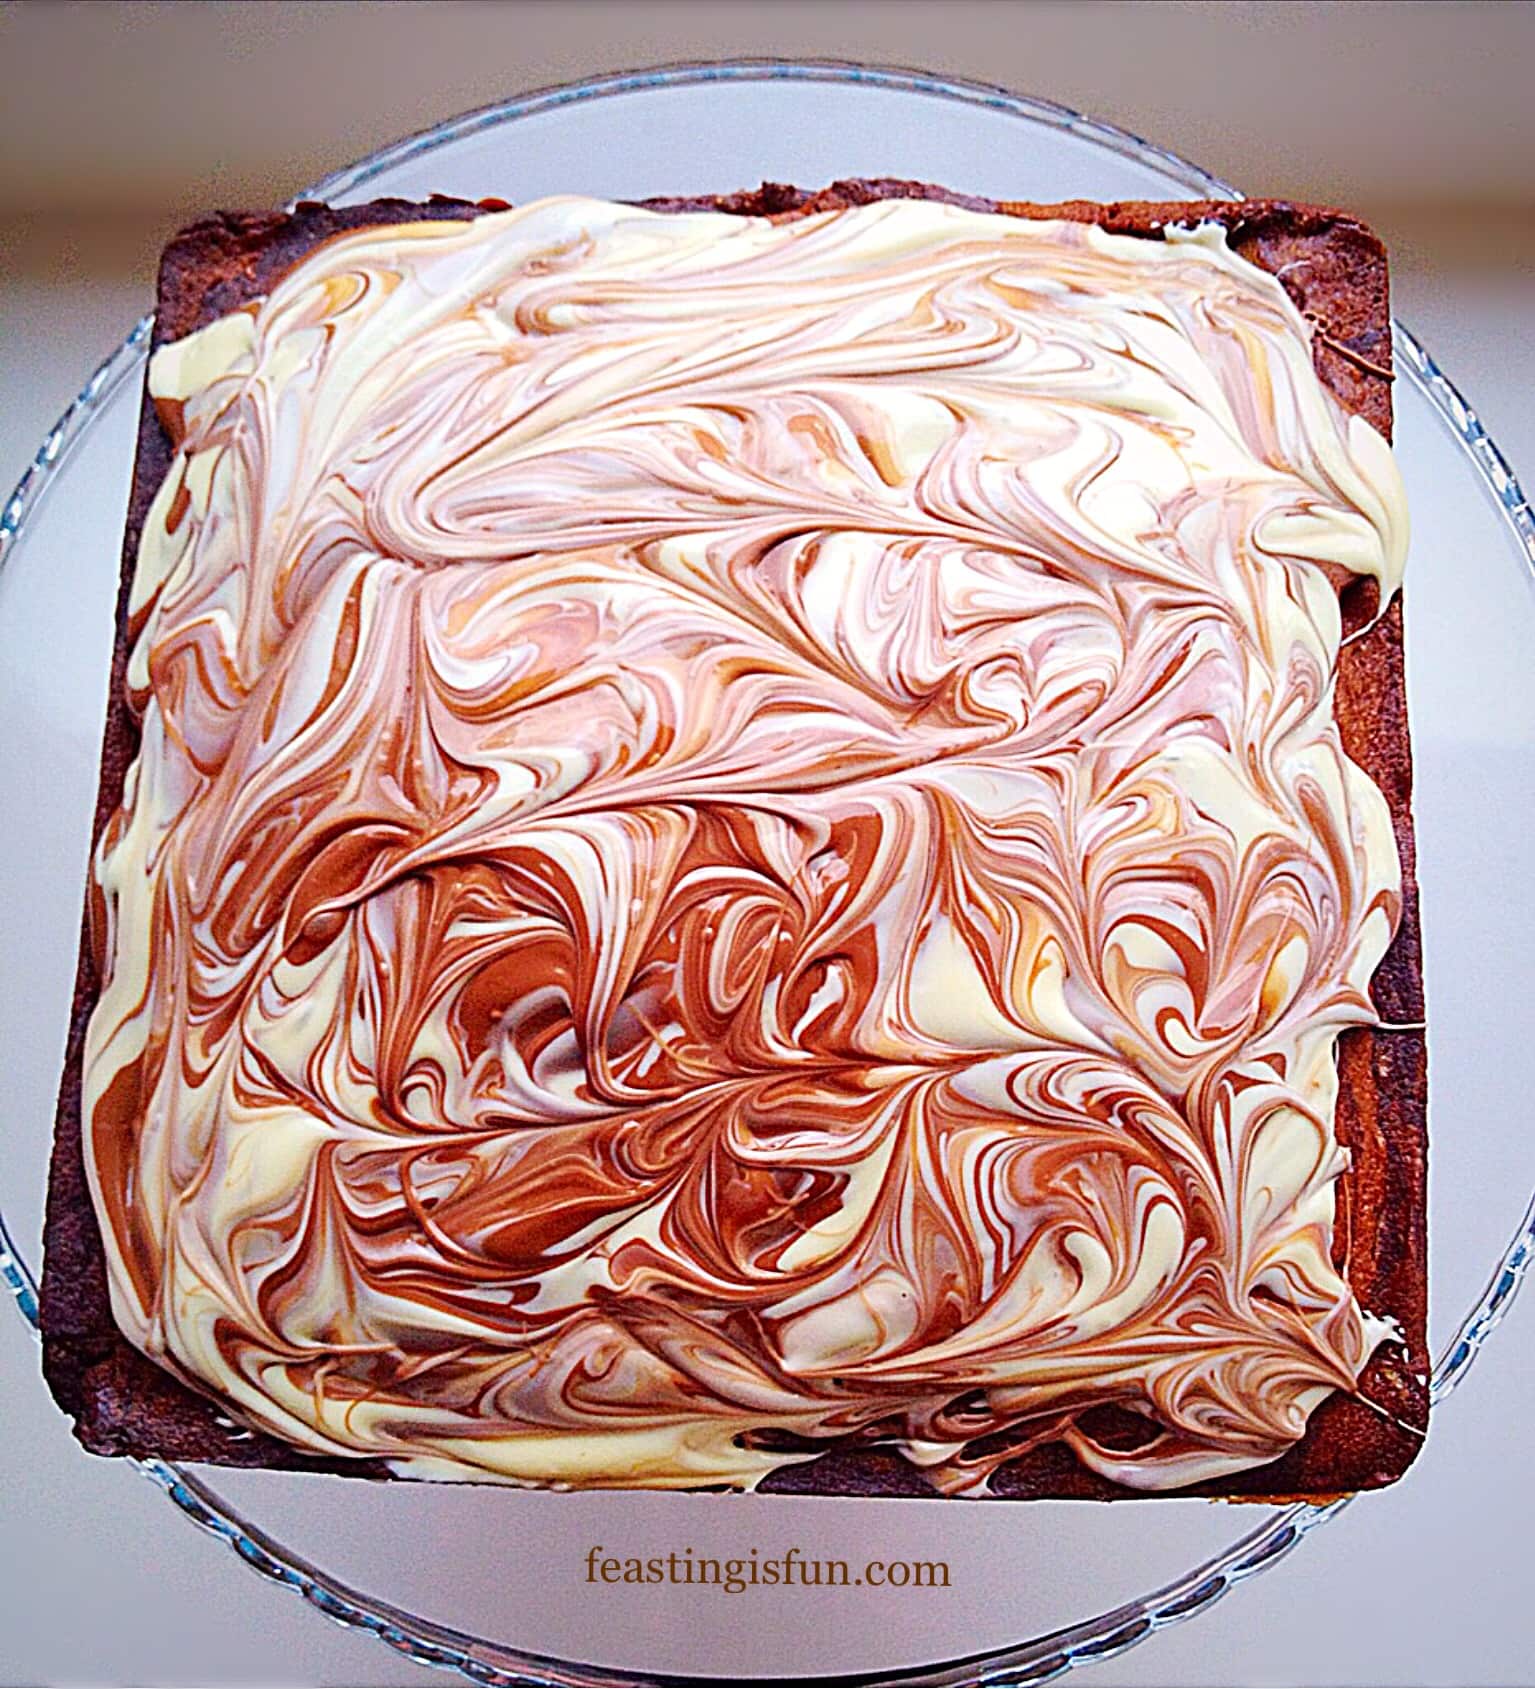
In addition, topping the cake with swirls of milk and white chocolate would not only taste great, but also reflect the marbling pattern within the cake. Also, don’t expect this cake to last very long, if my experience is repeated. Because this large cake only lasted two days, although it was also shared with Grandparents and friends. Because cake is meant for sharing, don’t you think?
Recipe : Malted Marbled Chocolate Cake yields at least 18 slices
For the cake:
350g/12oz Unsalted Butter – plus extra for greasing your cake tin
300g/11oz Caster Sugar
1/4 tsp Salt
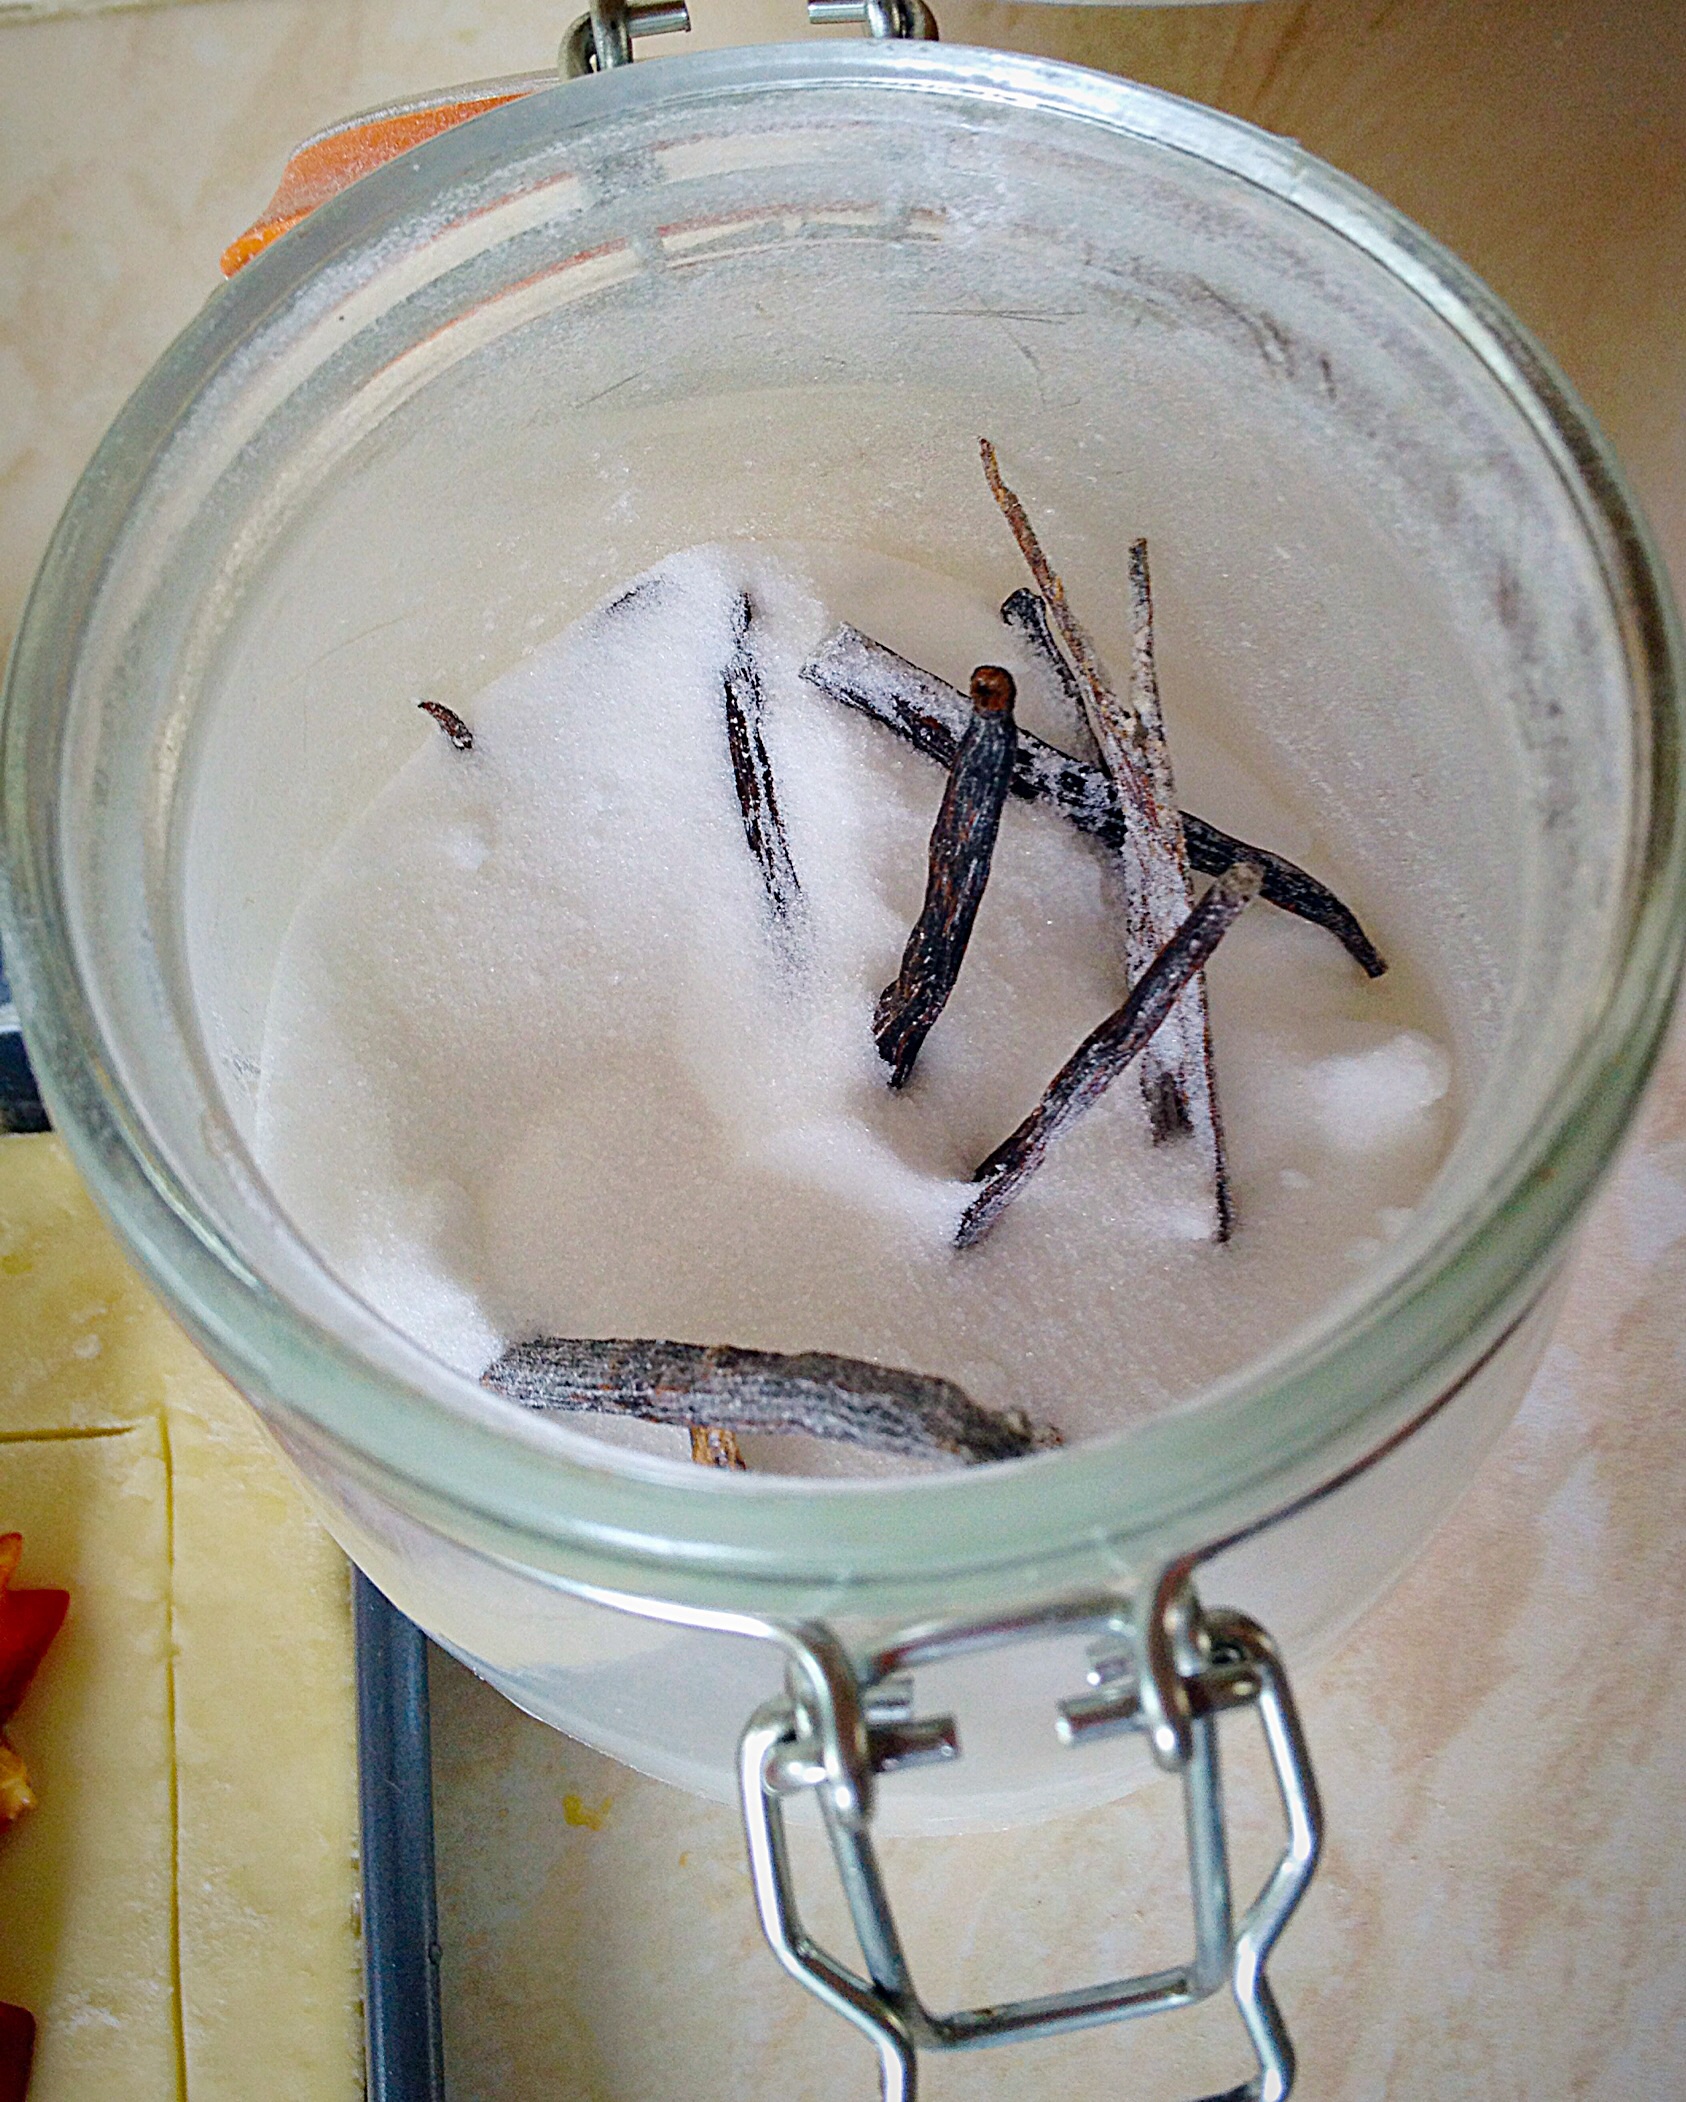
2tsp Vanilla Extract – I use Nielsen-Massey
6 Large Eggs – Free Range
350g/12oz Plain White Flour
3tsp Baking Powder
100mls/4floz Whole Milk
5tbsp Powdered Malted Milk Drink – Horlicks/Ovaltine
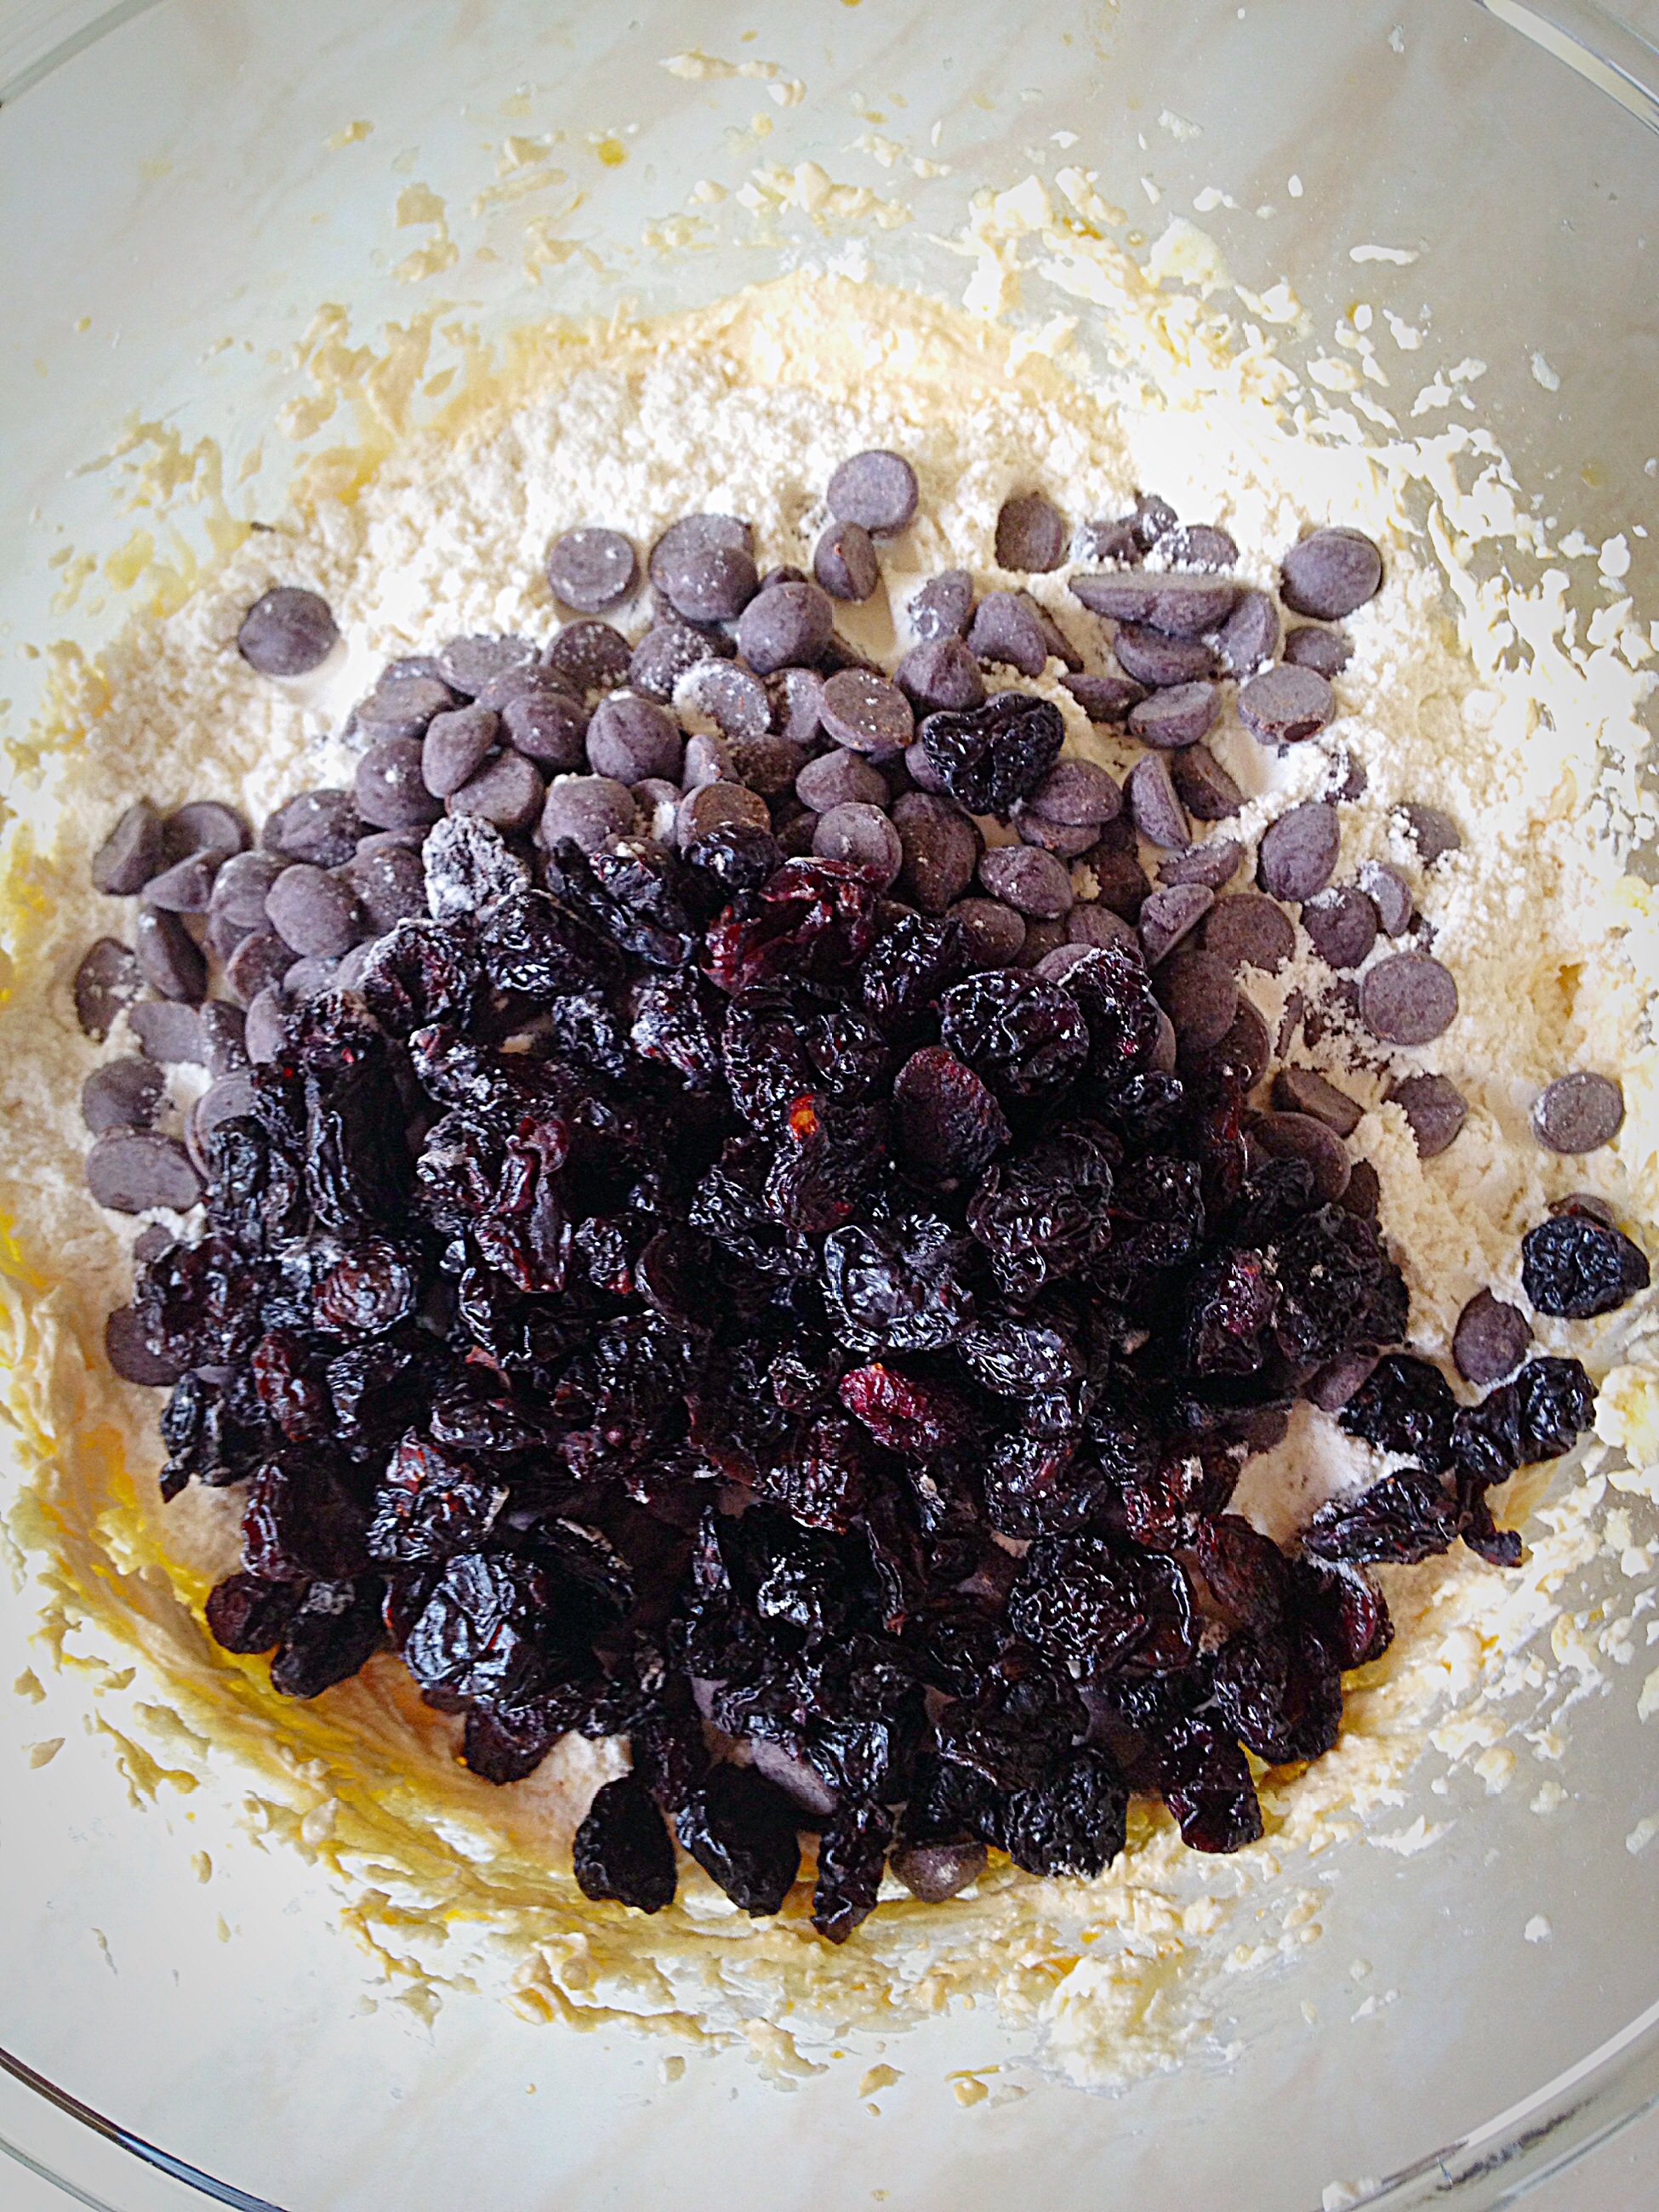
6tbsp Cocoa Powder – I use Callebaut
For the topping:
200g/7oz Milk Chocolate
100g/4oz White Chocolate
Method : Preheat oven to 180C/160C fan, 350F, gas mark 4
I use a 24cm x 24cm square cake tin (approx 9″ tin).
If using a round cake tin you will need an 20cm/8in with a depth of 10cm/4in. Grease the cake tin (I use butter) and line the base with parchment paper.
Use either a stand mixer – with the beater attachment or alternatively a bowl with a hand held electric whisk.
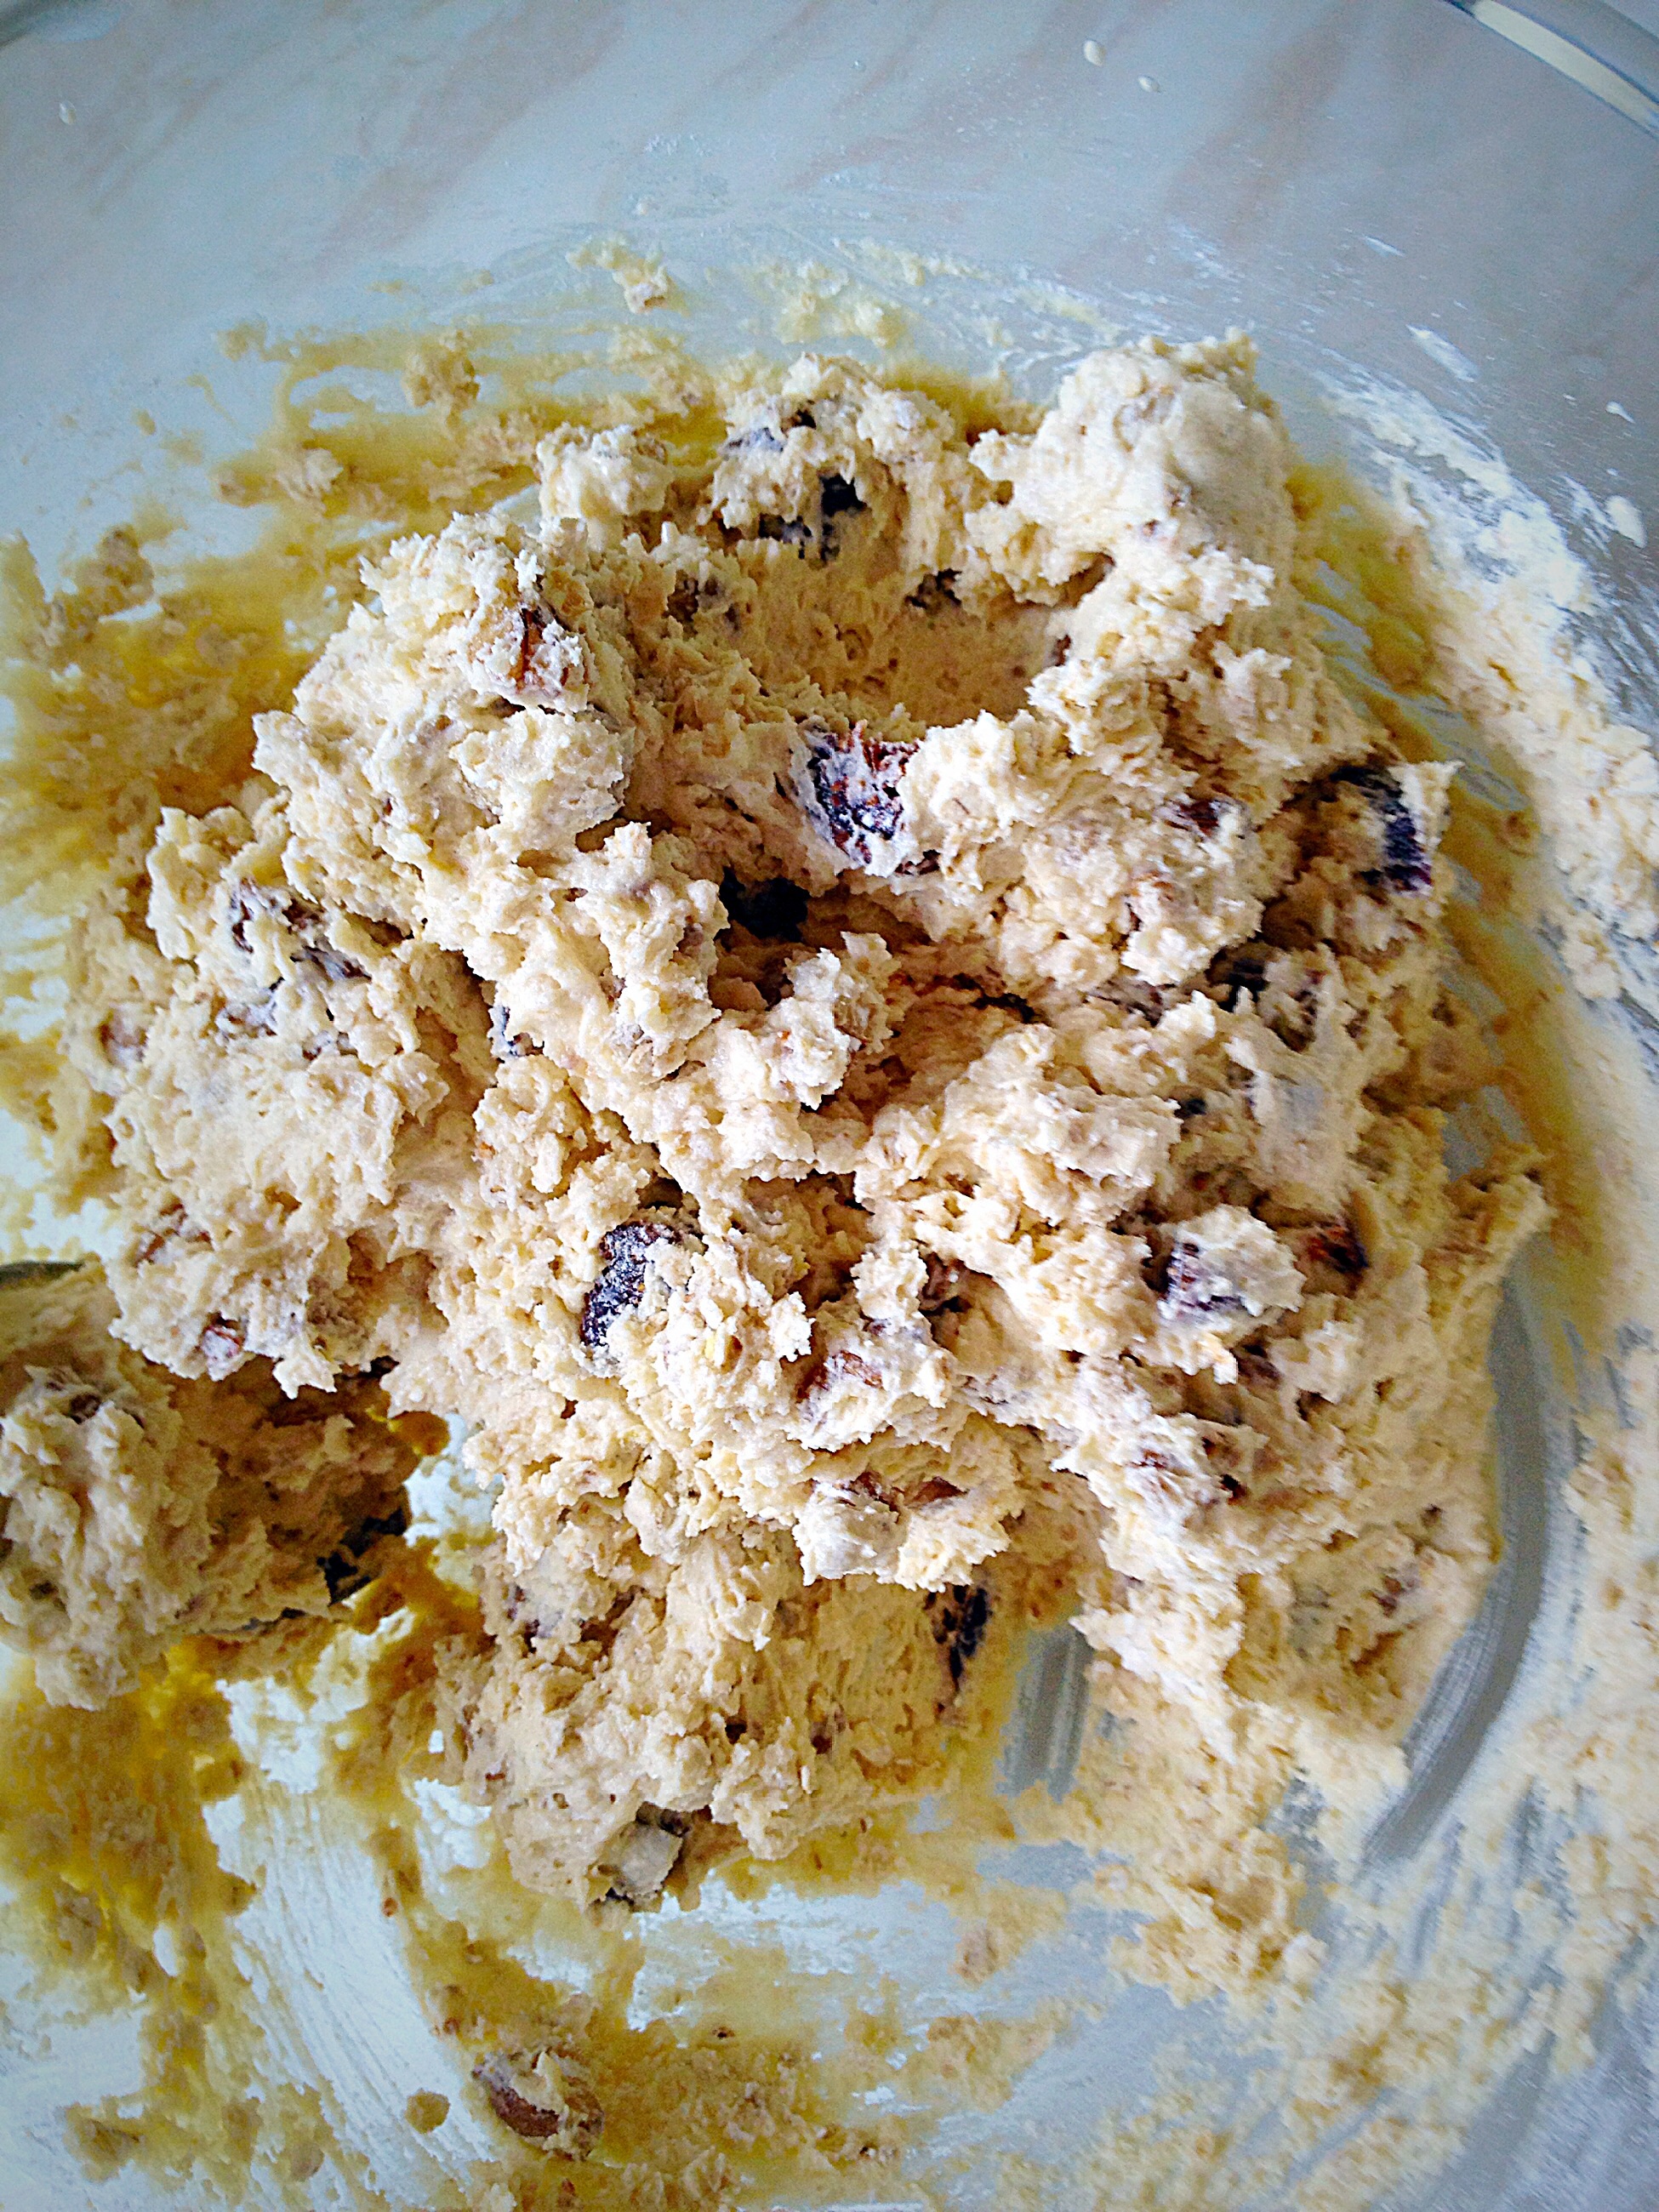
Making The Two Batters For This Cake
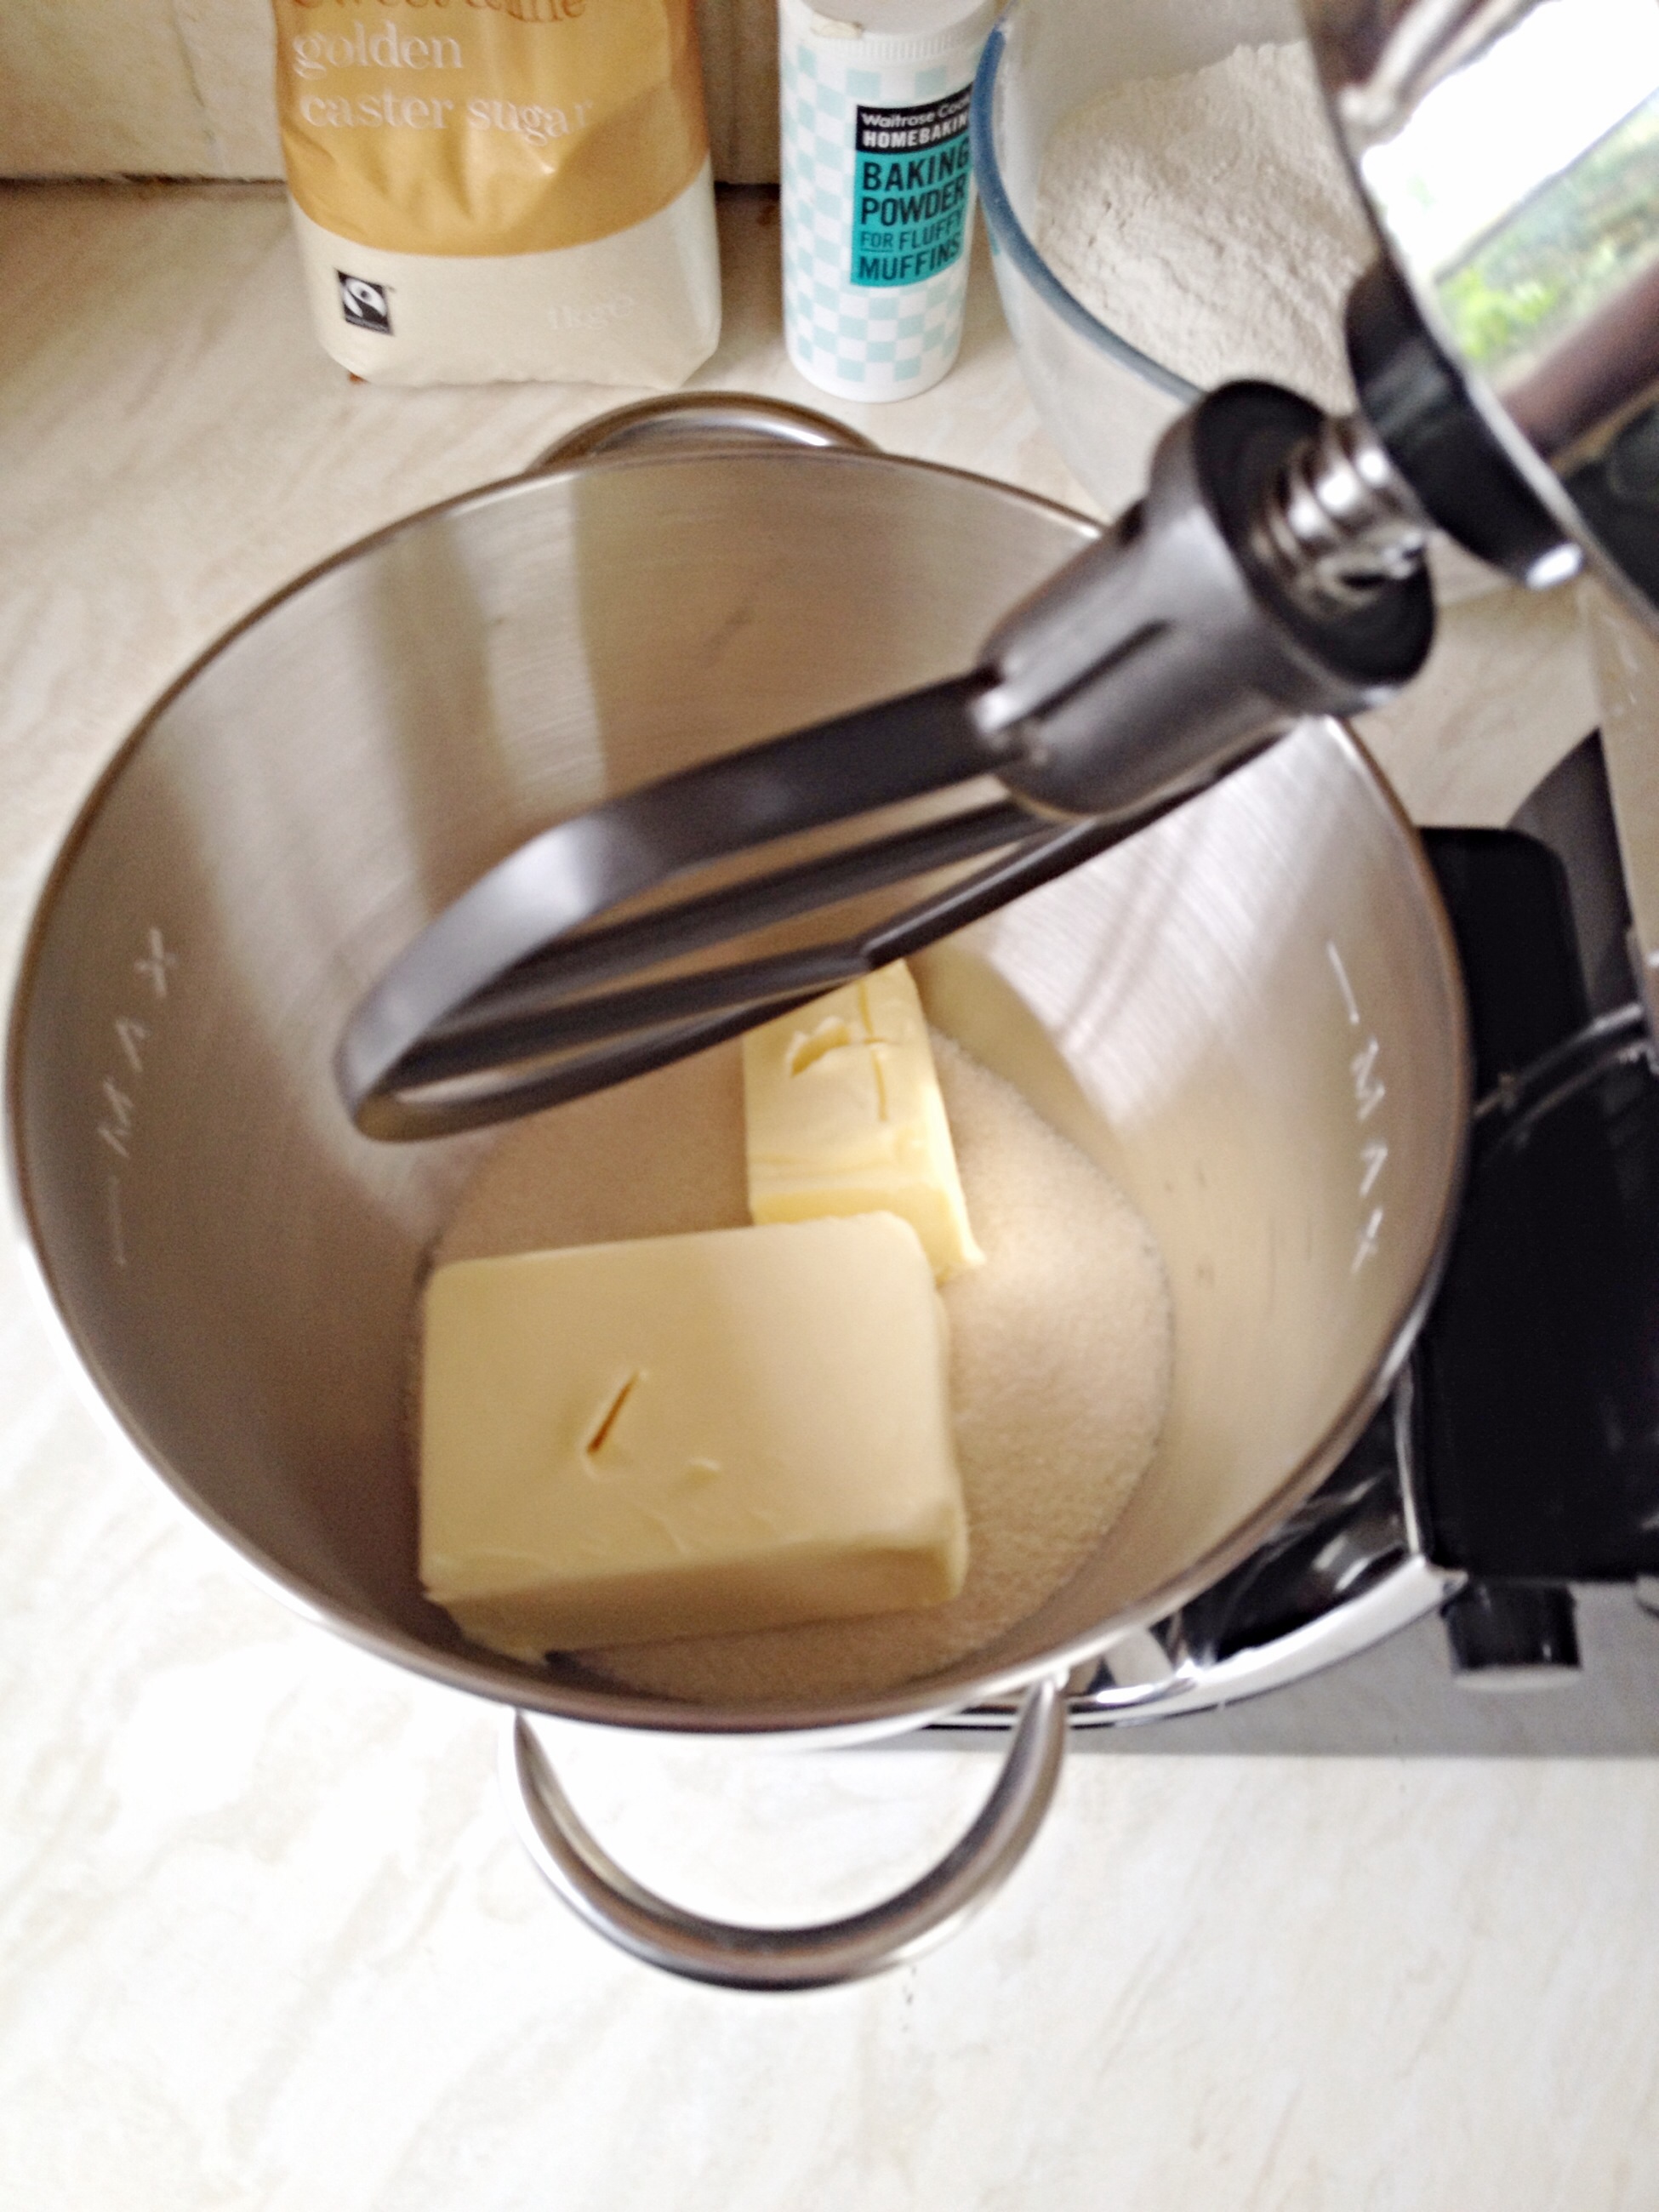
- First of all, place the butter, sugar and salt into a bowl.
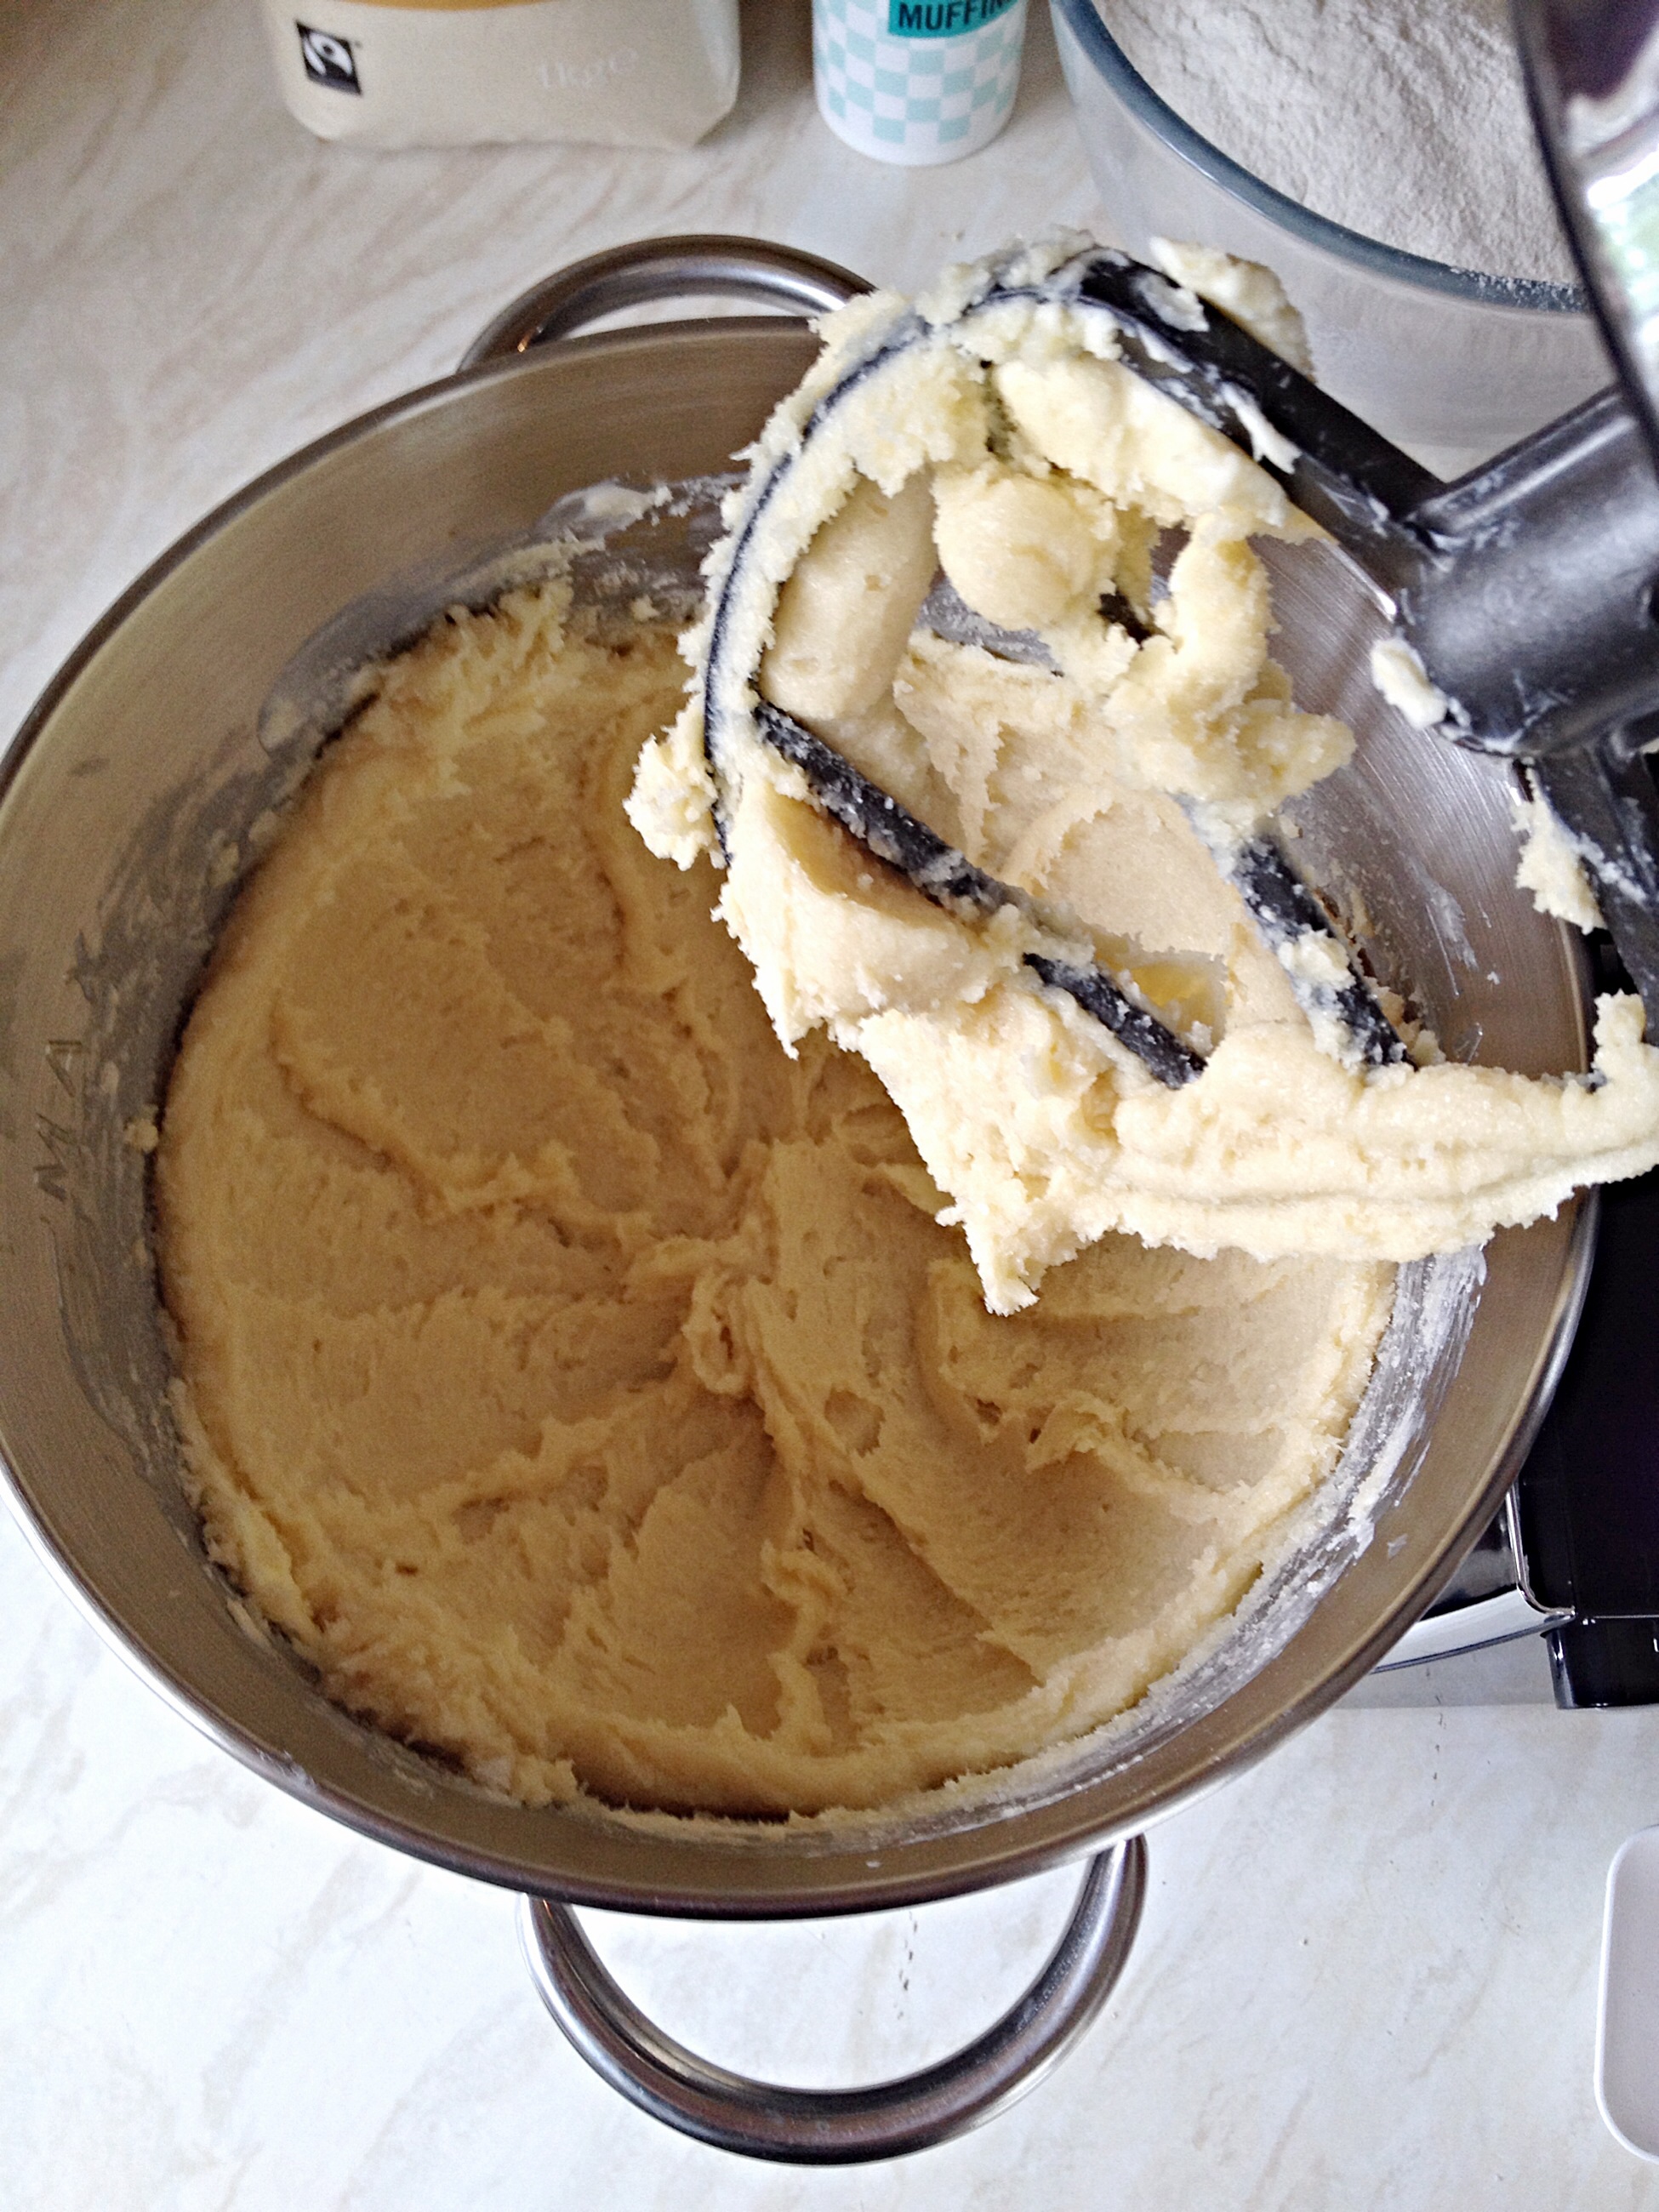
- Beat until pale and creamy.
- Next sieve the flour and baking powder into a separate bowl – dry mix.
- Crack the eggs into a jug – I actually crack them individually into a small bowl, then transfer them to a jug. Then add the vanilla extract to the eggs. Beat lightly with a fork – wet mix.
- Add one third of the dry mixture to the bowl, mix in lightly.
- Now add half of the wet mix and continue mixing until just incorporated.
- Repeat again, finishing with the final third of dry mixture. Mix until just combined.
- Add the malted milk powder and milk, mix until combined.
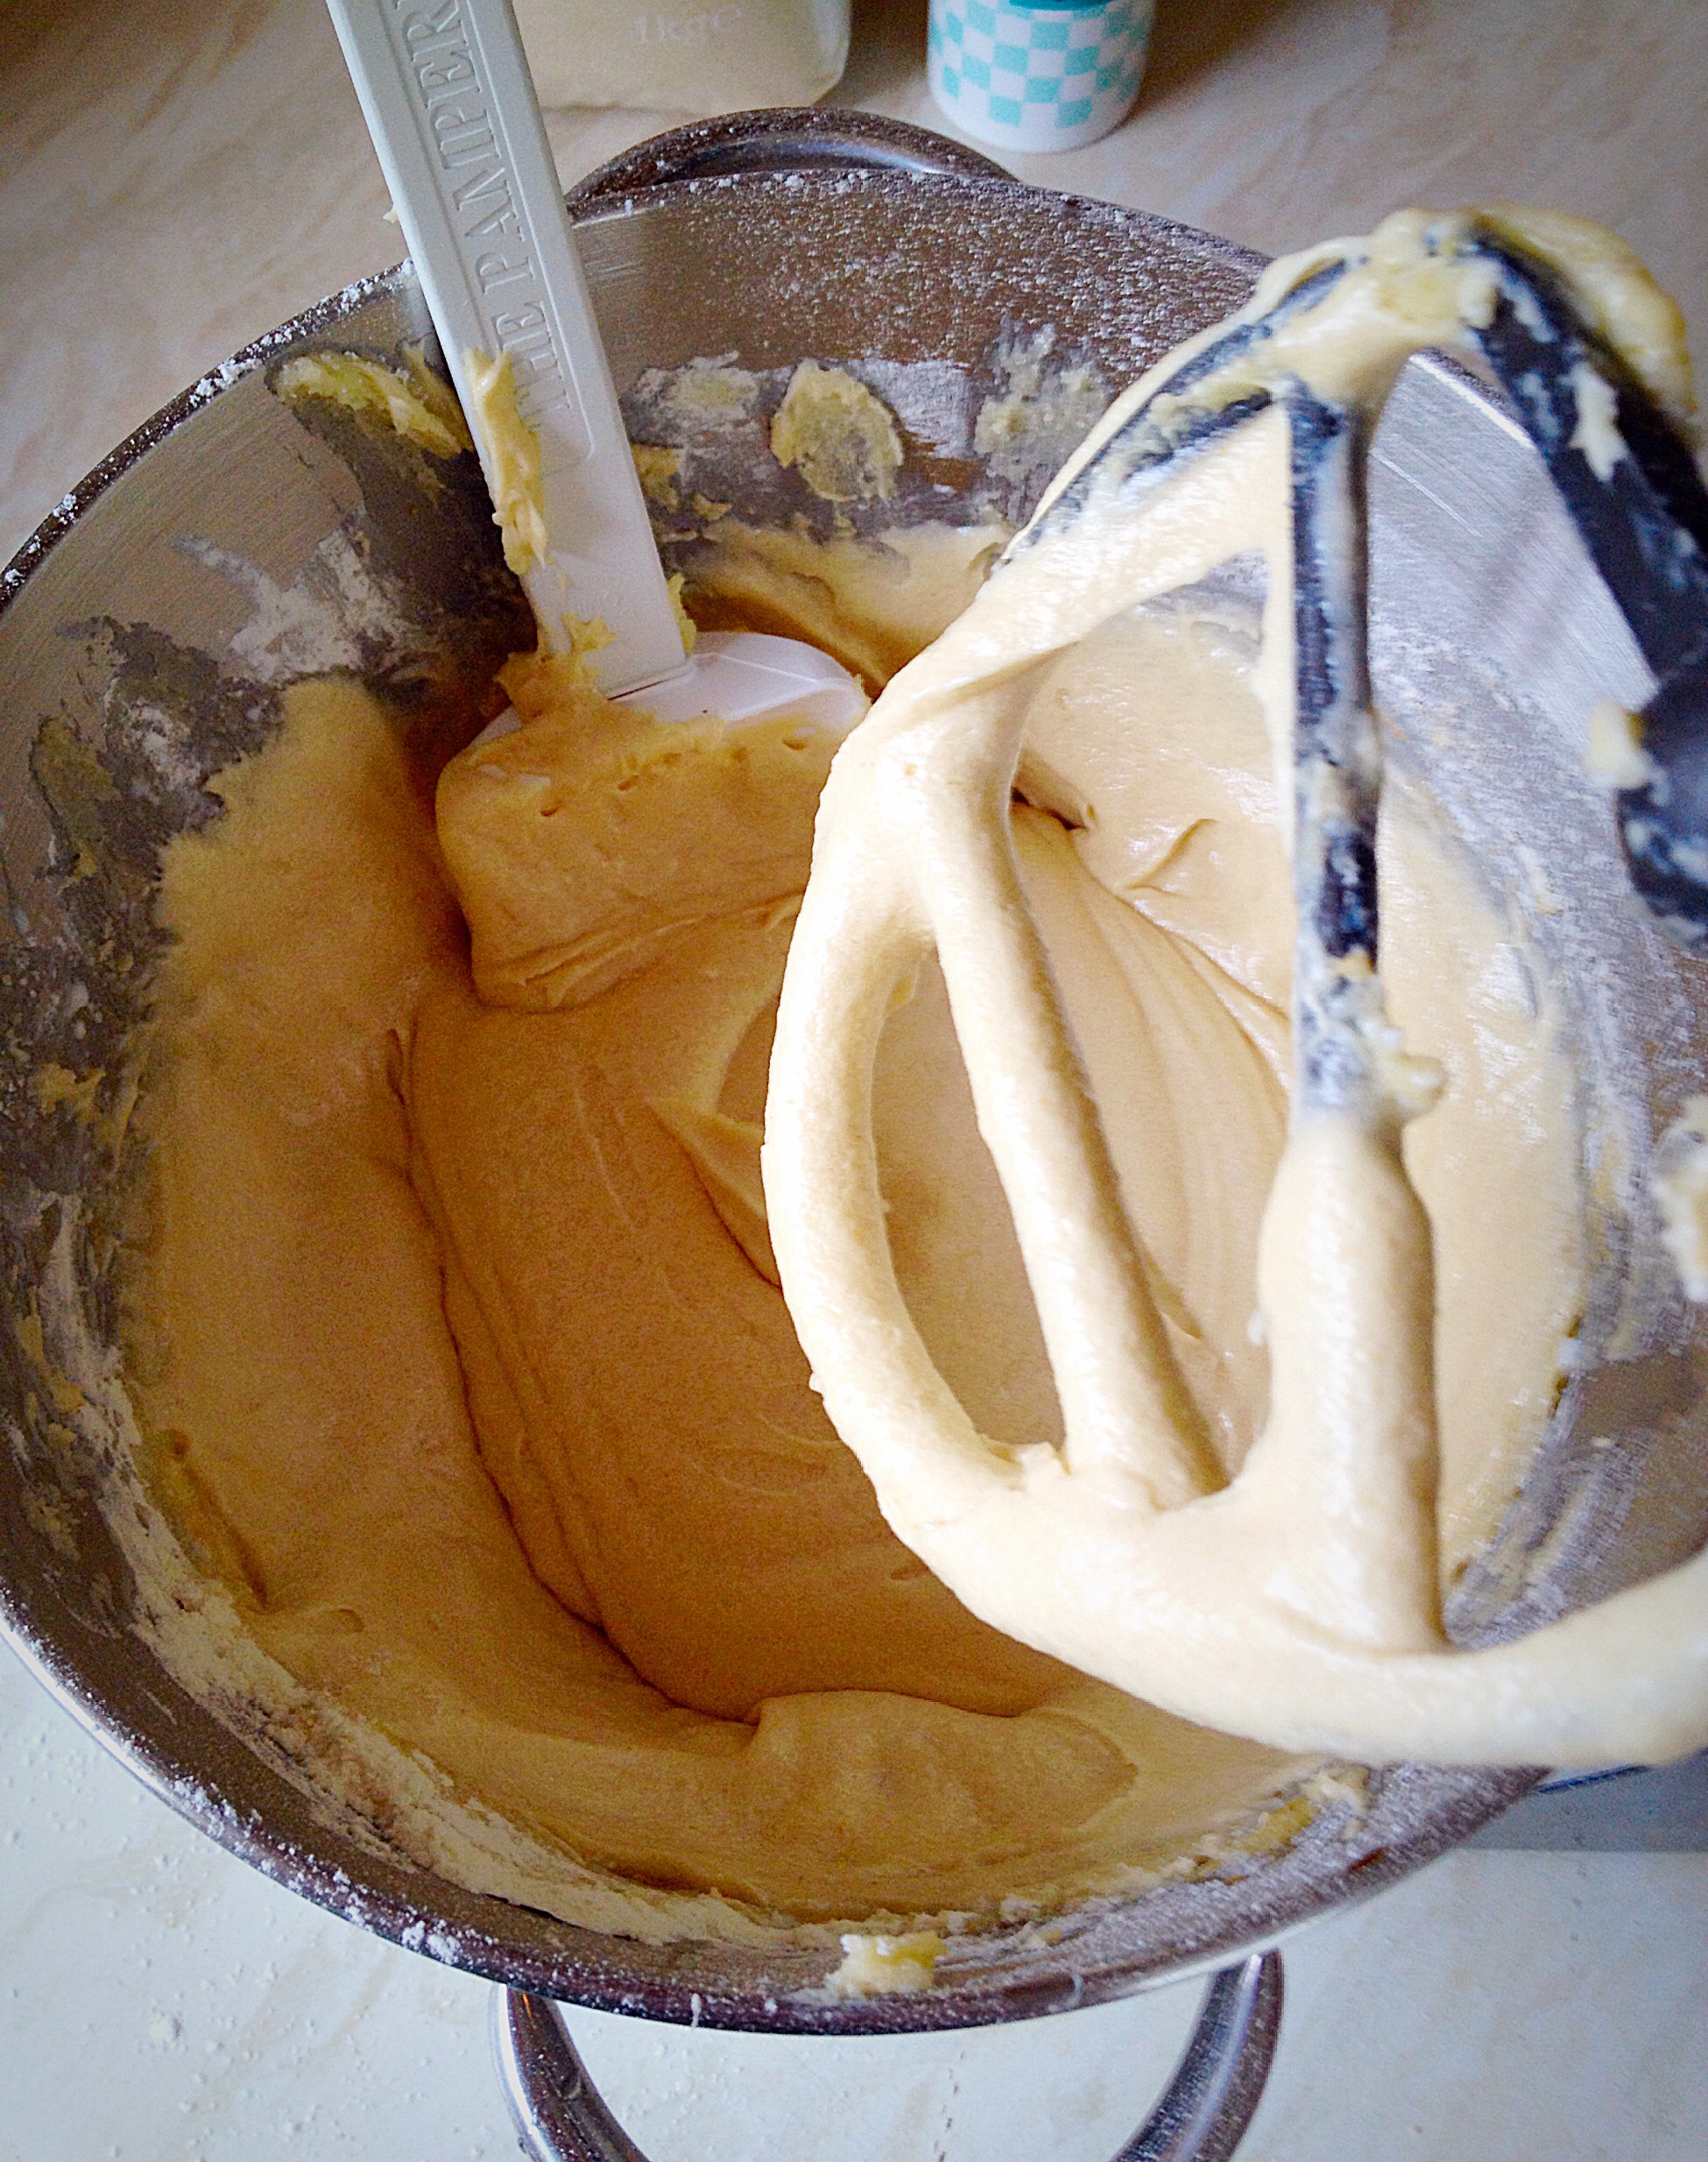
- Scrape down the sides of the bowl with a spatula.
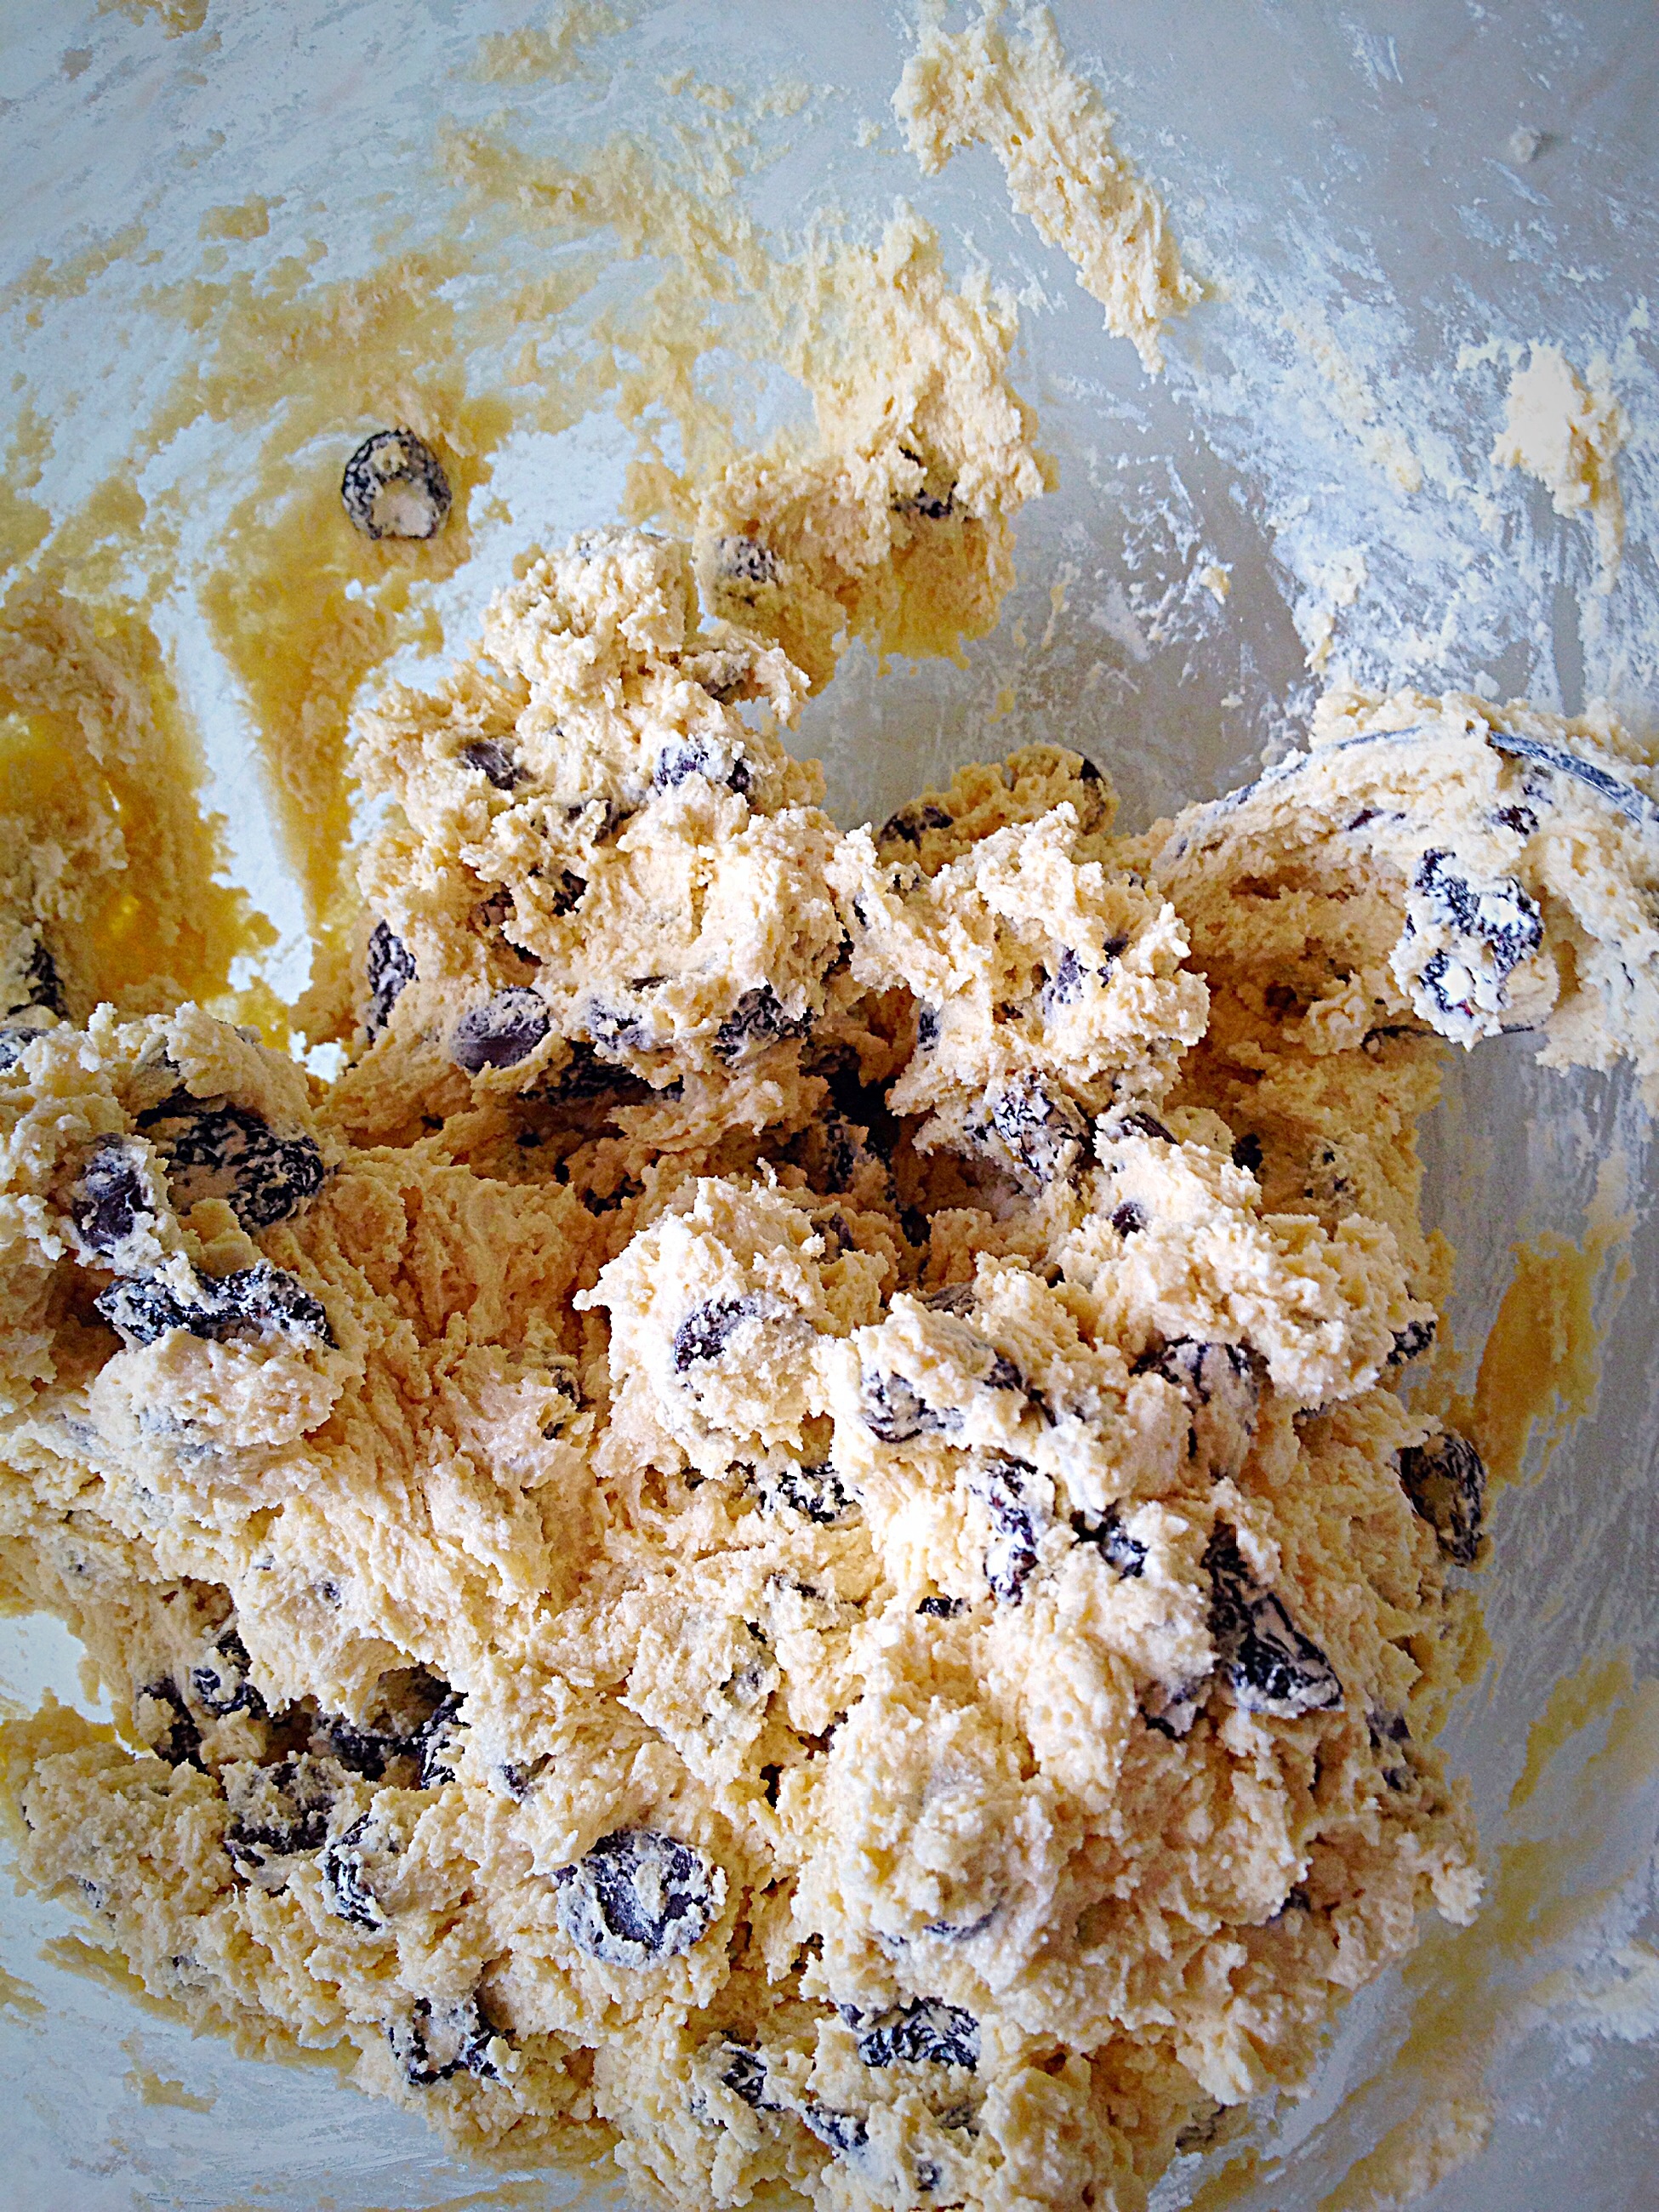
- As soon as the mixture has been scraped down into the bowl give everything a final mix.
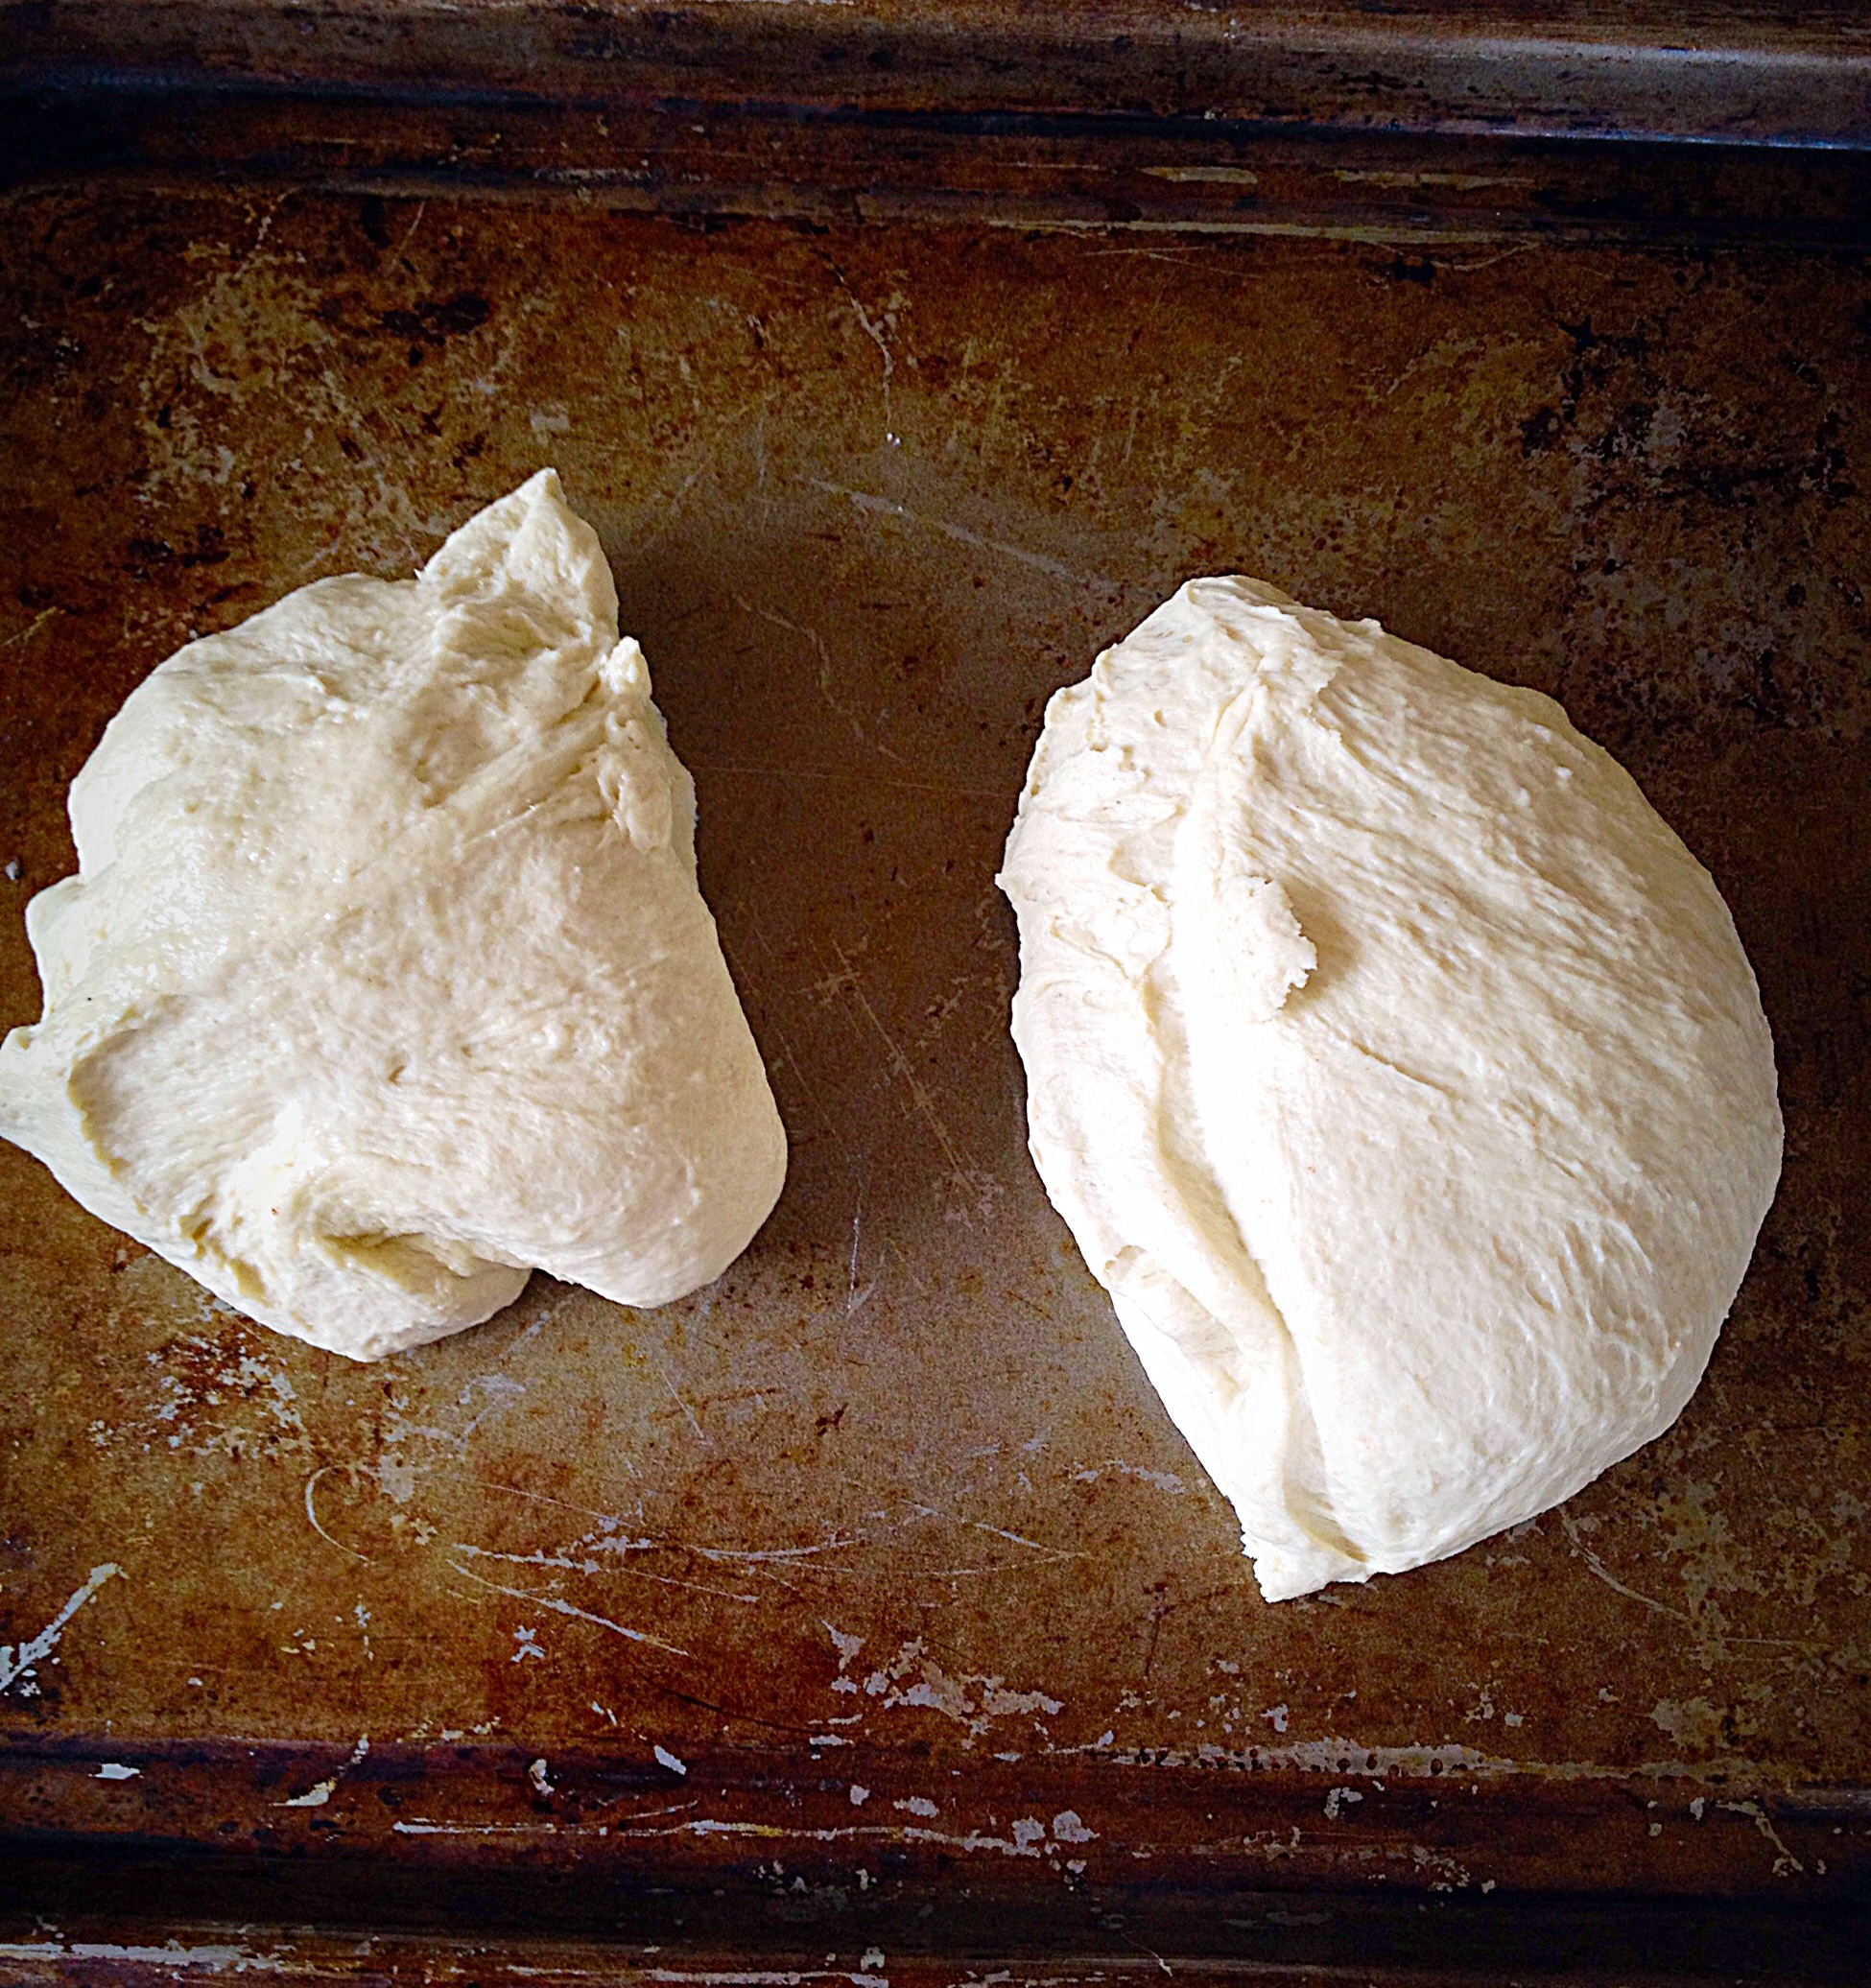
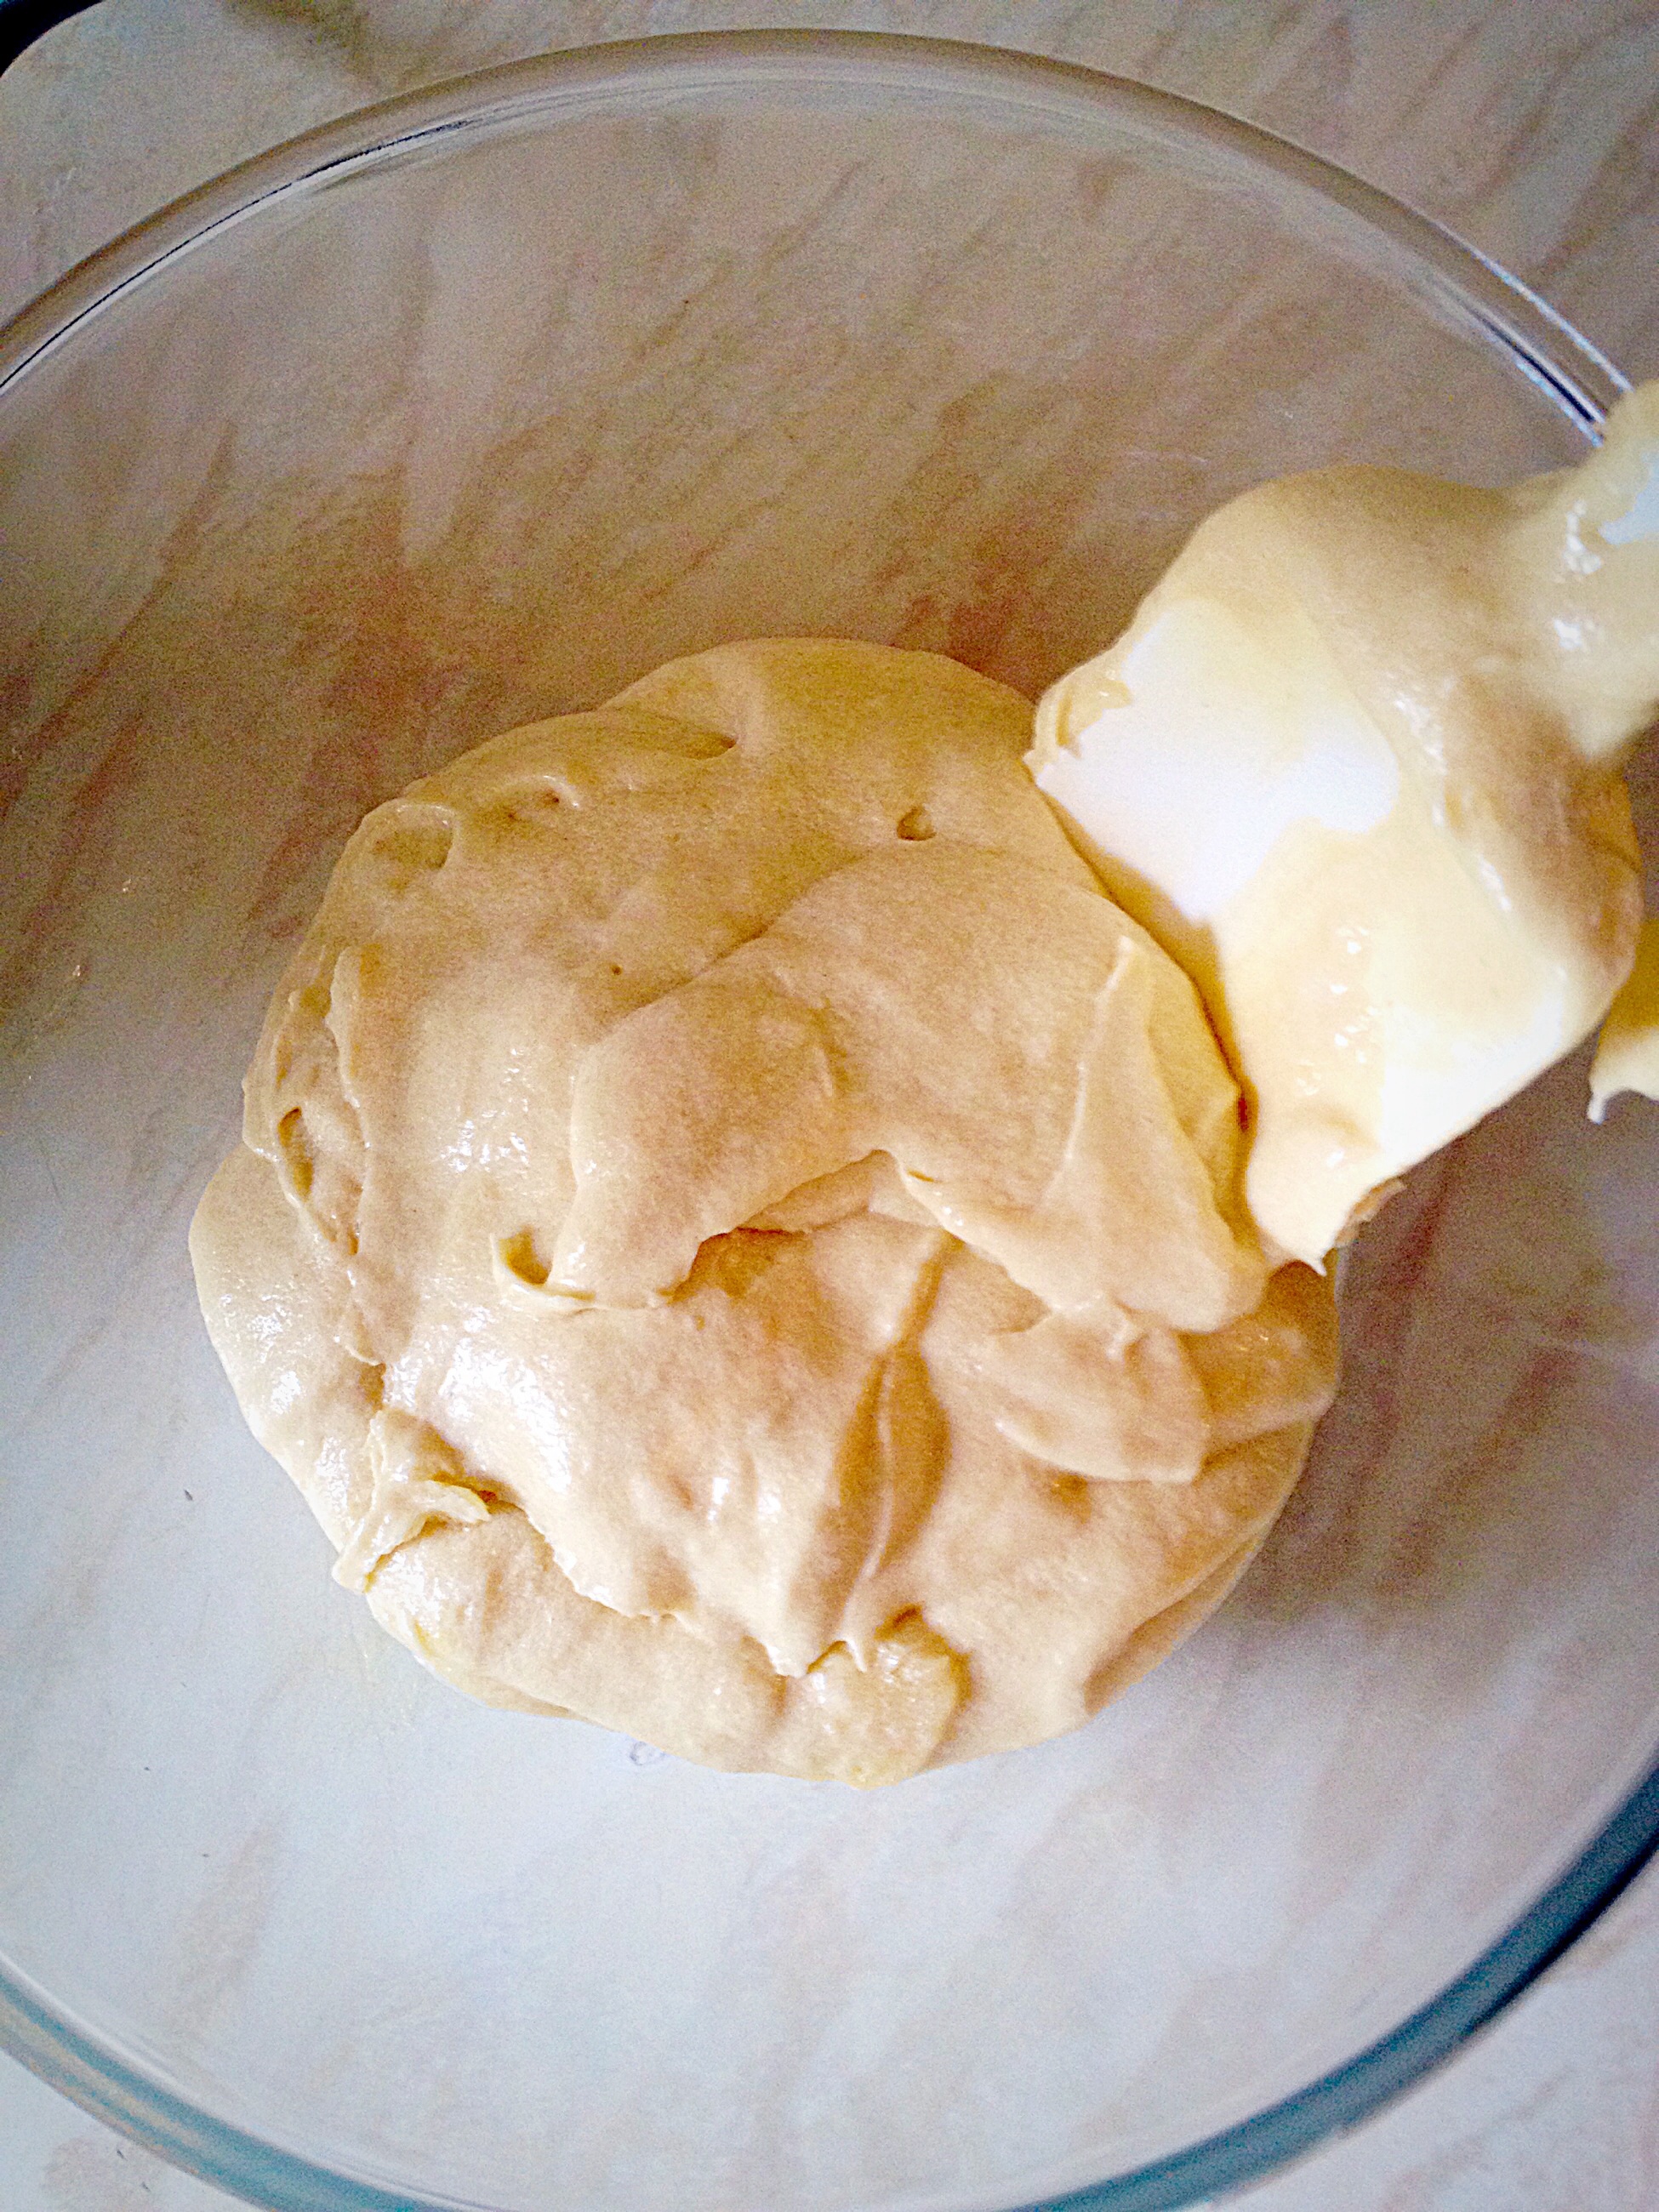
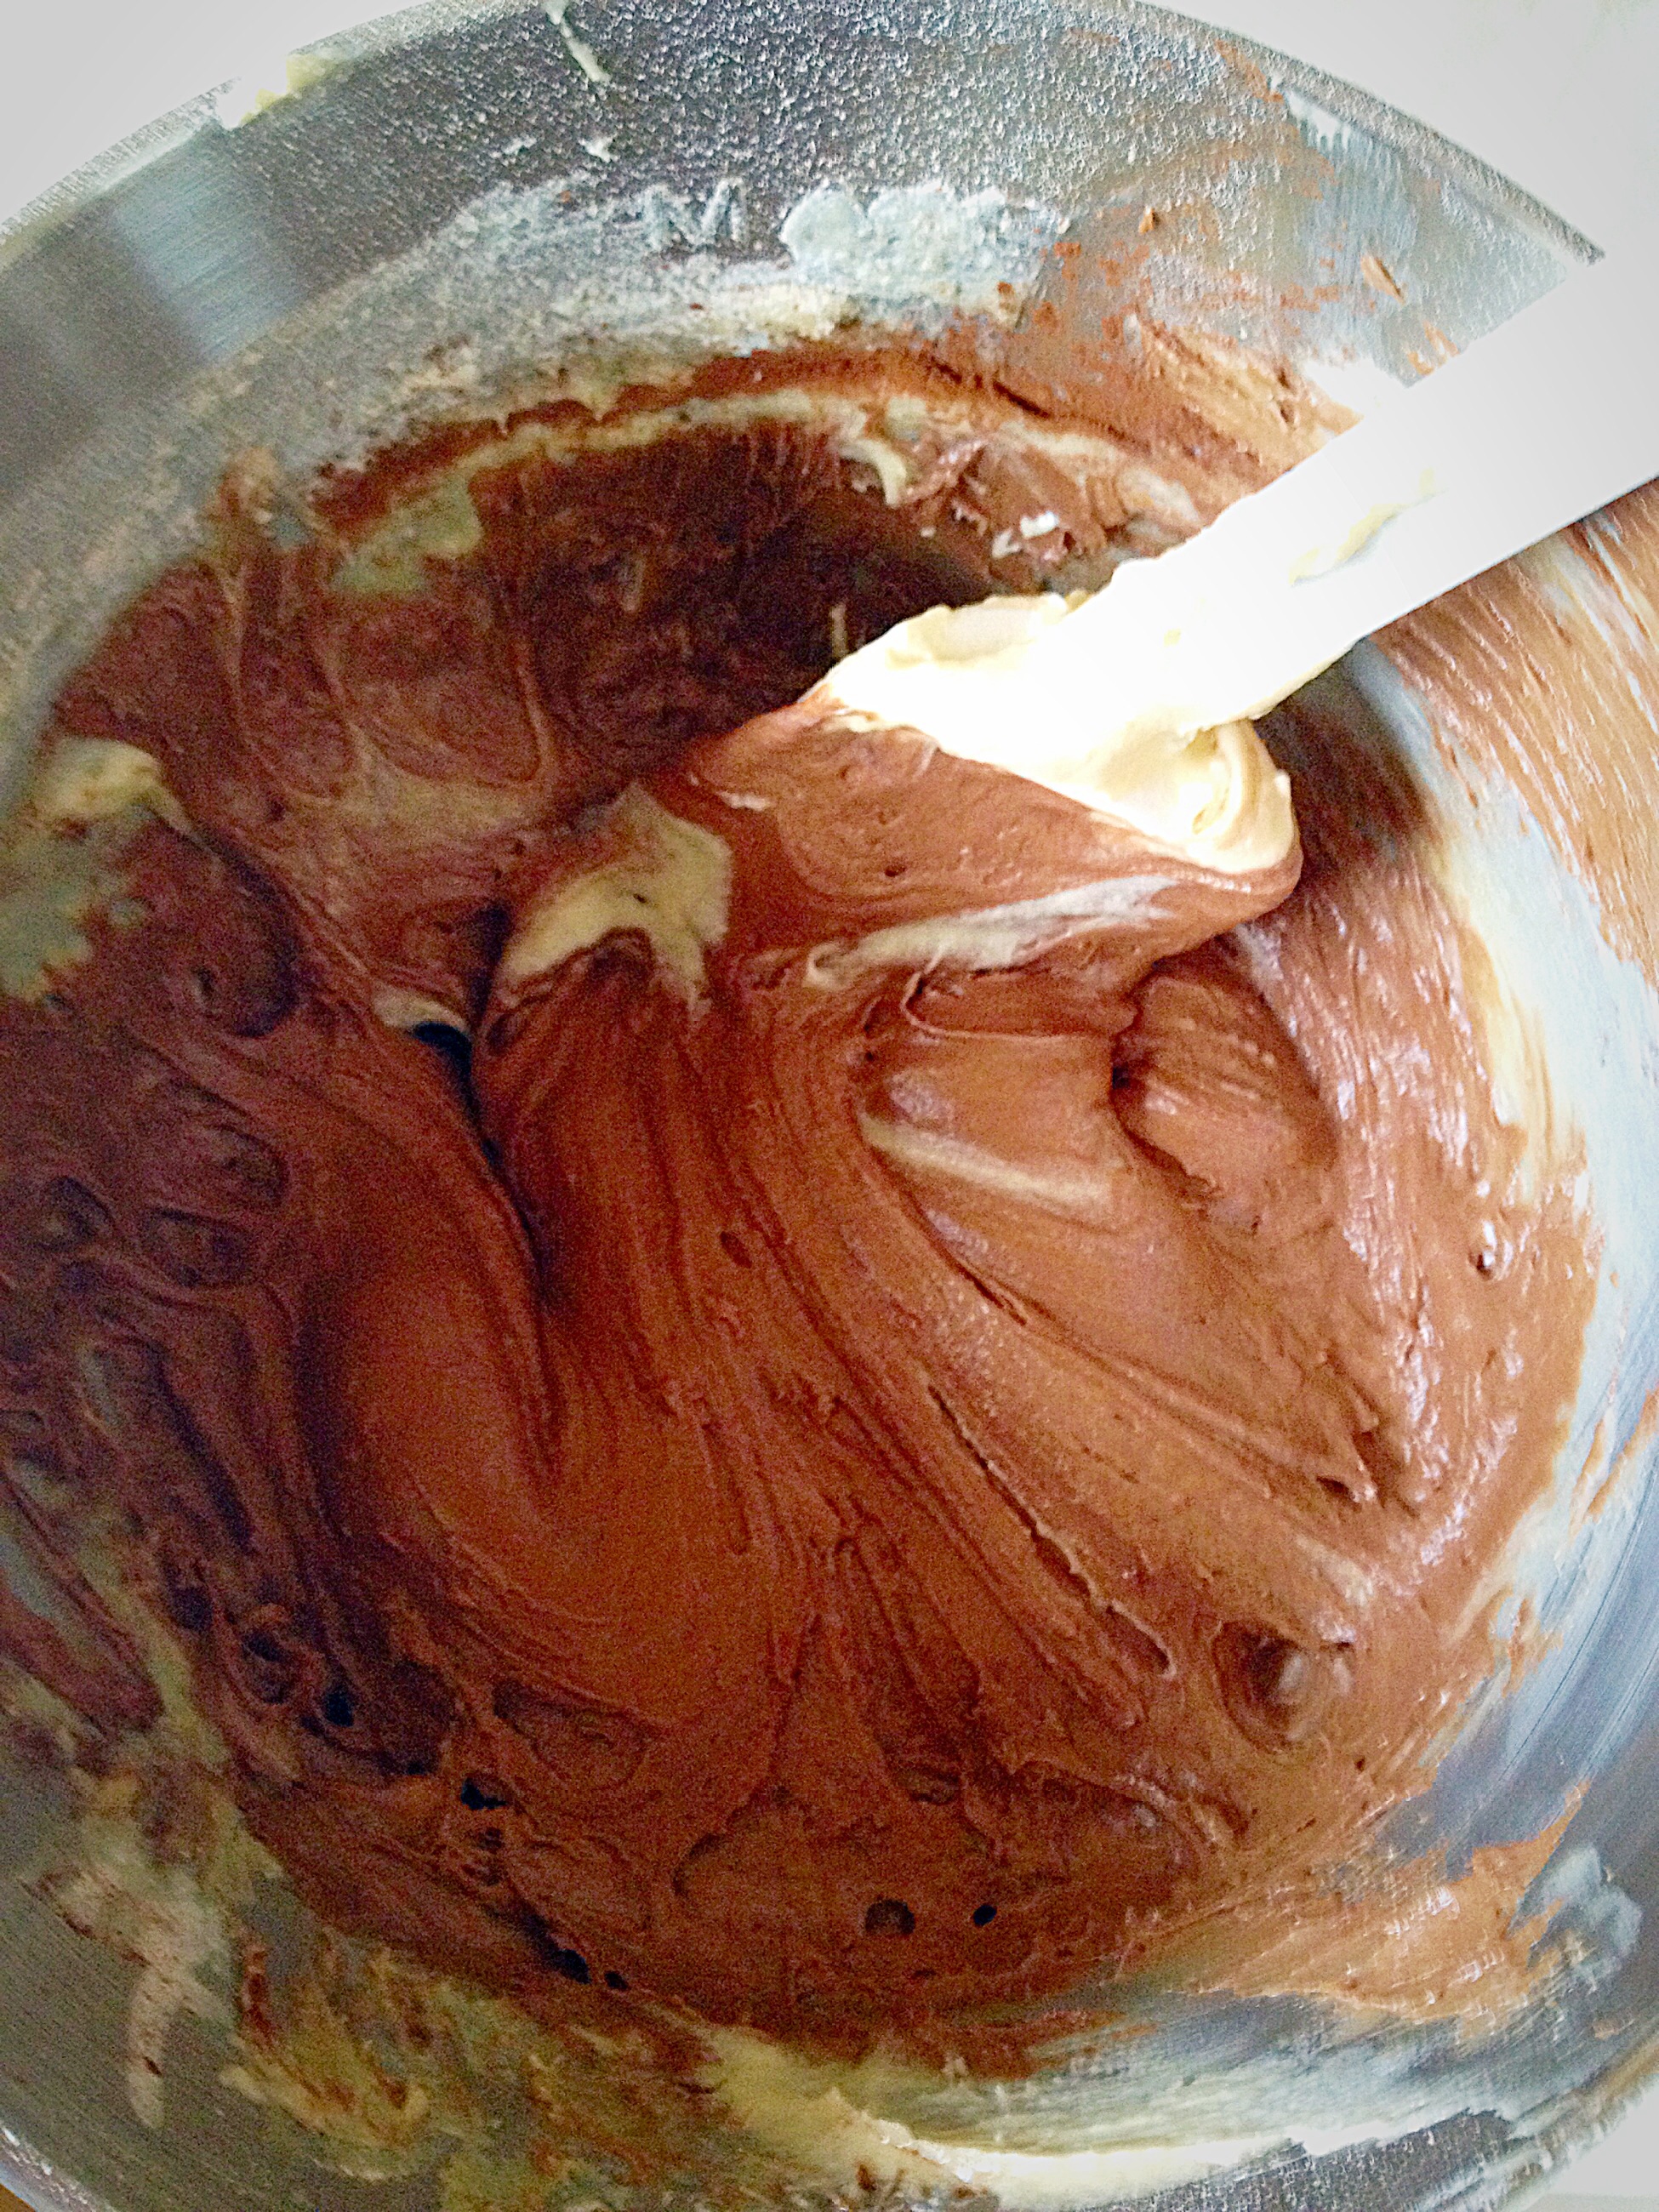
- Spoon half of the cake batter into a separate bowl.
- Add cocoa powder to one half of the cake batter.
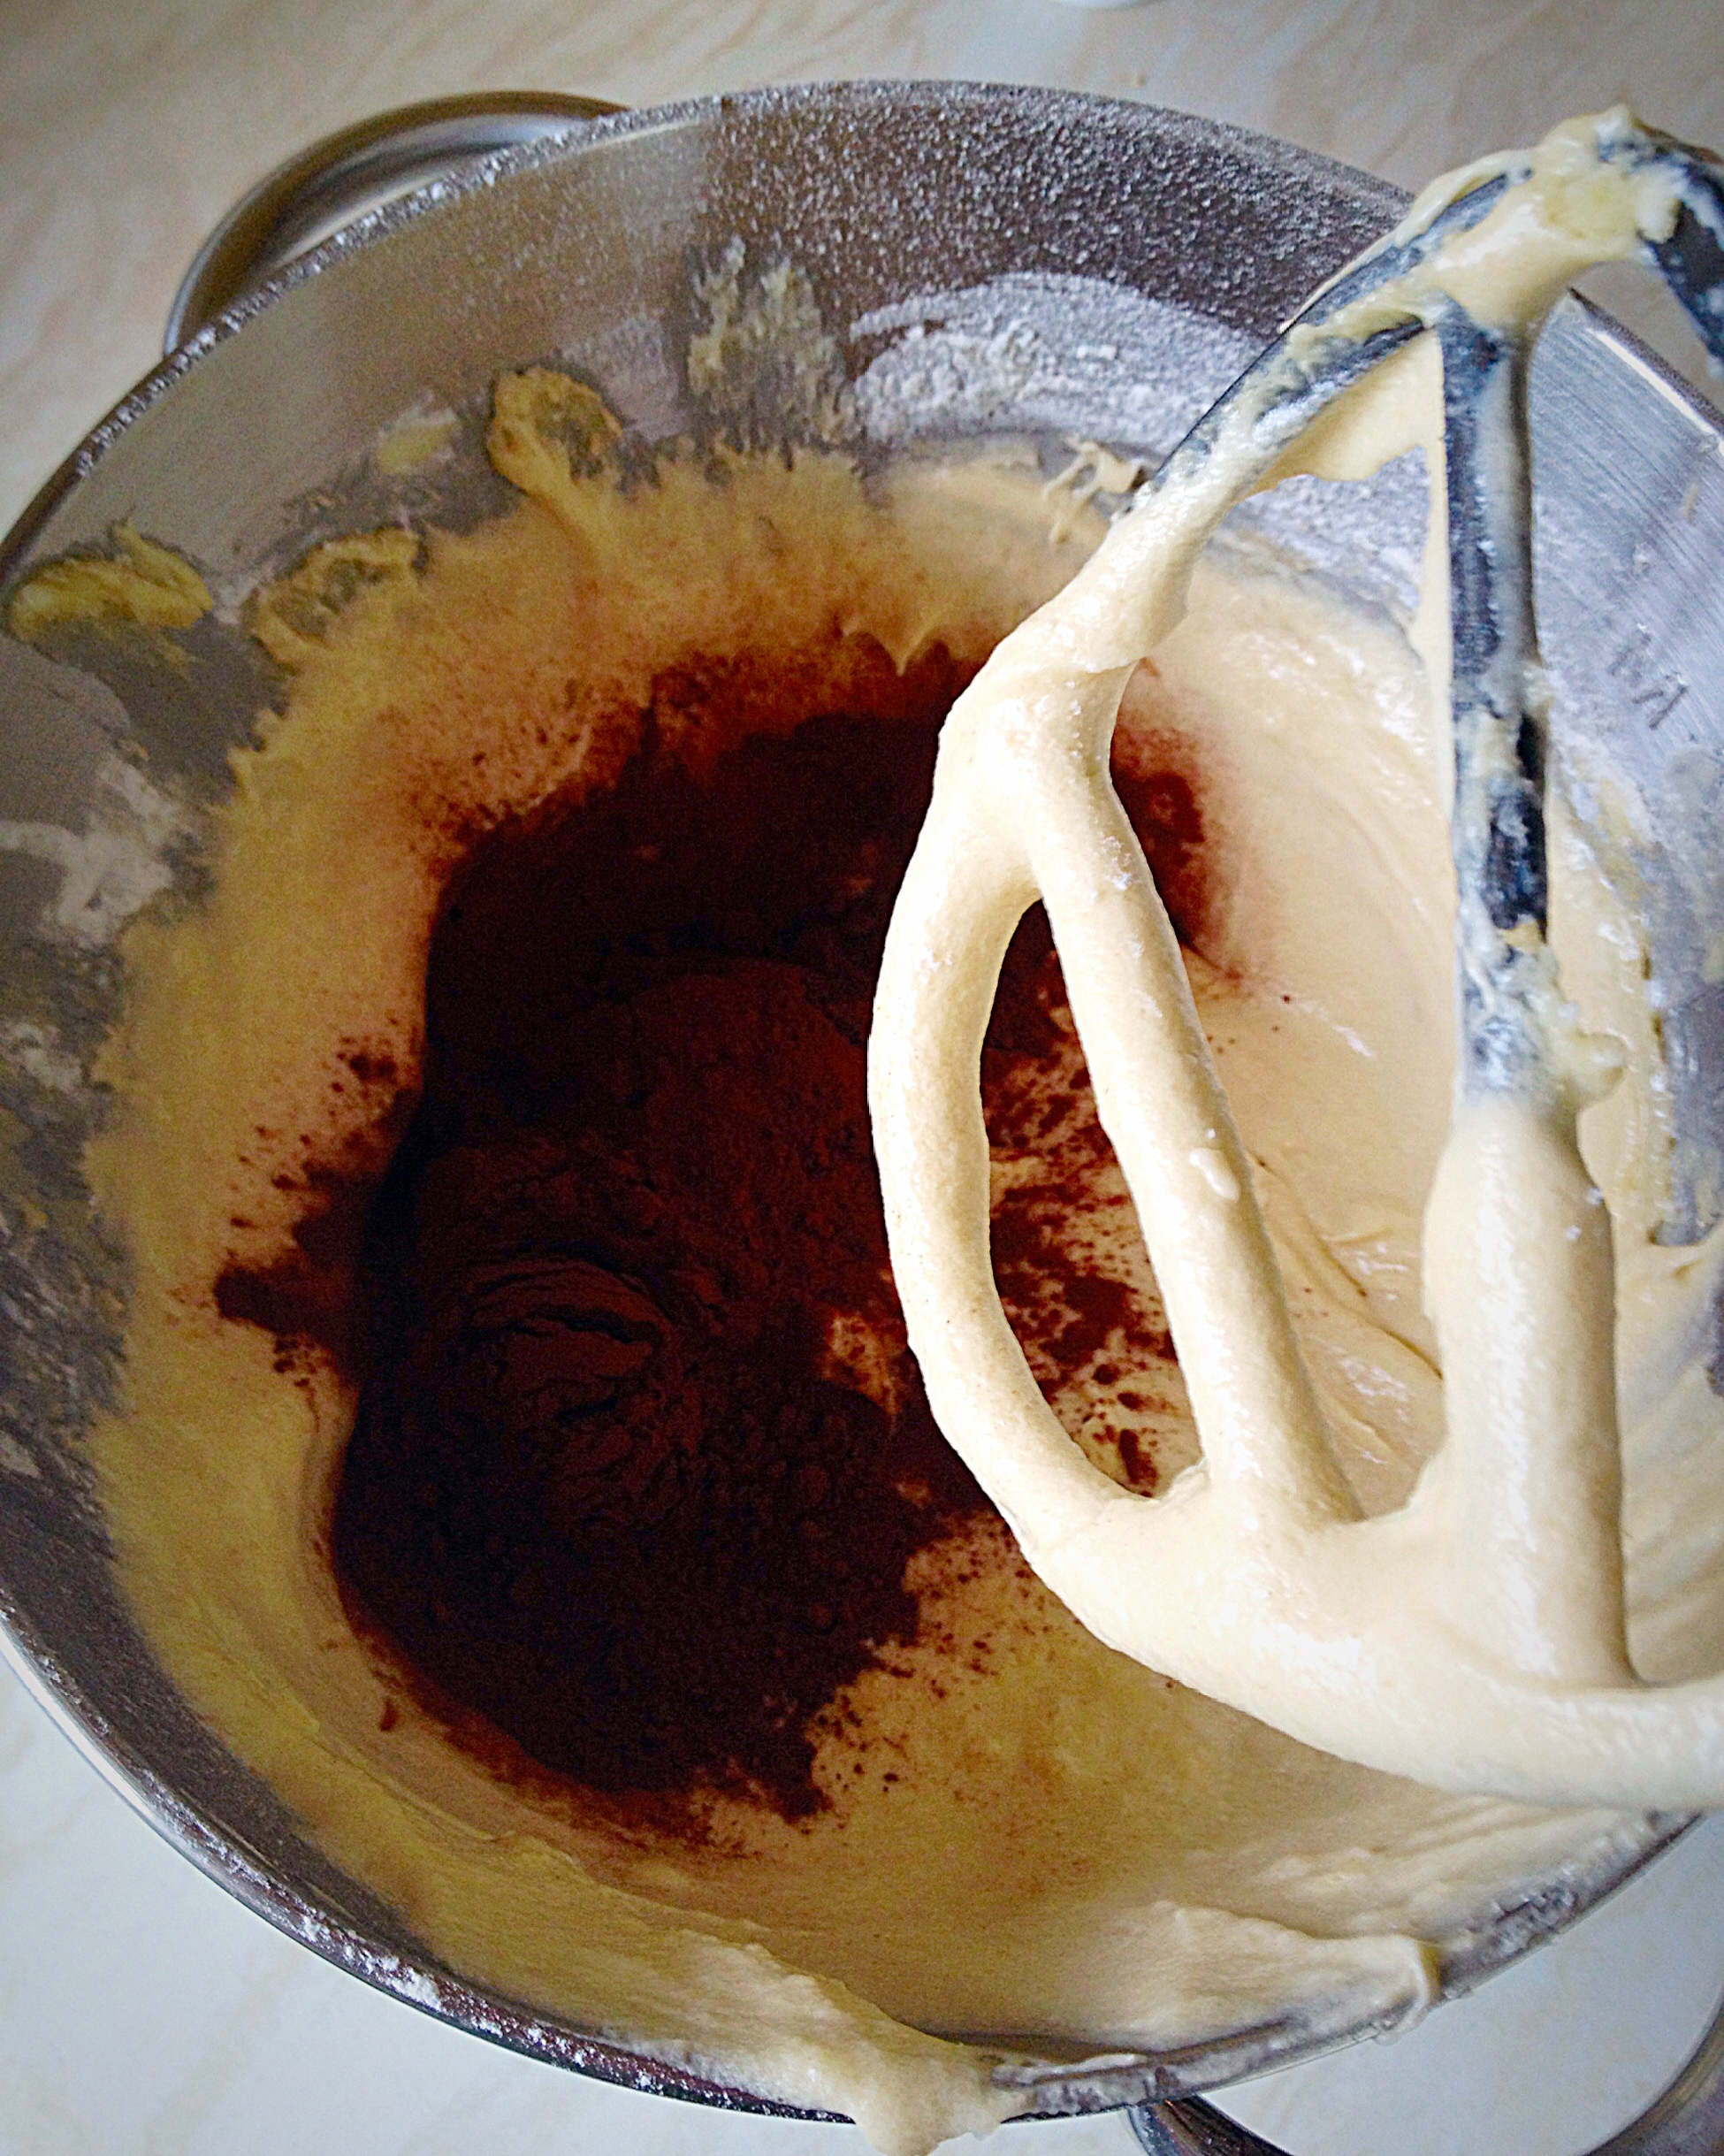
- Mix in the cocoa powder.
- Using a spatula scrape the sides of the bowl ensuring the cocoa is fully combined.
Creating The Marbling Effect With The Chocolate And Vanilla Cake Batters
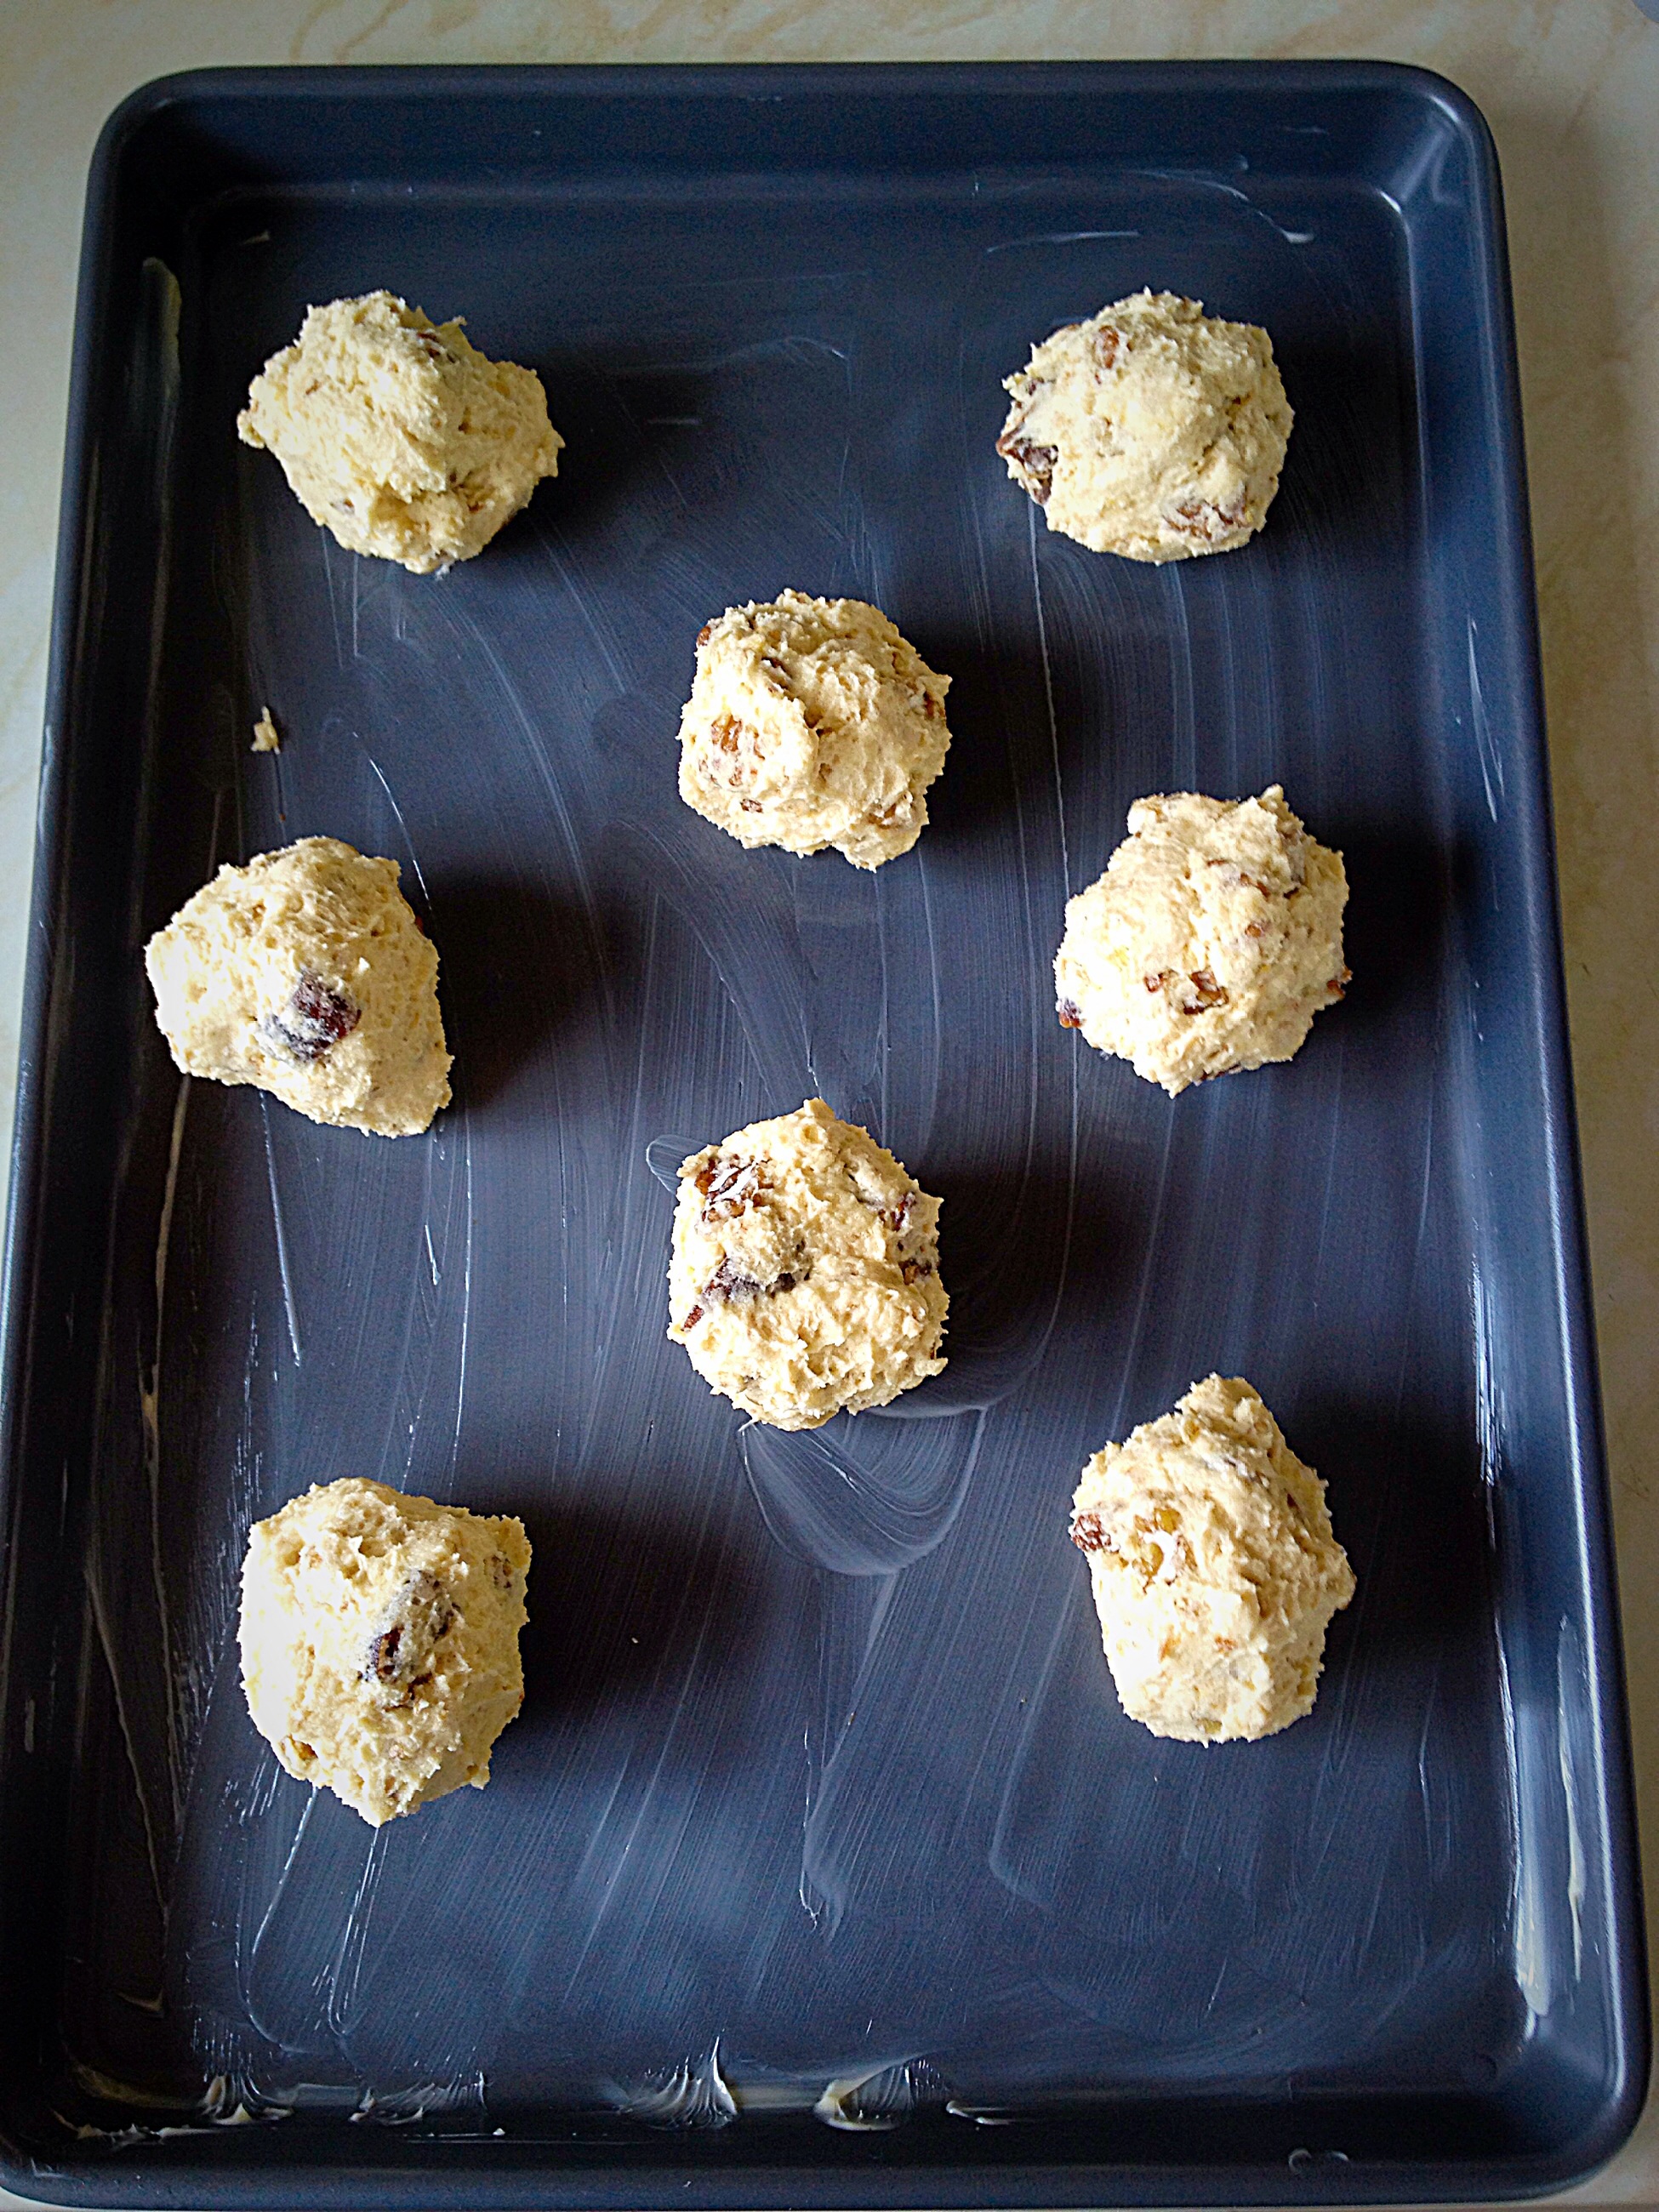
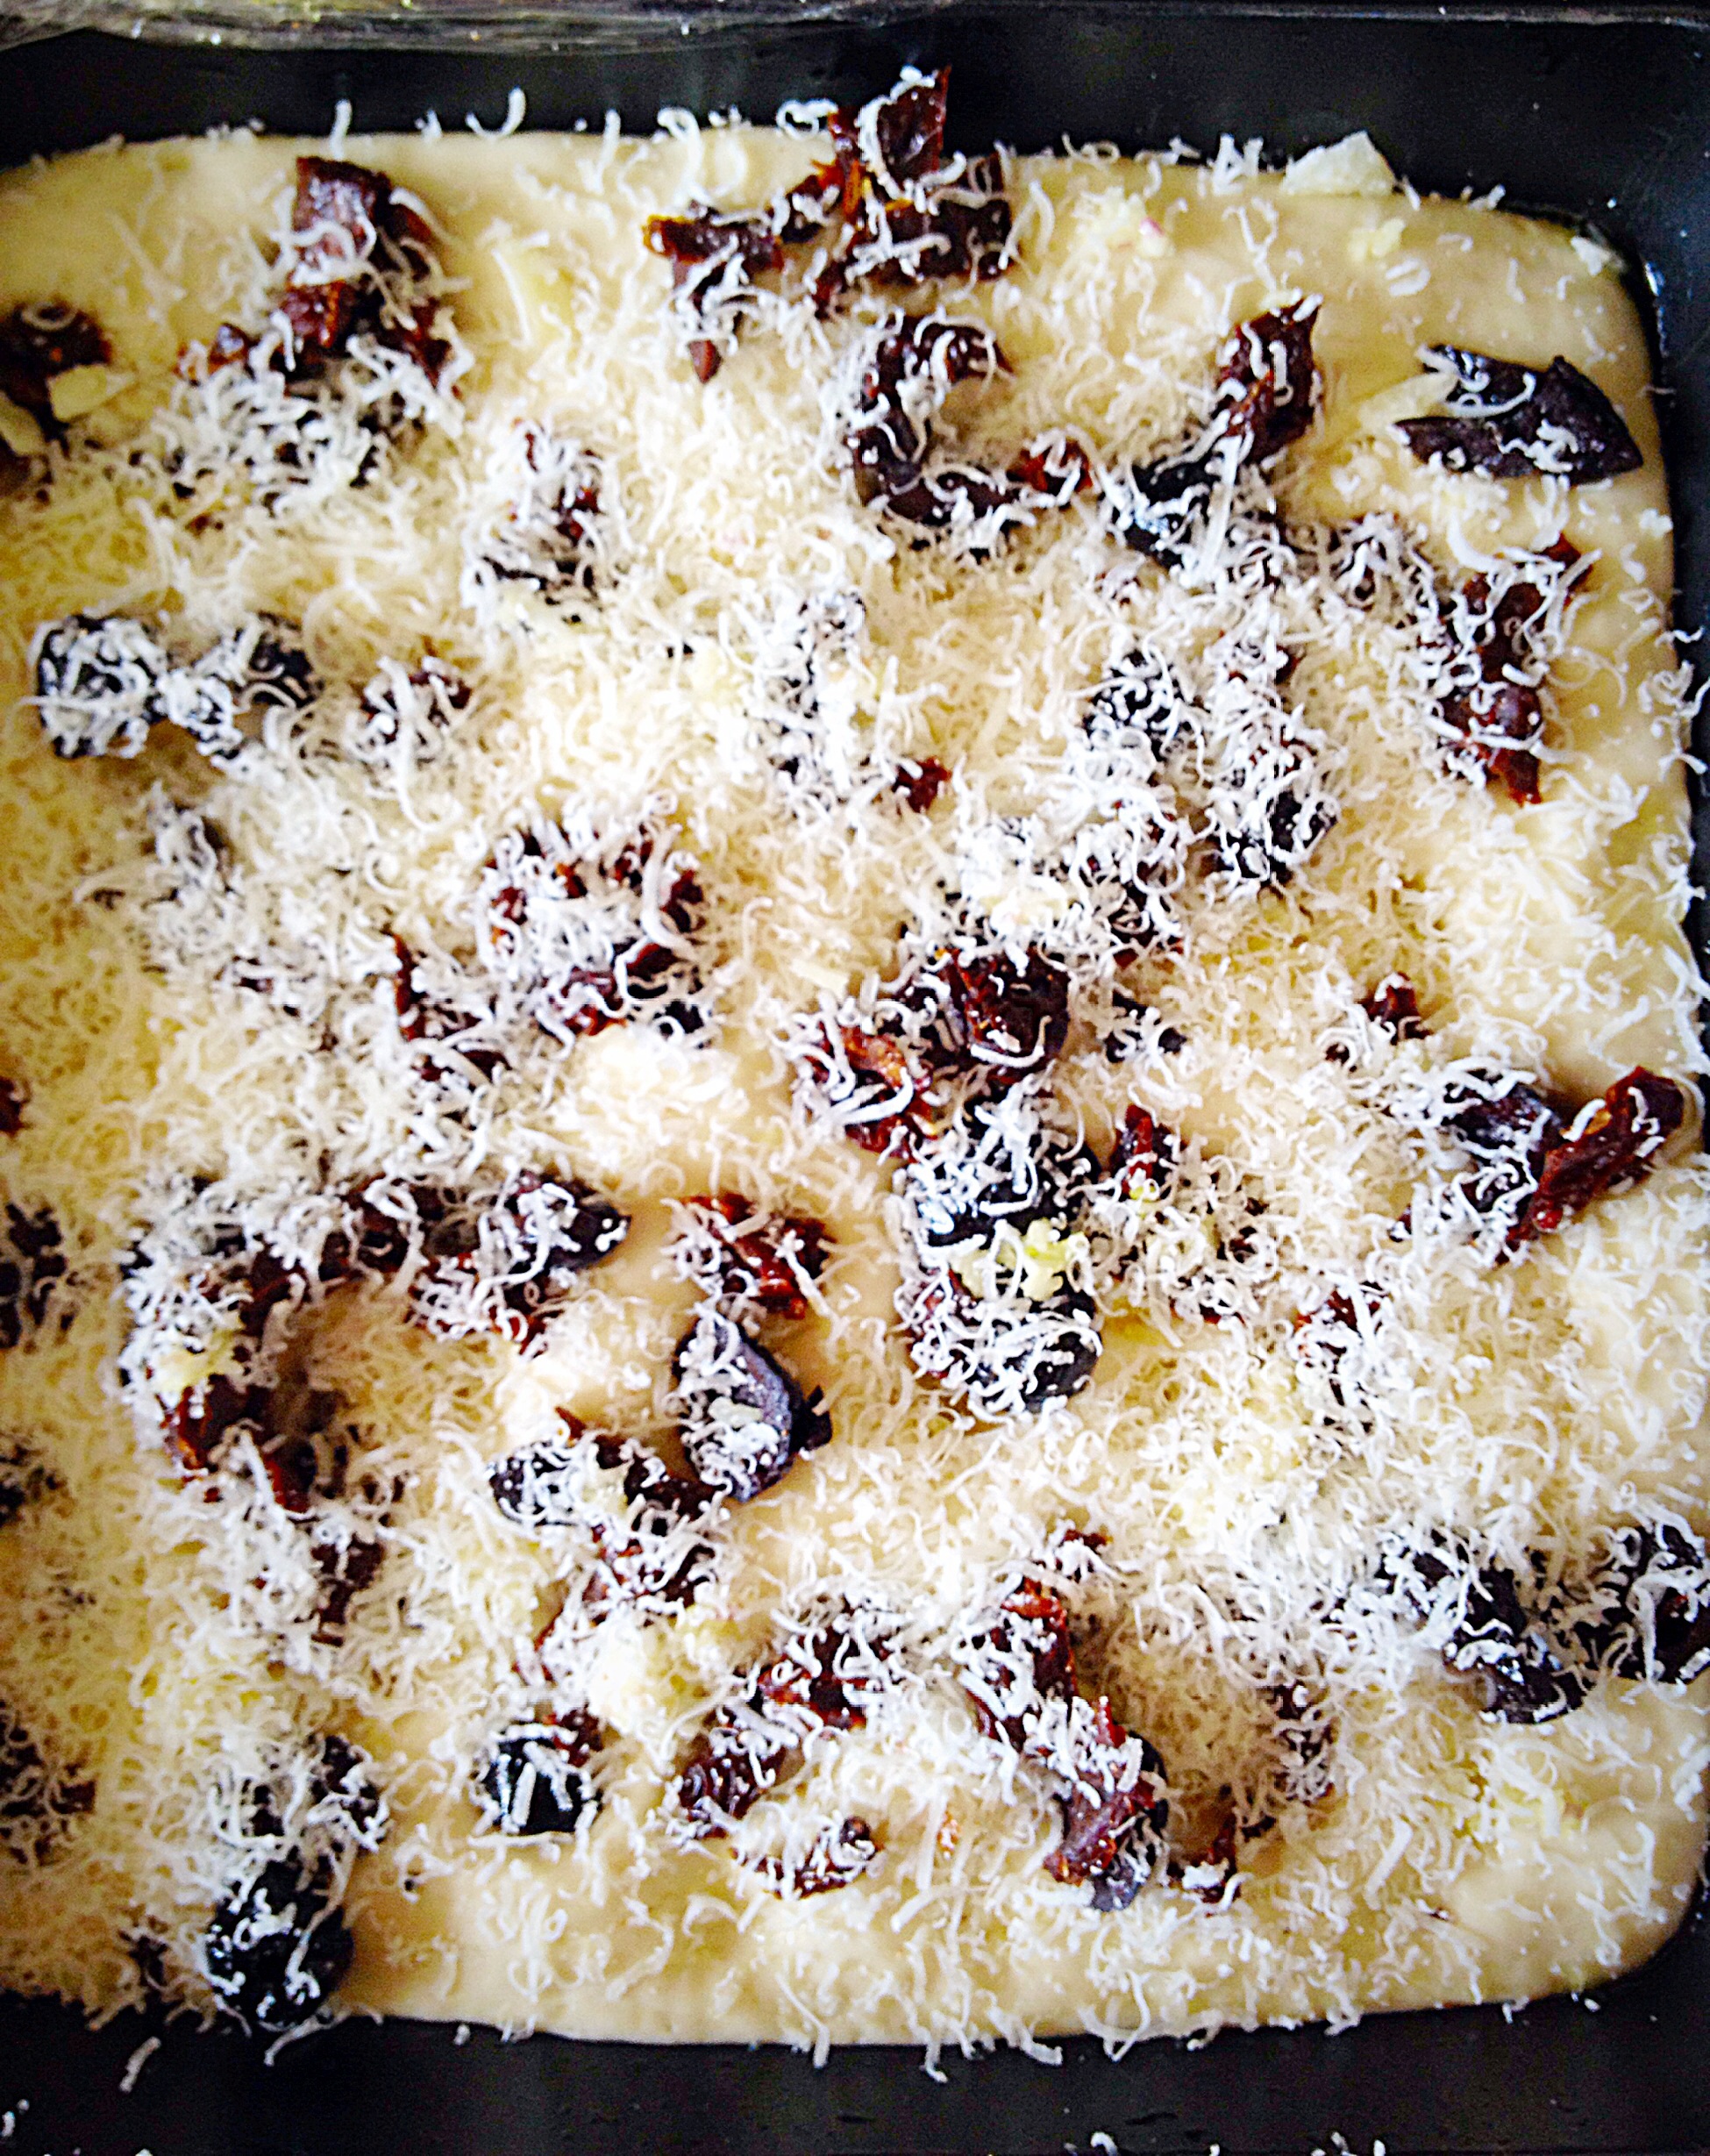
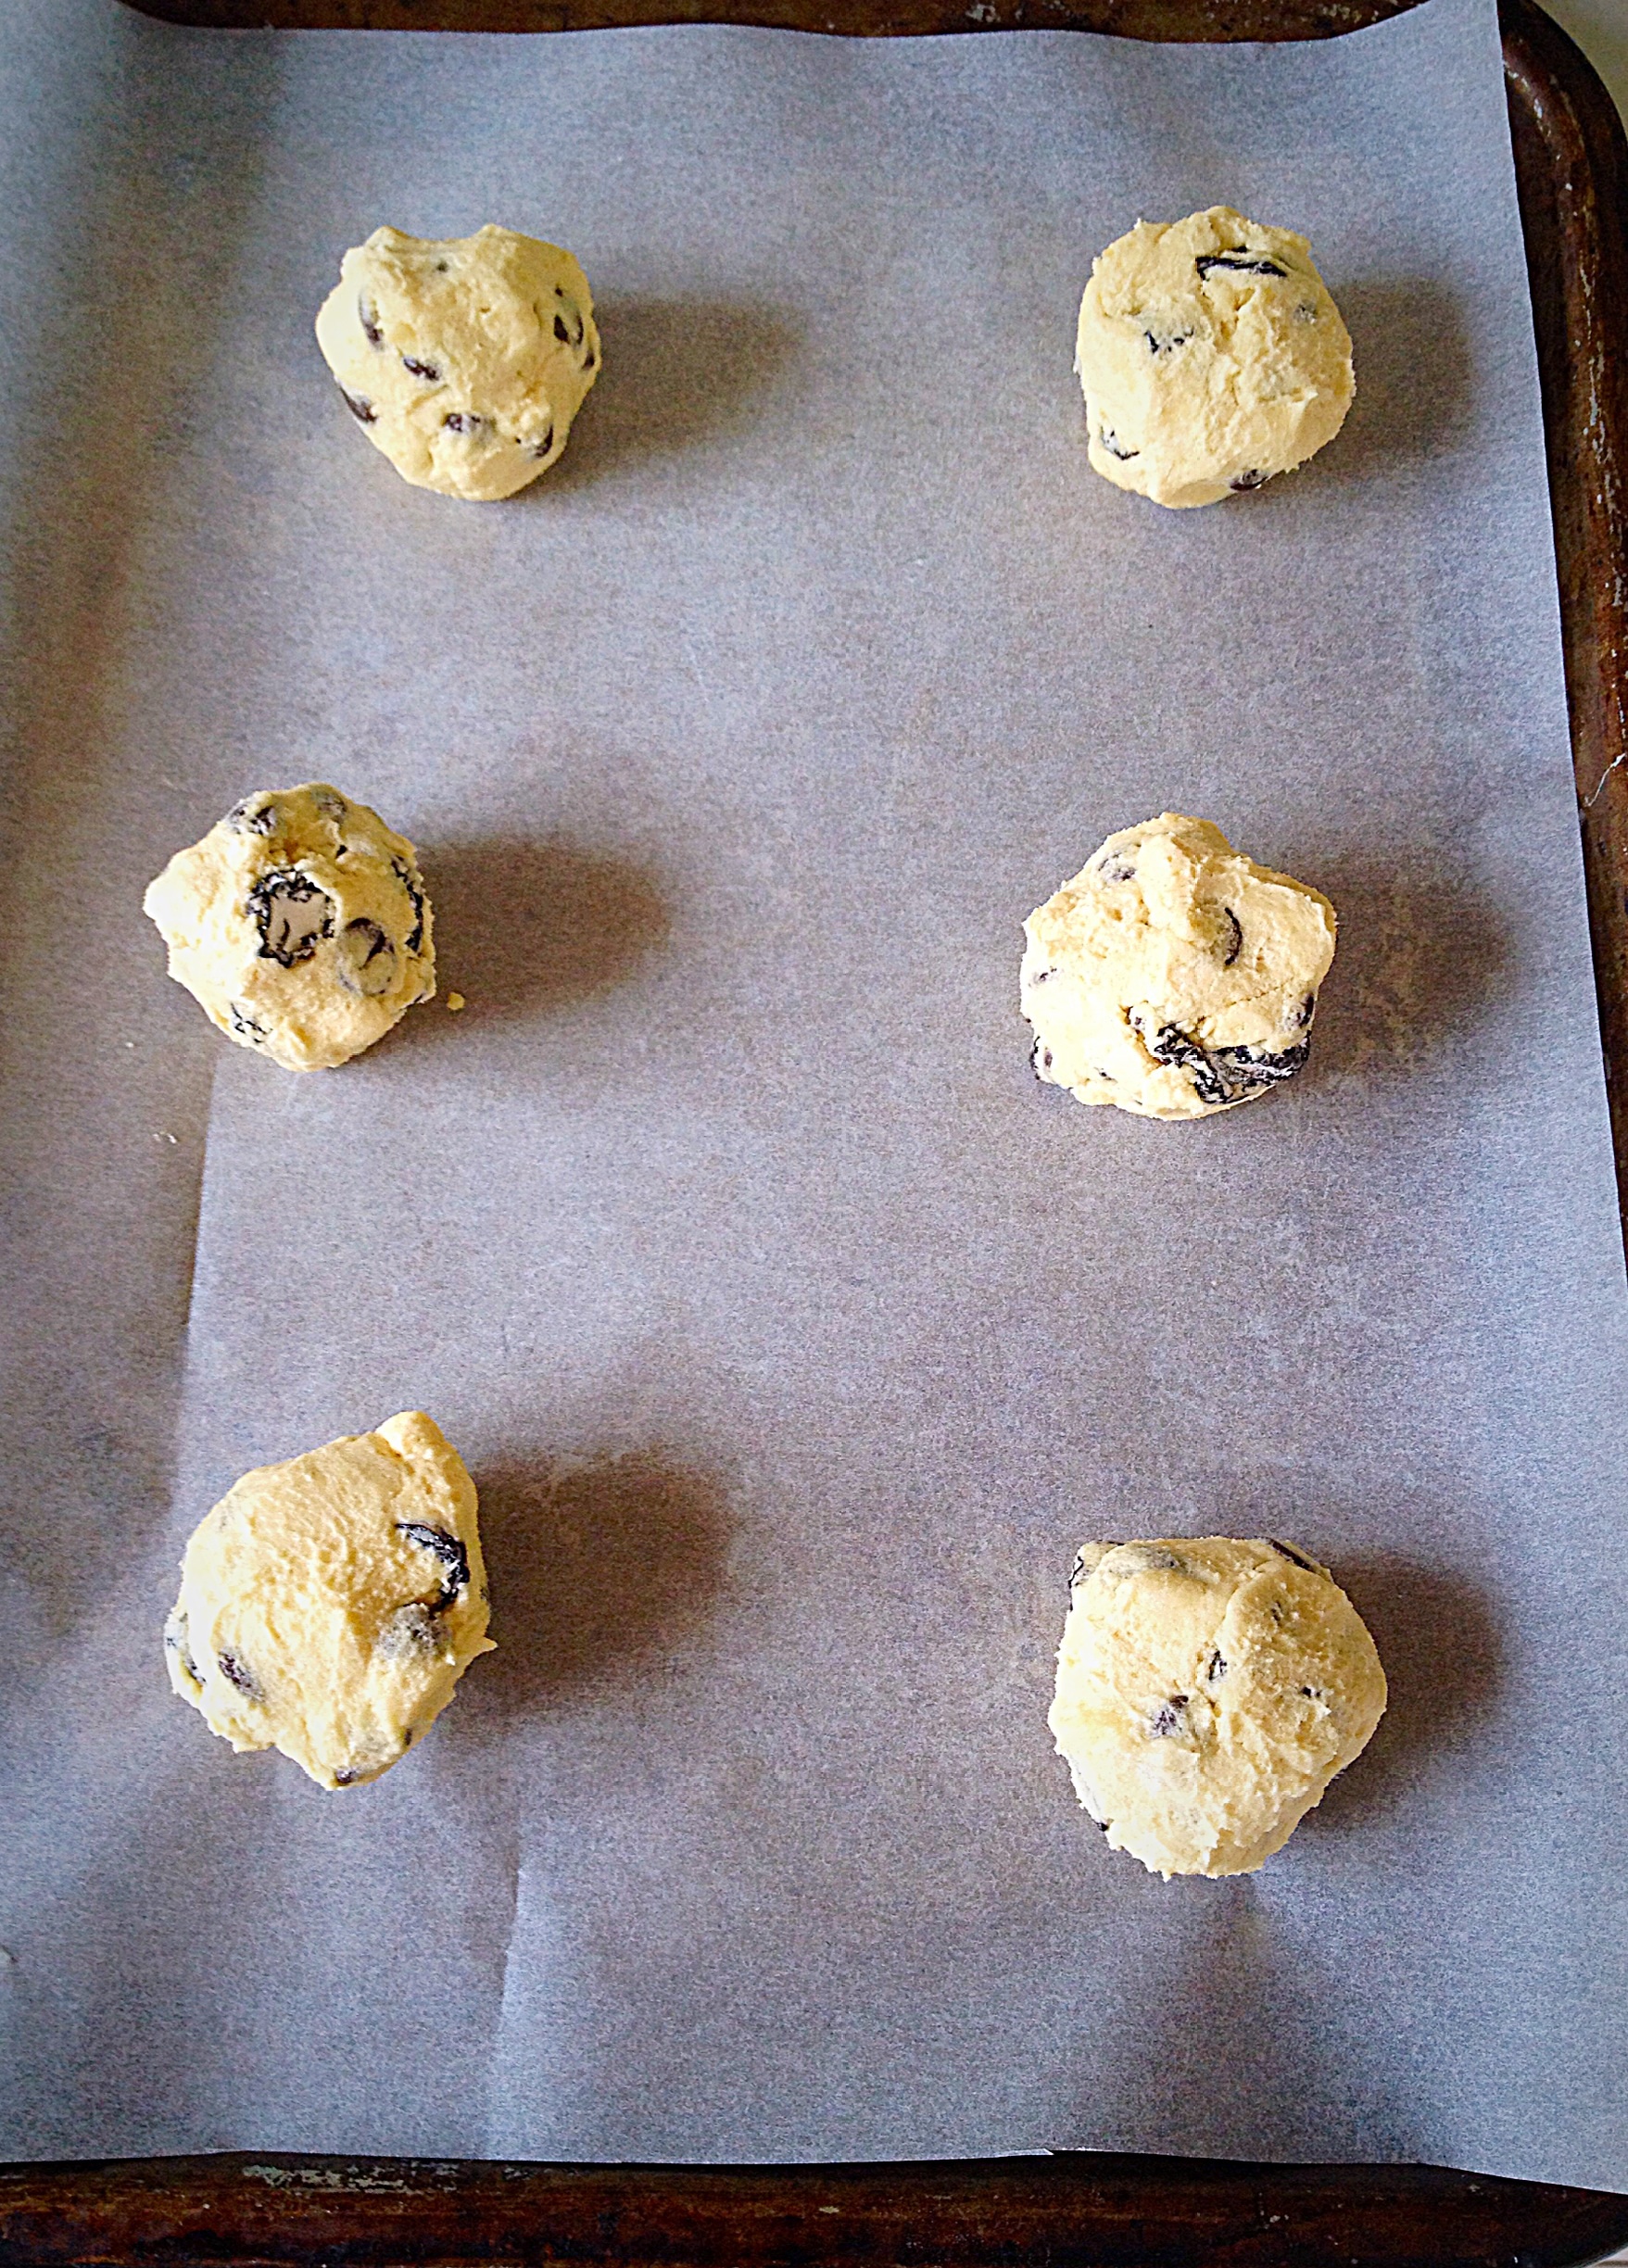
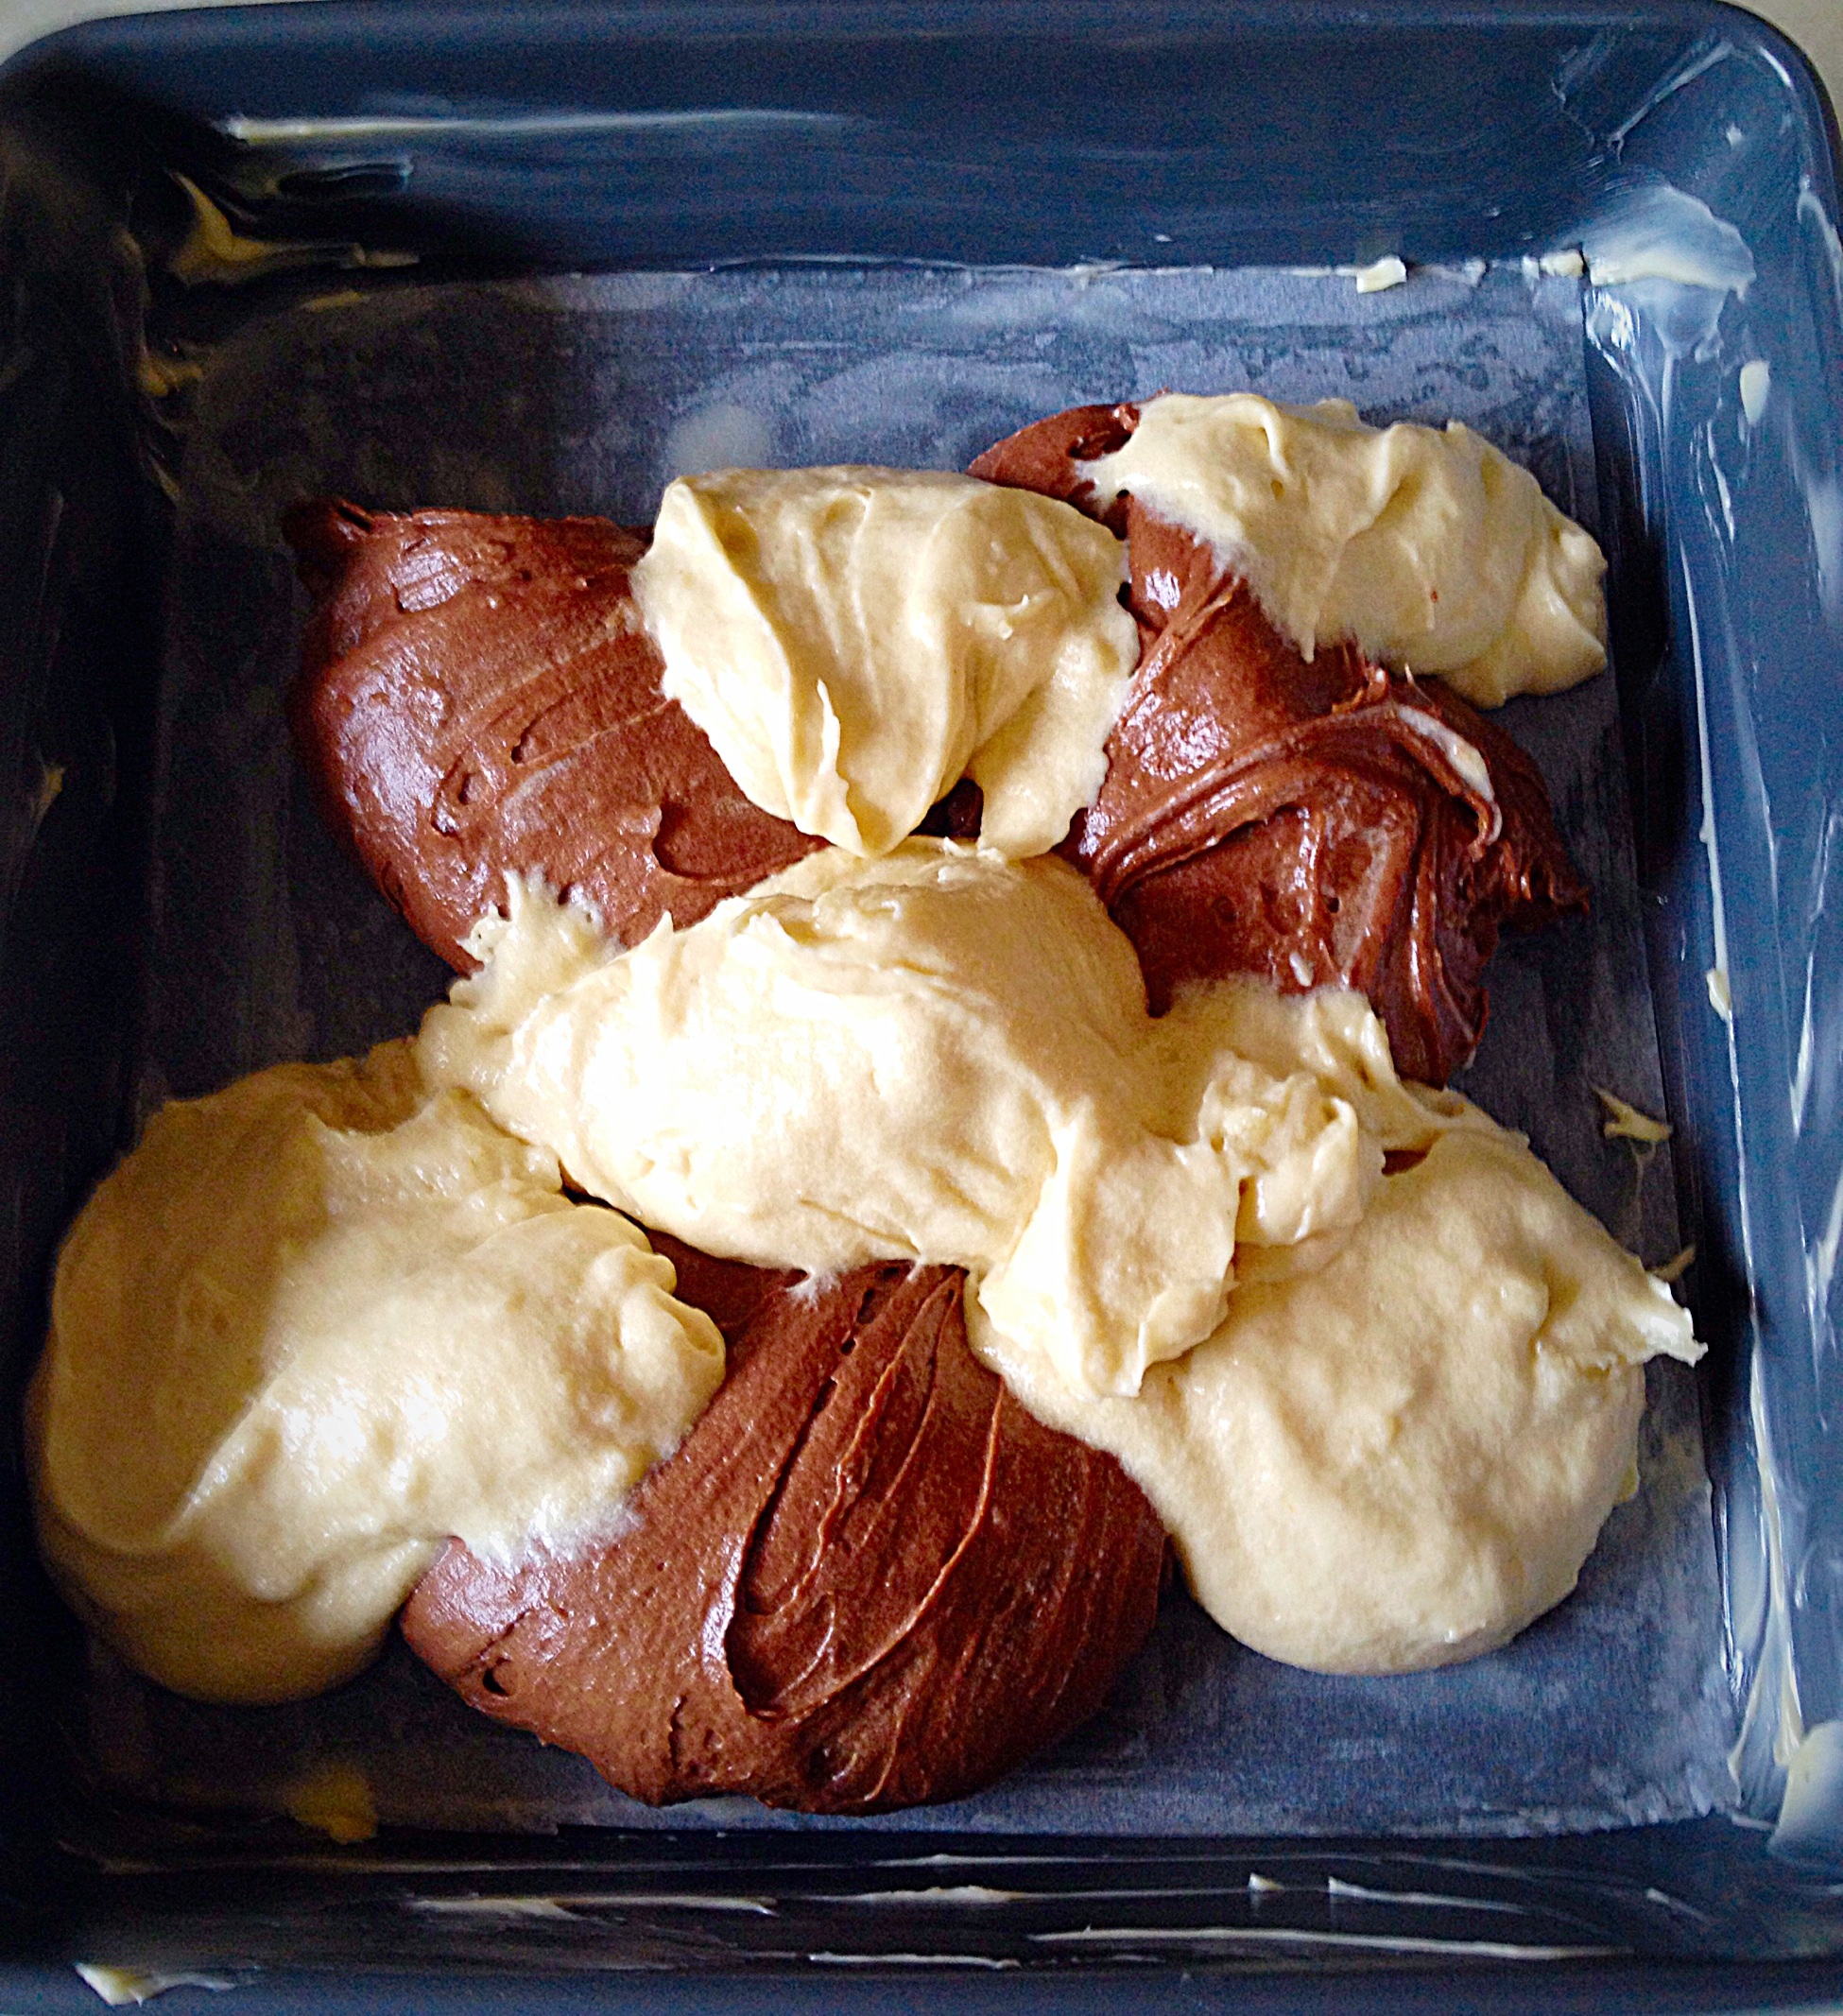
- To build the Malted Marble Chocolate Cake add the two separate mixes as shown in the photographs below.
- Add three scoops of chocolate cake batter to the tin.

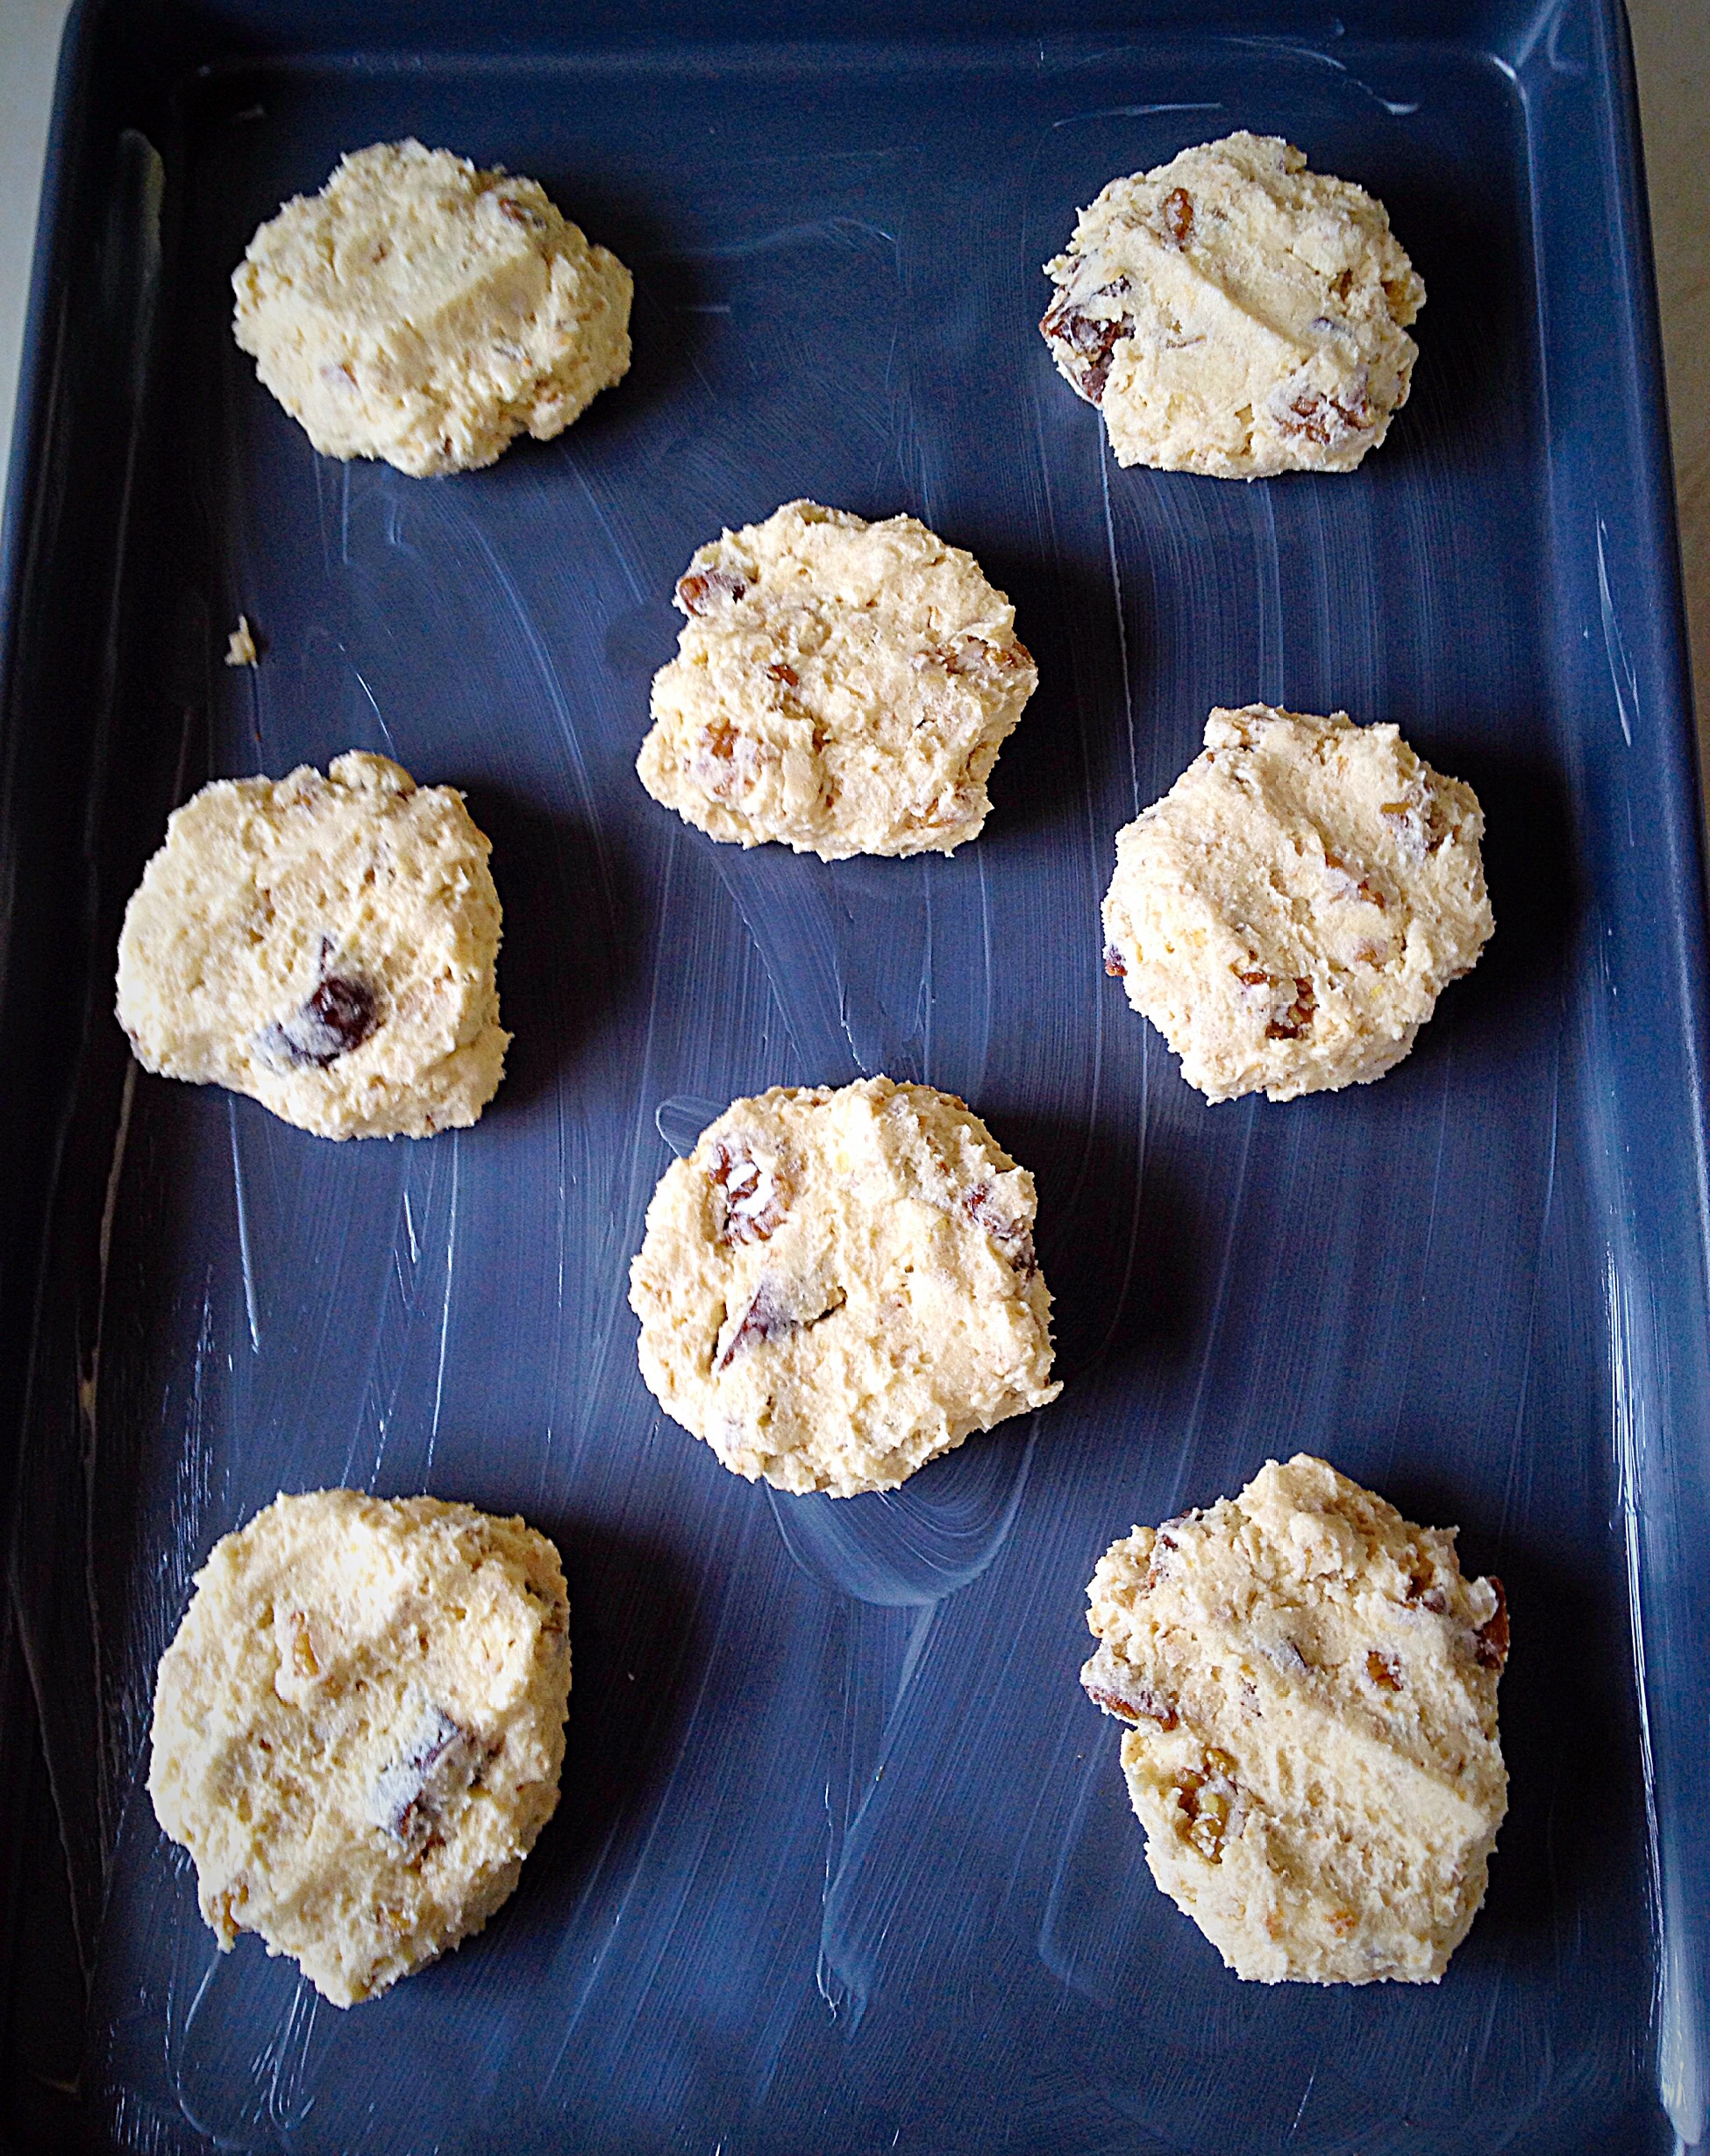
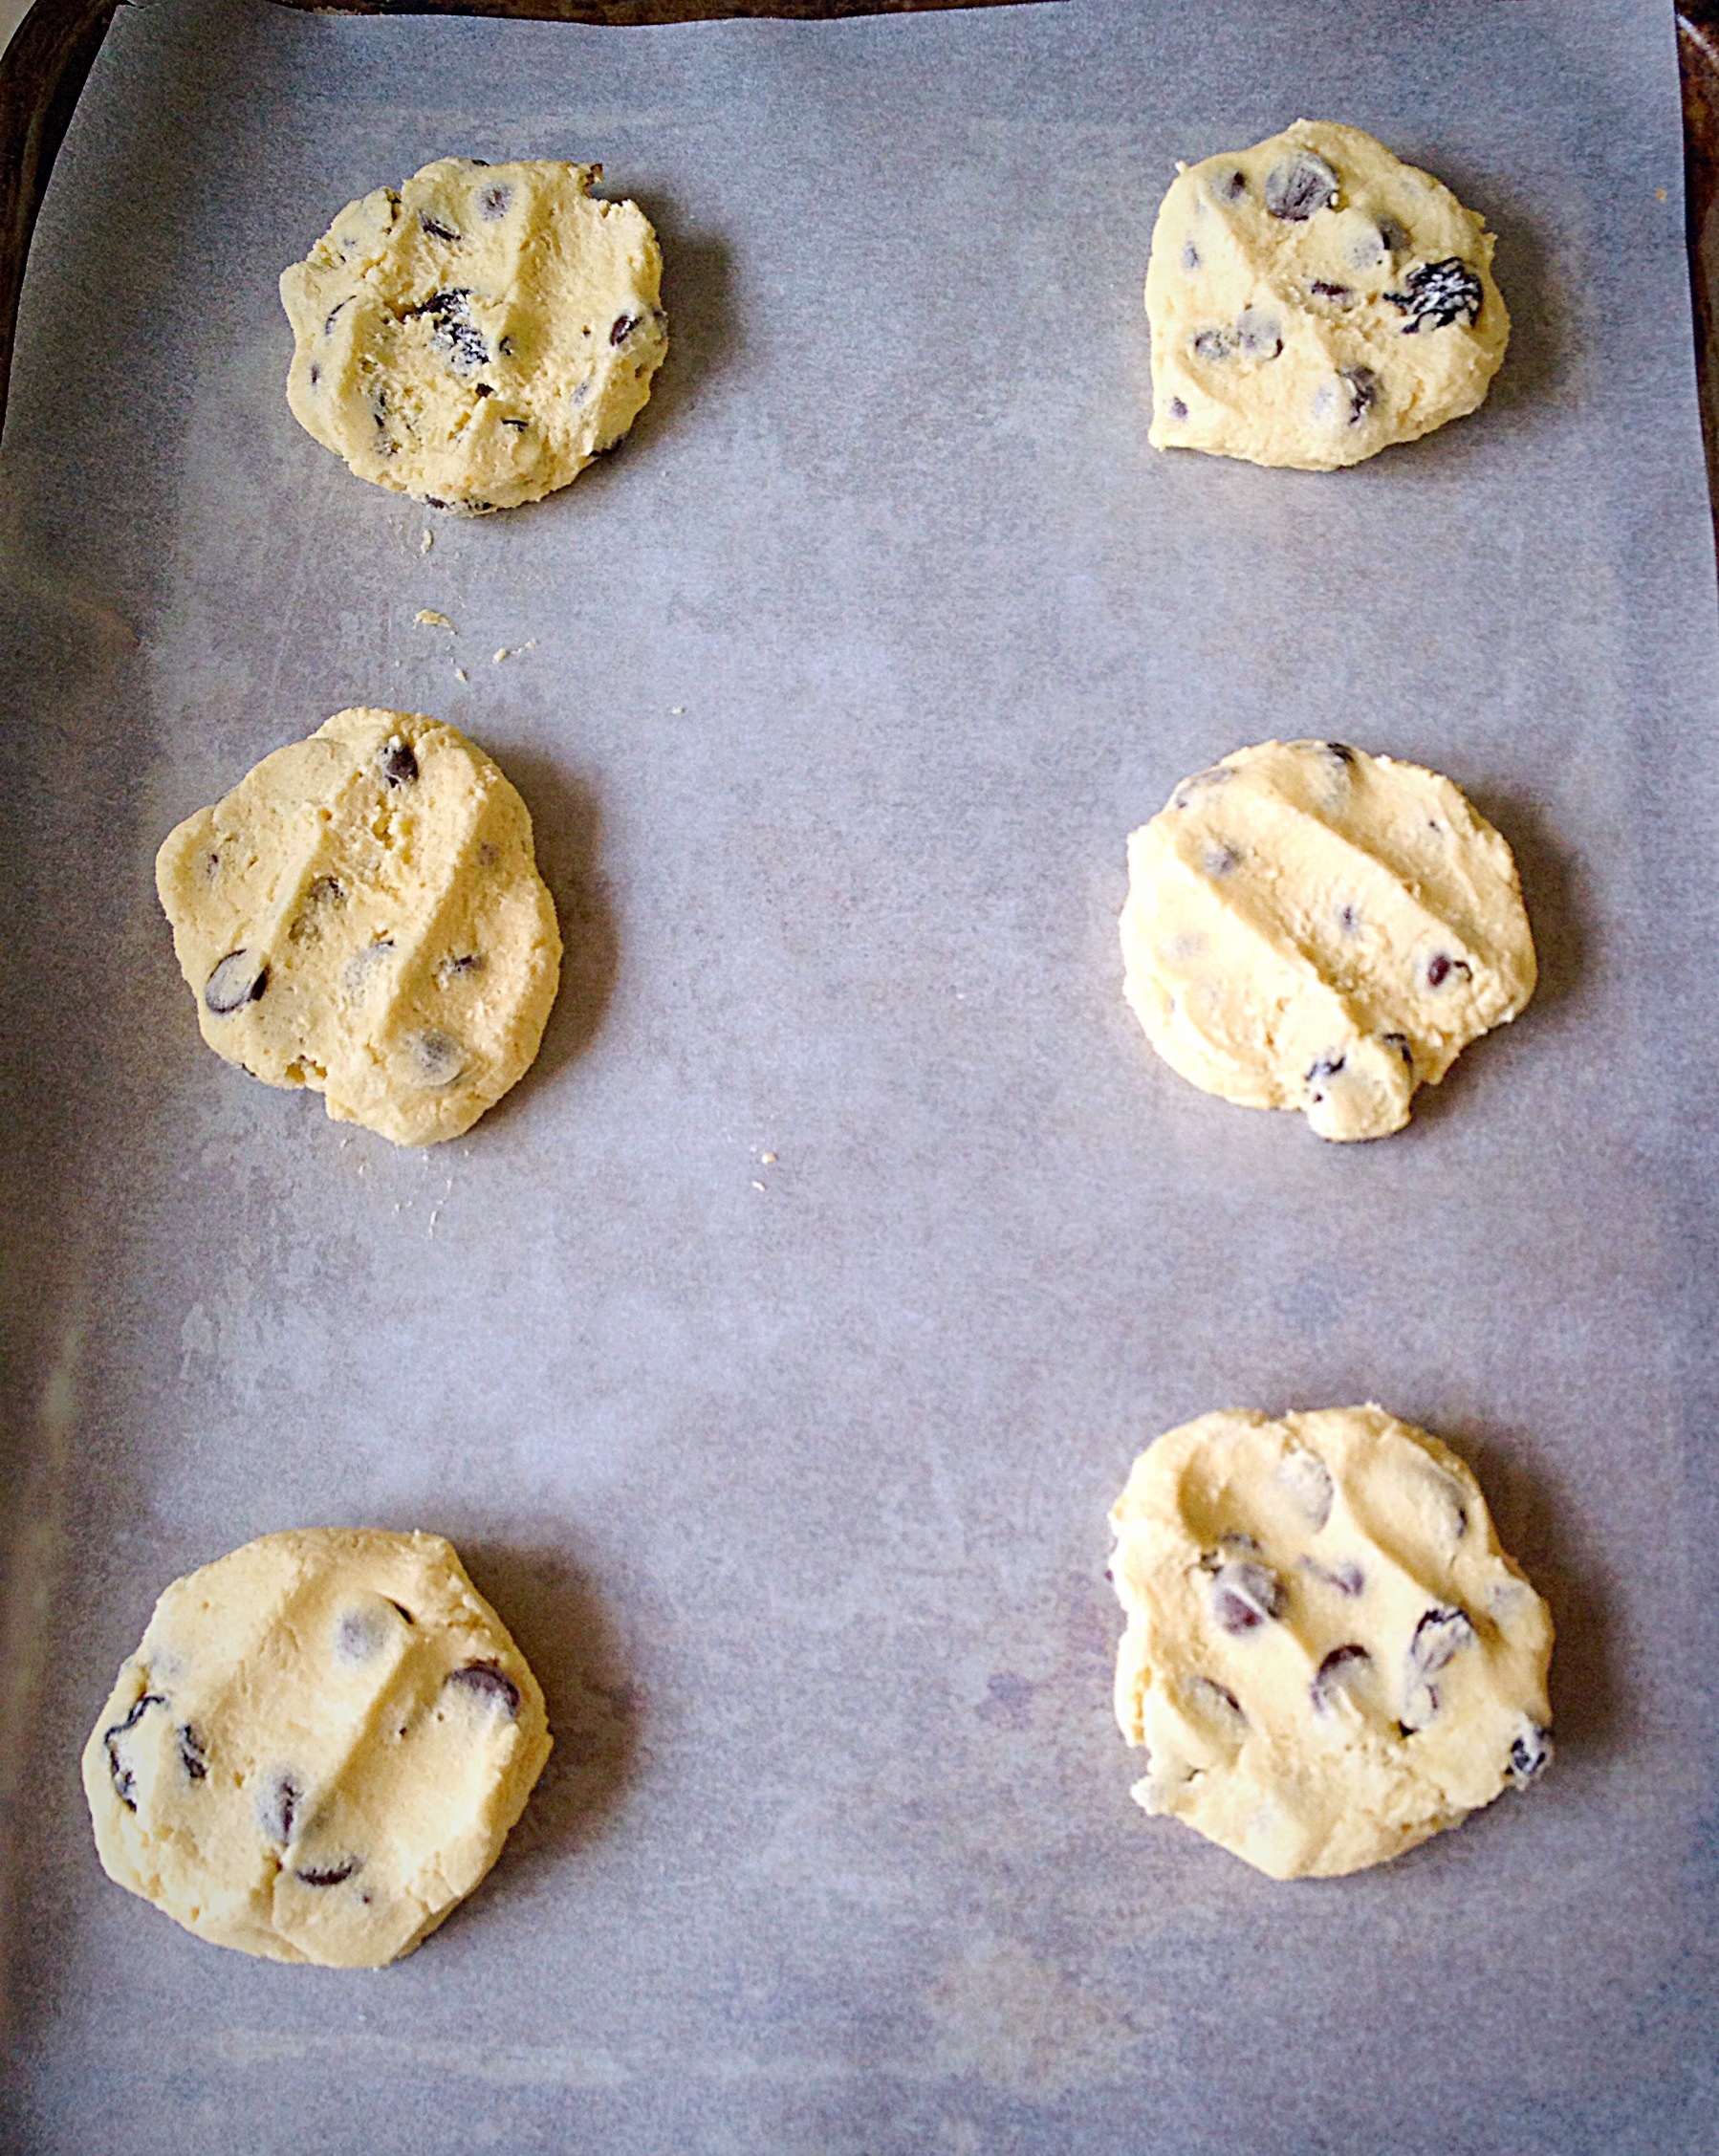
- Add the vanilla cake batter on and around the chocolate mix.
- Finally add the remaining chocolate and vanilla batter in rough layers
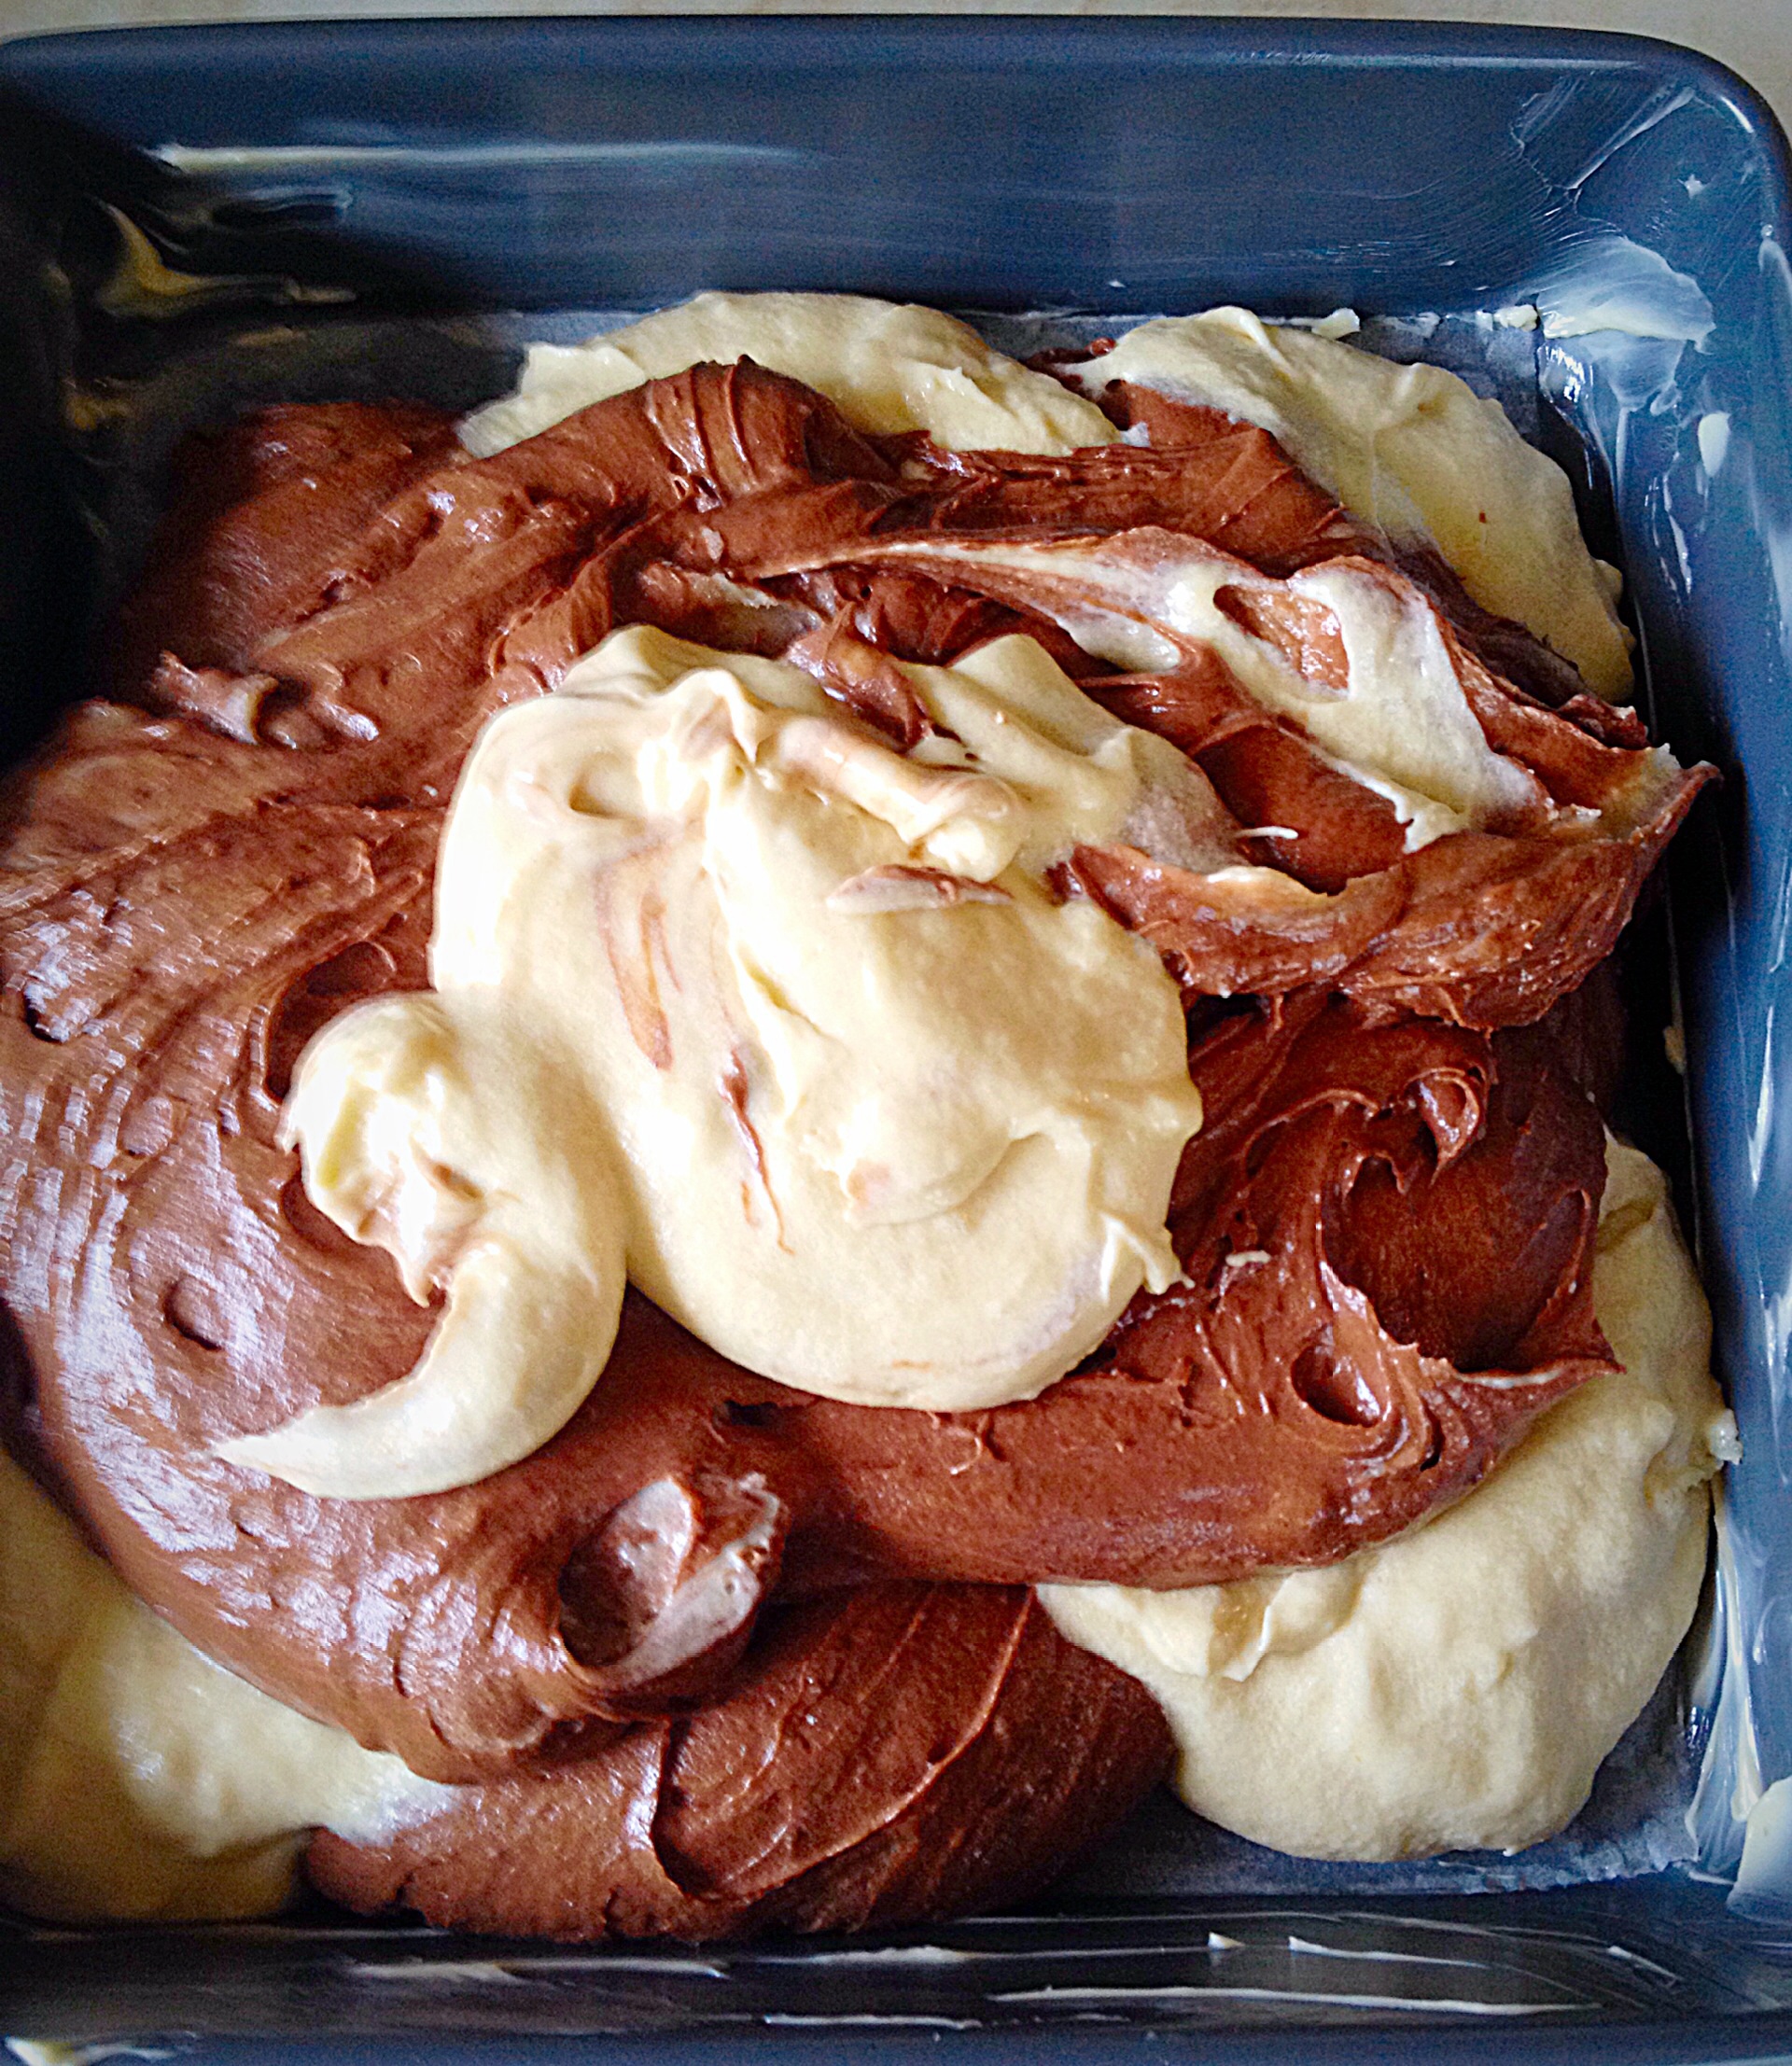
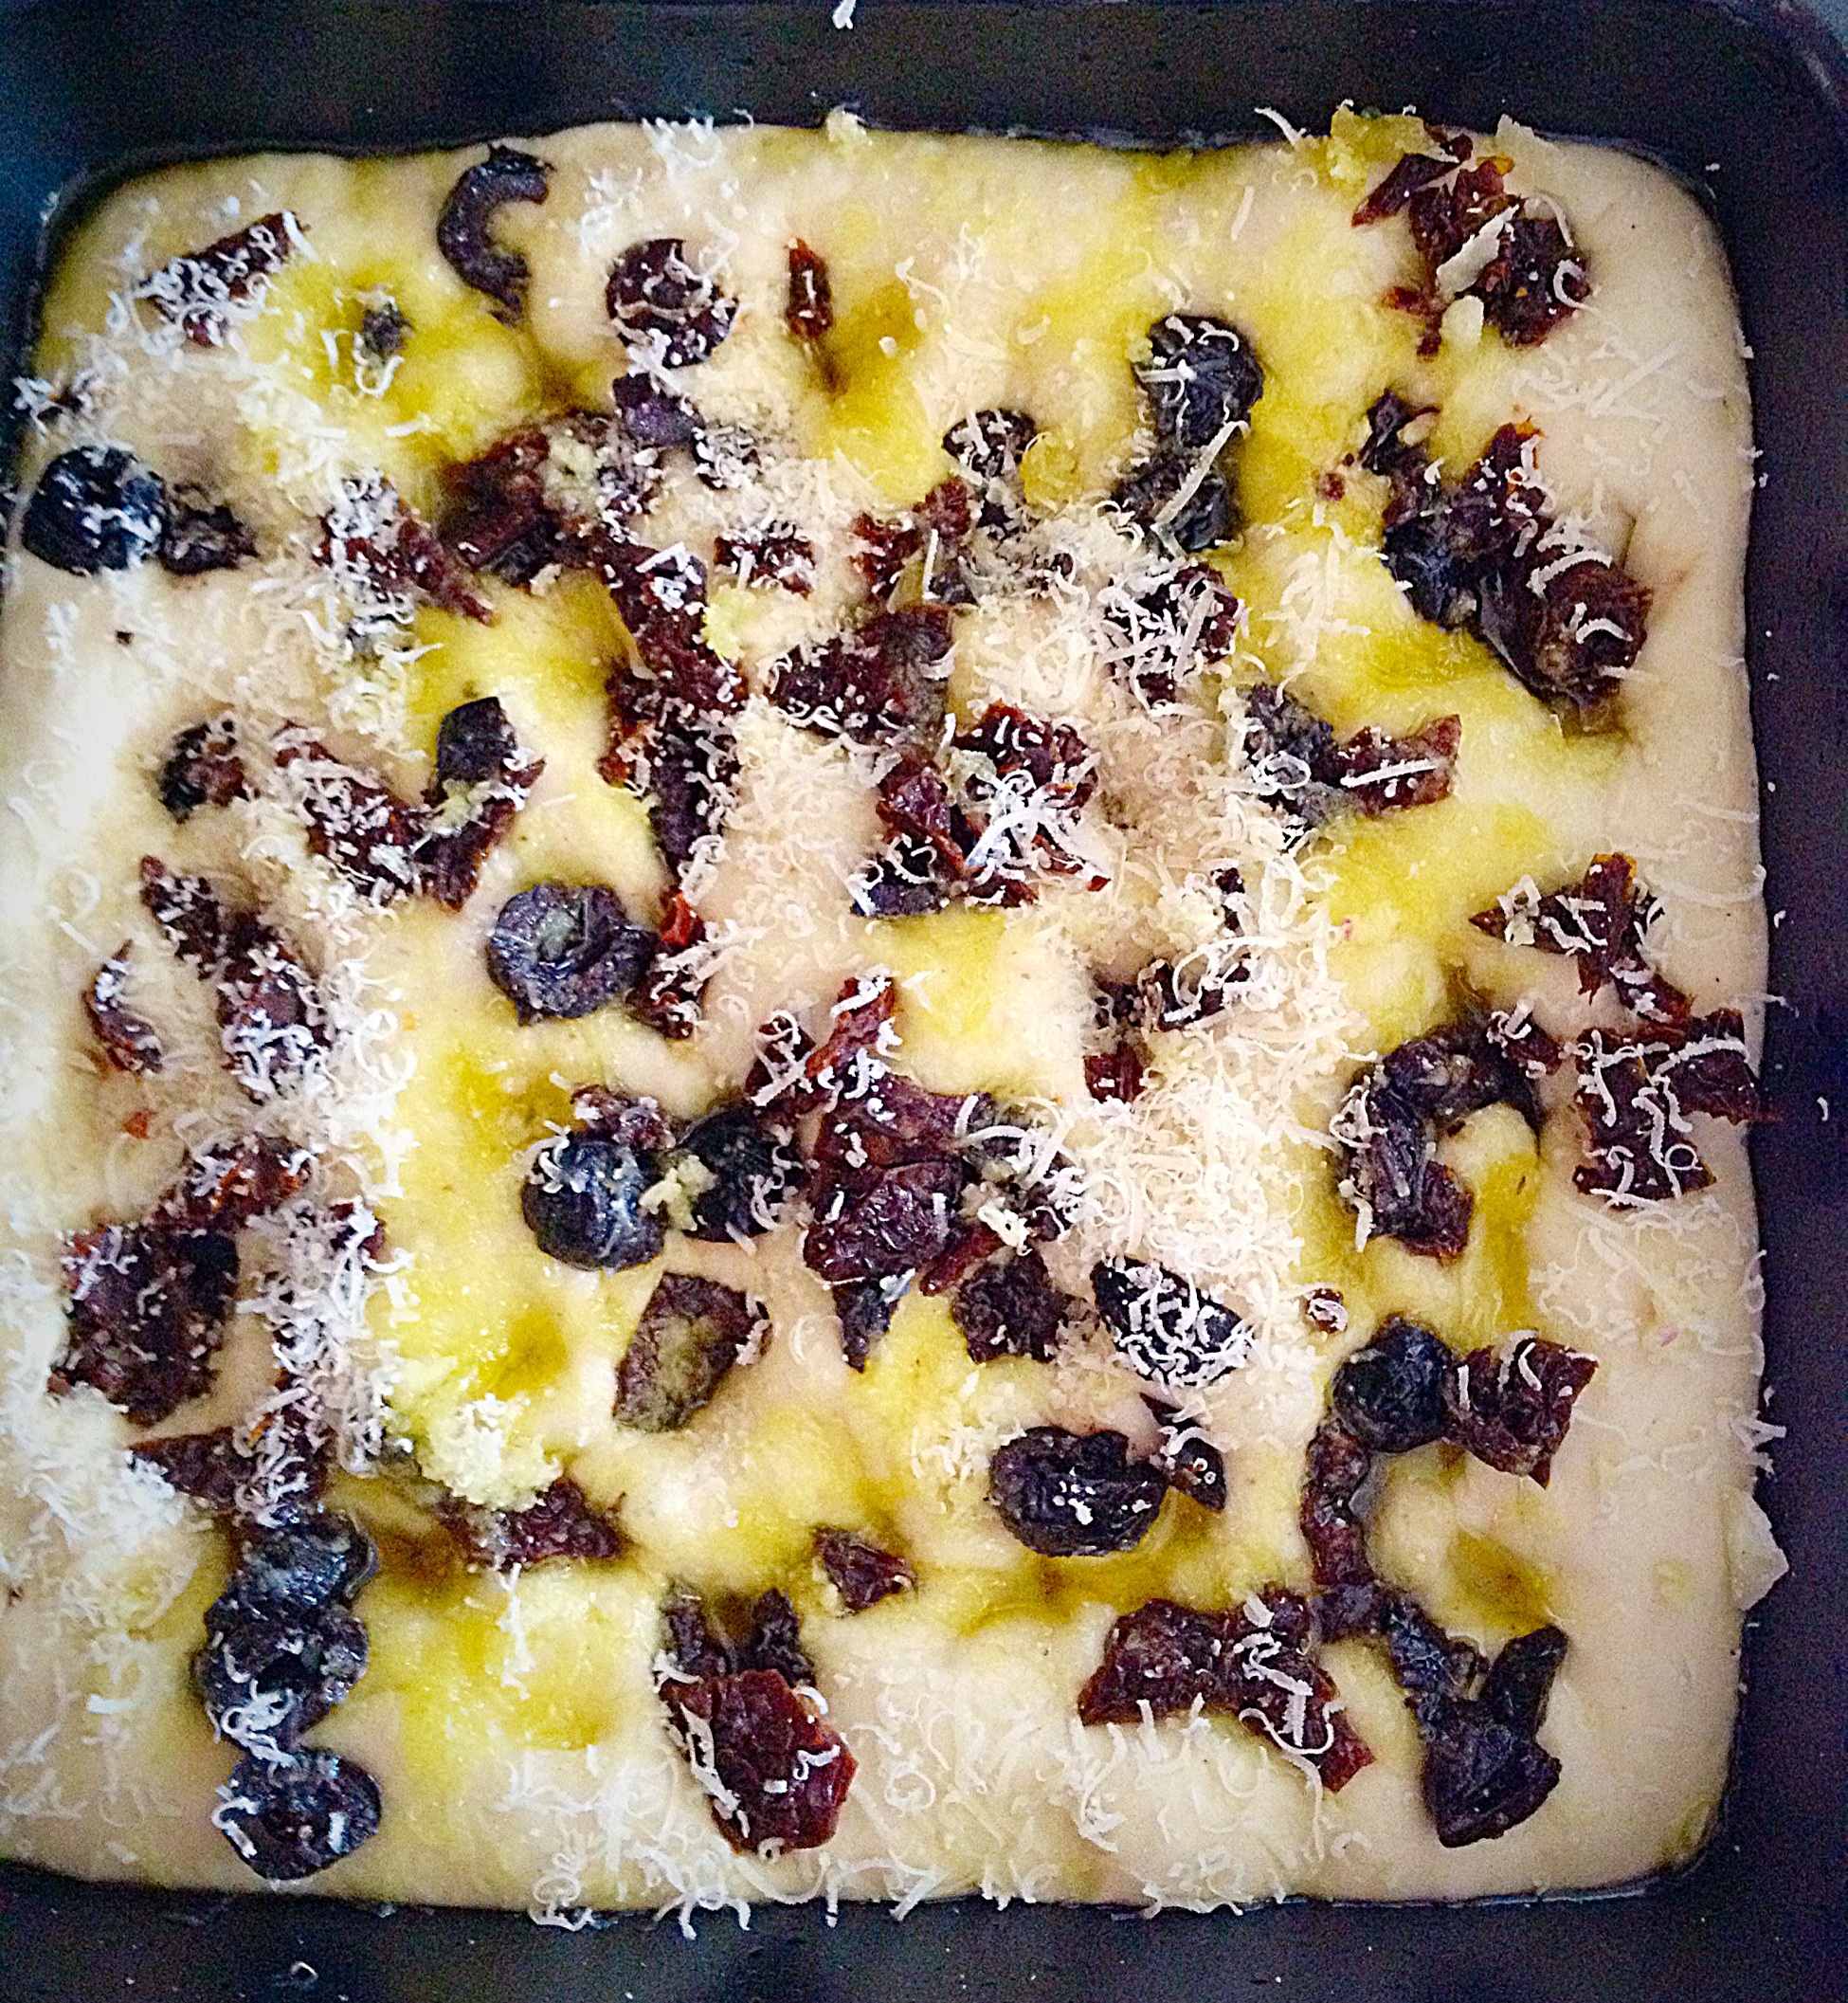
- Use the handle of a wooden spoon to swirl the two batters together.

- Resulting in a swirled, marbled cake effect.

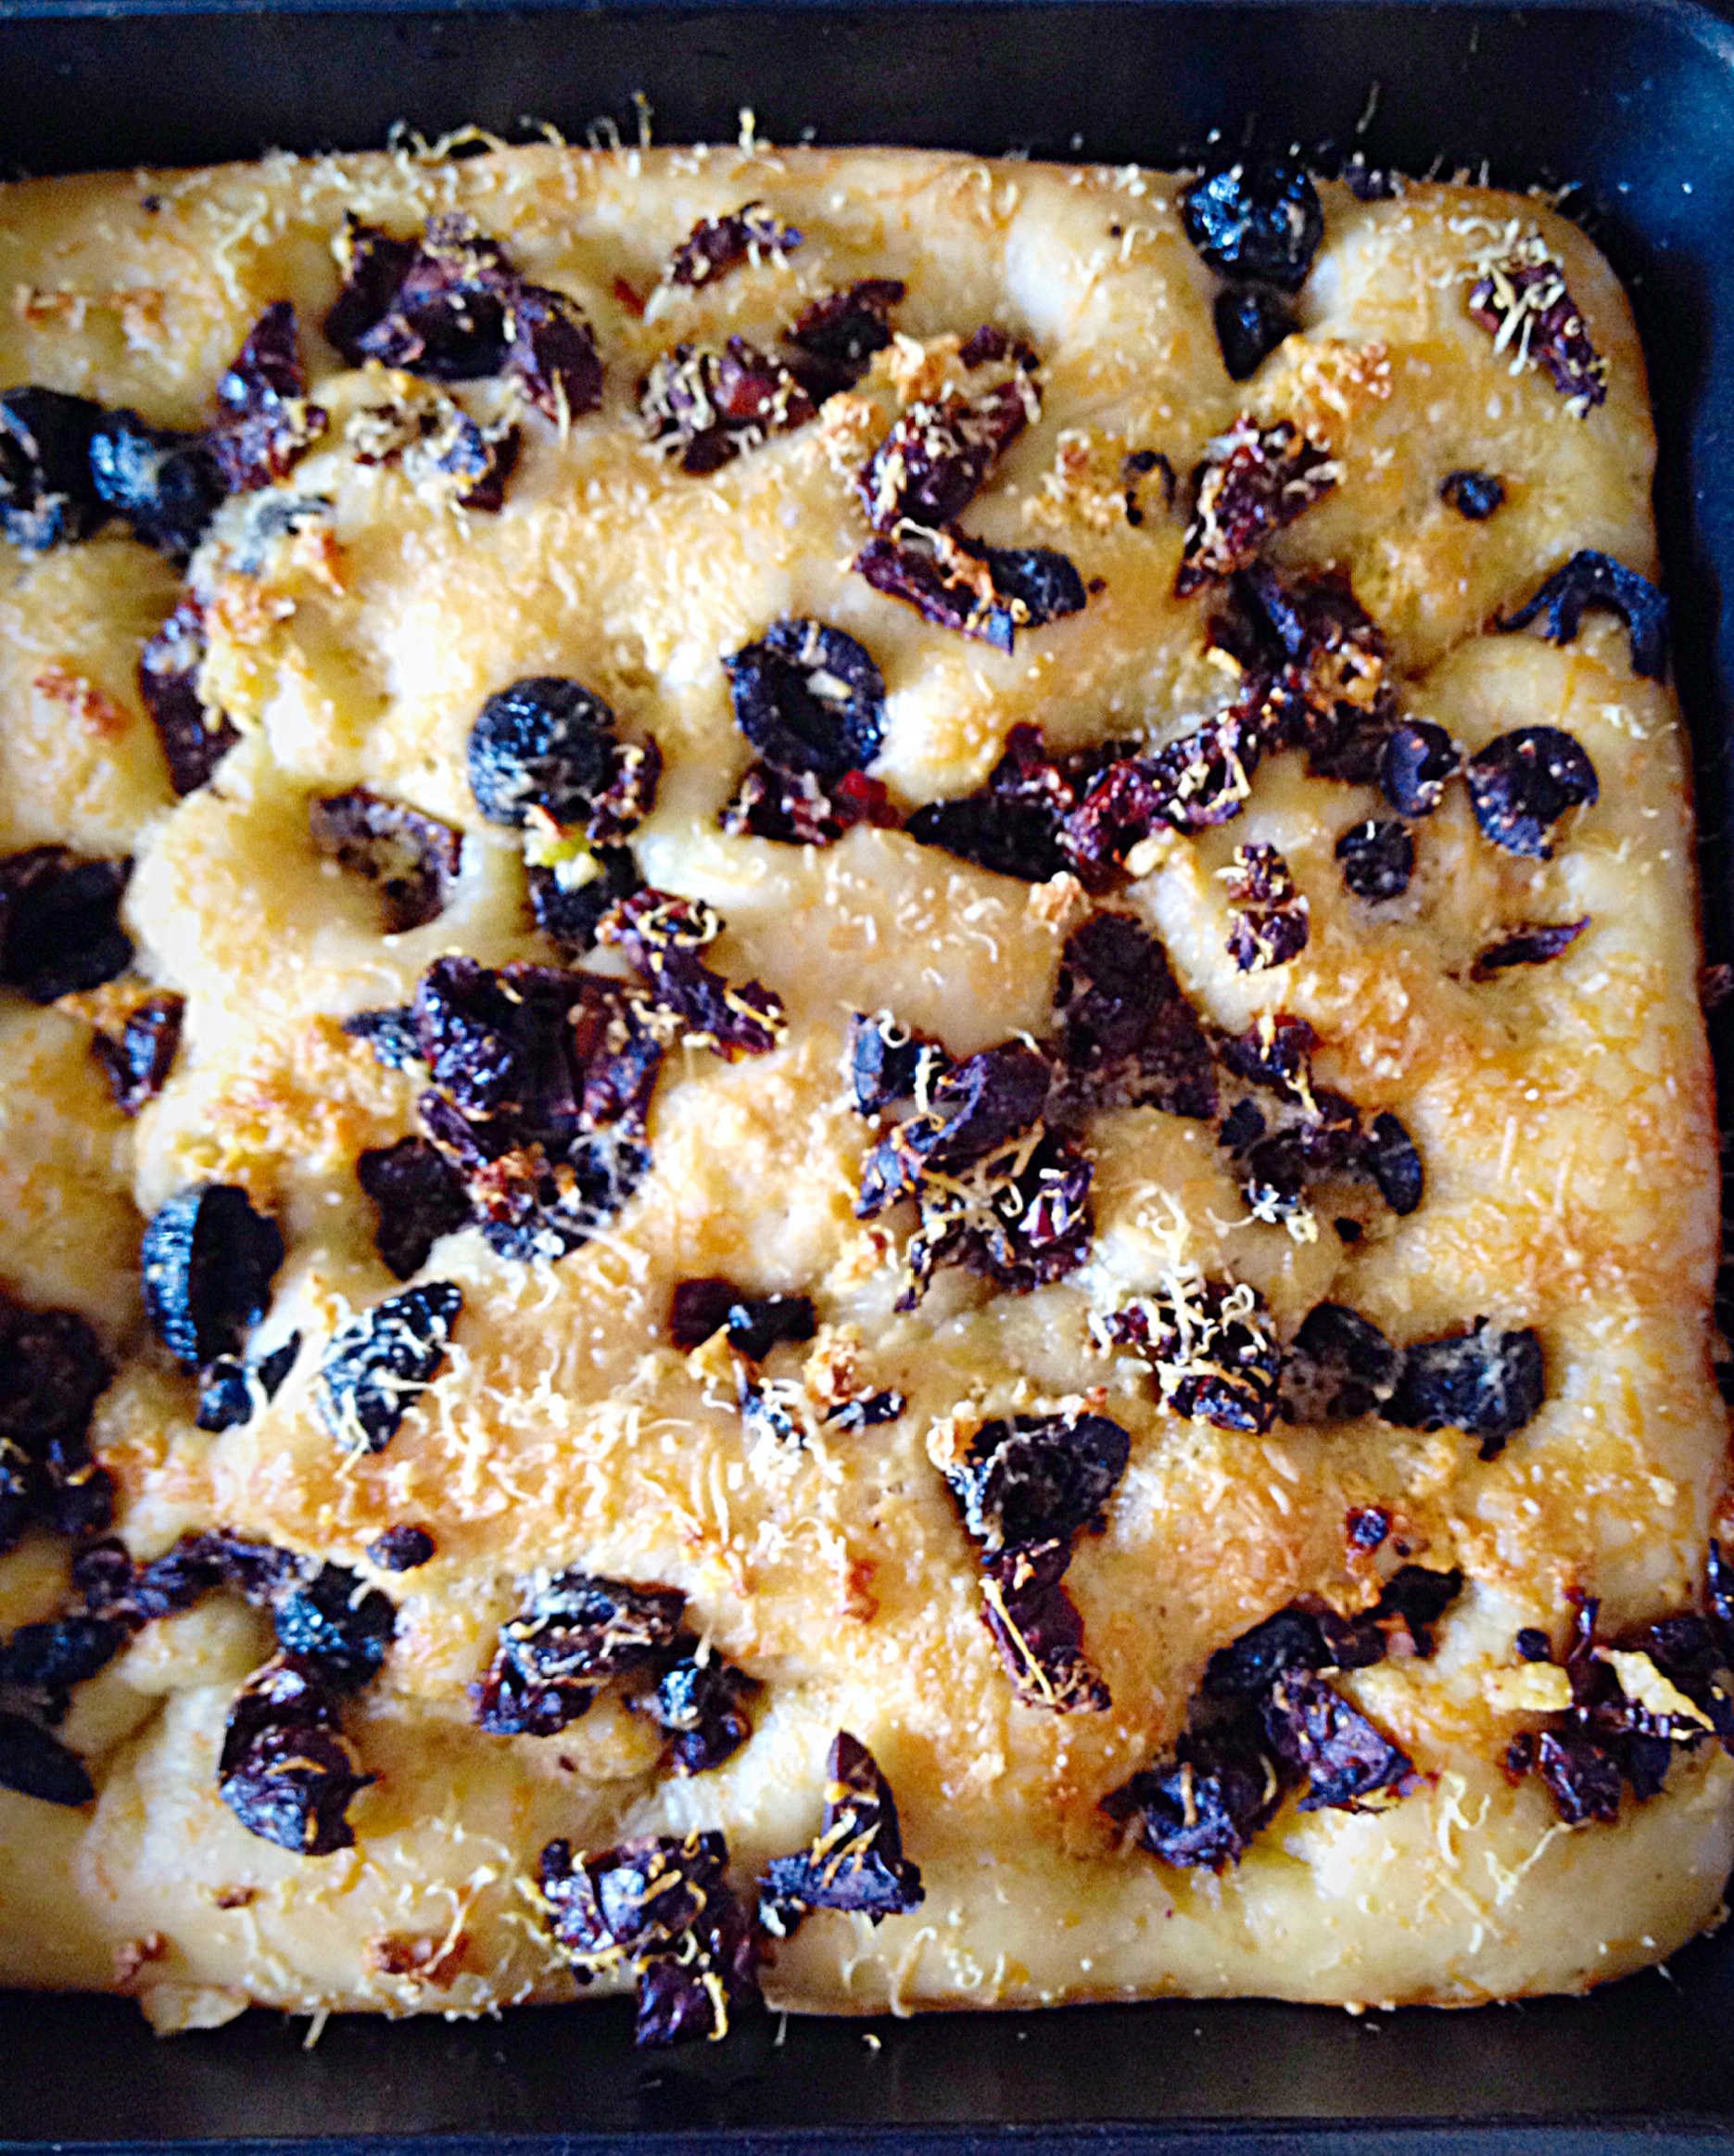
Baking The Malted Marbled Chocolate Cake
- Place your cake tin into the centre of a preheated oven.
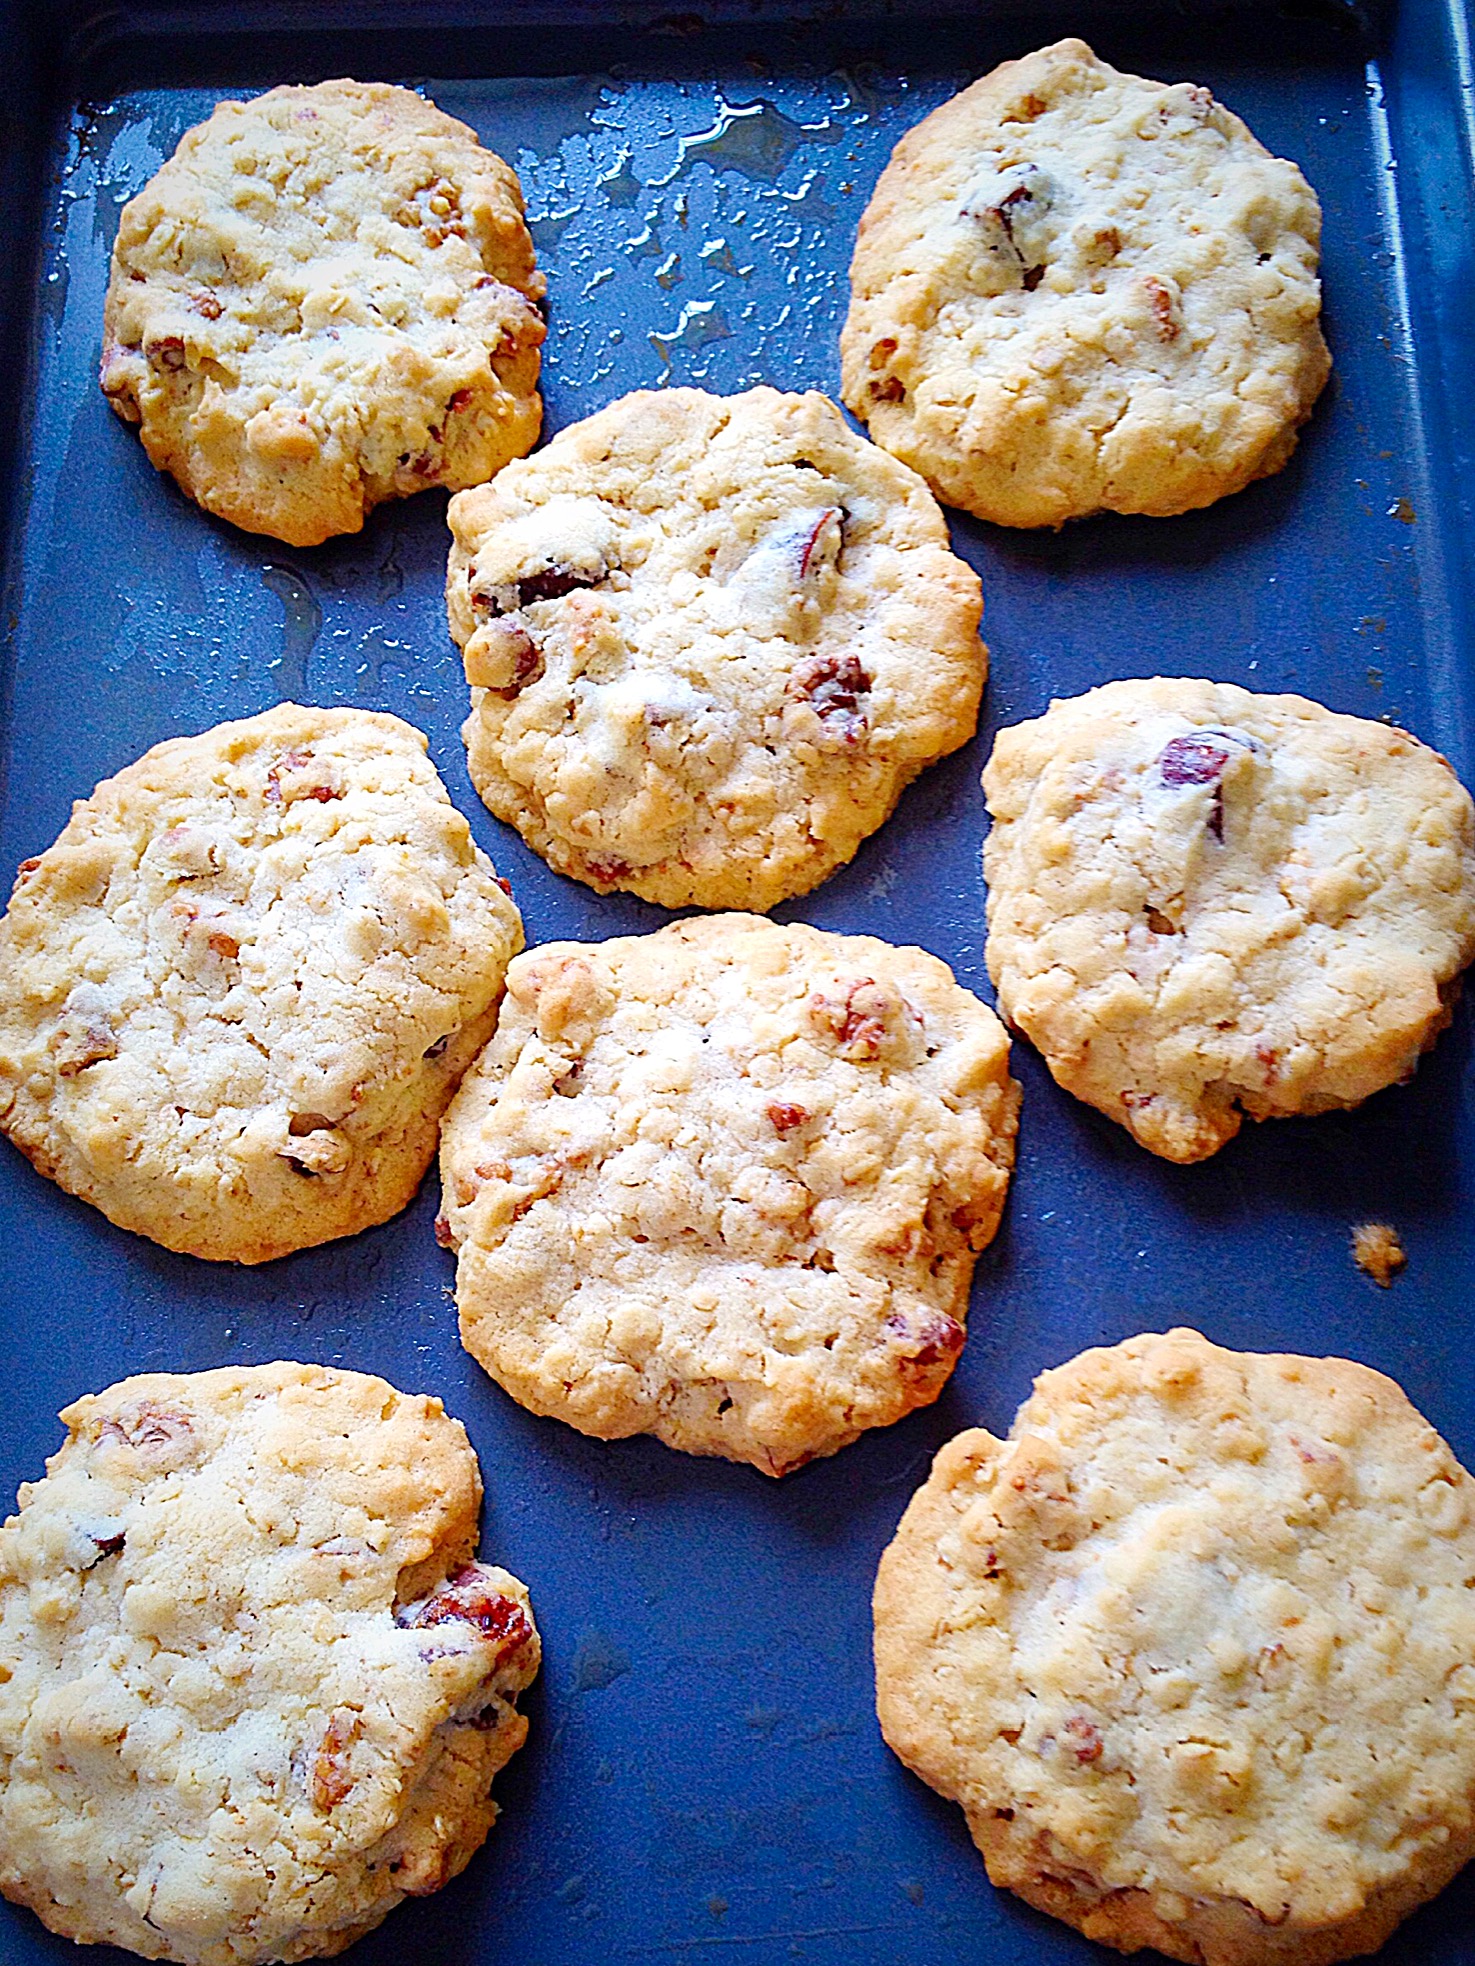
- Bake for 1hr – 1hr 15 mins, until an inserted skewer comes out clean. Allow two thirds of the cooking time to elapse before checking your cake.
- As soon as the cake is baked remove from the oven.
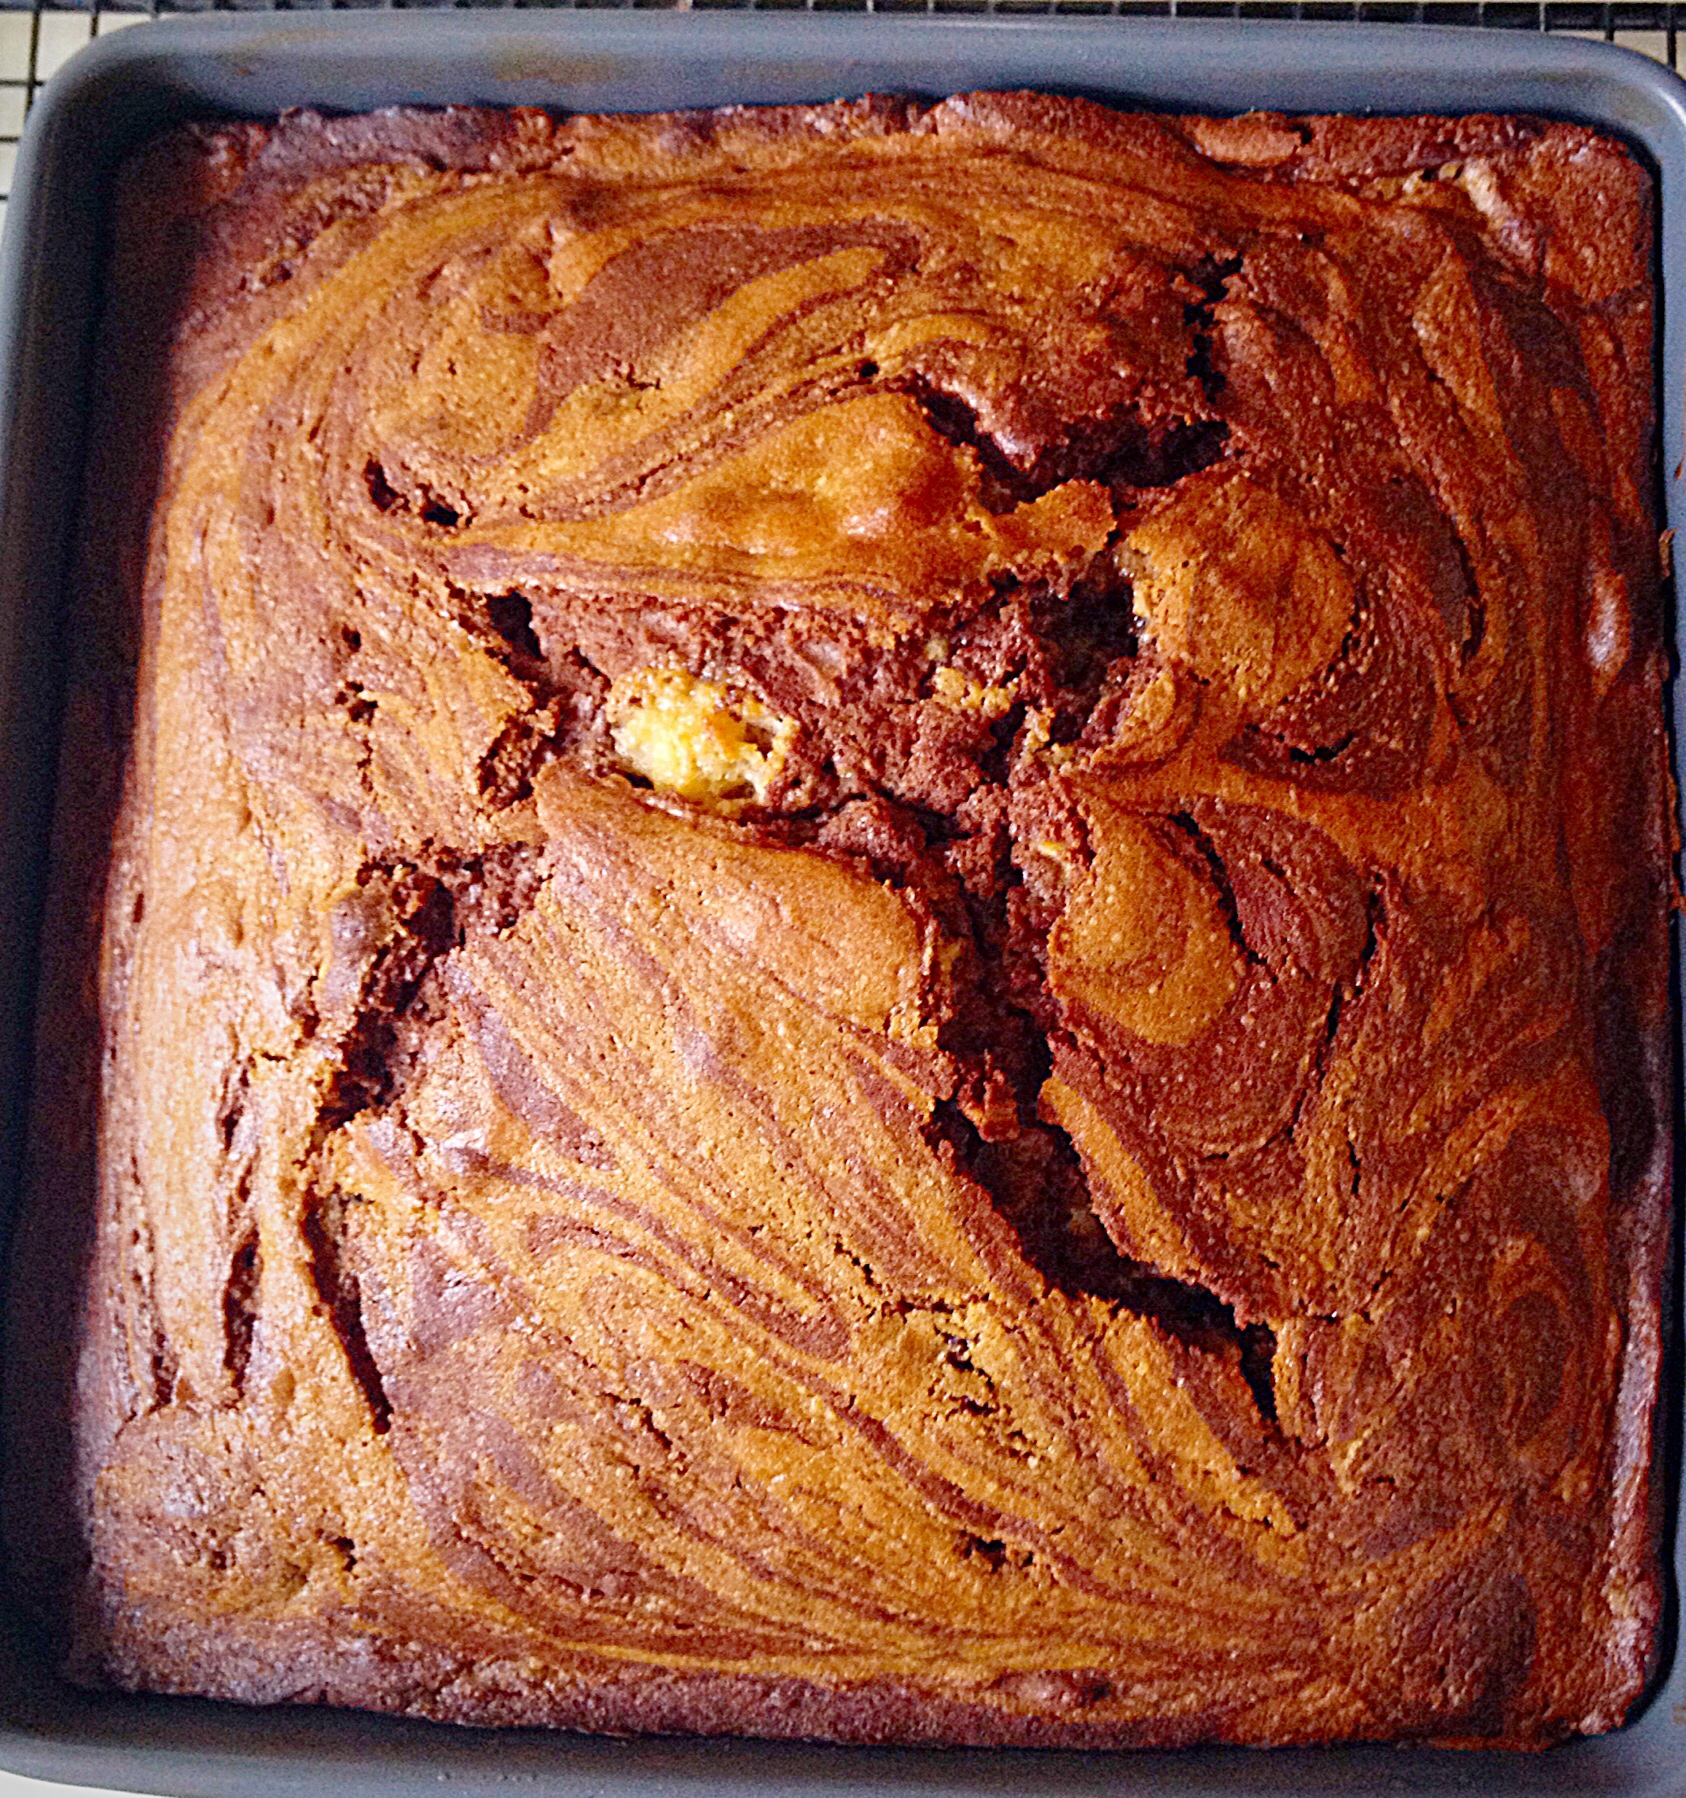
- Allow the cake to cool in its tin for 15 minutes.
- Then run a palette knife around the outside edge of the cake to loosen it.
- Turn out the cake and allow to completely cool on a rack.
- As soon as the cake is cool it is time to create the gorgeous, swirly, chocolate topping.
Adding The Chocolate Swirled Topping
- Break up or chop each chocolate and place in separate bowls. I melt the chocolate using the microwave on medium setting in 30 second bursts. Remove the bowl from the microwave when there are still a few lumps in the melted chocolate and stir continuously until the chocolate is smooth. Be extra careful with white chocolate – it is very easy to overheat in the microwave.
- Set the bowls of chocolate aside to cool.
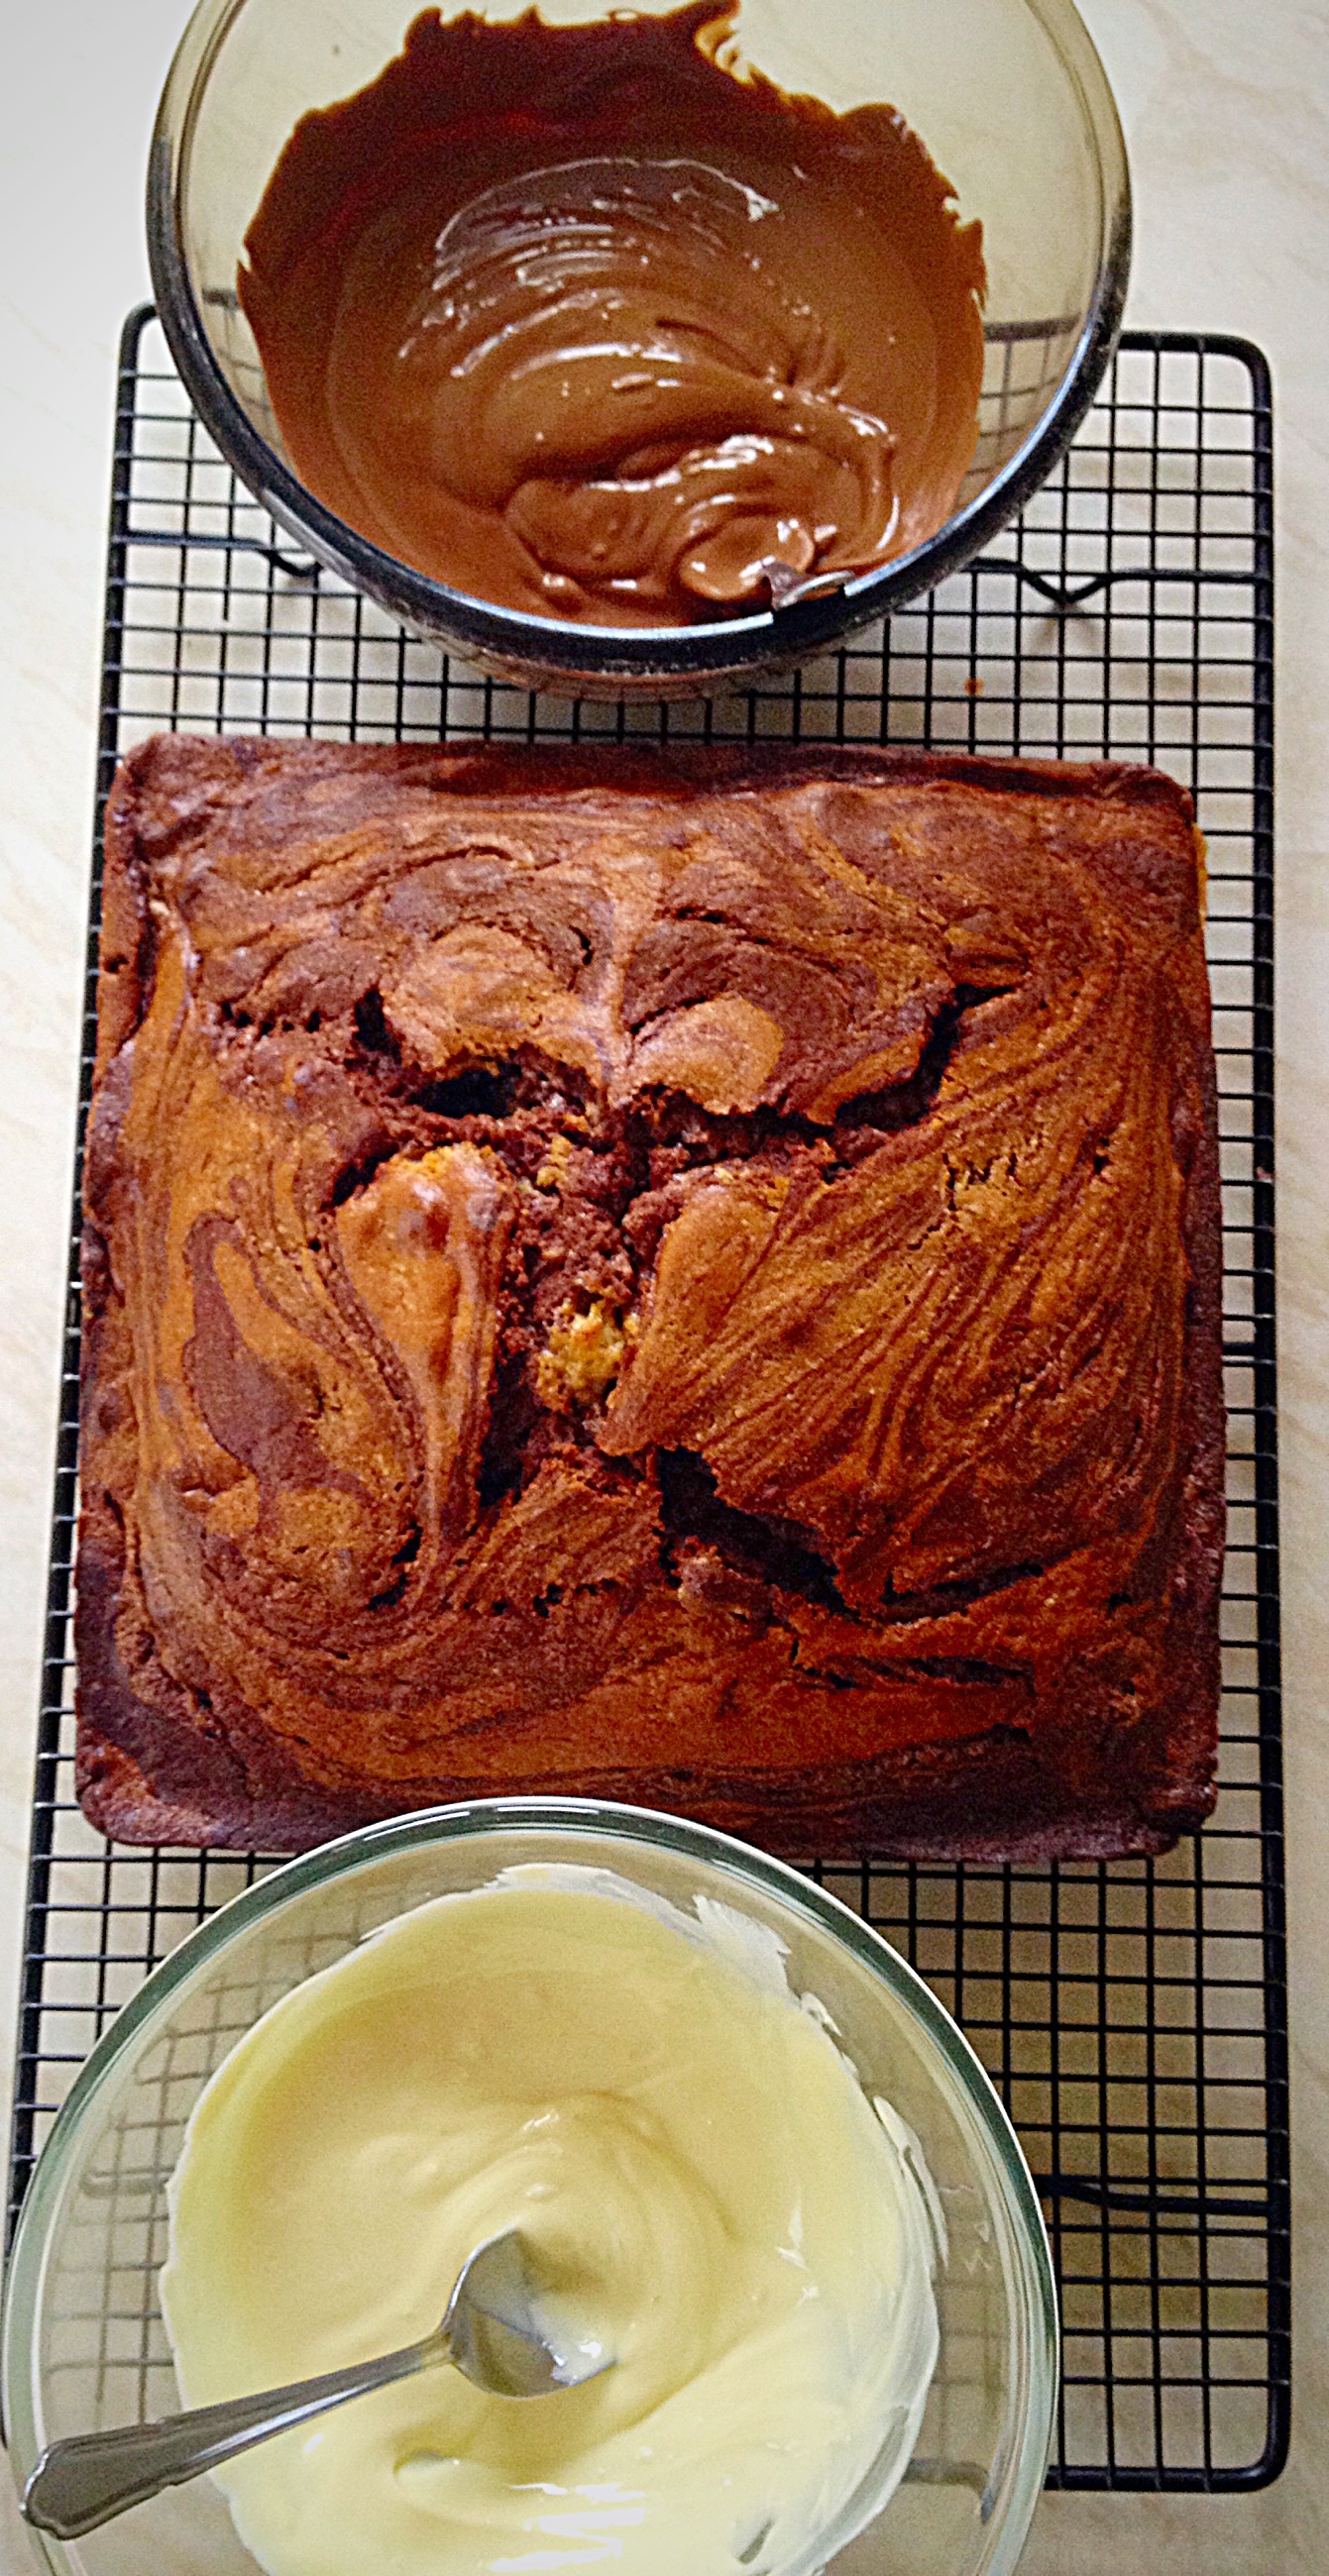
- Cool the chocolate until it has thickened but is still pourable.
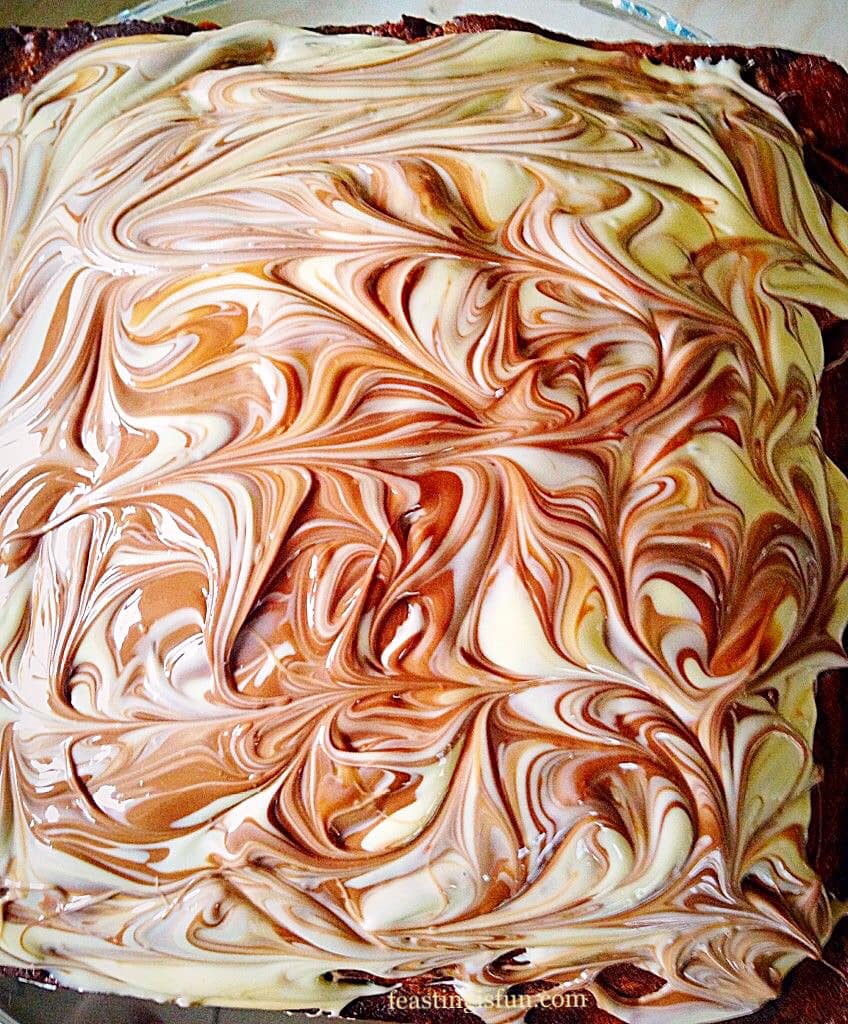
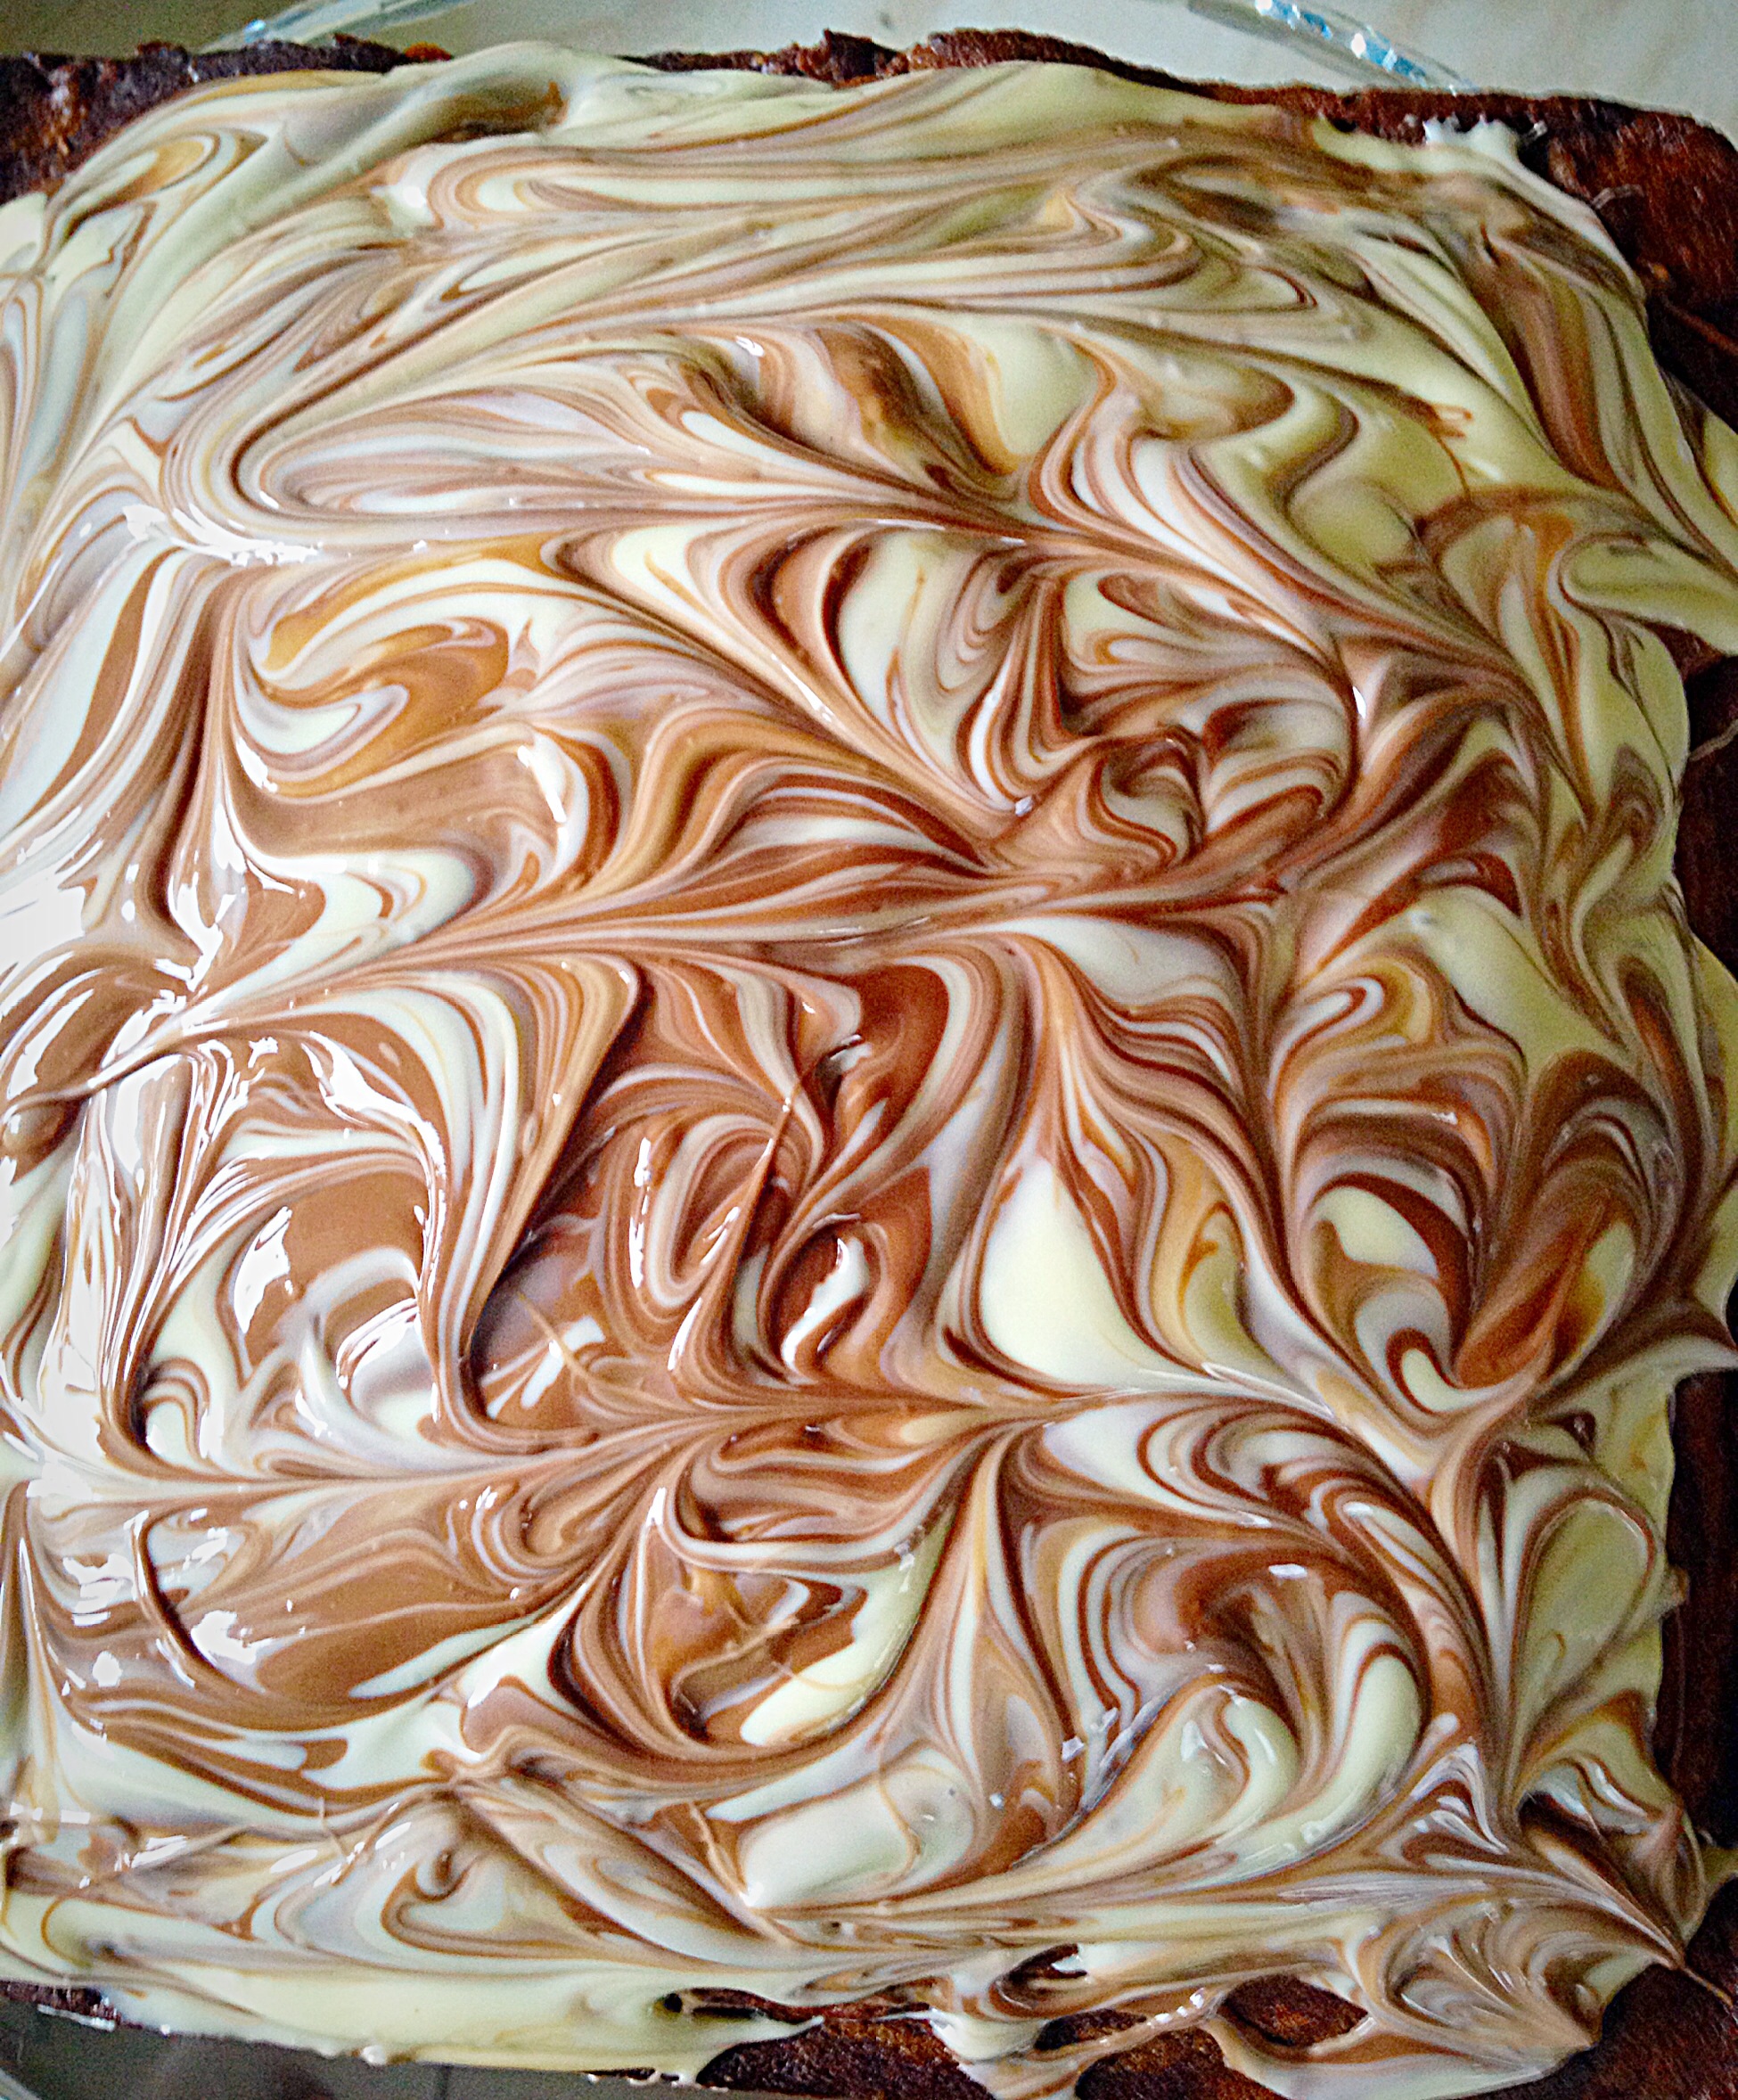
- First of all pour the melted milk chocolate over the top of the cake.
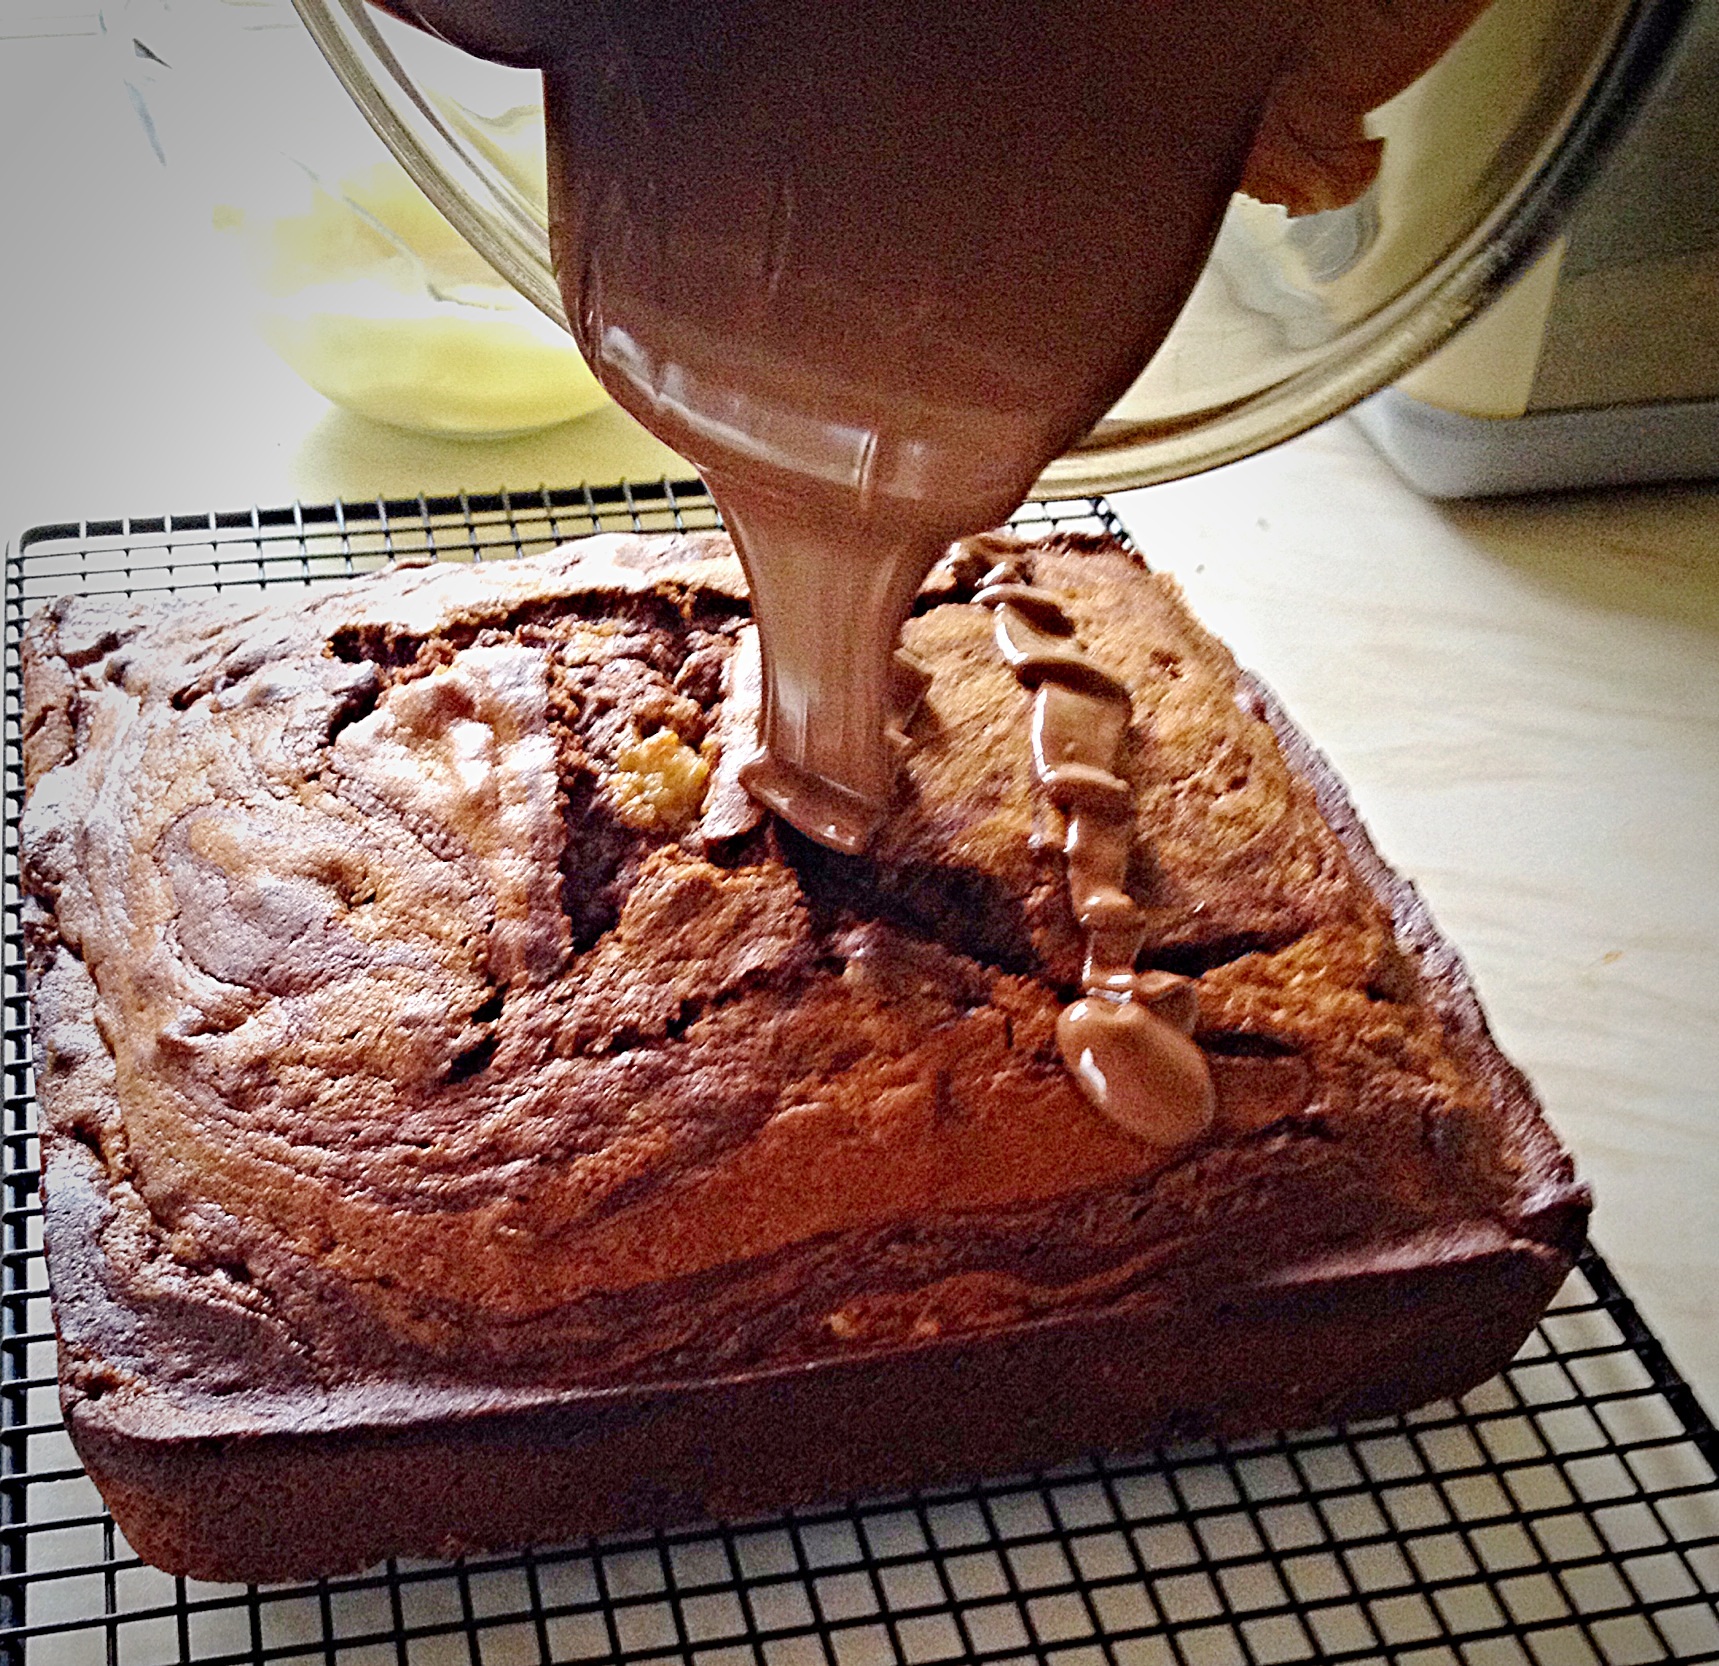
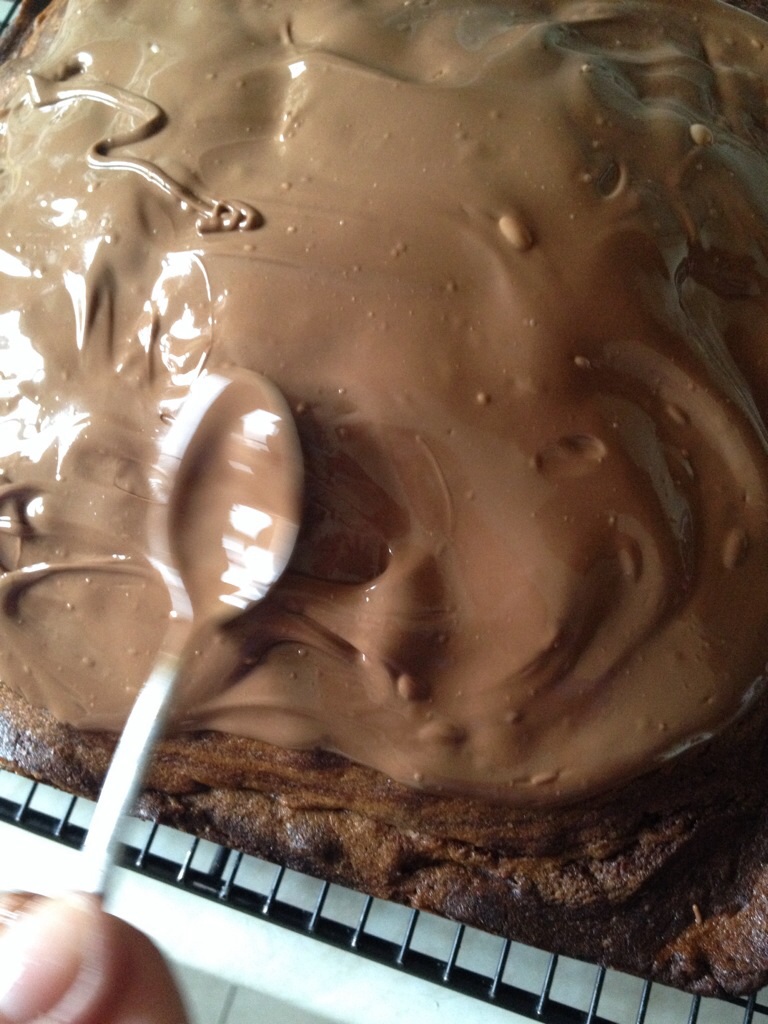
- Spread the chocolate so that it covers the top of the cake.
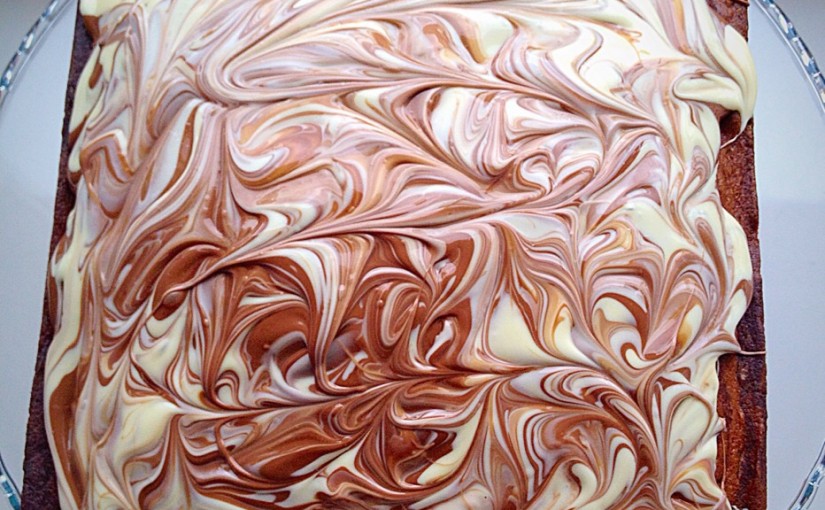
- Drizzle over the melted white chocolate.

- Using a skewer or cocktail stick swirl the two chocolates together, creating a marbled effect,
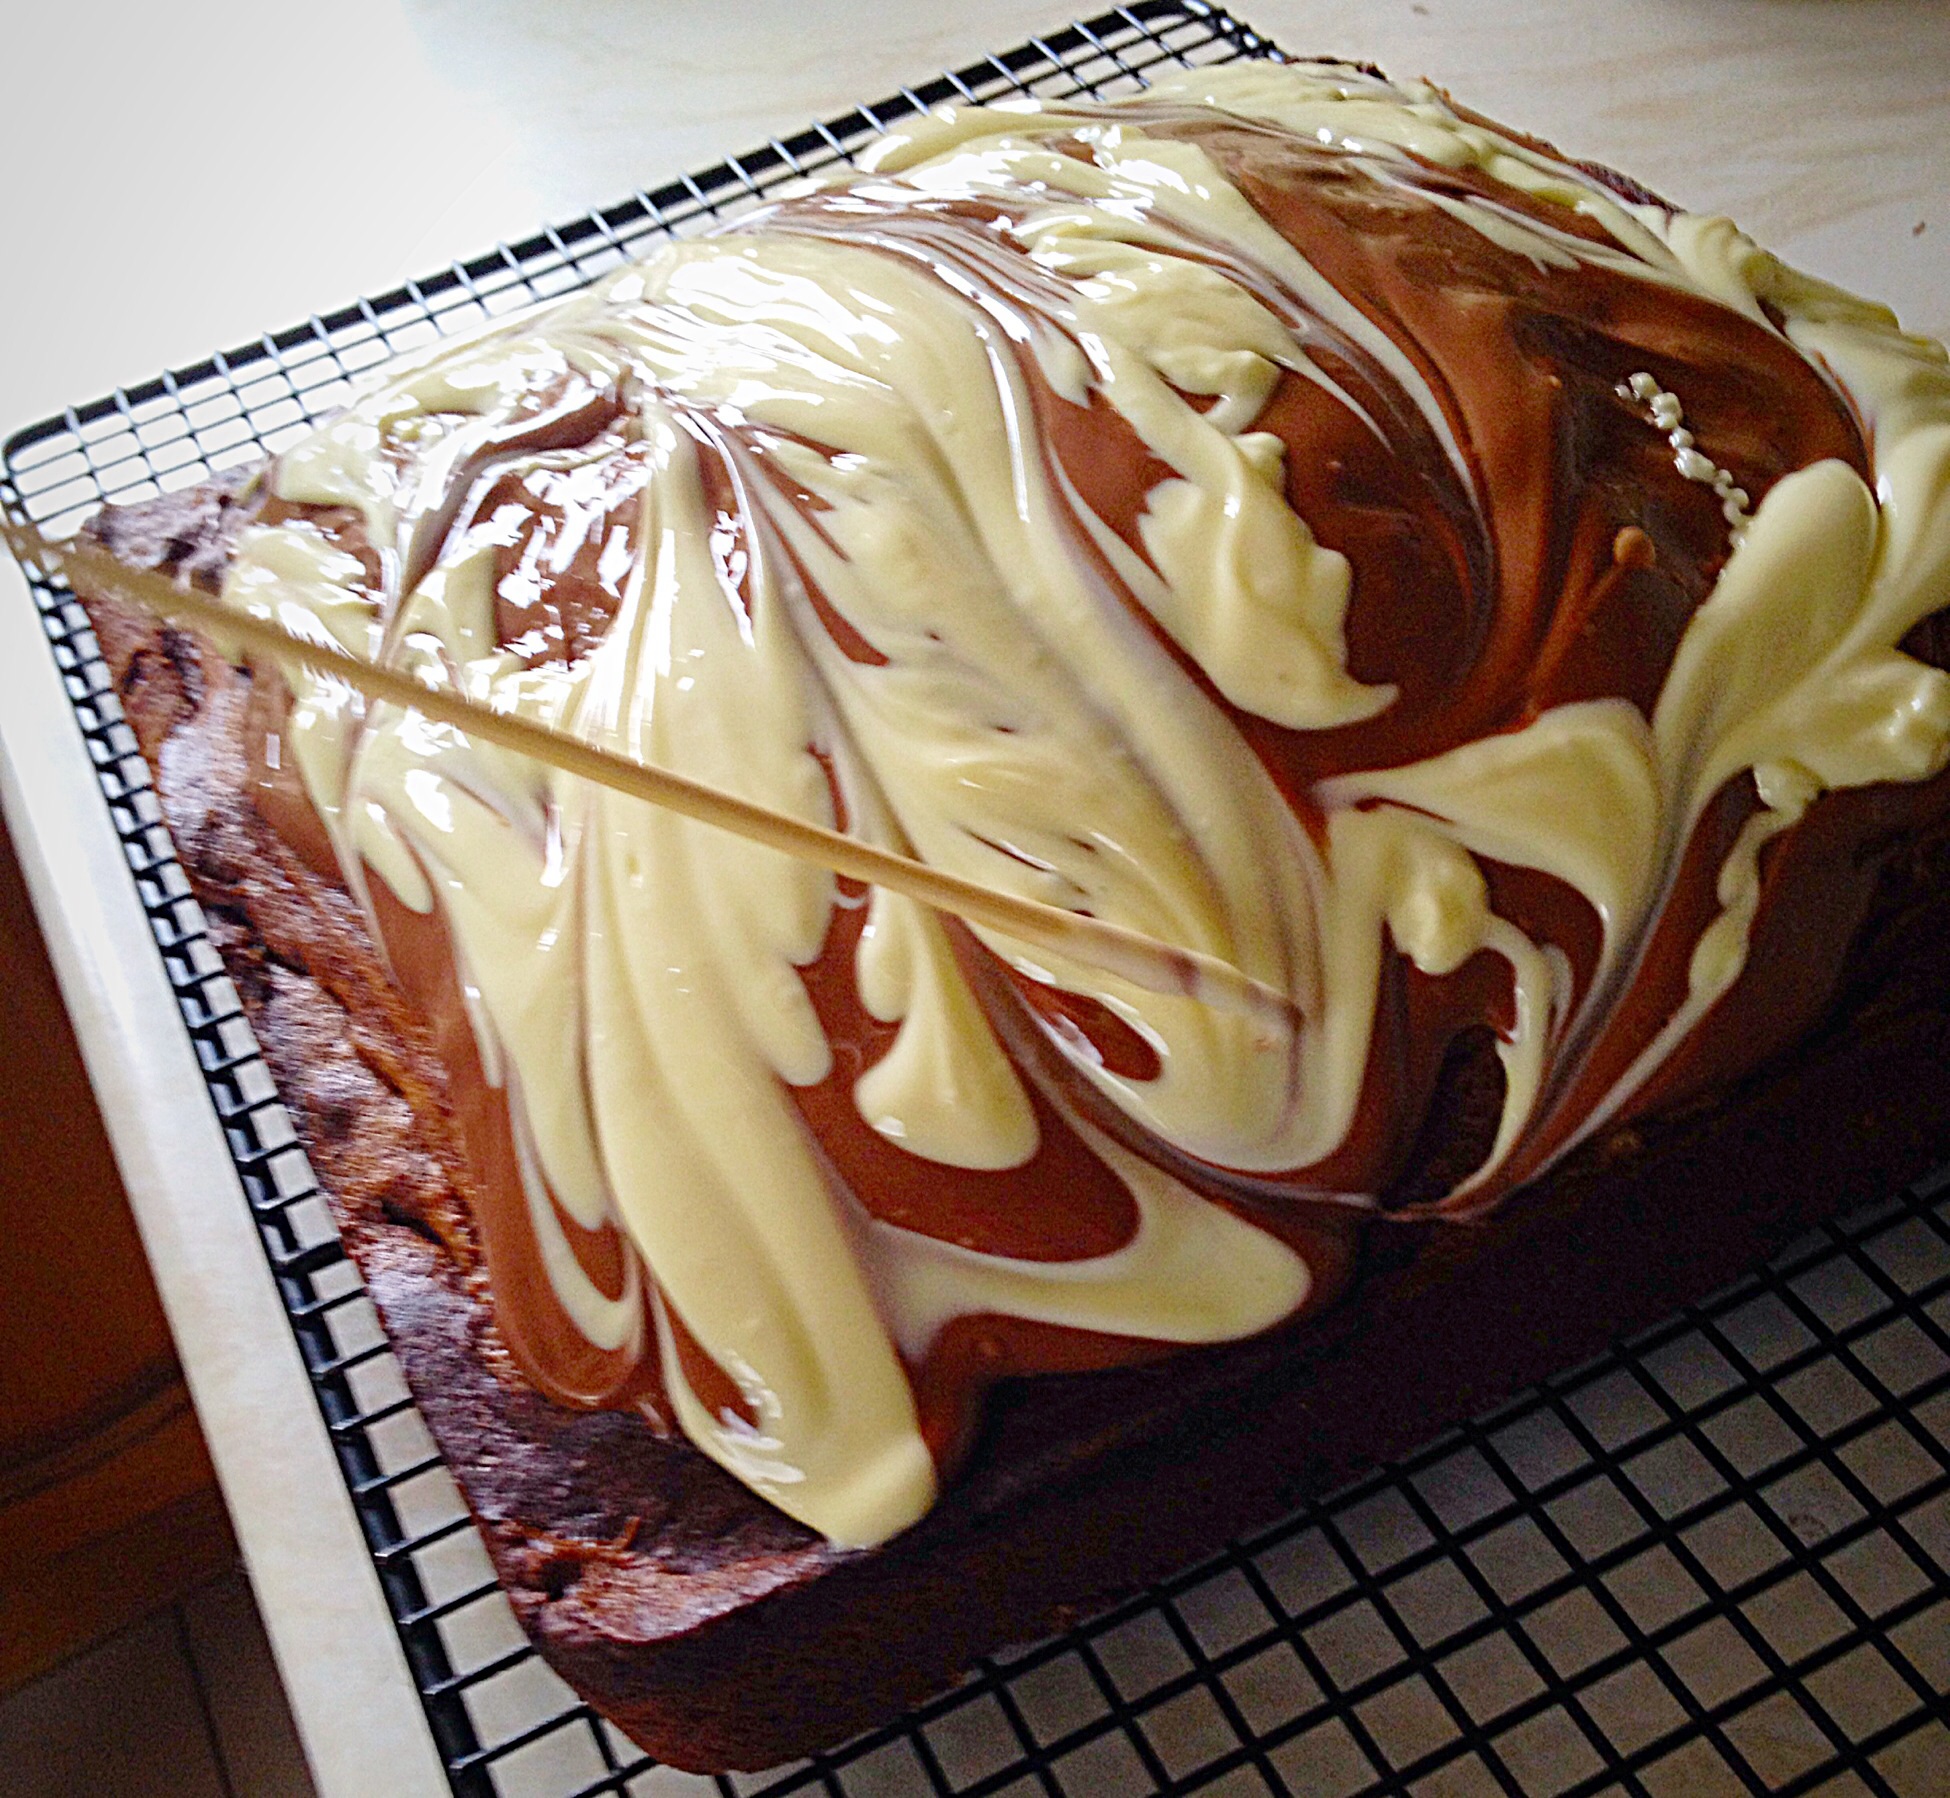
- Set the cake to one side, somewhere cool, alternatively refrigerate, to allow the chocolate to set.
And now you have a delicious Malted Marbled Chocolate Cake to share! Because of its size, this cake is ideal for a celebration, family gathering, a houseful of friends as it feeds a lot of people. Most importantly this bake is perfect for feasting, sharing and having fun.

Serve by slicing the cake in half and then cutting as shown in the photo above.
Store any leftover cake in an airtight container. Refrigerate during warmer weather.
If you have enjoyed this recipe for Malted Marbled Chocolate Cake you may also like these:
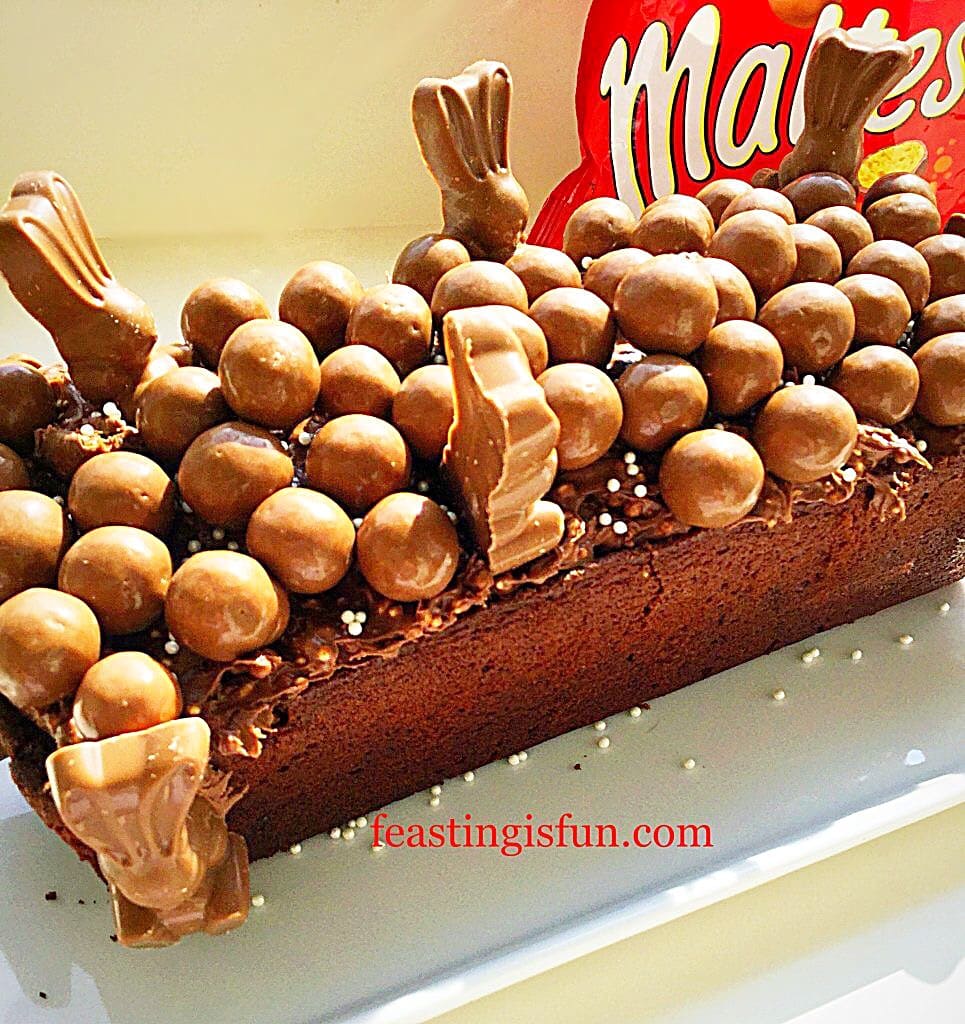
Maltesers Malted Chocolate Loaf Cake
Chocolate Marble Celebration Cake
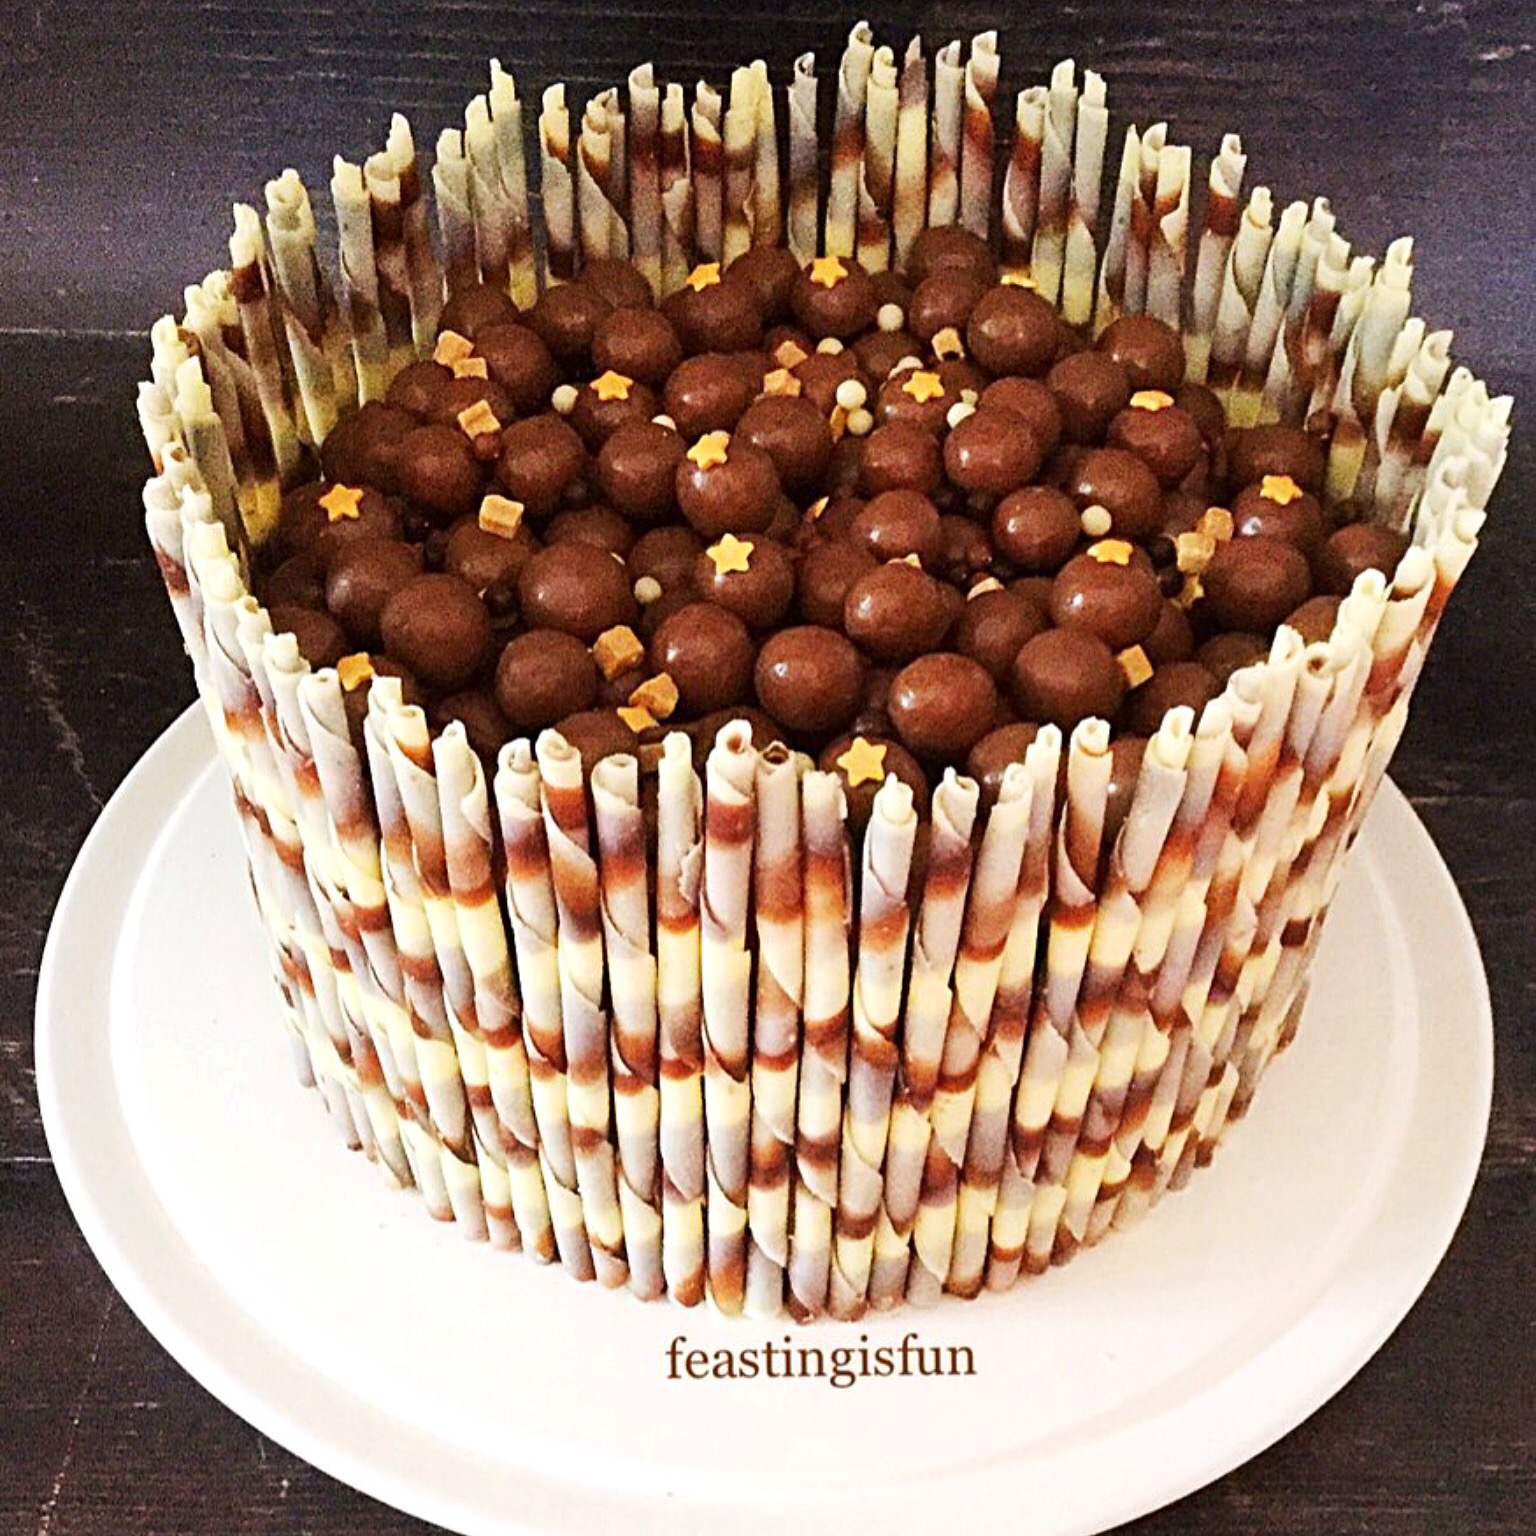
Since this cake tastes of Maltesers you could add them as a decoration. Either around the base of the cake, keeping some melted milk chocolate back and using as glue, or on top. And this is the advantage of baking a cake at home. Since you decide how it should be decorated. Resulting in a cake that is unique and tastes a million times better than it’s mass produced alternative.
So, whatever you are making, baking and creating in your kitchens, have fun preparing and sharing your feast.
Sammie x
Wilko sent me some items to review. And most importantly all of opinions are my own. I was not paid to write this post. No part of this post may be reproduced or duplicated without the written permission of the owner. Please see my Disclosure Policy.
Share