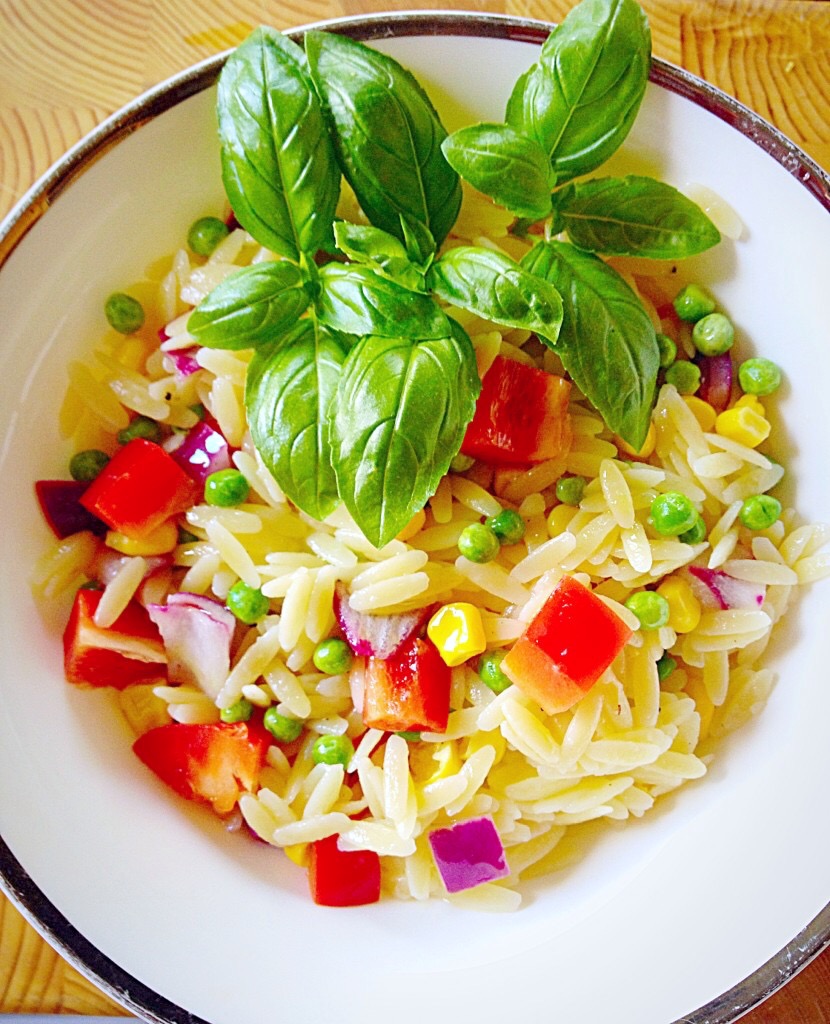
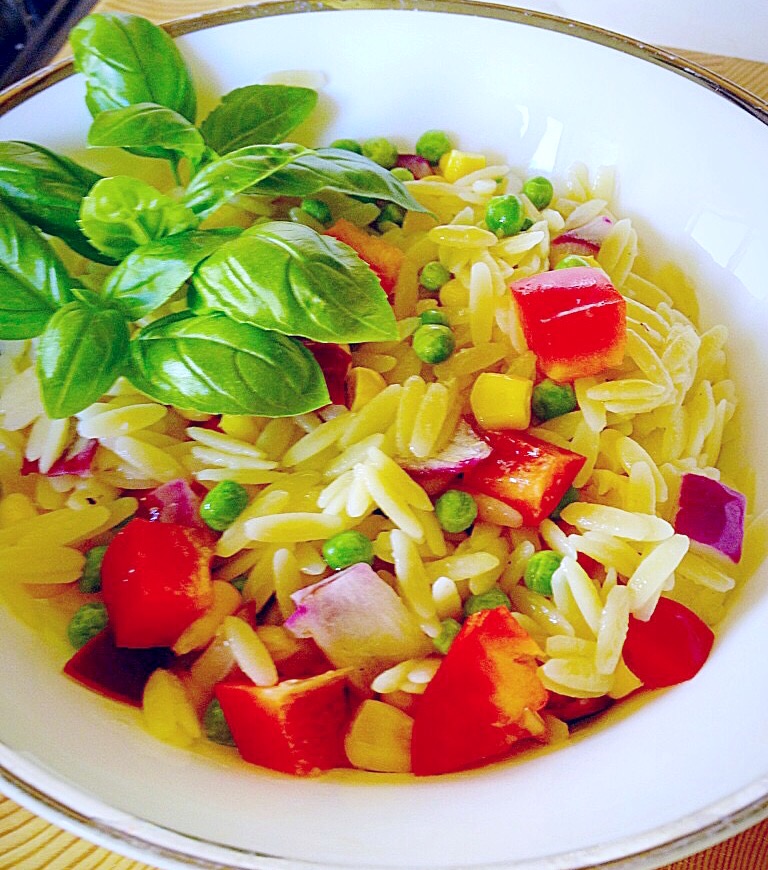
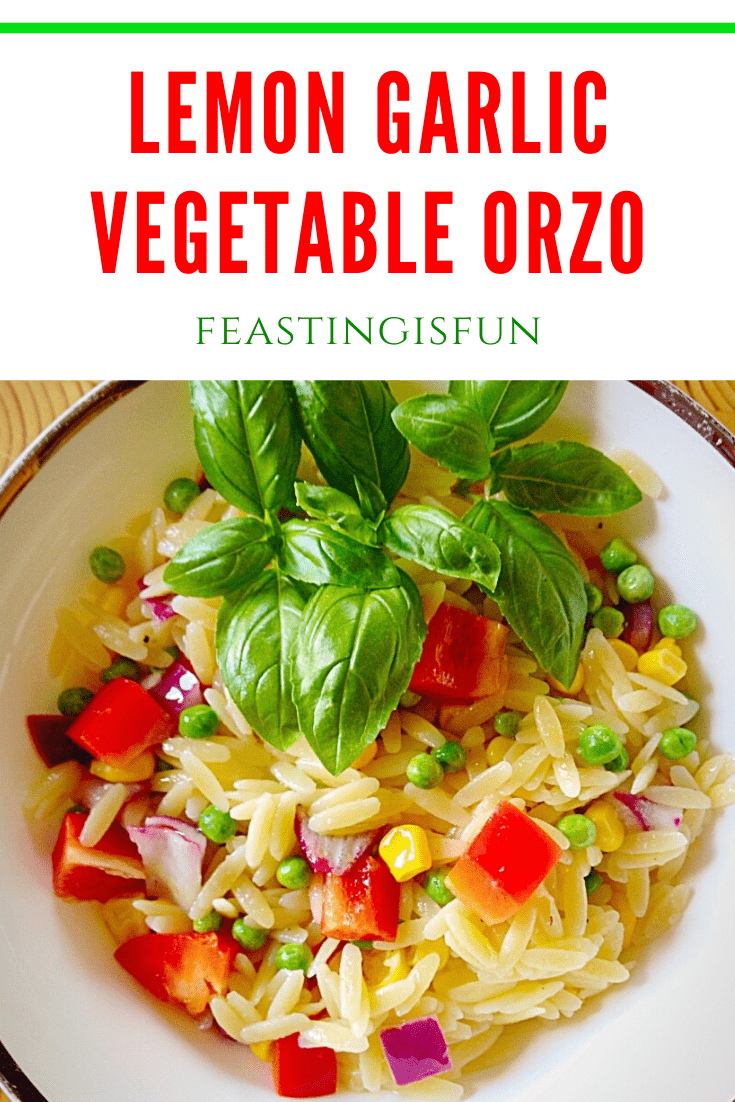
Hi, have I got the easiest, tastiest, make ahead side dish for you? Oh yes I have! Lemon Garlic Vegetable Orzo. Also, this dish does not disappoint as it is delicious.
While I’ve said this is a side dish, it’s also vegetarian and makes a fabulous light lunch. Likewise, adding a few shavings of Parmesan would add extra oomph for lunch, served alongside some crusty, crunchy bread.
I’m getting hungry!
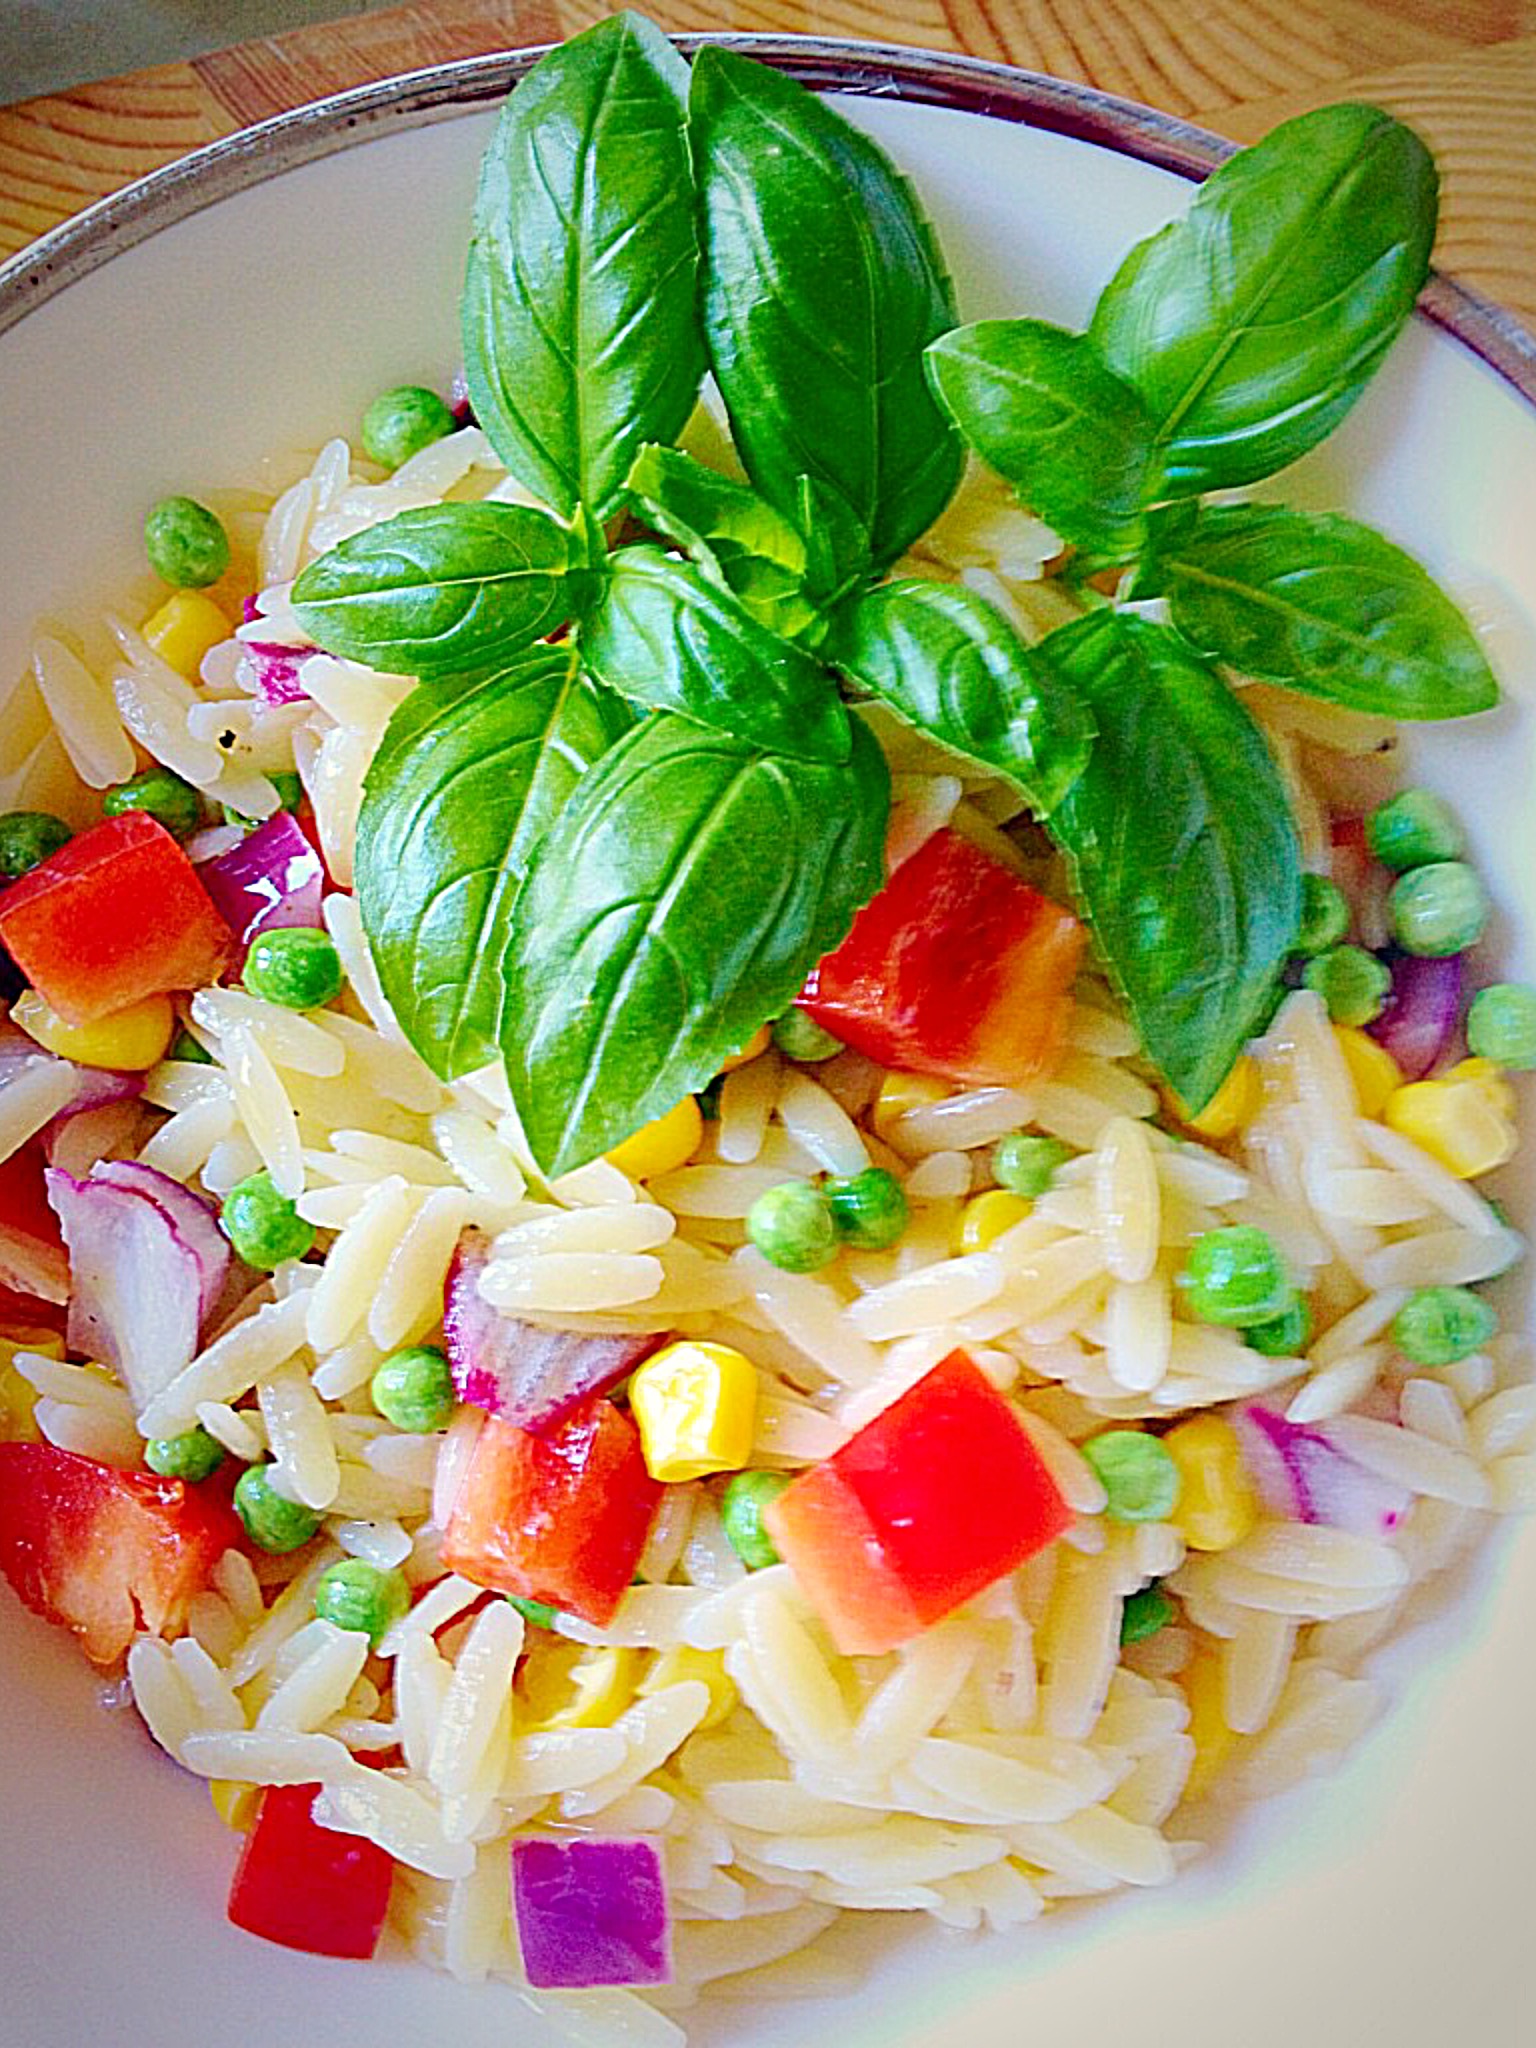
While I’ve used red onion, peas, sweetcorn and red bell pepper in this dish – but feel free to switch up the veggies (celery is also good) with whatever you have on hand. Most importantly, I would say that this Lemon Garlic Vegetable Orzo is best served at room temp, or even warmed – BUT NOT COLD! Because, no matter how much lemon/oil you add, when served fridge cold the Orzo clumps together and not in a good way! So there you go, an easy recipe that doesn’t take up any room in your fridge, or require any last minute fiddling. Yay!! Because, we like easy!
Recipe : Lemon Garlic Vegetable Orzo serves 6-8 as a side dish.
500g/1lb Packet Dried Orzo – available from most supermarkets I buy mine from Waitrose
Juice of 1 Large Lemon
1 x Small Red Onion
150ml/5fl oz Extra Virgin Olive Oil
2 x Garlic Cloves – crushed
200g/7oz Frozen Peas
Medium Can Sweetcorn
Fresh Basil
Sea Salt – I use Maldon and freshly ground Black Pepper to taste
Making The Vegetarian Orzo Dish
First of all put a large pan of water on to heat up for the Orzo.
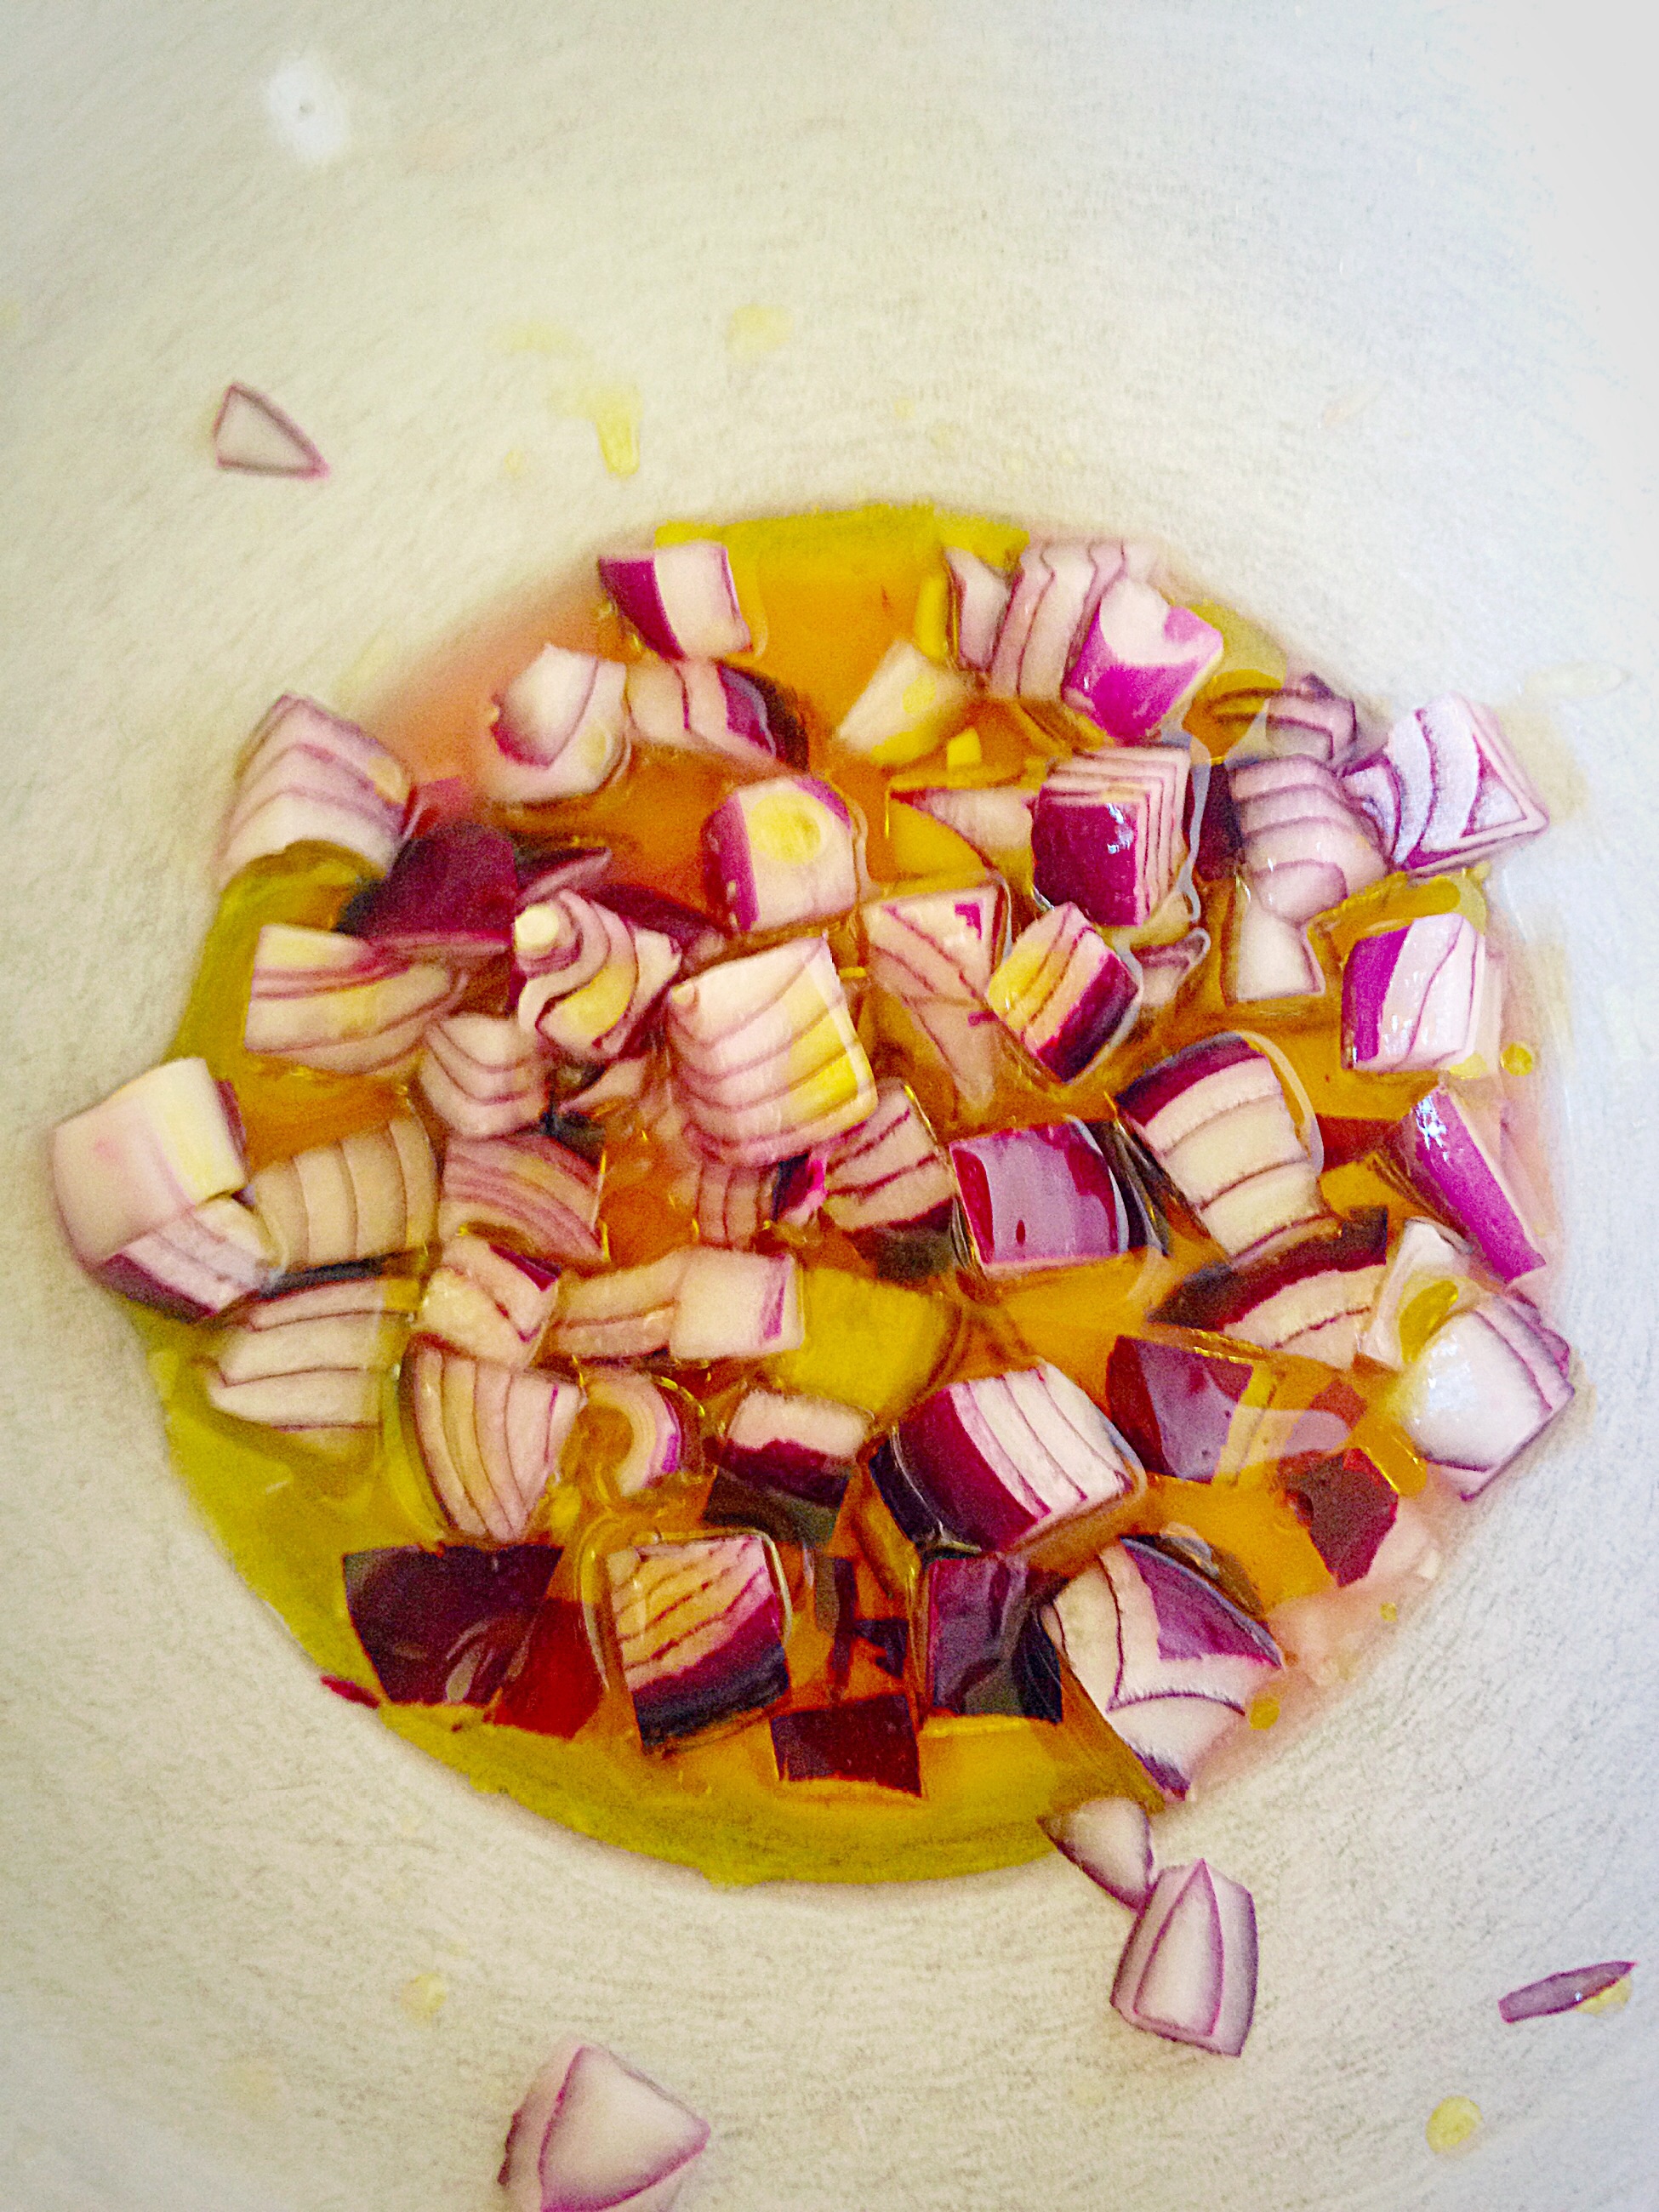
Place the lemon juice and finely diced red onion into a large bowl. Add a pinch of salt and mix together. Also leaving the onion in the lemon juice will remove the acrid taste!
As soon as the water in the pan is boiling add salt and then the Orzo. Cook according to the packet instructions, taking care not to overcook or the Orzo will simply clump together!
While the Orzo is cooking gently heat the Olive Oil and garlic together, for approximately 2 minutes on a medium heat. This allows the garlic to infuse the oil. And also the garlic is lightly cooked. Pour the garlicky oil over the onions and lemon juice.
Drain the Orzo as soon as it is cooked and pour straight into the bowl. Using a large slotted spoon immediately toss the Orzo in the oil/lemon juice, this will stop the Orzo from sticking together.
Place the frozen peas (I used petit pois) in the bowl and mix in with the hot Orzo.
Add the sweetcorn (drained) and the diced, red, bell pepper. And mix together with a fork, then taste for seasoning. Add salt and freshly ground pepper as necessary.
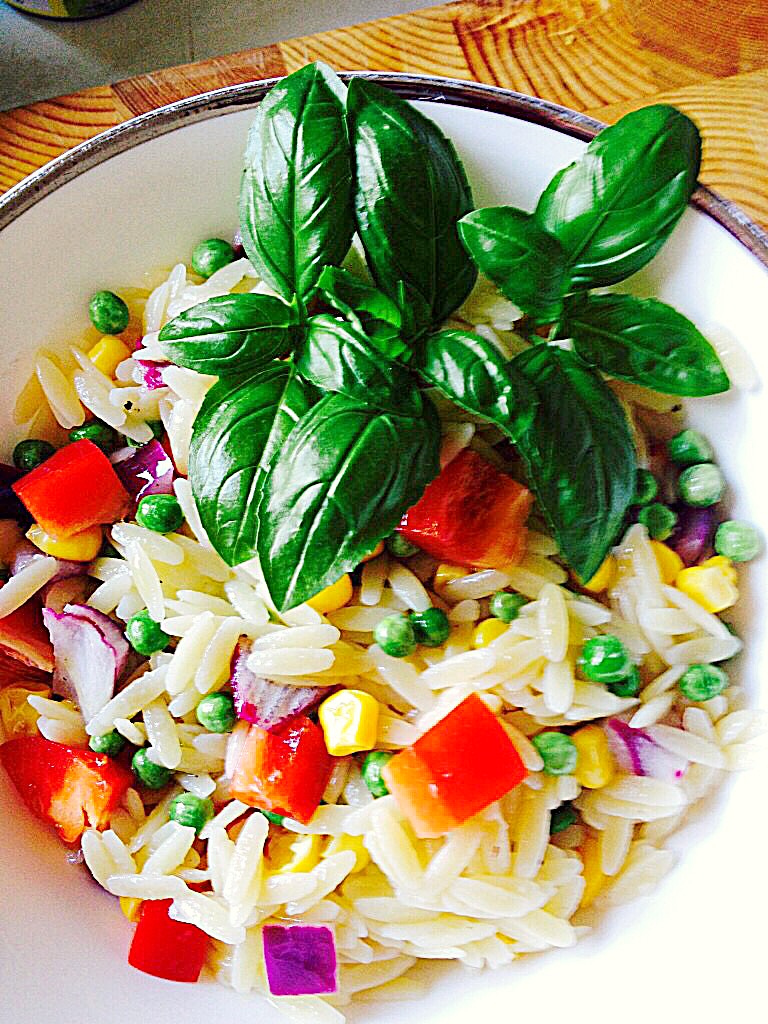
Take a handful of Basil leaves, roughly chop and sprinkle over.
Finally, cover with cling film and serve at room temperature.
This side goes fabulously with fish – Salmon especially, Chicken and Pork. Likewise, it makes a fab alternative to roast potatoes and hot veggies for a Summer roast, Also, it completely seals the deal as part of a buffet or served at a barbecue. And with very little effort needed!
If you have enjoyed this recipe for Lemon Garlic Vegetable Orzo you may also like these:


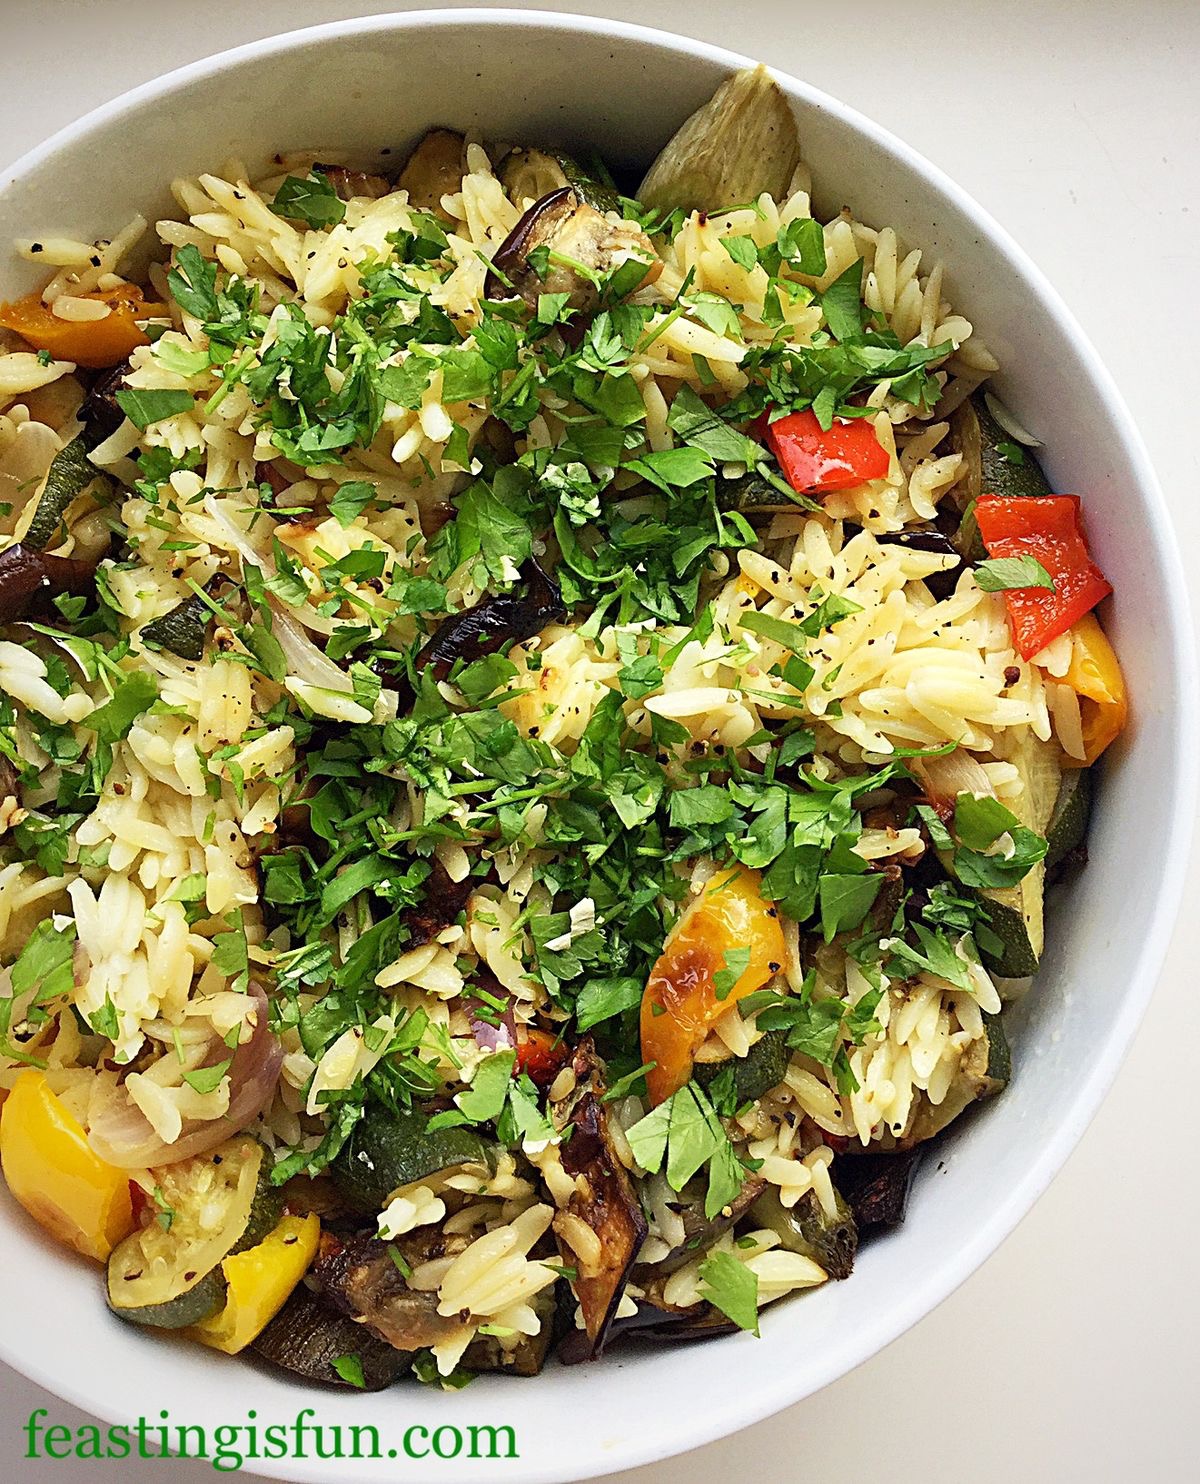
Roasted Summer Vegetable Orzo Salad
Enjoy feasting on this scrumptious dish and may we have many sunny days ahead to spend with friends and family, having fun round the BBQ!
Also, making sure there are hidden ‘Super-Soakers’ primed for action if it gets too hot – or boring!!!!
So, whatever you are making, baking and creating in your kitchens, have fun preparing and sharing your feast.
Sammie x
No part of this post may be reproduced or duplicated without the written permission of the owner. Please see my Disclosure Policy.
Share