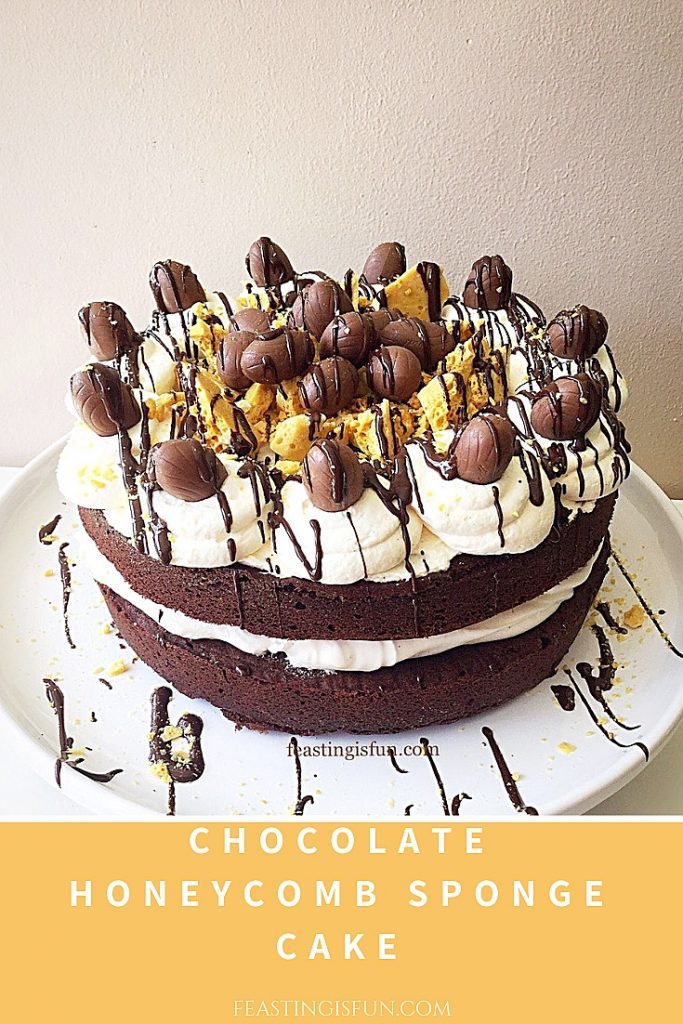
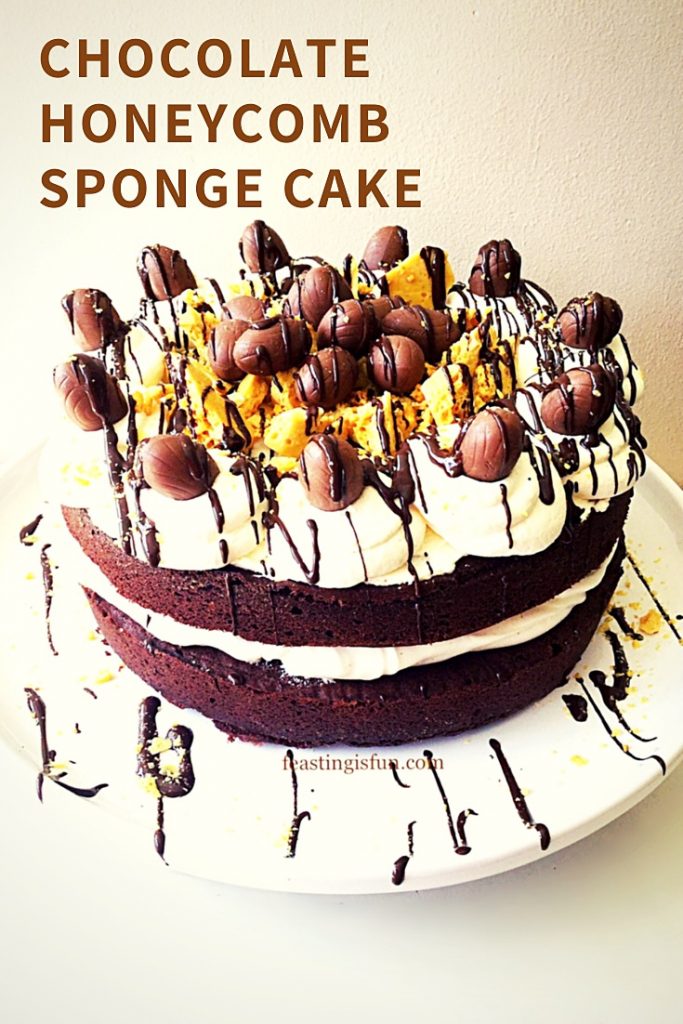
Fresh cream cakes and pastries are favourites of mine. Whether they are individual chocolate drizzled choux buns such as Hot Chocolate Fudge Sauce Covered Profiteroles, or a large cream filled sponge cake like my Strawberries and Cream Cake. While the whipped cream gives a delicious lightness to the cake, it is also not as sweet as other frostings. So, using it in this Chocolate Honeycomb Sponge Cake provides the perfect contrast to the rich, velvet, chocolate sponge.
Since receiving a bag of Art of Mallow’s new Honeycomb product, I’ve wanted to create something that would really show off it’s beautiful colour and toffee flavour. Also, having some leftover Lindt chocolate eggs from Easter provided inspiration for decorating the cake. Especially when they’re not available, the shiny wrapped truffle balls are! Finally, the use of dark chocolate as a contrasting drizzle keeps the flavours in balance.
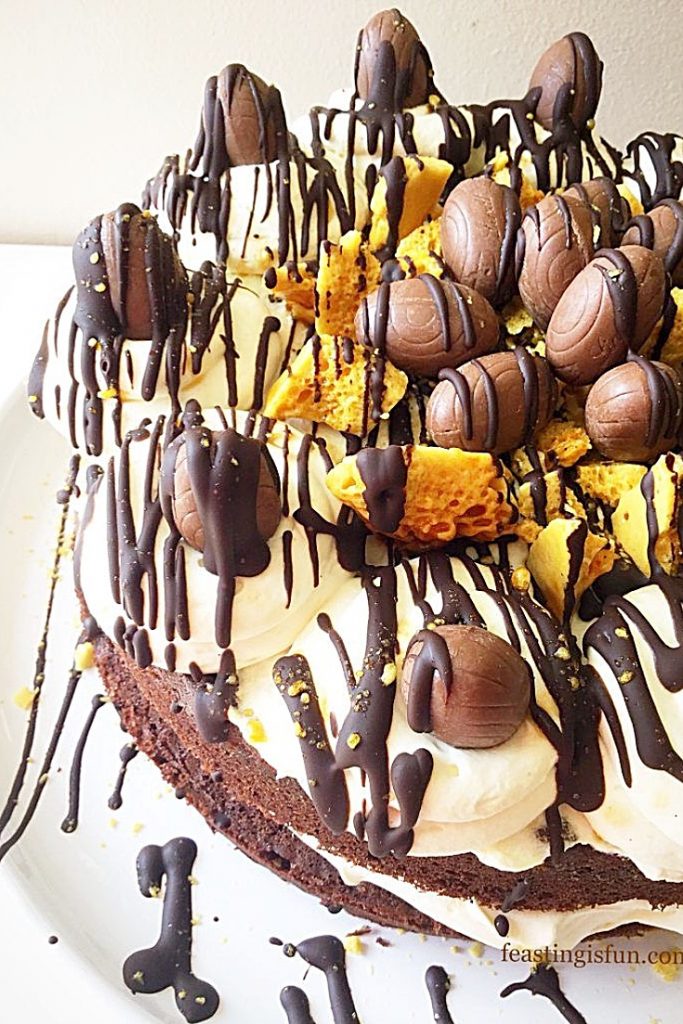
So, put simply, this cake is incredible. Especially for those who prefer their cakes a little less sweet. And even with the addition of honeycomb, the overall flavour is balanced. Resulting in a cake that should suit everyone!
Recipe: Chocolate Honeycomb Sponge Cake serves 10-12
For the cake:
225g/8oz Caster Sugar
225g/8oz Unsalted Butter at room temperature
1/4 tsp Sea Salt – I use Maldon
5 Large Free Range Eggs
1 tsp Vanilla Bean Paste (vanilla extract can be substituted) – I use Nielsen-Massey
100g/4oz Cocoa Powder – I use Callebaut
125g/4oz Plain White Flour
1 tsp Baking Powder
To Decorate:
450mls/1 pint Double Cream (Heavy Cream)
1 tsp Vanilla Bean Paste
50g/2oz Dark Chocolate minimum 70% Cocoa
100g/4oz Lindt Chocolate Mini Eggs or Truffles/Balls
Honeycomb – I used a bag from Art of Mallow alternatively use a couple of Crunchie bars
Preheat oven to 160C/140C fan, 325F, gas mark 3, 325F.
Note: You will need 2 x 20cm/8″ sandwich tins at least 5cm/2″ deep. Most importantly, grease thoroughly with butter and line the base with baking parchment.
Making And Baking The Chocolate Sponge Cakes
- First of all place the sugar, butter and salt into a large bowl and whisk together until pale and creamy.
- Add all five eggs and the vanilla, then sift the cocoa powder on top. Whisk together until completely combined.
- Sift the flour and baking powder into the bowl. Gently fold the flour in using a metal spoon until the ingredients are just combined. Because over mixing can cause the cake to be tough.
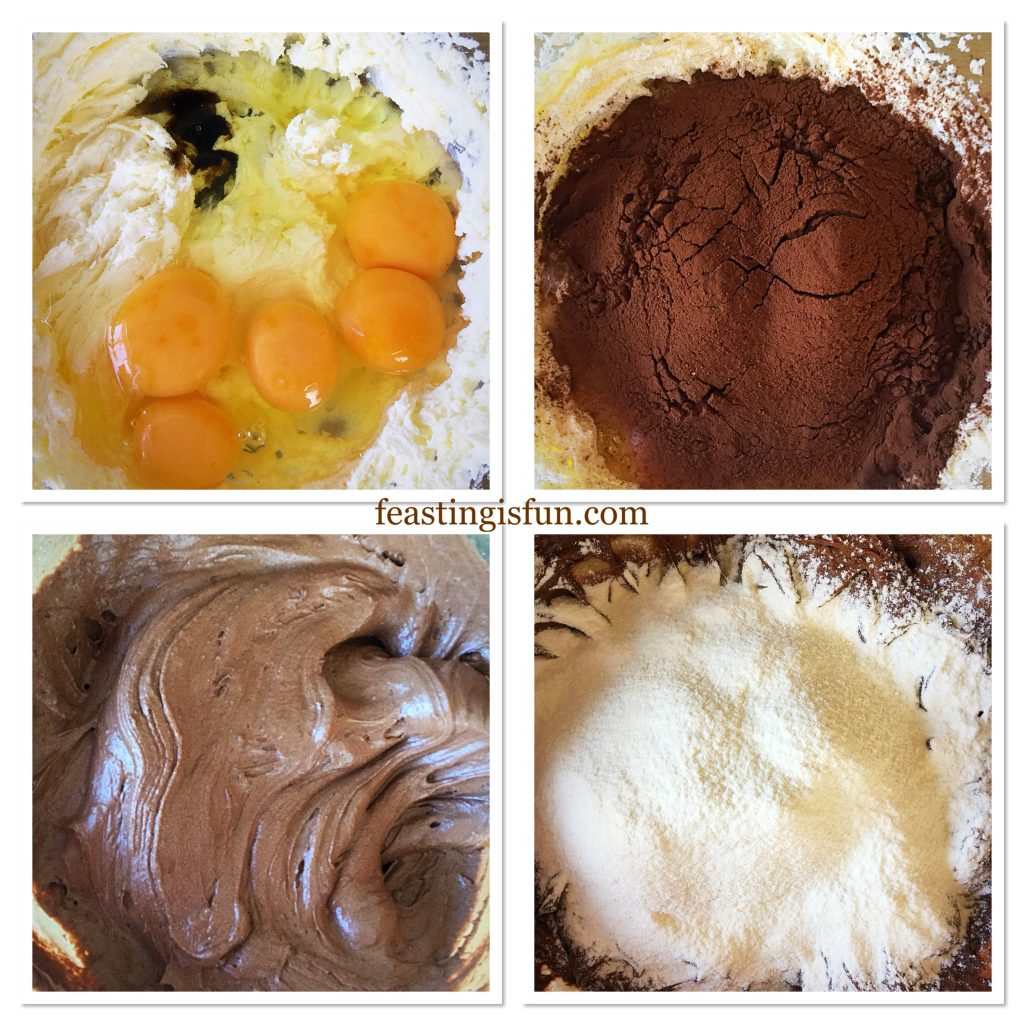
- Divide the rich chocolate cake batter evenly between the two prepared tins.
- Place the cake tins into the lower and middle part of the oven and bake for 35-40 minutes.
- The cakes are baked when they spring back from a light touch. Likewise, an inserted skewer will come out clean.
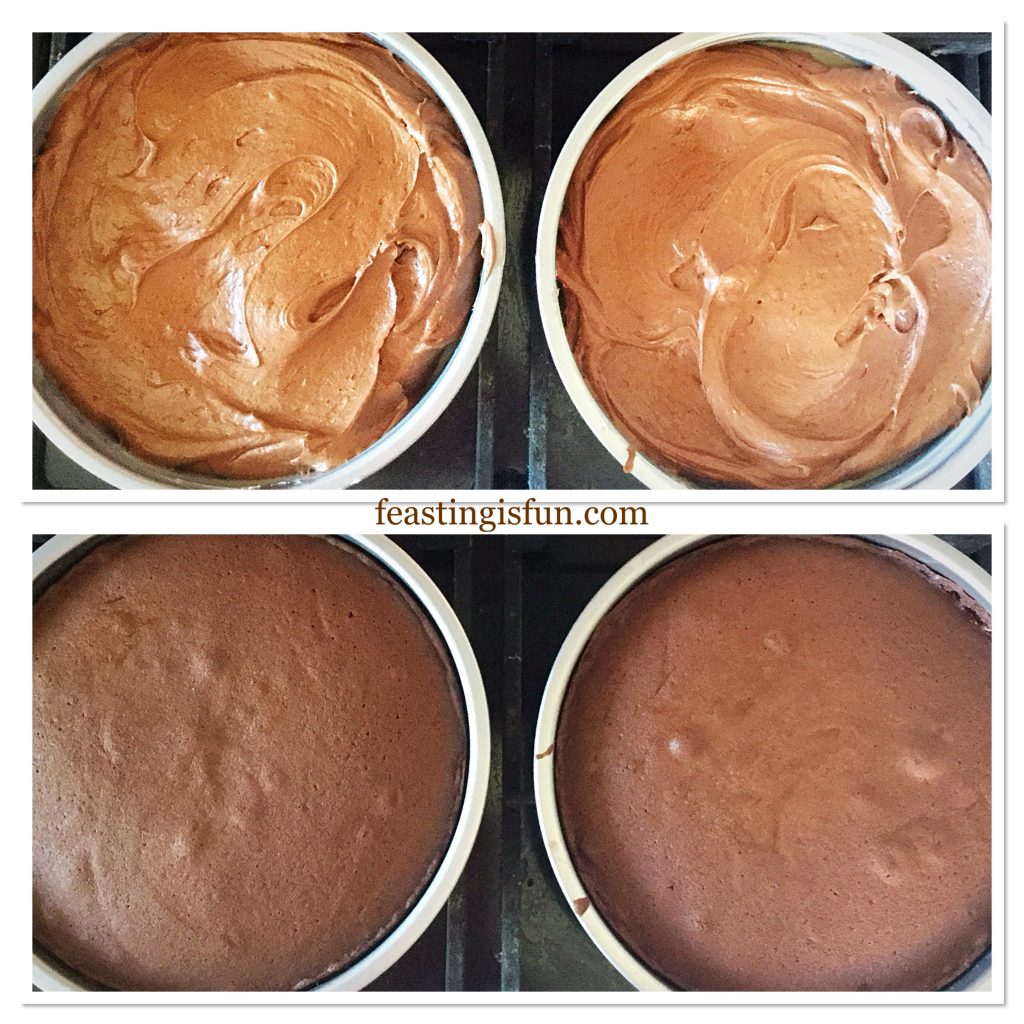
- As soon as the cakes are baked remove from the oven and place the tins on to a cooling rack.
- Leave the cakes to cool in the tin for 15 minutes before turning out and allowing to finish cooling on the rack.
Filling And Decorating The Cake
- While the cakes are cooling prepare the cream. Pour the cream and vanilla into a large bowl. Whisk until the cream just holds it’s shape. Fit a piping bag with a 1cm round nozzle and fill with half of the whipped cream.
- Break up the chocolate and place in a heatproof, microwaveable bowl. Zap for 20 seconds at at time until the chocolate starts to melt. Remove and stir continuously until all of the chocolate is melted. Pour into a small, disposable piping bag and set to one side to cool.
- Place a cooled chocolate sponge, flat side up on to a board or plate.
- Spoon the remaining cream on to the sponge and spread to cover evenly.
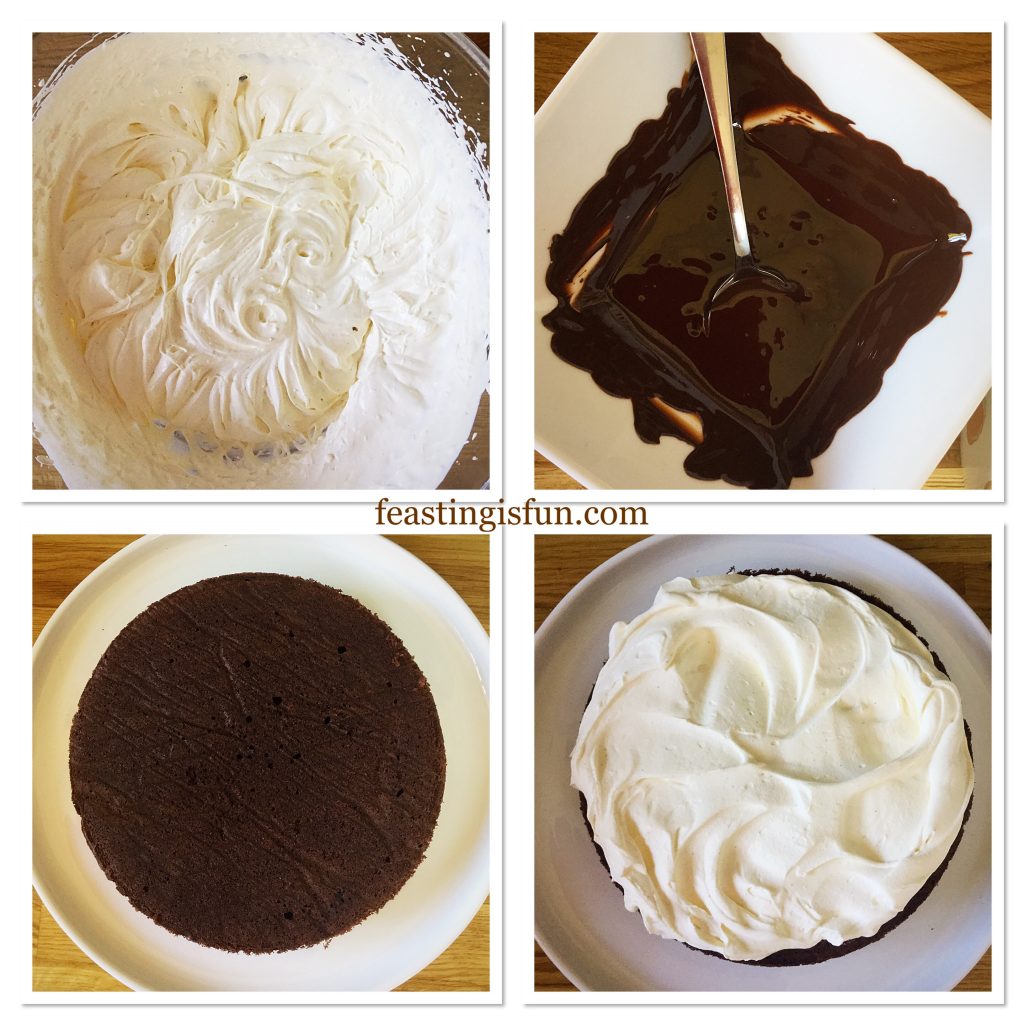
- Place the second sponge, flat side down, gently on top of the cream covered bottom sponge.
- Pipe a small amount of cream on to the sponge, use a palette knife to spread evenly.
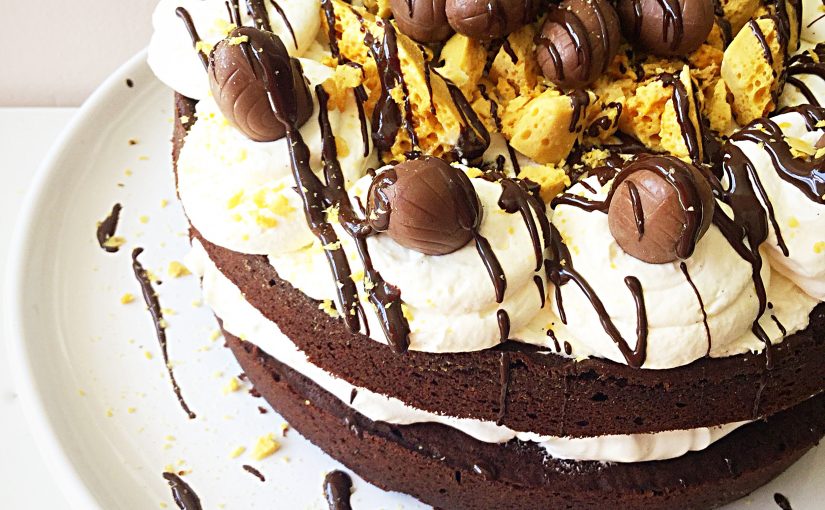
- Now pipe swirls around the outside edge.
- Add a Lindt chocolate ball or egg on to each swirl.
- Snip off the very end of the melted chocolate filled piping bag and drizzle across the cake. Reserve some melted chocolate for finishing the cake.
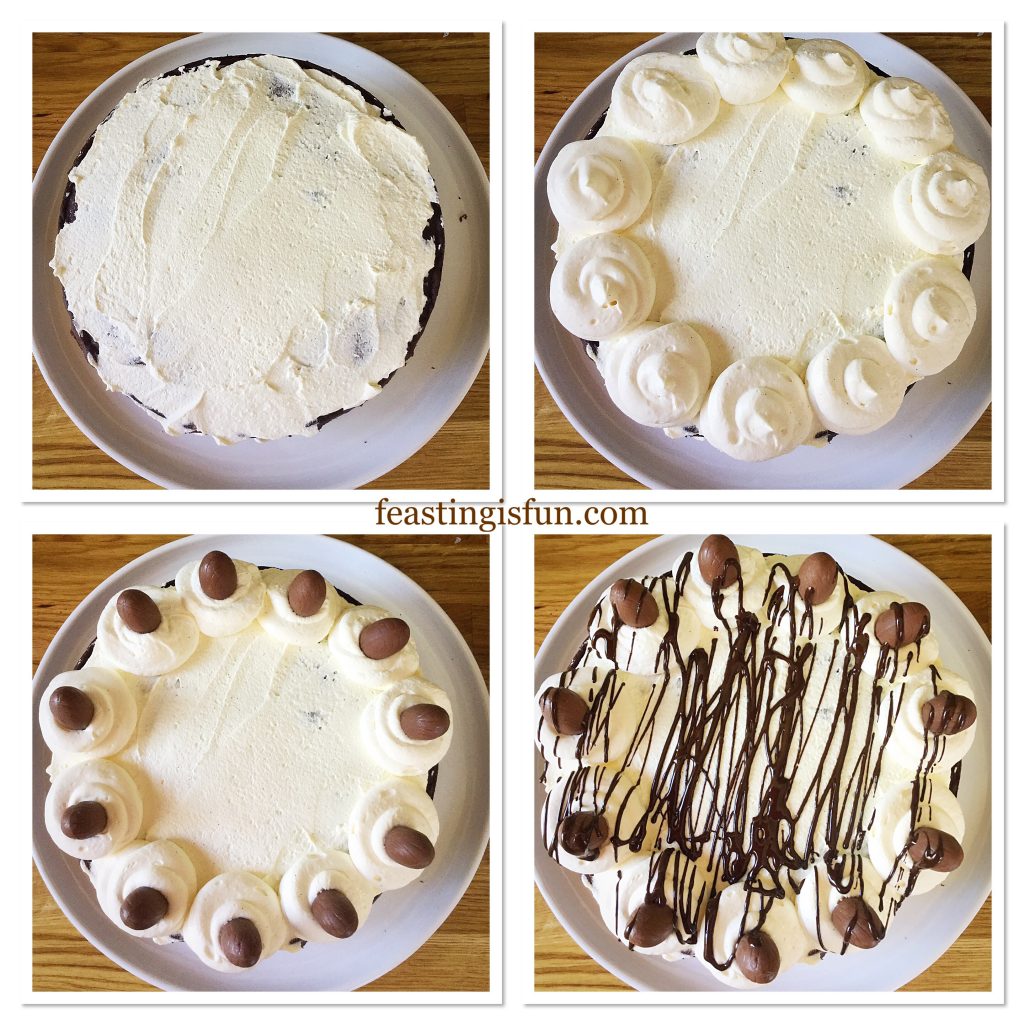
Finishing Touches Make The Cake Extra Special
- Crush the honeycomb using a rolling pin and sandwich bag. Aim for some larger pieces, rubble and golden dust.
- Place the larger pieces of honeycomb just inside the piped swirls. Fill in the centre with the honeycomb rubble, reserving a couple of teaspoons to finish the cake.
- Top the honeycomb with the remaining chocolates.
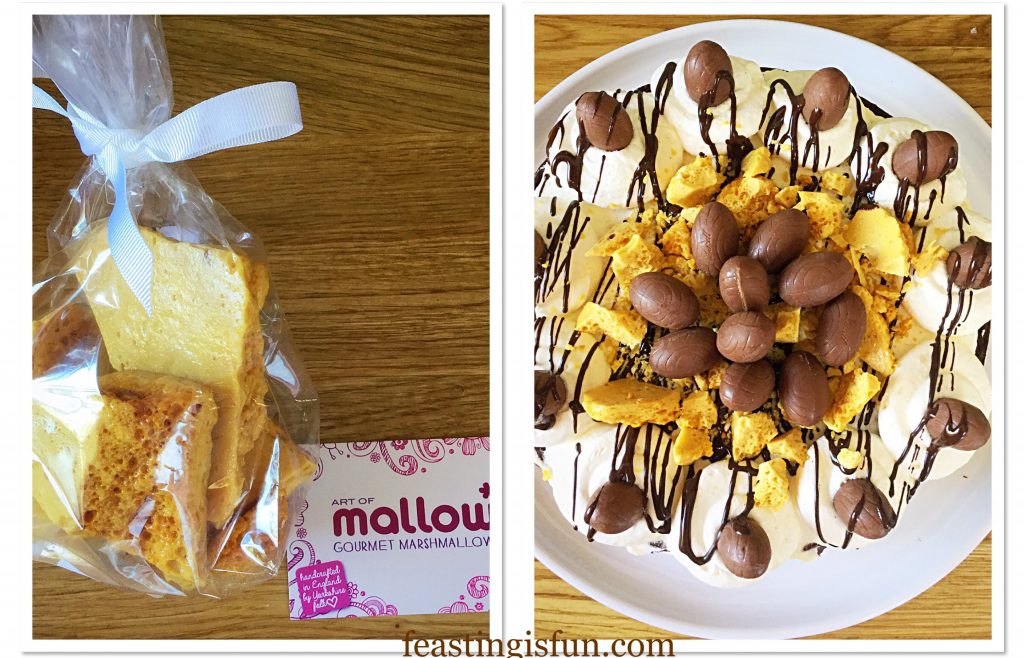
- Finally, pipe more chocolate drizzle on top of the decorated cake, allowing some chocolate to drizzle on to the plate.
- Finish with a sprinkle of gold, crushed honeycomb.
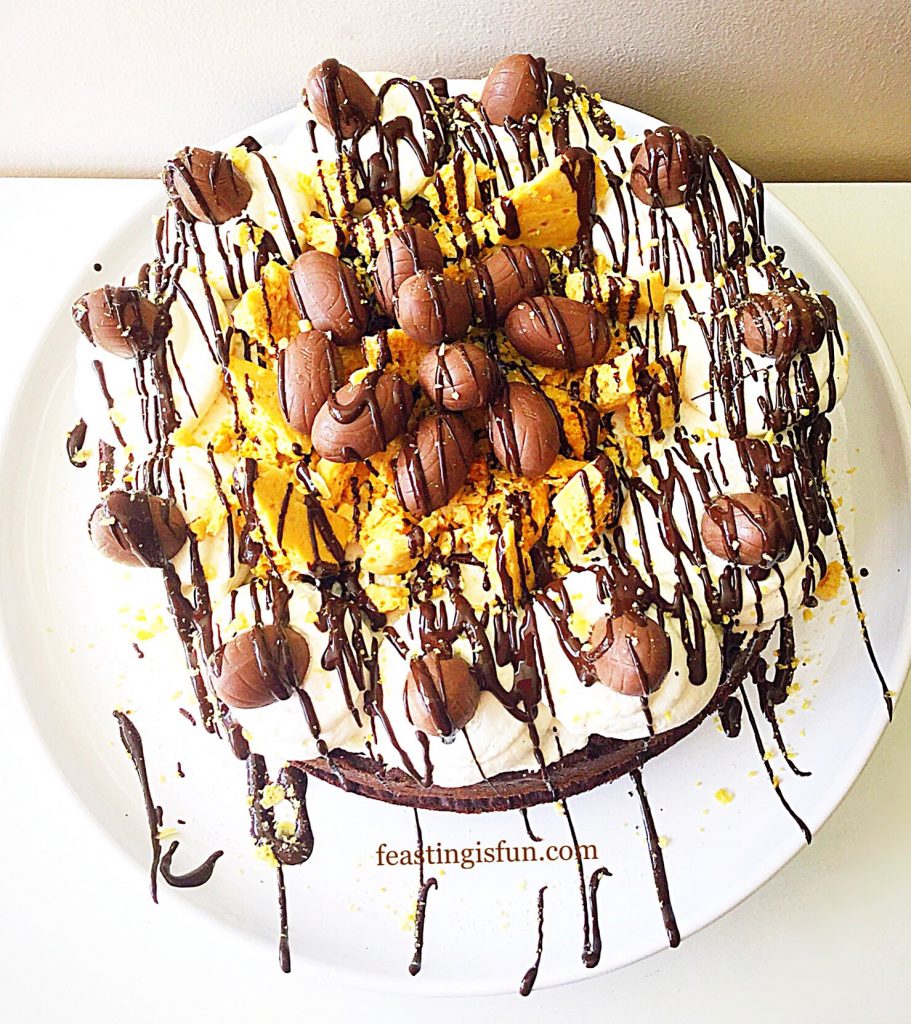
- Refrigerate the cake for at least 1 hour to allow the chocolate to set and the whole cake to firm up.
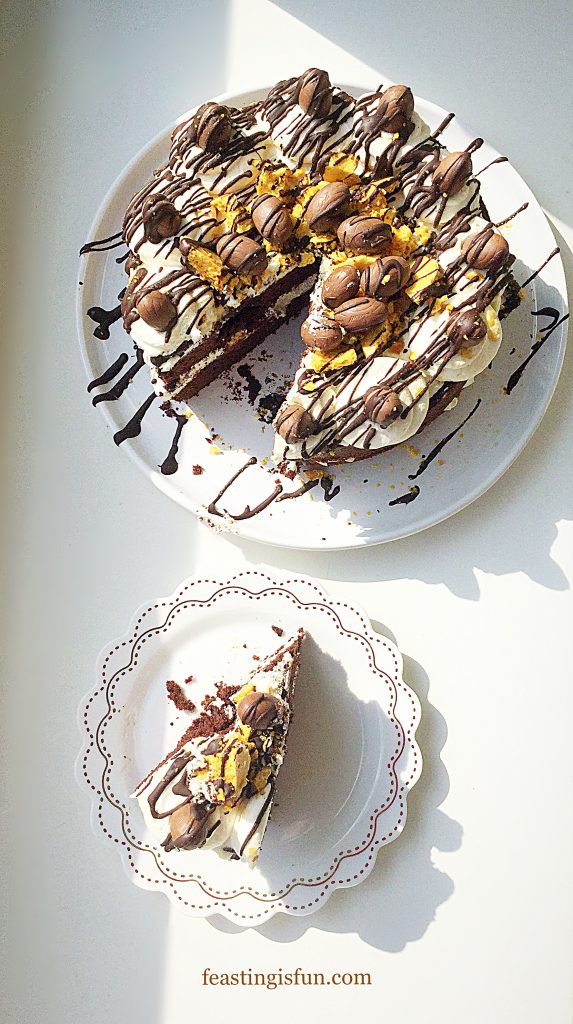
Slice and share with family, friends and neighbours!
To enjoy this cake at its best, eat on the day it is made. Although, the chocolate sponges can be made a day ahead and stored in an airtight container. Finally, refrigerate eat the cake and eat within 3 days.
If you have enjoyed this recipe for Chocolate Honeycomb Sponge Cake you may also like these:
Raspberry Lemon Celebration Layer Cake
Chocolate Mini Egg Sponge Cake
Pomegranate Lemon Drizzle Bundt Cake
Unusually for me, I enjoyed two slices of cake. And, in the spirit of sharing, our Waitrose shopping delivery driver also went away with a generous slice. Since it is my firm belief is that all food tastes better when it is shared. Because, the sheer joy gained when giving someone an unexpected foodie treat, makes our own eating experience extra special.
So, whatever you are making, baking and creating in your kitchens, have fun preparing and sharing your feast.
Sammie xx
Art of Mallow kindly sent me a bag of their new honeycomb to review. All opinions and views in this post are my own. No part of this post may reproduced or duplicated without the written permission of the owner. Please see my Disclosure Policy.
I posted when I re-tweeted
But this looks beyond awesome ! !
My grand daughter is a pastry chief in training.
Ga-ma is defiantly going to have a request.
Thank you Dori for such a beautiful comment. Ooh I imagine that your grand daughter will make you an incredible cake. Please post a photo of it on Twitter if you can? X
Bravo Sammie! The addition of the honey comb takes this from great to Grandé . .. beautifully done 💝
Thank you Bea. The honeycomb used is exceptionally good! X
Wow Sammie this cake looks insanely good!
Thanks Kat, it disappeared really quickly! X
I LIKE THIS ARTICLE… AND LOVE..
Thank you Nia.