Feta Cheese Herb Muffins

Share
Facebooktwitterpinterestlinkedintumblr

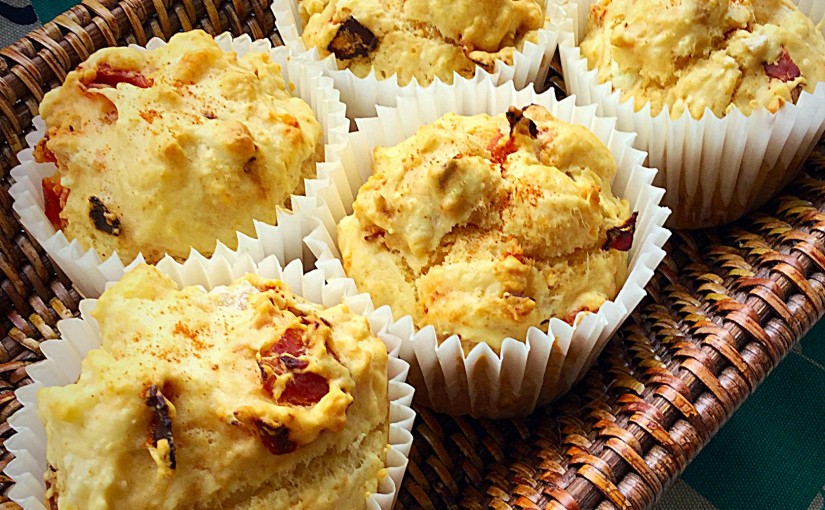
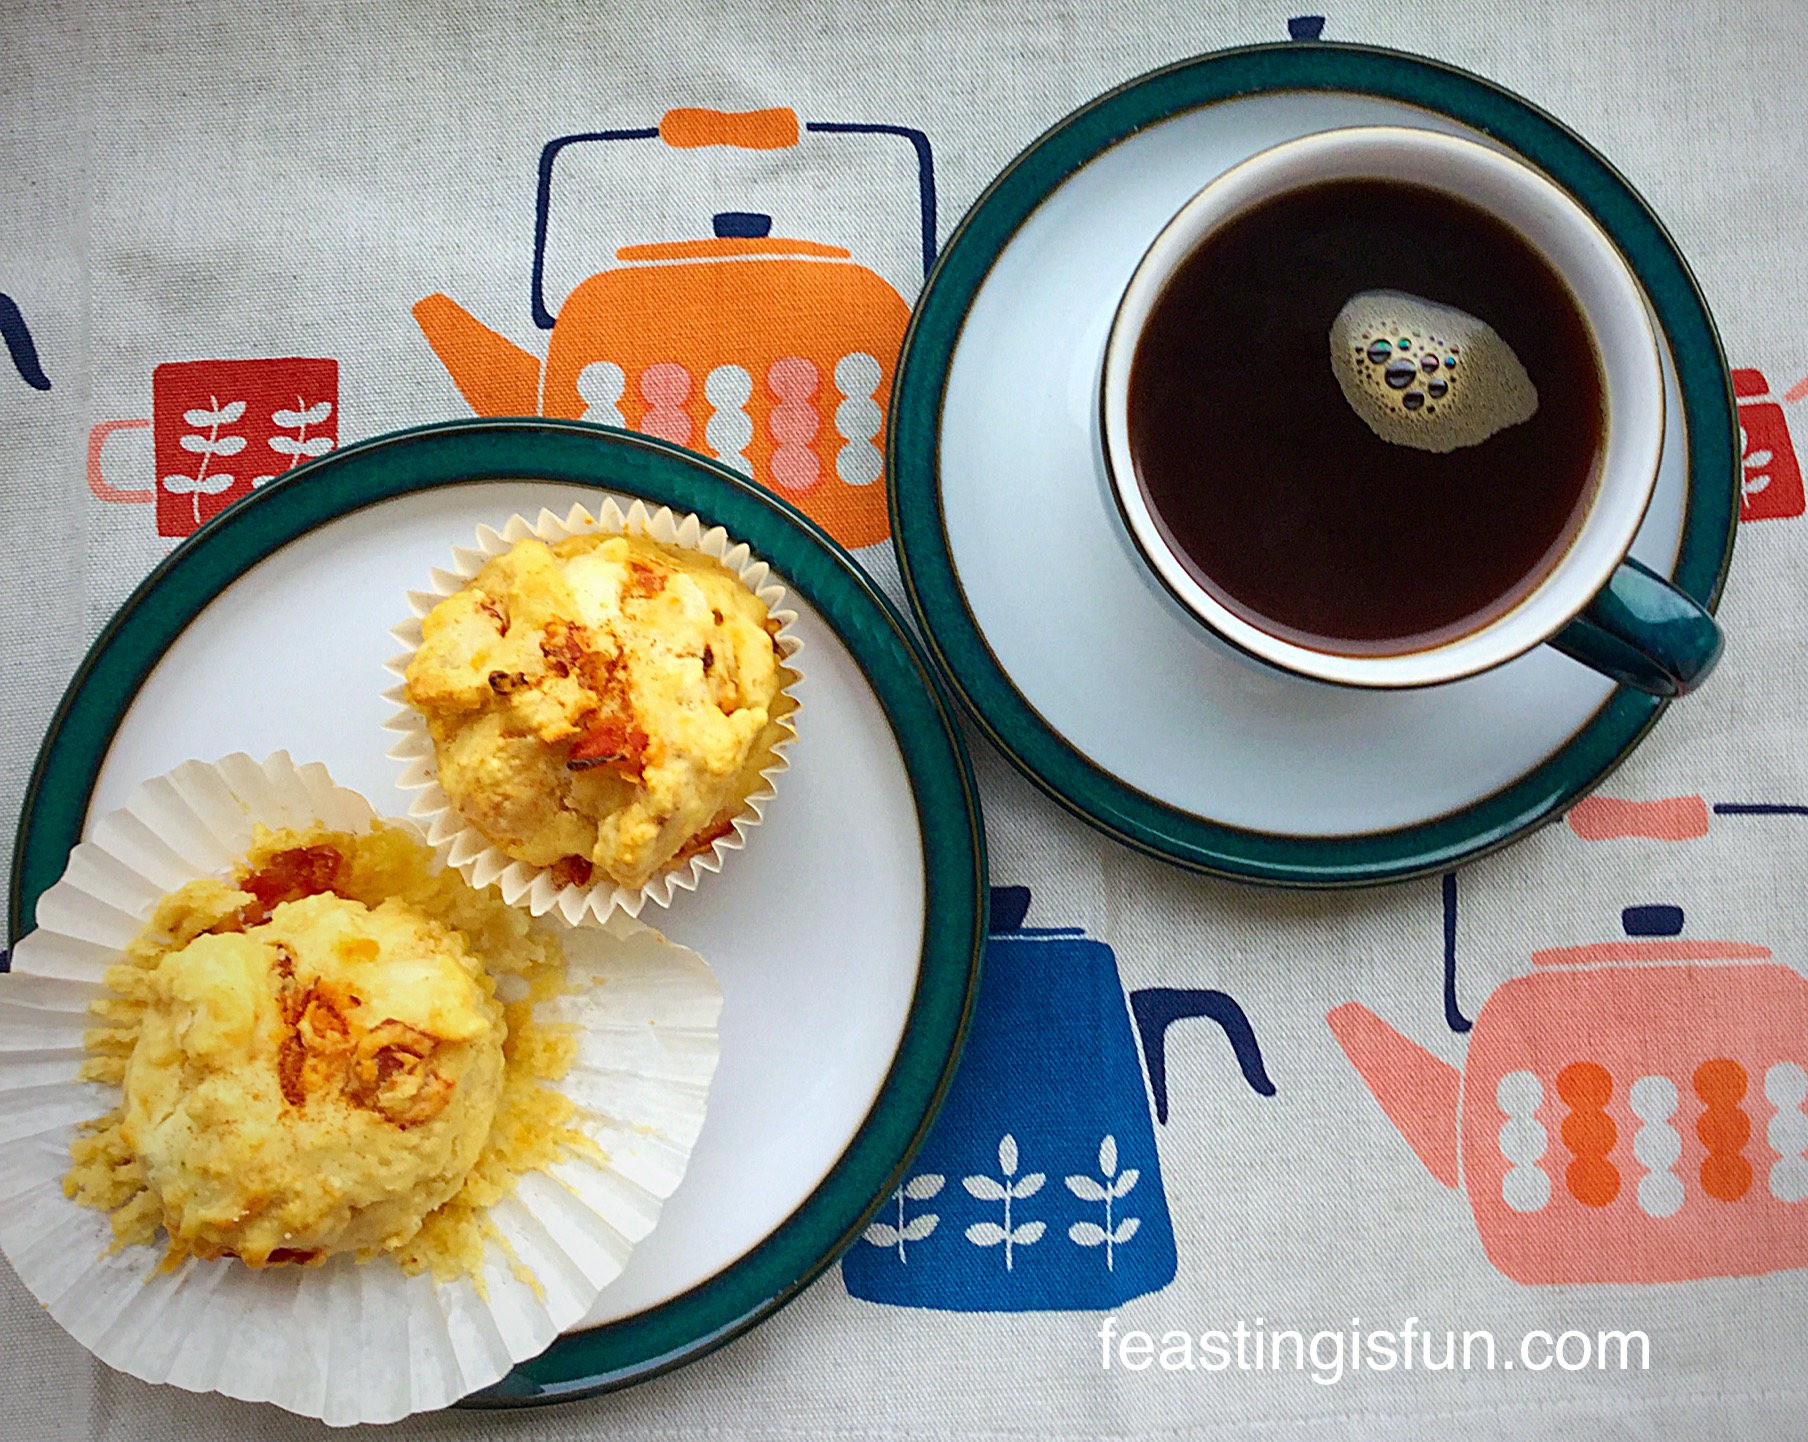
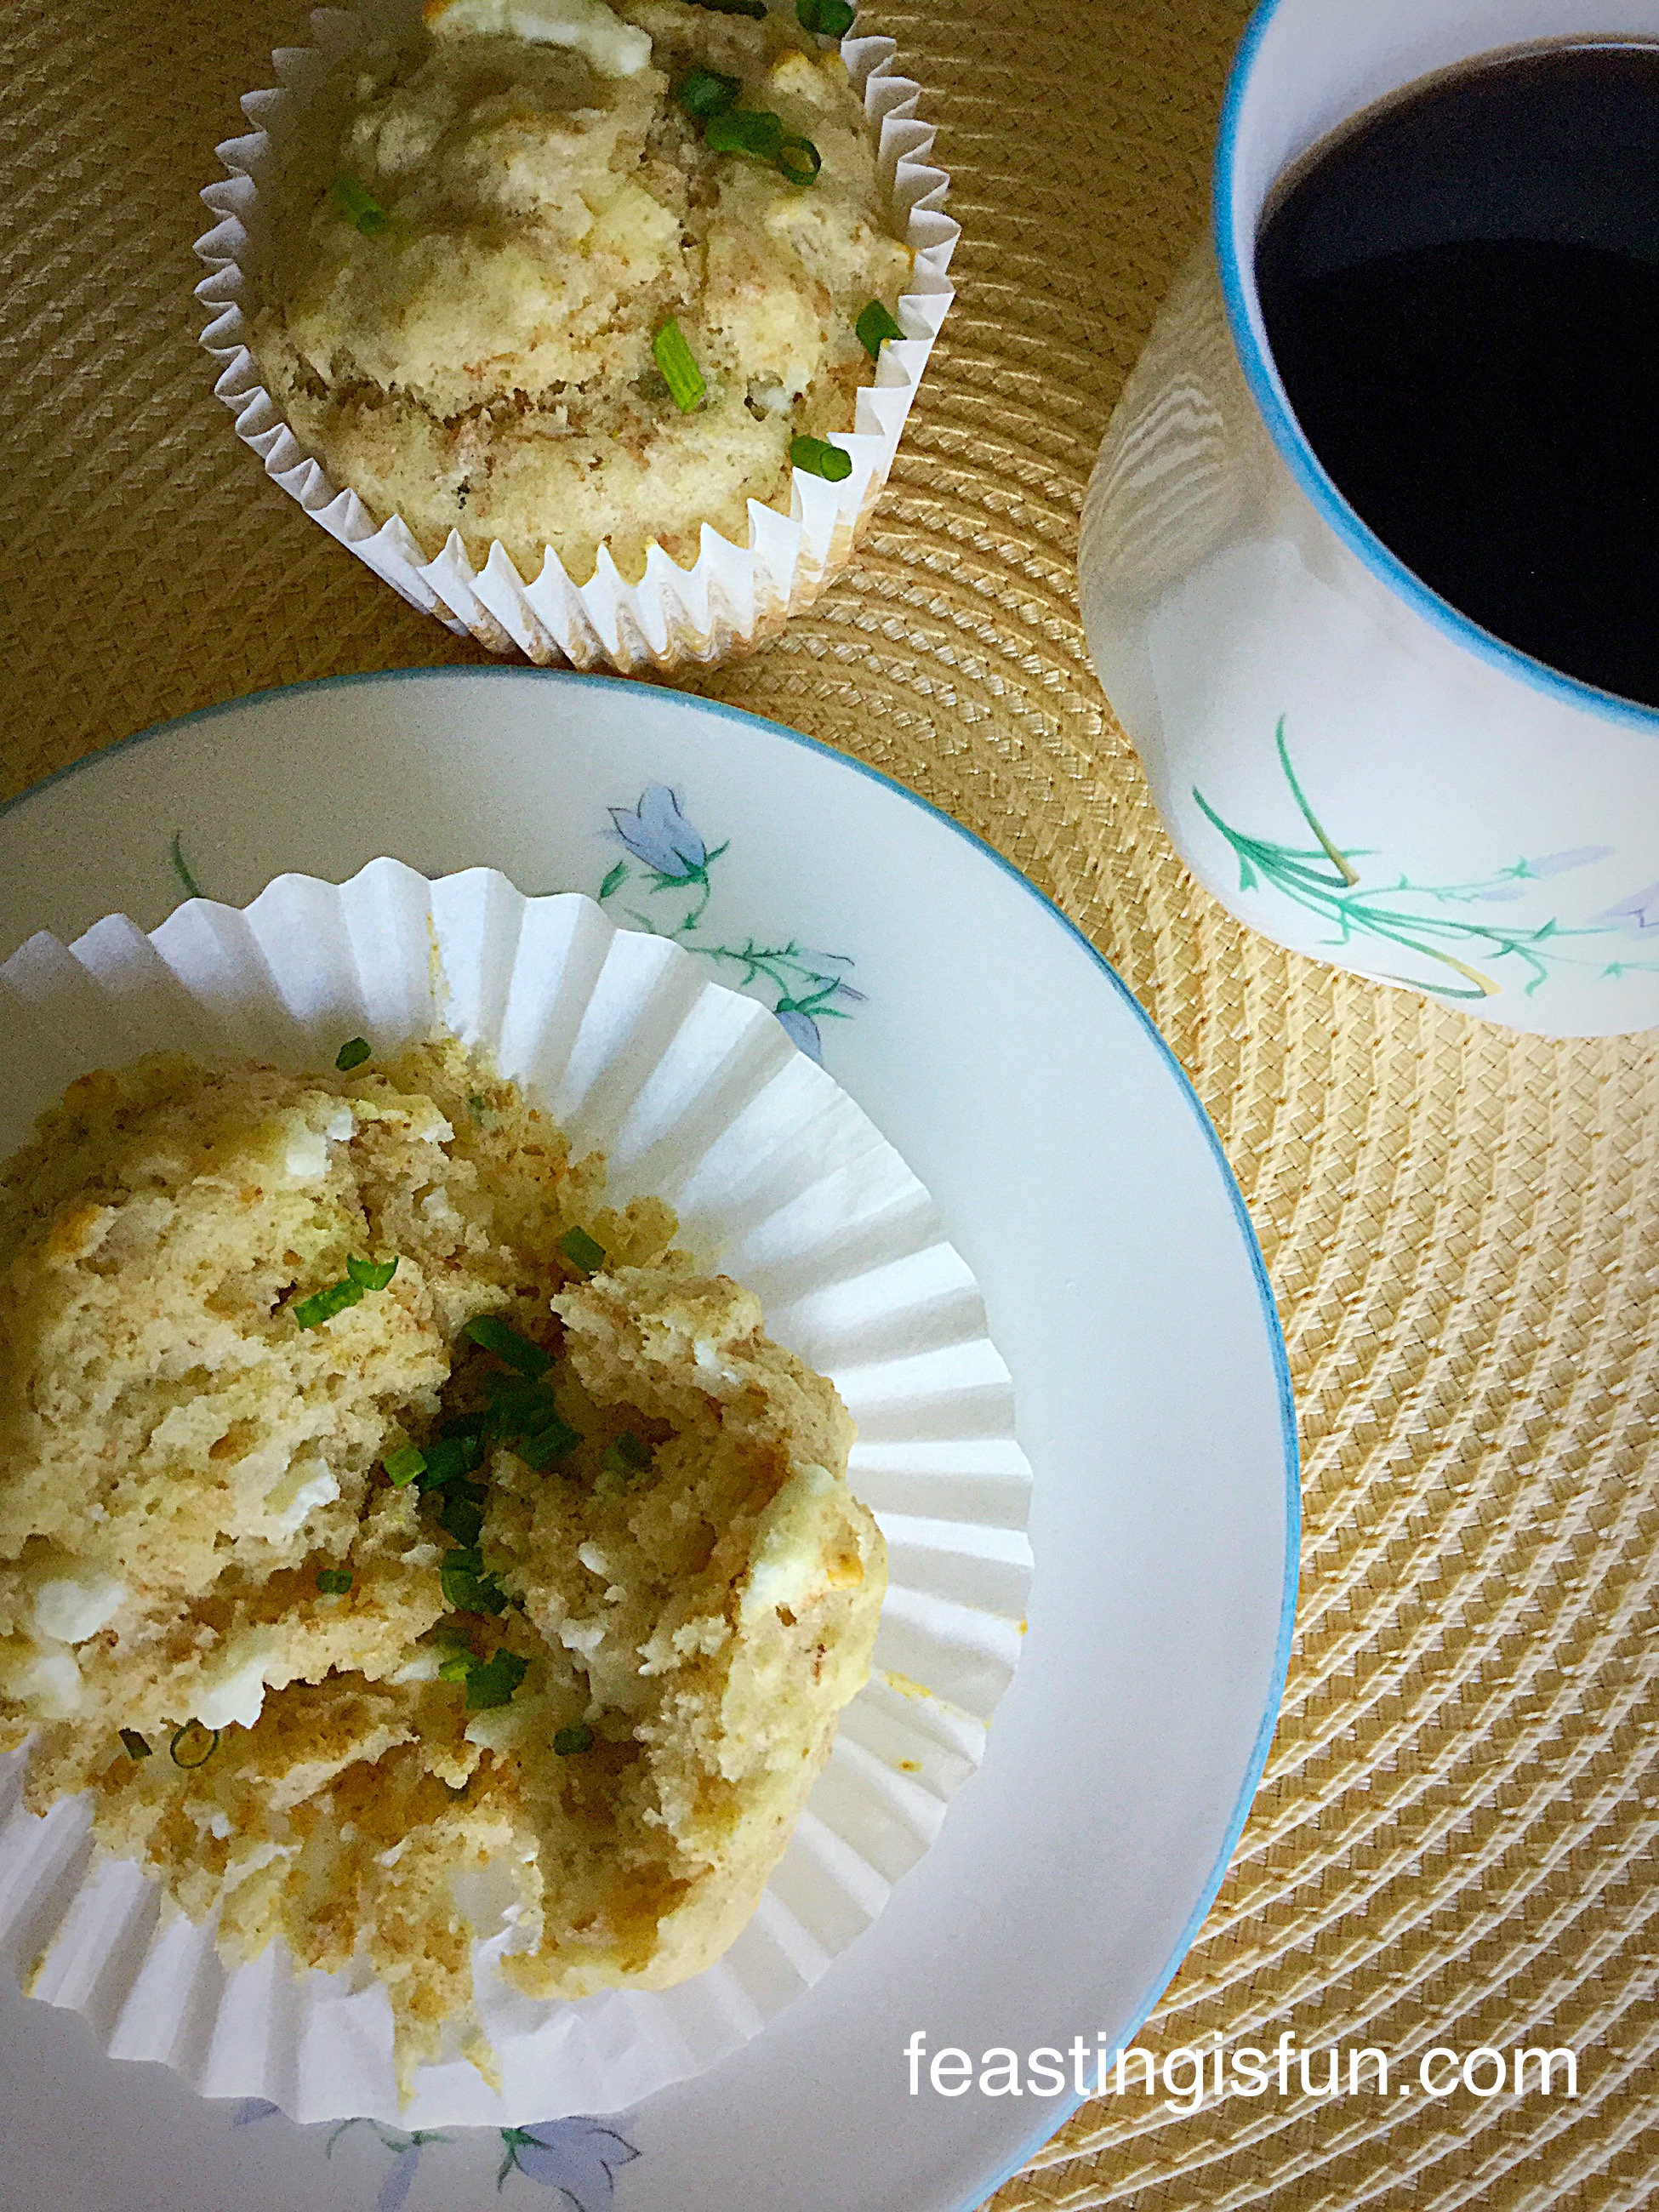
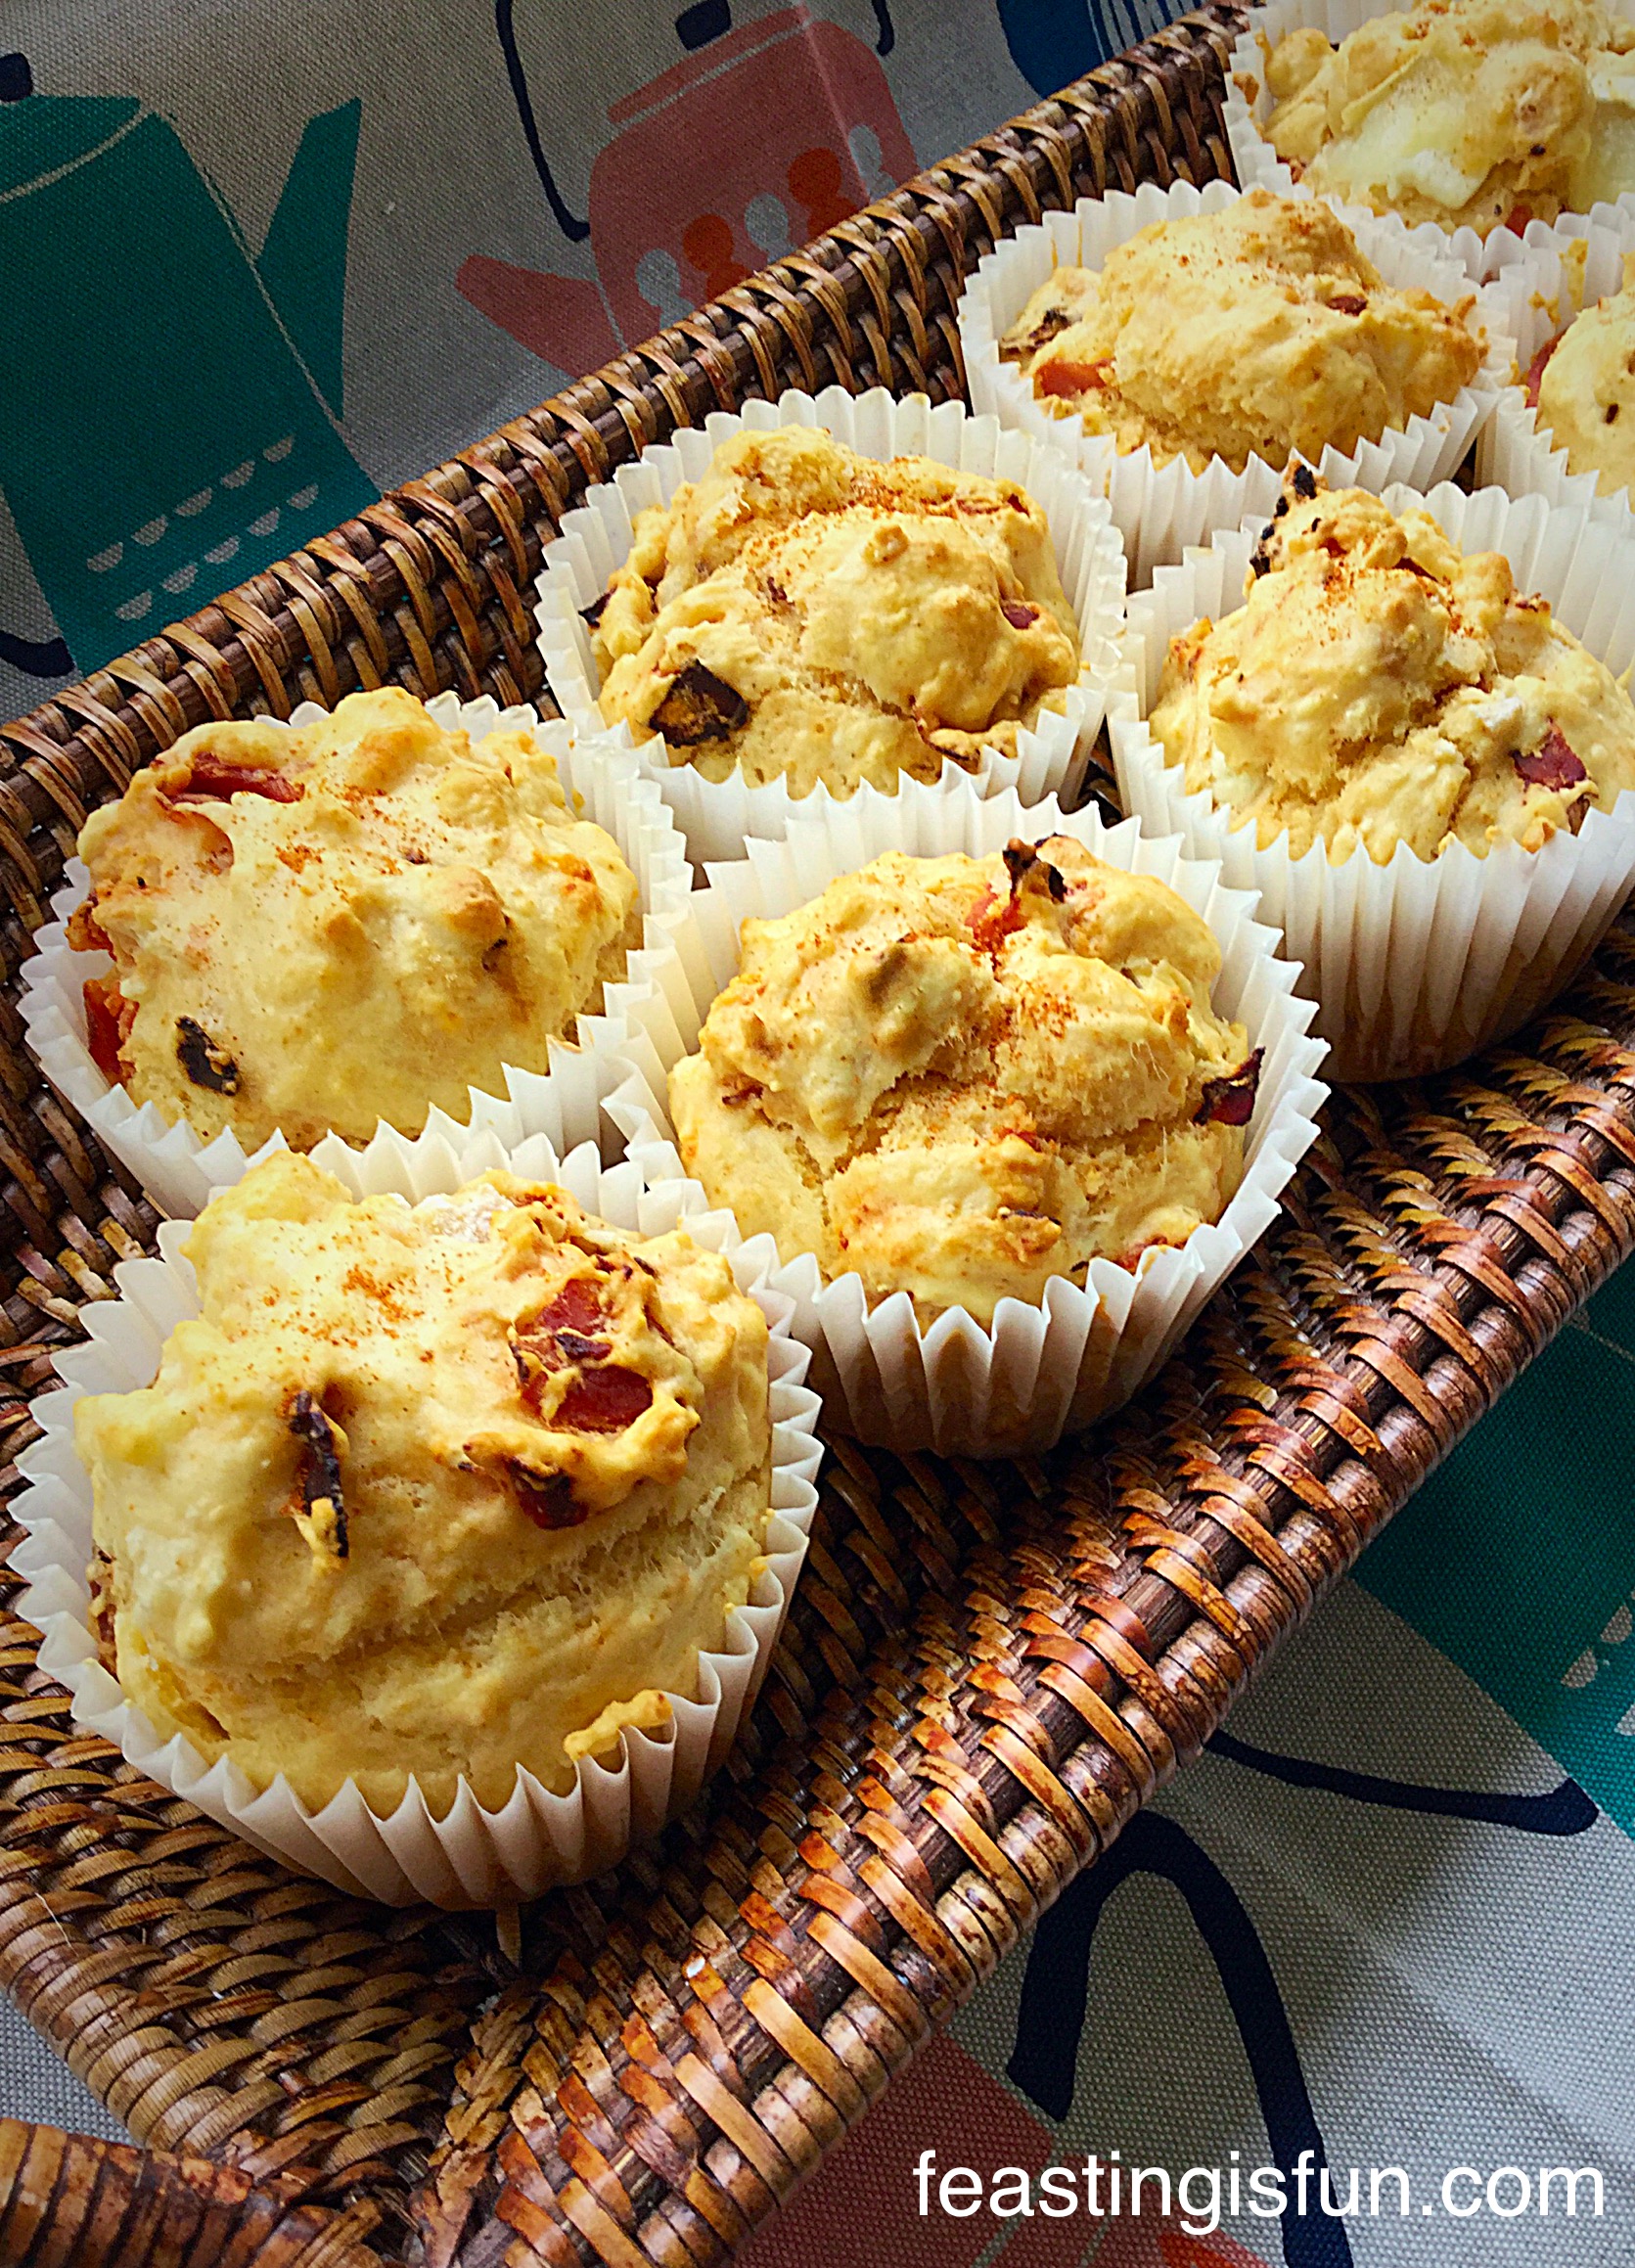
Oh wow, these Feta Cheese Herb Muffins certainly have a taste of the Mediterranean about them.

FF Feta Cheese Herb Muffins
Feta Cheese Herb Muffins perfect for eating any time of the day!

Sorry, I know I usually write a little intro, but these Feta Cheese Herb Muffins are so, so good I wanted to tell you about them straight away. Like an excited child with news of their day at school, I am literally bursting with excitement over how good these are.

Salty feta cheese, that almost melts, in a slightly healthier muffin – I’ve added in some wholemeal flour, without any added heaviness – accompanied by the delicate onion flavour of fresh chives and just the teeny tiniest hint of fresh mint!

FF Feta Cheese Herb Muffins
Feta Cheese Herb Muffins delicious warmed for brunch.

Having first made my friend, Jackie Heaton aka The Baking Nanna’s Cheese Bacon Breakfast Muffins which are absolutely delicious, I have loved coming up with different variations of the muffin.

Today I wanted to see if I could add wholemeal flour to the muffins, without making them heavy. So I replaced one third of the flour with plain, wholemeal flour. I increased the baking powder and hoped that the balance would work. It totally did.

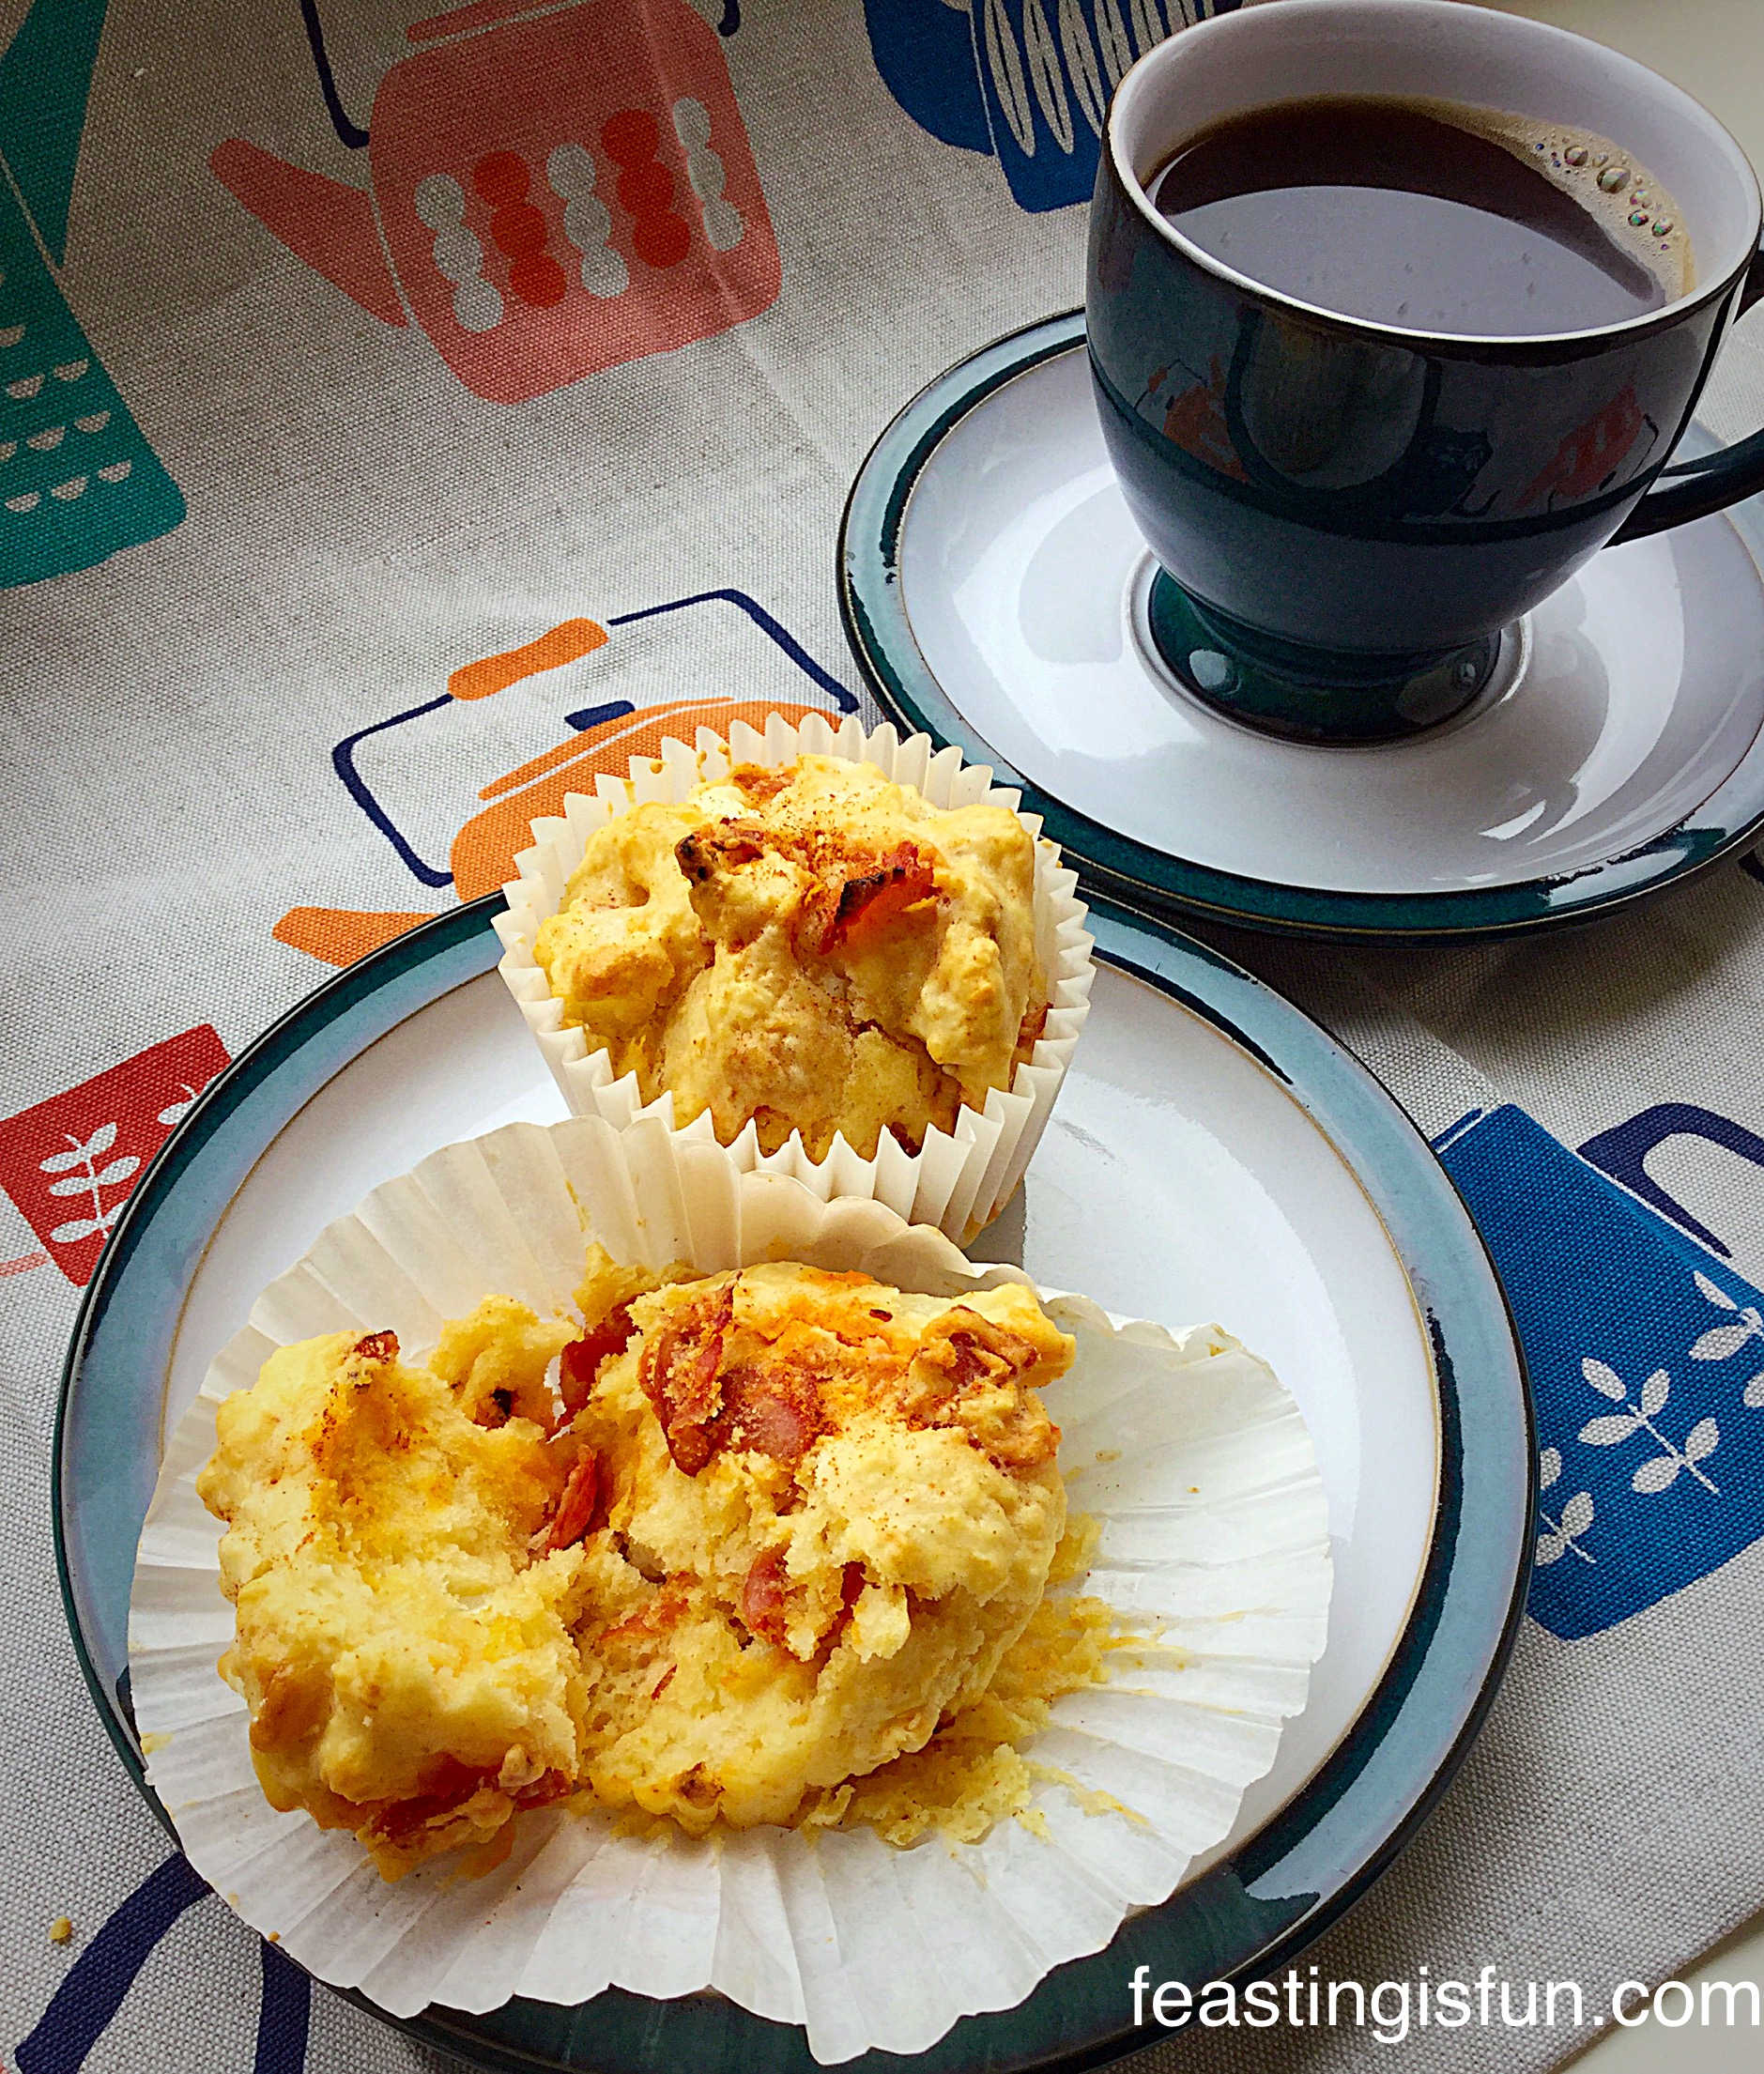
The wholemeal flour adds a subtle depth of flavour that completely works with the salty feta cheese. I thoroughly enjoyed a late breakfast this morning feasting on these flavour packed morsels.

FF Feta Cheese Herb Muffins
Feta Cheese Herb Muffins so good and so easy to bake.

Freshly cut from the garden, both the chives and the mint add a subtle brightness to the Feta Cheese Herb Muffins. None of our children noticed the mint, I was a bit worried thinking that might be the deal breaker! There are only three mint leaves in the whole recipe, yet they provide a fantastic, fresh flavour, without making the muffins taste like toothpaste!!!

If you don’t have fresh herbs in your garden, they can easily be grown on a window-ledge. I buy mine growing in pots, from the supermarket. Woody herbs such as sage, thyme, oregano and rosemary grow in the garden, as do the chives, which have recently started to sprout. Mint I grow in a tub, as it can be a bit of a thug if planted in the open ground, rapidly spreading and smothering other plants.

There is a place for both fresh and dried herbs in my kitchen. In this recipe however, I would only recommend using fresh herbs. Look out for upcoming posts where I will share tips and recipes on the vegetables and herbs I grow.

FF Feta Cheese Herb Muffins
Feta Cheese Herb Muffins delicious, healthier and low in fat.

Recipe: Makes 12 Feta Cheese Herb Muffins

200g/7oz Plain White Flour

100g/4oz Plain Wholemeal Flour

3tsp Baking Powder

200g/7oz Feta Cheese – drained

1tbsp Chopped Fresh Chives – plus extra to garnish – I use scissors to snip the chives

3 Fresh Mint Leaves – finely chopped

200ml Whole or Semi-skimmed Milk

2 Large Free Range Eggs

2tbsp Vegetable Oil

2tbsp Extra Virgin Olive Oil

Approx 1tsp Freshly Ground Black Pepper – or less if desired

Method: Preheat the oven to 200C/180C fan, gas mark 6

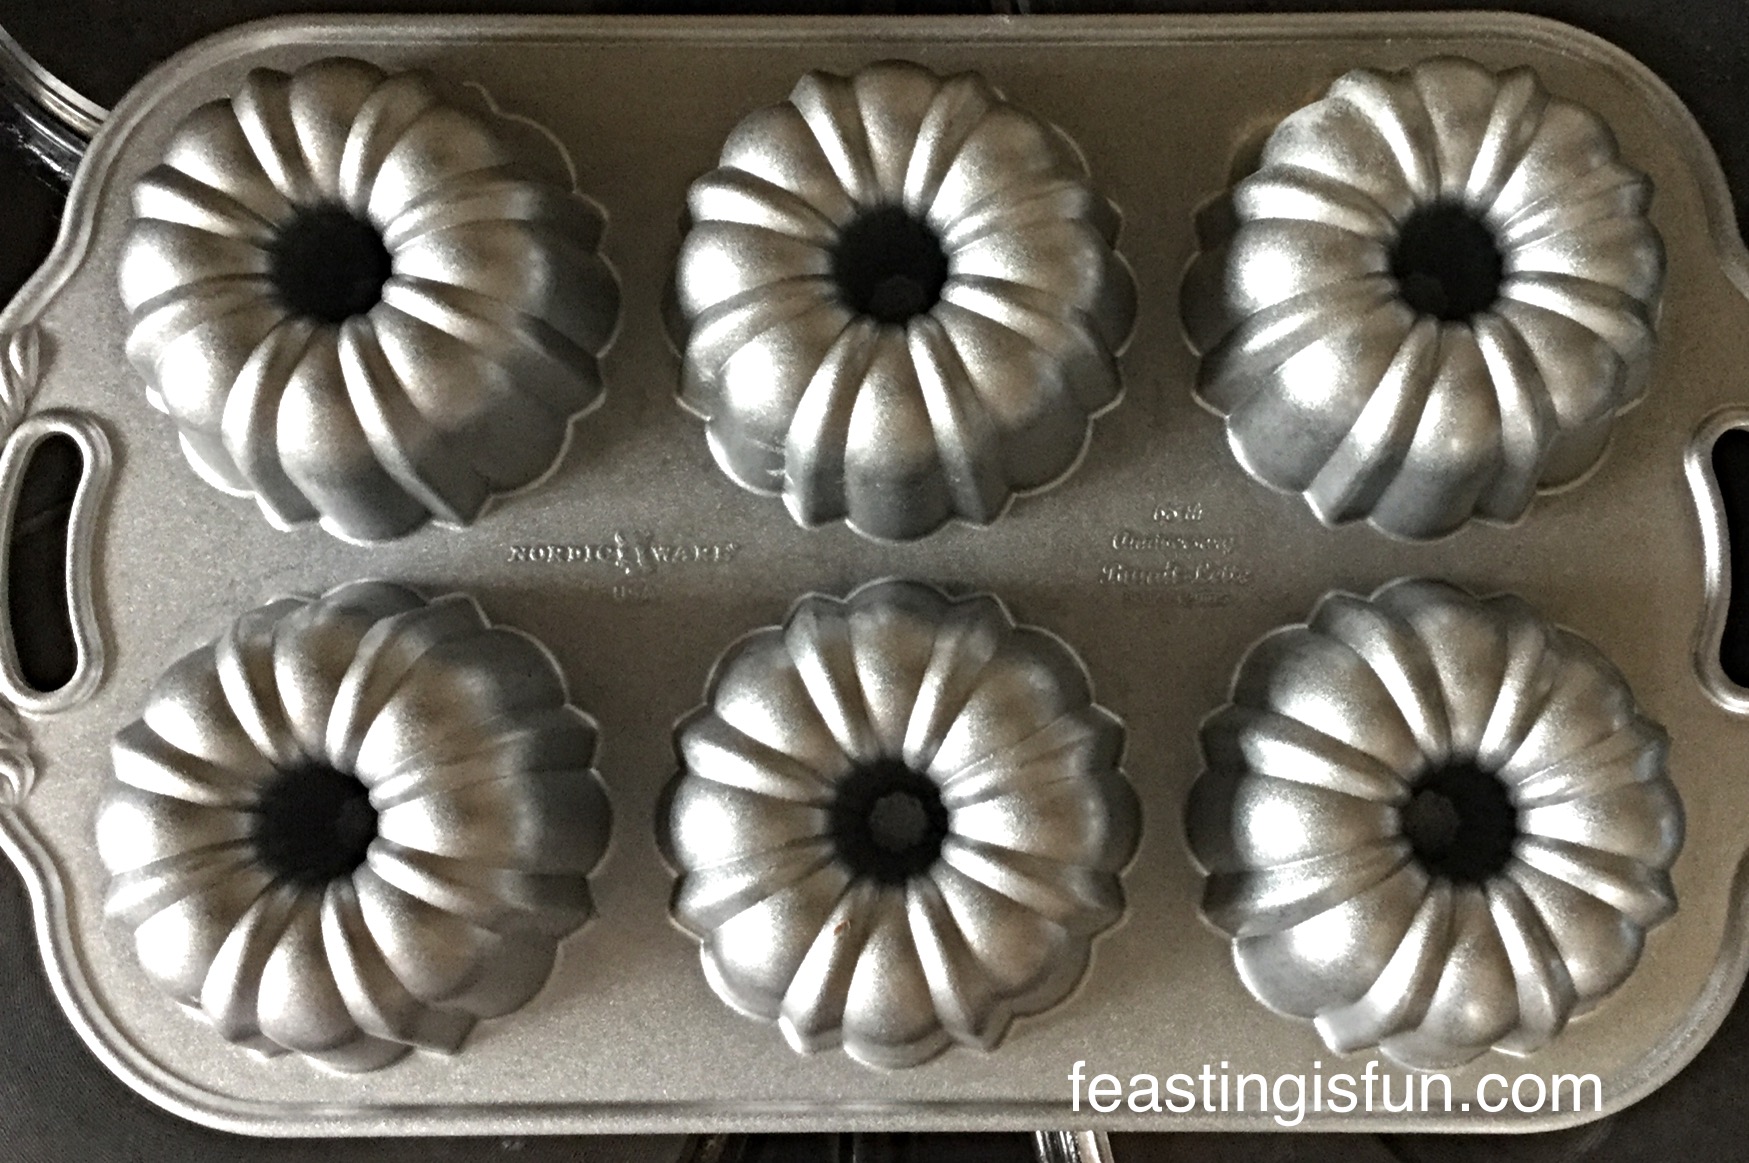
  • Line a 12 cup muffin pan with muffin cases
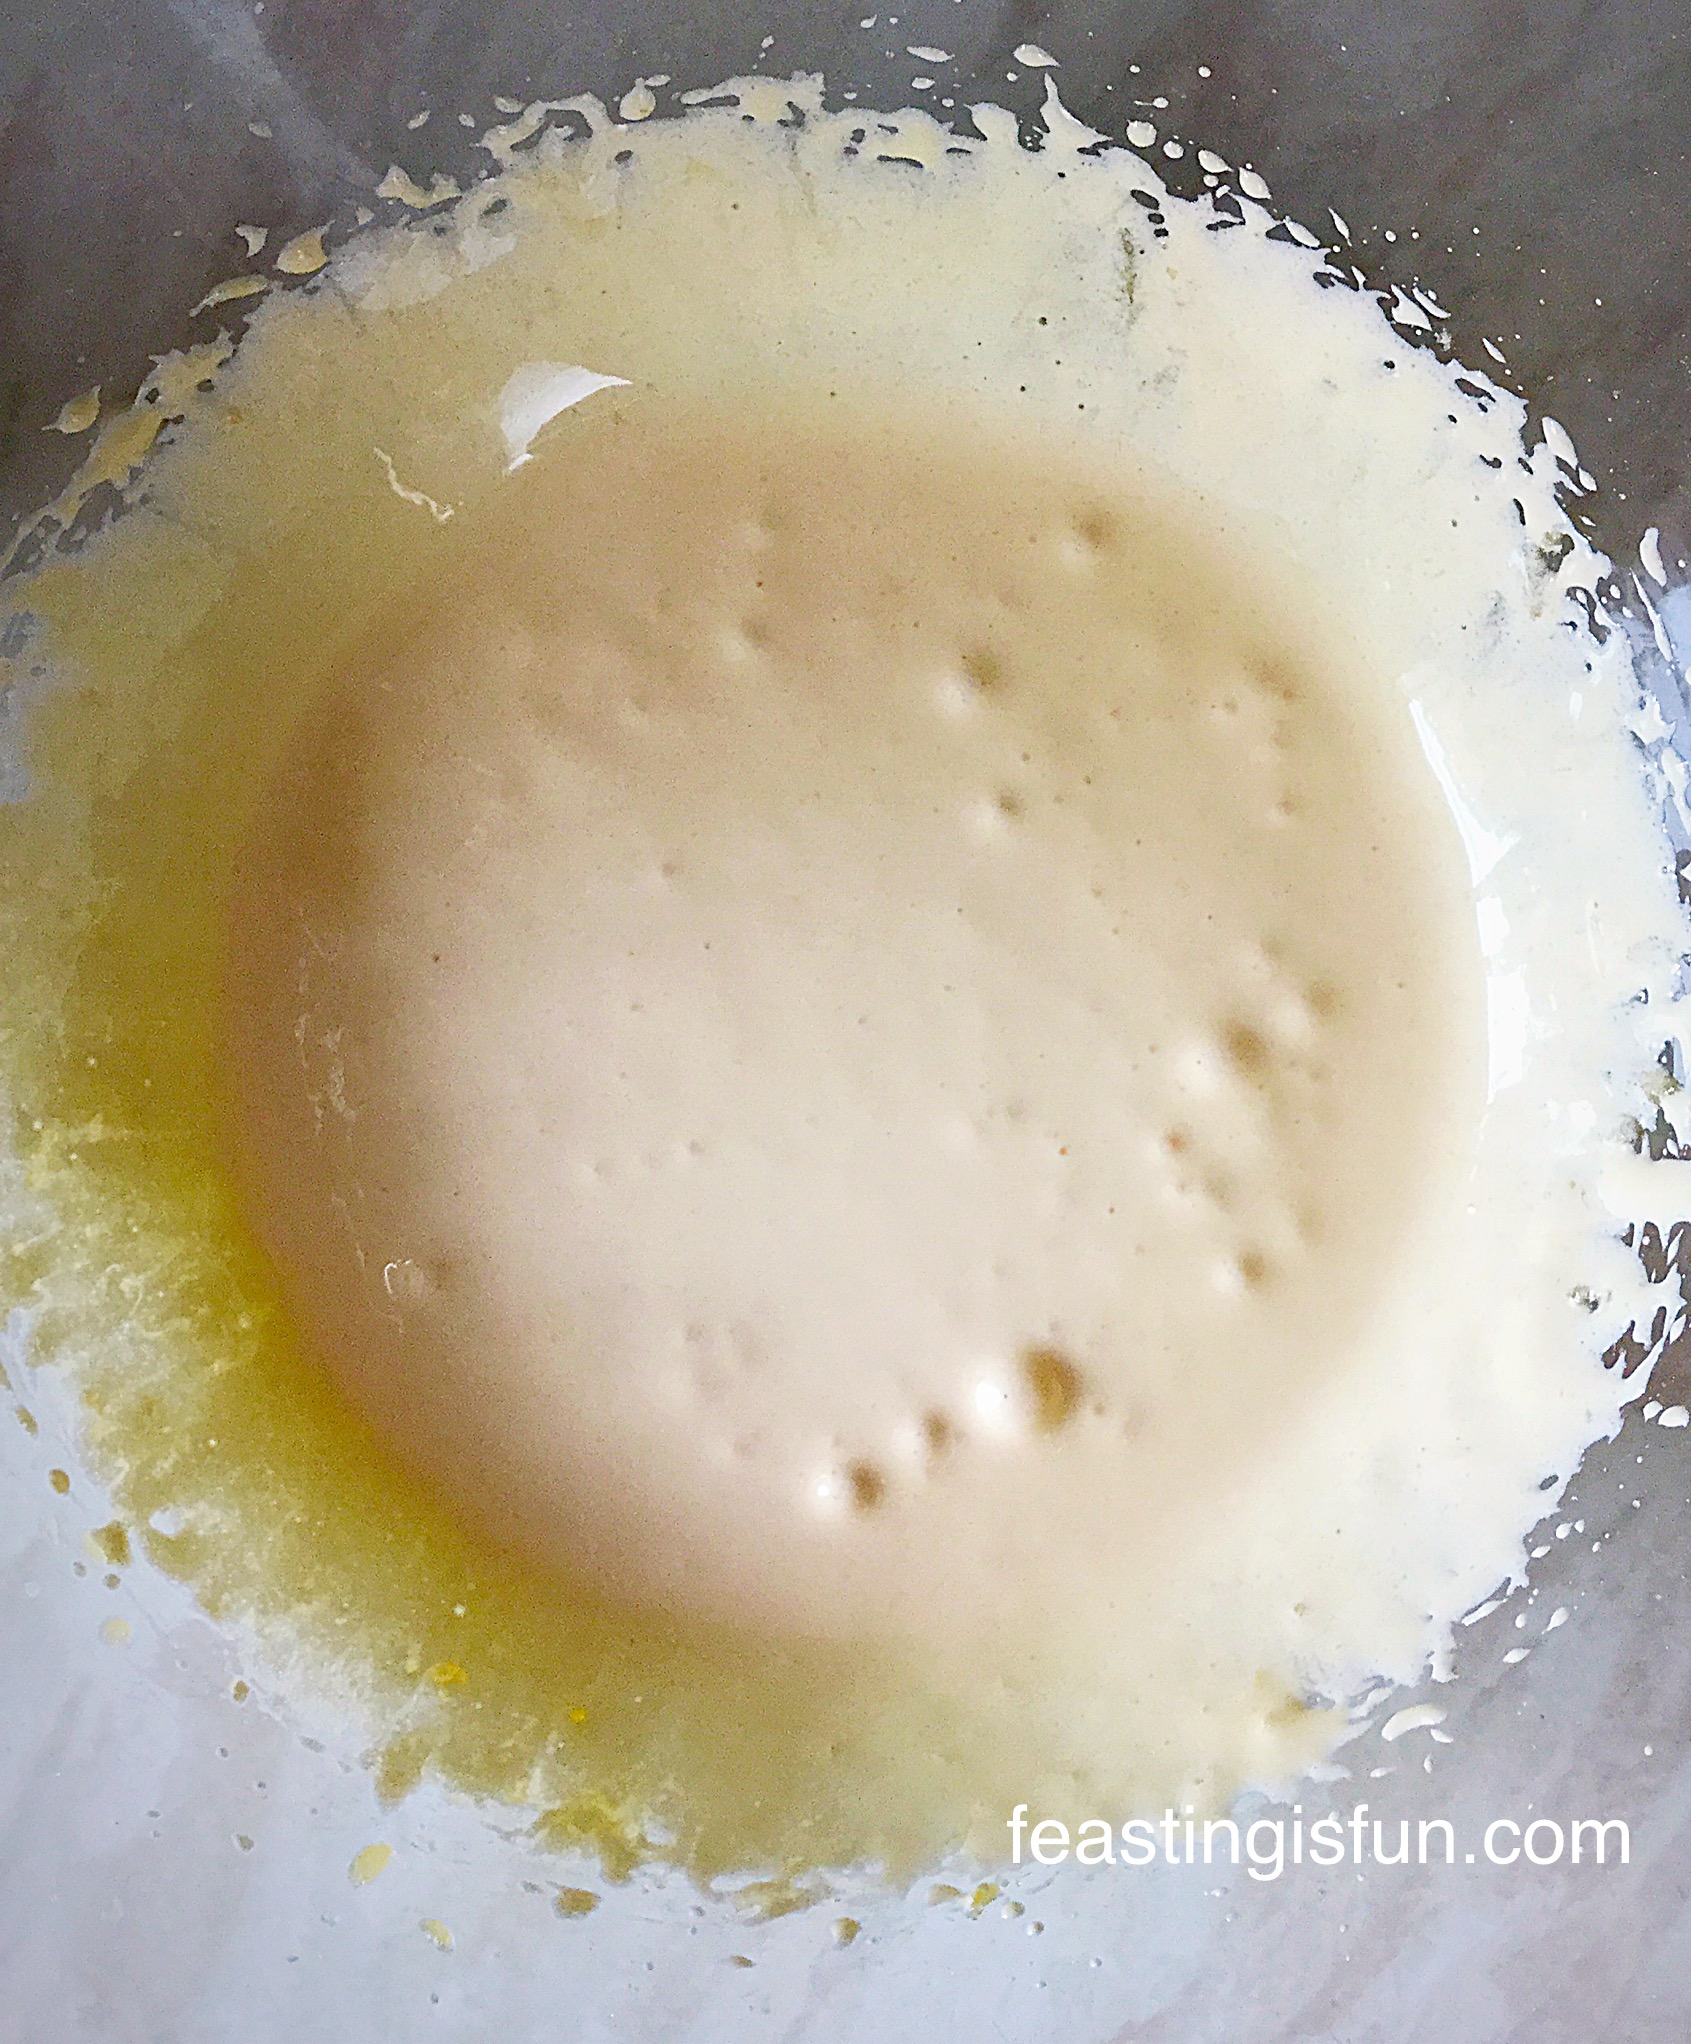
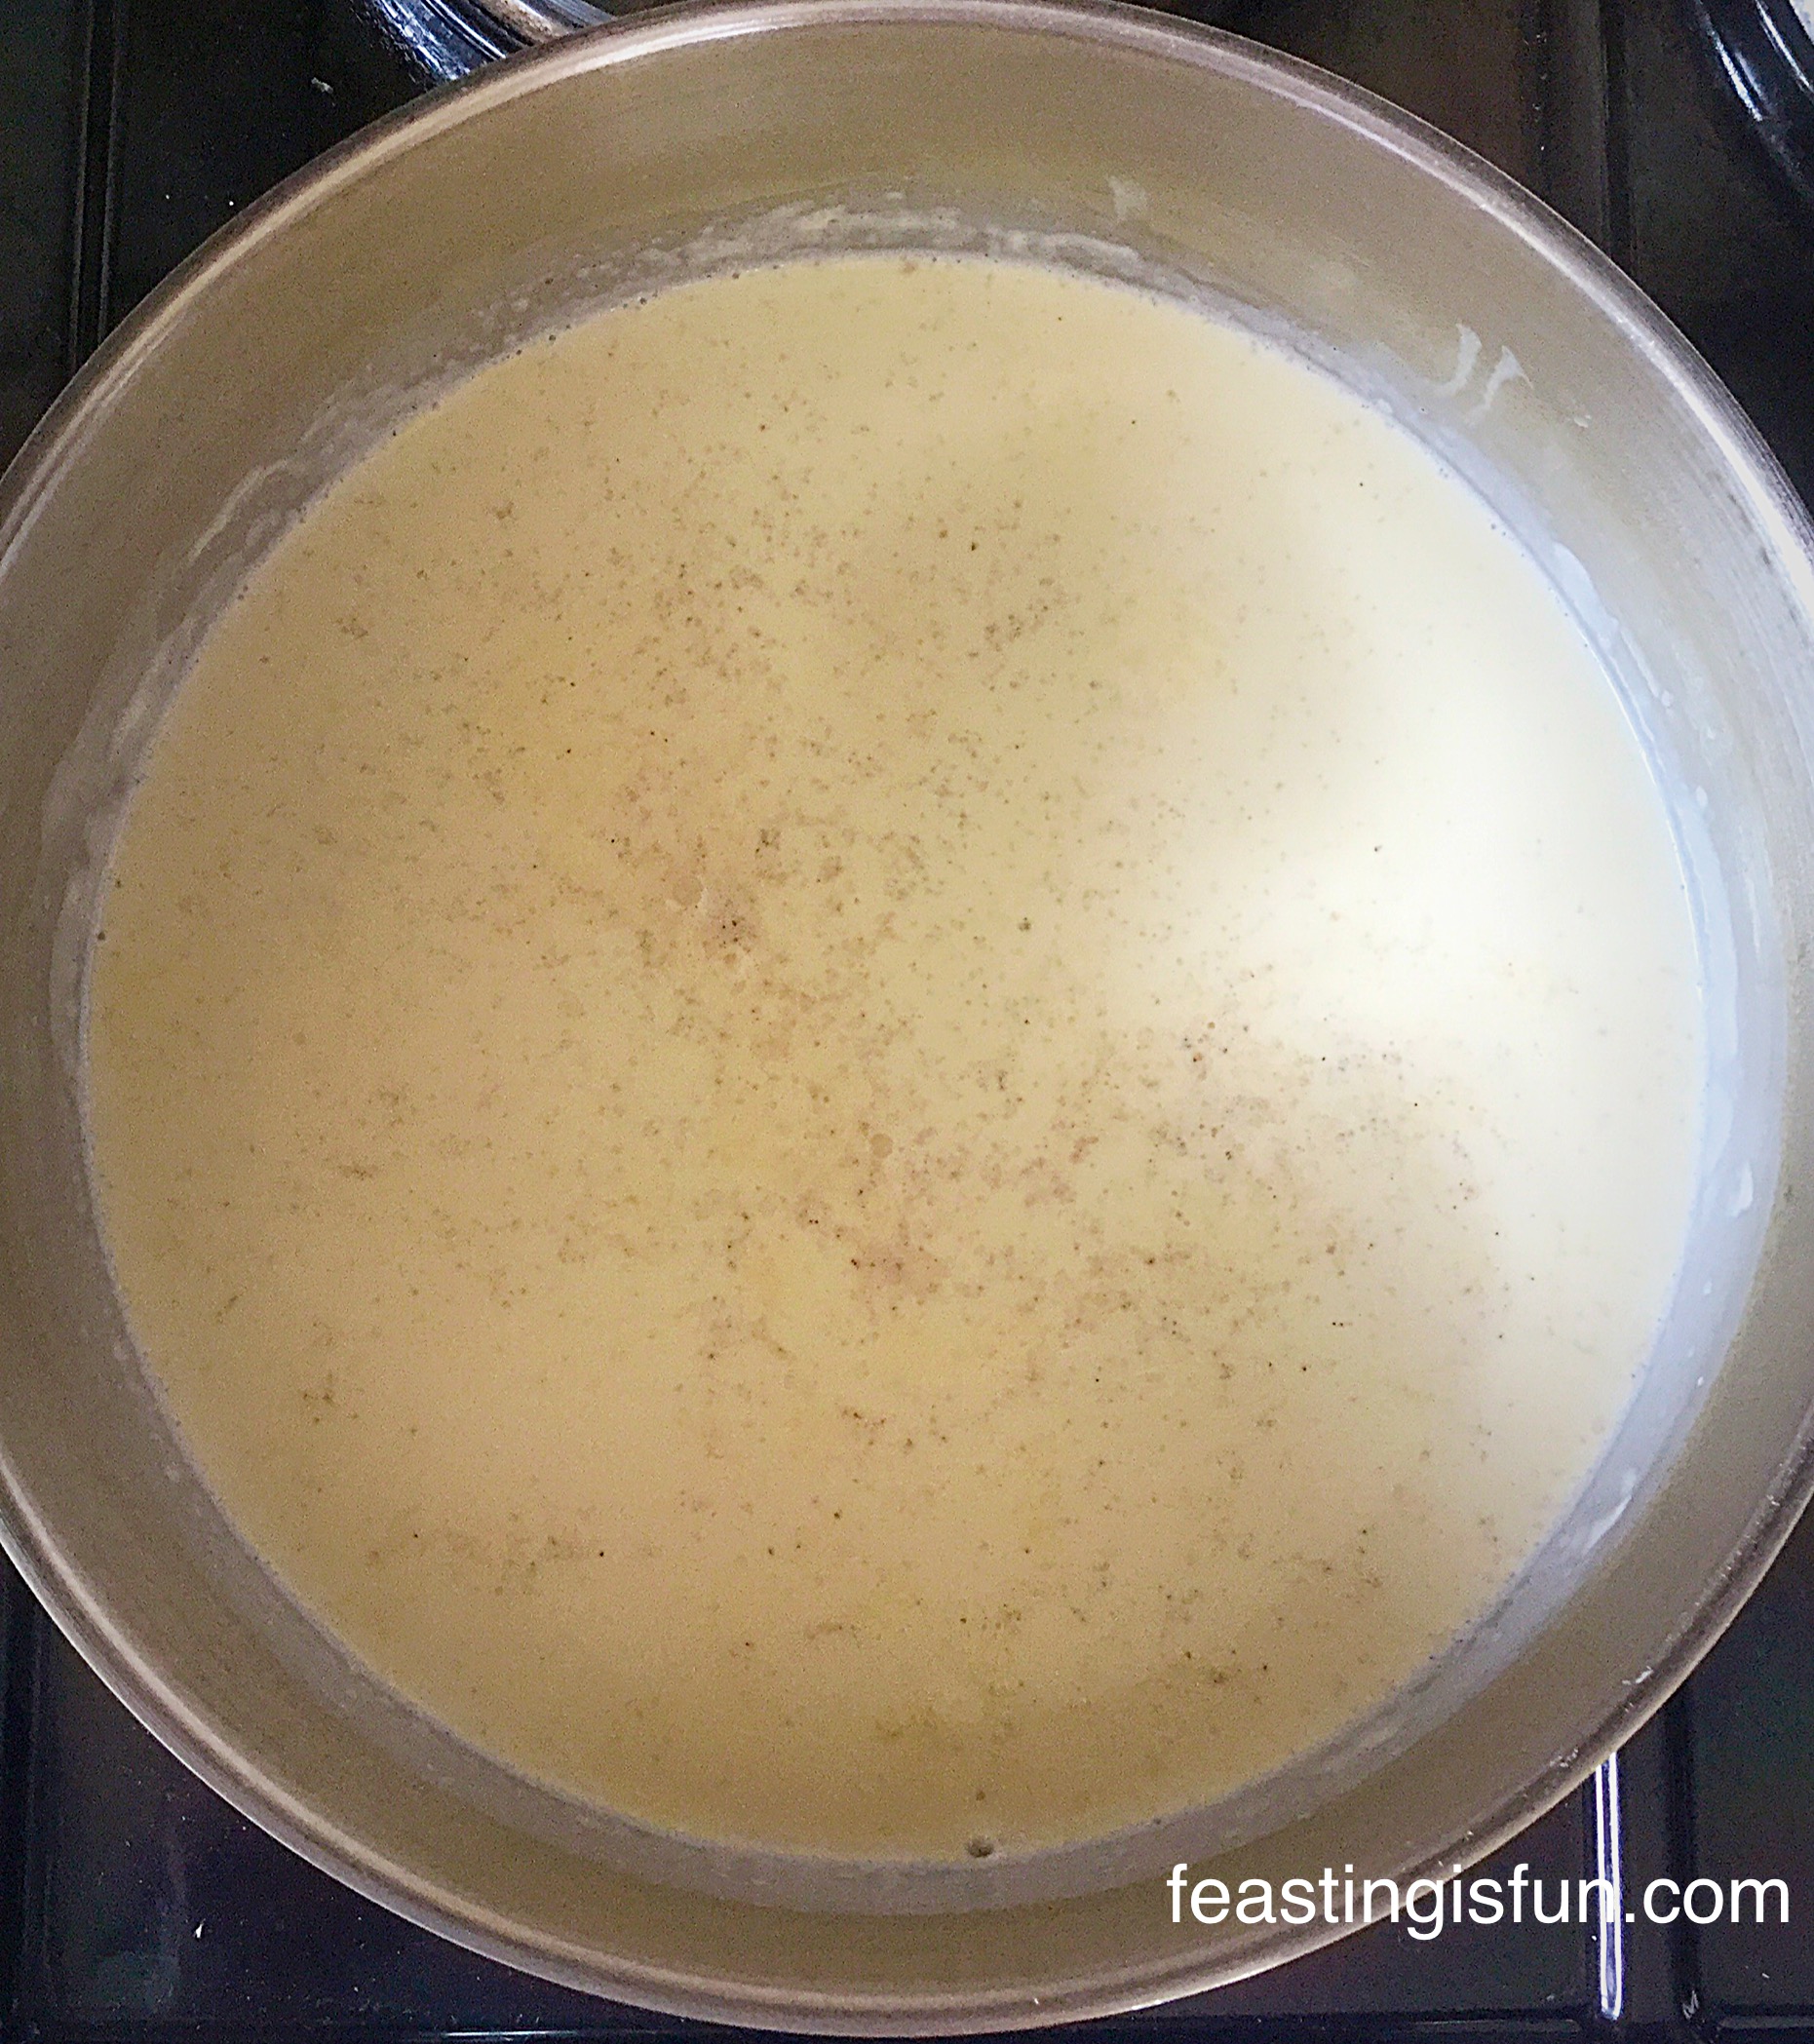
  • Measure the milk into a jug. Crack in the 2 whole eggs and add the oils. Stir with a fork to combine – wet ingredients.
  • Into a large bowl add both the flours, the crumbled feta cheese, black pepper finely chopped mint and chives. Stir with a fork ensuring all the pieces of crumbled feta are coated in flour – dry ingredients.
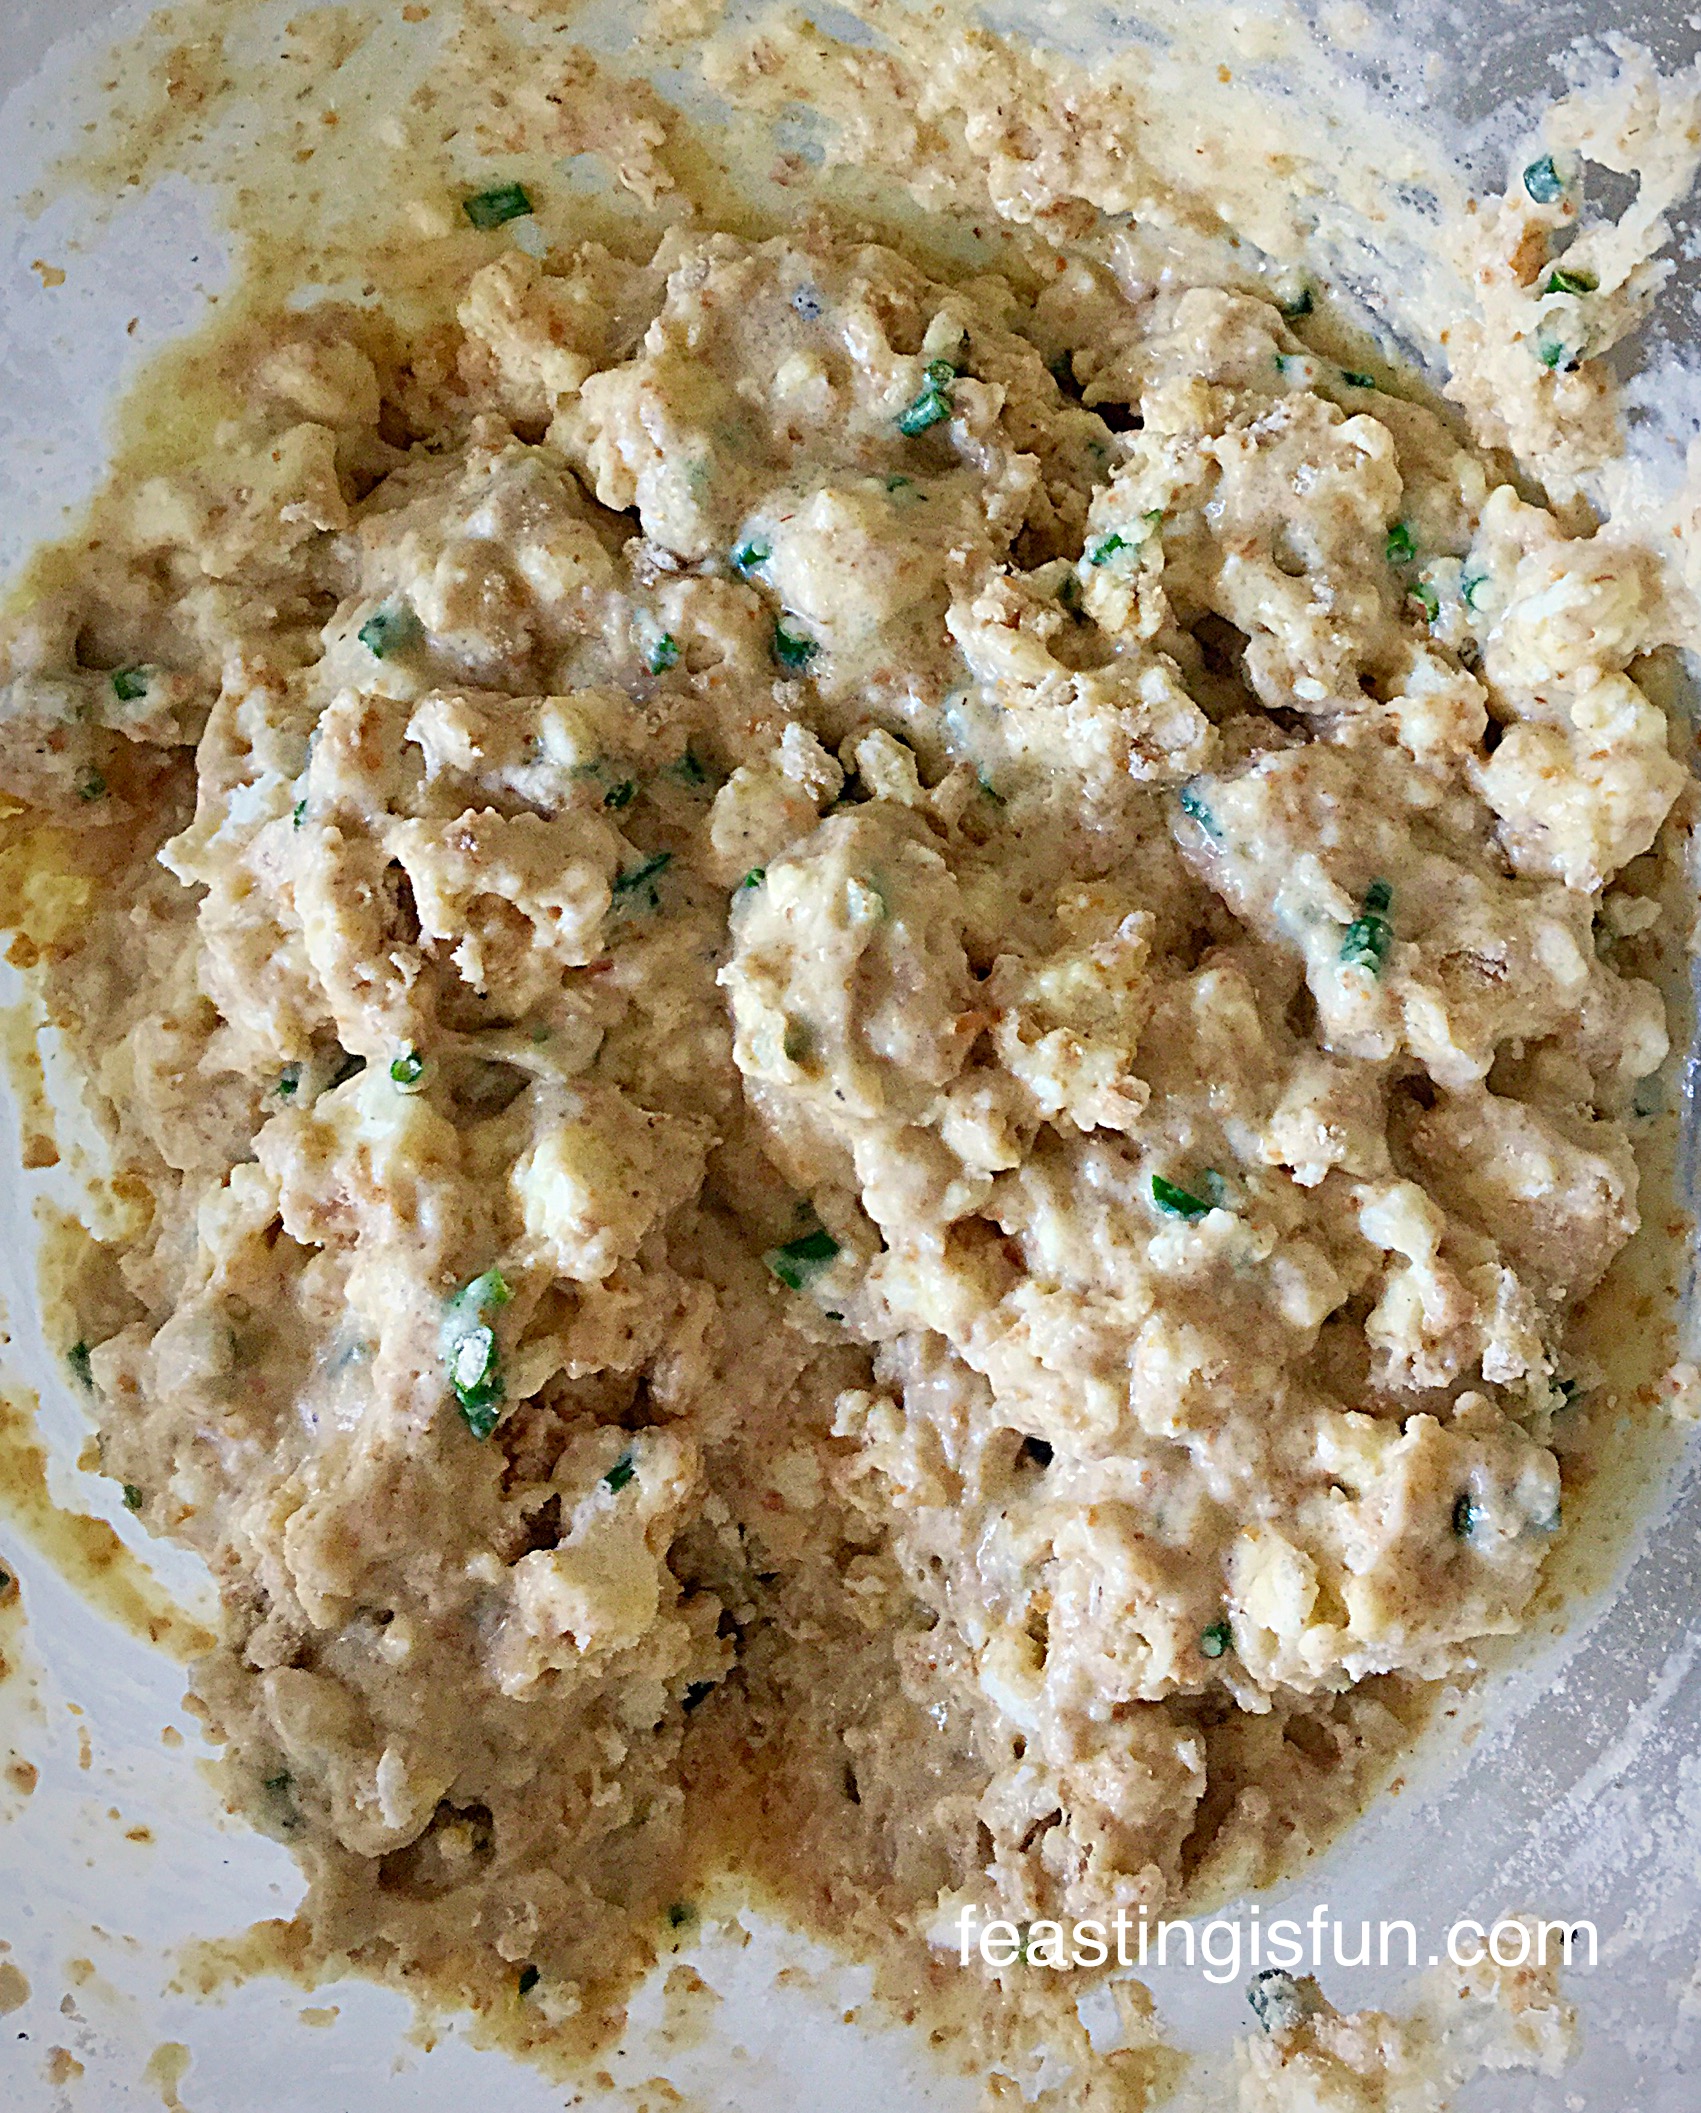
  • Make a well in the centre of the dry ingredients and pour the wet ingredients into it.
  • Stir lightly with a fork until almost combined. Note: lumpy batter ensures tender muffins, if you over mix the muffins will be tough!
FF Feta Cheese Herb Muffins
Here is good, lumpy batter.
  • Divide the batter equally between the 12 muffin cases.
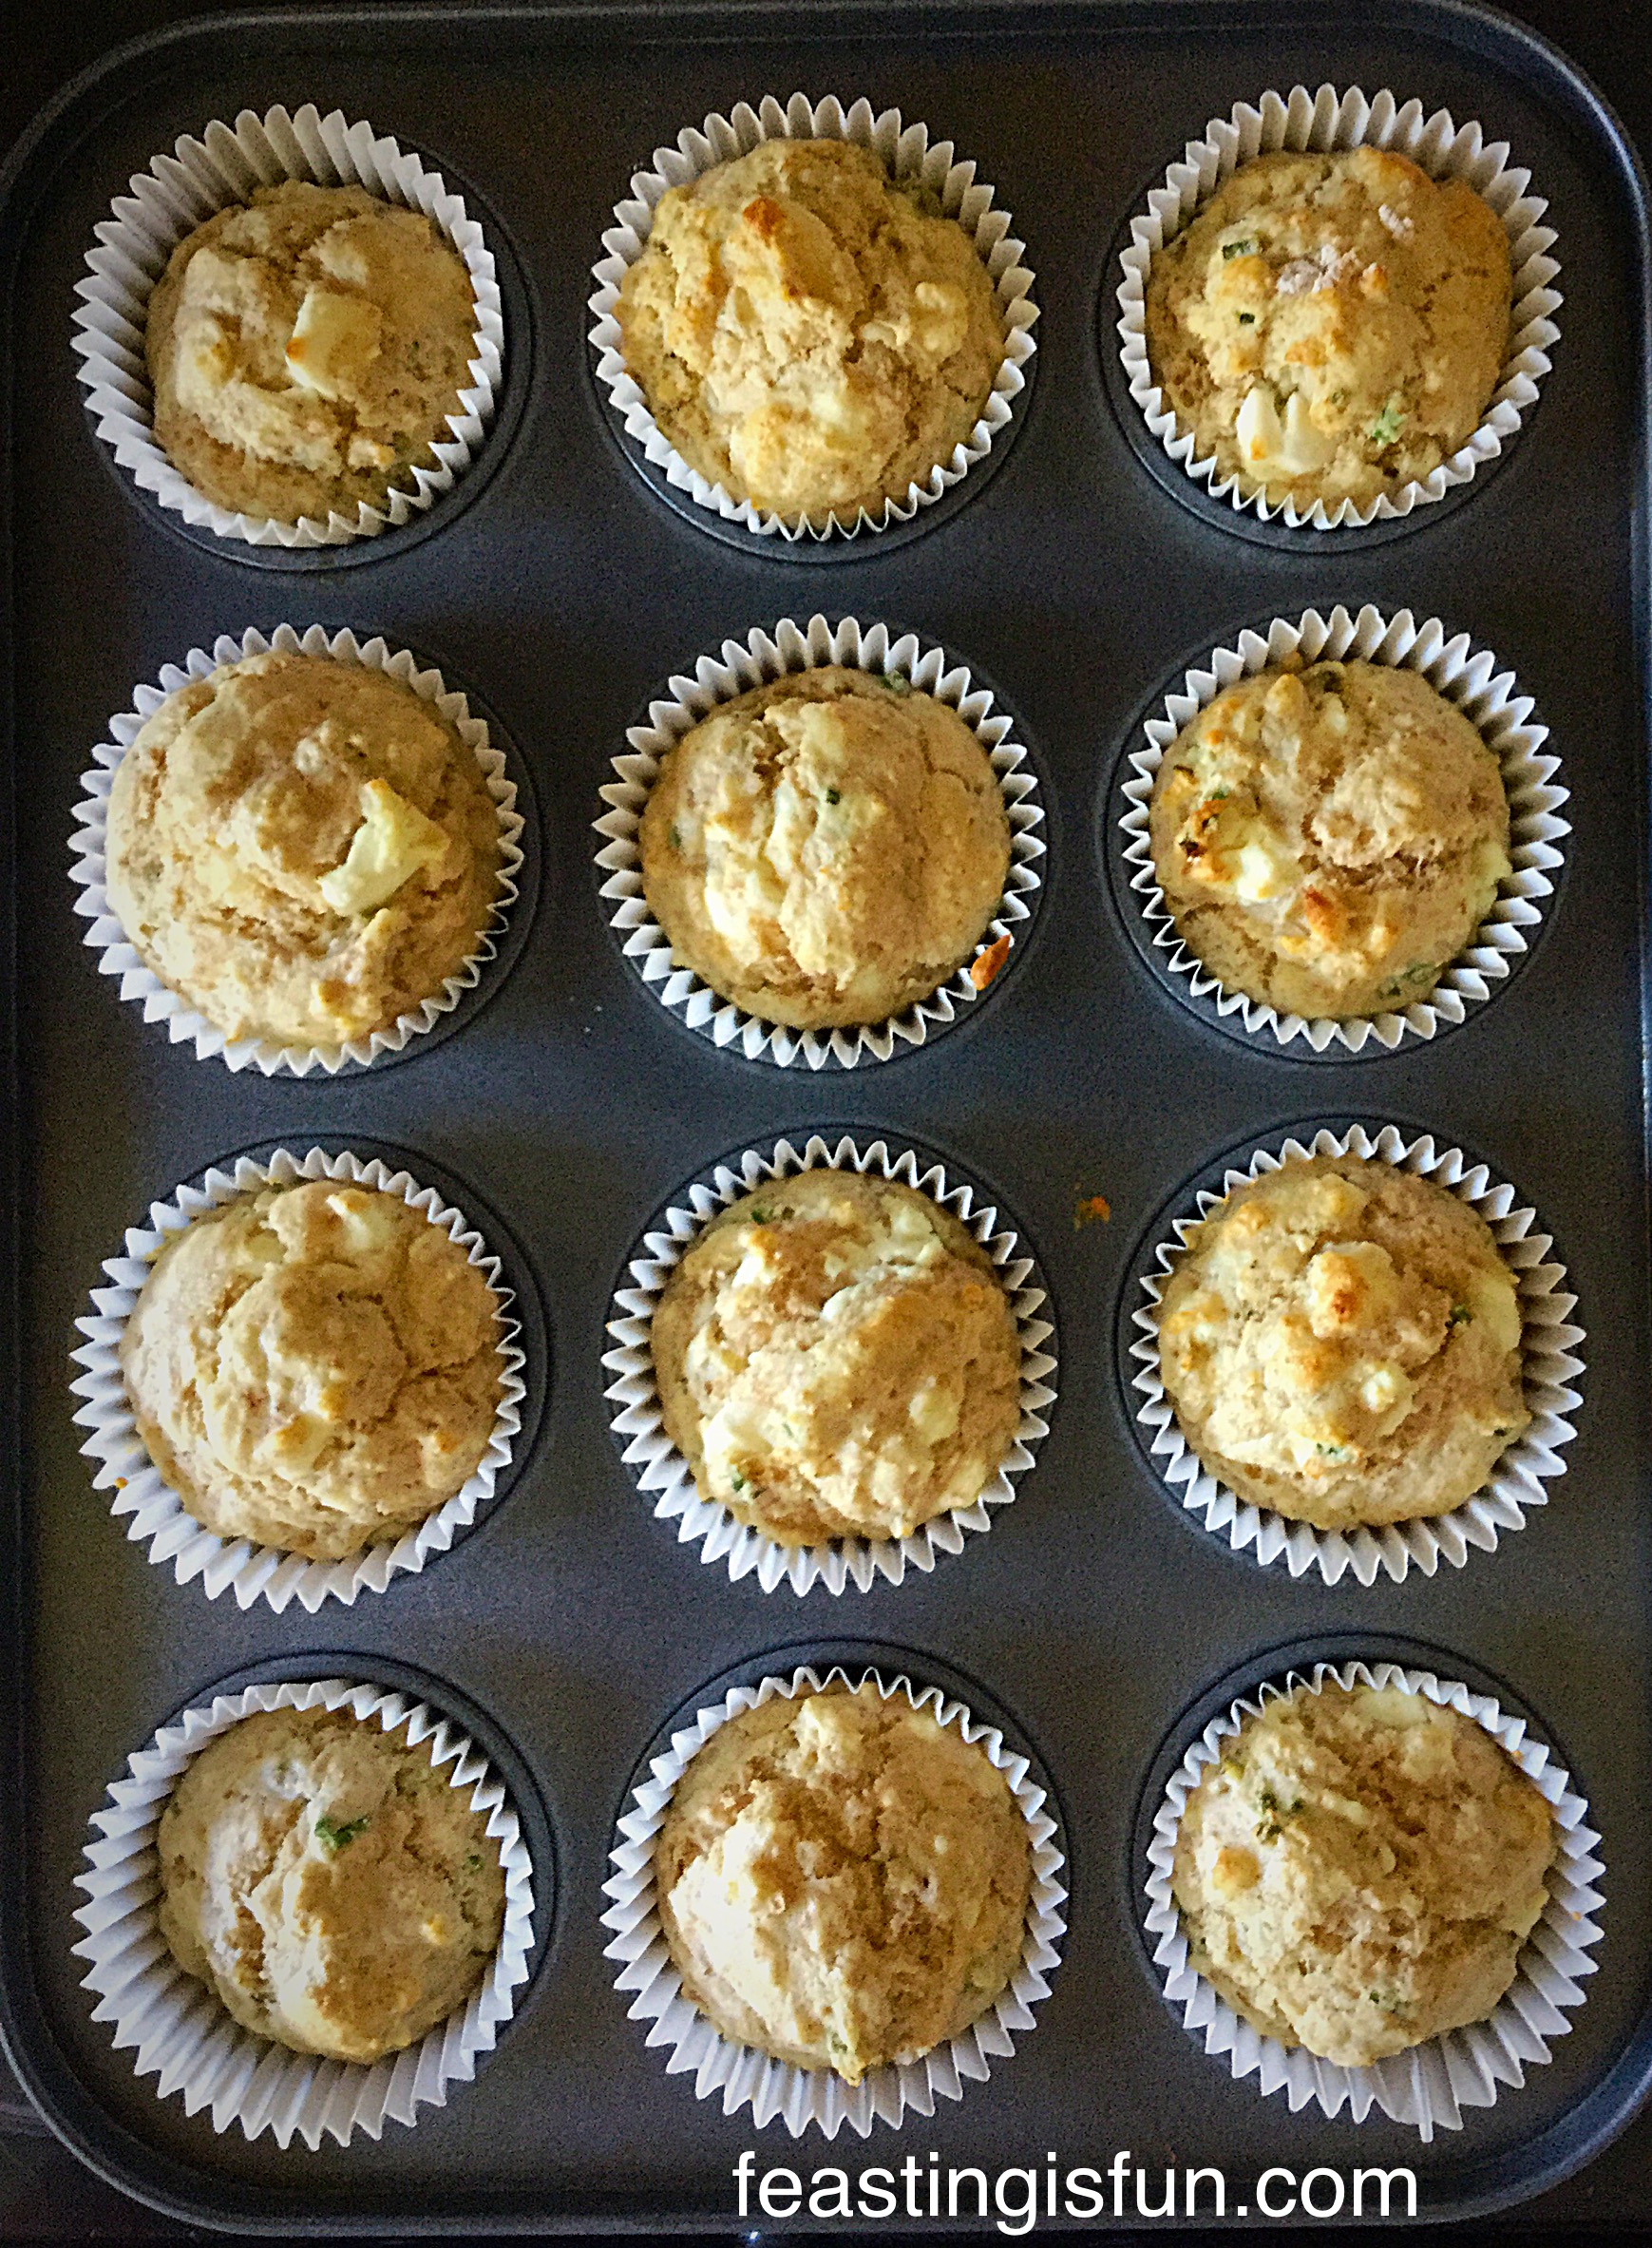
  • Place the muffin pan into the preheated oven and bake for 15-20 minutes (mine took 17 minutes).
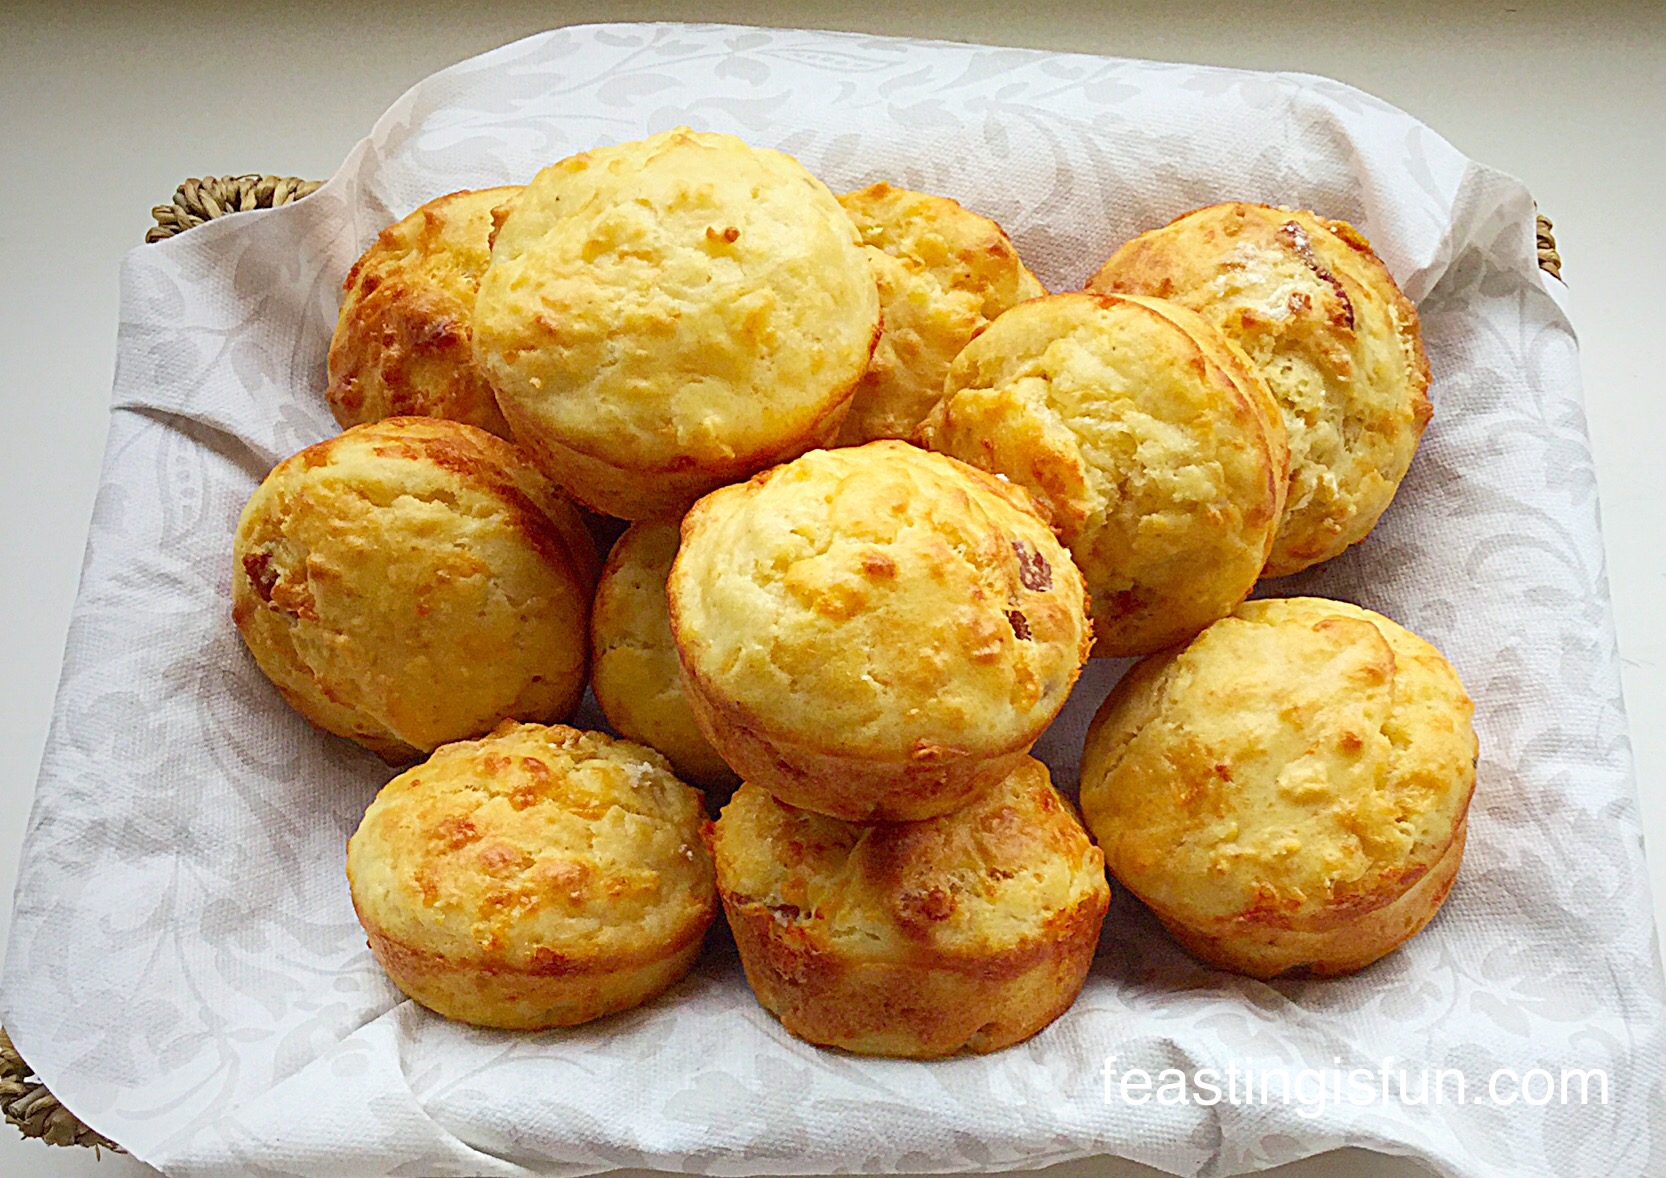
  • The muffins are cooked when the are starting to turn golden brown and are firm to touch.
  • Once baked remove the muffins from the oven.
FF Feta Cheese Herb Muffins
Feta Cheese Herb Muffins hot straight from the oven.
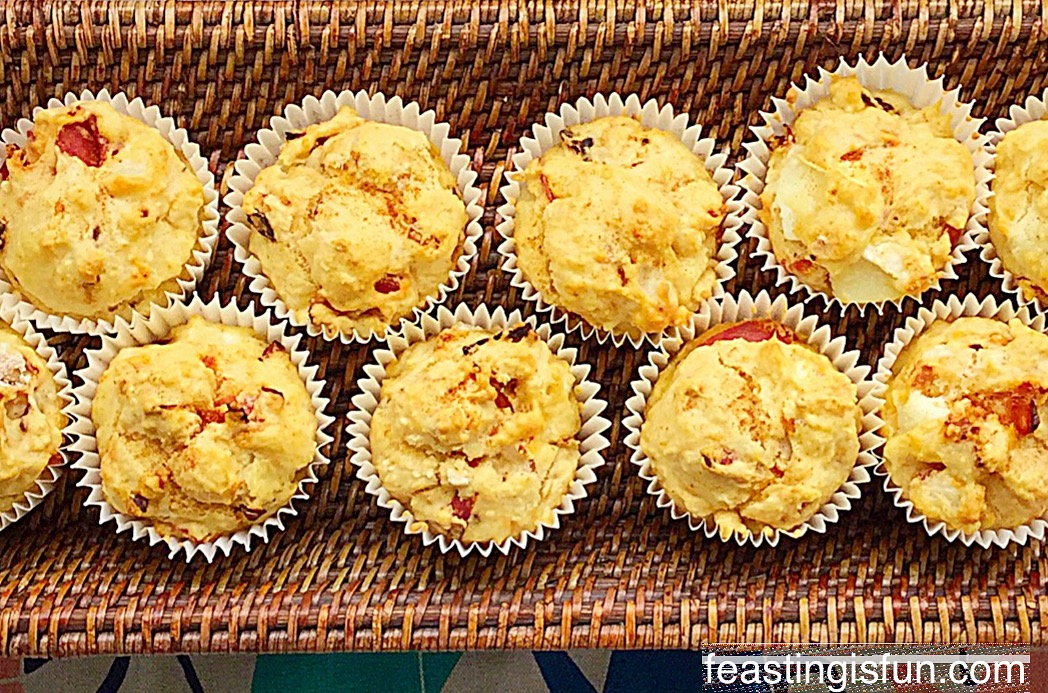
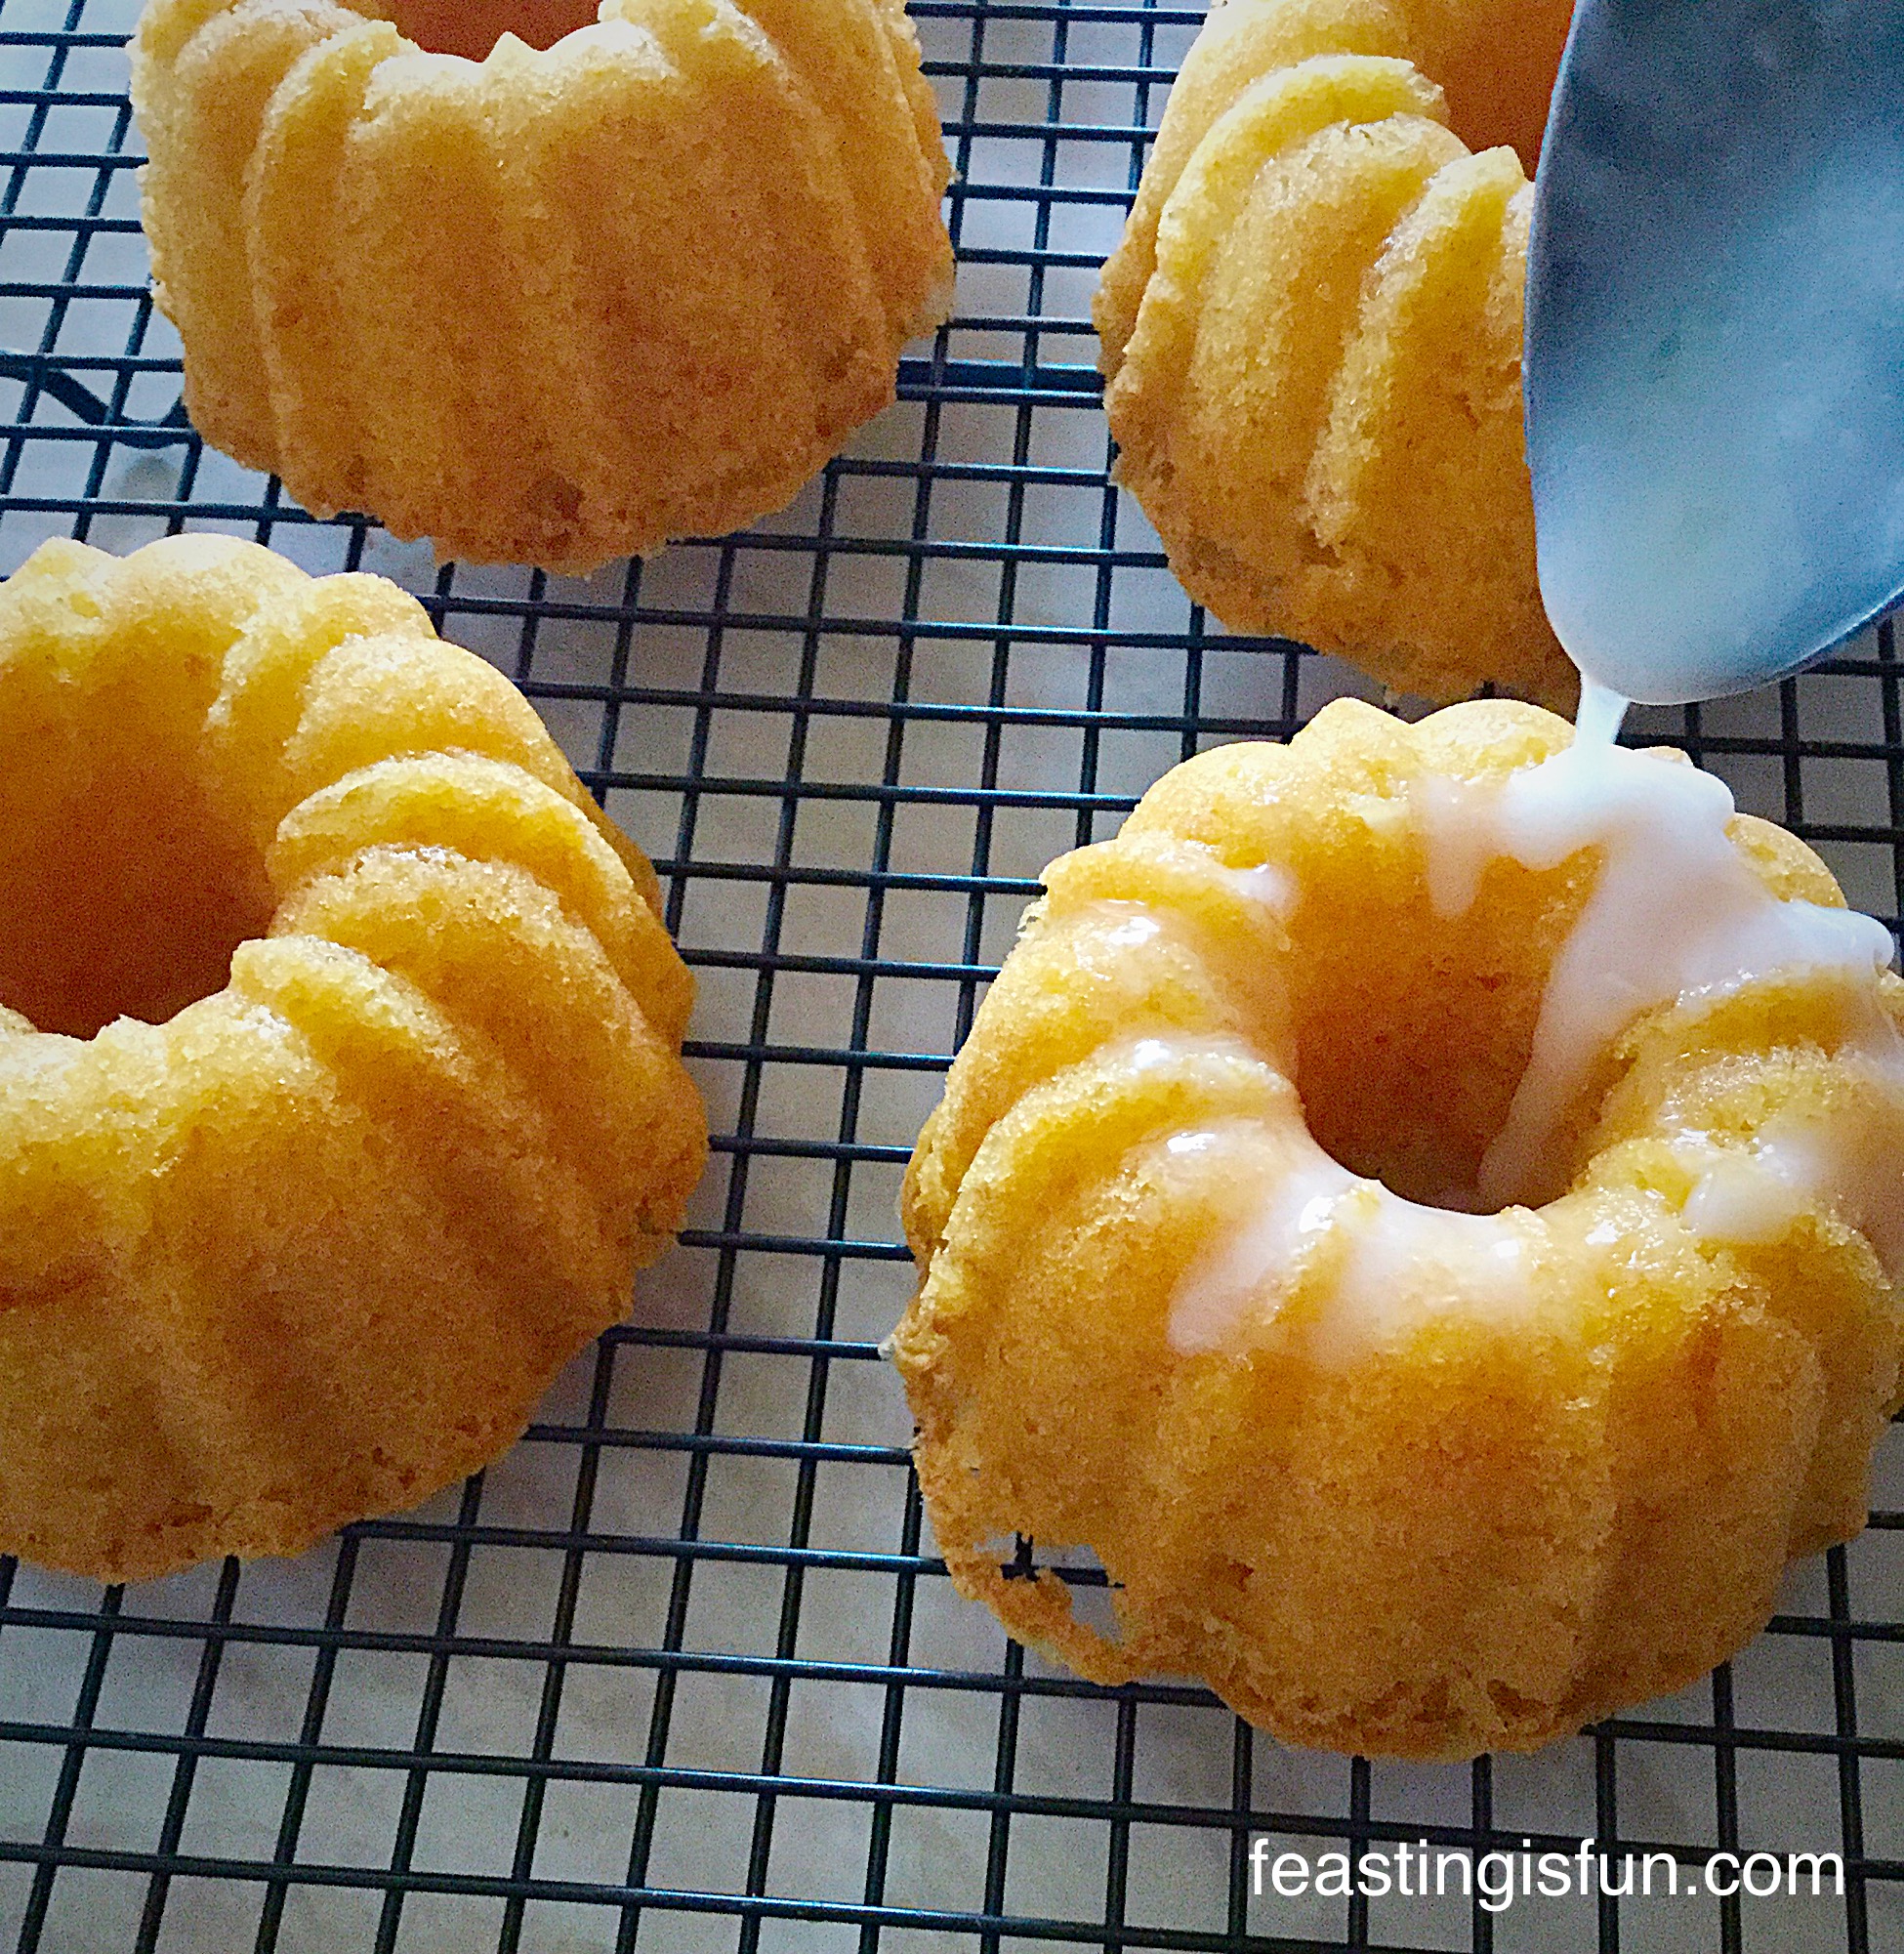
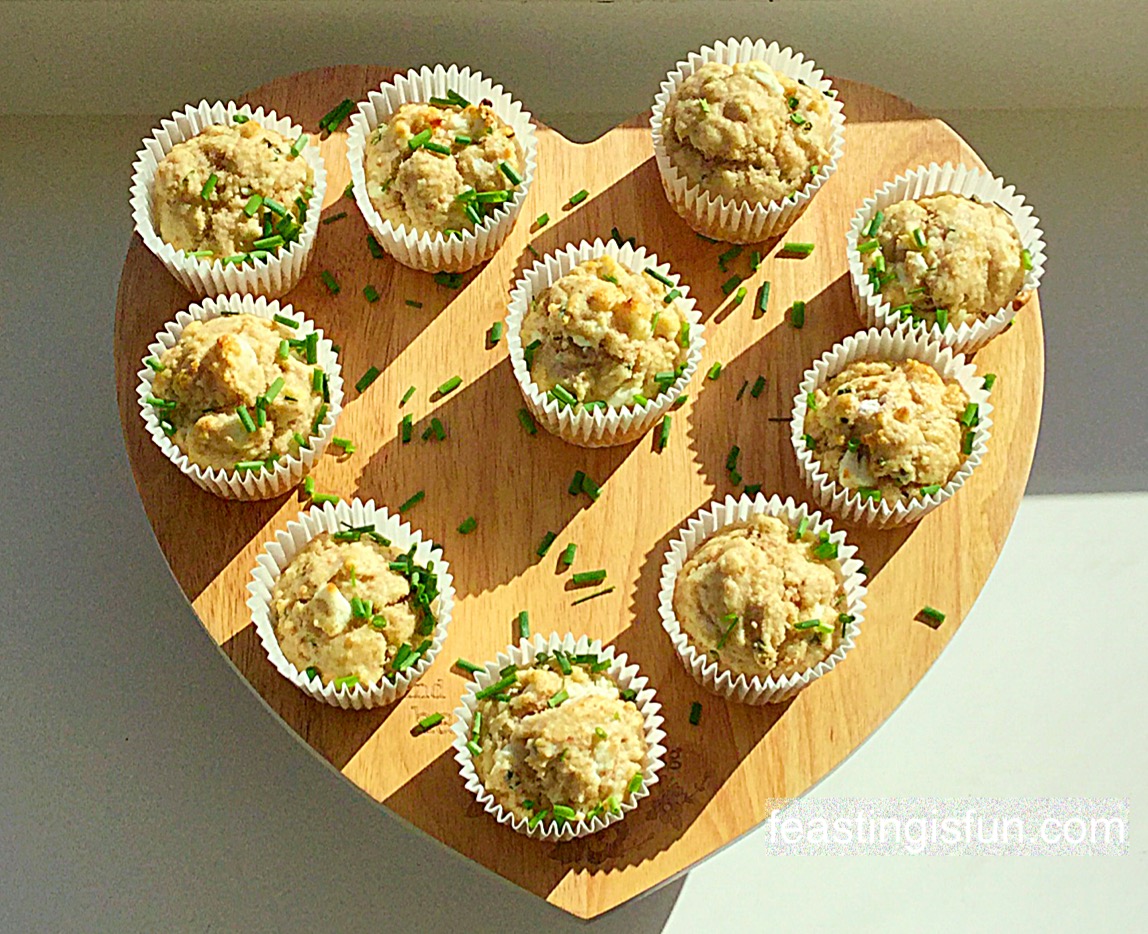
  • Allow the Feta Cheese Herb Muffins to cool slightly on a cooling rack.

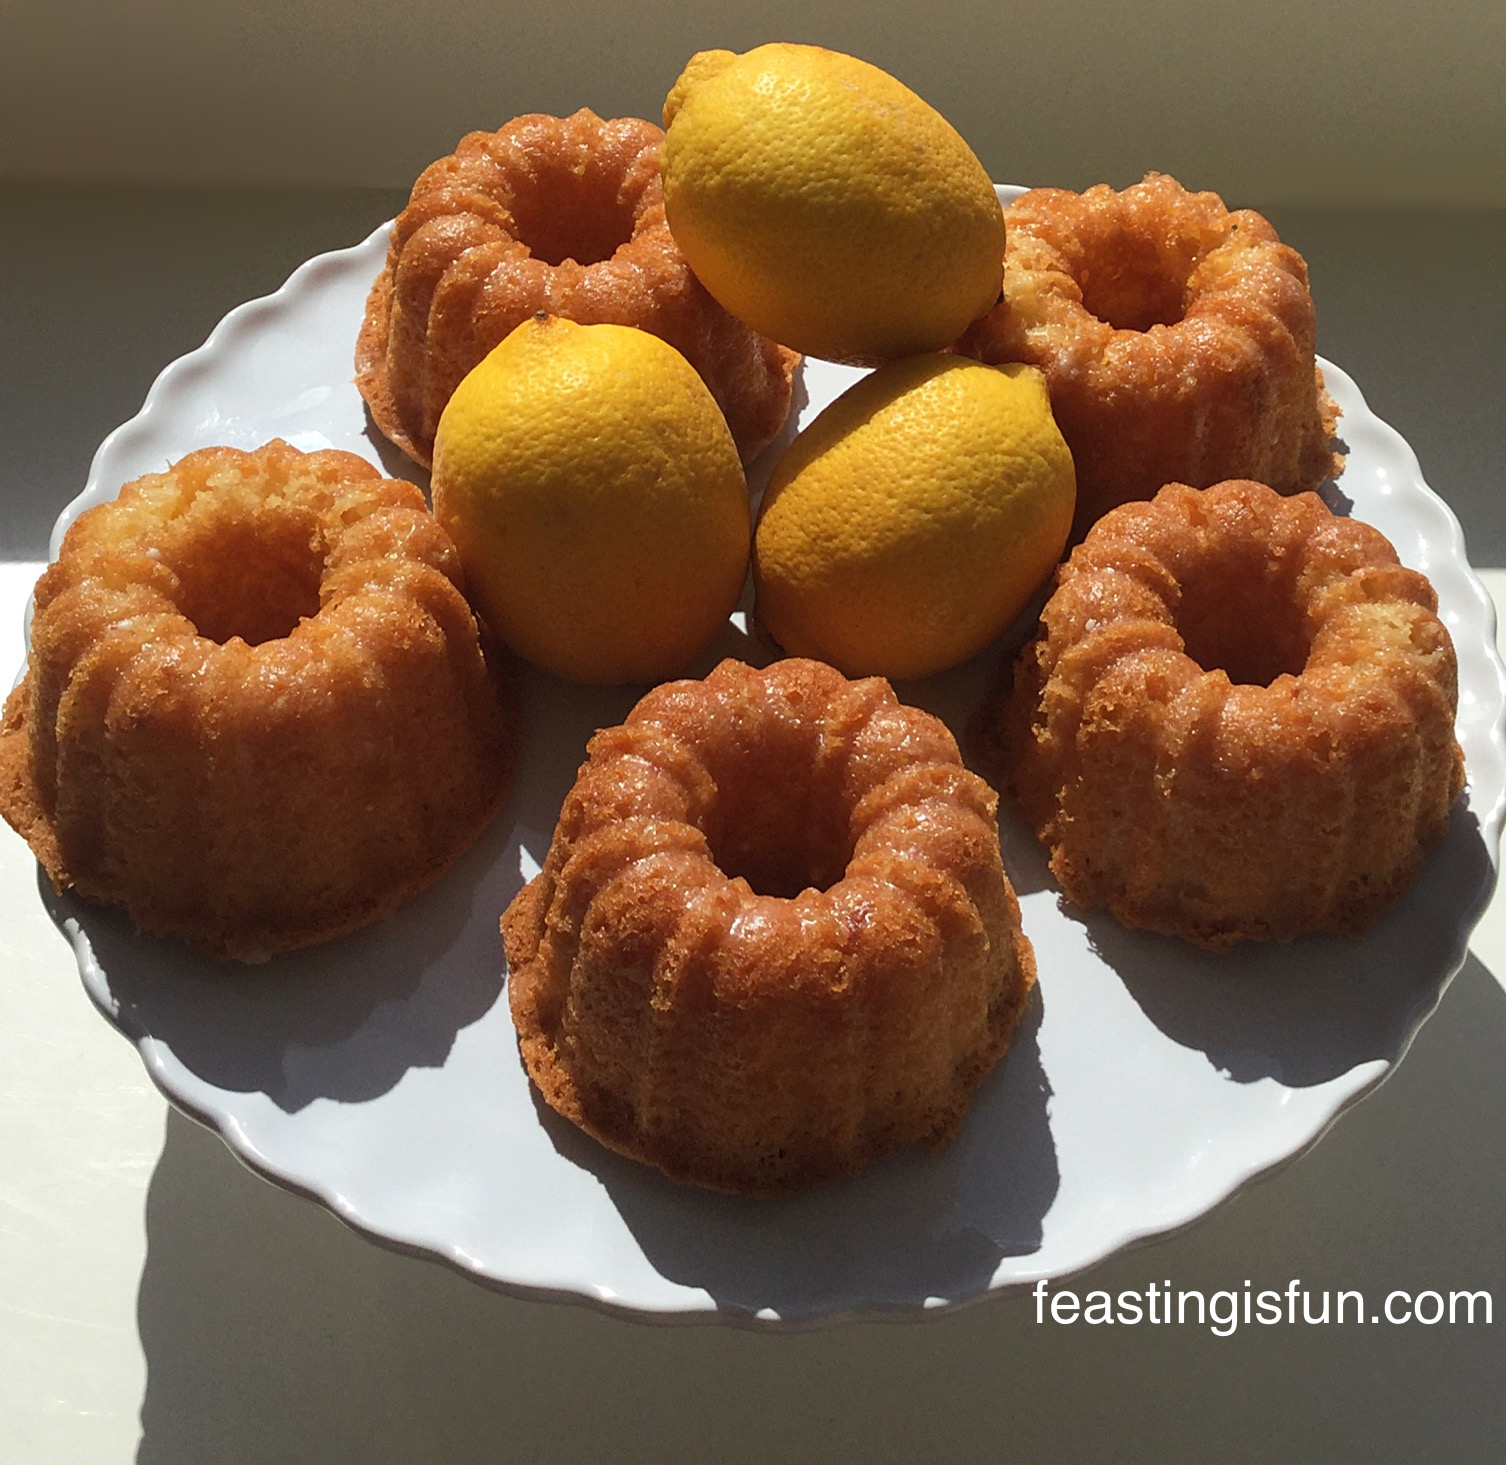
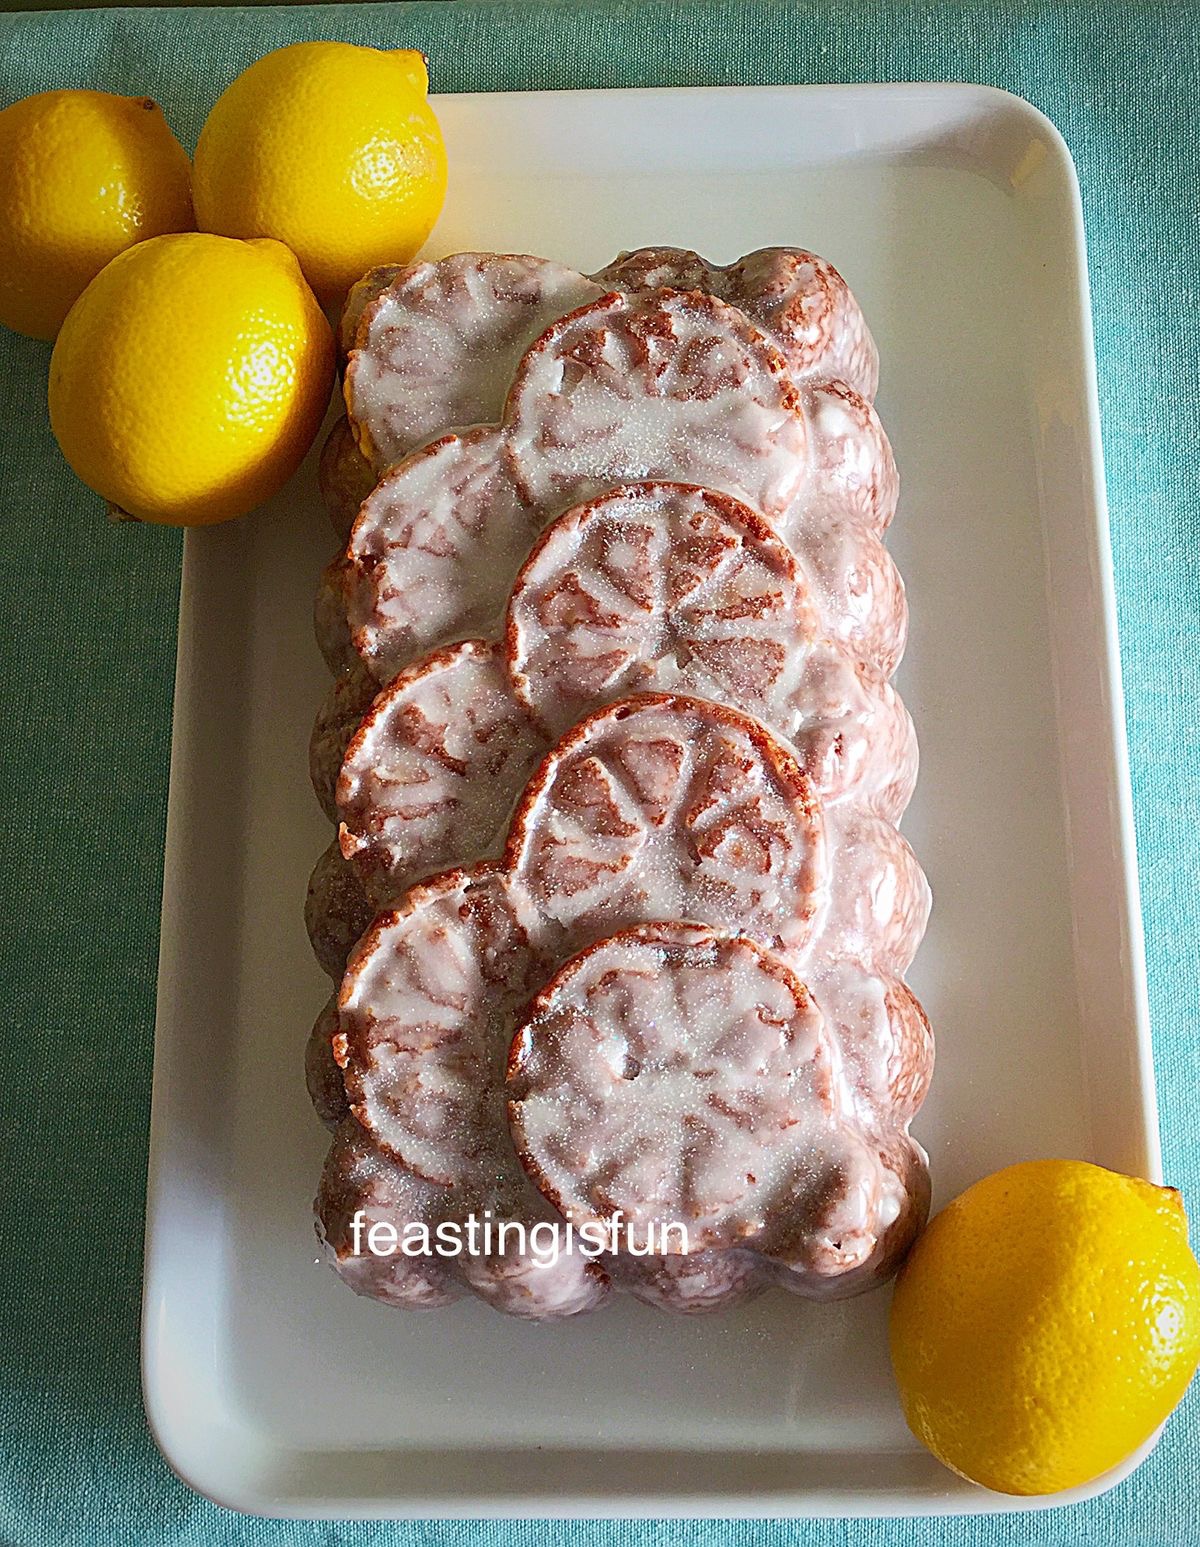
Serve the delicious Feta Cheese Herb Muffins warm with an extra sprinkling of freshly cut chives.

Store in an airtight container for up to 3 days. To refresh pop in a medium heated oven for 5 minutes and they will regain their freshly baked flavour.

These Feta Cheese Herb Muffins are the perfect addition to any packed lunch or picnic. They are a perfect, portable, fairly healthy snack and great for sharing. Long days at the office? These take barely 30 minutes to make and bake and then you have breakfast/lunch sorted for a few days!

I love coming up with easy to make, nutritious food, that means you always have something delicious to fall back on instead of always reaching for a chocolate bar or packet of crisps. With food made at home, you know exactly what has gone into it and it always tastes so much better than anything you can buy.

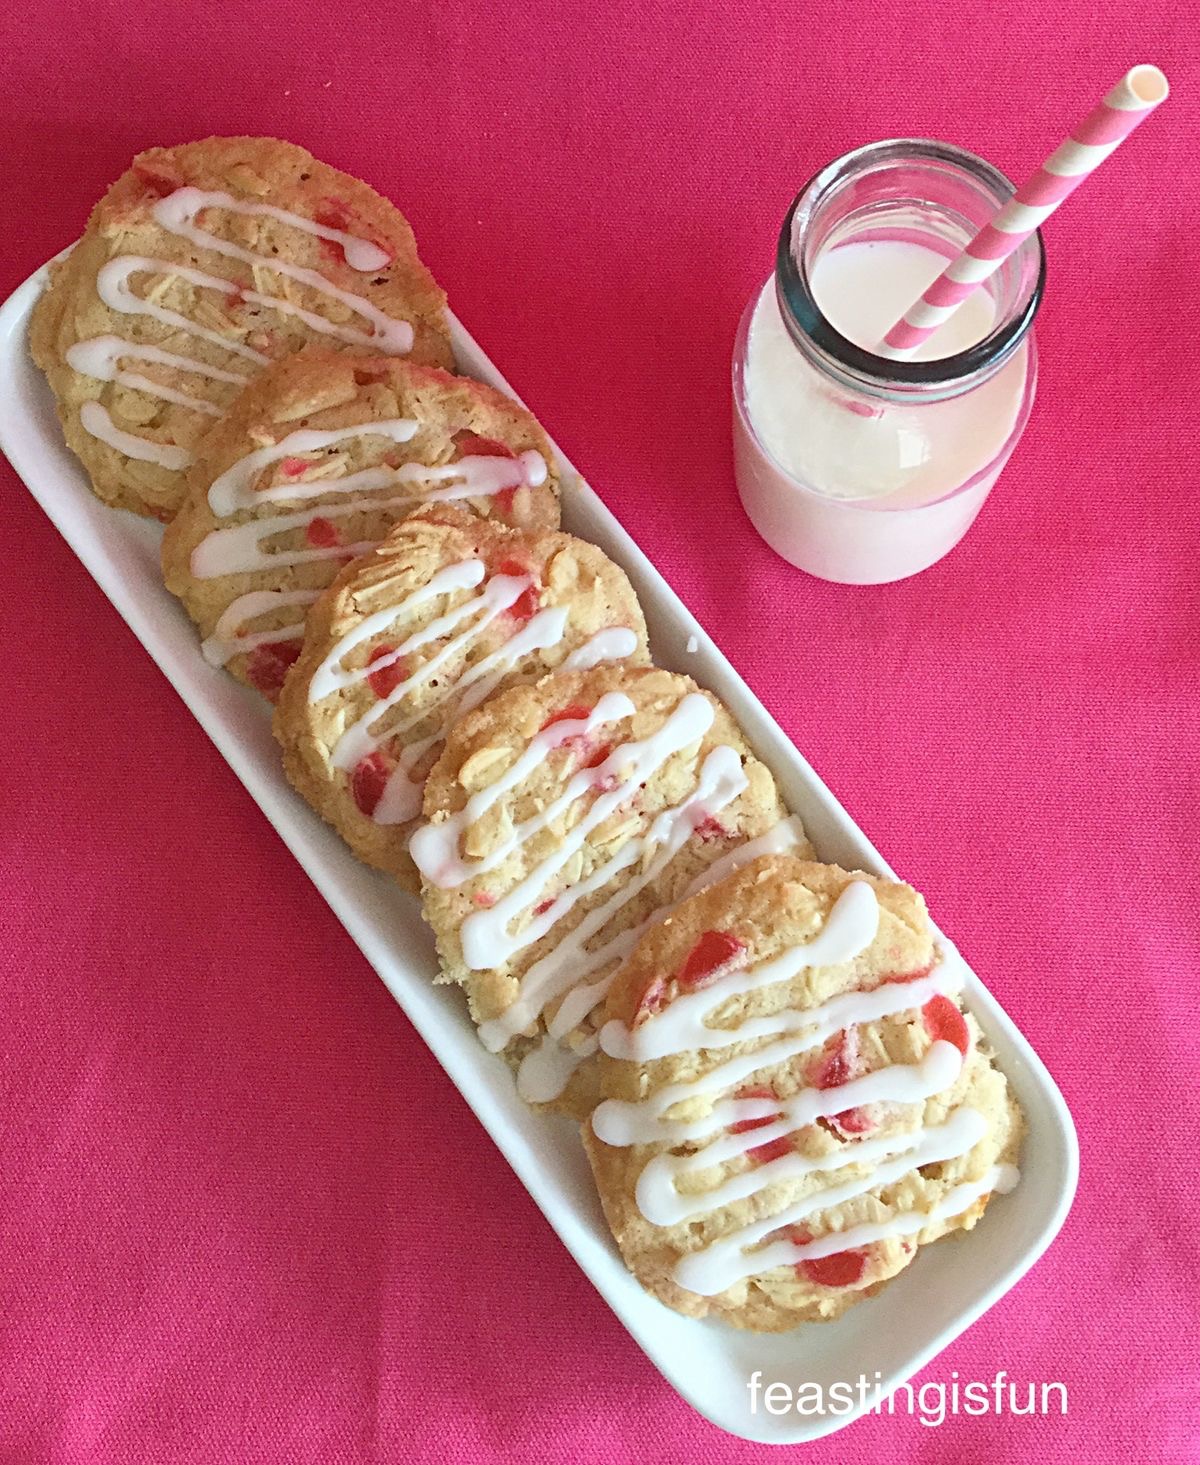
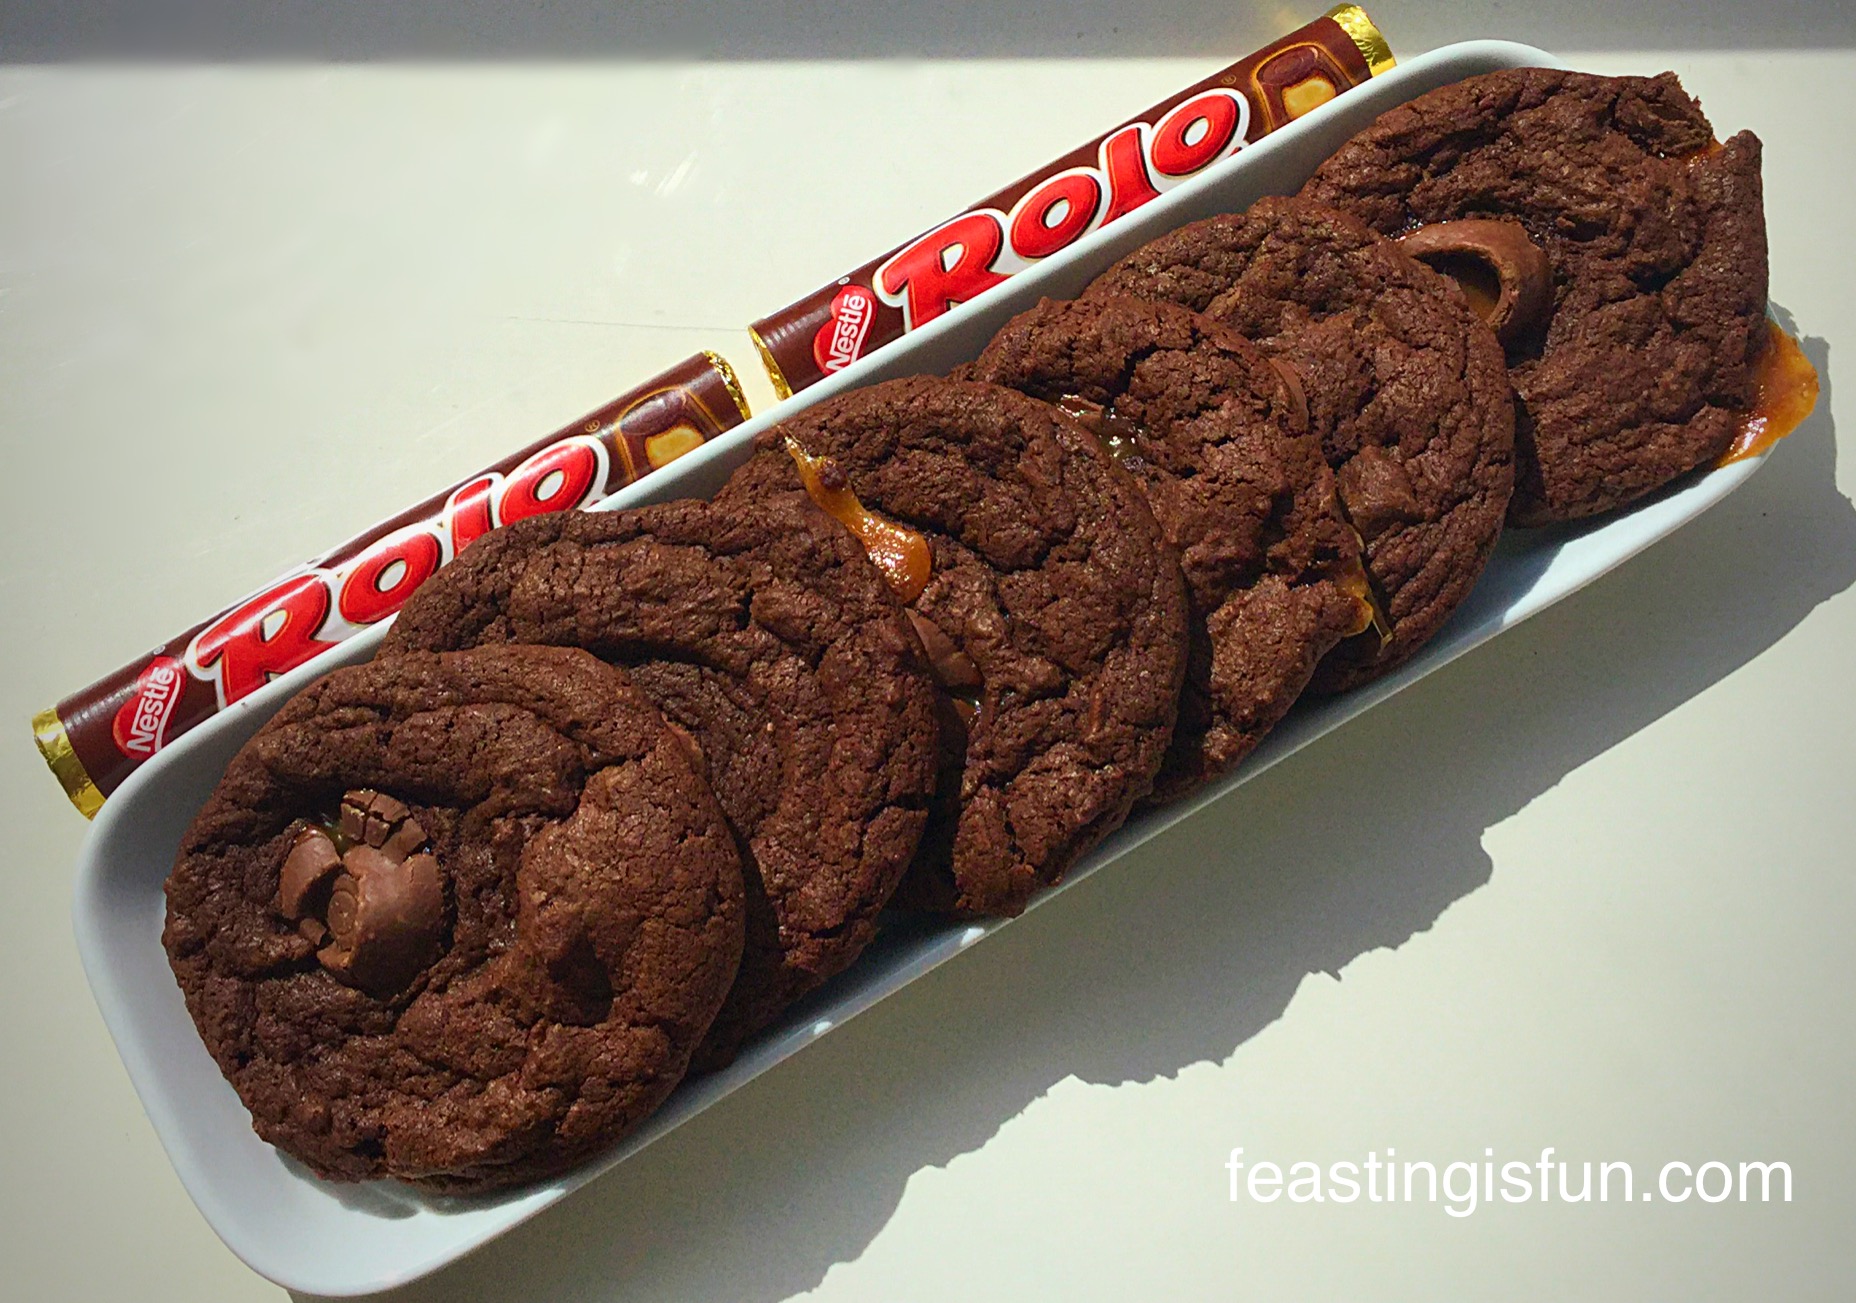
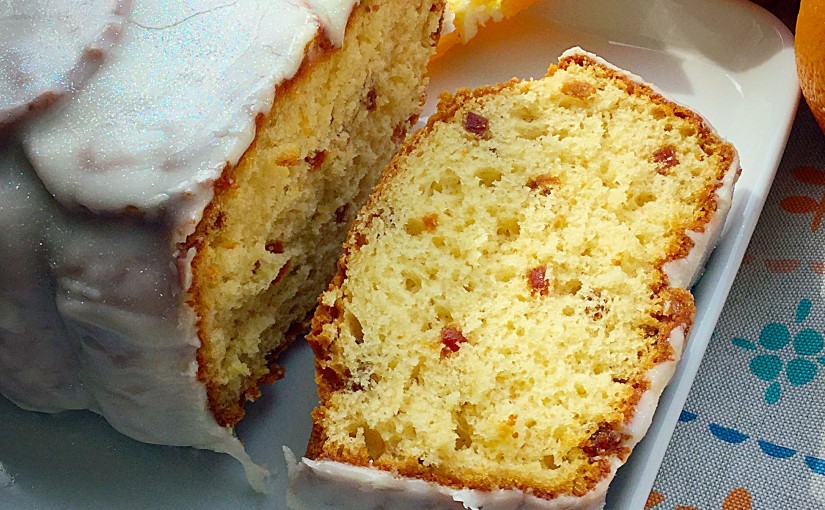
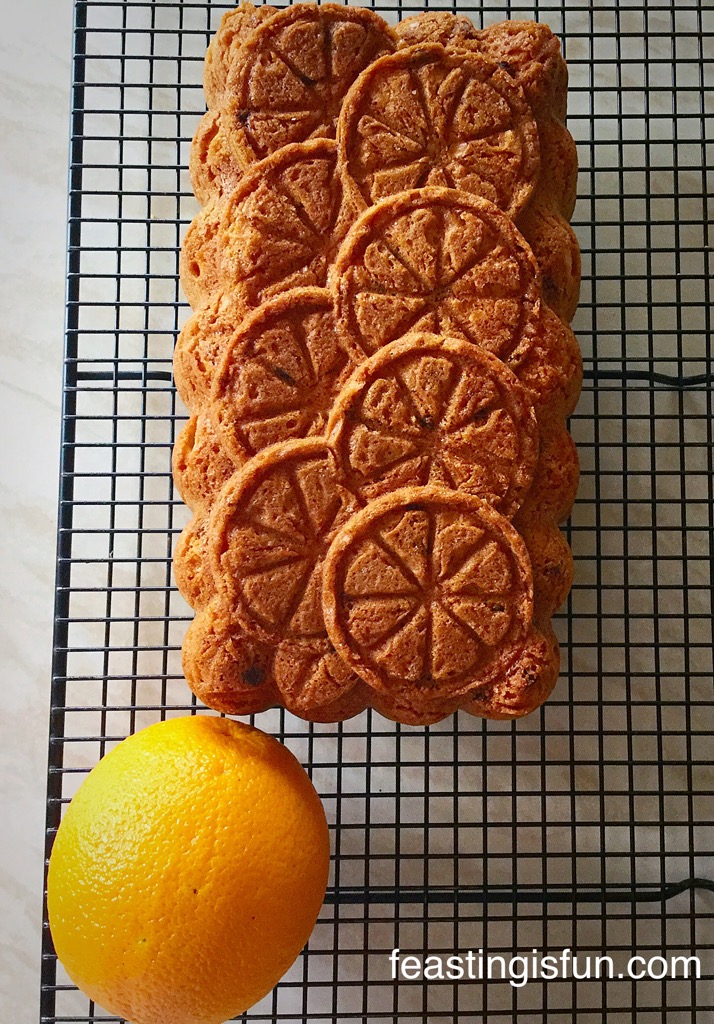
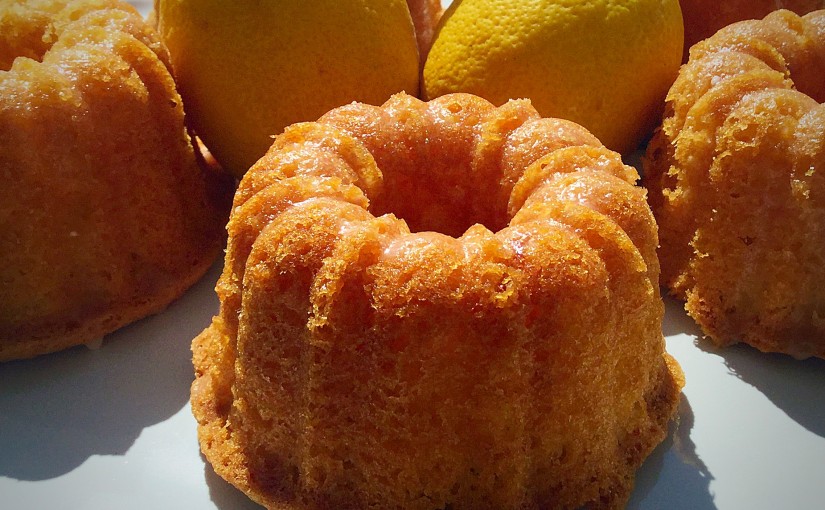
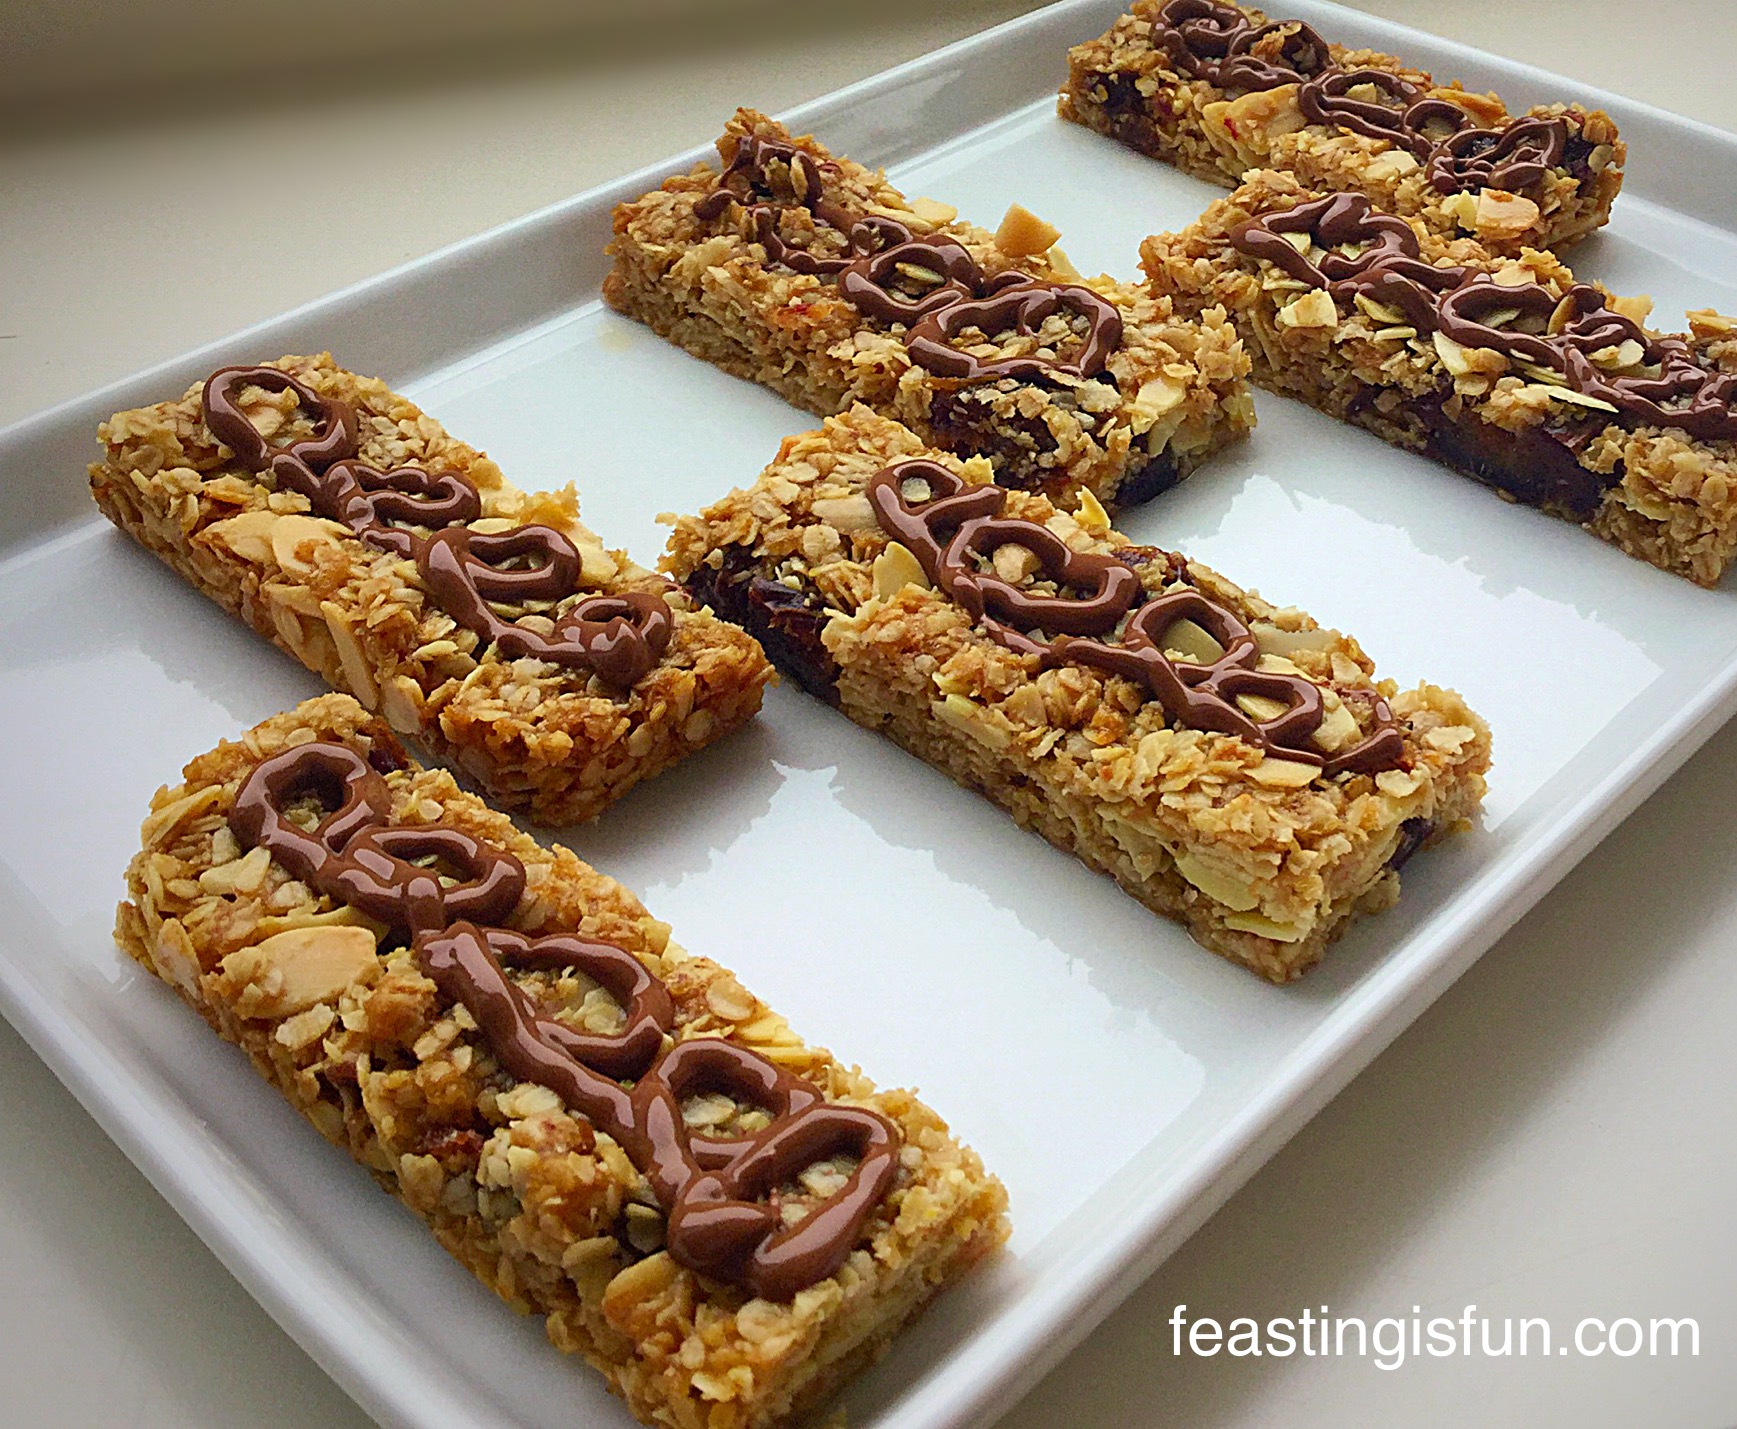
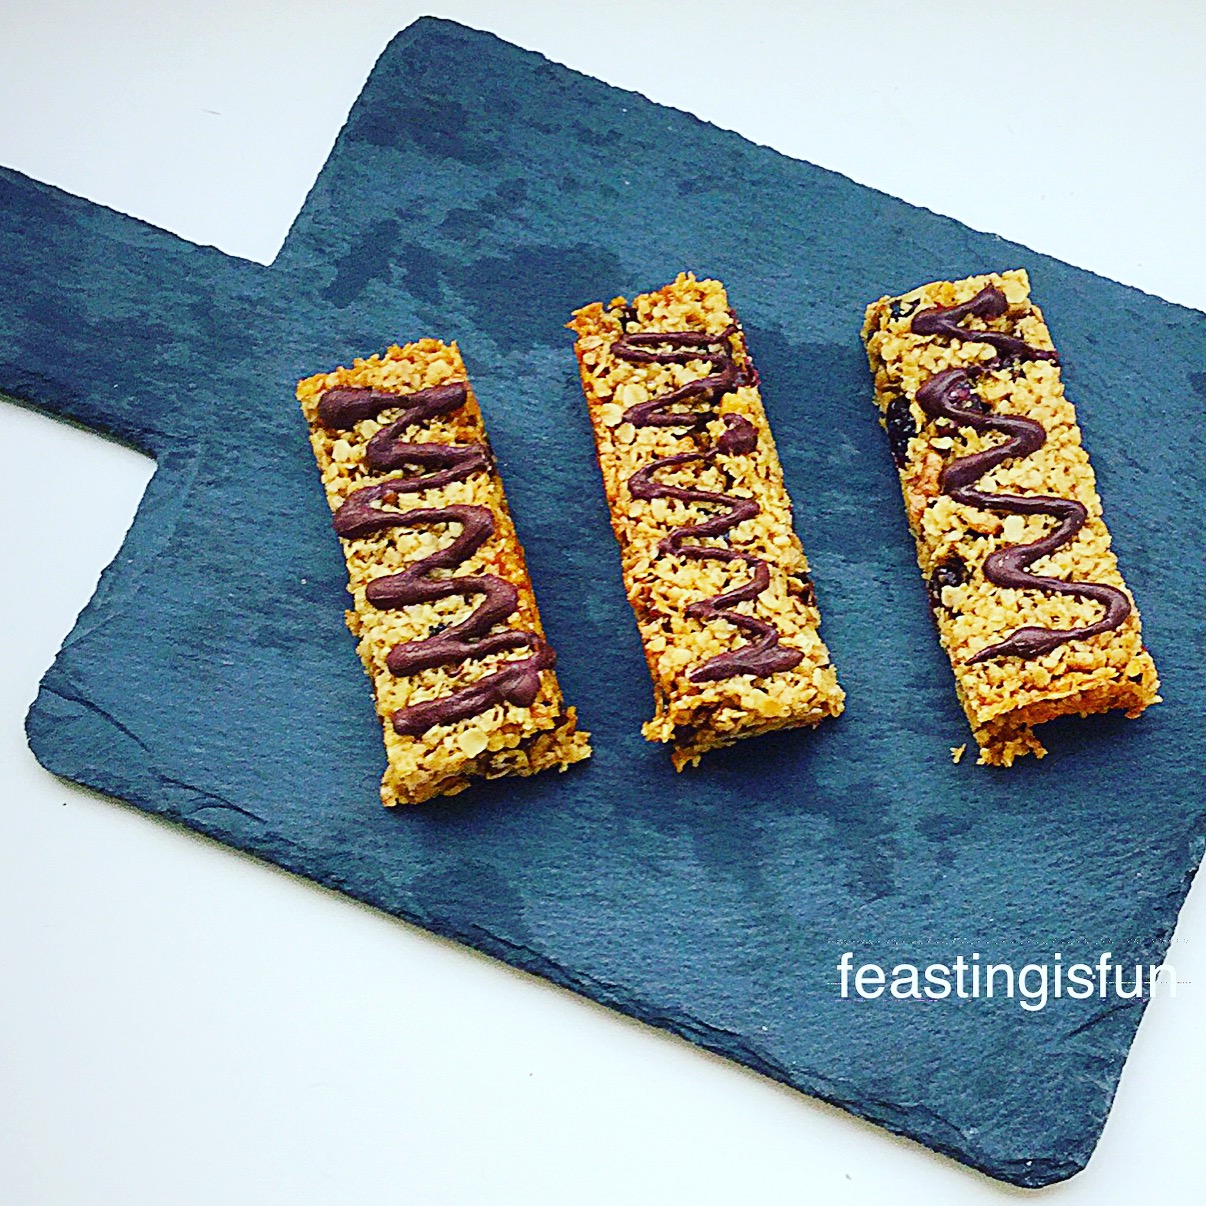
Loved these Feta Cheese Herb Muffins? Here are some other easy, food on the go recipes you may like to try:

Chorizo Goats Cheese Muffins 

FF Chorizo Goats Cheese Muffins
Chorizo Goats Cheese Muffins utterly delicious.

Coconut Almond Date Flapjacks

VC Coconut Almond Date Flapjacks
Coconut Almond Date Flapjacks a slow release energy bar wherever you are.

Cranberry Walnut Flapjacks

BN Cranberry Walnut Flapjacks
Cranberry Walnut Flapjacks – perfect for sustained energy release.

Are you good about eating breakfast and taking a packed lunch to work, or do you grab a sweet muffin with your morning latte?

Hopefully I’ve given you some tips to make mornings less stressful on some days? There are always going to be days when you oversleep, or no matter what you do, you’re running late. If you can plan just a little bit, then a bad start to the day needn’t set the tone for how the day pans out!

Thank you for taking the time to leave a comment. I really enjoy reading them. Likewise for all of you who have posted your makes and bakes on Twitter and Instagram. I love seeing how my recipe turns out in someone else’s kitchen!

Have fun making and baking your feast.

Sammie xx


Share
Facebooktwitterpinterestlinkedintumblr

Garlic Rosemary Roast Potatoes

Share
Facebooktwitterpinterestlinkedintumblr

Let’s talk potatoes, the staple of many a British meal, yet often assigned the side role when it comes to dinner time. Although I will never be a fan of plain, peeled, boiled potatoes, yet give me a healthy serving of Perfectly Mashed Potatoes and I’m likely to forget the sausages on the plate! And these crunchy Garlic Rosemary Roast Potatoes are so full of flavour and enhance any meal that accompanies them.

FF Garlic Rosemary Roast Potatoes

Since winning some Albert Bartlett red Rooster Potatoes a while ago, I wanted to create a delicious roast potato recipe that included the gorgeous red Rooster skin. While the skin has a fantastic flavour, it is also good good source of fibre. Also potatoes contain Potassium, Vitamin C and Iron and are low in fat – unless you fry them or smother them in butter 😉.

All things in moderation eh?

FF Roast Red Potatoes
Rosemary Garlic Roast Potatoes

I apologise for not posting this recipe earlier, however, as today is #National Garlic Day, I thought it would be rather appropriate. While I love garlic and have used quite a bit in this recipe, you can add as much or as little as you like. Likewise with the Rosemary. And I couldn’t resist a final sprinkling of freshly chopped Parsley, which gives the finished dish a burst of colour and flavour and an extra hit of vitamin C. Again this is optional.

FF Garlic Rosemary Roast Potatoes
Garlic Bulbs and Fresh Rosemary complete with flower!

When I picked the Rosemary for these Garlic Rosemary Roast Potatoes, it still had some beautiful blue flowers on it. These can be eaten along with the finely chopped thick leaves.

Recipe: Garlic Rosemary Roast Potatoes serves 6

2kg/4.5lb Red Potatoes – such as the Albert Bartlett Rooster Potatoes I’ve used

2 tablespoons Olive Oil

4-5 Bulbs of Garlic

Small Handful Fresh Rosemary Stems

Sea Salt  – I use Maldon and Freshly Ground Black Pepper

Optional – handful of chopped fresh parsley to finish.

Method: Preheat the oven to 200C/180C fan, gas mark 6, 400F.

Preparing The Potatoes For Roasting

  • Wash and thoroughly dry the potatoes. I place them onto a clean tea towel and place another tea towel on top to absorb all the moisture – dry potatoes = crunchy potatoes!
  • Chop the potatoes into 2″-3″ sized chunks and place onto a baking sheet.
  • Strip the Rosemary leaves from the stem and finely chop.
  • Finely chop/mince the garlic, removing the papery skin.
  • Drizzle the Olive Oil over the potatoes, then sprinkle over the garlic and chopped Rosemary.
  • Add 1/2tsp of sea salt and some freshly ground pepper.
  • Using clean hands toss all the ingredients together on the baking tray, ensuring each potato chunk is slicked in oil.
FF Garlic Rosemary Roast Potatoes
Garlic Rosemary Roast Potatoes ready for the oven.

Roasting The Herb Potatoes

  • Place the baking tray into the preheated oven and bake for 1 hour – 1 hour 15 minutes.
  • The potatoes are cooked when they are golden brown and tender all the way through – test with a knife if unsure.
  • Once cooked remove the potatoes from the oven,
FF Herb Roasted Red Potatoes
Crispy Garlic Rosemary Roast Potatoes
  • Place the Garlic Rosemary Roast Potatoes on a serving platter and sprinkle over a handful of chopped Parsely.
Garlic Rosemary Roast Potatoes

Almost certainly you will not have to call everyone to tell them dinner is ready! These potatoes smell as good as they taste. I like to serve them with everything from grilled salmon, chicken, to a fully roasted beef joint for Sunday dinner. It’s nice to ring the changes on week nights and weekend dinners.

This is a much requested dish in our house and we quite often have them with cold meat and salad, during the warmer summer months.

If you have enjoyed these Garlic Rosemary Roast Potatoes you may also like these other recipes:

Baked Garlic Herb Potato Wedges 

FF Baked Garlic Herb Potato Wedges
Baked Garlic Herb Potato Wedges

Tangy Lemon Potato Salad

FF Tangy Lemon Potato Salad
Tangy Lemon Potato Salad

Perfectly Mashed Potatoes 

FF Perfectly Mashed Potatoes
Perfectly Mashed Potatoes creamy and delicious.


Sometimes the simplest recipes are the tastiest.

Whatever you are baking and making in your kitchens, have fun!

Sammie xx

No part of this post may be reproduced or duplicated without the written permission of the owner. Please see my Disclosure Policy.

Share
Facebooktwitterpinterestlinkedintumblr

Double Chocolate Chip Loaf Cake

Share
Facebooktwitterpinterestlinkedintumblr

Whilst I love a beautifully decorated cake, sometimes a delicious cut-and-come-again cake is what I crave. This delicious Double Chocolate Chip Loaf Cake certainly delivers on flavour. Packed full of chocolate chips and made with sour cream, it is utterly yummy!

FF Double Chocolate Chip Loaf Cake
Double Chocolate Chip Loaf Cake simply really good cake!

This delicious cake however, was made at the request of our eldest daughter. Chocolate cake with chocolate chips and NO icing. In all fairness she has never been a lover of anything creamy, so I was more than happy to oblige and decided to make a Double Chocolate Chip Loaf Cake.

FF Double Chocolate Chip Loaf Cake
Double Chocolate Chip Loaf Cake fancy icing not needed.

This cake may have a simple recipe but boy does it win in the flavour votes. It is a really chocolatey, chocolate cake. In fact served warm with custard, ooh and a scoop of Very Vanilla Ice Cream and this would make rather a delicious pudding.

I just love it when a cake can be dual purpose!!

FF Double Chocolate Chip Loaf Cake
Double Chocolate Chip Loaf Cake however you eat this cake it is utterly yummy!

After making yesterday’s Coffee and Walnut Cake  I was really regretting not making an extra cake for us! The smell of the coffee cake cooking and the walnuts toasting, had my tummy rumbling. In truth it would only have been Hubby and me that ate it. Coffee cake is not our children’s favourite – although two of them will eat Tirimasu???

Without further ado, let’s get to the recipe so that you too can bake this delicious cake!

Recipe: Makes one Double Chocolate Chip Loaf Cake

175g/6oz Unsalted Butter – at room temperature

175g/6oz Soft Light Brown Sugar

1tsp Vanilla Bean Paster -can be substituted with vanilla extract

3 Large Free Range Eggs

150g/5oz Sour Cream – I find it easier to measure by weight

1/4tsp Salt

125g/4.5oz Plain White Flour

50g/2oz Good Quality Cocoa Powder

2tsp Baking Powder

200g/7oz Milk Chocolate Chips/Chunks – use dark/white if preferred

Method: Preheat the oven to 155C/140C fan, gas mark 2

  • Grease and line the base of a 2lb loaf tin with baking parchment.
  • Add the butter and sugar to a large bowl.
  • Whisk/beat until pale and creamy.
  • Add the 3 eggs and vanilla bean paste and whisk for a further 5 minutes until all the ingredients are fully combined.
  • Add the sour cream and sift in the flour, cocoa powder, baking powder, salt and add the chocolate chips.
  • With a spoon fold all the ingredients together until just combined.
  • Spoon the cake batter into the prepared loaf tin.
  • Place into the middle of a preheated oven and bake for 45-50minutes.
  • The cake is baked when it is firm to touch. I don’t suggest inserting a skewer, as if it goes through a warm chocolate chip you may think that the cake is still uncooked.
  • Once baked remove the Double Chocolate Chip Loaf Cake from the oven.
FF Double Chocolate Chip Loaf Cake
Double Chocolate Chip Loaf Cake don’t work about the crack on top – it proves its a good homemade cake!
  • Allow the cake to cool in the tin until it is warm, or preferably cold.
  • To remove from the tin, gently go around the outside edge, between the cake and the tin with a palette knife. Place a plate or cooling rack on top of the tin and flip over. The cake should release easily.
FF Double Chocolate Chip Loaf Cake
Double Chocolate Chip Loaf Cake sliced and ready to be eaten!

In complete honesty, I must say that the cake was still warm when removed from the tin. Such was our eagerness to taste it!! My family have got used to waiting for the blog photos to be taken. Two minutes after the above photo was taken, the slices of cake you see were plated and dished out with forks.

Still slightly warm, with nuggets of semi melted chocolate chunks throughout, this cake made for very nice elevenses with a cup of tea!

We seem to have got into a habit of having cake or a sweet treat such as my Lemony Strawberry Pavlova on a Sunday, not necessarily a bad thing I think!

This cake, should there be any left, will keep for 4 days in an airtight container. Actually from experience it tightens up a bit on the second day and is not only easier to cut, but also improves in flavour – I’ll leave it up to you to decide whether to wait 😉.

FF Double Chocolate Chip Loaf Cake
Double Chocolate Chip Loaf Cake

This delightful cake is perfect for picnics, afternoon tea, or elevenses in the garden, when the sun is shining as beautifully as it is today! I’m not a big fan of taking iced cakes on picnics, as the extra sugar seems to be a magnet for bugs!

Do you enjoy eating outside when the weather is nice? Do you have a favourite bake that you always make before a trip to the seaside, or picnic in the park?

Asking these questions reminds me of mug Grandma, who always spent the day before a family outing baking. The only thing I consistently remember her baking was Rock Buns. I’ll have to dig out a recipe – for those of you who aren’t familiar with them, they are fruit filled buns, halfway between a cake and scone. Any tips please let me know in the comments section?

If you have enjoyed this Double Chocolate Chip Loaf Cake here are a few more recipes you may like to try:

Glazed Orange Bundt Cake

FF Glazed Orange Bundt Cake
Glazed Orange Bundt Cake perfect for afternoon tea.

Cherry Almond Sandwich Cake

FF Cherry Almon Sandwich Cake
Cherry Almond Sandwich Cake with pretty feathered icing.

Chelsea Buns

FF Chelsea Buns
Chelsea Buns easy to make and easier to eat! www.feastingisfun.com

Whatever you are making and baking in your kitchens today, make each mouthful a feast and have lots of fun.

Sammie xx


Share
Facebooktwitterpinterestlinkedintumblr

Classic Coffee Walnut Cake

Share
Facebooktwitterpinterestlinkedintumblr

There are many classic flavour combinations; strawberries and cream, rhubarb and custard, apple and cinnamon. And they don’t need tinkering with because they work so well together. Rather like this delicious Classic Coffee And Walnut Cake.

FF Classic Coffee Walnut Cake

However, recently a few people have asked if I have a Classic Coffee Walnut Cake recipe and while it’s a cake that I’ve baked many times over the years, I realised it wasn’t on here. So, in a attempt to rectify that and make my Father in law’s favourite cake, here it is.

FF Classic Coffee Walnut Cake
Classic Coffee Walnut Cake a real treat.

Baking Cakes To Share

While I tried to make this cake relatively small as it will be shared between two people, in reality I failed! Although this cake was baked in my small 7 inch sandwich tins, I have packed so many walnuts into the centre, this Classic Coffee Walnut Cake will easily feed 8 people!

Alternatively, if you would prefer a slightly smaller cake (don’t laught at me) I suggest cutting down on the walnuts, not the cake!

FF Classic Coffee Walnut Cake
Classic Coffee Walnut Cake a delicious thank you gift.

Baking; A Form Of Therapy

Hubby is, as I write this, undergoing a hospital procedure and as a way of distracting myself and thanking my wonderful in laws for taking him, I made this cake. Also I’m trying to distract myself by writing this post. Although, I’ll have to see how much editing is needed at the end to know how well I managed.

As I mentioned I have made lots of coffee and walnut cakes over the years and I do usually add chopped walnuts to the cake batter. Yet, in this instance, especially as the cake sponges are quite small, I decided to pack chopped walnuts into the centre of the sandwich cake. Because this cake was made to be given away, now I’ve made it I really fancy a slice! Expect another coffee cake recipe on here soon.

FF Classic Coffee Walnut Cake
Classic Coffee Walnut Cake plenty of delicious, toasted, chopped walnuts fill the centre of this cake.

The Beauty Of Buttercream Icing

Also, I made a mistake whilst decorating this cake. After piping the 8 swirls around the edge, I piped a monstrously hideous circle in the centre. While I photographed the cake I became more and more disheartened by this huge swirl of buttercream spoiling the look of the cake. Fortunately, this is where buttercream is a dream to work with, using a small palette knife it lifted right off the cake. And I then dusted the cake with icing sugar and replaced a single walnut half, with a dob of buttercream in the centre.

Sometimes less is more (never with glitter) and that was definitely the case with this Classic Coffee Walnut Cake.

I have shown you a photograph of the centre of the cake as this could easily be the top. However, if you aren’t confident piping buttercream just use half in the middle and spread half on top of the cake. There are plenty of walnuts in the recipe, enough for you to chop and cover both the middle and top layers and your cake will still look delicious and inviting.

Recipe: Makes one Classic Coffee Walnut Cake – serves 8

For the cake sponges:

150g/5oz Unsalted Butter

150g/5oz Caster Sugar

3 Large Free Range Eggs

2tsp Instant Coffee dissolved in 2tbsp/30ml boiling water

1tsp Vanilla Extract I use NIELSEN-MASSEY

1/4tsp Salt – I use Maldon

150g/5oz Plain Flour – self raising can be substituted DO NOT add extra baking powder

1tsp Baking Powder

For the buttercream:

2tsp Instant Coffee liquid – leftover from sponge recipe (or 1tsp vanilla extract)

150g/5oz Unsalted Butter

300g/11oz Icing Sugar Sifted plus 2 teaspoonful for dusting the cake

125g/4.5oz Walnut Halves

Method: preheat oven to 160C/140C fan, gas mark 3, 325F

Making And Baking The Coffee Cake Sponges

  • First of all butter 2 x 7″ (17cm) sandwich tins and line with baking parchment.
  • Place the instant coffee into a cup and add 30ml of boiling water. Stir to dissolve and set to one side to cool.
  • In a large bowl add the butter and sugar. Whisk/beat until pale and creamy.
  • Next add the 3 eggs, vanilla extract and 3 teaspoons of the cooled liquid coffee. Whisk/beat for 2 minutes until combined.
  • Sift the flour, baking powder and salt into the bowl.
  • Fold the dry ingredients into the wet until just incorporated. This will ensure a very light sponge.
  • Divide the batter equally between the 2 prepared cake tins. Use may use digital scales to ensure your quantities are even, or just eyeball it as I did.
FF Classic Coffee Walnut Cake
Two coffee cakes ready for the oven.
  • Bake the cakes in the centre of the oven for 25-30 minutes.
  • The sponges are baked when they are golden brown and spring back from a light touch.
  • As soon as the cakes are baked remove from the oven, place the tins on a cooling rack and leave to cool in the tins for 10 minutes.
FF Classic Coffee Walnut Cake
Beautiful cooked coffee cakes.
  • When they are cool enough to handle turn the cakes out of their tins, ensuring one sponge is the right way up, for the top of the cake.
  • Allow the turned our sponges to cool completely before assembling the cake.
  • Place the walnut halves on to a baking tray and place in the hot oven for 5 minutes to toast. Remove and leave to cool on the baking tray.

Making The Icing And Decorating The Coffee And Walnut Cake

  • Place the butter, sifted icing sugar and 3 teaspoons of liquid coffee into a large bowl.
  • Whisk until pale and creamy. Taste the buttercream, add more coffee if desired.
  • When cooled place the bottom half of your cake, flat side up, onto a cake stand or board.
  • Using a palette knife spread half of the buttercream over the sponge, not quite reaching the edges.
  • Set aside 10 nice walnut halves to decorate the top of the cake ( it’s always good to have one spare).
  • Roughly chop the remaining walnuts and place on top of the buttercream.
  • Place the top half of you cake, rounded side up, on top of the bottom half.
  • Fit an icing bag with a French star tip (or whatever tip you prefer).
  • Fill the icing bag with the remaining buttercream.
  • Pipe 8 small swirls equally around the top edge of the cake. Pipe the same small swirl in the centre.
  • Top the buttercream swirls with walnut halves.
  • Pipe little swirls around the middle of the cake, where it is sandwiched together for a pretty finish.
  • Dust with a little icing sugar.

Classic Coffee Walnut Cake such a beautifully delicious, easy cake to make and the perfect gift for any coffee cake lover.

Store the cake in an airtight container, in the fridge during hot weather. Eat within four days.

Thank you

I love my husbands parents very much. Hubby and I will be celebrating our 20th wedding anniversary this year. My relationship with my in – laws has not always been smooth or plain sailing. We have been through a lot together and I honestly love and respect them as if they were my own parents.

Thank you Ma and Pa, we couldn’t have gotten through the last 20 years and especially the last year without you x.

I really enjoy baking for other people. It’s such a fantastic feeling when you see the look of surprise and joy on their face when I give them a cake, or whatever goody I have baked. Finally, hubby should be home soon and I have managed to keep myself distracted whilst he has been gone.

Do you enjoy baking for others?

If you’ve enjoyed this Classic Coffee Walnut Cake then you may also want to take a peek at these recipes:

Raspberry Almond Cream Cake

FF Raspberry Almond Cream Cake
Raspberry Almond Cream 

Baileys Coffee And Walnut Cake

Bailey’s Coffee And Walnut Cake
Baileys Coffee And Walnut Cake

Strawberry Sweetheart Cake 

MT Strawberry Sweetheart Cake
Strawberry Sweetheart Cake

I’d love to see photos of any bakes that you have made as gifts. Please pop a pic on Twitter or Instagram and tag me in. Likewise, do you have a story linked to a special bake? Also tell me about it in the comments section, I love reading all of your comments.

So, whatever you are making, baking and creating in your kitchens, have fun preparing and sharing your feast.

Sammie xx

No part of this post may be reproduced or duplicated without the written permission of the owner. Please see my Disclosure Policy.


The cake below features vanilla icing and a sprinkle of edible holographic glitter. Substitute the coffee in the buttercream icing recipe for one teaspoon of vanilla extract. While the addition of sparkles is your choice!


Vanilla buttercream iced coffee and walnut cake finished with edible holographic glitter.

Share
Facebooktwitterpinterestlinkedintumblr

Very Vanilla Ice Cream

Share
Facebooktwitterpinterestlinkedintumblr

Standing in the garden yesterday, face lifted up to the sky, the sun warming me through, gave me hope. Finally, Winter has passed Spring is here and warm, sunshine filled days will be more frequent and very welcomed. When the sun starts to really warm me, there is one thing I am inspired to make. Welcome to my Very Vanilla Ice Cream.

Two cookies sandwiched together with vanilla ice cream

Summer Time And The Living Is Easy

As soon as the tinkling sounds of the ice cream van fill the air, I know it is time to make one of the Summer’s greatest pleasures, ice cream.

There is absolutely a place for ice cream vans, 99’s and ice cream vendors on the beach. Gosh, on a hot day where would we be without them?

Homemade ice cream is a wonderfully indulgent pleasure. I have made very many flavours over the years, seeing as this is the first ice cream recipe to be posted here, I decided to show you how to make the best Very Vanilla Ice Cream which also happens to be gluten free, as are all of the ice cream recipes here on Feasting is Fun.

FF Very Vanilla Ice Cream
Very Vanilla Ice Cream how do you like yours?

So simple to make, with only a little forward planning required. There are plenty of no churn ice cream recipes on the Internet – Pinterest is a great place to look. Whilst some of them are reasonably good, buying an ice cream maker and churning your own ice cream results in a far smoother, silkier ice cream. Having just had a quick look on Amazon  they have a good selection of ice cream makers for under £30.

How about an ice cream maker as a present for Dad on Father’s Day?

I have tried making ice cream by hand, where you take it out of the freezer every so often and mix it with a fork. No matter how well I followed the recipe instructions my ice cream always ended up with large water crystals and wasn’t ever smooth or creamy.

Sweet Memories

Since being given an ice cream maker a few years ago, making ice cream is no longer a chore but a pleasure.

FF Very Vanilla Ice Cream
Very Vanilla Ice Cream squished into a cone – delicious!

Many years ago, when I was in my early 20’s, a friend and I went Inter Railing across Europe. Aside from the beautiful sights and unique experiences we shared, I have one very prominent memory. Of ice cream!!

Not any ice cream, a beautiful hazelnut ice cream eaten in Germany. For years and years I longed to taste that delighful ice cream again. Then when I started making my own ice cream I found a way to make it and it tastes just how I remember. More on that in an upcoming post.

That’s the beauty of making your own ice cream, playing with flavours and textures, creating your own little ice cream parlor!

Recipe: Makes approx 750ml Very Vanilla Ice Cream

300ml Double Cream

300ml Whole Milk

6 tbsp Caster Sugar

4 Free Range Egg Yolks

2 tsp Vanilla Bean Paste – I use Nielsen-Massey

1 tsp Corn Flour – I use Doves Farm as it is gluten free

Scant pinch of salt (less than 1/4 tsp)

Method: Ensure the freezing part of the ice cream maker has been in the freezer for at least 24 hours.

Making The Ice Cream Base

  • Place the cream, milk and vanilla bean paste into a saucepan over medium heat.
  • Add the egg yolks, sugar, salt and cornflour to a large heatproof bowl. Whisk until pale and creamy.
FF Very Vanilla Ice Cream
Whisk the eggs and sugar until they are very pale and creamy.
  • The milk/cream needs to reach scalding point. This is when little bubbles appear around the edge of the liquid.
FF Very Vanilla Ice Cream
Bring the milk up to scalding point, see the bubbles around the saucepan edge?
  • When the milk/cream has reached scalding point remove the pan from the heat.
  • Whilst whisking the egg mixture, pour the hot milk/cream into the bowl – do not stop whisking.
  • Once combined tip the custard mixture back into the same saucepan, cooking over a low heat and constantly stirring, until the custard has thickened and coats the back of a wooden spoon.
FF Very Vanilla Ice Cream
See how the cooked custard coats the back of the spoon.
  • Place a sieve over a clean, heatproof bowl and pour the custard into the bowl, through the sieve.
FF Very Vanilla Ice Cream
Look how beautifully smooth the ice cream custard is.
  • Place cling film directly over the top of the custard so that is touches it. This will prevent a skin from forming.
  • Allow to cool and then place into the fridge to chill.

Churning The Ice Cream

  • Set your ice cream maker up according to the manufacturers instructions.
  • Remove the cling film, stir the custard and pour into a jug.
  • Pour the custard into the ice cream maker (for mine it has to already be churning – check your instructions).
  • Churn the Very Vanilla Ice Cream until it is a thickened yet soft ice cream.
FF Very Vanilla Ice Cream
Very Vanilla Ice Cream ready for the freezer
  • Stop the ice cream maker and scoop out the Very Vanilla Ice Cream into a freezer-proof plastic tub.
  • Place the tub into the freezer and leave until solid.
  • As this ice cream has no artificial softening additives, to serve it is best left out of the freezer for 15 minutes. Then scoop away!!!

Continue reading Very Vanilla Ice Cream

Share
Facebooktwitterpinterestlinkedintumblr

Caramac Caramel Cookies

Share
Facebooktwitterpinterestlinkedintumblr

Hello and thank you for stopping by. I may have a huge teeny tiny confession to make. I love Caramac! Nothing wrong in that except after I’d seen some some amazing Caramac Cupcakes over at Janes’s Pattiserie I asked my Hubby to pick up a few bags of Caramac buttons for ‘baking’. And after I’d eaten all of them my friend bought me some more AND I ate those! So you can imagine my family’s relief when I finally got around to baking these oh-so-good Caramac Caramel Cookies.

FF Caramac Caramel Cookies

Caramac love

If you haven’t tried Caramac before, they are a bit like white chocolate with a hint, just a hint of caramel flavour. When I was younger and even still today, I had to be careful how much chocolate I ate as it triggers migraines in me. Caramac bars were my go-to alternative. And I’d ‘almost’ forgotten about them, until Jane posted her cupcakes!

Caramac buttons! You can buy Caramac buttons now. Forgive me, I am slightly over-excited!

And the rest as they say is history. Because everyone knows chocolate buttons taste better than a bar. Since they fit so nicely in my mouth and are just the best with a hot cup of tea. Finally, you now you know how I became hooked on Caramac again!

FF Caramac Caramel Cookies
Caramac Caramel Cookies

Although I used Caramac bars to melt and drizzle over these utterly perfect Caramac Caramel Cookies. Because I simply couldn’t bring myself to use the buttons. I will do, just taking things one step at a time.

FF Caramac Caramel Cookies

These light, chewy cookies are a caramel lovers dream. First of all, the brown sugar in the cookie dough, along with the butterscotch chips, give these cookies an underlying caramel flavour, with bursts of pure caramel flavour. While melted Caramac drizzled on top adds an extra creaminess that completely rounds the flavours out and makes these Caramac Caramel Cookies so good.

Absolutely perfect for Caramac lovers, chocolate haters or avoiders and Cookie Monster’s like me!

Recipe: Makes 20 Caramac Caramel Cookies

225g/8oz Soft Light Brown Sugar

150g/5oz Unsalted Butter- at room temperature

2tsp Vanilla Extract – I use Nielsen-Massey

1 Large Free Range Egg – plus

1 Large Free Range Egg Yolk

275g/10oz Plain White Flour

1/2tsp Bicarbonate of Soda

1/4tsp of Salt – I use Maldon 

150g/5oz Toffee/Butterscotch baking chips

120g 4 X Caramac Bars for the drizzle – use can use buttons if you prefer

Method: Preheat the oven to 170C/150C fan, gas mark 3, 325F.

Making the cookie dough

  • First of all line 3 large baking trays with baking parchment.
  • Place the sugar and butter in a large bowl and whisk/beat for 5 minutes until pale and creamy – whisking for 5 minutes here and then after adding the eggs is very important to the finished texture of the cookie.
  • Add the vanilla extract and the eggs and continue whisking/beating for a further 5 minutes.
  • Sift in the flour, bicarb. and salt.
  • Add the toffee/butterscotch chips.
  • Fold all the ingredients together until you have uniform cookie dough.

Shaping and baking the cookies

  • Using a medium sized ice cream scoop, or a spoon and your hands, scoop/roll 5cm/2″ ball of cookie dough and place onto the baking tray.
FF Caramac Caramel Cookies
Space the cookie dough balls apart as they spread whilst baking.
  • Using clean, slightly wet hands squish the cookie dough balls fairly flat. They should be about 1cm thick.
FF Caramac Caramel Cookies
This ensures that they bake evenly as they spread.
  • Place the baking trays in the middle and lower parts of the oven and bake the cookies for 15 minutes exactly.
  • As soon as the baking time has elapsed remove the cookies from the oven and allow to cool completely on the baking trays.
FF Caramac Caramel Cookies
Caramac Caramel Cookies still soft when baked, they firm up on cooling.
  • Once the Caramac Caramel Cookies have cooled they are ready for their Caramac drizzle.

Adding the Caramac drizzle

  • Break up the Caramac bars and place in a heatproof, microwaveable bowl.
  • Zap the Caramac in 30 second spurts until it starts to melt, stirring in between each zap!
  • When the Caramac is half melted (mine took just over 1 minute), remove from the microwave and stir until it is all melted.
  • Using a teaspoon, drizzle the melted Caramac over the cooled cookies.
FF Caramac Caramel Cookies
Caramac Caramel Cookies I do love a production line!
  • Finally, leave the cookies to set.

These Caramac Caramel Cookies will keep for 5 days in an airtight container – if they last that long 😉.

FF Caramac Caramel Cookies
Caramac Caramel Cookies

While Caramac bars and buttons are available in most supermarkets and local grocery shops, the buttons were bought from Asda. Most importantly, this IS NOT a sponsored post, I simply want to make sure that you can get hold of these delicious Caramac buttons to try. I take no responsibility for anyone who becomes hooked on them, since they are very more-ish!

Caramac Caramel Cookies

Because we always have cookies in our house, I start most days with a cup of tea and a cookie. Also, if I am late eating breakfast or miss it completely (I do try not too), then I have enough energy to keep me going. And it’s always nice to have something on hand to offer visitors when they pop in.

So, are you a Cookie Monster? Do you have a favourite cookie recipe?

If you happily munched your way through this recipe for Caramac Caramel Cookies, here are a few more you might like to try:

Chocolate Monster Mini Egg Cookies

FF Chocolate Monster Mini Egg Cookies
Chocolate Monster Mini Egg Cookies perfect for every Cookie Monster, including me!

Cherry Bakewell Cookies

R Cherry Bakewell Cookies
Cherry Bakewell Cookies if you fancy a change from chocolate?

Rolo Chocolate Cookies

FF Rolo Chocolate Cookies
Rolo Chocolate Cookies soft and chewy bites of chocolate heaven.

And if you have any favourite cookie recipes, please share them in the comments section and I’ll give them a try!

Reading your comments is one of the greatest pleasures of having this blog. Thank you for taking the time to write them and please keep them coming? And don’t forget to tag me, @sammiefeasting on Twitter/Instagram with your makes and bakes? Because, you are also an inspiration to me, another great part of having this blog!

So, whatever you are making, baking and creating in your kitchens, have fun preparing and sharing your feast.

Sammie xx

No part of this post may be reproduced or duplicated without the written consent of the owner. Please see my Disclosure Policy.


Share
Facebooktwitterpinterestlinkedintumblr

Glazed Orange Bundt Cake

Share
Facebooktwitterpinterestlinkedintumblr

There is something about the colour orange that I am drawn to. Orange can be warm and vibrant, bright yet soft. And, my first bedroom, when I was a little girl was orange, chosen because I had the most incredible, pale orange bridesmaid dress that I adored. Entranced by the colour then and now forty years later, I still love it. Especially when it is the shade of the navel oranges used in this recipe for Glazed Orange Bundt Cake. A delicious, fruit packed orange cake covered with a light, fresh orange glaze.

WB Glazed Orange Bundt Cake
Glazed Orange Bundt Cake so vibrant and full of orange flavour.

Going Off On A Tangent!

Orange is also the favourite colour of Peeta, a character in the Hunger Games Trilogy. Although not the bright orange of Effie’s hair, but the colour of a sunset. If you have seen any of the films, or read the books, this may make some sense to you.

I make no apologies for referencing the film, as I and my family are huge Hunger Games fans. Yet very few, if any, of the citizens of the poor, mining District 12 would have had the luxury of eating cake. Especially this totally delicious Glazed Orange Bundt Cake.

Finally, if, as I suspect, you are clueless as to what the last few lines mean, don’t worry! Most importantly, know that I love the colour orange in all its shades.

WB Glazed Orange Bundt Cake
Glazed Orange Bundt Cake perfect for afternoon tea.


Using A Cake Mix or Bake From Scratch

Since our son adores oranges, he is going to be absolutely thrilled when he gets in from school tonight and sees that I’ve made another Orange Cake. Using Wright’s new Orange Cake Mix to make this beautiful loaf, makes baking this cake so easy. From opening the packet to popping the cake into the oven takes less than 10 minutes. Alternatively, you can make this cake using this Glazed Lemon Bundt Cake recipe, using the exact same quantities of fresh orange.

A mere 10 minutes. And yes I’m repeating it because the reward for a few minutes measuring and mixing is massive. This cake incredible, packed full of dried fruit that add interest to the tender cake crumb. The orange glaze further enhances the tangy orange flavour, while creating a glossy finish. Baked in my pretty Citrus Bundt Tin from Nordicware, the detailed markings are clearly visible through the glaze.

WB Glazed Orange Bundt Cake
Glazed Orange Bundt Cake baked in the Citrus Bundt Tin with it’s beautiful markings.

Following the success of my Chocolate Orange Citrus Bundt I wanted to make this Glazed Orange Bundt Cake. Since I had made a Glazed Lemon Bundt Cake I knew an orange glaze would also showcase this wonderful cake.

Since sharing the cakes made using the Orange Cake Mix from Wright’s, with family, friends and neighbours, a big thumbs up has been the overwhelming response. In addition to requests for more cake!

If you don’t usually use cake mixes, or aren’t a fan, why not give this Orange Cake Mix a try? You may be surprised and be reassured, I’d never recommend anything that I wouldn’t share with my family. Also, keeping a selection of Wright’s mixes stashed in the kitchen cupboard is simple as easy. Especially if unexpected visitors arrive, or the urge for cake strikes.

Recipe: Makes one Glazed Orange Bundt Cake serves 10

1 packet of Wright’s Orange Cake Mix

4tbsp Vegetable Oil – as directed on the packet

200ml Water – as directed on the packet

You will need cake release if a Bundt tin – I recommend Wilton , alternatively use a loaf tin which has been brushed with melted butter and lined with baking parchment.

200g/7oz Icing Sugar

1 Orange – you will need the juice of half

Edible glitter – optional

Making And Baking The Orange Cake

Preheat the oven to 160C/140C fan, gas mark 3, 325F.

  • Spray or brush the Bundt tin thoroughly with cake release. Alternatively, grease (with butter) and line with baking parchment a 2lb loaf tin.
  • Make up the cake batter according to the packet instructions. Alternatively follow the recipe substitution given.
  • Pour the orange cake batter into the prepared Bundt tin.
  • Place the tin in the middle of the preheated oven.
  • Bake for 45-50 minutes.
  • The cake is cooked when it is a golden colour and an inserted skewer comes out clean.
  • As soon as the cake is baked remove the oven.
  • Allow to cool for 10 minutes in the tin before turning out onto a cooling rack.
WB Glazed Orange Bundt Cake
Beautiful Orange Cake
  • Allow the cake to cool completely before decorating.

Making The Glazed And Decorating The Cake

  • Sift the icing sugar into a bowl.
  • Add the juice of half an orange and mix using a spoon. The glaze should be thick, yet still drip from the spoon. Add more juice if required to obtain the required consistency.
  • Place the cooling rack on top of a clean baking tray. This is important as the glaze that drips through will be used to cover the sides of the cake.
  • Spoon the orange glaze over the top of the cake.

WB Glazed Orange Bundt Cake

  • Allow the glaze to drip down the sides of the cake.
  • Ensure the entire top of the cake is covered in glaze.
  • Carefully lift the cooling rack a little and scoop the glaze from the tray underneath. Use this to spoon over and cover the sides of the cake.
  • When the cake is completely covered in glaze leave to set.
  • Transfer the Glazed Orange Bundt Cake to a serving plate.
  • Sprinkle with edible glitter if desired.
WB Glazed Orange Bundt Cake
Glazed Orange Bundt Cake utterly delicious.

Slice and serve the cake with a lovely cup of tea or coffee and of course, guests. Since all food tastes infinitely better when shared!

Keep this cake in an airtight container and eat within 4 days. Also, keep refrigerated during warmer weather.

If you have enjoyed this recipe for my Glazed Orange Bundt Cake you may like these other fruity bakes:

Chocolate Orange Citrus Bundt

Chocolate Orange Citrus Bundt Cake

Glazed Lemon Bundt Cake


Glazed Lemon Bundt Cake

Mini Lemon Drizzle Bundt Cakes

Mini Lemon Drizzle Bundt Cakes

I hope that sharing some quick, easy, yet still completely delicious bakes helps you in your kitchen? My intention is to always create straightforward, easy to follow recipes that deliver consistently good results.

Also, I’d love to know your thoughts on this recipe and others posted here on Feasting Is Fun. Your comments are valuable and much appreciated.

So, whatever you are making, baking and creating in your kitchens, have fun preparing and sharing your feast.

Sammie xx

No part of this post may be reproduced or duplicated without the written permission of the owner. Please see my Disclosure Policy.

Share
Facebooktwitterpinterestlinkedintumblr

Lemony Strawberry Pavlova

Share
Facebooktwitterpinterestlinkedintumblr

Hello my lovely readers. I have a rare recipe on my blog for you today – a dessert. I was shocked when I realised just how few dessert recipes I have. It just goes to show, we may have cake or cookies in the tin, but I rarely make dessert, much to my Hubby’s disappointment. So in order to correct this I have made a delicious Lemony Strawberry Pavlova!

FF Lemony Strawberry Pavlova
Lemony Strawberry Pavlova so light and refreshing.

As you may be aware, I love lemons, especially in cakes like my Mini Lemon Drizzle Bundt Cakes. This lemon pavlova is the stuff of fairies, rainbows and dreams. It is incredibly light, with a crisp, outer shell that hides a soft, marshmallow like interior. It really does melt in your mouth!

Slathering the top with dreamy, lightly whipped cream, fragrant strawberries and finishing with a limoncello sticky drizzle. This Lemony Strawberry Pavlova is the perfect dessert, especially on a Sunday after a roast.

FF Lemony Strawberry Pavlova
Lemony Strawberry Pavlova a generous slice!

Having made a few pavlovas now, I think that I’ve got them pretty much nailed. Yes I know that the weather, in particular humidity, can play havoc with them, but they are a fairly easy, foolproof dessert. The way I see it is this; if the worse happens and they crack and crumble, then make an Eton mess – whipped cream, crumbled meringue and fresh fruit. Altenatively if the cracking isn’t that bad, slather them with whipped cream and fruit and nobody will notice the disaster you have managed to avert 😉.

FF Lemony Strawberry Pavlova
Lemony Strawberry Pavlova look at the marshmallow inner, utterly melt in the mouth.

Fortunately this Lemony Strawberry Pavlova behaved. Today is a sunny dry day and apart from me using a new baking tray that was just a teeny bit too wide for our oven, hence this pavlova was cooked on a slant, it turned out beautifully. Better than that it tastes amazing. If you’ve ever eaten lemon roulade, then that has a similar texture to this pavlova.

When I first started making pavlovas I hadn’t any pictures to guide me through the process, so I’ve included a few so that you will know how things are supposed to look!

Also I managed to get hold of some early season British strawberries, they smelled so fragrant. This pavlova would also work well with Raspberries, Blackberries and Blueberries, so use whatever fruit is in season.

Recipe: Makes one Lemony Strawberry Pavlova serves 8

6 Large Free Range Egg Whites – the yolks will keep for a day in the fridge and I’m making ice cream tomorrow which they will be perfect for!

300g/10.5oz Caster Sugar plus 1tablespoon for the drizzle

2 Lemons

1tsp Corn Flour – also known as corn starch I use Dove Farms as it is gluten free

1tsp White Wine Vinegar

300ml Double Cream

300g/10.5oz Fresh Strawberries

50ml Limoncello – optional use water if preferred

Method: Preheat the oven to 180C/160C fan, gas mark 4.

  • Make sure the large bowl you will be whisking the egg whites in is scrupulously clean.
  • Cut 1 lemon in half and wipe around the inside of the bowl with it.
  • Separate the egg whites from the yolks and place the egg white into the clean, lemon wiped bowl.
  • Squeeze the juice of the cut lemon into the bowl with the egg whites, ensuring pips and pulp are caught by a sieve.
  • Start whisking on a slow speed and gradually build up to high.
  • Keep whisking until the egg whites have reached the stiff peak stage.
  • This is where, if you hold the whisk up the whisked egg white will not flop over
FF Lemony Strawberry Pavlova
This is a stiff peak – now time to start adding the sugar.
  • I couldn’t take a photo and hold the whisk up, but you can see the peaks in the bowl stand up and the egg white on the whisk didn’t move whilst I stopped to take a snap.
  • Resuming whisking on a high speed add the caster sugar 1 tablespoon at a time, or do as I did, pour it from a jug in a slow gentle stream so that it all becomes slowly incorporated into the egg whites.
FF Lemony Strawberry Pavlova
Beautifully glossy, satin meringue.
  • Once the meringue looks glossy, with a satin sheen, the meringue is mixed.
  • Add the corn flour and vinegar and gently fold into the meringue, so as not to knock out any of the air.
  • Draw a 25cm circle on a piece of baking parchment that fits onto a baking tray.
  • I drew round a 10″ cake pan.
  • Flip the baking parchment over and secure to the baking tray with a dob of meringue in each corner.
  • Scoop half of the meringue onto the middle of the disc.
  • Using a palette knife spread the meringue out so that it fills the marked circle, ensuring it is fairly level.
FF Lemony Strawberry Pavlova
The pavlova base.
  • Fill a large piping bag, fitted with a large star tip, with the remaining half of the meringue.
  • Pipe a swirl pattern around the edge of the pavlova base.
FF Lemony Strawberry Pavlova
Piped swirls around the edge of the base give this pavlova a very pretty finish.
  • Place the meringue into the hot oven and immediately turn the heat down to 150C/130C fan, gas mark 2.
  • Bake for 1 hour 15 minutes – 1 hour 30 minutes.
  • When baked the pavlova will have a hard outer shell with a hint of soft marshmallow deliciousness inside.
  • Remove from the oven and allow to cool on the baking tray.
  • Once cooled use a palette knife to slide under the pavlova and separate it from the baking parchment. Transfer to a cake stand or serving dish.
  • When ready to decorate, place the limoncello, juice of 1 whole lemon and tablespoon of caster sugar into a small pan. Bring to a bubble and reduce the heat until the liquid is about a quarter of its original volume.
  • Whilst the lemon drizzle is reducing, pour the double cream into a bowl and whisk until it has reached the floppy stage. It will not be stiff, just thickened enough to hold a figure of eight.
  • Spoon the whipped cream onto the inner part of the pavlova.
  • Decorate with strawberries.
FF Lemony Strawberry Pavlova
Concentrated lemon luscious drizzle.
  • The concentrated lemon drizzle should look like the picture above.
  • Drizzle it over the strawberries, for an intensely lemon flavour.
  • Serve immediately.
FF Lemony Strawberry Pavlova
Lemony Strawberry Pavlova pretty delicious.

The lemon pavlova can be made, unfilled a day in advance. Store on the original baking parchment, but loosen it first with palette knife, wrap in cling film. The cream can be whipped ahead of time and stored covered, in the fridge. Make the drizzle and assemble just before serving.

This Lemony Strawberry Pavlova is sure to wow any dinner party guests and your family. It is so light and the lemon so refreshing, it is absolutely perfect for dessert after a heavy meal, such as a roast or curry.

One bite of this delicious delight and my mouth felt cleansed and ready for a second, third……. 😉.

Whilst I am unreliable at the best of times, I really am going to try to make one dessert a month. Yes really, a proper pudding, or lighter dessert during the warmer months. My husband will be a very happy man!

Are you a dessert person? Do you look at a restaurant menu, pick your dessert and plan your meal around it??

If you have enjoyed this Lemony Strawberry Pavlova here is my other pavlova dessert for you to try:

Raspberry Chocolate Pavlova

FF Raspberry Chocolate Pavlova
Raspberry Chocolate Pavlova soo good.

I love reading your comments, thank you for taking the time to leave them and keep them coming please? I’m usually around on Twitter most days, so if you have any cooking/baking dilemmas send me a tweet and I’ll do my best to get back to you? I may not always have the answers, but I belong to an awesome community of amazing cooks and bakers. Between us there isn’t usually much that we can’t help with!

Have fun whilst you are cooking/baking and remember a feast can be improved with good company.

Sammie xx


Share
Facebooktwitterpinterestlinkedintumblr

Chorizo Goats Cheese Muffins

Share
Facebooktwitterpinterestlinkedintumblr

I love a recipe that is versatile, which is exactly what the Cheese Bacon Breakfast Muffins recipe is. So, I took that recipe, fiddled a bit and the result was these utterly delicious Chorizo Goats Cheese Muffins!

FF Chorizo Goats Cheese Muffins
Chorizo Goats Cheese Muffins perfect warm from the oven.

Although I had ordered the ingredients with last weeks shopping, intent on making them during the week, yet I got distracted by other things, until today. Boy was I glad I waited. The cupboards, well fridge are always fairly bare on a Saturday as that’s the day our shopping is delivered. Having Hubby here to unpack and put things away, saves me from spending the following day in bed!

I kid you not see Living With Seizures if you’d like to know more.

Both our girls were out very last night at a concert in London, so I knew the house would be fairly quiet this morning as they snoozed away upstairs. Little man was getting hungry and I suddenly remembered what I had stashed in the fridge. Phew!

FF Chorizo Goats Cheese Muffins
Chorizo Goats Cheese Muffins perfect for breakfast or brunch.

While the house is quiet I bake:

I made these Chorizo Goats Cheese Muffins in less than 10 minutes, they cooked in 15 minutes. And I had enough for my photo shoot, while letting our little man munch happily away.

Oh my, these are good – I mean really, really, pass me another one good. Because of the Chorizo I was worried they may taste a bit like pizza, nothing wrong with that – but breakfast, hmm not so sure. That’s where the goats cheese kicks in and completely rounds out the flavours, bringing it back to breakfast, brunch time.

FF Chorizo Goats Cheese Muffins
Chorizo Goats Cheese Muffins

Back to the Chorizo Goats Cheese Muffins – I cooked the chorizo first so that it would start to release it’s red paprika juices when mixed into the batter. Just a quick reminder, when making muffins don’t over mix the batter. A few floury streaks are ok. While the best, lightest, yummiest muffins come from just mixed, lumpy batter. It is true. Thank you to my friend Liz for her advice on this matter.

It’s definitely worth checking out Liz’s blog, she’s an amazing cook and baker, whose food is so mouth wateringly good. I should know I made her Carrot Soup! She’s a great girl with a wicked sweet tooth, balanced by lots of healthy, beautifully presented recipes. Pop over to Teta Lizza’s Kitchen and say hi.

Chorizo Goats Cheese Muffins

Recipe: Makes 12 Chorizo Goats Cheese Muffins

100g/4oz Sliced Chorizo

150g/5oz Goats Cheese

200ml Whole Milk

2 Large Free Range Eggs

5tbsp Vegetable Oil

350g/12oz Plain White Flour

2tsp Baking Powder

Good grinding of black pepper – to taste

1/2tsp Cayenne Pepper – plus a little extra to sprinkle on the baked muffins – I use Bart 

Method: Preheat the oven to 200C/180C fan, gas mark 6, 400F

Making and baking the muffins

  • First of all, chop or dice the chorizo into 1cm pieces.
  • Cook in a dry frying pan until the chorizo starts to release its delicious paprika juices.
  • Remove and put on a plate to cool slightly.
  • Measure the milk into a jug. Add the 2 eggs and vegetable oil. Stir to combine – wet mixture.
  • Into a large bowl add the flour, baking powder, cayenne pepper and black pepper. Use a whisk to stir and combine.
  • Chop or crumble up the goats cheese into roughly the same sized pieces as the chorizo.
  • Add the chorizo and goats cheese to the flour mixture, stir to distribute – dry mixture.
  • Make a well in the centre of the dry mixture and pour the wet mixture in.
  • Stir with a fork until just combined.
FF Chorizo Goats Cheese Muffins
Lumpy muffin batter makes the lightest muffins.
  • Line a muffin/cupcake tin with muffin cases – and yes I found mine!
  • Divide the batter equally between the 12 cases – ideally an ice cream scoop can be used – I forgot!
  • Place the muffin tin in the centre of the oven and bake for 15-20 minutes.
  • Mine took 15 minutes.
  • The Chorizo Goats Cheese Muffins are baked when they are firm to touch and golden on top.
  • When baked remove from the oven and place on a cooling rack.
  • Sprinkle the top of each muffin with a little bit of cayenne pepper.
FF Chorizo Goats Cheese Muffins
Chorizo Goats Cheese Muffins perfect to pack up for picnics.

These delightful Chorizo Goats Cheese Muffins are best served warm and eaten on the day they are made.

Store in an airtight container for up to 2 days and refresh by warming in the oven. Also, these muffins make a great addition to packed lunches, as a change from sandwiches or wraps.

If you enjoyed this recipe for Chorizo Goats Cheese Muffins you may like these too:

Cheese Bacon Breakfast Muffins

BN Cheese Bacon Breakfast Muffins
Cheese Bacon Breakfast Muffins utterly delicious warm from the oven.

Super Light Scones

Cookies Super Light Scones
Super Light Scones

Toffee Banoffee Waffles

FF Toffee Banoffee Waffles
Toffee Banoffee Waffles serve straight away.

I must admit I’m yet to be converted to barbecues, yet I love nothing more than throwing a blanket on the lawn, or on rare good days, going to the seaside or park and having a picnic. Some of our best picnics have actually been in the rain, children sitting, welly boots on, on the flat boot of our car munching on scotch eggs, olives, carrot sticks and crisps. These Chorizo Goats Cheese Muffins will be a new and very welcome addition to our picnic outings!

Whatever you are making and baking have fun and remember that food always tastes better when it’s shared.

Sammie xx

No part of this post may reproduced or duplicated without the written permission of the owner. Please see my Disclosure Policy.


Share
Facebooktwitterpinterestlinkedintumblr

Mini Lemon Drizzle Bundt Cakes

Share
Facebooktwitterpinterestlinkedintumblr

I love Spring and all the promise that it holds. Finally the sun is shining for longer than it is dark. Each tree and shrub holds on tightly to their buds, until bursting open to reveal blossom and lime green leaves. Daffodils still abound, their bright sunny faces shining, even when the sun is hidden by clouds. Yellow, for me is a warm happy colour and maybe that’s why I love these Mini Lemon Drizzle Bundt Cakes so much?

FF Mini Lemon Drizzle Bundt Cakes

Does this photograph make you feel happy? It certainly does me!

Lemon Drizzle is such a popular cake recipe and for good reason. The lemon in cakes wakes up our tastebuds in a sweet/sour heavenly combination. Whether in a large cake thickly drizzled with lemon icing or a thinner icing that soaks into the warm cake,  as here in my Lemon Drizzle Cake. There are many different methods and recipes for this delightful fruit and cake combination.

Mini Lemon Drizzle Bundt Cakes

For me though, these Mini Lemon Drizzle Bundt Cakes completely steal the show in terms of cuteness!

The correct name for these individual portions of lemony loveliness is Bundtlettes. Slightly larger than a cupcake, with a central hole that is a common element of most Bundt cakes, these individual Bundts are adorable. They are certain to create avid conversation amongst whom ever they are served.

FF Mini Lemon Drizzle Bundt Cakes
Mini Lemon Drizzle Bundt Cakes

Remember you only see shadows on a sunny day!

Beauty Is In The Eye Of The Photographer

Recently I joined a Food Photography Group on one of the social media platforms – and no I’m not going to say which one! Anyway, photographing my creations is a hugely enjoyable part of food blogging for me. Recently I tweeted that the most ‘cropped out’ feature of my photos were my feet! So in a bid to learn how to improve I joined this group.

FF Mini Lemon Drizzle Bundt Cakes
Mini Lemon Drizzle Bundt Cakes

Well, let’s just say, I don’t think we were of the same mindset!

I left after I’d posted my second photograph. It seems that whilst I was more than willing and still am, to learn by constructive criticism, there was a dogmatic sense of what was right or wrong. That’s fine, some people are very black and white, but I certainly did not join the group to be bullied!

The reason I mention it, is because, to me and others, the photograph above is perfect, precisely because it is imperfect – I’ll explain. Shadows are bad in food photography, neutral light against a soft background works best. Well maybe, yet it was a gloriously sunny day when I made these Mini Lemon Drizzle Bundt Cakes and through my eyes, that is reflected in the photograph. Beauty is in the eye of the beholder and I hold no resentful feelings against the group.

I have giggled over one photo of mine that has received numerous positive comments and shares!! I’m an inclusive person and bullying, whatever the form it takes, will never be allowed to have a place in my life.

Recipe: Makes 12 Mini Lemon Drizzle Bundt Cakes

Alternatively, halve the quantities if you only want 6.

You will need a Bundlette tin like this from Nordic Ware

FF Mini Lemon Drizzle Bundt Cakes
Bundlette pan from Nordicware

Cake Release Spray – I use Wilton’s or alternatively use melted butter & flour to grease the tin (see note below)

225g/8oz Unsalted Butter – softened at room temperature

225g/8oz Caster Sugar

4 Large Free Range Eggs – I use Burford Brown eggs from Clarence Court

225g/8oz Plain Flour

2tsp Baking Powder

1/4tsp Salt

2 Lemons – scrubbed with a nail brush under hot water if waxed, then zested using a grater/lemon zester and squeezed.

200g/7oz Icing Sugar

Method: Preheat the oven to 160C/140C fan, gas mark 3, 325F.

Making And Baking The Mini Bundt Cakes

  • First of all, prepare the Bundlette tin by spraying with Cake Release. If you choose to use melted butter, brushed on and then coat in flour – NOTE there is a slight chance that the cakes may stick. I have had mixed results so recommend cake release.
  • In a large bowl add the caster sugar and butter.
  • Whisk/Beat until pale and creamy.
  • Sift the flour, baking powder and salt into a separate bowl – dry ingredients.
  • Add 1/3 of the dry ingredients and 2 eggs to the butter/sugar.
  • Mix together until just incorporated.
  • Repeat the last 2 steps.
  • Add the final 1/3 of dry ingredients and the zest of 2 lemons.
  • Mix until all of the ingredients are combined.
  • Spoon the lemon cake batter into each individual mould in the Bundlette tin.
FF Mini Lemon Drizzle Bundt Cakes
Fill each mould no more than two thirds full.
  • Smooth the top (actually it will become the bottom!) of each mould with a teaspoon.
  • Place in the middle of the oven and bake for 15-20 minutes.
  • The cake is baked when it is golden brown and springs back from a light touch.
  • Once baked remove the cakes from the oven.
  • Allow to cool for 5 minutes in the tin before turning out onto a cooling rack.

Making the lemon drizzle:

  • Sift the icing sugar into a bowl.
  • Add the juice of 2 lemons and whisk until smooth.
  • Whilst the cakes are still hot, spoon the lemon drizzle over them (saving half for the other 6 Bundlettes).
  • The lemon drizzle will be absorbed into the hot cake and creates a fantastic crunch on cooling.
FF Mini Lemon Drizzle Bundt Cakes
Drizzling the lemon glaze over a hot cake.
  • Rinse the Bundlette tin, dry, prepare, fill and bake the other 6 cakes – spooning the rest of the lemon drizzle over them whilst they are hot.
  • Leave the cakes to cool – if you can wait!

The texture of these Mini Lemon Drizzle Bundt Cakes is wonderful. Beautifully light sponge with the added crunch that comes from the soaked in lemon drizzle. If you like lemon cake I guarantee that you will love these cute Bundlettes!

FF Mini Lemon Drizzle Bundt Cakes
Mini Lemon Drizzle Bundt Cakes perfect portions of sunshine in a cake.

With warmer weather promising, these Mini Lemon Drizzle Bundt Cakes are perfect for taking on picnics, afternoon tea in the garden, o just because they taste soo darn good!

As soon as the weather warms up I love to spend time in our garden, listening to the birds, watching busy bees going about their business, enjoying the warmth that the sun brings. Oh and trying not to notice all the ‘jobs’ that need doing. I’ve got a trick for that, I just lay down on our swing seat and close my eyes 😉.

Do you feel better in yourself when the sun shines and the warmer weather arrives? I know I do!

If you have enjoyed these fruity Mini Lemon Drizzle Bundt Cakes here are some more recipes you may like to try:

Chocolate Orange Citrus Bundt Cake

WB Chocolate Orange Citrus Bundt
Chocolate Orange Citrus Bundt easy to make and easier to eat!

Glazed Lemon Bundt Cake

FF Glazed Lemon Bundt Cake
Glazed Lemon Bundt Cake

Lemon Blueberry Bundt Cake

FF Lemon Blueberry Bundt Cake
Lemon Blueberry Bundt Cake

I love baking in the sunshine with the back door open and in the midst of winter with the heating on. Today most certainly is on the chilly side, yet these Mini Lemon Drizzle Bundt Cakes have brought some sunshine indoors!

Thank you so much for taking the time to comment, please keep them coming? It is one of the best things about writing Feasting is Fun, interacting with you, my amazing readers. Also I’m on Twitter and Instagram, so put up a photo of your make or bake and tag me in. I love to see what you’re up to in your kitchens and I’ll be sure to give you a shoutout or retweet.

So, whatever er you are doing this weekend, I hope you have lots of fun and enjoy feasting on delicious home cooked food!

Sammie xx

No part of this post may be reproduced or duplicated without the written permission of the owner. Please see my Disclosure Policy.

Small individual citrus iced sponges baked in a Nordicware mould.


Share
Facebooktwitterpinterestlinkedintumblr