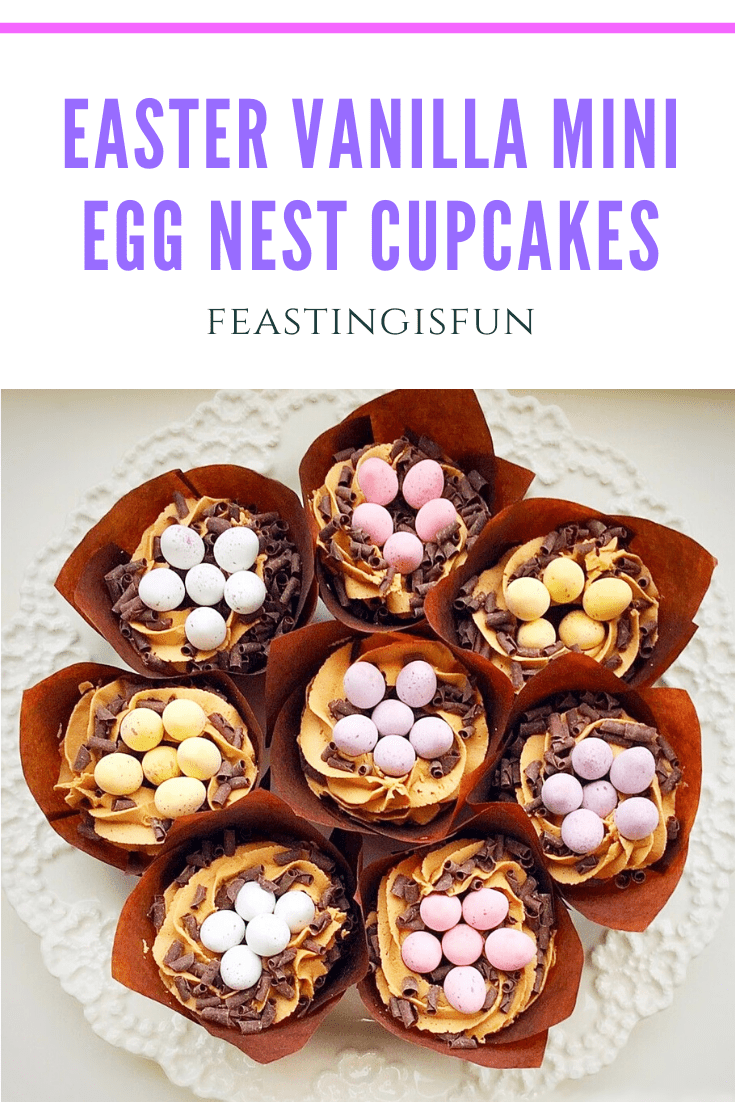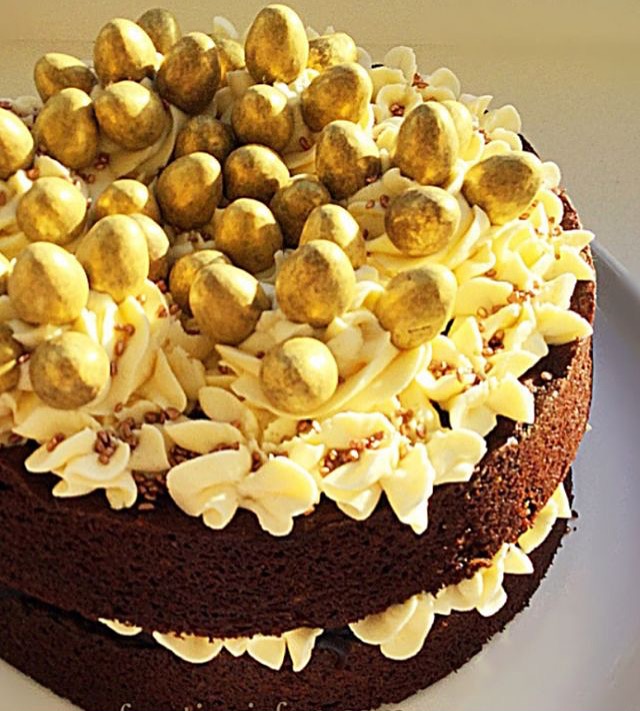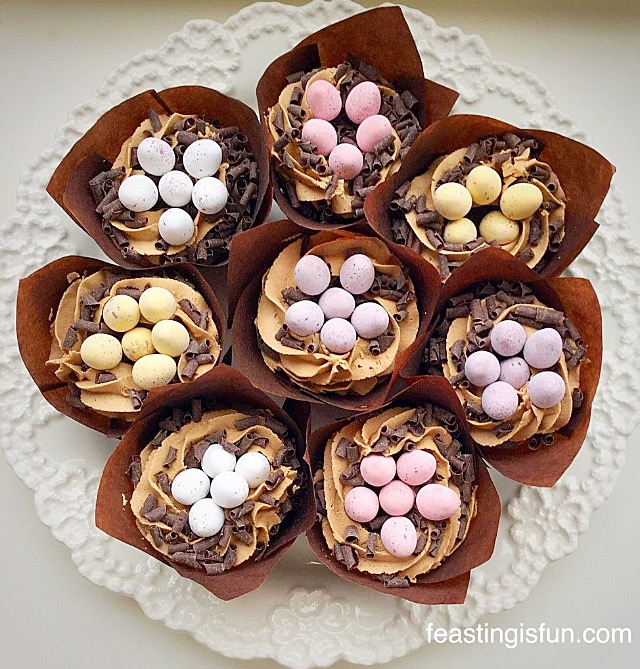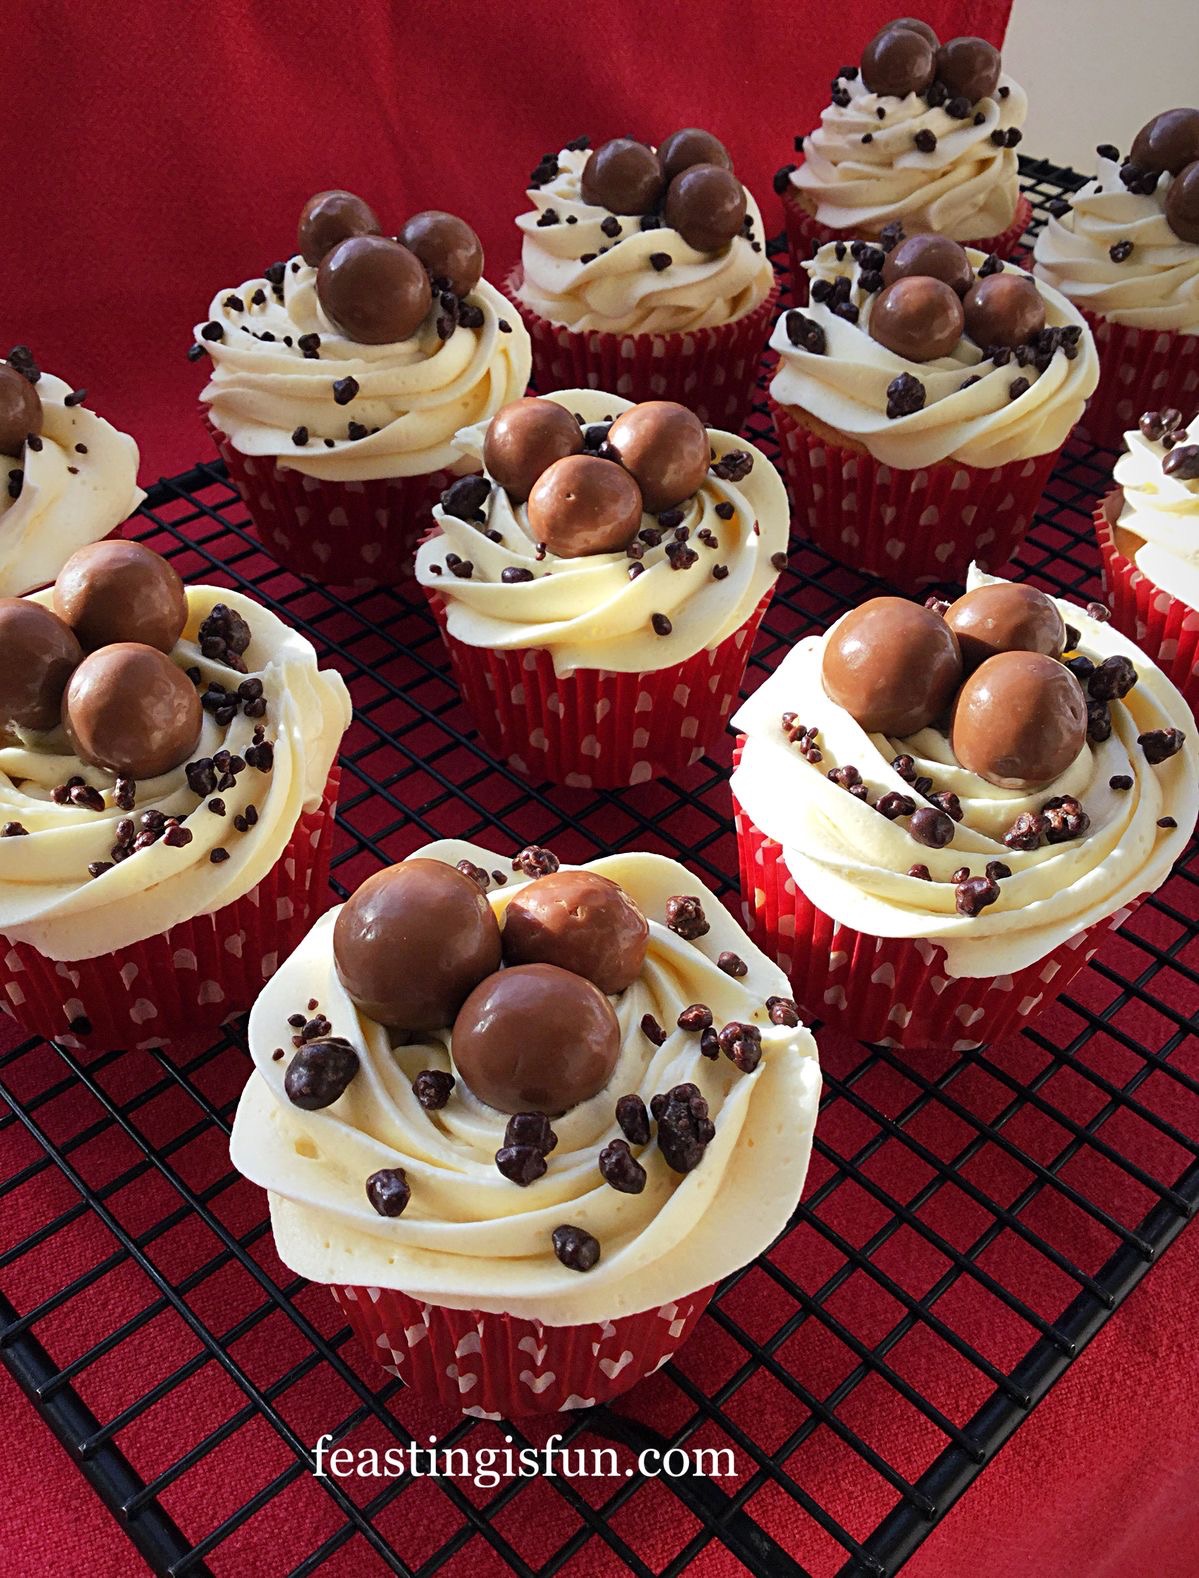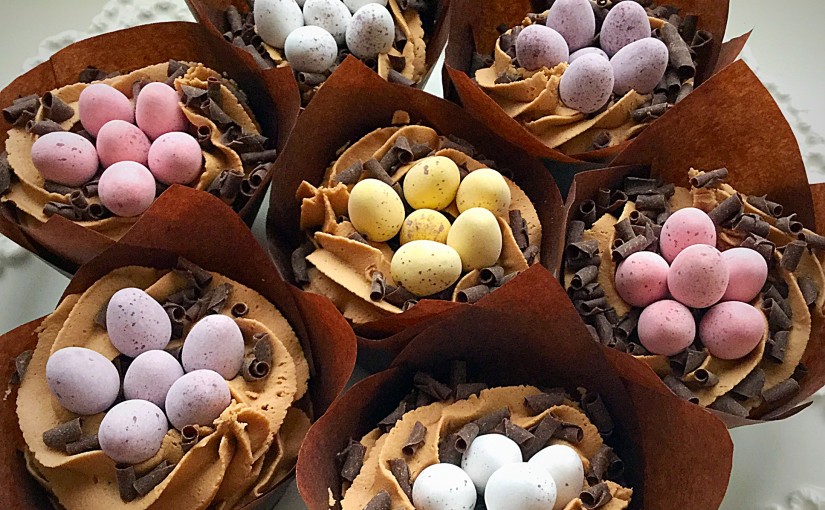
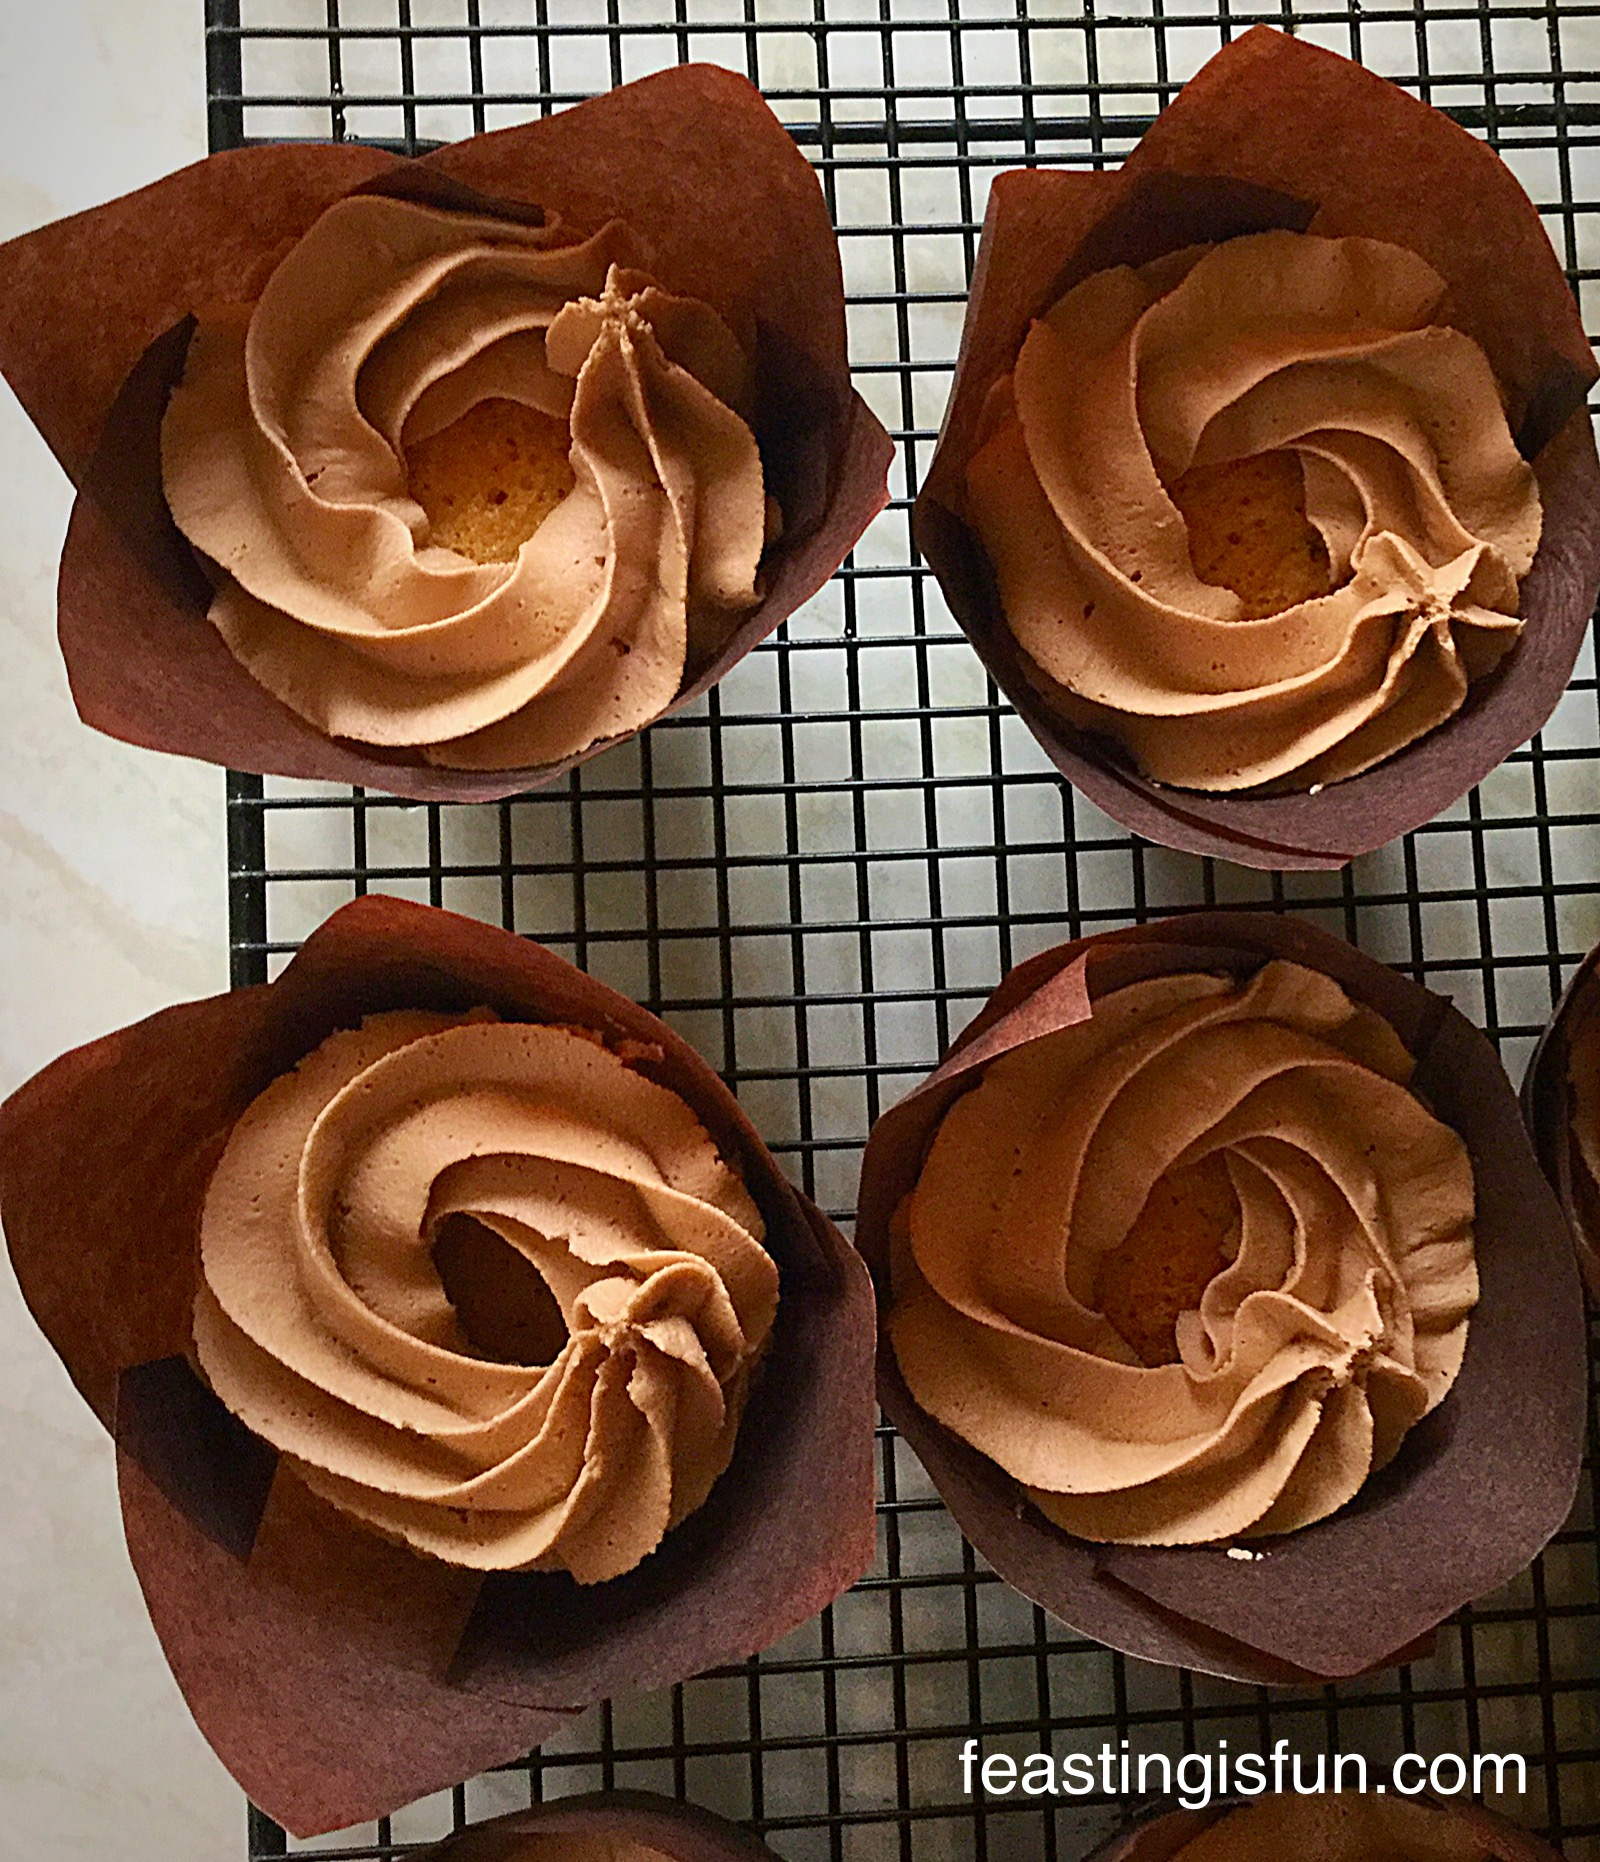
Since Easter Sunday is tomorrow, I simply couldn’t resist one last Easter themed bake. So, here are my Easter Vanilla Mini Egg Nest Cupcakes.
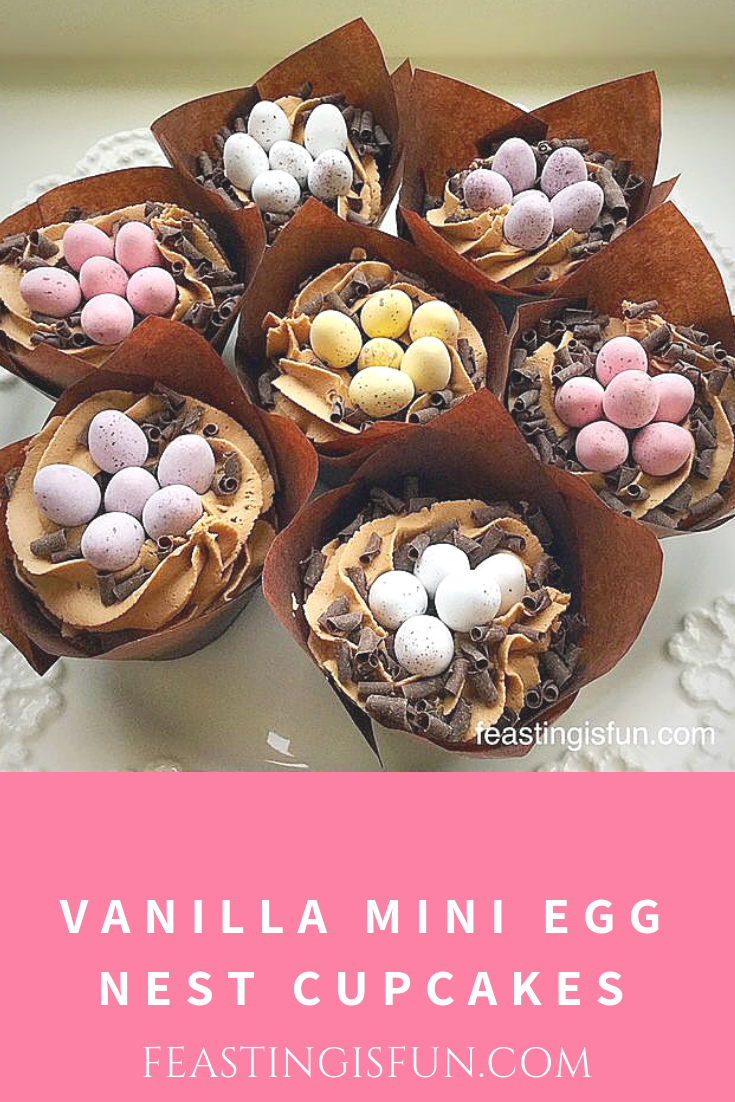
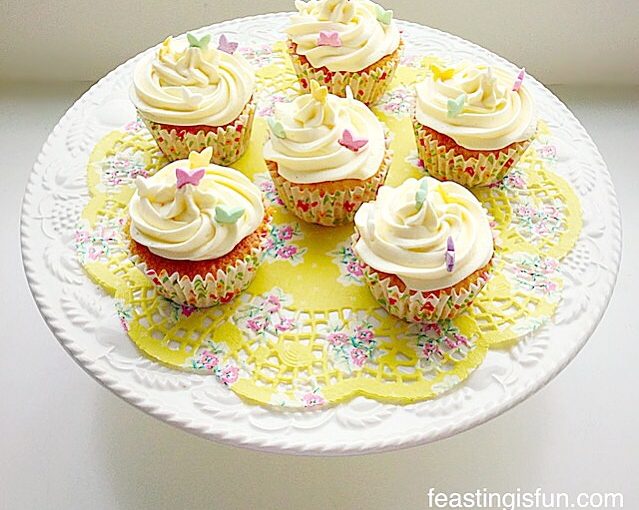
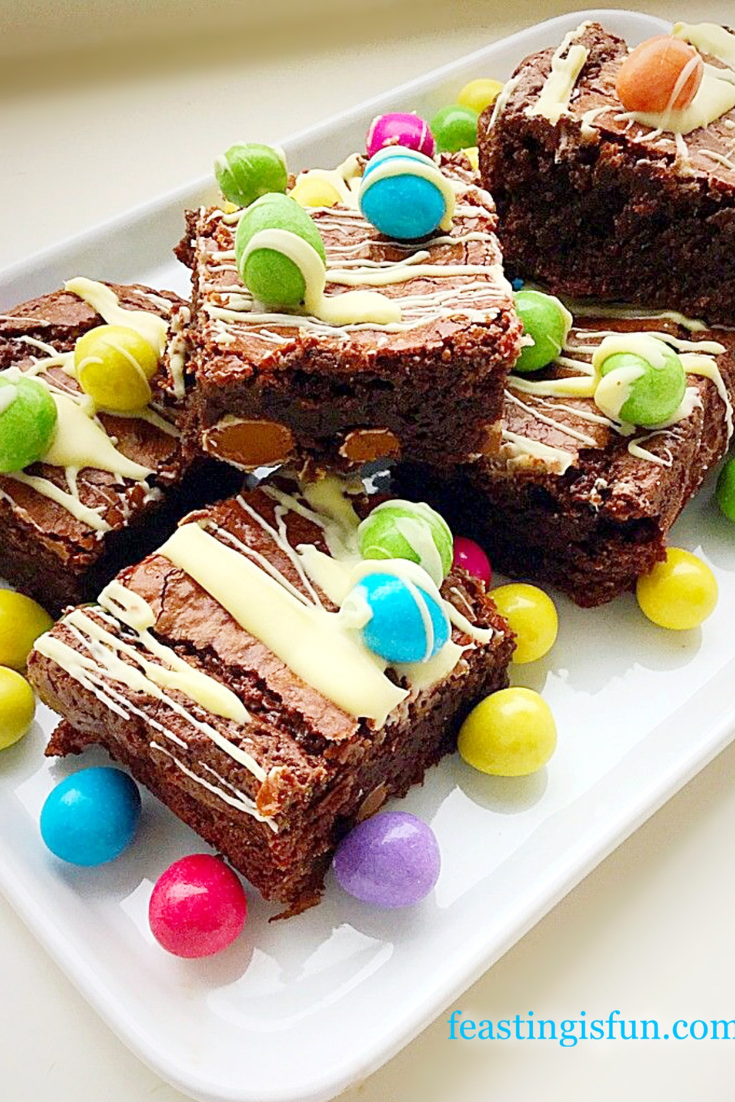
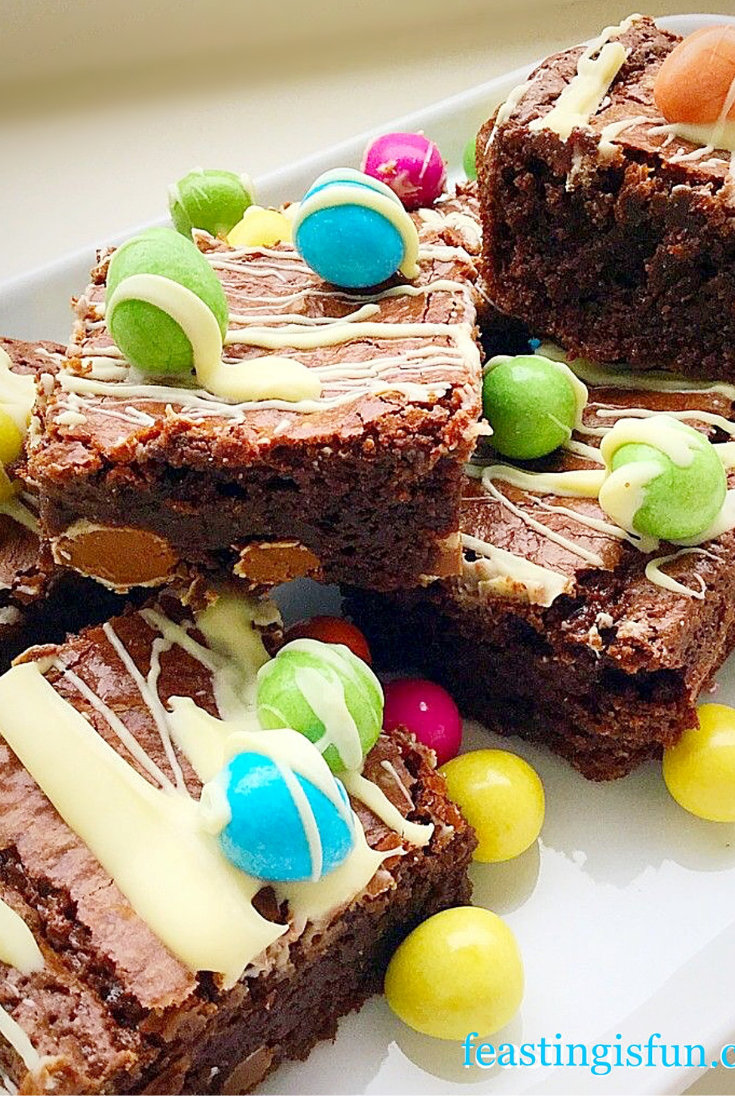
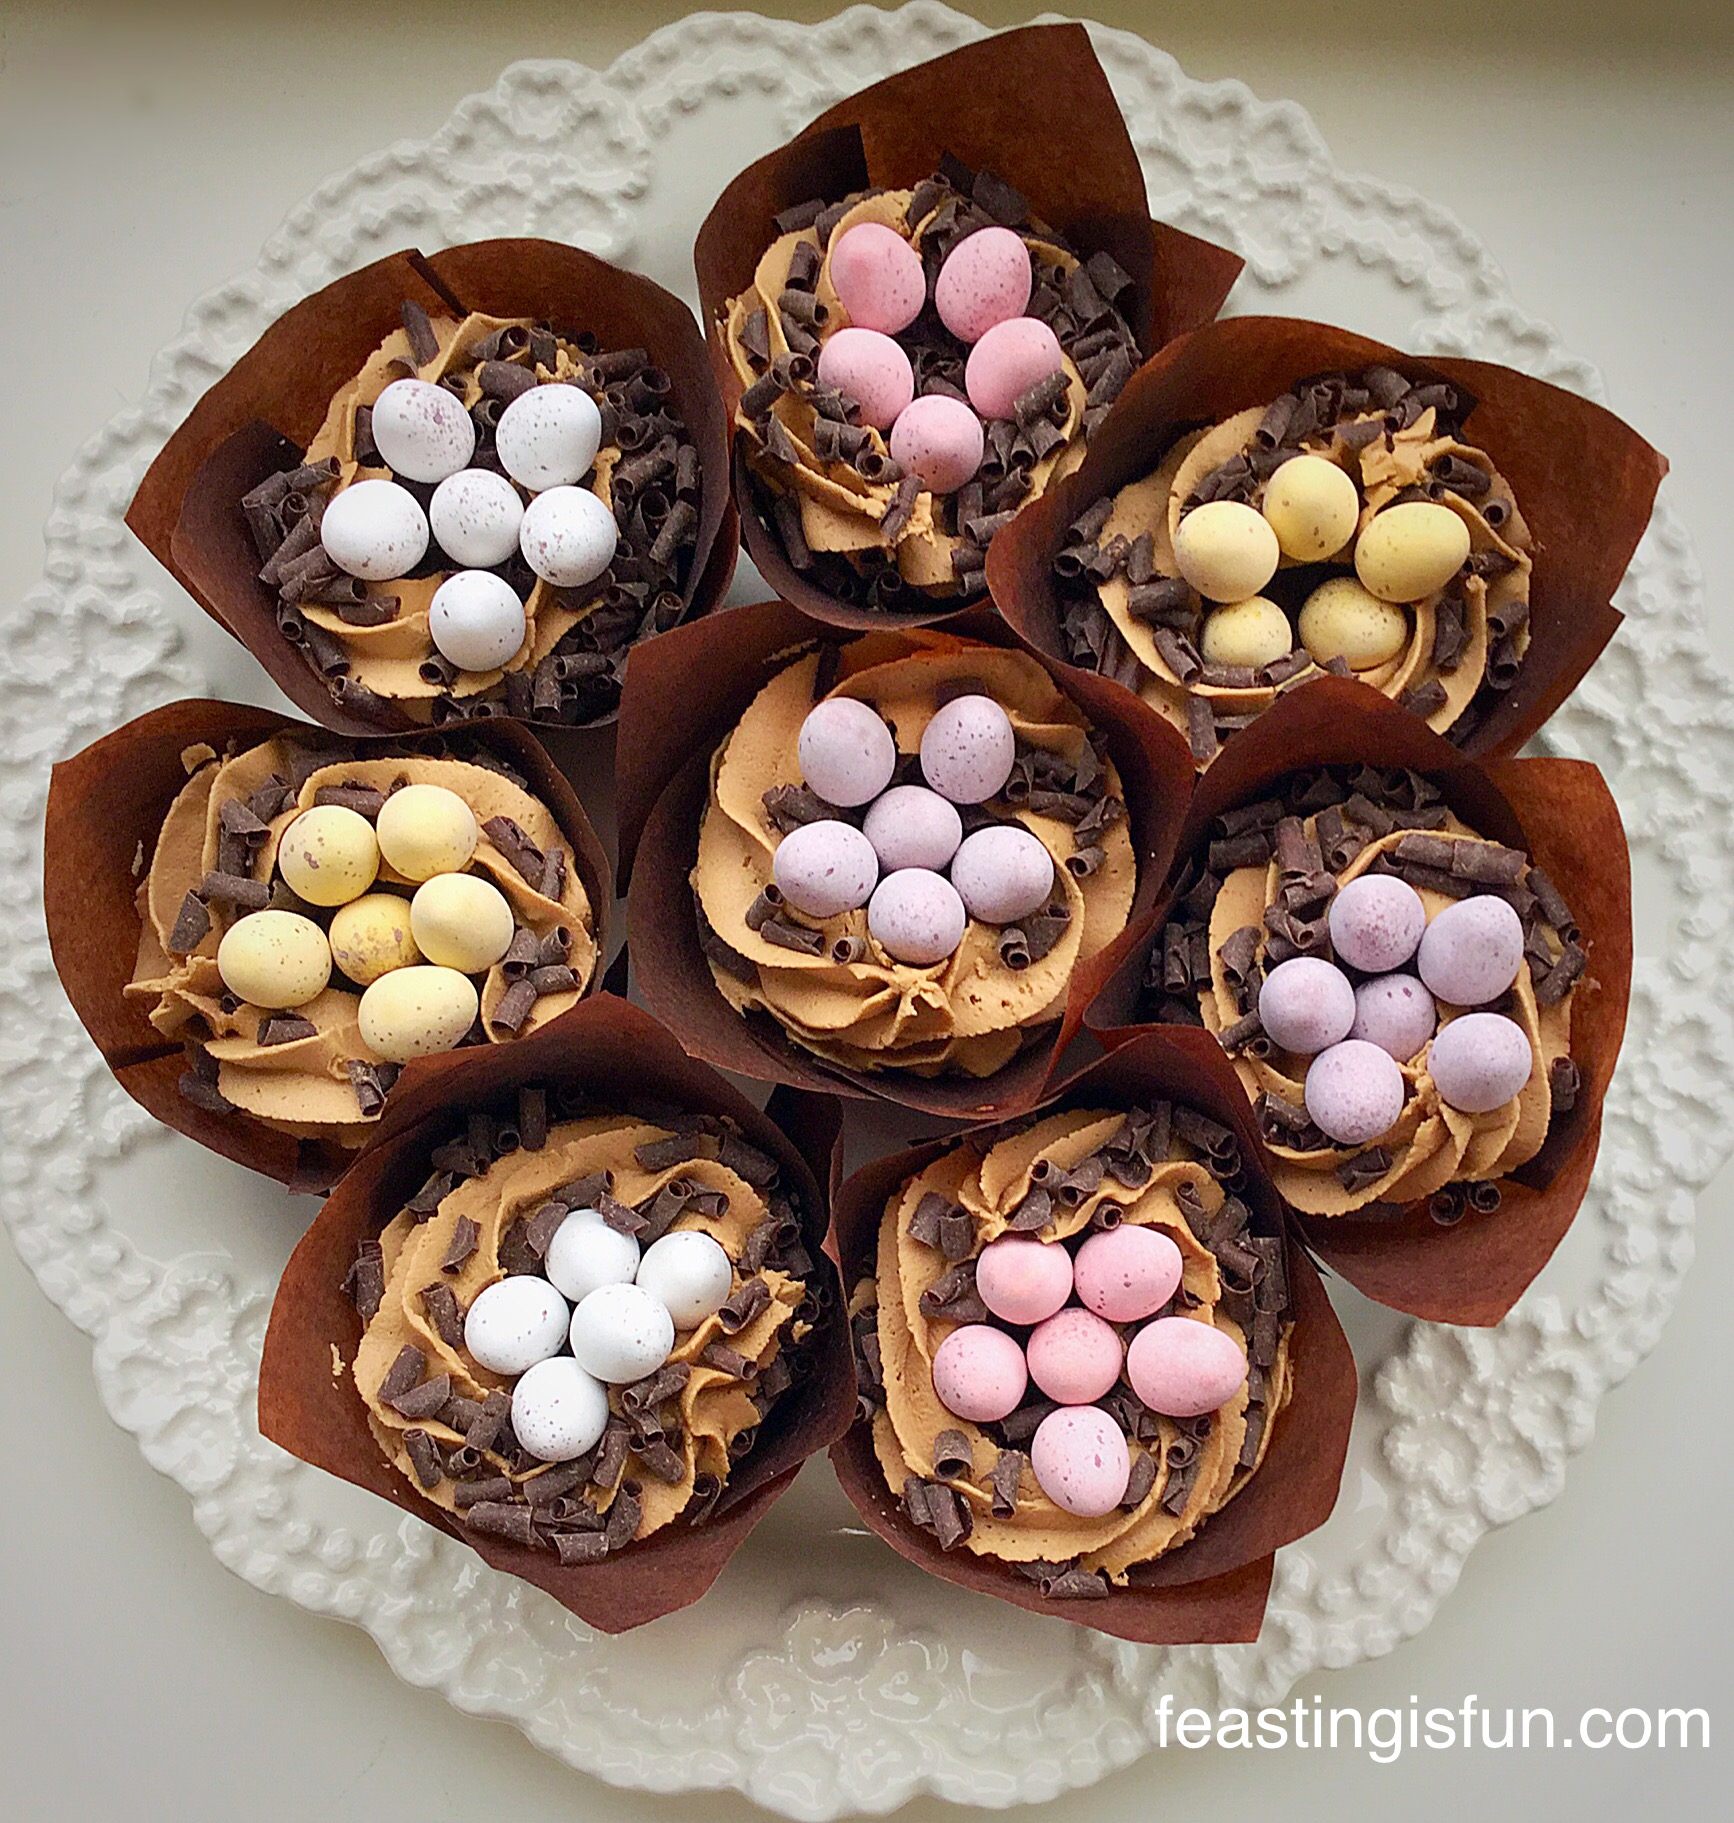
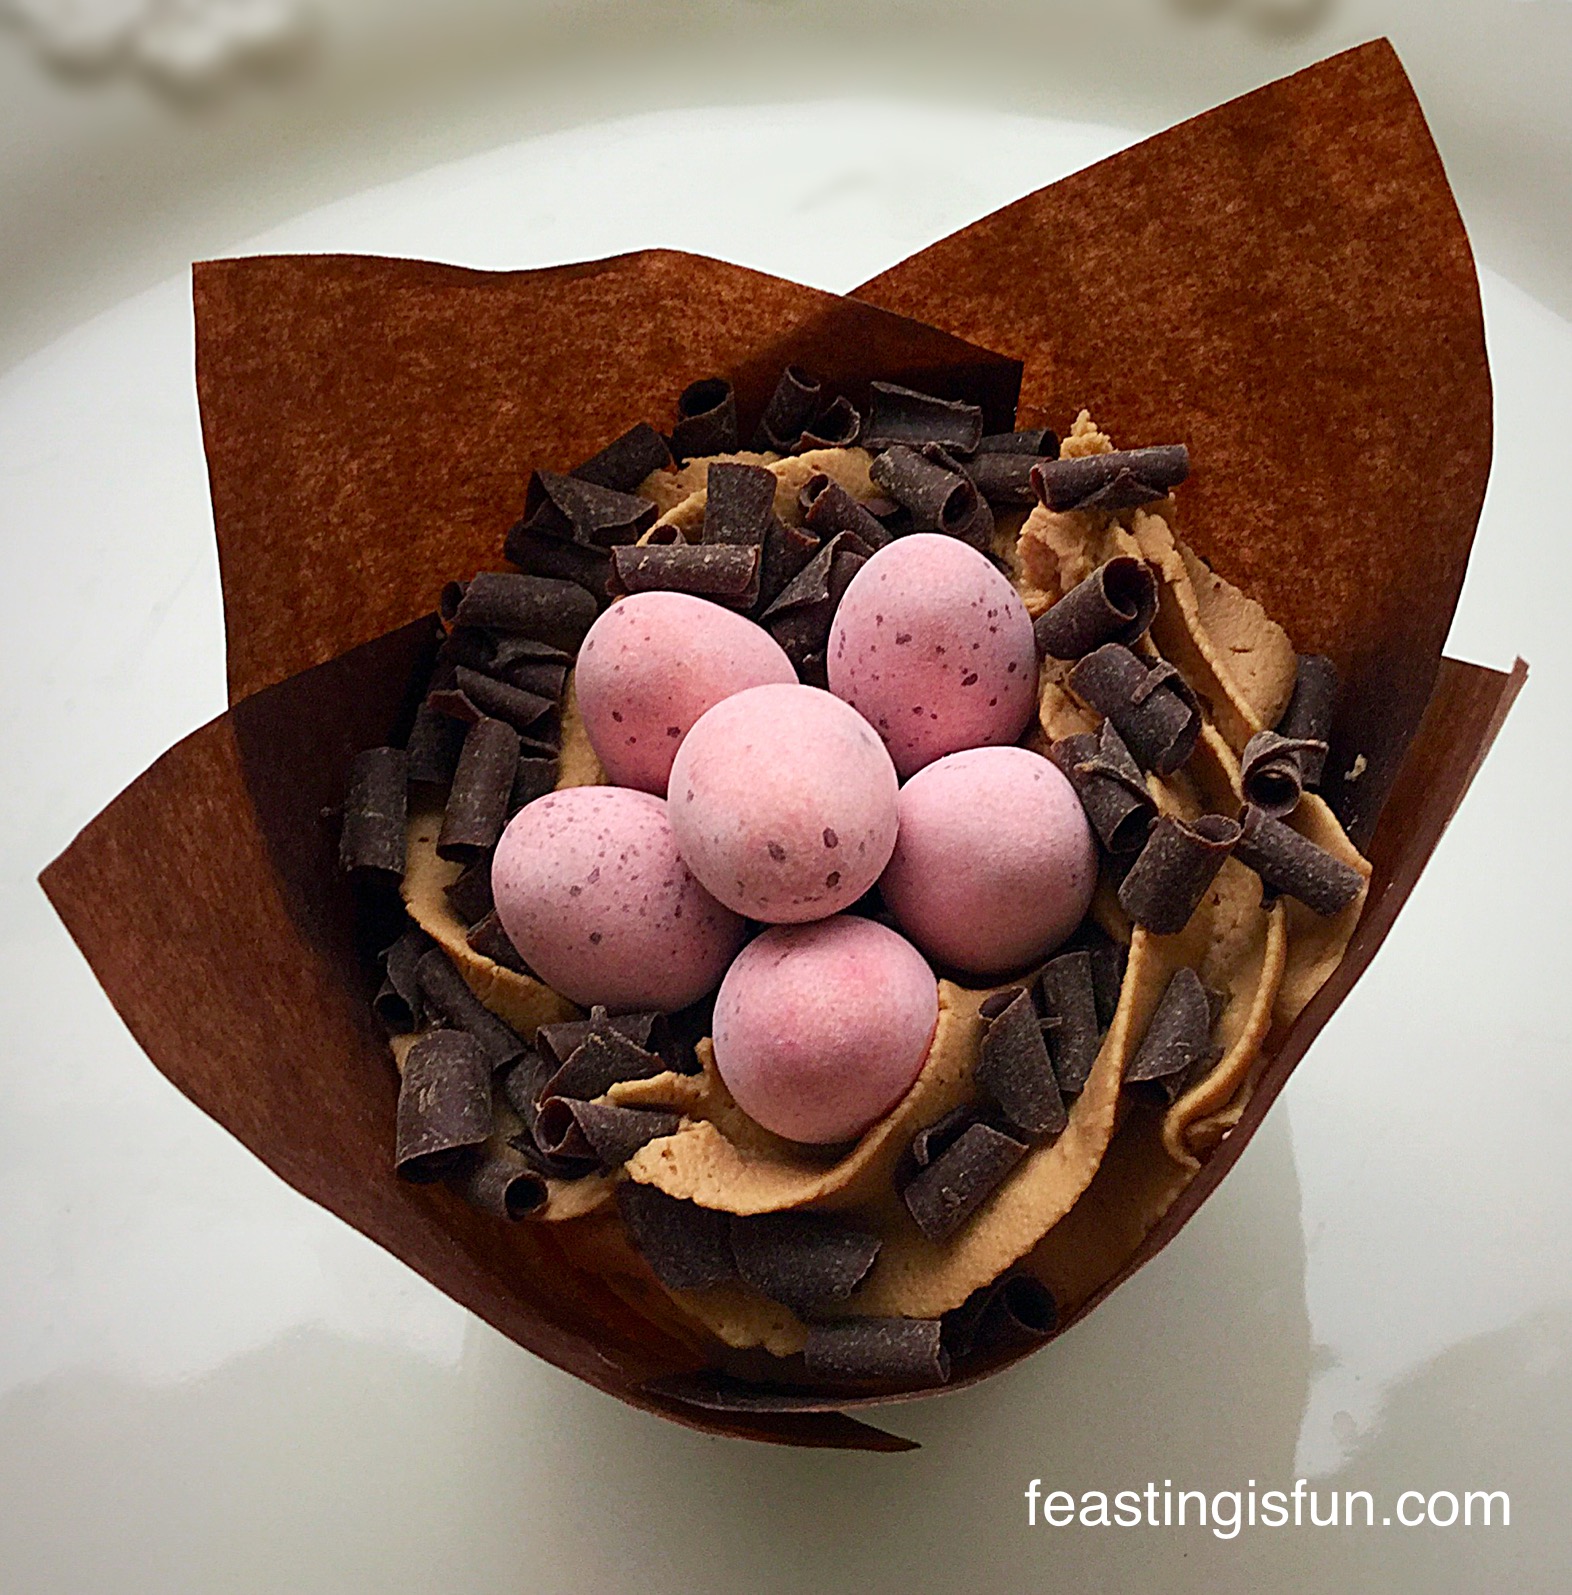
Vanilla cupcakes, swirled with real chocolate buttercream, sprinkled with dark chocolate curls and chocolate mini eggs nestling in the centre.
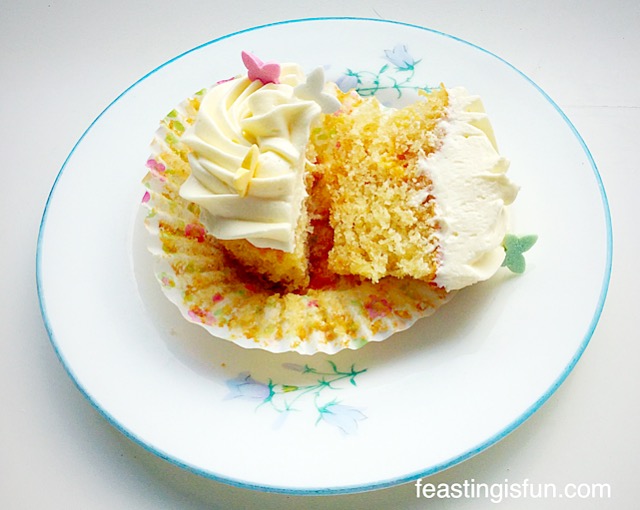
So, delicious and easy to make, Easter Vanilla Mini Egg Nest Cupcakes have the perfect balance of cake, chocolate buttercream and Cadbury’s mini eggs.
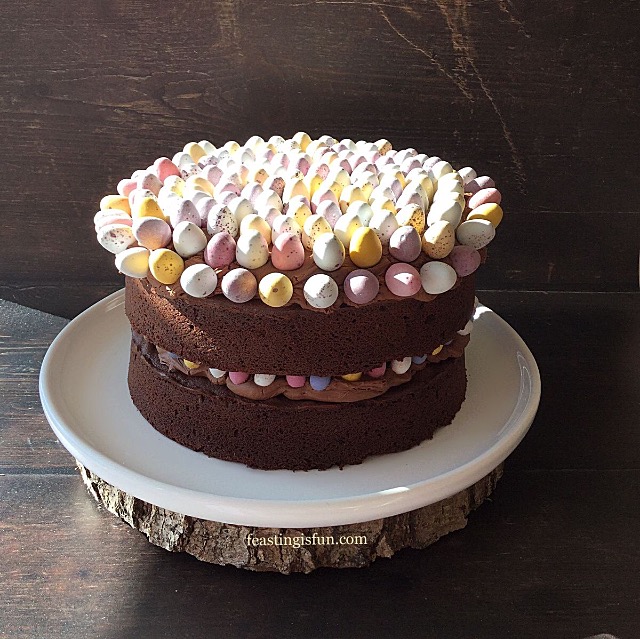
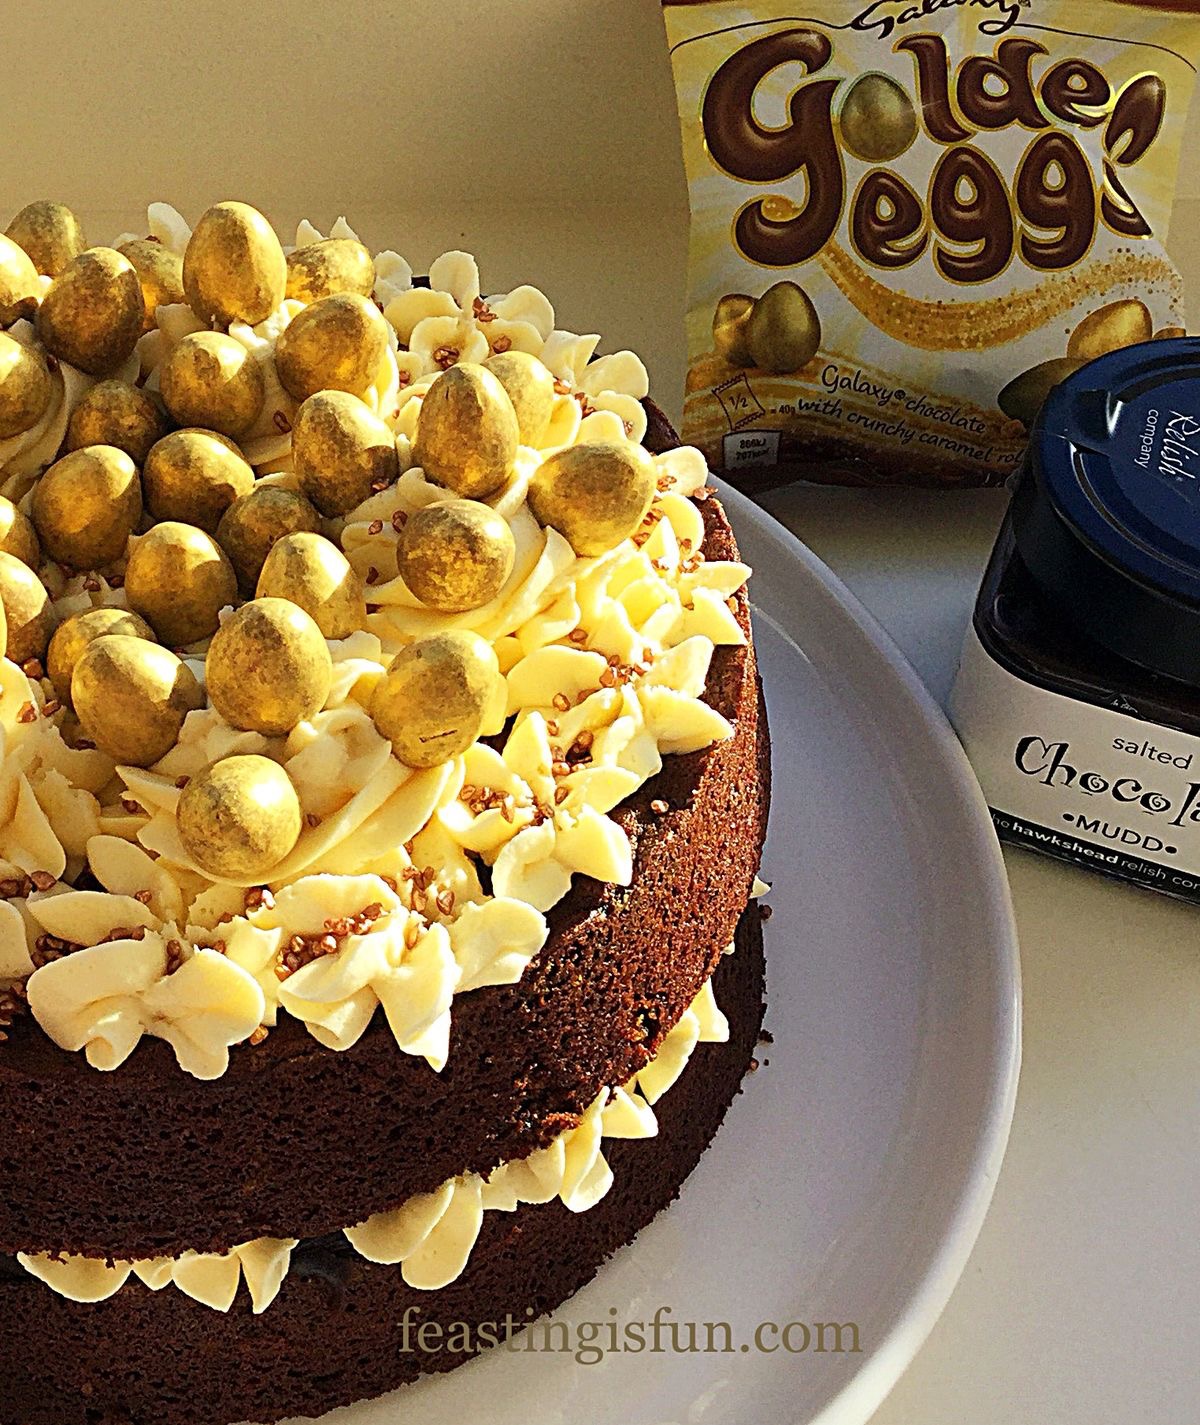
So, with ALL of the chocolate that is around over the Easter period, a vanilla cupcake to provides the perfect balance. While I love a deep chocolatey cake, like my Chocolate Sparkle Cake sometimes too much chocolate can be over powering!
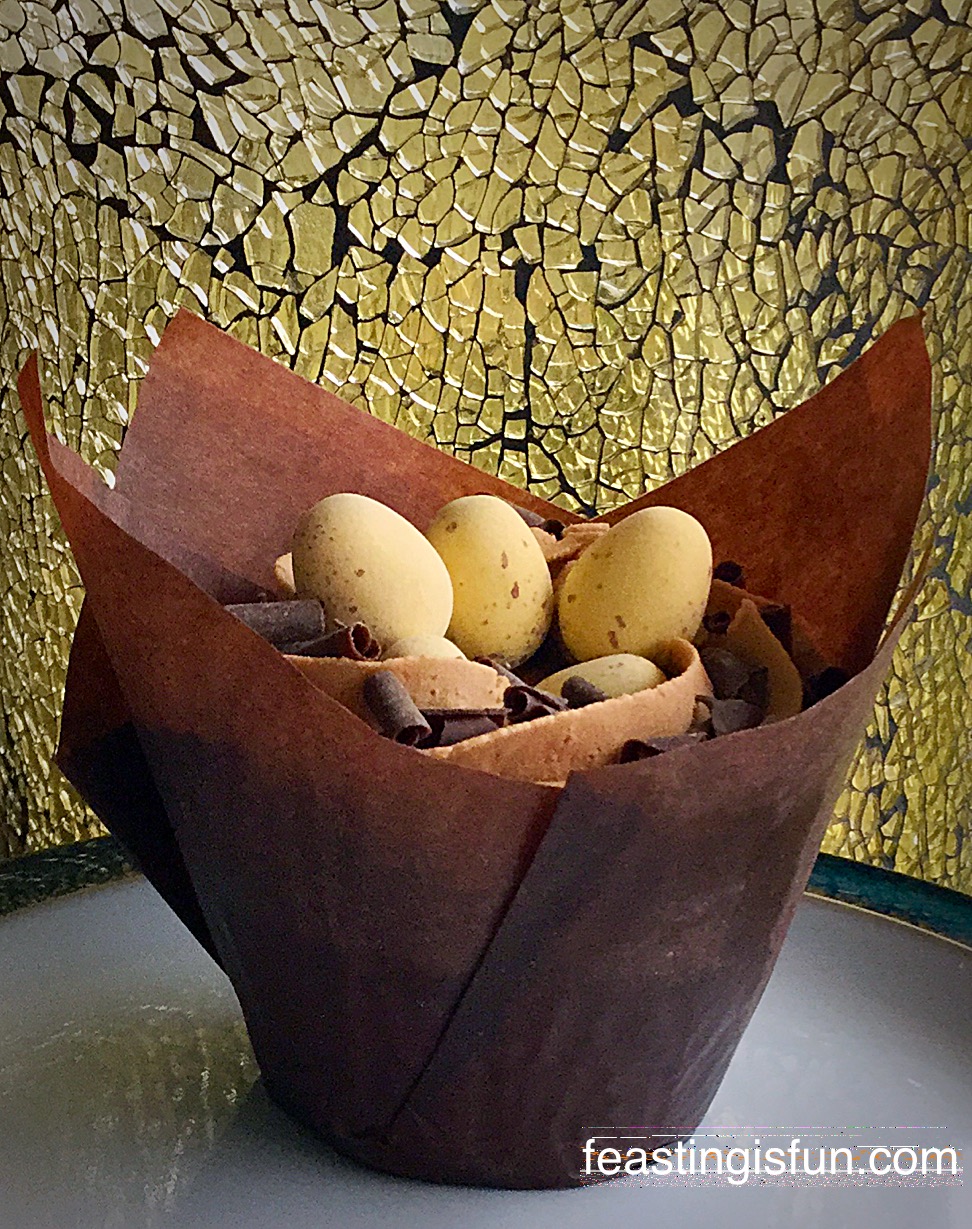
Also, I adore the crisp, vanilla shell on Cadbury’s mini eggs and wanted to echo that in the cupcake. Likewise, a lighter chocolate buttercream, piped on these cupcakes, works with the mini eggs, rather than swamping them.
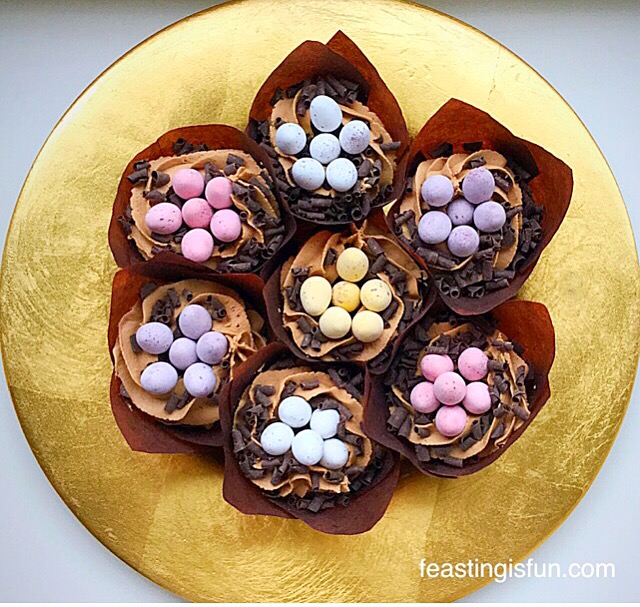
Homemade Easter Gifts
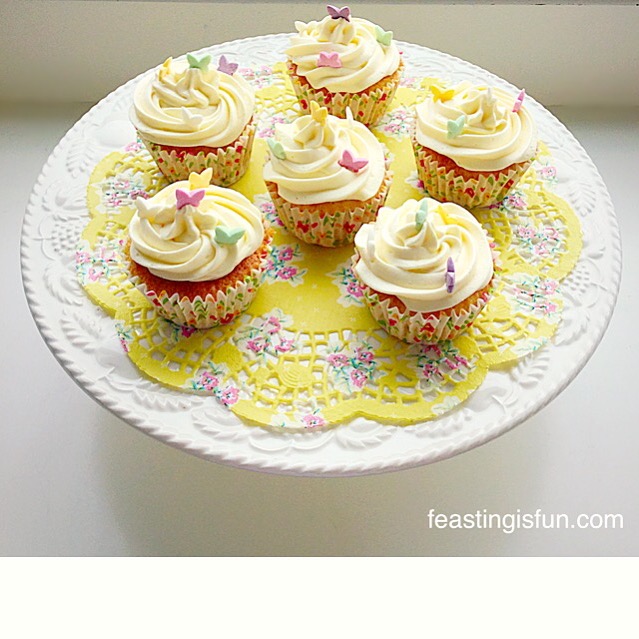
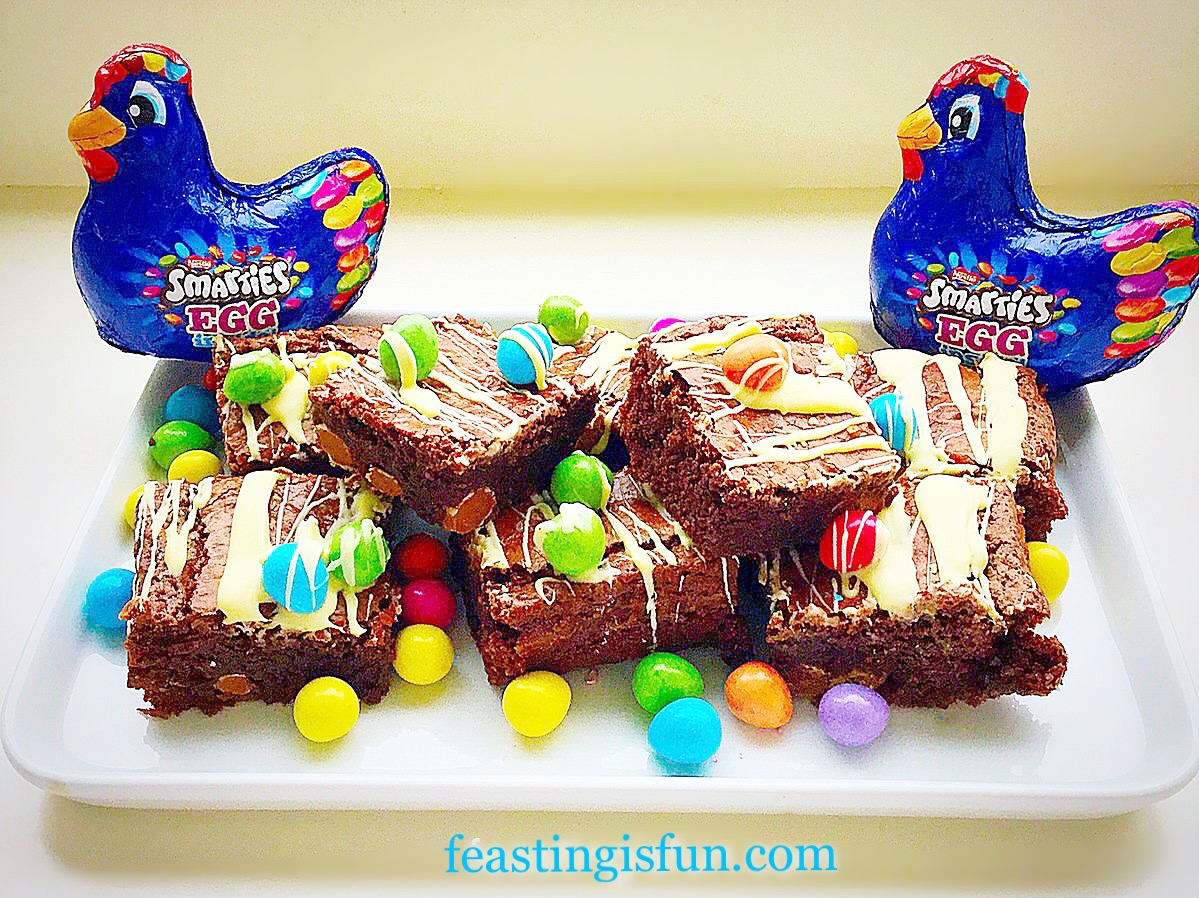
And these Easter Vanilla Mini Egg Nest Cupcakes are an inexpensive way of making a few packets of mini eggs go a long way and are great to give as gifts. Since I personally love homemade gifts, these would be a very welcome gift indeed.
Either wrap each cupcake in cellophane, tie with raffia or place in little cupcake boxes tied with ribbon, presentation is key. Now they are ready to be given as gifts. My niece made a version of these and gave them to her teachers at Primary School as an end of term, Easter thank you, where they are proving very popular!
Recipe: Makes 12 Easter Vanilla Mini Egg Nest Cupcakes
For the cupcakes
100g/4oz Unsalted Buter at room temperature
100g/4oz Caster Sugar
1tsp Vanilla Extract – I use Nielsen-Massey
1/8tsp – pinch Sea Salt – I use Maldon
2 Large Free Range Eggs
100g/4oz Plain White Flour – self raising can be substituted but don’t add the extra baking powder.
1tsp Baking Powder
For the Chocolate Buttercream
300g/11oz Icing Sugar – sifted
150g/5oz Unsalted Butter – softened
175g/6oz Milk Chocolate
2 packets of Cadbury’s mini eggs
Dark chocolate curls, or Cadbury’s flake (x2)
Method: Preheat the oven to 160C/140C, gas mark 3, 325F
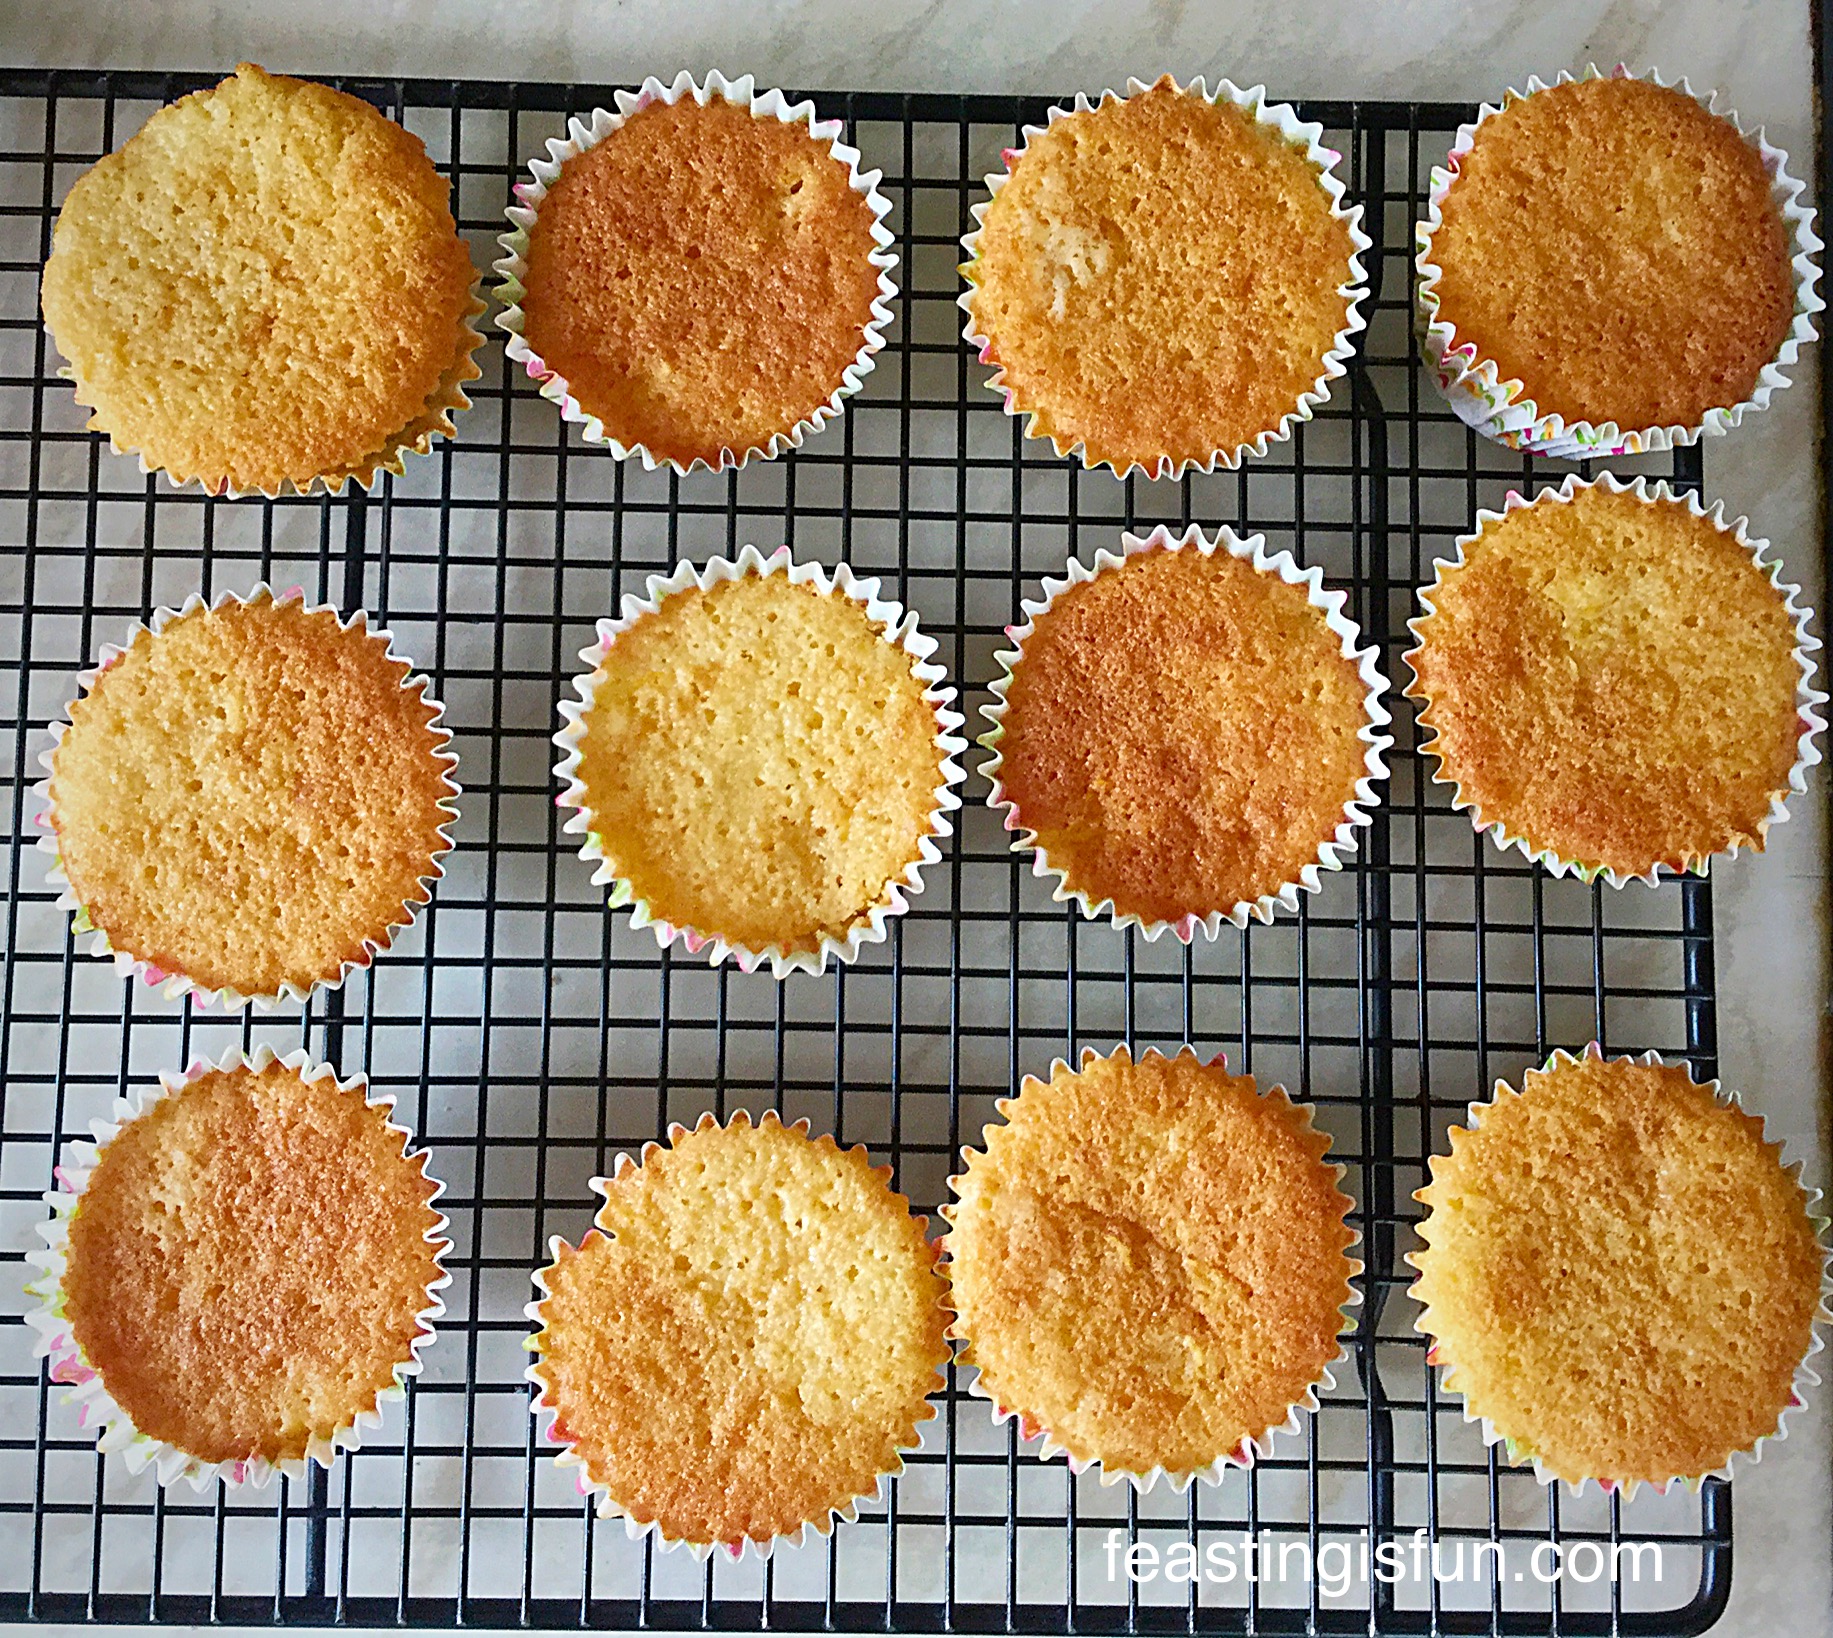
Making And Baking The Easter Vanilla Cupcakes
- First of all place the butter and sugar into a bowl and whisk/beat until pale and fluffy.
- Add the vanilla extract and whisk/beat until incorporated.
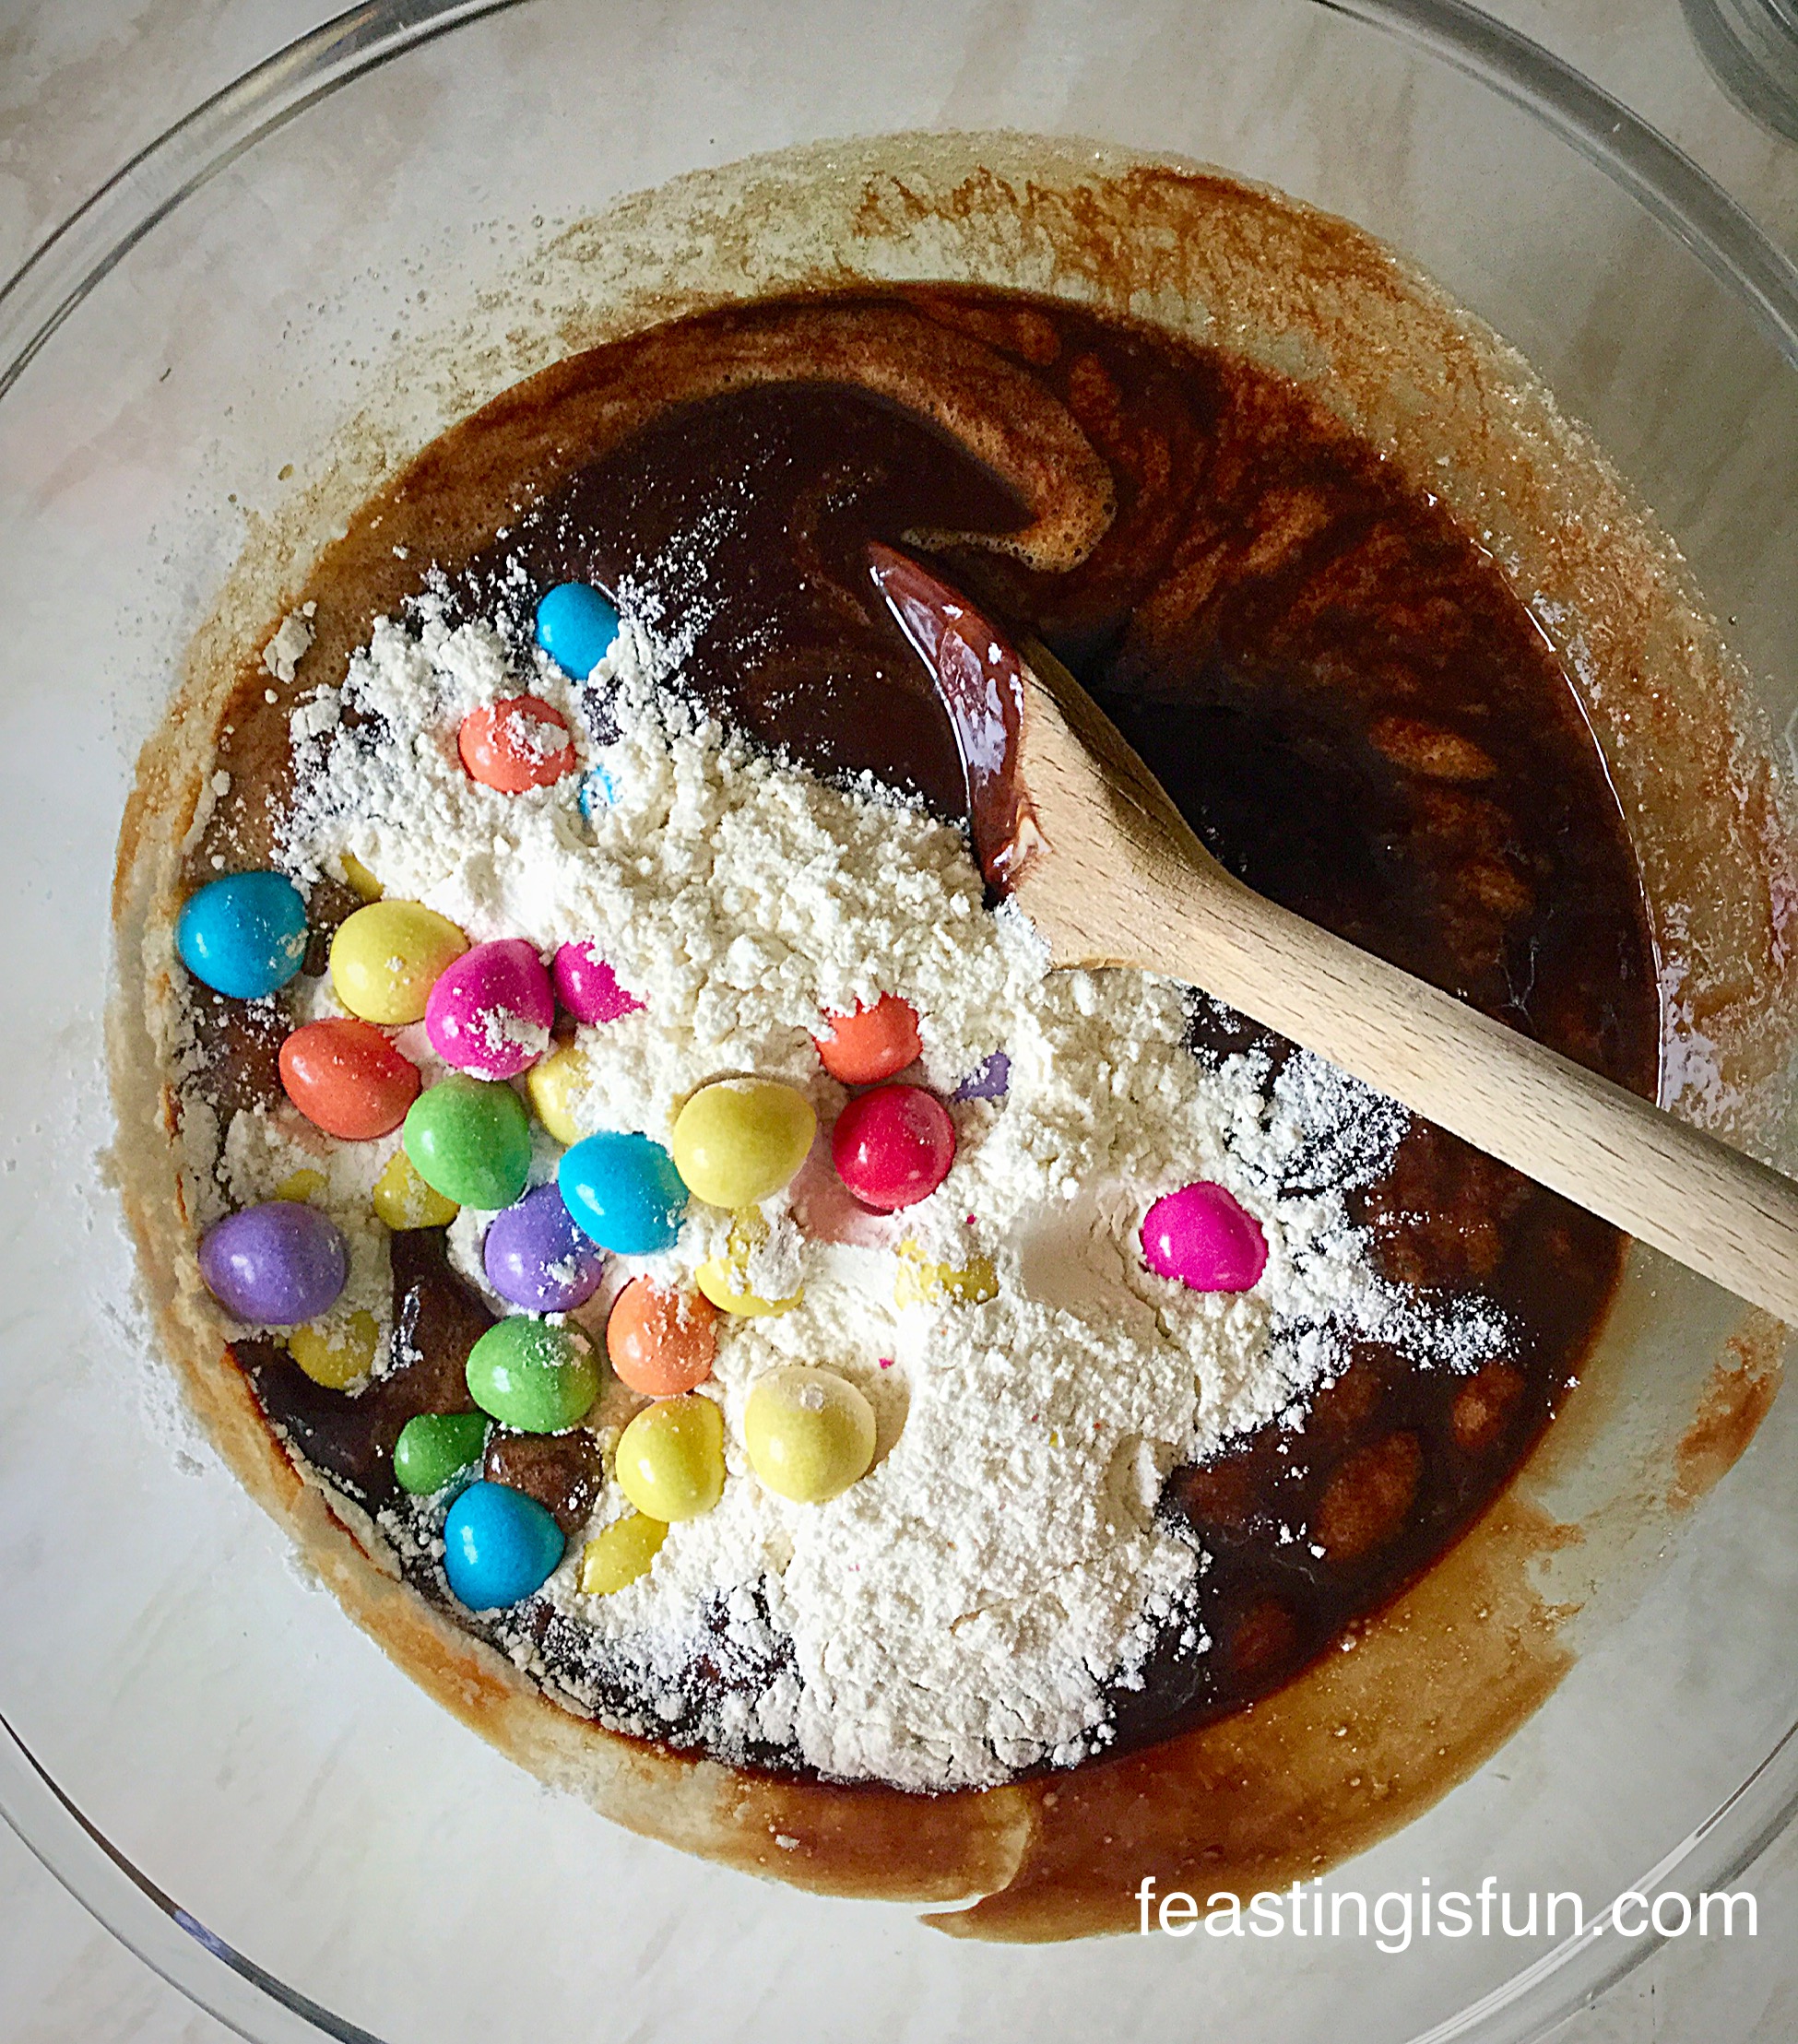
- Next add 2 eggs, the sifted flour, baking powder and salt.
- Whisk/beat slowly until all the ingredients are just combined.
- Using a metal spoon stir the mixture 2-3 times to ensure everything is combined.
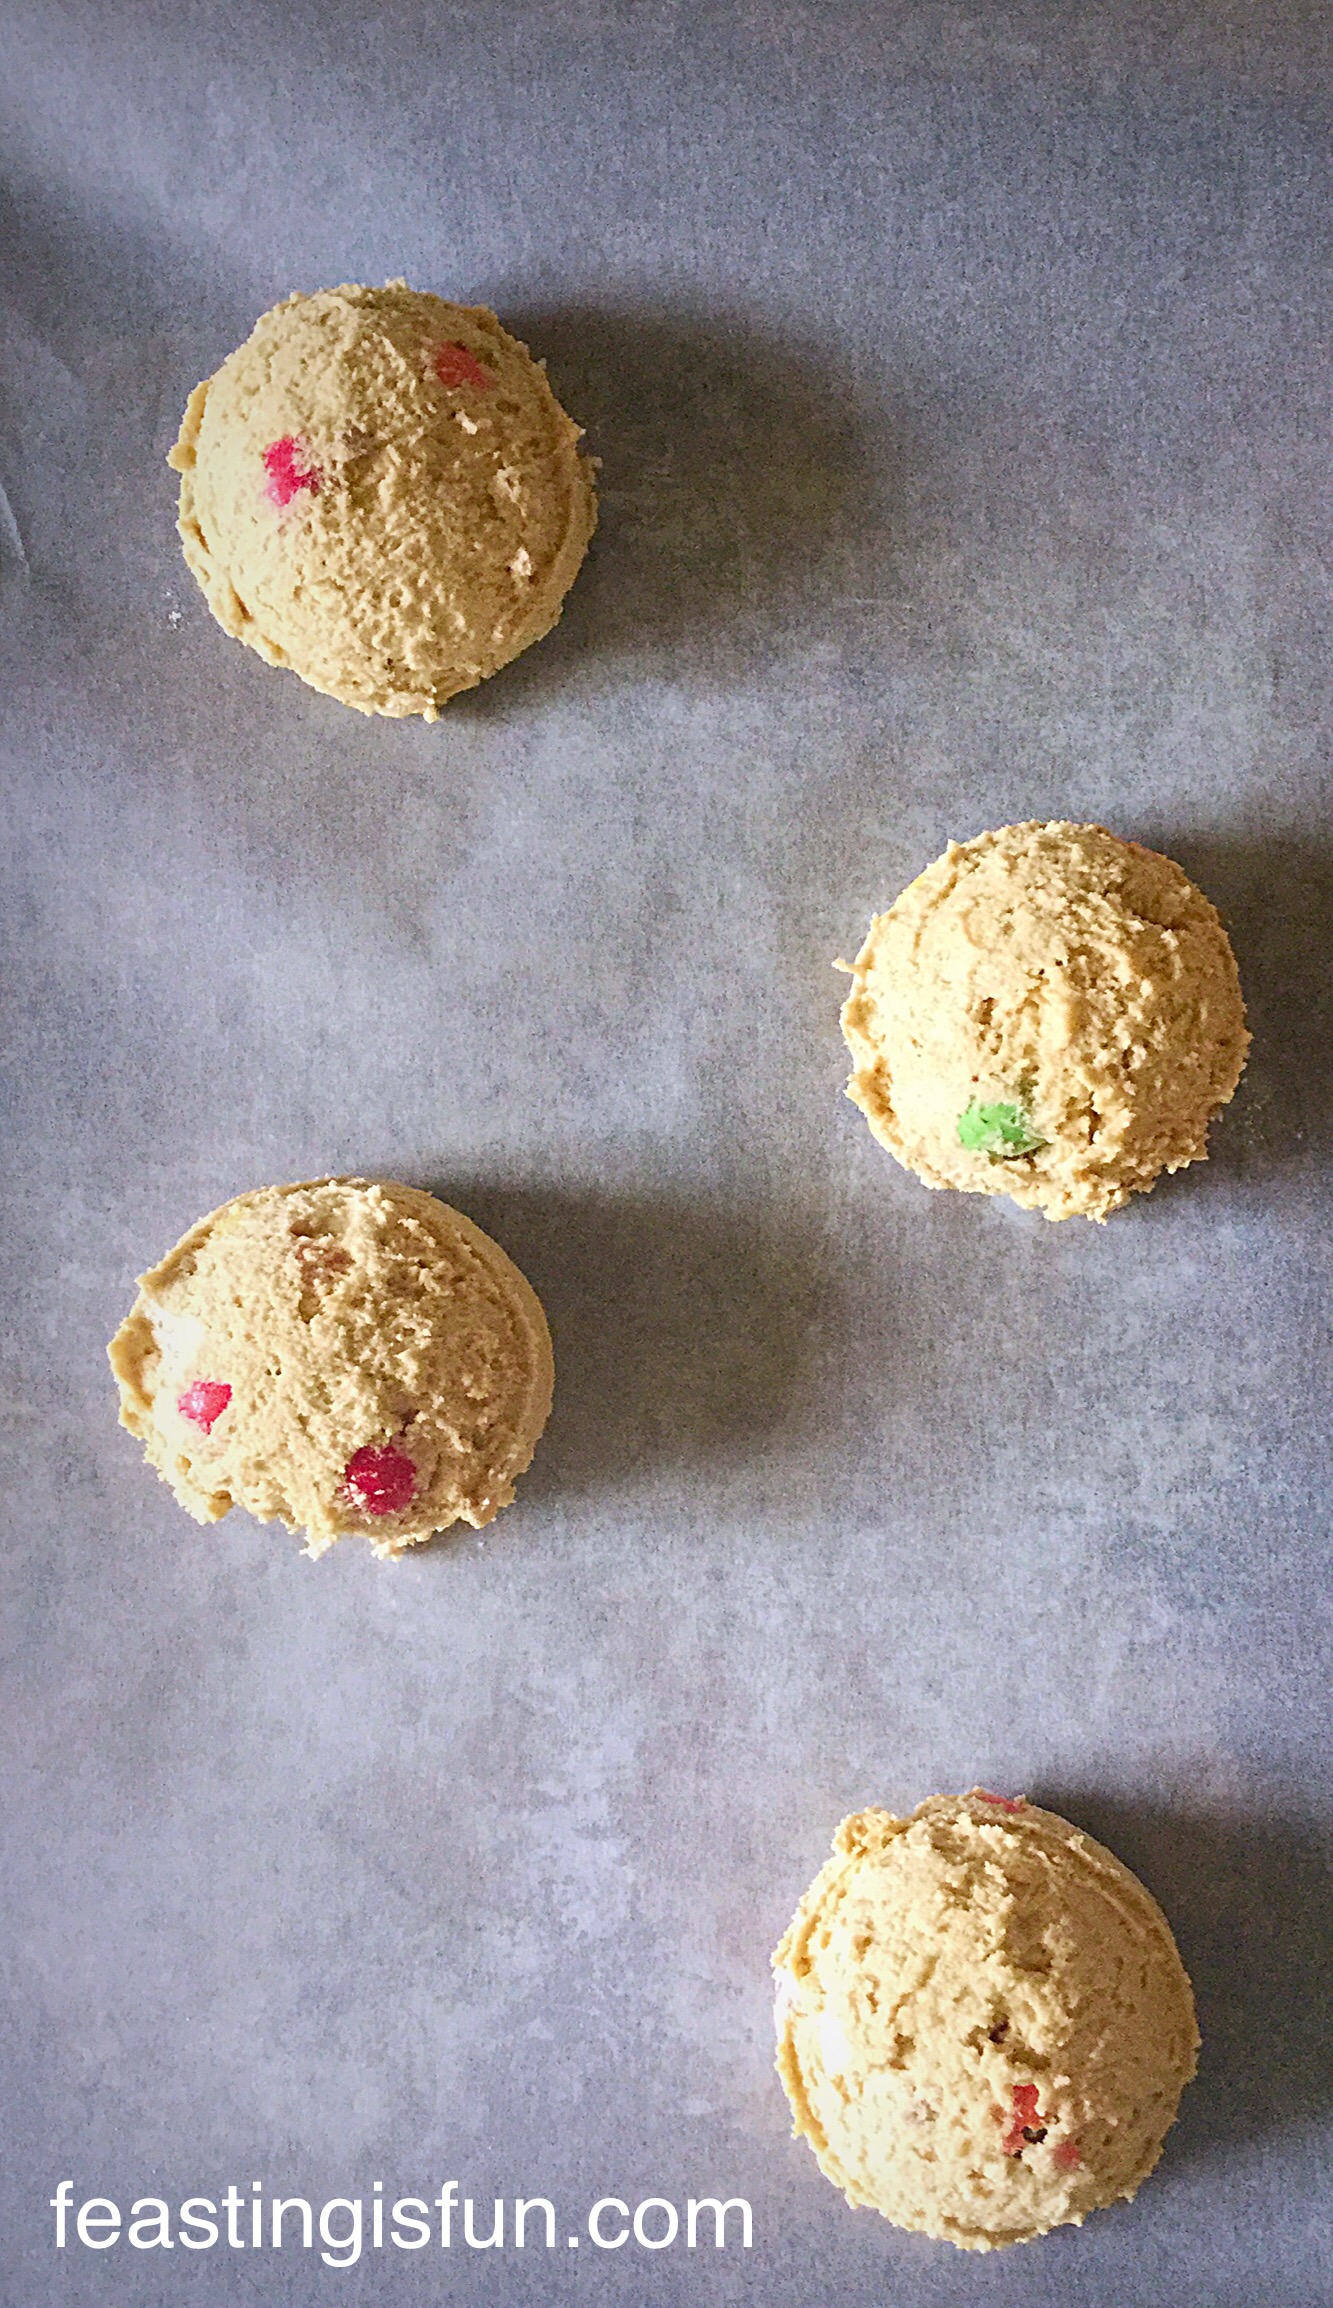
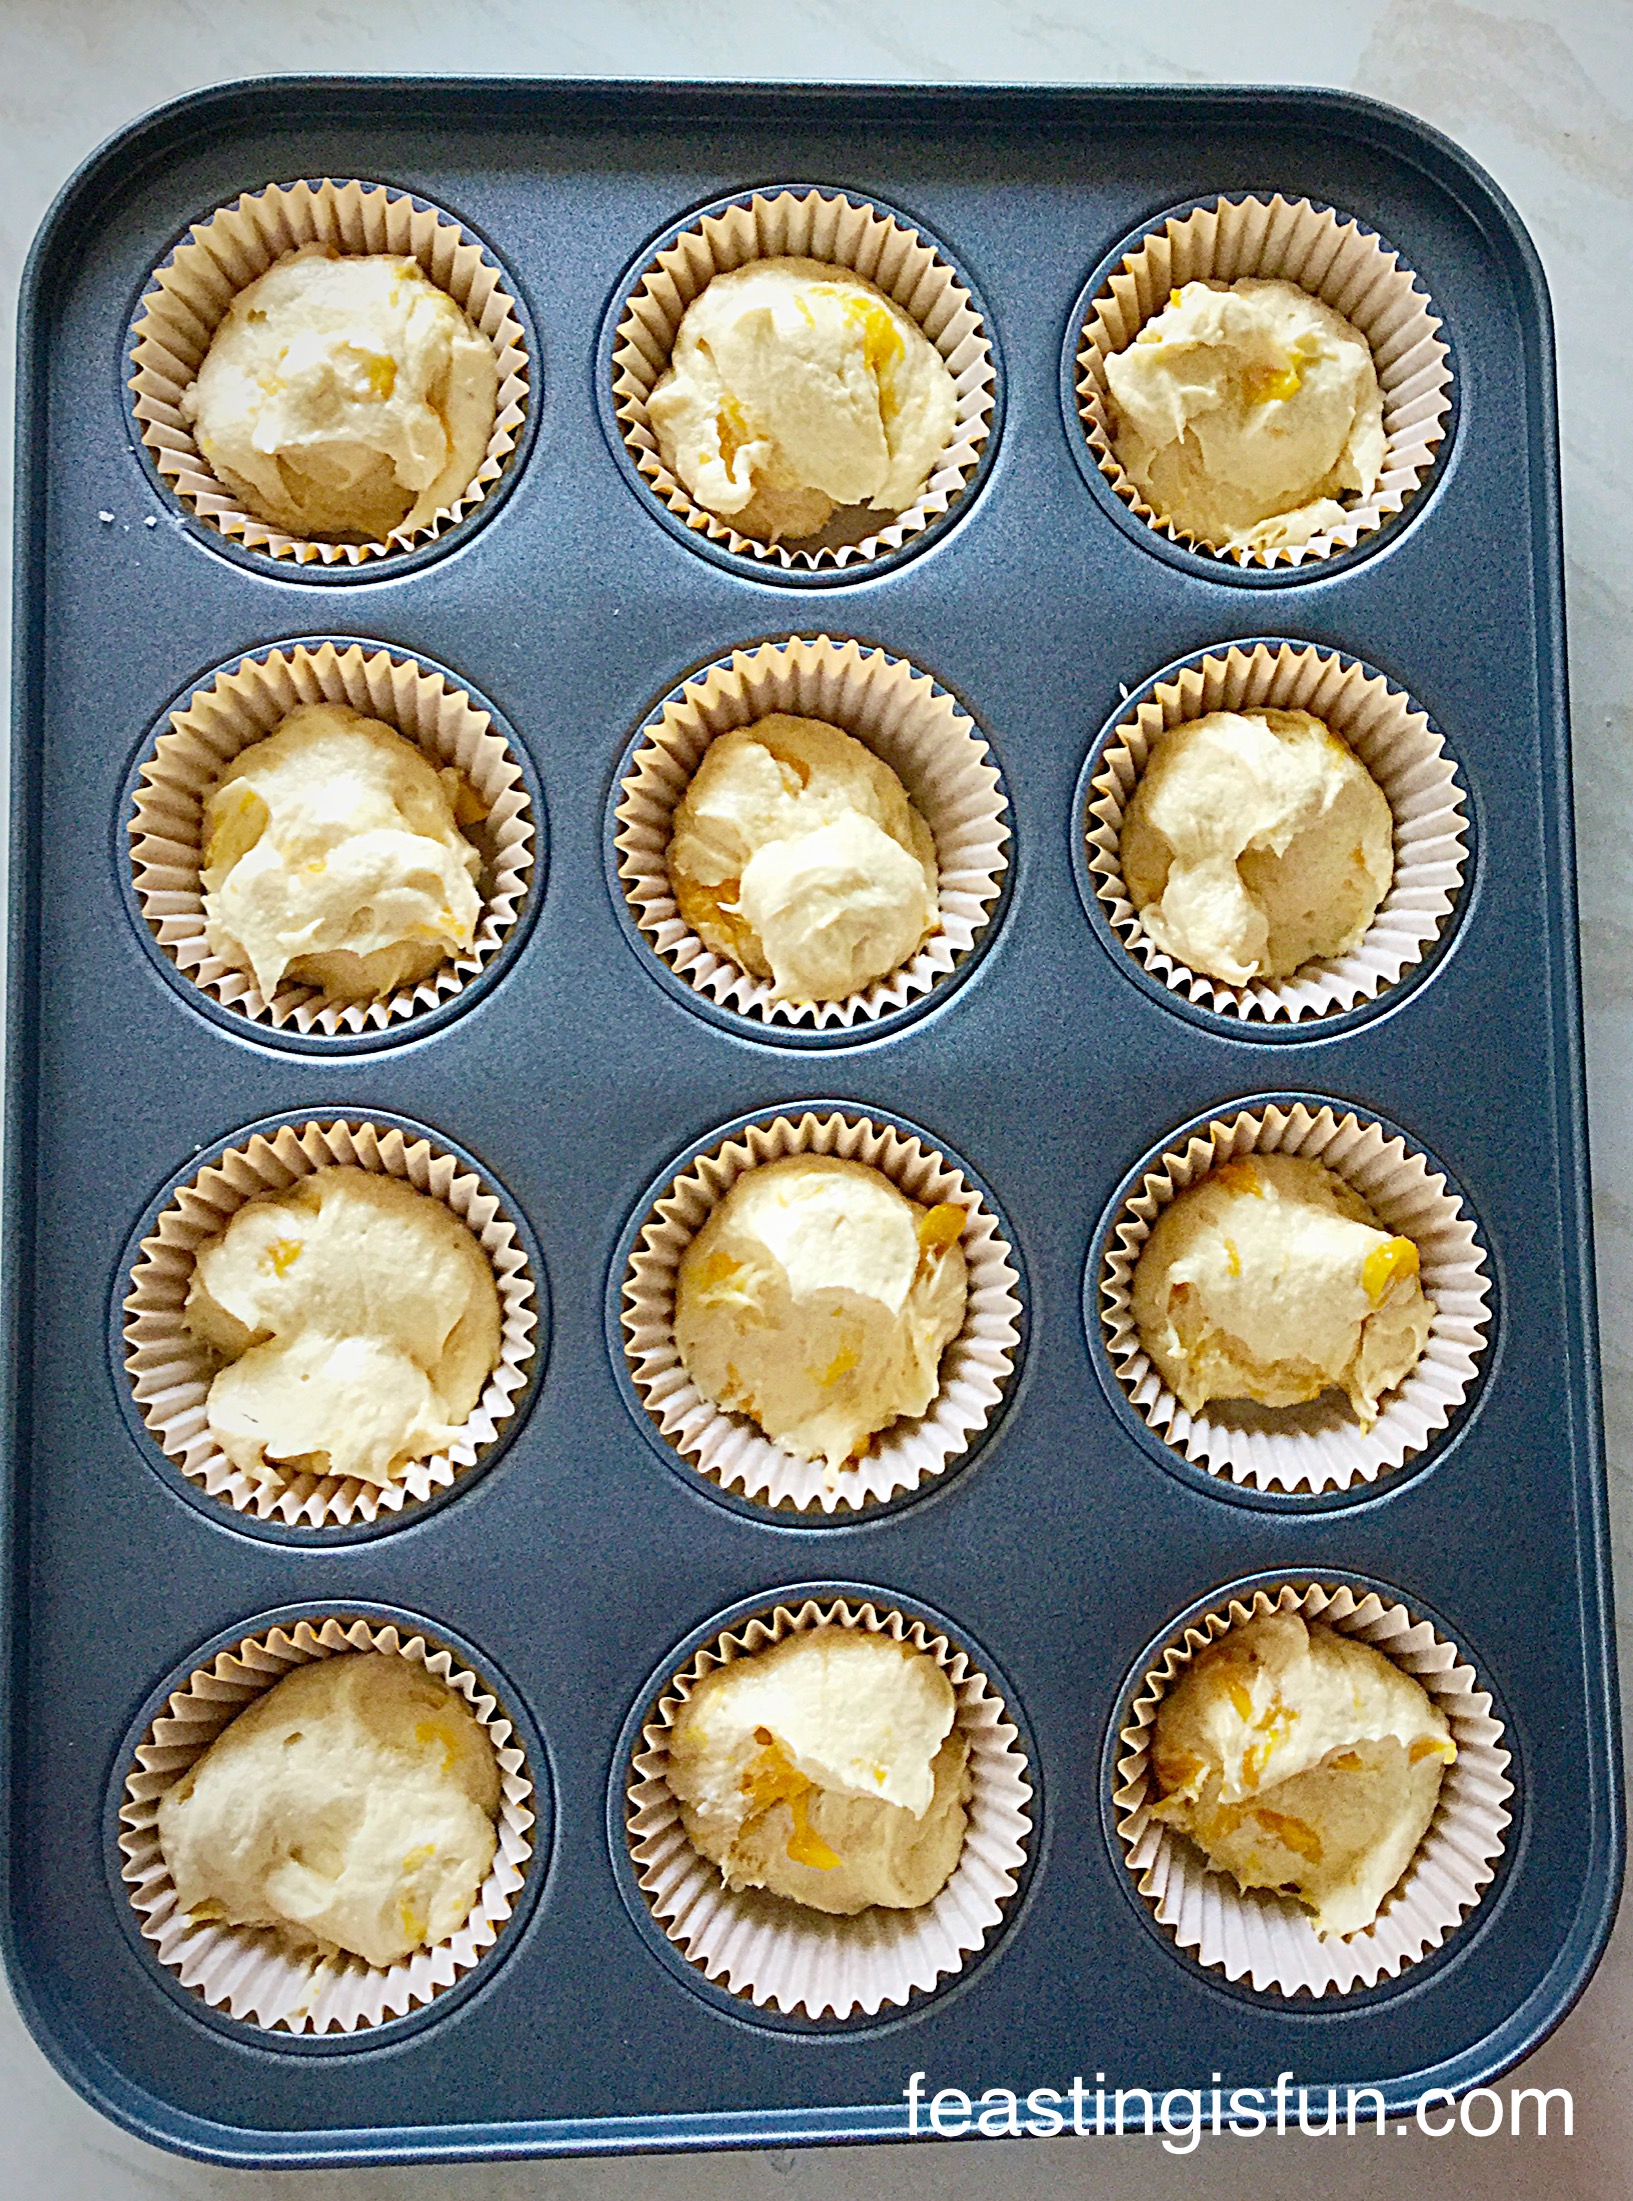
- Place 12 cupcake wrappers into a cupcake pan.
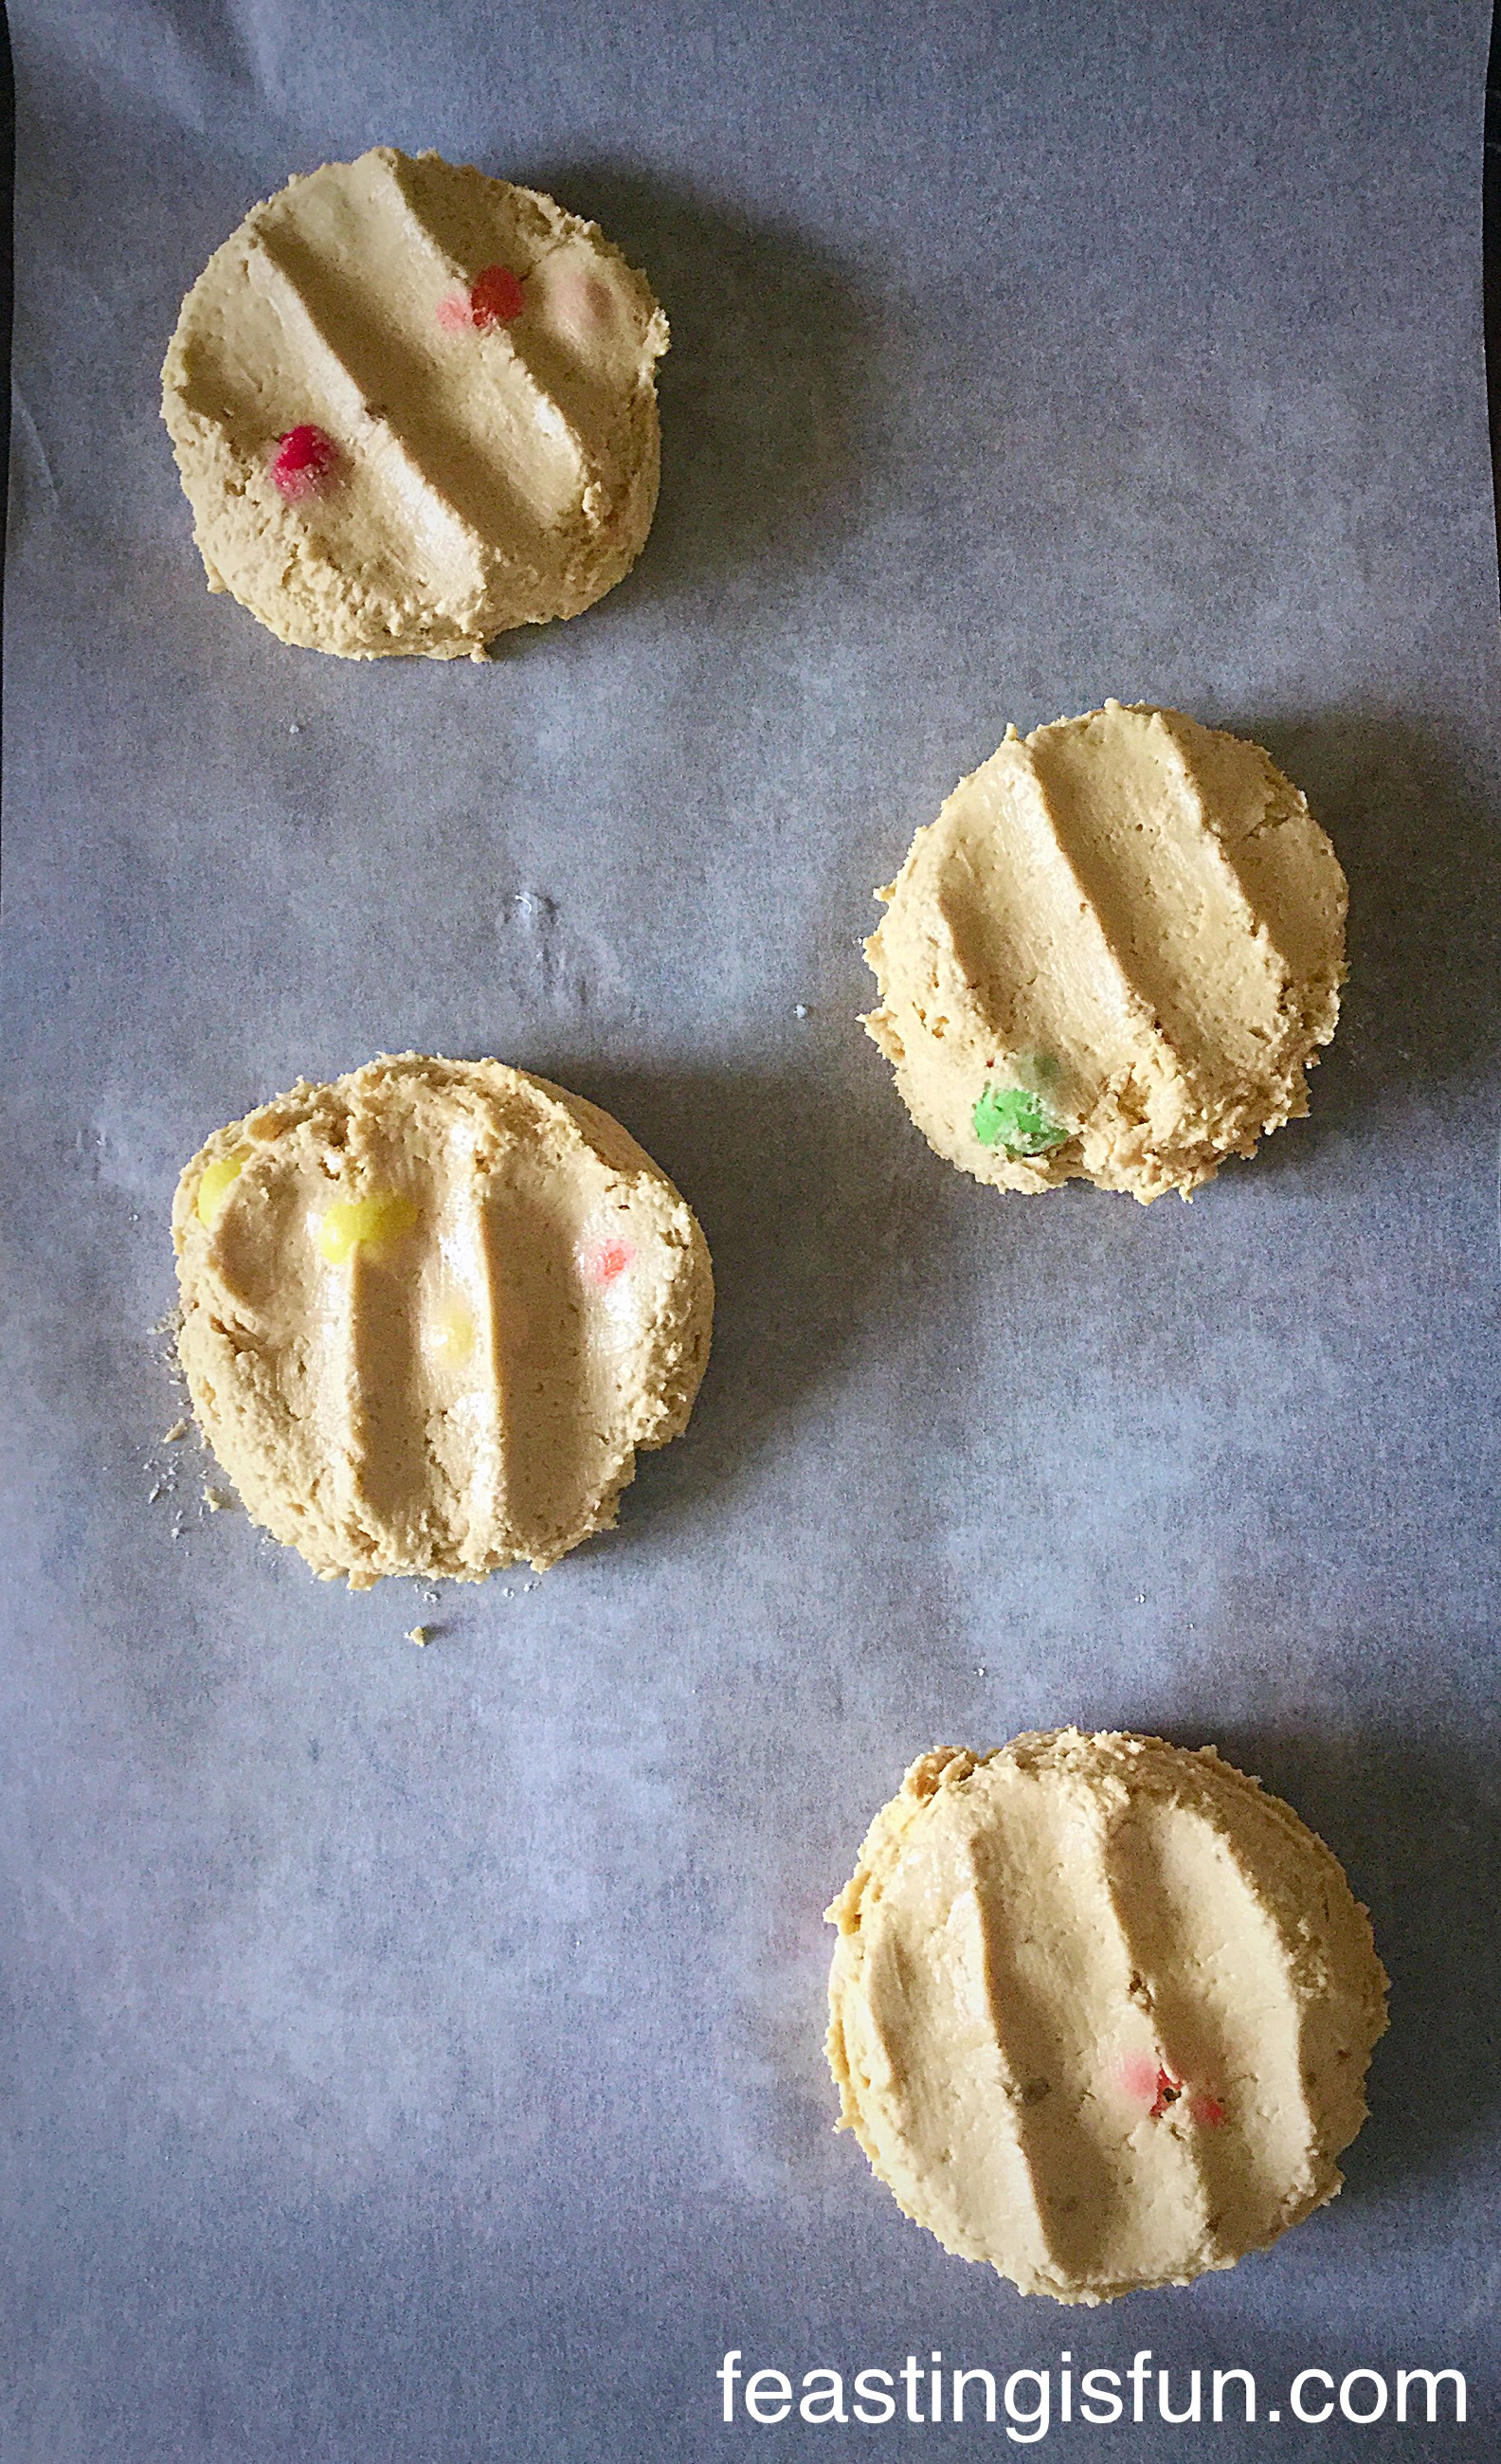
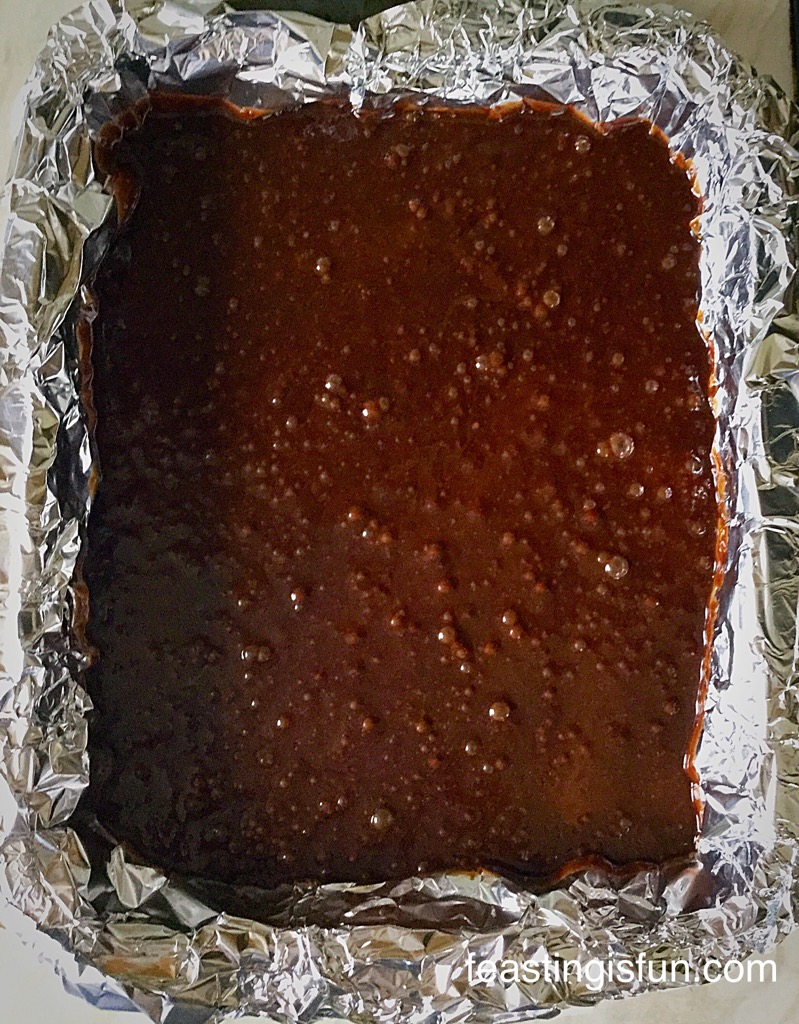
- Scoop just under a dessert spoonful of cake batter into each cupcake wrapper.
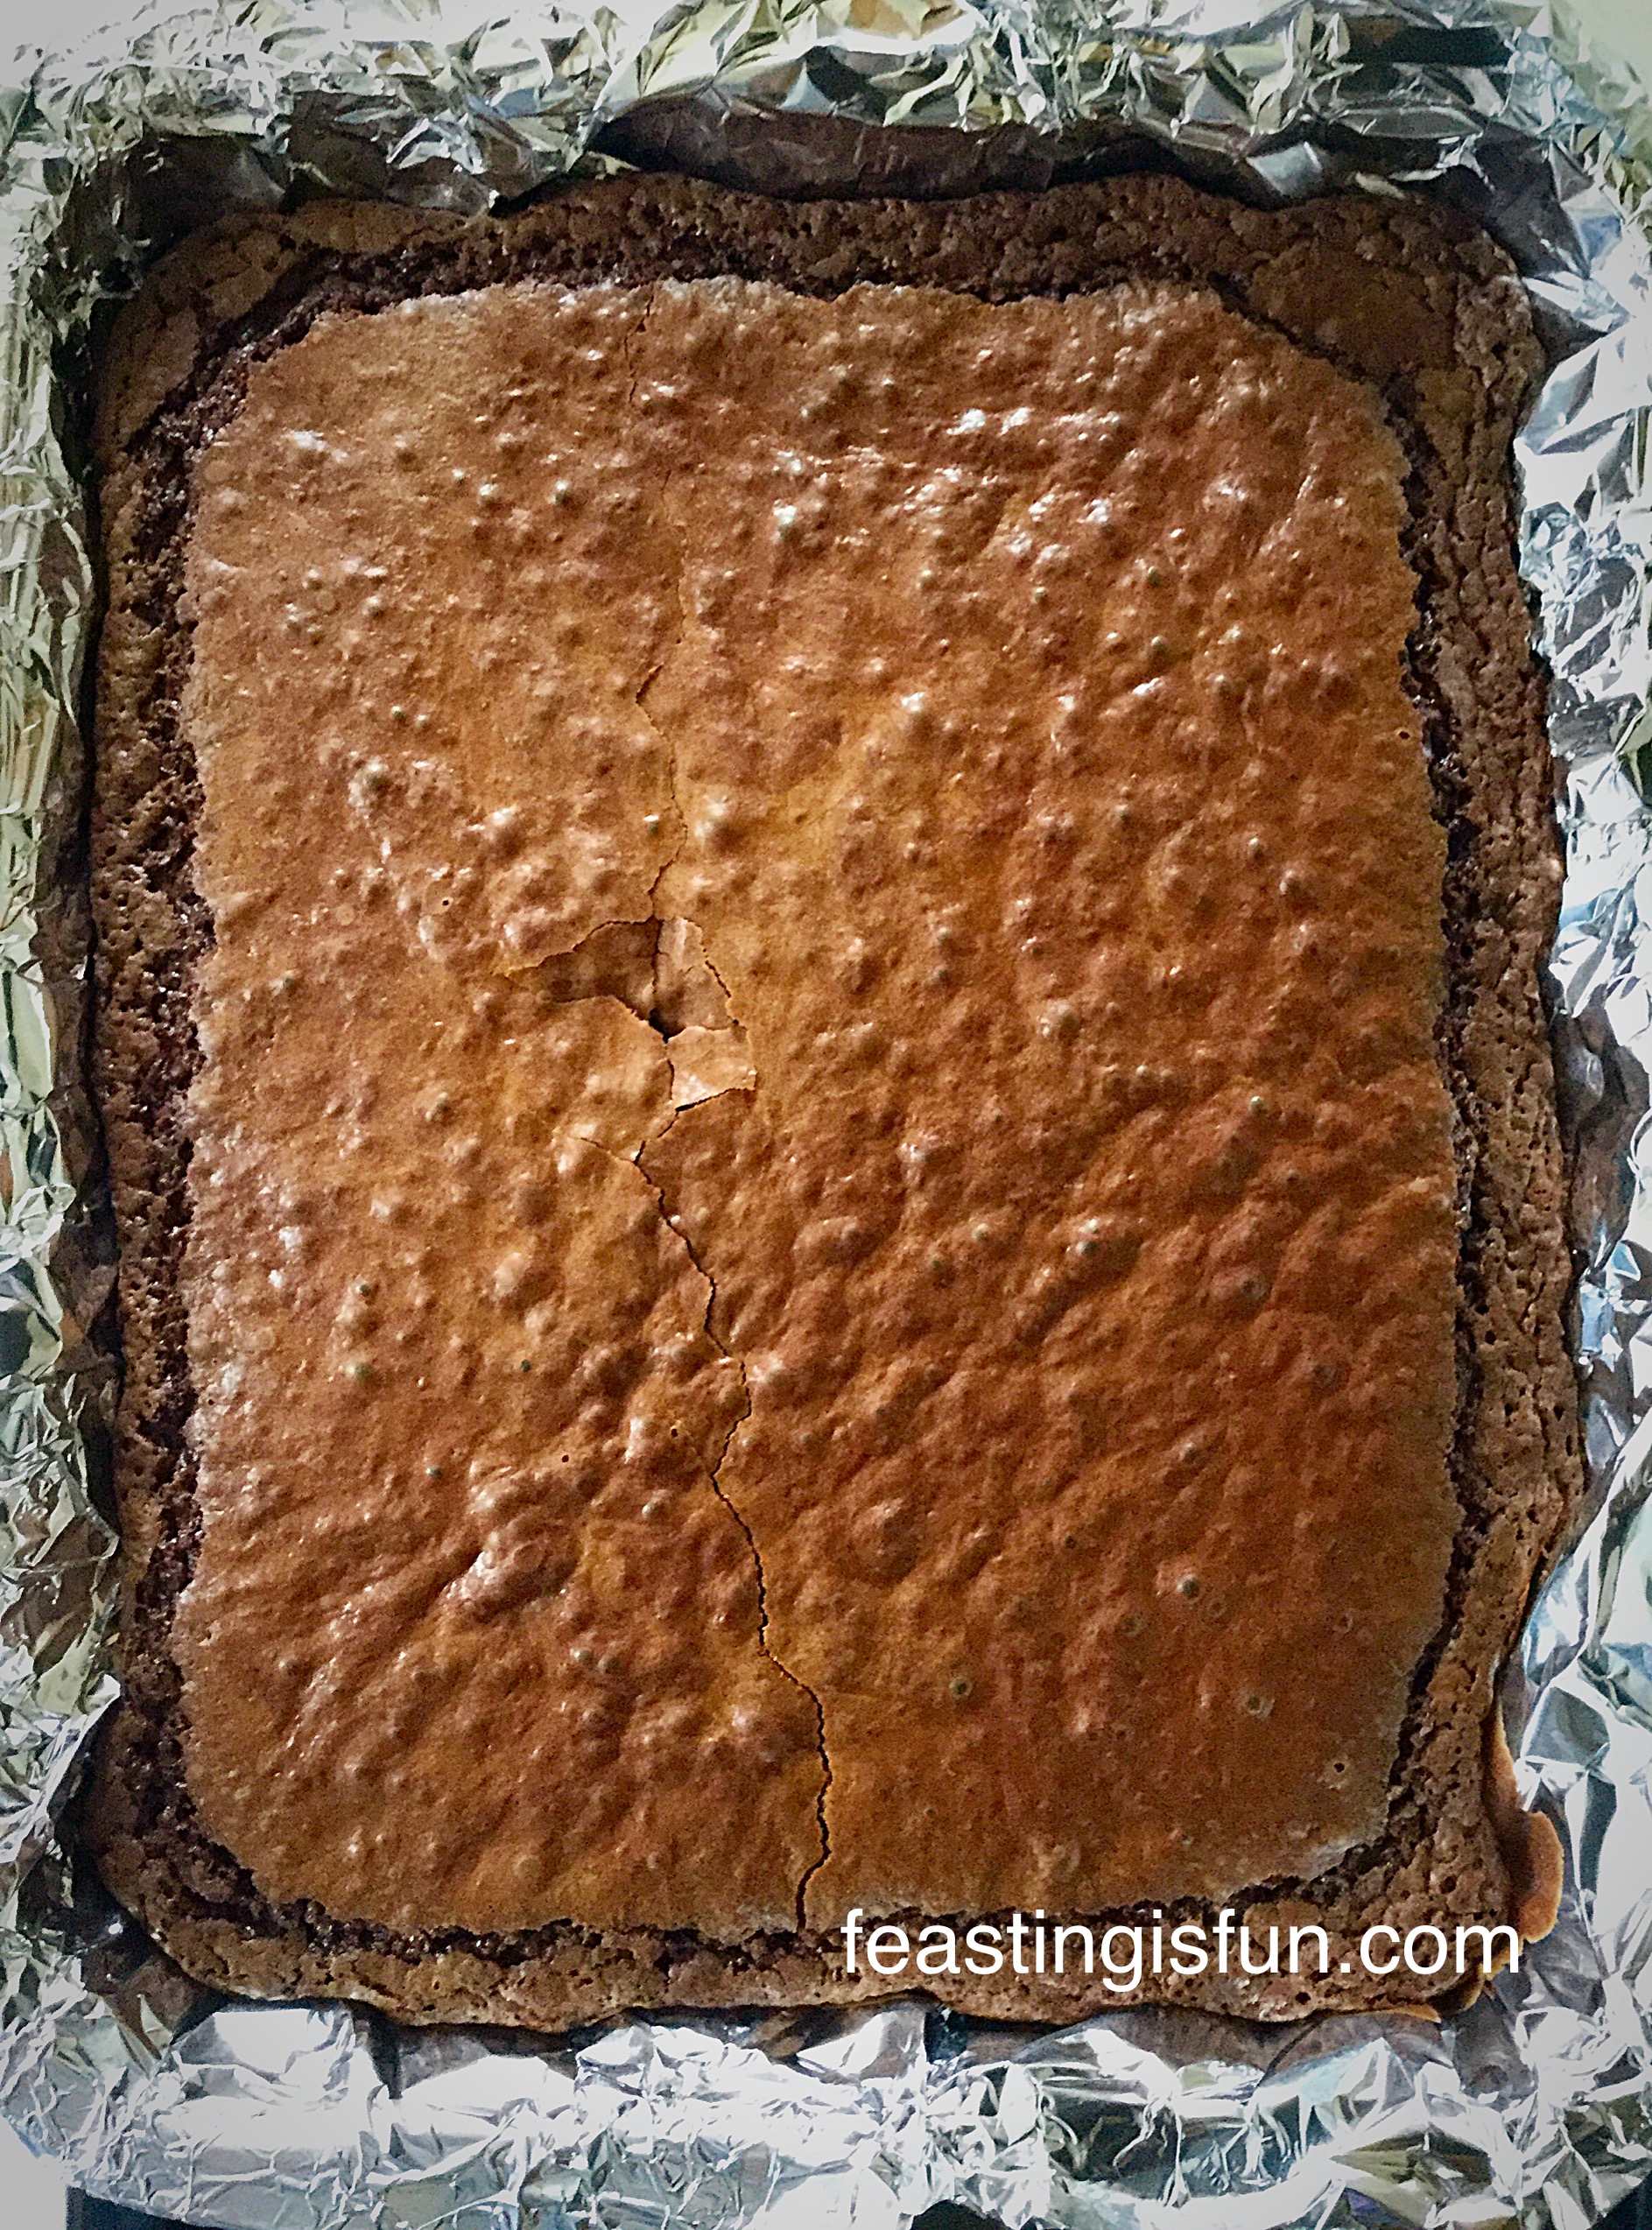
- Place the cupcakes into the centre of the oven and bake for 20 minutes.
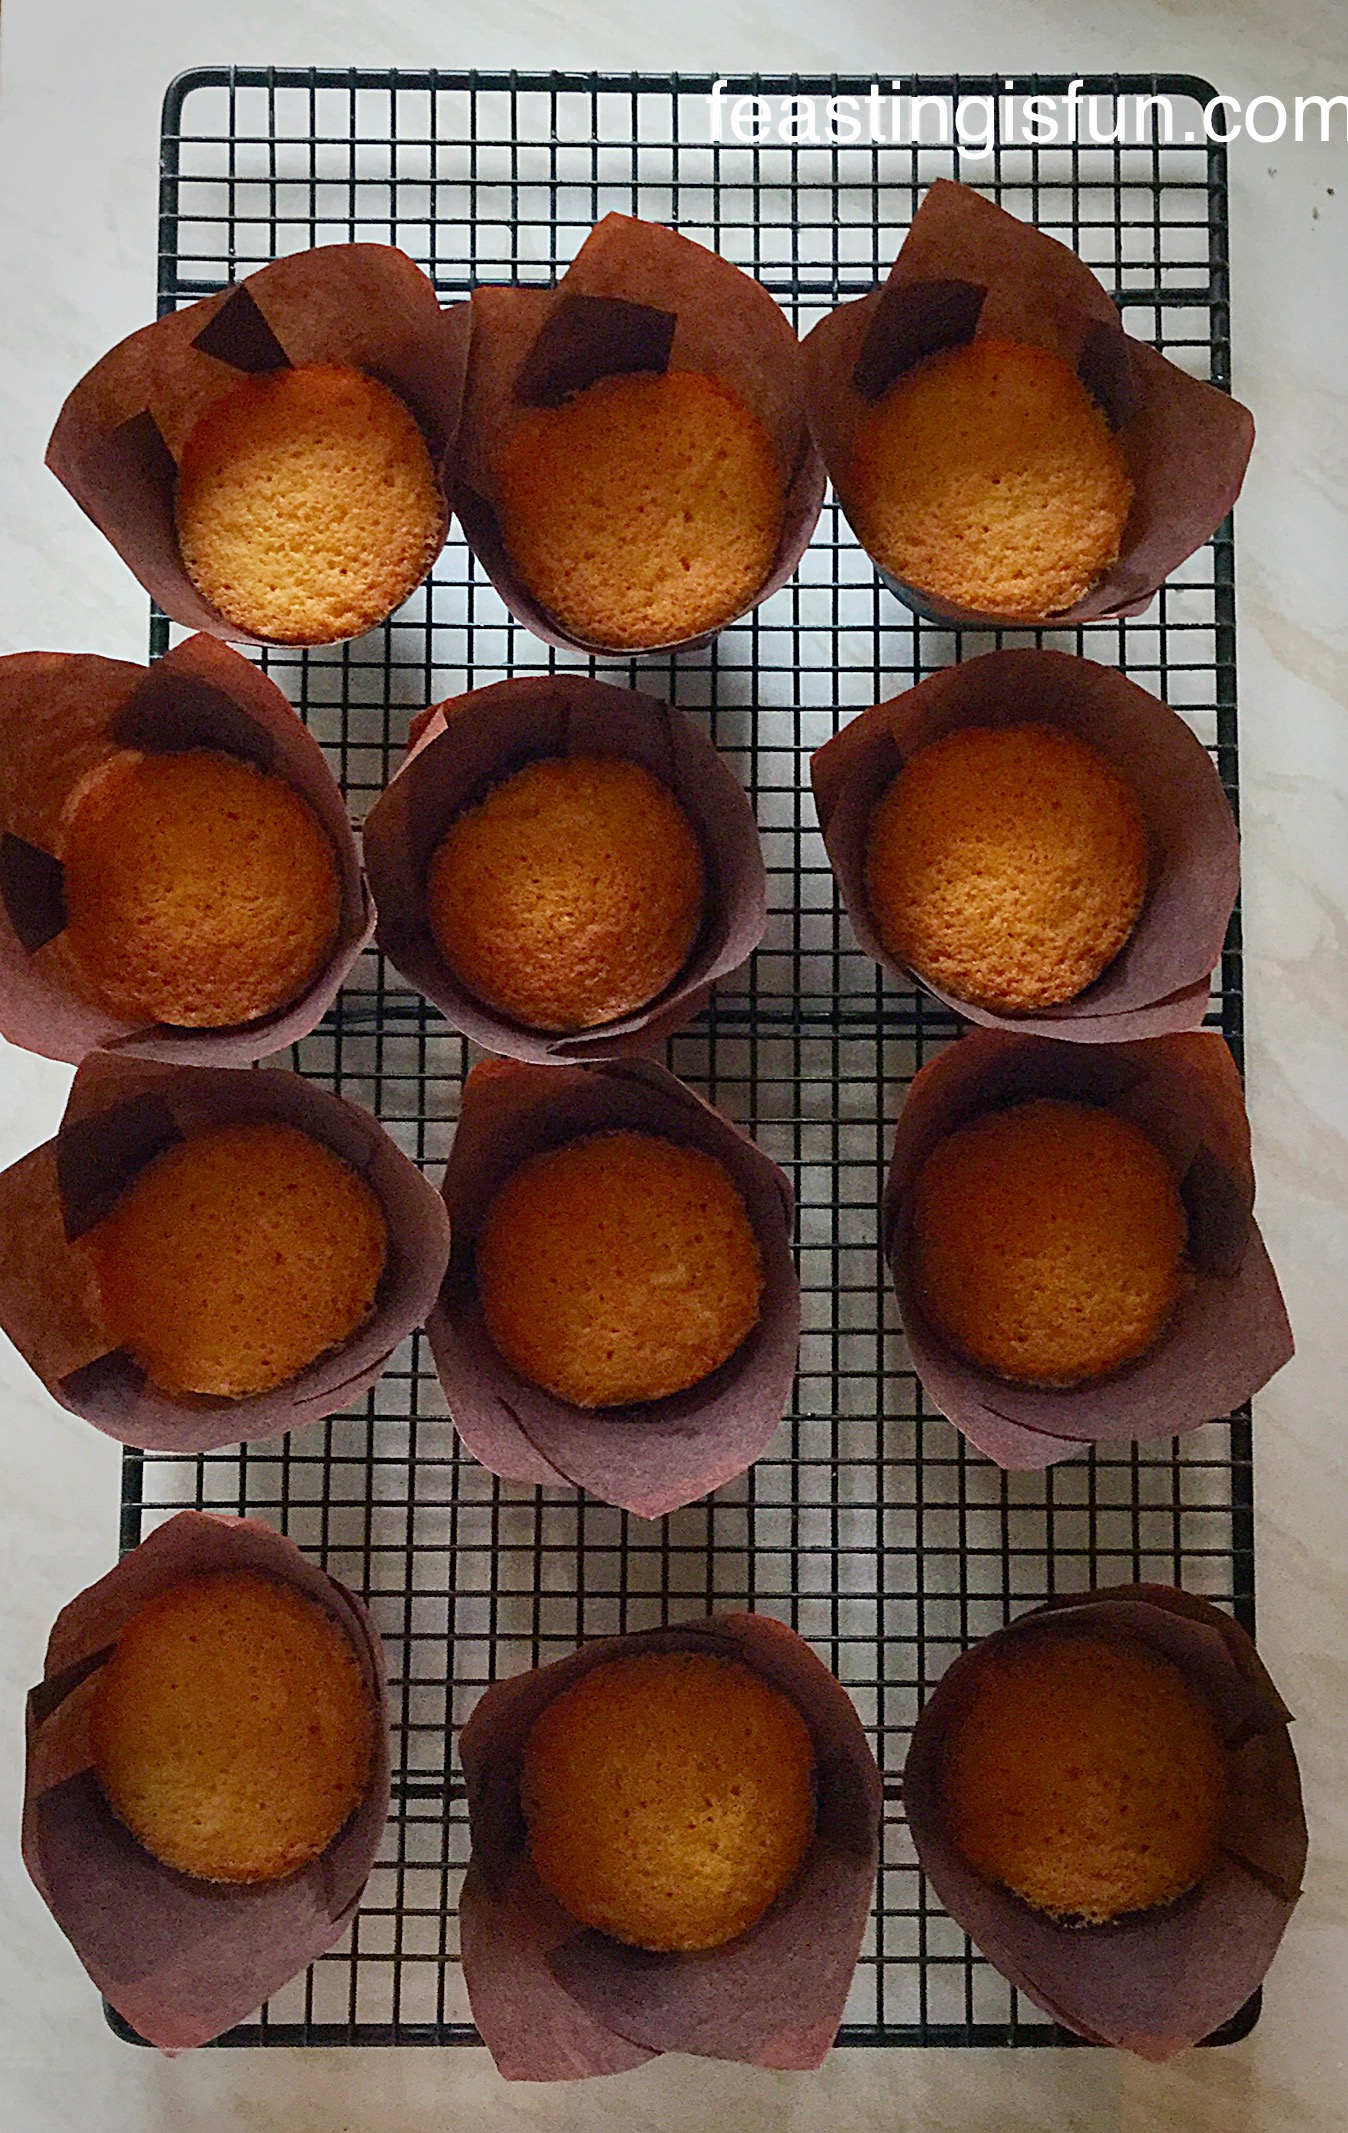
- The cupcakes are cooked when they are a golden brown colour and spring back from a light touch.
- As soon as they are baked remove the cupcakes from the oven.
- If using tulip cupcake cases, as I have, allow to cool completely in the tin, if not cool for 5 minutes in the tin and then transfer to a cooling rack.
- Transfer cupcakes in tulip wrappers to a cooling rack once cold.
- While the cupcakes are cooling make the buttercream.
Making The Frosting And Decorating The Easter Cupcakes
- Break up the chocolate, place in a microwaveable bowl and heat on medium power for 30 seconds at a time, stirring in between, until the chocolate is completely melted. Set to one side.
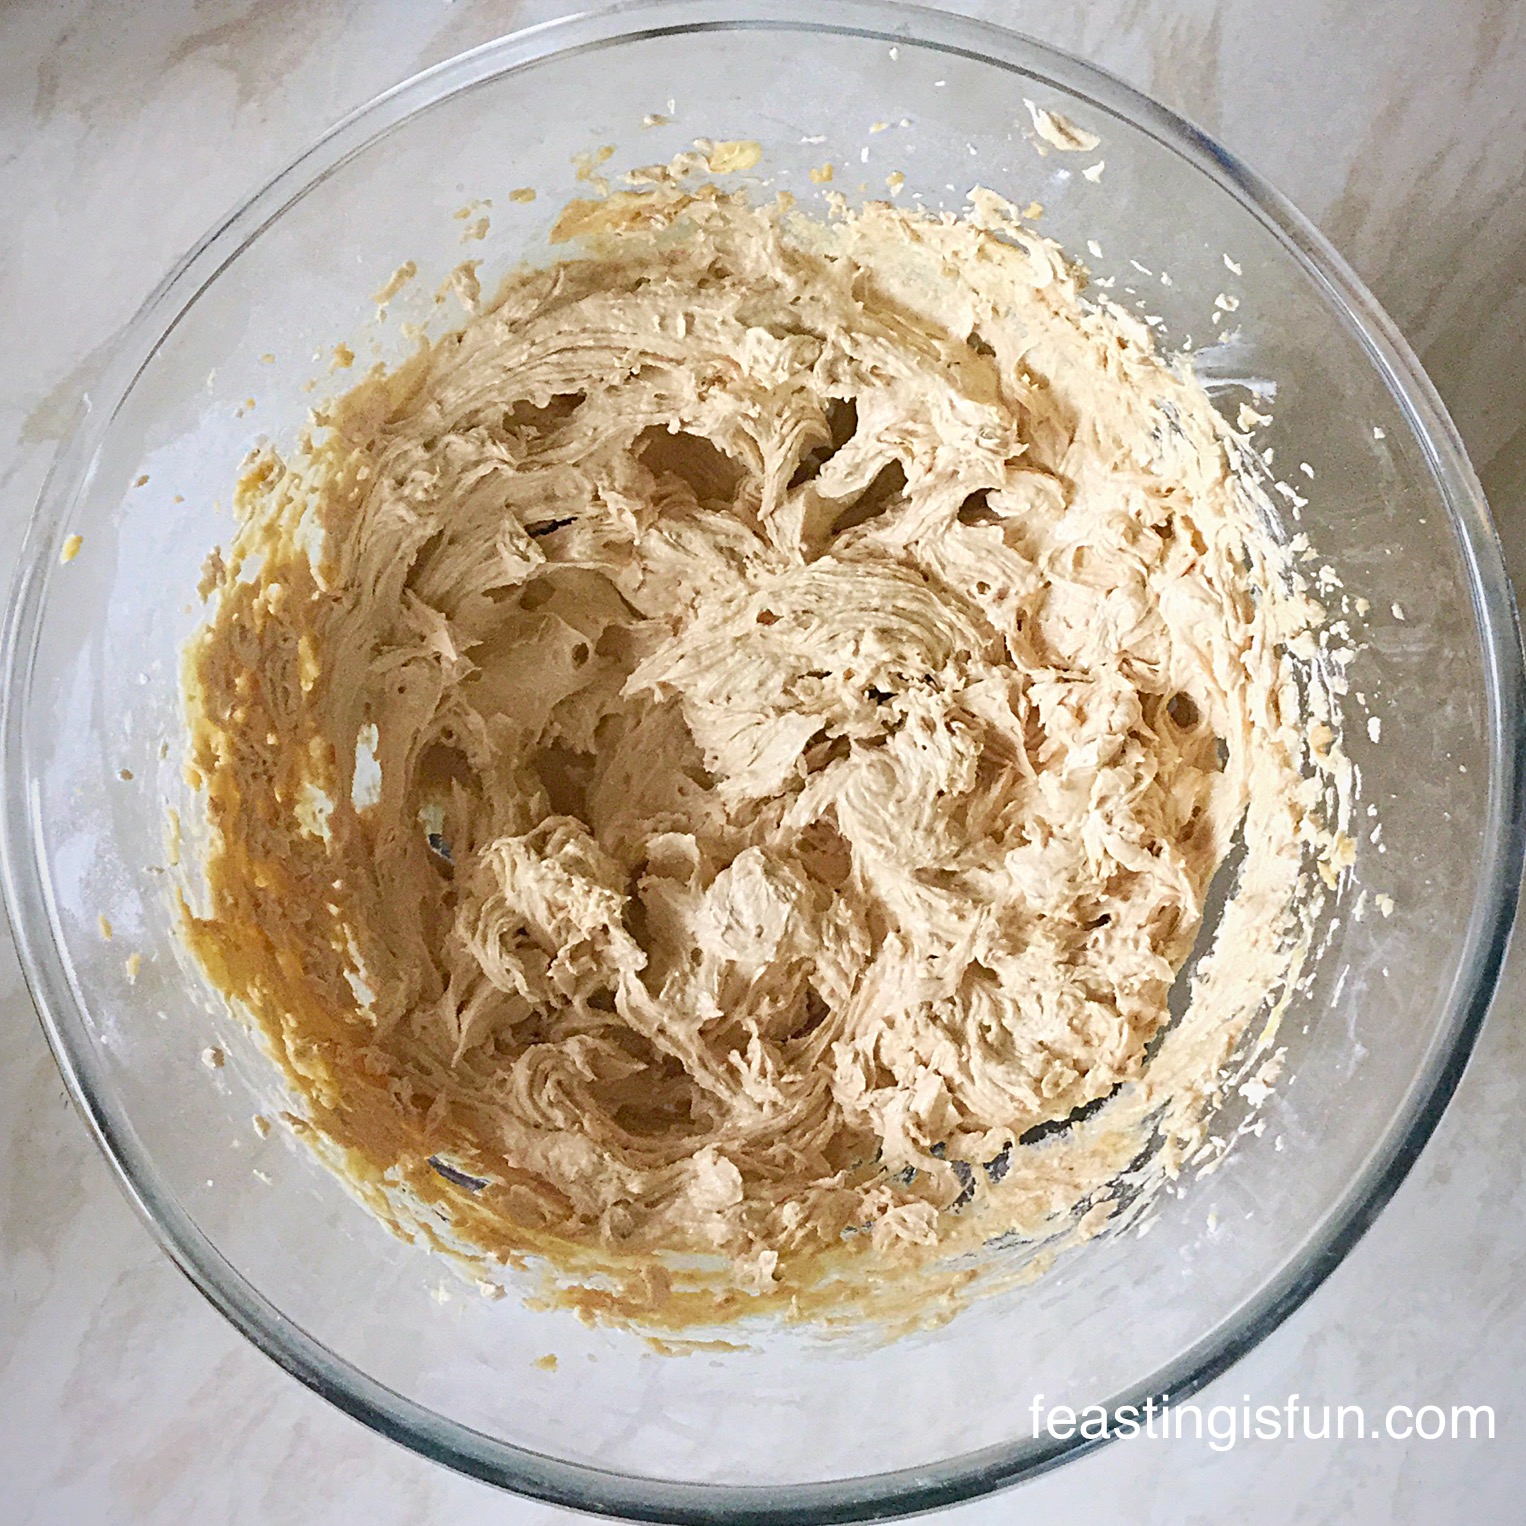
- Whisk the sieved icing sugar, butter and vanilla extract until pale and smooth.
- Add the cooled chocolate, whilst whisking. Continue whisking until you have light, fluffy, buttercream.
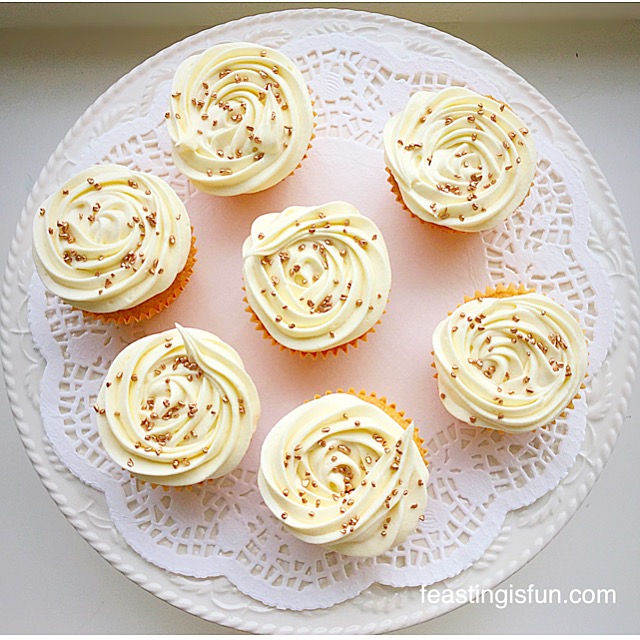
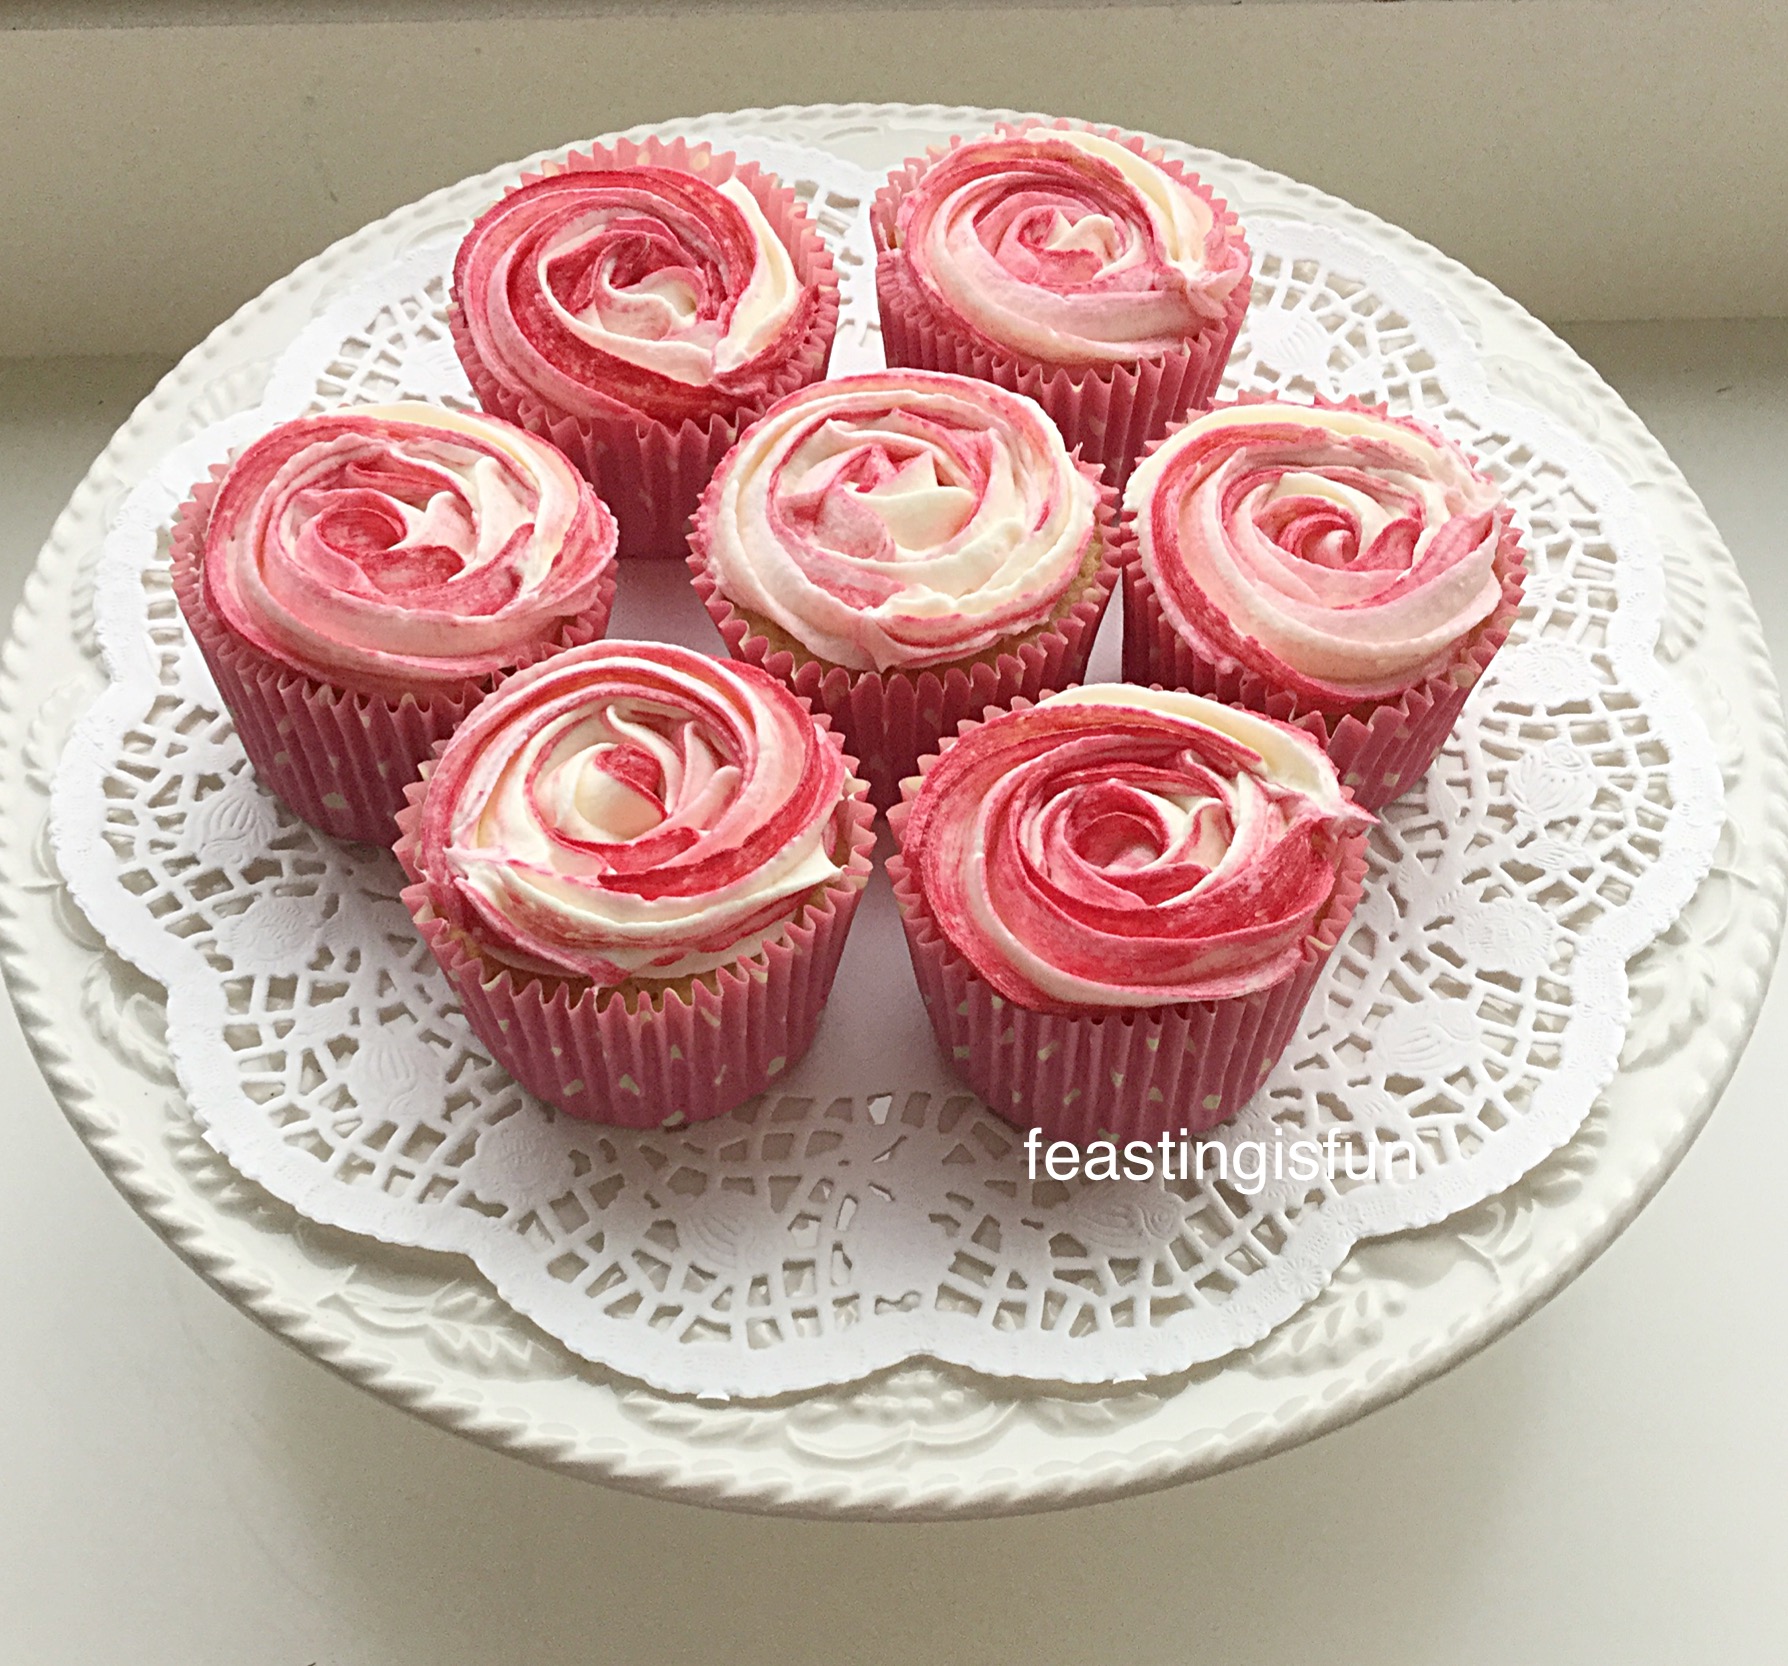
- Fit a piping bag with a large star tip.
- Fill the piping bag with the chocolate buttercream.
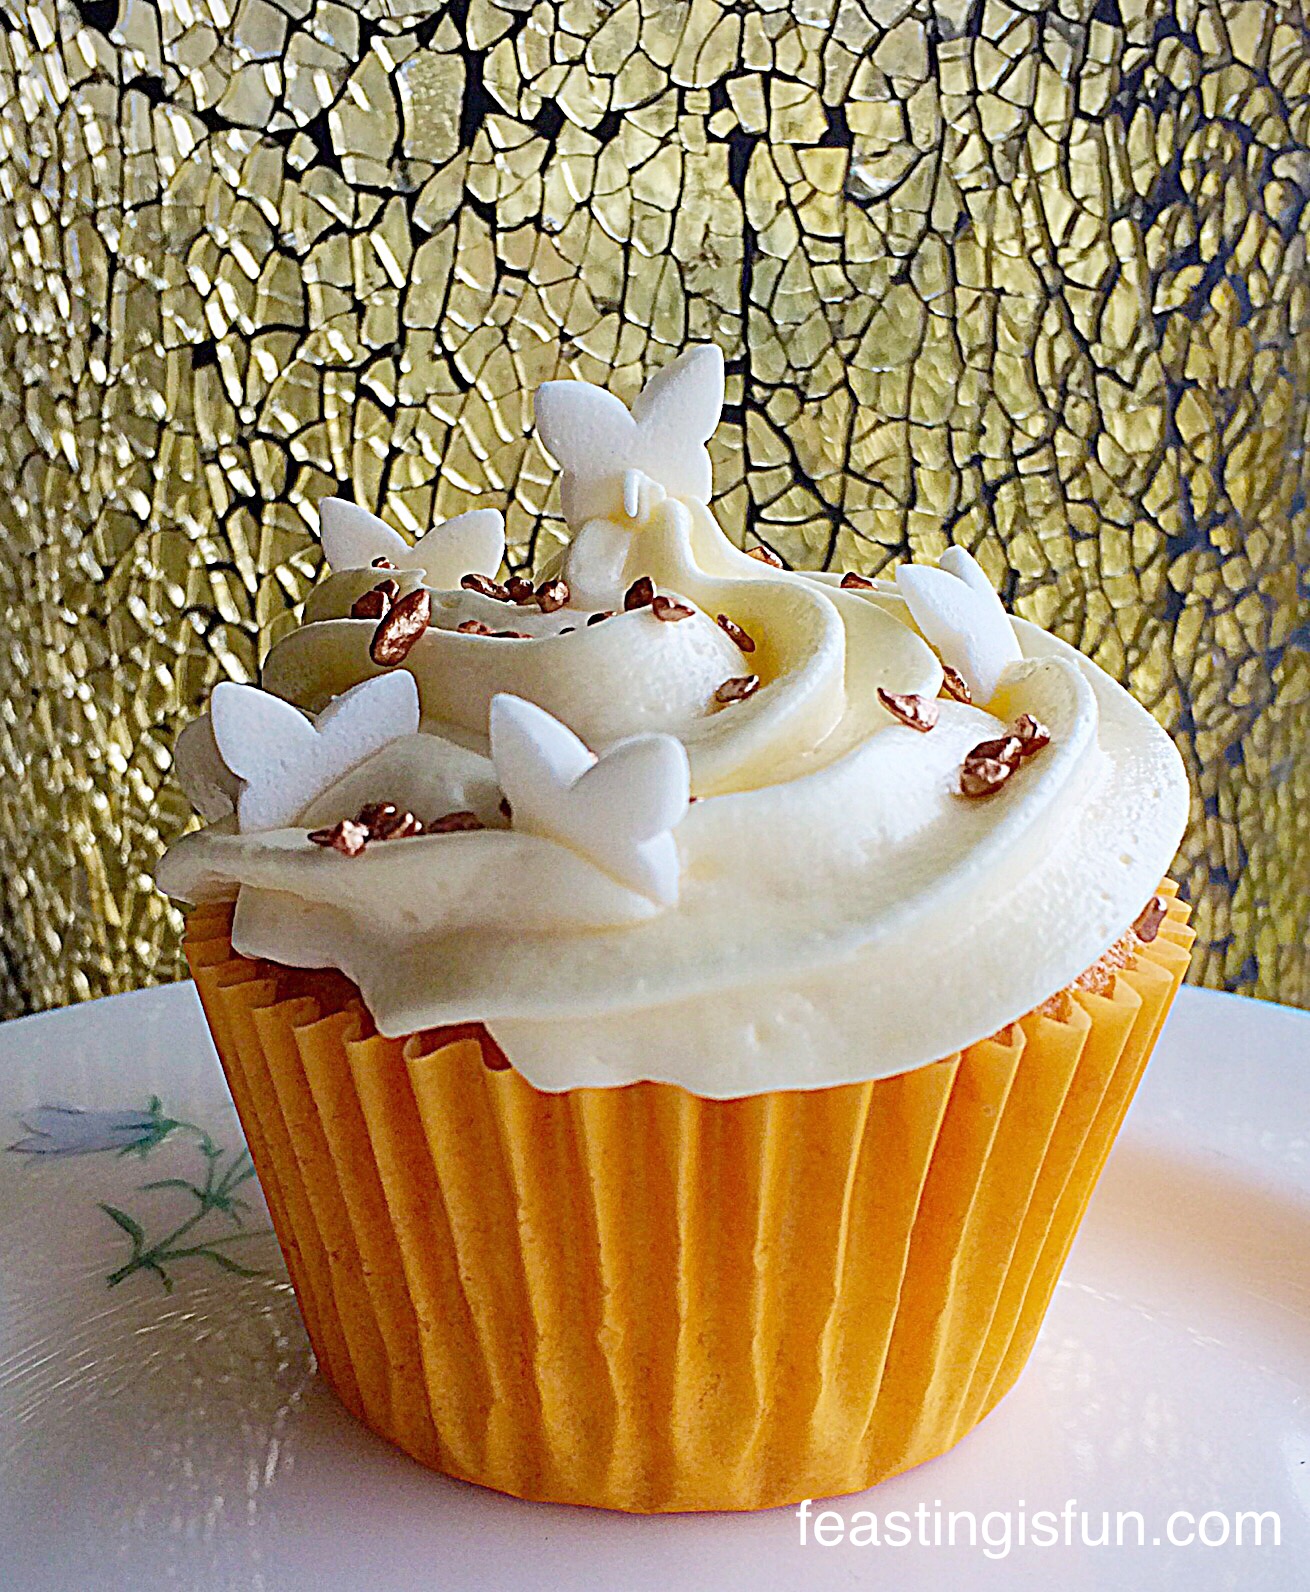
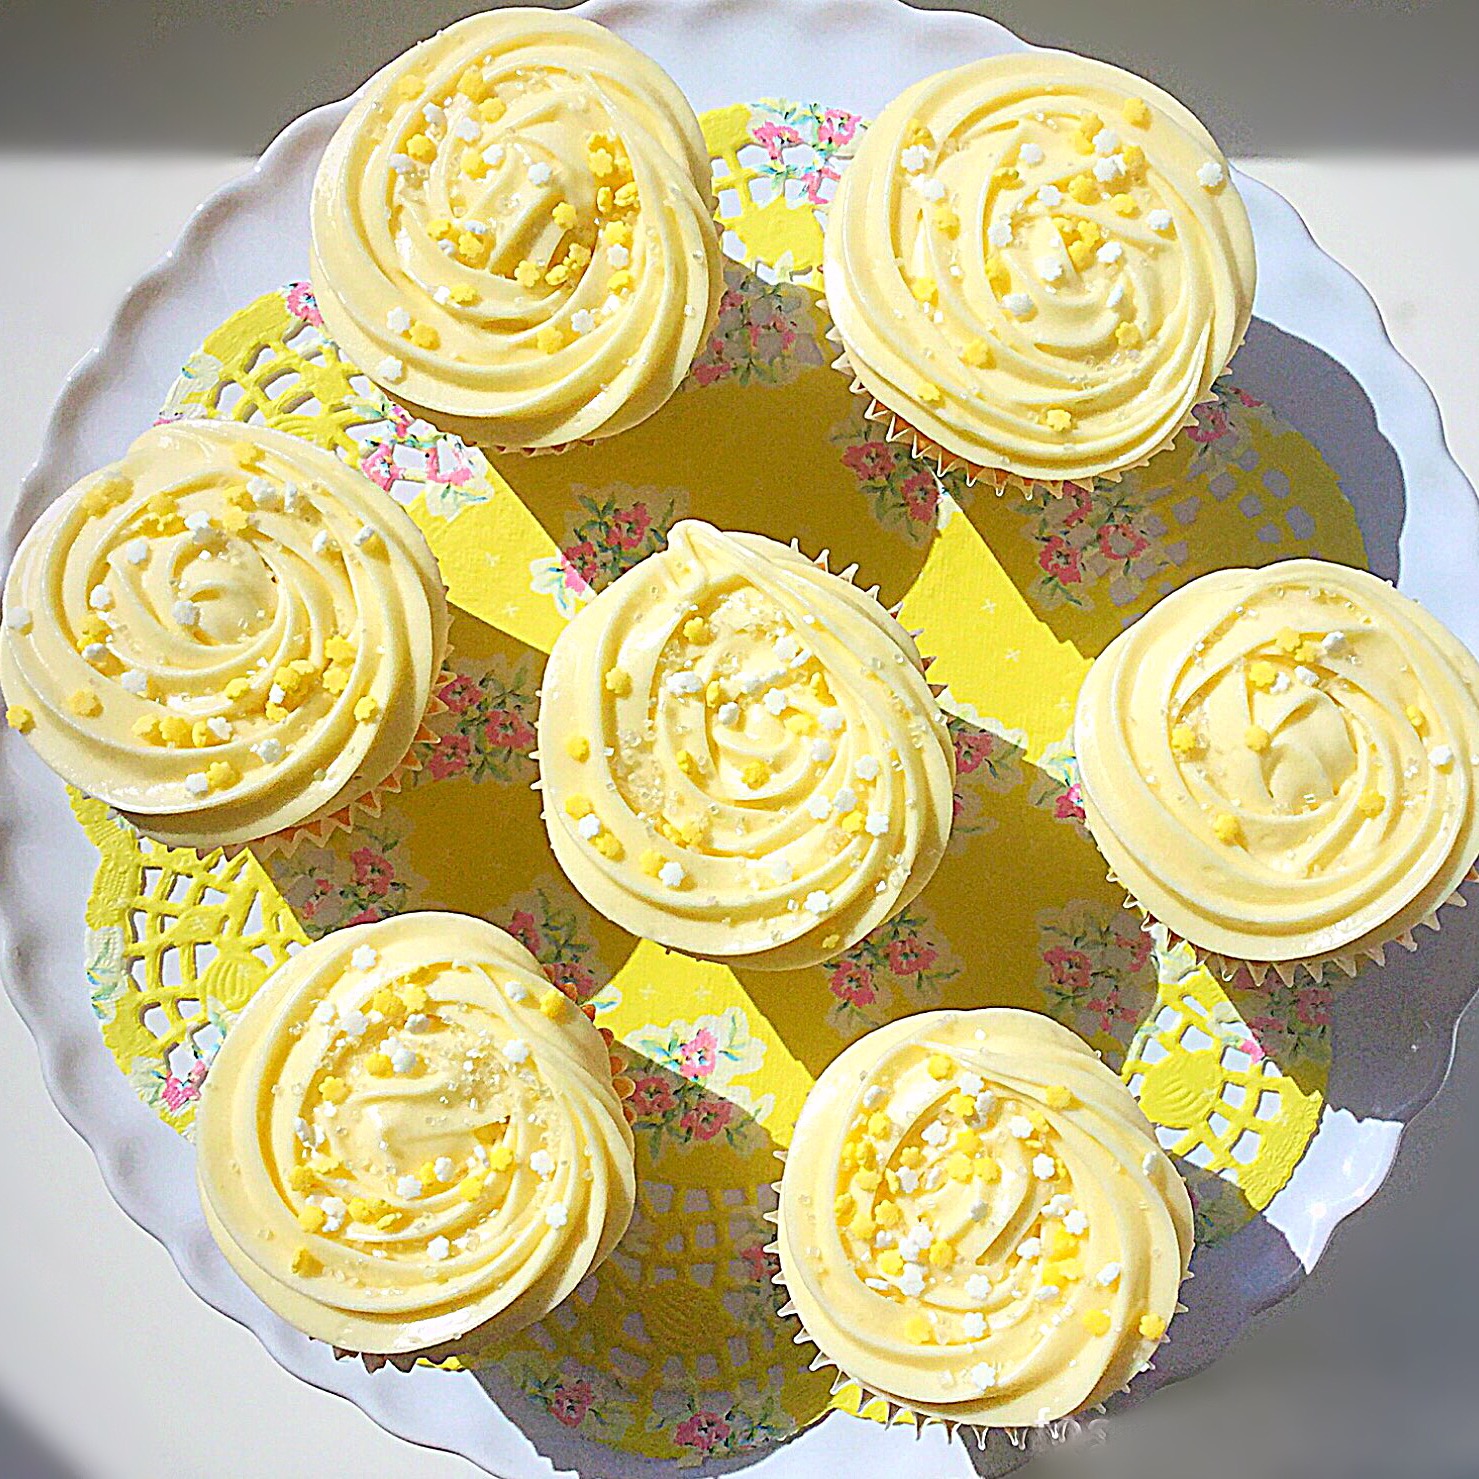
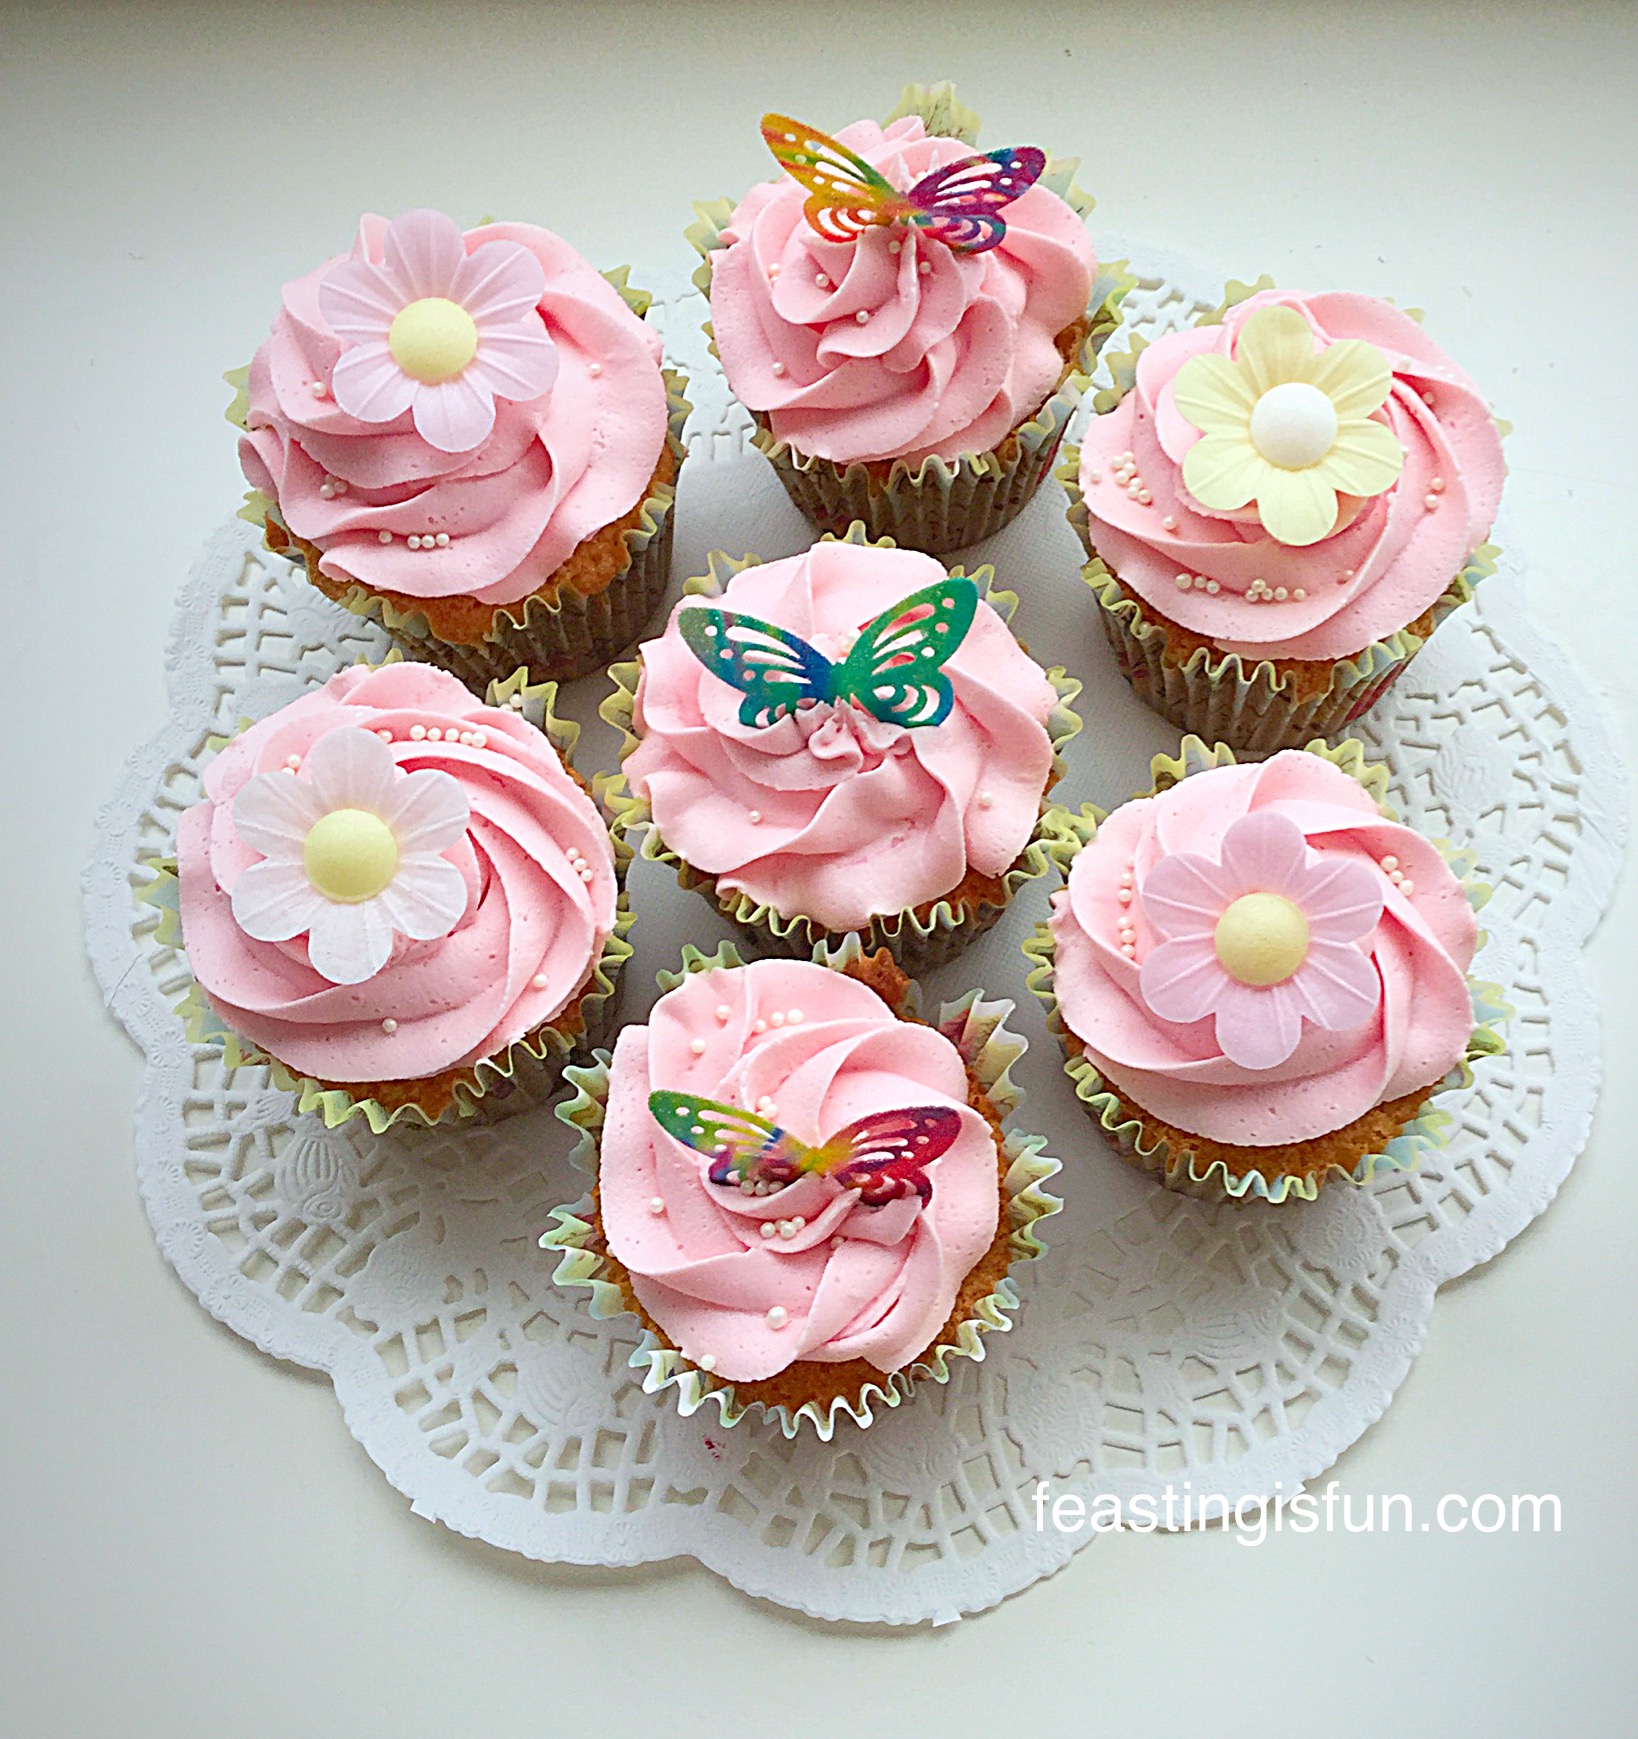
- Pipe a single swirl around the outside edge of each cupcake.
- Repeat, piping another swirl on top of the previous one.
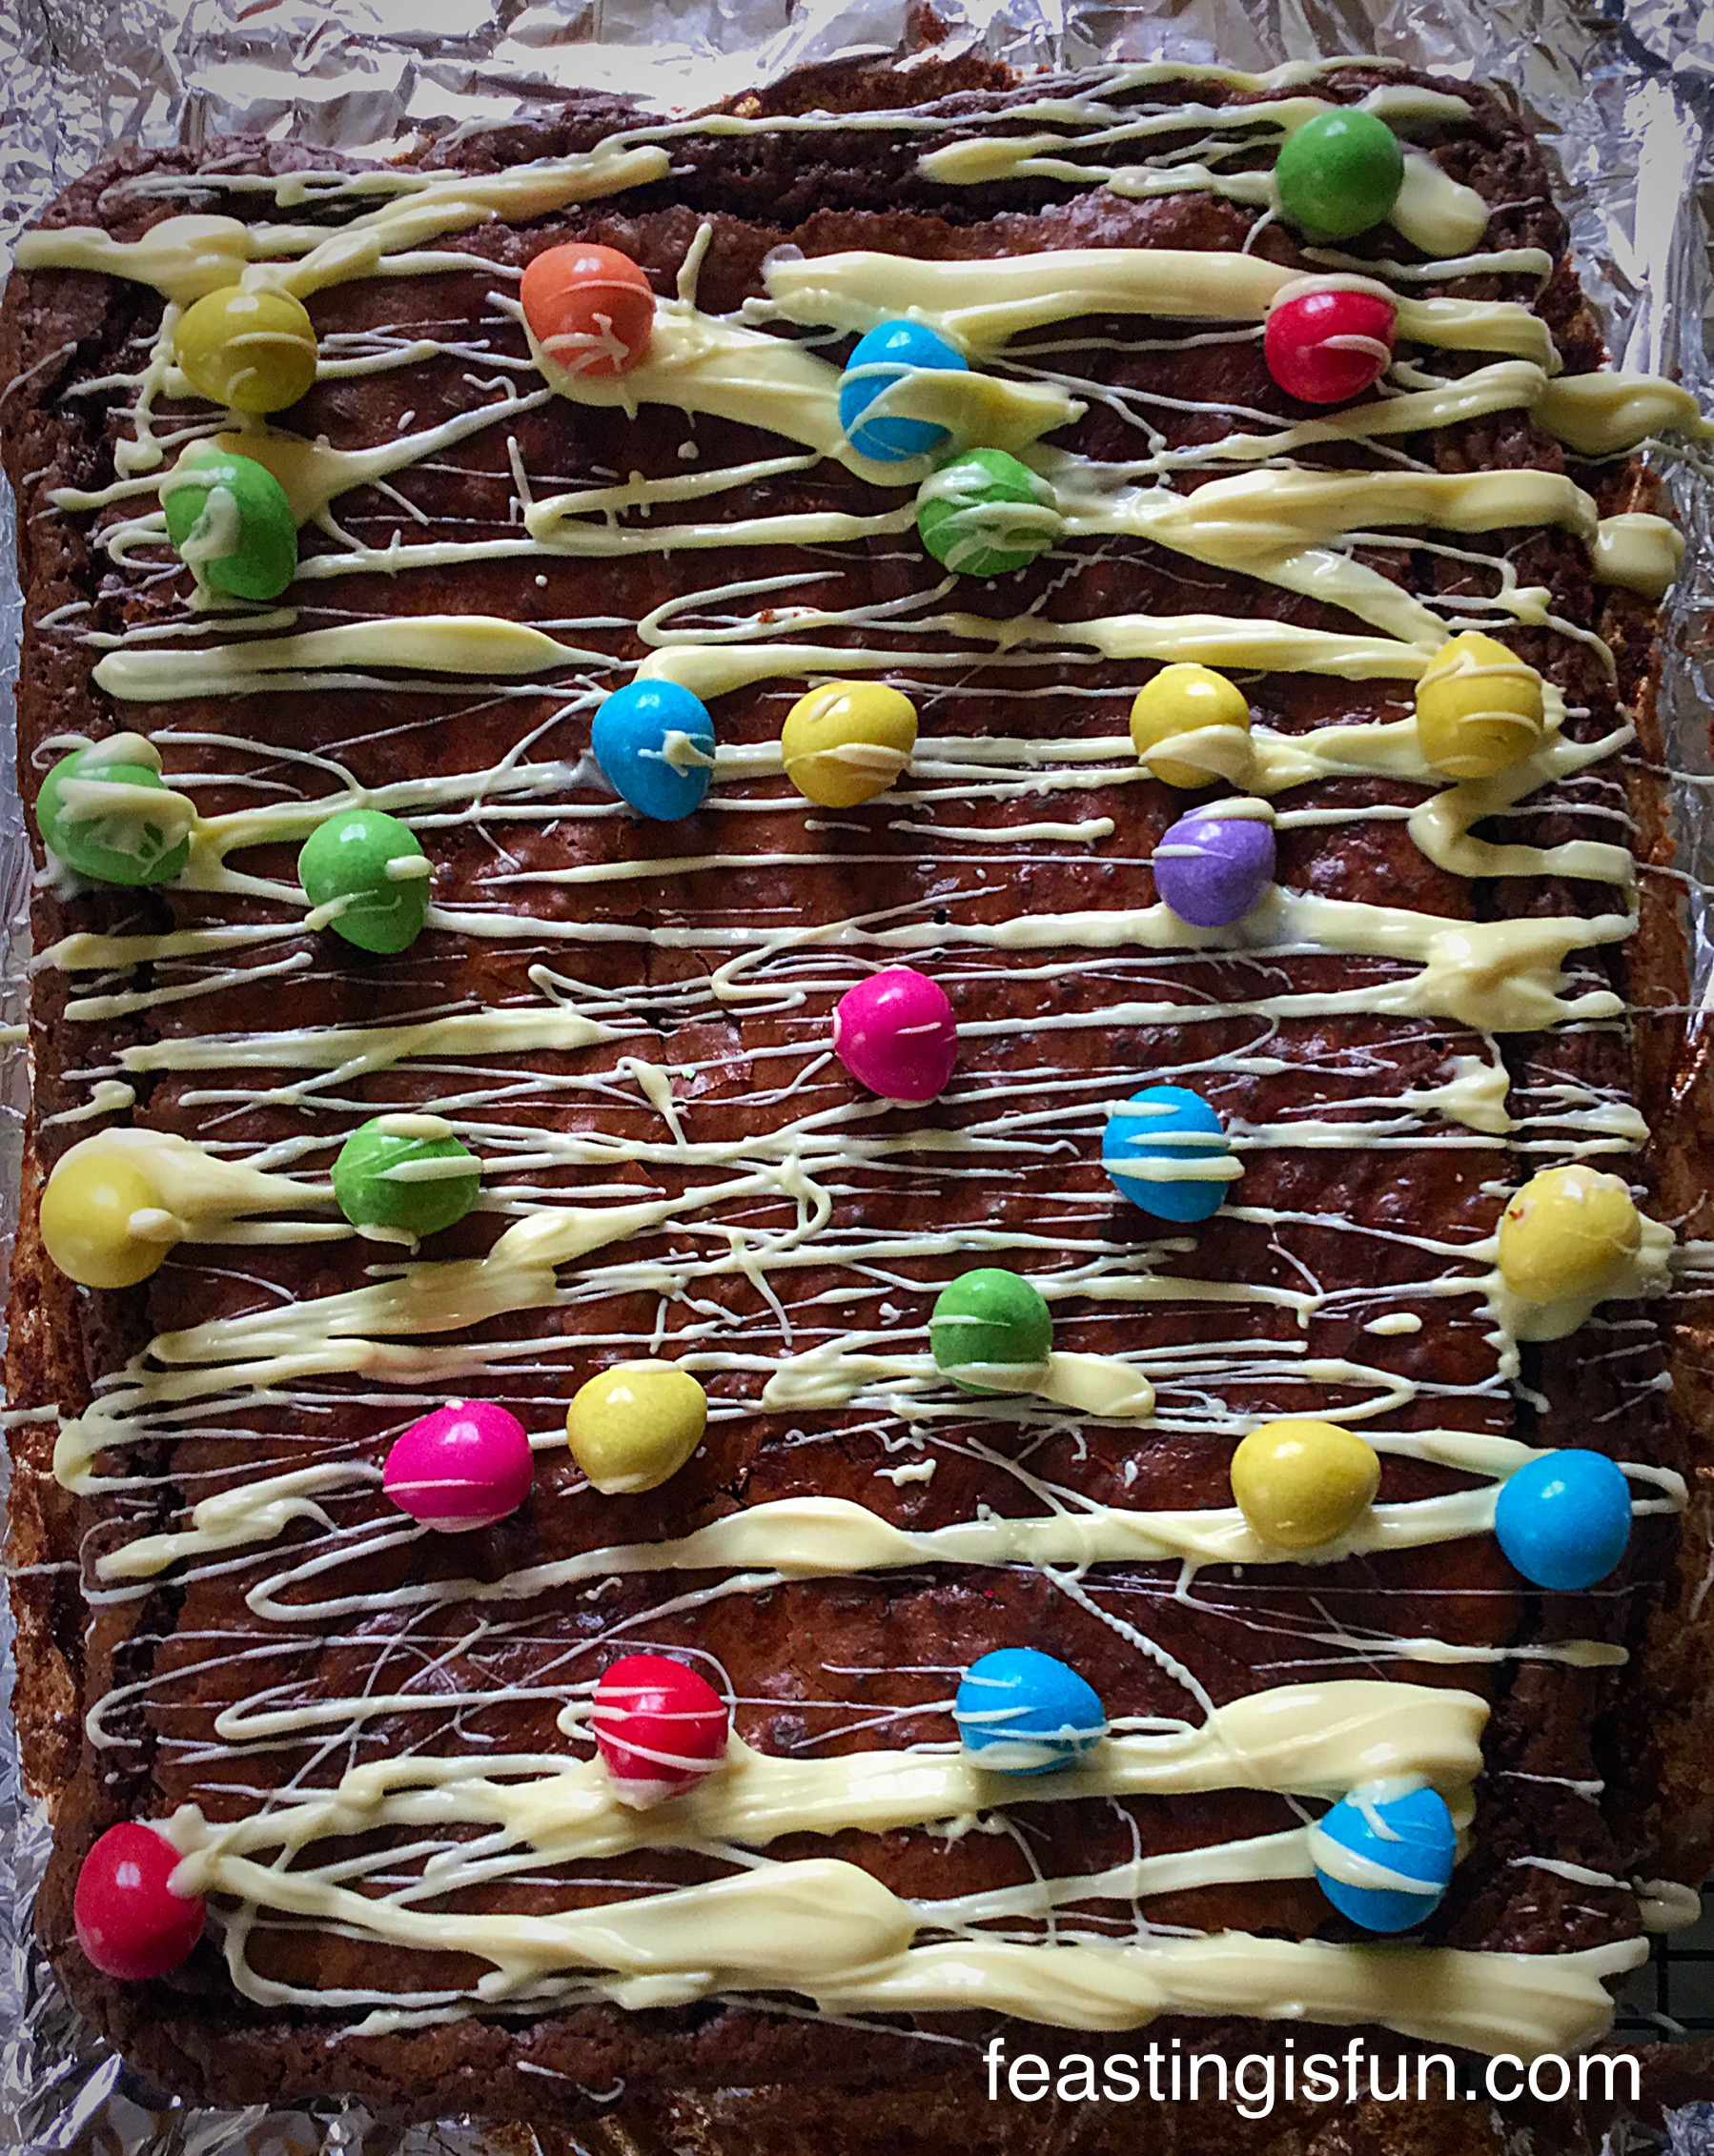
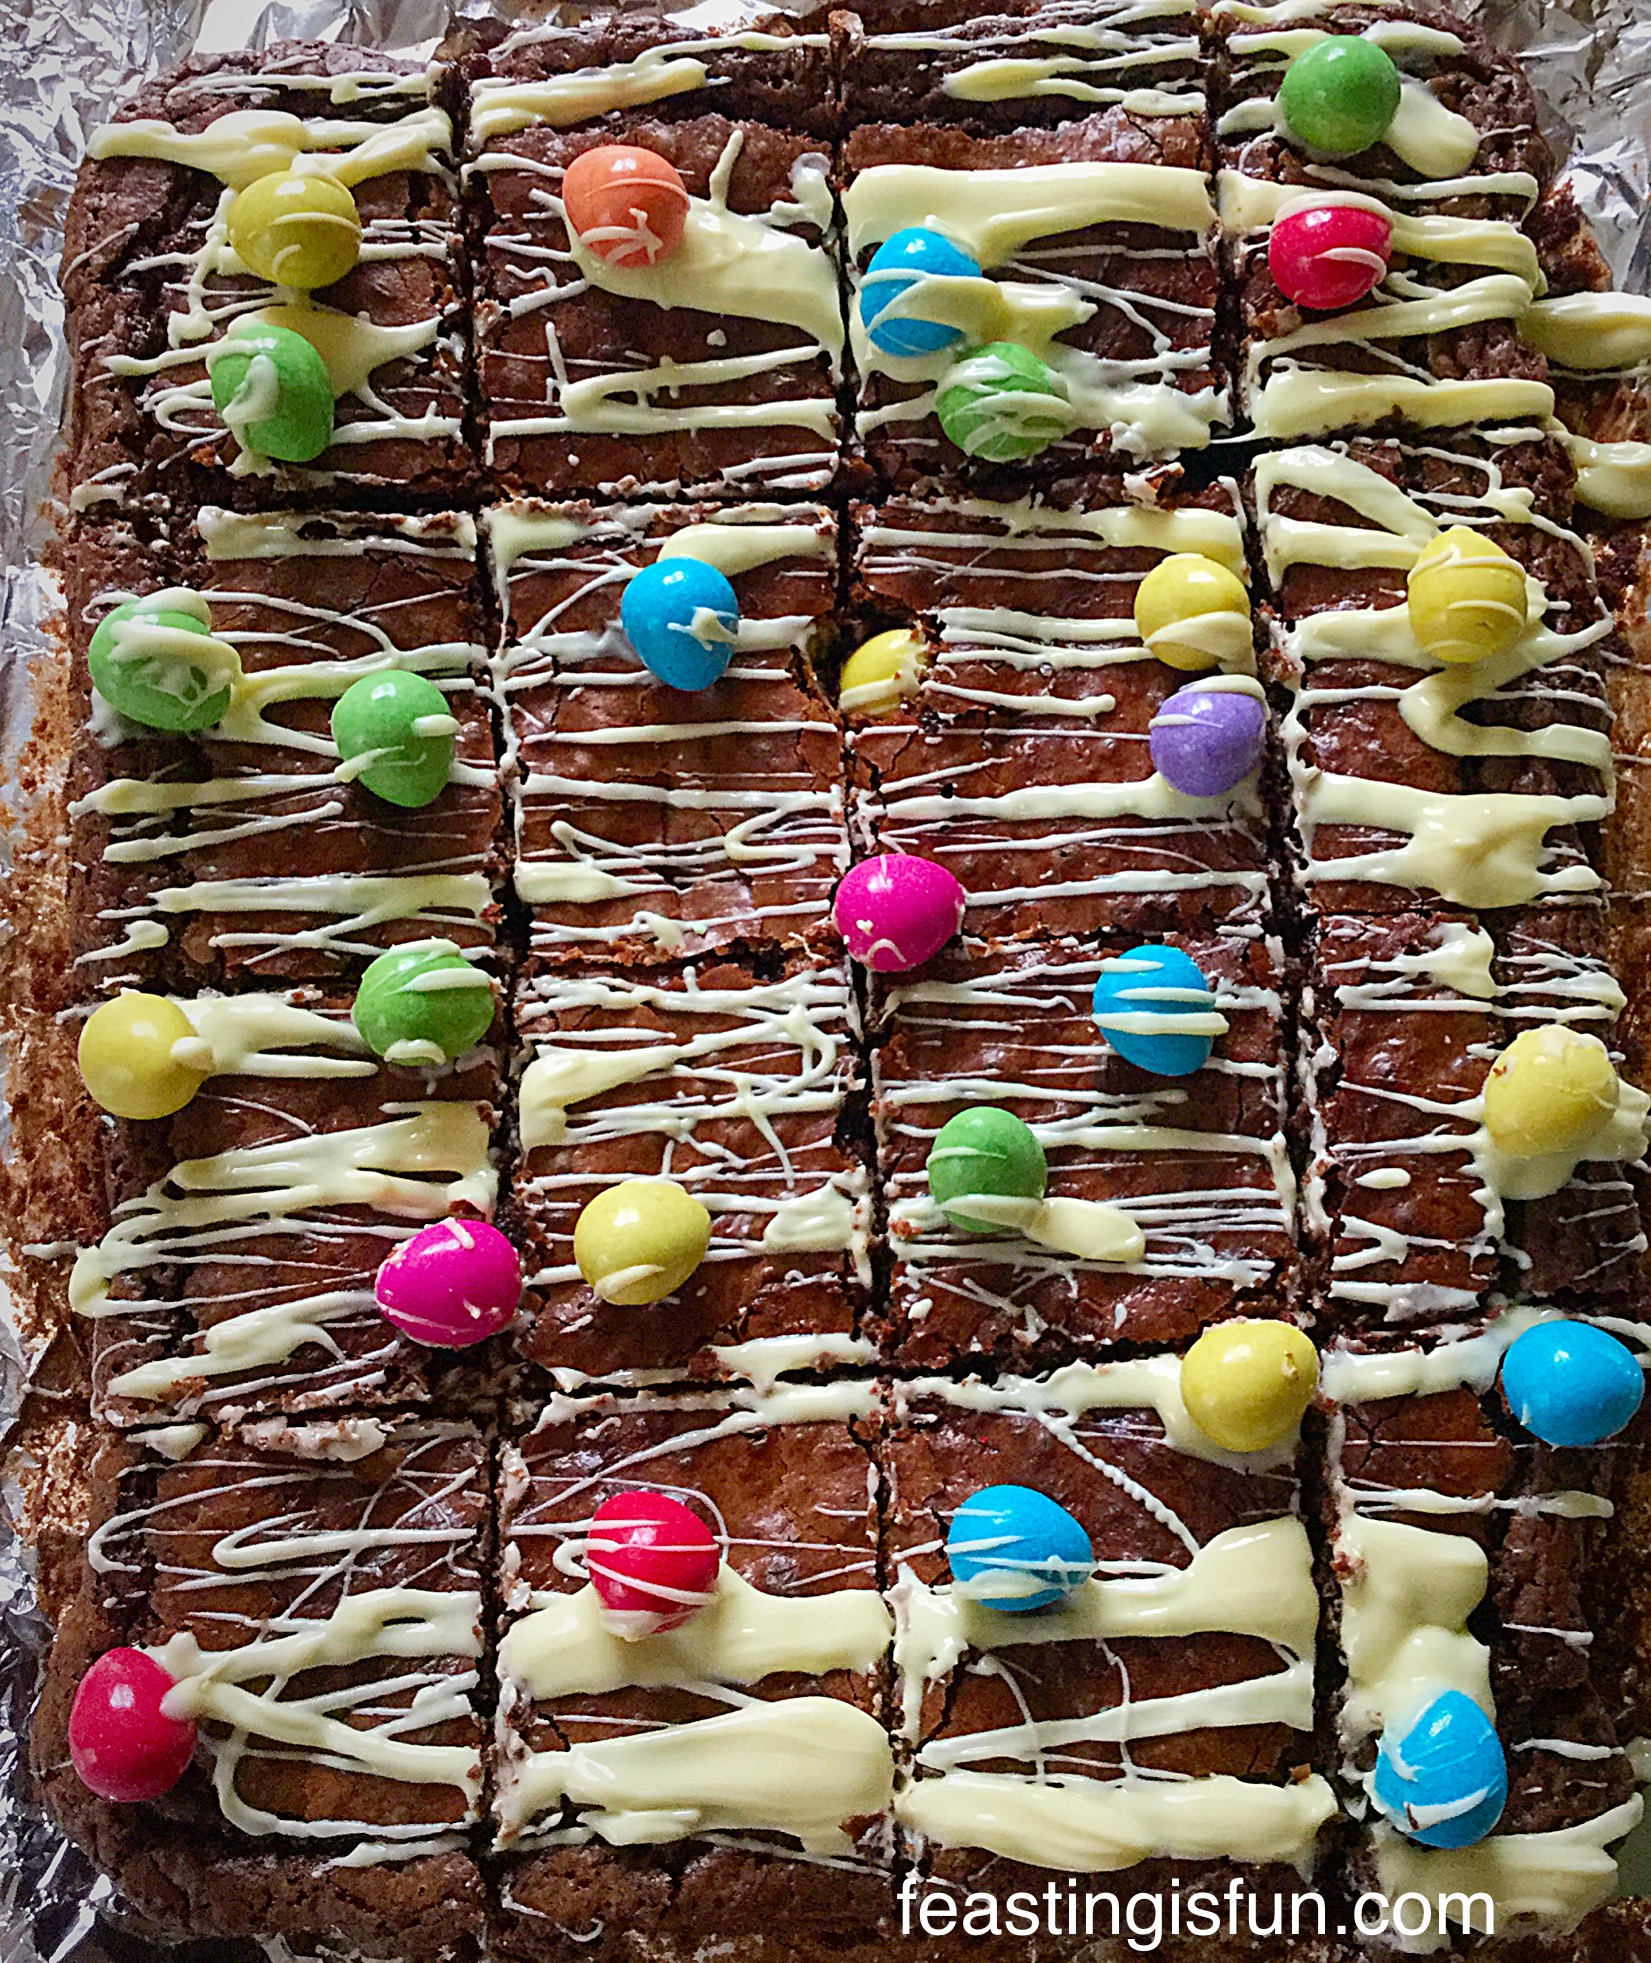
- Sprinkle dark chocolate curls, or broken up Cadbury’s flake around the swirls of chocolate buttercream.
- Add mini eggs to the centre of the cupcakes.
- My mini egg colours were kept the same, for impact, however, they also look very natural when the colours are mixed – let you creative juices flow!
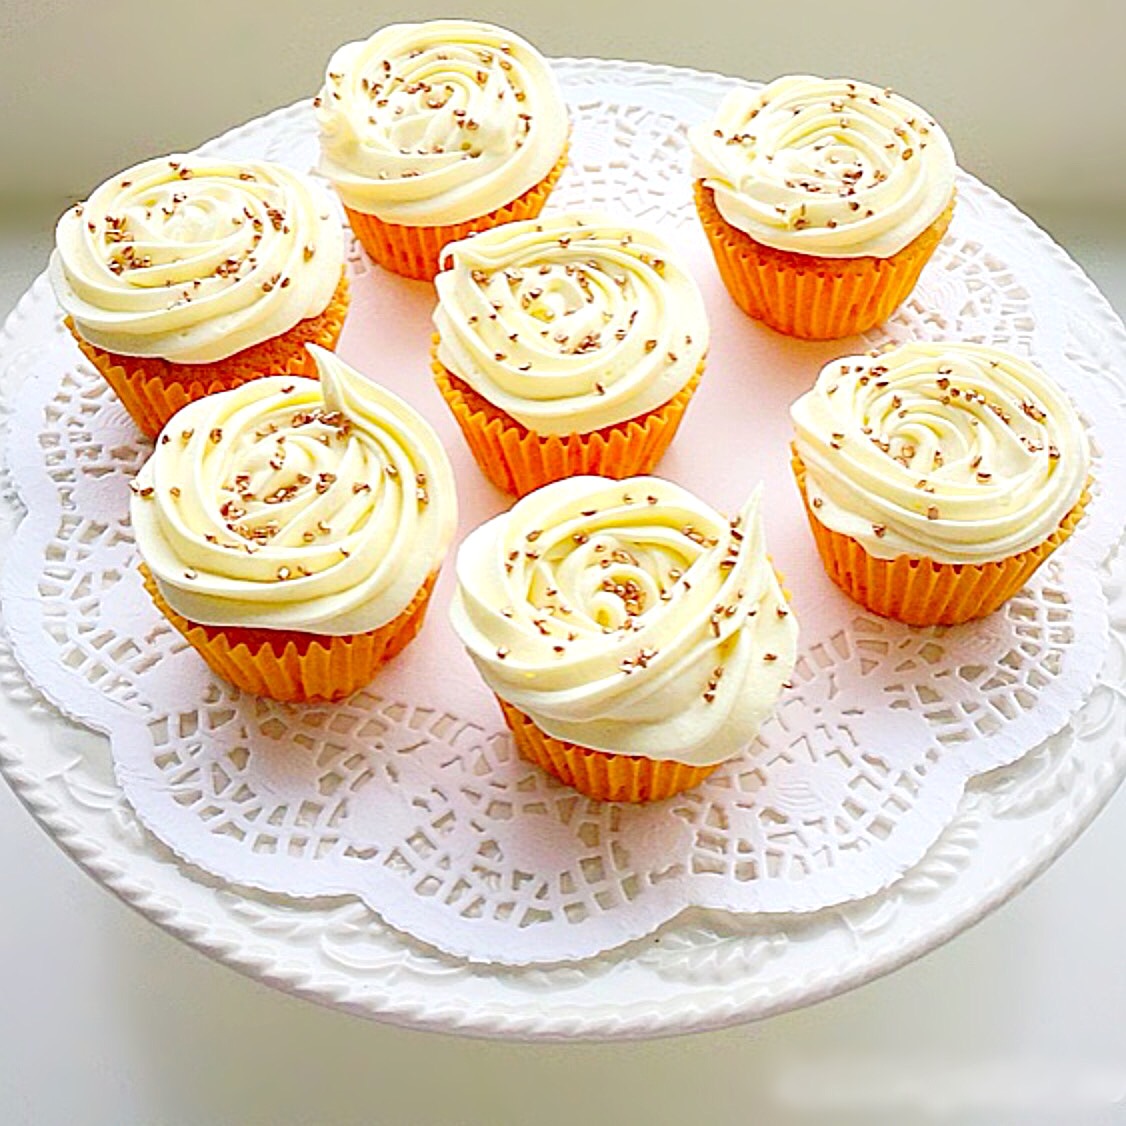
These Easter Vanilla Mini Egg Nest Cupcakes are such an easy bake, yet look professional enough to give as gifts.
A Savvy Purchase
Finally, a quick note about the tulip cupcake cases. Since they can be quite expensive, so I buy mine in bulk from Amazon UK. where the price per wrapper is much cheaper than alternatives found in supermarkets. Alternatively, get together with a baking buddy and split the package and cost. I bought 100 wrappers a couple of years ago and still have plenty left!
A delicious gift for anyone at Easter time, taking around an hour to make, bake and decorate. Yet there is still time to make these before tomorrow.
As I said at the start of this post, Easter symbolises new birth. For me, as a Christian, that happened when I accepted Jesus Christ as my Lord and Saviour. If you would like to know more please see Important Stuff.
How you ever considered the true meaning of Easter and what it means to you?
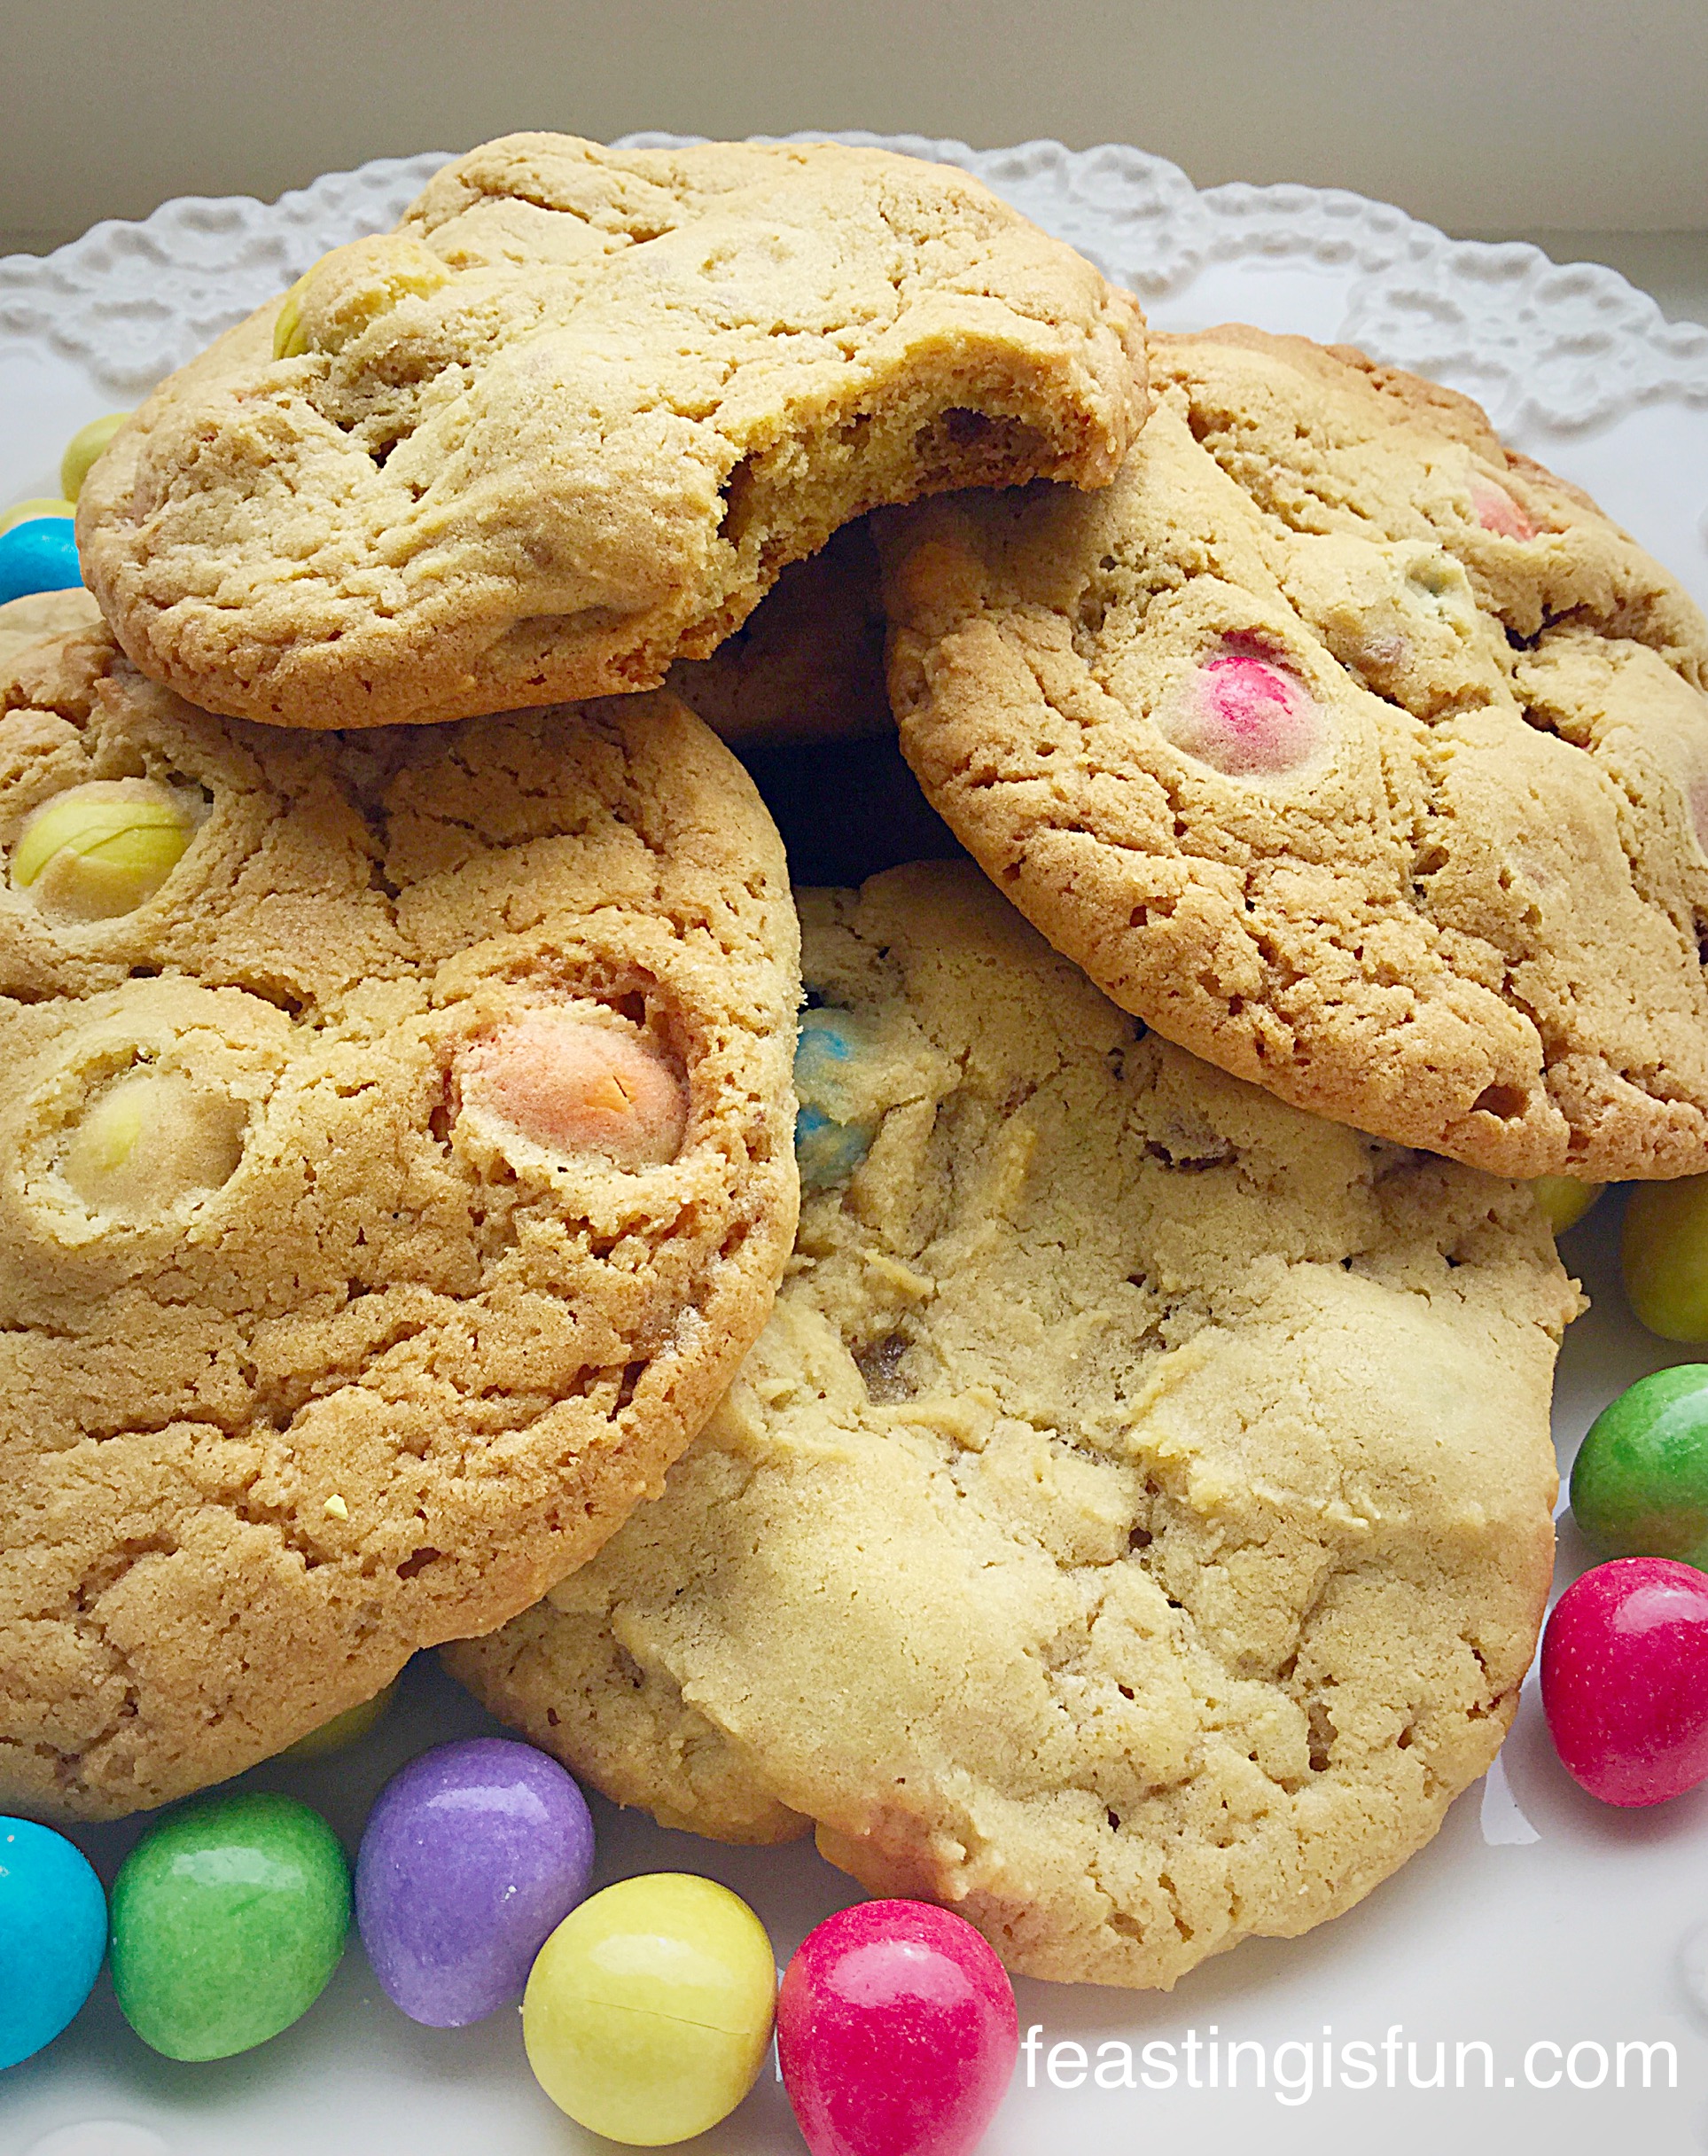
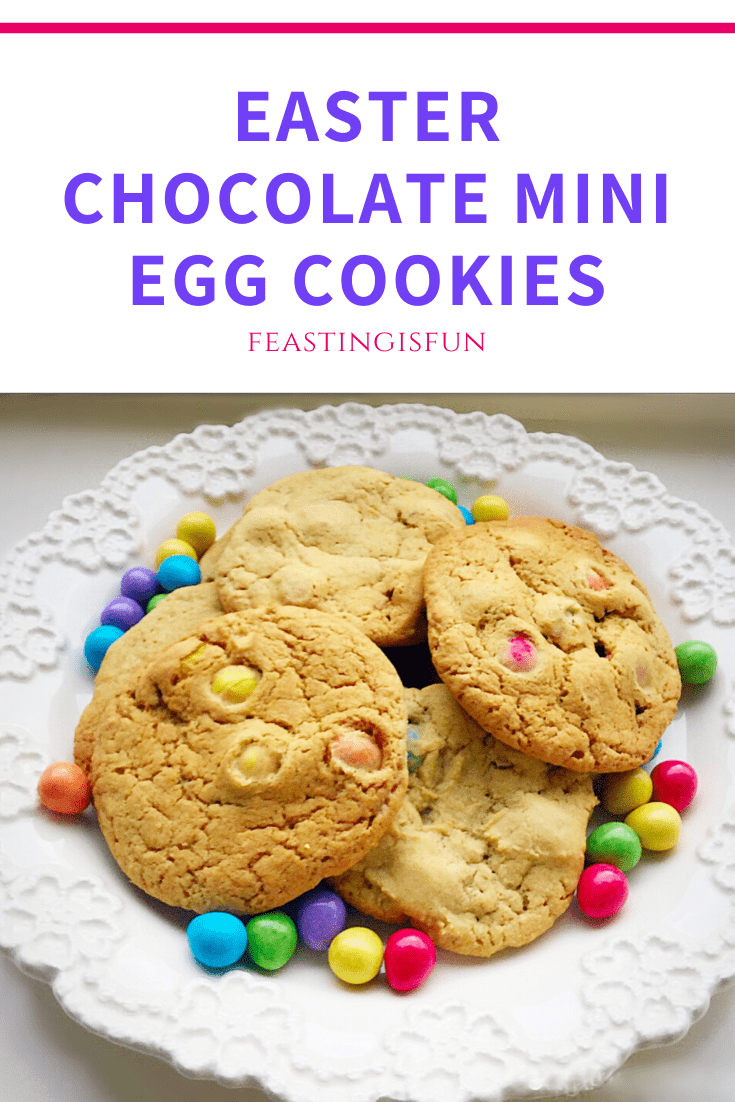
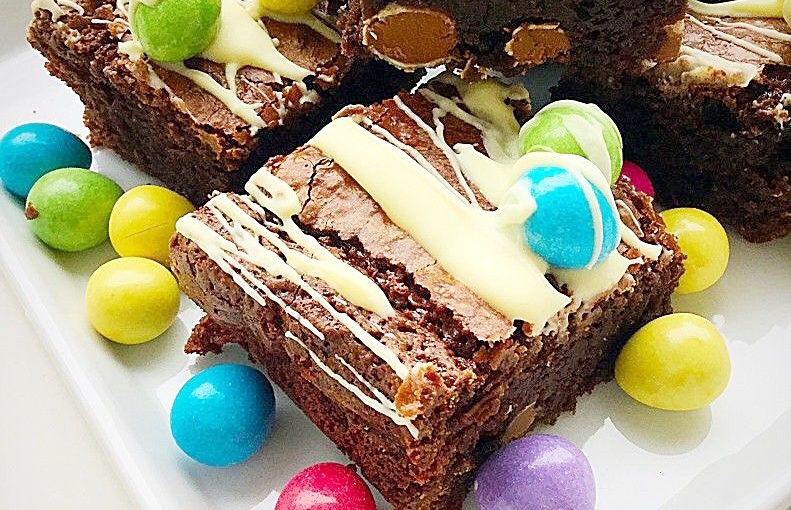
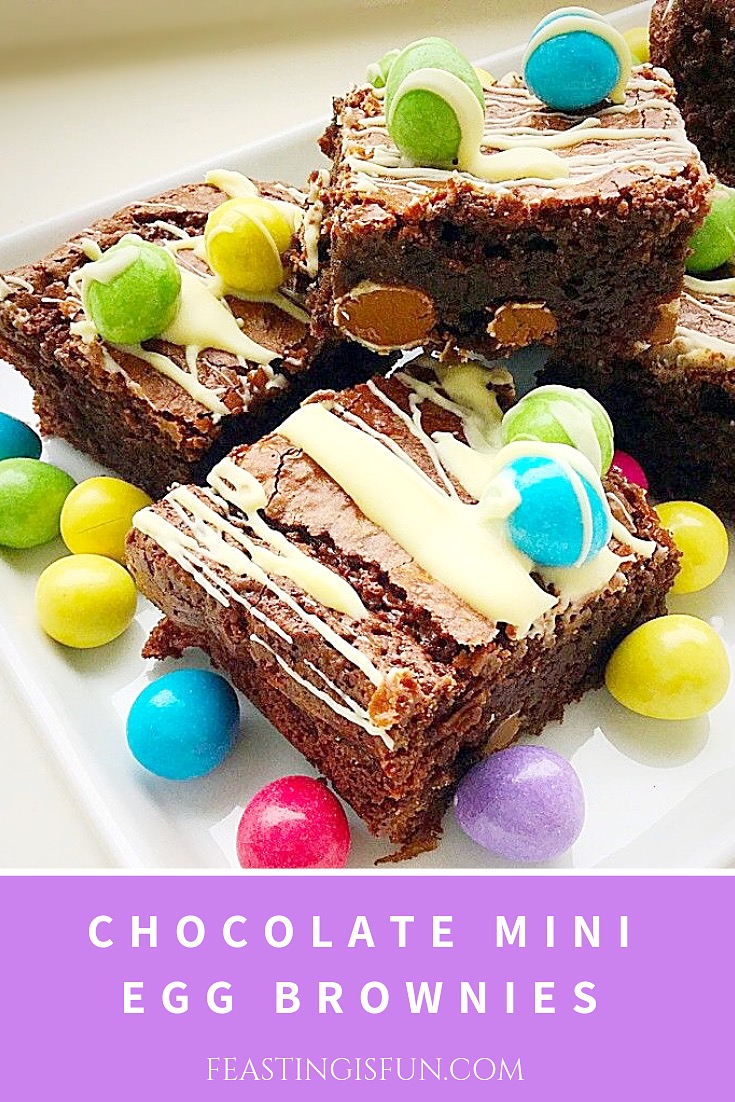
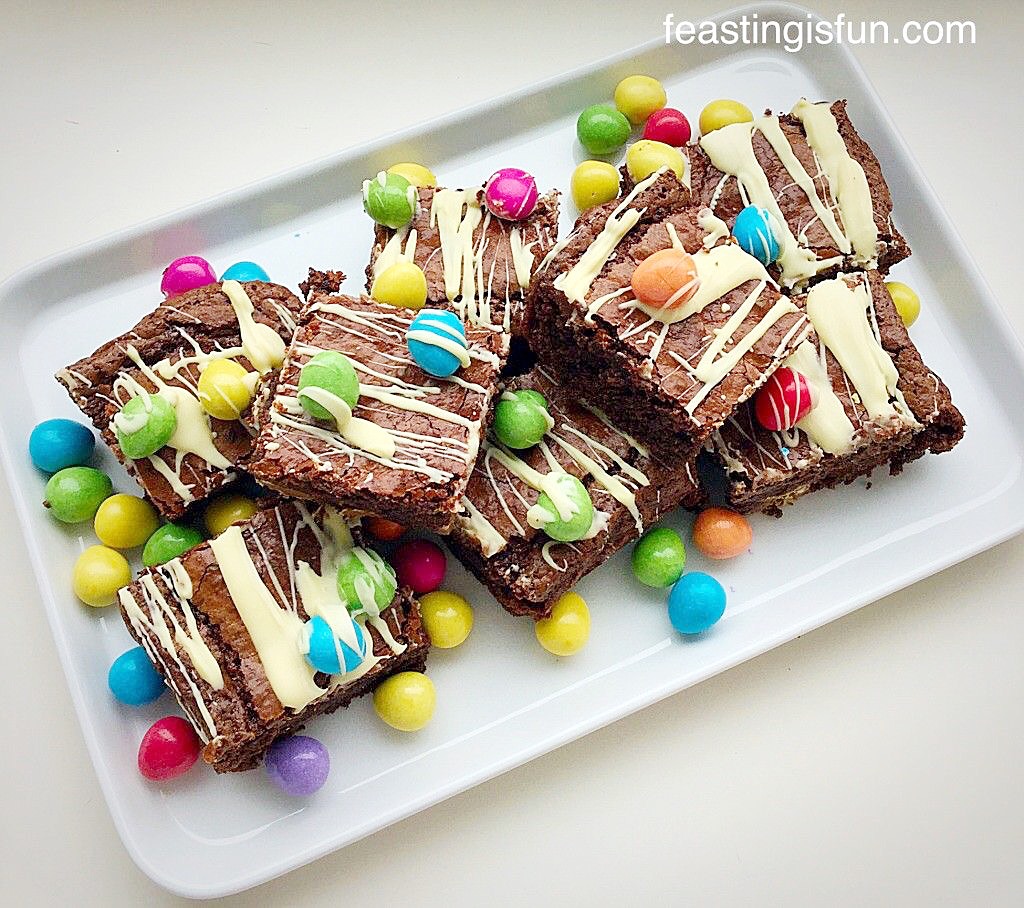
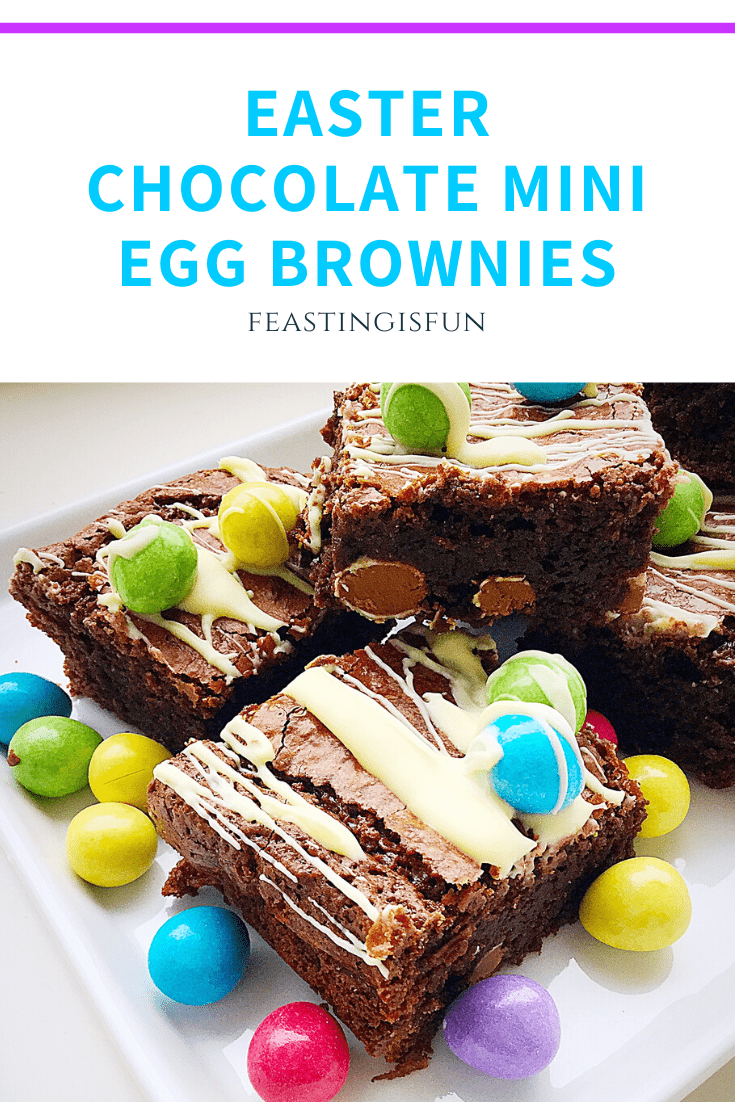
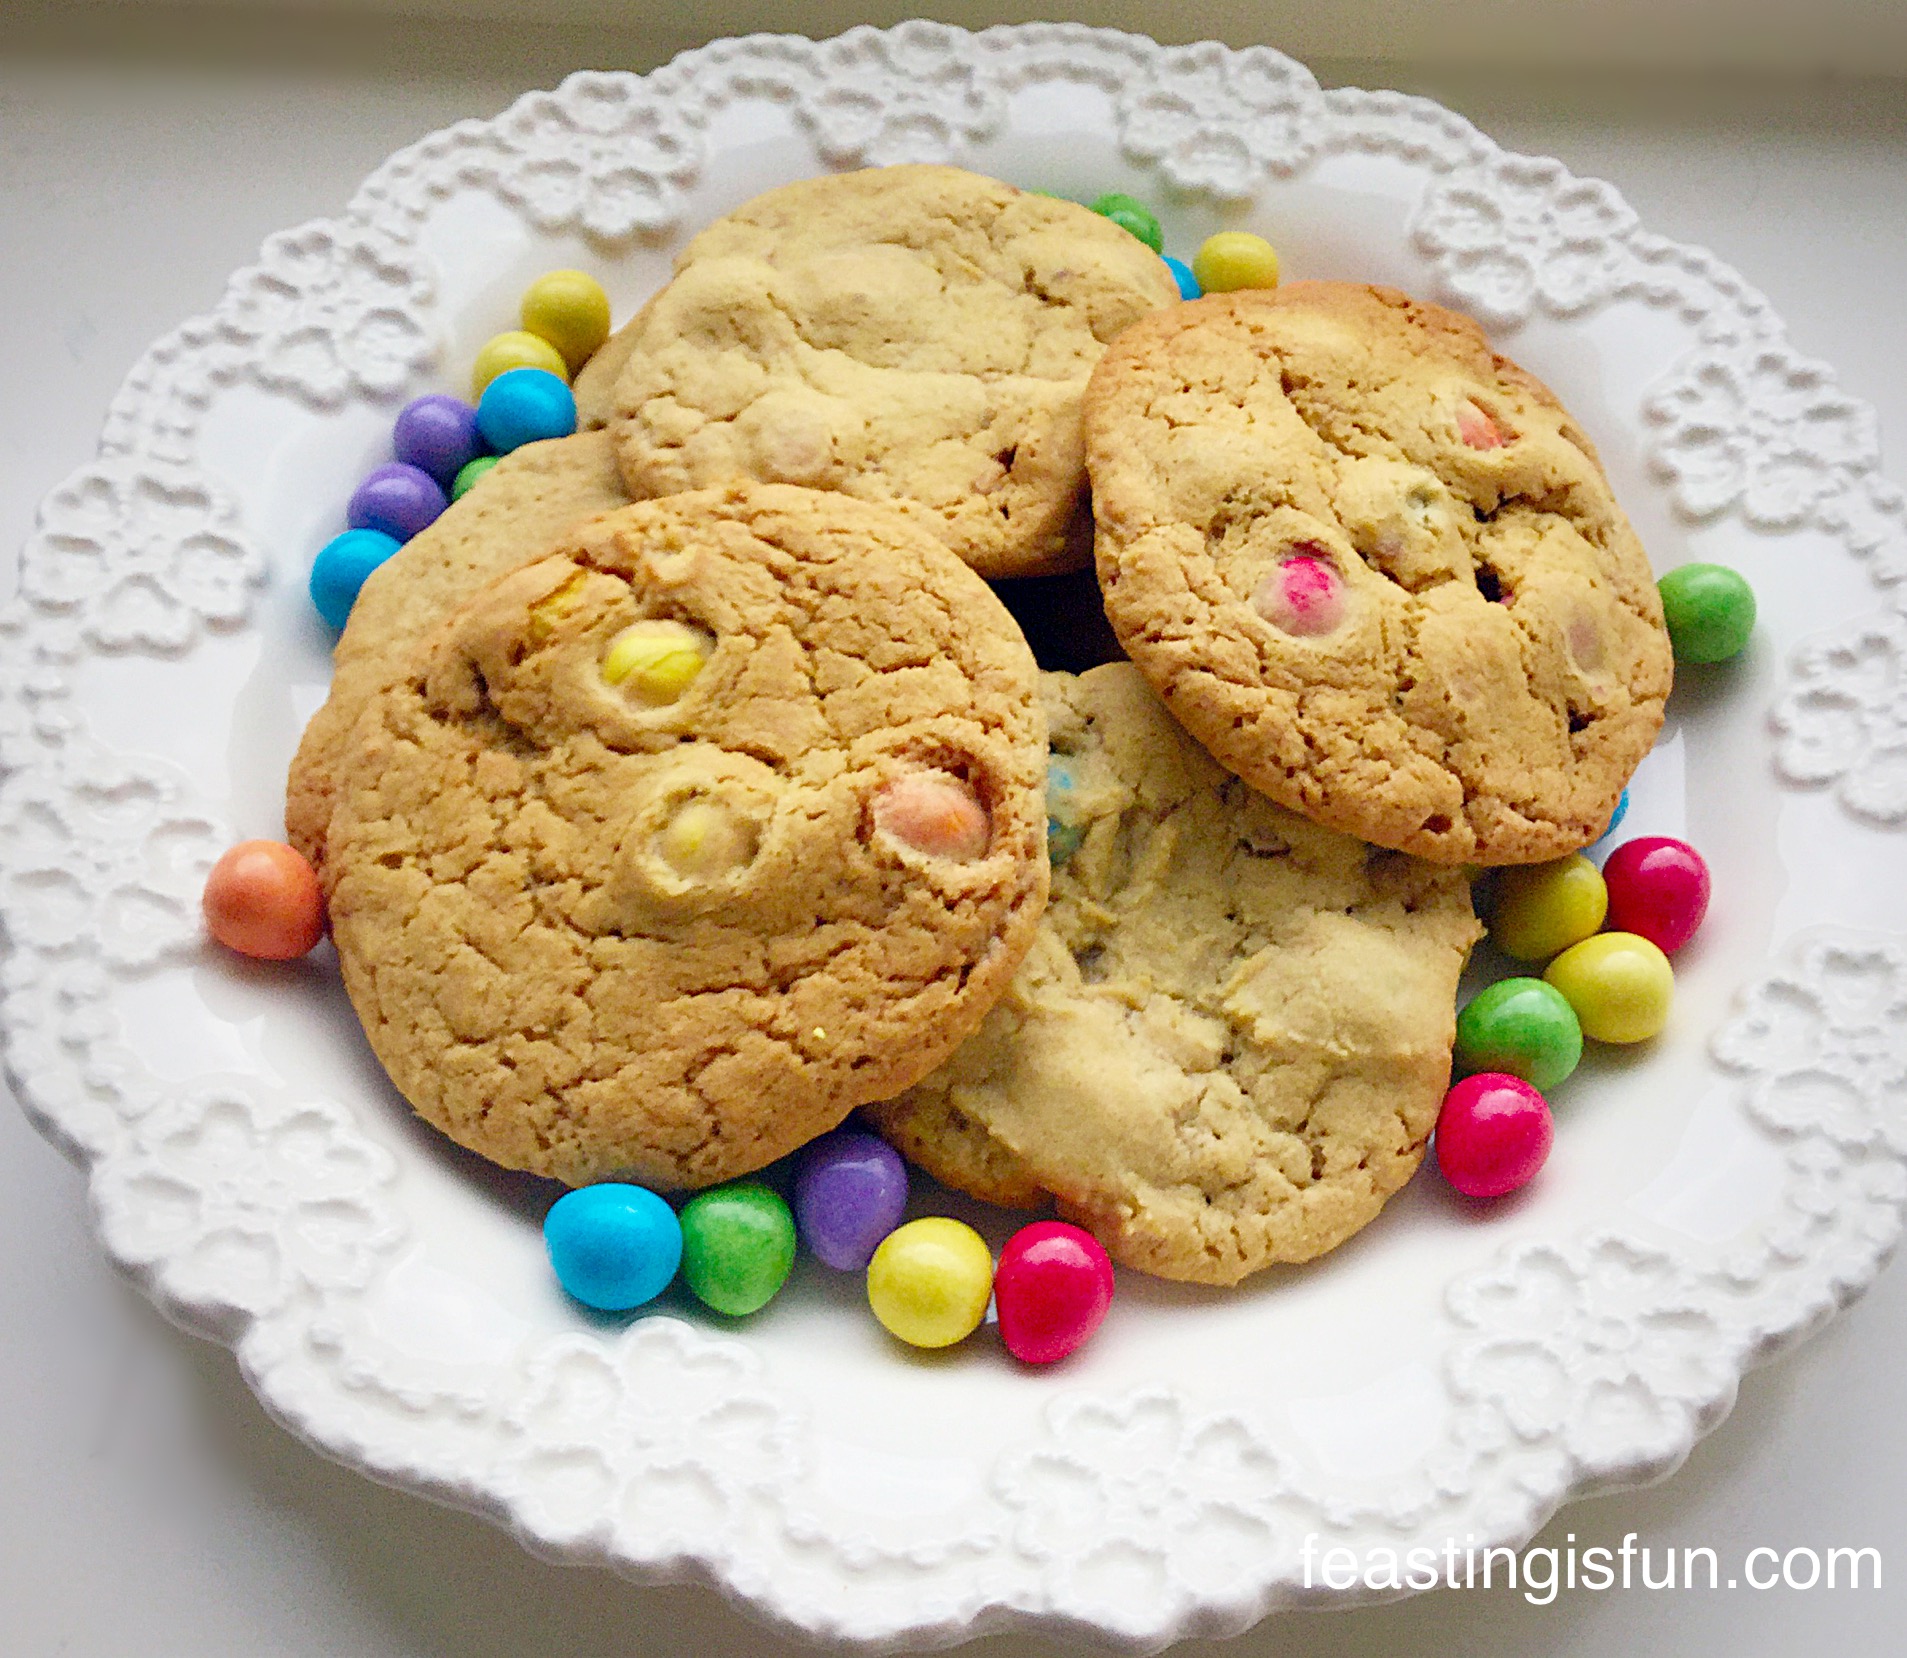
If you have enjoyed these Easter Vanilla Mini Egg Nest Cupcakes here are some other mini egg recipes:
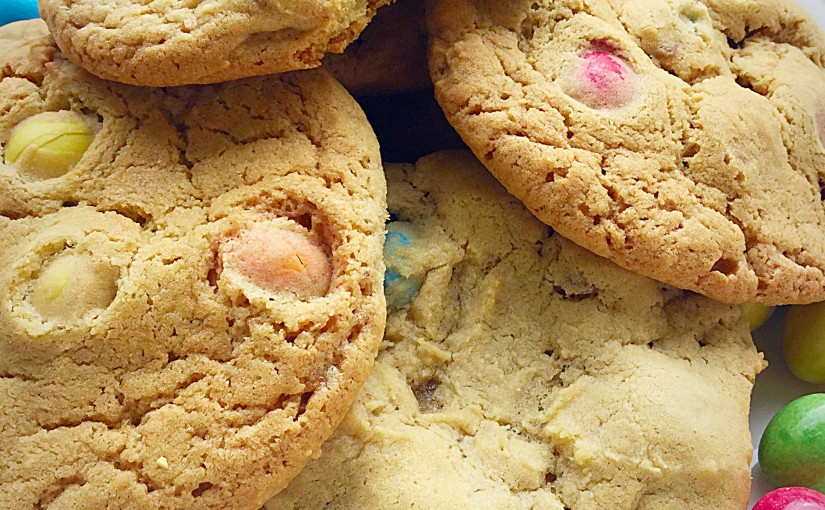
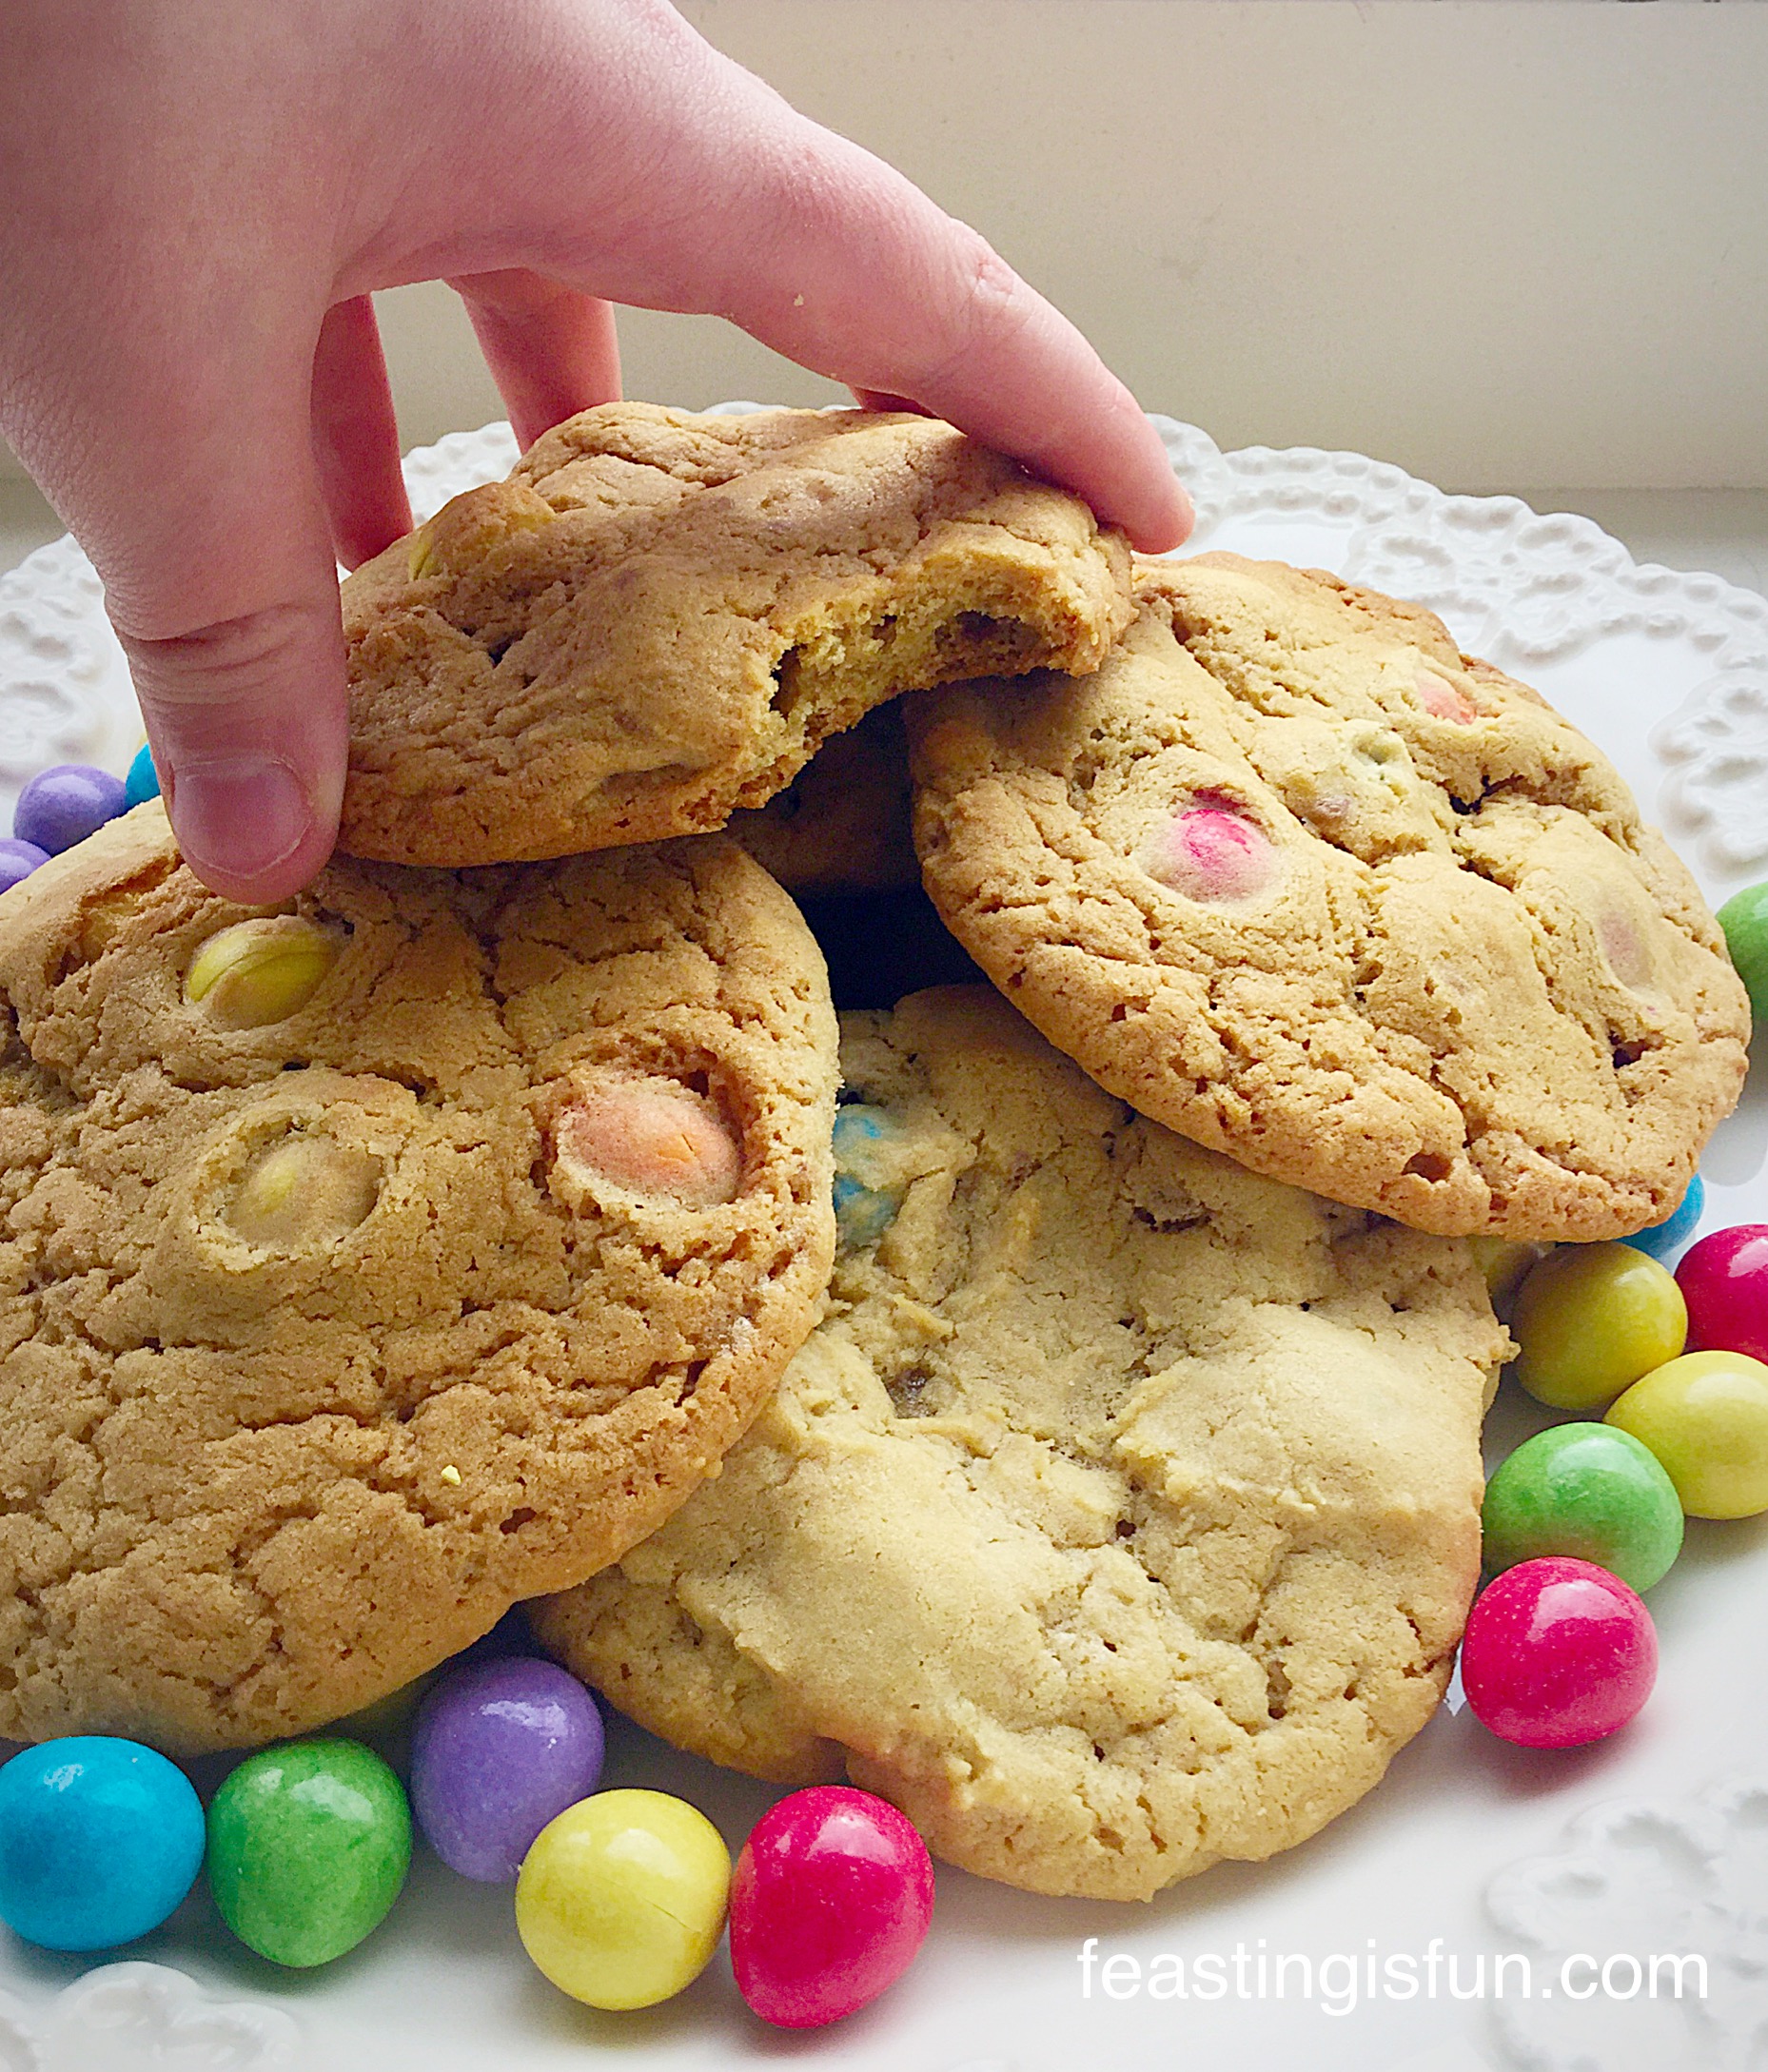
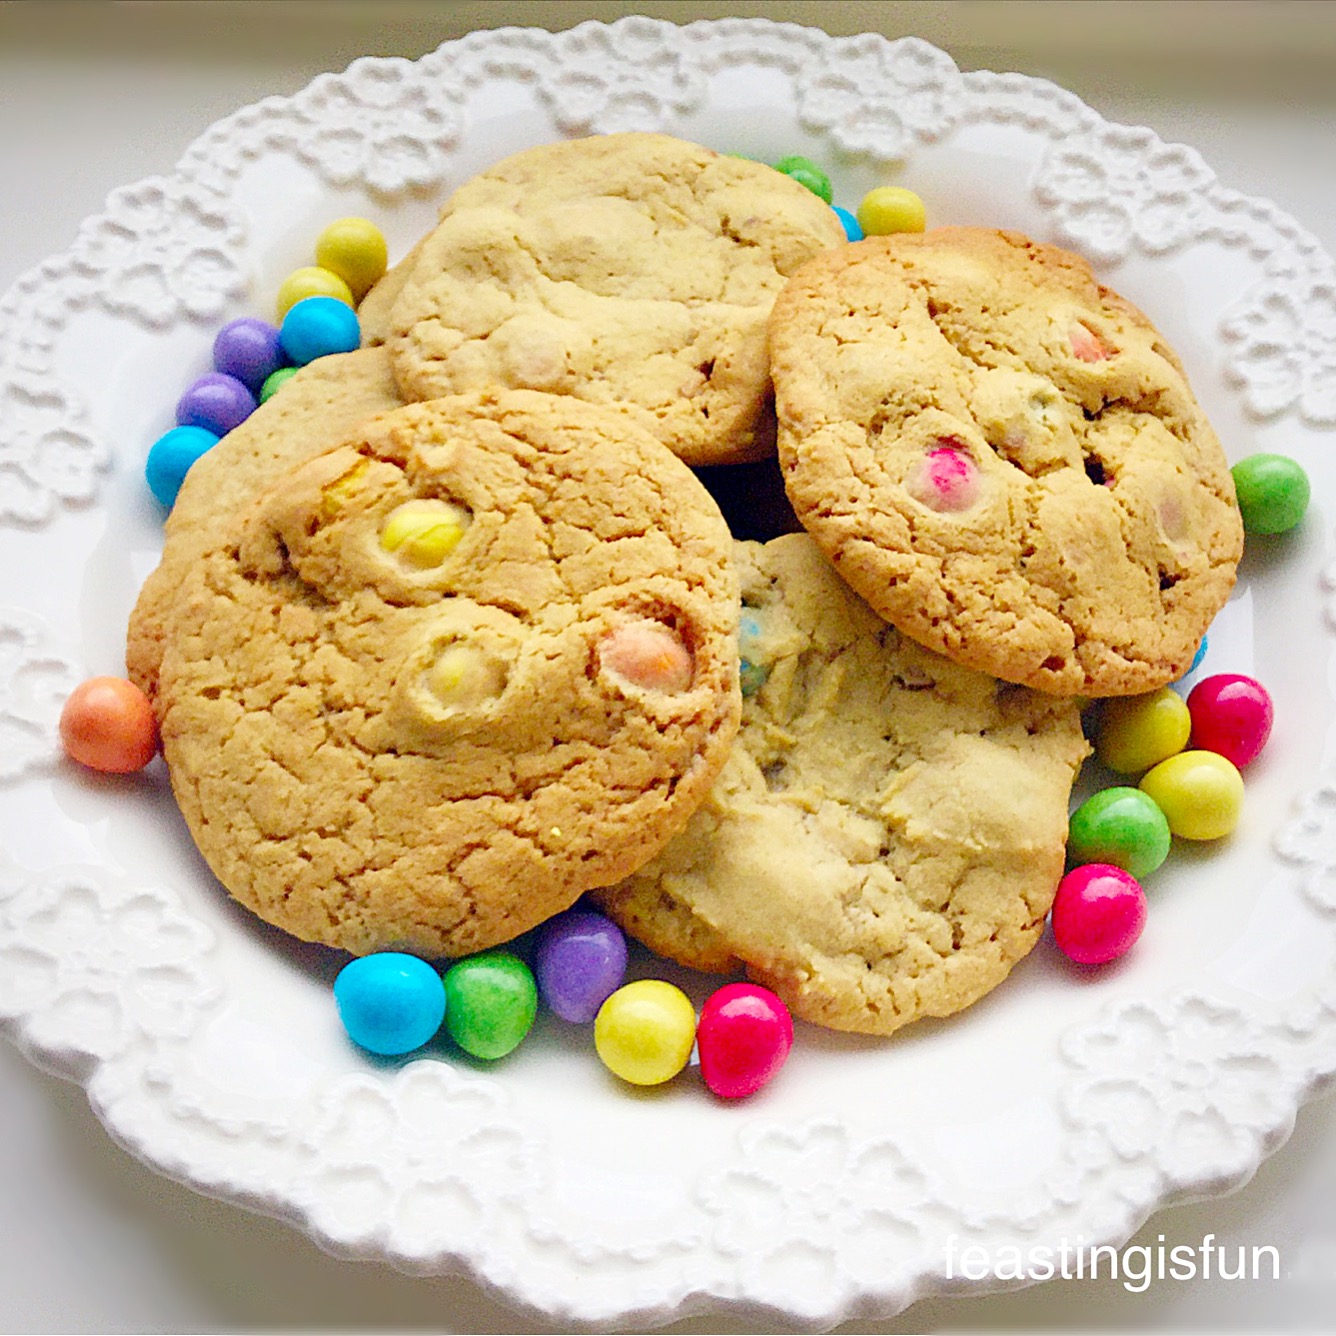
Chocolate Monster Mini Egg Cookies
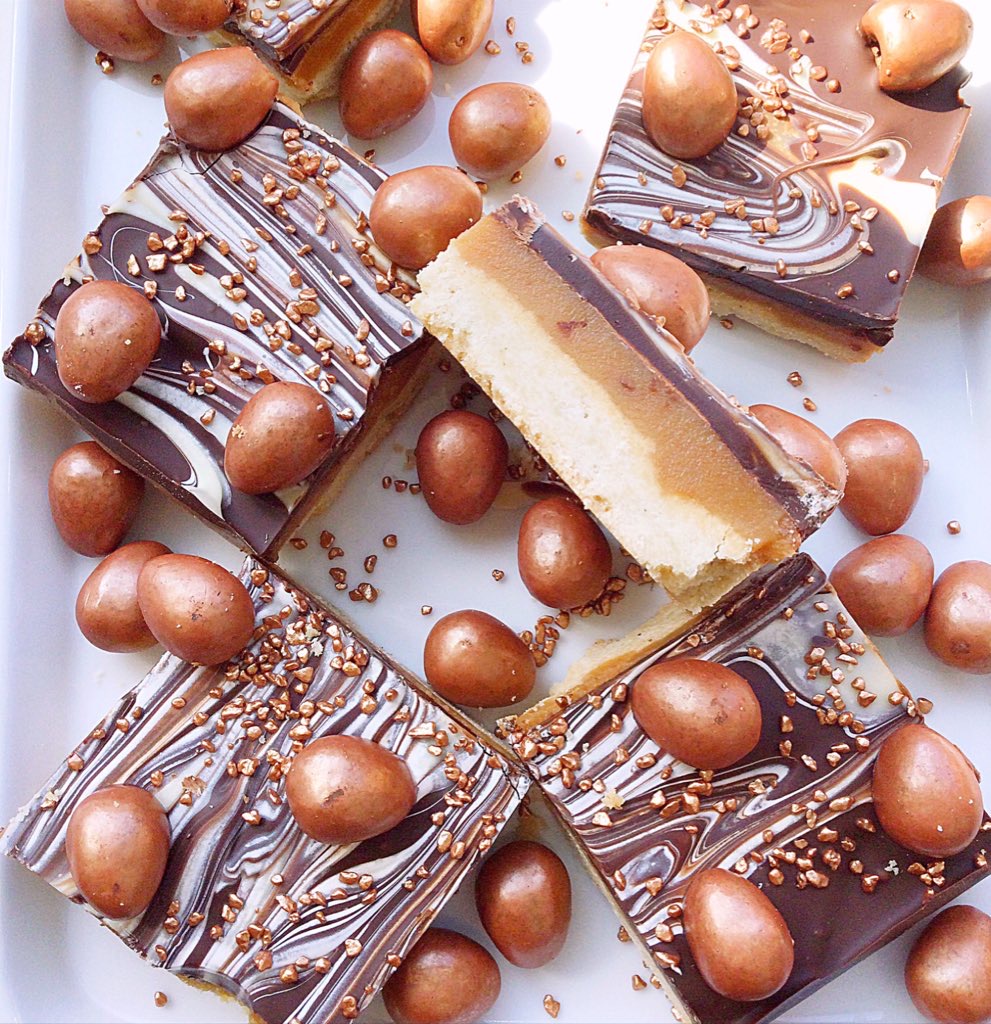
Mini Egg Millionaires Shortbread


I love reading your comments, so please keep them coming and seeing all your makes and bakes on Twitter/Instagram. Please pop a photo up and tag me in?
Wishing you all a very happy, healthy and blessed Easter.
Sammie xx
No part of this post may be reproduced or duplicated without the written permission of the owner. Please see my Disclosure Policy.