Strawberry Sweetheart Cake

Share
Facebooktwitterpinterestlinkedintumblr

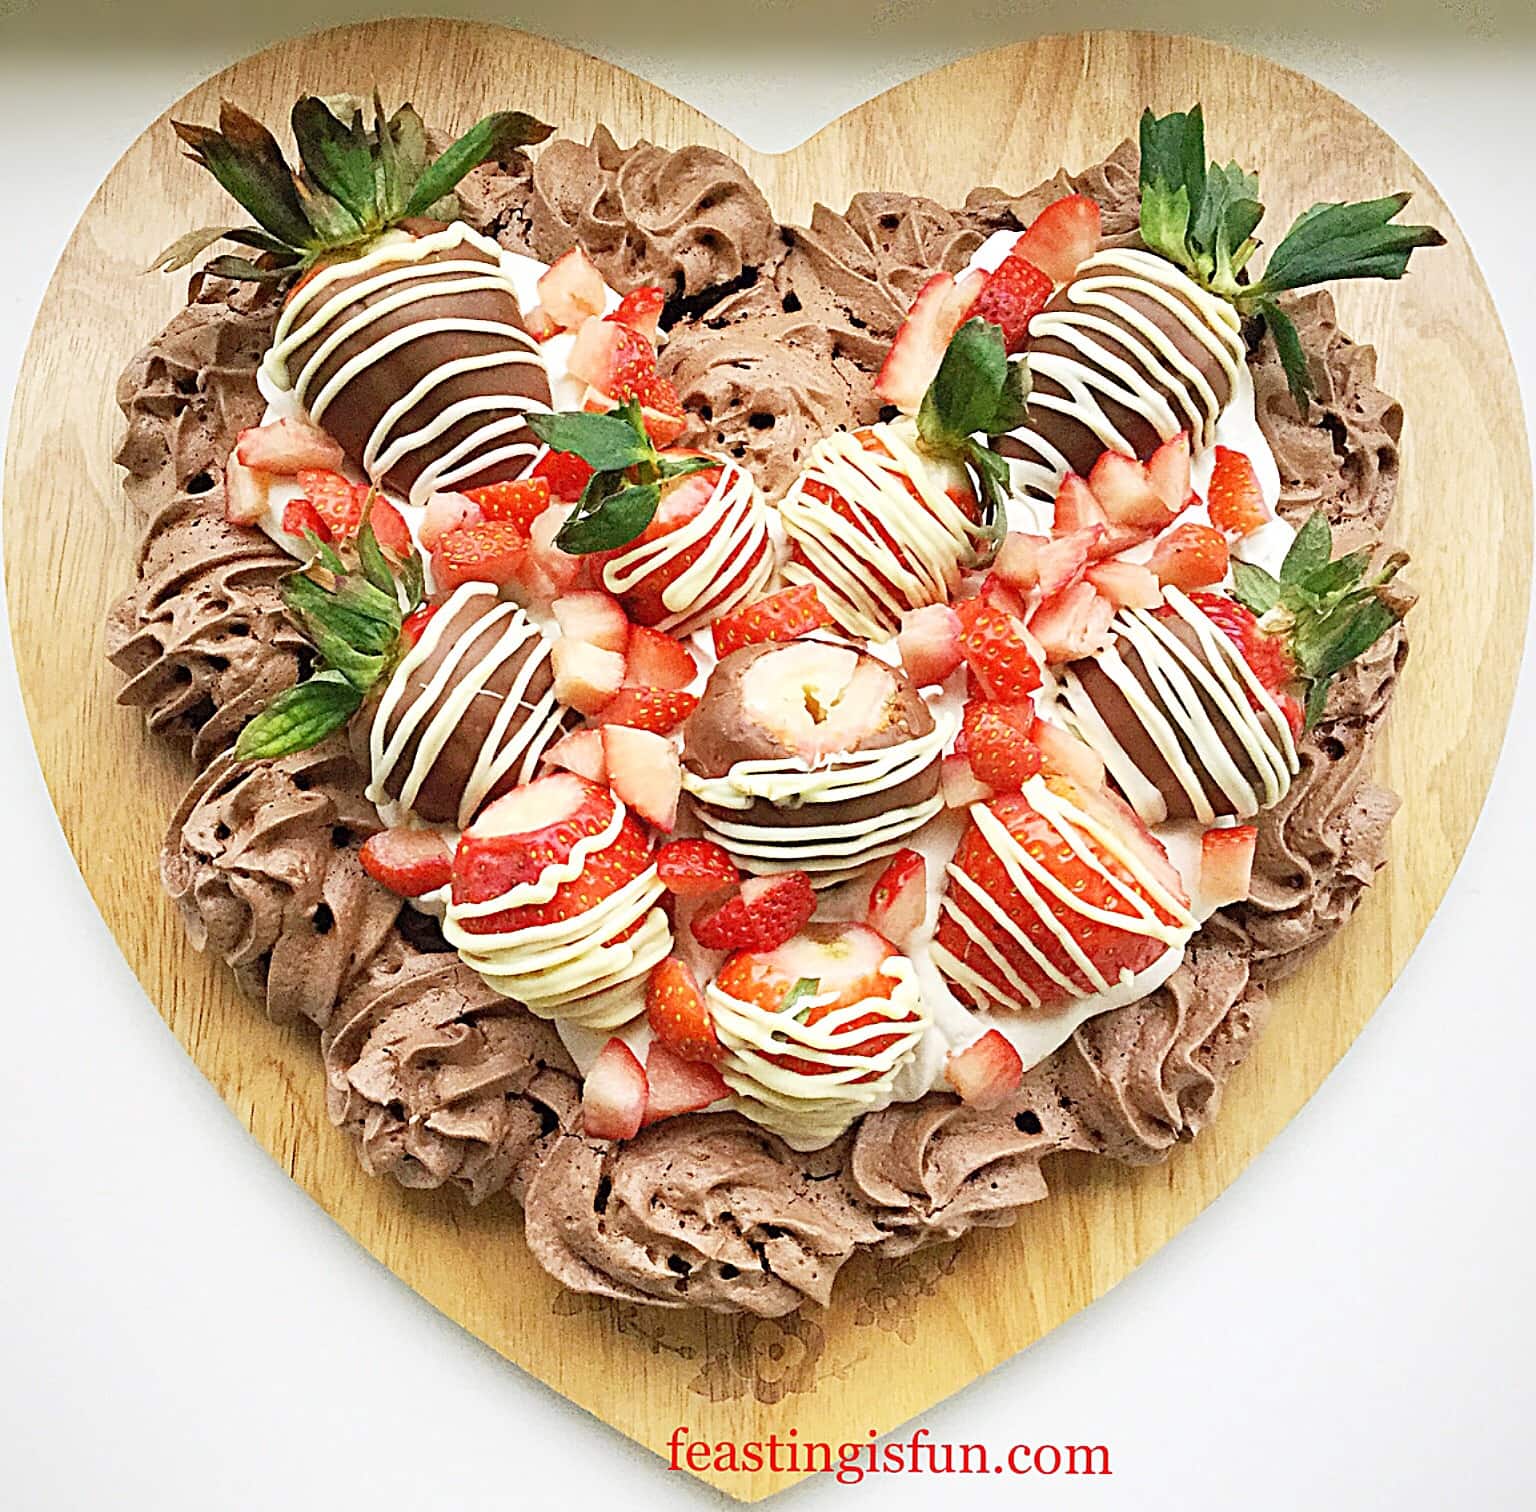
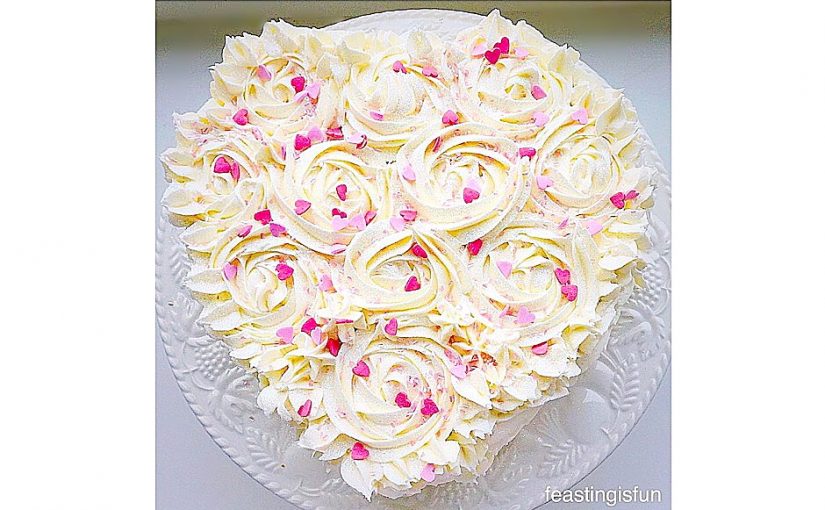
So, this Strawberry Sweetheart Cake is what I bake for my wonderful Hubby, on  Valentine’s Day. Vanilla flavoured sponge, split in two with a slathering of strawberry jam in the middle, sealed with buttercream roses. Because is a there a better way to say those three precious words ‘I Love You’ than with cake?

FF Strawberry Sweetheart Cake

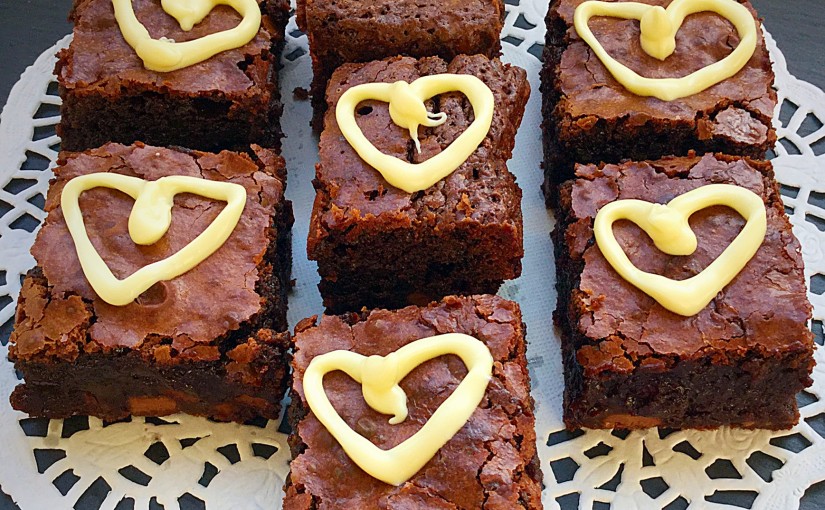
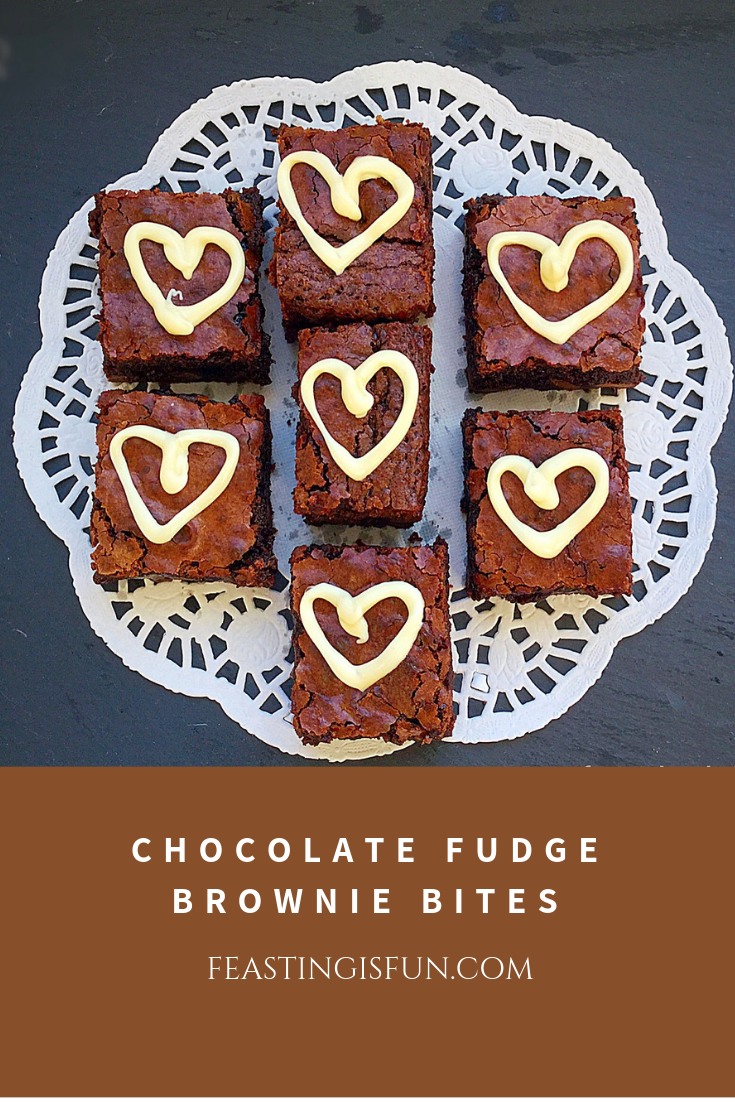
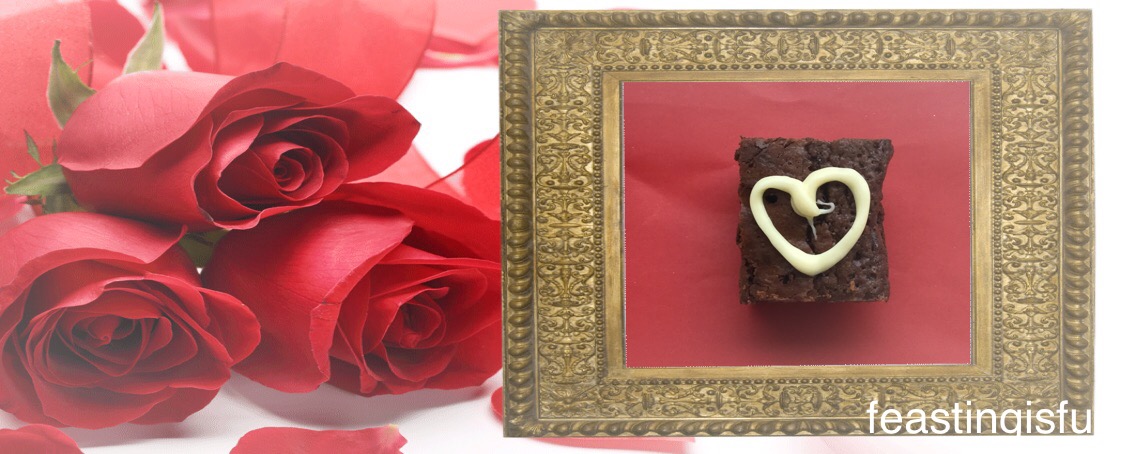
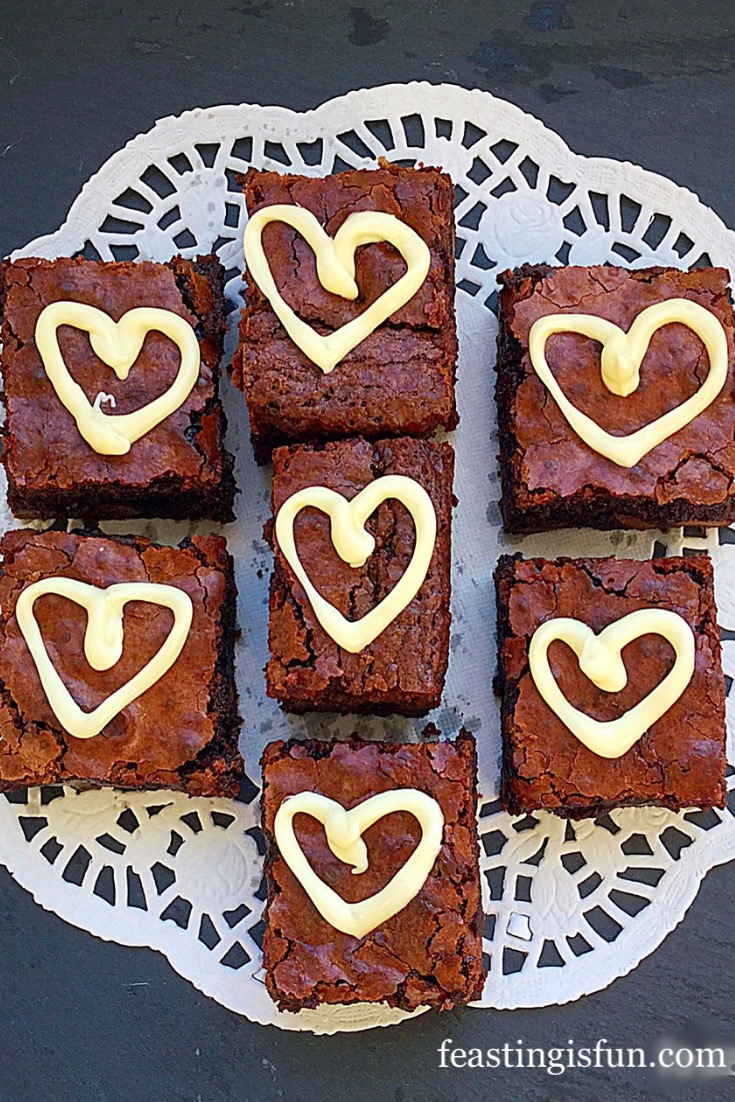
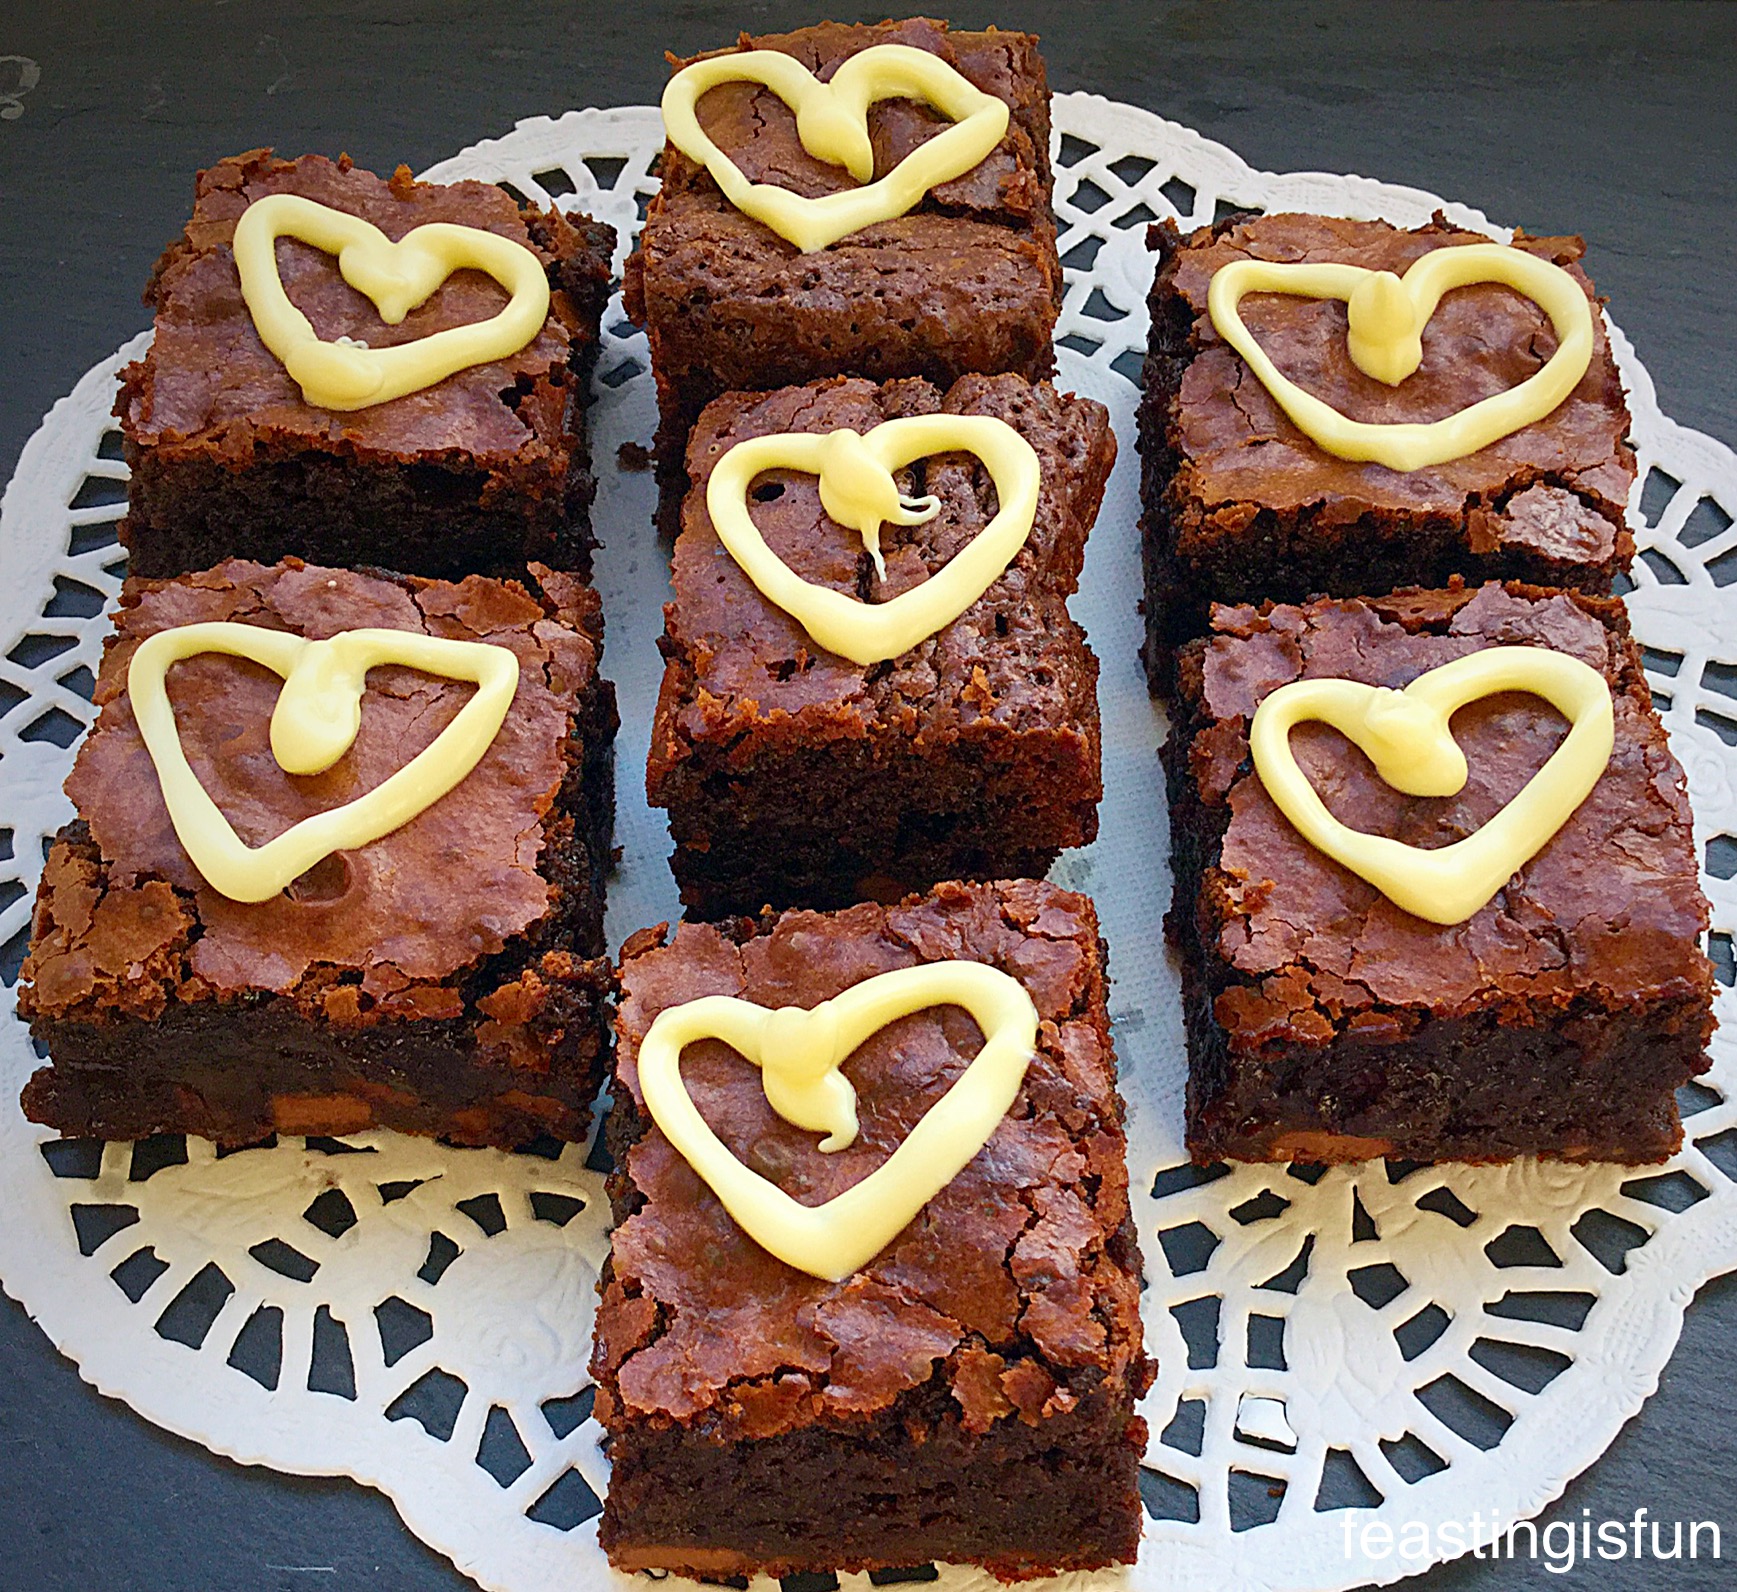
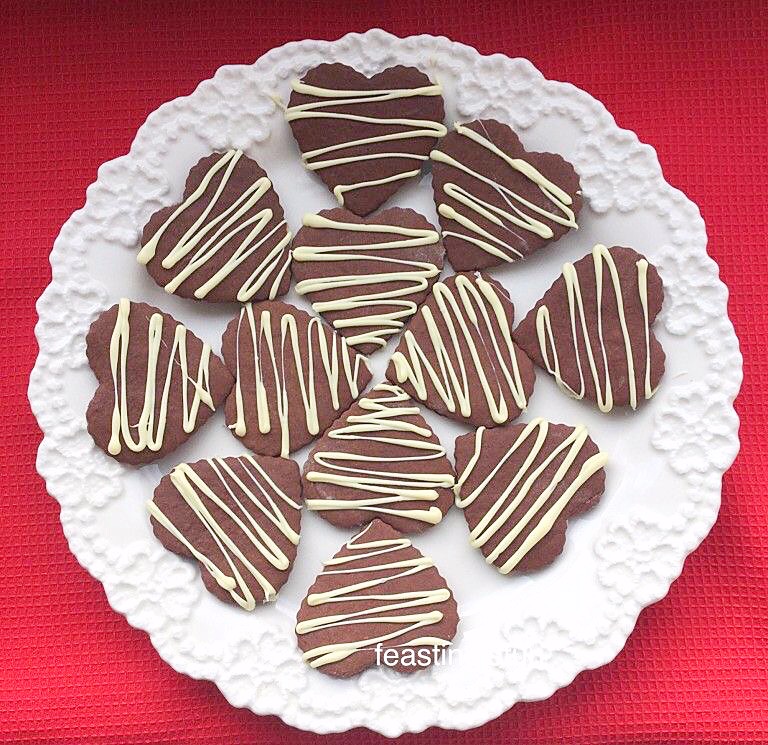
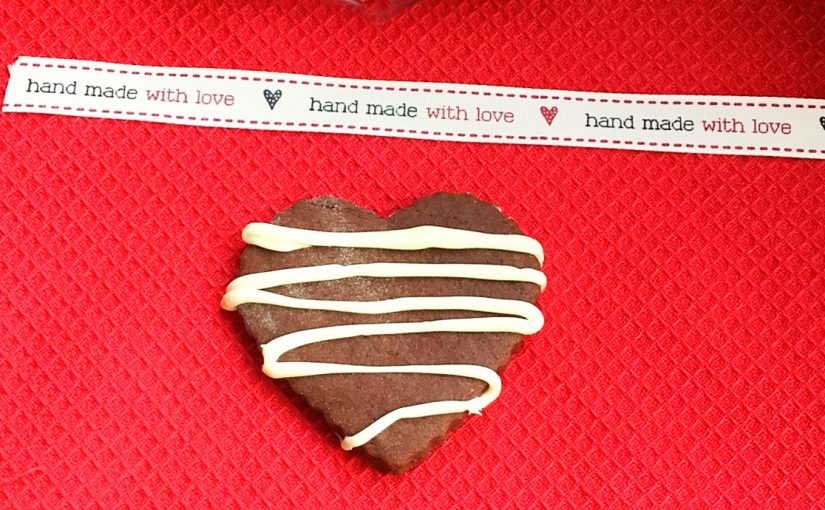
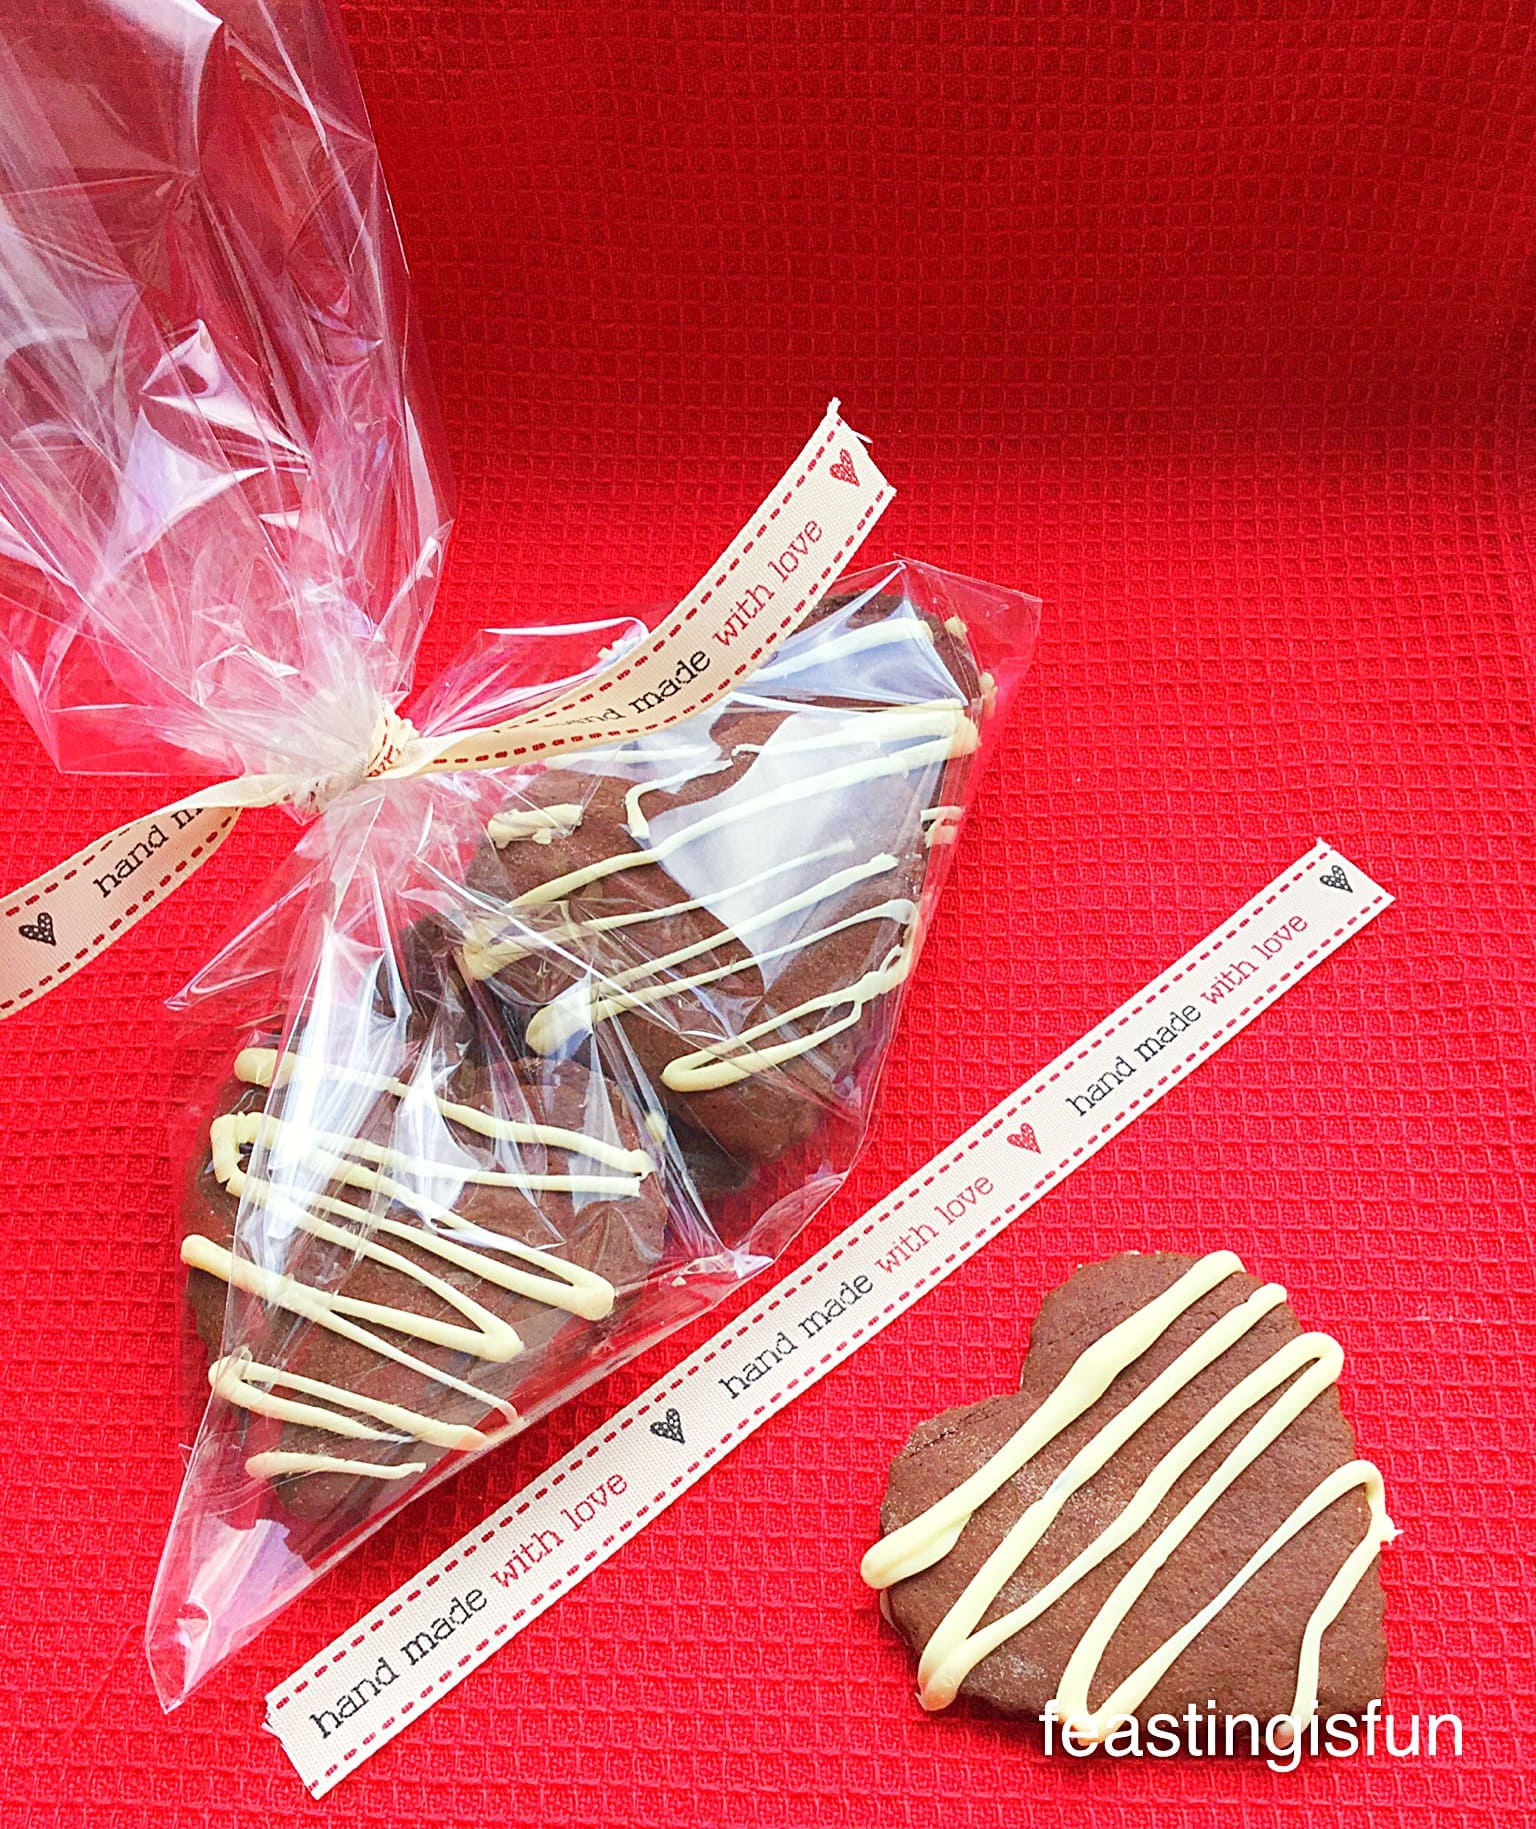
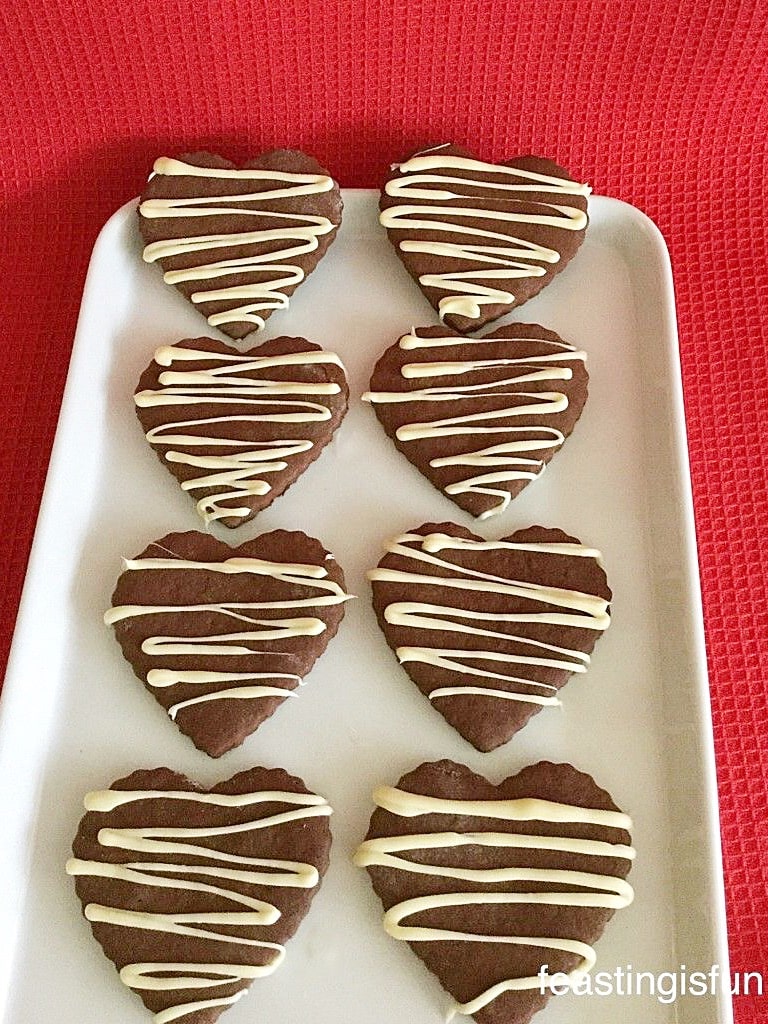
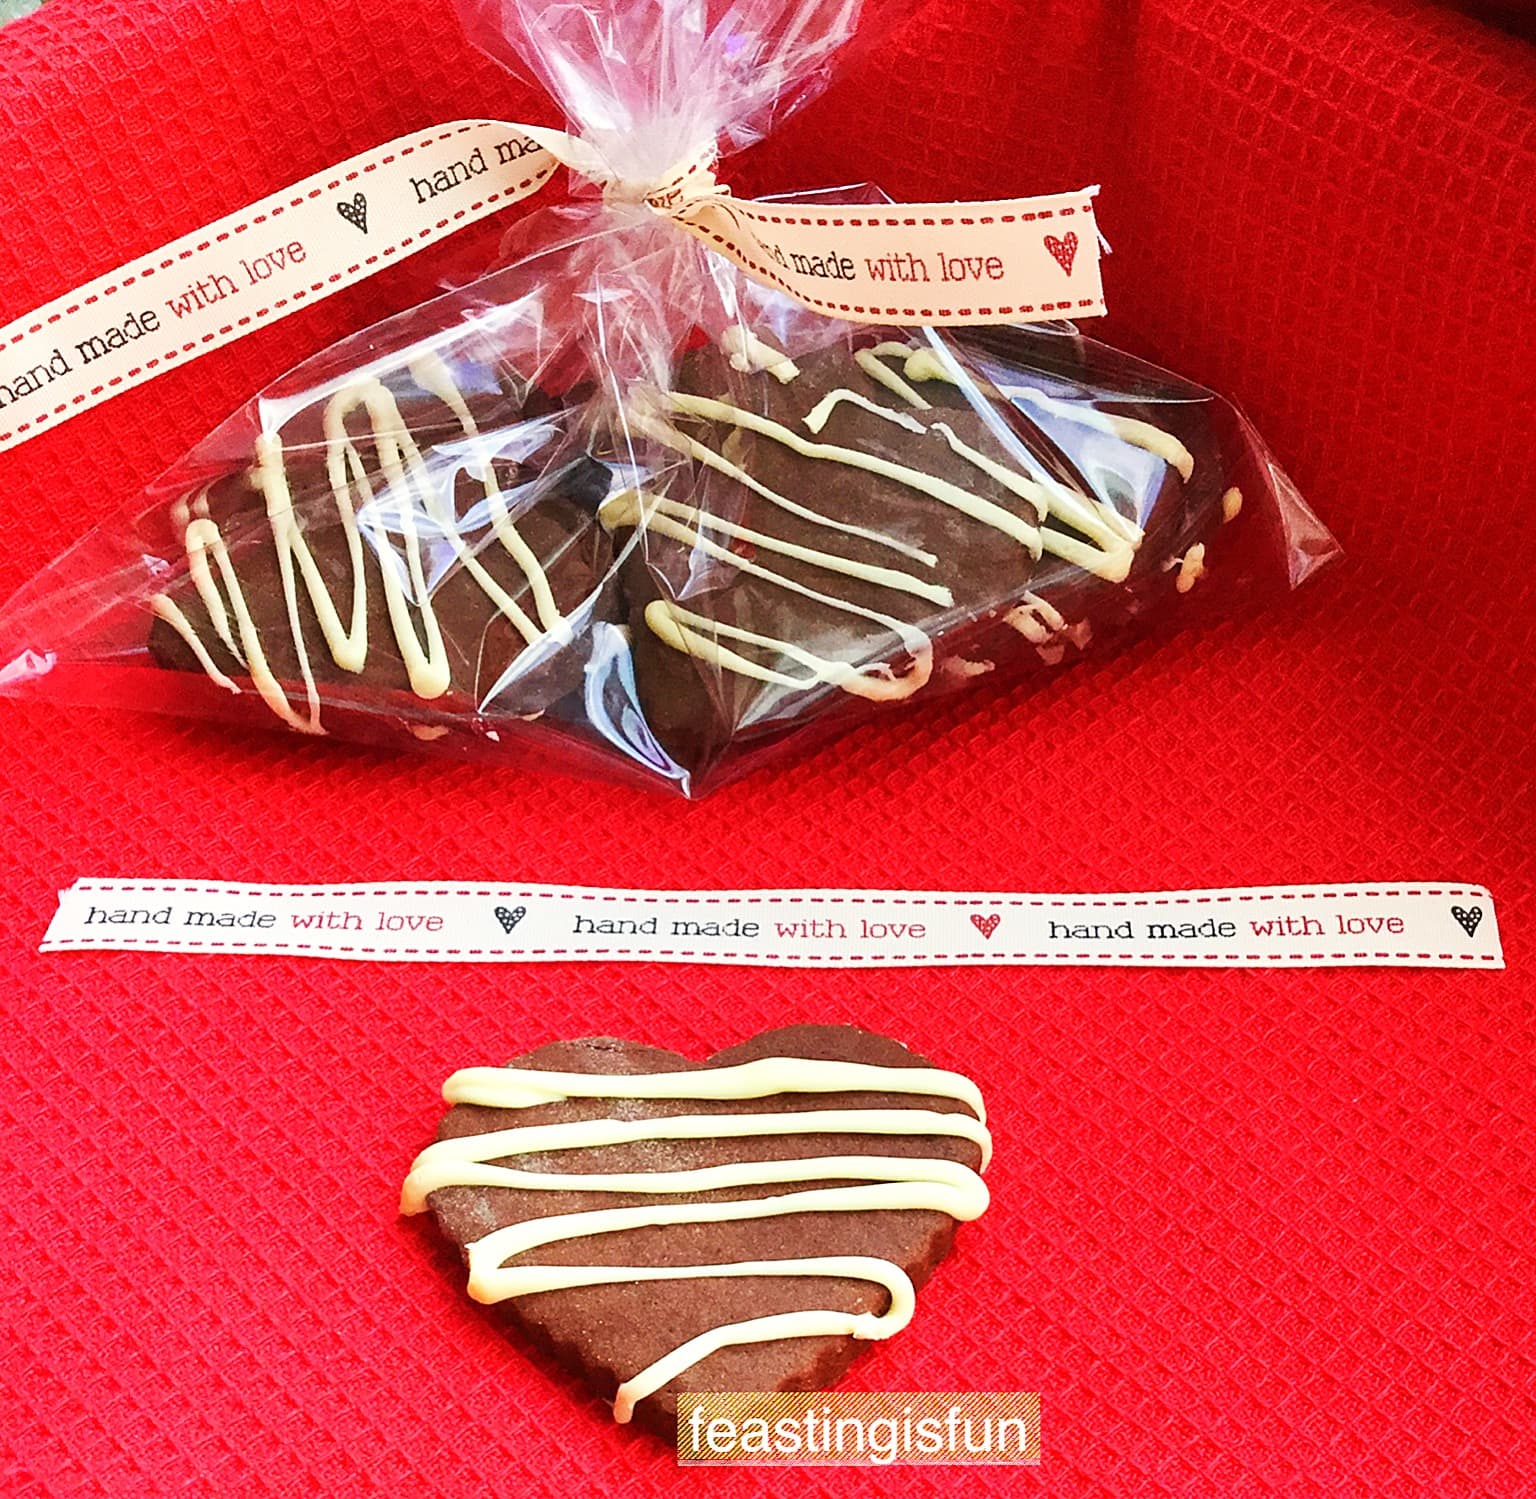
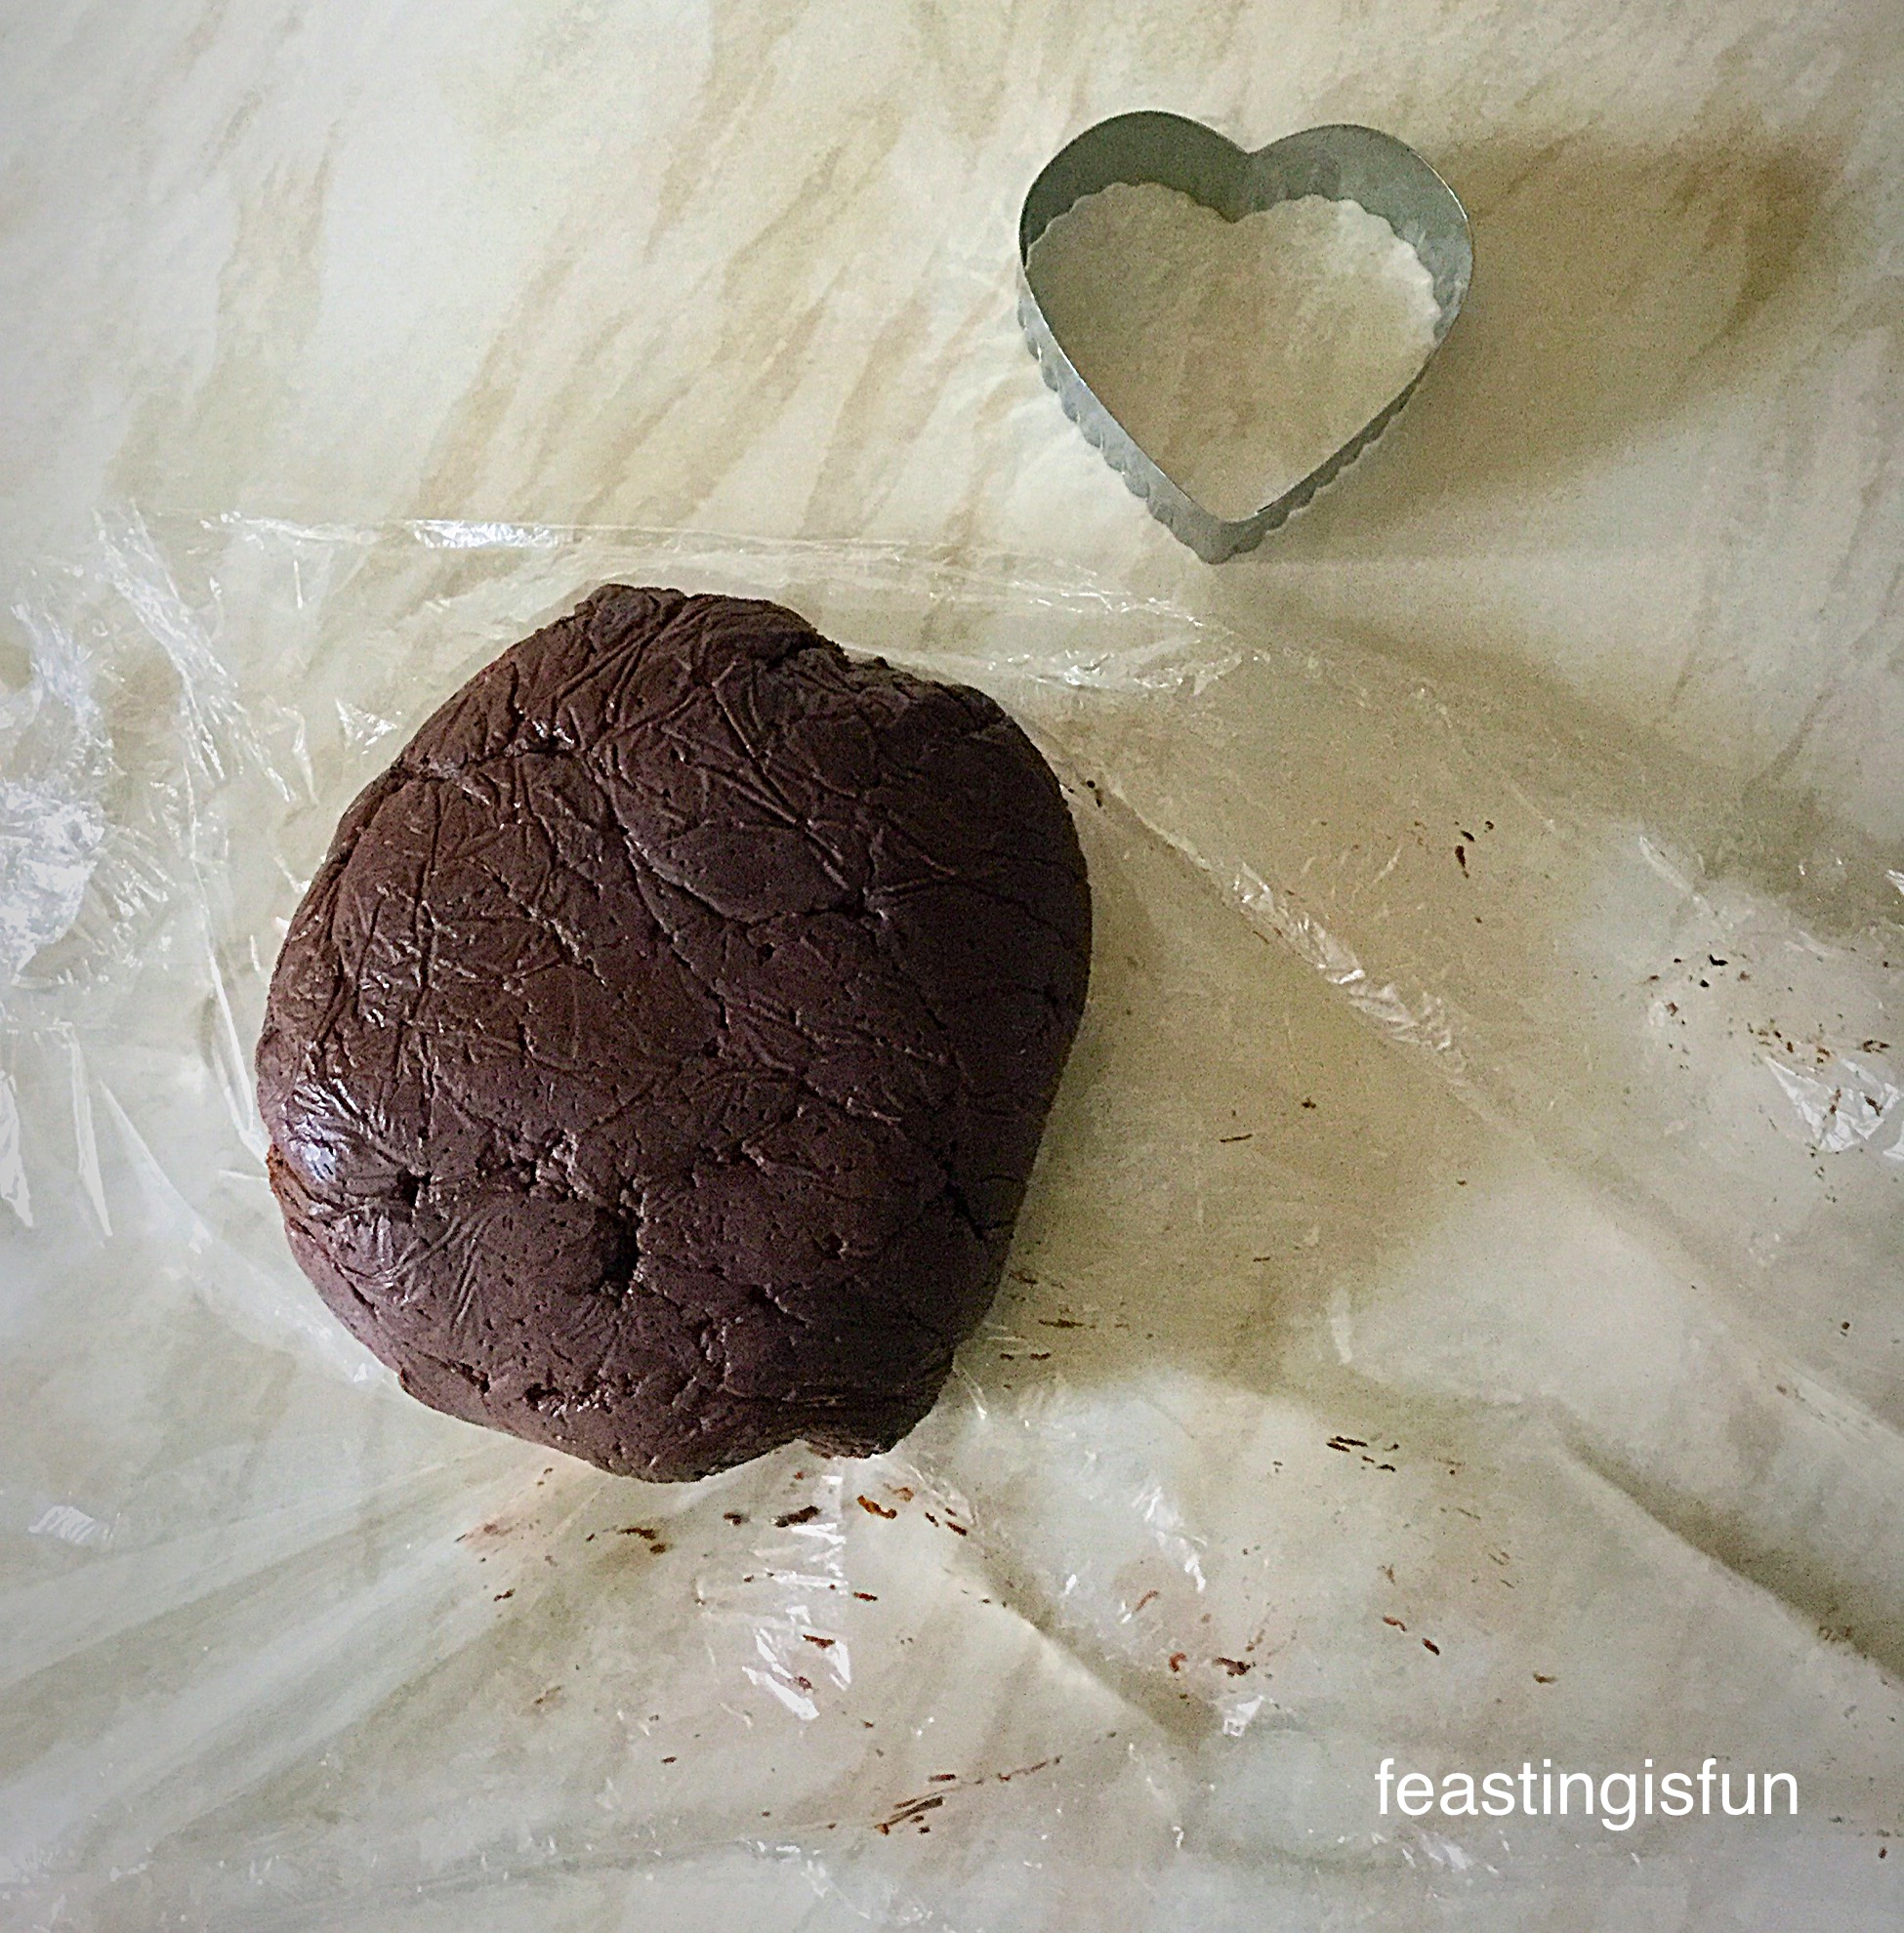
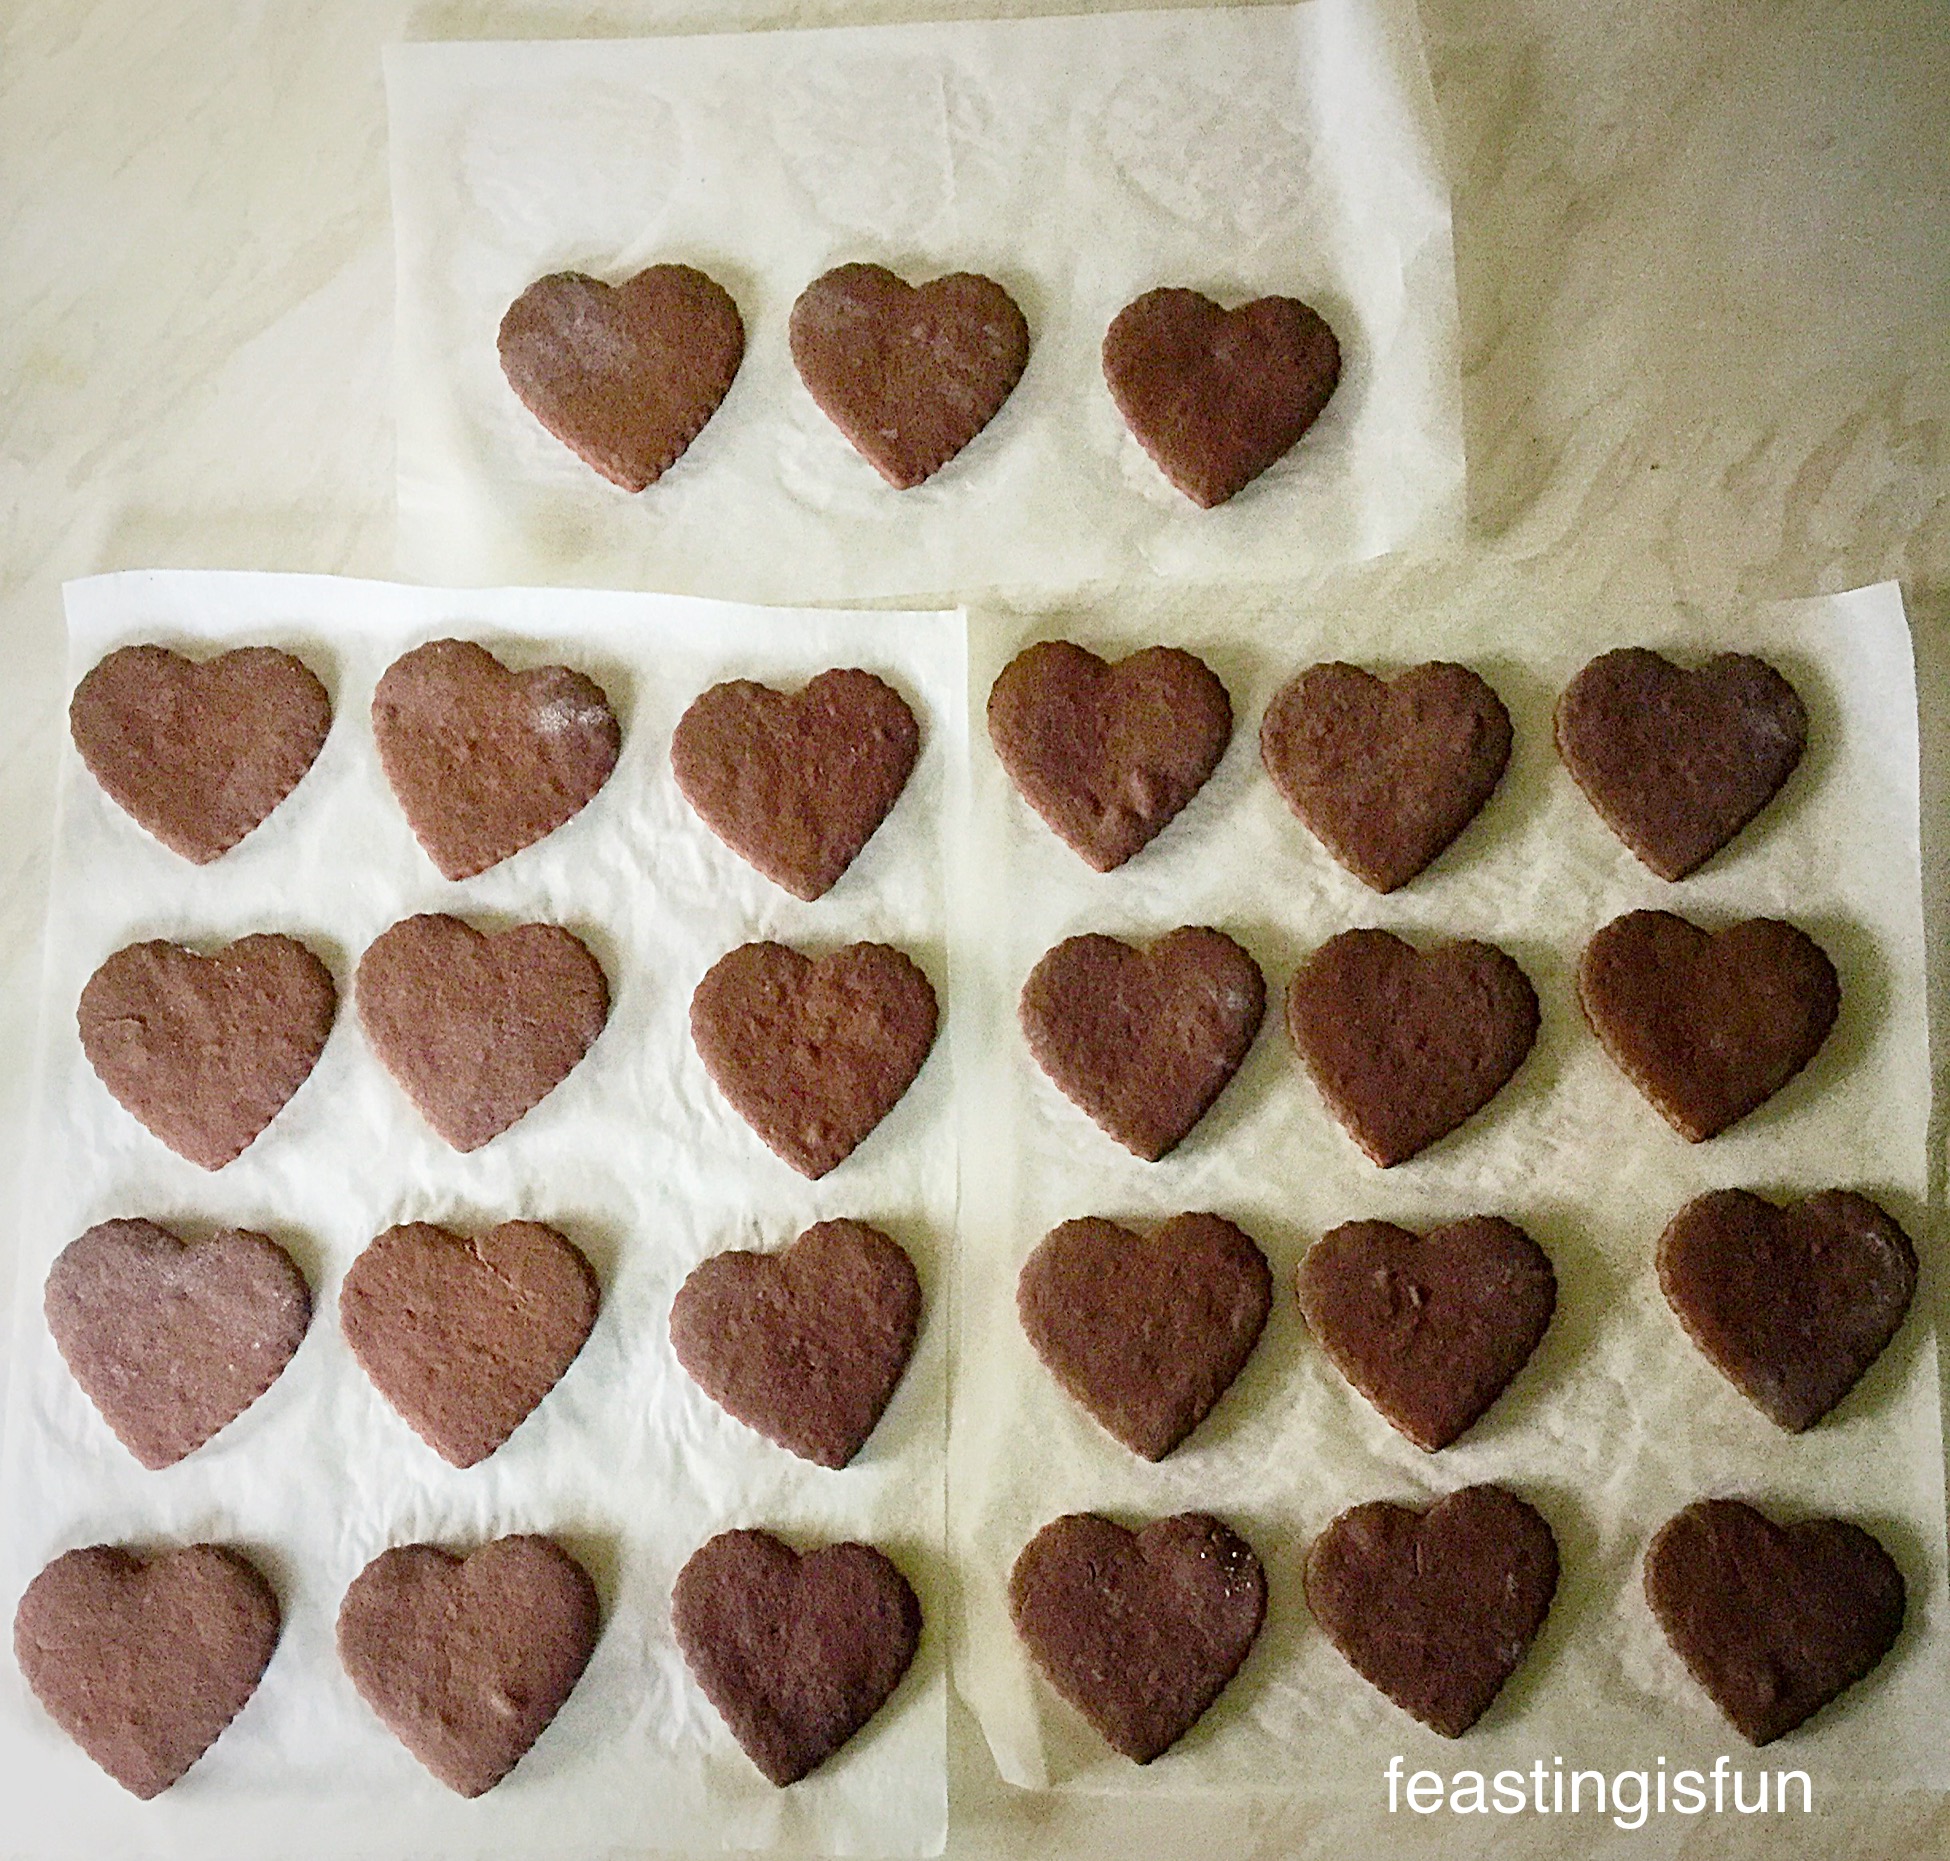
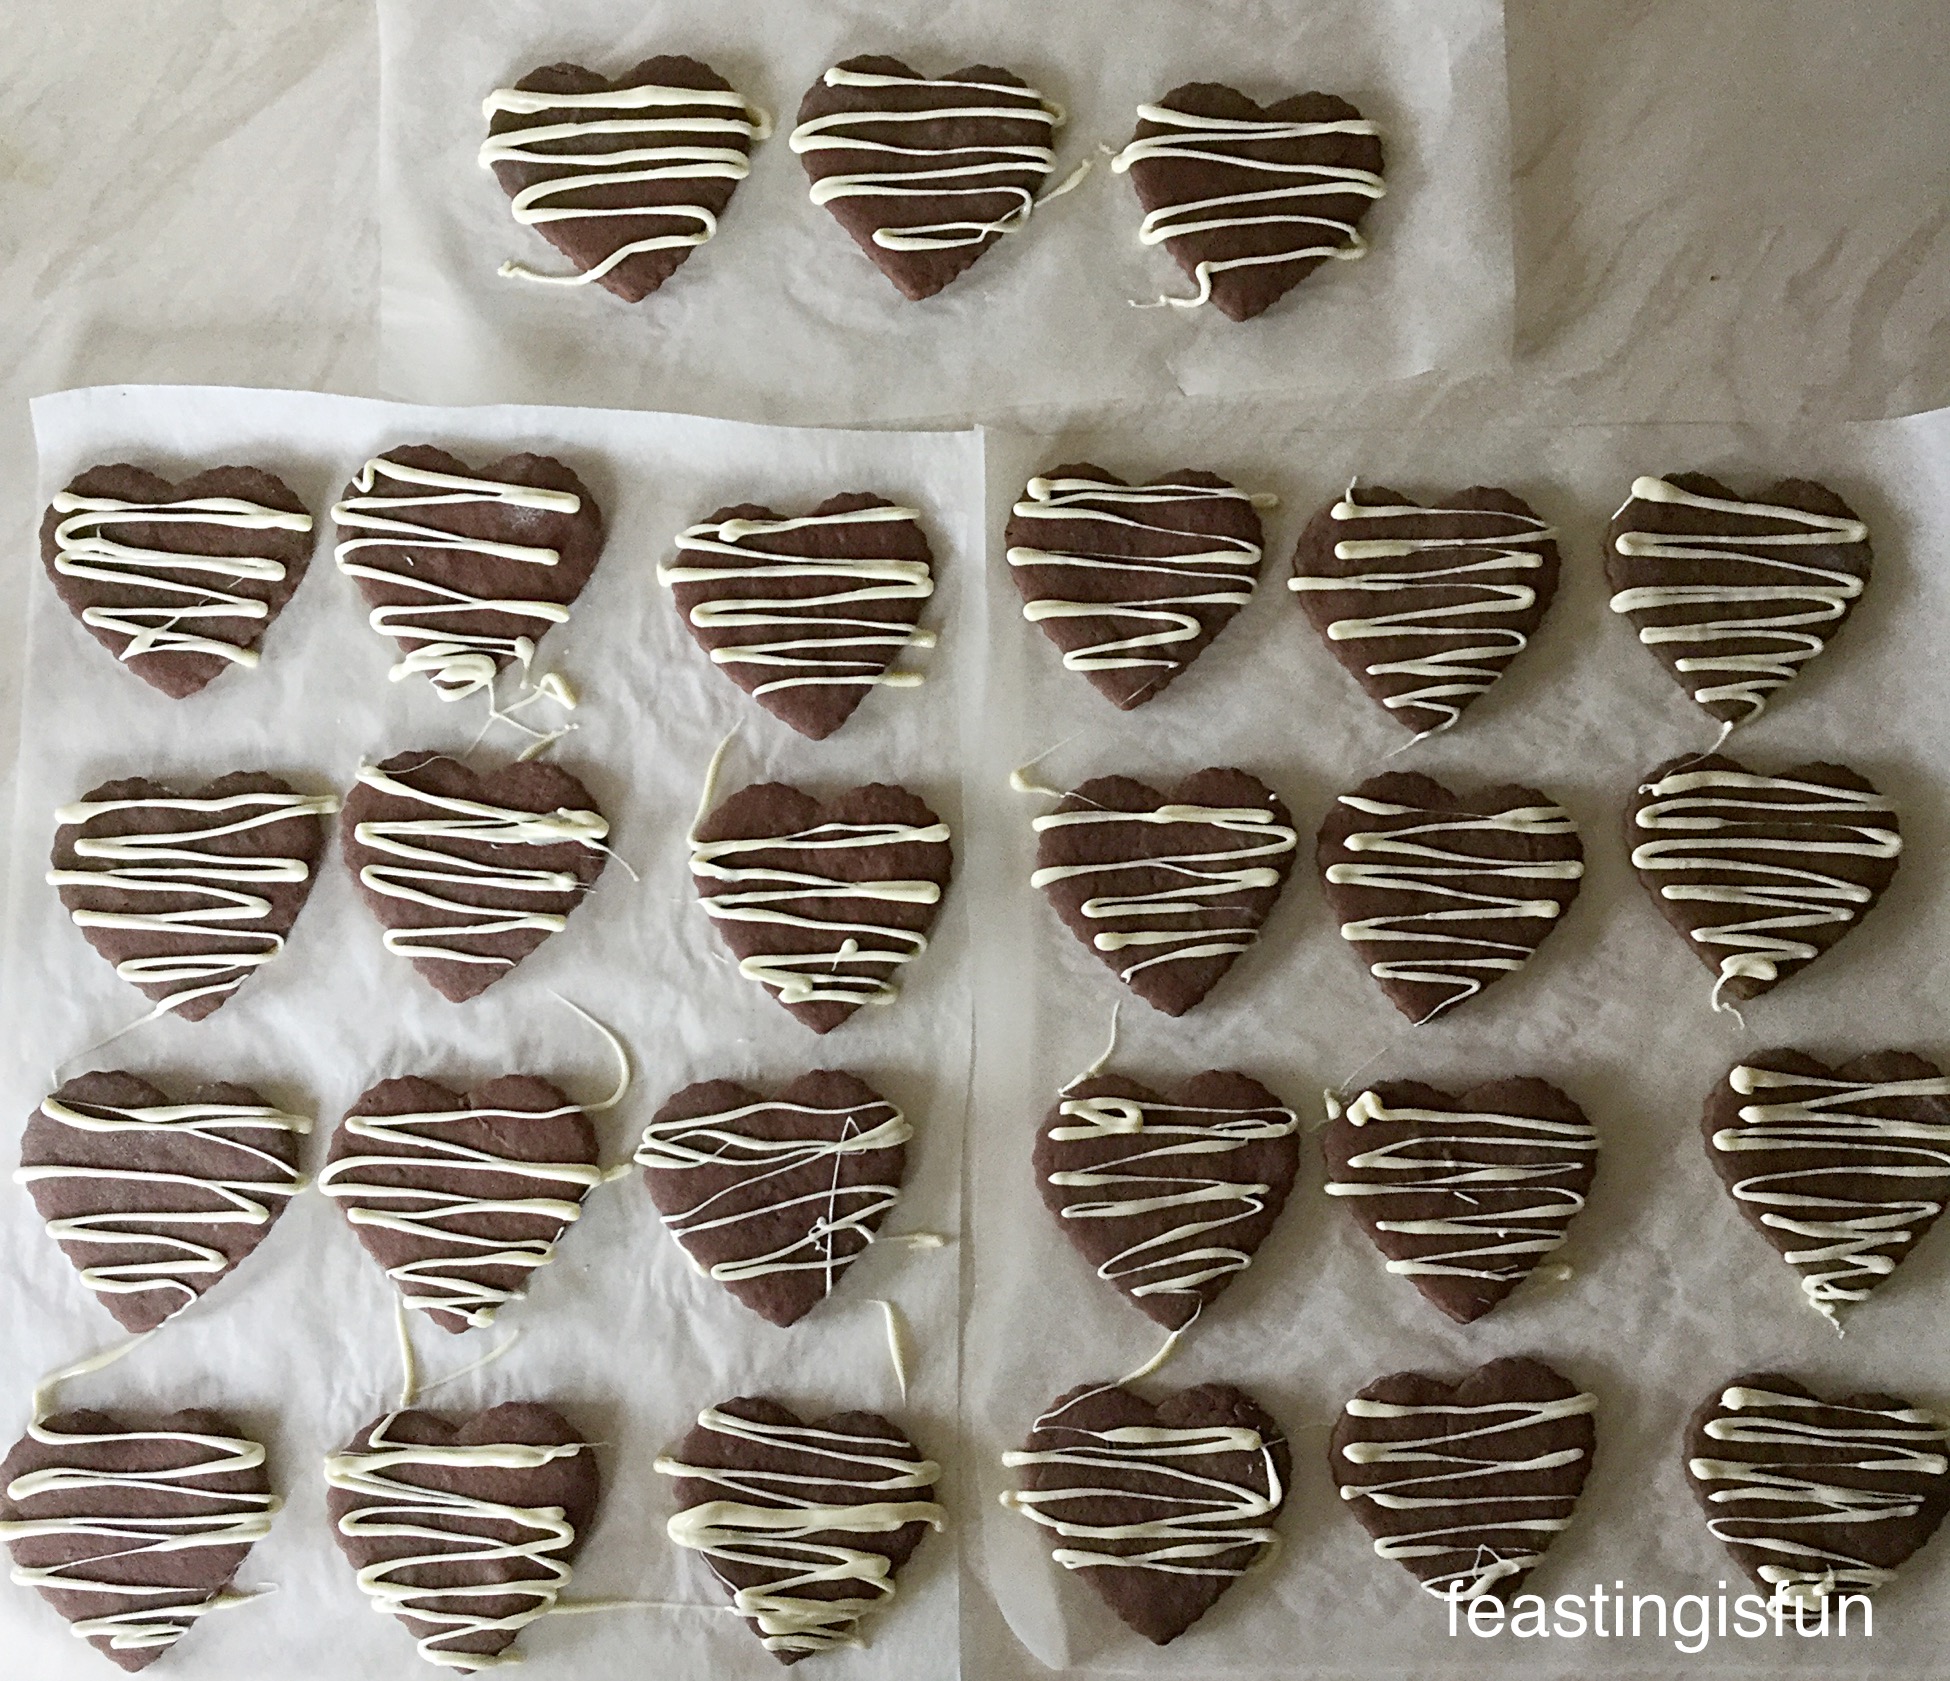
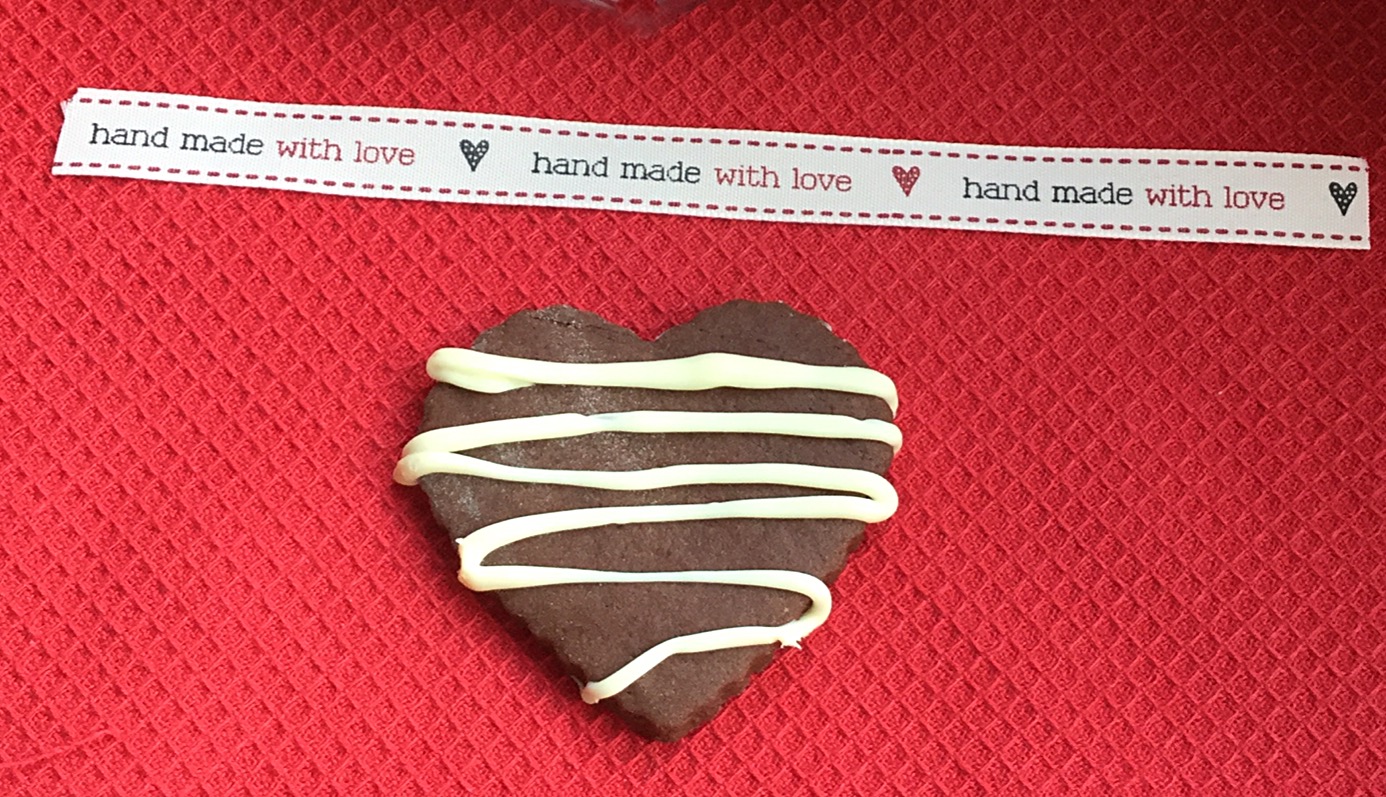
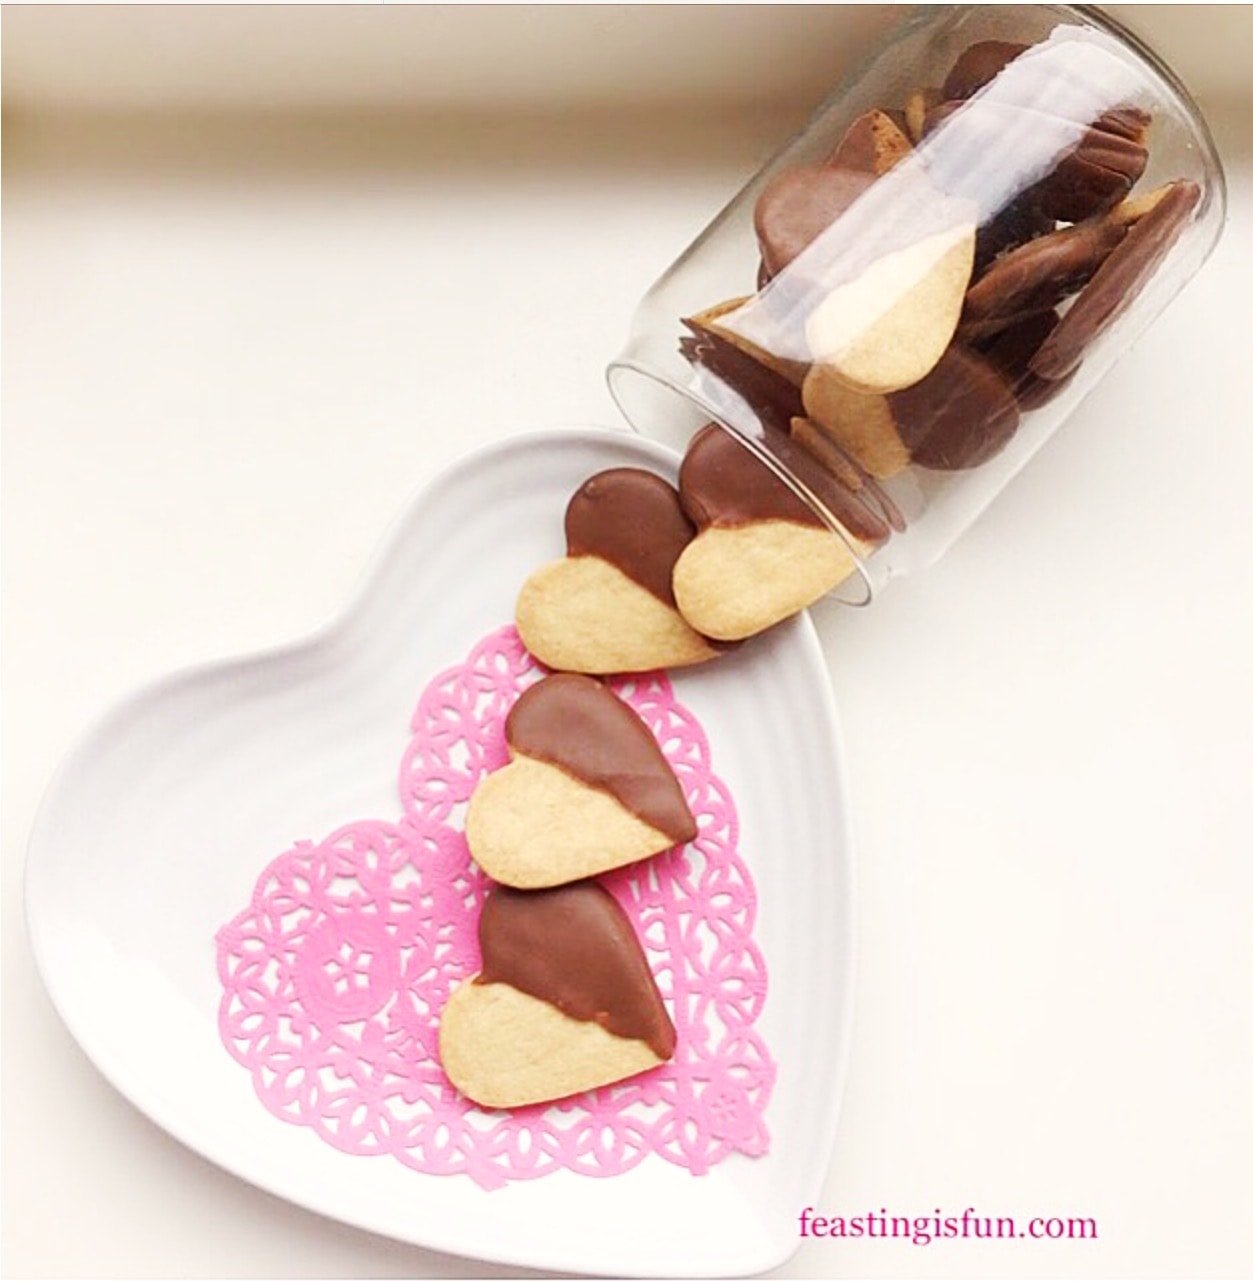
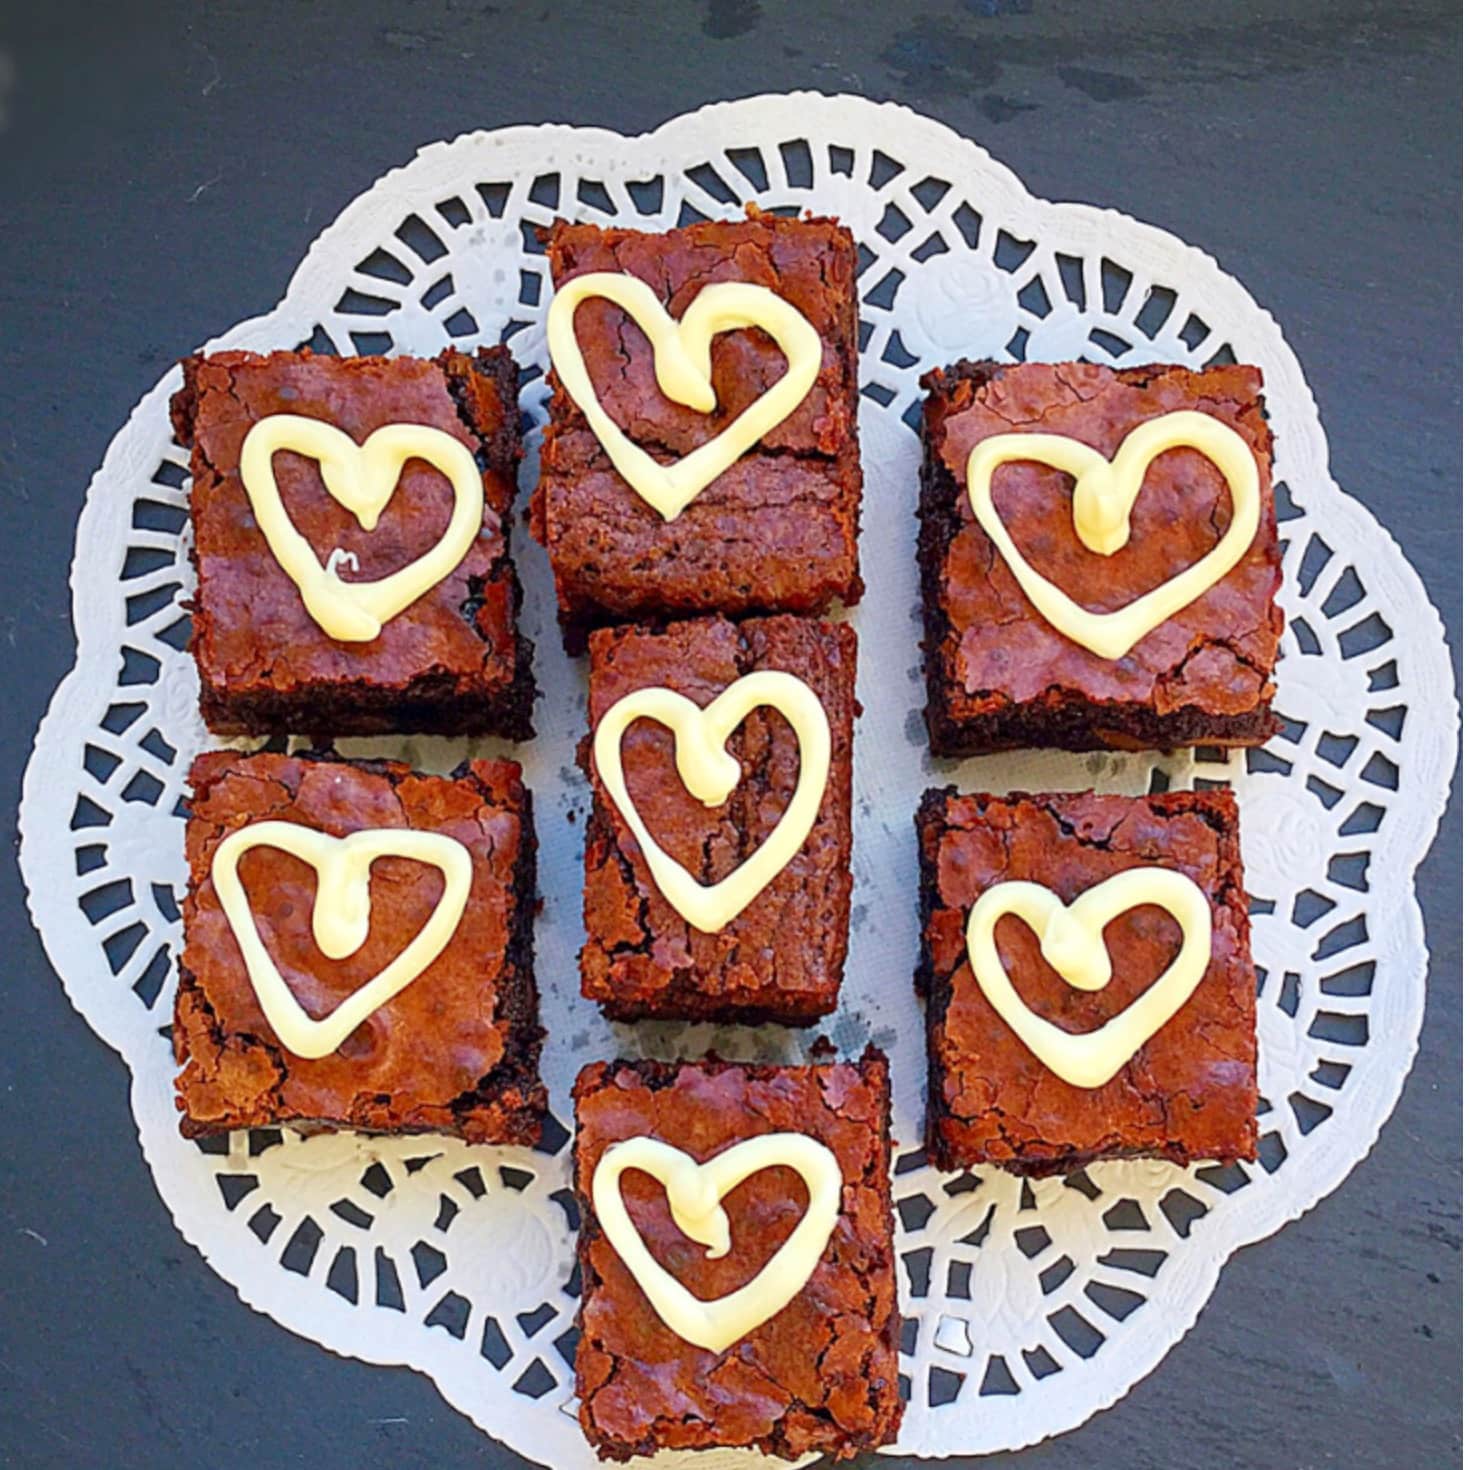
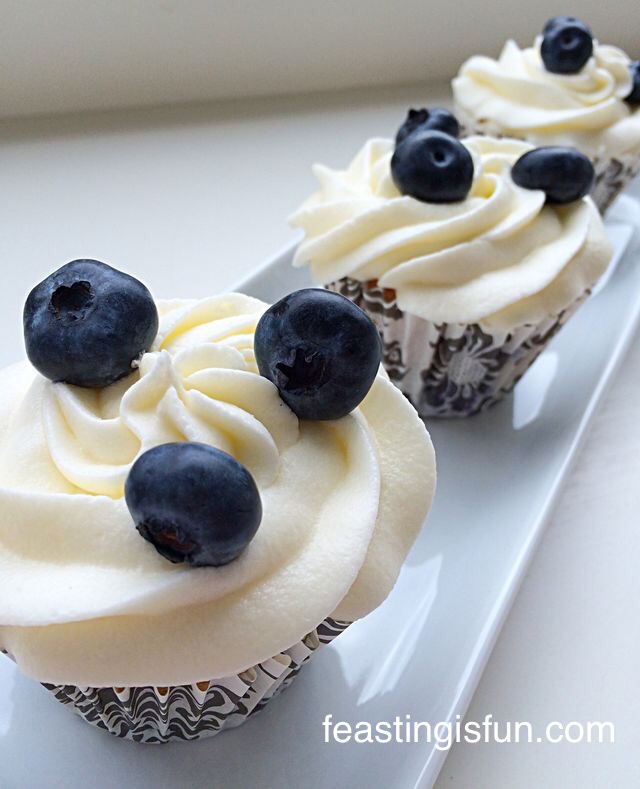
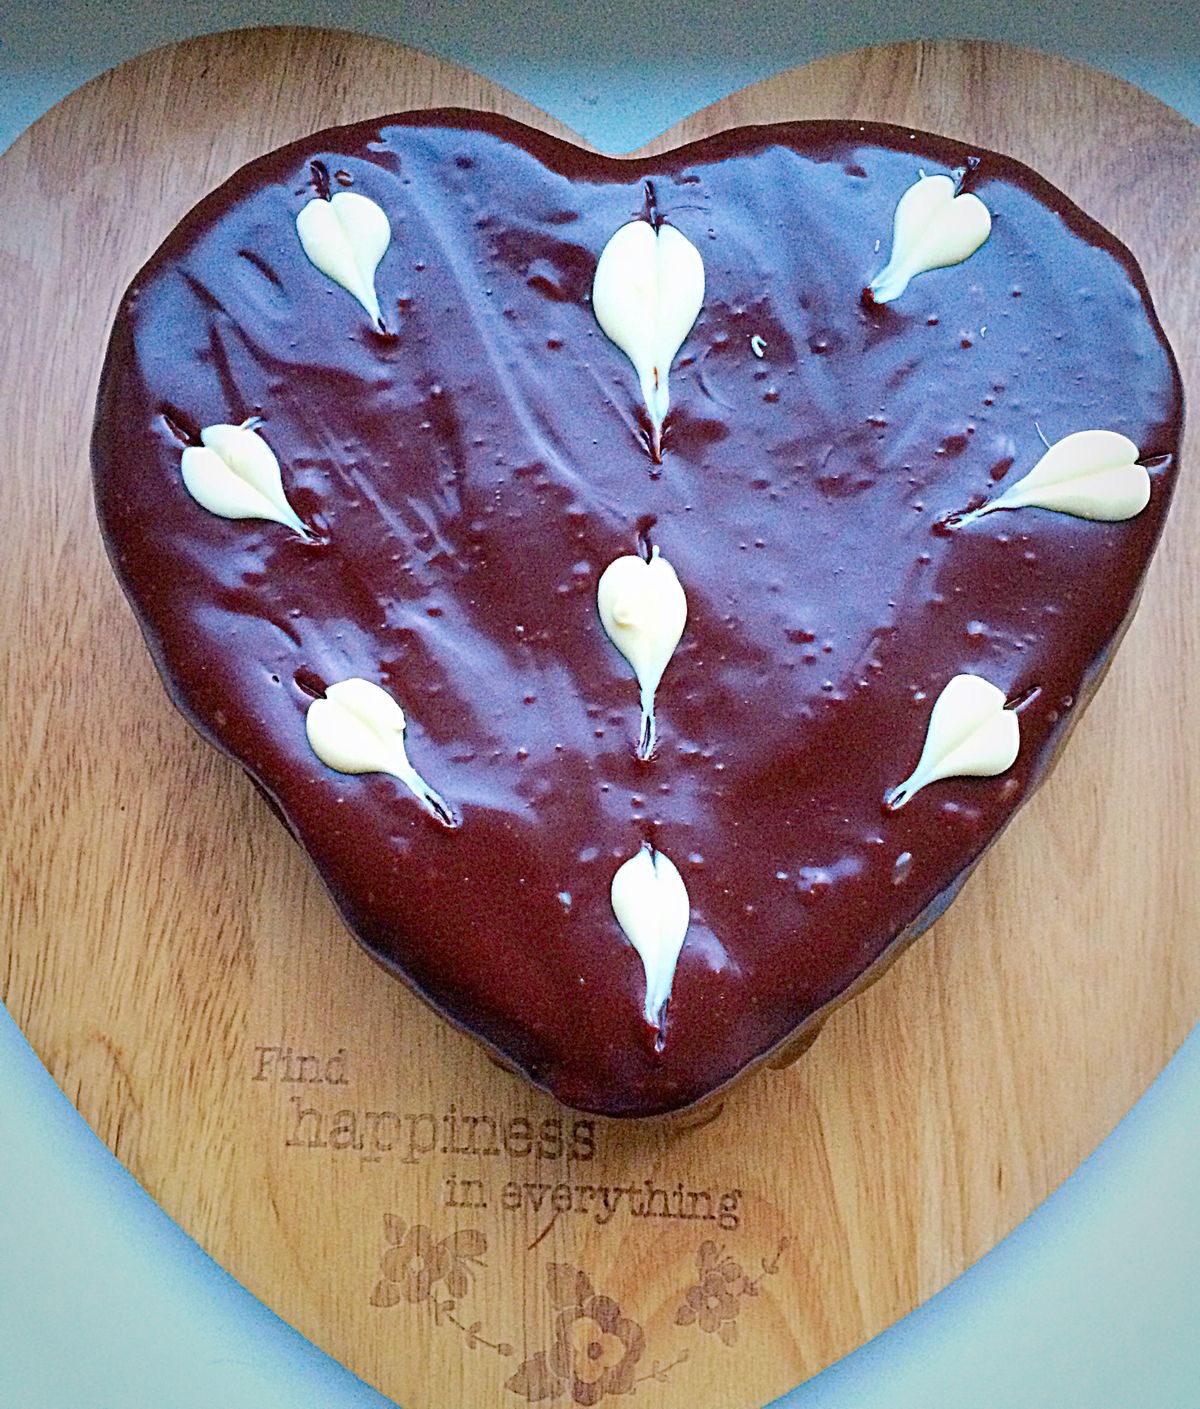
Since I’ve baked and created a few chocolate recipes for Valentine’s Day like Chocolate Heart Cookies, and Chocolate Fudge Brownie Bites which are utterly delicious, for the day itself I wanted to bake a cake with simple flavours. Sugar and Crumbs sell are range of naturally flavoured icing sugars. And so to make the buttercream frosting for this cake using the Strawberry Milkshake flavour is delicious. The taste is truly like strawberry milkshake and makes this cake absolutely sing on your tastebuds. Alternatively you can use plain icing sugar and flavour it. Also, Foodie Flavours sell a great range of natural food flavourings.

Strawberry Sweetheart Cake
Strawberry Sweetheart Cake swirled with roses and sprinkled with love.

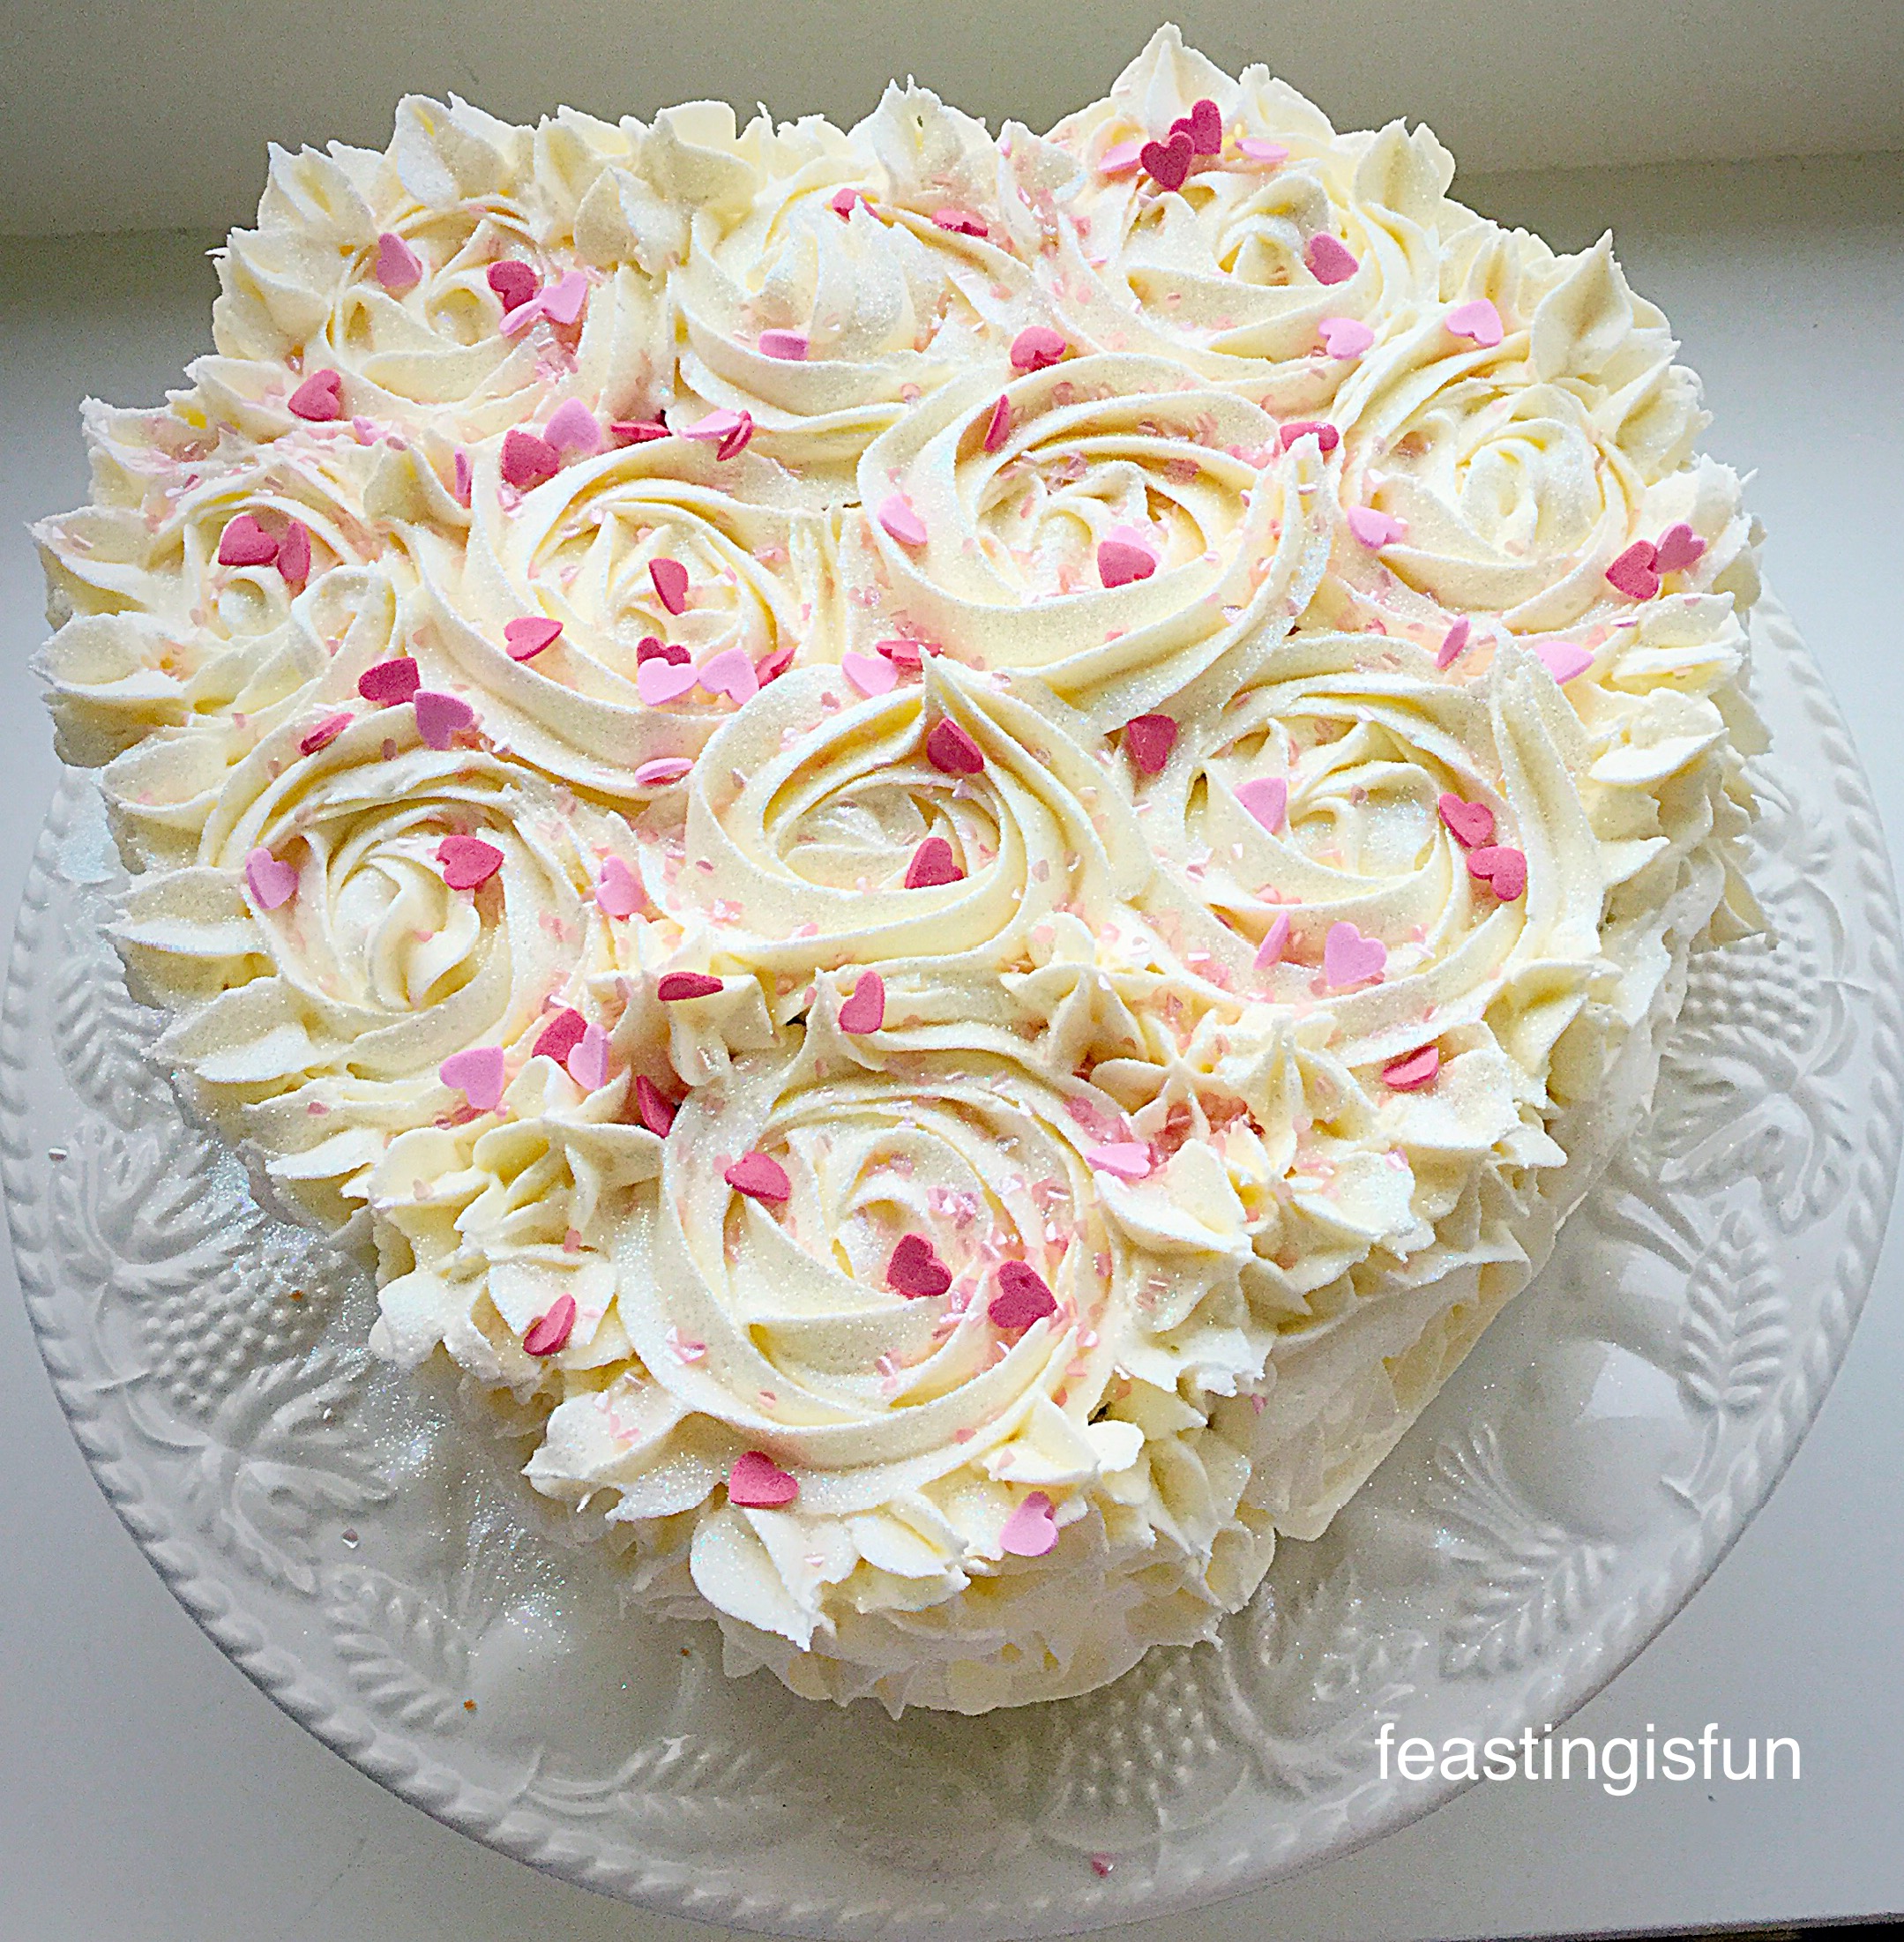
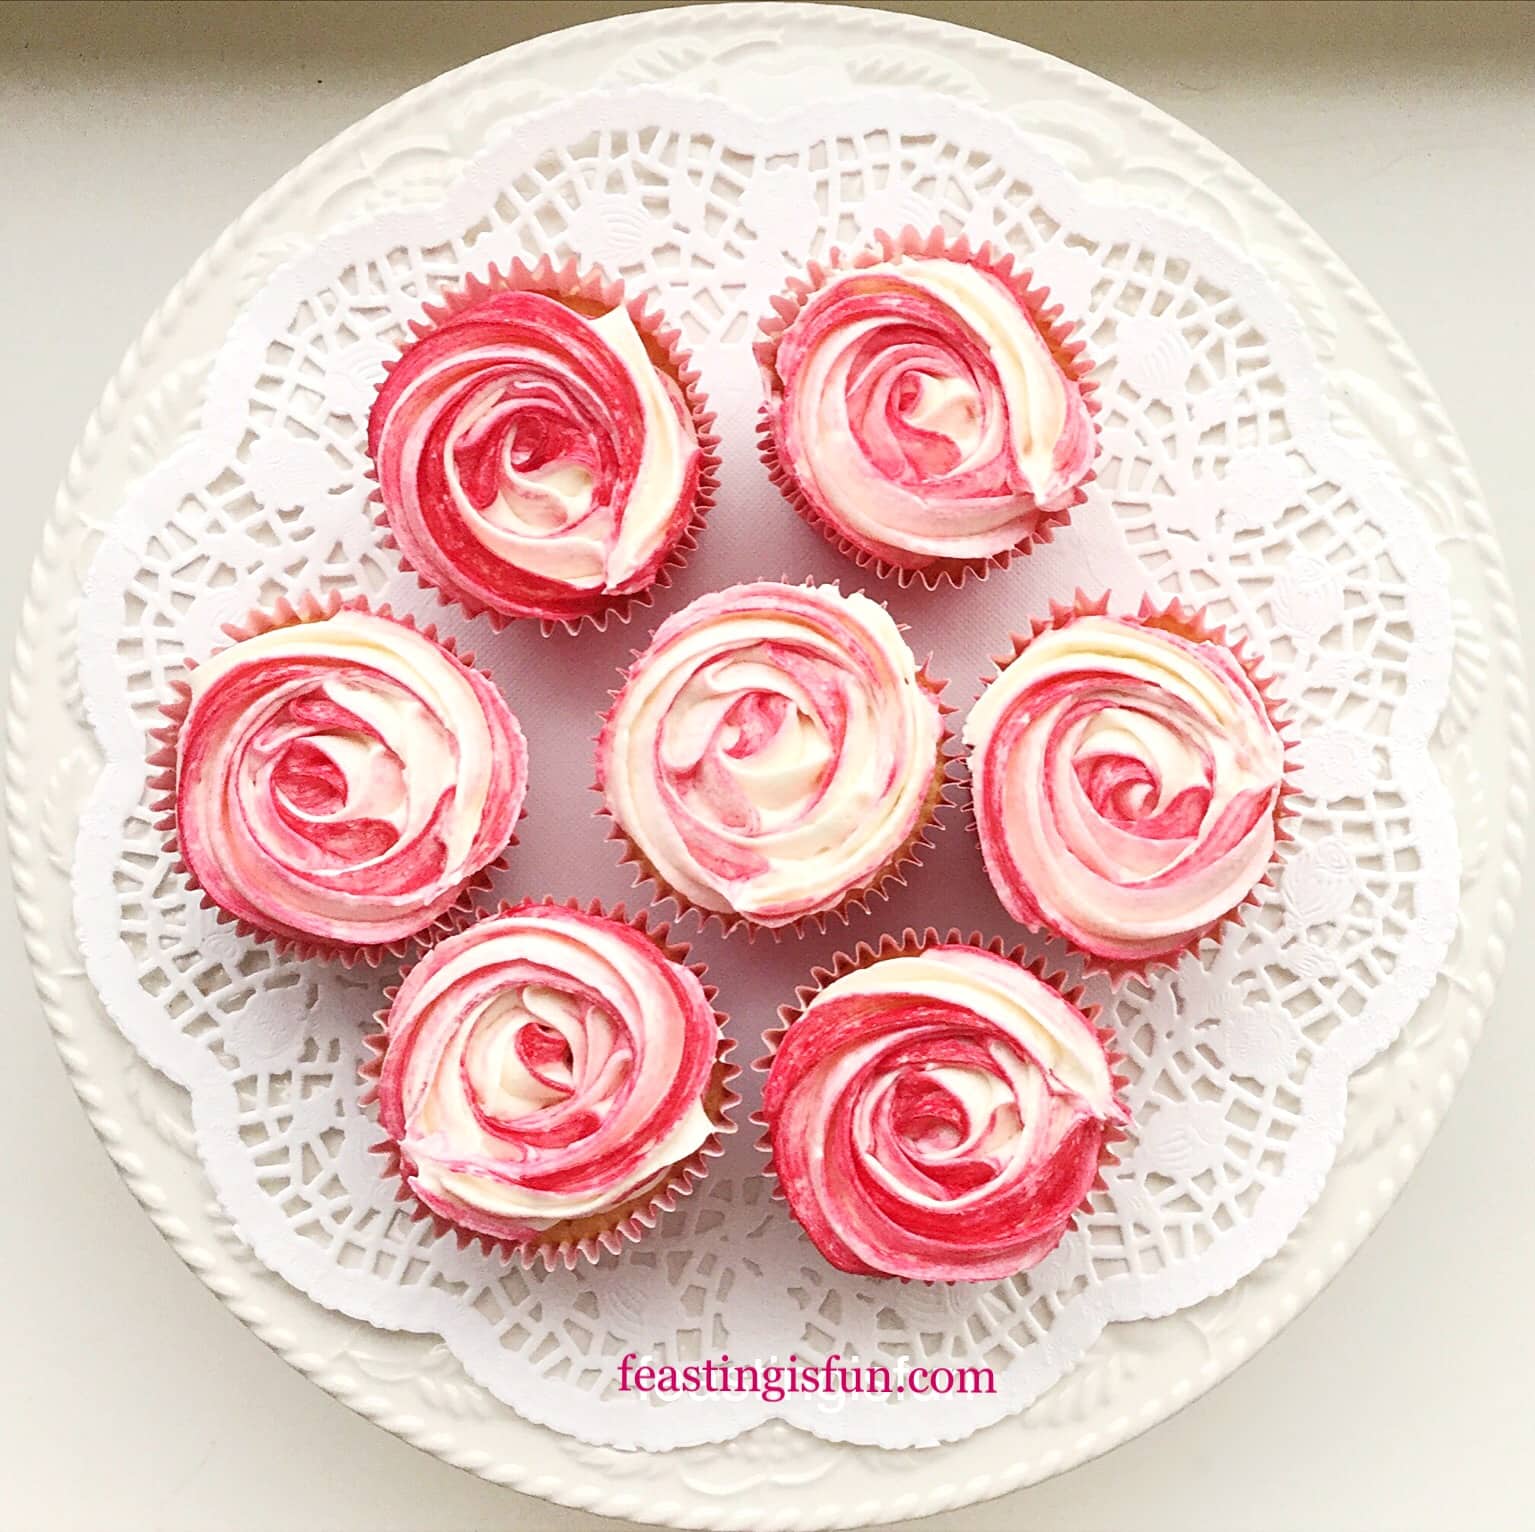
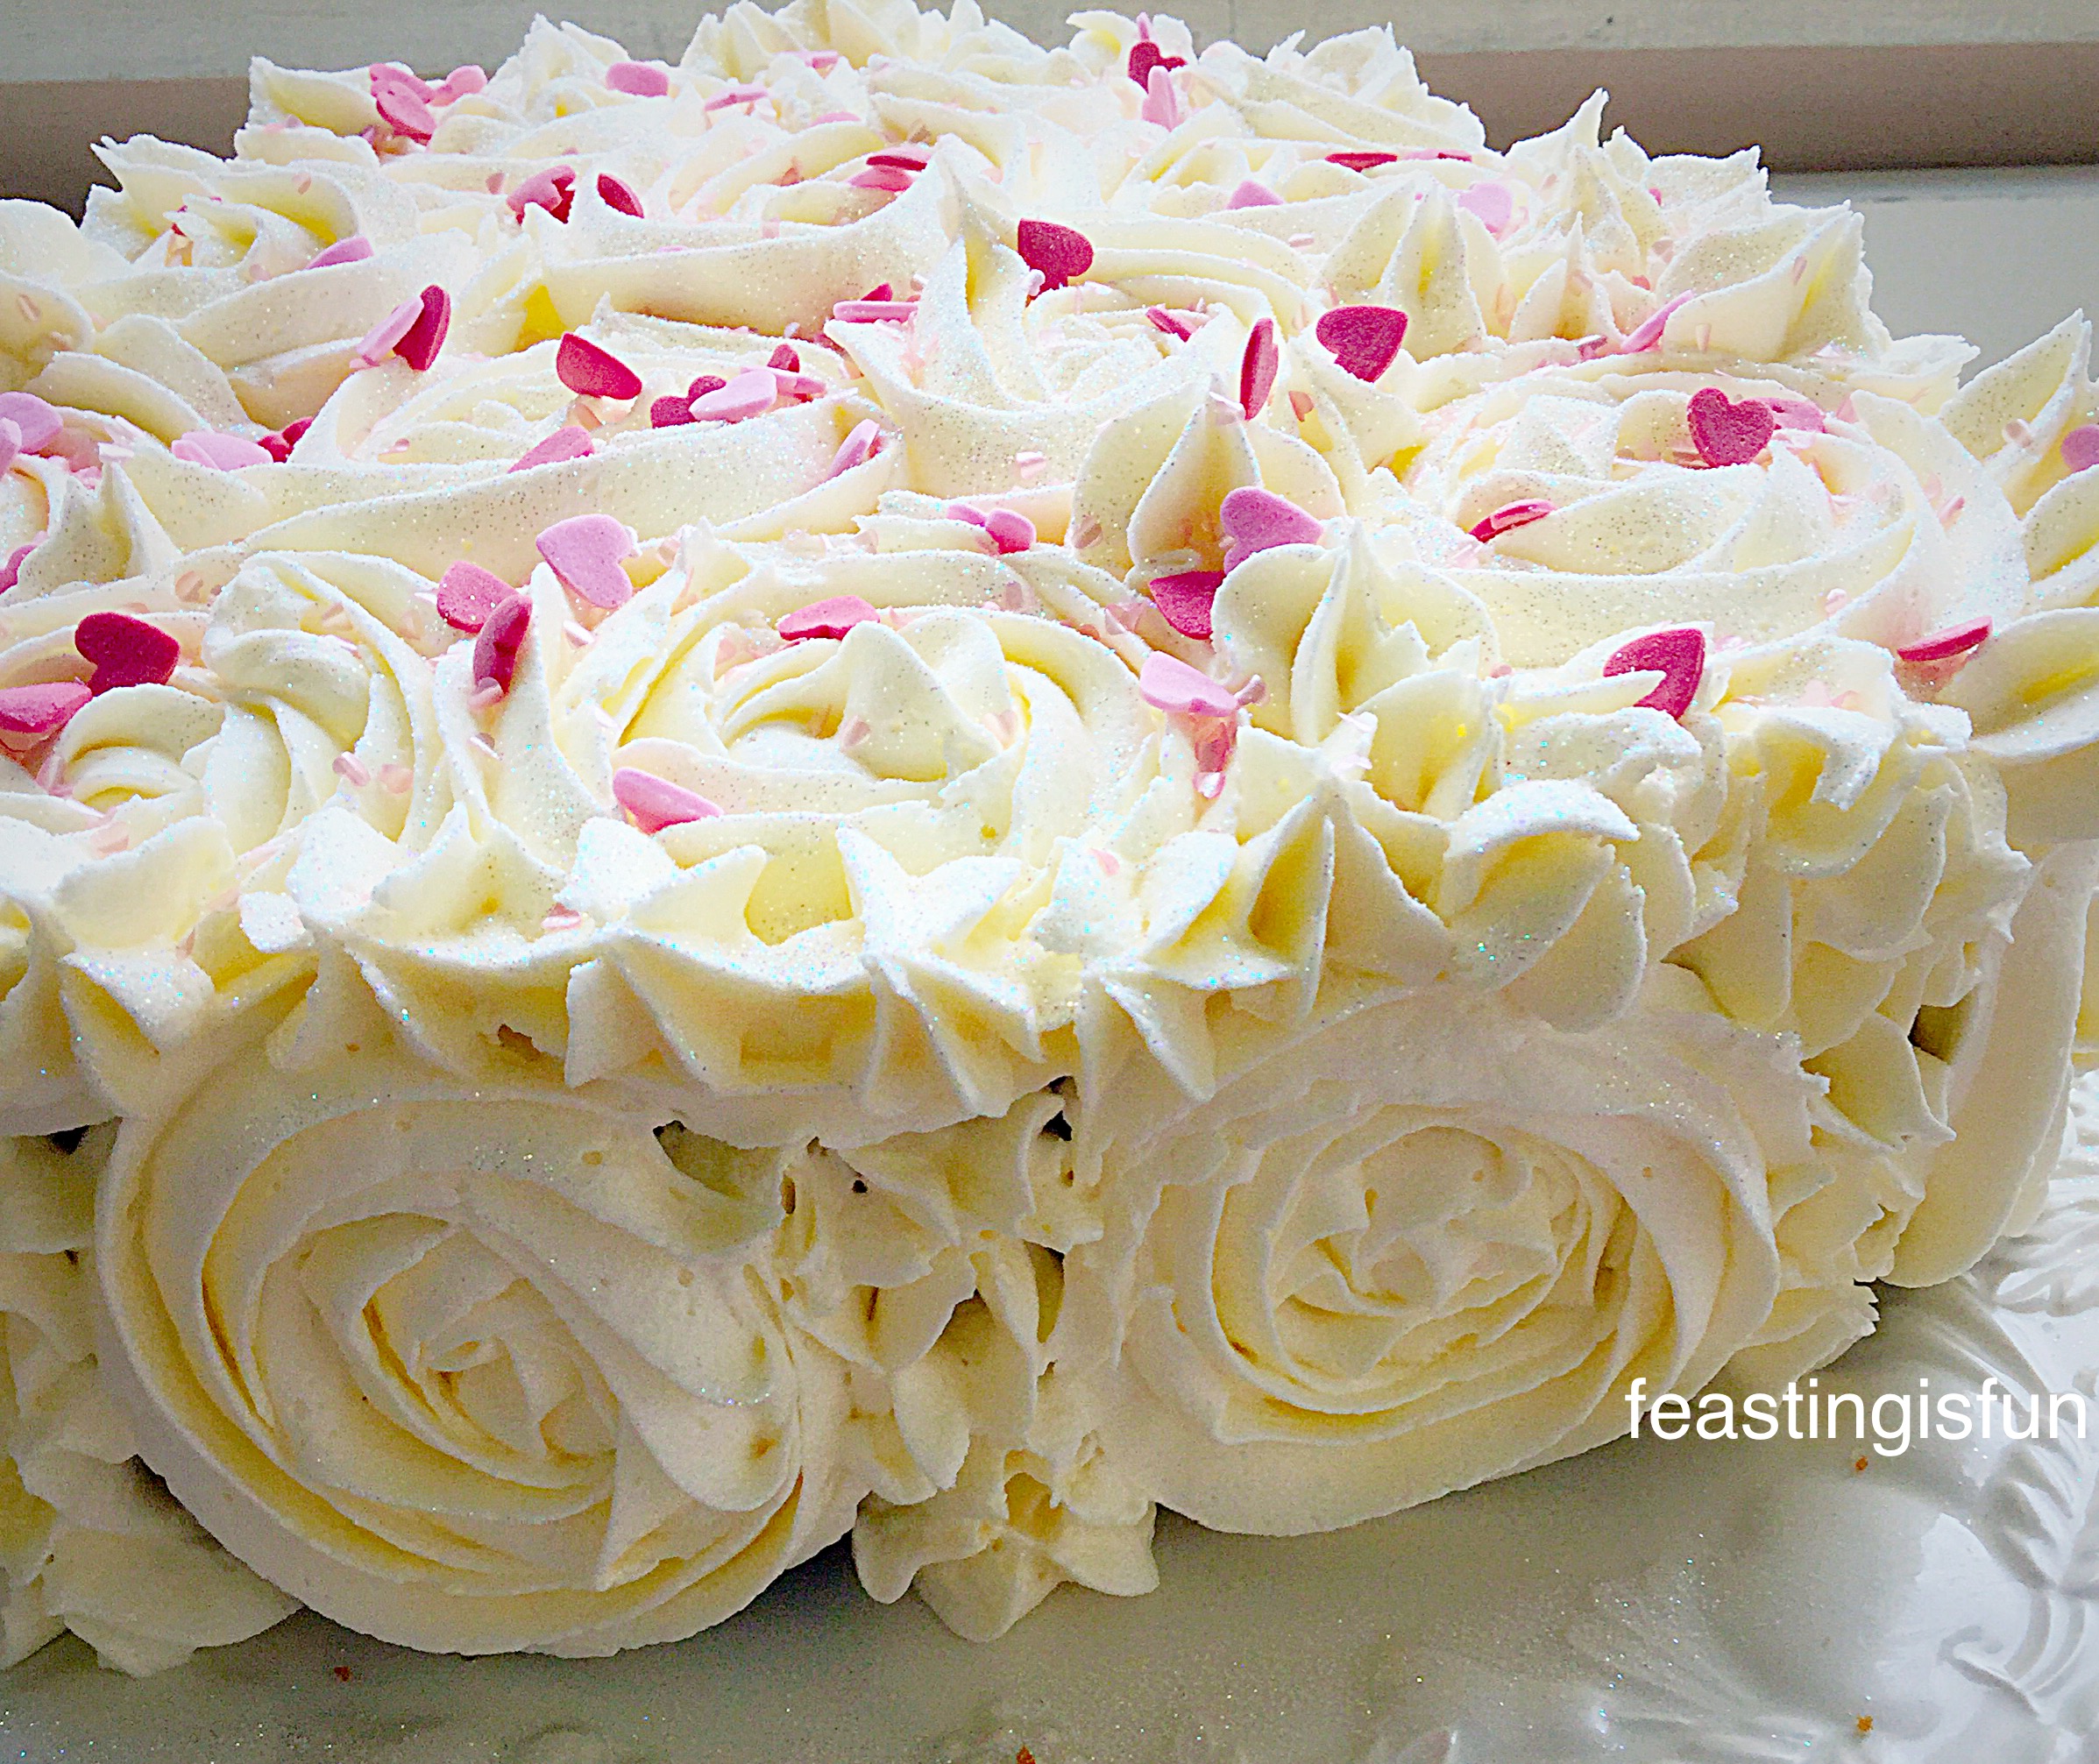
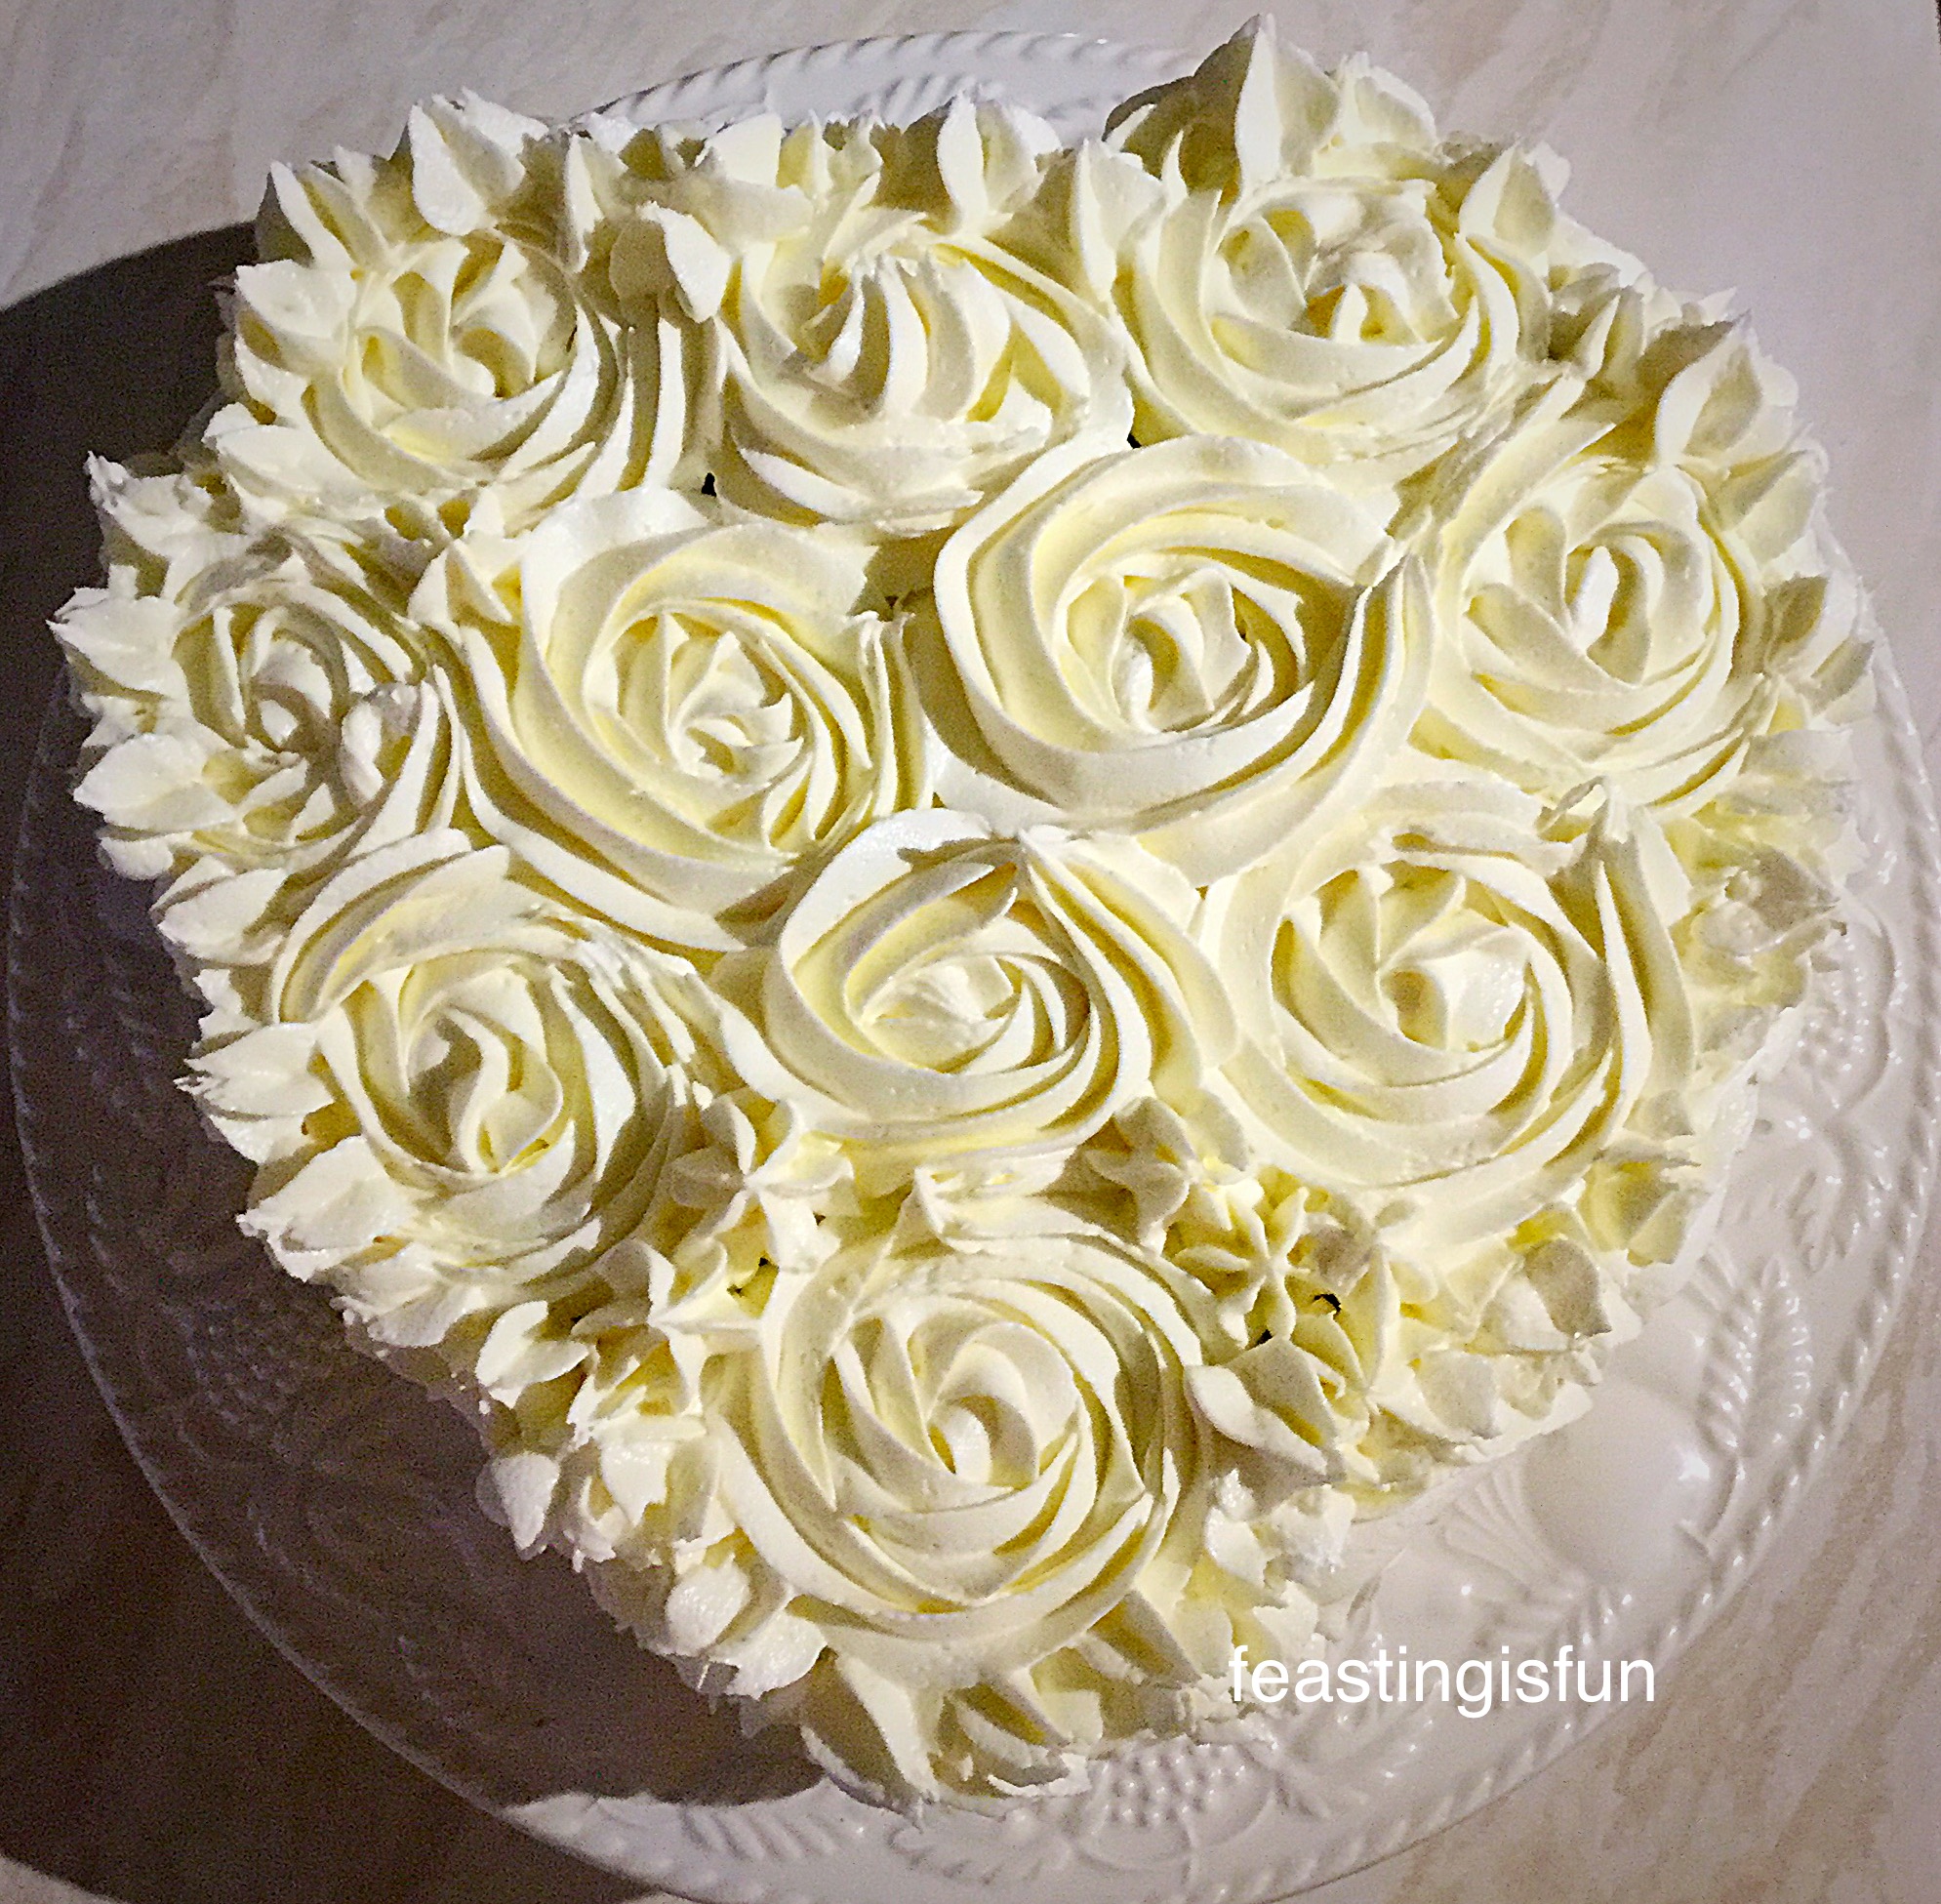
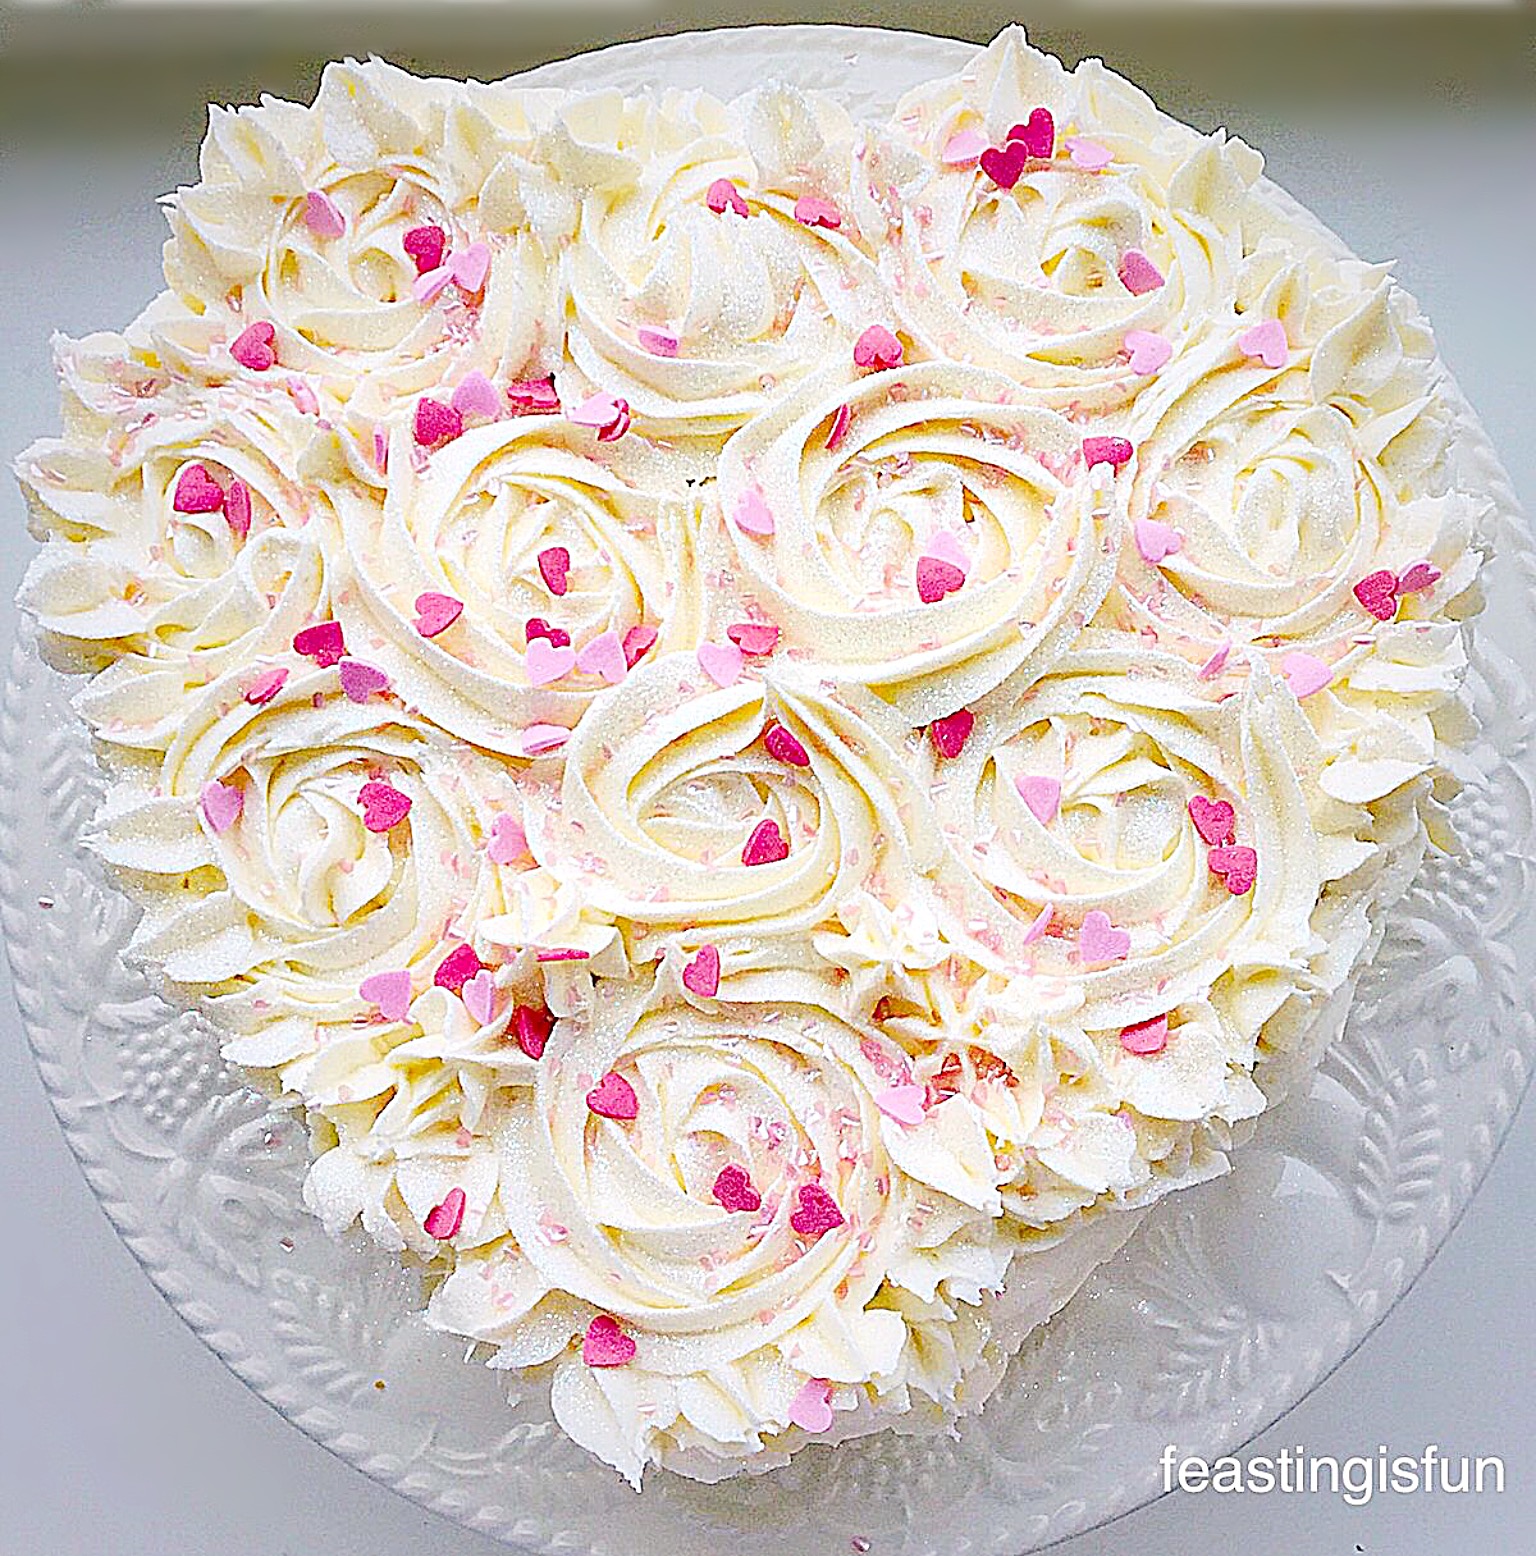
Rather than cover the cake with a smooth layer of buttercream I chose to pipe roses over it. Although I am not a trained cake decorator, I promise that the piped roses are not difficult. Because if I, with my wobbly hands can pipe them, you can too. And the effect of the roses gives this Strawberry Sweetheart Cake a very professional finish. While only you and I will know how easy it really is.

Piping buttercream roses:

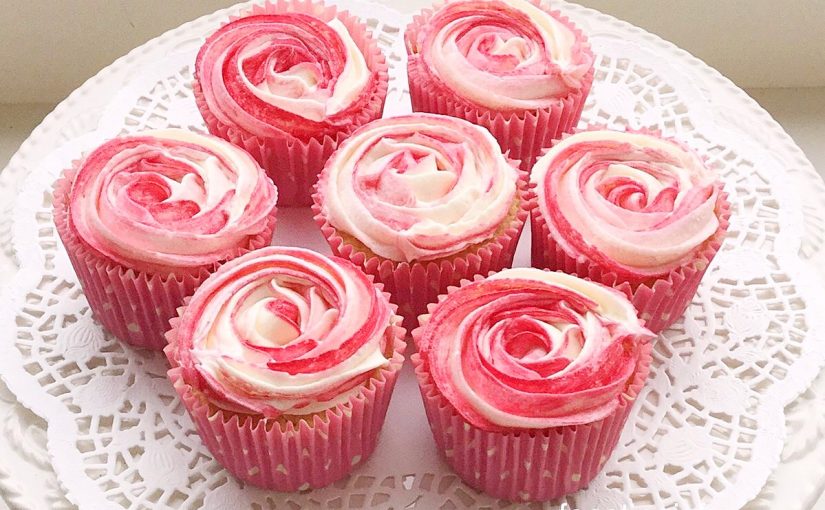
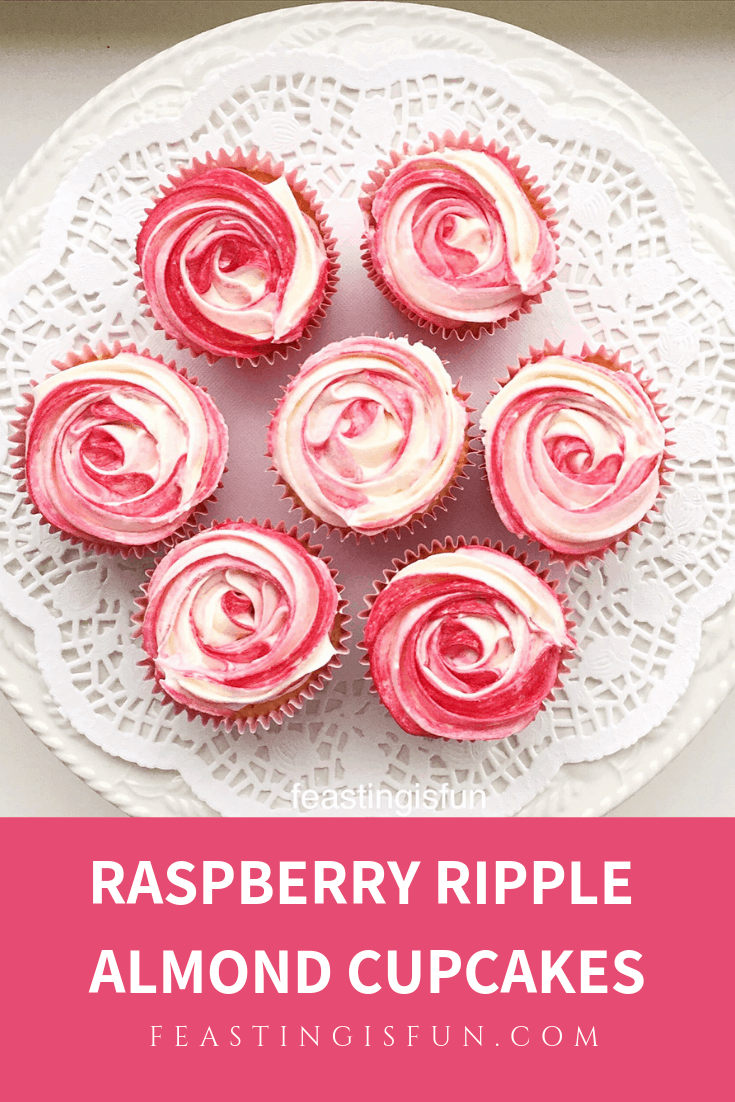
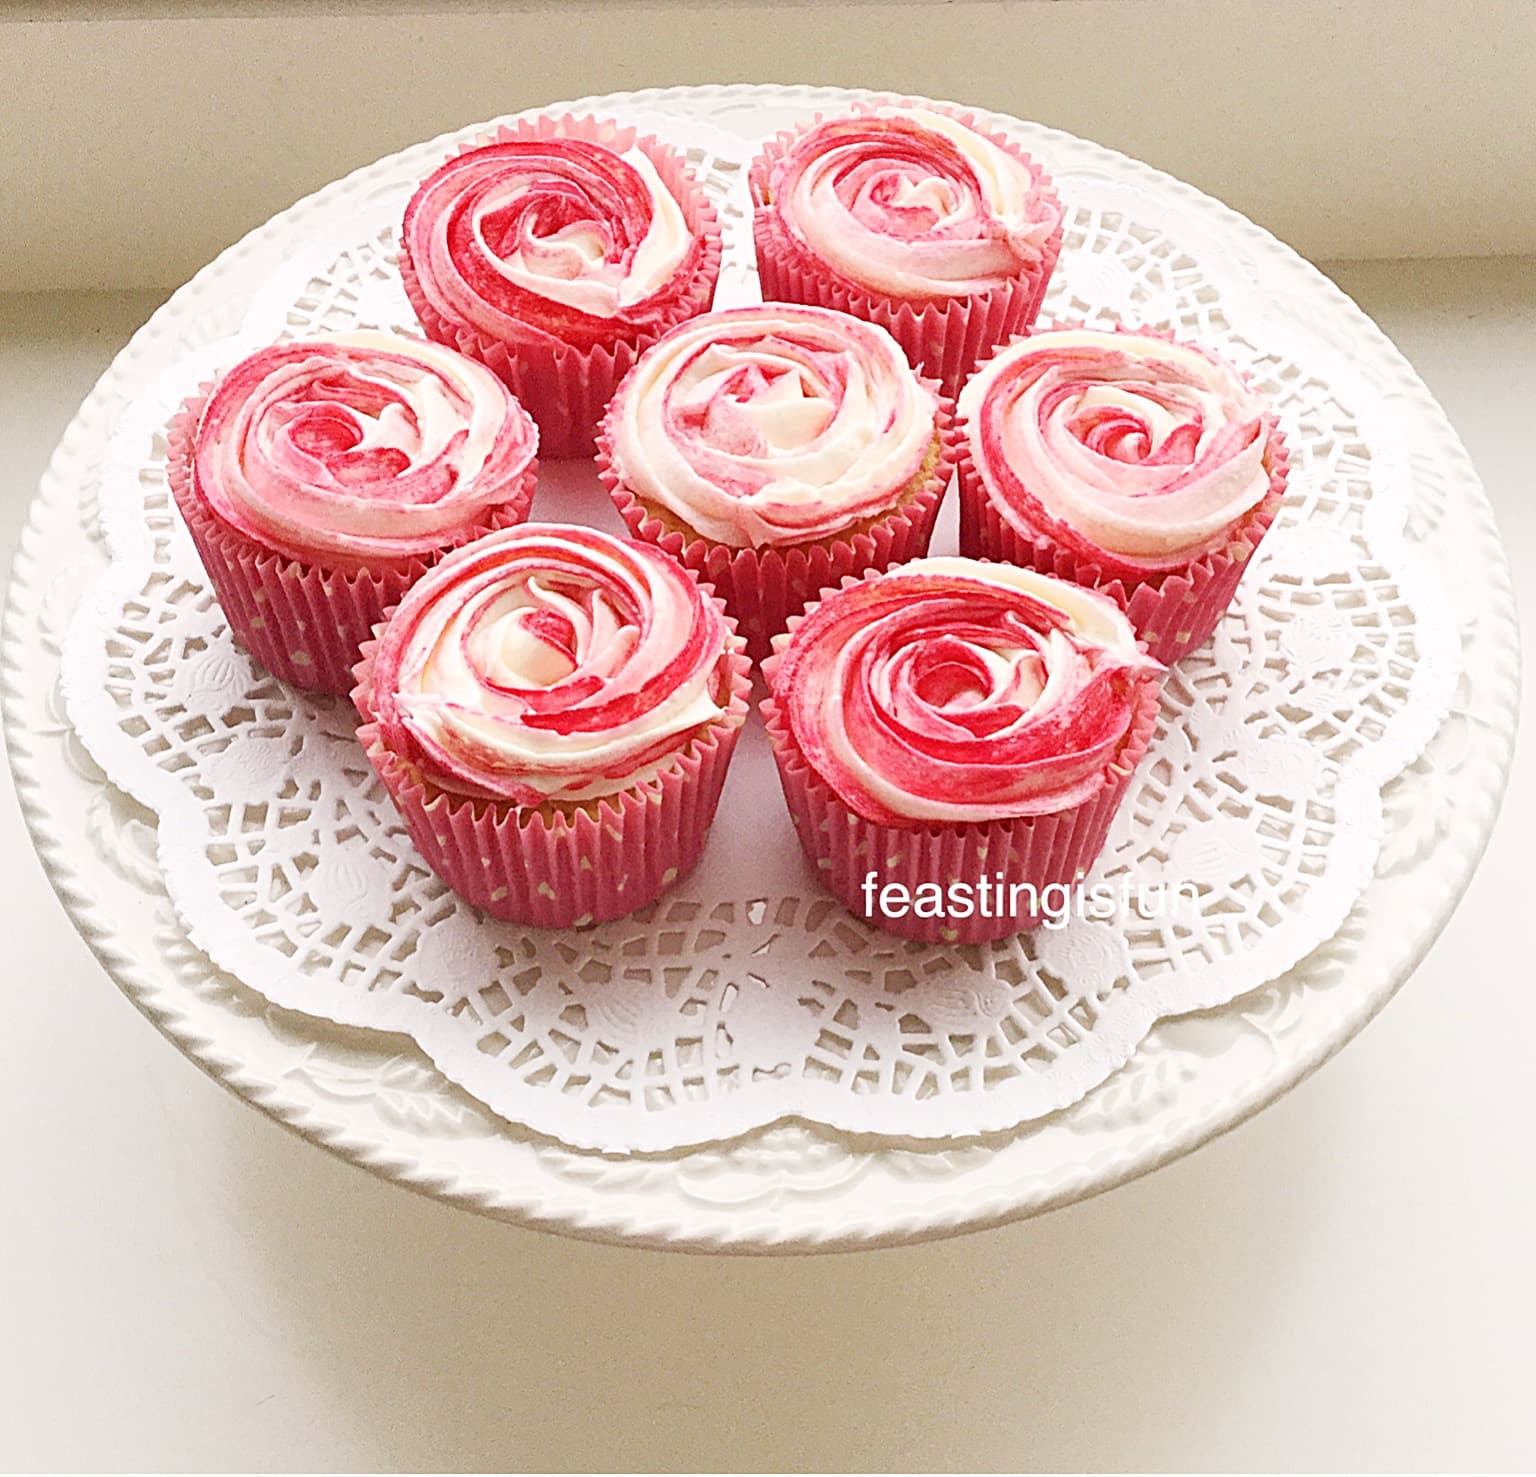
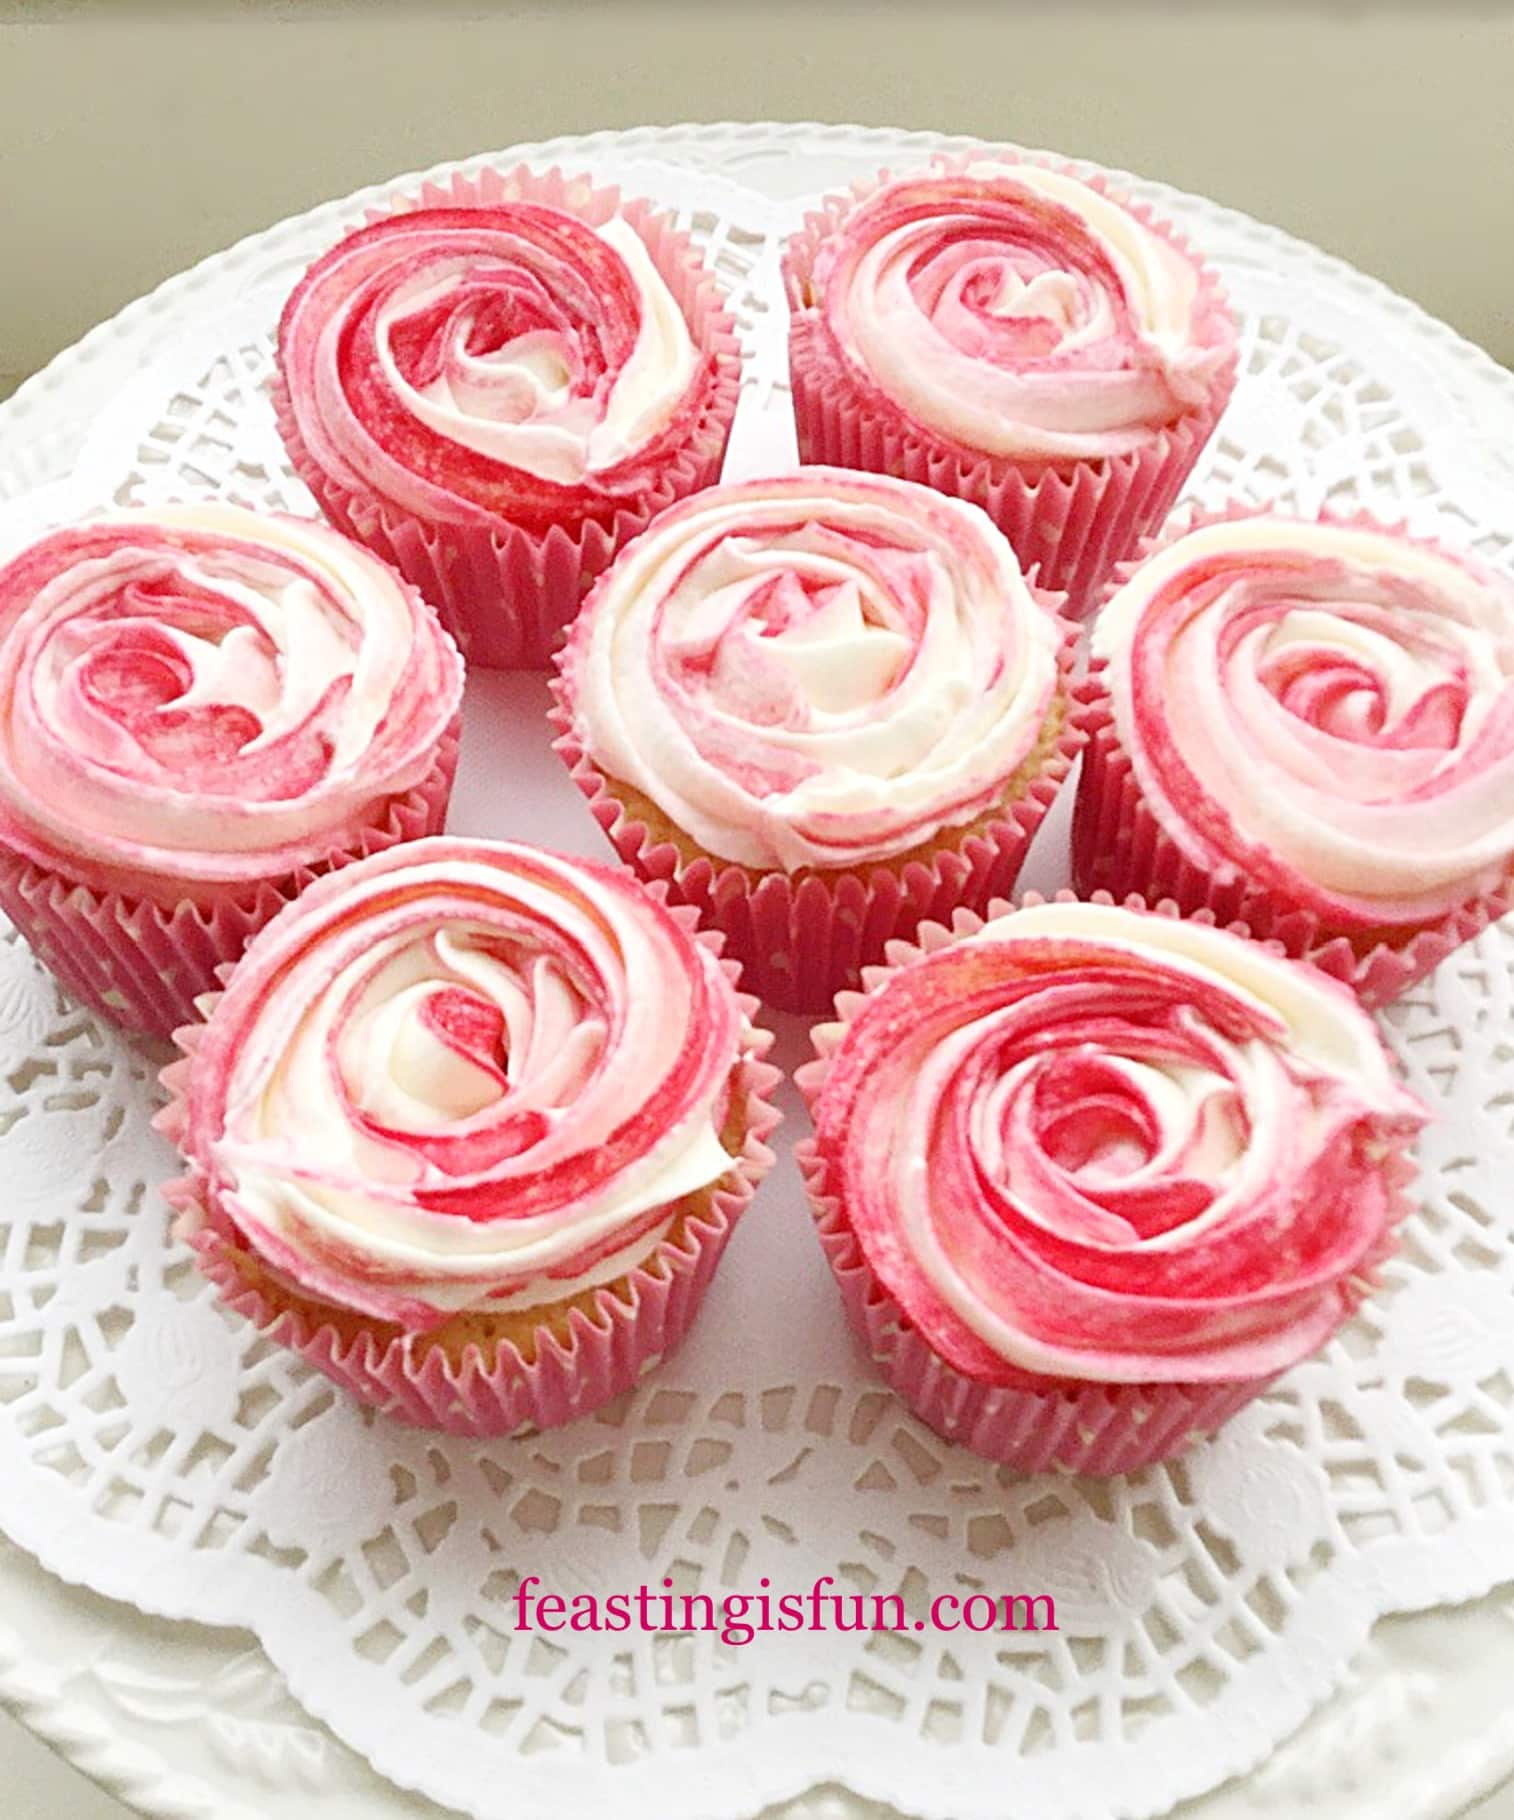
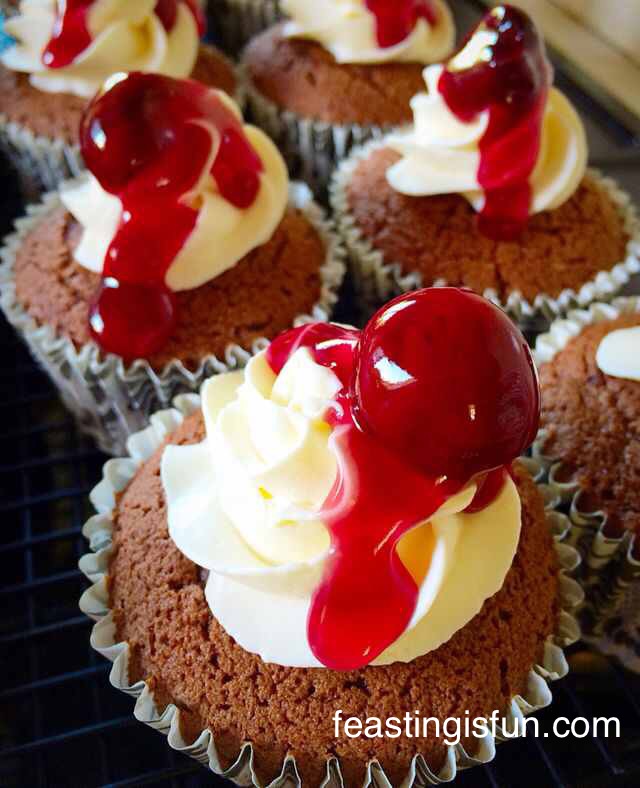
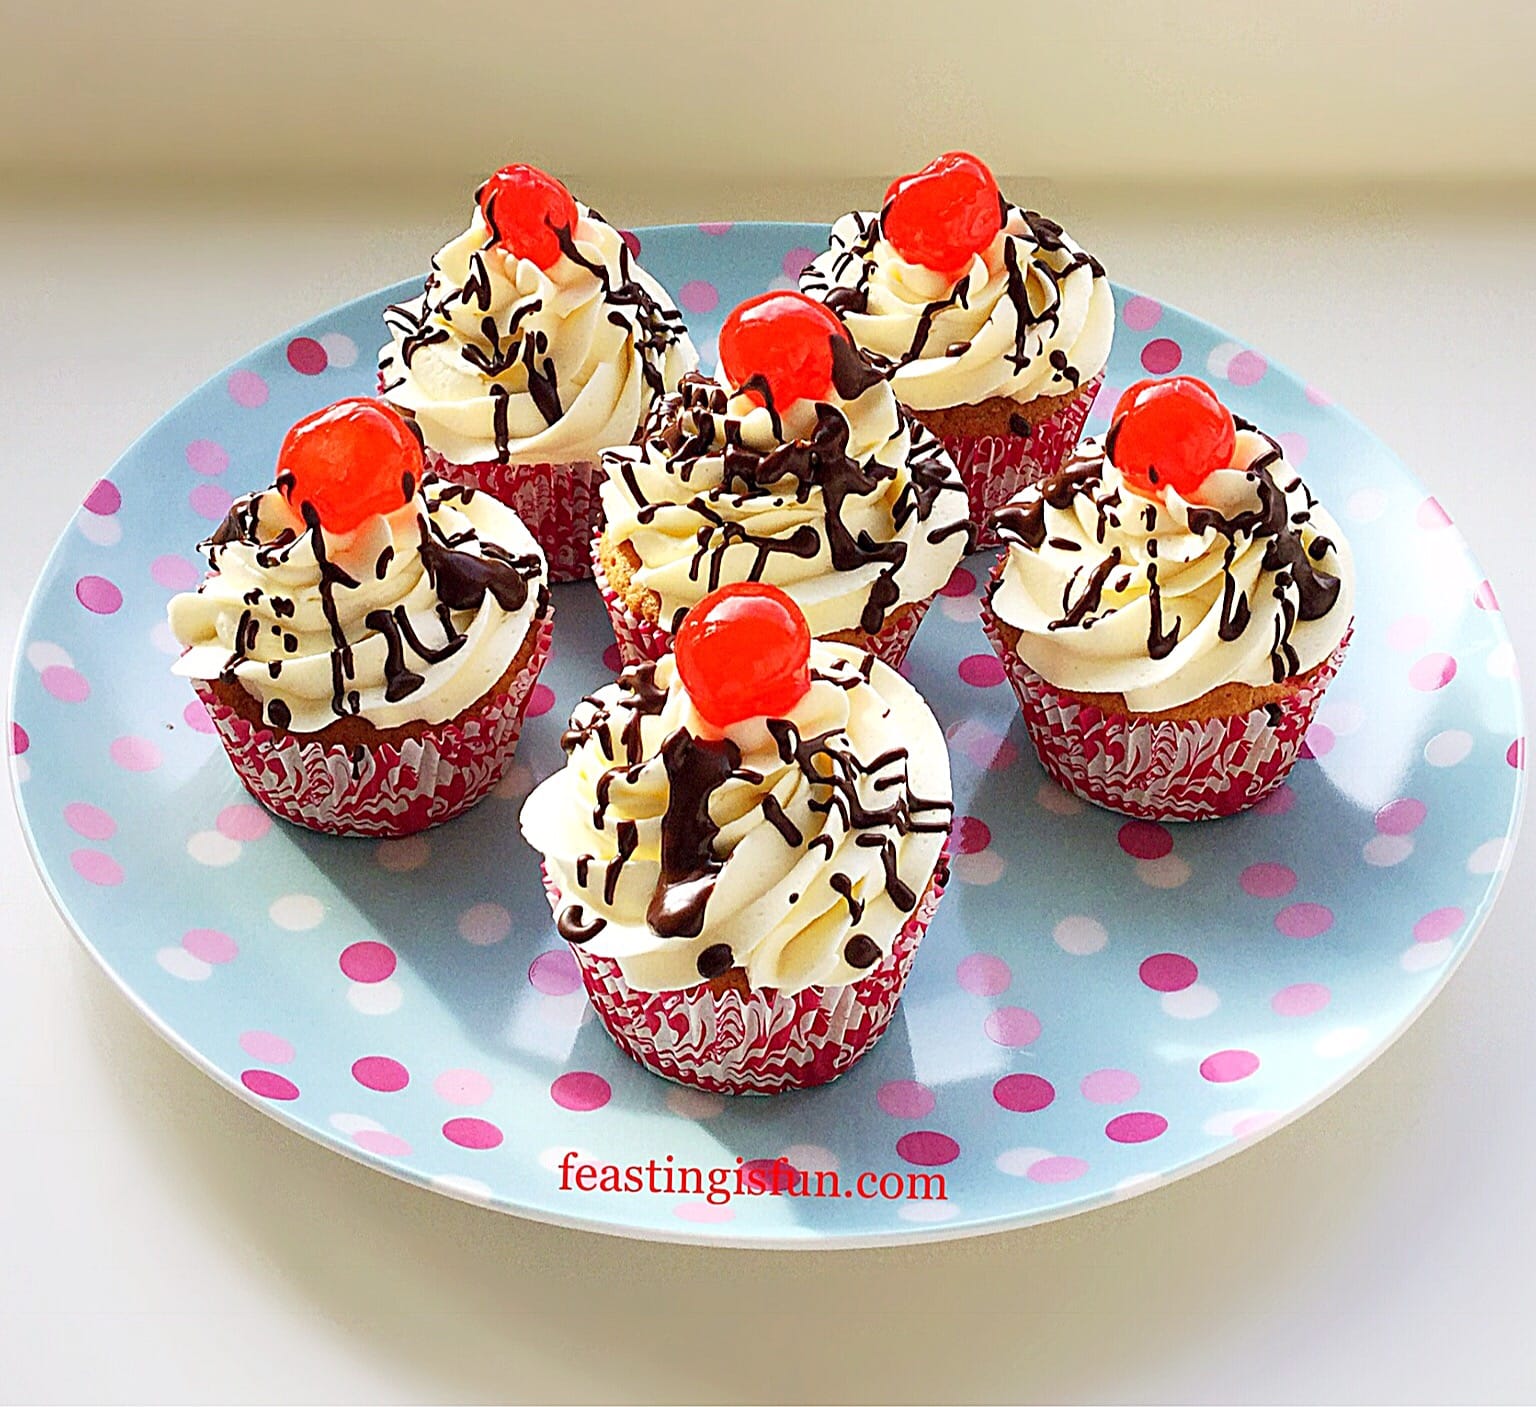
First of all fit a large star tip (I used a Wilton 1M piping tip) to your piping bag and fill with the buttercream. Practice on a clean plate first. Imagine writing the letter e, when you get to the end of the you contine round in a complete circle. It is that easy!! A few practices, keeping the pressure on your piping bag steady and you will have piped roses! This cake is only the second time I have piped these roses! The first time was these Raspberry Ripple Almond Cupcakes.

Strawberry Sweetheart Cake
Strawberry Sweetheart Cake roses piped around the sides.

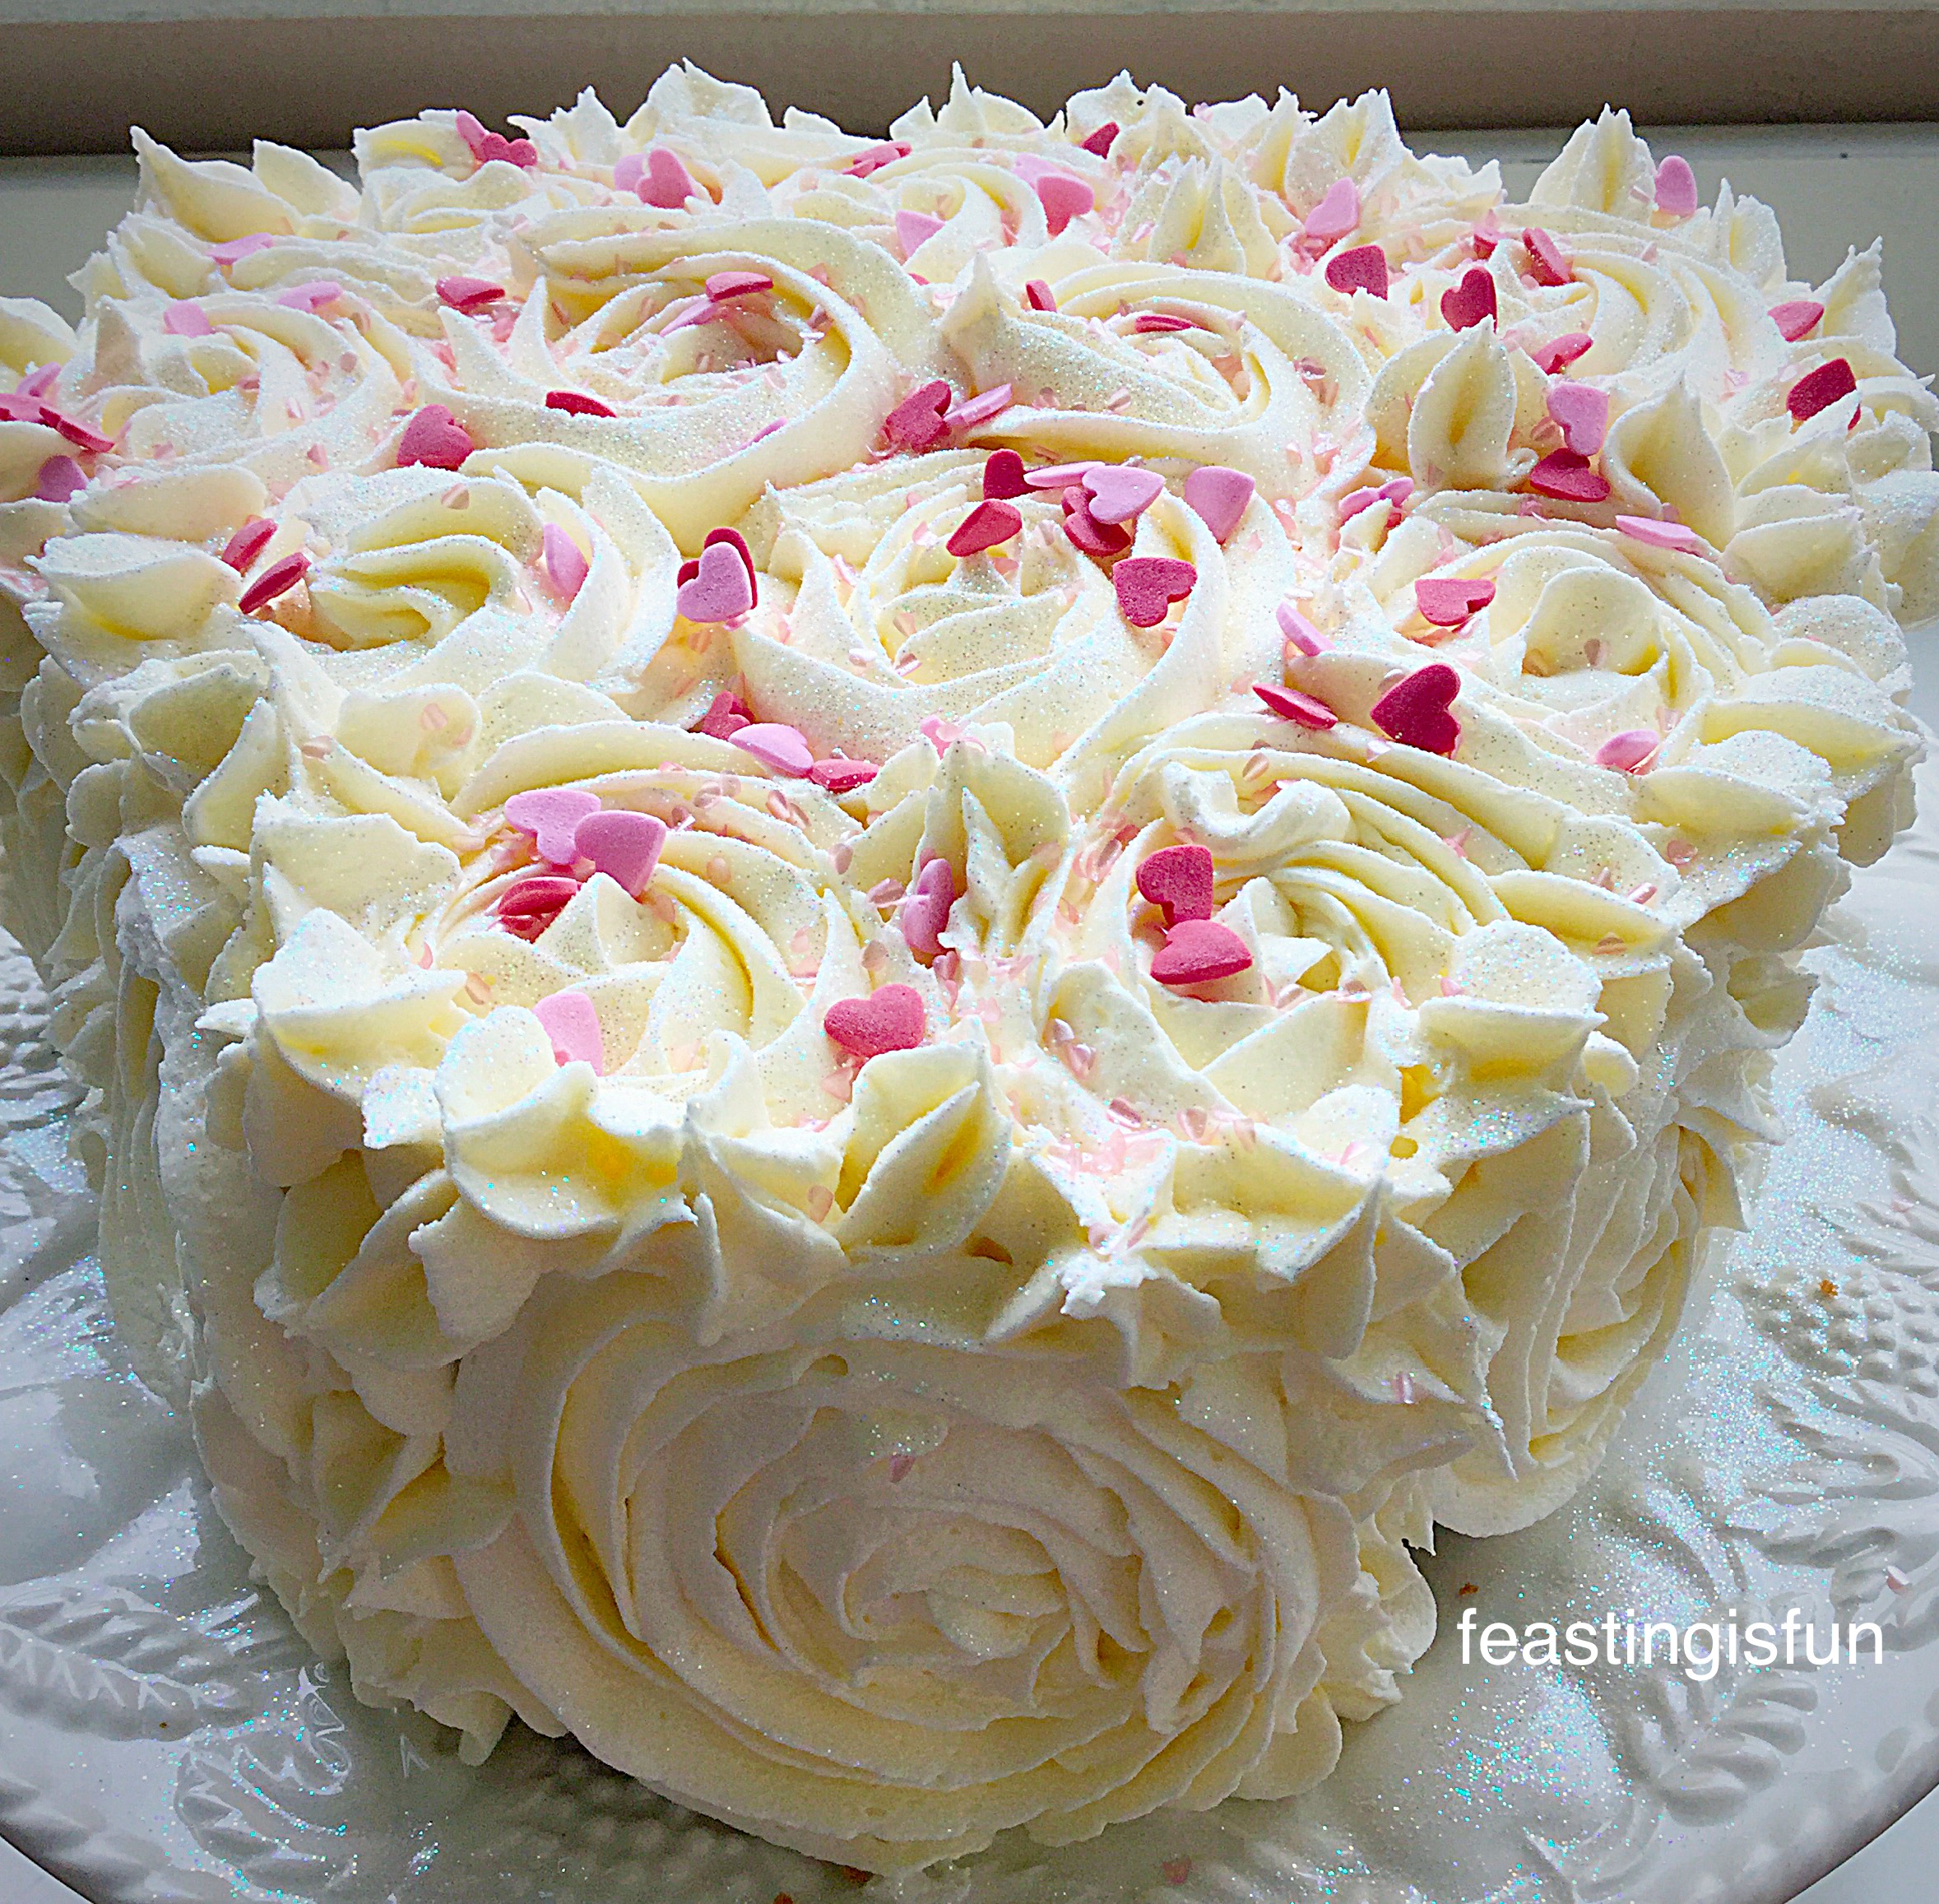
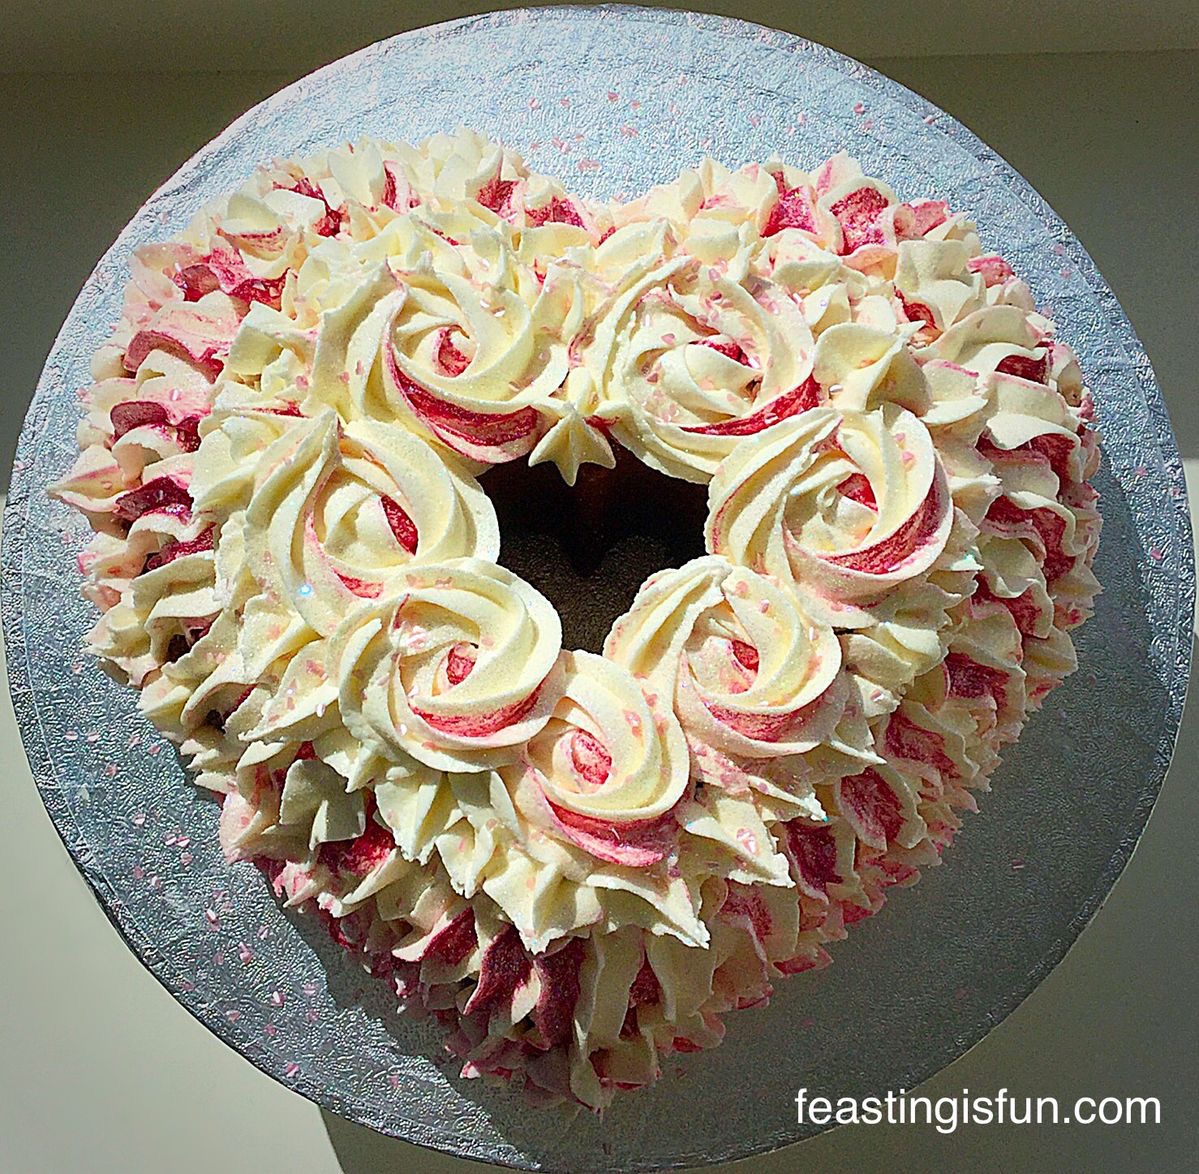
I will admit that piping the roses around the sides was a bit harder. So I piped either side of the heart first and once I’d got the hang of it piped the final rose on the point of the heart. Continuing with the same tip, I piped little stars in between the roses to fill in any gaps and then defined the heart by piping stars all the way around the top edge.

Strawberry Milkshake Sweetheart Cake
Strawberry Sweetheart Cake a view of the side – using piped stars to fill in any gaps.

A sprinkle of sparkle:

Finally, glitter, shiny hearts and more heart sprinkles finished this cake off beautifully. At least that’s what my hubby thought and this cake was made especially for him!

Baking for my family, as I’ve mentioned before, is one way I like to show them my love. This past year has been very hard on us all, due to my seizures (see here). Especially my hubby, who has looked after not only me, but our three gorgeous children, as well as holding down a demanding, full time job. Wanting to show my love for him on this particular day was very important to me and as a family, we all get to eat the cake, my way of saying thank you and I Love You all.

Recipe: Makes One Strawberry Sweetheart Cake serves 20

250g/9oz Caster Sugar

250g/9oz Unsalted Butter – at room temp.

1/4tsp Salt – I use Maldon

1tsp Vanilla Bean Paste or Vanilla Extract

250g/9oz Plain White Flour

2tsp Baking Powder

6 Large Eggs – I always use free range

200g/7oz Strawberry Jam

Assortment of sprinkles and edible glitter

For the buttercream

500g/1lb 2oz Strawberry Milkshake Icing Sugar – or alternatively use plain icing sugar and add your own flavouring to taste.

250/9oz Unsalted Butter very soft

2tbsp Boiling Water

Method: Preheat the oven to 160C/140C fan, gas mark 3, 325F – this cake is cooked low and slow.
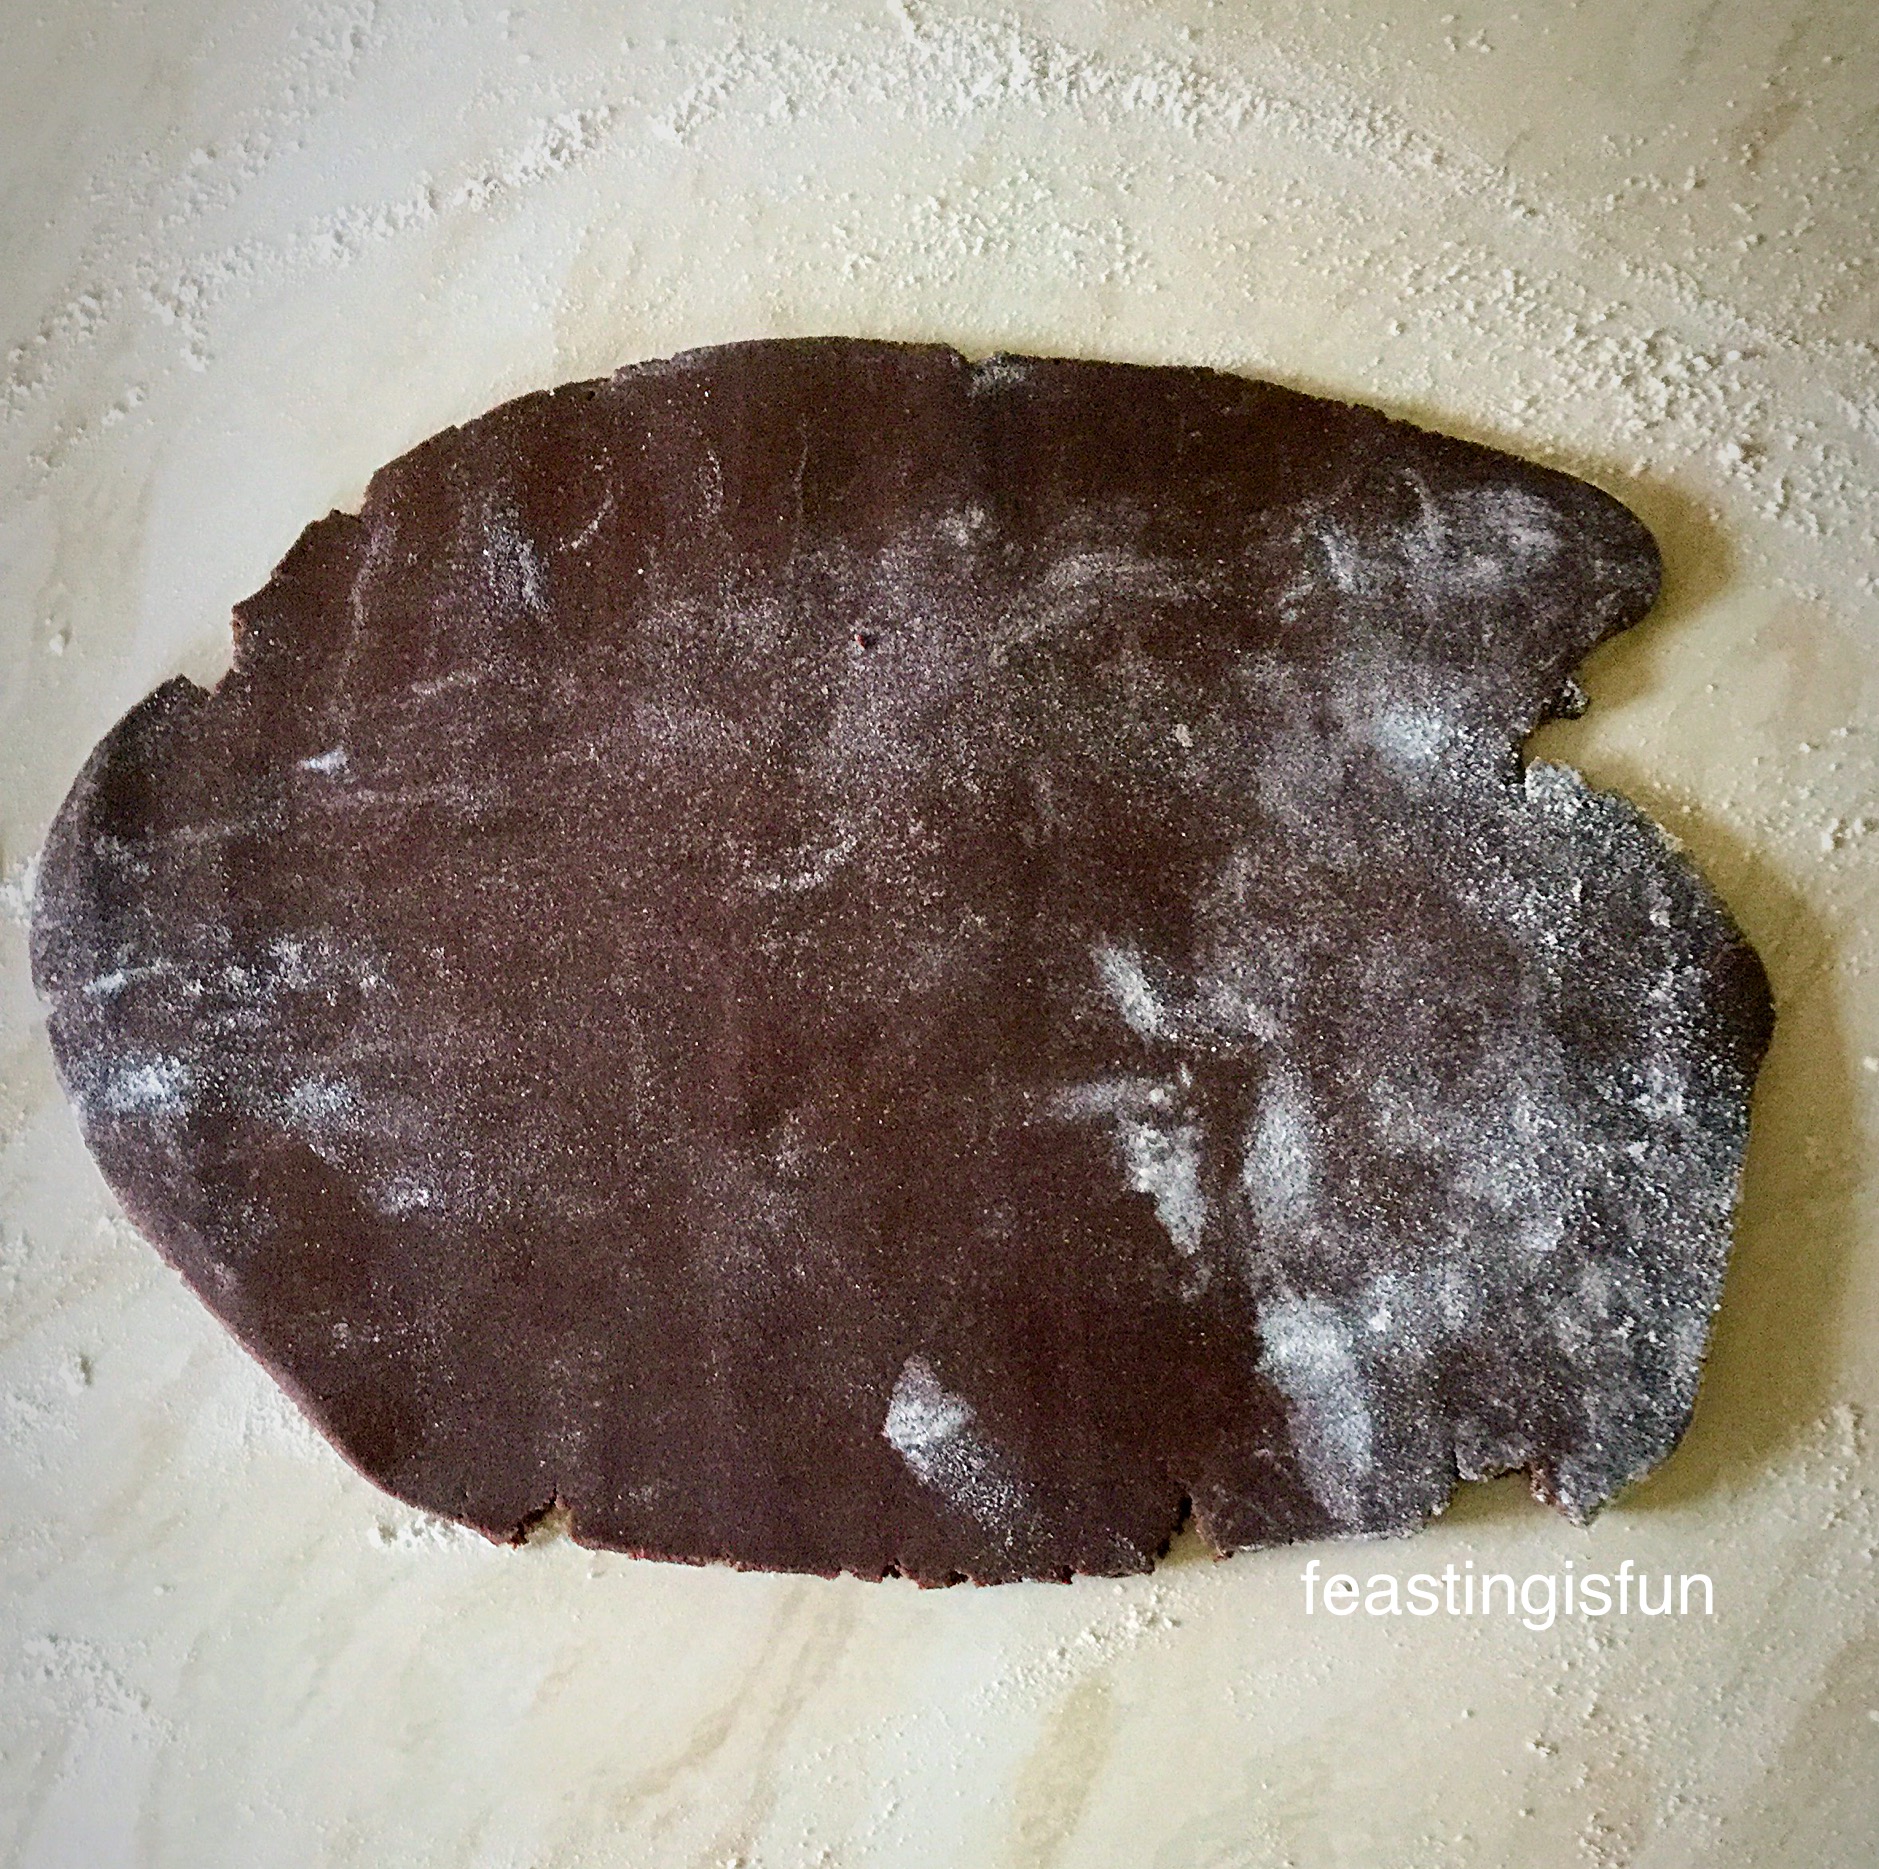
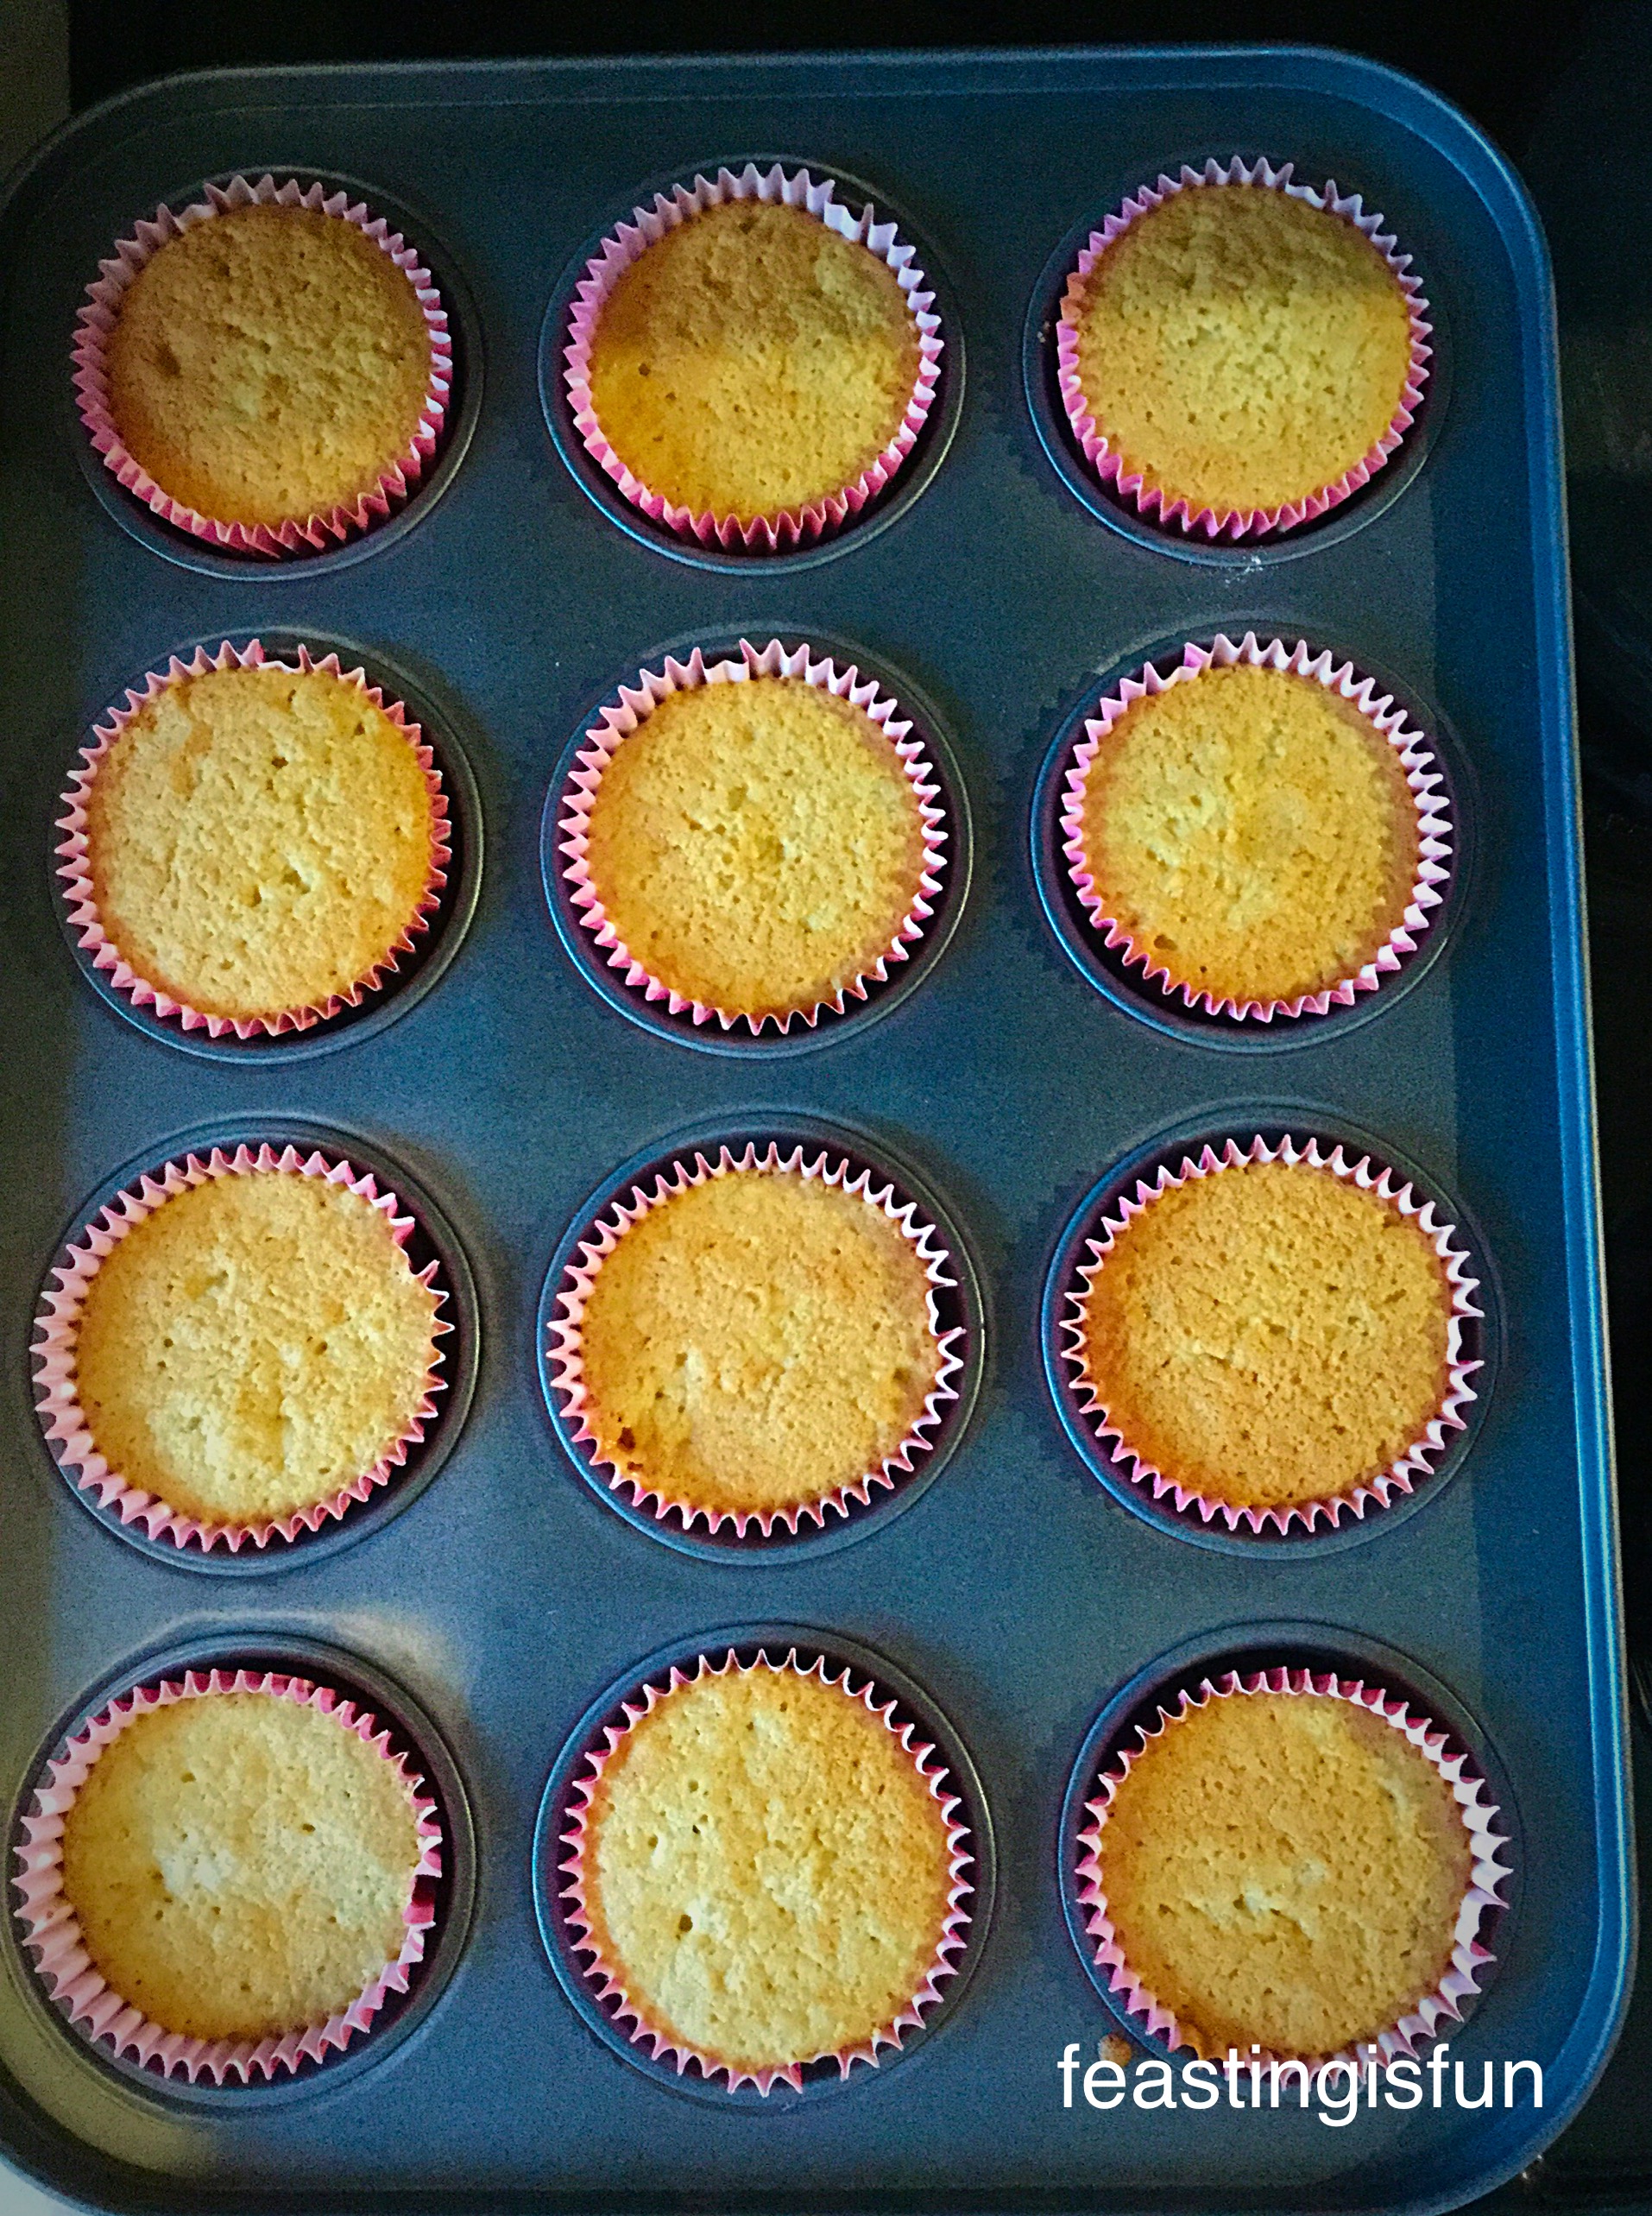
Making the cake:

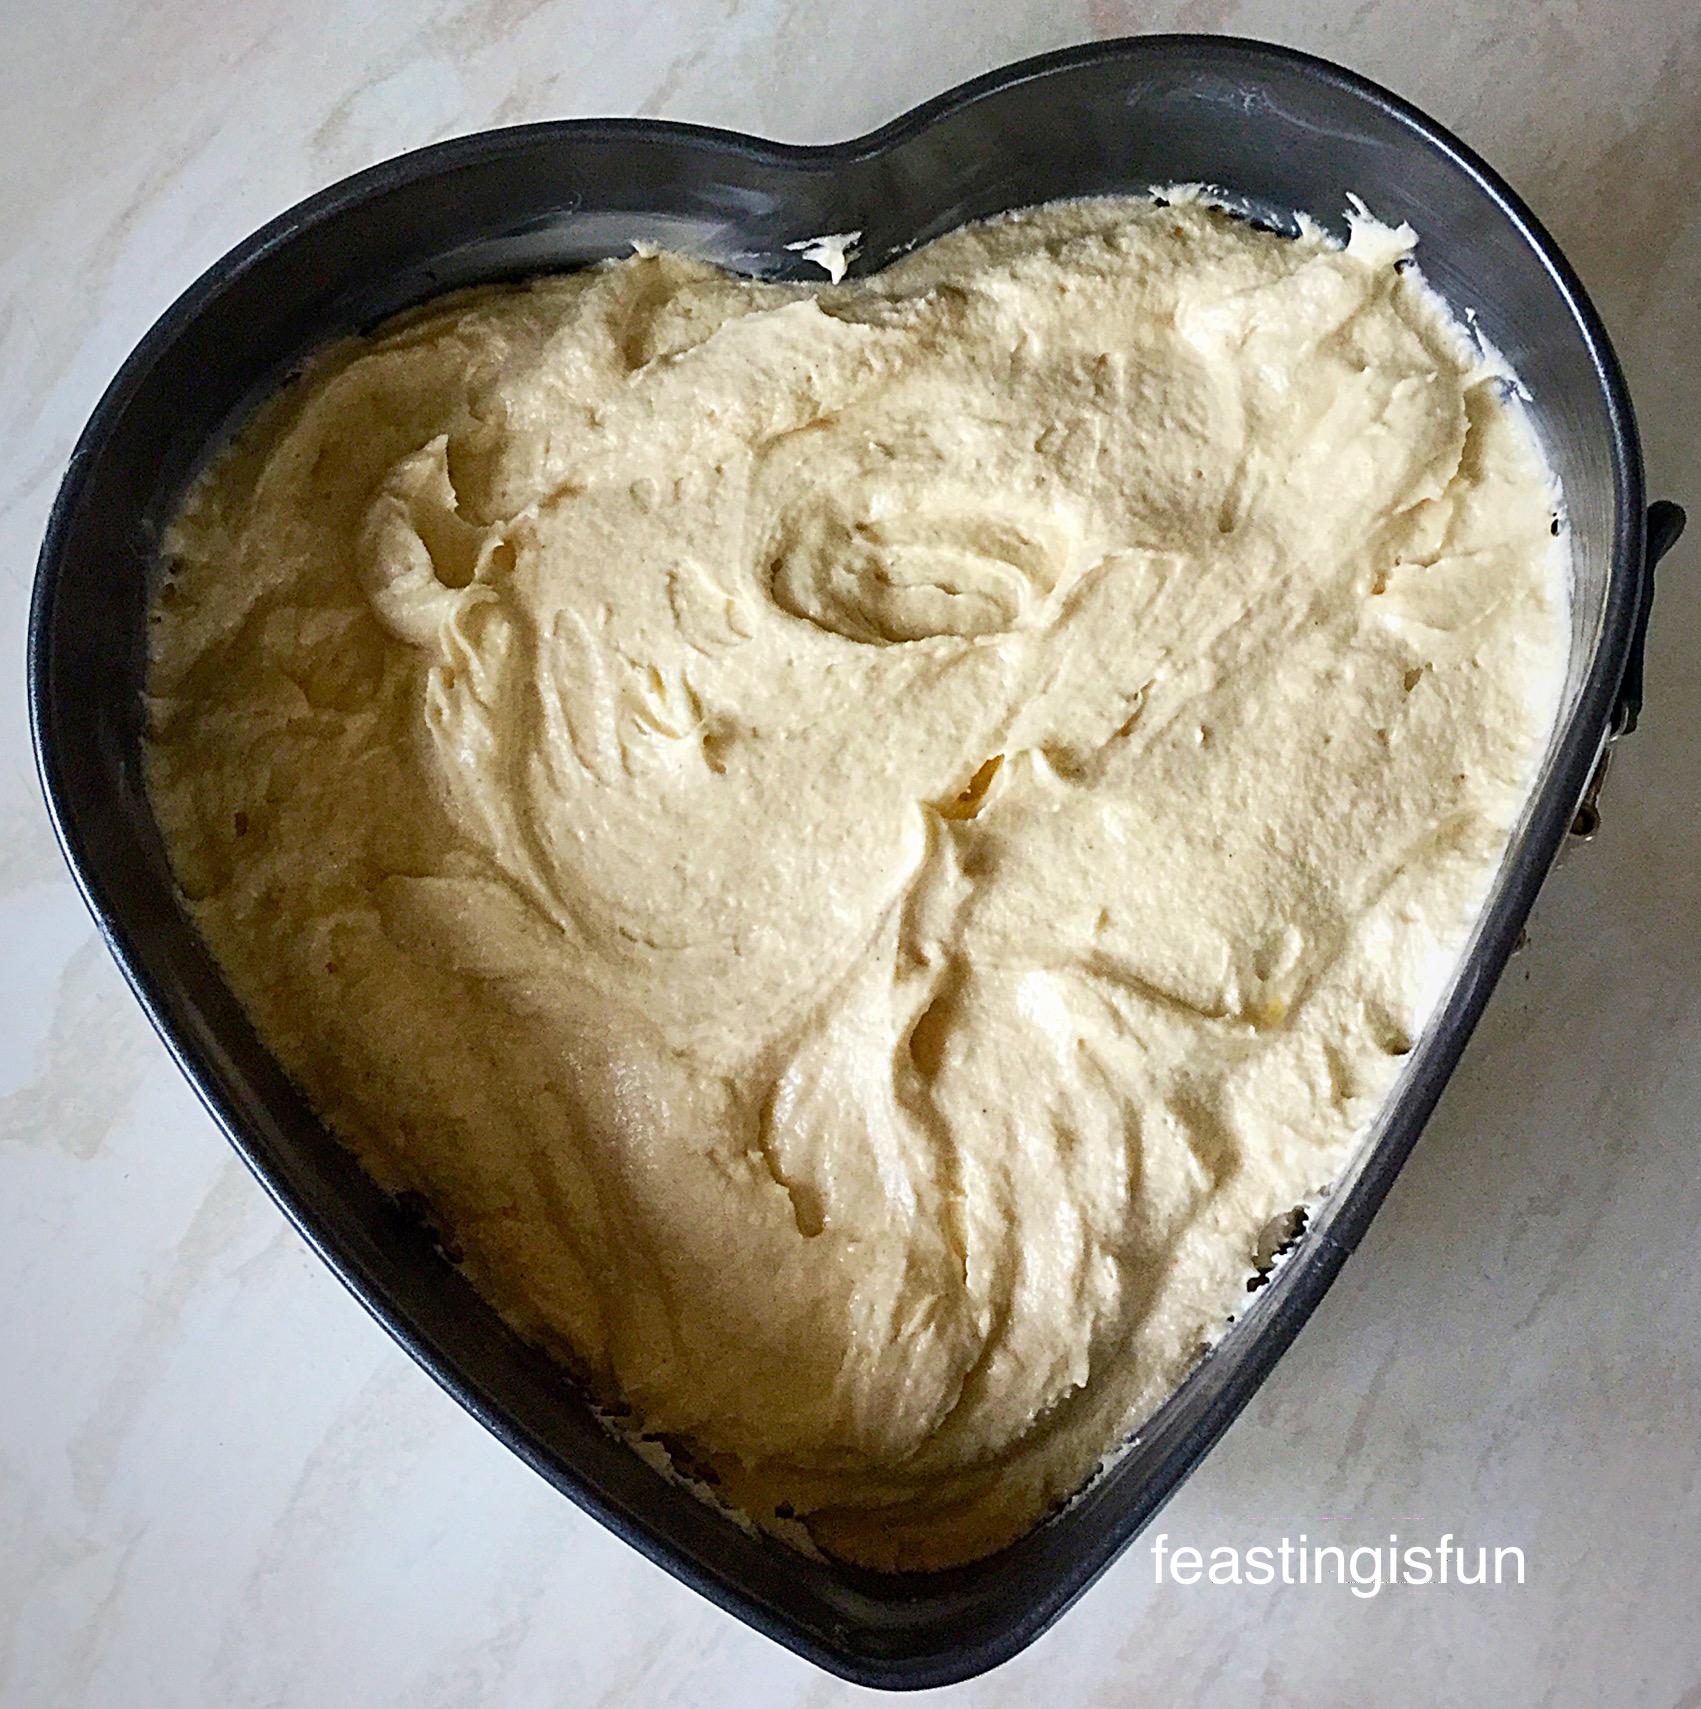
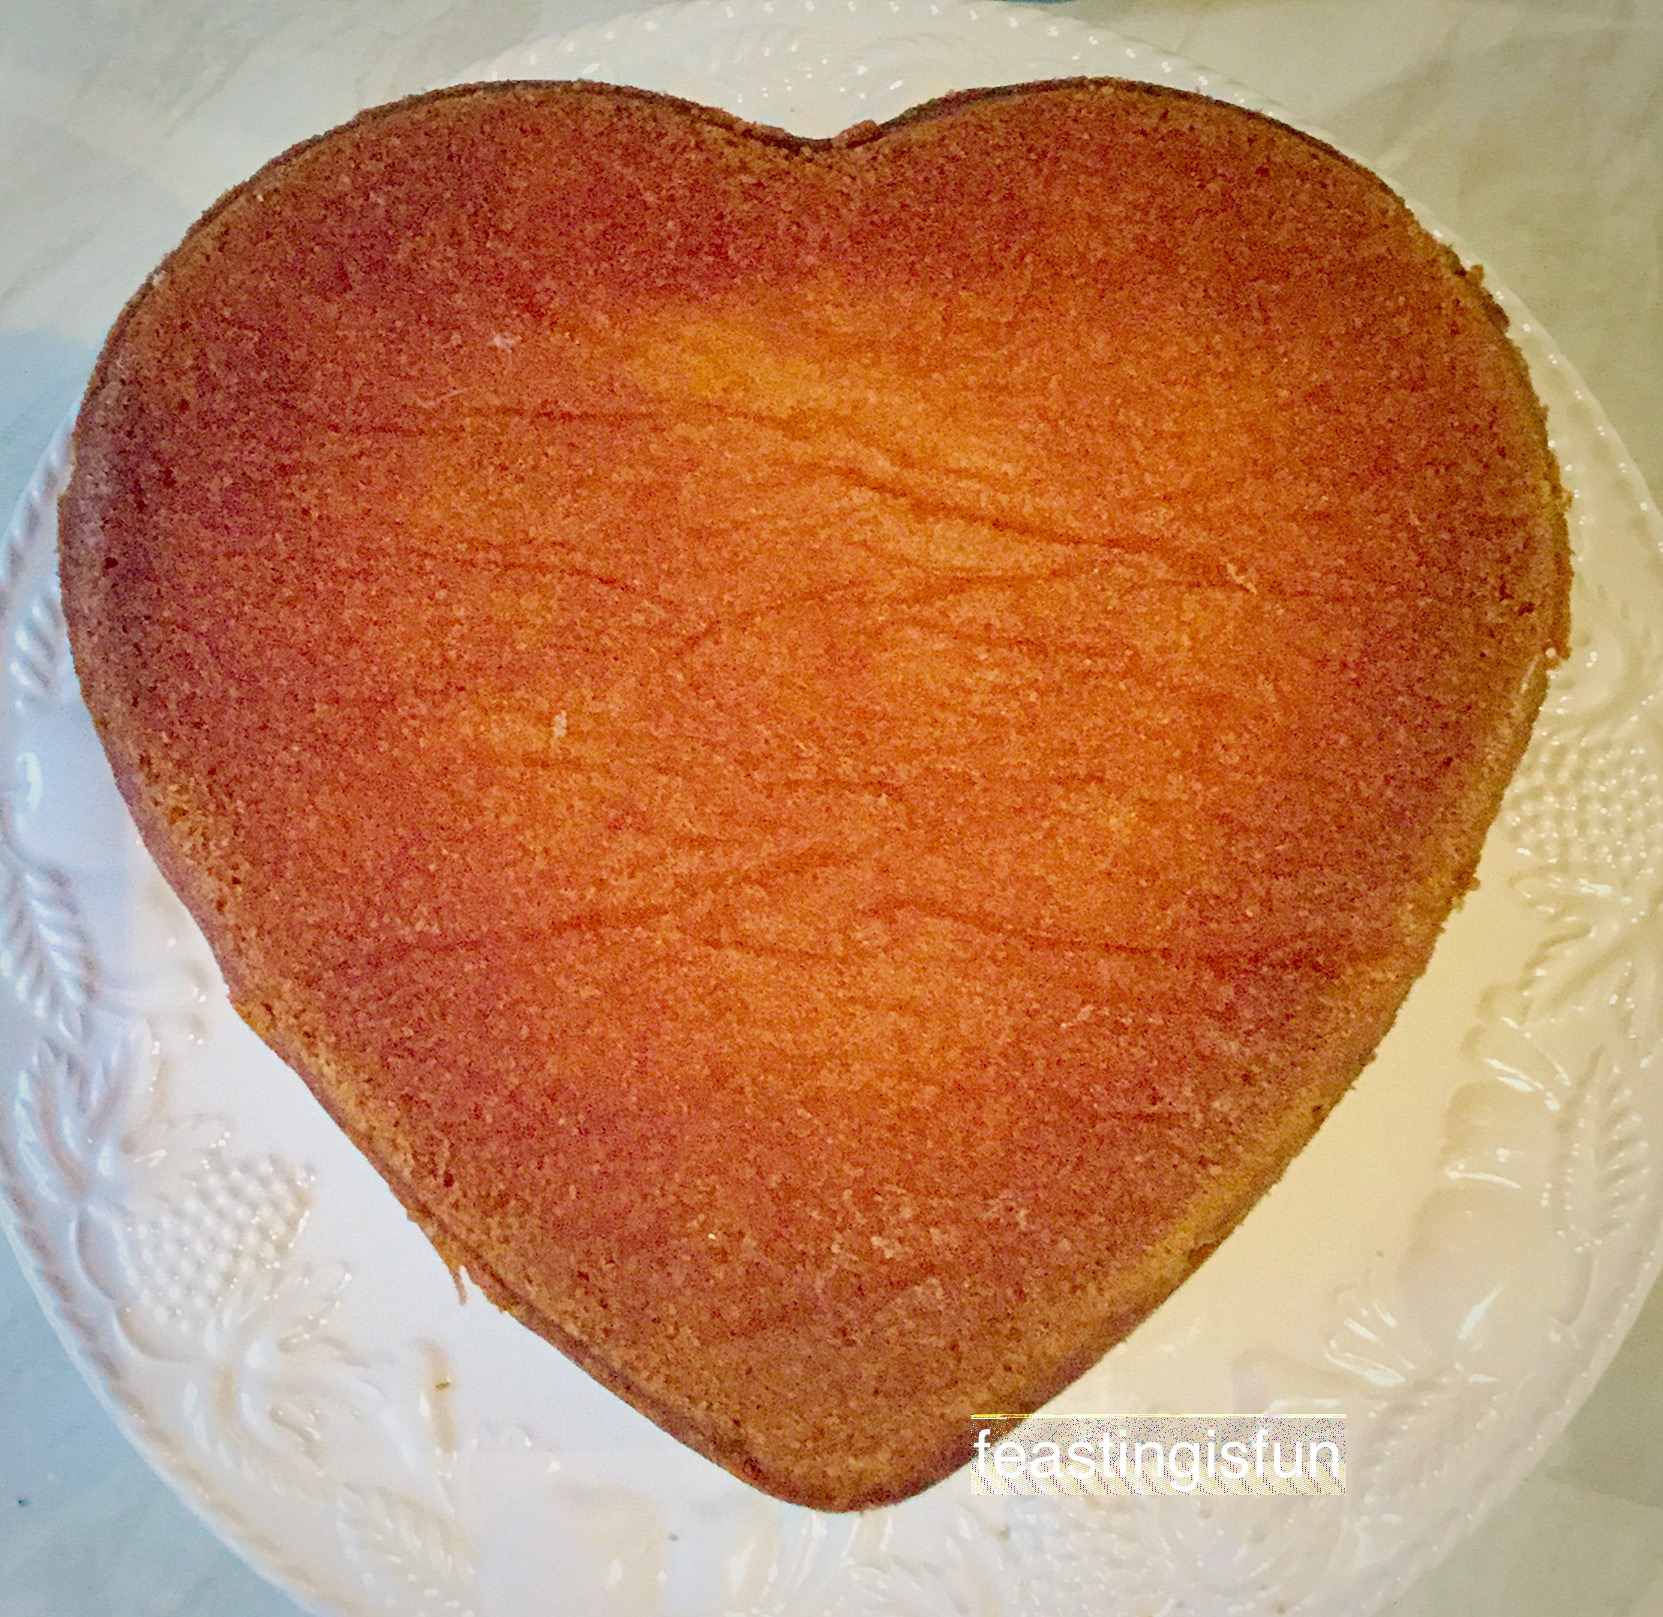
  • First of all butter and line the base of a heart shaped tin with baking parchment. If the tins are shallow split the mixture, so that it comes half way up your cake tin.
  • Into a large bowl add the butter and sugar.
  • Whisk until pale and fluffy – 5 minutes.
  • Add the vanilla and whisk to combine.
  • Sift the flour, baking powder and salt into another bowl (dry ingredients).
  • Add one third of the dry ingredients and 3 eggs.
  • Whisk slowly until combined.
  • Repeat using one third of the dry mixture and 3 eggs.
  • Whilst whisking slowly add the final third of the dry mixture.
  • Remove the whisk and give the bowl a thorough mix using a soft spatula, ensuring all the ingredients are well combined.
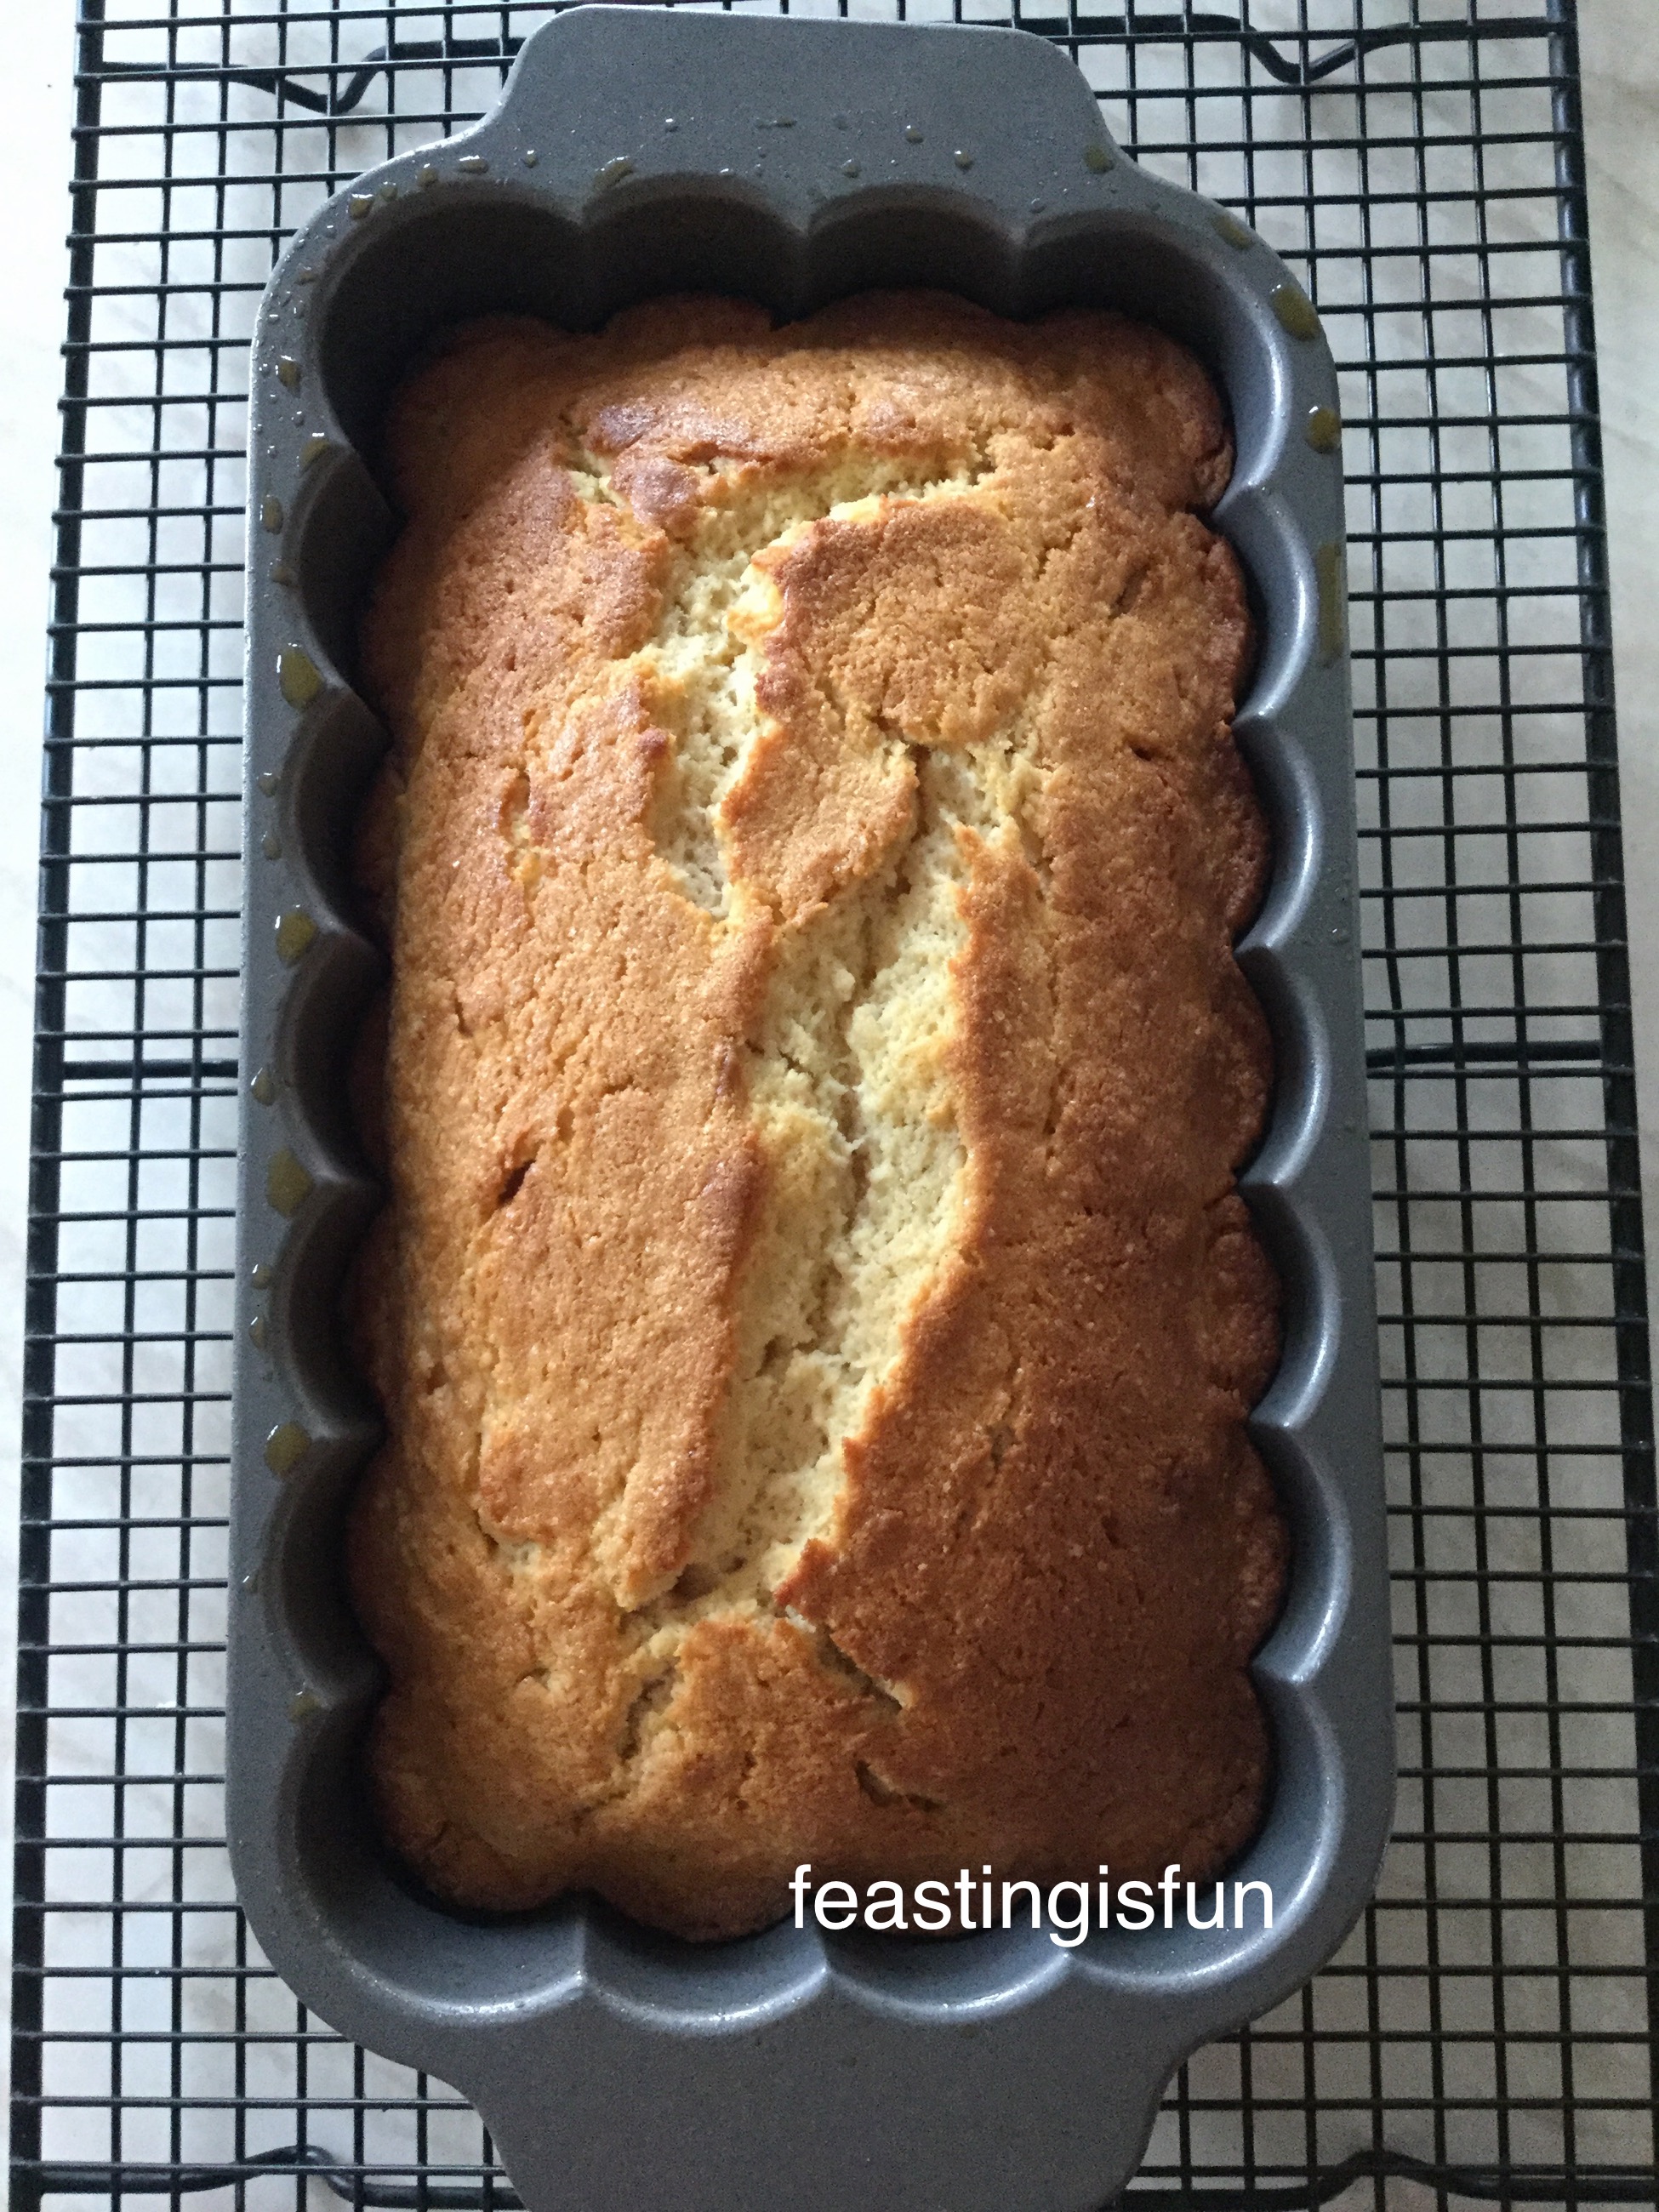
Strawberry Sweetheart Cake
Fill the tin with cake batter and smooth the top.

Baking the cake:

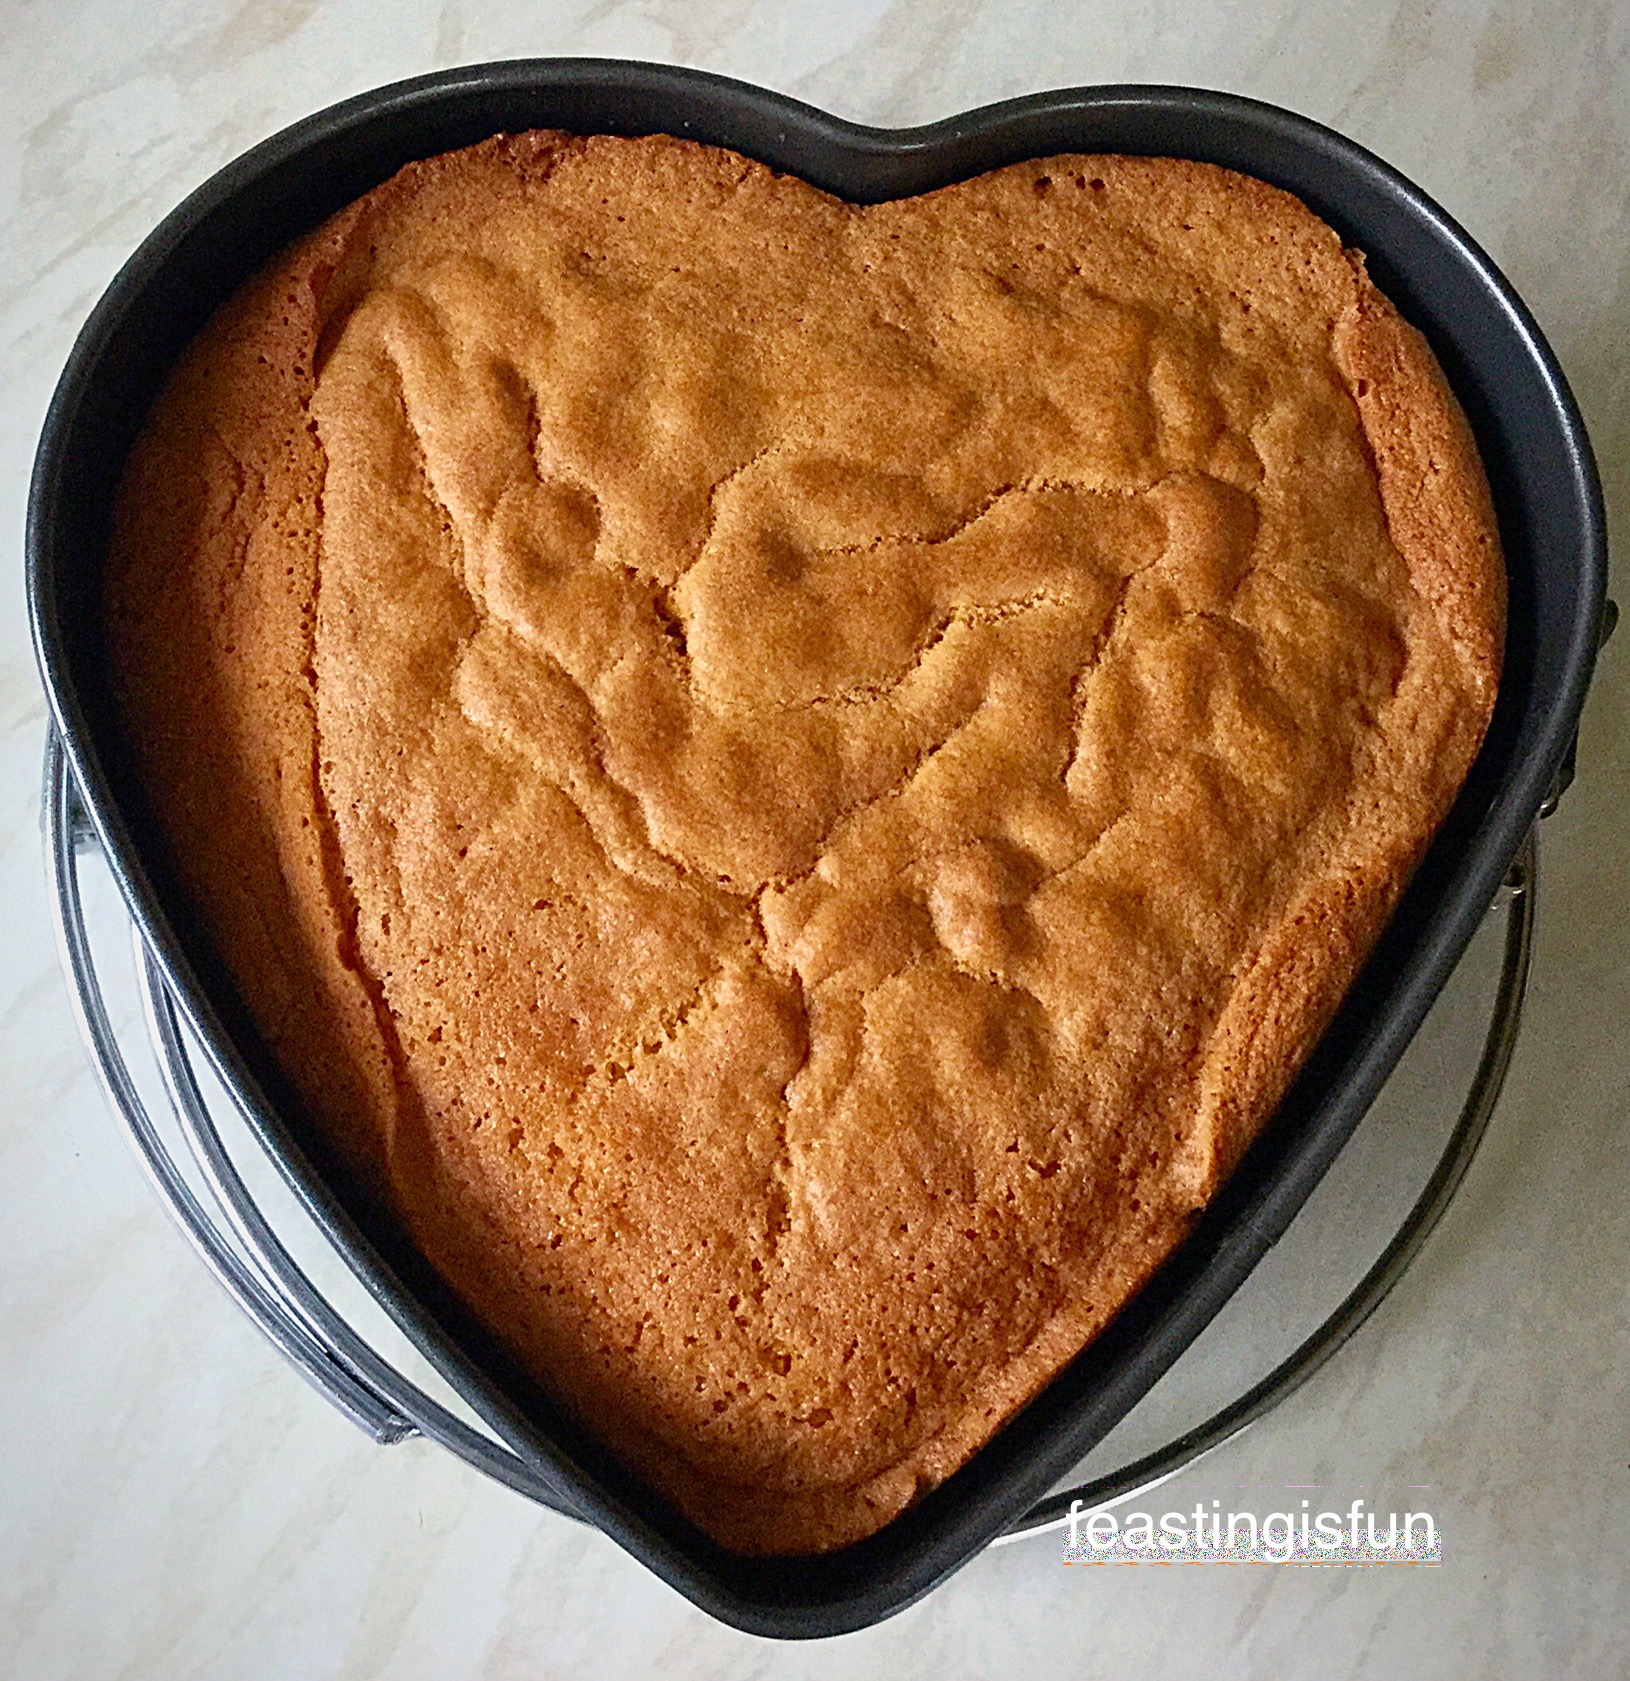
  • Place the cake tin in the centre of the oven and bake for 1 hour 15 – 30 minutes.
  • The cake is baked when it is golden brown, springs back from a light finger press and an inserted skewer comes out clean.
Strawberry Sweetheart Cake
Remove the cake from the oven.
  • Place the cake tin on a large trivet or cooling rack.
  • Allow the cake to cool completely in the tin.

Filling and decorating the cake:

  • Once the cake is completely cold, tip out of the cake tin and place on a cake stand or board, so that the flat bottom is uppermost.
Strawberry Sweetheart Cake
Very carefully slice the cake in half.
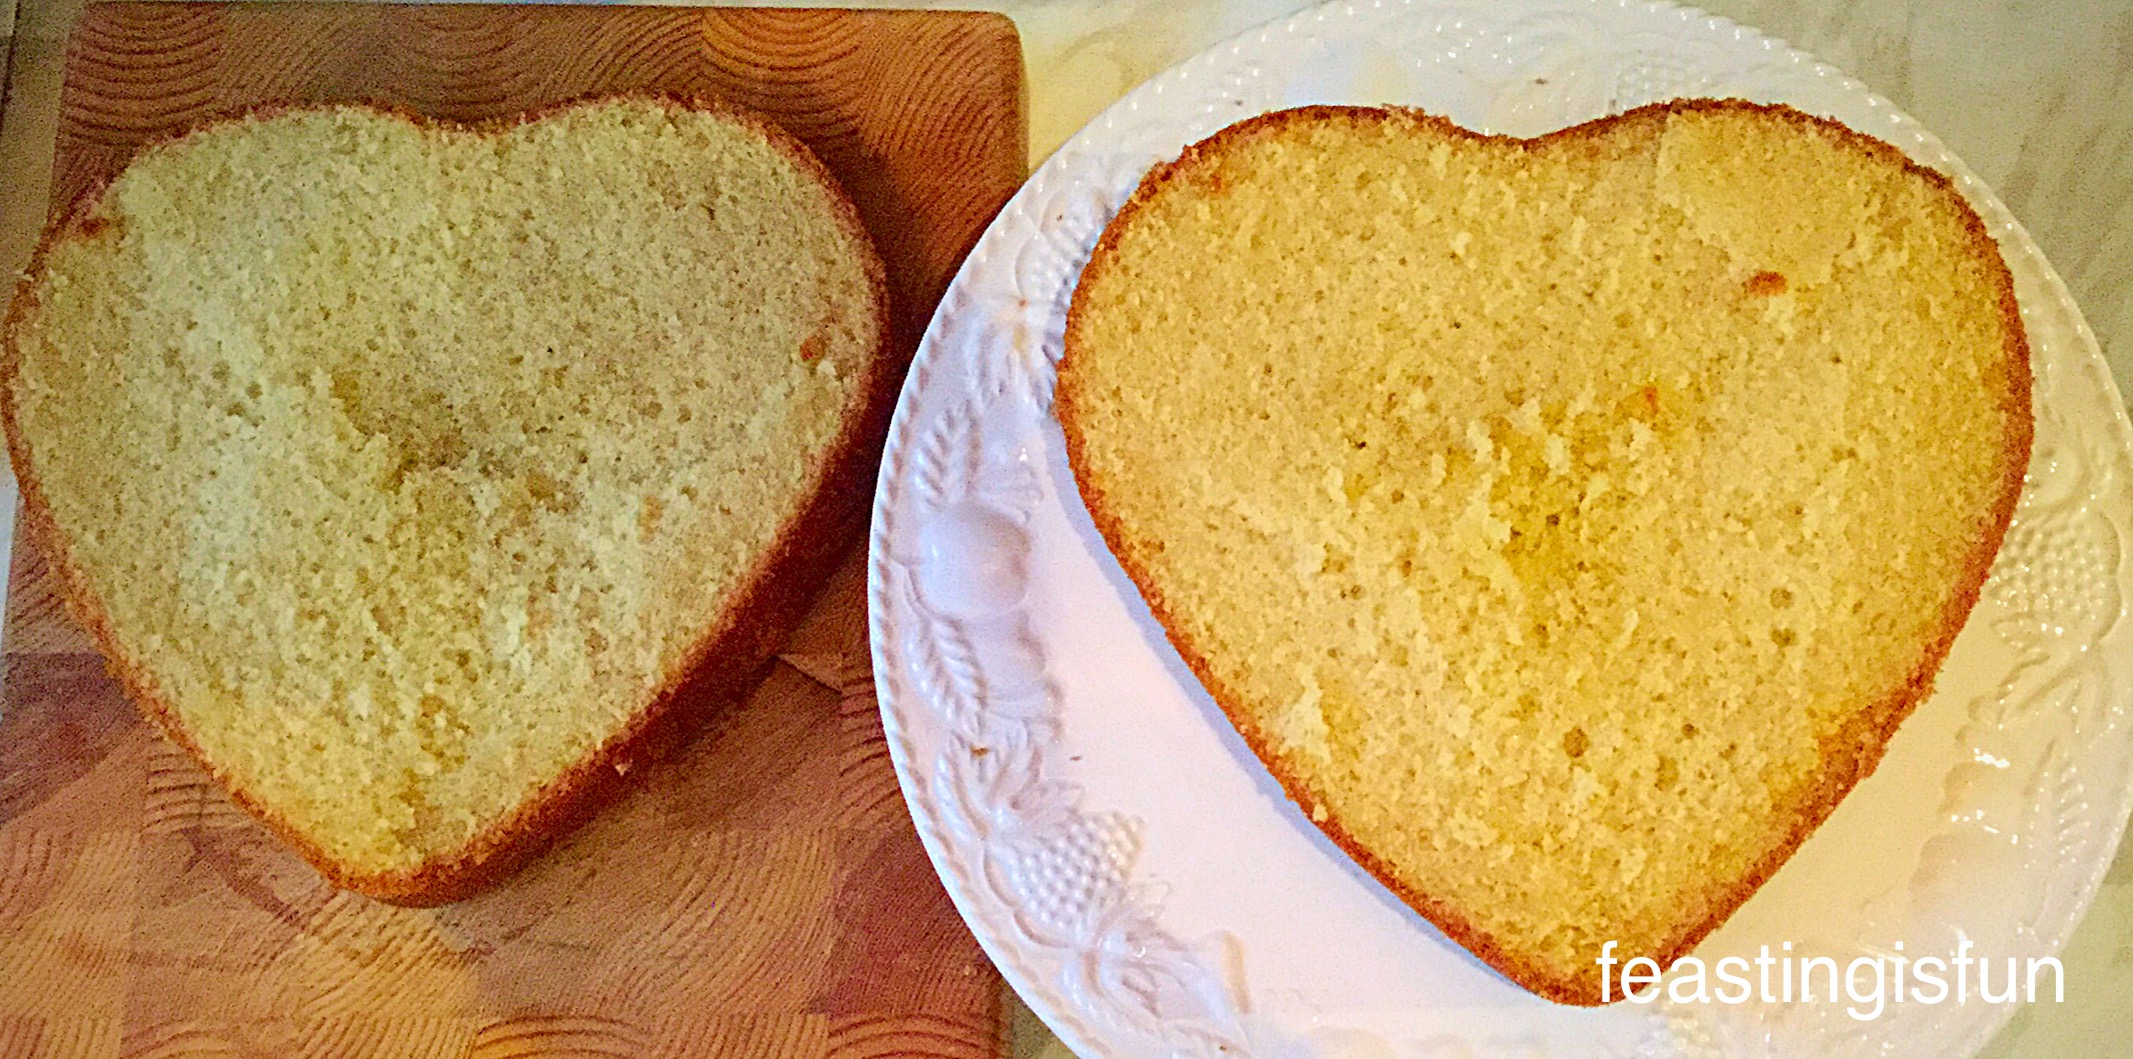
  • Slice the cake in half.
  • Lay the uppermost half on a spare board.

Strawberry Sweetheart Cake

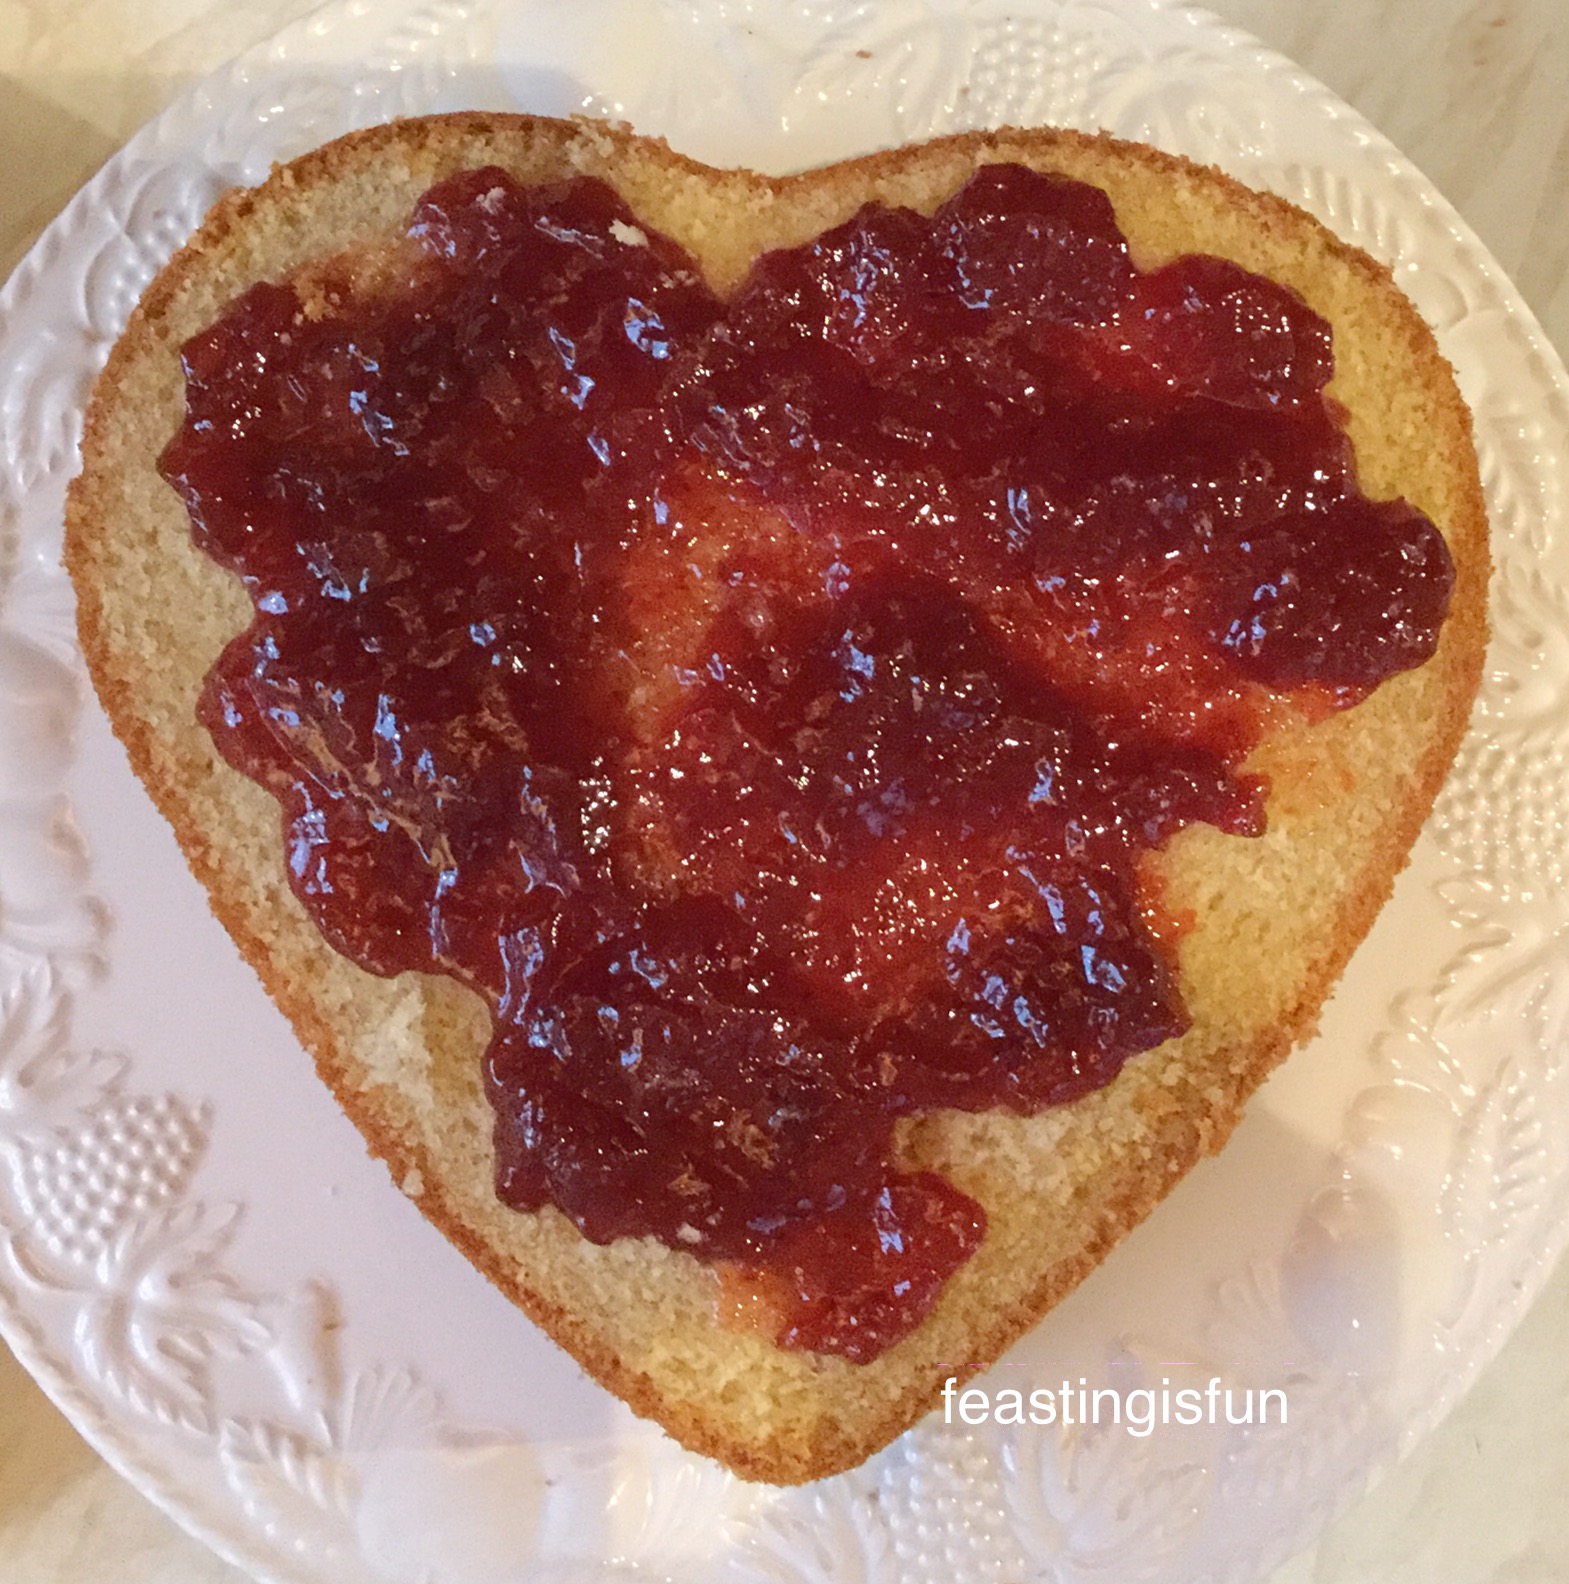
    Spread the strawberry jam over the bottom half so that it doesn’t quite reach the edge.
  • Sing a spoon spread jam on to the bottom half of the cake.
Strawberry Sweetheart Cake
Lay the top layer onto the jam covered bottom layer.

Making the buttercream:

  • Place the very soft butter into a large bowl.
  • Sift in the flavoured, or plain, icing sugar into the bowl and add 2 tablespoons of boiling water (add 1 teaspoon of vanilla extract, or th required amount of flavouring, if not using flavoured icing).
  • Starting slowly, whisk the ingredients together, increasing the speed as the icing sugar becomes fully incorporated.
  • Continue whisking for 5 minutes, this will ensure the icing is smooth and light.
  • Fit a large icing bag with a large star tip.
  • Finally, fill the icing bag with whpiped buttercream.

Icing the Strawberry Sweetheart Cake:

  • Start with the surface of the cake and pipe a rose swirl at the top, where the dip in the heart is.
  • Continue piping rose swirls symmetrically, either side, of the heart.
  • Finish with a rose swirl at the bottom point of the heart.
  • For the sides, start at the top of the heart bump, on one side and pipe rose swirls around one side and then the other, leaving the bottom point.
  • Go back to the top of the heart and pipe one rose in the heart dip and and additional rose to fill in between the two roses.
  • Repeat on the other side.
  • Now pipe a rose swirl on the bottom point of the heart.
  • Pipes stars wherever there are gaps and visible pieces of cake on the top and sides, trying to keep the pattern symmetrical – especially on the top of the cake.
  • Also pipe stars on the top of the cake around the heart outline.
Strawberry Sweetheart Cake
A beautifully covered Strawberry Sweetheart Cake.

Finishing touches:

Now you can sprinkle away. I firstly gave this beautiful cake a good dusting of white edible glitter and then sprinkled two different styles of hearts over it.

Strawberry Sweetheart Cake
Strawberry Sweetheart Cake shimmering and sparkling in the sunshine.

Place the cake somewhere cool to set for a couple of hours. This cake spent the night in our porch, since it was particularly chilly February evening.

Because of the addition of boiling water into the buttercream mixture, this buttercream will not develop a hard crust. As this not only improves the texture whilst eating the cake, but also means that the buttercream is a dream to slice through!

Strawberry Sweetheart Cake
Strawberry Sweetheart Cake one delicious slice – that didn’t last long!!!

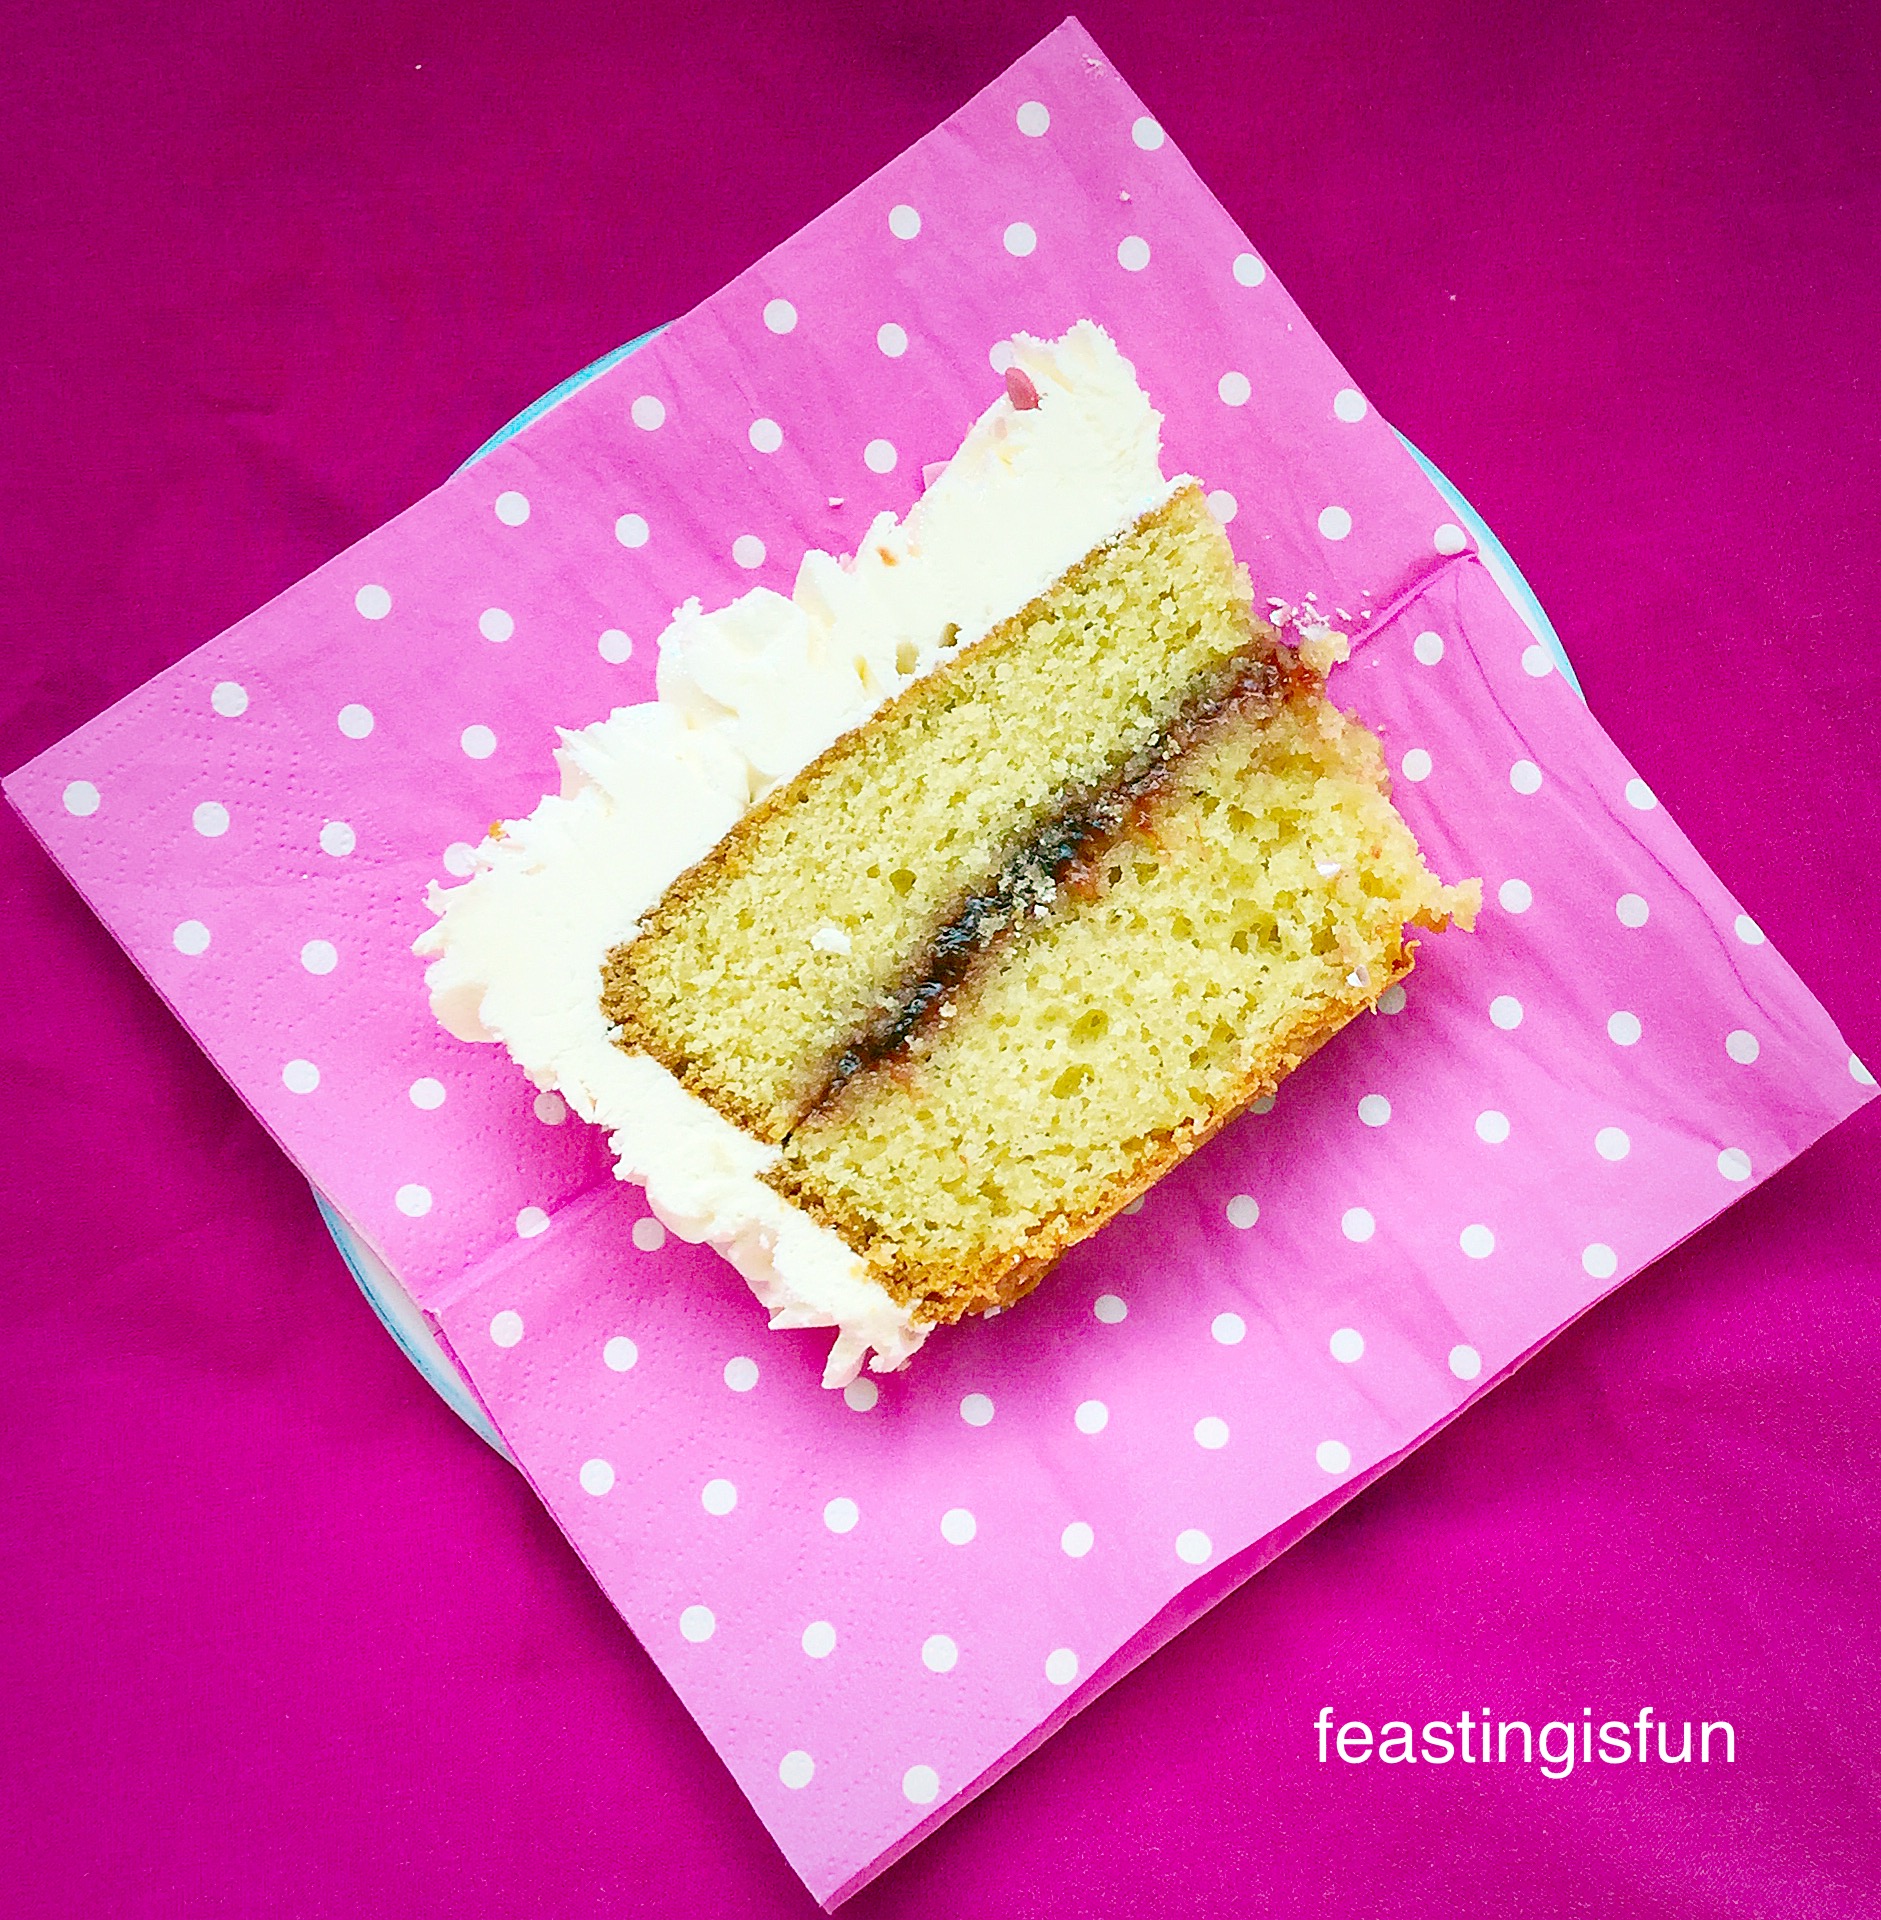
This Strawberry Sweetheart Cake will keep in an airtight container, for up to 5 days, if left somewhere cool – I would advise keeping it in the fridge during the summer. Although, having just eaten a slice, I can’t imagine this cake hanging around for long, especially in our house!

Because making this cake is so beautifully easy, it would be perfect for birthdays, engagements, anniversaries and maybe even small weddings. Also, you can easily tint the buttercream with food colouring. I used Sugarflair and Wilton edible food colouring gels. You really only need a tiny (tip of a cocktail stick) amount to produce a beautiful pastel shade.

Whatever you are doing, whether alone or with others, I hope that you know you are loved, see Important Stuff.

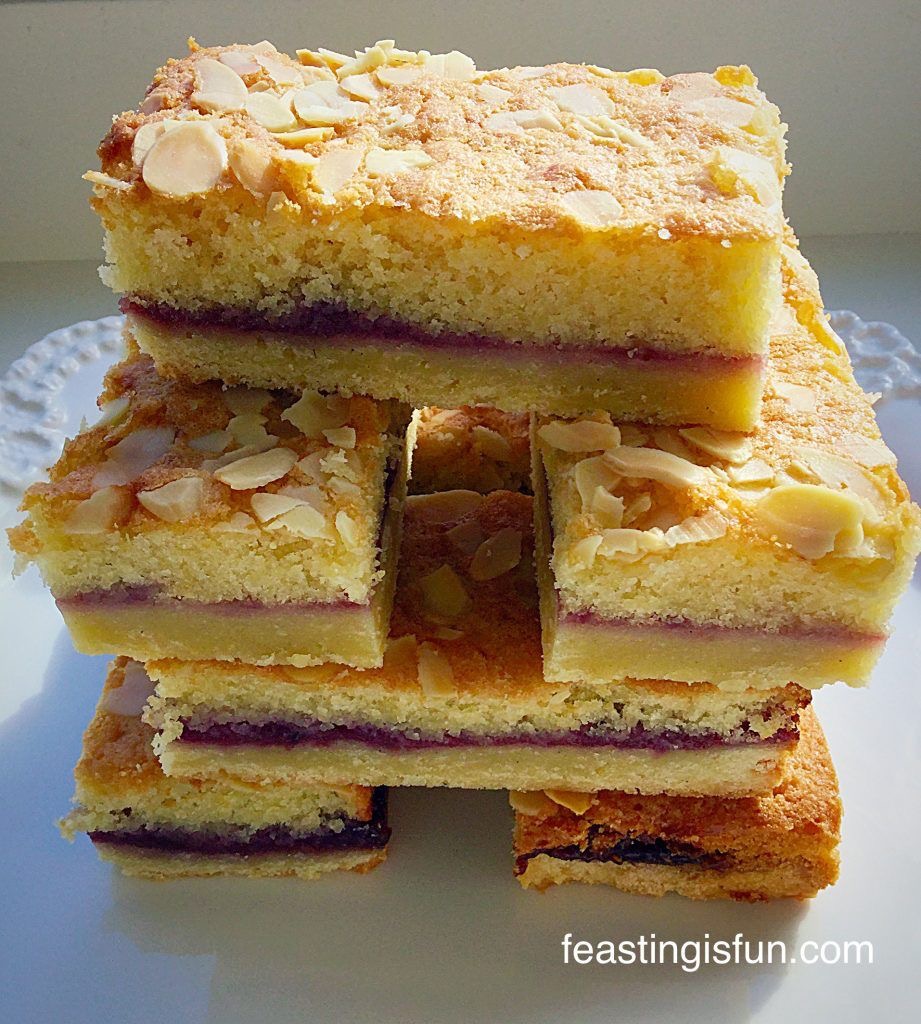
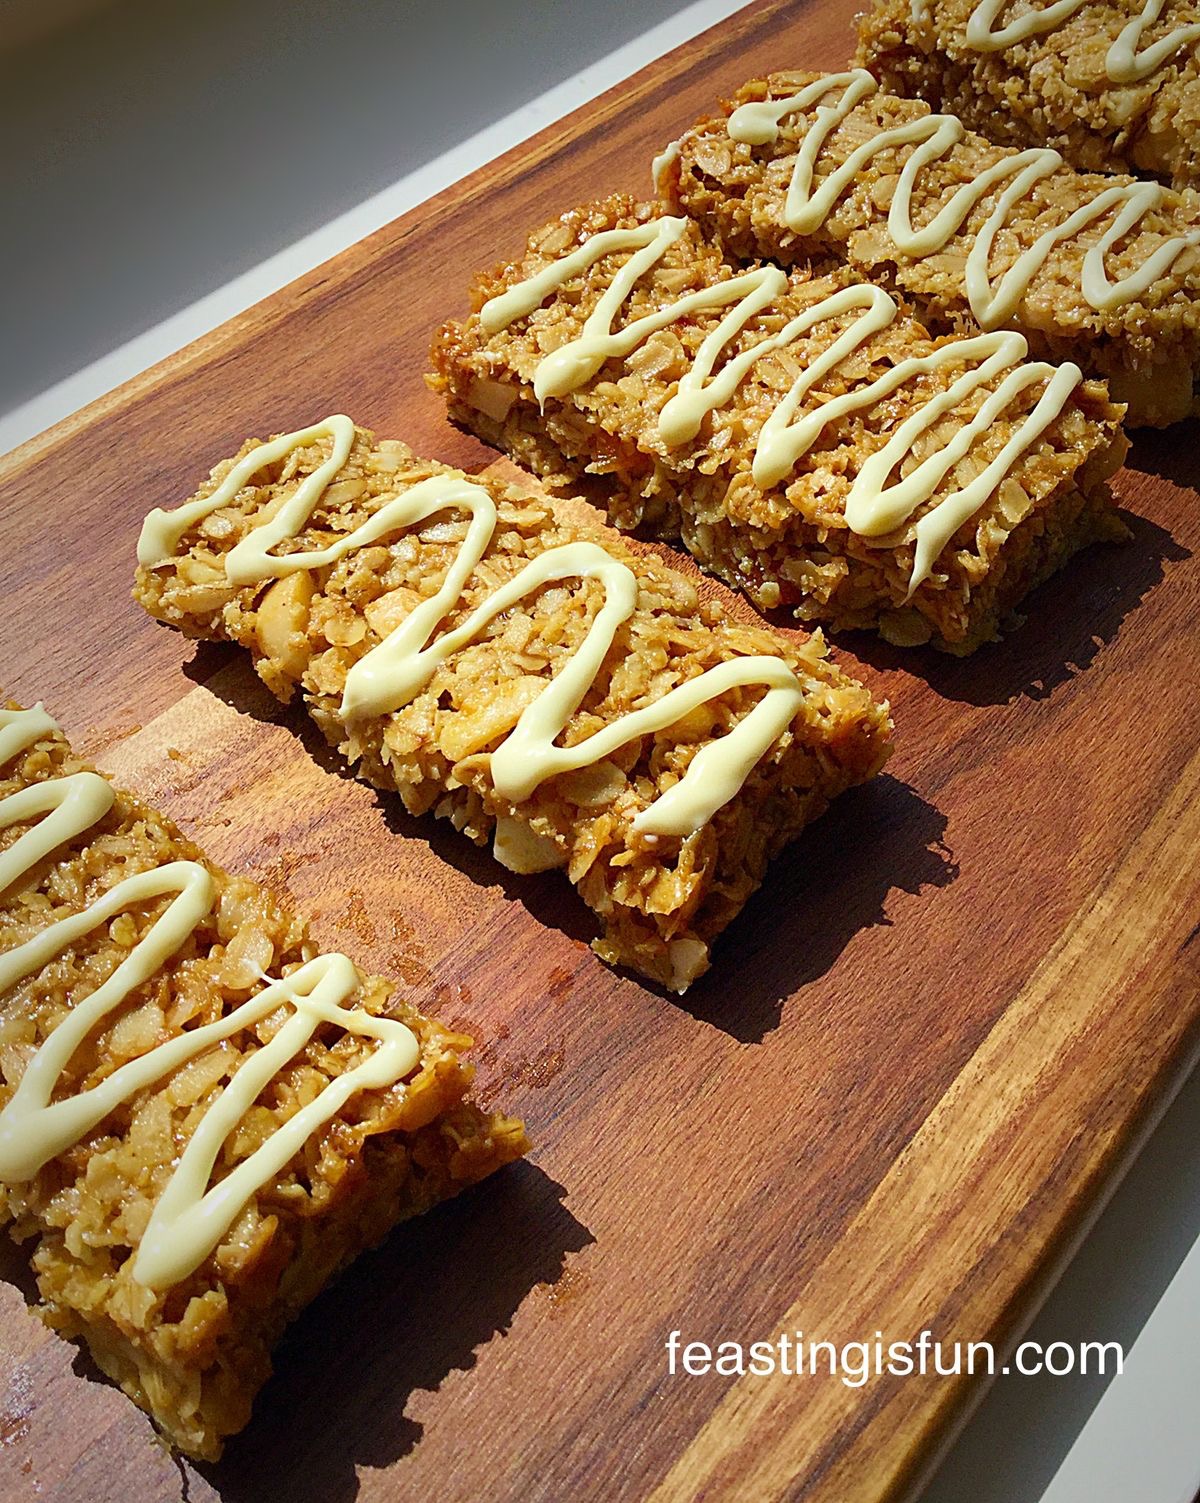
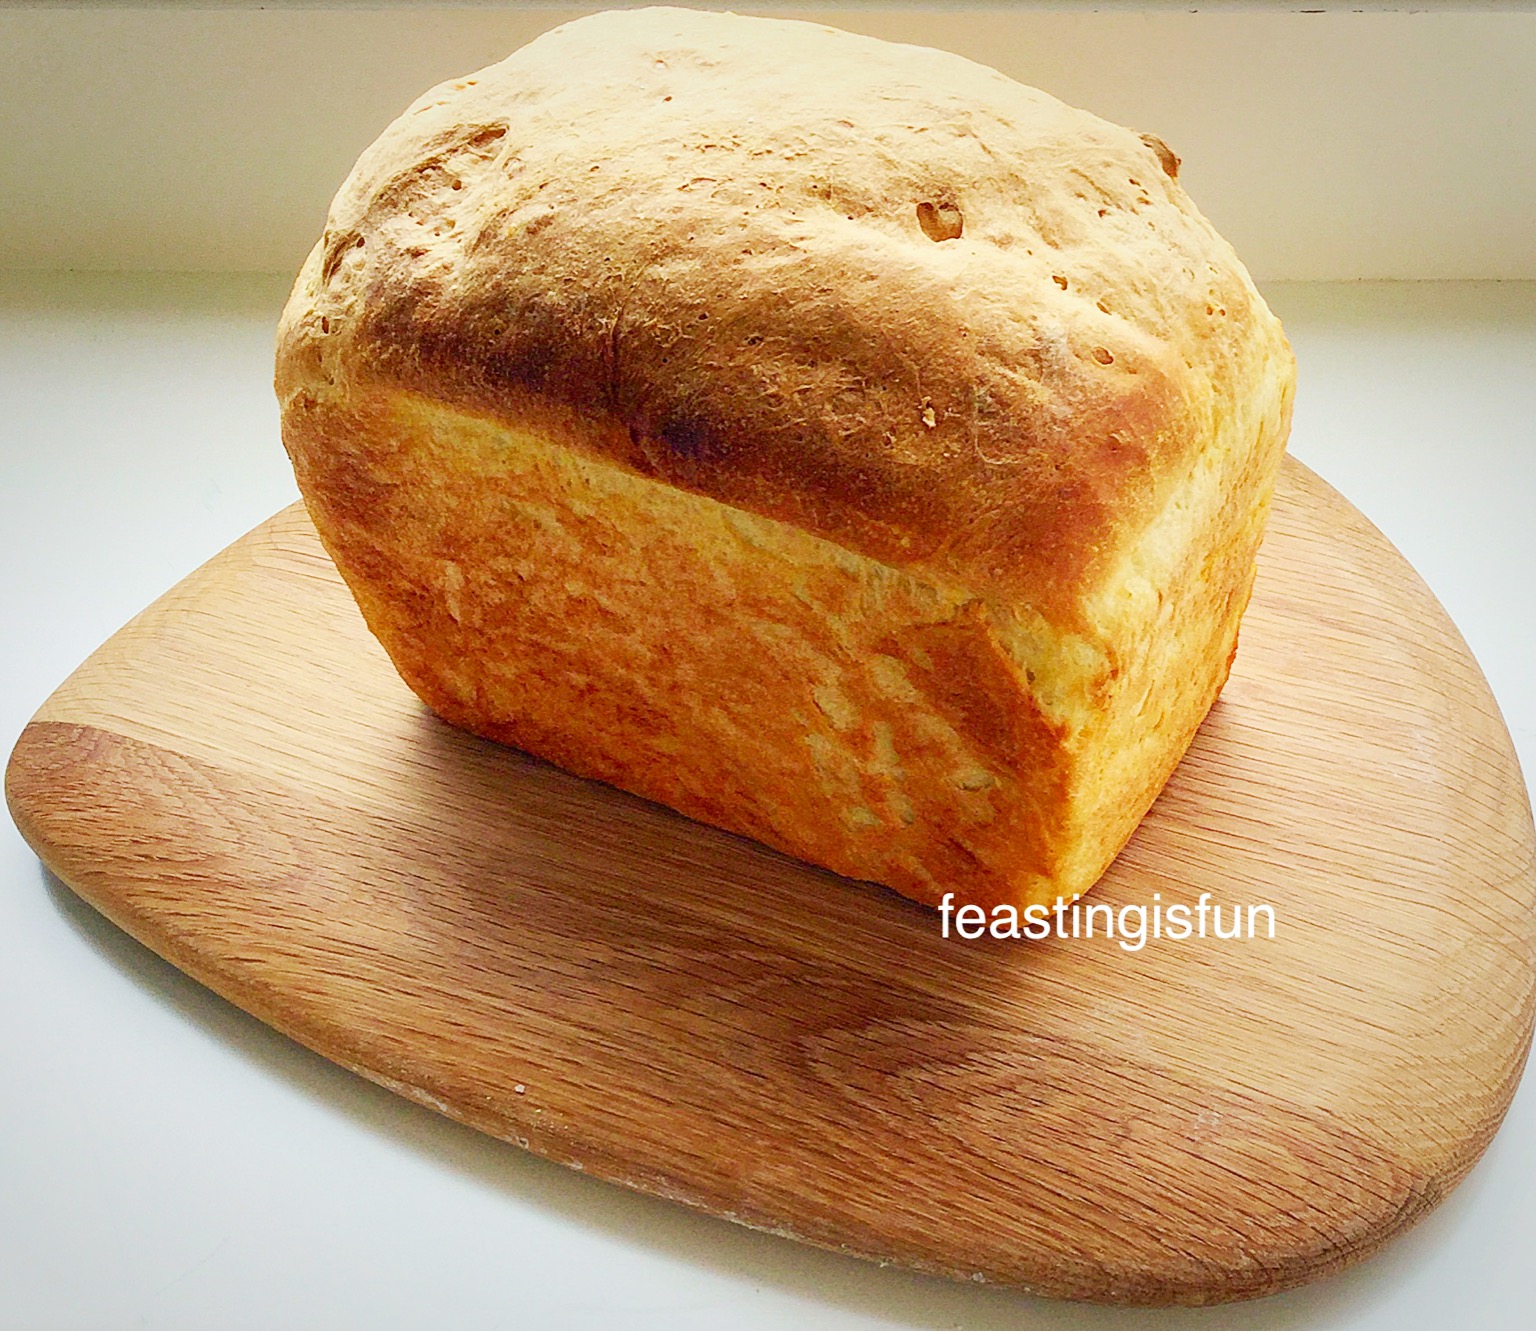
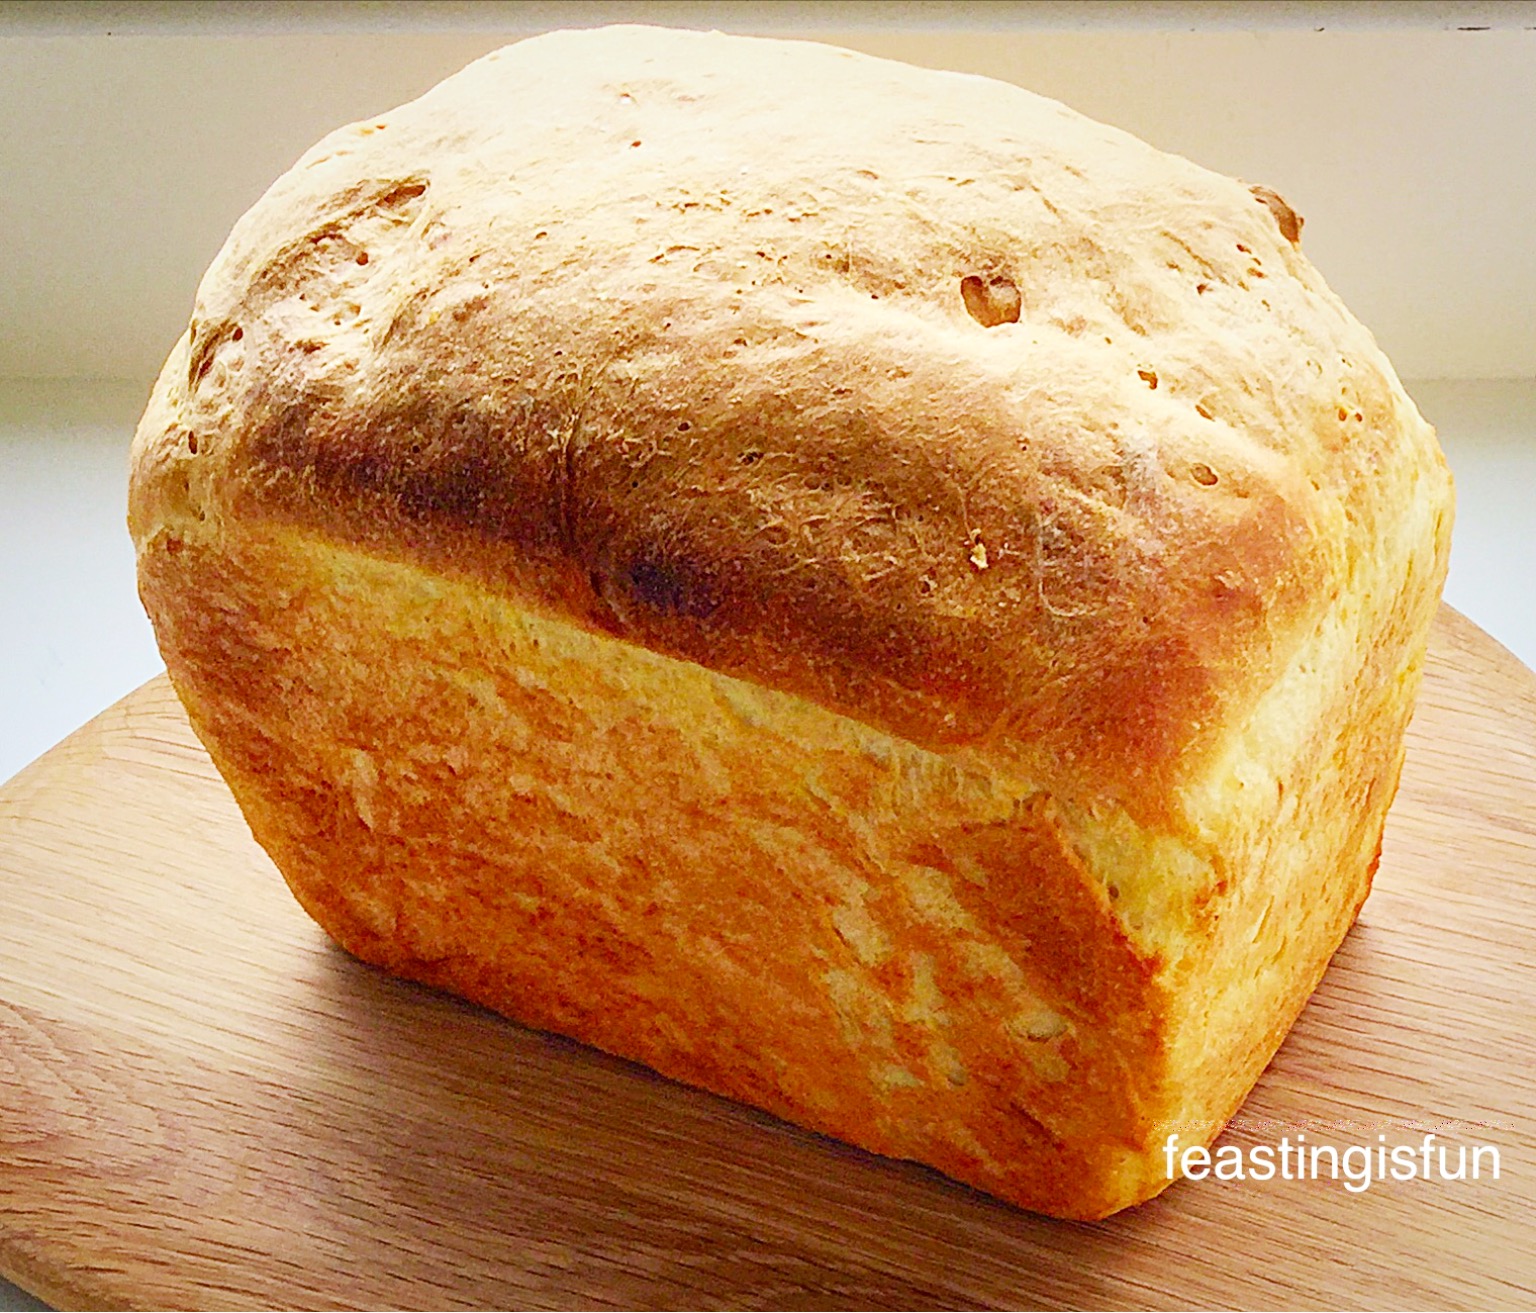
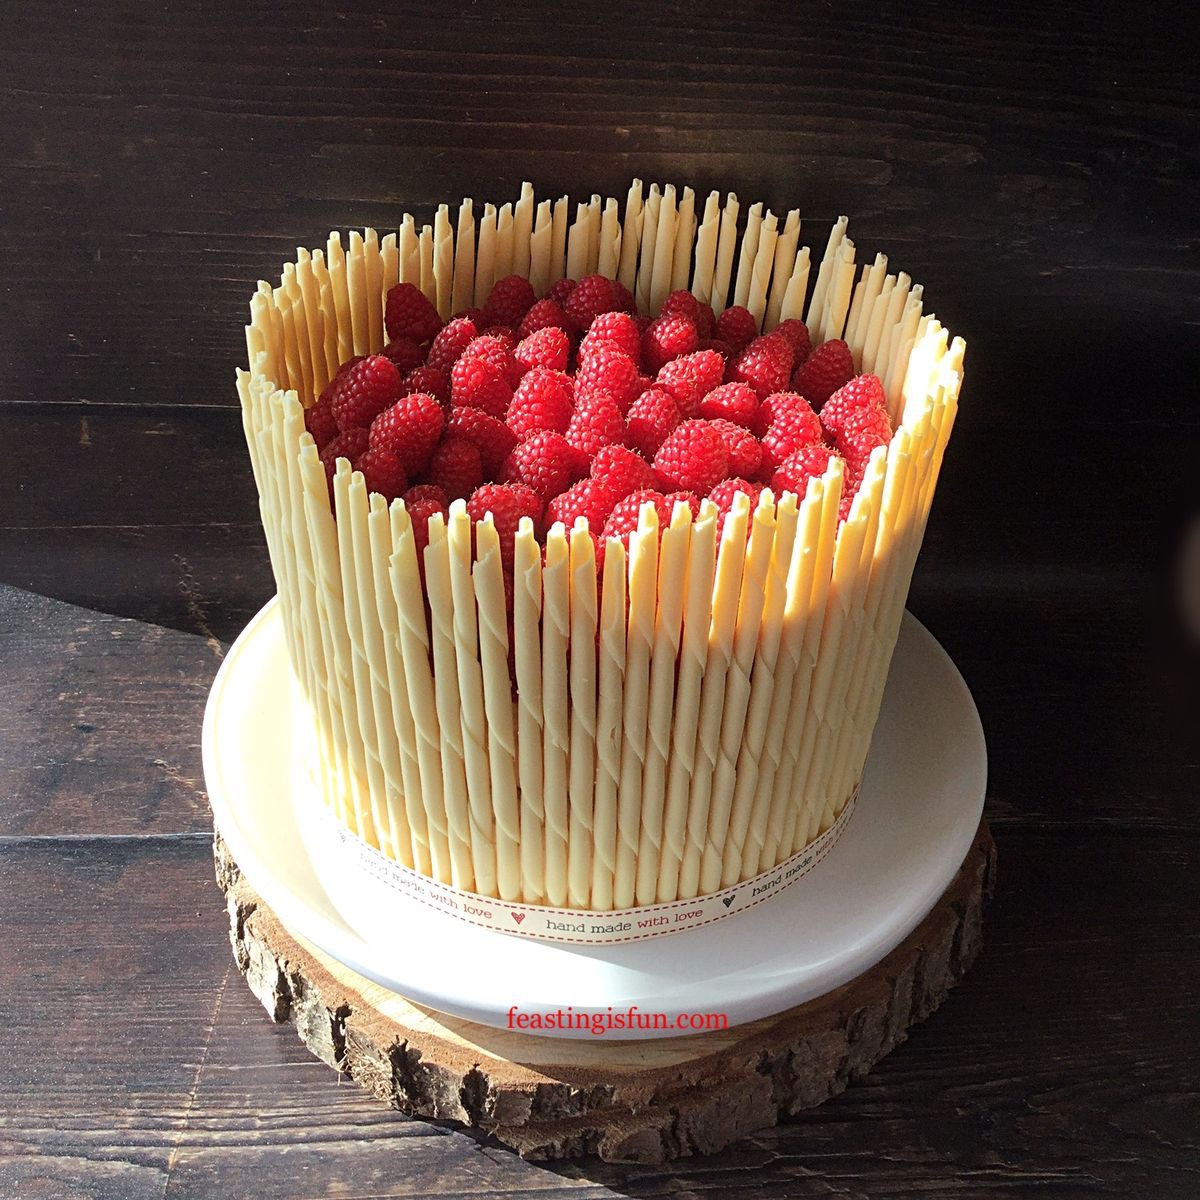
If you have enjoyed this Strawberry Sweetheart Cake, then you may also like these:

Chocolate Heart Cake

Chocolate Heart Cake link
Chocolate Heart Cake

Heart Engagement Bundt Cake

FF Strawberry Sweetheart Cake
Heart Engagement Bundt Cake

Raspberry Lemon Celebration Layer Cake 

FF Strawberry Sweetheart Cake
Raspberry Lemon Celebration Layer Cake

While I love baking, I also recognise that I am not the world’s best cake decorator. Yet with a little practice I have perfected, the very “on trend” piped rose technique. There is truth in the saying “A little practise goes a long way.” Especially when seeing the finished results and the delight on the recipient’s face when presented with a stunning cake. Most importantly for me is the love that goes into making, baking and decorating a cake.

Sammie xxx

No part of this post may be reproduced or duplicated without the written permission of the owner. Please see my Disclosure Policy.

Share
Facebooktwitterpinterestlinkedintumblr

Chocolate Fudge Brownie Bites

Share
Facebooktwitterpinterestlinkedintumblr

Do you like chocolate? I mean really, really love it? Yes! Then you will go crazy for these Chocolate Fudge Brownie Bites. The ultimate, easy brownie recipe!

FF Chocolate Fudge Brownie Bites

Because these Chocolate Fudge Brownie Bites are C R A Z Y good, which shouldn’t be surprising when you consider how much chocolate is in these little edible, morsels of happiness!

Chocolate Fudge Brownie Bites
Chocolate Fudge Brownie Bites – sharing the love.

Although I have a few brownie recipes already on this site, such as Nuts About Brownies and they are all utterly delicious. Instead, I wanted to make a Brownie that stood alone on its own, deep, chocolatey merit. nuts, no extra topping, apart from the optional white chocolate heart. Just pure chocolate fudge brownie bliss.

And wow these certainly deliver. Above all these deliver on deep chocolate flavour, perfect amount of squidge, leavingyou wondering just how these Chocolate Fudge Brownie Bites manage to hold together. Also they have a satisfying depth of sweetness, melting against your tongue.

FF Chocolate Fudge Brownie Bites
Chocolate Fudge Brownie Bites

So, if you want a straight up brownies, no faffing with nuts and the like, just one hundred per cent chocolatey goodness, this is the only recipe you need.

Finally one quick, yet impoarrant note, these brownies contain A LOT of chocolate, it really is worth using the best quality chocolate that you can afford. Because, it really does make a difference to the finished taste and texture.

Recipe: Makes 24 Chocolate Fudge Brownie Bites

200g/7oz Plain Chocolate – minimum 70% Cocoa solids

200g/7oz Milk Chocolate – minimum 35% Cocoa solids

225g/8oz Unsalted Butter

4 Large Free Range Eggs

225g/8oz Dark Brown Sugar

1tsp Vanilla Extract – I use Nielsen-Massey

1/4tsp Salt – I use Maldon

300g/11oz Chocolate Chips or Chunks

75g/3oz Plain White Flour

1/2tsp Bicarbonate of Soda

100g/4oz White Chocolate – optional

Making the brownie batter

Preheat oven to 170C/150C fan, gas mark 3, 325F.

  • First of all line a 22.5cm x 30cm (9″ x 12″) deep baking tin with aluminium foil.
  • Break up the chocolate (or chop) into individual squares, dice the butter and place both into a heat proof bowl.Place the bowl over a simering pan of water (a double boiler) ensuring the bottom of the bowl doesn’t touch the water.
  • Stir continuously until both the chocolate and butter are two thirds melted.
  • Carefully remove the bowl from the pan and continue stirring until the contents are completely melted.
  • Set the bowl to one side to allow the chocolate to cool slightly.

Pyrex bowl containing melted chocolate.

  • Into another large bowl add the eggs, vanilla and sugar.


Mixed eggs vanilla and sugar in a clear bowl.

  • Mix together to combine.
  • Whilst still slowly mixing pour the cooled chocolate mixture into the larger bowl.
  • Mix until completely combined – try not to incorporate too much air whilst mixing.
  • Sift the flour, bicarbonate of soda and salt into the bowl.
  • Add the chocolate chunks.

Clear bowl containing dry ingredients as part of a recipe process.

  • Using a large metal spoon, fold all the ingredients together.
  • Pour the brownie mixture into the foil lined tray.
Chocolate Fudge Brownie Bites.
Chocolate Fudge Brownie Bites ready for the oven.
  • Give the baking tin a good couple of sharp taps on the worktop. This will bring any air bubbles to the surface.

Baking the brownies

  • Place the baking tin into the oven and cook for 35 – 40 minutes.
  • Halfway through the cooking time remove the tin from the I’ve and give it another sharp tap against a heatproof surface.
  • The brownies are cooked when the outside edge has set and the top of the brownies has the familiar, sugar cracked look. There should still be a little wobble to the centre of the tin.
  • As soon as the brownies are baked remove the tin from the oven and allow the brownies to cool completely in the tin.
  • Once cooled turn the brownies out onto a board and removing the foil.

Chocolate Fudge Brownie Bites


Slicing and decorating the brownie bites

Cut across the brownie at 4 even spaces, then cut down at 6 even spaces. Now you have 24 delectable Chocolate Fudge Brownie Bites! These truly are delicious as the are. Seeing as Valentine’s Day is almost upon us, I couldn’t resist piping some white chocolate hearts on them.

Simply pop some white chocolate, broken up, into a microwaveable bowl and melt using 20 second bursts, in the microwave until two thirds melted. Then stir continuously until the chocolate is a smooth liquid.

Spoon the melted chocolate into a small, disposable piping bag and cut the tip off, leaving a very small hole. I found it took a bit of practise, getting even hearts and that it was better if I piped the heart in one complete go.

Chocolate Fudge Brownie Bites
Chocolate Fudge Brownie Bites perfect for sharing with all those you love.

However you pipe your hearts, your loved ones will enjoy these Chocolate Fudge Brownies Bites, not just because they taste so amazing, but more importantly because you have baked them with love, to show people they are loved.

Do you like to celebrate Valentine’s Day, with your significant other, or with all of your loved ones?

If you have enjoyed these Chocolate Fudge Brownie Bites you may also like these:

Caramel Crunch Rocky Road Bars 

FF Chocolate Fudge Brownie Bites
Caramel Crunch Rocky Road Bars

Bakery Style Soft Triple Chocolate Cookies 

FF Chocolate Fudge Brownie Bites
Bakery Style Soft Triple Chocolate Cookies

Chocolate Heart Cookies

Chocolate heart shaped cookies with a white chocolate drizzle.


I wish you all a very happy Valentine’s Day and sincerely hope you know that you are loved see Important Stuff.

Sammie xx

No part of this post may be reproduced or duplicated without the written permission of the owner. Please see my Disclosure Policy

Share
Facebooktwitterpinterestlinkedintumblr

Chocolate Heart Cookies

Share
Facebooktwitterpinterestlinkedintumblr

Valentine’s Day is fast approaching. So what better way to show our family and friends, how much they are loved and appreciated by baking a big batch of these Chocolate Heart Cookies.

Although it is nice to take one day out of the year, such as Valentine’s Day, to let people know we love them, I think it is far more important to tell those we love every day. To ‘love’ is a verb, a doing word and so the act of loving people, should be part of our daily lives.

I love baking for my loved ones and seeing their faces as they bite into something delicious, made by me for them. Because it shows them that they are important to me and loved very much.

These Chocolate Heart Cookies can be made for a fraction of the cost of buying Valentine’s Day gifts and they are so personal. When they are made you make them with love. And there is also an added bonus, you can make these all year round and believe me, these cookies are so utterly delicious, your loved ones will keep coming back for more!!

Biscuits packaged in cellophane and ribbon to give as gifts.
Chocolate Heart Cookies as edible gifts.

Great Quality Ingredients Produce The Best Results

The reason for the outstandingly, melt in the mouth flavour of these cookies, is, because they contain cream cheese.

Didn’t see that one coming – hey? 😉

Yep, good old Philly makes a real difference to the soft, almost, truffle like, texture of the cookies and they taste amazing too!

Chocolate Heart Cookies

If you are going to make these cookies, it’s worth using a good quality cocoa powder, as that directly affects the chocolate flavour of these hearts. You only use 50g per batch, so it works out pretty cost effective, overall. I use Callebaut as it gives consistently great results.

I used a fluted heart cutter and was happily surprised that each cookie kept the definition during baking.

Pretty packaged biscuits to give as edible gifts.
Chocolate Heart Cookies

Recipe: Makes 20-30 Chocolate Heart Cookies, depending on cutter size.

150g/5oz Soft Light Brown Sugar

100g/4oz Unsalted Butter at room temperature

100g/4oz Full Fat Soft Cheese – I use Full Fat Philadelphia Cream left out of the fridge to come up to room temperature

1/4tsp Salt

1 Large Egg Yolk

1/2tsp Vanilla Bean Paste – alternatively 1tsp Vanilla Extract – I use Nielsen-Massey 

50g/2oz Cocoa Powder – I use Callebaut 

225g/8oz Plain White Flour – plus extra for dusting the worktop

100g/4oz White Chocolate

Method:

Making The Cream Cheese Chocolate Cookie Dough

  • First of all add the softened cream cheese, butter, salt and sugar to a large bowl.
  • Whisk together until fully combined.
  • Now add the egg yolk, vanilla and whisk in.
  • Sift the flour and cocoa into the bowl.
  • Mix together until uniform in colour and texture.
  • Wipe the work surface with a clean, damp cloth.
  • Lay cling film over the damp worktop, it will stick and not move.
  • Place the cookie dough onto the cling film, form into a disc a wrap tightly.
  • Place the wrapped cookie dough into the fridge to chill for one hour.

When you are ready to bake the Chocolate Heart Cookies preheat the oven to 170C/150C fan, has mark 3, 325F.

Cutting Out And Baking The Heart Shaped Cookies

  • Line 2-3 large baking trays with baking parchment.
Chocolate Heart Cookies
Remove the dough from the fridge.
  • If the cookie dough has been in the fridge for more than a few hours (I made the dough on Sunday and baked on Monday), remove and leave to warm slightly for 30 minutes. This will prevent the dough from cracking.
  • Divide the dough in two and wrap one half in the cling film.
  • Lightly dust the worktop with flour.
  • Roll the dough out to approx 1/4 inch thickness (6mm).
  • Ensure you are constantly moving the dough and lightly dusting the worktop with flour – as this dough can get quite sticky.
Chocolate Heart Cookies
Don’t worry about a very light dusting of flour on top of the dough.
  • Using a 2 inch (5cm) heart cutter, cut out the cookies.
  • Re-rolling the cookie dough so you can get the maximum number of cookies from it.
  • Roll the second half of cookie dough and continue as before.
  • I cut out 27 cookies.
Chocolate Heart Cookies
Place the cut out cookies onto the baking tray.
  • Place the baking trays into the oven and bake for exactly 10 minutes.
  • The cookies will have a slightly matt appearance when baked.
  • As soon as cookies are baked remove the trays from the oven and allow the cookies to cool on the tray.

Decorating The Chocolate Heart Cookies.

Chocolate Heart Cookies
When the cookies are completely cooled move them and the baking parchment to the worktop.
  • First of all lay the cookies out in a uniform manner. This makes it easier to pipe the melted chocolate on.
  • Into a heatproof and microwaveable bowl add the chopped up white chocolate.
  • Heat on 20 second bursts – remembering that white chocolate keeps its shape when melted.
  • Stir after every 20 seconds and remove just before all the white chocolate has completely melted.
  • Continue stirring until all the chocolate has melted.
  • Spoon the warm, melted chocolate into a disposable piping bag – alternatively, use a fork to drizzle the chocolate over the cookies.
  • Snip the very end off of the piping bag so that there is only a small hole.
  • Pipe a squiggle pattern over the heart cookies, I find it easier to pipe them in vertical lines (from top to bottom) without stopping, lifting the bag tip upwards after the last heart in each line is drizzled.
Chocolate Heart Cookies
Pipe squiggles of white chocolate across the hearts.
  • Allow to cool completely. This can take a little while and during hotter weather (it is Winter here now) they may need to go into the fridge to set completely.
Chocolate Heart Cookies
Chocolate Heart Cookies ready to be shared with your loved ones.

These are the perfect ‘I Love You’ gift anytime of the year!

Keep the cookies in an airtight container and eat within 5 day. Refrigerate during warmer weather.

If you have enjoyed this recipe for Chocolate Heart Cookies, then you might also like to try these:

Chocolate Dipped Shortbread Heart Cookies

Chocolate heat cookies half coated in milk chocolate spilling out of a glass jar onto a pink heart doily.
Chocolate Dipped Shortbread Heart Cookies

Strawberry Topped Chocolate Heart Pavlova

Chocolate heart shaped meringue covered in whipped cream and chocolate dipped strawberries.
Strawberry Topped Chocolate Heart Pavlova

Chocolate Fudge Brownie Bites

Small brownie squares decorated with a piped white chocolate heart.
Chocolate Fudge Brownie Bites

While I am a romantic at heart and also very sentimental, I do enjoy showing those people that are close to me how much I care about them. And also how much certain people mean to me. Rather than always telling them, it is fun to bake a delicious treat and share it with those I love. There are definite benefits to having a keen baker in the family!

So, whatever you are making, baking and creating in your kitchens, have fun preparing and sharing your feast, especially with those you love.

Sammie x

No part of this post may be reproduced or duplicated without the written permission of the owner. Please see my Disclosure Policy.


Share
Facebooktwitterpinterestlinkedintumblr

Raspberry Ripple Almond Cupcakes

Share
Facebooktwitterpinterestlinkedintumblr

Today I am sharing my recipe for these Raspberry Ripple Almond Cupcakes with you. Moist, almond cupcakes, with a swirl of, pink streaked, raspberry ripple buttercream on top. And today these are definitely my favourite cupcakes ever. While I also may be a little bit obsessed with the buttercream frosting!

Raspberry Ripple Almond Cupcakes

So, could you resist one or two of these delicious cupcakes?

I couldn’t! As soon as these photographs had been taken I ate two of these. I wanted the flavour sensation to continue after eating the first cupcake.

Naturally Flavoured Frosted Cupcakes
Raspberry Ripple Almond Cupcakes

A Gift Of Roses That Can Be Eaten!

Rather than giving roses for Valentine’s Day, or for other special occasions, why not bake up a batch of these delicious cupcakes? Also there are certain advantages to gifting these; they are easy to share and they are less of a dramatic statement than red roses, therefore more inclusive to groups of people that you love. Although, I can pretty much guarantee these Raspberry Ripple Almond Cupcakes won’t last as long as flowers.

Valentine’s Day is about love, whether that be your significant other, your family, your girl or guy friends. Show some love this Valentine’s Day, especially to those who may feel unloved.

Raspberry Ripple Almond Cupcakes

You may have seen there are a few raspberry and almond recipes on this site. As well as this Raspberry Almond Cream Cake. Because the flavours go so well together. While I enjoy creating new recipes and flavour combinations, there are a few classics that I could never mess with.

And these Raspberry Ripple Almond Cupcakes bring two classic flavours harmoniously together. So that your taste buds will sing as you take your first bite.

Recipe: Makes 18 Raspberry Ripple Almond Cupcakes

175g/6oz Plain White Flour

1.5tsp BakingPowder

175g/6oz Unsalted Butter – soft

175g/6oz Caster Sugar

30ml/2tbsp Milk

1/4tsp Salt

1tsp Vanilla Extract

1/2tsp Almond Extract – I use Nielsen-Massey 

For the buttercream

250g Raspberry Ripple flavour icing sugar – available from Sugar and Crumbs

125g/5oz Unsalted Butter – very soft

2-3tbsp Boiling Water

Pink Gel Food Colouring

Method: Preheat the oven to 170C/150C fan, 325F, gas mark 3

Making And Baking The Almond Cupcakes

  • First of all, line a cupcake tin with the prettiest wrappers you can find.
  • In a bowl whisk together the butter and sugar until light and get and creamy.
  • Add in the eggs, milk, almond extract, salt and sifted flour and baking powder.
  • Continue whisking on a low speed until all the ingredients are just combined, stopping halfway through to scrape down the bowl.
  • Add 1 dessert spoonful of cake batter to each cupcake case.
  • Place the cupcake tin into the centre of the oven and bake for 20 minutes.
Raspberry Ripple Almond Cupcakes
Feel free to lick out the bowl once you’ve finished filling the cupcake cases!
  • The cupcakes are baked when they are golden brown and spring back when lightly pressed.
  • As soon as the cupcakes are baked remove from the oven and leave to cool for 5 minutes in the tin.
Raspberry Ripple Almond Cupcakes
Remove from the oven once the Raspberry Ripple Almond Cupcakes are baked.
  • Place the cupcakes onto a cooling rack.
  • And leave to cool completely before decorating.

Making The Buttercream Frosting And Decorating The Cupcakes

  • Sift the icing sugar into a large bowl.
  • Add the softened butter and 2tbsp of boiling water.
  • Whisk until light, fluffy and creamy, adding up to 1 extra tablespoon of boiling water to obtain the desired consistency.
Raspberry Ripple Almond Cupcakes
Raspberry Ripple buttercream, soft, smooth and utterly delicious.
  • Fit a large piping bag (I use disposable ones for coloured icing) with a large, open star piping nozzle, I use Wilton 1M.
  • Fold the bag back on itself, opening up the inside.
  • Use a small brush and paint two lines of food colouring gel, in a line, from the tip, to approximately half way up the bag.
  • The second line should be opposite the first.
  • Place the bag in a stable container, I use a large jug.
  • Fill the piping bag with the buttercream.
  • As soon as the cupcakes are cooled, they are ready to be iced.
  • Holding a cupcake with one hand and starting 1/3 down from the edge, pipe a letter e, keeping the pressure constant. As you get to the end of the e continue piping around the cupcake in one complete circle.

Practice Will Help You Nail Piping Skills

Piping the frosting on to these Raspberry Ripple Almond Cupcakes was my first attempt at creating buttercream roses. And I’m really proud of how they turned out, especially as I am not a natural cake decorator.

Practicing is the best way to improve piping skills. Also, if you are unsure of how to pipe these look on Pinterest or YouTube, there are plenty of short tutorials showing you what to do.

When choosing from the vast array of piping tips available, if you want a professional, bakery style finish to your cupcake Wilton’s Large Open Star 1M is a great nozzle to start with.

Singular Raspberry Rippled Iced Almond Cupcake
Raspberry Ripple Almond Cupcakes

With the cupcake above, keeping steady pressure on the piping bag, I started in the centre of the cake and piped in circles, building layers to create the classic cupcake swirl.

Additionally, it is worth making up a bag of plain icing and practicing different methods, so that you feel confident icing your cupcakes.

Raspberry Ripple Almond Cupcakes


If you enjoyed these Raspberry Ripple Almond Cupcakes you are sure to love these:

Lemon Blueberry Cupcakes

RR Lemon Blueberry Cupcakes
Lemon Blueberry Cupcakes

Black Forest Cupcakes

RR Black Forest Cupcakes
Black Forest Cupcakes

Maraschino Cherry Chocolate Drizzle Cupcakes 

Maraschino Cherry Chocolate Drizzle Cupcakes

These Raspberry Ripple Almond Cupcakes are utterly delicious and the icing is very light. I enjoy using the natural flavoured icing sugars from Sugar and Crumbs however, you can easily use plain icing sugar and add a few drops of natural flavour extract.

Do you celebrate Valentine’s Day? And if so, do you keep the celebrations between you and your partner, or spread the love further afield?

Regardless of how you spend February 14th, I hope you know that you are loved (see Important Stuff).

So, whatever you are making, baking and creating in your kitchens, have fun preparing and sharing your feast.

Sammie xx

No part of this post may be reproduced or duplicated without the written permission of the owner. Please see my Disclosure Policy.


Share
Facebooktwitterpinterestlinkedintumblr

Wholemeal Hot Cross Buns

Share
Facebooktwitterpinterestlinkedintumblr

Is there anyone who doesn’t enjoy a hot, toasted and buttered Hot Cross Bun, in the run up to Easter? While my previous post shows you how to make the regular version I wanted to make a wholemeal version. Because some people, for various reasons, can only eat 100% wholemeal bread. Since they shouldn’t have to miss out on all the Easter food fun I developed this recipe for 100% Wholemeal Hot Cross Buns.

Wholemeal Hot Cross Buns
Wholemeal Hot Cross Buns perfect just as they are!

Almost everyone can enjoy these Wholemeal Hot Cross Buns, eaten as they are or split and toasted with a light spread of butter. While, the added beauty of these buns is the spicy, cinnamon aroma, filling the house as they bake and then again when they are toasted. Also these buns are packed full of fibre. So, they are tasty and good for you!

FF Wholemeal Hot Cross Buns

While I toasted a hot cross bun, there was a knock on the front door. Our postman had a parcel to deliver and as I stood there signing for the parcel, he revealed the smell of a toasted bun was making him hungry!

Wholemeal Hot Cross Buns
Wholemeal Hot Cross Buns a healthy breakfast or snack.

Most importantly, making Wholemeal Hot Cross Buns is as straightforward and easy as for the regular ones. While switching the flour from strong white bread flour, to 100% wholemeal flour, not bread flour, I also upped the yeast content and with a few more tweaks, these gorgeous buns were made.

Wholemeal Hot Cross Bun
The cross on this Wholemeal Hot Cross Bun is there as a reminder.

Why The Cross On Top Of The Bun?

The cross on top of the bun, is there to symbolise and remind us of The Cross on which Jesus died. Two days later His tomb was empty, He had risen from the dead, surprising many people, including some of His own disciples. So, the small symbol of a cross on a bun, reminds us that Jesus came for a reason. To love the unloved, to heal the sick, to befriend those that society cast out. And remember, within His followers, one was a tax collector and the other a prostitute!

So, amidst all the chocolate and bunnies, lovely though they are, take a moment to remember you are loved.

In the bible the book of John chapter 3 verse 16 says:

“For God so loved the world, that He gave His only Son, so that who so ever believes in Him shall not be lost (perish), but have everlasting life.”

One small verse packs quite a powerful punch. You and I are the who so ever. Whether you believe or not, know that you are loved. Regardless of your circumstances and the life you have lived, you are loved more than you could ever imagine.

If you would like to know more, please read Important Stuff.

Now, time to show your body some love by making these Wholemeal Hot Cross Buns.

Recipe: Makes 12 Wholemeal Hot Cross Buns

For the bun dough

500g/1lb 2oz Wholemeal Flour (not bread flour) – I use Duchy Organic from Waitrose

160ml/scant 6fl oz Whole Milk – slightly warmed (body temp)

120ml/4.5fl oz Water – slightly warmed (body temp)

2 Large Eggs – I use free range

1tbsp Honey – I use runny honey

14g/ 2 Sachets Fast Acting Dried Yeast – I use Allinsons

10g/ approx 1.5tsp Salt – I use Maldon 

50g/2oz Unsalted Butter at room temp. – plus extra for greasing the baking tray.

3tsp Cinnamon

150g/5oz Sultanas or Raisins

For the crosses:

50g/2oz Wholemeal flour

60ml/2.5fl oz Water

Apricot jam or honey to glaze approx 2tbsp

Method: This method is for use with a bread maker or stand mixer. Alternatively you can make these Wholemeal Hot Cross Buns by hand.

The ‘bowl’ refers to the bowl of a stand mixer or the mixing compartment of a bread maker.

Making The Wholemeal Bun Dough

  • First of all, add both the milk and water to the bowl.
  • Next add both eggs, the honey and yeast.
  • Swish about with clean fingers to mix.
  • Now add the flour on top of the liquid mixture.
  • Place the salt and butter on top of the flour.

For a bread maker, set the cycle to dough and press start. When prompted by the machine, or 5 minutes before mixing stops, add the cinnamon and Sultanas. Allow the bread maker to complete the dough cycle.

As soon as the bread maker has completed the dough cycle, ensure the dough has doubled in size, if not wait until it has. Then re start the dough cycle for 2 minutes, this will ‘knock back’ the dough for you.

For a stand mixer attach the dough hook. Start mixing on a low speed. Once the contents of the bowl resemble dough continue to mix on medium/slow speed for 5 minutes. Stop the mixer. Scrape all the dough, from the hook, into the bowl. Add the cinnamon and Sultanas. Lower the dough hook and mix on medium speed for a further 5 minutes.

After the 5 minutes mixing is complete, stop the mixer. Scrape all the dough back into the bowl, it will be very sticky, don’t worry. Cover with a damp cloth and leave in a draught free place until doubled in size – 1 – 1 1/2 hours. As soon as the dough has doubled in size it can be tipped out and shaped.

Shaping The Buns

  • Grease a large baking tray  (40cm x 28cm x 2.5 cm) with butter.
  • Tip the dough out onto a lightly floured surface.
  • Shape the dough into a ball and weigh. Divide the weight by 12 and this will give you the weight of dough needed for each individual bun.
  • Alternatively, cut the dough in half and then cut each half into 6 even portions.
Form the dough into a ball.
  • Cut the dough in half using a large knife or metal dough scraper.


Dividing the dough into 12 portions.
  • Roll each portion into a ball. Tucking the seam at the bottom.
Wholemeal Hot Cross Buns
Place each dough ball on the baking tray, spacing evenly apart.
  • Cover with a damp cloth and place in a draught free place until doubled in size – approx. 1 hour.
  • While the buns are proving make the paste for the crosses. Mix the flour and water together in a small bowl and then spoon into a small piping bag or plastic sandwich bag.

Wholemeal Hot Cross Buns

  • As soon as the buns have doubled in size, snip the end off of the piping bag (corner of a sandwich bag) to leave a small hole.
  • 10 minutes before the buns are ready to bake preheat the oven to 220C/200C fan gas mark 7, 425F.
  • Pipe crosses on to the buns.
Wholemeal Hot Cross Buns
 

Baking The Wholemeal Hot Cross Buns

  • Place the buns into the middle of the oven and bake for 20 minutes.
  • The Wholemeal Hot Cross Buns are baked when they are a deep golden brown and sound hollow when rapped on the base with your knuckle.
Wholemeal Hot Cross Buns
Once baked remove the Wholemeal Hot Cross Buns from the oven and transfer to a cooling rack.
  • As soon as the buns are baked remove from the oven and transfer to a cooling rack.
  • Place the apricot jam into a heatproof bowl and microwave for 20-30 seconds to melt.
  • Brush the warm buns with apricot jam using a pastry brush.
  • Leave to cool completely.

Wholemeal Hot Cross Buns ready to be shared with loved ones!

Wholemeal Hot Cross Buns
Wholemeal Hot Cross Buns packaged into a tin, ready to be given away.

Split in half, toast and spread with butter or eat as they are.

Store in an airtight tin for up to 3 days. Freeze in an airtight container for up to one month.

If you have the capacity, why not bake a double batch of these delicious Wholemeal Hot Cross Buns and give some away?

If you enjoyed this recipefor Wholemeal Hot Cross Buns you may also like these: then you may want to take a look at these:

Extra Fruity Hot Cross Buns

Extra Fruity Hot Cross Buns

Ginger Date Hot Cross Buns

Ginger Date Hot Cross Buns

Cherry Bakewell Hot Cross Buns

Cherry Bakewell Hot Cross Buns

Easter is a time when our family comes together and celebrates the resurrection of Jesus Christ our Saviour. And sitting together, around the table, giving thanks before a meal is important. Giving thanks for the food we share and the provisions we have however is not only for Easter. Rather, it is an important daily practise in our lives. So is sharing the love that Jesus shows us. Whether it be through words, or more practically. And that is why I am so passionate about sharing food outside of our normal circle on this blog.

So whatever you are making, baking and creating in your kitchens, have fun preparing and sharing your feast.

Sammie xx

No part of this post may be reproduced or duplicated without the written permission of the owner. Please see my Disclosure Policy.


Share
Facebooktwitterpinterestlinkedintumblr

Hot Cross Buns

Share
Facebooktwitterpinterestlinkedintumblr

It is that time of year when the spicy scent of Hot Cross Buns hits you as you enter the supermarket. Somehow though, I’m always a bit disappointed with the slightly squished, supermarket Hot Cross Buns. Yes they may be convenient, but, I’m here to persuade you to try the homemade version.

FF Hot Cross Buns

The Benefits Of Making Hot Cross Buns At Home

The beauty of making and baking your own Hot Cross Buns is that you can add exactly what you like to them. Oh and leave out all the additives that you don’t need.

Our eldest daughter and myself are both allergic to orange, in any form. It brings on really nasty migraines (see here if you’d like to know more). So although orange is a traditional addition to these buns, by making them at home I can leave it out.

Hot Cross Buns

Not Just For Easter?

Speaking of our daughter, for one entire year, when she was a toddler, a Hot Cross Bun would be what she ate for breakfast. In fact she suffered very badly with tonsillitis and had to undergo a tonsillectomy when she was two and a half. We already had another little ‘un and I’d just found out I was pregnant with our son. Times were busy!

Anyway, her operation was during her Hot Cross Bun phase. So I buttered one, wrapped it up and took it to the hospital. I honestly didn’t think she would eat anything after undergoing her procedure, but sure enough, chicken nuggets and chips for tea. Then, the very next morning she devoured her Hot Cross Bun!

She is 16 now and has just shared a bun with me. It got 10 out of 10 which, from a life-long lover of Hot Cross Buns, was all I needed to hear.

Sharing This Recipe

I really do enjoy making food that my family and friends love. It was one of the reasons that I started feastingisfun, so I could share my own recipes with others.

Traditional Easter bread bake, small rolls filled with plump vine fruits, spice and baked with a piped cross on top to represent how Jesus died.
Hot Cross Buns

Now I never actually believed anyone, other than family, would read this blog. But it seems you do and you enjoy it. Not only that but it has helped people, in a number of ways. Last Sunday I know of two people who specifically made recipes from this blog – and they turned out well. That puts a huge smile on my face.

Also others have been able to connect with me, as I understand, due to my own health issues (see Living With Seizures) and have found comfort in knowing they are not alone.

Sharing recipes, fun, love, encouragement and always a hug when ever needed.

The inspiration for this Hot Cross Bun recipe comes from both my daughter and the great baker Mr Paul Hollywood. I did actually start by looking at his recipe. However, me being me, I wanted to add some bits, change others, adapt the recipe for a bread maker/stand mixer. So in fact the recipe and method are mine, but thank you Paul for getting me off the starting blocks.

Recipe: Makes 12 Hot Cross Buns

500g/1lb 2oz Strong White Bread Flour

140ml/scant 5fl oz Whole Milk – slightly warmed (body temp)

120ml/4.5fl oz Water – slightly warmed (body temp)

2 Large Eggs – I use free range

1tbsp Honey

10g/1.5 Sachet Fast Acting Dried Yeast – I use allinson dried fast action yeast in the green tin or sachets

10g/ approx 1tsp Salt – I use Maldon

50g/2oz Unsalted Butter at room temperature

3tsp Cinnamon

150g/5oz Sultanas or Raisins

For the crosses:

50g/2oz Plain flour

50ml/2fl oz Water

Apricot jam or honey to glaze approx 2tbsp

Method: This method is for use with a bread maker or stand mixer, if you wish to make by hand, I suggest you look to the original recipe in Paul Hollywood’s book ‘How to Bake’ ISBN 9781 4088 19494.

Making The Spiced Fruit Dough

The ‘bowl’ refers to the bowl of a stand mixer or the mixing compartment of a bread maker.

  • Add both the milk and water to the bowl.
  • Next add both eggs, the honey and yeast.
  • Swish about with clean fingers to mix.
  • Now add the flour on top of the liquid mixture.
  • Place the salt and butter on top of the flour.

For a bread maker, set the cycle to dough and press start. When prompted by the machine, or 5 minutes before mixing stops, add the cinnamon and Sultanas. Allow the bread maker to complete the dough cycle.

When the bread maker has completed the dough cycle, ensure the dough has doubled in size, if not wait until it has. Then re start the dough cycle for 2 minutes, this will ‘knock back’ the dough for you.

For a stand mixer attach the dough hook. Start mixing on a low speed. Once the contents of the bowl resemble dough continue to mix on medium/slow speed for 5 minutes. Stop the mixer. Scrape all the dough, from the hook, into the bowl. Add the cinnamon and Sultanas. Lower the dough hook and mix on medium speed for a further 5 minutes.

After the 5 minutes mixing is complete, stop the mixer. Scrape all the dough back into the bowl, it will be very sticky – don’t worry. Cover with a damp cloth and leave in a draught free place until doubled in size – 1 – 1 1/2 hours.

Once the stand mixer dough has doubled in size, lower the dough hook and mix on medium speed for 2 minutes, this will ‘knock back’ the dough for you.

Shaping the Buns

Grease a large baking tray with butter.

  • Tip the dough out onto a lightly floured surface.
Hot Cross Buns
Shape the dough into a ball and using a dough scraper or large knife, cut the dough in half.
  • Roll each half into an even log shape.
Hot Cross Buns
Cut each half into 6 equal pieces.
  • Using your hands form each portion into a ball with the seam underneath.
  • Place the dough balls onto the greased baking tray, evenly spaced apart.
Hot Cross Buns
Cover with a damp cloth and leave in a draught free place until doubled in size – approx 1 hour.
  • While the buns are proving, mix 50g of white flour with 50ml of water.
  • Spoon into a small piping bag, or a small plastic sandwich bag.
Hot Cross Buns
When you are ready snip the end/corner off to give a small hole.
  • 10 minutes before the Hot Cross Buns are ready to bake, preheat the oven to 220C/200C fan, gas mark 7, 425F.
  • As soon as the buns have doubled in sized snip the end of the piping bag and pipe crosses on them.
Hot Cross Buns
When the buns are double in size pipe the crosses on.

Baking The Hot Cross Buns

  • Place the buns in the oven and bake for approximately 20 minutes. They are baked when they are golden brown and sound hollow when rapped on the bottom with your knuckle.
Hot Cross Buns
The smell that fills the air whilst these Hot Cross Buns are baking is wonderful.
  • Immediately transfer the Hot Cross Buns onto a cooling rack.
  • Heat the 2 tablespoon of apricot jam, in a microwave proof bowl, on medium stating, in the microwave for 30 seconds.
  • Brush the hot jam over the buns whilst they are still warm.
  • Leave to cool completely.
Hot Cross Buns

These are absolutely THE best Hot Cross Buns I have ever tasted, let alone smelt whilst they were cooking.

Although there are a few steps, most of the hard work is done for you by kitchen machinery. I for one, would not be able to bake the quantity of bread and other items, if it weren’t for a little help in the kitchen.

Hot Cross Buns

We ate one of these Hot Cross Buns split and buttered, not even toasted and they tasted AH-MAZE-ZING. Please try, just this once, to make your own Hot Cross Buns.I am available via the comments section of this site or alternatively over on Twitter @sammiefeasting. It is true, I have been known, whilst on holiday in Devon, with a really dodgy signal, to give advice to someone baking these Crusty Baguettes so please don’t worry, ask.

Who will you share your homemade Hot Cross Buns with

If you have enjoyed this recipe you may also like these:

Chocolate Mini Egg Brownies

FF Chocolate Mini Egg Brownies
Chocolate Mini Egg Brownies

Golden Egg Chocolate Sponge Cake

FF Golden Egg Chocolate Sponge Cake
Golden Egg Chocolate Sponge Cake

Cherry Bakewell Hot Cross Buns

FF Cherry Bakewell Hot Cross Buns
Cherry Bakewell Hot Cross Buns

Sammie xx

Traditional Easter bread rolls baked with vine fruits and piped crosses on top.


Share
Facebooktwitterpinterestlinkedintumblr

Chocolate Fudge Bundt Cake

Share
Facebooktwitterpinterestlinkedintumblr

Hi, if you love chocolate, then you’re going to go crazy over this Chocolate Fudge Bundt Cake. With melted chocolate in the fudge cake and melted chocolate drizzled over. Finally, topped off with a generous sprinkle of Callebaut’s Chocolate Crispearls.

Chocolate Fudge Bundt Cake
Chocolate Fudge Bundt Cake drizzled with melted chocolate and topped with mini chocolate crispearls.

Bundt Pans Bake Beautiful Cakes

I love Bundt tins. I really do. Because they take a great cake batter and without any help from the baker, turn it into a beautiful cake. So that has to be a very good thing, right?

The tin I used for this Chocolate Fudge Bundt Cake is called the Jubilee Bundt made by Nordic Ware. 

So, I like to buy my Bundt tins in the sale, or where I see them on special offer. Since they can be a bit pricey, yet investing in one tin, like this Jubilee, will give you a lifetime of intricately patterned cakes.

Chocolate Fudge Bundt Cake
The Jubille Bundt Tin from Nordic Ware.

Can you imagine rocking up to a party with this gorgeous cake?

Yep, huge brownie points and that’s before anyone has tasted the cake!

Although I will warn you – Bundt tins are addictive. A year ago I had one, now I have ten!

Chocolate Fudge Bundt Cake
Put the kettle on and enjoy every single bite of this Chocolate Fudge Bundt Cake.

If you, or someone you know loves chocolate cake, then this is the cake to bake.

And because I appreciate not everyone owns this gorgeous tin, this Chocolate Fudge Bundt Cake can be baked in a 10″ springform pan!

Although technically it would no longer be a Bundt cake??

So you get to think a whole new name up for it too!

Confused?? Yep me too.

Chocolate Fudge Bundt Cake
The Crispearls give this moist Chocolate Fudge Bundt Cake a crunchy topping.

Just look at this beauty – definitely made for sharing.

Chocolate Crispearls

Now I love a sprinkle or two million.

And I was thrilled to be sent these Callebaut Chocolate Crispearls as a gift. Since they are part of Callebeaut’s hot chocolate decoration range, which also includes, dark chocolate blossoms and dark chocolate granite. Delicious, different types of chocolate to top steaming mugs of hot chocolate with.

Chocolate  Crispearls are exactly as their name suggests, chocolatey, crispy and three different flavours. White, milk and dark chocolate. Perfect for adorning a melted chocolate drizzled, fudgey, chocolate cake.

Finally, all I can say is, this cake was so good, half had been eaten before dinner.

Thats like breaking all the rules (kidding) in our house. Because life is too short to not have dessert before dinner on occasion! And yes, we like to push the boundaries in our house 😉.

Recipe: Makes 1 Chocolate Fudge Bundt Cake

Cake release spray – I use Wilton (available from Amazon, Lakeland, Hobbycraft)

350g/12oz Unsalted Butter – at room temperature

350g/12oz Dark Brown Muscavado Sugar

1tsp Vanilla Extract I use Nielsen-Massey

275g/10oz Plain White Flour

3tsp Baking Powder

1/4tsp Salt

5 Large Eggs – I always use free range

100ml/4fl oz Sour Cream – left out of the fridge for an hour

175g/6oz Plain Chocolate – approx 70% Cocoa – I use Callebaut

175g Milk Chocolate – I used a good quality 49% Cocoa chocolate, ordinary milk chocolate is fine

Sprinkles to top the cake with

Method: Preheat the oven to 180C/160C fan oven, gas mark 4, 350F.

Making The Chocolate Fudge Cake Batter

  • Break or chop the plain chocolate and place into a heatproof, microwaveable bowl. Heat for 30 seconds at a time, stirring the chocolate well. When the chocolate is almost melted, remove the bowl and keep stirring until you have smooth, molten chocolate. Set aside.
  • Into a large bowl add the butter and sugar. Whisk until fully combined, this will take a good 5 minutes.
  • Crack the eggs into a jug. Add the sour cream and vanilla extract and mix.
  • Sift in one third of the flour, baking powder and salt. Whisk or beat slowly.
  • While continuing to whisk, add half of the liquid contents from the jug.
  • Repeat the last two steps again.
  • Add the last of the sifted ingredients and gently mix until just combined.
  • Remove the beater or whisk.
  • Pour in the cooled, melted chocolate and immediately stir into the cake batter with a metal spoon. Continue until the batter is a uniform colour.
  • Spray the Bundt tin thoroughly with cake release.
  • Fill the Bundt tin 3/4 full with cake batter. Use a metal spoon to gently press the cake batter into the tin. DO NOT bang the Bundt tin on the work surface, as this could damage the tin.
  • NOTE: There may be a small amount of cake batter left – this can be used for a few cupcakes or bundtlettes.
Chocolate Fudge Bundt Cake
If the tin is filled more than 3/4 full the baked cake may not release and/or the look of the final cake may be spoiled.

Baking The Bundt Cake

  • Place the tin into the centre of the preheated oven. Bake for 50-55minutes.
  • The cake is baked when it springs back from a light tough and an inserted skewer (I use wooden ones) comes out clean.
  • As soon as the cake is baked remove it from the oven.
  • Leave the cake to cool in its tin for 10 minutes.
Chocolate Fudge Bundt Cake
Remove from the oven and allow to cool in the tin for 15 minutes.
  • Invert the Bundt tin onto a cooling rack. The cake should turn out immediately. If not leave to cool and the cake will release from the tin.
Chocolate Fudge Bundt Cake
One beautiful Chocolate Fudge Bundt Cake.

Decorating The Cake

  • Melt the milk chocolate as before (for the plain chocolate). Drizzle over the top of the cake using a spoon.
Chocolate Fudge Bundt Cake
I choose to completely cover the top of the cake with melted chocolate and have a small amount dripping down.
  • Take whatever sprinkles you are using and sprinkle away. I kept the Chocolate  Crispearls on the top of the cake.
Chocolate Fudge Bundt Cake
Chocolate Fudge Bundt Cake with Callebaut Chocolate Crispearls.

A stunningly beautiful cake, that also happens to deliver superbly on taste.

Who will you make this Chocolate Fudge Bundt Cake For?

Chocolate Fudge Bundt Cake
Cut a delicious slice of this Chocolate Fudge Bundt Cake and get ready to share.

Such a beautiful cake, it almost seems a shame to cut into it – almost!!!

If you have enjoyed this Chocolate Fudge Bundt Cake recipe here are some others you may also like:

Glazed Lemon Bundt Cake

Lemon loaf cake baked with intricate citrus slices on the top, with a lemon glaze and a sprinkle of glitter.
Glazed Lemon Bundt Cake

Marbled Chocolate Bundt Cake

Marbled chocolate bundt cake topped with both white and milk chocolate and mini gold stars.
Marbled Chocolate Bundt Cake

Sparkling Snowflake Cake

Vanilla cake in the shape of a snowflake.
Sparkling Snowflake Cake

Finally, if you have any questions about ‘baking with Bundts’ please either leave a comment, or Tweet me @sammiefeasting. Although I am by no means an expert, I will always do my best to answer your questions.

So, whatever you are making, baking and creating in your kitchens, have fun preparing and sharing your feast.

Sammie xx

No part of this post may be reproduced or duplicated without the written permission of the owner. Please see my Disclosure Policy.

Share
Facebooktwitterpinterestlinkedintumblr

Cranberry Walnut Flapjacks

Share
Facebooktwitterpinterestlinkedintumblr

Gosh mornings are busy. So much to do, yet so little time. Besides that awe are supposed to make time for the most important meal of the day – breakfast. Well I have a solution right here for you my friends –  Cranberry Walnut Flapjacks.

Cranberry Walnut Flapjacks
Cranberry Walnut Flapjacks perfect for breakfast on the go.

Breakfast, is just that – breaking the fast. Our bodies have just been starved for 6-7 hours (I’m being optimistic here), whilst we sleep. Eating a good breakfast helps kick our bodies into GO. If you are anything like me, I need a kick start in the morning!

That’s where these yummy Cranberry Walnut Flapjacks can help.

Packed full of good-for-you, slow release energy oats, one of these bars will keep you going until lunchtime. And, because it’s the morning and let’s face it eating anything can be a struggle, I threw in crunchy walnuts and chewy, slightly tart cranberries.

Yes there’s a squiggle of rich, dark chocolate on top of these beauties – it’s breakfast people, we need all the caffeine flavour we can get!!

Cranberry Walnut Flapjacks
Cranberry Walnut Flapjacks the perfect start to your day.

The beauty of these flavour and texture packed bars is that you make them ahead.

Making and baking ahead

Imagine this? It’s Sunday afternoon, you spend 15 minutes in the kitchen, whipping up a batch of these Cranberry Walnut Flapjacks and you have breakfast and snacks for the whole week.

Am I the only one who gets that mid afternoon dip around 3-4pm?

Thought not!

Also these bars also make a great mid afternoon snack and stop you grabbing for that chocolate bar/doughnut/cookie. Because we all know these give us an instant feel good sugar hit, only to slump in hunger again half an hour later. Therefore, why not wrap an extra one of these, in baking parchment and take it to work? It’ll keep those hunger pangs away until dinner time.

Cranberry Walnut Flapjacks
Wrap up one of the Cranberry Walnut Flapjacks and take it with you.

You can certainly mix up the fruit and nut element. Dried apricots with almonds, or dried figs with pecan nuts. Really the possibilities are endless, I would keep the weights the same, as the flapjack needs to hold together.

I have deliberately not used the word ‘healthy’ for these Cranberry Walnut Flapjacks, as I am aware of the sugar/butter content. I am not a nutritionist, although I would rather pop one of these bars into my daughter’s hand as she heads off for college, than have her grab a muffin or doughnut from a coffee shop!

Recipe: Make 16 Cranberry Walnut Flapjacks

250g/9oz Unsalted Butter

100g/4oz Golden Syrup (light corn syrup)

125g/5oz Light Brown Sugar

Scant pinch of salt – I use Maldon 

325g/11.5oz Rolled Oats (not quick cook) I use Waitrose essential oats

150g/5oz Dried Cranberries

100g/4oz Chopped Walnuts

50g/2oz Dark Chocolate (70% cocoa is ideal) – optional

Making and baking the Cranberry Walnut Flapjacks

Preheat the oven to 180/160C fan oven, 350F, gas mark 4
  • First of all, grease and line a 8″ x 11″ – 20cm x 28cm swiss roll tin/shallow baking tin, with butter and baking parchment.
  • Into a large bowl add the golden syrup.
  • Into a medium saucepan add the butter and sugar. Warm over a medium heat, stirring until melted.
  • Pour the melted butter/sugar mixture into the bowl containing the golden syrup. Stir continuously until combined.

Cranberry Walnut Flapjacks

  • Add the oats, cranberries and walnuts to the bowl.
  • Stir until all the oats, walnuts and cranberries are thoroughly coated in the melted butter/sugar.
  • Tip the mixture into the lined tin.

Cranberry Walnut Flapjacks


  • Using the back of a metal spoon press the mixture into the tin, forming an even layer.
  • Place the tin into the oven and bake for 20 minutes until golden brown.
  • Remove the tin from the oven and allow the Cranberry Walnut Flapjacks to cool in the tin.
  • The flapjacks will be very soft at this stage, but will harden on cooling.
Cranberry Walnut Flapjacks
When the flapjacks are slightly warm, remove from the tin.

Cutting and decorating the flapjacks

  • Using a sharp knife cut down the centre of the flapjacks. Then cut across the middle. Cut each quarter in half again. The flapjacks will still be slight soft.
  • Leave the flapjacks on the baking parchment to continue cooling and setting.
  • As soon as the Cranberry Walnut Flapjacks are completely cooled they can be drizzled with chocolate.
  • Break the chocolate into small pieces and melt in a heatproof bowl, in the microwave, using 30 second bursts. Stir well and when the chocolate is nearly melted keep stirring and the inherent heat will melt any solid pieces left.
  • You can use a teaspoon to drizzle the chocolate over the flapjacks or pour the chocolate into a disposable icing bag, snip the corner off and pipe the chocolate on.
Cranberry Walnut Flapjacks
Chocolate drizzled Cranberry Walnut Flapjacks
  • Allow the chocolate to set and then store in a tin.
Cranberry Walnut Flapjacks
Store layered with baking parchment in a tin.

While Cranberry Walnut Flapjacks are perfect anytime of day, they are especially handy to have, when time for breakfast disappears in the morning. Just grab one and eat on the go!

An added bonus, which does rely on checking the packaging, is that oats are gluten free. So even more people can enjoy a delicious, easy breakfast.

If you enjoyed these Cranberry Walnut Flapjacks then try these:

Bakewell Shortbread Bars 

FF Cranberry Walnut Flapjacks
Bakewell Shortbread Bars

Macadamia Apricot Flapjacks 

FF Cranberry Walnut Flapjacks
Macadamia Apricot Flapjacks

Lemon Drizzle Cake Bars

FF Cranberry Walnut Flapjacks
Lemon Drizzle Cake Bars

Why not bake a batch of these flapjacks and take them to work? Since I’m sure they would be appreciated. Especially by those who have skipped breakfast!

So, whatever you are making, baking and creating in your kitchens, have fun preparing and sharing your feast.

Sammie xx

No part of this post may be reproduced or duplicated without the written permission of the owner. Please see my Disclosure Policy.


Share
Facebooktwitterpinterestlinkedintumblr

Farmhouse White Loaf

Share
Facebooktwitterpinterestlinkedintumblr

Is there anything better than the smell and taste of freshly baked bread? This Farmhouse White Loaf is utterly delicious. If you’ve never baked bread before, read on and let me encourage you to give it a go.

Baking your own bread is such a rewarding experience. From a few simple ingredients, mixed together, the bread literally grows before your eyes.

This Farmhouse White Loaf is the perfect recipe to start with, if you have never made your own bread before.

You will need a loaf tin to bake your bread in. I recently reviewed a British company, that sells British manufactured bakeware you can read it here.

British Bakeware sell a range of loaf tins, my favourite and the one used for baking this loaf is the 3lb deep farmhouse loaf tin.

Farmhouse white bread loaf


Farmhouse White Loaf – Bread Baked In A Regular Oven

The advantage of having a deep loaf tin is, no muffin topped loaves. In the past I have baked bread in tins that weren’t as deep as this one and the bread rose and billowed out, like a mushroom. I’d have to cut away the sides of the bread, where it had stuck to the outside of the tin. Not they way to bake a great looking loaf!

The instructions given below for making this bread are, by hand (which everyone should do at least once in their lifetime), or using a stand mixer/bread maker to carry out the mixing, kneading and knocking back.

Personally I prefer bread baked in the oven. I have baked many a loaf in a bread maker, however, I never seem to get the gorgeous, crunchy crust, that I achieve with an oven baked loaf. Plus bread maker bread is always a little soft for my liking and there’s the inevitable hole in the bottom of the loaf where the mixing paddle is!

Bread dusted with flour and lightly scored to create a pretty finish once baked.
Farmhouse White Loaf

Bread As It Should Be – Without Unnecessary Additives

If you like baking bread in a bread maker I am most certainly not going to judge you. Any bread baked at home is infinitely better than plastic wrapped, pre-sliced, mass produced bread! Aside from speciality breads like my Tomato Thyme Garlic Focaccia, bread should contain nothing more than flour, water, yeast, salt, water and a little oil or butter.

Read the ingredients on the back of a shop bought loaf and you will be amazed at all the additives.

Baking your own bread is easy, once you get into a routine. Even when baking by hand, it still only takes 20 minutes, hands on time, to get a loaf ready to be baked. Once you taste real, homemade bread, it’s hard to go back to the bought stuff – that said, I’m a realist and I usually have a bought loaf stashed in the deep freeze for days when my body is playing up (see here). So I won’t judge!!

Farmhouse White Bread Loaf

Helpful Bread Making Tips

Just a quick tip: if you do start to bake bread regularly, it can pay to bulk buy your bread flour. I use organic flour that is stone ground, from Shipton Mill currently I buy it through Amazon UK using their subscribe and save, although Shipton Mill now have their own online shop. Buying in bulk, through Amazon UK, 5 x 2.5kg bags, means that we eat good quality, organic, stone ground British flour, for about 60 pence a loaf!

While I love baking with fresh yeast, the shelf life is very short, so I have used 7g sachets of fast action dried yeast. Alternatively, if you do use fresh yeast, simply double the quantity stated for dried.

Farmhouse White Bread Loaf

Recipe: Makes 1 Large Farmhouse White Bread Loaf

500g/1lb 2oz Strong White Bread Flour – I use Shipton Mill organic white flour

1 x  7g Sachet Fast Action Dried Yeast – I use Allinson Easy Bake in the green packet or pot

1tbsp Honey – alternatively use 1tsp regular sugar

320ml/11oz Tepid Tap Water (approx body temp)

7g Salt – I use Maldon Sea Salt

1 tbsp Rapeseed Oil (Canola Oil) – I use Kentish Oils alternatively add 25g/1oz of unsalted butter.

Farmhouse White Loaf – Making The Bread Dough

The ‘bowl’ is either a large bowl, with which to mix the bread by hand, or the stand mixer/bread maker bowl.

For all methods:

Pour the water into the bowl. Add the honey and yeast. Swish about with clean fingers to activate the yeast.

Add the flour on top of the liquid.

Add the salt and the oil/butter.

Bread Maker

If using a bread maker, set to dough cycle and start the program. Once the cycle is completed re-start for 2 minutes. This ‘knocks back’ the dough. Then remove the dough, shape into an oval/ball and place into a buttered loaf tin. Cover with a damp cloth, leave in a draught free place until doubled in size.

Stand Mixer – with dough hook attachment

If using a stand mixer, attach the dough hook and mix on medium speed until all the ingredients are combined. Continue to mix for a further 5 minutes, until the dough is smooth and elastic. Stop mixing. Scrape the dough from the dough hook and combine with the dough in the bowl. Form into a ball, place back into the bowl. Cover with a damp cloth and leave in a draught free place until doubled in size (approx. 1hour). Once doubled remove the cloth, mix for 2 minutes on medium speed using the dough hook. This ‘knocks back’ the dough. Remove the dough and form into an oval/ball shape, place into a buttered loaf tin. Cover with a damp cloth, leave in a draught free place until doubled in size.

By Hand

If hand mixing, bring all the ingredients together with your hand until they form a doughy mess! Place this dough onto a very lightly floured worktop. Knead for a good 10 minutes. If the dough gets sticky, keep kneading and working it – if you add extra flour the finished bread will be dry. After a good 10 minutes kneading, the dough should have a smooth elasticity. Place the kneaded dough into a buttered bowl, cover with a damp cloth and leave in a draught free place until doubled in size, 1-2 hours.

Shaping The Dough Ready For The Second Proof

Ensure the area that you are shaping your dough is draught free.

First of all lightly dust the work surface with flour

Tip out the dough, from its bowl, so the top of the dough is directly in contact with the worktop. This will help as we start to build tension within the dough.

Lightly flour your hands and pull out part of the sticky dough, then press it into the centre of the dough, as seen in the photos below.

Continue this process all the way around the outside of the dough until you have a smooth, rectangular shape, with no sticky sides.

Creating tension across bread dough after the first proof.

Shaping The Loaf

Using your fingers, lightly press the dough out into a square shape, roughly the same width as the length of your dough tin.

Fold the top third of the dough onto itself and then repeat with the bottom third of the dough, pulling it so that it overlaps the first fold.

Flip the folded dough over and tuck in the top and bottom to create an oval shape.

Shaping bread dough in stages.

Place the shaped dough, with the seams underneath, into the loaf tin.

Cover with a clean tea towel and leave in a draft free place until doubled in size.

Shaped bread dough in tin before and after second rise.

Baking Your Farmhouse White Loaf

10 minutes before the dough is ready to bake, preheat the oven to 220C/200C fan, gas mark 7, 425F. Also, place an inch (2.5cm) of water in a container and place on the bottom of the oven. This will create steam which allows the bread to rise more (known as oven spring ) before forming a crust.

Also, if desired, score the loaf before placing in the oven.

Place the loaf tin into the middle of the oven. Bake for 30 – 40 minutes. Tip the loaf out of the tin.

The bread is cooked when it has a deep golden crust and sounds hollow when rapped on the base with your knuckle.

For an extra crusty loaf place the bread directly on the oven shelf and bake for a further 5-10 minutes. Remove from the oven and place on a cooling rack.

Enjoy the wonderful aroma of baking bread as it fills your kitchen. That alone is worth baking this bread for!

Farmhouse White Bread Loaf

Enjoying Your Farmhouse White Loaf At It’s Best

Allow the Farmhouse White Loaf to cool completely before slicing. I know it is sooo tempting to tear into the hot, freshly baked loaf, but if you do the bread will all squidge (is that a word??) together and be very hard to slice.

Give yourself a big pat on the back for making a cracking loaf!

You deserve it.

White Sandwich Bread sliced
Farmhouse White Loaf

This was not a sponsored post. All opinions are my own and recommendations for products are purely from my own personal experience.

Bread is a staple in so many homes, treat yourself to a home baked loaf and I promise you won’t regret it.

FF Farmhouse White Loaf
A Farmhouse White Loaf slashed after the second prove.

Here To Help You Bake The Perfect Bread

I do not presume to be an expert, however, I have baked a fair few loaves over the years. Please ask if you are having any problems, need guidance or reassuring?

Either leave a comment or tweet (@sammiefeasting) me a question. I will do my very best to help.

If you have enjoyed this recipe for Farmhouse White Loaf you may like to try these:

Oat Bran White Bread

FF Farmhouse White Loaf
Oat Bran White Bread

Easy Homemade Cottage Loaf

FF Farmhouse White Loaf
Easy Homemade Cottage Loaf

Garlic Rosemary Focaccia Bread 

FF Farmhouse White Loaf
Garlic Rosemary Focaccia Bread

While baking bread is not only a satisfying and tasty experience, it can also work out much cheaper than buying a standard loaf at the shops. Also, you know exactly what has gone into your home baked bread. And, the more bread you make, the better you will become at making it. As you become confident baking a  white loaf you can get creative and try other bread recipes. Although, I should issue a warning, bread making can become addictive!

So, whatever you are making, baking and creating in your kitchens, have fun preparing and sharing your feast.

Sammie xx

No part of this post may be reproduced or duplicated without the written permission of the owner. Please see my
Disclosure Policy.

Freshly baked white bread with descriptive graphics.

Share
Facebooktwitterpinterestlinkedintumblr

Glazed Lemon Bundt Cake

Share
Facebooktwitterpinterestlinkedintumblr

I adore lemons. Their fragrance, flavour and vibrant, sunny colour. So, I have put them to delicious use and made this Glazed Lemon Bundt Cake for you.

Glazed Lemon Bundt Cake

Yet Glazed Lemon Bundt Cake is an entirely different recipe to my Lemon Drizzle Cake.

Yes it still has strips of lemon zest and juice in the batter, making sure you keep topped up on your Vitamin C. In contrast, this cake is more akin to a Madeira Cake, being slightly denser than a sponge. And this is most definitely a good thing.

Also, buttermilk is added in this recipe and it ensures a moist crumb, bursting with lemon flavour.

Glazed Lemon Bundt Cake
The definition from the Bundt pan is stunning on this Glazed Lemon Bundt Cake

In Love With Lemons

So, please can we talk about the glaze for a minute?

Since it is literally TO-DIE-FOR, which I realise is slightly over dramatic, just wait till you taste it!

Because lemon juice when mixed with icing sugar becomes the most wonderful glaze. And that glaze is what we use to cover this cake.

Intensely lemony, not lip puckering though as it is forms the thinnest crust.

The lemon glaze is what first hits your tongue, waking your tastebuds up and alerting them to the buttery, lemon cake that follows. Finally, this cake is lemon through and through.

Glazed Lemon Bundt Cake
Glazed Lemon Bundt Cake look how it sparkles!

So, for all you lemon lovers out there, this is the cake you have been waiting for.

Please don’t worry if you don’t own a Bundt tin, this cake can be baked in an 8″ round tin, or a 2lb loaf tin.

Glazed Lemon Bundt Cake
Look at the fantastic detail on this Citrus Loaf Tin.

The Beauty Of Bundt Tins

I would urge you to invest in a Bundt tin. Since they take any cake batter and turn it into the most beautiful baked cake without you having to do anything. That’s got to be a good thing, right?

All my Bundt tins are by Nordic WareThere are various stockists in the UK so it’s worth shopping around, for both variety and price.

The Citrus Loaf Bundt Tin I used for this cake was bought in the sales from Lakeland for half the retail price. I know they have sold out online now, but it’s worth checking your local branch.

Also Amazon, eBay, TK Max and other retailers,  frequently have Bundt tins at lower prices.

Have I convinced you?

Recipe: Makes 1 Glazed Lemon Bundt Cake – serves 8-10

Cake Release Spray – I use Wilton’s (or melted butter for greasing the tin)

175g/6oz Unsalted Butter –  at room temperature

175g/6oz Caster Suger

200g/7oz Self Raising White Flour (if using Plain flour use 2tsp baking powder not 1/2tsp as stated below)

1/2tsp Baking Powder

1/4tsp Sea Salt – I use Maldon

3 Large Eggs – I use free range

1tsp Vanilla Extract

100ml/4fl oz Buttermilk – left out of the fridge for 1 hour prior to use

2 Lemons – washed

200g Icing Sugar – sift

Optional – white edible glitter

Making The Lemon Cake

Preheat the oven to 180C/160C fan oven, gas mark 4, 350F.

Note: If using melted butter to grease your tin, do so now, ensuring every part of the tin is covered in butter by using a pastry brush. Alternatively Spray your Bundt tin thoroughly with cake release (I do this over the sink).

  • First of all, into a large bowl whisk the butter and sugar together until pale and fluffy.
  • Into a jug add the 3 eggs, buttermilk and vanilla extract. Mix to combine.
  • Zest one of the lemons using a grater or lemon zester.
  • Cut the lemon in half.
  • Add 2tbsp of flour to the bowl, then add the egg/buttermilk mixture from the jug.
  • Whisk until thoroughly combined.

Note: The 2tbsp of flour should stop the mixture from curdling. If it does curdle please don’t worry, it will come back together in the next step.

  • Add the rest of the flour, salt, lemon zest and juice from half a lemon to the bowl.
  • Using a metal spoon gently mix all the ingredients together, until you have a smooth cake batter.
  • Spoon the cake batter into the Bundt tin, lightly pressing to ensure the batter is in every part of the tin.
Glazed Lemon Bundt Cake
Always ensure the Bundt tin is never more than 3/4 full with cake batter.

Baking The Cake

  • Place the tin into the preheated oven and bake for 50-60 minutes.
  • The cake is baked when golden, slightly shrinking away from the sides and an inserted wooden skewer comes out clean.
  • As soon as the cake is baked remove from the oven.
Glazed Lemon Bundt Cake
Place the Bundt tin onto a cooling rack and allow to cool for 10 minutes.
  • After 10 minutes cooling invert the tin onto the cooling rack and leave for 5-10 minutes.
  • Gently lift the tin away from the cake.
Glazed Lemon Bundt Cake
Ta-dah one not yet Glazed Lemon Bundt Cake.
  • Allow the cake to cool completely before glazing.

Making The Glaze And Decorating The Cake

  • Place a tray or a large piece of baking parchment under the cooling rack.
  • Sift the icing sugar into a bowl.
    Juice the remaining lemon half and the other lemon. You need 60mls exactly of lemon juice. If you do not have quite enough top up with tap water.
  • Add the lemon juice to the icing sugar and mix thoroughly until you have a very smooth consistency.
Glazed Lemon Bundt Cake
Slowly spoon the glaze over the top of the cake.
  • Allow the glaze to drip down the sides and then spoon more glaze over uncovered parts of the cake. Taking the excess glaze from the tray underneath and re-spooning it over the cake until it is completely covered.

  • When the glaze has set sprinkle lightly with white edible glitter.

Move the cake onto a serving plate.

Glazed Lemon Bundt Cake
Delicious Glazed Lemon Bundt Cake.

Give yourself a pat on the back for making such a stunning cake!

Yes, alright I know the Bundt tin did most of the work, so why wouldn’t you want to get one??

Enjoy this cake with friends, family, work colleagues, anyone who loves lemon cake. Food tastes infinitely better when shared.

If you have loved baking this Glazed Lemon Bundt cake, here are a few more you might like to try:

Glazed Orange Bundt Cake

Glazed Orange Bundt Cake

Marbled Chocolate Bundt Cake

Marbled Chocolate Bundt Cake


Mini Lemon Drizzle Bundt Cakes

Mini Lemon Drizzle Bundt Cakes

Sammie xx

No part of this post may be reproduced or duplicated without the written permission of the owner. Please see my Disclosure Policy.


Share
Facebooktwitterpinterestlinkedintumblr