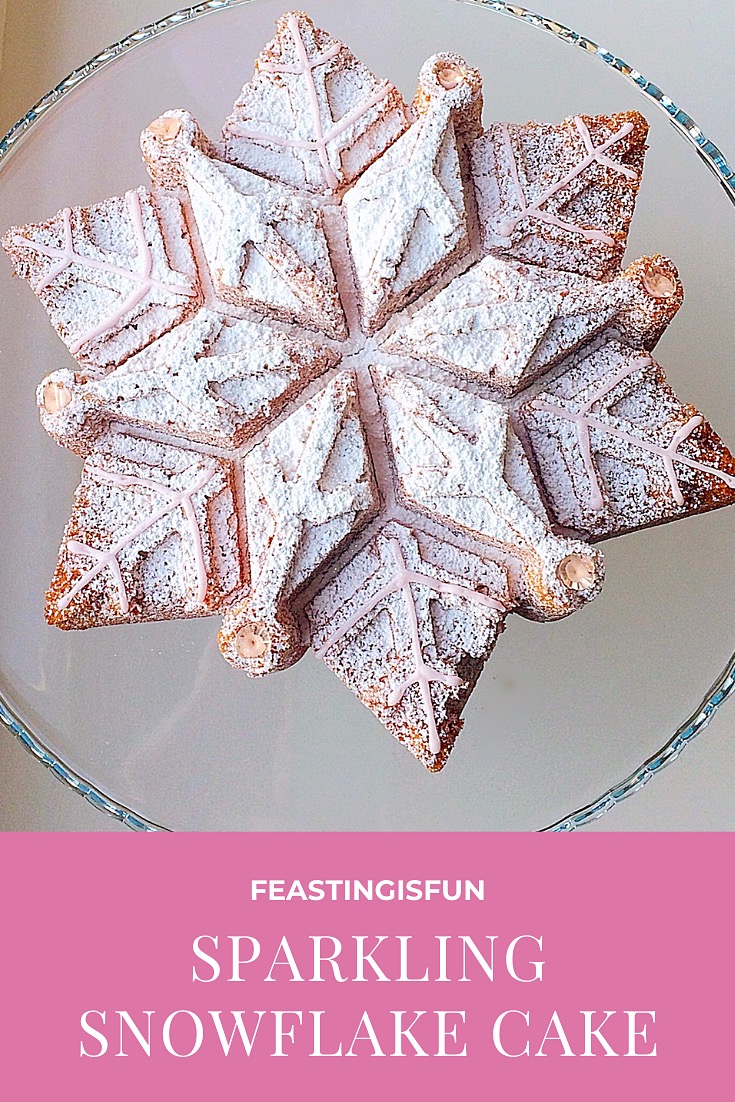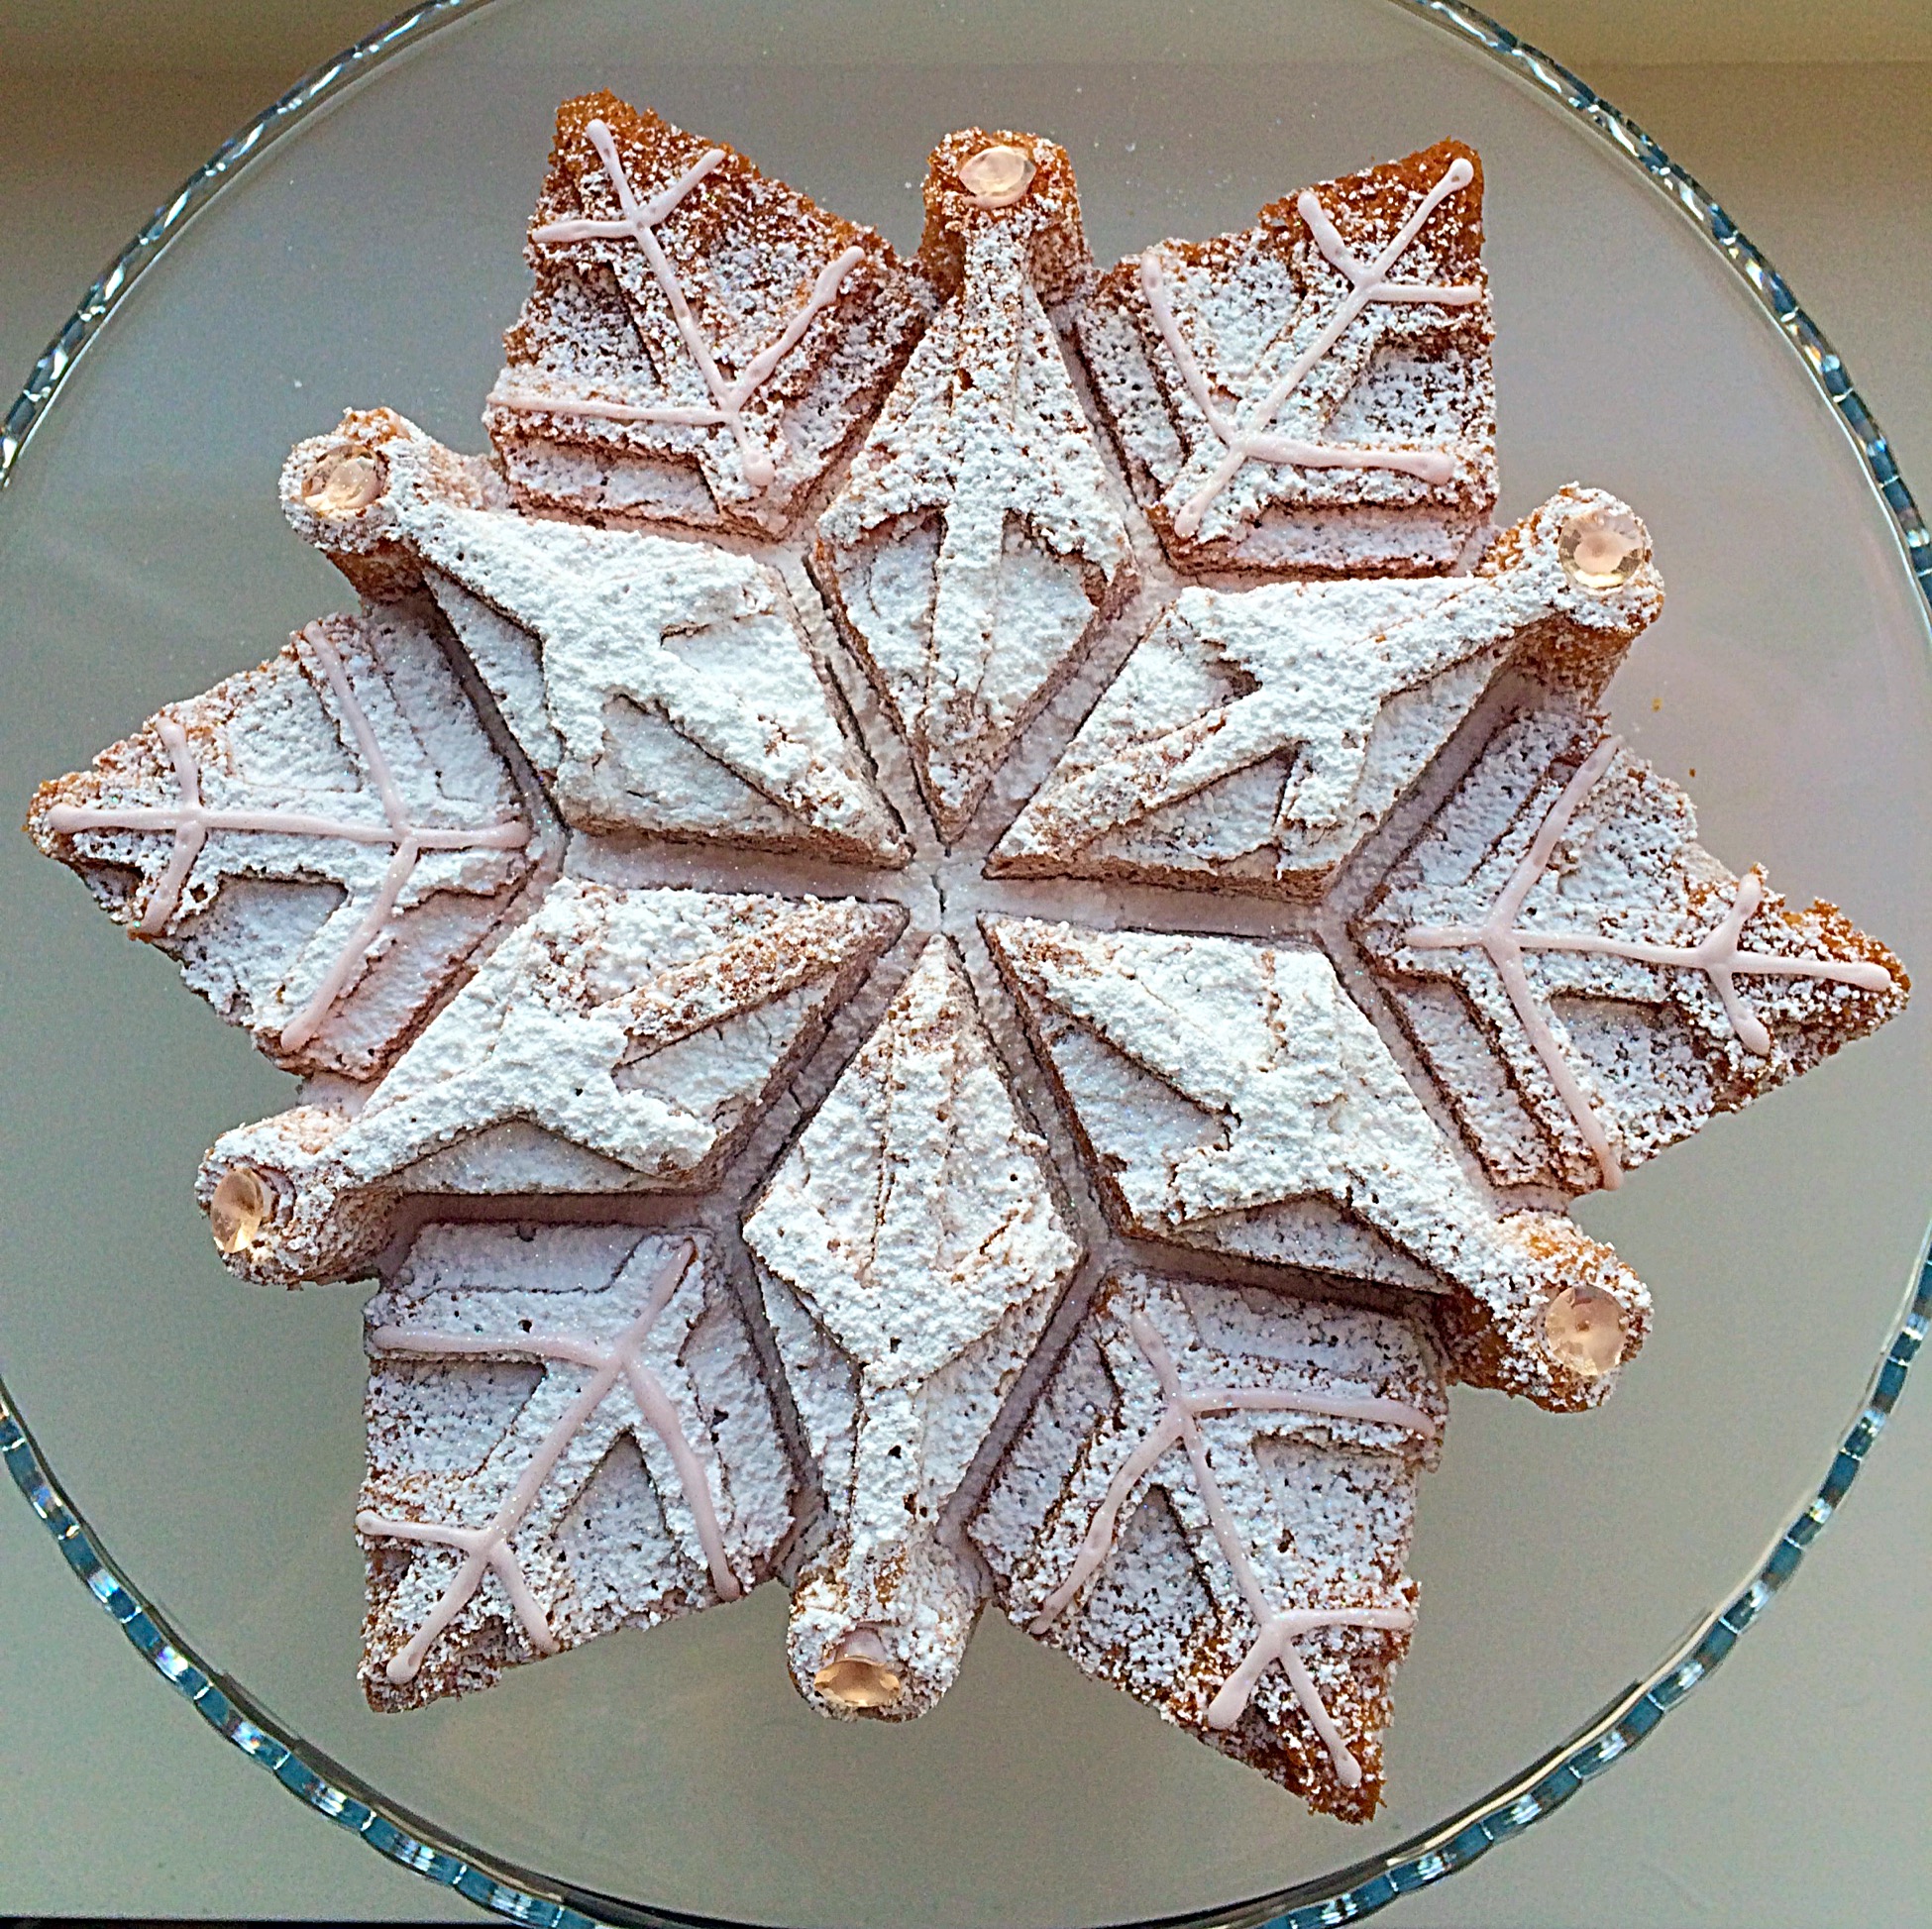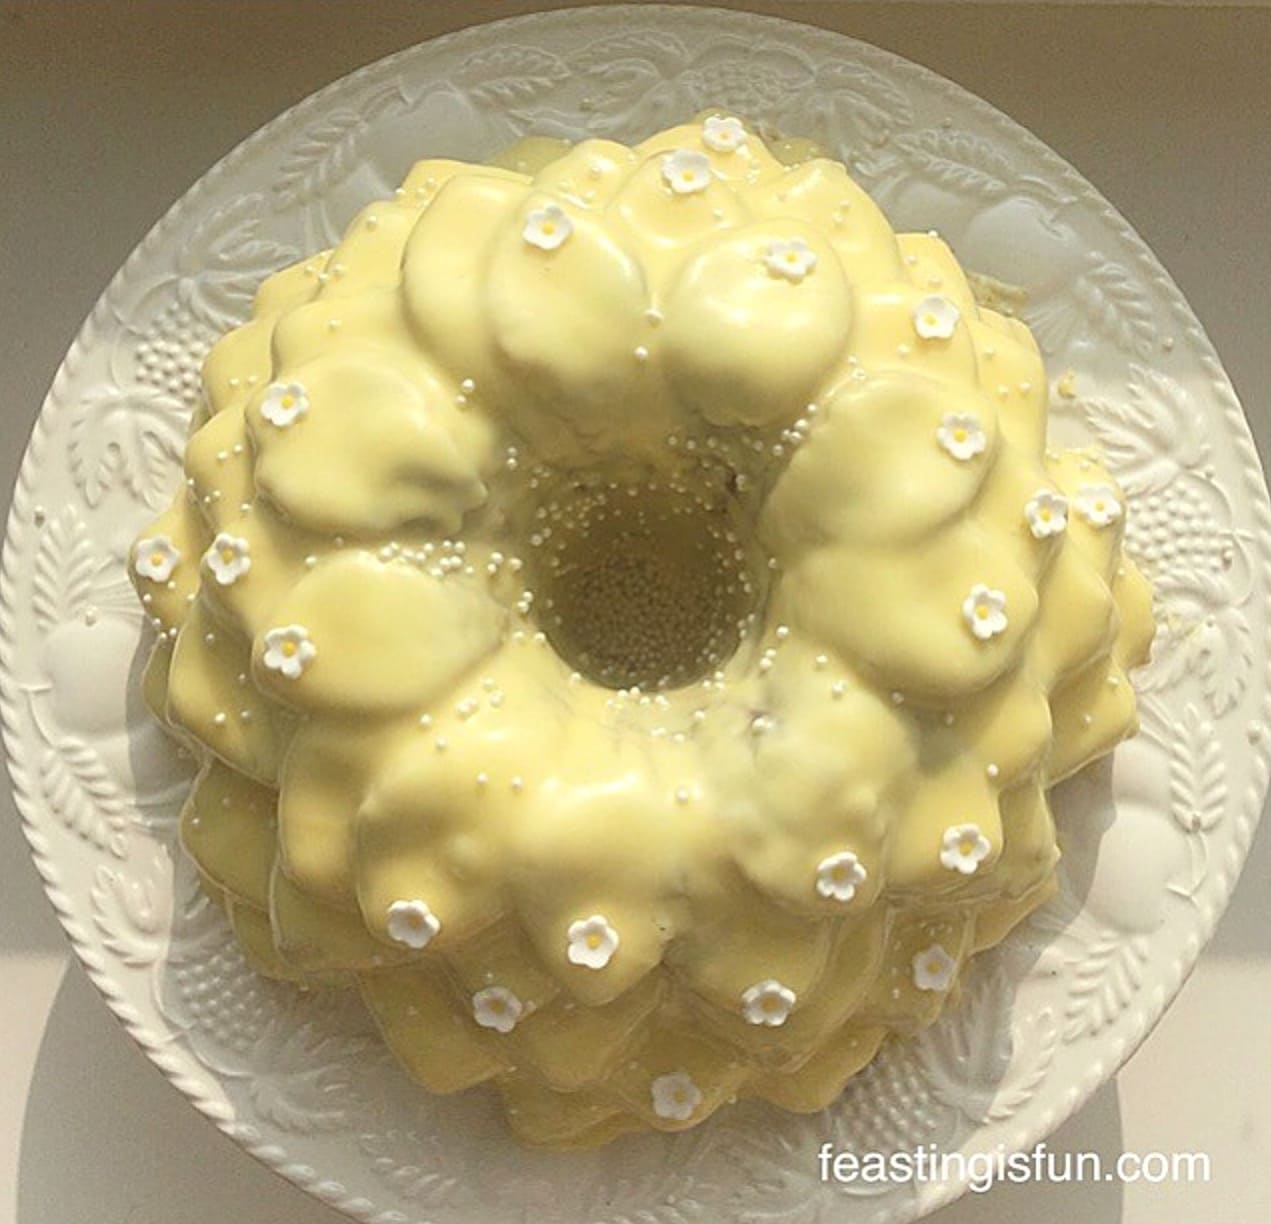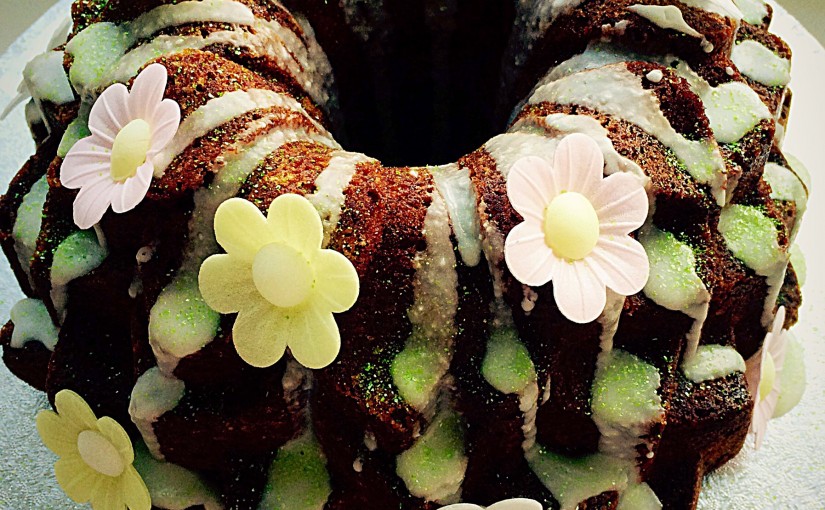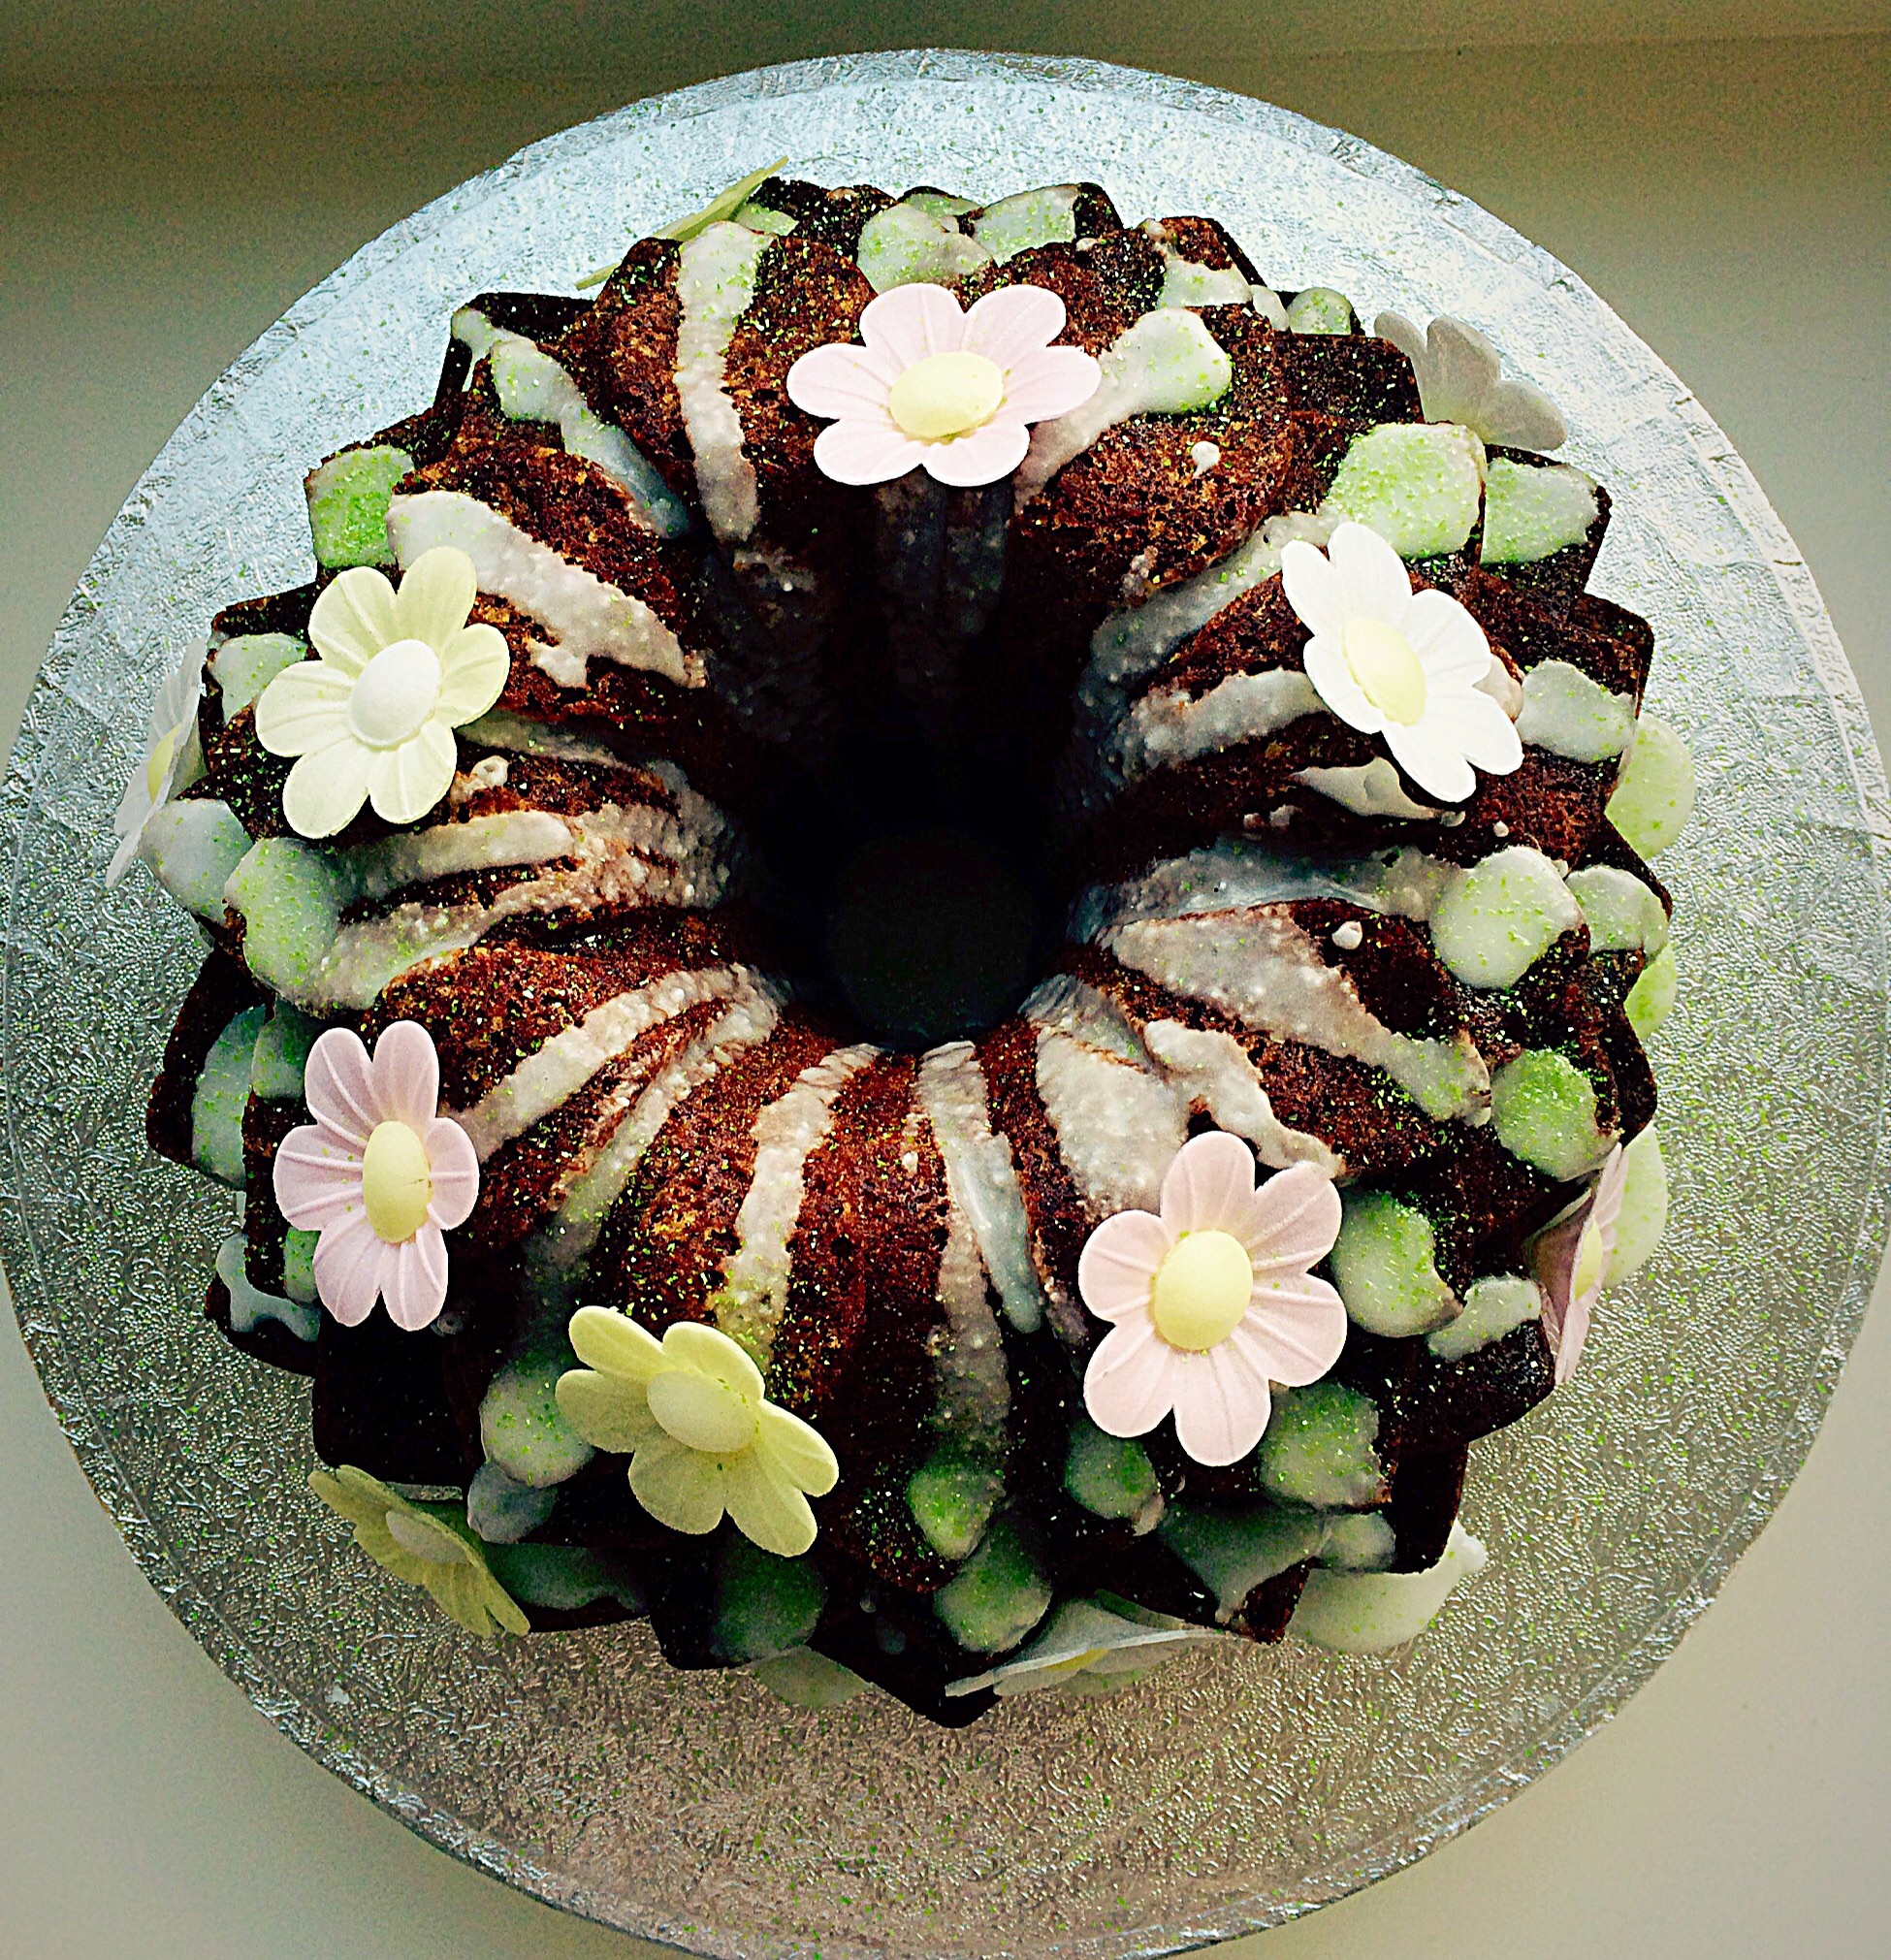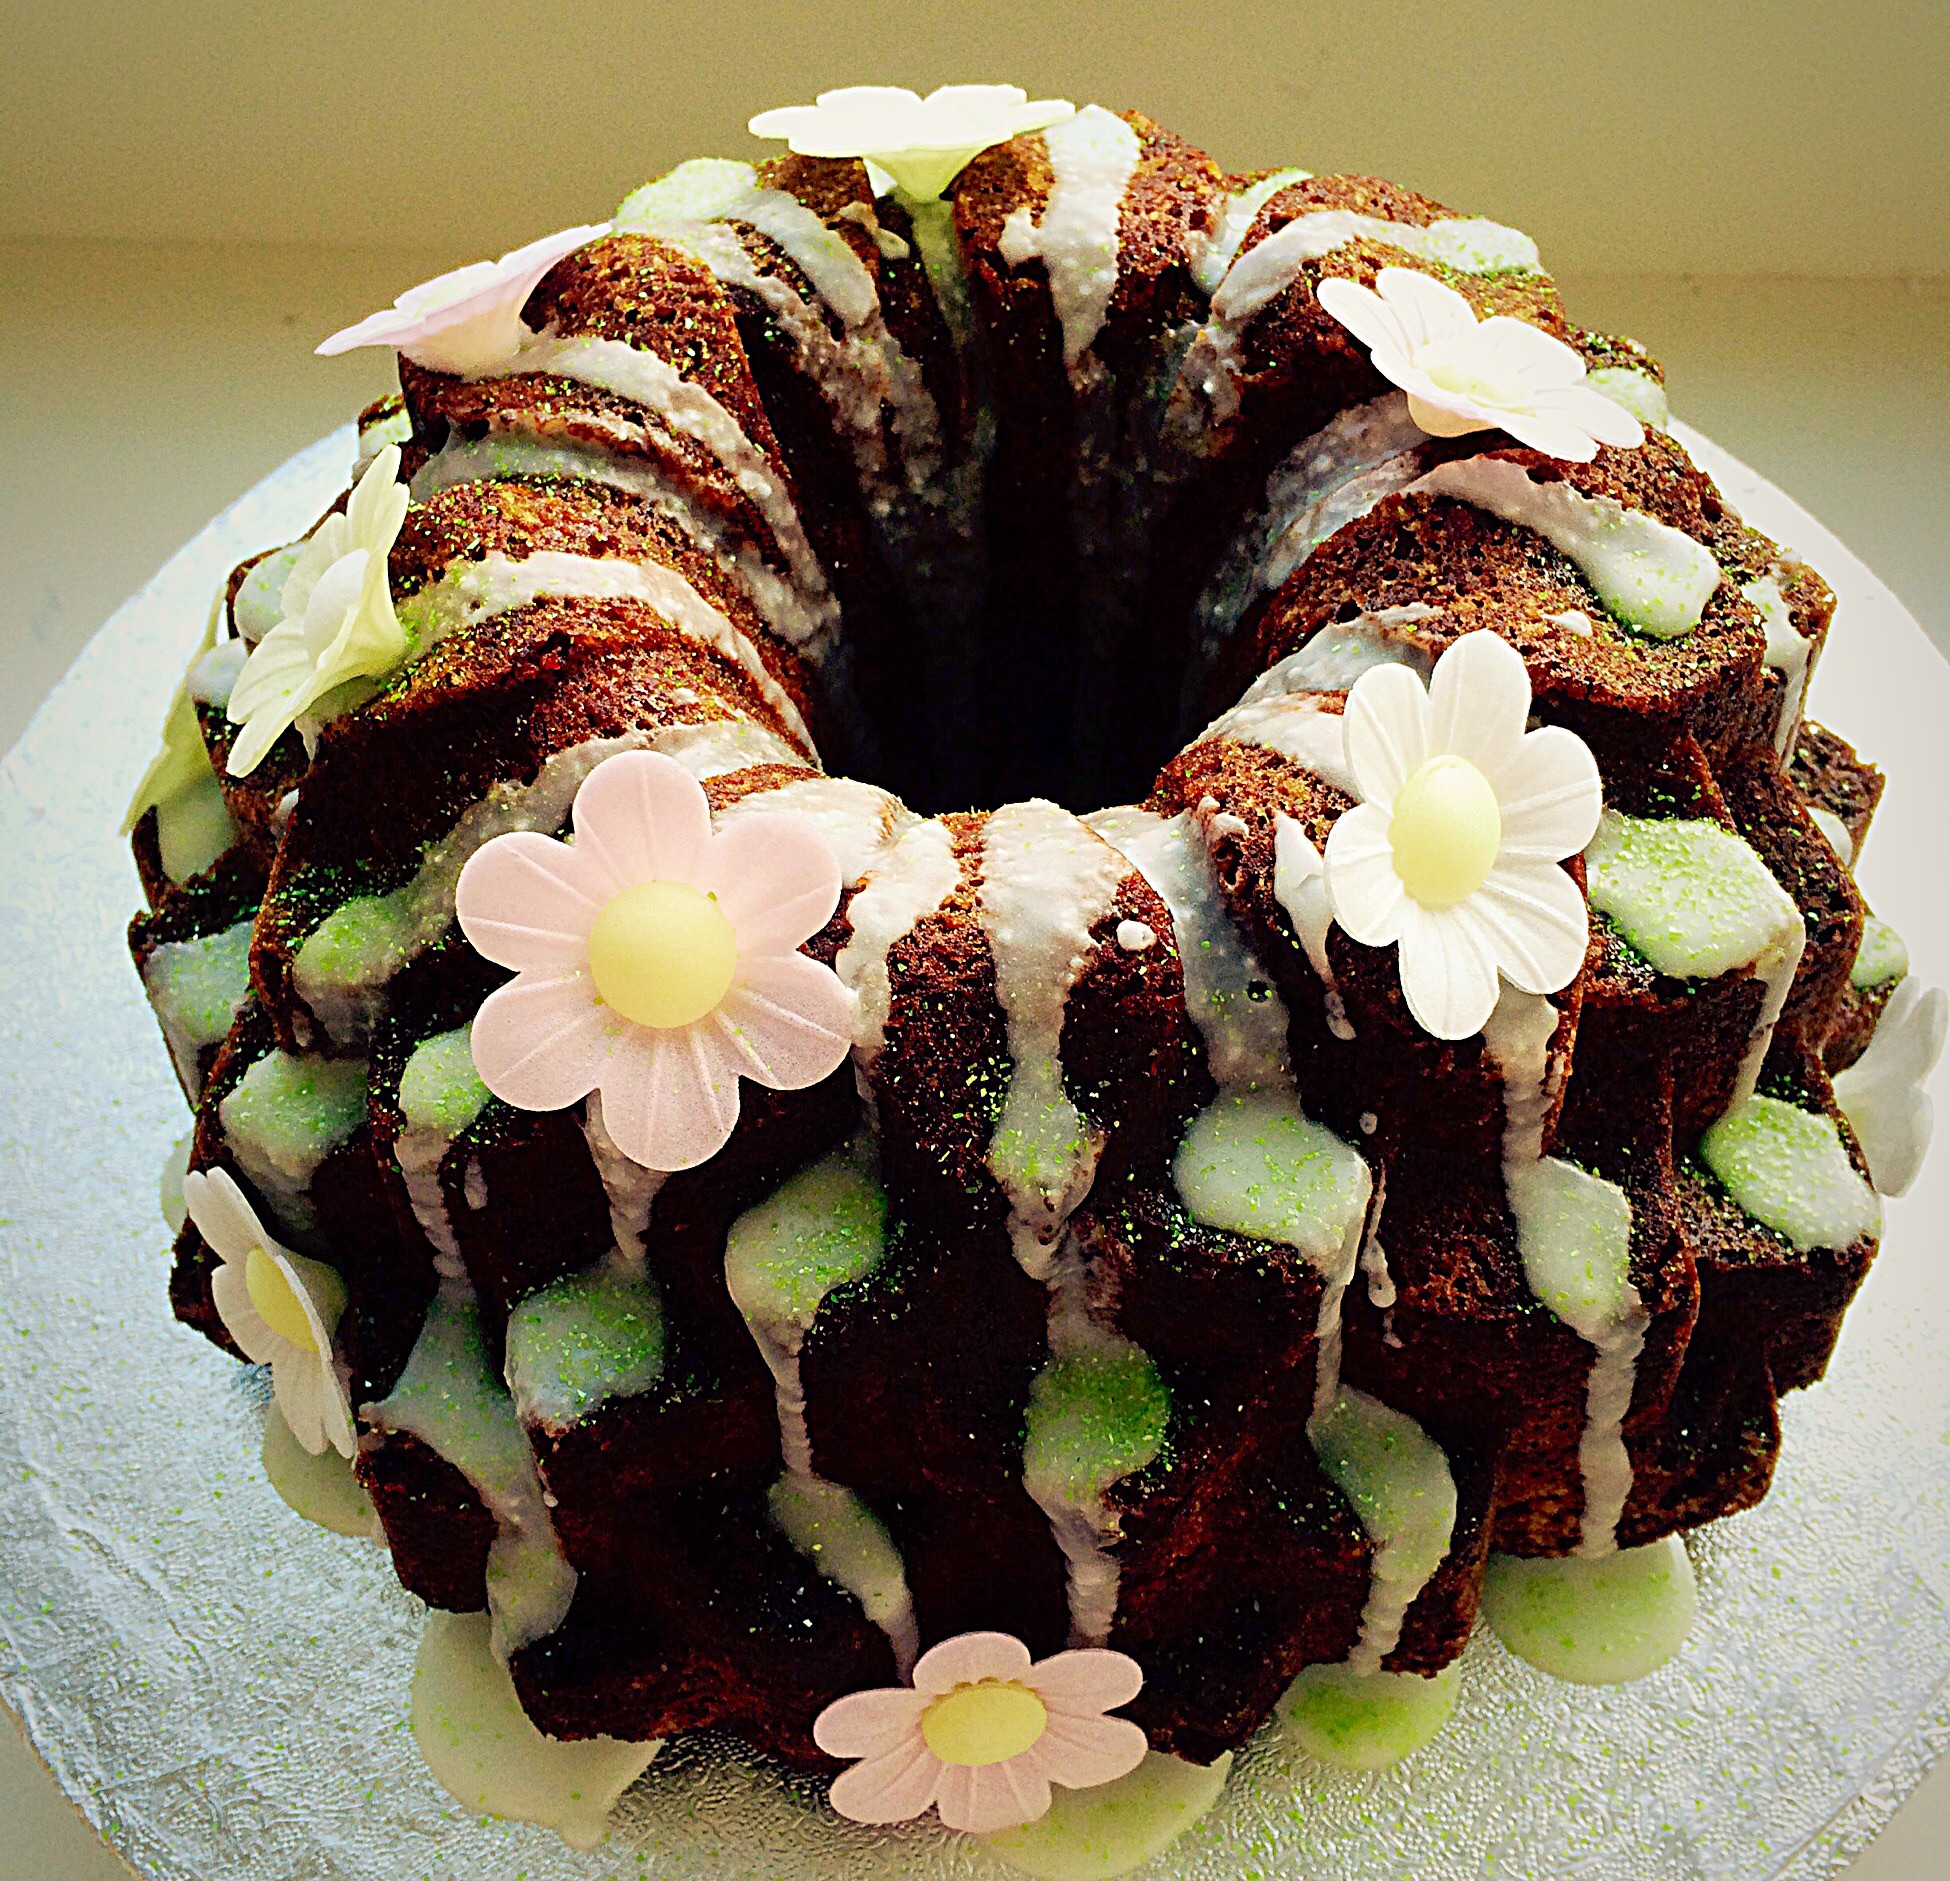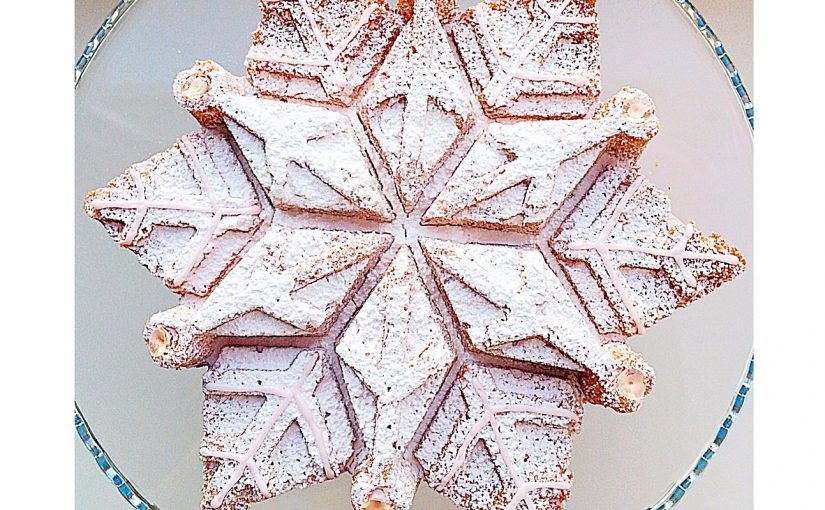
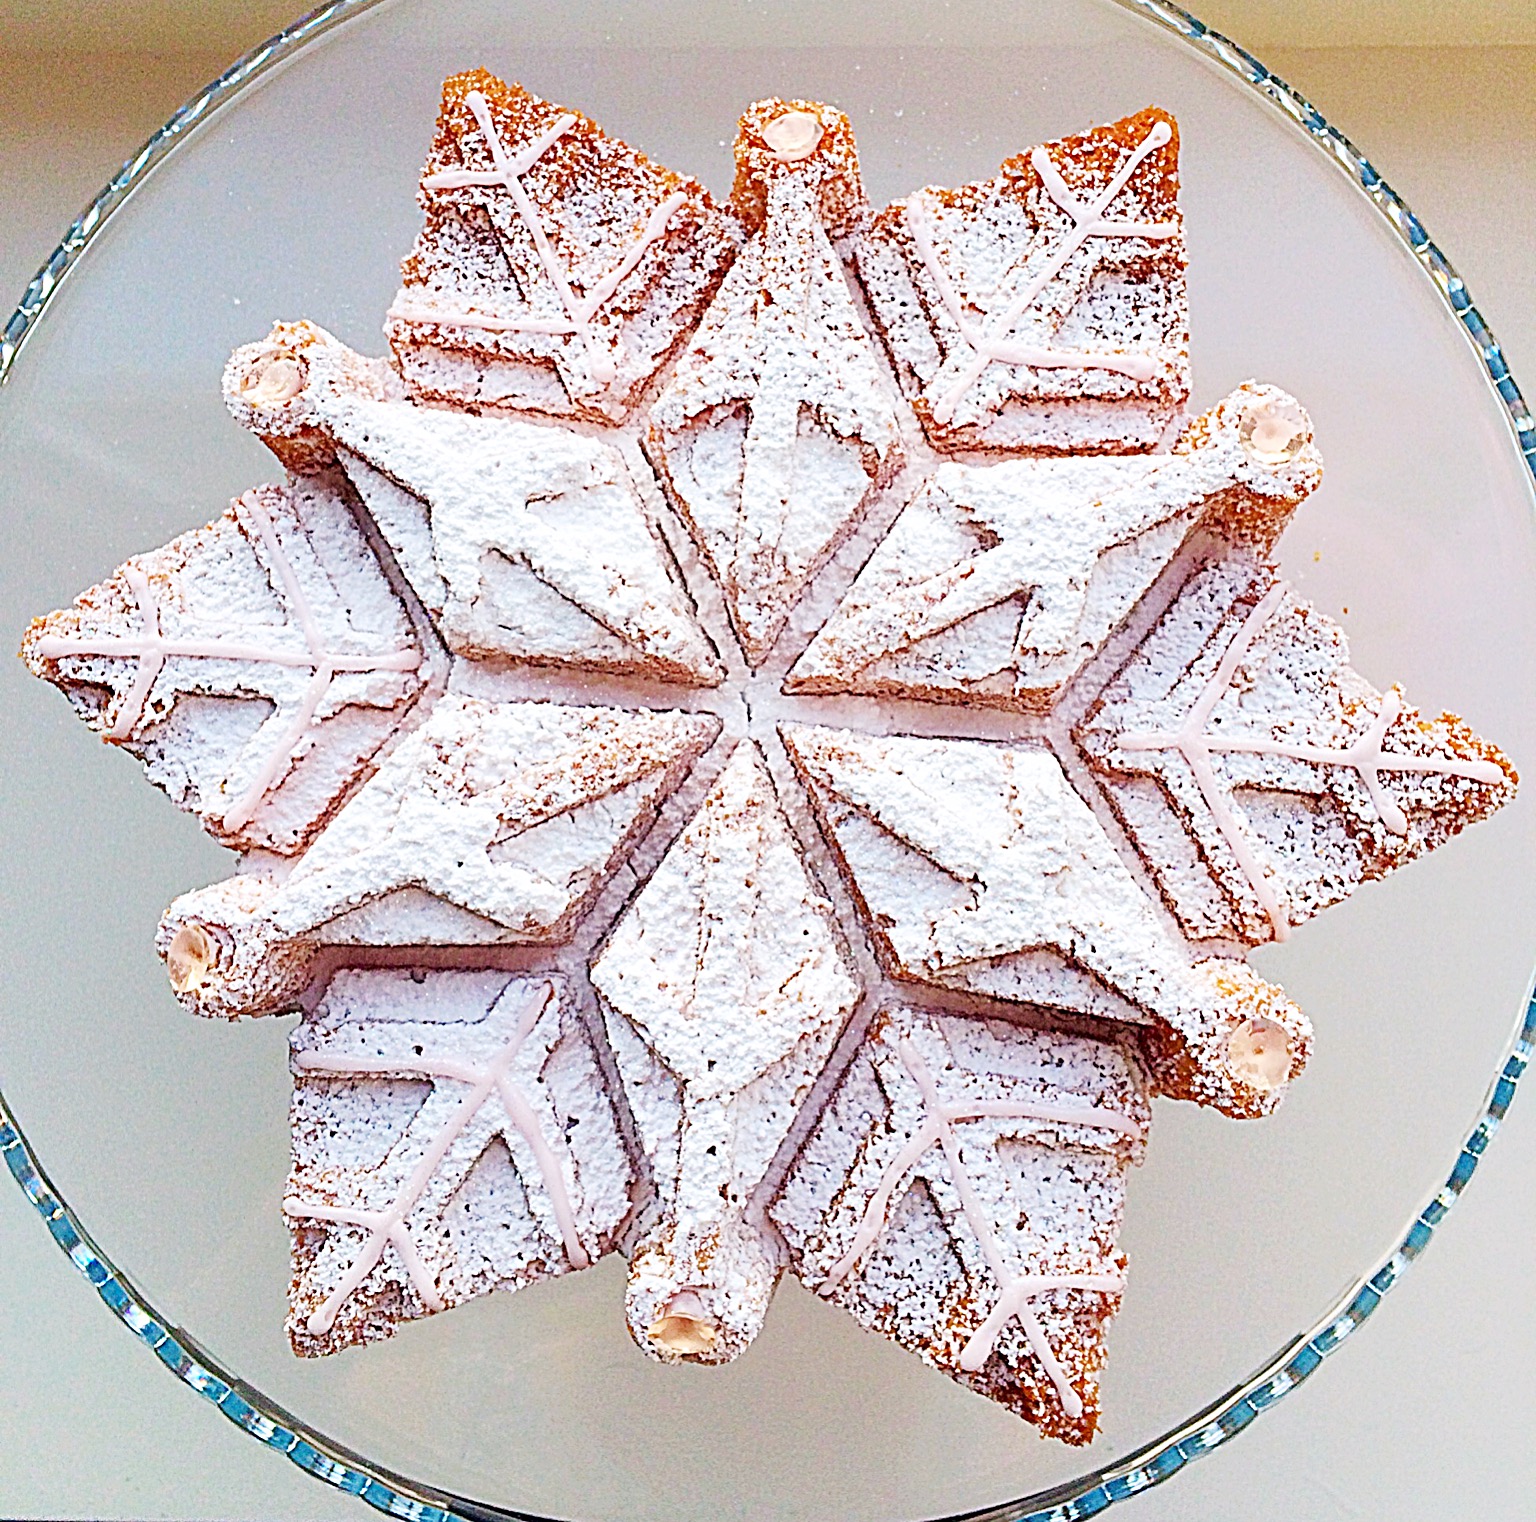
Merry Christmas one and all. So, it is my pleasure to be sharing this beautiful Sparkling Snowflake Cake with you today.
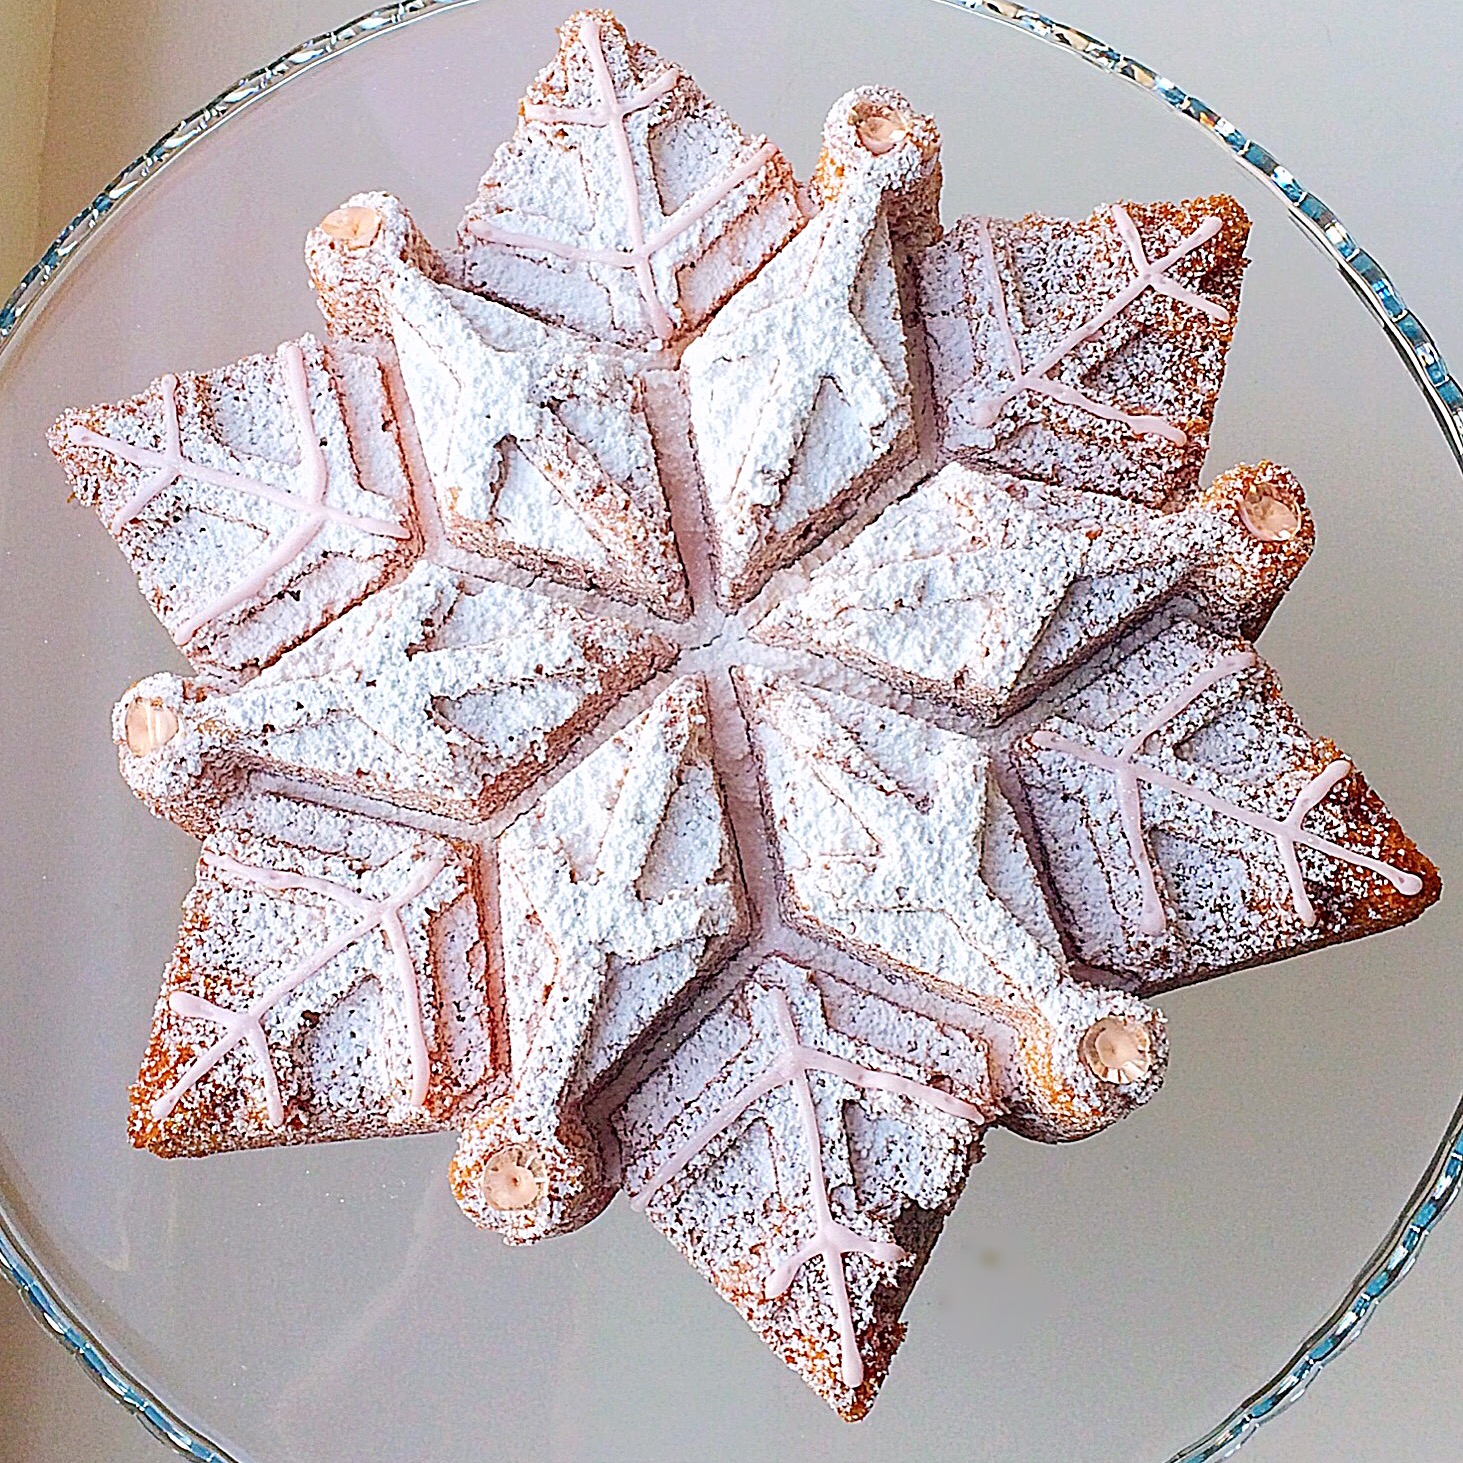
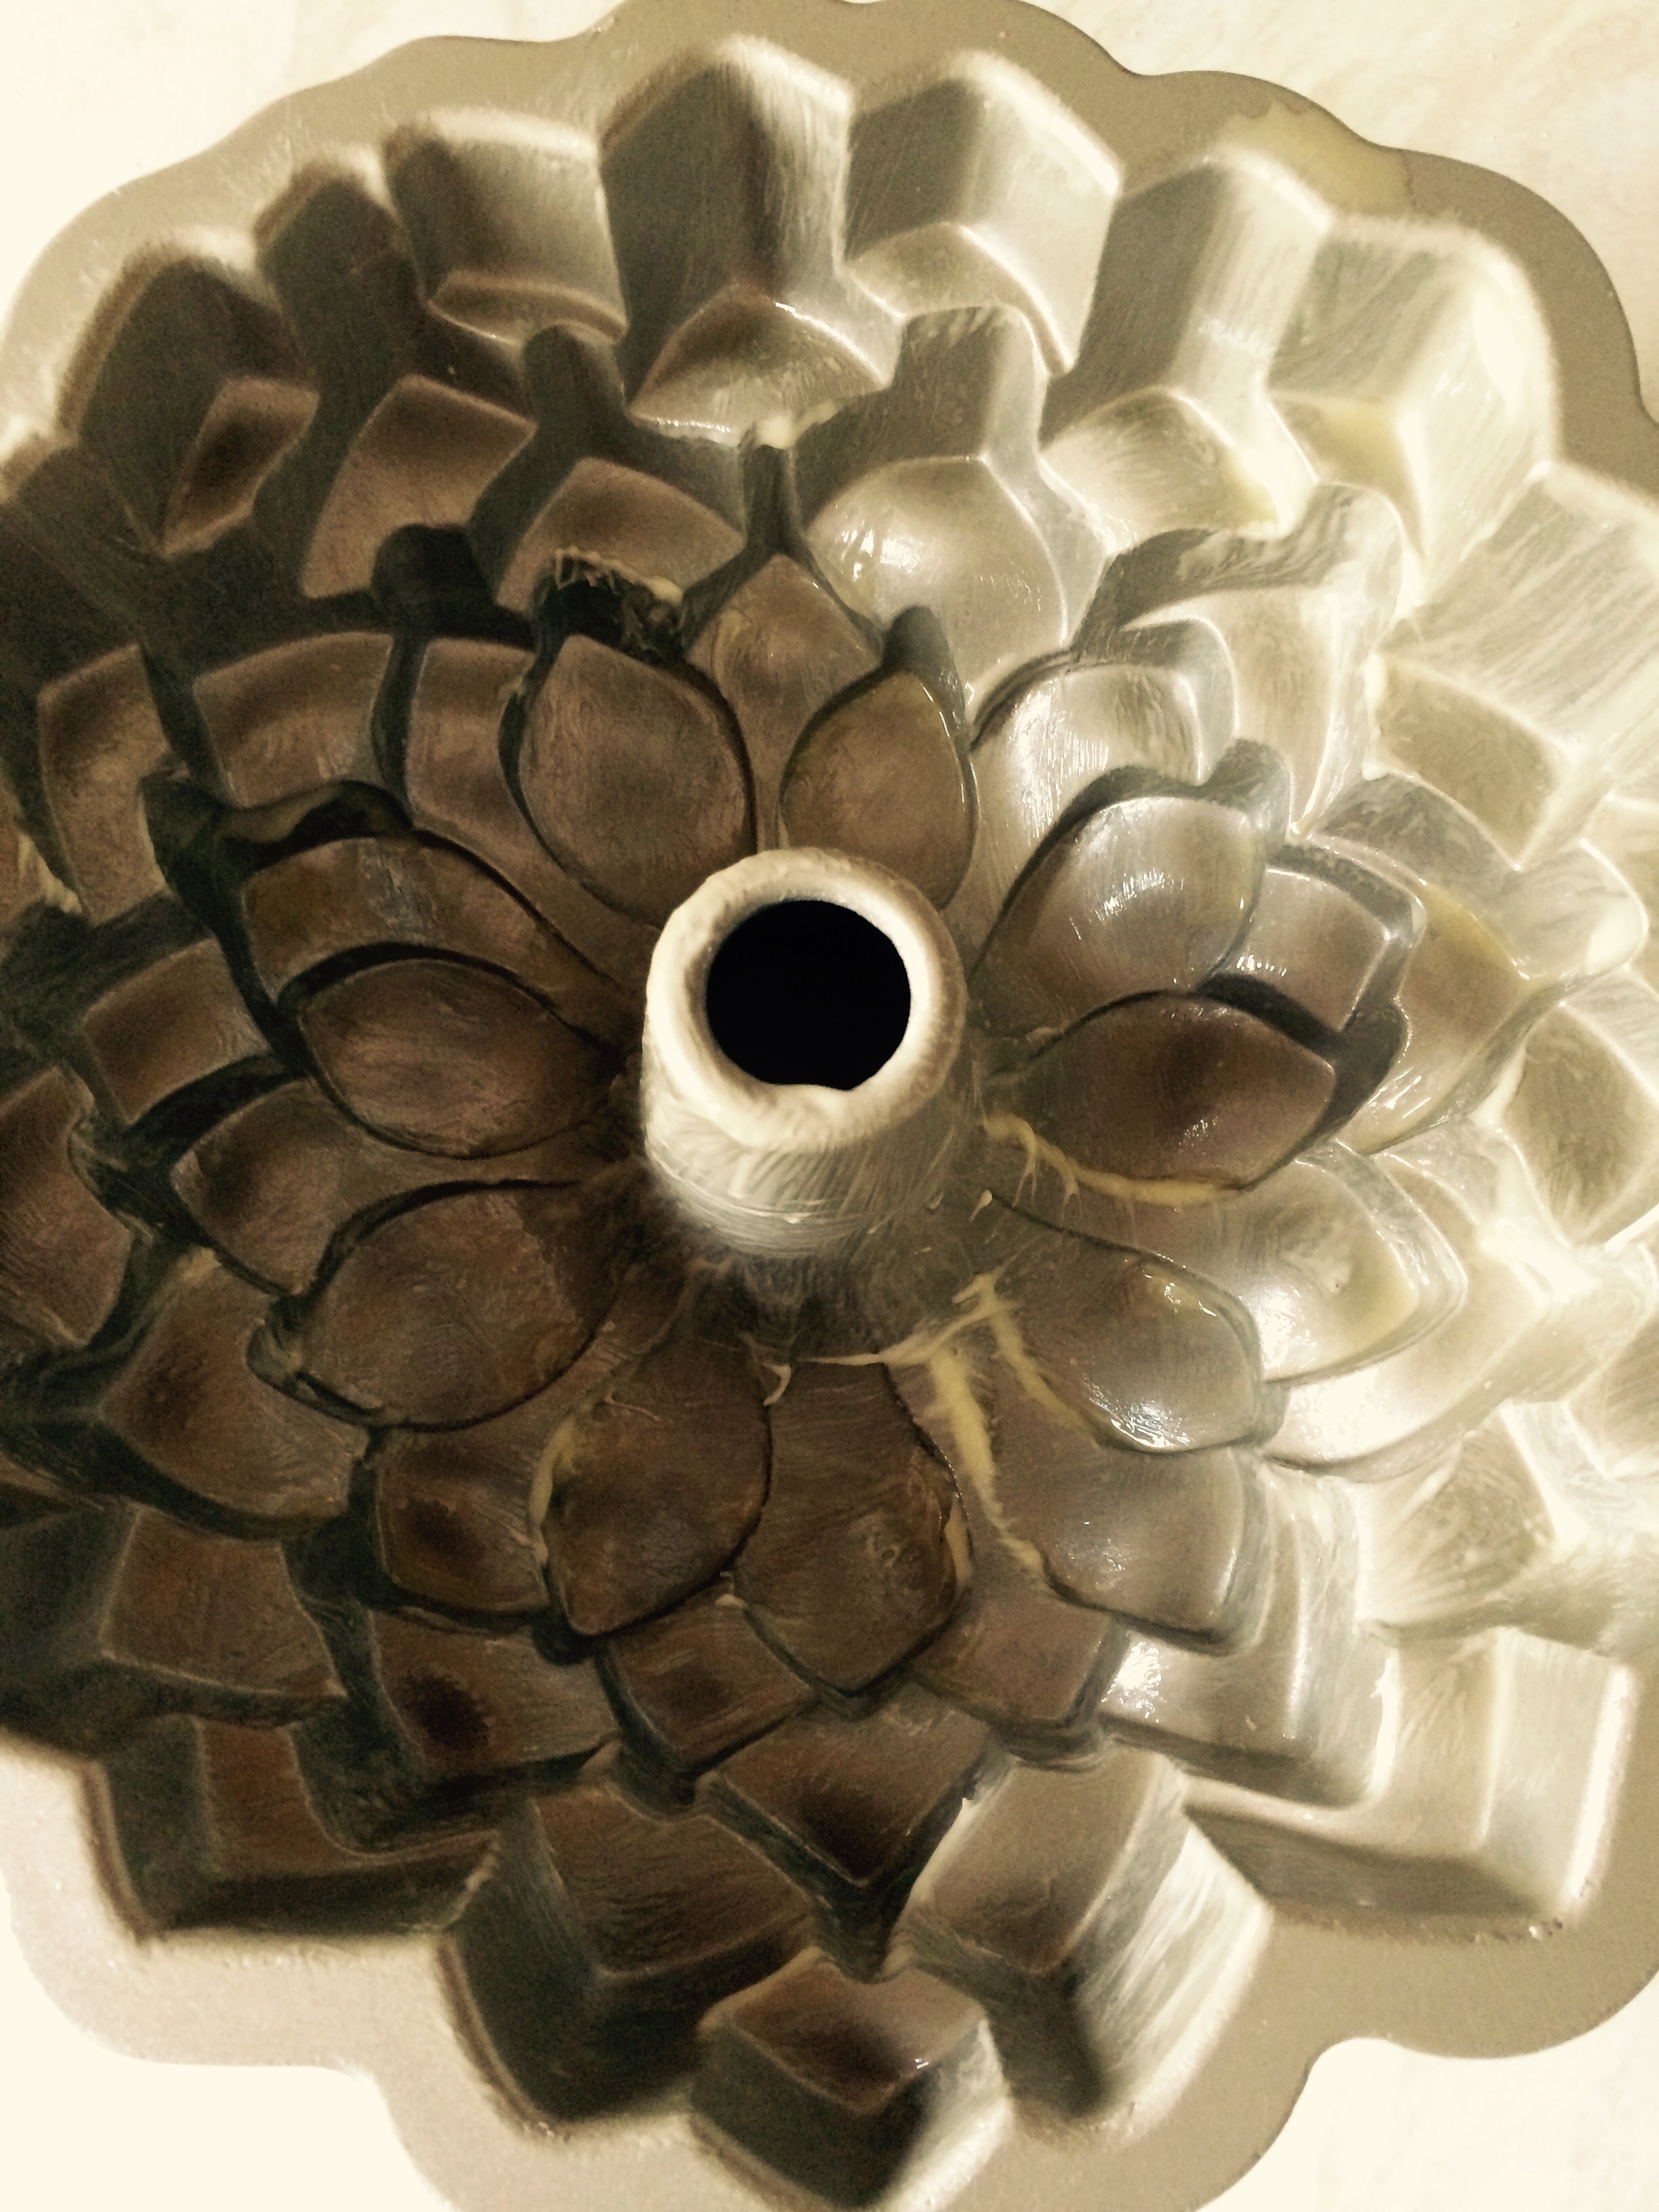
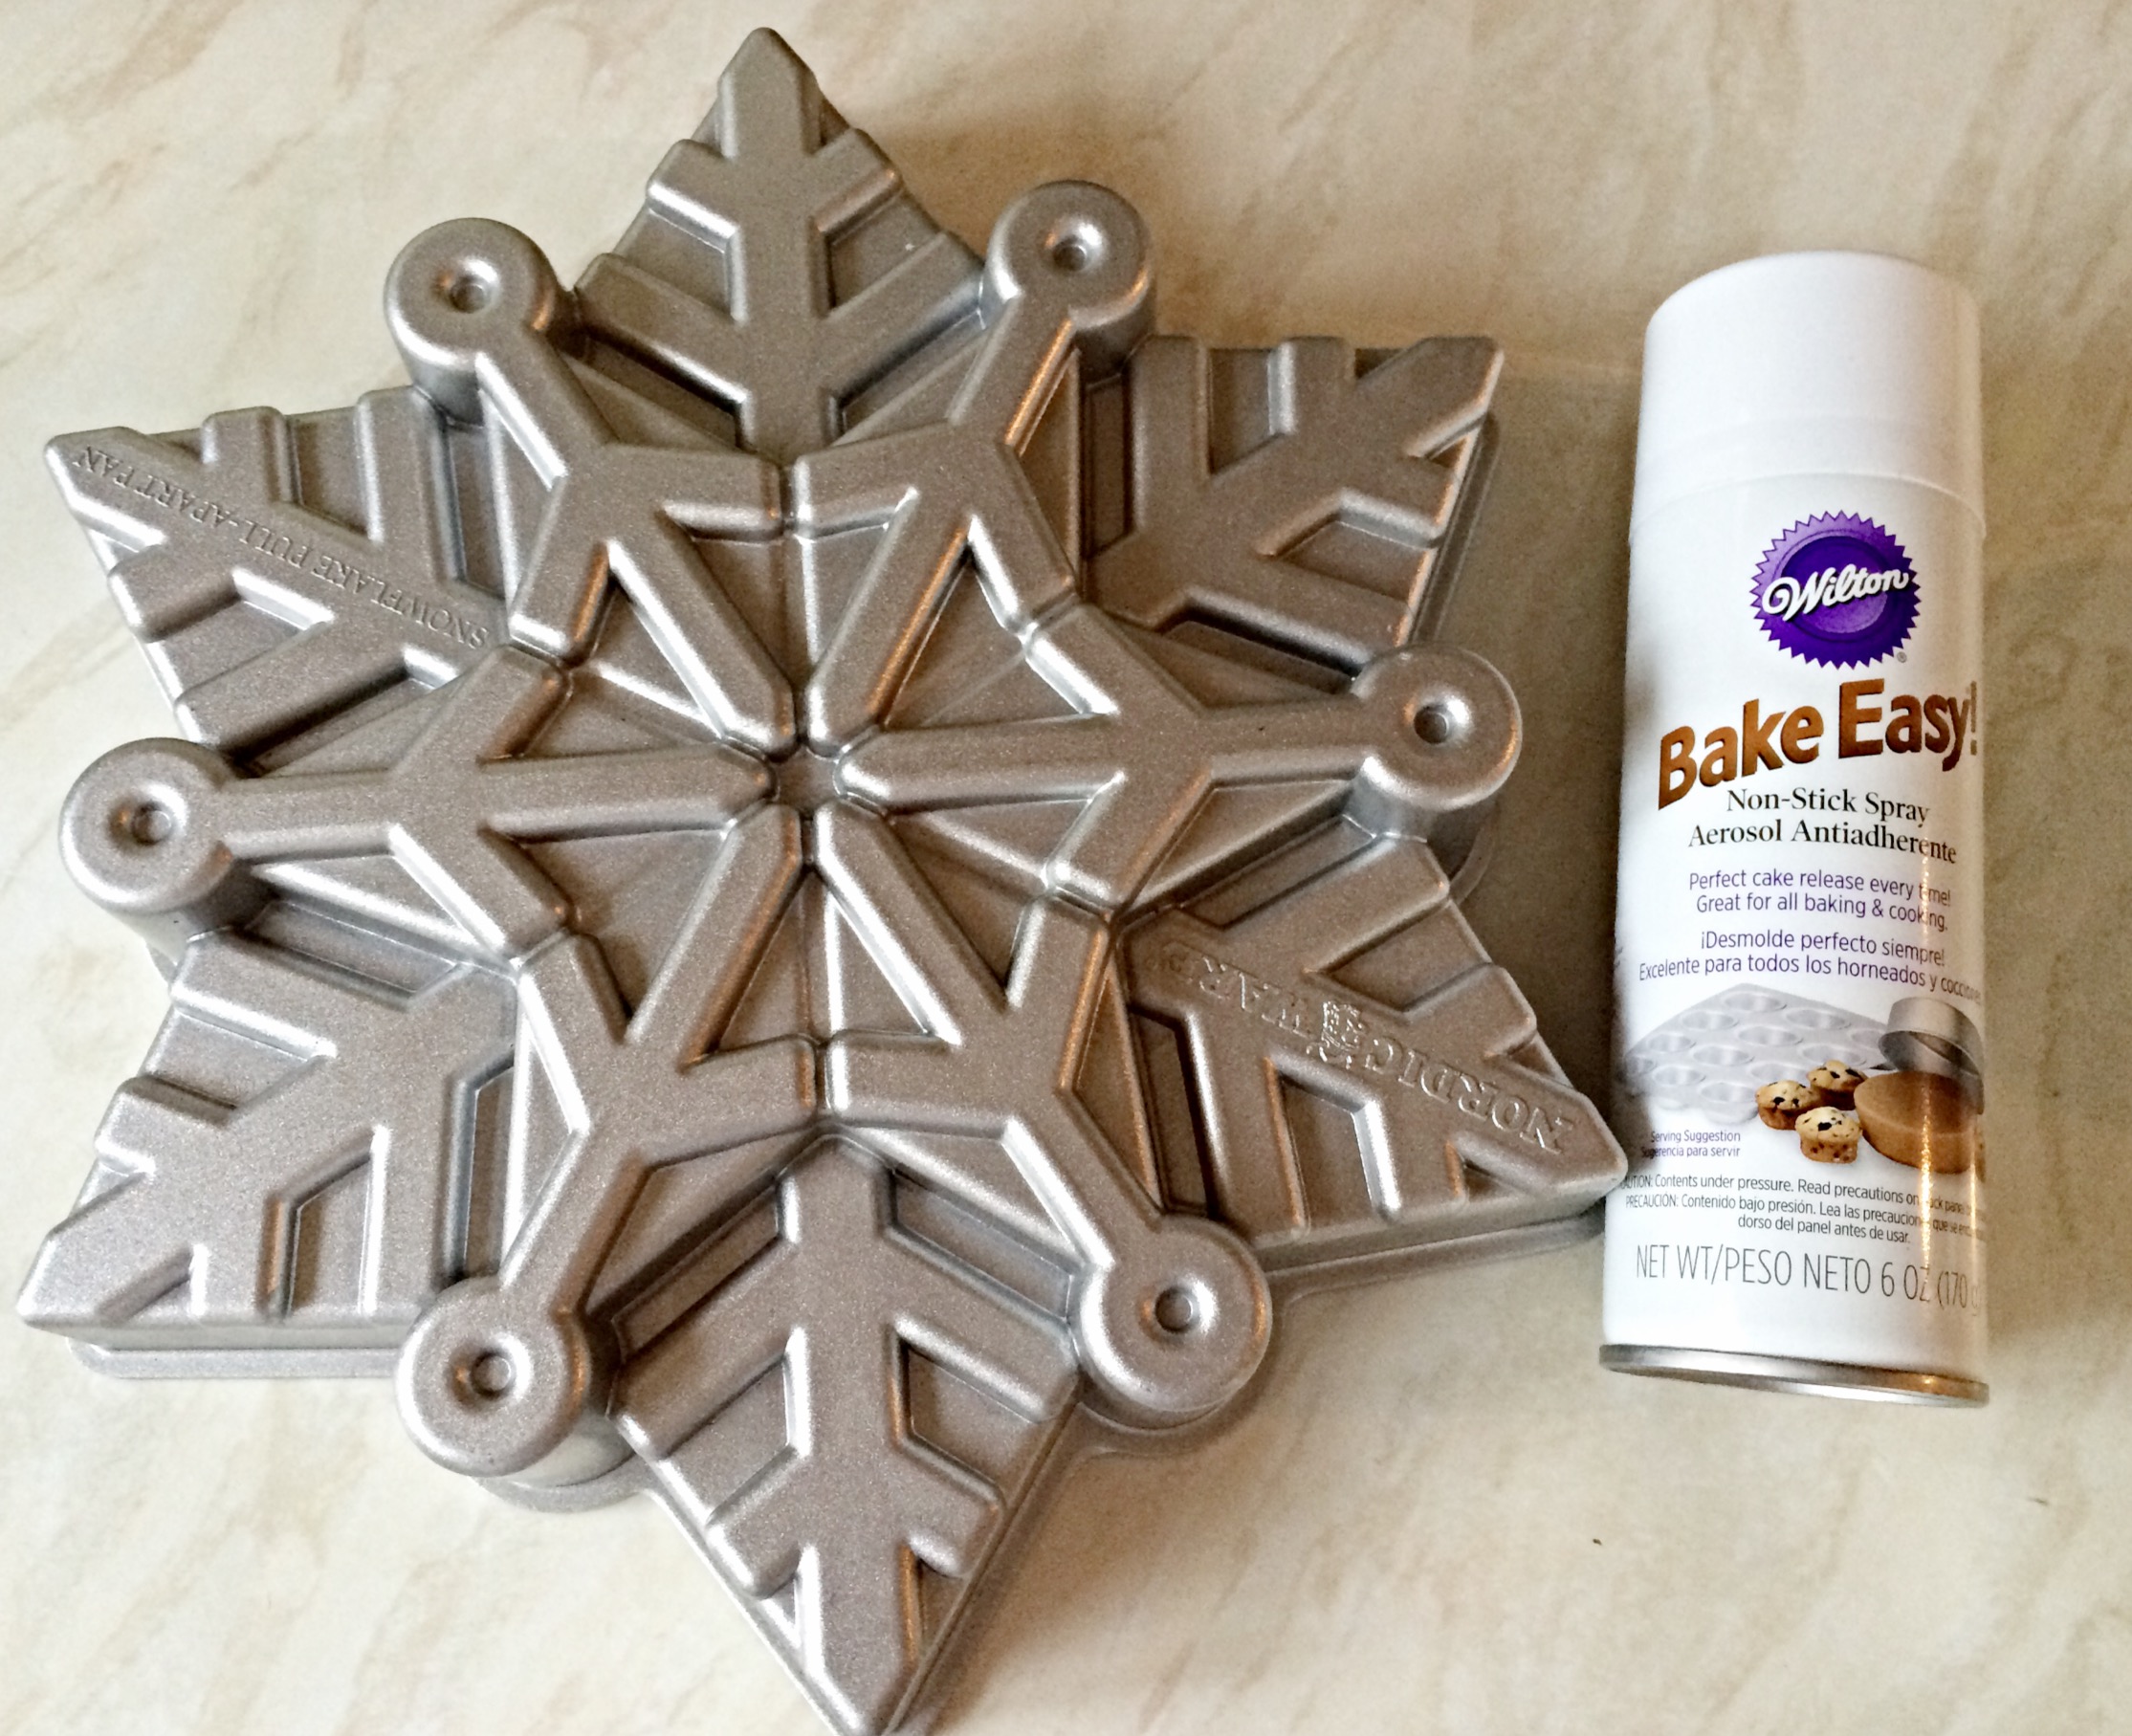
This Sparkling Snowflake Cake is stunning and I can take no credit for the beautiful detail. Because the cake is baked in a beautiful Bundt tin made by Nordicware . Amazon, ebay and Lakeland UK are all stockists of Bundt tins, it really is worth shopping around as prices vary. While Bundt tins may not be cheap, treated with care and looked after they will last a life time.
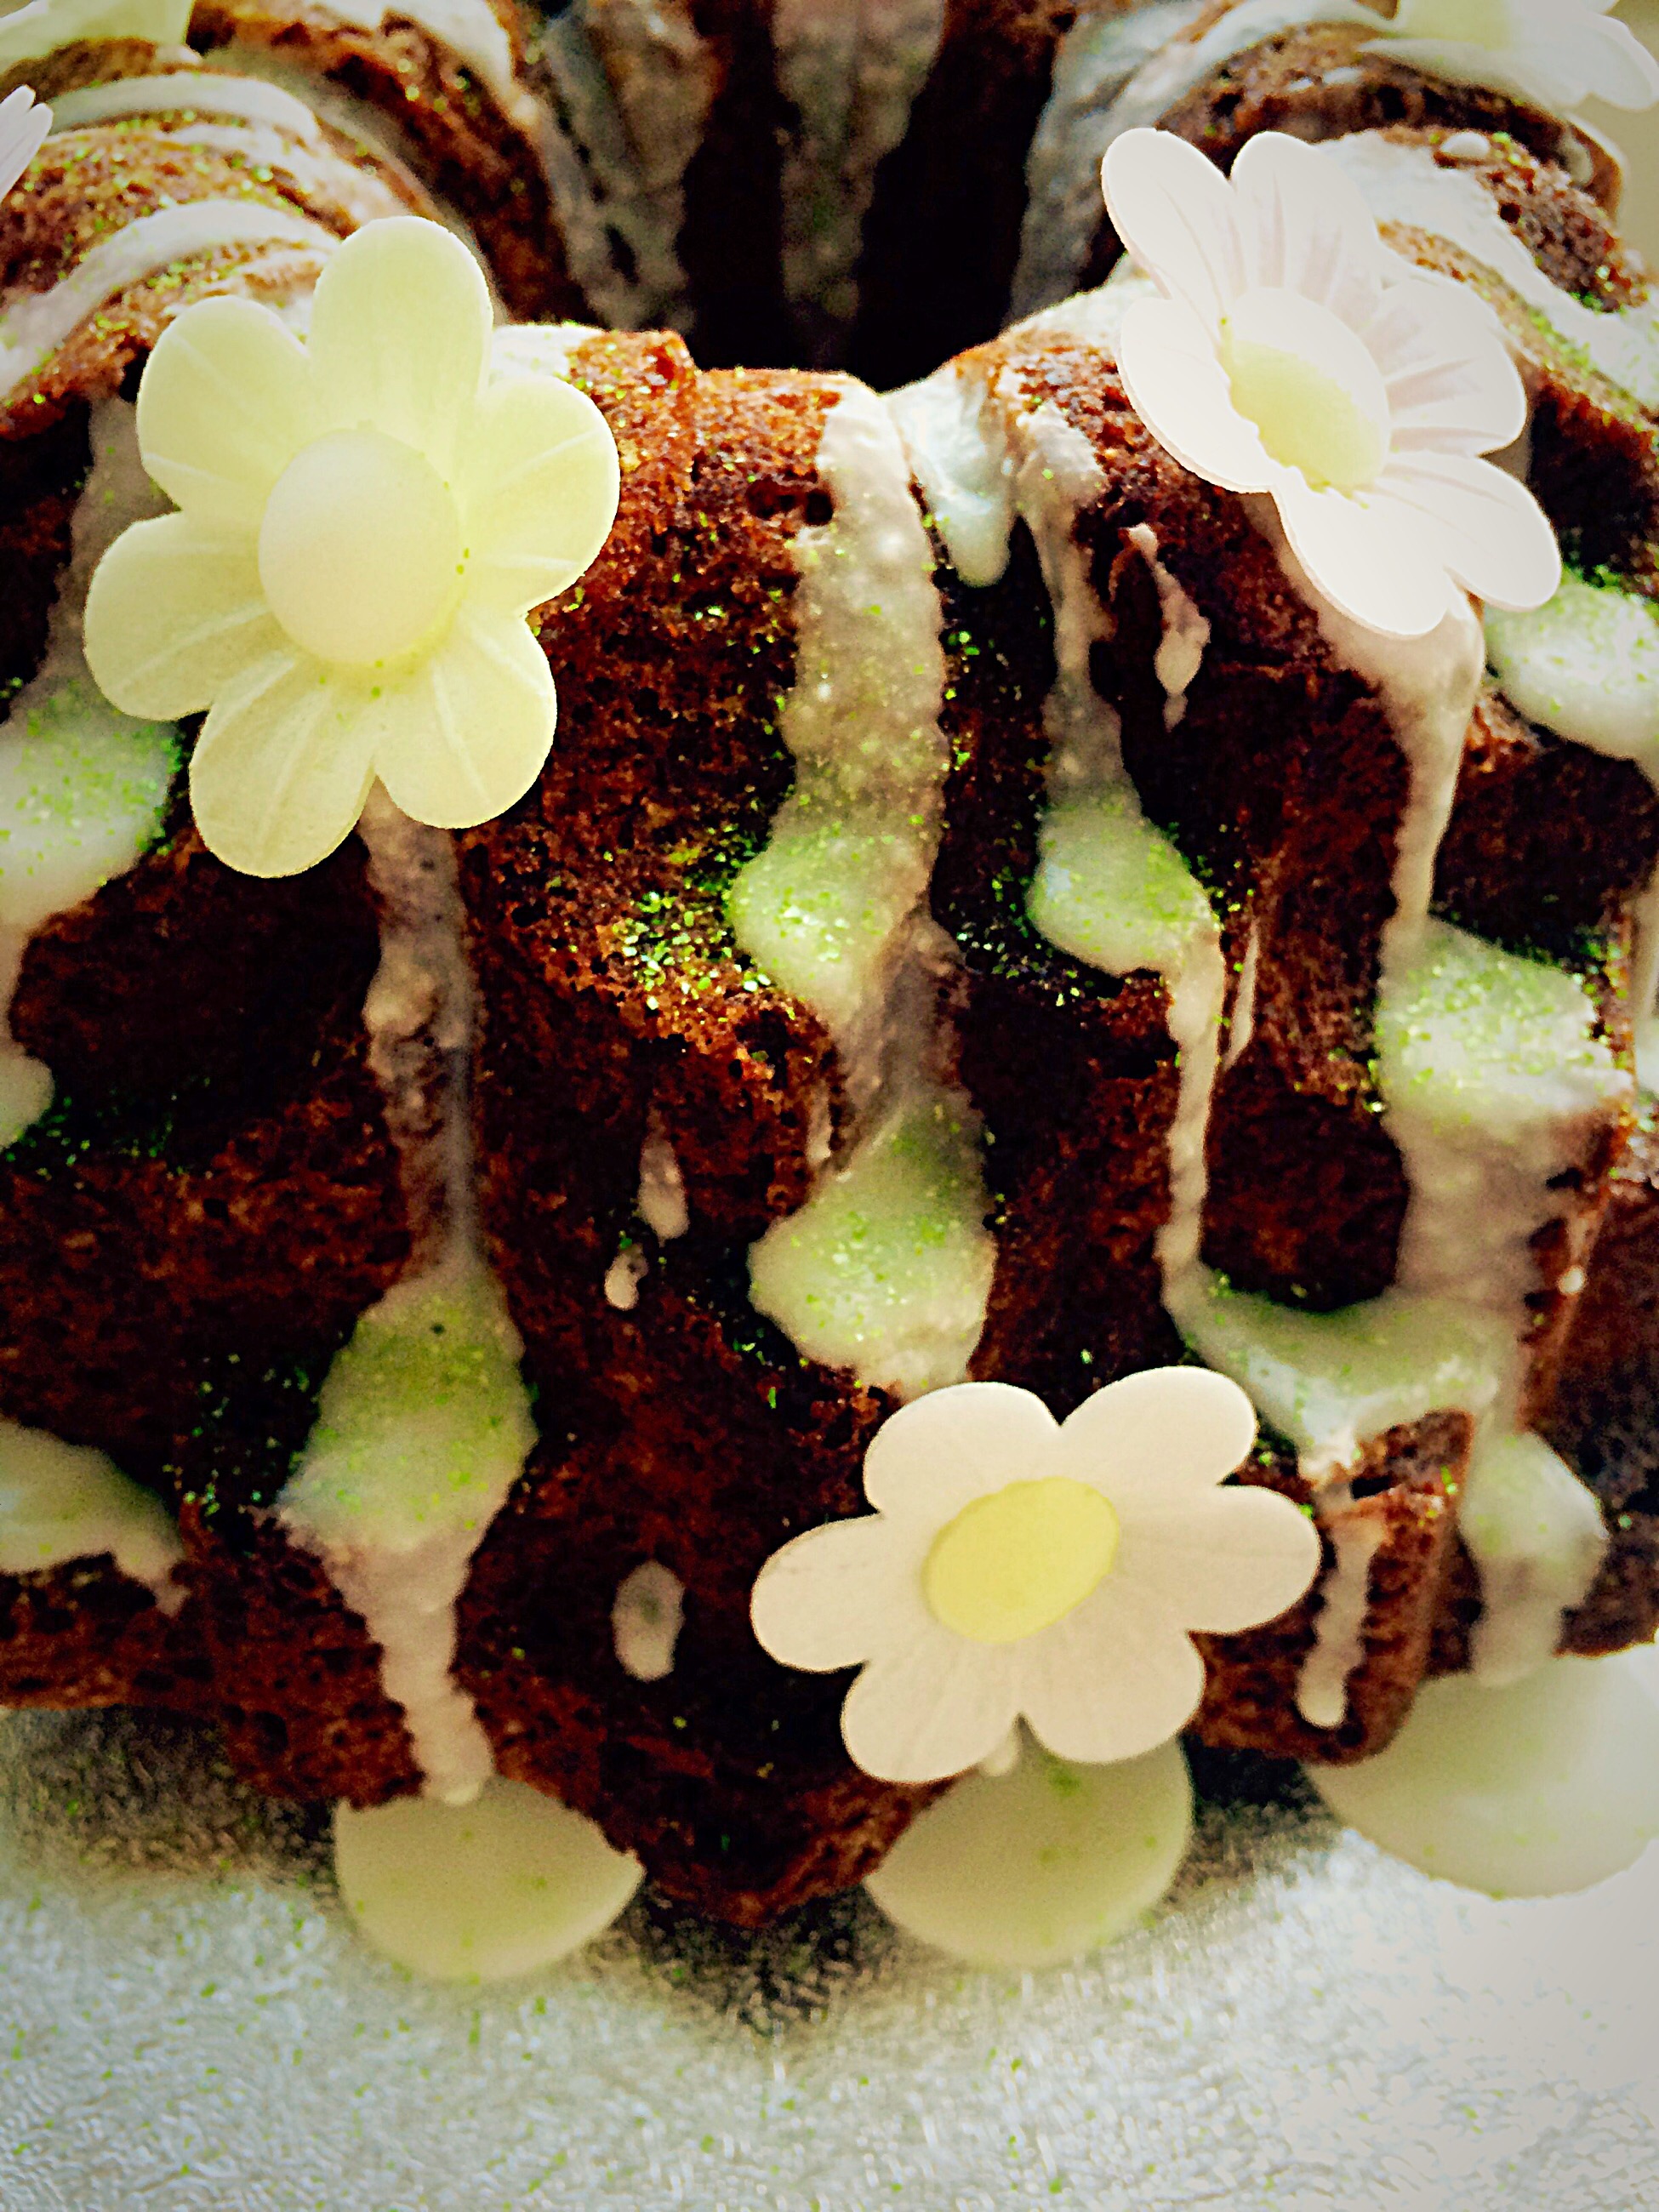
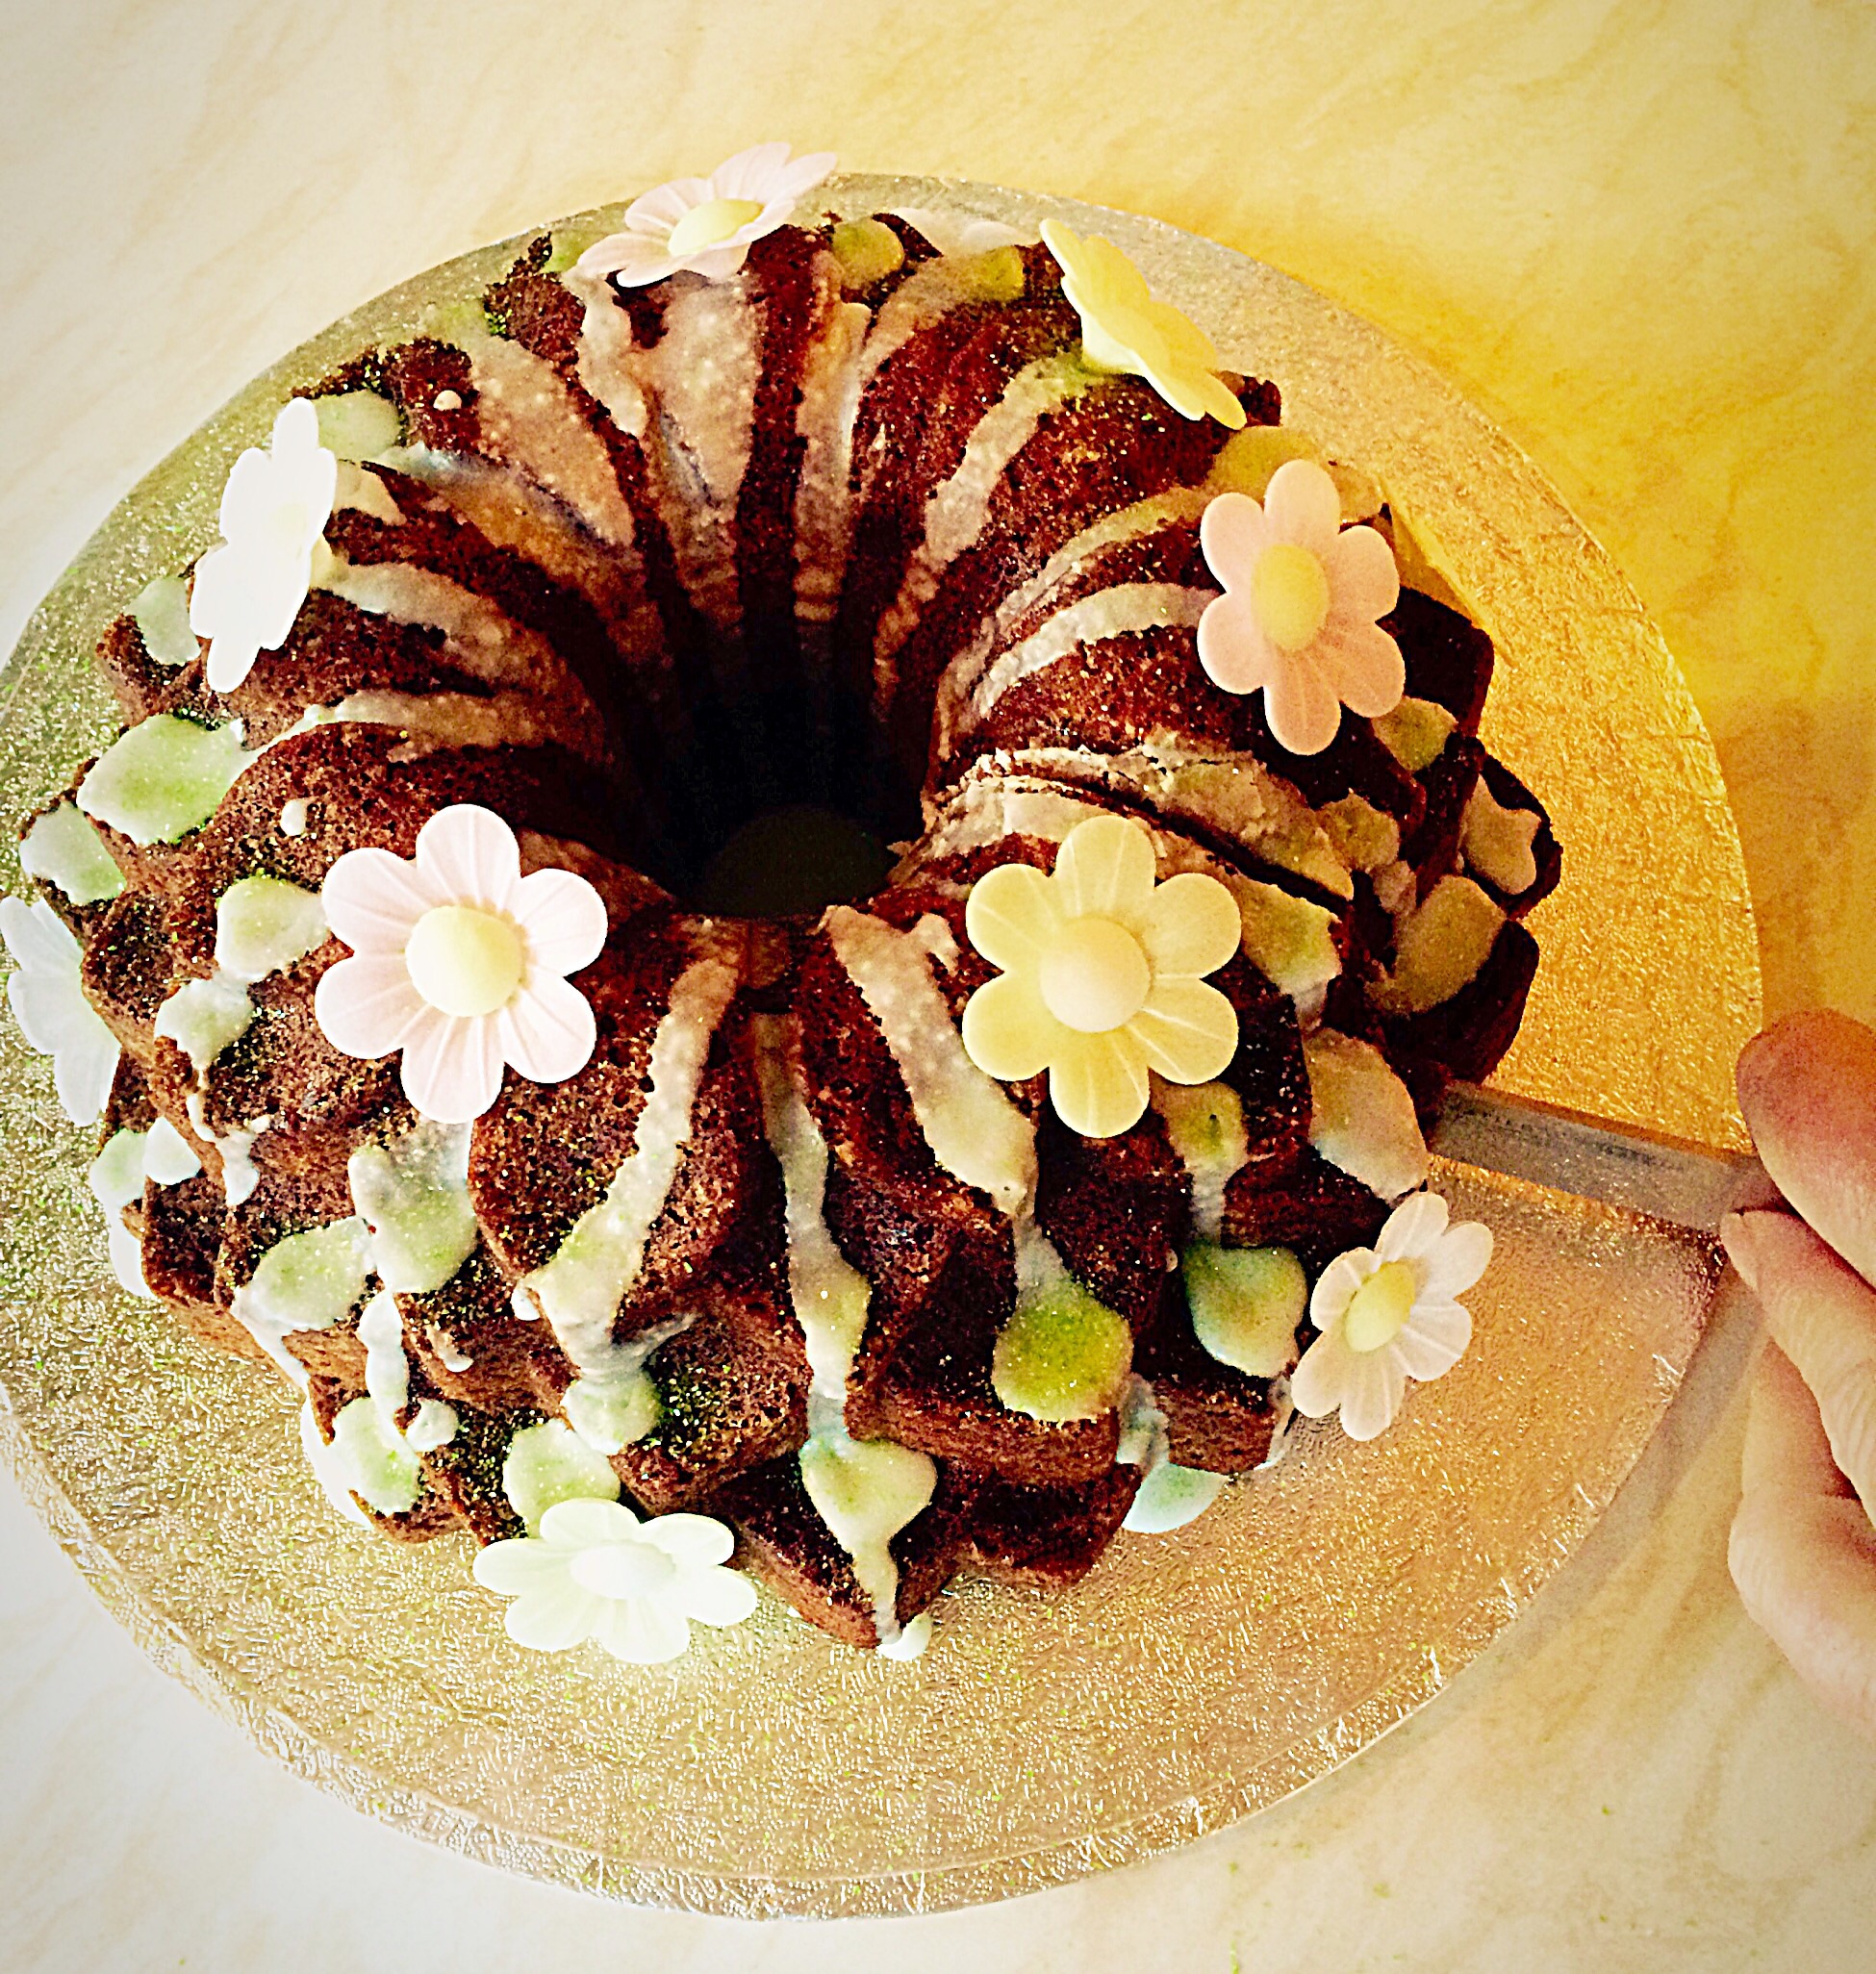
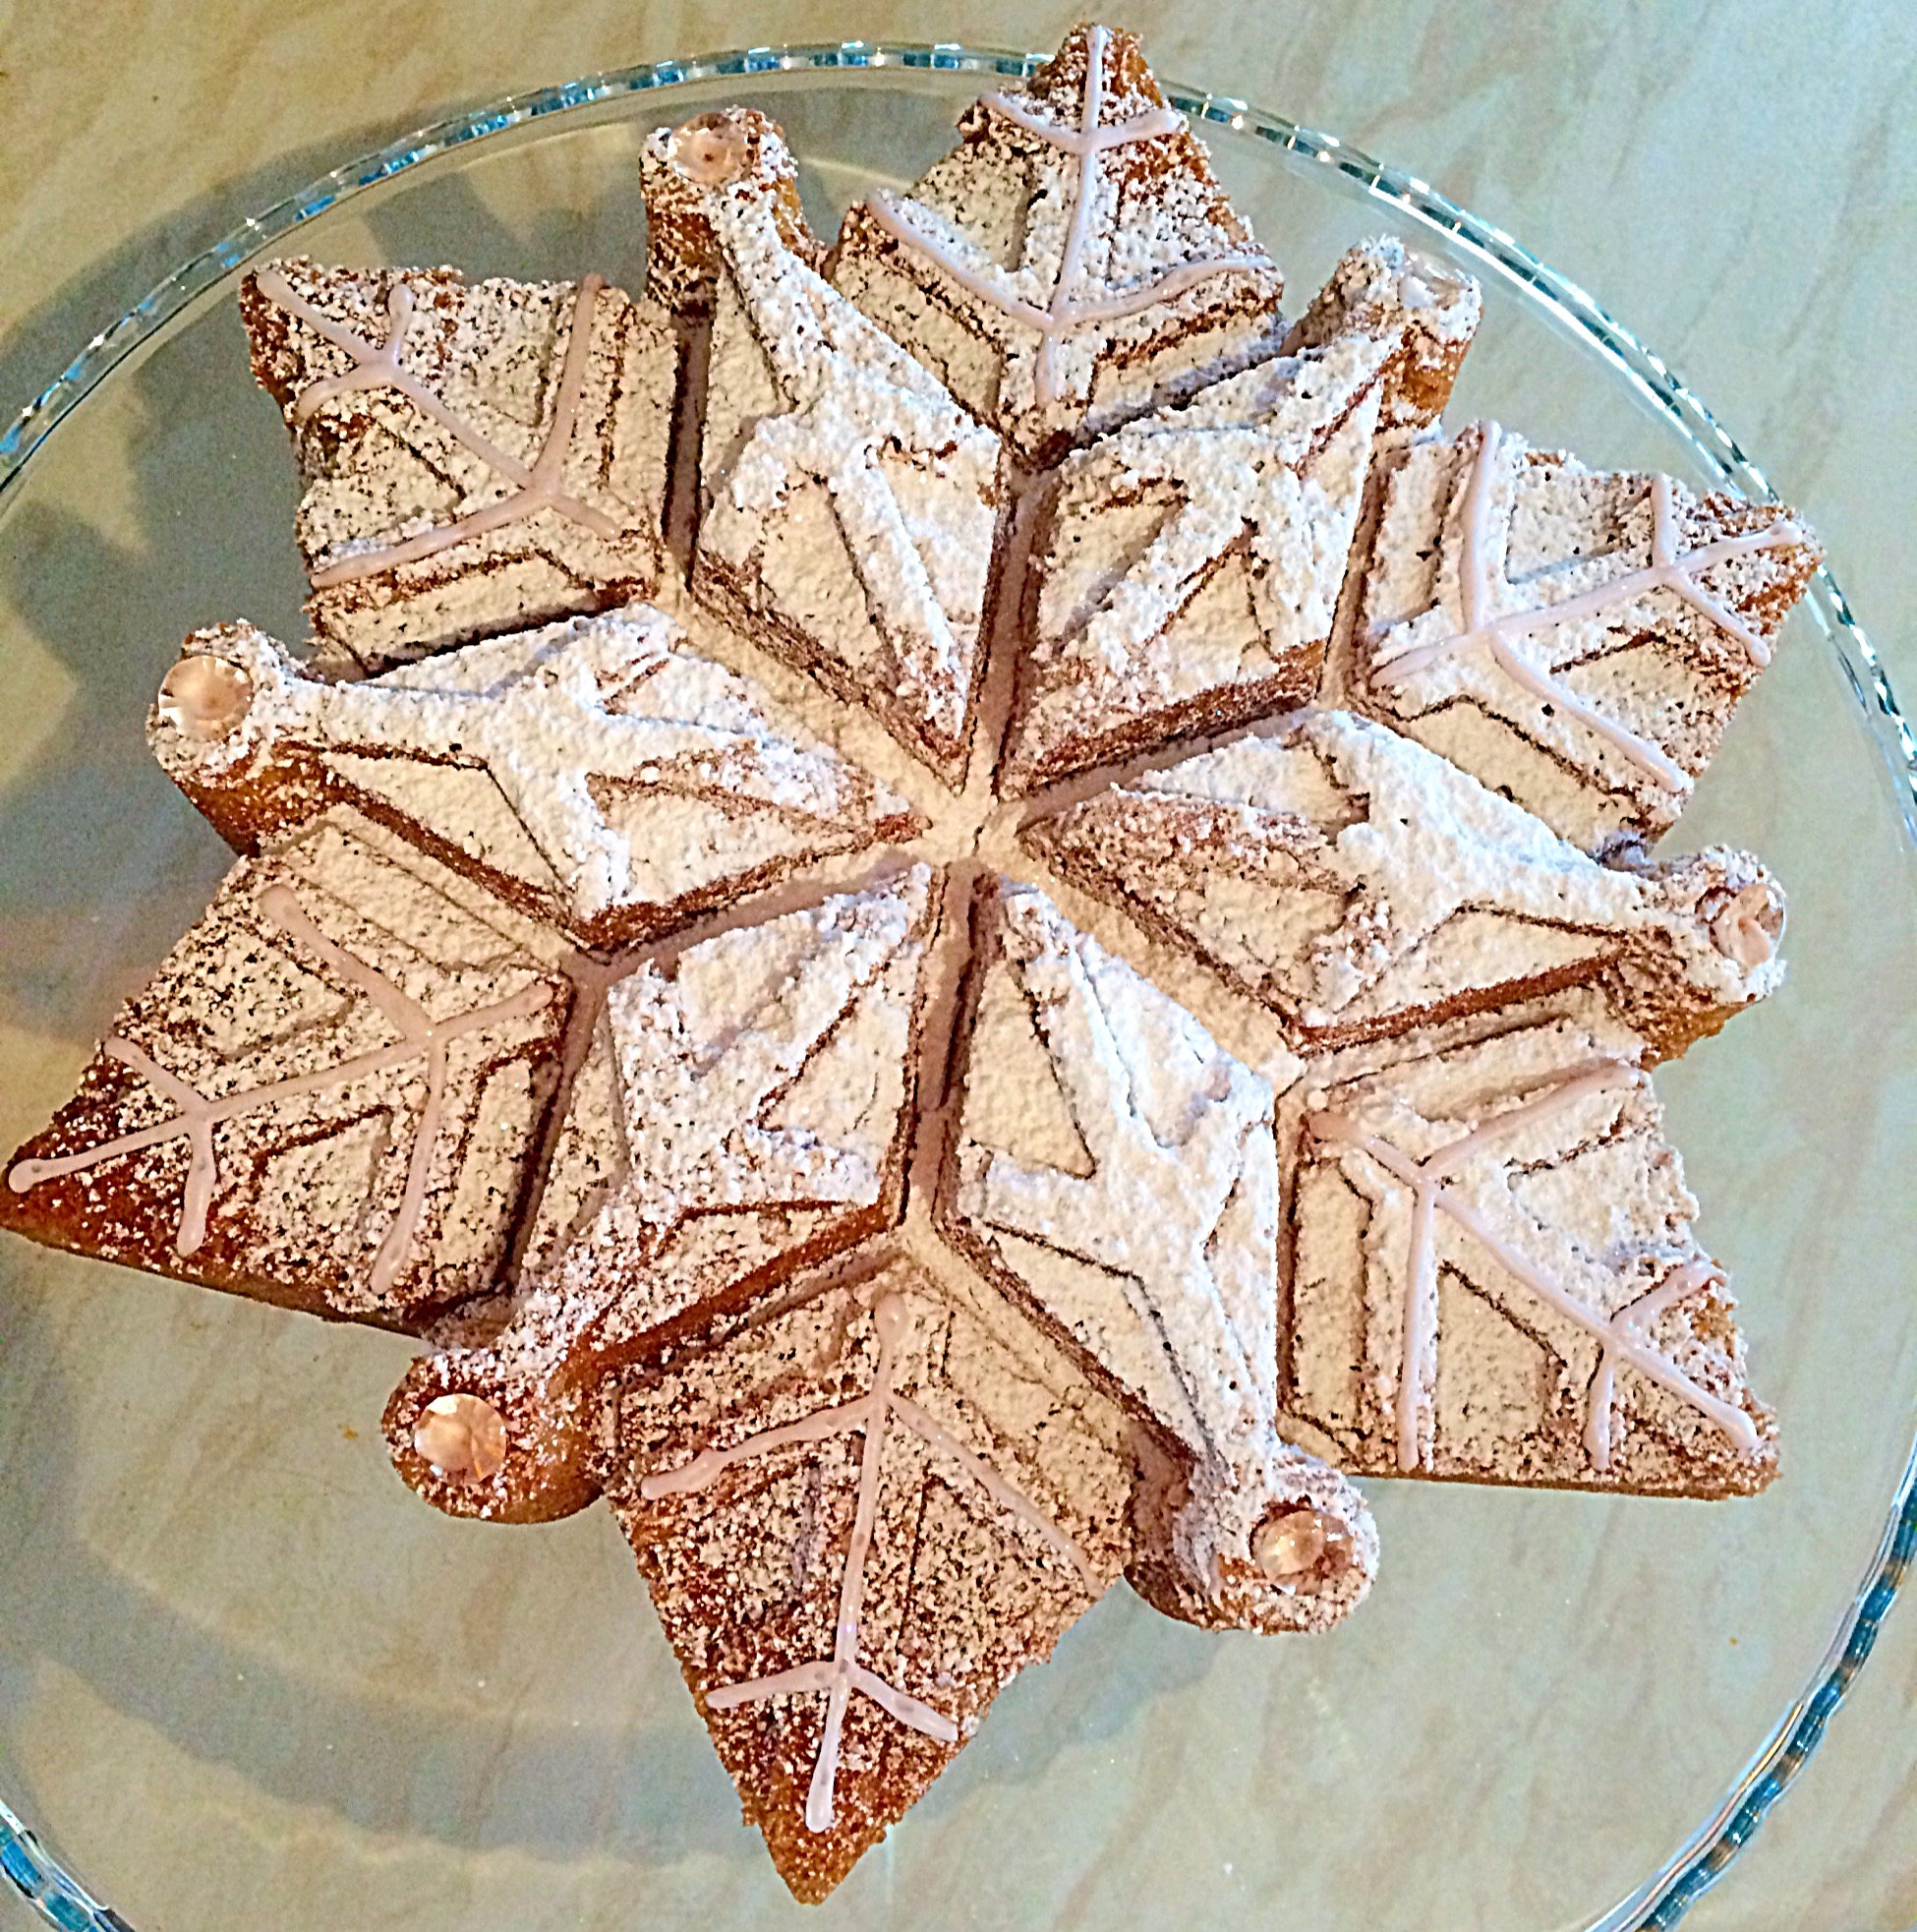
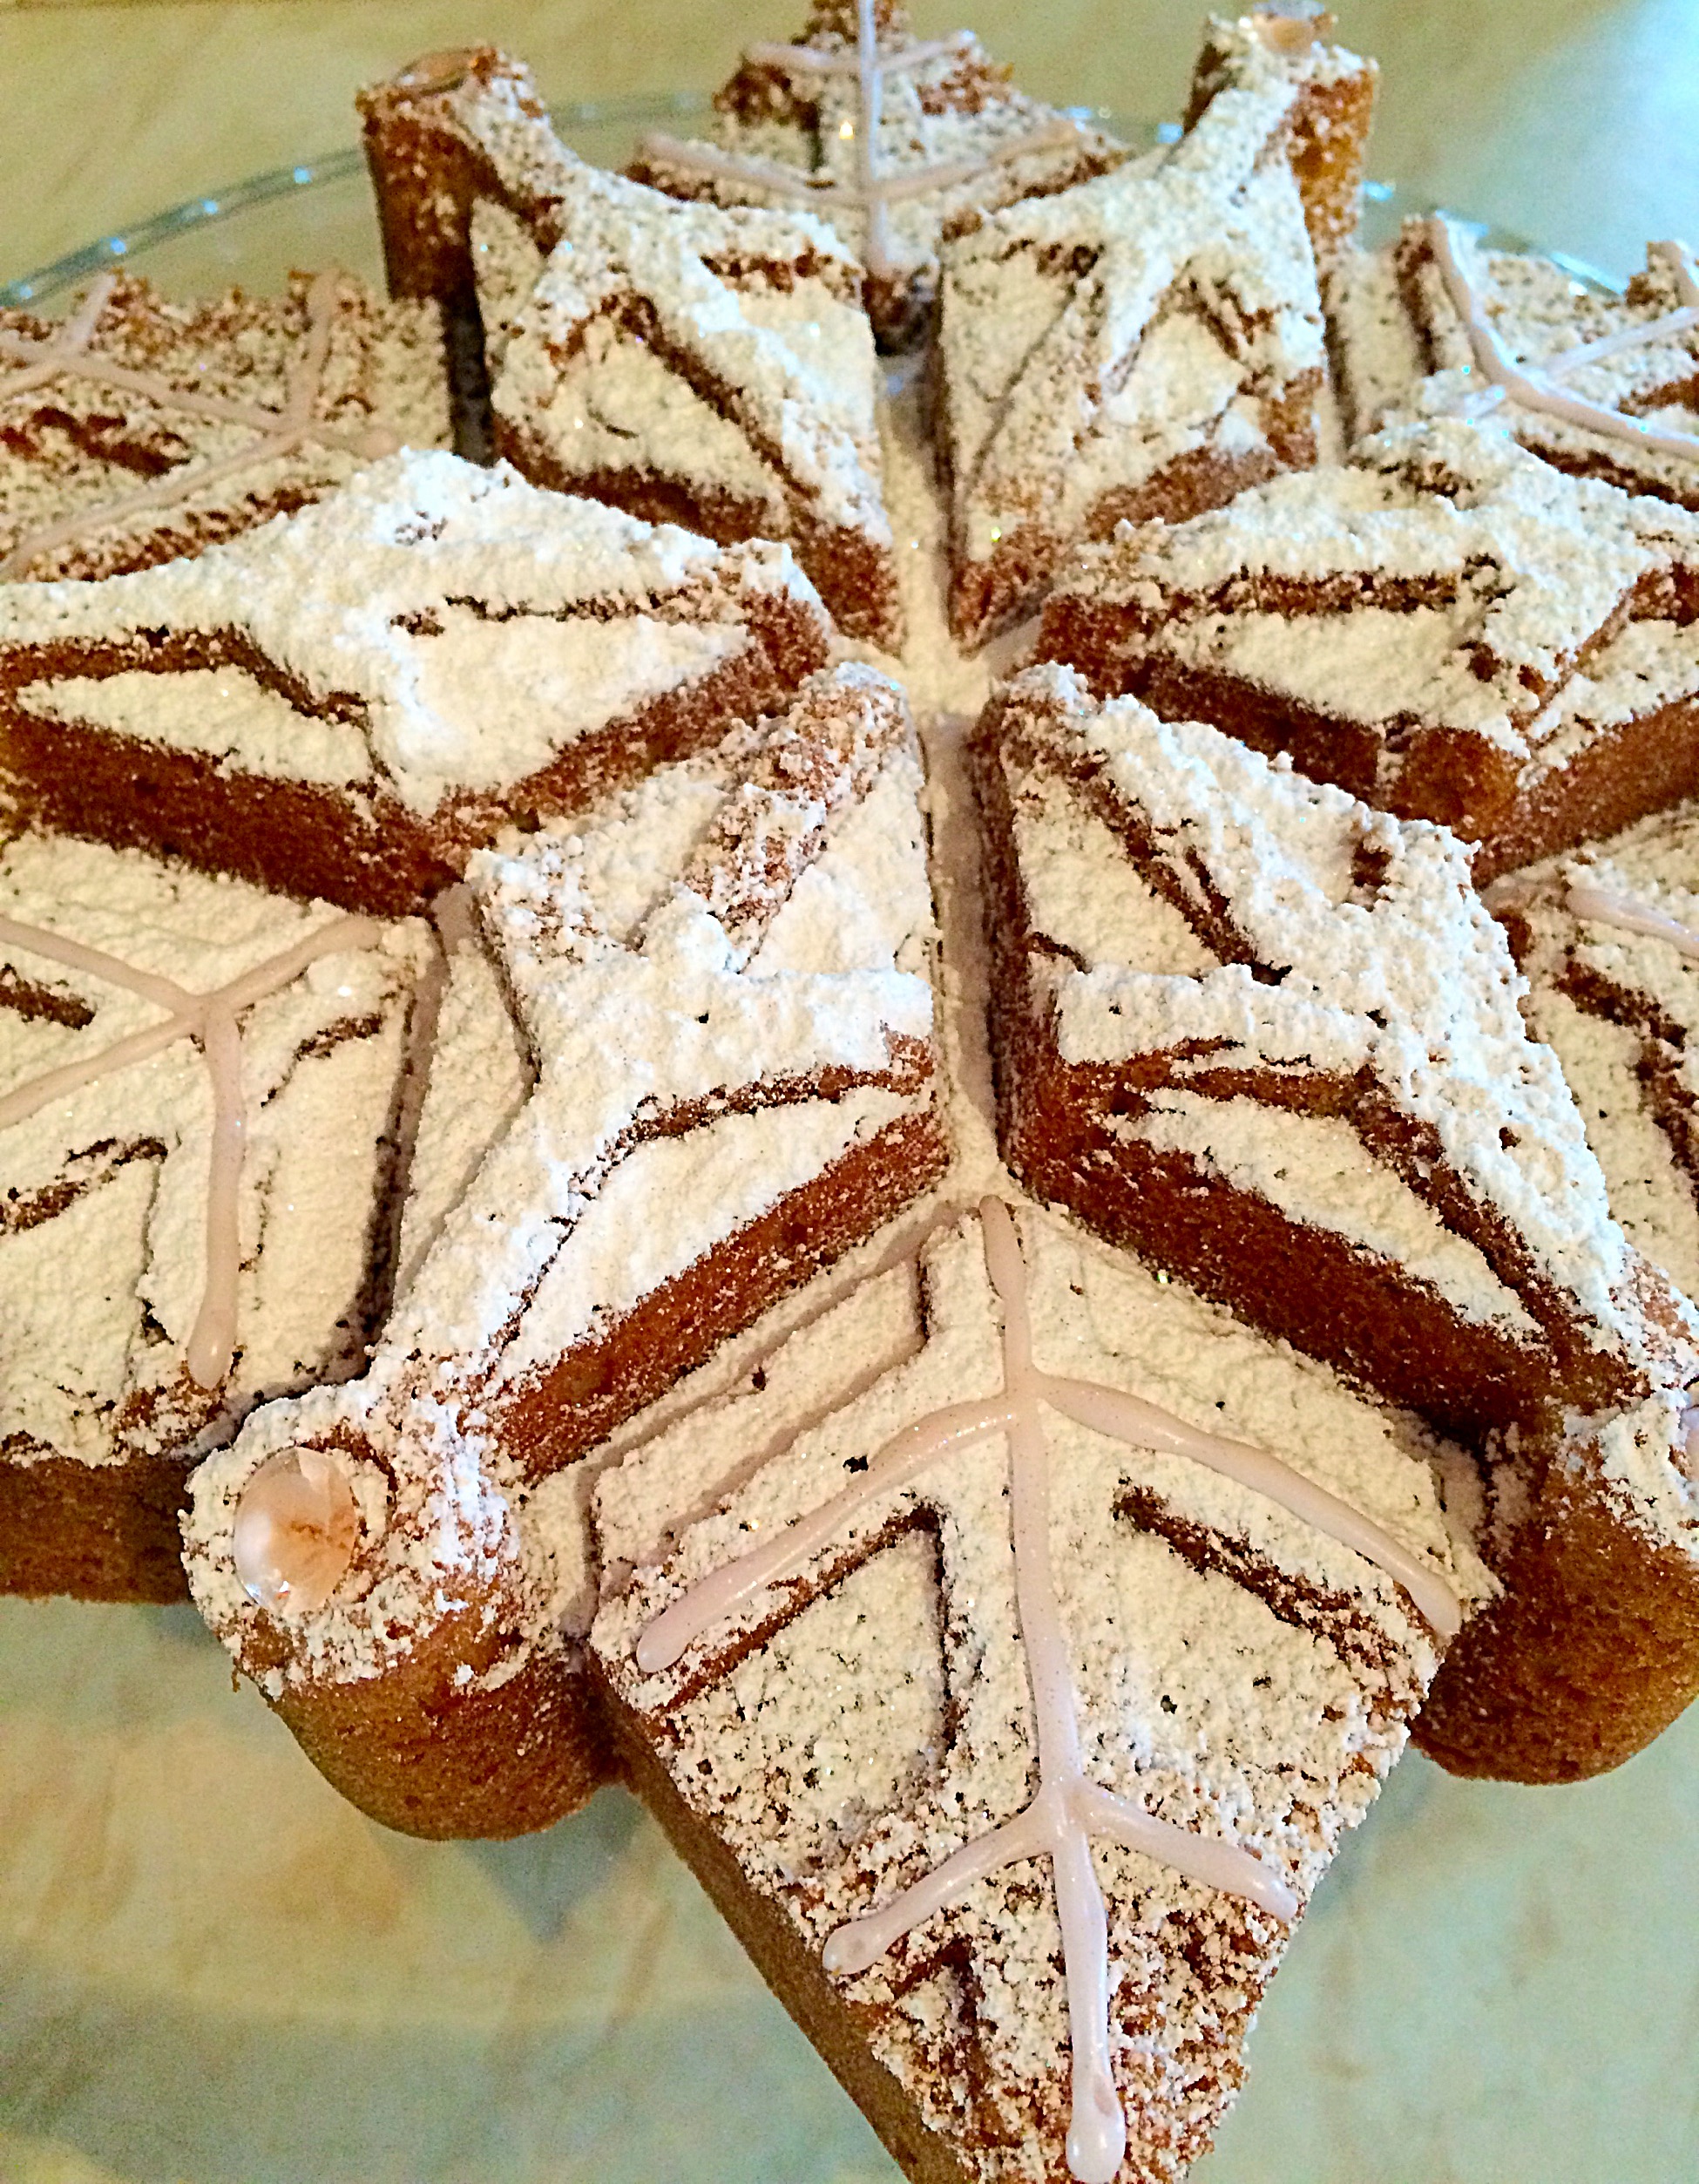
Another beauty of Bundt pans is the beautiful array of delightful shapes available. Although I embellished this Sparkling Snowflake Cake with edible diamonds, a dusting of edible glitter and some piped icing, a dusting of icing sugar would be perfect on it’s own.
Birthday and Christmas Celebrations
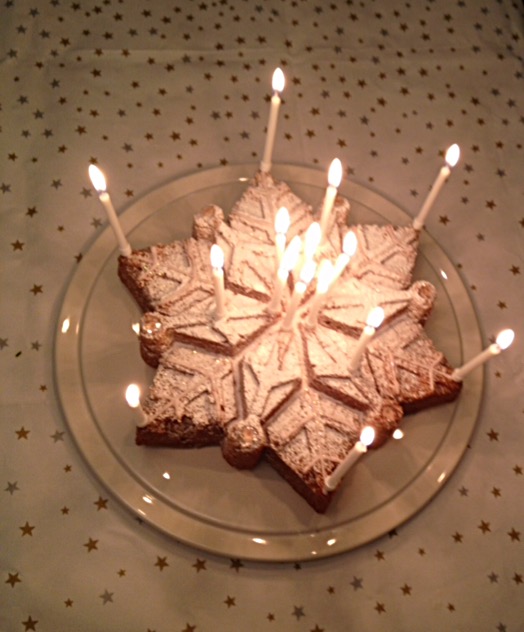
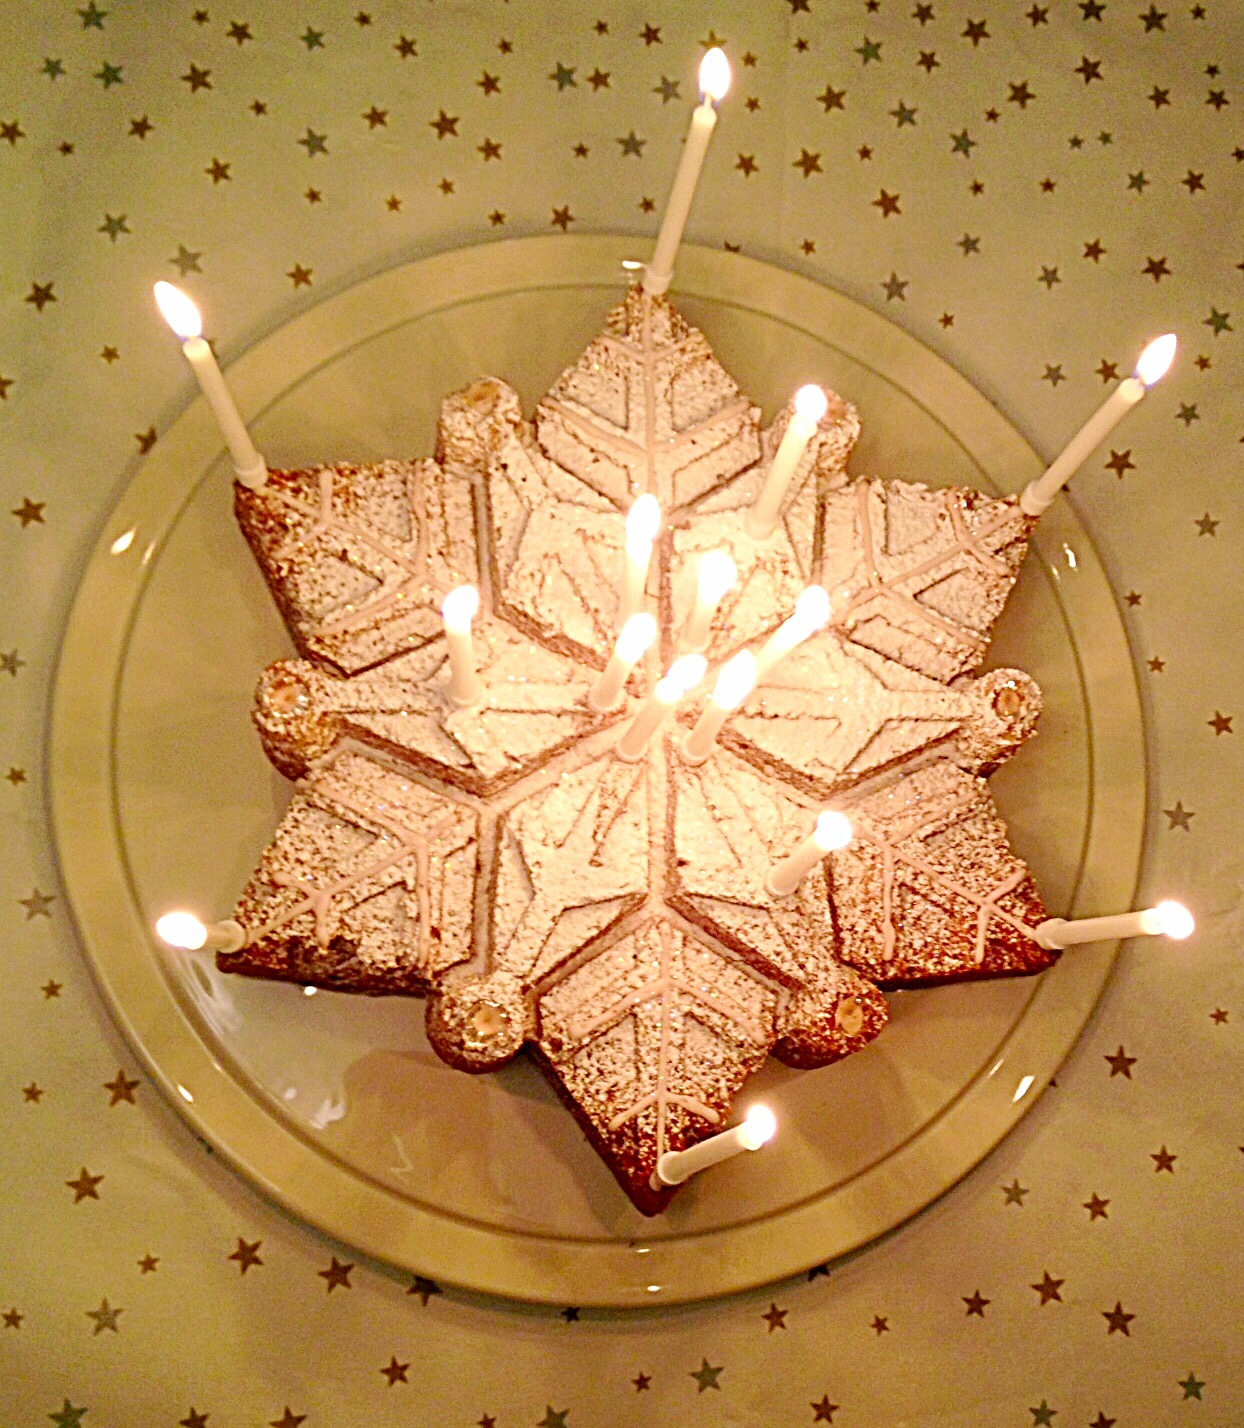
Our youngest daughter should have been a near Christmas baby, however, she obligingly arrived early! So this Sparkling Snowflake Cake was made for her birthday.
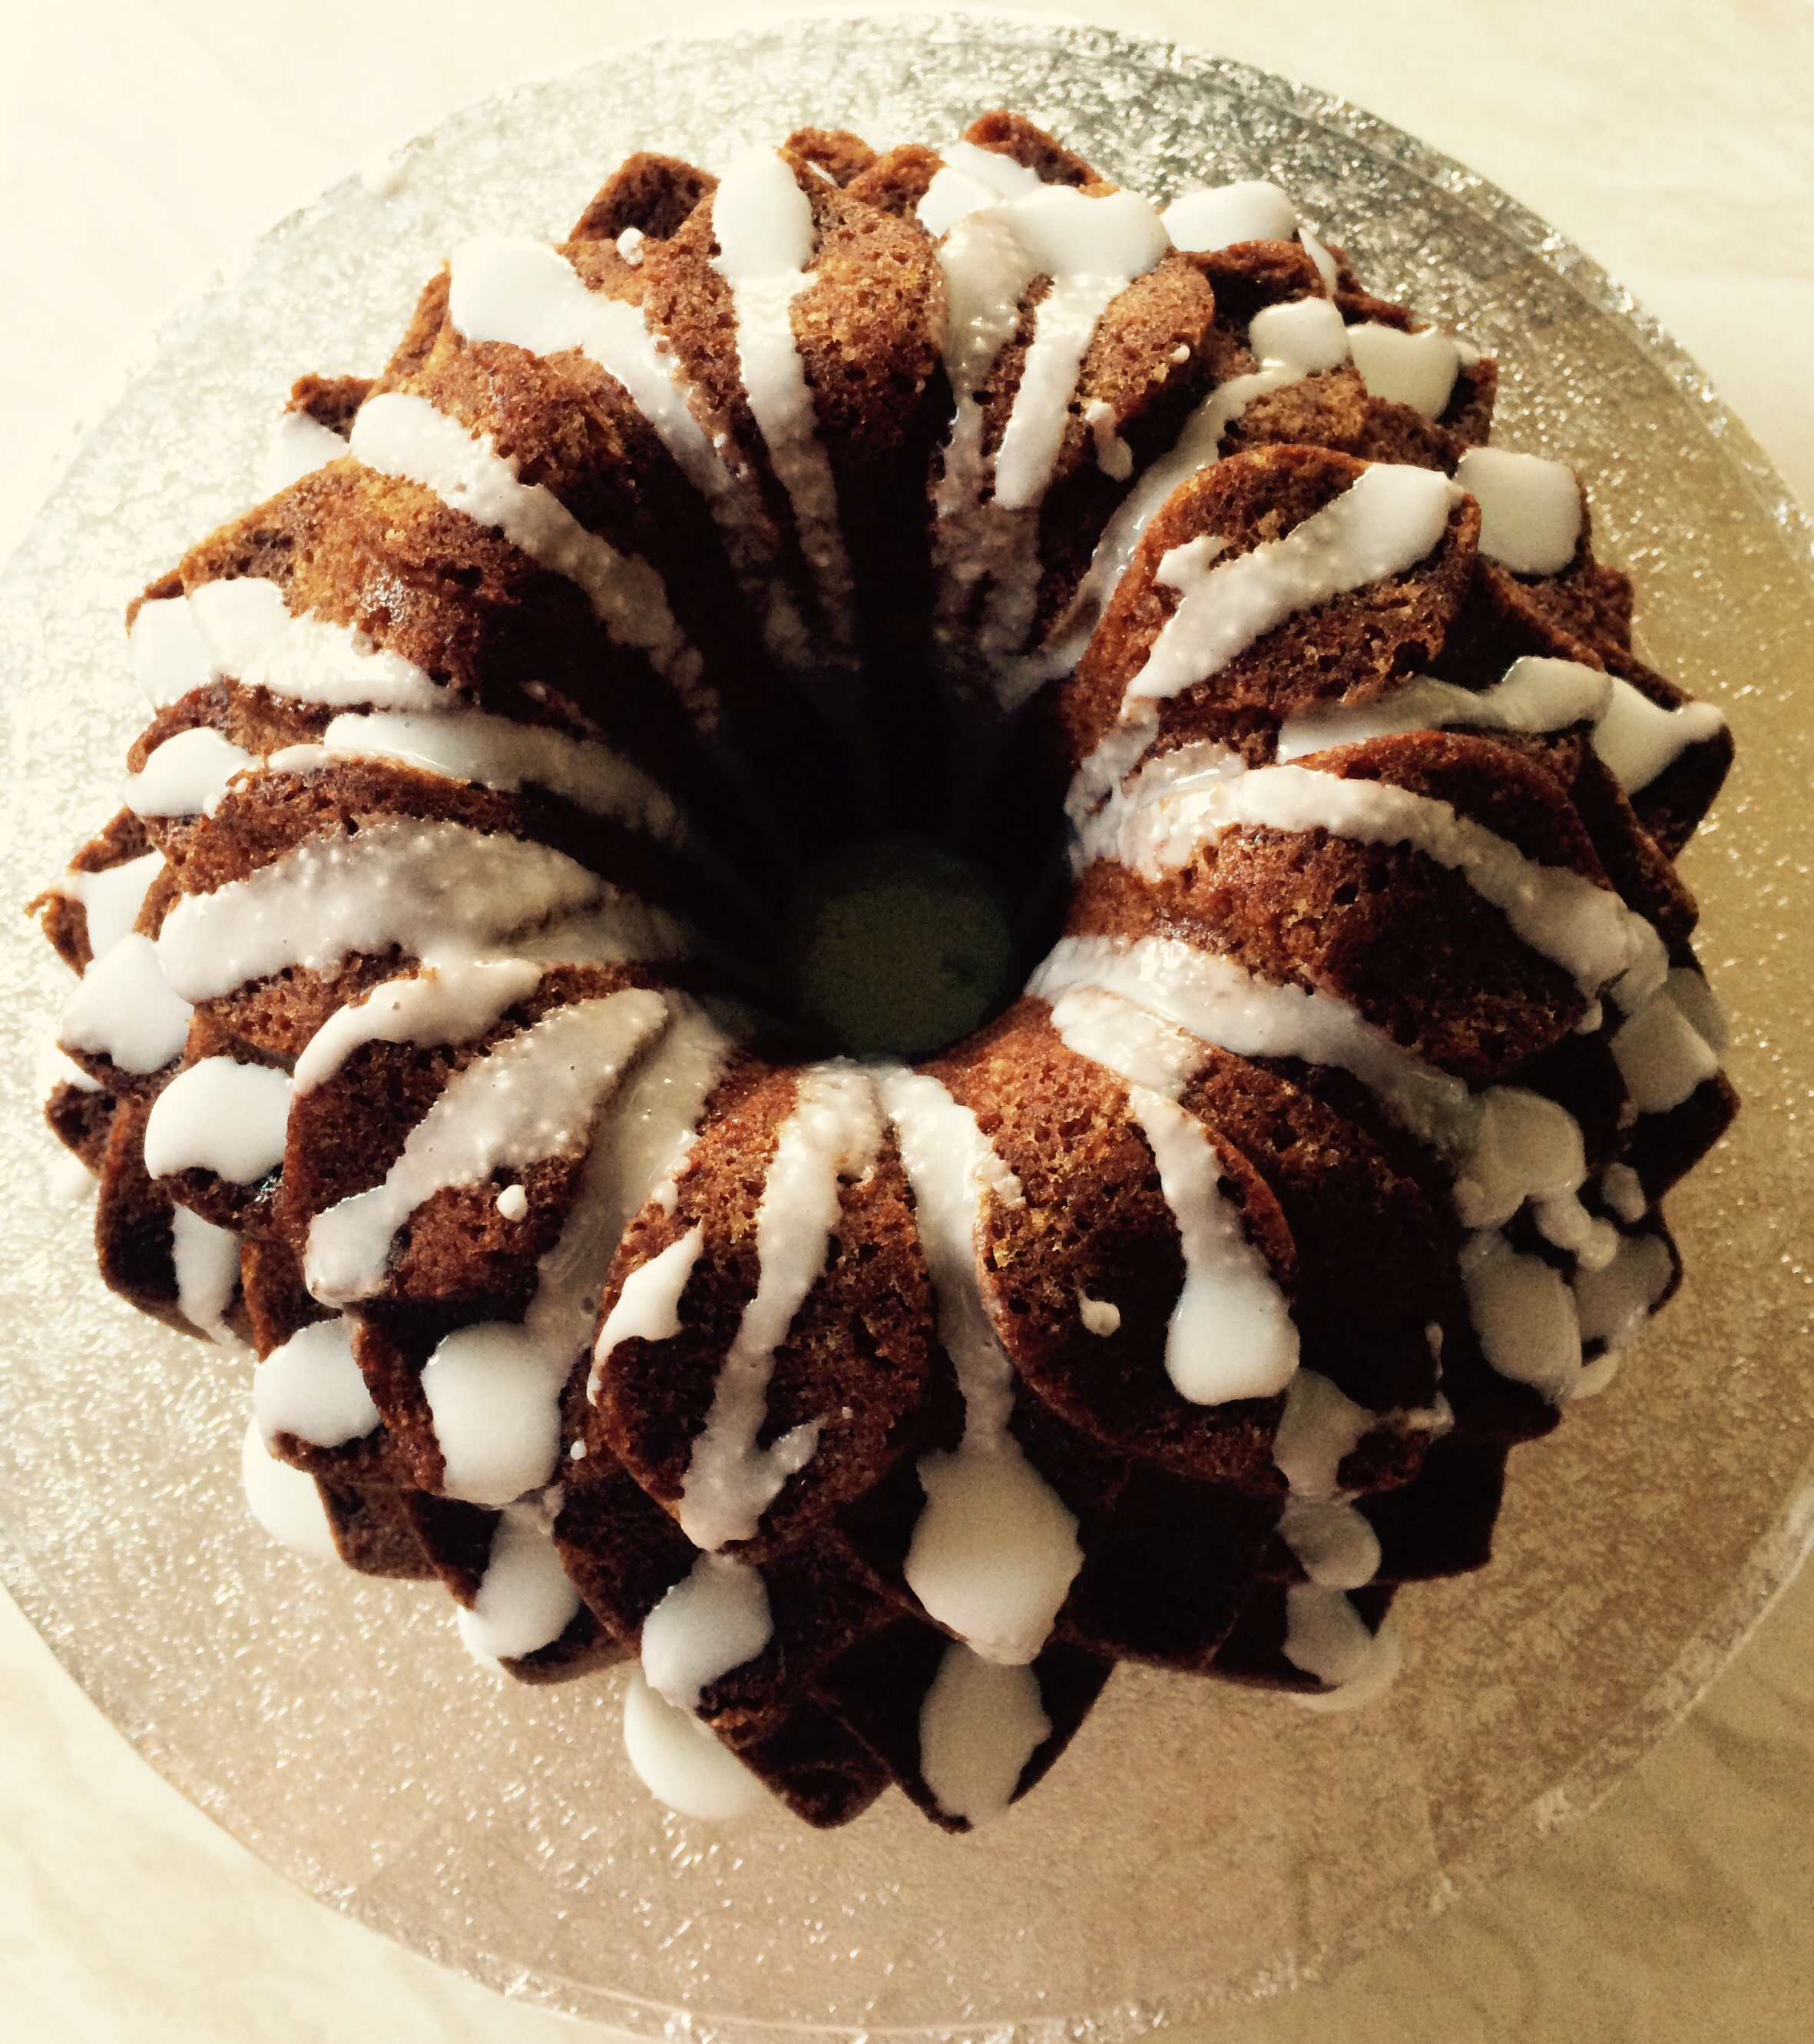
Because she isn’t too keen on icing this cake was perfect for her. Resulting in a deliciously moist, vanilla sponge, dusted with flavoured icing sugar. The flavour I used is called Santa’s Snowball, perfect for this beautiful snowflake.
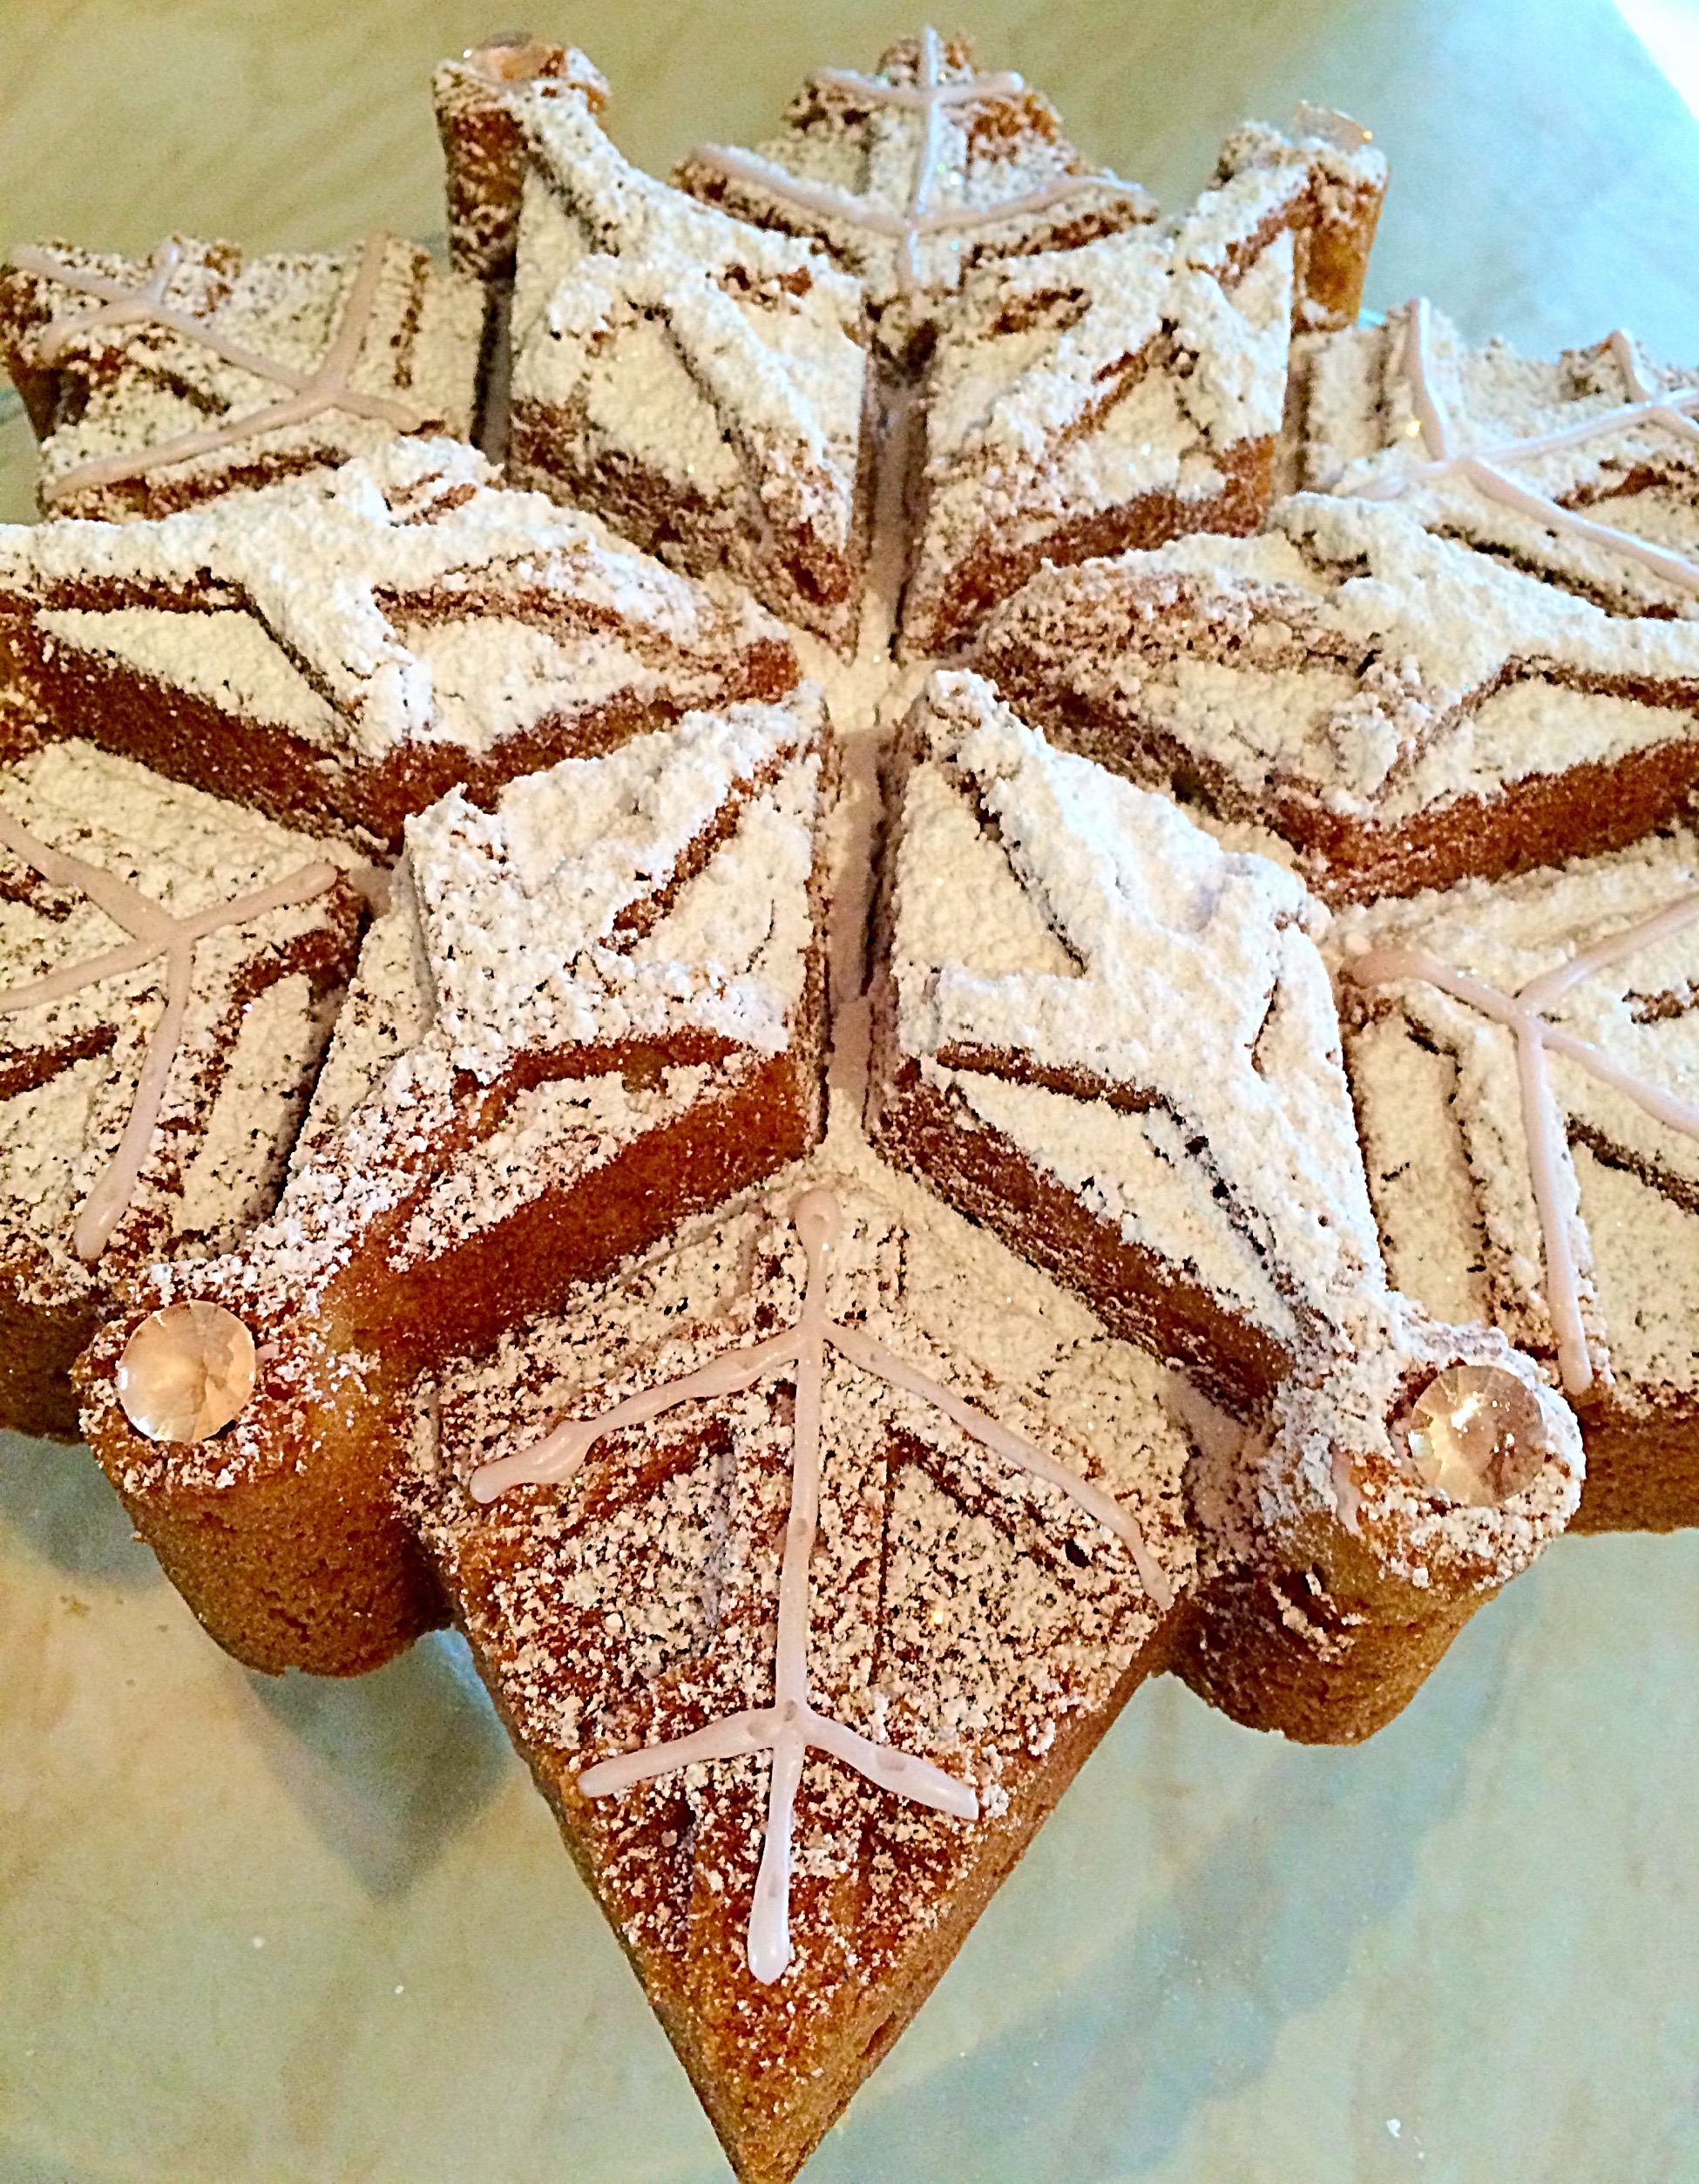
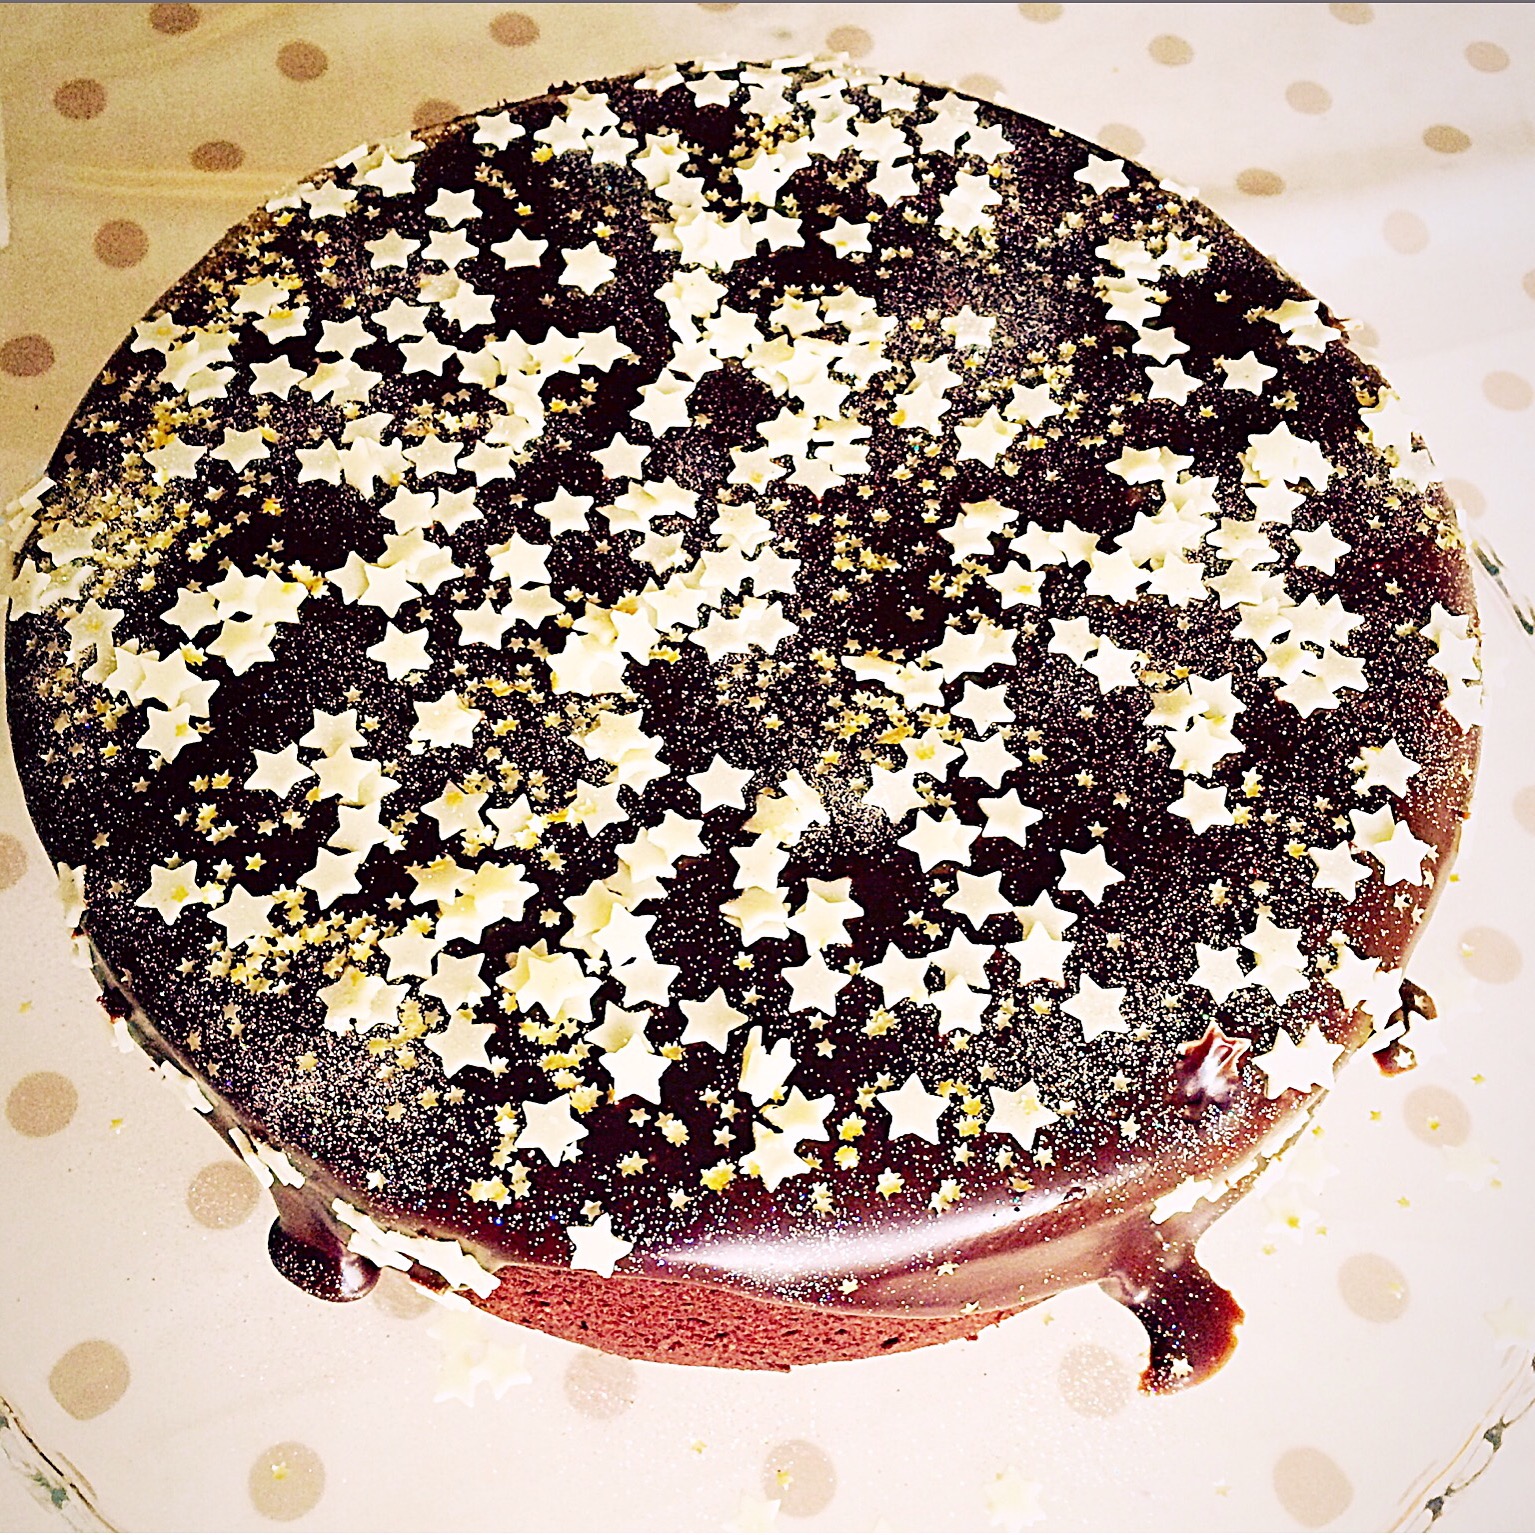
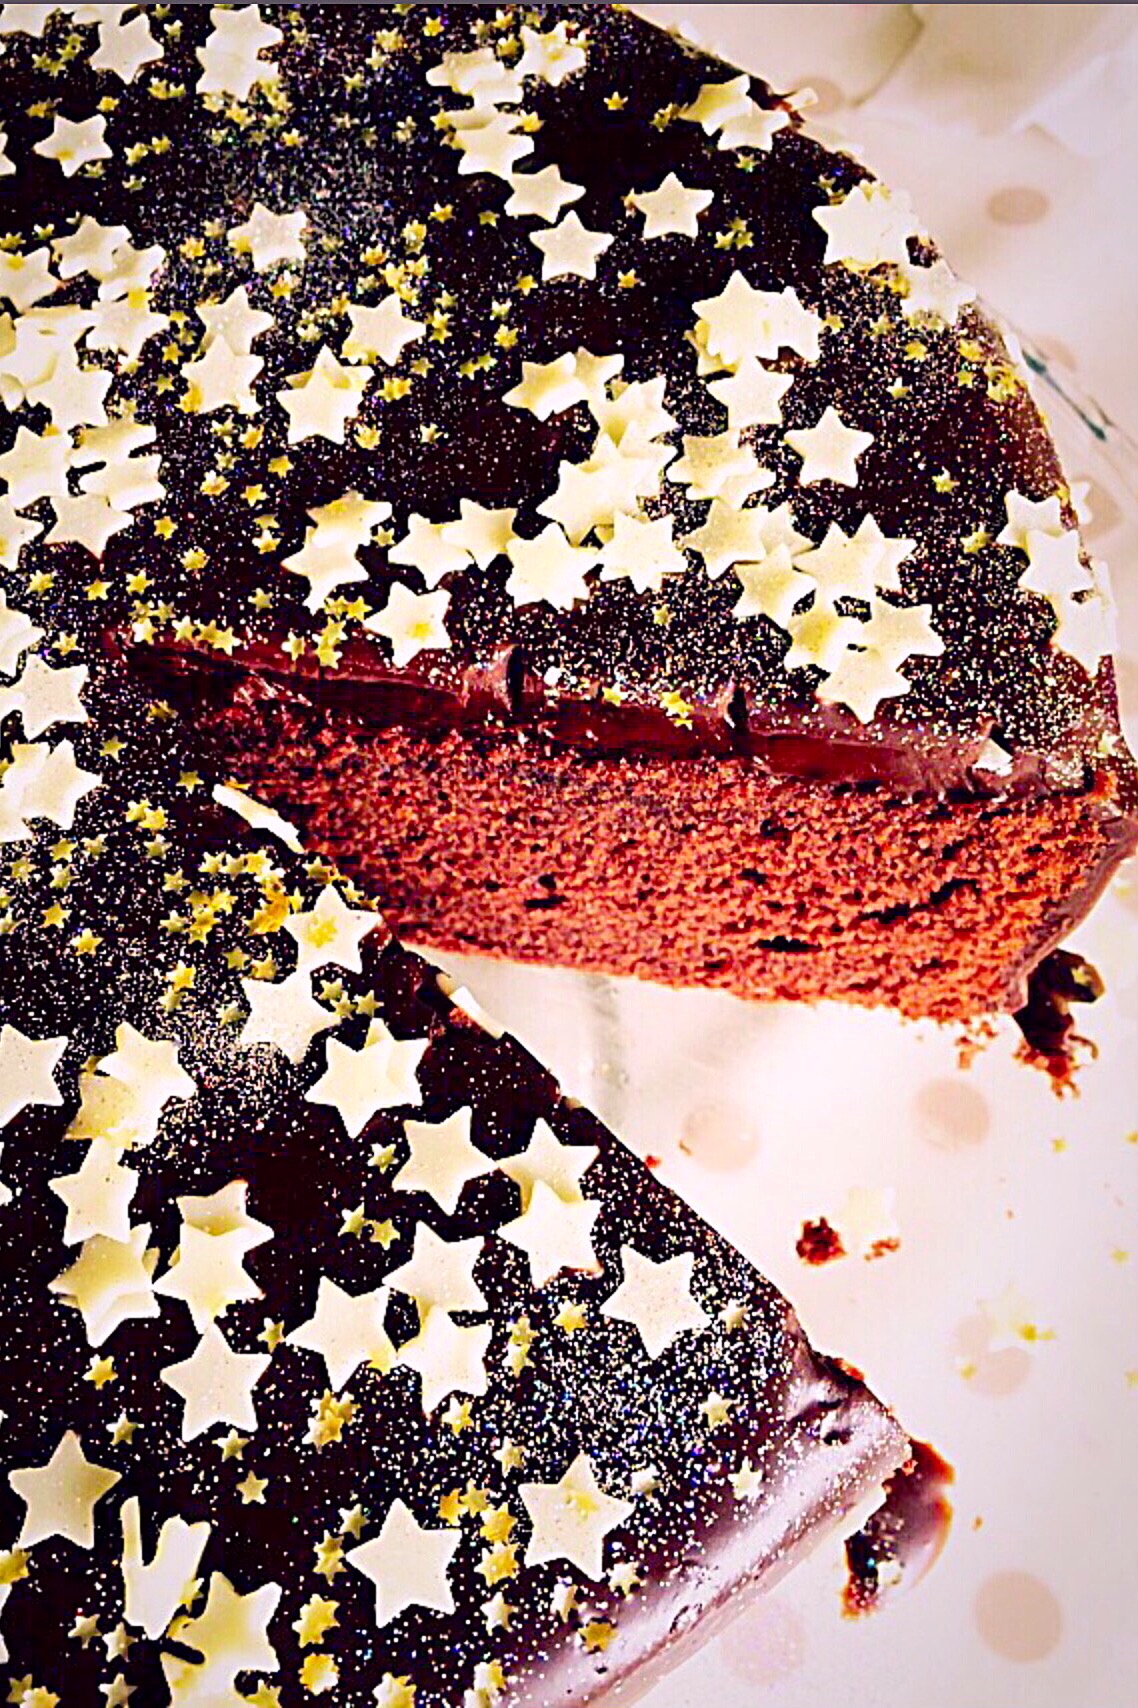
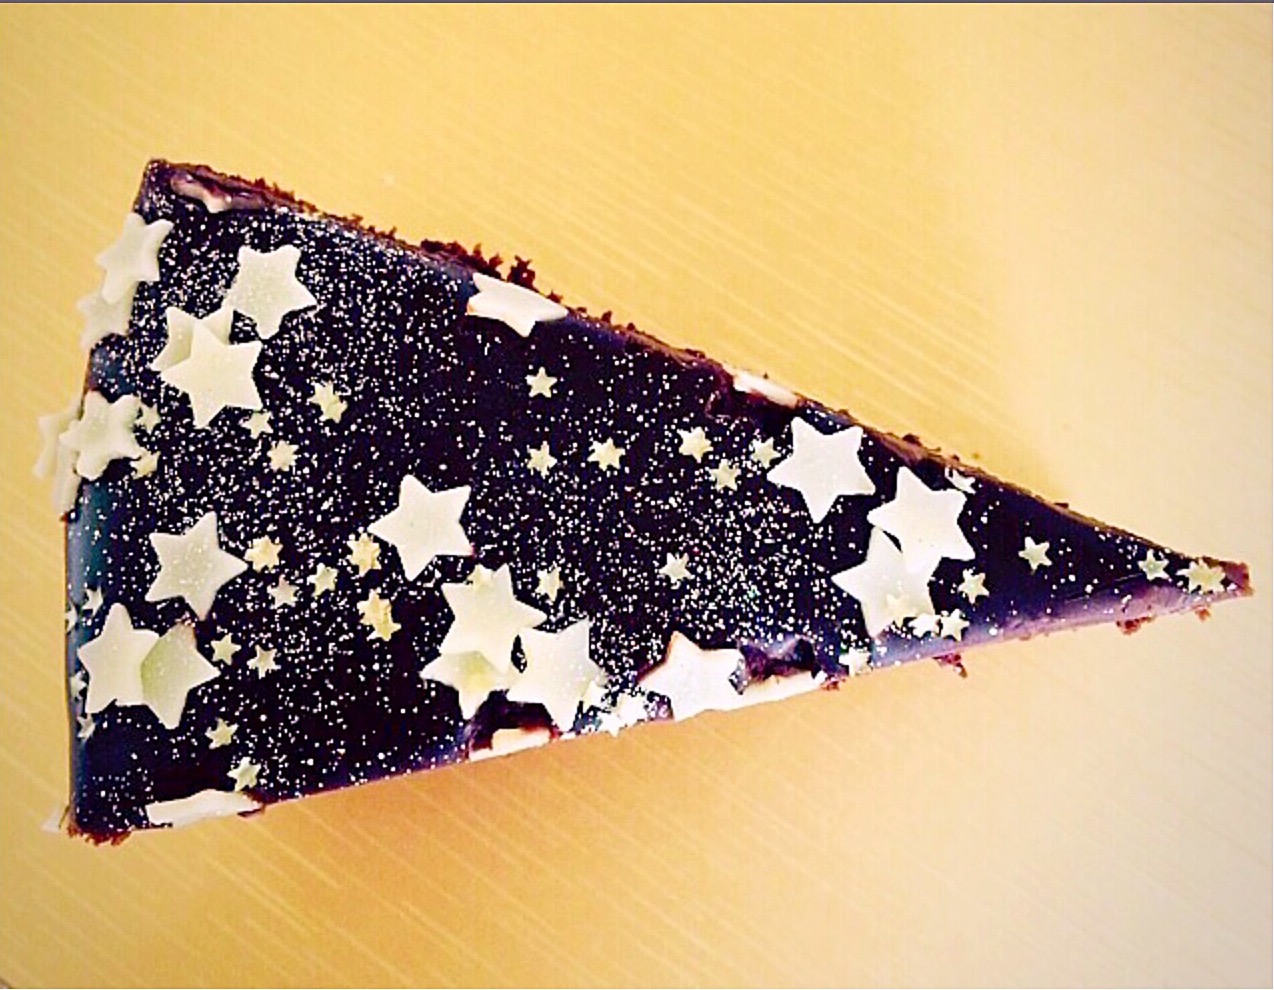
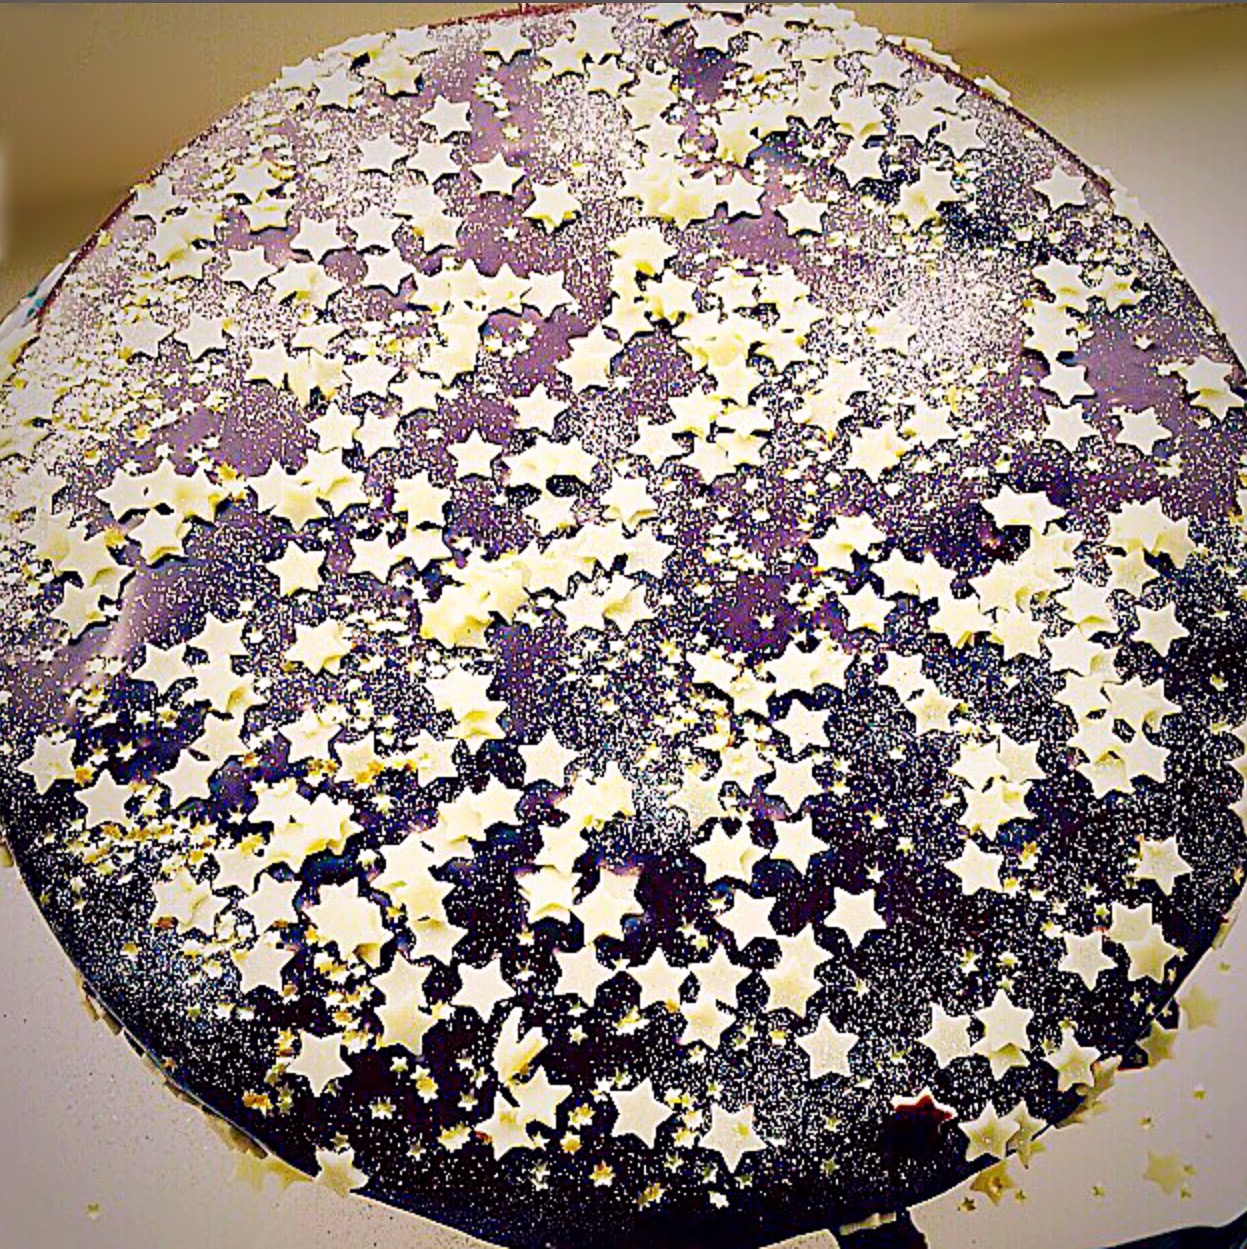
Using edible diamonds on this cake adds extra sparkle. White, edible, sparkly glitter was also dusted on top of the icing sugar. It is a real shame that it didn’t photograph well, in any light, trust me I tried. Moving the cake aound the house to catch the small amount of sunlight that we get this time of year, shining through the windows. The lengths I will go to trying to get the perfect shot!
So, you’ll have to trust in me that this cake really, really sparkles. It looks so pretty, twinkling like a real snowflake. Although we may not get snow this Christmas, we can certainly make your own!
Here is the Sparkling Snowflake Cake lit by candles for our daughter’s special day. Also, it would make a fantastic alternative to the traditional, fruit laden Christmas Cake. Set on a cake stand, or pretty plate, surrounded by tea light candles which add extra sparkle. Resulting in a glittering, festive feast.
Preparing the Bundt Tin
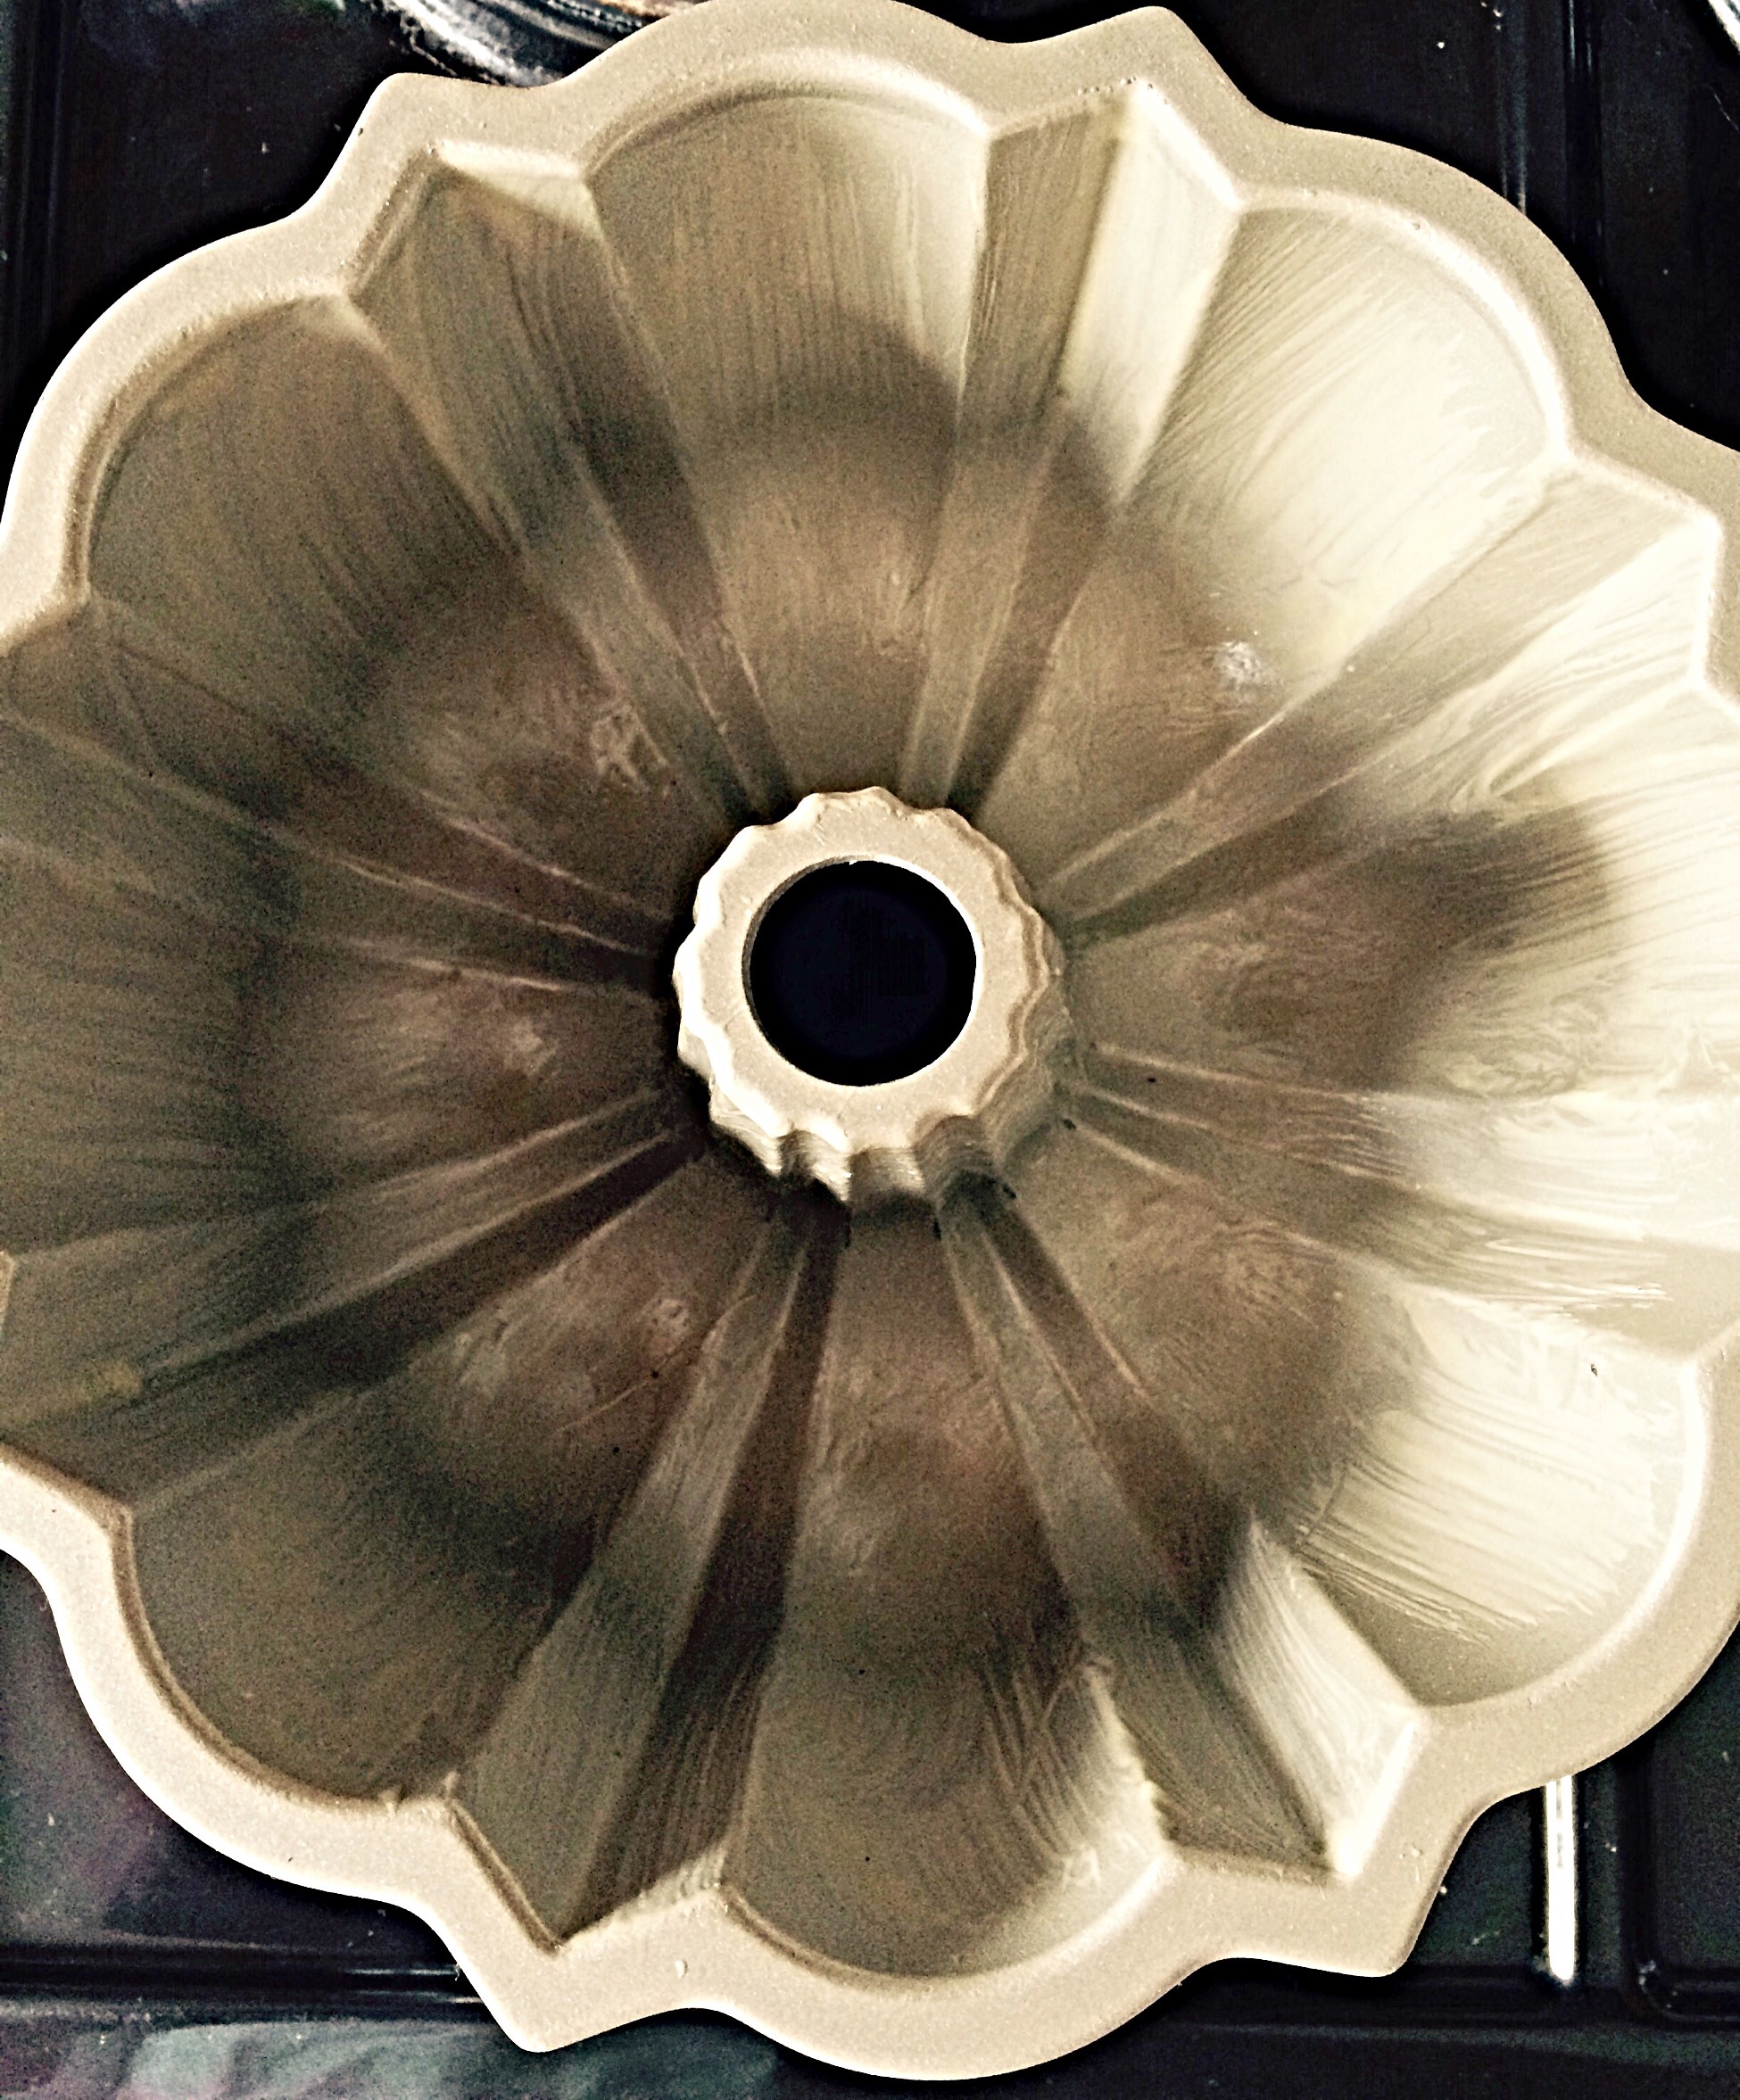
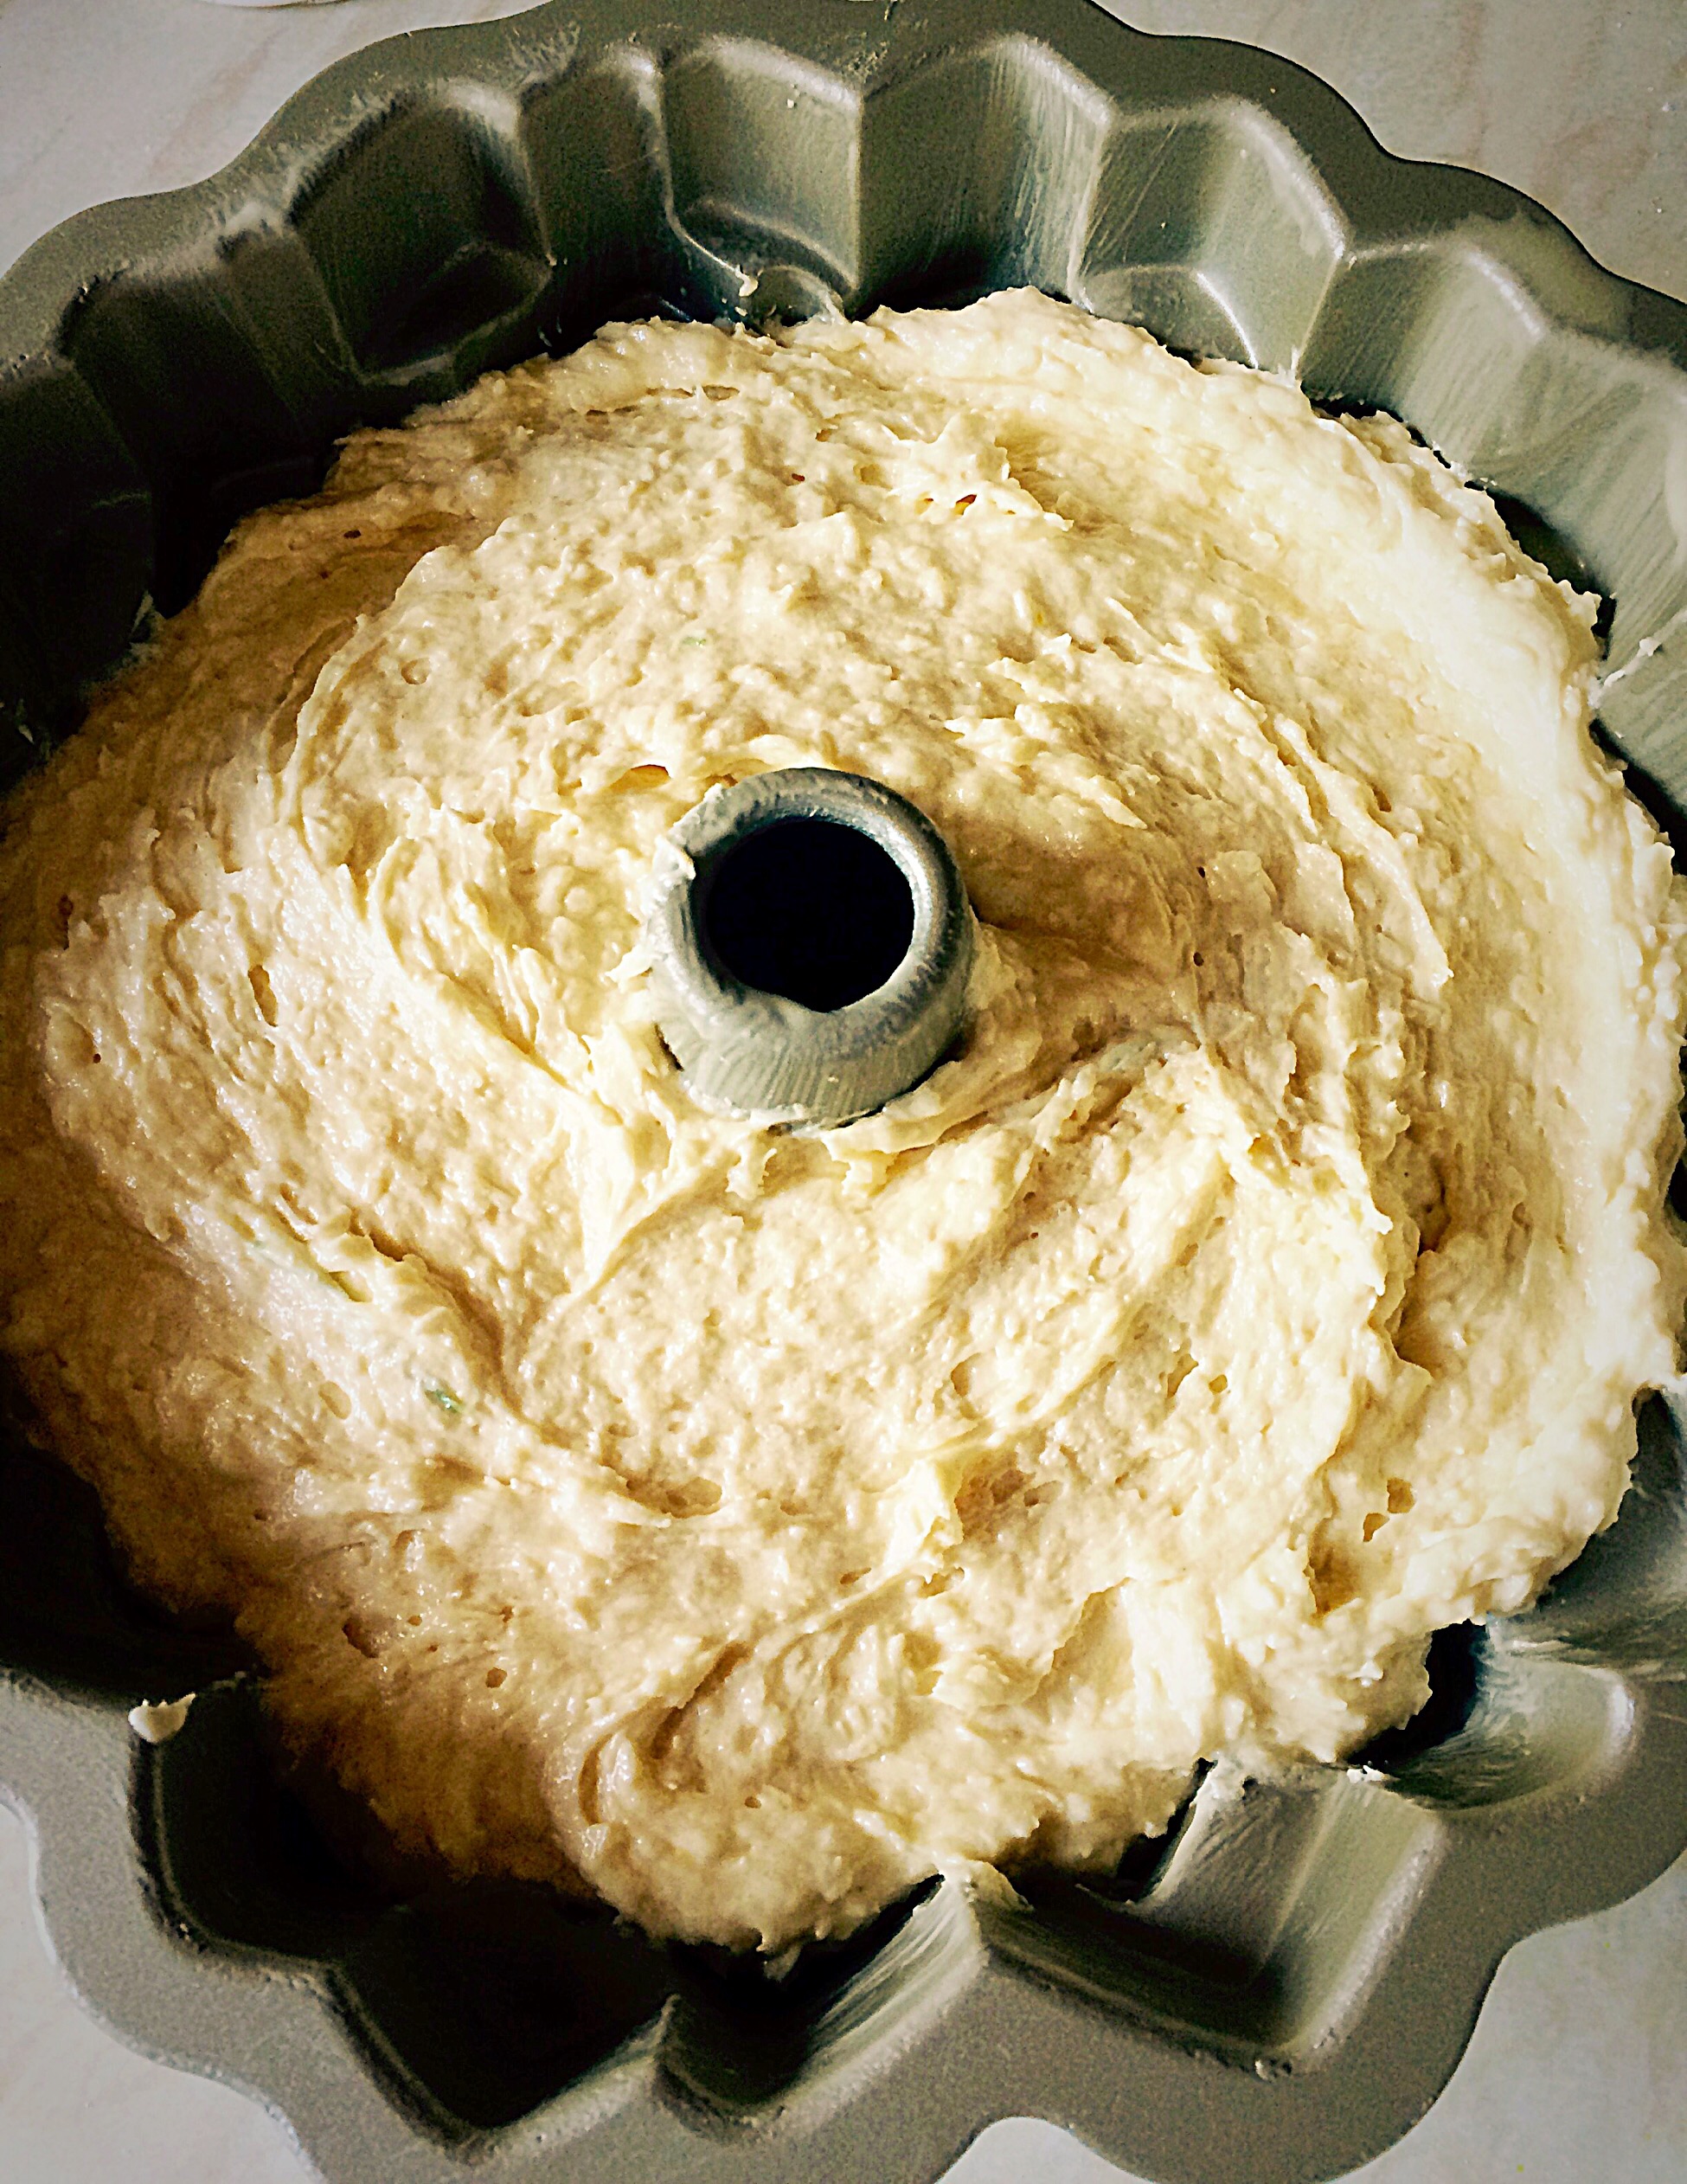
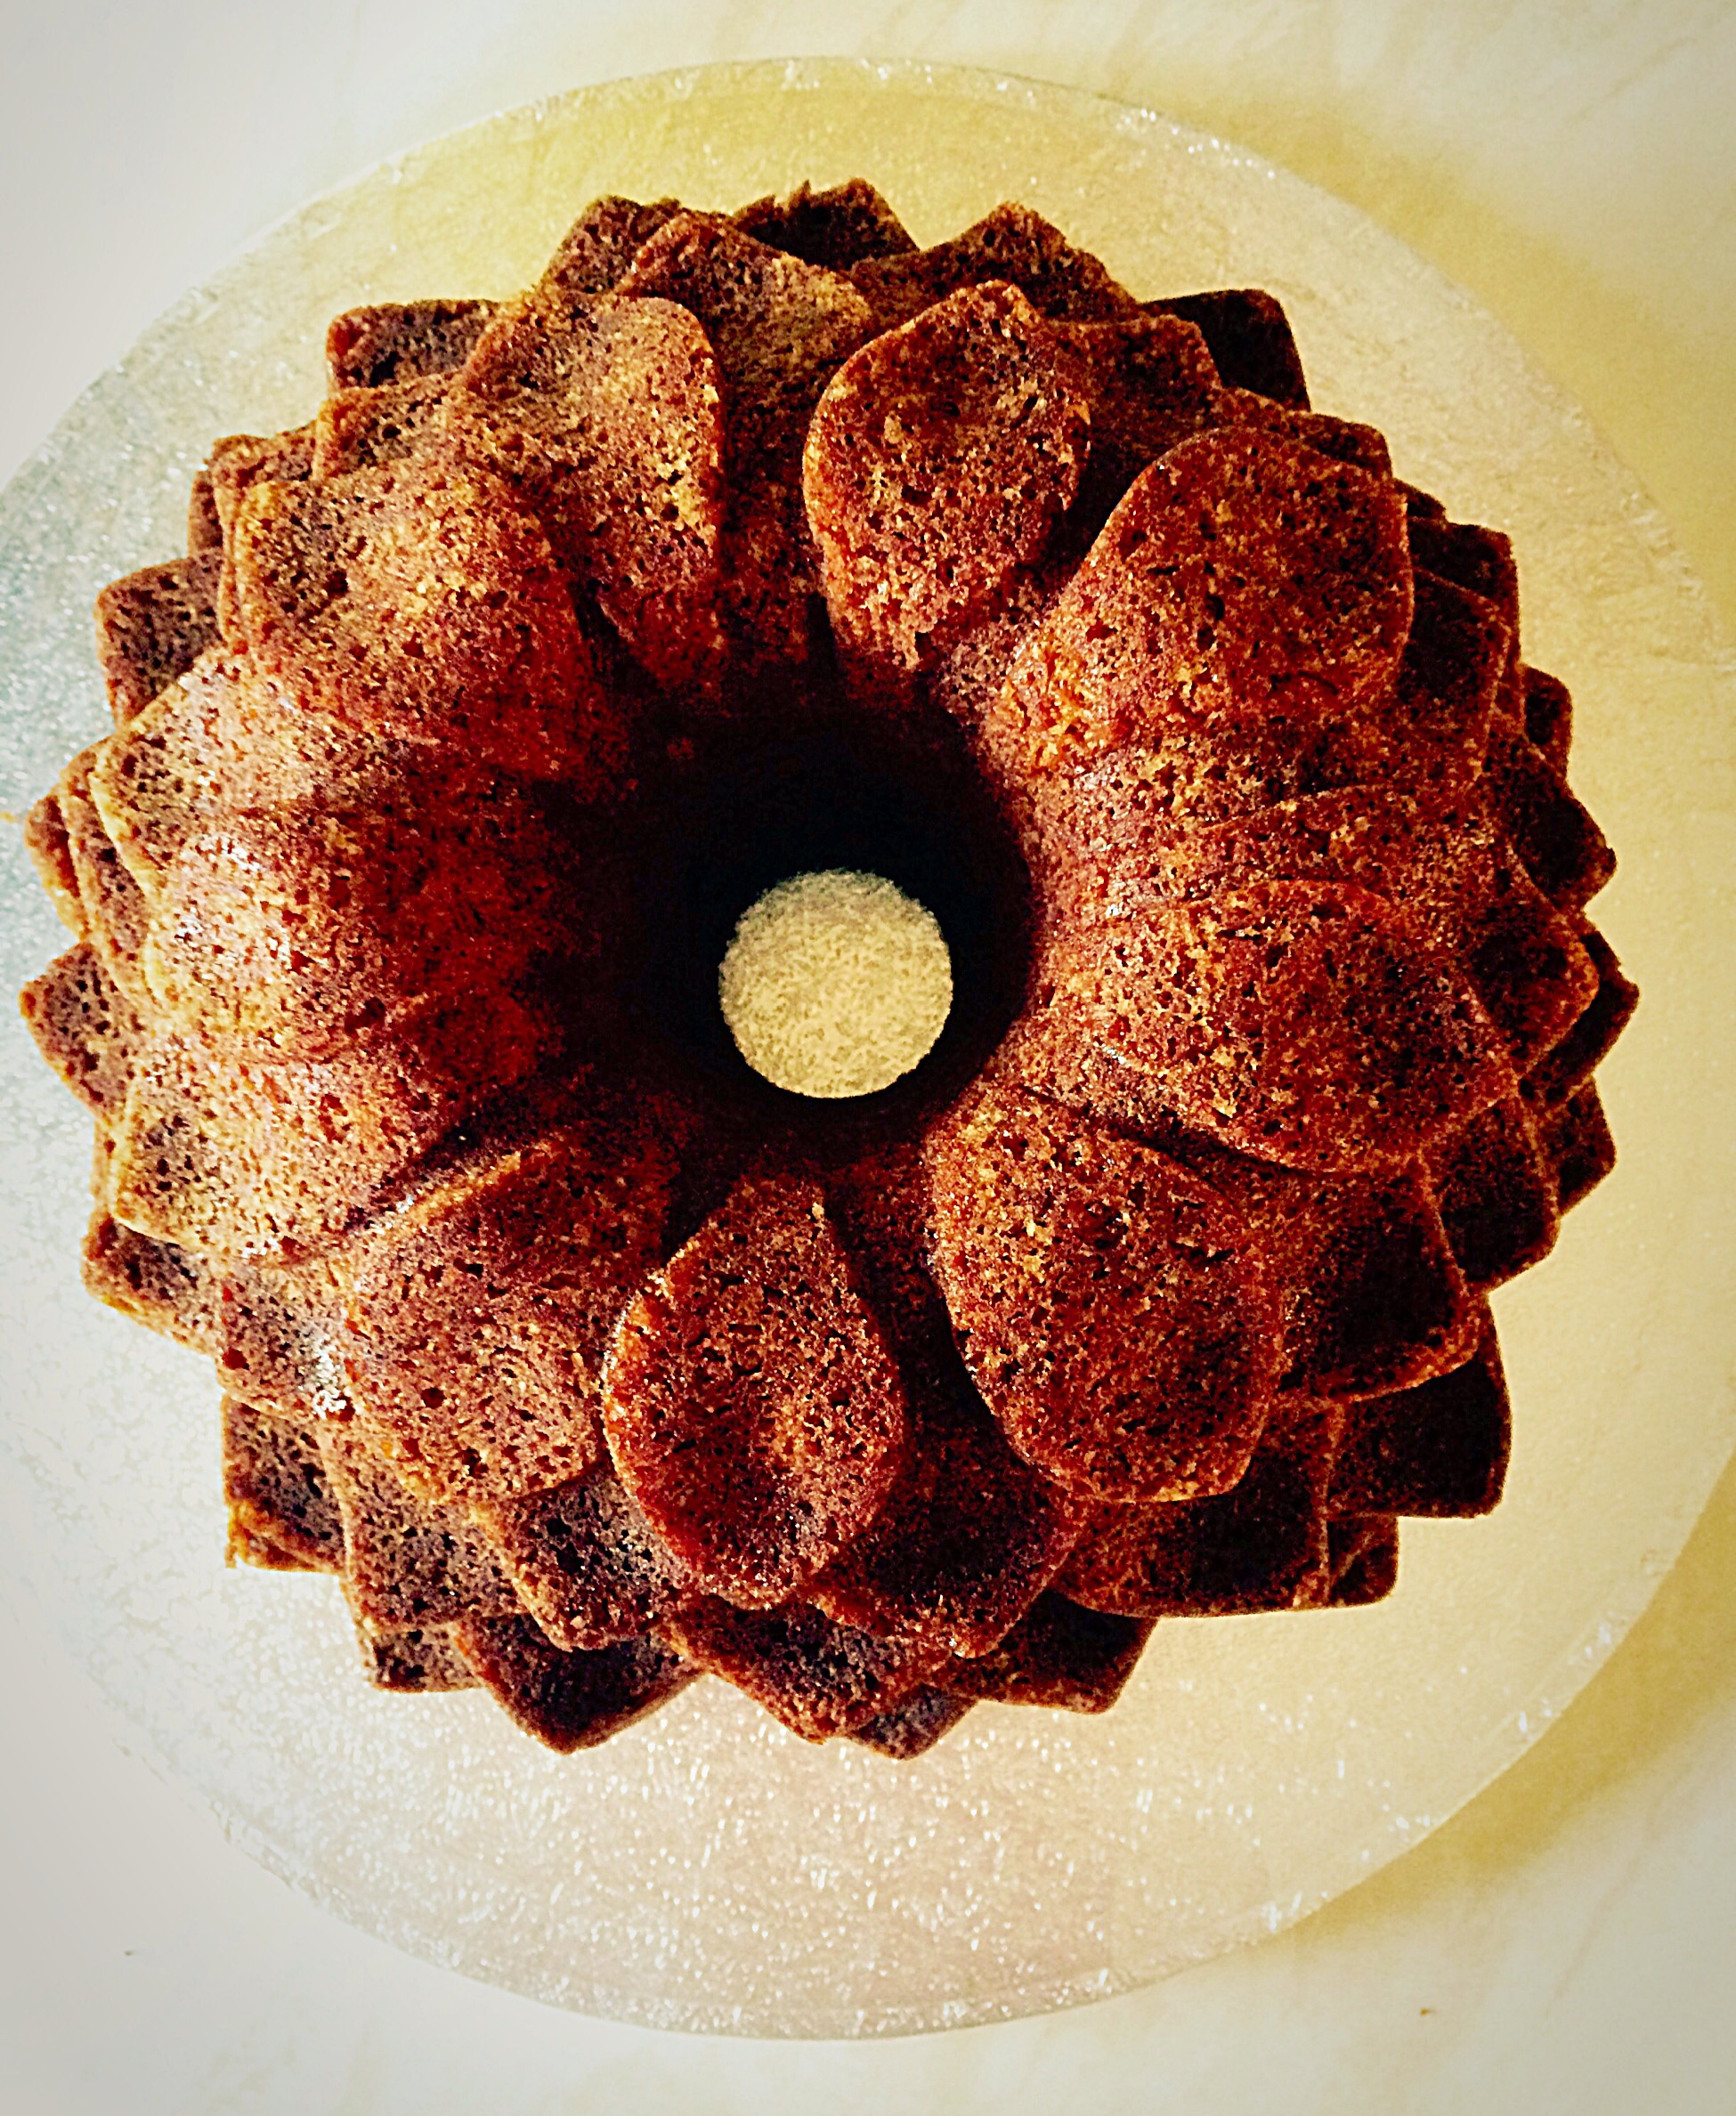
Here is the incredibly detailed snowflake Bundt tin that I used for this cake, alongside is Wilton bake easy, cake release spray. I cannot emphasise enough how important it is to use cake release spray (or the brush on version) for this tin. I tried this recipe, brushing the tin with melted butter, as I have with previous Bundt bakes and the cake stuck. Badly. It was an epic disaster. And I cried, how silly is that? Finally, determined not to be beaten by a cake tin AND with lots of tips and advice from my Bundt baker friends on Twitter, I rebaked the cake and SUCCESS.
Now time to share how I made this wonder.
Recipe: Makes one Sparkling Snowflake Cake that will serve 12
225g/8oz Unsalted Butter at room temperature
225g/8oz Caster Sugar
4 Large Eggs
1tsp Vanilla Extract – I use Nielsen-Massey
225g/8oz Self Raising White Flour
1/4tsp Salt
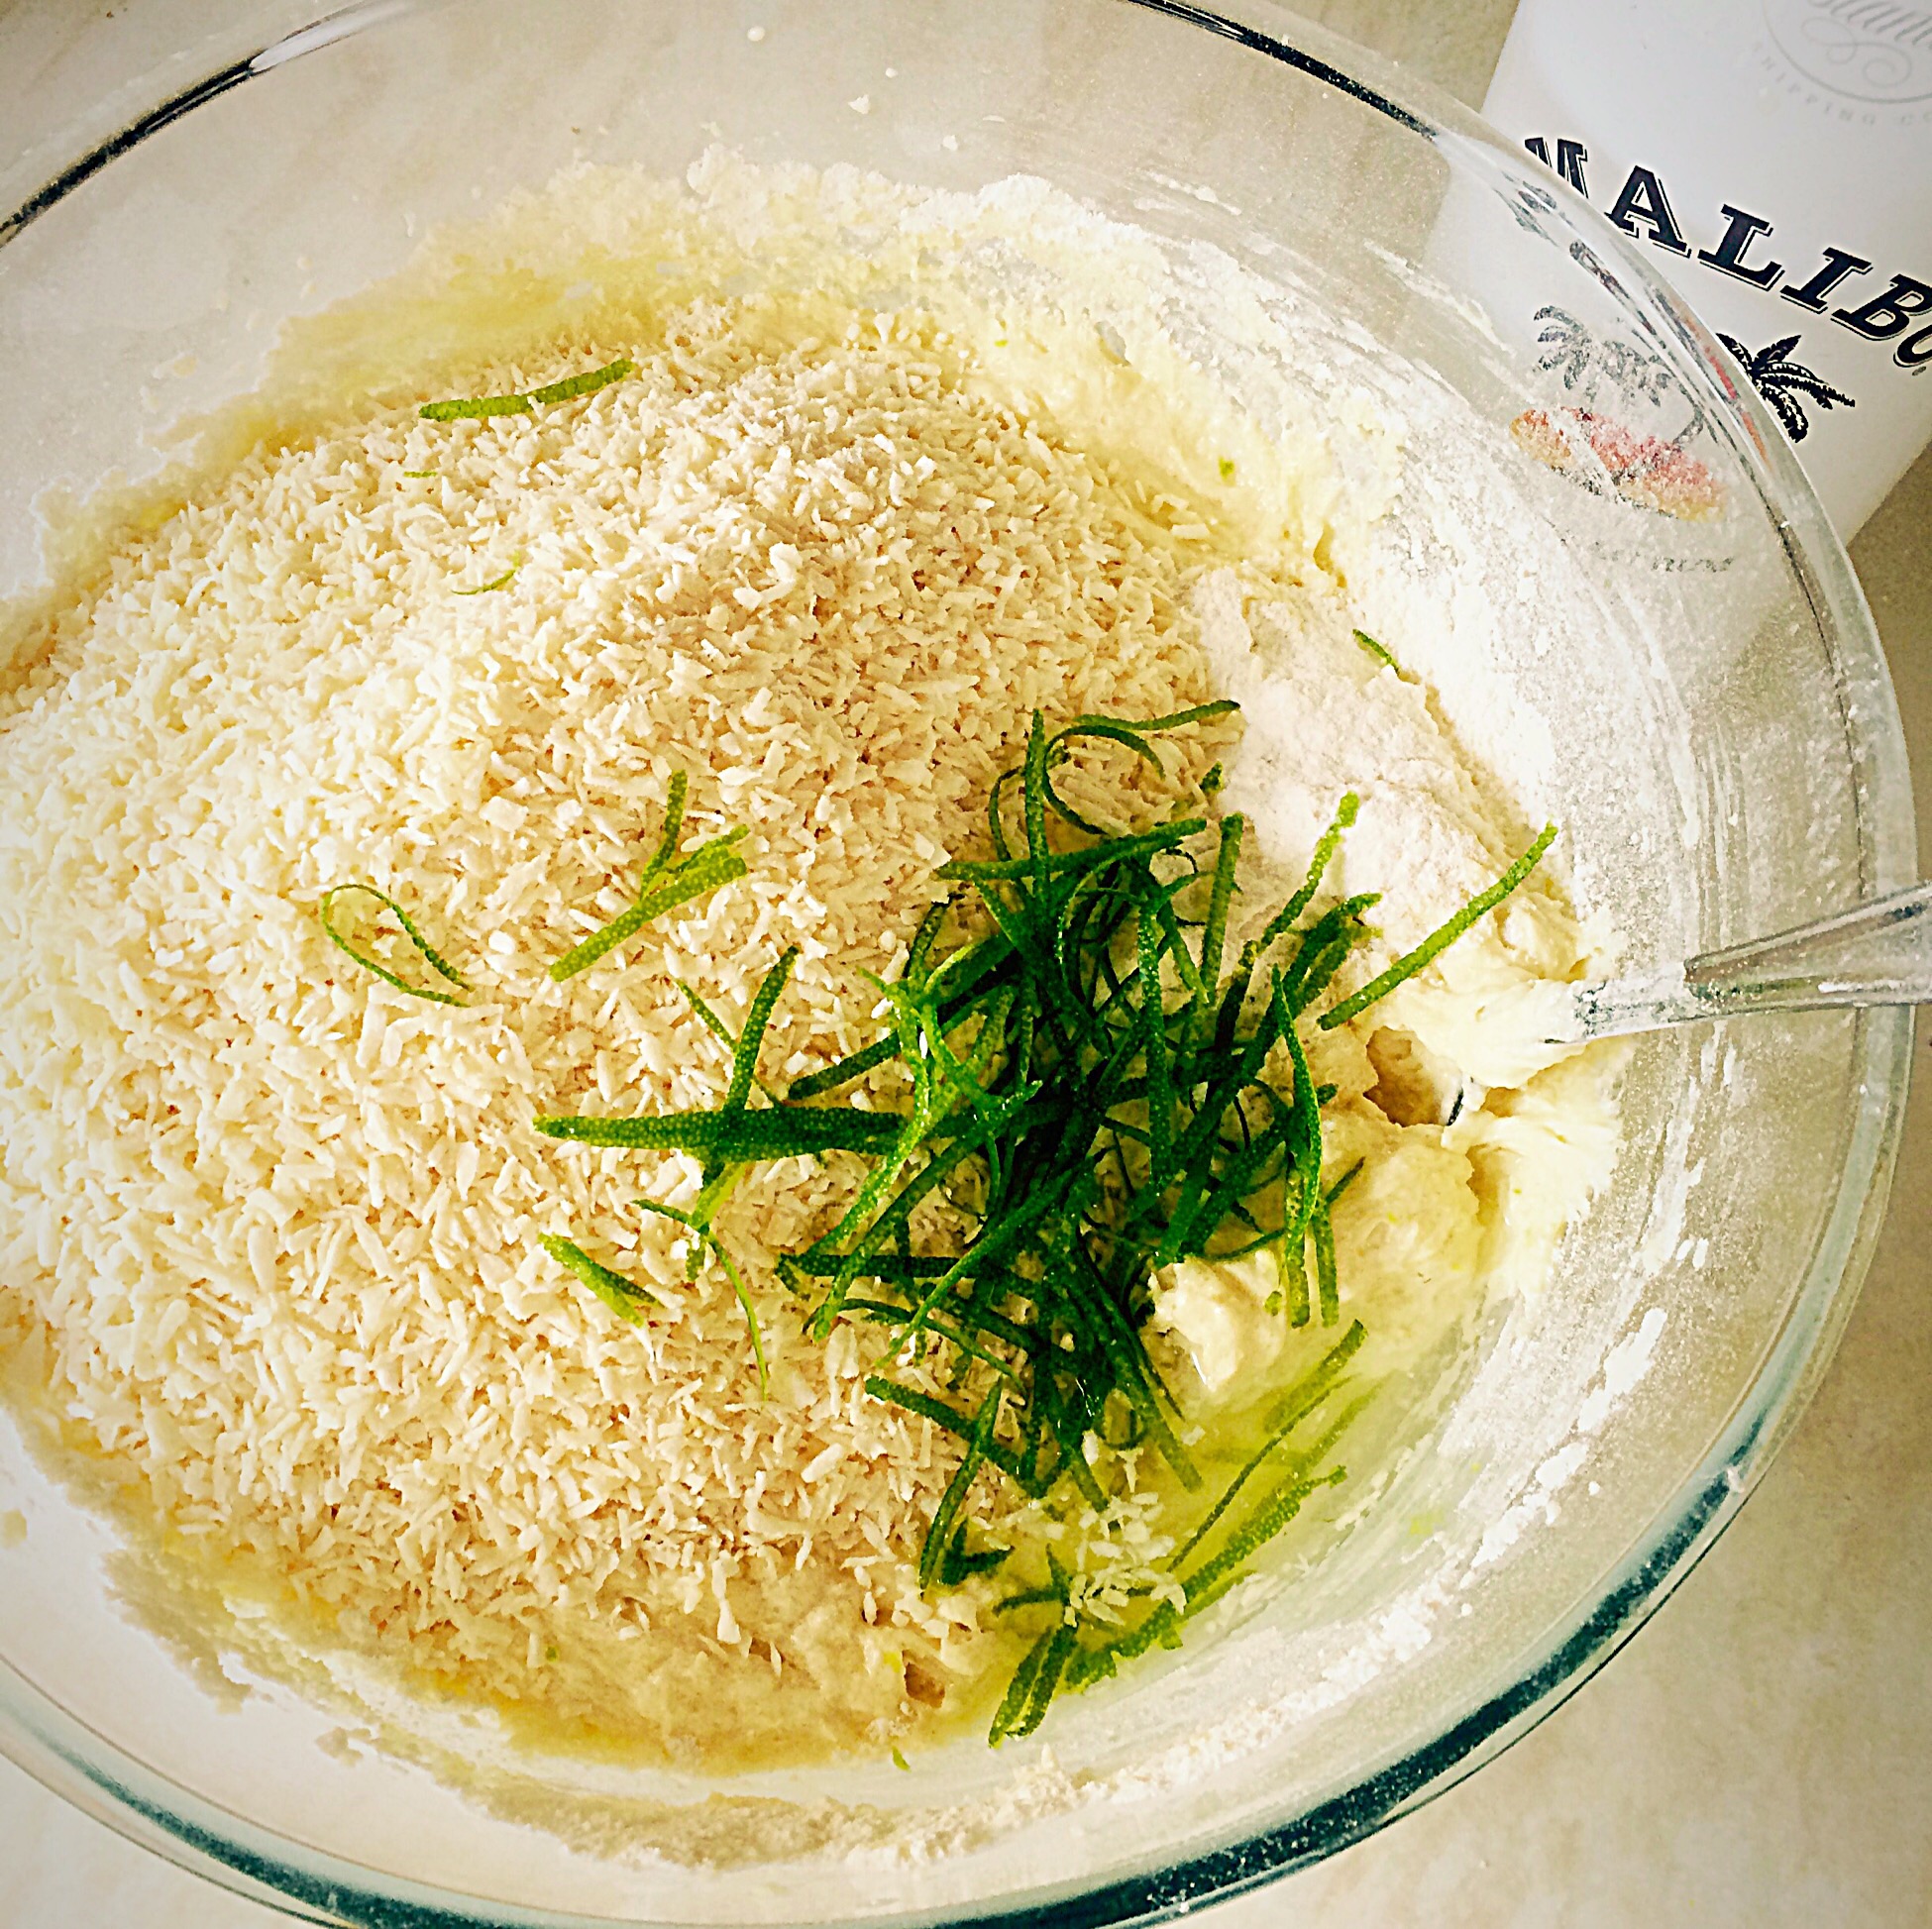
100g/4oz Icing Sugar
Optional – Edible glitter in the colour of your choice and edible diamonds. Both available from cake decorating shops and Amazon.
Method: Preheat oven to 180C/160C fan, 350F, gas mark 4
First of all thoroughly spray or brush the Bundt tin with cake release. I will not judge if you want to give it a double coating (I did!).
Making the Cake Batter
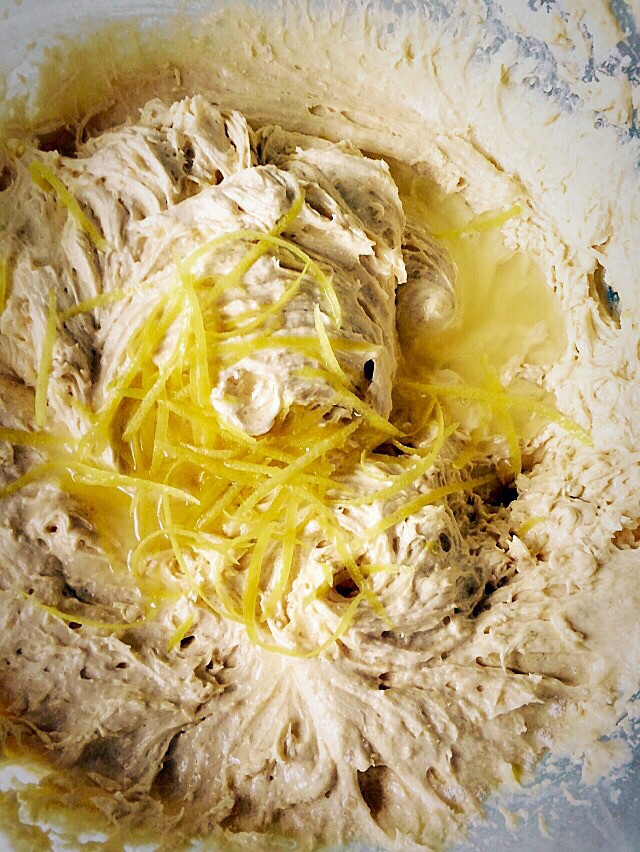
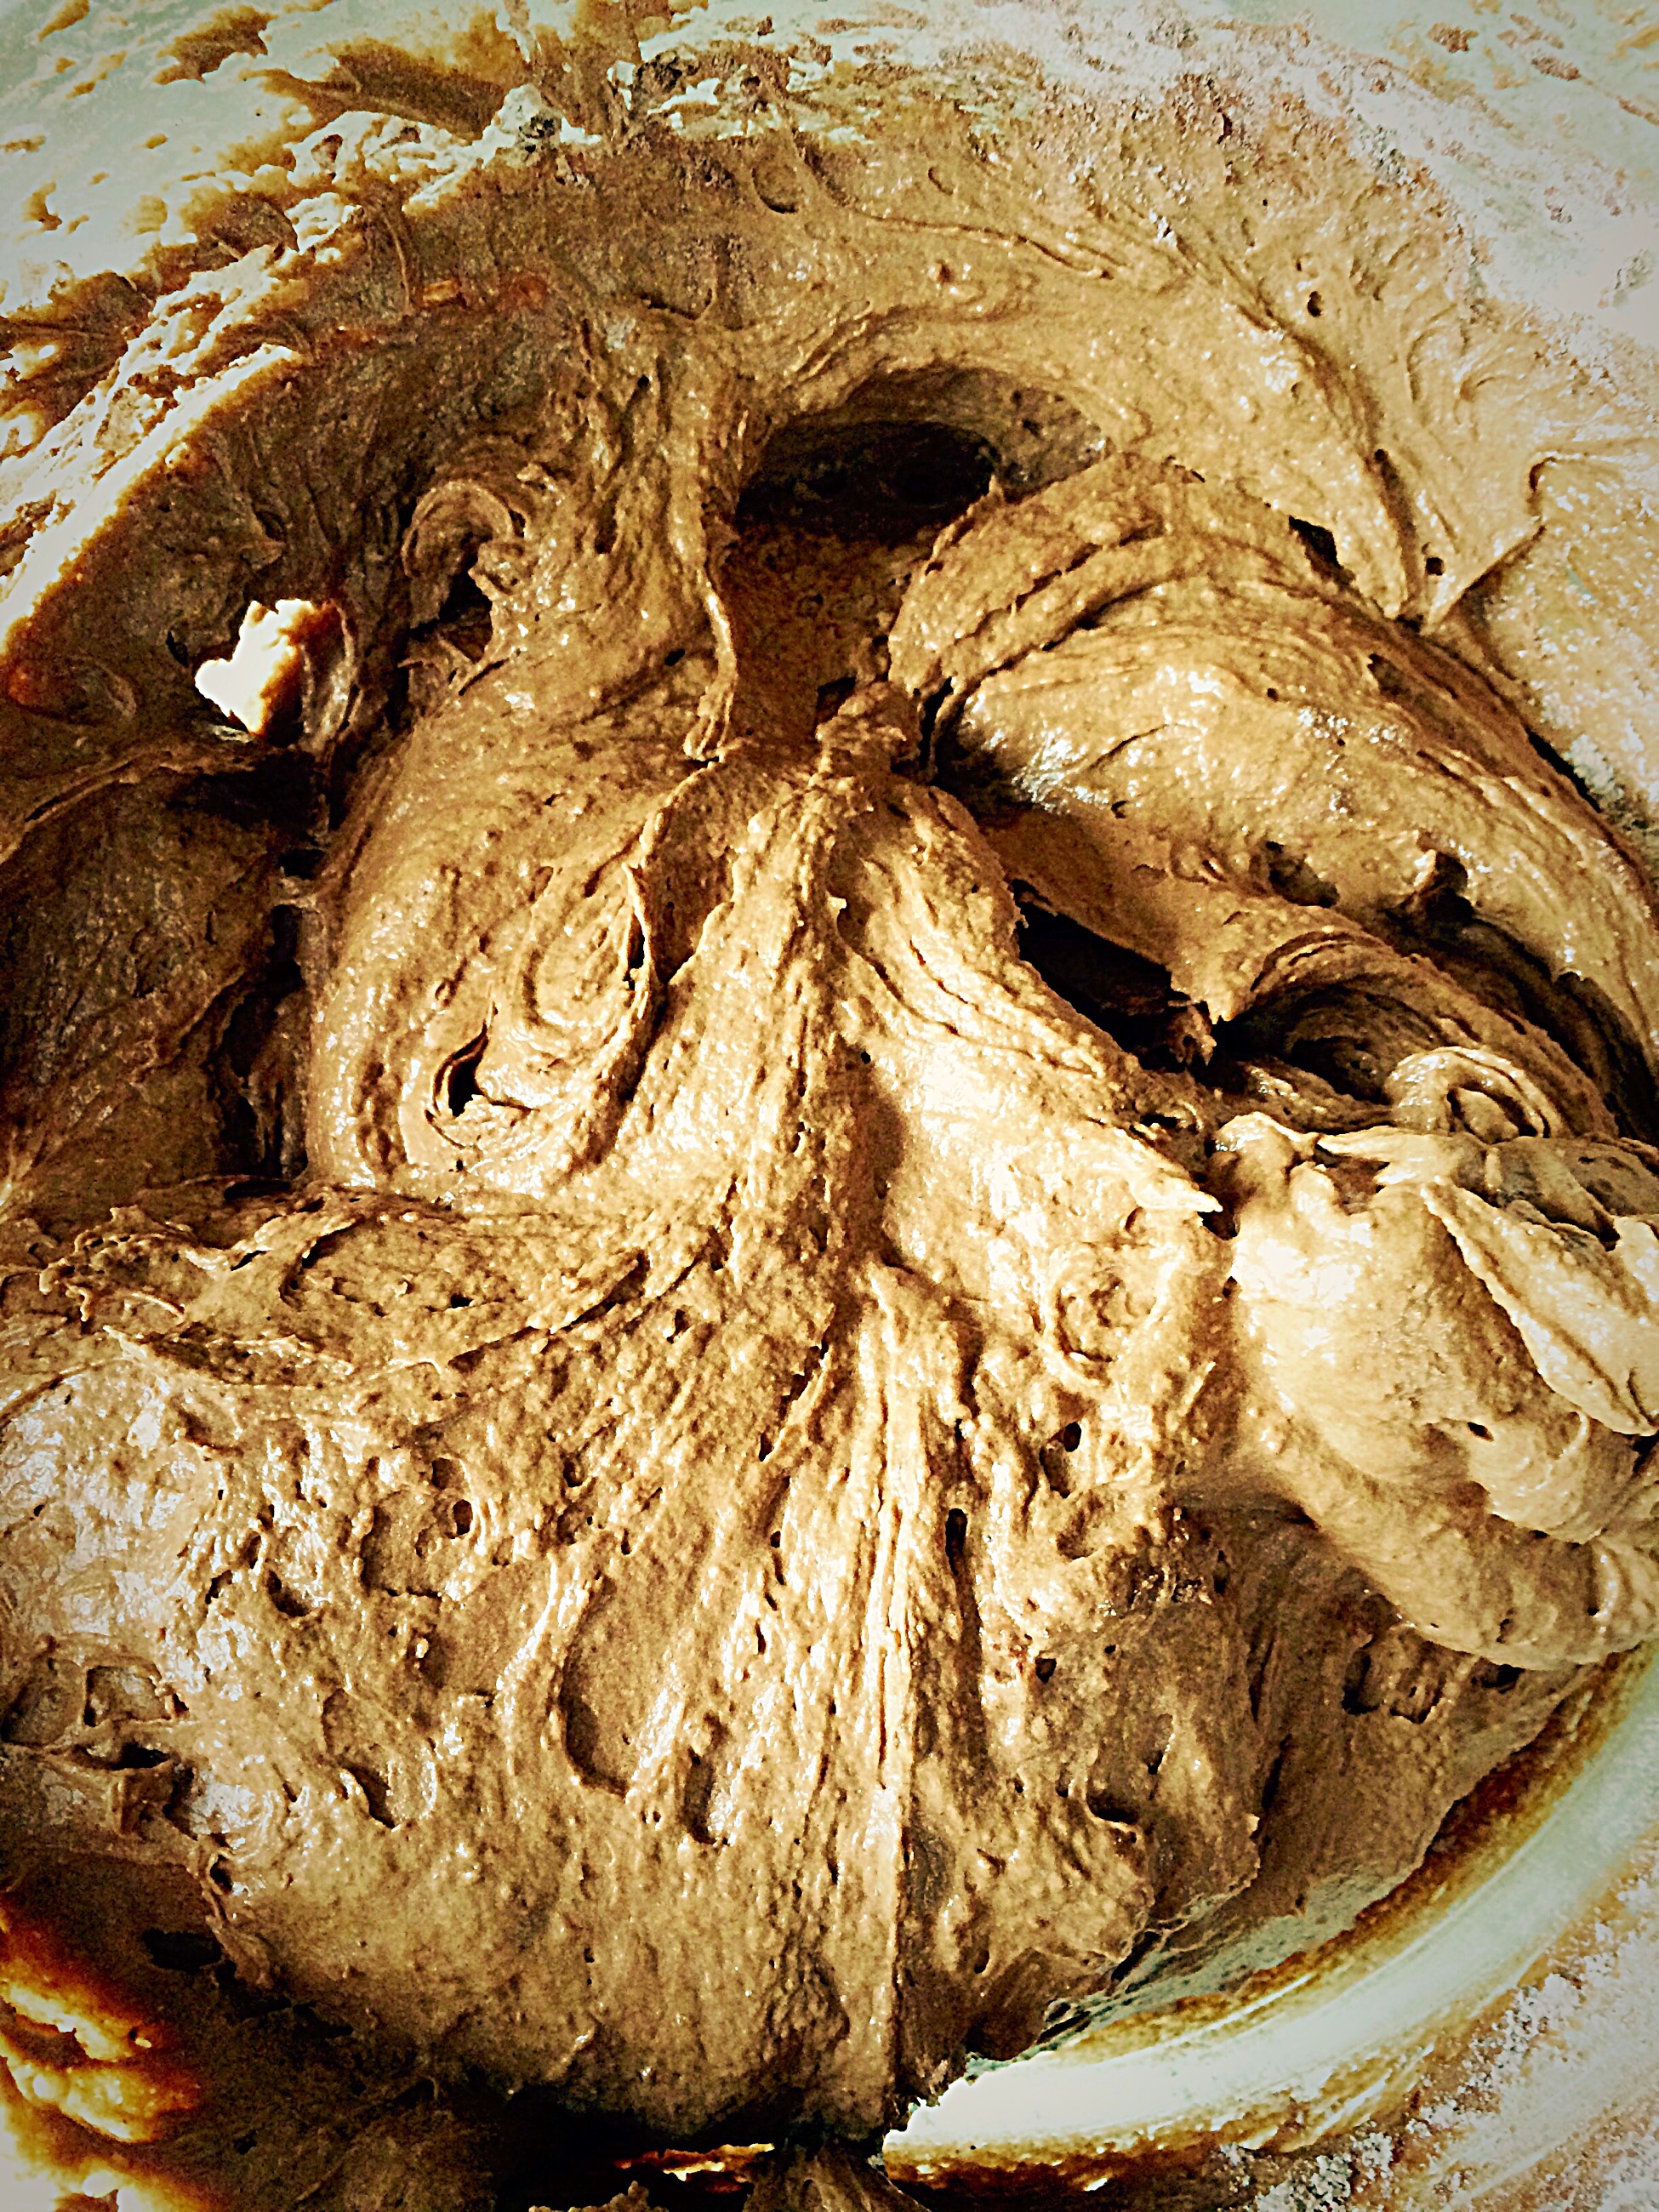
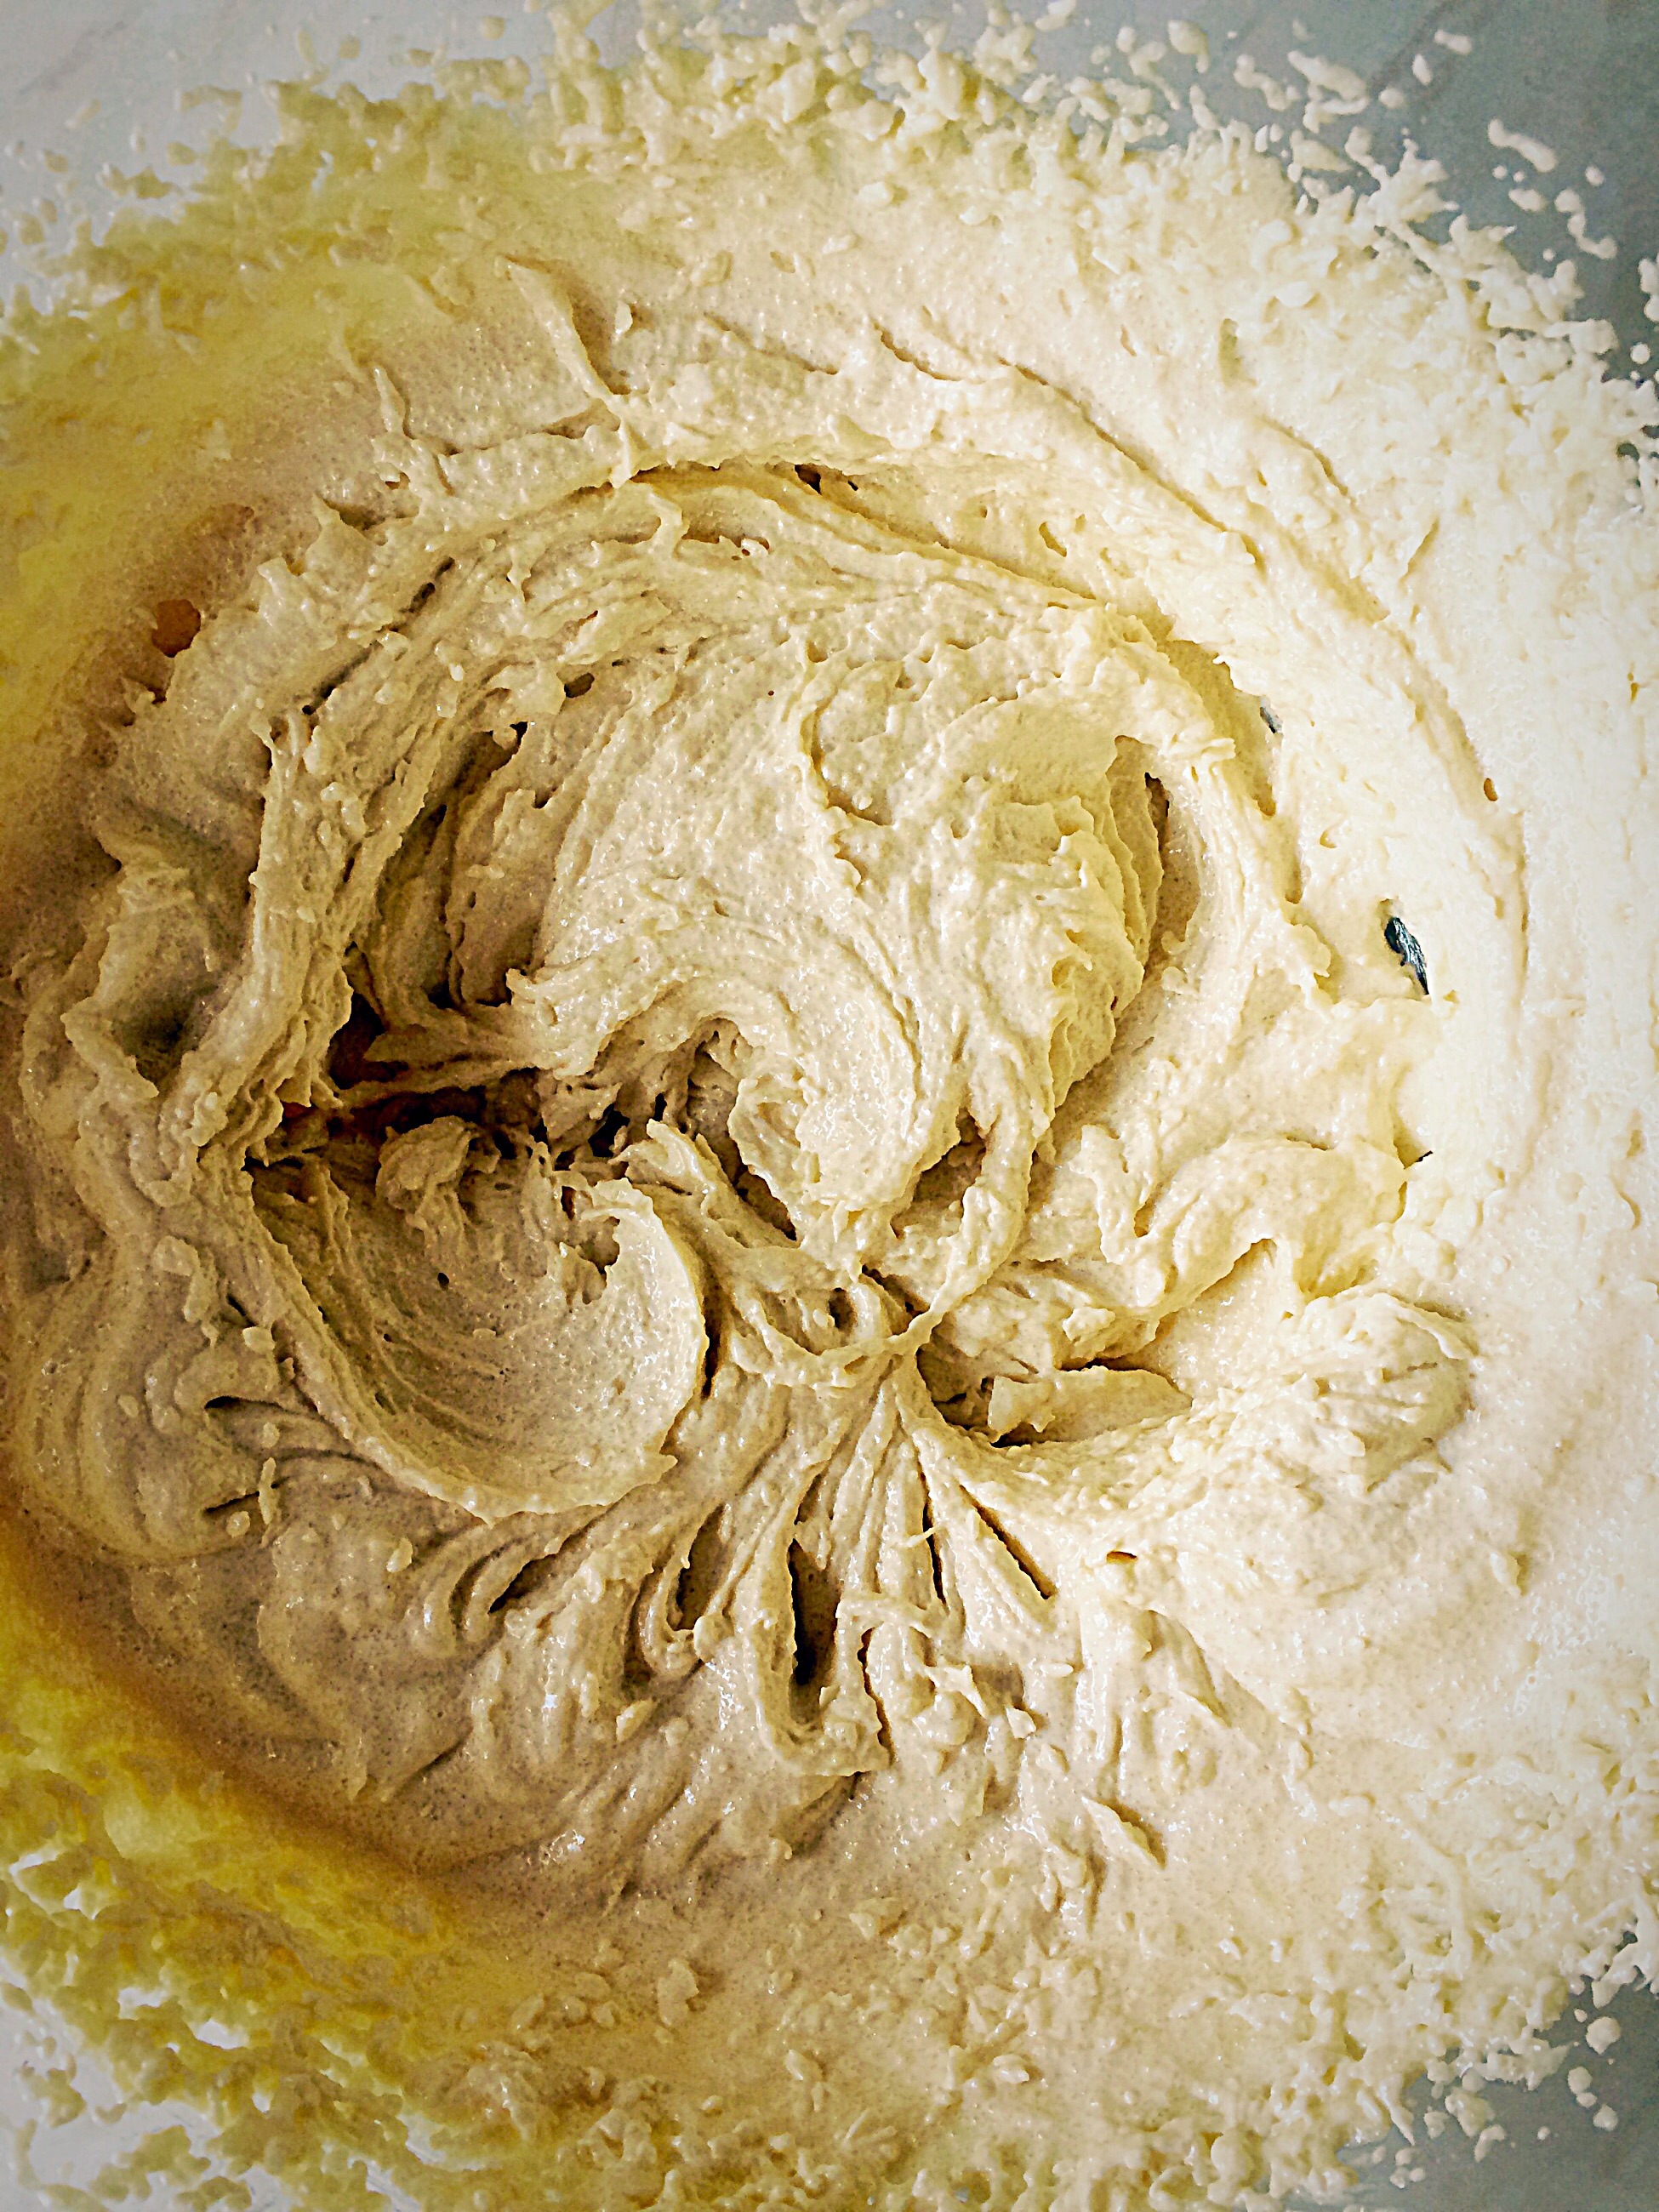
- Cream the butter and sugar together in a large bowl until light and fluffy.
- Add the salt, vanilla extract, one third of the flour and 2 eggs. Mix until just incorporated.
- Next add another third of flour and the last 2 eggs and mix as before.
- Finally add the remaining flour and gently mix into the cake batter until incorporated, taking care not to over mix.
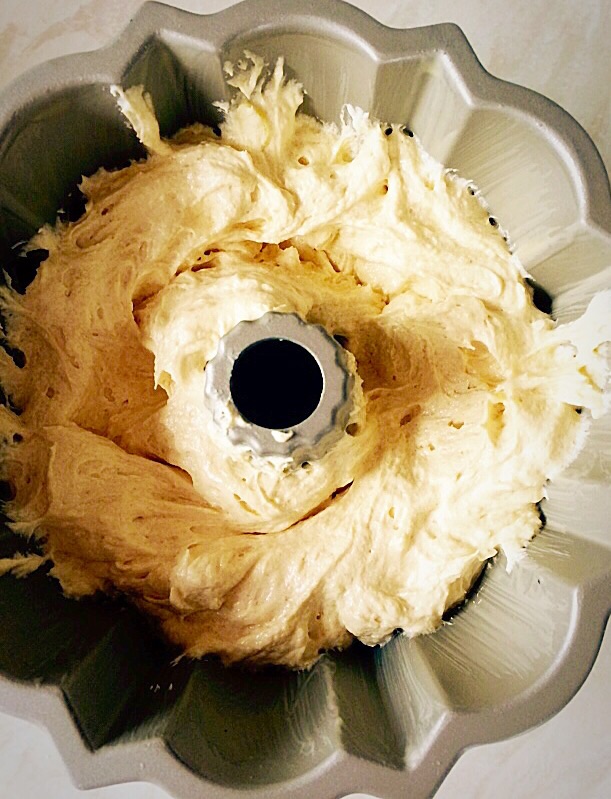
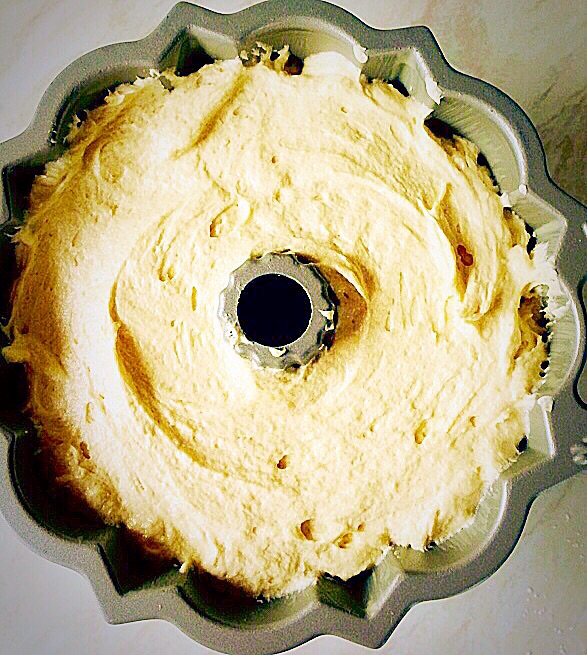
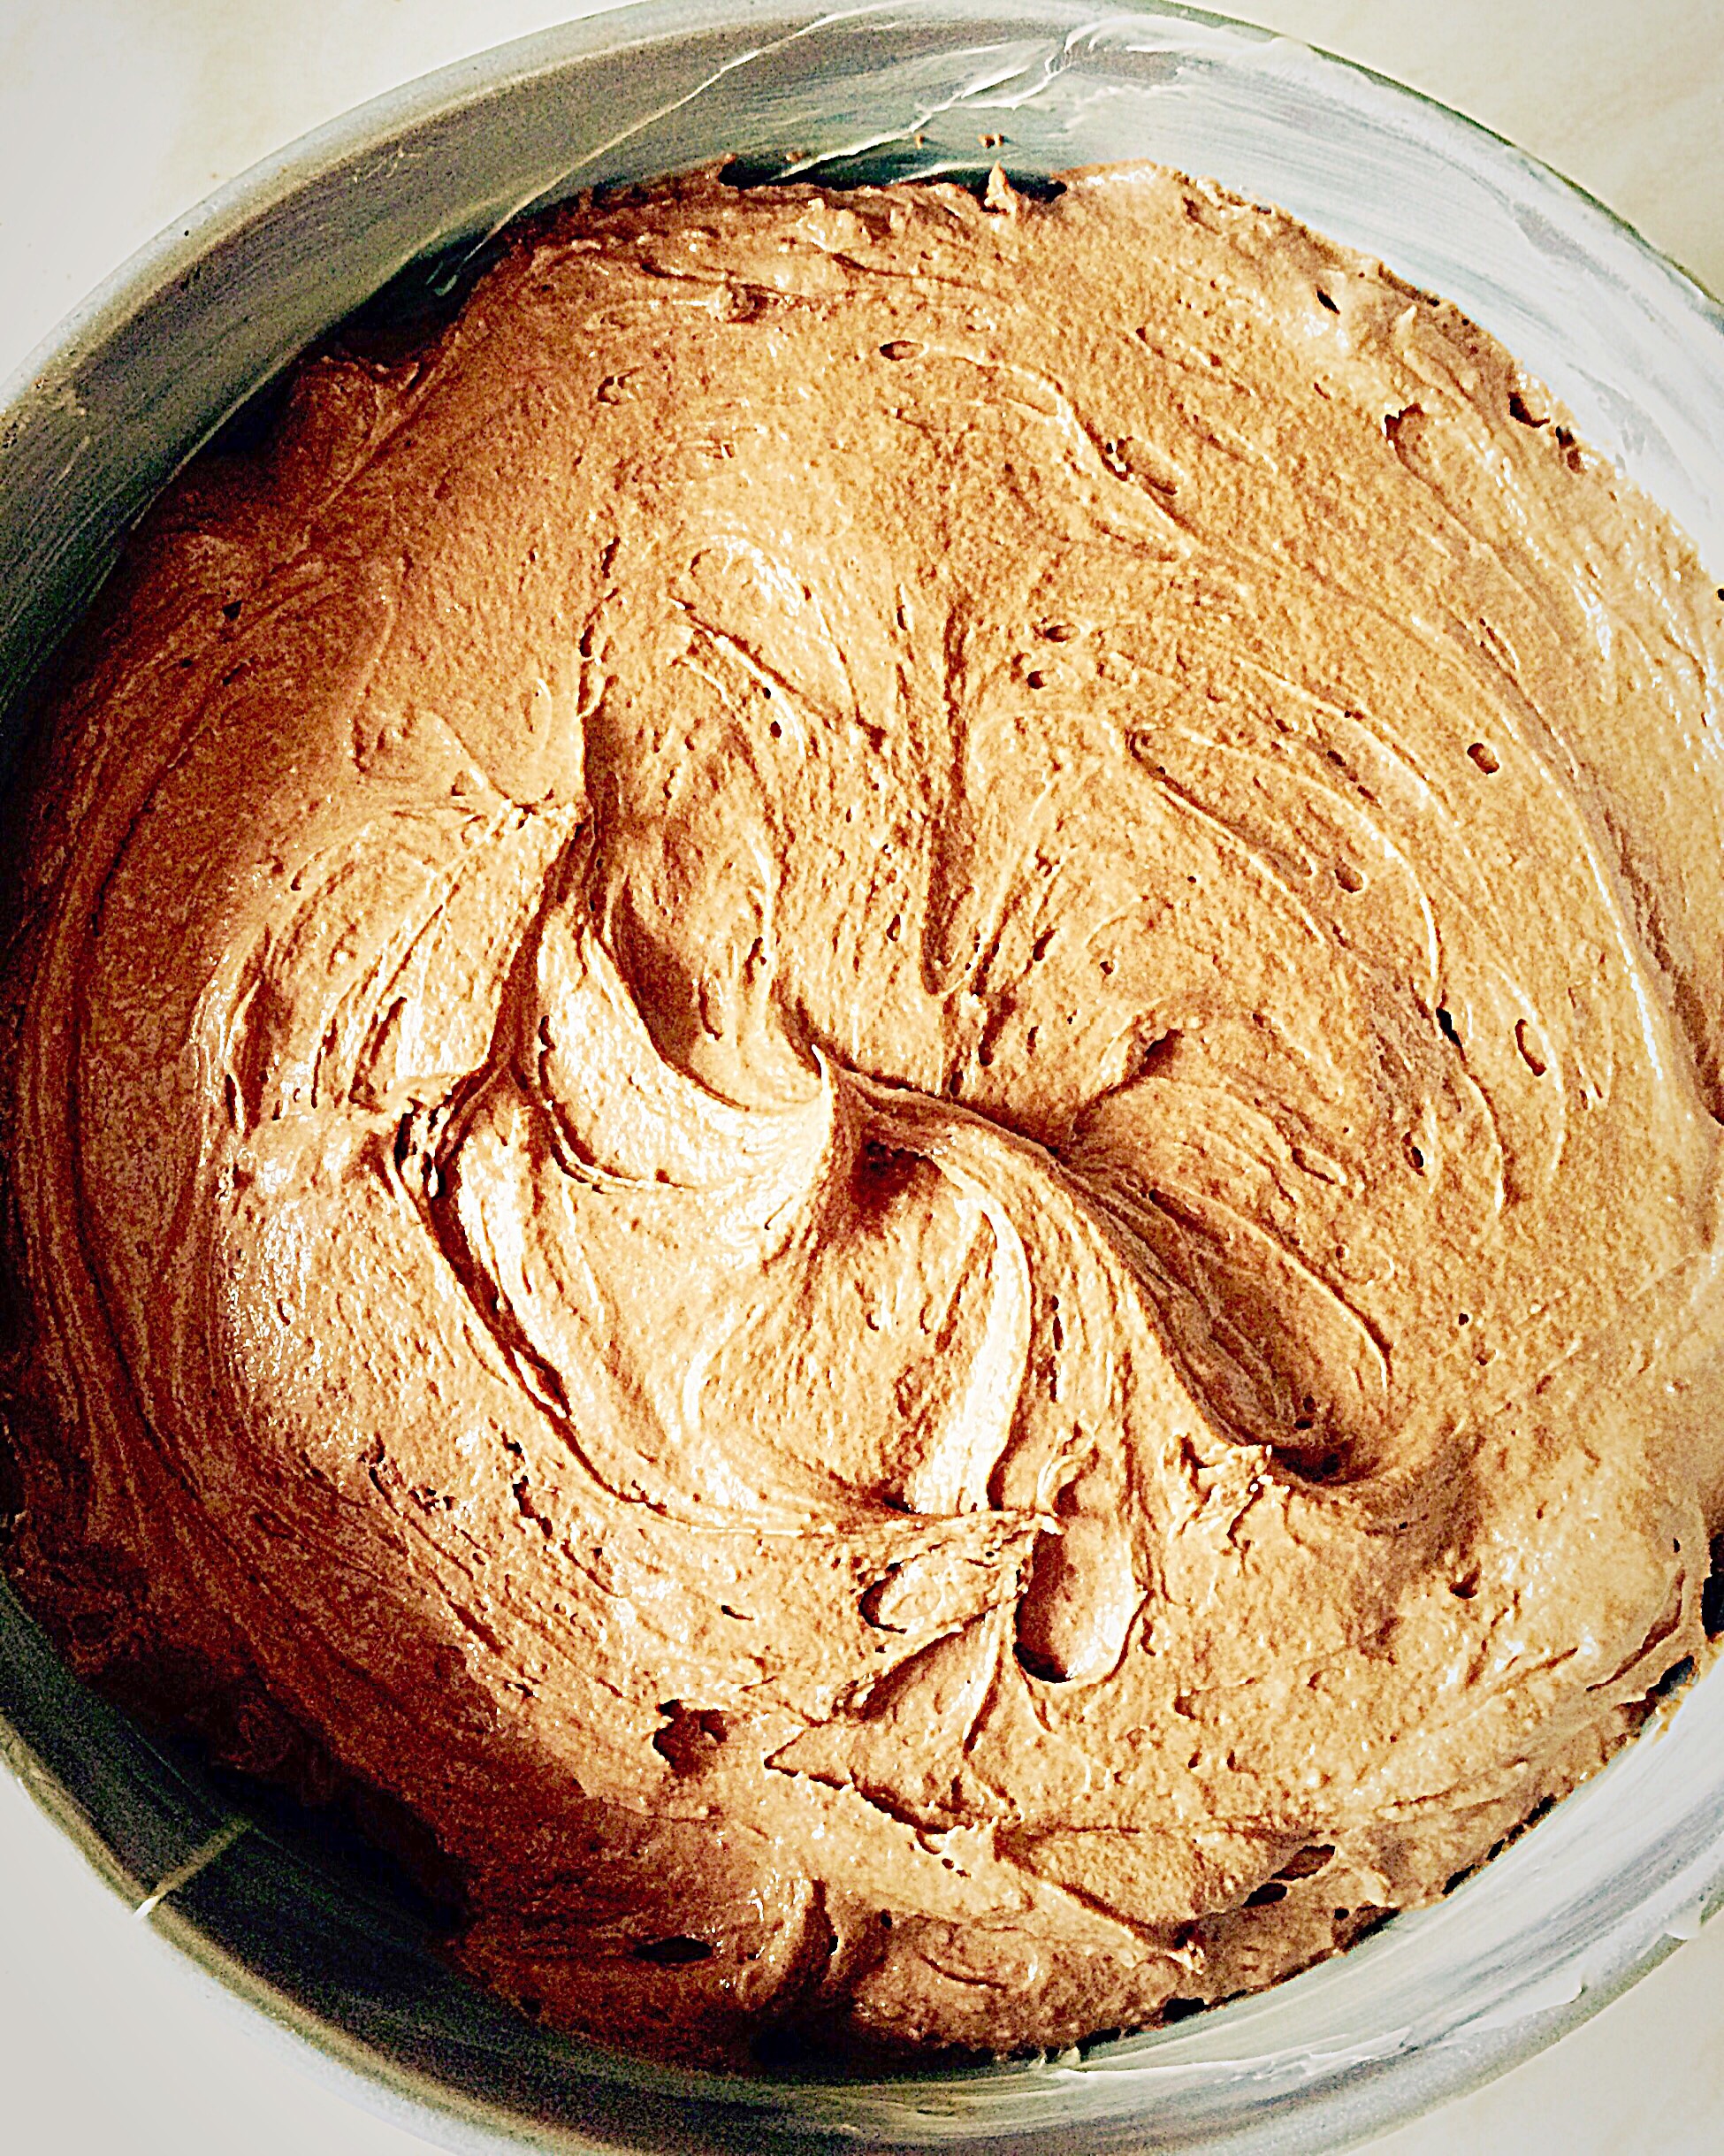
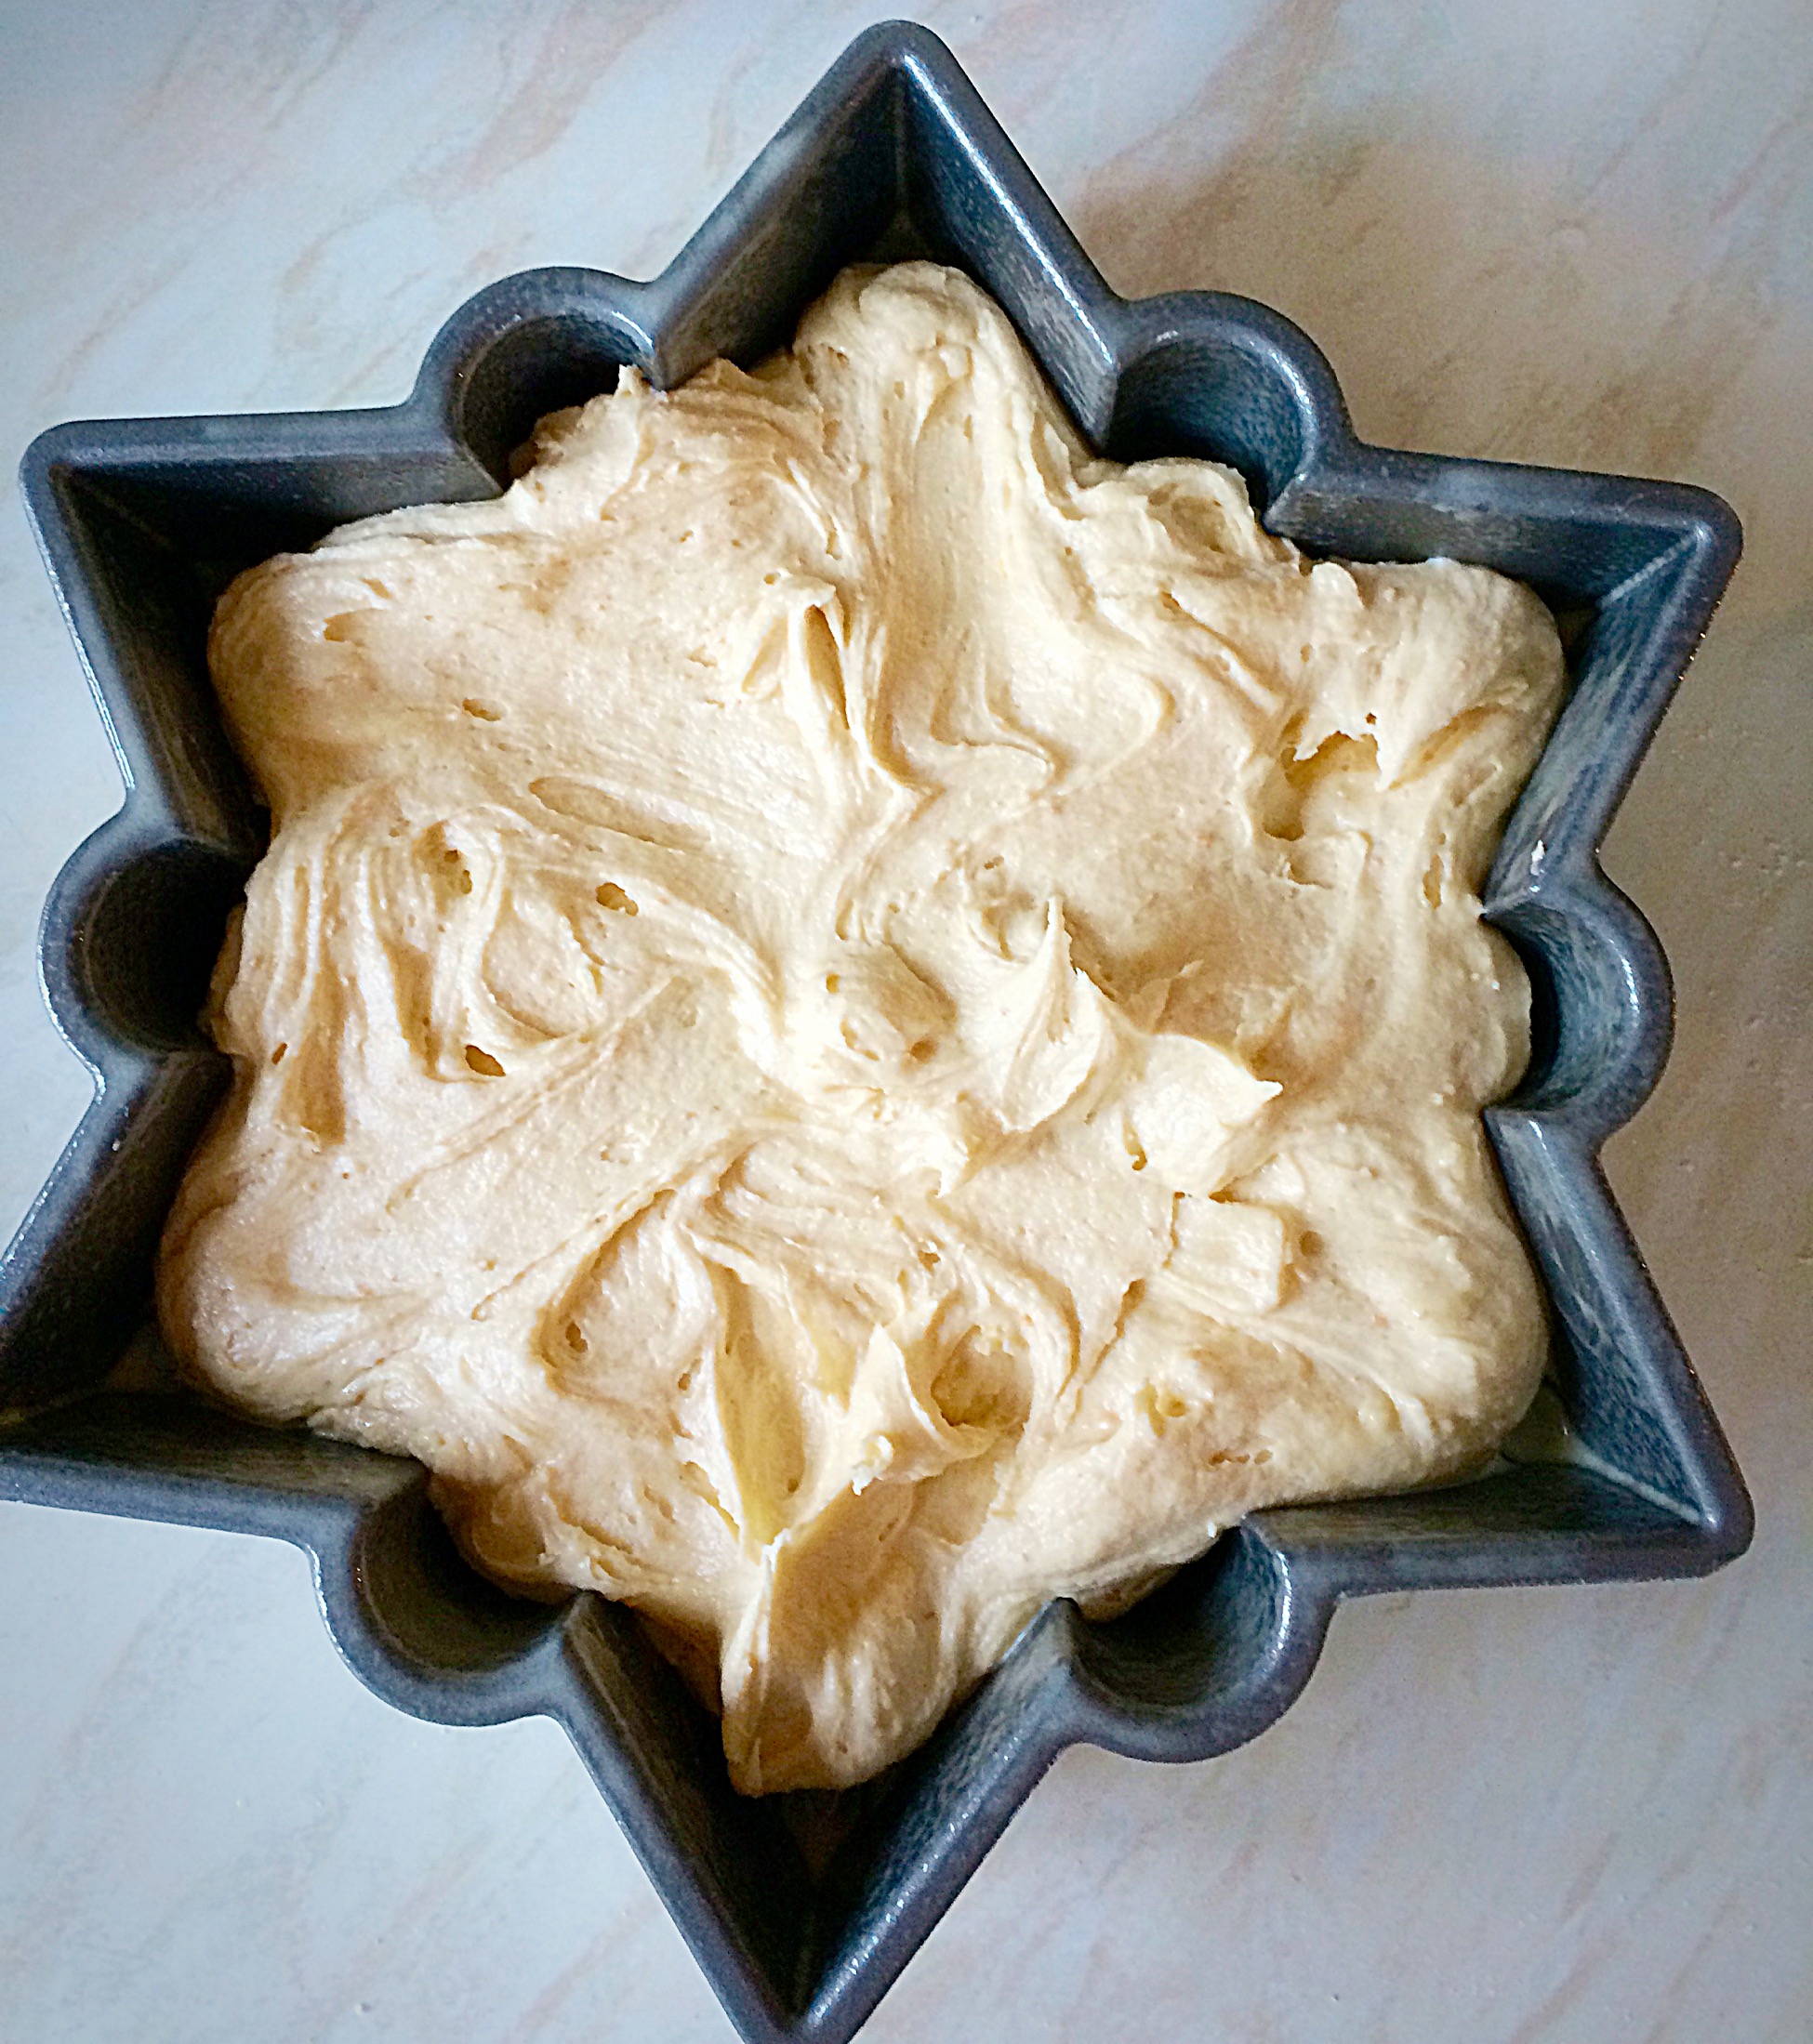
- Spoon the cake batter into the prepared Bundt tin ensuring it is evenly spread into all the points.
Baking the Snowflake Cake
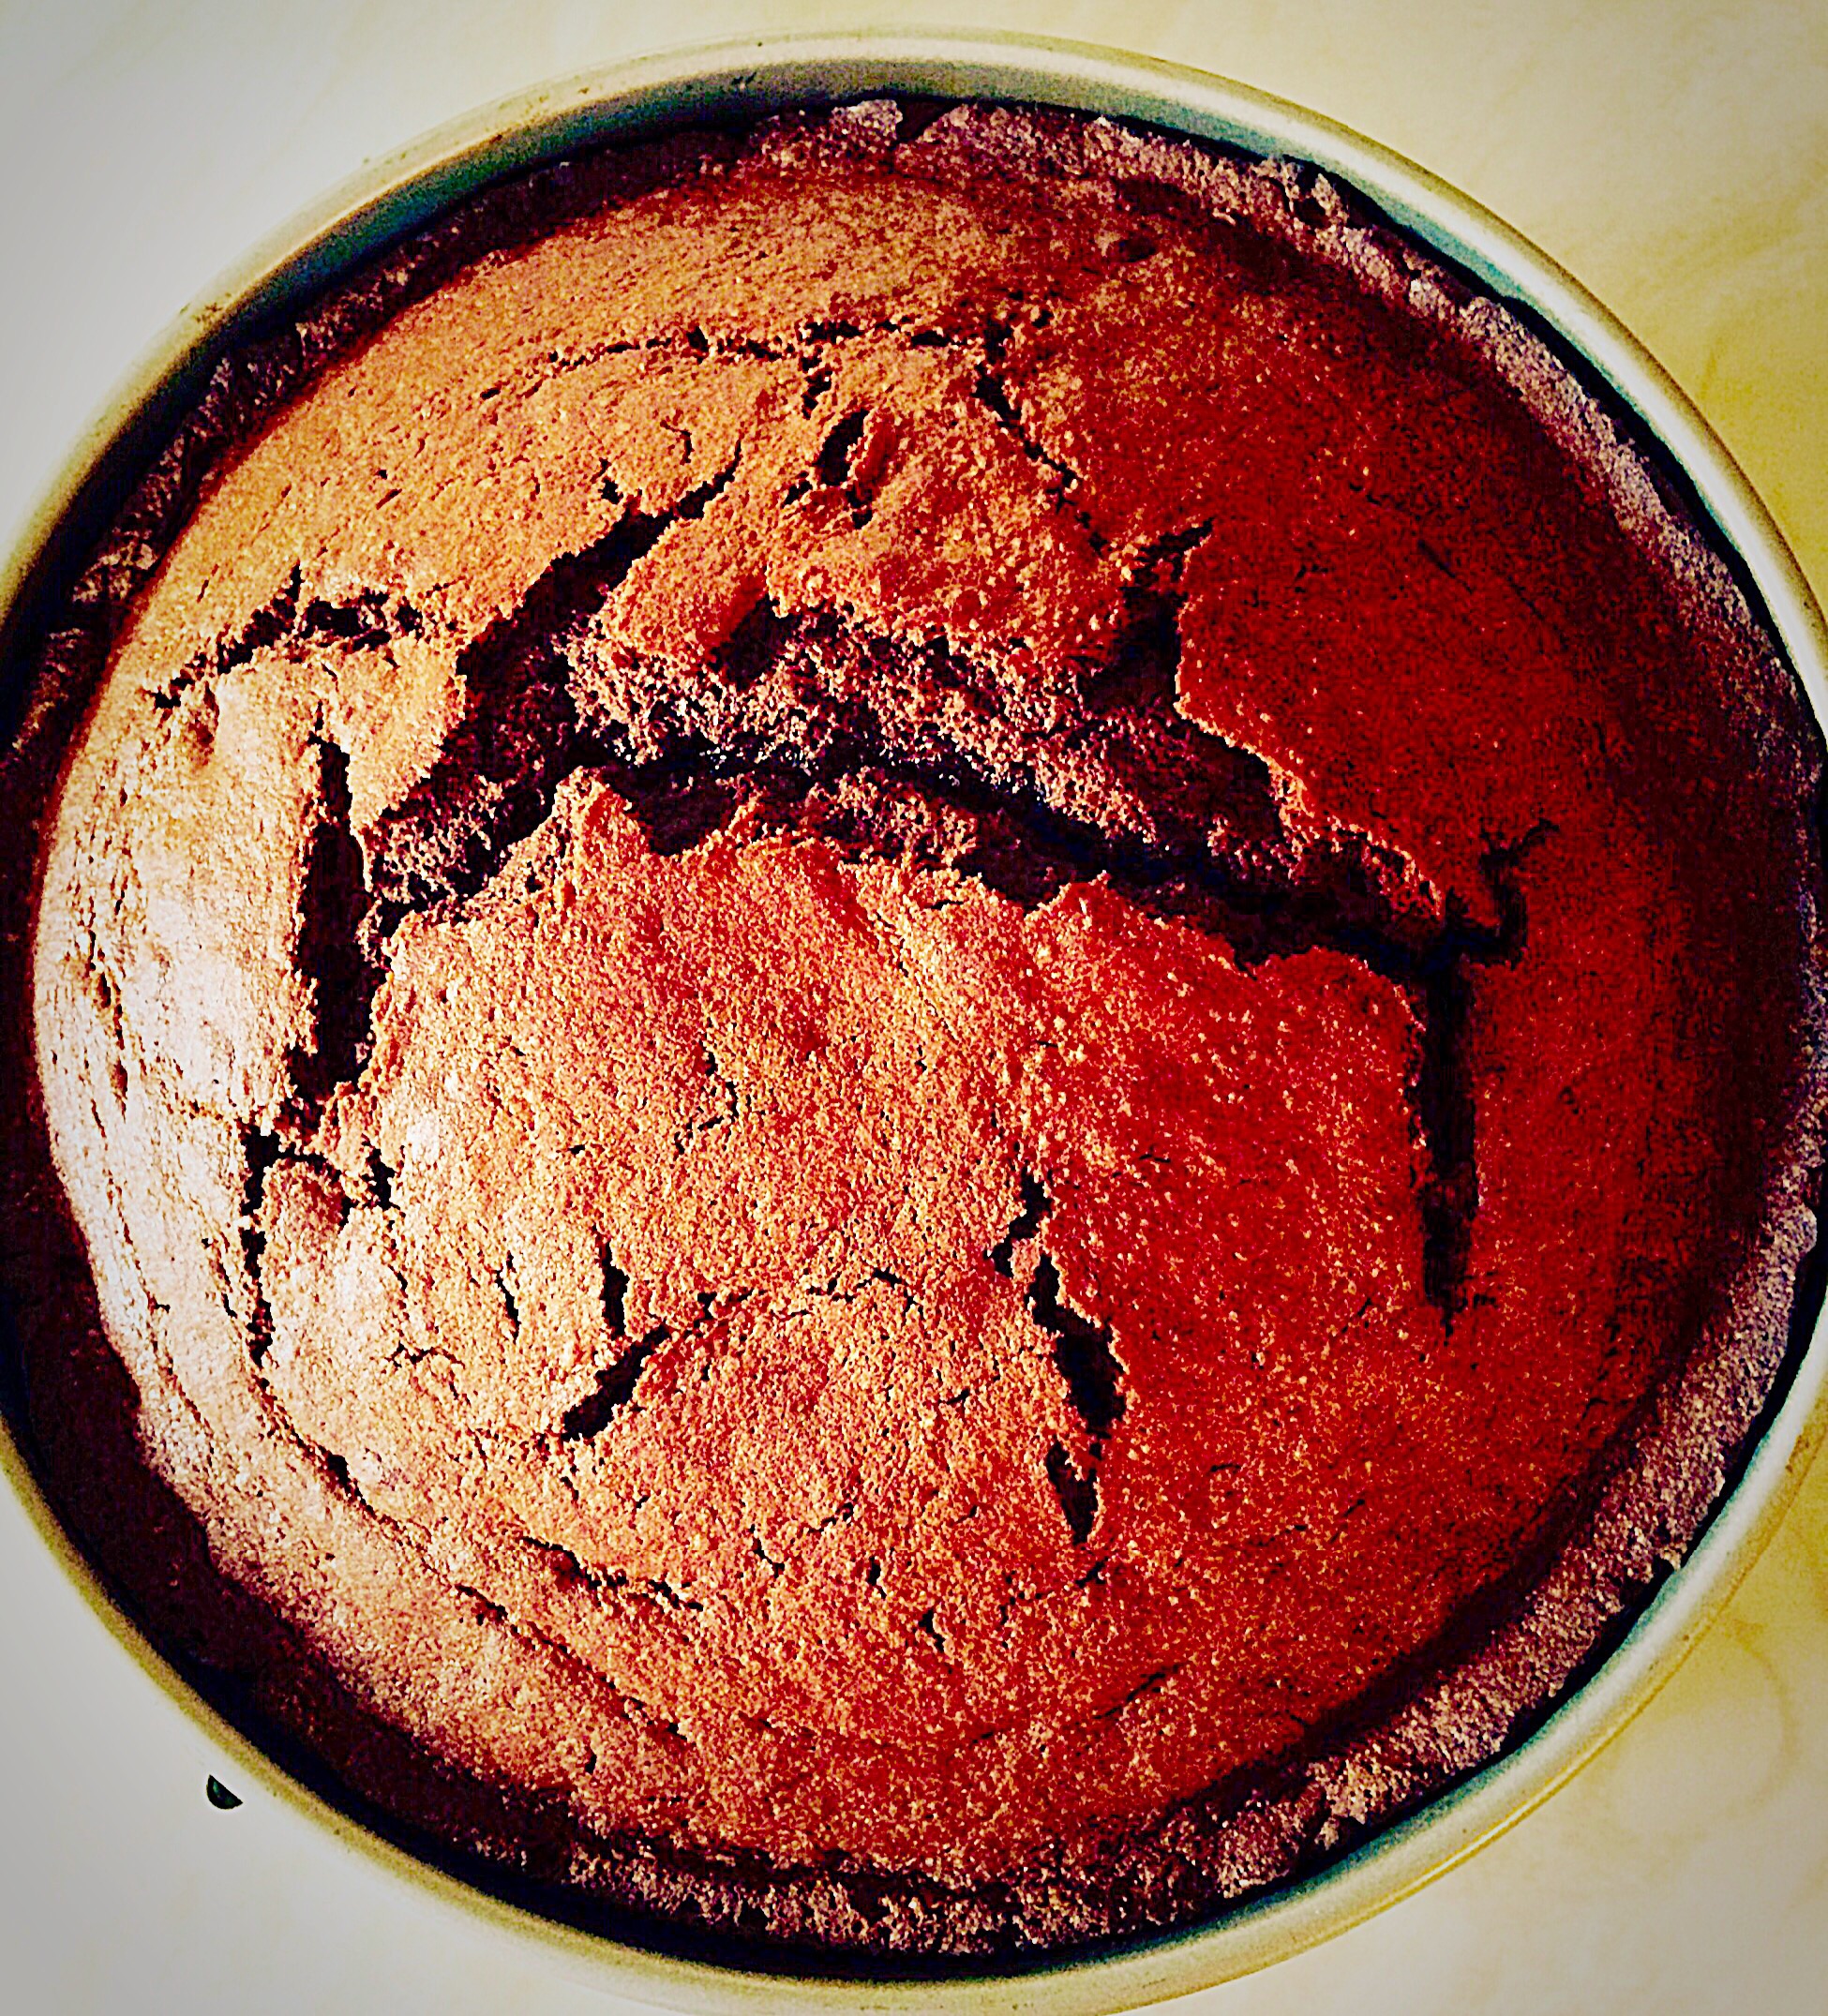
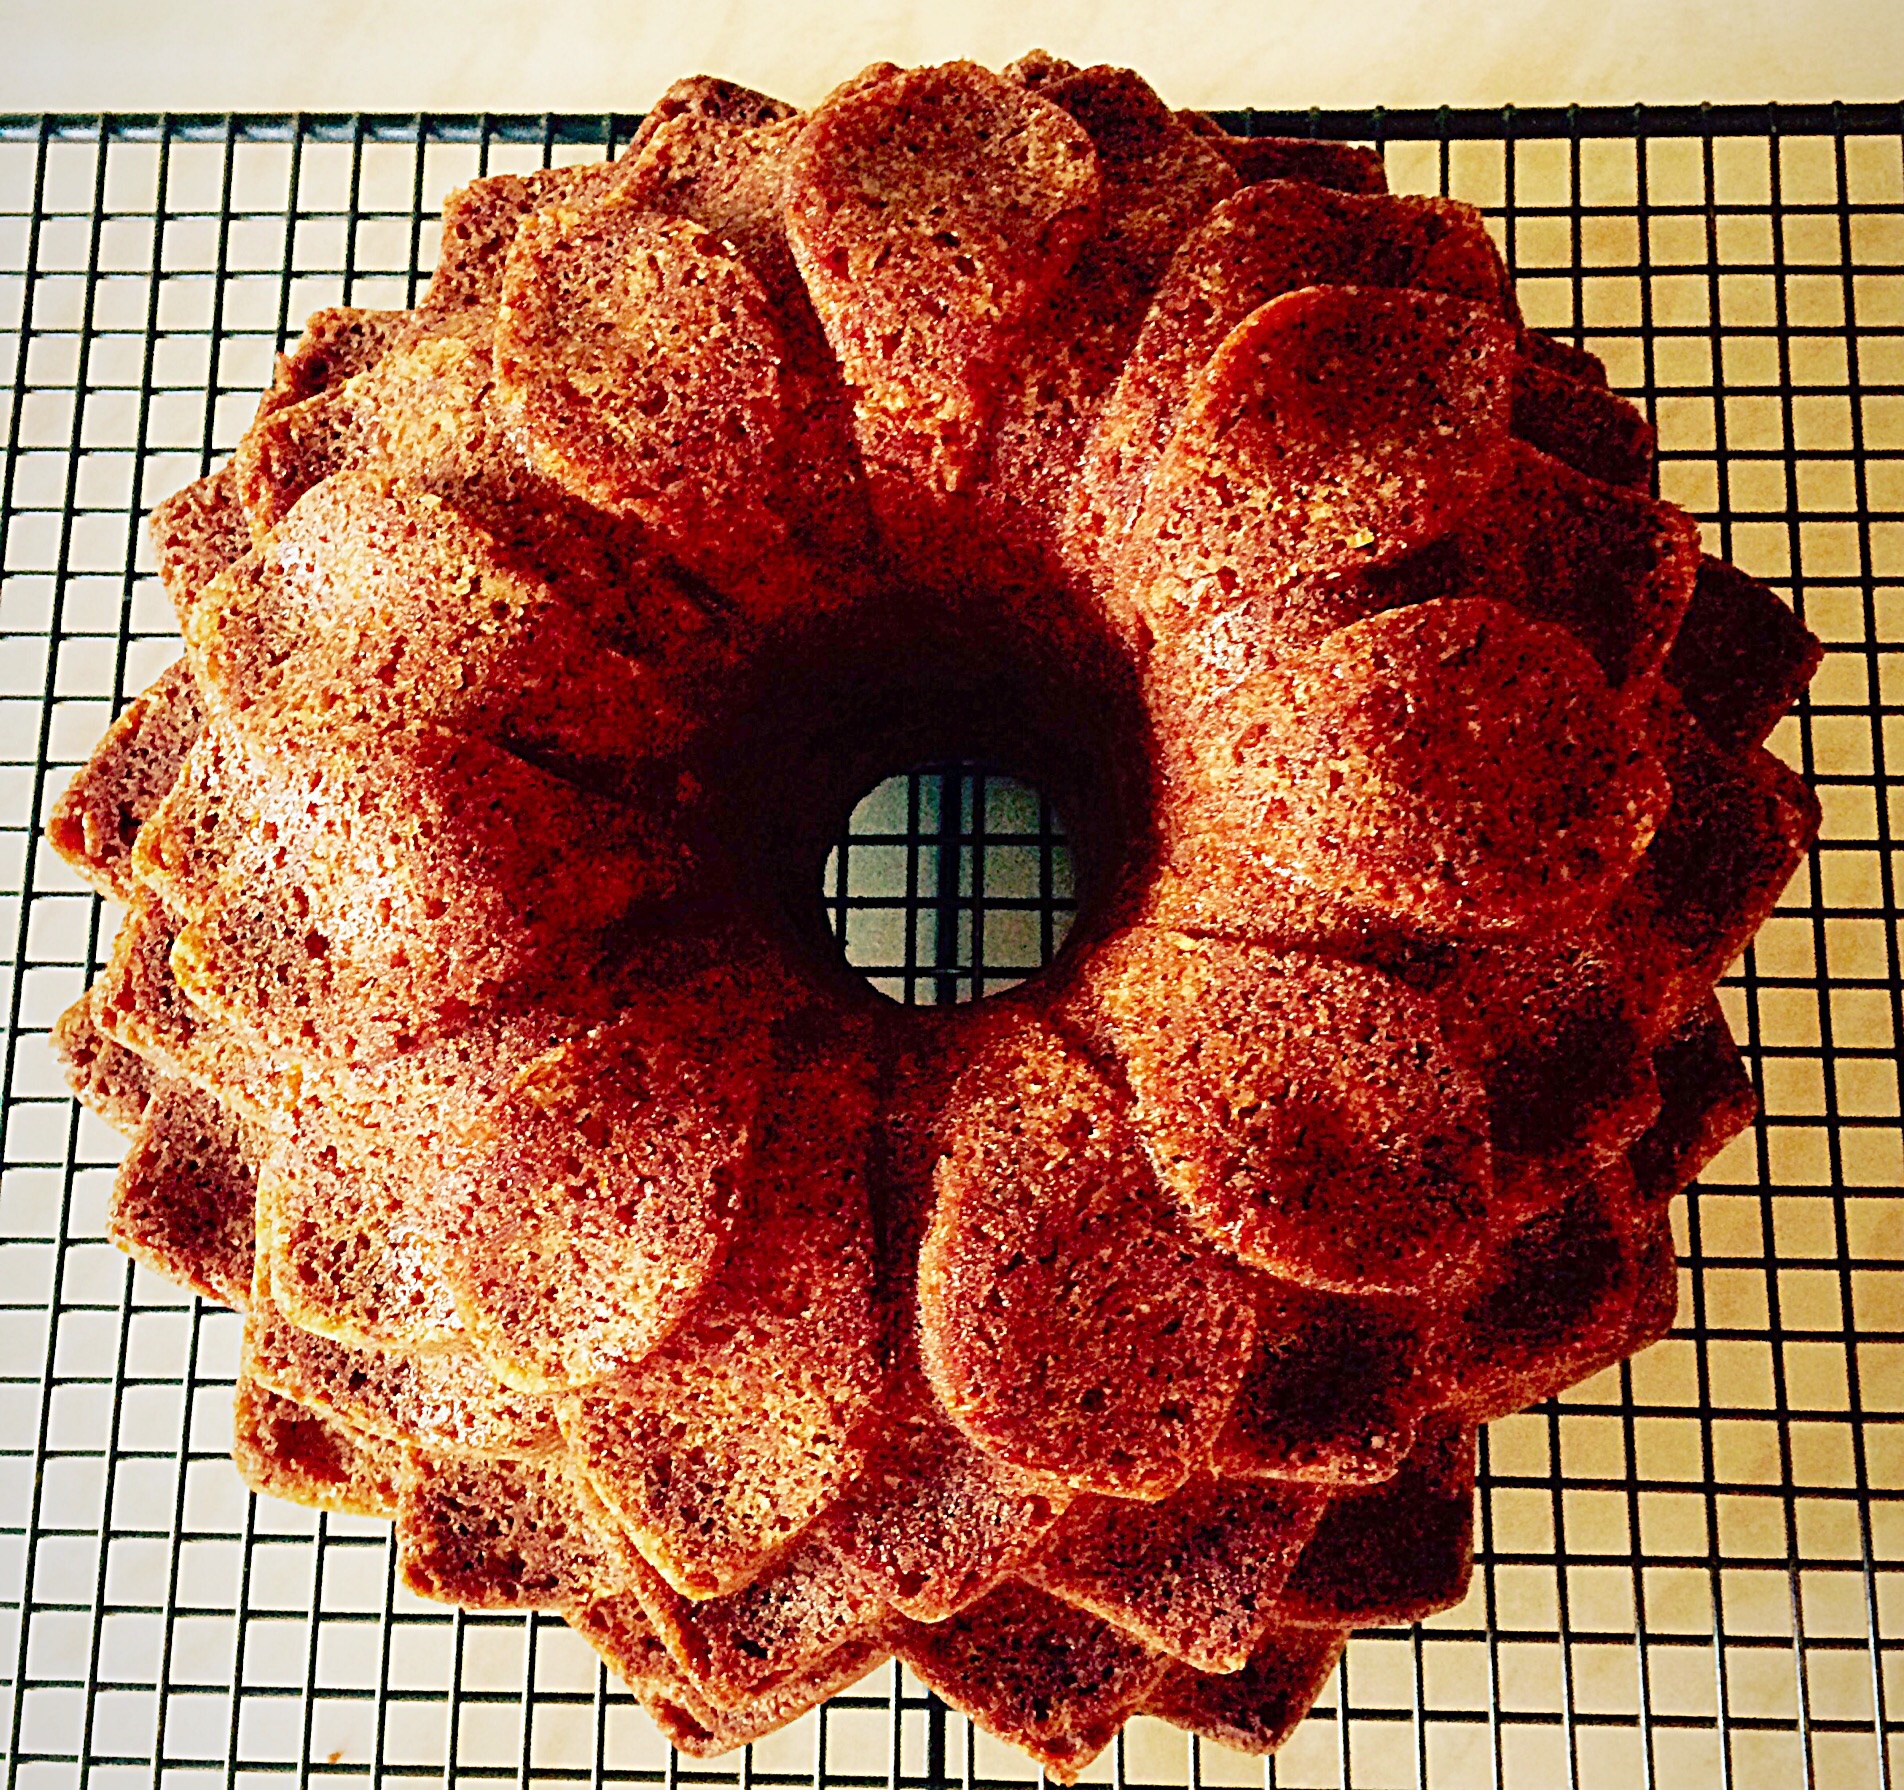
- Place the tin in the oven and bake for 30-35 minutes.
- The cake is cooked when pressed lightly in the center and it springs back, or an inserted skewer comes out clean.
- As soon as the cake is baked remove from the oven and place the tin on a cooling rack or trivet.
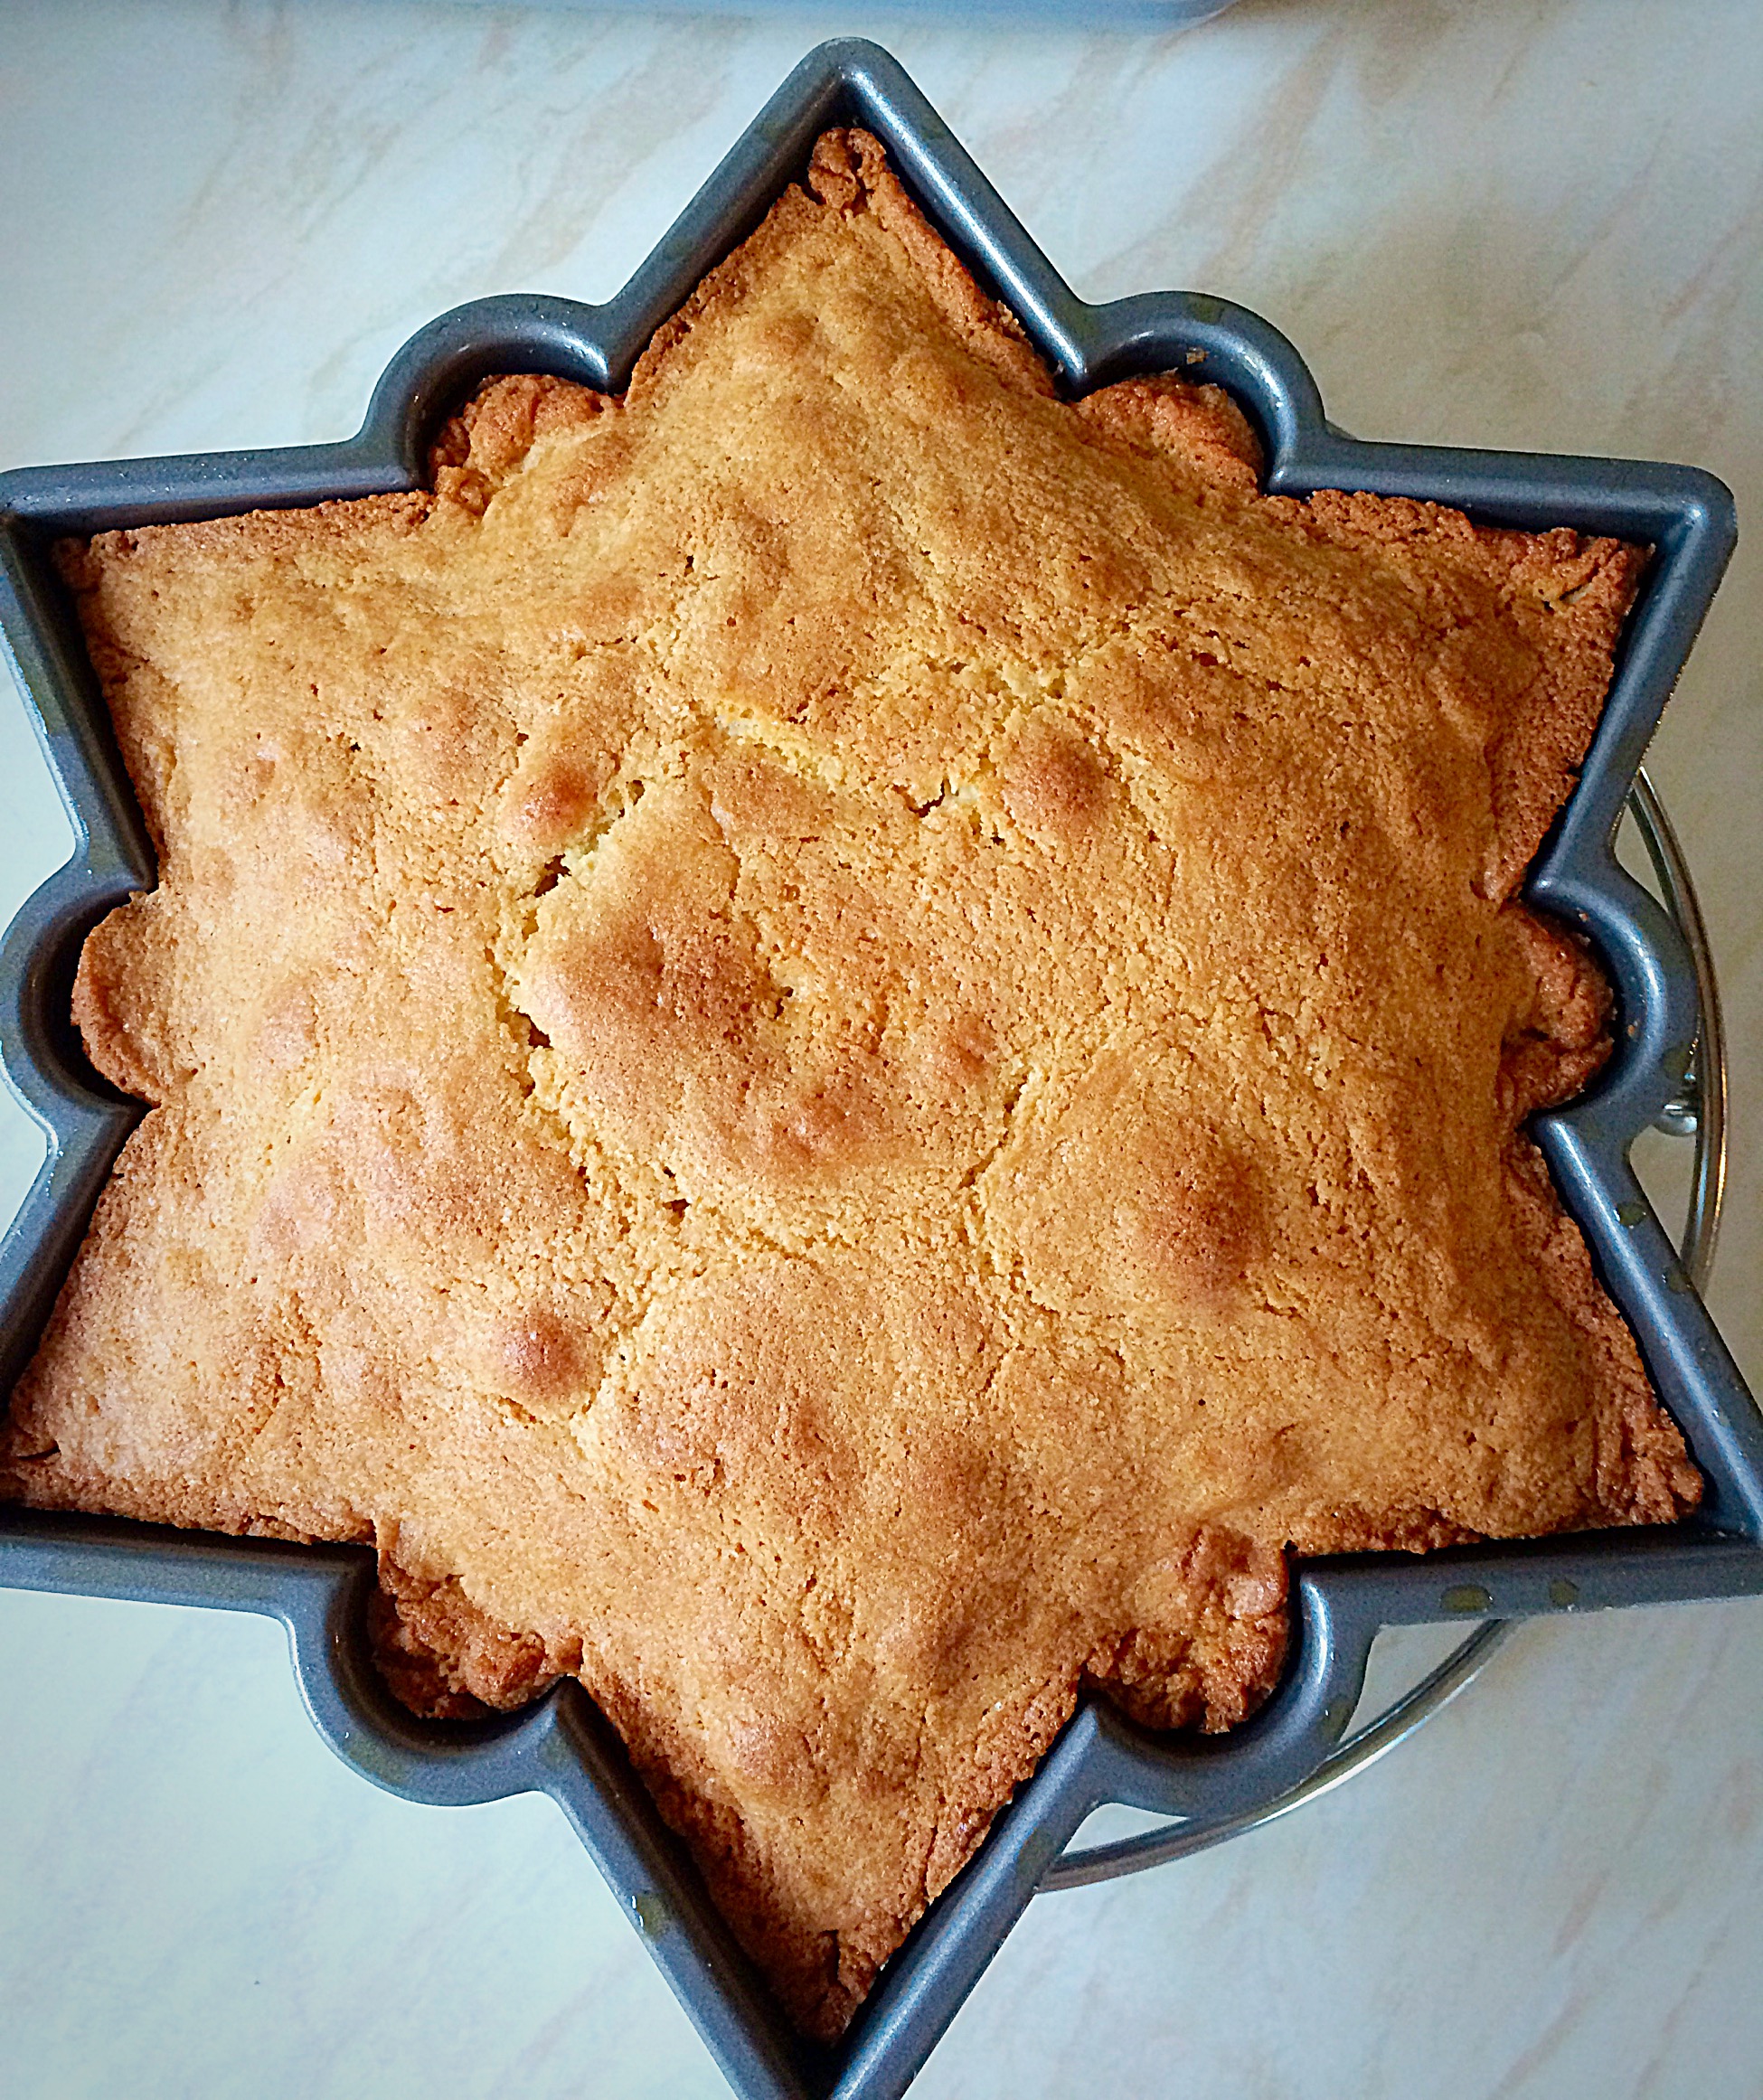
- Leave the cake to cool in the tin for 10 minutes.
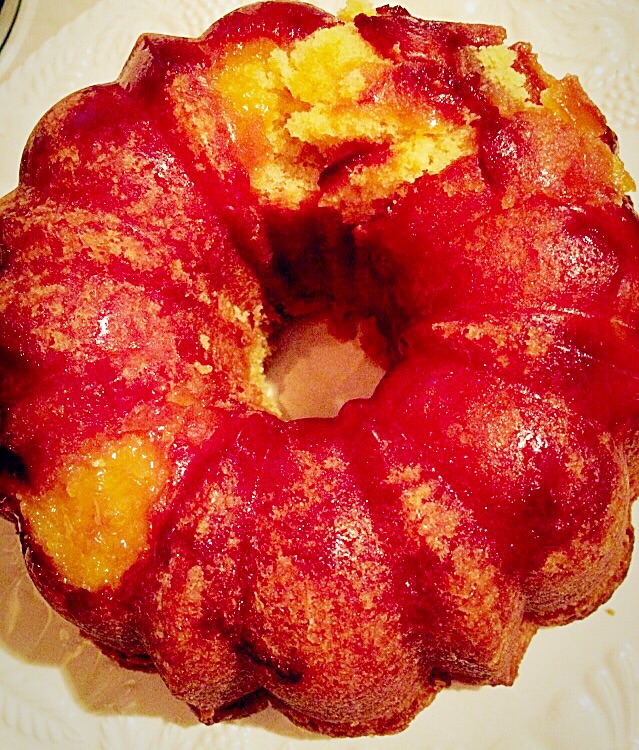
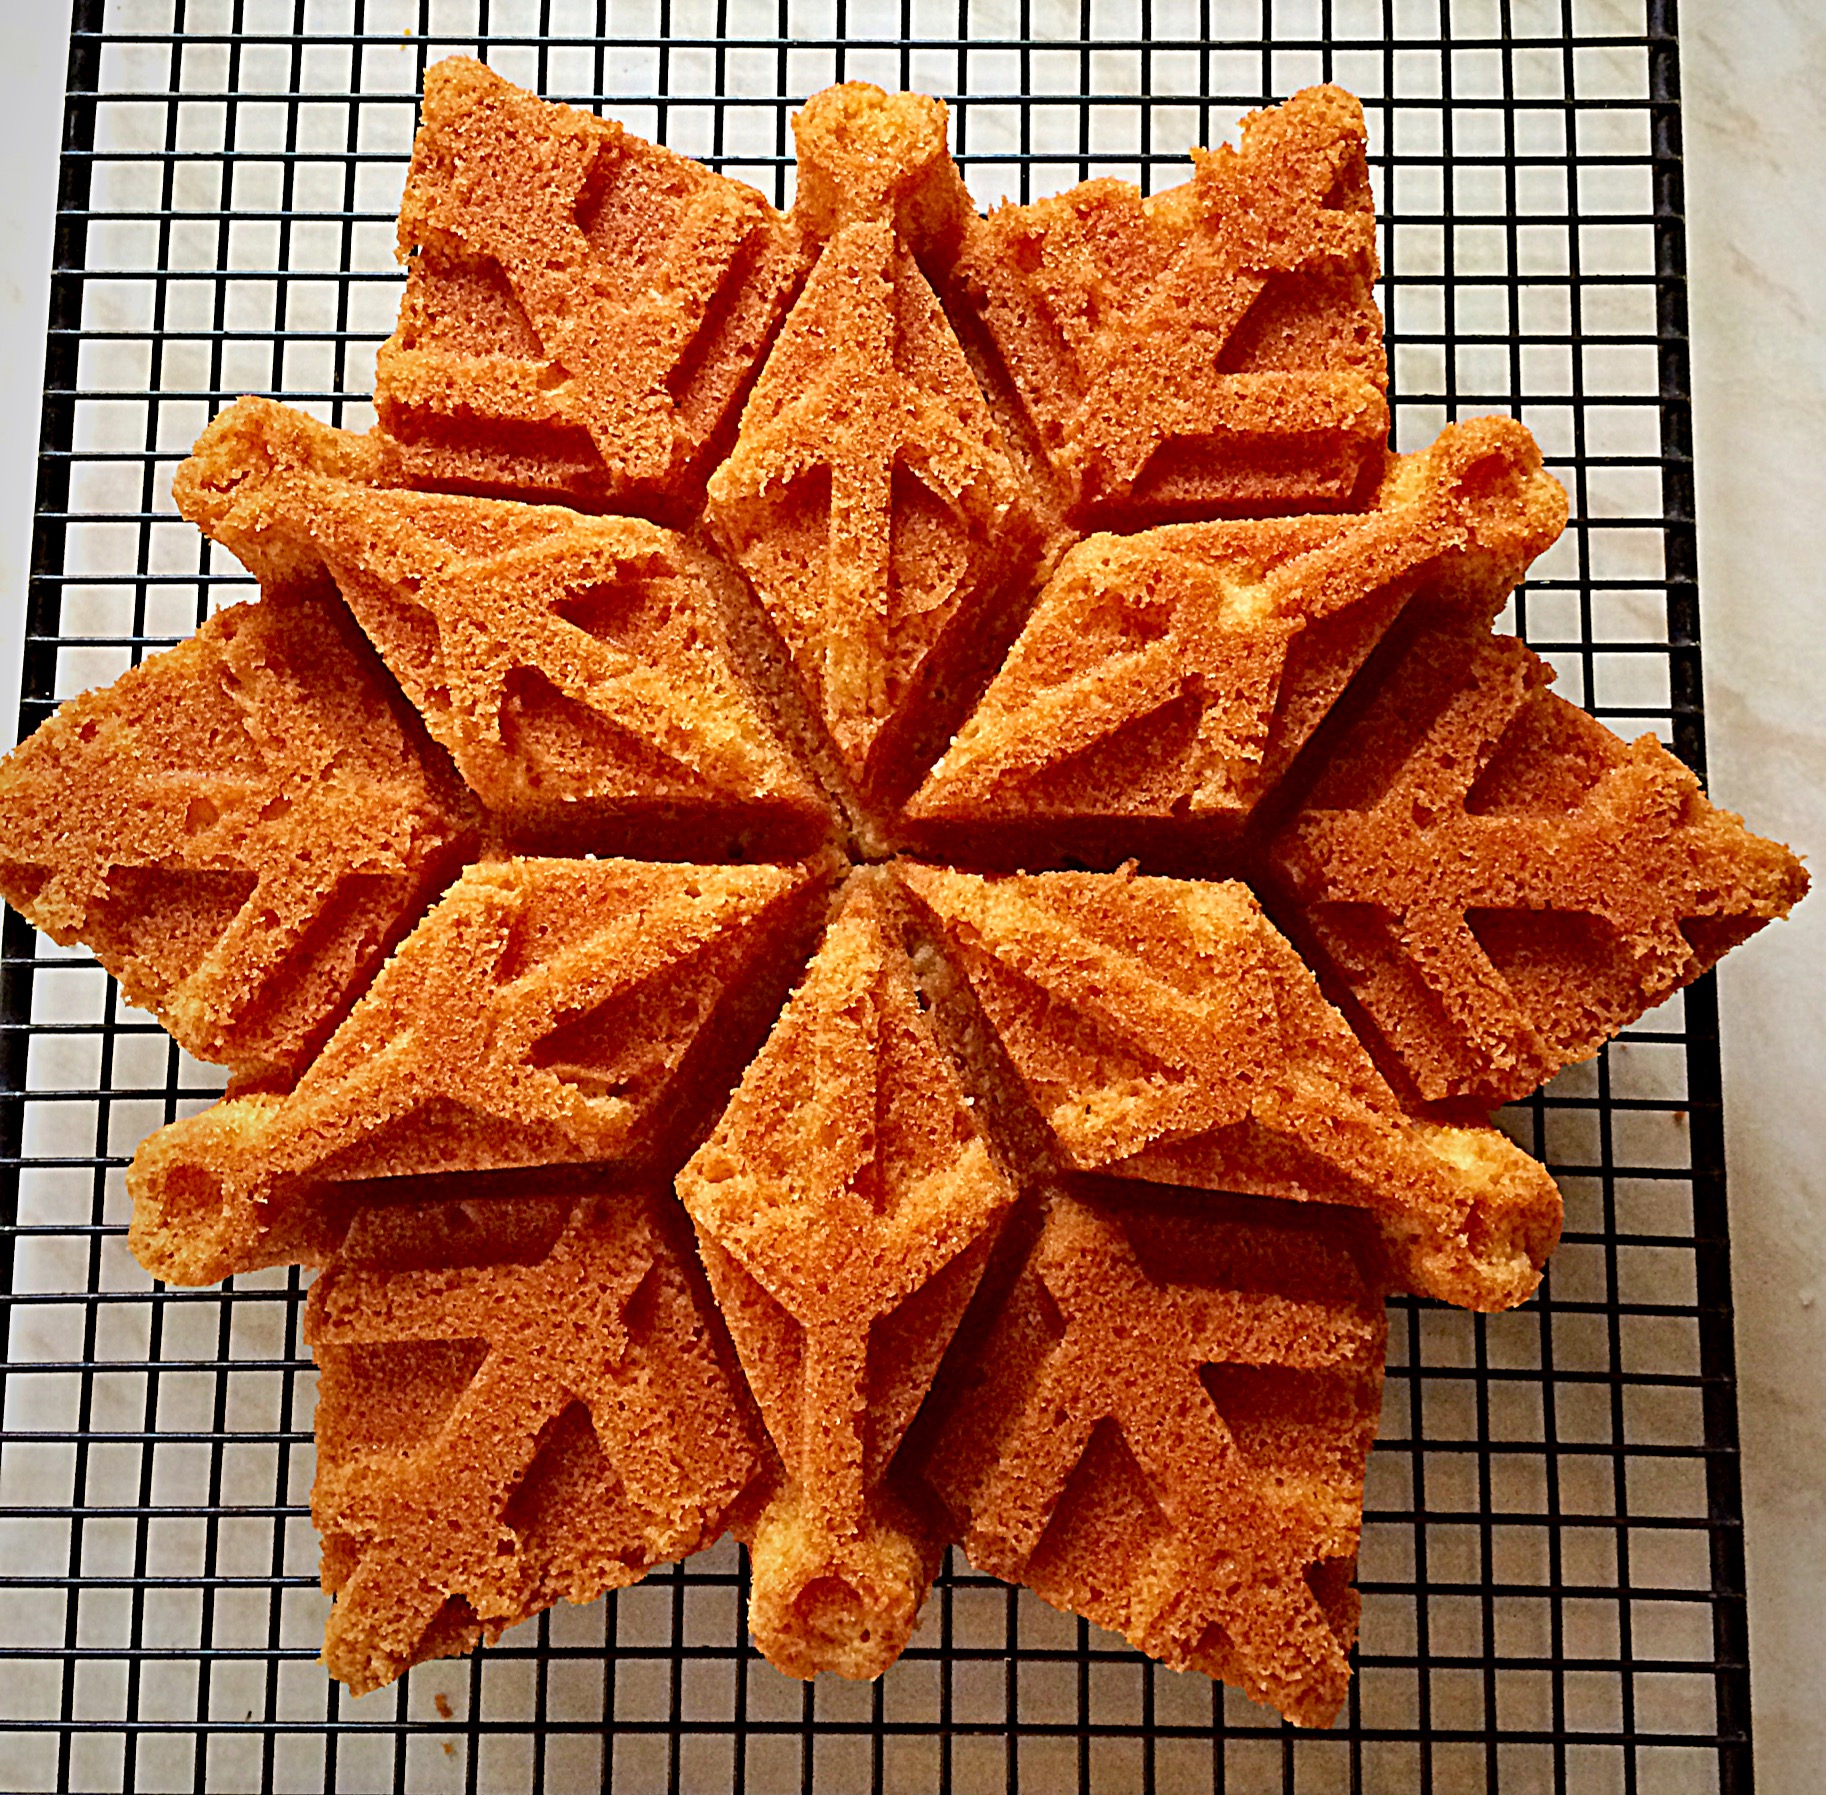
- Invert the Bundt tin on to a cooling rack.

- Leave for a further 5 minutes. If the cake doesn’t turn out immediately gently tap the tin and the cake should release.
- If the cake still will not turn out, gently go around the ouside of the cake with a small palette knife. Re-invert the tin on to a cooling rack, the cake should release easily.
- Most importantly, the more you use a Bundt tin the more non stick it becomes.
Adding Sparkle to the Snowflake Cake
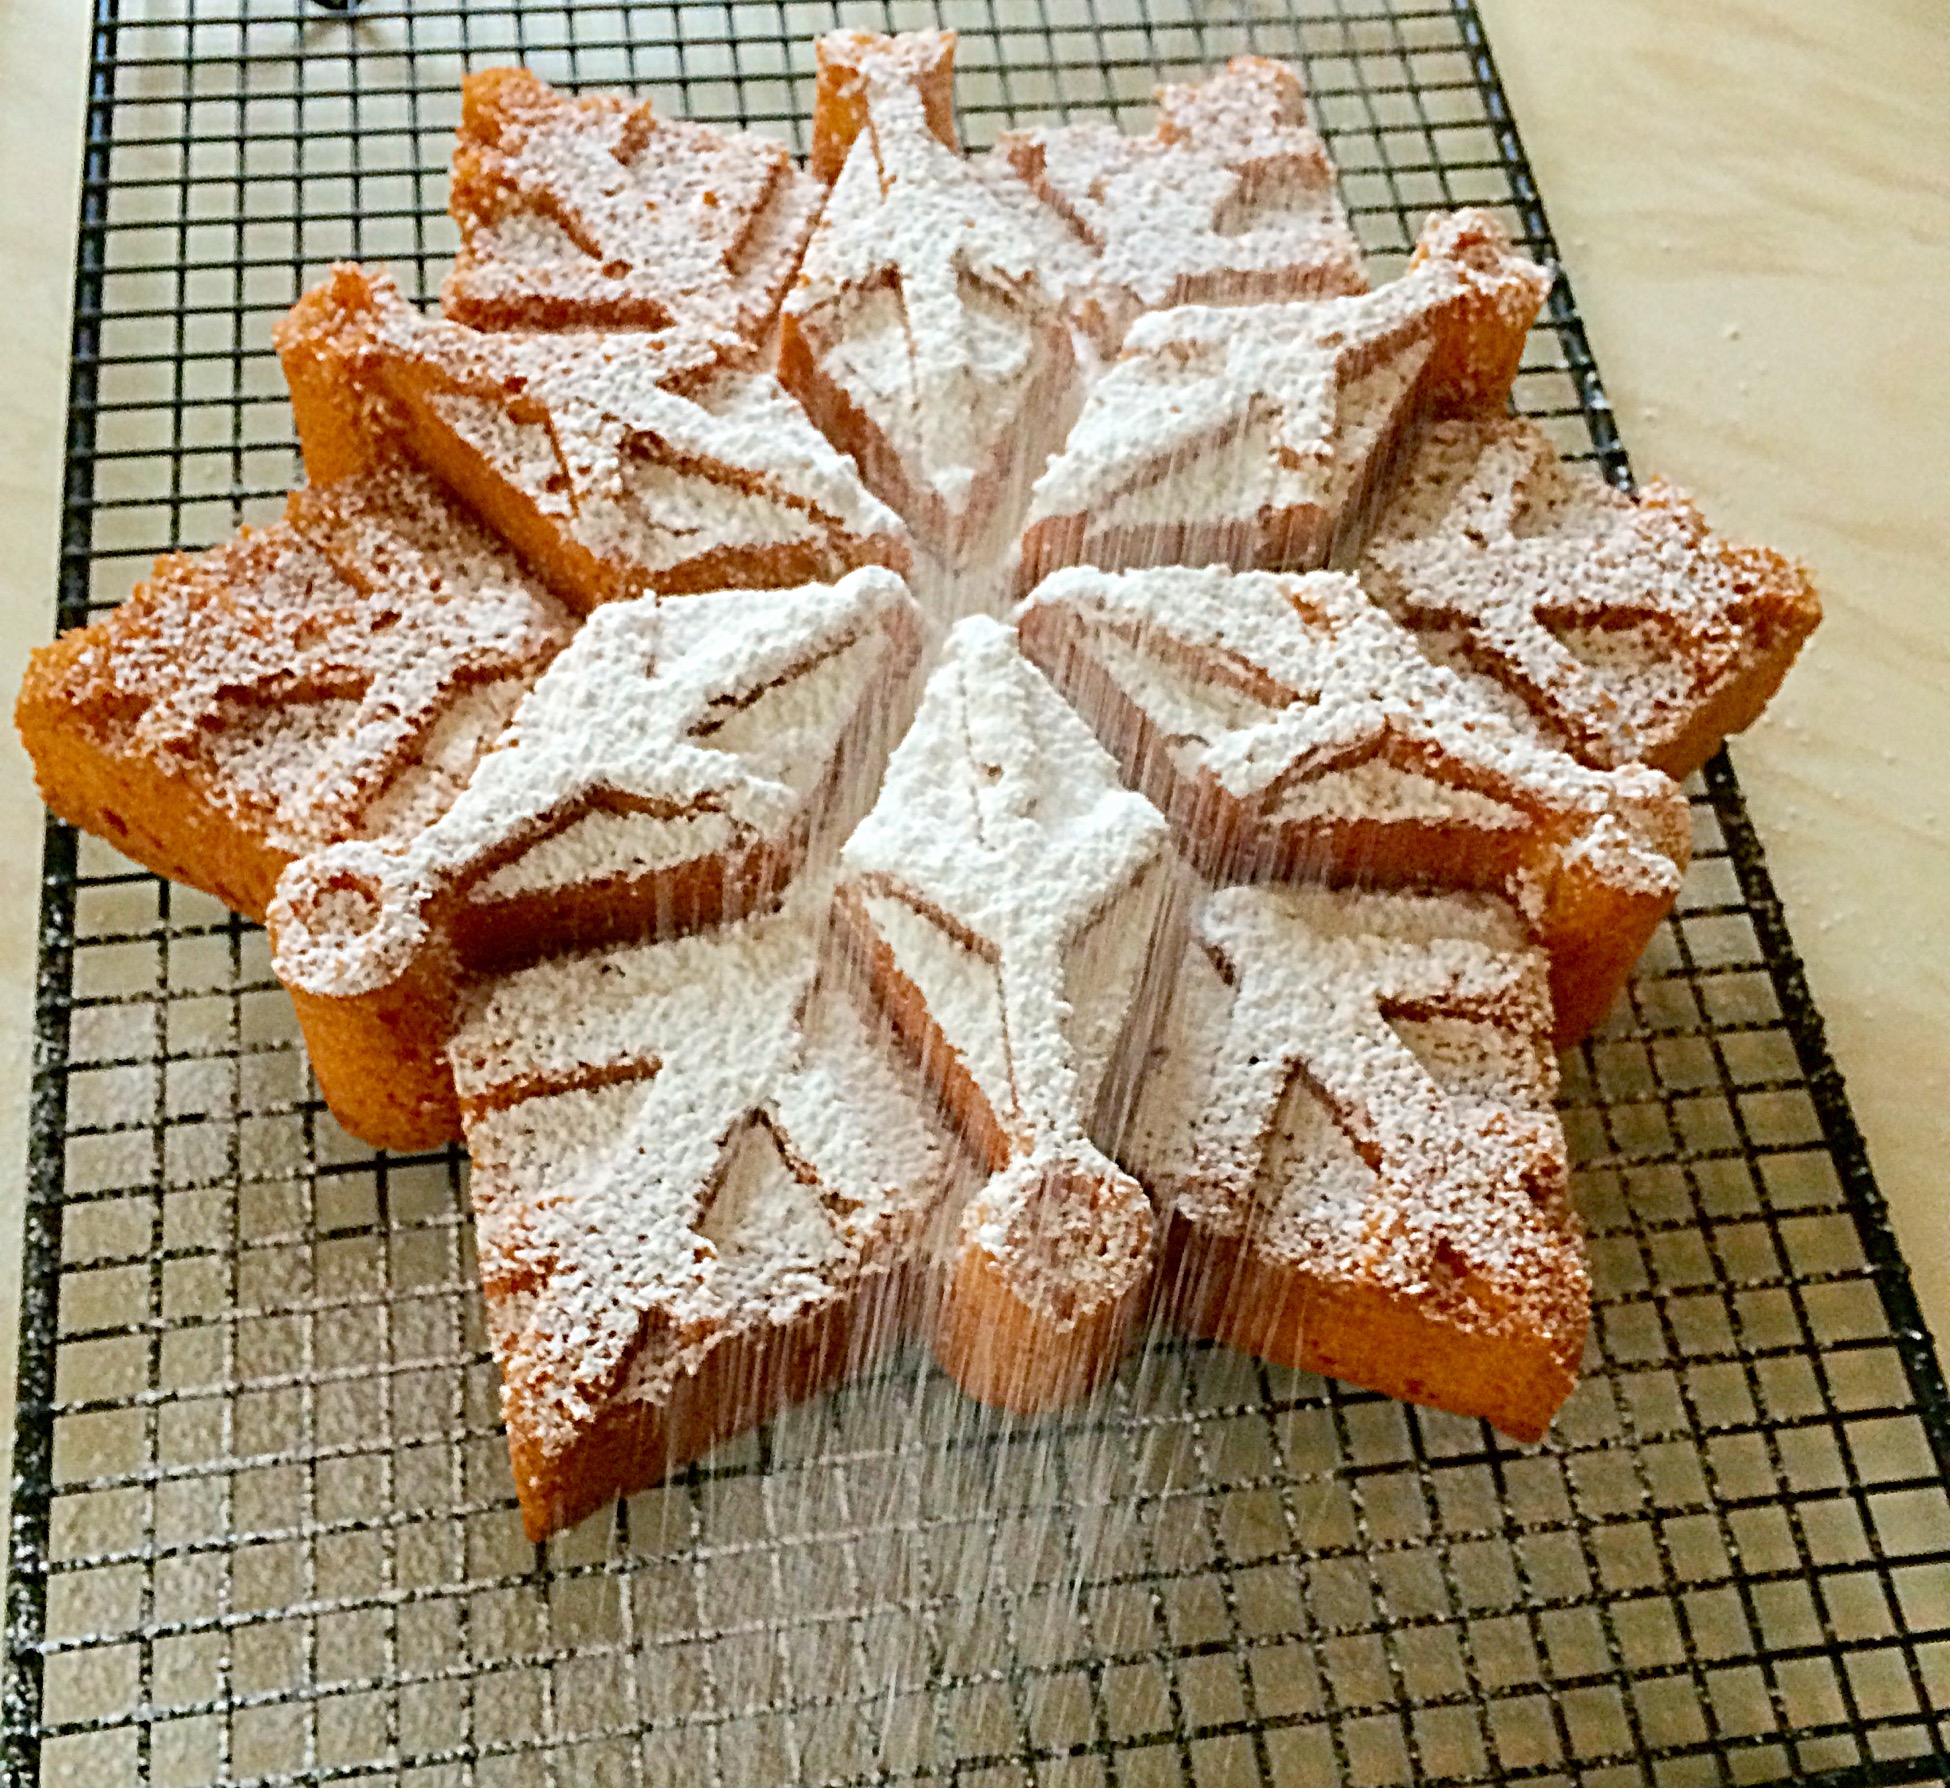
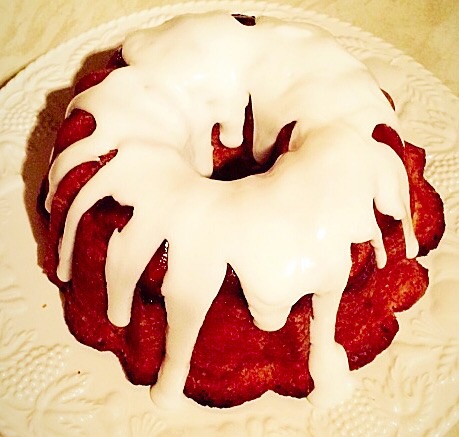
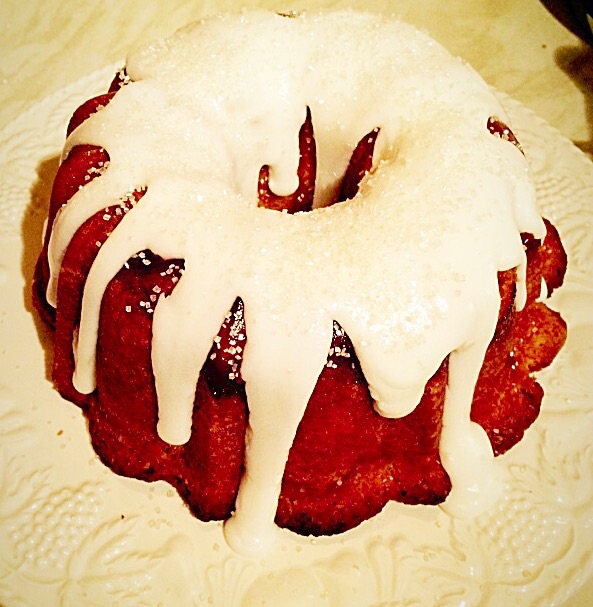
- First of all, dust the cake liberally with icing sugar and then sprinkle over edible glitter.
- I made a small batch of royal icing, lightly tinted pink and piped detail on to the outer points.
- Finally, place edible diamond in the round dips, as seen in the photo below.
My Sparkling Snowflake Cake is as beautiful as it is delicious. It would make the perfect gift as would the tin. A great tip if you know someone who enjoys baking.
If you have Disney’s Frozen fans in your household, a touch of blue, or all white and this cake will have them singing “Let it snow!”
Store the cooled cake in an airtight container and eat within 5 days.
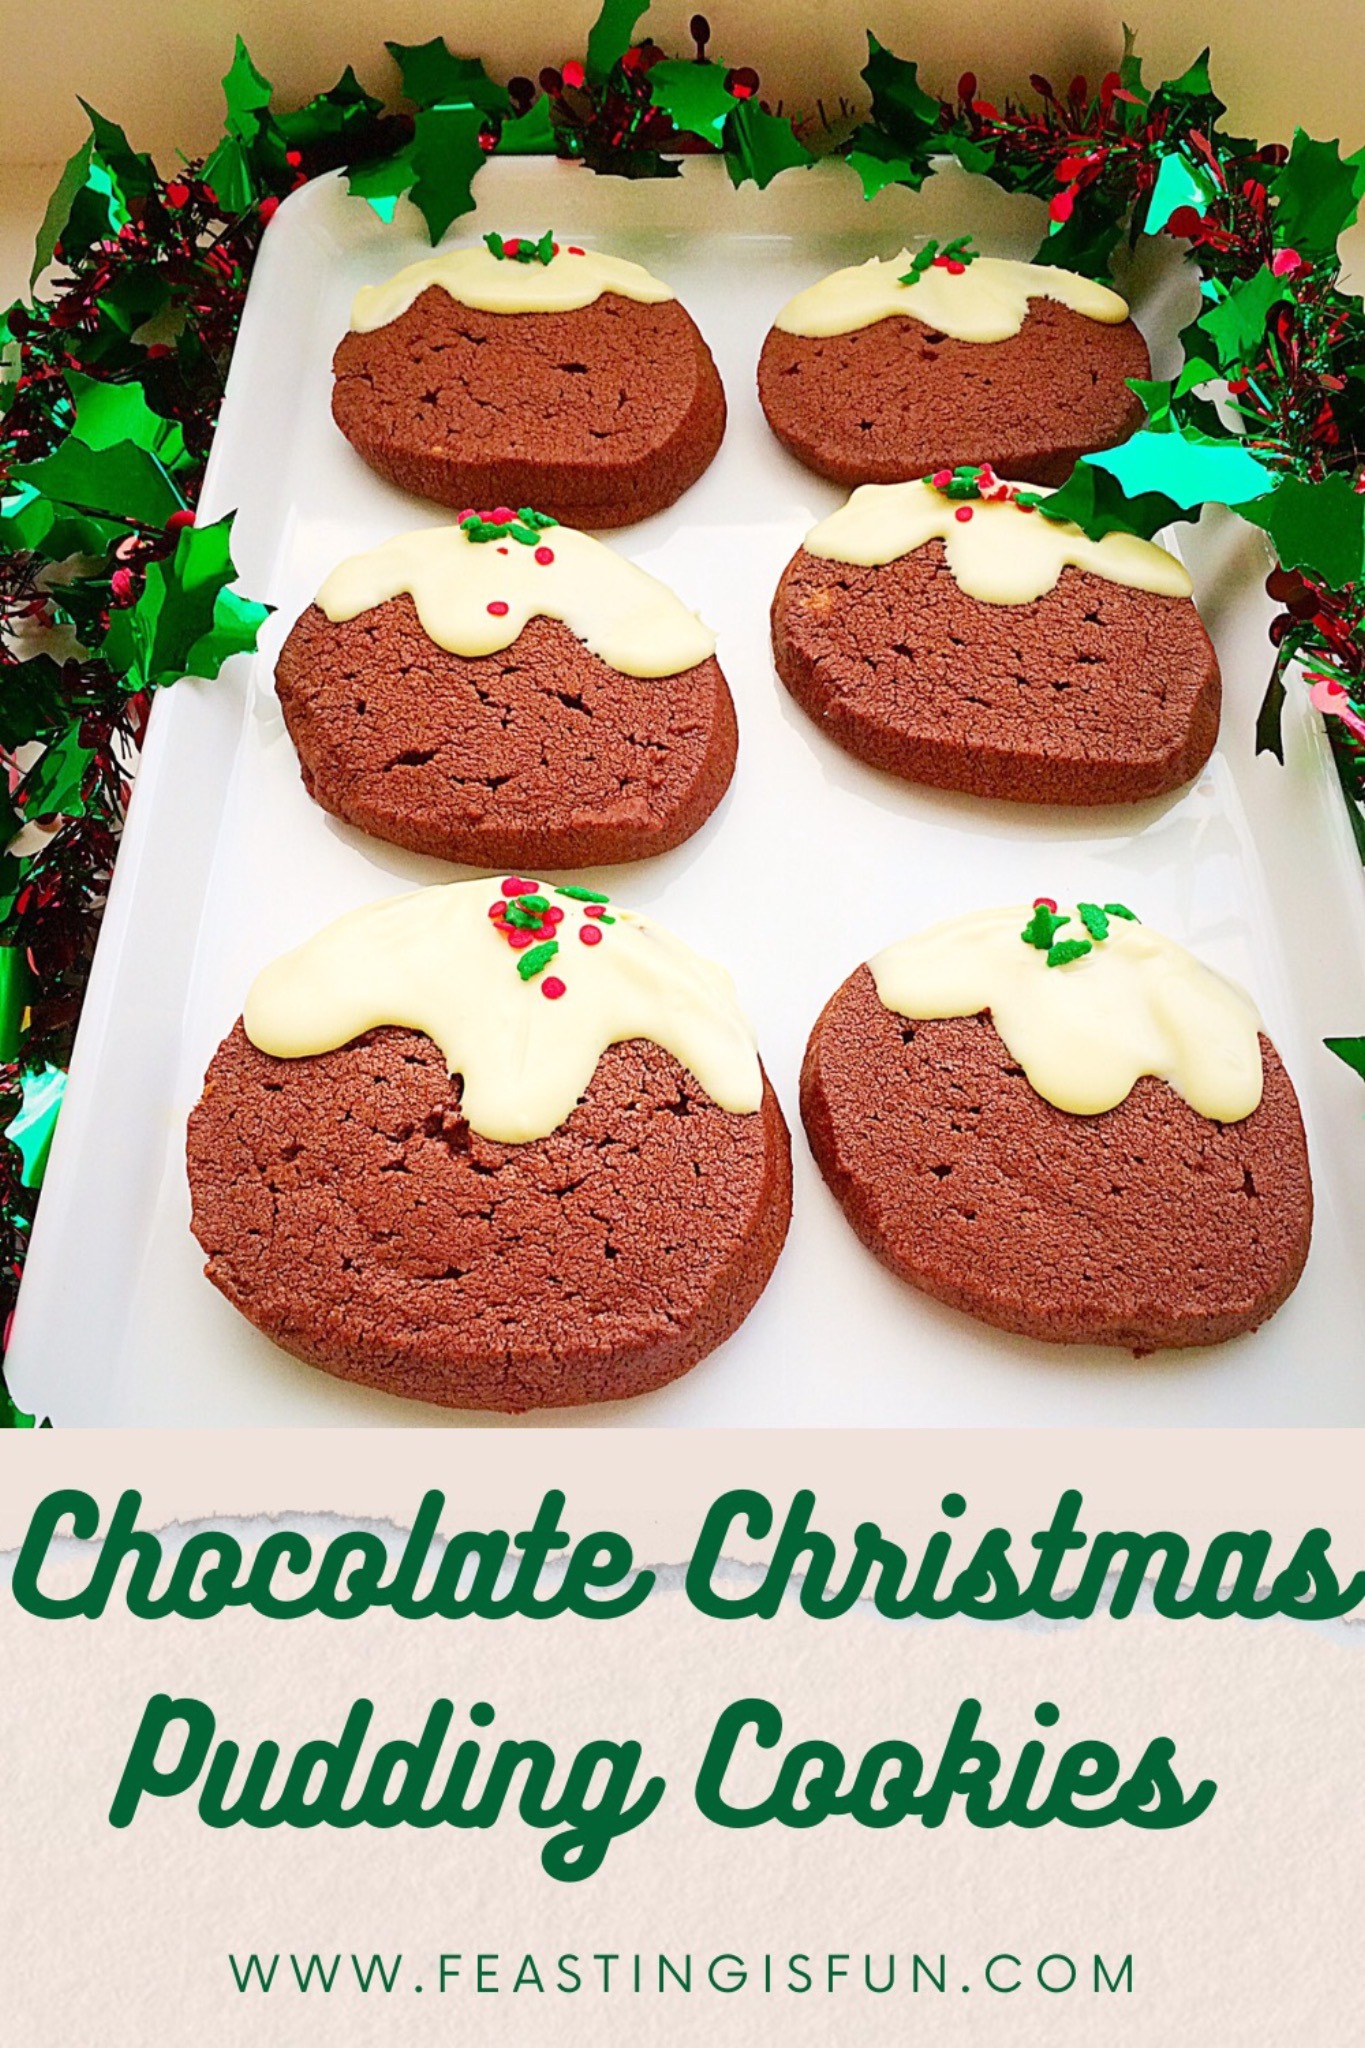
If you enjoyed the recipe for this Sparkling Snowflake Cake you may also like these:
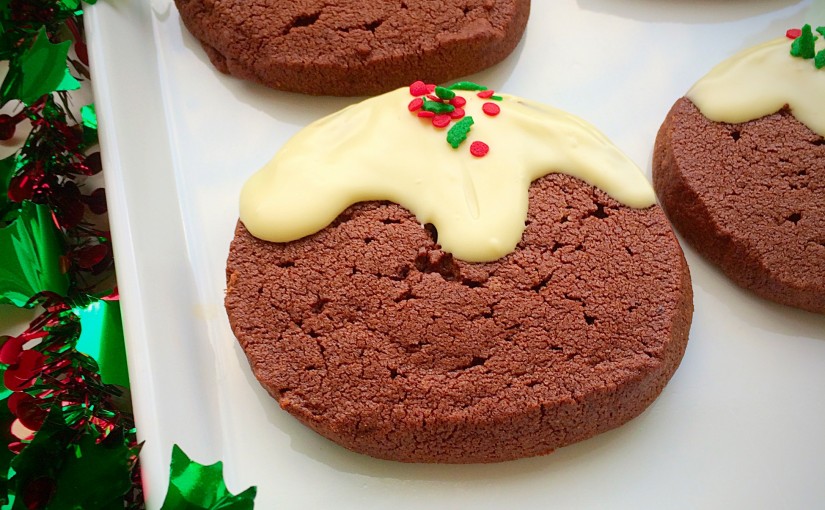
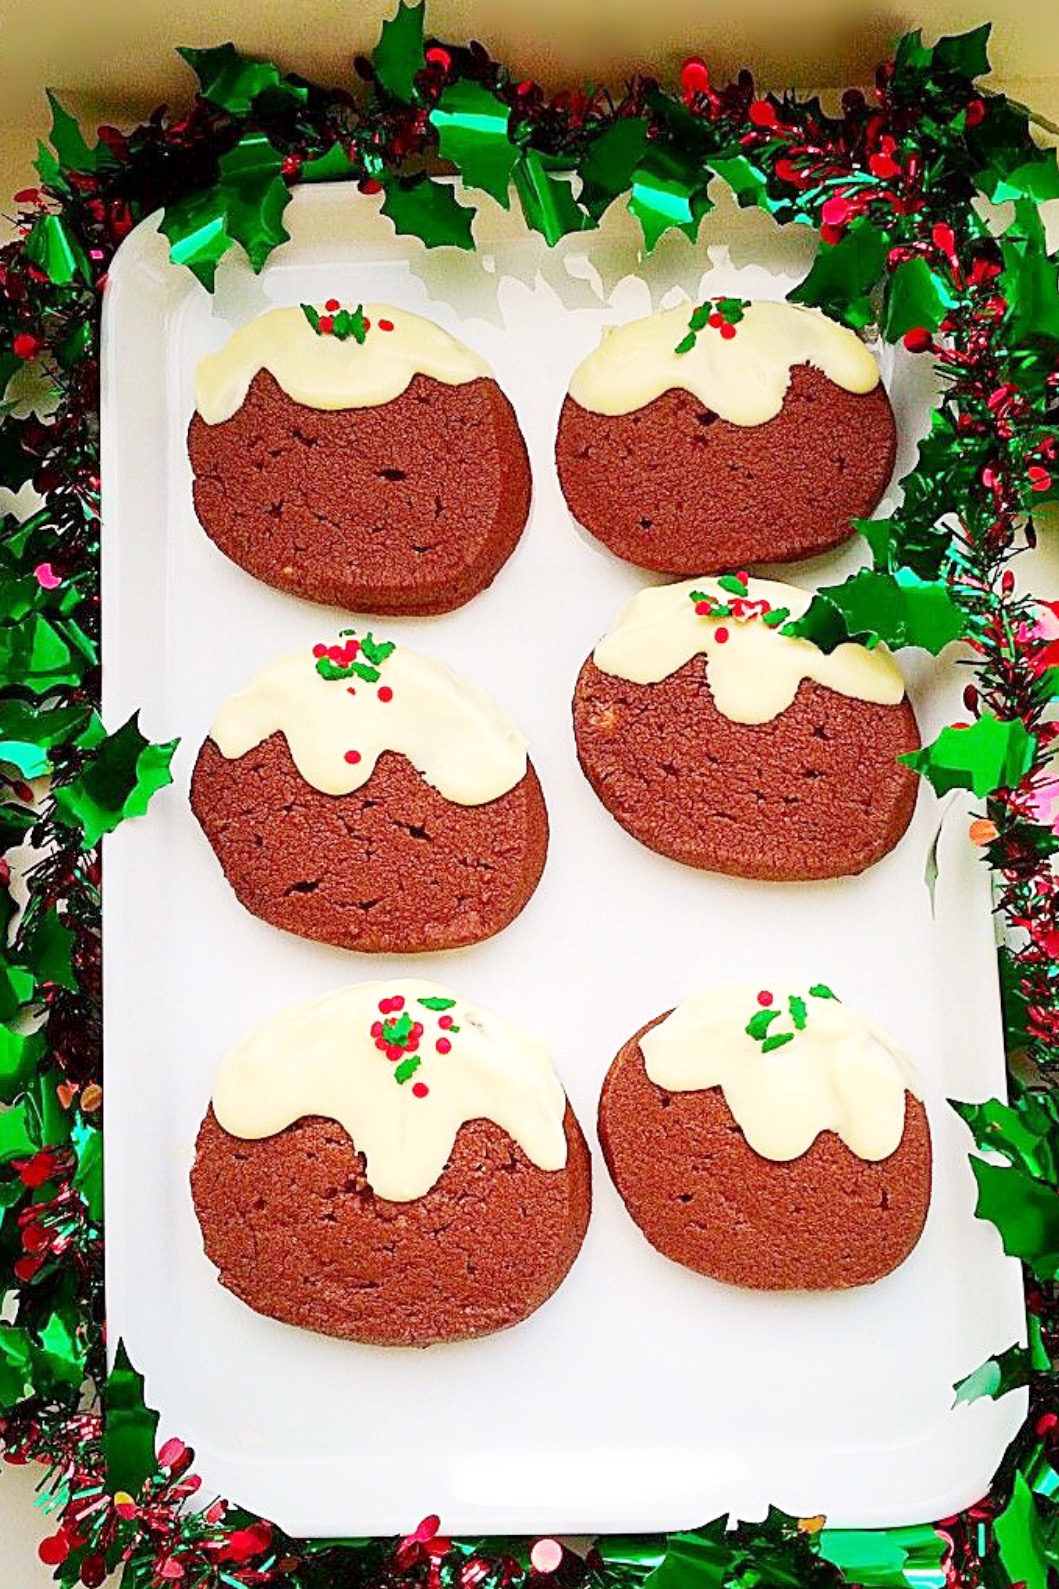
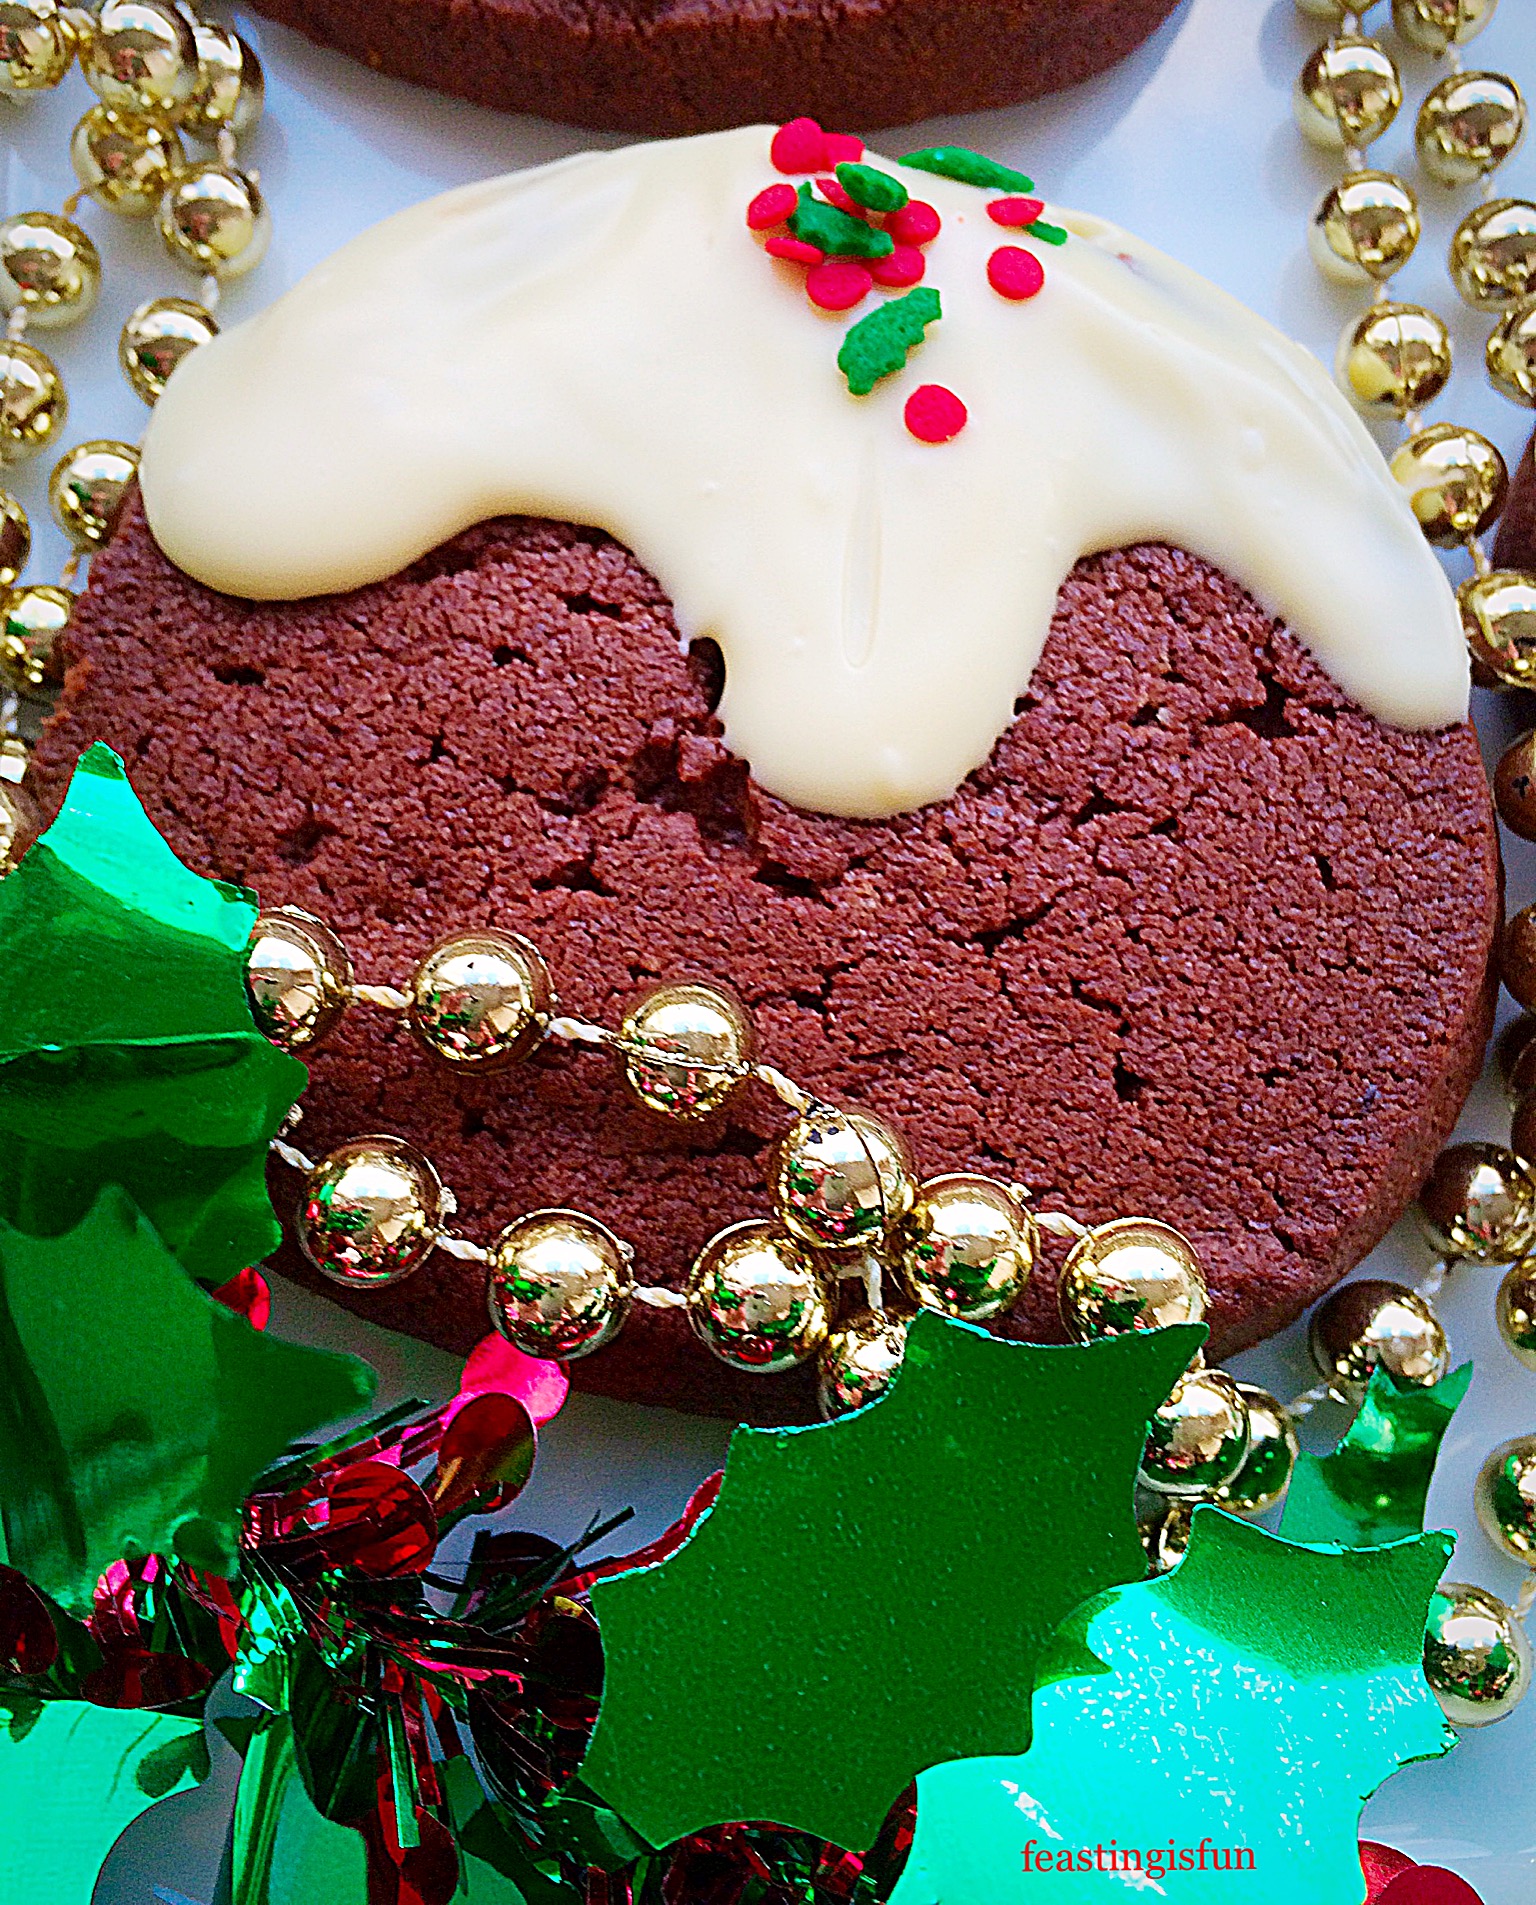
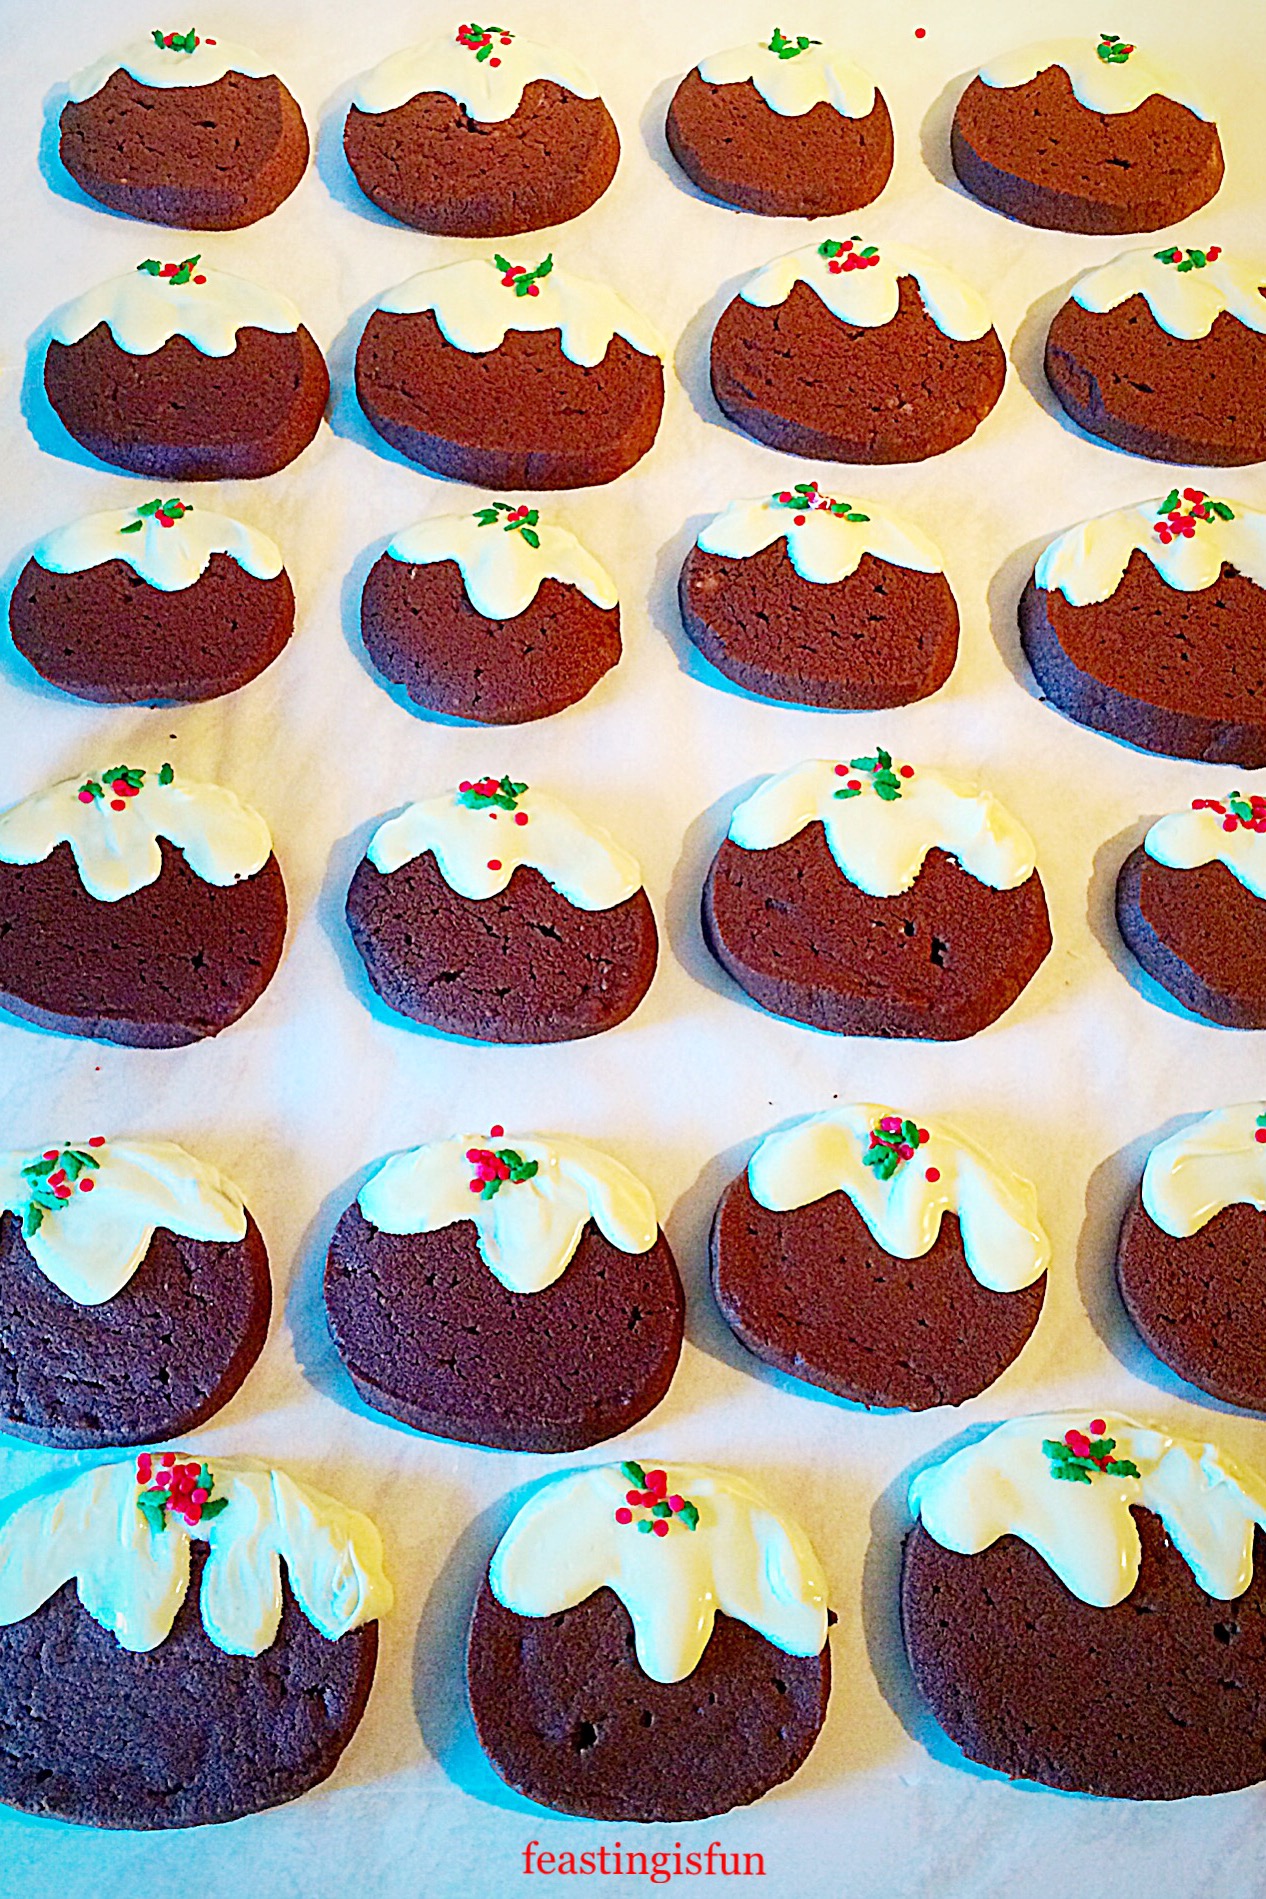
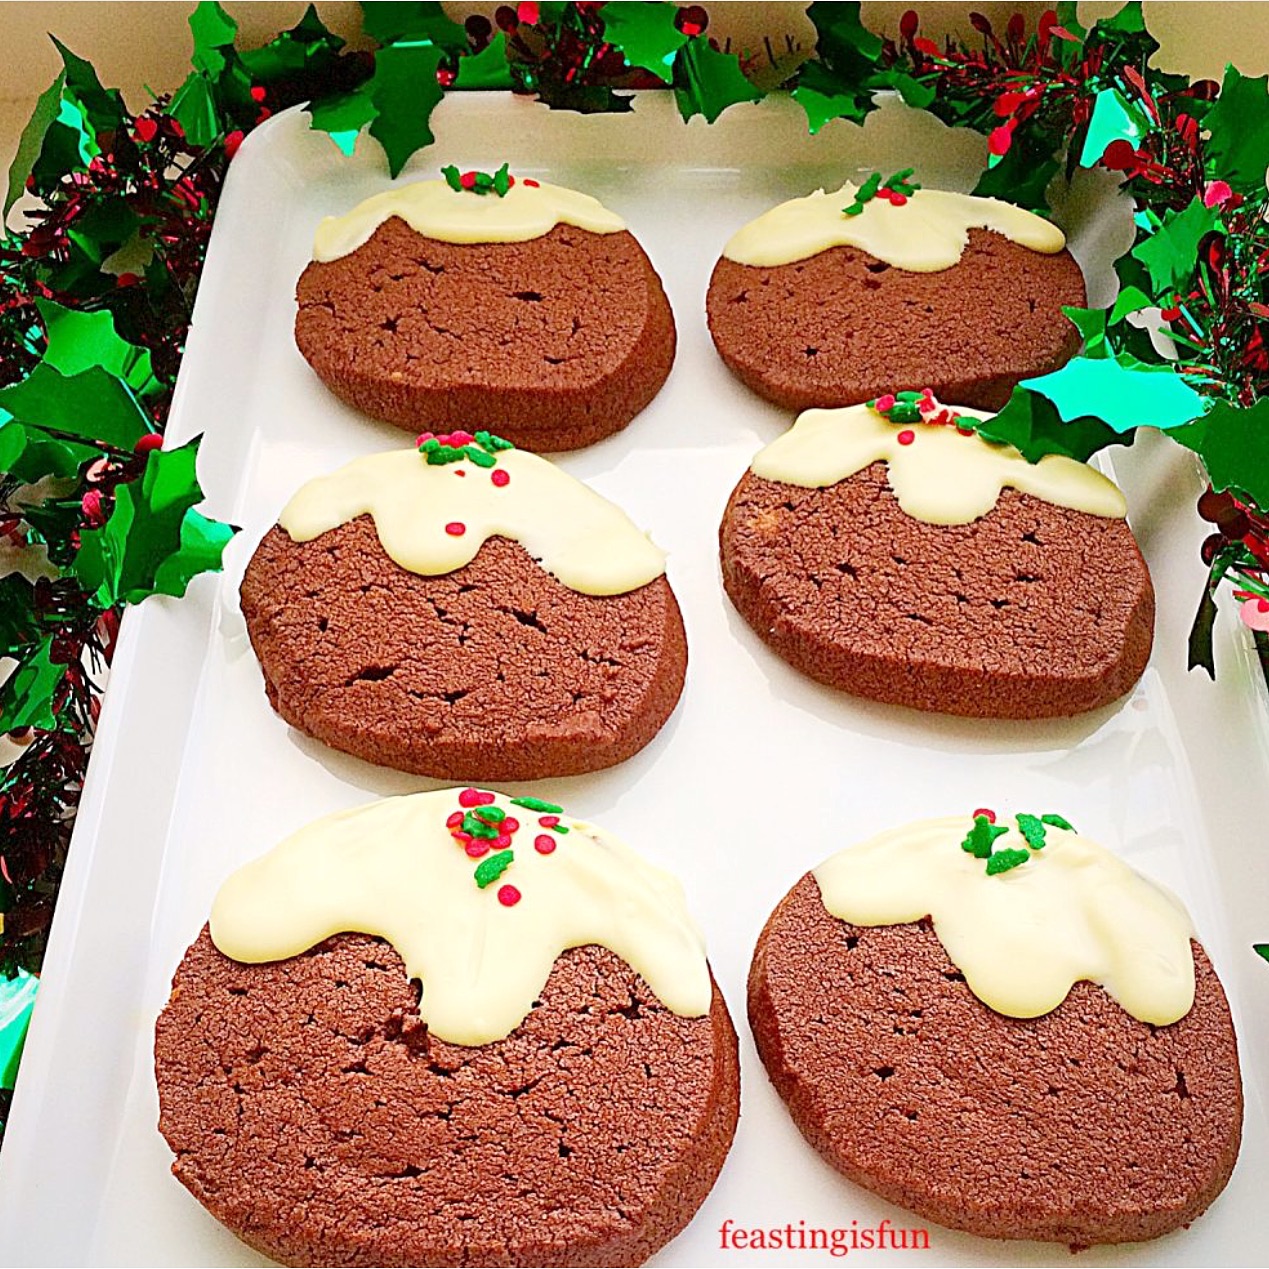
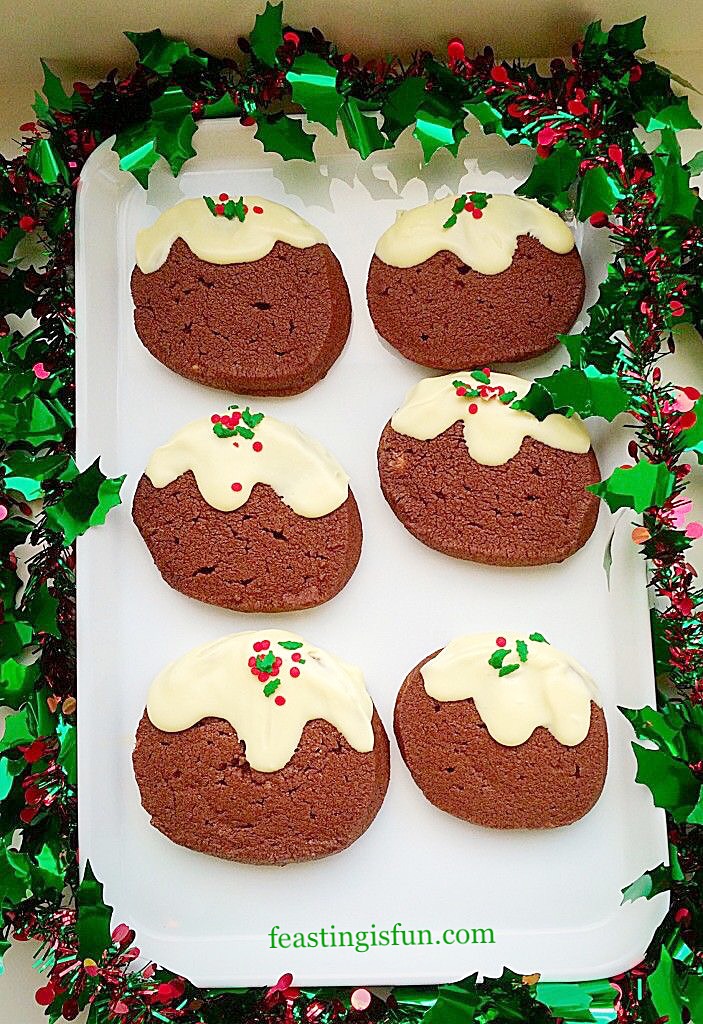
Chocolate Christmas Pudding Cookies
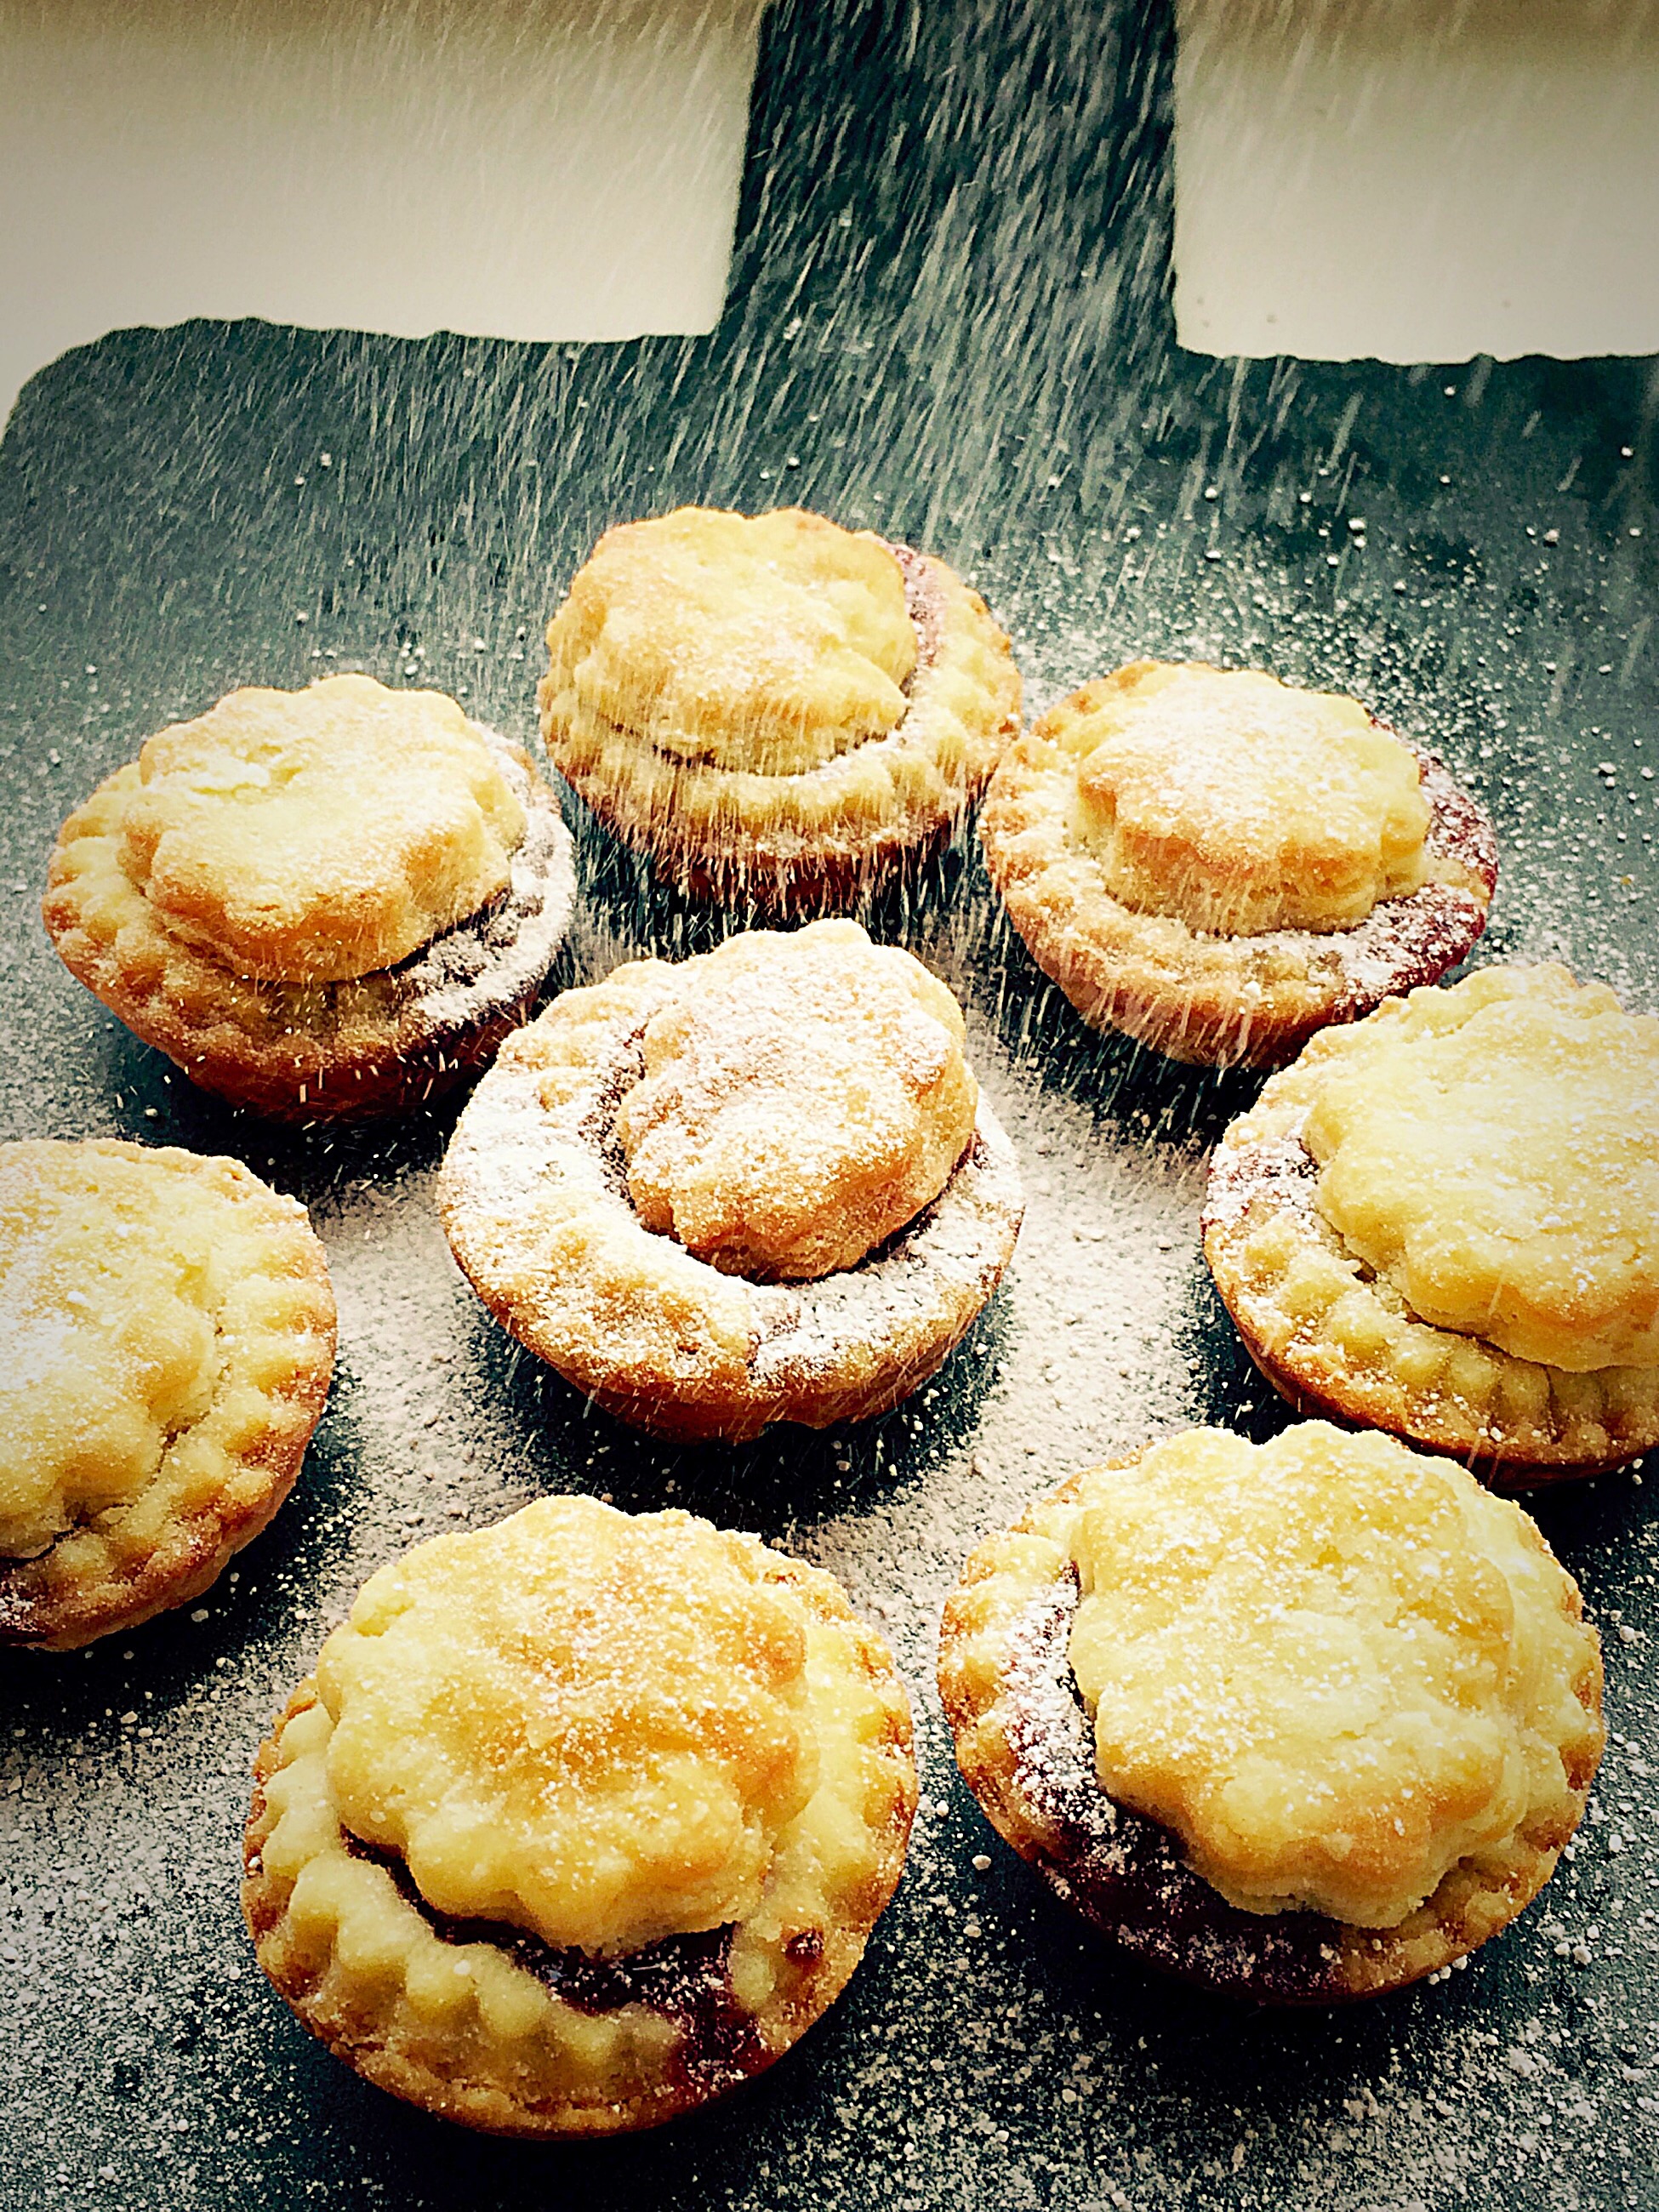
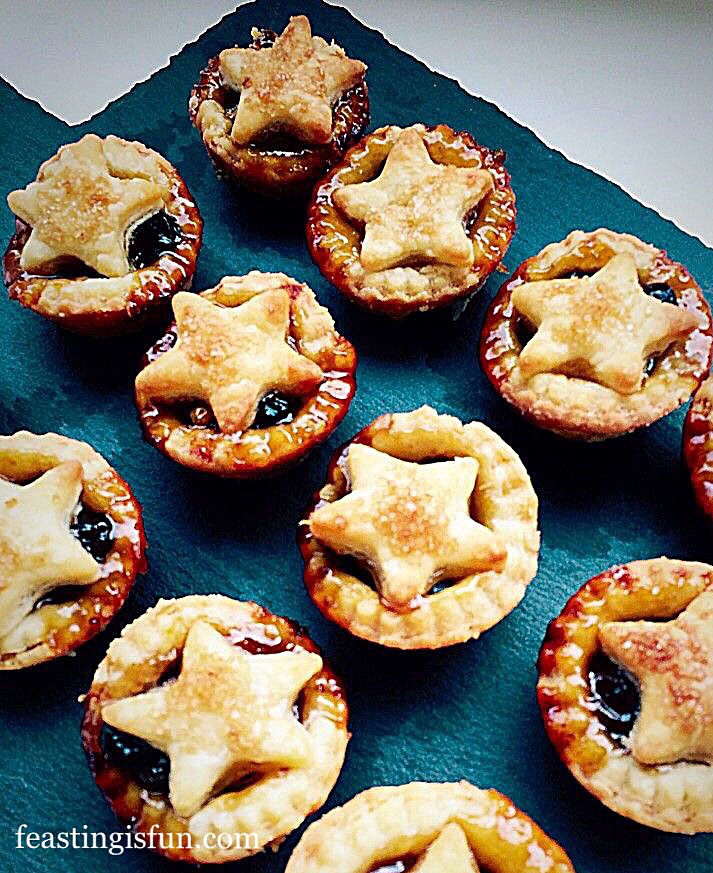
Cream Cheese Pastry Mince Pies
I especially enjoy baking during the festive season. Rather than relying on shop bought, prepared food (although they have their place), spending time in the kitchen relaxes me. While listening to Christmas carols I am lost in a world of delicious aromas and sparkles. And, since it is the season of goodwill, making cookies and mince pies are a great gift for sharing with family, friends and neighbours. Above all, it is a time to give thanks for the baby Jesus.
Sammie xx
No part of this post may be reproduced or duplicated without the written permission of the owner. Please see my Disclosure Policy.