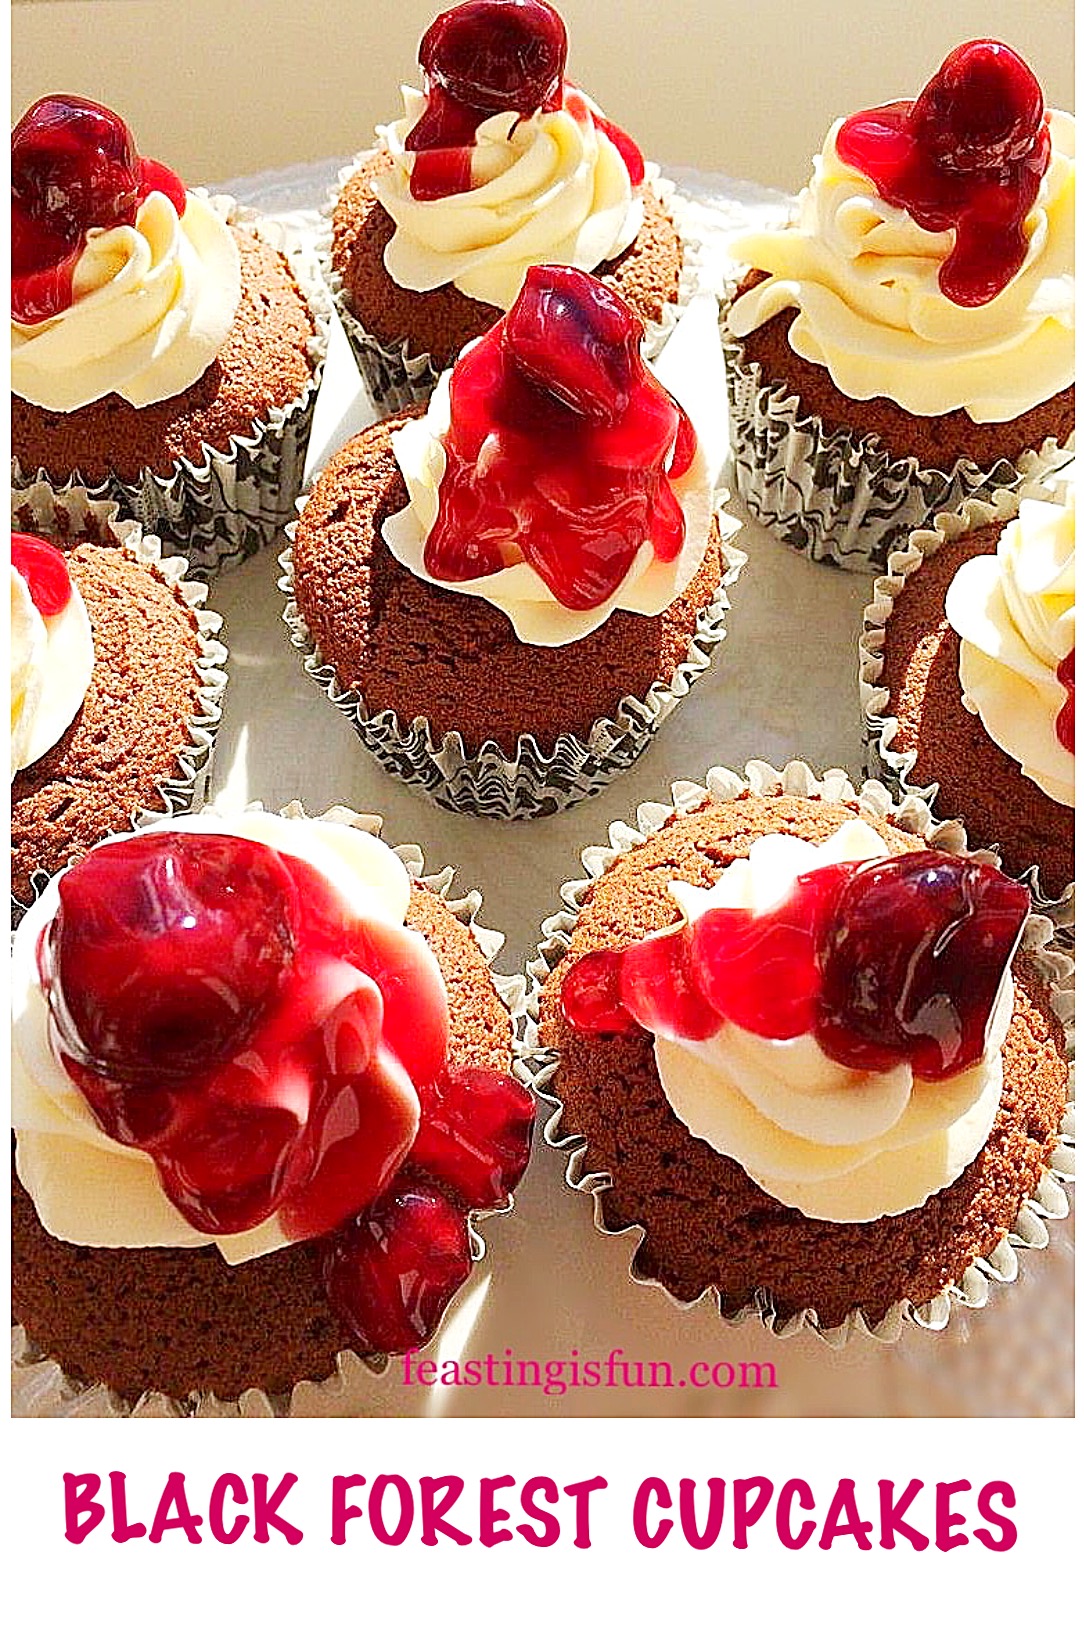
Hello there, today we are talking birthdays. Most importantly, birthdays mean cake, lots of it. Shared amongst family and friends in a celebration of us getting another year older. And yes, I hear you, cakes could also be seen as a comfort food, for those of us notching up the years! When I was younger, every year for my birthday I would ask for a Black Forest Gateaux. Especially as the best part was having a slice for breakfast, the day after my birthday. Ooh it tasted so good and my love for this dessert inspired me to make these Black Forest Cupcakes.
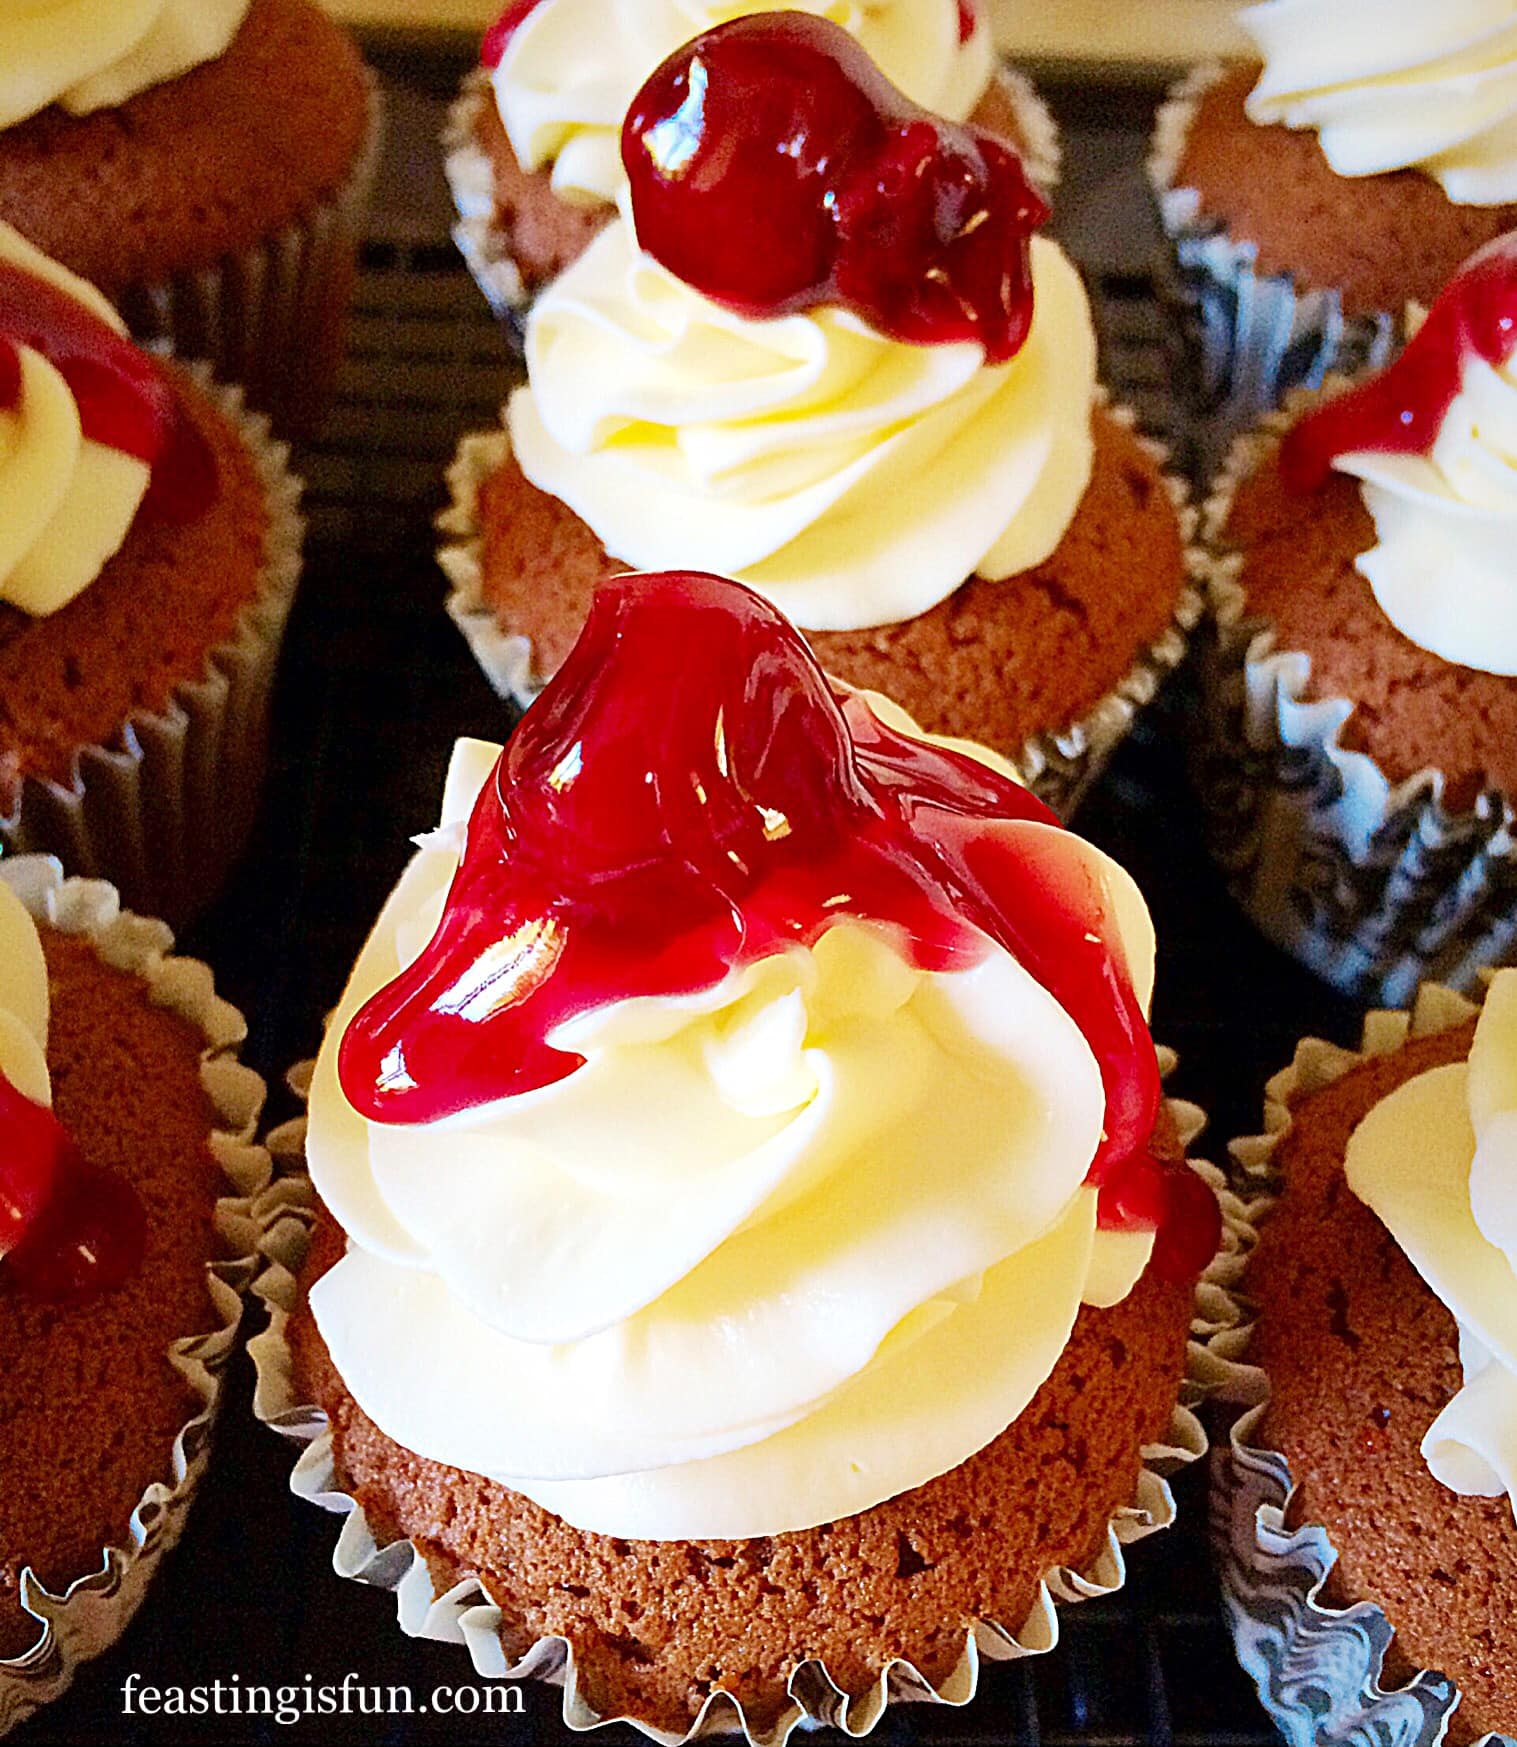
Also I have added my own little twists, but the basic components stay the same; lighter than light chocolate sponge, dark cherries in glorious deep ruby syrup and a mascarpone cream topping. So, have I got your attention now?
Remembered Flavours
Previously as I’ve mentioned before on this blog, I actually don’t bake cupcakes very often. Such was my craving for the taste of Black Forest Gateaux that I finally conceded to make these Black Forest Cupcakes.
Ina Garten, The Barefoot Contessa herself is famous for saying she likes “Rembered flavours.” Since our tastebuds can transport us to various places and times the instant they are tantalised with a remembered flavour.
And Black Forest Cupcakes so do that to me. Memories of birthdays past flooded my brain as I took the first bite. Delicious doesn’t even begin to describe how good these cupcakes are!
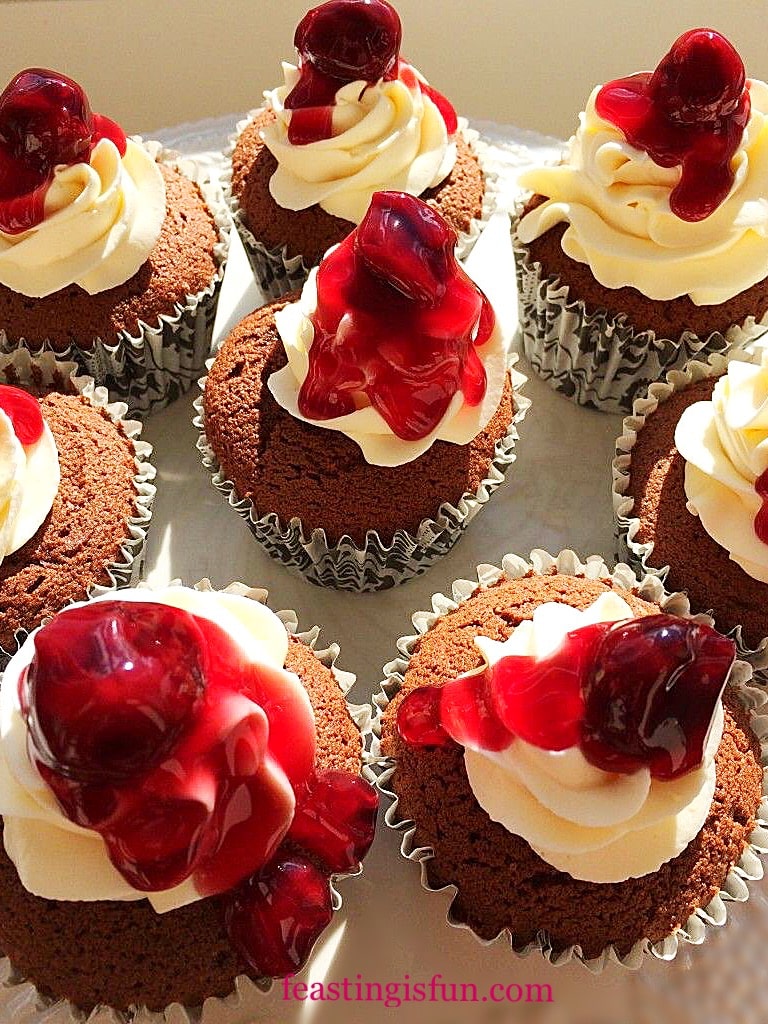
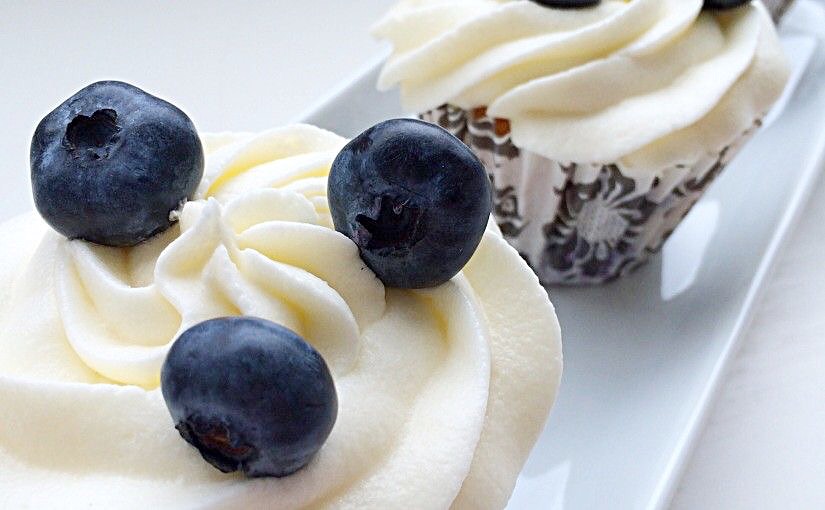
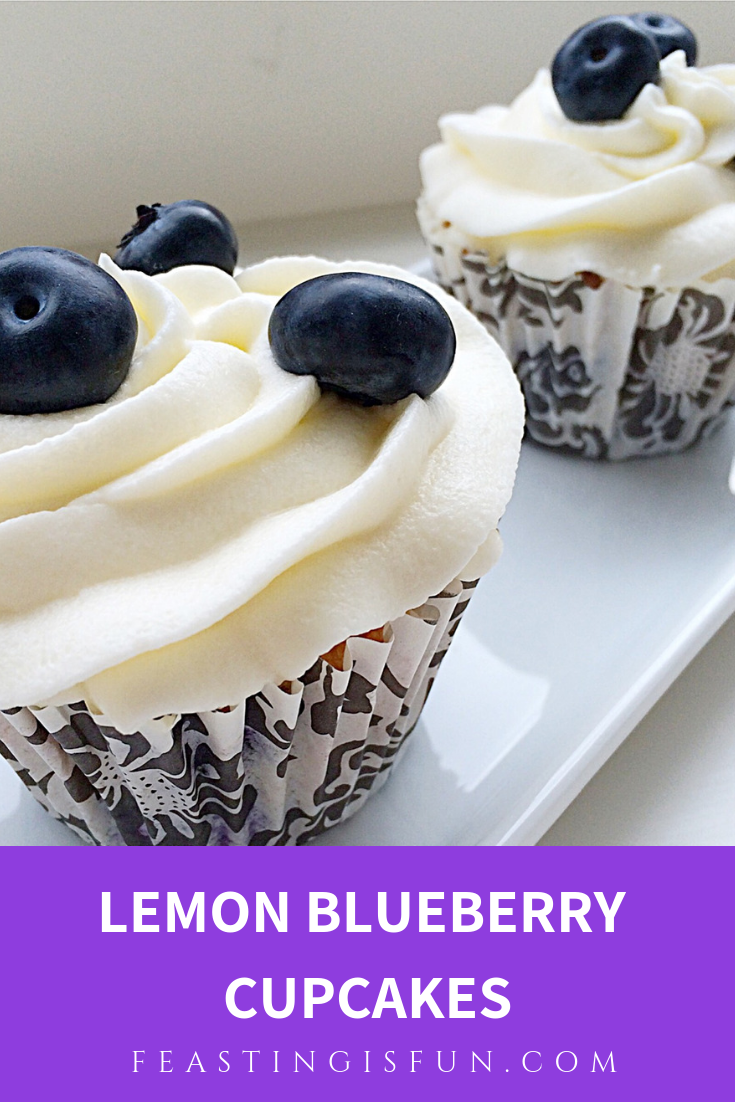
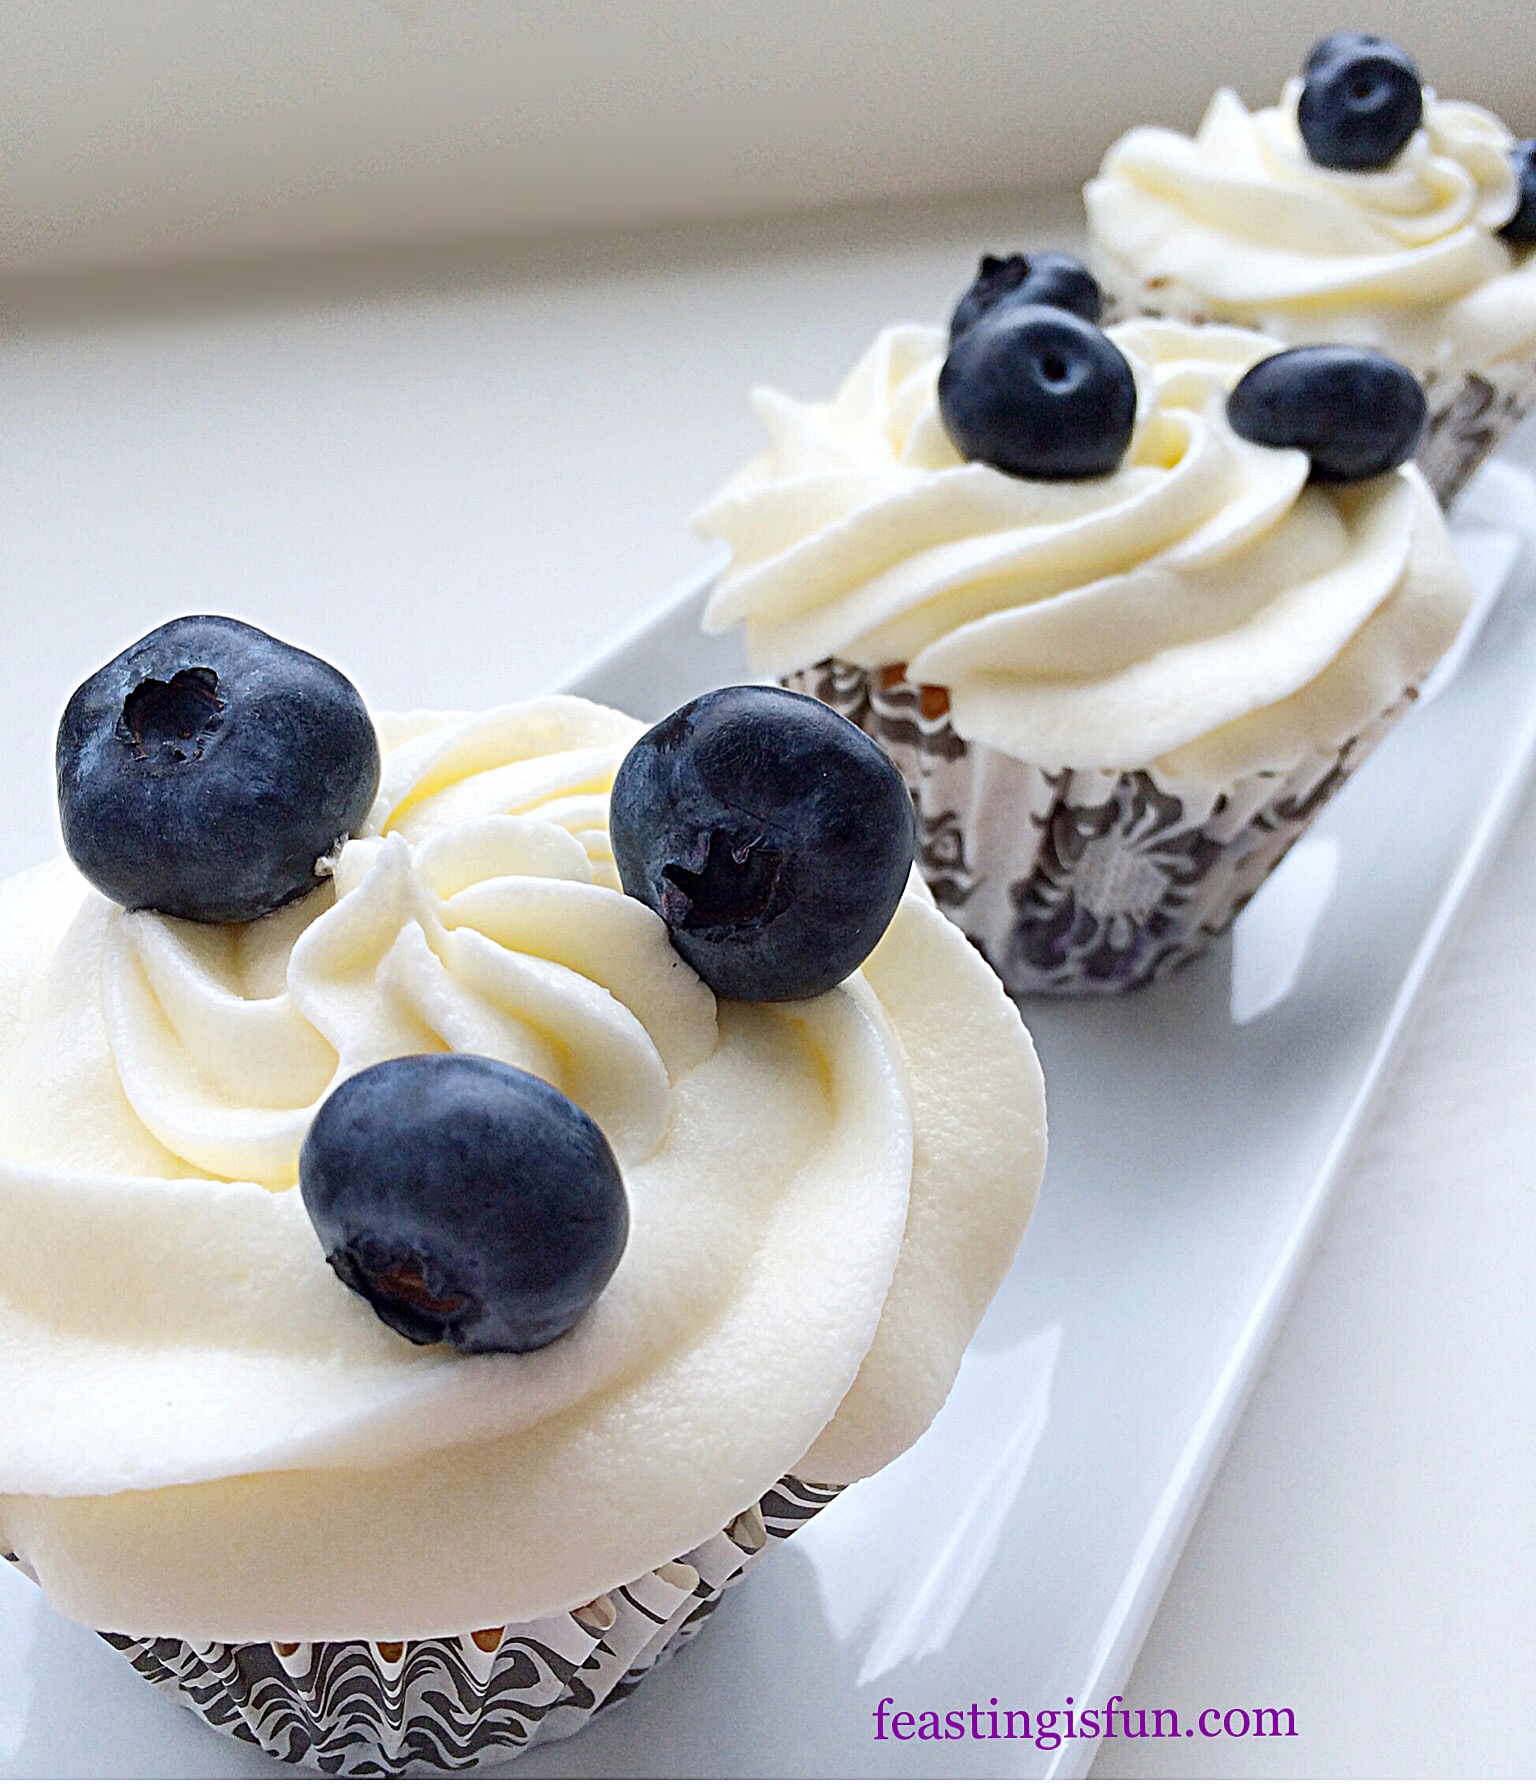
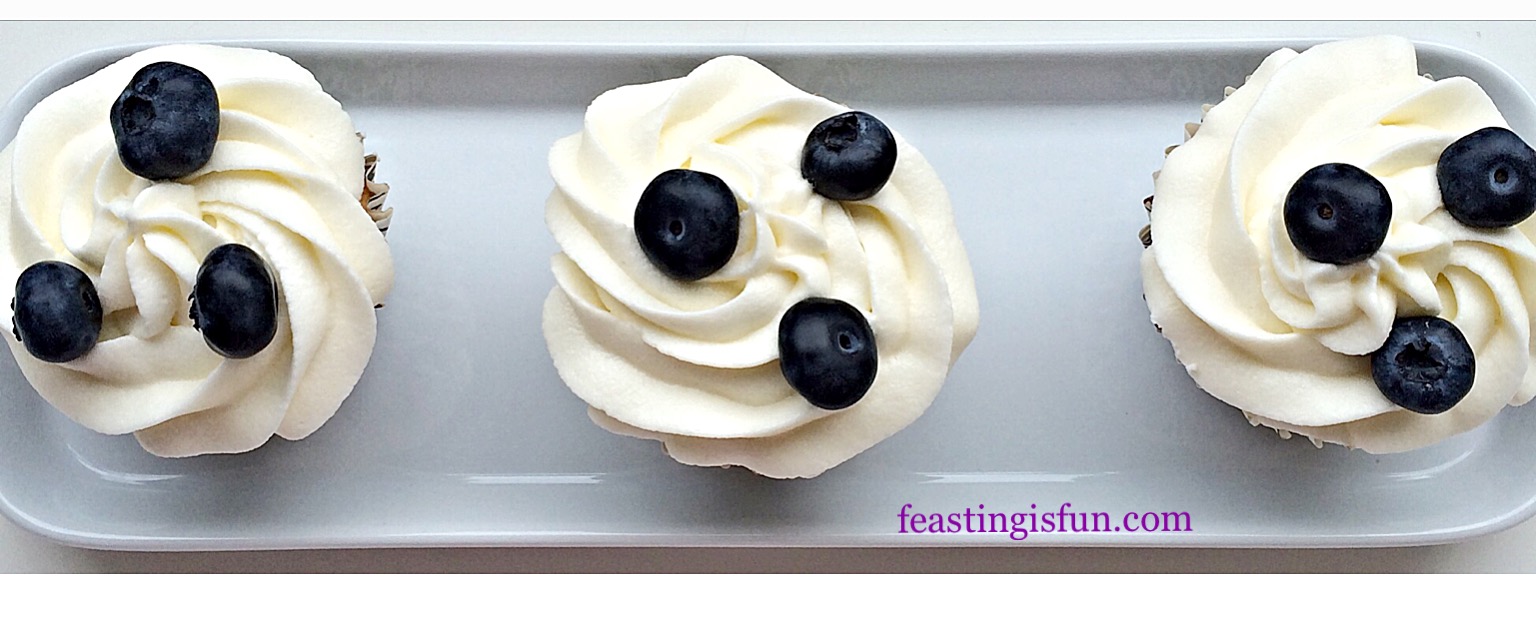
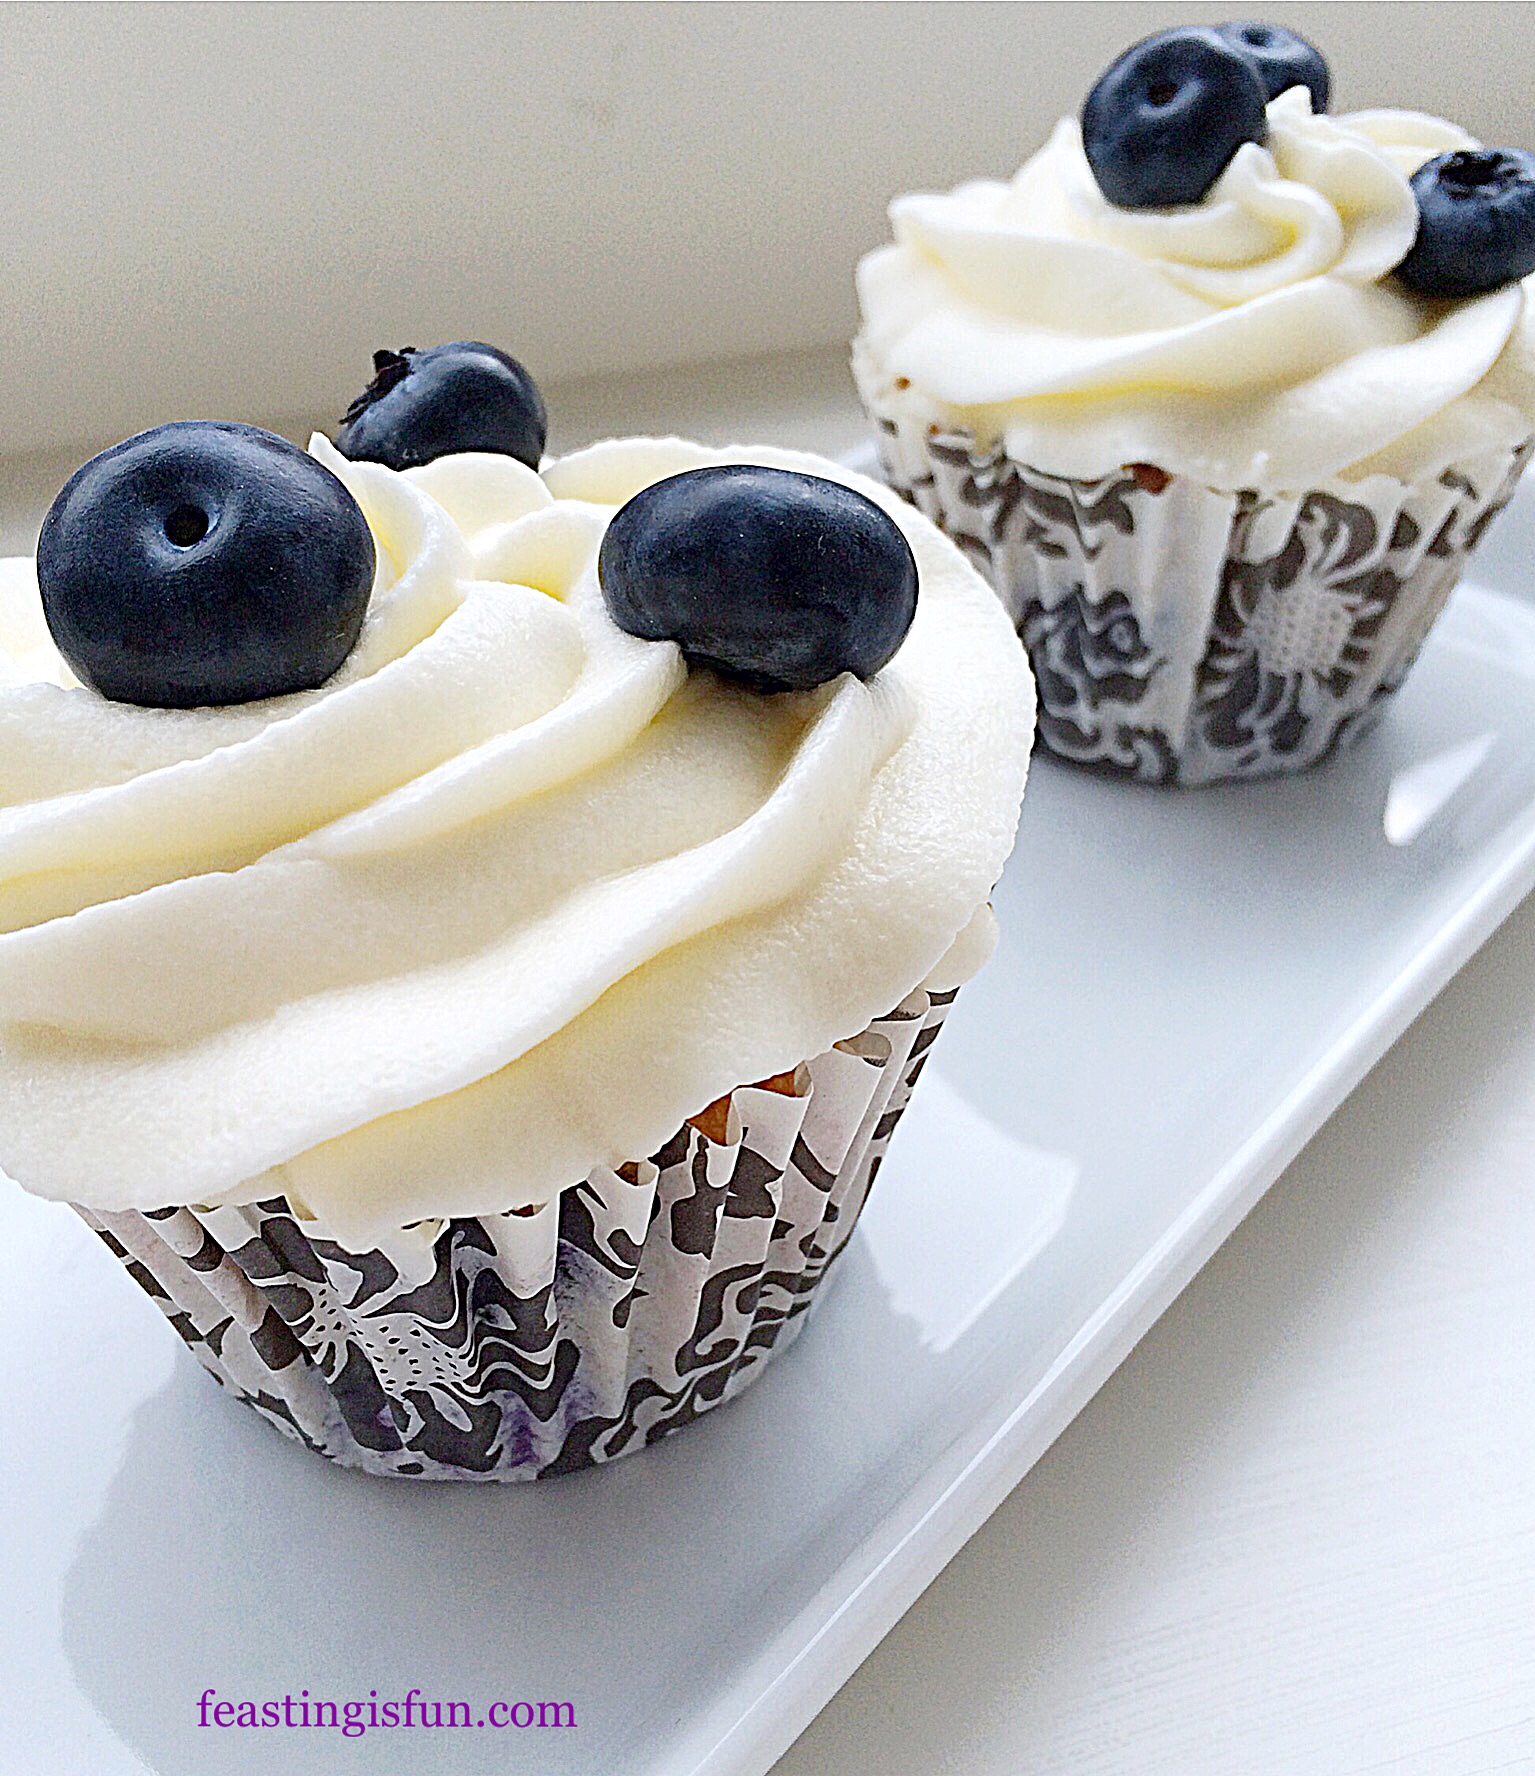
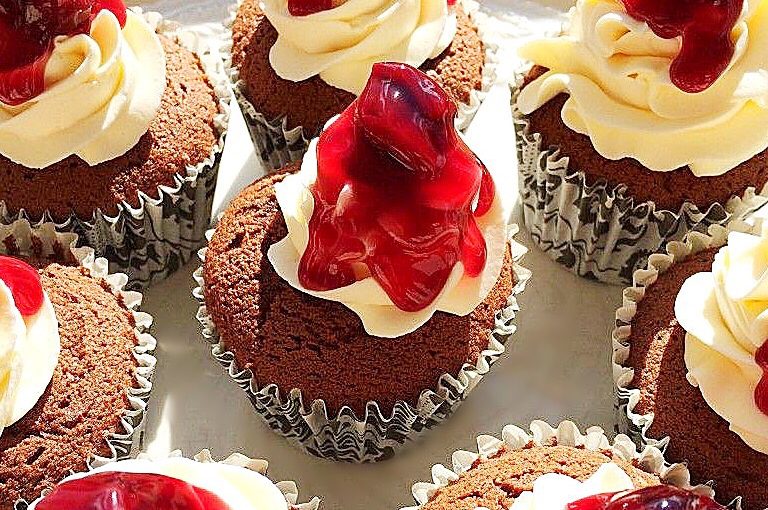
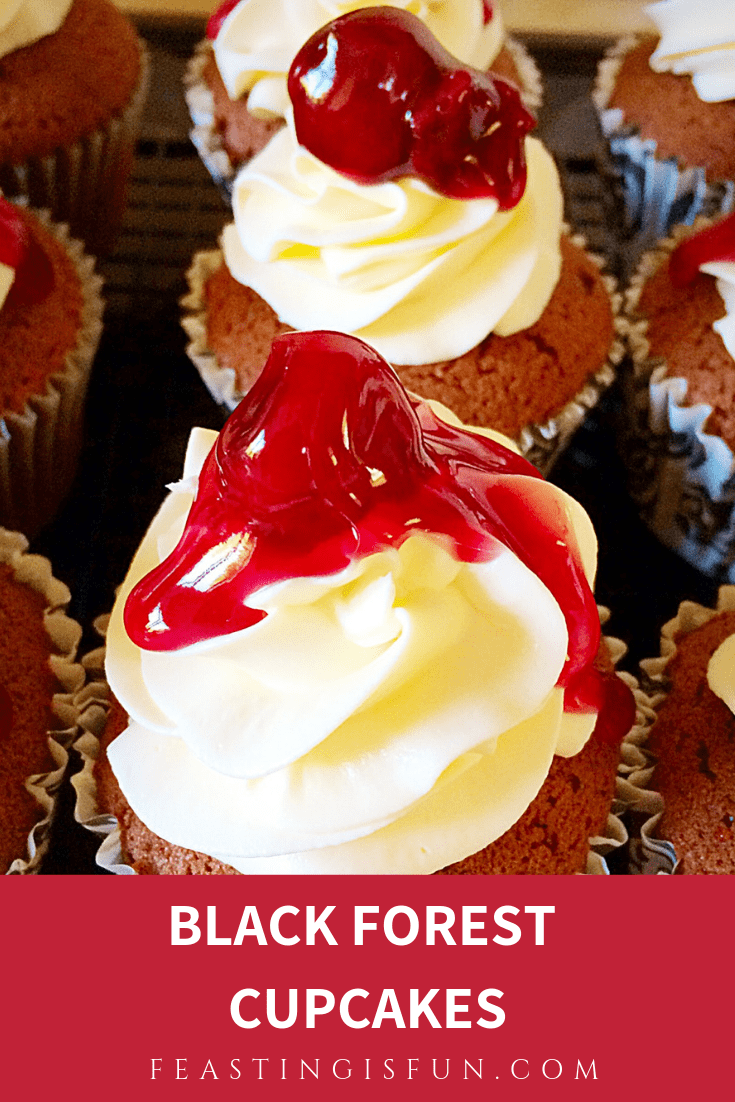
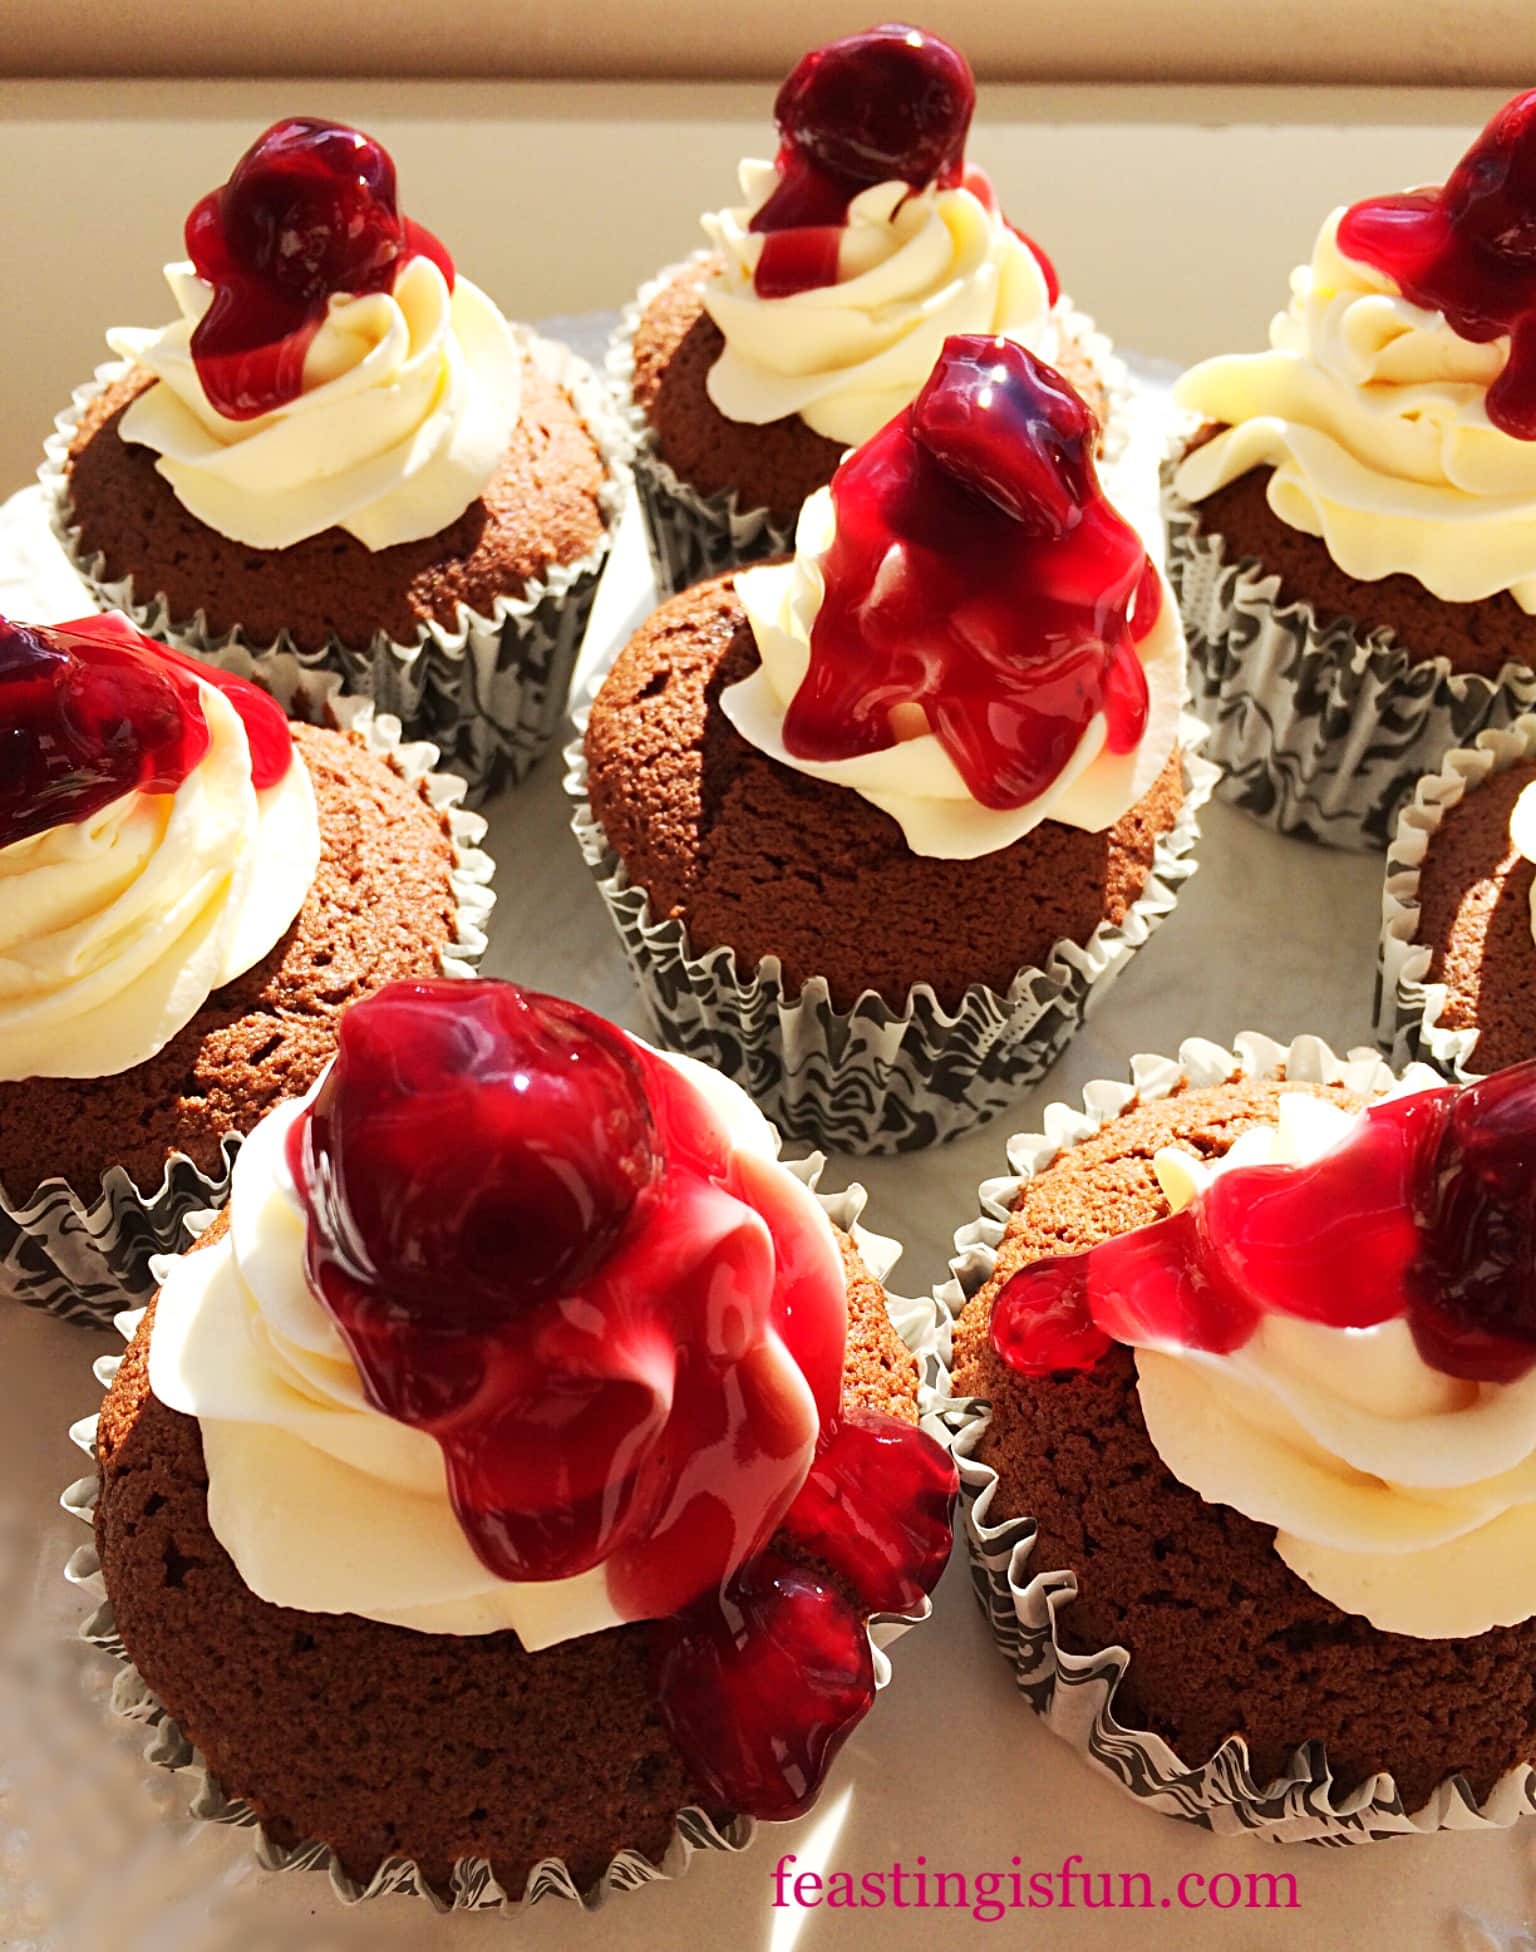
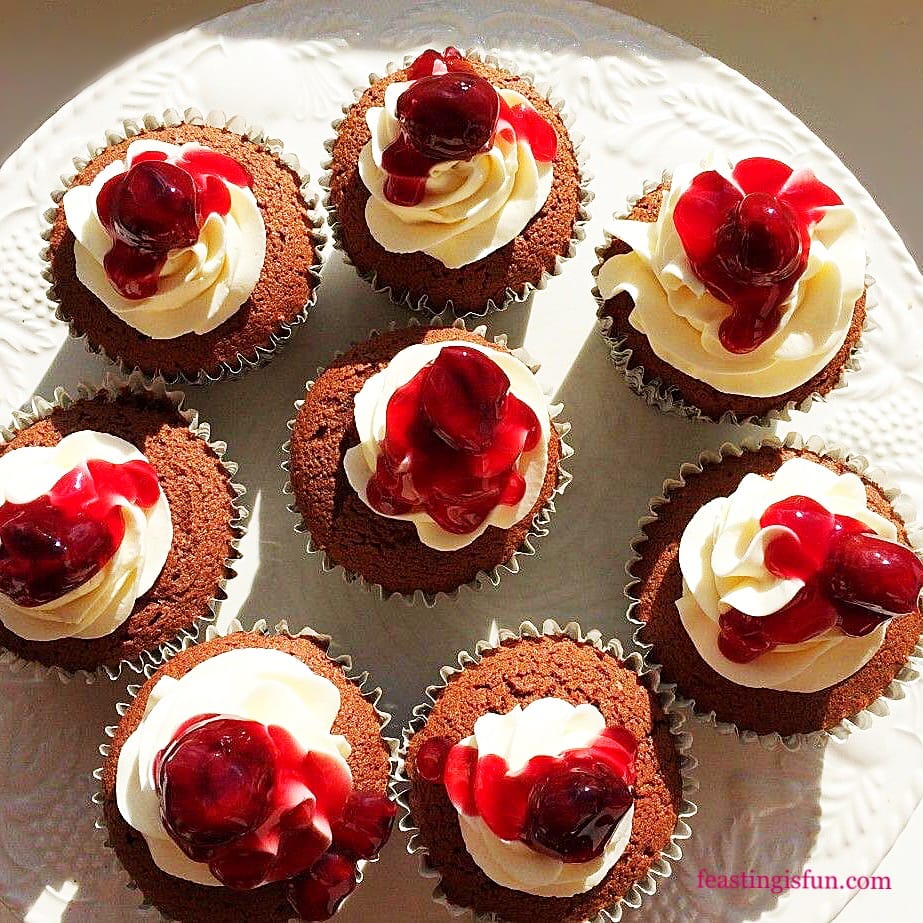
Using mascarpone and cream for the topping gives these cupcakes a rich, creamy flavour. You can see I haven’t overloaded these cupcakes with topping. A small swirl, topped with a syrupy cherry, is the perfect compliment to the moist, light, chocolate, sponge.
Okay confession time! As soon as these Black Forest Cupcakes had been assembled and had their beauty shots taken, I unashamedly face planted, straight into one. And what’s life without a little fun?! So I had to wash my face, hands afterwards, yet it was totally worth it. So, when you make these, I encourage you to do the same. And have some fun!
Recipe : Makes 18 Black Forest Cupcakes
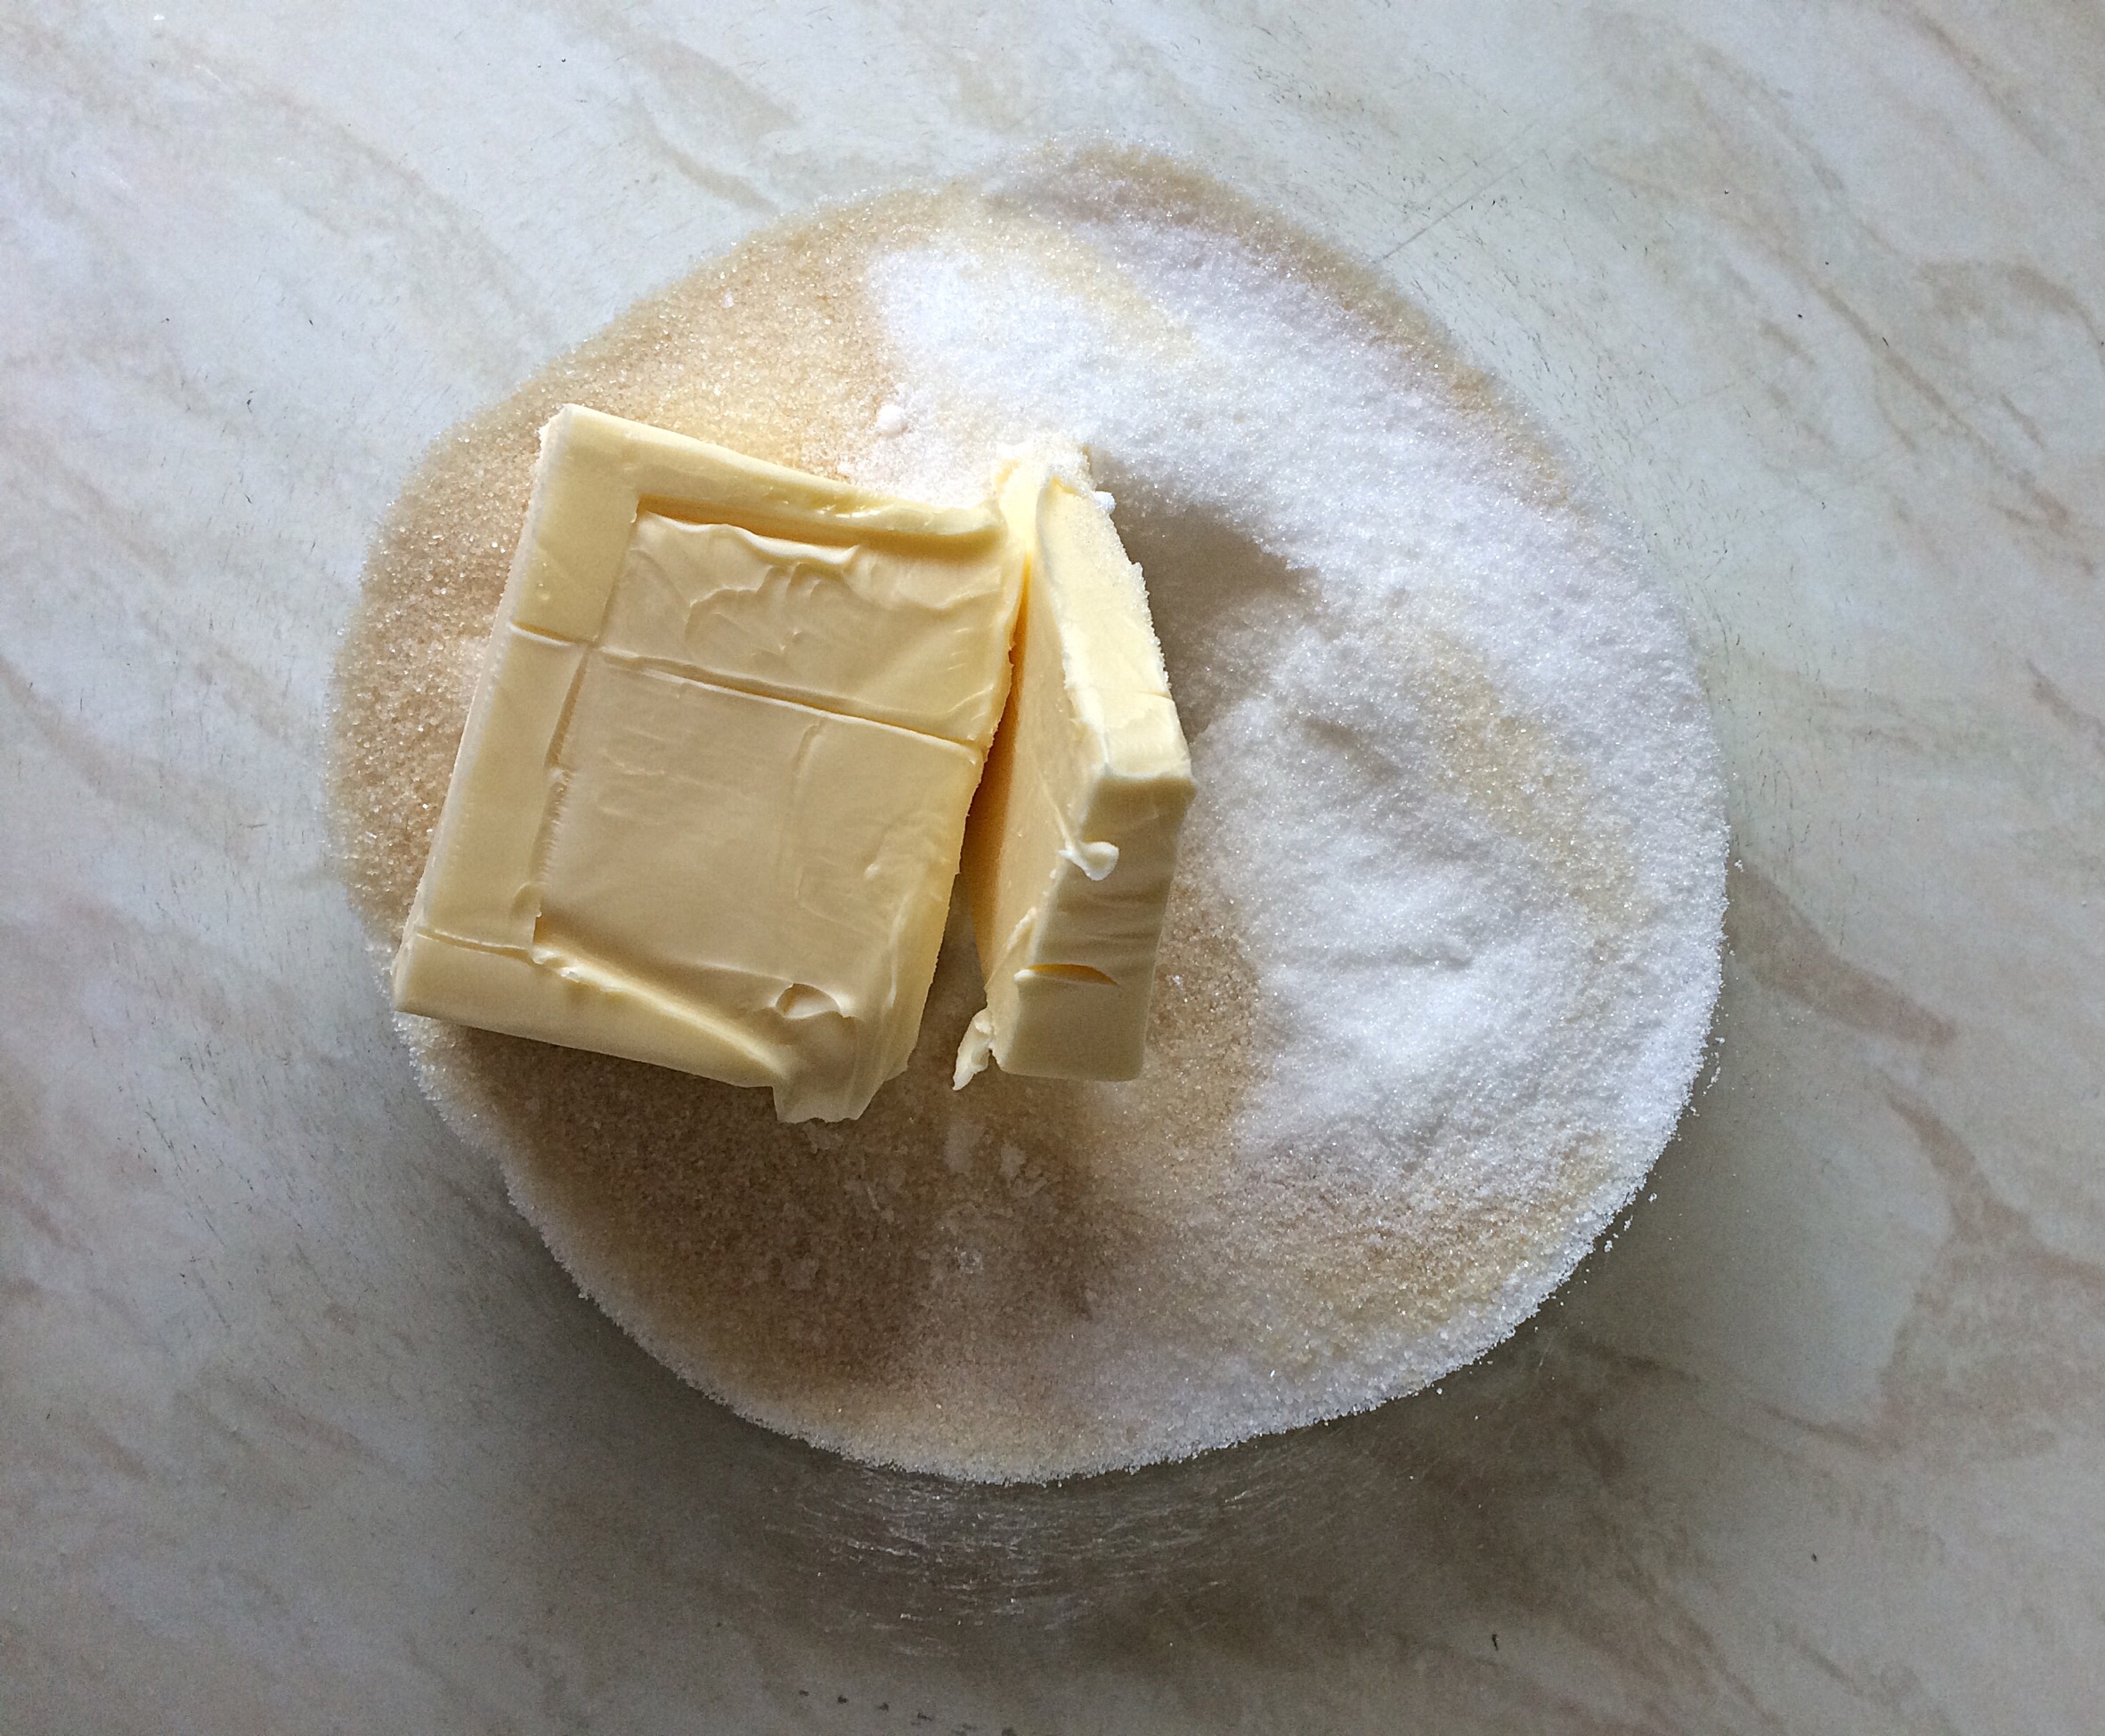
225g/8oz Unsalted Butter – room temperature
225g/8oz Caster Sugar
1/4tsp Salt
1tsp Vanilla Extract – I use Nielsen-Massey
200g/7oz Plain White Flour
50g/2oz Cocoa – I use Callebaut
2tsp Baking Powder
4 Large Eggs – free range if possible
50ml/2fl oz Milk – whole or semi skimmed
250g/9oz Mascarpone Cheese
150ml/5fl oz Double Cream
1tsp Caster Sugar
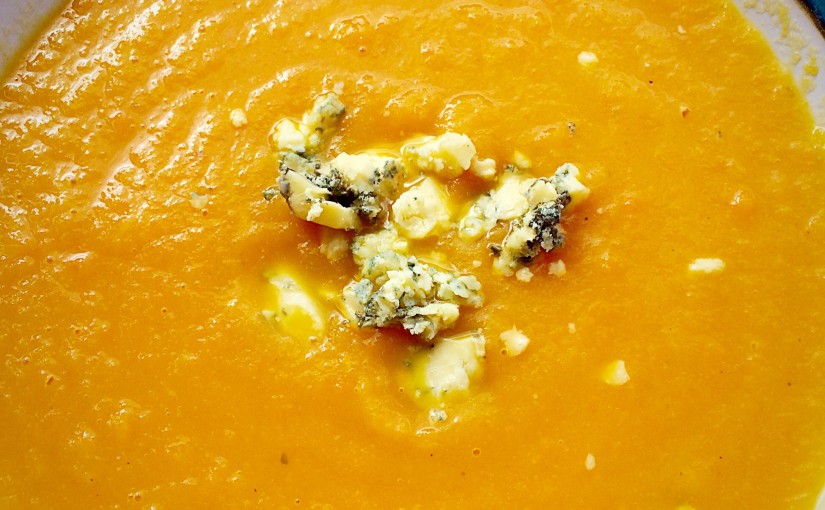
375g/10oz Pouch or Tin Good Quality Cherry Pie Filling – alternatively use fresh cherries with the stone removed.
Preheat oven to 180C/160C fan, 350F, gas mark 4.
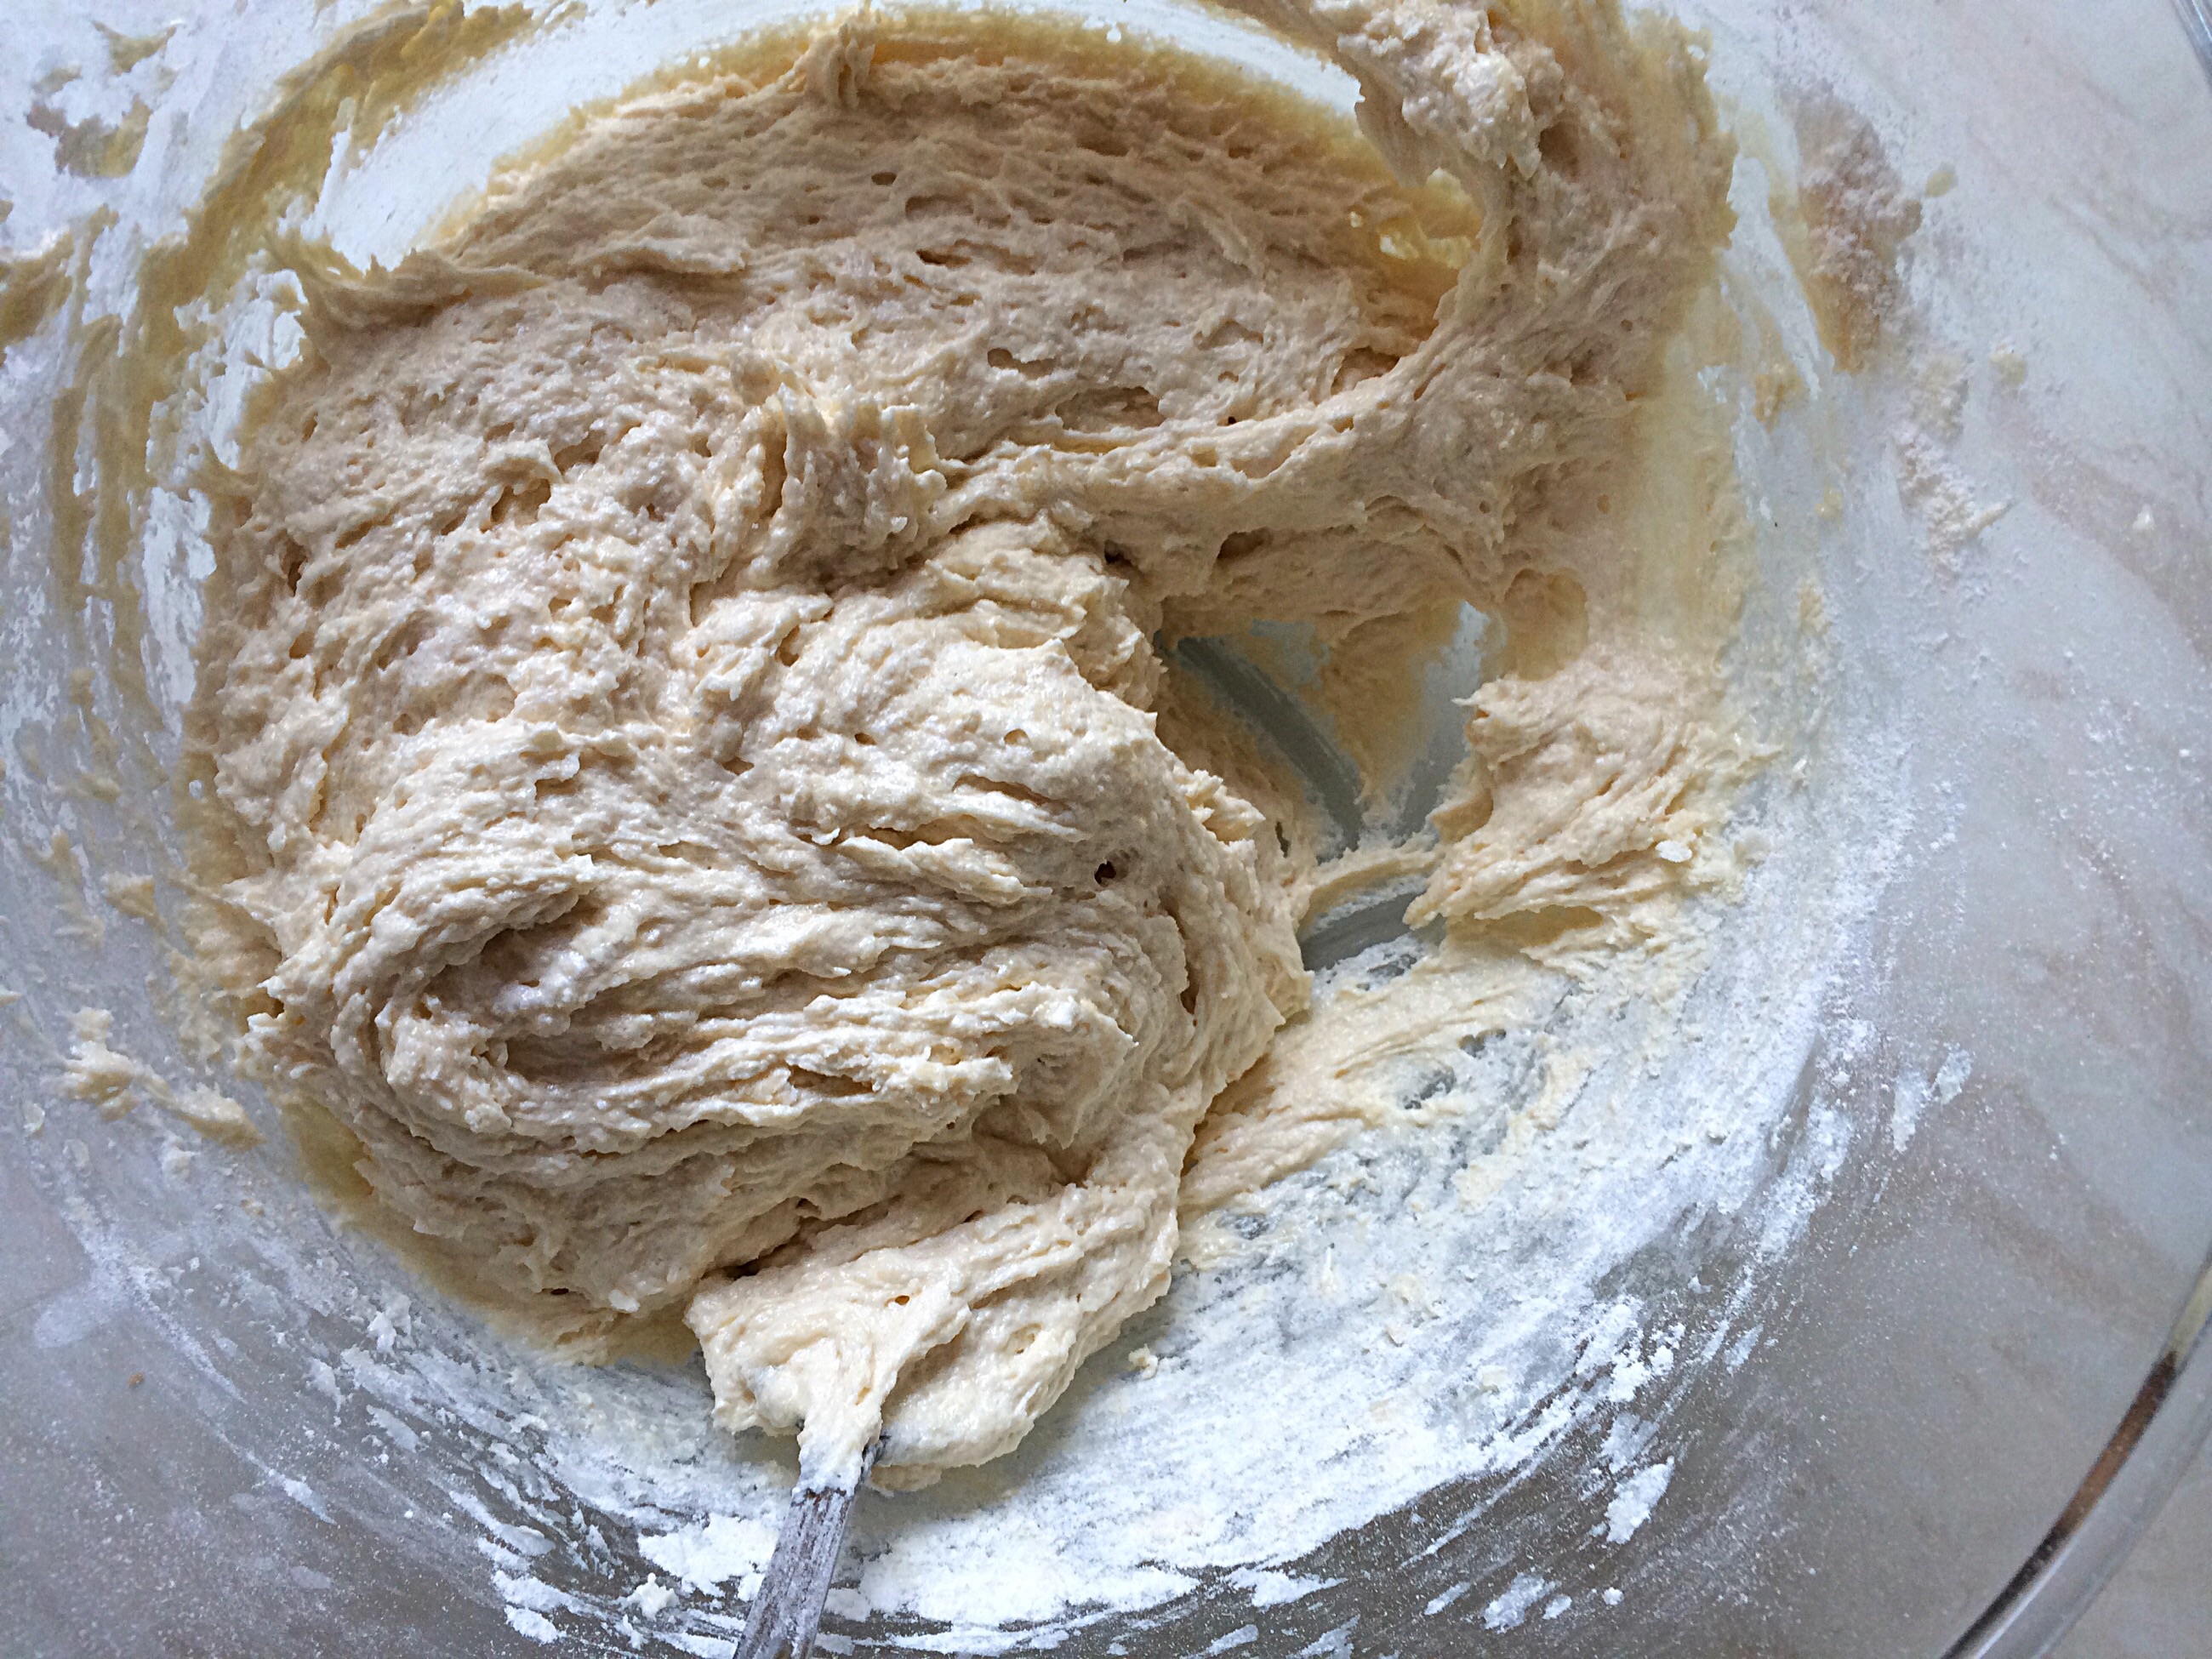
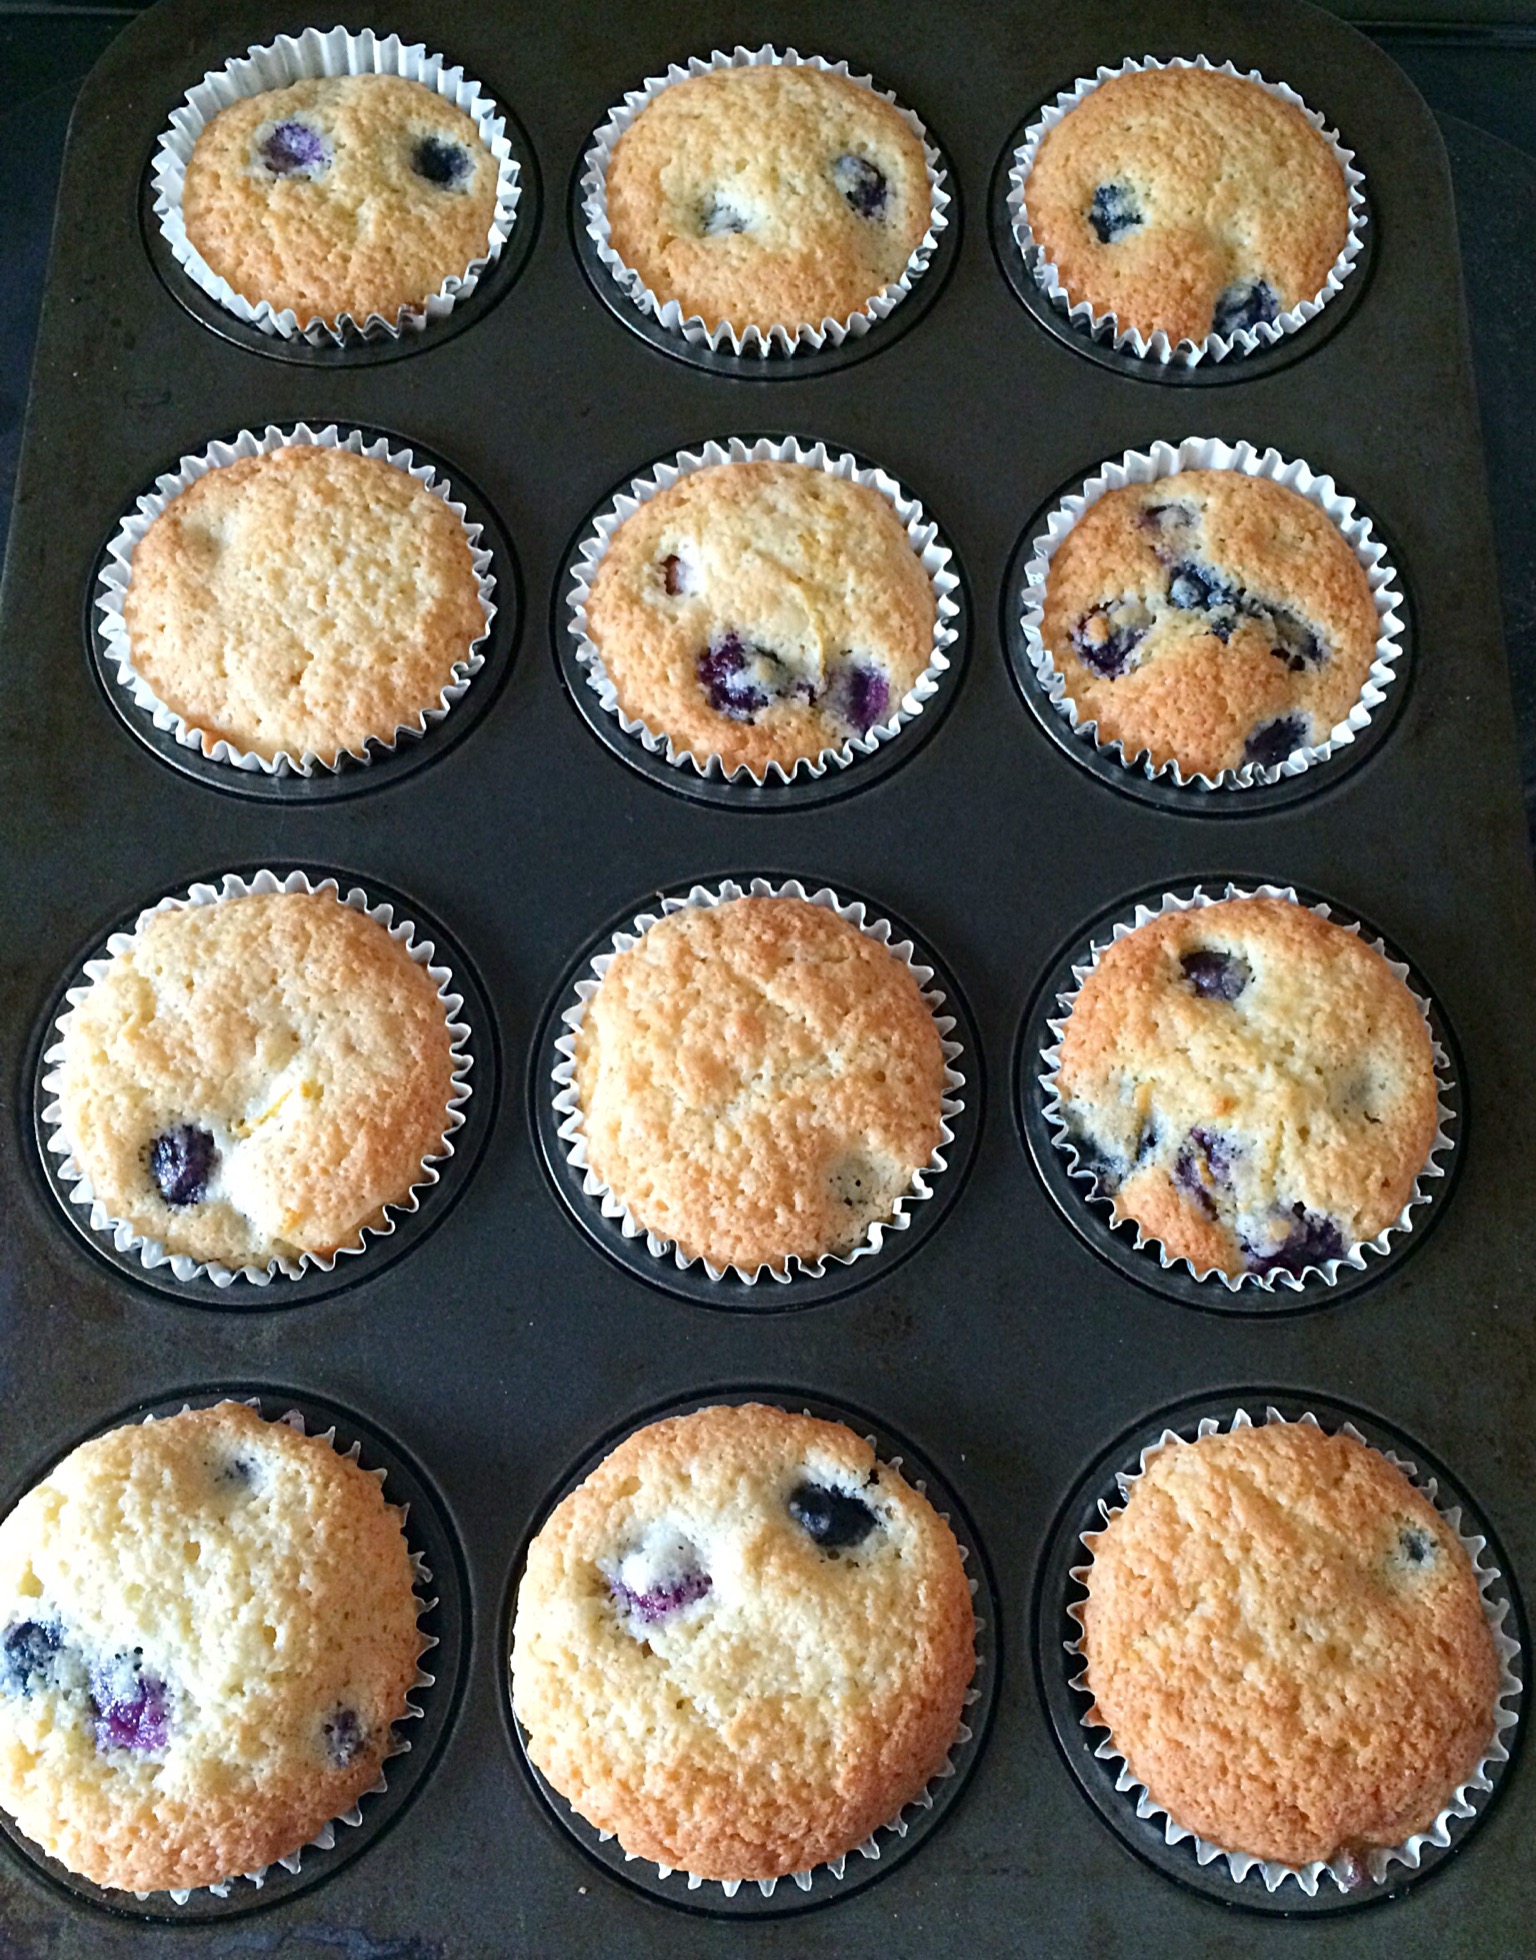
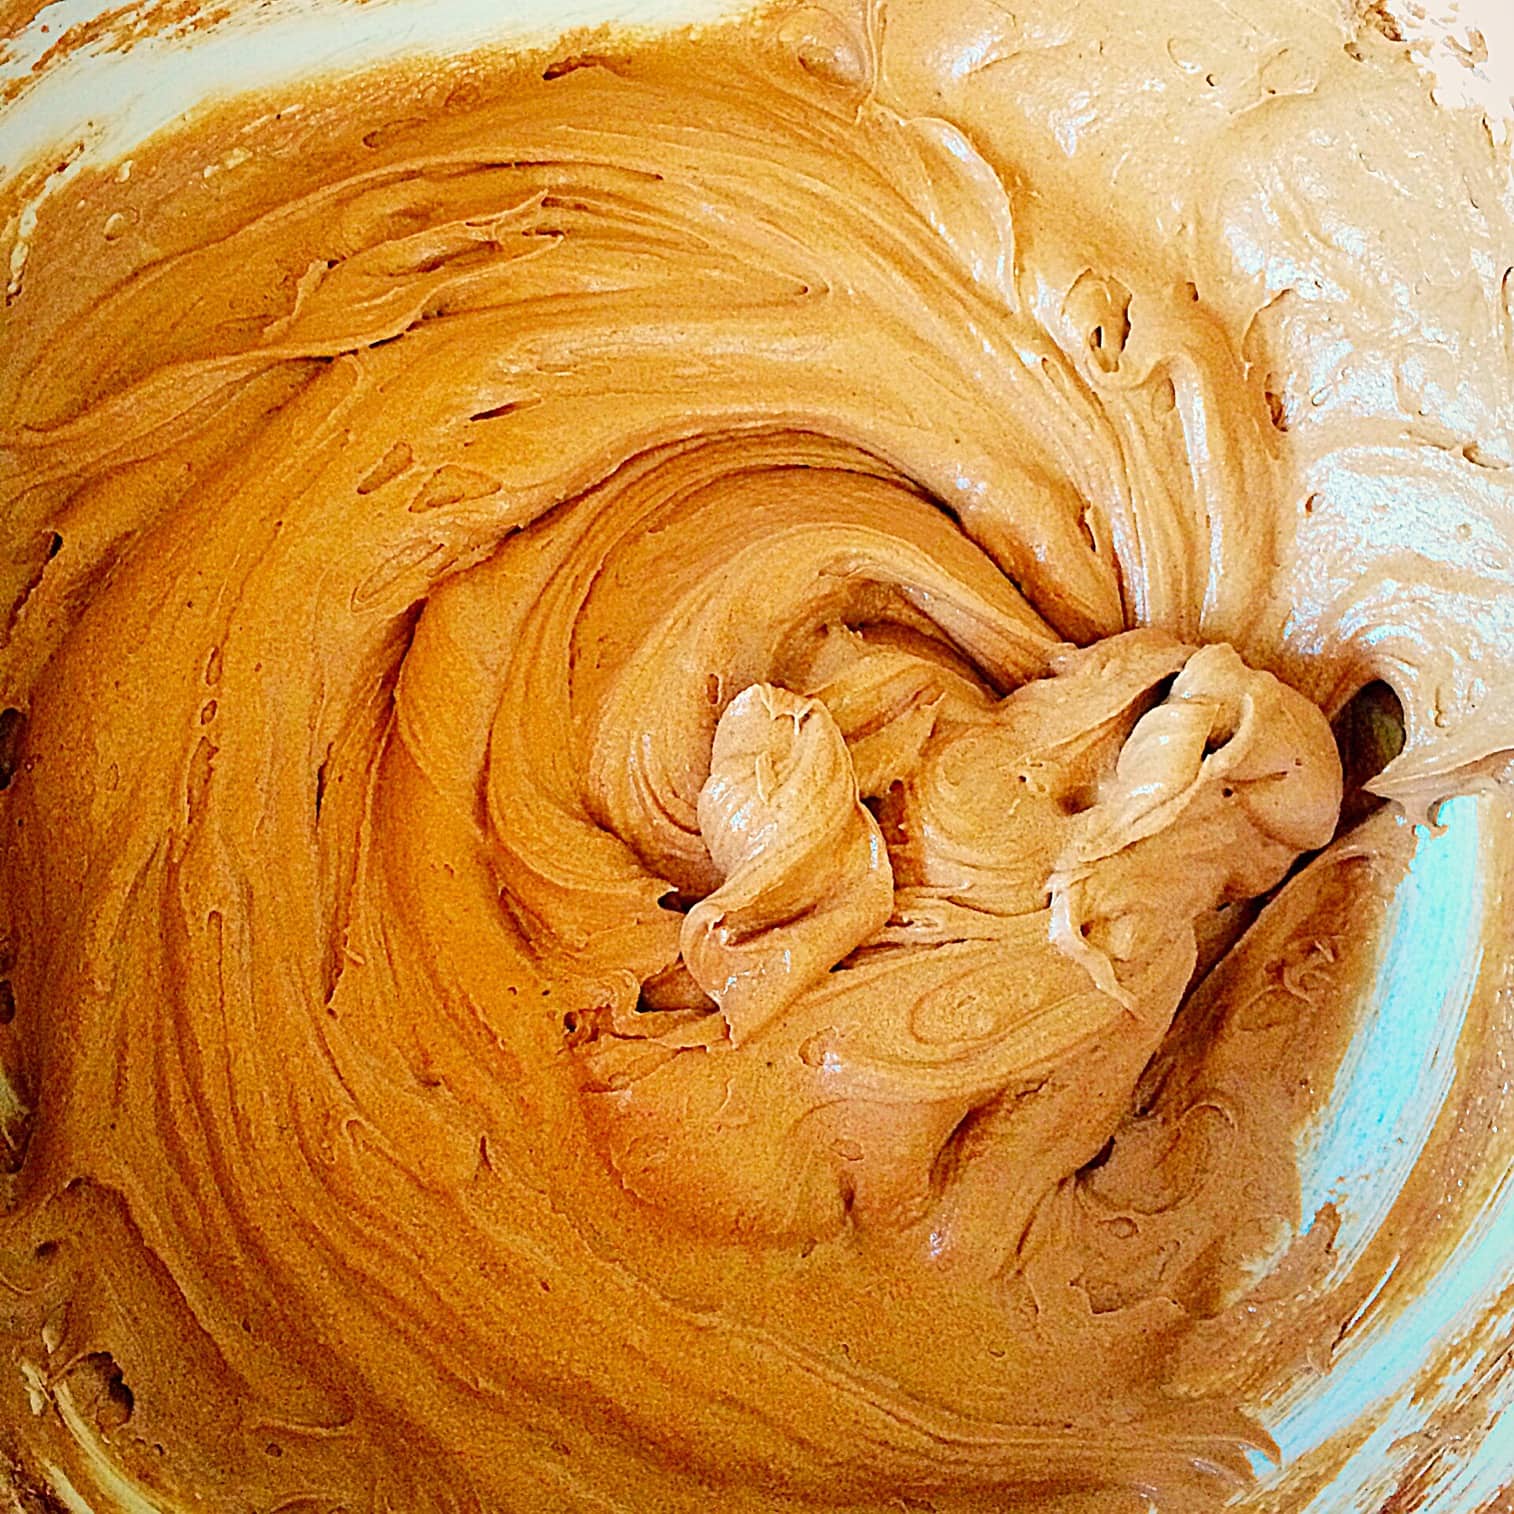
Making The Chocolate Cupcake Batter
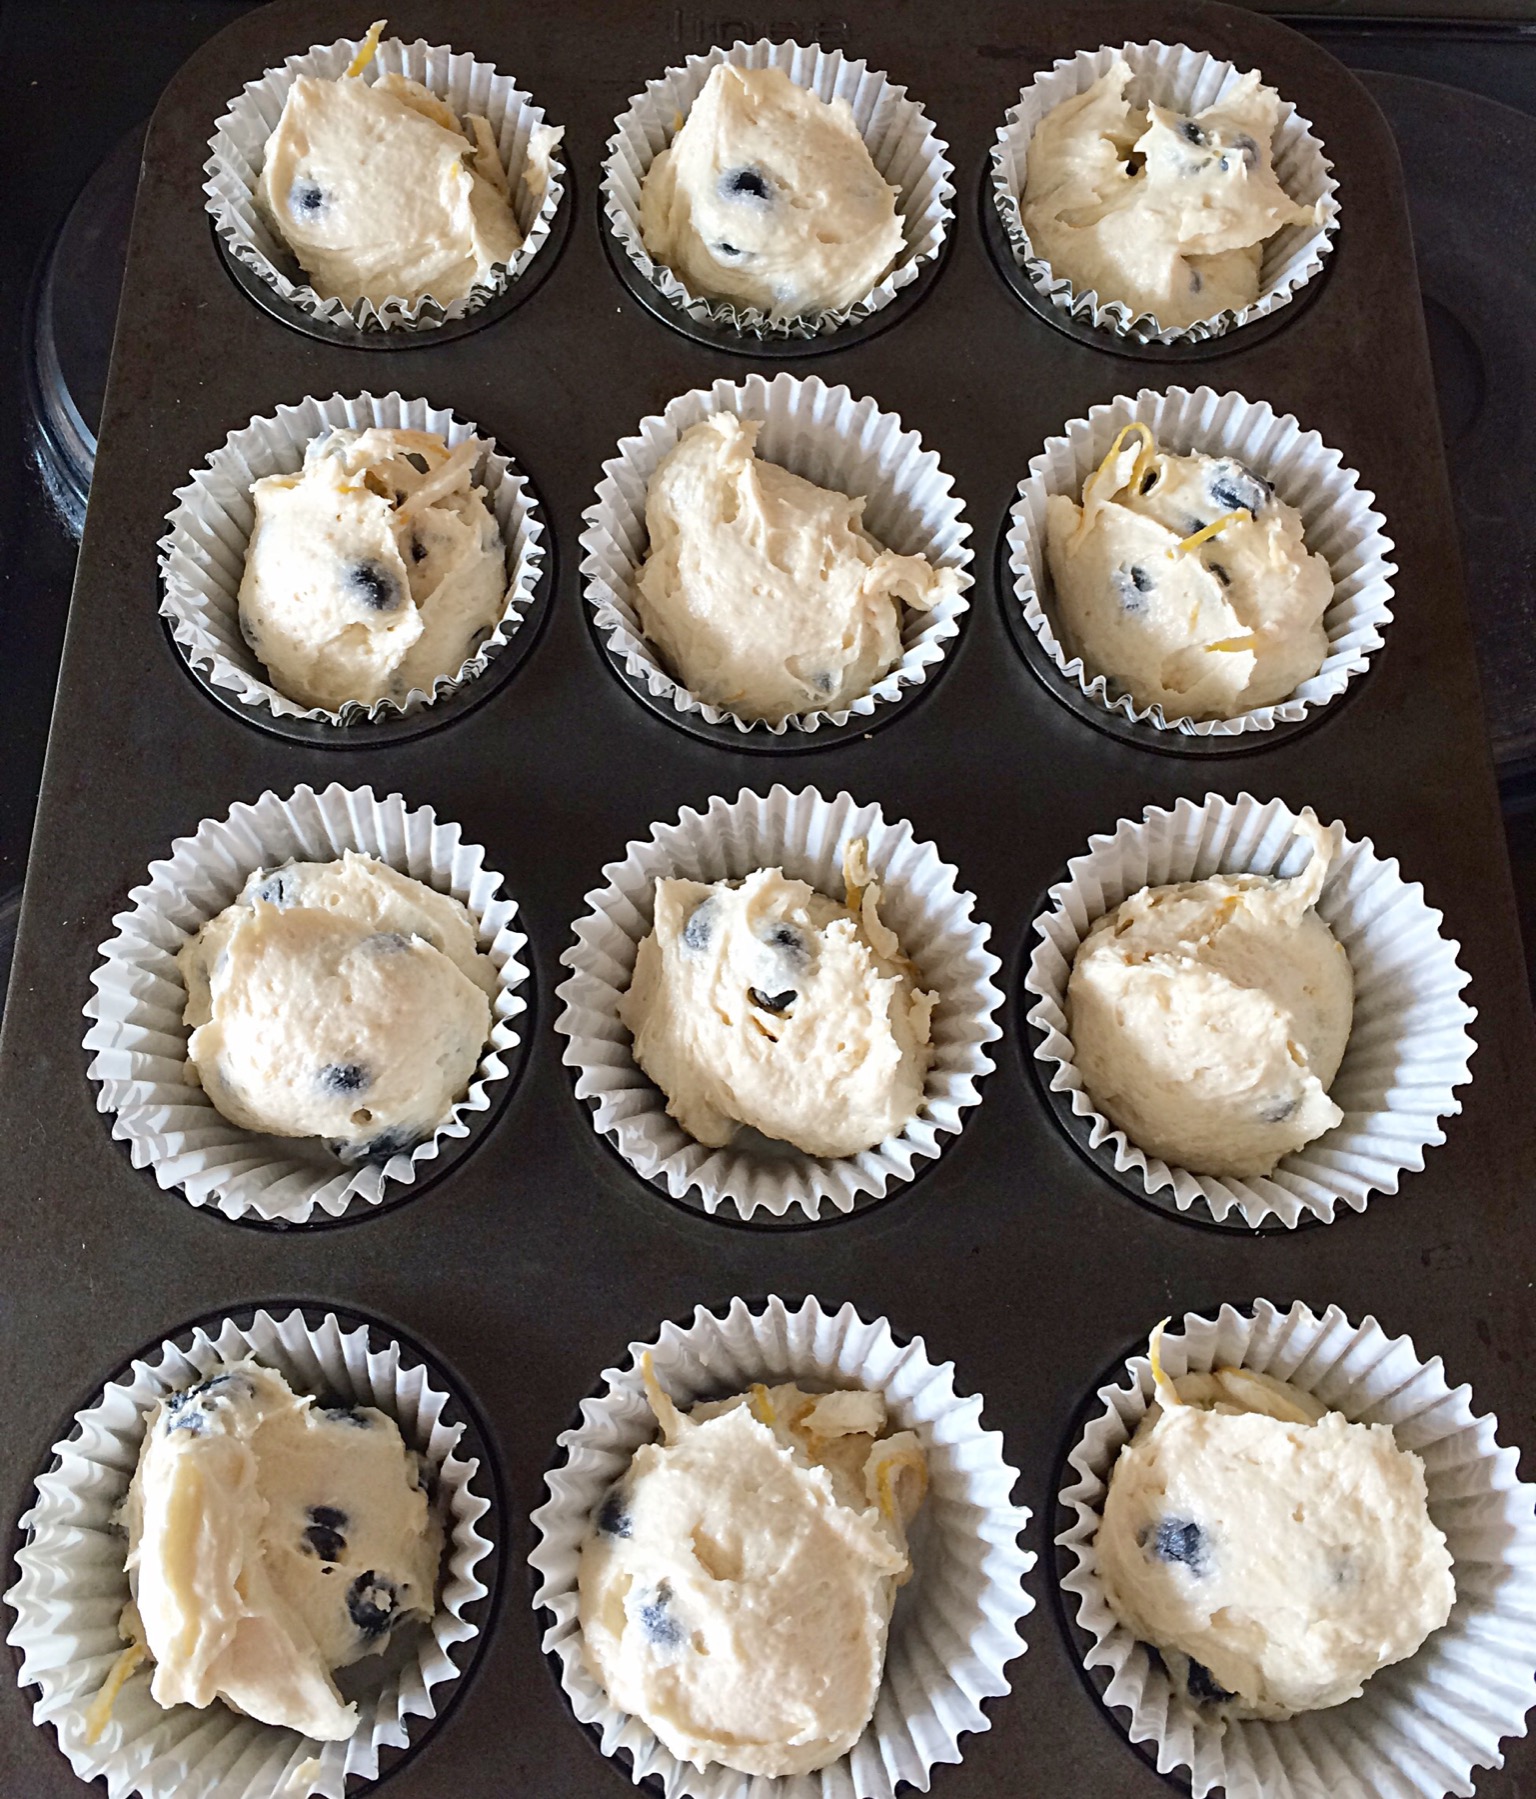
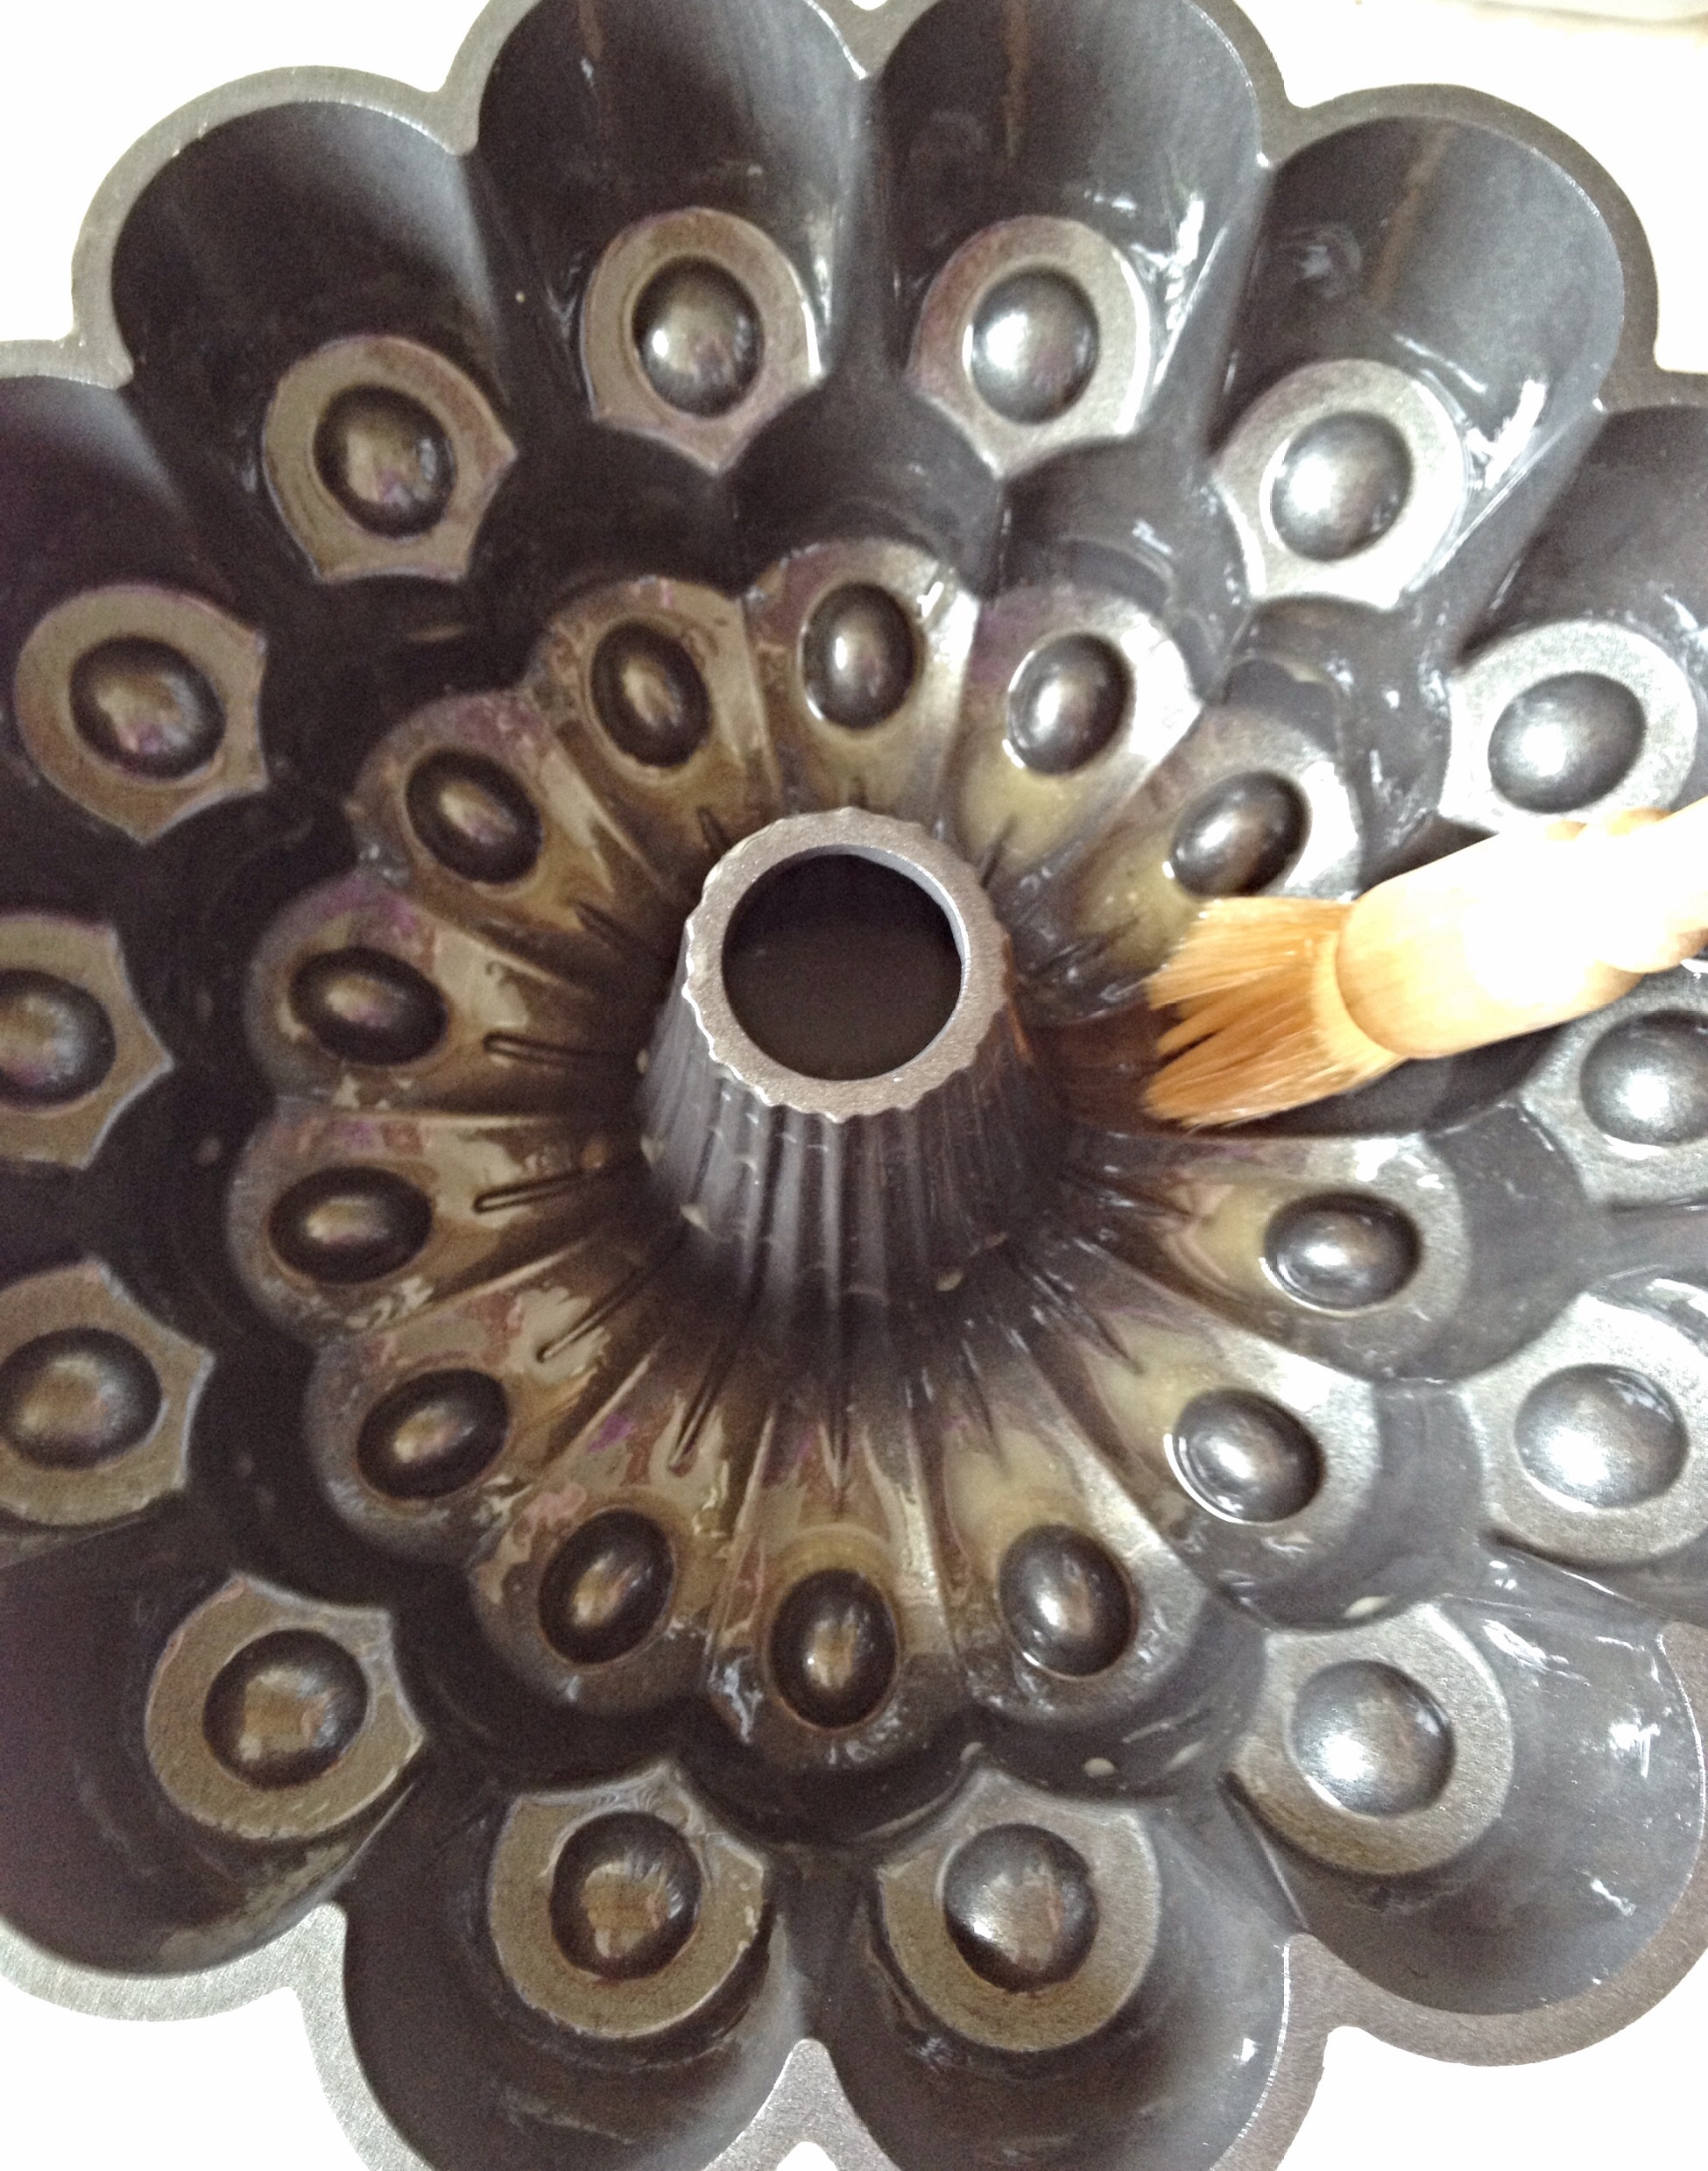
- First of all, place 18 cupcake cases into deep cupcake or muffin tins.
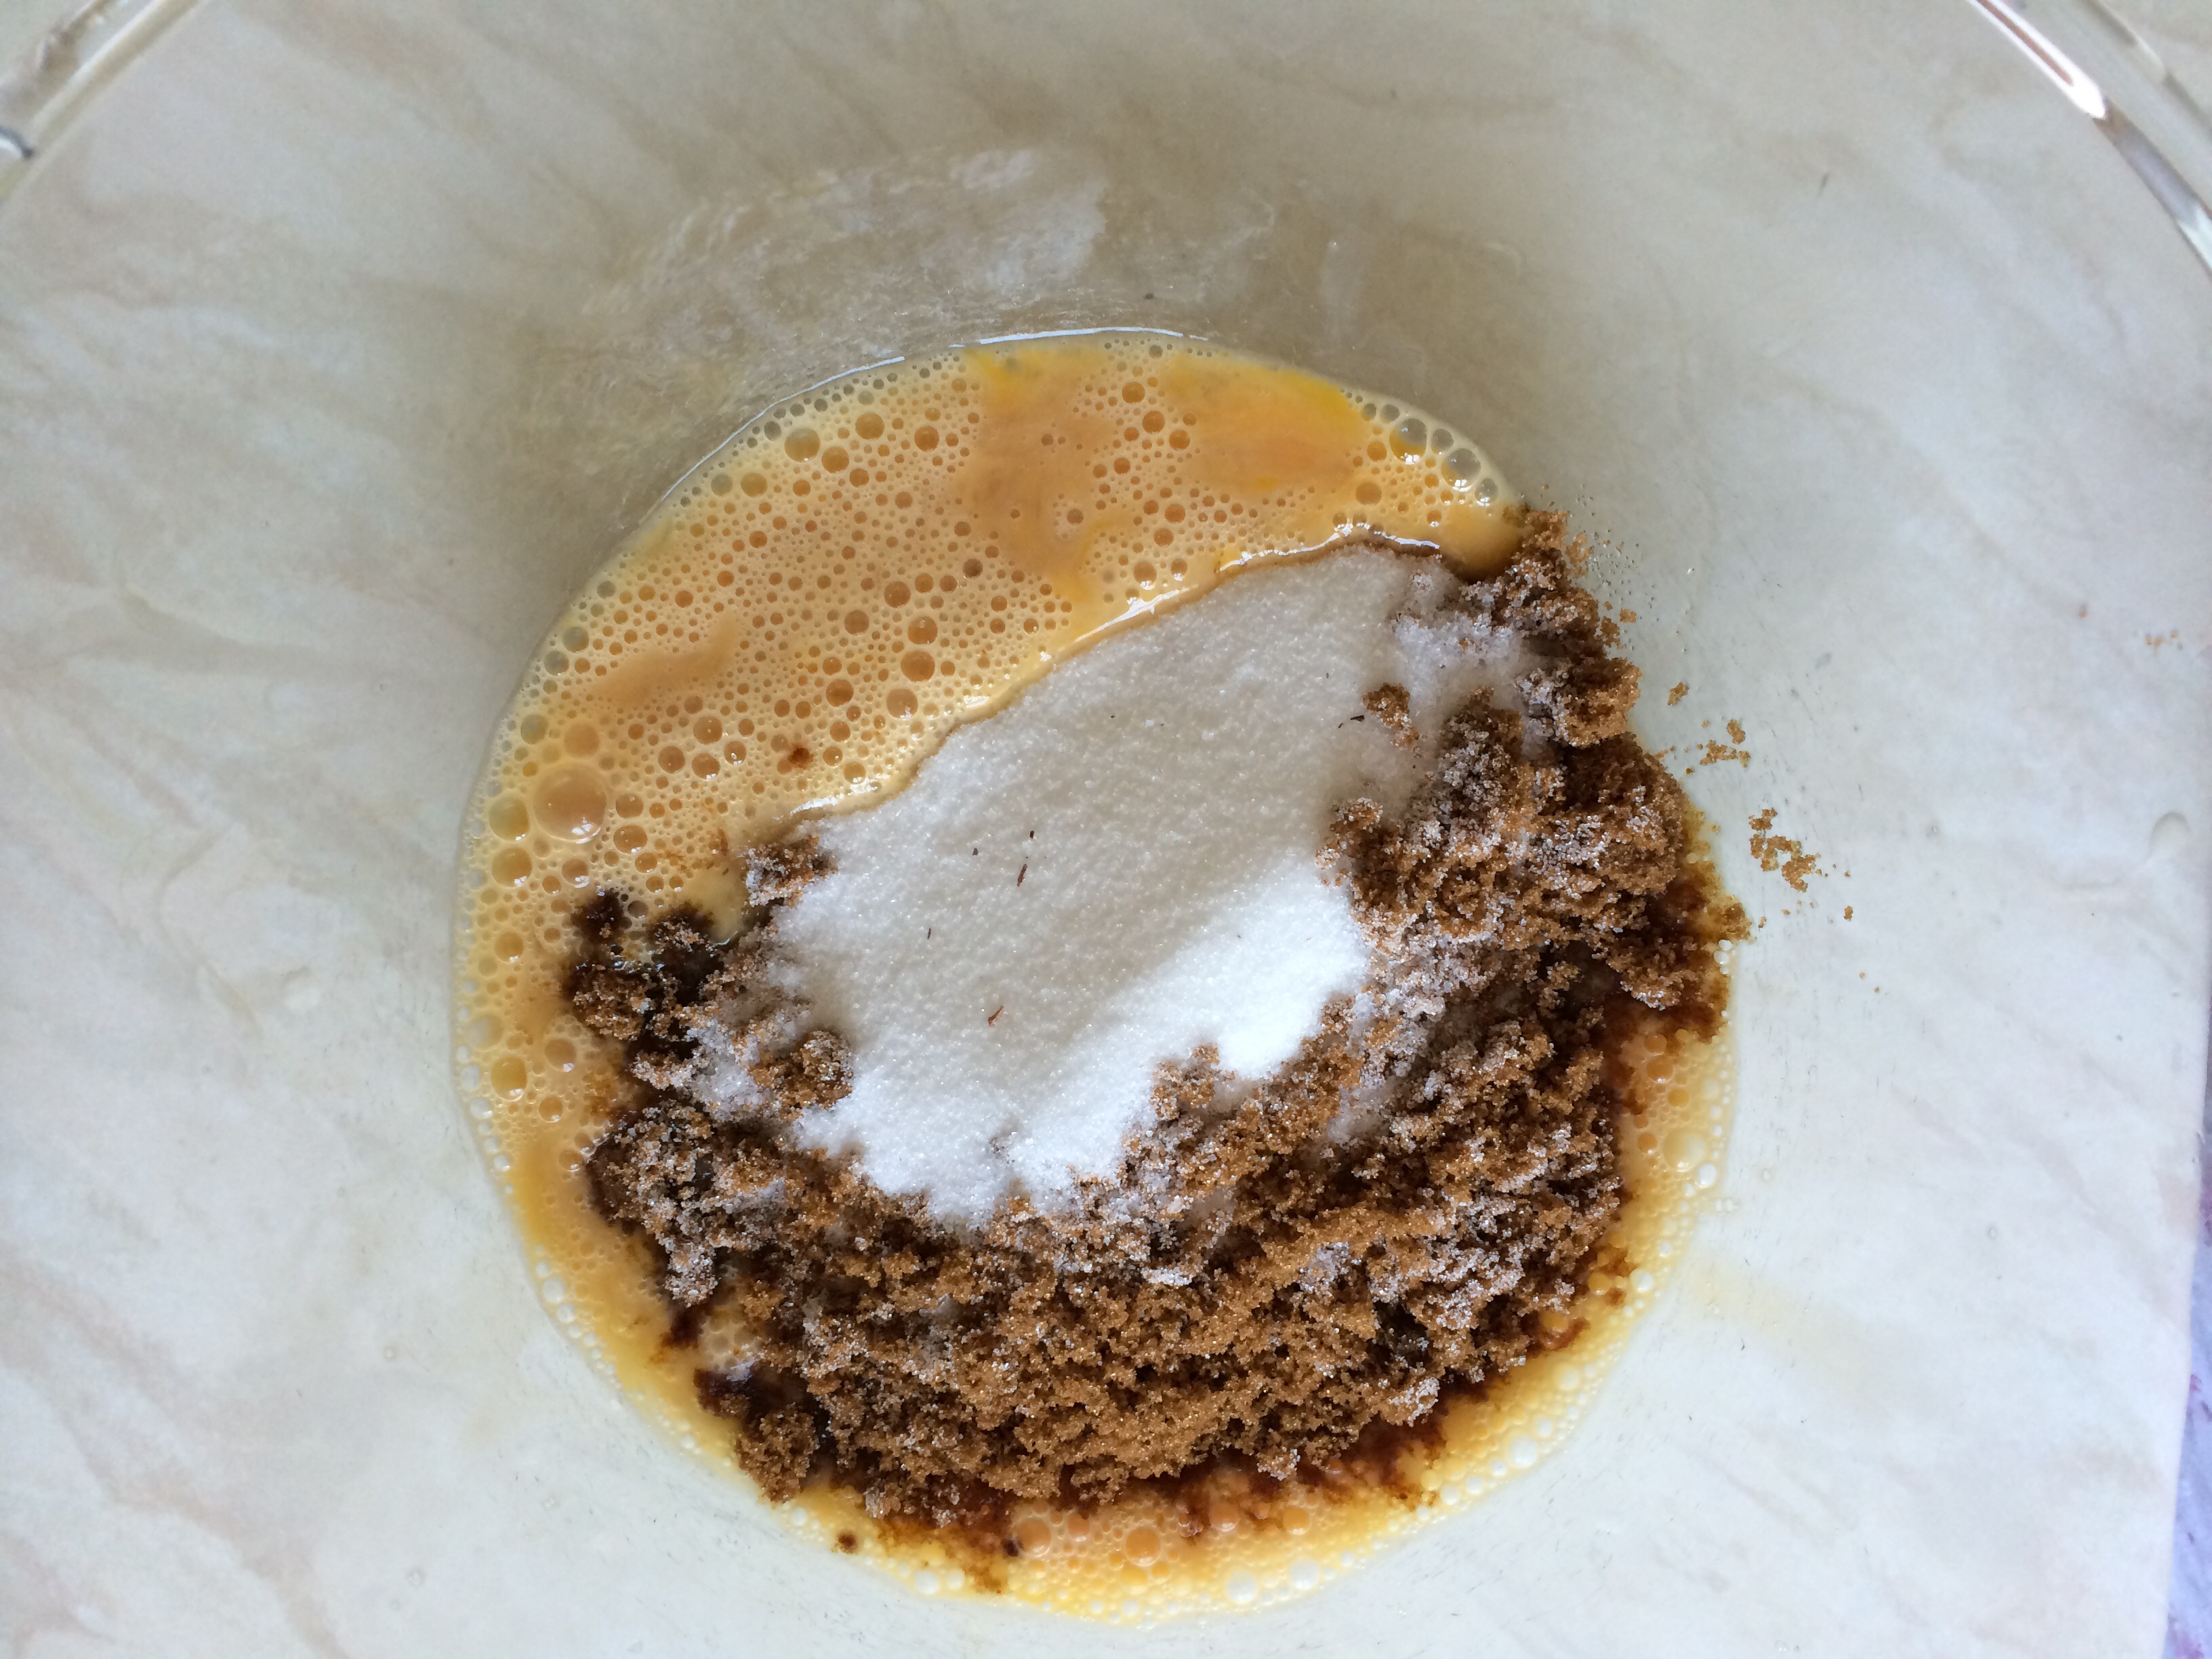
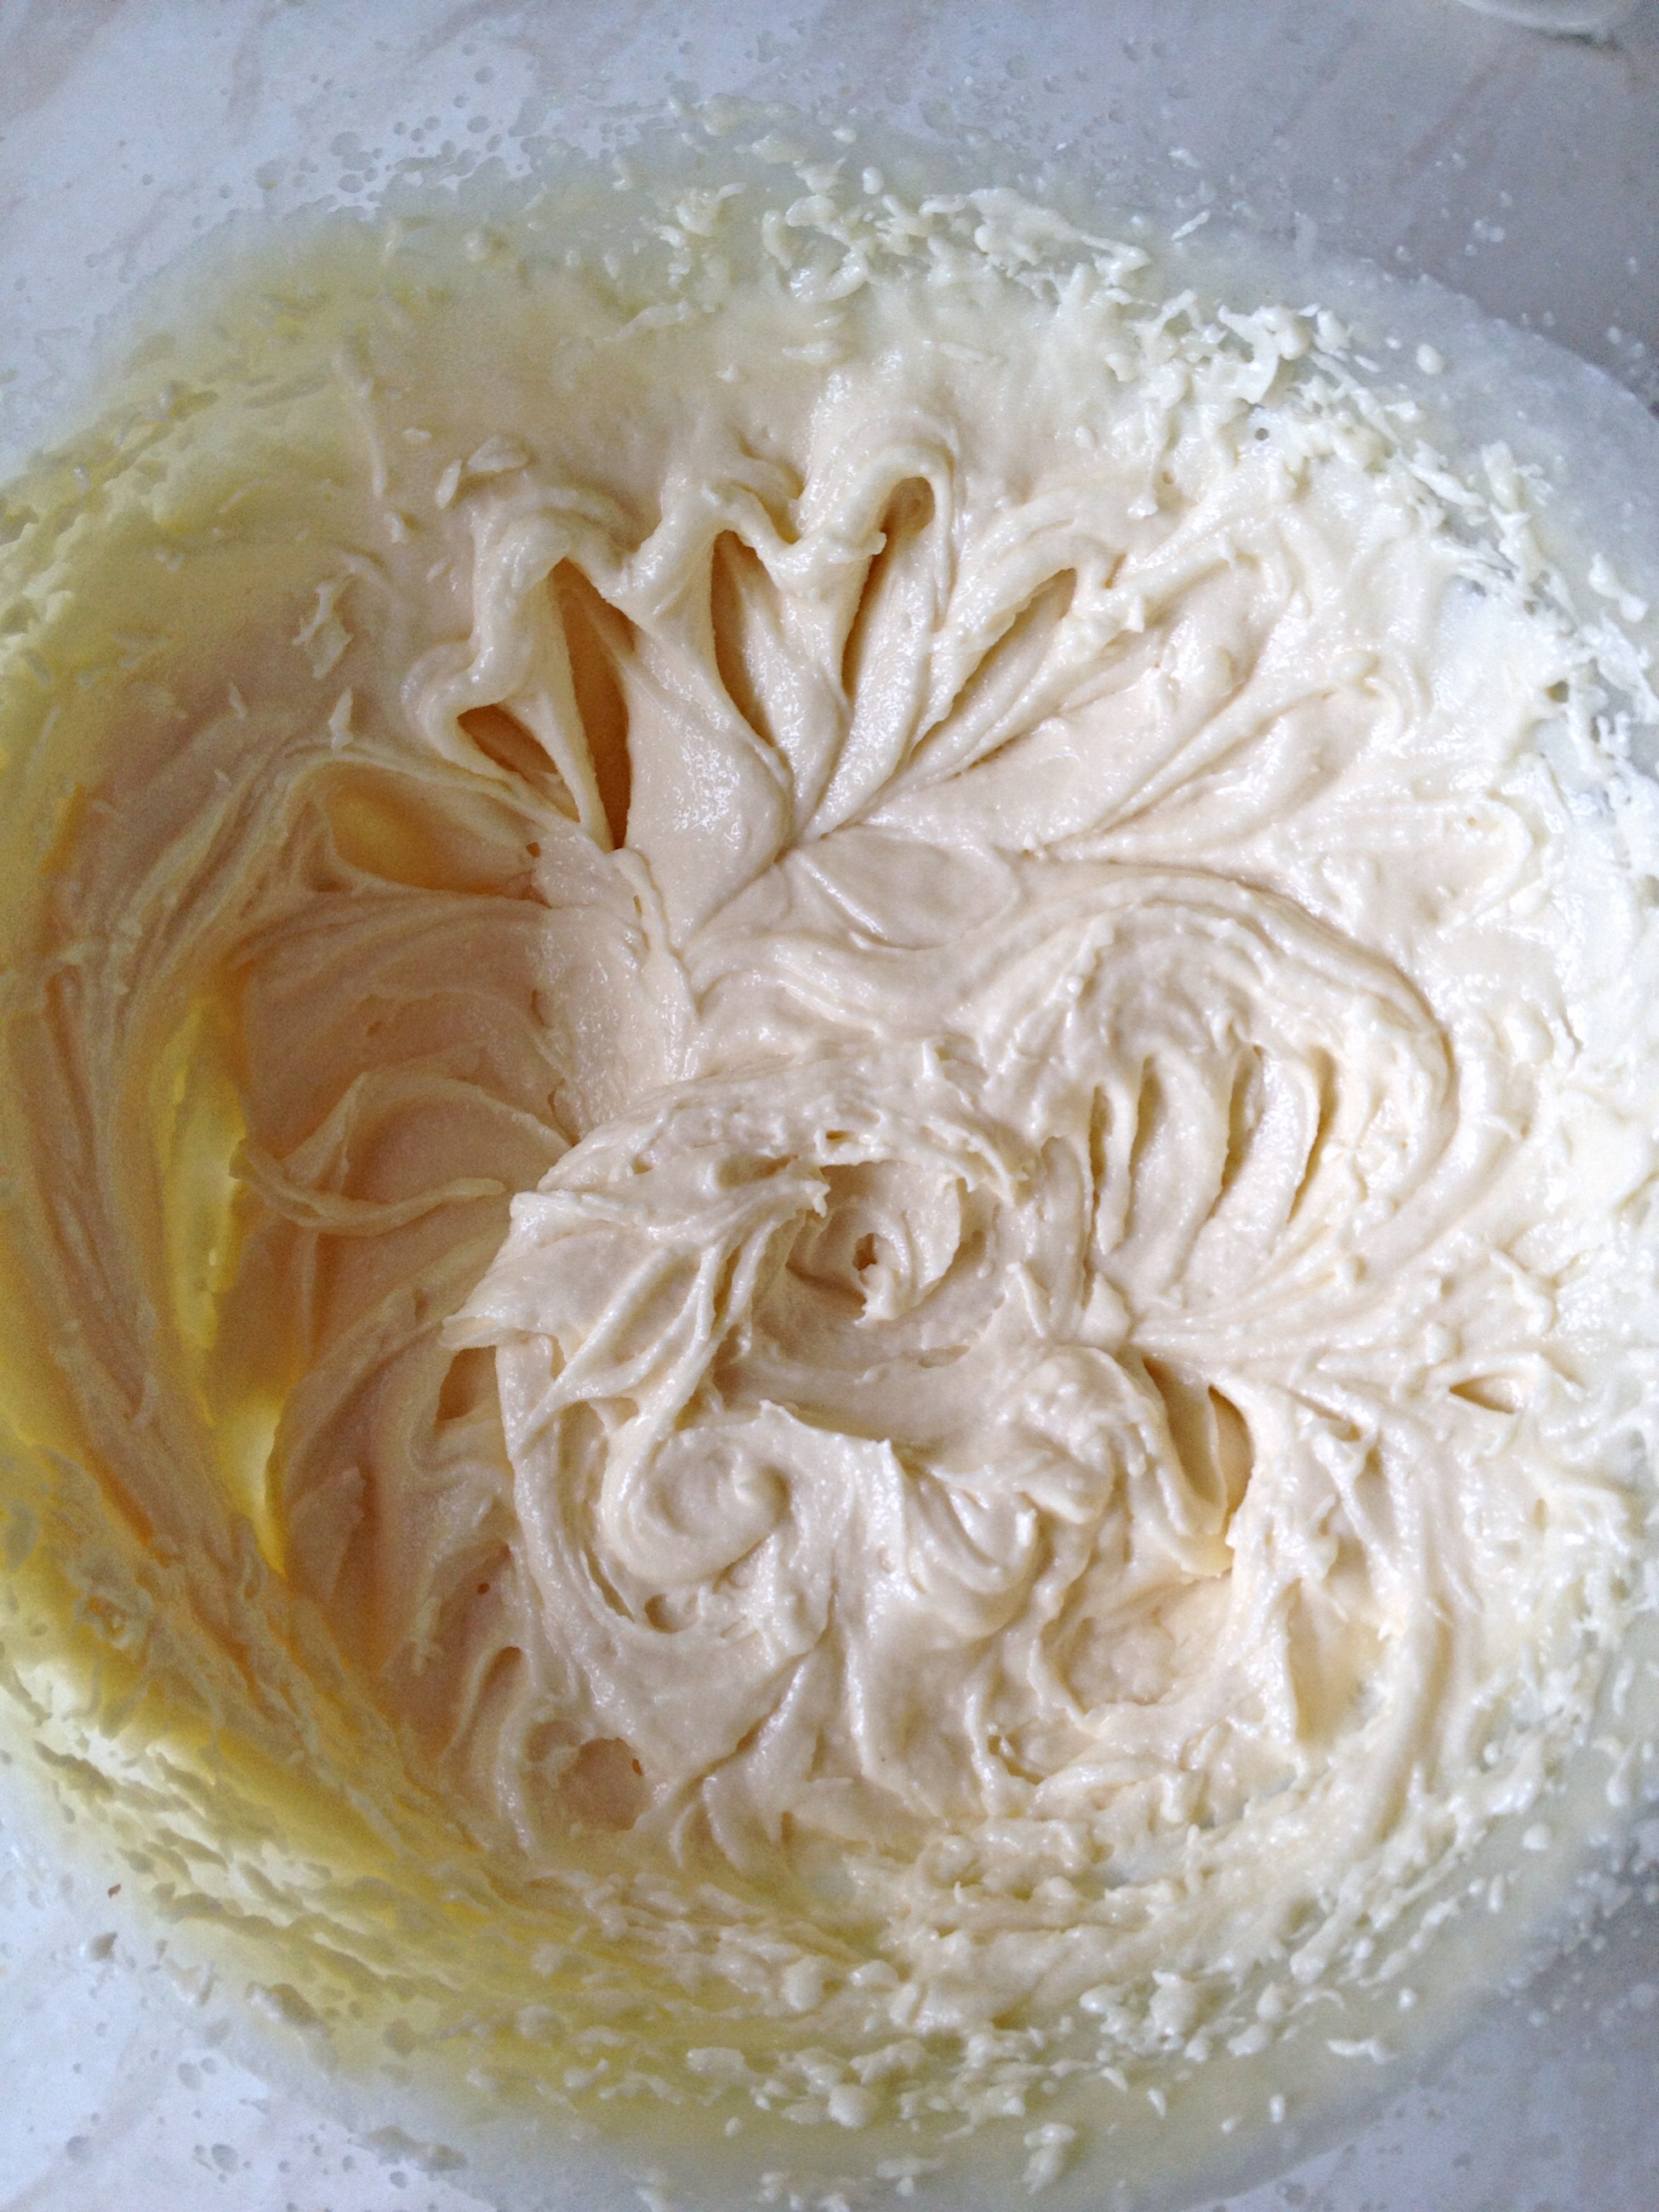
- Then place the butter, sugar, vanilla extract and salt in to a large bowl.
- Whisk the butter, sugar, vanilla and salt together until pale and creamy.
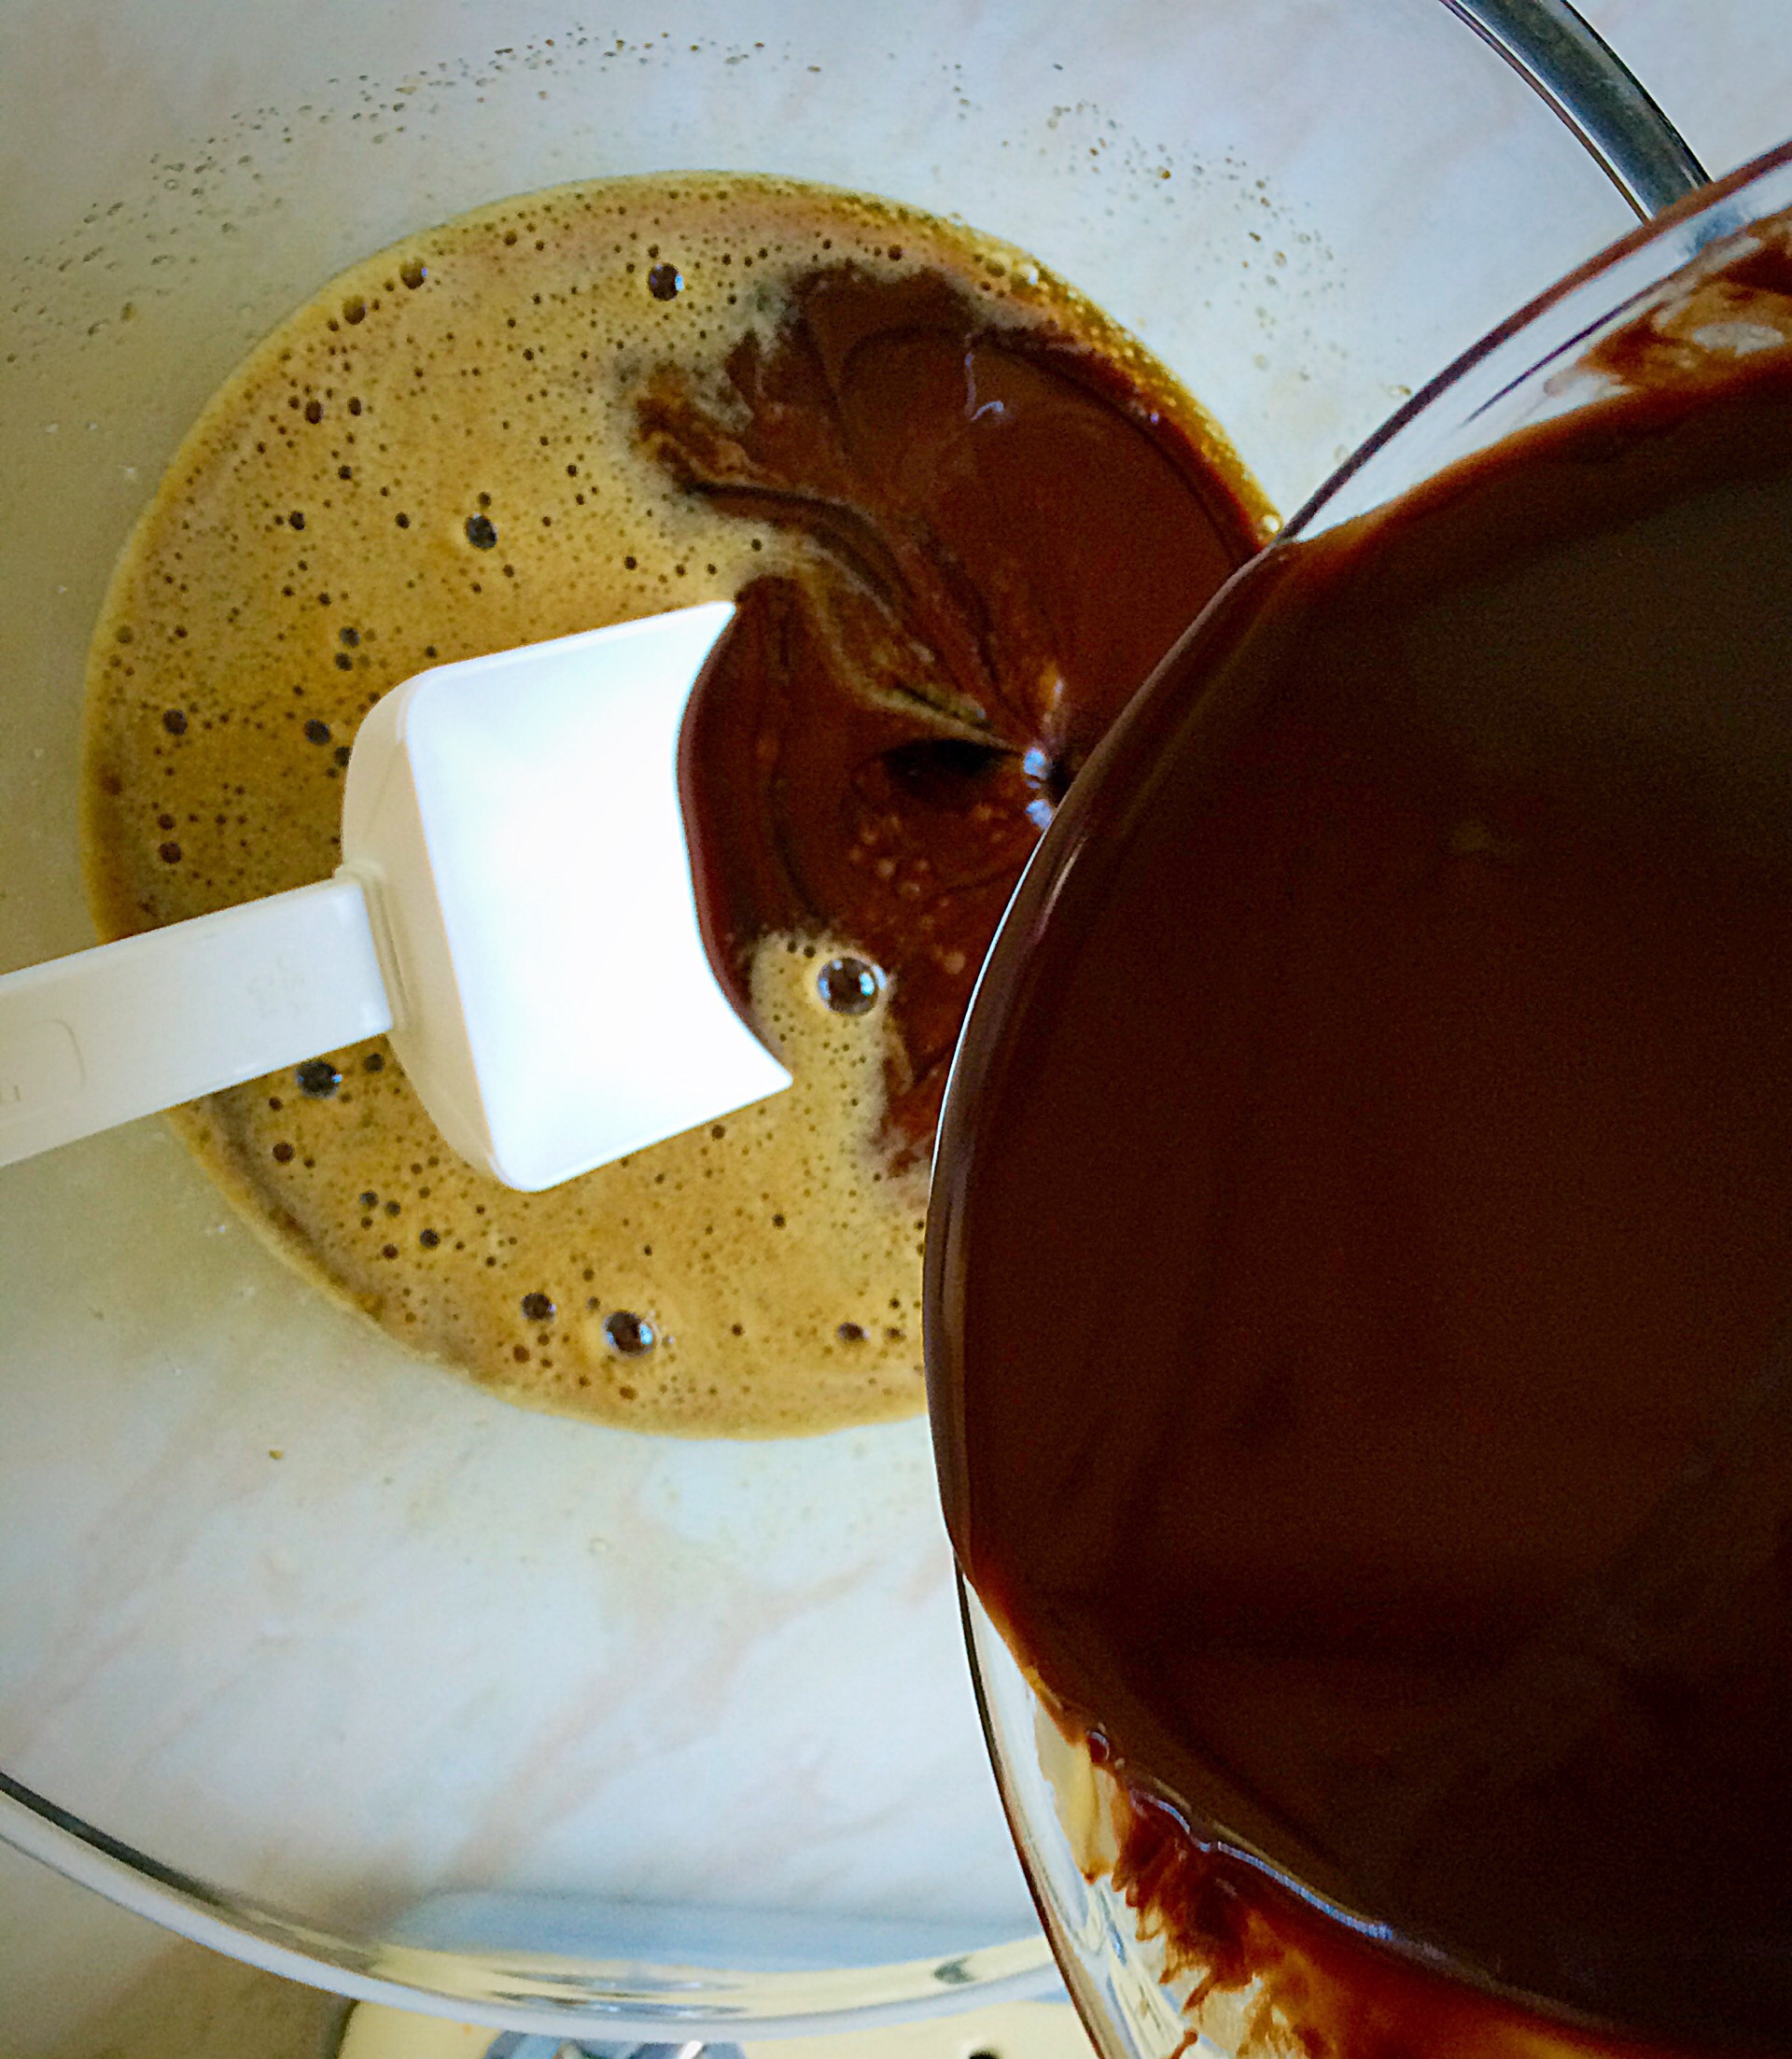
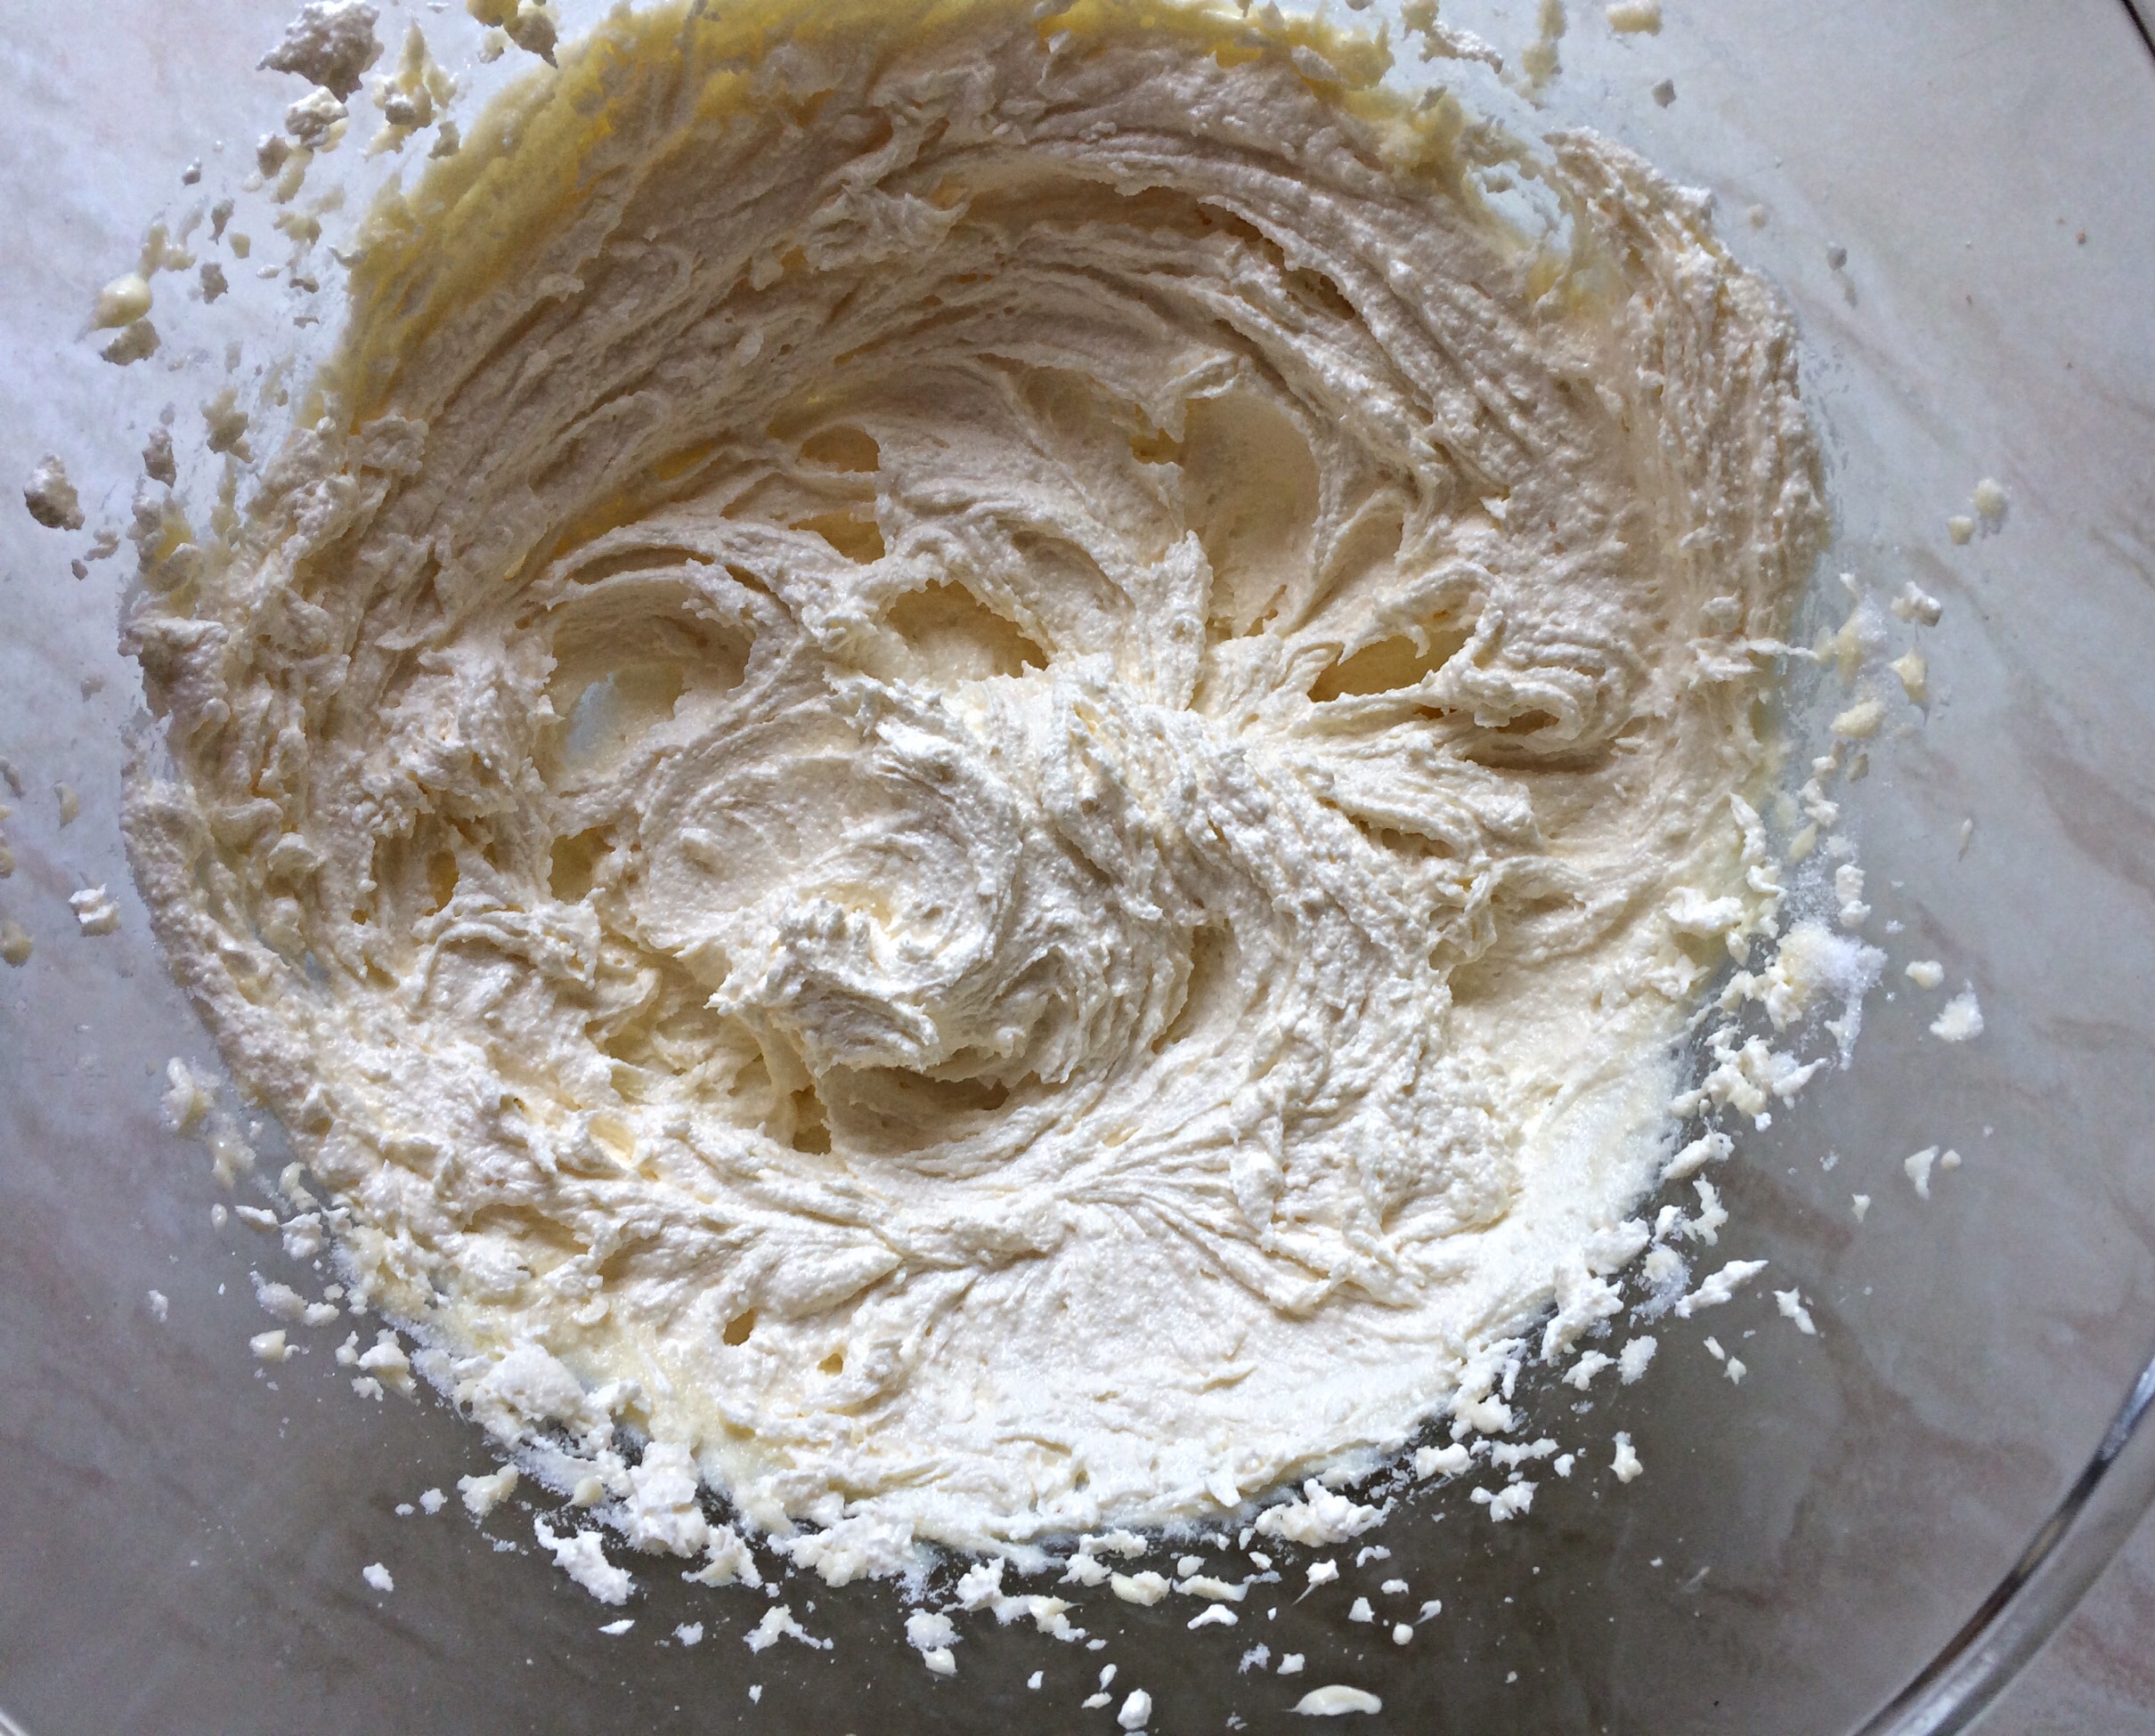
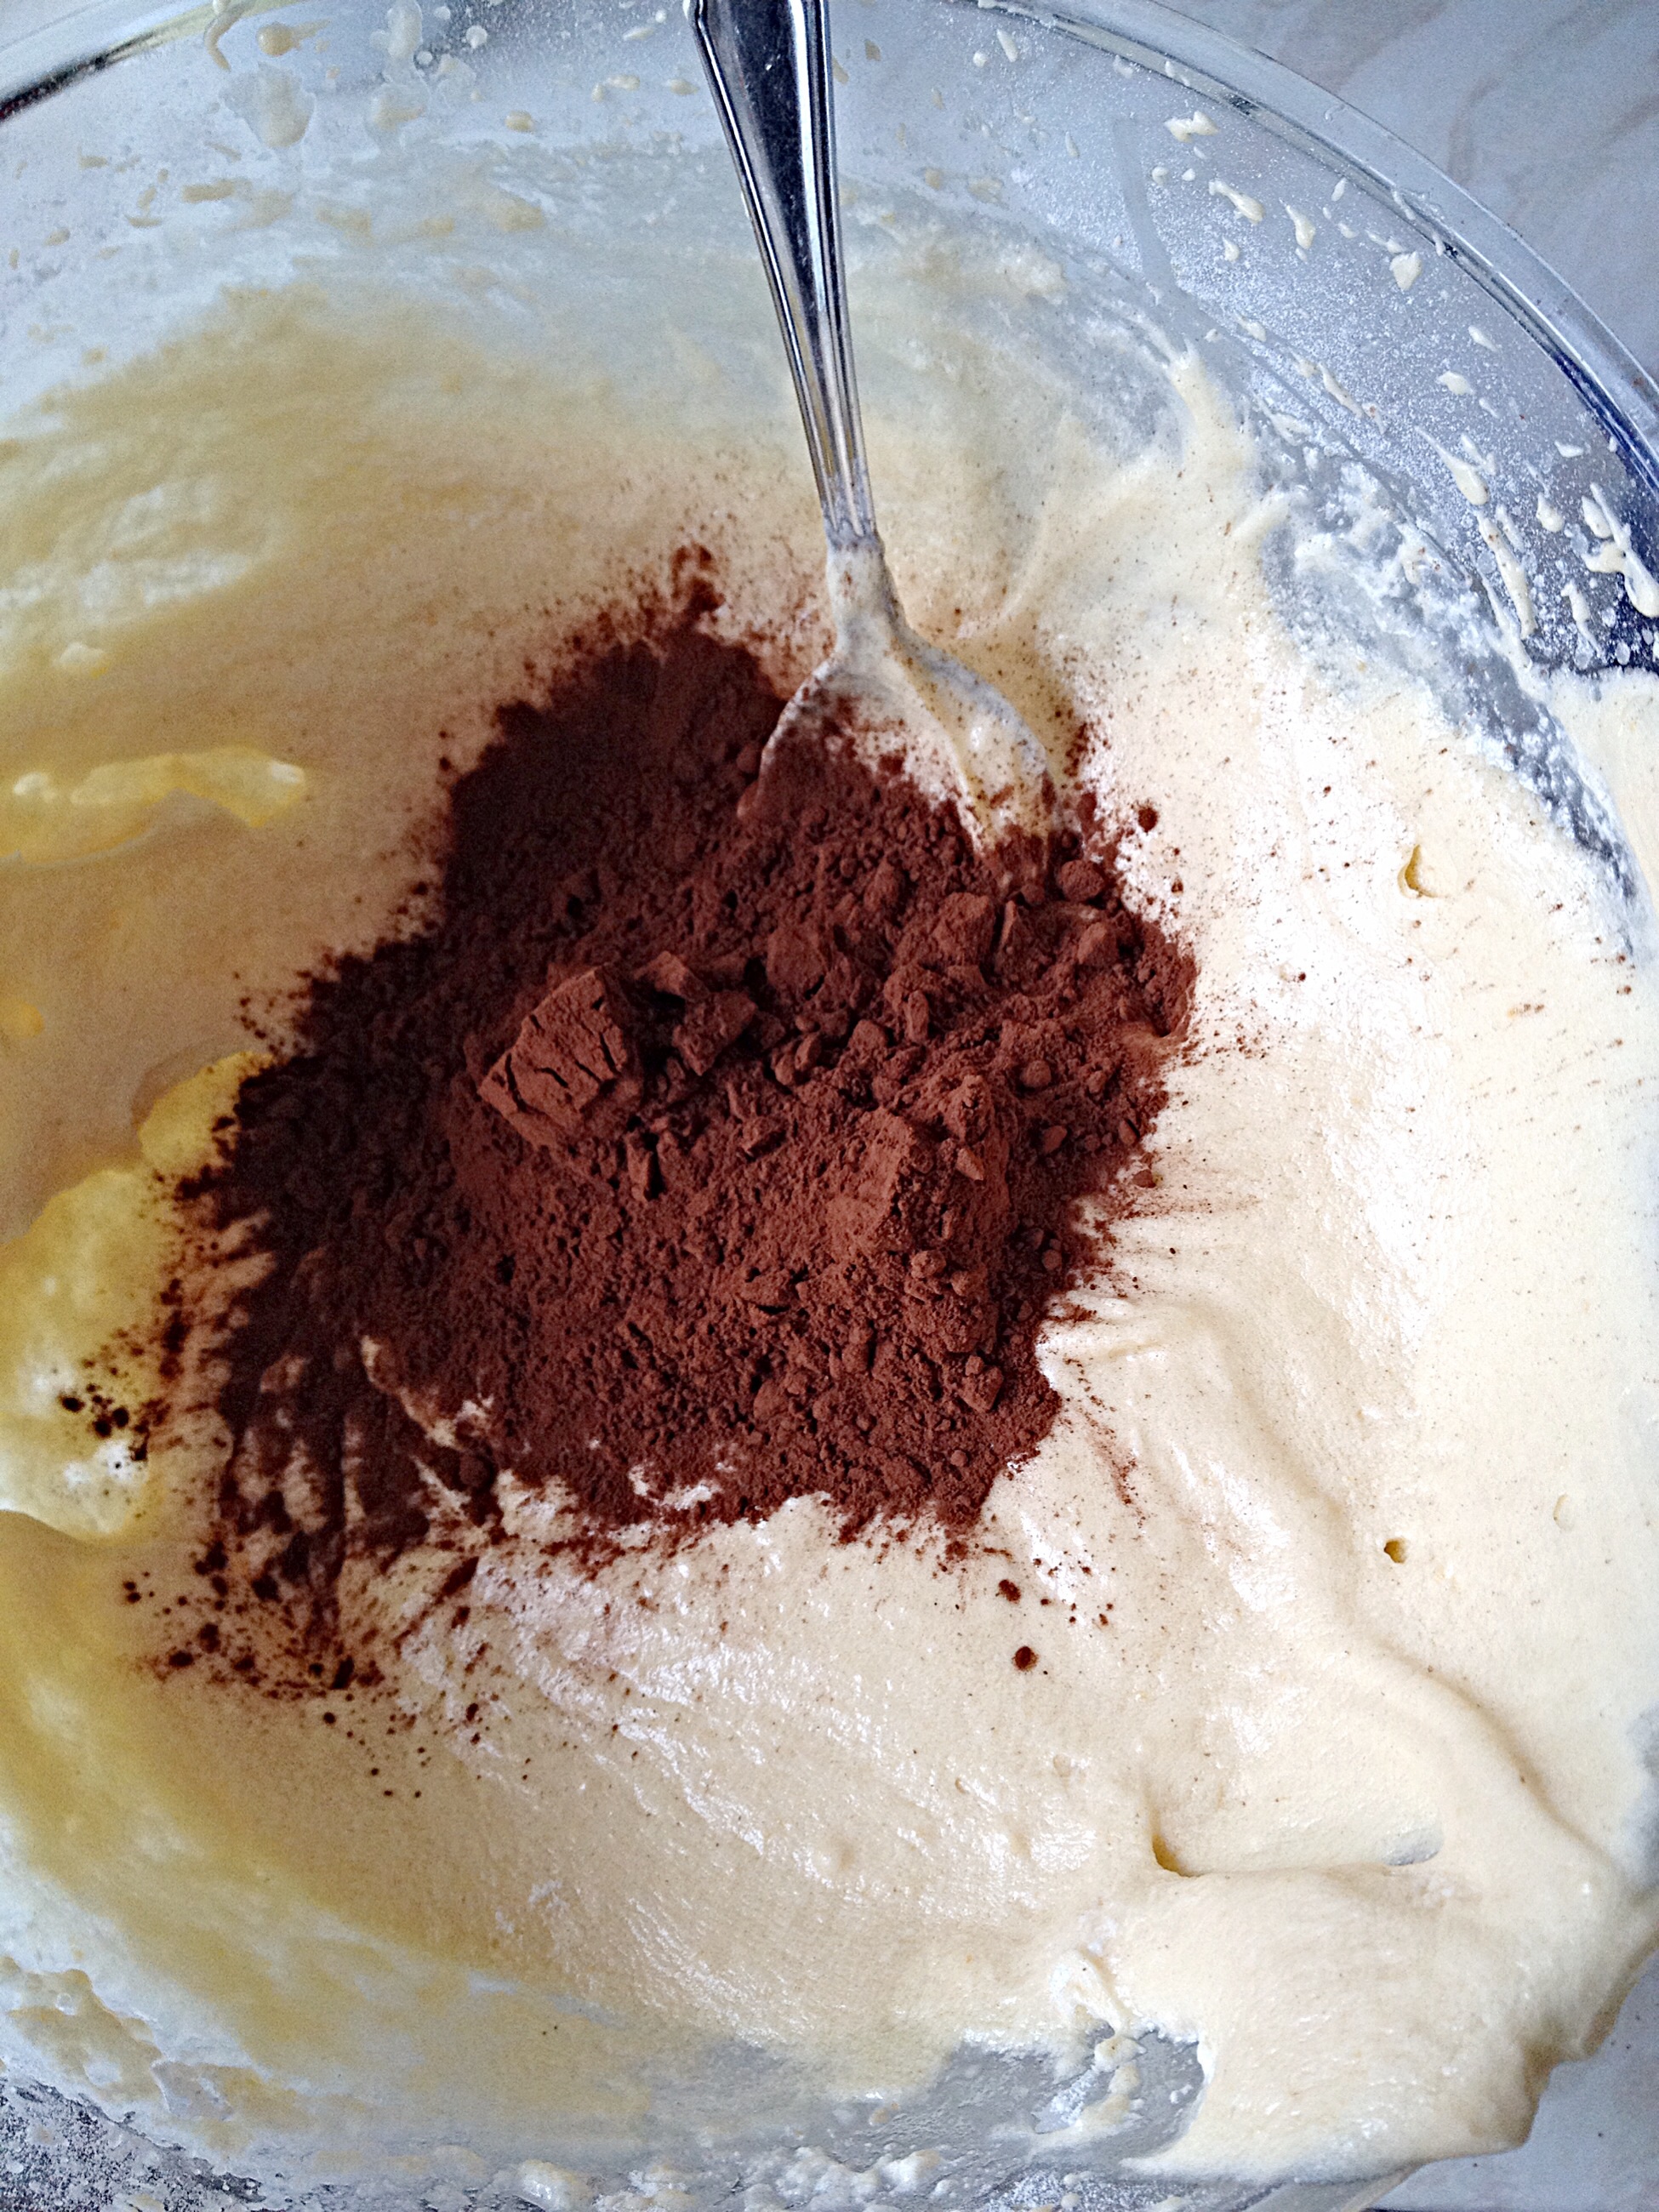
- Sift the flour, cocoa and baking powder together into a separate bowl (dry mix).
- Add one third of the dry mix to the creamed butter mixture, whisk briefly and then add 2 eggs and whisk again.
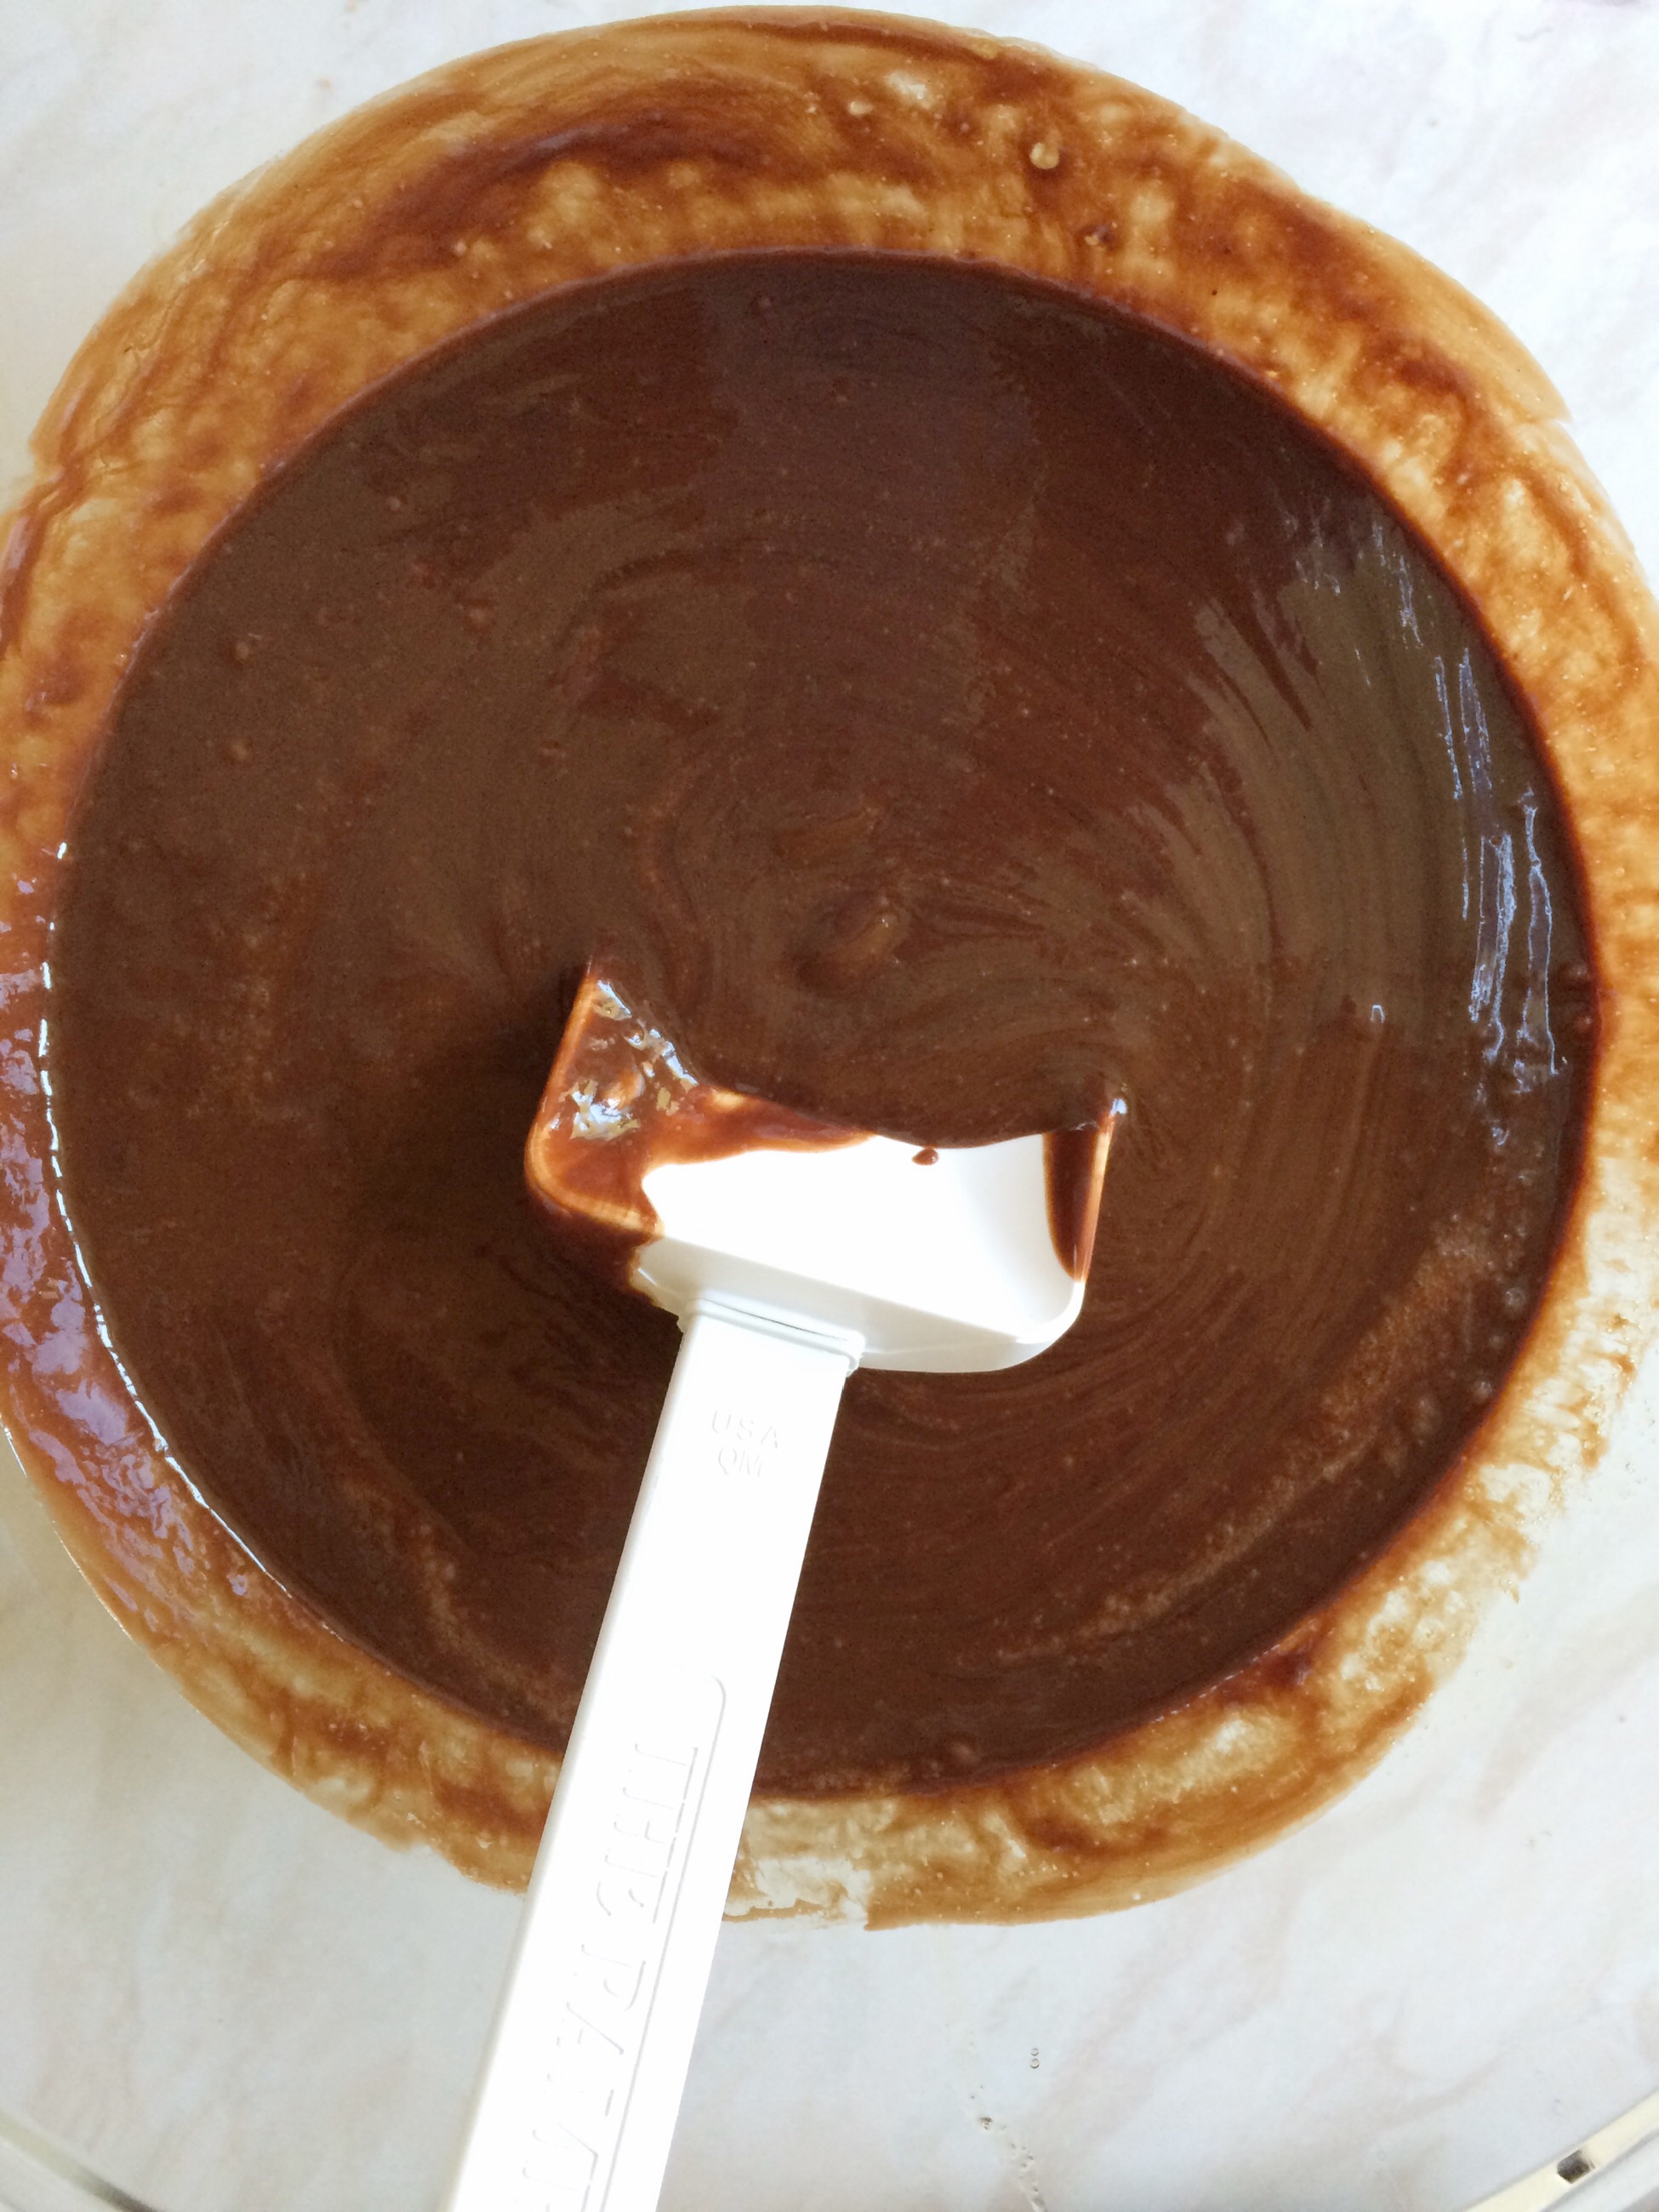
- Repeat the last 2 steps again and then finish by adding the milk and the last of the dry mix. Whisk until fully incorporated.
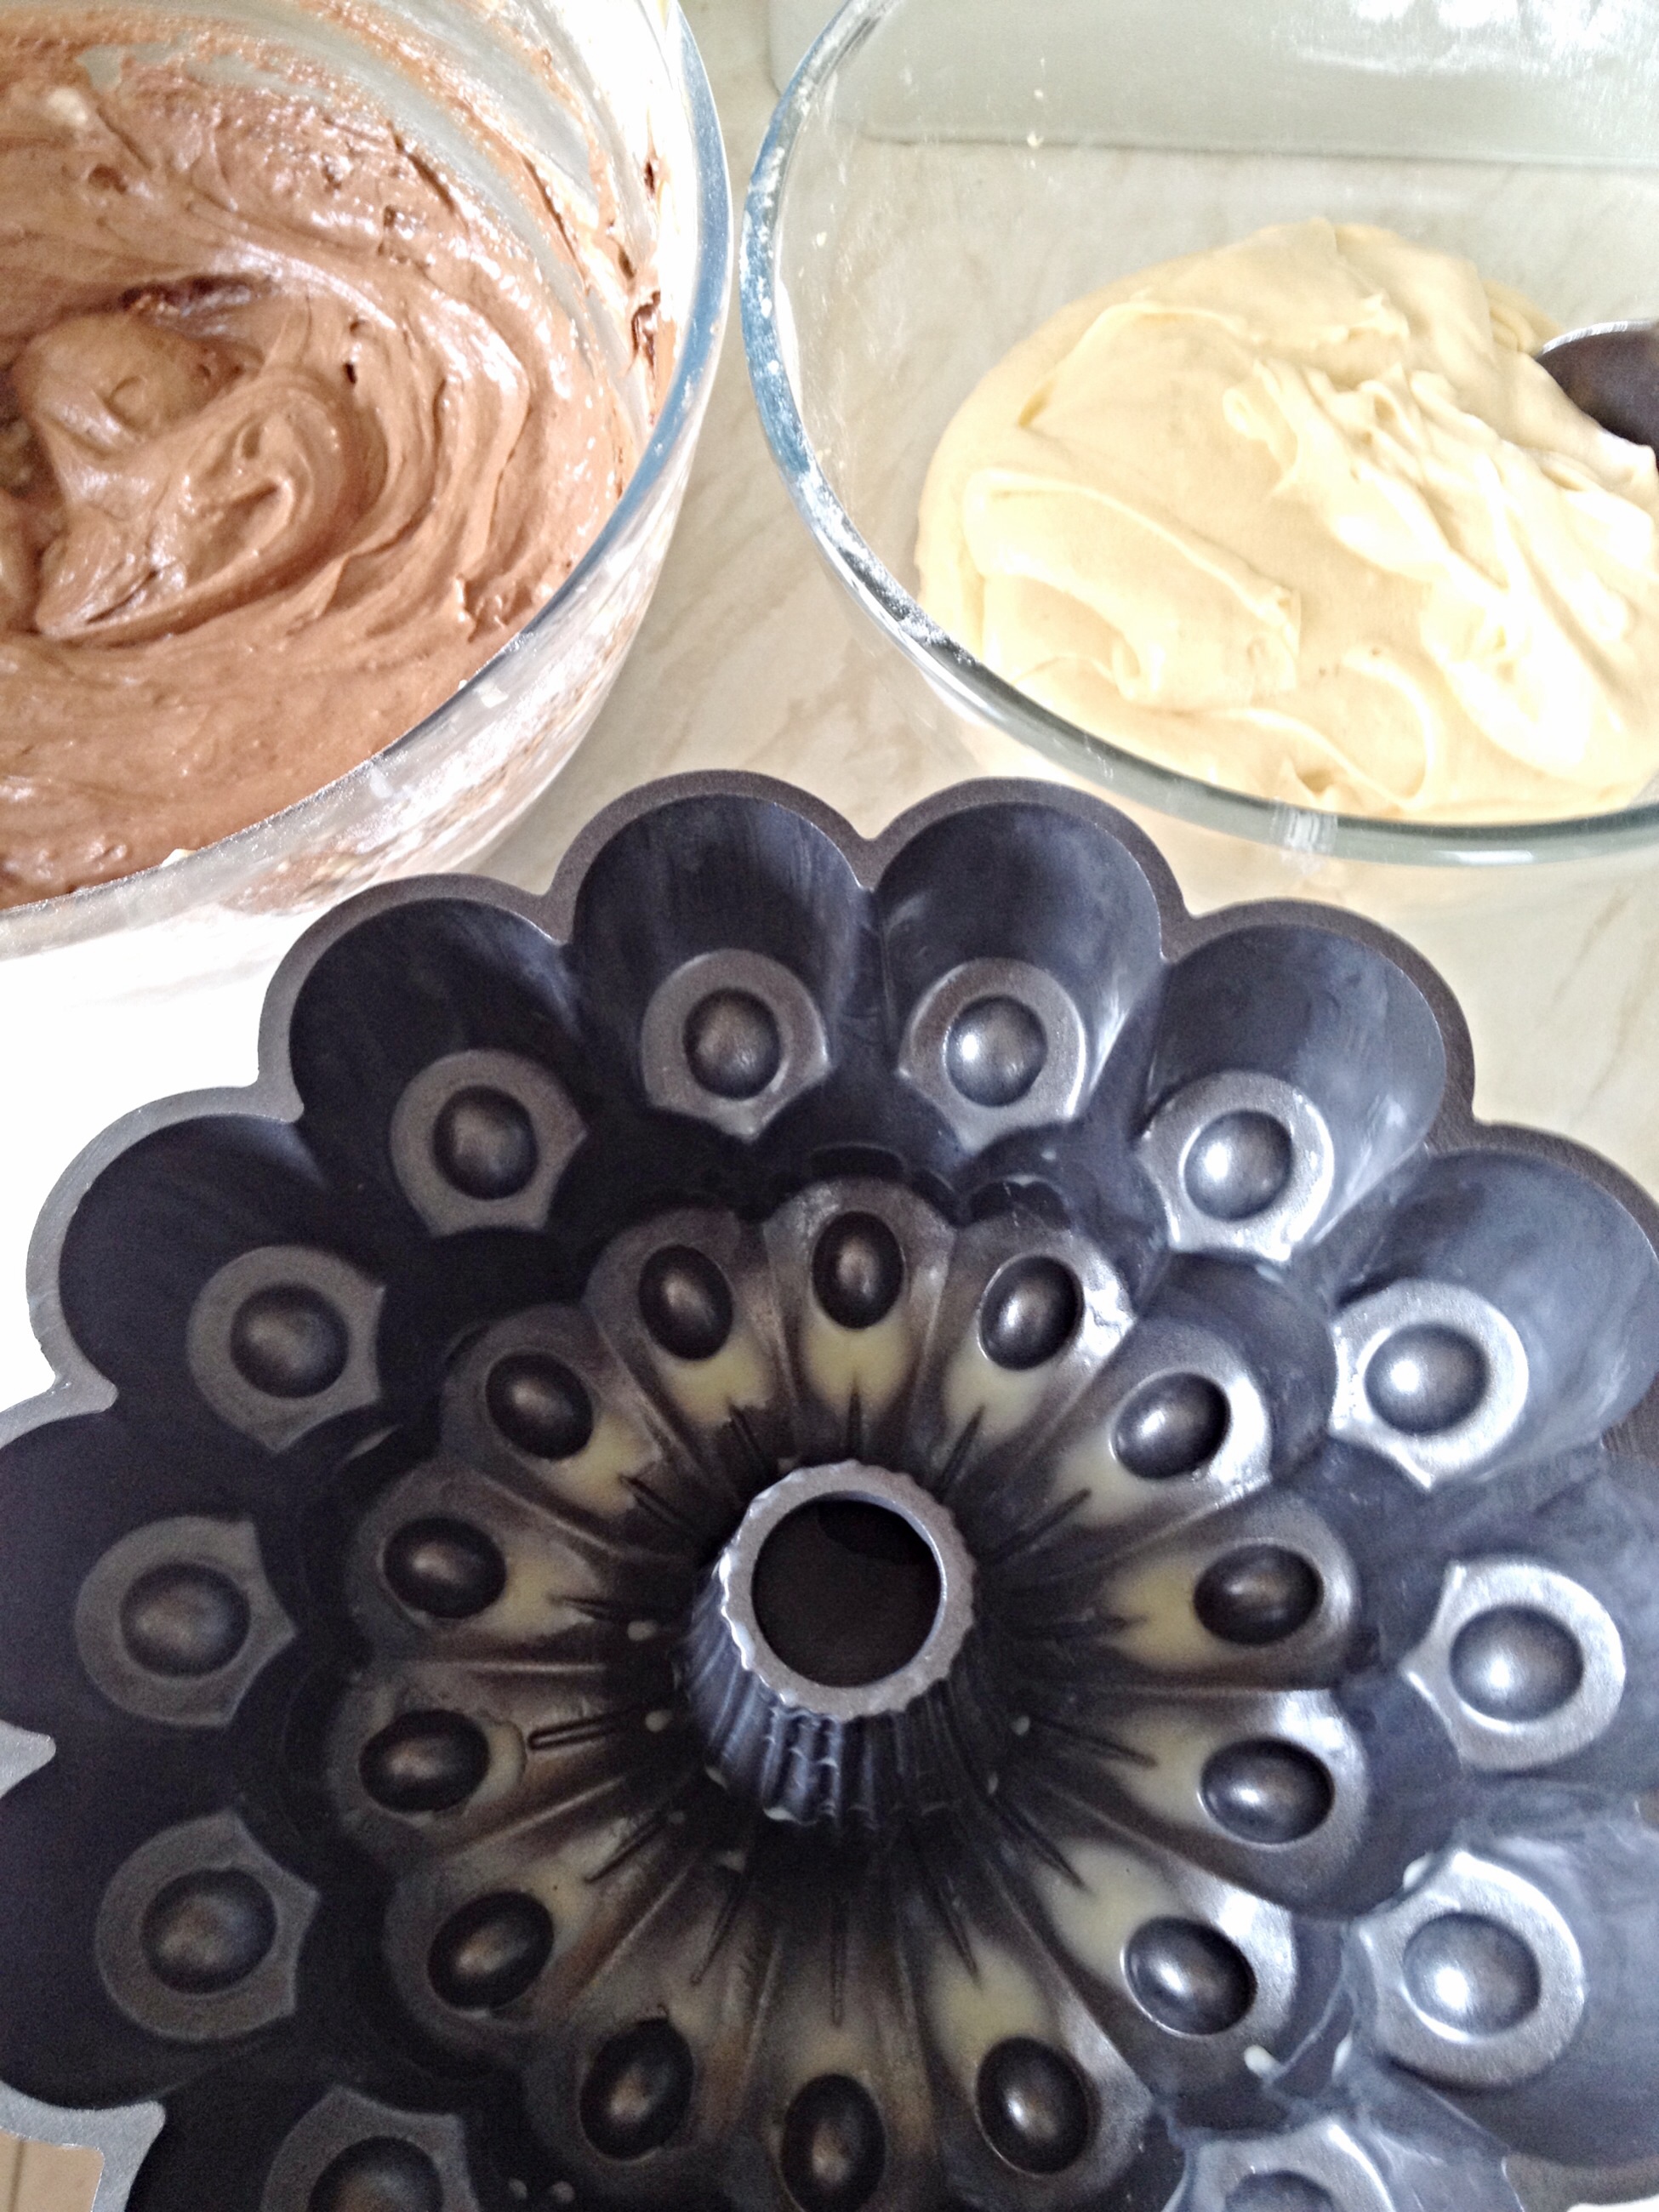
- Spoon the chocolate batter into each cupcake case. I use a standard ice cream scoop as this ensures each cupcake is the same size.
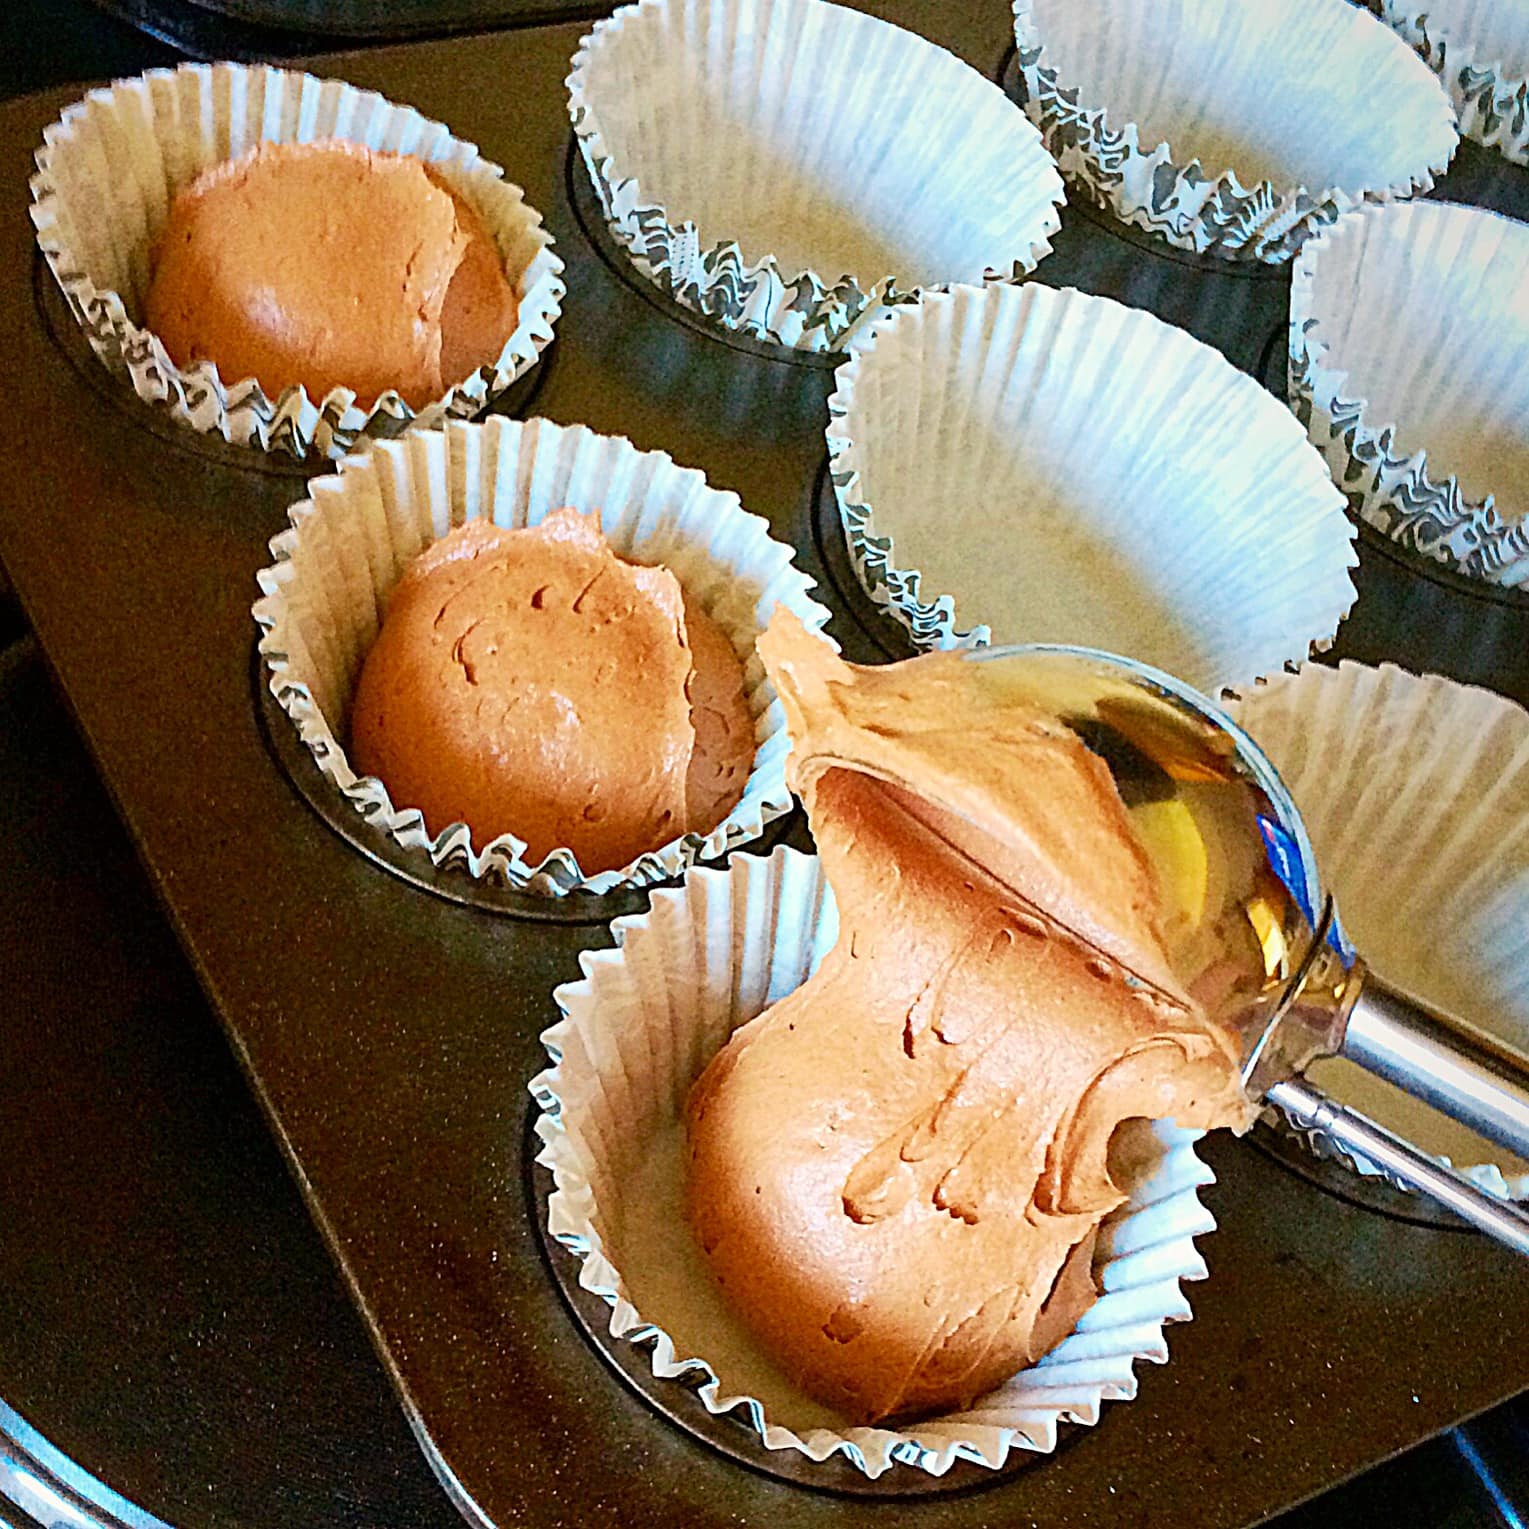
- Finally, check that all of the cupcake cases are filled equally.

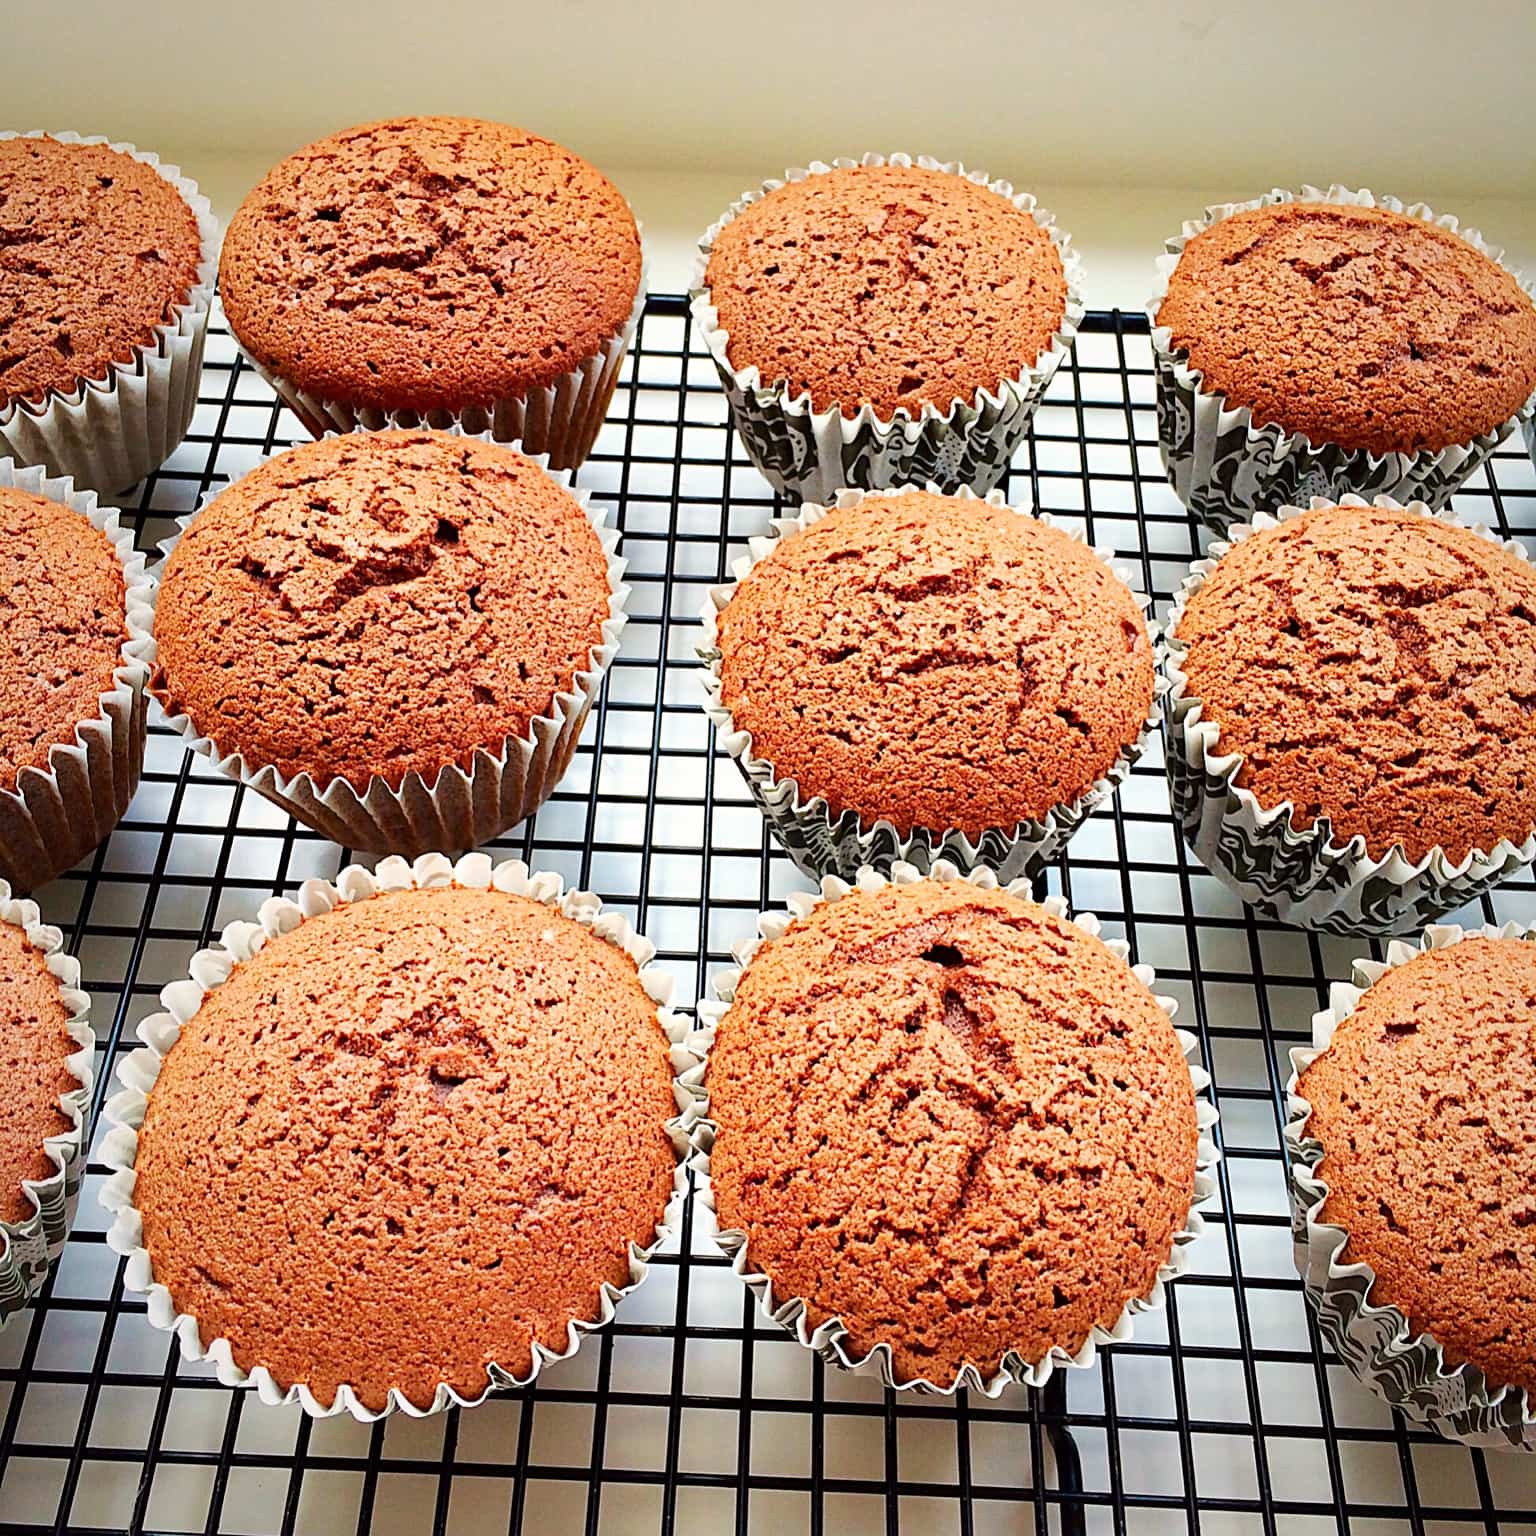
Baking The Cupcakes
- Place the tins into the middle and lower part of a preheated oven and bake for 15 – 20 minutes.
- The cupcakes are cooked when pressed lightly on top, the sponge springs back.

- As soon as the cupcakes are baked remove from the oven.
- Remove the cupcakes from the pan and leave to cool completely on a cooling rack.
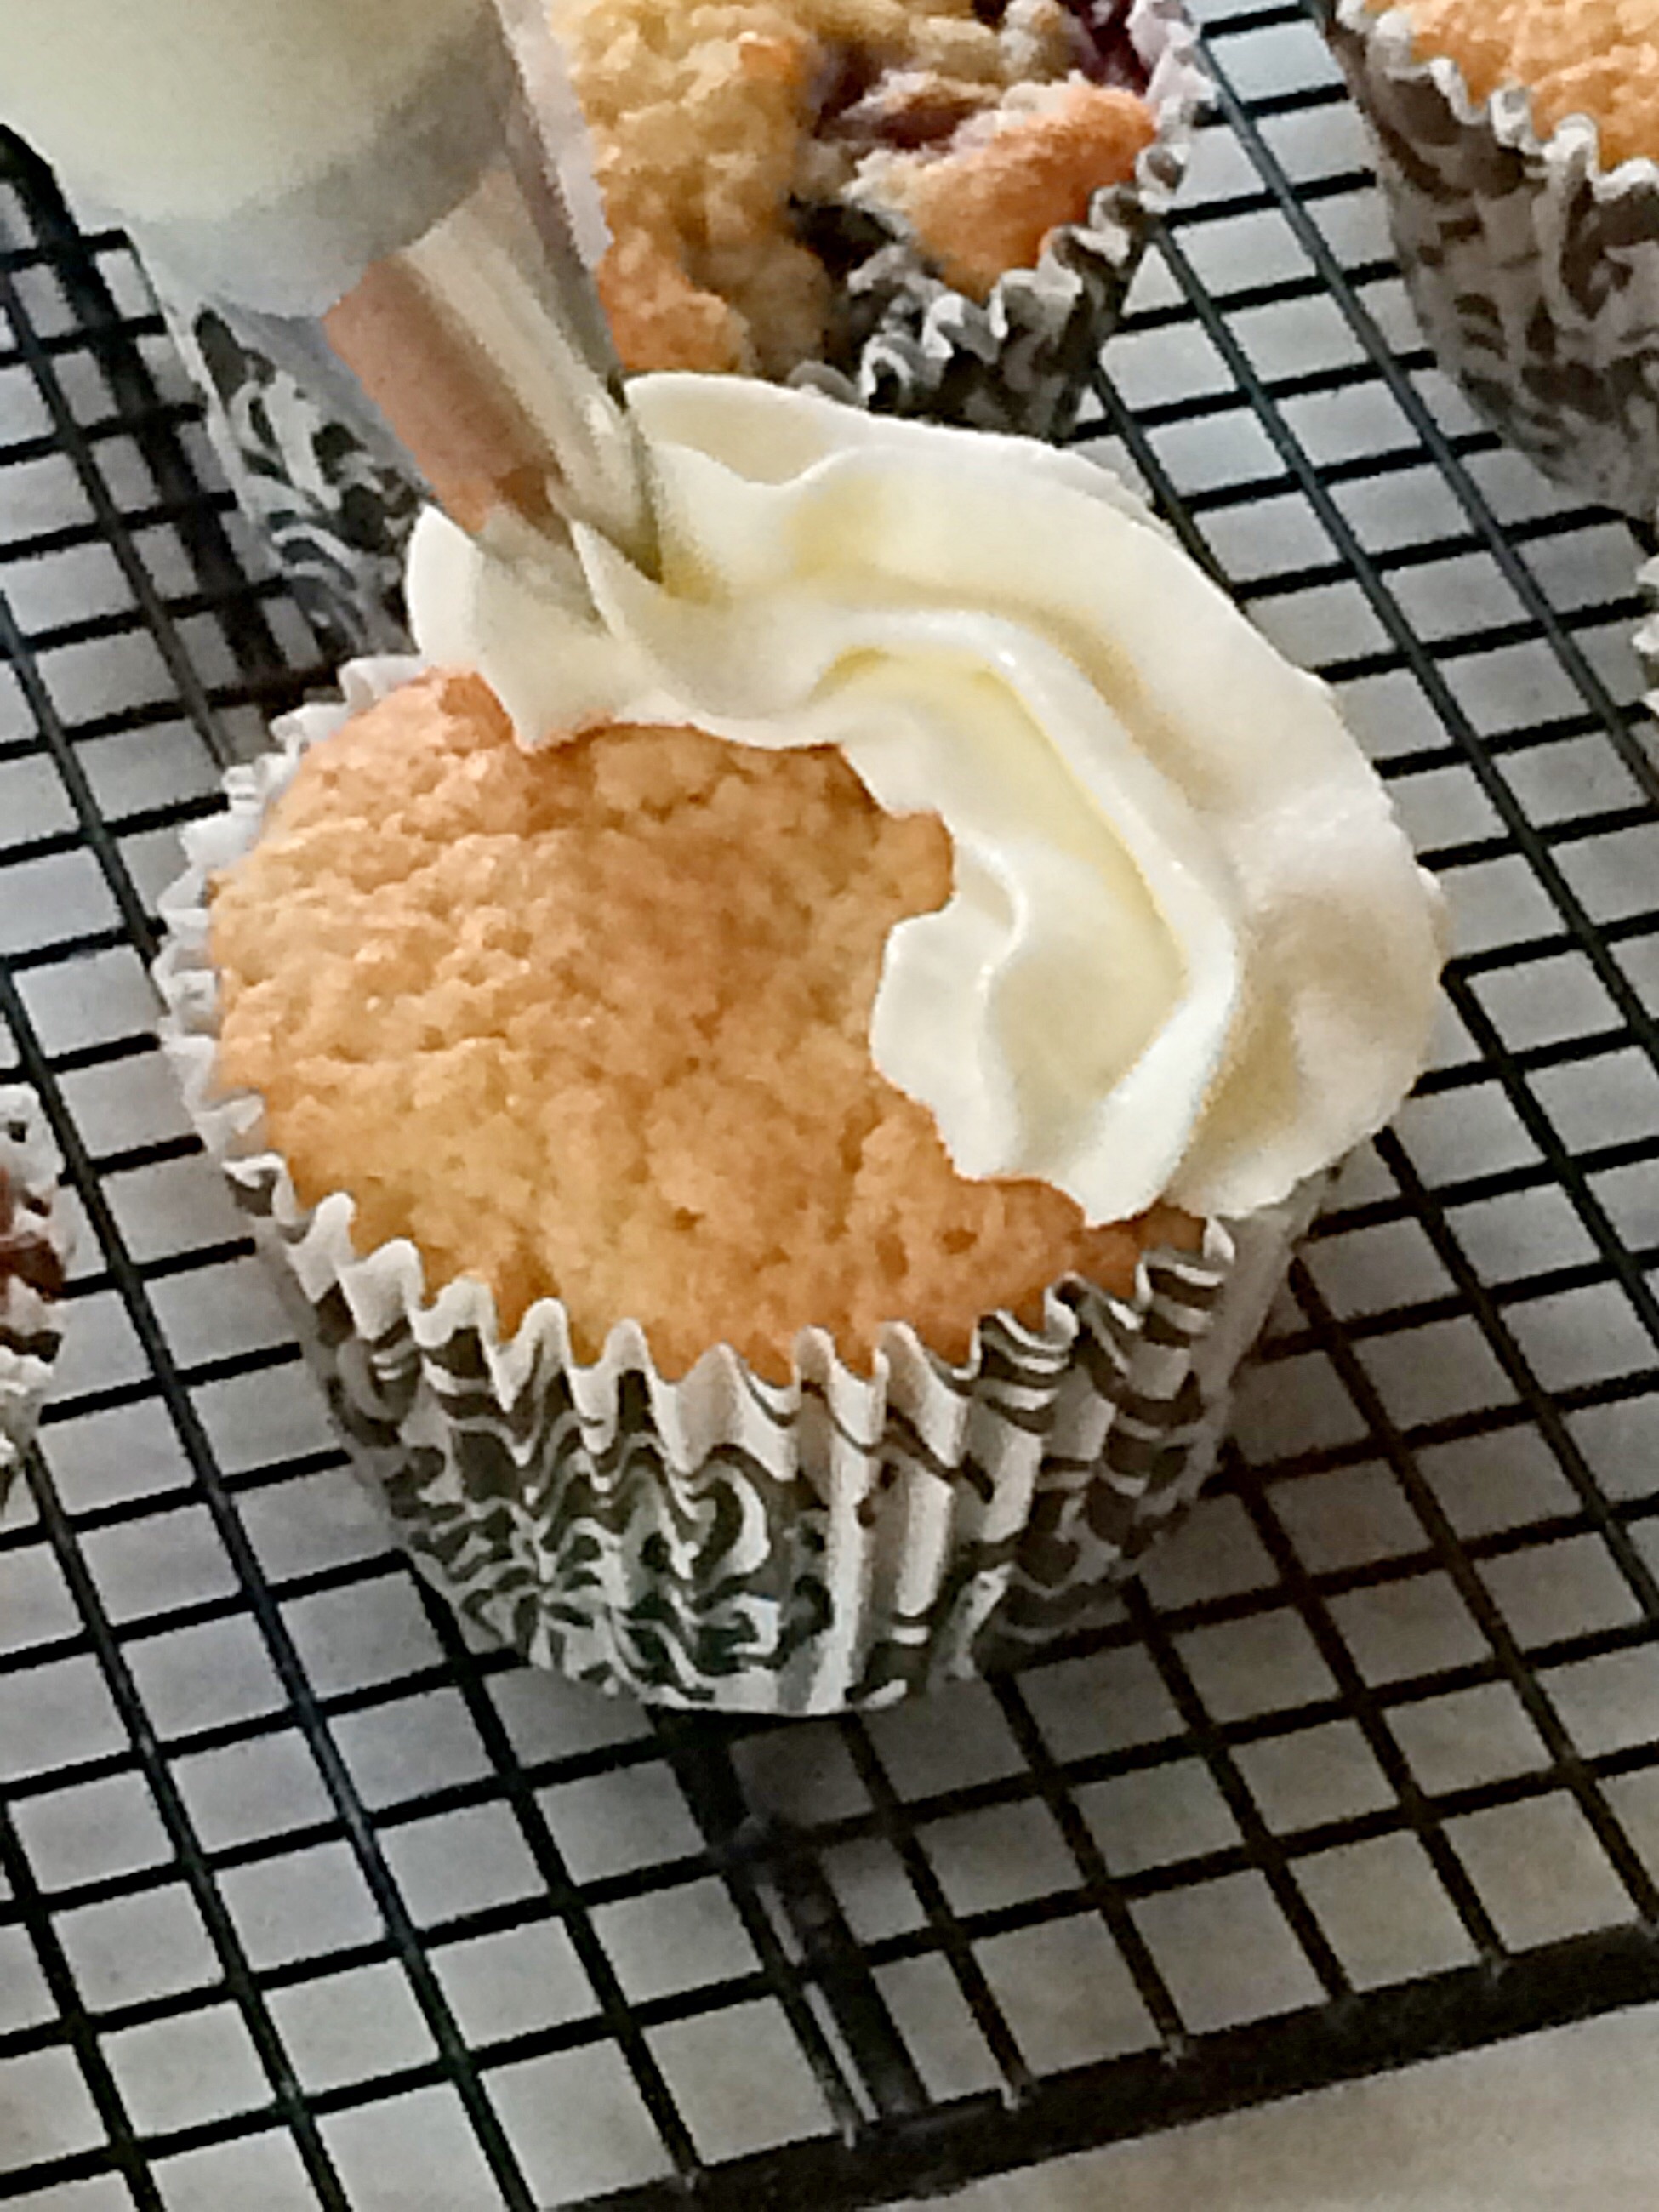
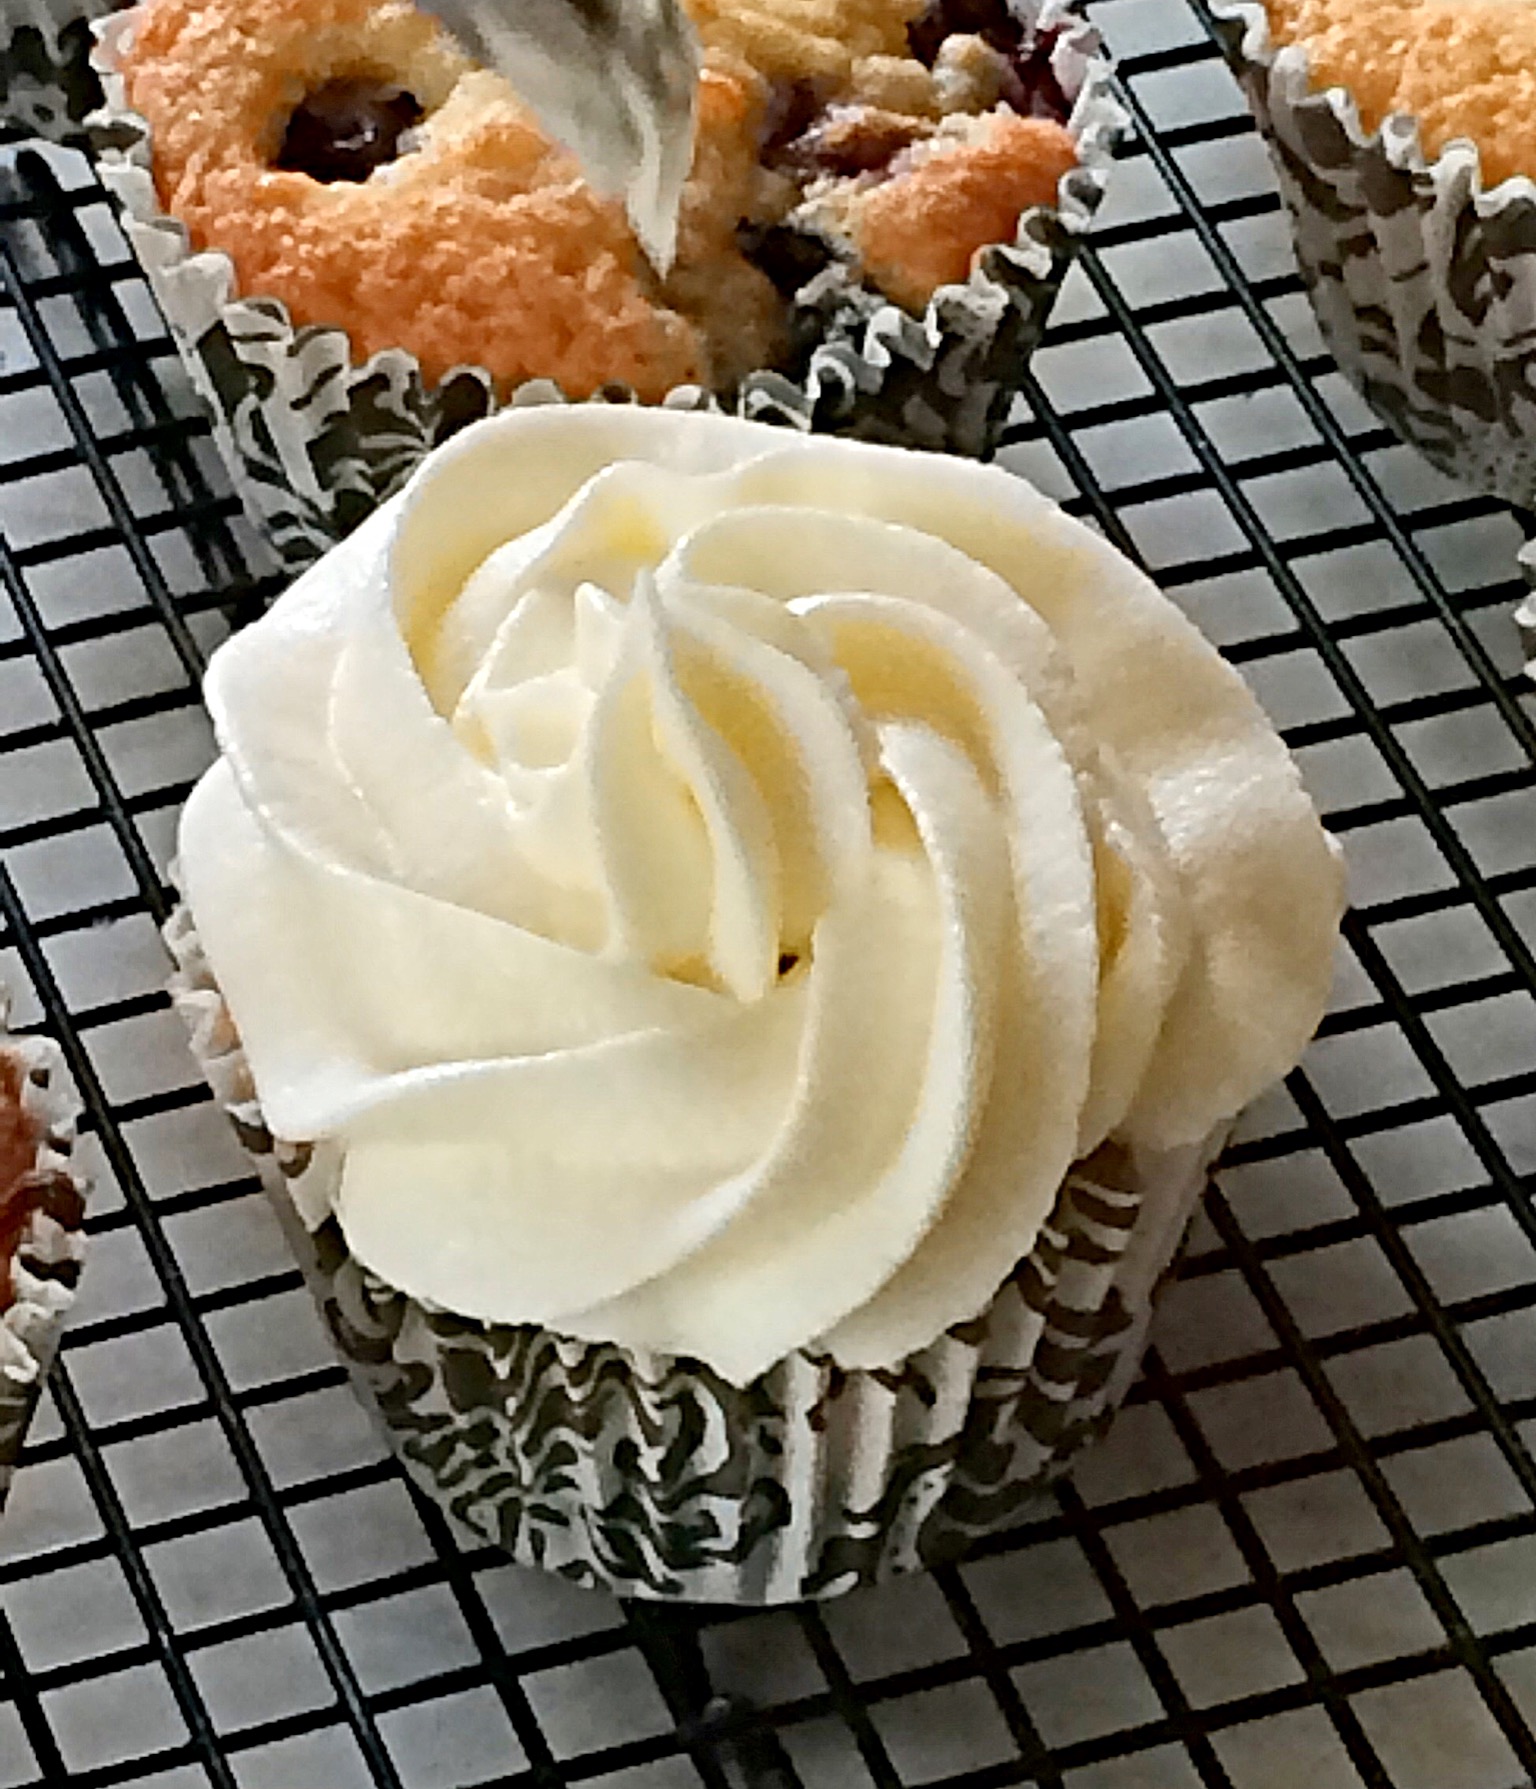
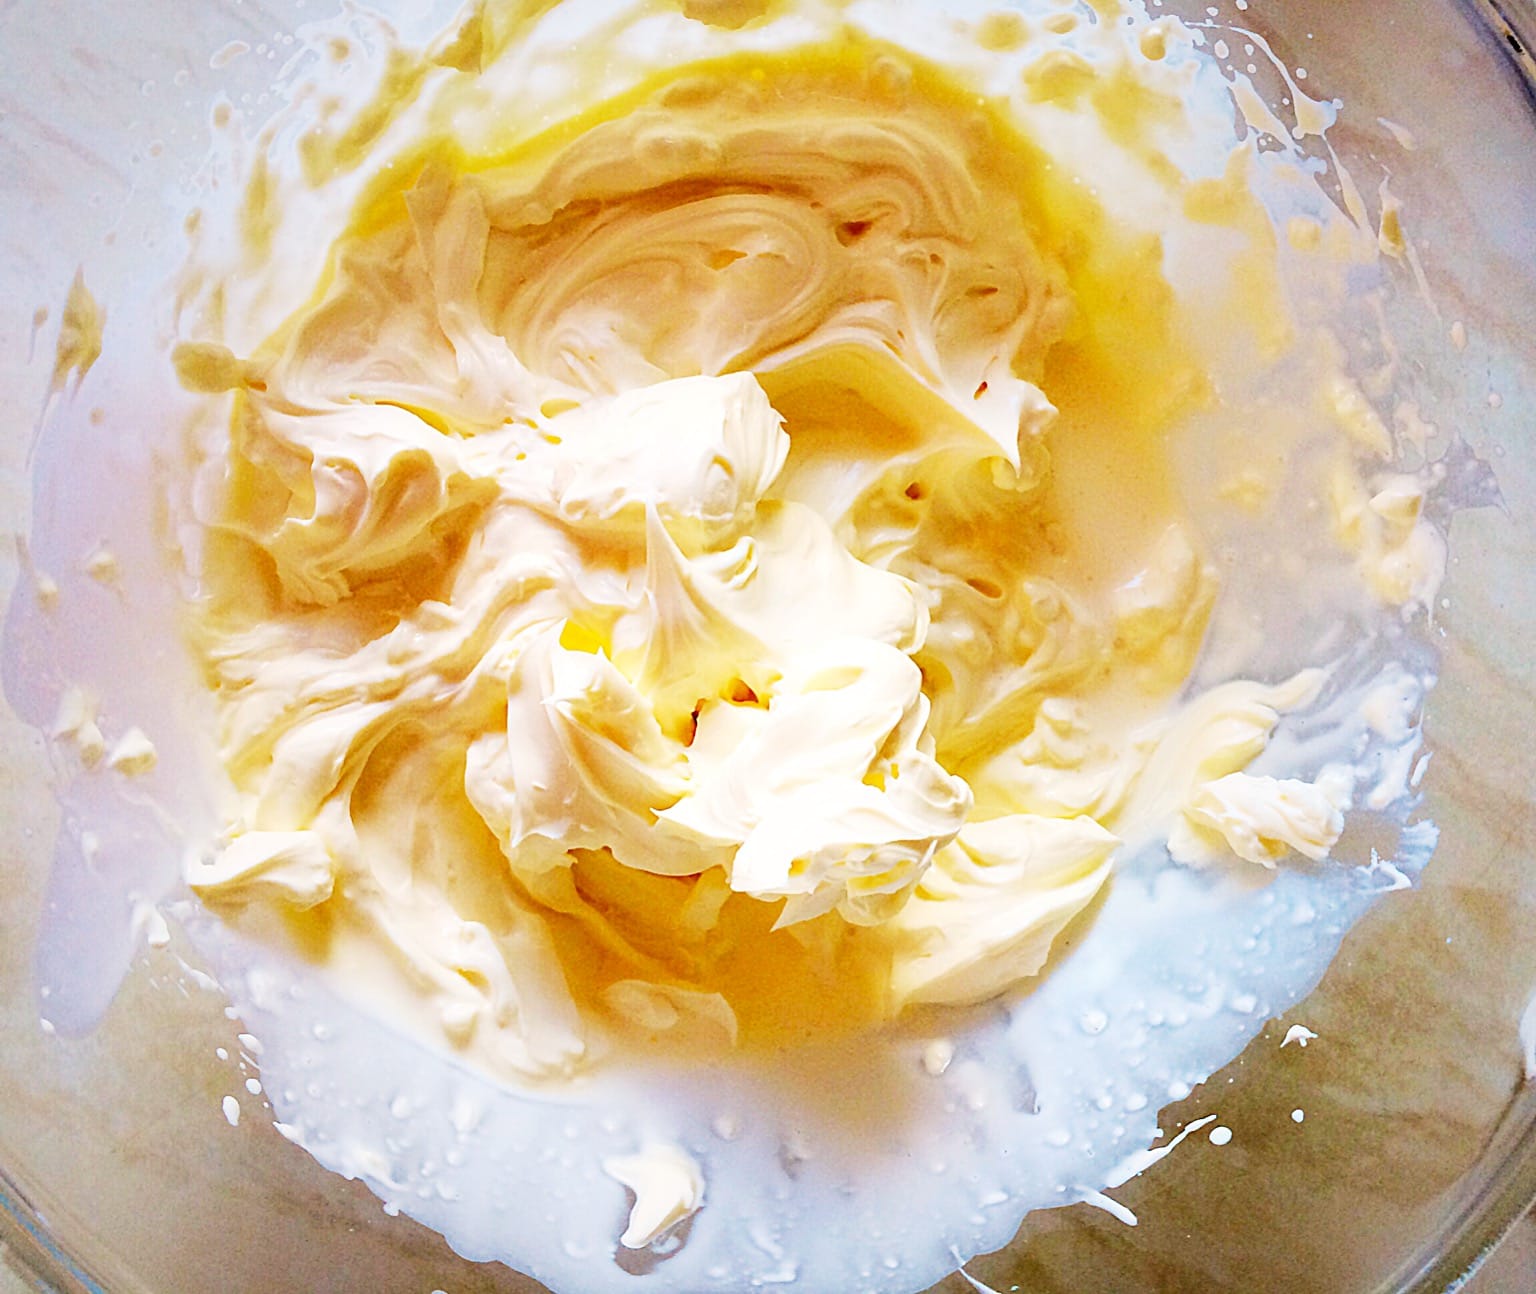
Making The Whipped Mascarpone Frosting And Decorating The Cupcakes
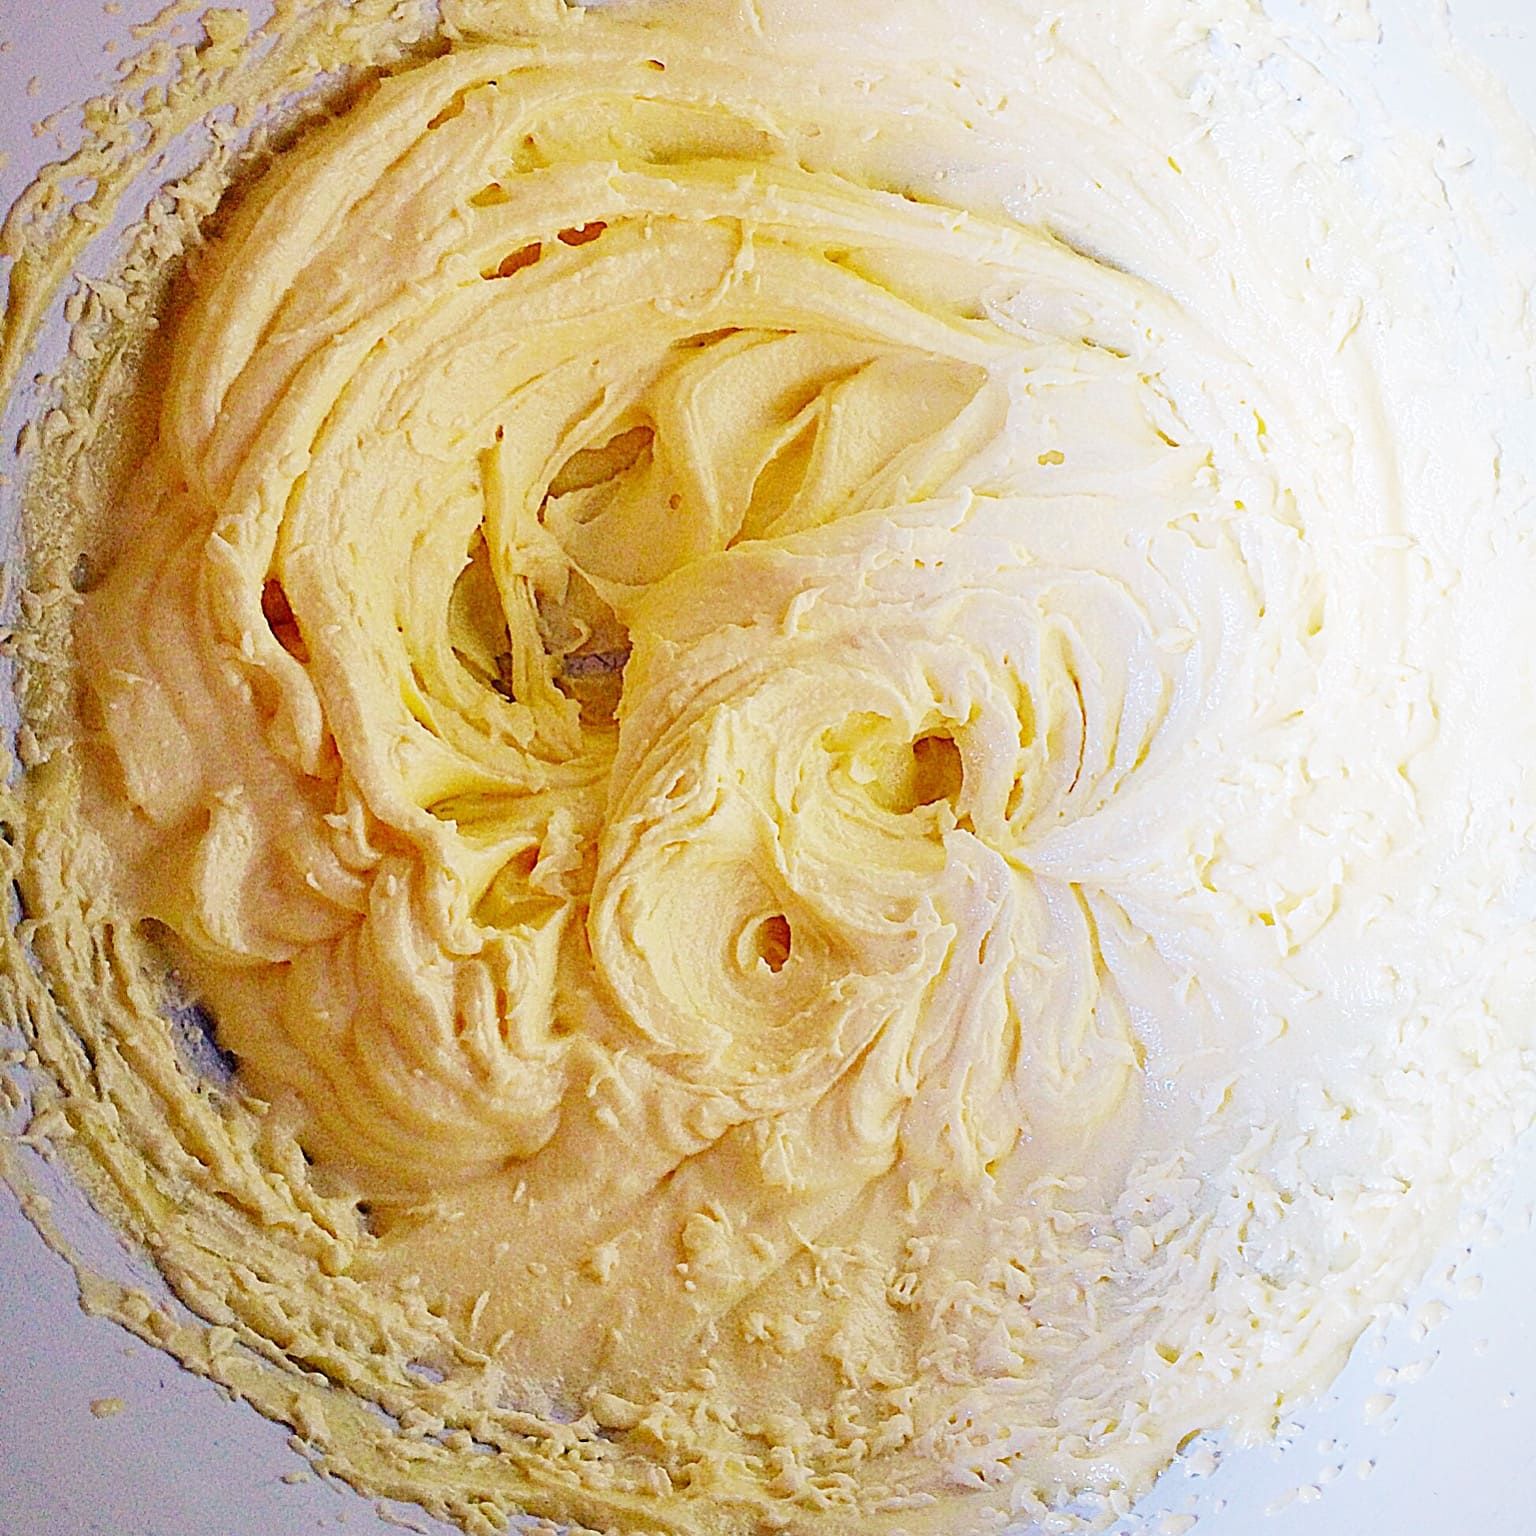
- To make the topping, whisk together the mascarpone, cream and caster sugar until stiffened.
- This process can easily done by hand, it takes very little time. Also beware of over whisking as the mixture will separate.
- Fit a large piping bag with a large star tip, I use Wilton 1M. Fill with the mascarpone mixture and pipe small swirls on top of each cupcake.

- Tip the cherry pie filling into a bowl.
- Use a spoon to place a cherry on top of each of the cupcakes.
- Finally, go back and drizzle a little of the syrup over each cupcake.
If not eaten immediately, these Black Forest Cupcakes need to be kept refrigerated in an air tight container, where they will keep for up to 3 days.
If you have enjoyed this recipe for Black Forest Cupcakes you may also like these:
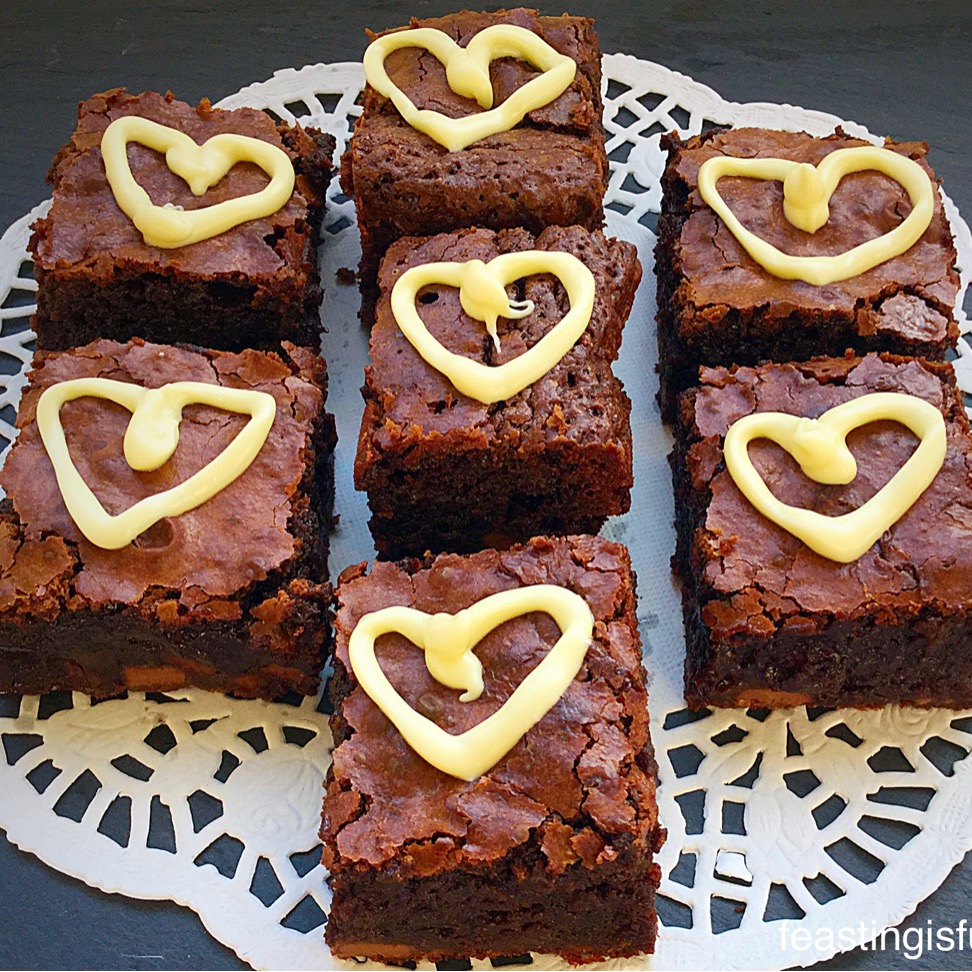
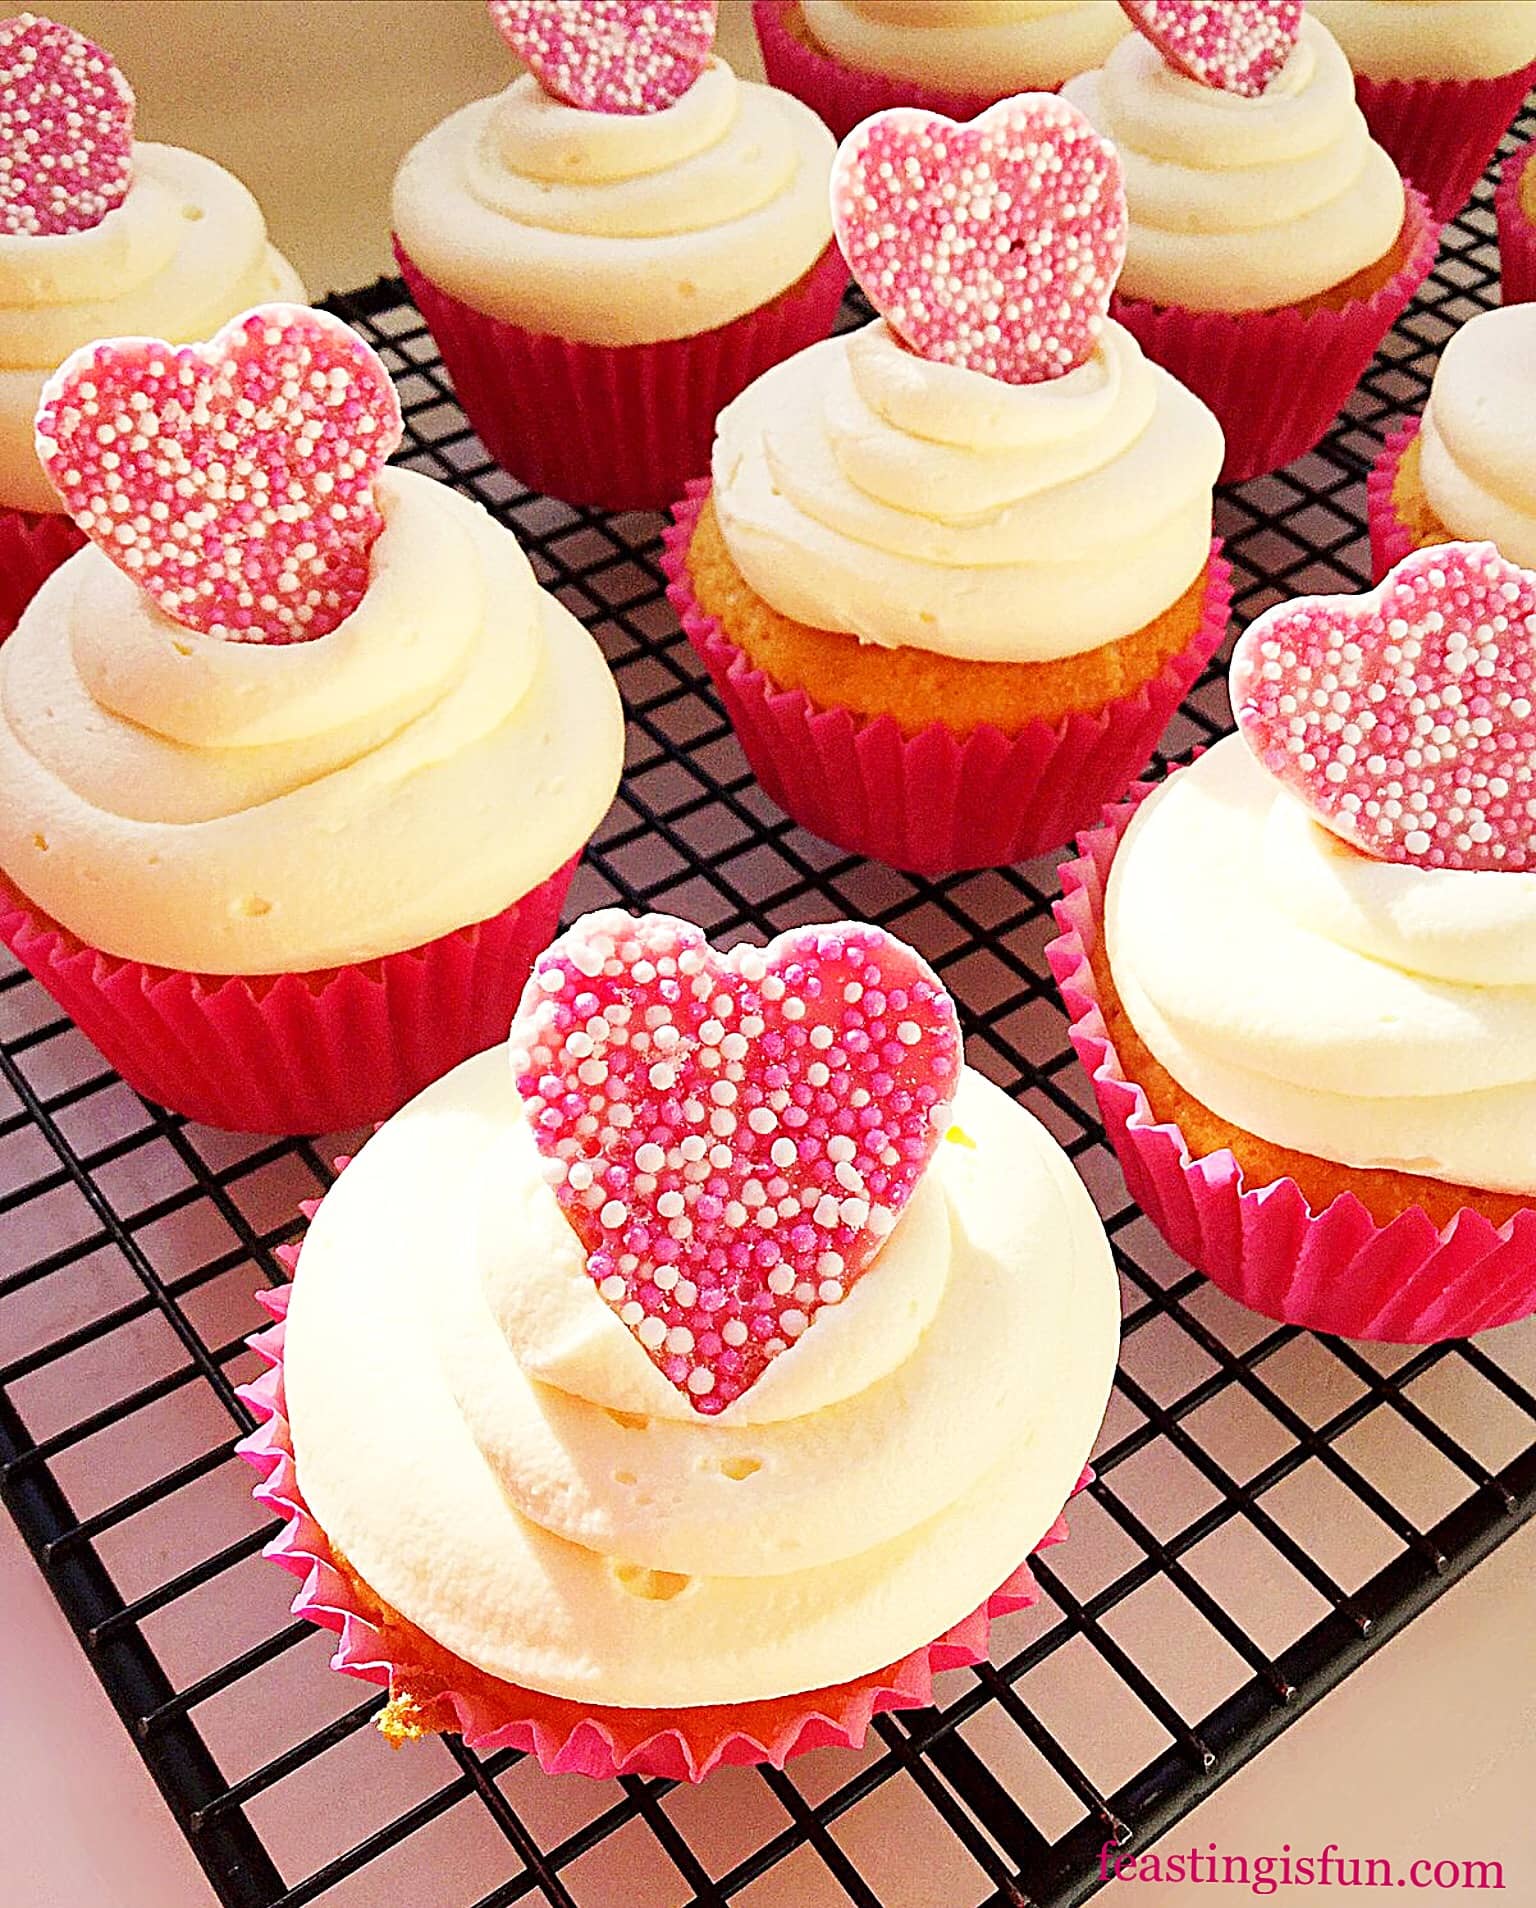
Pink Heart Topped White Chocolate Cupcakes
Since I have revealed my birthday cake of choice from my younger years and also today, I would love to know if you’ve had a favourite flavour. Either birthday cakes or remembered flavours from days gone by? And because I love Black Forest flavours so much I also have a gluten free Black Forest Roulade which you may want to try!
So, whatever you are making, baking and creating in your kitchens, have fun preparing and sharing your feast.
Sammie x
No part of this post may be reproduced or duplicated without the written permission of the owner. Please see my Disclosure Policy.