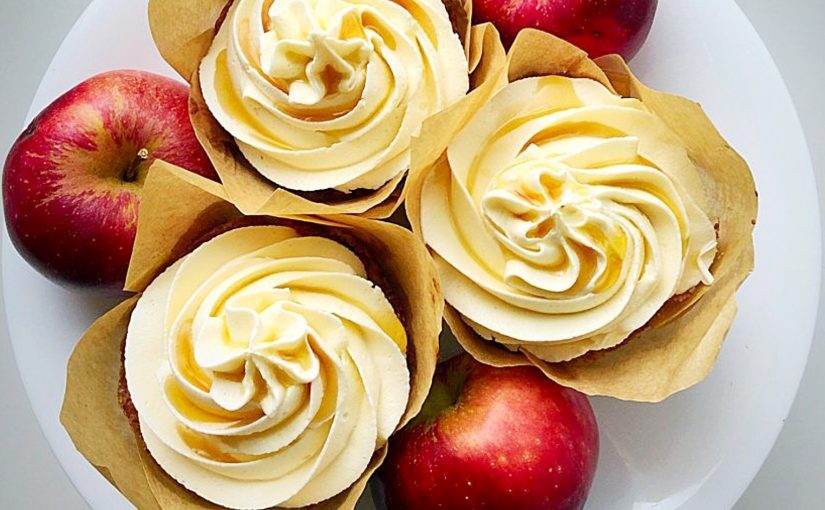
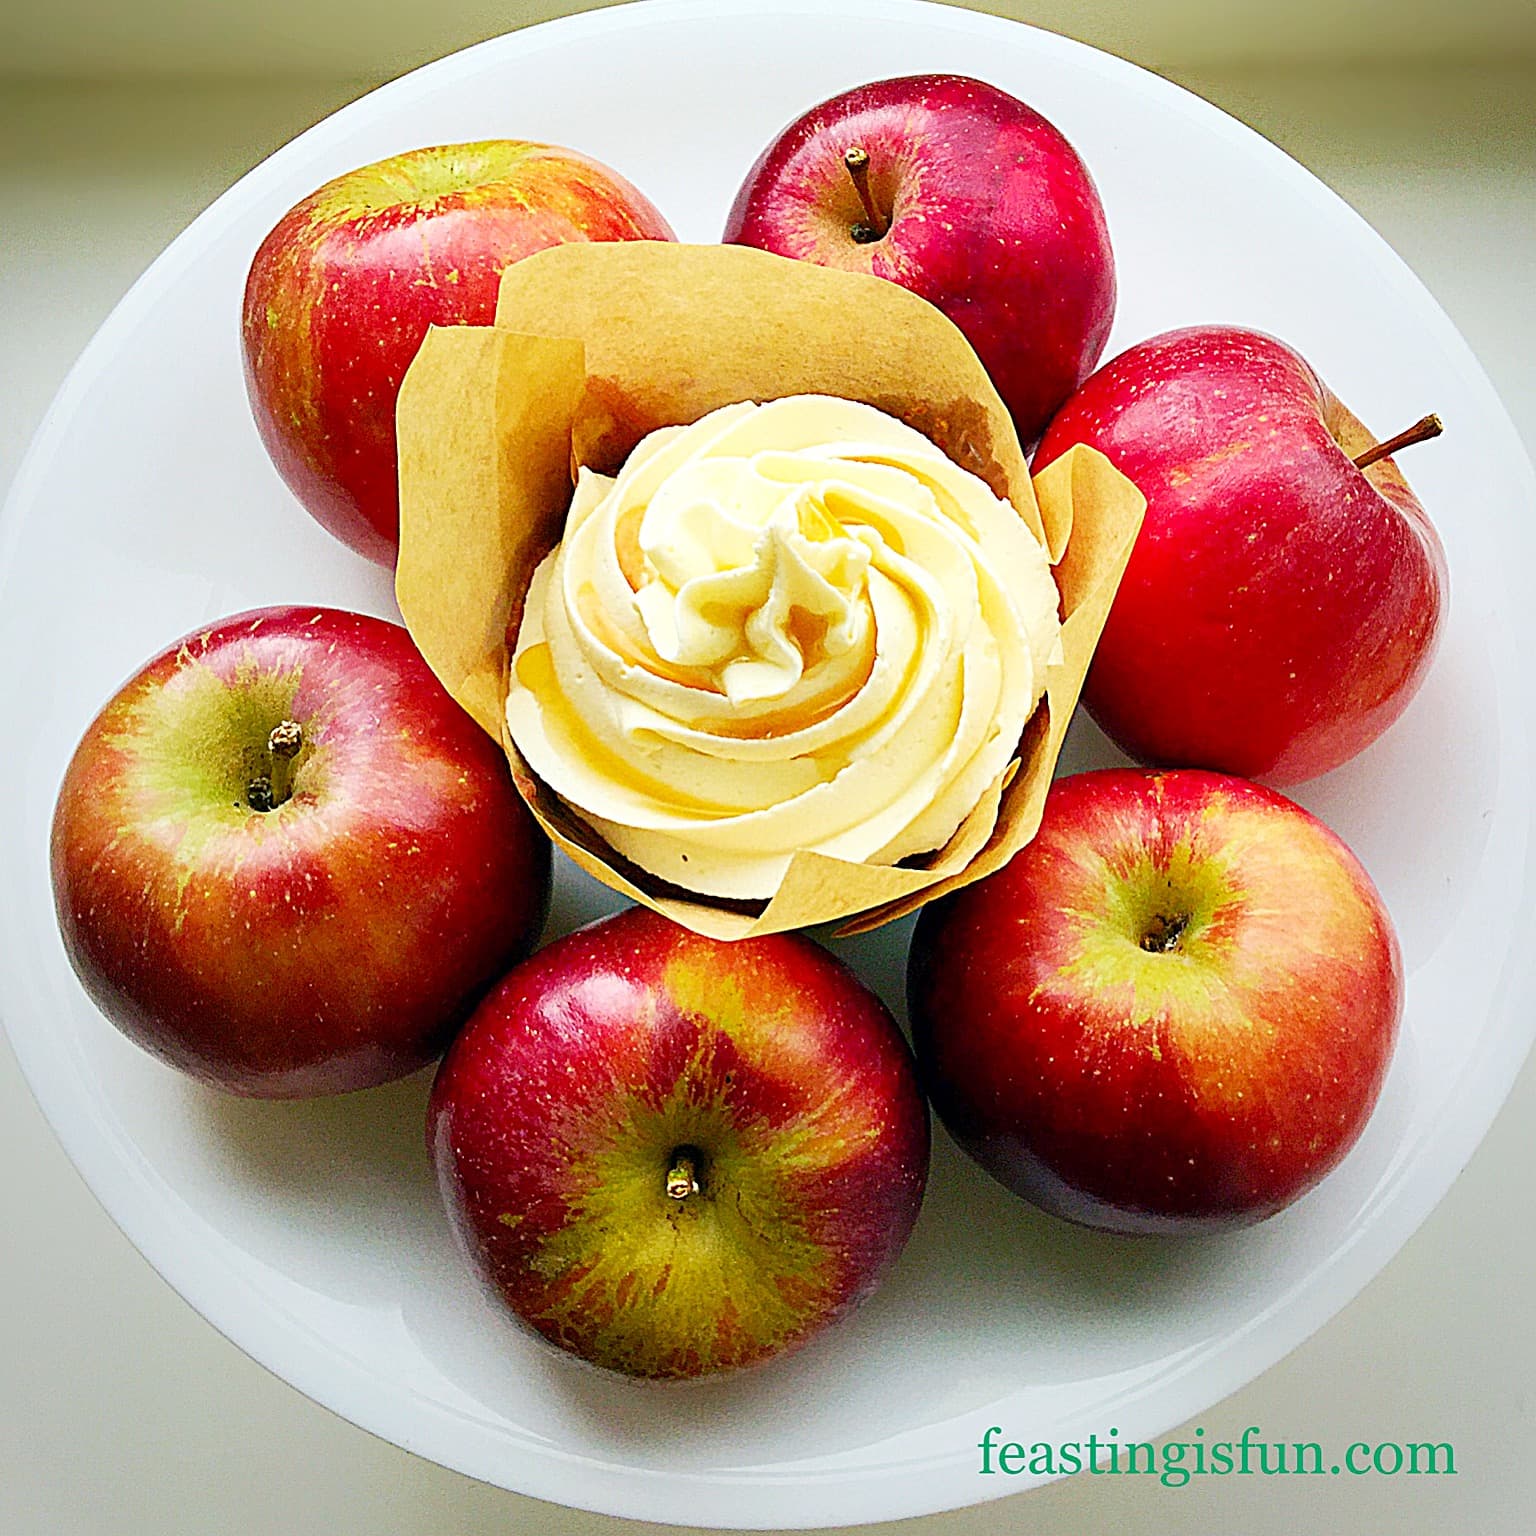
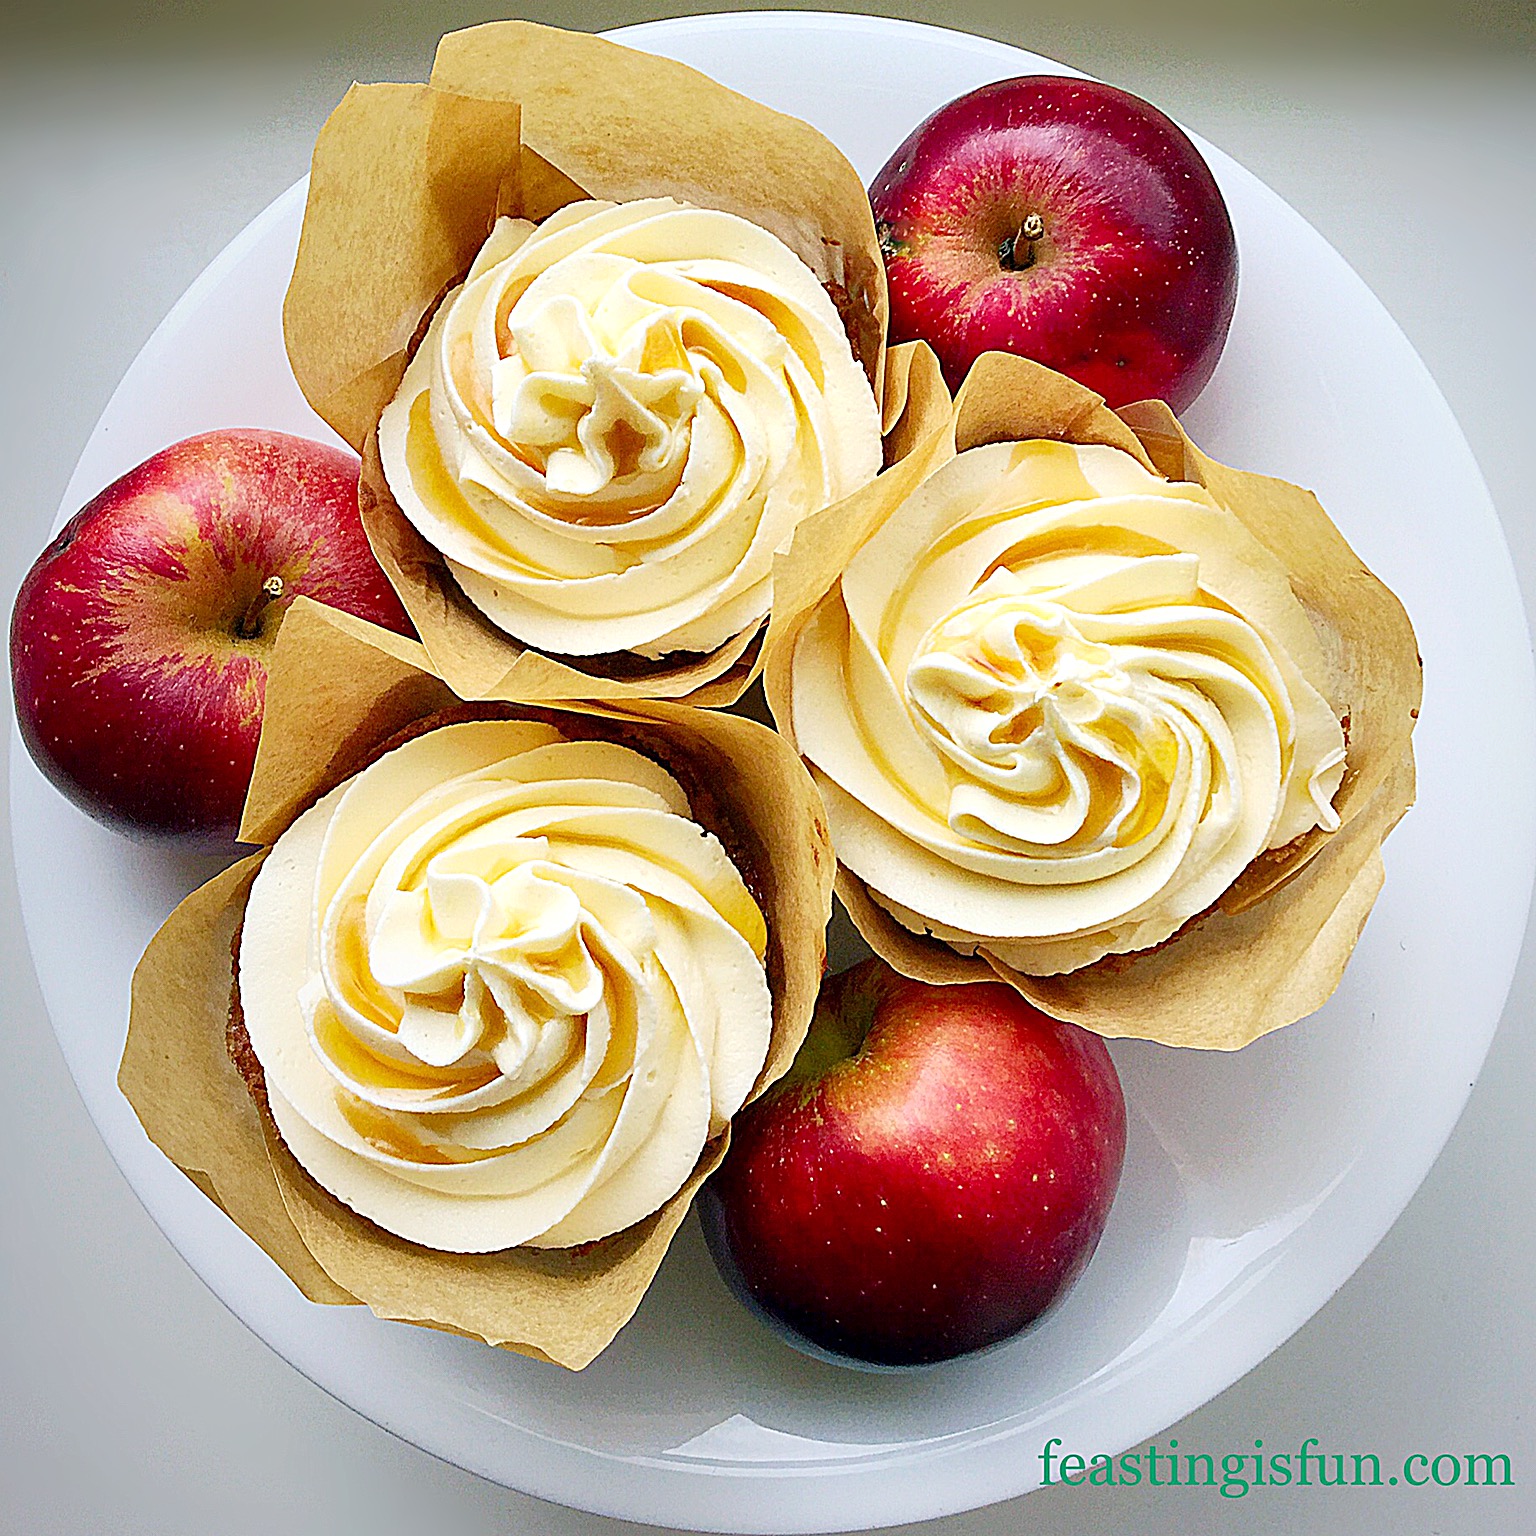
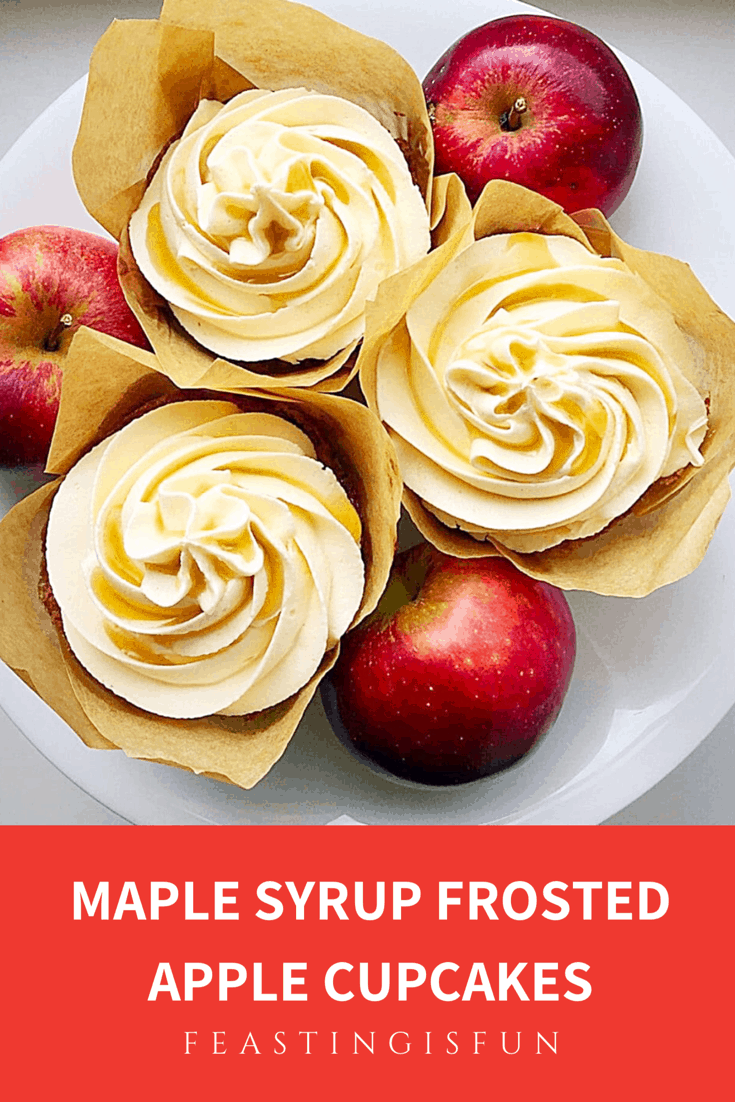
Today we are celebrating National Apple Day here in the U.K. Since there are two trees groaning under the weight of their abundant apple harvest in our back garden, an apple bake is needed. And a gift of maple syrup sparked inspiration resulting in these Maple Syrup Frosted Apple Cupcakes. Finally, the finished result is better than I could imagine.
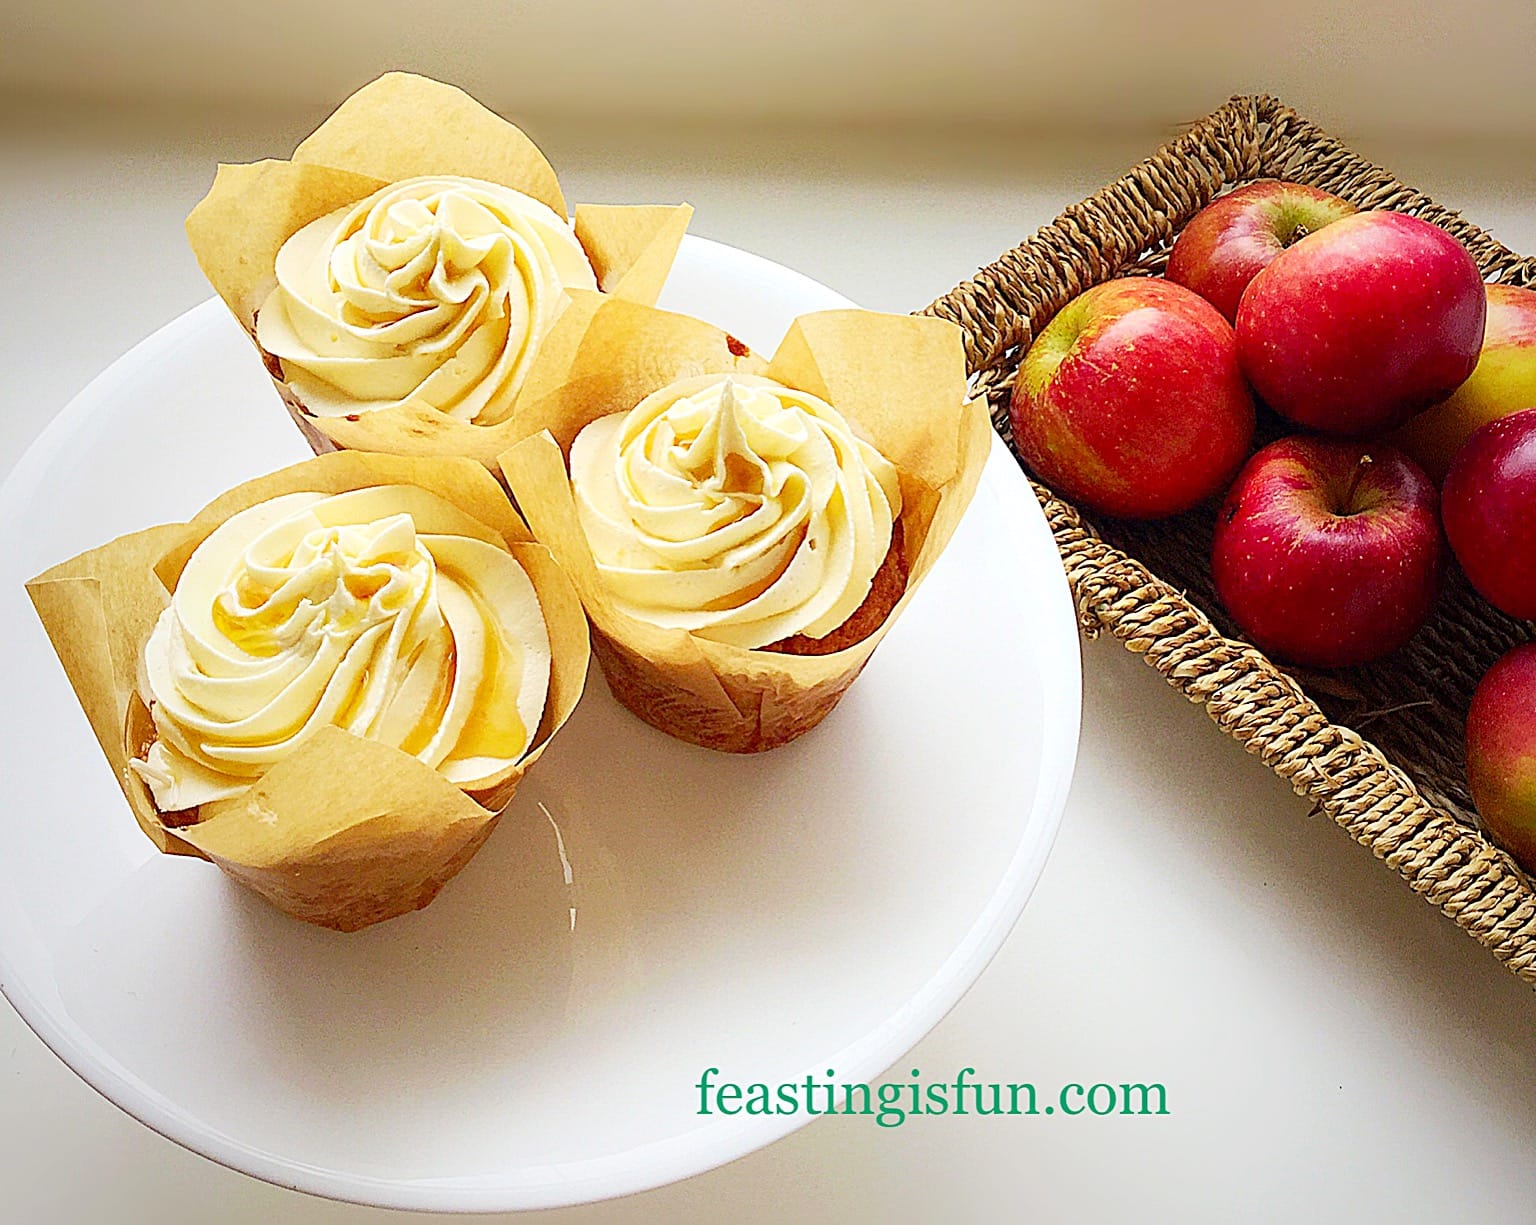
One apple tree produces Spartan apples. Tennis ball sized, shiny red-green apples that are deliciously crunchy, sweet and ideal for little people hands! While the other apple tree variety is unknown. Sharper in taste than the Spartans, they are similar to a slightly sweeter version of Granny Smith apple. Also they are slightly larger with a similar colour that when rubbed becomes shiny. And fortunately, both apples are great for eating and cooking. Resulting in a combination of both being used for these cupcakes.
Apples, The Core Of These Cupcakes:
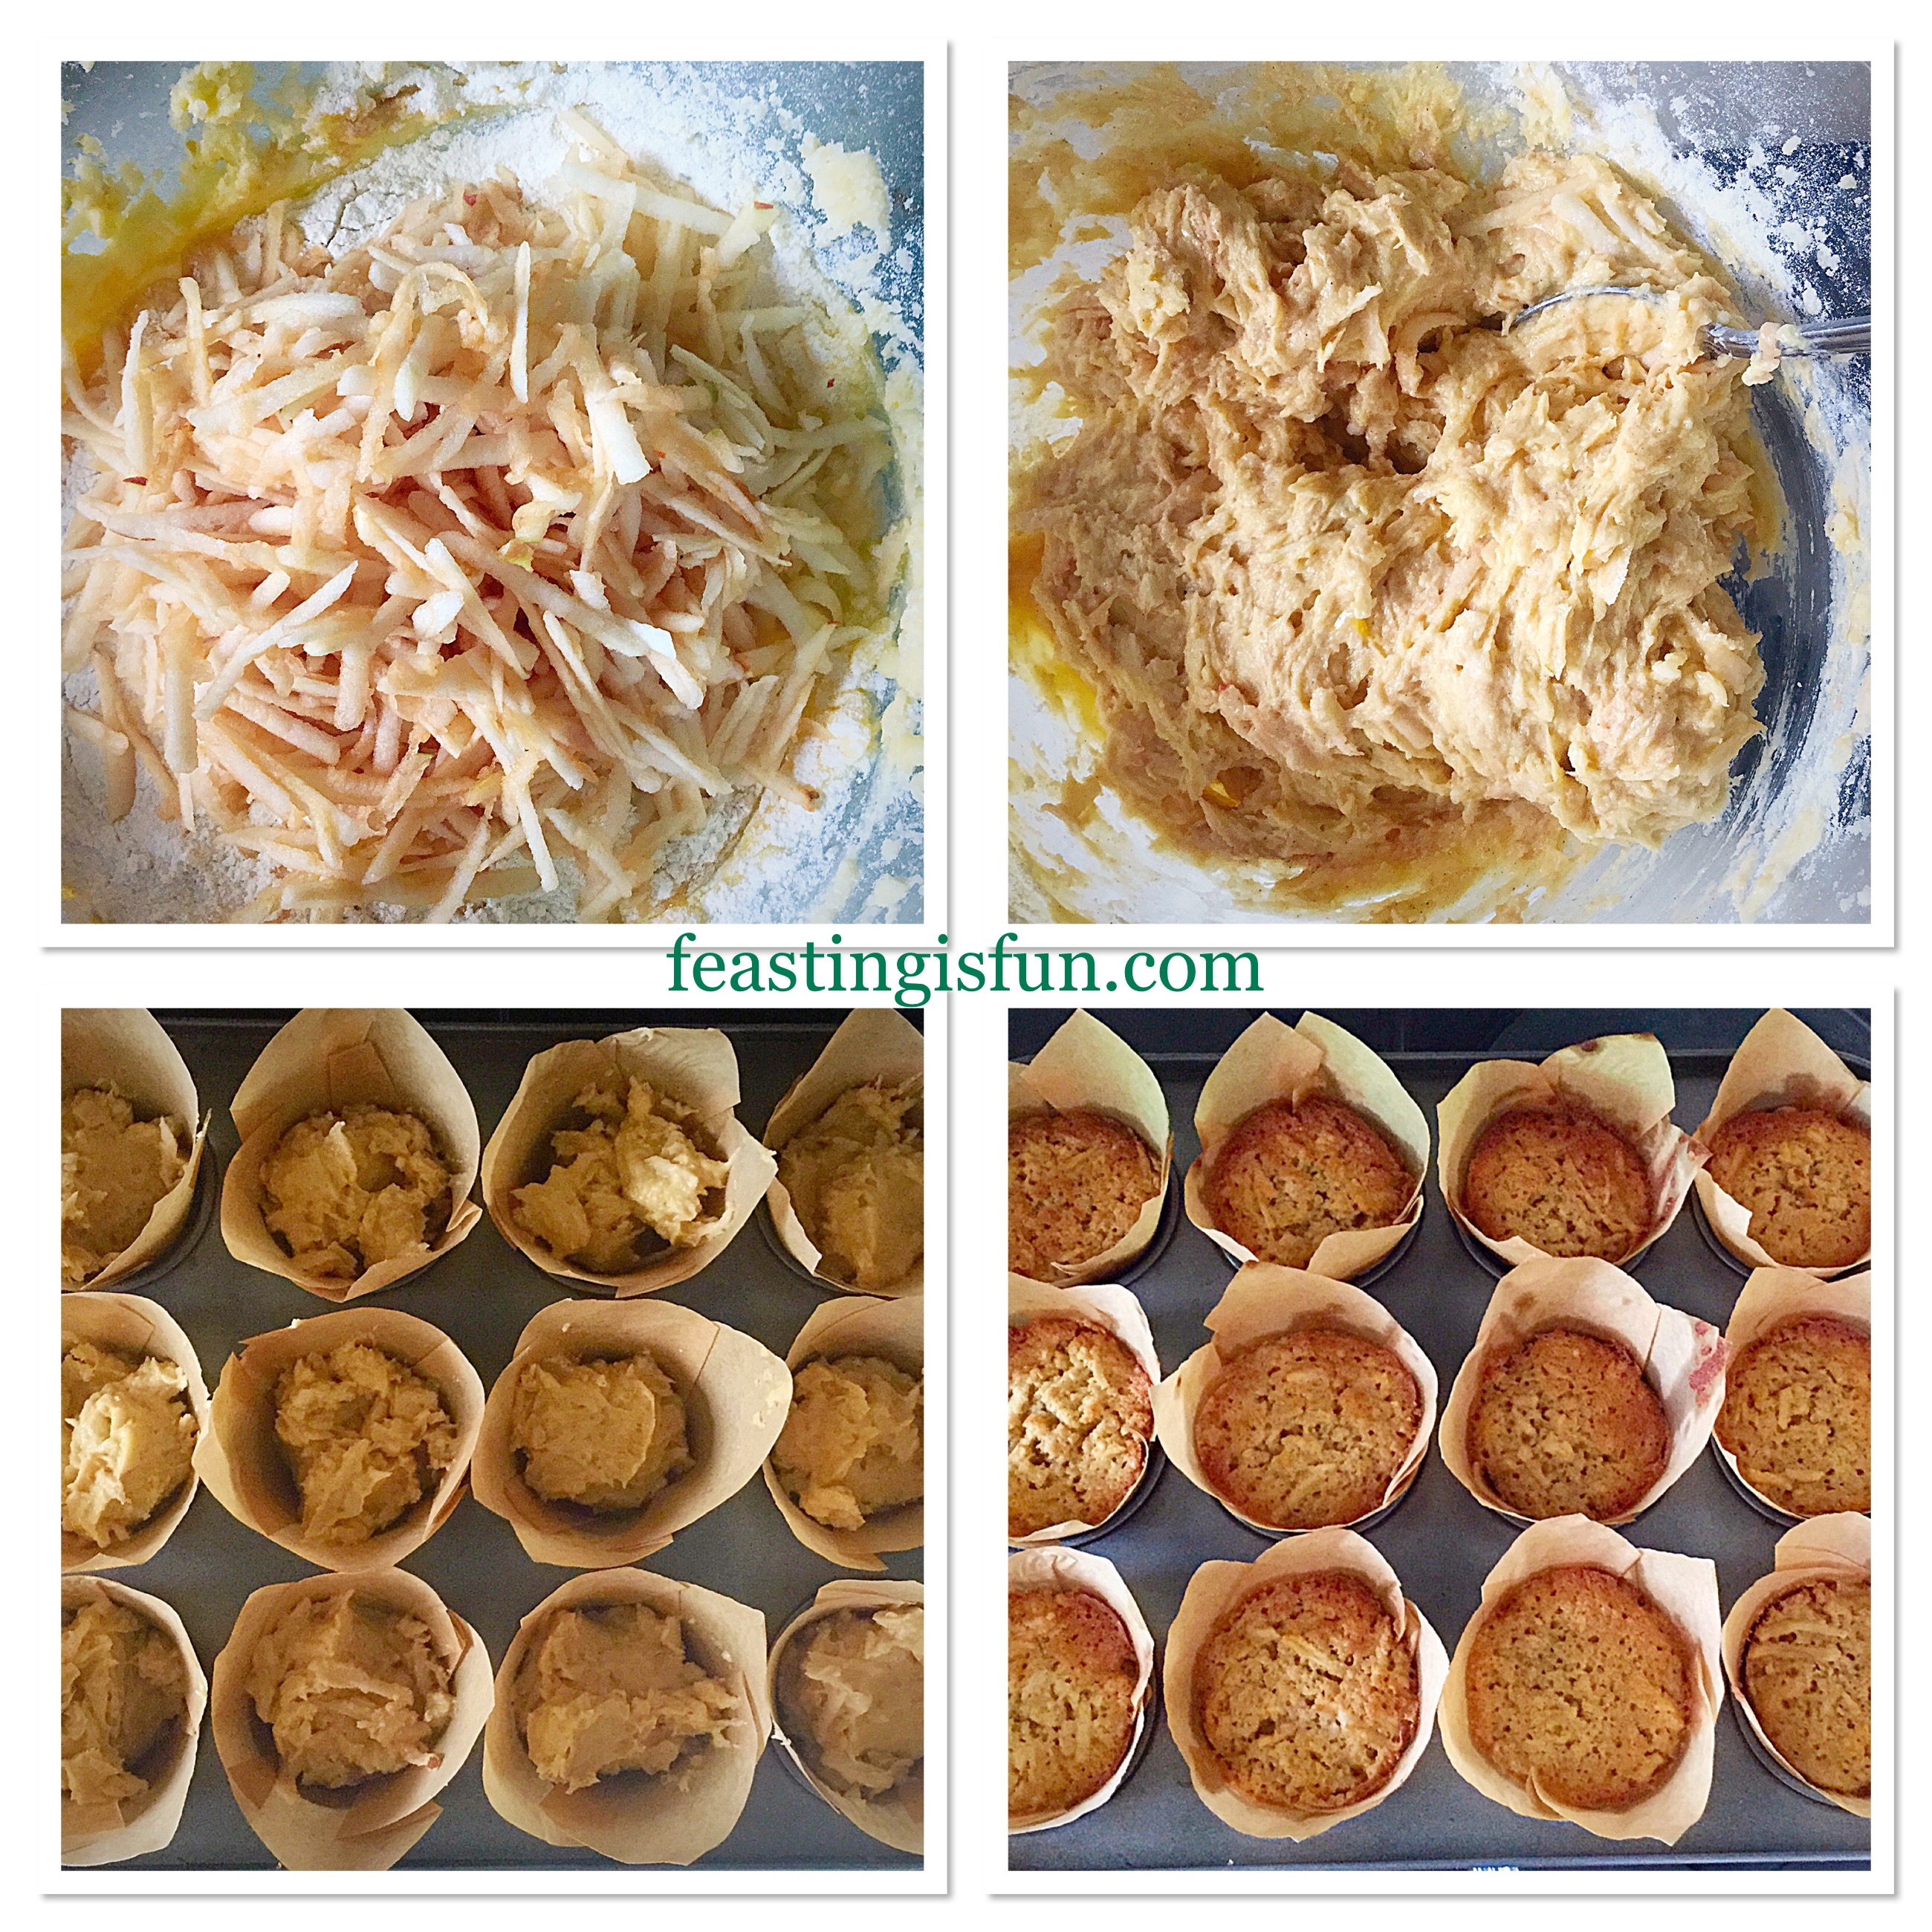
Unlike Granny Smith apples, both varieties brown easily when sliced/grated and exposed to the air. While the grated apple be tossed in some fresh lemon juice, which would have prevented discolouration, I didn’t want to do this for two reasons. First of all, the lemon flavour would change the cupcake flavour, possibly overpowering the apple and frosting. Also, the lemon juice would have added moisture, resulting in a wetter batter, where the apple may not have kept it’s even distribution. Grating the apples into the cake batter keeps any discolouration to a minimum.

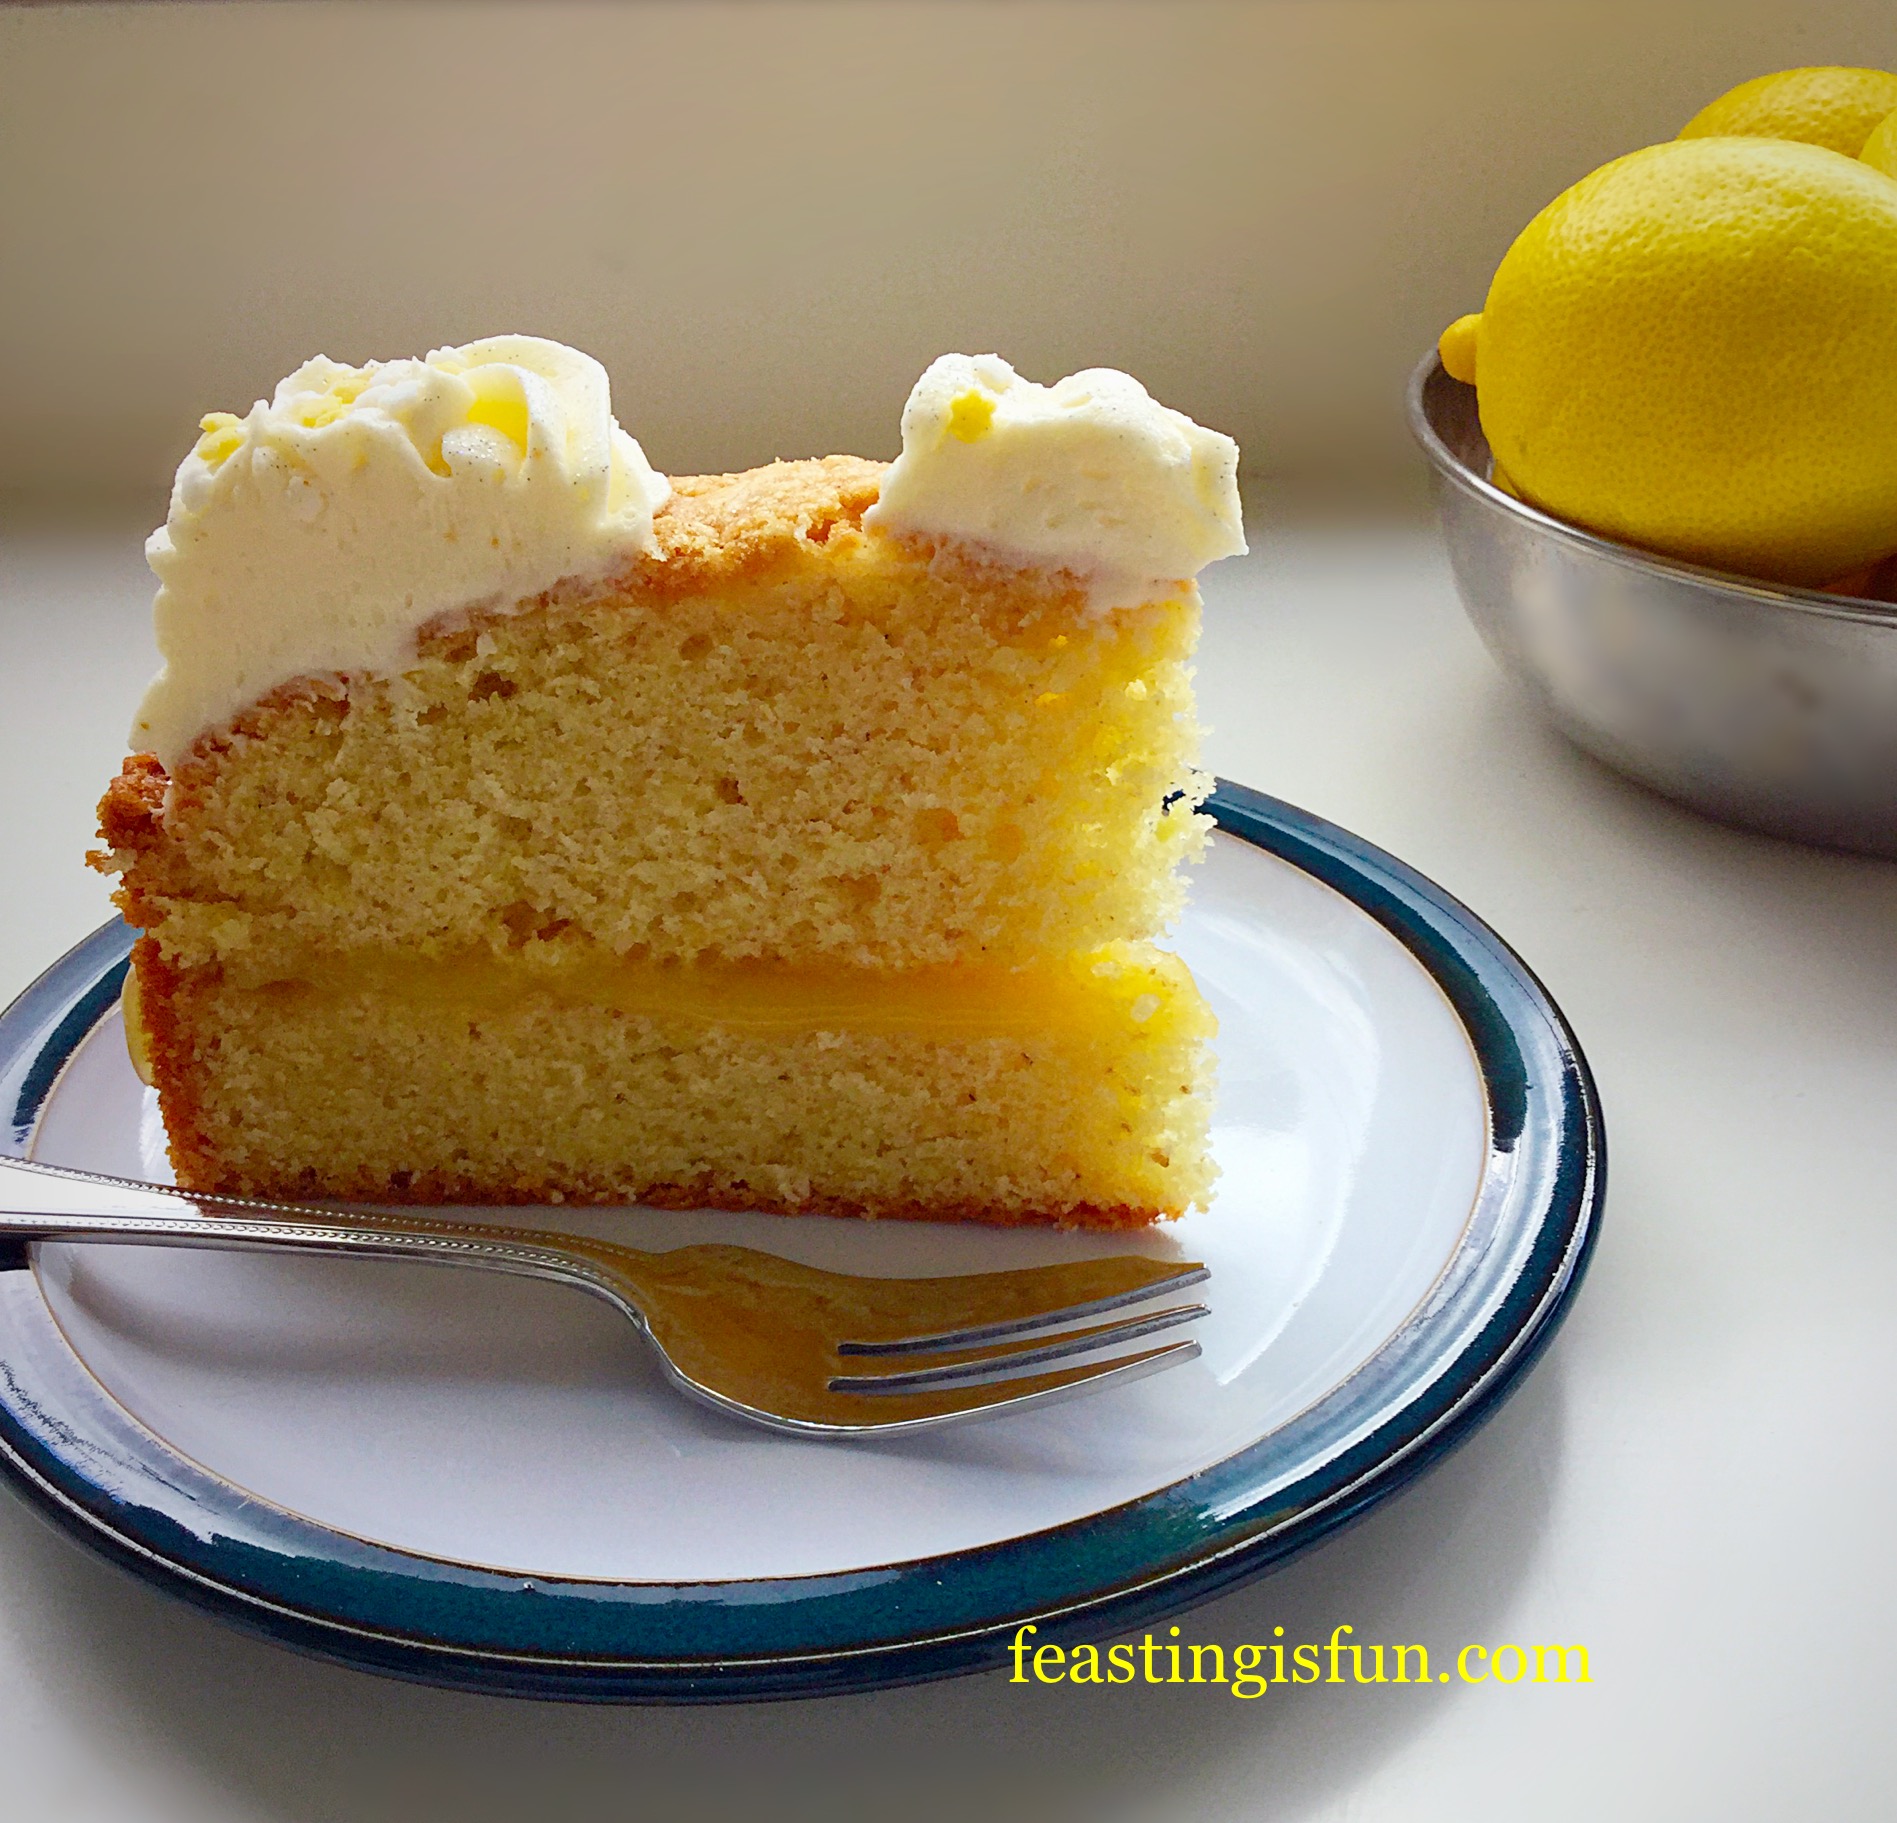
Preparing the cake batter first and then adding the grated batter works really well. As it ensures each cupcake has plenty of evenly distributed apple within a light, moist crumb. Without the maple syrup frosting, these could easily be served as muffins, in which case the addition of some toasted pecan or walnut pieces would bring added flavour and texture. Tasting these cupcakes with the dreamy frosting means I could not possibly eat them any other way now!

Maple syrup frosting. Just think on those words for a moment!
Initially I had worried that the addition of maple syrup to a buttercream frosting would result in a too sweet topping. Instead, the opposite happened, with the maple syrup adding a very slight smoky, creamy flavour. Resulting in the sweetness of the unflavoured frosting being dumbed down. As a result, the final flavour paired beautifully with the lightly spiced apple cupcake.
Recipe: Maple Syrup Frosted Apple Cupcakes – makes 12
Cupcake Ingredients:
175g/6oz Unsalted Butter at room temperature
175g/6oz Soft Light Brown Sugar
1/8th tsp Salt – I use Maldon
3 Large Free Range Eggs
1tsp Vanilla Extract – I use Nielsen-Massey
200g/7oz Plain White Flour
3tsp Baking Powder
1/2tsp Cinnamon
200g/7oz Grated Eating Apple – approximately 3-4 peeled apples
Frosting Ingredients: you may have extra frosting left over
250g/9oz Salted Butter very soft, ideally removed from the fridge the night before
500g/1lb 2oz Sifted Icing Sugar
1tsp Vanilla Extract
2tbsp Maple Syrup – use real maple syrup not maple syrup flavouring
1tbsp Very Hot Water from a recently boiled kettle
Extra Maple Syrup to drizzle over the finished cupcakes
Method: Preheat the oven to 180C/160C fan, gas mark 4, 350F.
Making And Baking The Cupcakes:
- First of all, line a 12 hole deep muffin tin with tulip cupcake wrappers, or deep muffin cases.
- Next in a large bowl add the butter, sugar and salt. Whisk/beat them together until they are very pale and creamy.
- Add the vanilla extract and all 3 eggs to the bowl. Whisk/beat briefly to partially mix the ingredients, without the risk of them curdling – no more than 30 seconds.
- Now sift the flour, baking powder and cinnamon into the bowl. Set the bowl to one side.
- Working quickly, yet carefully, peel and grate 200 grams of apple.
- Add the grated apple on top of the flour, in the large bowl and using a spoon mix all the ingredients together, until they are just combined.
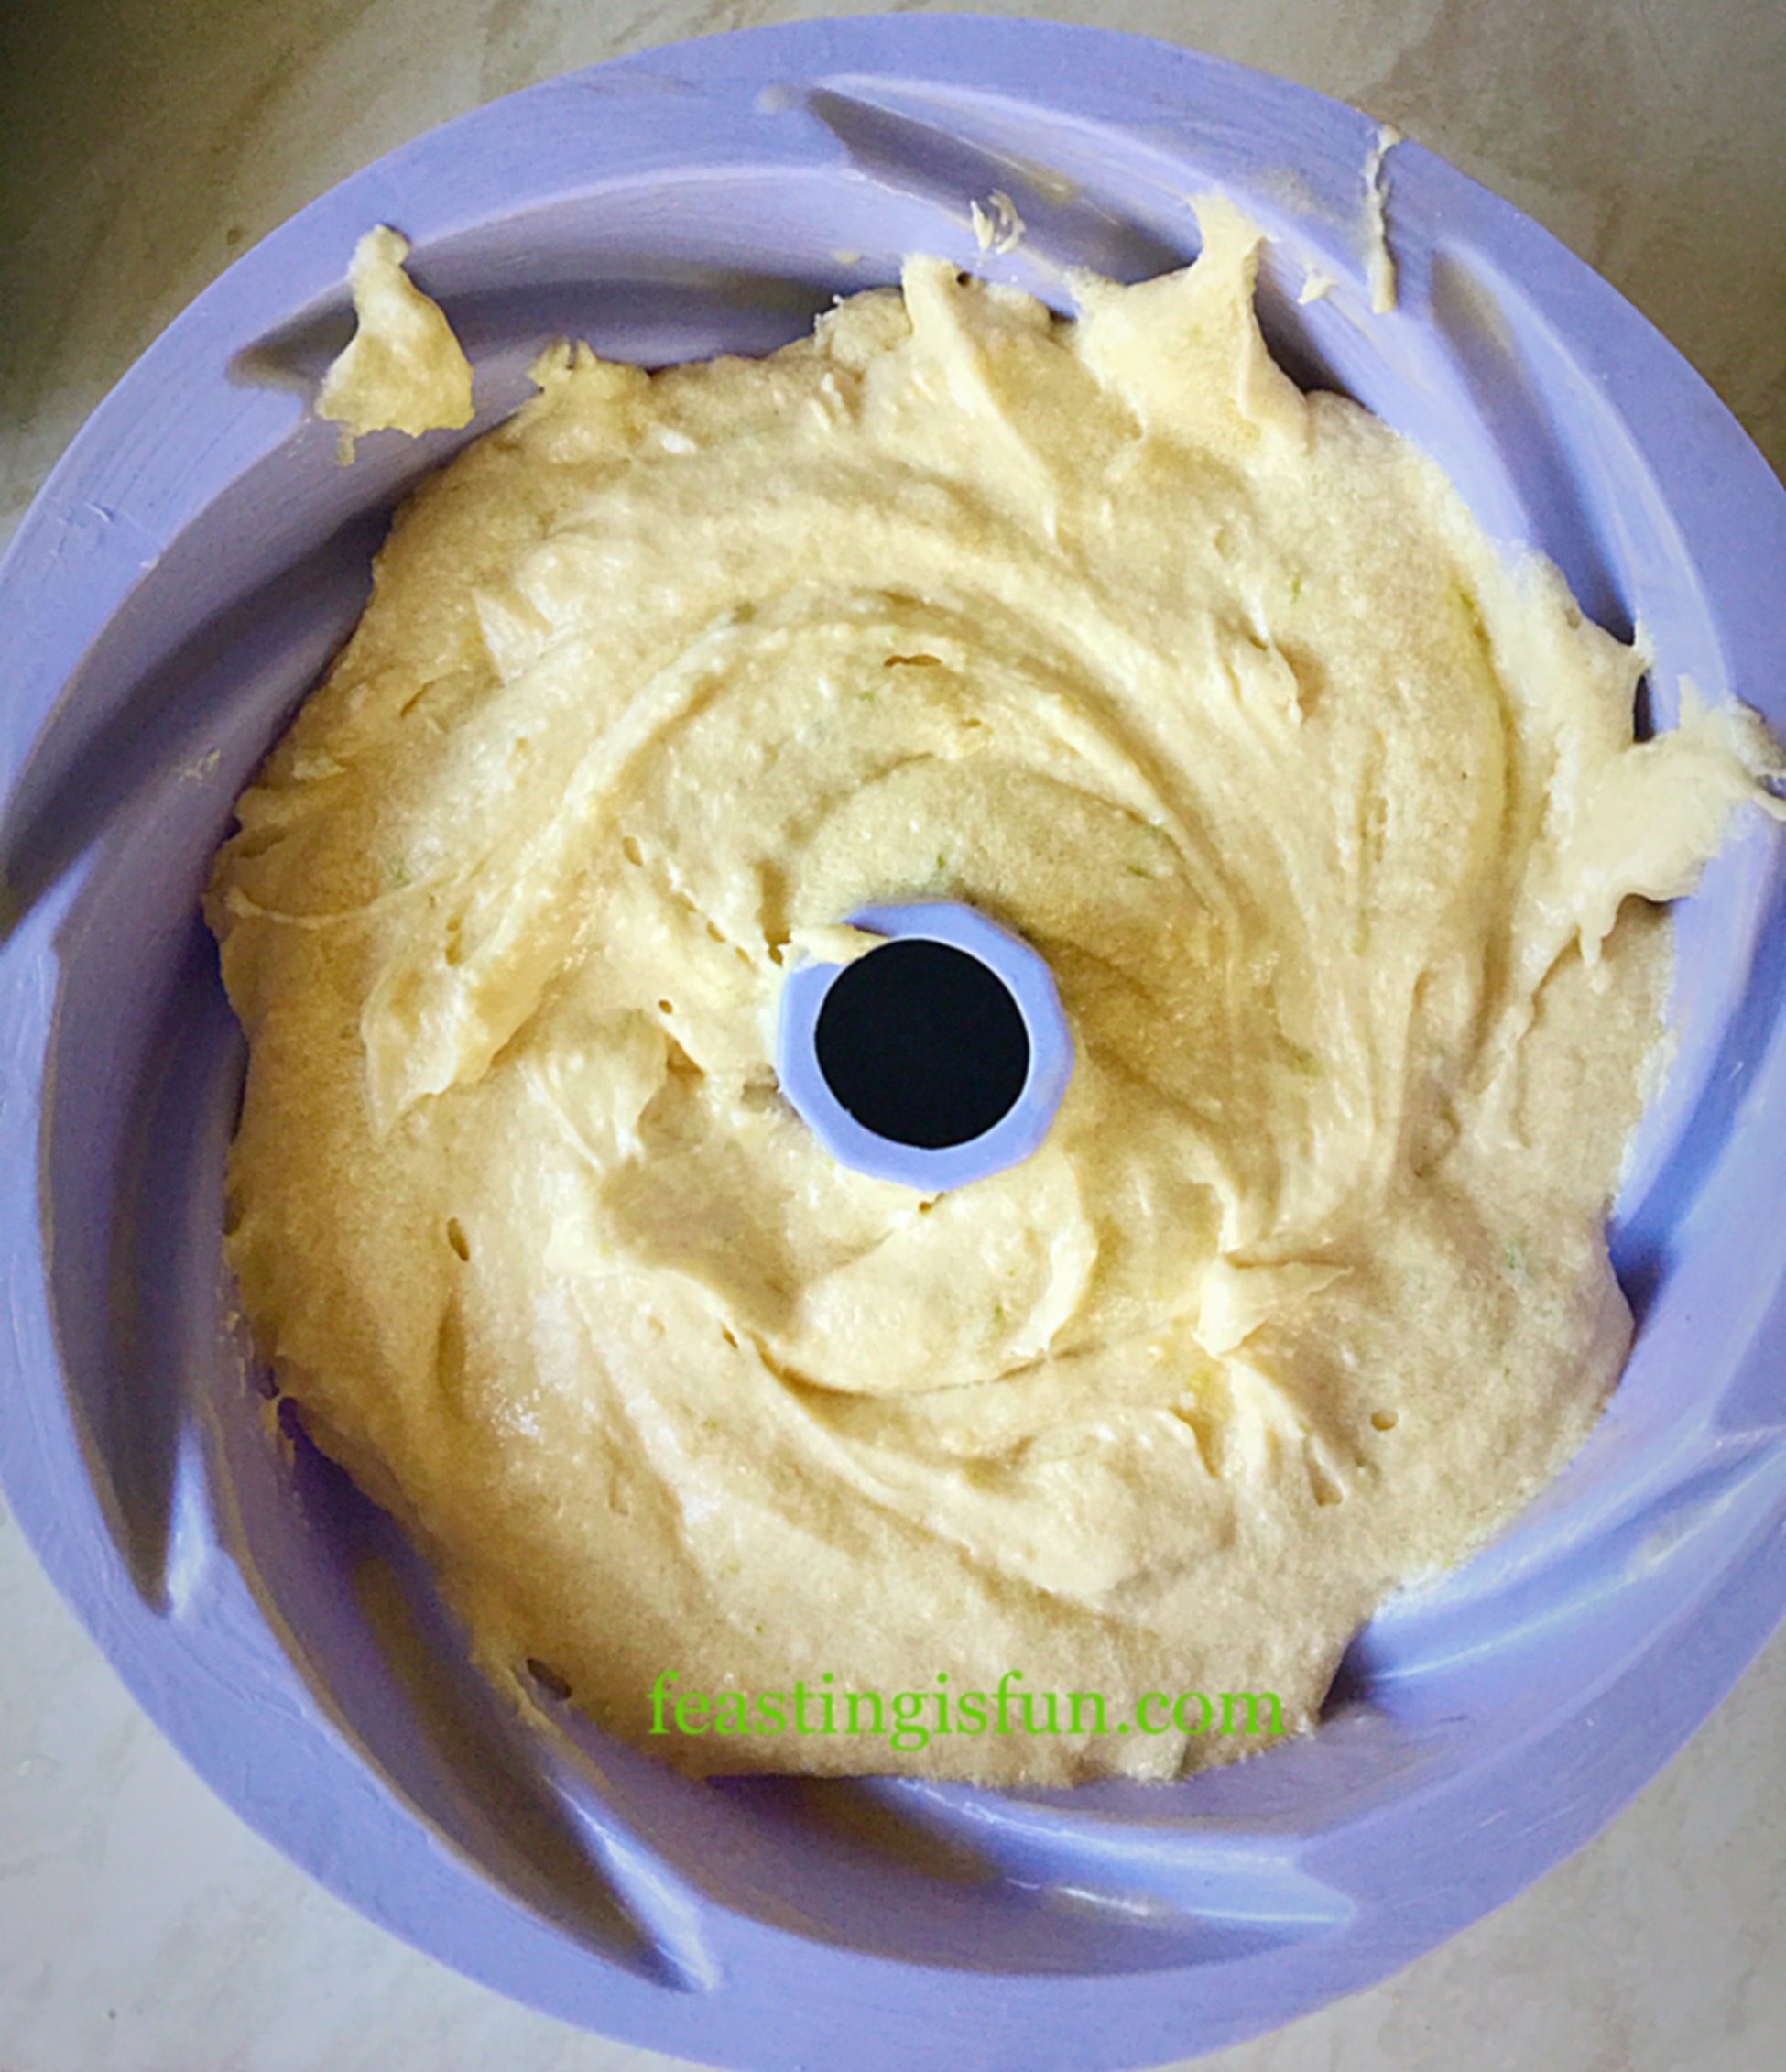
- Next, using a dessert spoon, place a heaped spoonful of cake batter into each of the cupcake wrappers. Finish by dividing any remaining batter between the twelve cases, so that they are all equally filled.
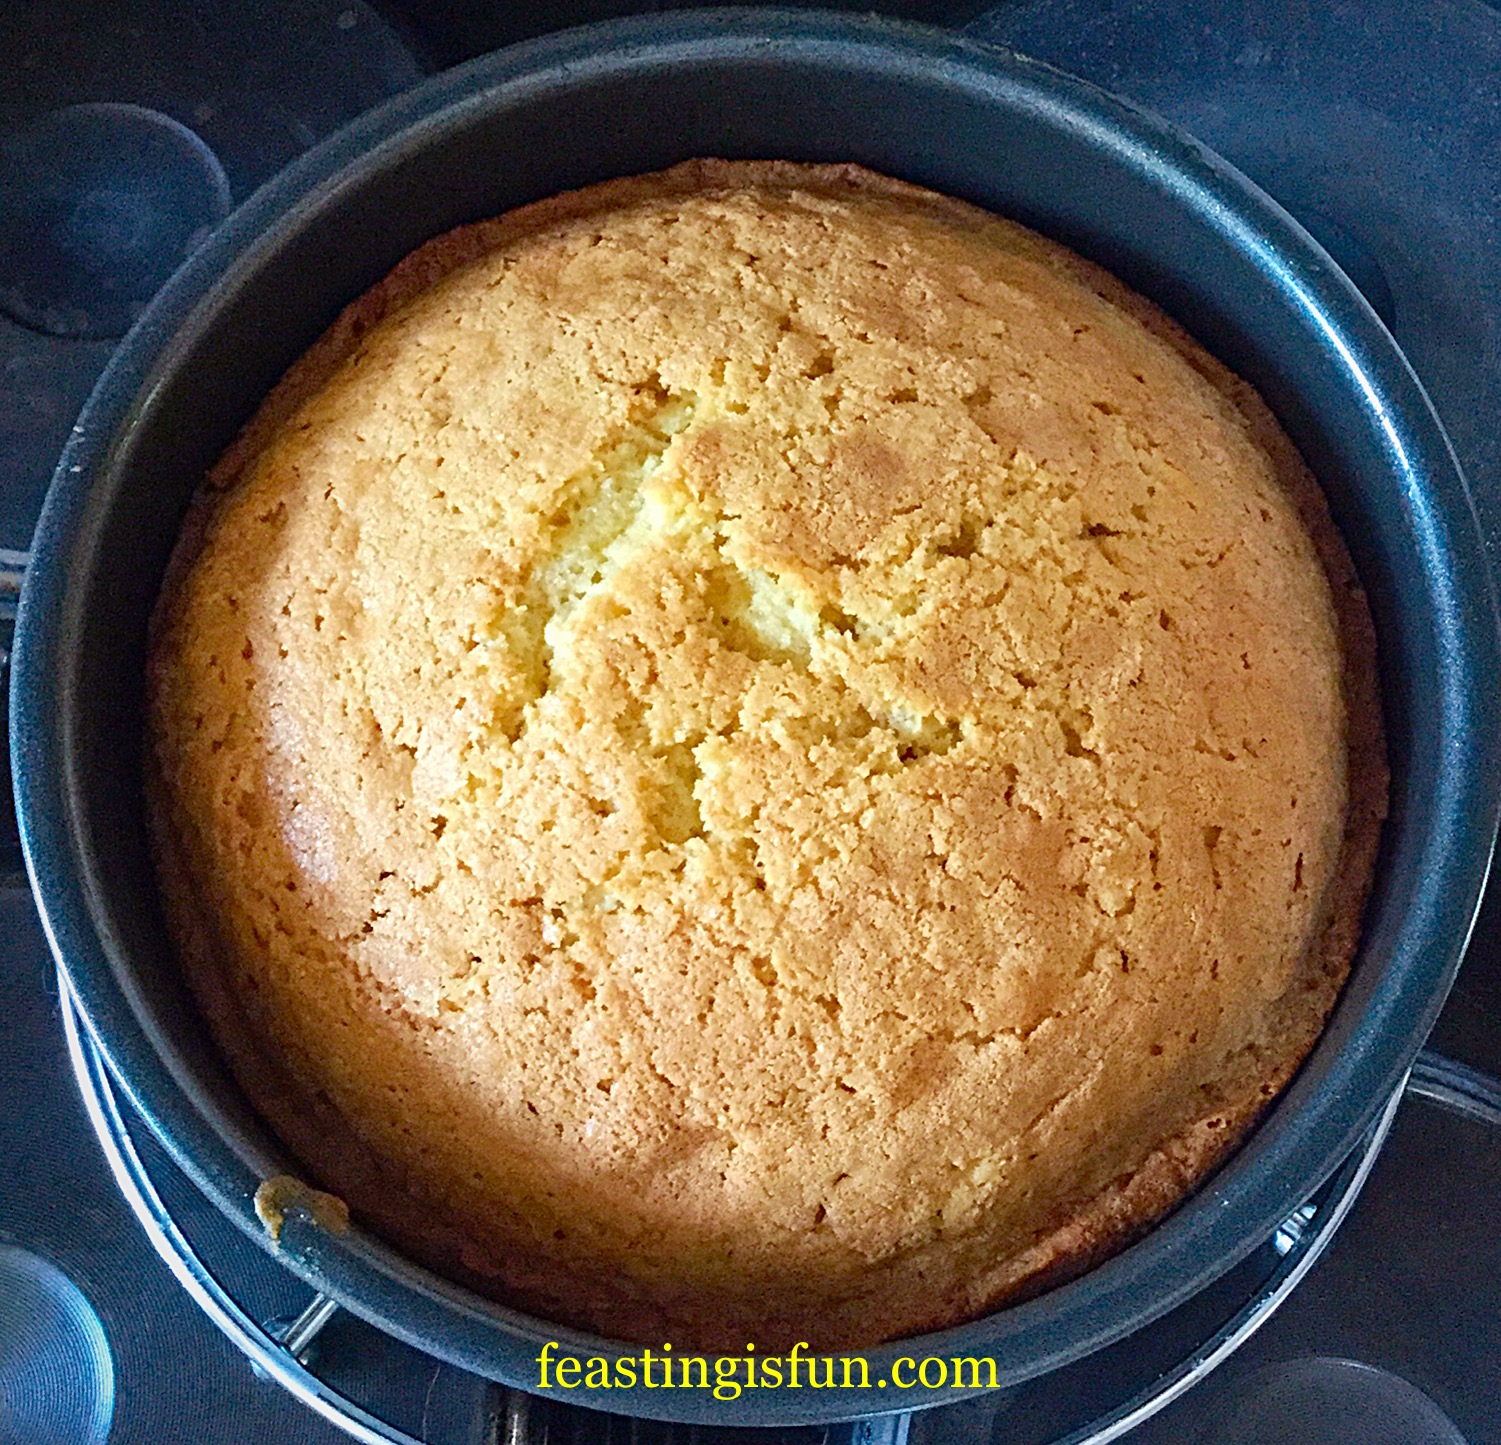
- Finally place the tin in the middle of the preheated oven and bake the cupcakes for 25-35 minutes.
- The cupcakes are baked when they spring back from a light touch. Use an inserted skewer to check if they are baked, if it comes out clean they are ready to remove from the oven.
- As soon as the cupcakes are baked remove them from the oven and leave them in the tin to fully cool, regardless of which type of wrapper/case has been used.
- Allow the cupcakes to fully cool before frosting them.
Making The Frosting And Decorating The Cupcakes:
- First, add the very soft butter to a large bowl.
- Then sift the icing sugar into the bowl.
- Next add the vanilla extract, maple syrup and very hot water.
- Finally whisk the ingredients, starting slowly and increasing in speed, until you have a smooth, creamy, light buttercream.
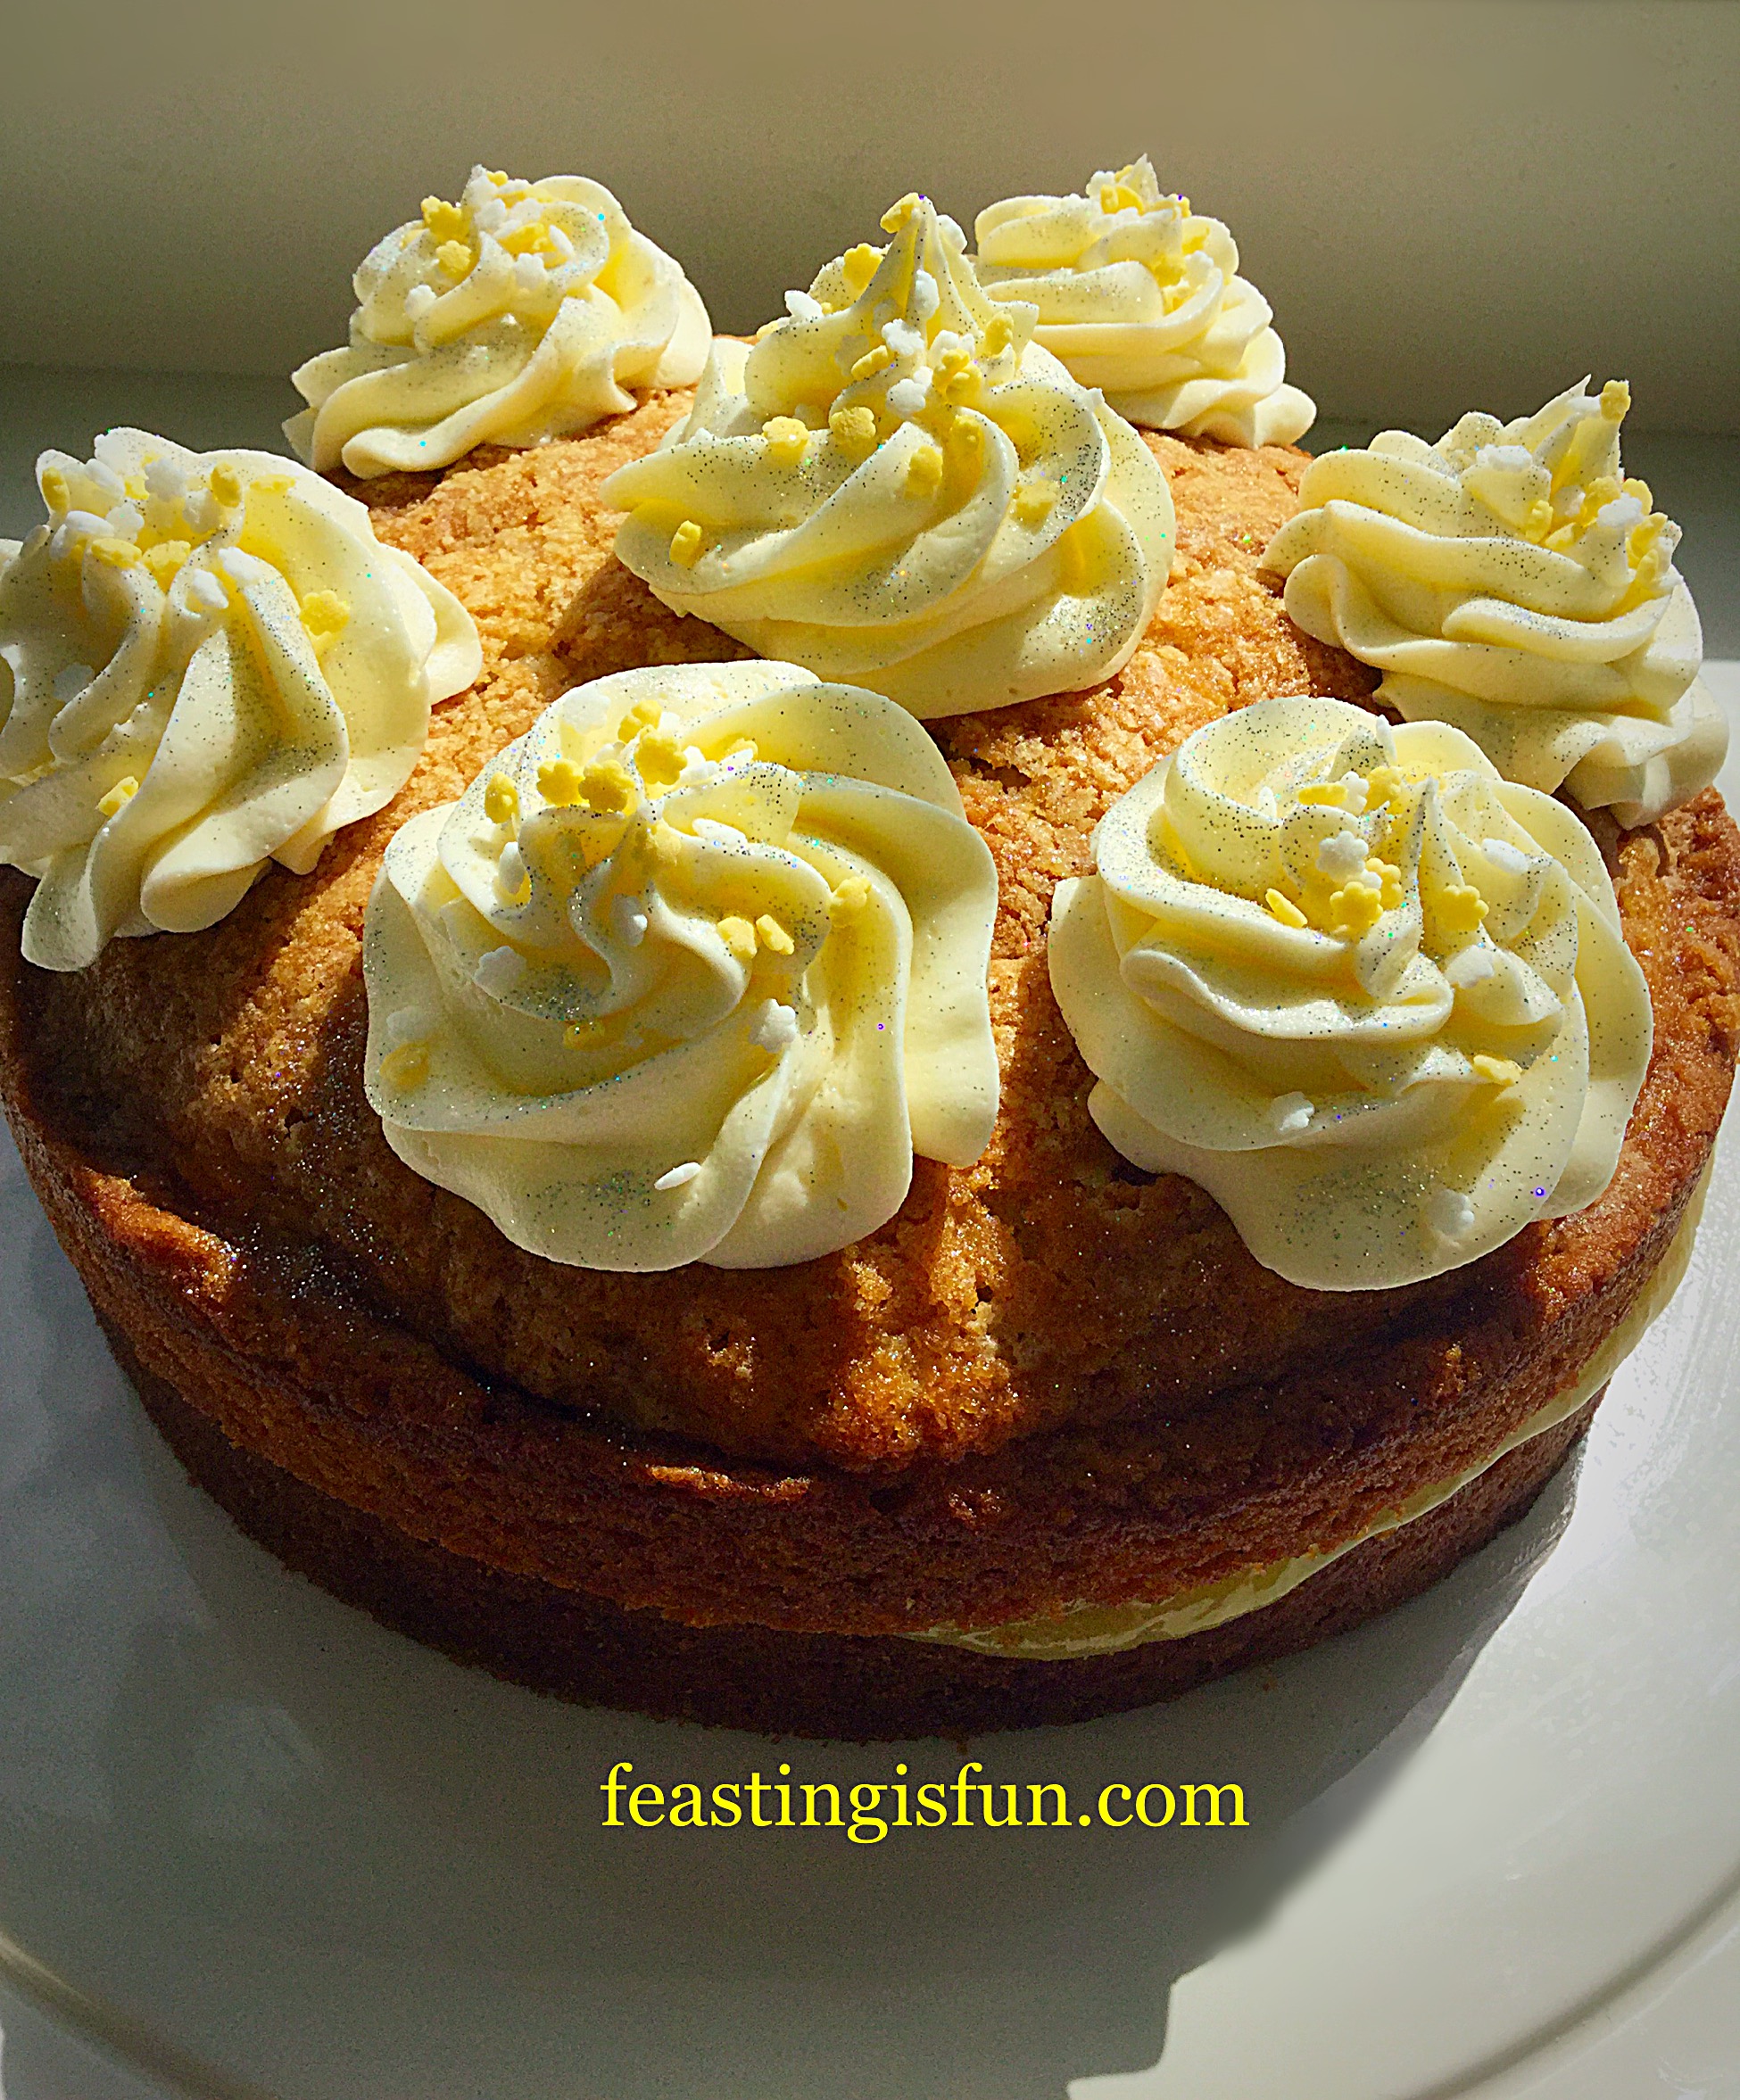
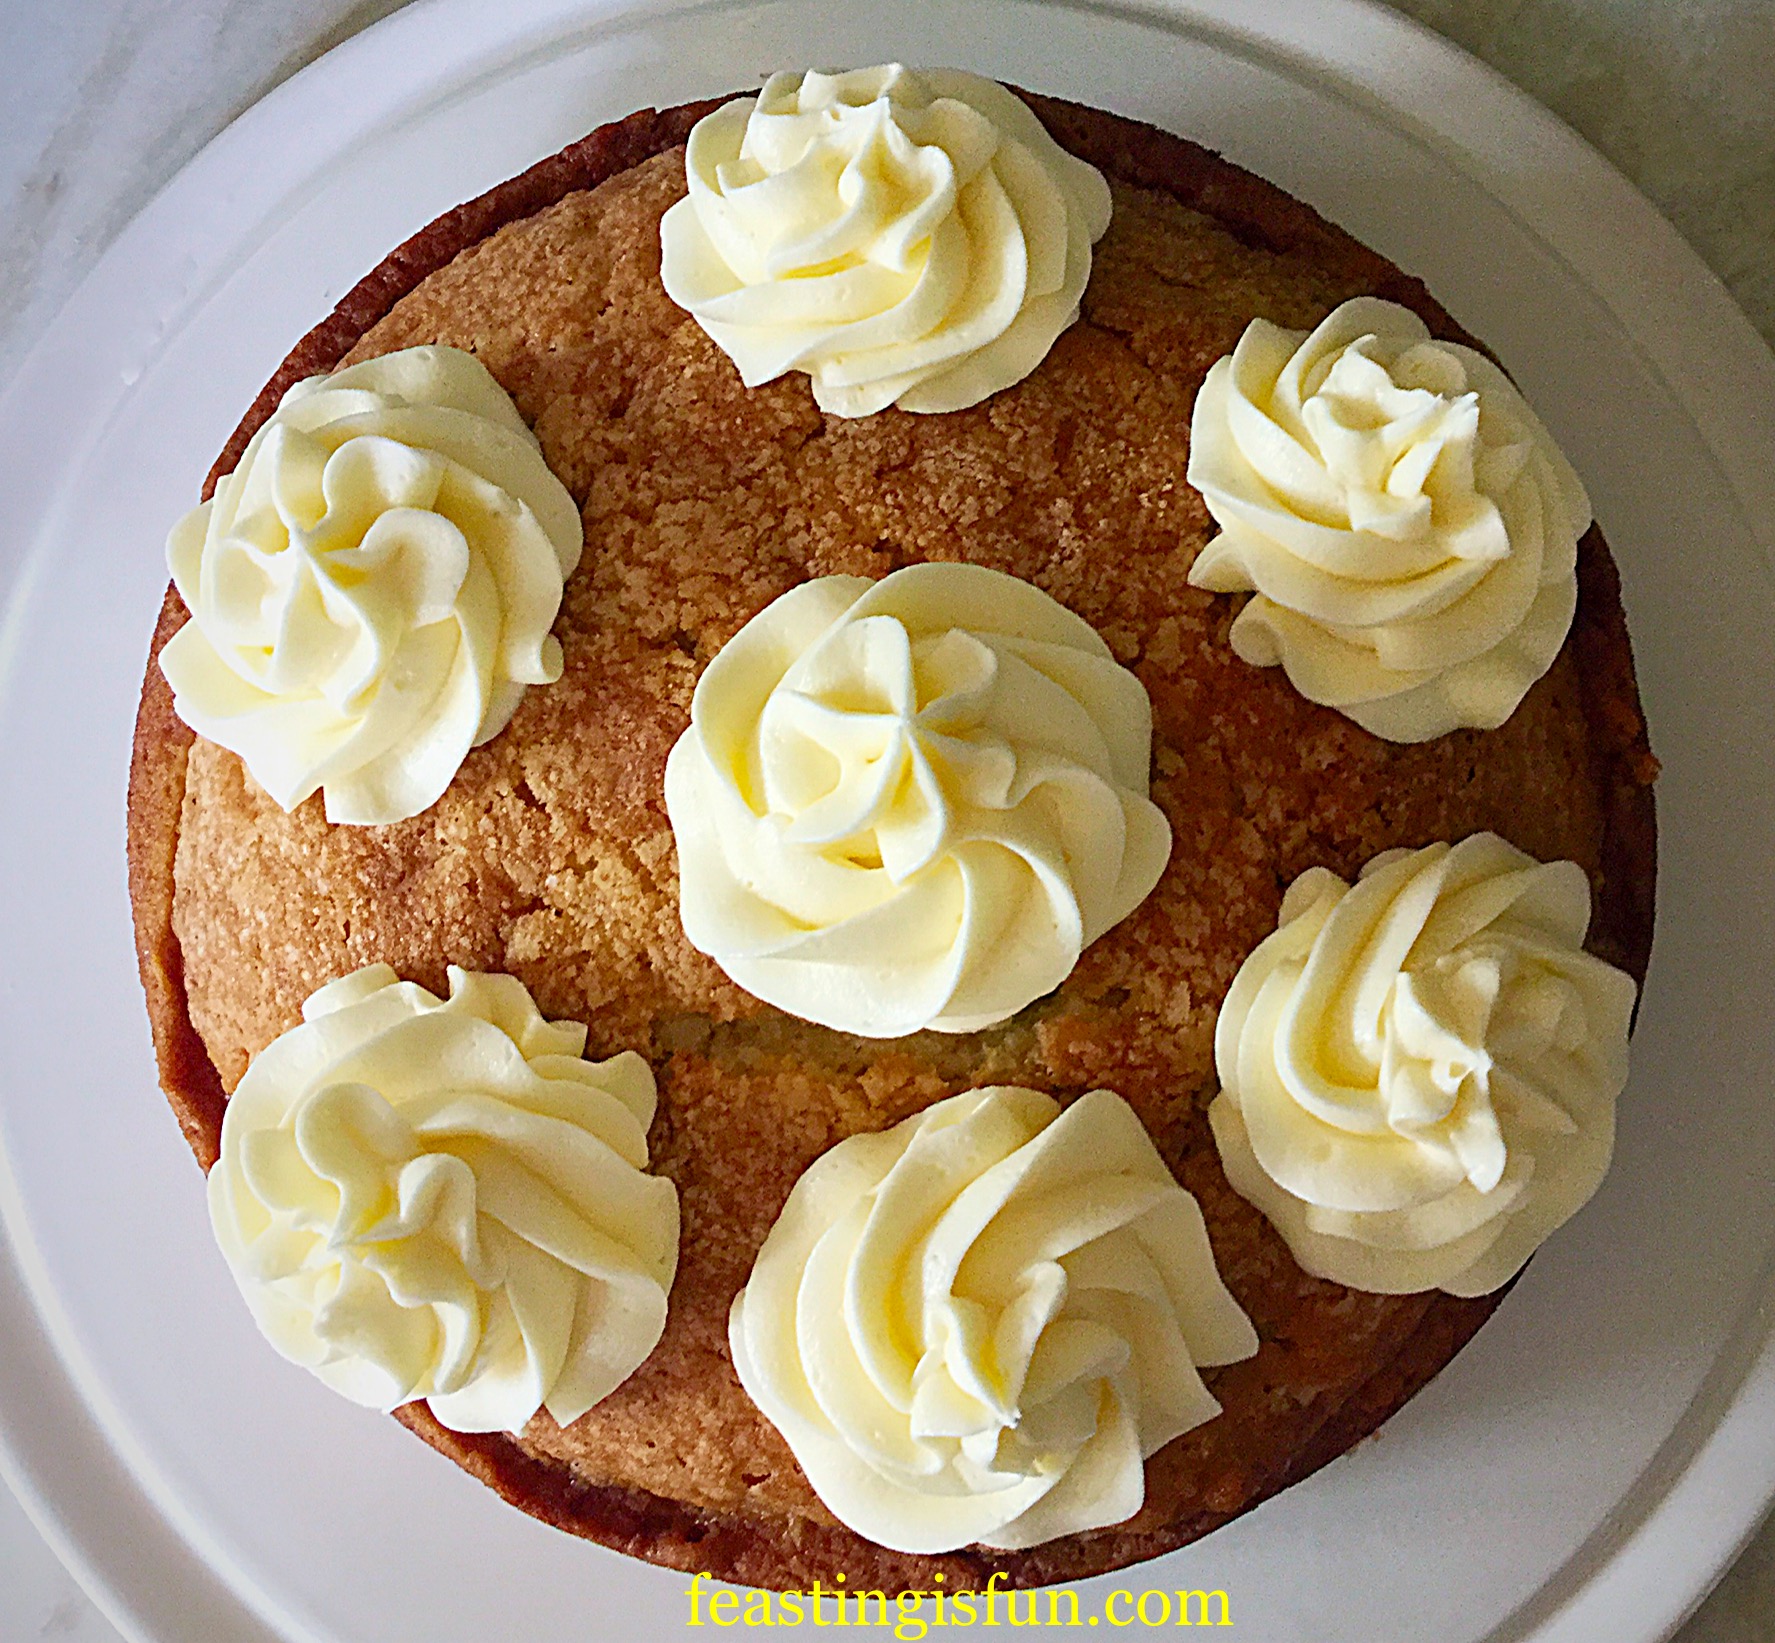
- Fit a large piping bag with a large star piping nozzle – Wilton #1M.
- Fill the piping bag with the maple syrup frosting.
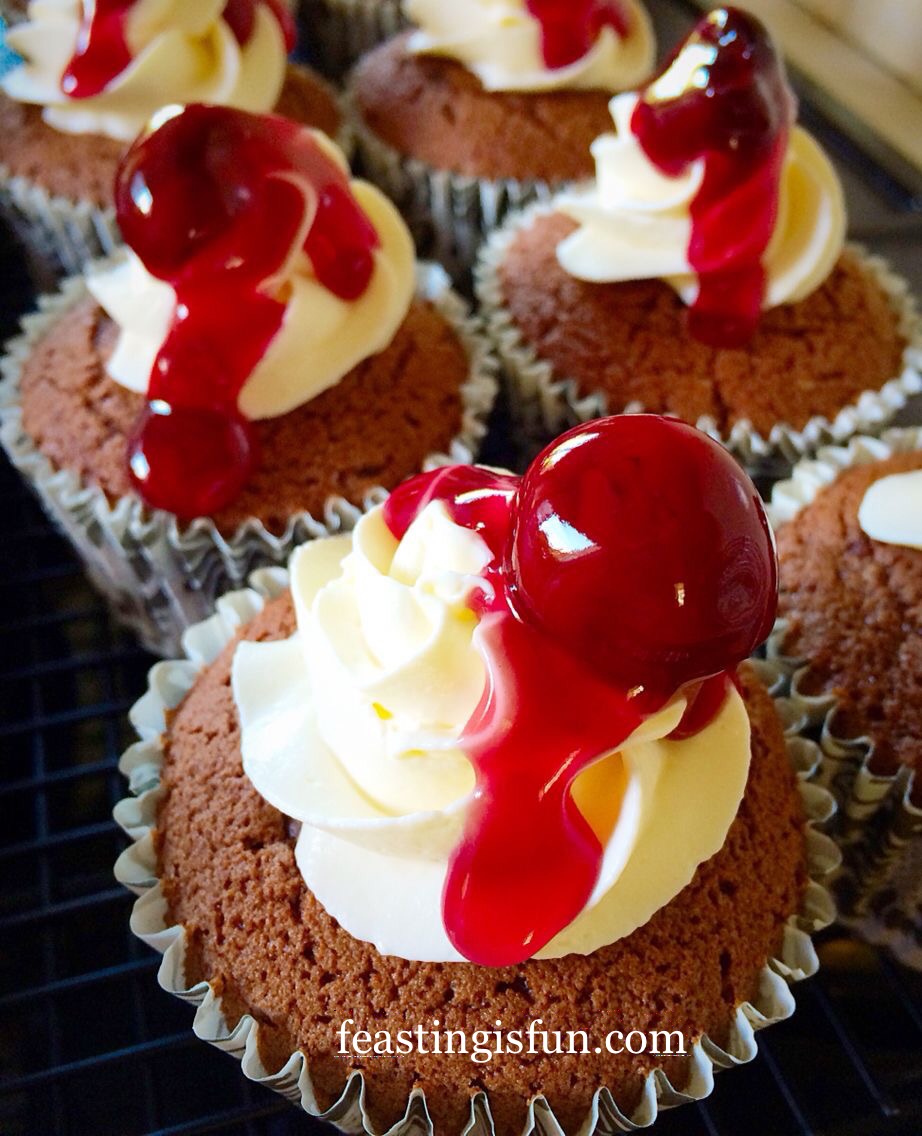
- Start in the centre of each cupcake pipe swirls, so the entire top of the cupcake is covered and then, continue to pipe, bringing the tip back to the centre and finishing with a star, as the nozzle is pulled away.
- Continue to pipe frosting until each cupcake is generously topped with frosting.
- To finish the decoration, drizzle approximately 1/2 teaspoon of maple syrup on to the top of the frosting, allowing the drizzle to drip around the frosting swirls.

Maple Syrup Frosted Apple Cupcakes a taste of Autumn in a cupcake! If you enjoy the season of Autumn, or Fall as it’s also known, take a look at this non food related post Autumn The Most Beautiful Season.
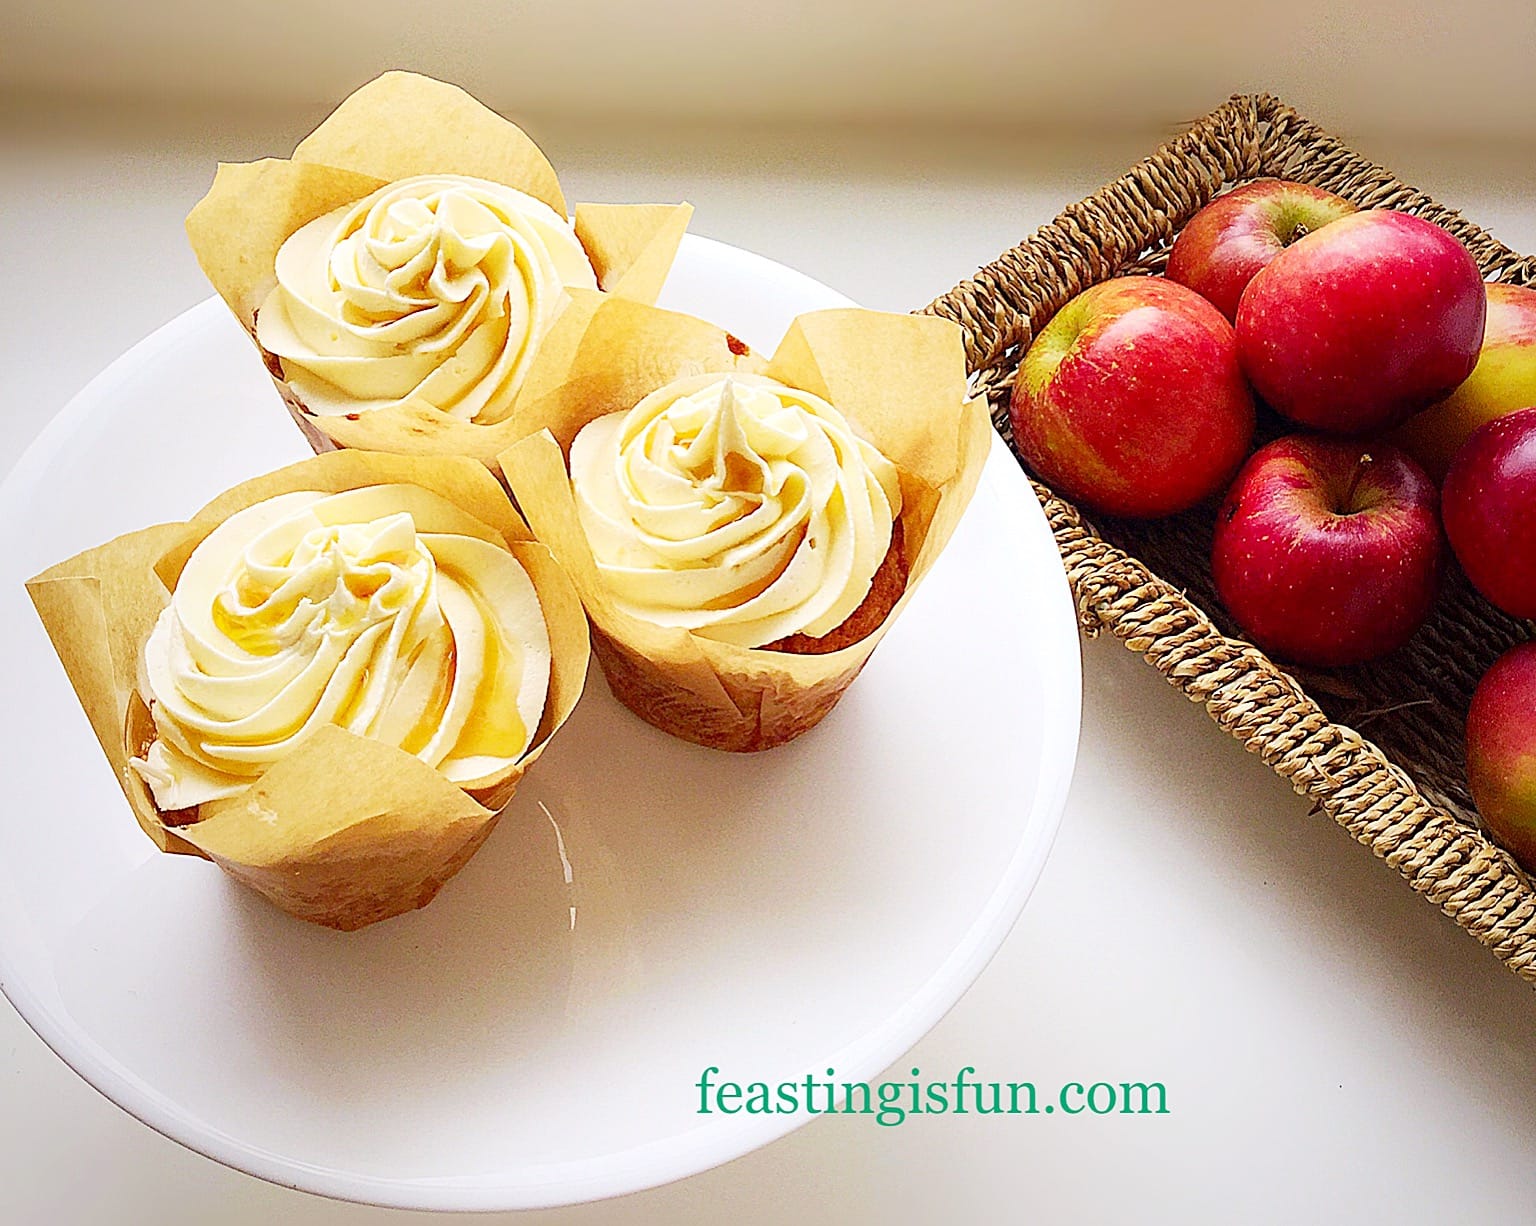
Baking these cupcakes certainly makes the most of seasonal fruit. Since there are plenty of apples freely available I will be making again. Another reason to bake them is also so they can be shared. While none of our friends or neighbours expect deliveries of cake, it is an extra special way of sharing our abundance of apples, which are also given away.
If you have enjoyed the recipe for these Maple Syrup Frosted Apple Cupcakes you may also like these:
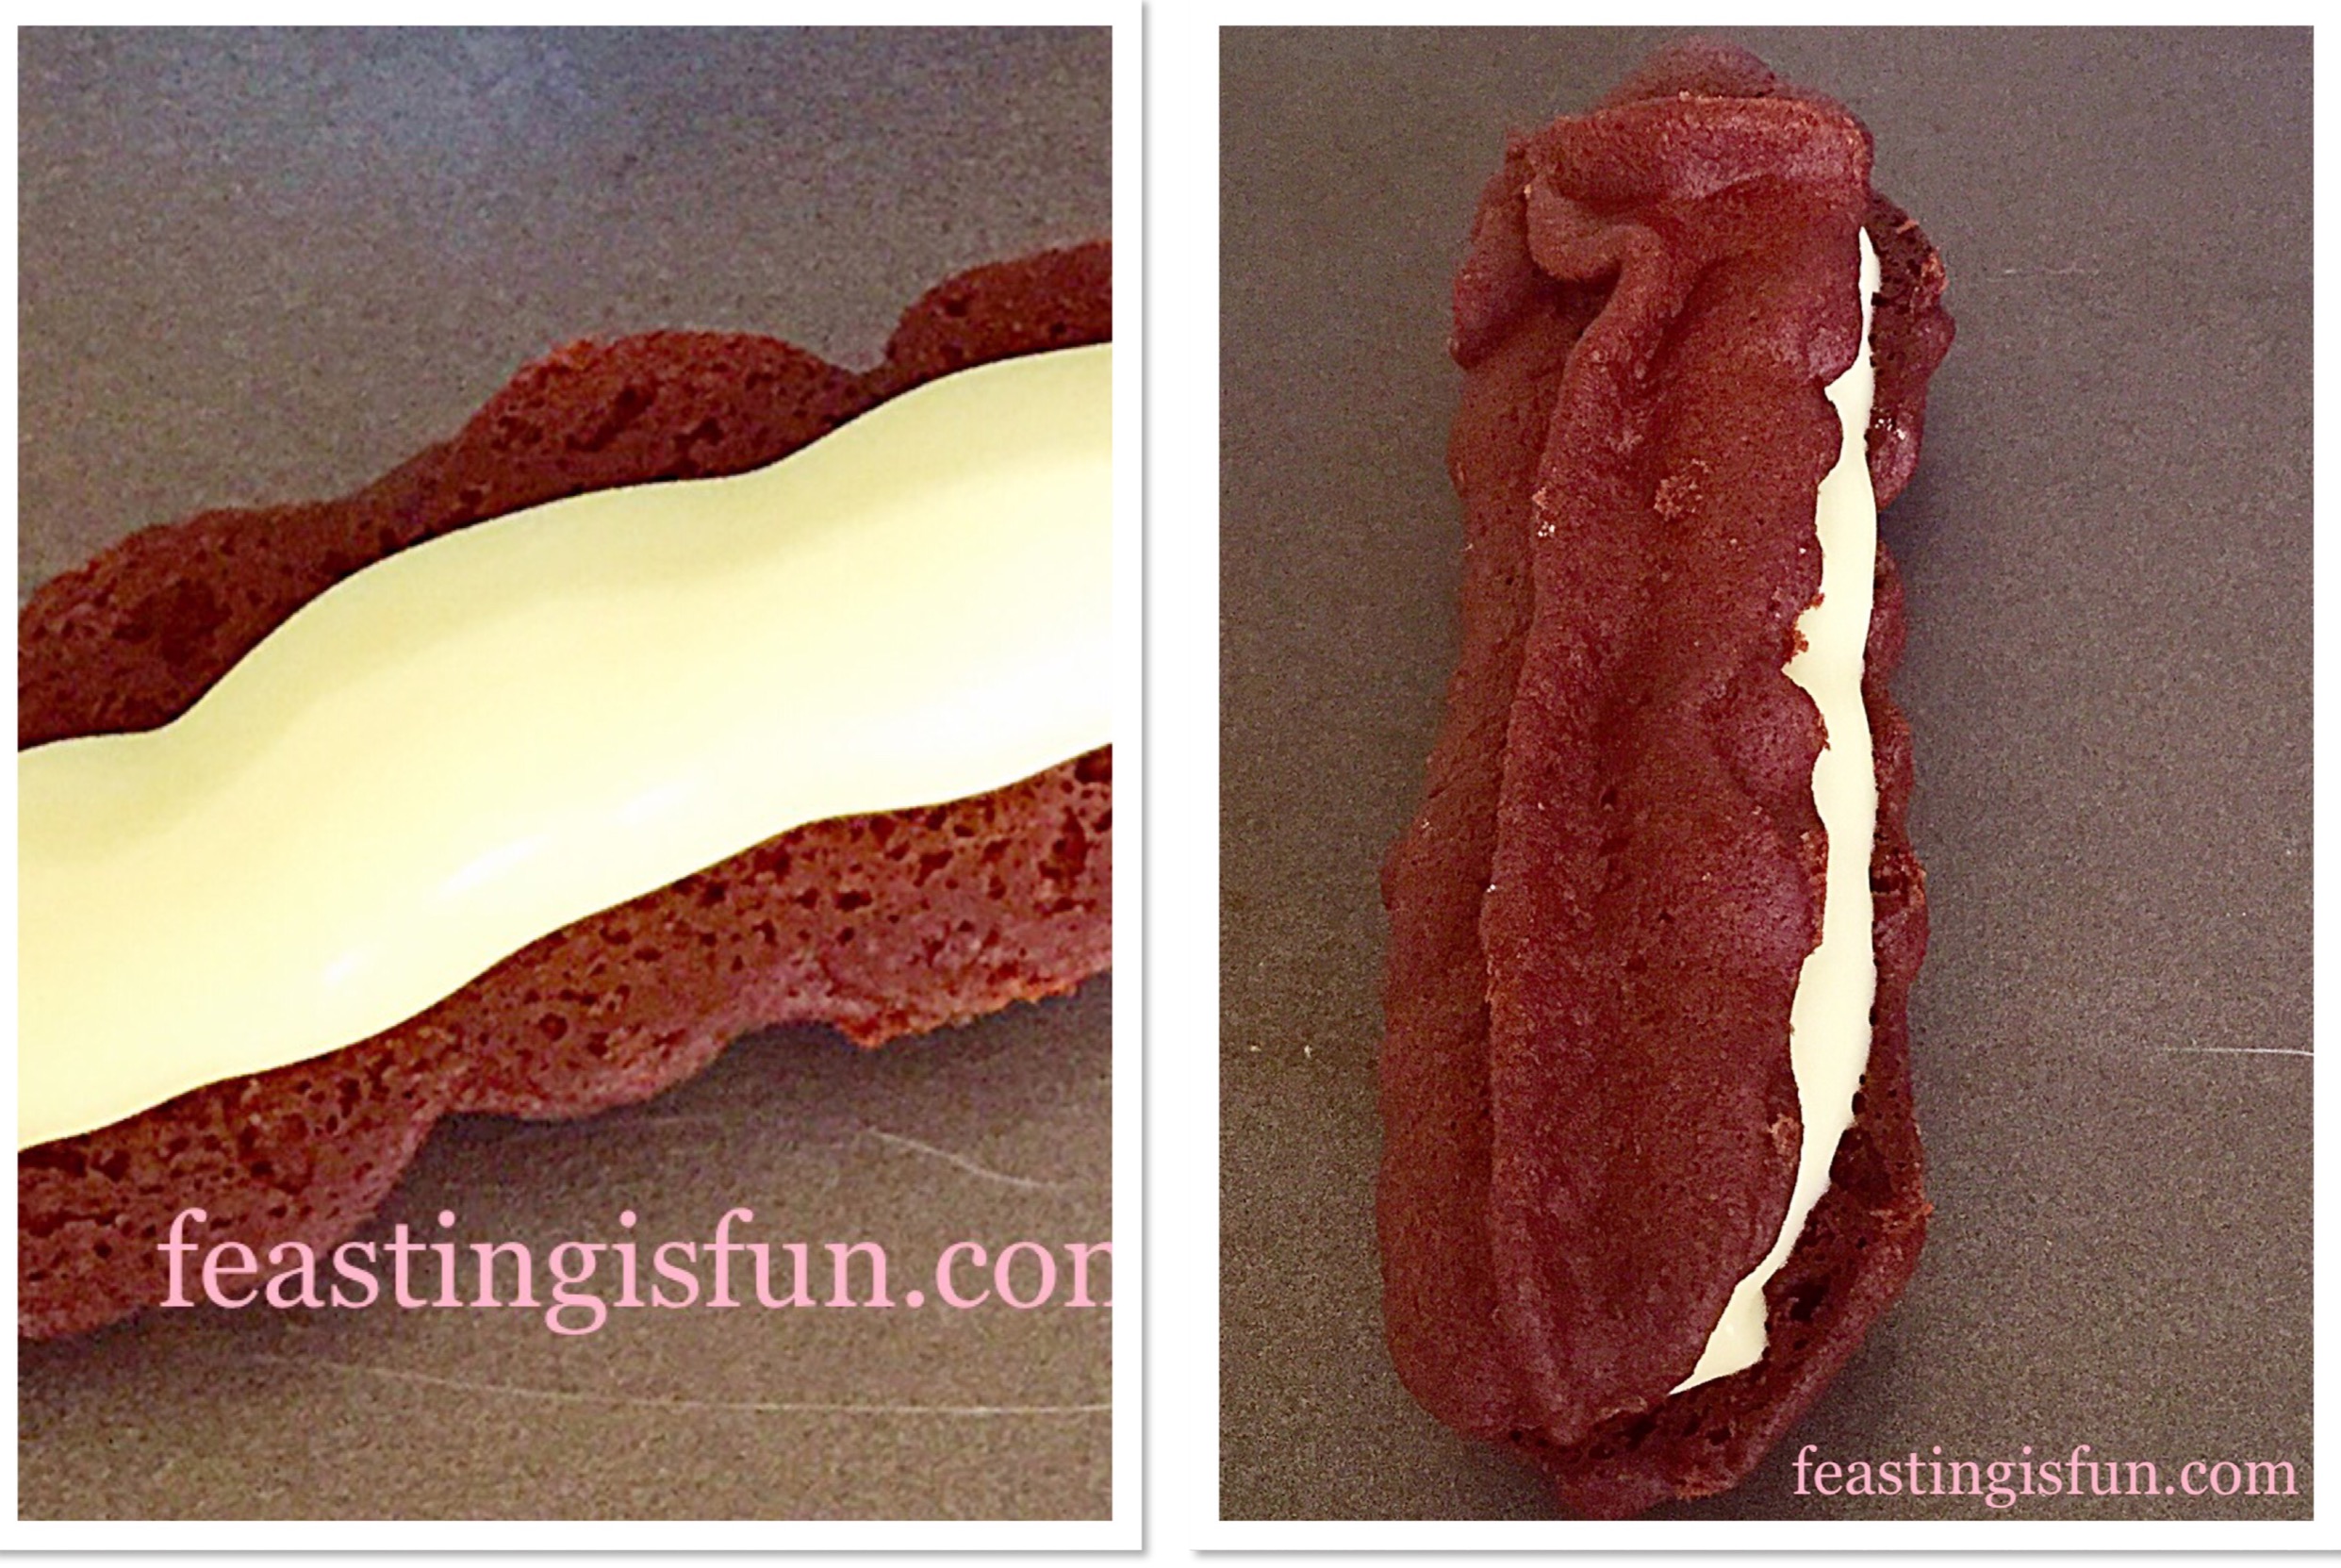
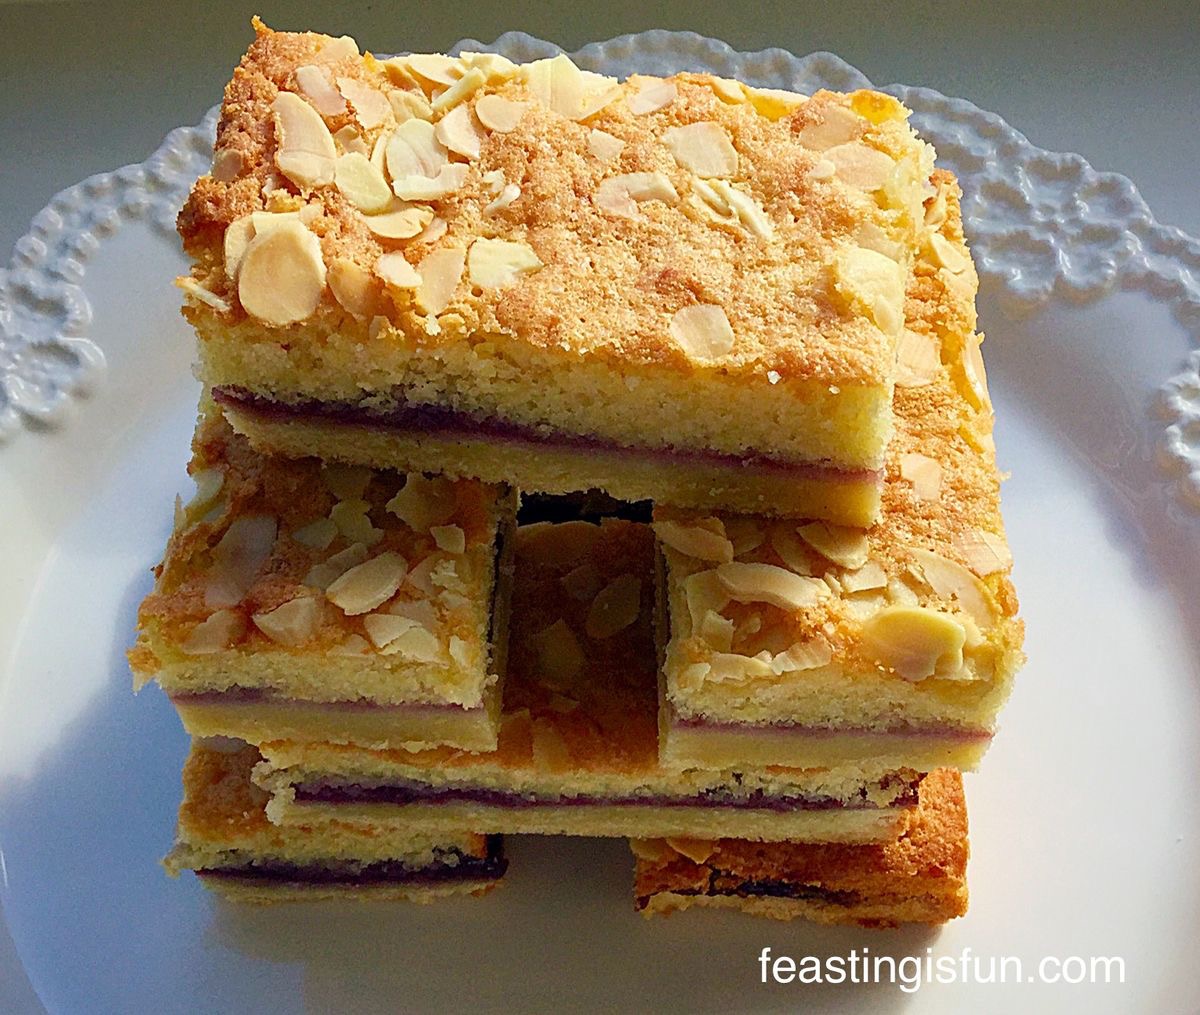
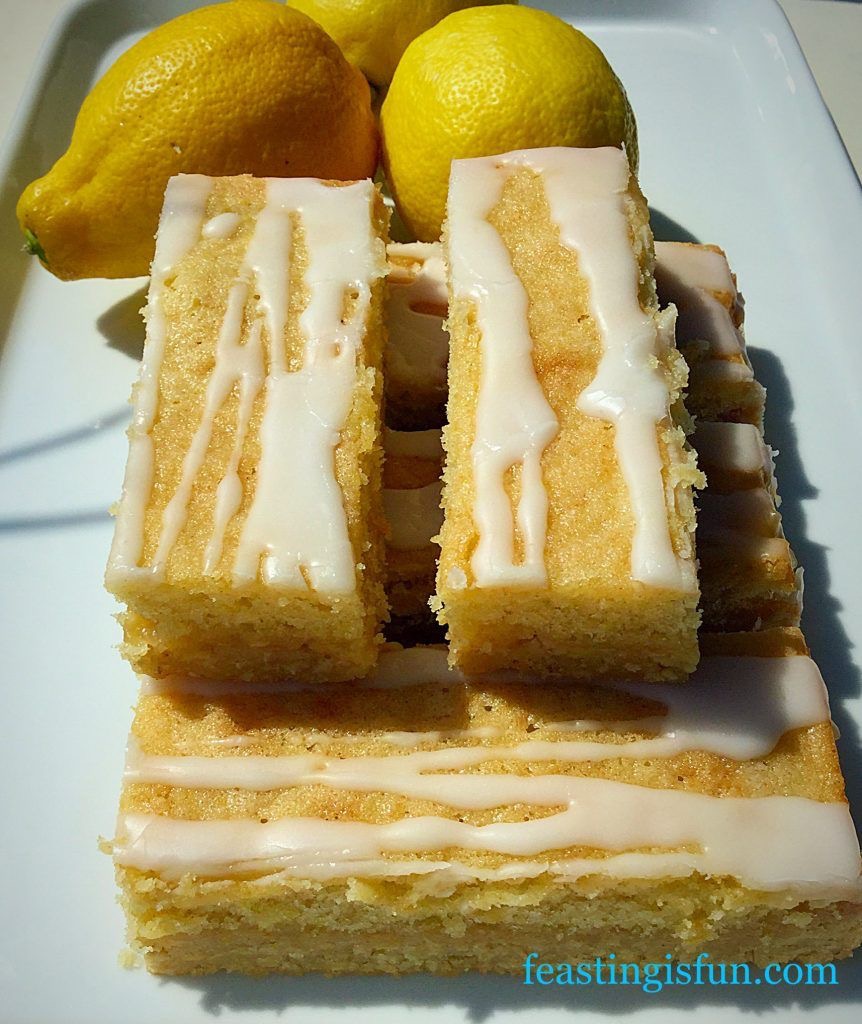
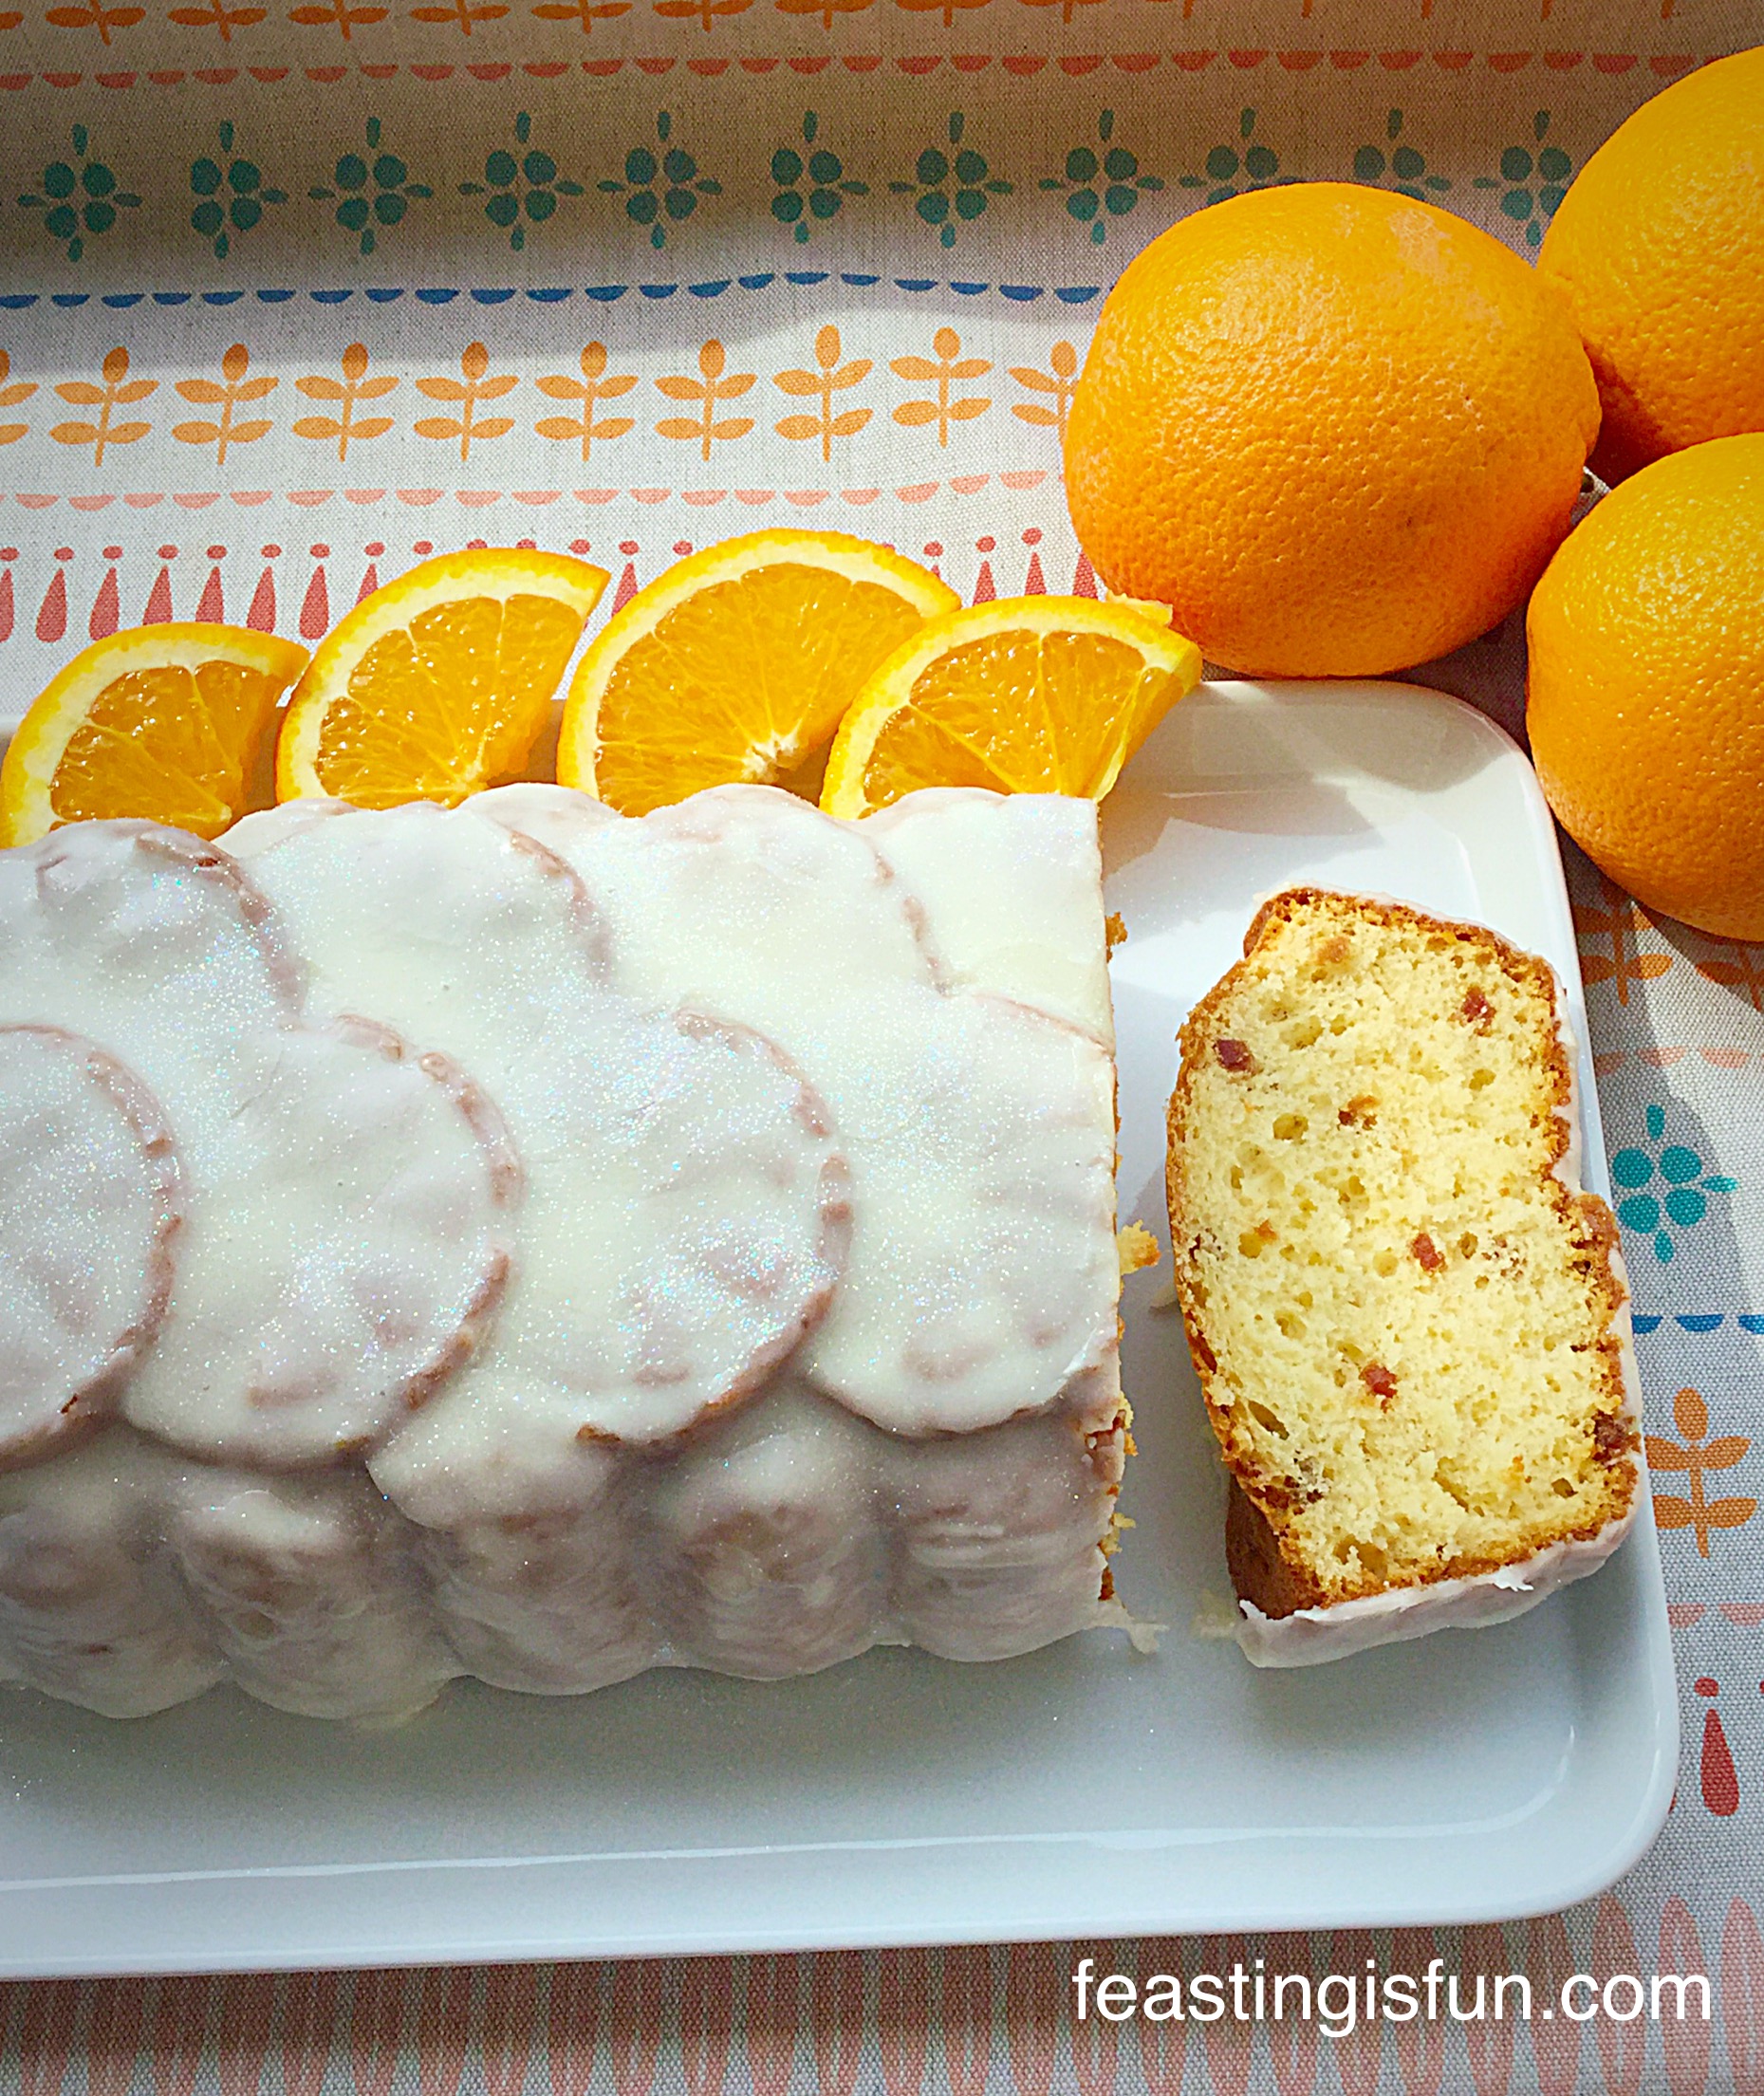
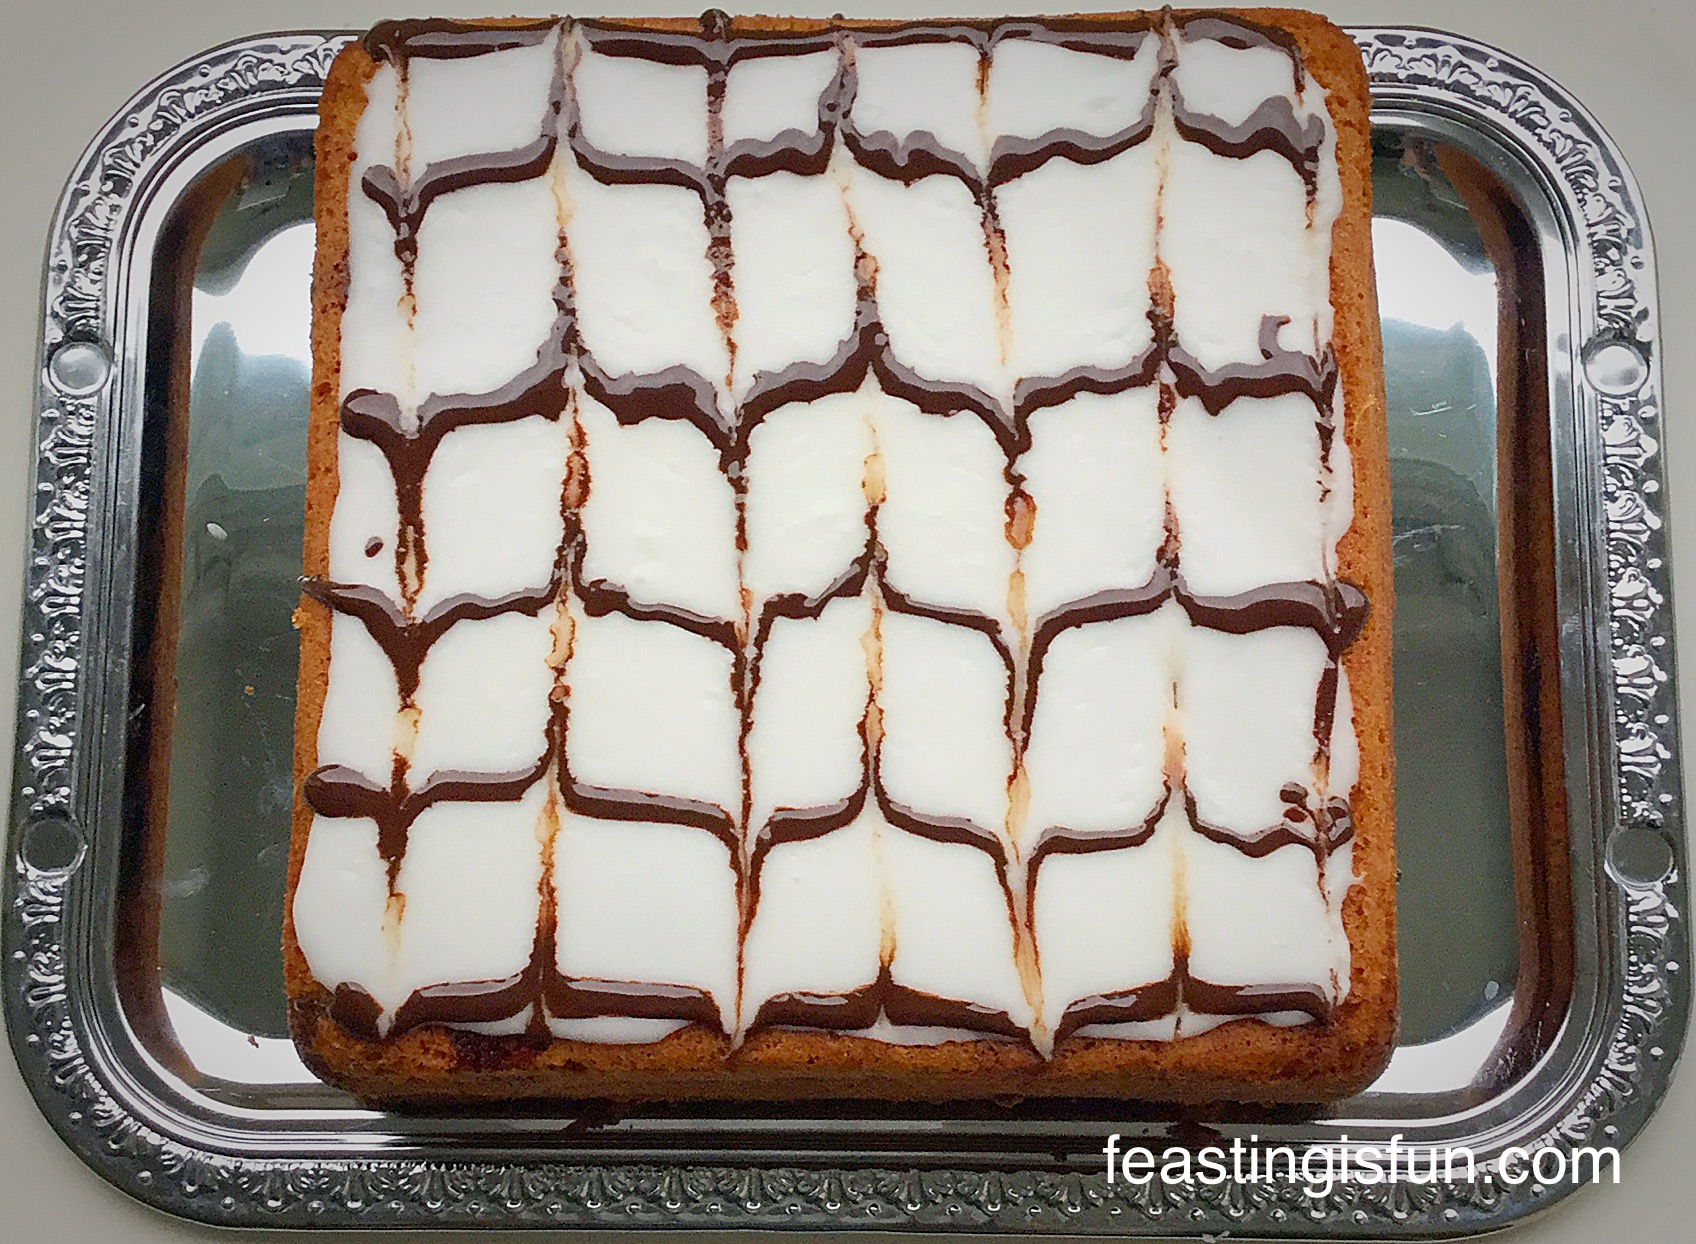
Cinnamon Drizzle Apple Walnut Cake Bars

I enjoy baking and find the process very relaxing. And creating new recipes is also be very rewarding, especially as I get to share them here, on Feasting Is Fun. Firstly as a personal achievement and also because of the pleasure my baking brings to others. Watching faces full of pleasure as they bite into a delicious treat, big smiles when a friend receives a birthday bake and gracious thanks from a busy, tired family upon receipt of a homemade lasagne, all bring me a deep sense of joy. Life is for sharing and if my small contribution encourages others to do the same, well then, this blog, Feasting is Fun, will have served its purpose.
Do you share your makes and bakes?
Sammie xx
No part of this post may be reproduced or duplicated without the written permission of the owner. Please see my Disclosure Policy.
Share