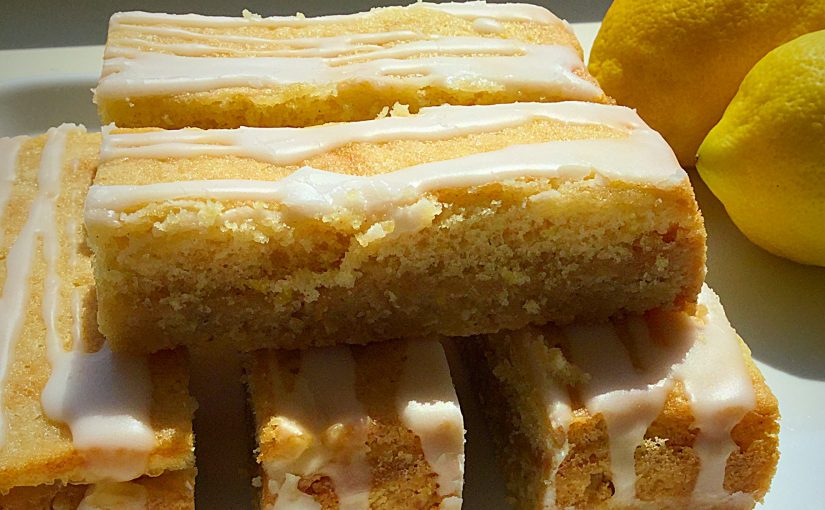
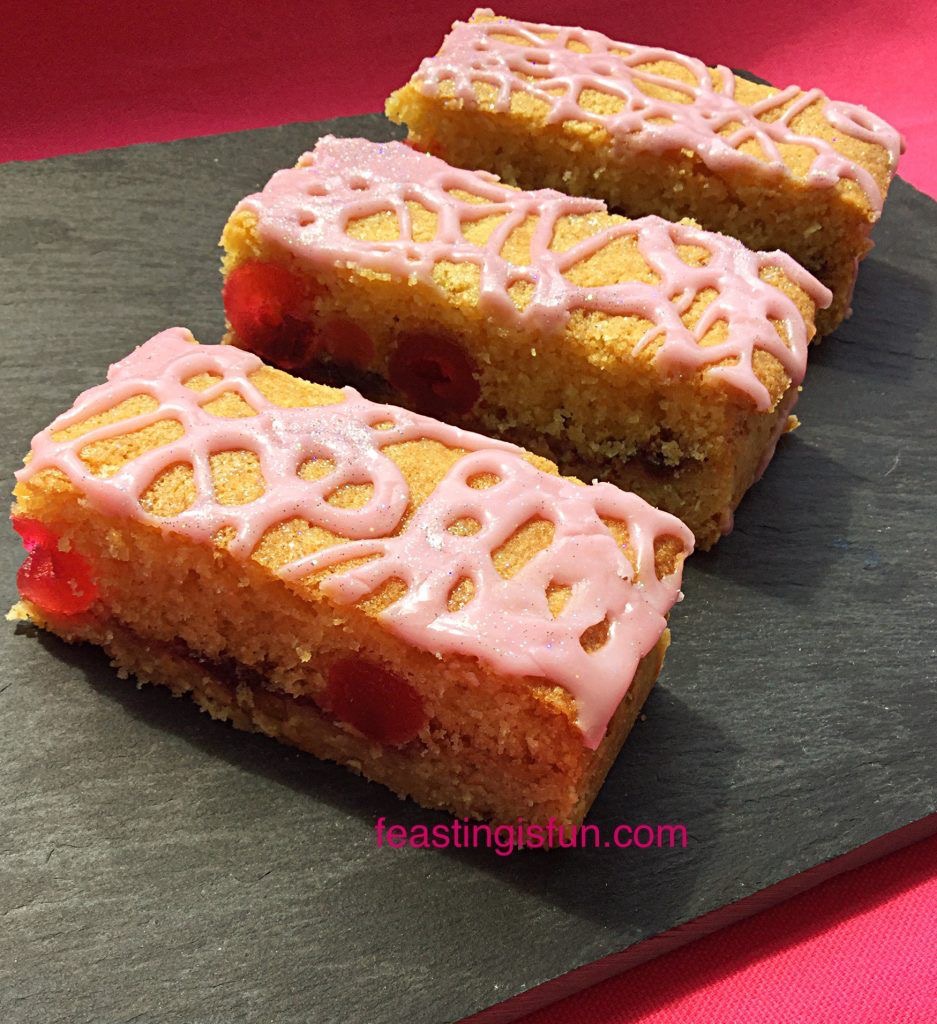
It is no secret that I love lemon. Whether it be in a glass of Franklin’s tonic water with clinking ice and a slice of lemon, cut into quarters as part of savoury Lemon Thyme Roast Chicken recipe, or even in a sweet bake such as my Lemon Blueberry Bundt Cake. Lemons are very versatile. And they bring sunshine into the kitchen on the dullest day’s. So let me introduce my Lemon Drizzle Cake Bars.
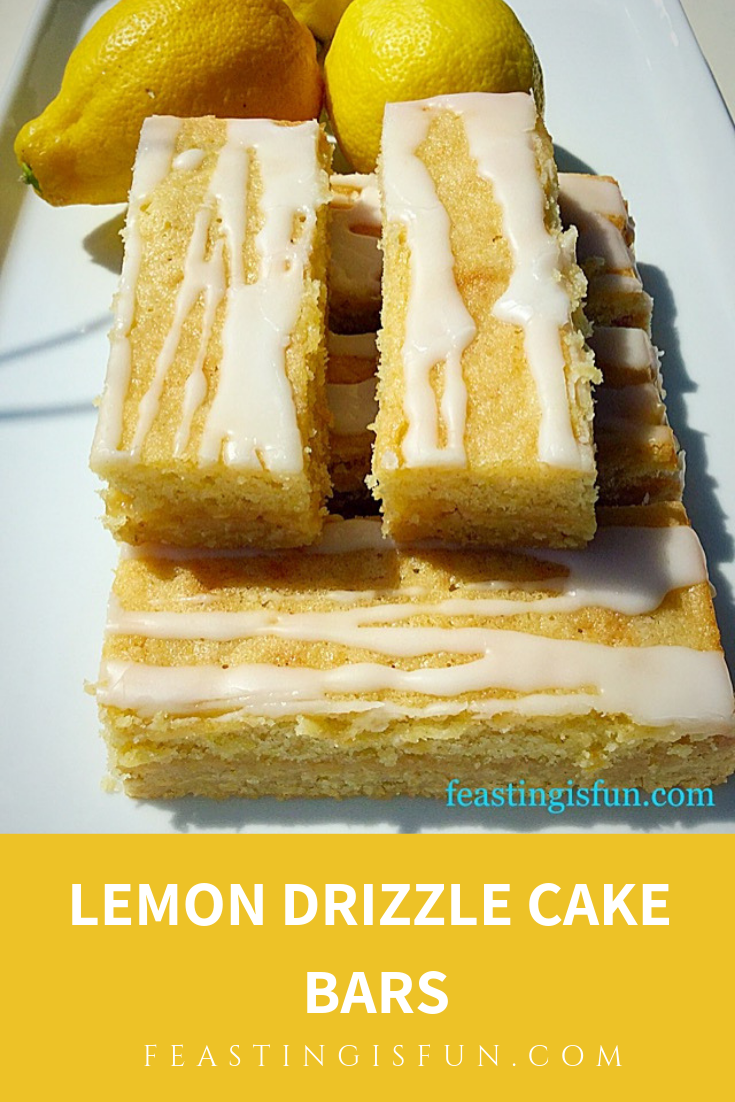
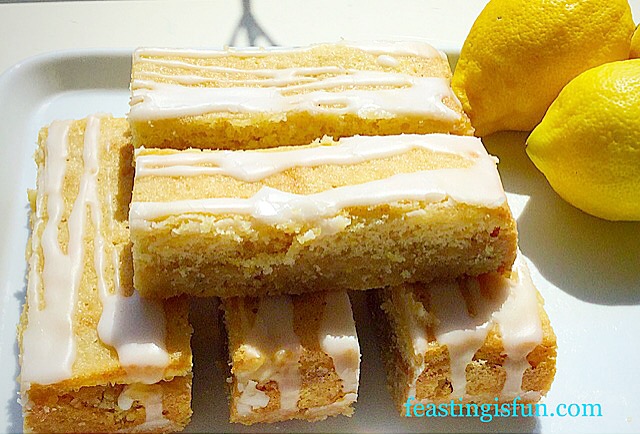
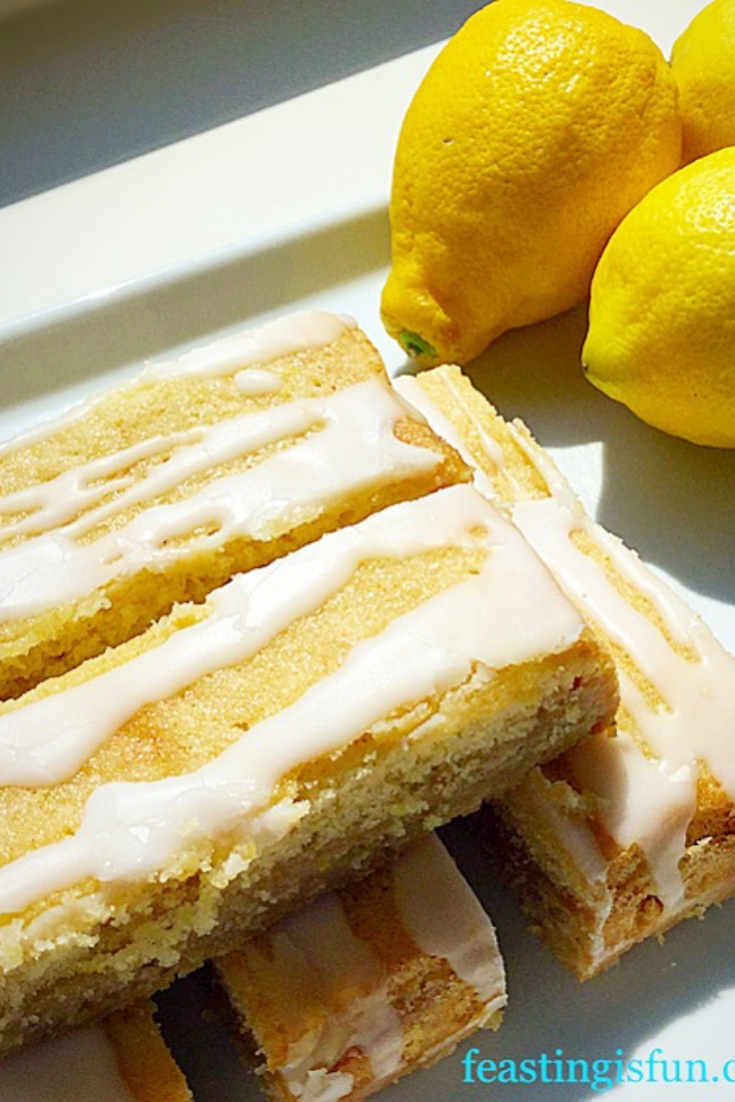
While a sturdy, yet delicious oat biscuit base covered in lemon curd and then topped with the lightest lemon sponge ensures these bars are easy to handle. And a drizzle of fresh lemon juice icing ensures your tastebuds wake up with a zing. Resulting in a tasty bar that keeps you feeling full for longer because of the oats.
Especially ideal for picnics, packed lunches, or just as a mid morning or afternoon snack to keep you going until meal time.
Although I really do need to get around to making my own lemon curd, for this recipe I used Waitrose own luxury lemon curd. Because using a good quality lemon curd makes all the difference to the overall flavour.
Recipe: Makes 16 Lemon Drizzle Cake Bars
For the Oat Biscuit Base:
225g/8oz Unsalted Butter
125g/4.5oz Caster Sugar
1/8tsp Salt – I use Maldon
1tsp Vanilla Extract – I use Nielsen-Massey
1 Large Free Range Egg Yolk
100g/4oz Rolled Oats – not quick cook
125g/4.5oz Plain White Flour
3tbs Lemon Curd – use the best quality one that you can afford
For the Lemon Sponge Layer:
125g/4.5oz Unsalted Butter
100g/4oz Caster Sugar
1/8tsp Salt
1/2tsp Vanilla Extract
2 Large Free Range Eggs
125g/4.5oz Plain White Flour
1tsp Baking Powder
Finely grated zest of 1 Lemon – reserve the juice for the icing
For the Lemon Drizzle Icing:
100g/4oz Icing Sugar
Juice of 1 Lemon
Method: Preheat the oven to 200C/180C fan, gas mark 6, 400F.
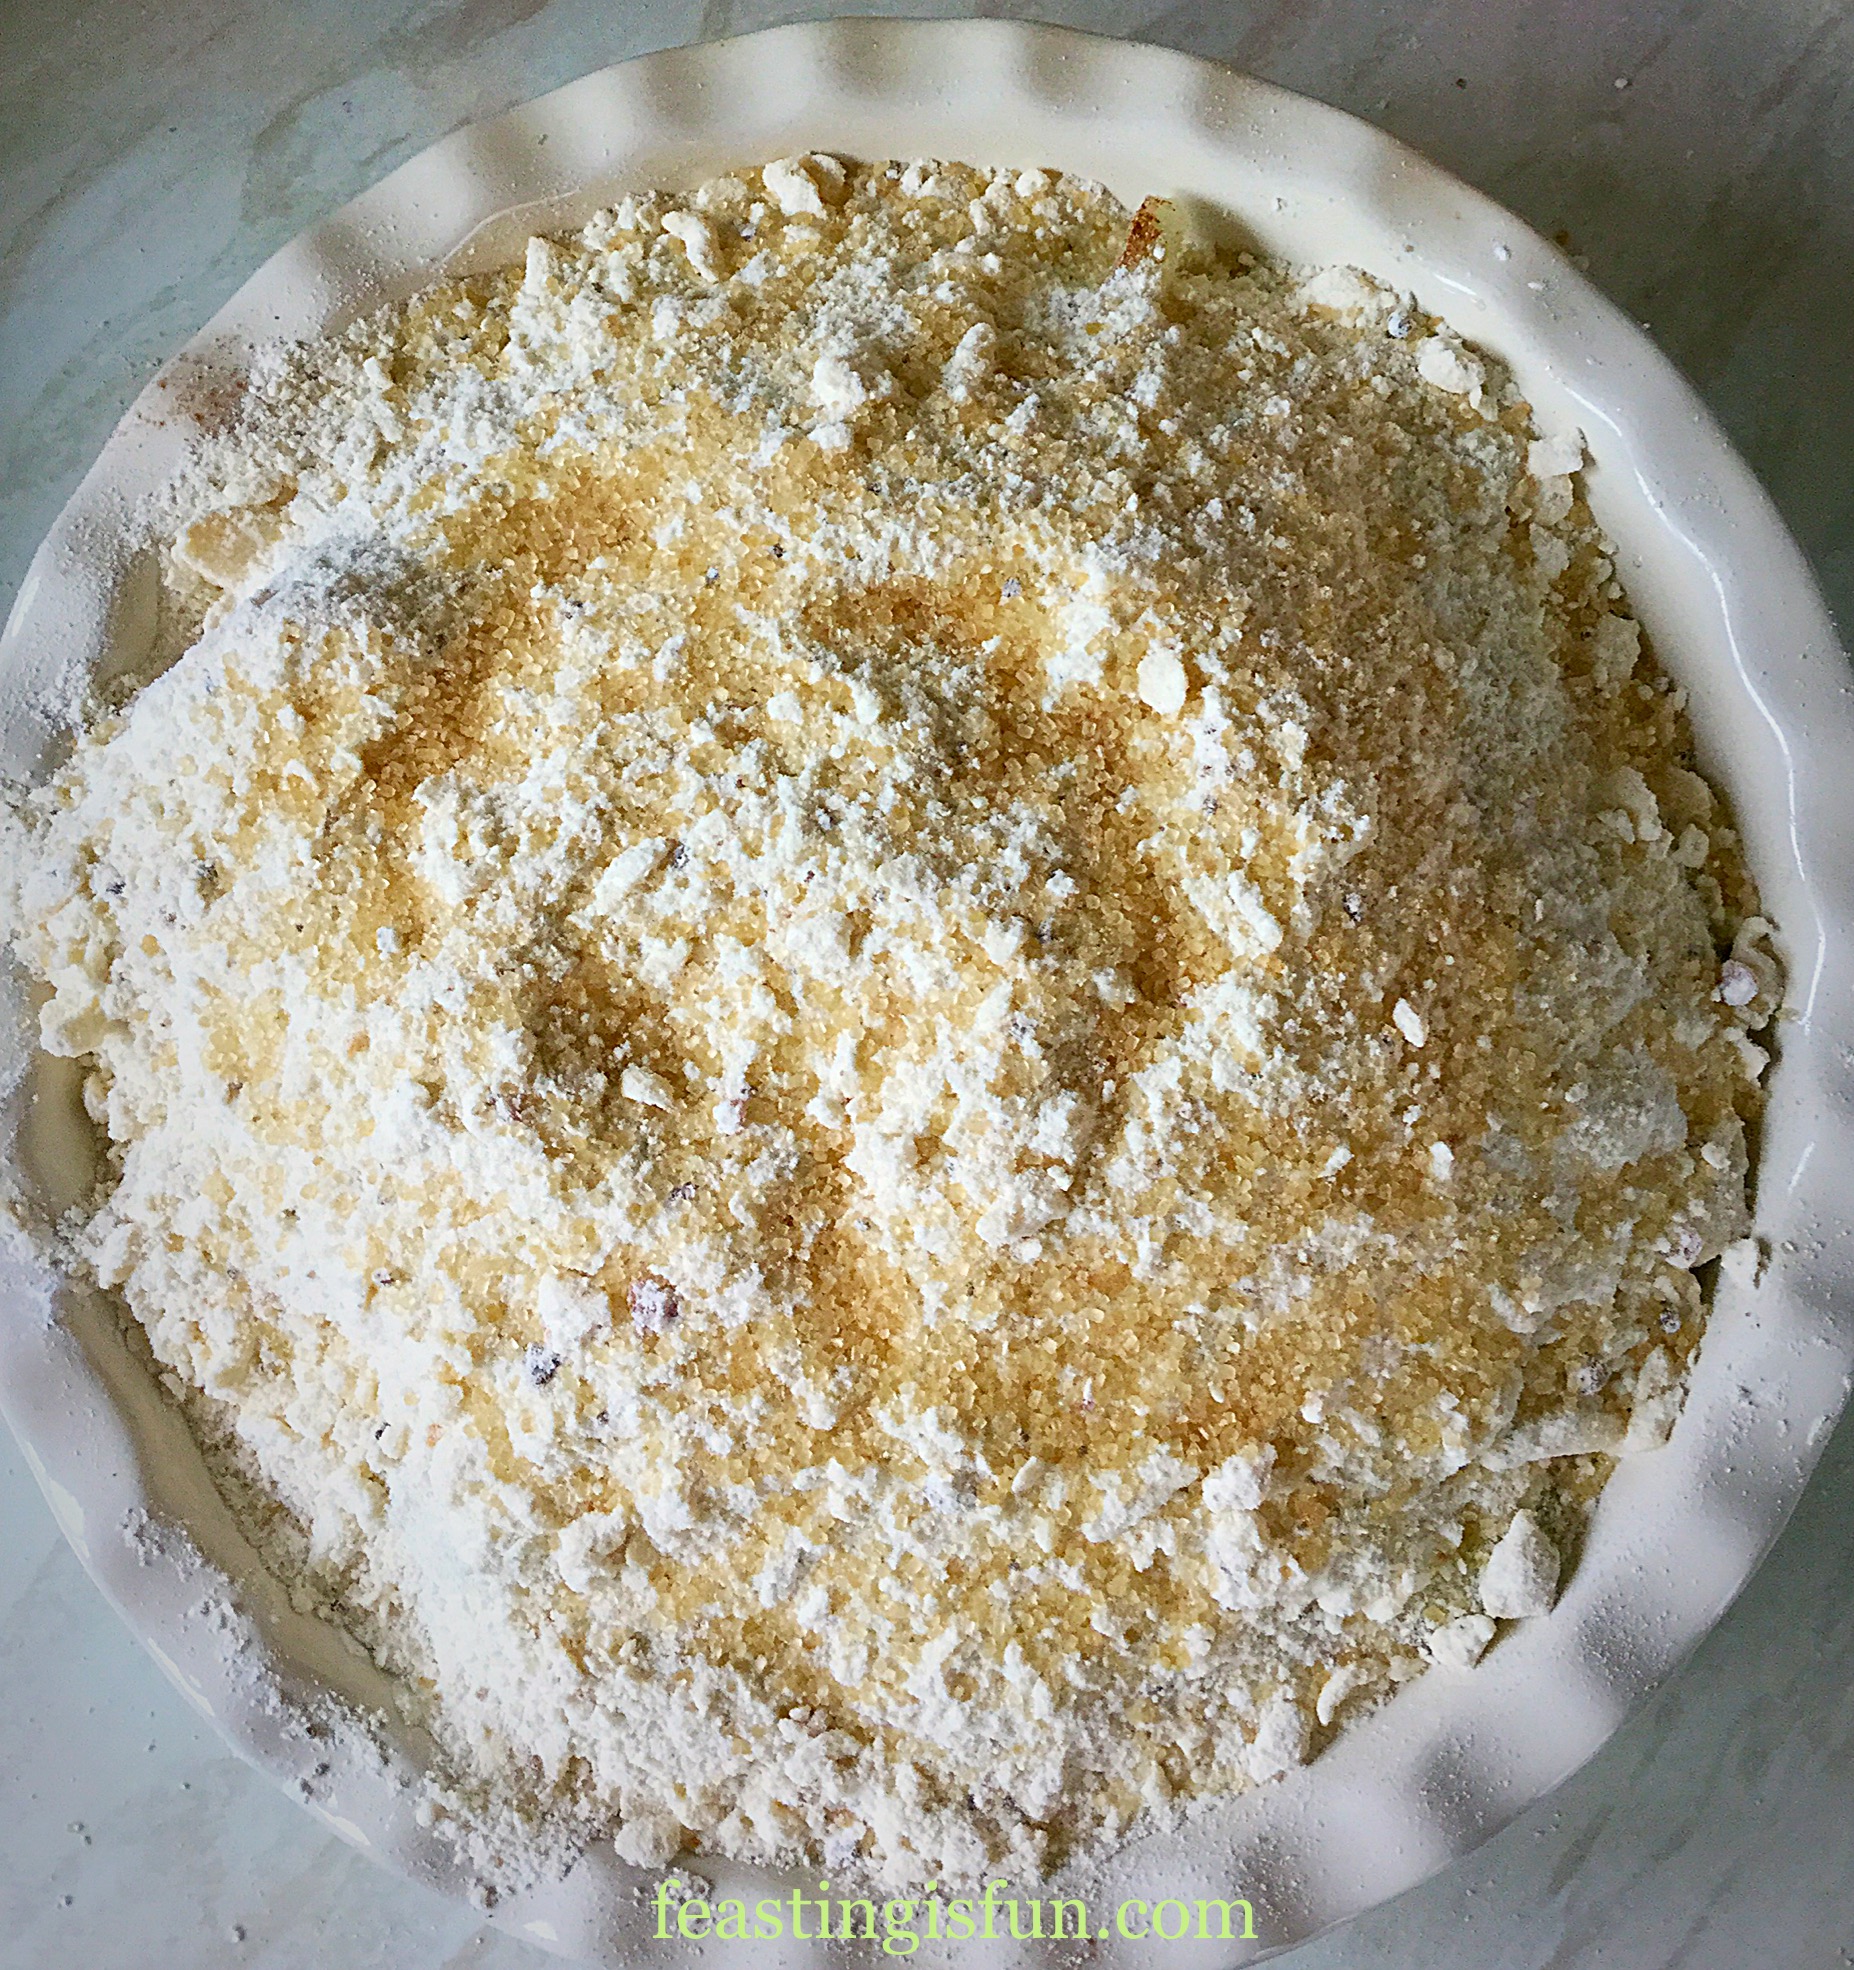
Making the Oat Biscuit Base:
- First of all, line a 28cm x 20cm x 5cm (12″x 8″x 2″) Swiss roll tin with baking parchment. I have found that I am able to line mine without greasing, however, lightly grease the tin if it is easier to keep the parchment in place.
- In a large bowl beat/whisk together the butter, cream and salt until pale and creamy.
- Add the vanilla extract and egg yolk and continue to beat/whisk until combined.
- Add the oats and flour and stir together until combined.
- Place the biscuit mixture into the lined tin and press into place using clean fingers.
- Place the tin in the fridge and chill the biscuit mixture for 30 minutes.
- As soon as it is chilled place the Swiss roll tin in the centre of the oven and bake for 20 minutes.
- Remove after the 20 minutes has elapsed and turn down the oven temperature to 160C/140C fan, gas mark 3.
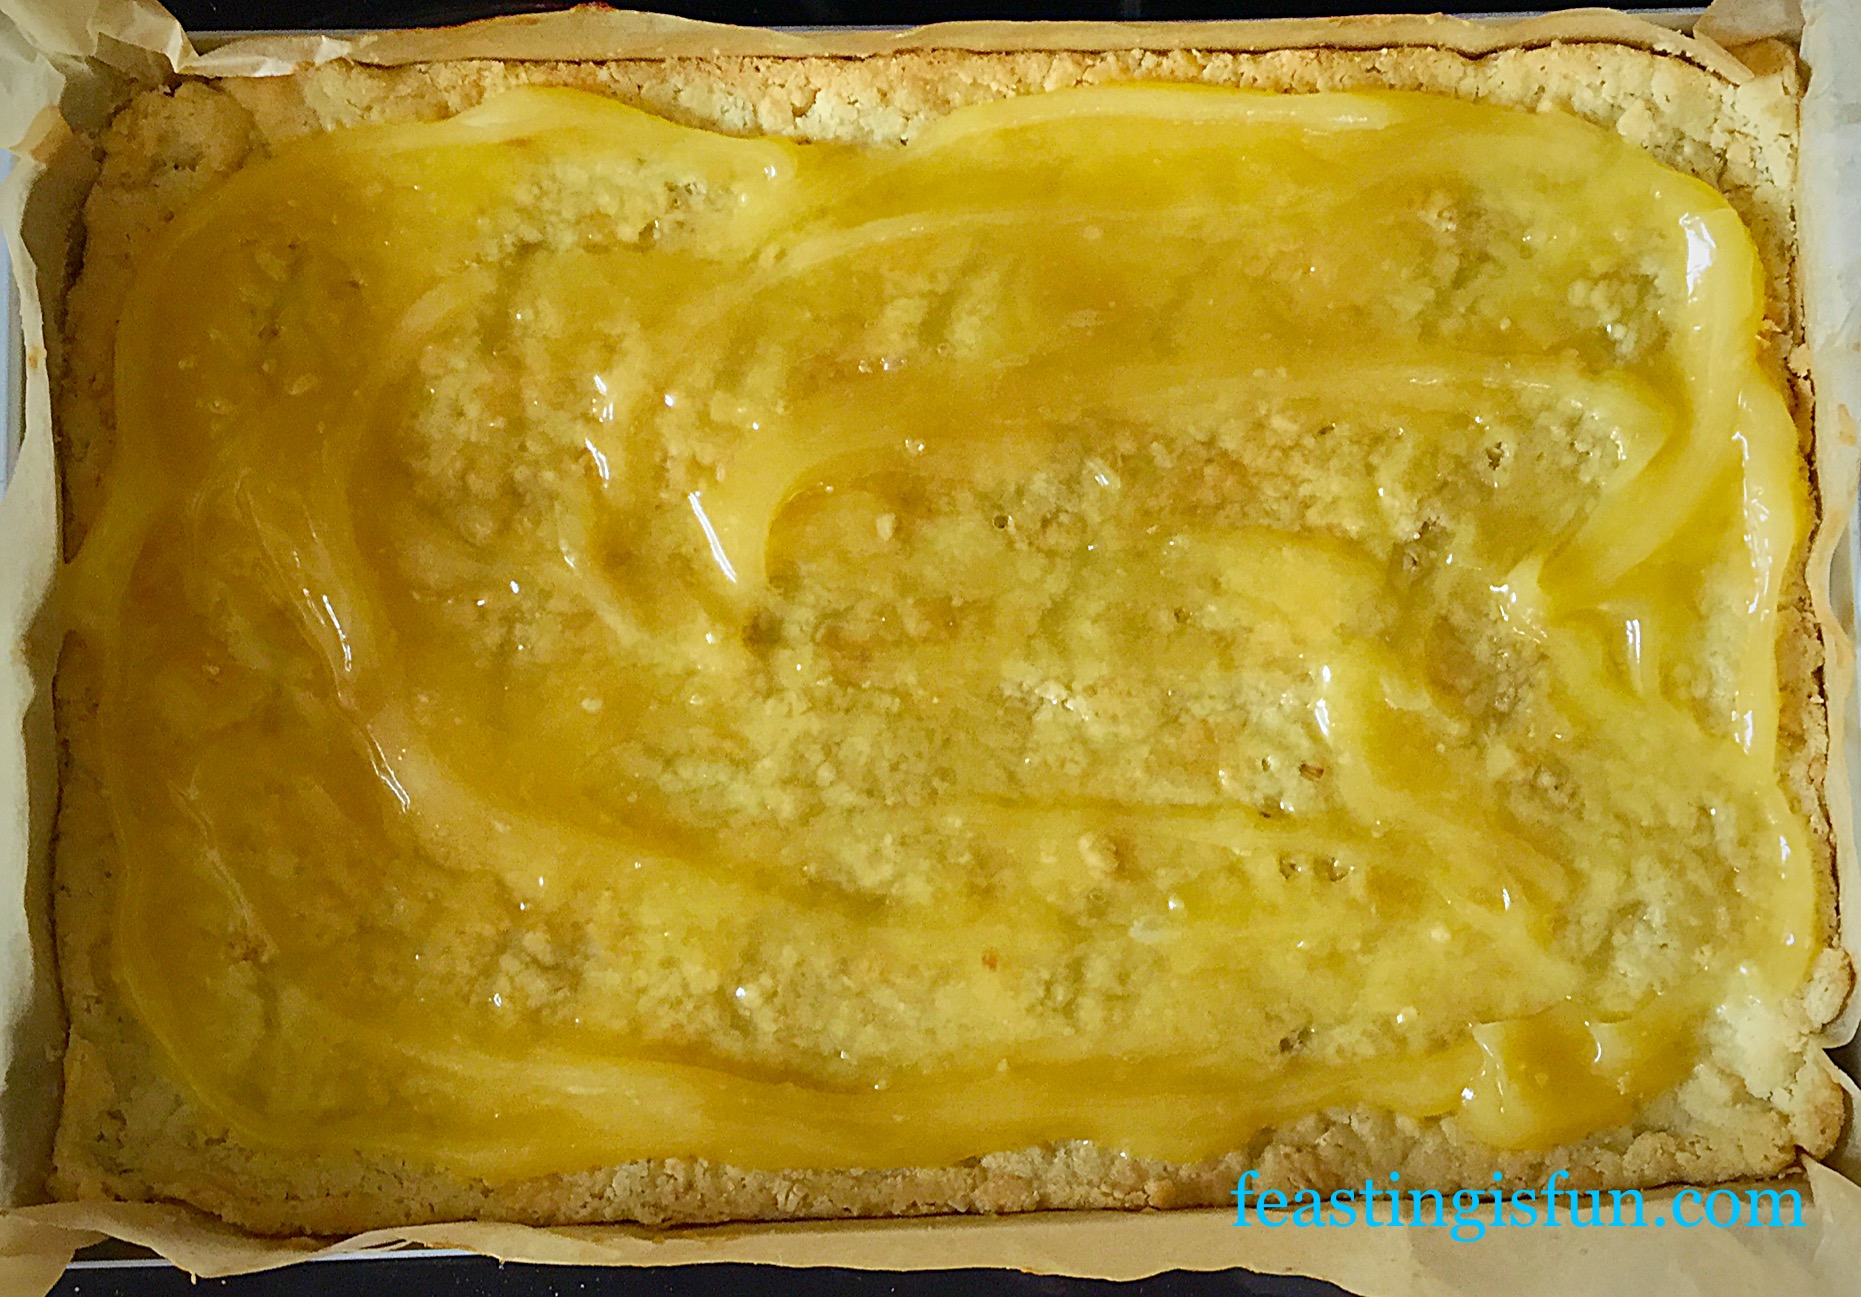
- Spoon the lemon curd on to the hot biscuit base and spread so that it covers and almost reaches the edges.
Making the Sponge Layer:
Note: This can easily be made whilst the oat biscuit base is baking.
- In a large bowl whisk/beat the butter, sugar and salt together until they are pale and creamy.
- Add the 2 whole eggs and vanilla extract. Whisk/beat until light and foamy.
- Sift in the flour and baking powder. Add the finely grated zest of 1 lemon.
- Fold all the ingredients together, using a spoon, until they are just combined.
- Spoon the mixture over the lemon curd coated biscuit base.

- Spread the cake batter using the back of a spoon, or an offset spatula, until it covers almost all of the biscuit base.

- Place the Swiss roll tin in the centre of the preheated oven and bake for 30 minutes.
- The sponge is baked when it springs back from a light touch and is a light golden colour. Don’t worry if it is paler than you expect, the lower baking temperature stops it browning as much as you may be used to.
- As soon as the sponge is baked remove the tin from the oven, place on a cooling rack and allow the entire bake to cool in the tin.
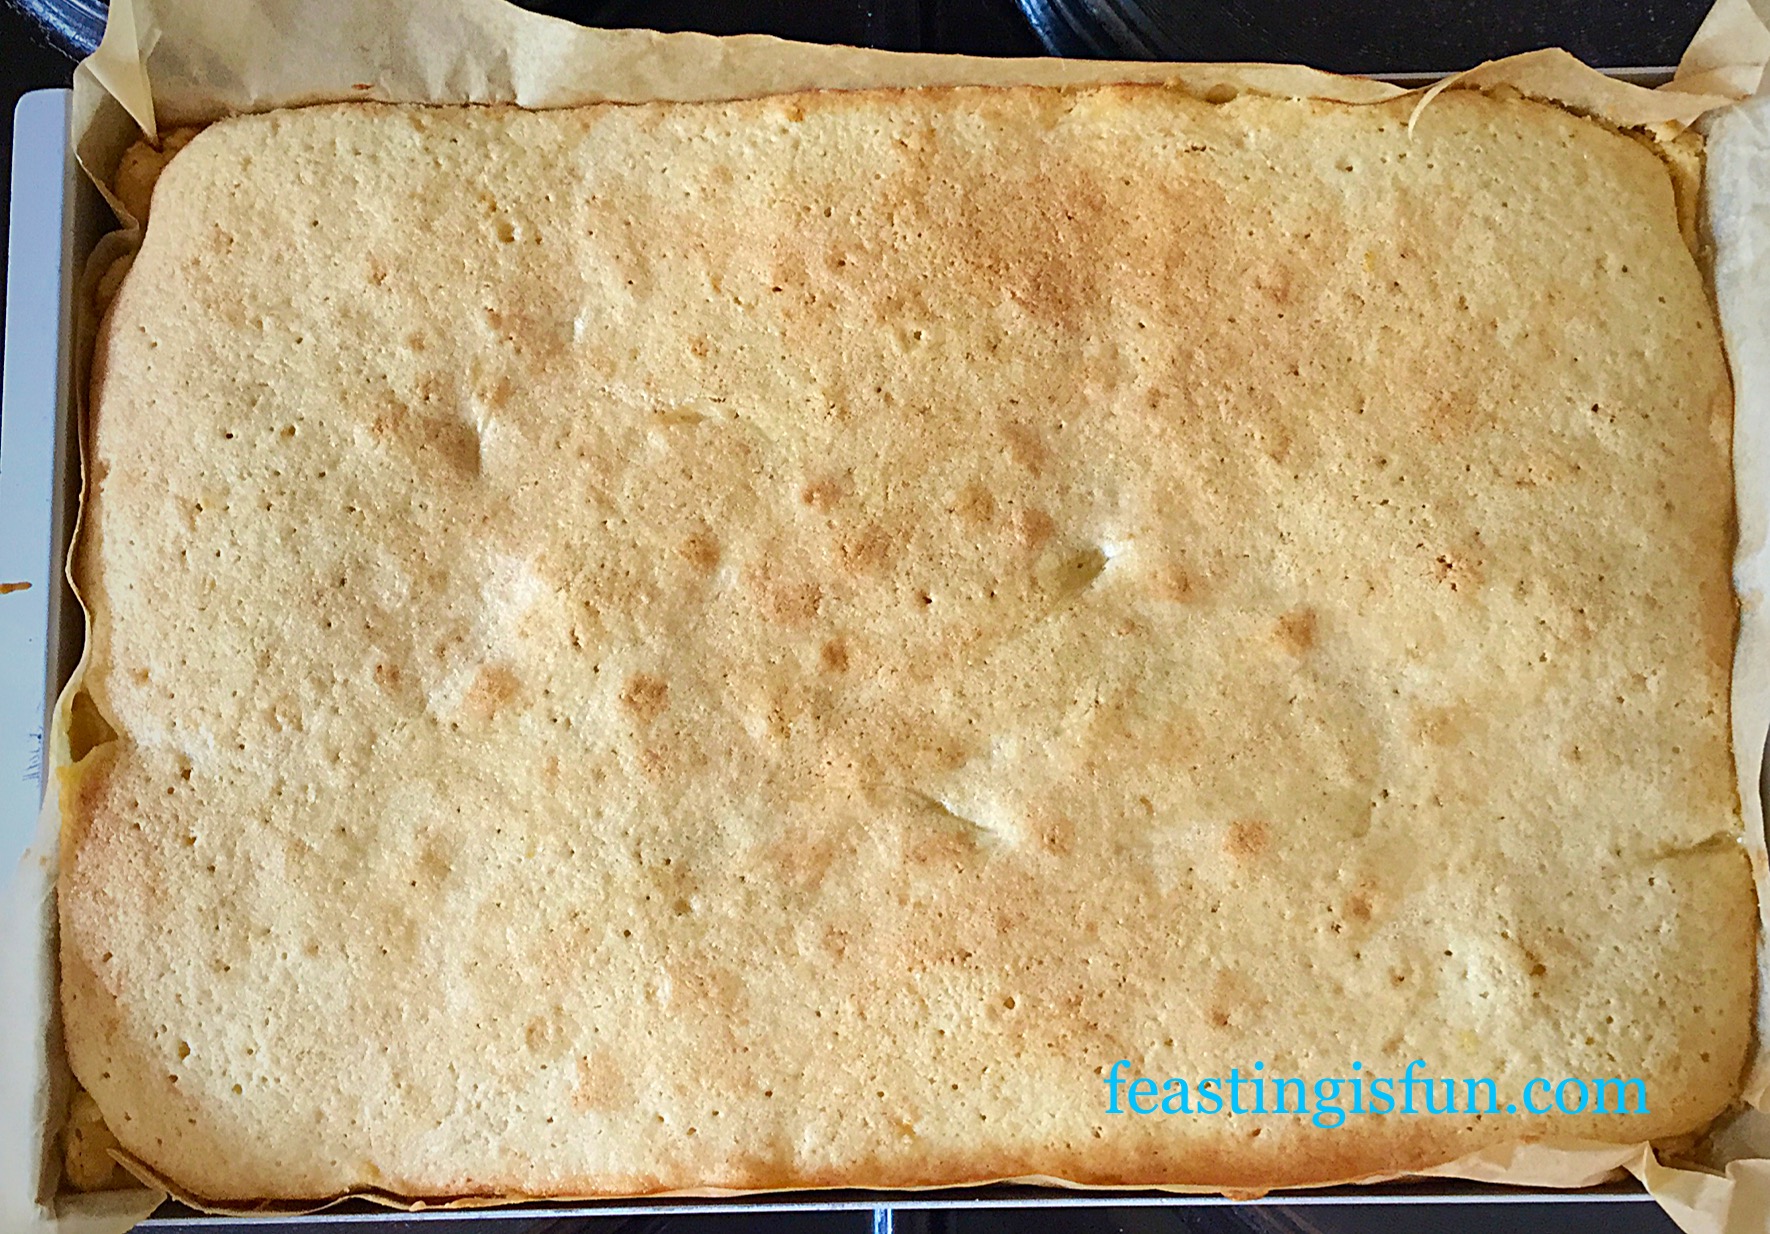
- When the bake is completely cooled, lift out of the tin, using the baking parchment and a palette knife and place on to a board.
- Peel back the sides of the baking parchment and tuck them underneath.
Making the Lemon a Drizzle Icing:
- Sift the icing sugar into a small bowl.
- Add the juice of one lemon.
- Mix until you have a smooth, slightly runny paste.
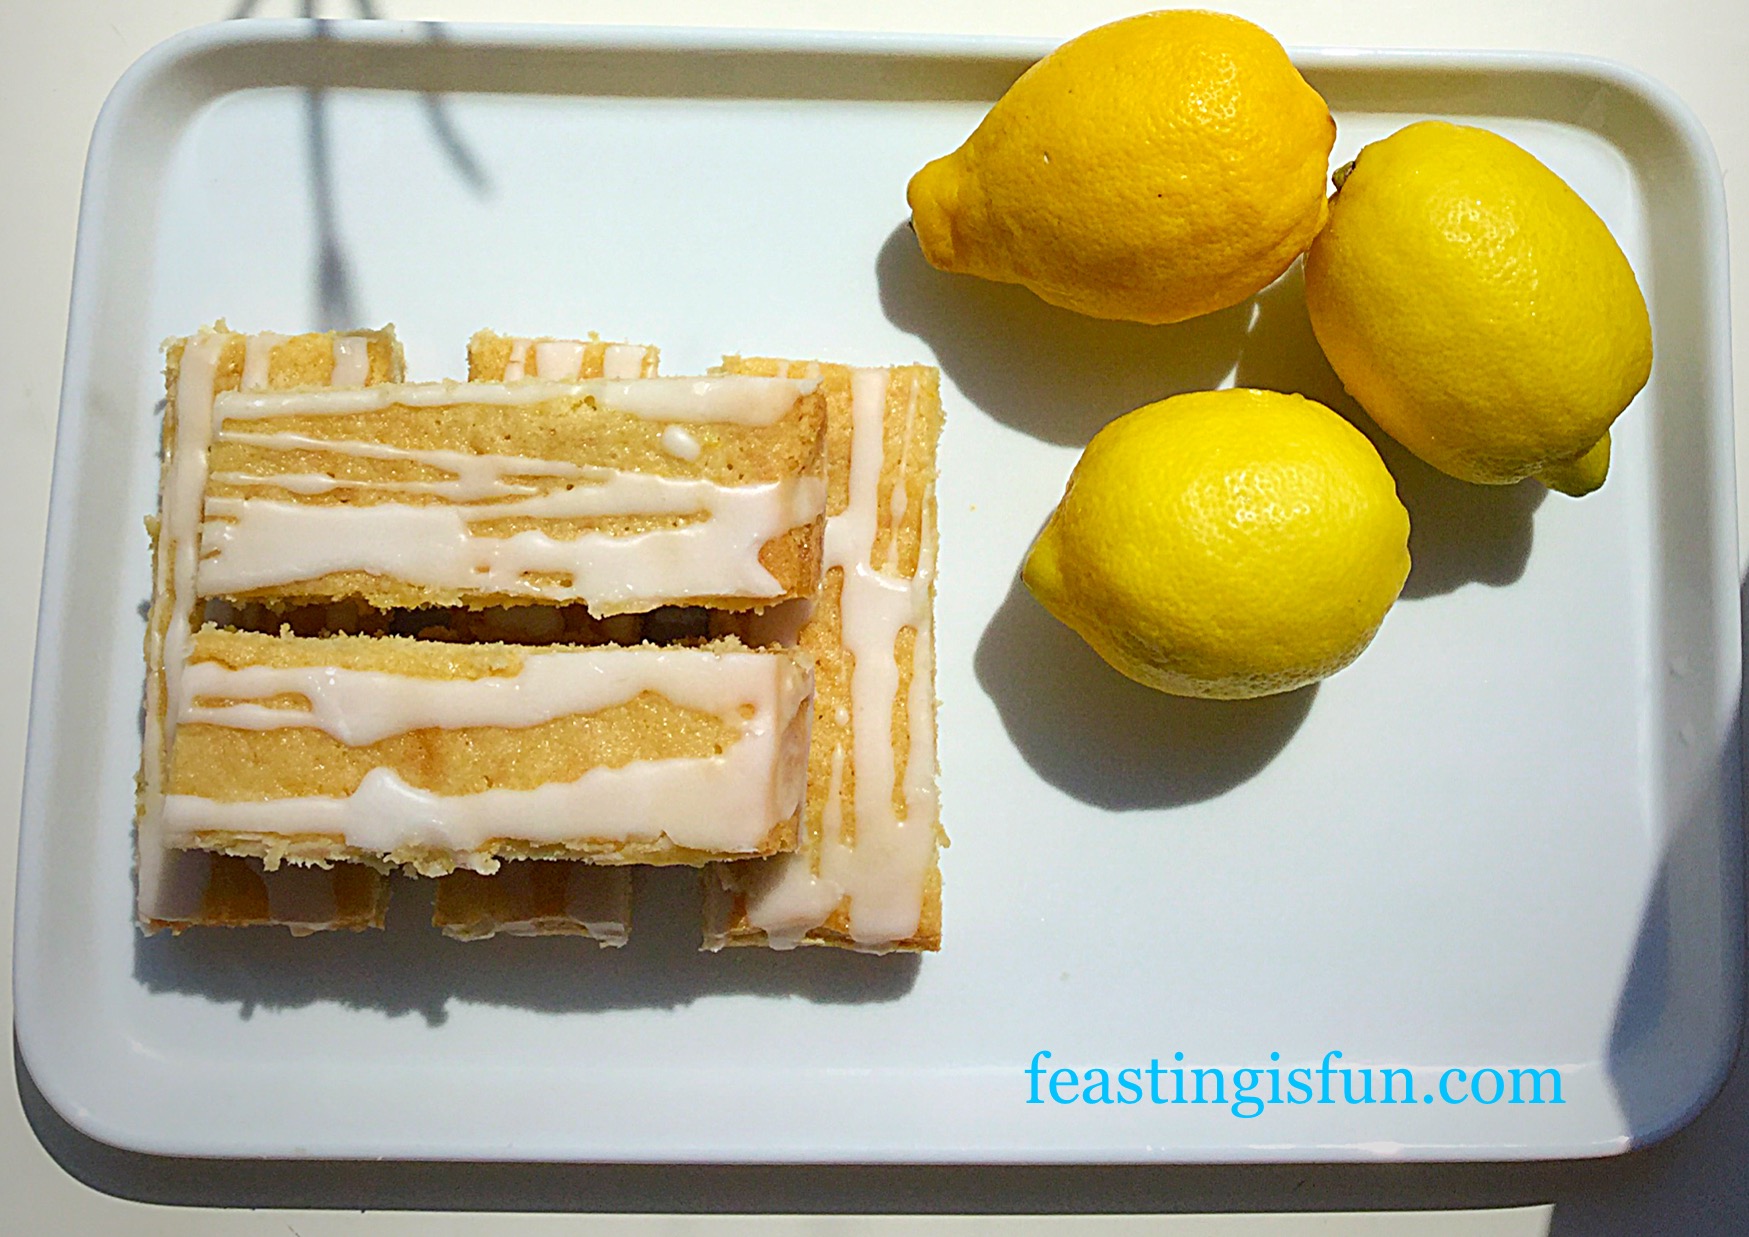
- Using a spoon, drizzle the lemon icing over the top of the cake/biscuit slab. I prefer a line style drizzle, but you can drizzle your icing however you wish. Let your creative juices flow! Although I do advise against pools of icing gathering on top of the bake.
- Set your Lemon Drizzle Cake Bars bake to one side to allow the icing to set.

- Once set you may cut your slab into individual bars.
- Cut down the length of the bake in the middle.
- Next cut across the width of the bake, creating four quarters.
- Cut each quarter into four individual bars.
Because of the sturdy and delicious oat biscuit base, these Lemon Drizzle Cake Bars are the perfect, portable food.
Store in an airtight tin (I use old biscuit tins, usually from Christmas), separating layers with pieces of baking parchment and eat with 5 days.
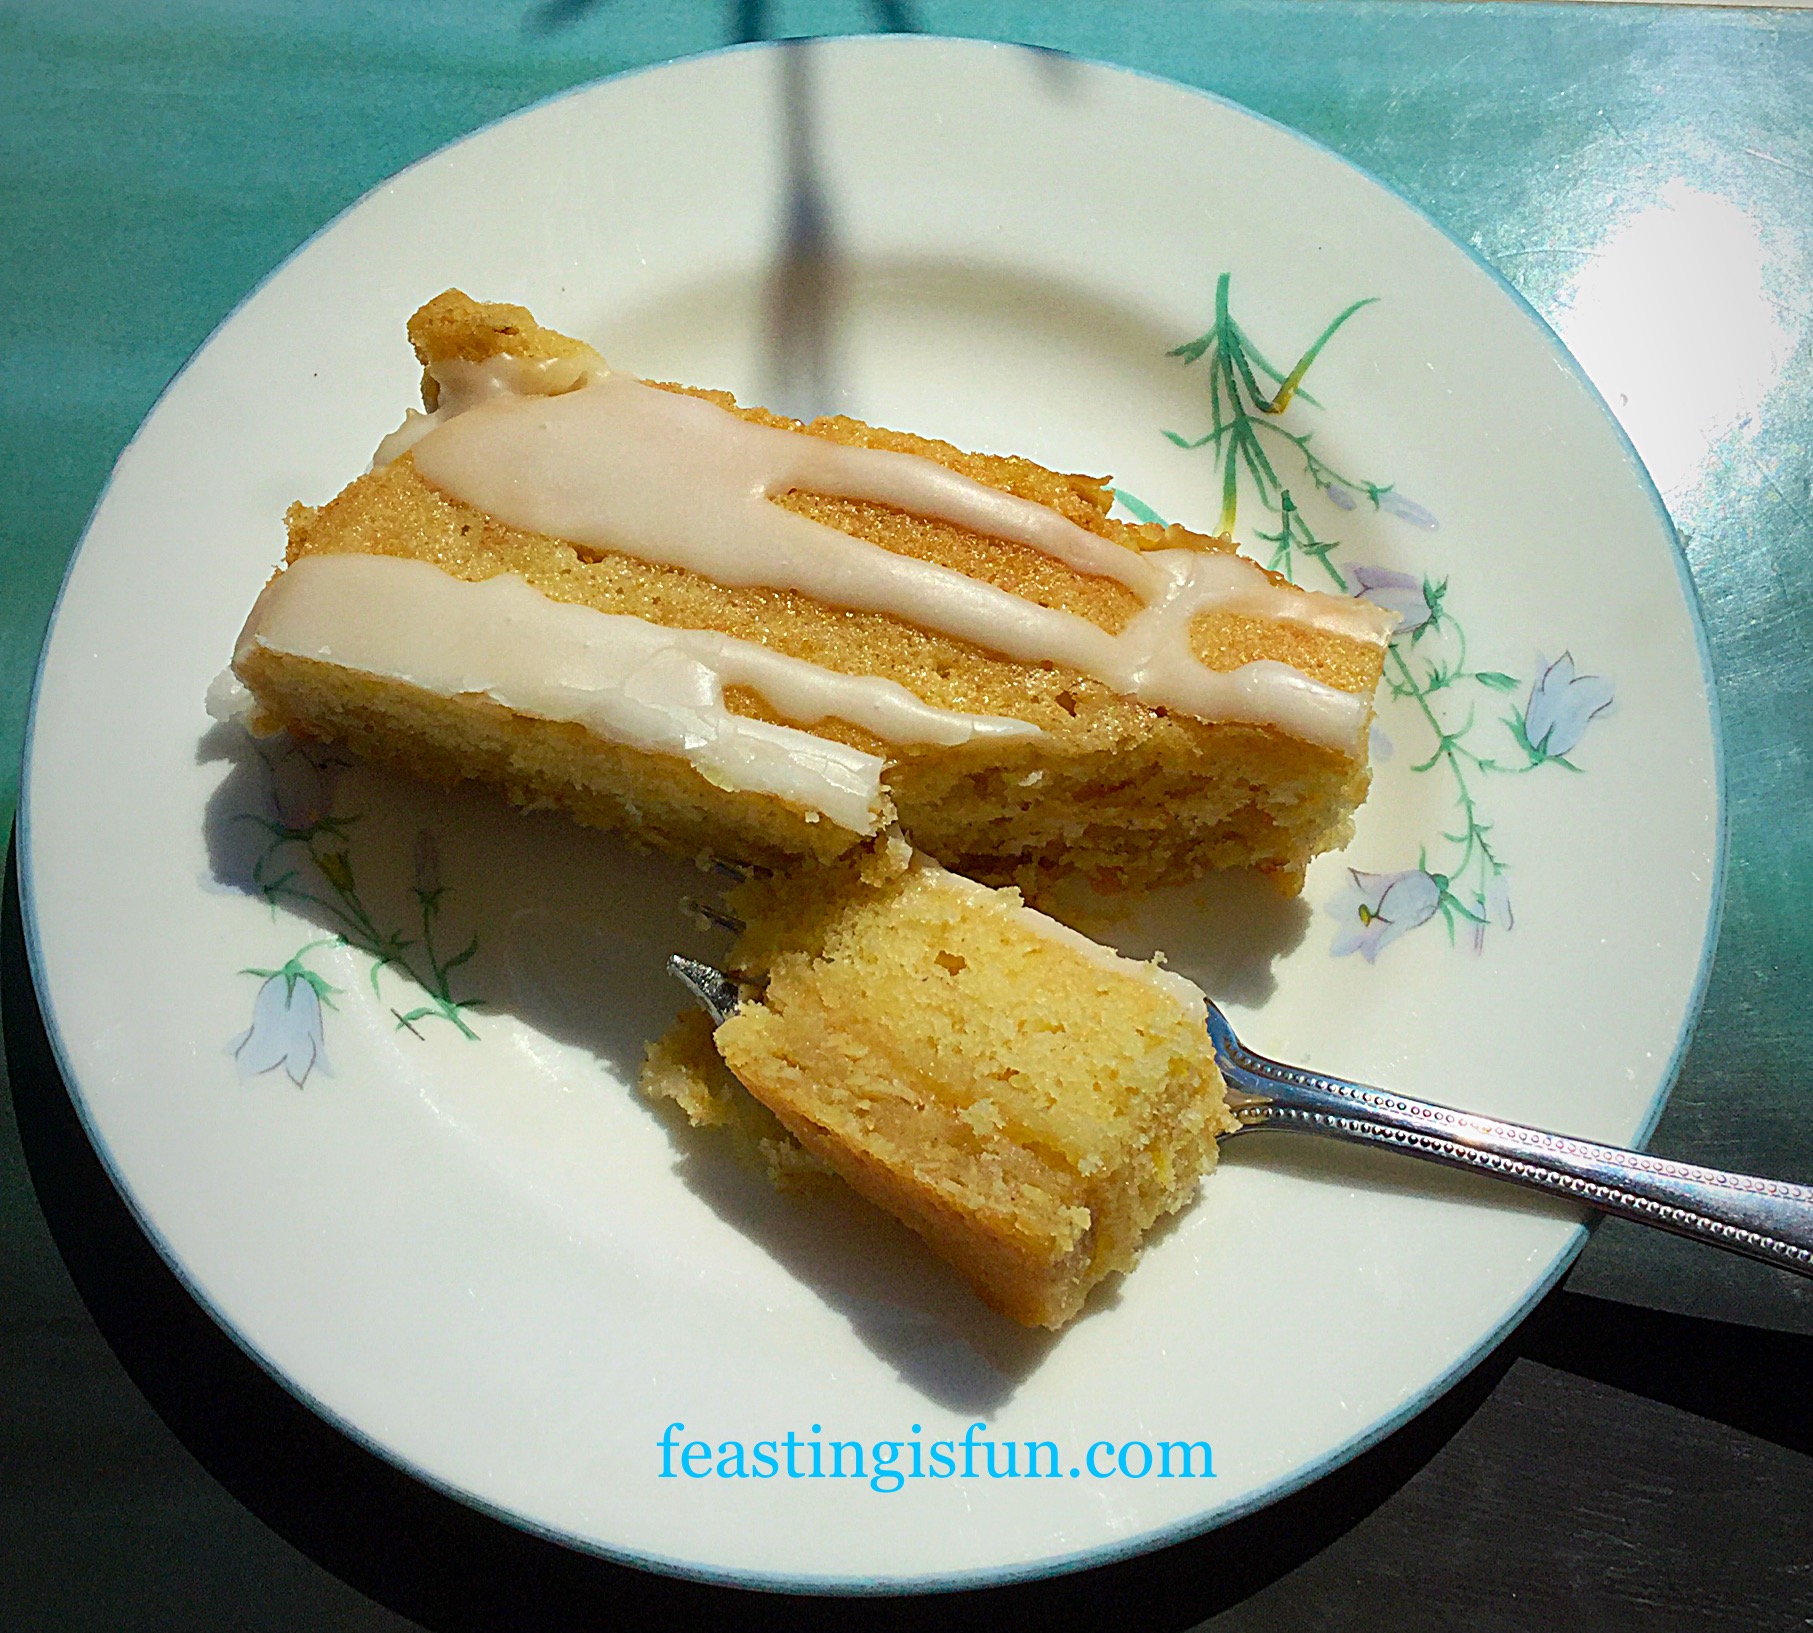
I had one of the Lemon Drizzle Cake Bars with a cup of tea for a rather late lunch and it was incredibly tasty and refreshing. While using good quality Lemon Curd ensures the right balance of tartness within the bar, as does using fresh lemon juice in the drizzle icing. So I highly recommend these delightfully tangy Lemon Drizzle Cake Bars!
If you have enjoyed this recipe for Lemon Drizzle Cake Bars, here are a few more you may like too:
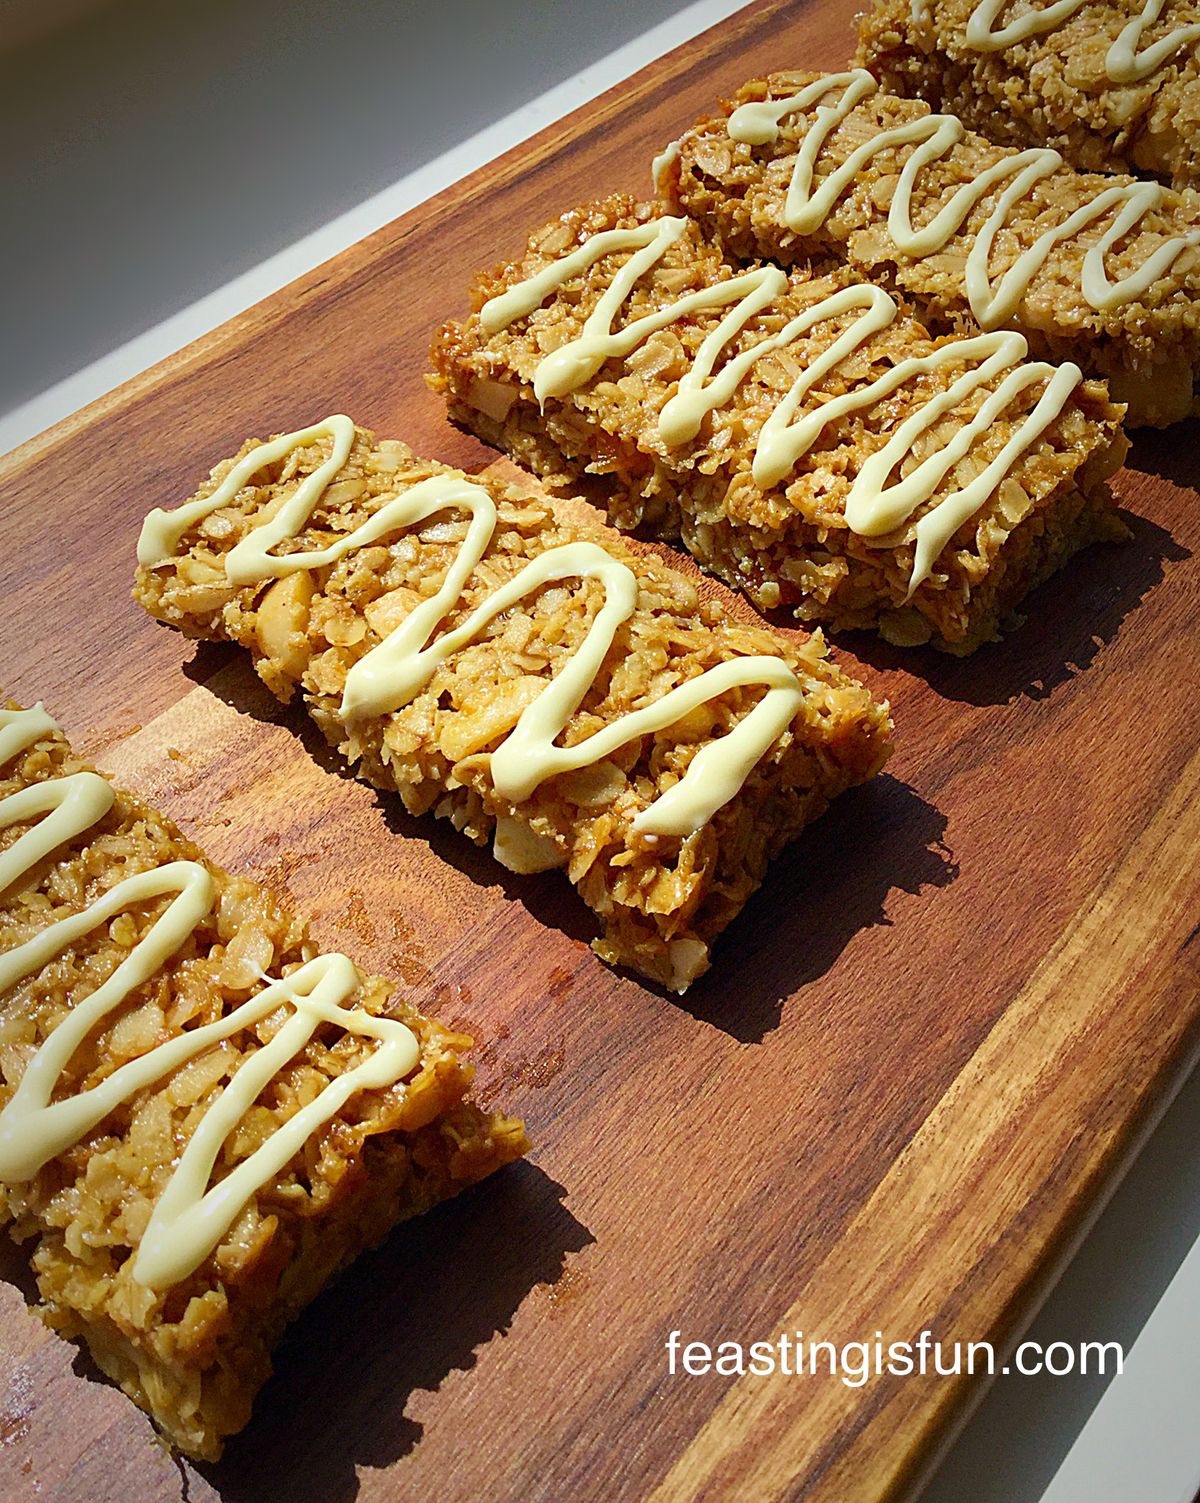
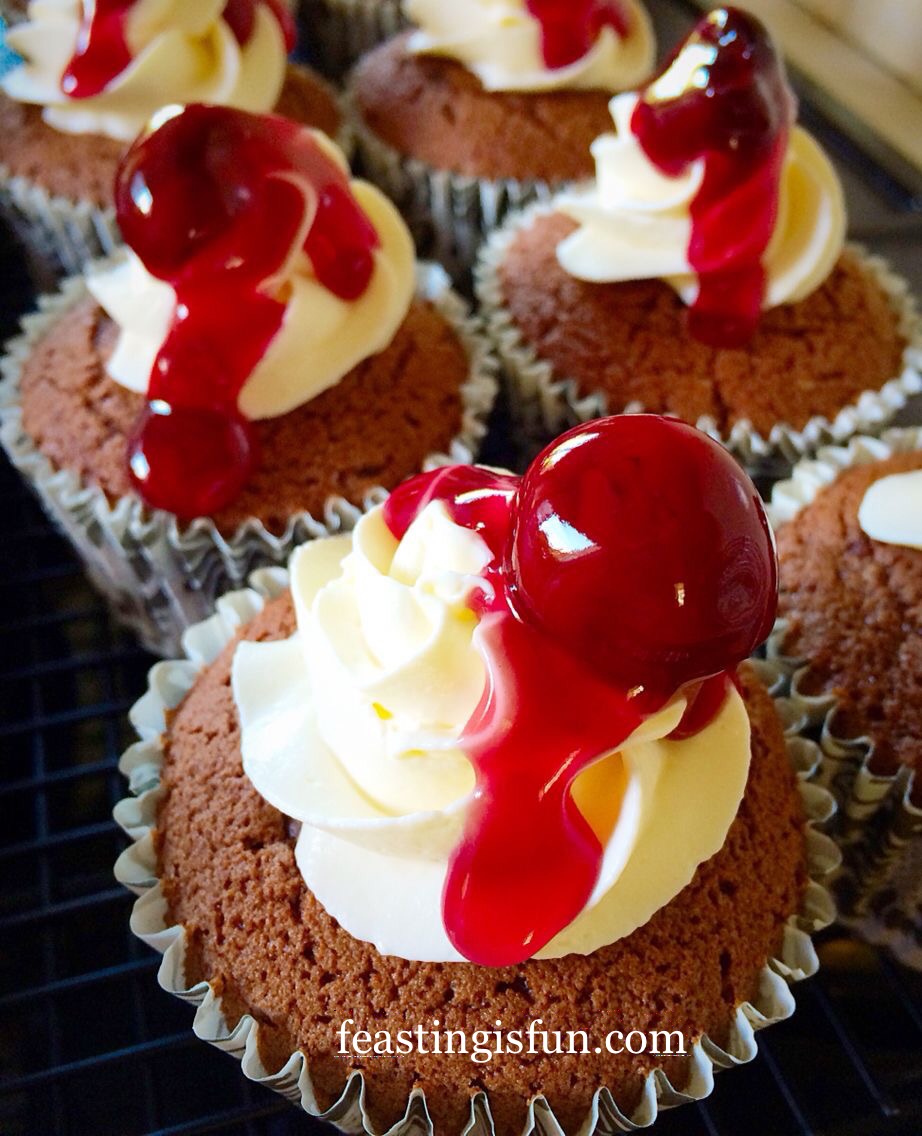
Double Cherry Drizzle Oat Bars
Since my family love having something homemade to take to school or work in their packed lunches these bars are ideal. Also I hope I have inspired you to try these delicious Lemon Drizzle Cake Bars. Alternatively, why not bake a batch and take them into the office as a Friday, or mid-week treat for everyone?
Finally, whatever you are making, baking and creating in your kitchen, have fun preparing and sharing your feast.
Sammie xx
No part of this post may be reproduced or duplicated without the written permission of the owner. Please see my Disclosure Policy.
Share