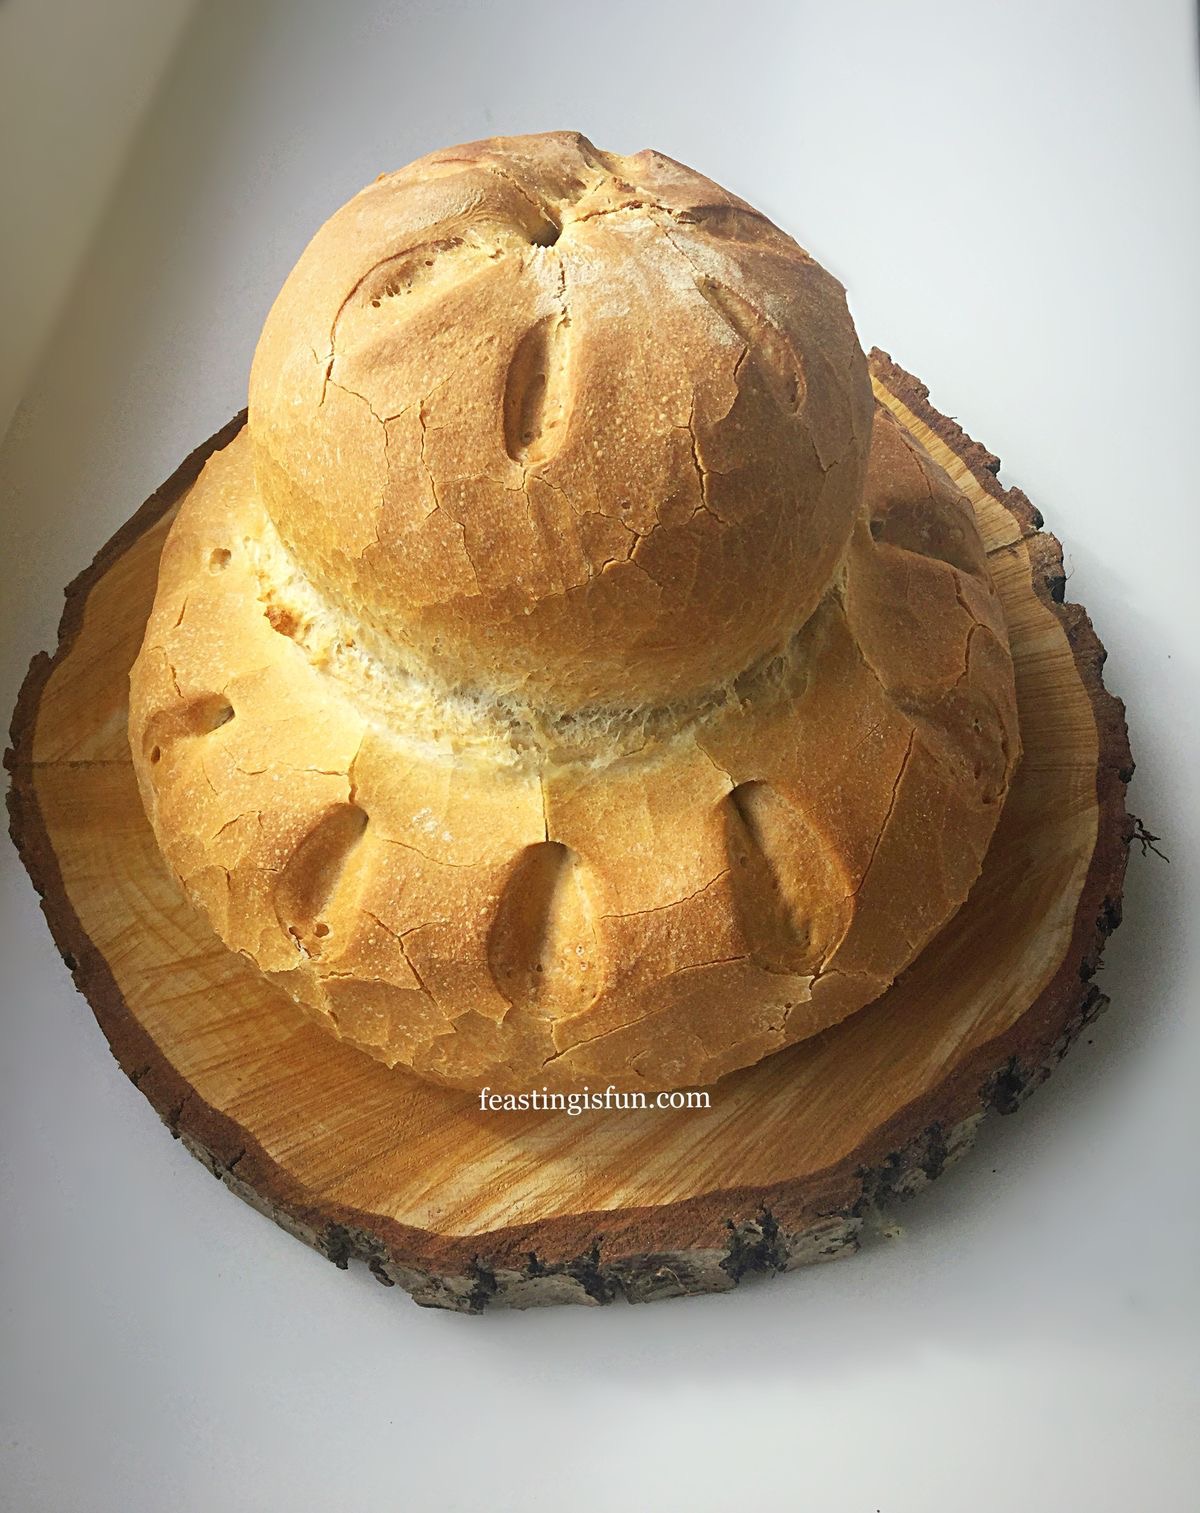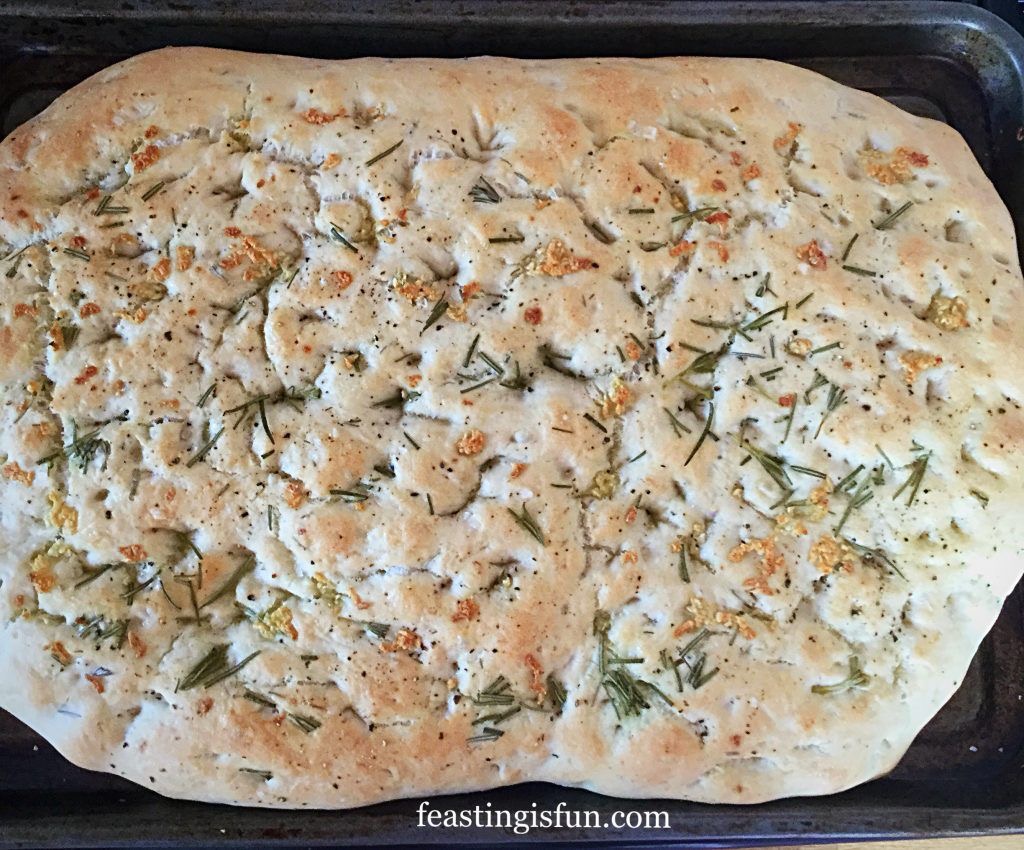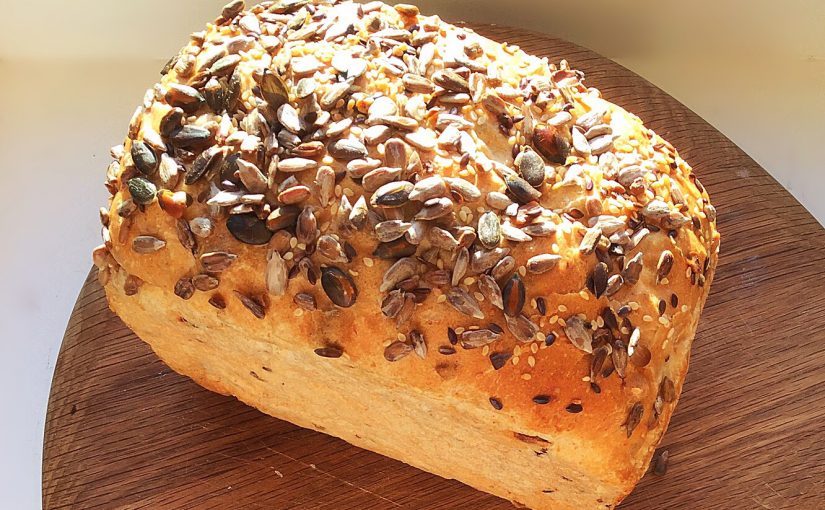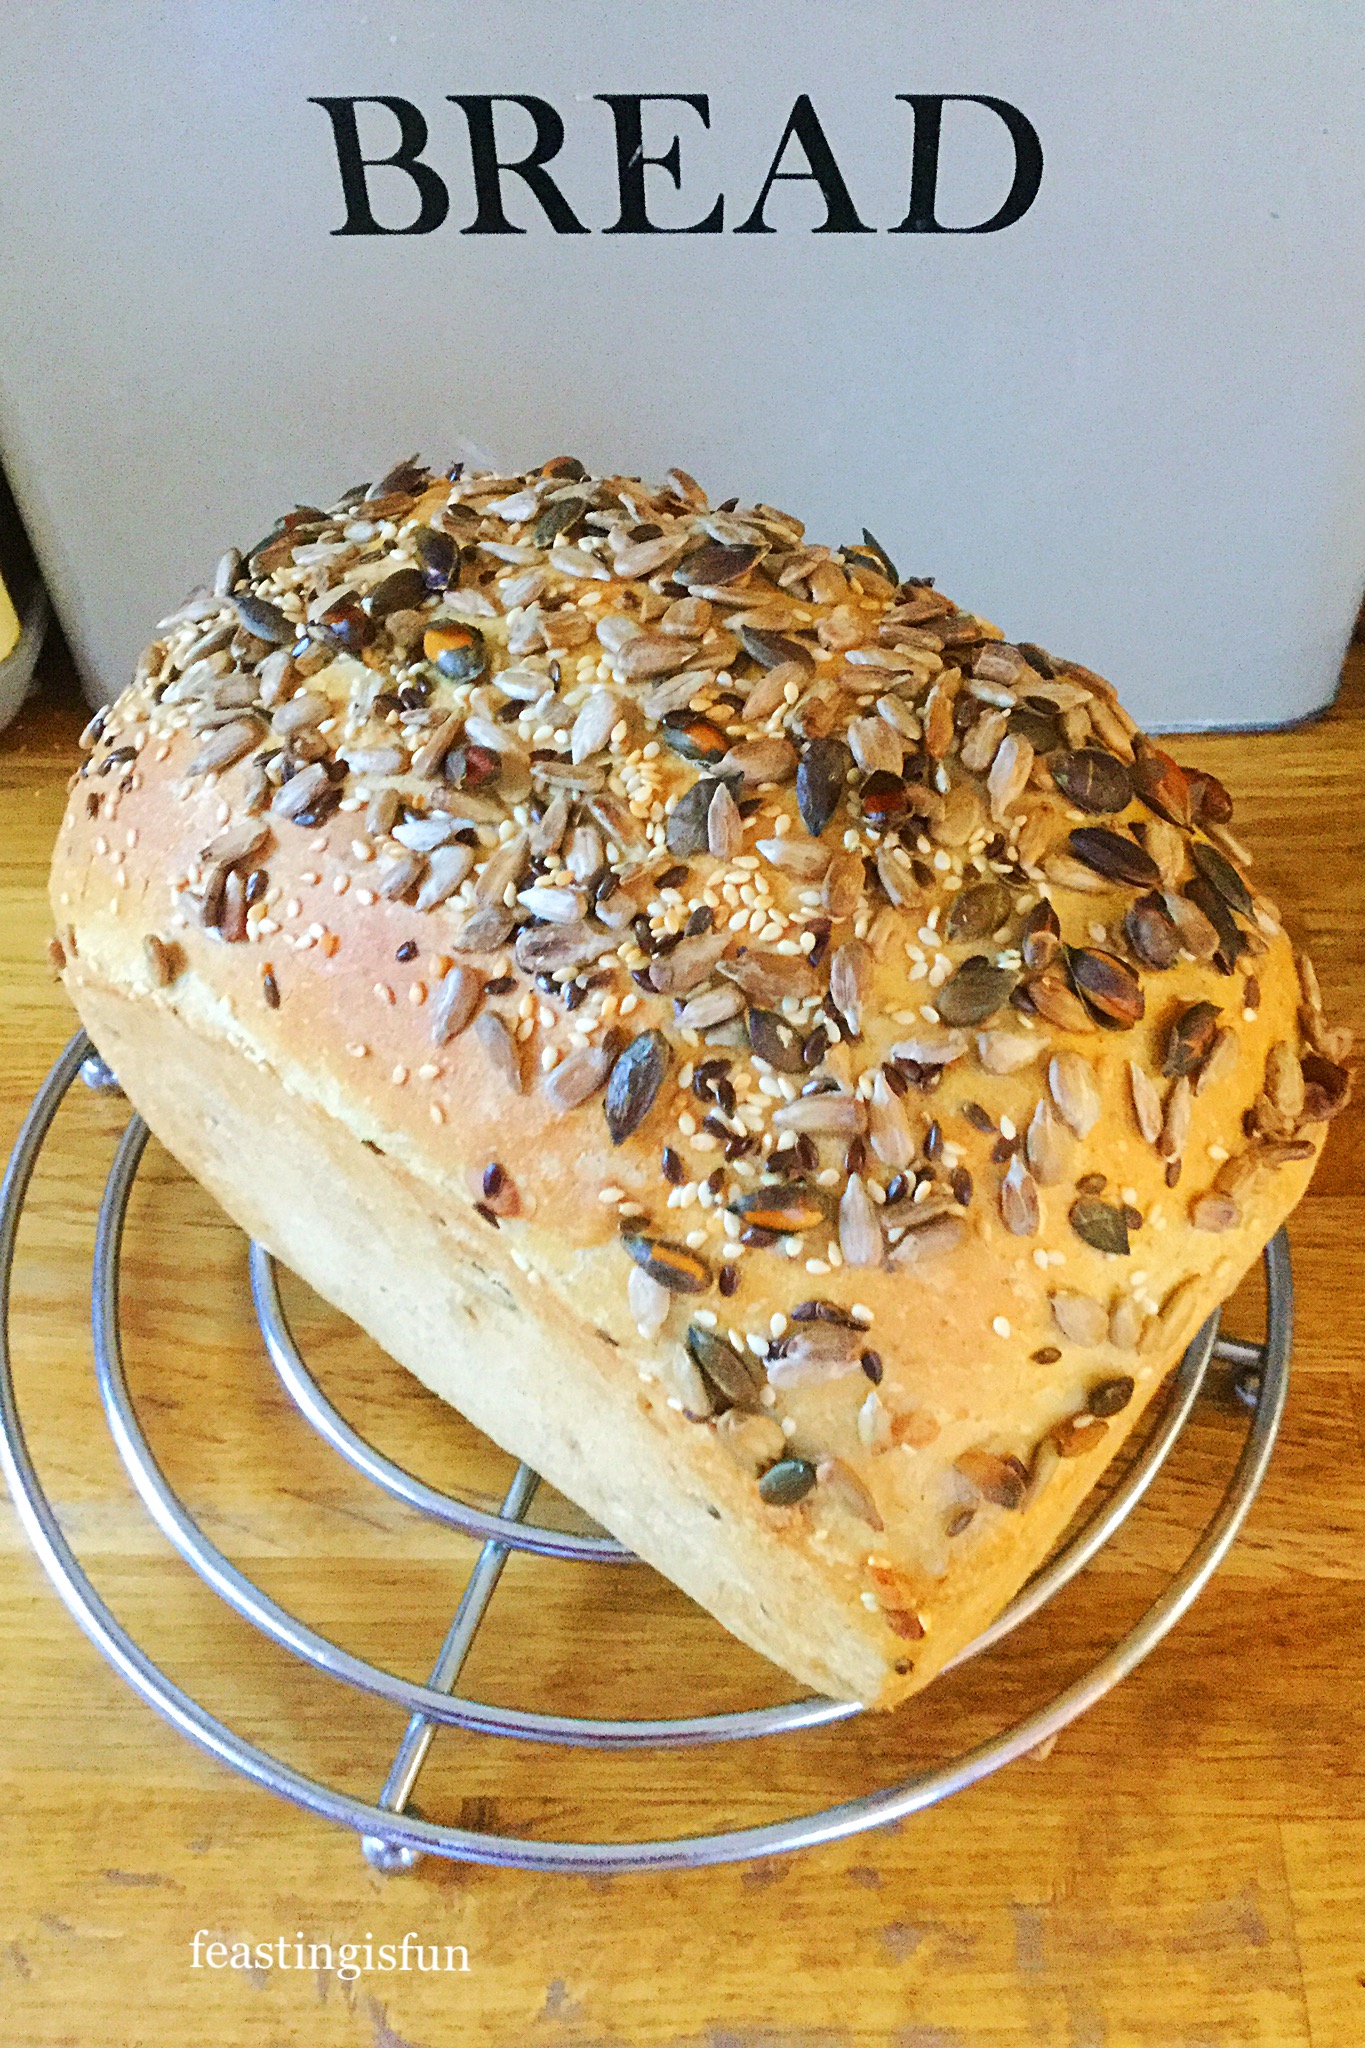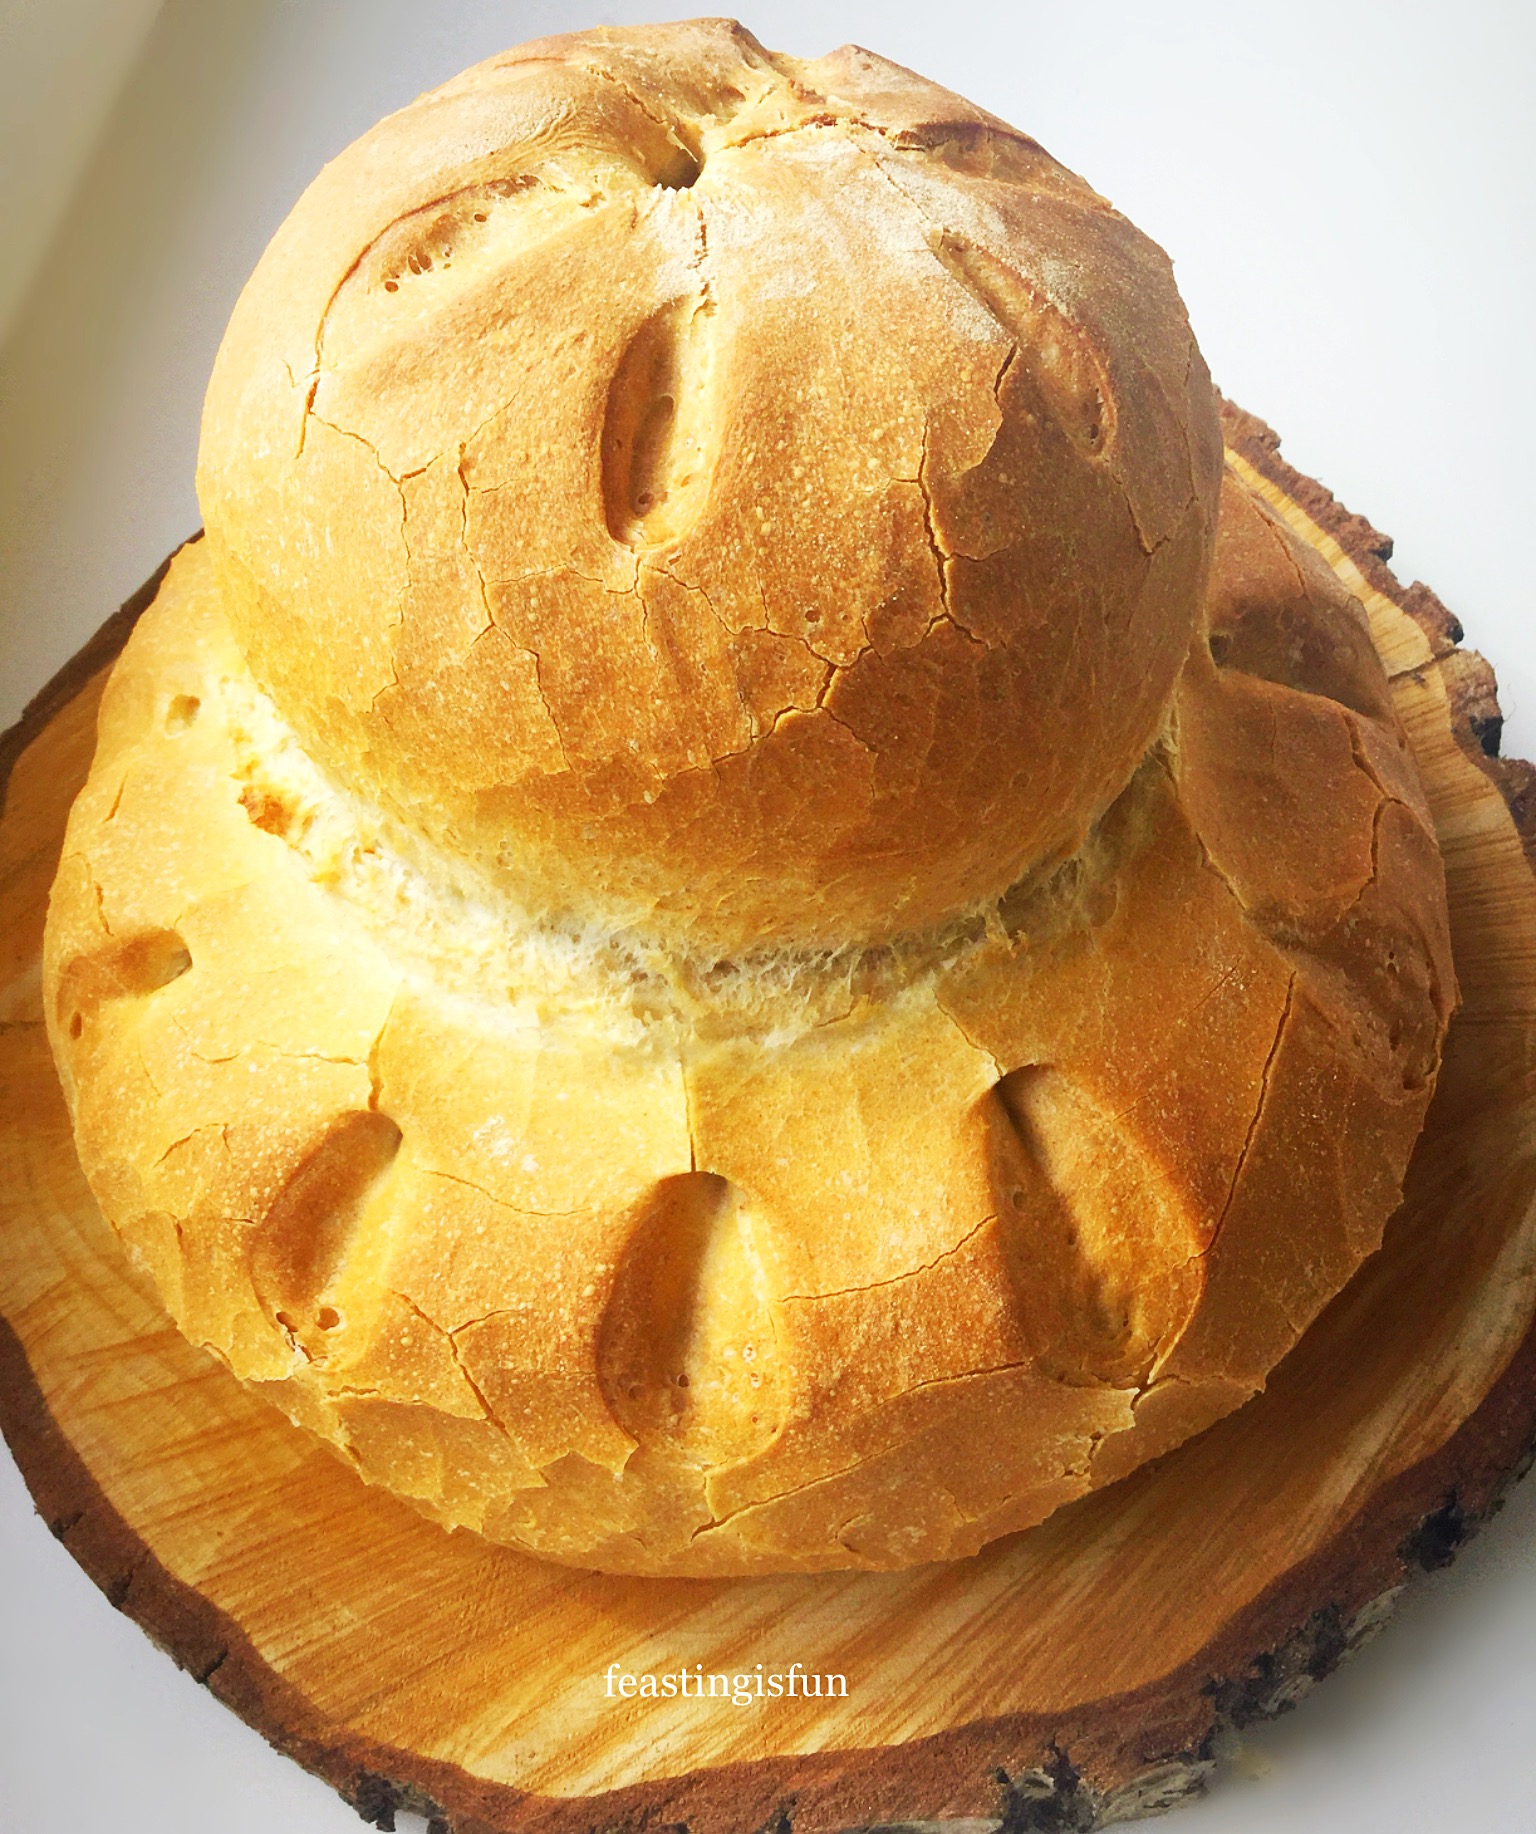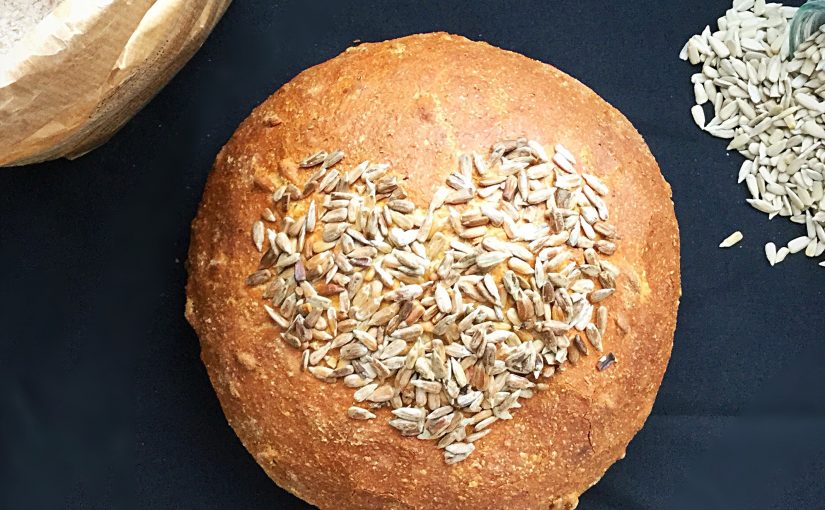
Today is Valentine’s Day and I have baked bread. While there is nothing unusual in that, I have baked bread with a bit of a difference. Since hearts abound on this day, more than most, I toyed with the idea of baking a heart shaped loaf. Practicality got the better of me. It always does! Unsure of how the finished loaf would be sliced I decided instead to create a heart pattern on a cob loaf. I share with you my Sunflower Seed Heart Cob Loaf.
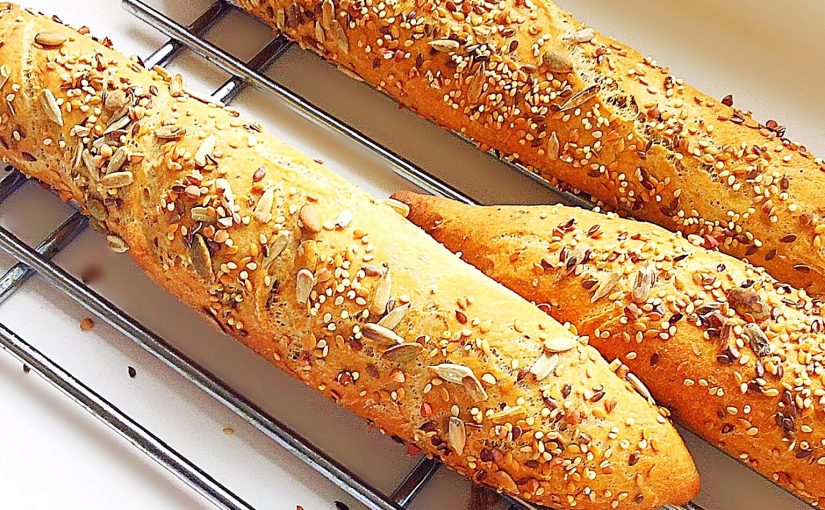
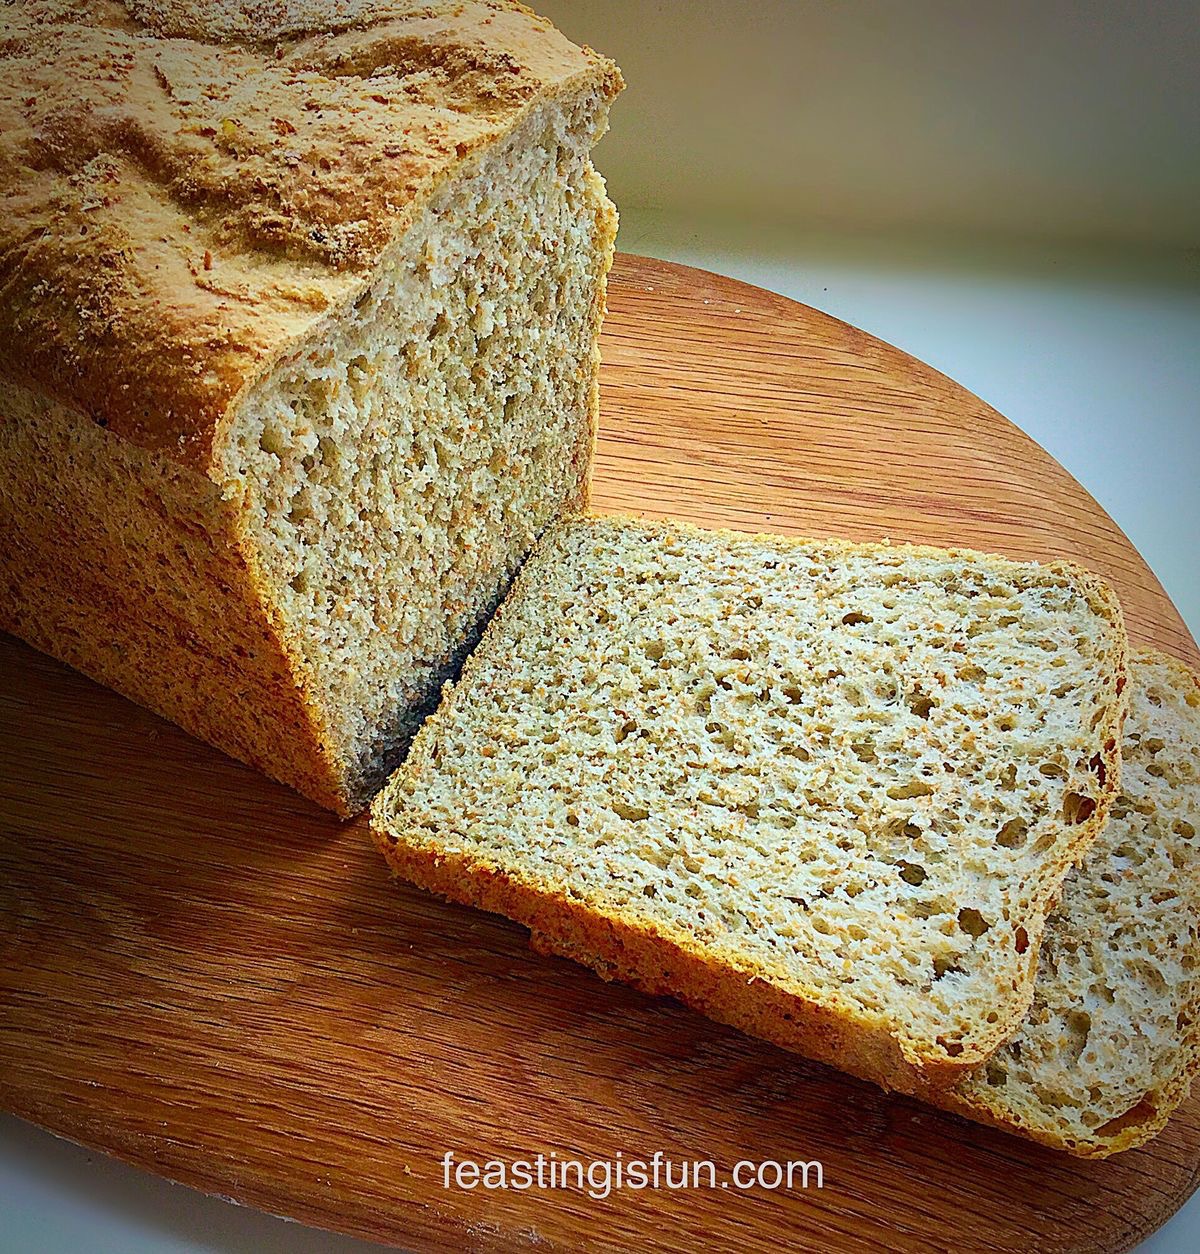
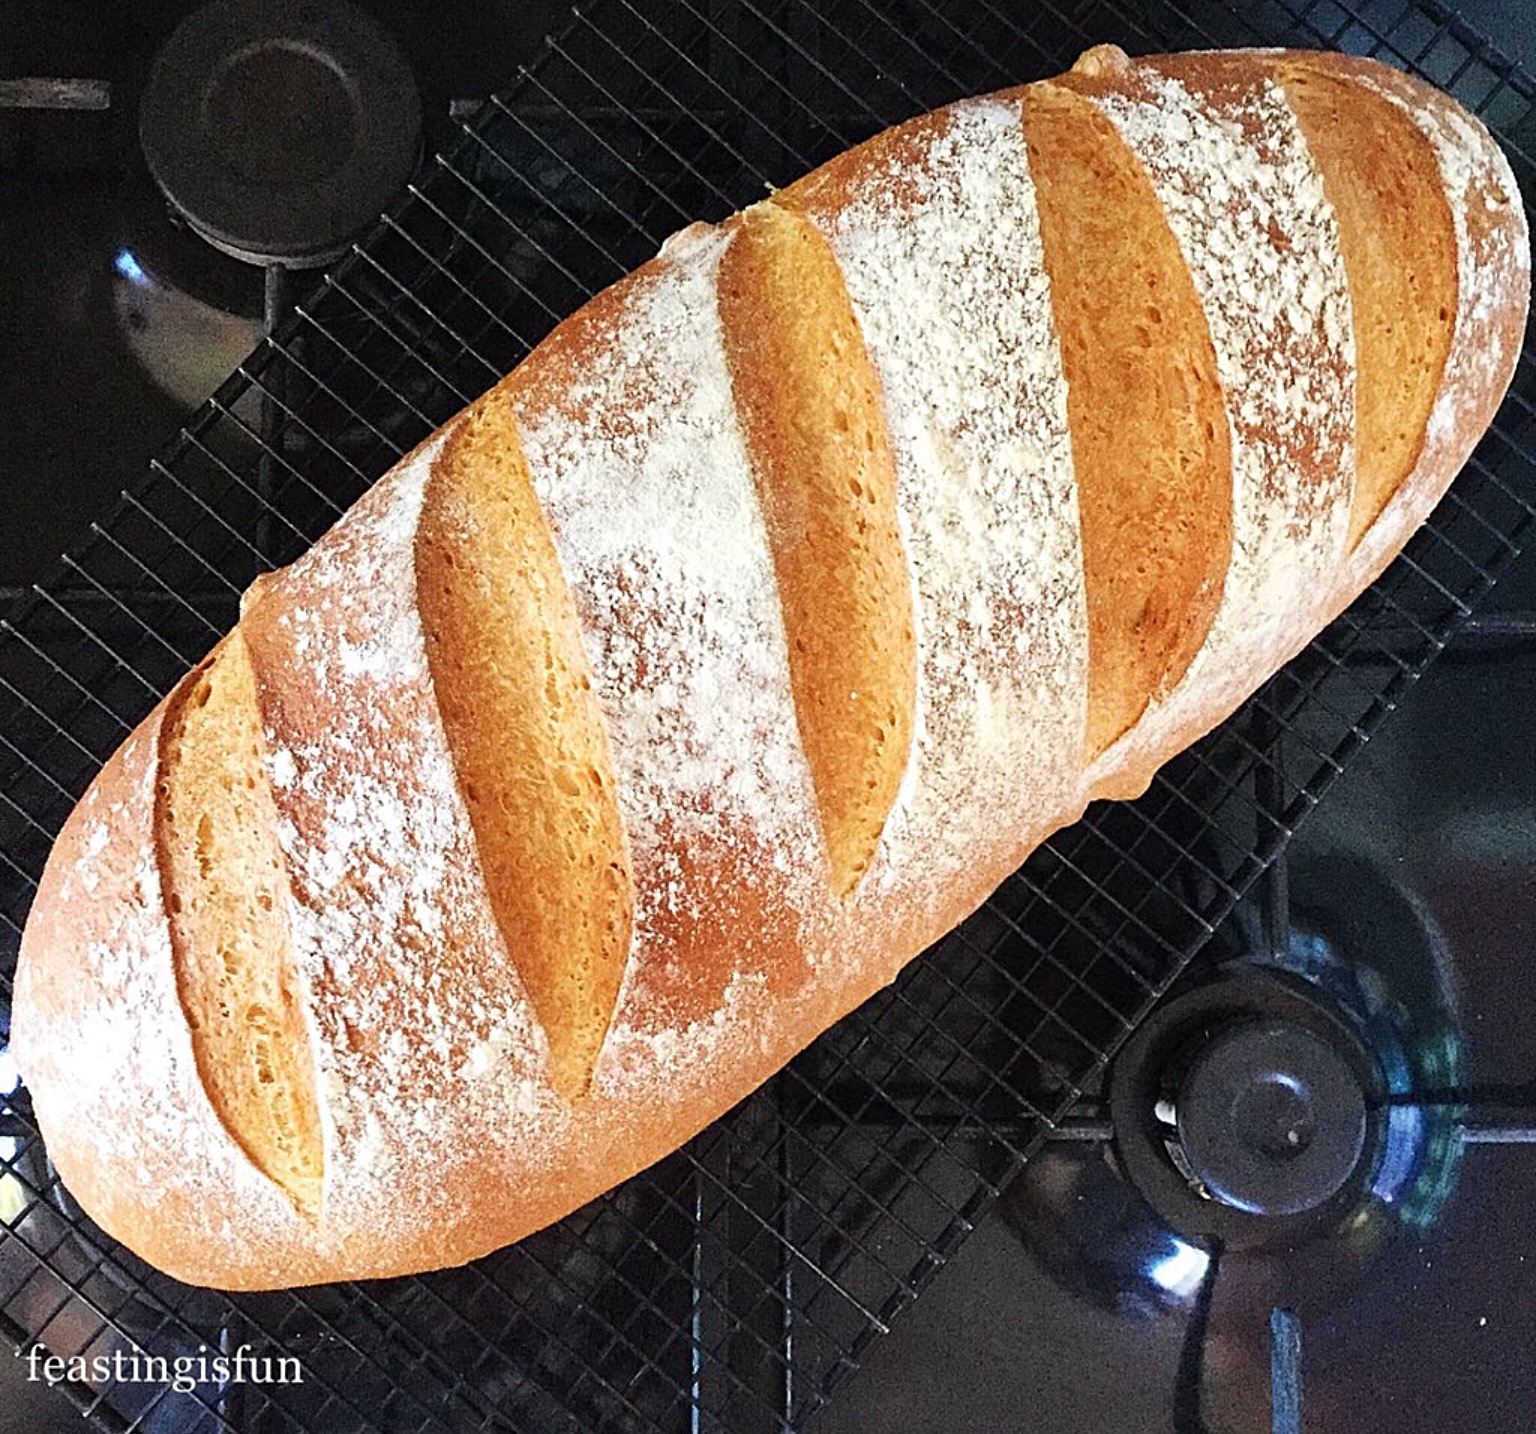
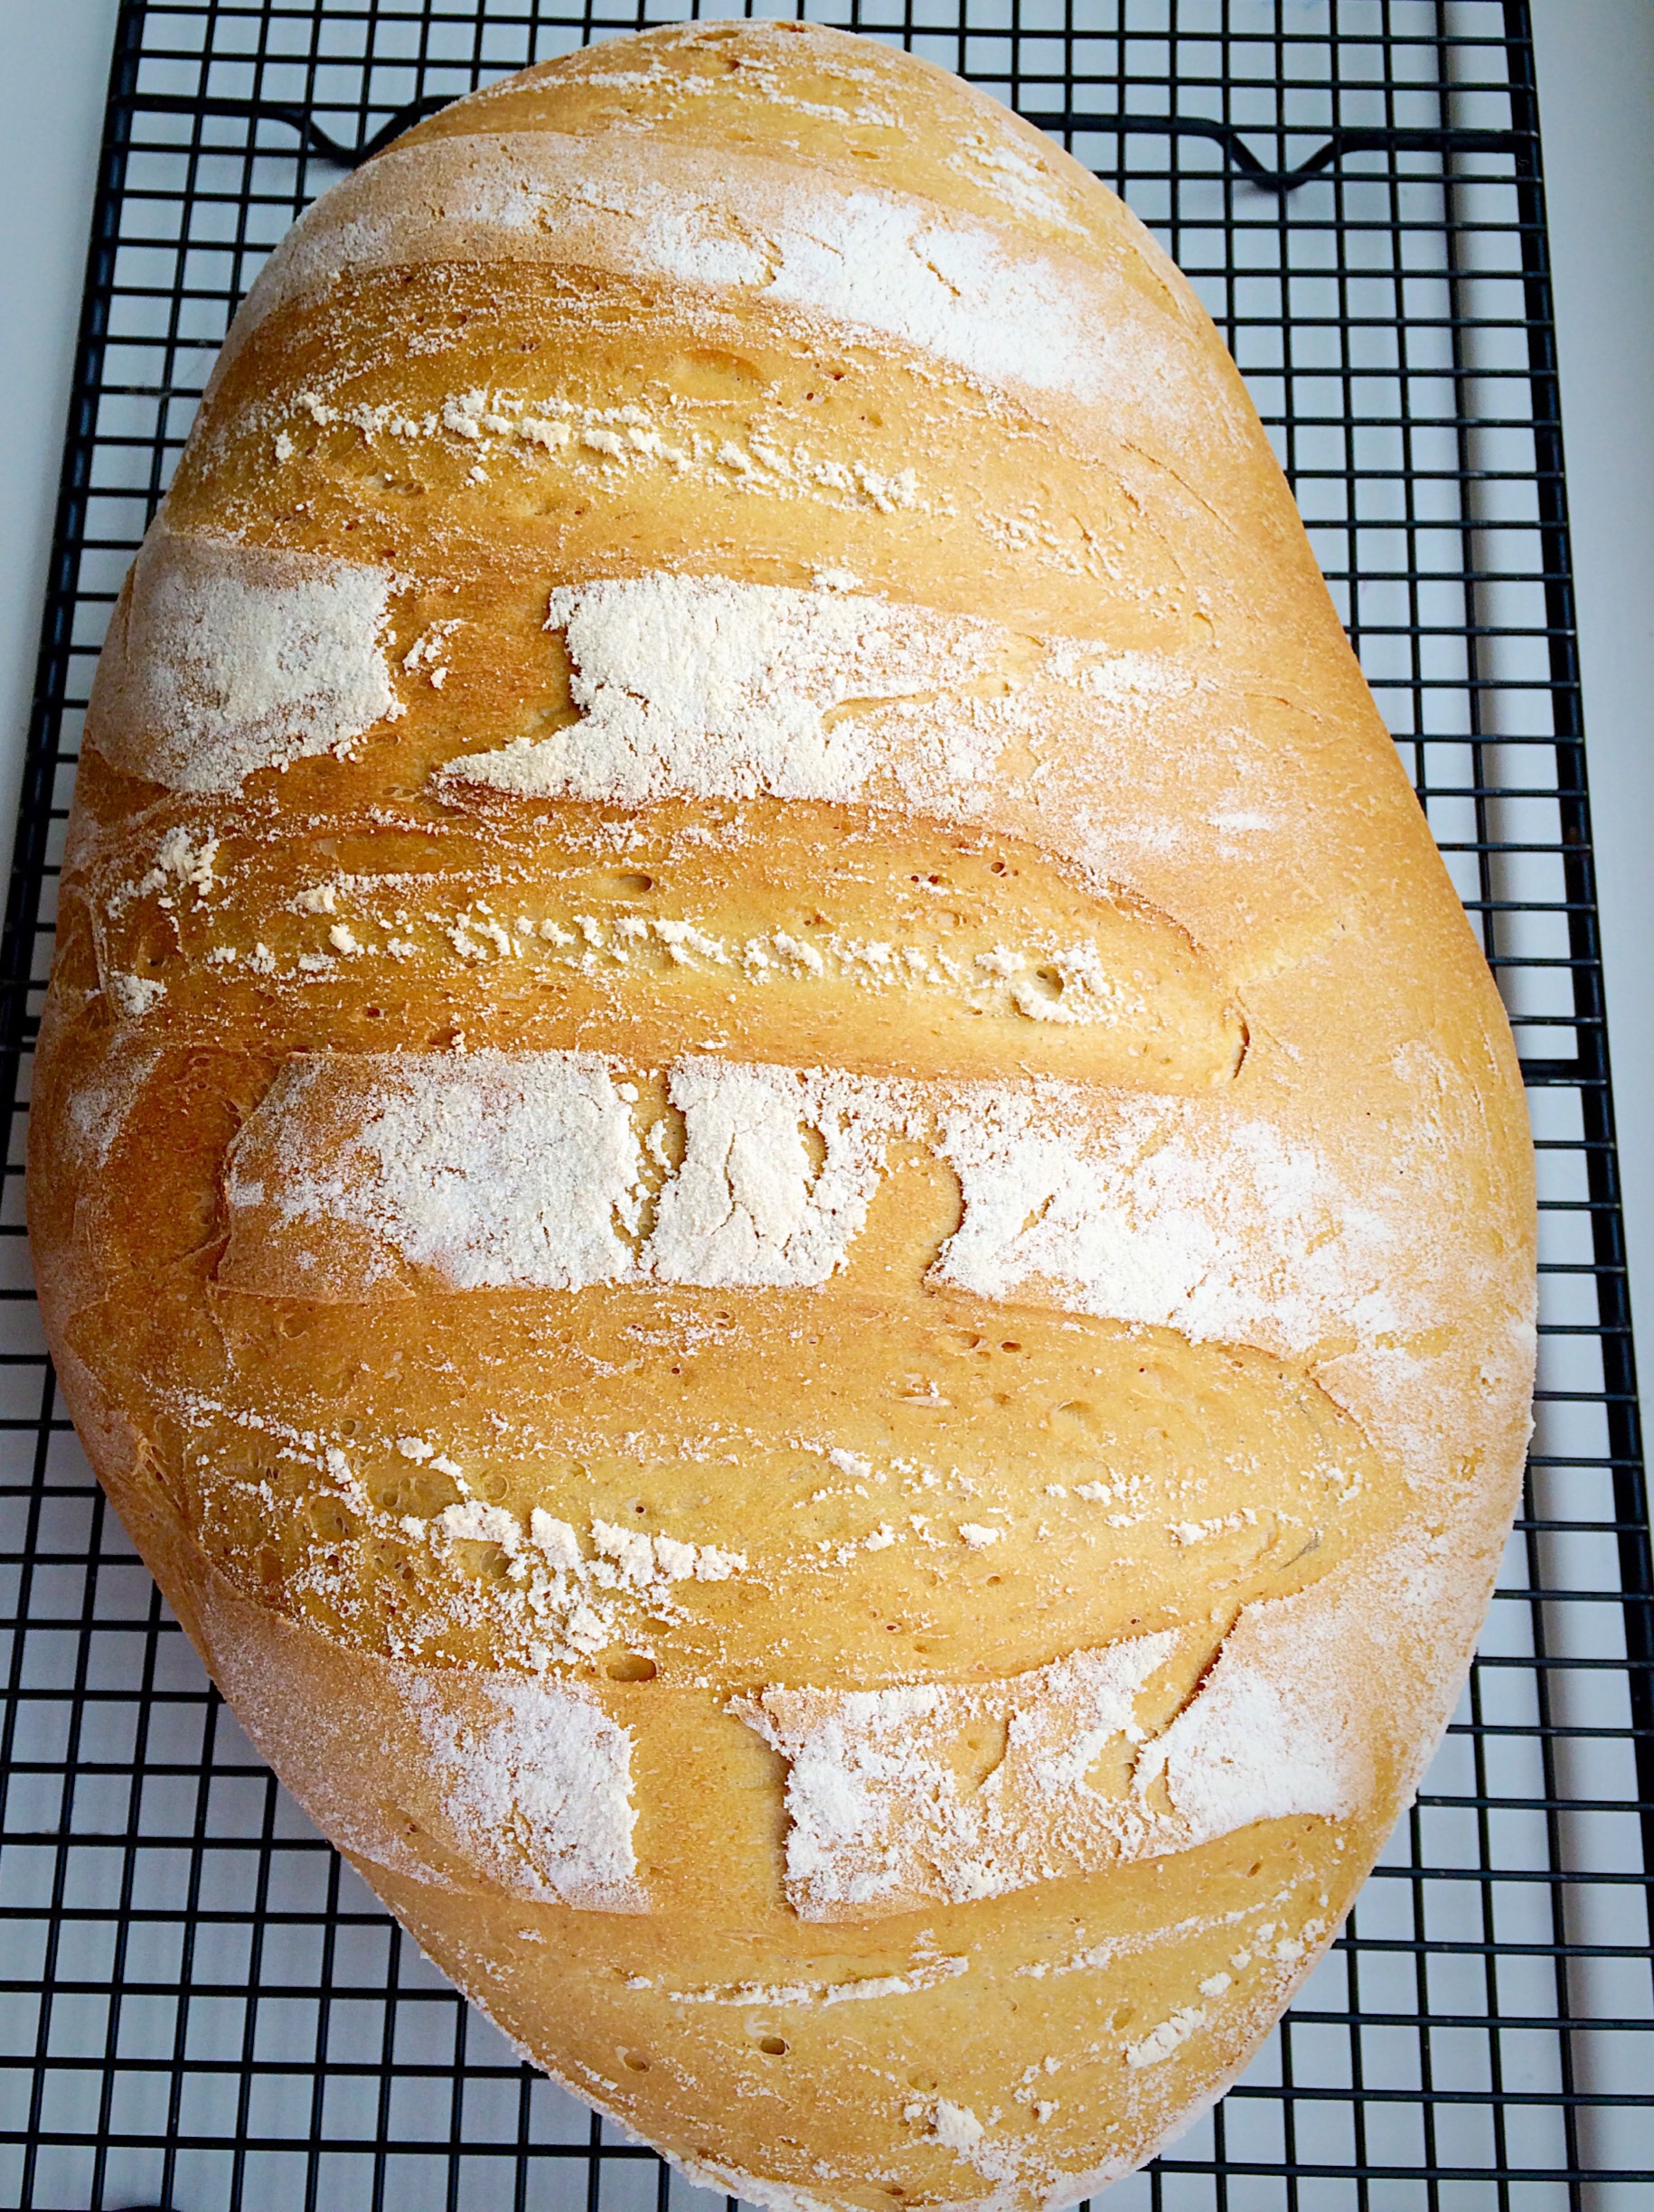
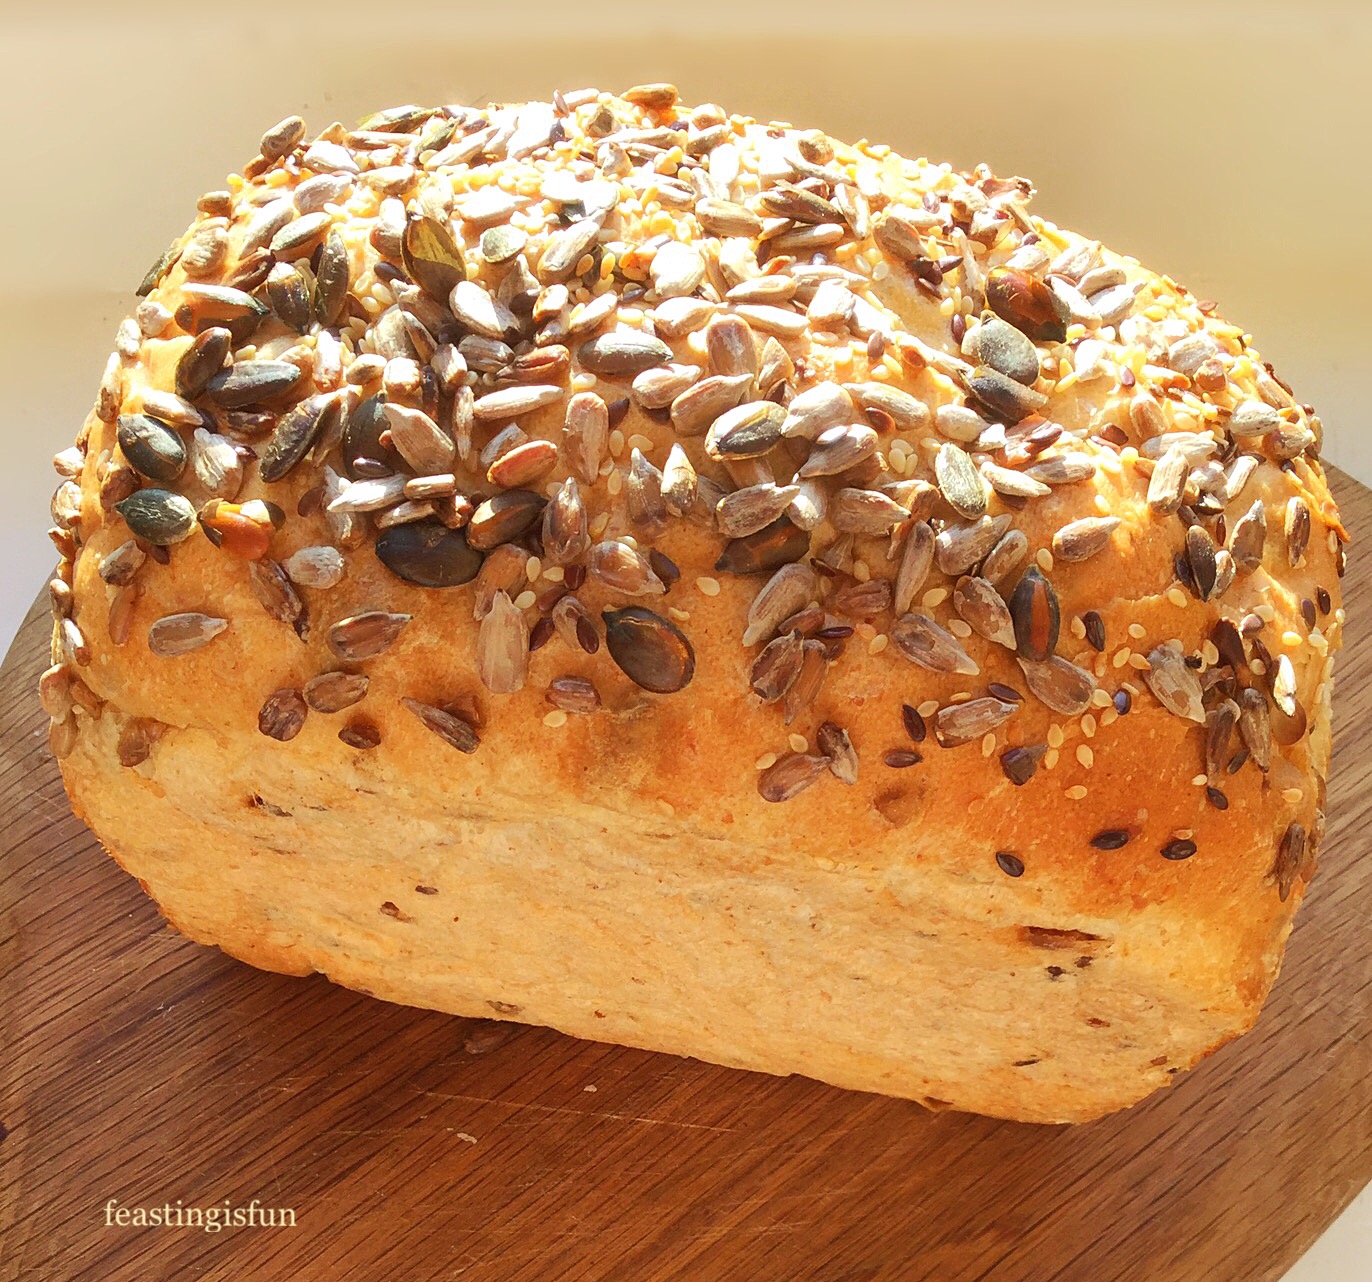
A lighter wholemeal style bread packed full of sunflower seeds, this loaf is as tasty as it is pretty. Since this loaf is baked without the use of steam. Usually a bowl or tray of water is placed in the base of the oven, allowing maximum oven spring before the crust sets. Yet in this case, as the dough is brushed with water prior to being baked, it expanded well, without any cracking. Resulting in a really crusty finish.
While on the theme of hearts, this bread is ‘Heart healthy’ too. Since the addition of one third wholemeal flour provides added fibre. Also sunflower seeds are high in polyunsturated oil and contain Vitamin E known for it’s anti inflammatory properties. Most of all for those who do not like the density of one hundred percent wholemeal loaves, this bread provides a healthy alternative.
Recipe: Sunflower Seed Heart Cob Loaf
350ml/12 floz Tap Water at room temperature
7g Dried Yeast – I use the green tin/sachets from Allinson
2 tsp Runny Honey
150g/5oz Strong Wholemeal Bread Flour
350g/12oz Strong White Bread Flour
1 tbsp Rapeseed Oil – cold pressed I use Borderfields
7g Sea Salt – I use Maldon
50g/2oz Sunflower Seeds plus extra for creating the heart
Method:
The method given uses a stand mixer to mix and knead the dough prior to proving. You may of course make the dough by hand.
Making The Bread Dough
- First of all weigh the water into a bowl (of a stand mixer with dough hook attachment).
- Add the dried yeast and honey to the water.
- Next add both wholemeal and white bread flour.
- Now add the salt and oil.
- Lower the dough hook and mix on low speed for five minutes.
- Add the sunflower seeds to the dough while mixing.
- Increasing the speed for a further 5-10 minutes. To check if the dough is ready perform the windowpane test; stop the mixer, remove a small piece of dough and stretch it between your fingers. When fully kneaded/mixed the dough will not tear and you will be able to see through it.
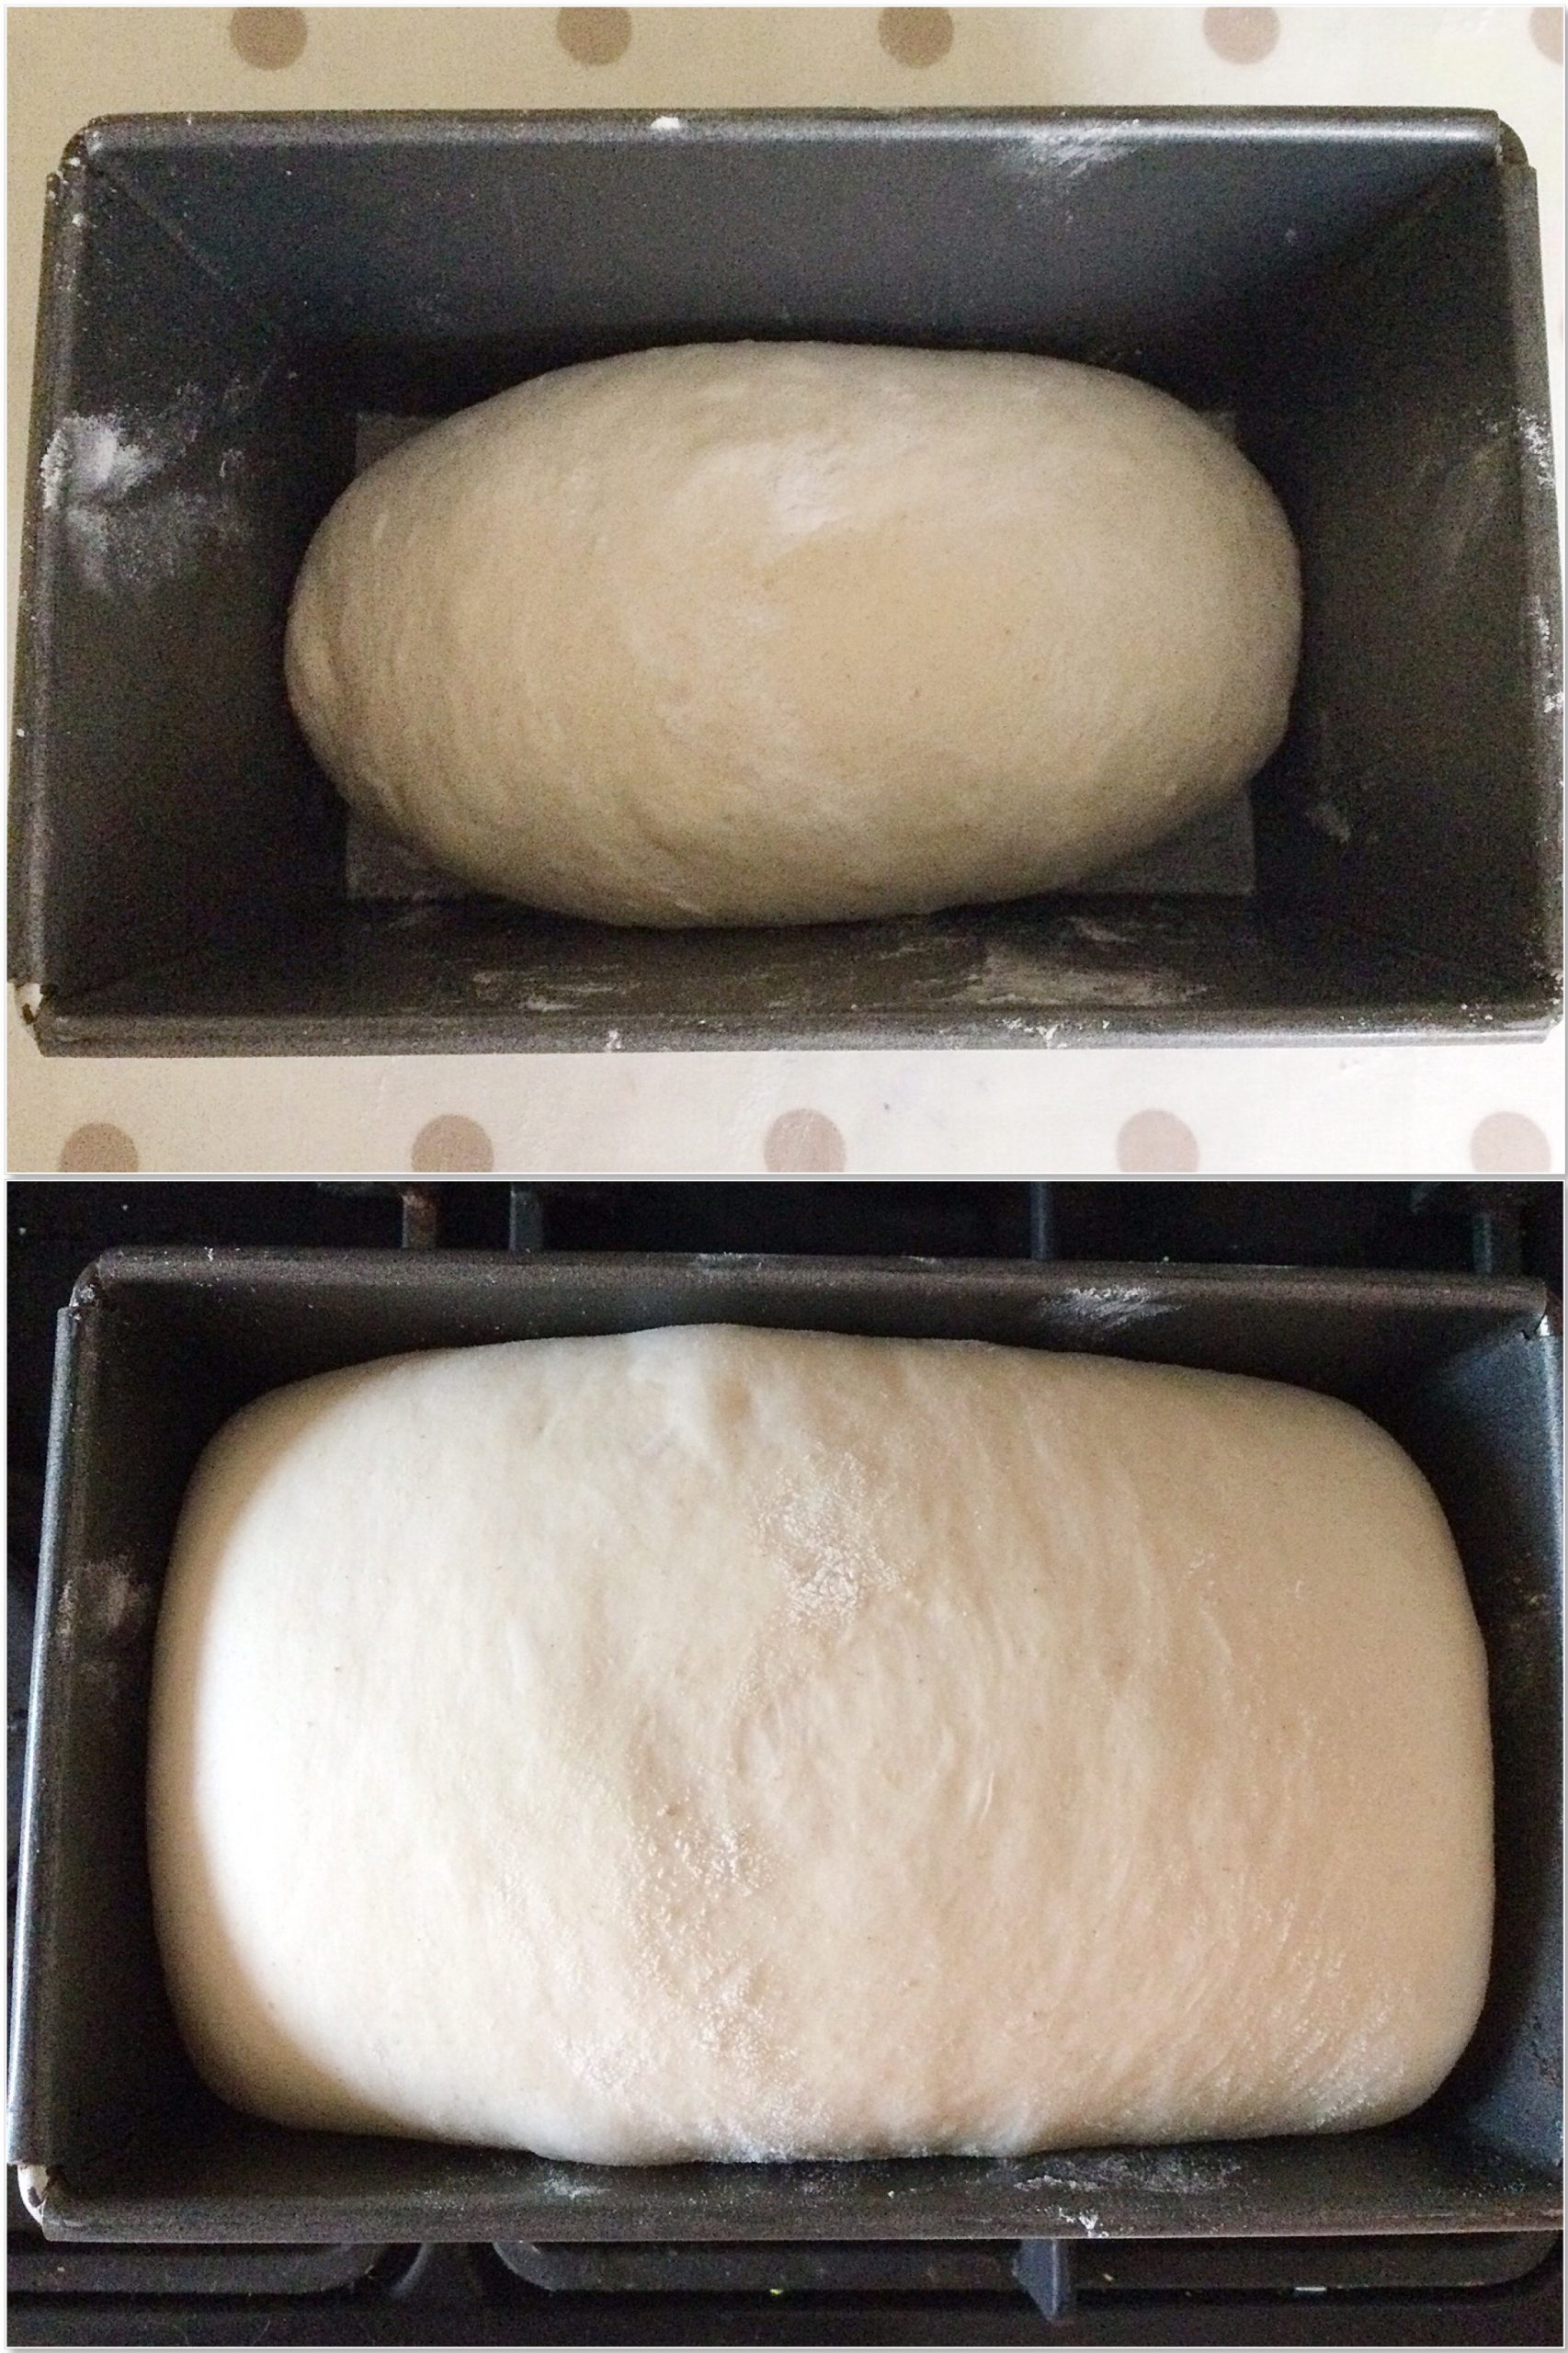
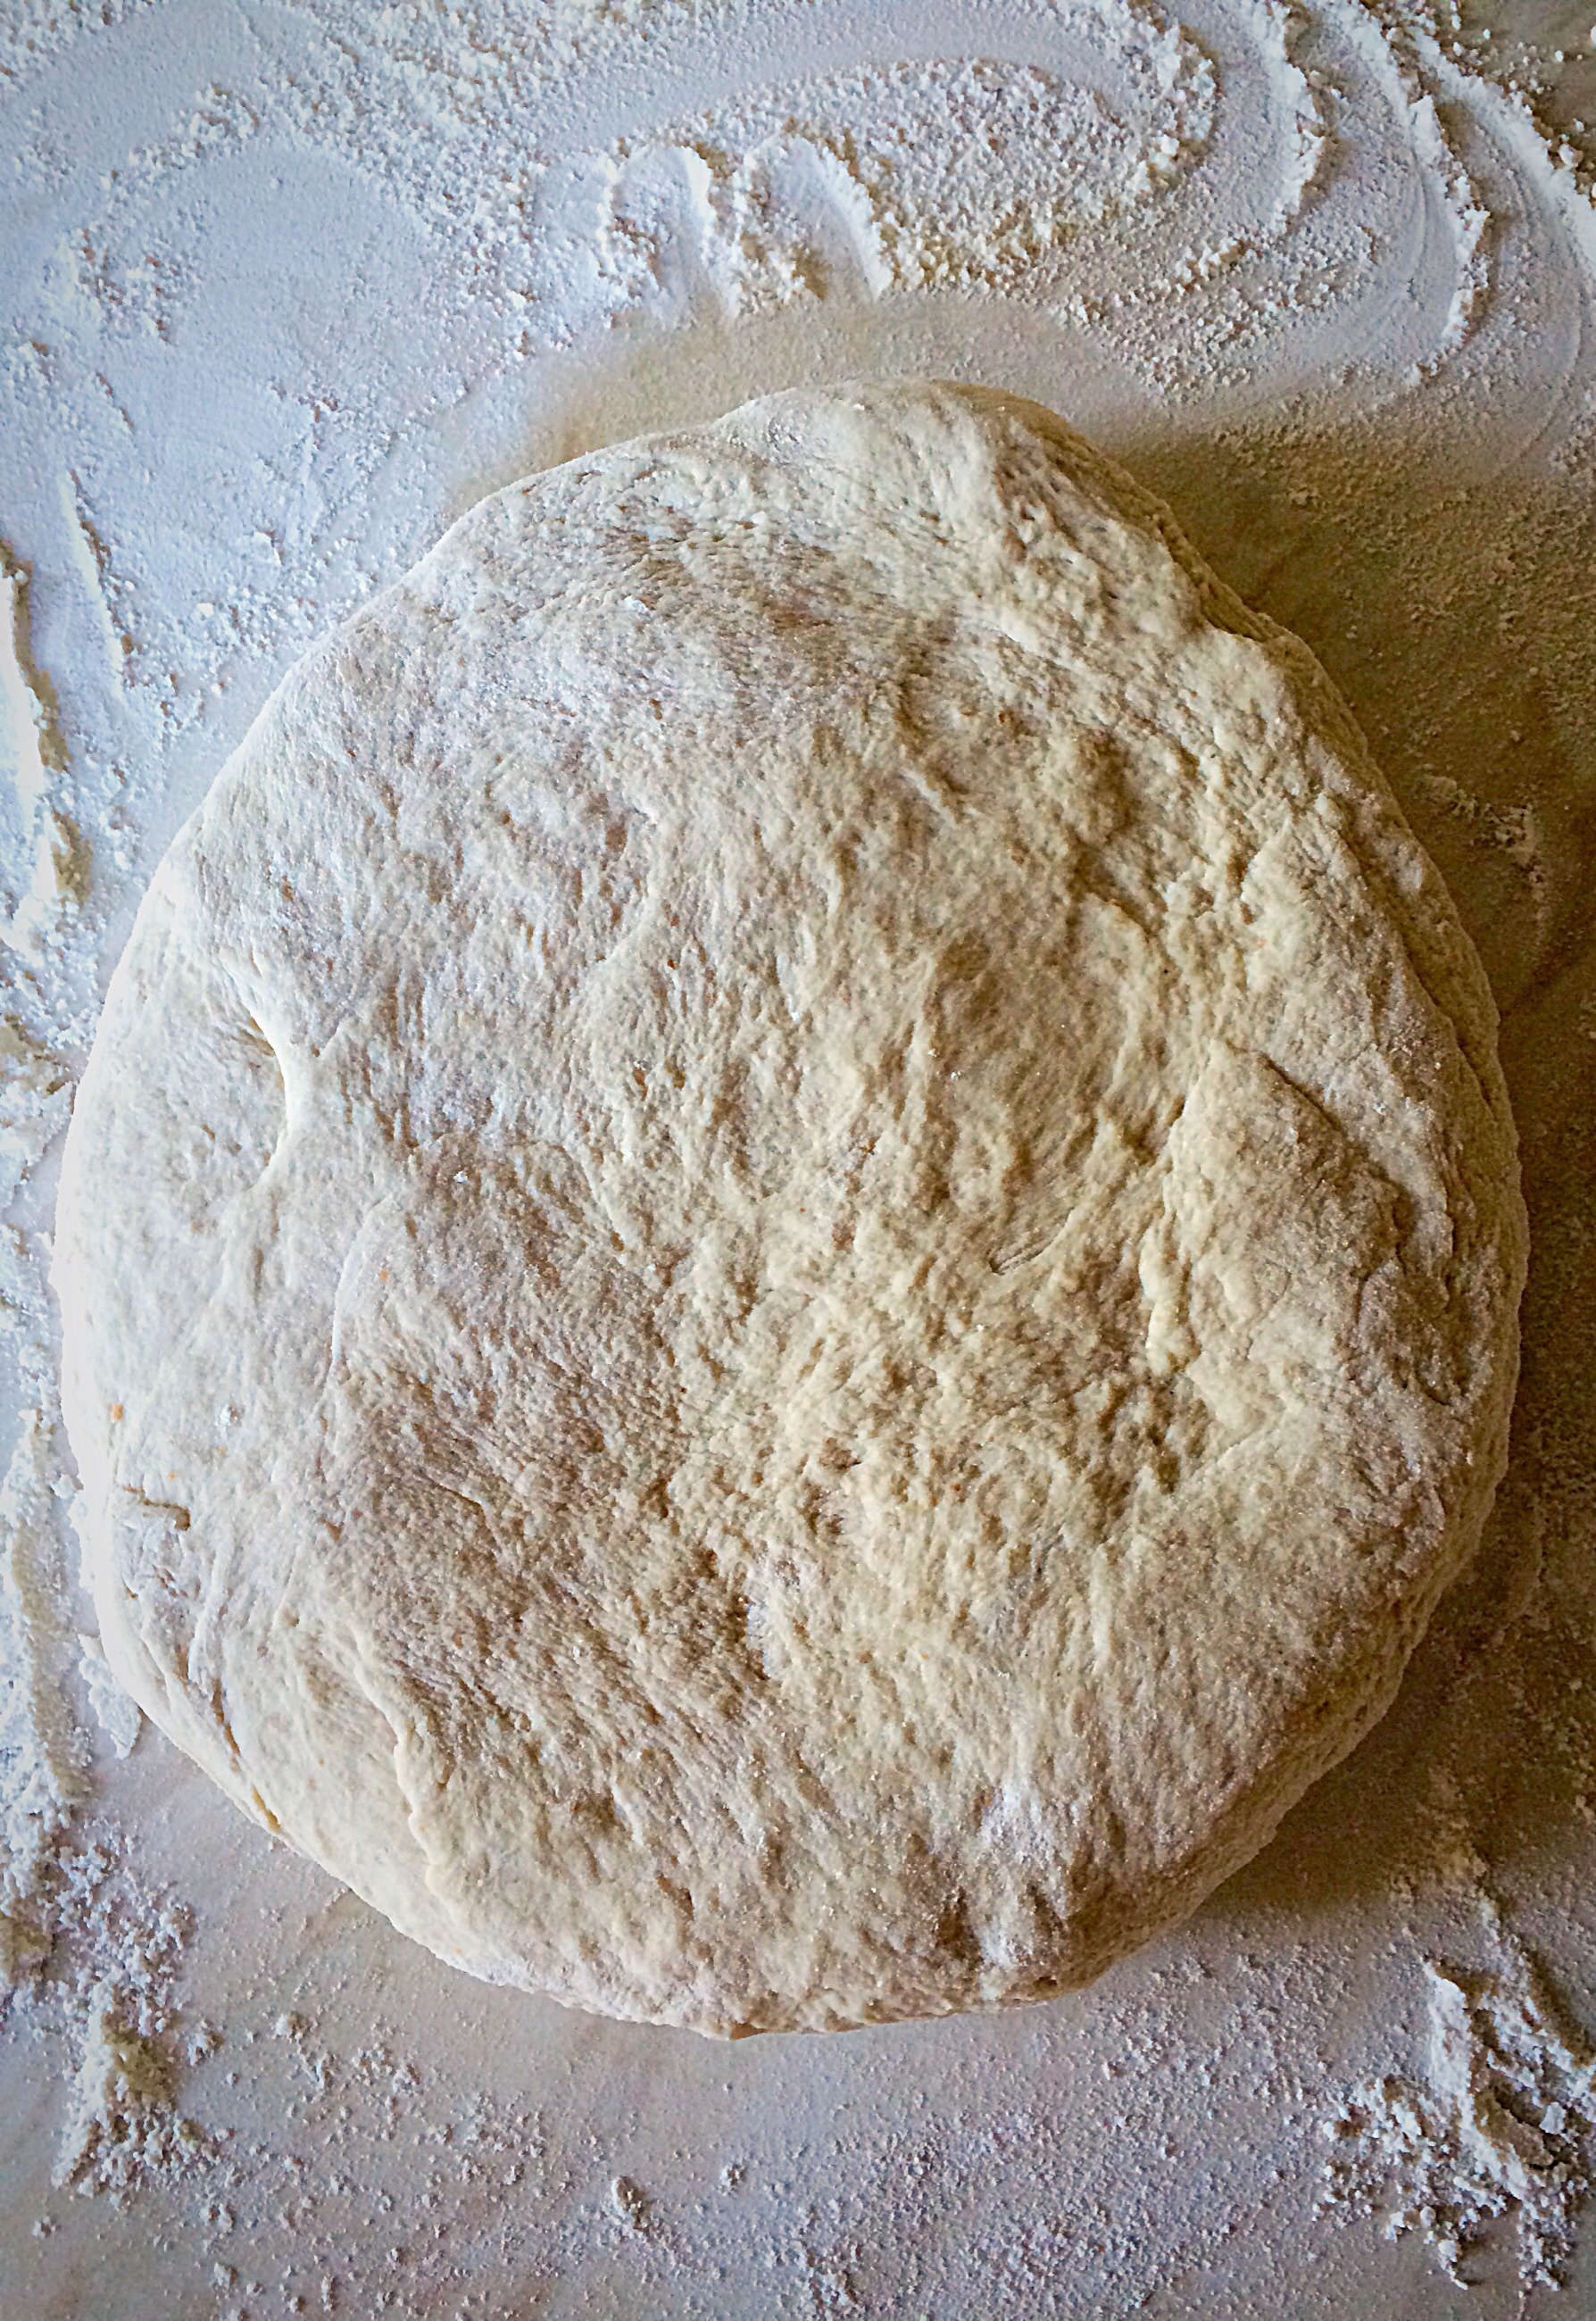
- As soon as the dough is fully kneaded stop the mixer and lift up the dough hook. Scrape any dough from the hook into the bowl. Cover with a clean tea towel and leave in a draught free place to prove until doubled in size.
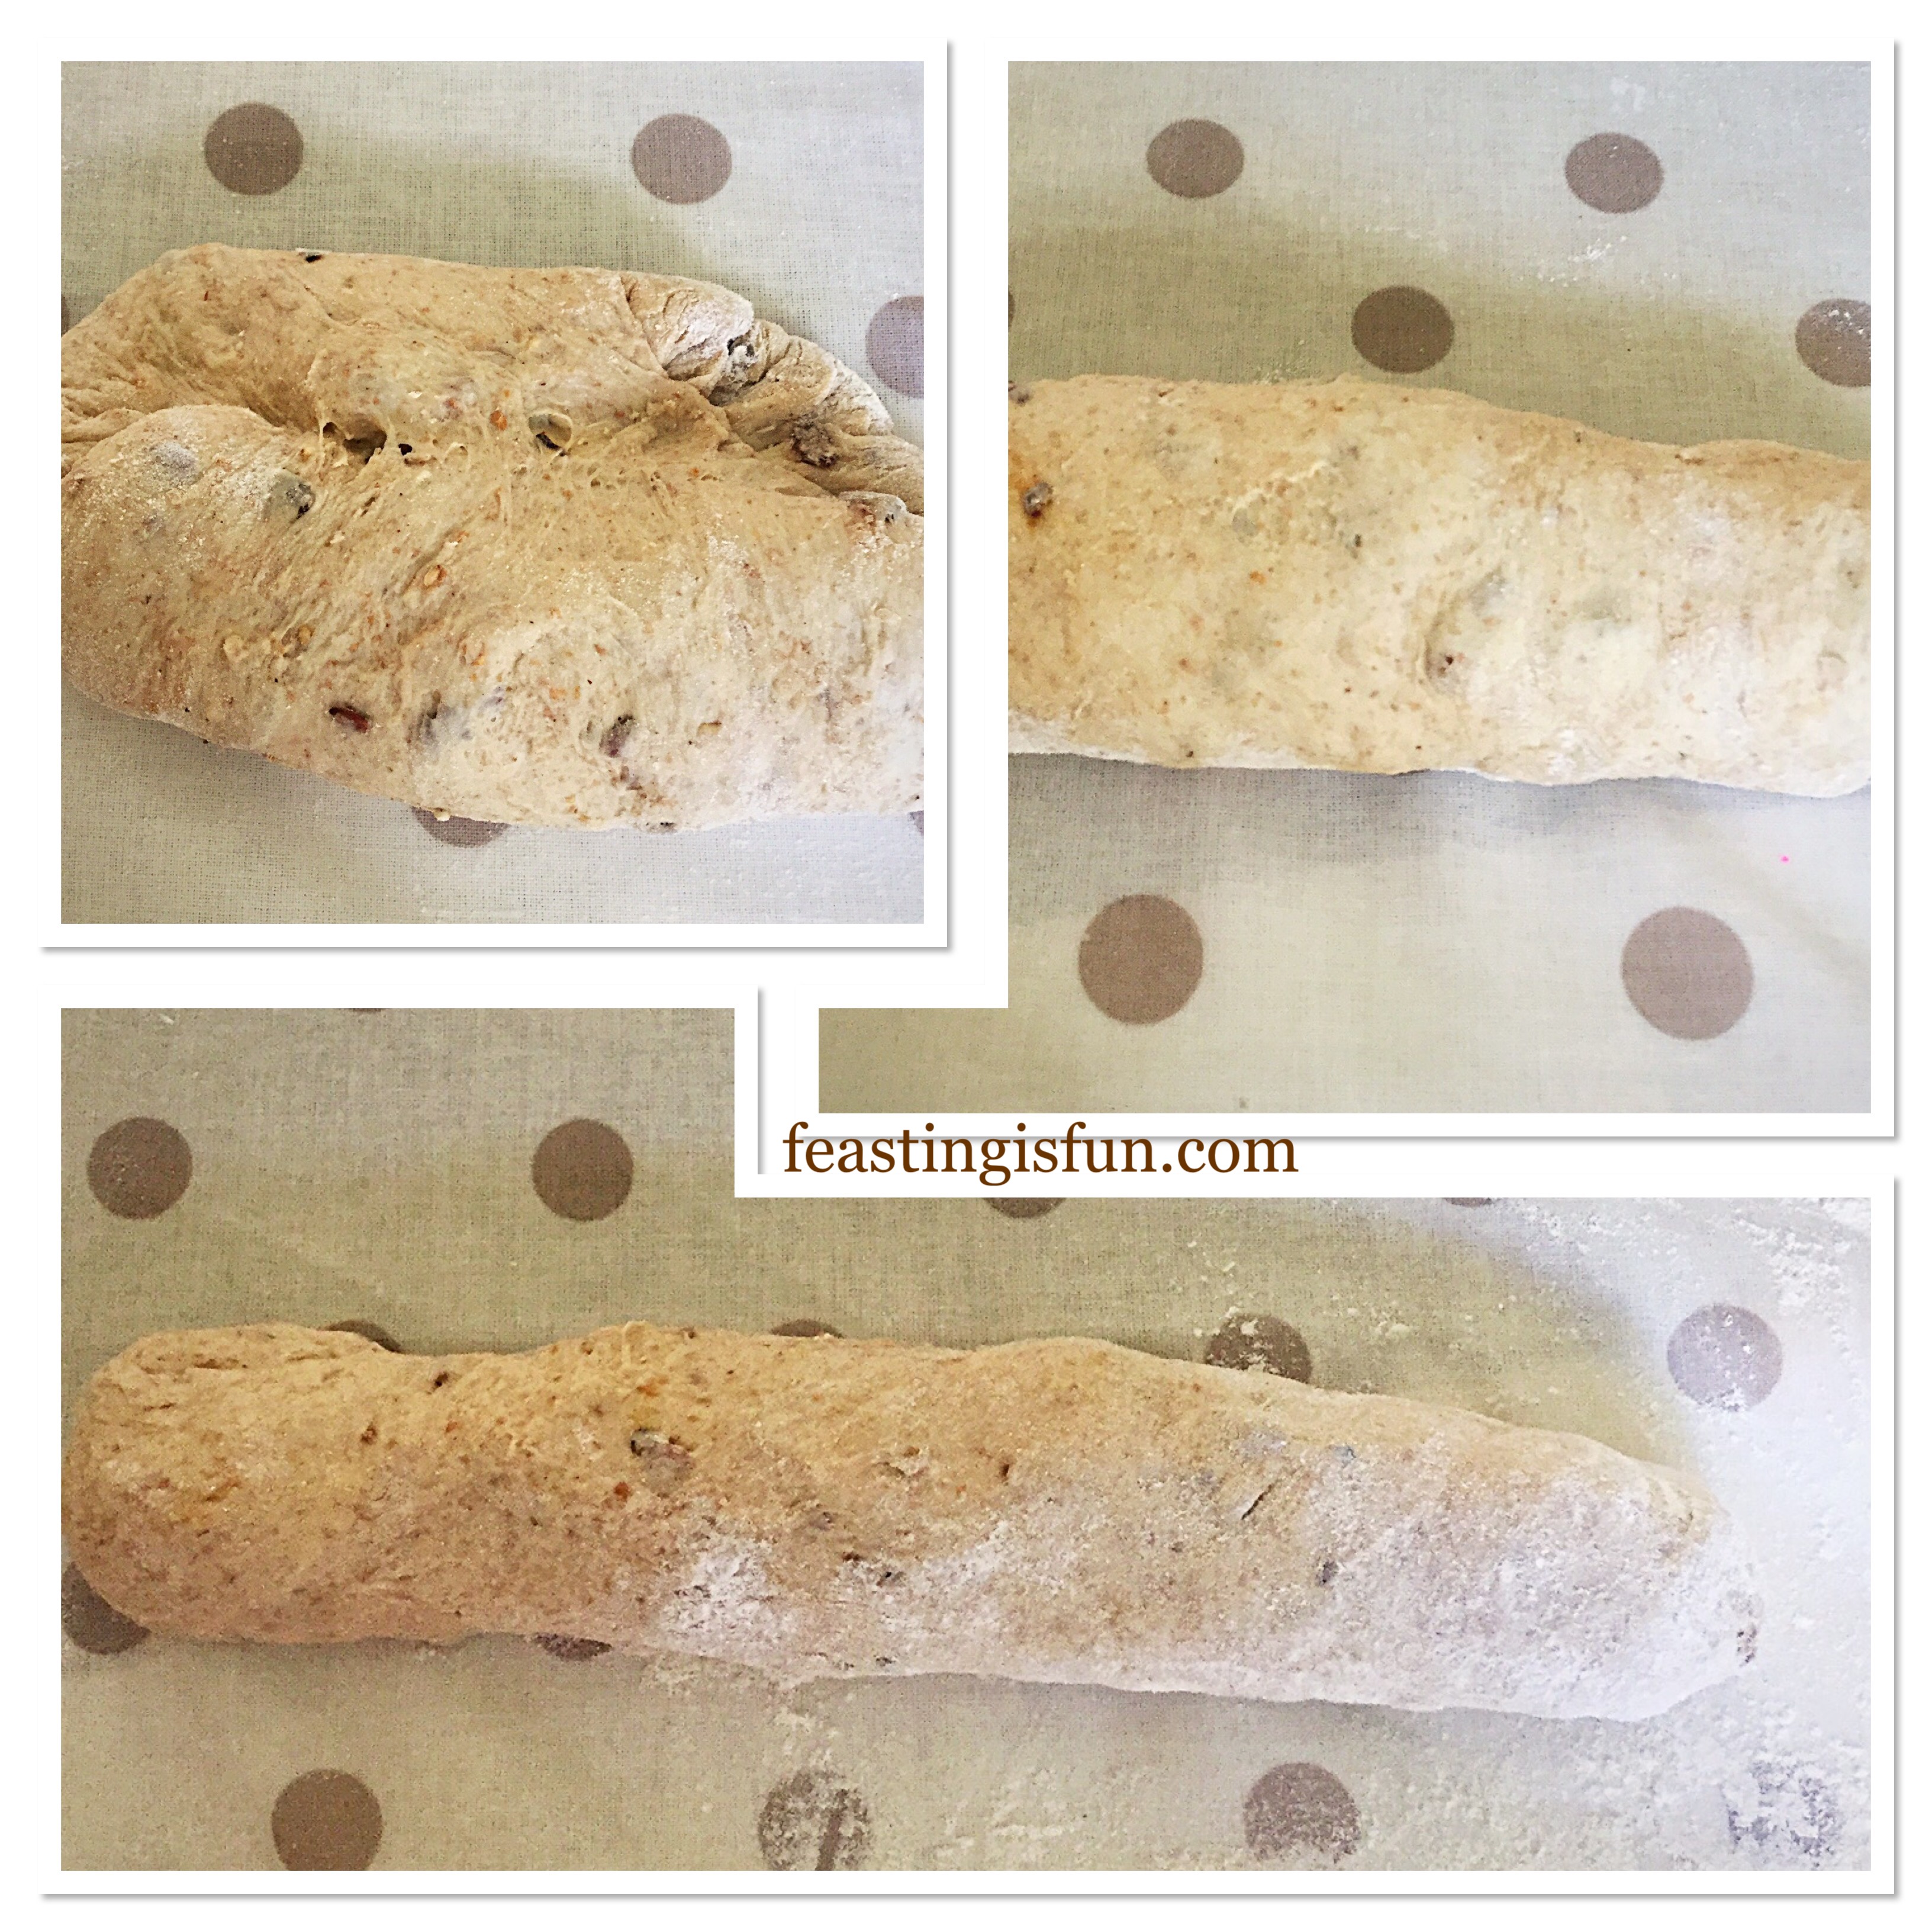
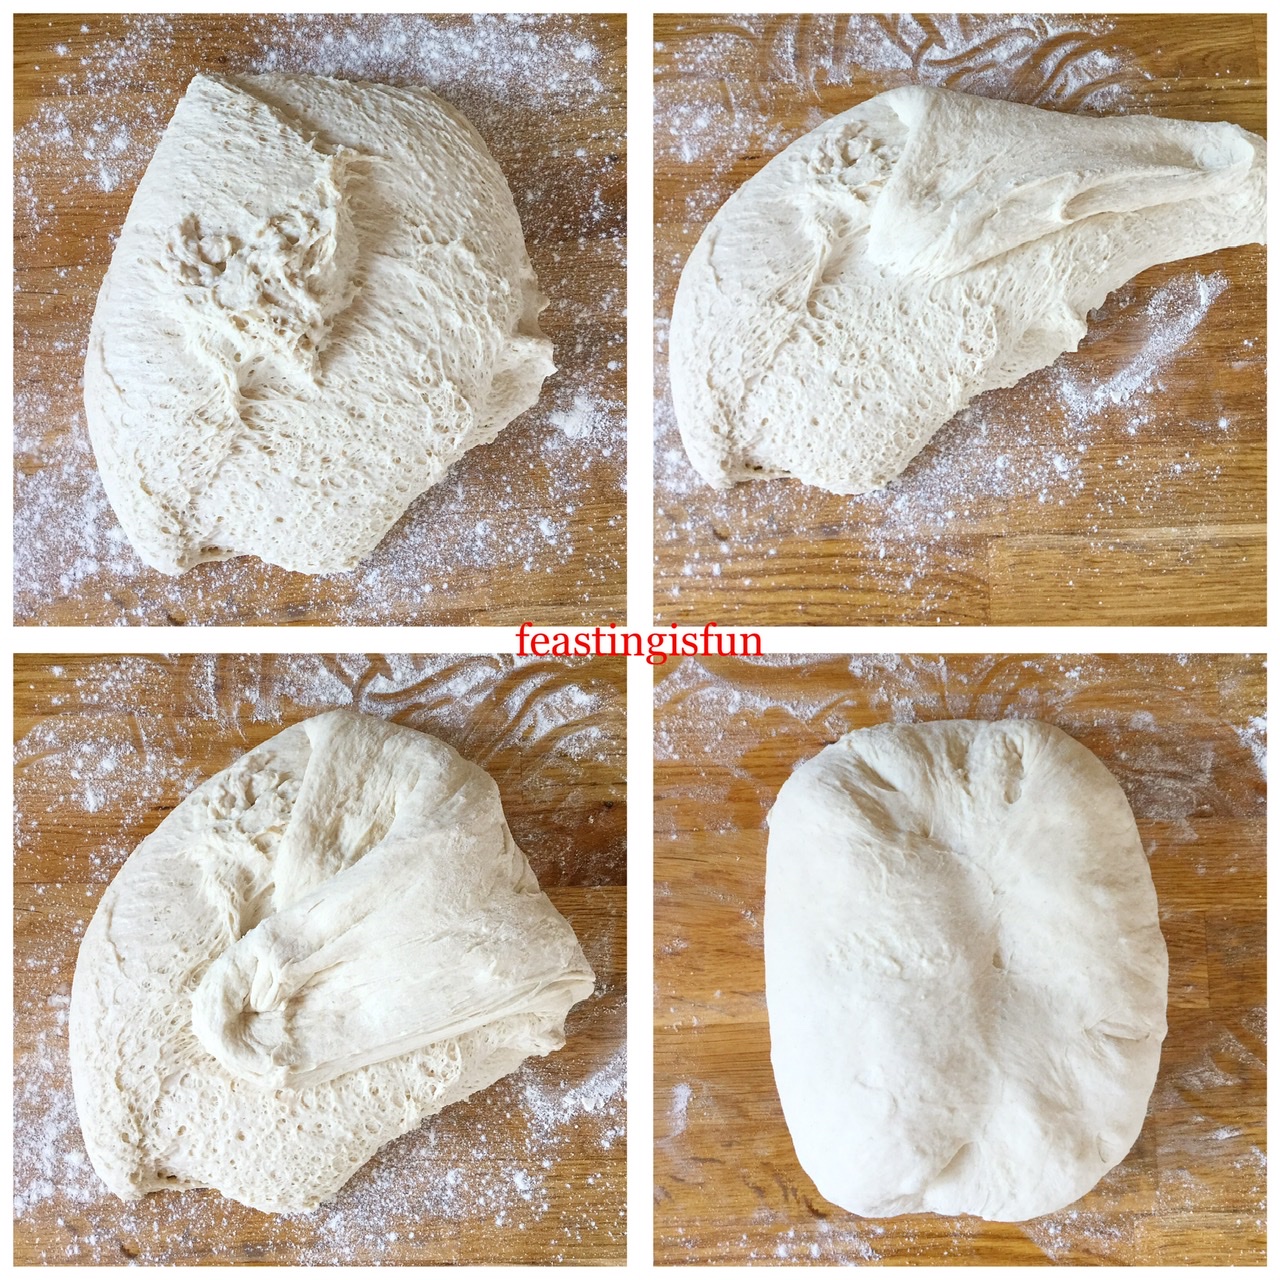
Shaping The Cob Loaf
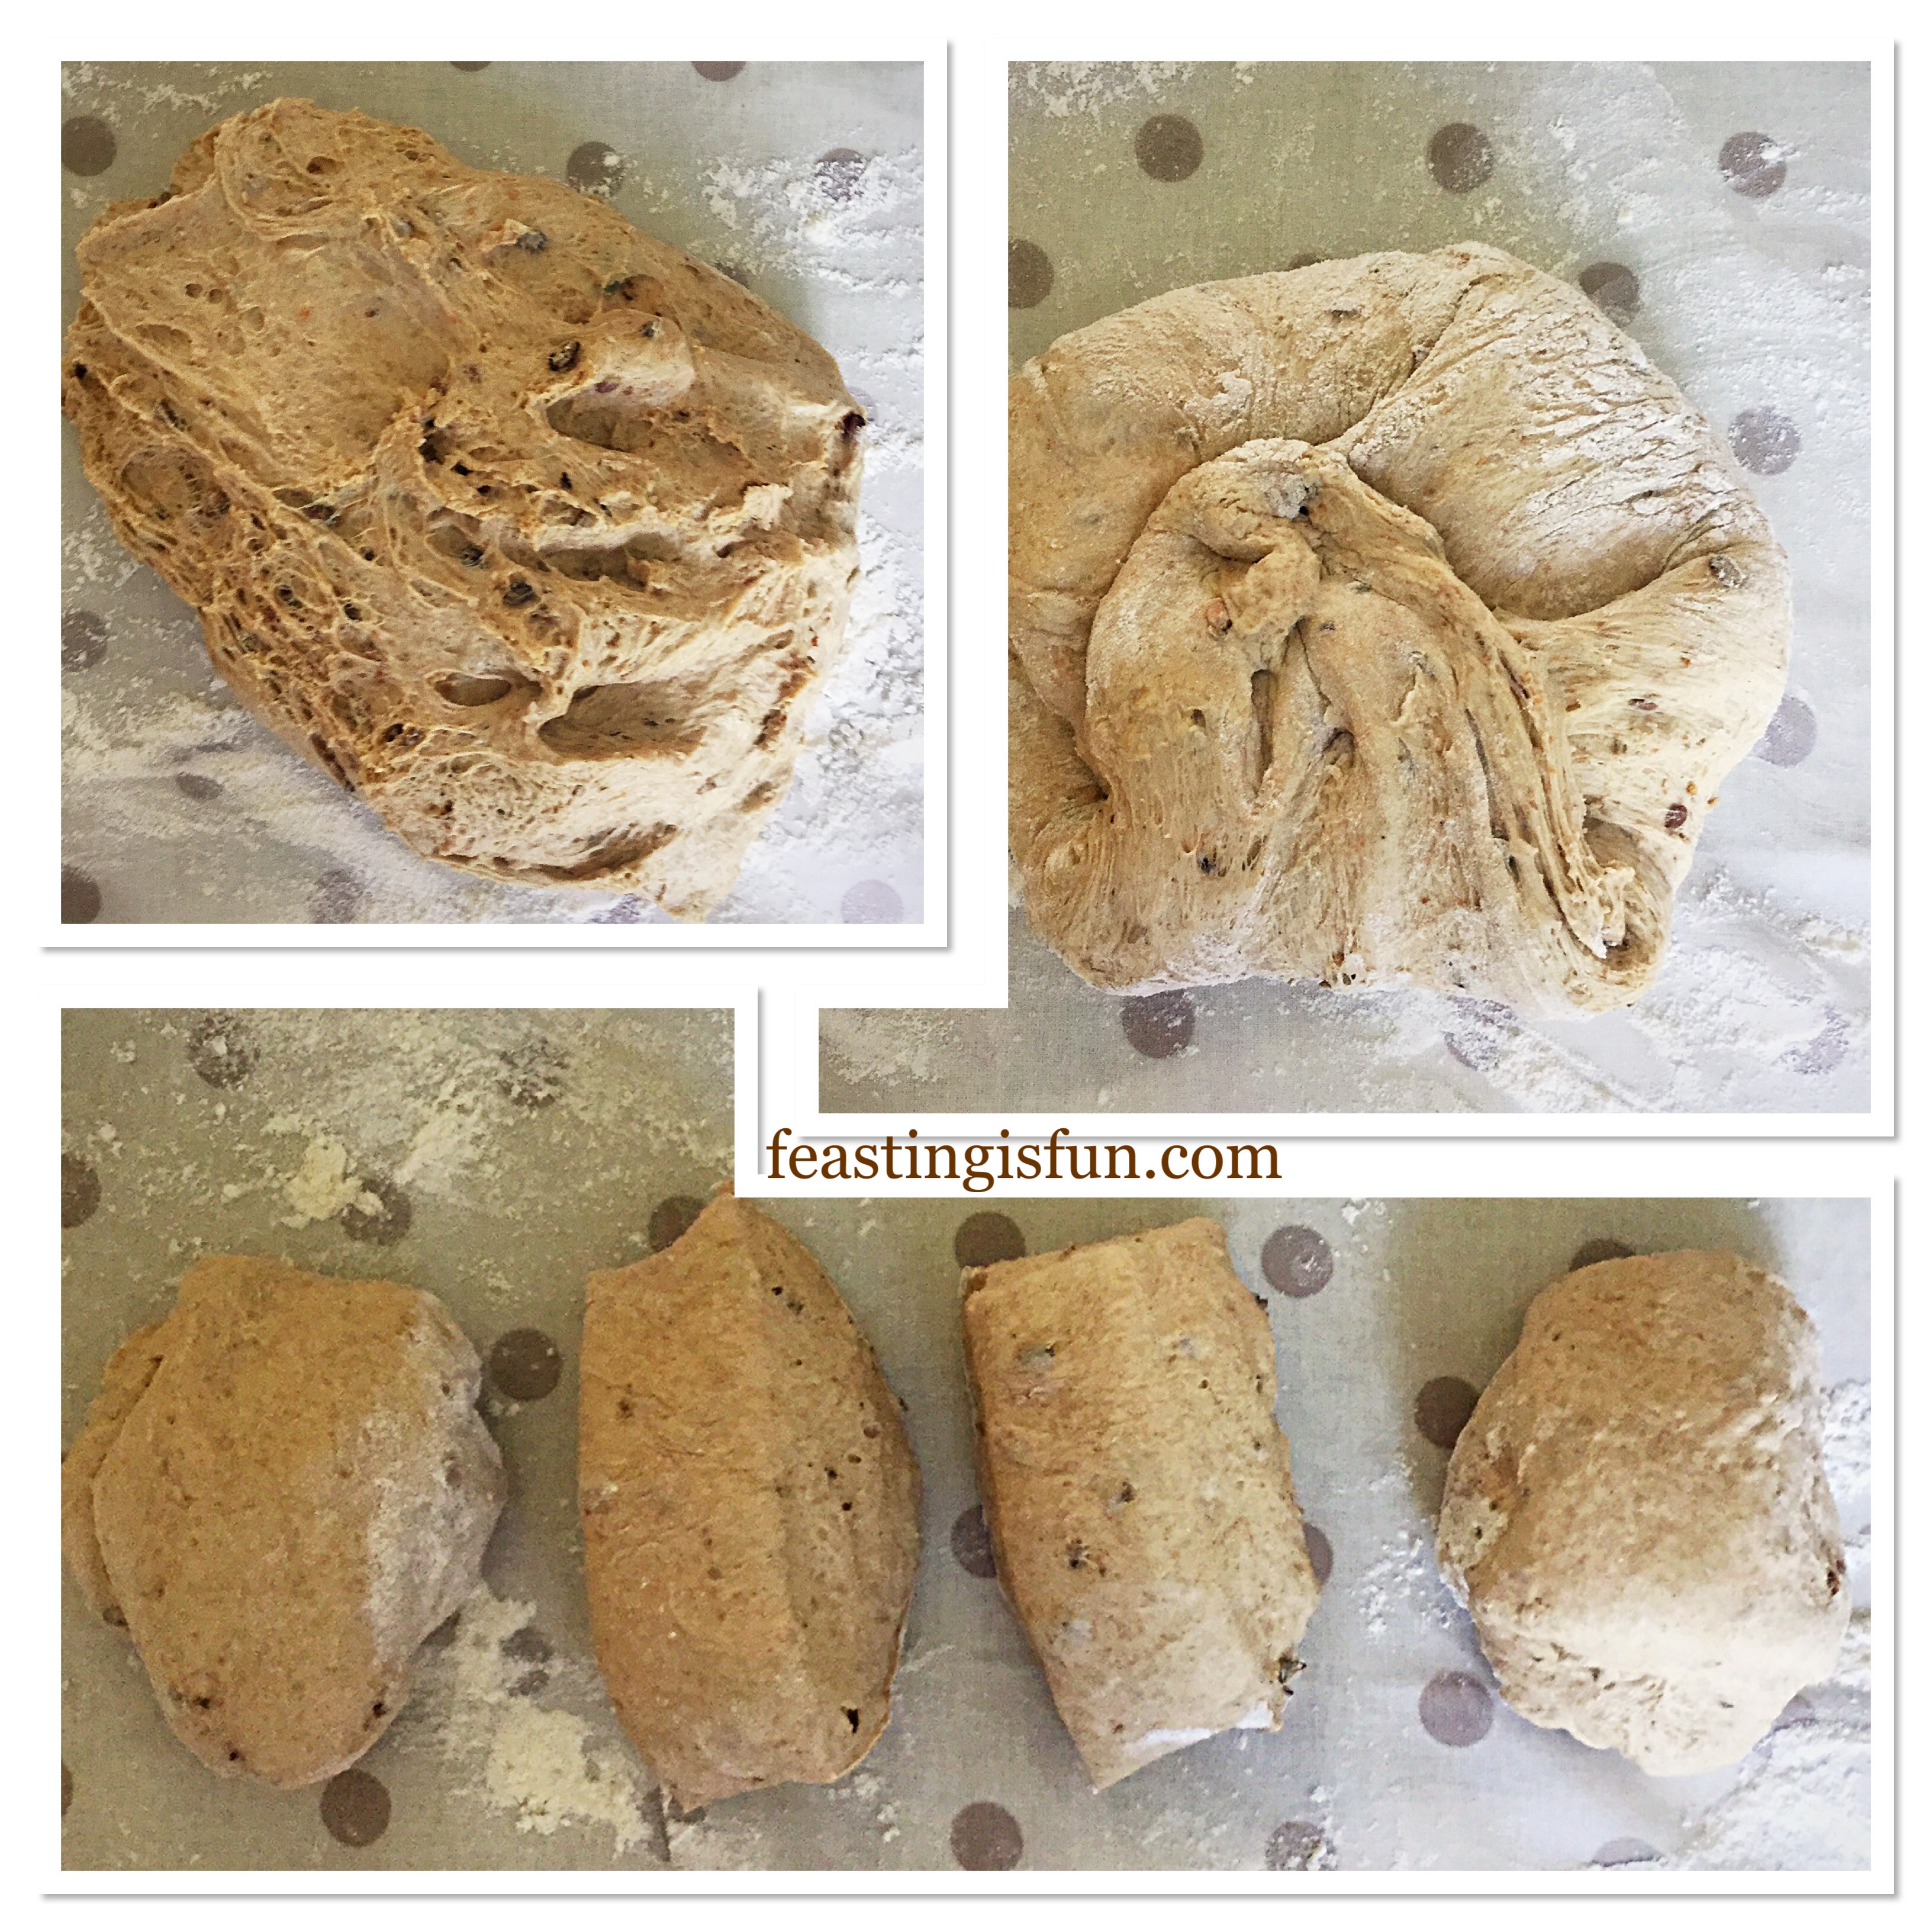
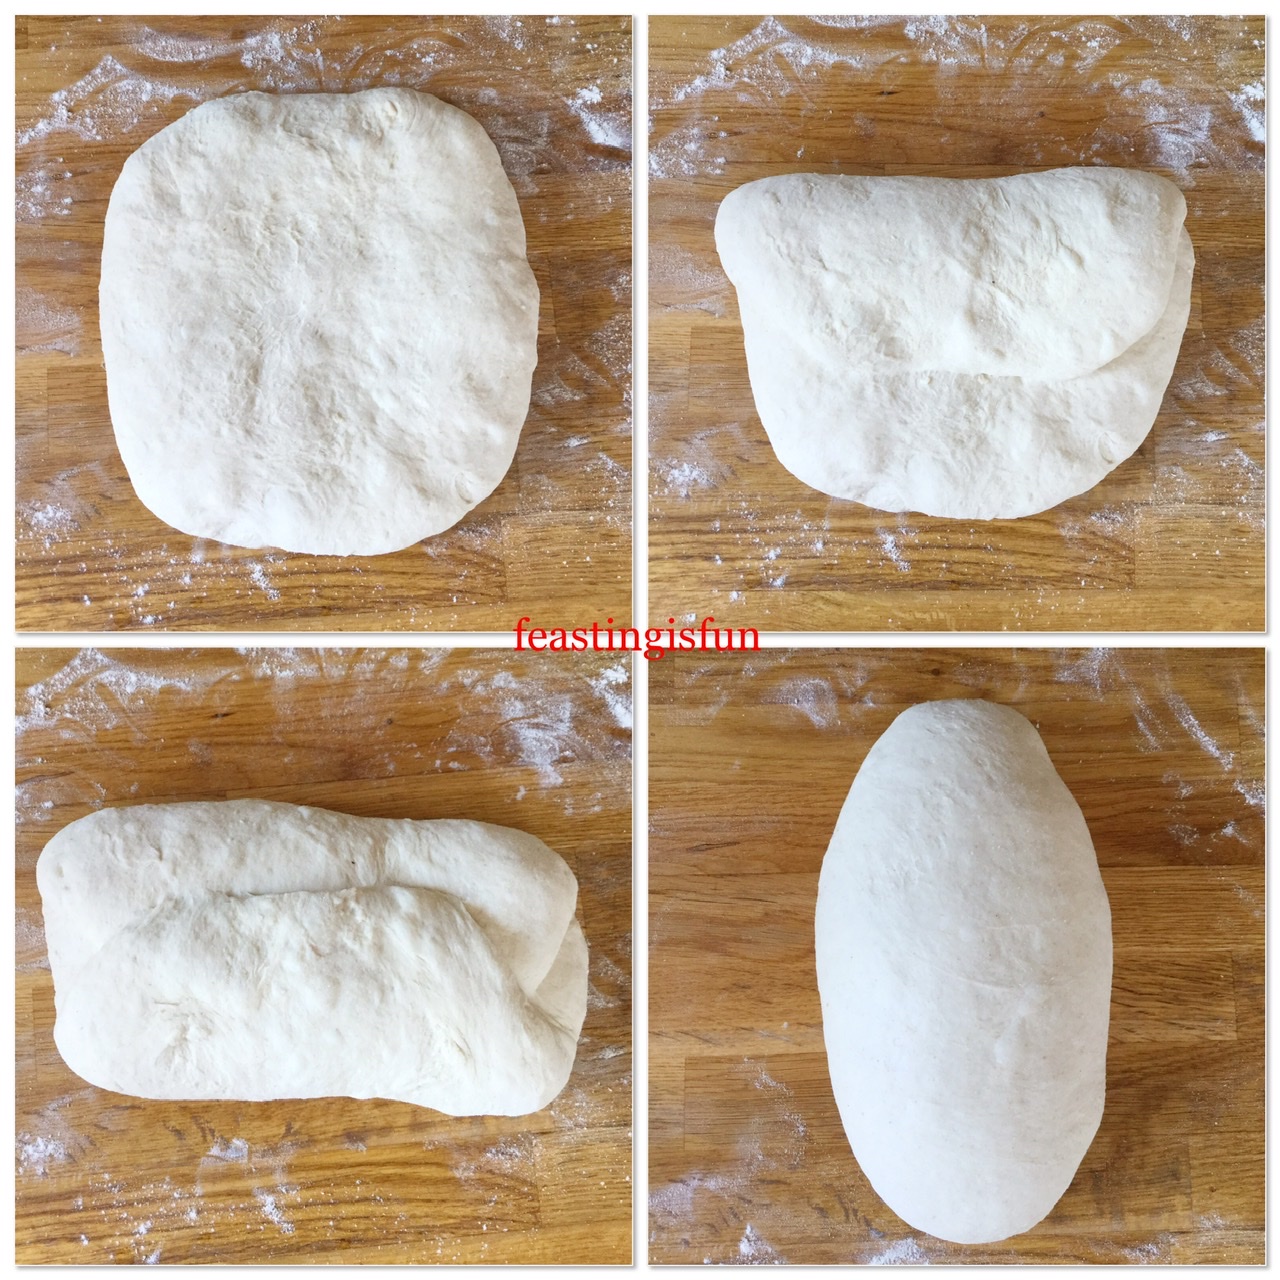
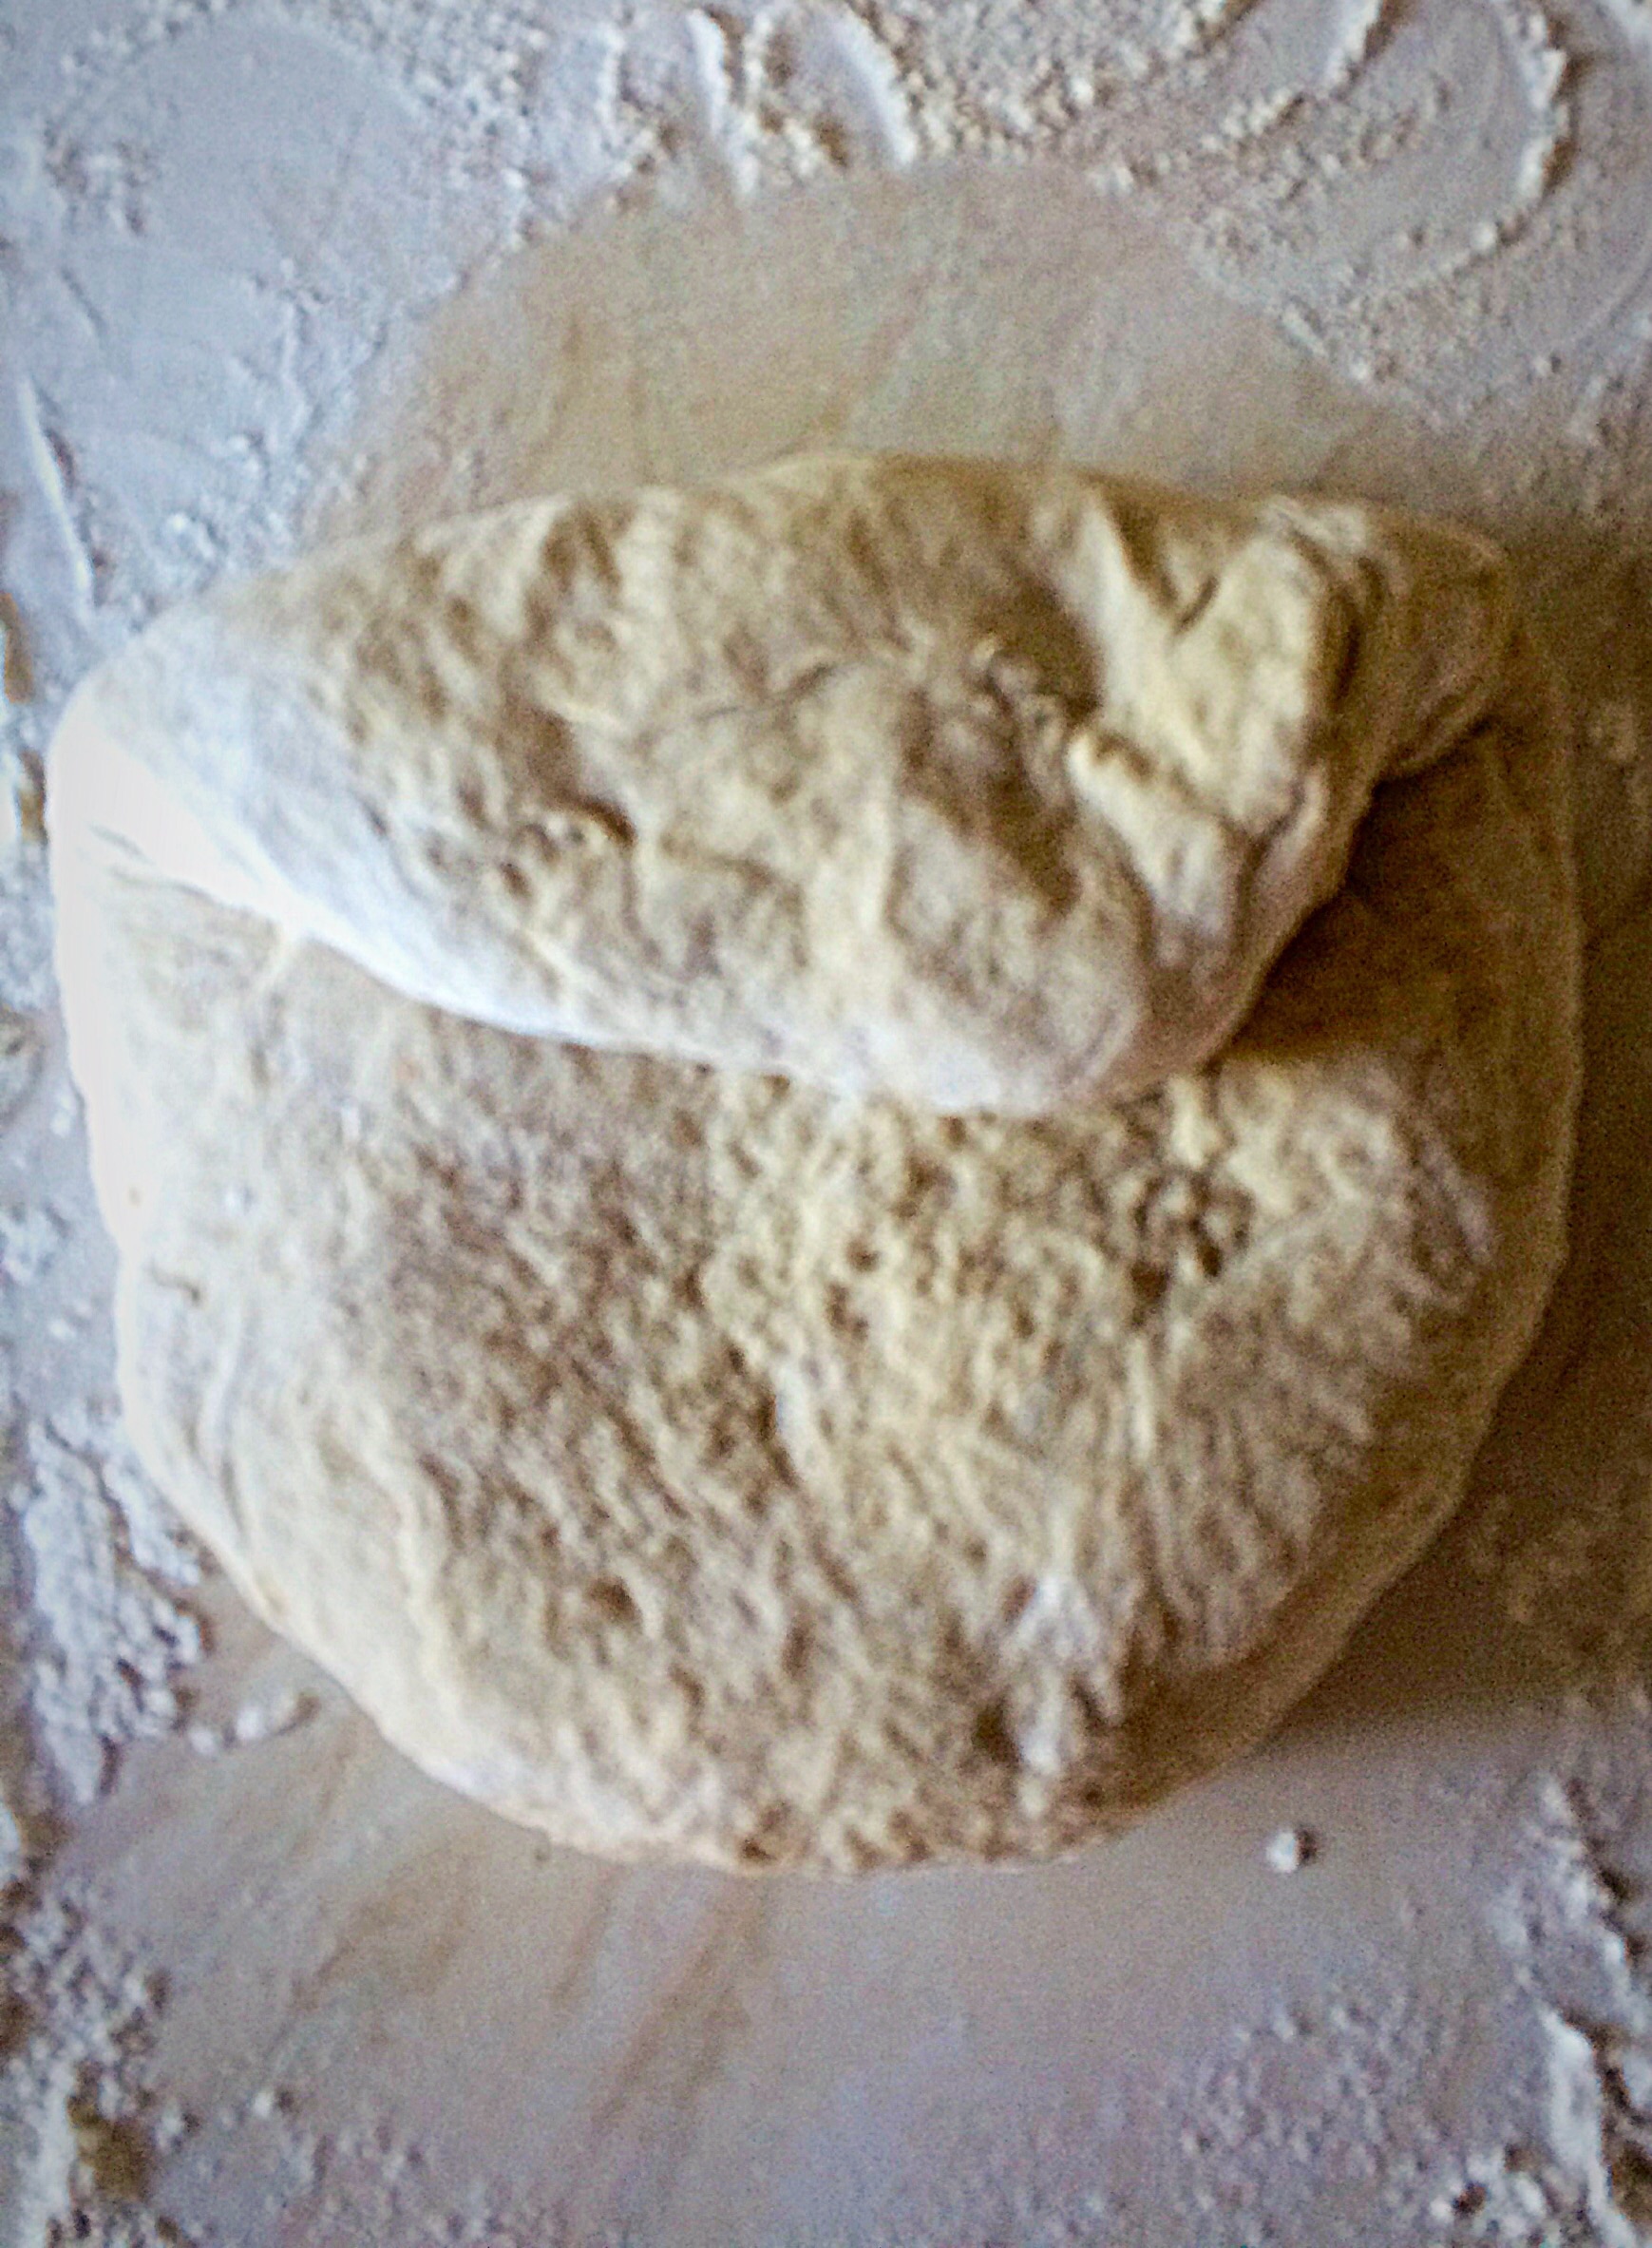
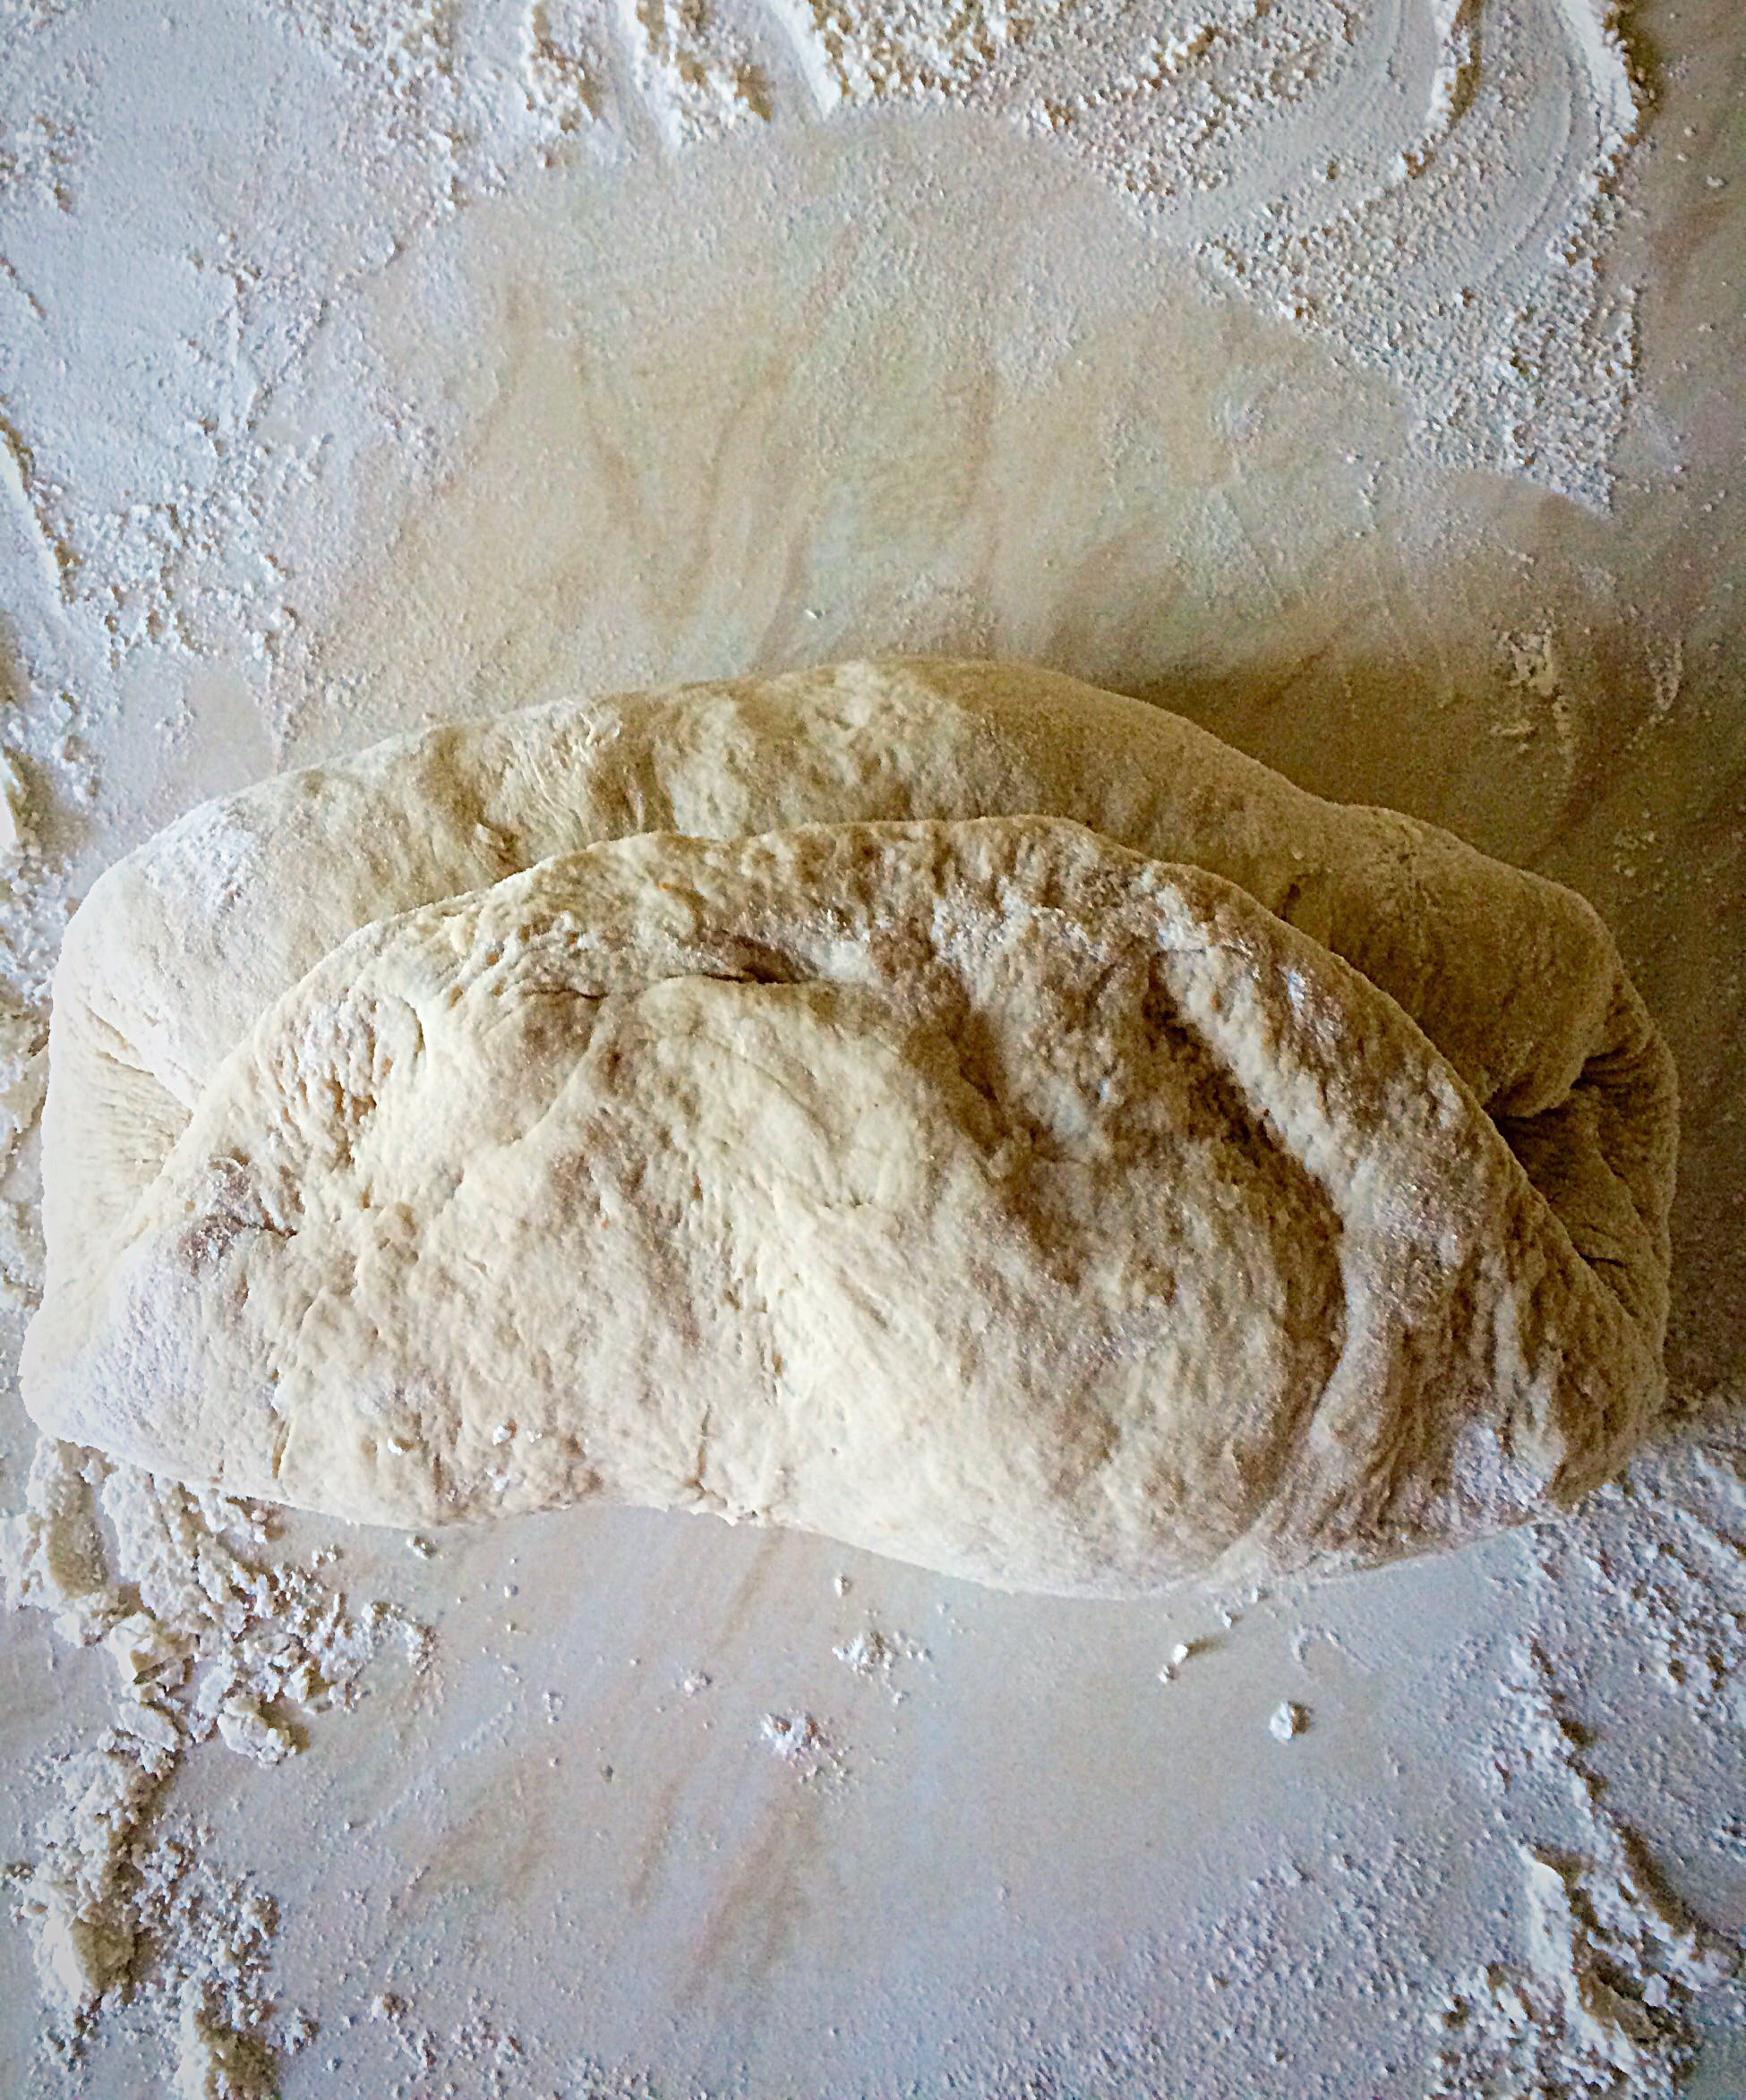
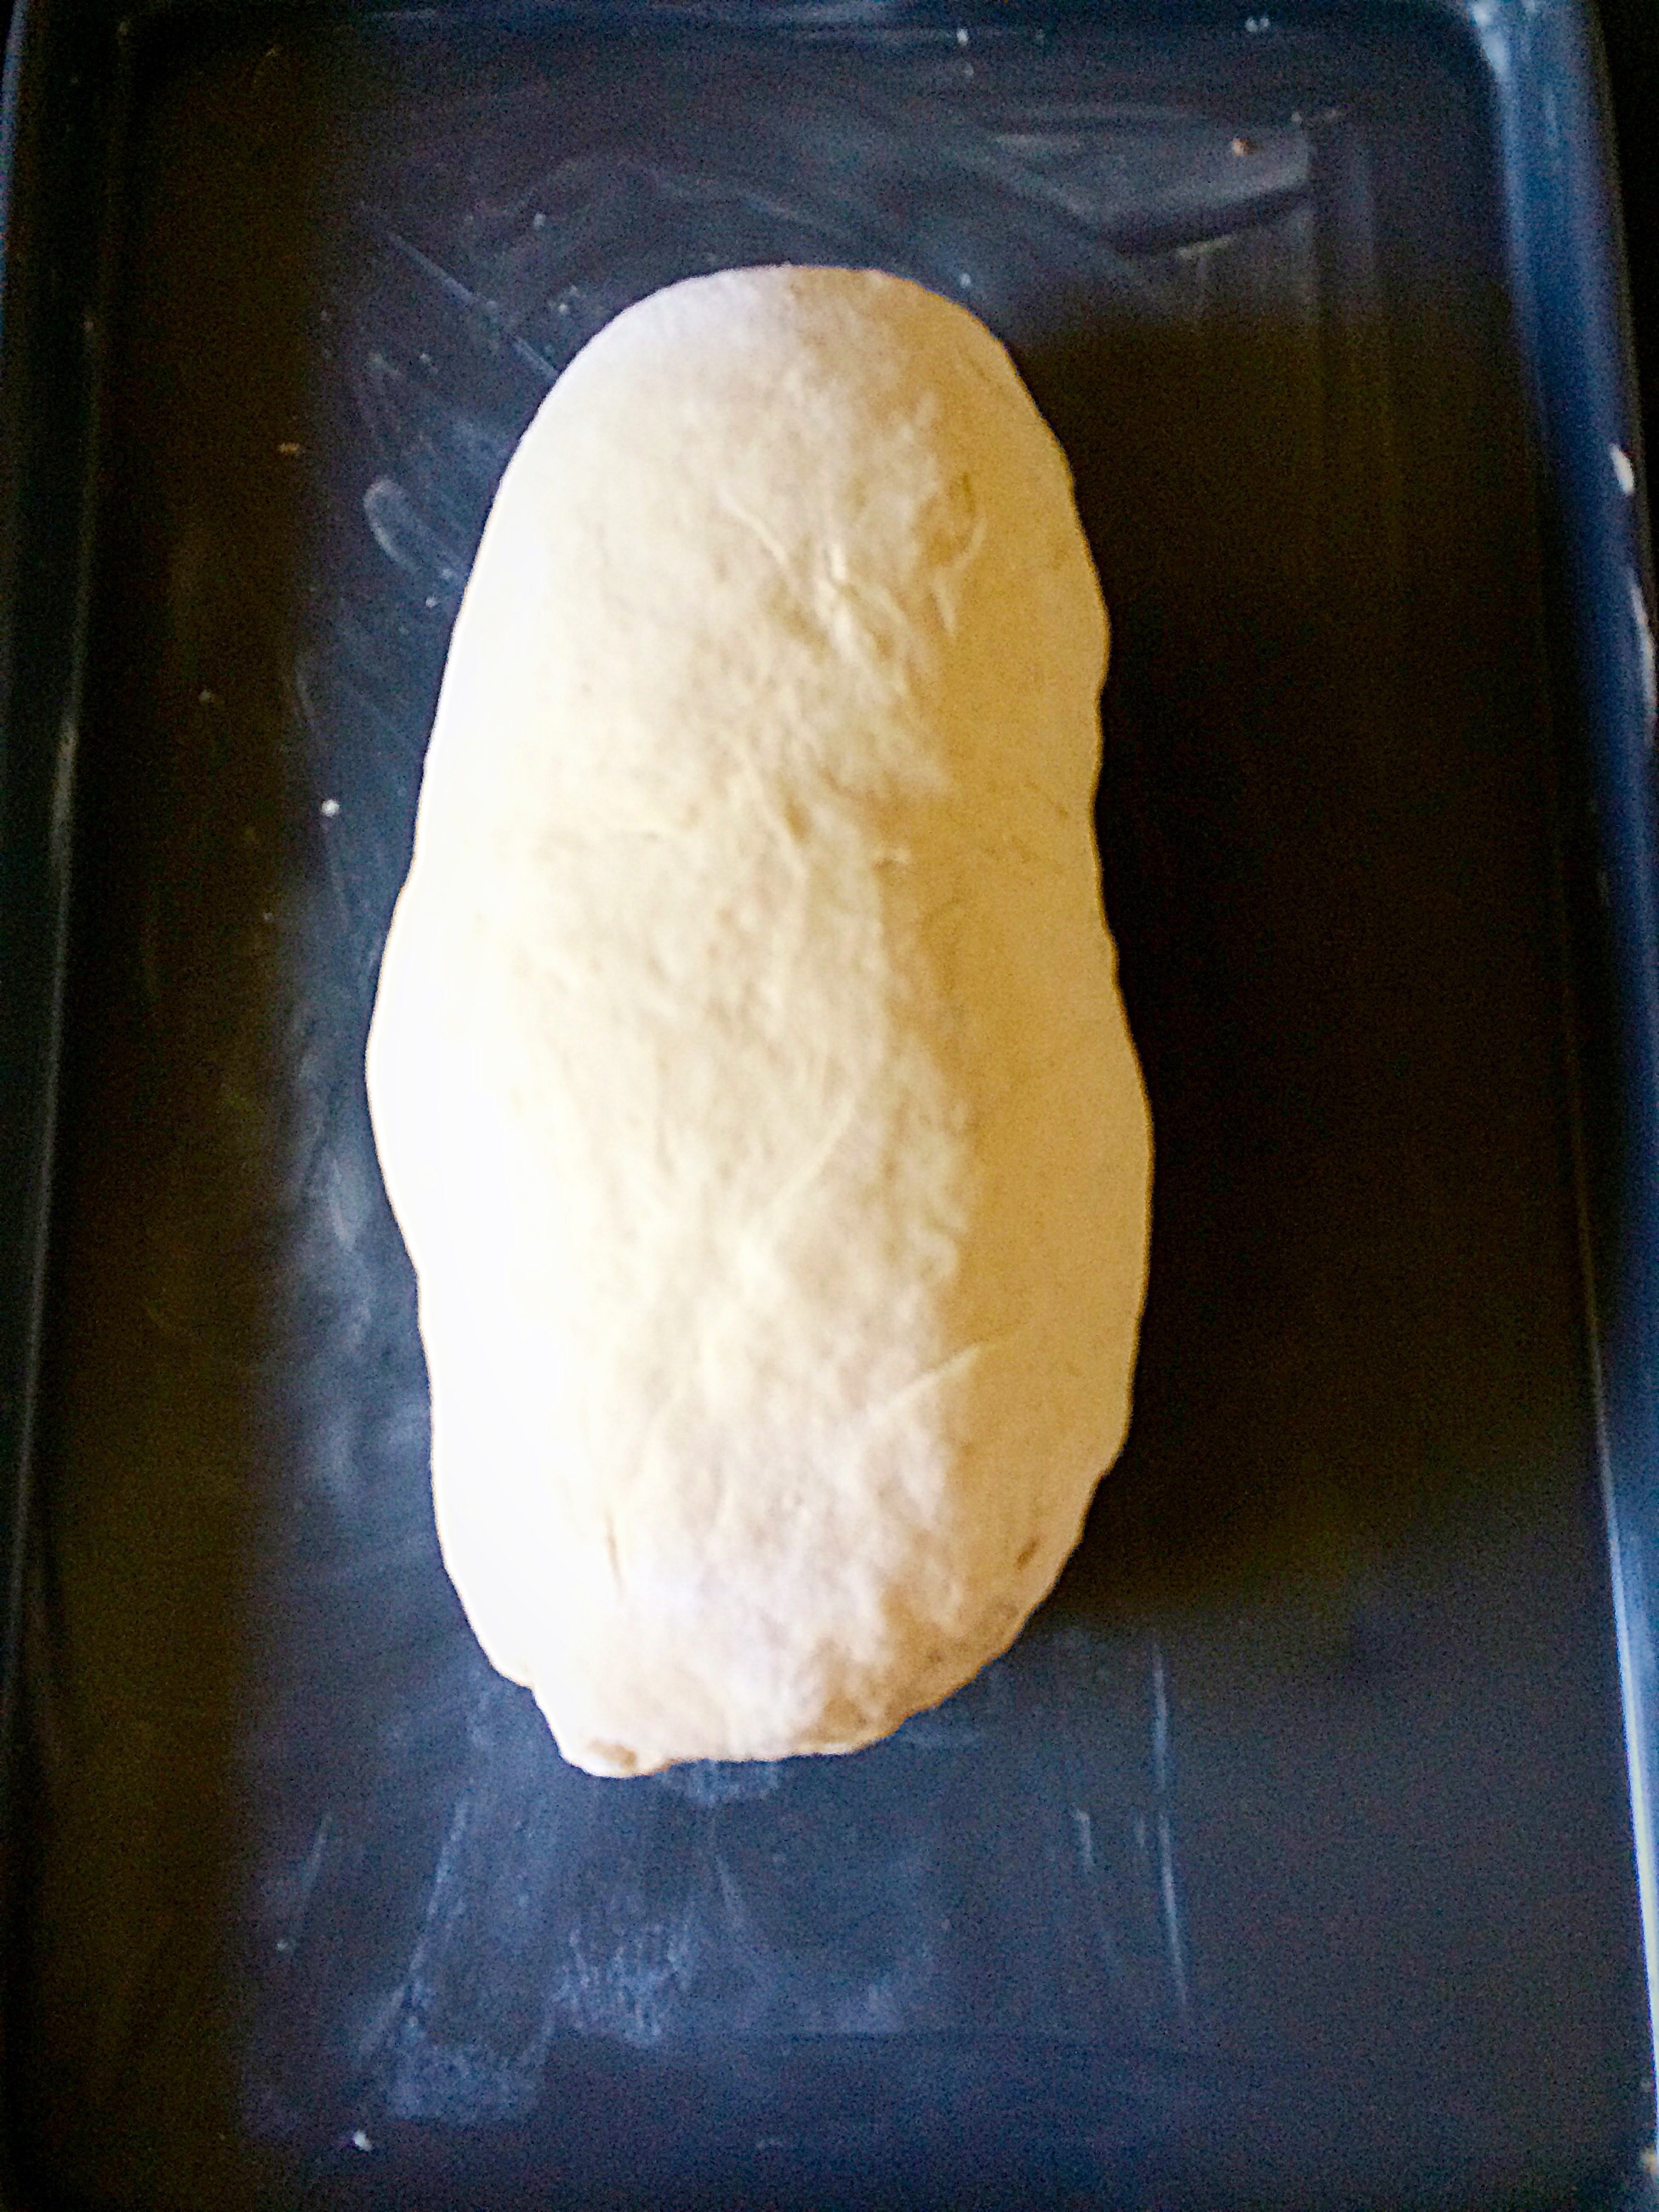
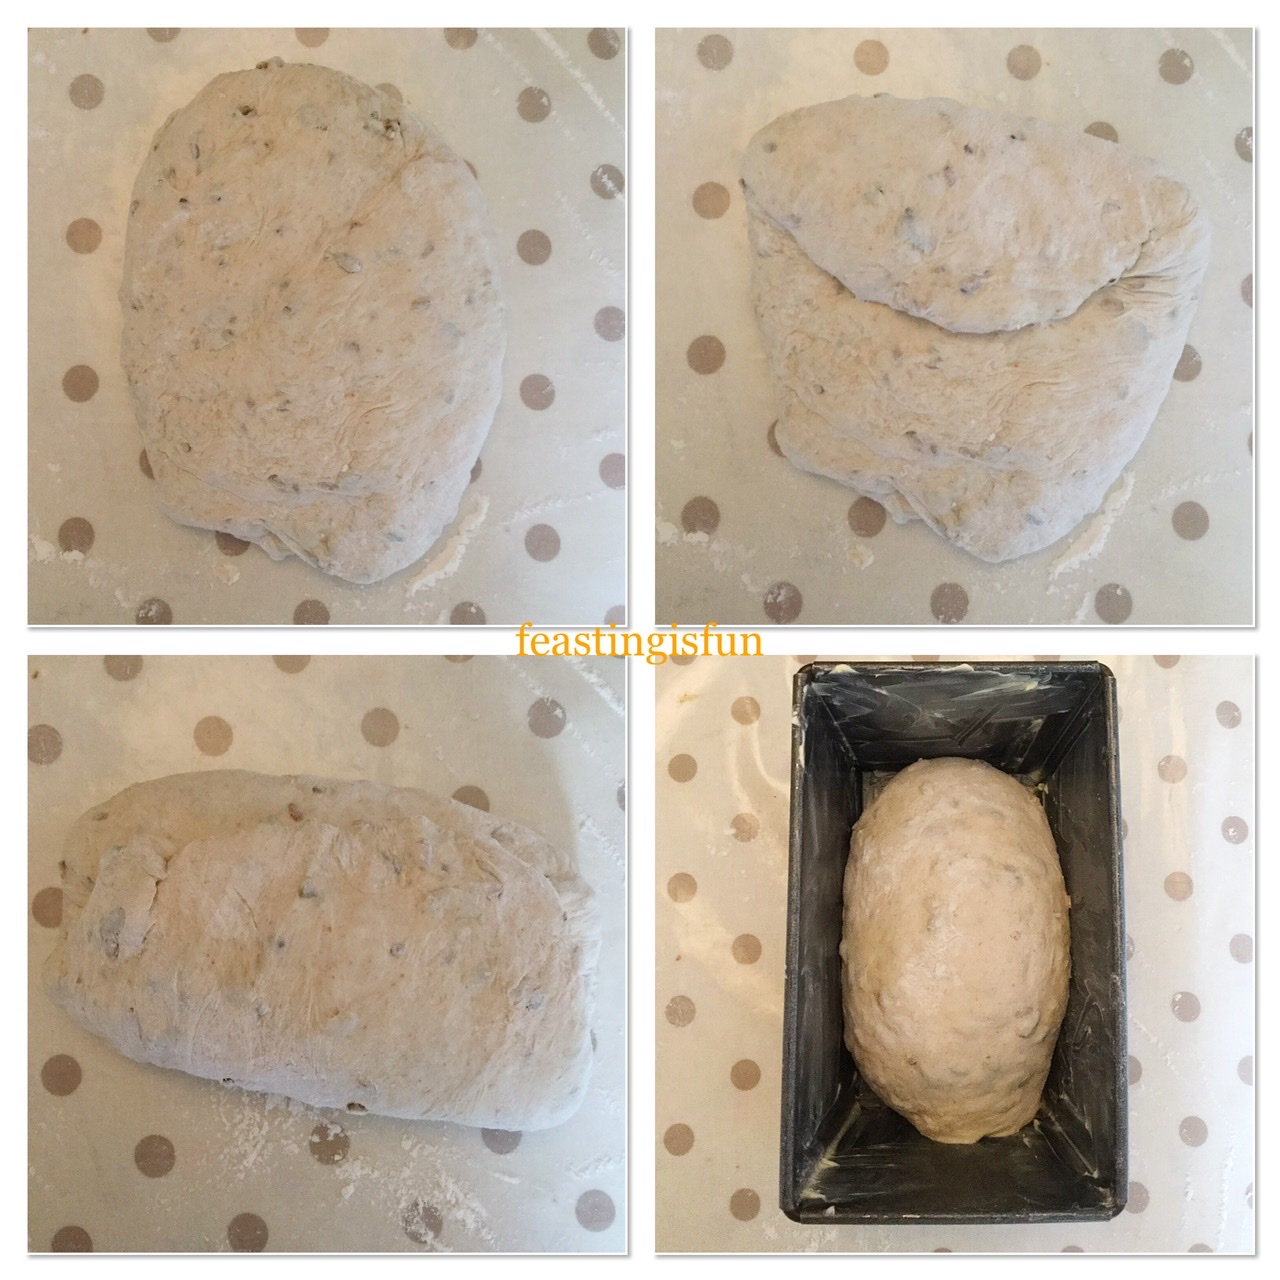
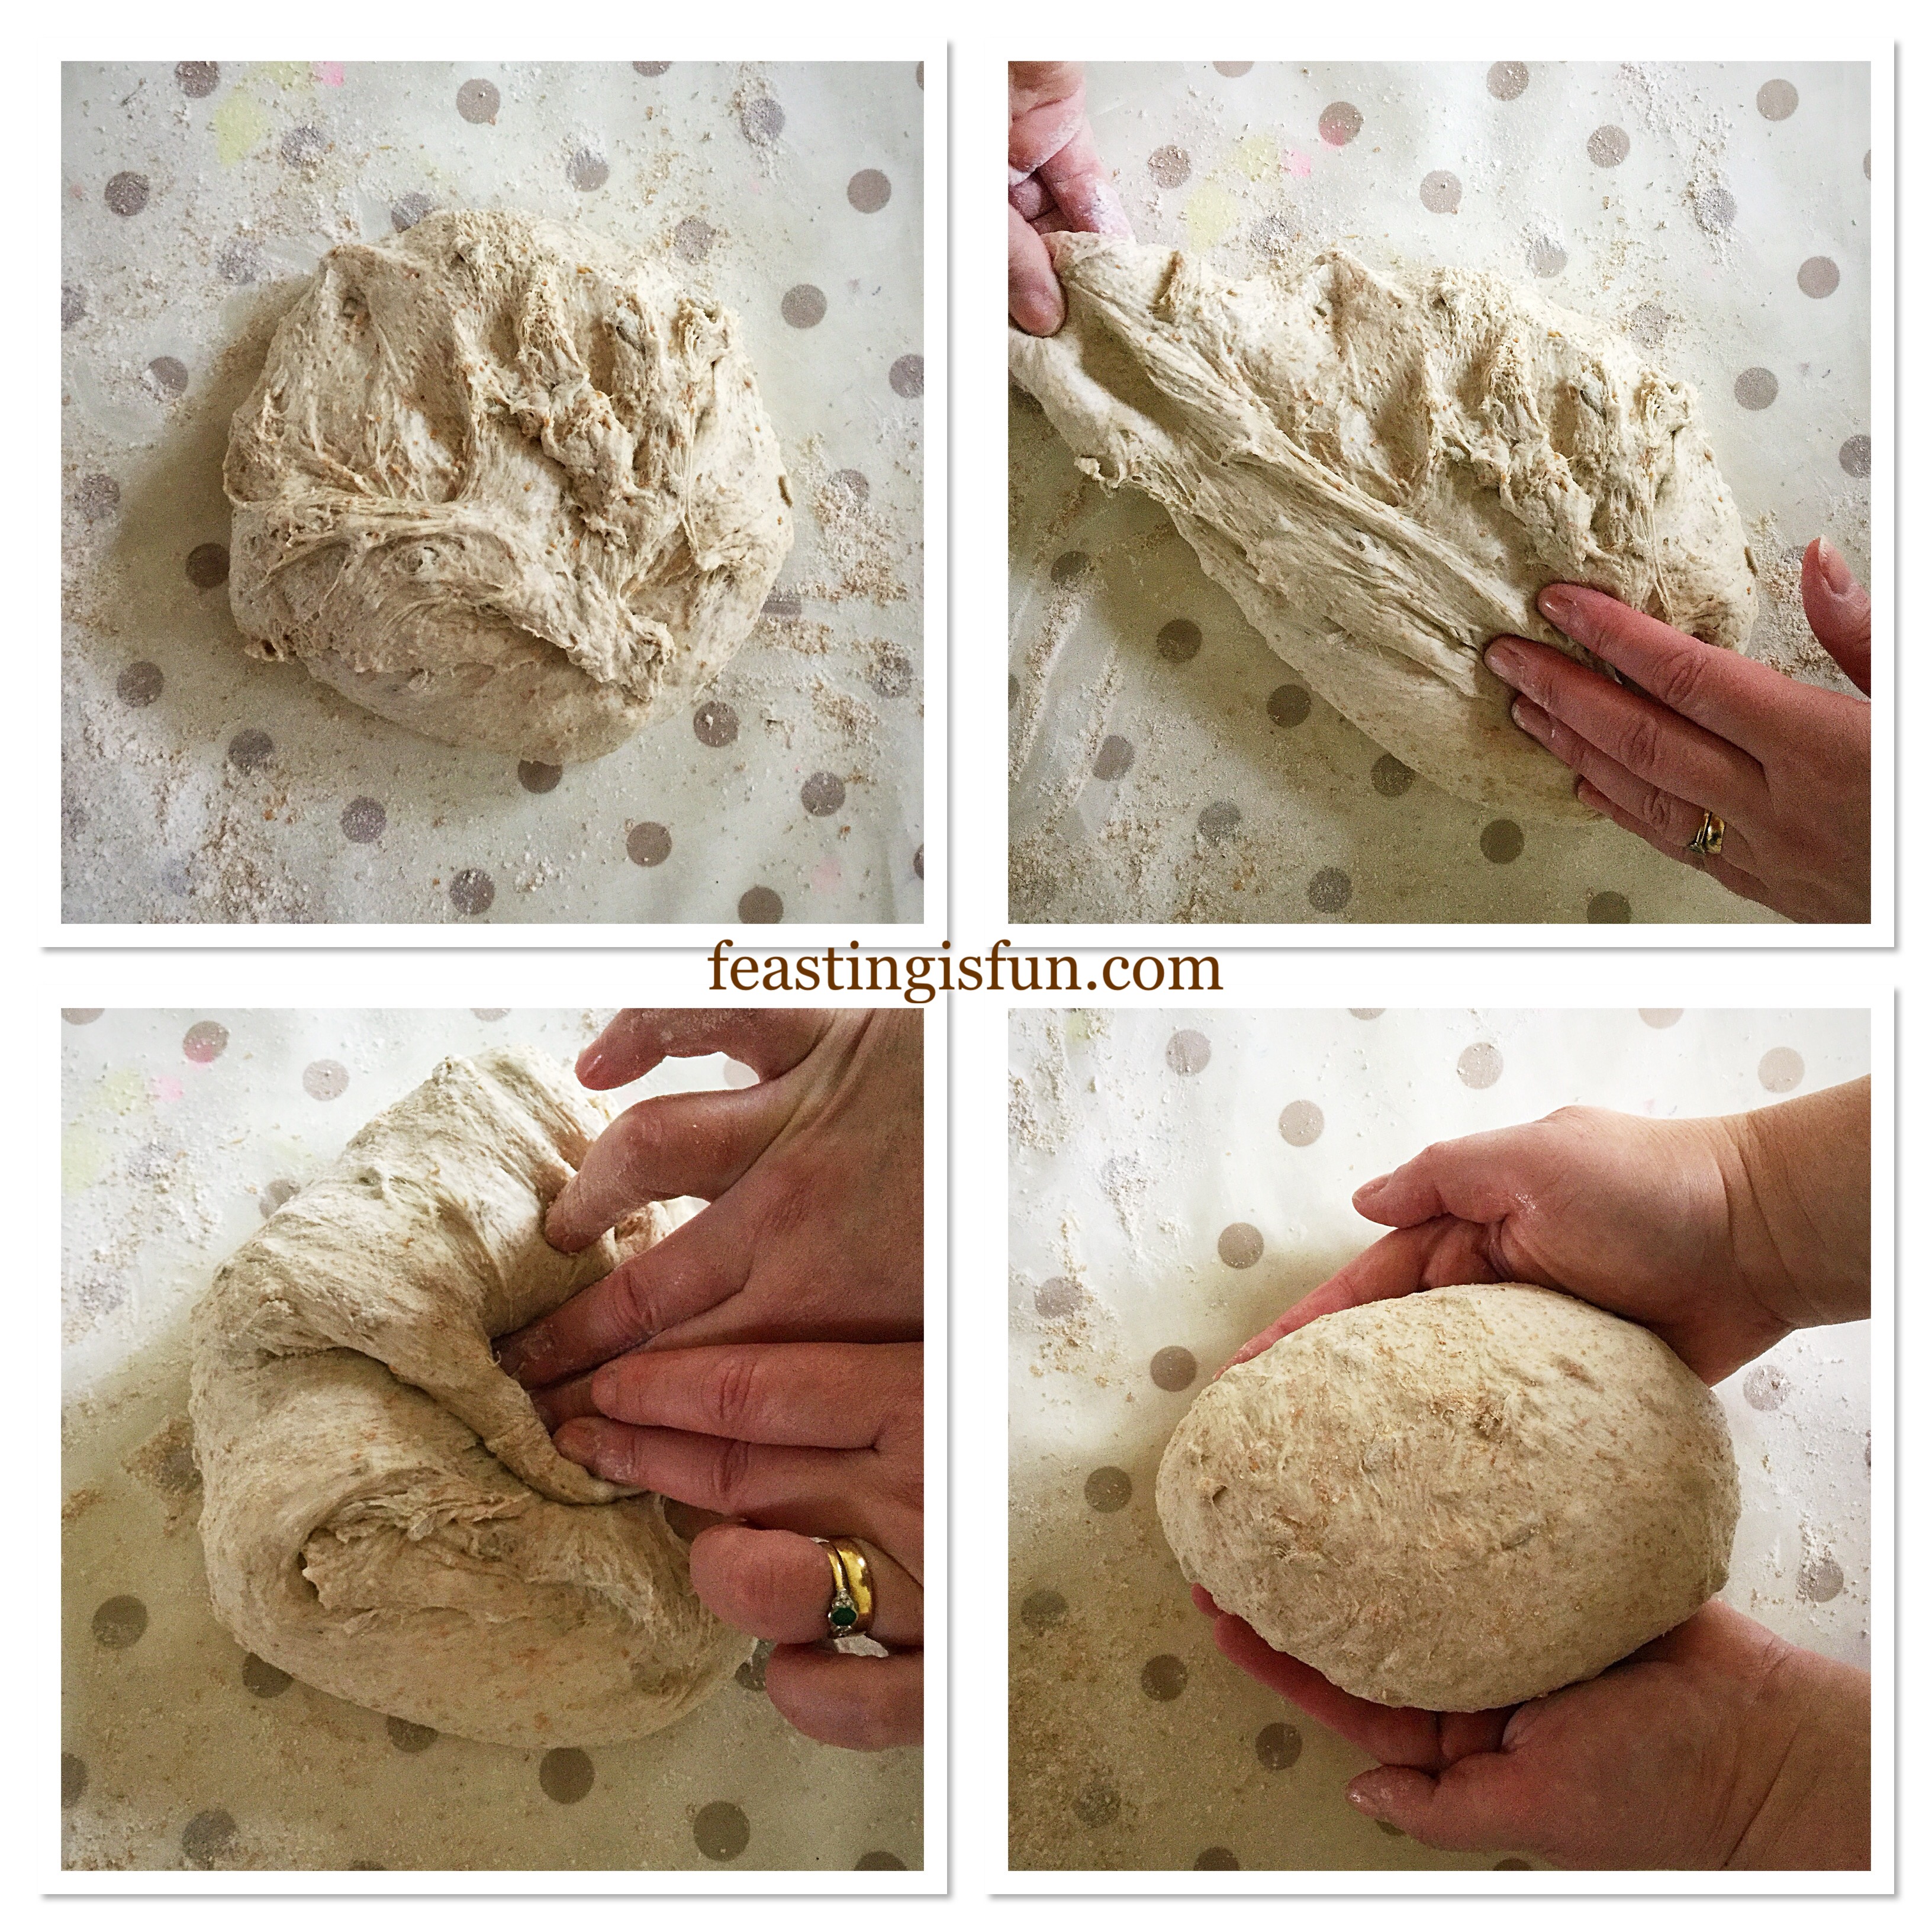
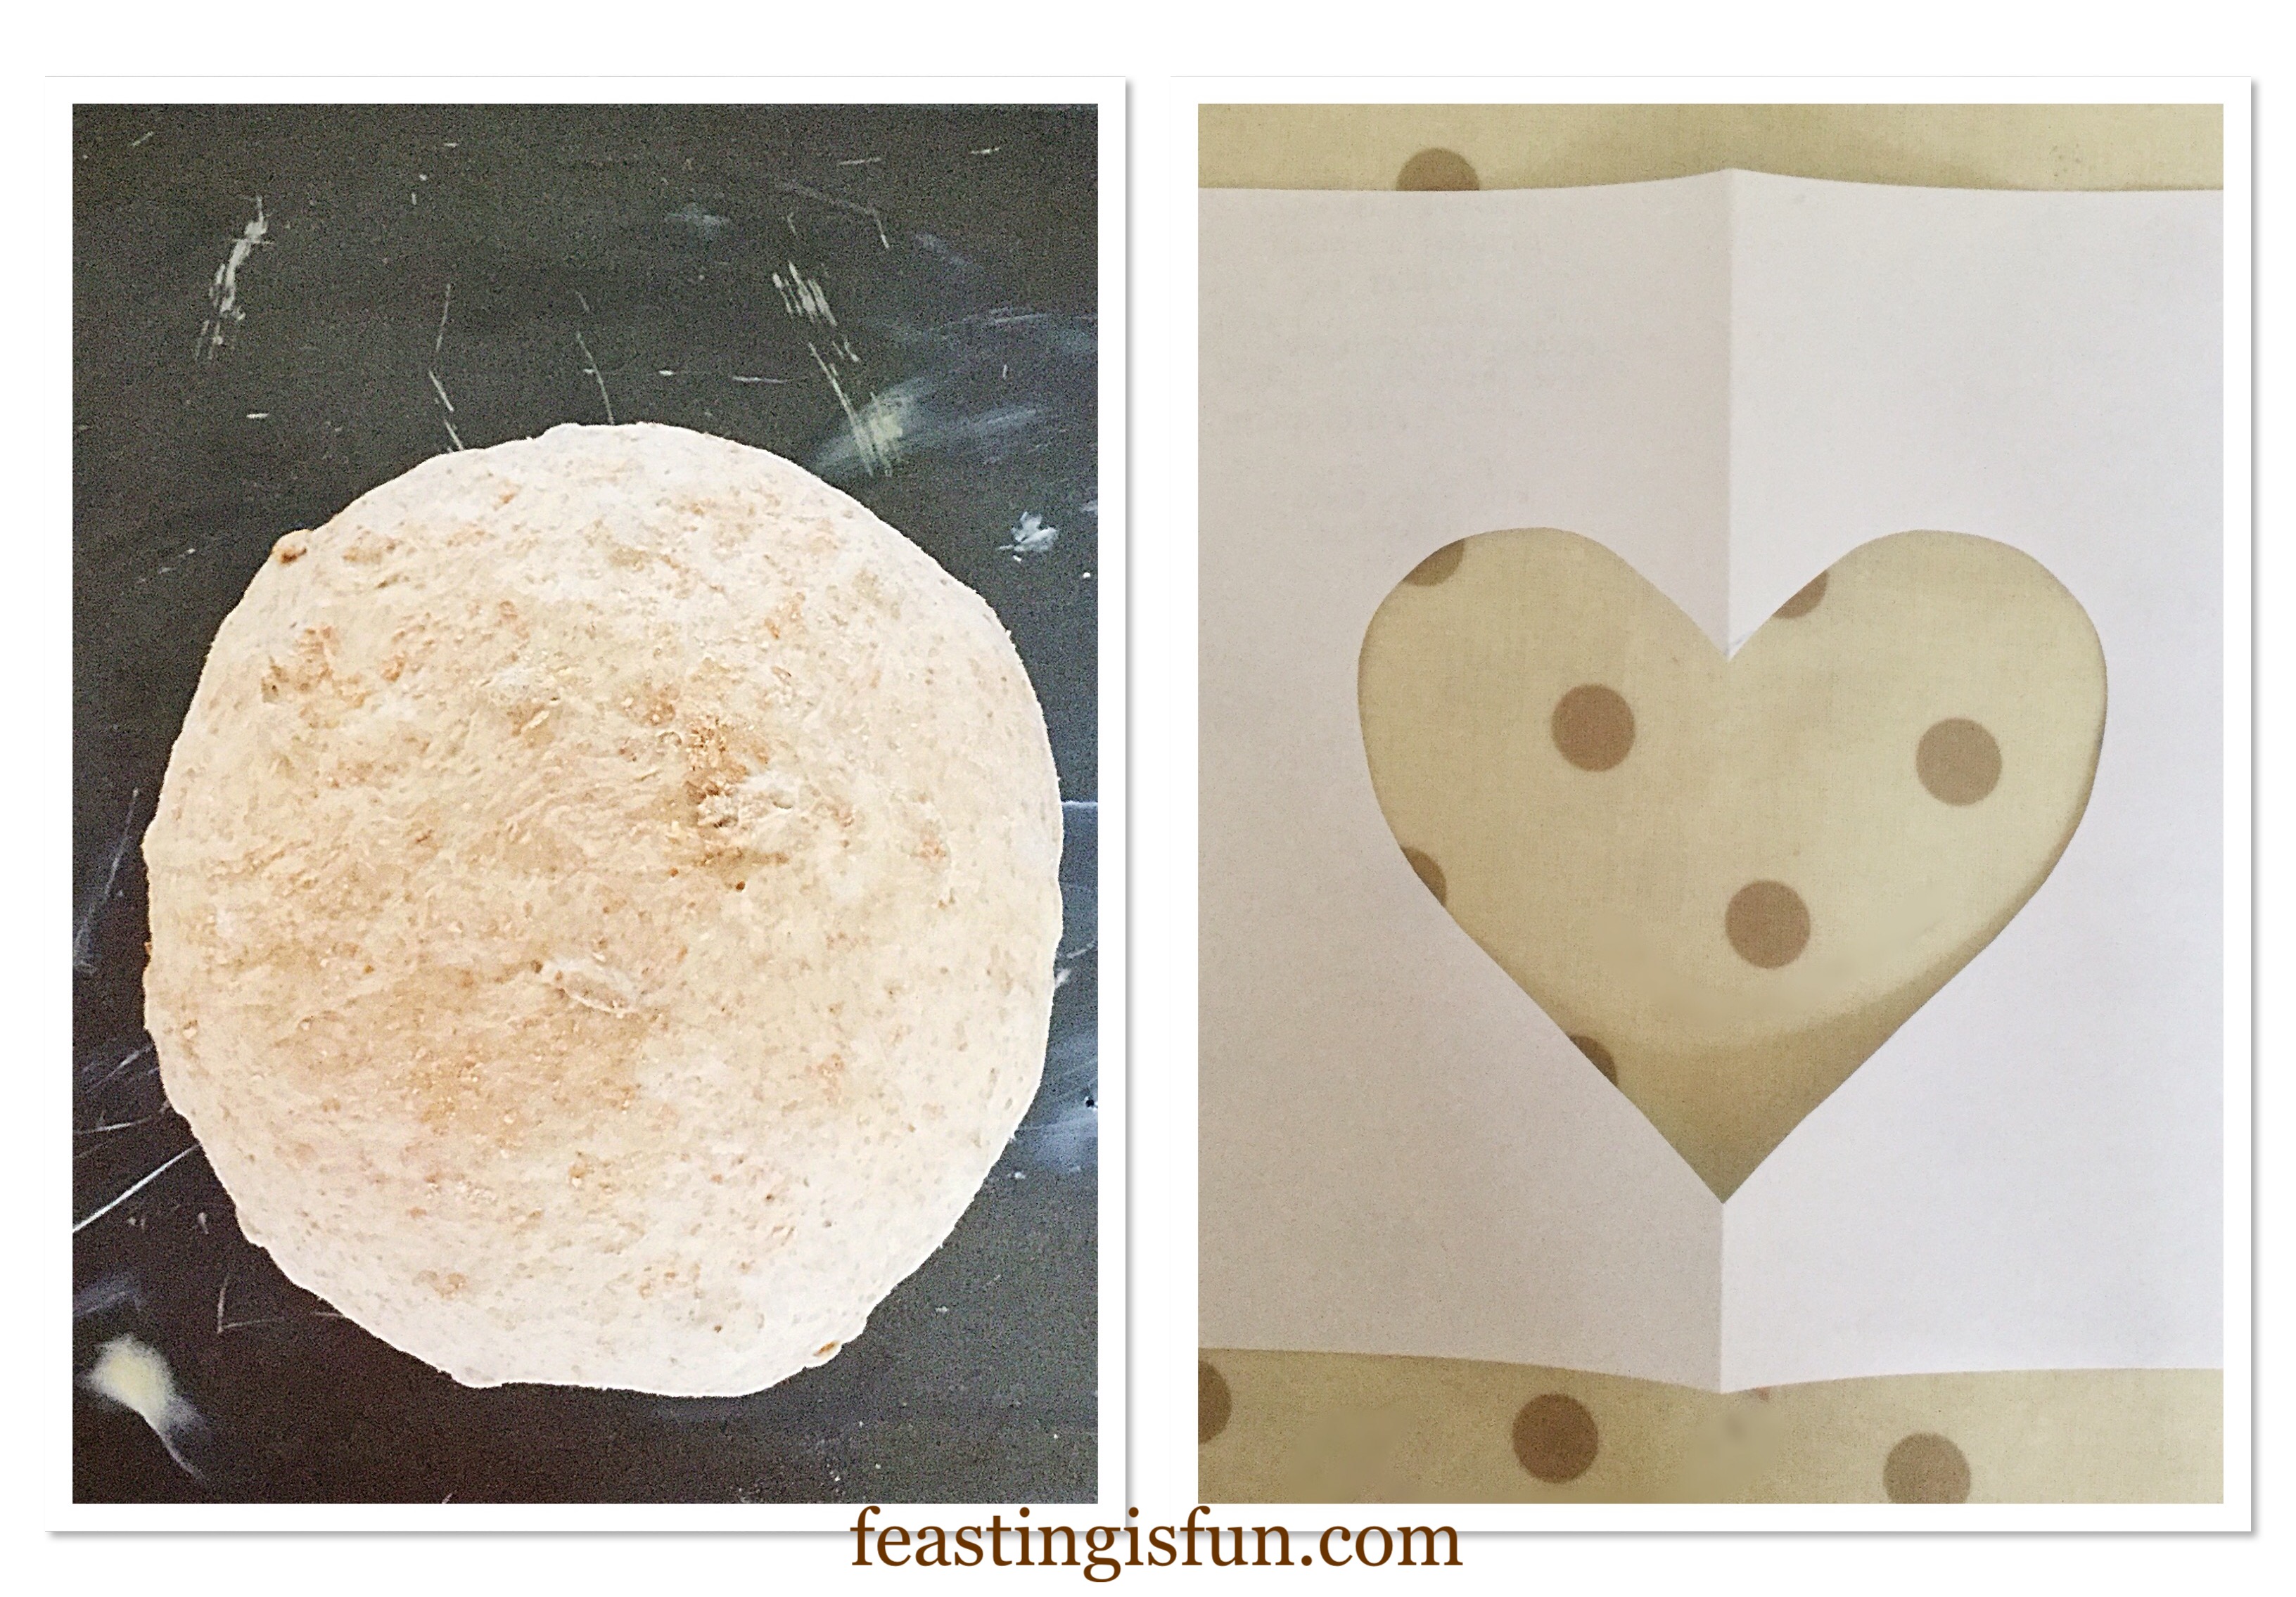
- Turn the dough out of the bowl on to a lightly floured worktop, the top of the dough should be at the bottom. So that it is in contact with the wotktop. Working around the outside, pull out the dough and then press into the centre. Continue 5-6 times pulling out and pressing in until you have a neat and tidy lump of dough. This process creates tension across the top (bottom at this point) of the dough.
- Flip the dough over and use both hands to cup and shape the dough, turning it as you do so. Resulting in a round cob shaped loaf.
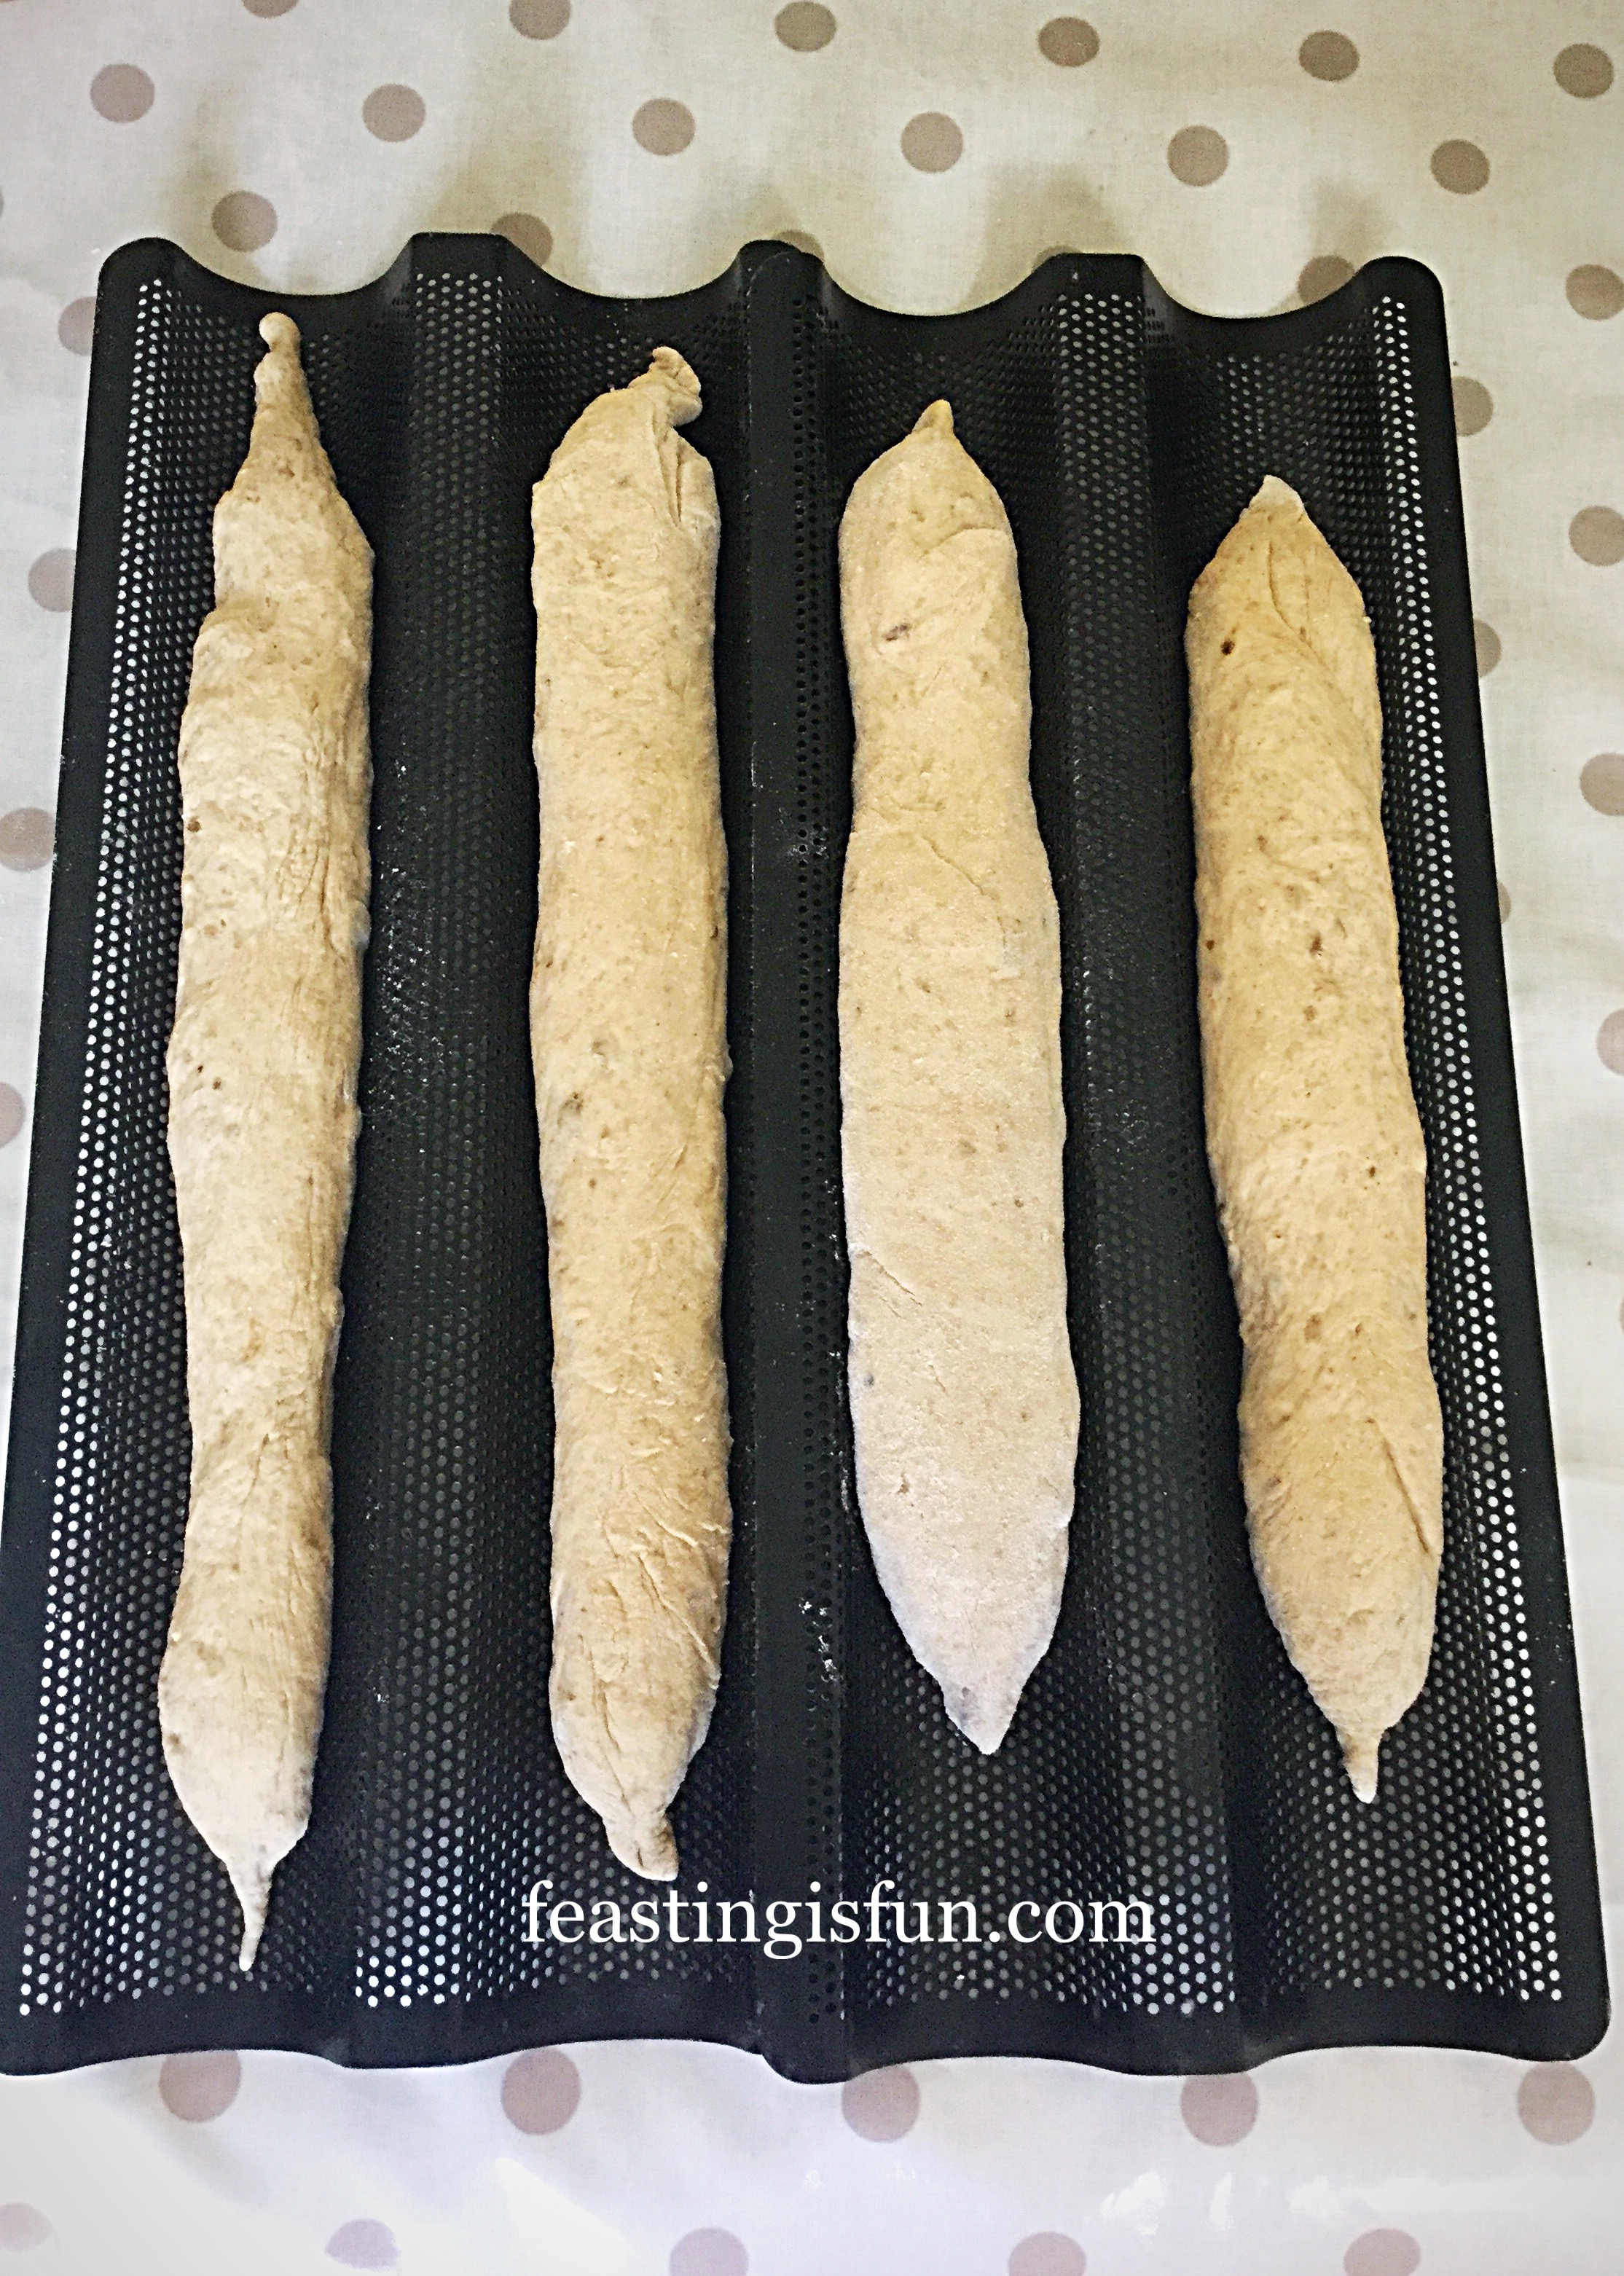
- Place the shaped dough on to a lightly oiled baking sheet. Cover with a clean tea towel and leave to double in size in a draught free place.
- Preheat the oven to 220C/200C fan, 425F, gas mark 7.
- While the dough is undergoing it’s second prove make a heart stencil.
Creating The Sunflower Seed Heart Pattern
- Fold a piece of A4 paper in half. Using scissors cut out half of a heart.
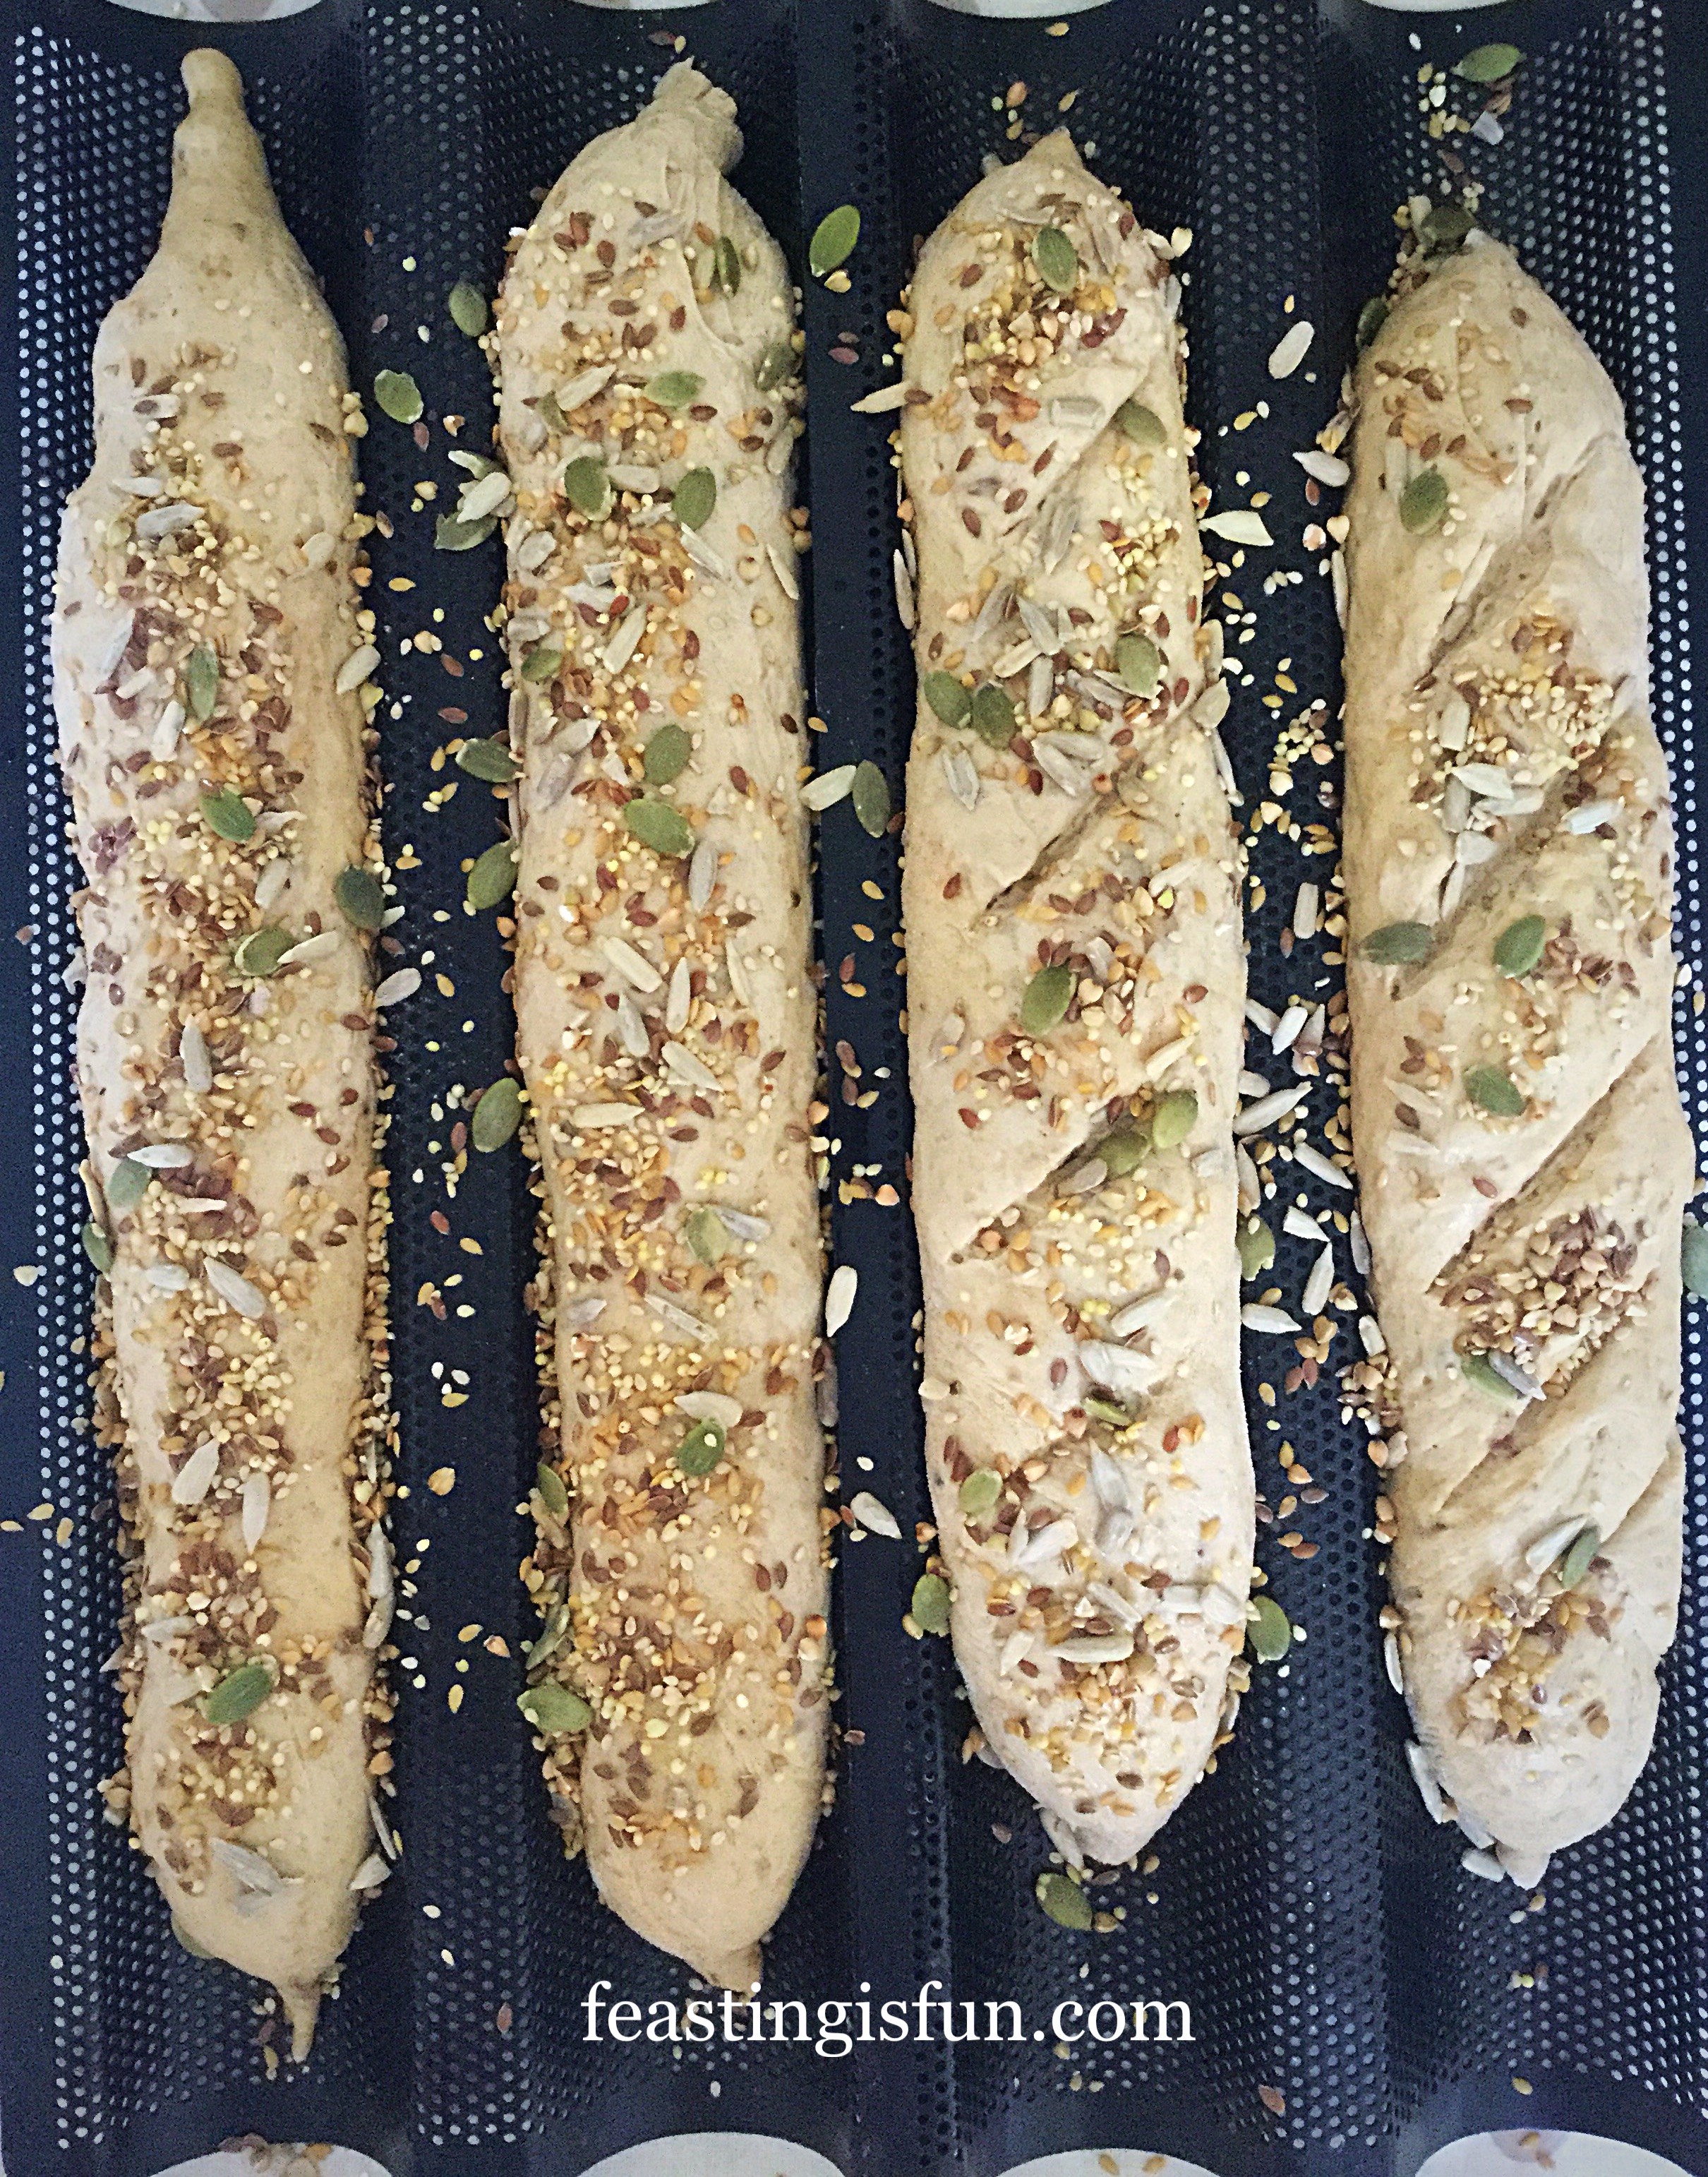
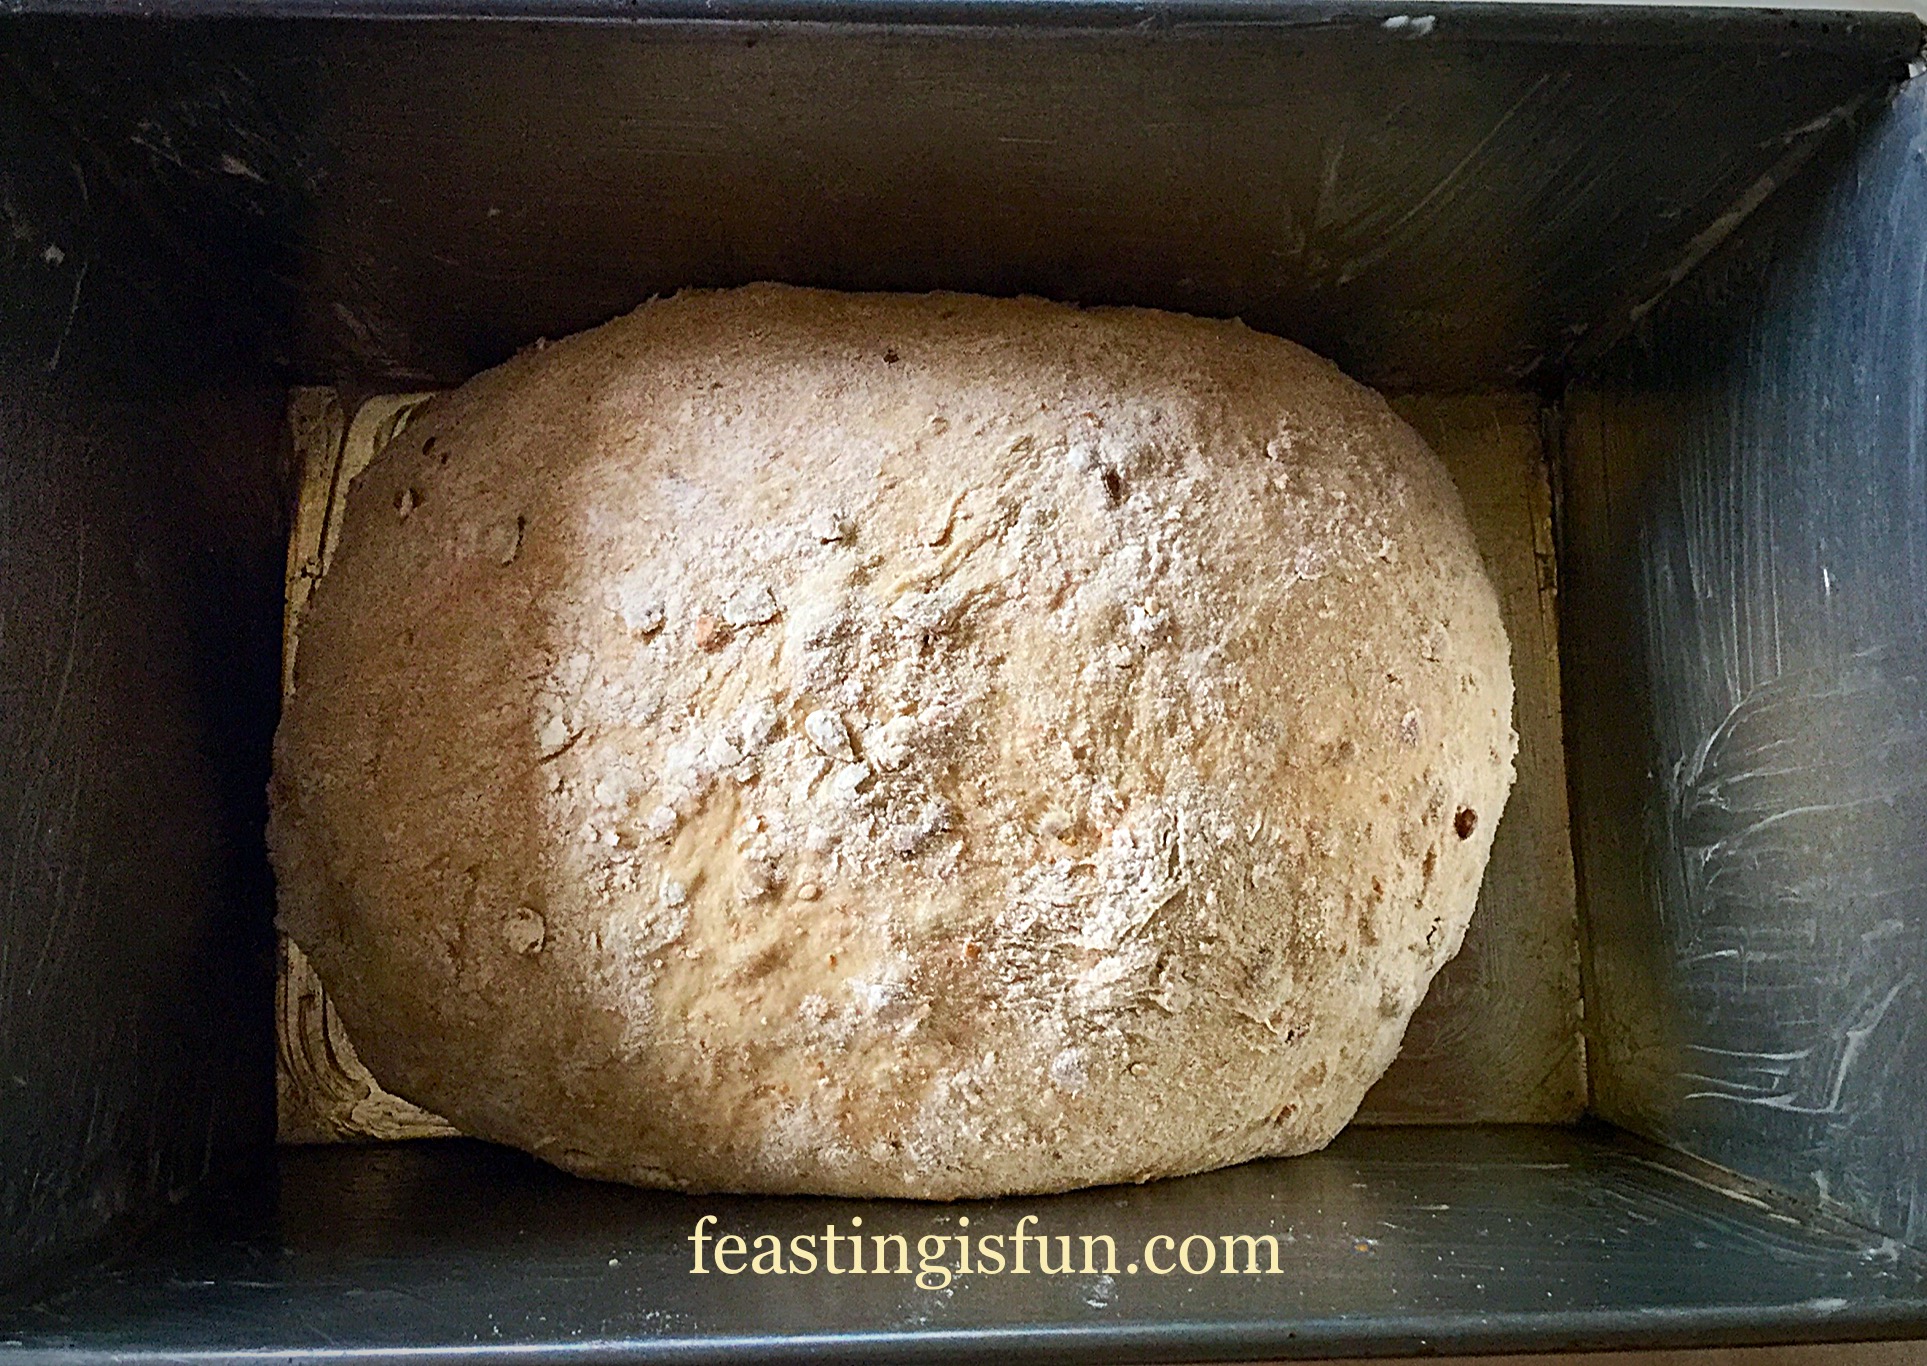
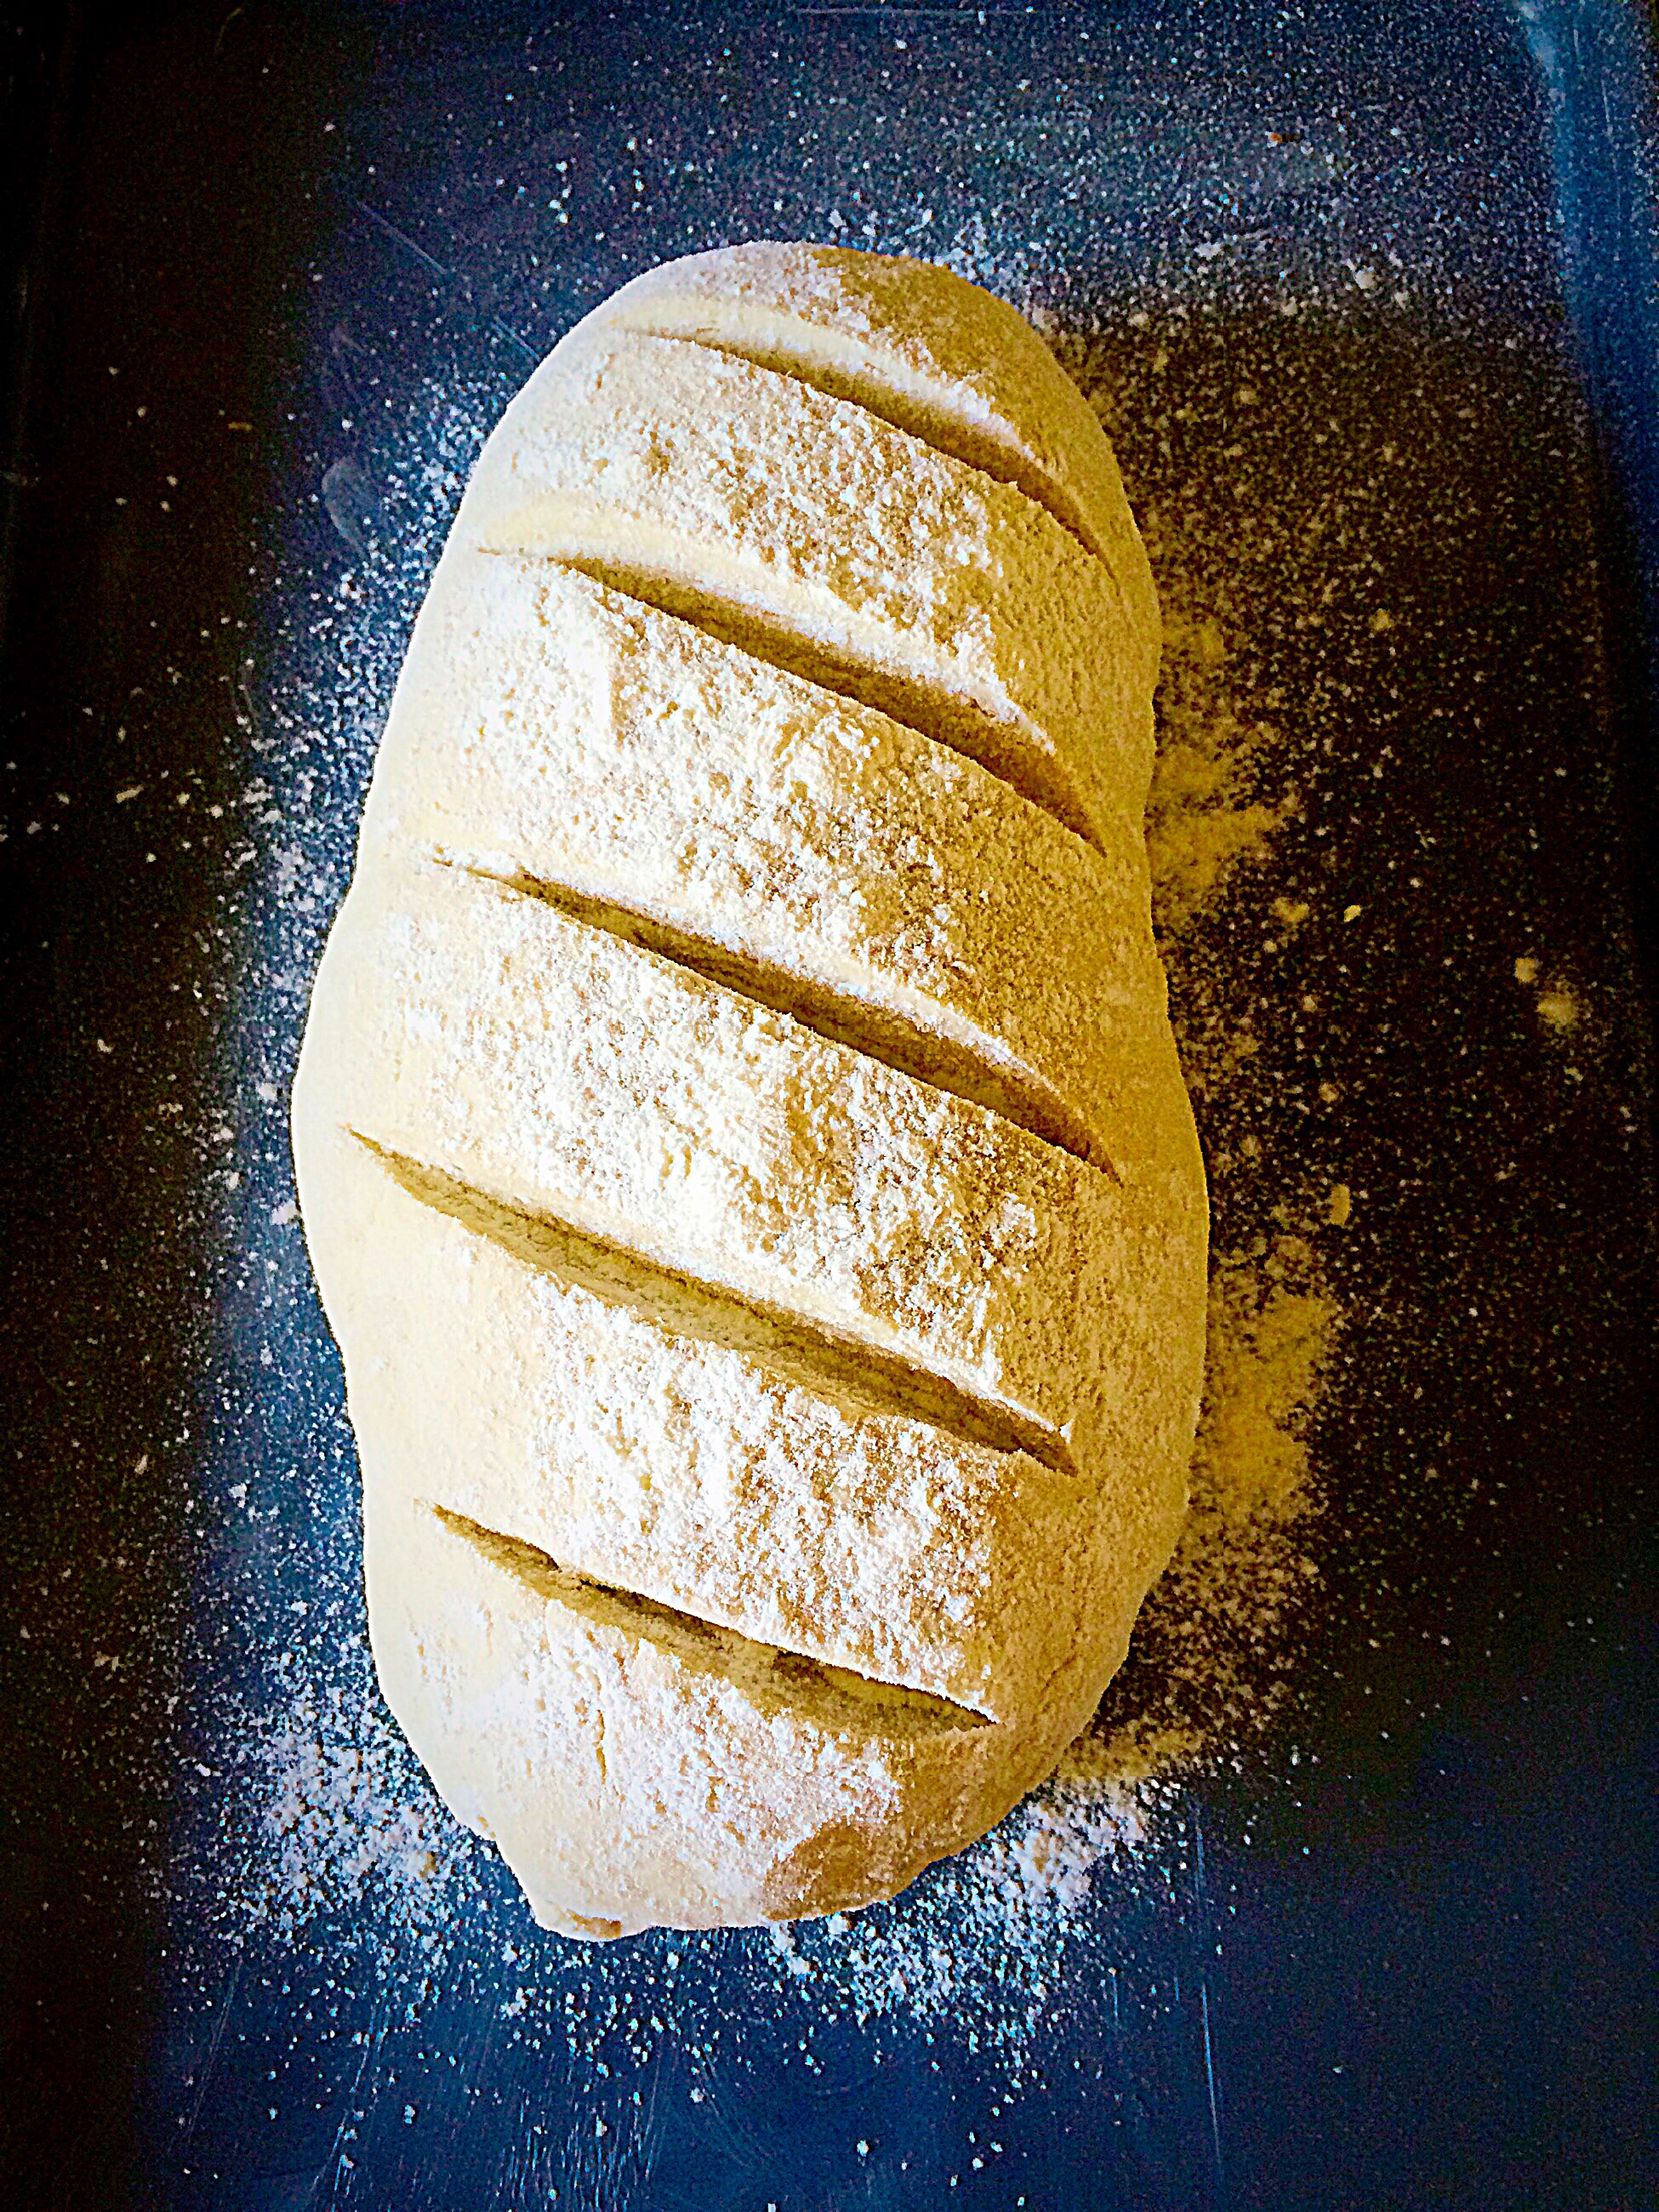
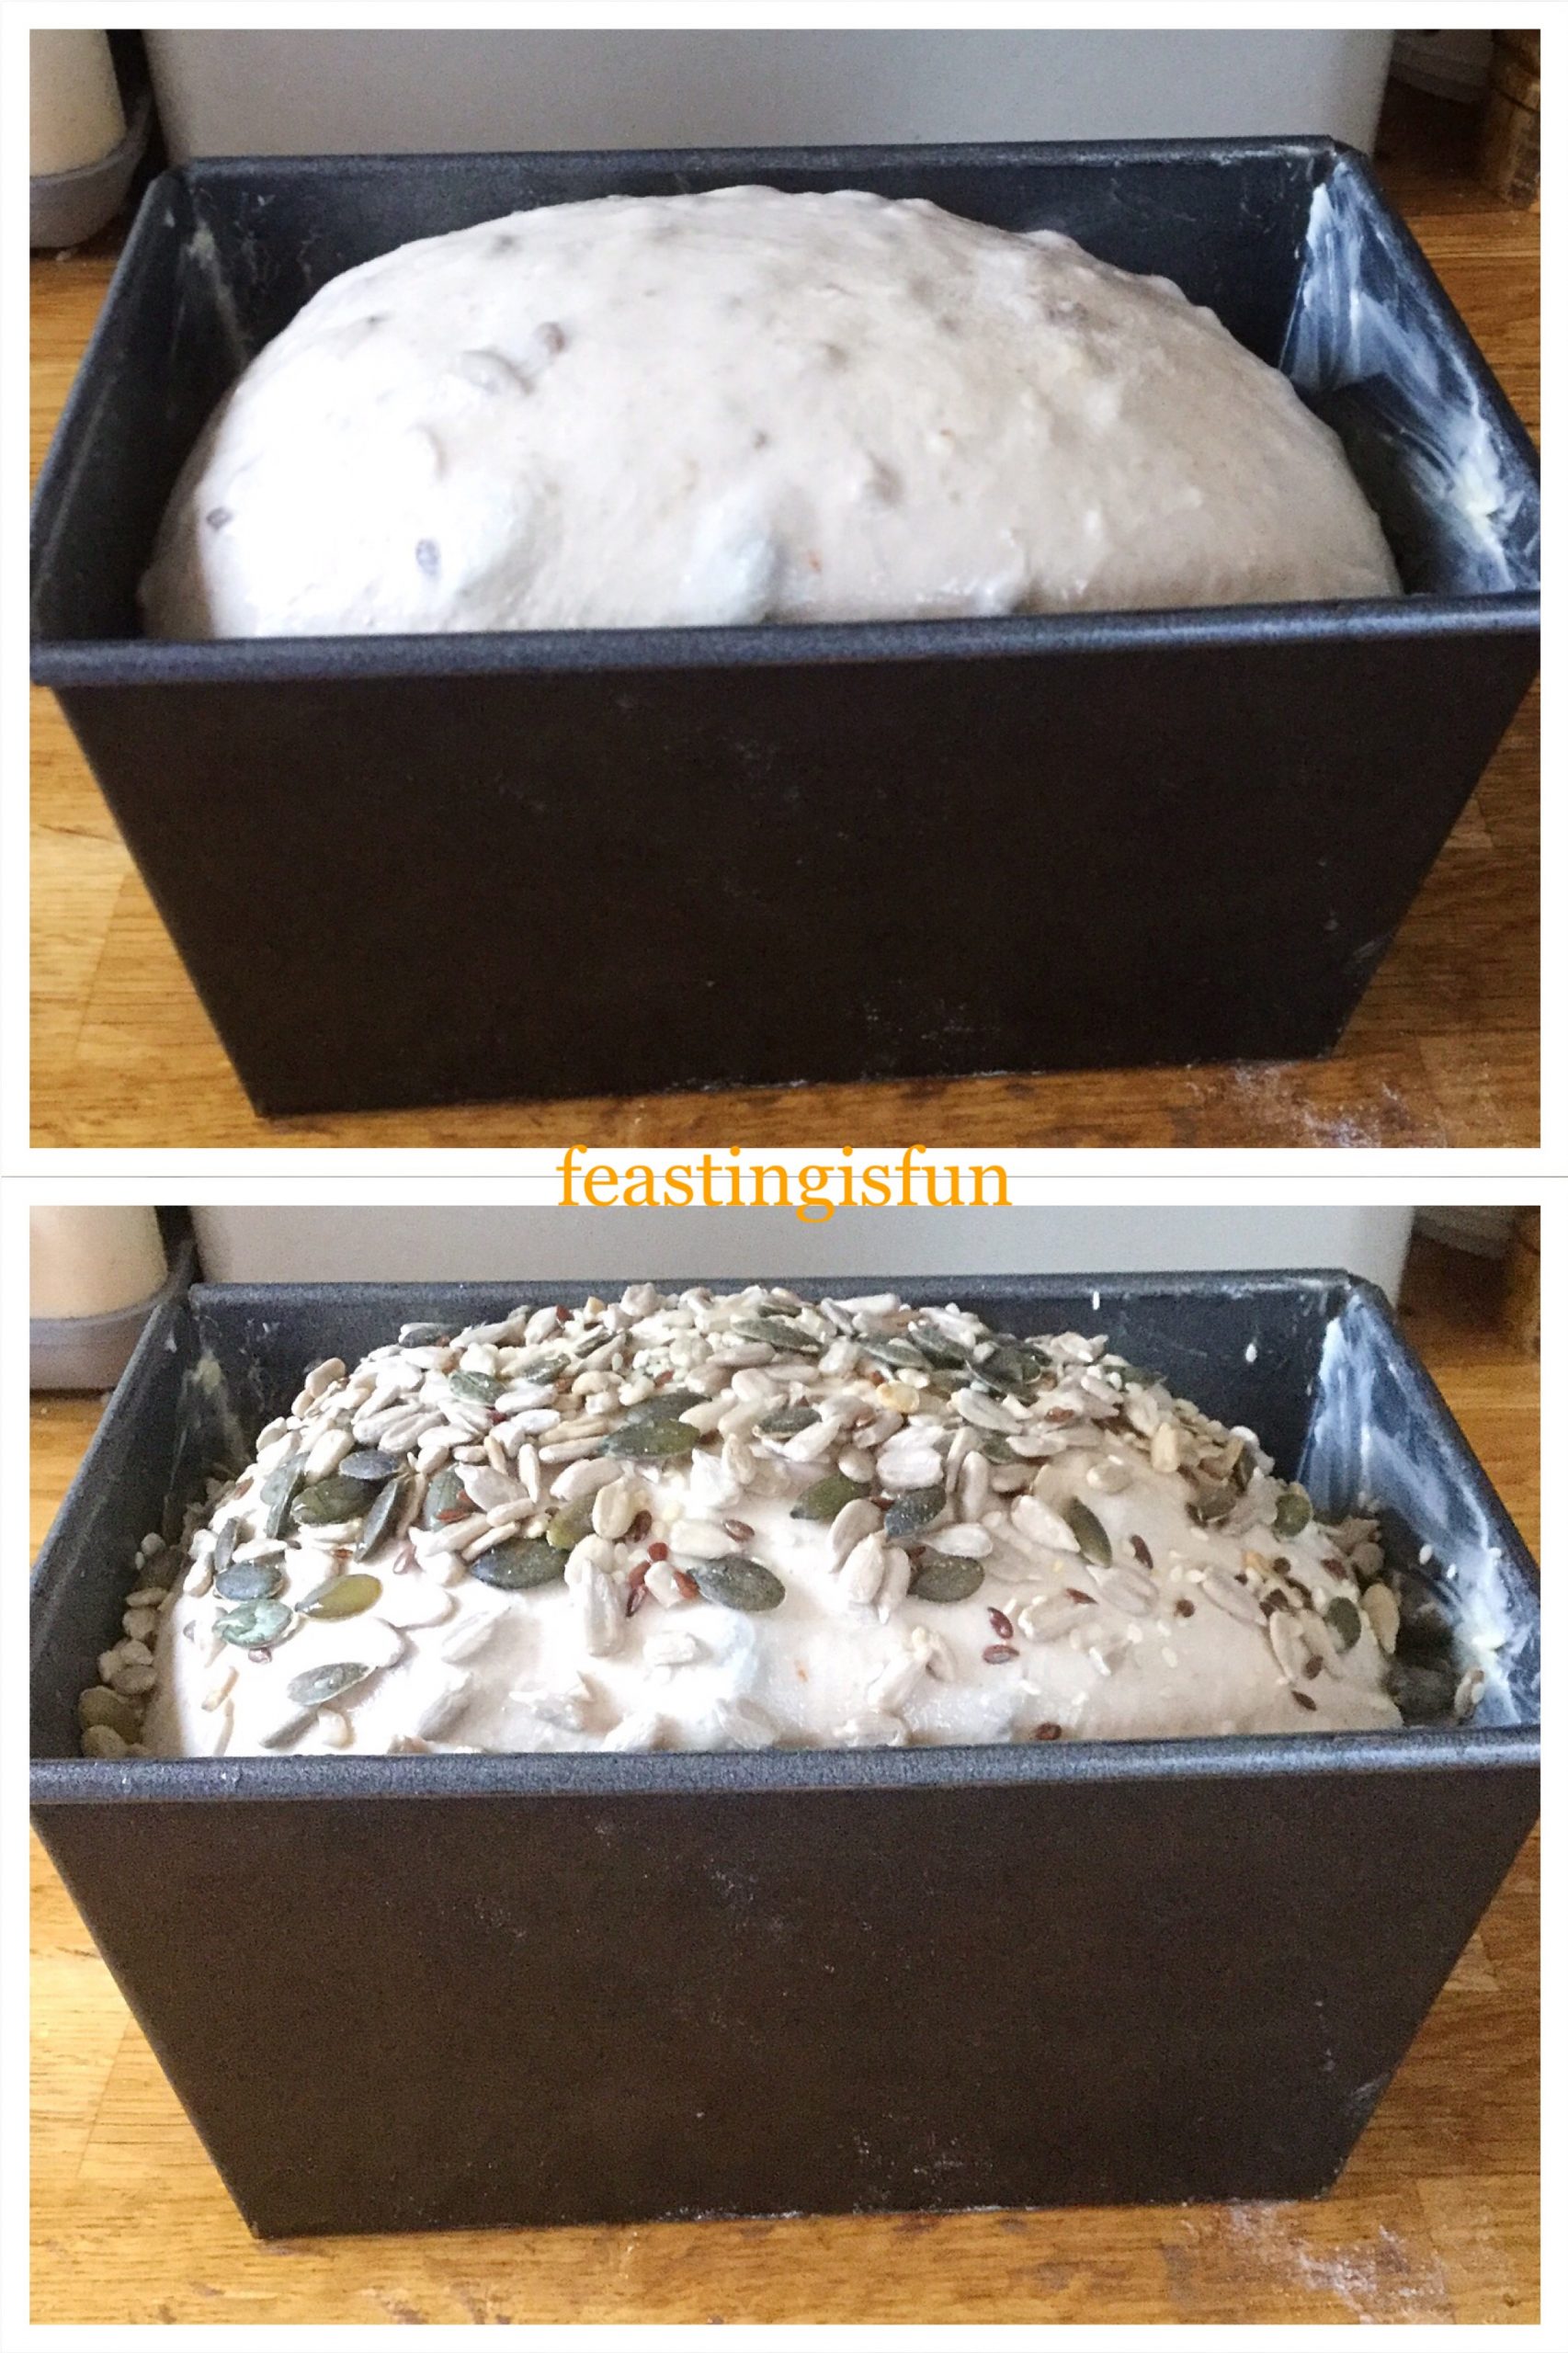
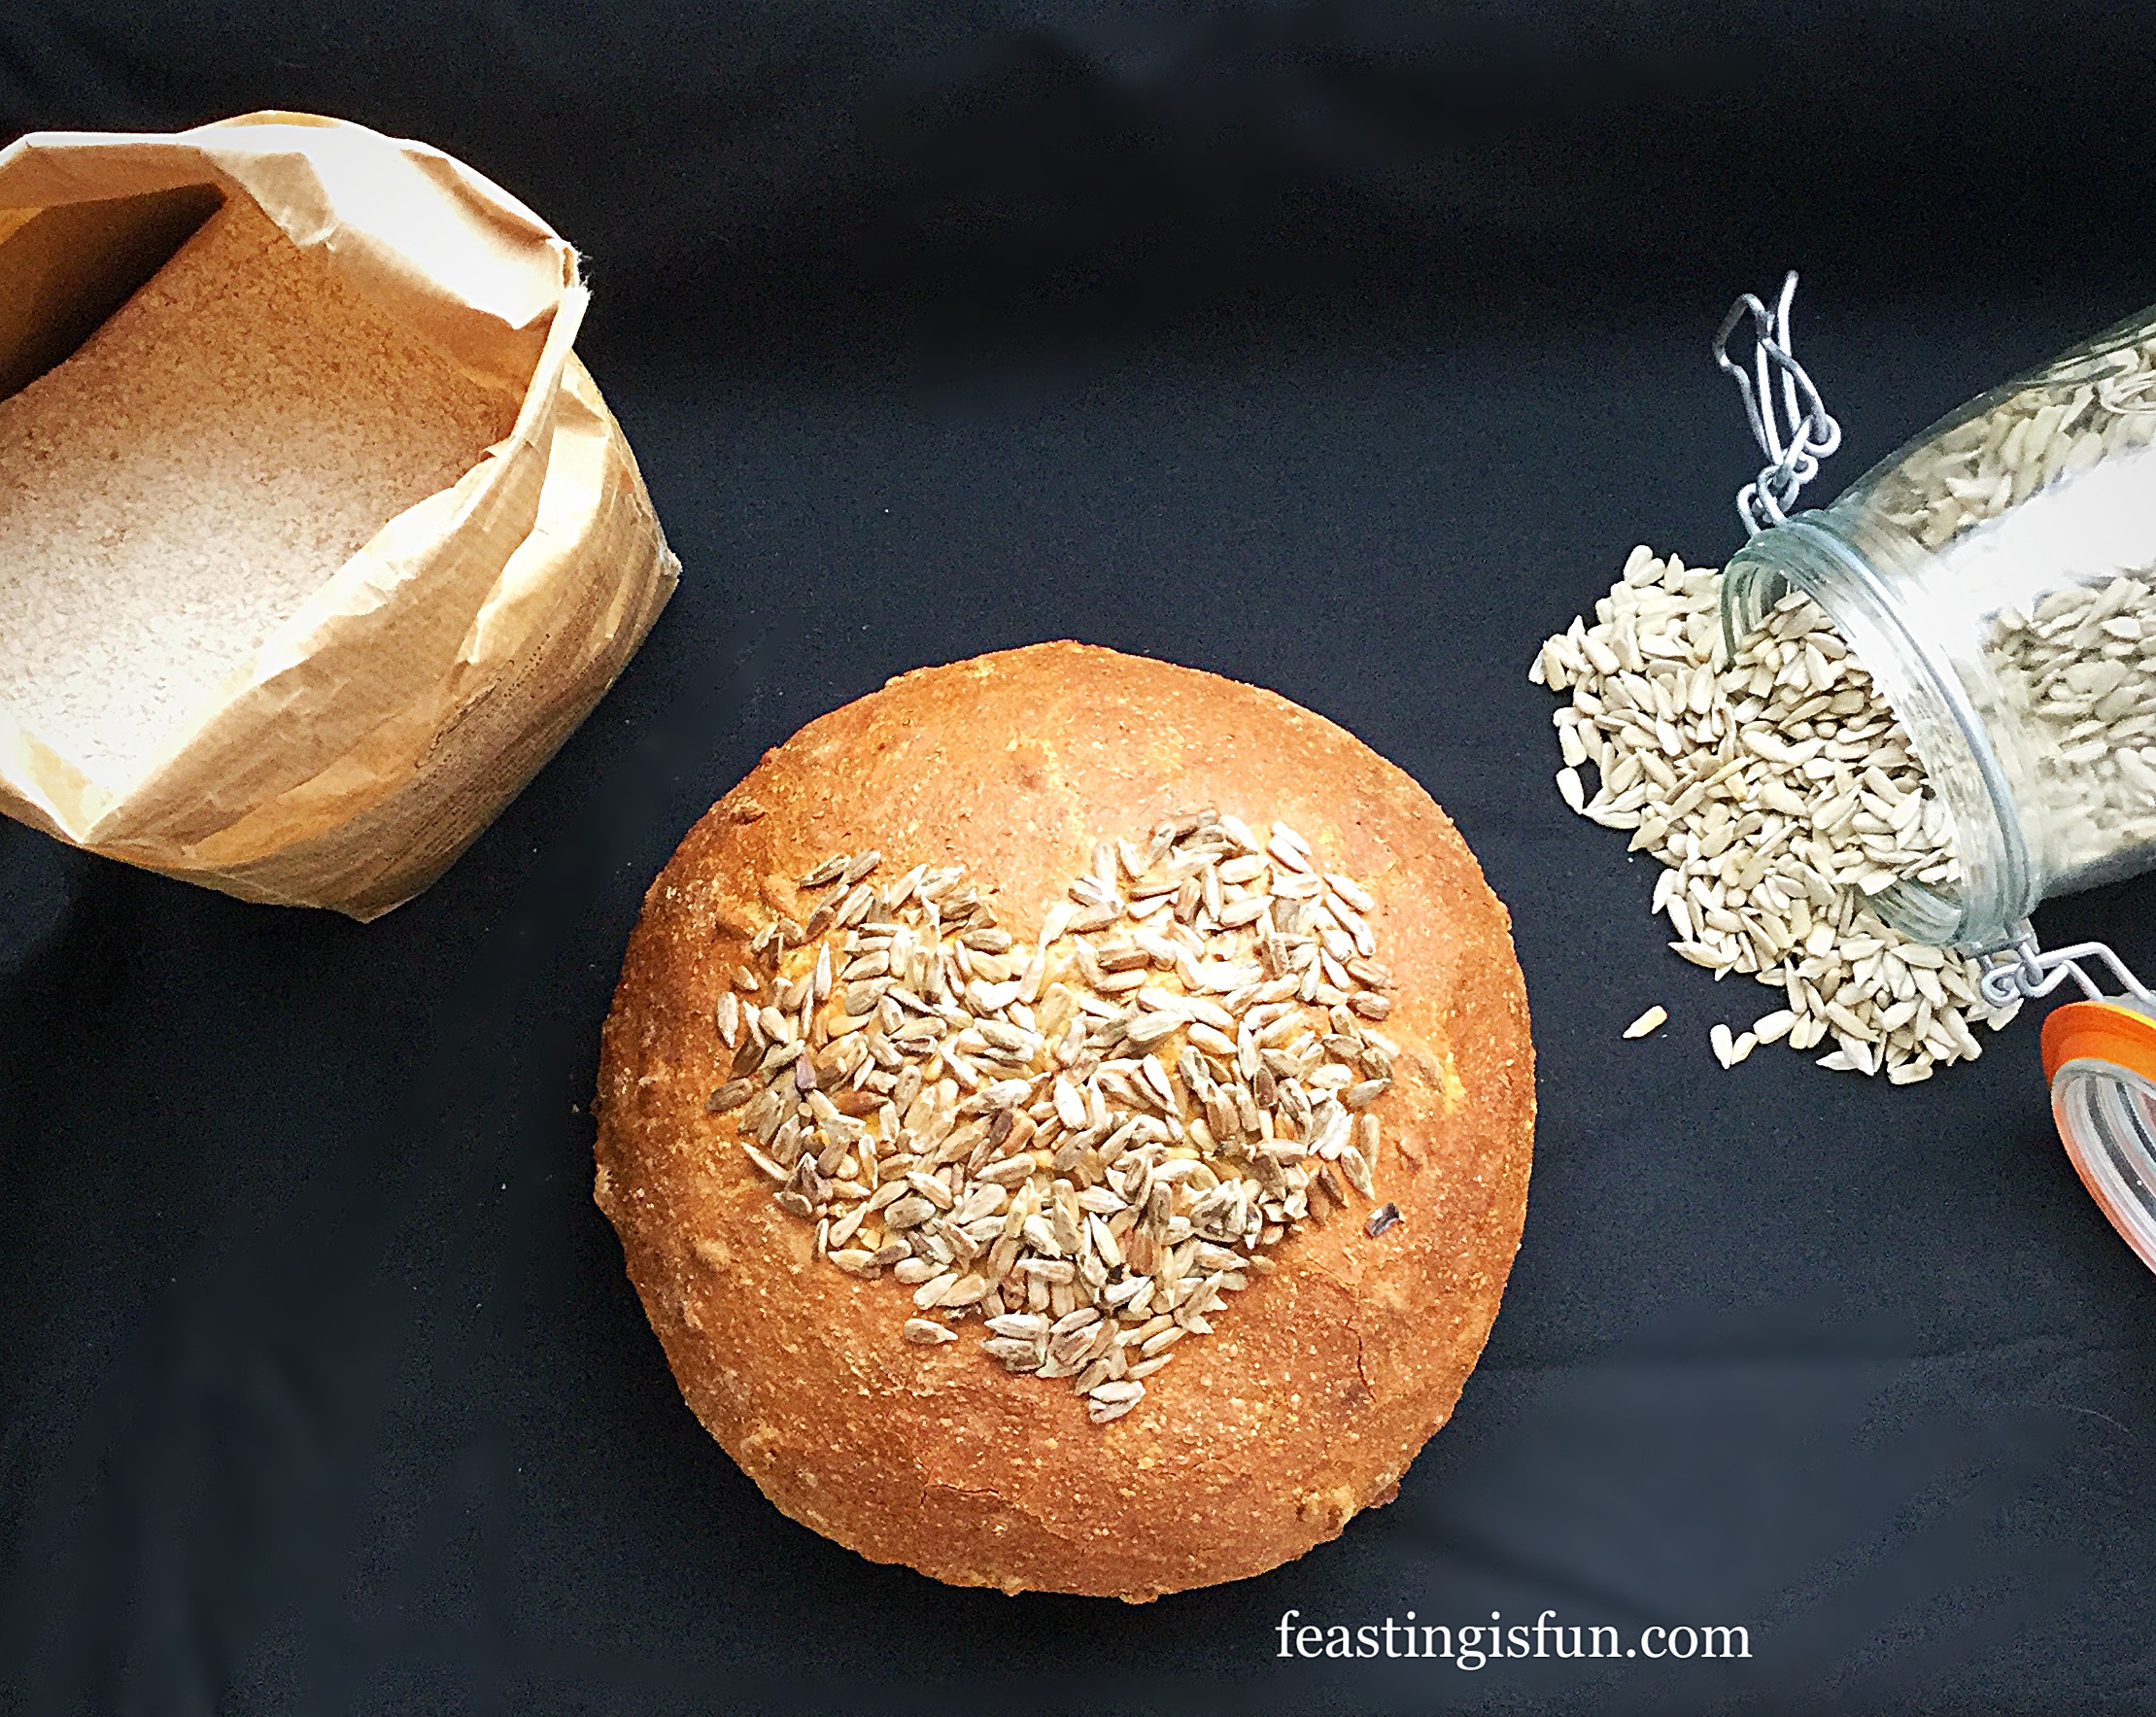
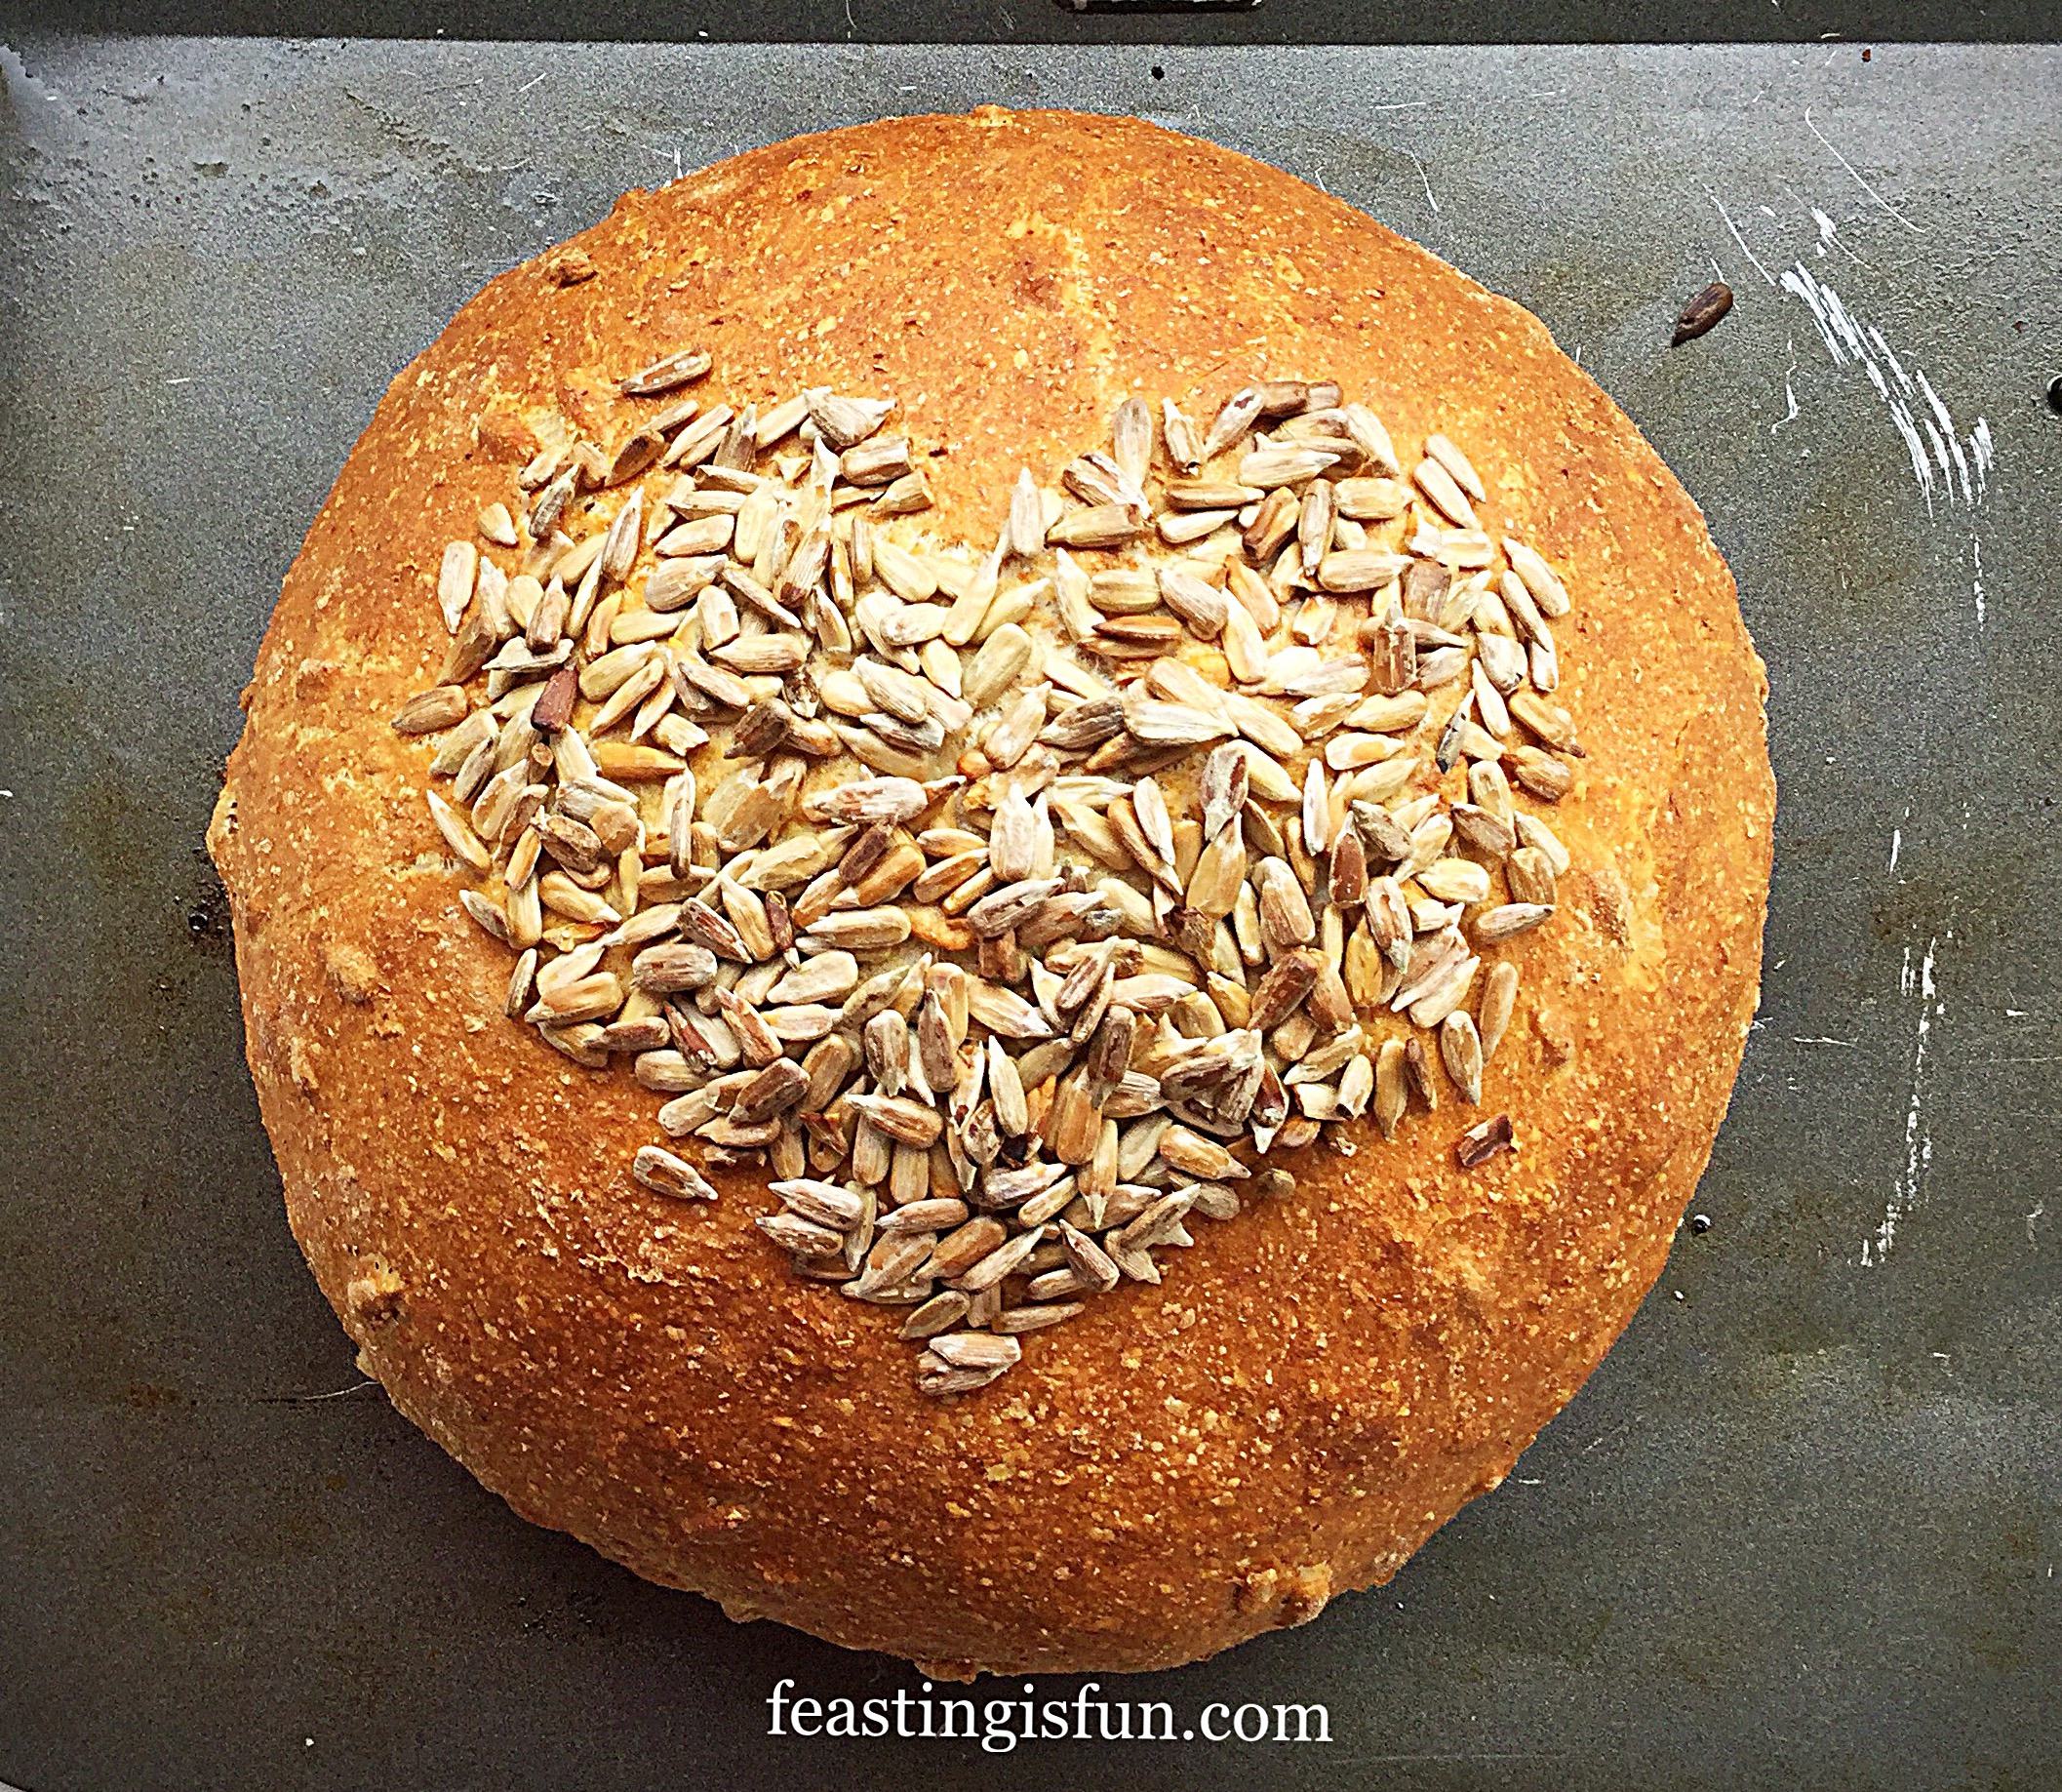
- As soon as the dough has doubled in size brush the entire loaf with warm water.
- Place the heart stencil over the dough.
- Sprinkle sunflower seeds inside of the stencil and then lightly dab them with water using a pastry brush.
- Remove the stencil.

Baking The Sunflower Seed Cob Loaf
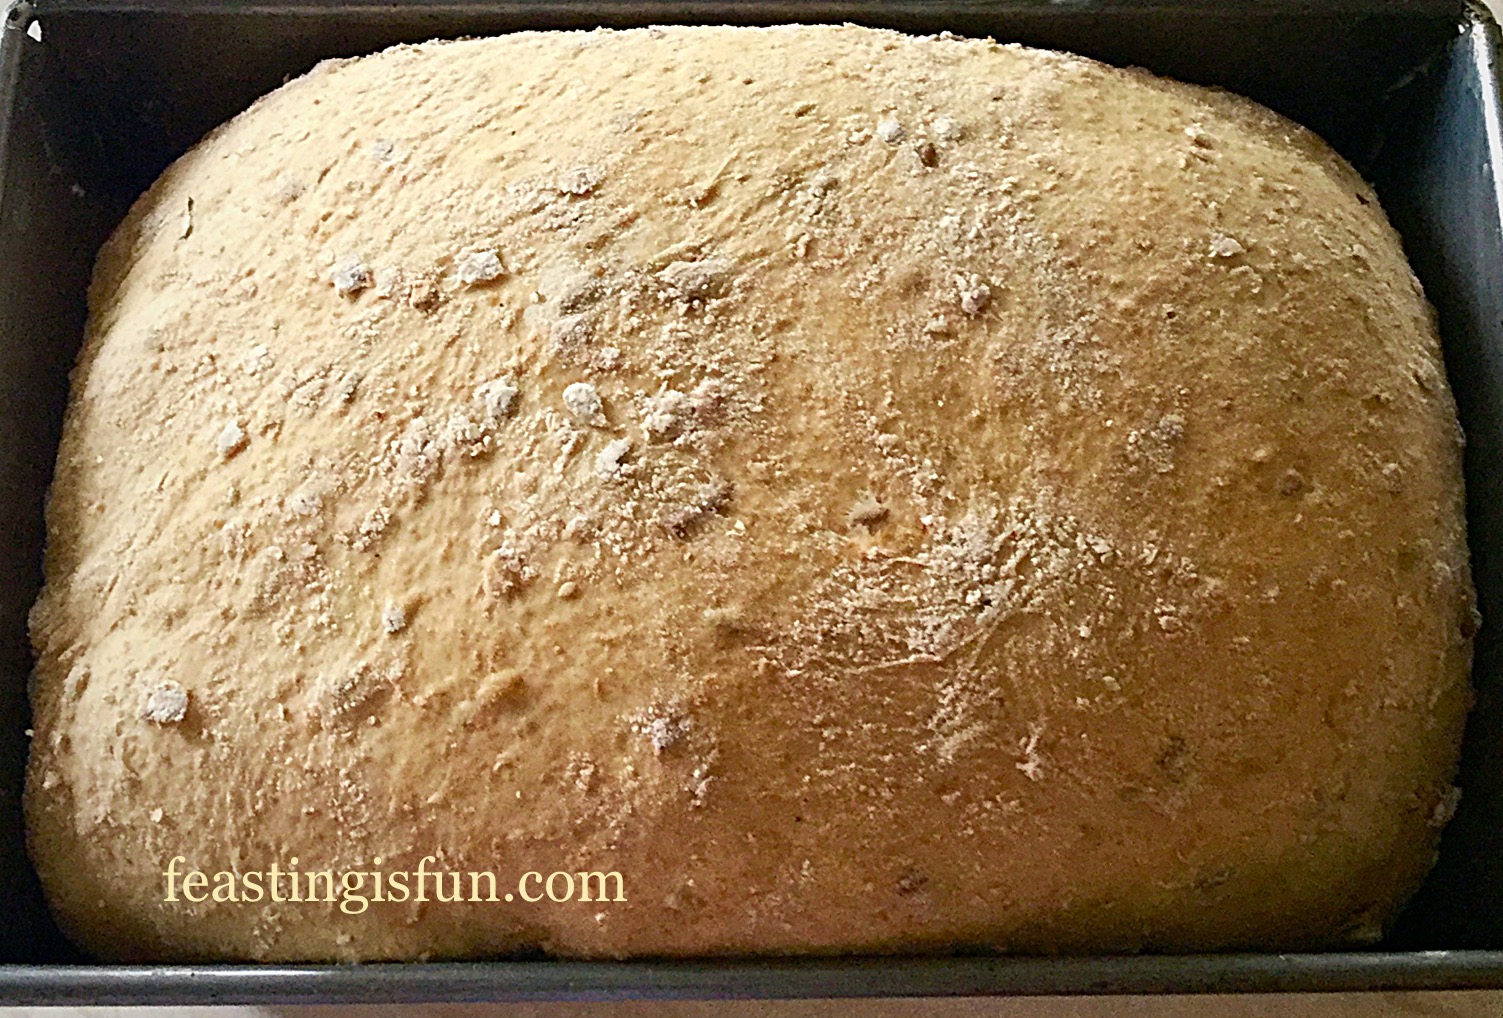
- Place the baking sheet into the centre of a preheated oven and bake for 40-50 minutes.
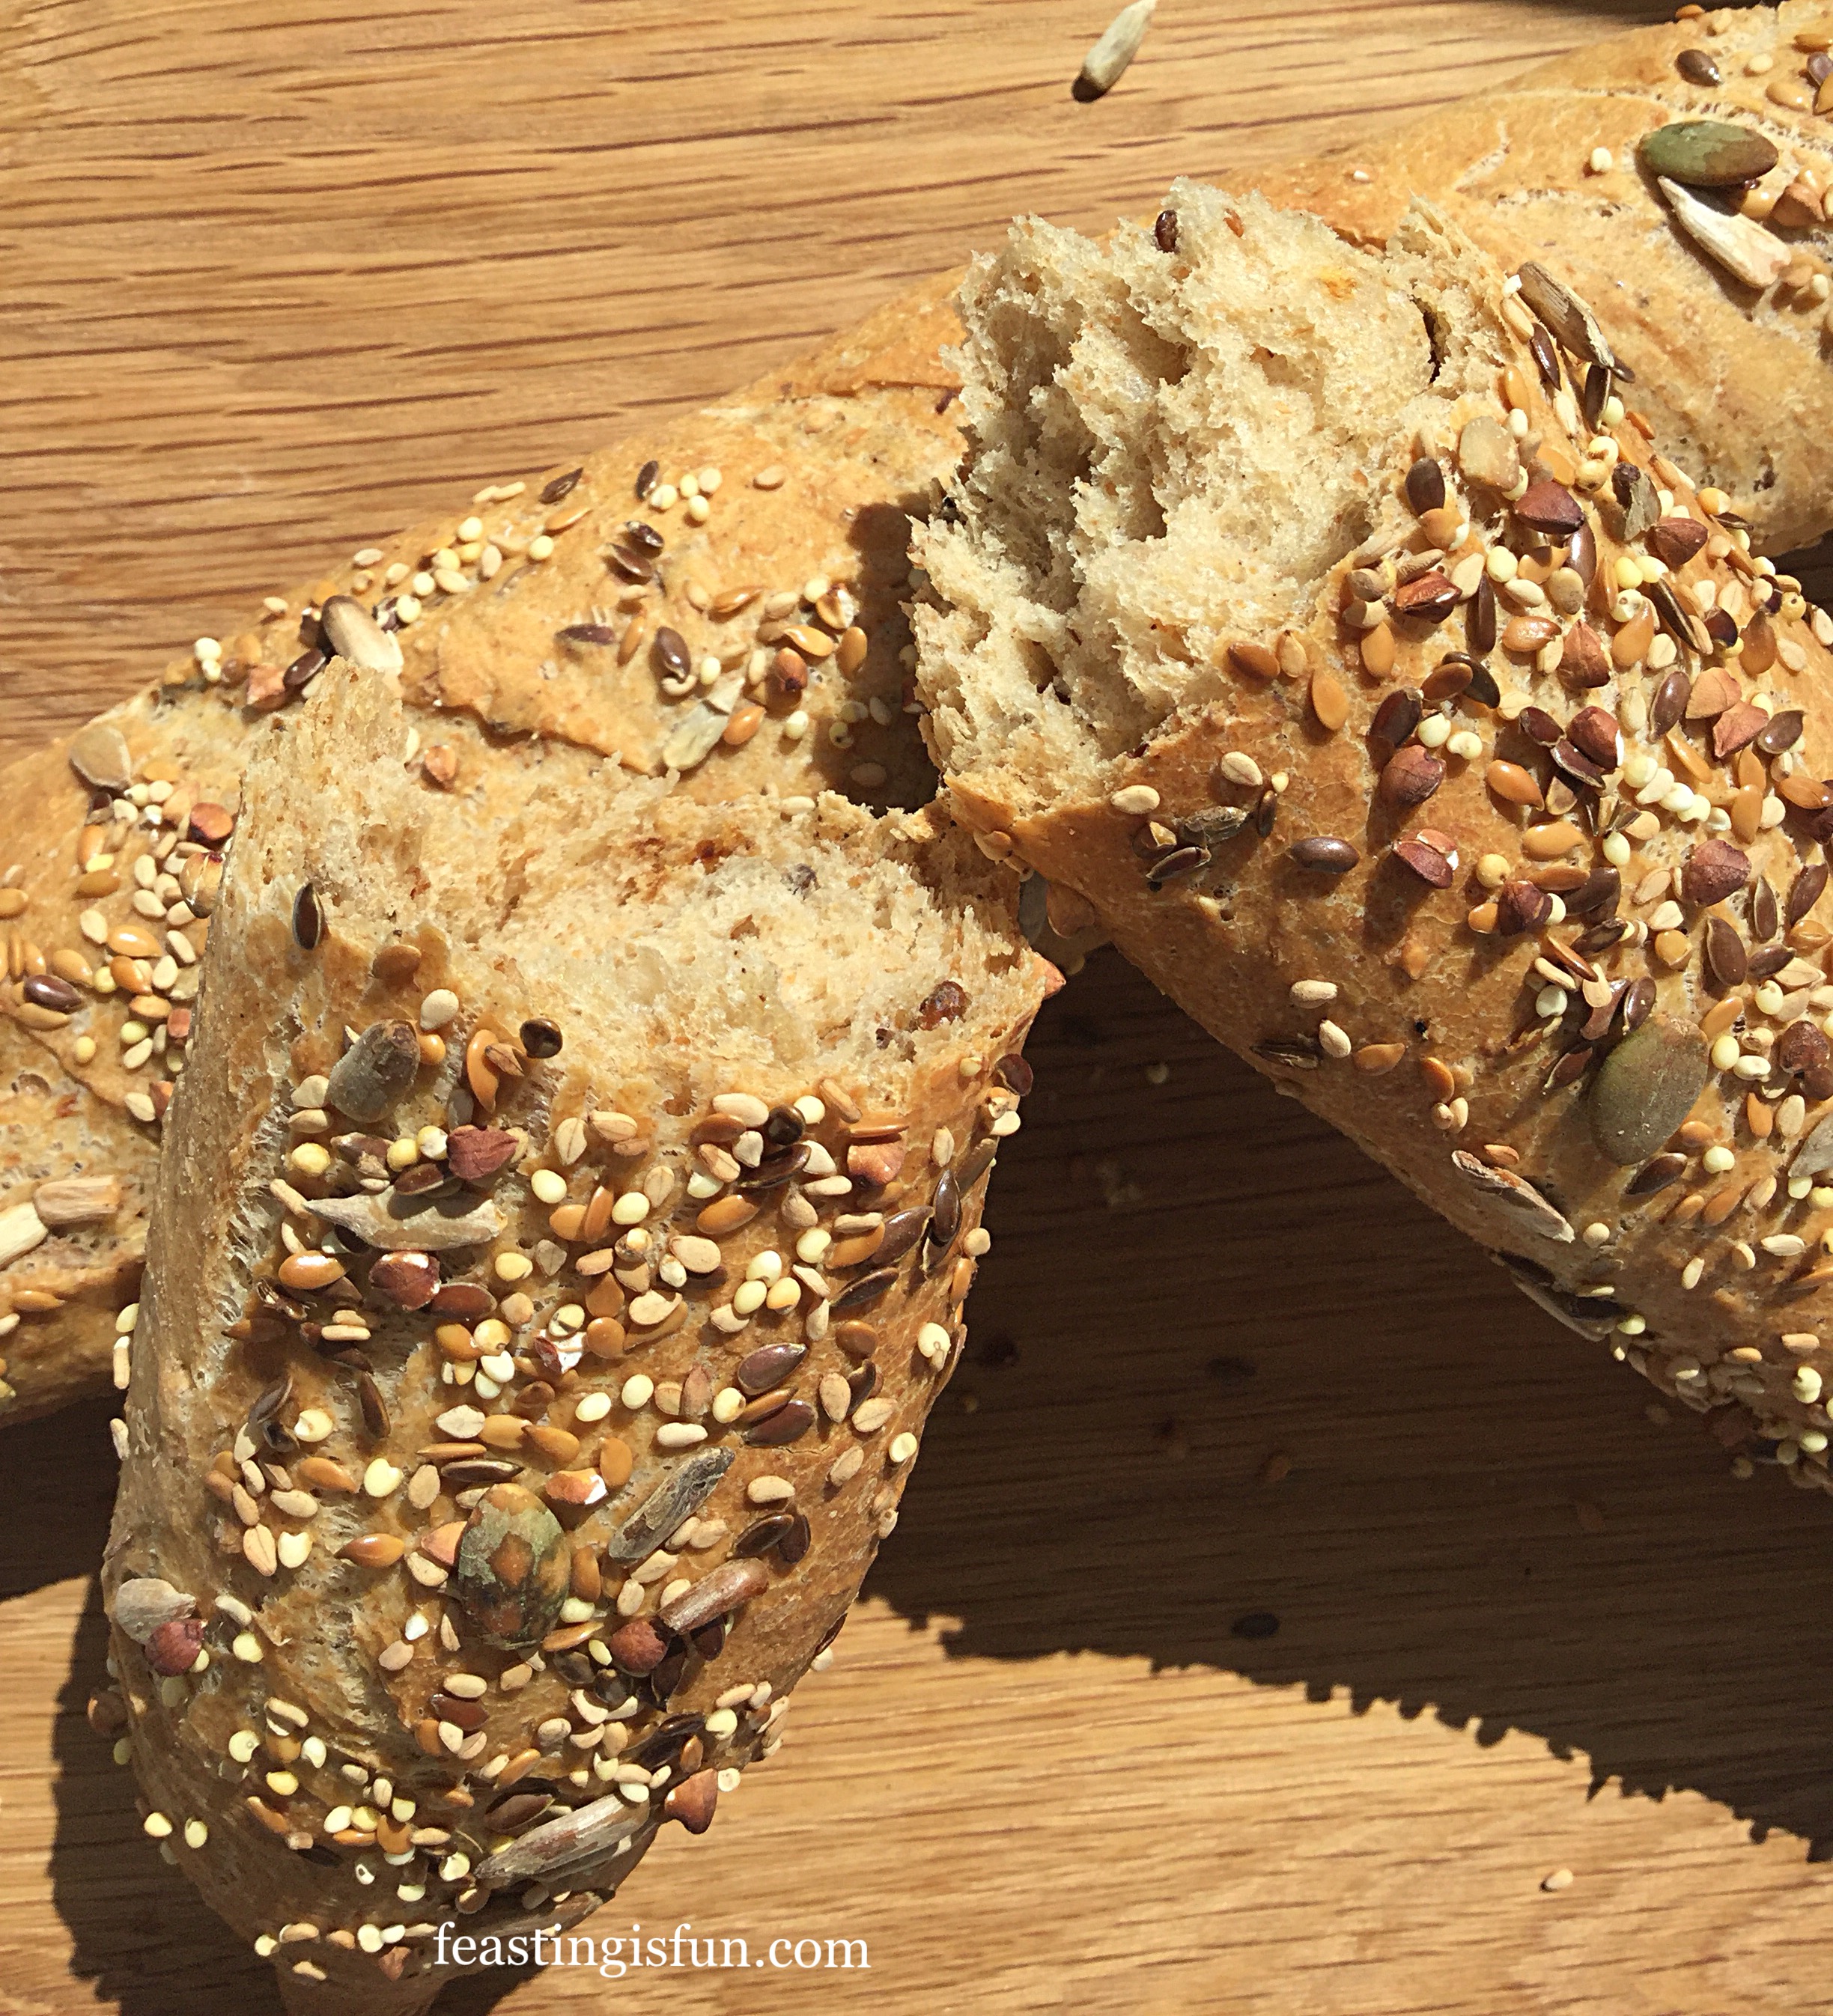
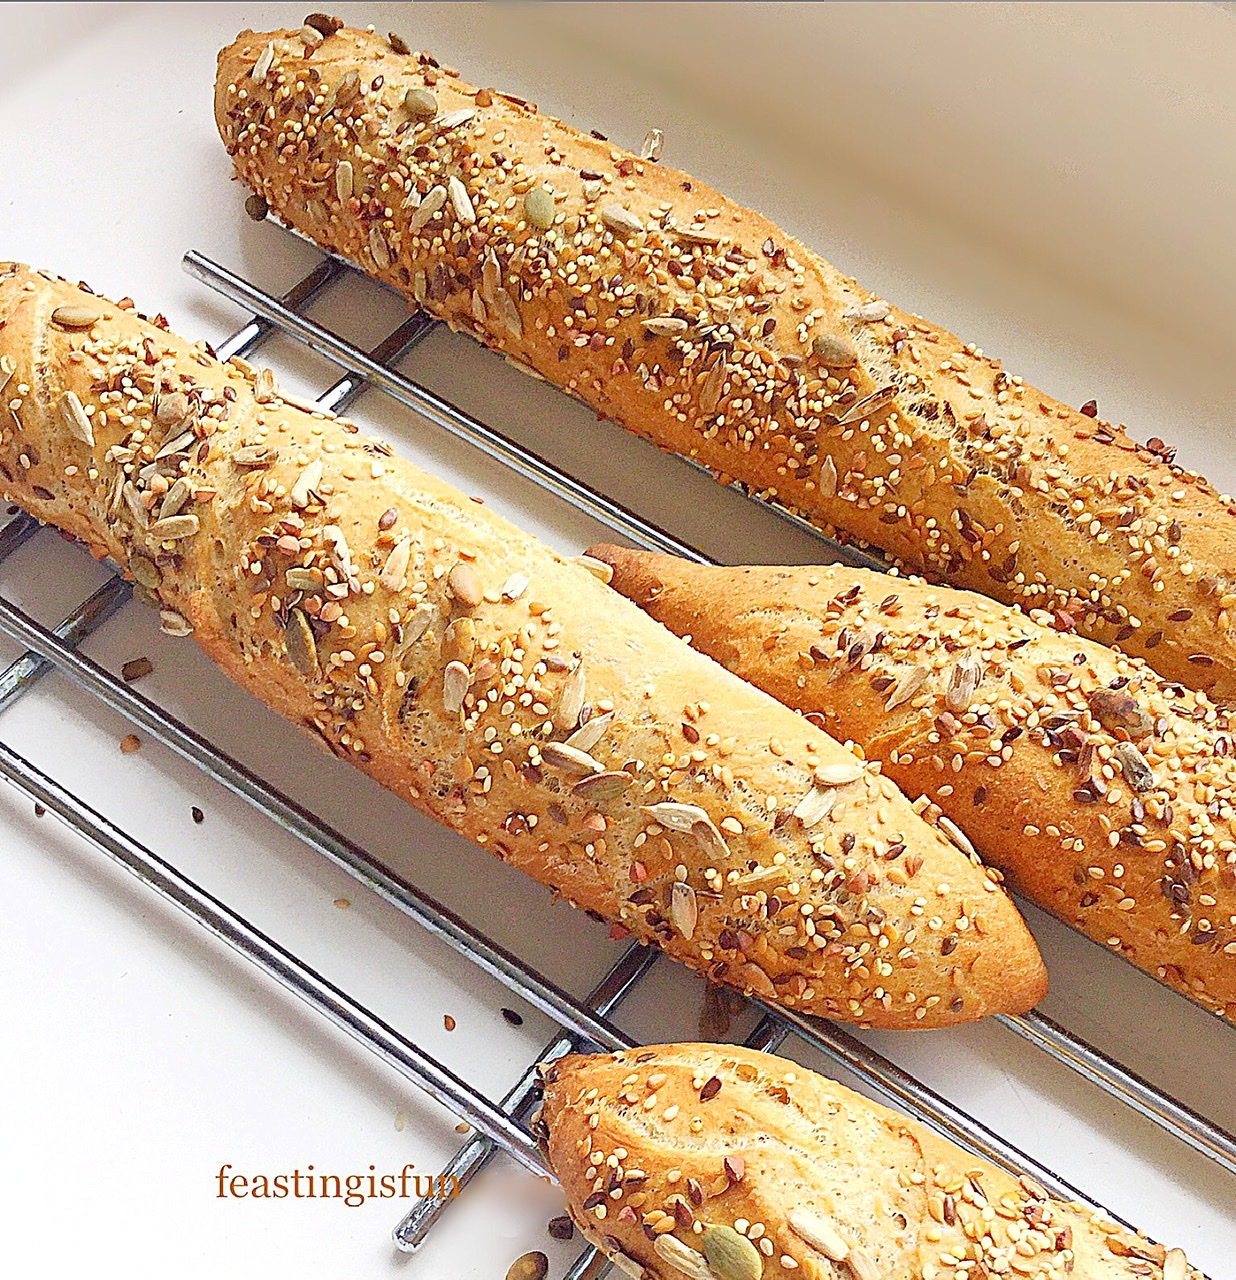
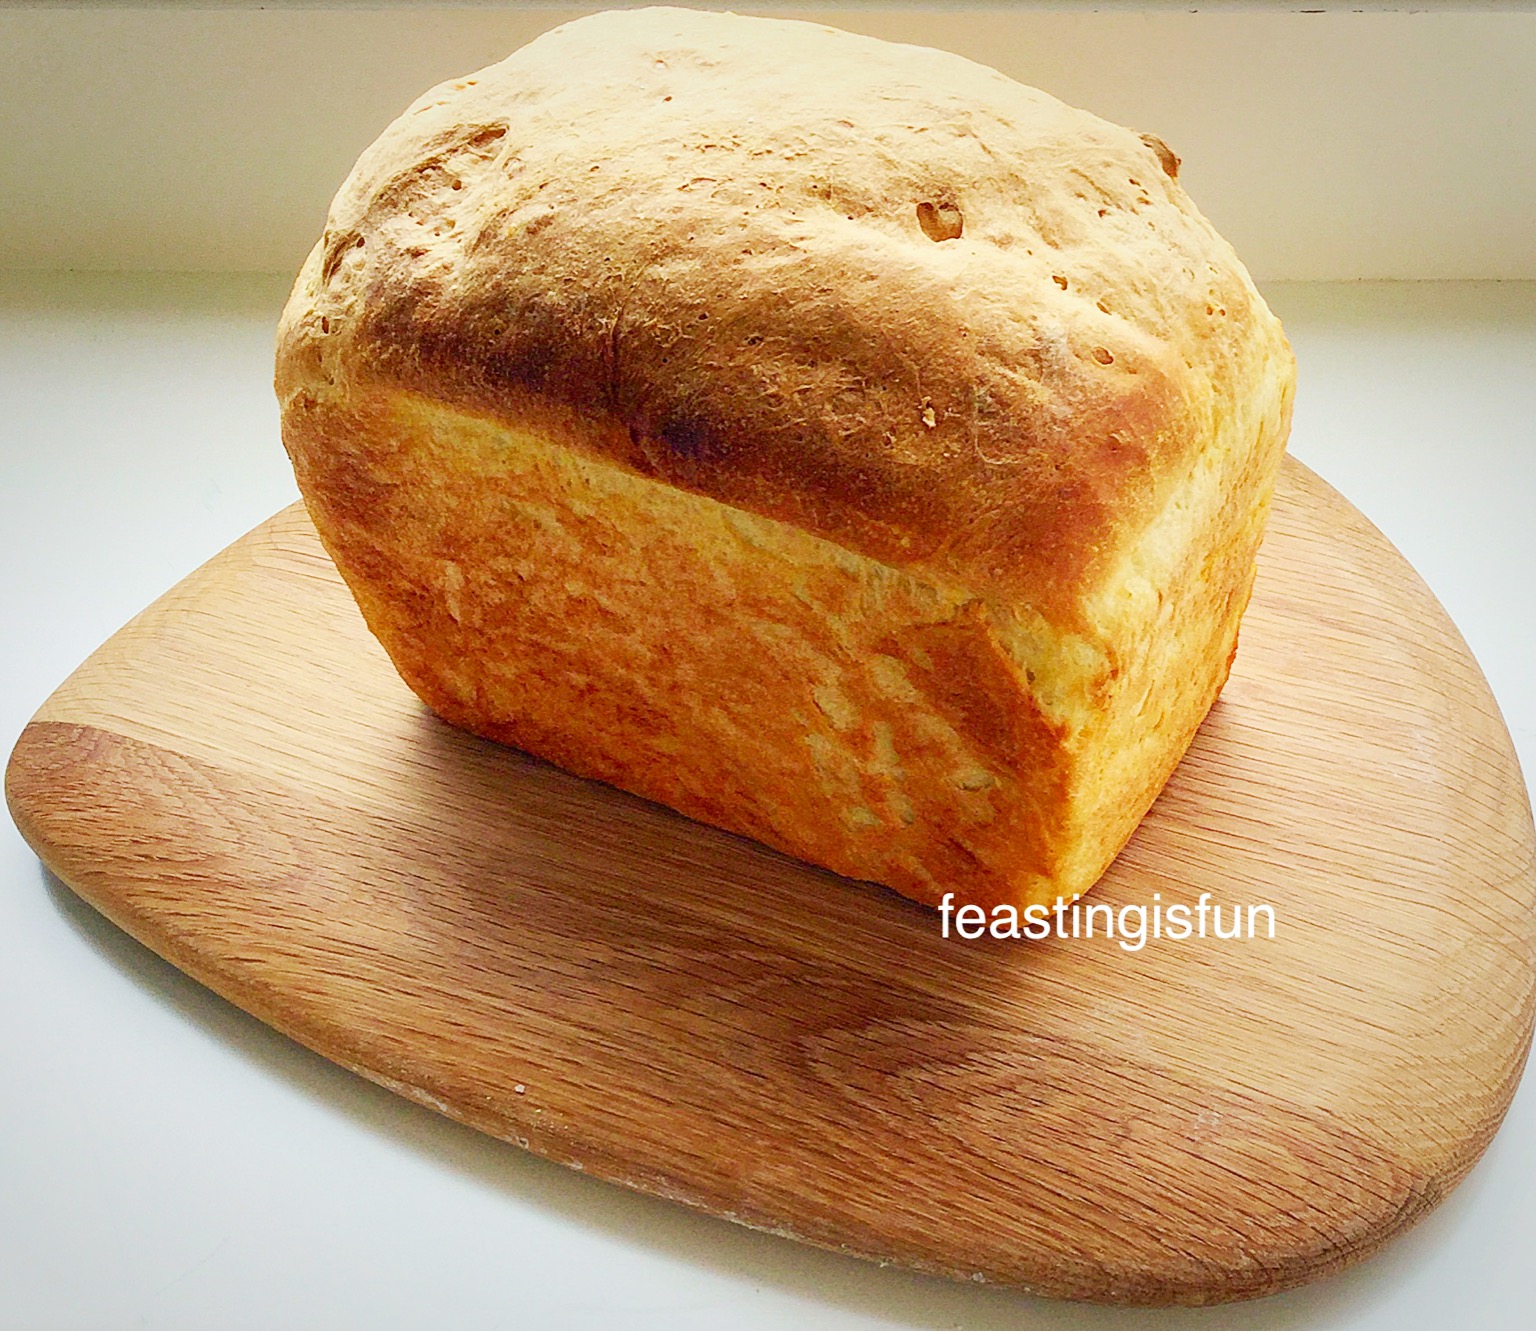
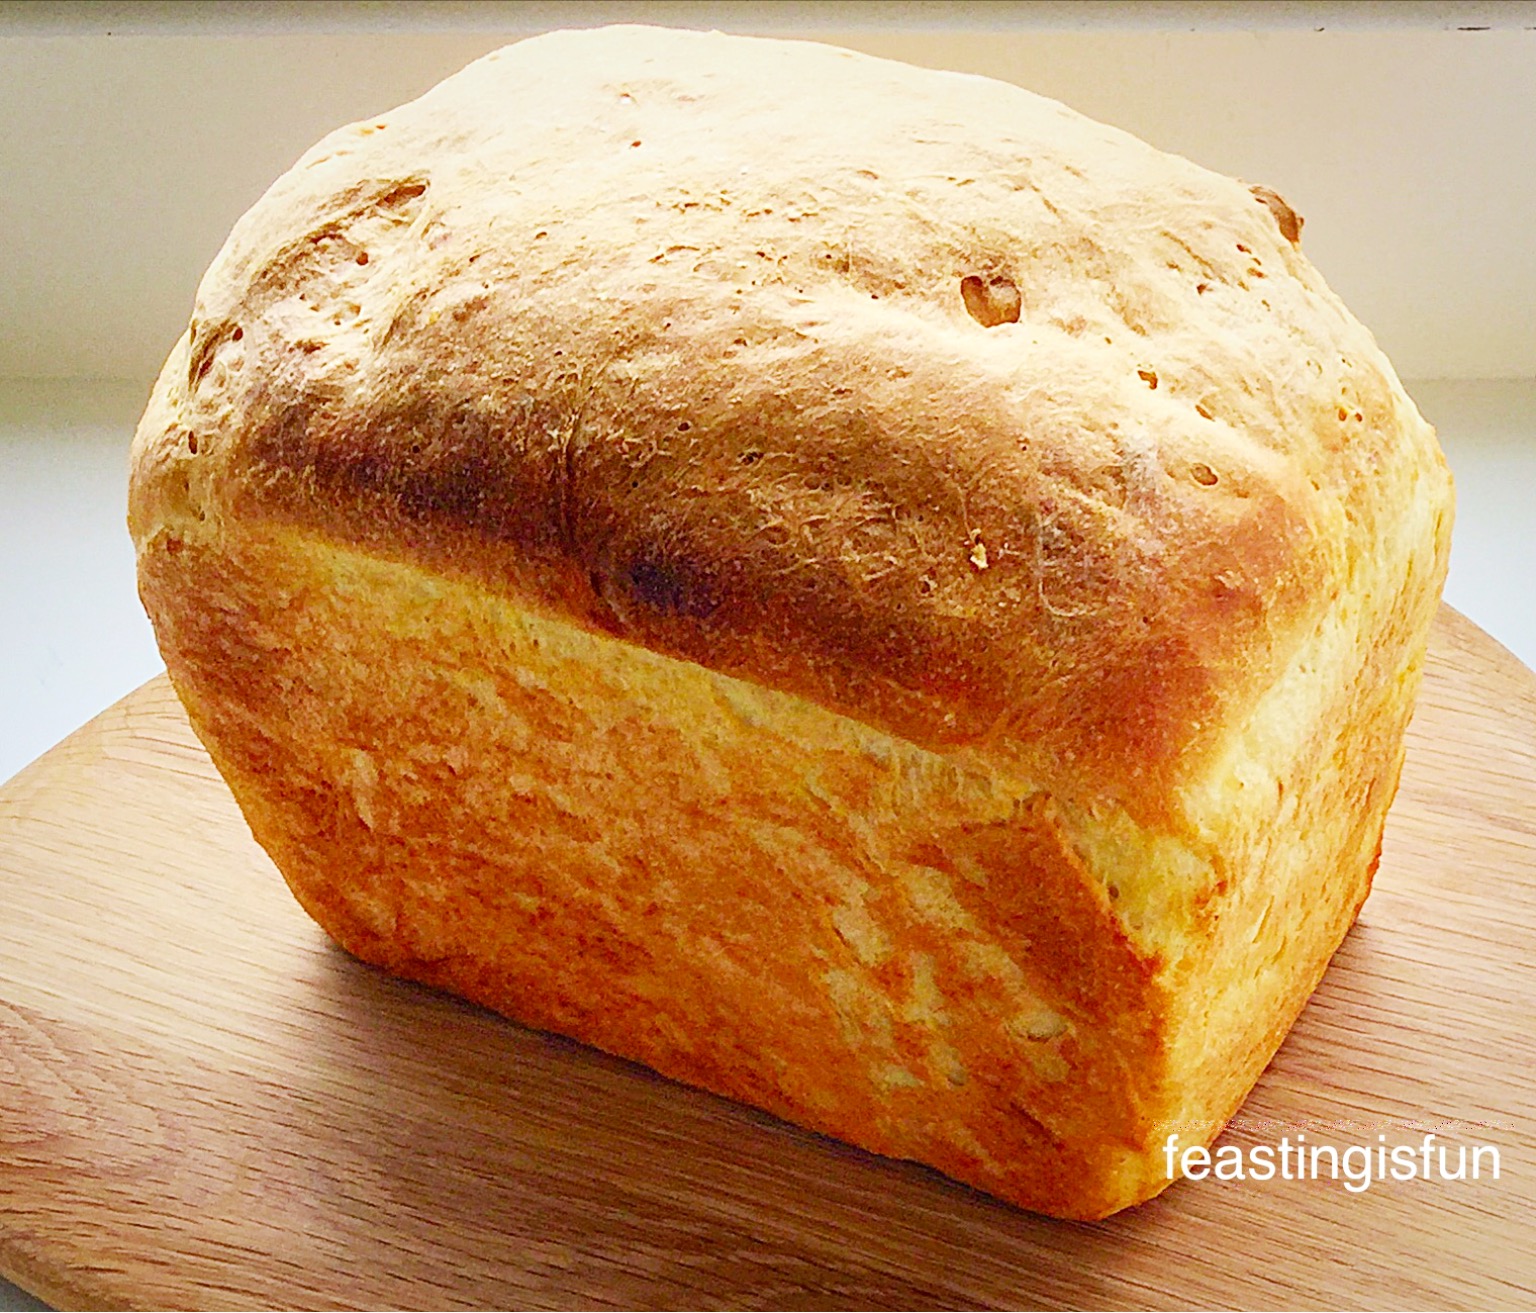
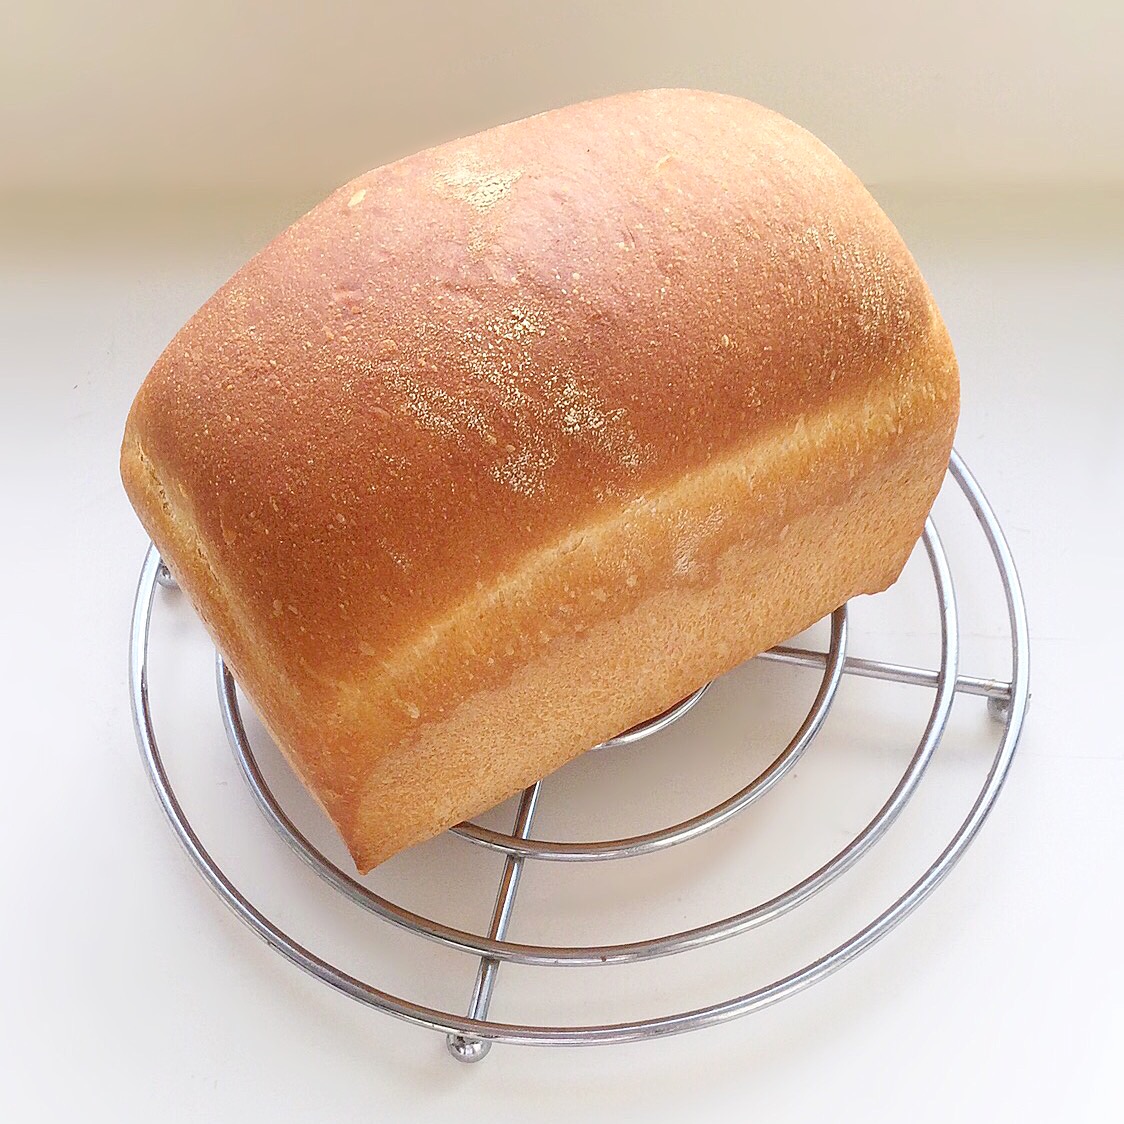
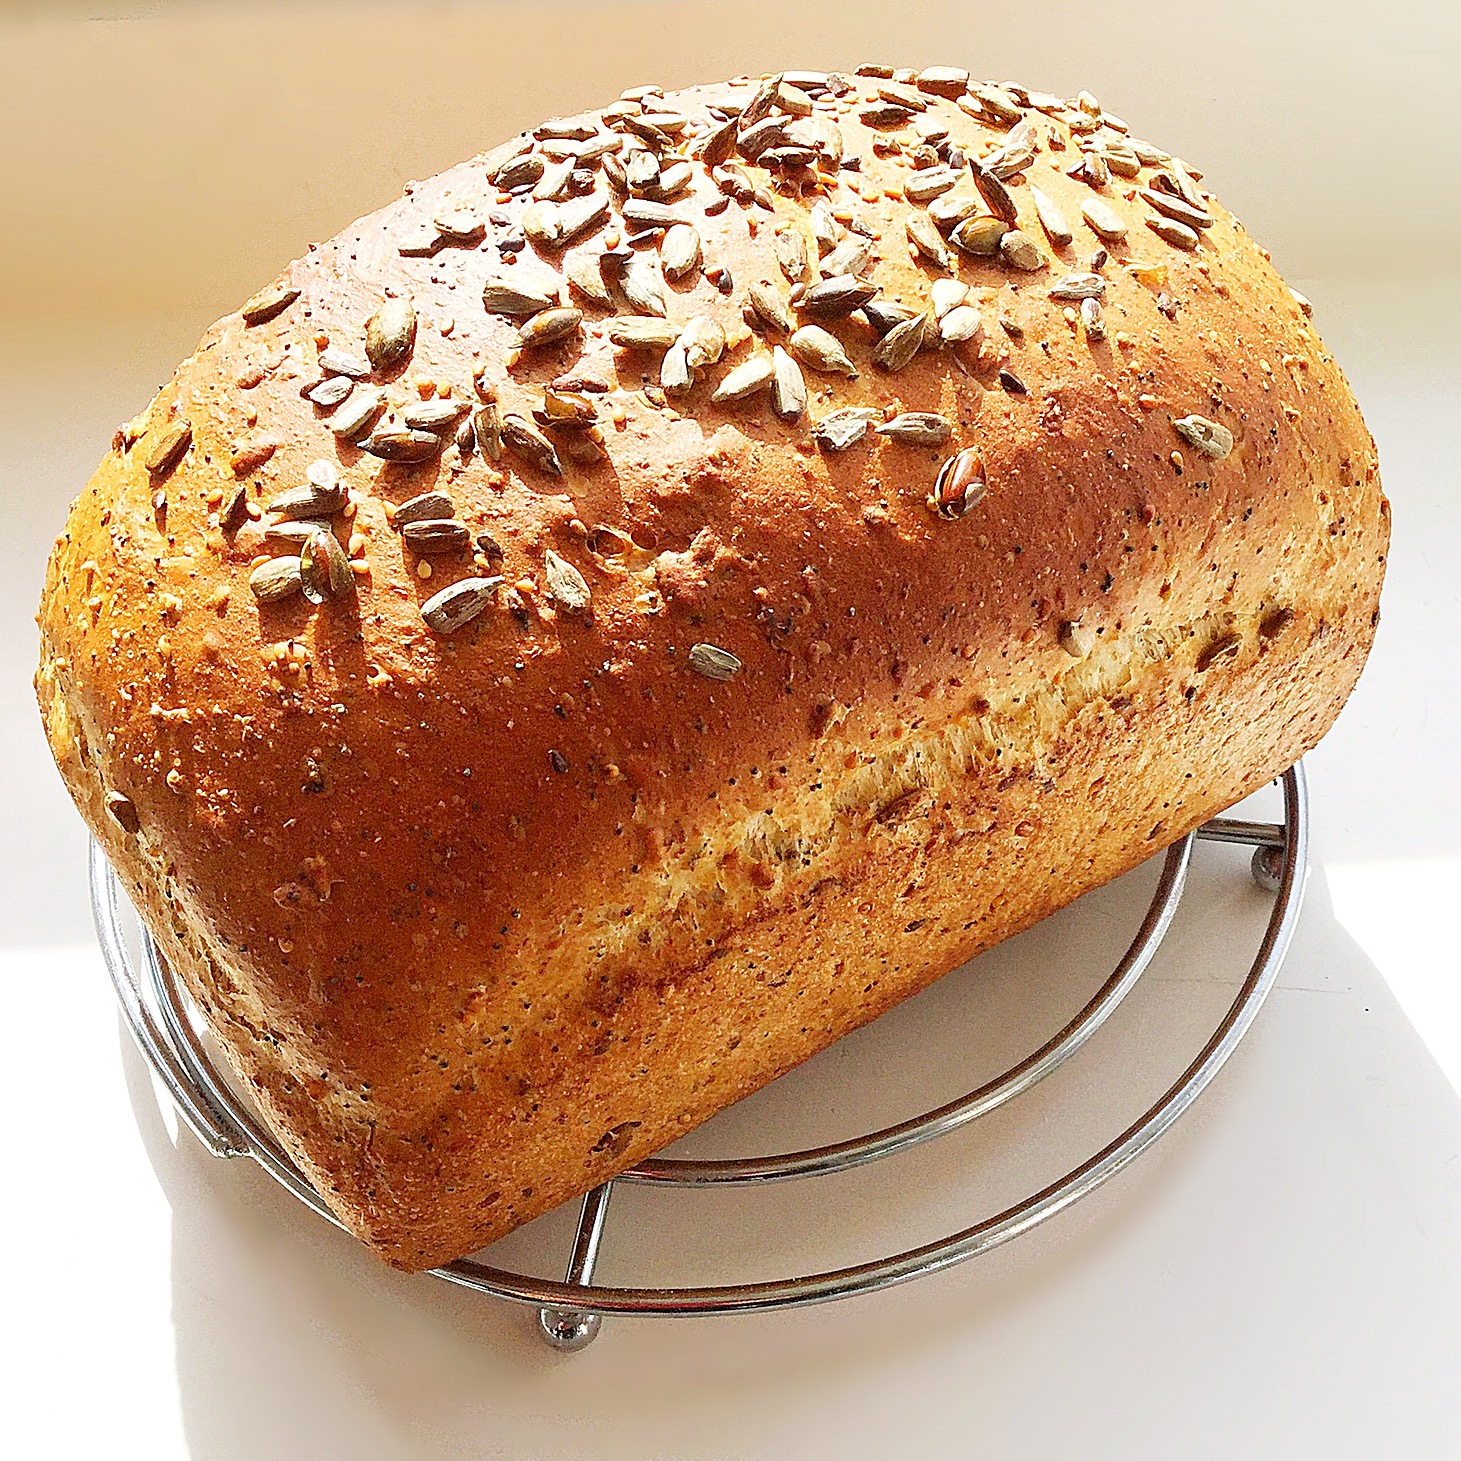
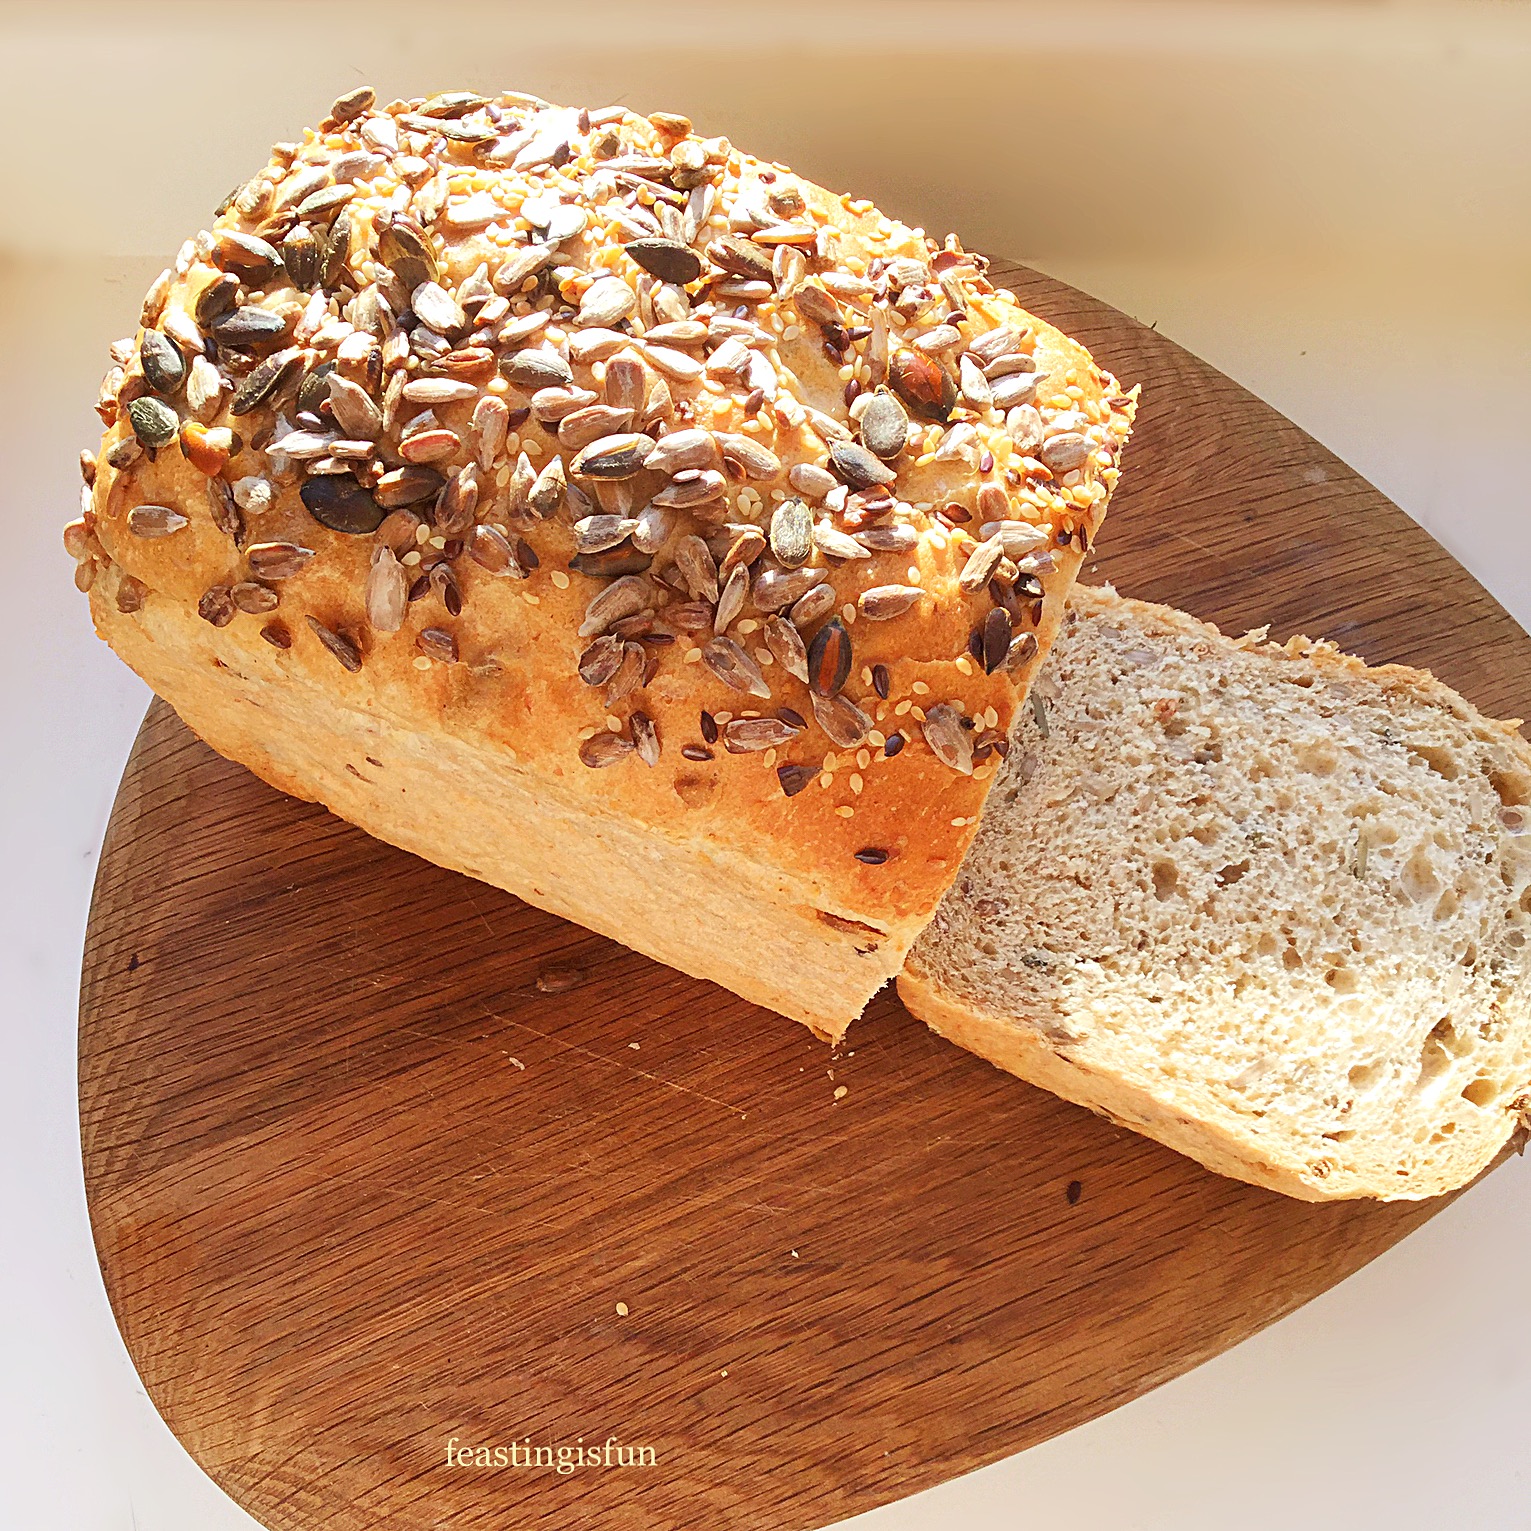
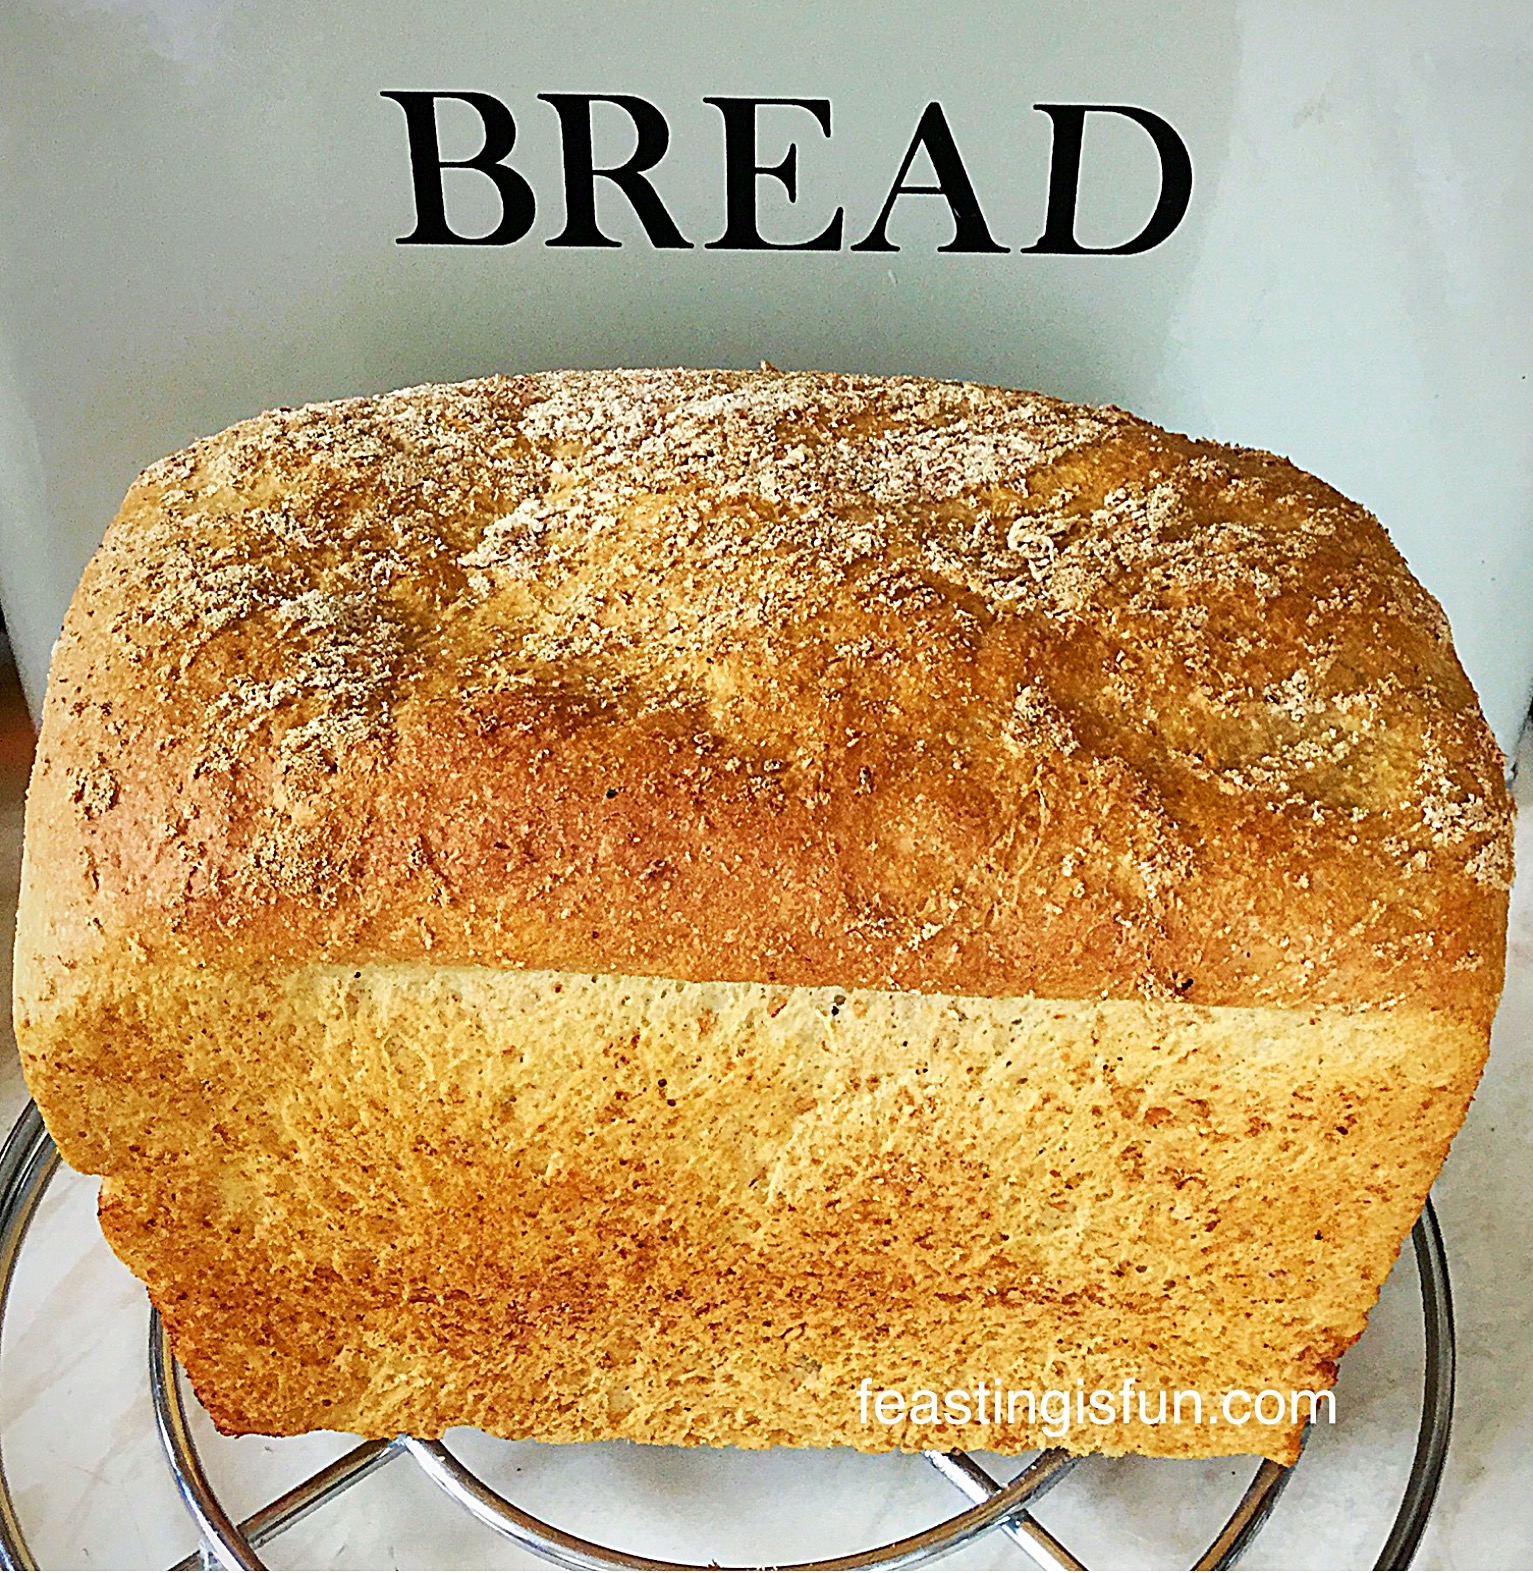
- The bread is baked when it has a deep, golden crust and sounds hollow when tapped.
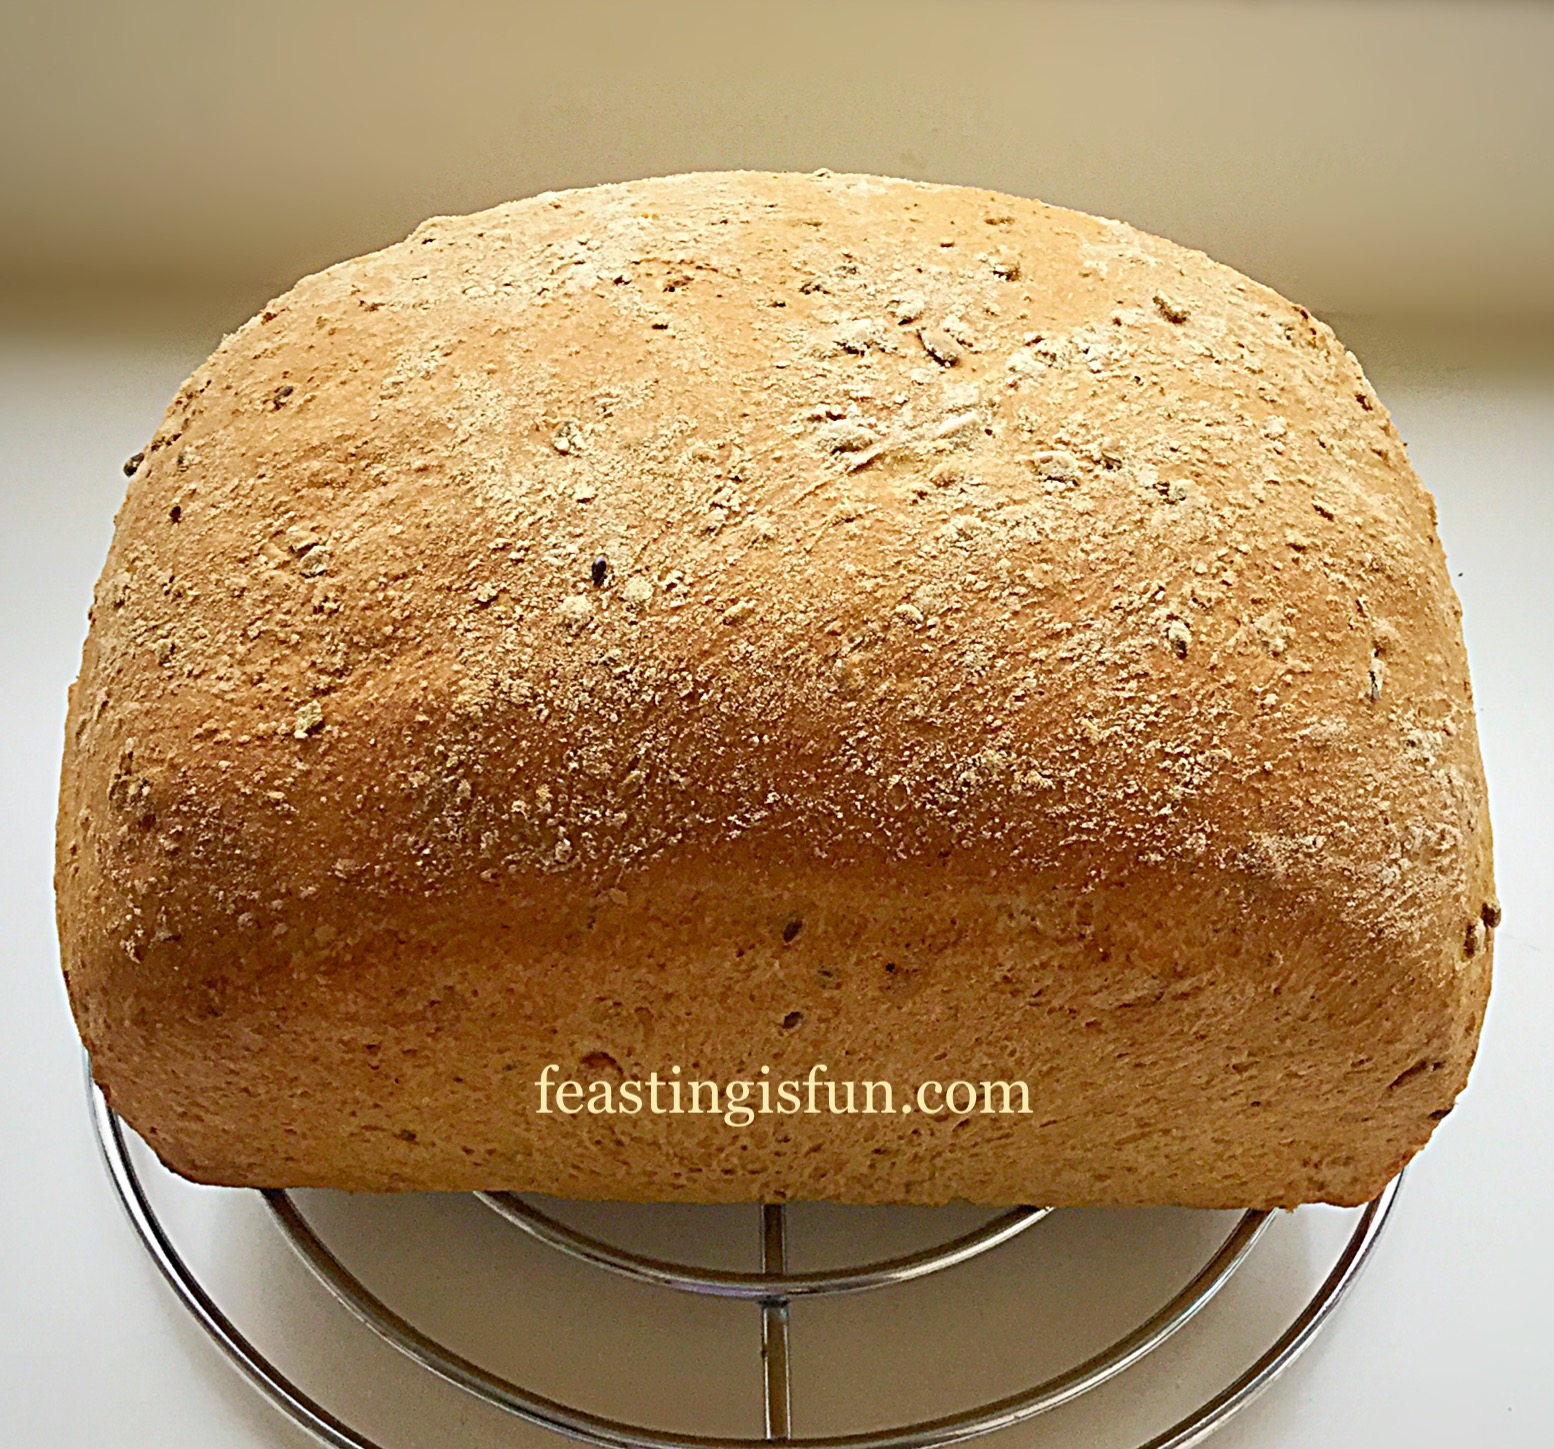
- As soon as the bread is baked remove from the oven and carefully (it will be very hot) place the cob loaf on to a cooling rack.
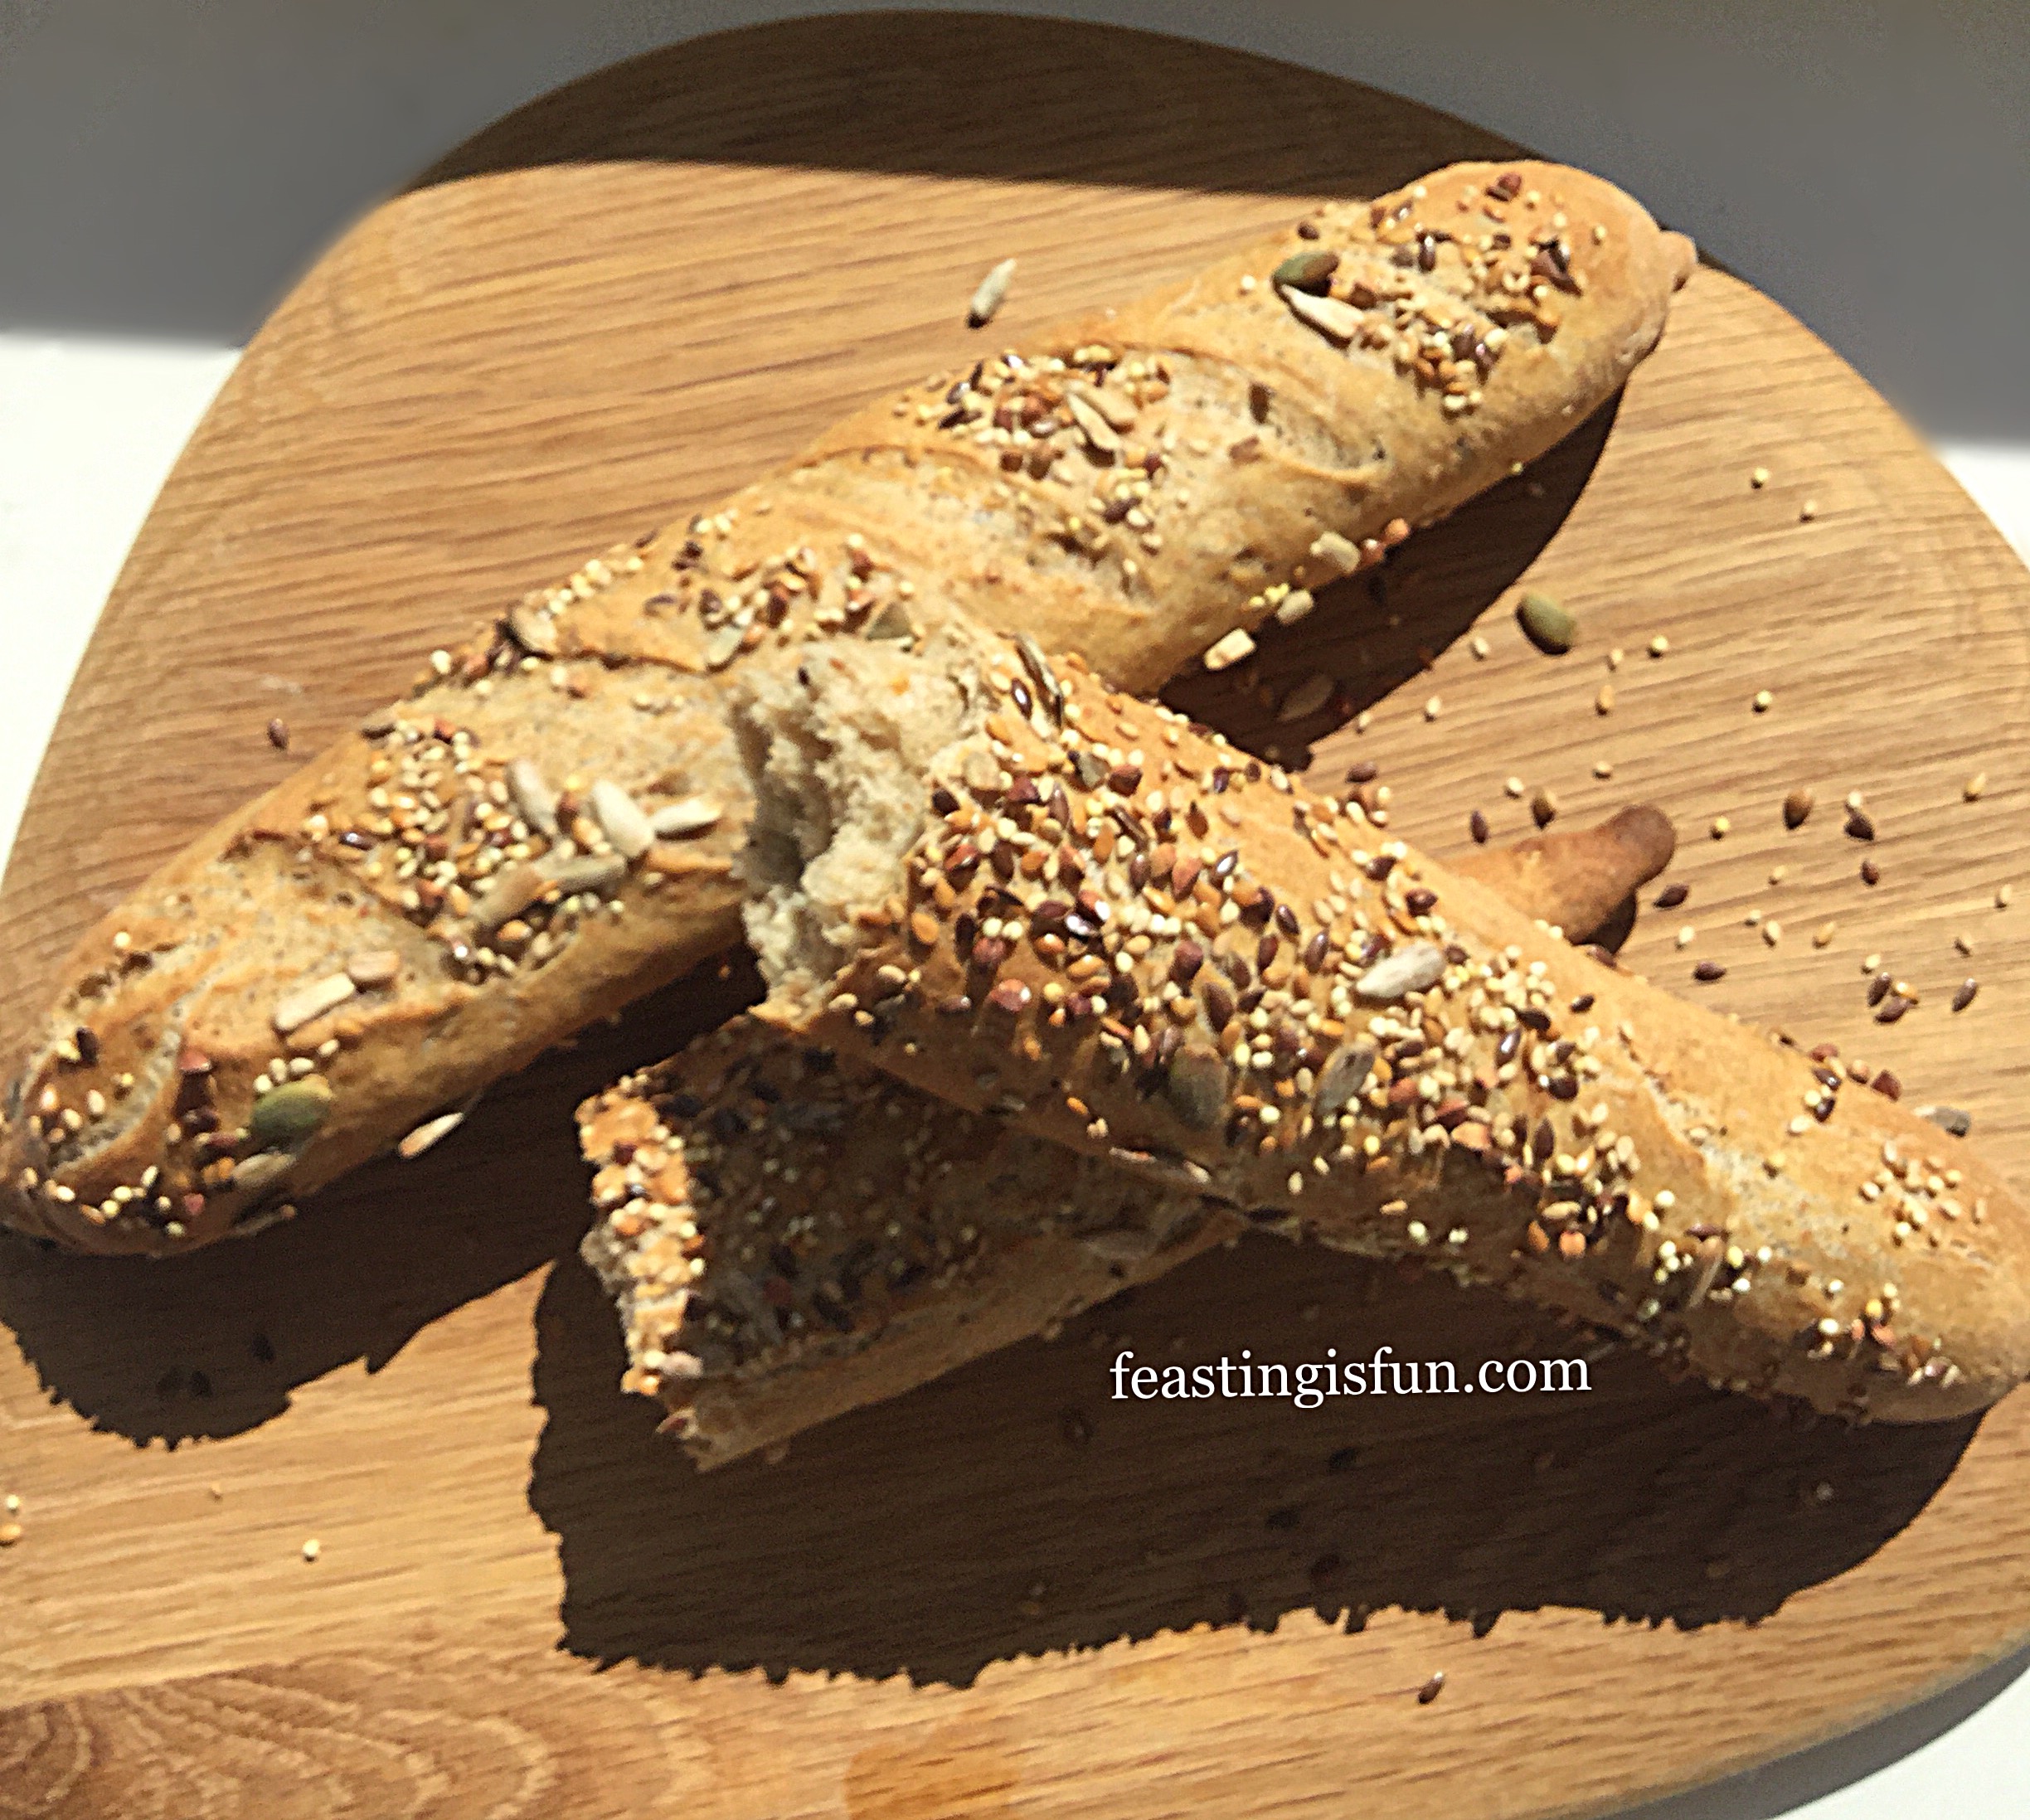
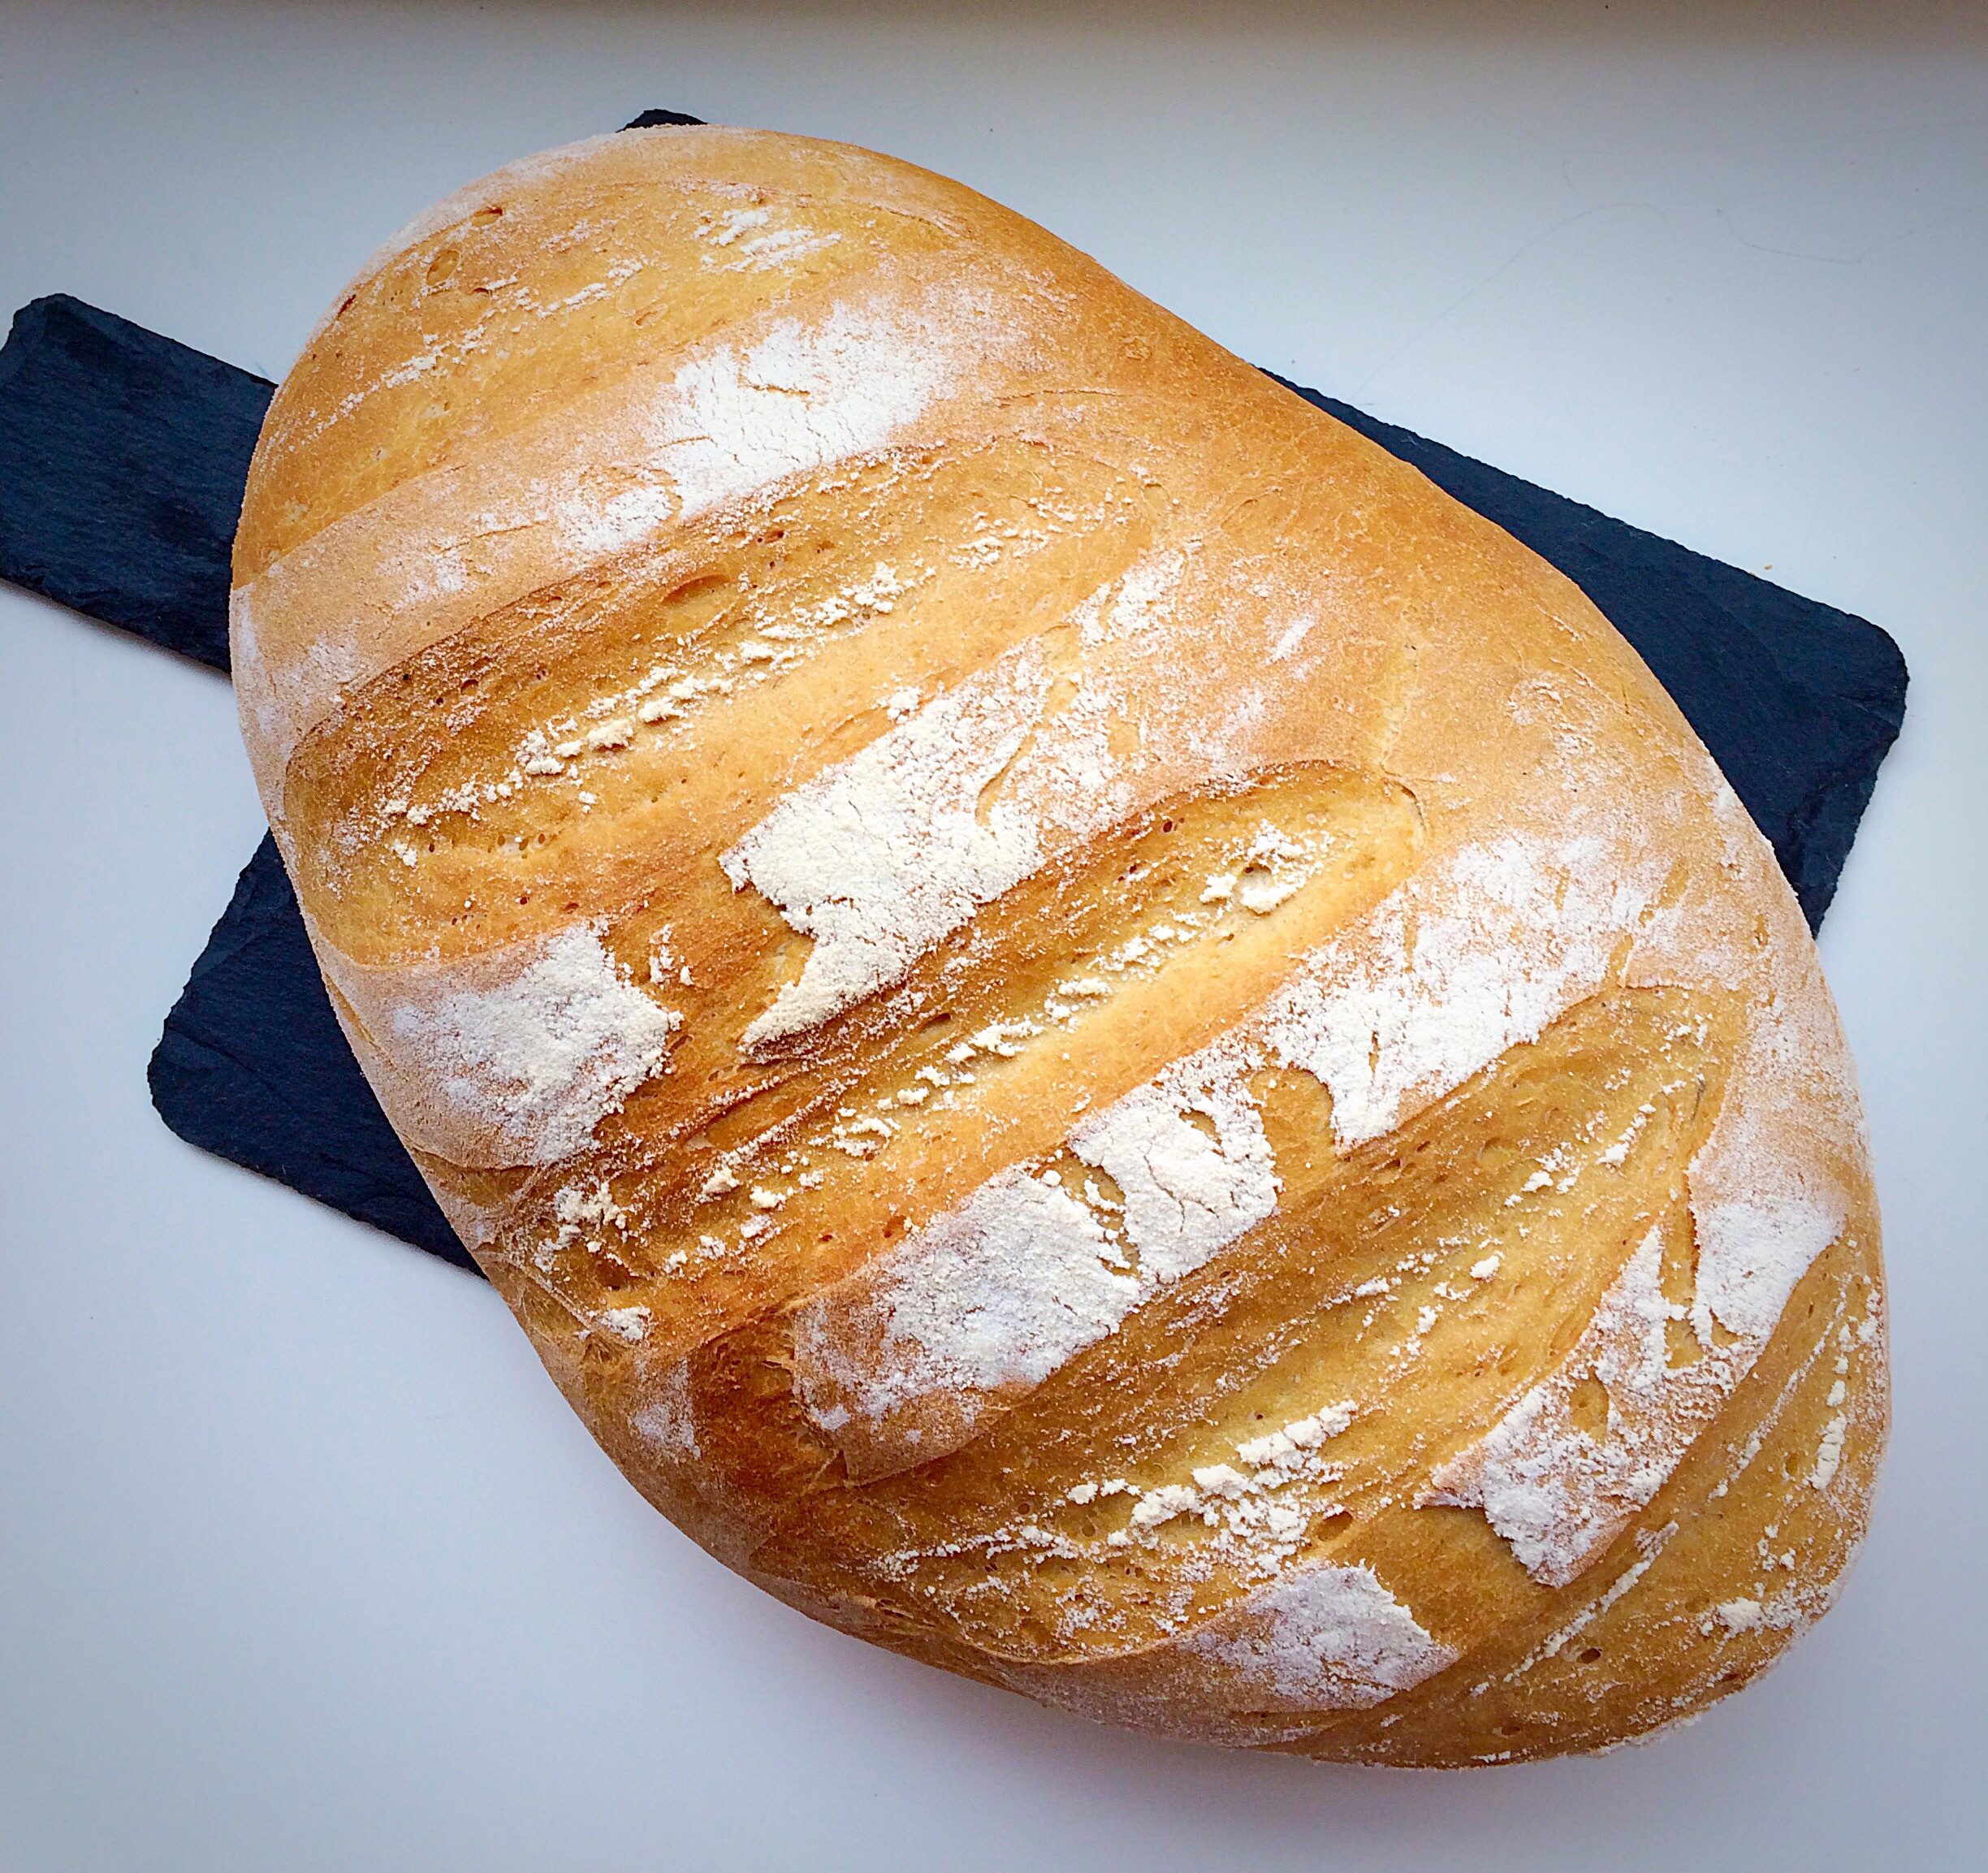
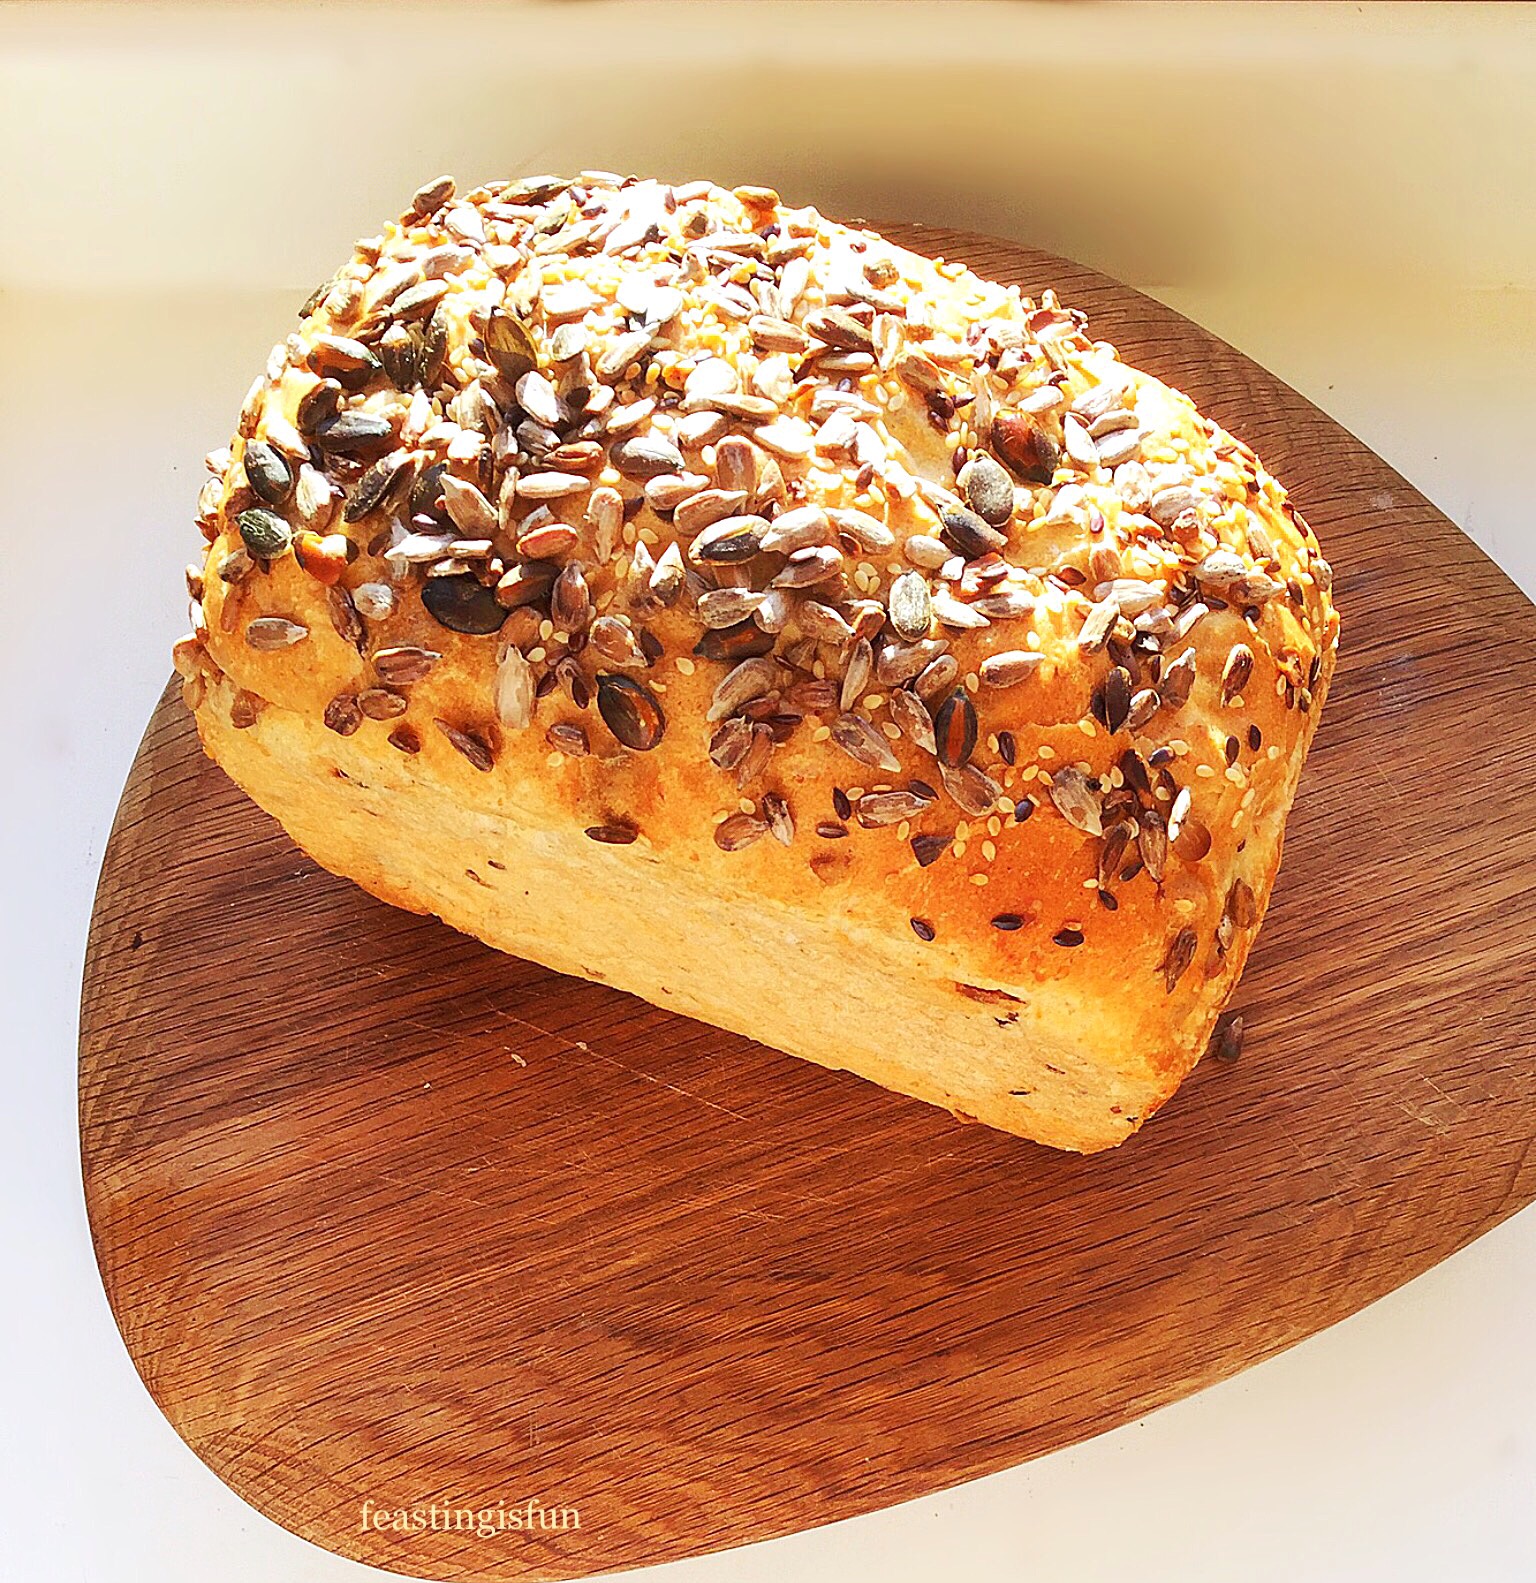
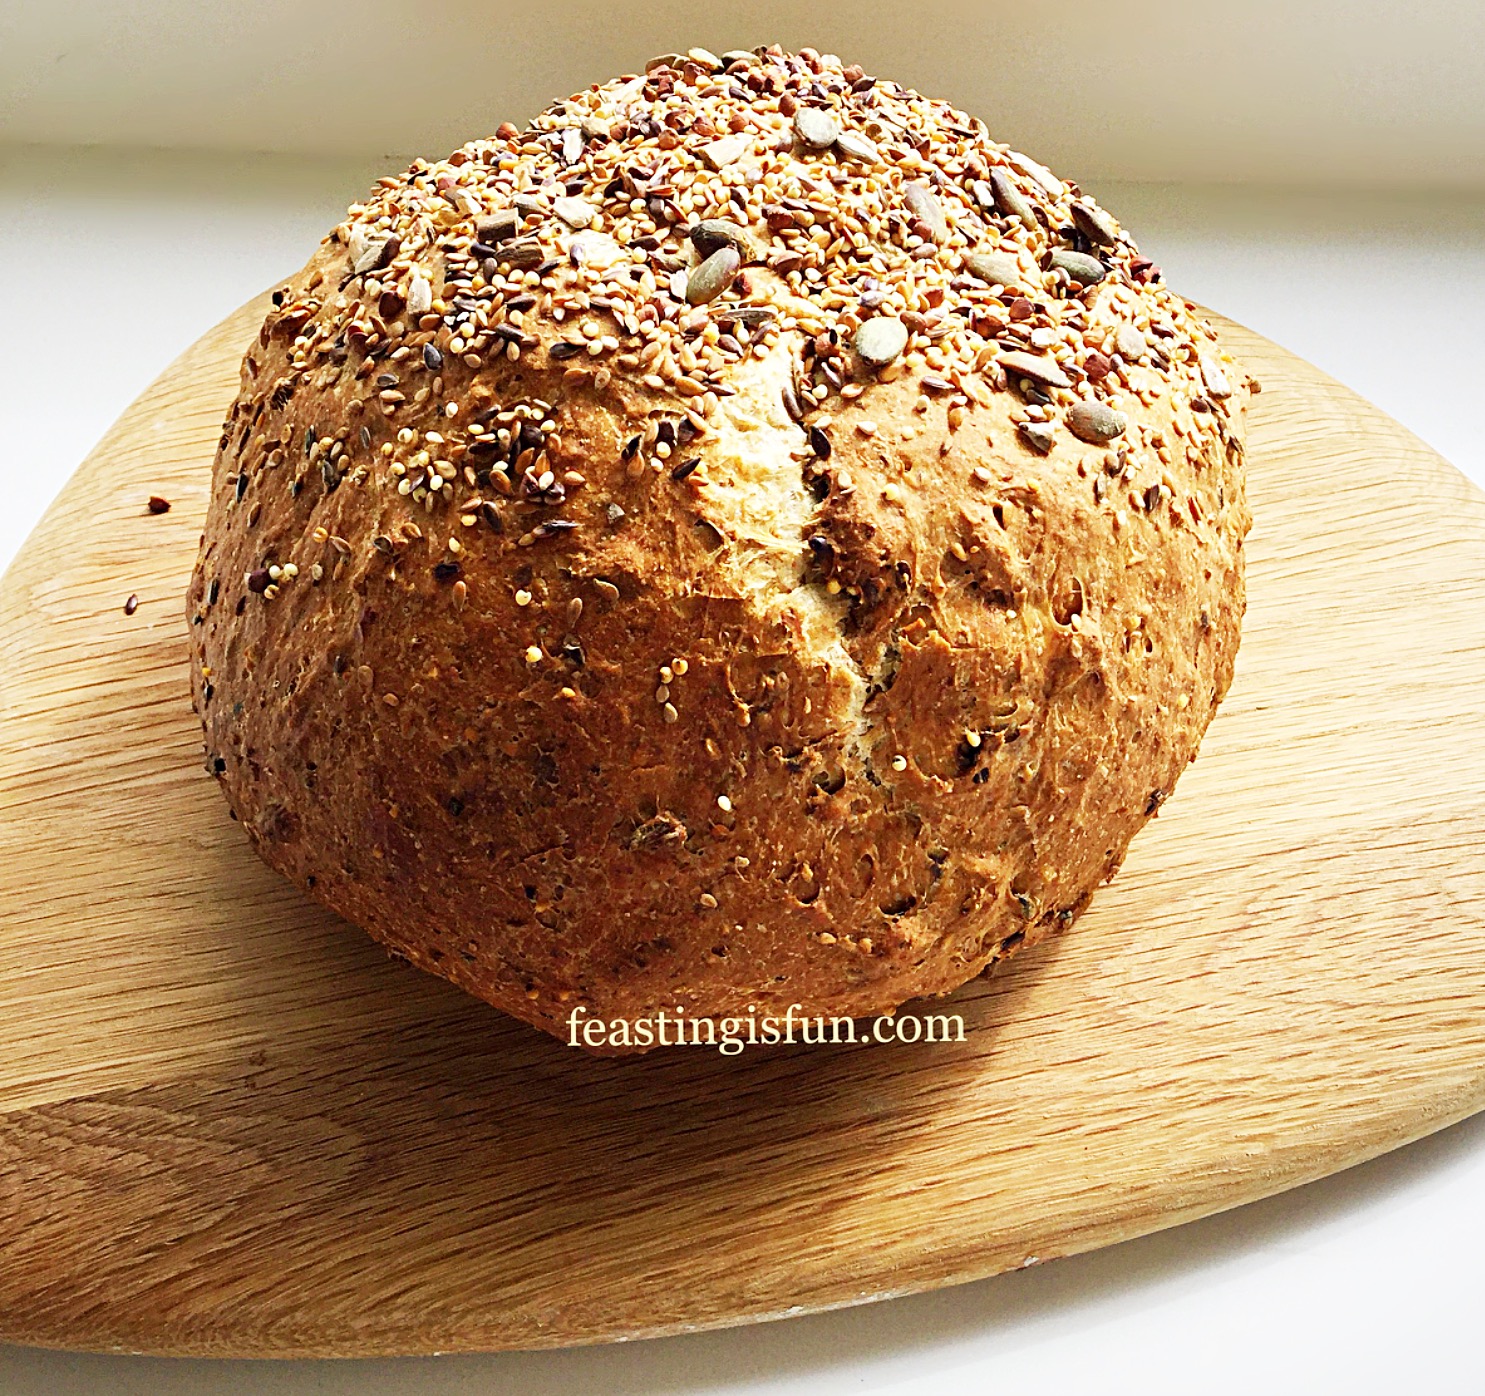
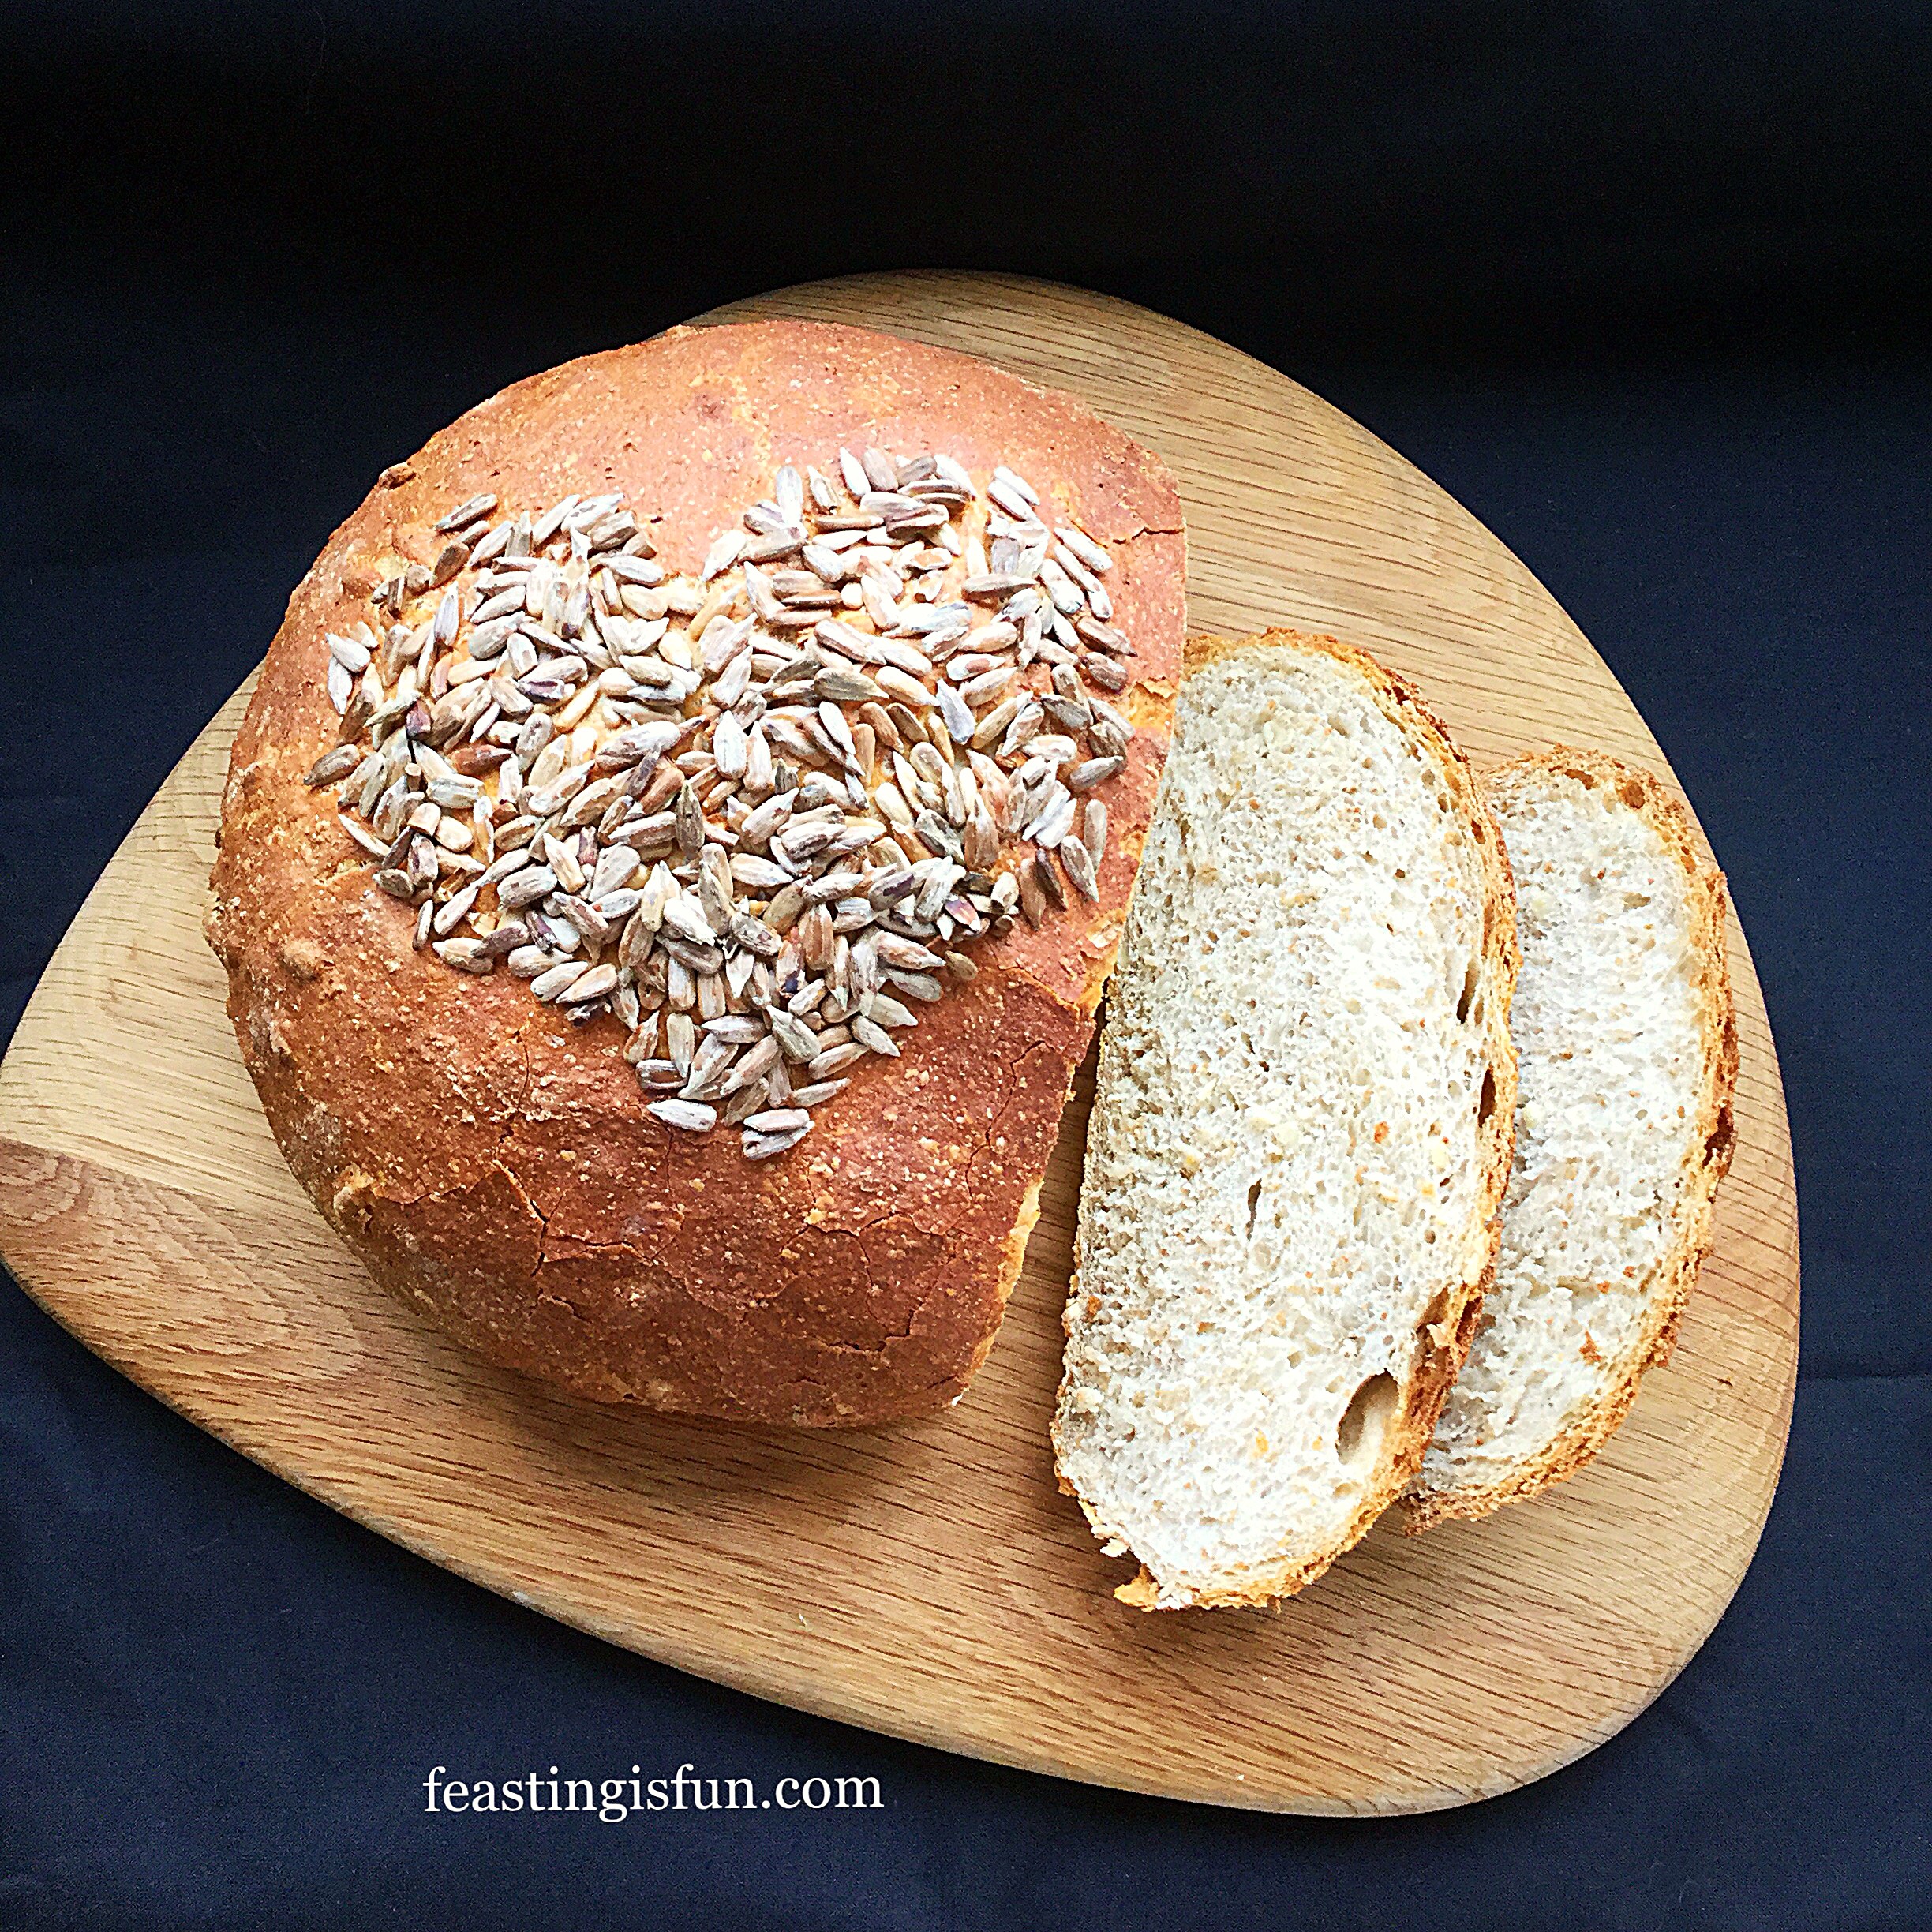
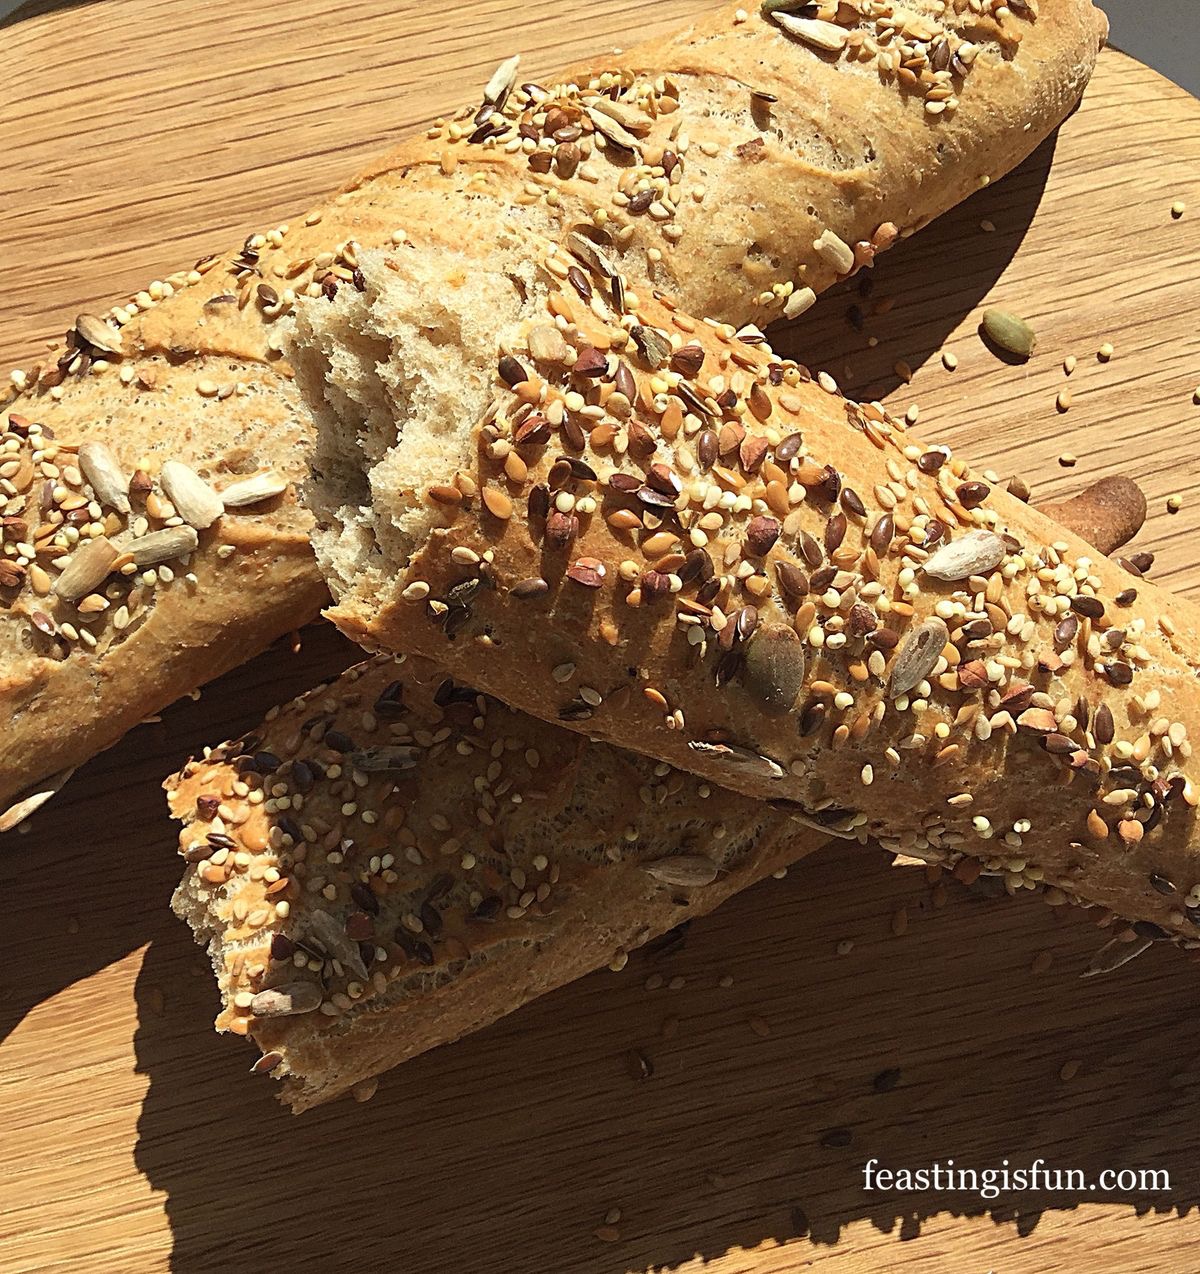
Delicious, crusty, nutty flavoured bread.
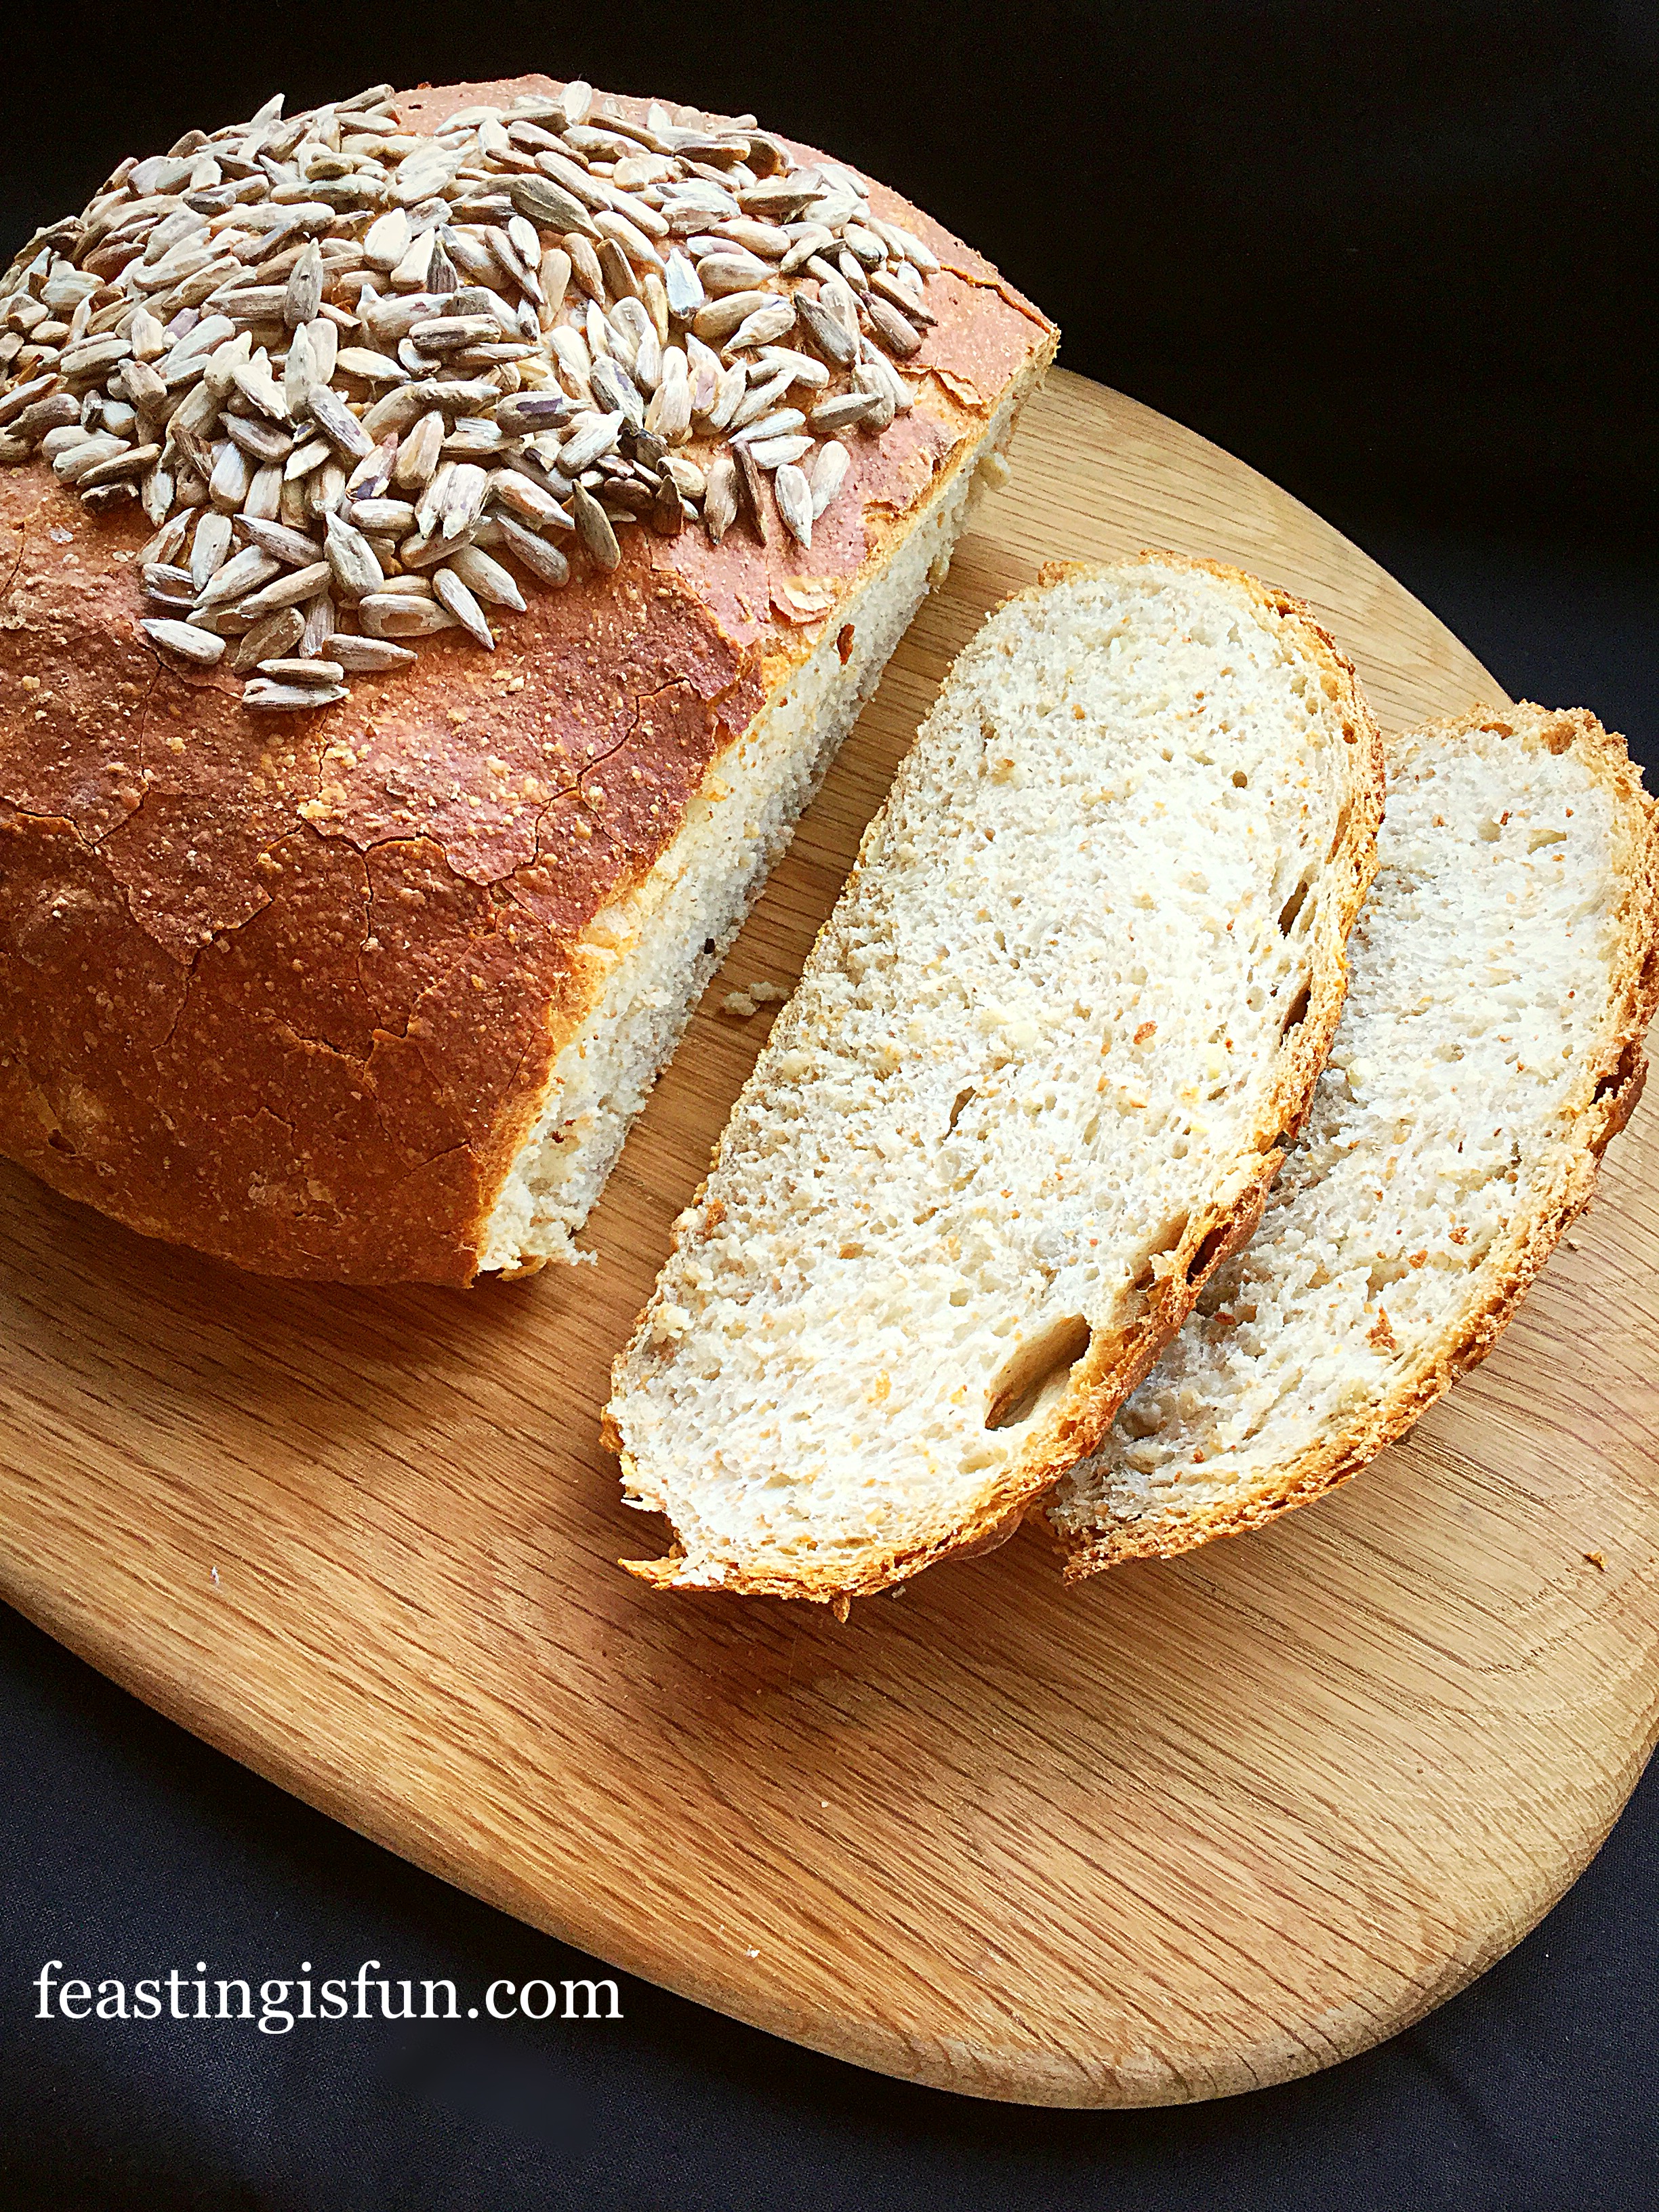
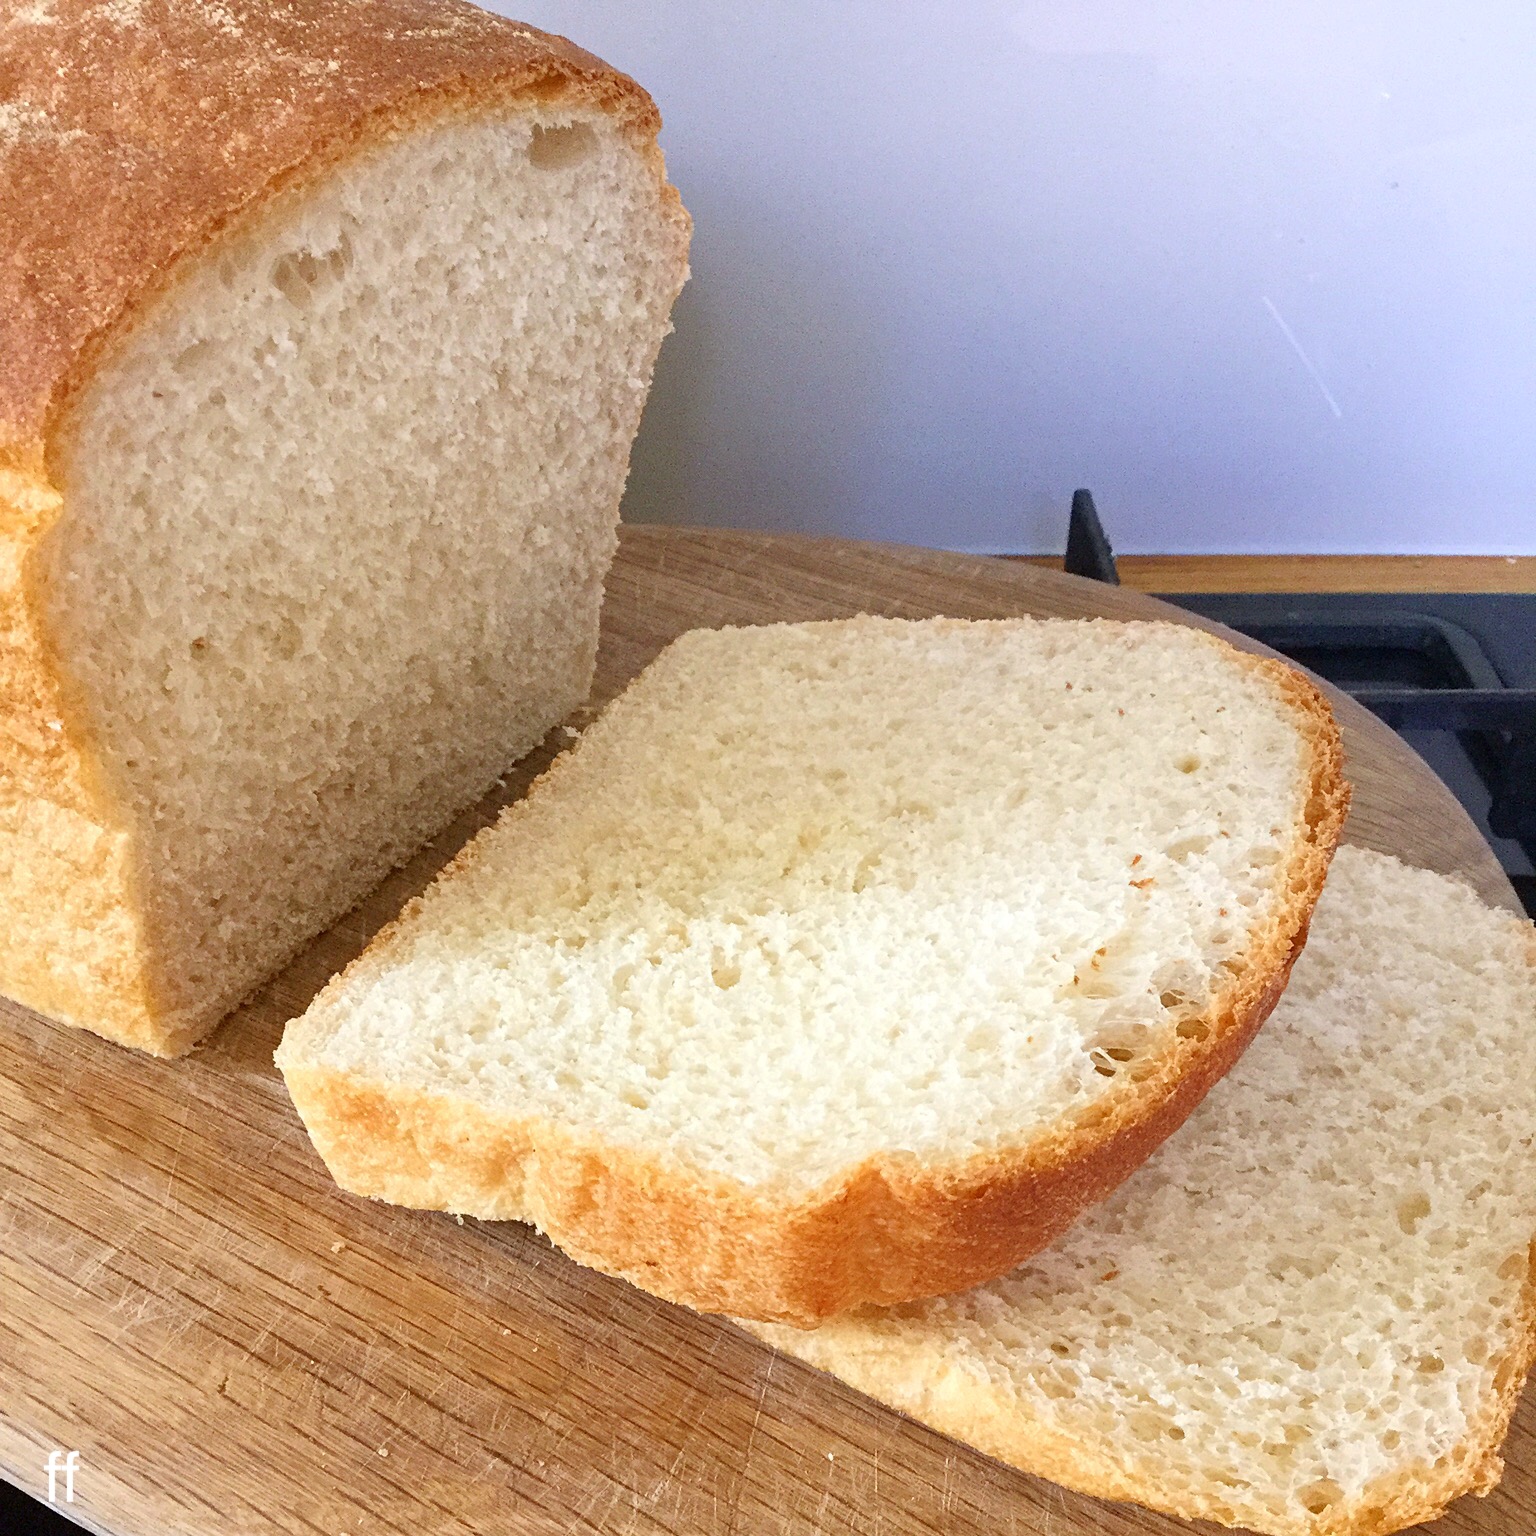
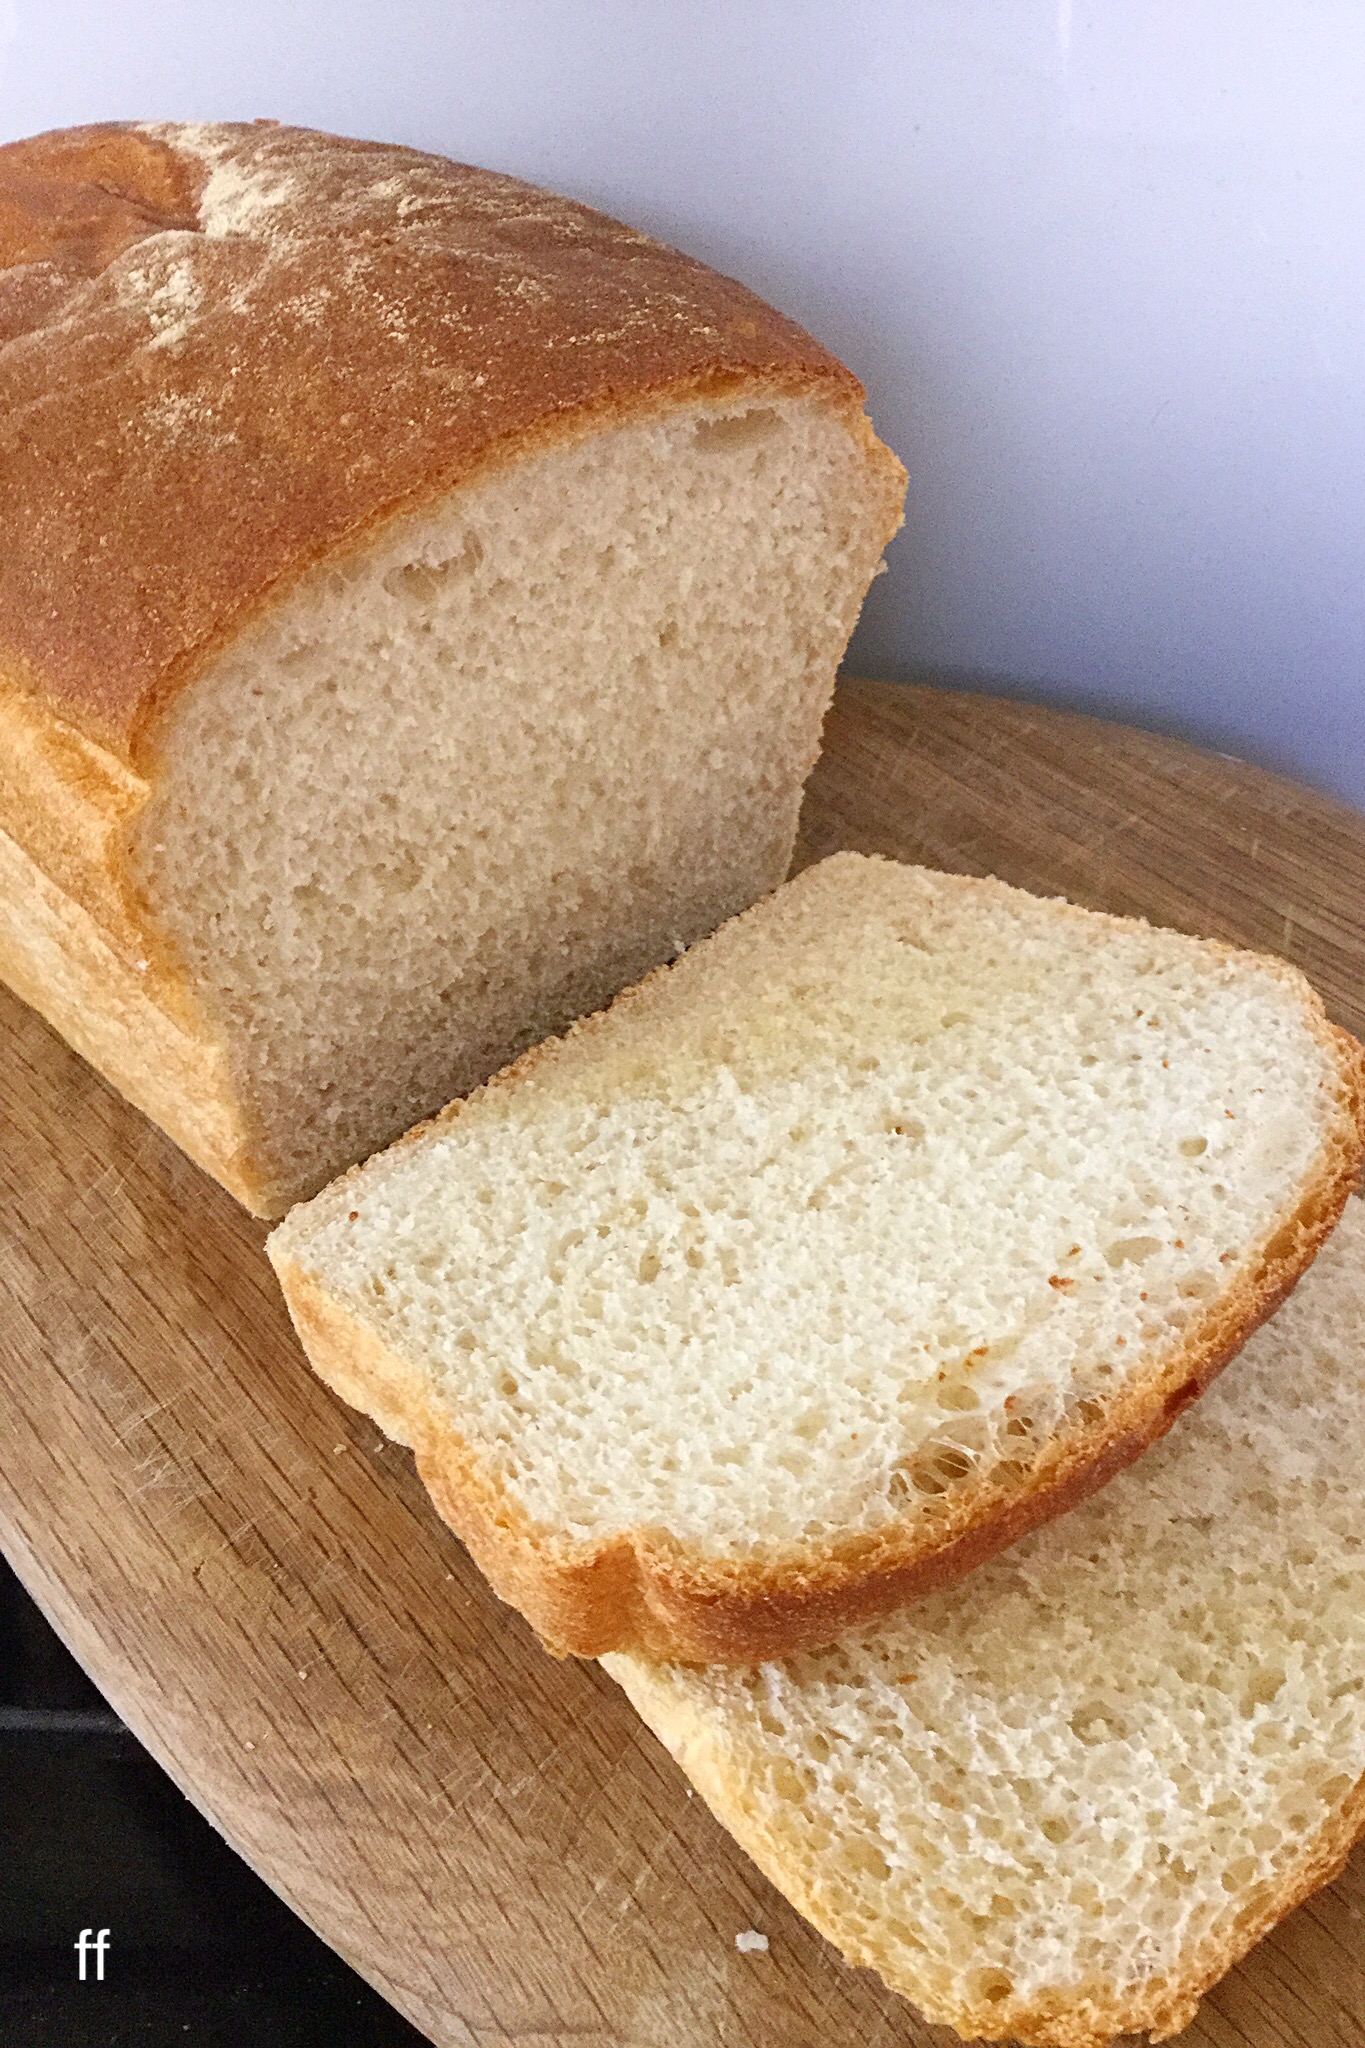
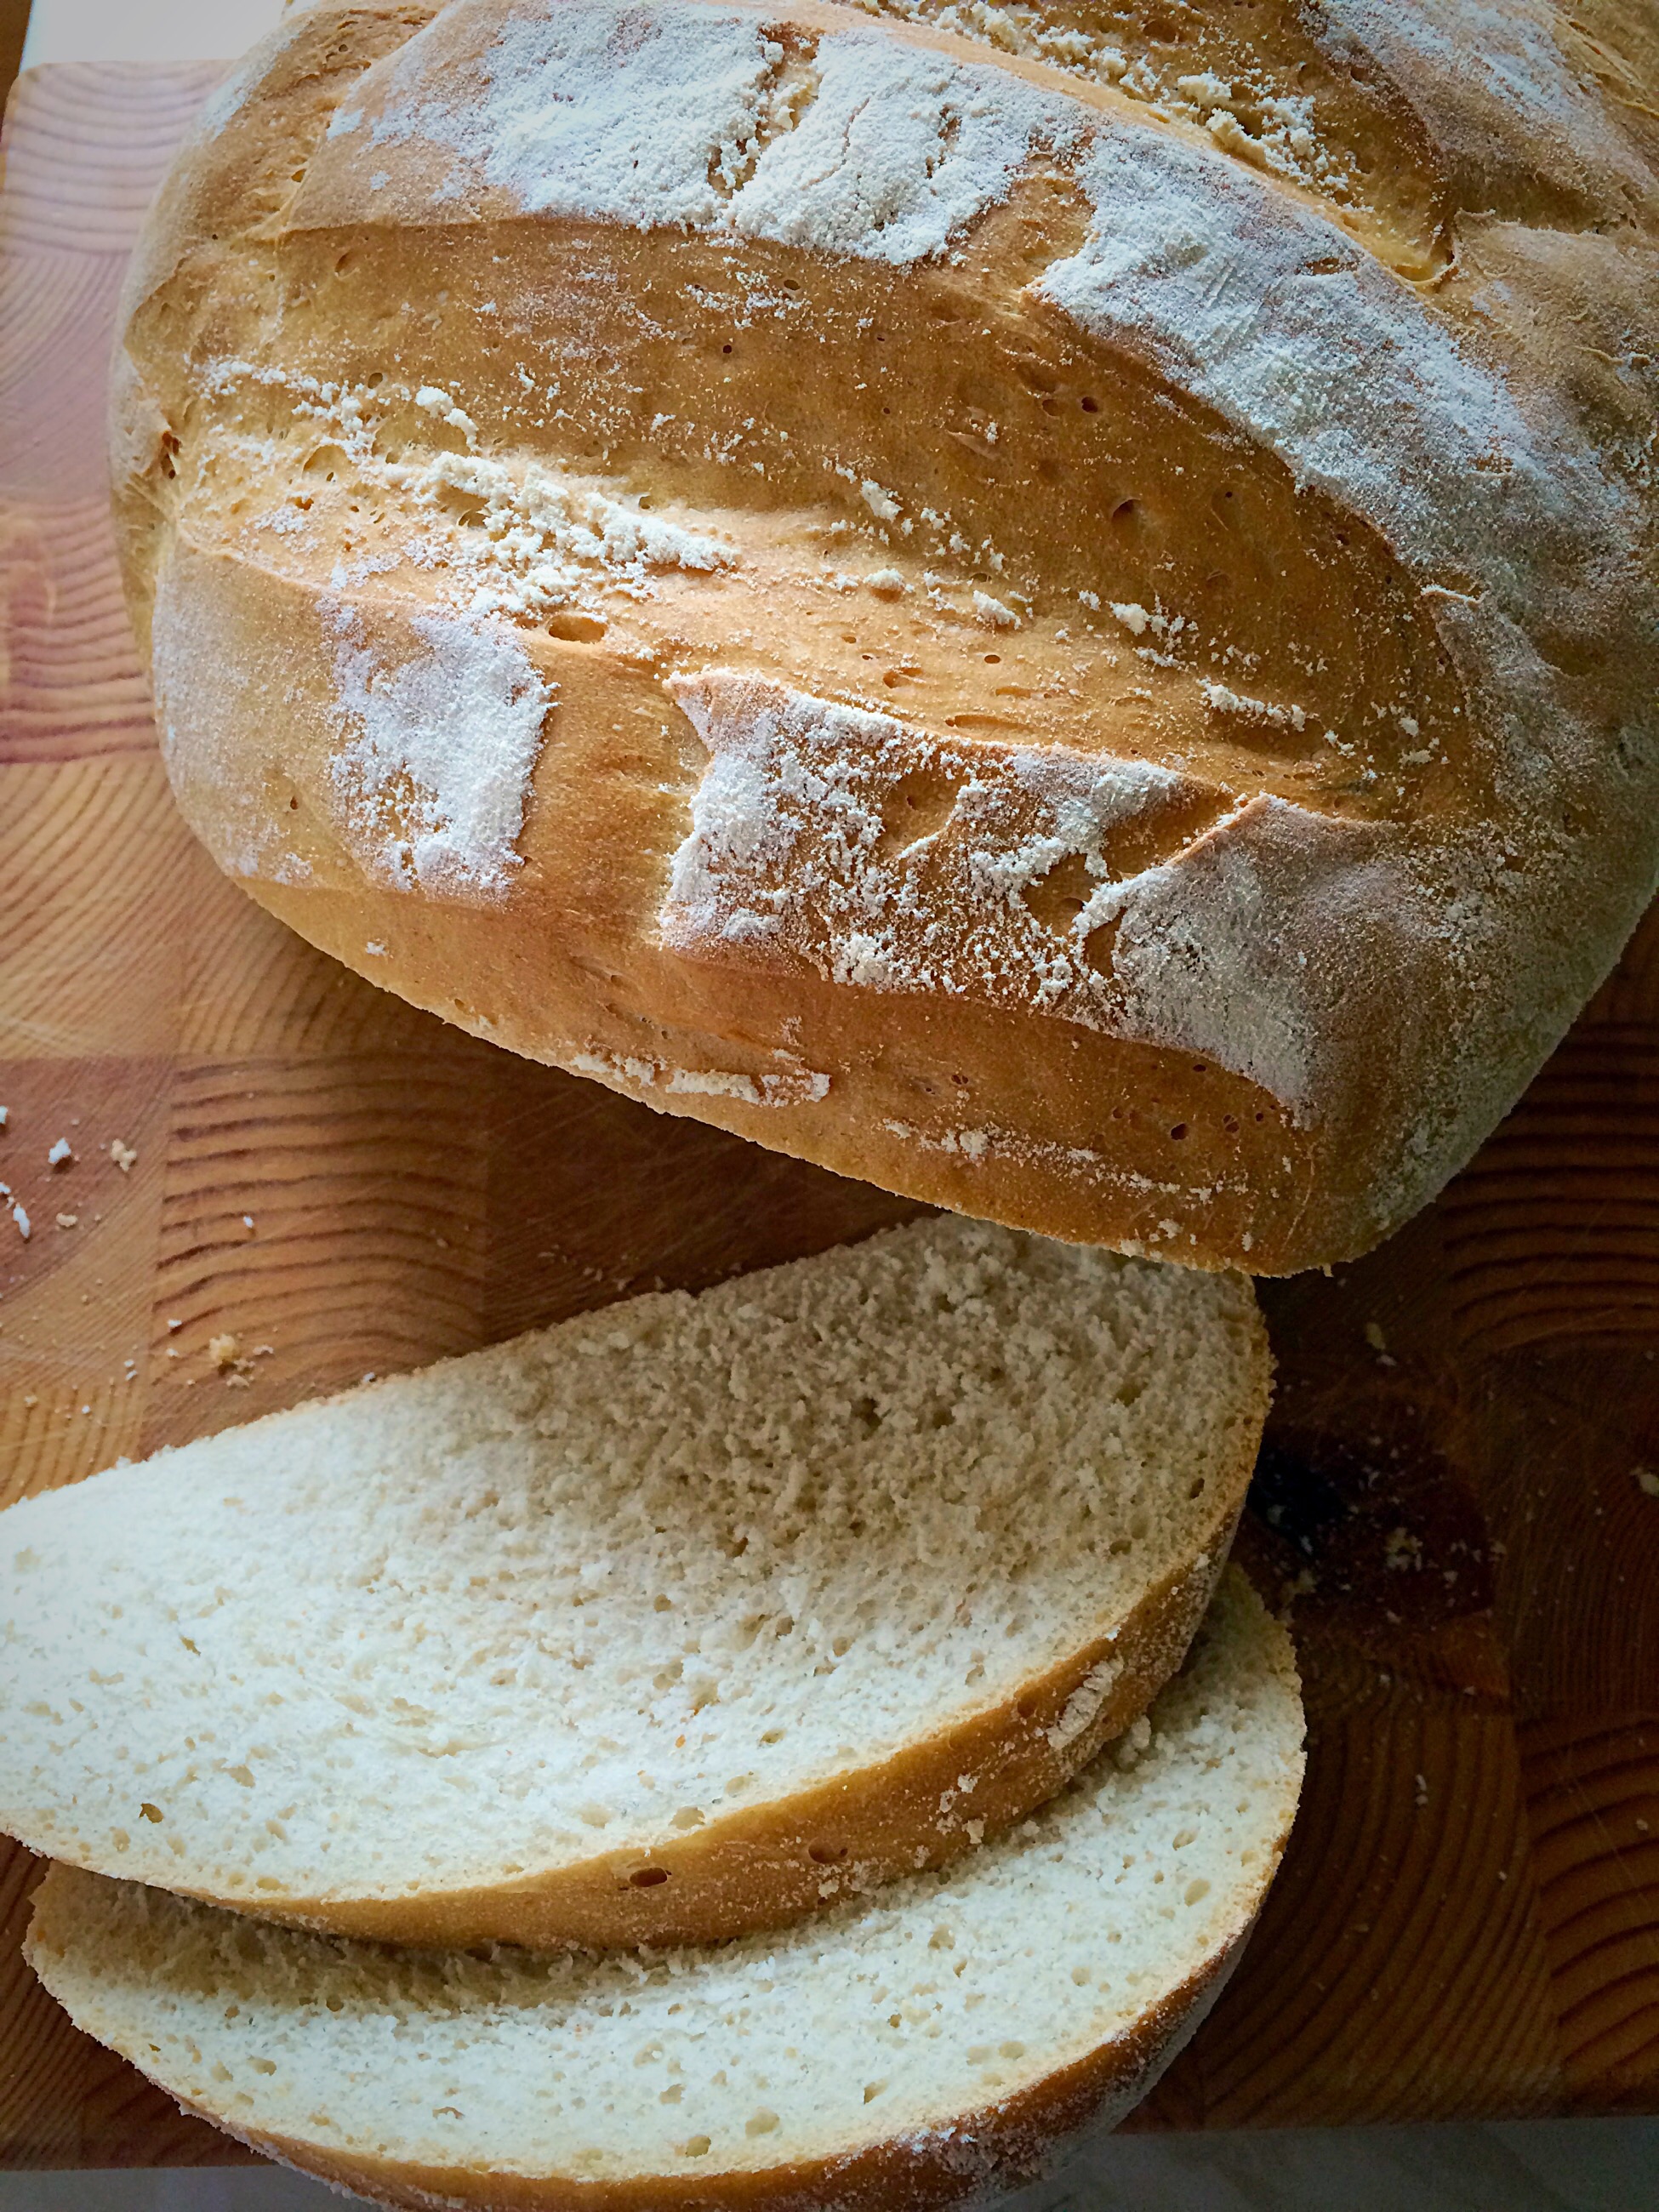
Allow the bread to cool prior to slicing and serving.
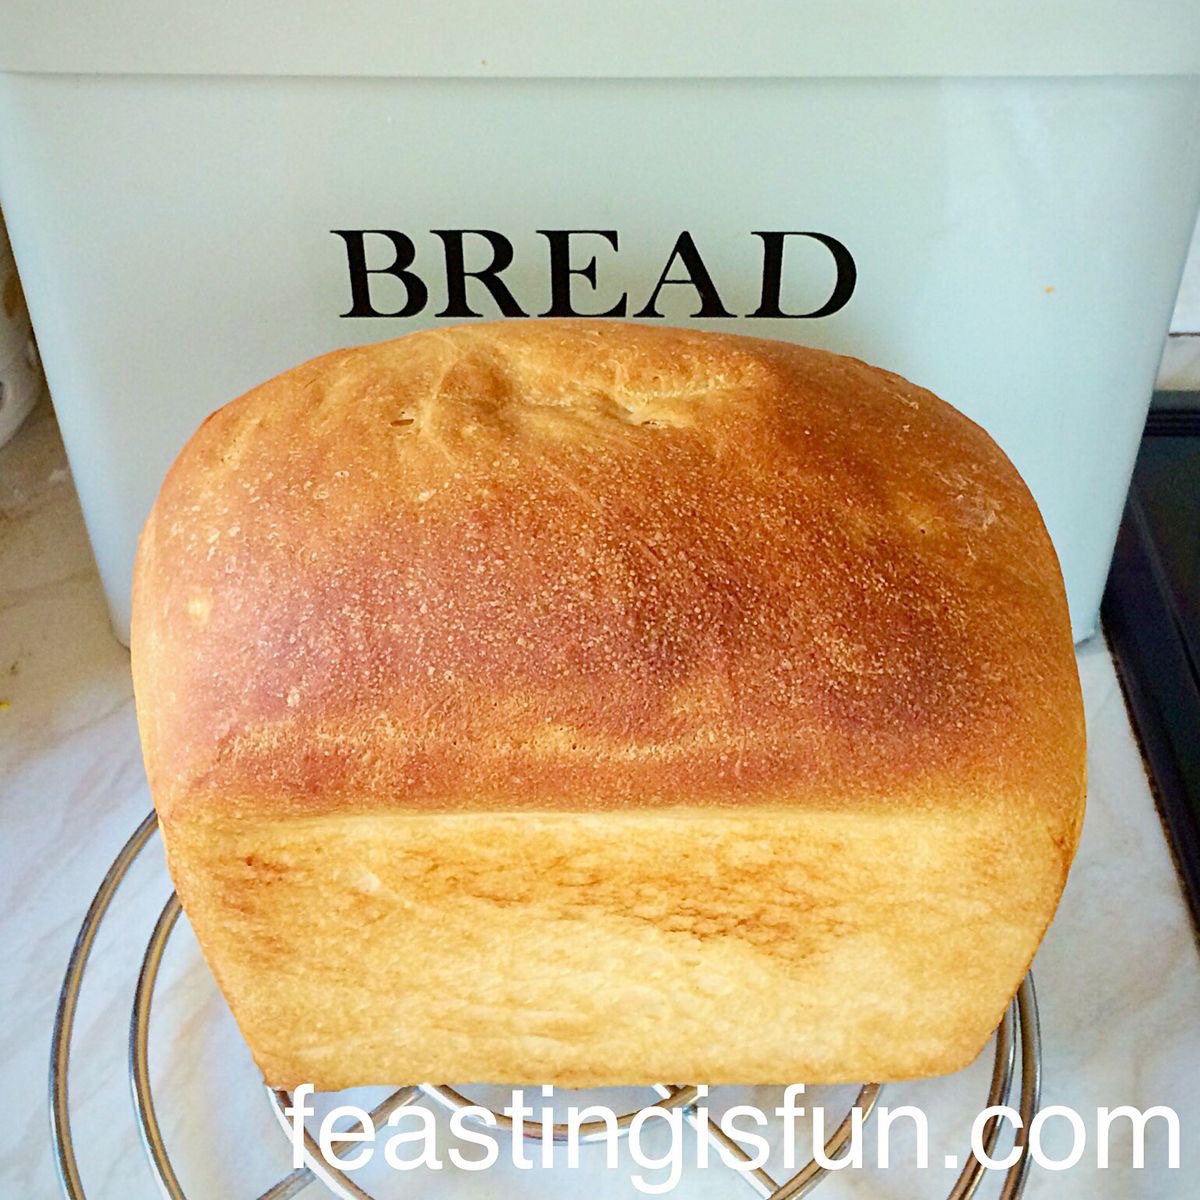
Ideally store the cooled bread in a bread bin. Plastic wrap or cling film may cause the bread to sweat and it will lose it’s crunchy crust and become soft.
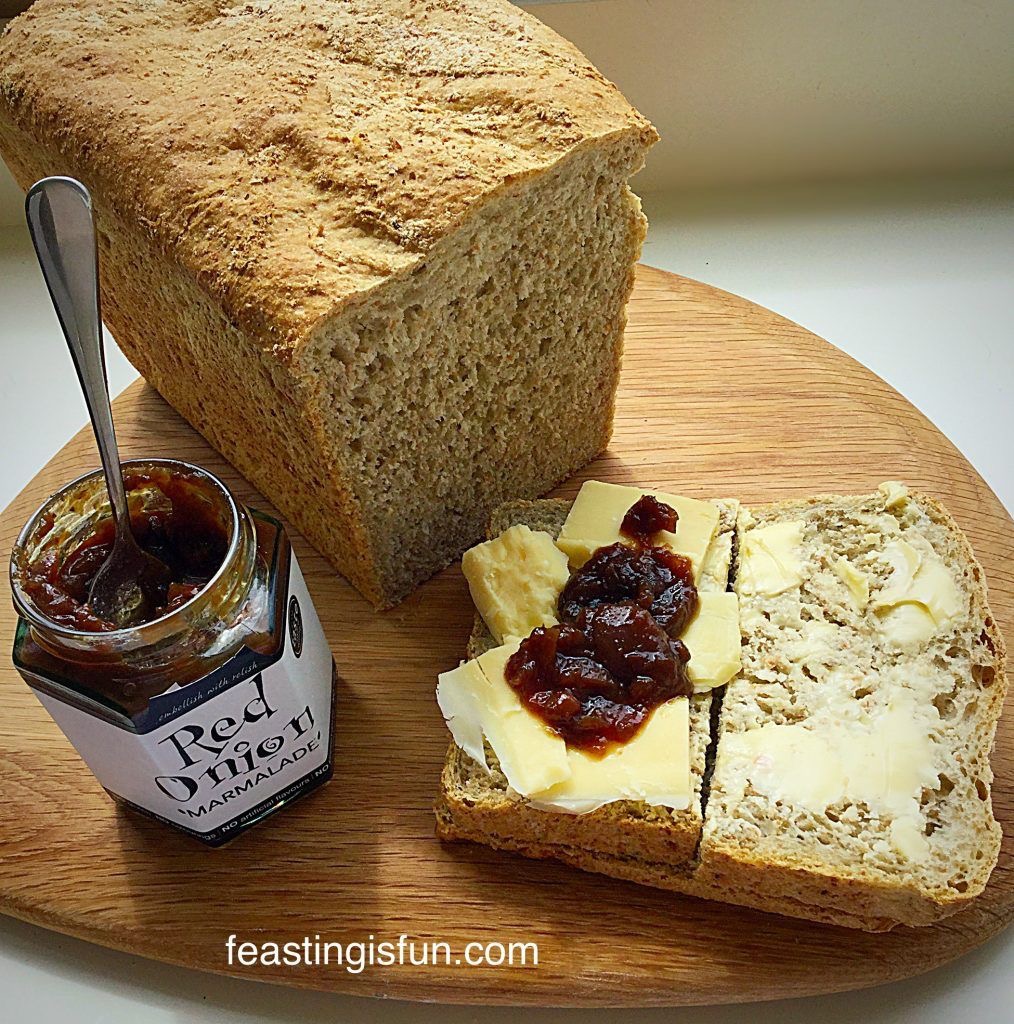
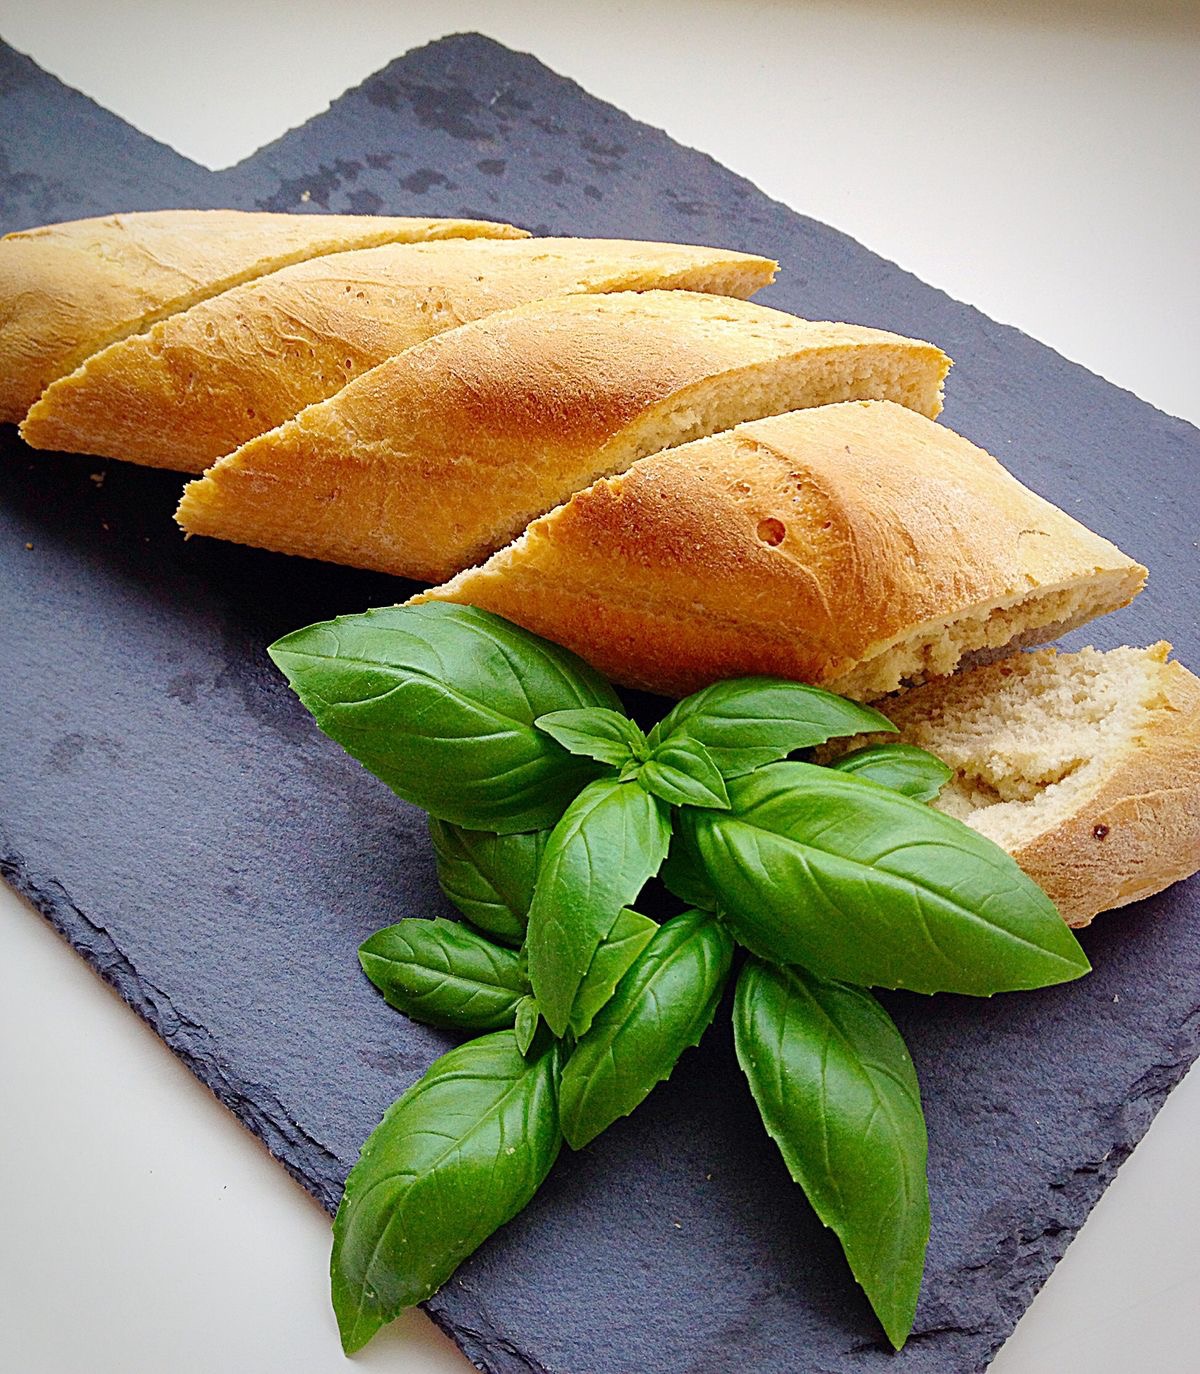
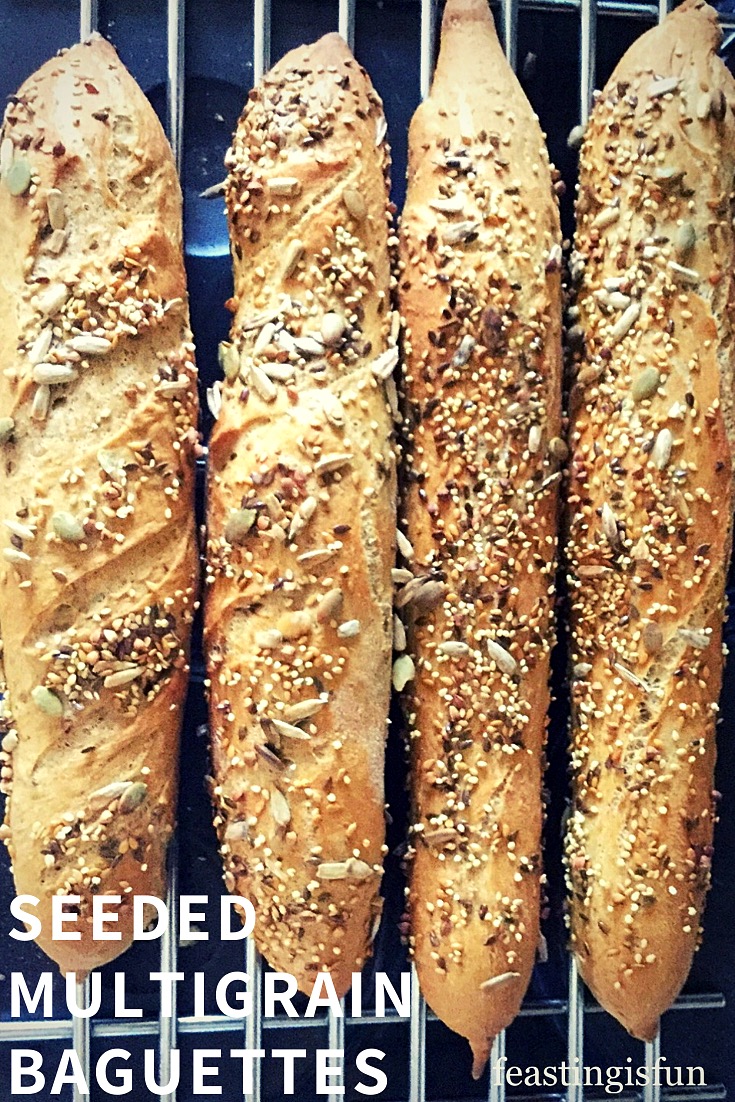
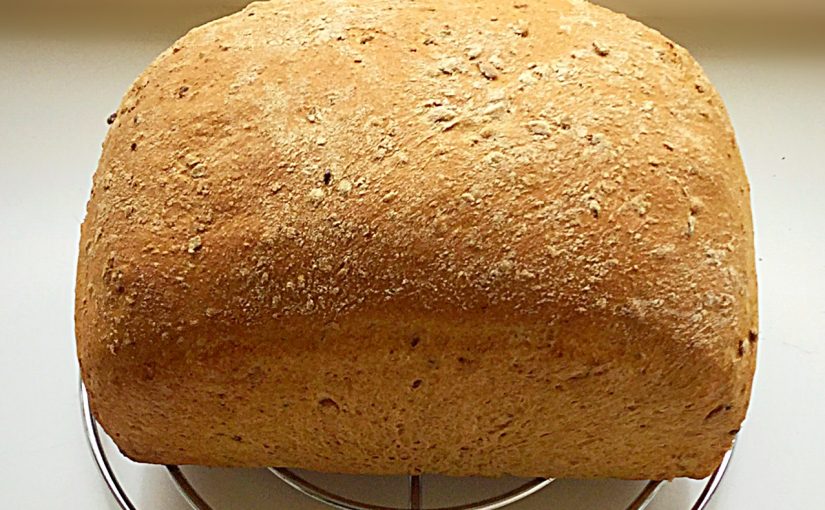
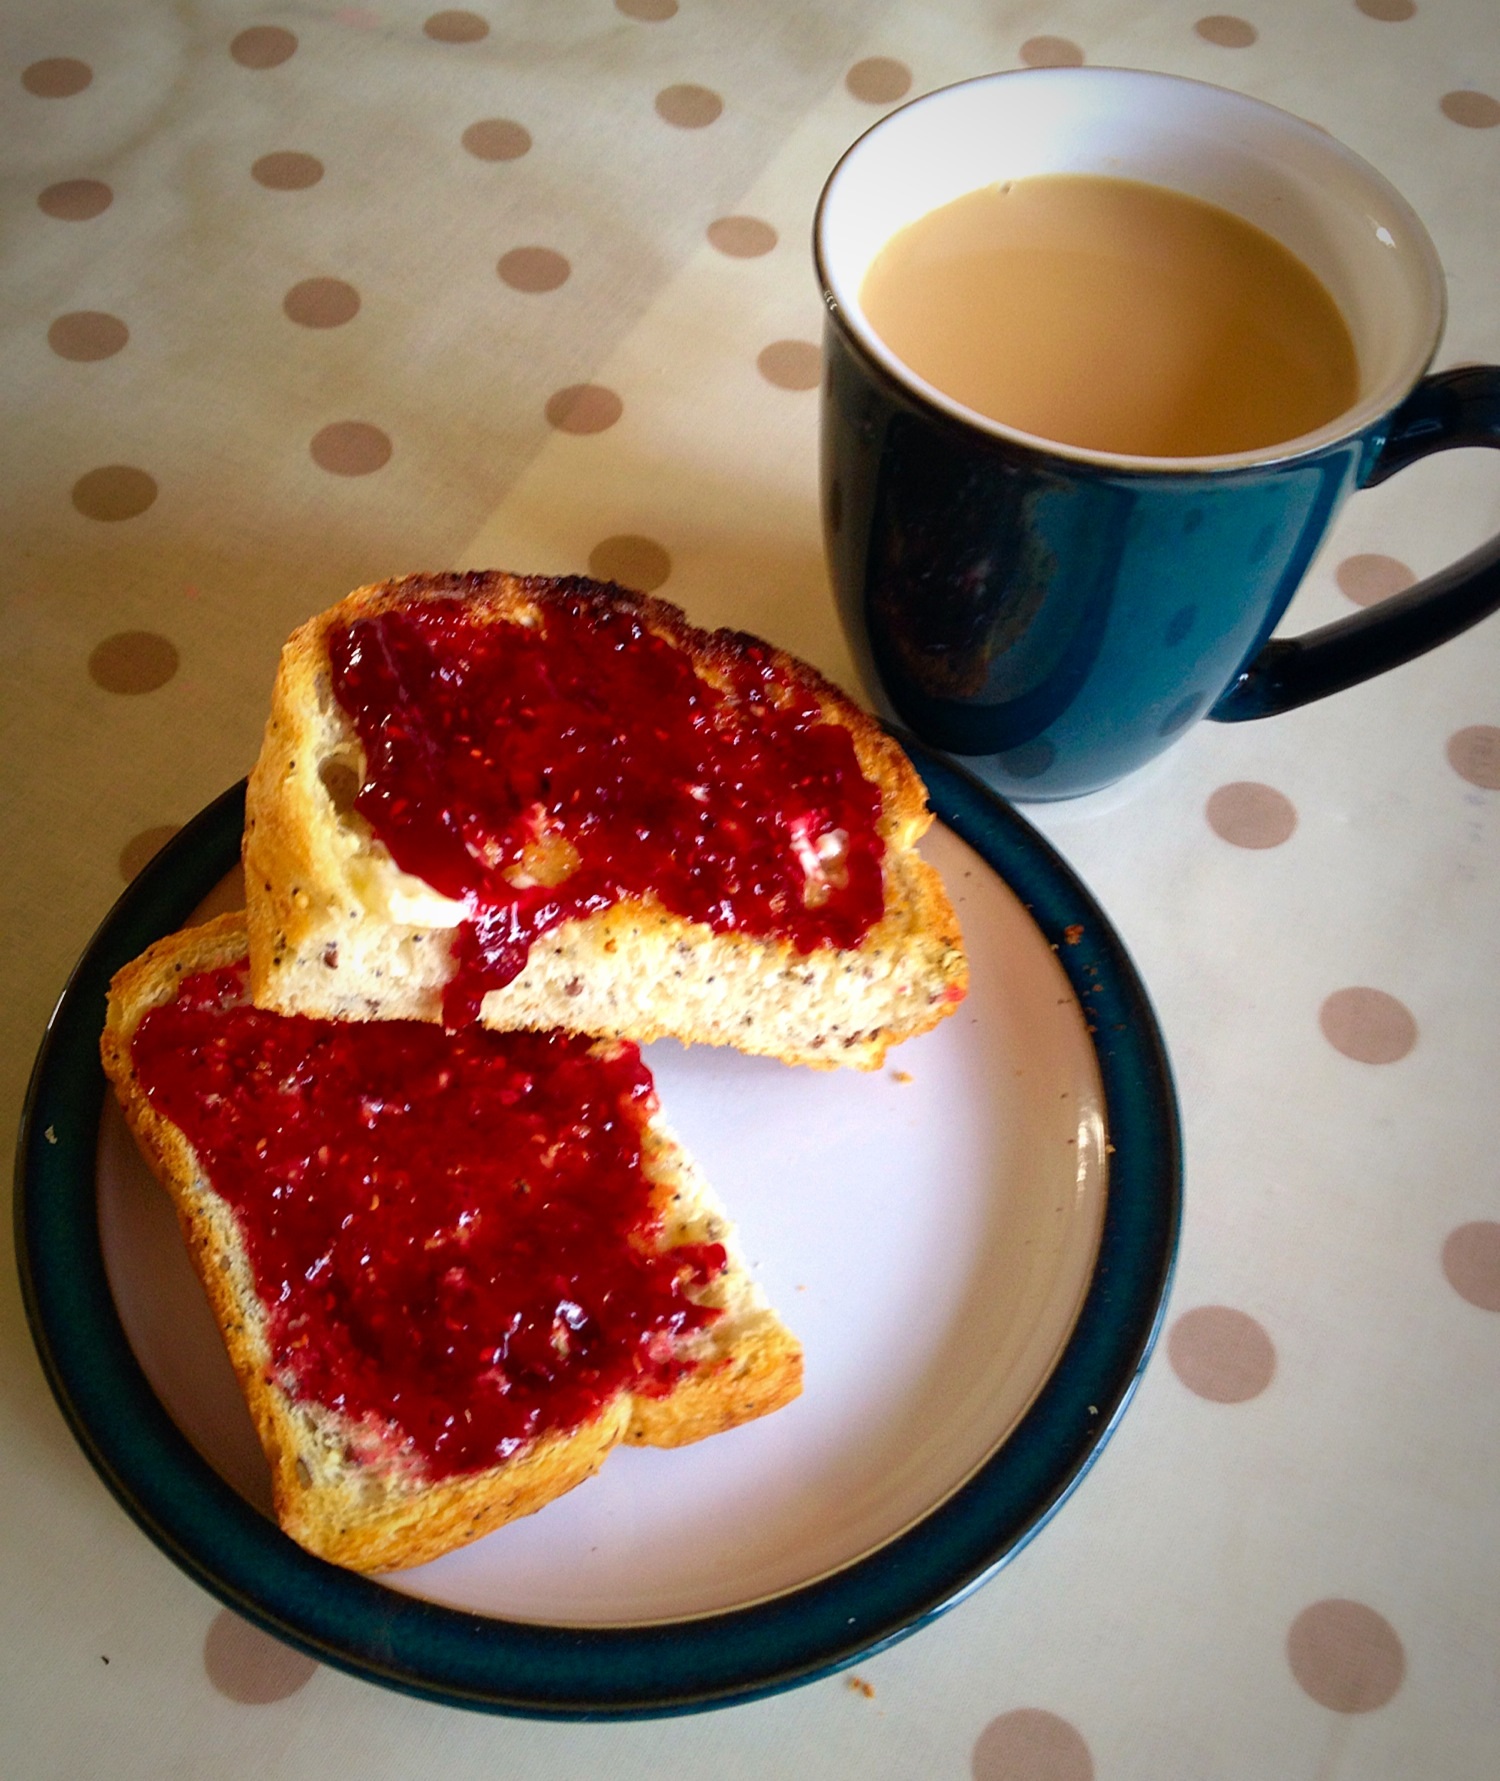
If you have enjoyed this recipe for Sunflower Seed Heart Cob Loaf you may also like these:
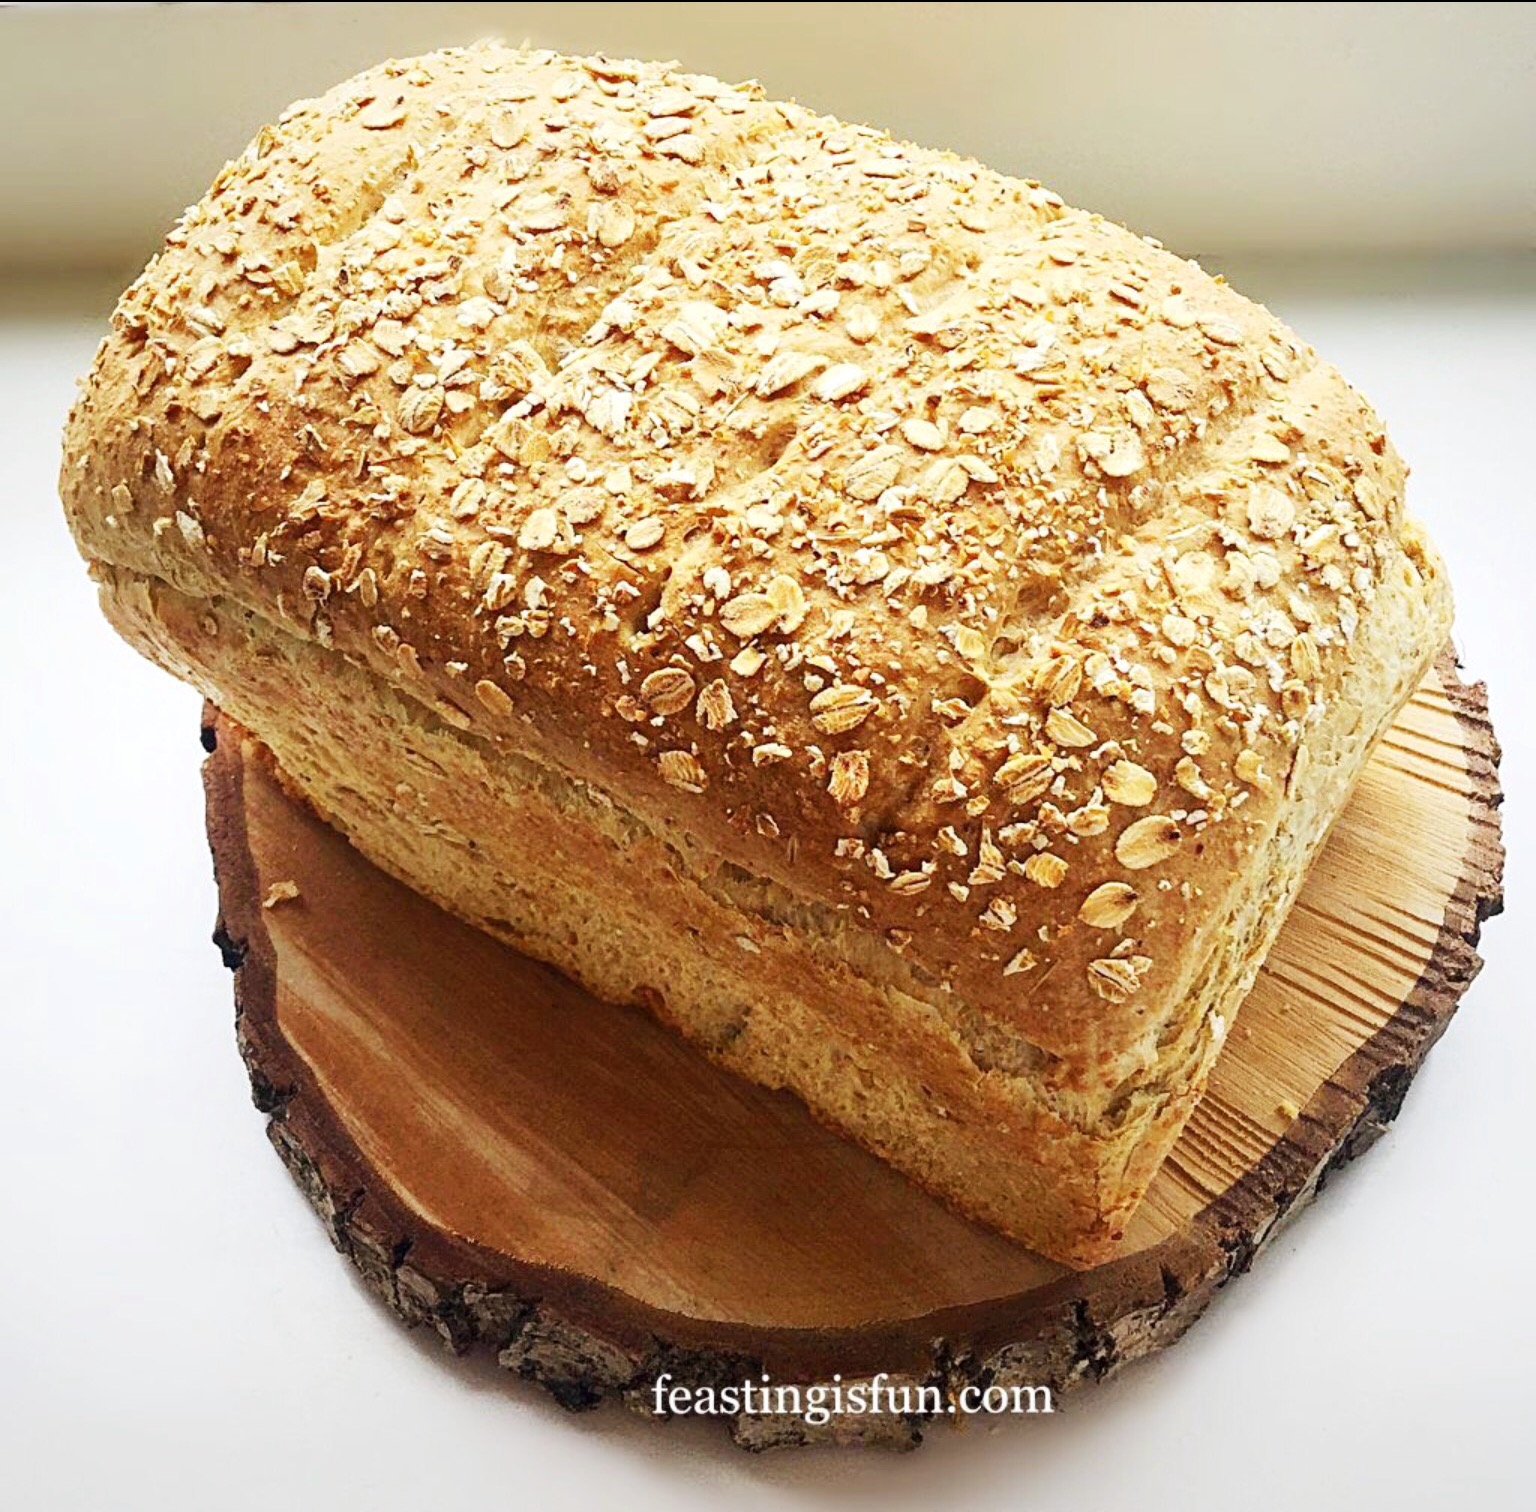
Plaited Seeded Top Wholegrain Spelt Bread
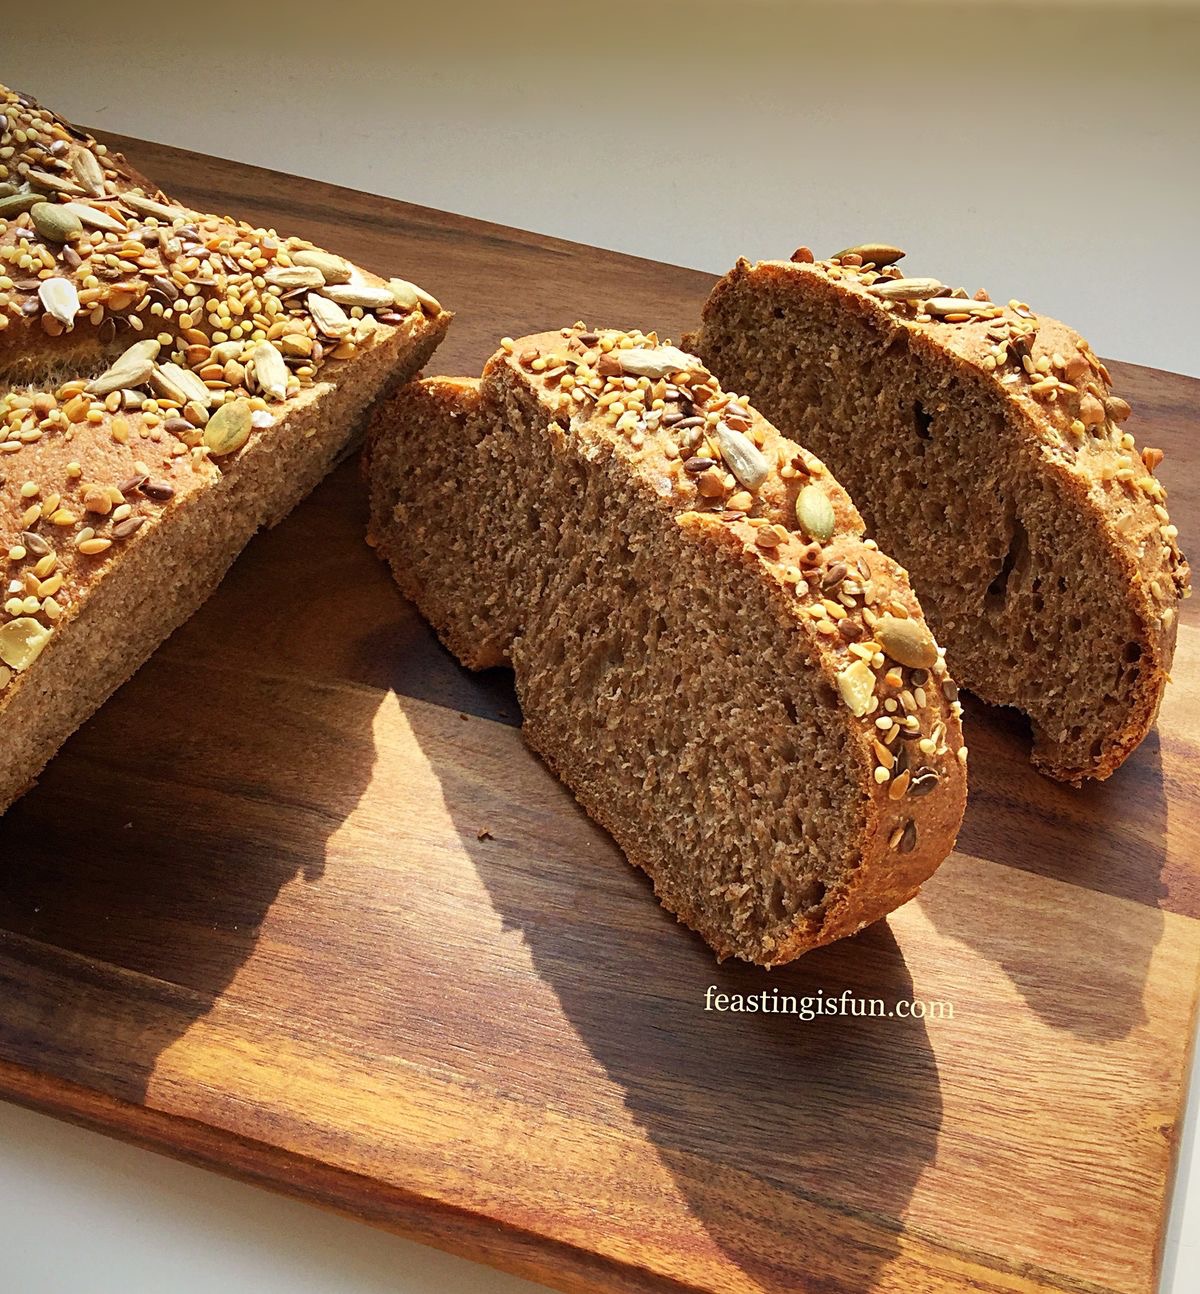

Bread baking is a passion that I have. Creating a tasty loaf that has flavour in it’s own right and is not simply a carrier of flavours makes the little effort it takes worthwhile. Our home is filled with the smell of freshly baked bread on an almost daily basis. If I could only bake one thing it would be bread. Wholesome, hearty, crusty and nutty this loaf ticked every single box. Bread truly is at the heart of any feast.
Whatever you are making, baking and creating in your kitchens, have fun preparing and sharing your feast.
Sammie xx
No part of this post may be reproduced or duplicated without the written permission of the owner. Please see my Disclosure Policy.
Share