Seeded Multigrain Baguettes

Share
Facebooktwitterpinterestlinkedintumblr

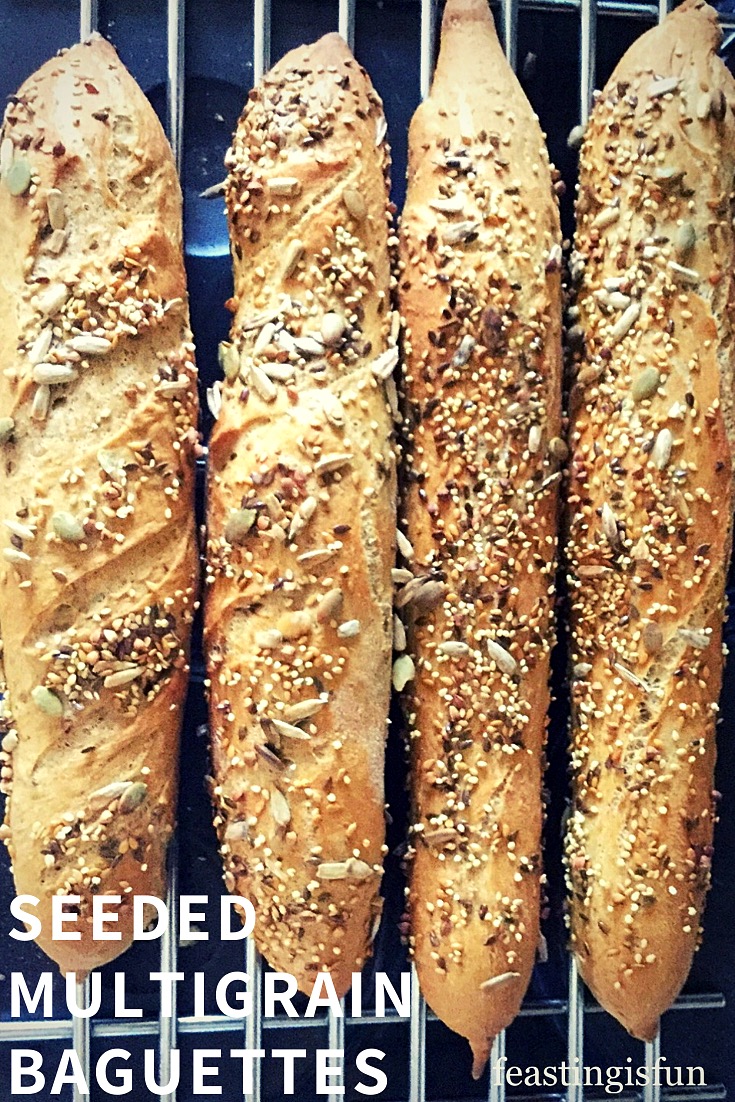
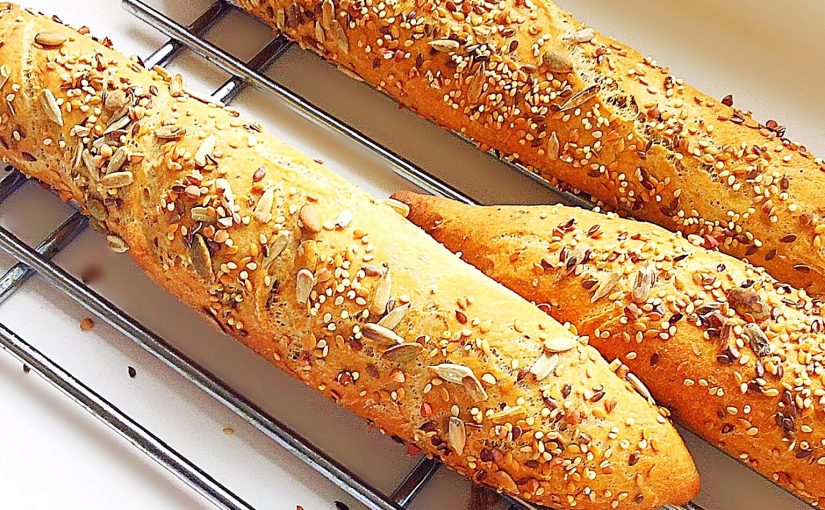
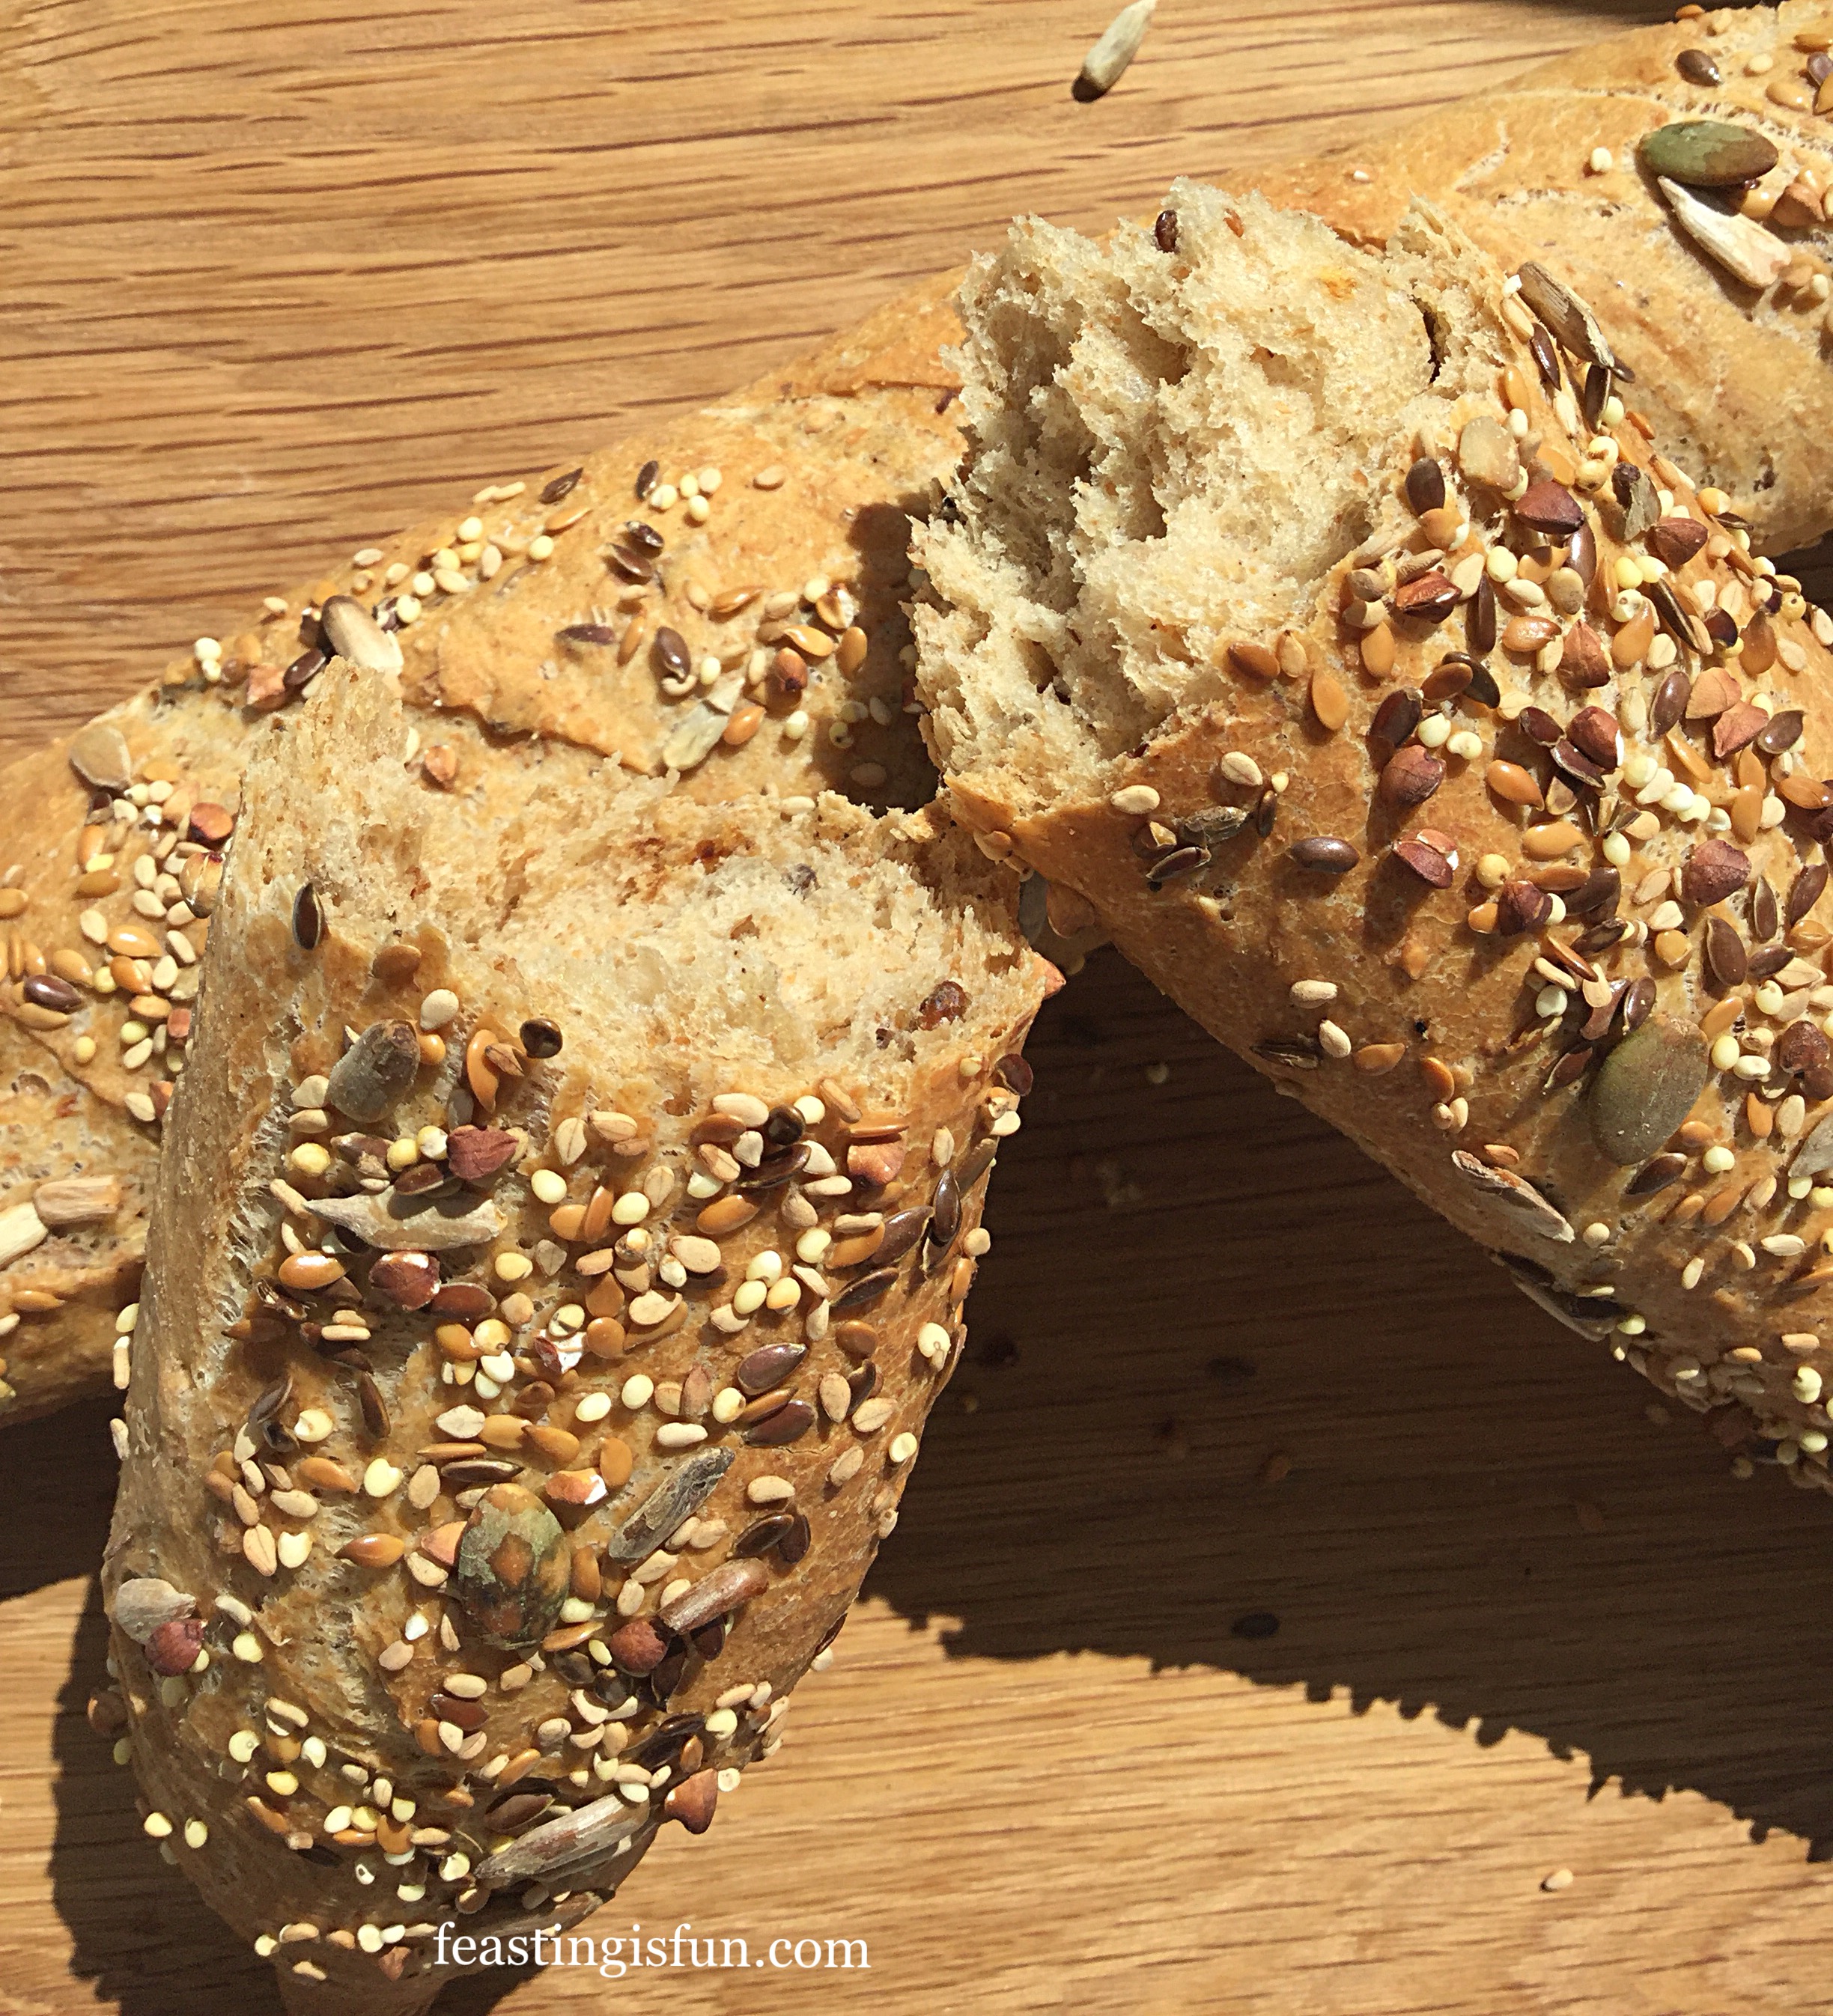
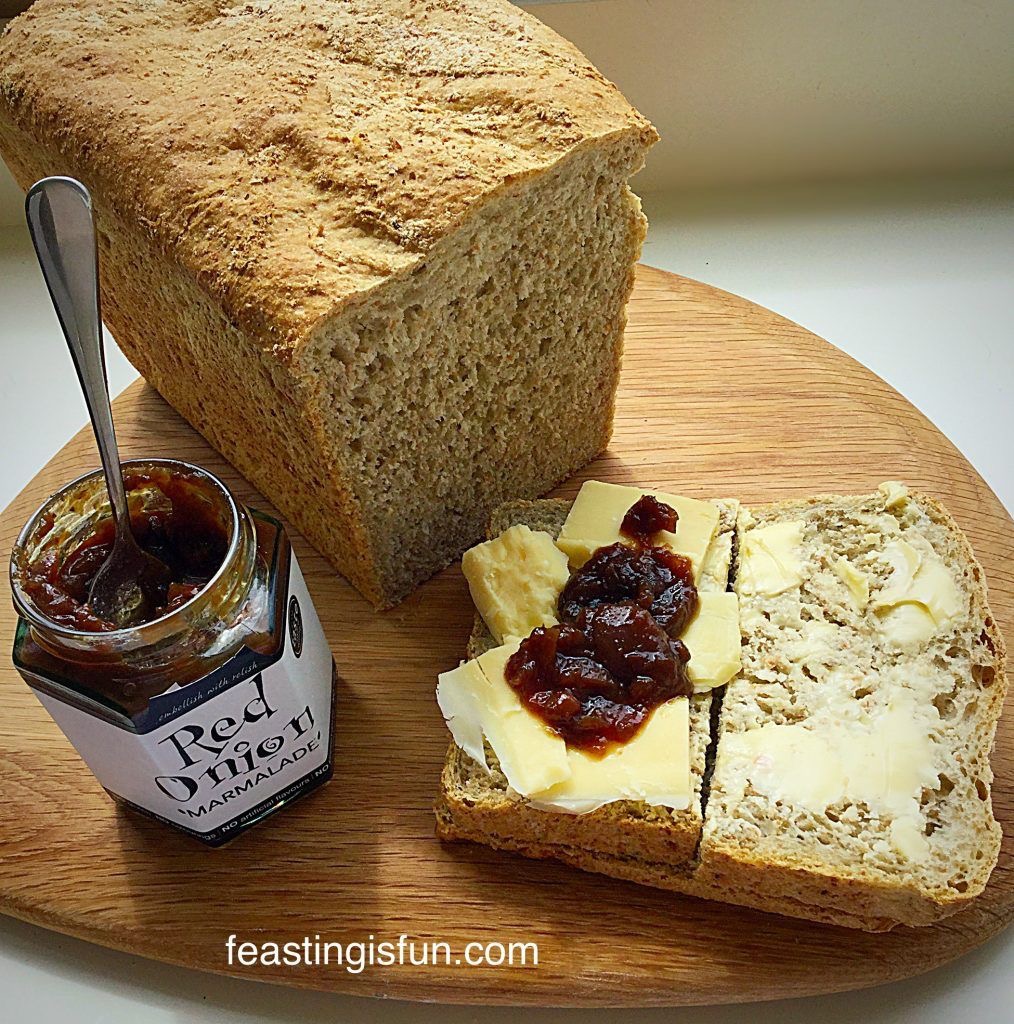
I love baking and truly believe that nothing is as rewarding as homemade bread. The yeasty aroma of dough proving, followed by the smell of fresh bread baking, never grows old. These Seeded Multigrain Baguettes are crunchy and full of nutty flavour. Perfect for dunking into a big bowl of soup, or filling with mature cheddar for a satisfying lunch.

FF Seeded Multigrain Baguettes
Seeded Multigrain Baguettes

Since baking bread can be daunting for those who are new to it, here are a few tips to ensure great results. Always use great quality, fresh, bread flour. Also I throw away any opened flour that has been sitting in the cupboard for over 6 months. Likewise, the same for yeast. While fresh yeast only lasts a few days in the fridge, dried yeast lasts much longer. Although, this should also be replaced after 6 months. Finally, by baking bread regularly, ingredients are used up and naturally replaced before losing their freshness.

FF Seeded Multigrain Baguettes
Seeded Multigrain Baguettes delicious with soup.

With bread being so readily available in every supermarket, especially baguettes, why bake them at home? Personally, the true reason is the same for everything that is cooked and baked in our kitchen. Every single ingredient is known. No additives, flavour enhancers, mould inhibitors or such are added. Each baguette, or loaf is made when required, negating the need to ensure that it stays fresh for an entire week.

FF Seeded Multigrain Baguettes
Seeded Multigrain Baguettes

Satisfaction gained from making, shaping and baking bread dough is reward enough for me. Because superior flavour and freshness cannot be beaten. Eaten within 30 minutes of cooling, from the oven, sets homemade baguettes apart from their mass produced counterparts. Also no ‘invisible’ nasties enter the digestive system  from supposedly ‘healthy’ food.

Recipe: Seeded Multigrain Baguettes makes 4

340ml Water at room temperature

7g/Sachet Dried Yeast – I use Easy Bake Yeast (in the green tin/sachet) from Allinson 

250g/9oz Strong White Bread Flour

250g/9oz Strong Multigrain/Malted with Seeds Bread Flour – I use Shipton Mill 

7g Sea Salt – I use Maldon

25g/1oz Unsalted Butter – alternatively use 1tbsp Olive Oil

4tbsp Mixed Seeds

Method:

This method uses a stand mixer to mix and knead the dough. You may easily mix and knead by hand, following the shaping technique given.

Making The Seeded Bread Dough

  • Place the stand mixer bowl on top of digital scales. Weighing ingredients, including water is, by far, the most accurate way to bake.
  • Weigh 340g water into the bowl. One gram equals one millilitre of water.
  • Next add the yeast.
  • Add the bread flours on top of the yeasted water. Keeping the yeast and salt separate allows the yeast to work without the salt killing it.
  • Weigh the salt and butter directly on to the flour.
  • With a dough hook attached mix on a low speed for 5 minutes.
  • Increase the speed to medium and continue to mix for a further 5 minutes.
  • As soon as the mixing time has finished switch off the stand mixer. Remove a small piece of dough and stretch it. When fully kneaded the dough should stretch without tearing, so that light can been seen through it – windowpane test. Continue to mix on medium speed for a further 2 minutes, until this test is passed.
  • As soon as the dough is fully kneaded, switch off the mixer and scrape any dough from the dough hook into the bowl, using your fingers.
  • Cover the bowl with a clean tea towel and leave to prove until doubled in size, 1-2 hours.

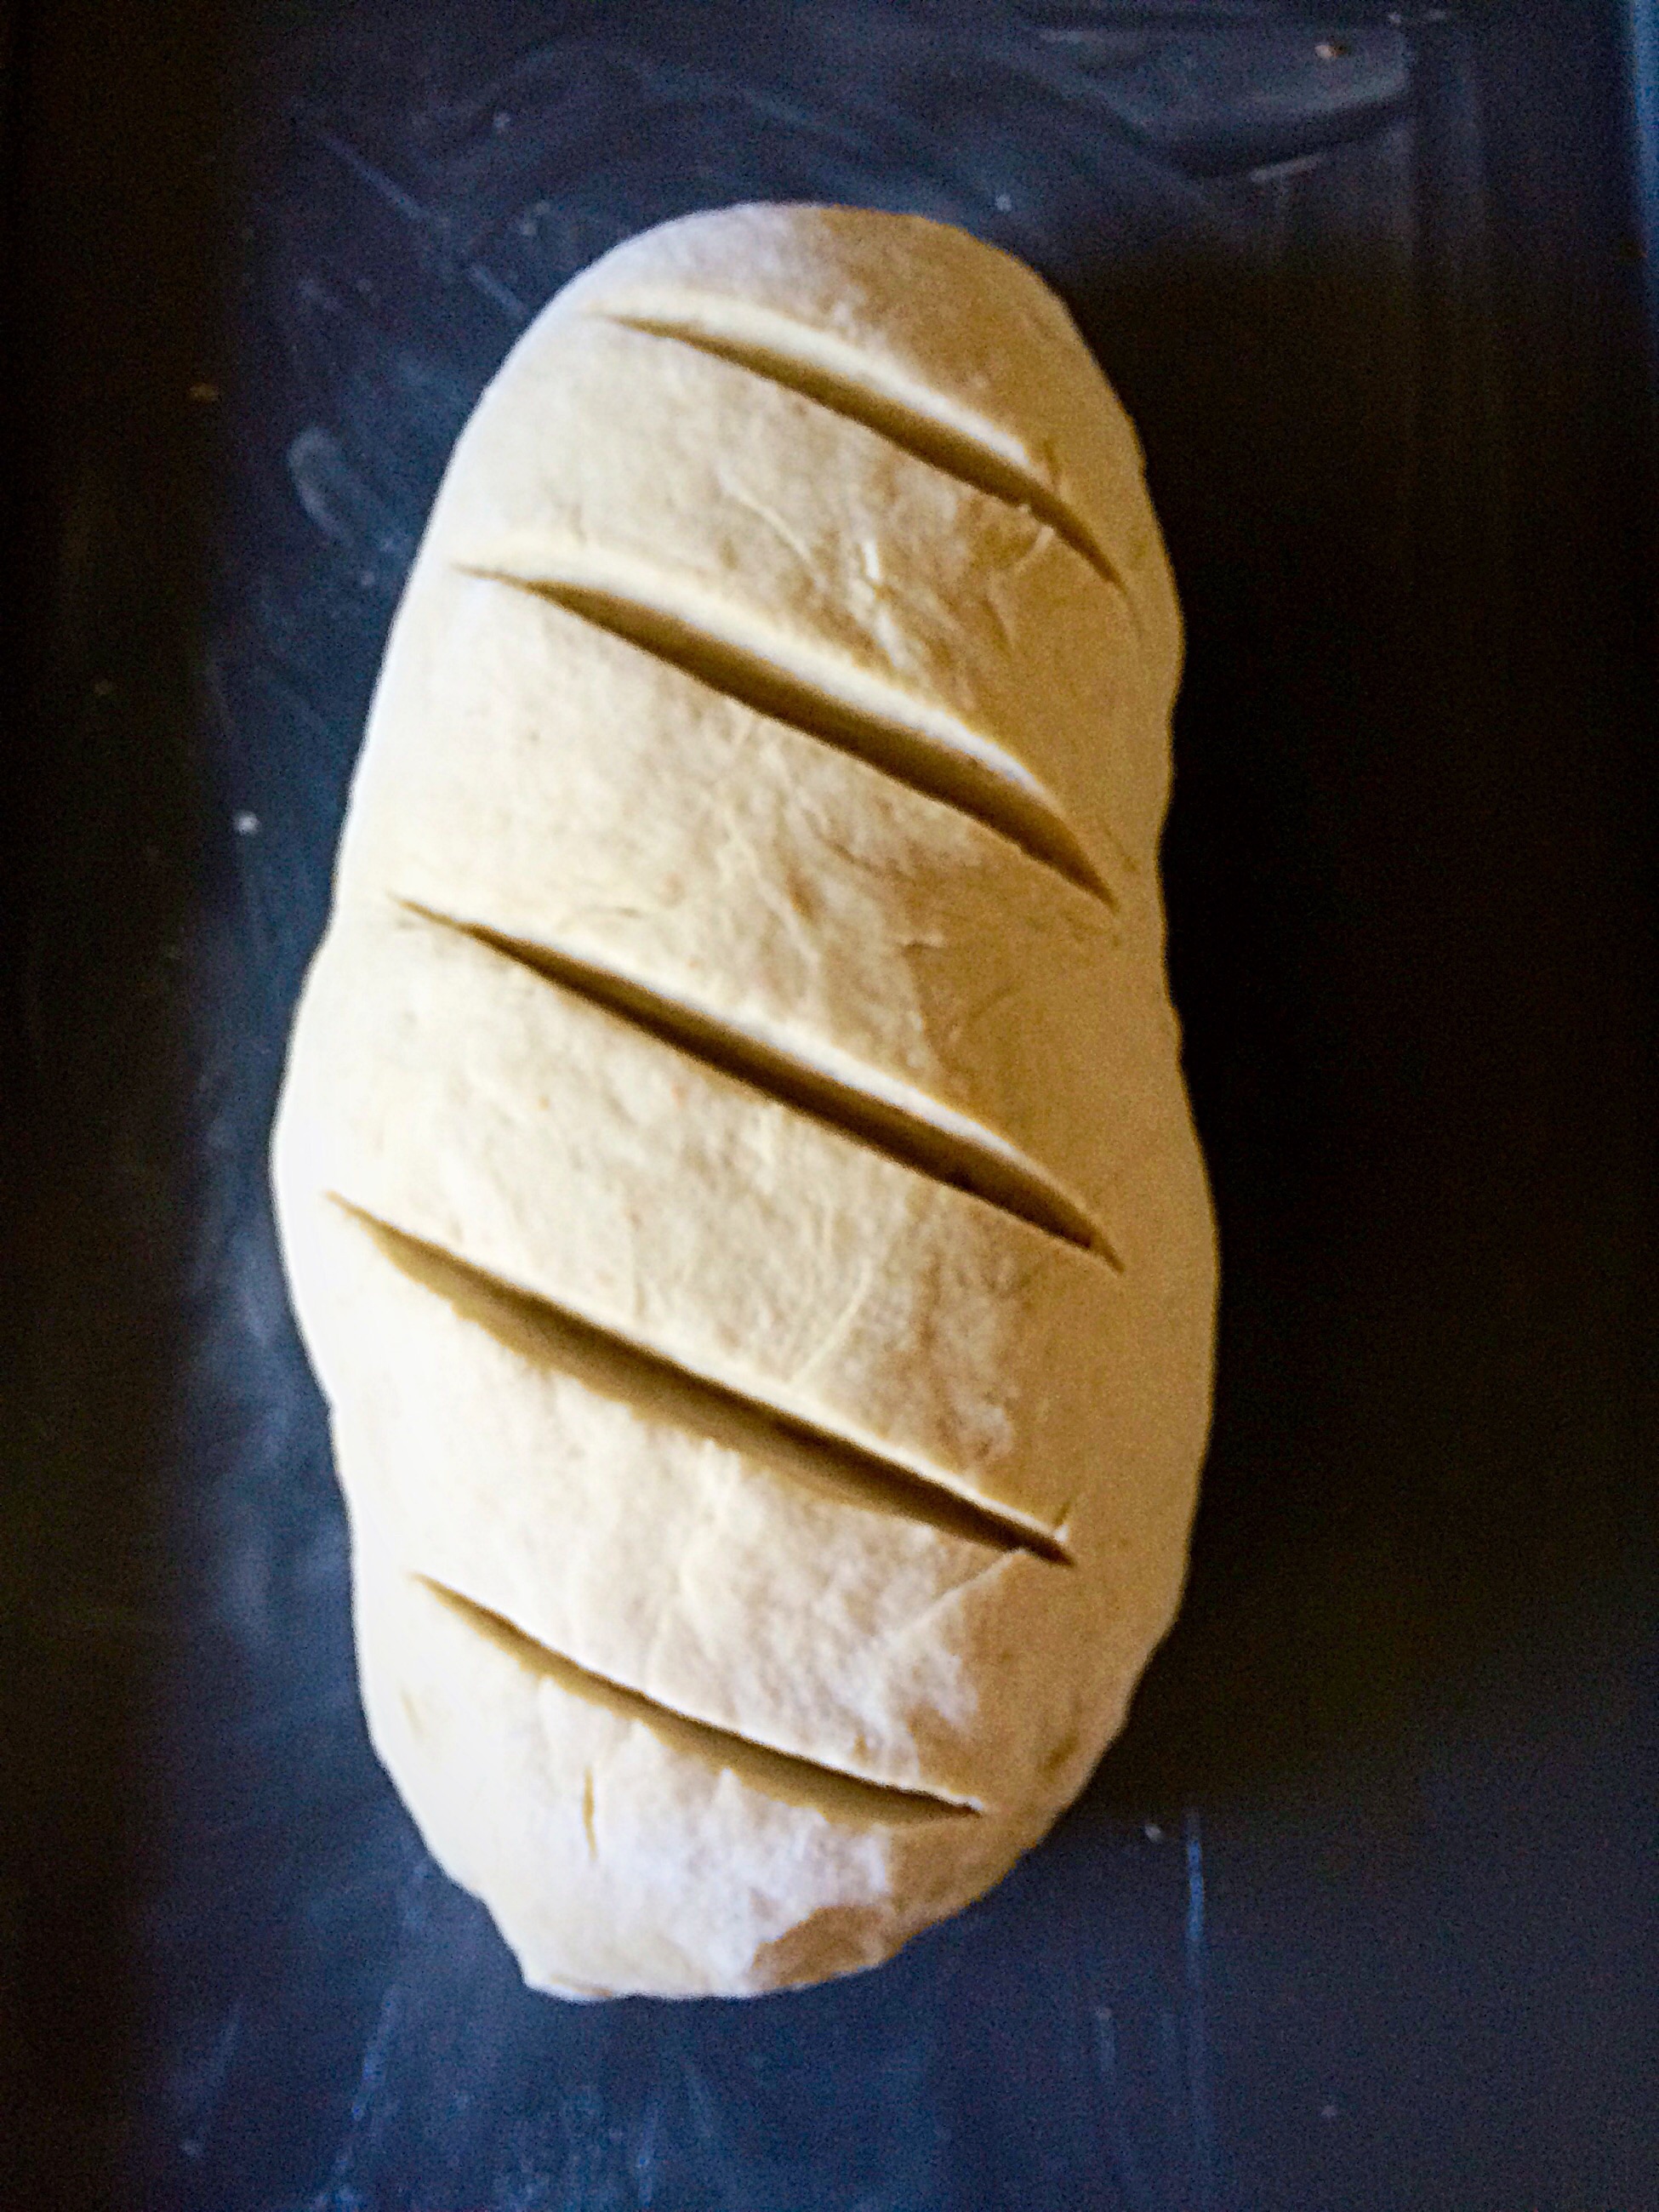
Shaping The Multigrain Baguettes

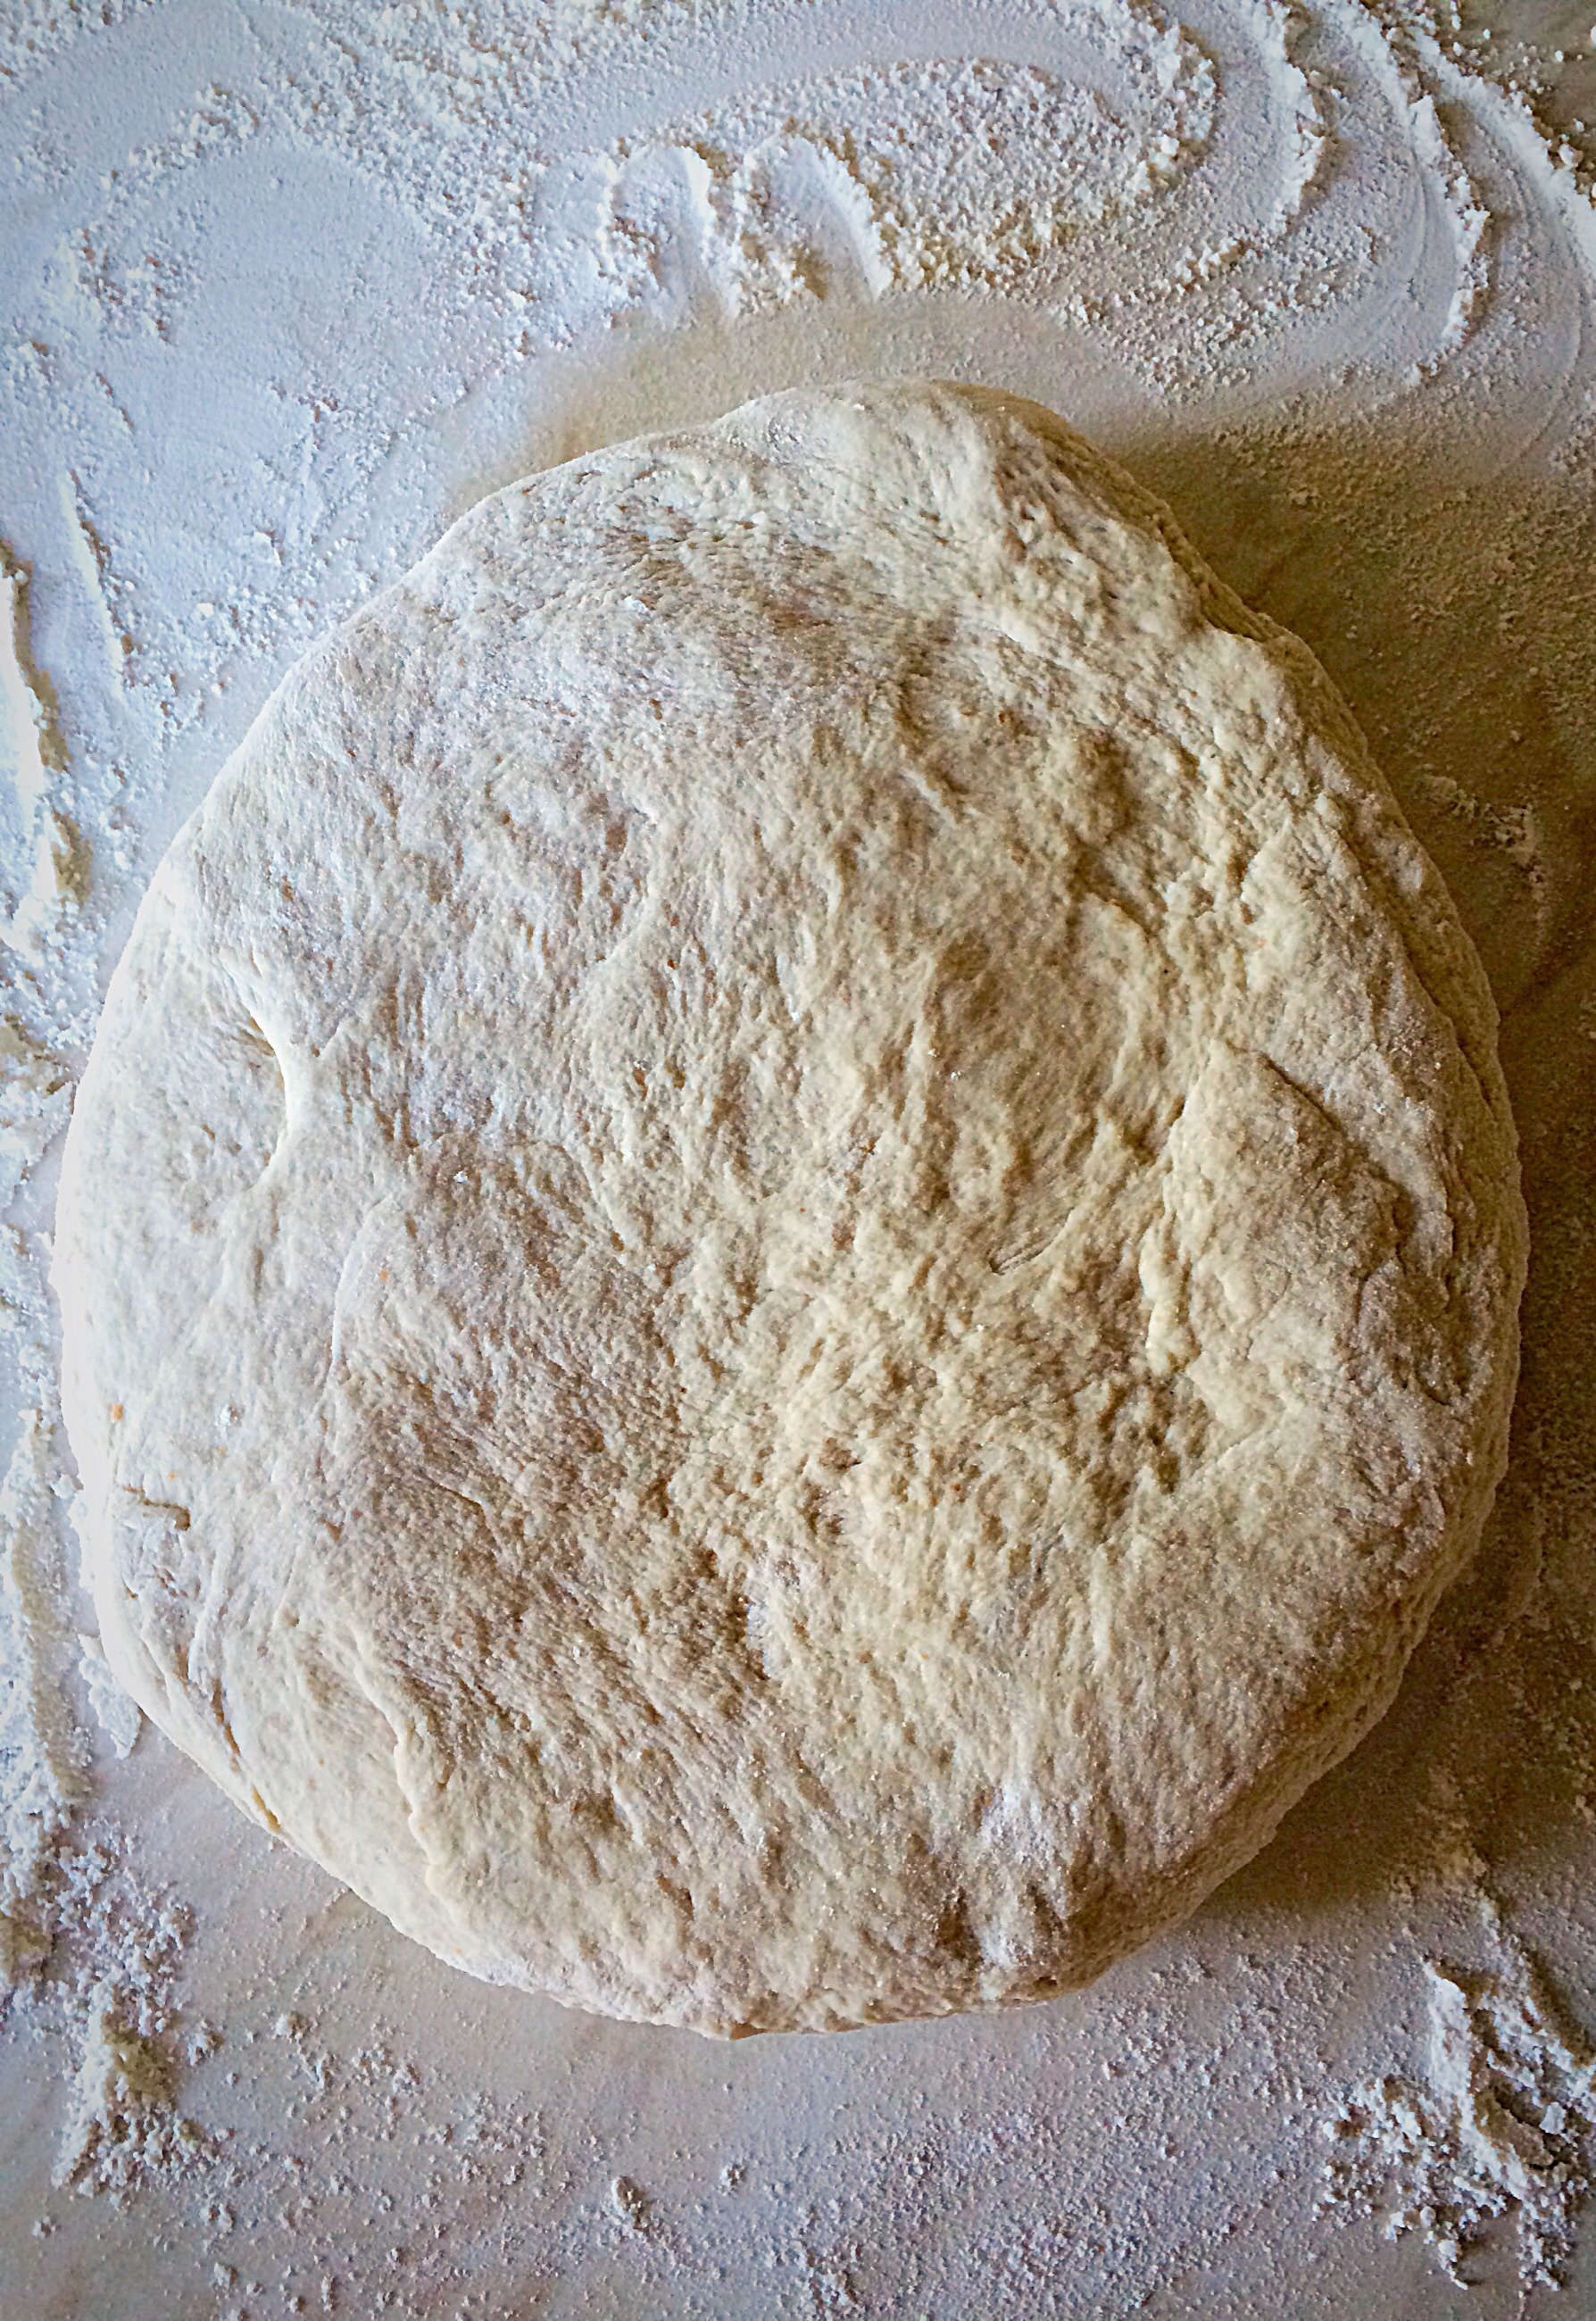
  • When the dough has doubled in size, turn out on to a lightly floured worktop. Make sure the top of the dough in the bowl is in contact with the worktop, becoming the underneath.
FF Seeded Multigrain Baguettes
Dividing the dough into four equal portions.
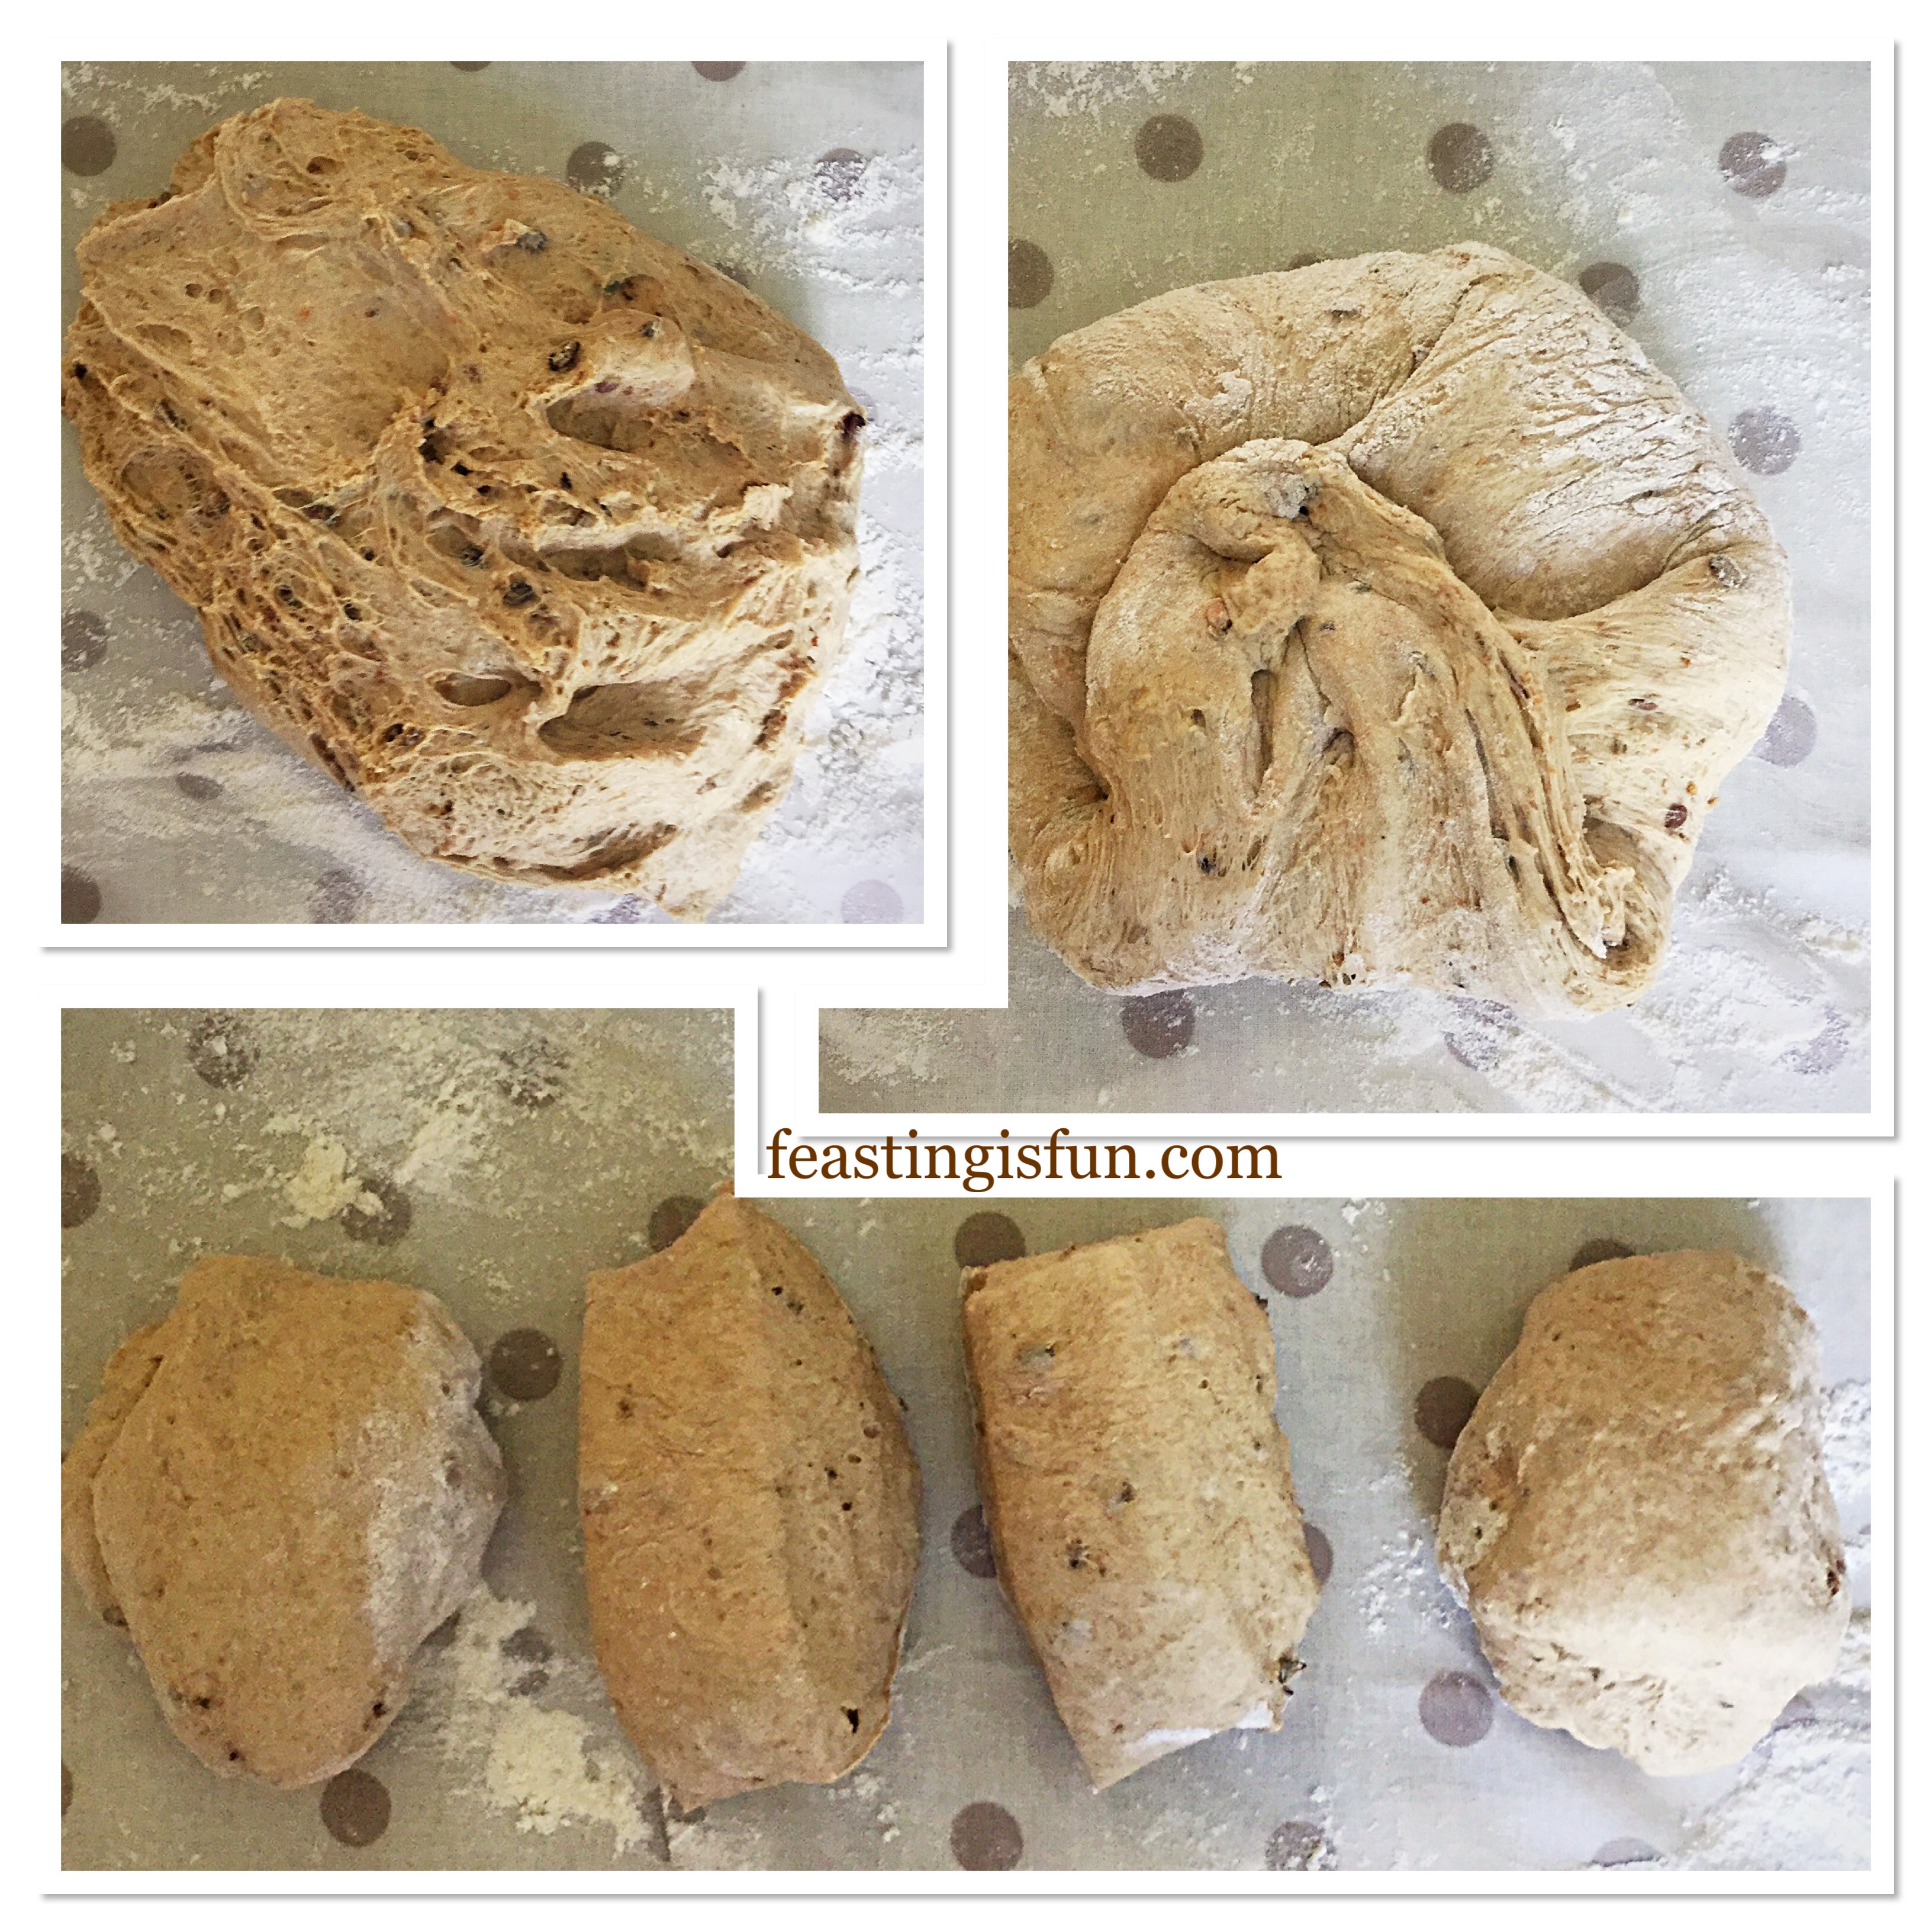
  • Pull out the dough 5-6 times, from the side and press into the centre of the dough ball.
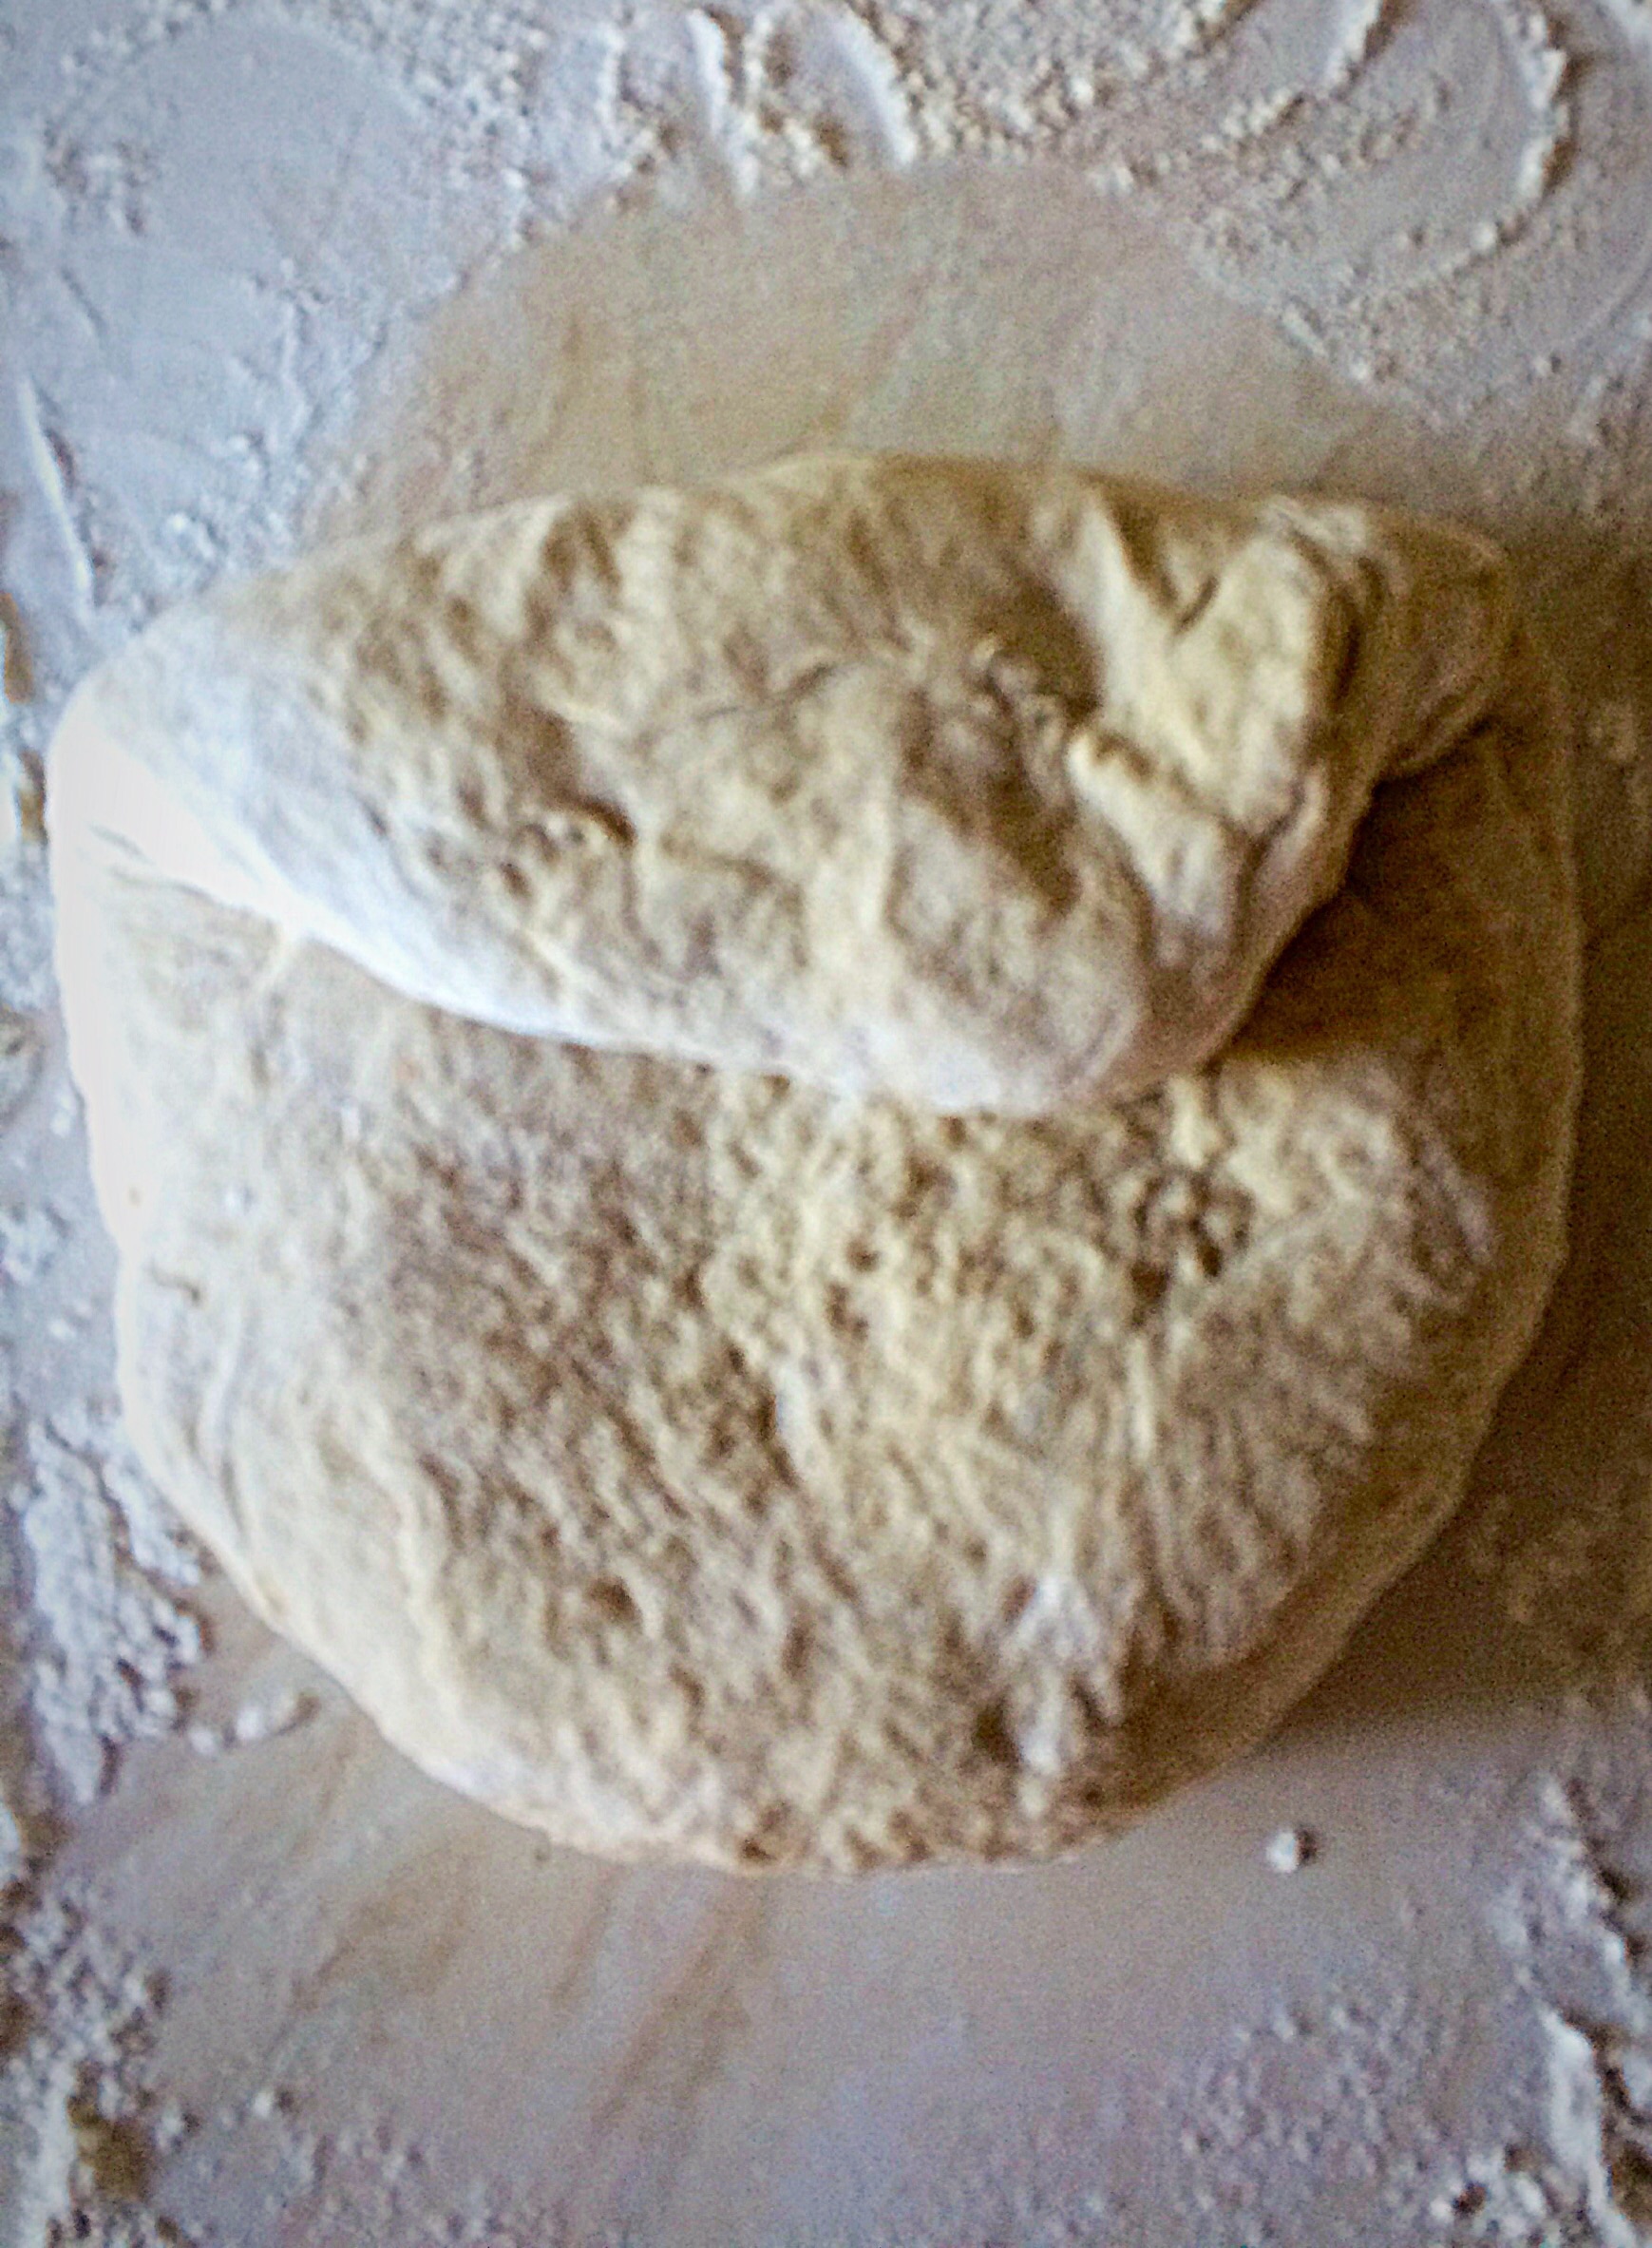
  • Turn the dough over, shape into a rough log and cut into 4 even portions.
  • Take the first piece of dough, turn on its side and pull 4-5 times from around the edge. Sticking each piece of dough back into the centre as before.
FF Seeded Multigrain Baguettes
Shaping each piece of dough into a baguette.
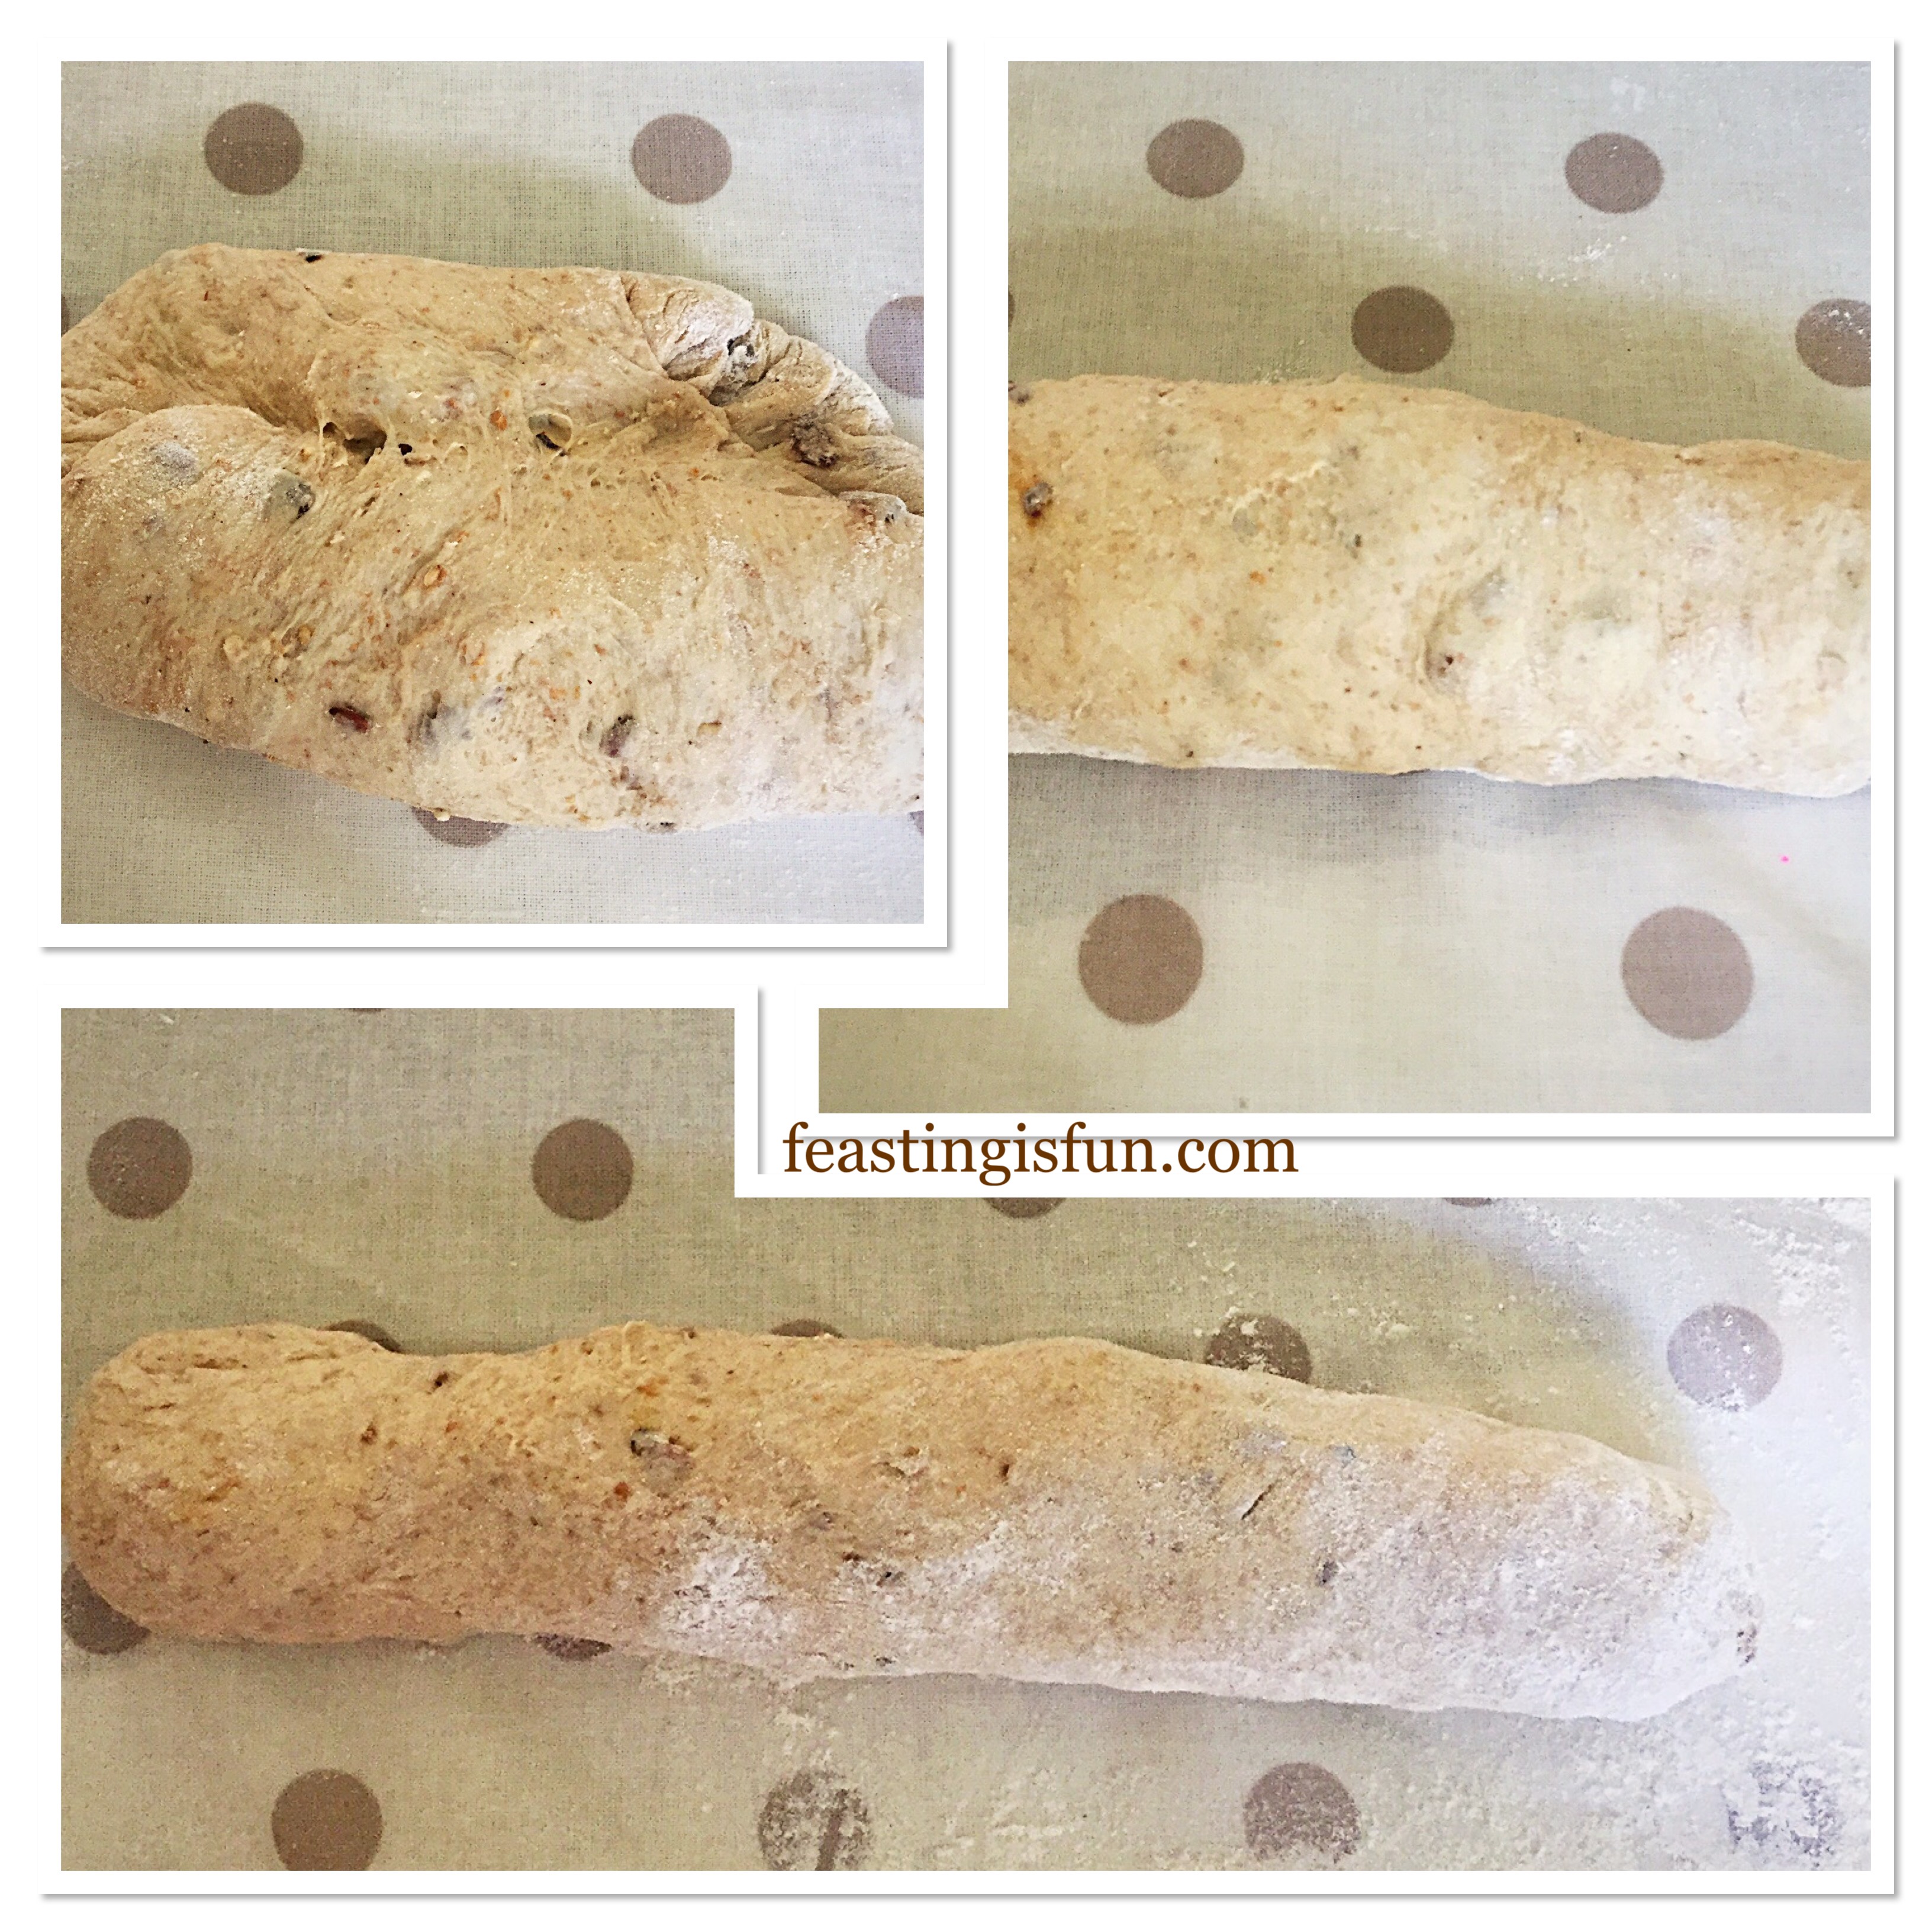
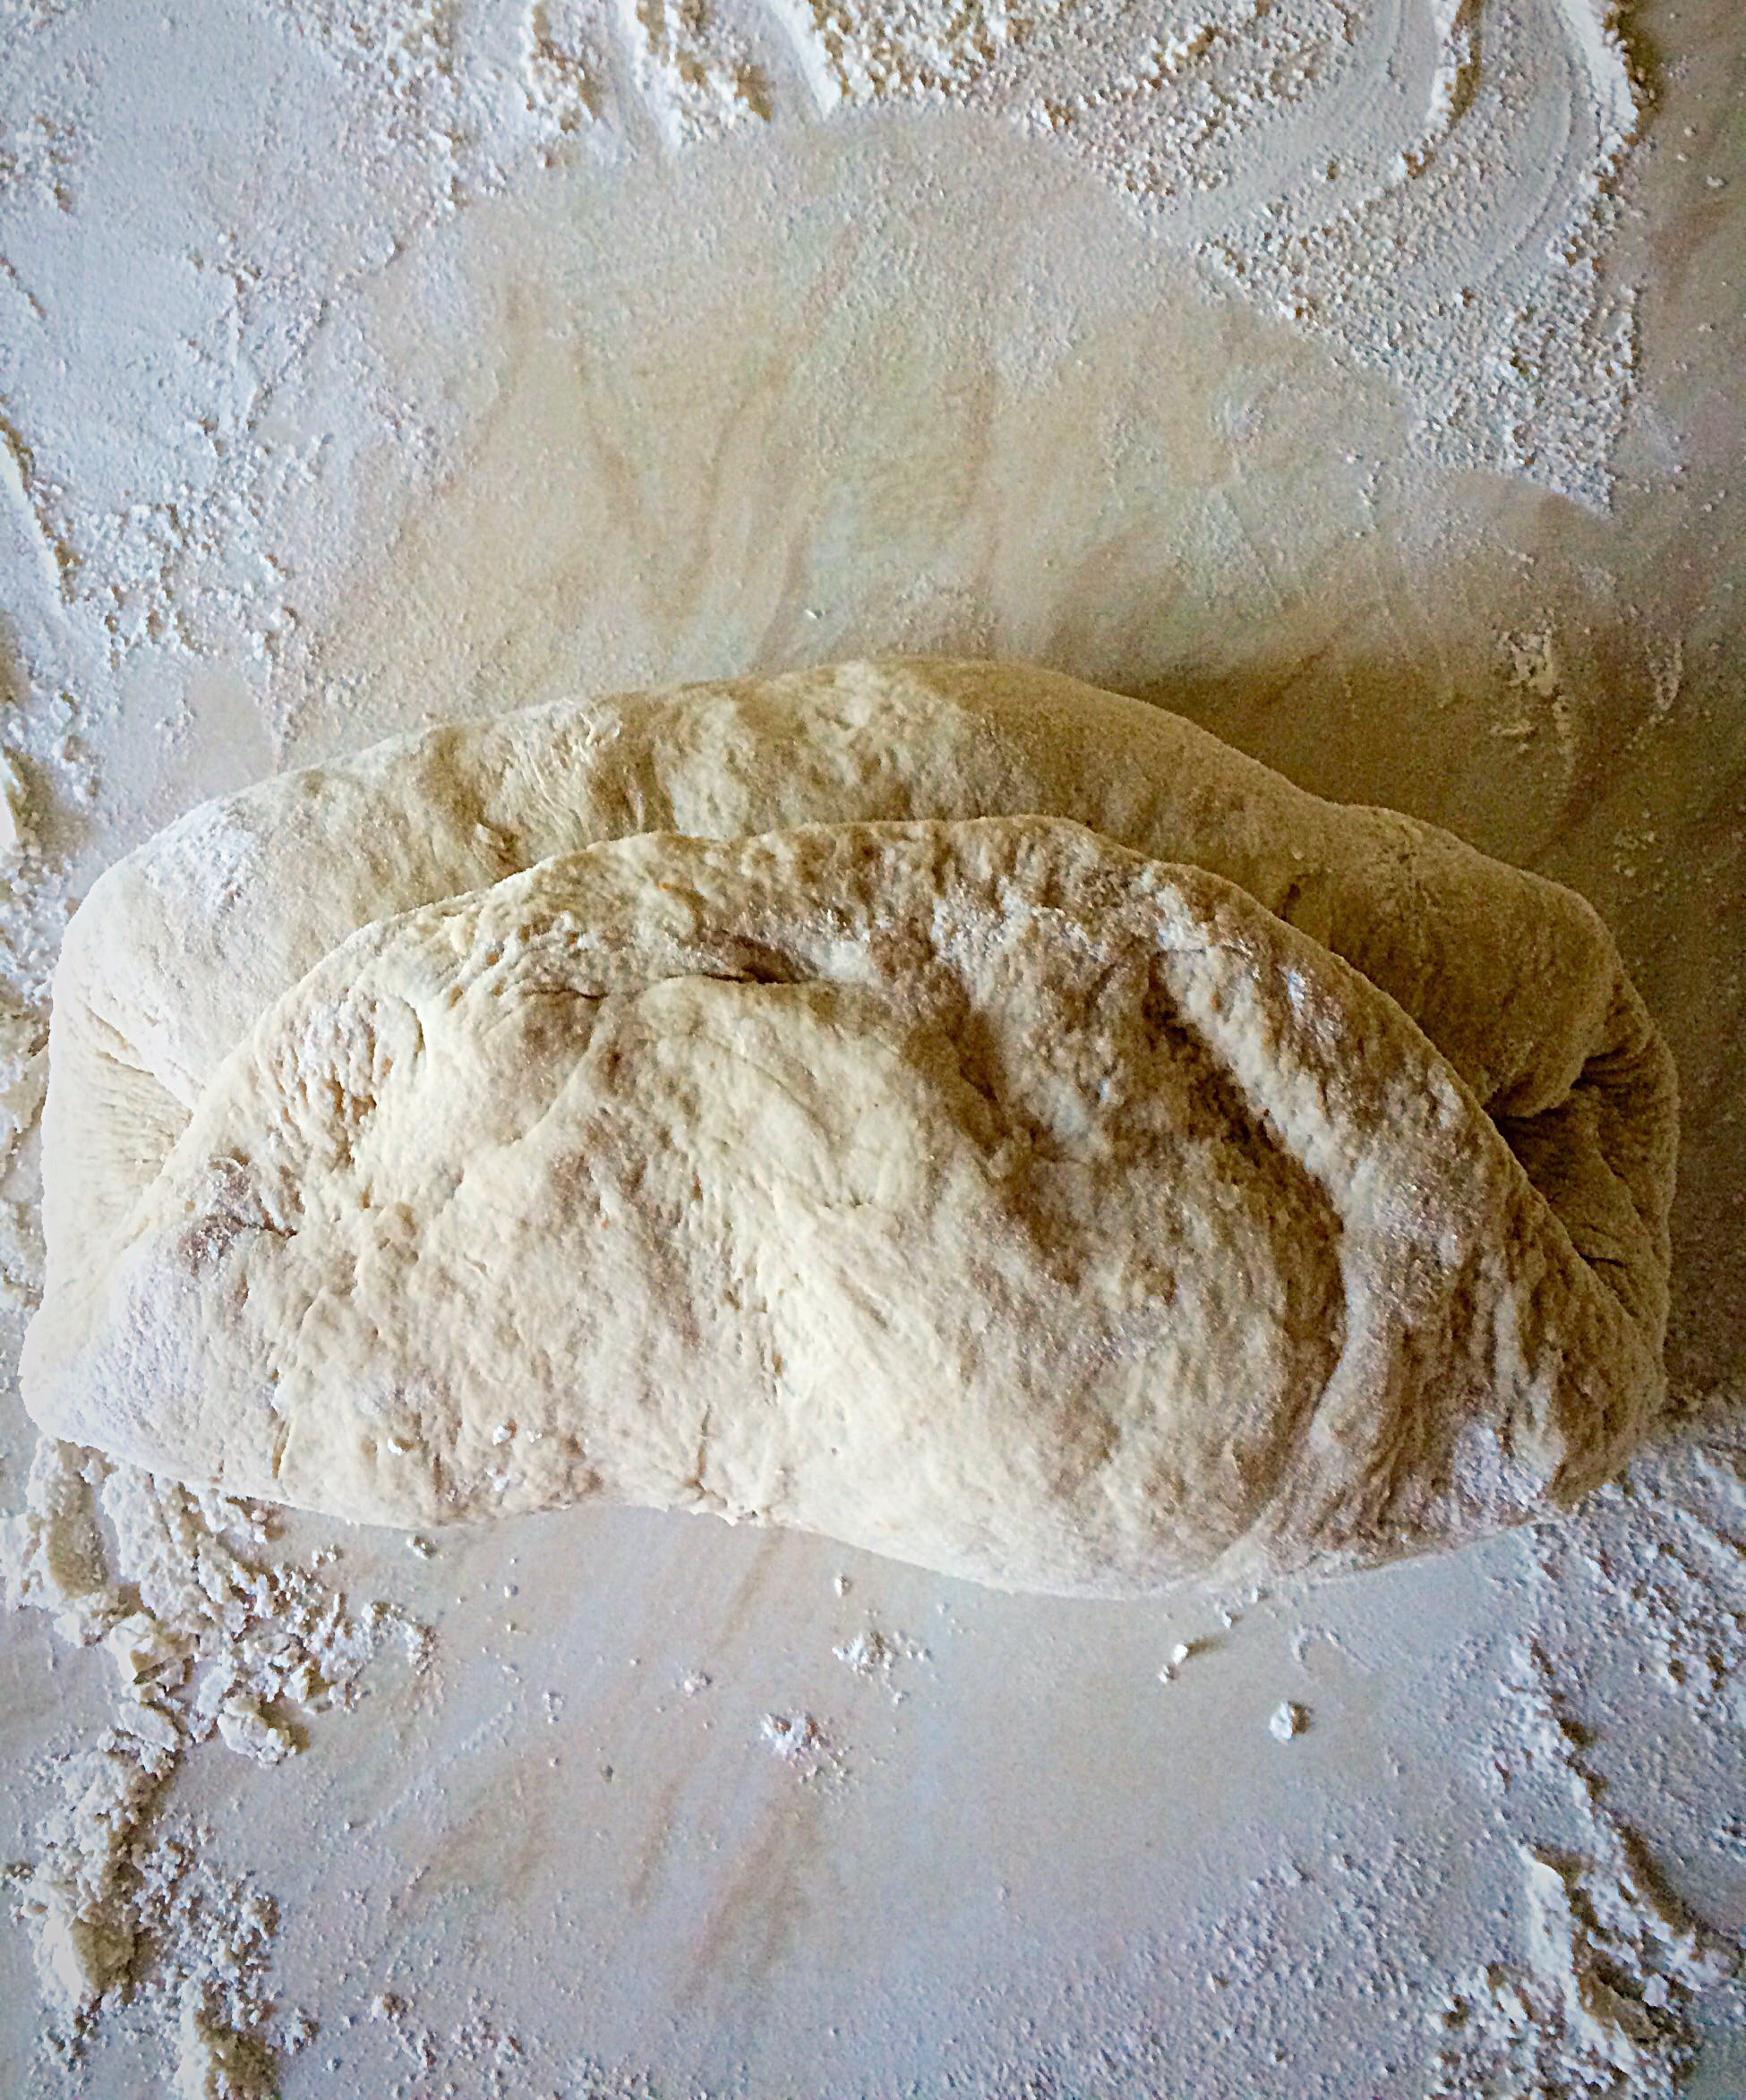
  • Start to roll the dough into a log shape. Beginning at the front edge, use your thumb to roll the dough, as in top left picture above.
  • With the seam underneath place your hands in the centre of the log and start to roll the dough, gently easing it from the centre.
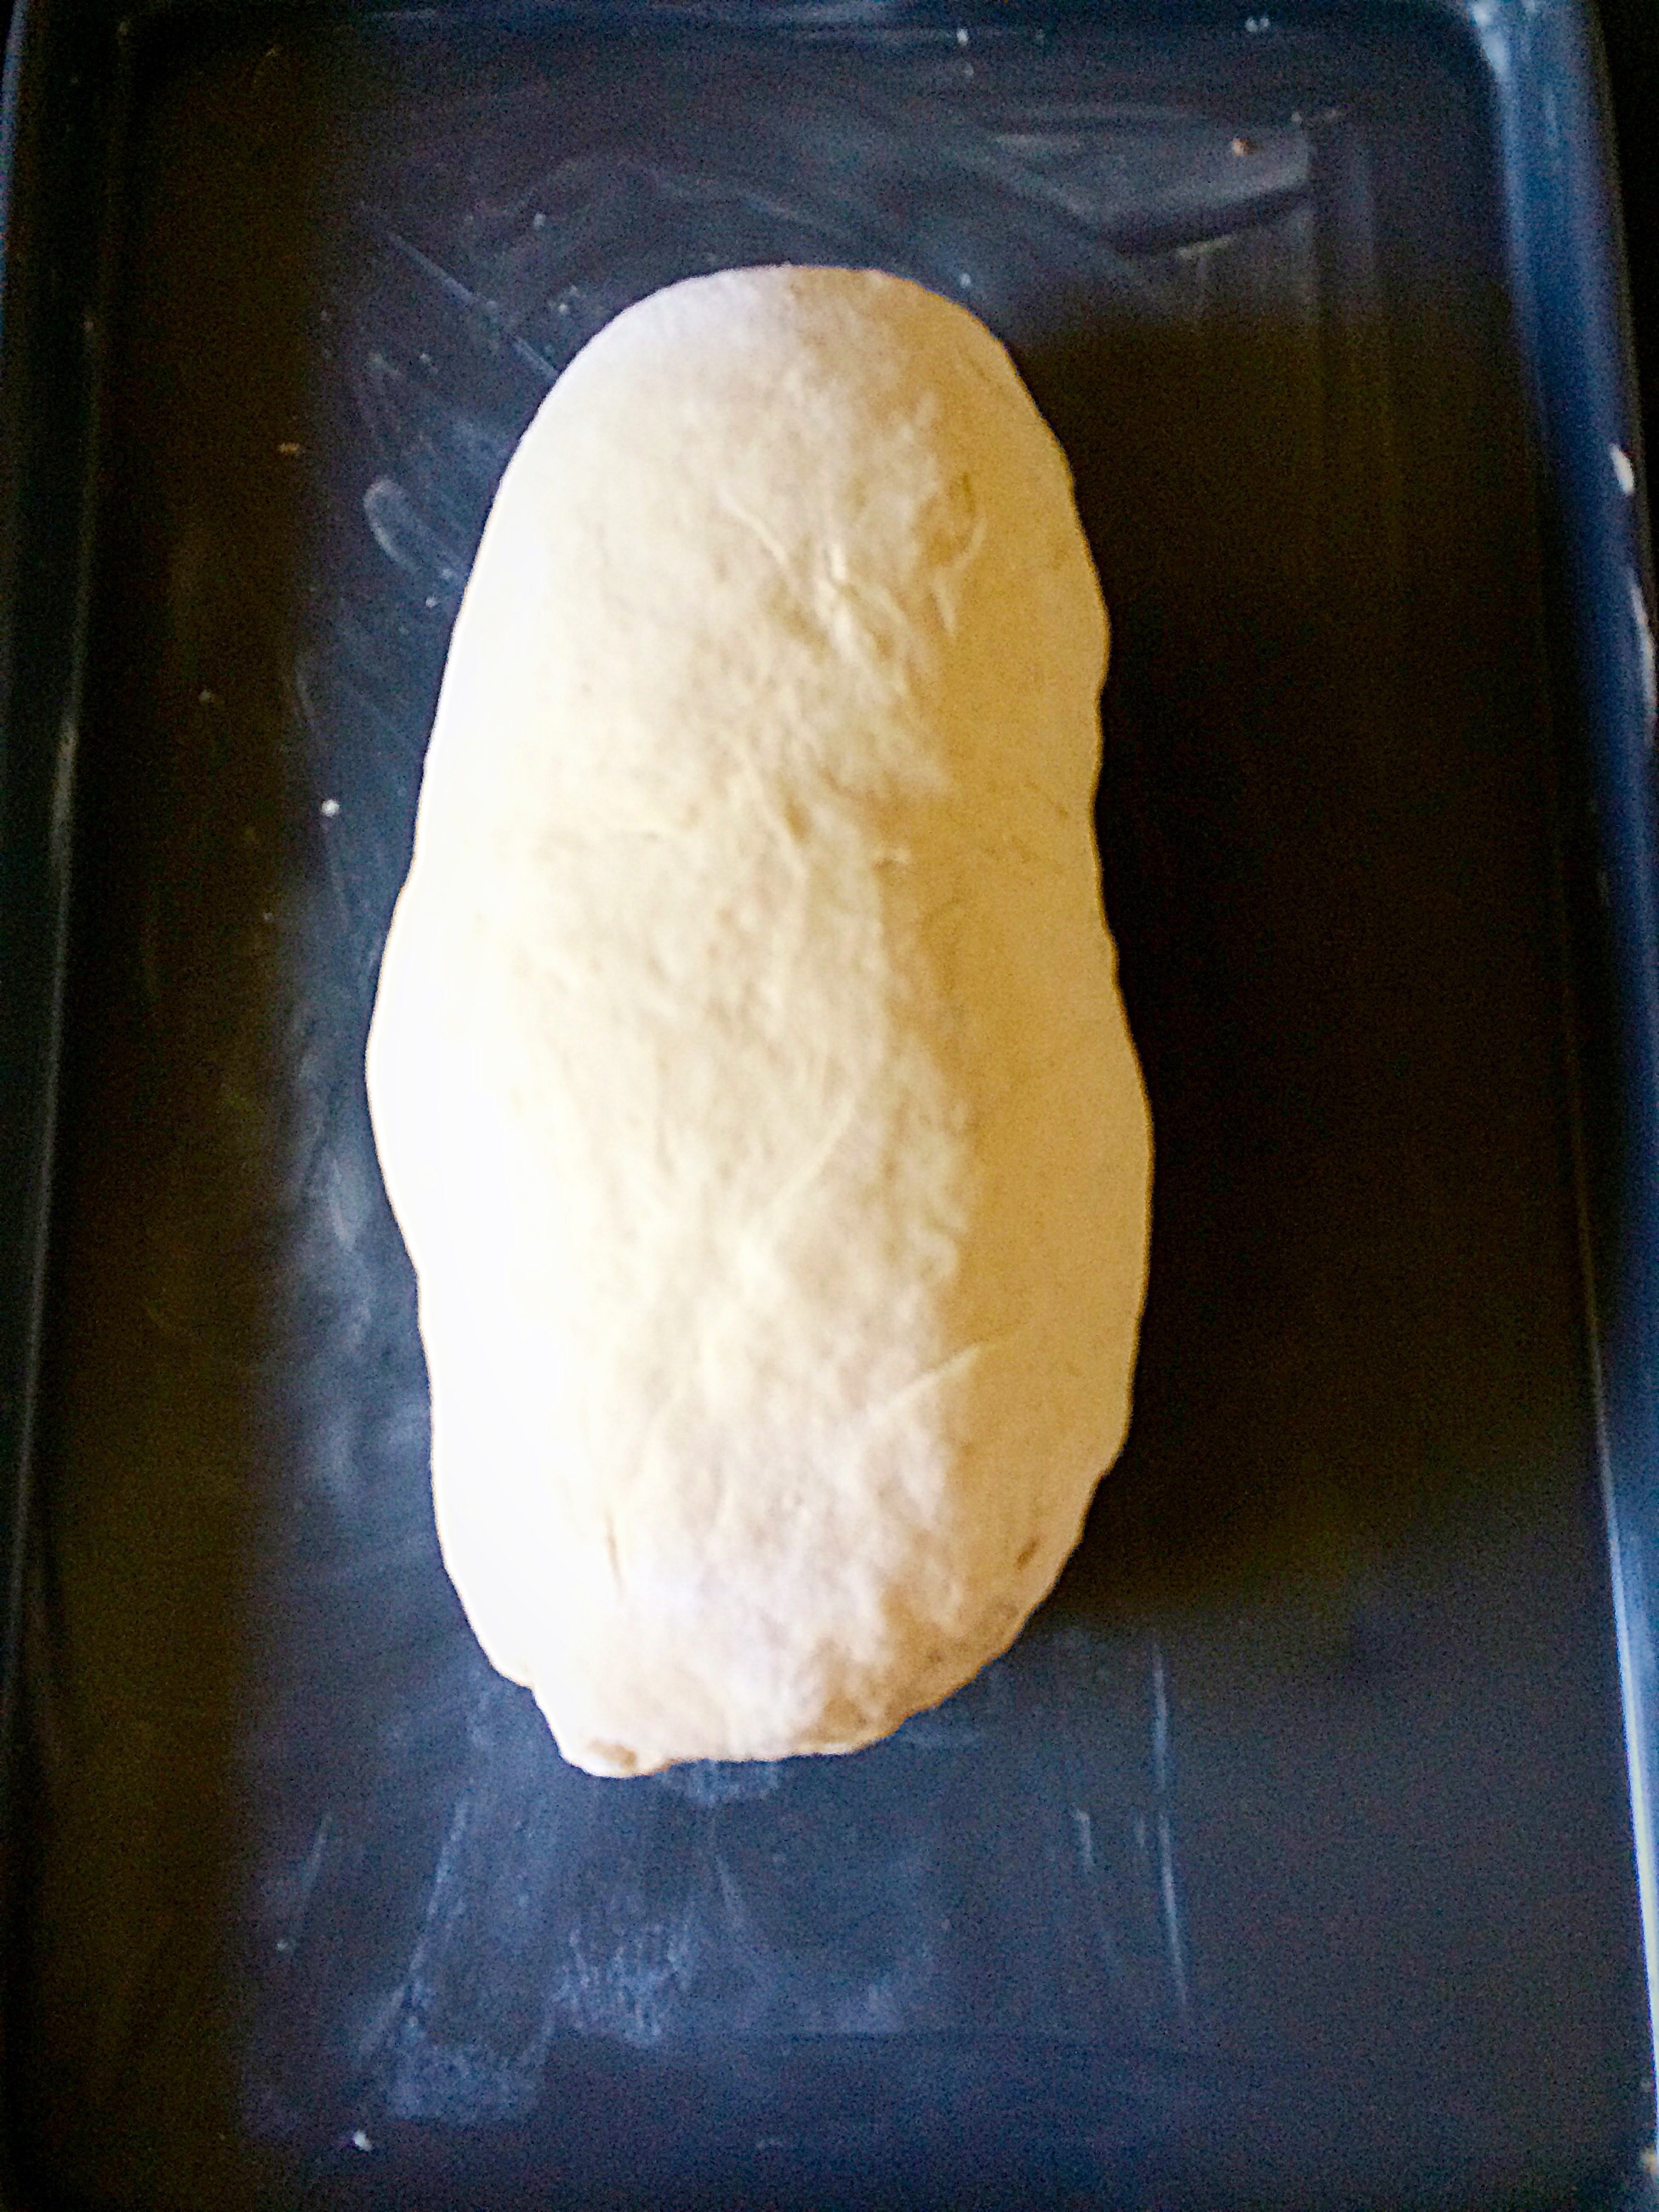
  • Continue rolling the dough until it is 10″/25cm. Finally roll either end to a point.
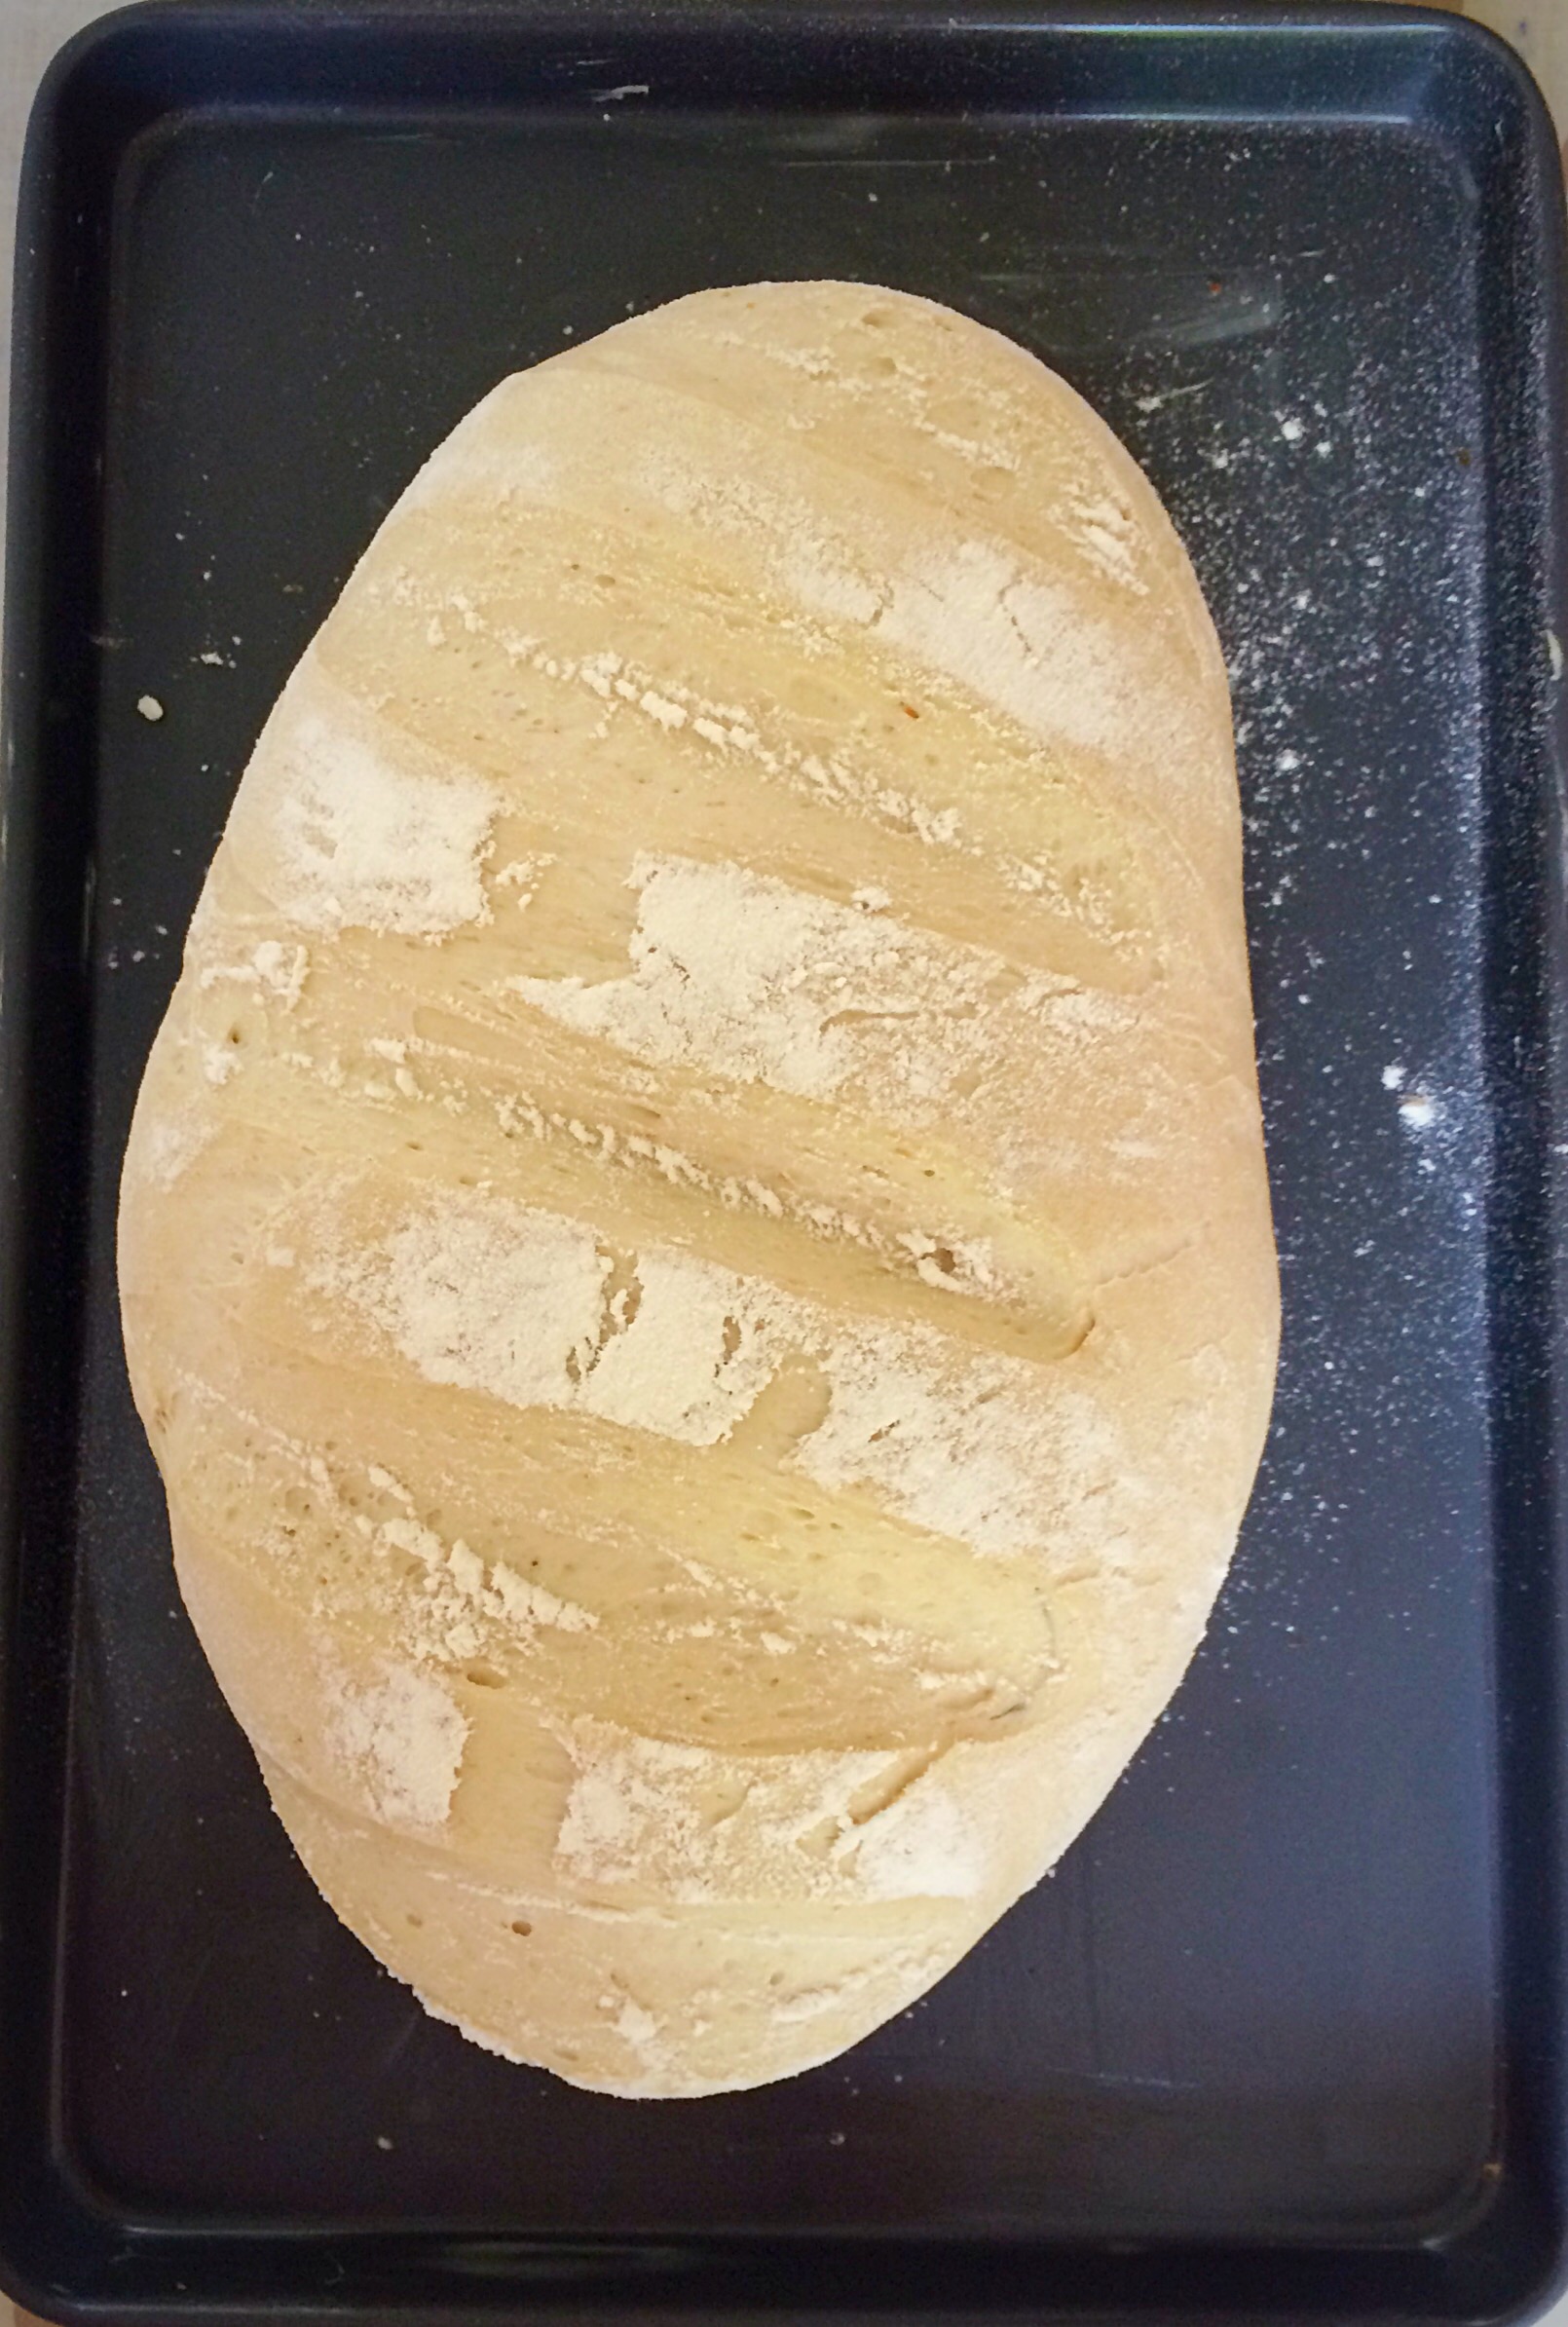
  • Place on to a baking tray or a perforated baguette baking tray. Alternatively fold a couple of tea towels to support the dough and dust with flour before placing the baguettes on them.
  • Shape the remaining pieces of dough in the same way.
FF Seeded Multigrain Baguettes
Seeded Multigrain Baguettes proving.
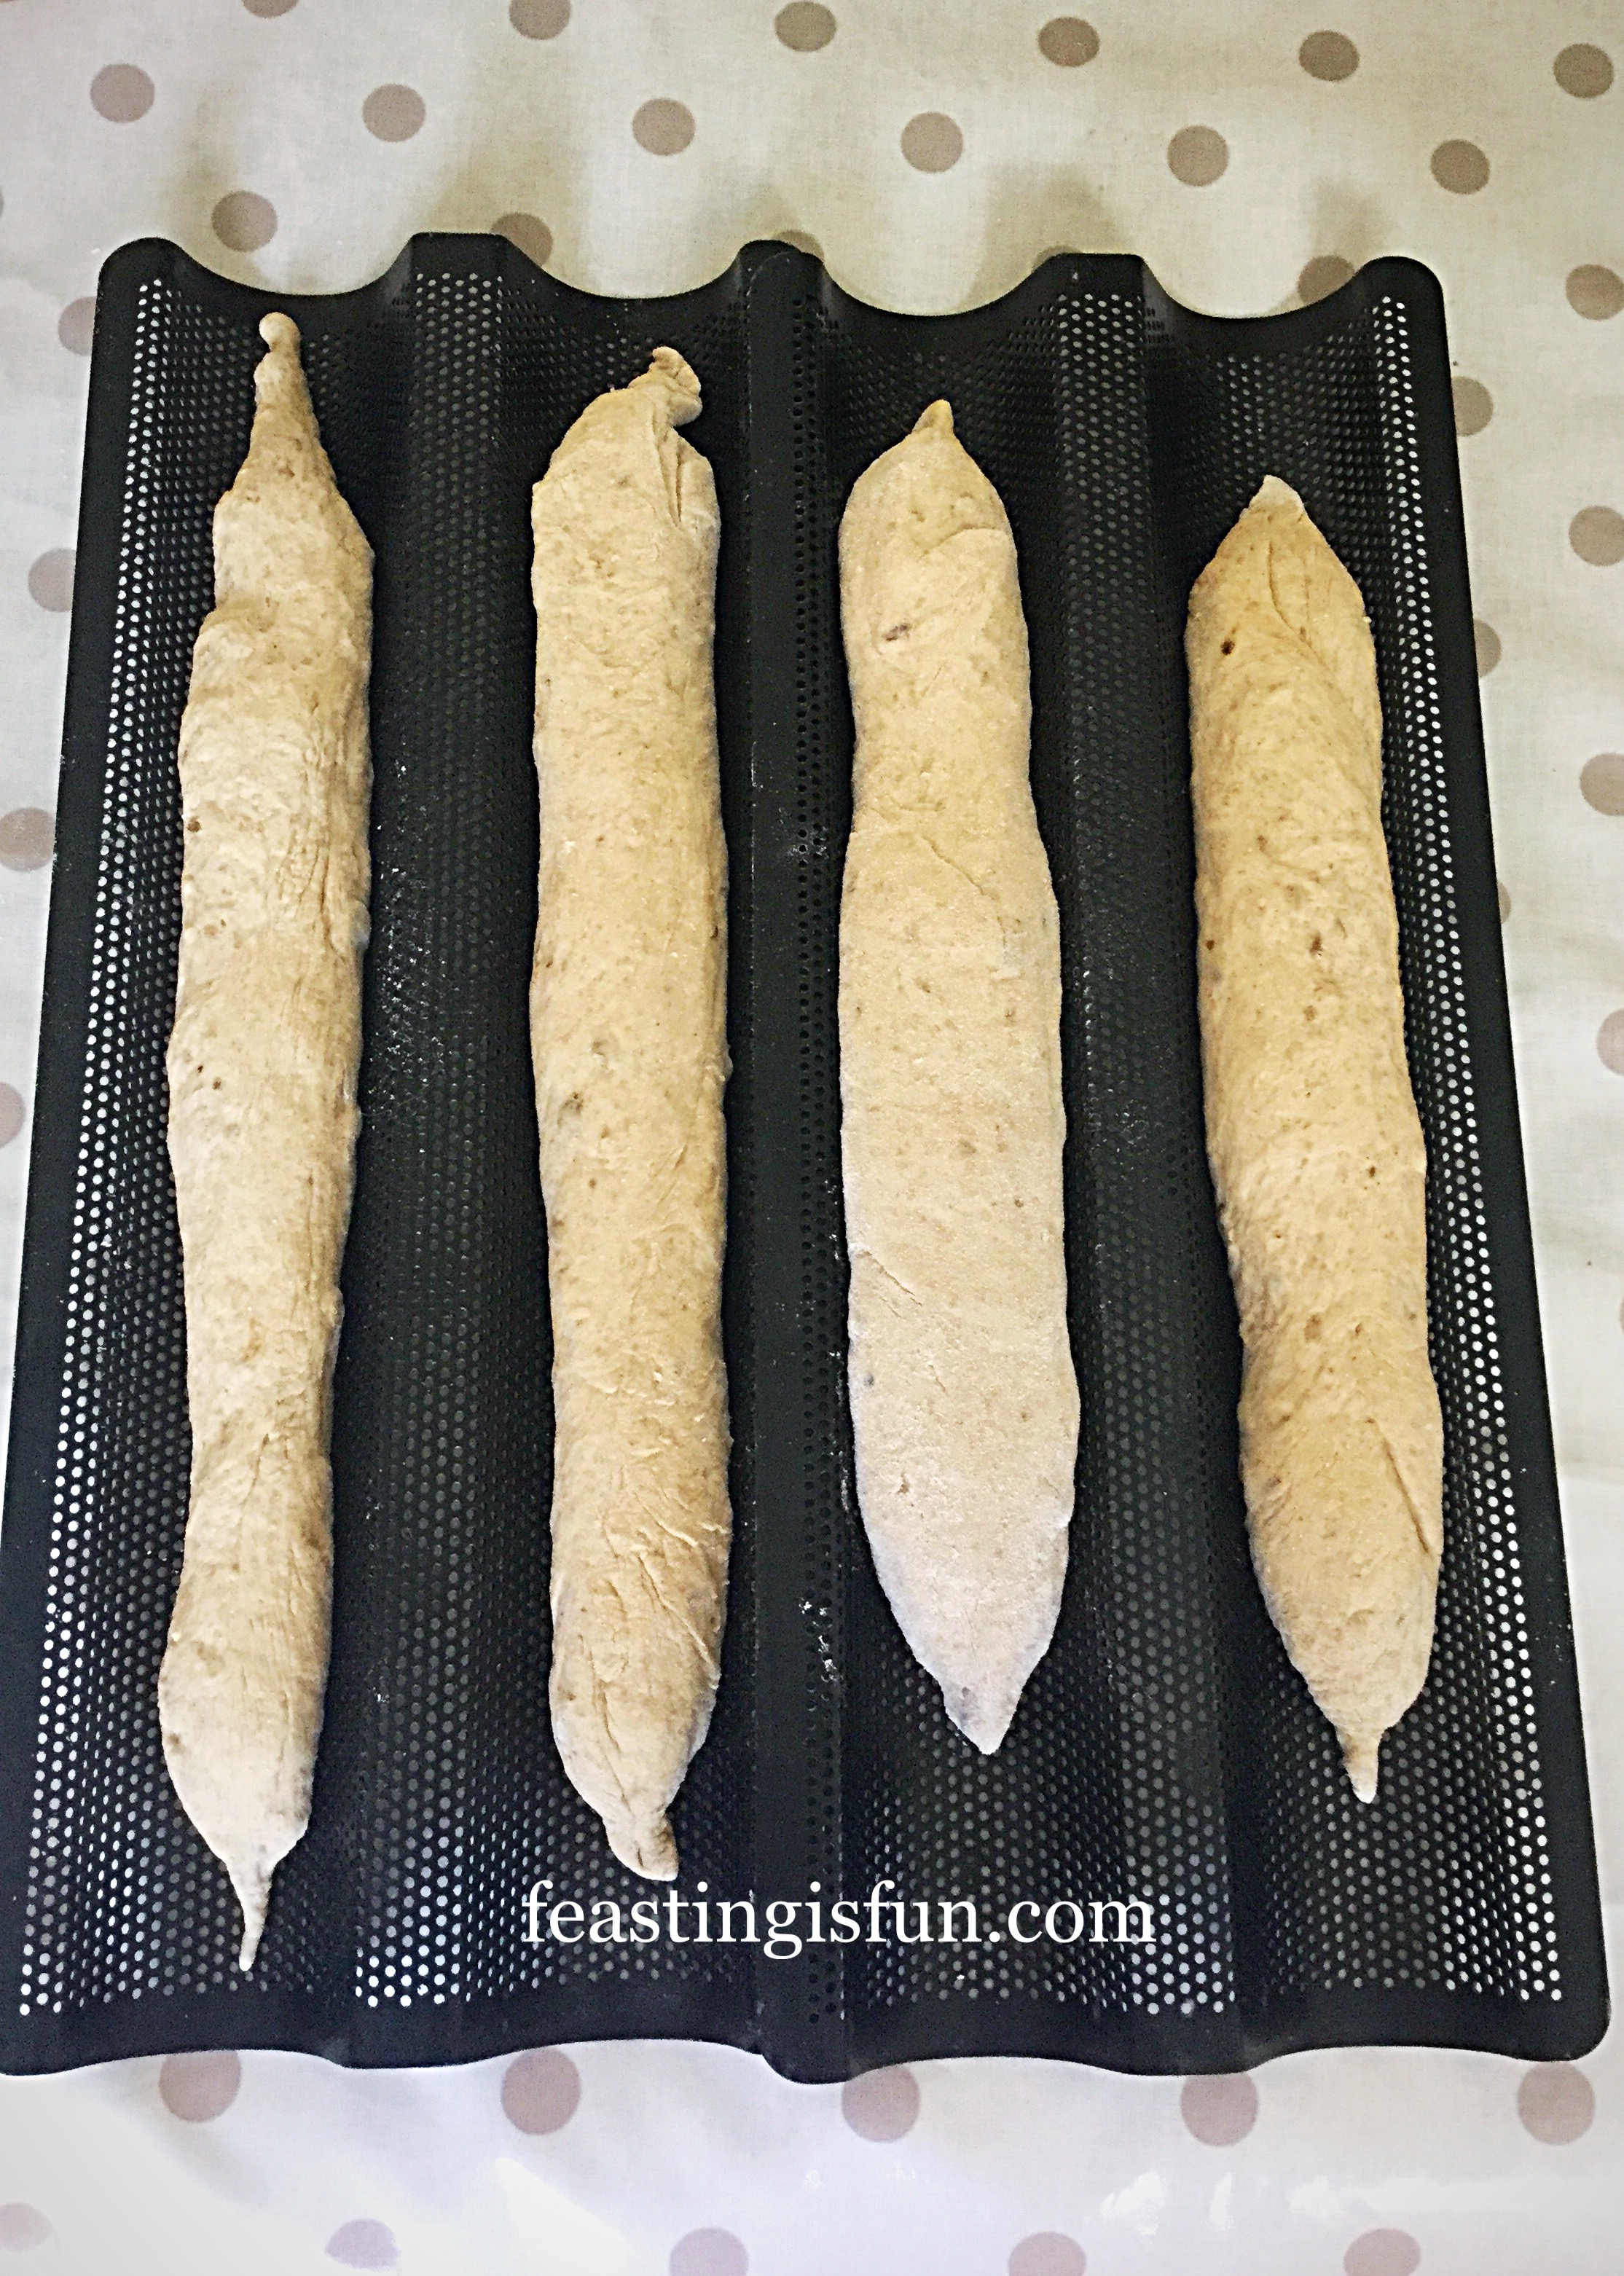
  • Cover with a damp tea towel. Leave to prove until doubled in size.

Baking The Baguettes

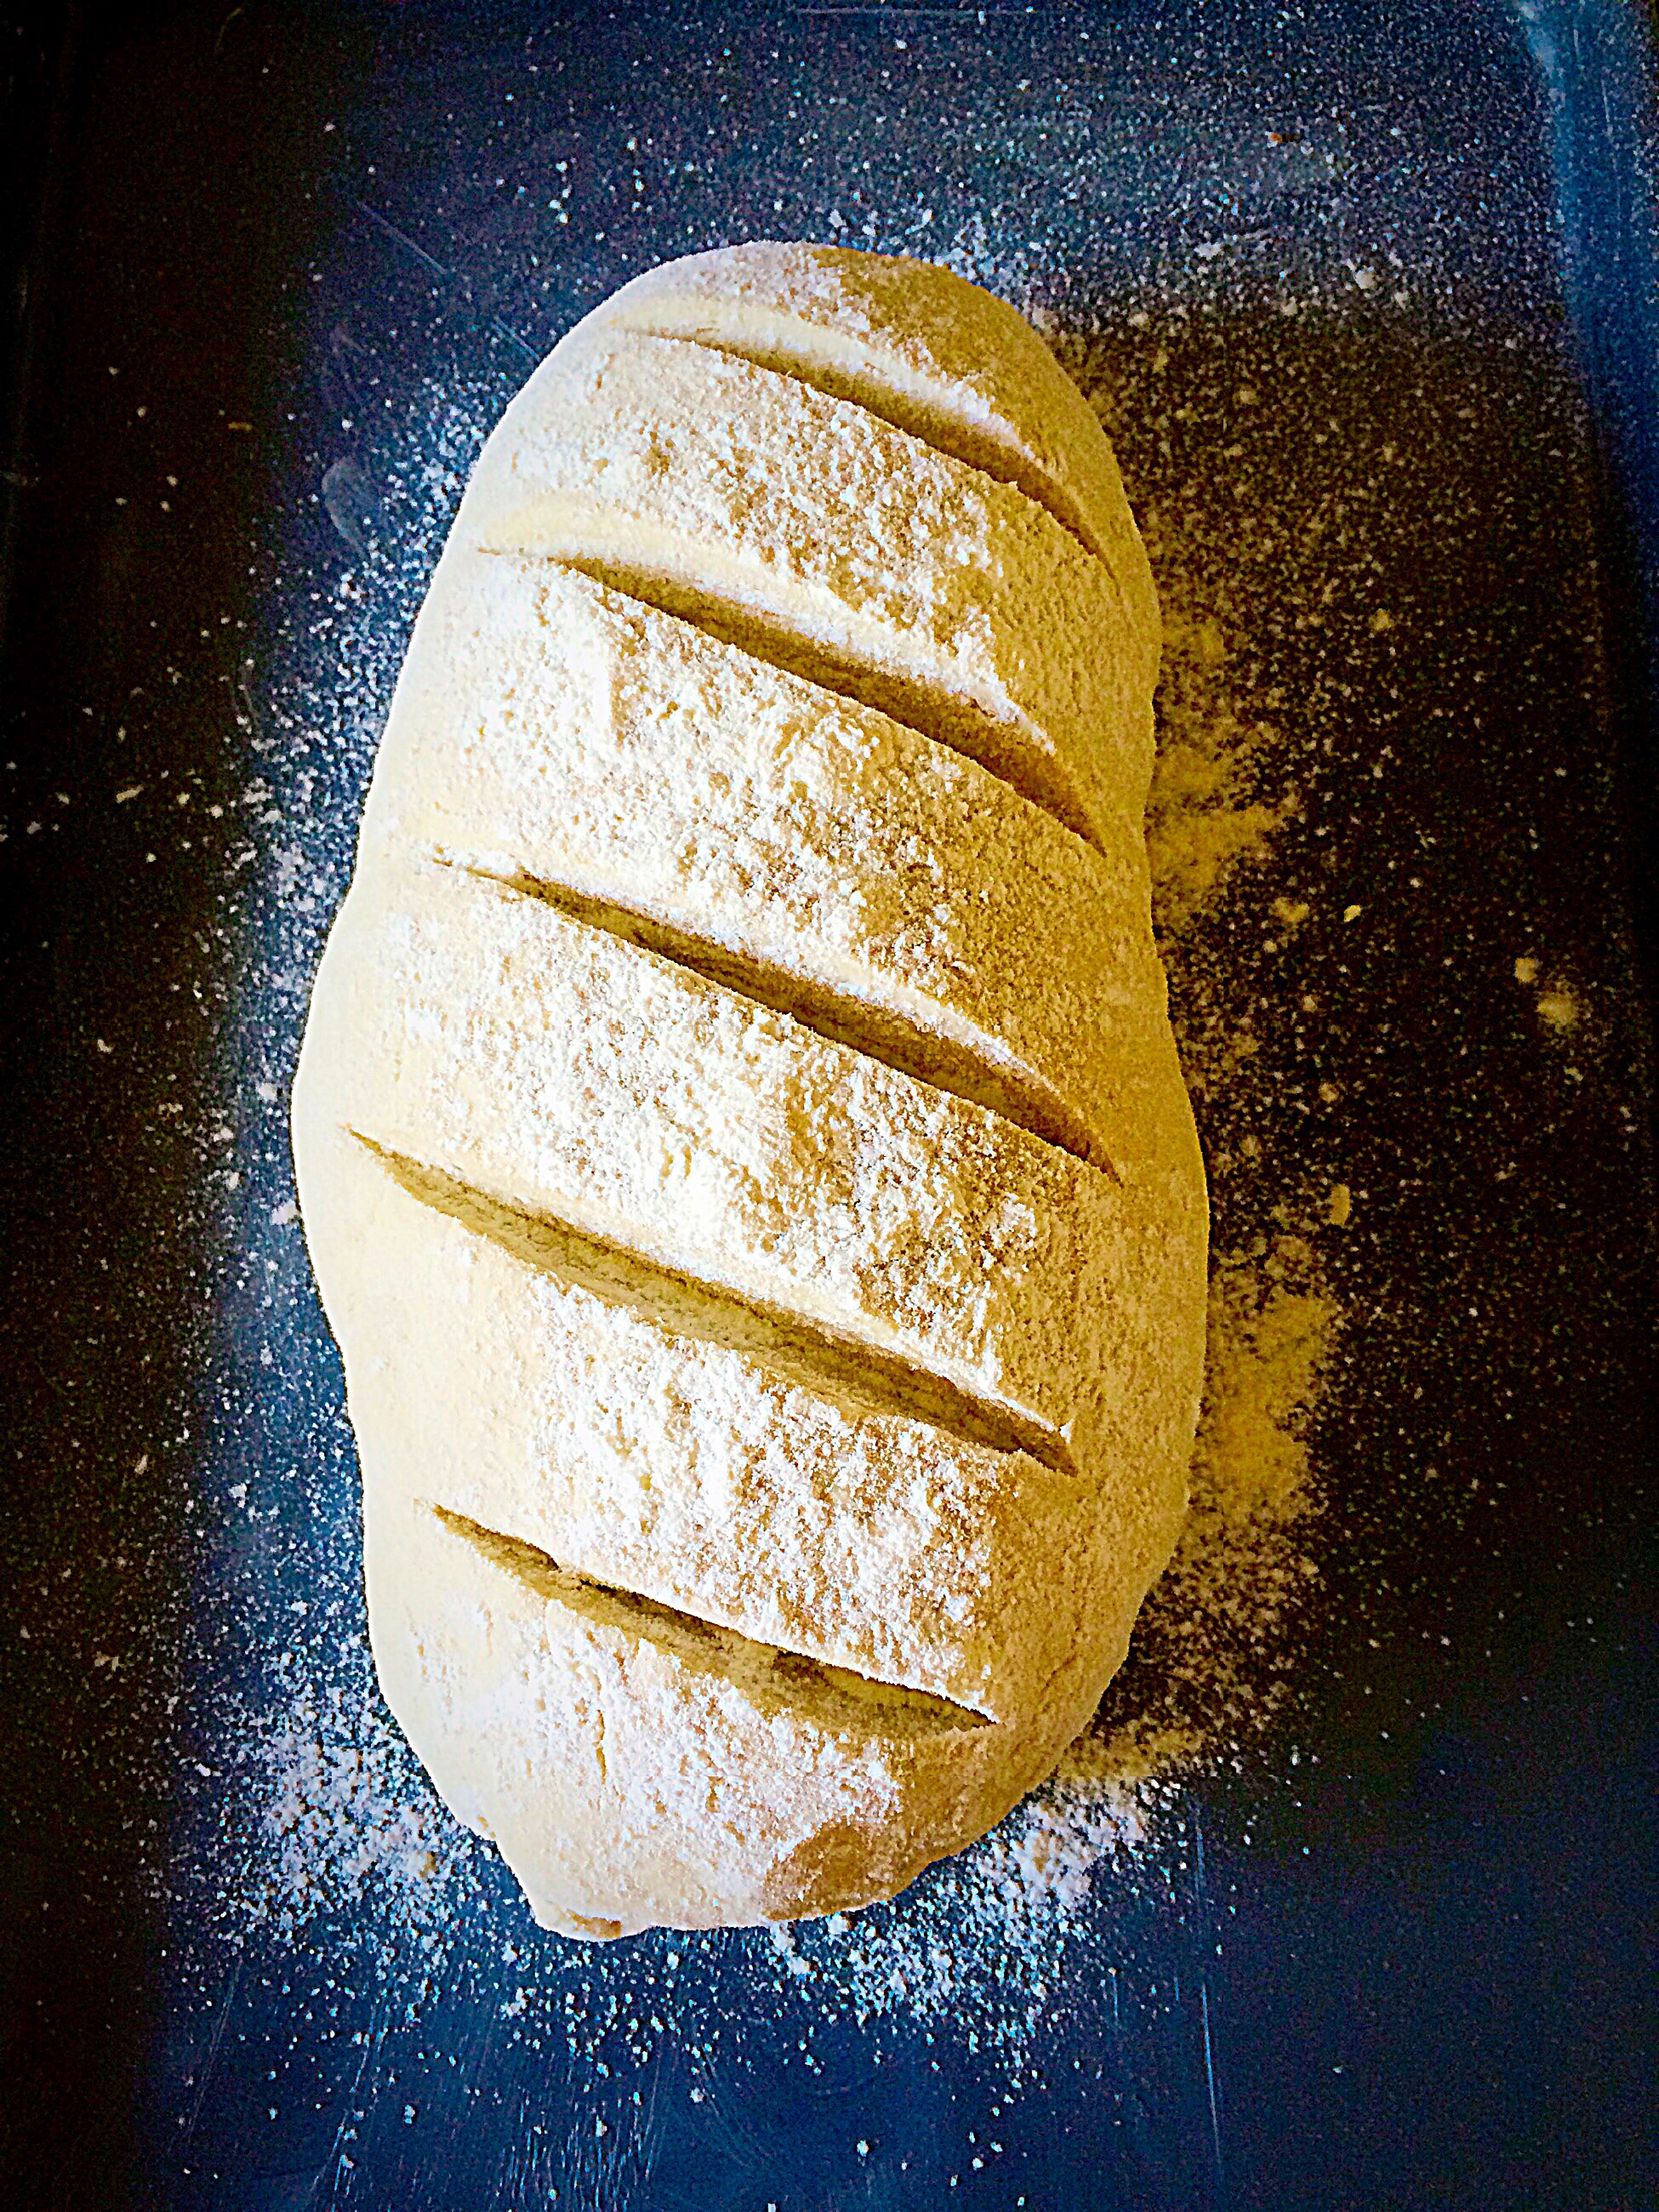
  • While the baguettes are proving preheat the oven to its hottest setting. Place a pan of water in the base of the oven.
  • Once doubled in size spray, or lightly brush each baguettes with water. Sprinkle over the mixed seeds.
FF Seeded Multigrain Baguettes
Seeded Multigrain Baguettes ready to be baked.
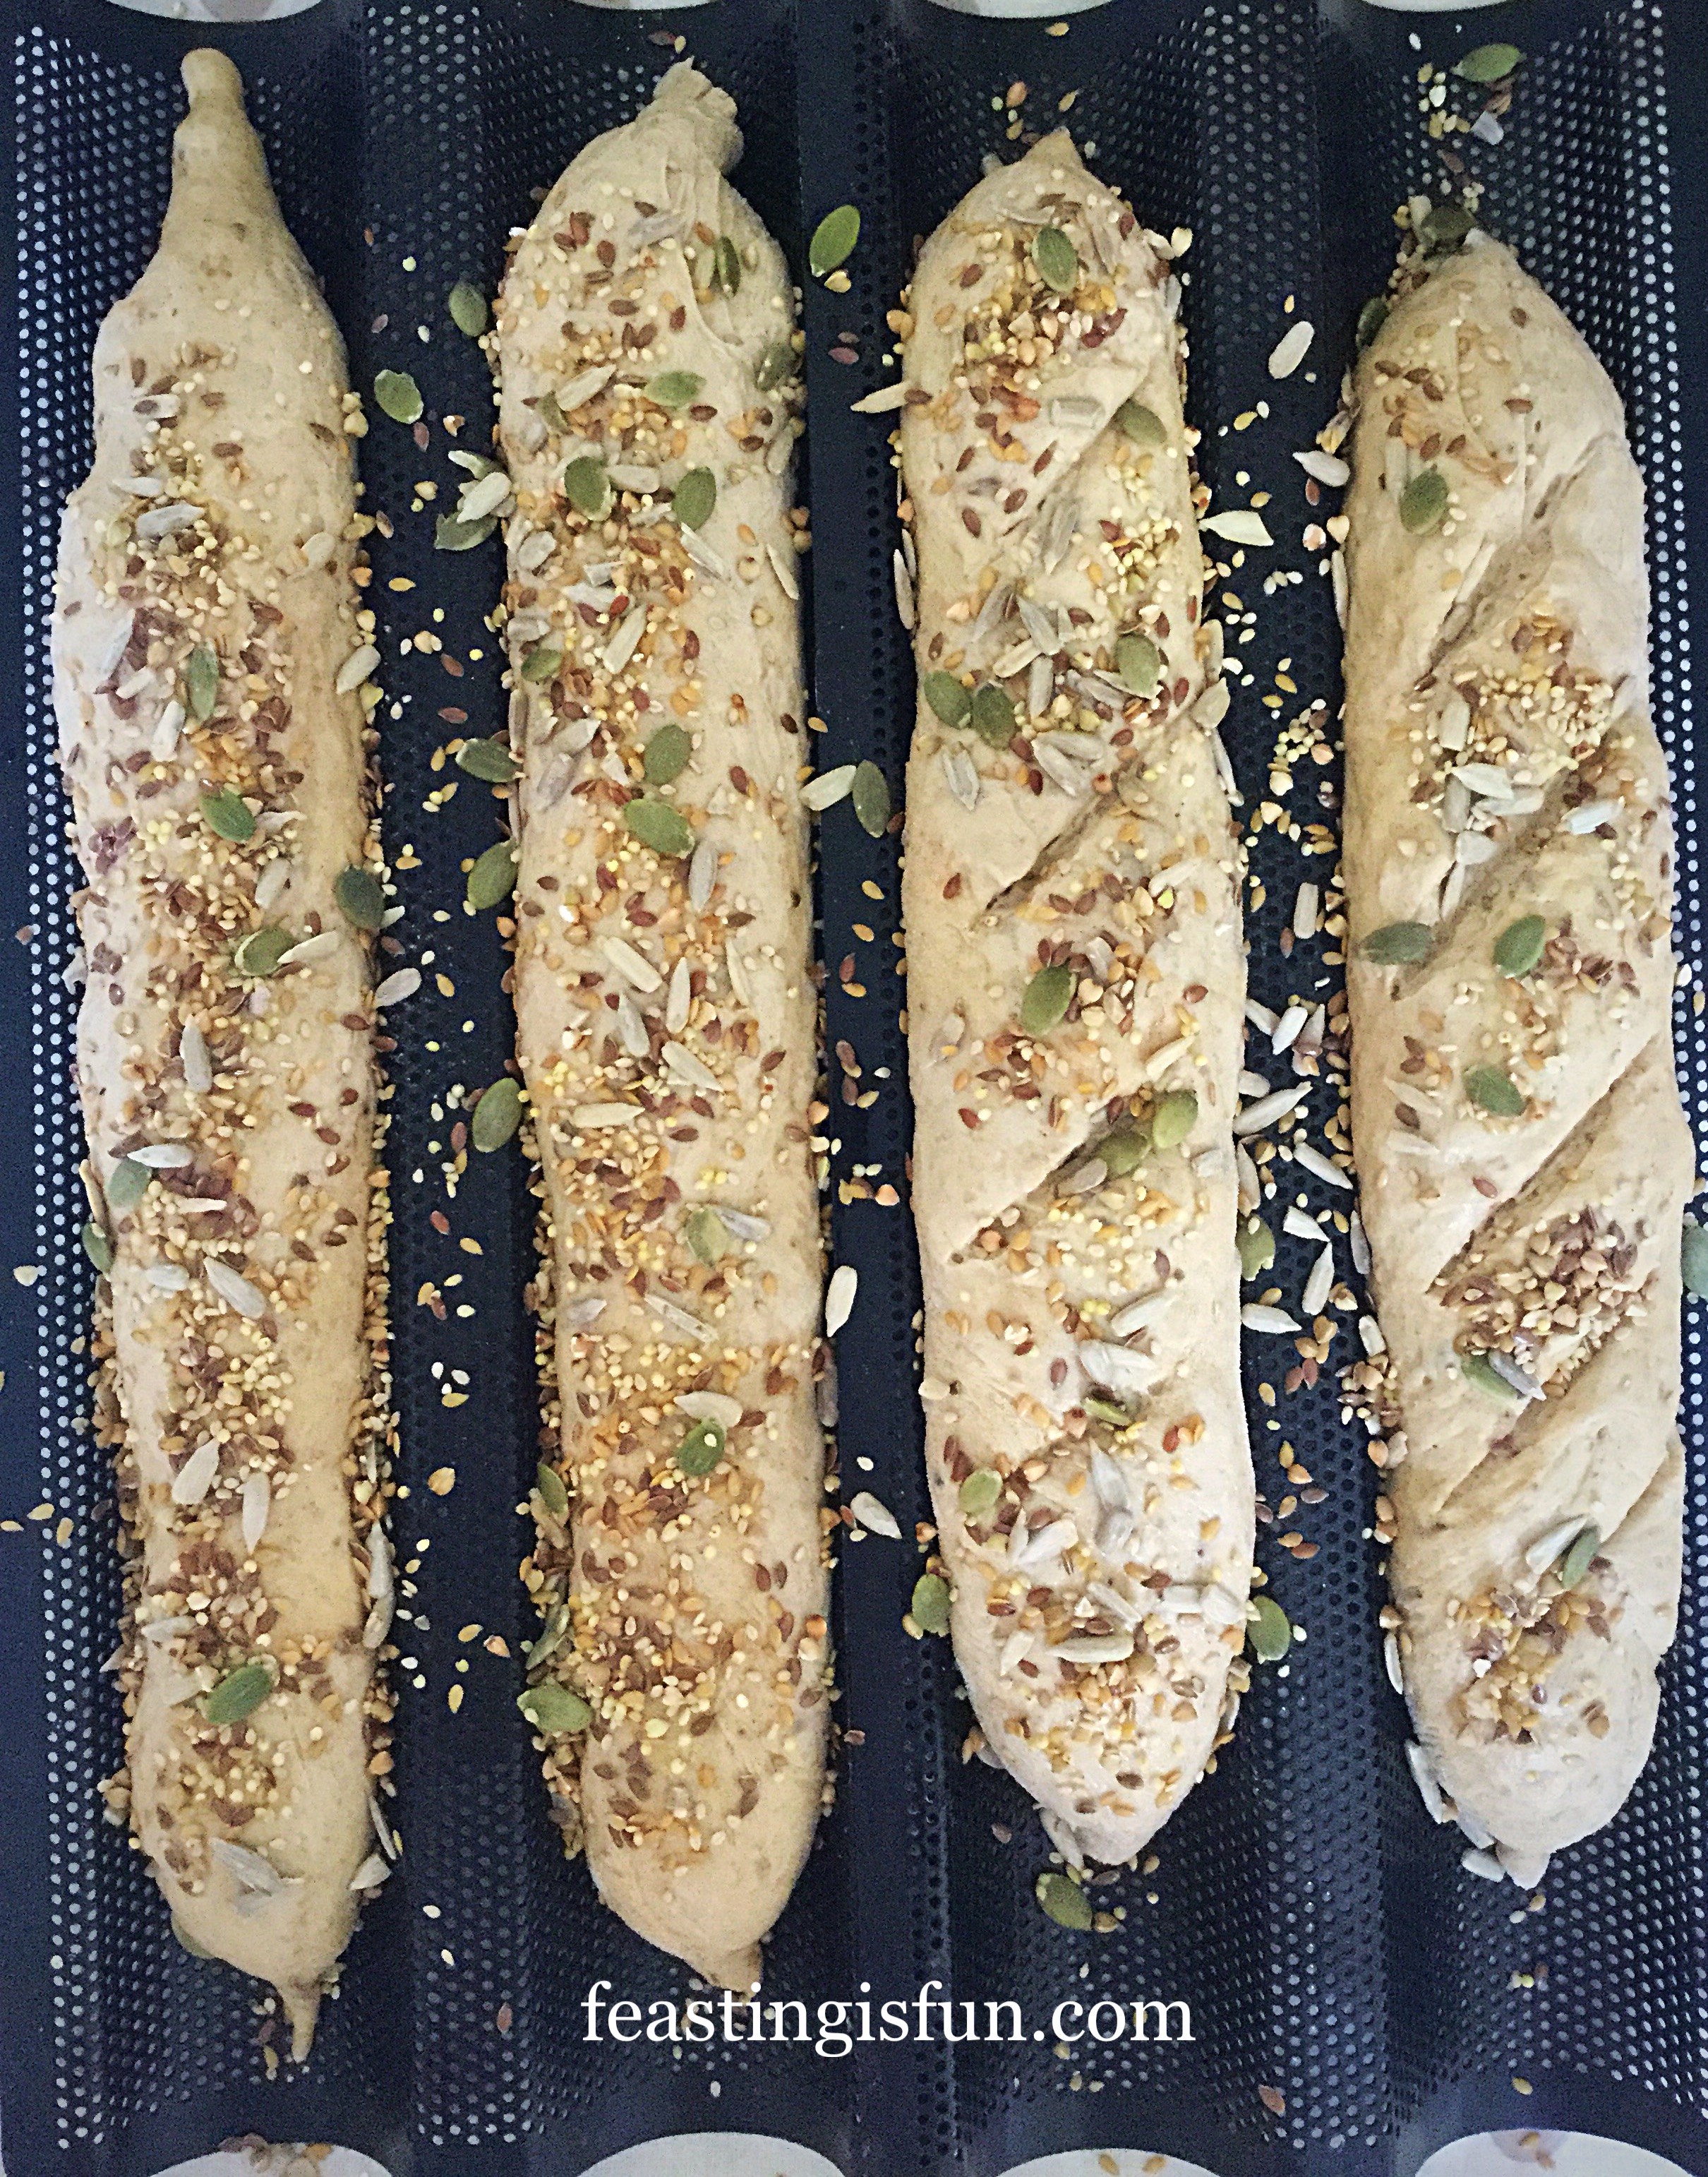
  • Reduce the oven temperature to 230C/210C fan, gas mark 8, 450F, or the hottest setting.
  • Place the baguettes on their trays into the oven. The baguette baking trays fit in at an angle. If using tea towels to proof the baguettes, remove and place on a lightly oiled baking sheet.
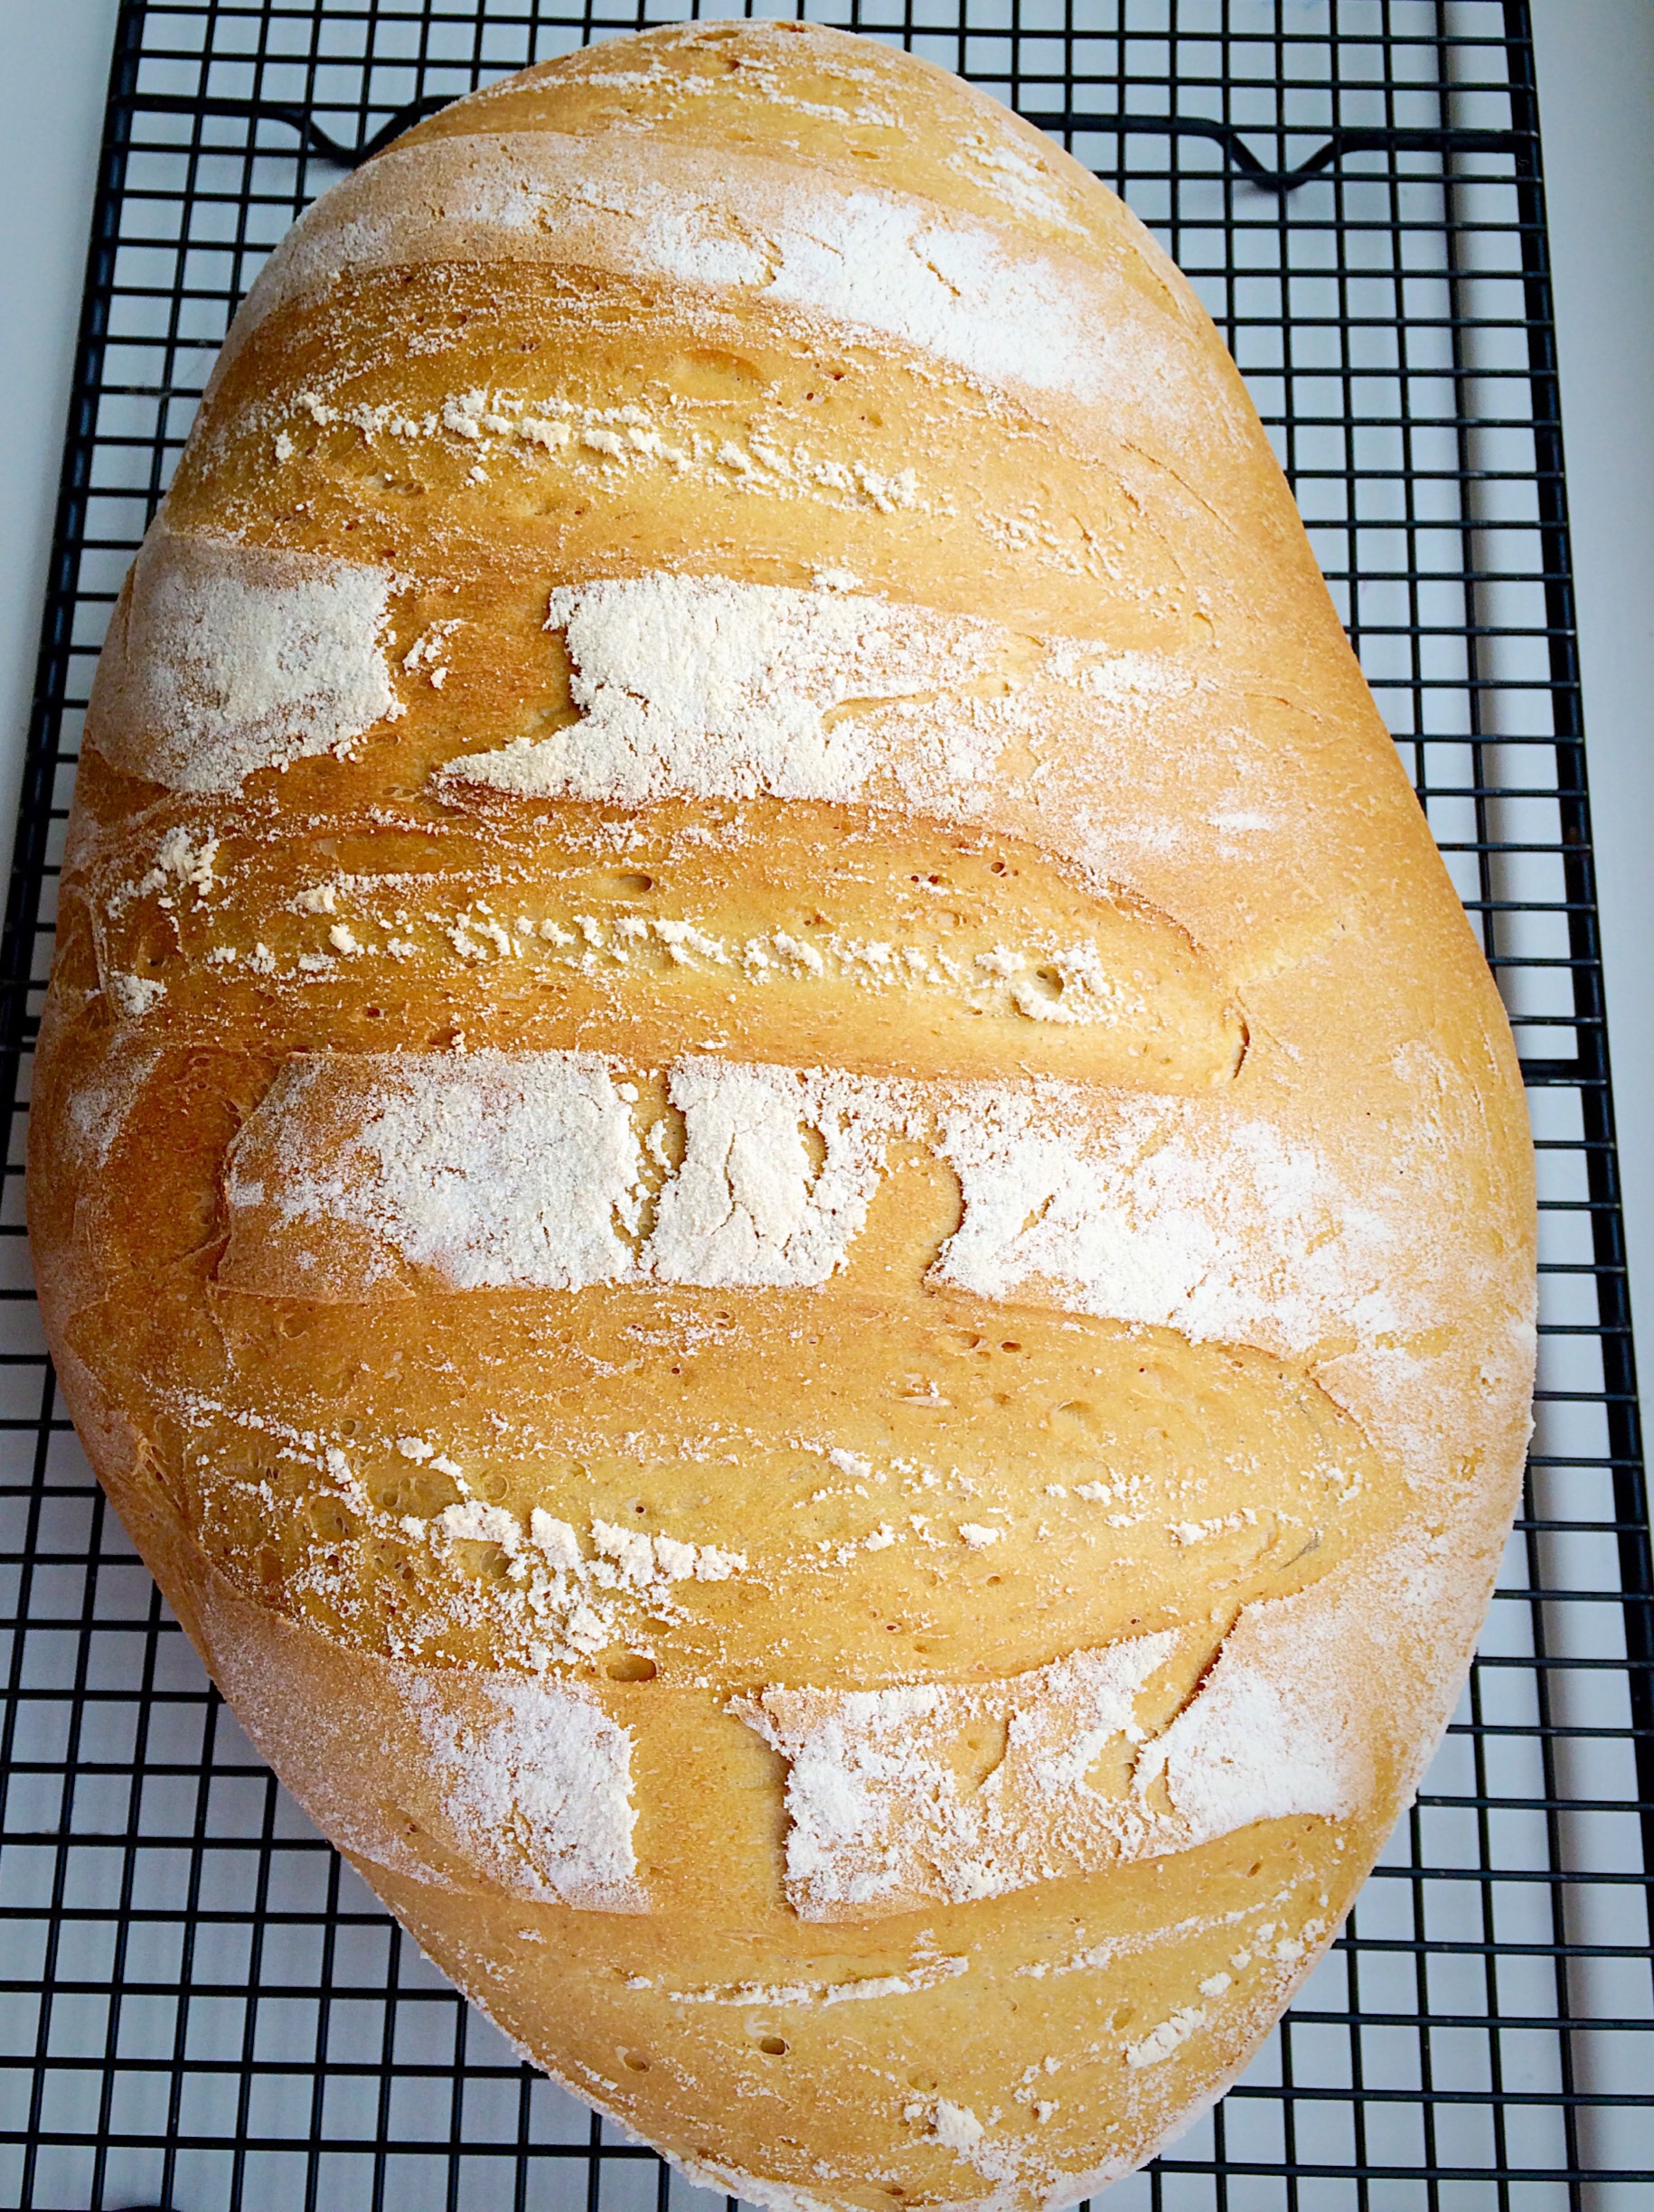
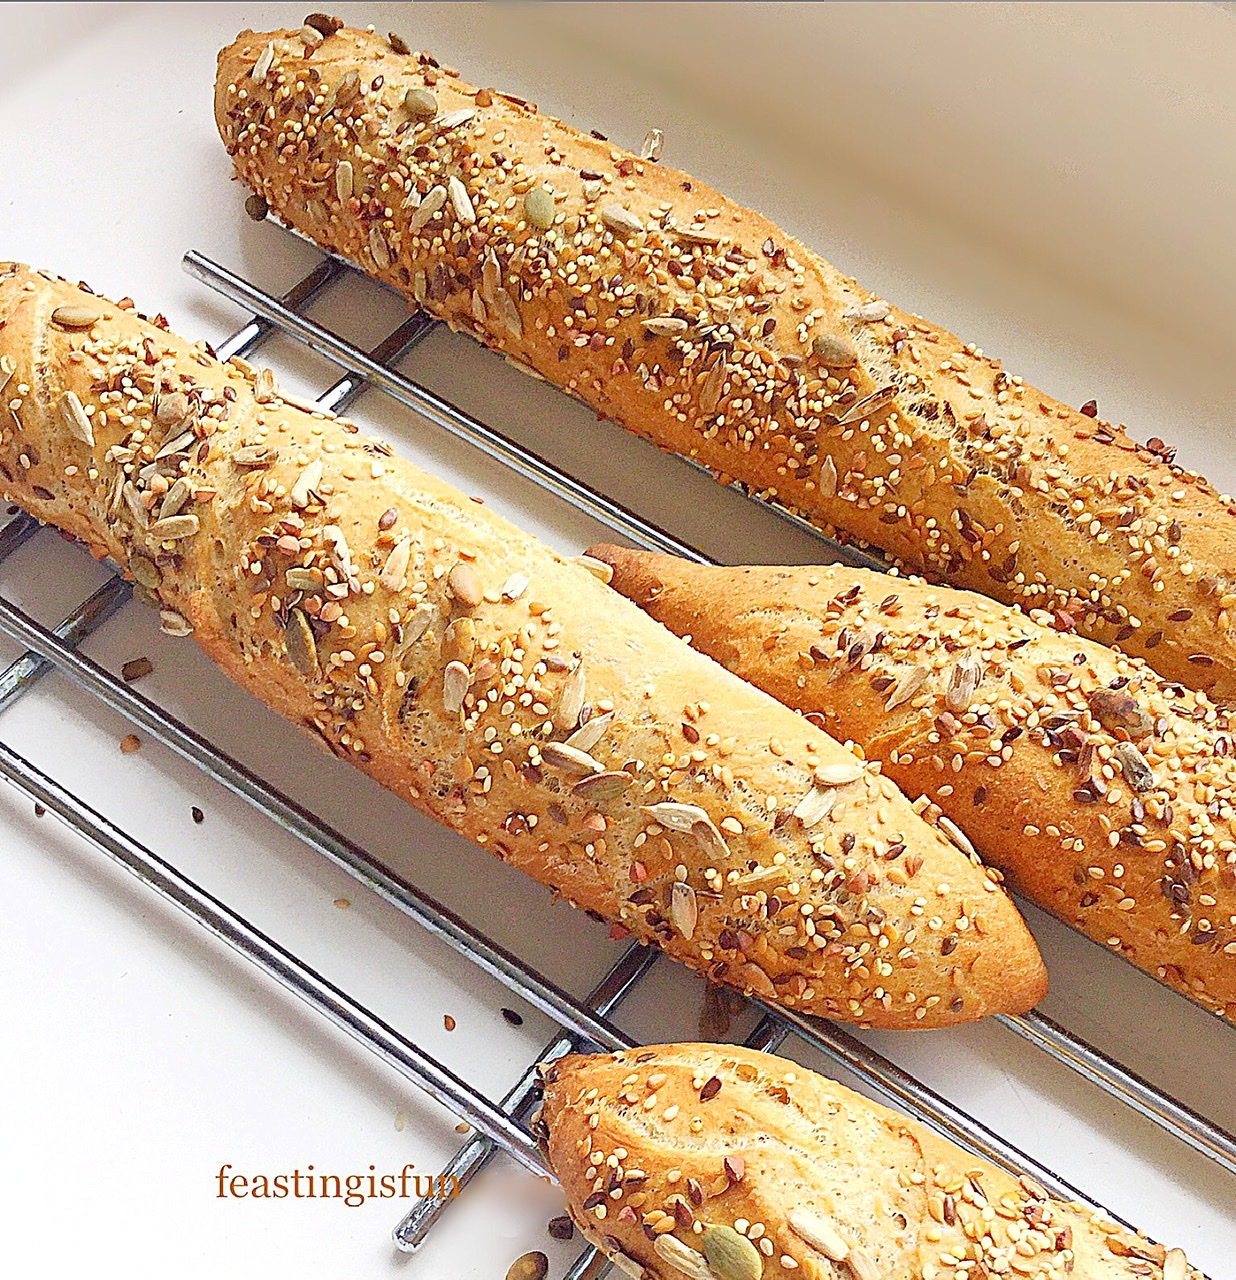
  • Bake for 20 minutes. The baguettes will be golden and sound hollow when rapped with a knuckle when fully baked.
  • As soon as they are baked remove from the oven and carefully transfer to a cooling rack.
FF Seeded Multigrain Baguettes
Seeded Multigrain Baguettes Hot from the oven.
  • Leave to cool until just warm.
Seeded Multigrain Baguettes

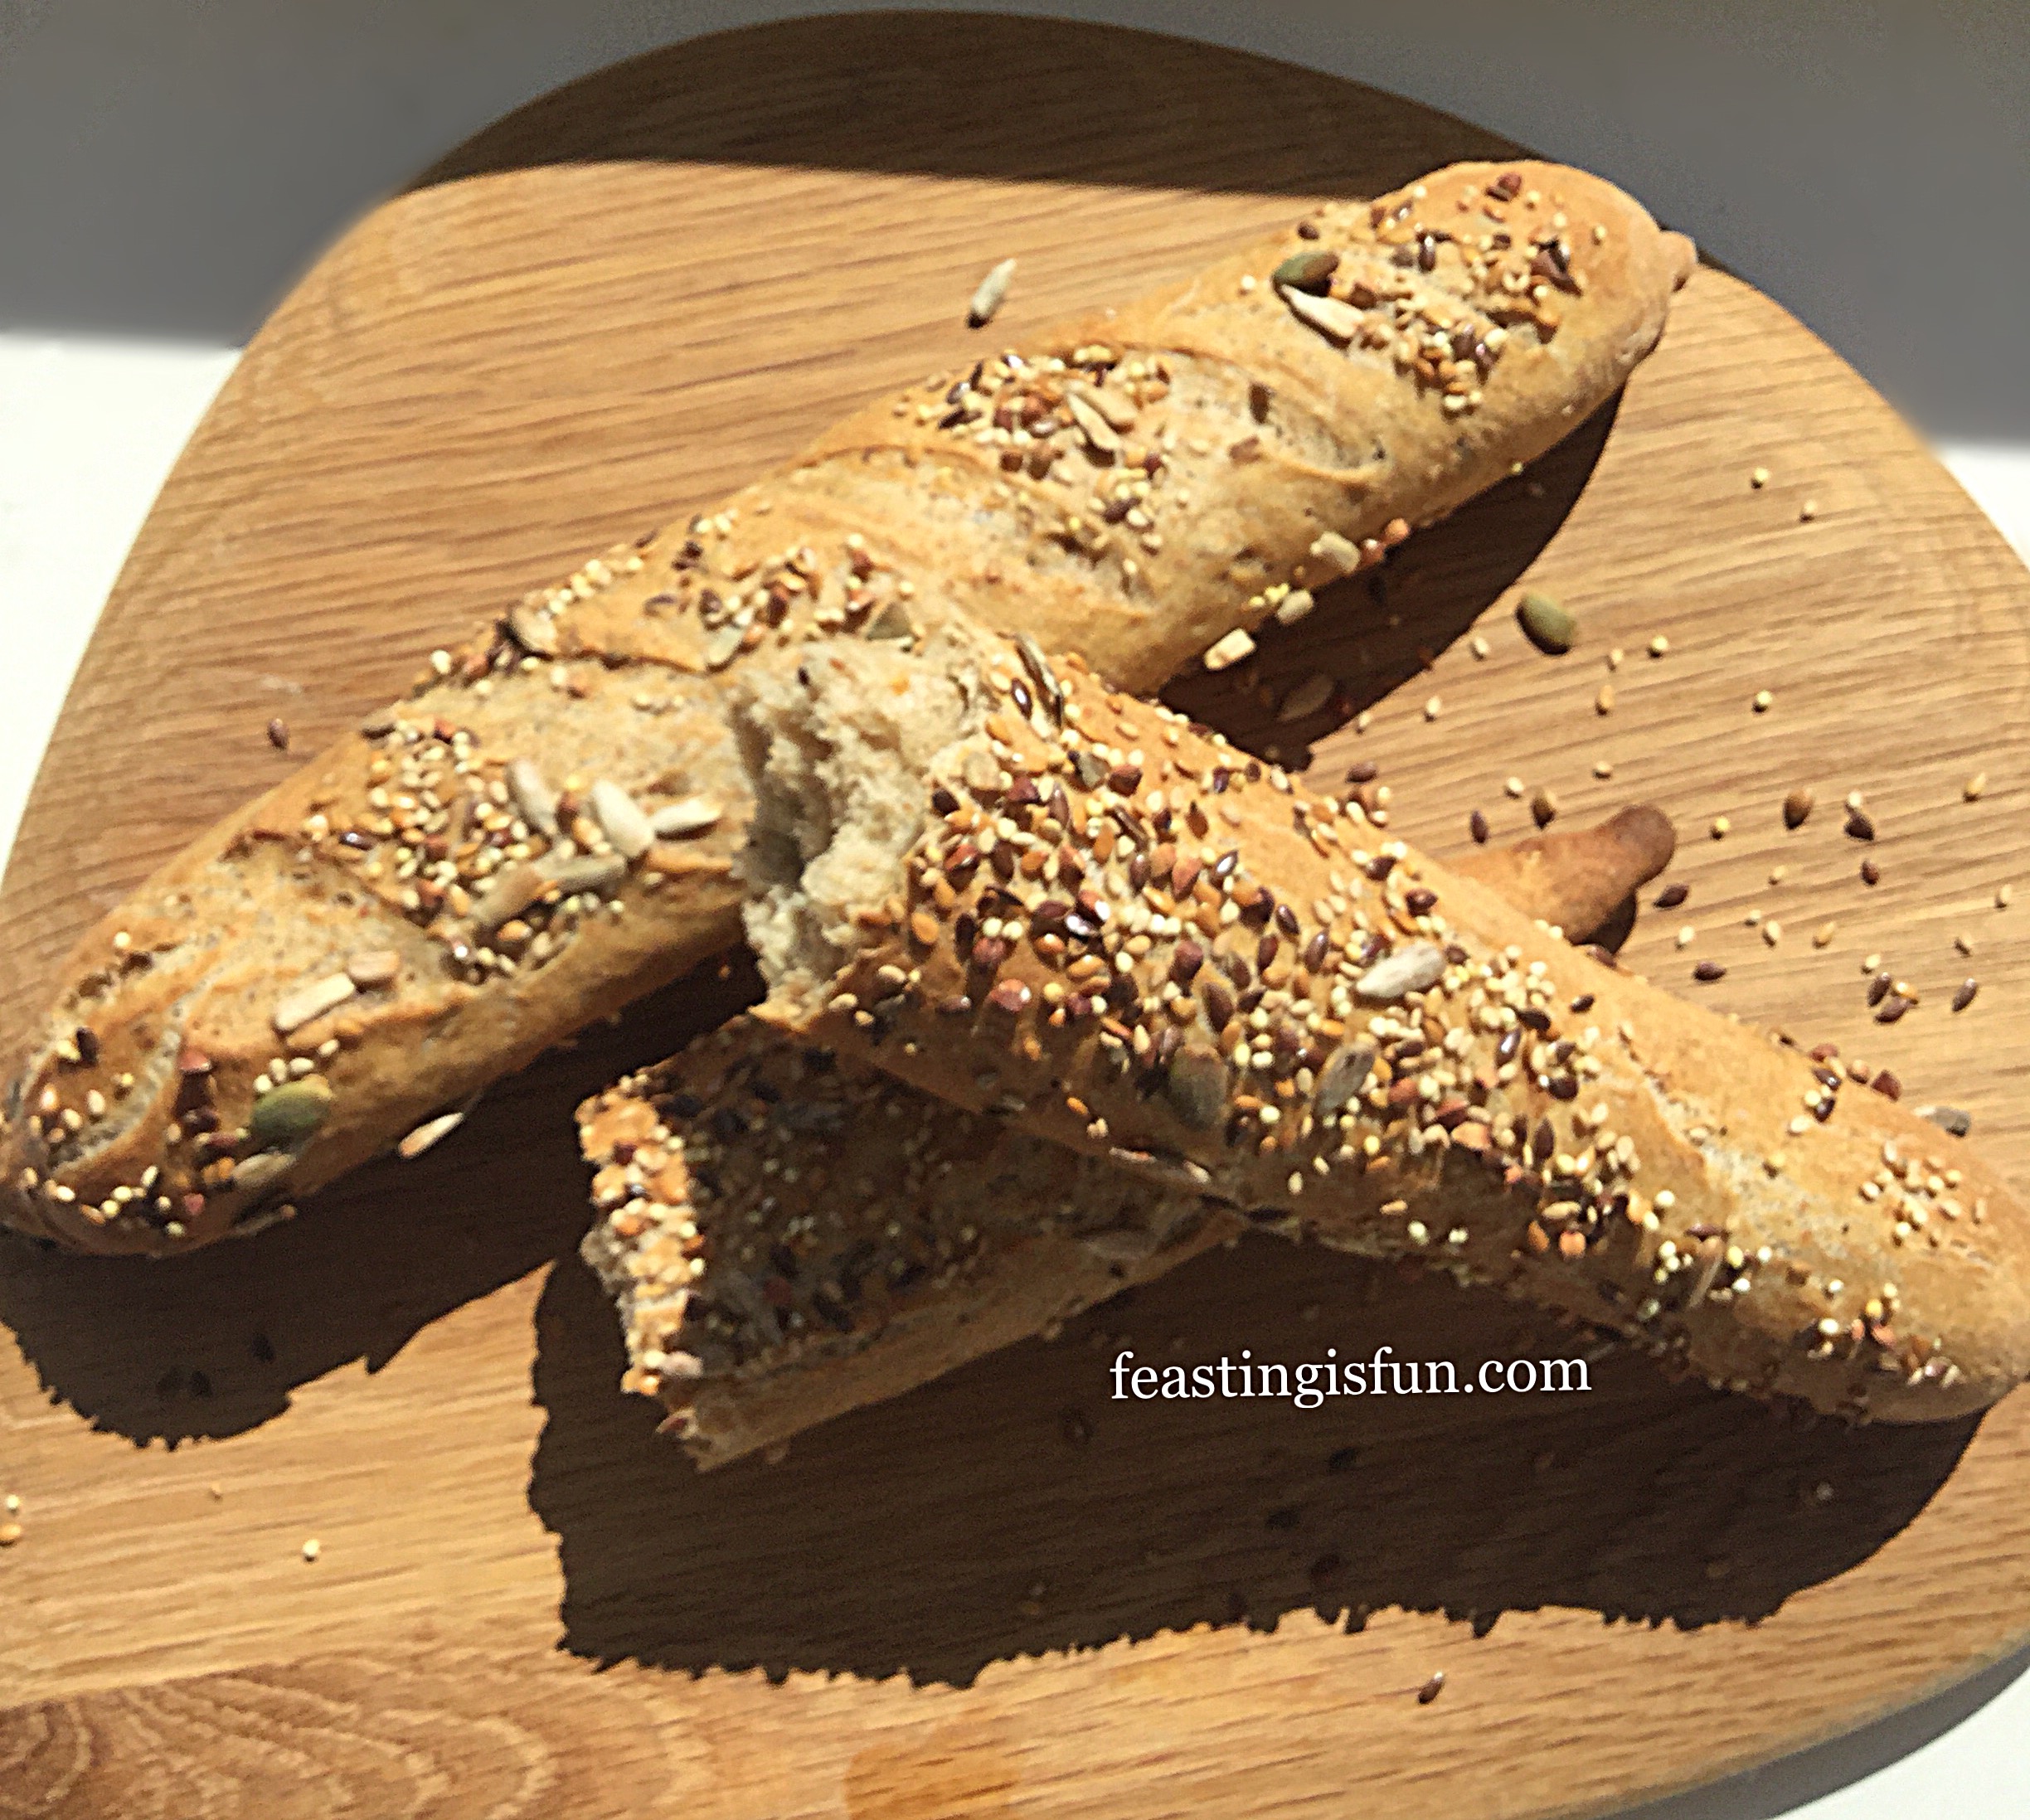
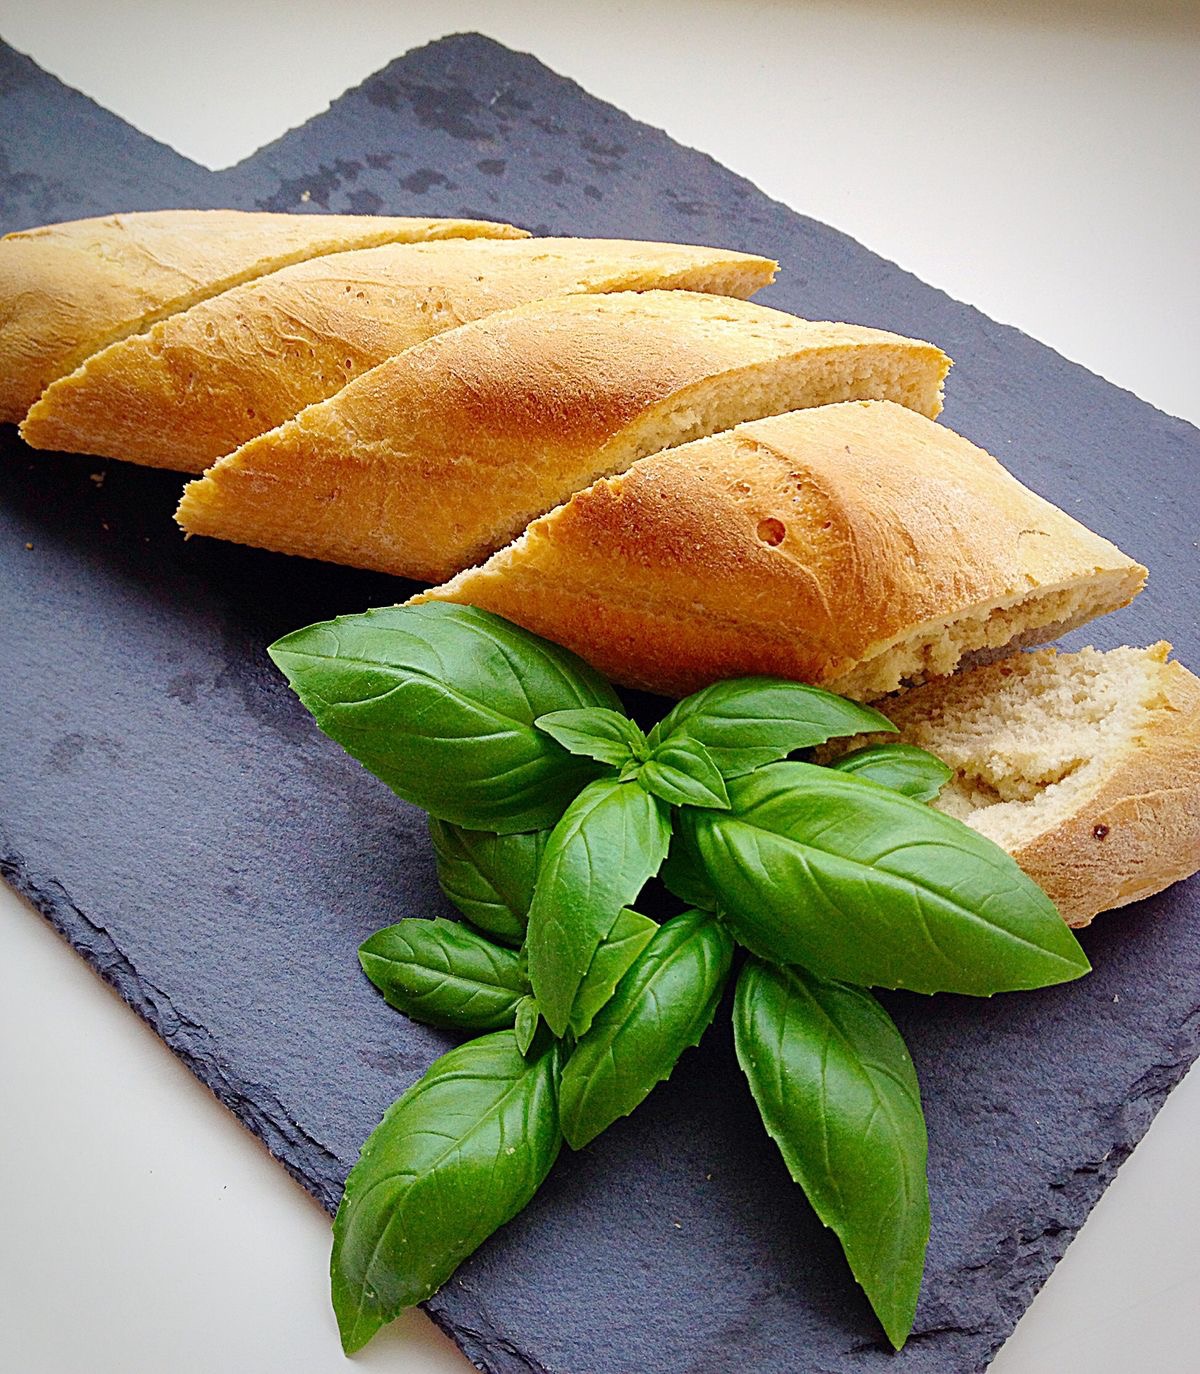
Serve filled with your favourite sandwich fillings, or break apart and dunk in soup. Enjoy these baguettes on the day they are made, or alternatively, freeze wrapped in aluminium foil, for up to one month.

If you have enjoyed this recipe for Seeded Multigrain Baguettes you may also like these:

Garlic Cheese Bombs

FF Seeded Multigrain Baguettes
Garlic Cheese Bombs

Lighter Wholemeal Bread

FF Seeded Multigrain Baguettes
Lighter Wholemeal Loaf

Easy Crusty Baguettes

FF Seeded Multigrain Baguettes
Easy Crusty Baguettes

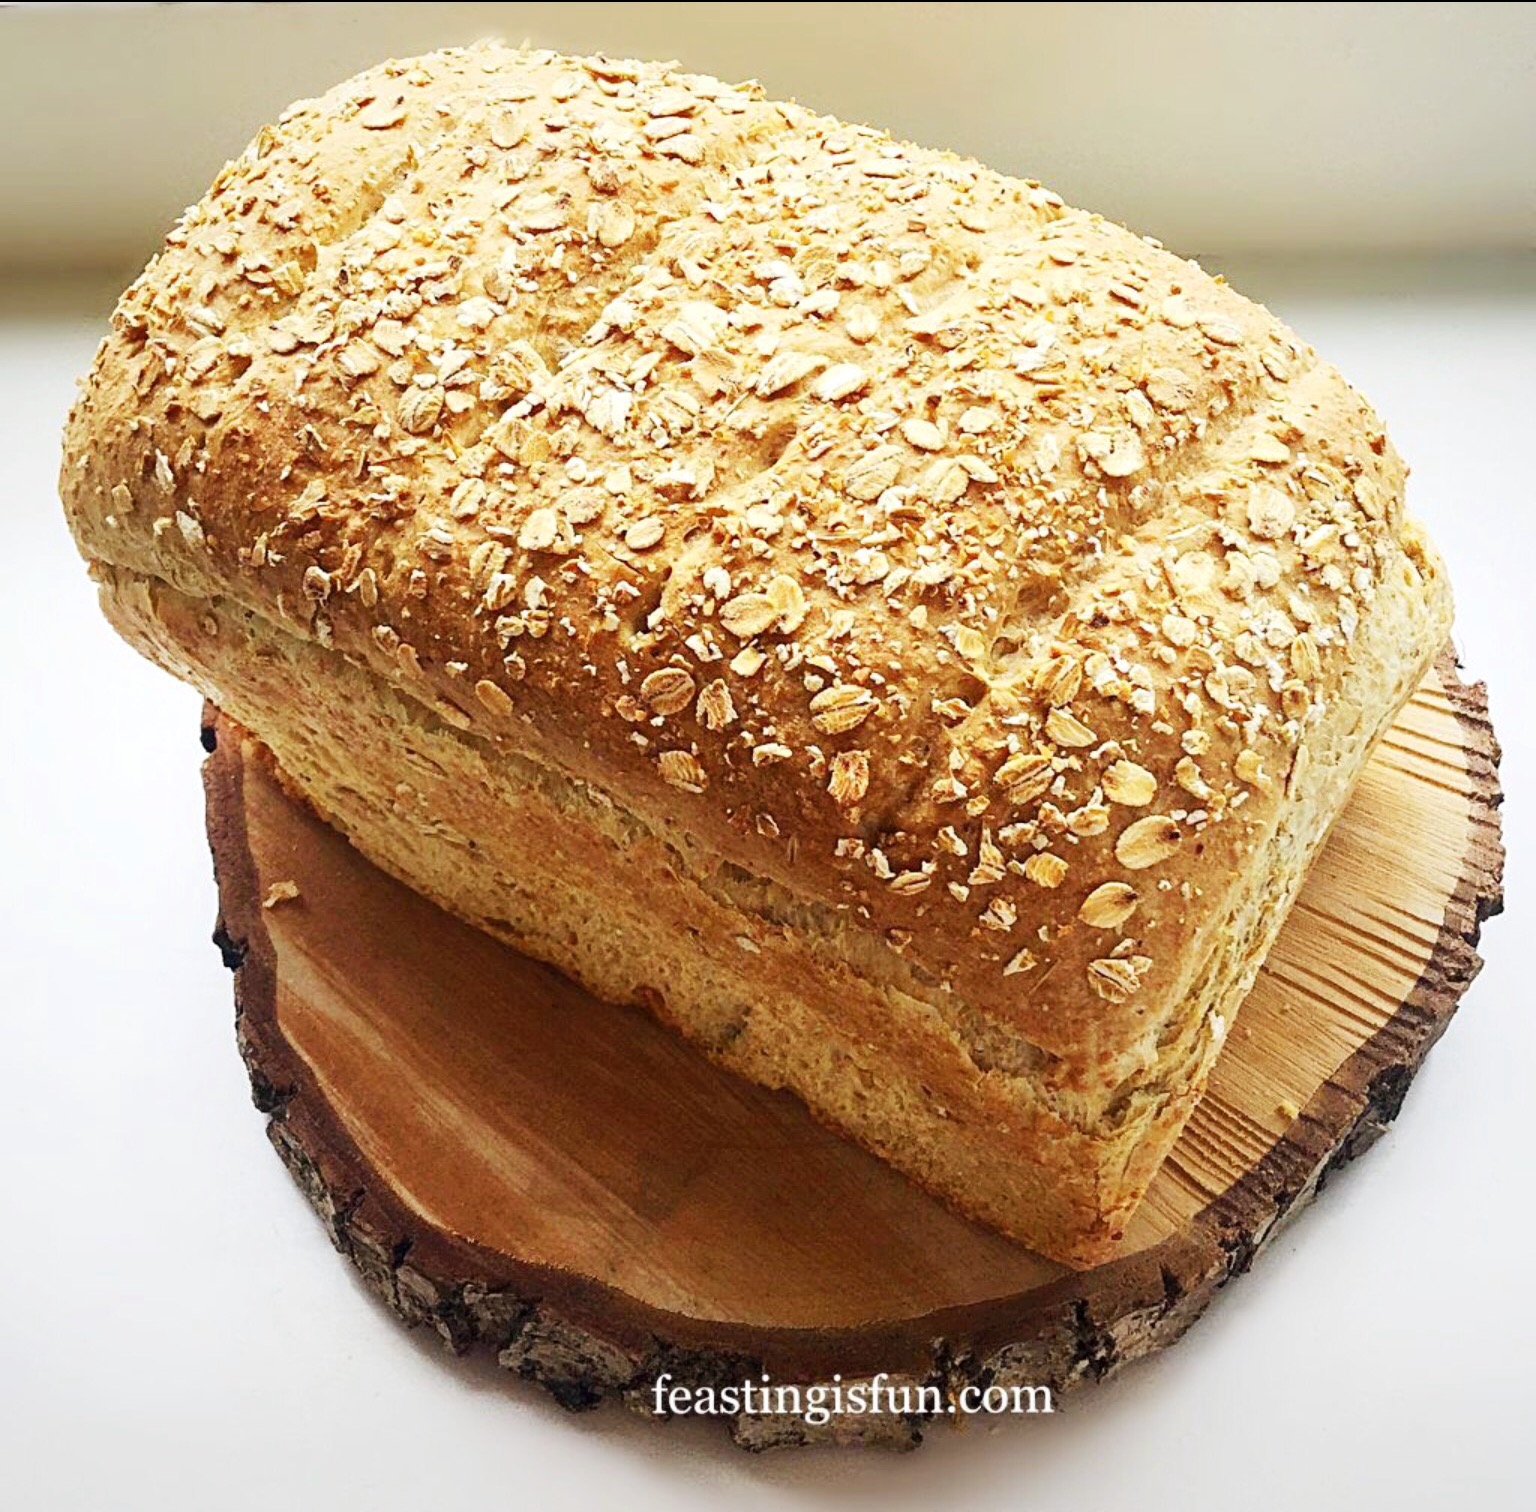
Making bread at home is so much fun. And including children in the process is not only great fun, it also helps them get hands on with making their own meal. Dough is a great medium to play with, especially with children, who, in my experience, are much more likely to eat what they have made. Pizzas are another big hit. It is amazing how a piece of green bell pepper can become a light sabre. Why not try this easy recipe for my Better Than Takeout Pizza?

Whatever you are making, baking and creating in your kitchens, have fun enjoying your feast.

Sammie xx

Please do not copy any part of this post. All content is covered by copyright laws. For further details see my Disclosure Policy.

Share
Facebooktwitterpinterestlinkedintumblr

Large White Bloomer

Share
Facebooktwitterpinterestlinkedintumblr

Hello and thank you for stopping by. I’m so excited to share my recipe for a Large White Bloomer bread today. Because, this bread is easy to make and even easier to eat!

Freshly baked crusty, organic, white bread on a cooling rack.
Large White Bloomer

I was inspired to make this Large White Bloomer by a loaf I saw on Twitter. Ooh it looked good and I knew I had to try and make my own loaf. And I am so glad that I did. Because now I get to share the recipe with you.

Large White Bloomer

You may wonder why you should make your own bread? Since most supermarkets sell freshly baked bread and most high streets still have a bakery. Yet, I can honestly say that nothing beats the taste and smell of fresh, homemade bread. Also, you know exactly what has gone into your loaf. Have you looked at the ingredient list on plastic wrapped bread lately? Even supermarket bakery bread contains flavour enhancers, flour improvers and all manner of other additives that aren’t present in a home baked loaf.

While you may not bothered by the additives in shop bought bread, what about the cost? My Large White Bloomer is made with organic, stone ground flour and costs no more than £1.00 to make! Have I got your attention now?


Large White Bloomer www.feastingisfun.com


A Tasty And Cost Effective Bake

Since we are a family of five we eat a lot of bread. So, it is simply too cost effective for me NOT to make our own bread. No we don’t eat all organic food. And yes, I do occaisionally buy bread. Although, everytime I do it reminds me why I bake my own. It takes very little time, especially if you use a bread maker or stand mixer to do the kneading/mixing part for you. Even if you knead by hand, double up on this recipe, pop one loaf in the freezer and timewise you’re quids in.

Have I convinced you? What I love about this Large White Bloomer is, the only piece of baking equipment you need is a baking tray. Also you will be able to make and bake my Seeded Cob Loaf.

Recipe : Makes 1 Large White Bloomer

400ml/14 fl oz Warm Water – body temp.

10g/3tsp/1.5 Sachet Dried Easy Bake Yeast – I use Allinson

2tsp Honey

675g/1.5lb Strong Plain White Flour, plus extra for dusting and rolling

10g/1.5tsp Salt – I use Maldon

25g/1oz Unsalted Butter – alternatively use 1 tbsp Rapeseed Oil (Canola Oil)

Method :

Note : if making by hand, knead the dough for 10-15 minutes before proving. The dough will be sticky to start but continue kneading and it will transform into a soft, pliable dough.

The ‘bowl’ refers to a large bowl for hand mixing, a stand mixer bowl, or a bread maker pan.

Making The Dough

Place the water into a bowl. Add the yeast and honey. Use your clean fingers to swish and mix everything together.

Add the flour. On top add the salt and butter.

In all methods stir the ingredients with the end of a wooden spoon 10 times.

Set your bread maker to dough cycle and start. When the dough cycle is complete, restart the mixing cycle on your bread maker. Allow to mix and knock back your dough for 5 minutes. Follow instructions with the photographs.

Attach a dough hook to a stand mixer. Mix on low – medium speed for 15 minutes. Stop the mixer, clean the dough off of the hook, form into a ball, place back into the bowl and cover with a damp cloth. Leave in a draught free place until doubled in size.

If mixing by hand bring all the ingredients together using one hand and proceed as above for kneading. Form the dough into a ball, place into a bowl and proceed as for stand mixer.

Shaping The Large White Bloomer

For stand mixer or hand mixed dough, once the dough is doubled in size, punch down into the bowl to knock back the dough. Hand knead the dough on a lightly floured surface for 5 – 10 minutes until the dough is elastic and smooth.

Whichever method you use, as soon as the dough has been knocked back and mixed or kneaded, place on a lightly floured surface.

On a floured surface form the dough into a ball.
Roll the dough out until it is 2.5cm/1" thick.
Roll the dough out until it is 2.5cm/1″ thick.
Fold the top third, like an envelope.
Fold the bottom third up and over the top third.
Turn the dough over, you should have a lovely bloomer shape. Place on a greased baking tray.
Using a sharp knife cut 4-5 slashes across the dough.
Dust the loaf with flour.

Proving The Shaped Loaf

I actually used the excess flour from the worktop to dust my loaf with. Because waste not want not!

Cover the loaf with a clean , dry cloth and leave again in a draught free place until doubled in size, mine took 45 minutes on a warm day, don’t worry if it takes longer. Because, the longer bread takes to rise (prove) the deeper the flavour.

15 minutes before your loaf is ready to bake, place a tray/grill pan in the bottom of the oven and fill with water. Preheat your oven to its hottest – 230C/210C fan, gas mark 8, 450F. 

When your loaf is doubled in size remove the towel.

Large White Bloomer ready for the oven.


Baking The Bread

Place your loaf in the middle of the preheated, steamy oven. Immediately turn the heat down to 220C/200C fan oven, gas mark 7, 425F and bake for 20 – 30 minutes depending on how dark you like your crust. My loaf was baked for 25 minutes.

When golden and crusty remove your Large White Bloomer from the oven.

Taking care, as the bread is extremely hot, turn it over and rap your knuckle against the base. The bread is baked if you hear a hollow sound.

Large White Bloomer a gorgeous, golden loaf.


Cooling The Bread – An Important Step

Transfer your bread to a cooling rack. Doing so will avoid it getting a soggy bottom. Breathe in deeply. And remember the smell. Because this is the wonderful smell of homemade bread and can’t buy that!

Large White Bloomer leave to cool on a cooling rack.


While it may be tempting to slice straight into your loaf, it’s better to leave it to cool completely as it will slice better. If you can’t resist tearing a chunk off go ahead. Also it may be a good idea to bake another loaf, as warm bread is addictive and easily snaffled!

Large White Bloomer golden crust, white crumb delicious www.feastingisfun.com
Large White Bloomer


Large White Bloomer homemade bread is the BEST! www.feastingisfun.com
Large White Bloomer homemade bread is the BEST!

For a healthier, lighter wholemeal bloomer use the following quantities:

  • 275g Strong Wholemeal Flour
  • 400g Strong White Flour

Make as per the instructions given above. To create the diamond effect score diagonally left to right and then repeat scoring from right to left. The bread may need 5-10 minutes longer baking time. The bread is baked when rapped on the base and sounds hollow.

Wholemeal Bloomer bread with criss cross scoring.

If you have enjoyed this recipe for a Large White Bloomer you may also like these:

Farmhouse White Loaf

Farmhouse White Loaf

Crunchy Seeded Bread 

Crunchy Seeded Bread

Oat Bran White Bread

Oat Bran White Bread


When I make bread for people as a gift (and I use the word make in it’s loosest term as my bread maker does the hard stuff) it always receives a rapturous welcome. And out of everything I bake it is probably the MOST appreciated.

If you make this loaf I’d love to see it. Find me on Twitter @sammiefeasting.

So, whatever you are making, baking and creating in your kitchens, have fun preparing and sharing your feast.

Sammie x

No part of this post may be reproduced or duplicated without the written permission of the owner. Please see my Disclosure Policy.

Extra Bread Shaping Tips

To make a longer, more uniform bloomer loaf, follow these steps.

Following the last fold of the dough, turn it over and roll the dough using both hands, while gently encouraging the dough to lengthen. Doing so will even out the dough, resulting in a longer, more uniform shape.

Place the dough onto a greased baking tray and cover with a clean tea towel. Leave to prove for 30 minutes, dust lightly with flour and then score across the dough five times.

Leave the dough to prove for a further 15 minutes and then bake in a preheated oven as given in the recipe.

Showing how to score dough to create beautiful baked bread.
Scoring through the dough.

Also, scoring the dough allows the bread to expand while baking. Not scoring the dough is likely to cause the bread to burst at its weakest point while baking, creating an irregular shaped loaf.

Pinterest image of a crusty bread loaf.

Share
Facebooktwitterpinterestlinkedintumblr