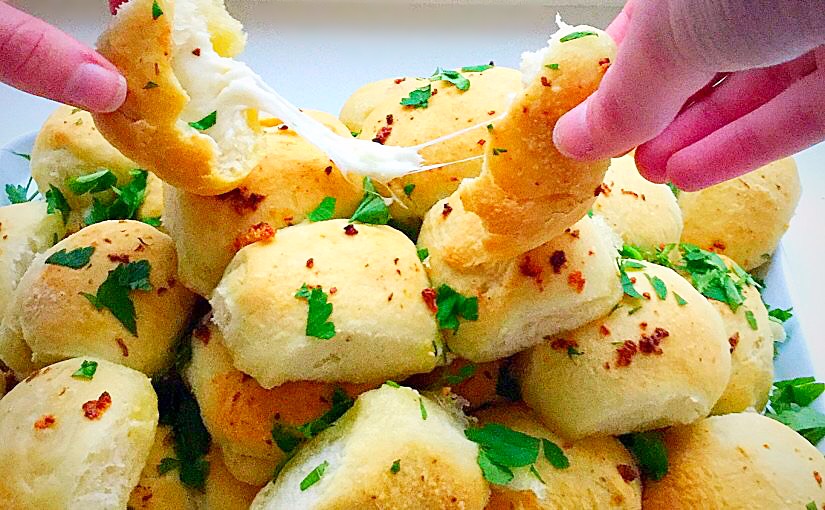
Who doesn’t love garlic bread, served alongside a great pasta dish, with a glass of something chilled? I certainly do and after seeing a fantastic foodie craze on Pinterest I knew I had to try it. Everyone is mad about these Garlic Cheese Bombs!

In our house these are the BOMB 😉.
Everyone loves it when I make them and having successfully frozen them, uncooked, they are great to have on hand. Fresh or frozen.
Honestly these Garlic Cheese Bombs have become such a massive hit in our house. I’m really glad that they freeze well as my family would scoff the whole lot if I baked them all at once. I have learned from the first time I made Garlic Cheese Bombs
Baking With Children
If you have little ones, they will thoroughly enjoy making these.
The only extra ingredient required to make the Garlic Cheese Bombs is a little patience. Making 30 – 40 individual, little cheese wrapped buns, could be seen as tedious – not here at Feasting is Fun though. We don’t do tedious!! So put on some great music or a play, clear the table and enjoy some therapeutic relaxation, whilst you play with dough!
Before you know it you’ll have two trays full of delicious, homemade, bread buns proving and you can give yourself a smug pat on the back, knowing that one tray is going to be stashed in the deep freeze.
Baking bread is a real passion of mine, second only to my faith see Important Stuff. As this week has been Real Bread Week it seemed fitting to end on a recipe that is fun to make and tastes best when feasting with family and friends.
Made From Scratch Versus Using A Bread Mix
I have made these Garlic Cheese Bombs using both my own dough recipe and a Wright’s bread mix. Truthfully and this almost hurts to write this, the children preferred the ones made with the bread mix.
Our children are very honest!!
Personally I think they are both great. The Wright’s bread mix is handy if you’re an infrequent bread baker, or haven’t made bread dough before and want to ensure they turn out great. My dough recipe is for those of us who are happy to make their dough from scratch. That said, there’s room in my kitchen for both.
Recipe: Makes 30 – 40 Garlic Cheese Bombs
1 quantity of dough that’s been proved and knocked back, from either my Farmhouse White Loaf or using Wright’s Baking Premium White Bread Mix
2 Tubs Mini Mozerrella Balls – there are approx 15 – 20 balls per tub
4 Fat Garlic Bulbs – or more if you want an extra garlic kick
100g/4oz Butter
4tbsp Olive Oil
1tsp Sea Salt – I use Maldon
1/2tsp Freshly Ground Black Pepper
Bunch of Fresh Parsley to garnish and add flavour
Making The Garlic Cheese Bombs
You will need a foil freezer/baking tray or 2 if you intend to freeze these.
- Drain the mozerella balls well and count how many you have.
- Make up the dough according to your chosen option.
- Allow the dough to prove until doubled in size and then tip out on to a lightly floured surface.
- For the very precise among you, weigh the bread dough and then divide that number by the number of mozerella balls. That will tell you exactly how much each piece of dough should weigh.
- If you are more ‘laissez faire’ about things, like me, simply divide the dough evenly into 3 or 4 equal pieces (depending on whether you have 30 or 40 mozerella balls) and then divide each potion into 10.
- Flatten a small portion of dough into a rough circular shape.
- Place the mozerella ball in the centre of the dough circle.
- Bring the edges of the dough up so that they cover the cheese and seal by pressing together.
- Place the Garlic Cheese Bomb seam side down on a lightly oiled baking tray.
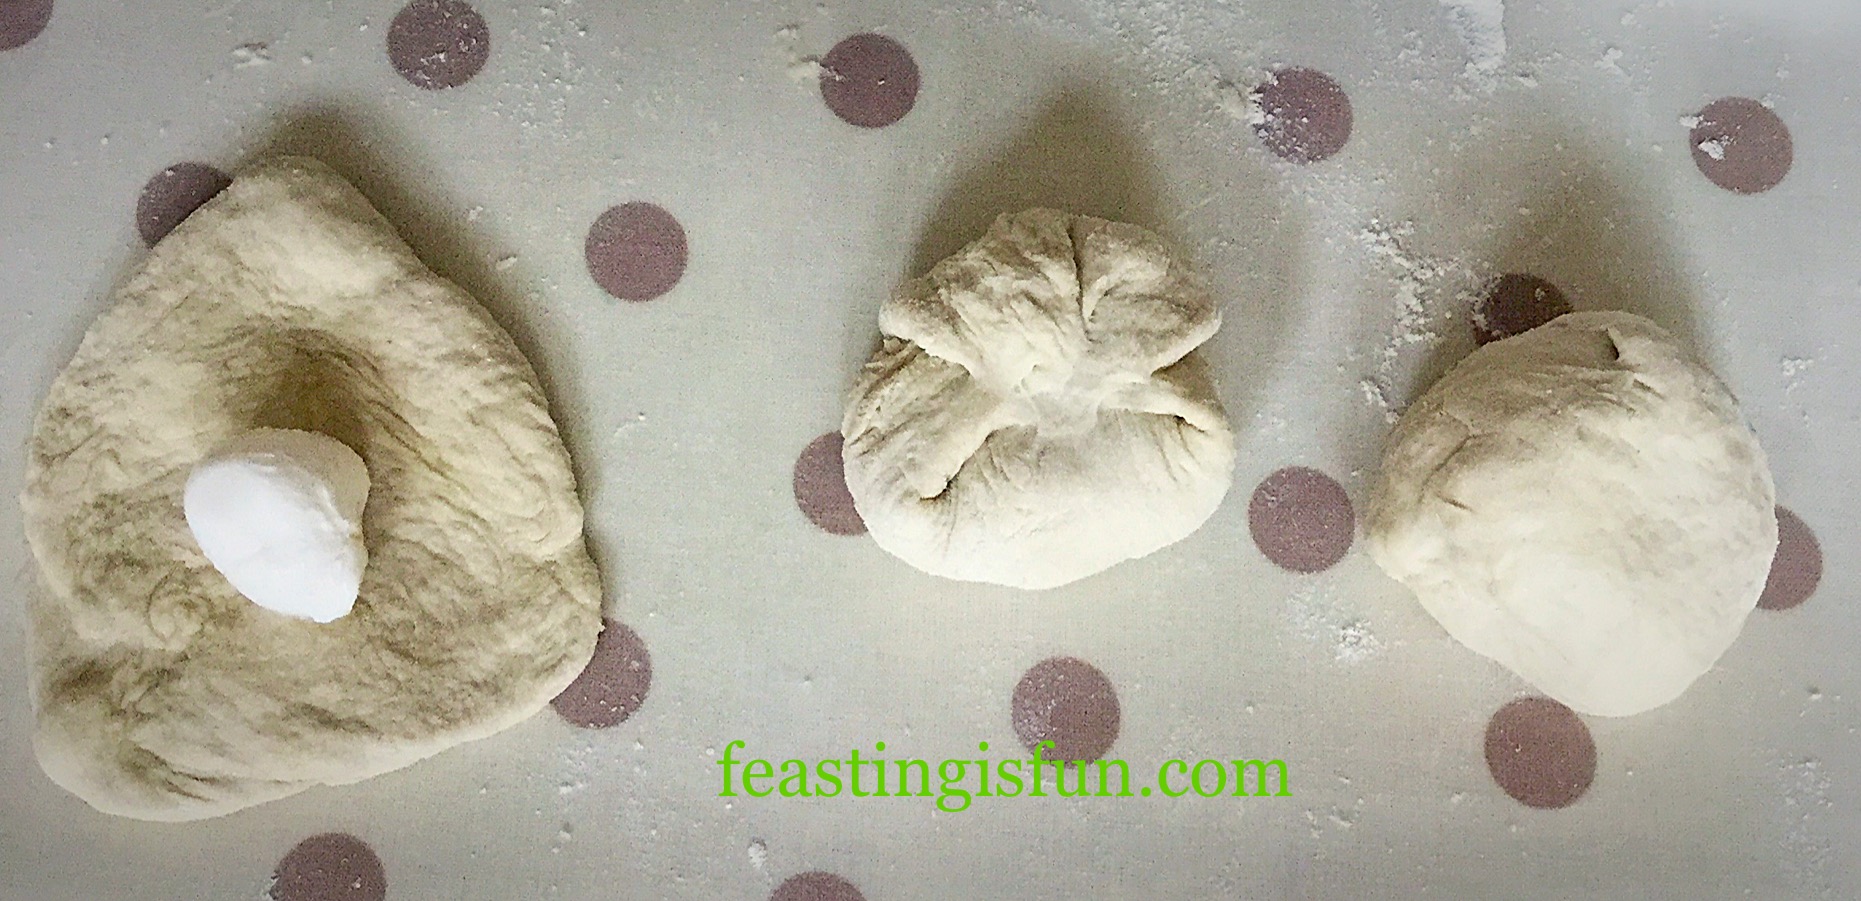
- Continue until all of the Garlic Cheese Bombs have been made, allowing space in between each one the tray so that it has room to rise.

Proving The Buns
- The Garlic Cheese Bombs in the photo above are from the first batch that I made.
- Leave until doubled in size.
- Whilst the rolls are proving, make the garlic butter.
- Place the butter, oil, crushed/finely minced garlic, salt and pepper into a small saucepan over a low heat.
- Cook until all the butter has melted. Set to one side.
- Preheat the oven to 200C/180C fan, gas mark 6, 400F.
- When the Garlic Cheese Bombs have doubled in size, remove the damp cloth/cling film and brush liberally, using a pastry brush, with the melted garlic butter.

Freezing The Uncooked Bread Rolls
Now is the stage at which the Garlic Cheese Bombs can be frozen. Double wrap the foil tray with freezer safe cling film, label and pop in the freezer. They should be fine for at least one month in the freezer.
Baking The Garlic Cheese Bombs
- To bake the freshly garlic glazed buns, place into the middle of the oven and bake for 25-30 minutes, or until the rolls are golden brown.
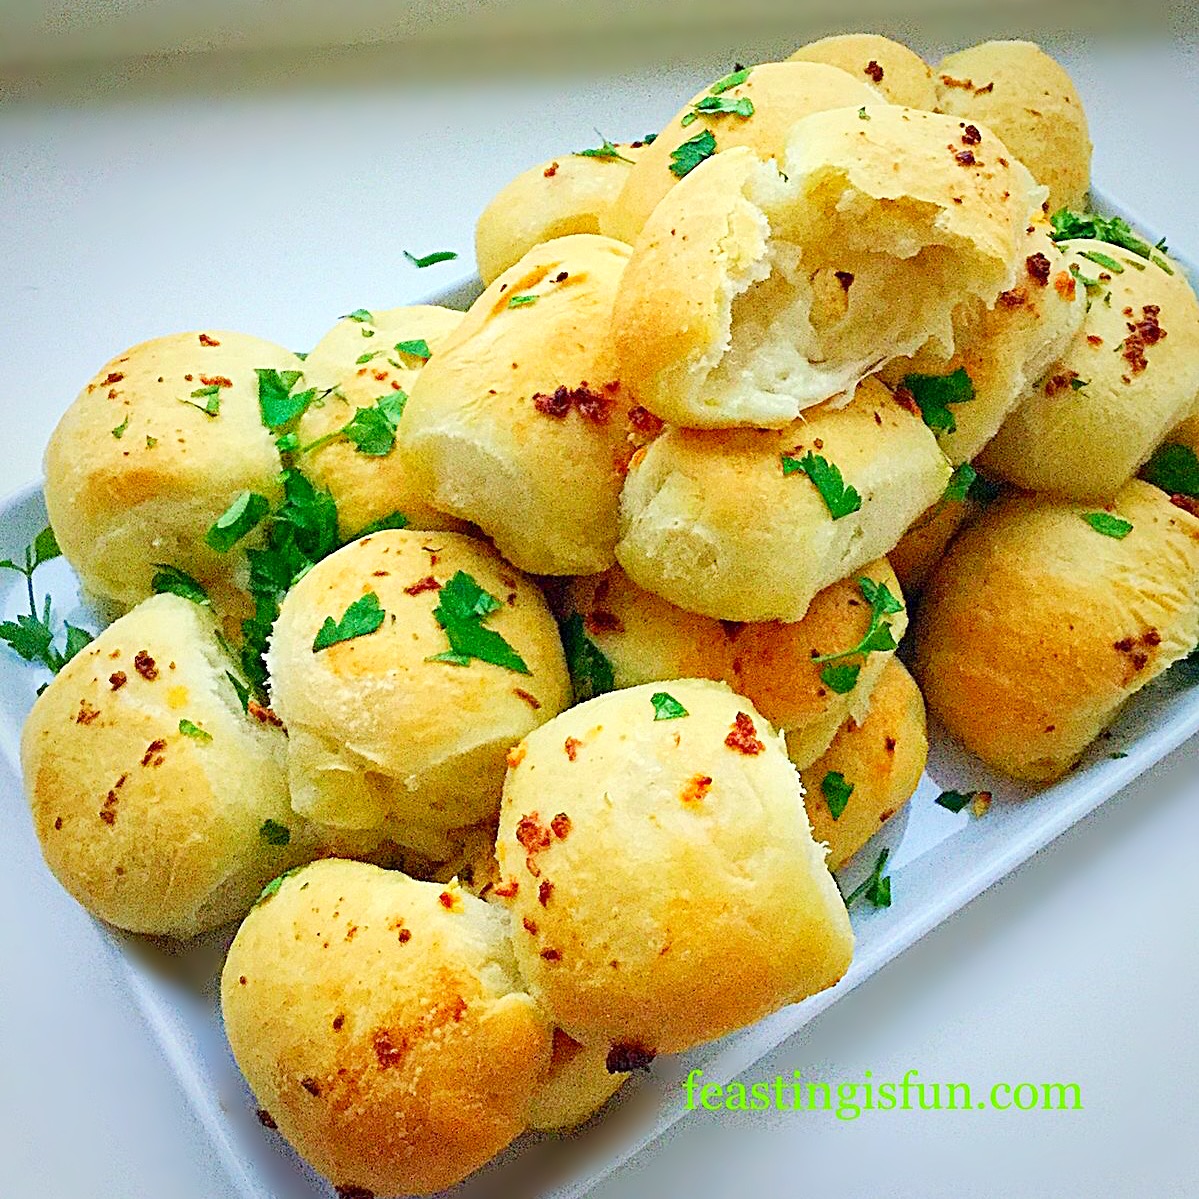
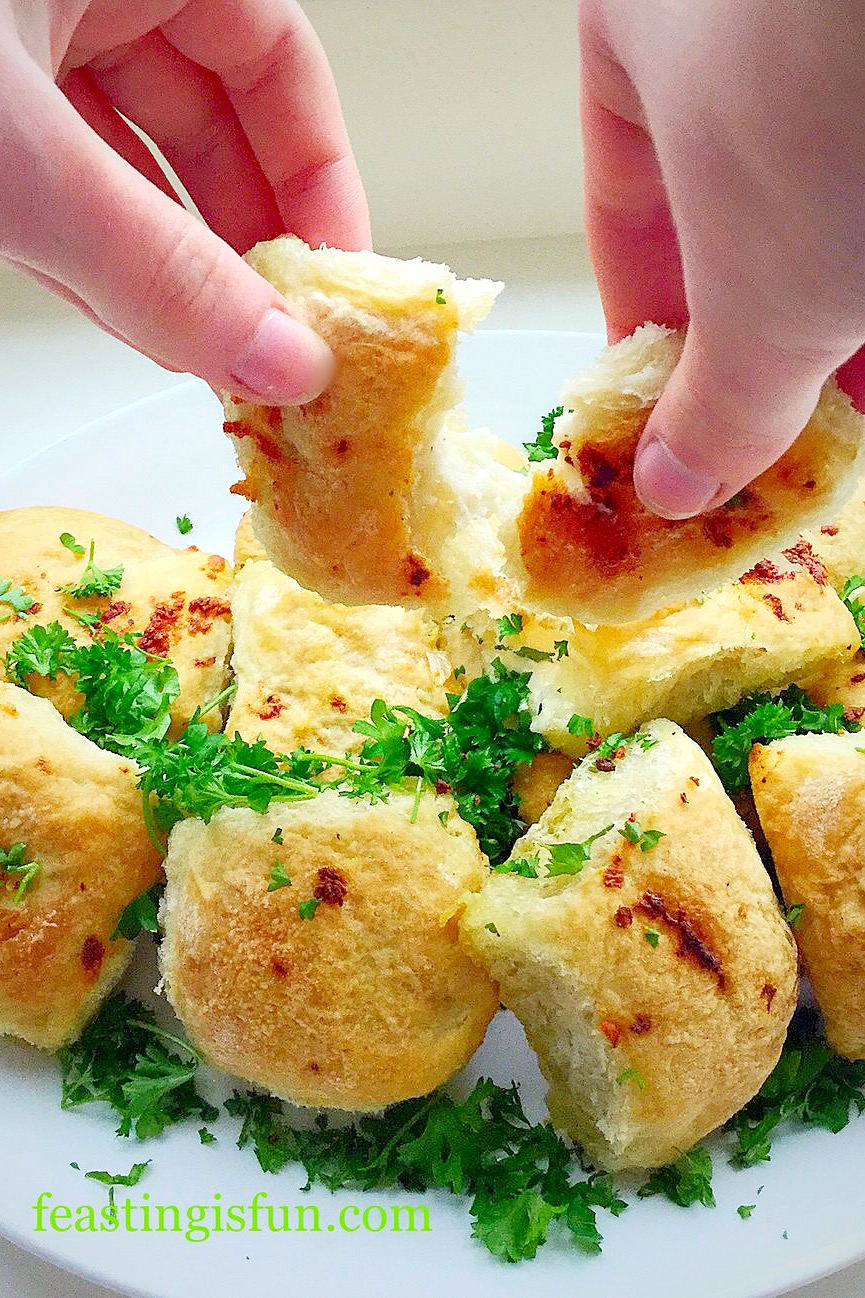
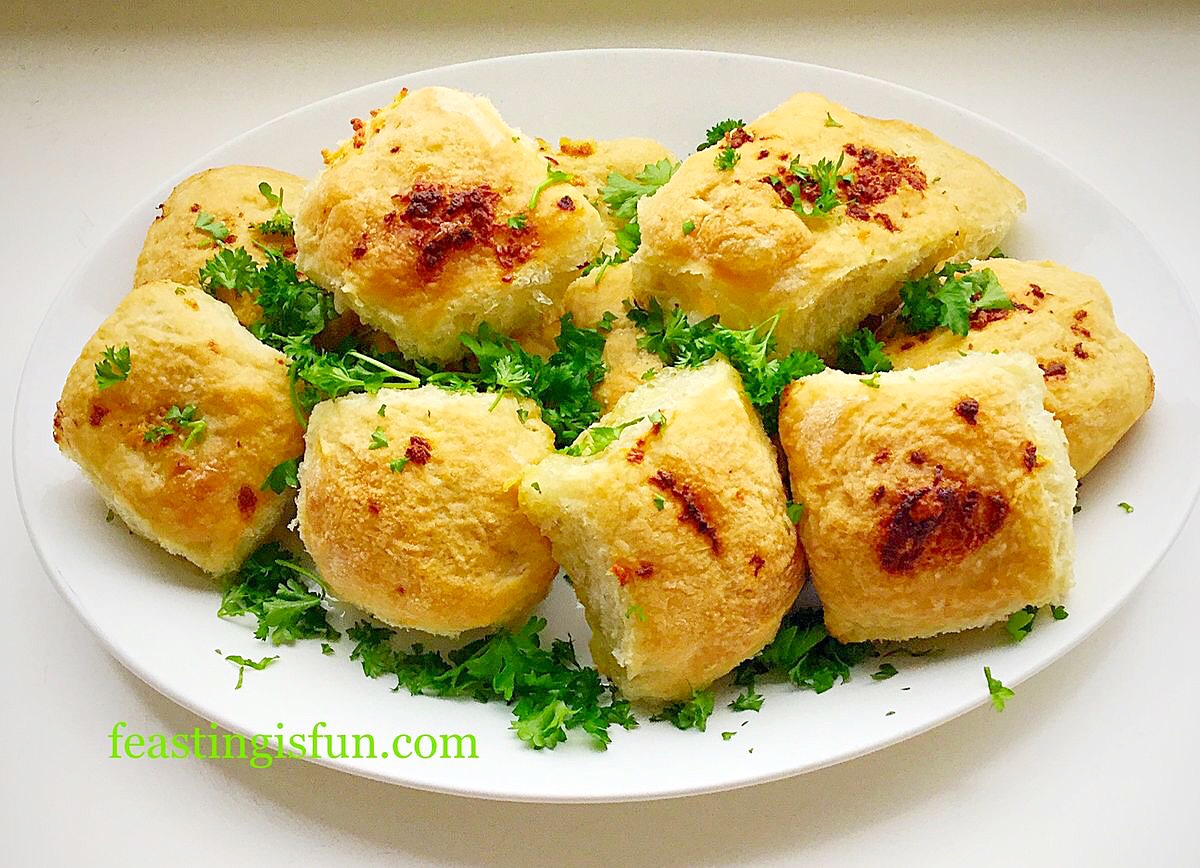
- When baked remove the tray from the oven and immediately transfer the individual Garlic Cheese Bombs to a serving platter. Be careful as they will be very hot.
- Pour over any garlic butter left in the tray and garnish with roughly chopped parsley,
- Leave for 5 minutes before serving to allow thm to cool slightly.
- Serve with a smile and watch as people break open these golden, light, cheesy rolls, flavoured with garlic butter.

Baking From Frozen
To bake from frozen, preheat the oven to 190C/170C fan, gas mark 5, 375F. Remove all cling film/foil. Place the frozen rolls into the middle of the oven and bake for 40-45 minutes, until golden and baked through. To test remove a roll and cut in half, if the mozerella is gooey and melted then the Garlic Cheese Bombs are baked. Serve as for freshly baked.
Making Ahead Tips
So you’ve got a party in the evening and you want to make these earlier in the day? I’d suggest making them the day, or even a few days aheadand stashing them in the freezer. Alternatively make them in the morning, glazed with garlic butter before their final prove (it’ll save you stinking of garlic as you great your guests 😉), wrap in cling film and keep in the fridge. Take them out 10 minutes before baking, whilst you preheat the oven and bake as for fresh.
Make ahead recipes are fantastic as they allow you to enjoy spending time with your guests, rather than being stuck, on your own in the kitchen!
If you have loved these Garlic Cheese Bombs, then here are some other recipes you might like to try:
Breadsticks with Garlic and Herb Dipping Oil

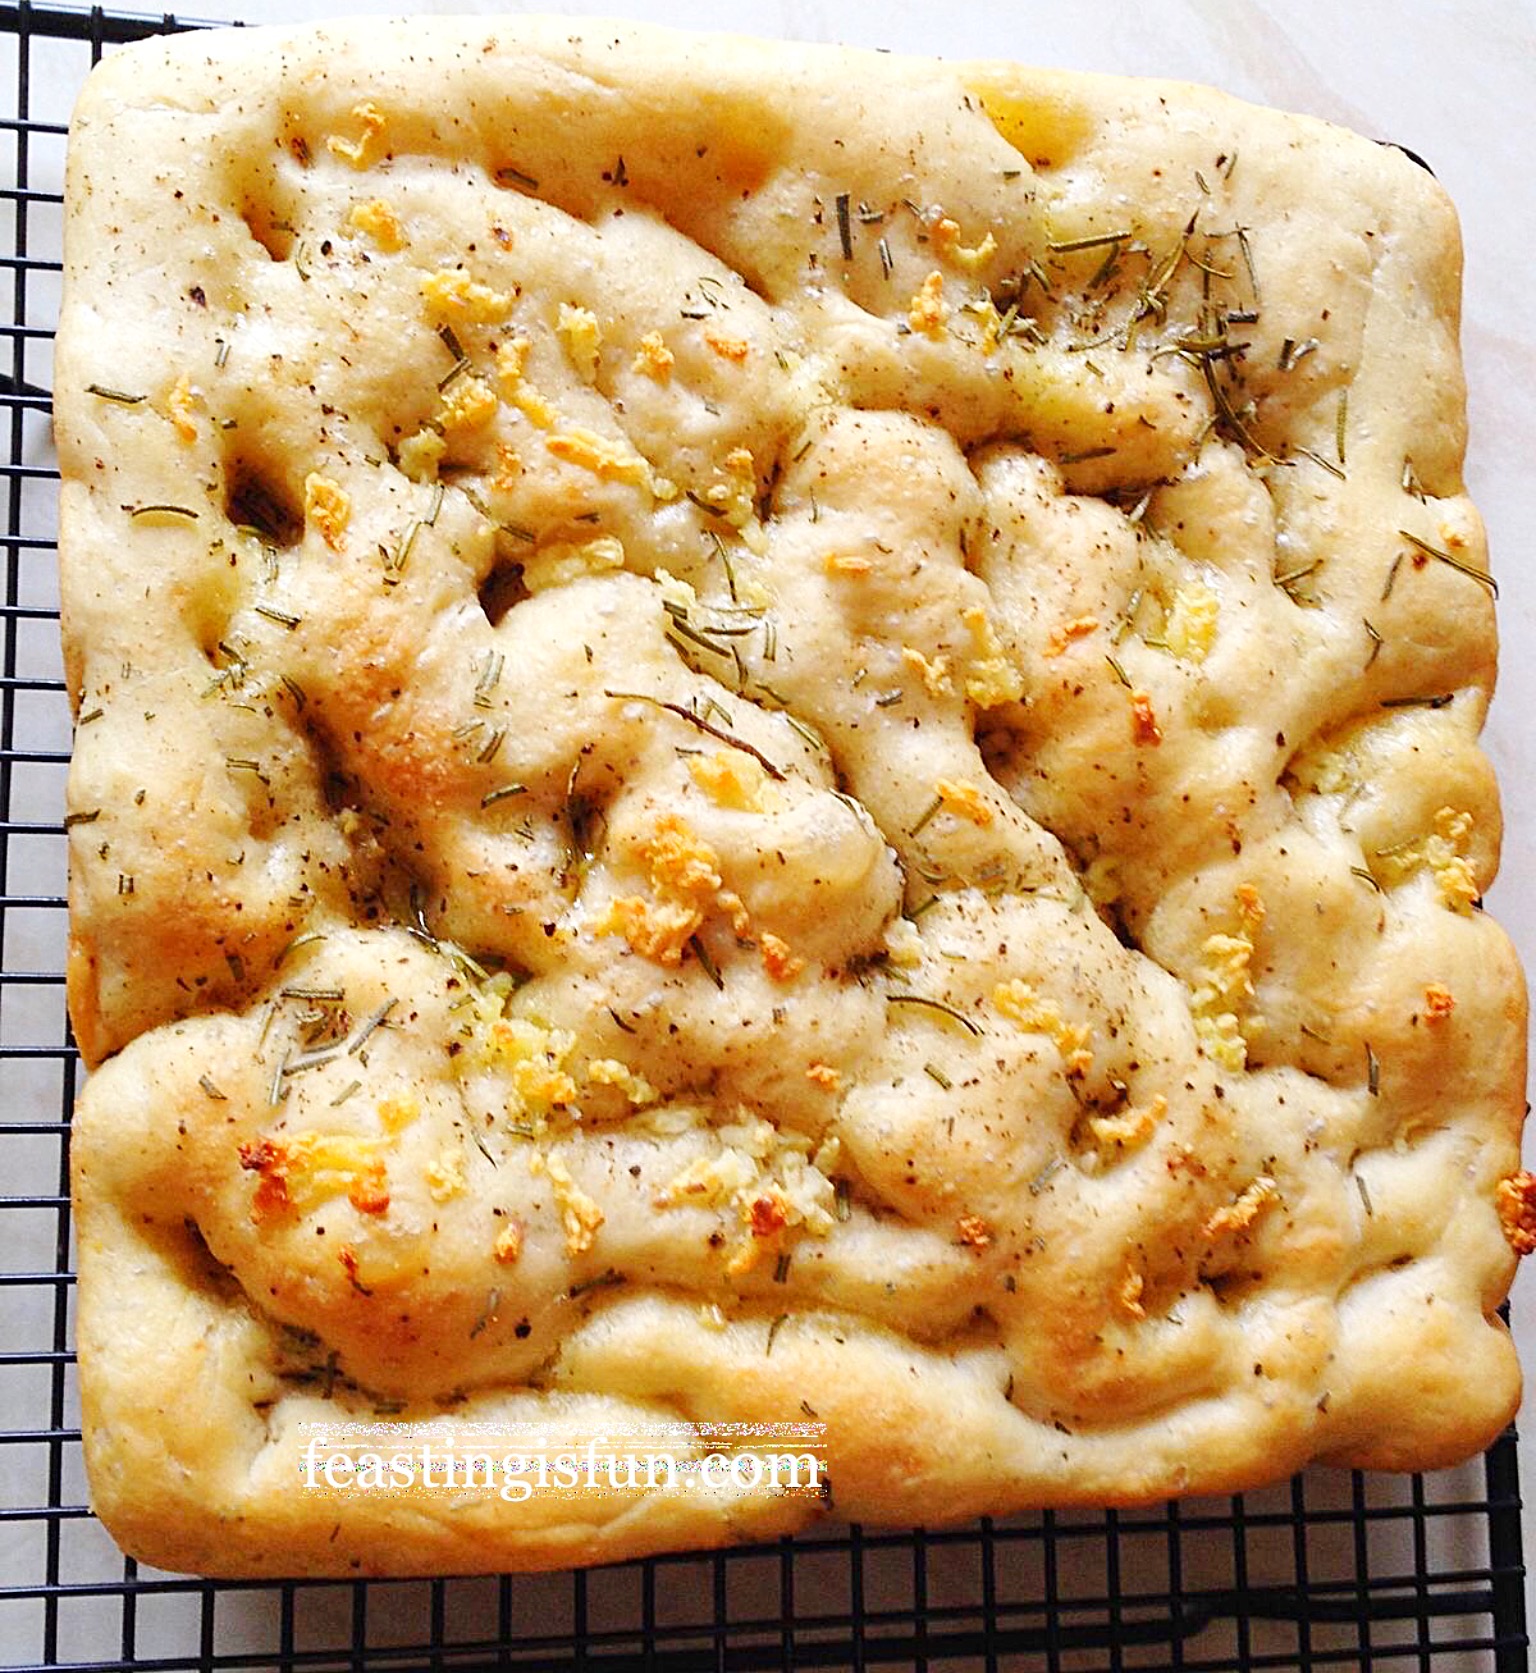
Garlic Rosemary Focaccia Bread
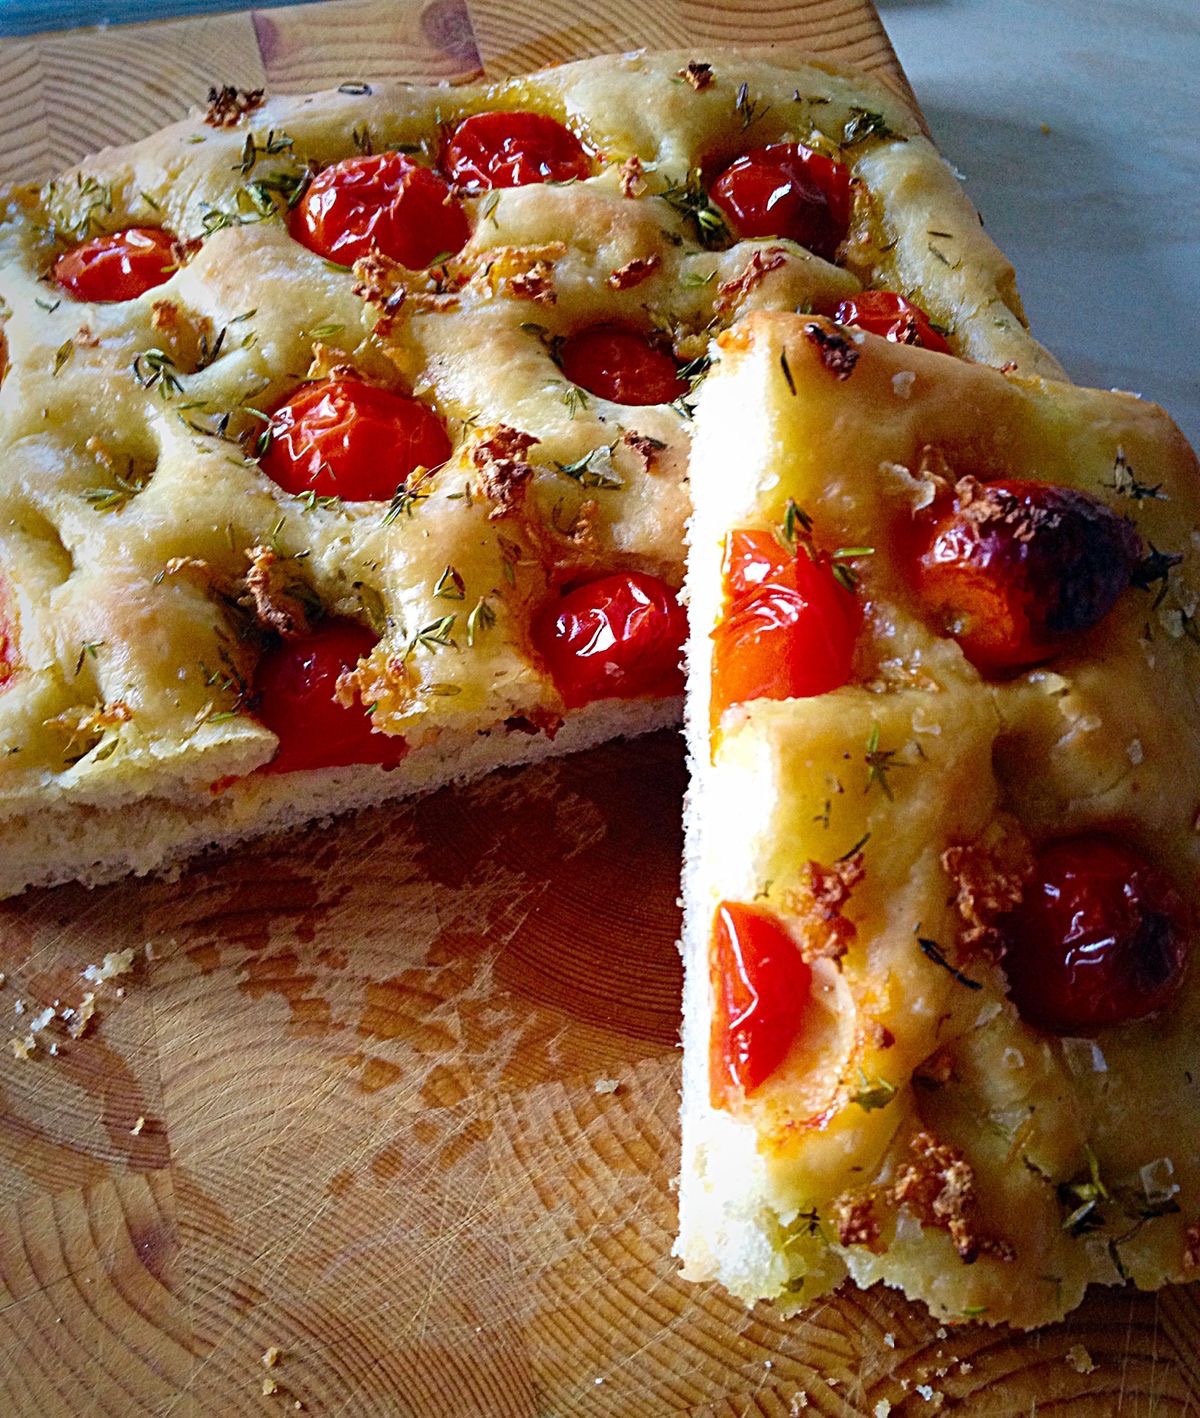
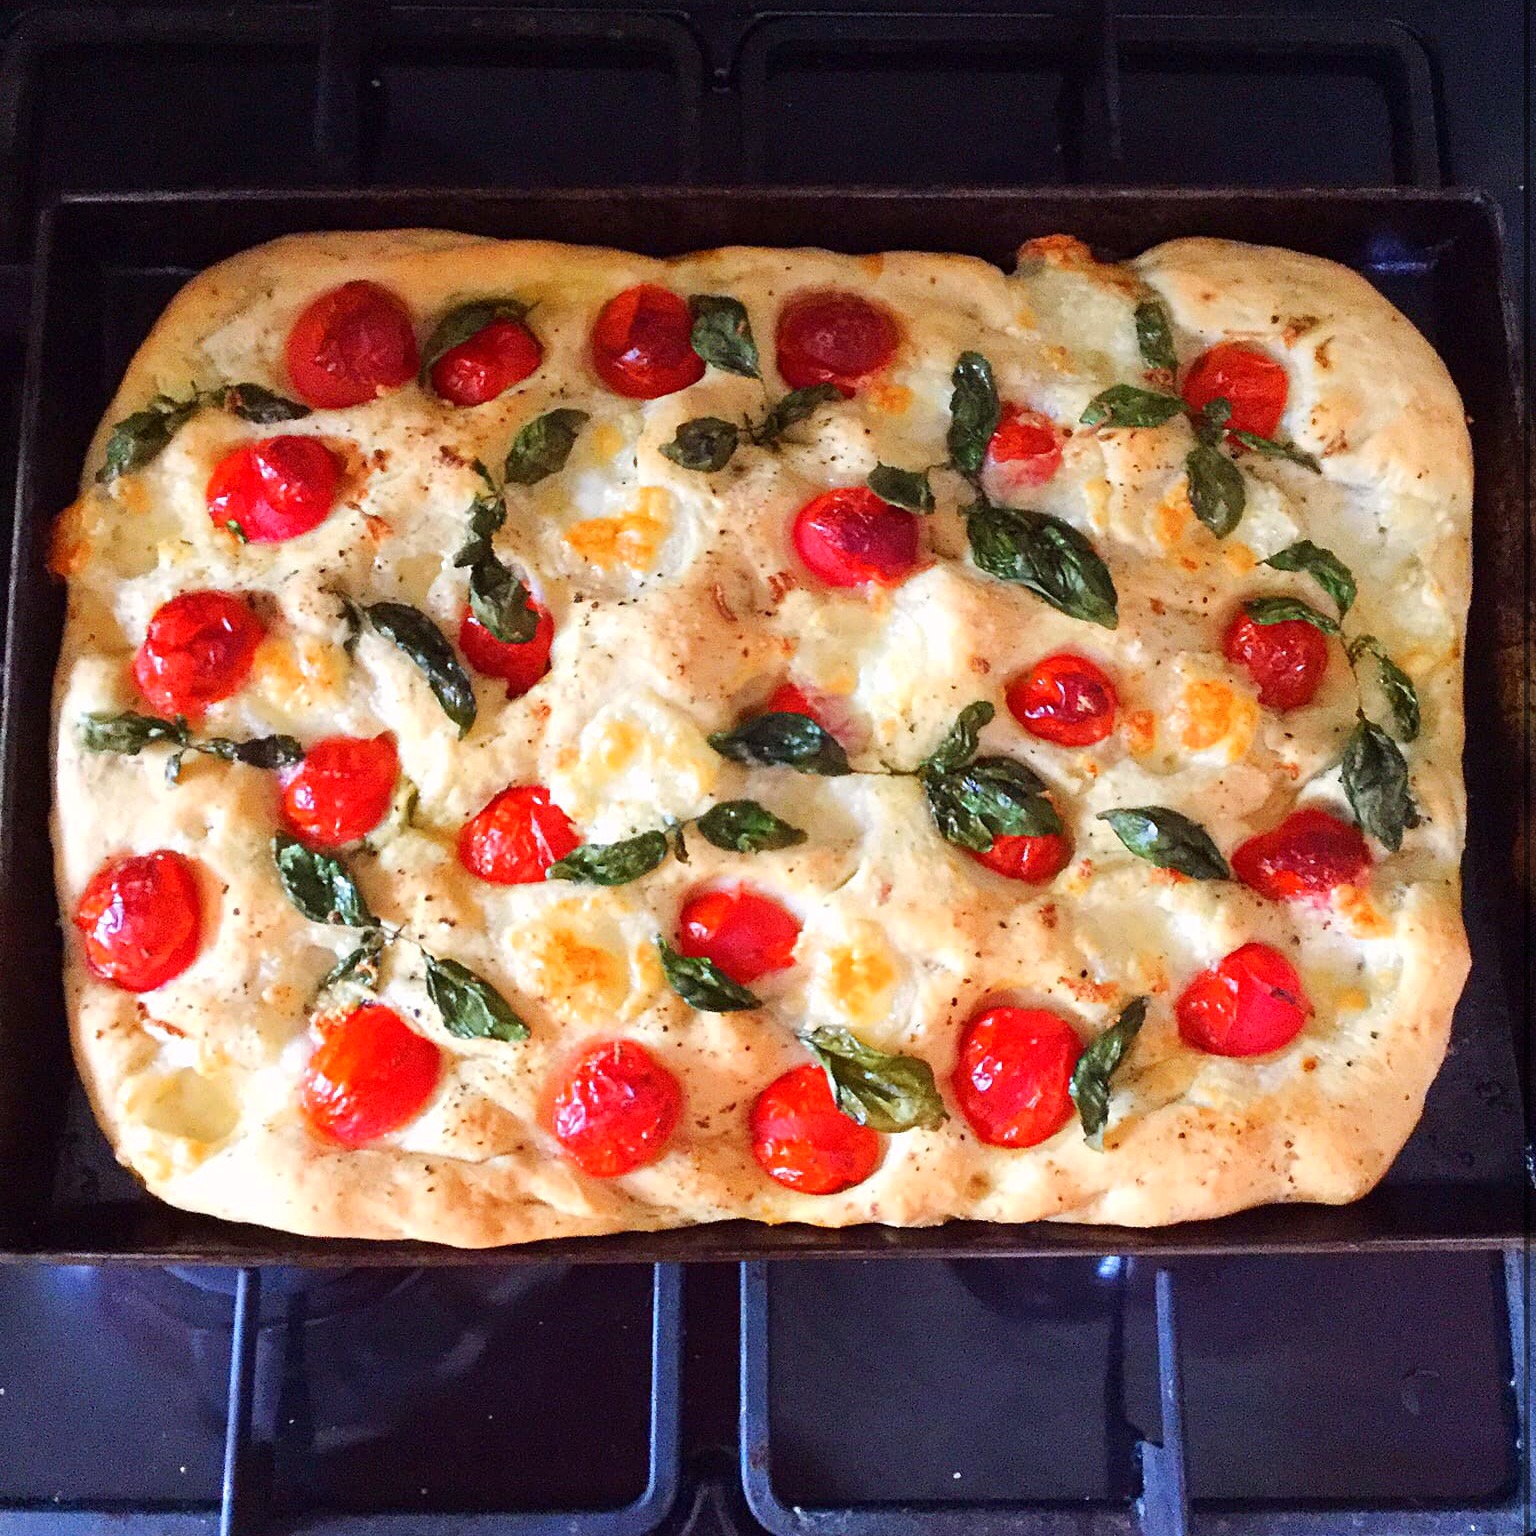
Cherry Tomato Mozzarella Basil Focaccia
I really hope you do try making your own bread. Most bread doughs can withstand a reasonable amount of mistreatment and still turn into fabulous loves, breadsticks, baguettes. The possibilities are endless and nothing, not even chocolate cake such as this White Chocolate Swirl Fudge Cake beats the smell of home baked bread.
Thank you for all you lovely comments, especially on Twitter regarding the great yeast debate – more on that in a future post! It really makes my day to see pictures of you baking my recipes and in most cases they look even better. Which I think is completely brilliant. You all inspire me to try harder and write easy to follow, delicious recipes.
Together we really do make Feasting Fun!
Sammie xx
Wright’s Baking provided me with the Premium White Bread Mix used in this recipe alongside my own bread dough recipe. All opinions, views, content and photographs are my own. Please see my Disclosure Policy.
Share