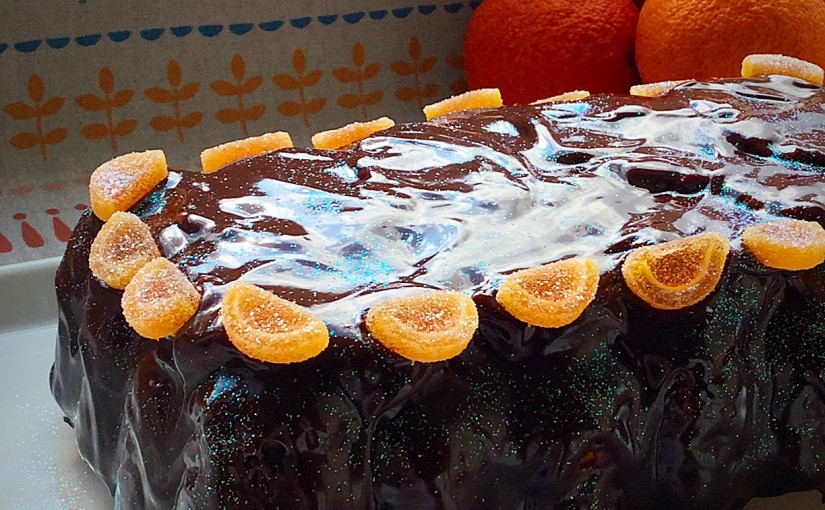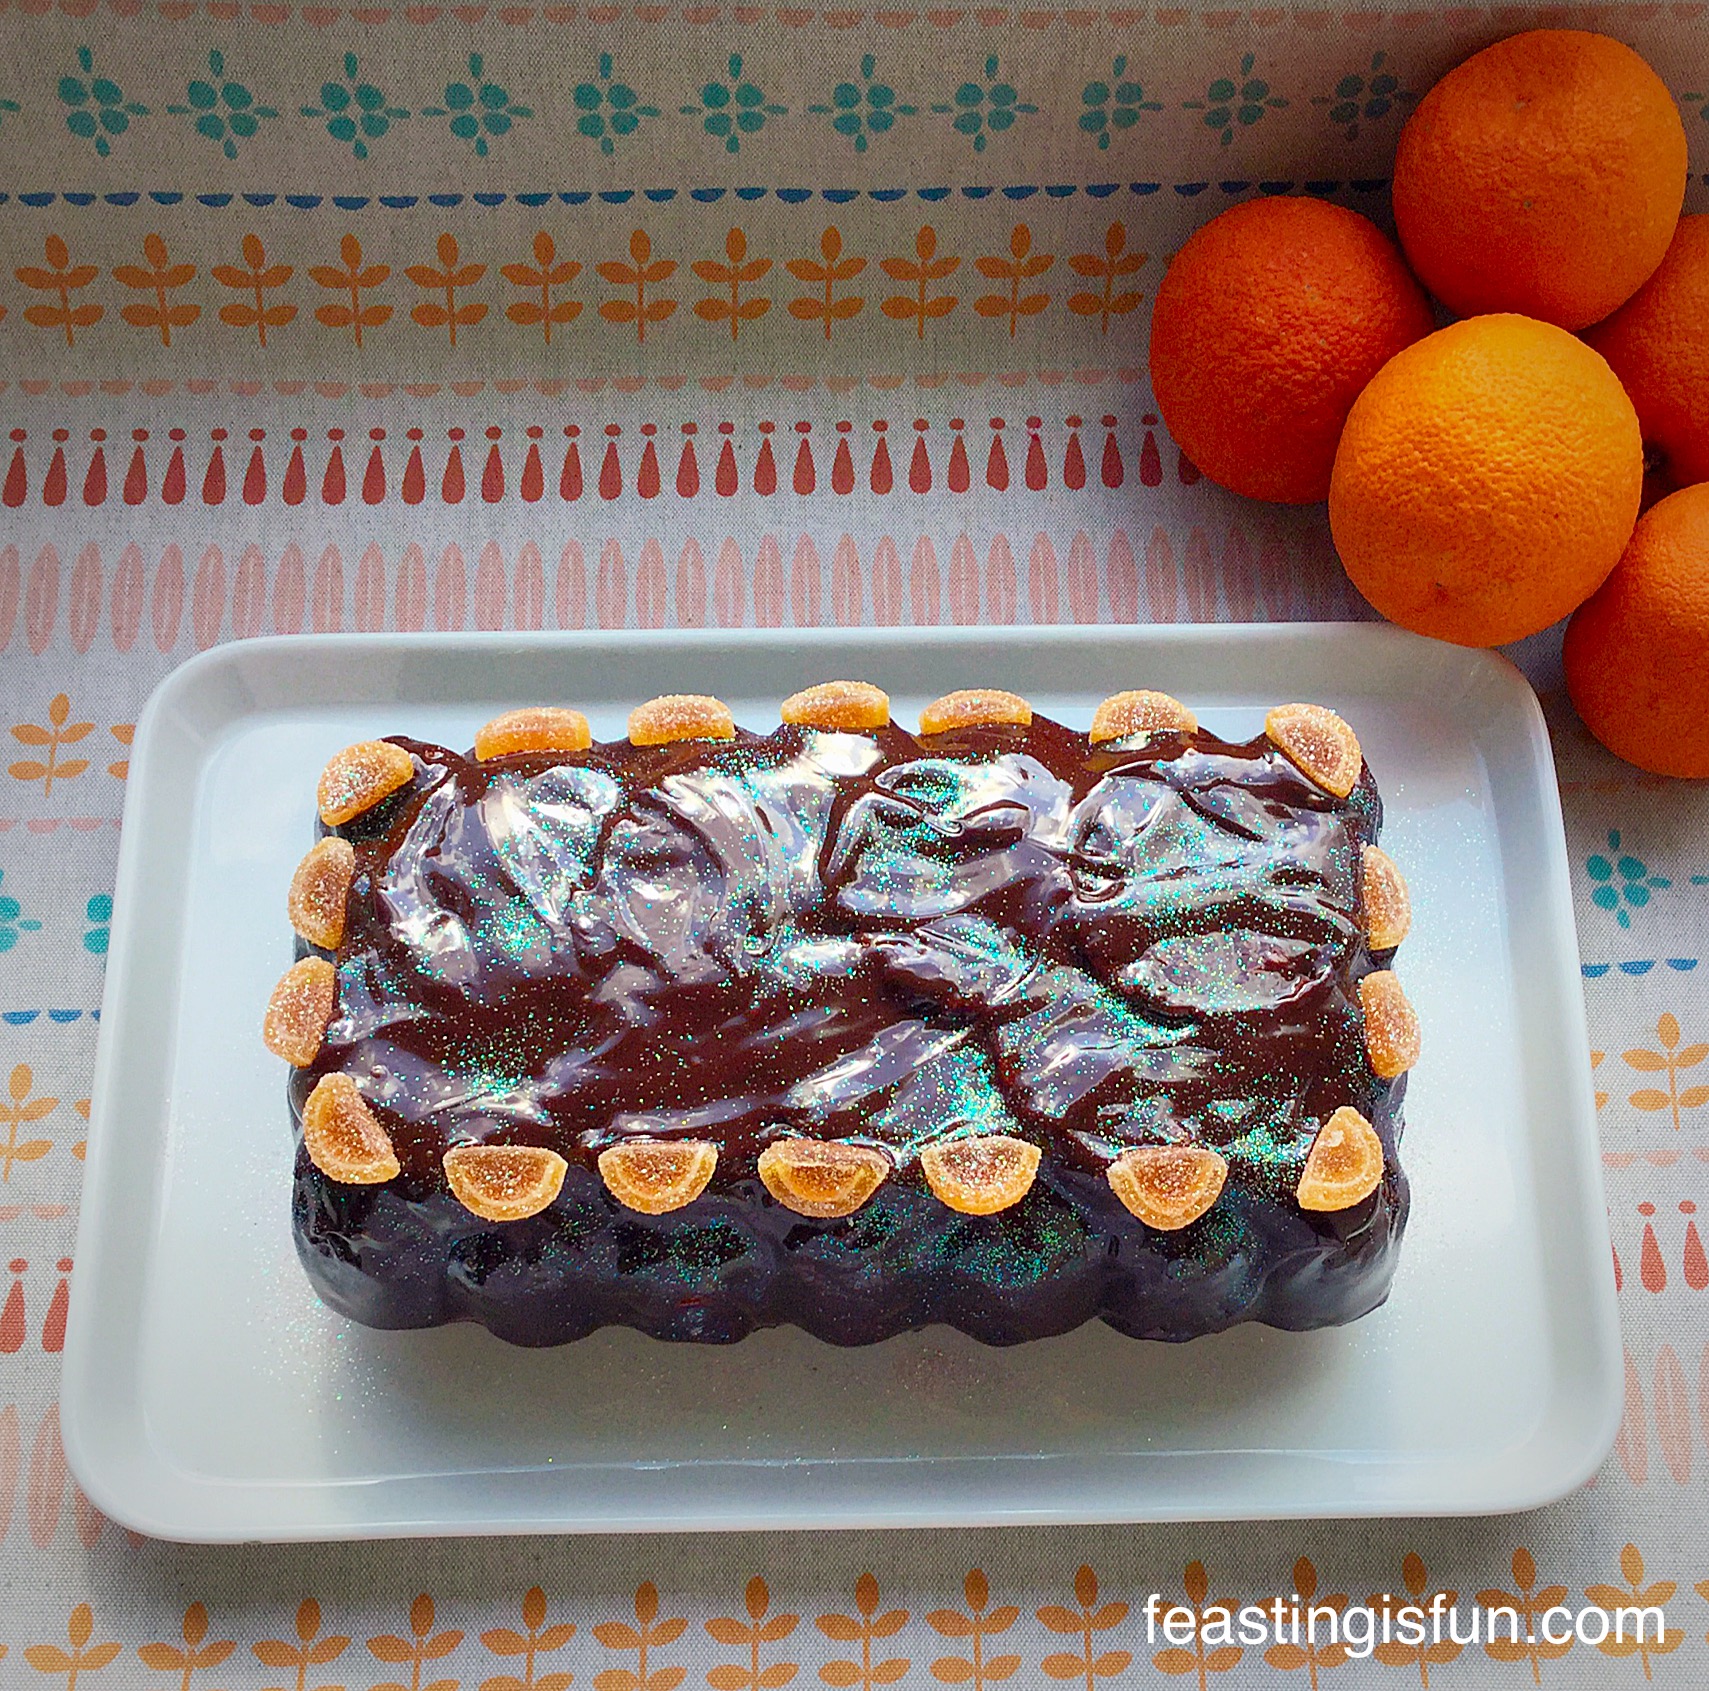
So, it’s another week and there’s another theme. Since #ChocolateWeek is now upon us, chocolate inspired bakes are bringing out the best cocoa creations from Twitter’s imaginative baking community. And, inspired by the theme, I created this beautiful Chocolate Cherry Chiffon Bundt Cake. Since it is always chocolate week here at home, this chocolate cherry cake fits the bill perfectly.
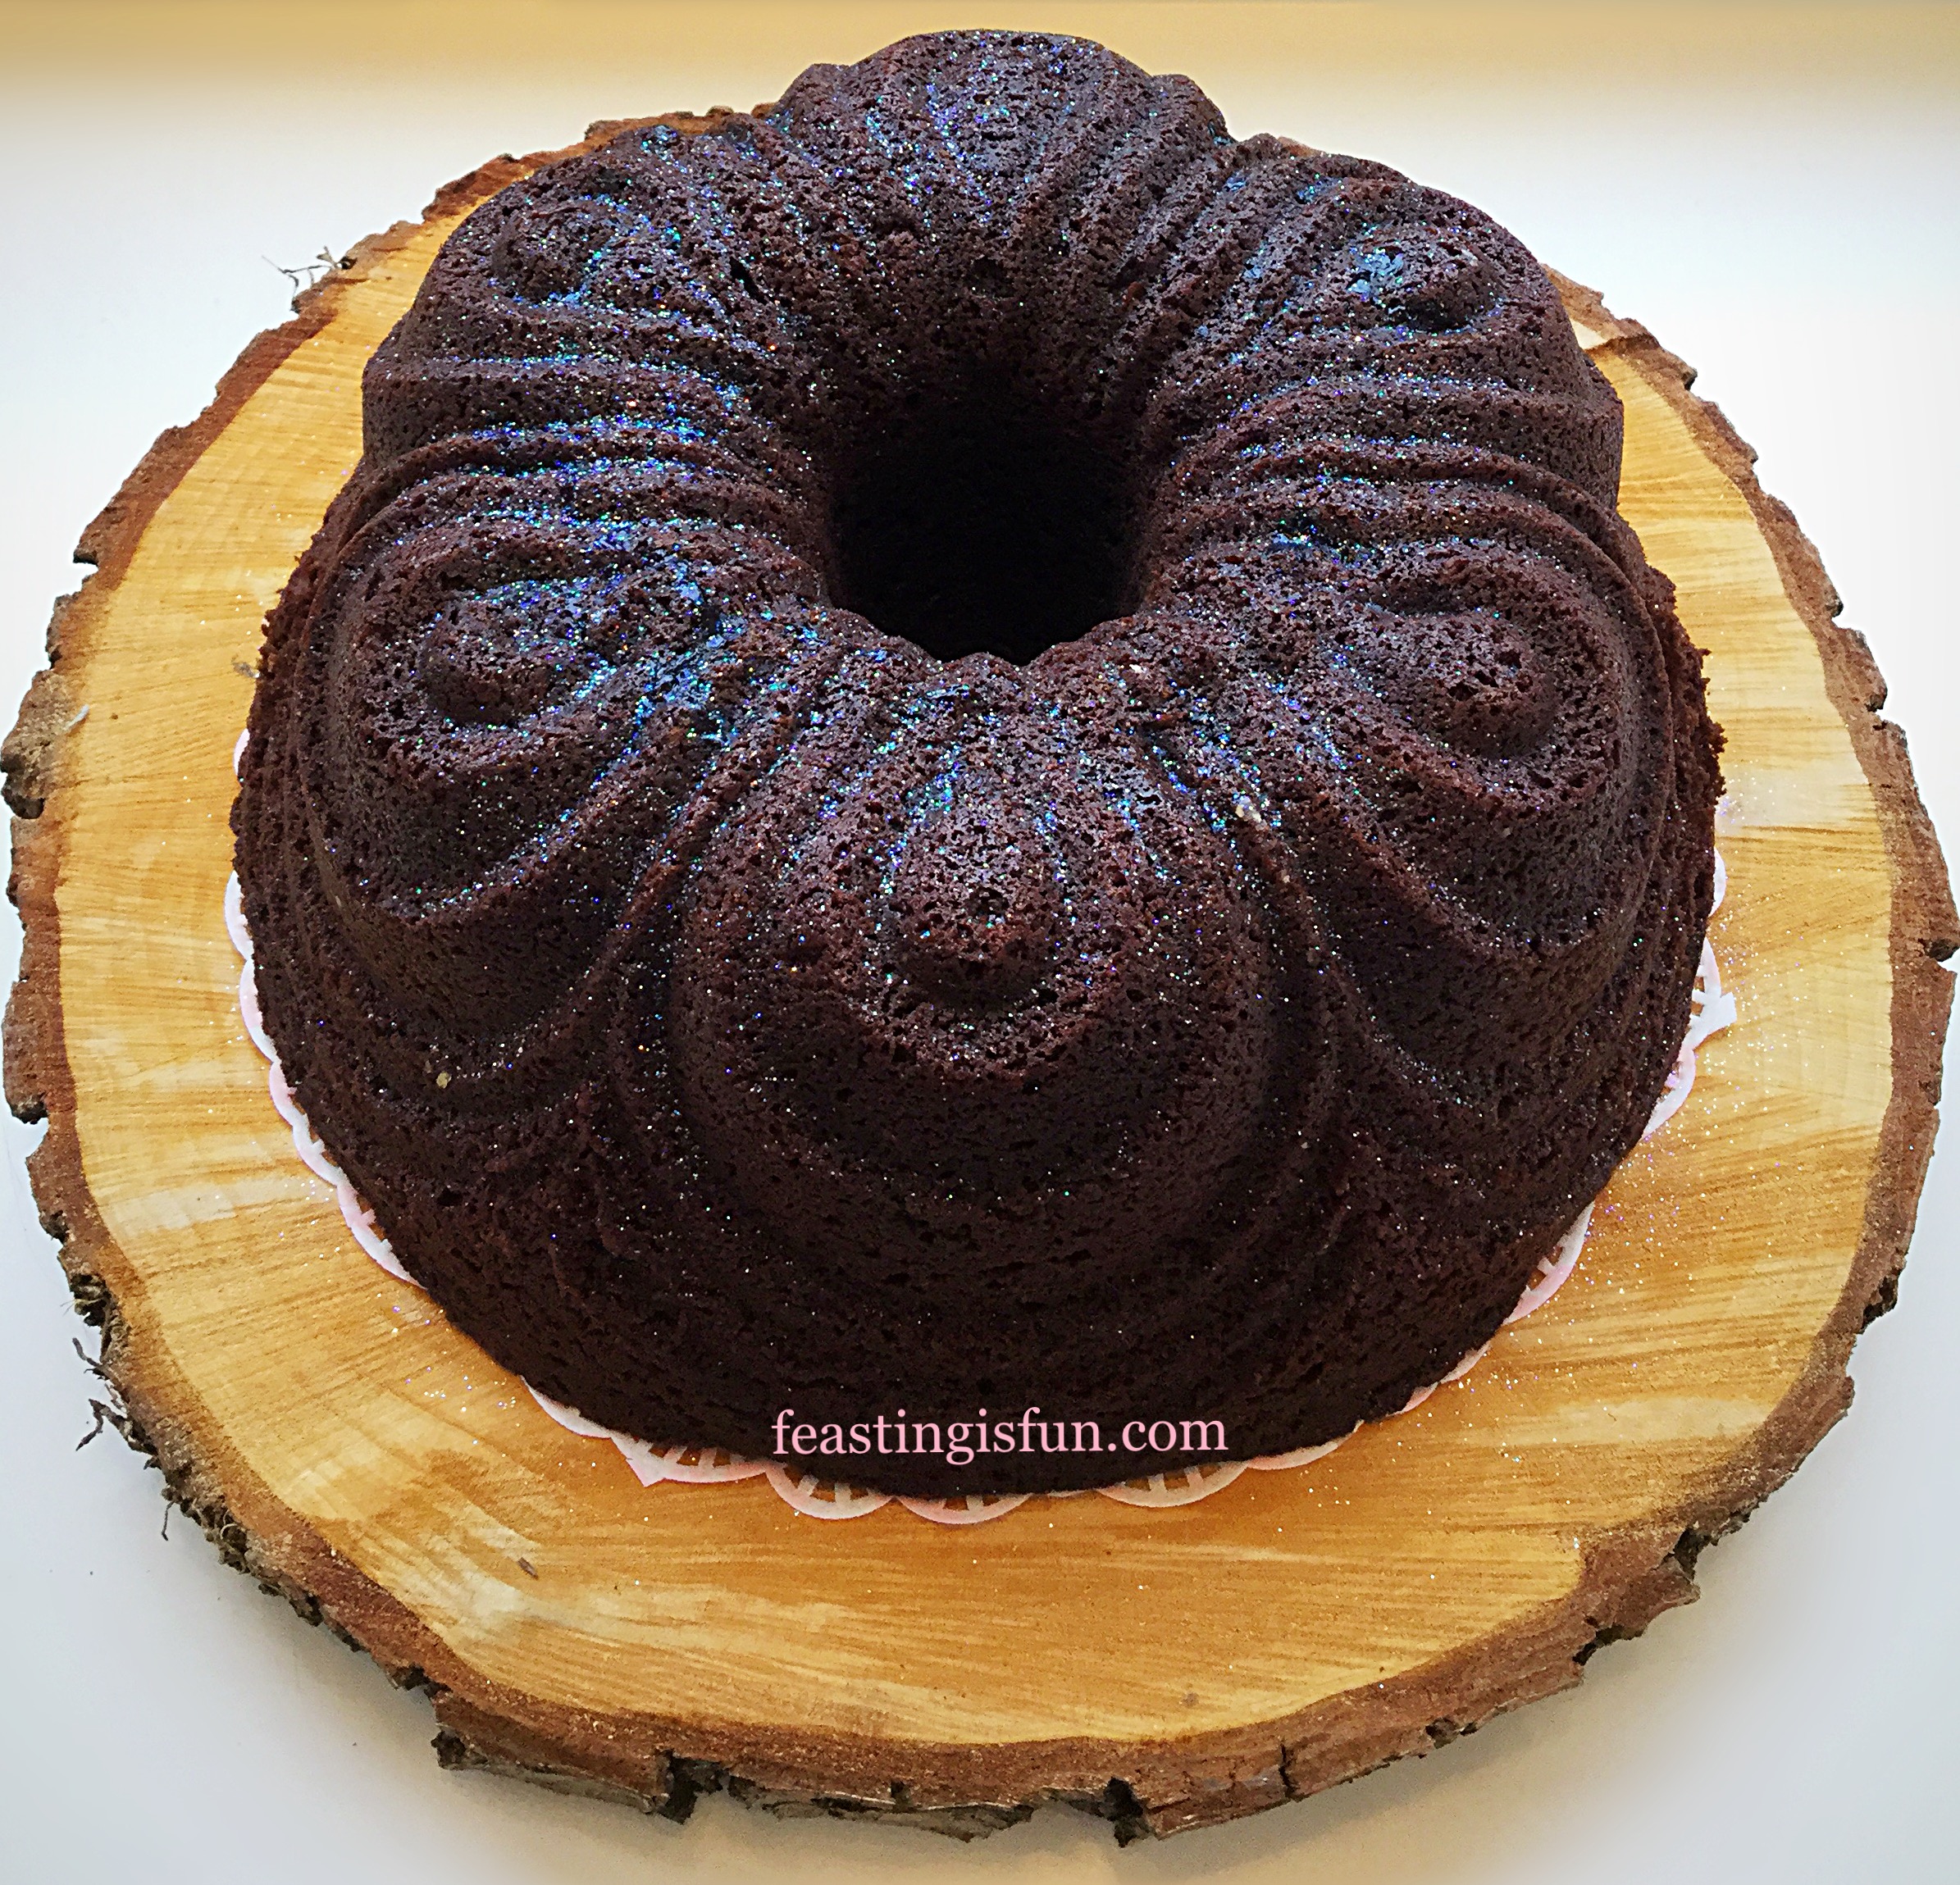
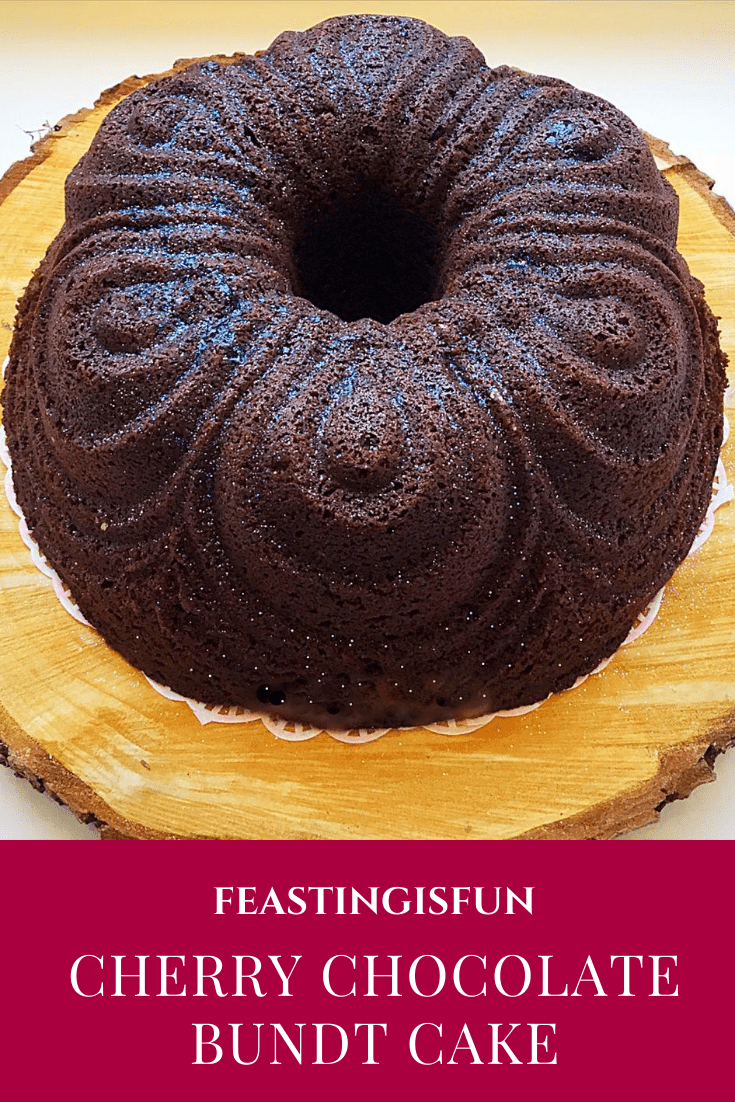
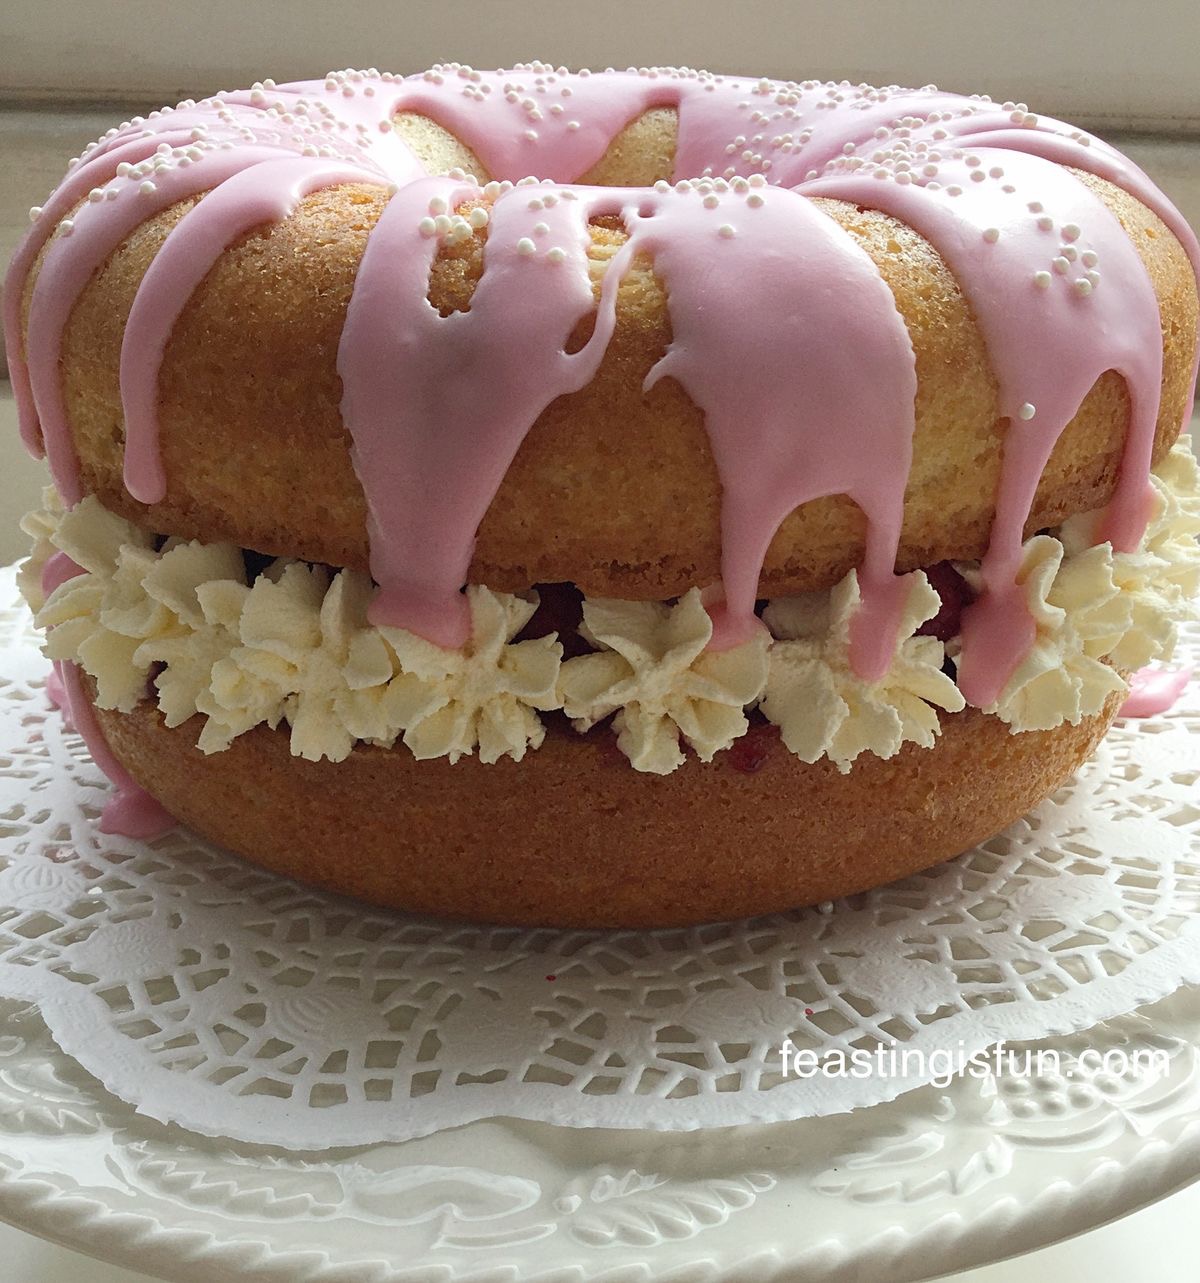
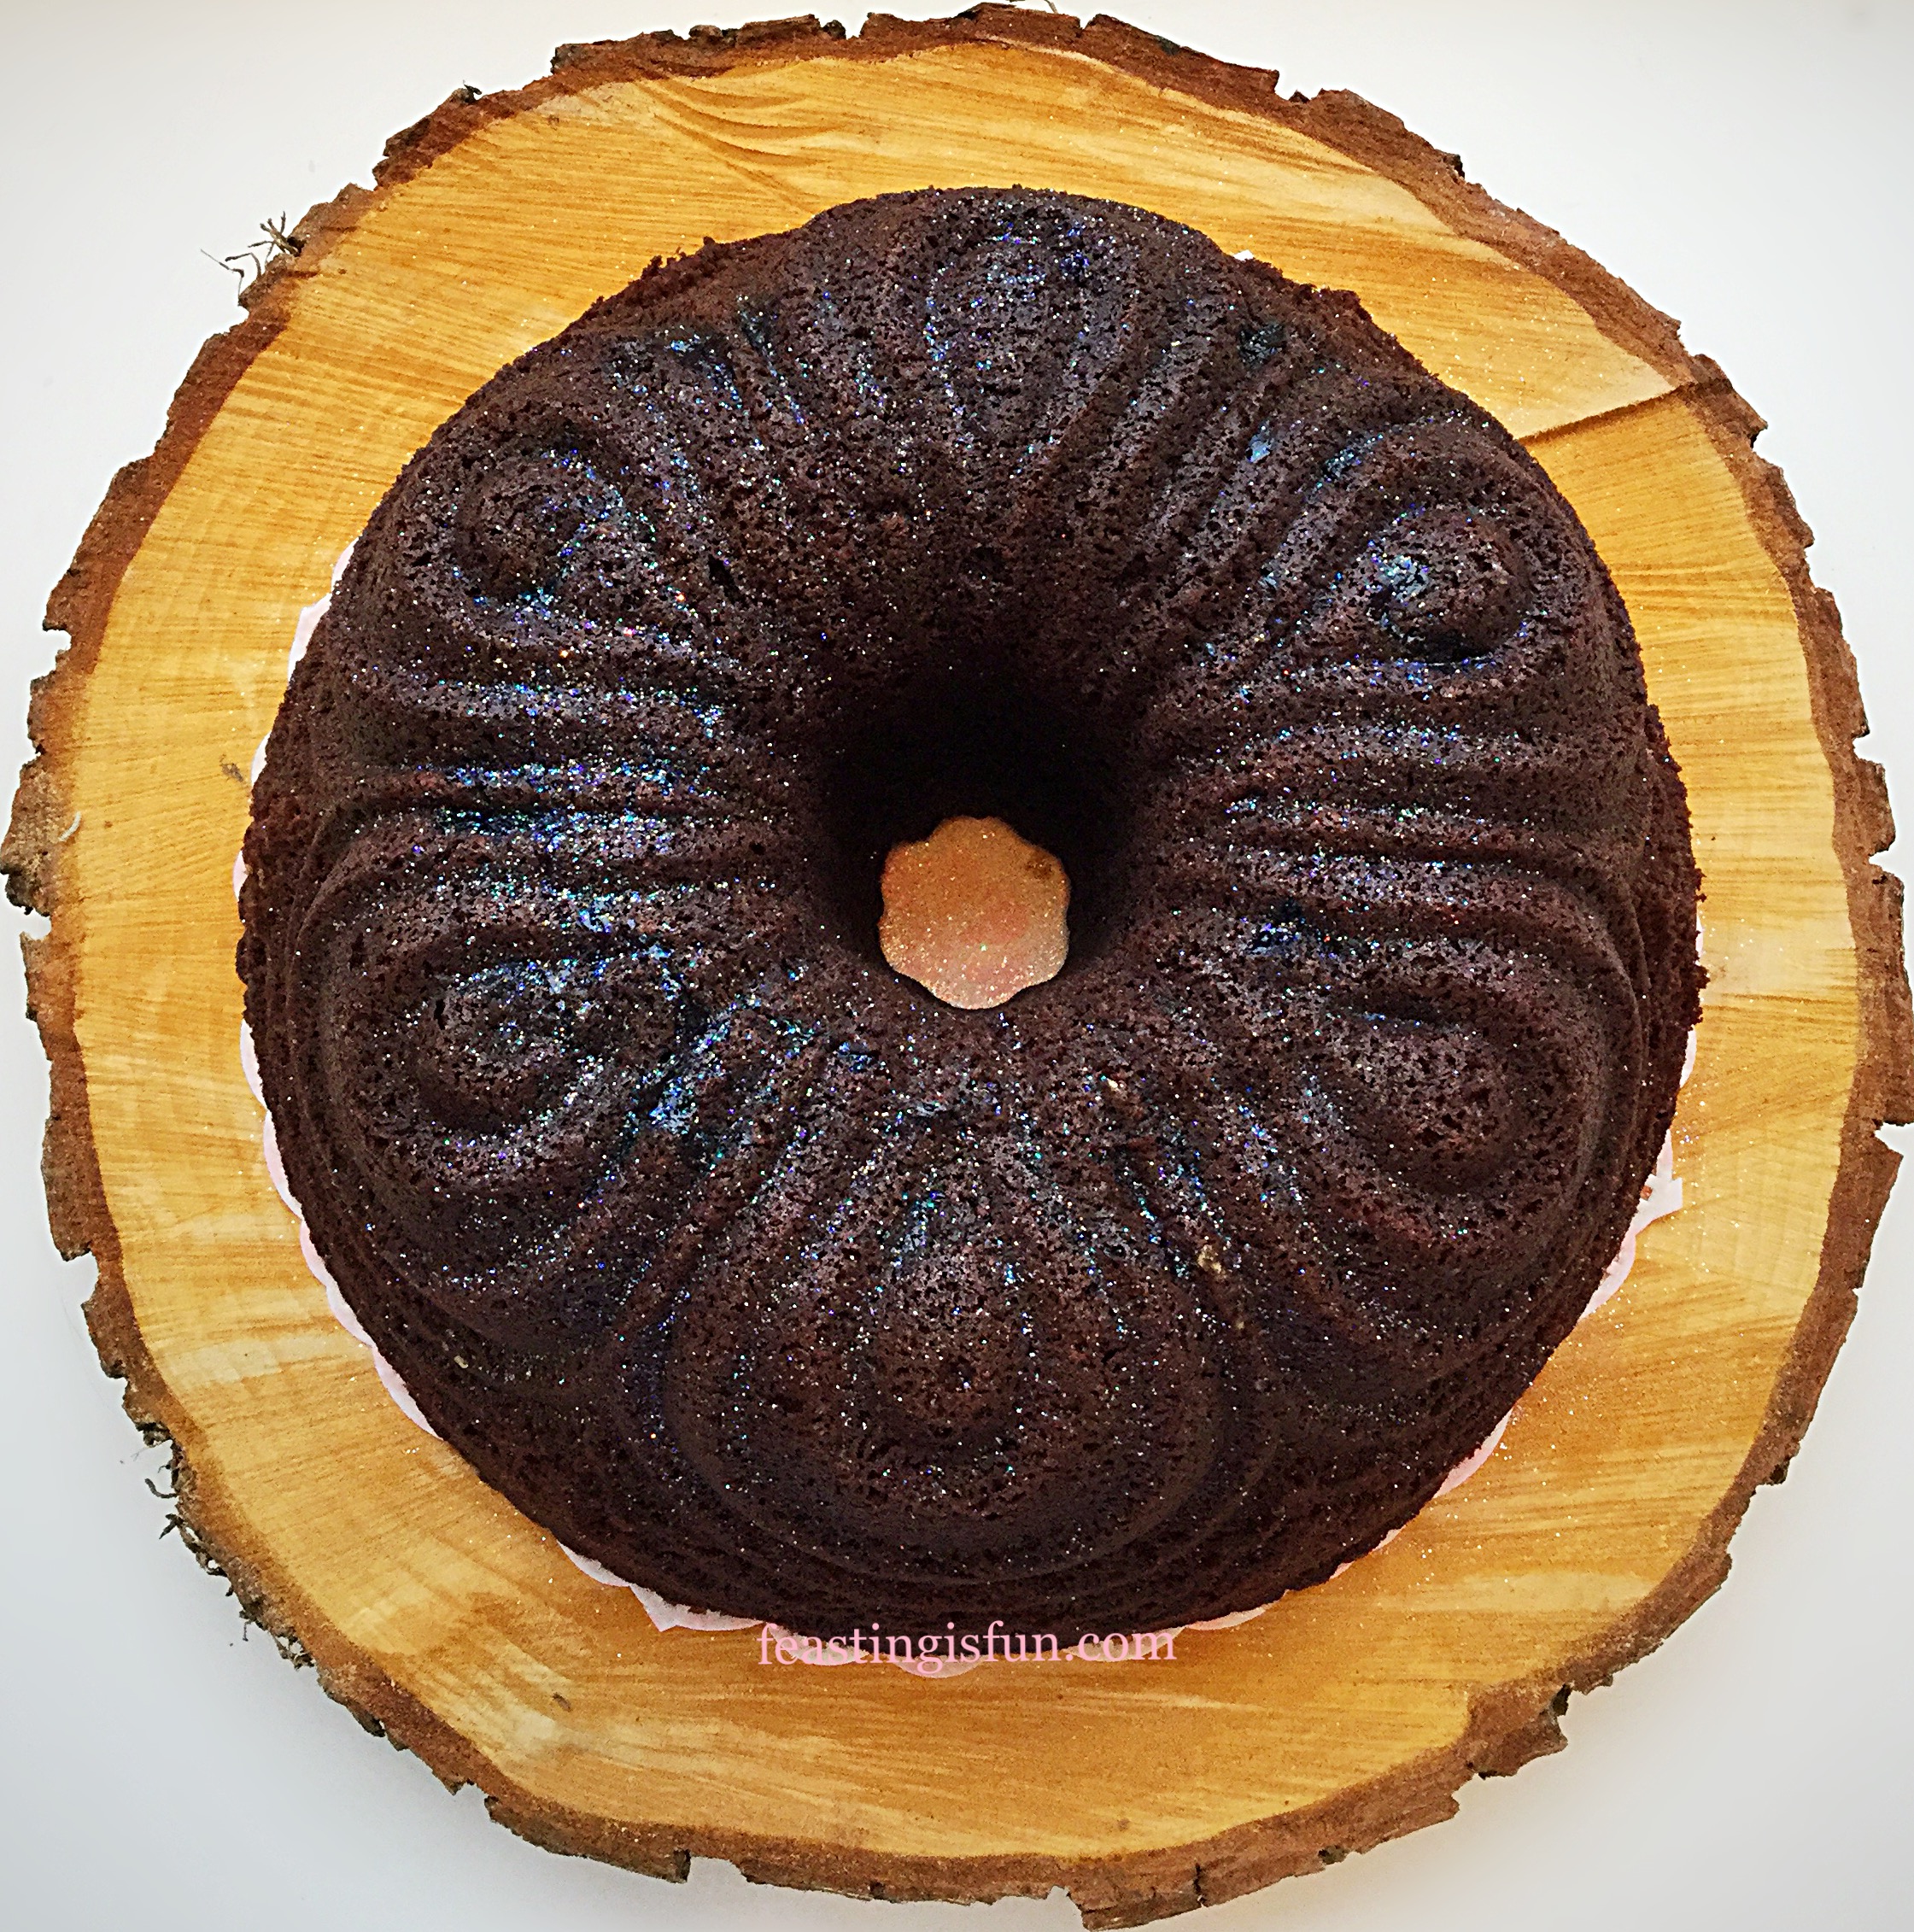
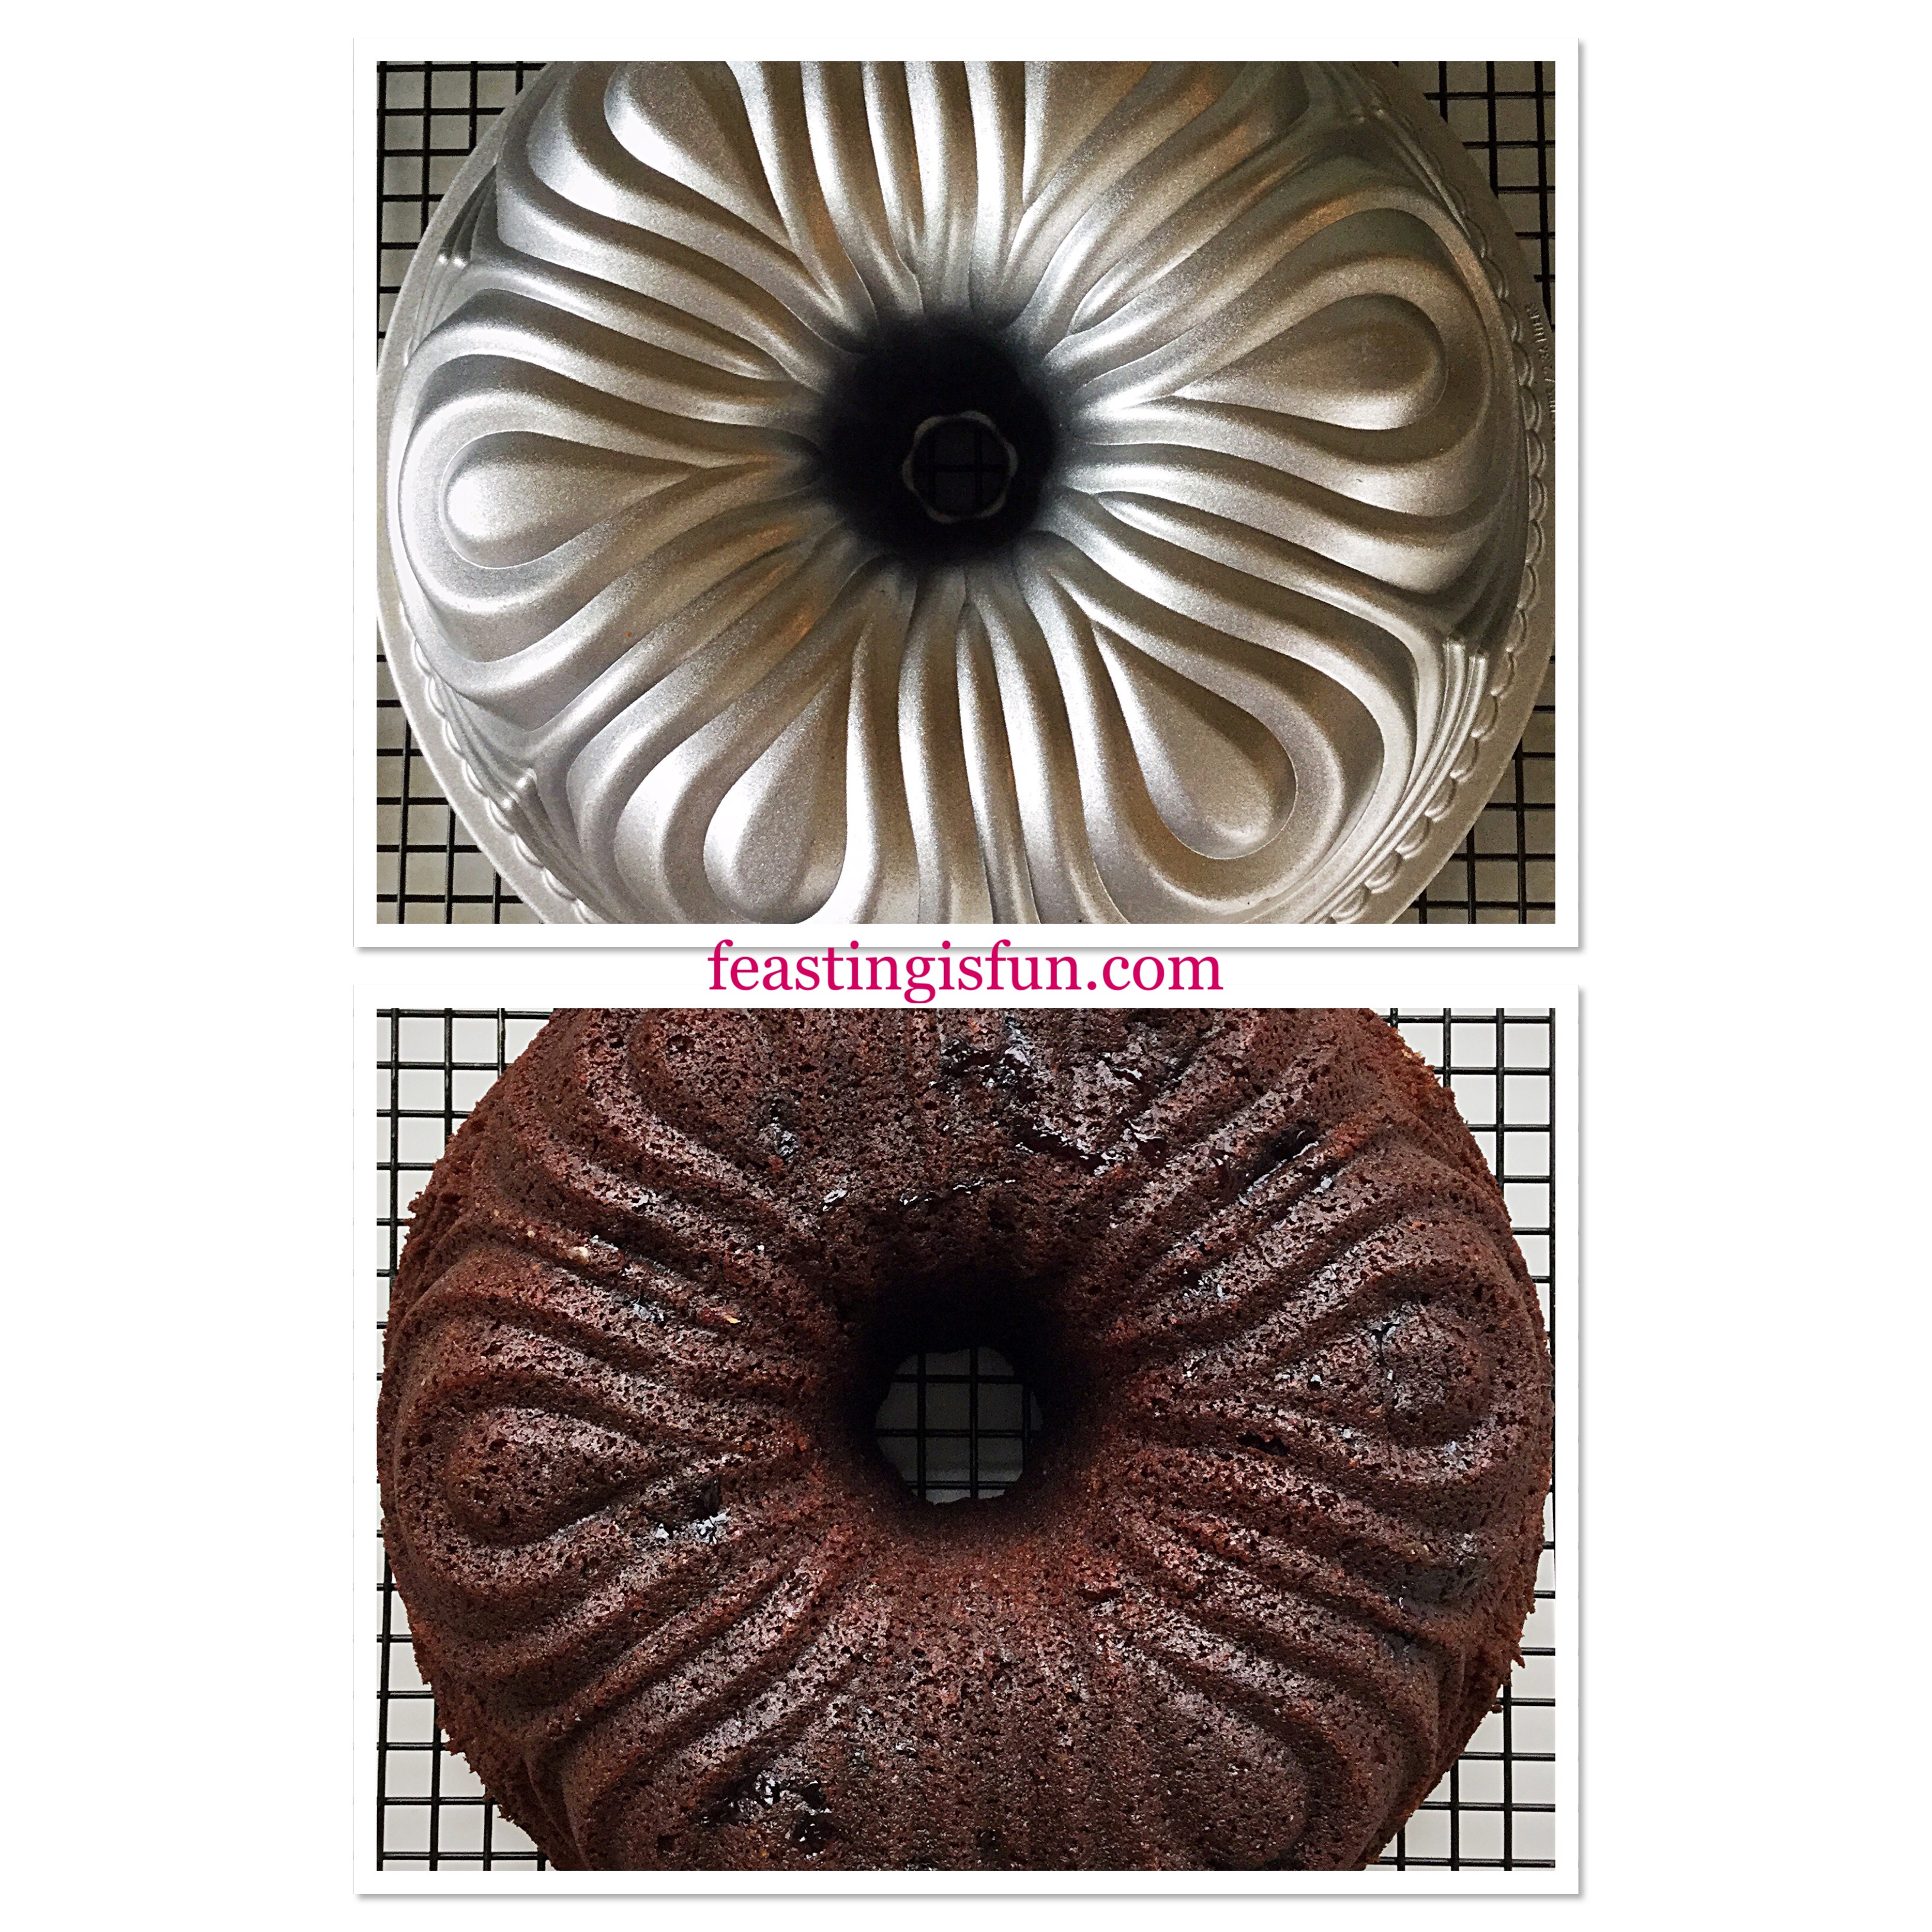
First of all, I absolutely adore Bundt pans. Since their beautiful designs and intricate moulding create the most exceptional looking cakes. While my cake decorating abilities are improving, due to regular practice, using a Bundt pan really does take away the need to decorate. Needing only a simple sprinkle of edible glitter to finish this cake. Alternatively, a light dusting of icing sugar (confectioners sugar) would also work well.
Chocolate And Cherry – A Flavour Match Made In Food Heaven
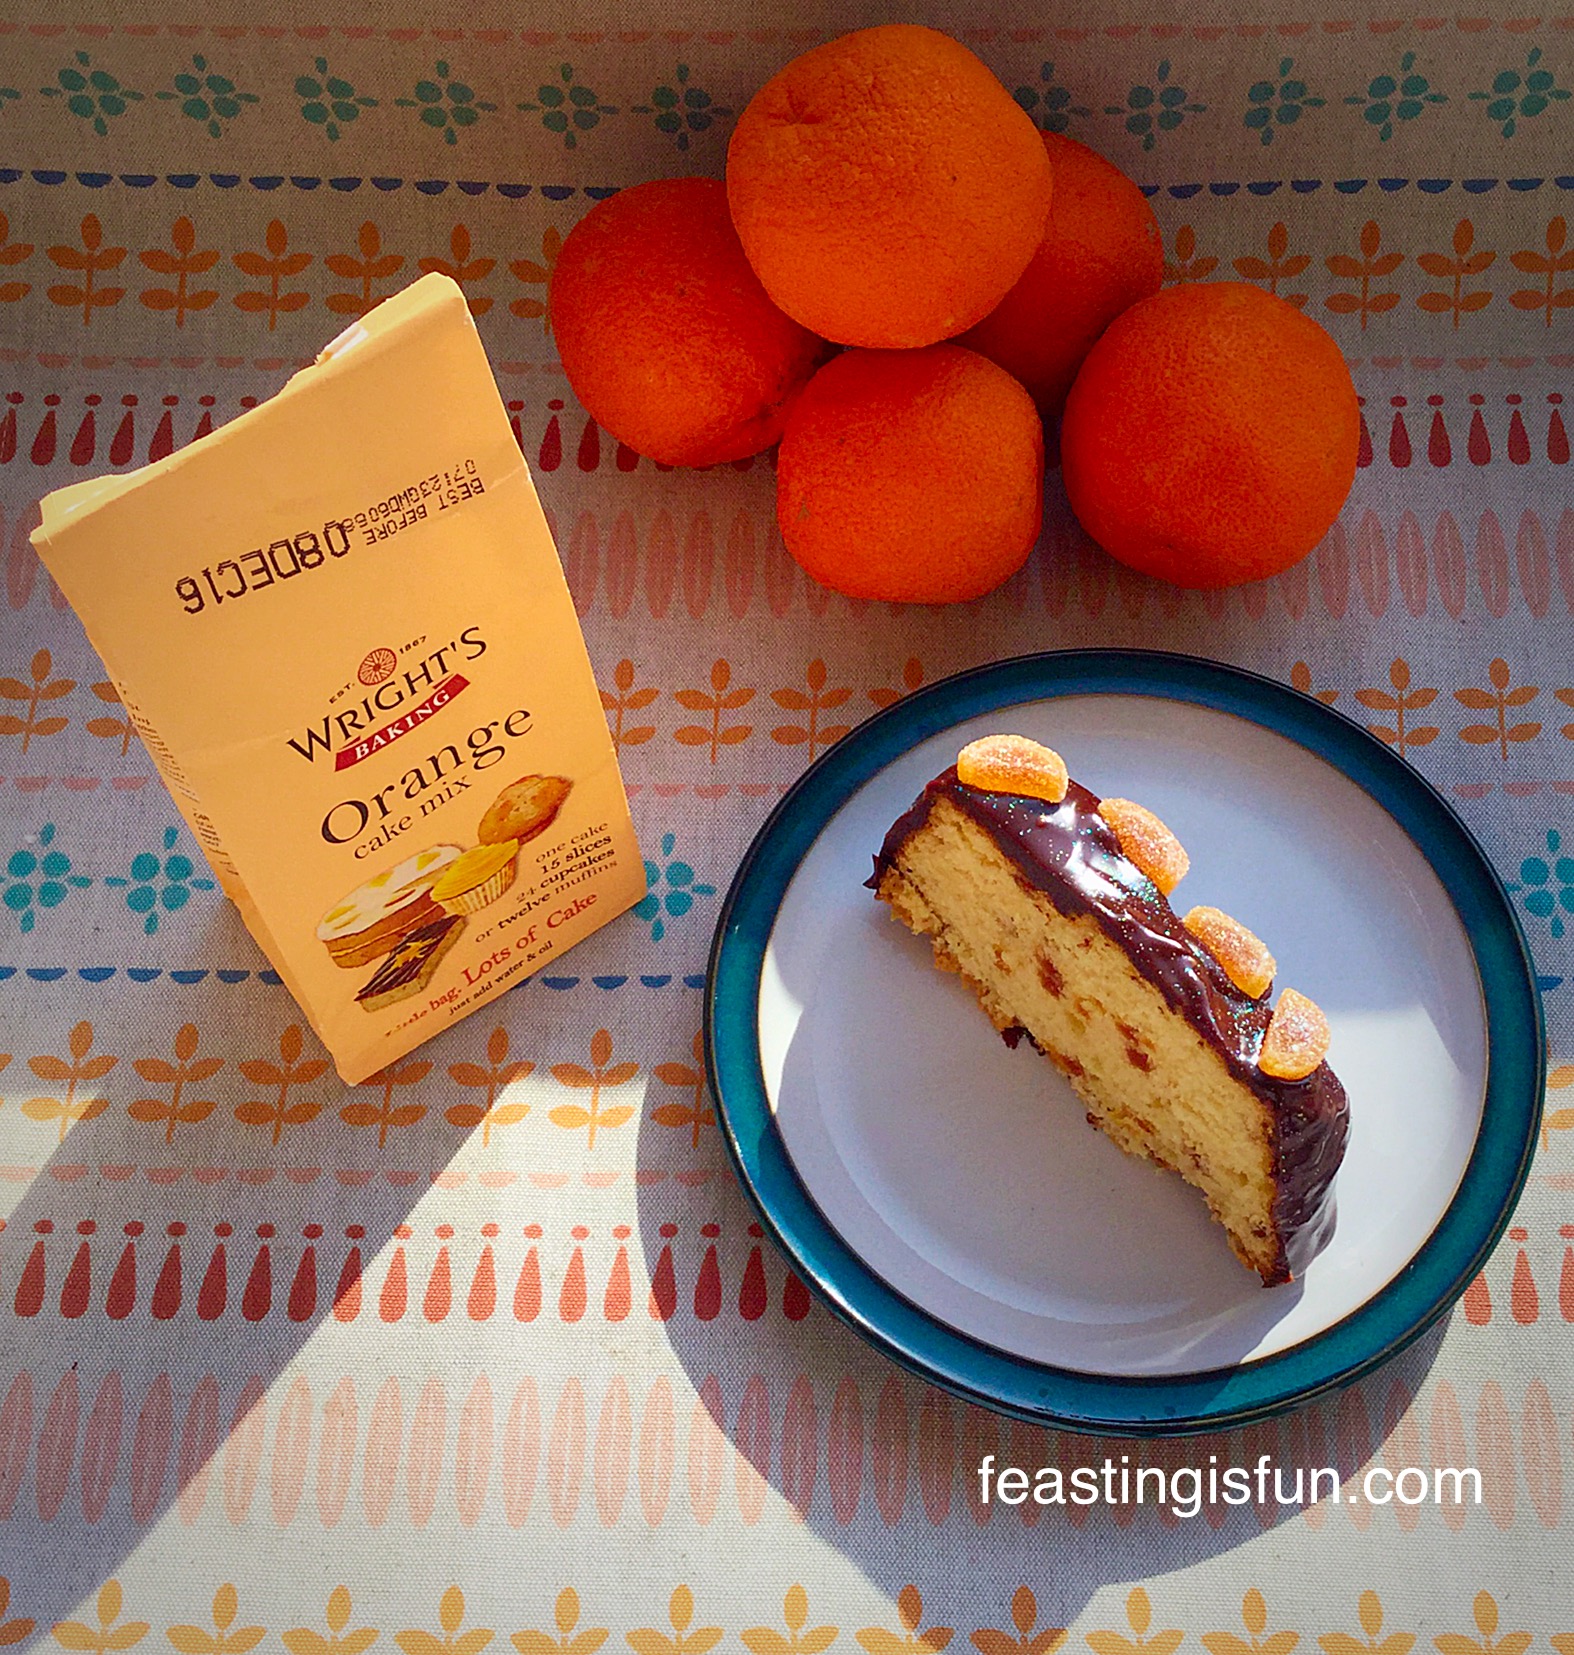
Cherry and chocolate are a delicious and classic flavour combination, which also happens to be a favourite of mine. And, using chocolate cherry naturally flavoured cocoa powder gives this cake it’s base flavour. Alternatively, a dash of kirsch (cherry liqueur) would also work well, when using plain cocoa powder. Finally, the addition of cherries and ground almonds creates a moist cake with surprise, hidden cherries inside. During baking the cherries drop to the bottom of the cake, which becomes the top of the cake after turning it out of it’s tin. Resulting in a jammy like topping inside the cake.
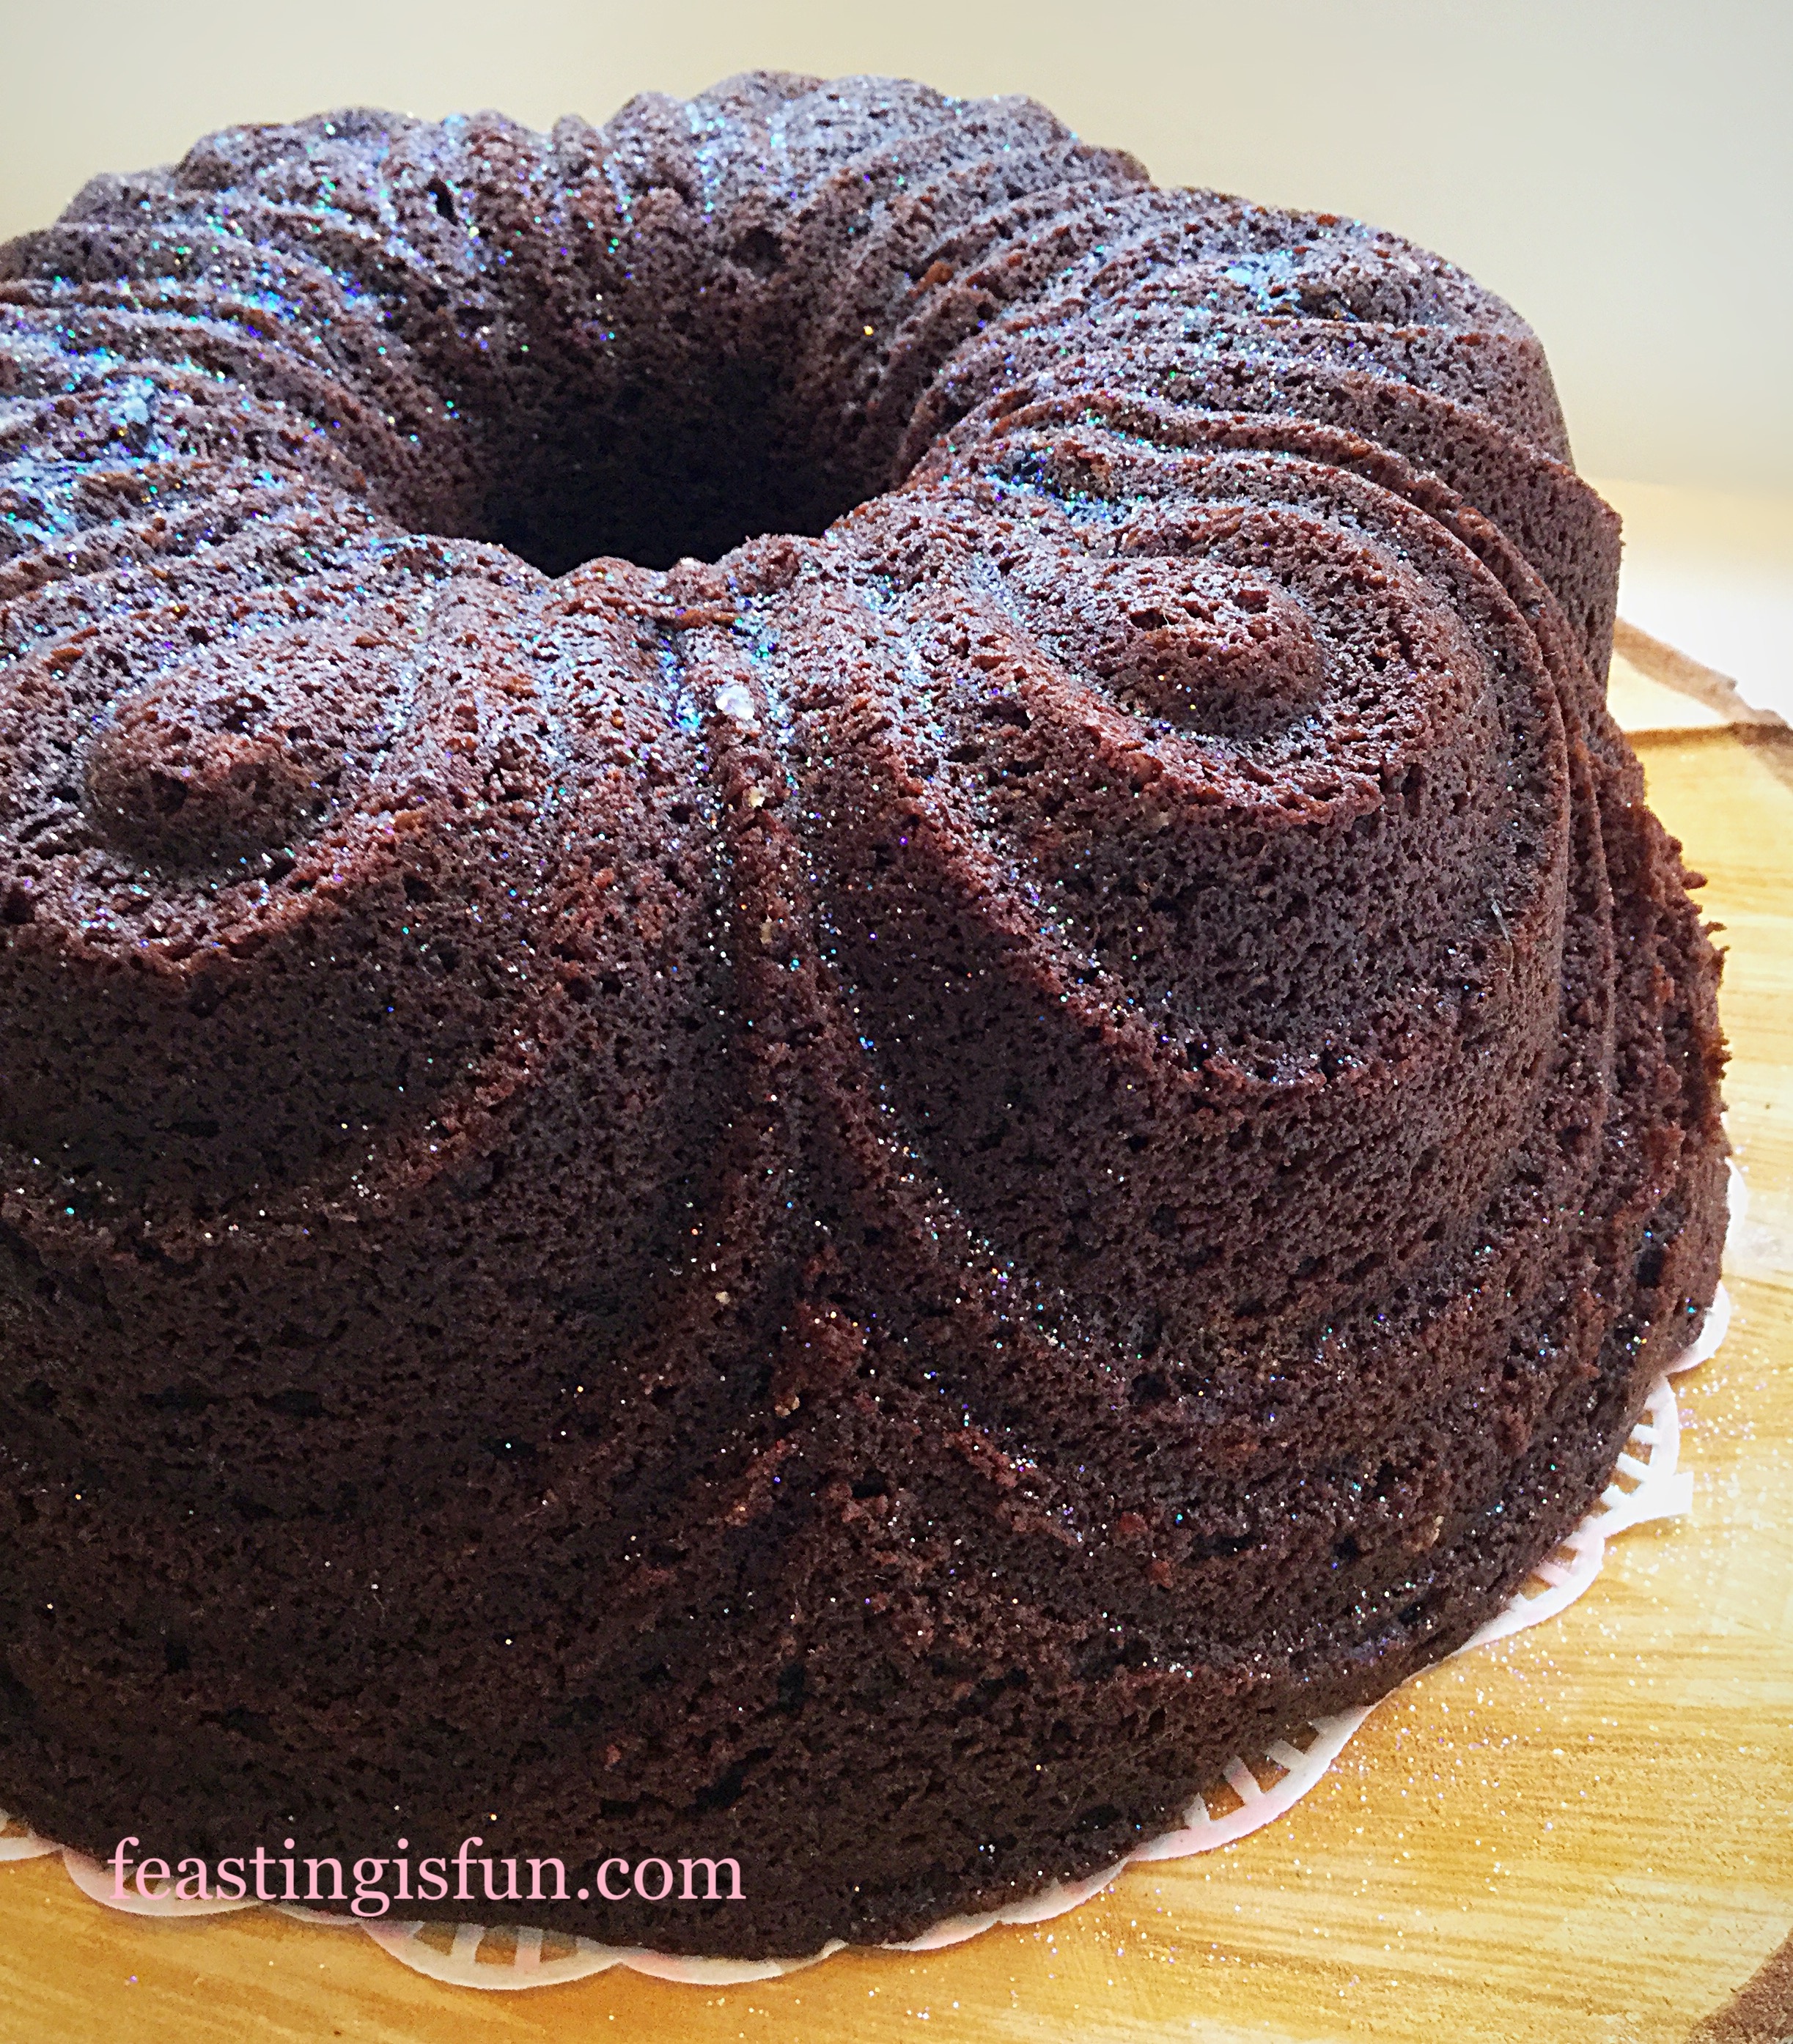
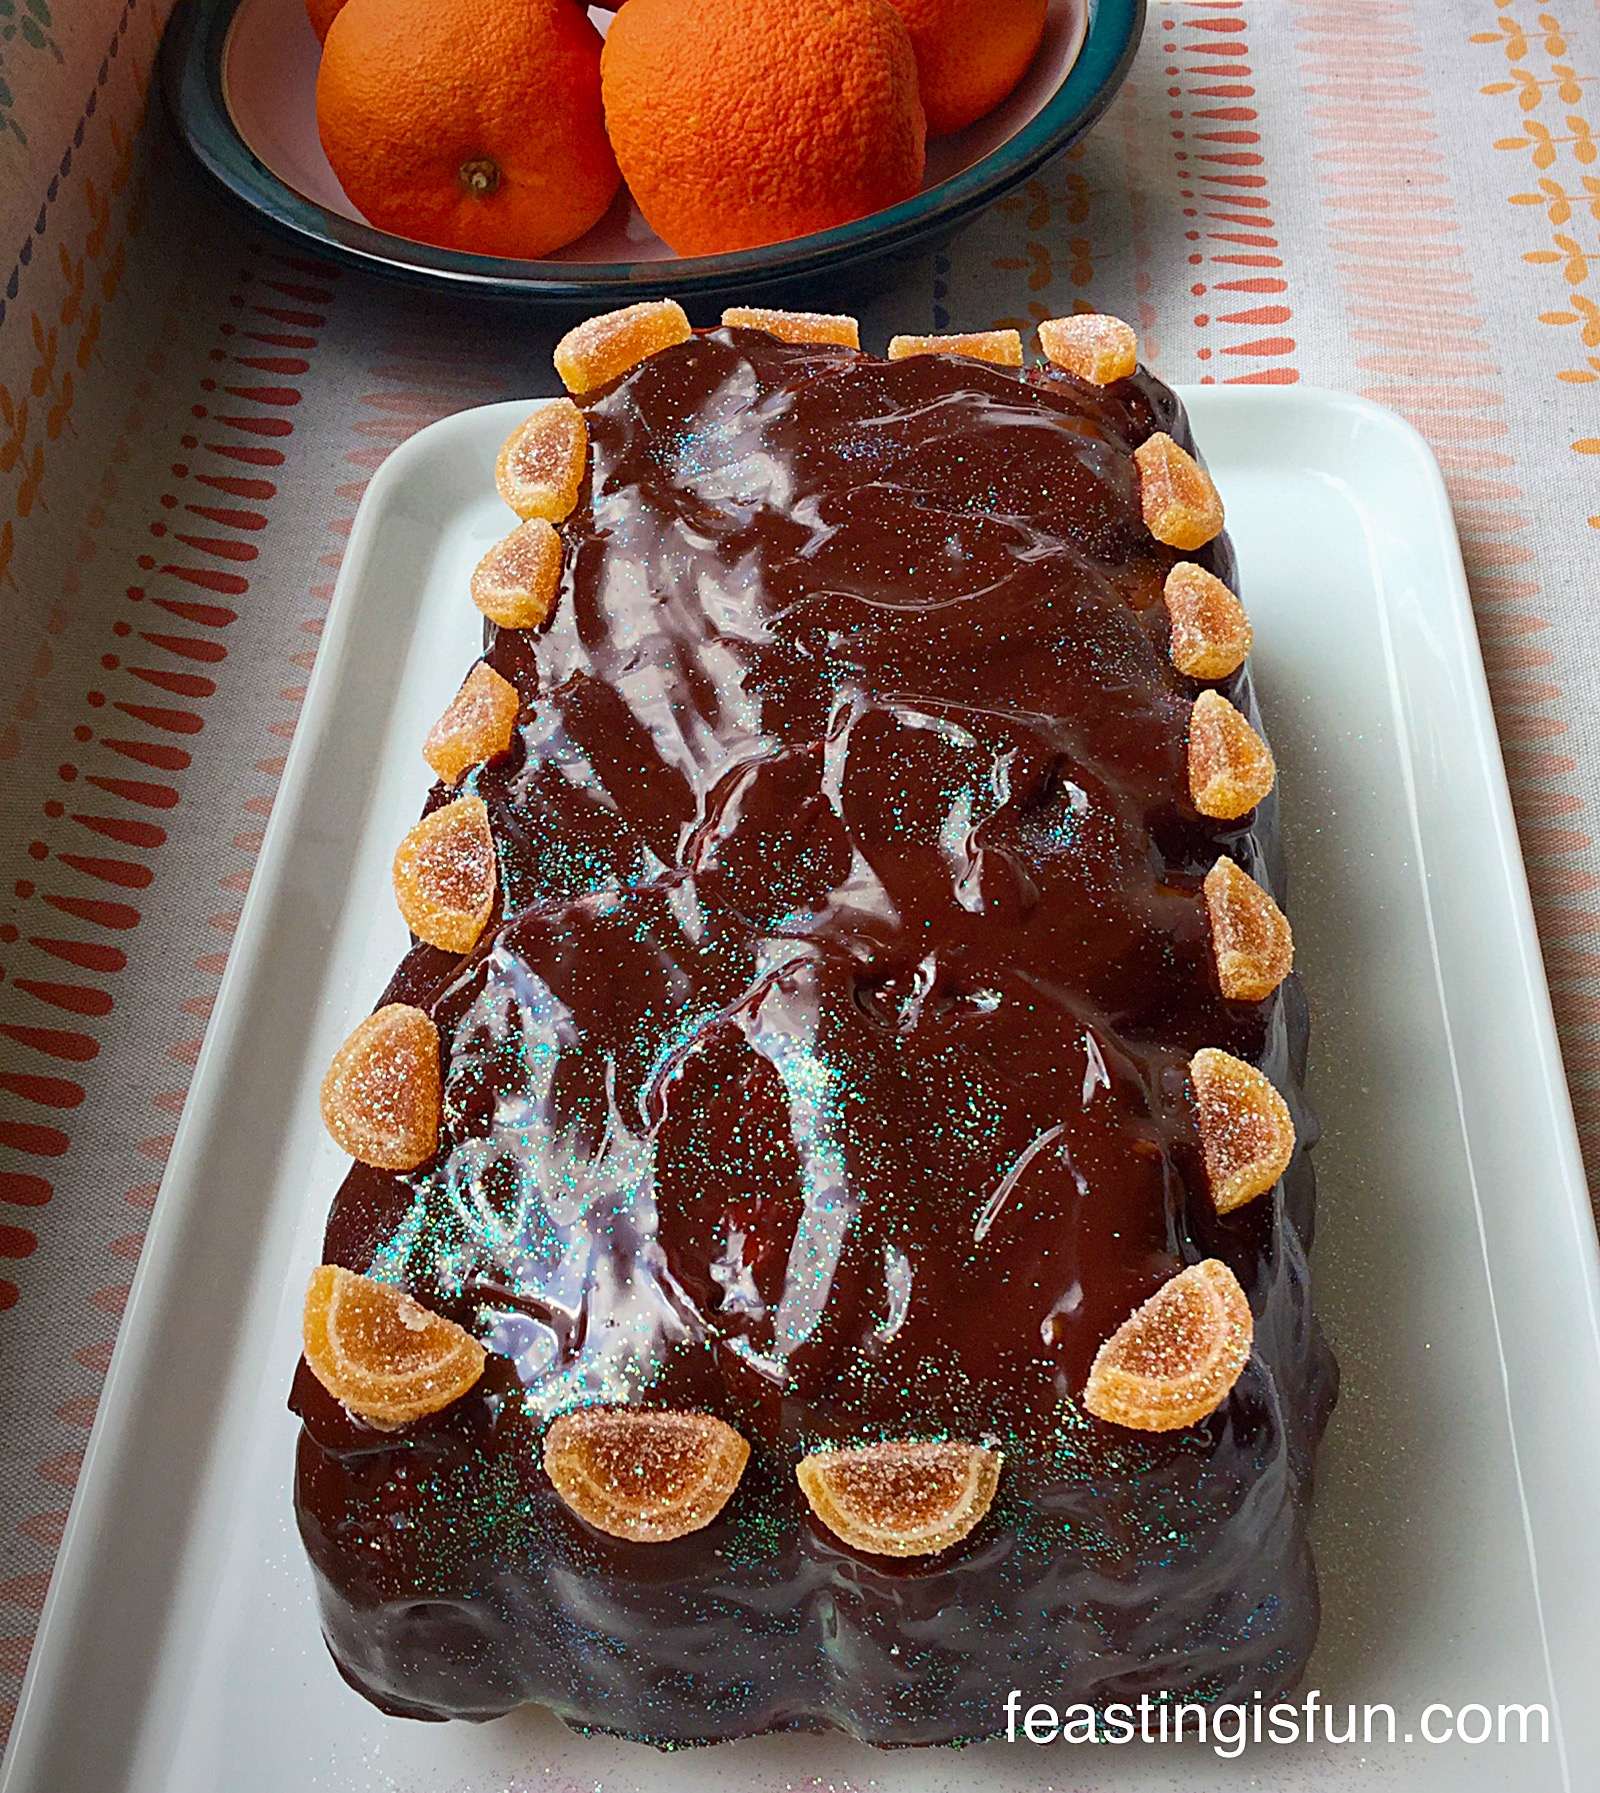
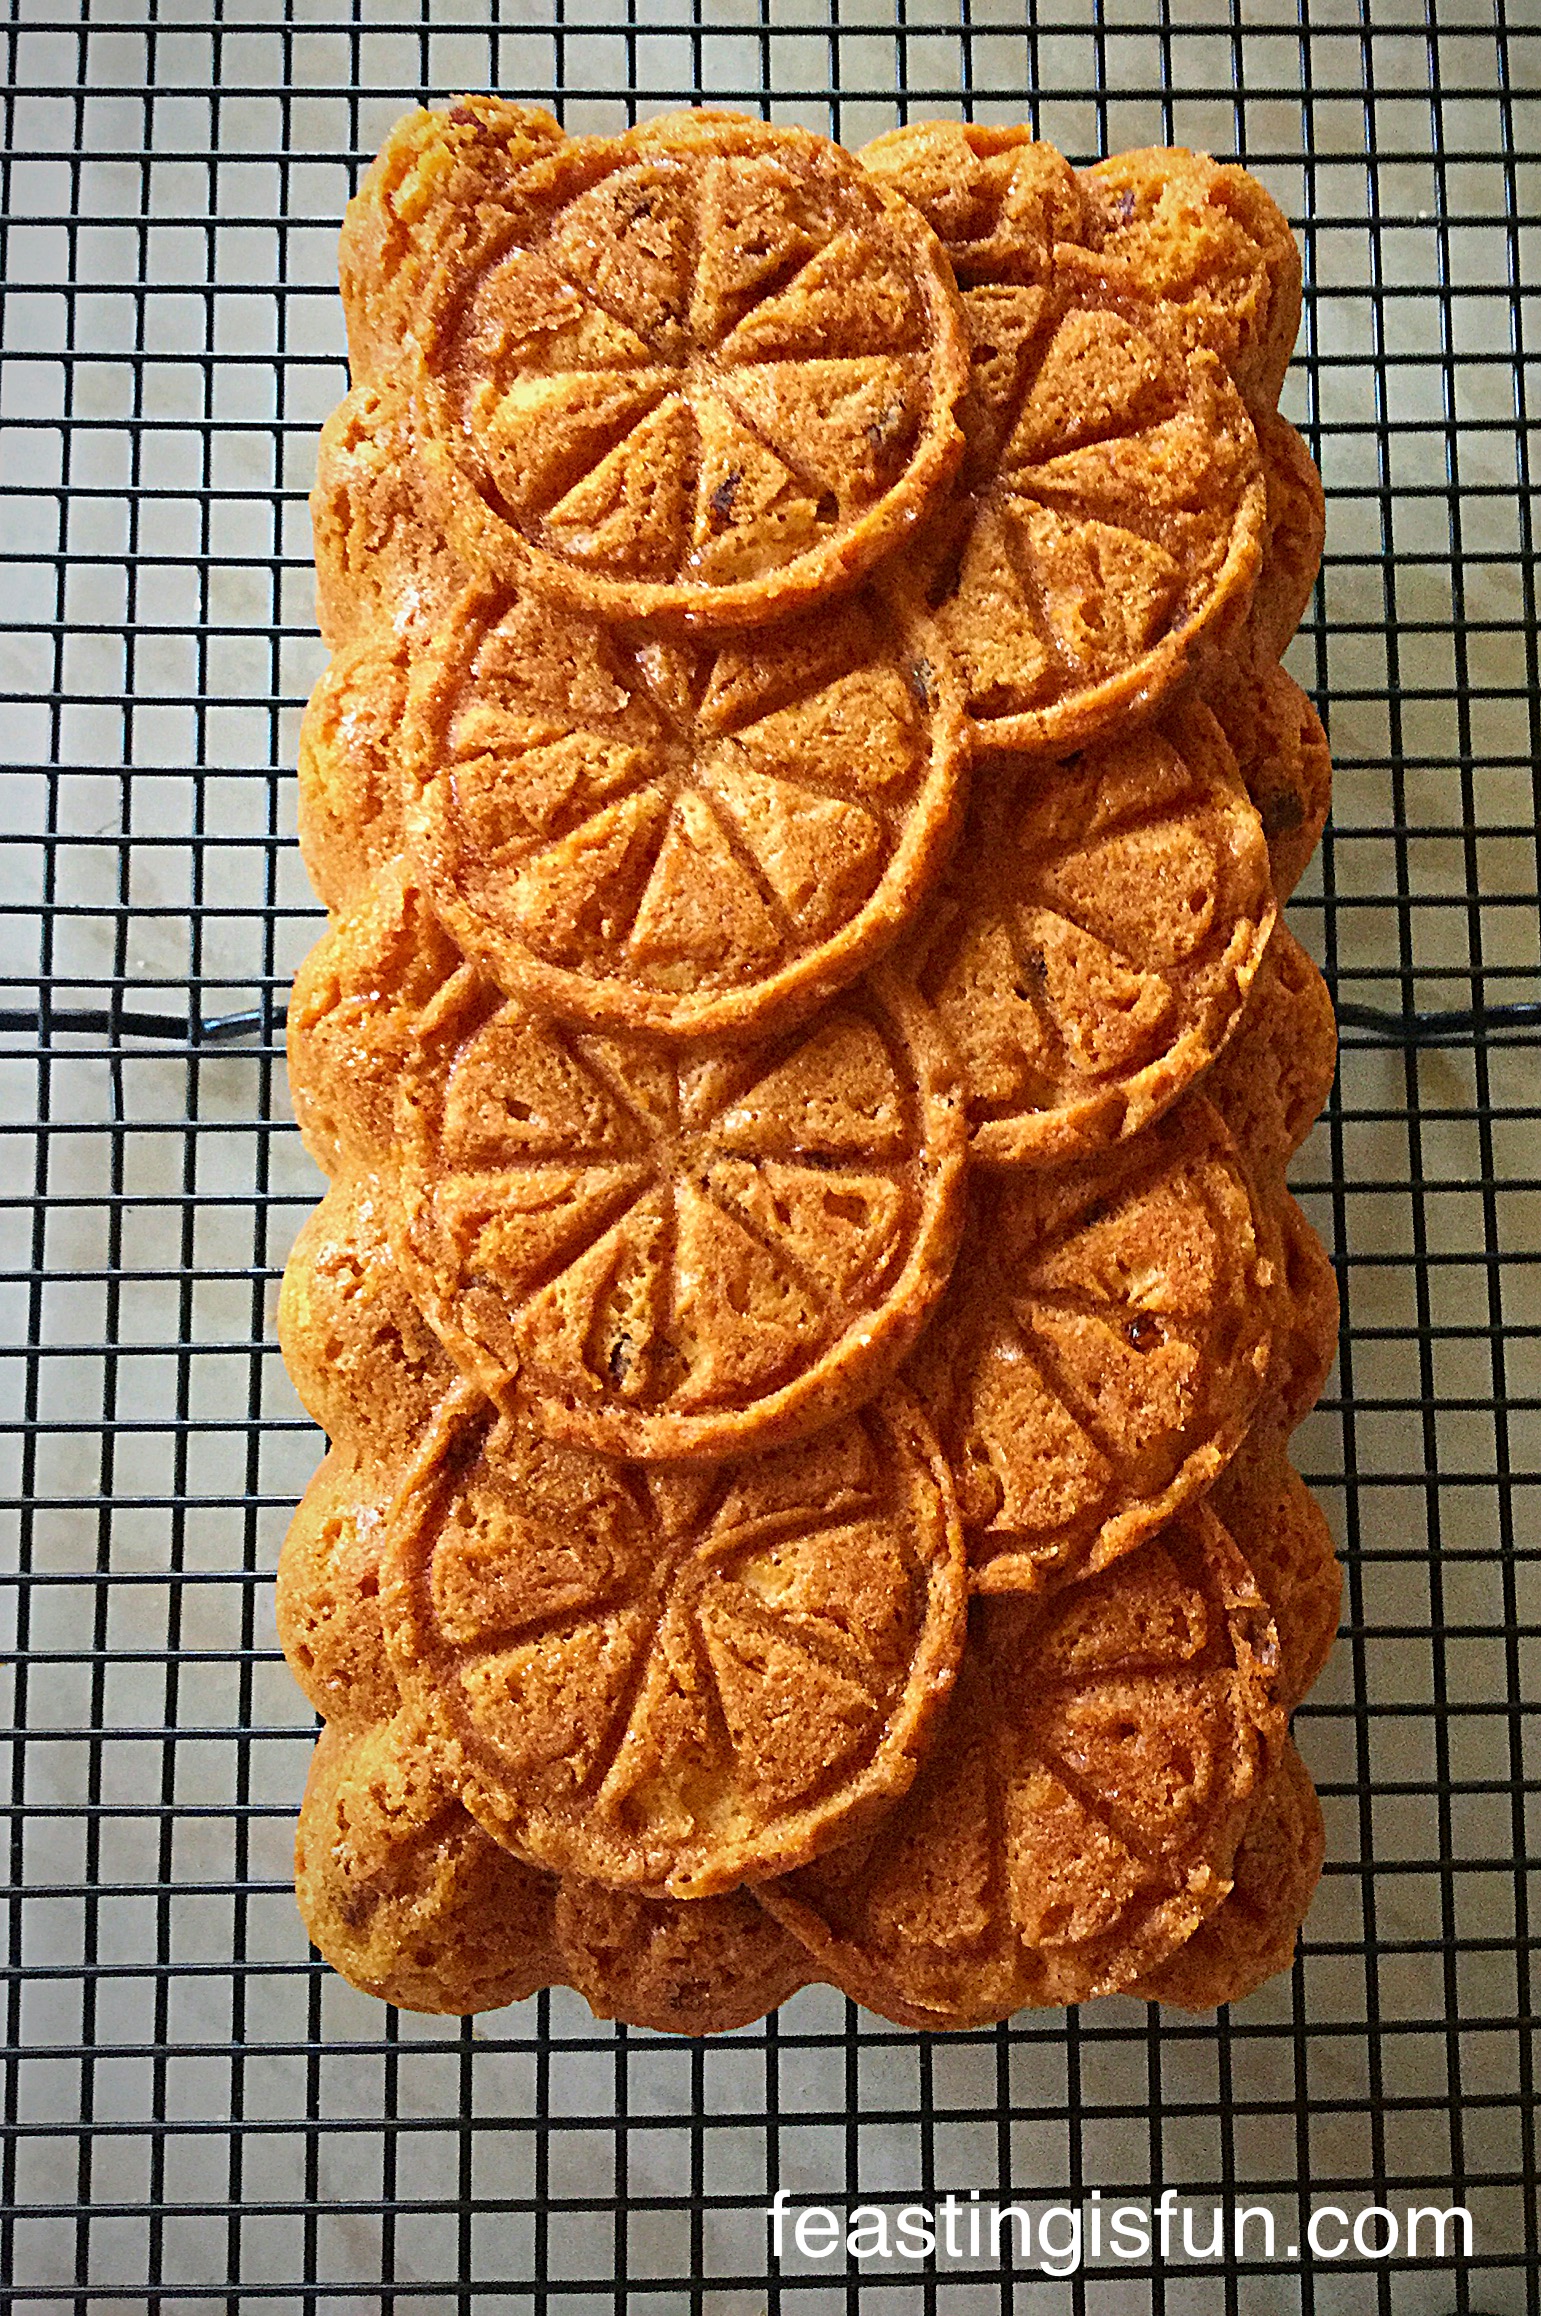
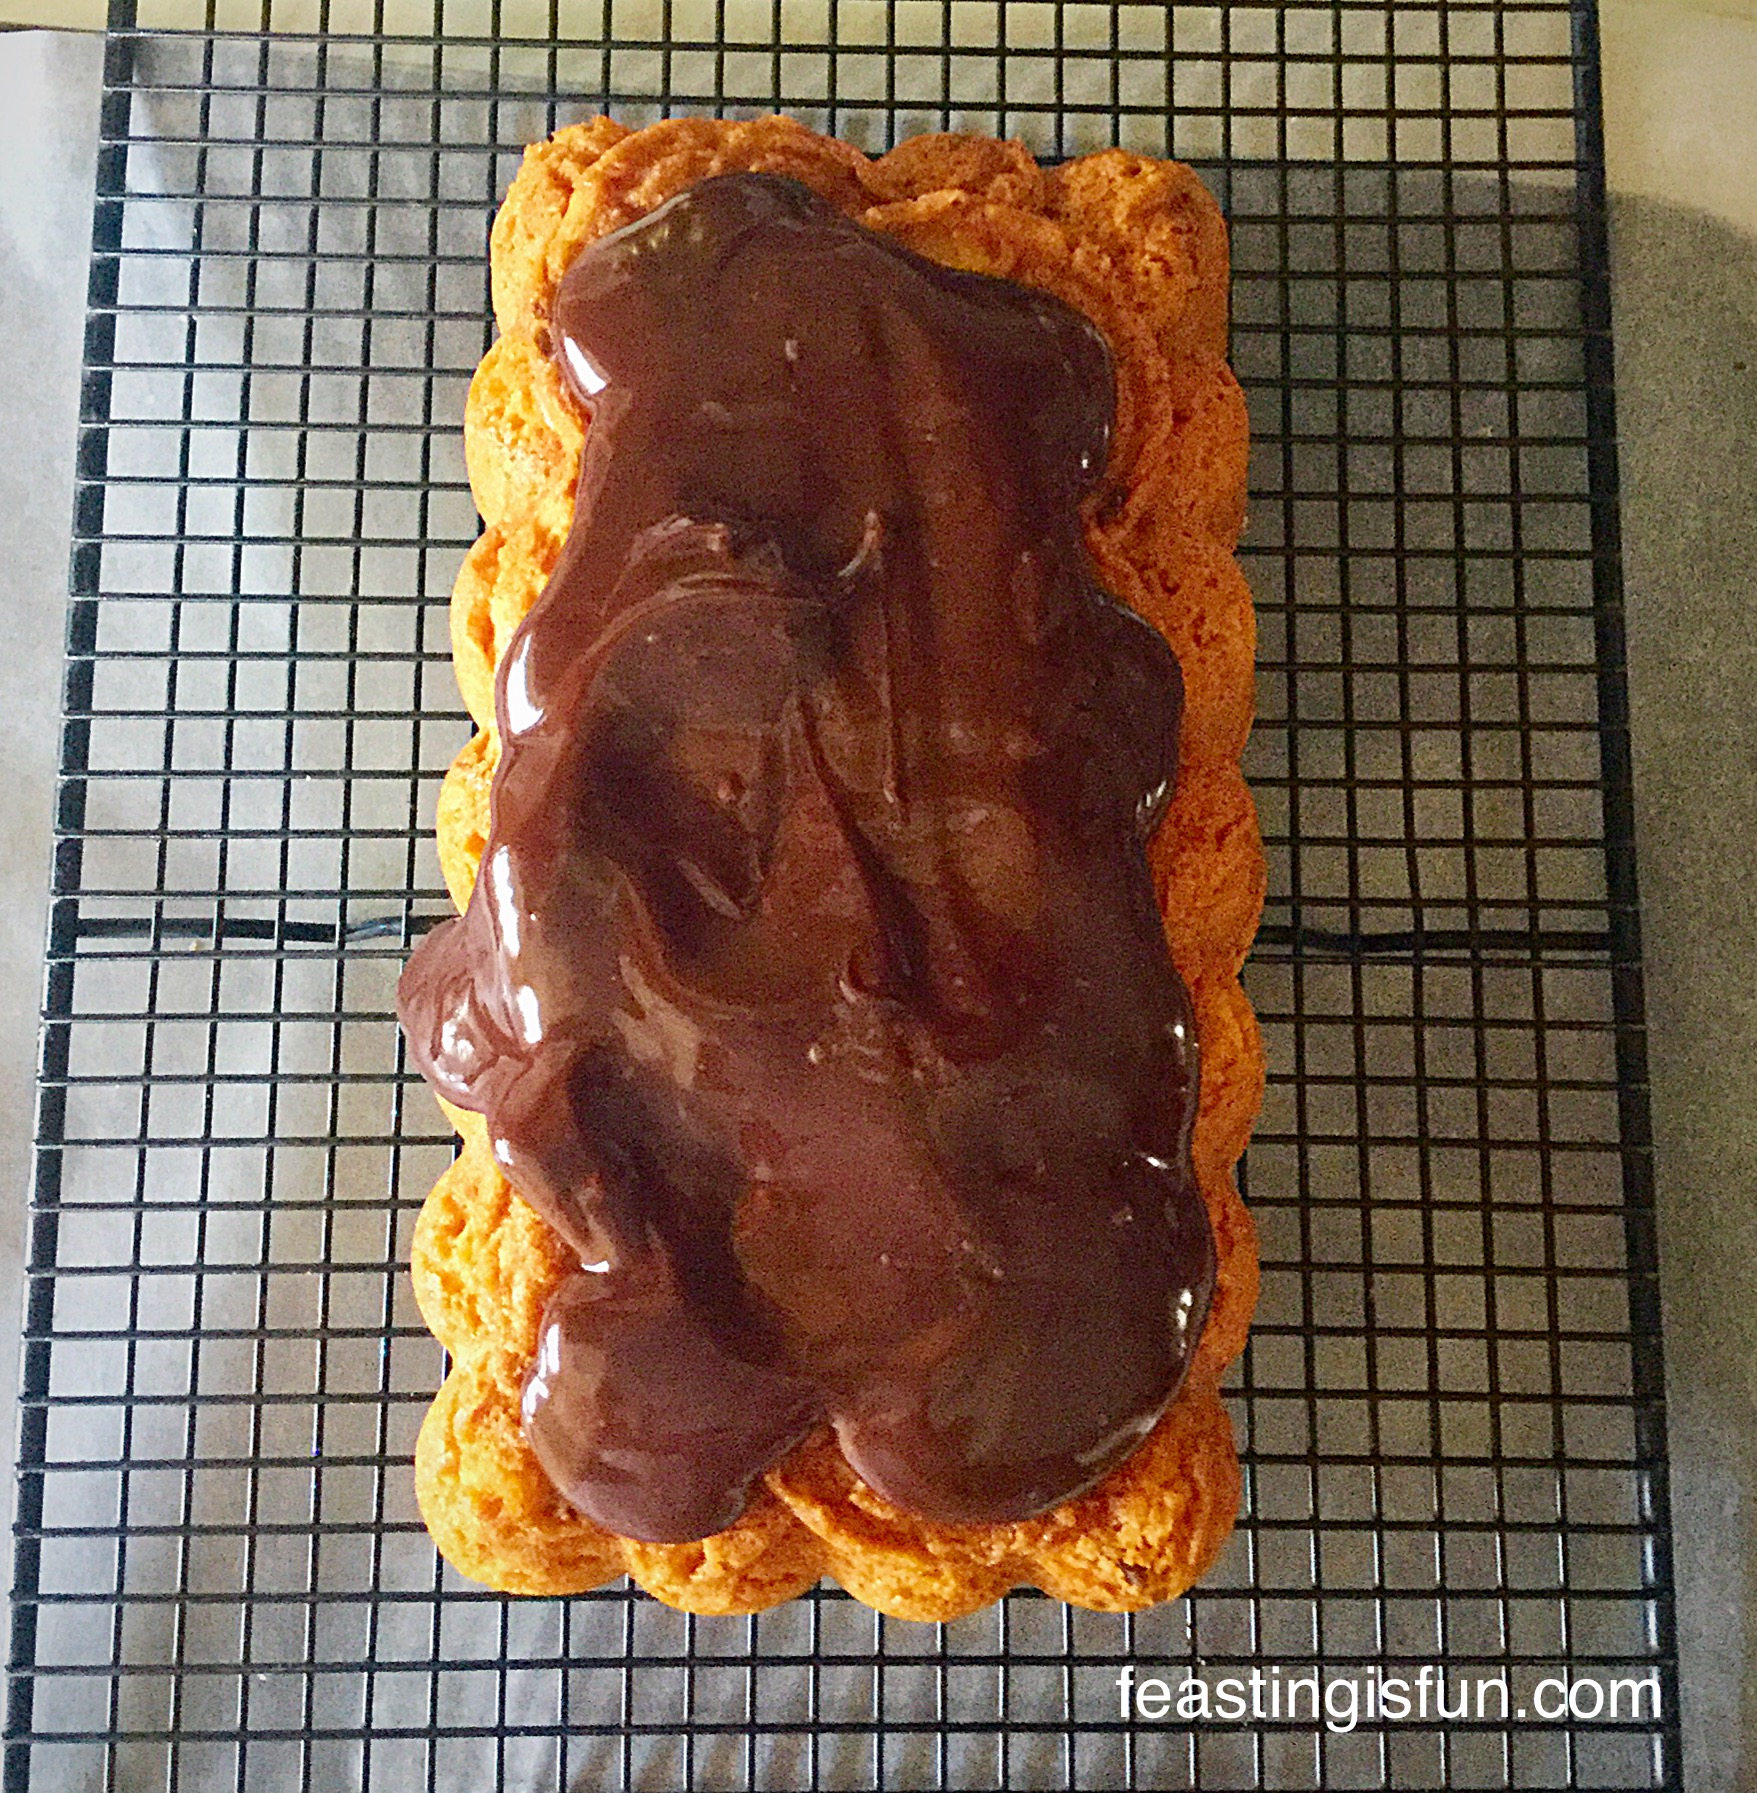
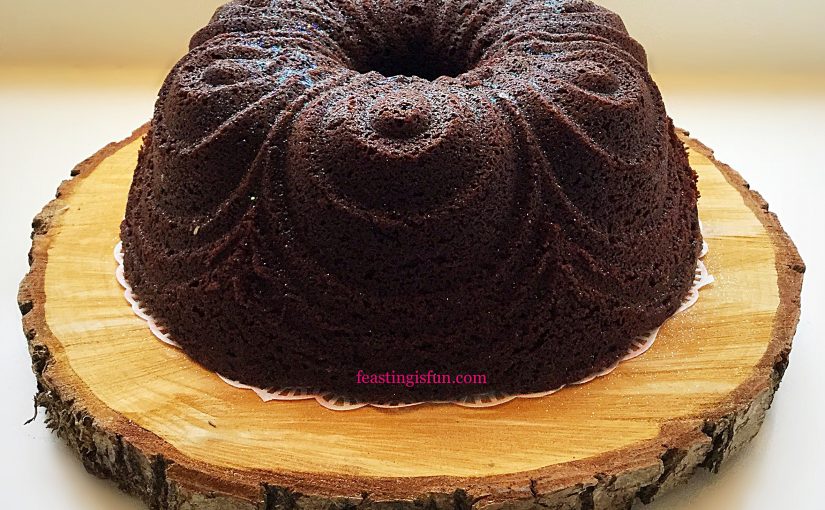
The looping, scalloped design of the Chiffon Bundt Pan is very elegant. While flickers of light from the edible glitter, sparkle and accentuate the design. Aside from covering in a very thin glaze, as done here, this cake really is best left as is. Indeed, left un-iced, dare I say this would be utterly delicious eaten with hot custard.
Recipe: Chocolate Cherry Chiffon Bundt Cake serves 10-12
275g/10oz Unsalted Butter at room temperature
275g/10oz Light Soft Brown Sugar
1/4 tsp Sea Salt – I use Maldon
2 tsp Vanilla Extract – I use Nielsen-Massey
1/2 tsp Almond Extract
5 Large Free Range Eggs
4 tbsp/60ml Whole Milk
100g/4oz Ground Almonds
75g/3oz Chocolate Cherry Cocoa Powder* – available from Sugar and Crumbs
*If you are unable to obtain chocolate cherry flavour cocoa powder, use plain cocoa and add either cherry flavouring or 3-4 tablespoons of kirsch (cherry liqueur).
125g/4.5oz Plain White Flour
2 tsp Baking Powder
Half a 400g/14oz (200g/7oz) Tin of Cherries or Cherry Pie Filling. Alternatively, use the equivalent weight of fresh, de-stoned cherries.
1/4 tsp Edible Glitter to decorate, alternatively use 1-2 teaspoon of icing sugar (confectioners sugar) to dust the finished cake.
Method: Preheat oven to 160C/140C fan, gas mark 3, 325F.
Tips on using Bundt pans:
This recipe uses a 10 cup Bundt Pan. I have used the Chiffon Bundt Pan available from Nordicware.
Most importantly, to ensure a successful release of the cake from the pan, cake release is highly recommended. Either available as a spray, or a liquid that is brushed on with a soft pastry brush. I recommend and always use Wilton
cake release.
Making And Baking The Bundt Cake
- First of all add butter, sugar and salt to a large bowl. Whisk until the sugar is fully beaten into the butter.
- Next add both vanilla and almond extracts. Also add 5 eggs and milk.
- Now add ground almonds, cocoa powder, flour and baking powder.
- Whisk everything together until fully combined. Take care not to over whisk as the resulting cake will be tough.
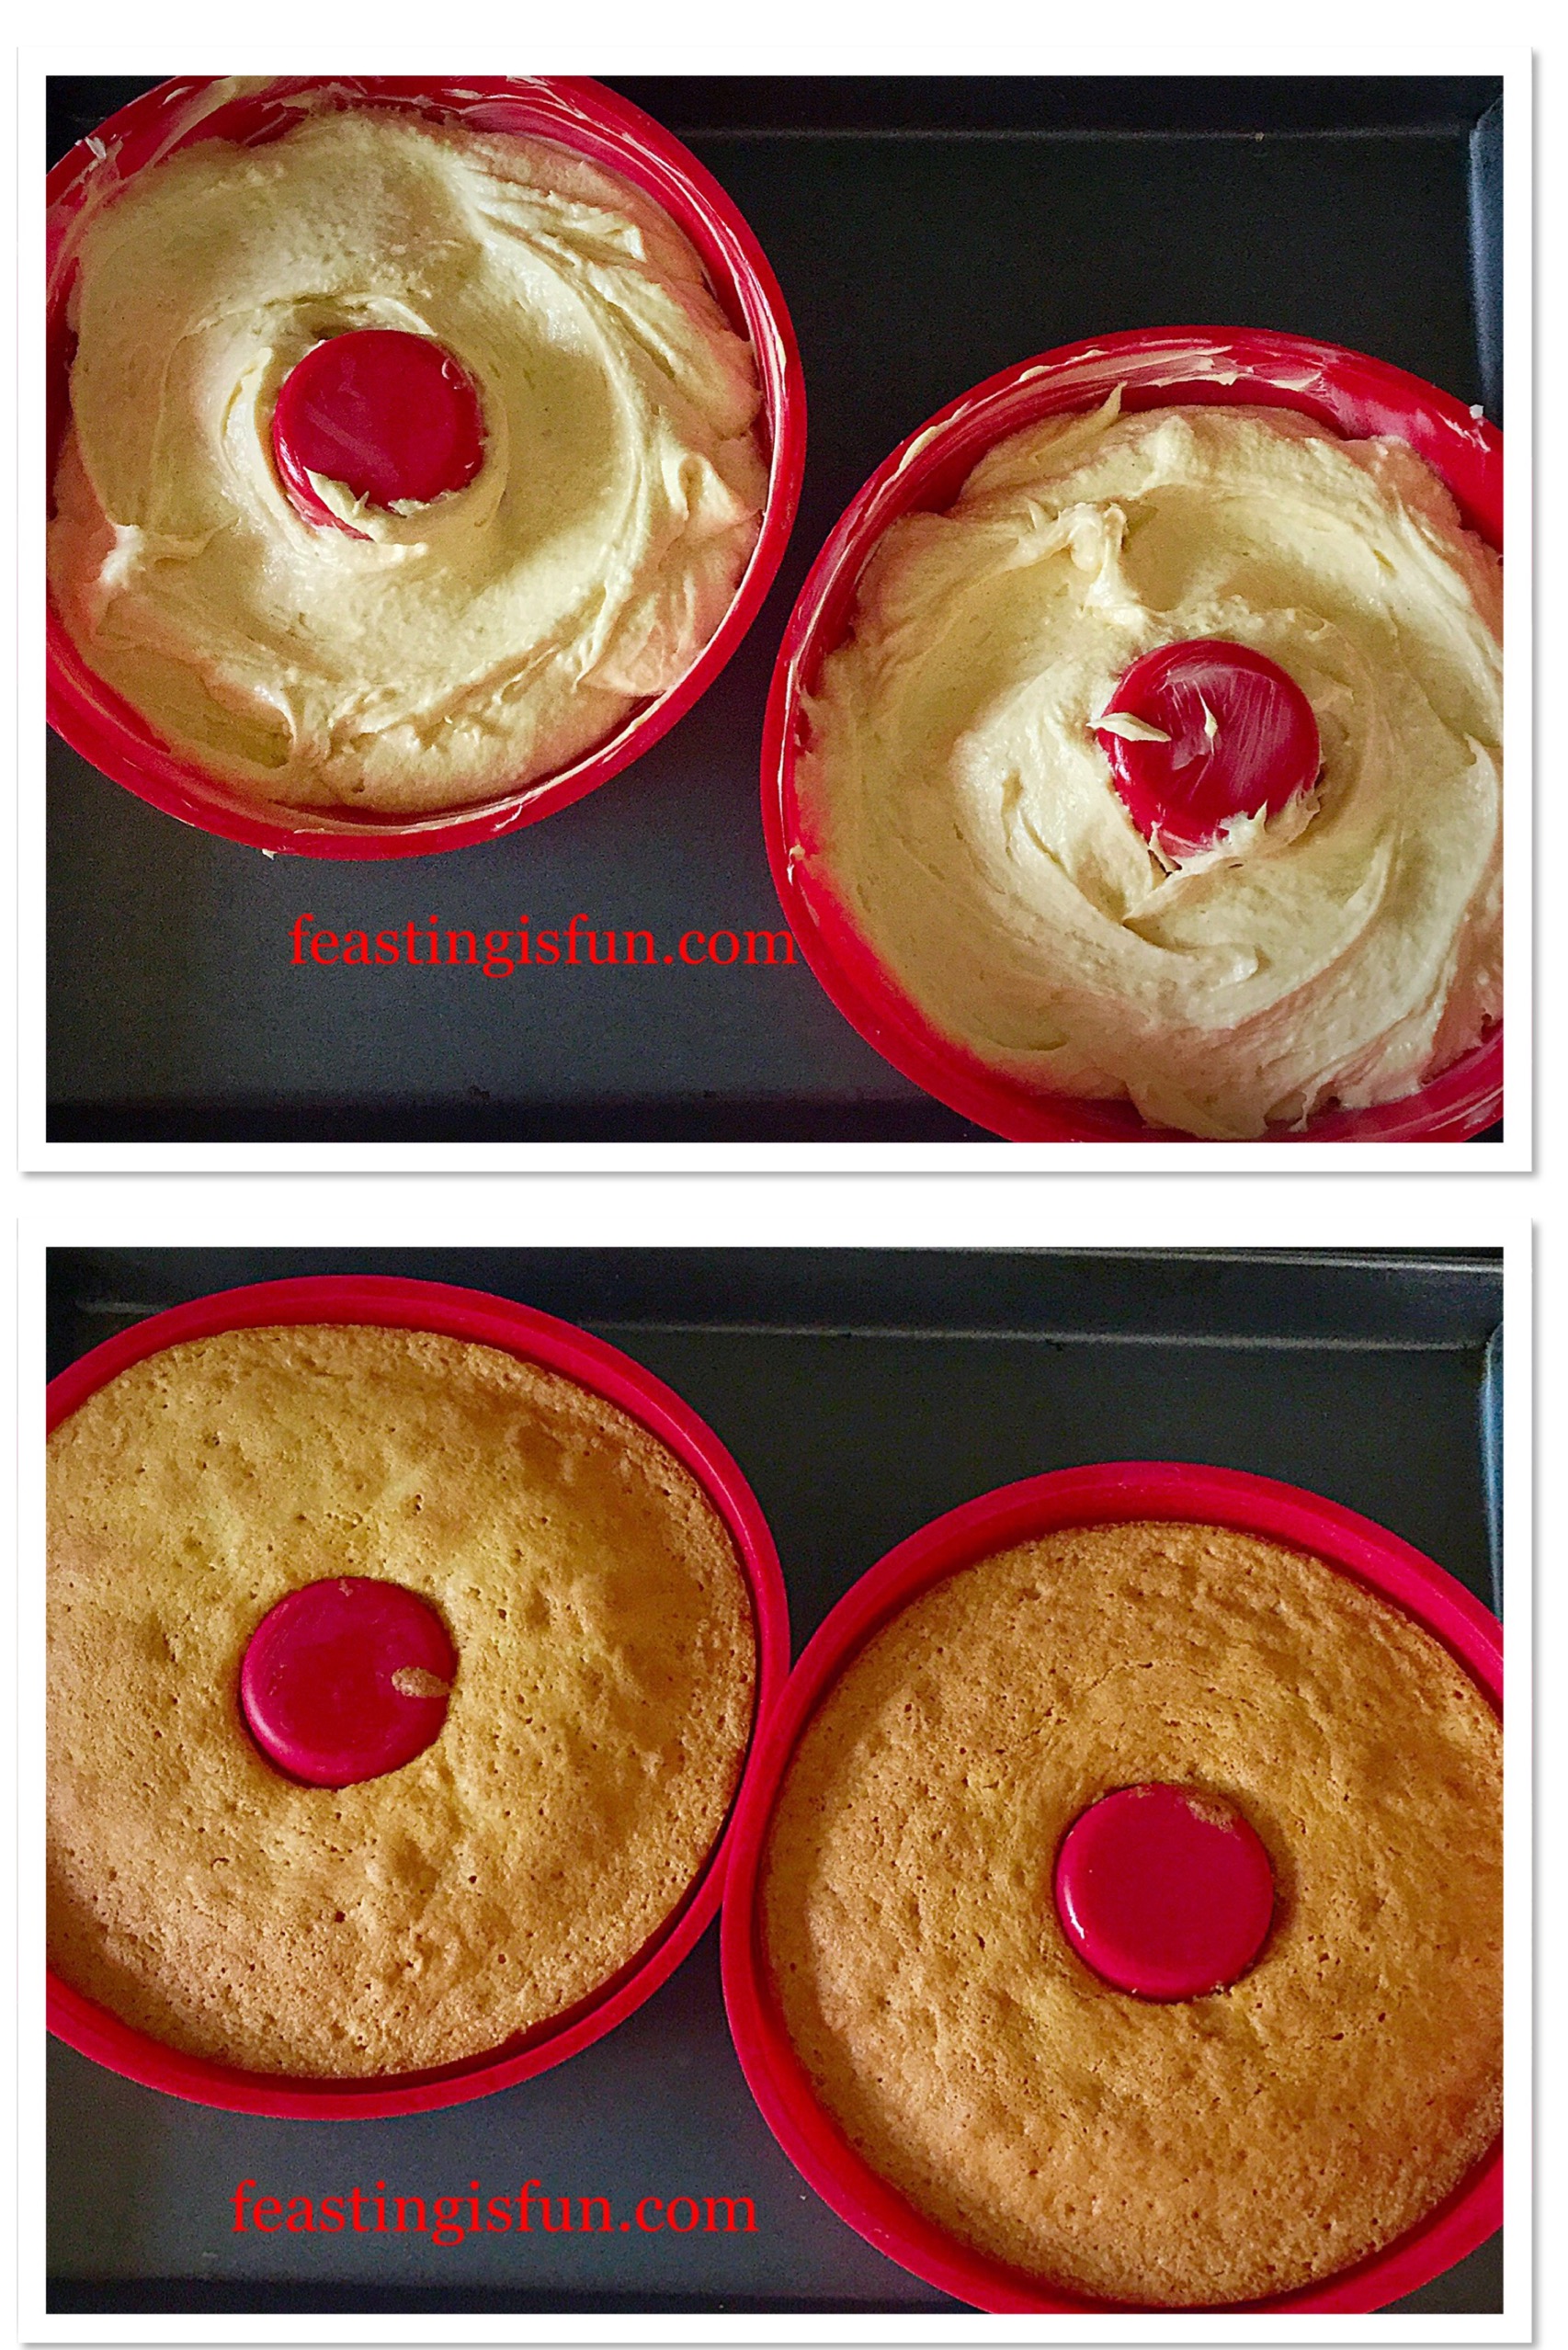
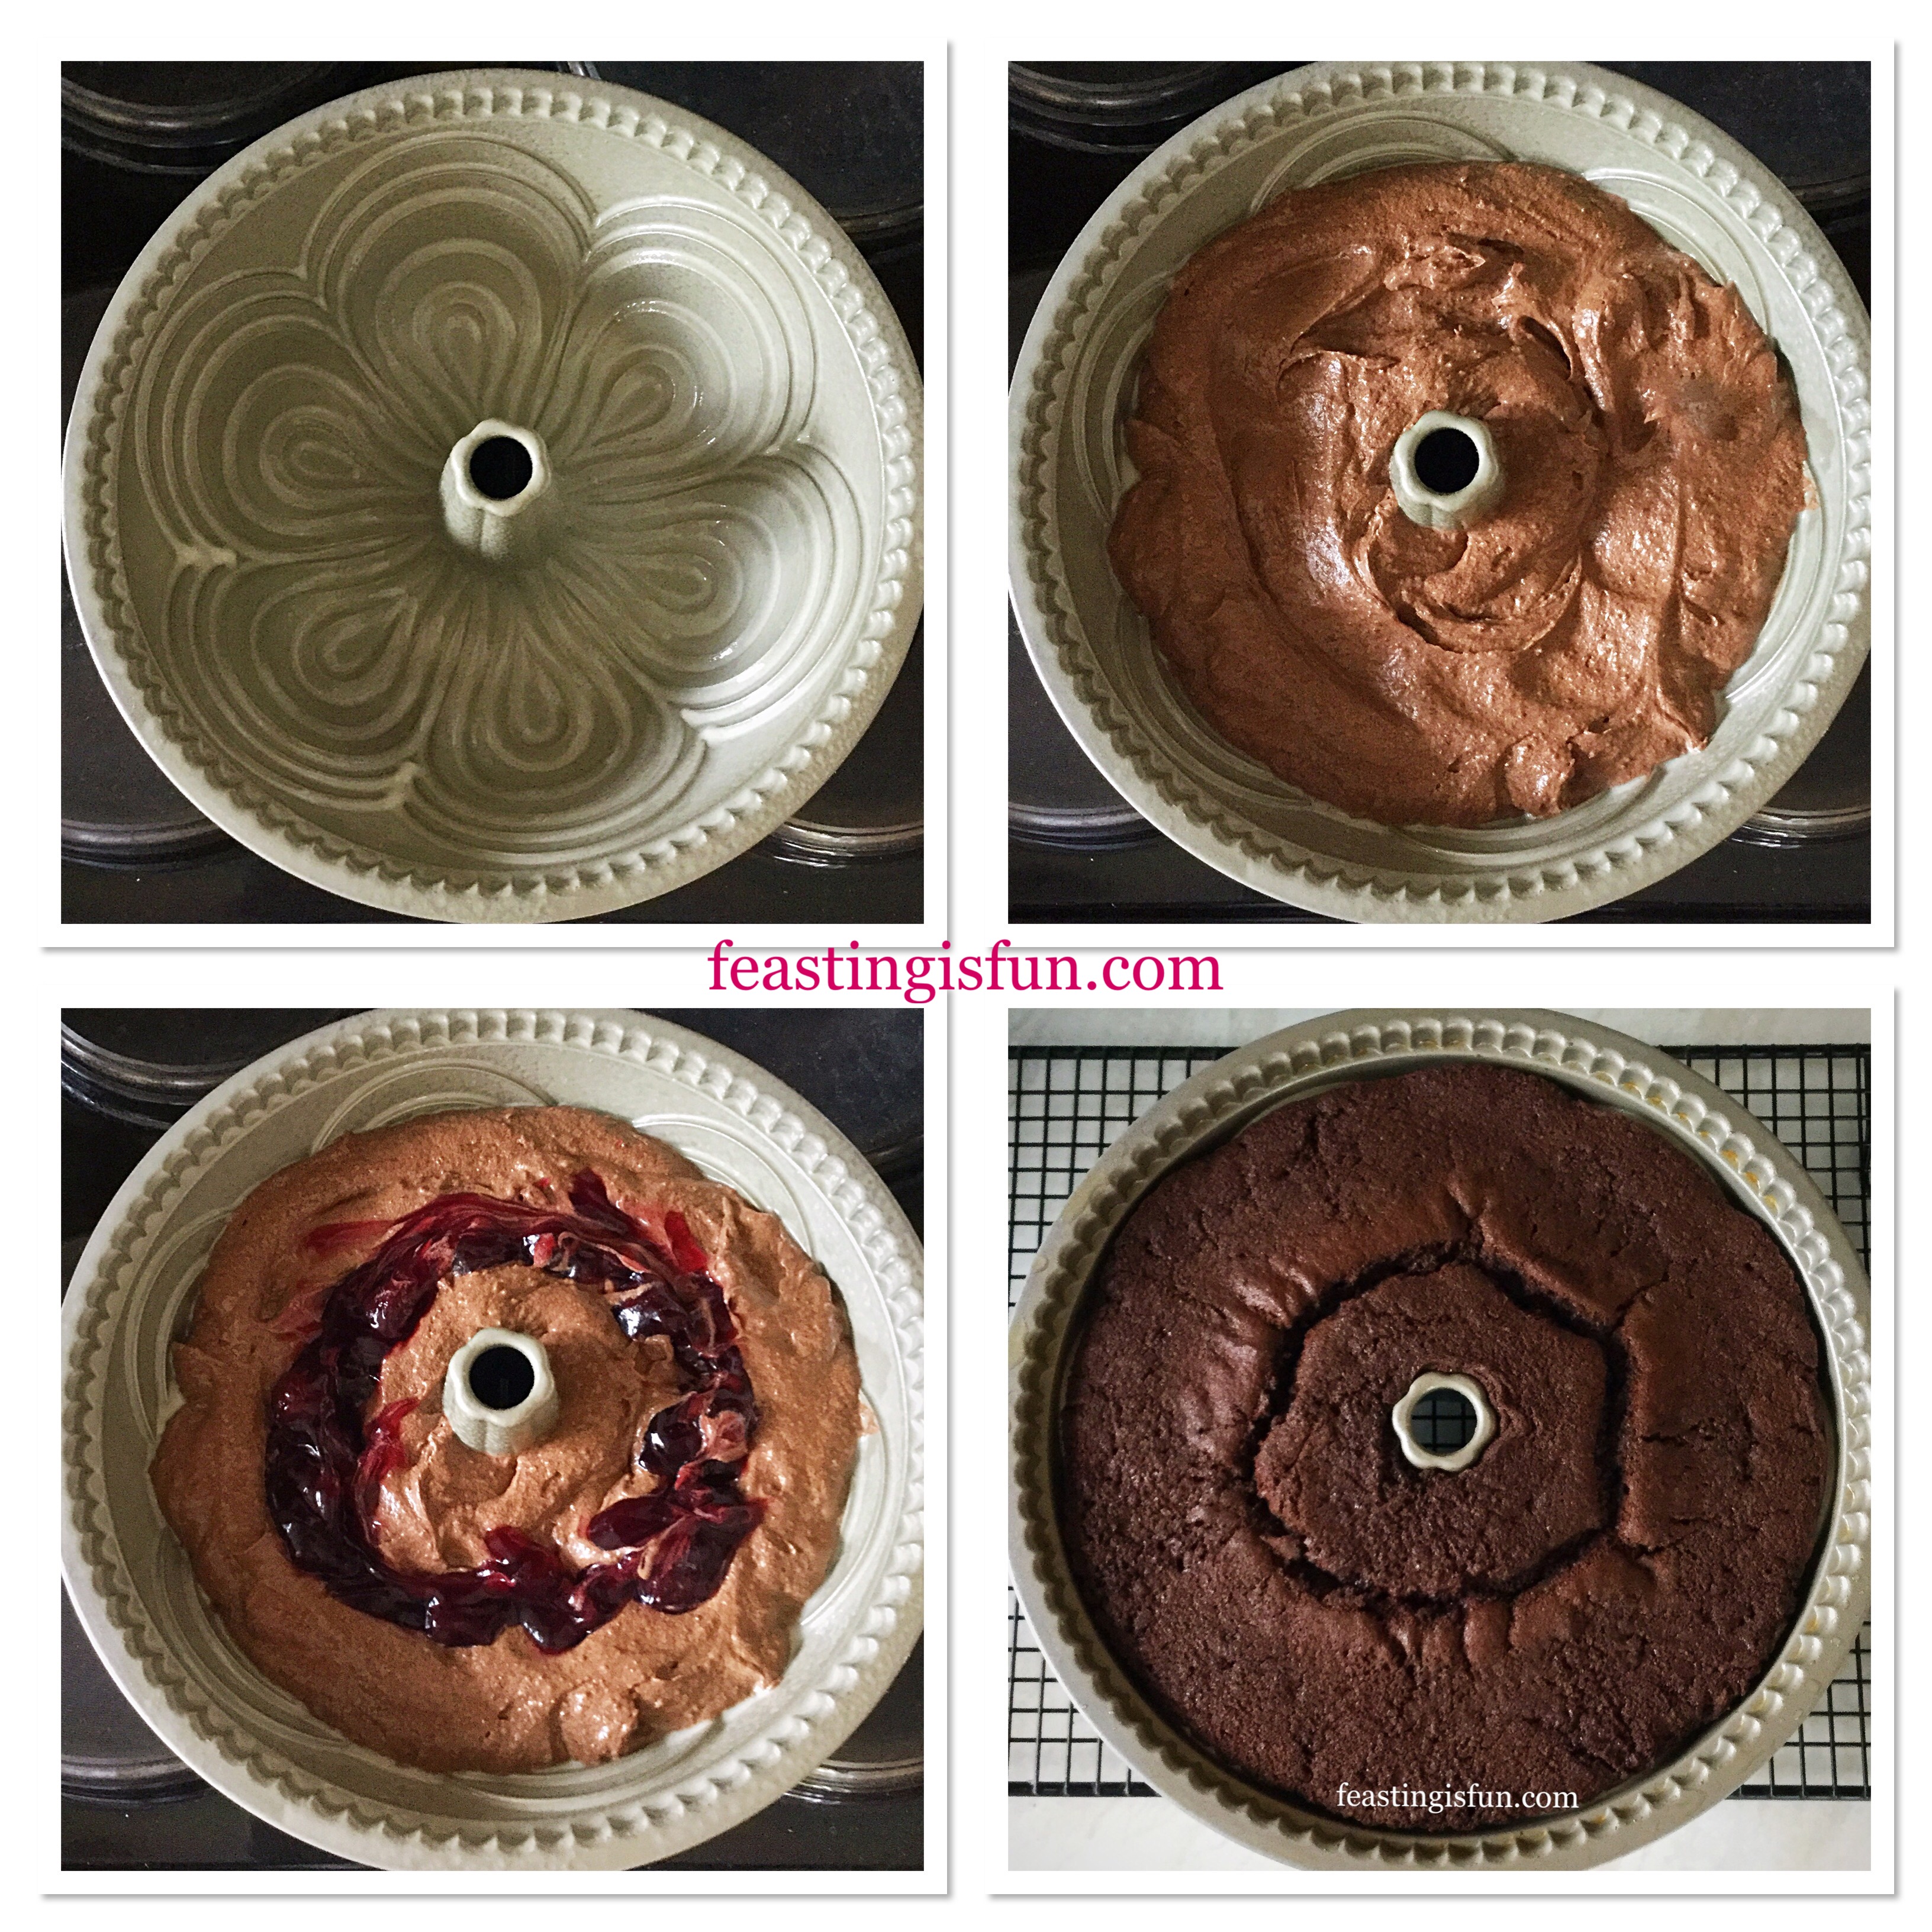
- Prepare the Bundt pan, spraying, or brushing liberally with cake release.
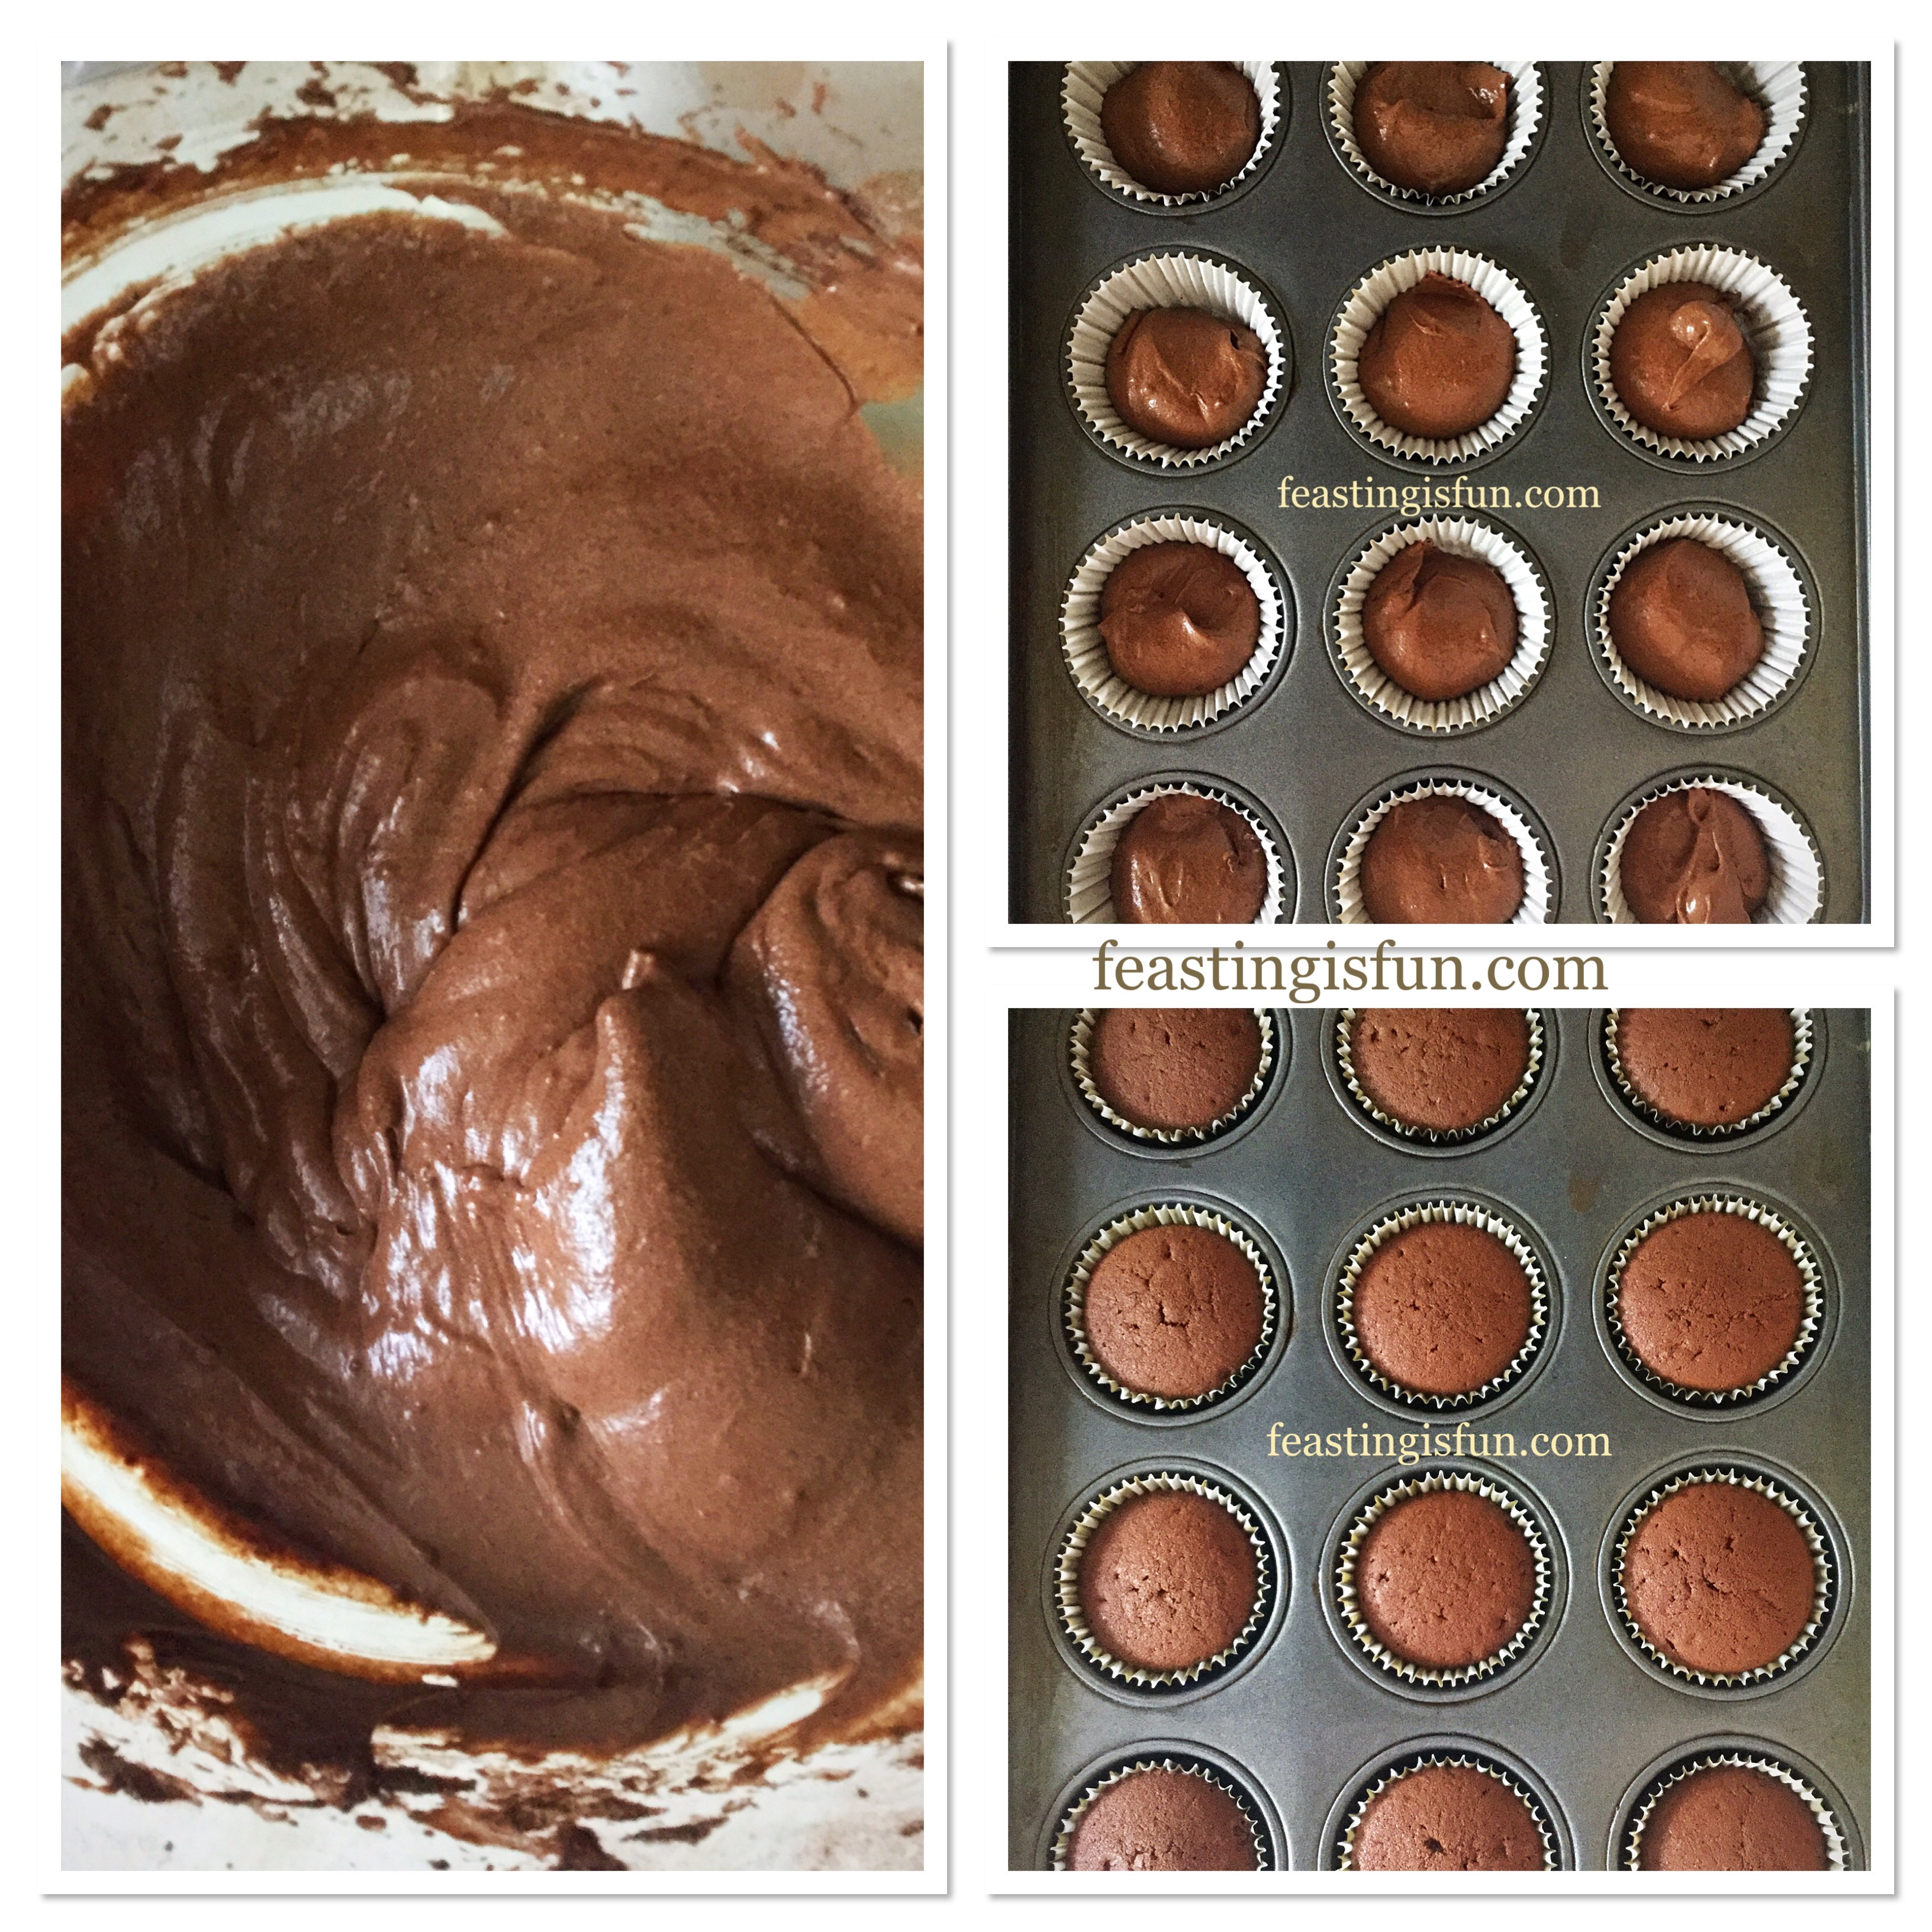
- Spoon the prepared cake batter into the pan, pushing the mixture into the base to avoid air pockets.
- Finally, spoon half of tin of cherries on to the top of the cake batter, making sure that none of the liquid touches the side of the Bundt pan.
- Place the Bundt pan into the lower middle part of a preheated oven and bake for 1 hour 20-30 minutes. Low, slow baking results in an evenly baked cake.
- The cake is baked when it feels firm to touch, is coming away from the sides of the tin and an inserted skewer comes outs clean.
- As soon as the cake is baked remove from the oven and place on a cooling rack.
- Allow the cake to cool for 10 minutes, then turn out on to a cooling rack.
- Leave the cake to cool completely.
- Finally, when cooled, place the cake on to a board or stand. Using a teaspoon, carefully sprinkle with glitter from a height.

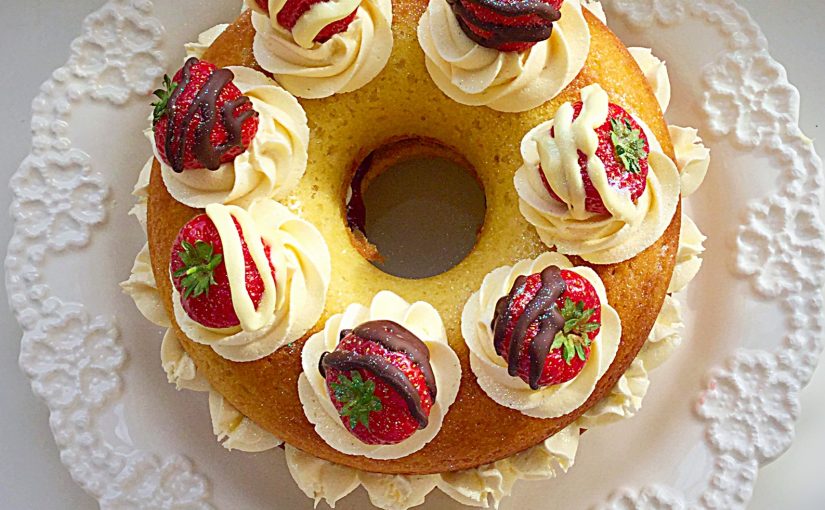
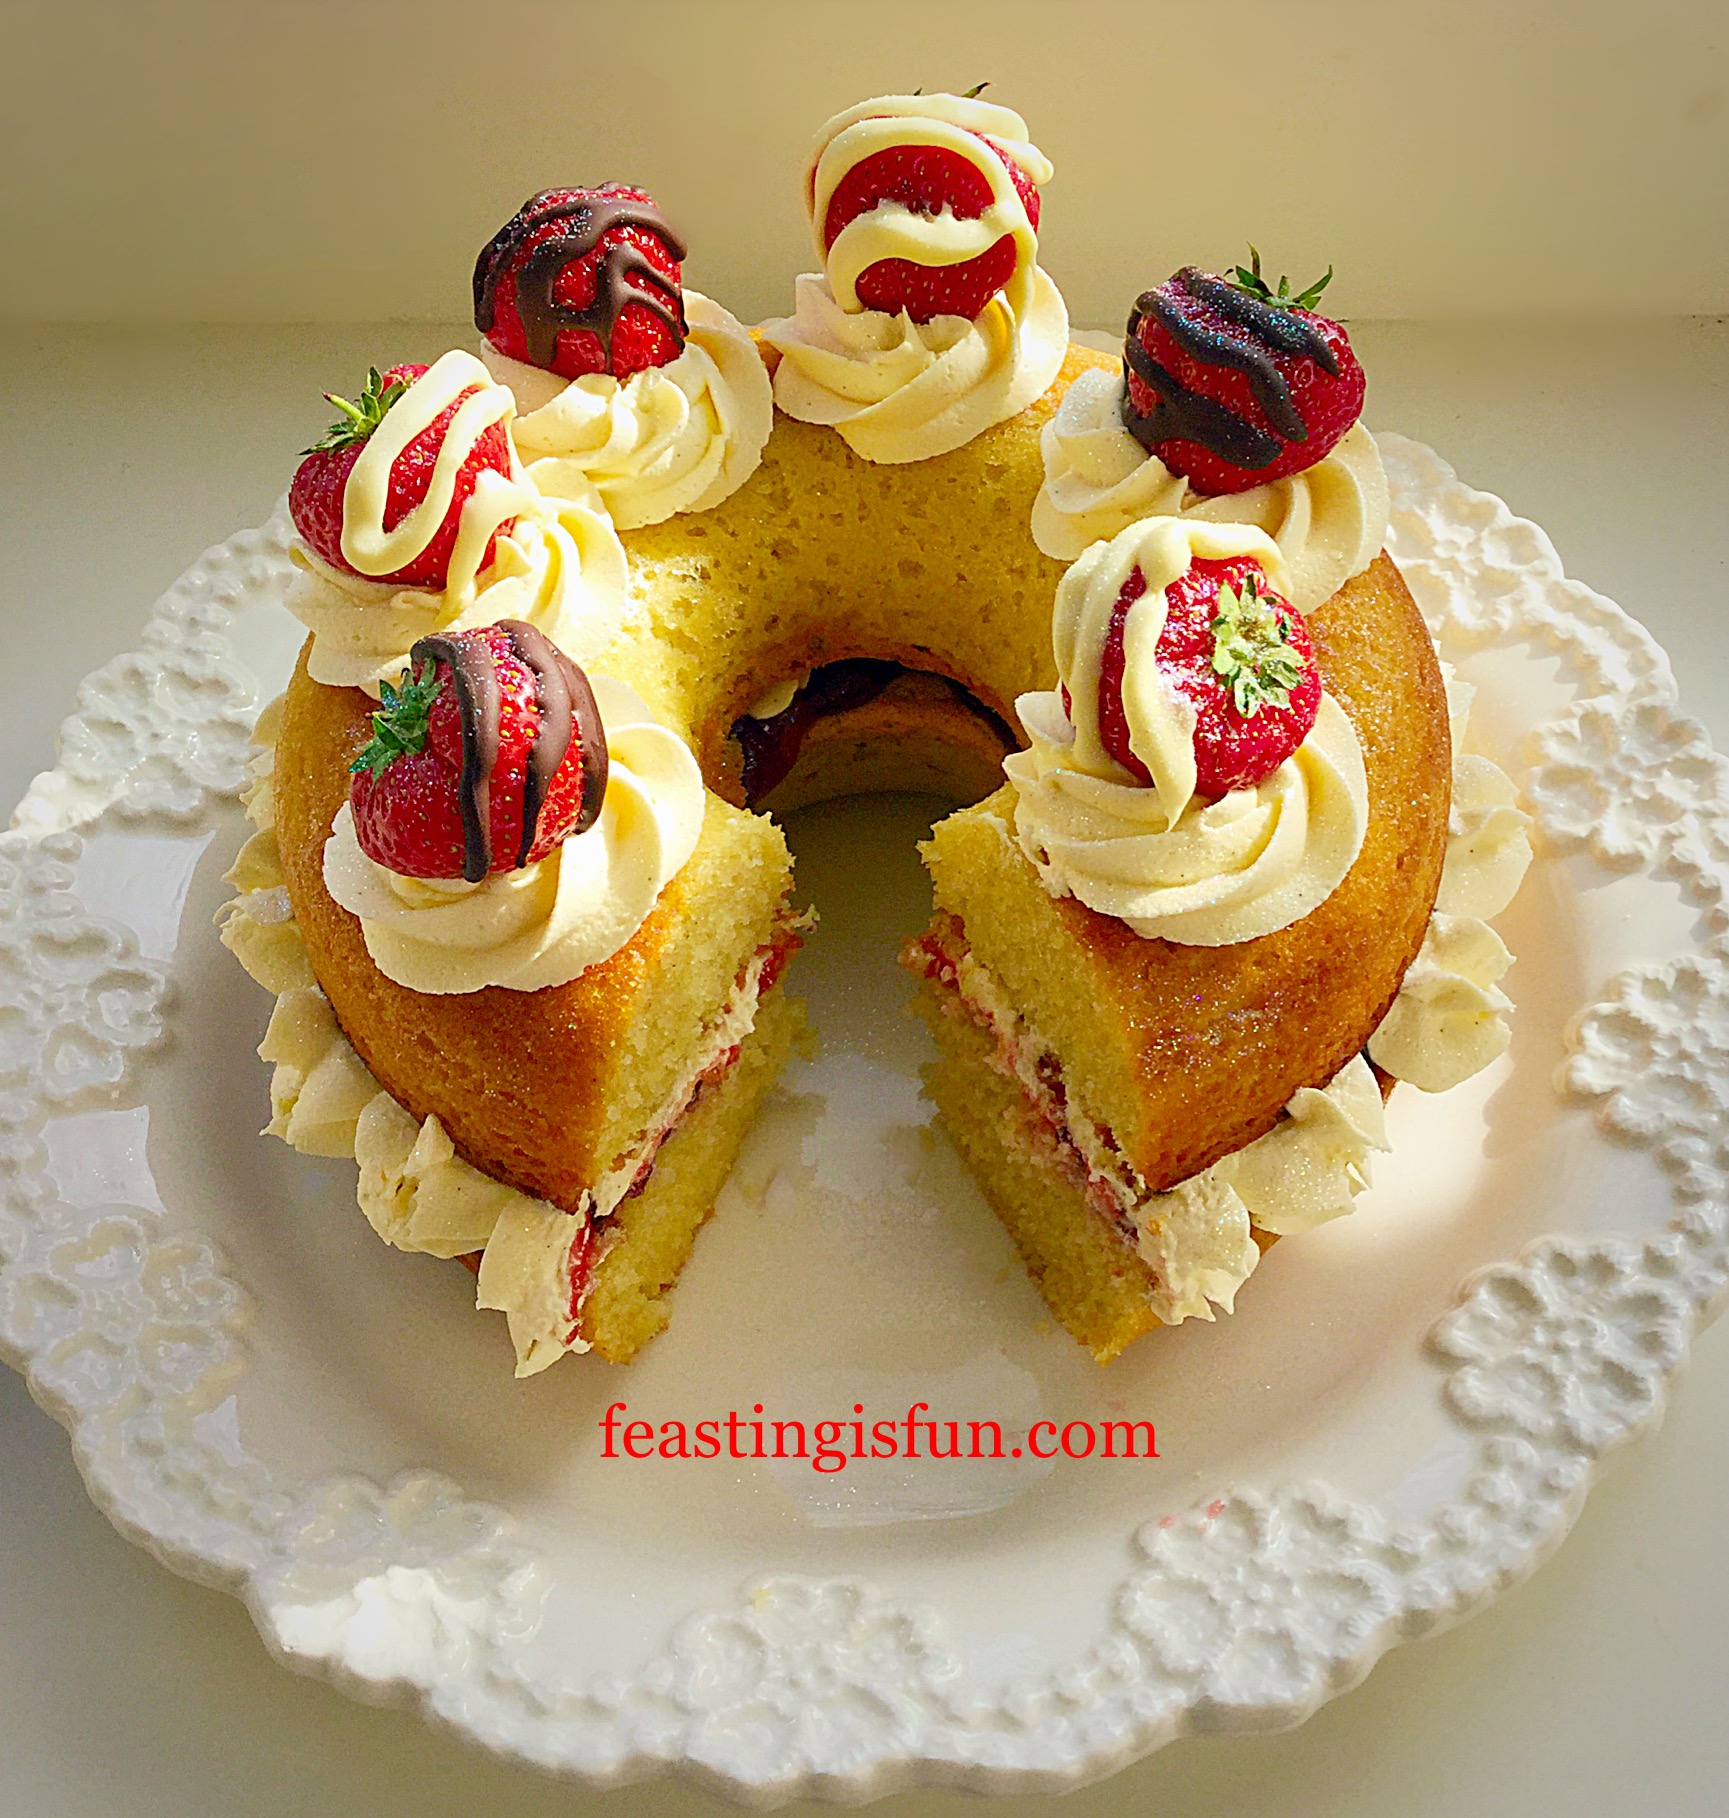
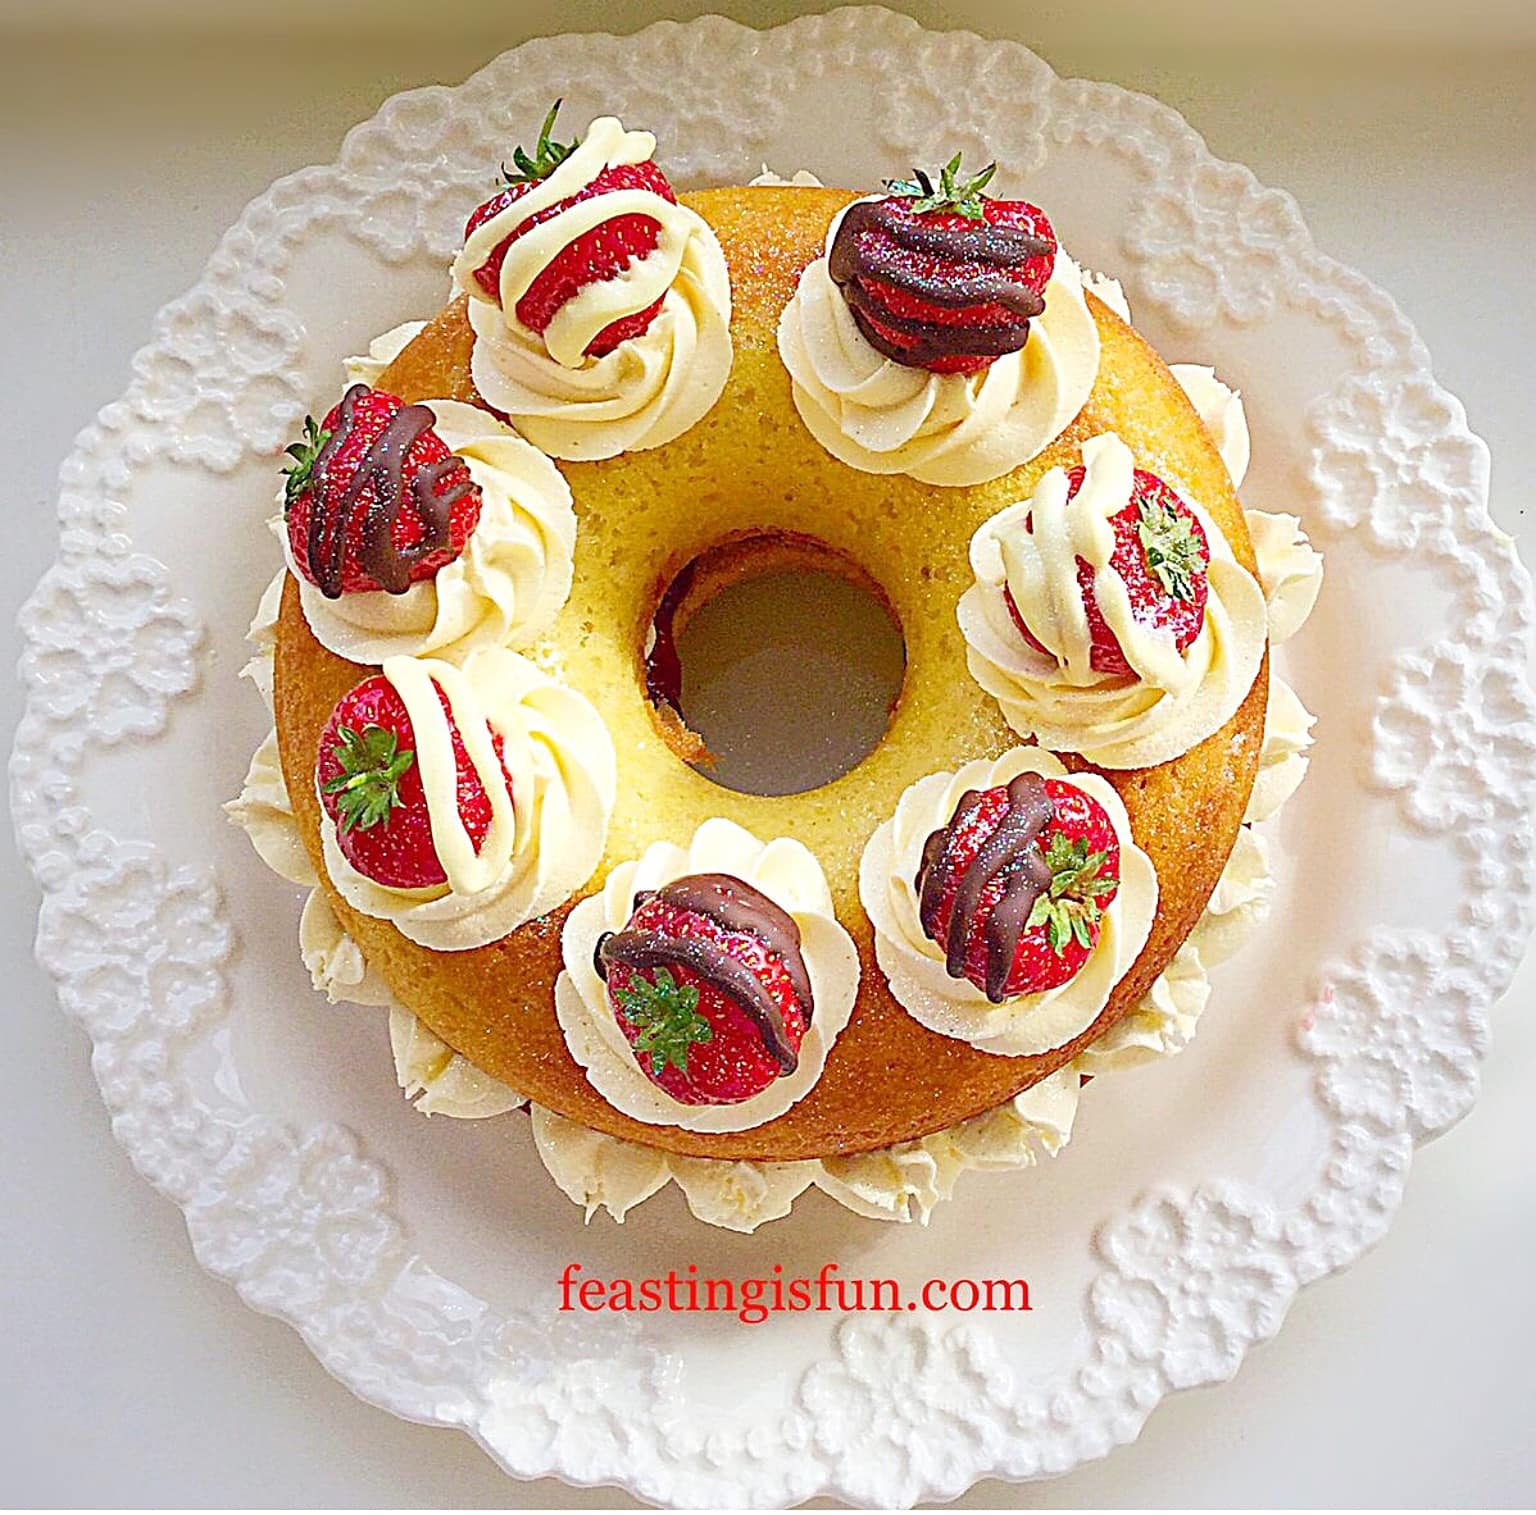
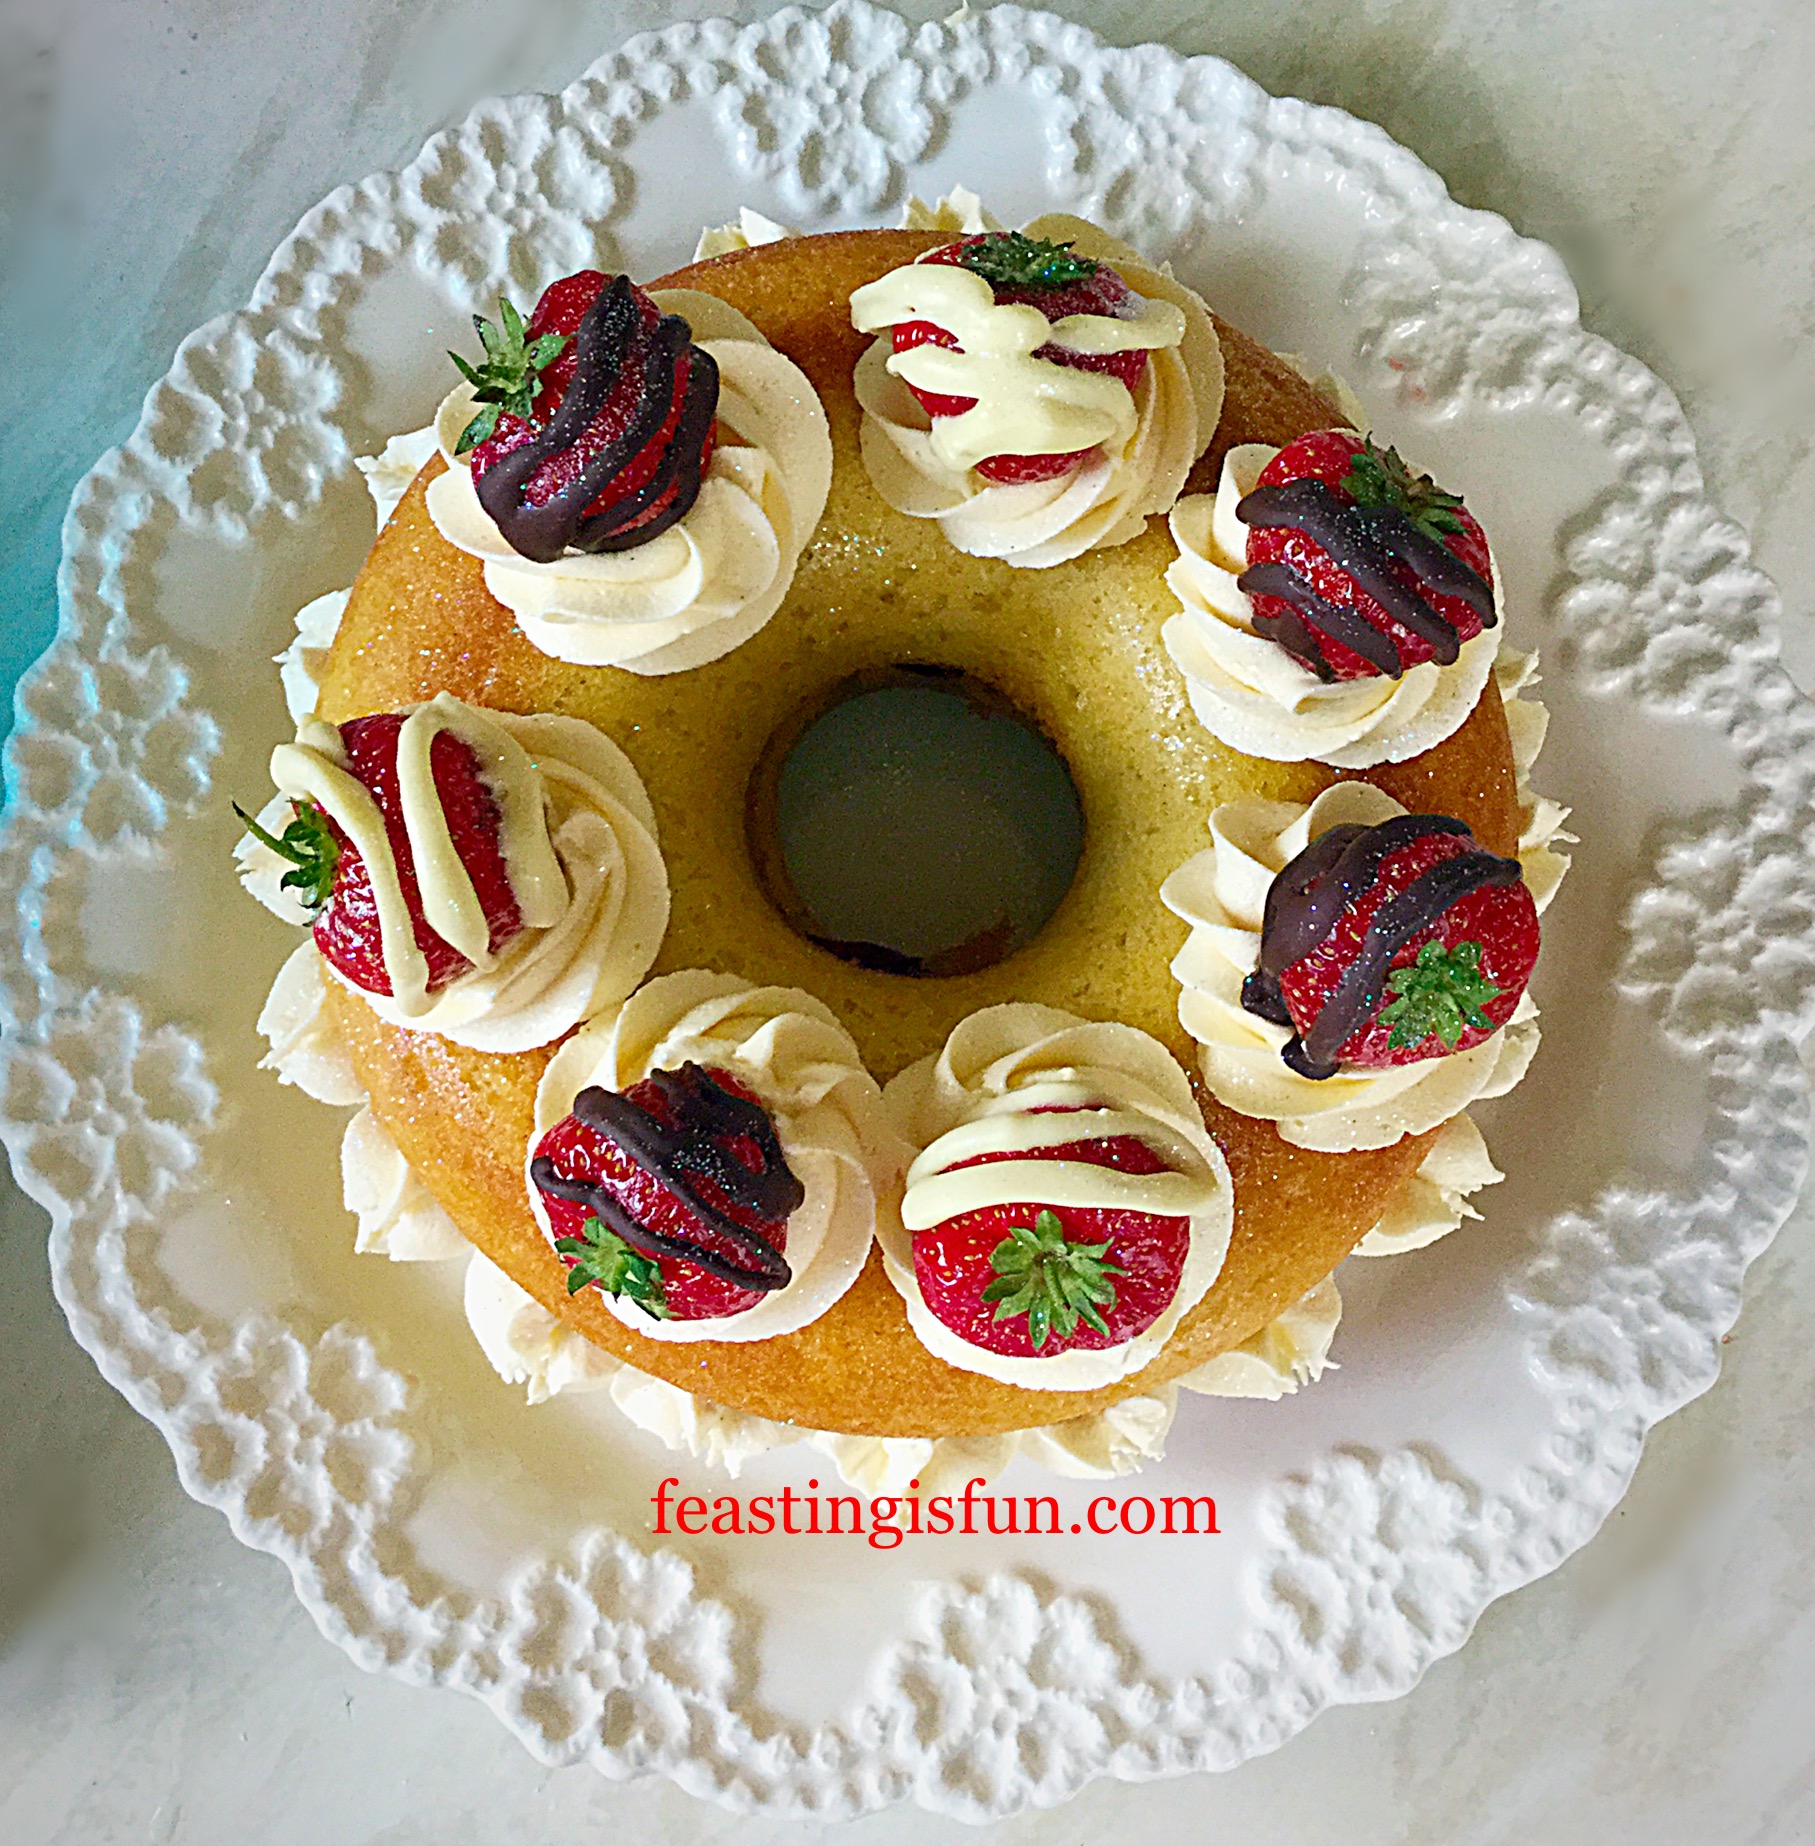
The Finished Cake
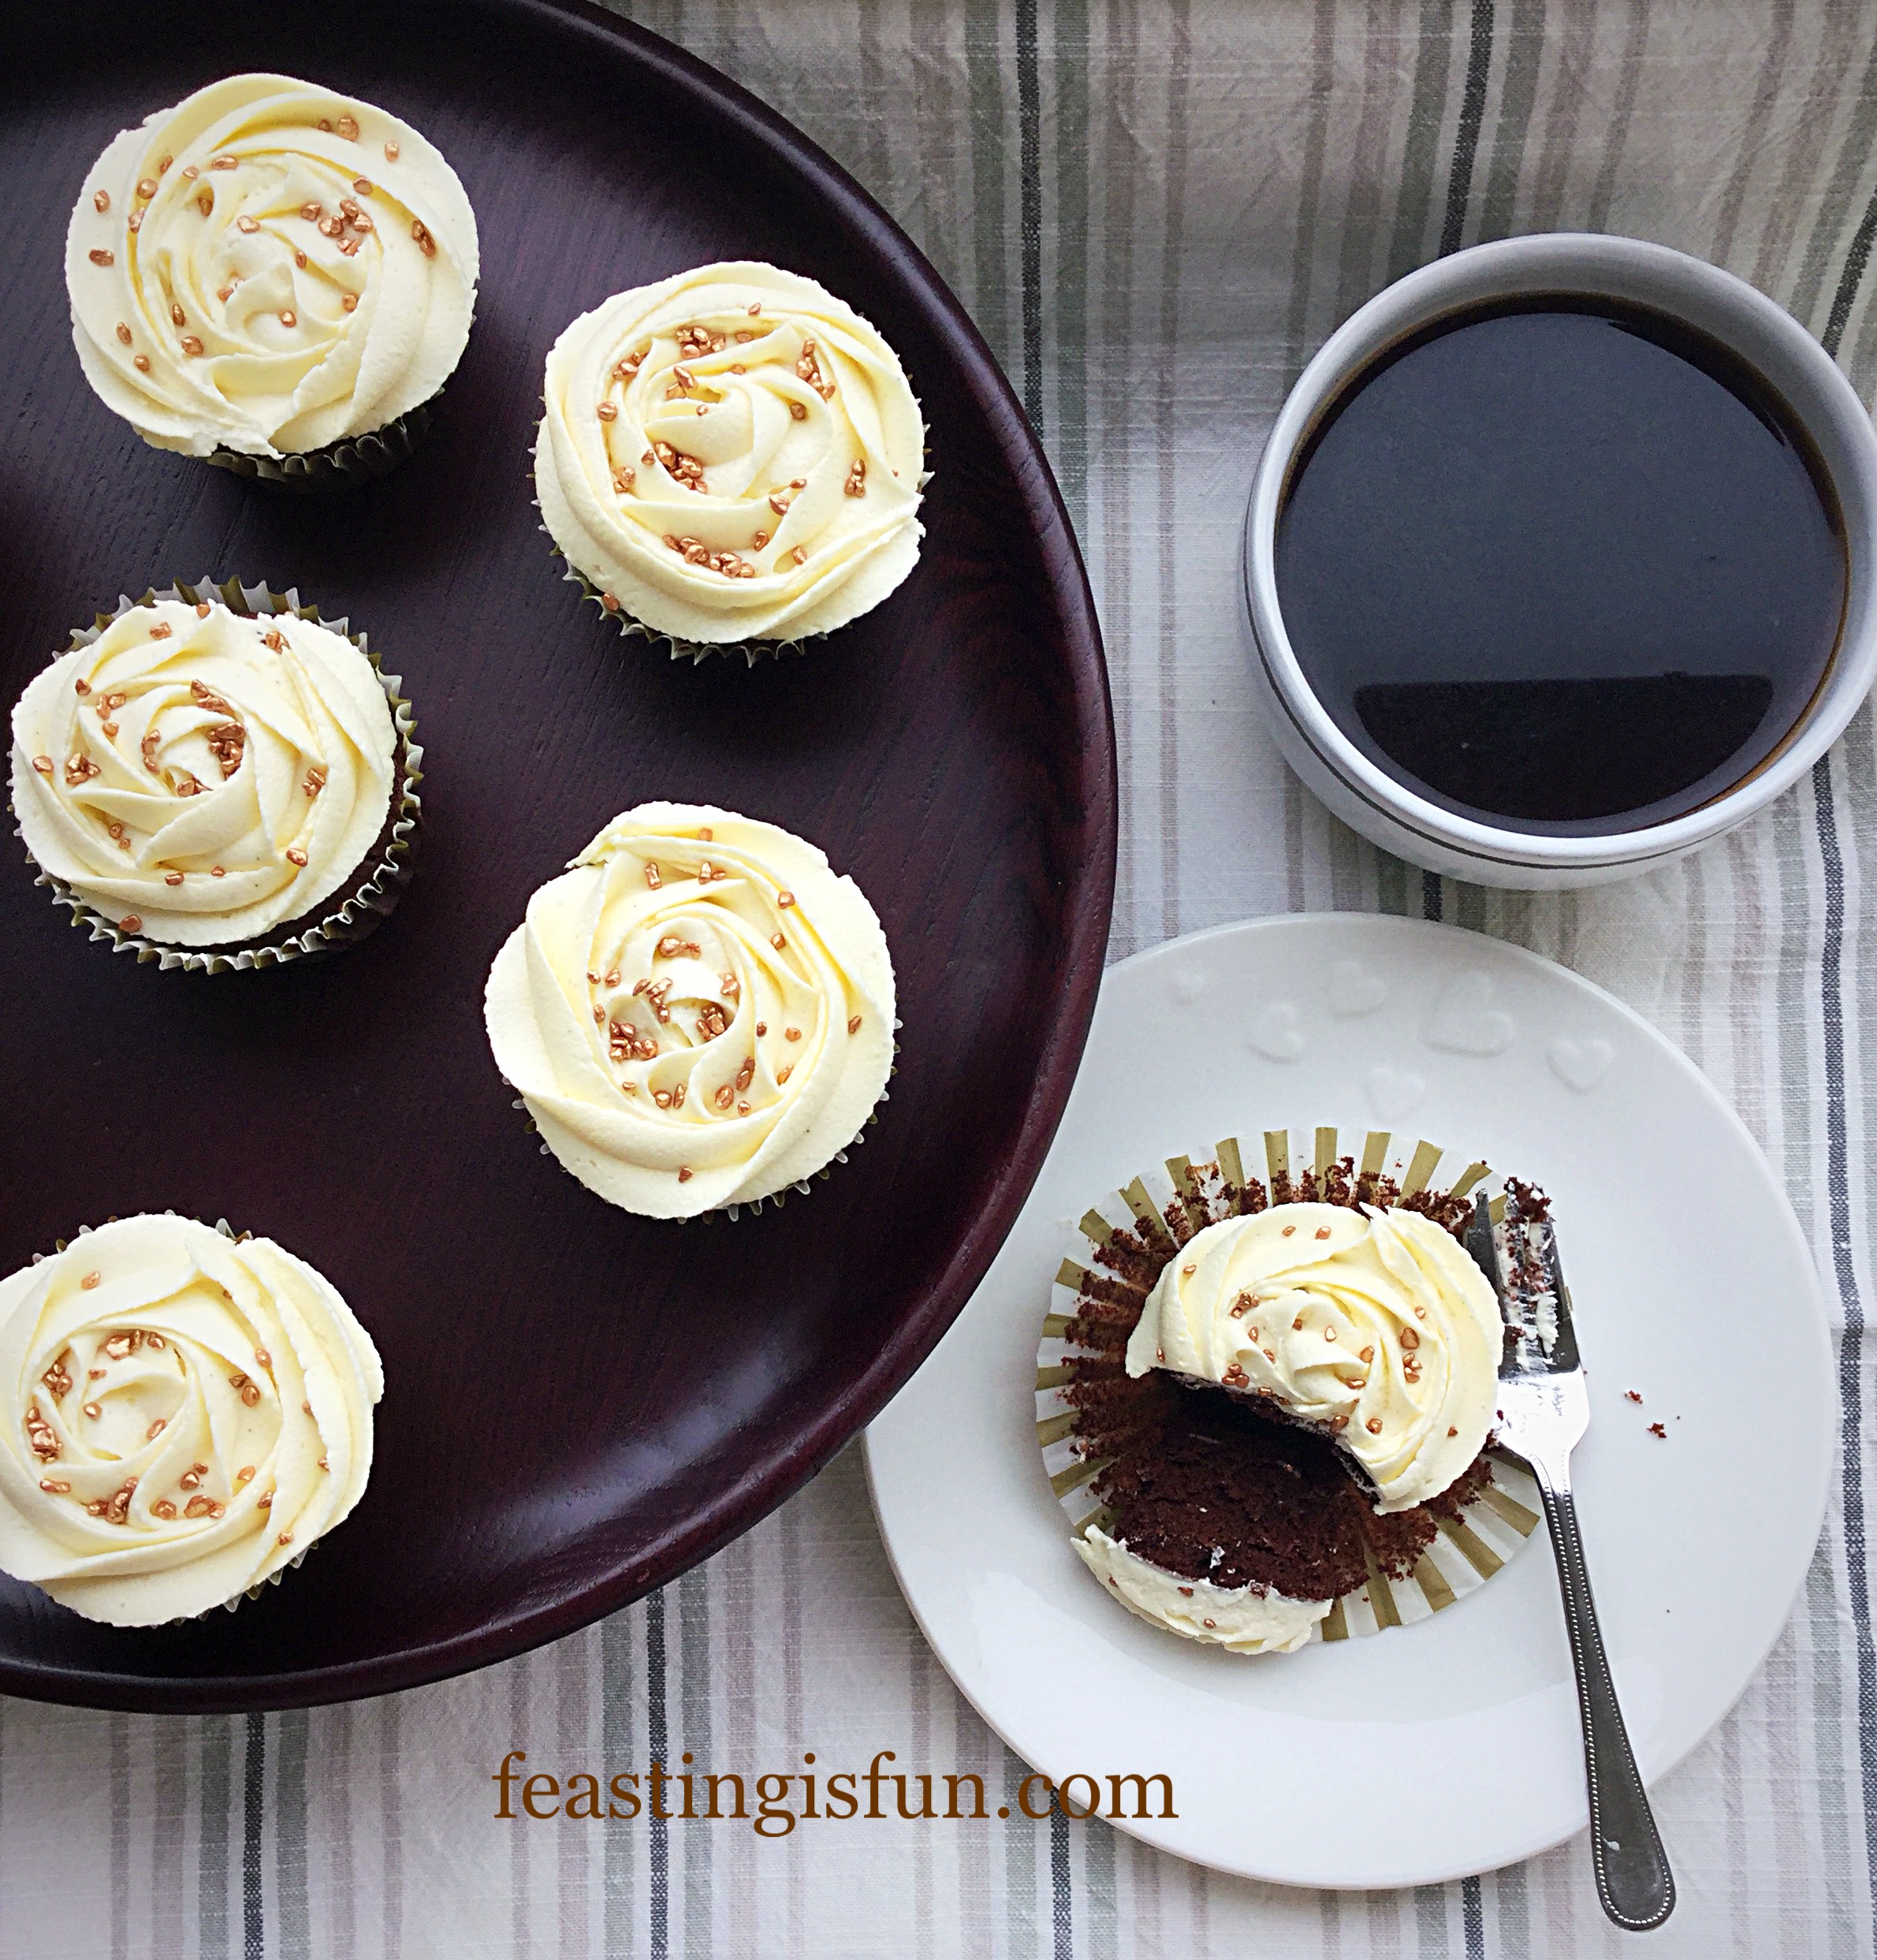
Since this cake is so elegant, it could be used for any celebration, such as Christmas. Alternatively, if someone you know has a birthday, this cake would be a delicious surprise. And the addition of candles would simply make the cake sparkle more.
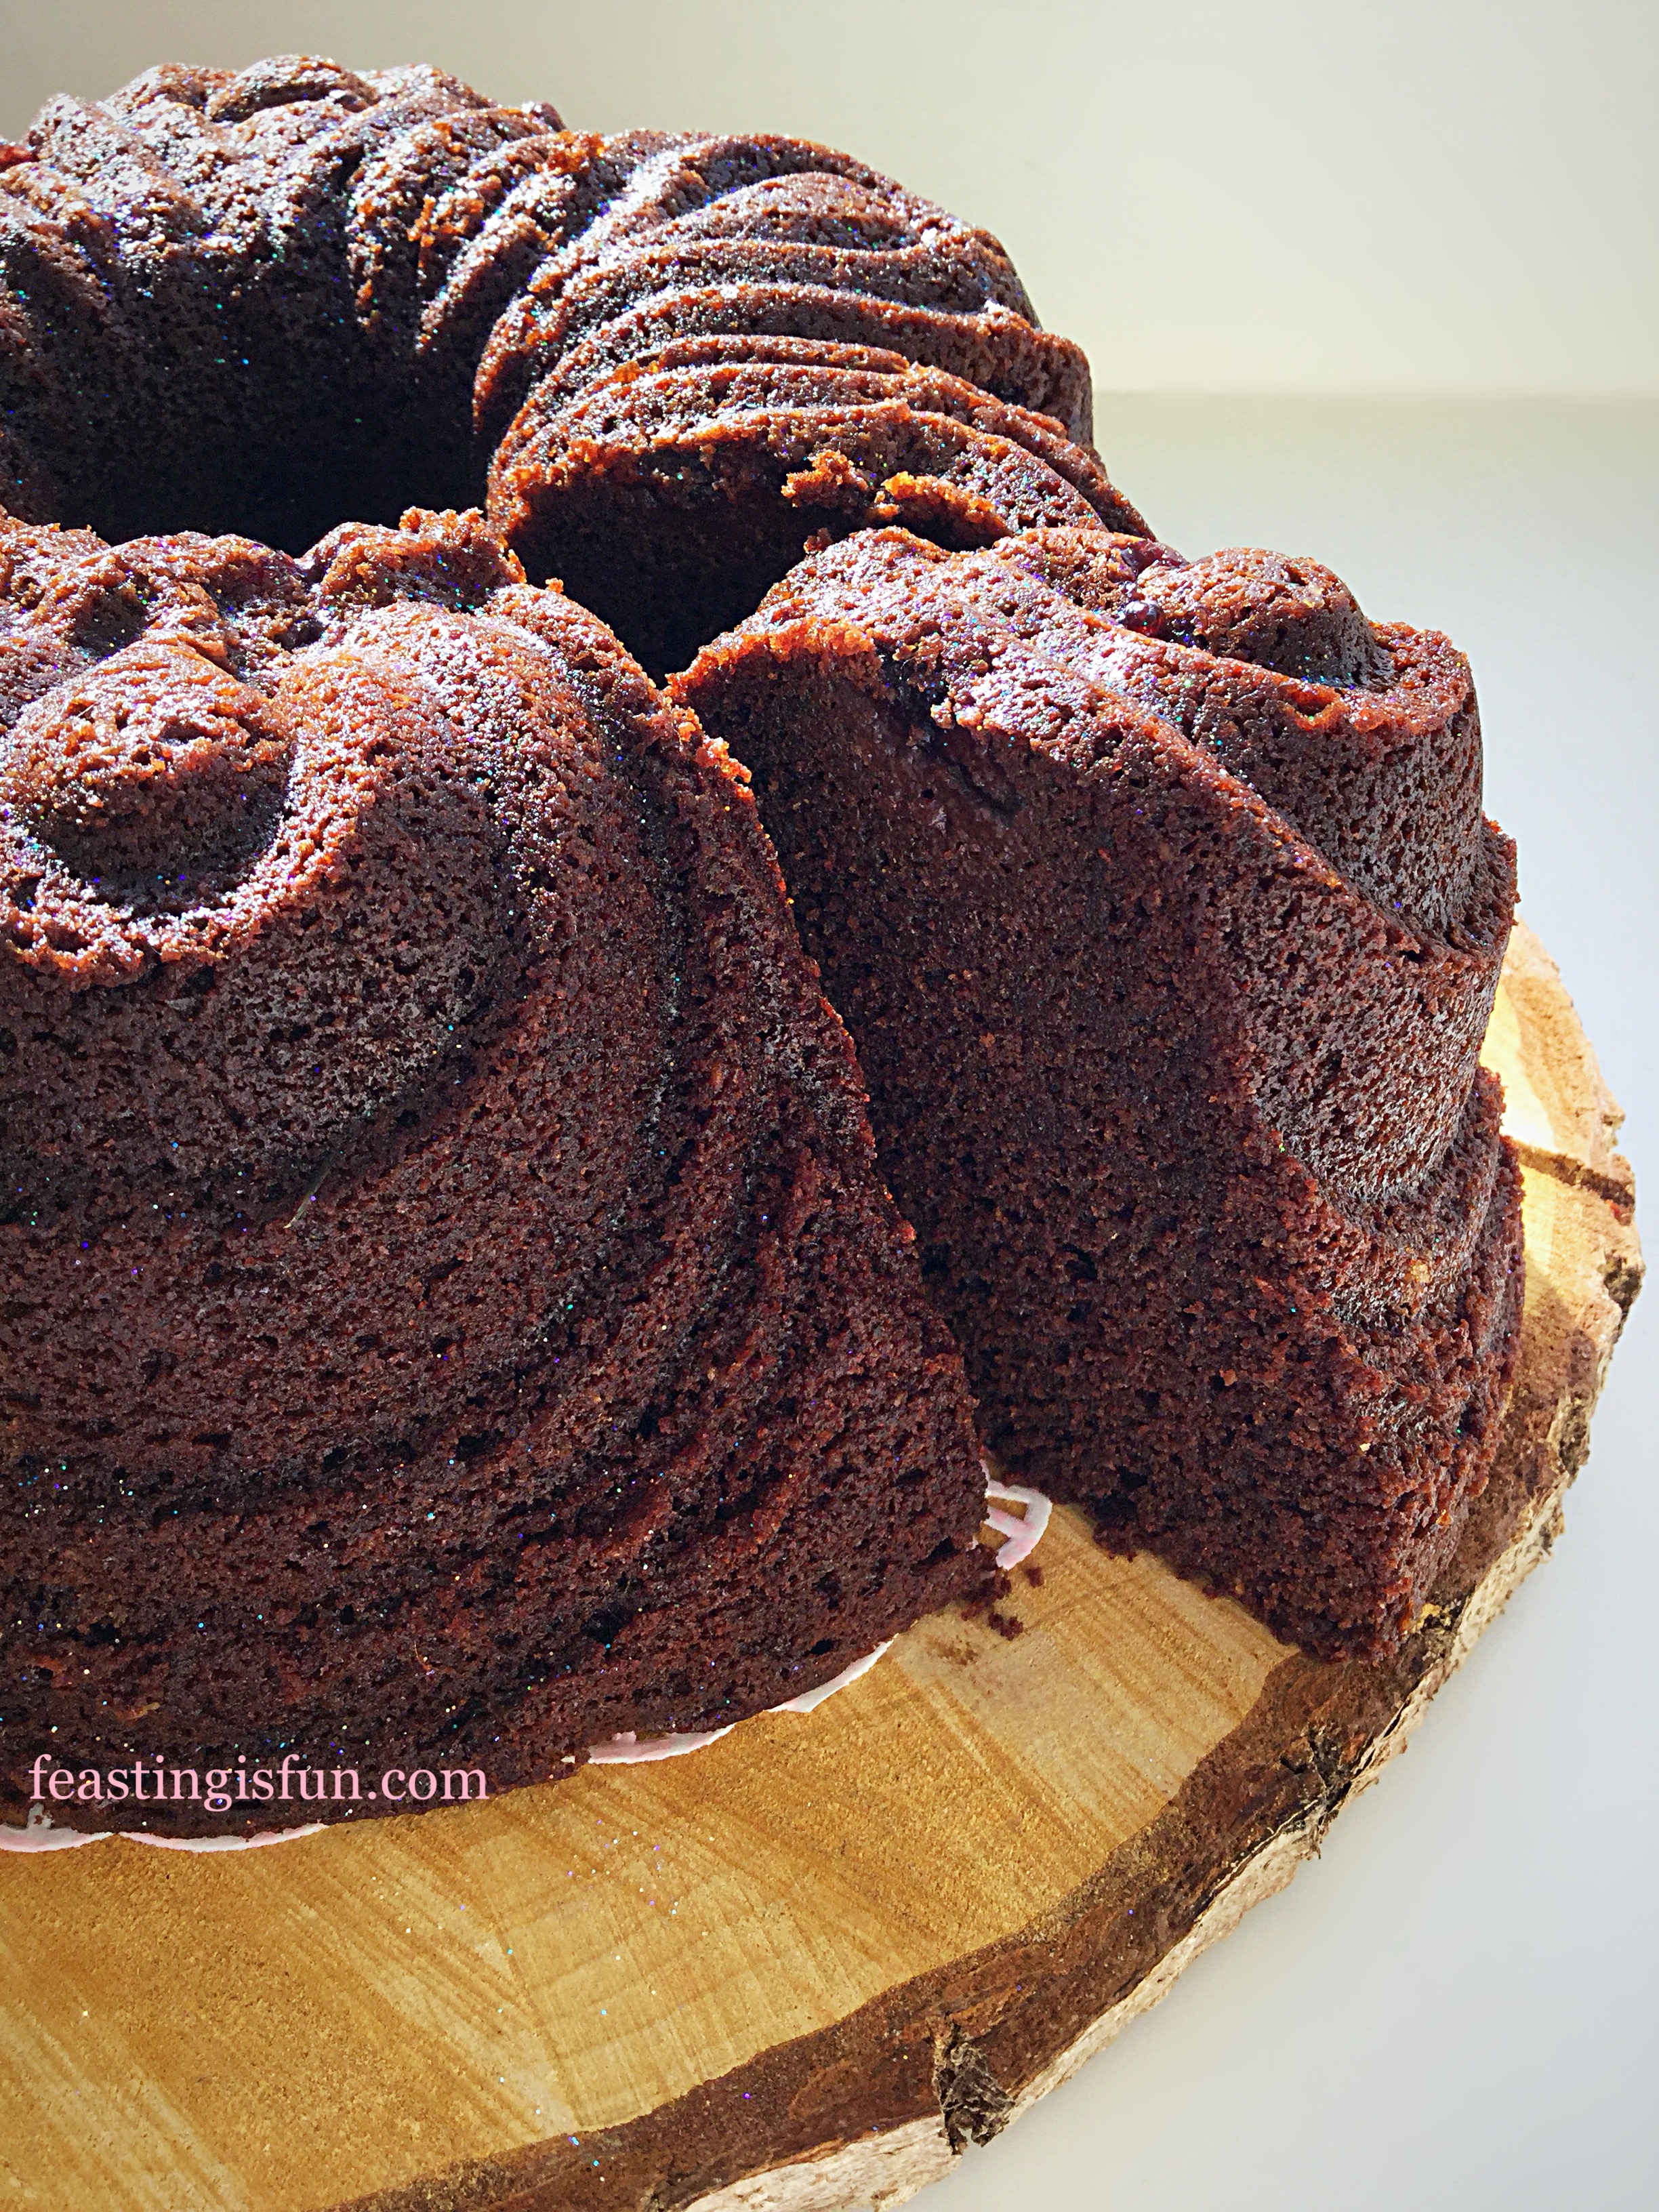
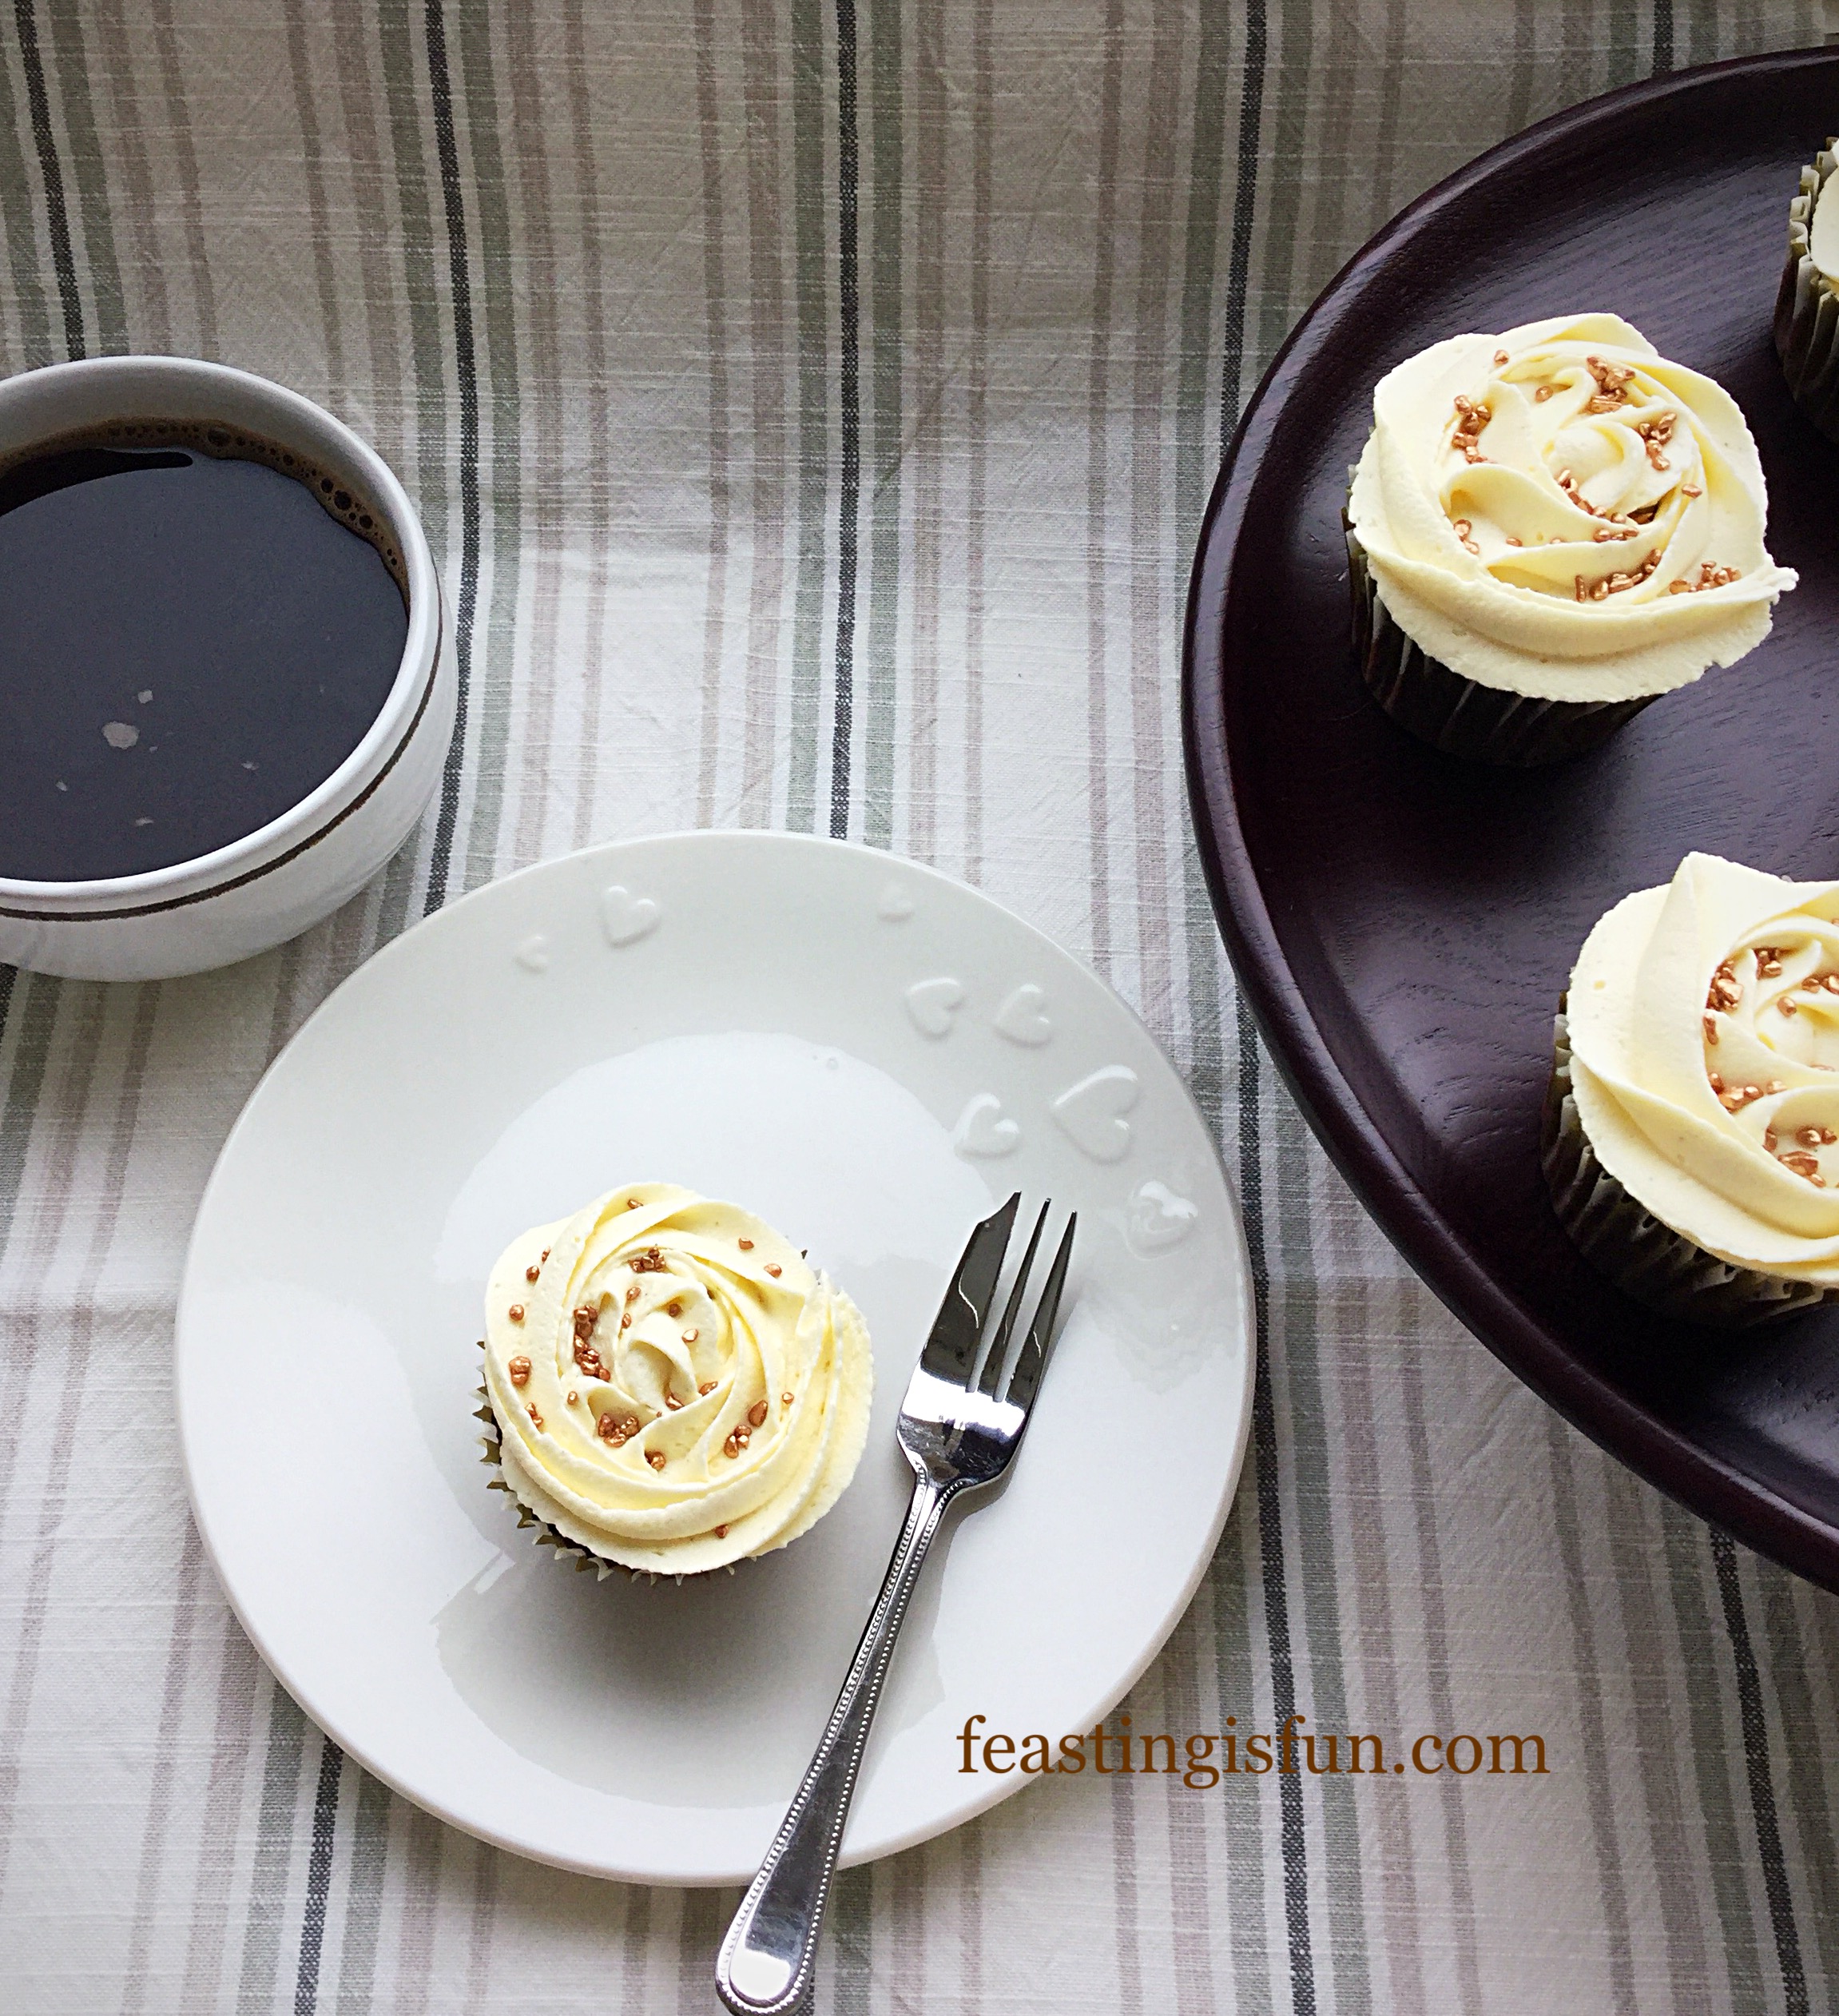
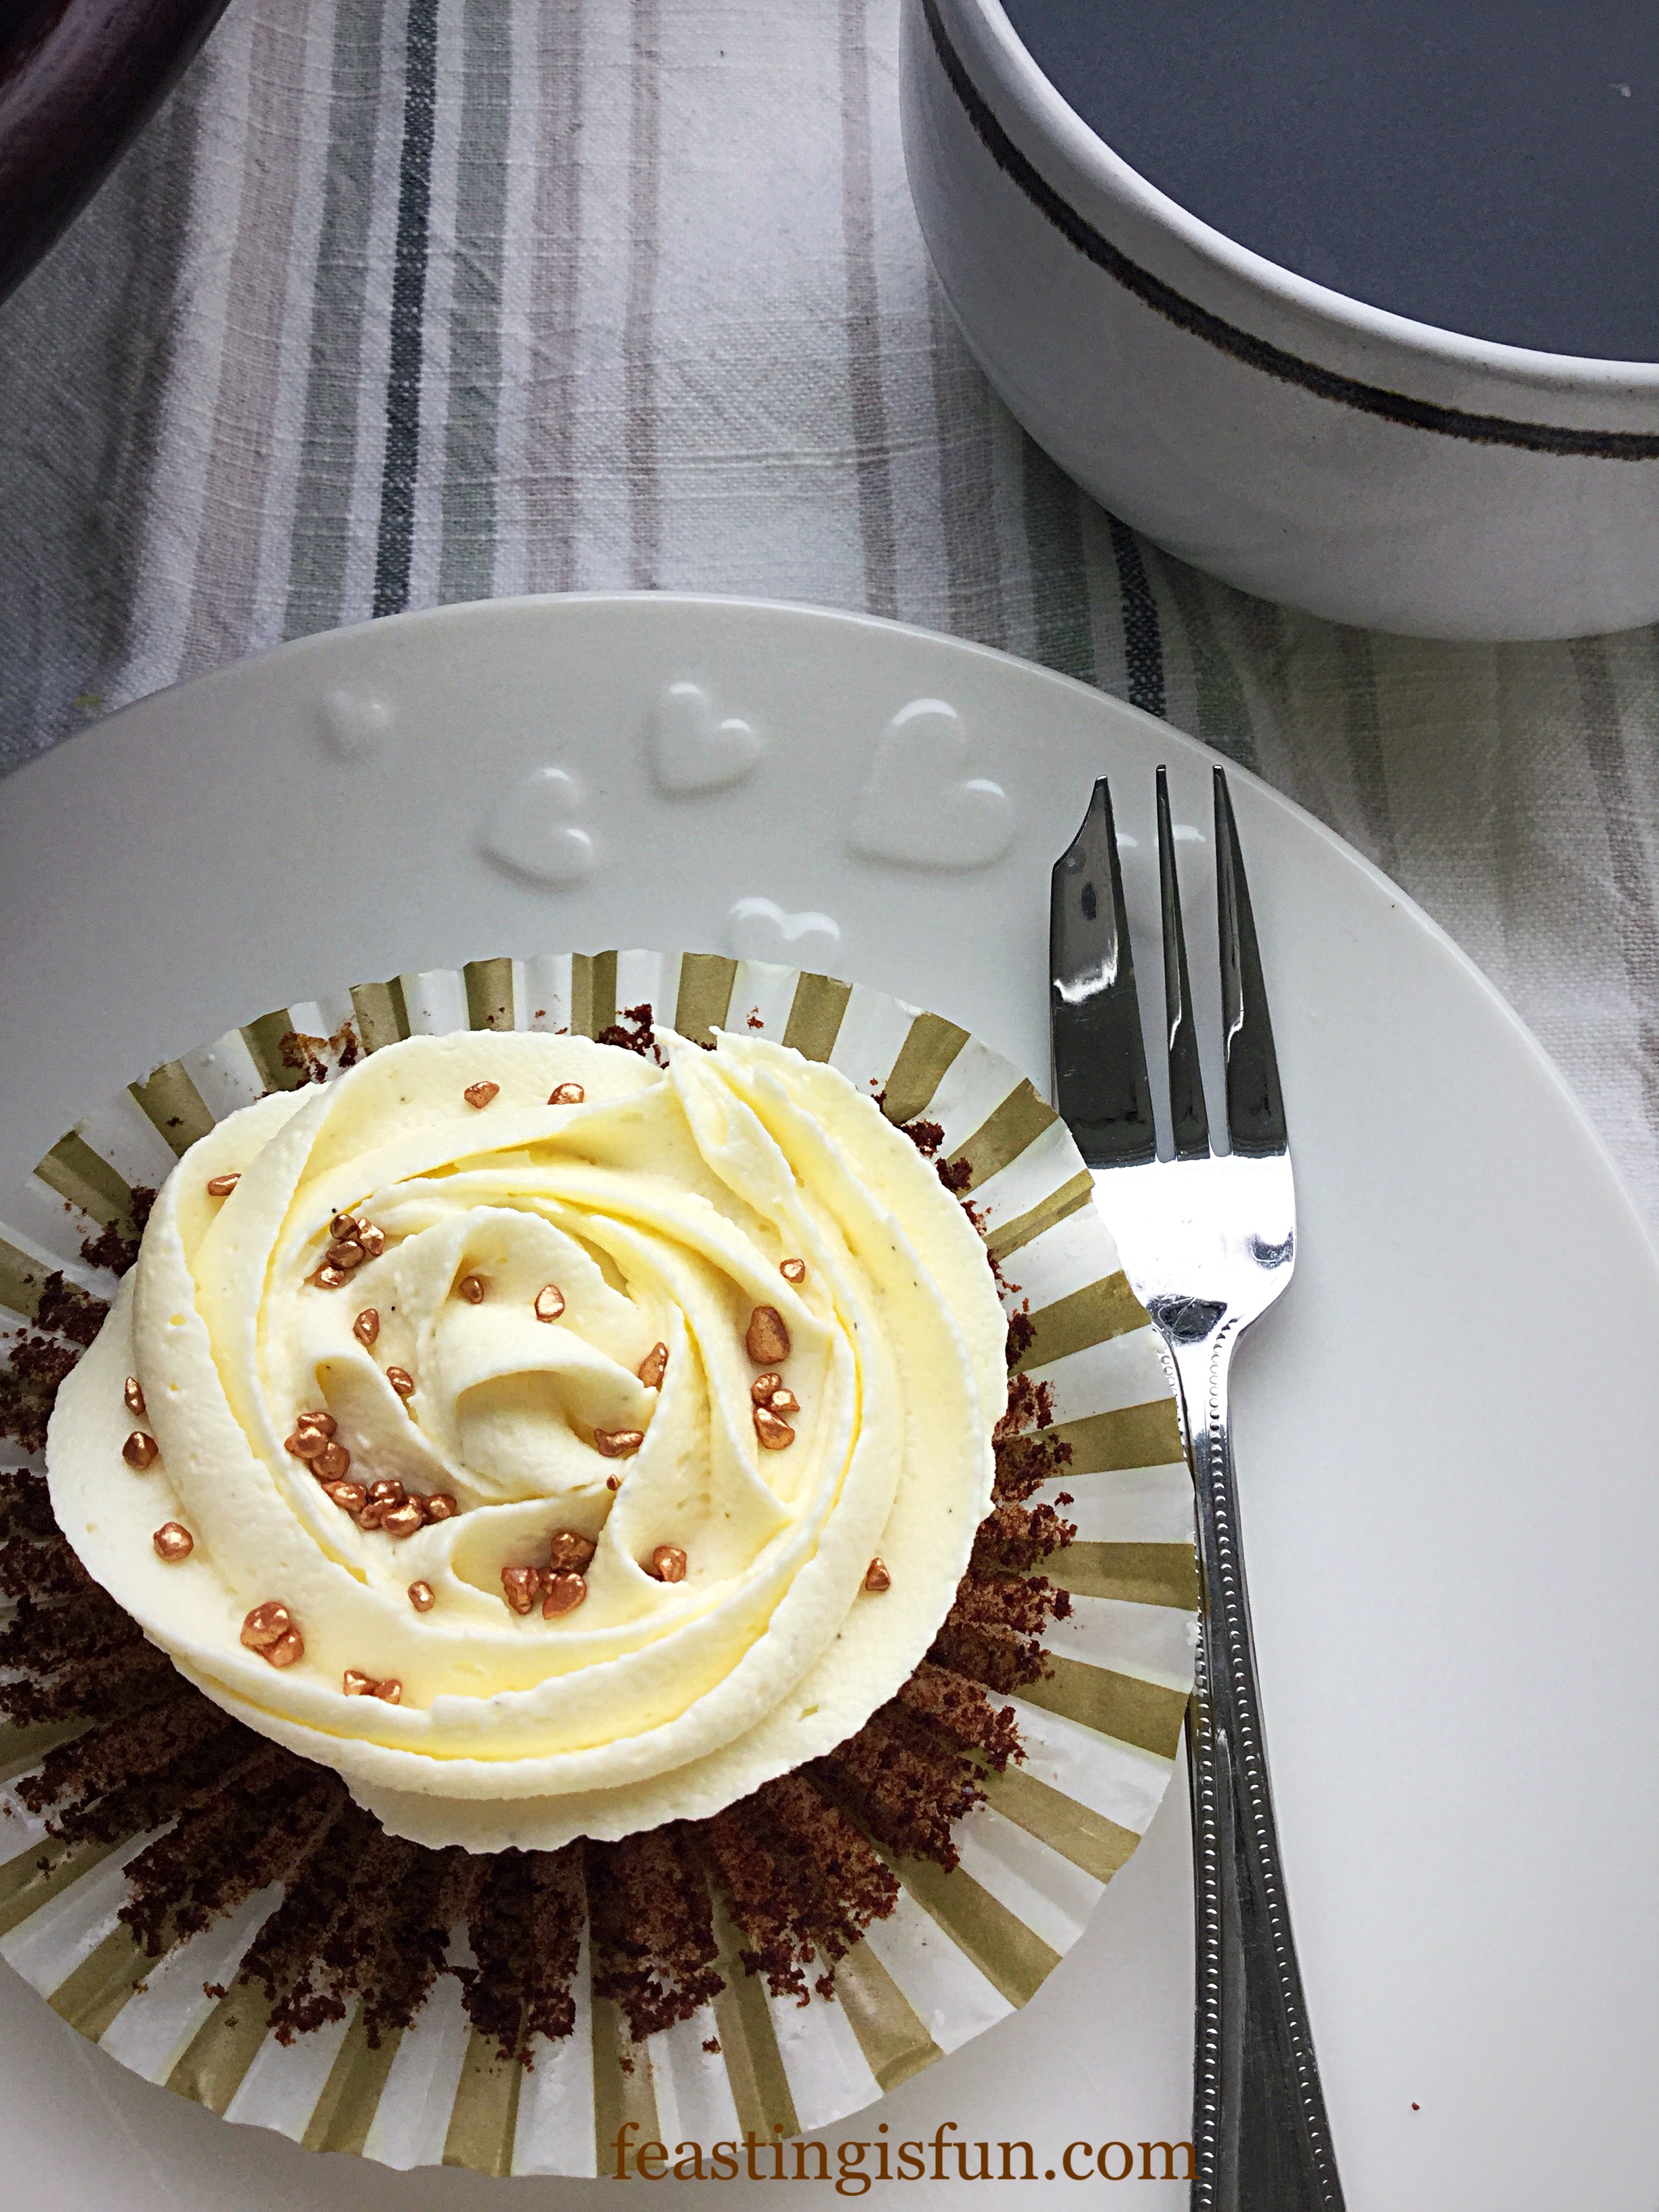
Finally, to serve, slice and place on a pretty plate with a cake fork.
Store in an airtight container and eat within 5 days. Also, during warmer weather keep the cake refrigerated.
If you have enjoyed this recipe for Chocolate Cherry Chiffon Bundt Cake you may also like these:

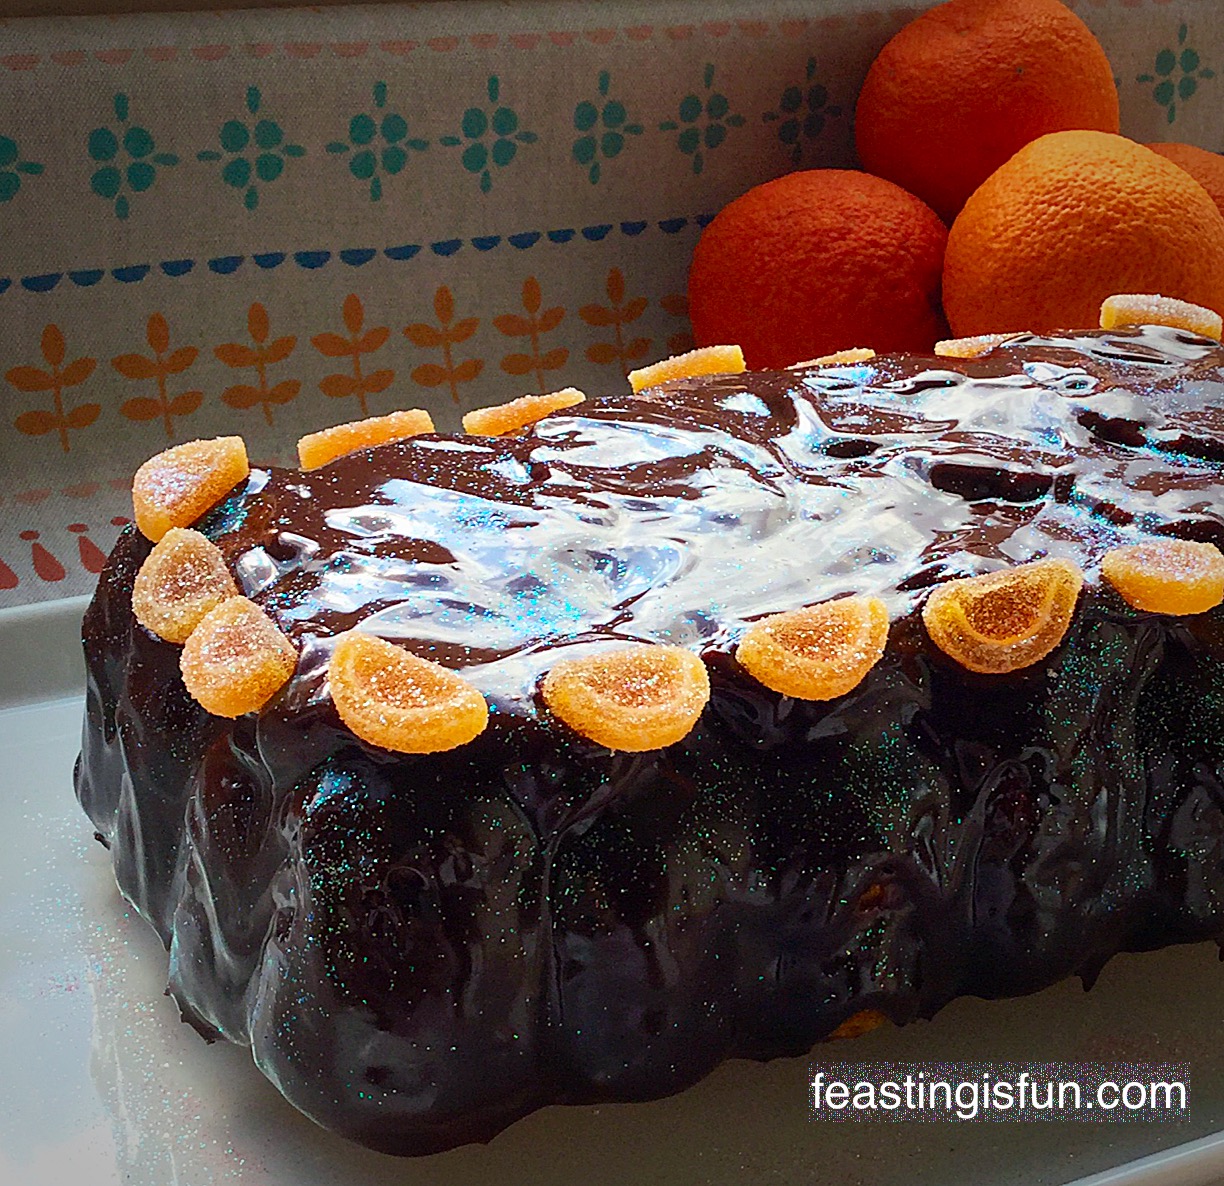
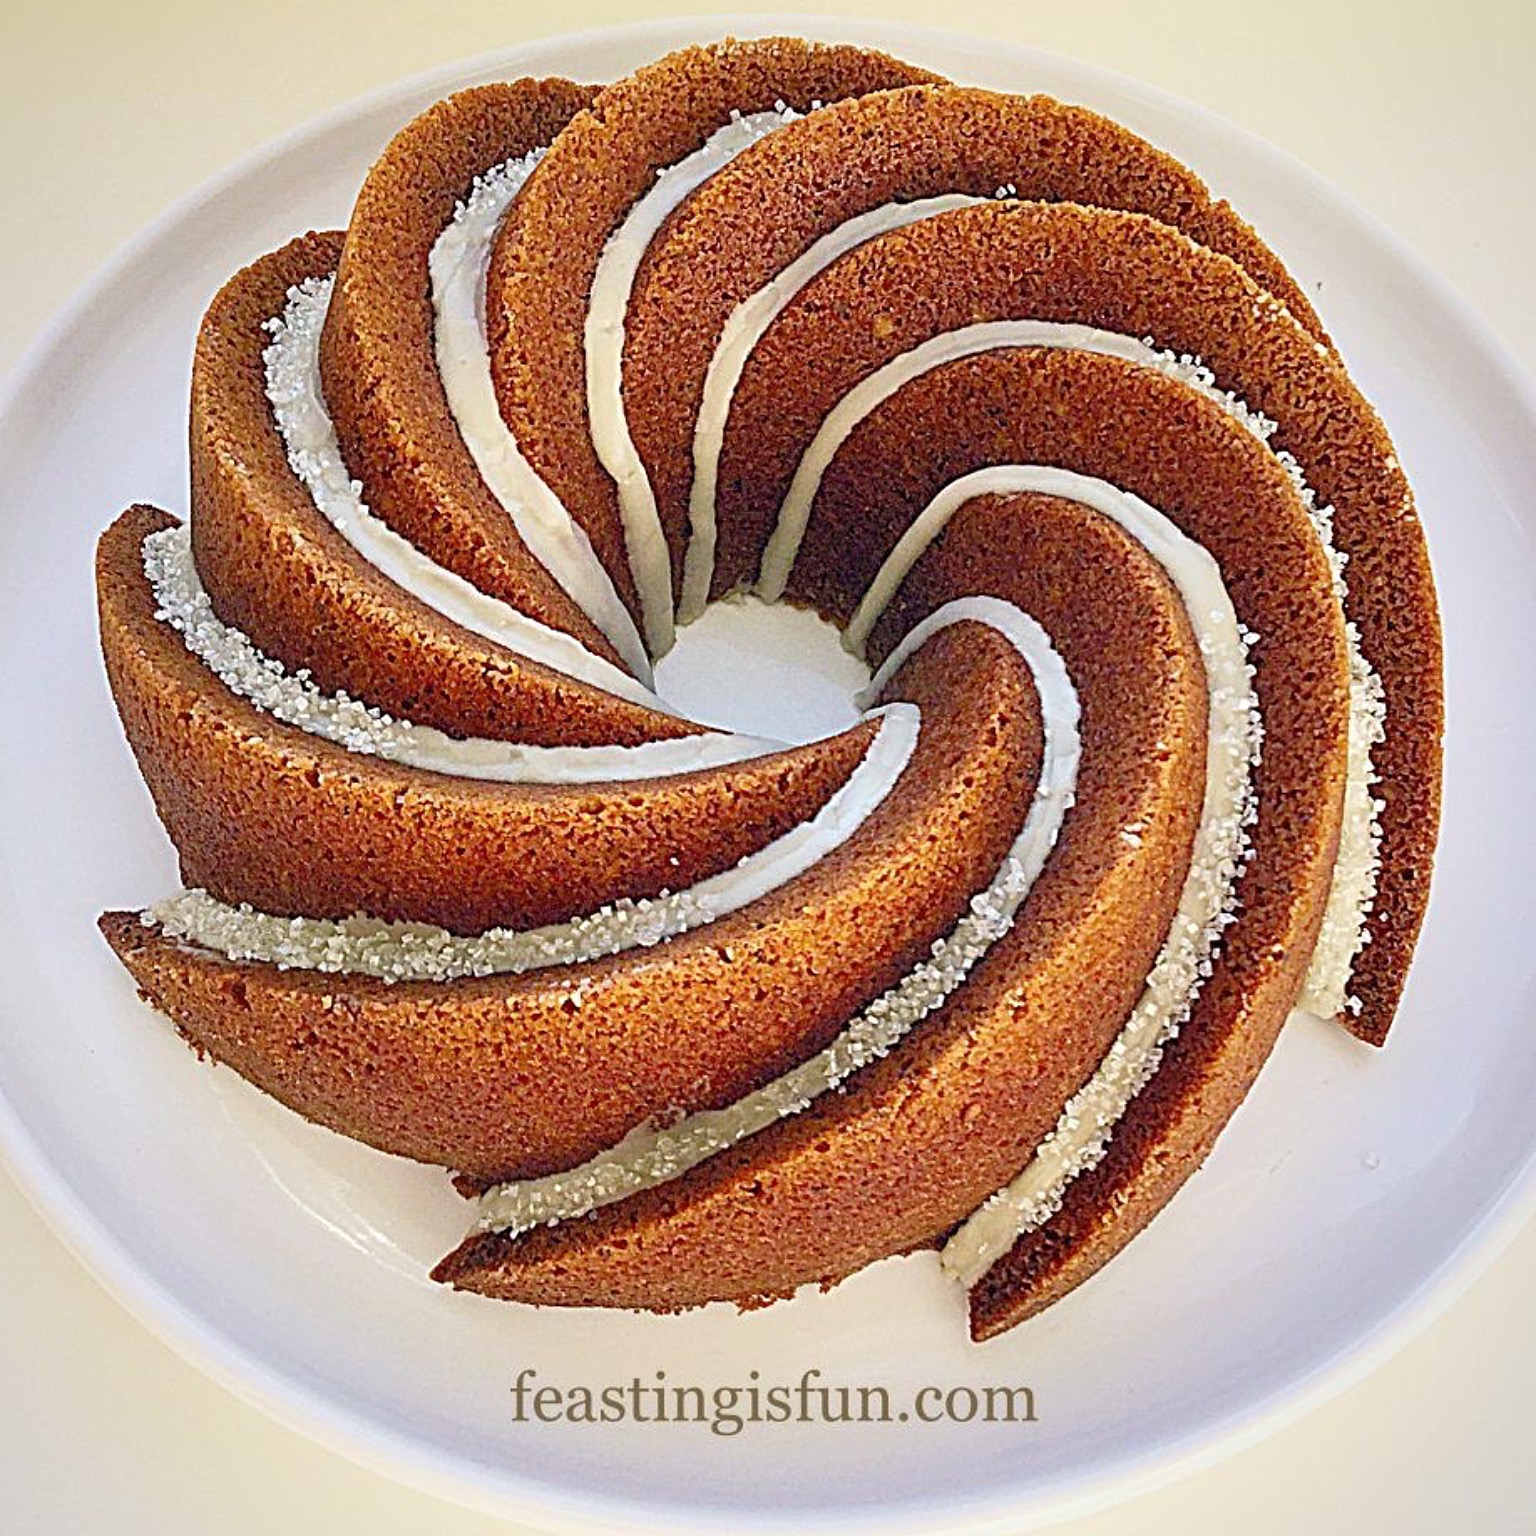
Maple Syrup Iced Coffee Bundt Cake
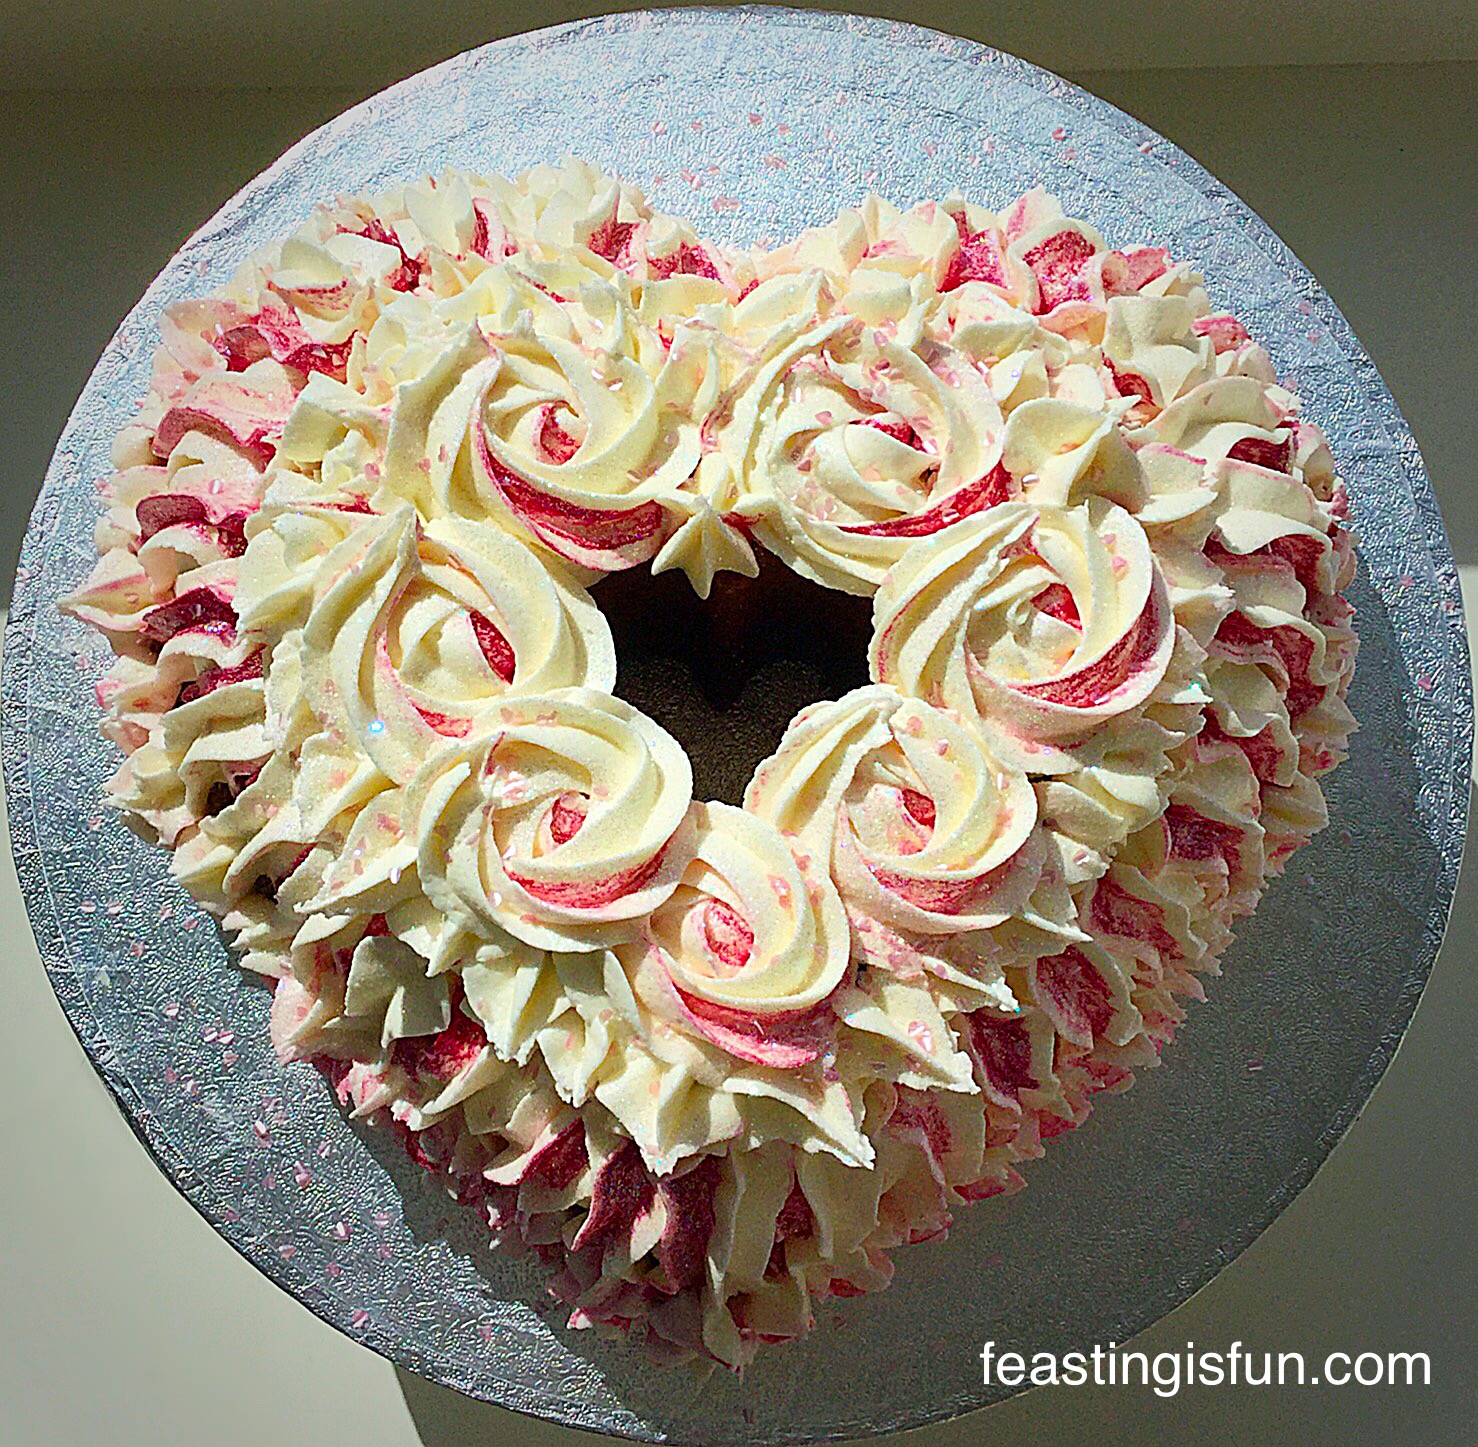
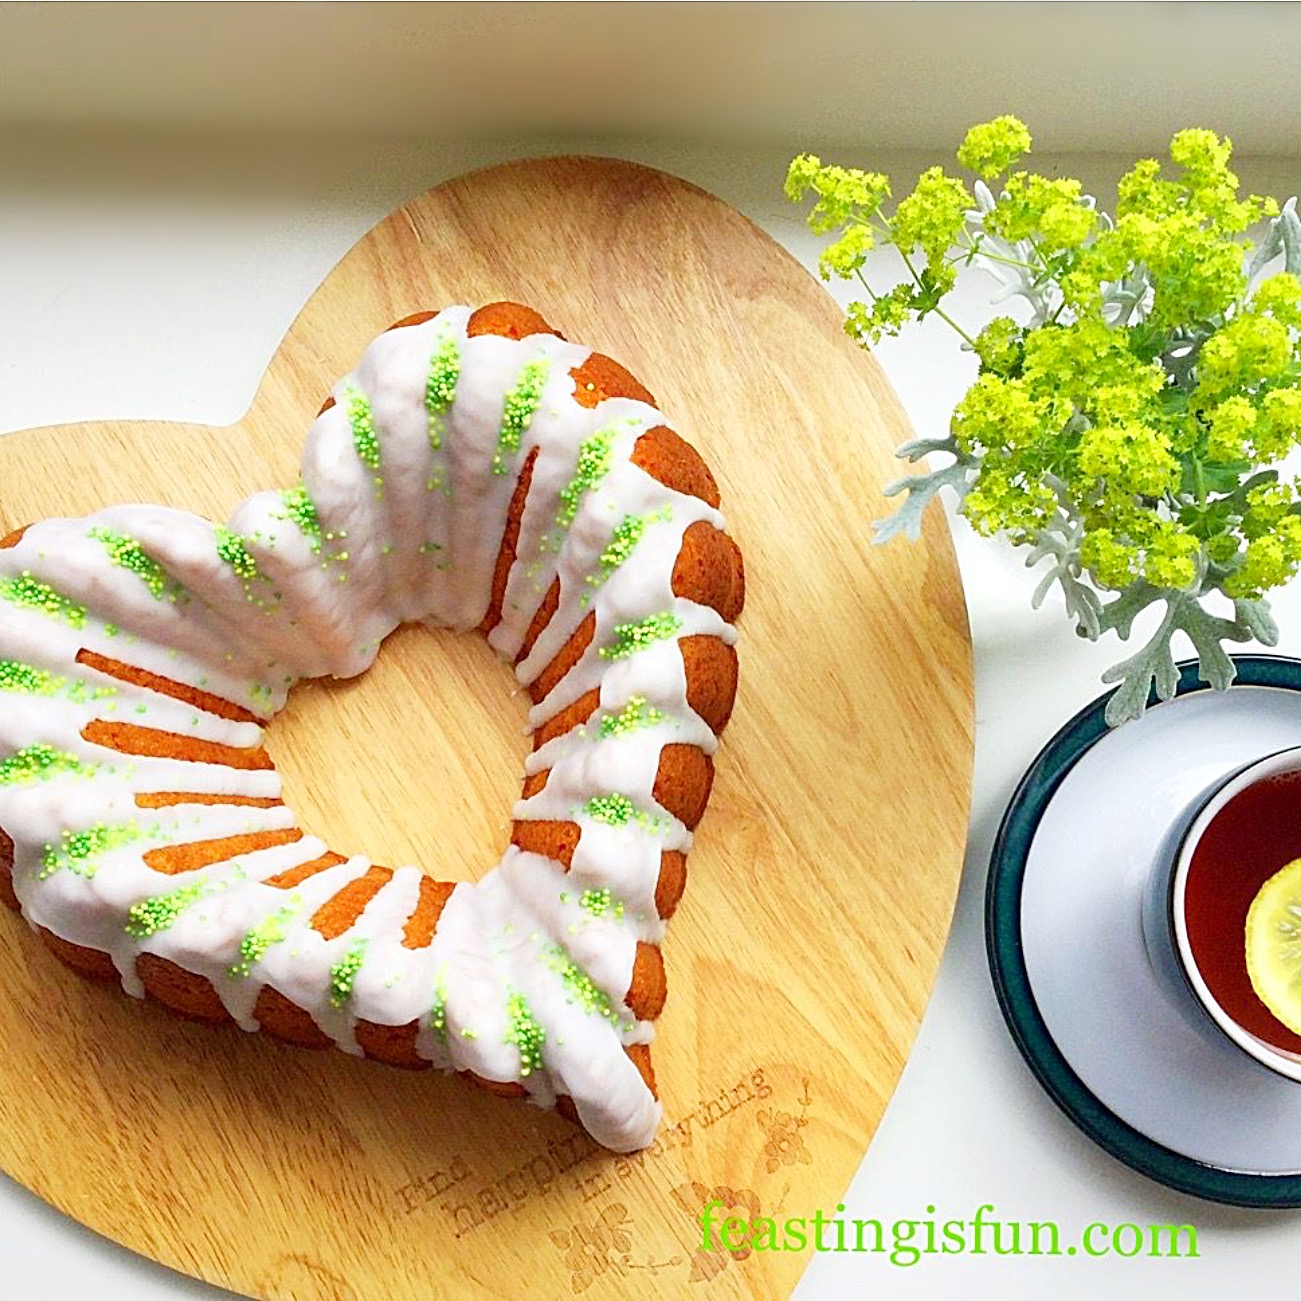
Lemon Lime Gin Heart Bundt Cake
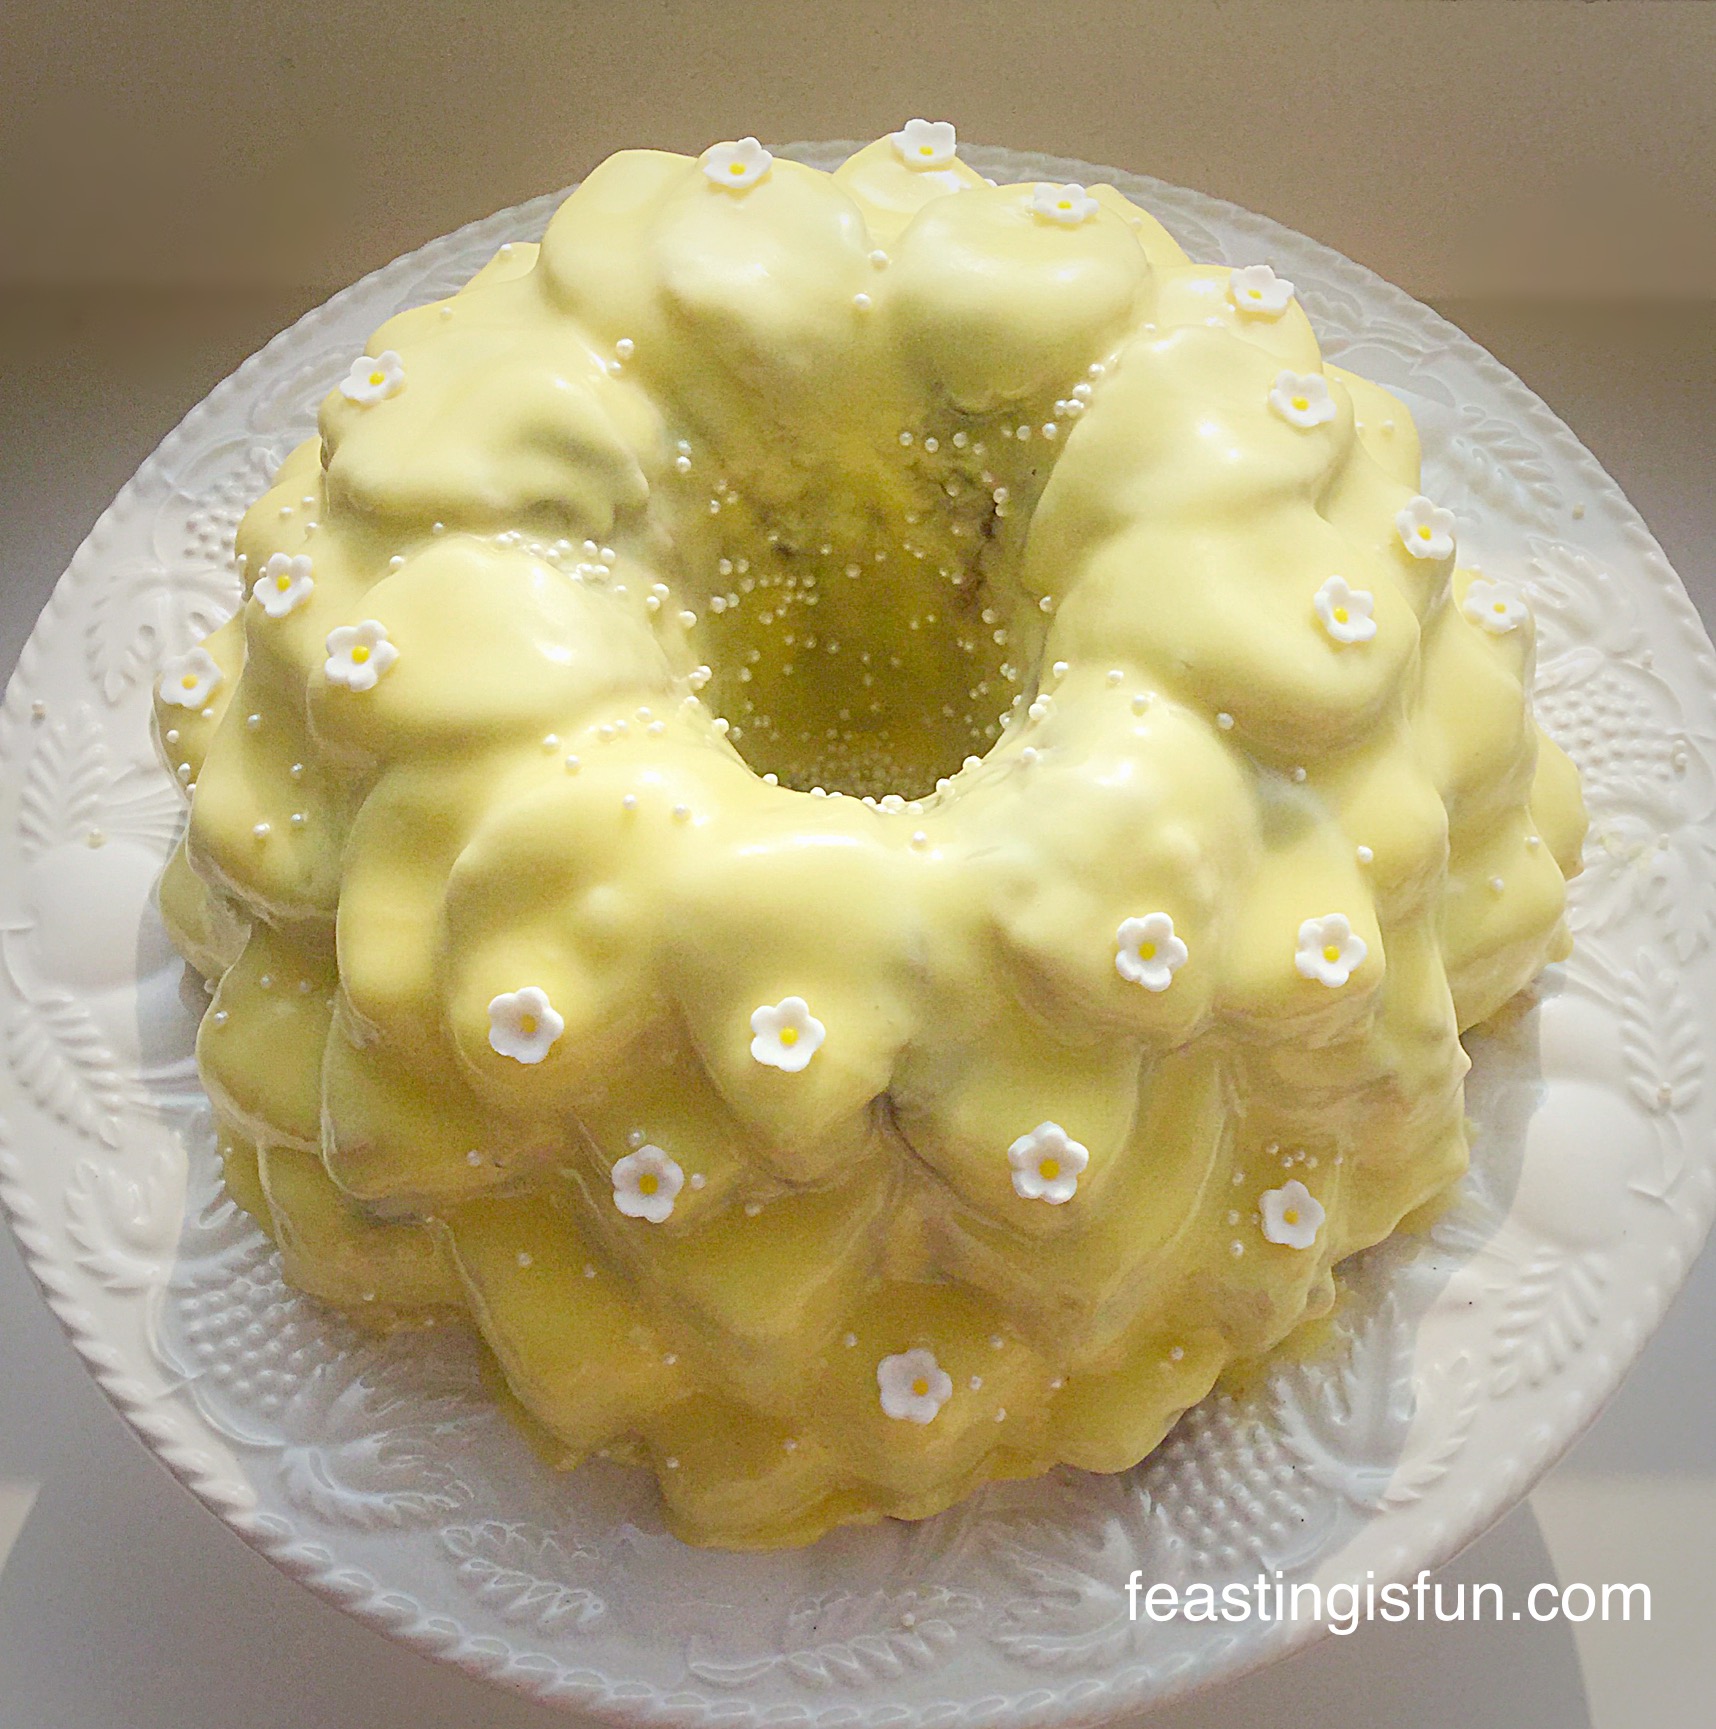
Bundt pans are available in a wide variety of different shapes and designs. And, each pan creates a beautifully shaped cake without any extra effort required from the baker. While also allowing for creativity when decorating. Either with a simple dusting of icing sugar or glitter, or more precise icing, accentuating the features of each Bundt cake. Resulting in an exceptional, celebration worthy, unique cake every time.
So, whatever er you are making, baking and creating in your kitchens, enjoy preparing and sharing your feast.
Sammie xx
No part of this post may be reproduced or duplicated without the written consent on the owner. Please see my Disclosure Policy.