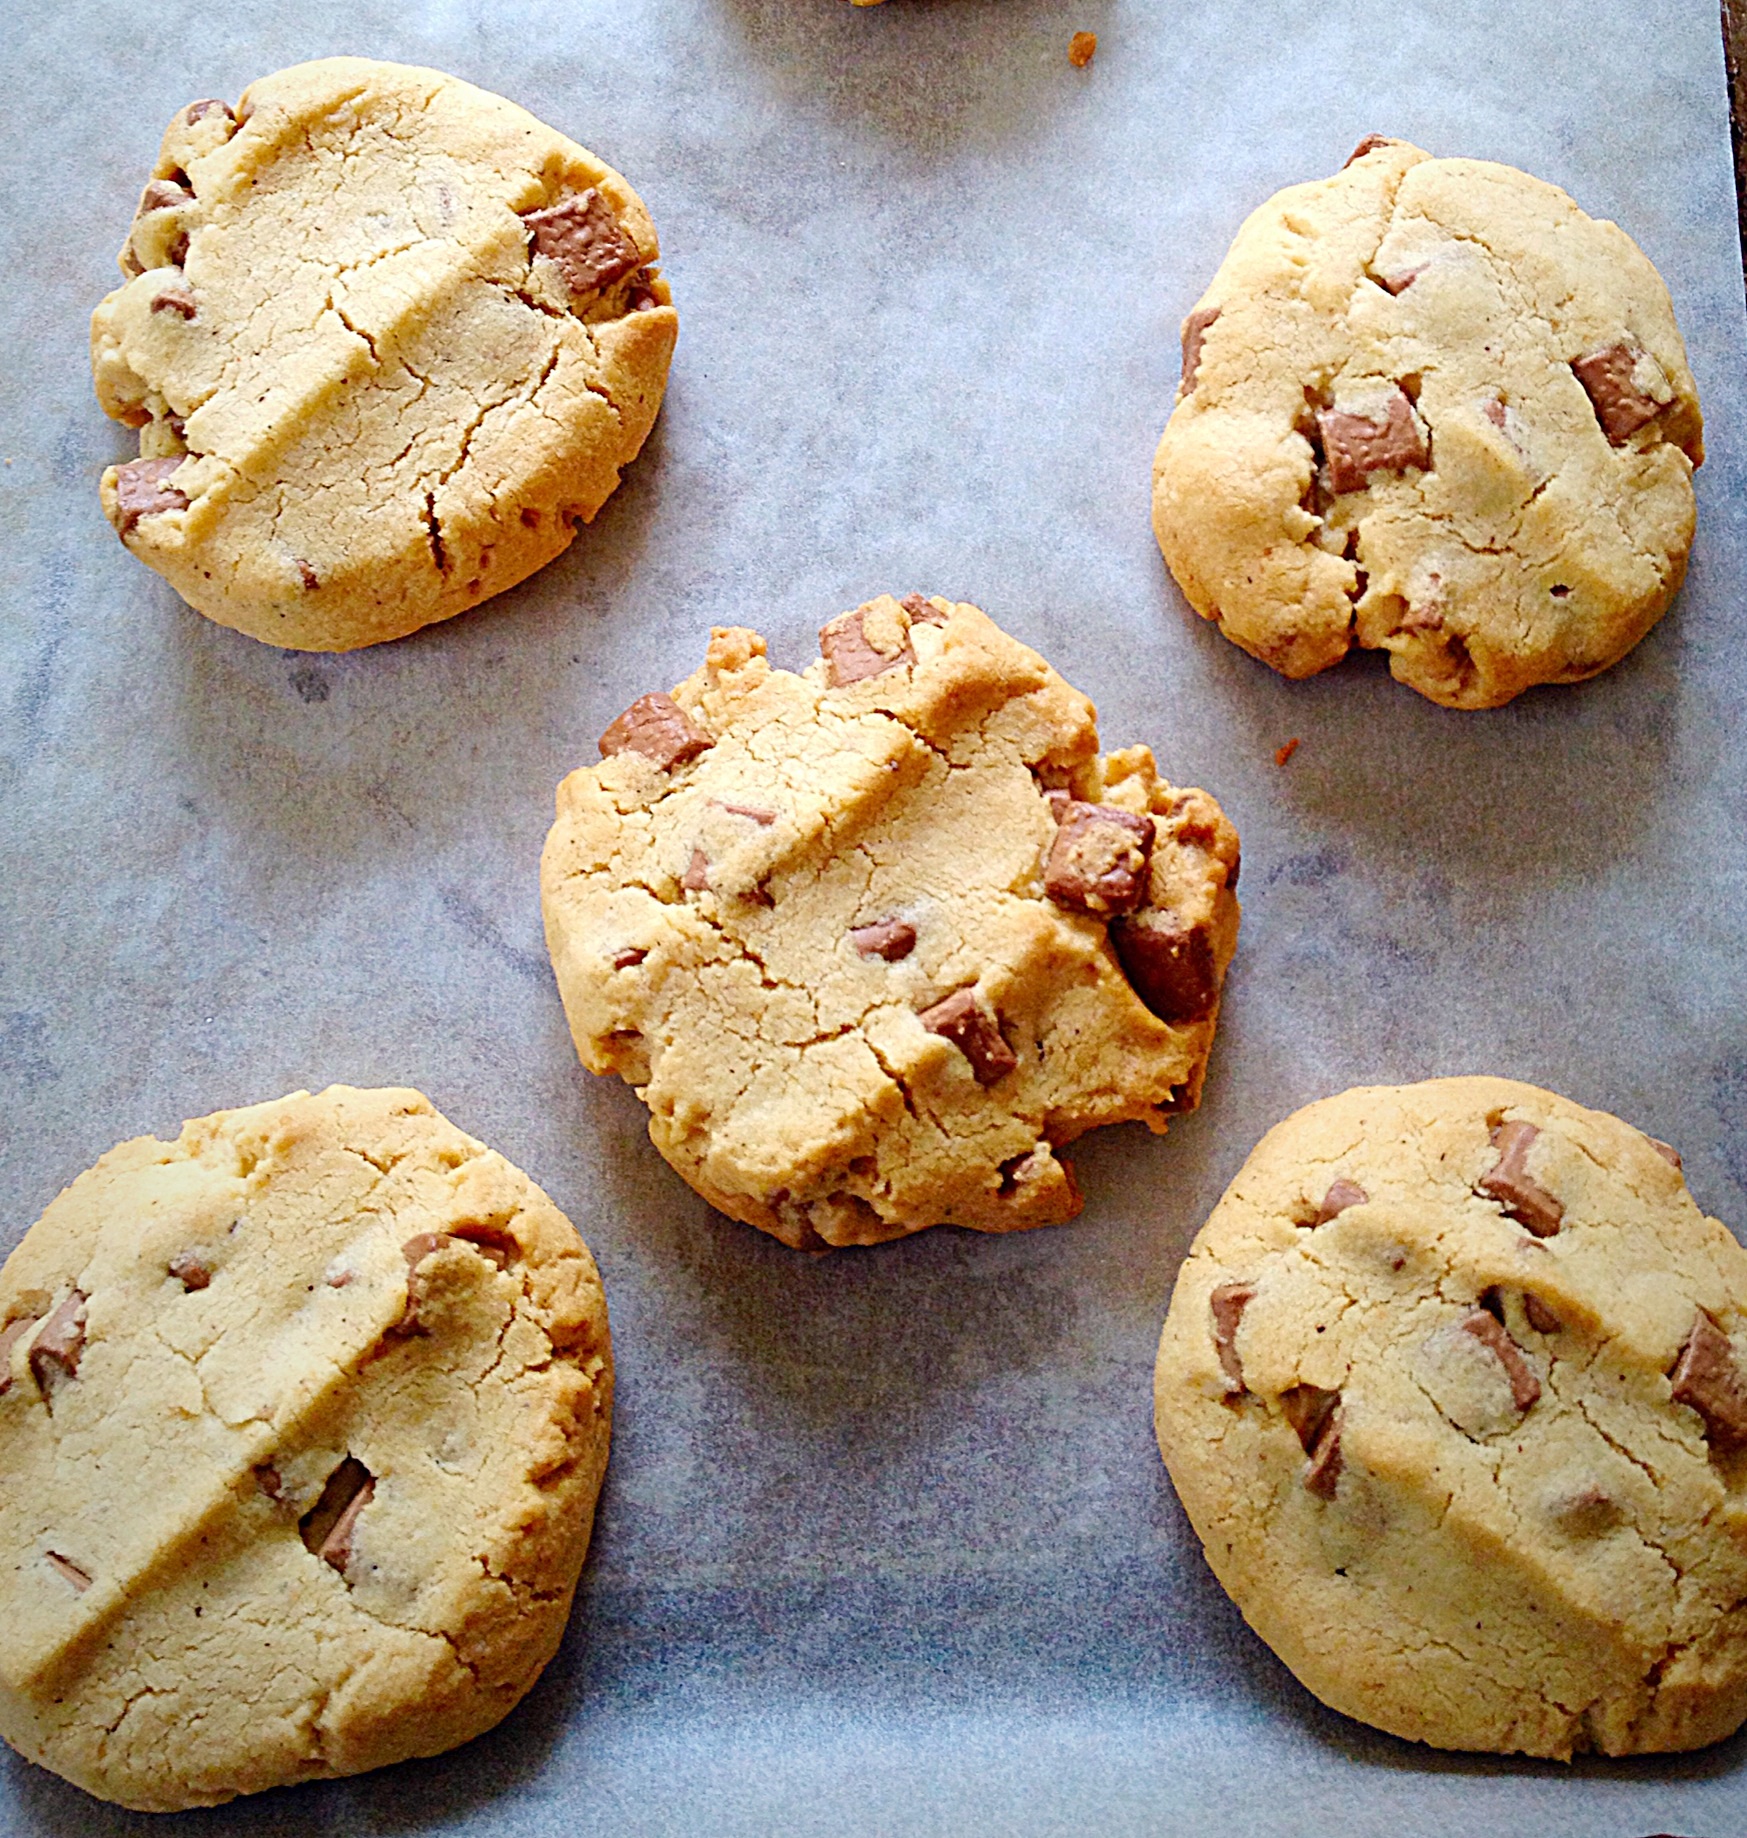
Hi, I’m so excited to share this new recipe to all you cookie lovers, chocolate lovers and nut lovers. Welcome to my Macadamia Nutty Chocotastic Cookies!
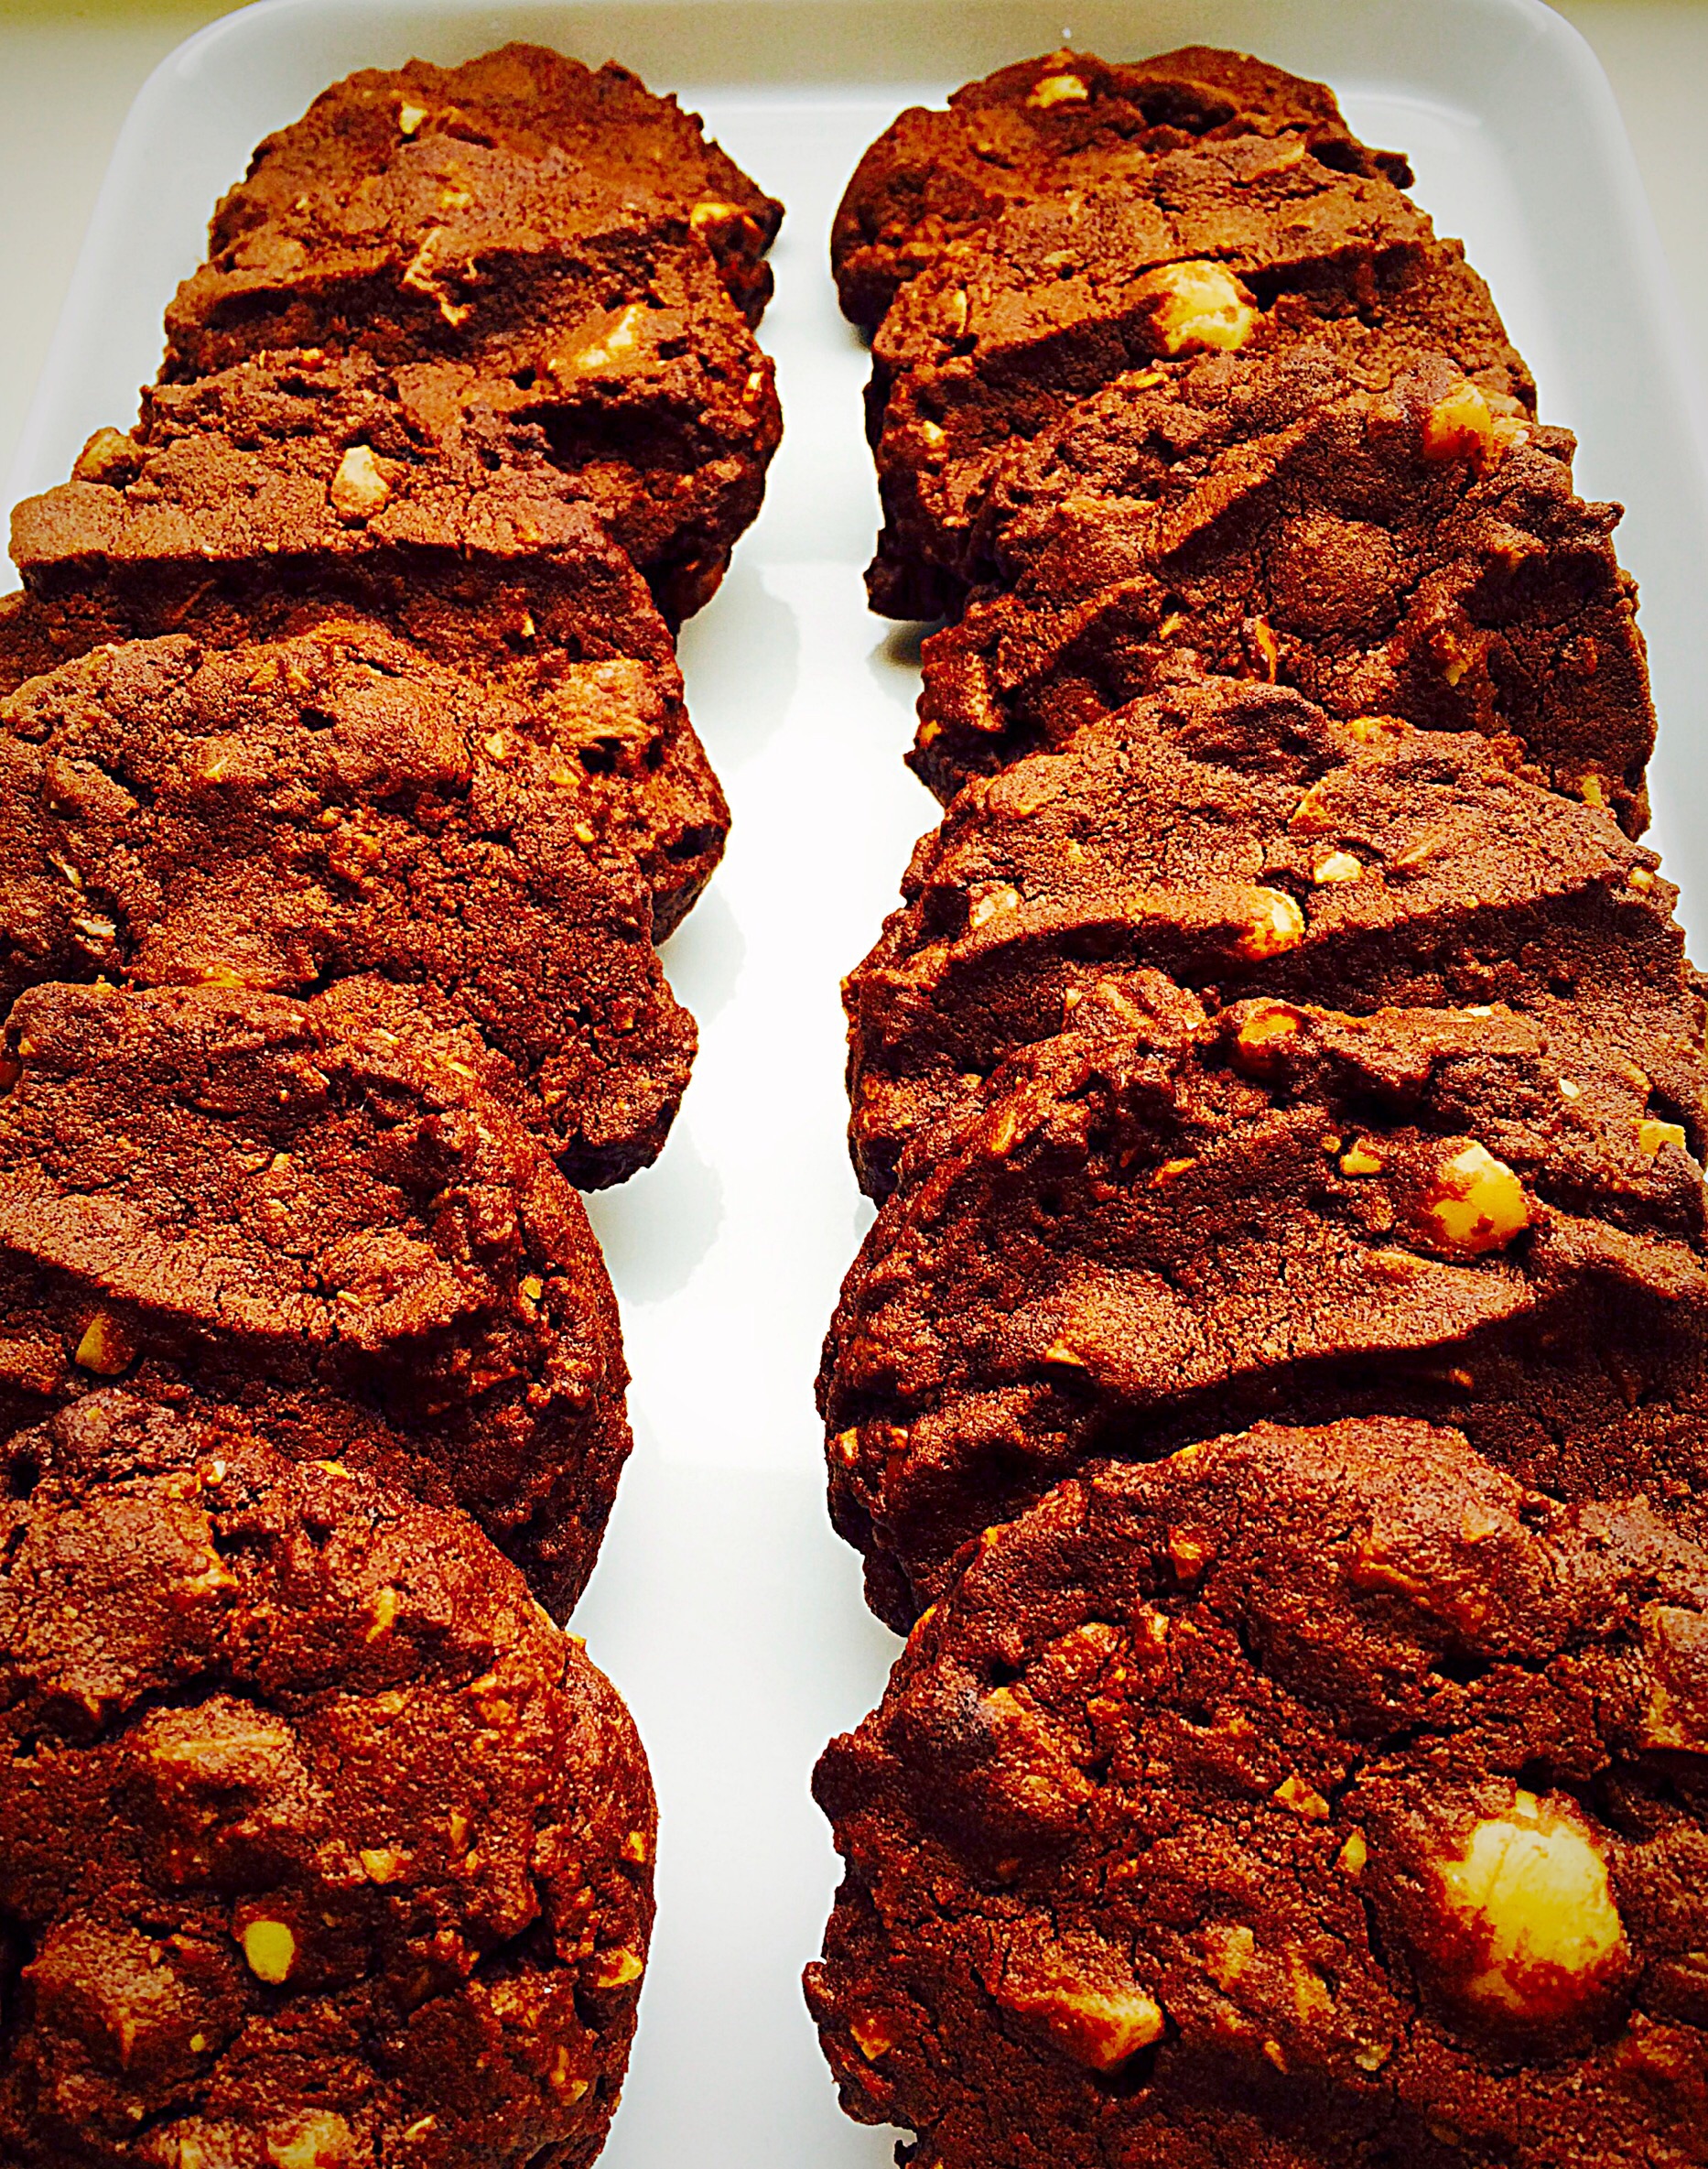
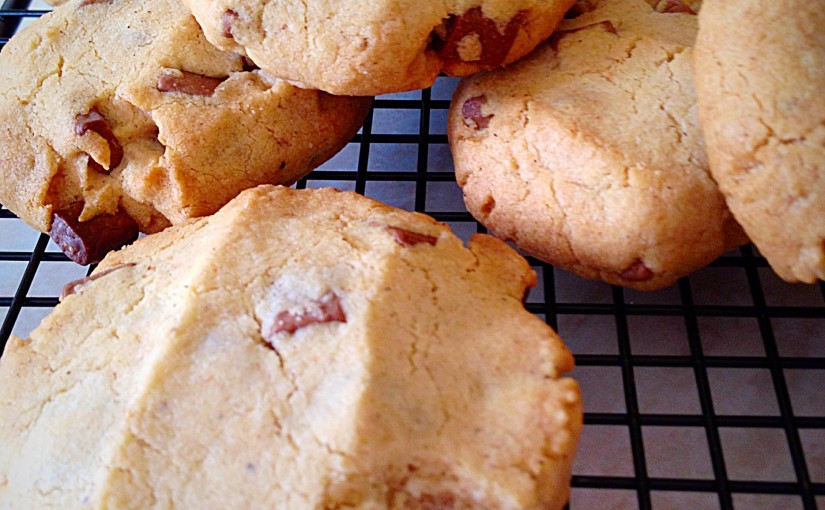
Macadamia Nutty Chocotastic Cookies www.feastingisfun.com
Are you a cookie lover? I am!
Homemade cookies are sooo much better than regular, shop bought ones. The taste is always better, you know exactly what has gone into them and you just cannot buy the smell of home baked cookies. Ooh that warm, buttery, delicious smell that drifts from the oven making your home feel – well – more like home!
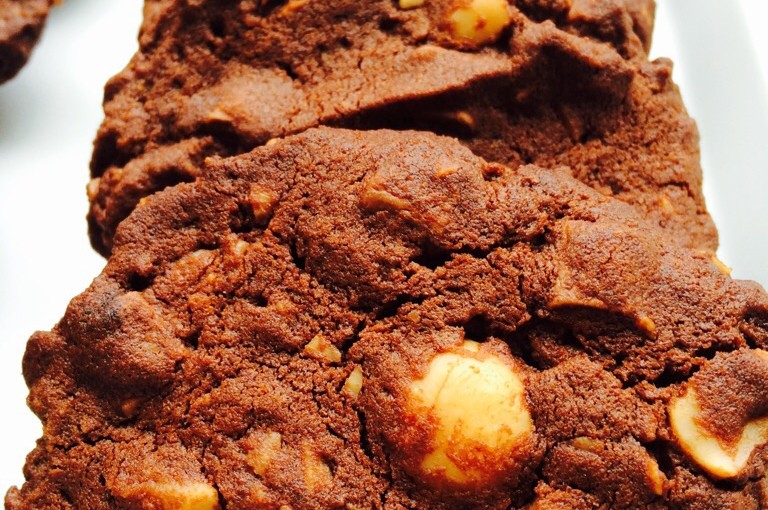
These Macadamia Nutty Chocotastic Cookies so deserve their wacky name. They are stuffed to the brim with nuts, chocolate chunks and are Chocotastic!!!
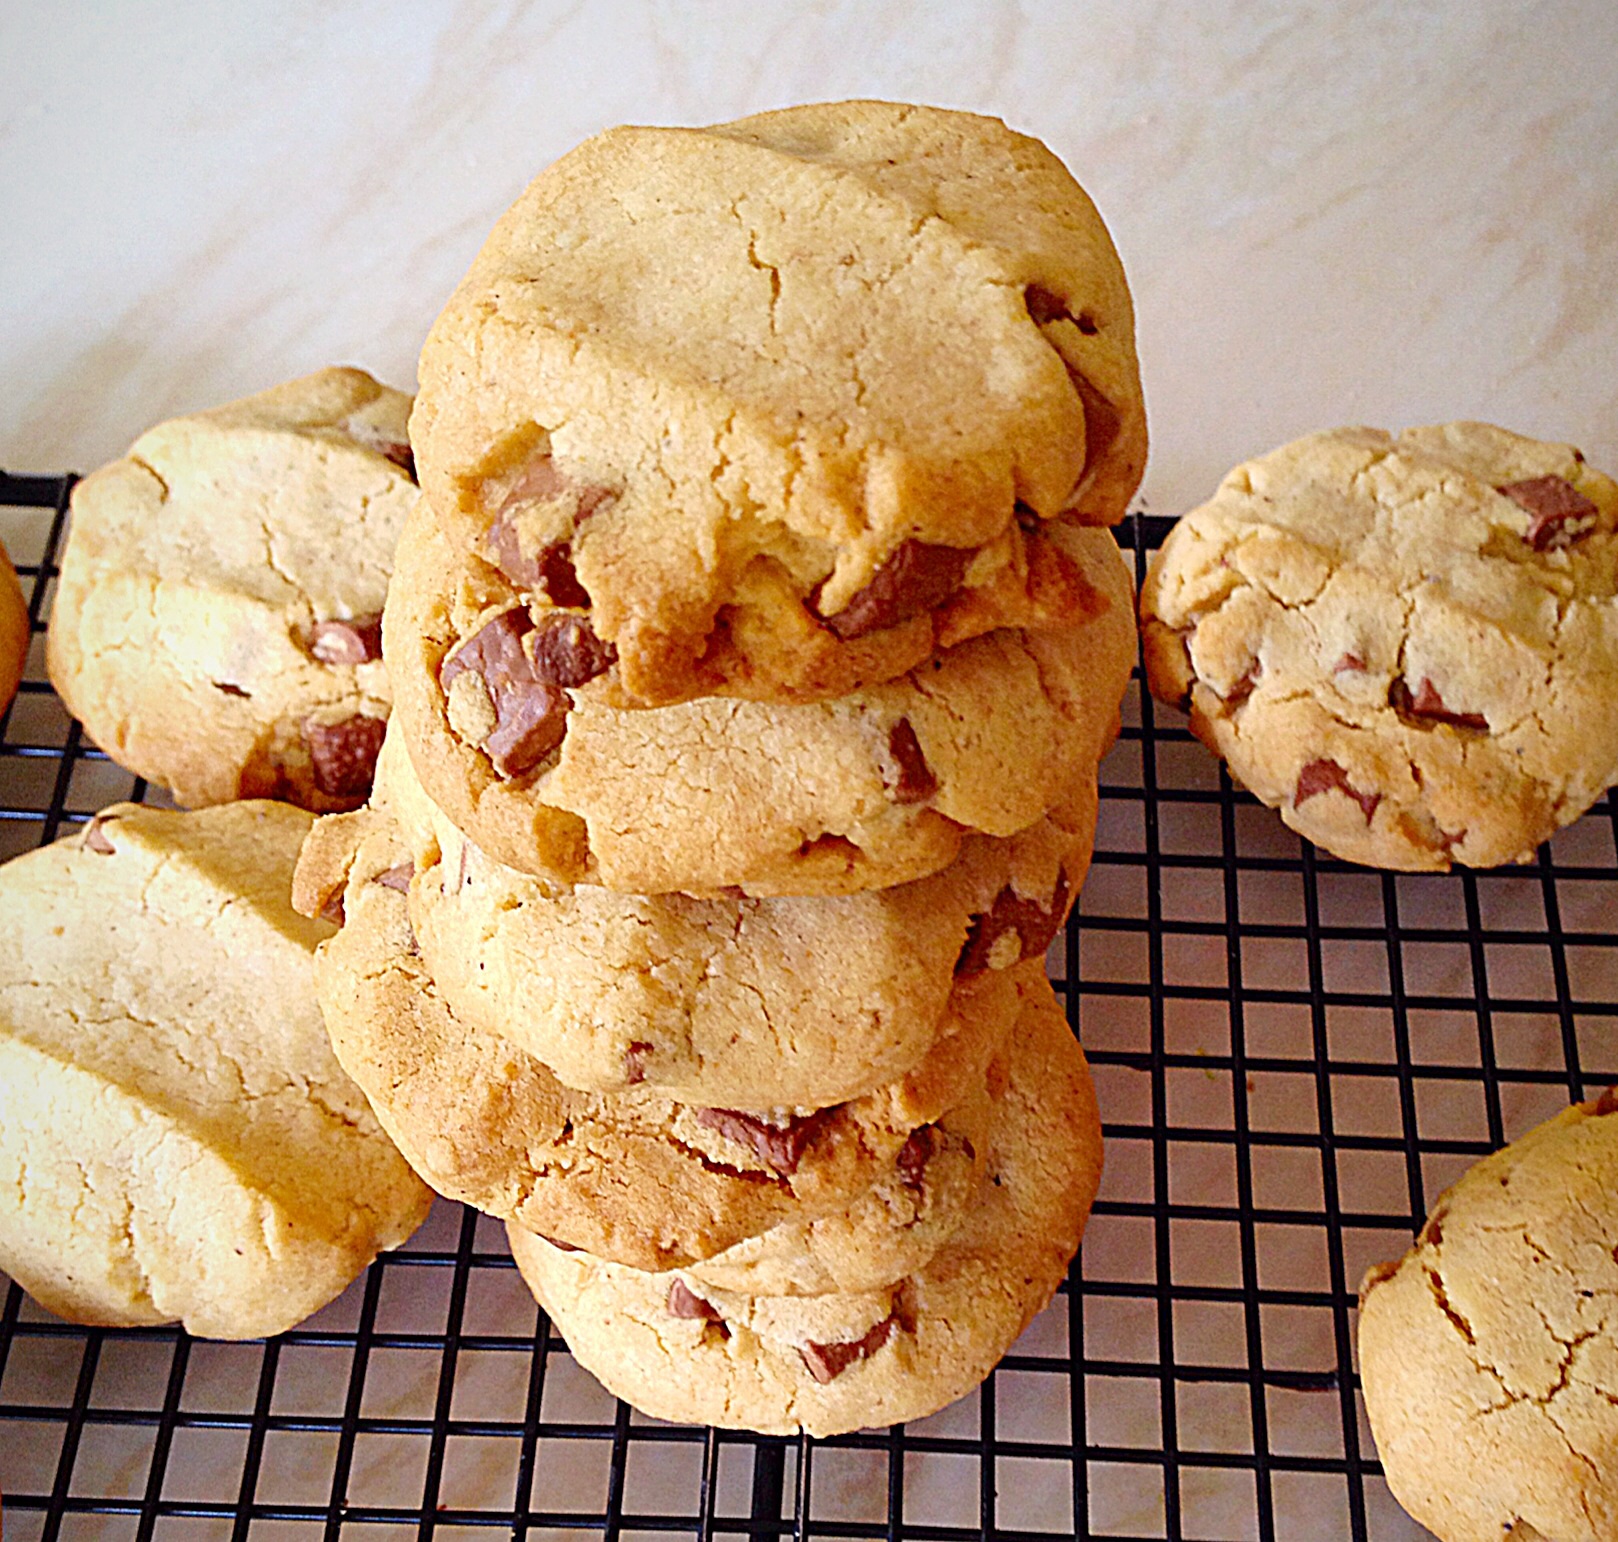
Macadamia Nutty Chocotastic Cookies www.feastingisfun.com
Everyone who has tried these cookies had absolutely fallen 100% in love with them and immediately requested more. Now that, has got to be a reaction worth sharing.
Sharing is a major inspiration in my baking. I love seeing the reaction on someone’s face, when you give them something that you have made with them in mind. For this recipe, the inspiration was our children. They all work so hard at school and home and it’s wonderful to treat them.
My cookie preference, as I’ve mentioned before, on this blog, is always for oat/fruit cookie combos like these Walnut Fig Oat Cookies . But I know how much our children love chocolate and they don’t have chocolate bars very often at home, so baking something special like these Macadamia Nutty Chocotastic Cookies really is a treat for them. As I use good quality ingredients there are no hidden nasties, that is very imortant to me.
Recipe : Makes Approx. 26 Macadamia Nutty Chocotastic Cookies
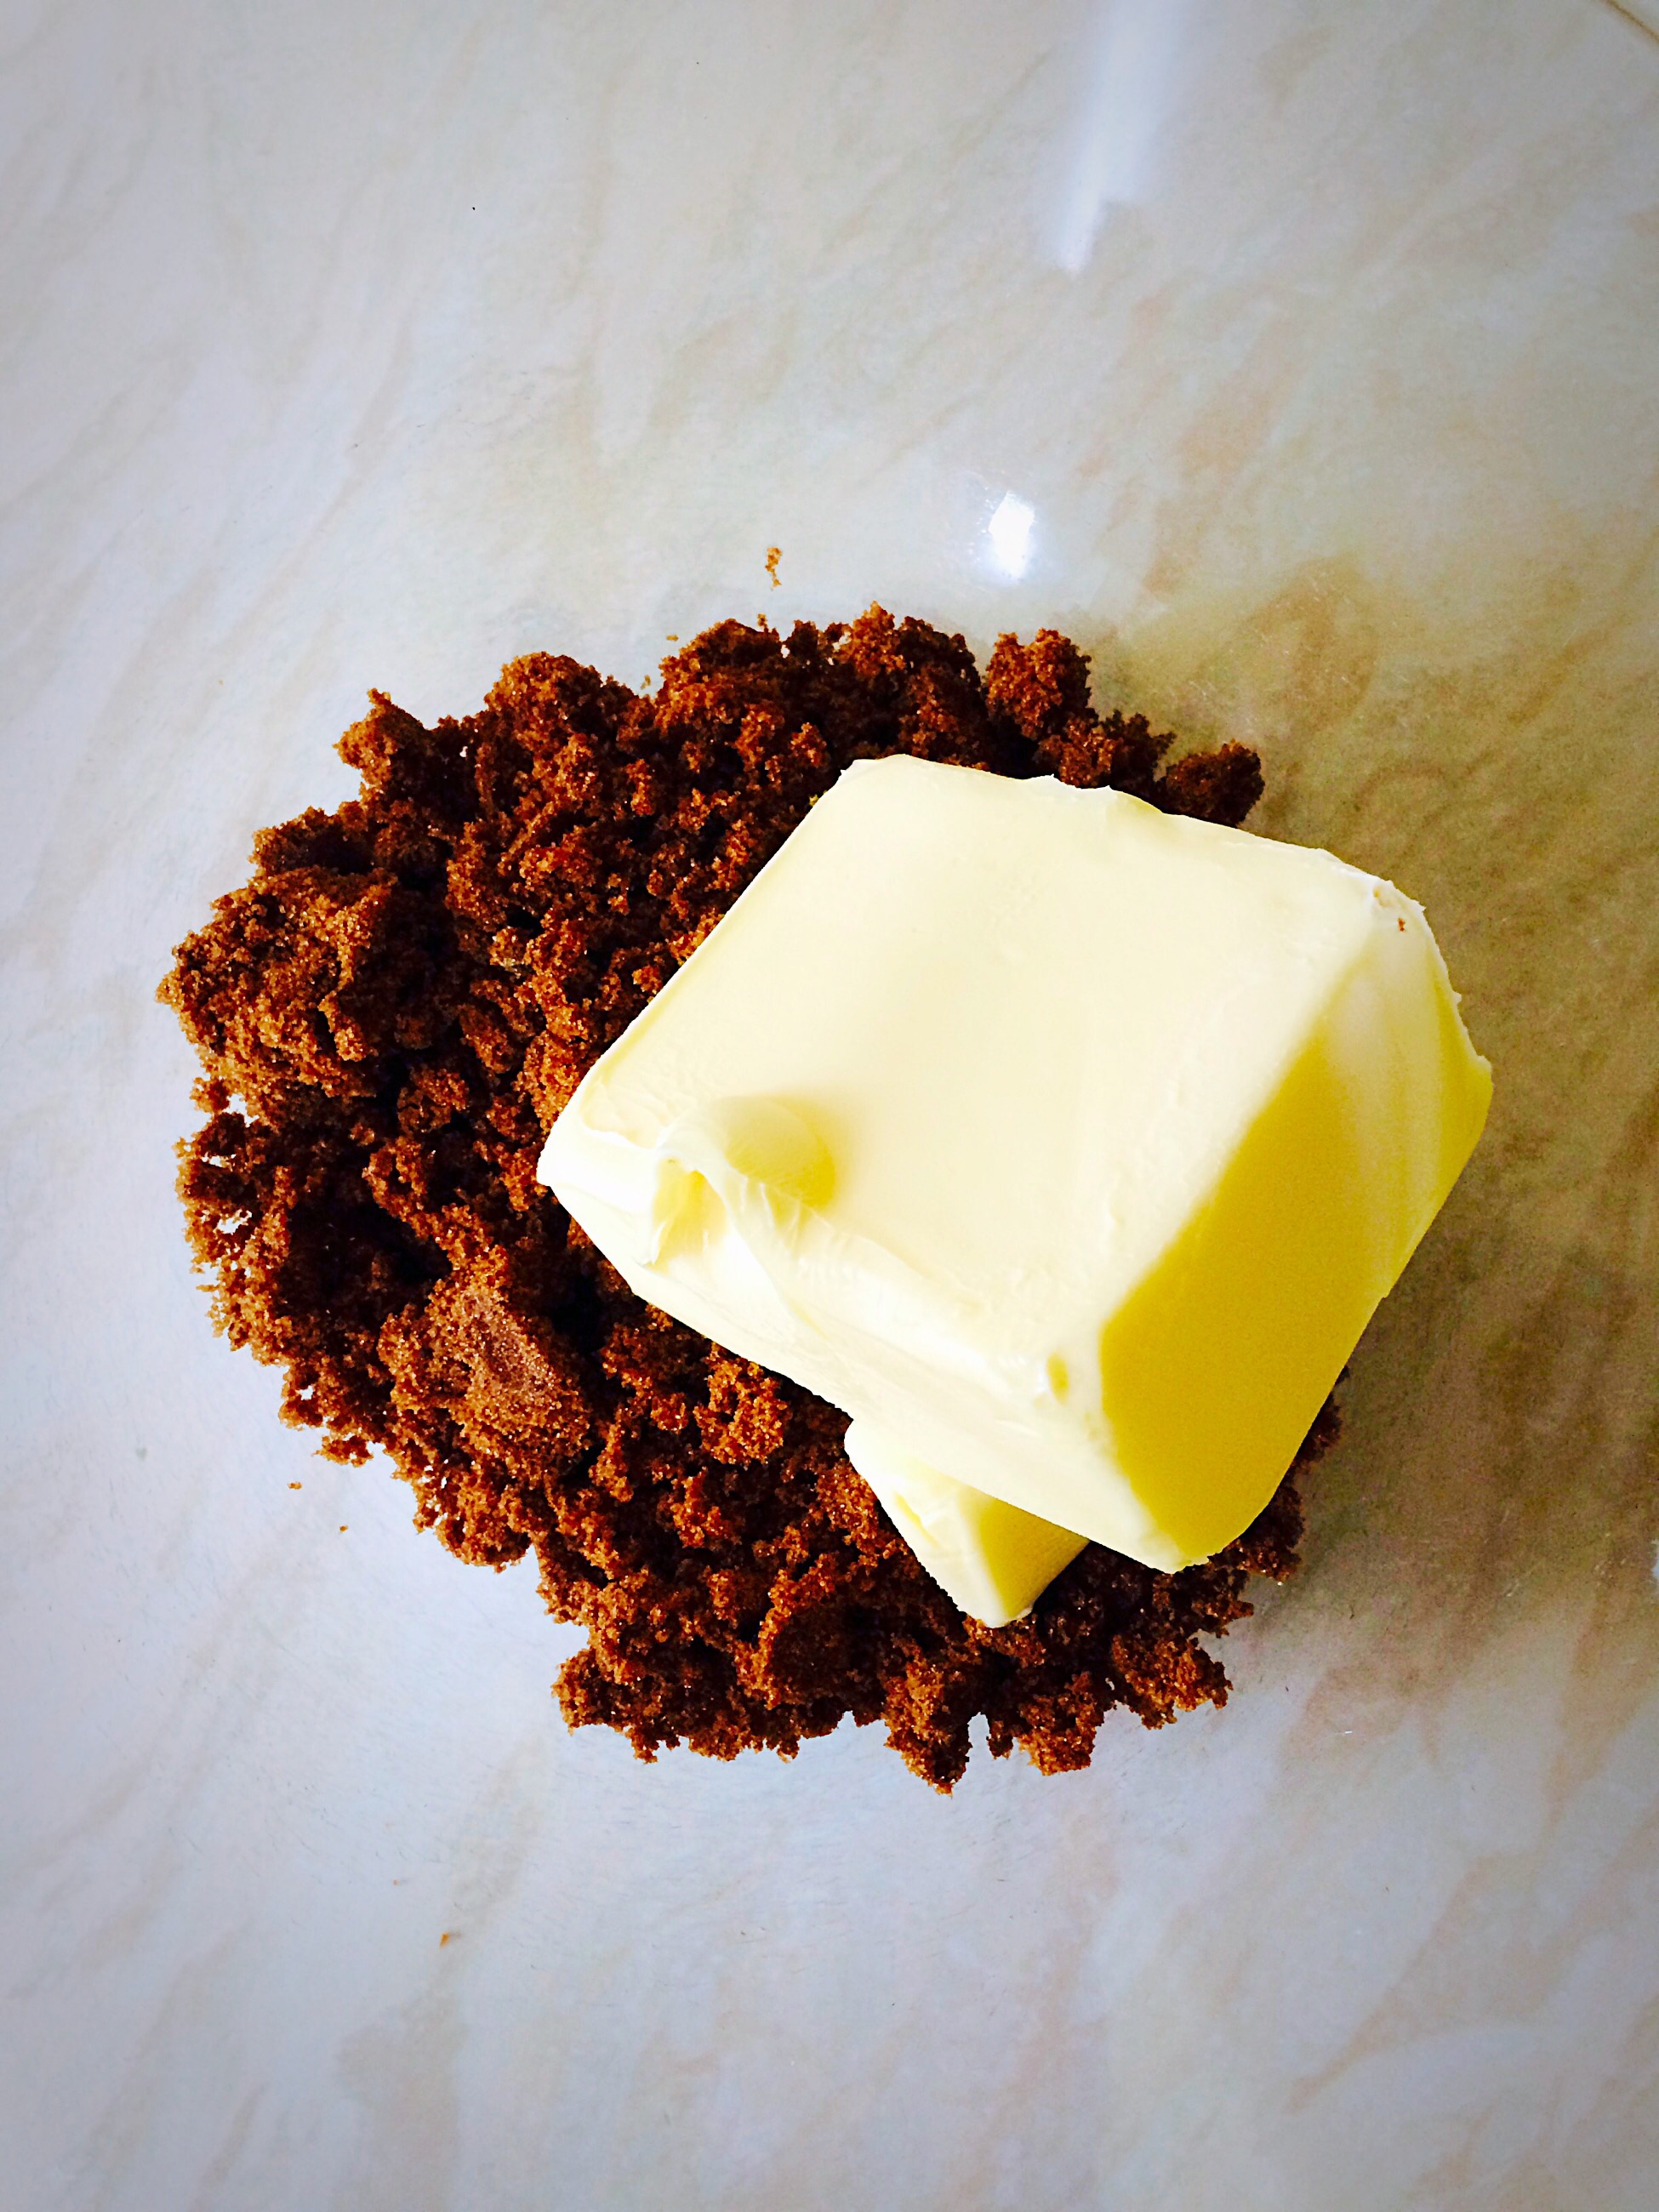
225g/8oz Unsalted Butter at room temoerature
175g/6oz Dark Brown Sugar – I used muscavado sugar
1 Large Egg Yolk
1tsp Vanilla Extract
225g/8oz Plain White Flour
50g/2oz Cocoa Powder
1/4tsp Salt
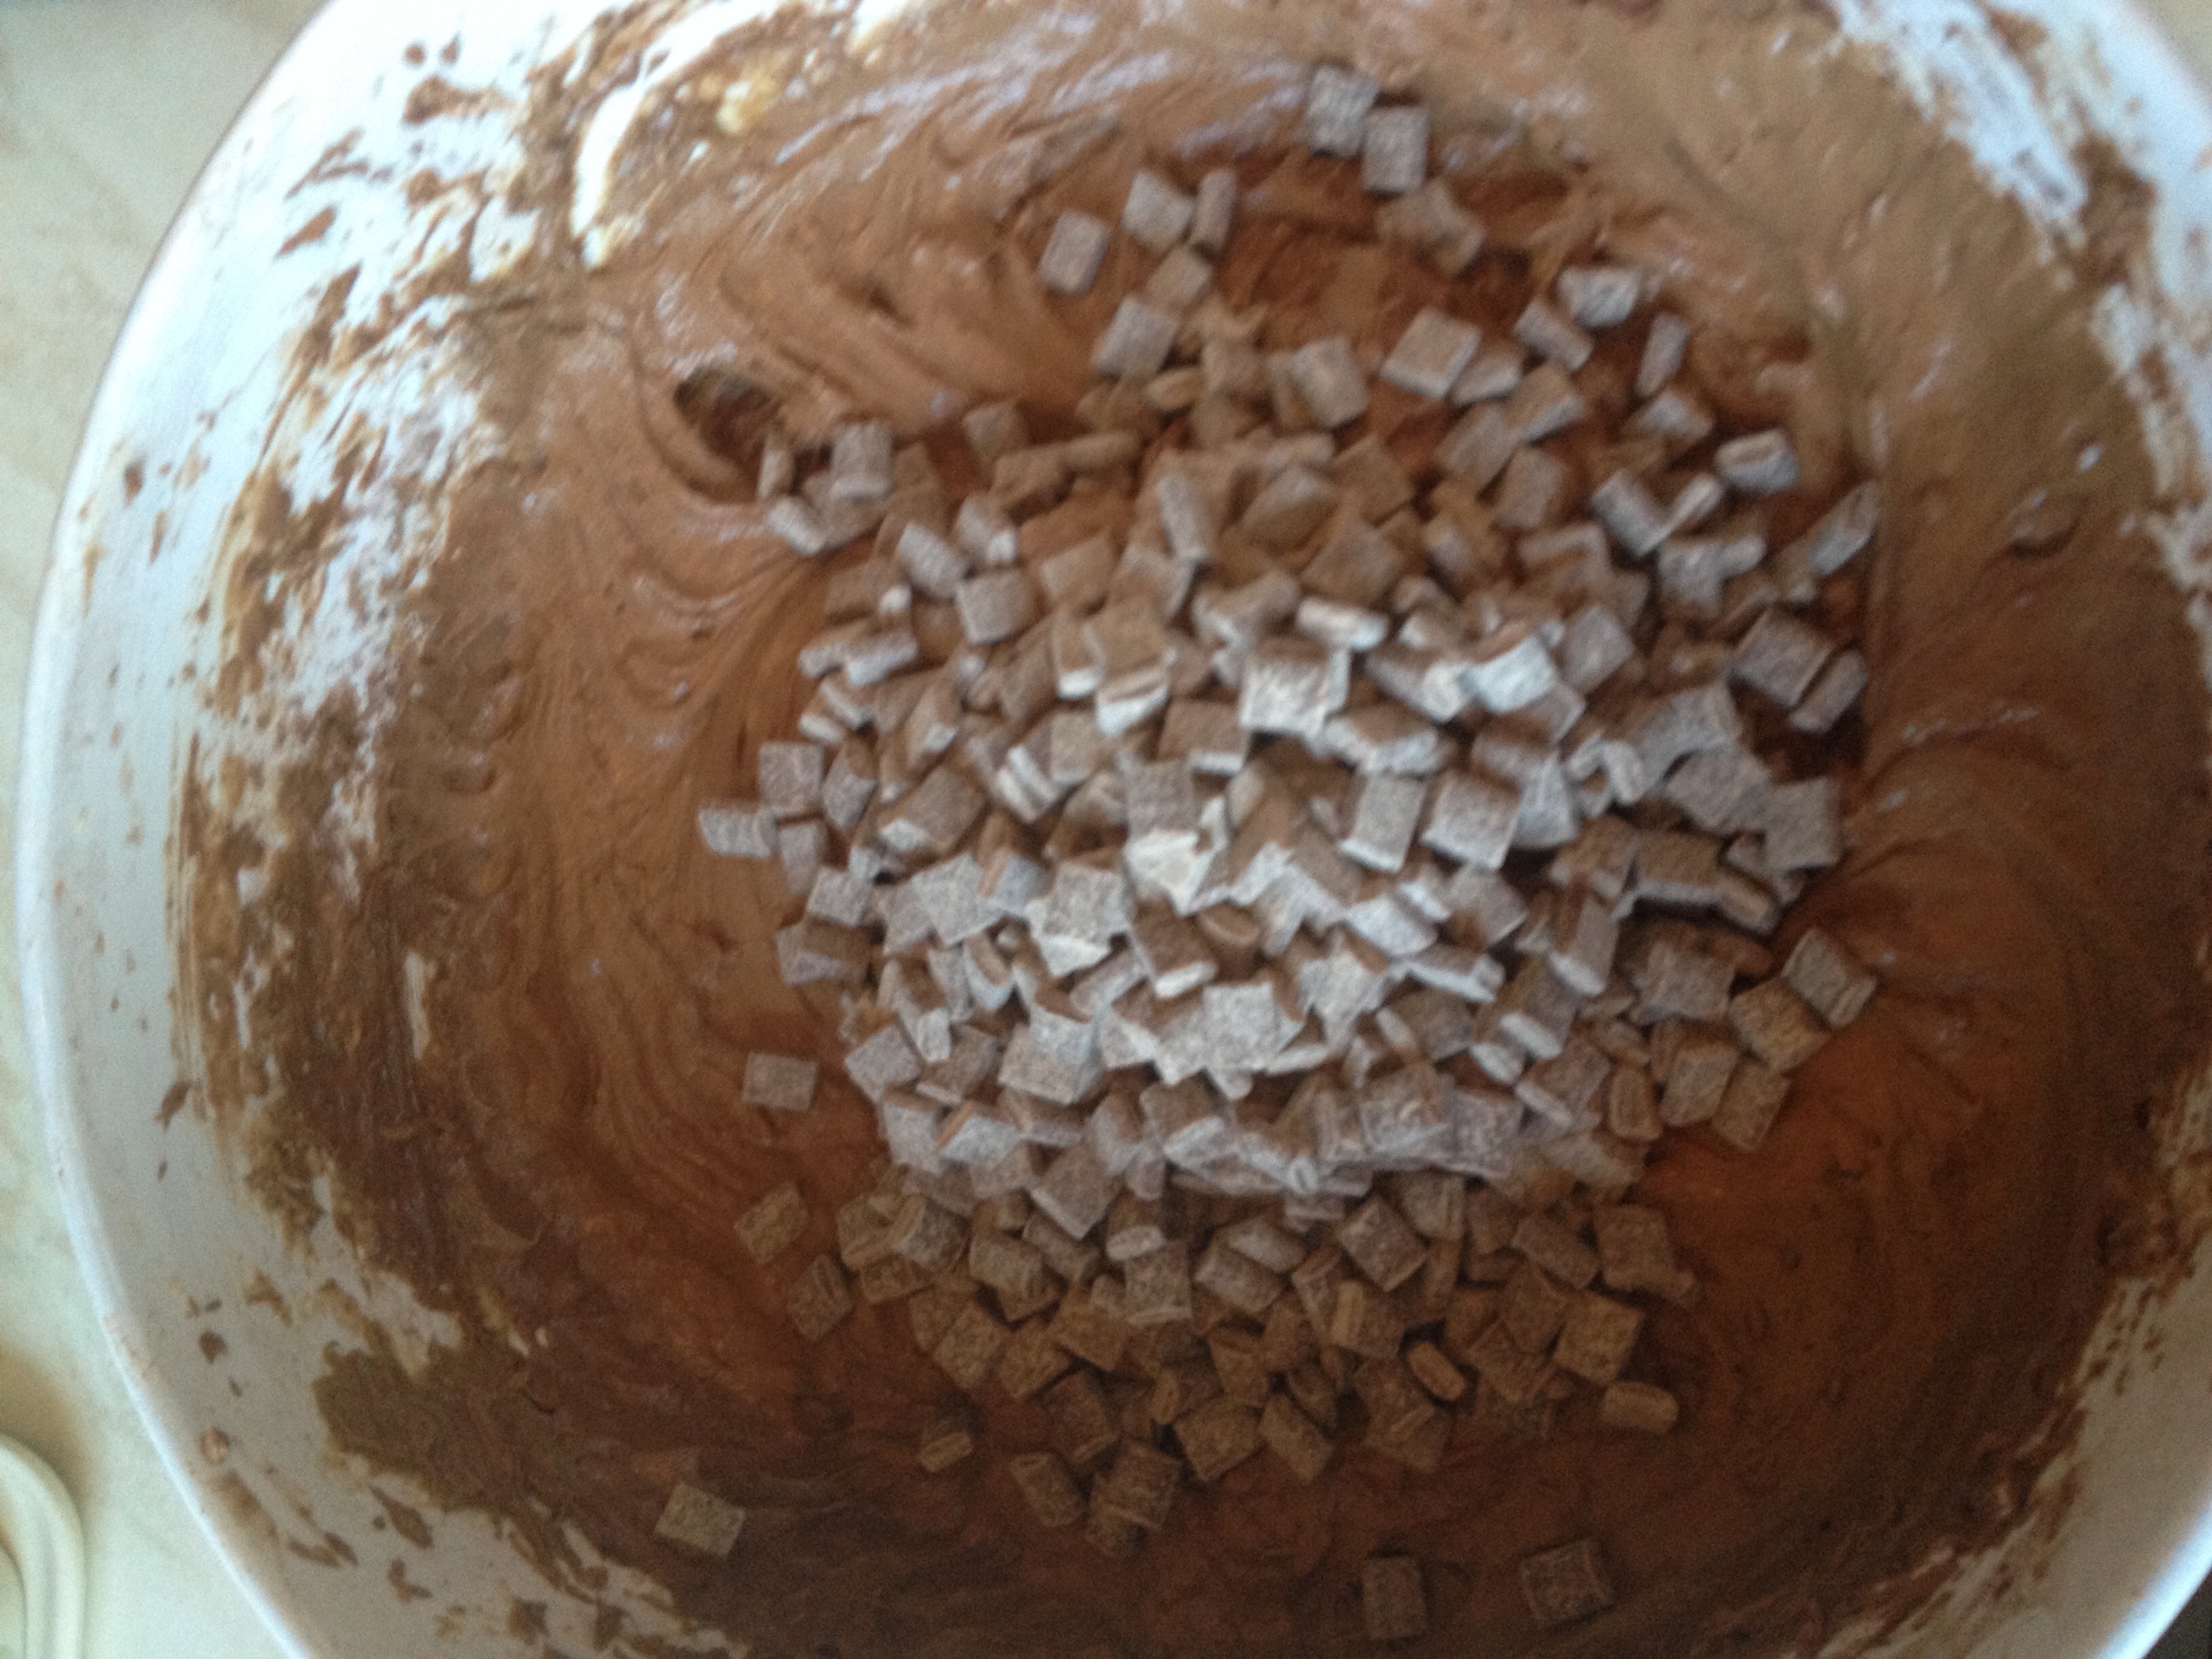
175g/6oz Macadamia Nuts – roughly chopped
225g/8oz Milk Chocolate Chunks or Chips
Method : Preheat oven to 185C/170C fan.
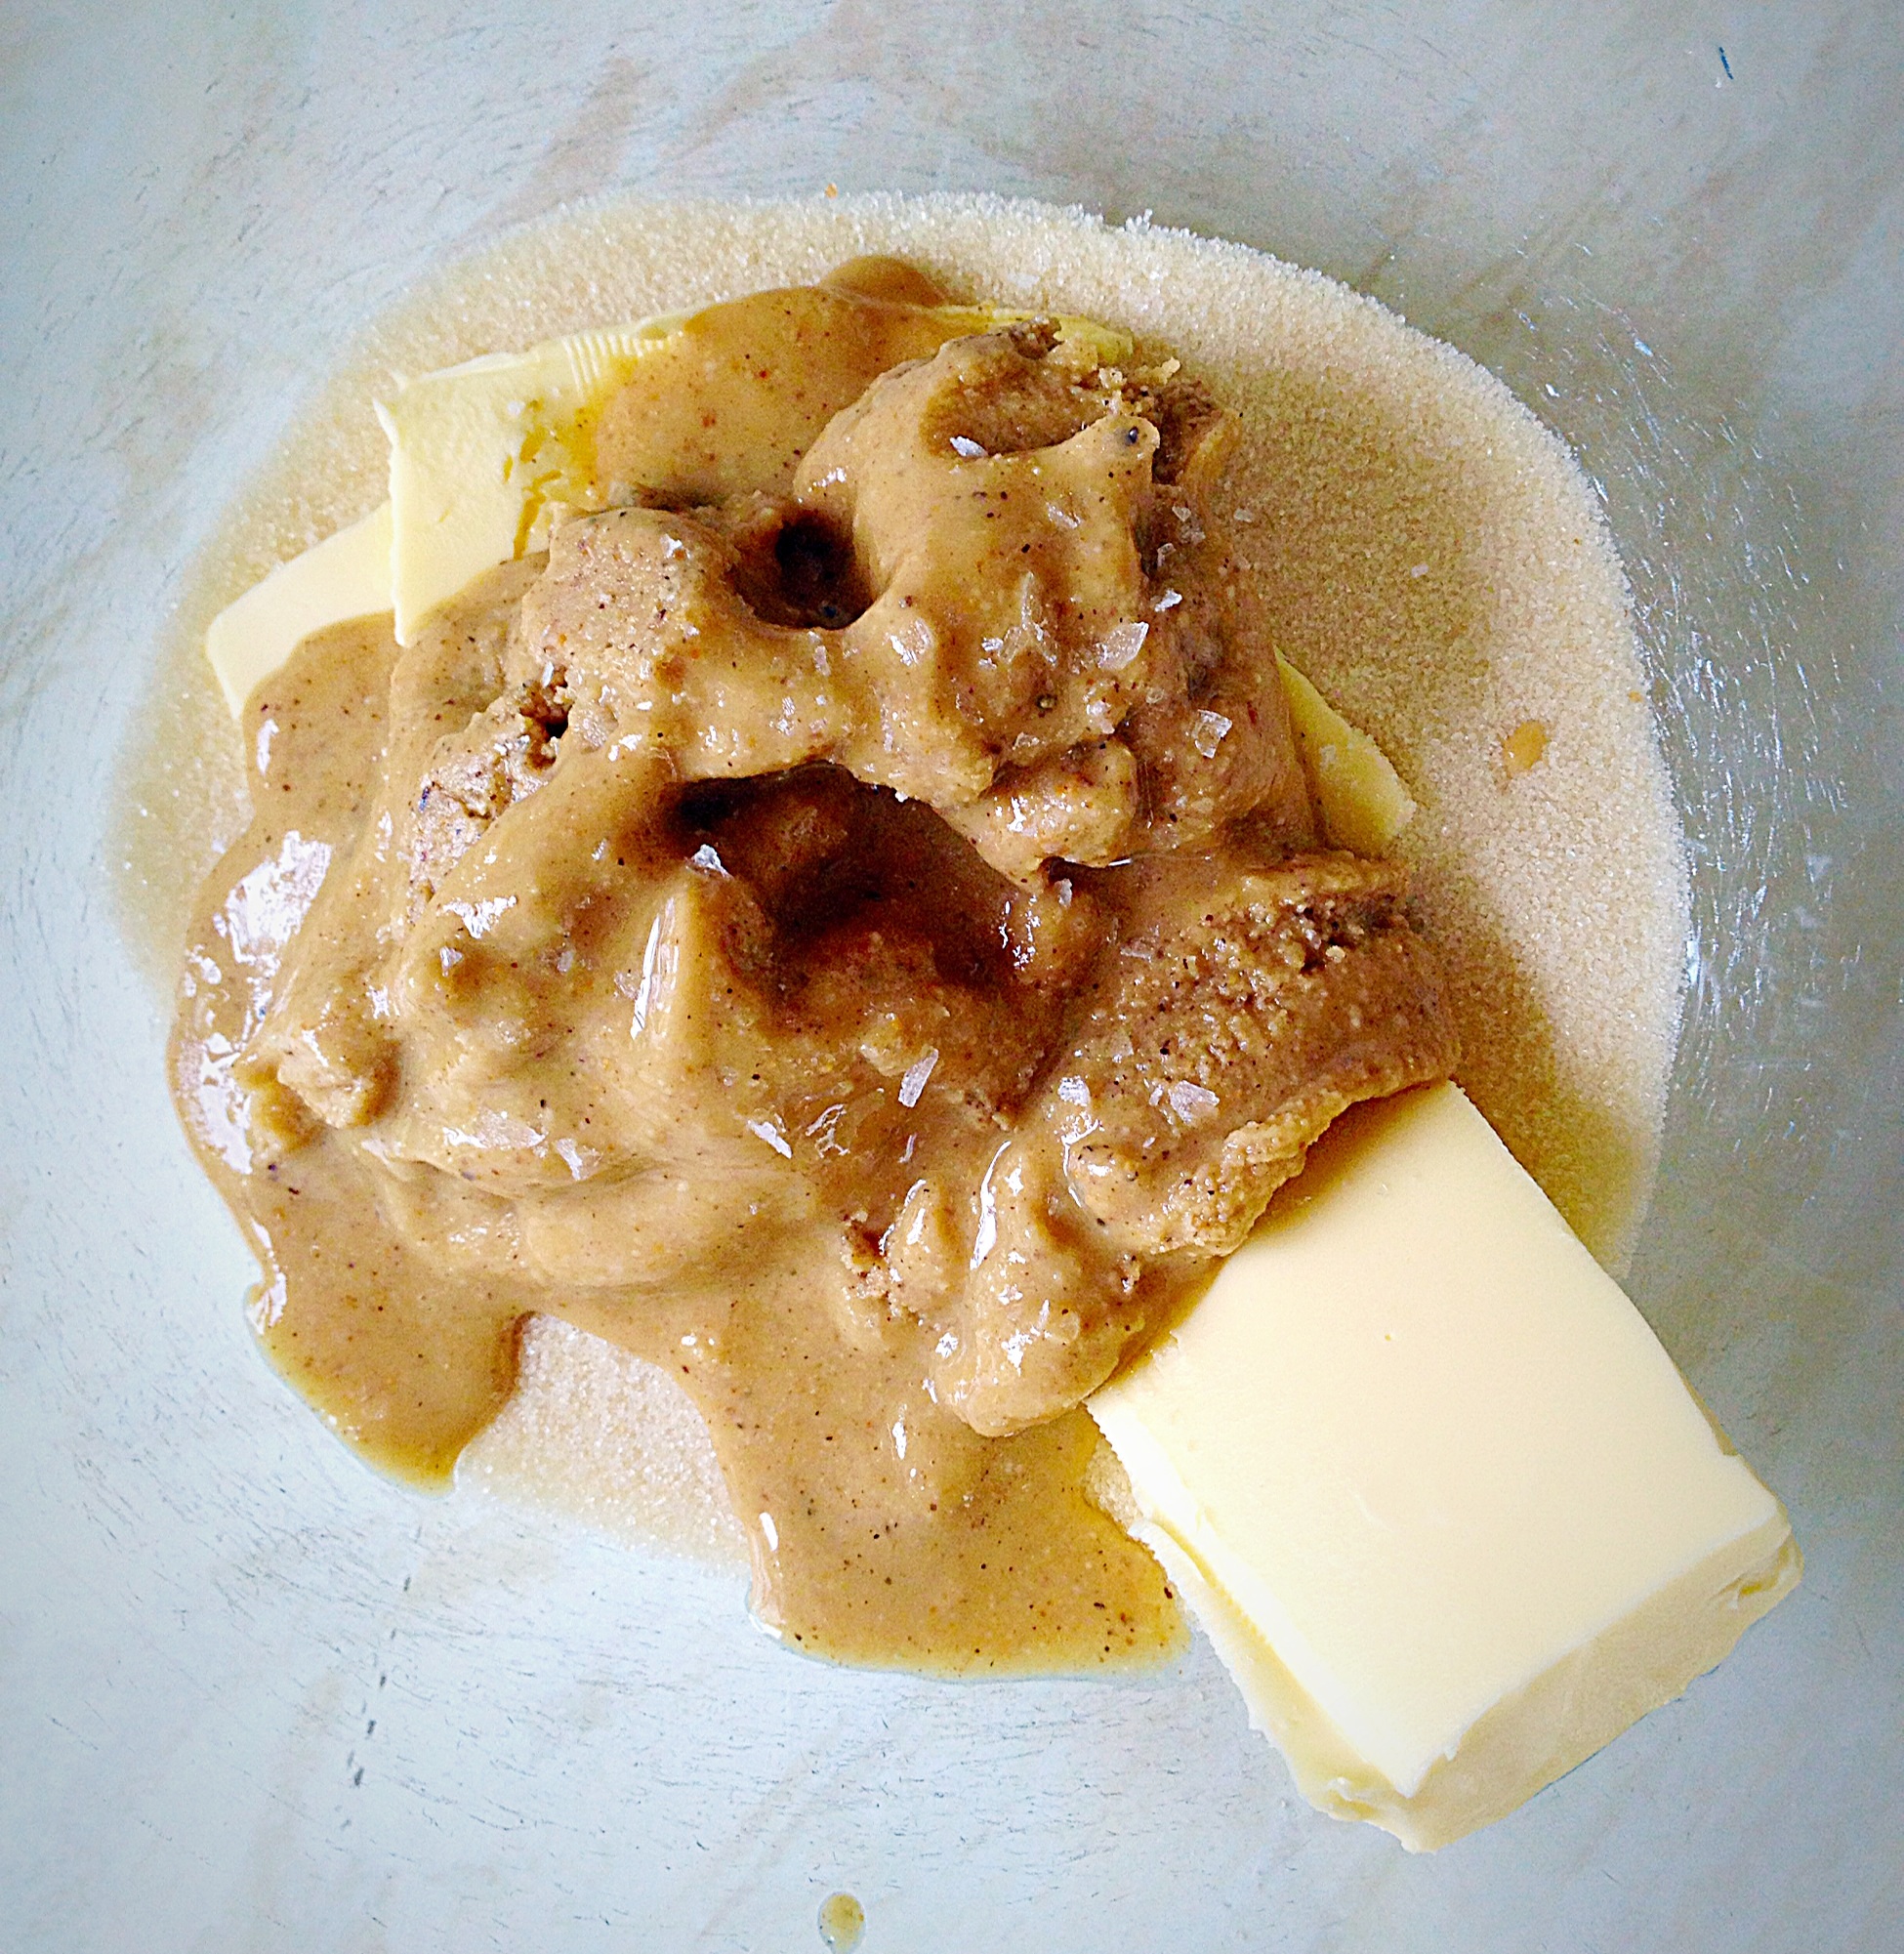
Place the sugar and butter in a bowl.
You really do need the butter to be very soft. I actually put the bowl in the microwave on medium for 20 seconds, as my butter wasn’t soft enough. Ideally you want butter that you can easily push a knife, flat side down, through.
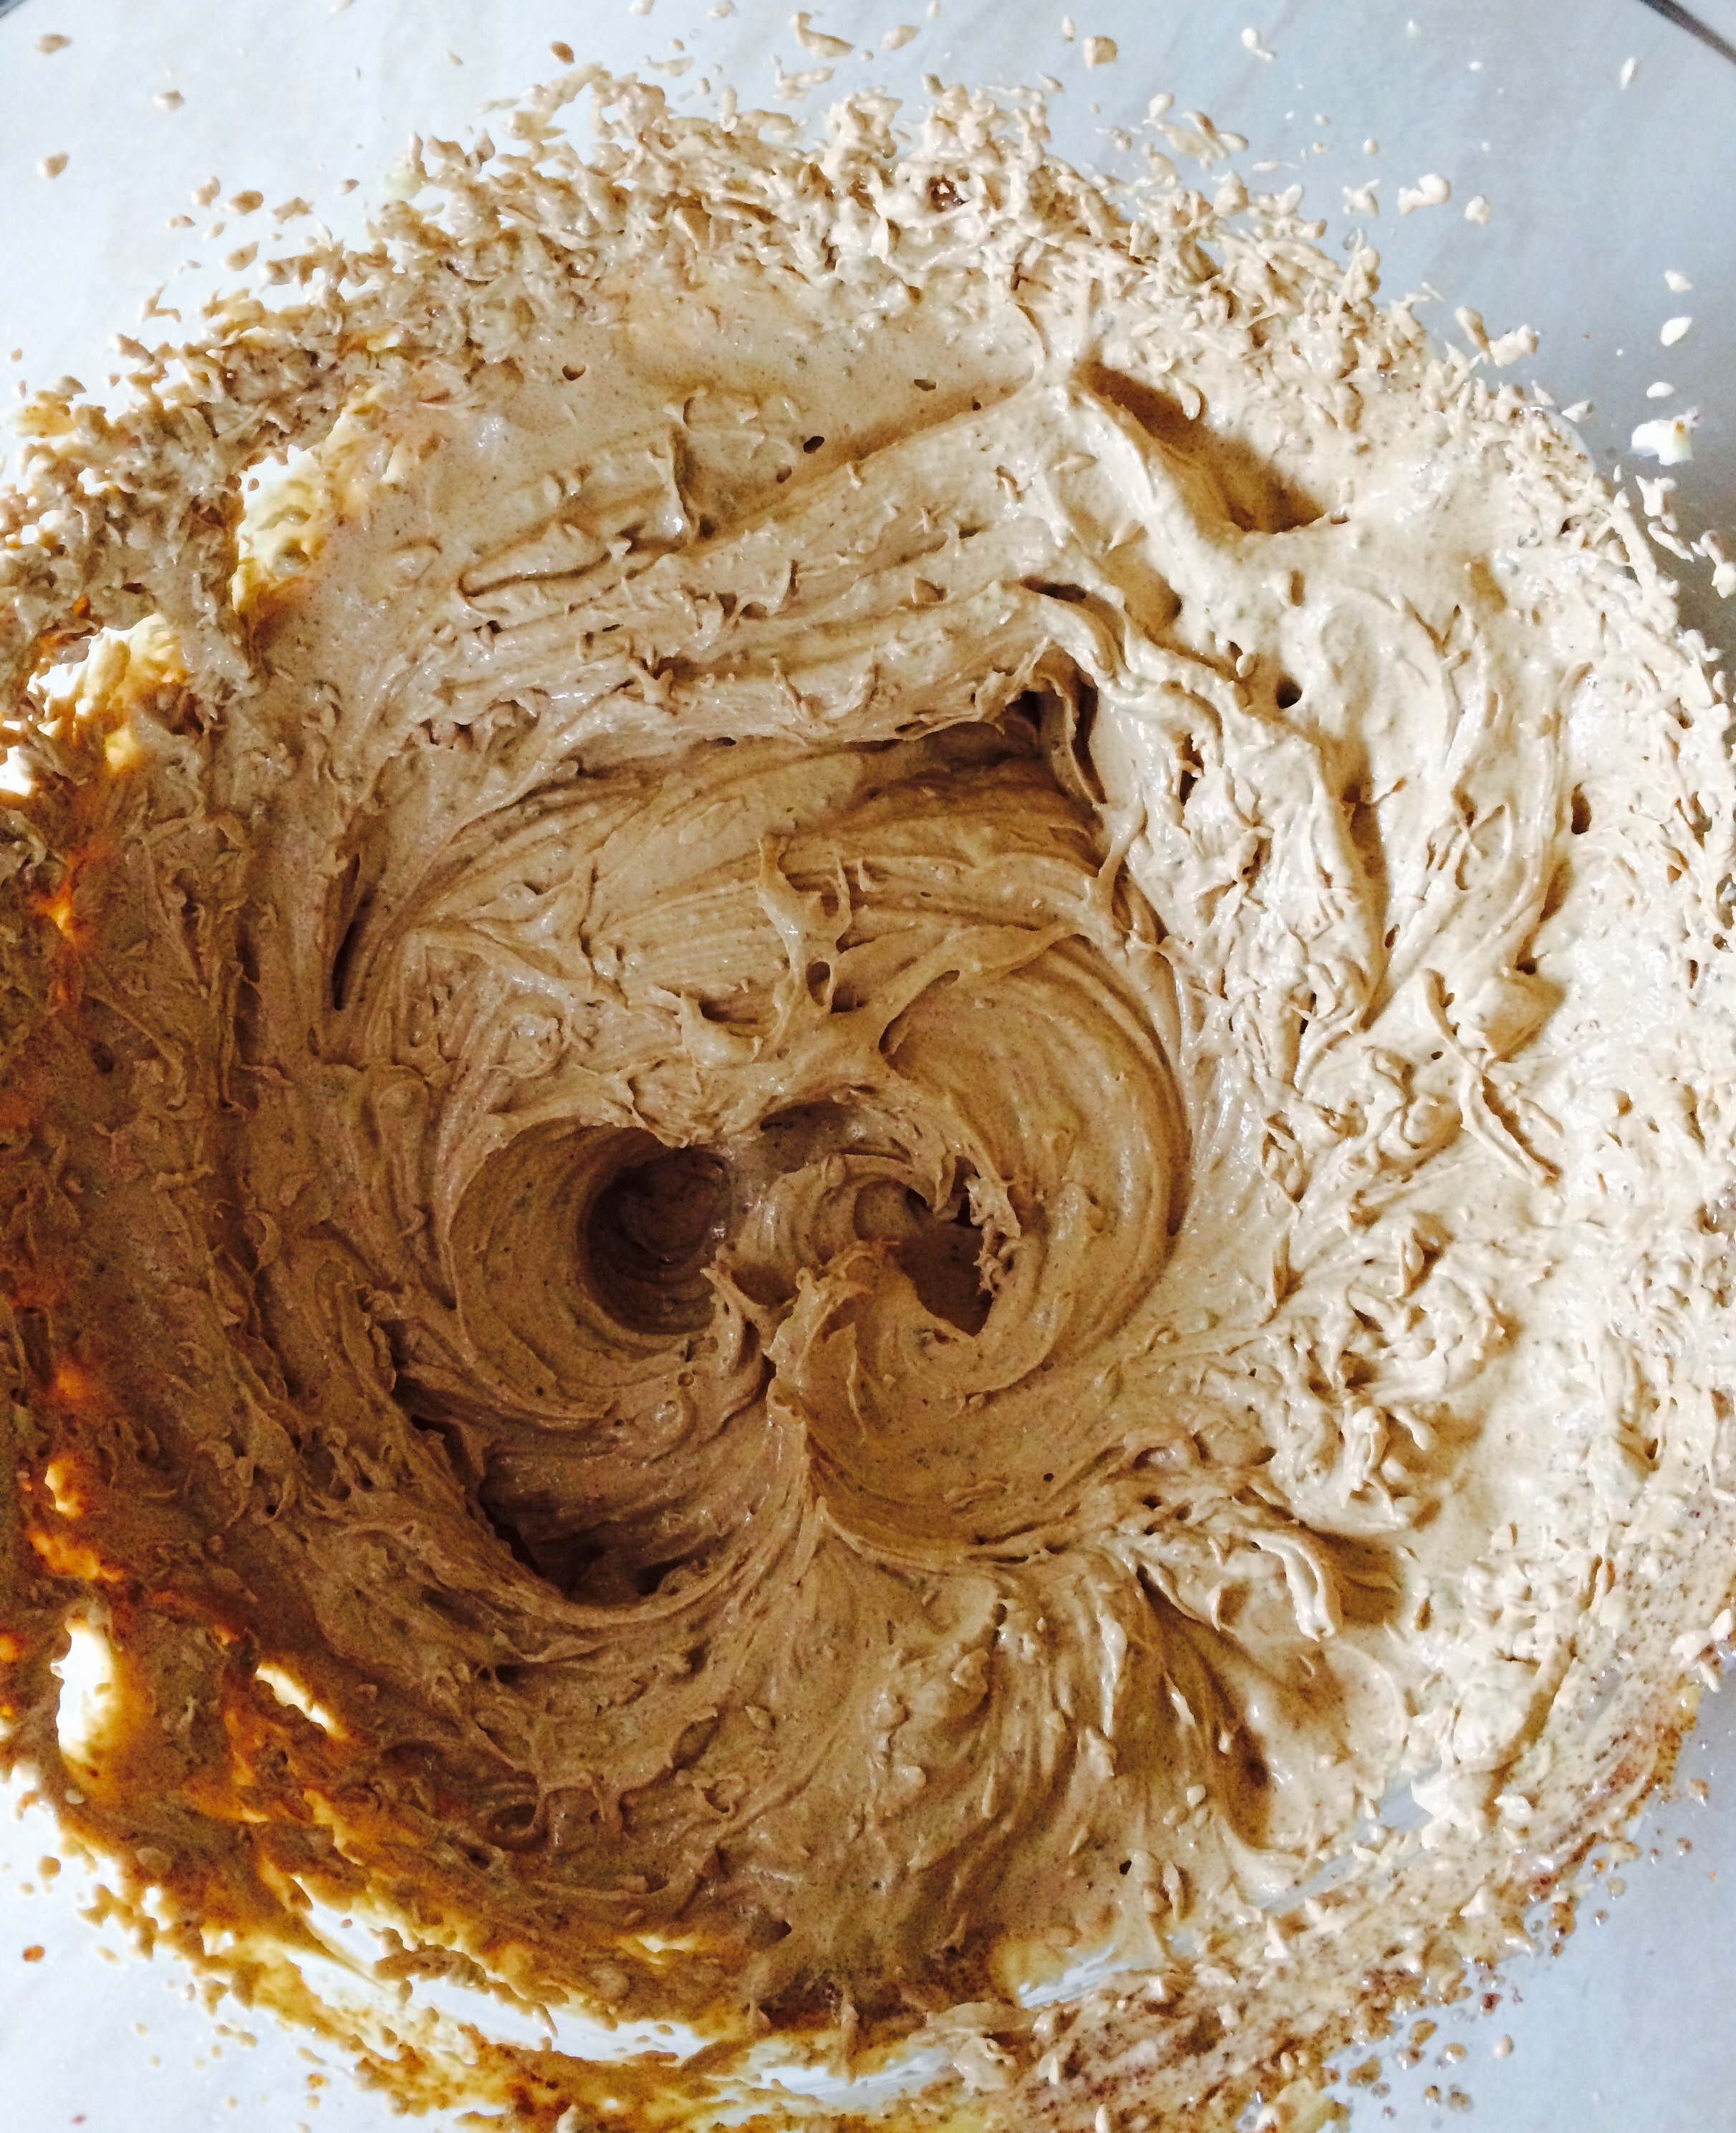
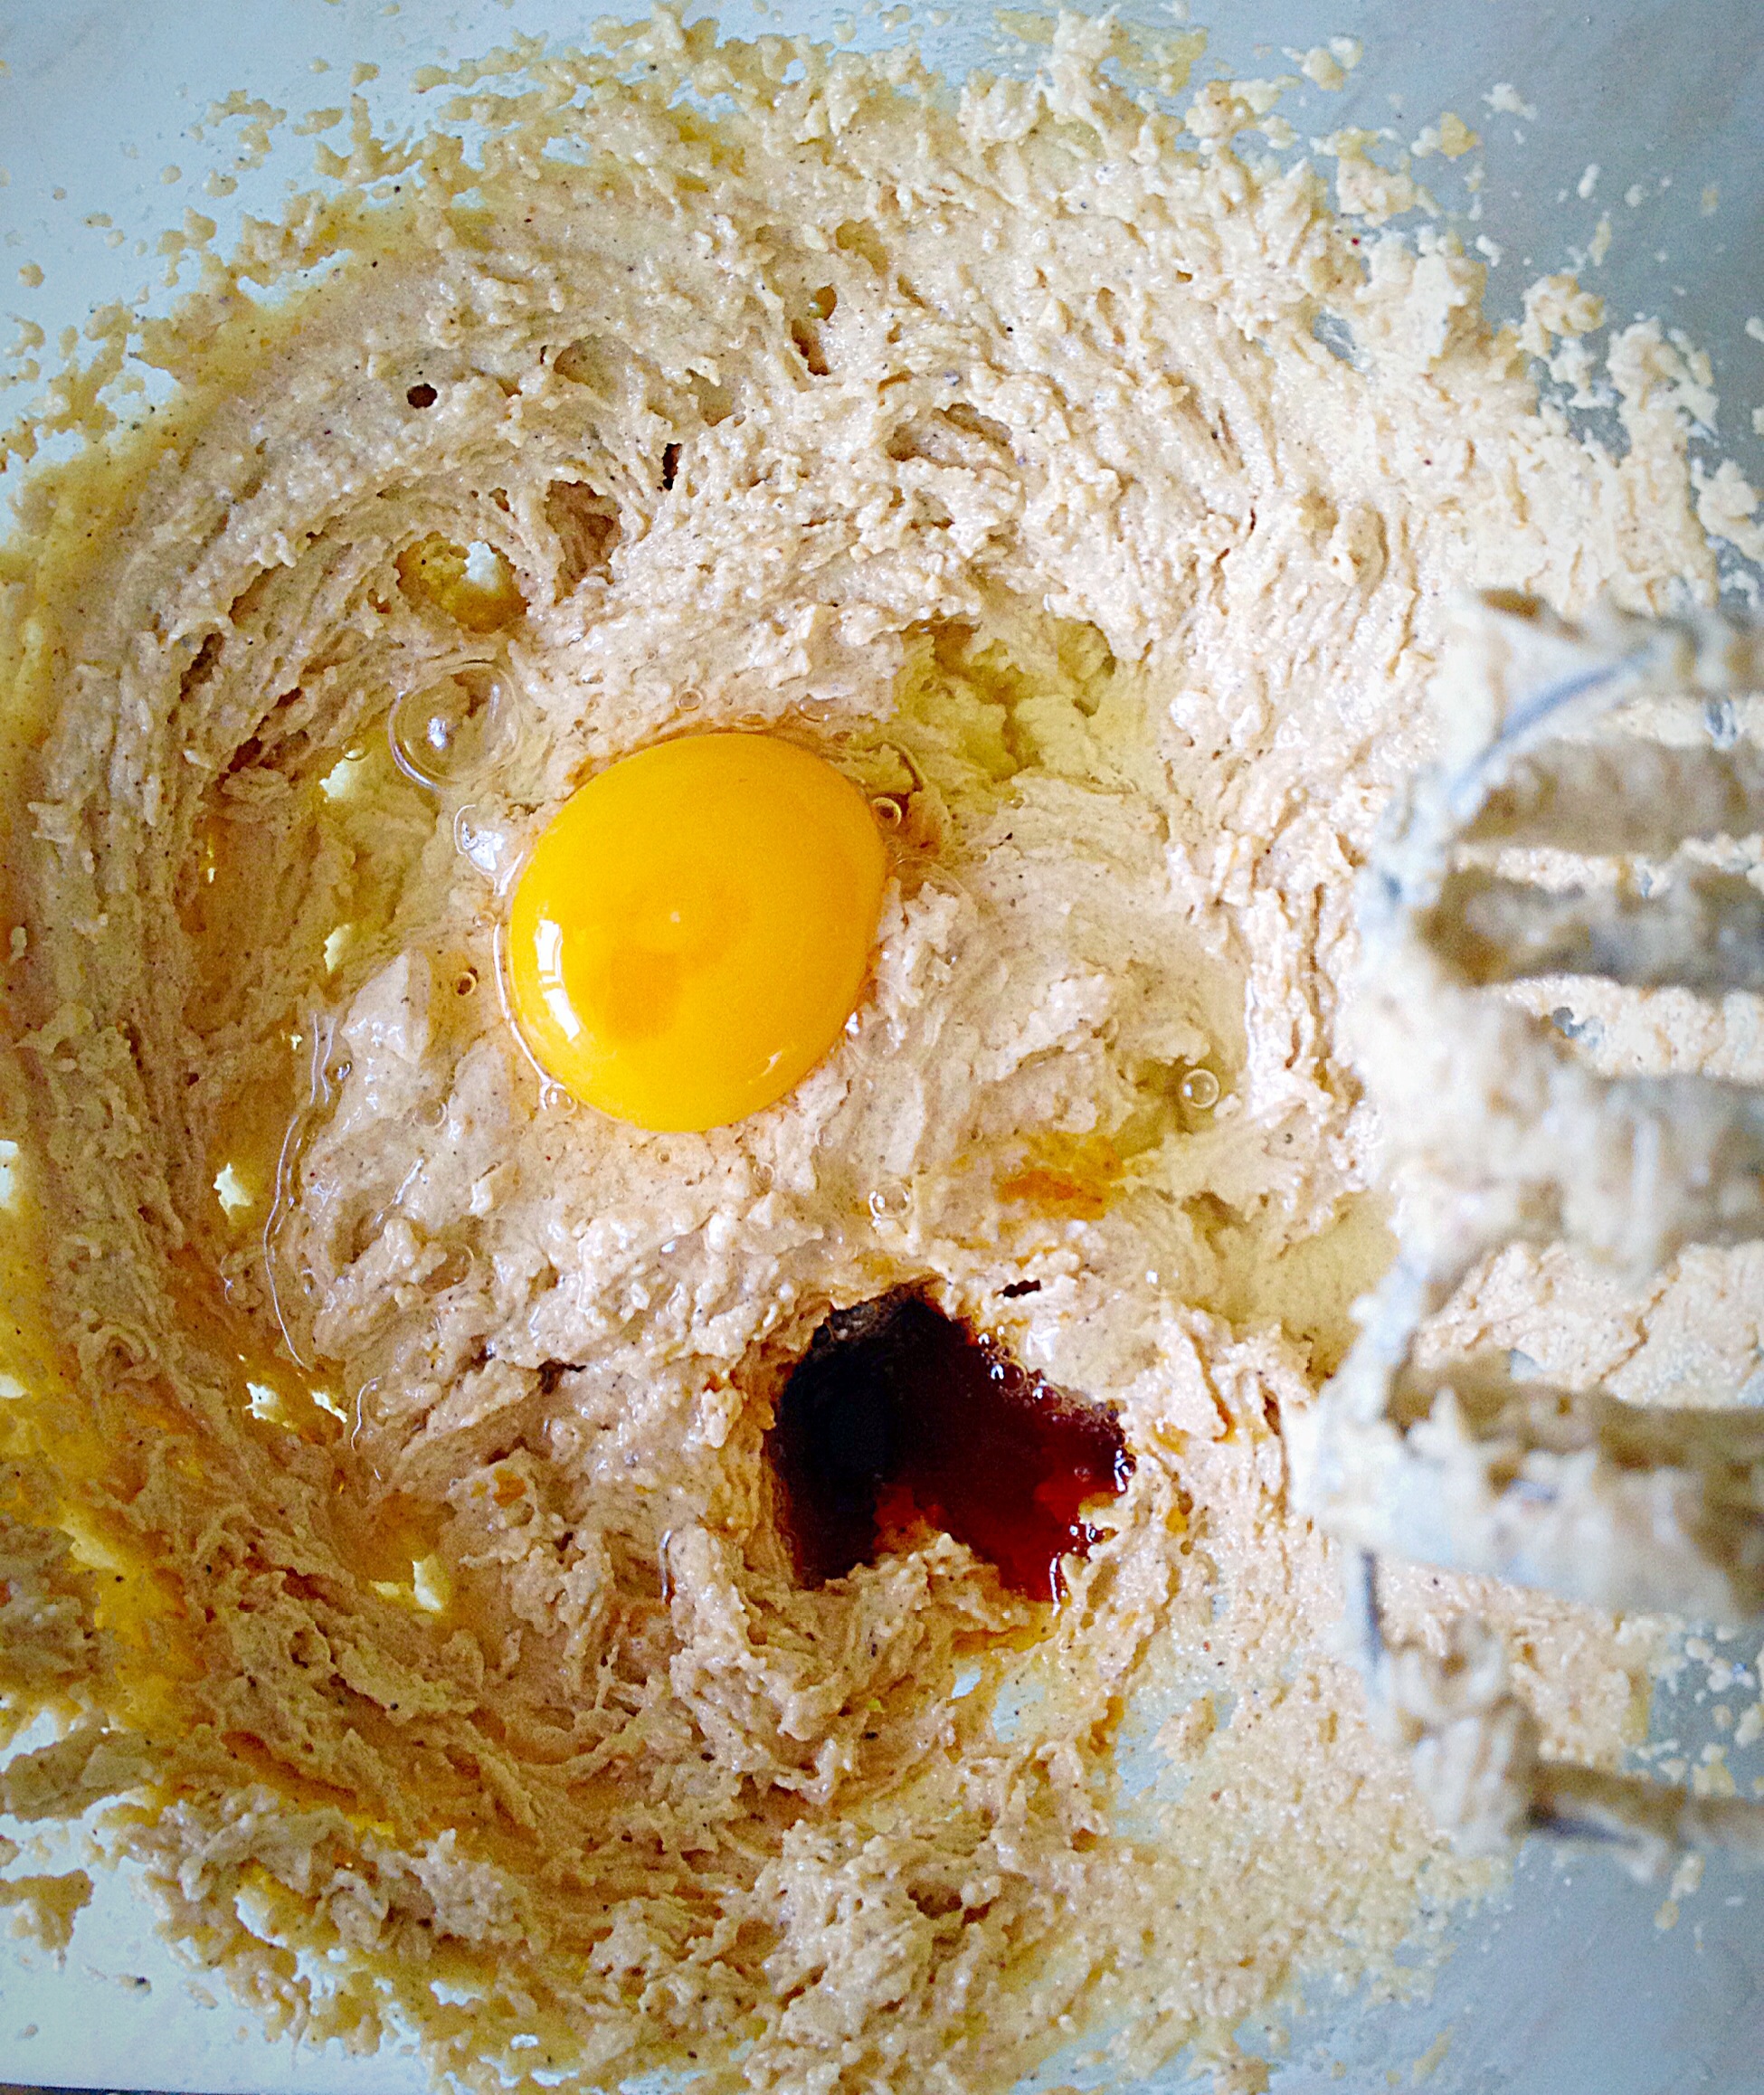
Beat or whisk the sugar and butter together, for 5 minutes, until pale and light. Don’t worry if there are still little specks of sugar once the mixture is whisked.
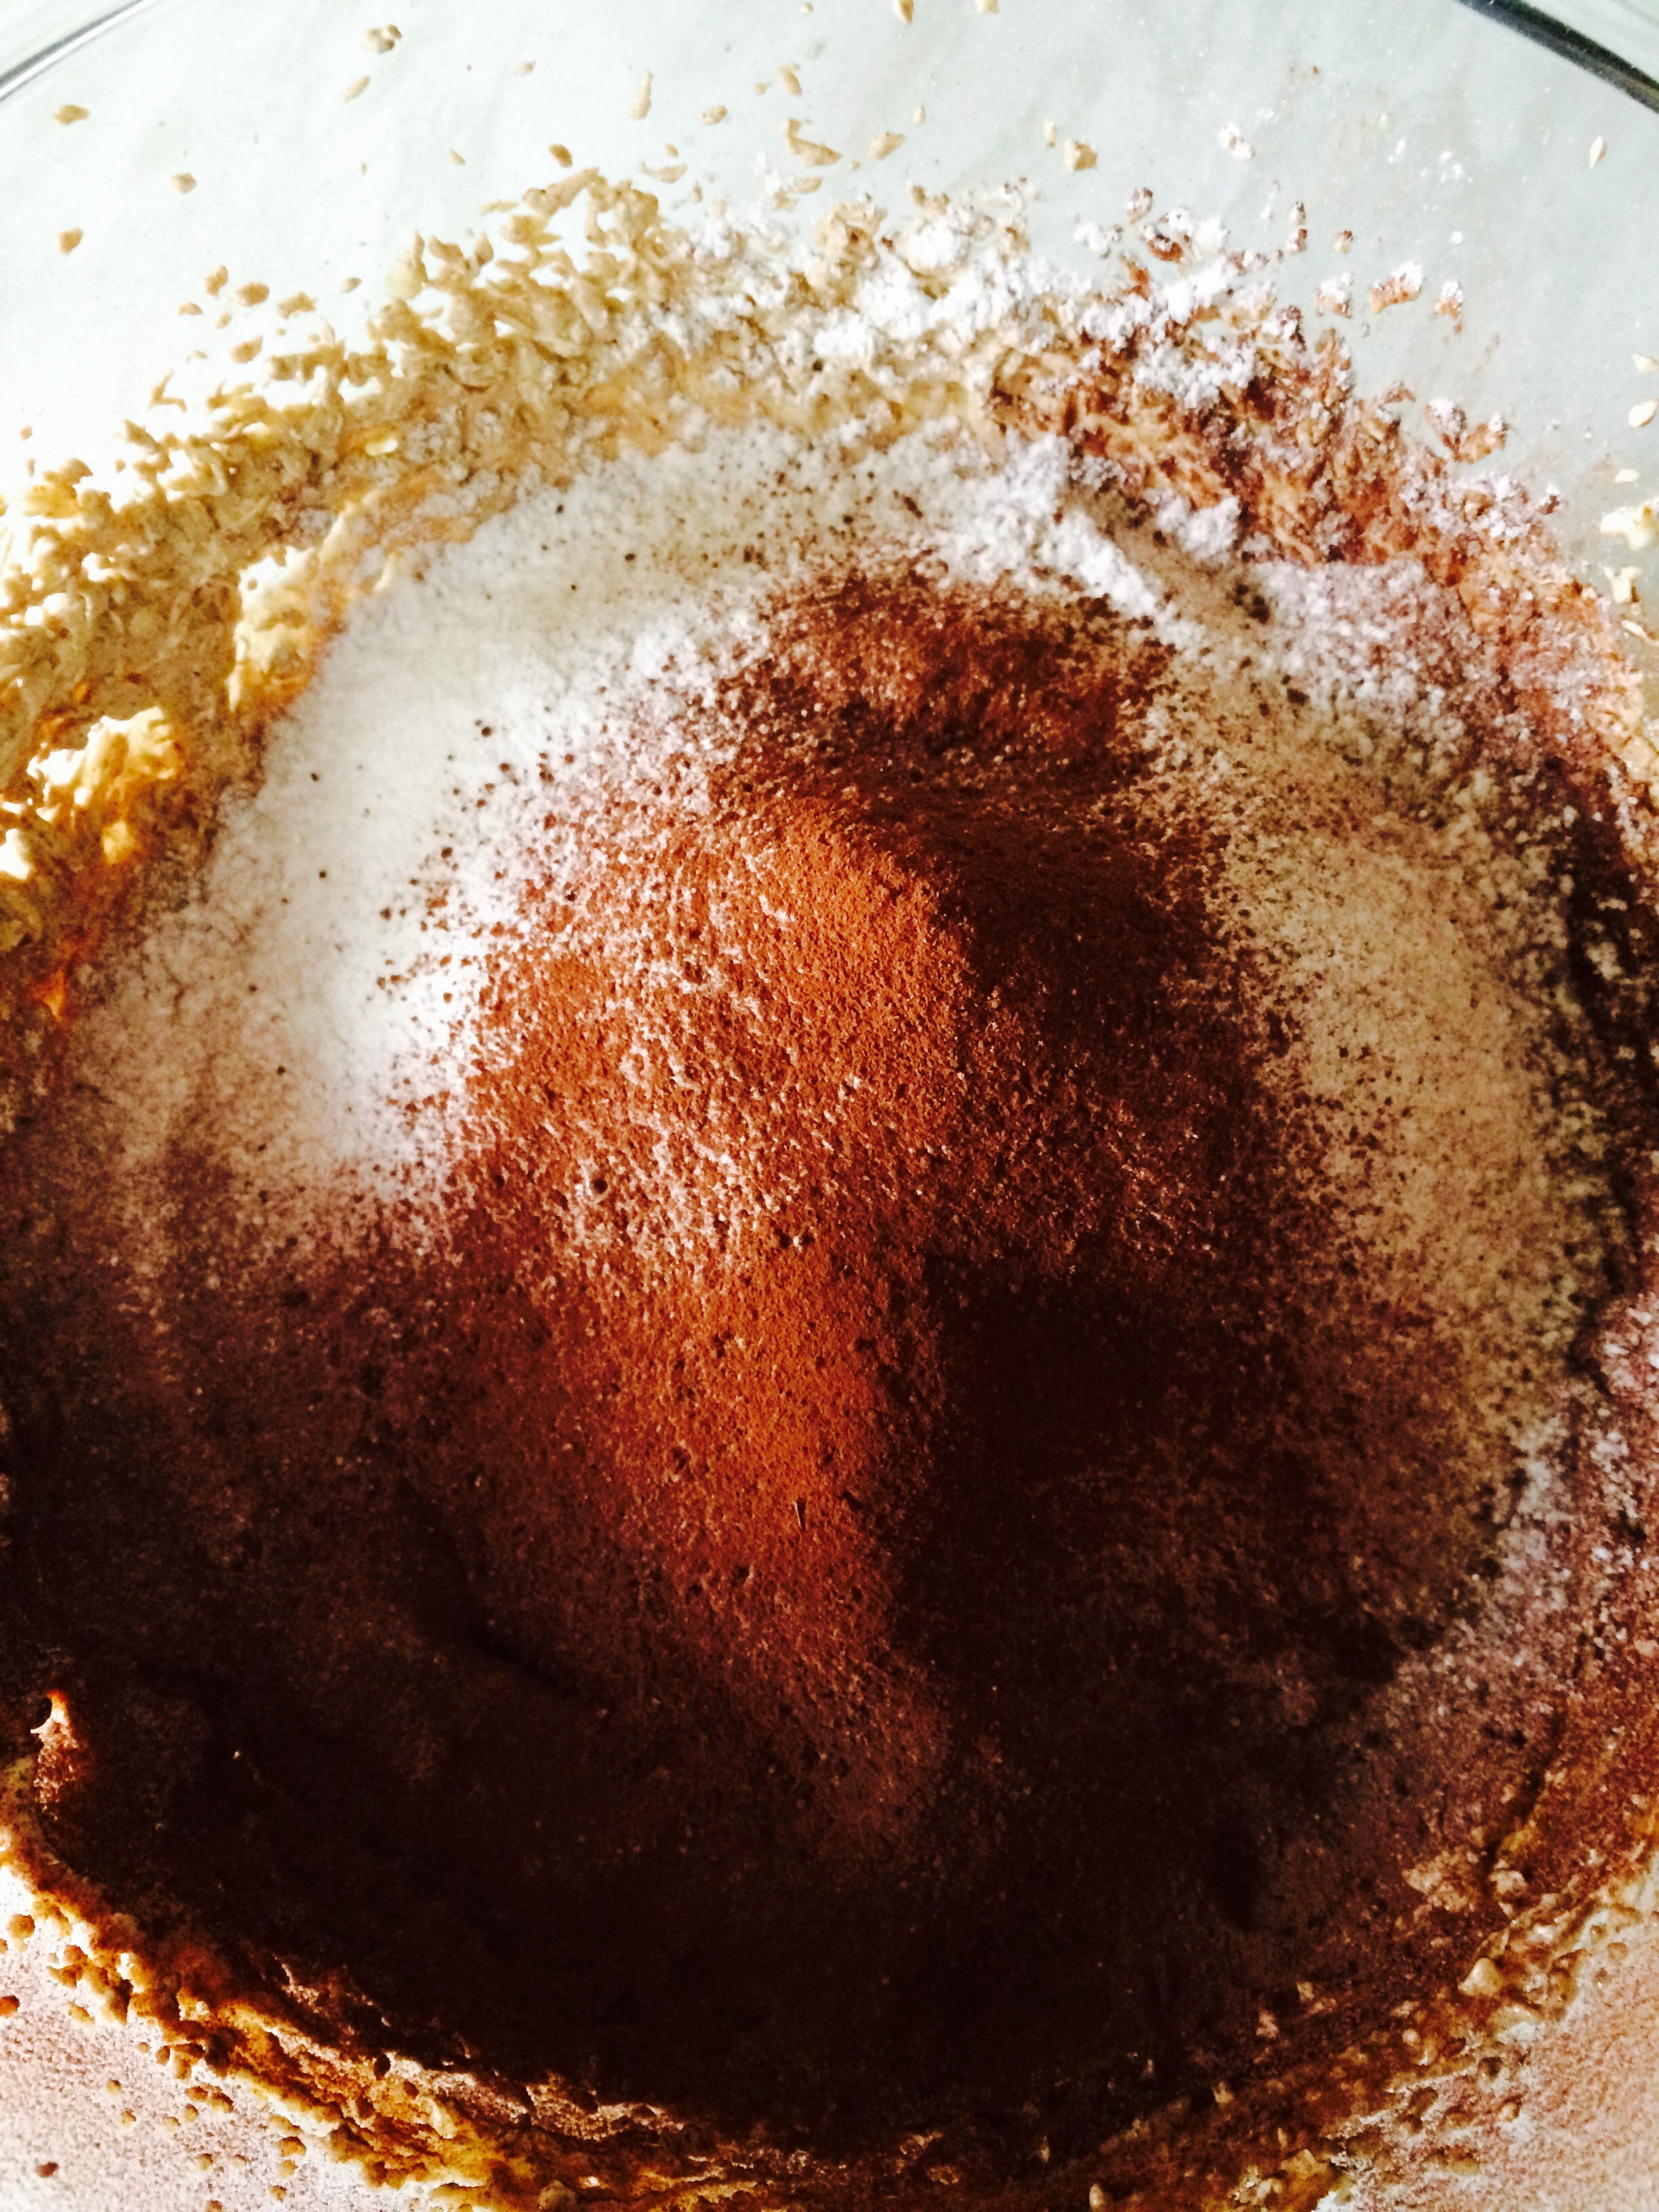
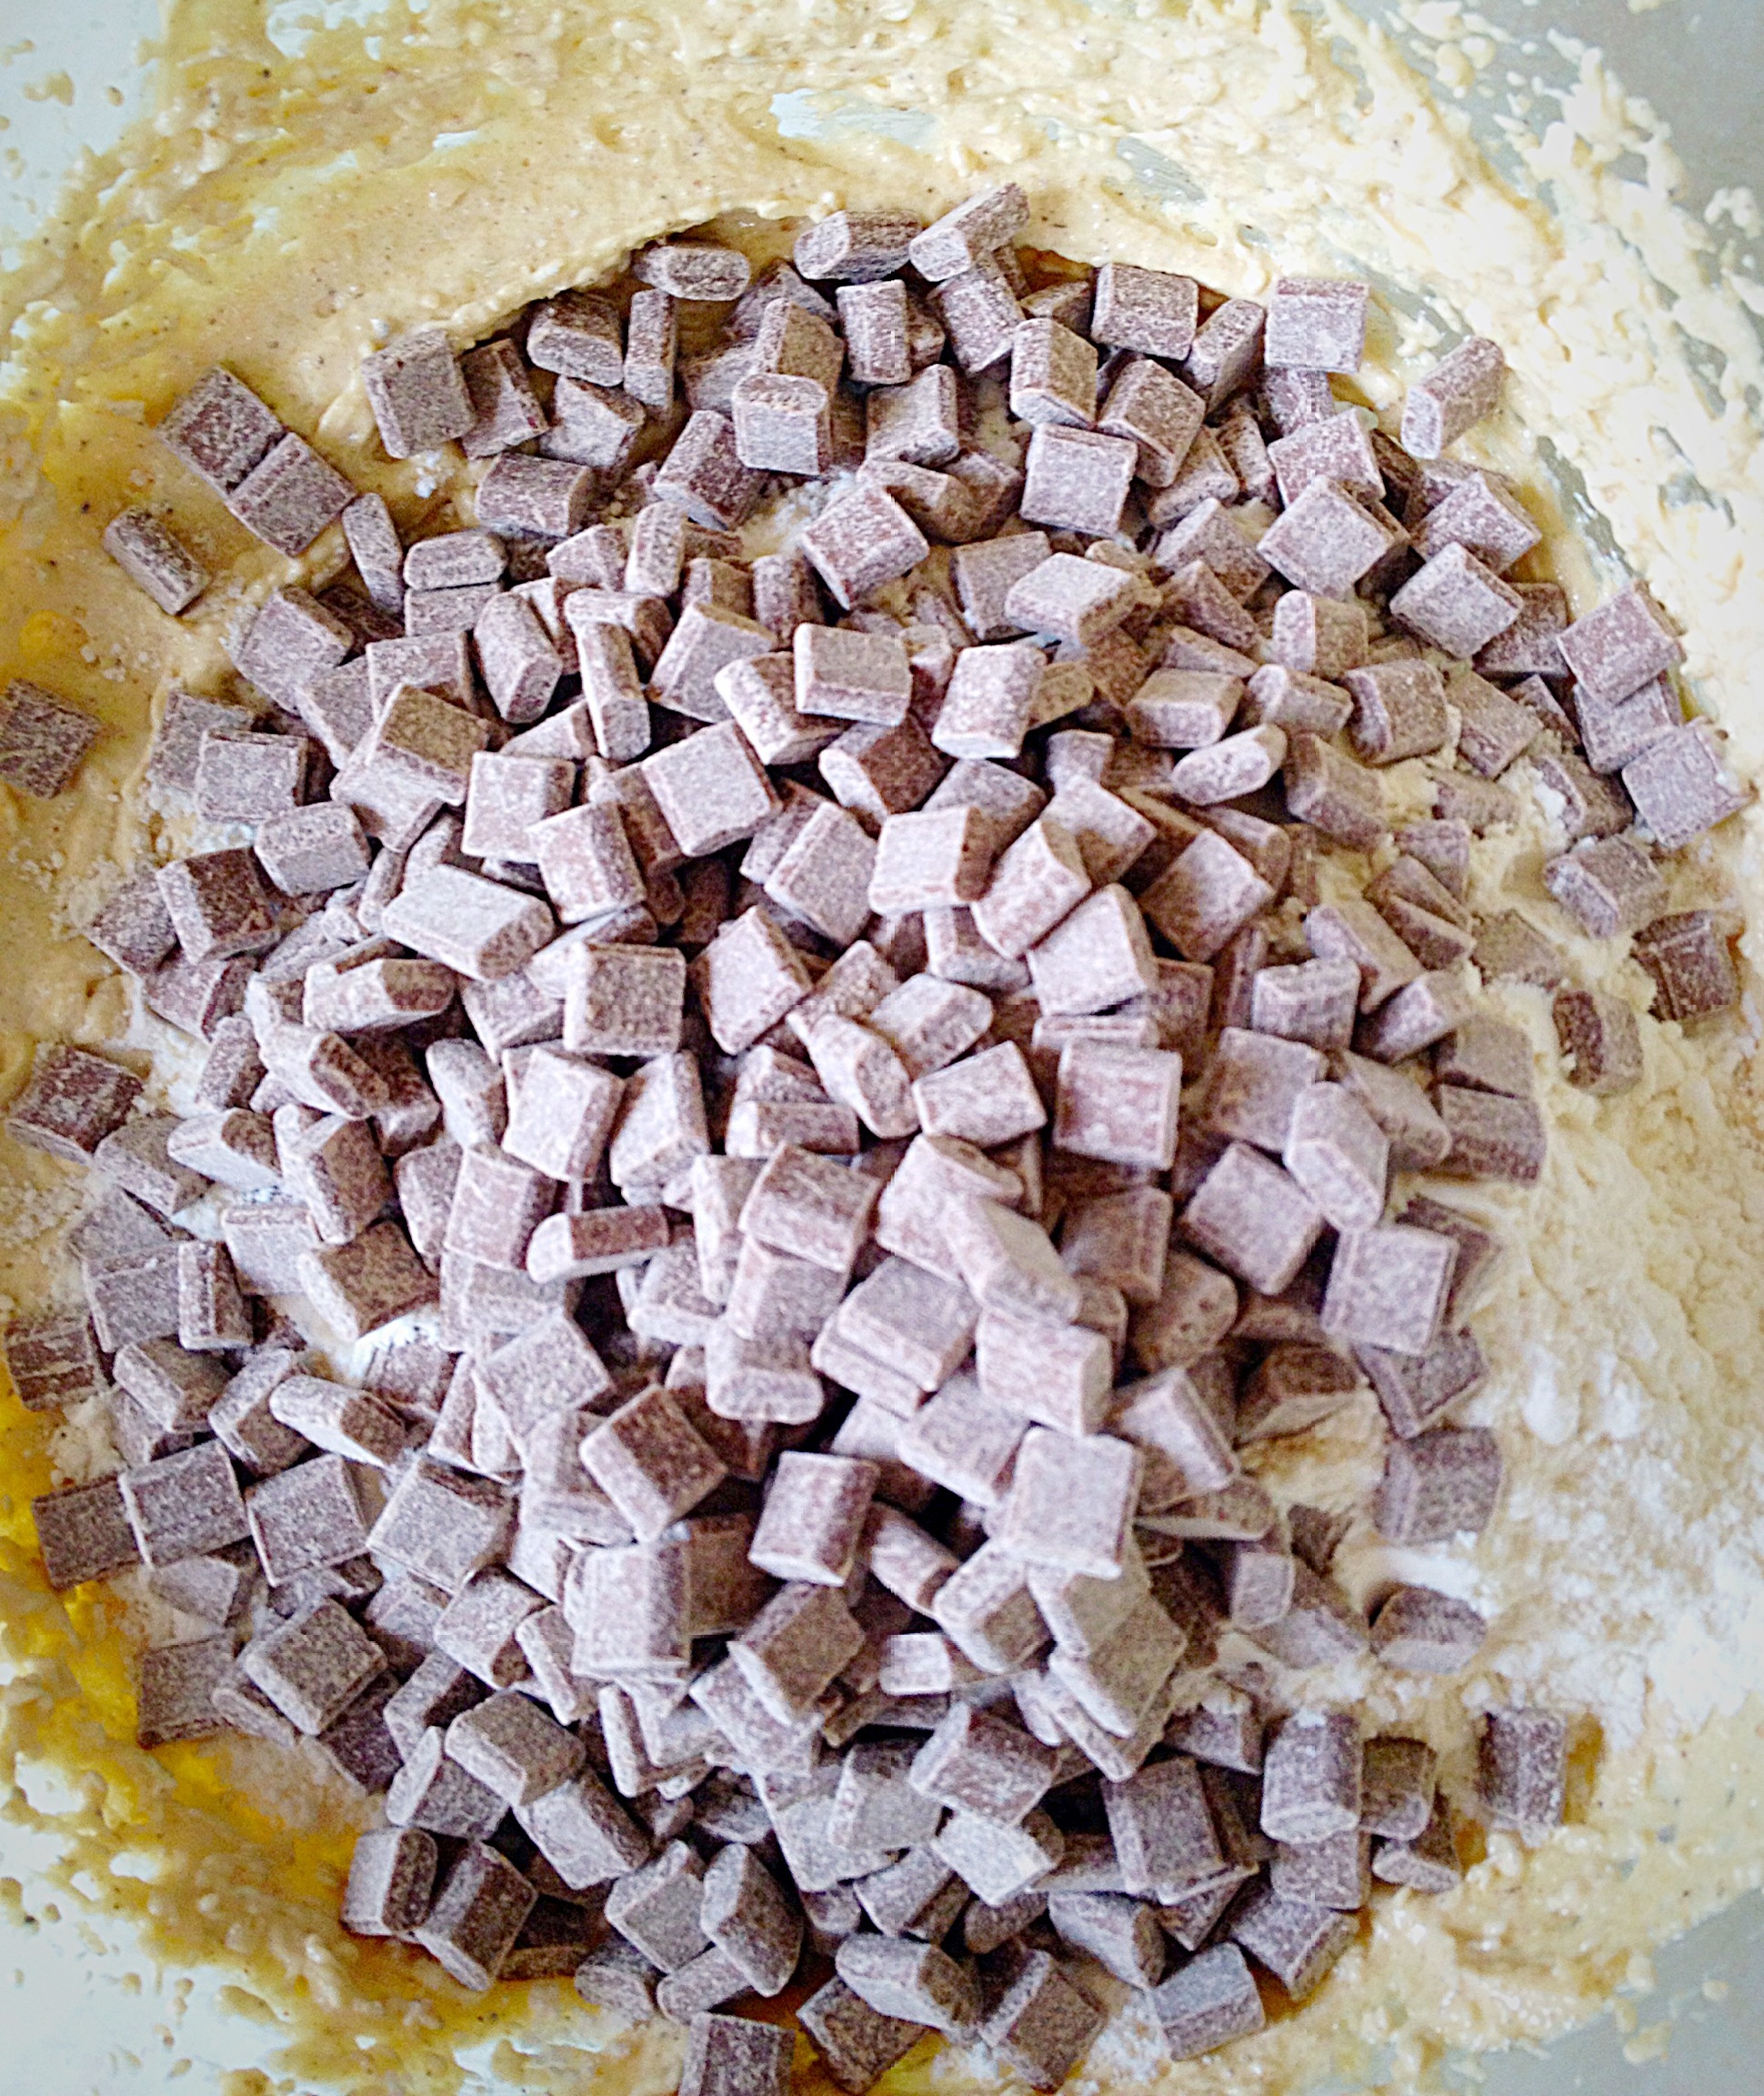
Add the egg yolk and vanilla extract to the bowl.Whisk or beat for 5 minutes until the mixture is paler.Sieve the flour, cocoa and salt into the bowl.Add the chopped nuts and chocolate chunks.Mix everything together until the have the most delicious, chocolate, nut studded cookie dough.
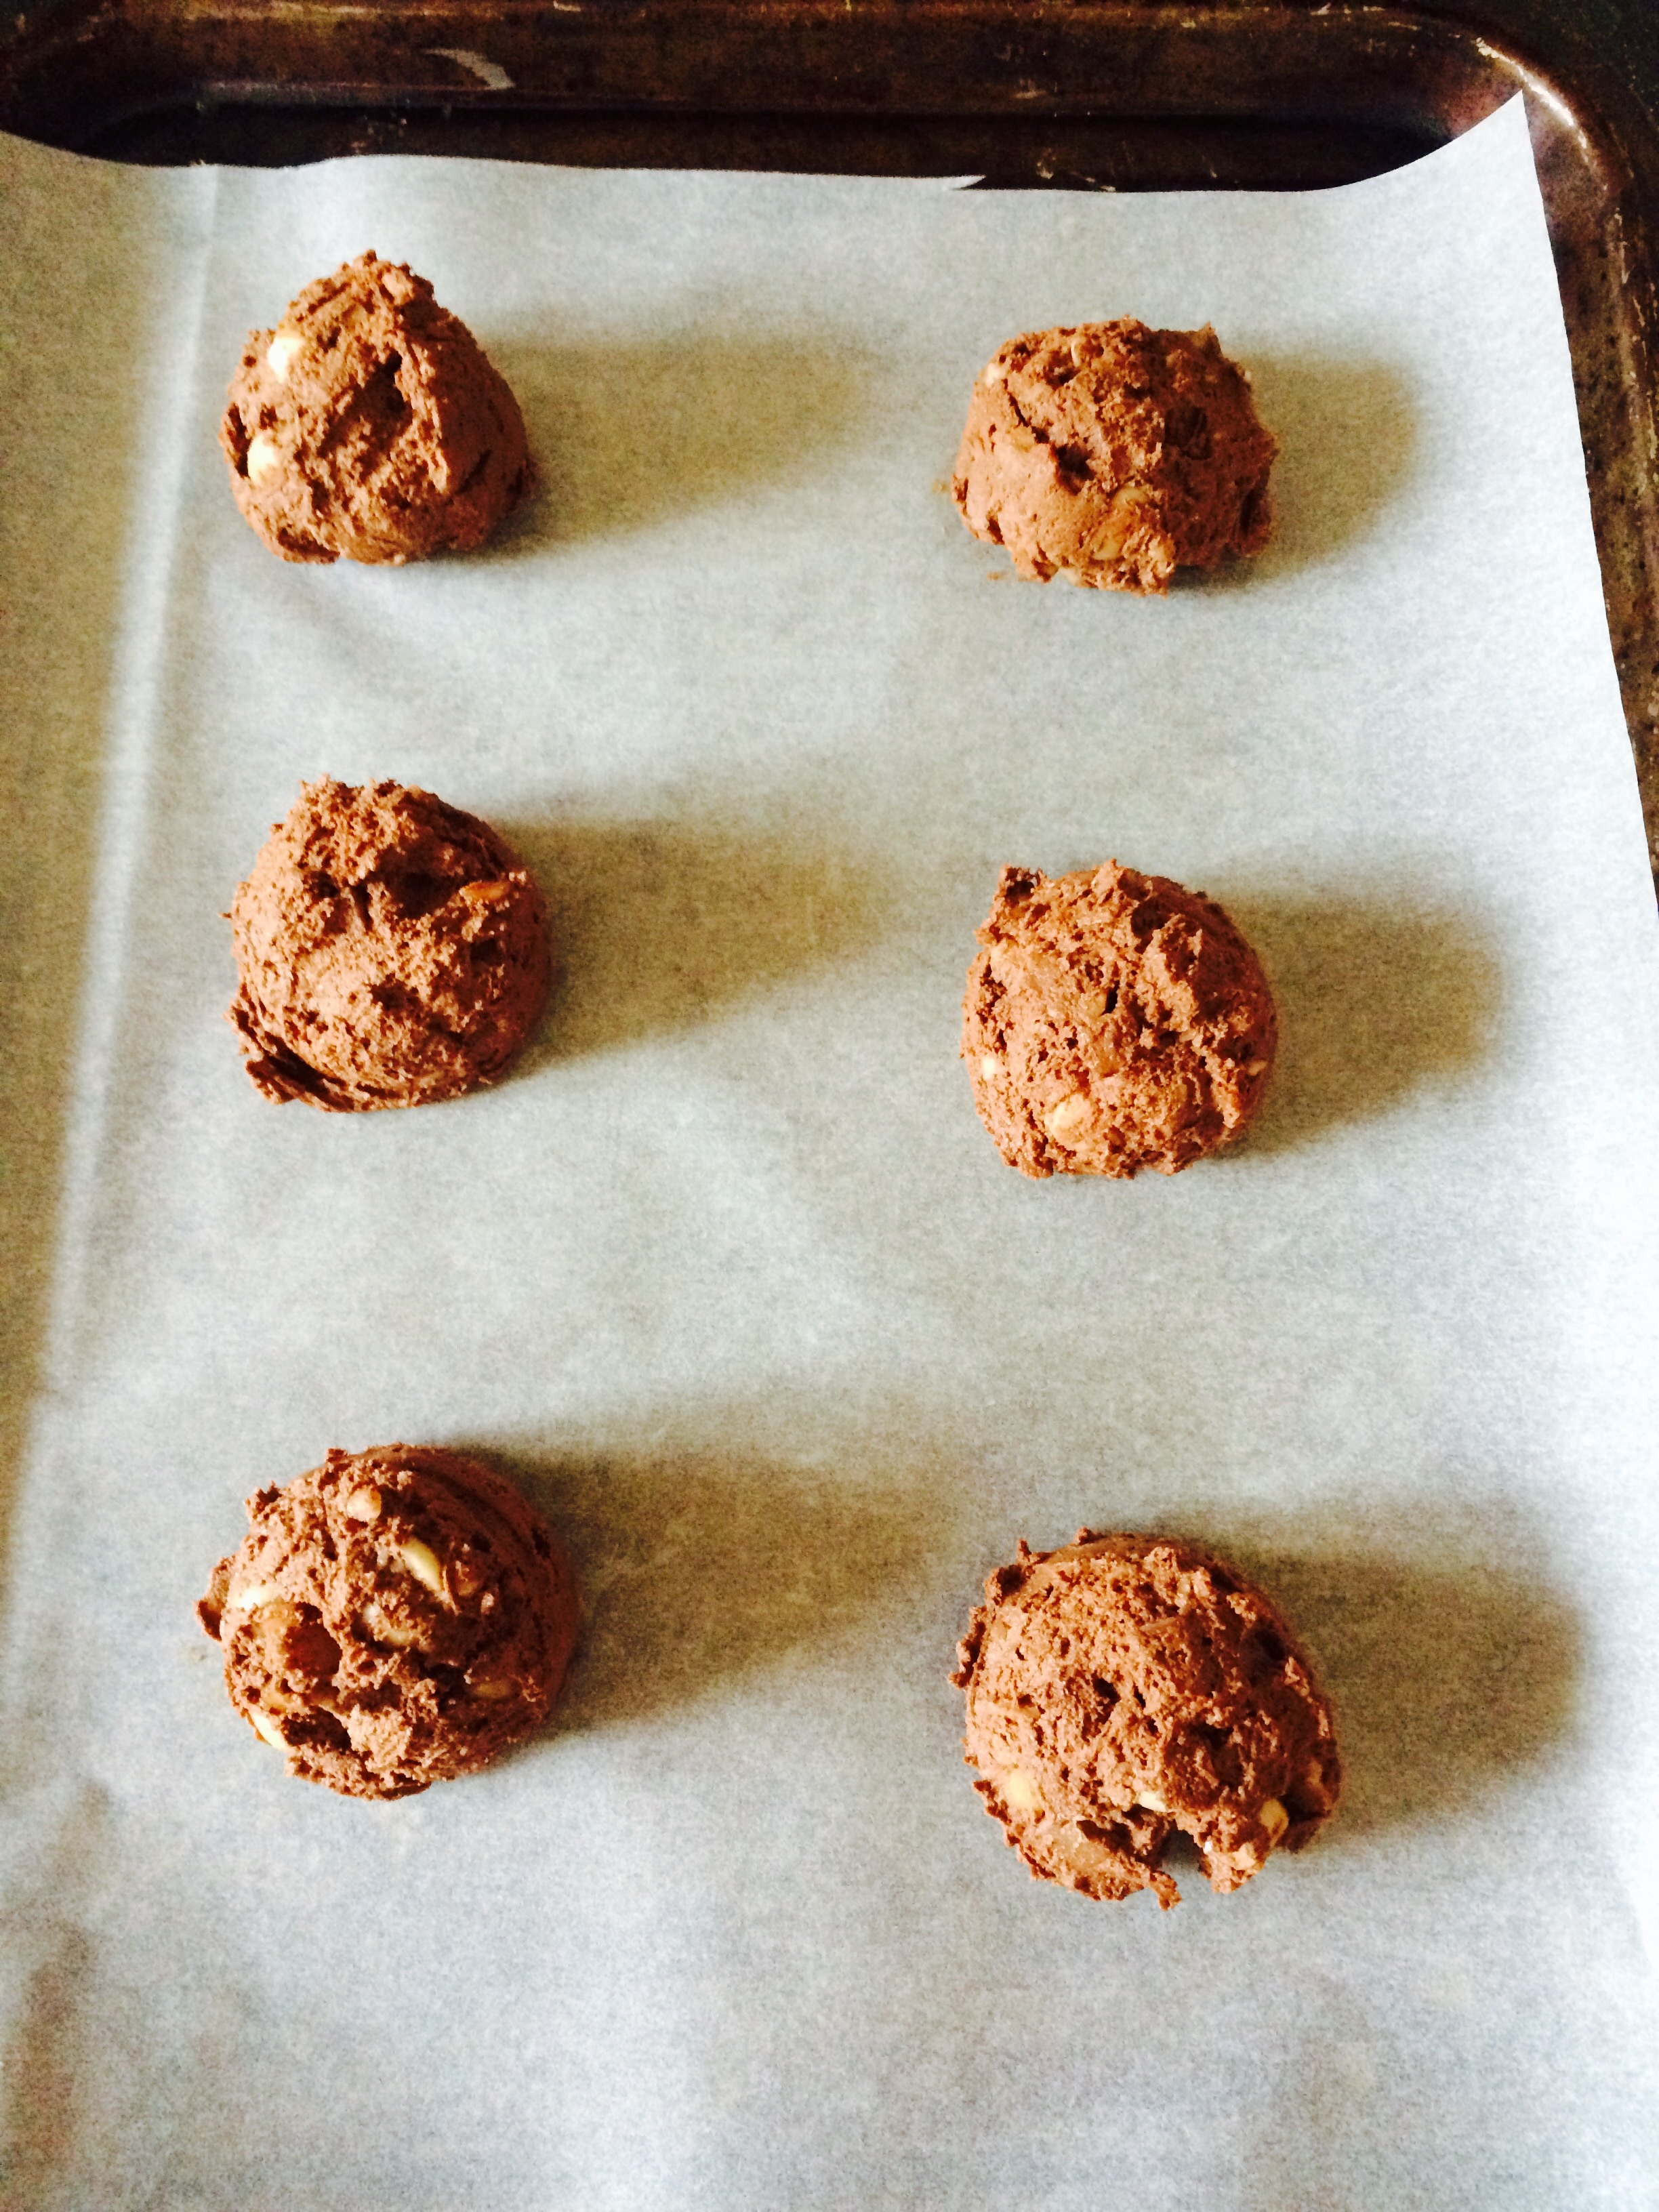
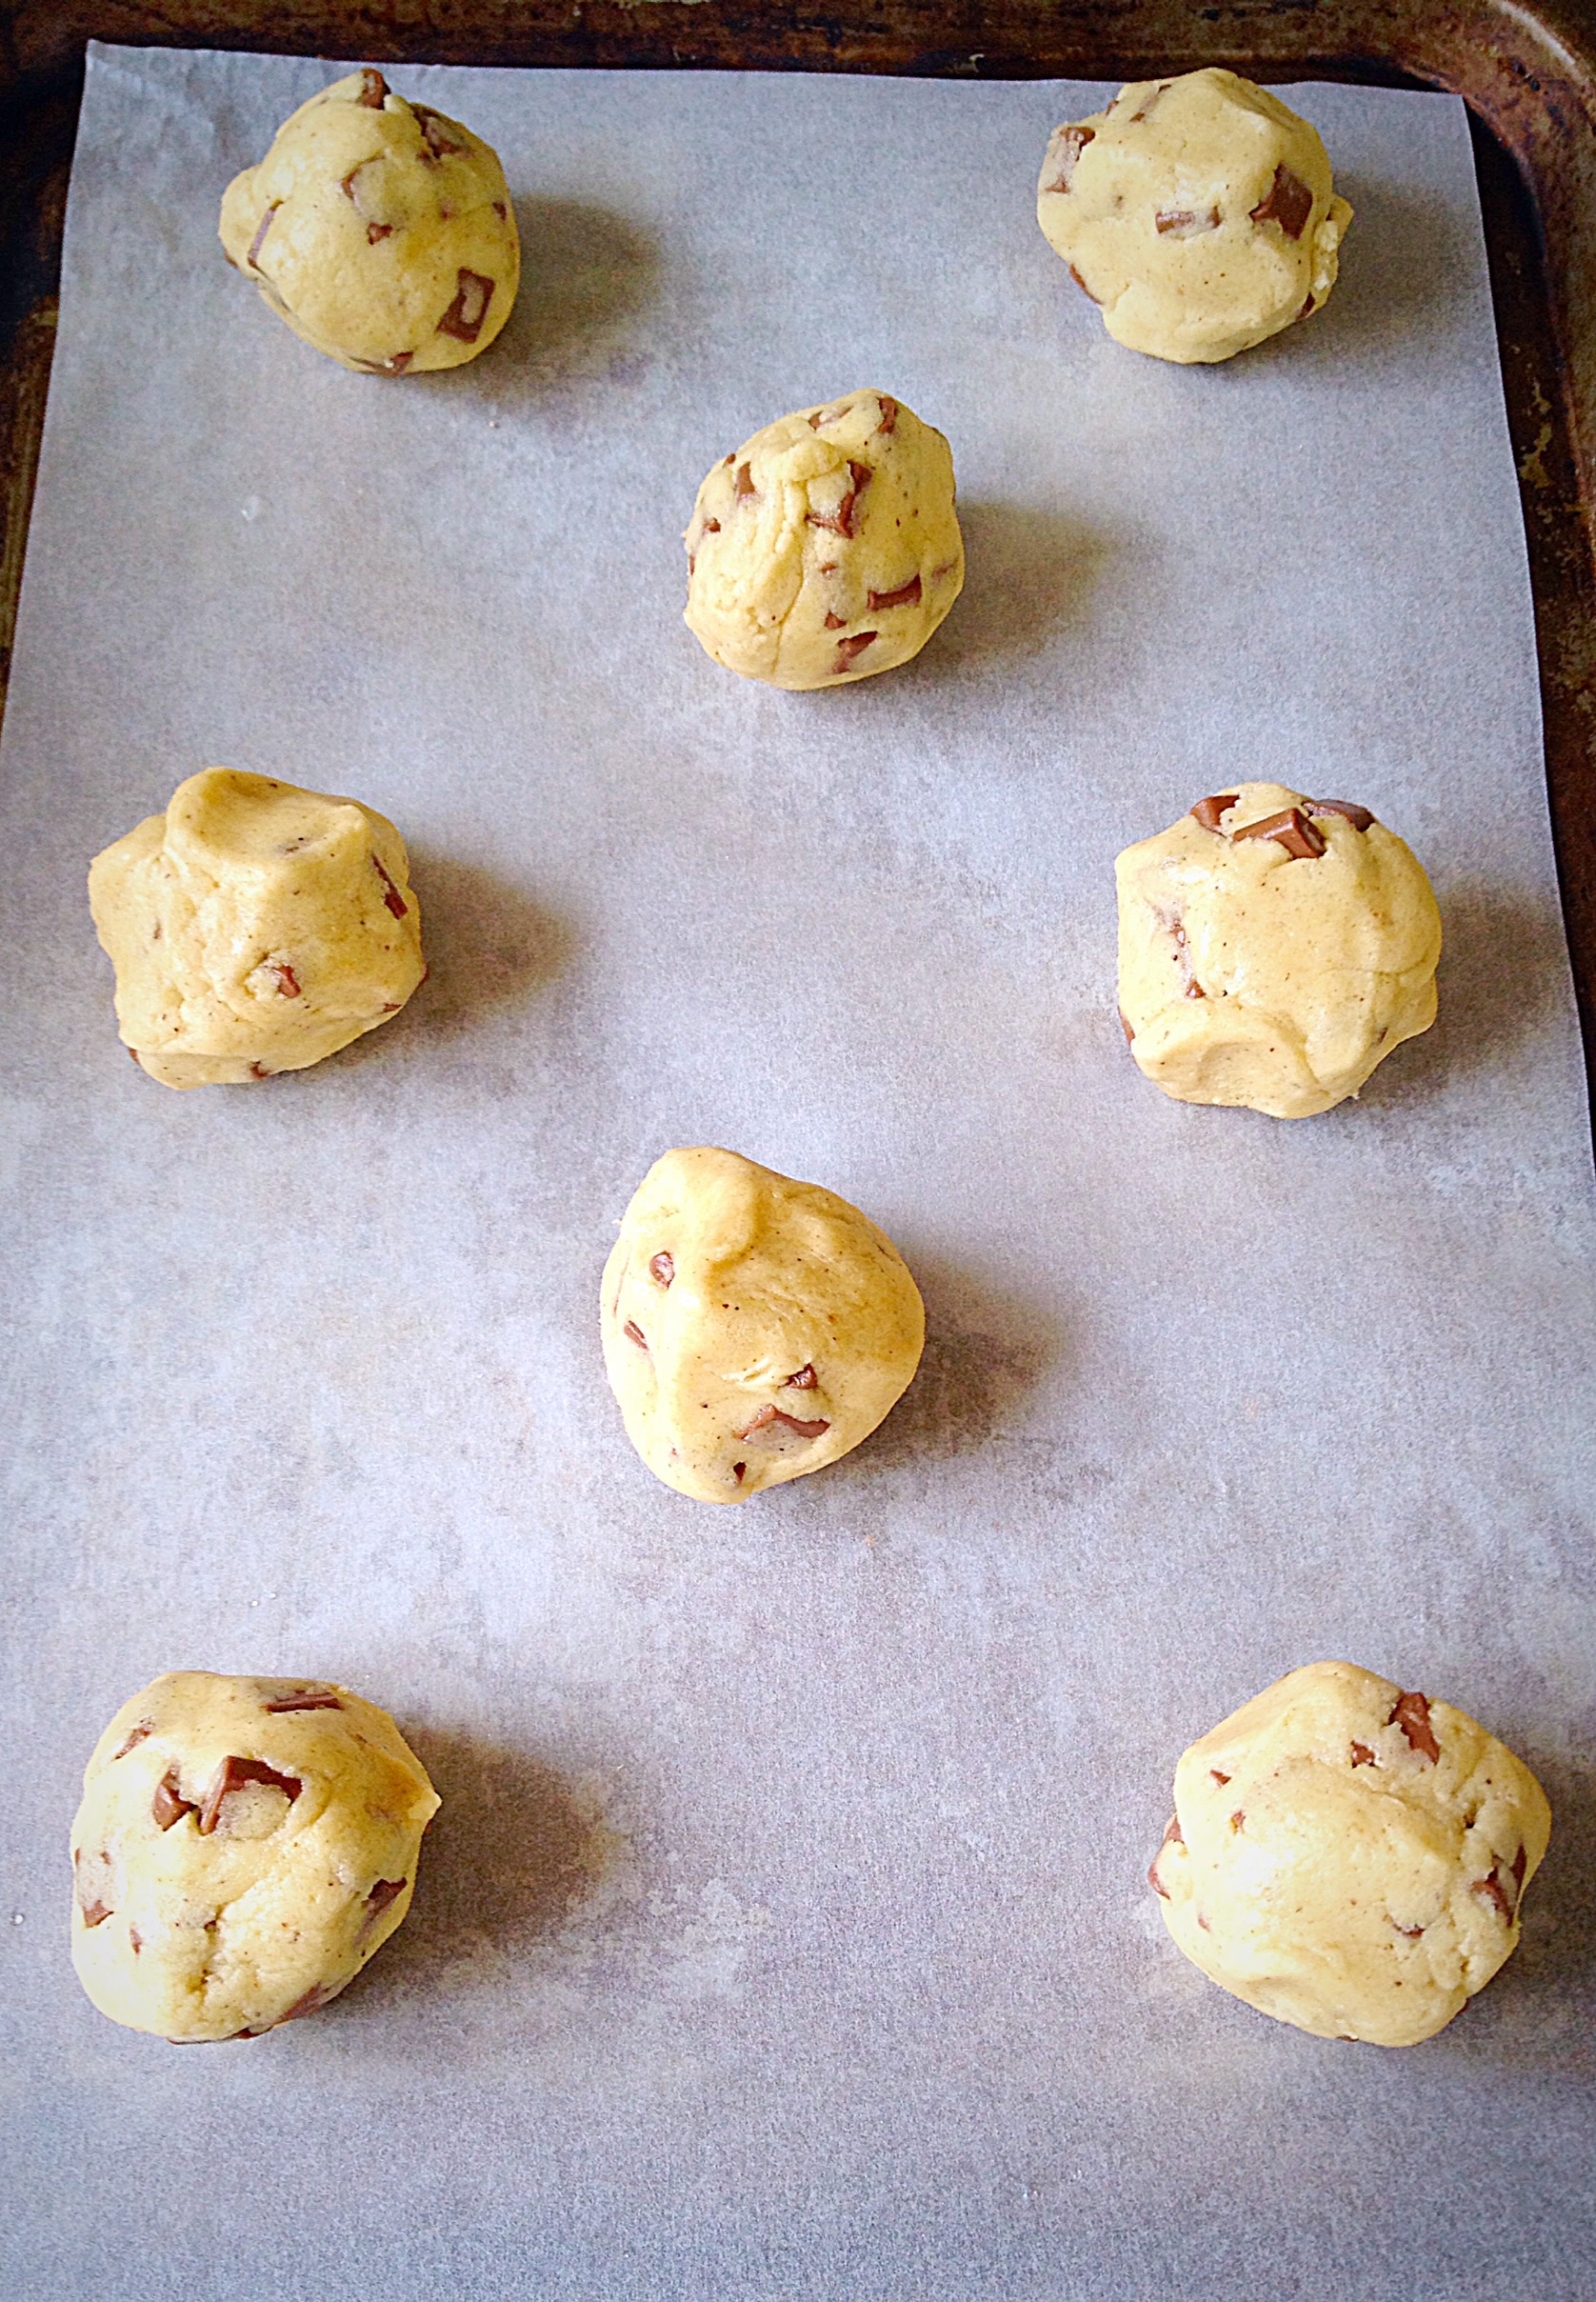
Line 2 baking sheets with parchment paper.
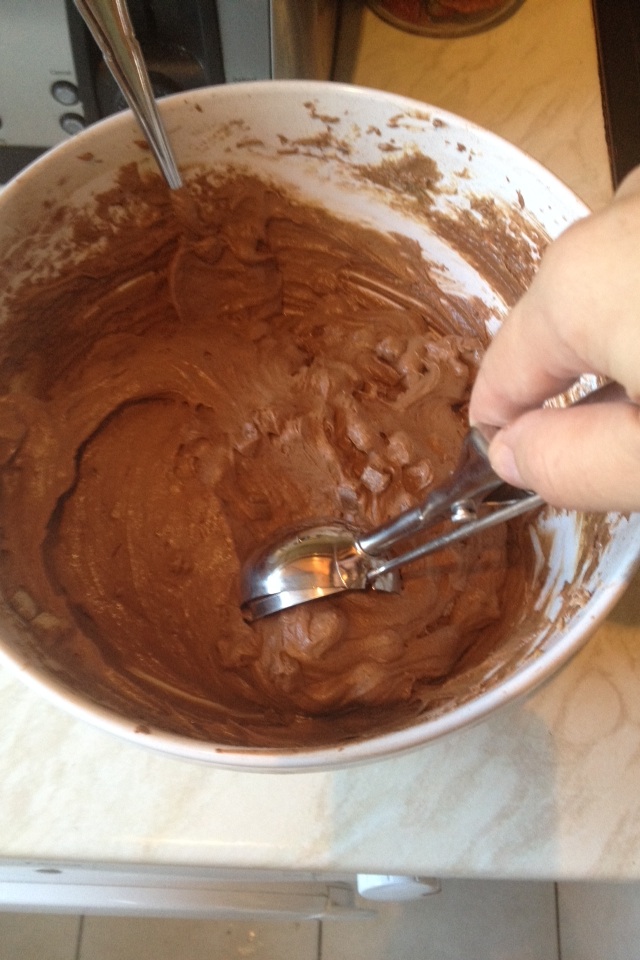
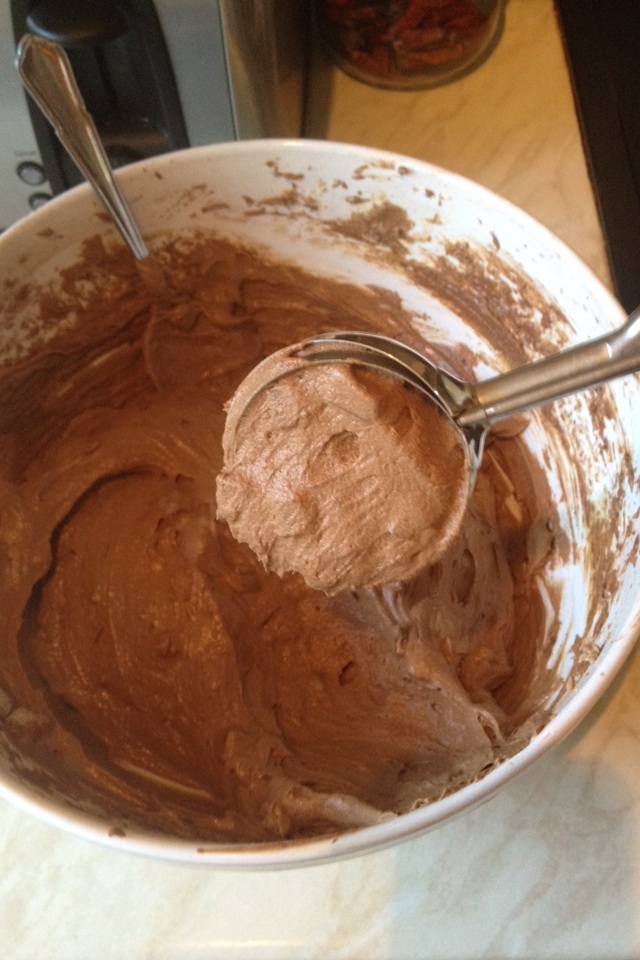
Using an ice cream scoop make 1″ balls of cookie dough.
Ensure the cookie dough balls are well spaced apart.
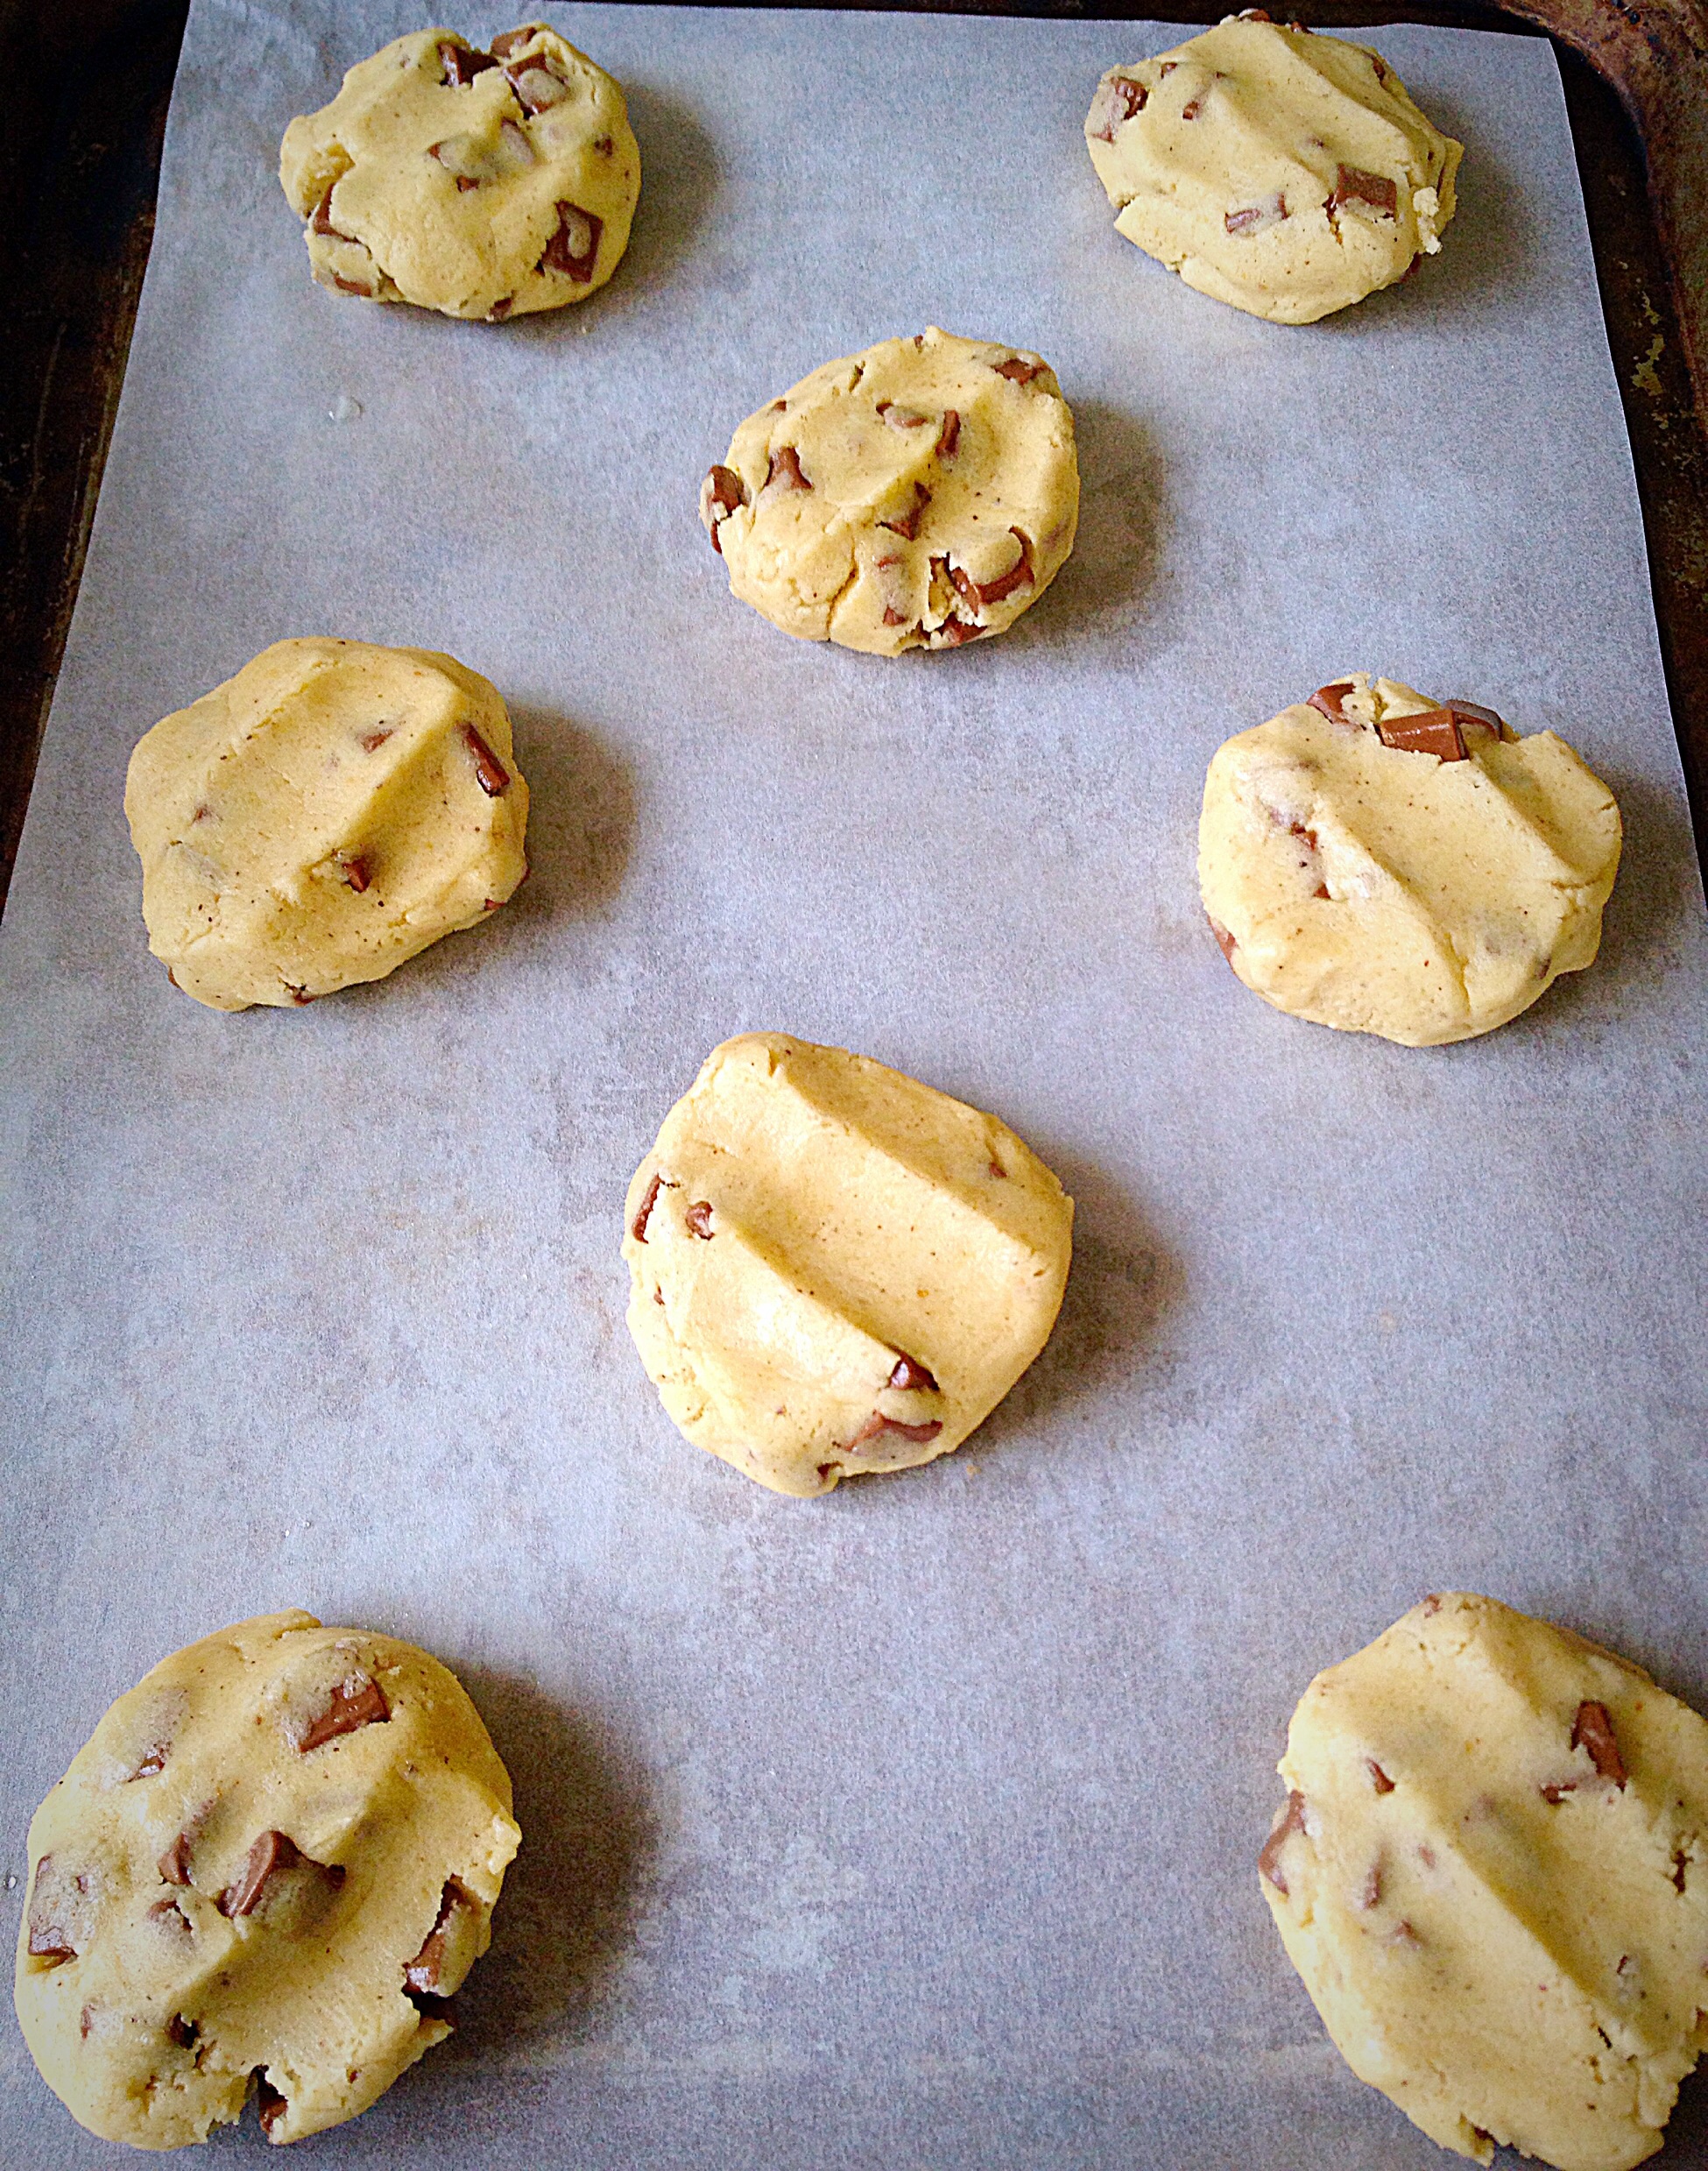
Press down on each cookie dough ball to flatten.
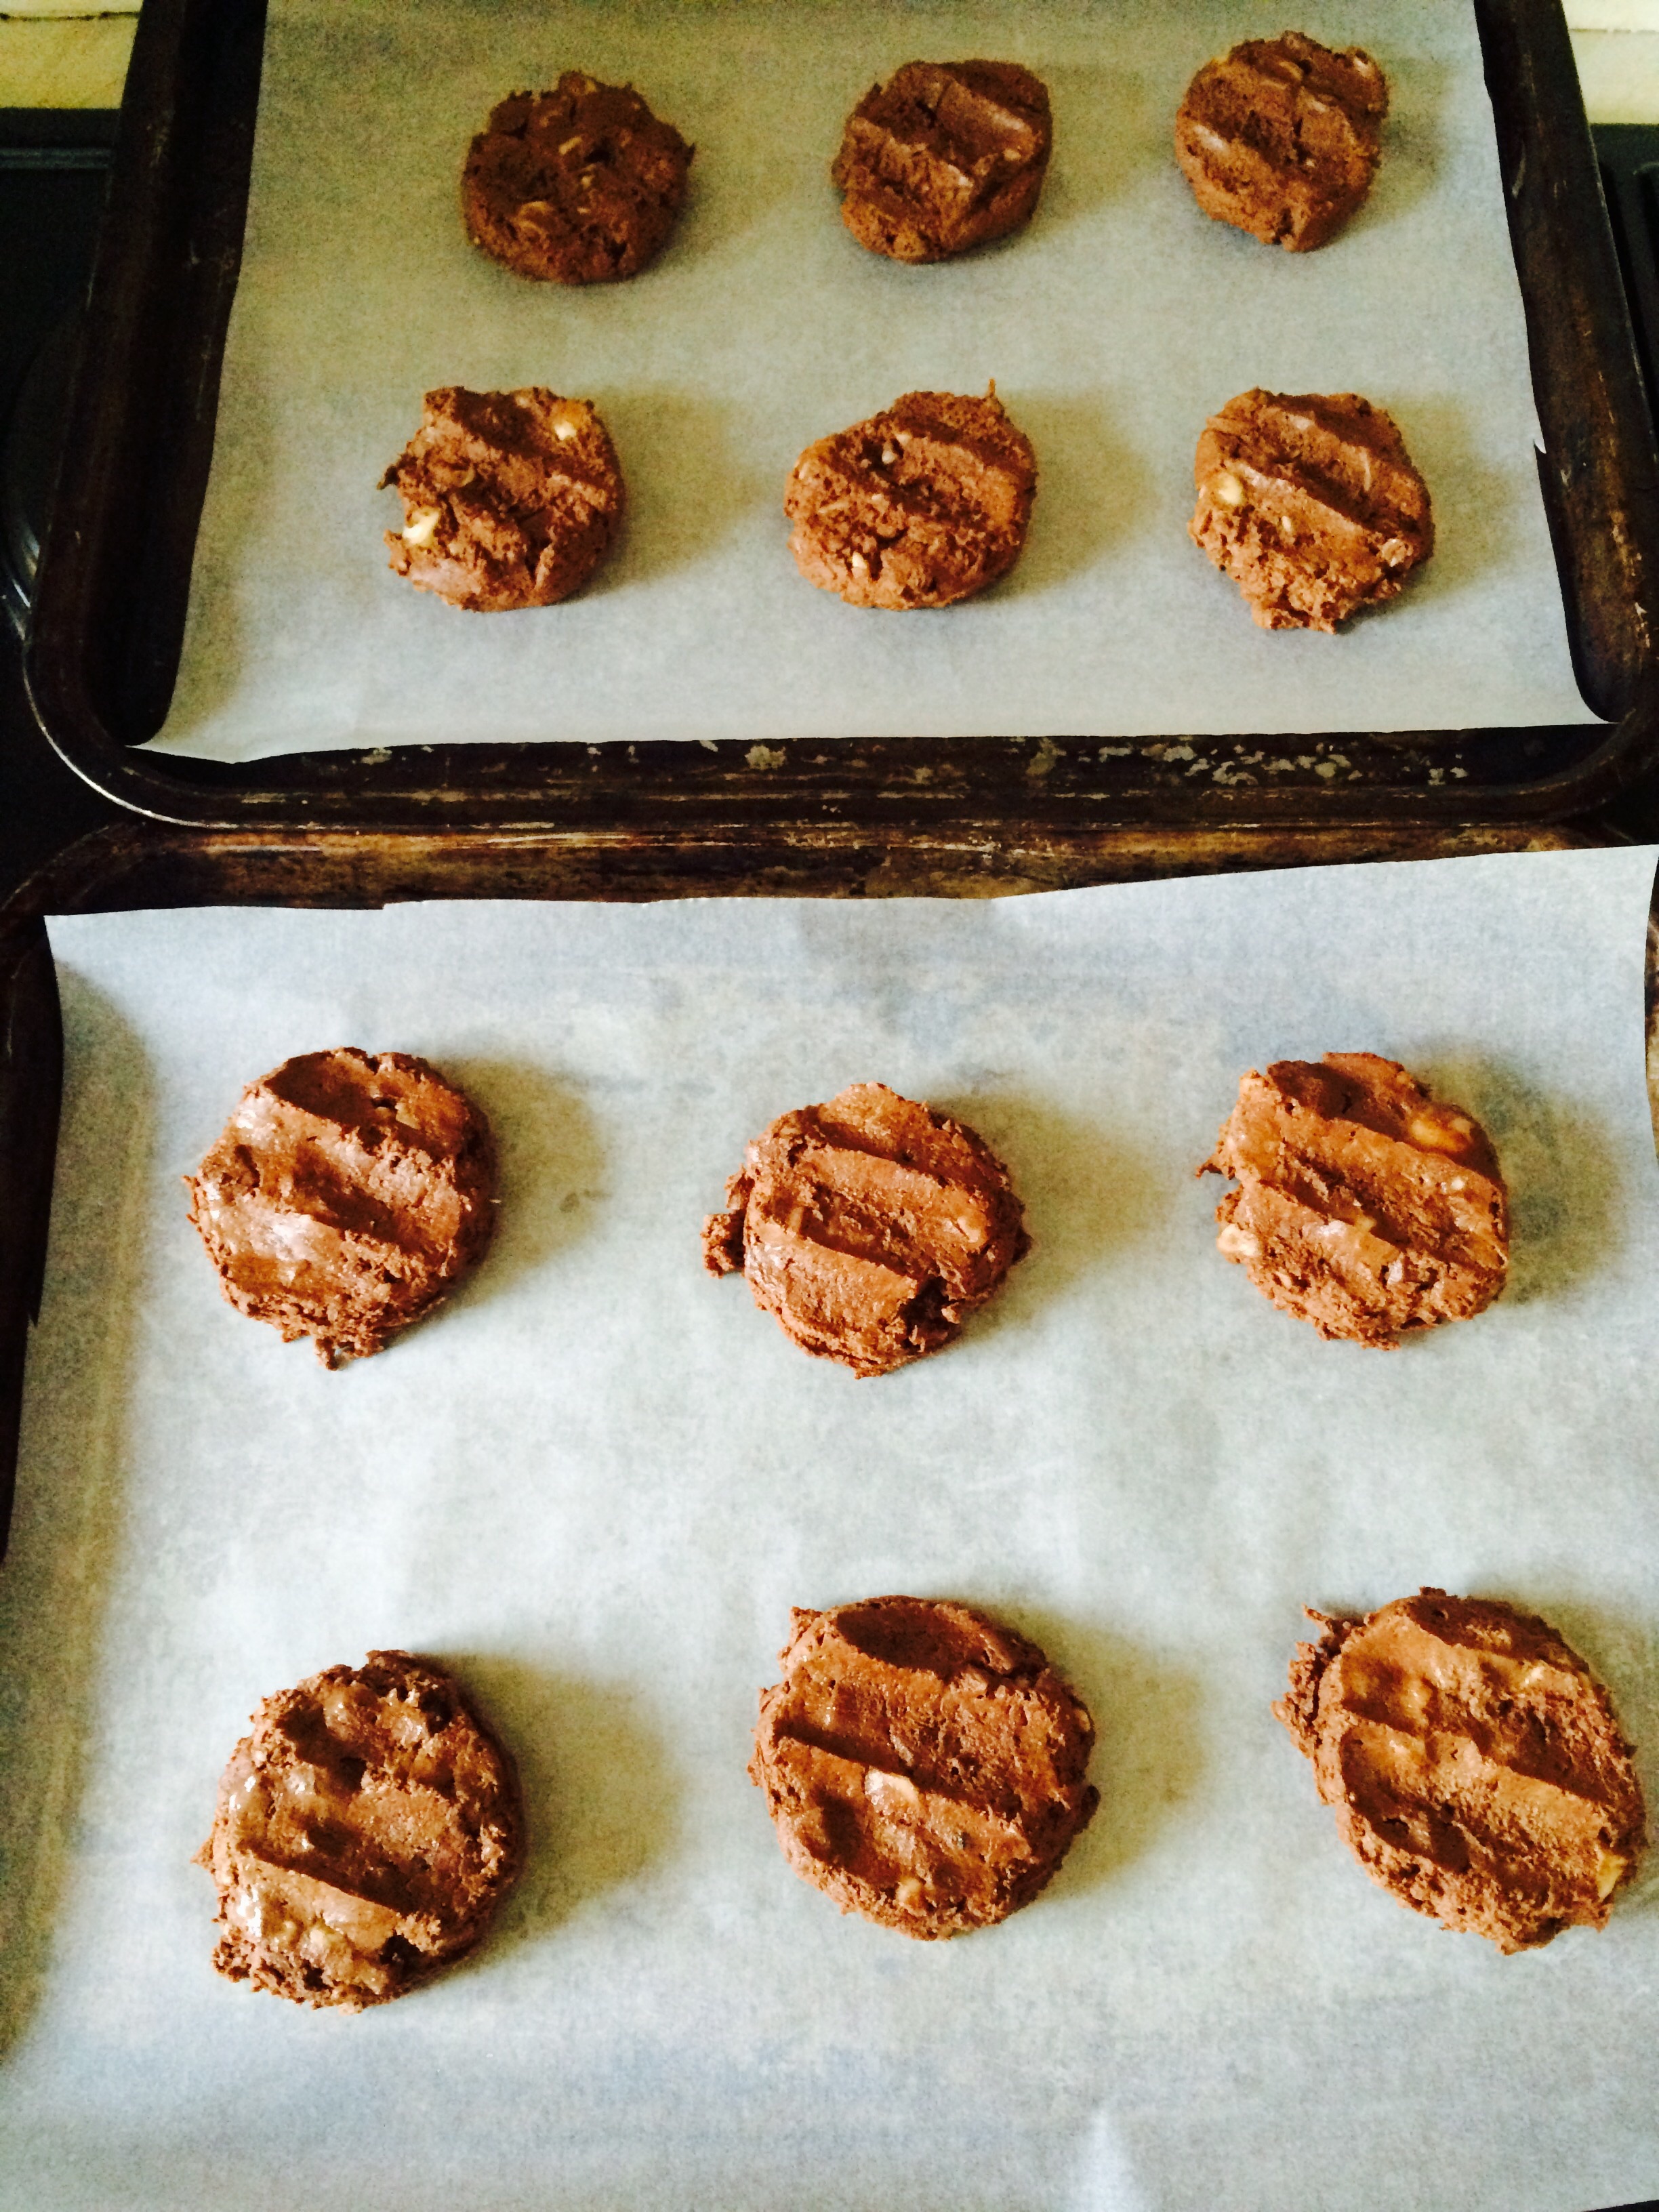
Place the cookies into the oven and bake for 15 minutes exactly. The cookies will still seem soft when baked. Remove from the oven.
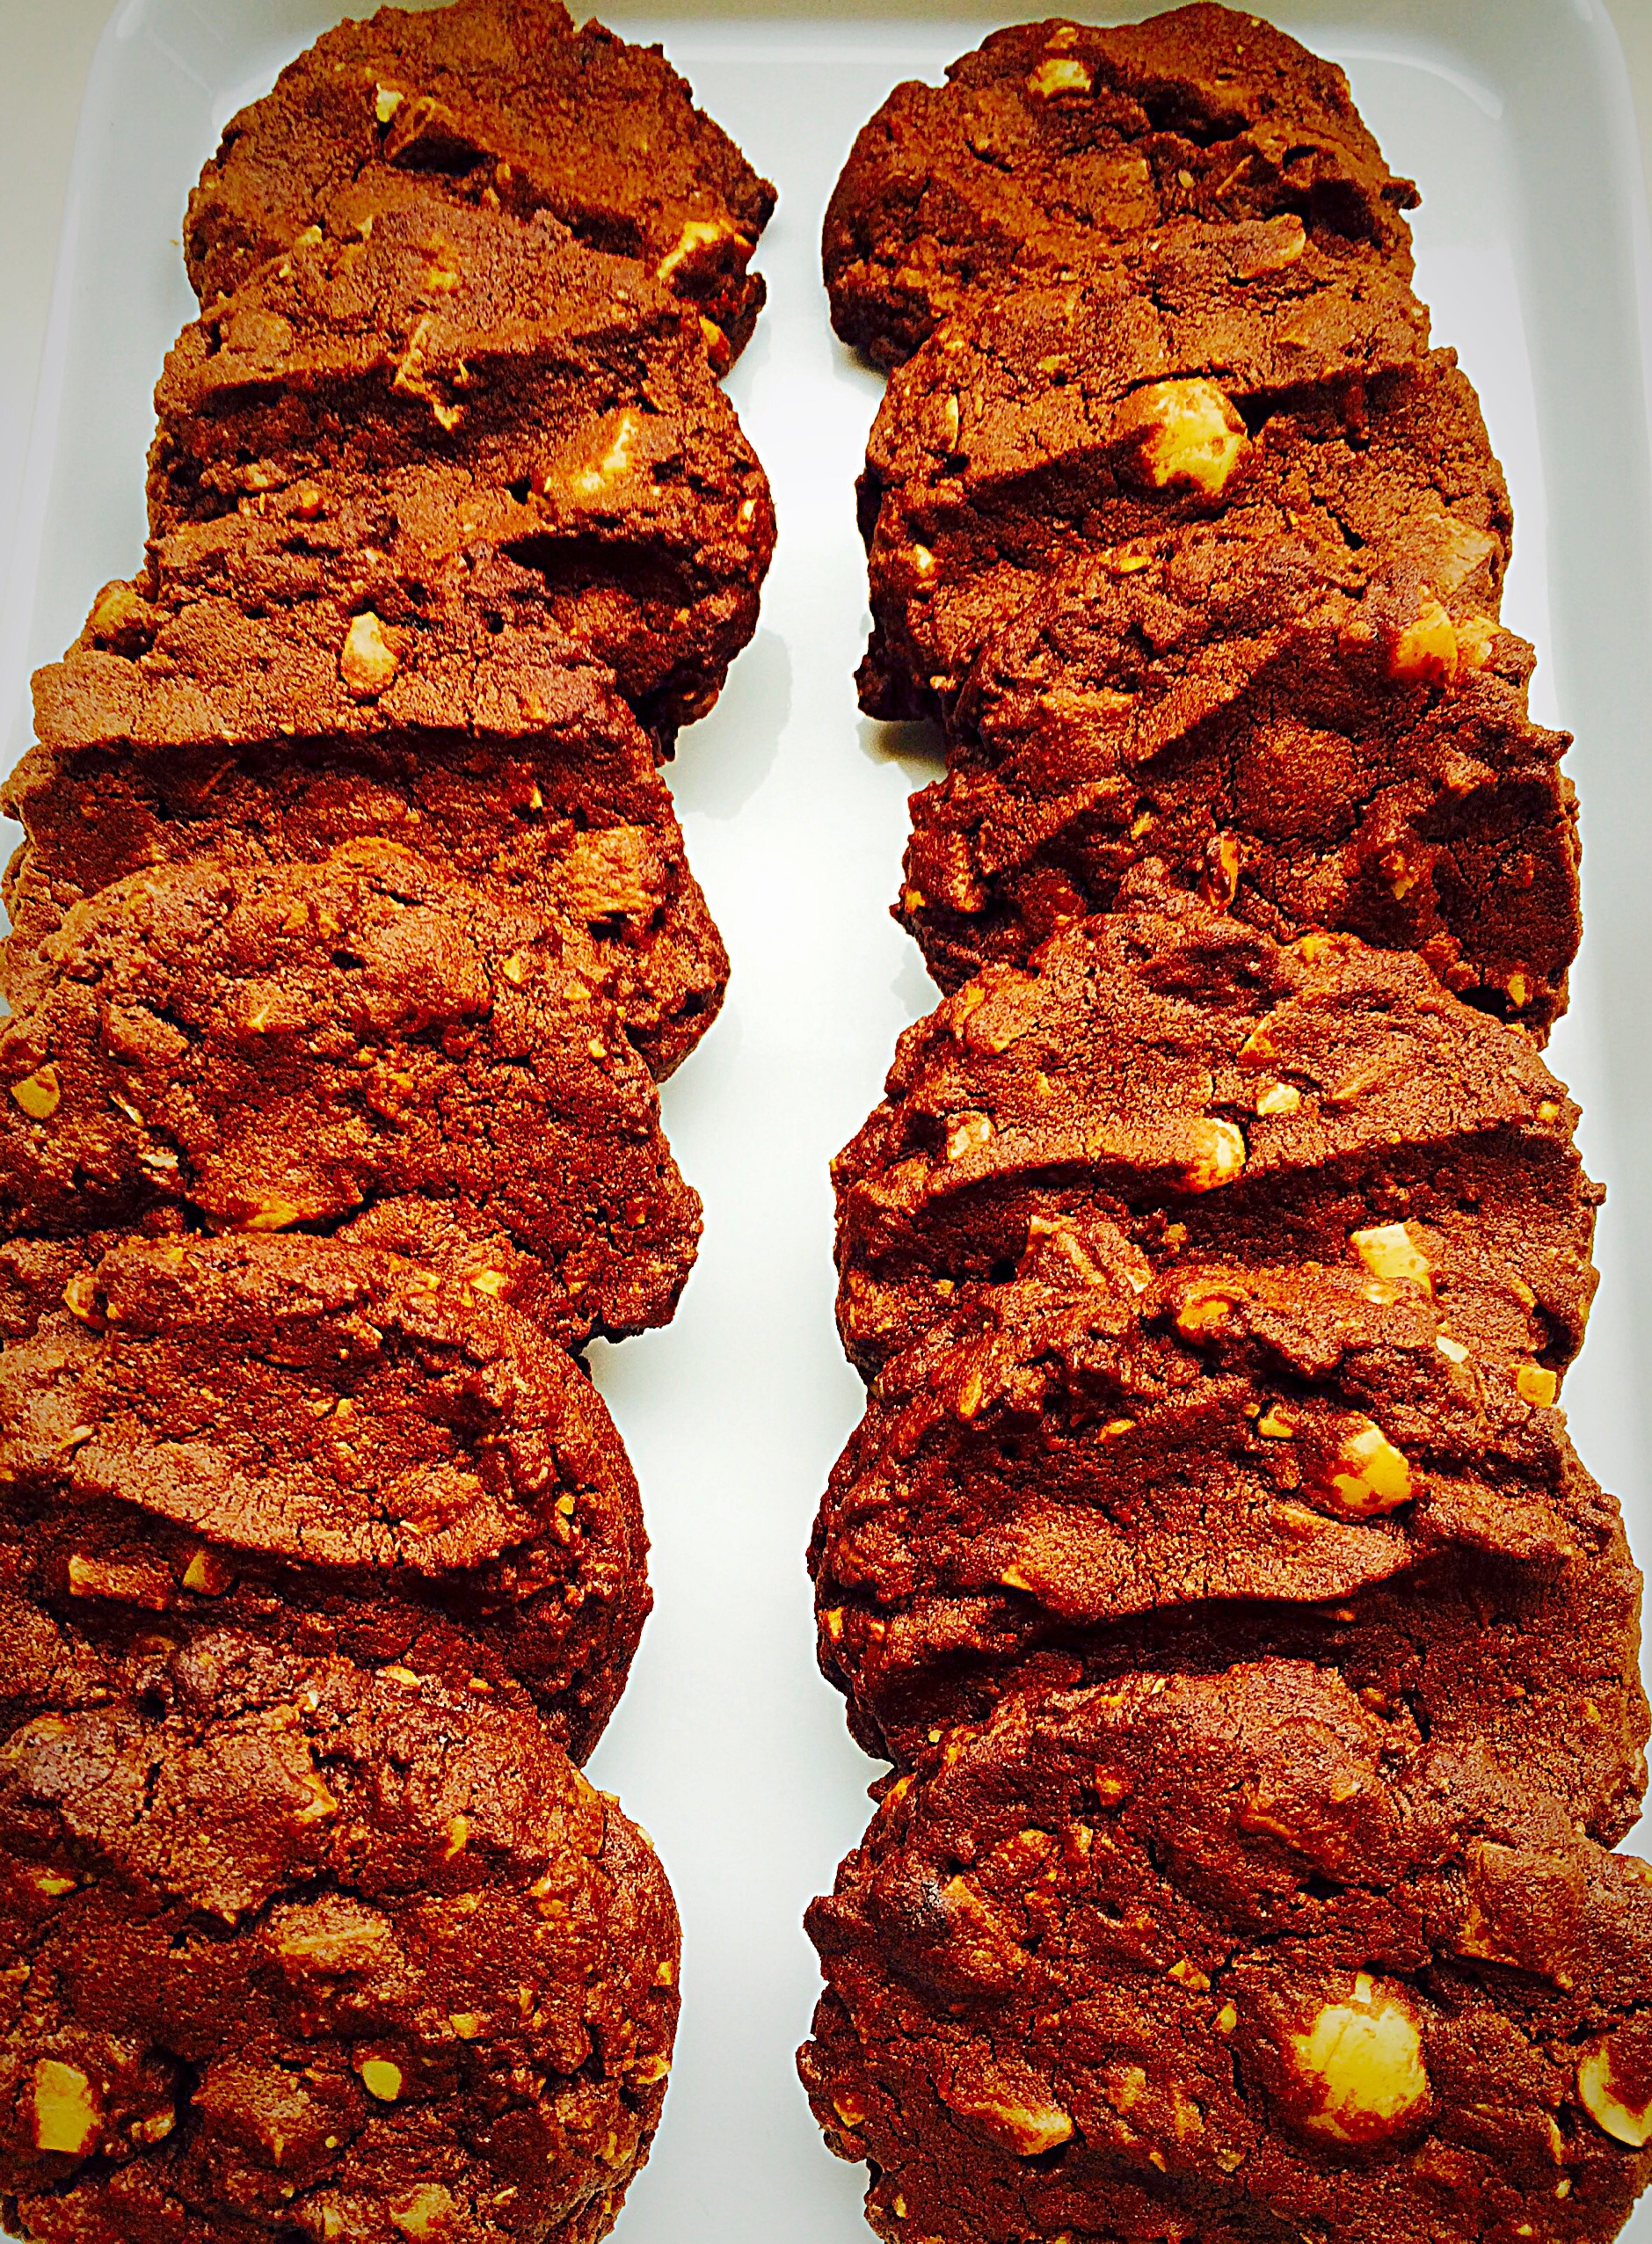
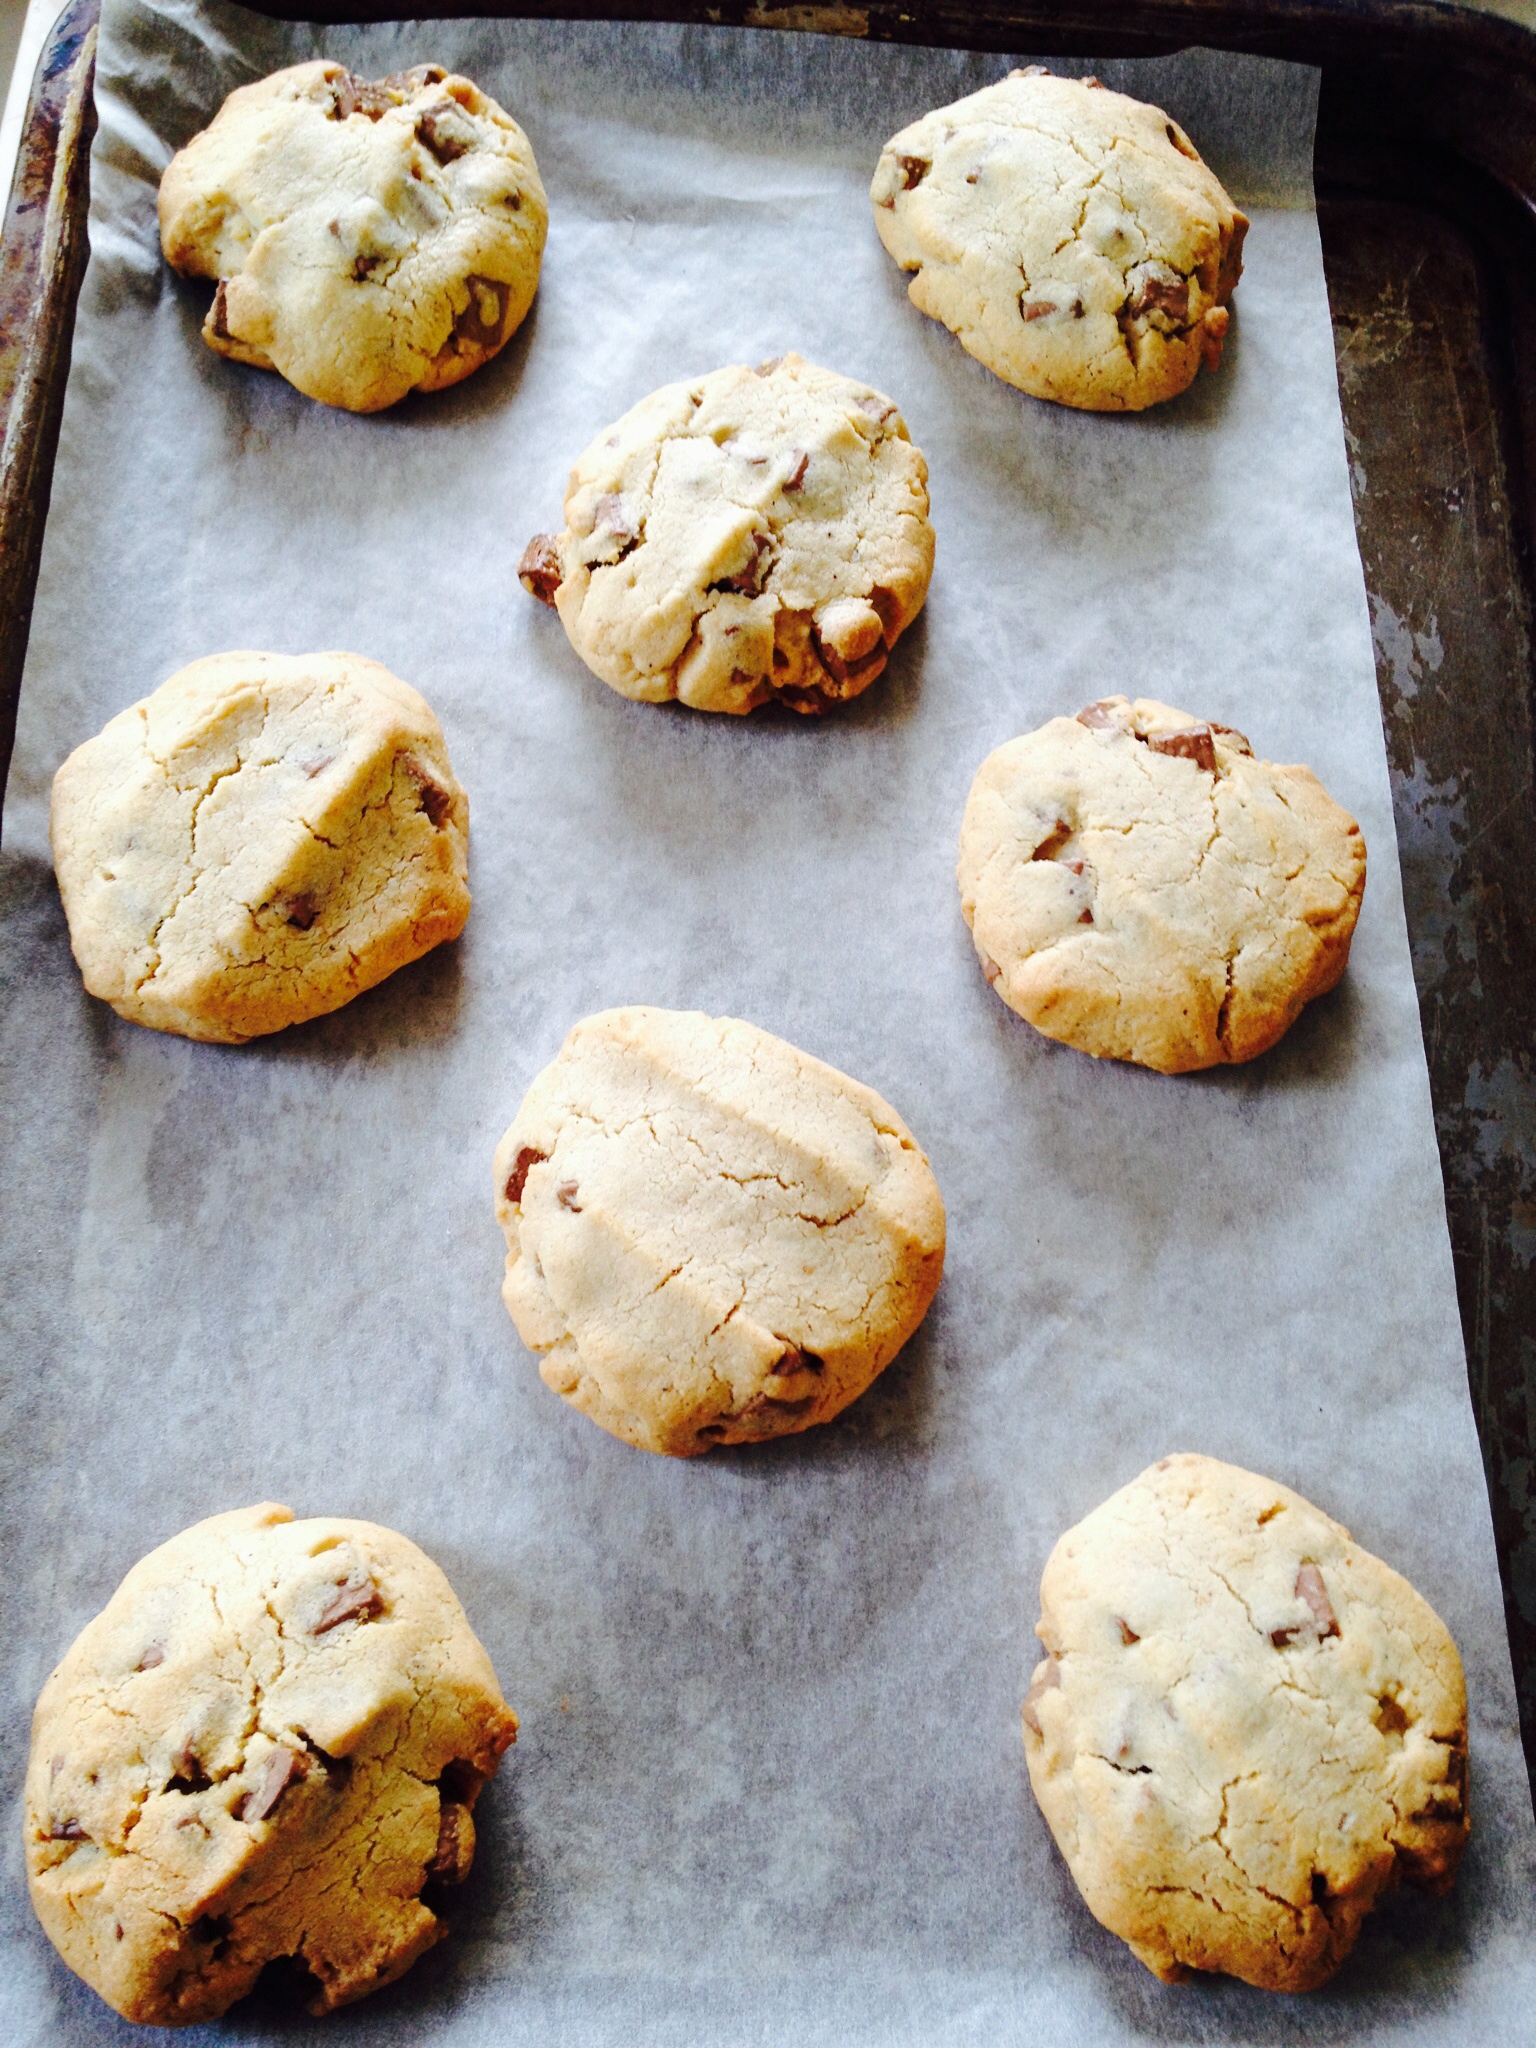
Macadamia Nutty Chocotastic Cookies allow to cool completely on the tray.
As this mixture makes such a big batch of cookies you can freeze half of the dough, in a freezer bag, for up to 3 months, or keep wrapped in cling film and refridgerated for up to a week. Or you can wash up the baking trays and bake the rest, just as I did 😉
Macadamia Nutty Chocotastic Cookies www.feastingisfun.com
Once cooled, these cookies have a deep chocolatey flavour complimented by the beautiful, buttery, Macadamia nuts. Ooh these are sooo good. They have to be up there, at the top of my favourite cookies ever list. What? Don’t you have a list???
Make these for yourself, to share with friends, family, neighbours. If you know someone who loves cookies bake them some Macadamia Nutty ChocotasticCookies and watch the smile spread across their face as they take their first bite!
Hello lovely people, I have finally managed to come up with a Gluten Free cookie. As many of my regular readers may be aware, I’ve recently been having seizures. This has has had a MASSIVE impact on my life and the lives of our family. One of the biggest, non physical impacts is that I cannot drive for the foreseeable future. So my wonderful mummy has been collecting the children from school for us – everyday. Such a huge, selfless, commitment. As she is following a Gluten Free eating plan I wanted to make her a ‘treat’, hence Hazelnut Chocolate Chunk Cookies Gluten Free.
Hazelnut Chocolate Chunk Cookies Gluten Free – if you can’t eat Gluten, you can have these!!
I used Doves Farm Gluten Free Flour and Biona Hazelnut Butter, both items were purchased by myself. The Hazelnut Butter was bought to make Hazelnut Ice Cream (seriously good, will post recipe soon), the Gluten Free Flour was purchased for the sole reason of developing Gluten Free recipes, with Mum in mind. The texture of the cookies is very biscuity, not too dry, but definitely not a soft cookie. Using Doves Farm Gluten Free flour, there is no difference in taste or texture, when compared with White Wheat Flour in this recipe.
More than anything I am just so pleased to have made my Mummy some cookies and that I get to share the recipe with you! If you have a nut allergy you can absolutely substitute the Hazelnut Butter for Unsalted Butter. So hopefully everybody can enjoy Hazelnut Chocolate Chunk Cookies Gluten Free!
Mmm yummy – Hazelnut Chocolate Chunk Cookies Gluten Free.
Our window cleaner happened to be cleaning the windows and offered to try a Cookie. Cheeky, yes! But he always does such a good job and I do like to share. He gave them a big thumbs up, remarking on how un-doughy they were for Gluten Free. Always good to have an unbiased opinion. The Green Goddess will be sent hers to try later today, but the opinion I’m most awaiting is my Mummy’s. After all she was the inspiration behind them.
So enough waffling, here’s what you need to make Hazelnut Chocolate Chunk Cookies Gluten Free.
Recipe : Makes 20-30 Cookies
150g/5oz Caster Sugar
175g/6oz Hazelnut Butter
50g/2oz Unsalted Butter
Pinch of Salt
1 Whole Large Egg – free range if poss
1tsp Vanilla Extract
250g/9oz Gluten Free Flour – Doves Farm
175g/6oz Chocolate Chunks
Method : Preheat oven to 175C/160C fan
Place the hazelnut butter, butter, salt and sugar into a large bowl. Whisk until well combined.
The whisked butter/sugar mixture will seem a little grainy in texture – that’s normal.
Add the whole egg and vanilla extract. Whisk for a good couple of minutes, until the mixture is lighter in colour and texture.Add the Gluten Free Flour and the Chocolate Chunks. Stir until all the ingredients are combined.
I have used Callebaut Chocolate Chunks, these are coated in corn flour, which is Gluten Free.
This is how your Hazelnut Chocolate Chunk Cookie Dough Gluten Free, should look.
On parchment lined baking sheets, form small, balls of cookie dough.
Space the cookie dough balls evenly apart.Using clean damp hands, use you fingers to press down and flatten the cookie balls.
Place the cookies in the oven and bake for 10-12 minutes, until golden.
Delicious golden Hazelnut Chocolate Chunk Cookies Gluten Free.
Remove from the oven when cooked. Allow the cookies to cool on the baking tray for 10 mins and then transfer to a cooling rack.
Hazelnut Chocolate Chunk Cookies Gluten Free – these cooling cookies smell amazing. A mixture of chocolate, hazelnut and vanilla – sooo good!
I made 24 cookies. Next time I will flatten them a little more, I wasn’t sure how far they would spread. They don’t!!!!
Now I can’t wait to see my Mummy to give her some cookies and see what she thinks?
NOTE : These cookies are at their best eaten on the day they are baked.
To store the cookie dough, wrap in cling film and keep in the fridge for up to a week.
Well a very good day to you. The storm has finally cleared the UK and I sincerely hope you survived it unscathed? If you are sleep deprived, due to the banging, blowing and crashing howls of wind a Chocolate Chunk Cupcakes may be just what you need to help you get through the day with a smile!
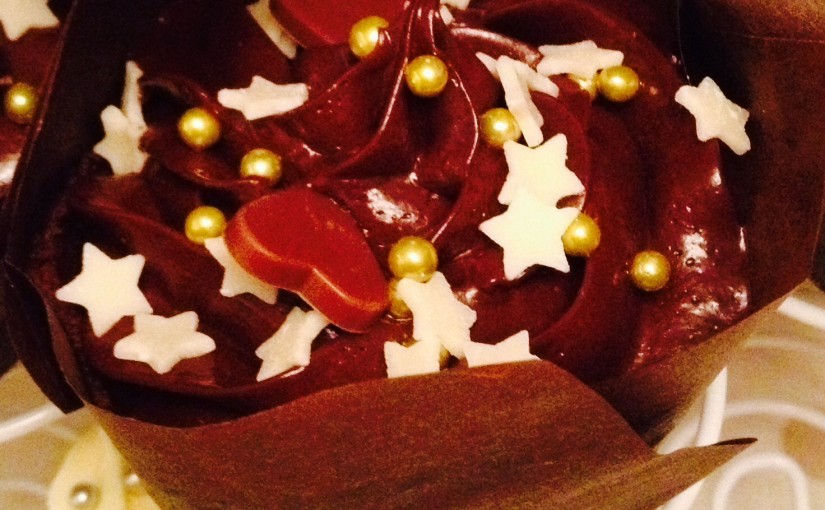
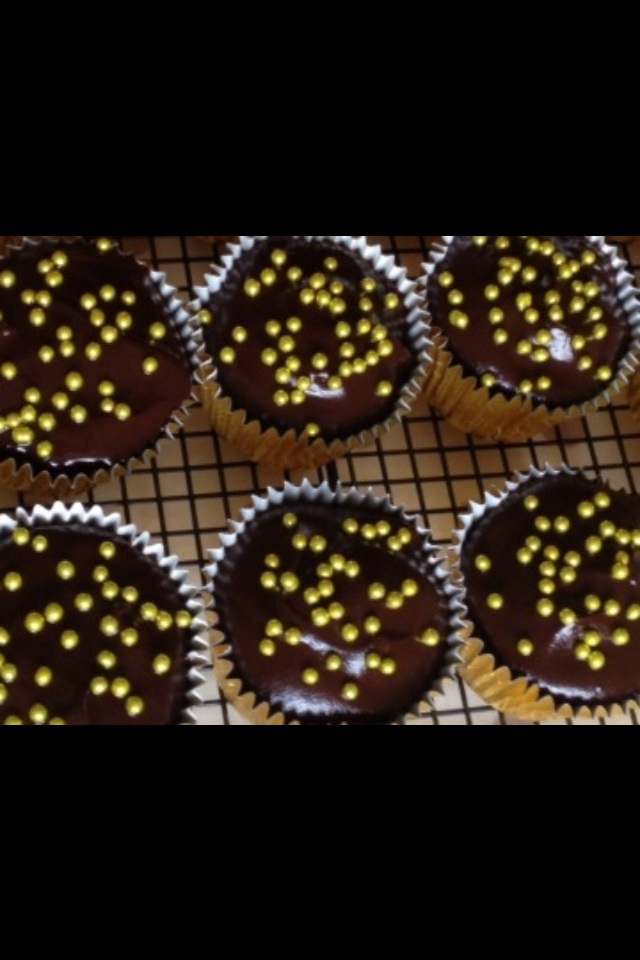
Fudgey, chocolate icing with hearts, stars and gold dragee balls!
Nature’s beauty can be mesmerisingly beautiful, but we should never underestimate it’s force or ruthlessness and ability to deprive us all of a good nights sleep!
CUPCAKES!!!!!
I’ve posted lots of pics, now I give you the recipe:
Chocolate Chunk Cupcakes (makes 18)
You will need:
2 x 12 Deep Muffin Tins (not shallow fairy cake tins)
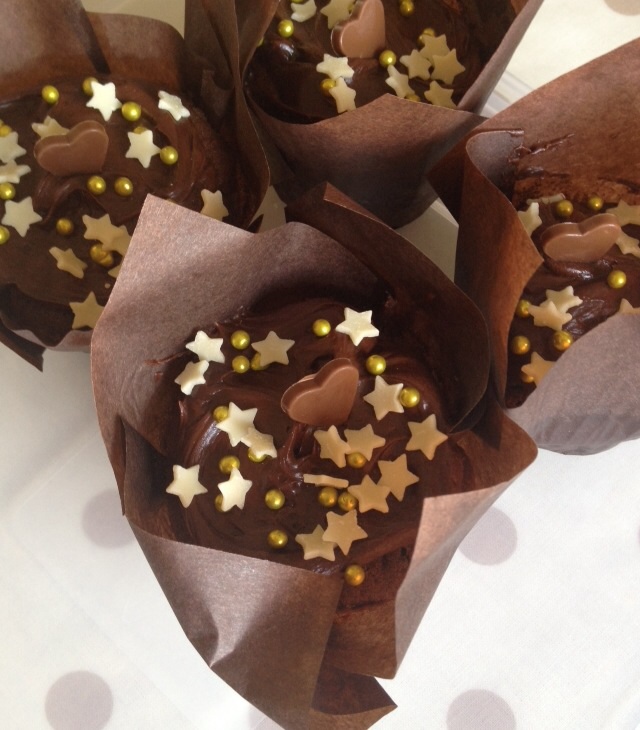
18 Cupcake liners (I’ve used brown ‘tulip’ liners – plain white ones look good with chocolate, but the choice is yours!)
Recipe : Chocolate Chunk Cupcakes – makes 18
10oz Unsalted Butter (at room temp)
10oz Dark Brown Muscavado Sugar
2tsp Vanilla Extract
Pinch of Salt (I use Kosher)
5 Large Eggs (Pref Free Range – at room temp)
3oz Cocoa Powder (NOT hot chocolate powder)
7oz Self Raising White Flour
3-4tbsp Whole Milk (at room temp)
6oz Milk Chocolate Chunks or Chips
Large bowl & an electric whisk (it really makes creaming the sugar & butter bearable!!!!)
Method :
PREHEAT THE OVEN TO 175C (160C Fan Oven).
Line the muffin tins with 18 cupcake cases.
Pretty tulip cases, worth the extra effort!!!
Firstly place the butter and treacly dark sugar into a large bowl (of stand mixer, if using, with the paddle mixer attached).
No lumps here!!!!!
Unless you are ready for a serious workout I really recommend using an electric whisk to beat the sugar/butter mixture. It will take a while (approx 5-10 mins) for the mixture to become smooth and fluffy.
Next add the punch of salt& vanilla extract and beat the whole mixture until thoroughly combined.
Now if you want to switch to a wooden spoon for mixing you can. Using an electric whisk/beater is also ok, just make sure you don’t over mix once the flour is added, otherwise you won’t have light, cupcakes.
Add 2 of the eggs (I always crack them into a separate bowl first, no one wants crunchy cupcakes!!!) and a third of the cocoa/flour (sifted). Gently mix until almost incorporated.
Repeat this process again.
Callebaut milk chocolate chunks take this cupcake to another level of scrumptiousness!!!!!!!
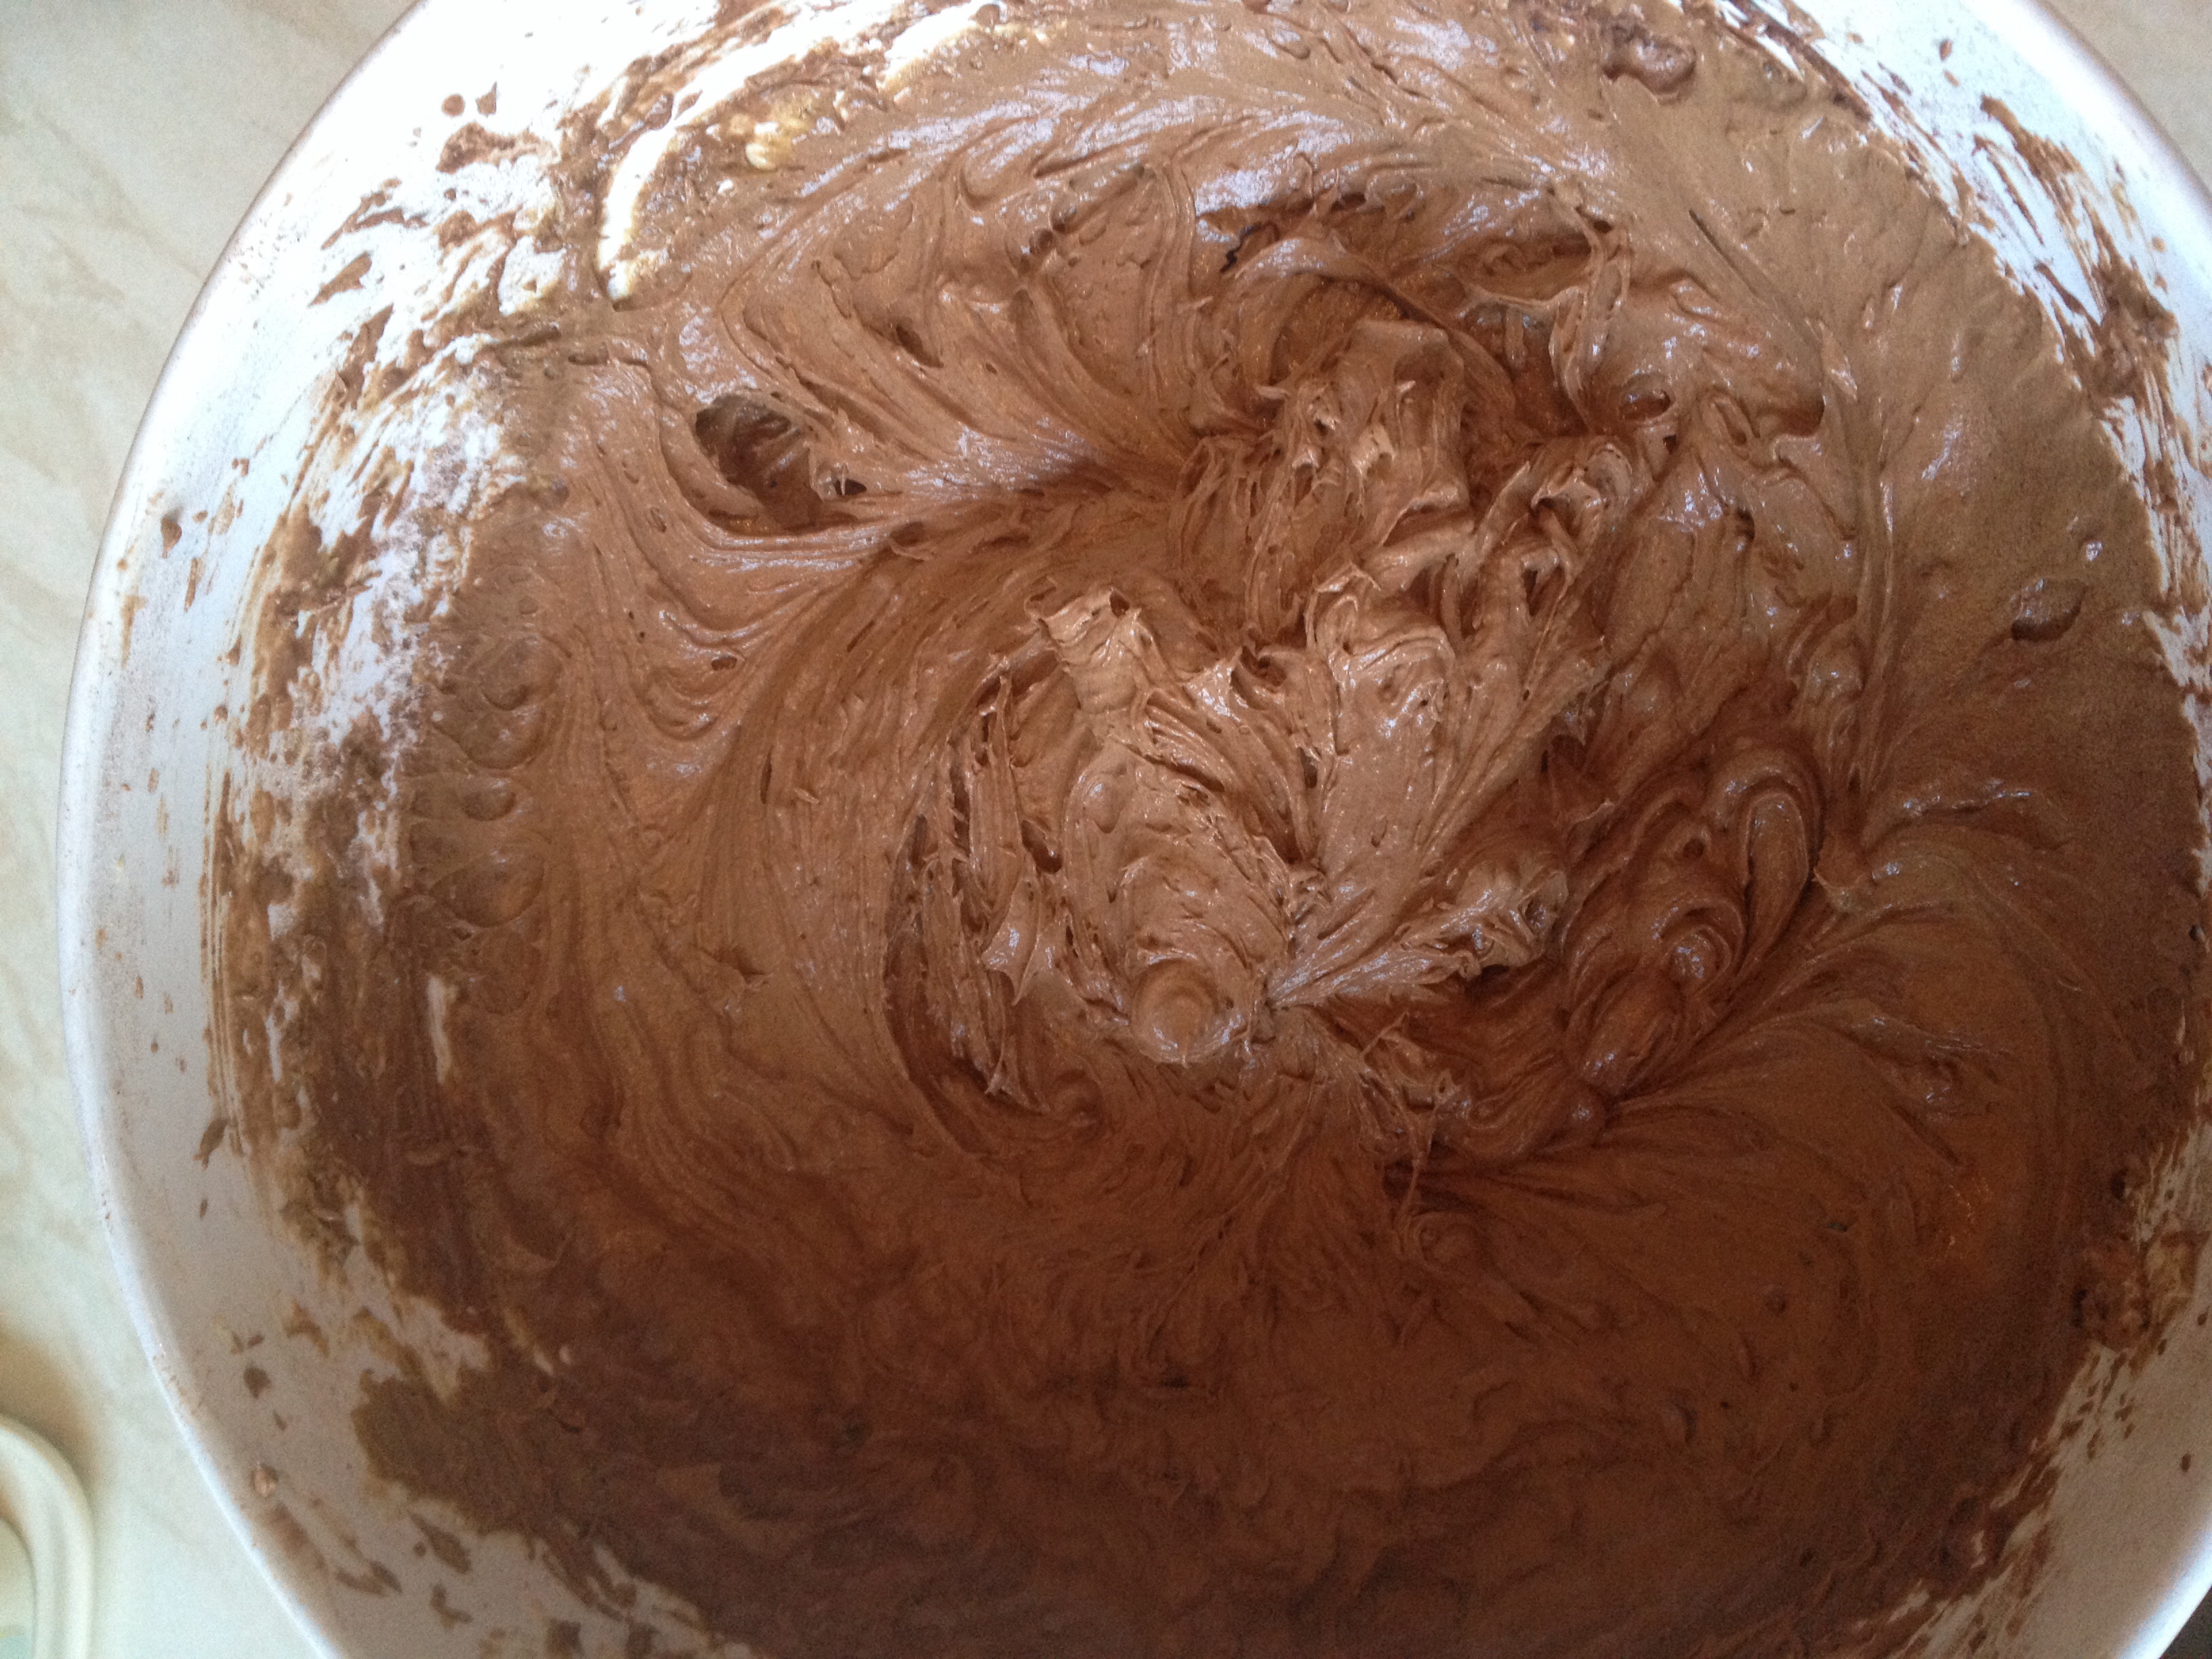
Now add the last egg and mix gently. Then add the last of the flour/cocoa & the chocolate chunks/chips. Fold these ingredients in gently adding 1 tablespoon at a time to loosen the mixture and allow all the ingredients to mix thoroughly and have a slightly wet dropping consistency.
The cake batter should look like this, ready to scoop!!
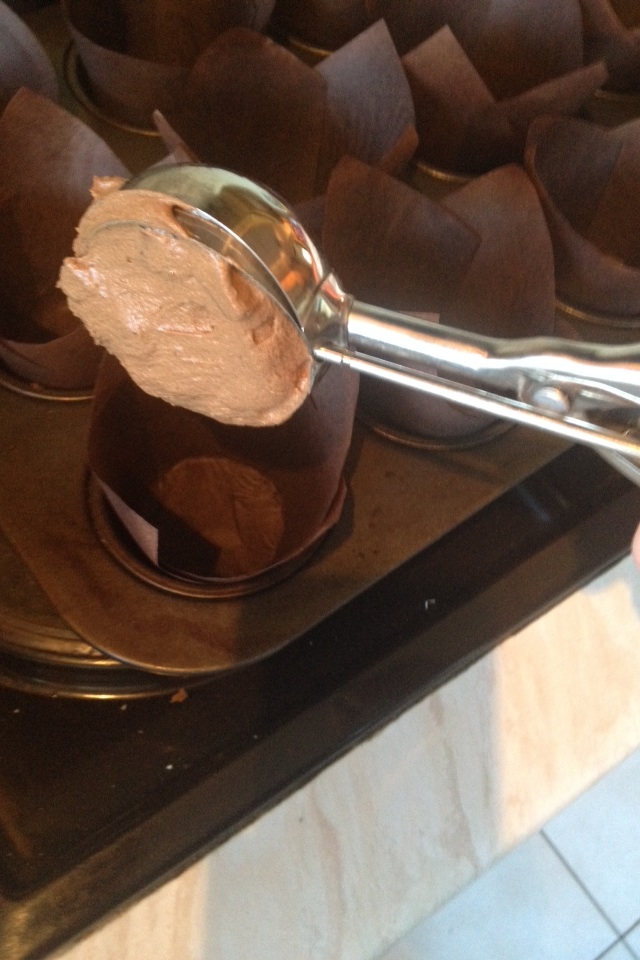
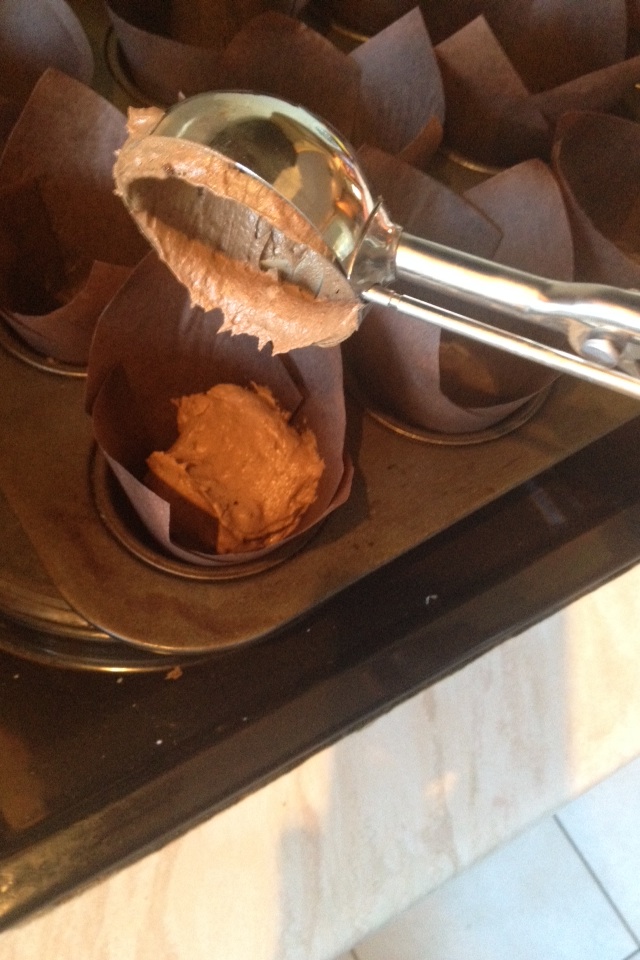
I use an ice cream scoop to evenly fill the cupcake cases. But you could always use 2 desert spoons. Just ensure an equal amount of mixture is placed into each case. This ensures that all the cupcakes will be cooked evenly & in the same amount of time.
Using an ice cream scoop to portion the cupcake batter.Centre the scoop above the cake liner.Squeeze the scoop & release the batter into the case!!!
Cook for approx 20 minutes. The cupcakes are cooked when lightly pressed in the middle and the cake springs back.
Remove from the oven and allow to cool in the tin for 5-10 mins until cool enough to transfer to a cooling rack.
NOTE: if using the tulip style cupcake cases, I’ve found it best to leave the cupcakes to COMPLETELY COOL IN THE TIN. The paper cases will then adhere to the cupcakes when removed from the tin.
I left these cupcakes to cool completely in the tin.
These chocolate chunk cupcakes are then perfect to serve unadorned!
However if making for a special occasion or just because, you can ice or top them with whatever you like!!
I’ve used Betty Crocker’s Chocolate Fudge Icing (which I’ve found is easier to apply using 2 teaspoons, rather than piping, when using the tulip cupcake wrappers. I’ve then sprinkled a variety of gold sugar balls, white chocolate stars, glitter, even rice paper figurines.
Fudgey, chocolate icing with hearts, stars and gold dragee balls!
Melted chocolate drizzled over the top, or half double cream/half chocolate melted together in a heatproof bowl over a saucepan of simmering water (making sure that the bottom of the bowl doesn’t touch the water), creates a chocolate ganache. If using ordinary (not tulip) cases the cupcakes can then be dipped into the ganache, covering the entire surface of the cupcake. This will then cool to a soft, fudgey consistency, whereas melted chocolate on its own will harden on cooling.
Ganache dipped cupcakes with a sparkly addition of gold dragee balls.
You can then sprinkle & adorn to your hearts content. Although left without the sprinkles these cupcakes still look gorgeous & scrummy.
Now it’s time to share!!
I invested in some individual clear, plastic cupcake holders, which not only allow the cupcakes to be transported easily but also allow the recipient to clearly see their gift. I have also popped the cupcakes into cellophane bags tied with rafia. This also looks beautiful, but is more fiddly & you have to be careful not to get any of the icing on the inside of the bag, as it spoils the look.
If you want to make someone smile, or you know someone who needs cheering up, this recipe is FOOLPROOF.
When I give a gift, especially one I’ve made, I’m NOT looking to be basked in thanks & glory for what I’ve given. I want the recipient to feel special. To know that they’ve been thought of & know that they are special to me.
I’ve received gifts that are more about the giver than the recipient & although I’m always thankful, somehow, if the giver is looking to be showered with praise, the gift feels soulless.
In my world GIFTS SHOULD ALWAYS BE ABOUT THE RECIPIENT NOT THE GIVER.
Don’t get me wrong a thank you is nice, but other than that I’m not seeking praise. I really try to think of who I am giving to & what their likes & preferences are. In doing this I must disregard what I want and focus on others.
Some people like a big fuss & that’s fine. They like attention & they enjoy being the centre of it. So when giving them a gift I know they don’t mind if it’s in a roomful of people. They enjoy celebrating in a big way.
Others are quieter. They would be mortified at the notion of being centre of attention. That is fine too. So the gift will be given quietly, without pomp & circumstance. Because it’s not about the giver but the recipient.
If you’ve taken the time, love & care to make something for someone, give equal thought to how you will give it to them.
Nobody, especially me, gets it right all the time! But we can all try, me included.
A well meant gift, given in a thoughtful way says you care.
Have fun trying the cupcakes. If you want to make fewer a rough guide is 1 egg/2oz butter/1 1/2oz self raising white flour/1/2oz cocoa powder.
I’d love to hear how you get on, so please leave a comment?
In the mean time have lots of fun, feasting and sharing!!