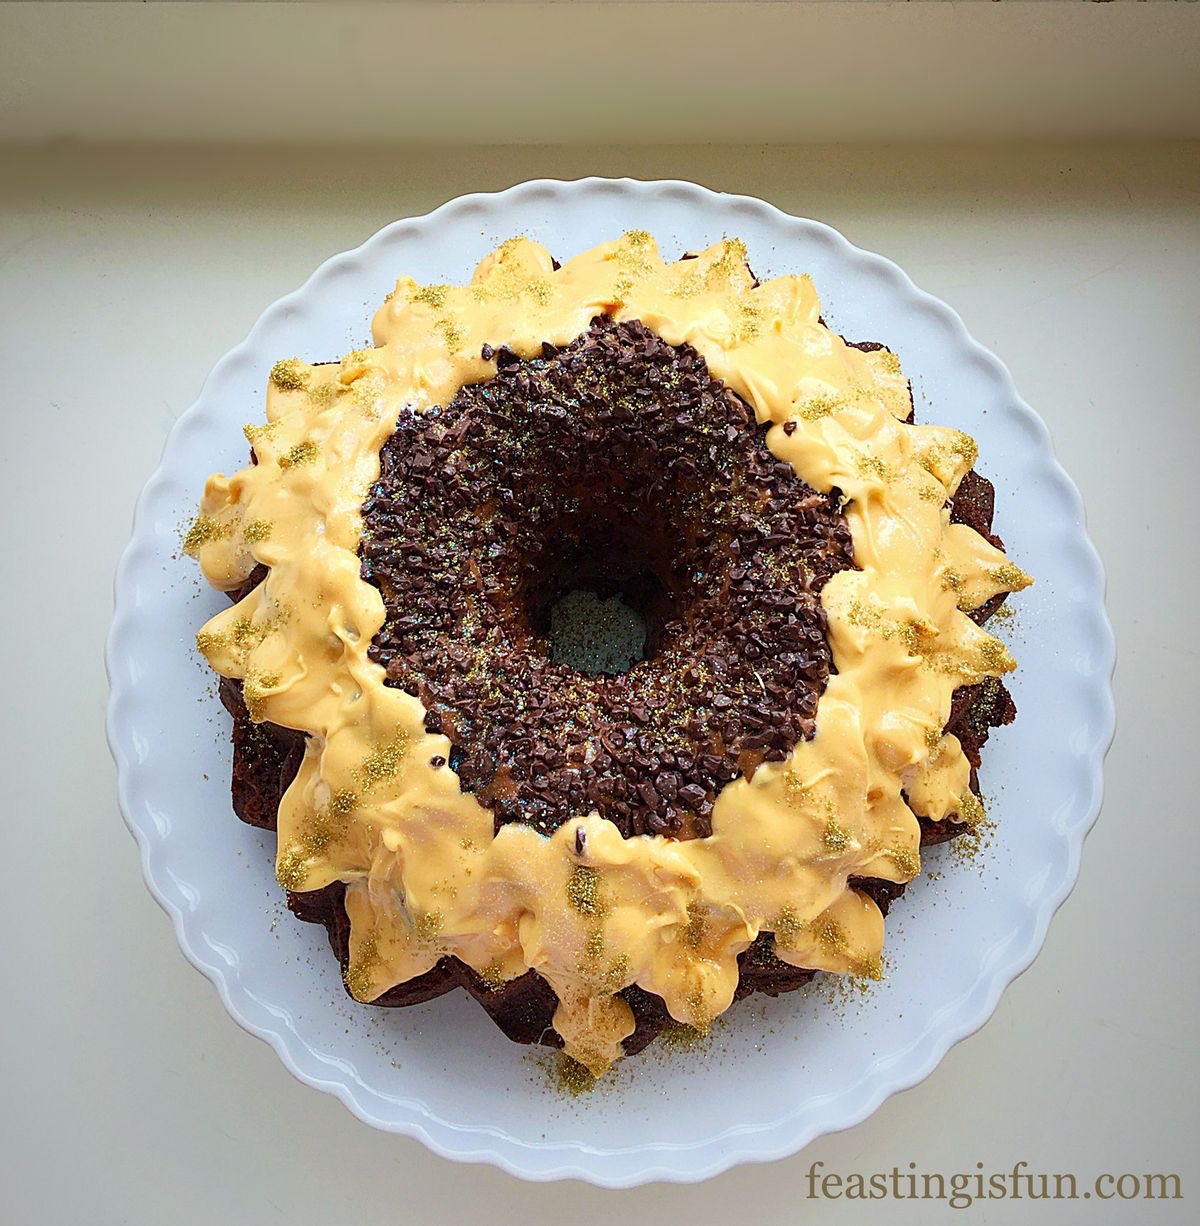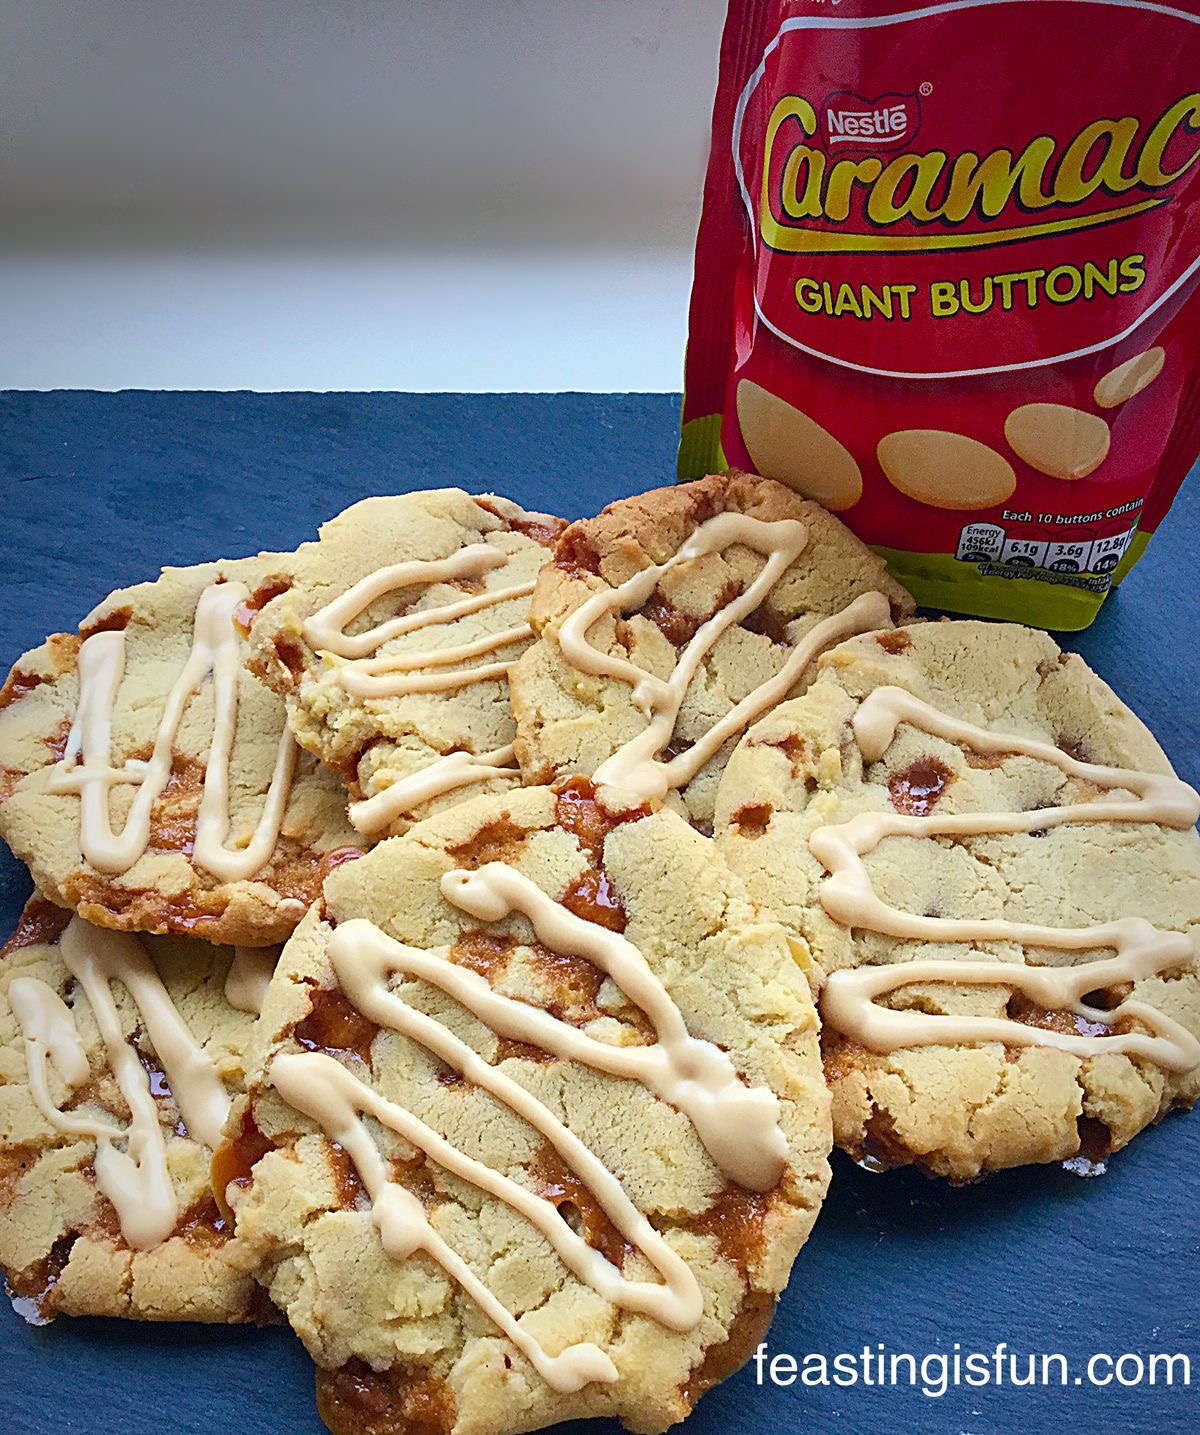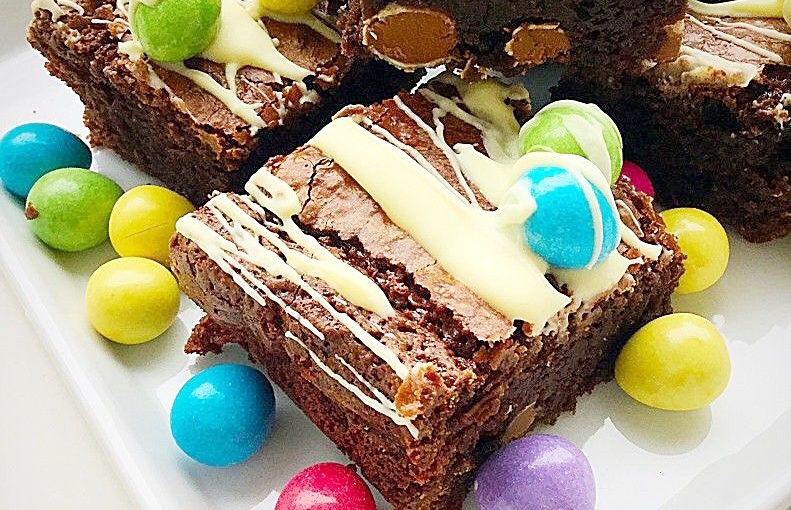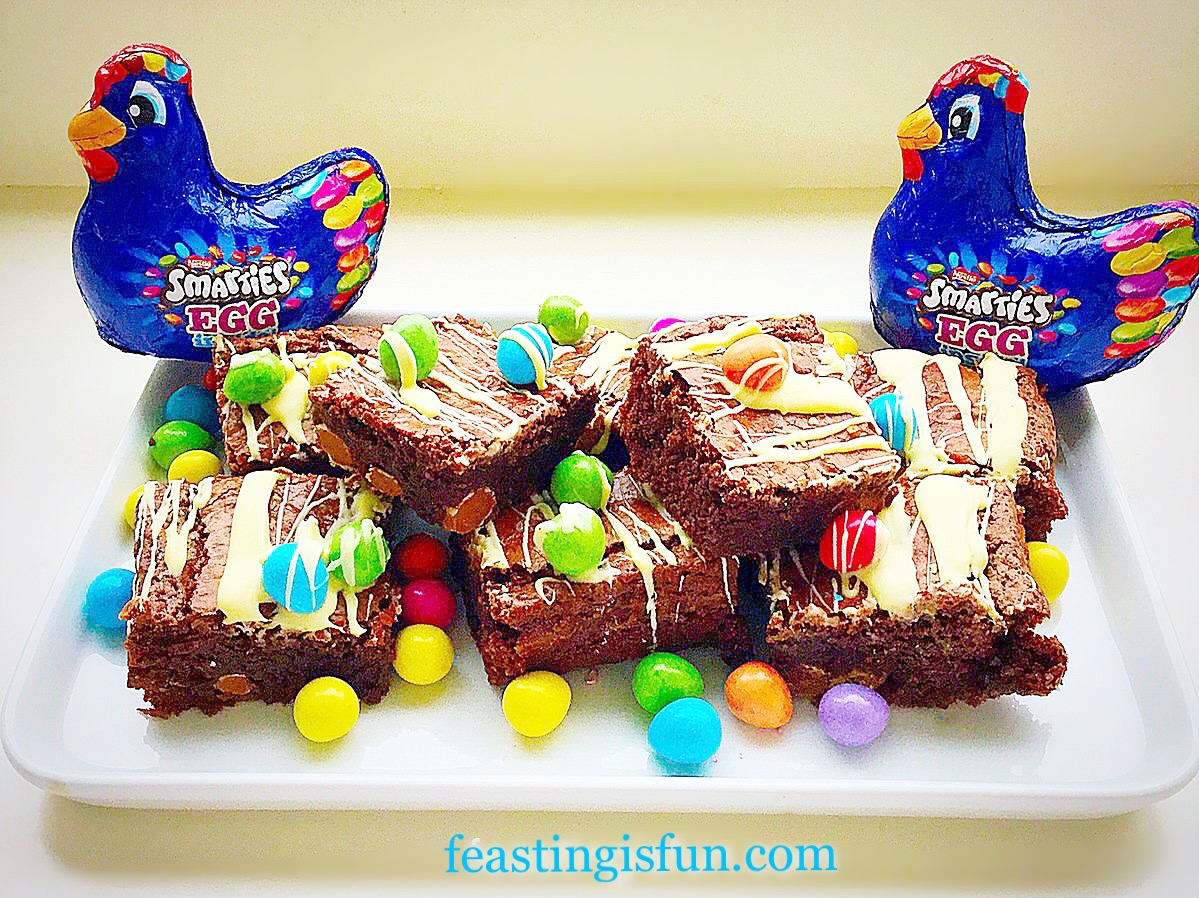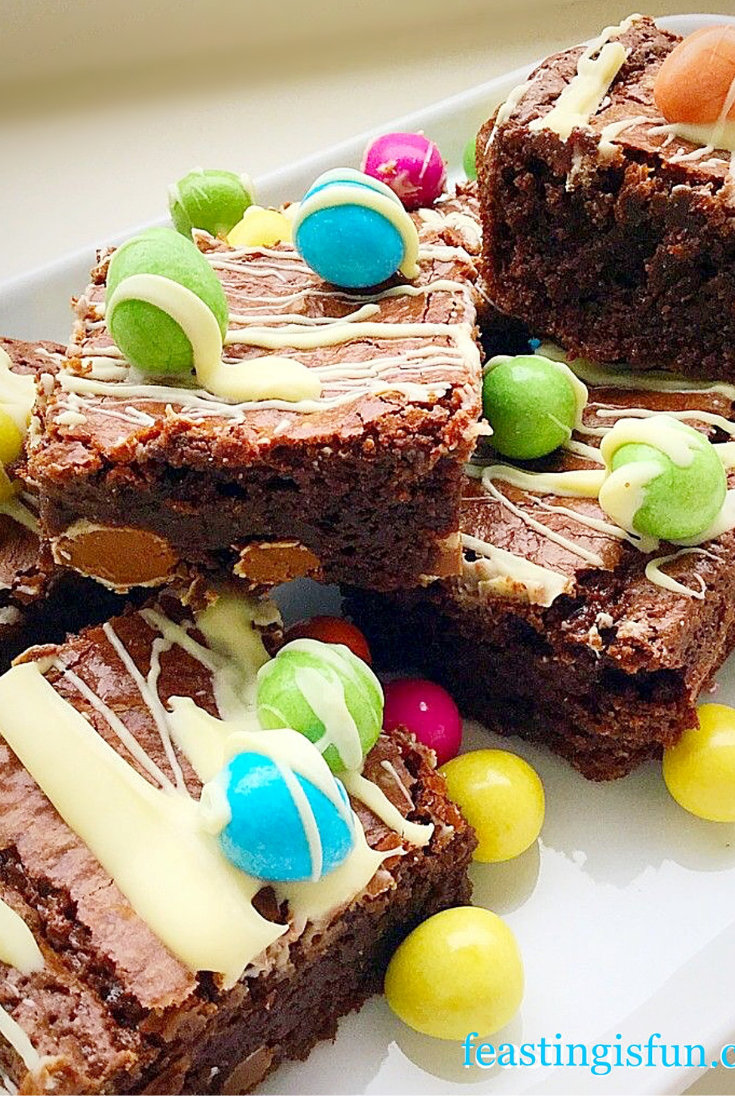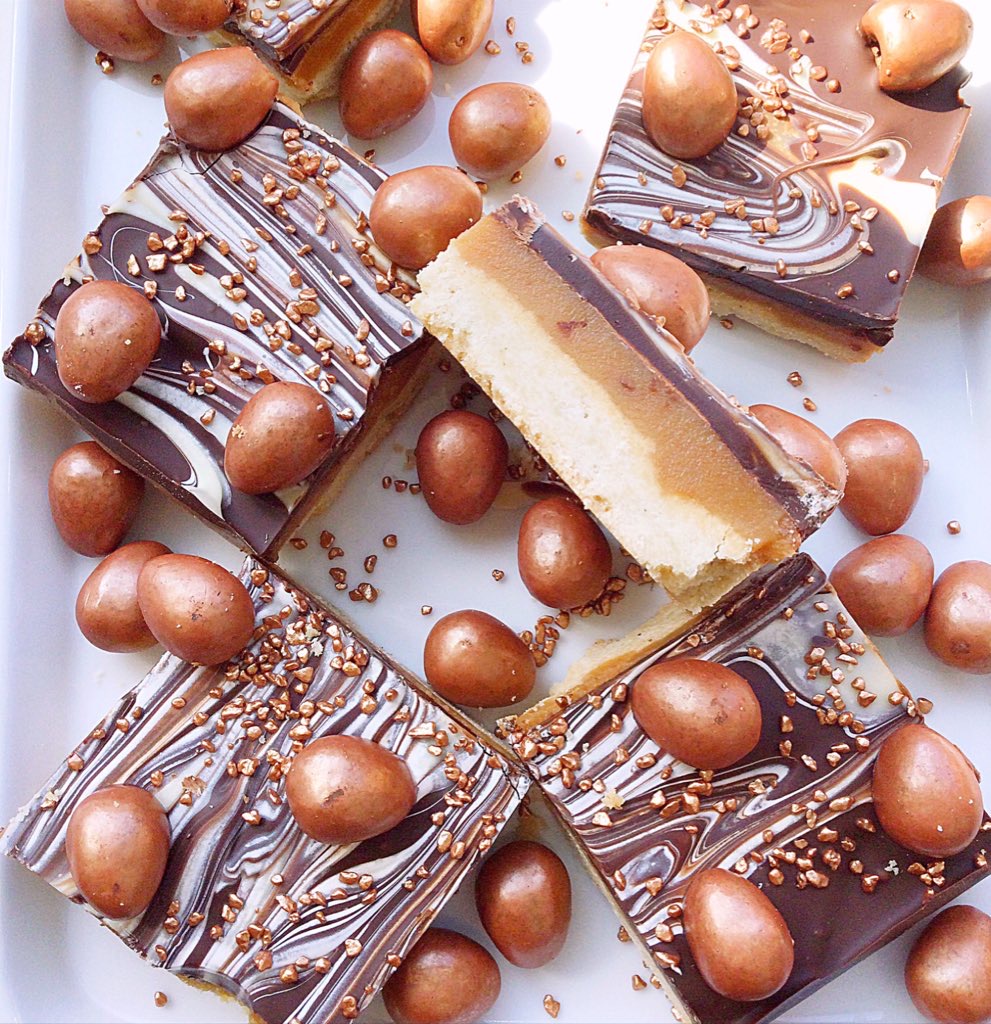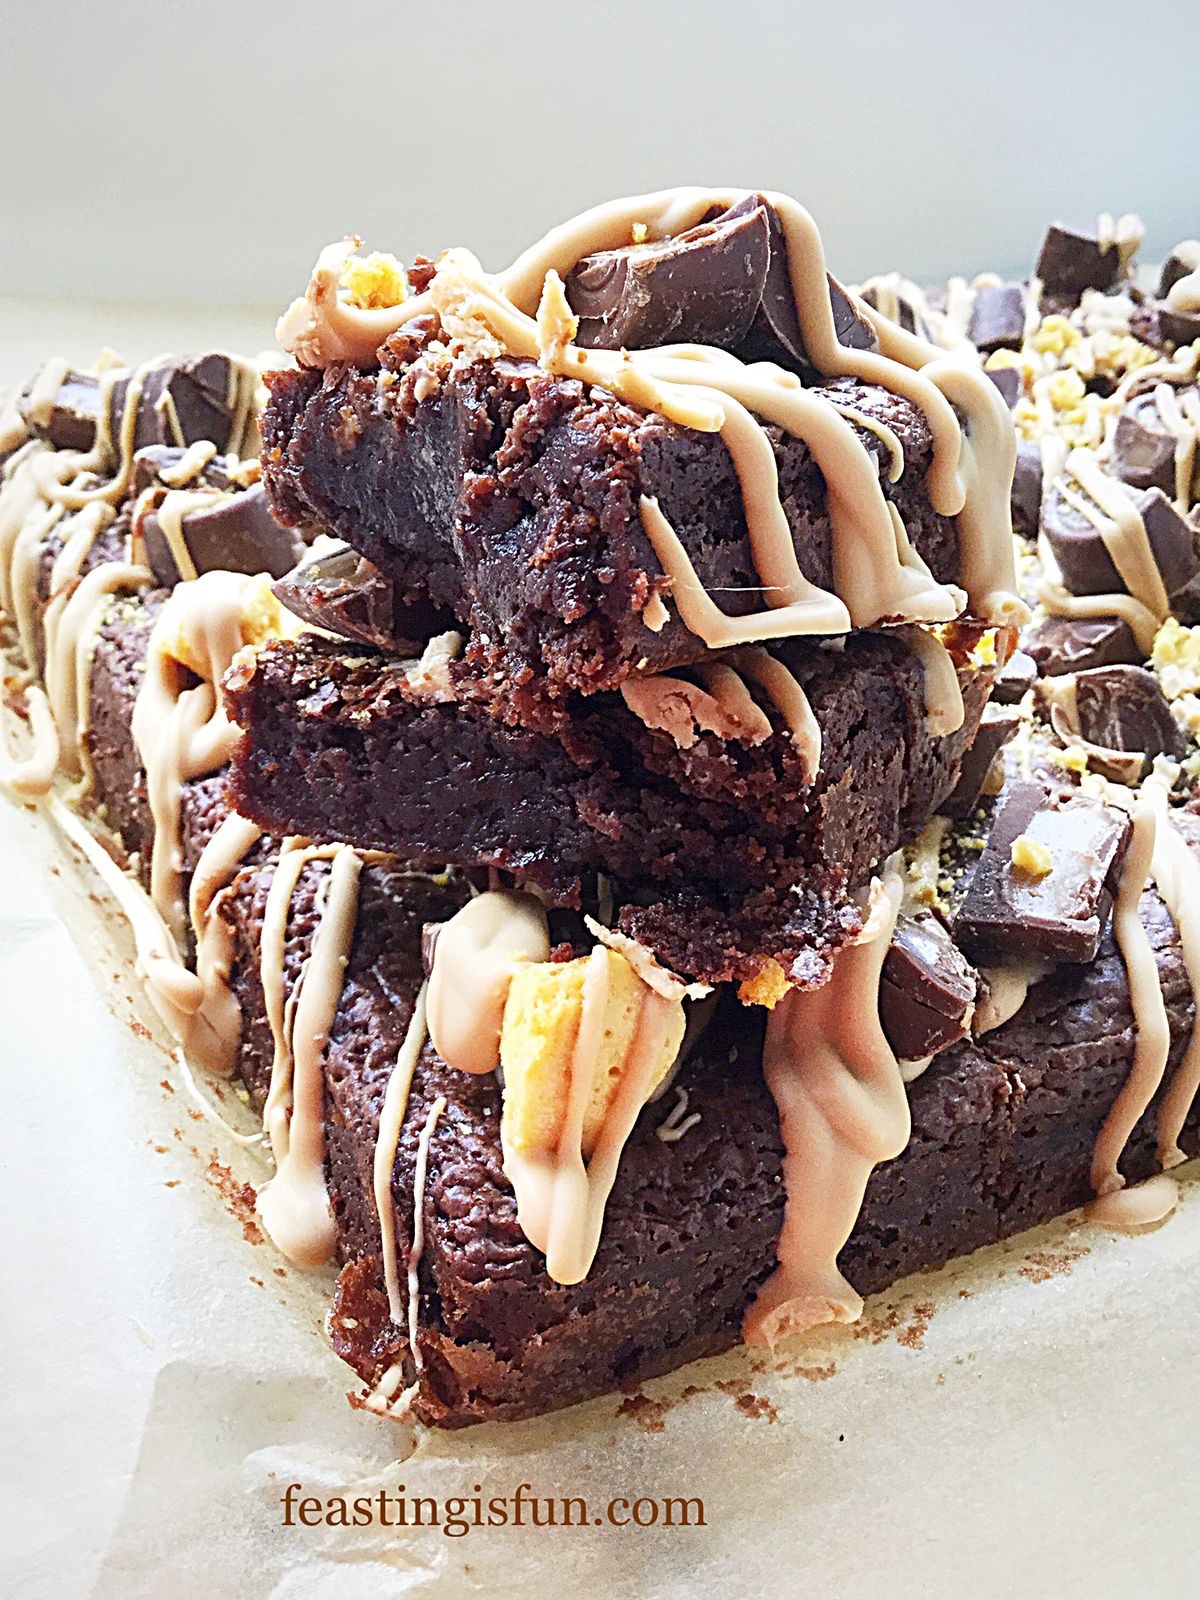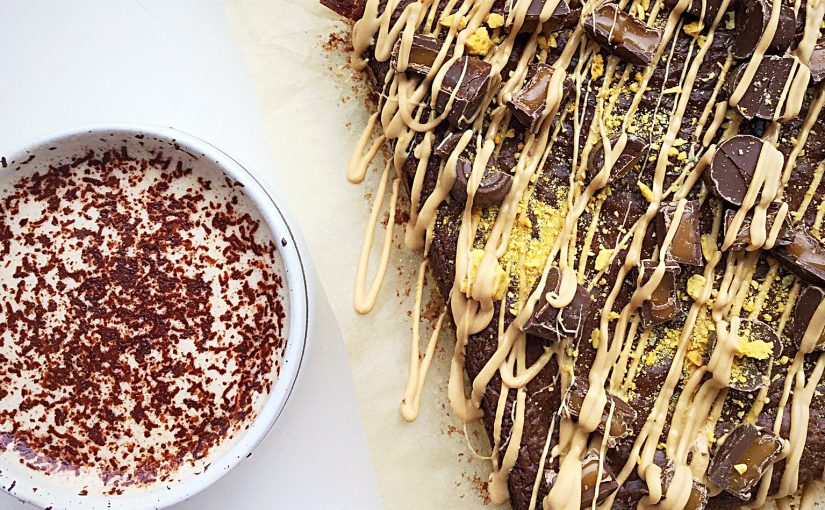
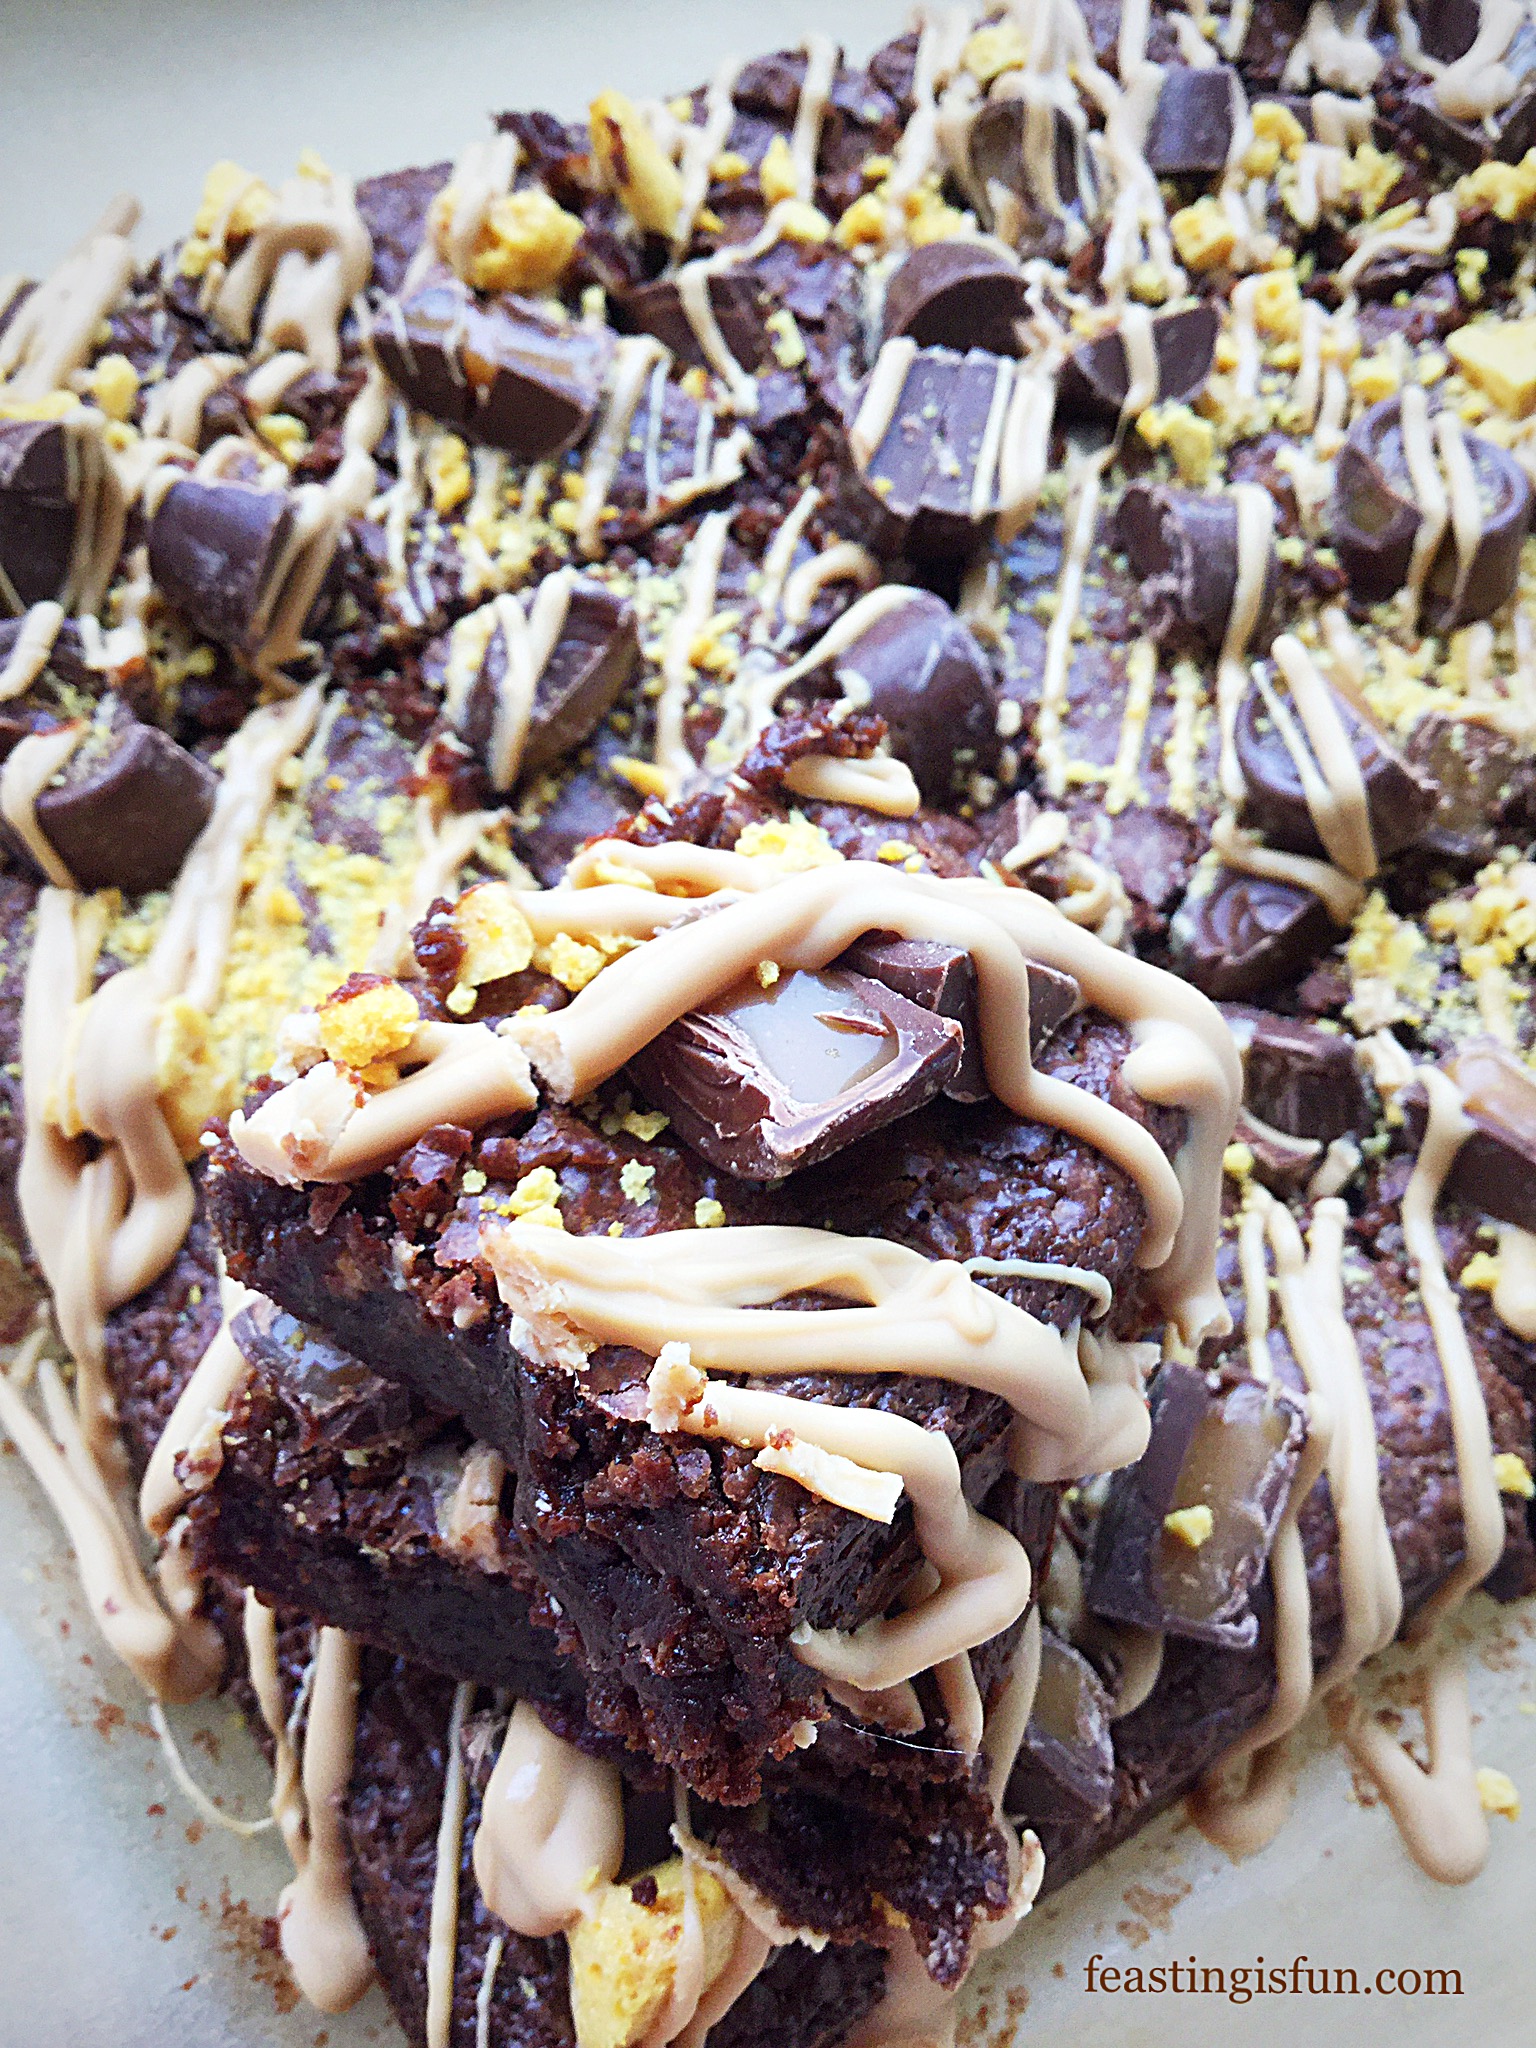
I adore Brownies. And there are numerous recipes on here for different types of delicious Brownies including these Chocolate Fudge Brownie Bites. Since they are so popular, I am always trying to create new flavours and textures. for that reason, these Caramac Drizzle Rolo Caramel Brownies are a complete delight. Fudgey chocolate brownies topped with chopped Rolos, Caramac drizzle and a sprinkling of honeycomb.
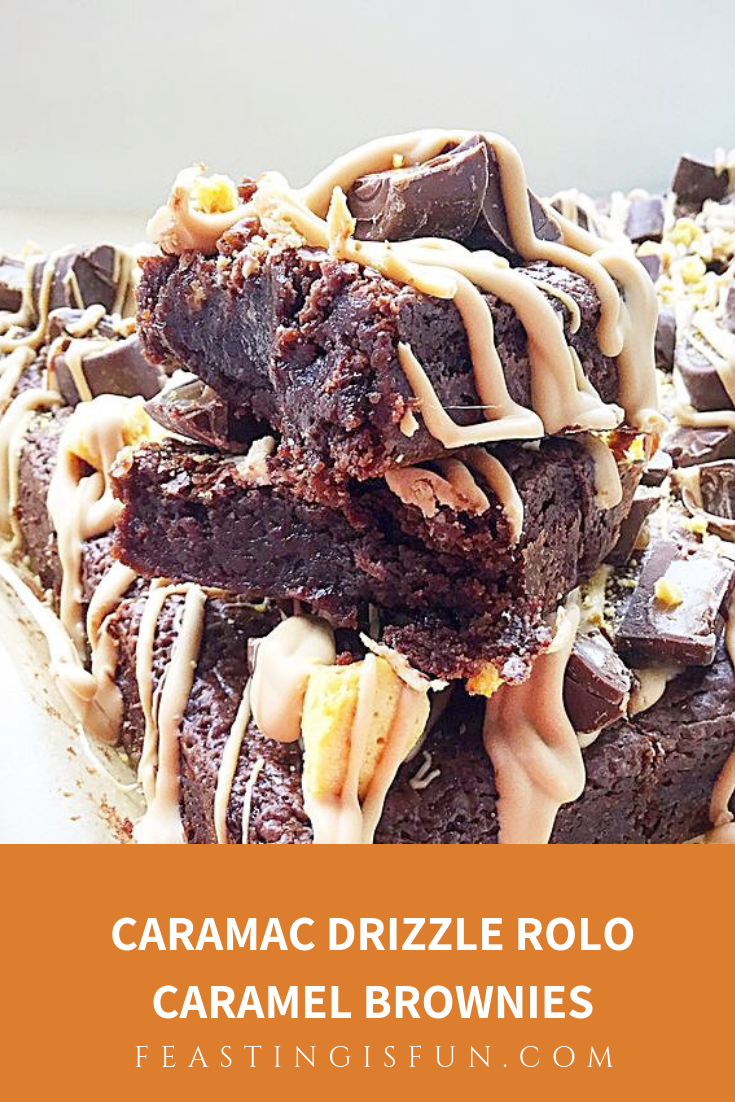
In one word they are WOW! While all of the brownie recipes I have are excellent, the addition of melted Rolos to the batter in these brownies sends them over the top. Since the actual brownie itself is more like fudge. Yet without the extreme sweetness that sets fudge apart. Also, I added a little extra salt to the brownie batter and this perfectly offsets the sweetness bringing balance to the flavour.

Caramac love
Previously I’ve had limited success adding Caramac to a bake, as essentially it is caramel flavoured white chocolate, so I use it as a topping. Because this way you end up with the exquisite caramel flavour and none of the bitter burnt Caramac in a bake. Also it works very well in a ganache such as these Salted Caramac Centre Toffee Cookies. Used here in these brownies it perfectly compliments the caramel flavour within the brownie.
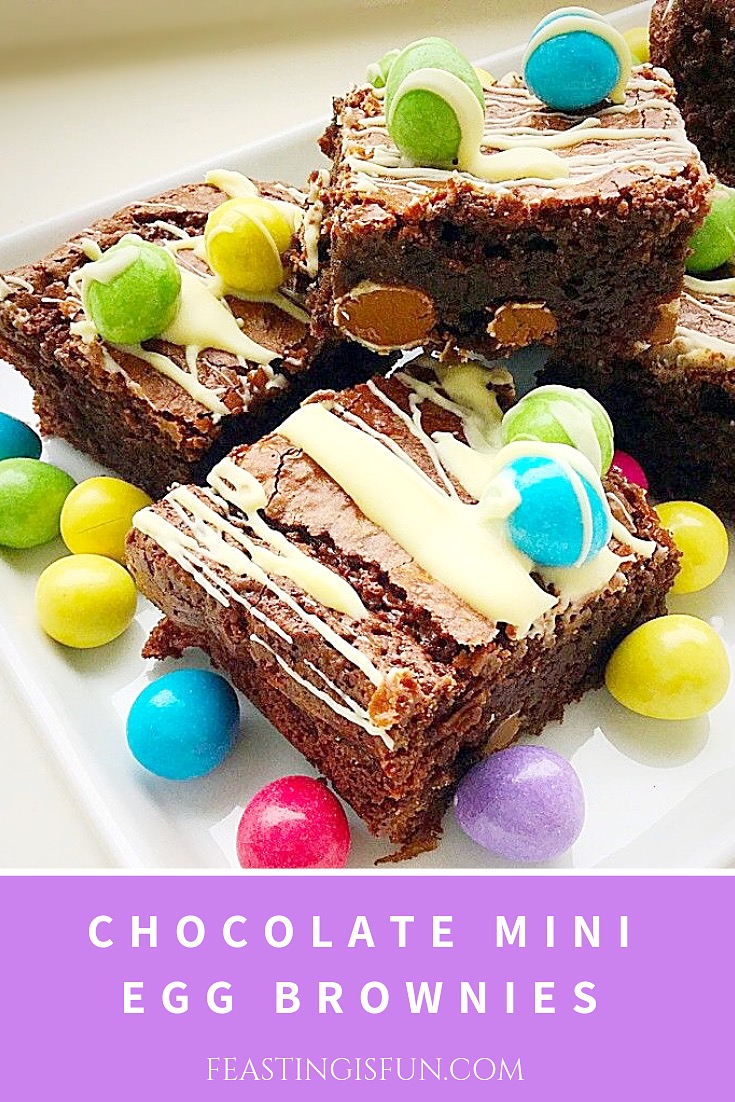
Because these Brownies are quite rich I have cut them into slightly smaller bars. Ensuring the there are plenty to share around! Also, I think the texture is improved when they are fridge cold. In addition, I find that the brownie itself pulls together and the texture is firmer. Finally, enough of me waffling, let’s get on to making these tasty treats.
Recipe: Caramac Drizzle Rolo Caramel Brownies makes 18
For the Brownies:
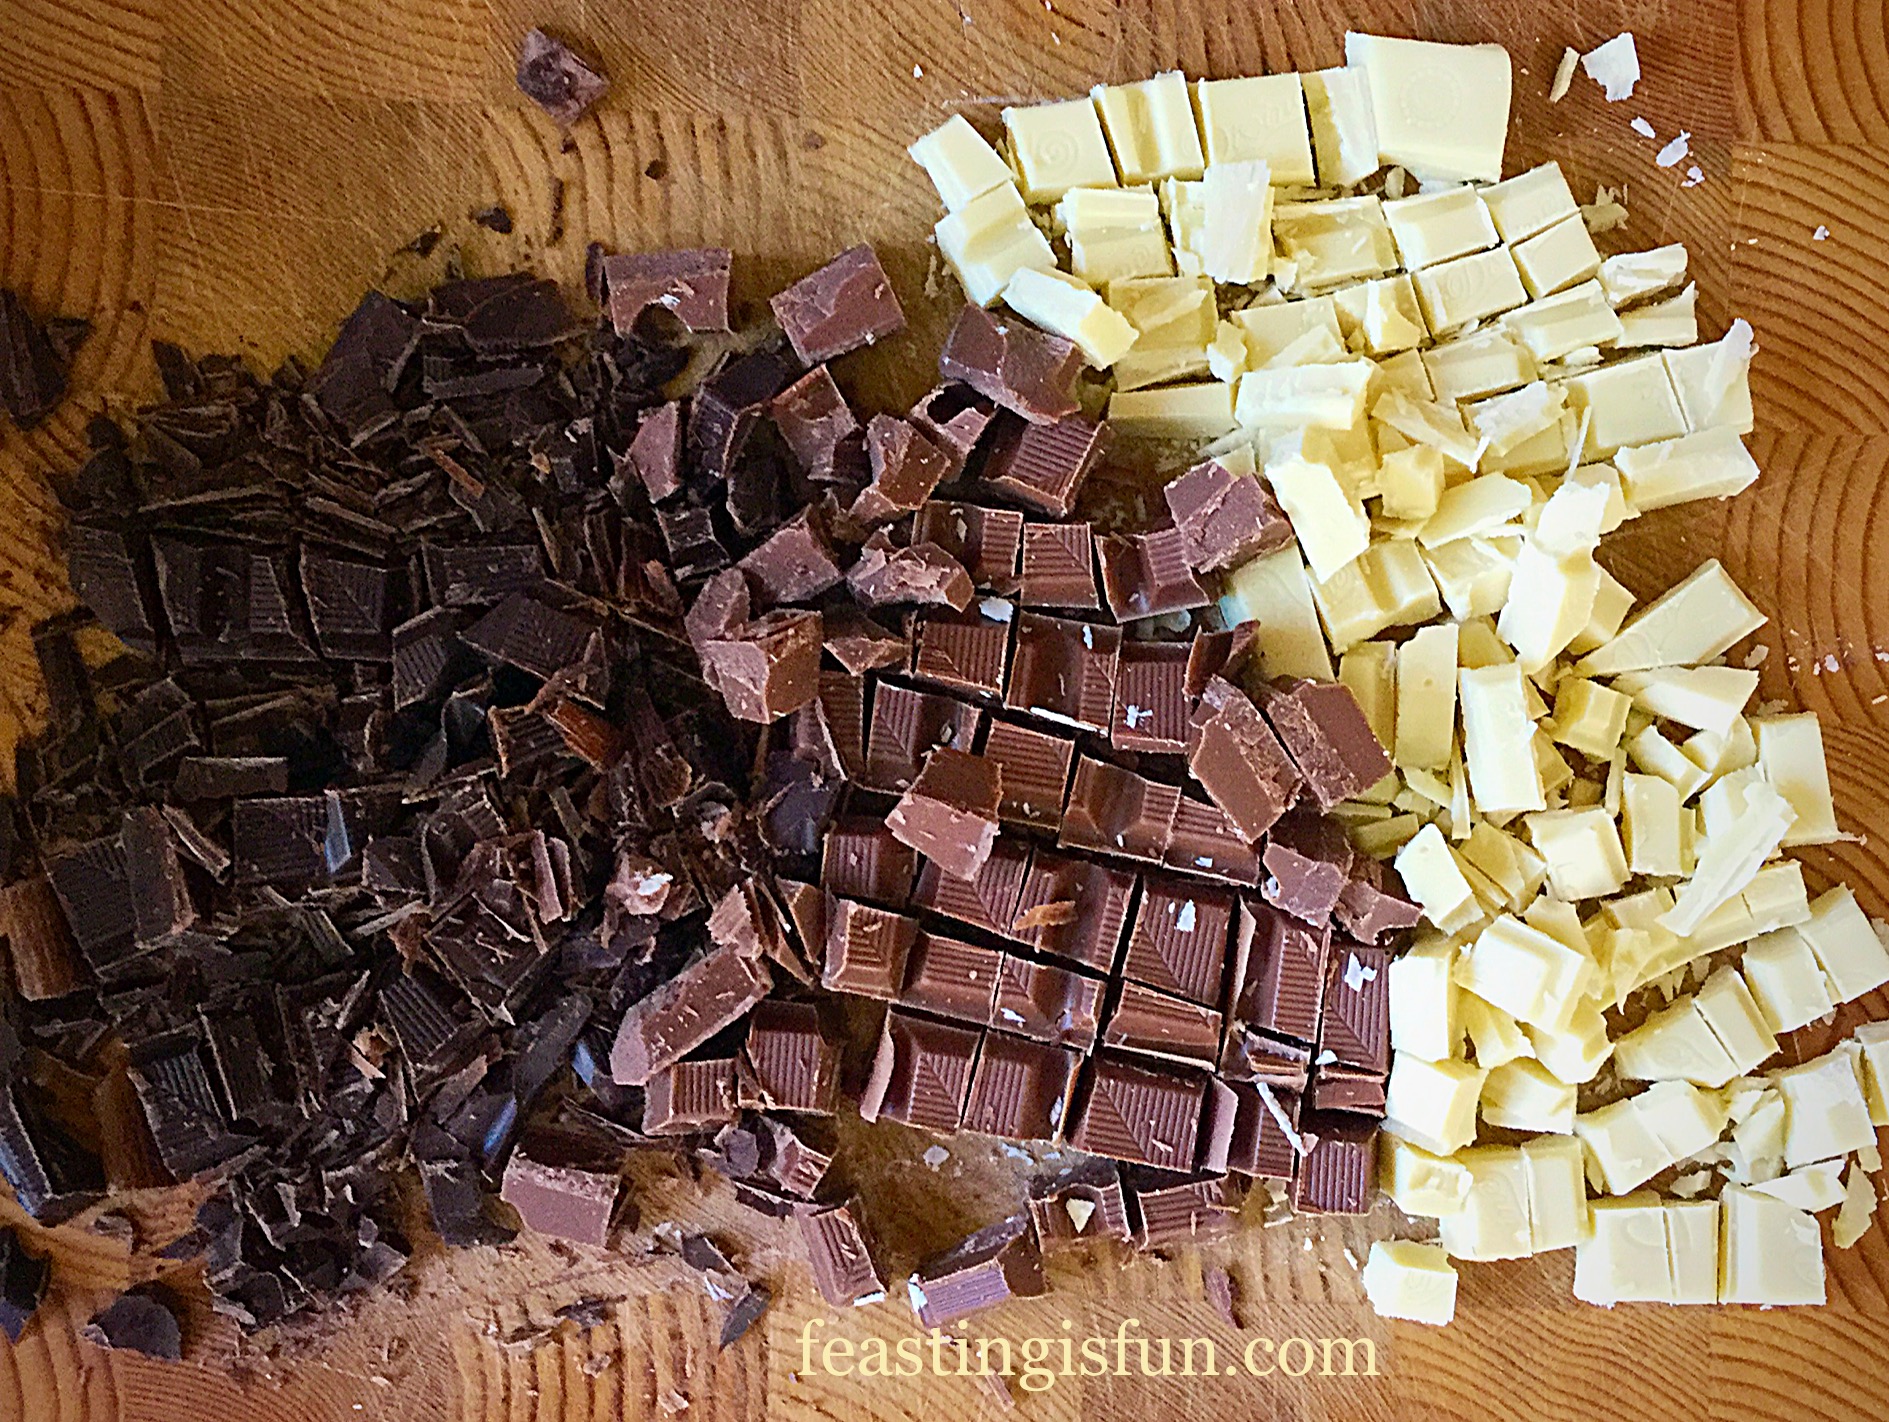
200g/7oz Milk Chocolate
100g/4oz Dark Chocolate
150g/ 3 tubes of Rolos
200g/7oz Unsalted Butter
1/2 tsp Sea Salt – I use Maldon halve the quantity if using free flowing salt
4 Large Free Range Eggs
200g/7oz Dark Brown Muscavado Sugar – I use Billingtons
1 tsp Vanilla Extract – I use Nielsen-Massey
75g/3oz Plain White Flour
To decorate:
110g/ 1 large bag Caramac Buttons
150g/ 3 tubes of Rolos
Optional – Honeycomb – I use Art of Mallow alternatively use a Cadbury’s Crunchie
Method: preheat oven at 180C/160C fan, 350F, gas mark 4.
Note: you will need a 20cm x 28cm x 5cm / 8” x 11” x 2” Swiss roll tin, very lightly greased and lined with baking parchment.
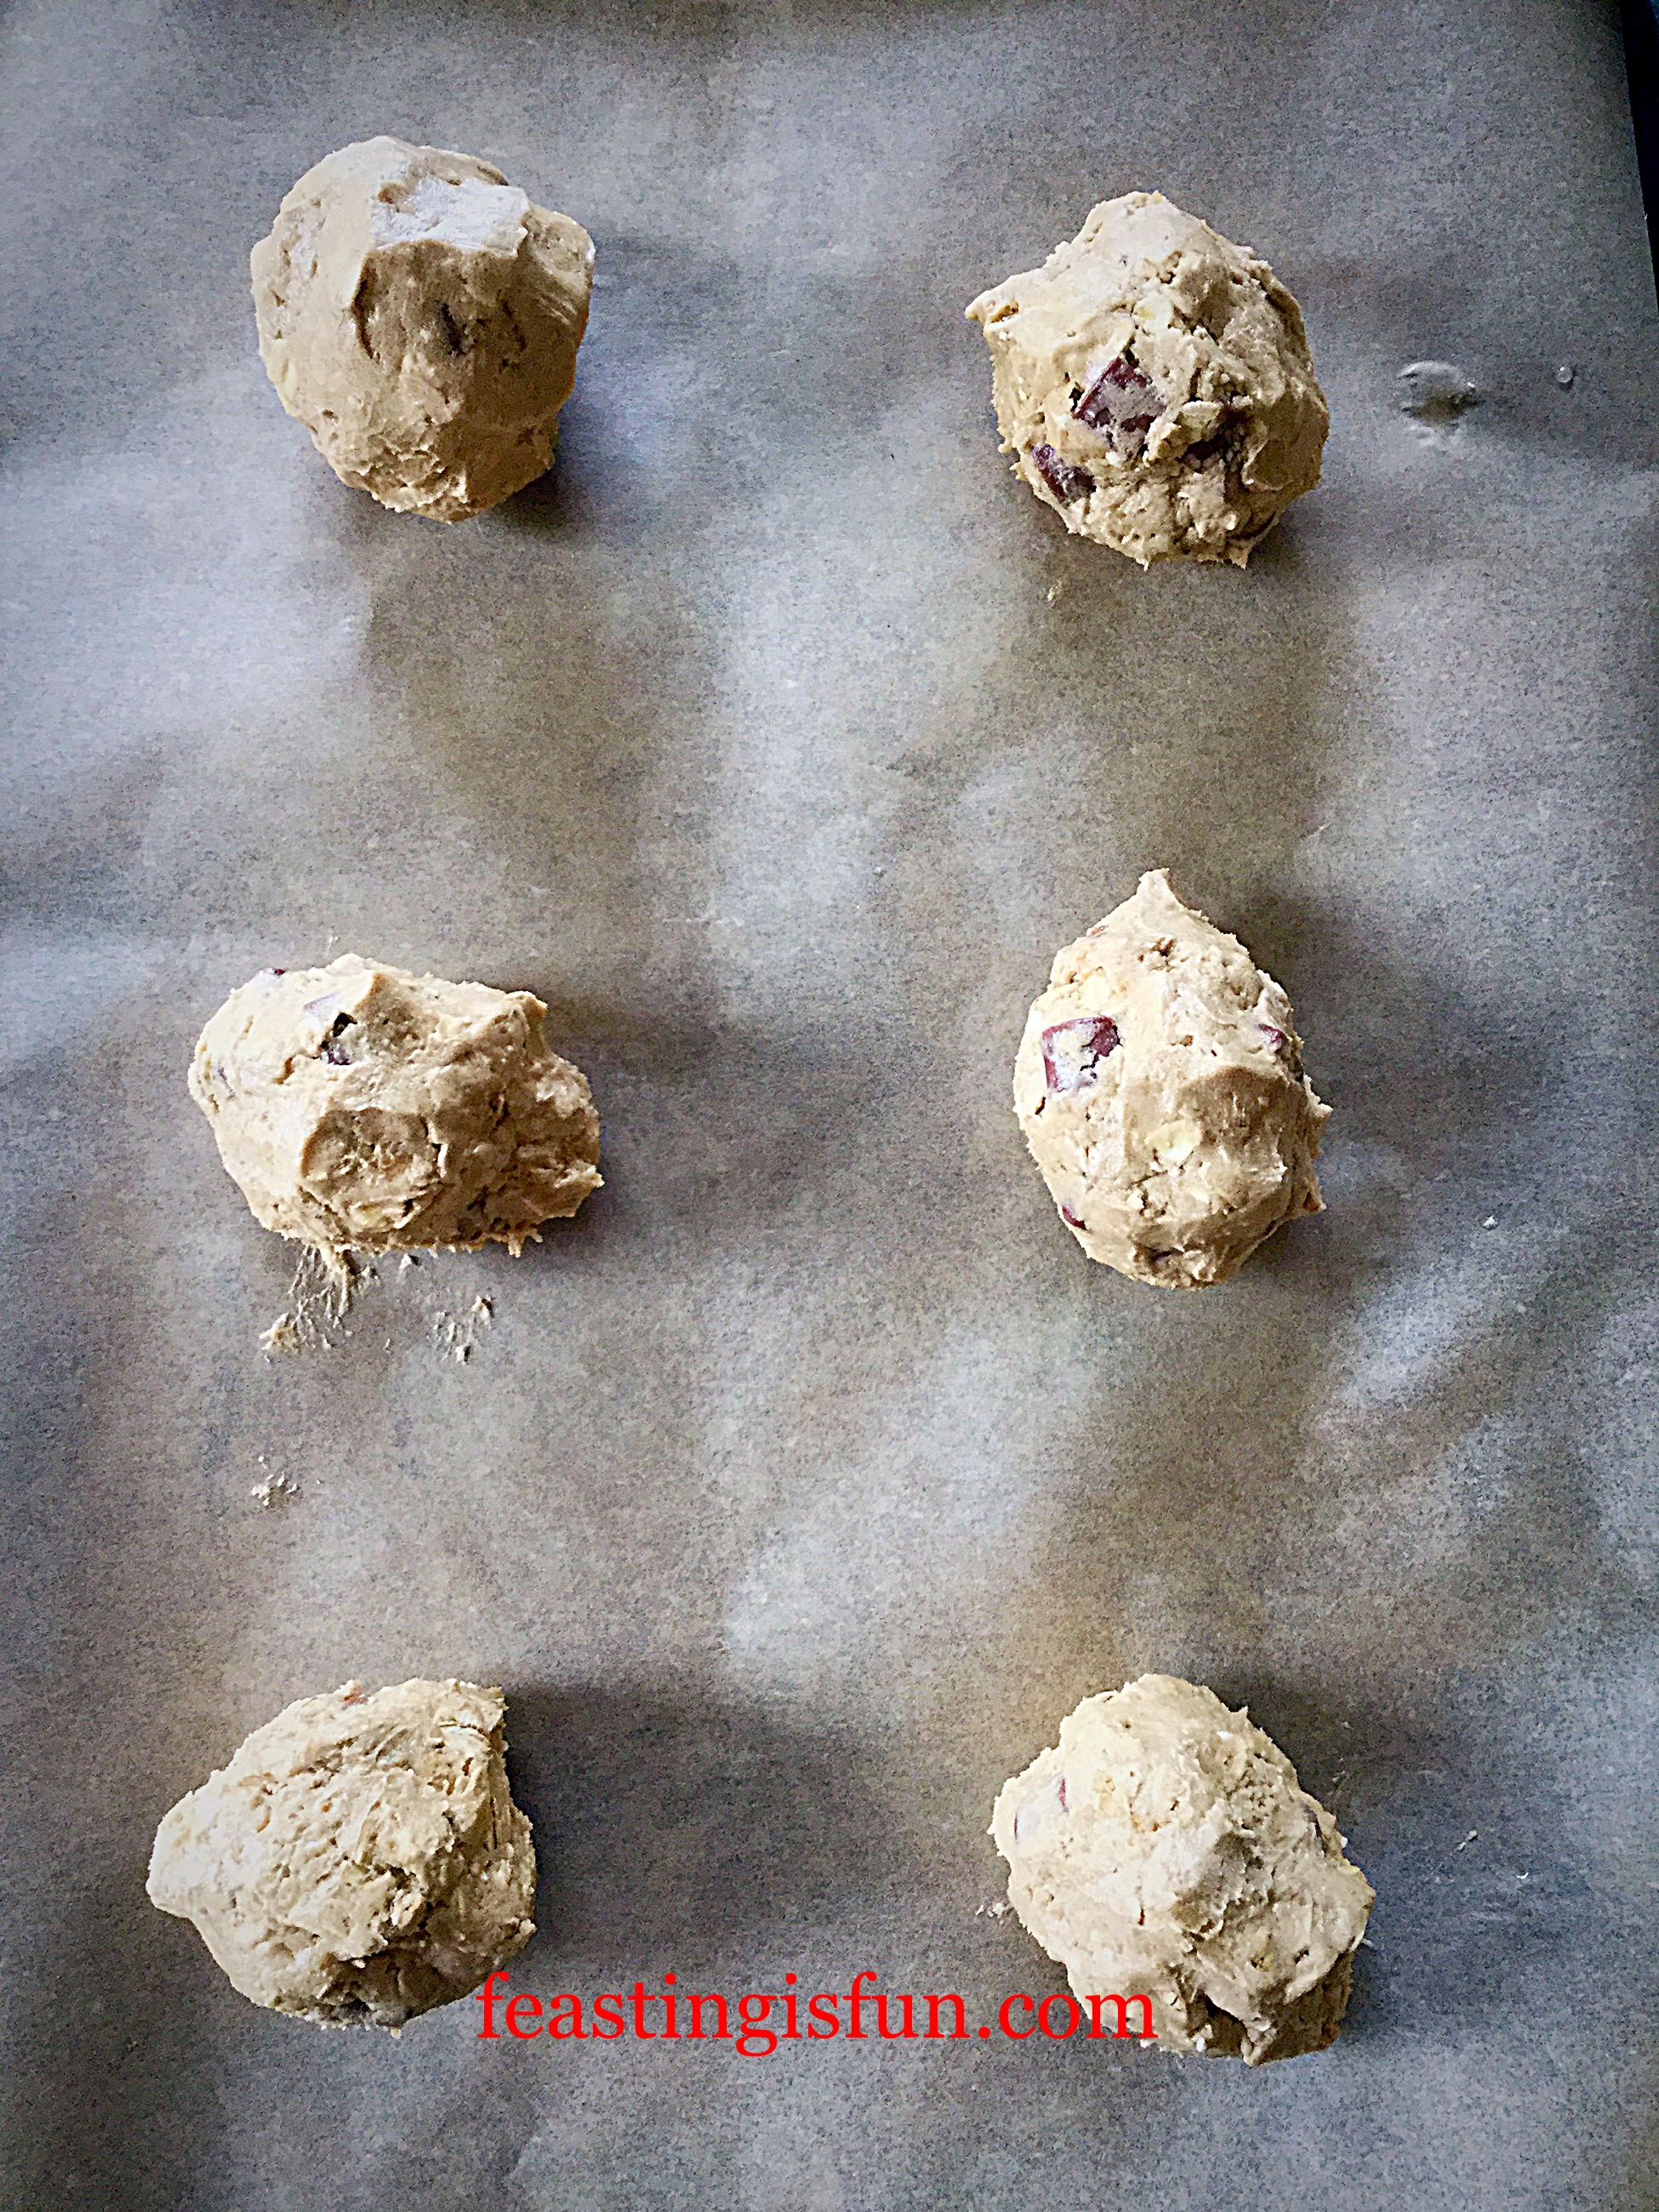
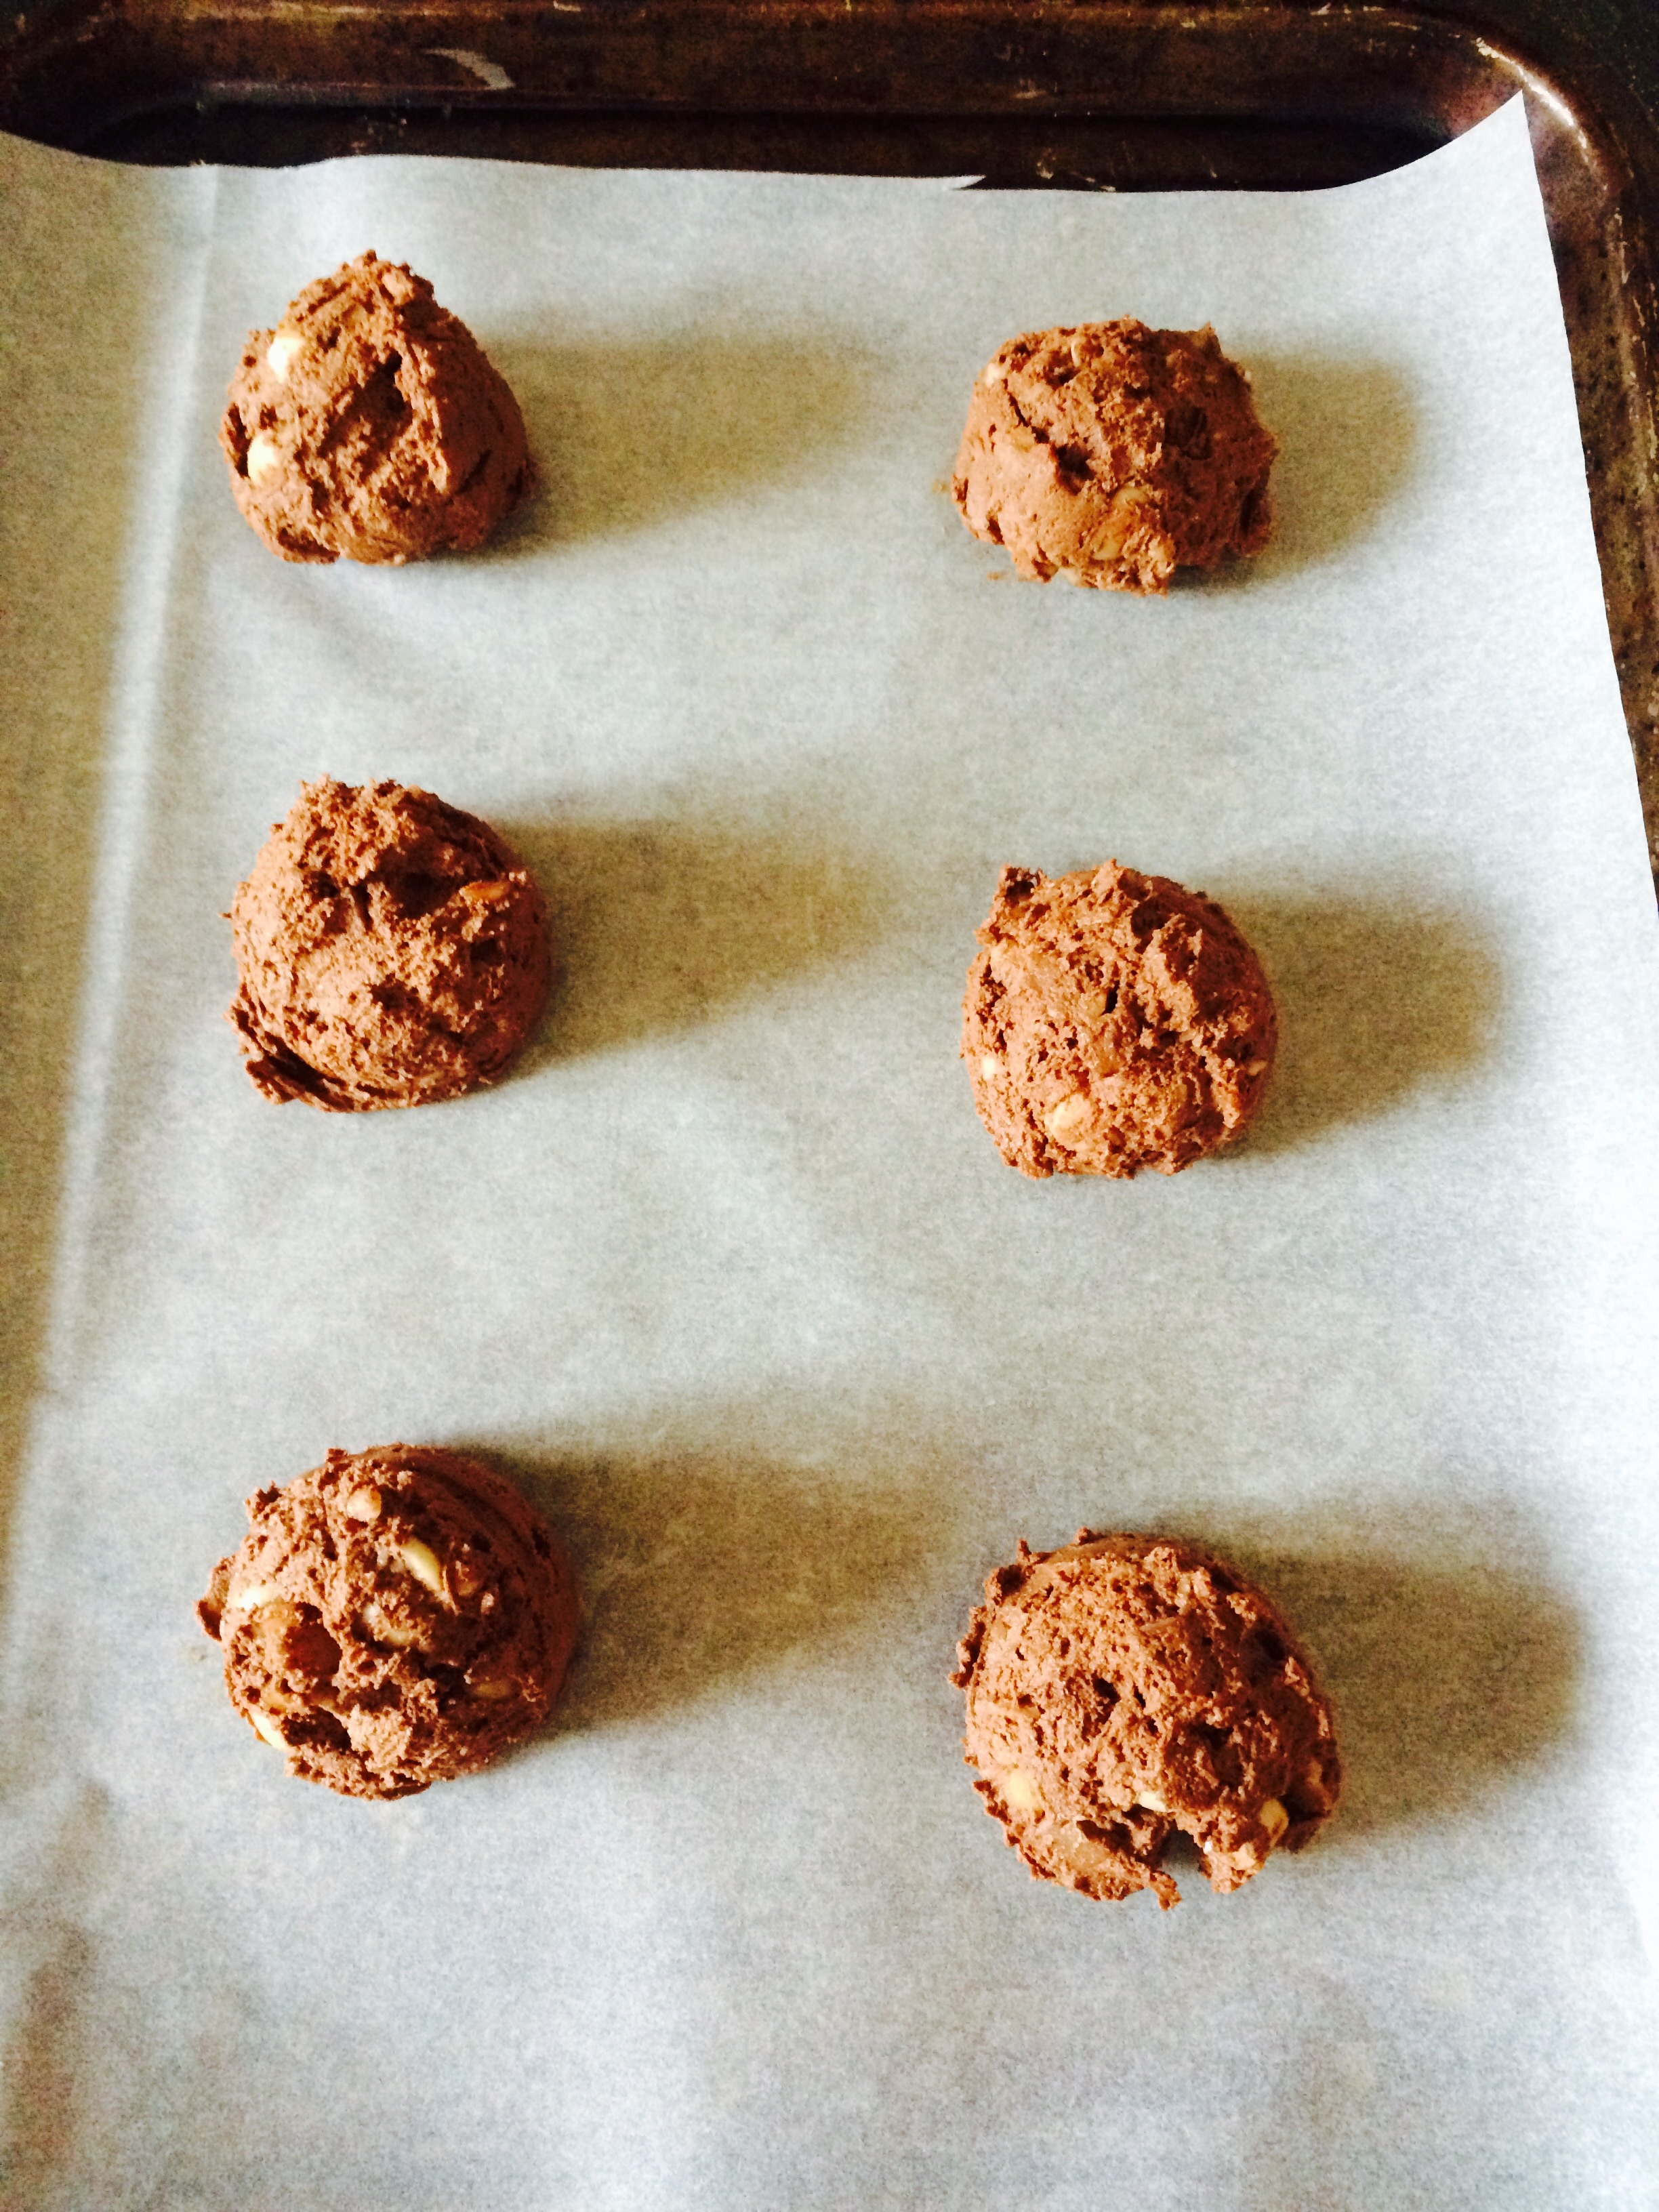
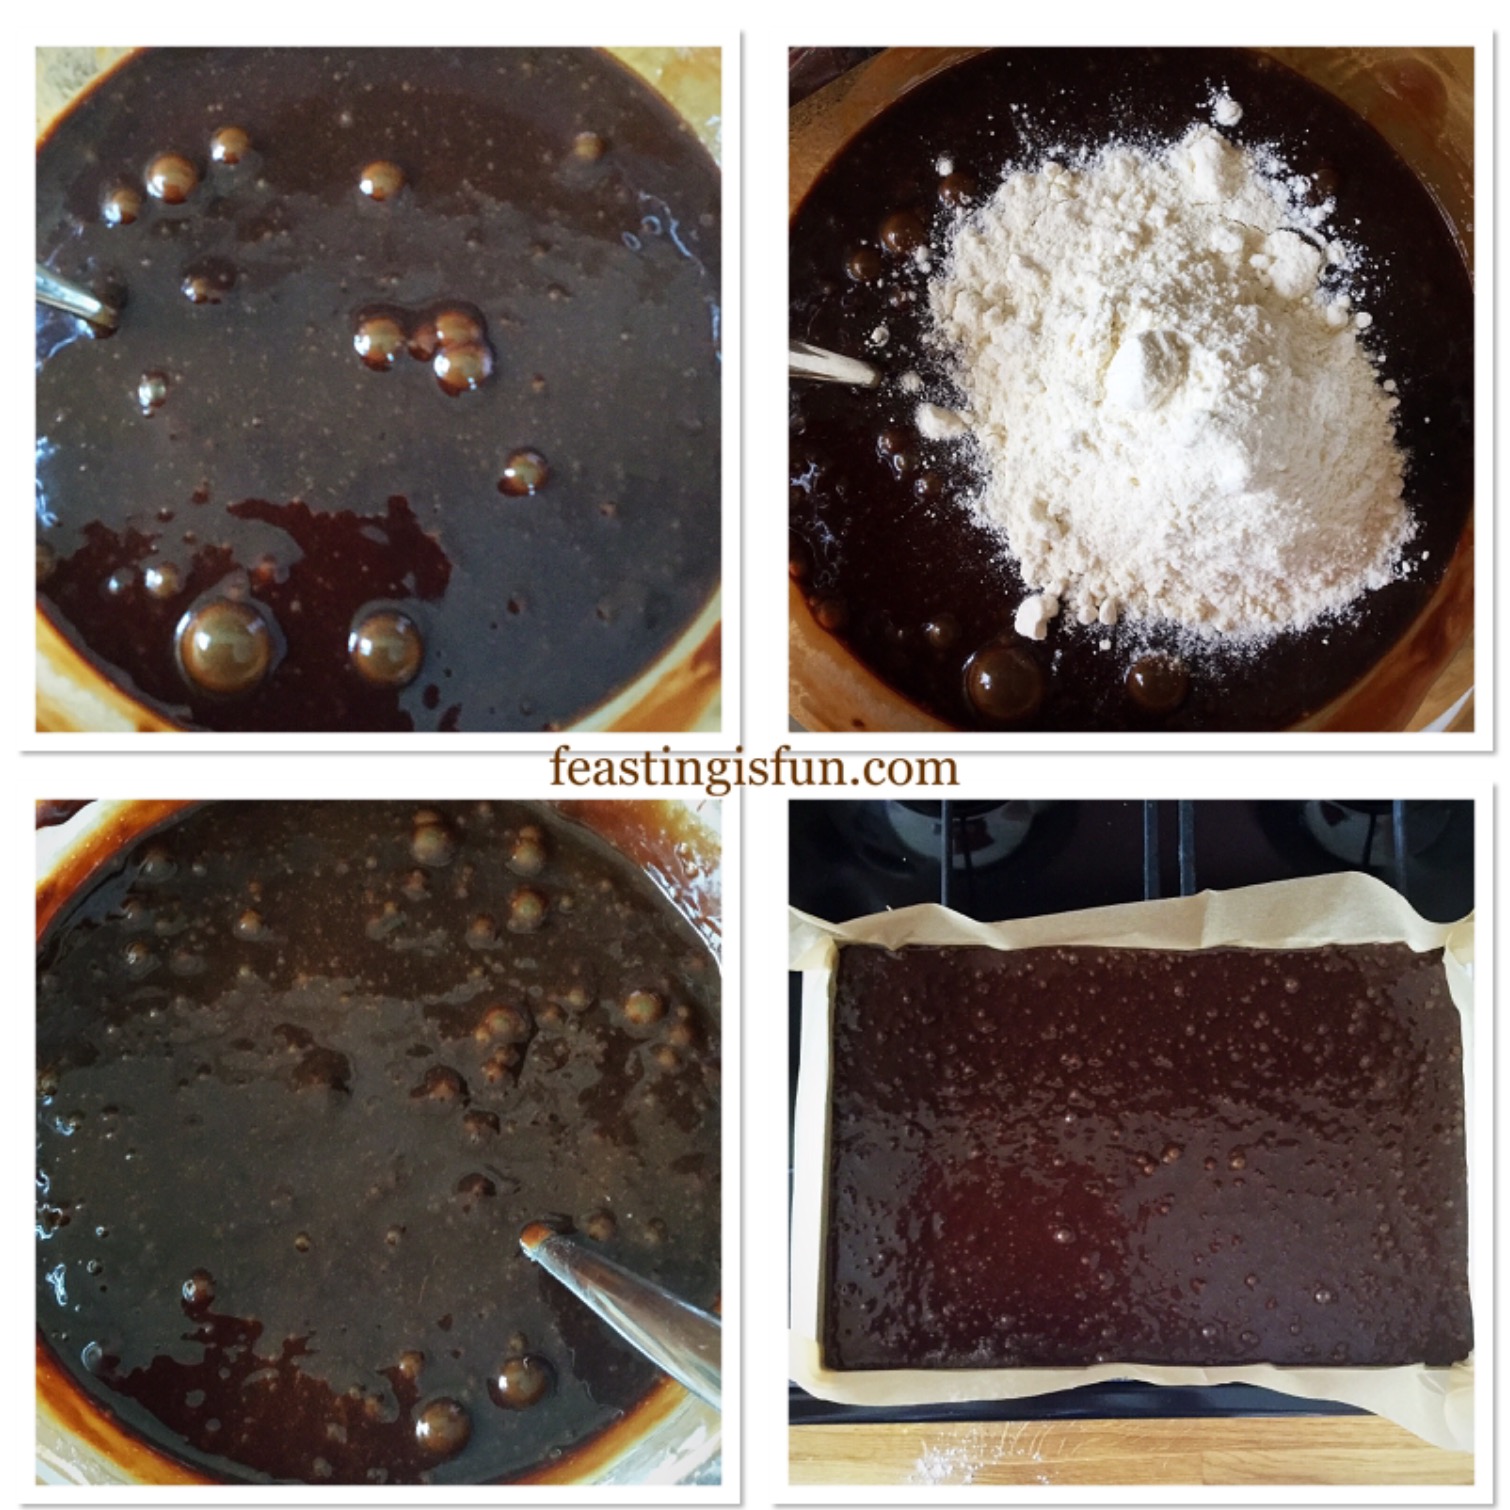
Making the brownie batter
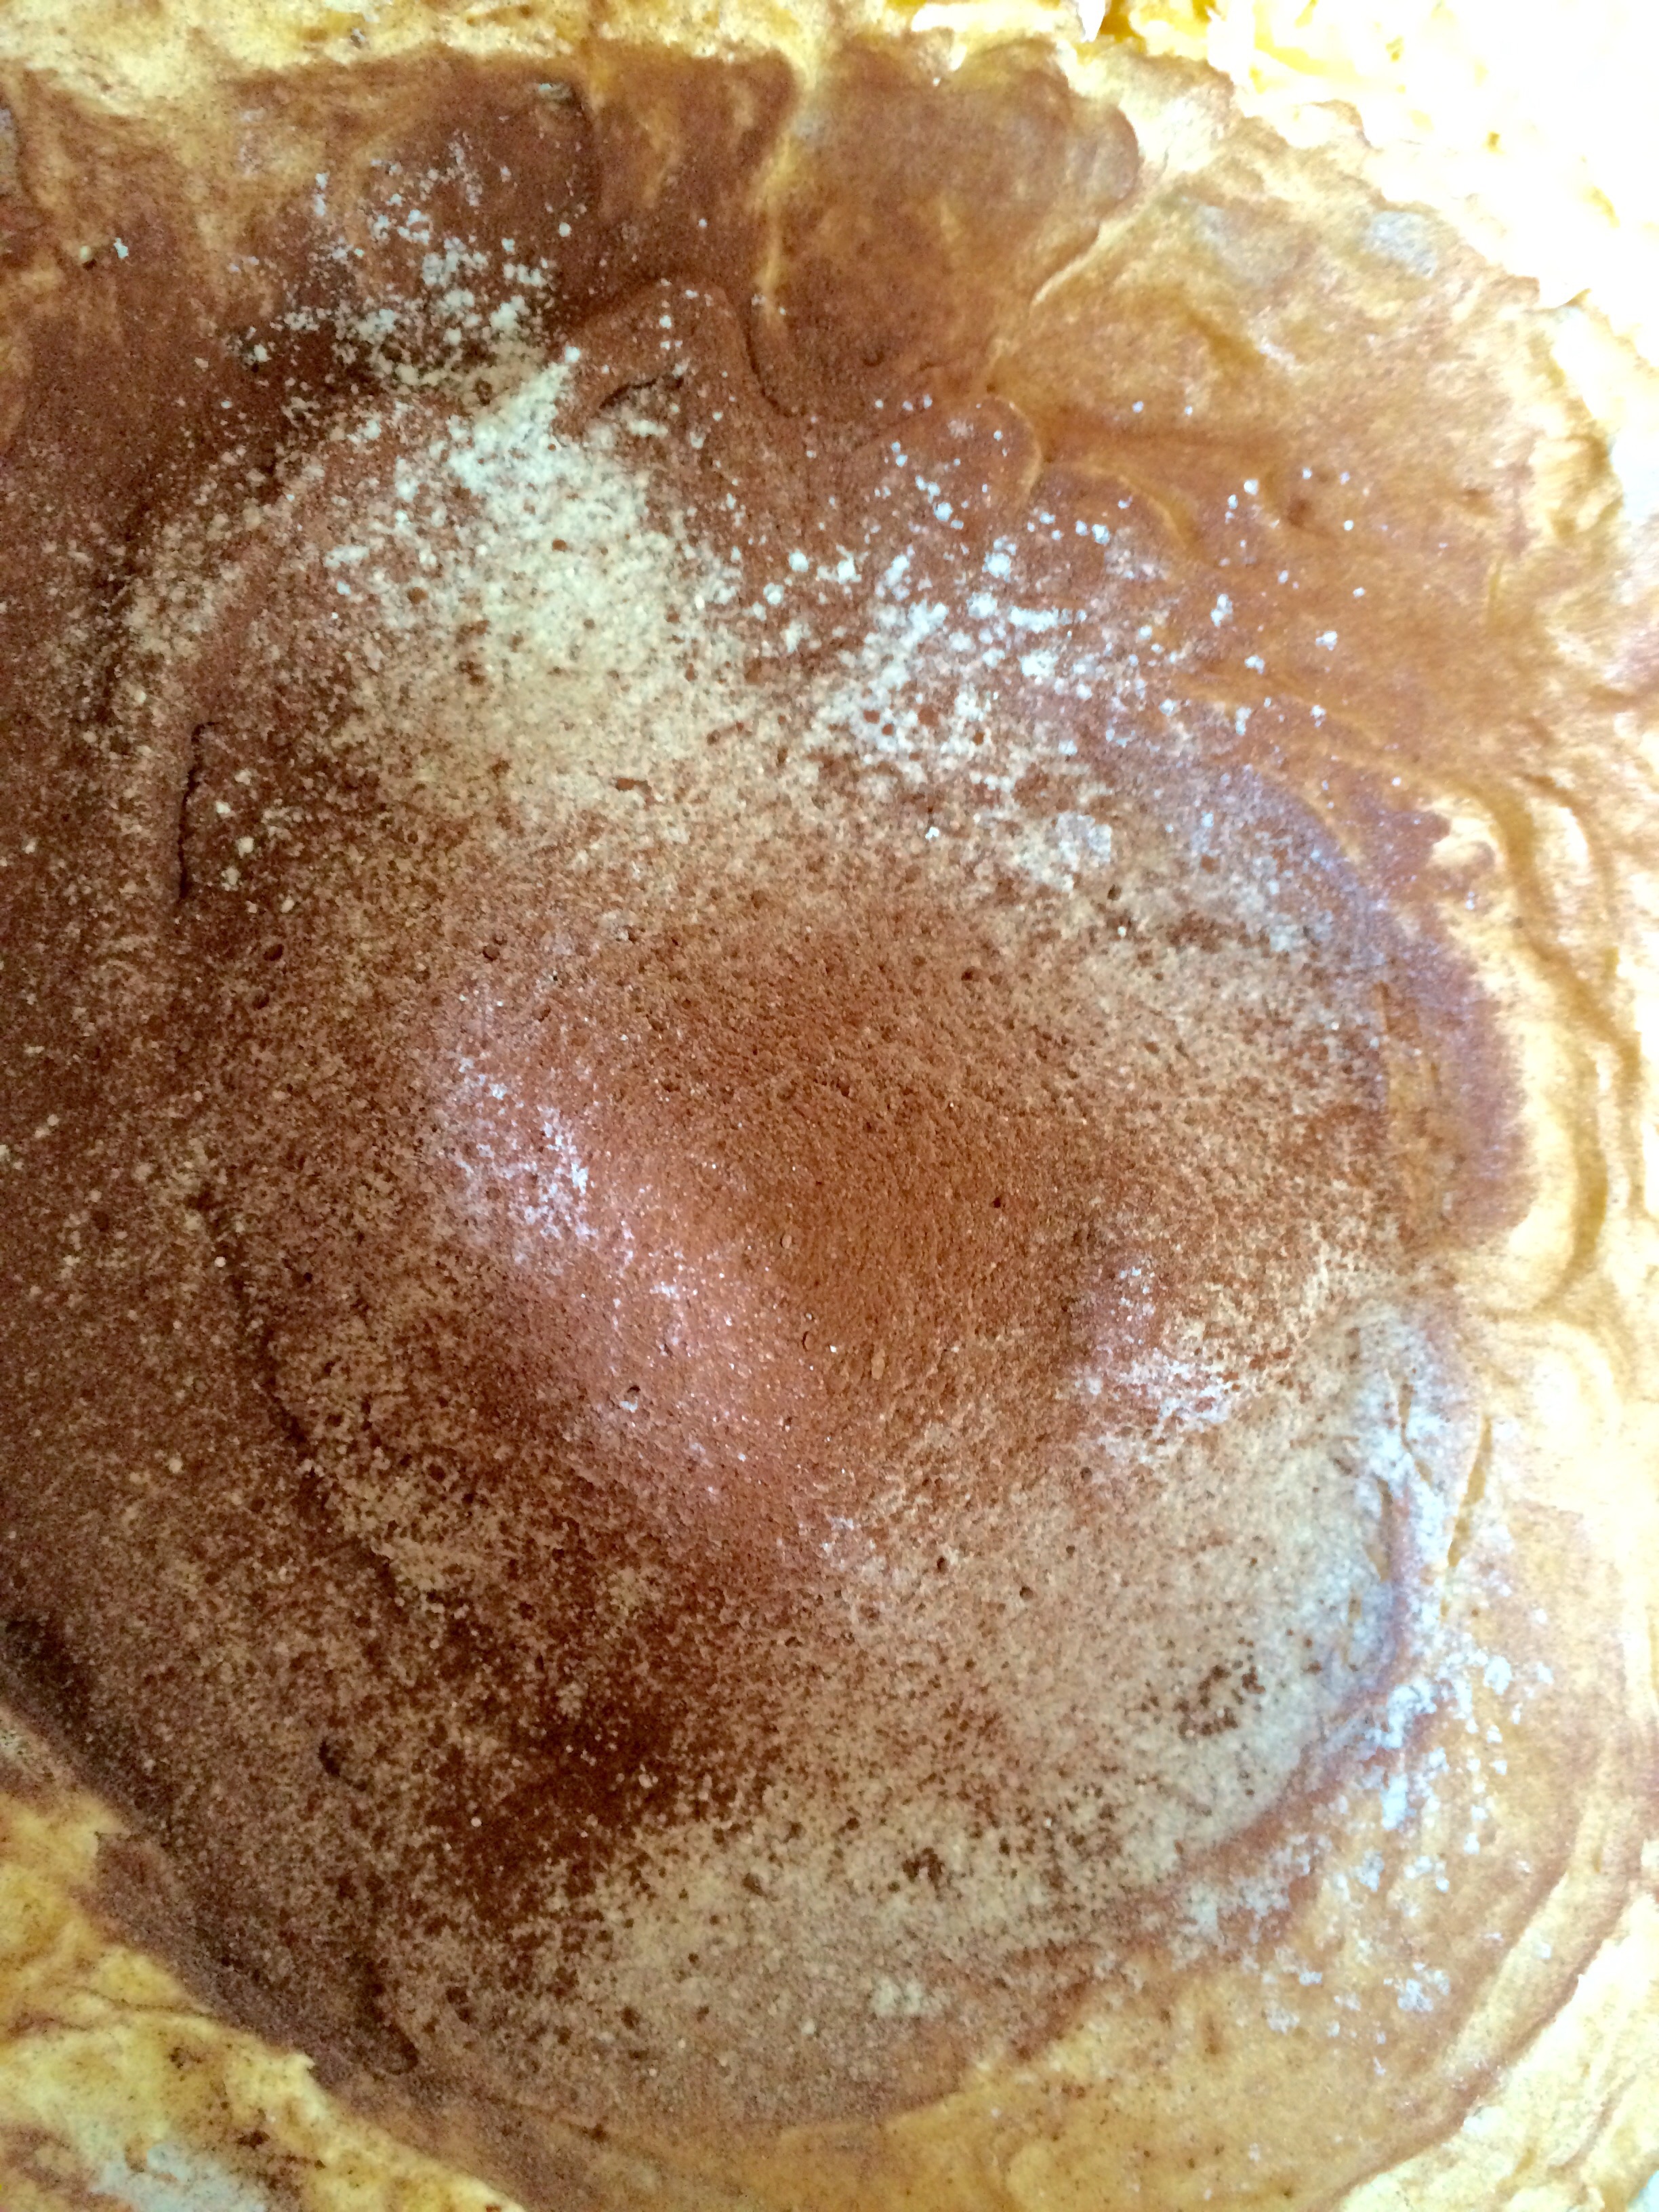
- First of all, in a heatproof, microwaveable bowl add the butter, both types of chocolate and 3 tubes of Rolos. Zap on medium power for 30 seconds at a time until the chocolate and butter start to melt. Remove from the microwave and stir continuously until everything is melted. Set aside to cool.
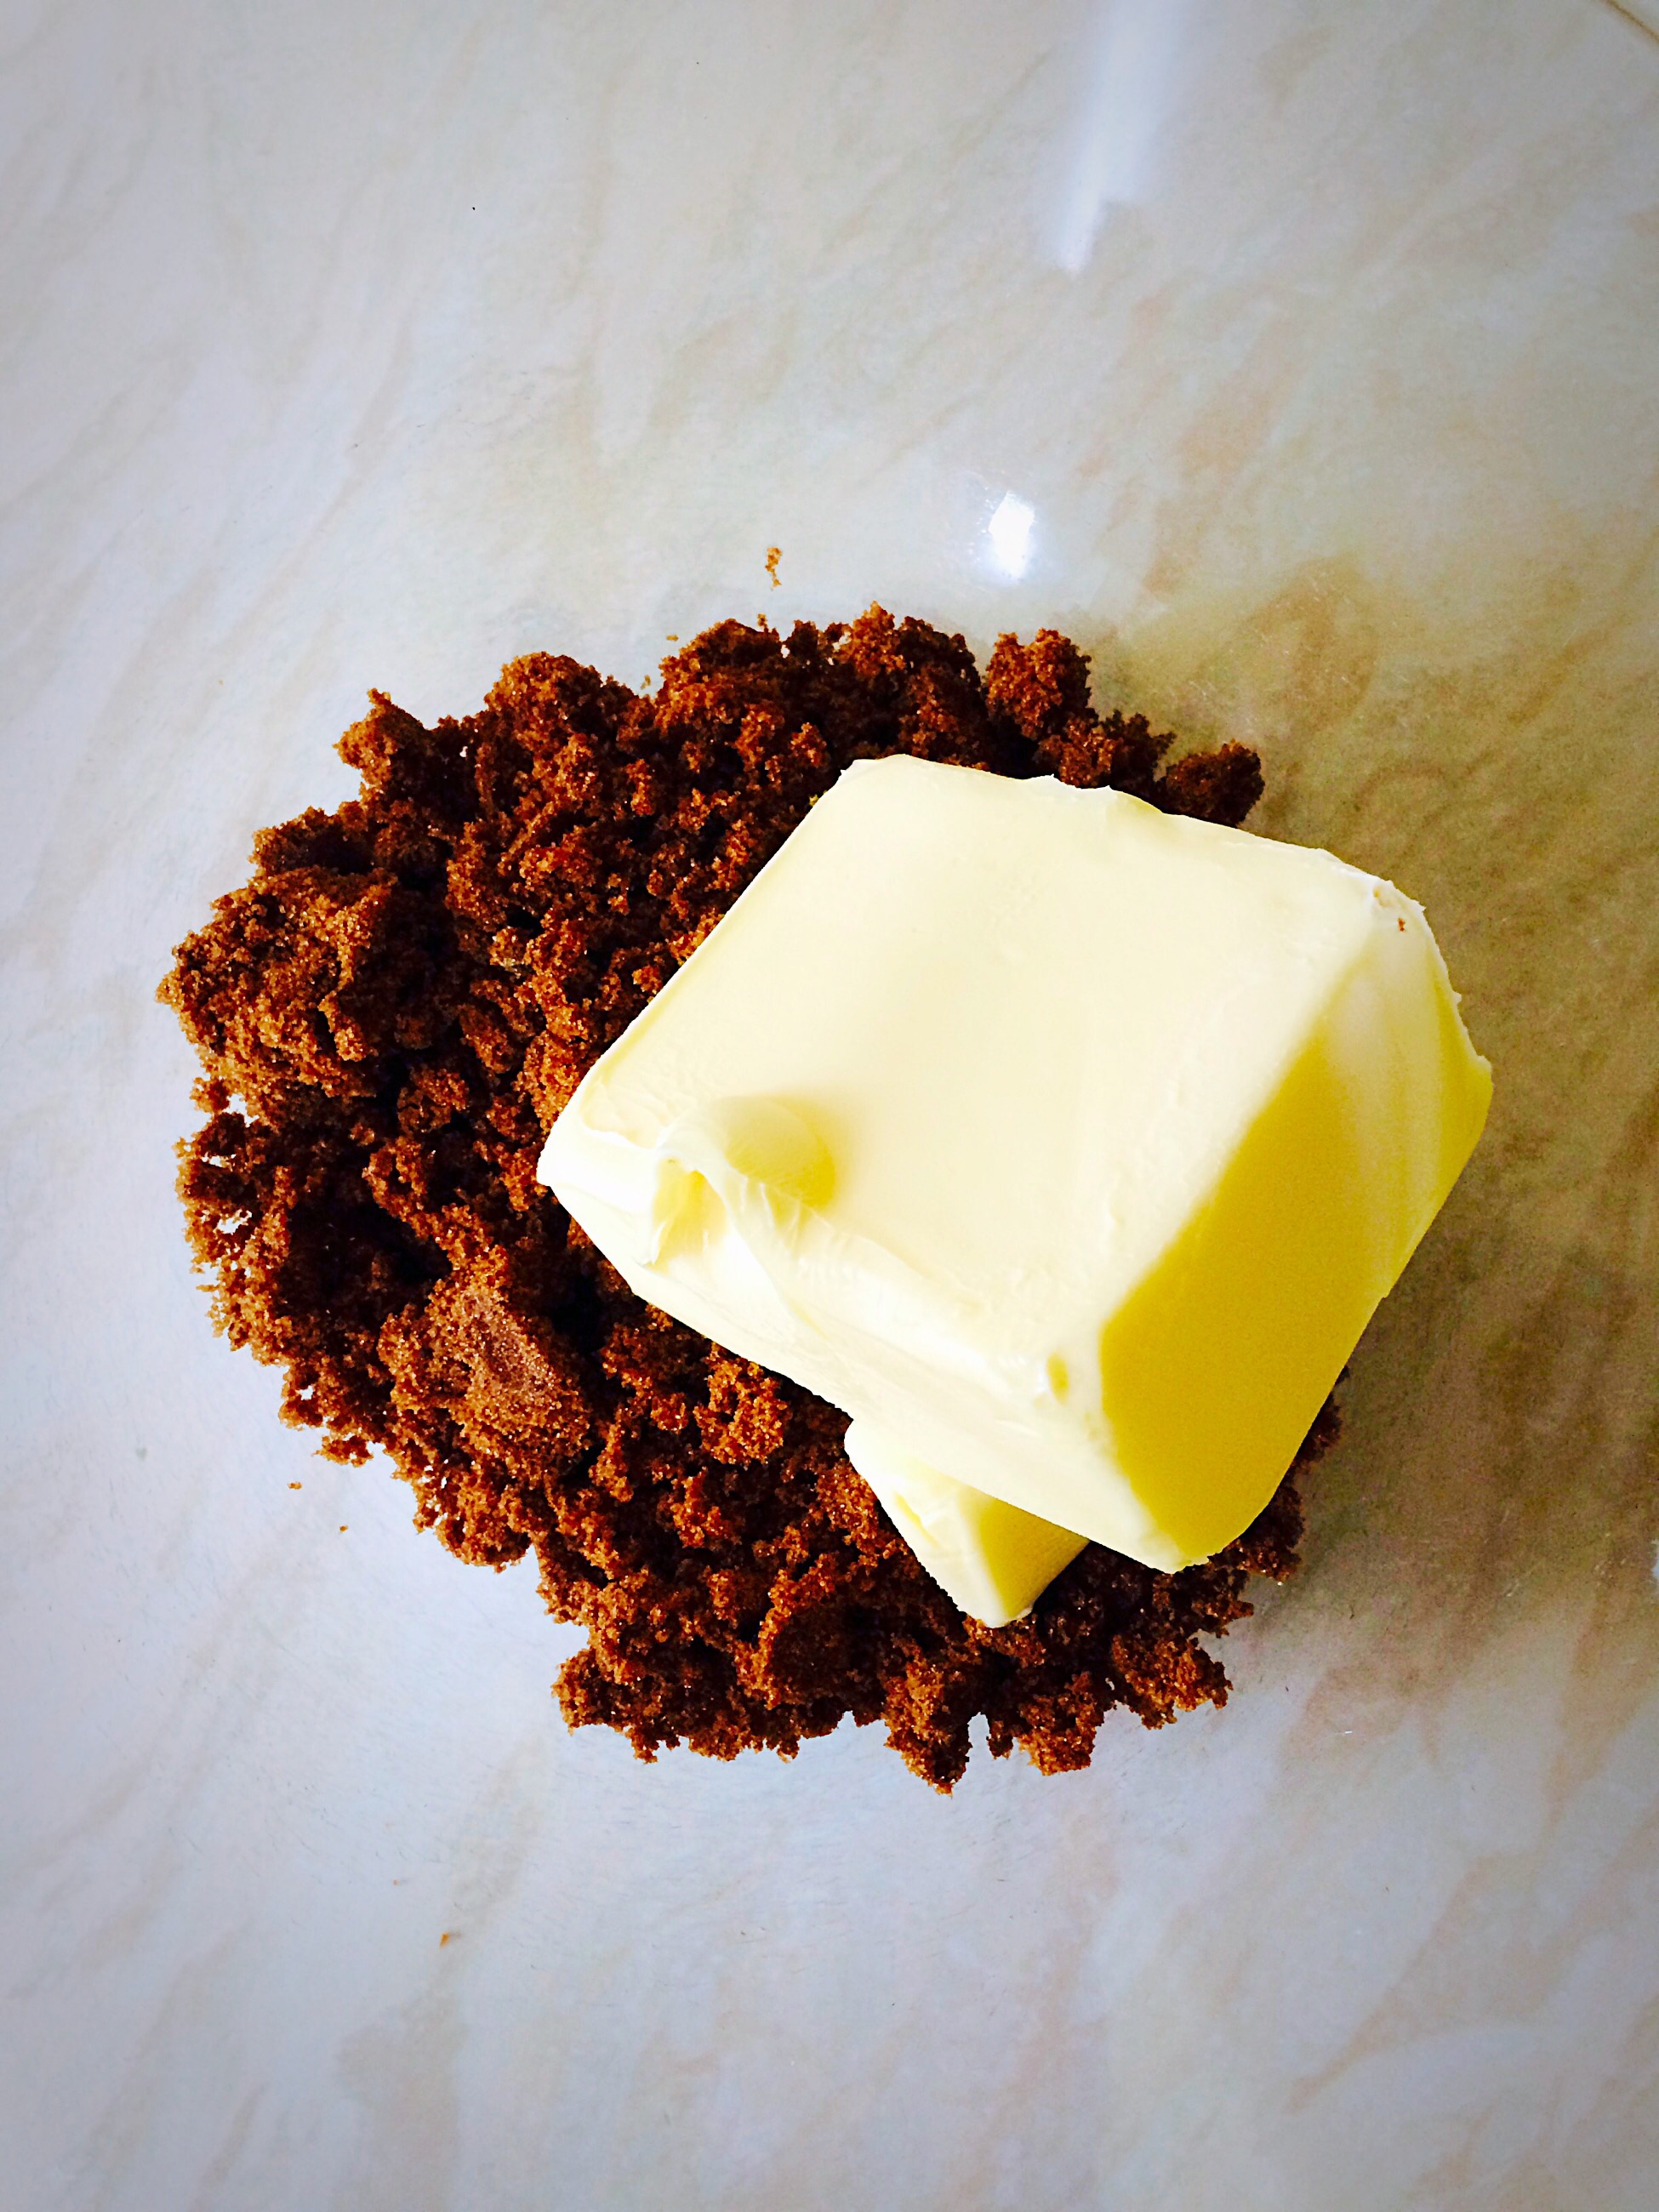
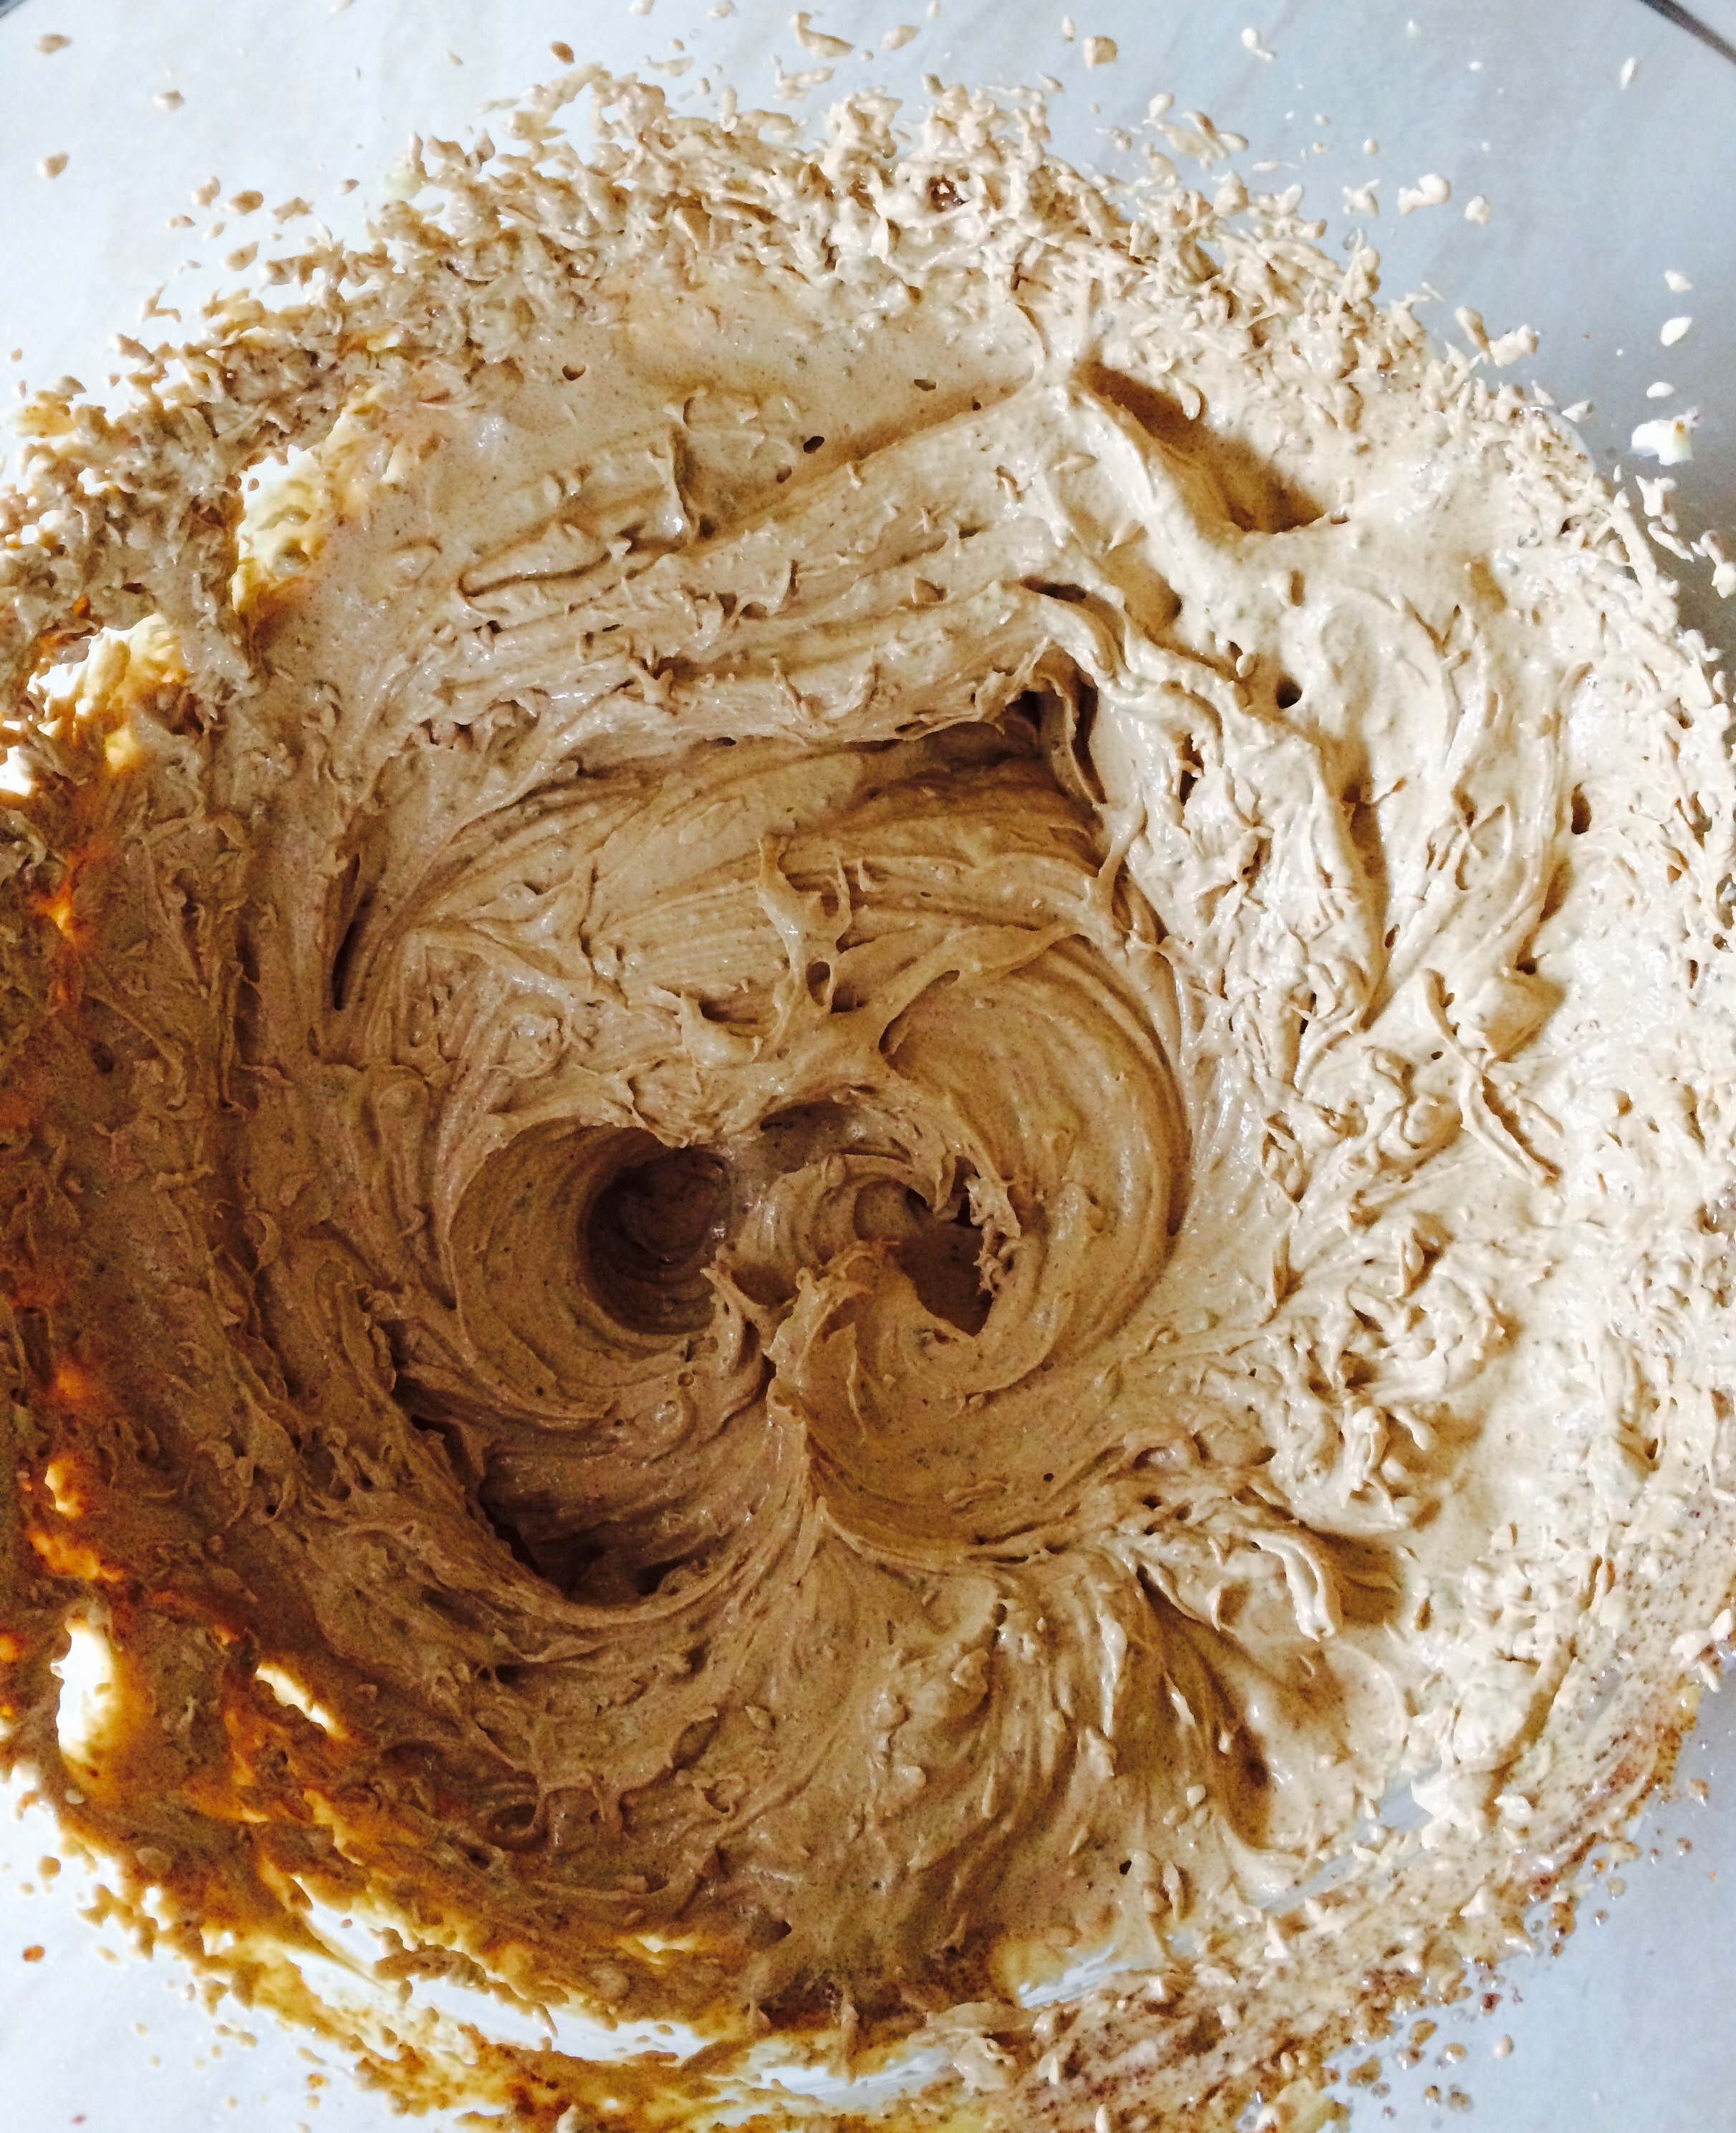
- In a separate bowl add the eggs, salt, vanilla extract and muscavado sugar. Whisk with a balloon whisk until the sugar and eggs are completely combined.
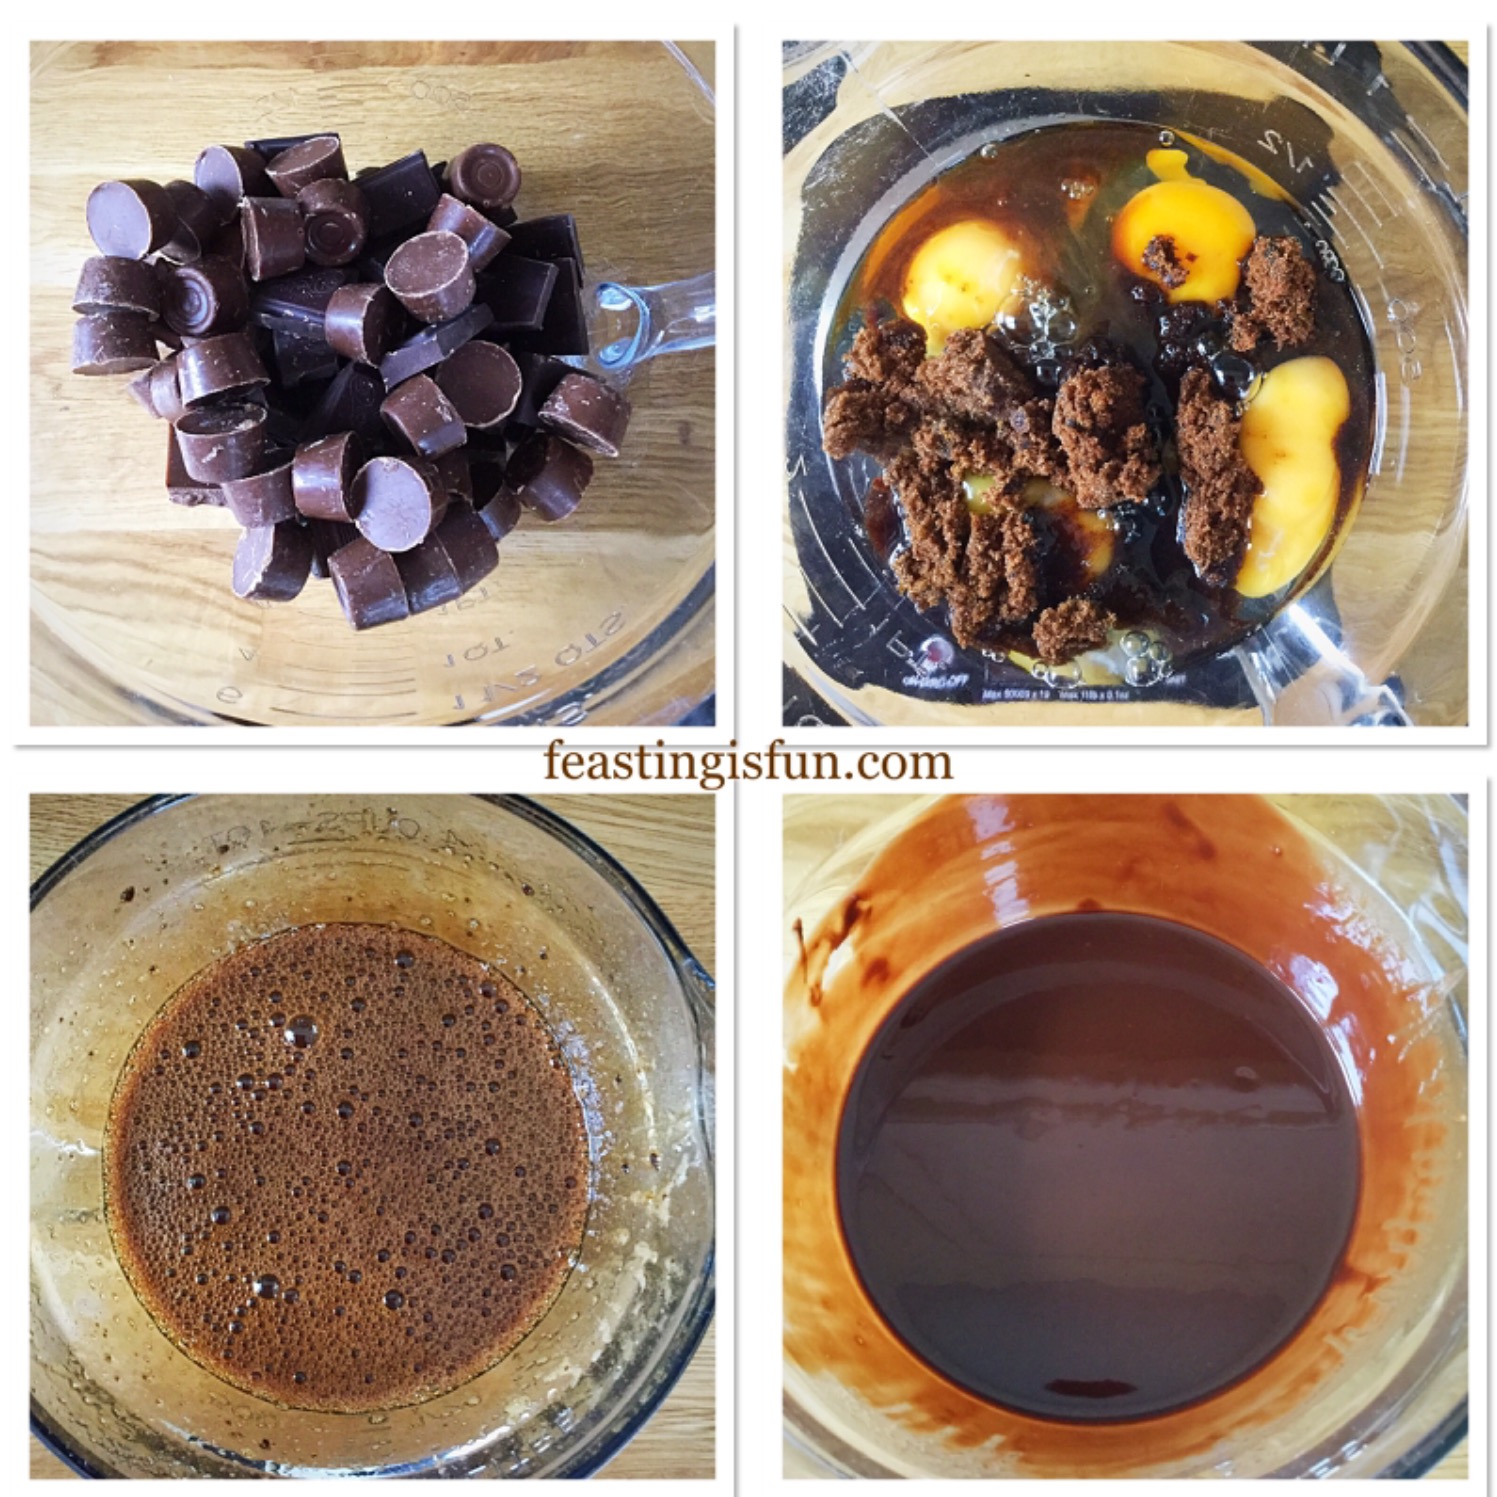
- As soon as the chocolate mixture is at body temperature pour in the egg mix, stirring continuously as you do so.
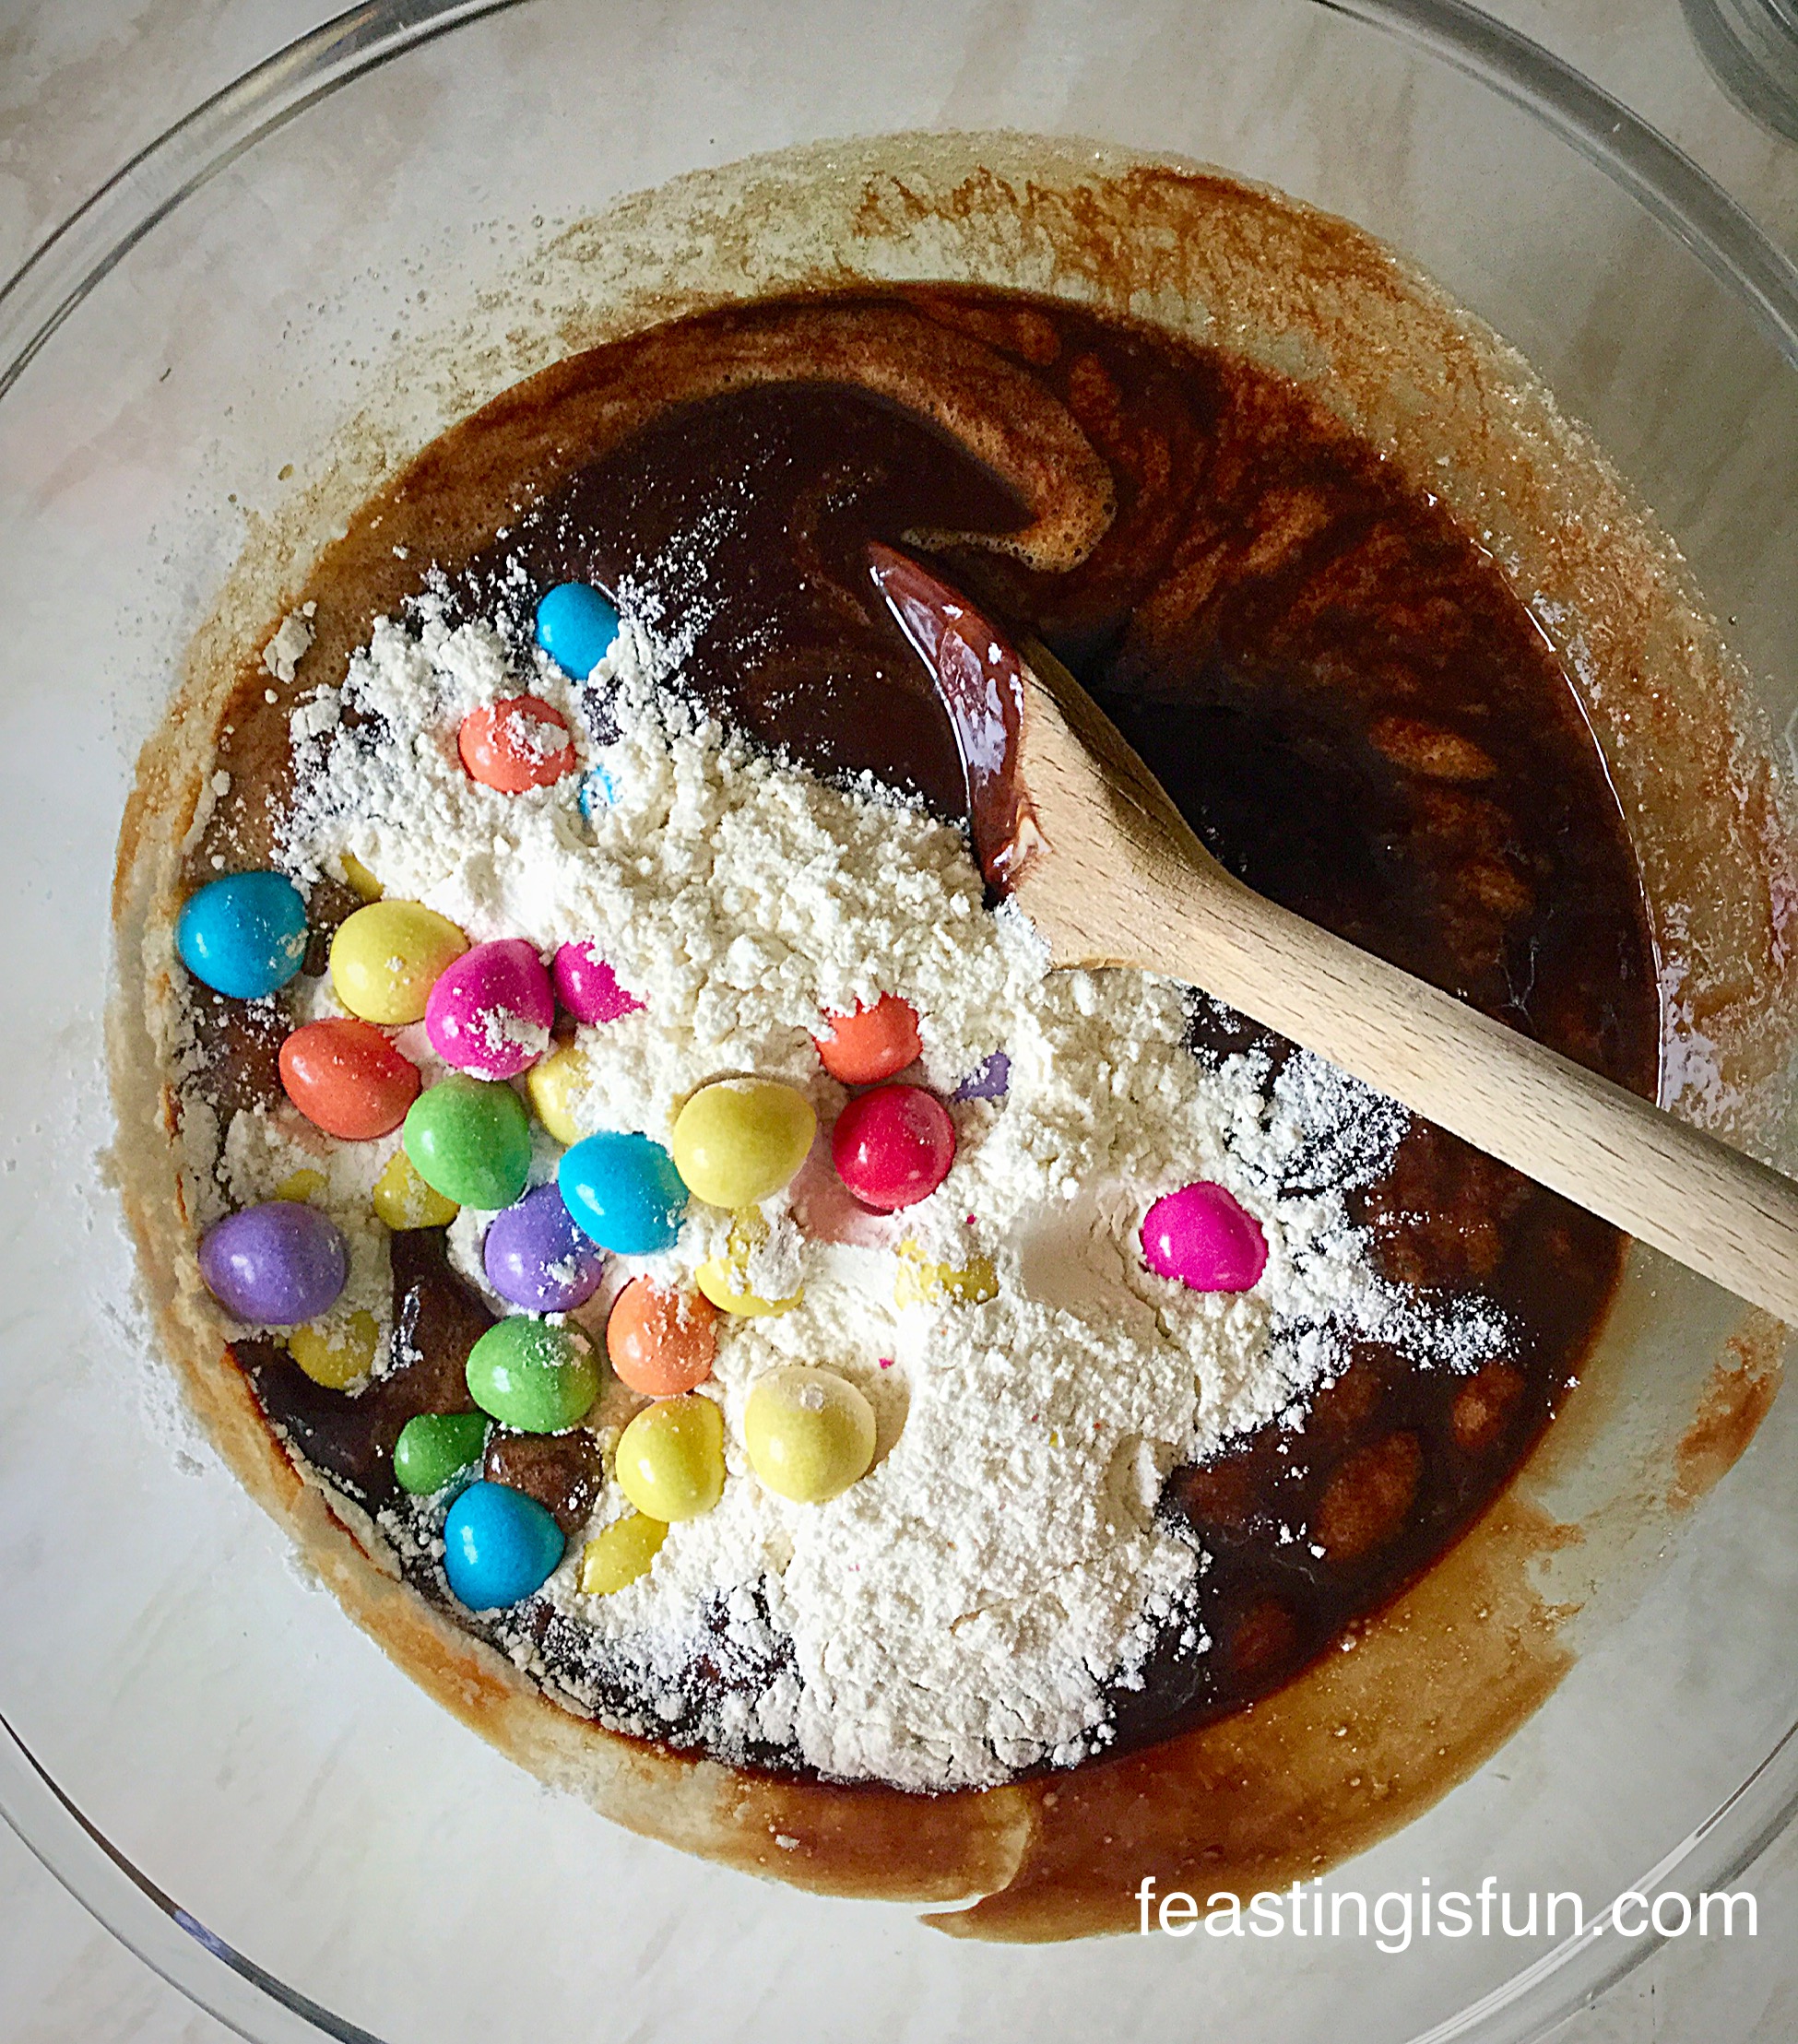
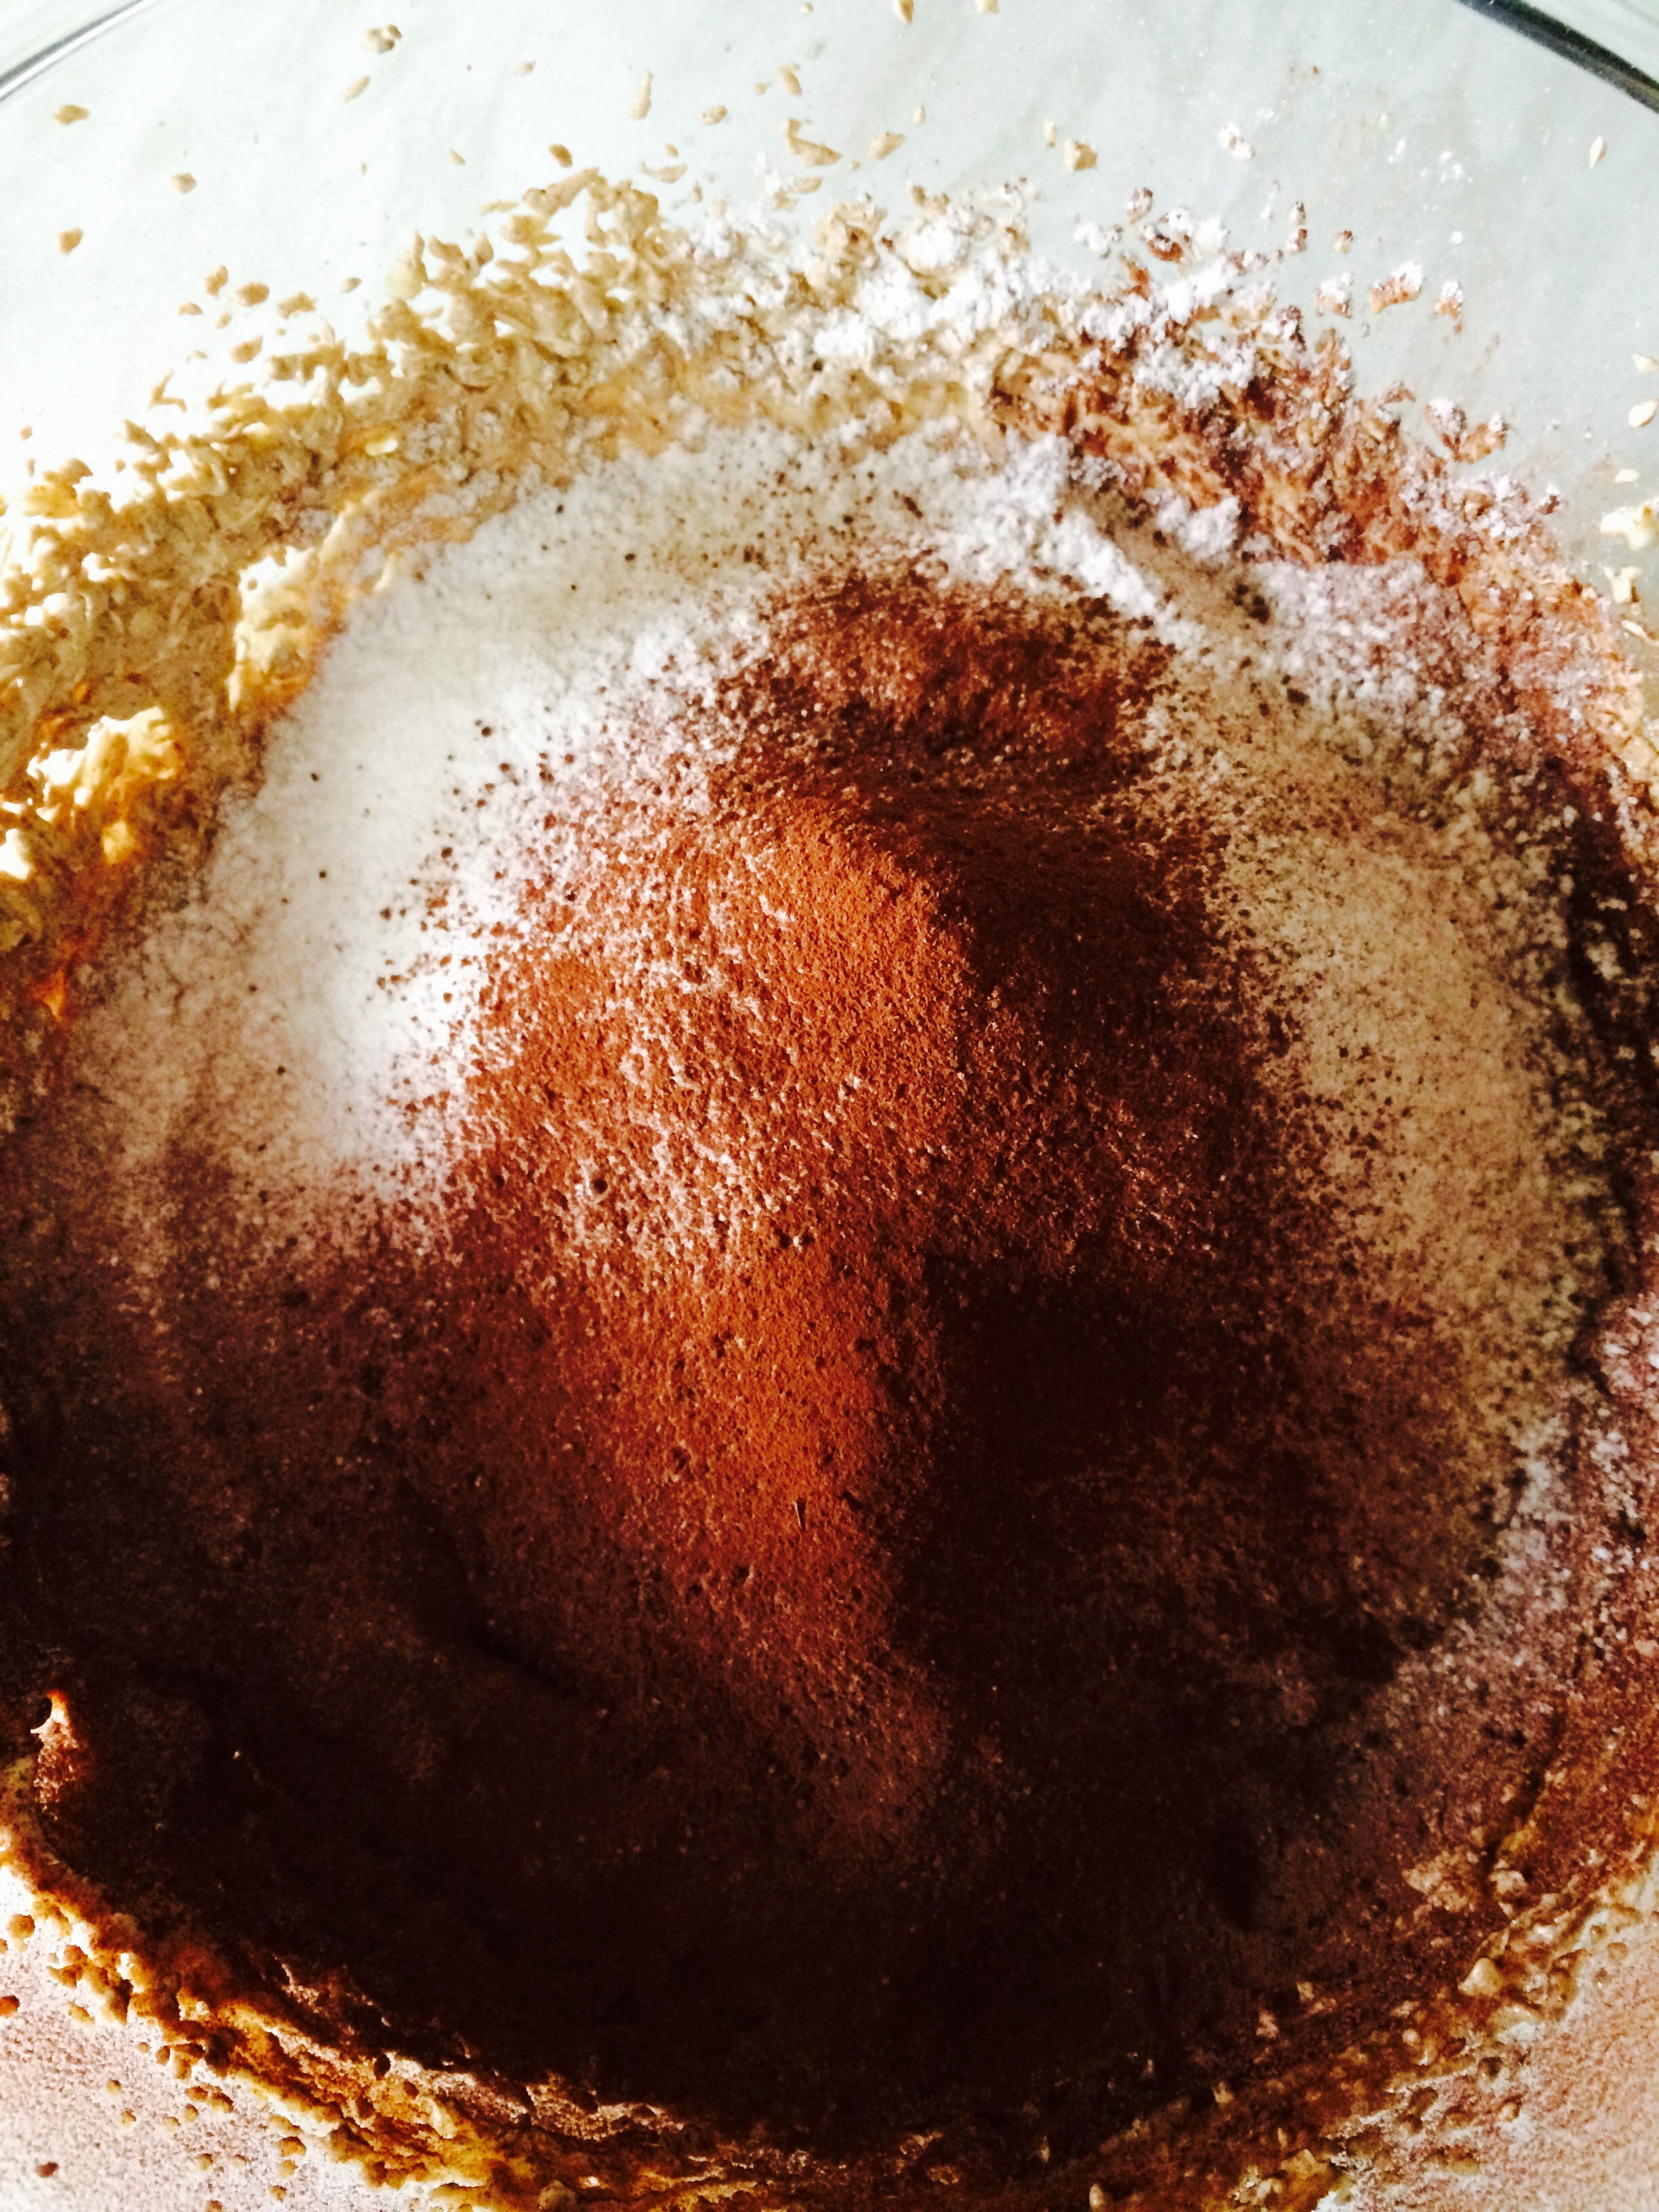
- Add the flour and fold carefully into the mixture ensuring there aren’t any lumps.
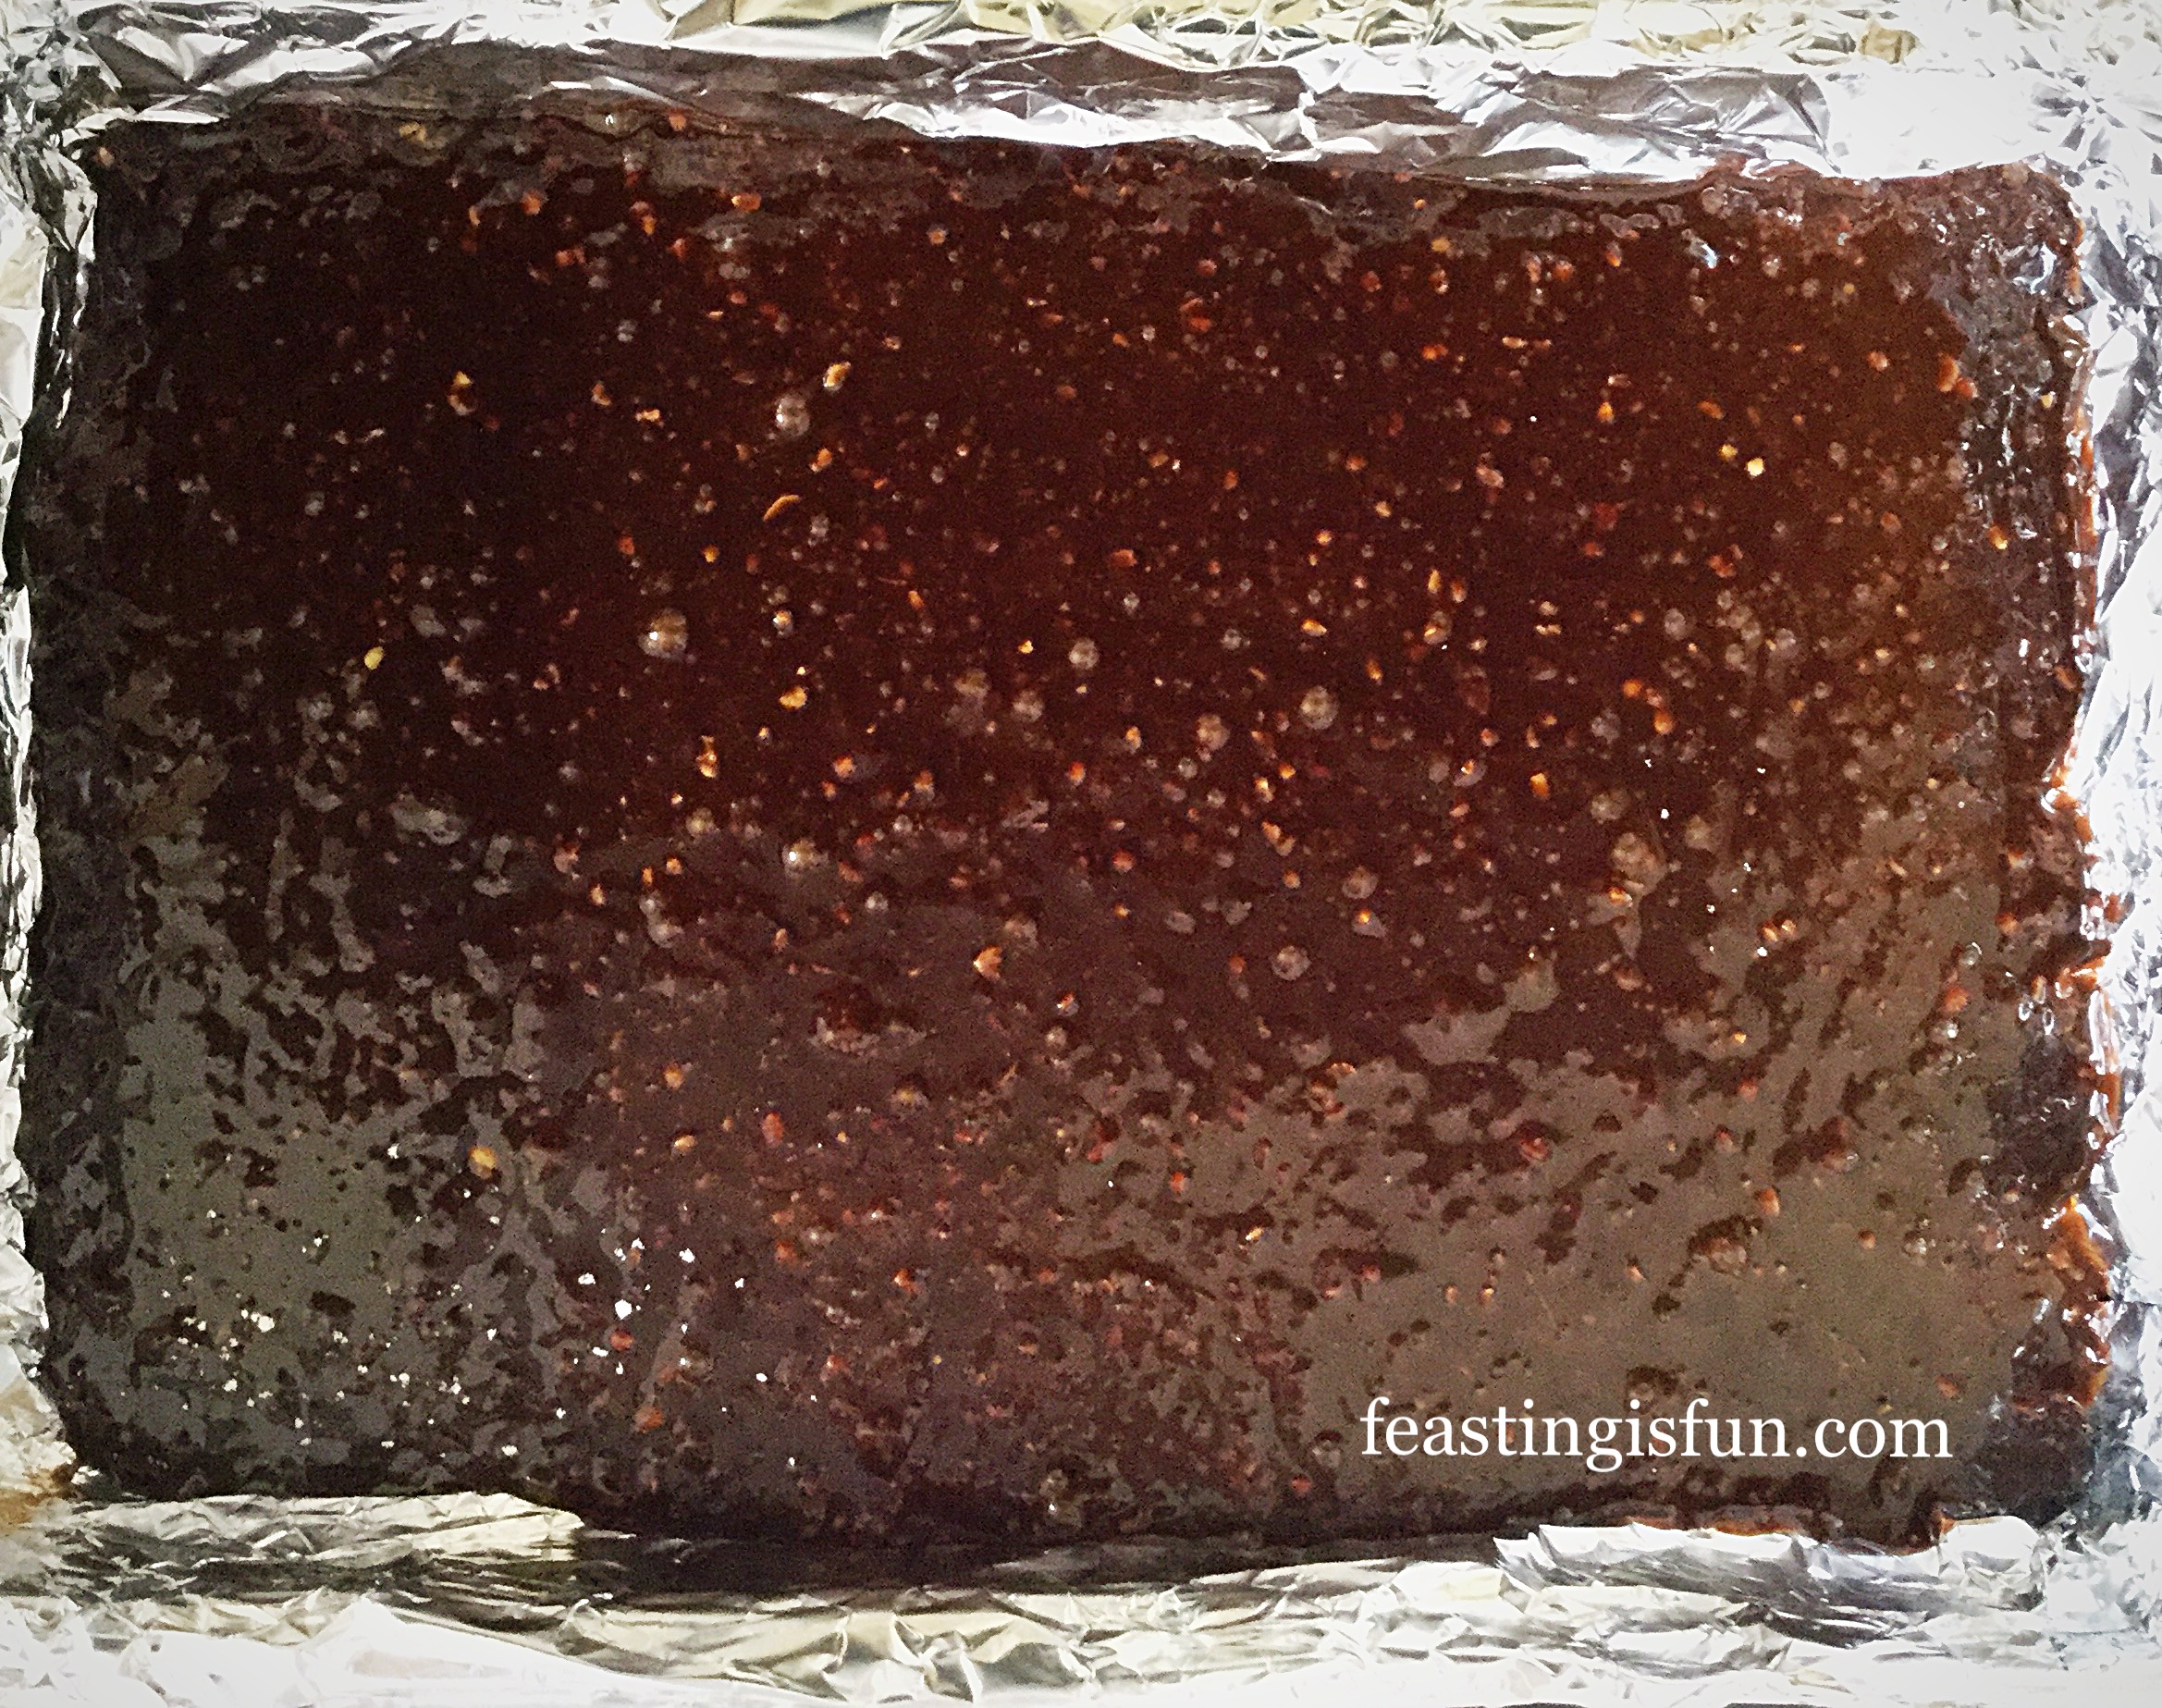
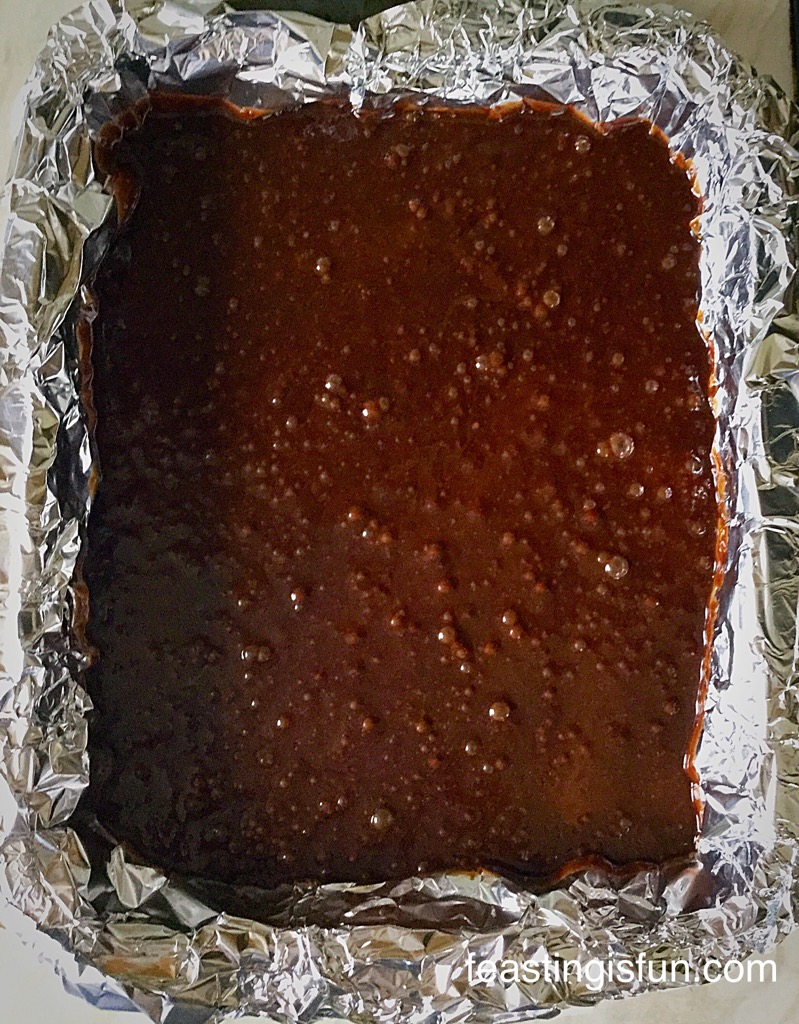
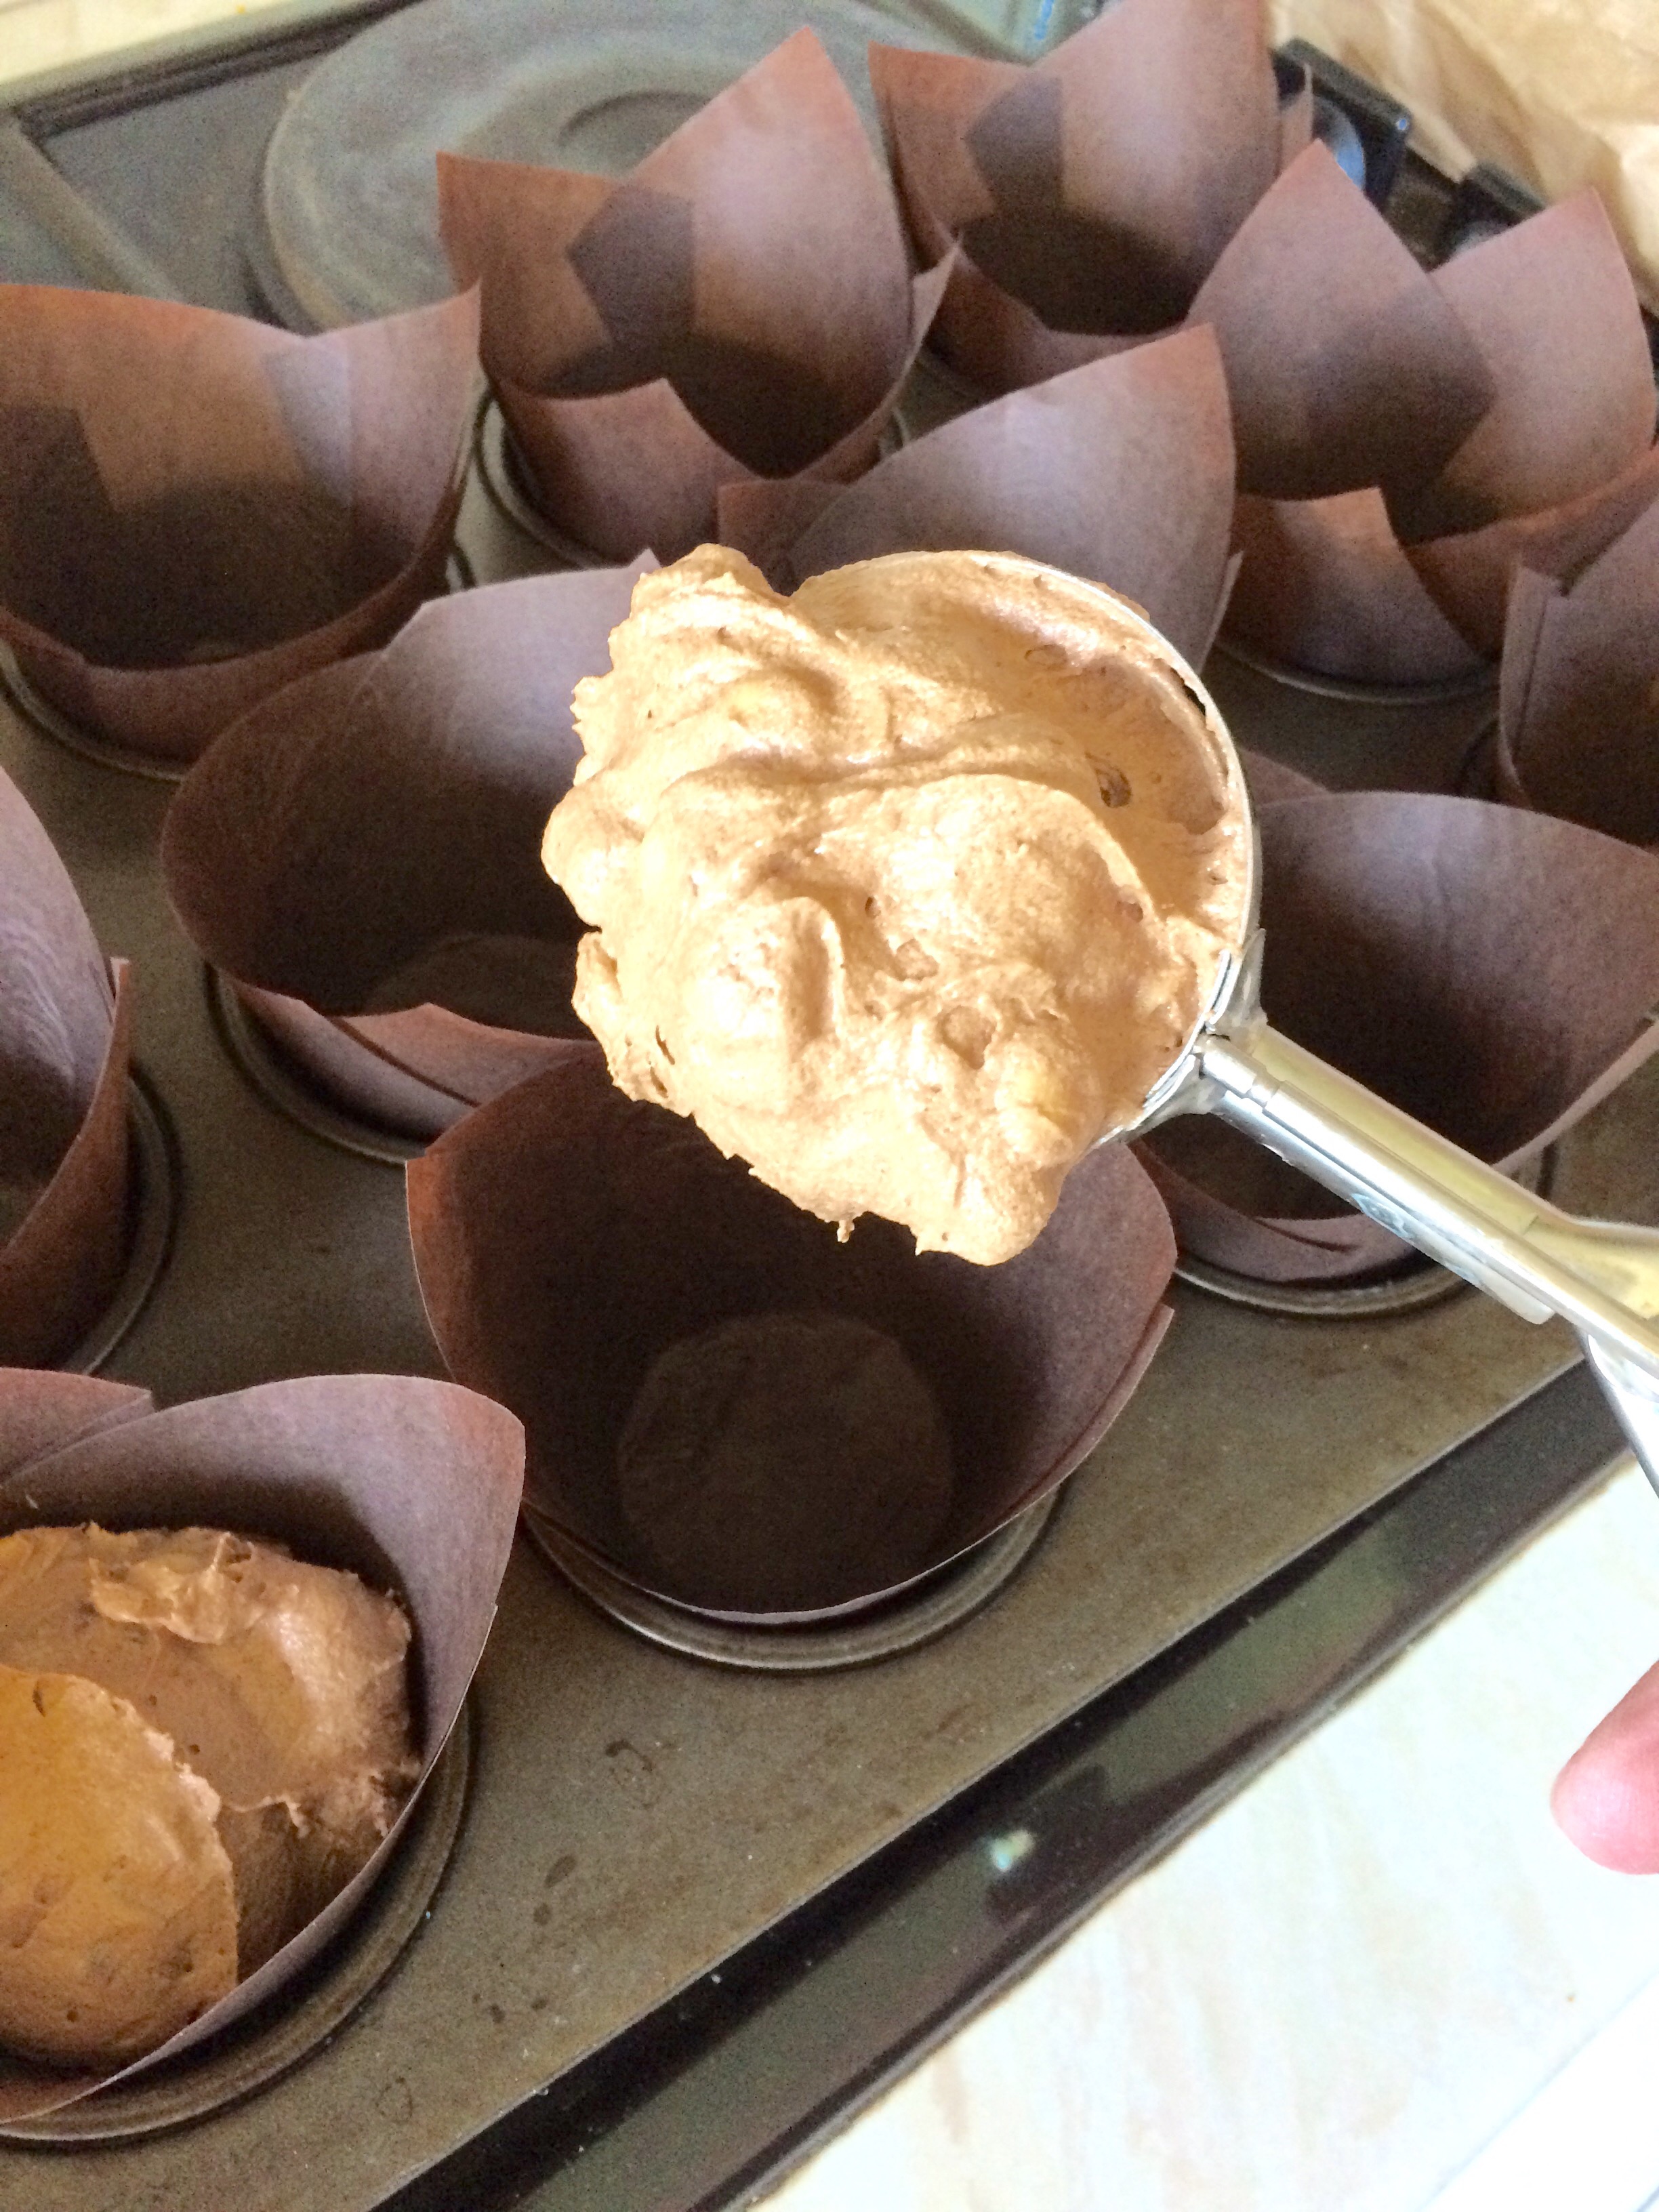
- Pour the brownie batter into the prepared tin. Rap the tin against the worktop a couple of times to release any air bubbles.
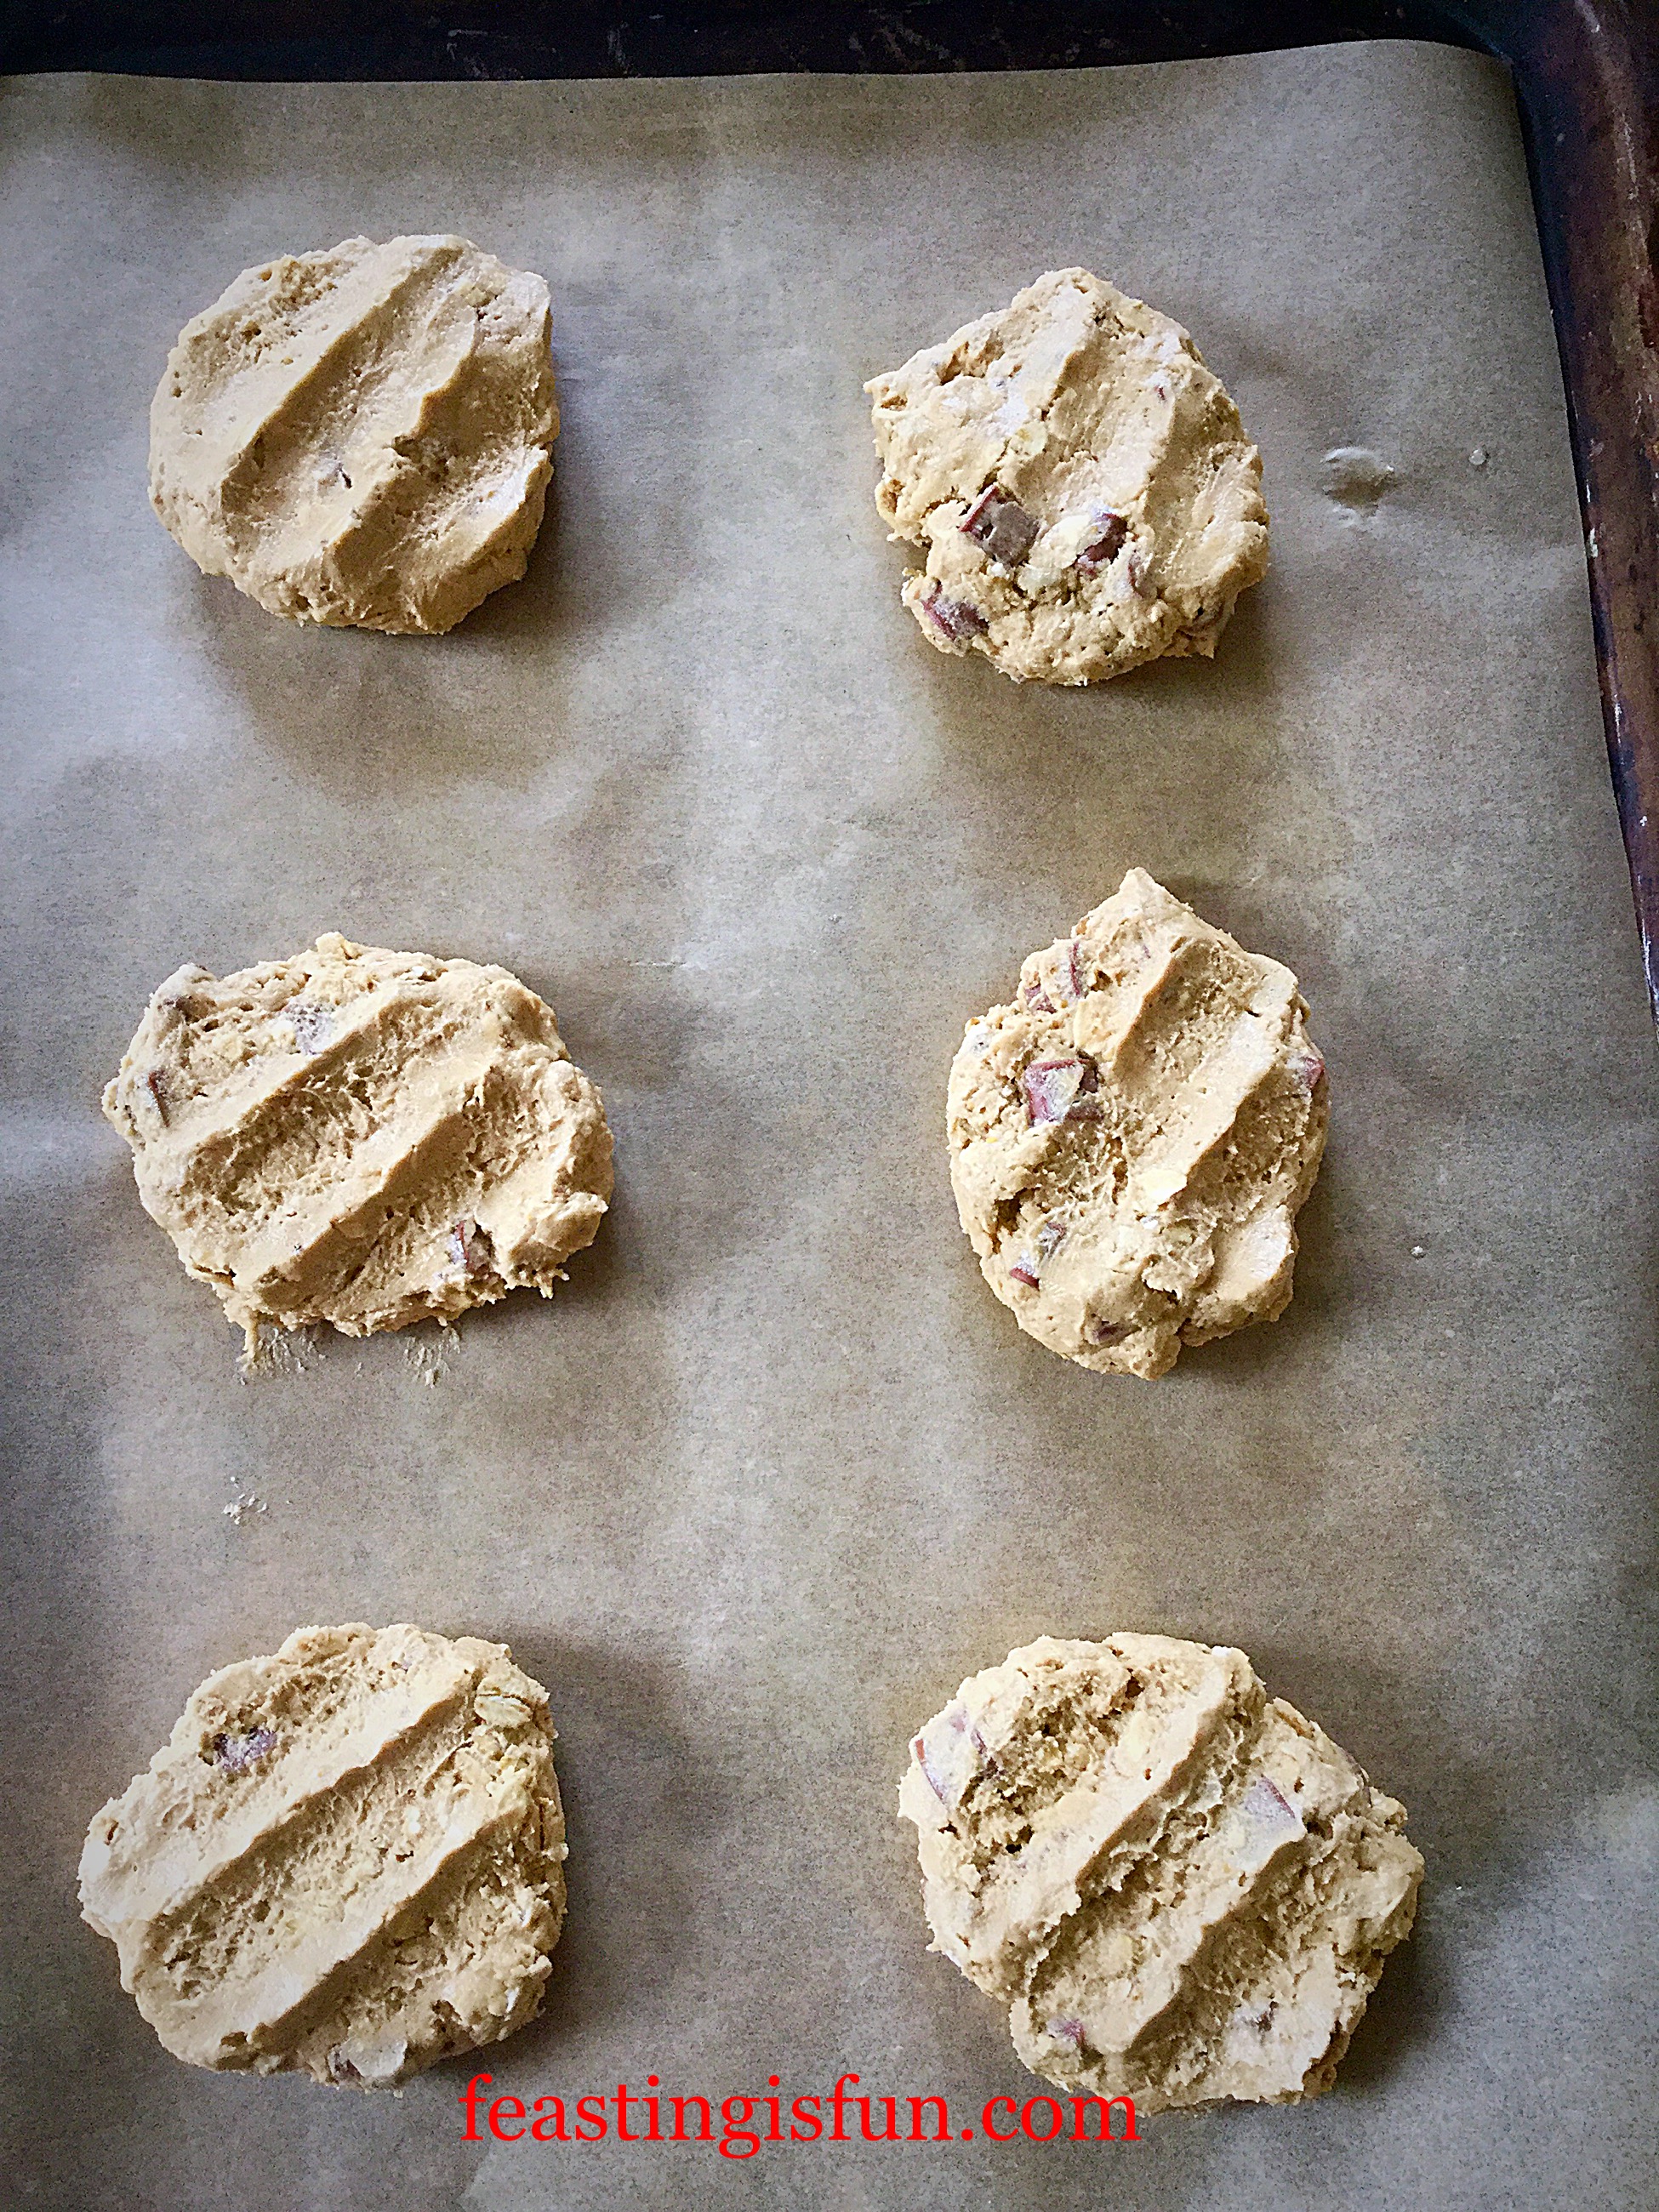
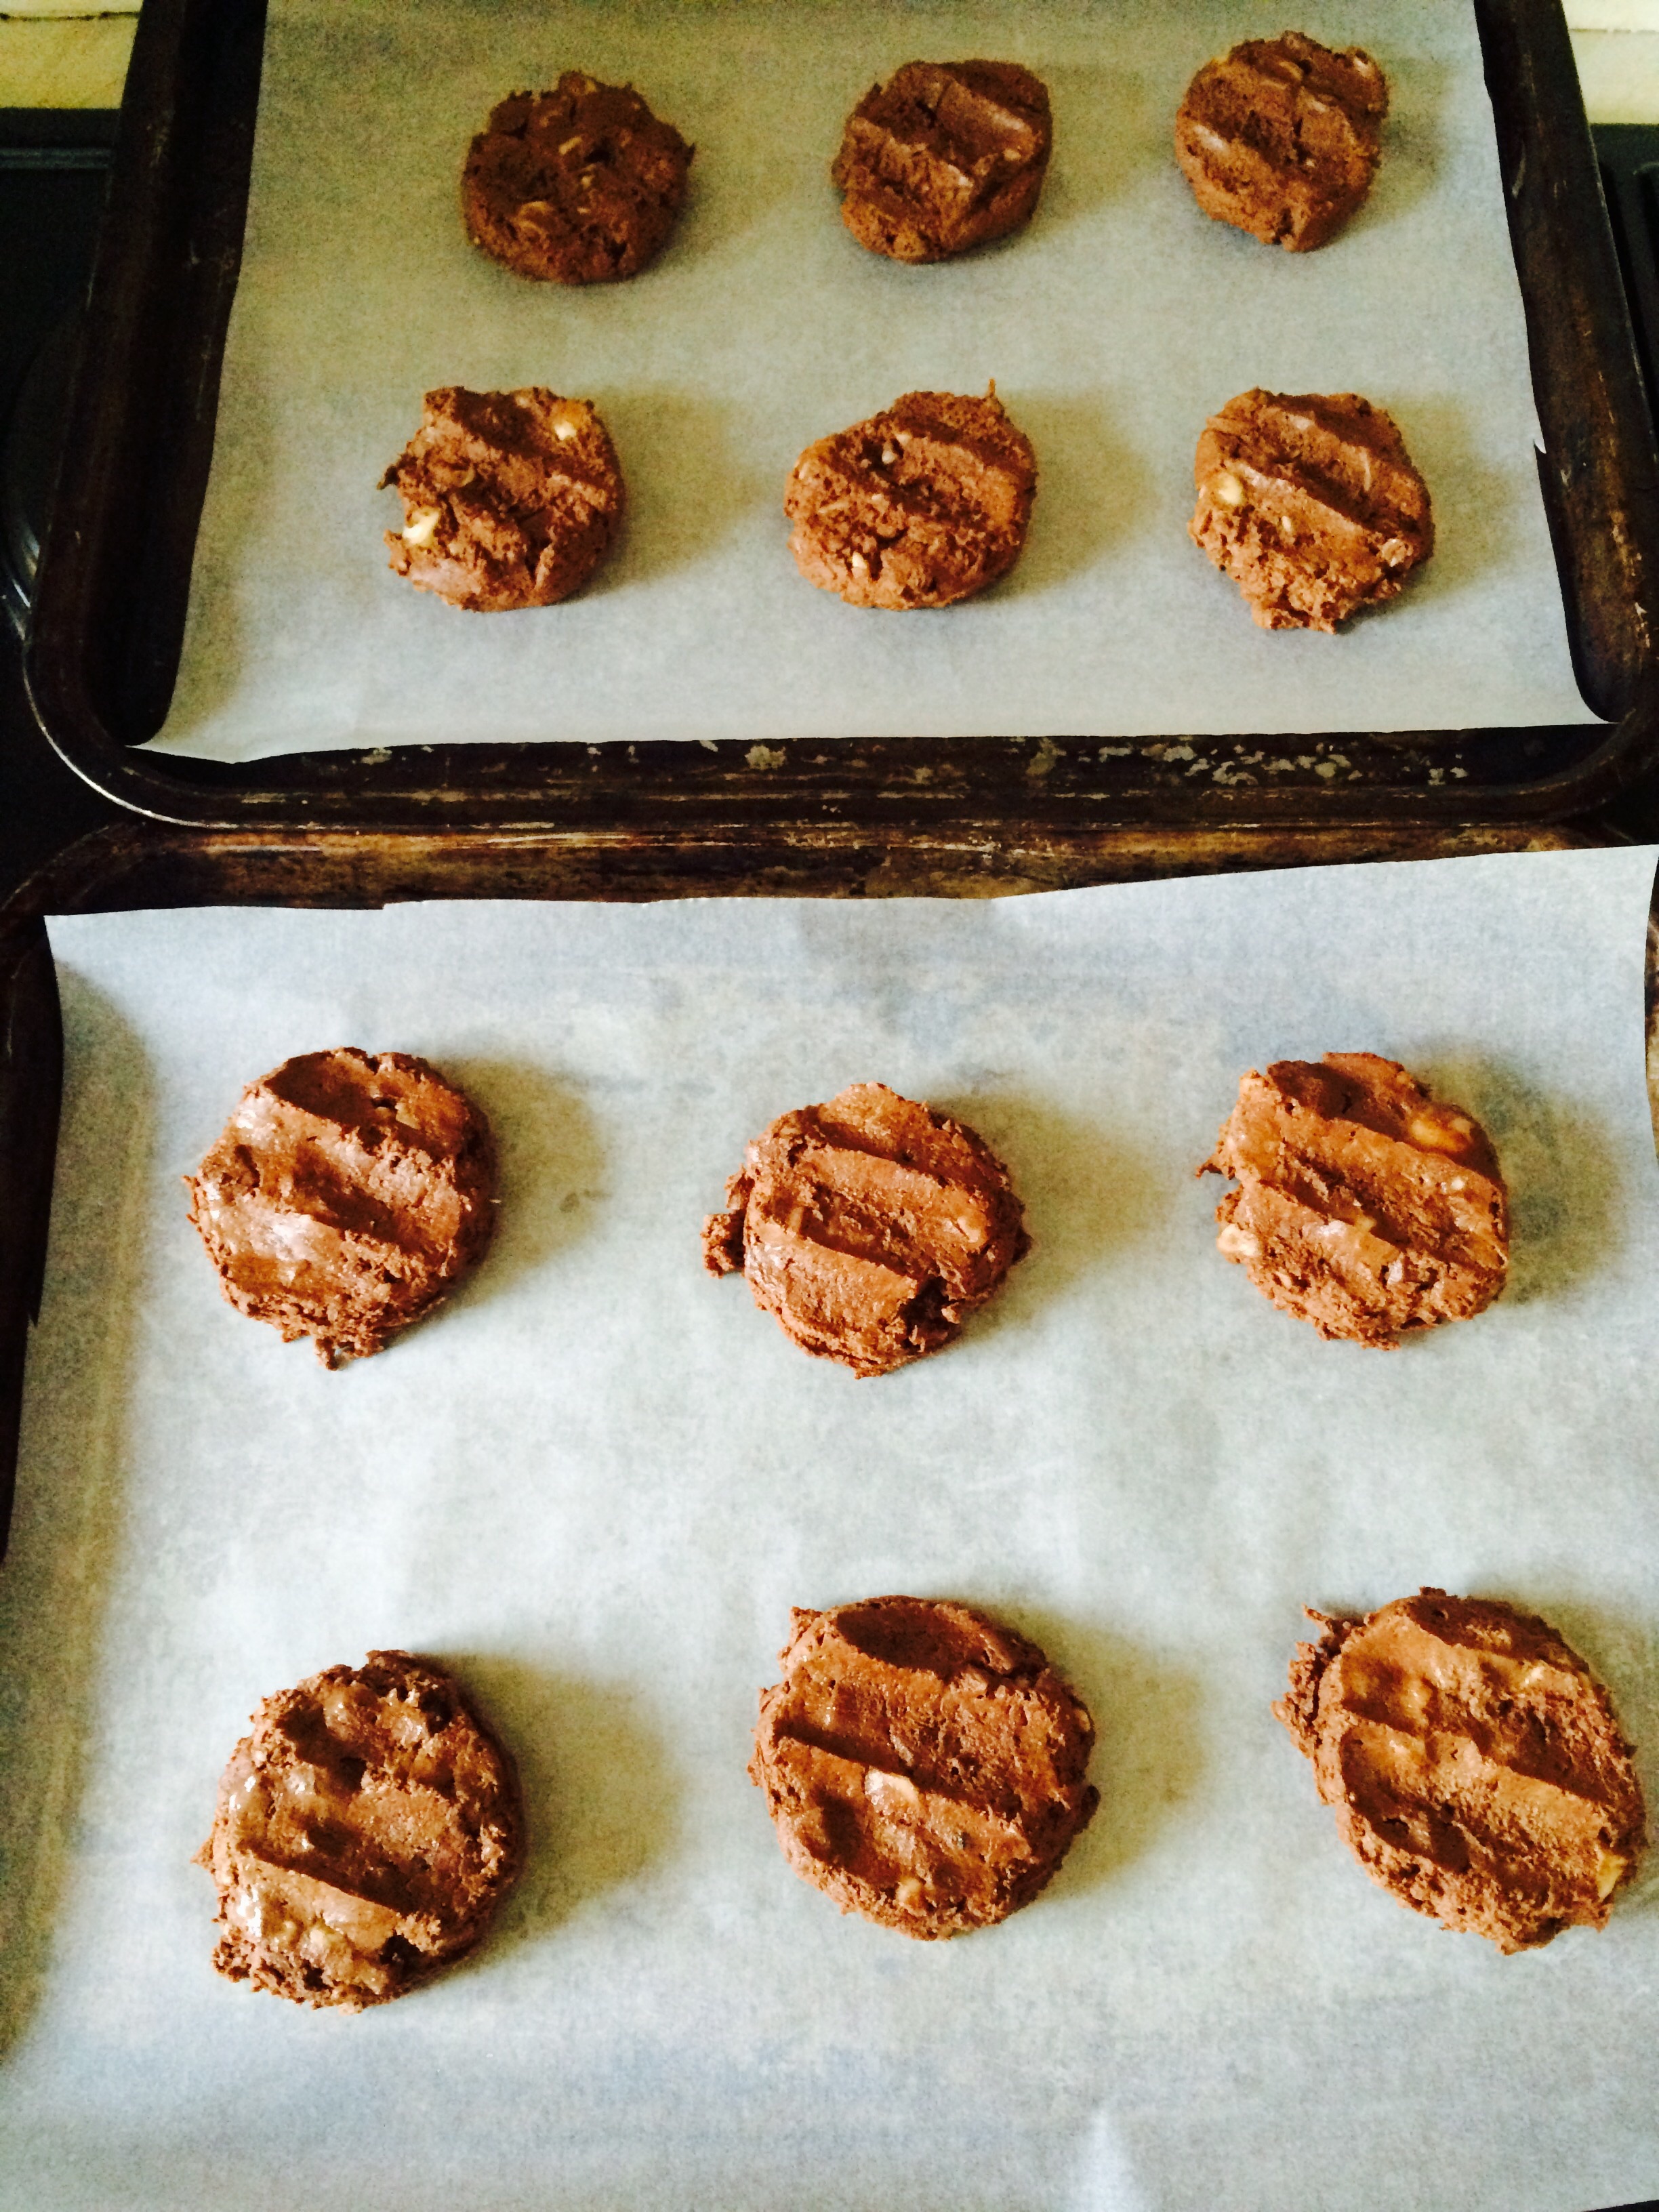
Baking the brownies
- Place the tin in the centre of the oven and bake for 10 minutes. After the initial baking time has elapsed, carefully, protecting yourself with oven gloves, rap the tin against the oven shelf as before. It may sound crazy, however the best brownies are dense and fudgey, the opposite of cakes which are light and airy.
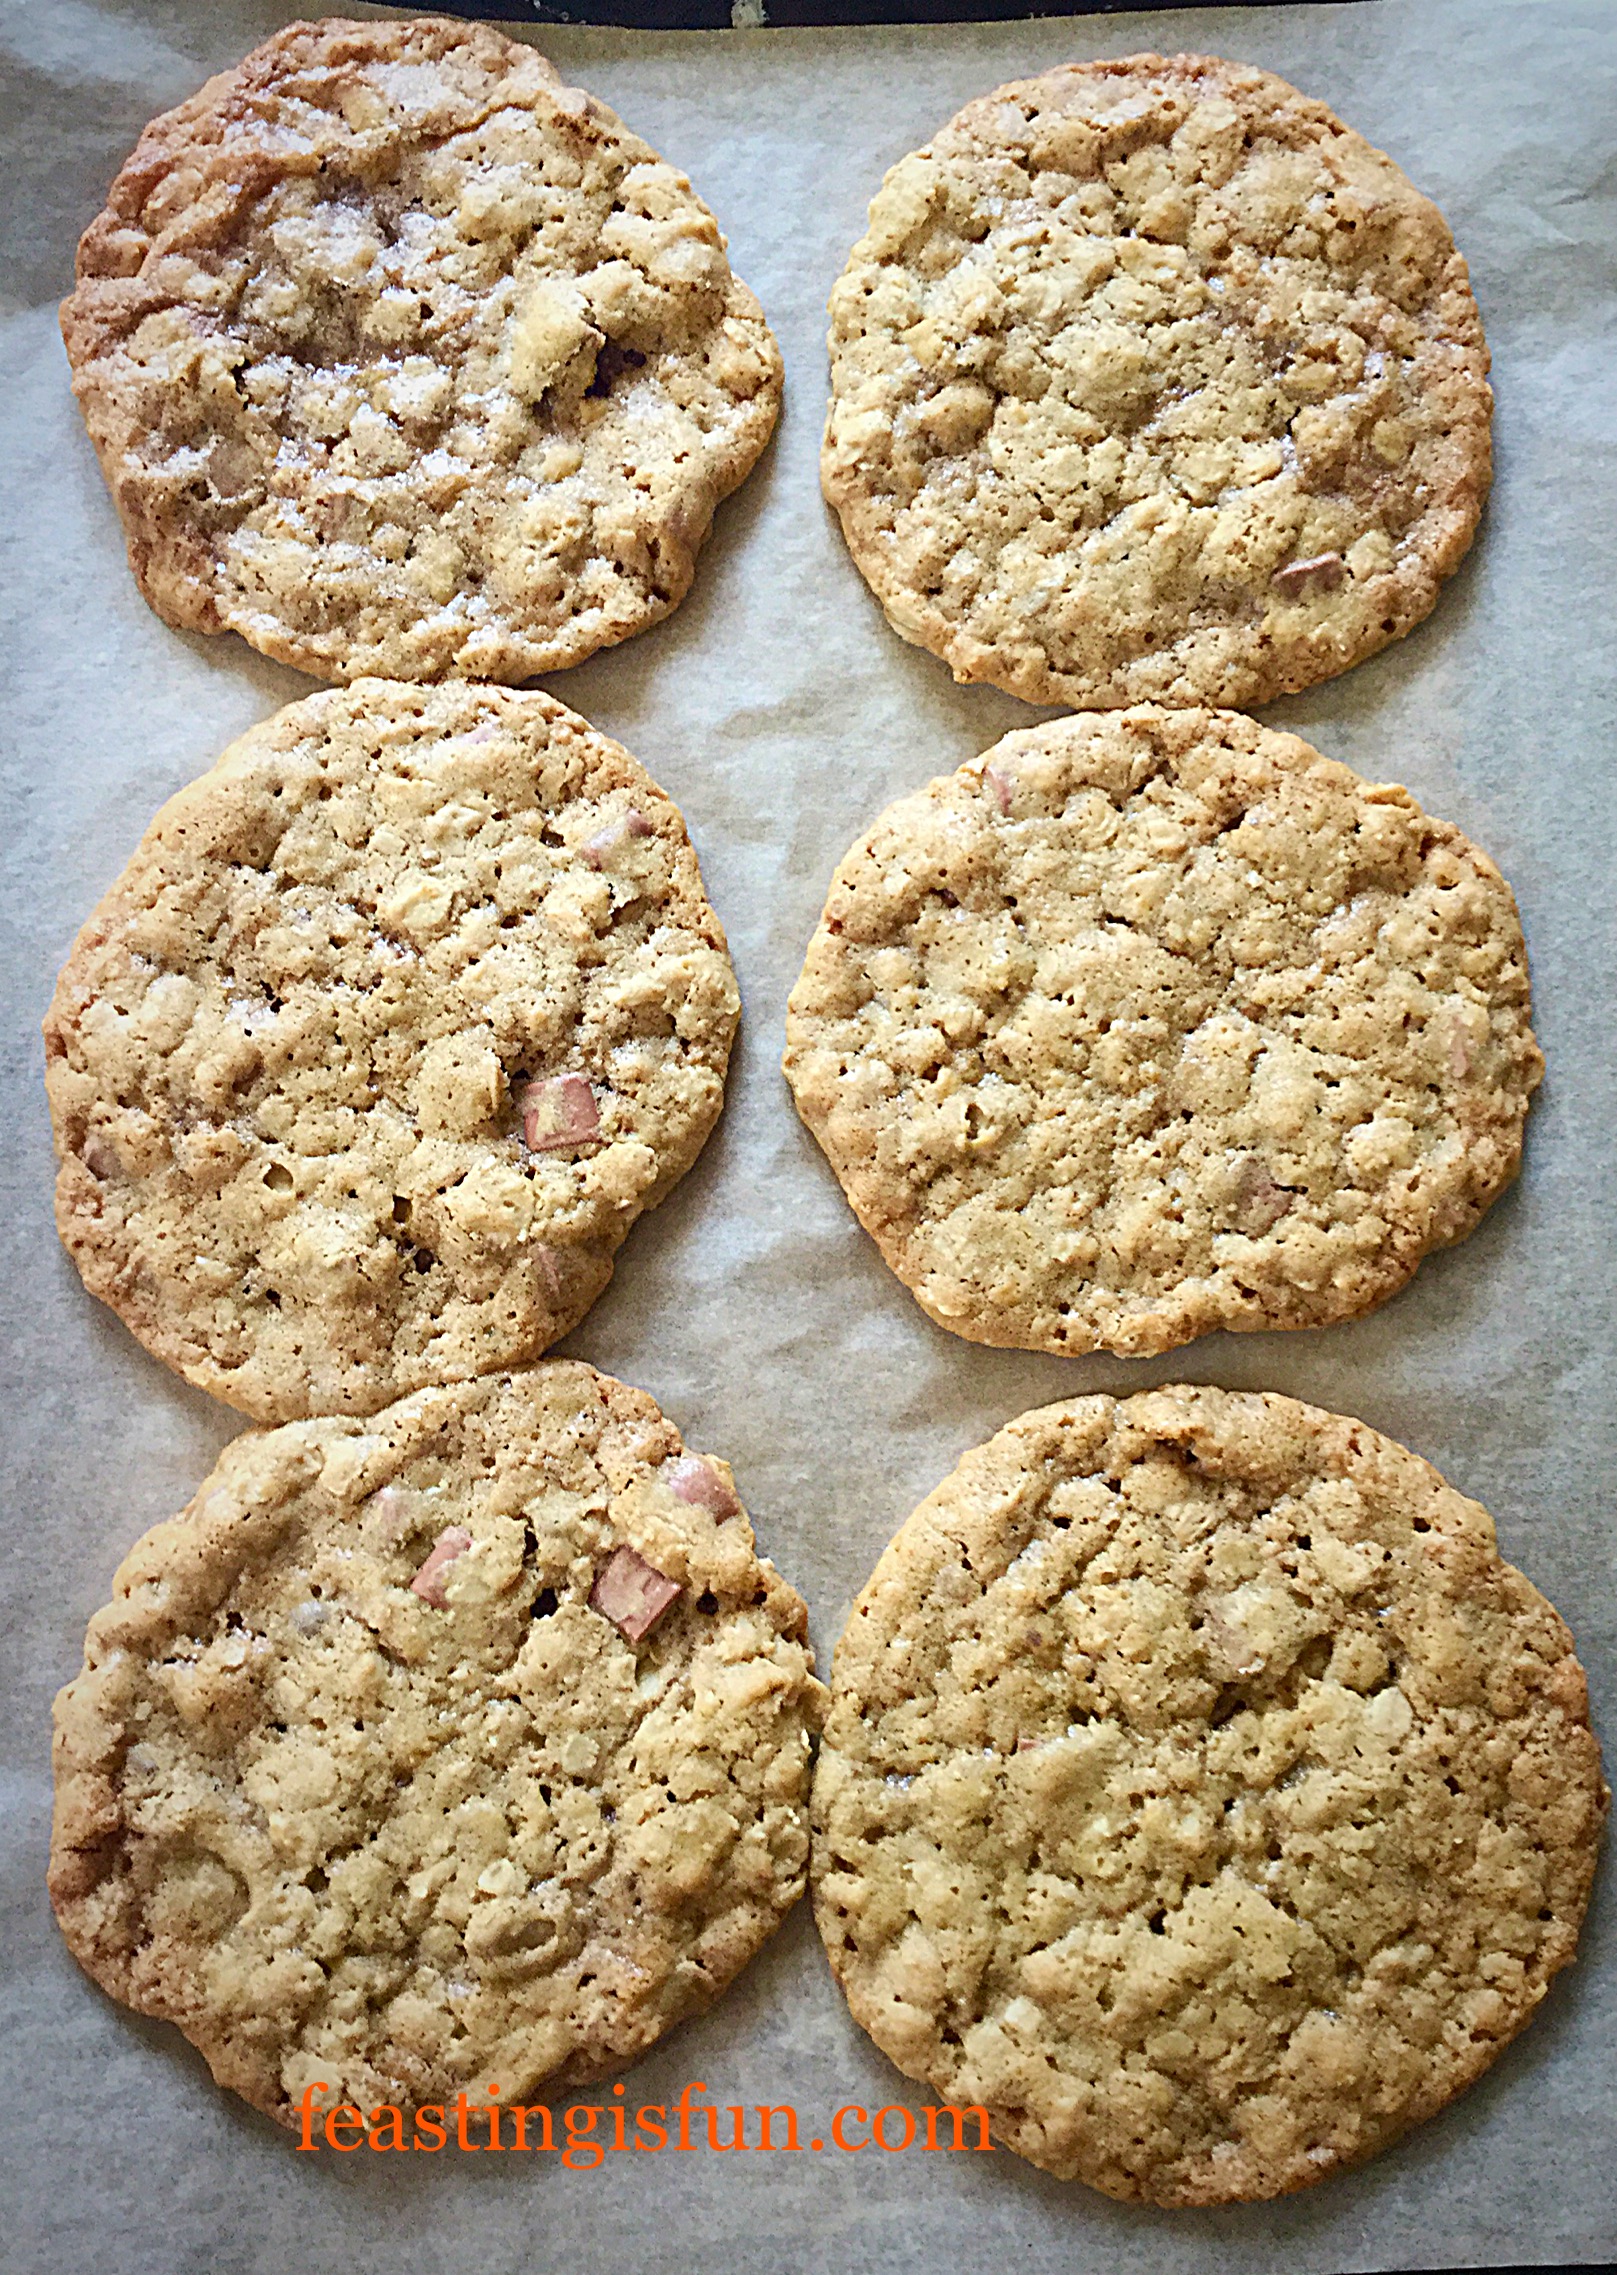
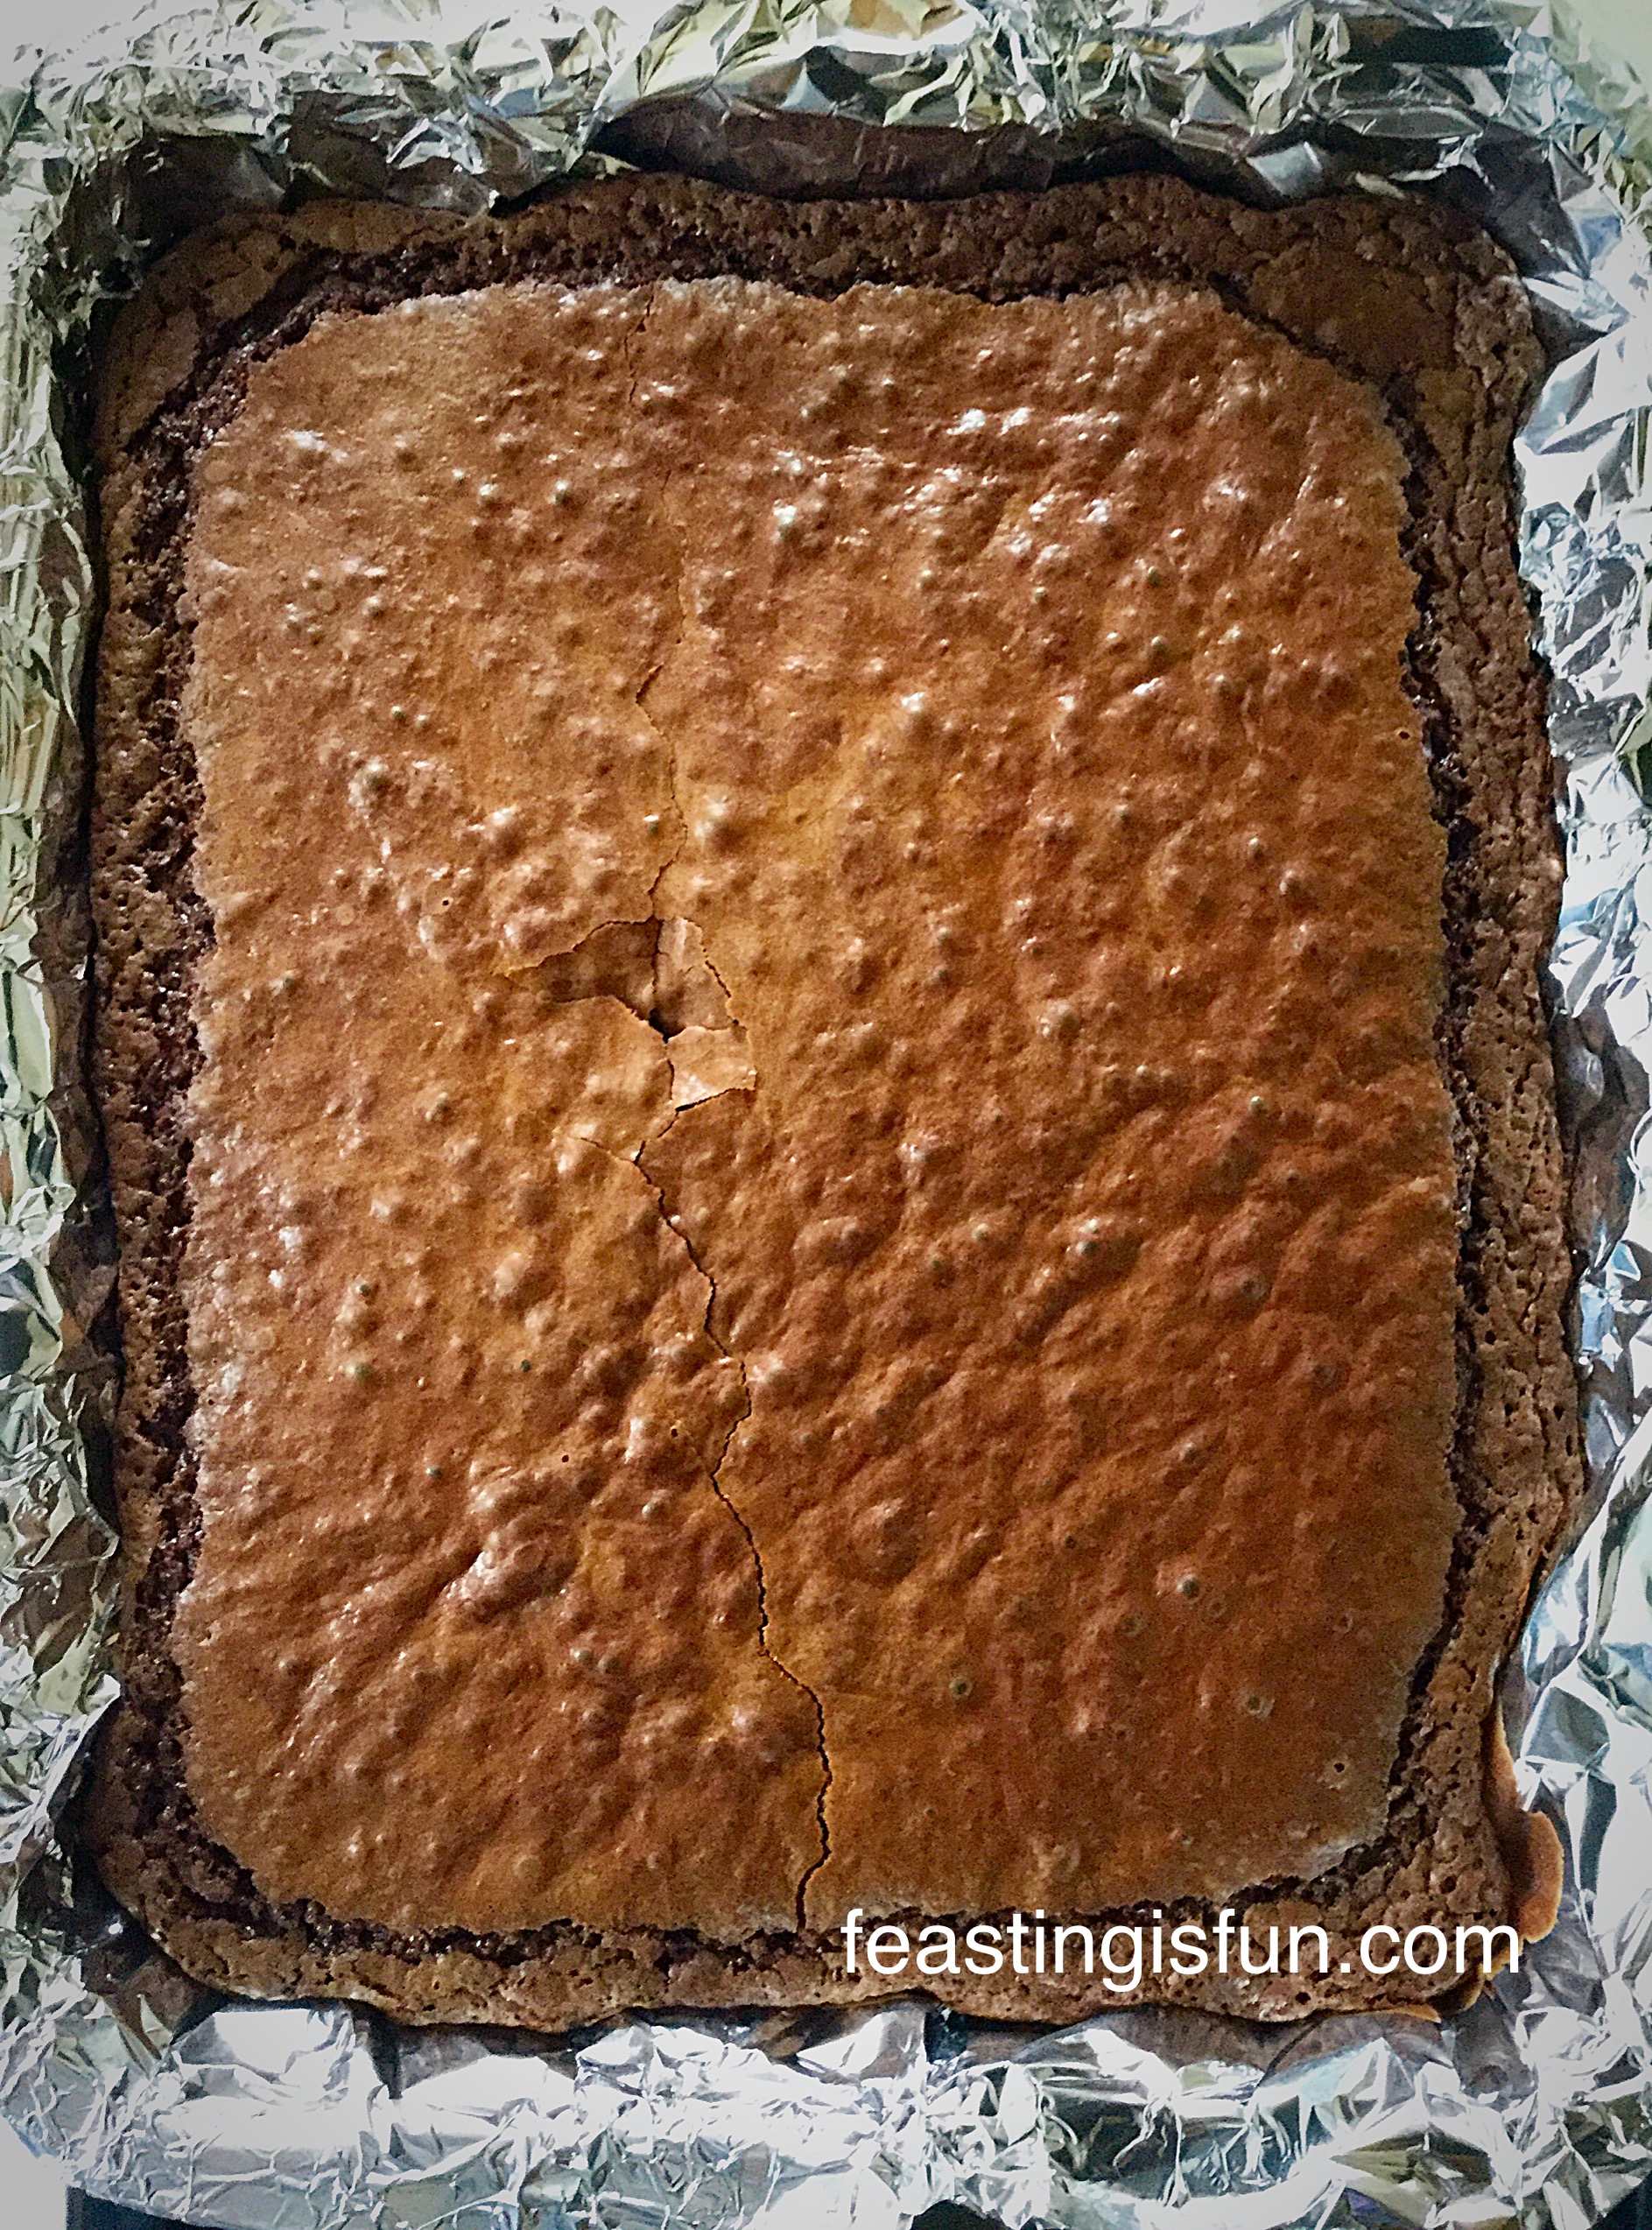
- Continue baking for 15-18 minutes. Total baking time 25-28 minutes.
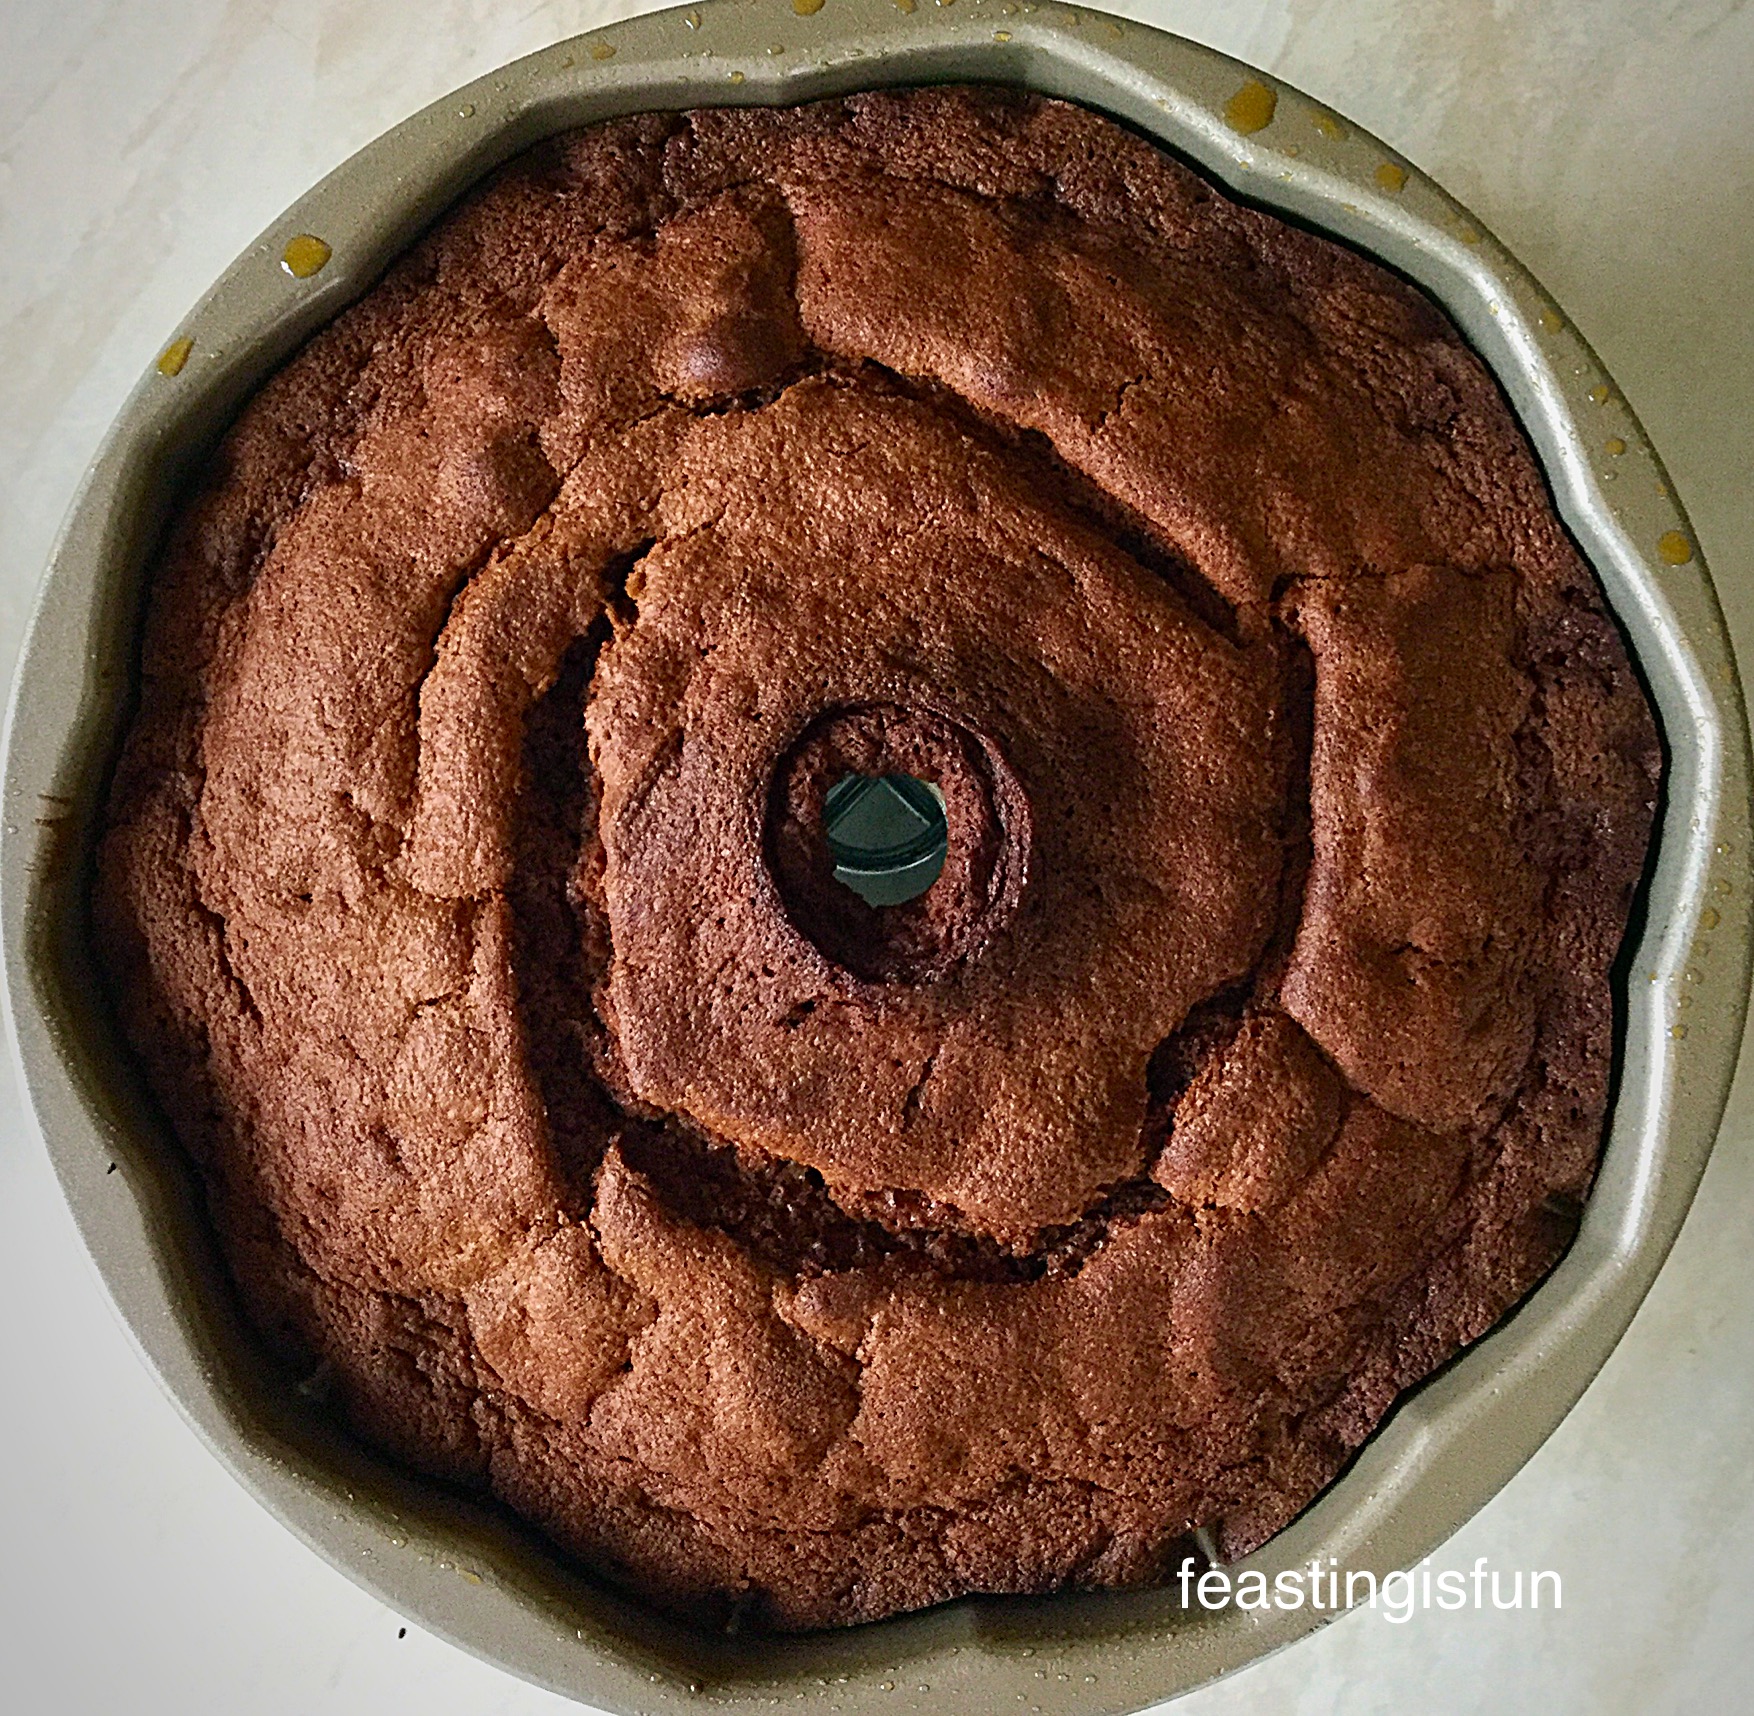
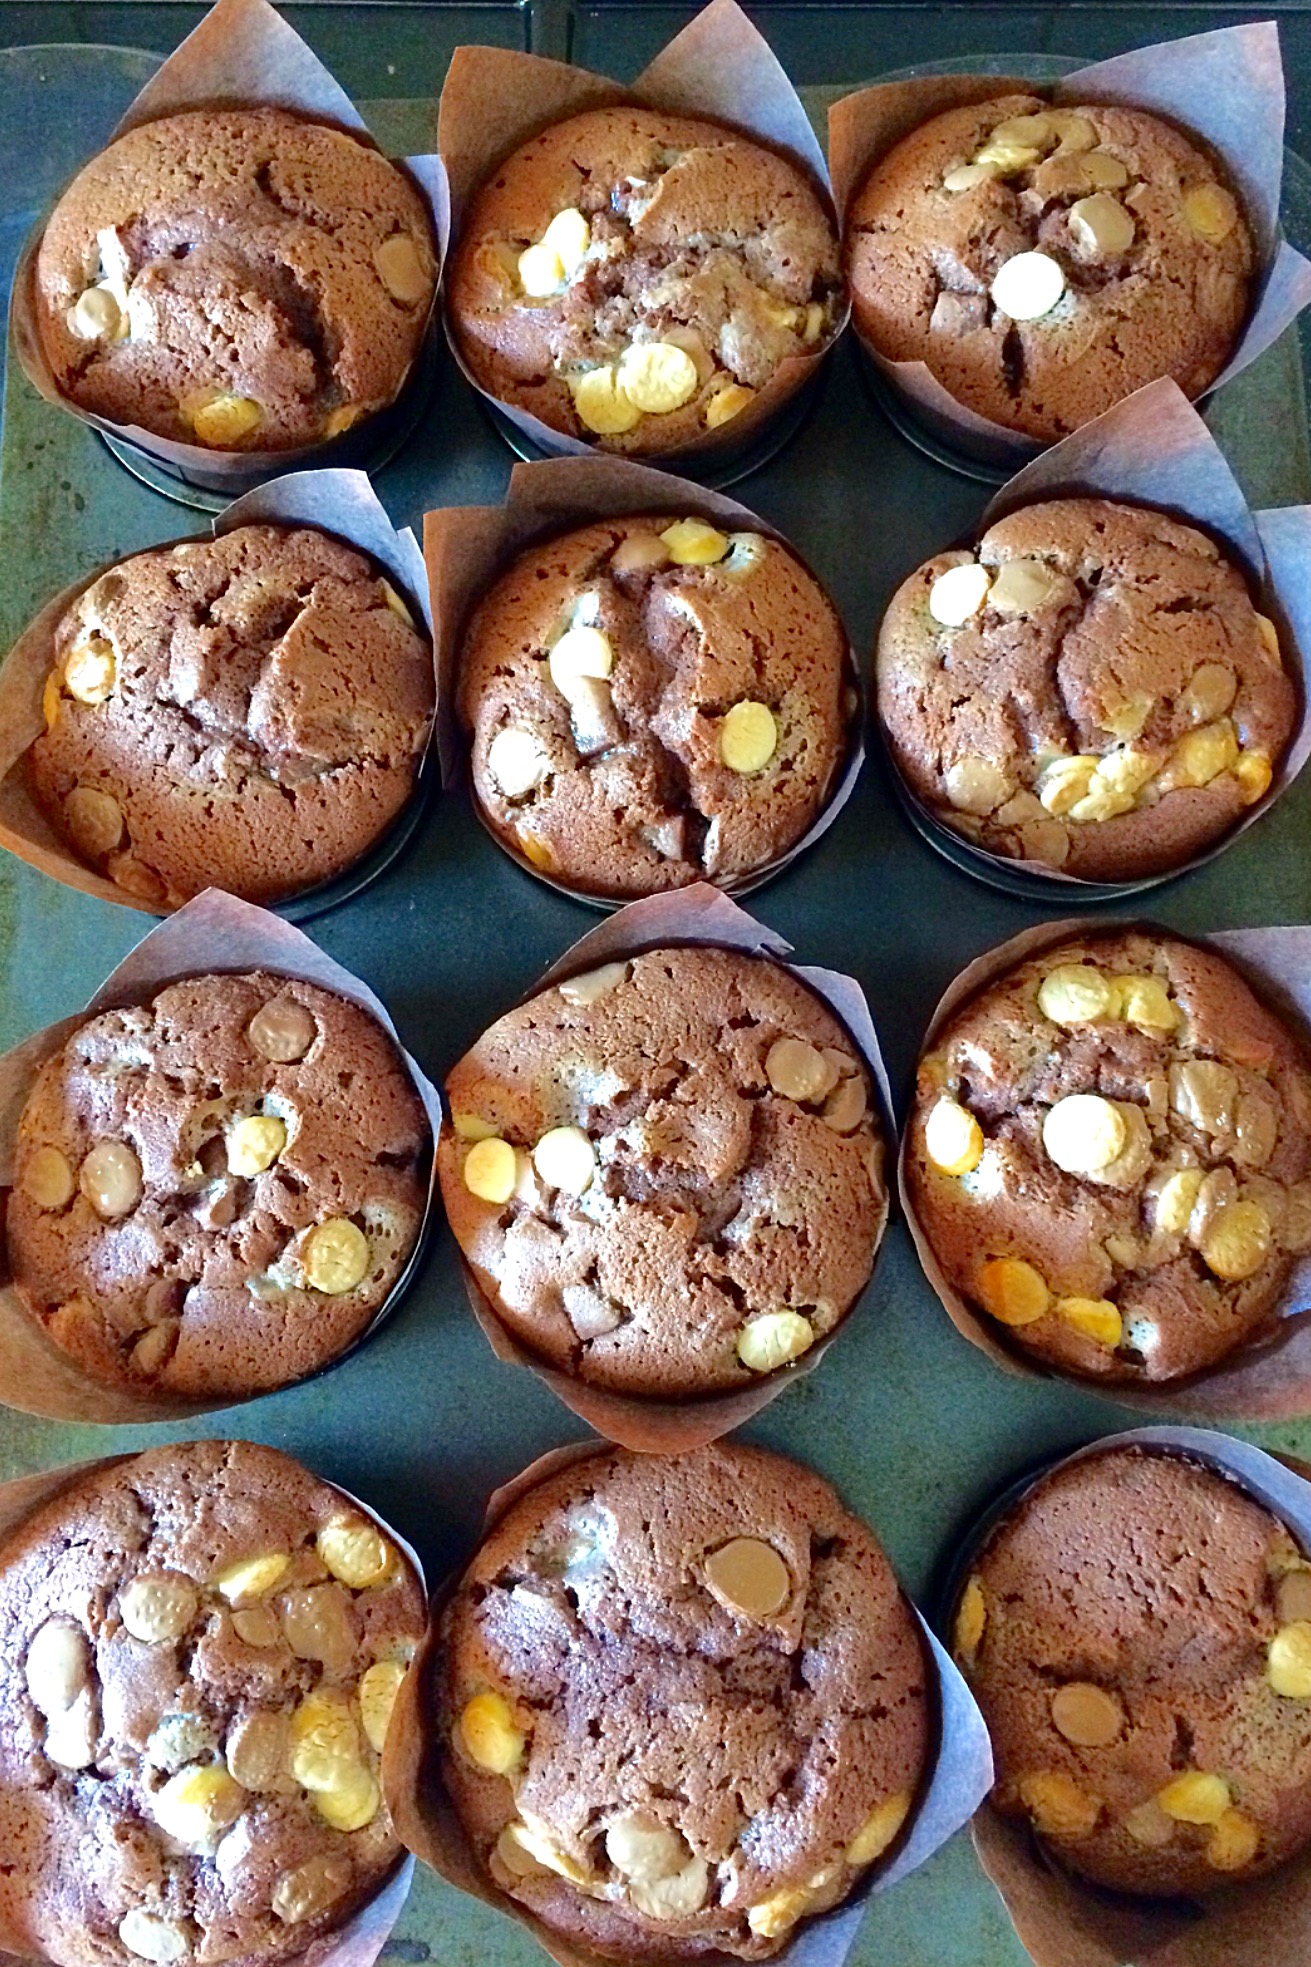
- The brownies are baked when the top is set and there is just a hint of a jiggle in the centre.
- As soon as the brownies are baked remove from the oven and allow to cool completely in the tin.
Decorating the brownies
- Once cooled the brownies can be decorated.
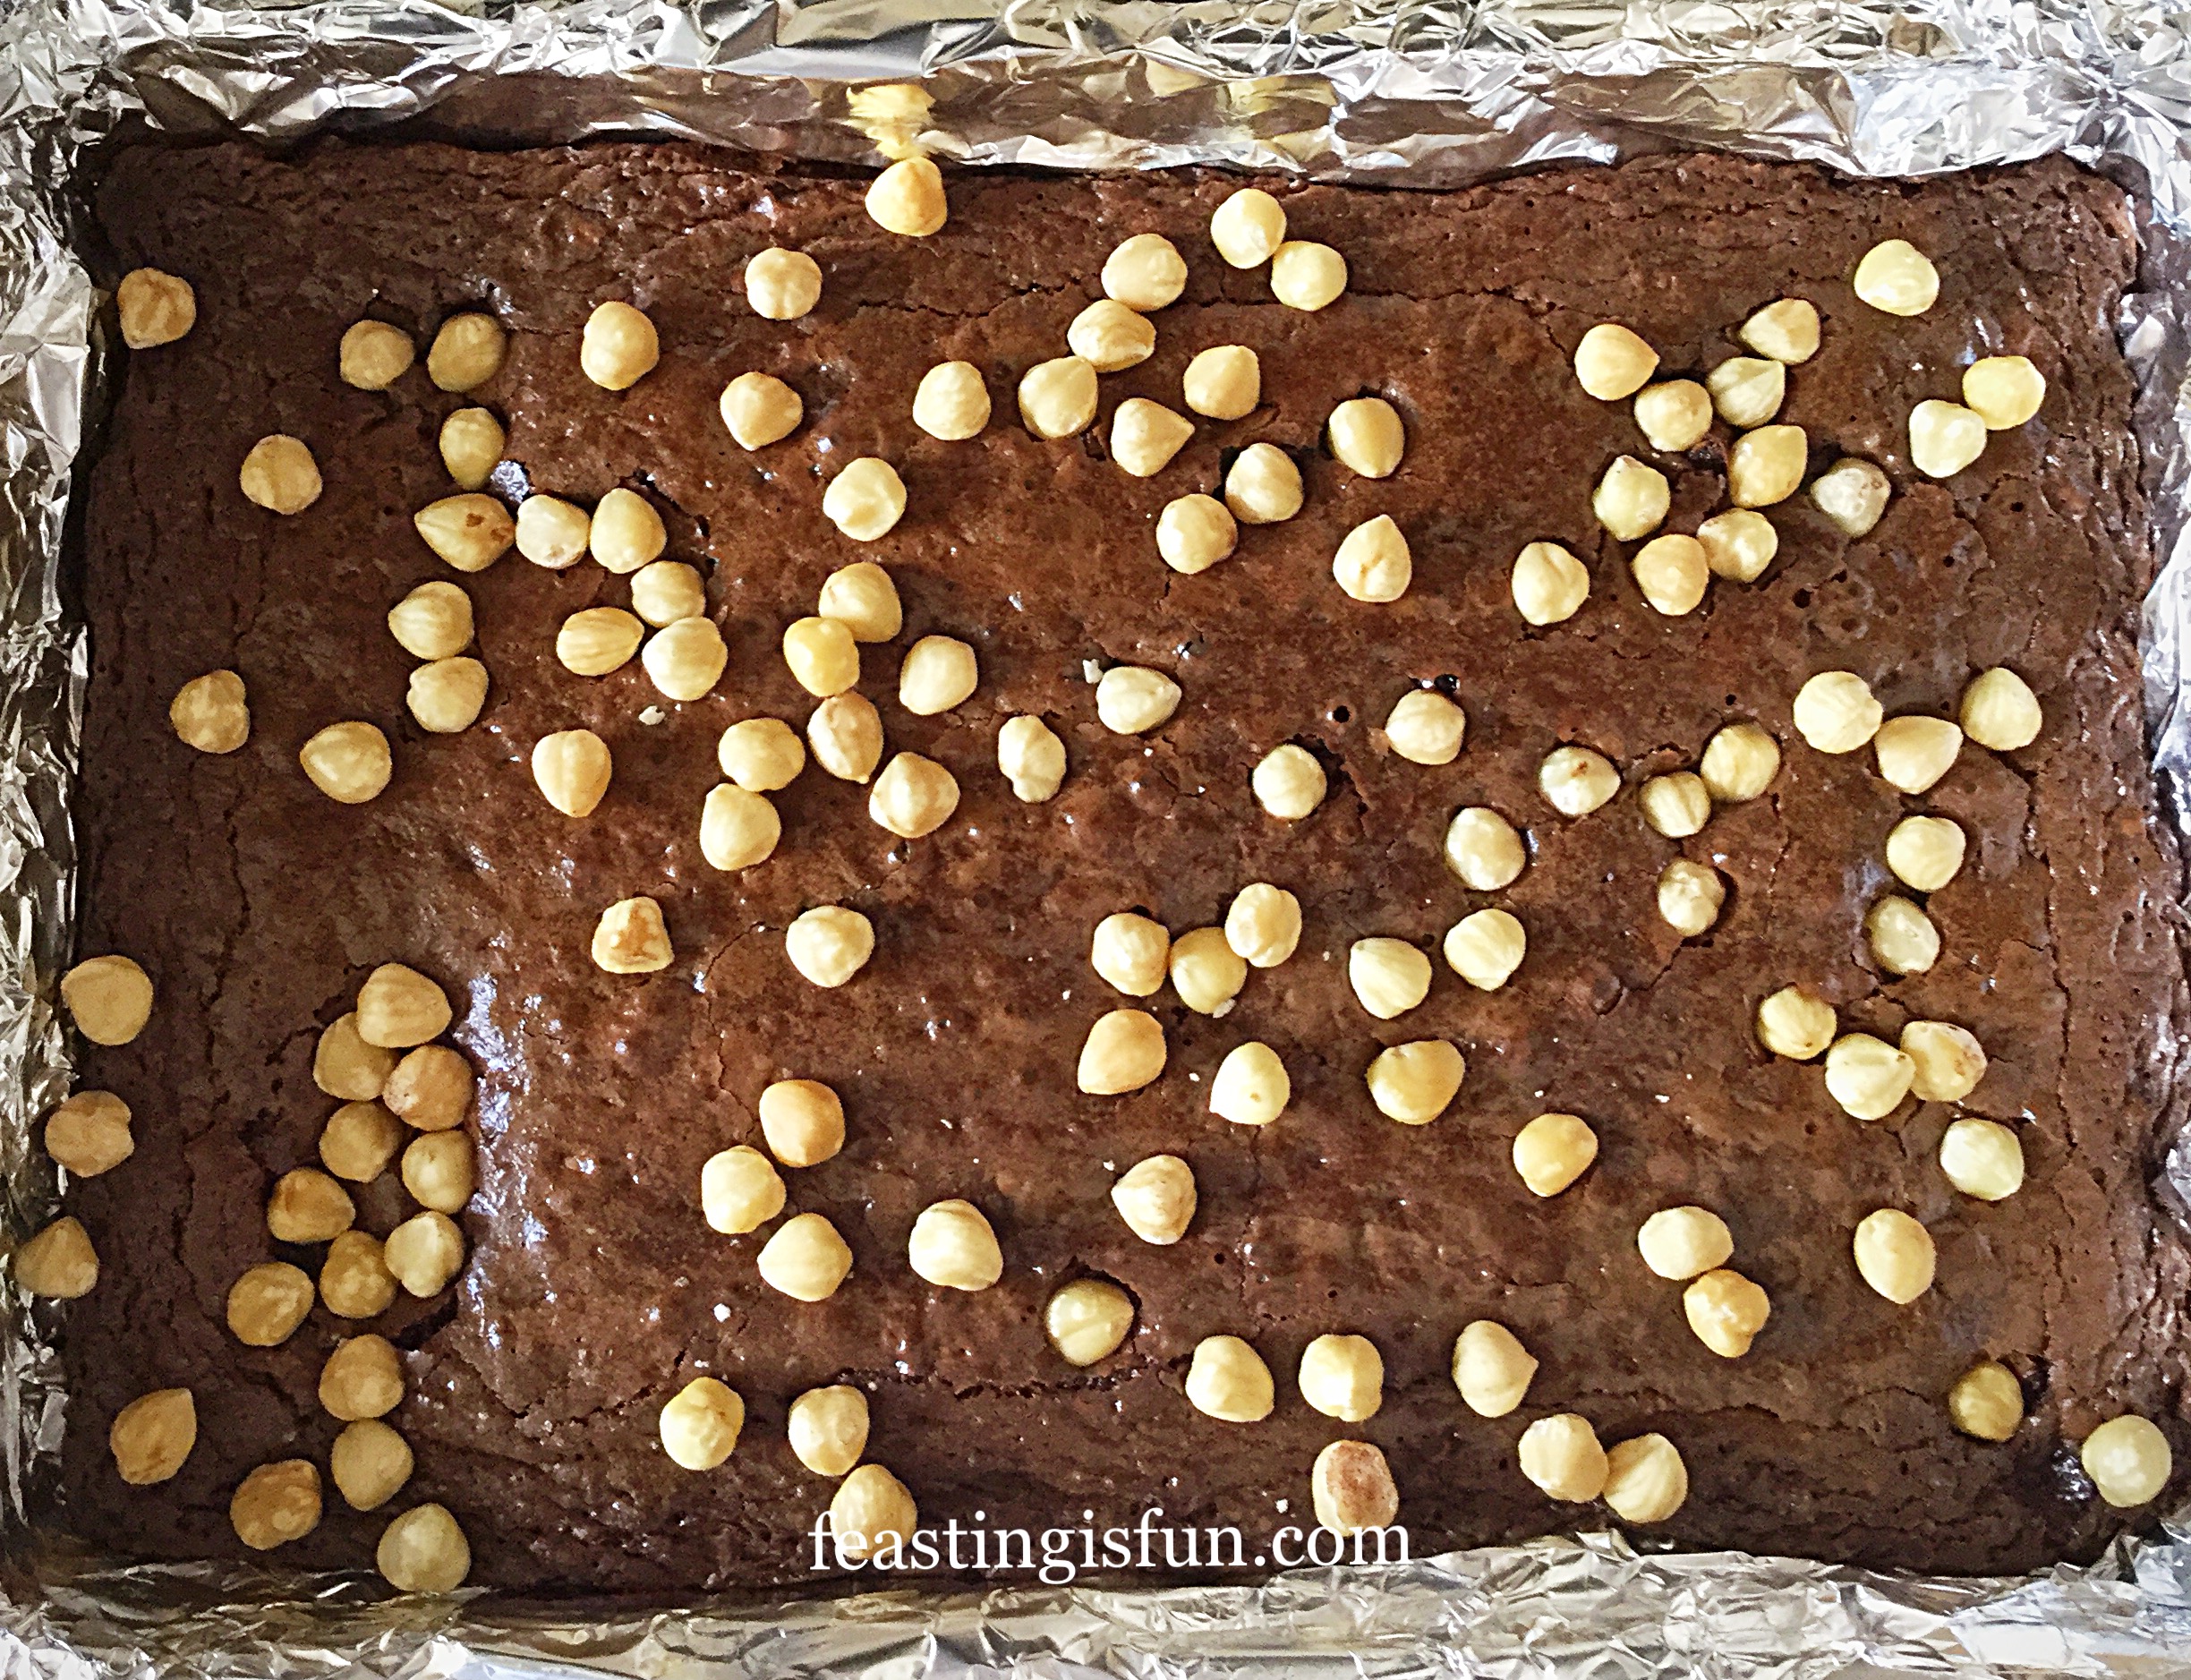
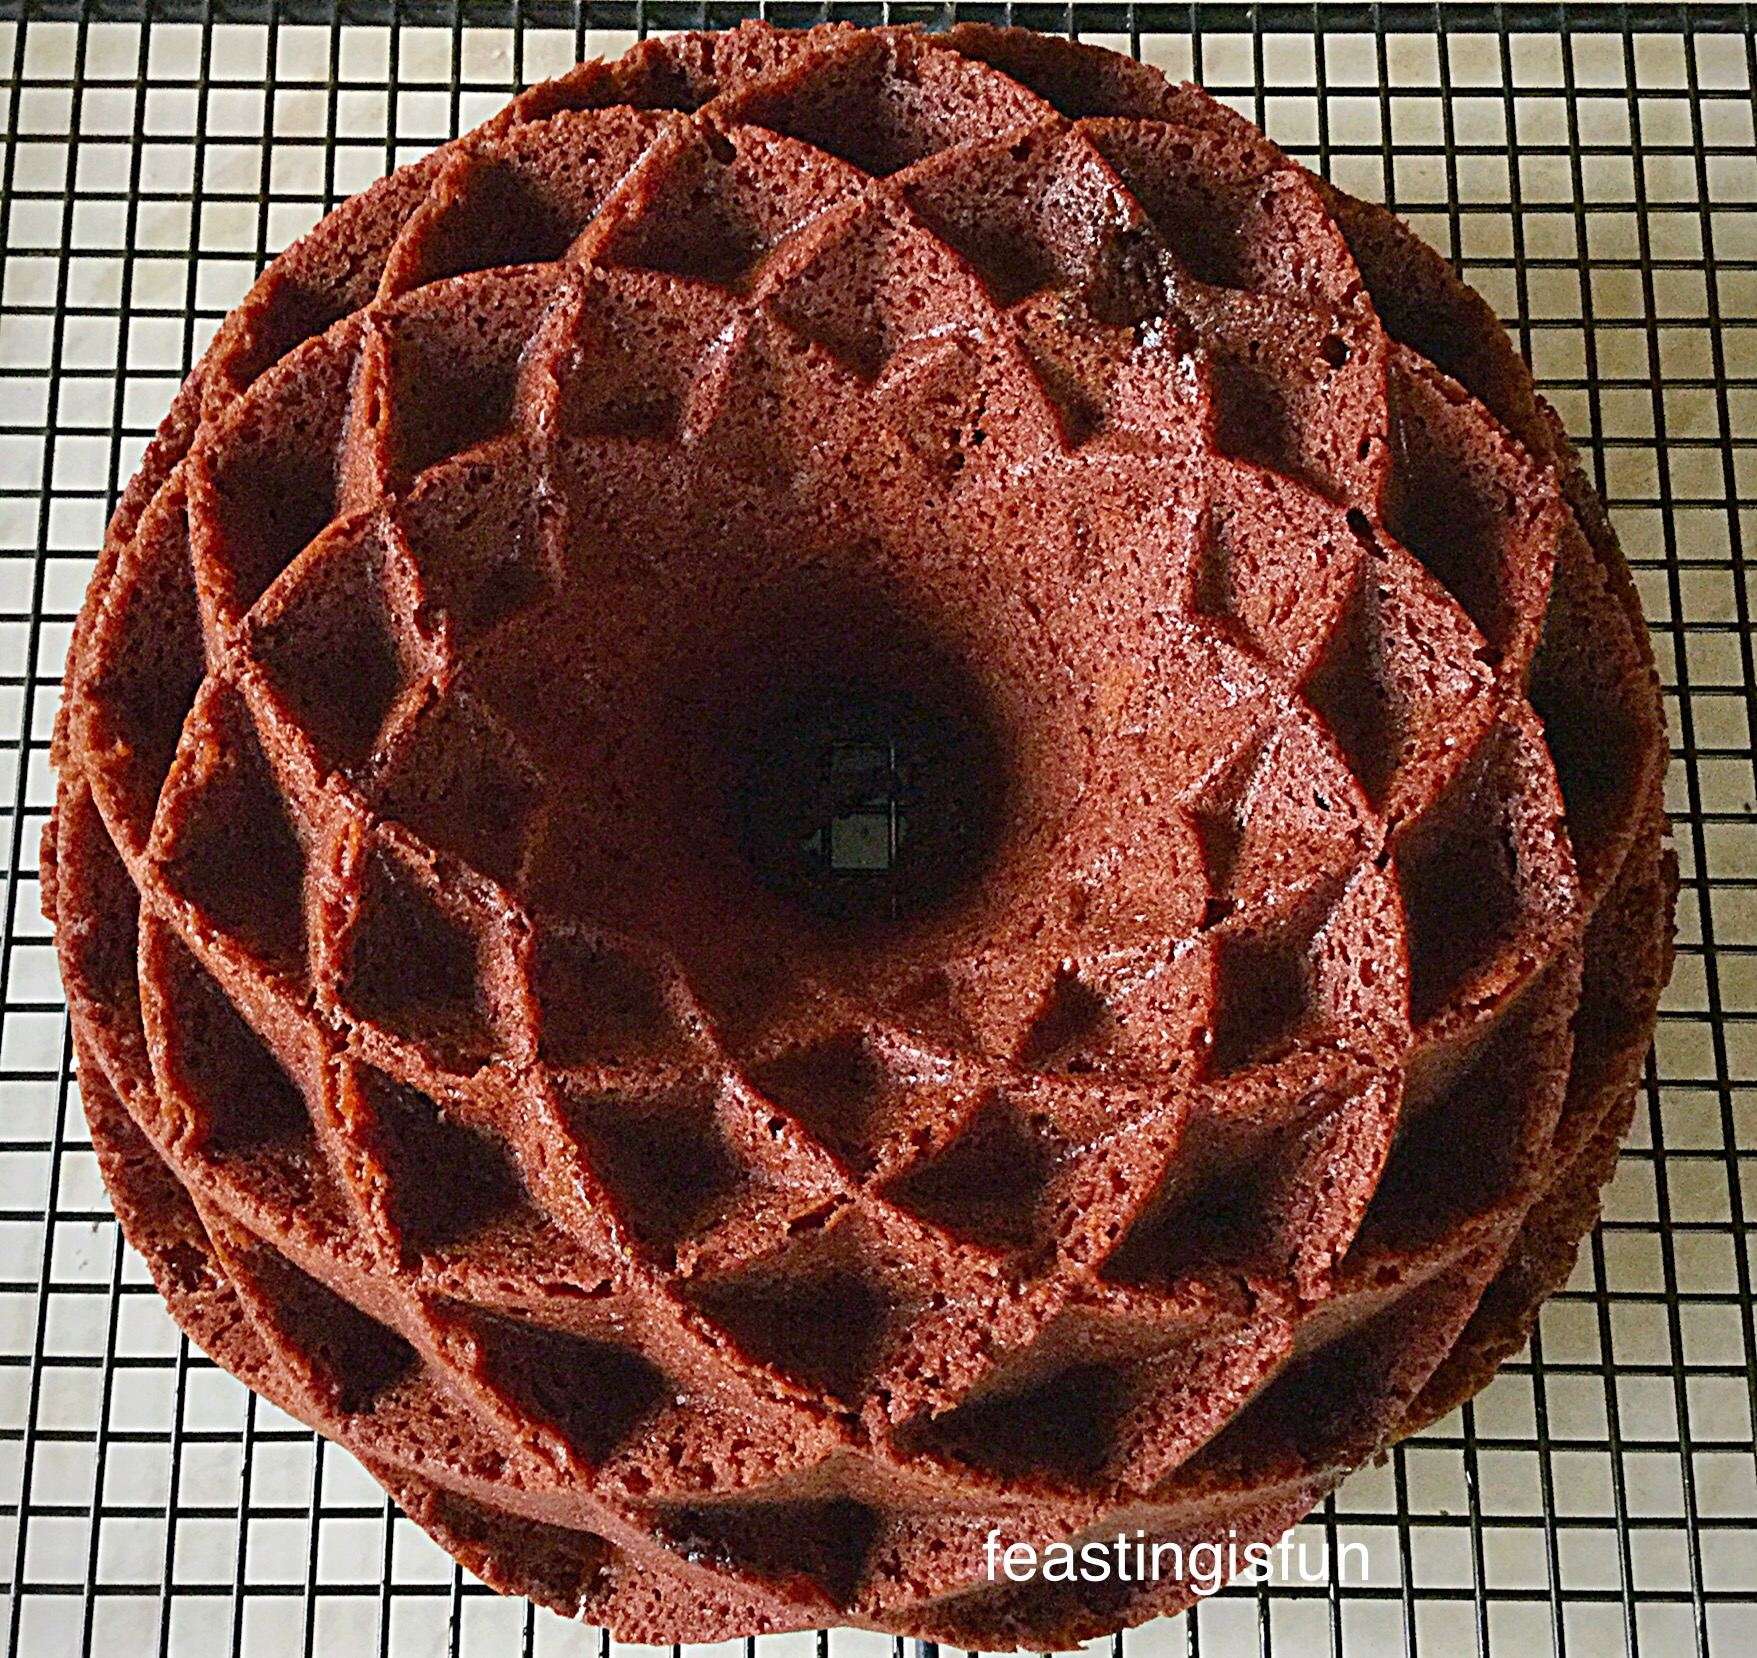
- First of all, using the baking parchment and a palette knife, remove the brownie slab from the tin.
- Peel away the sides of the baking parchment and run a palette knife between the base and the parchment to separate them.
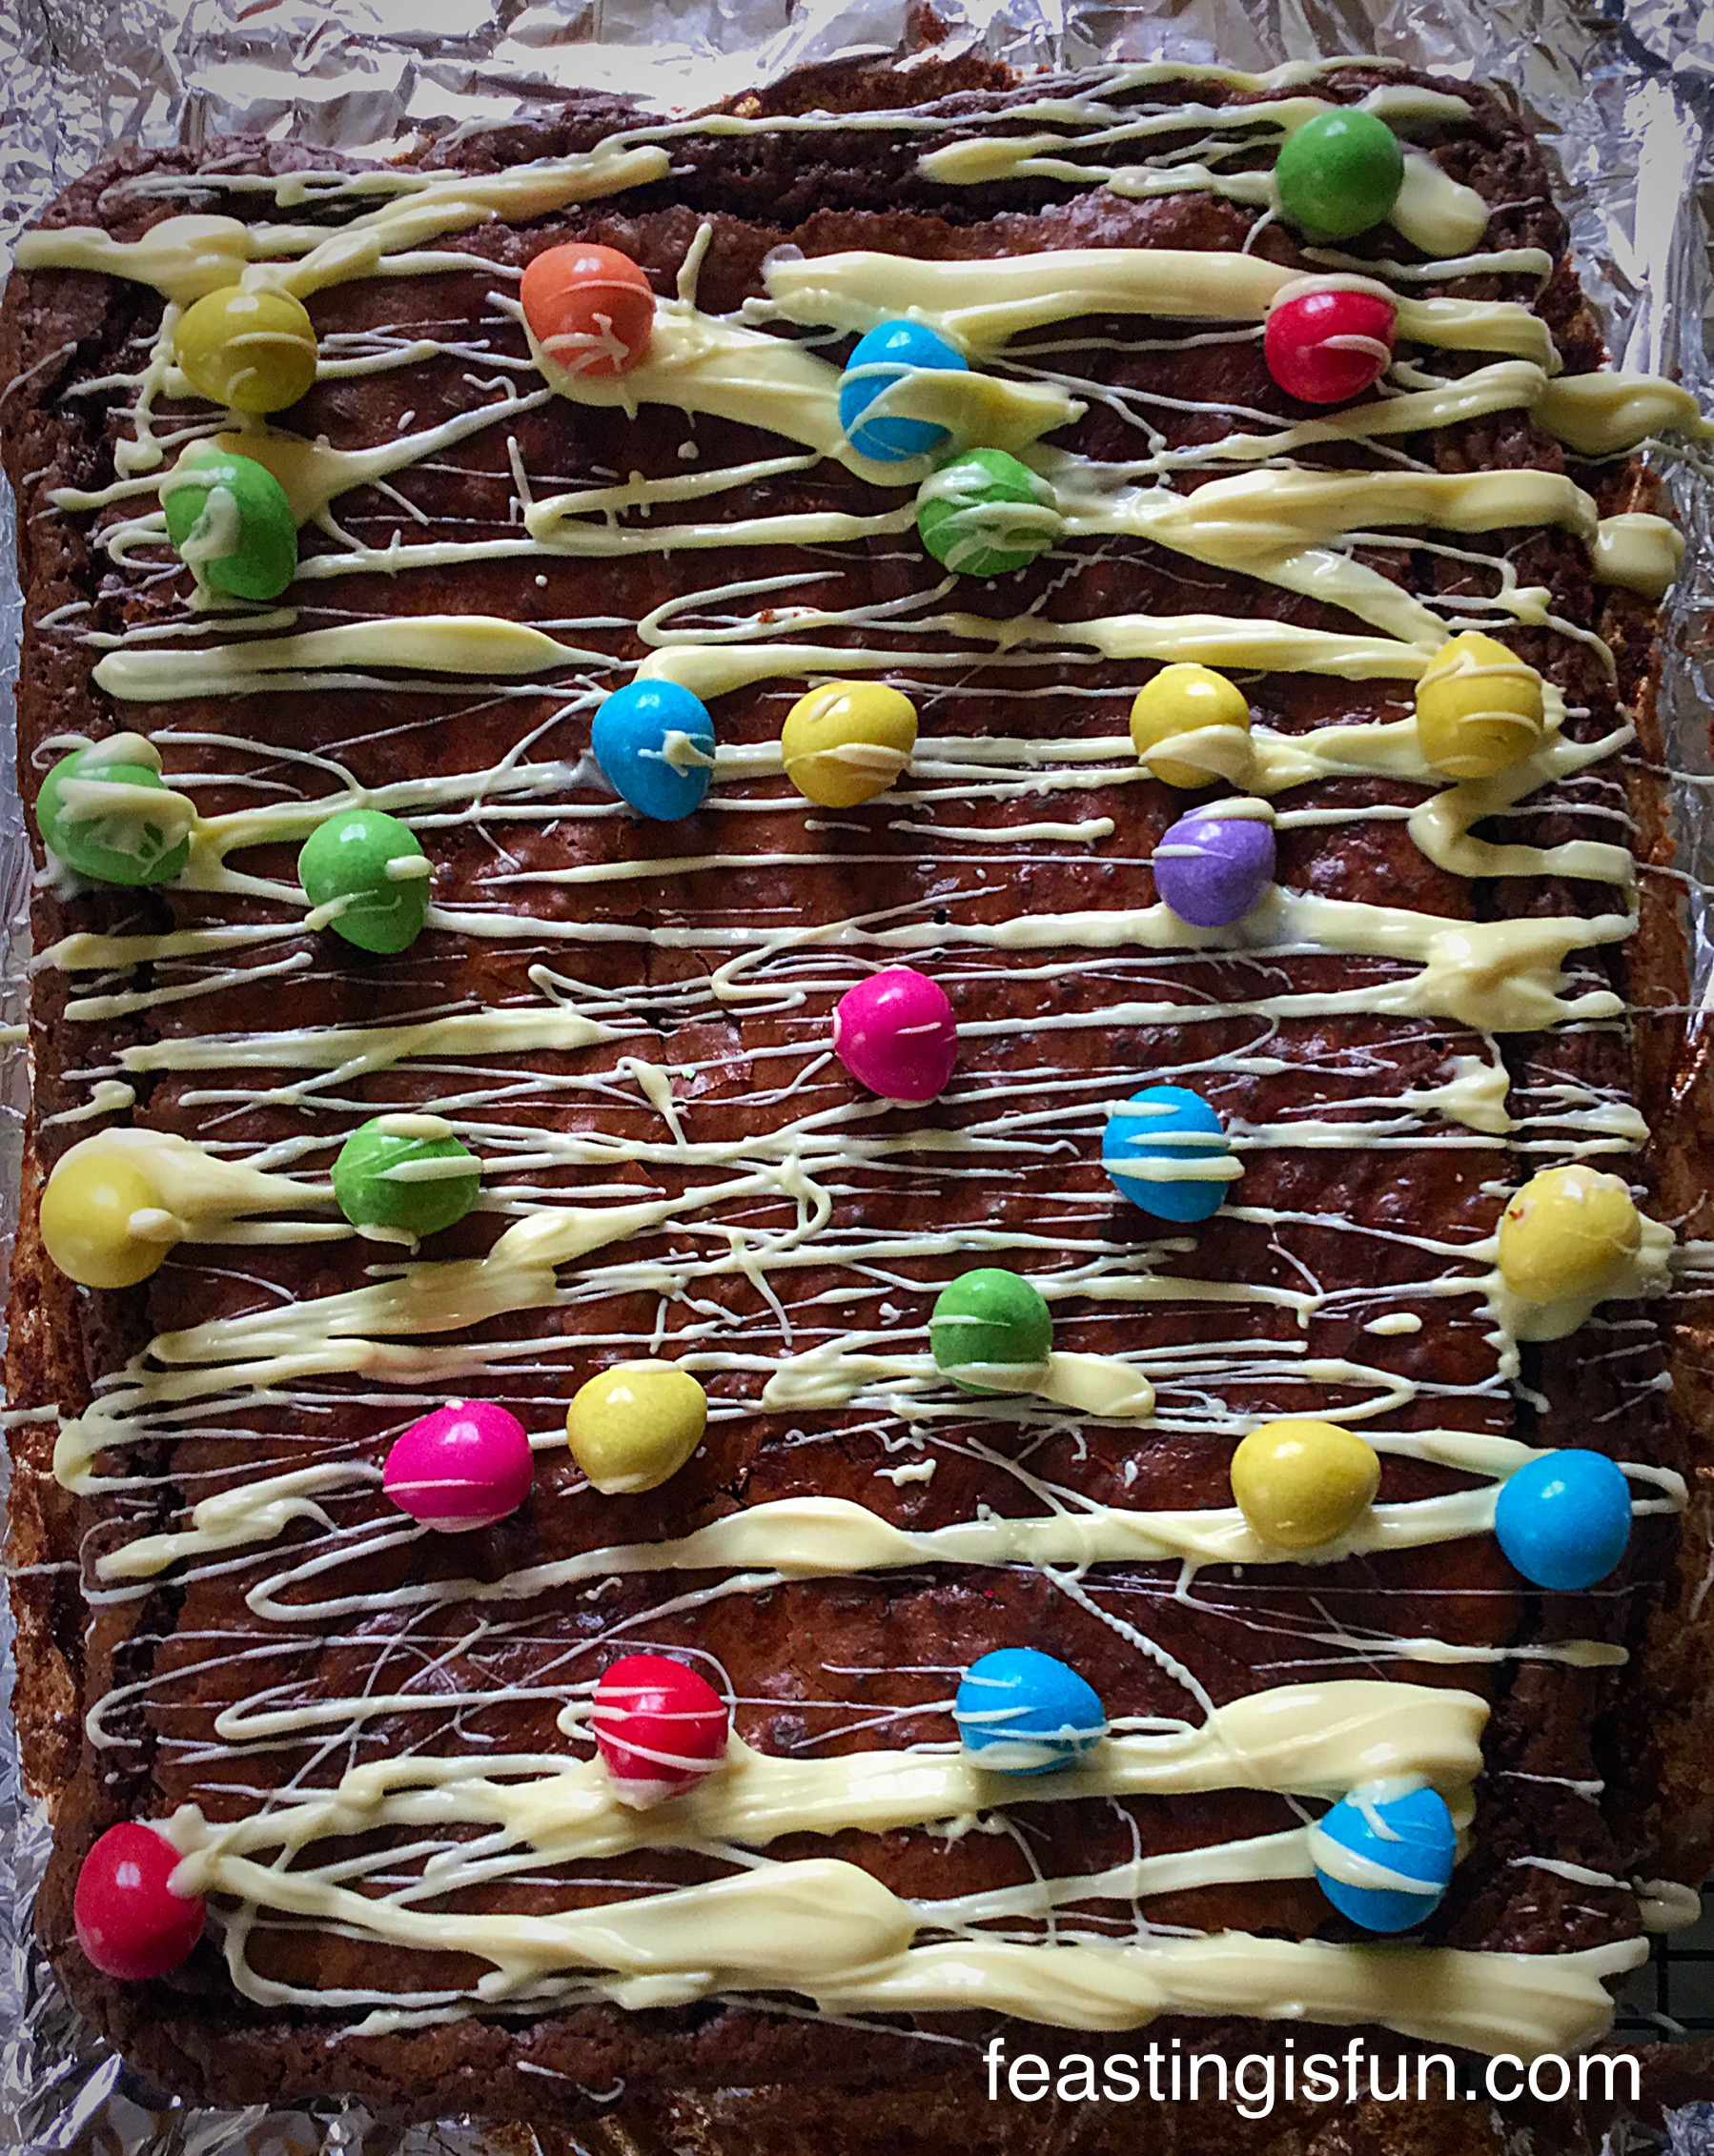
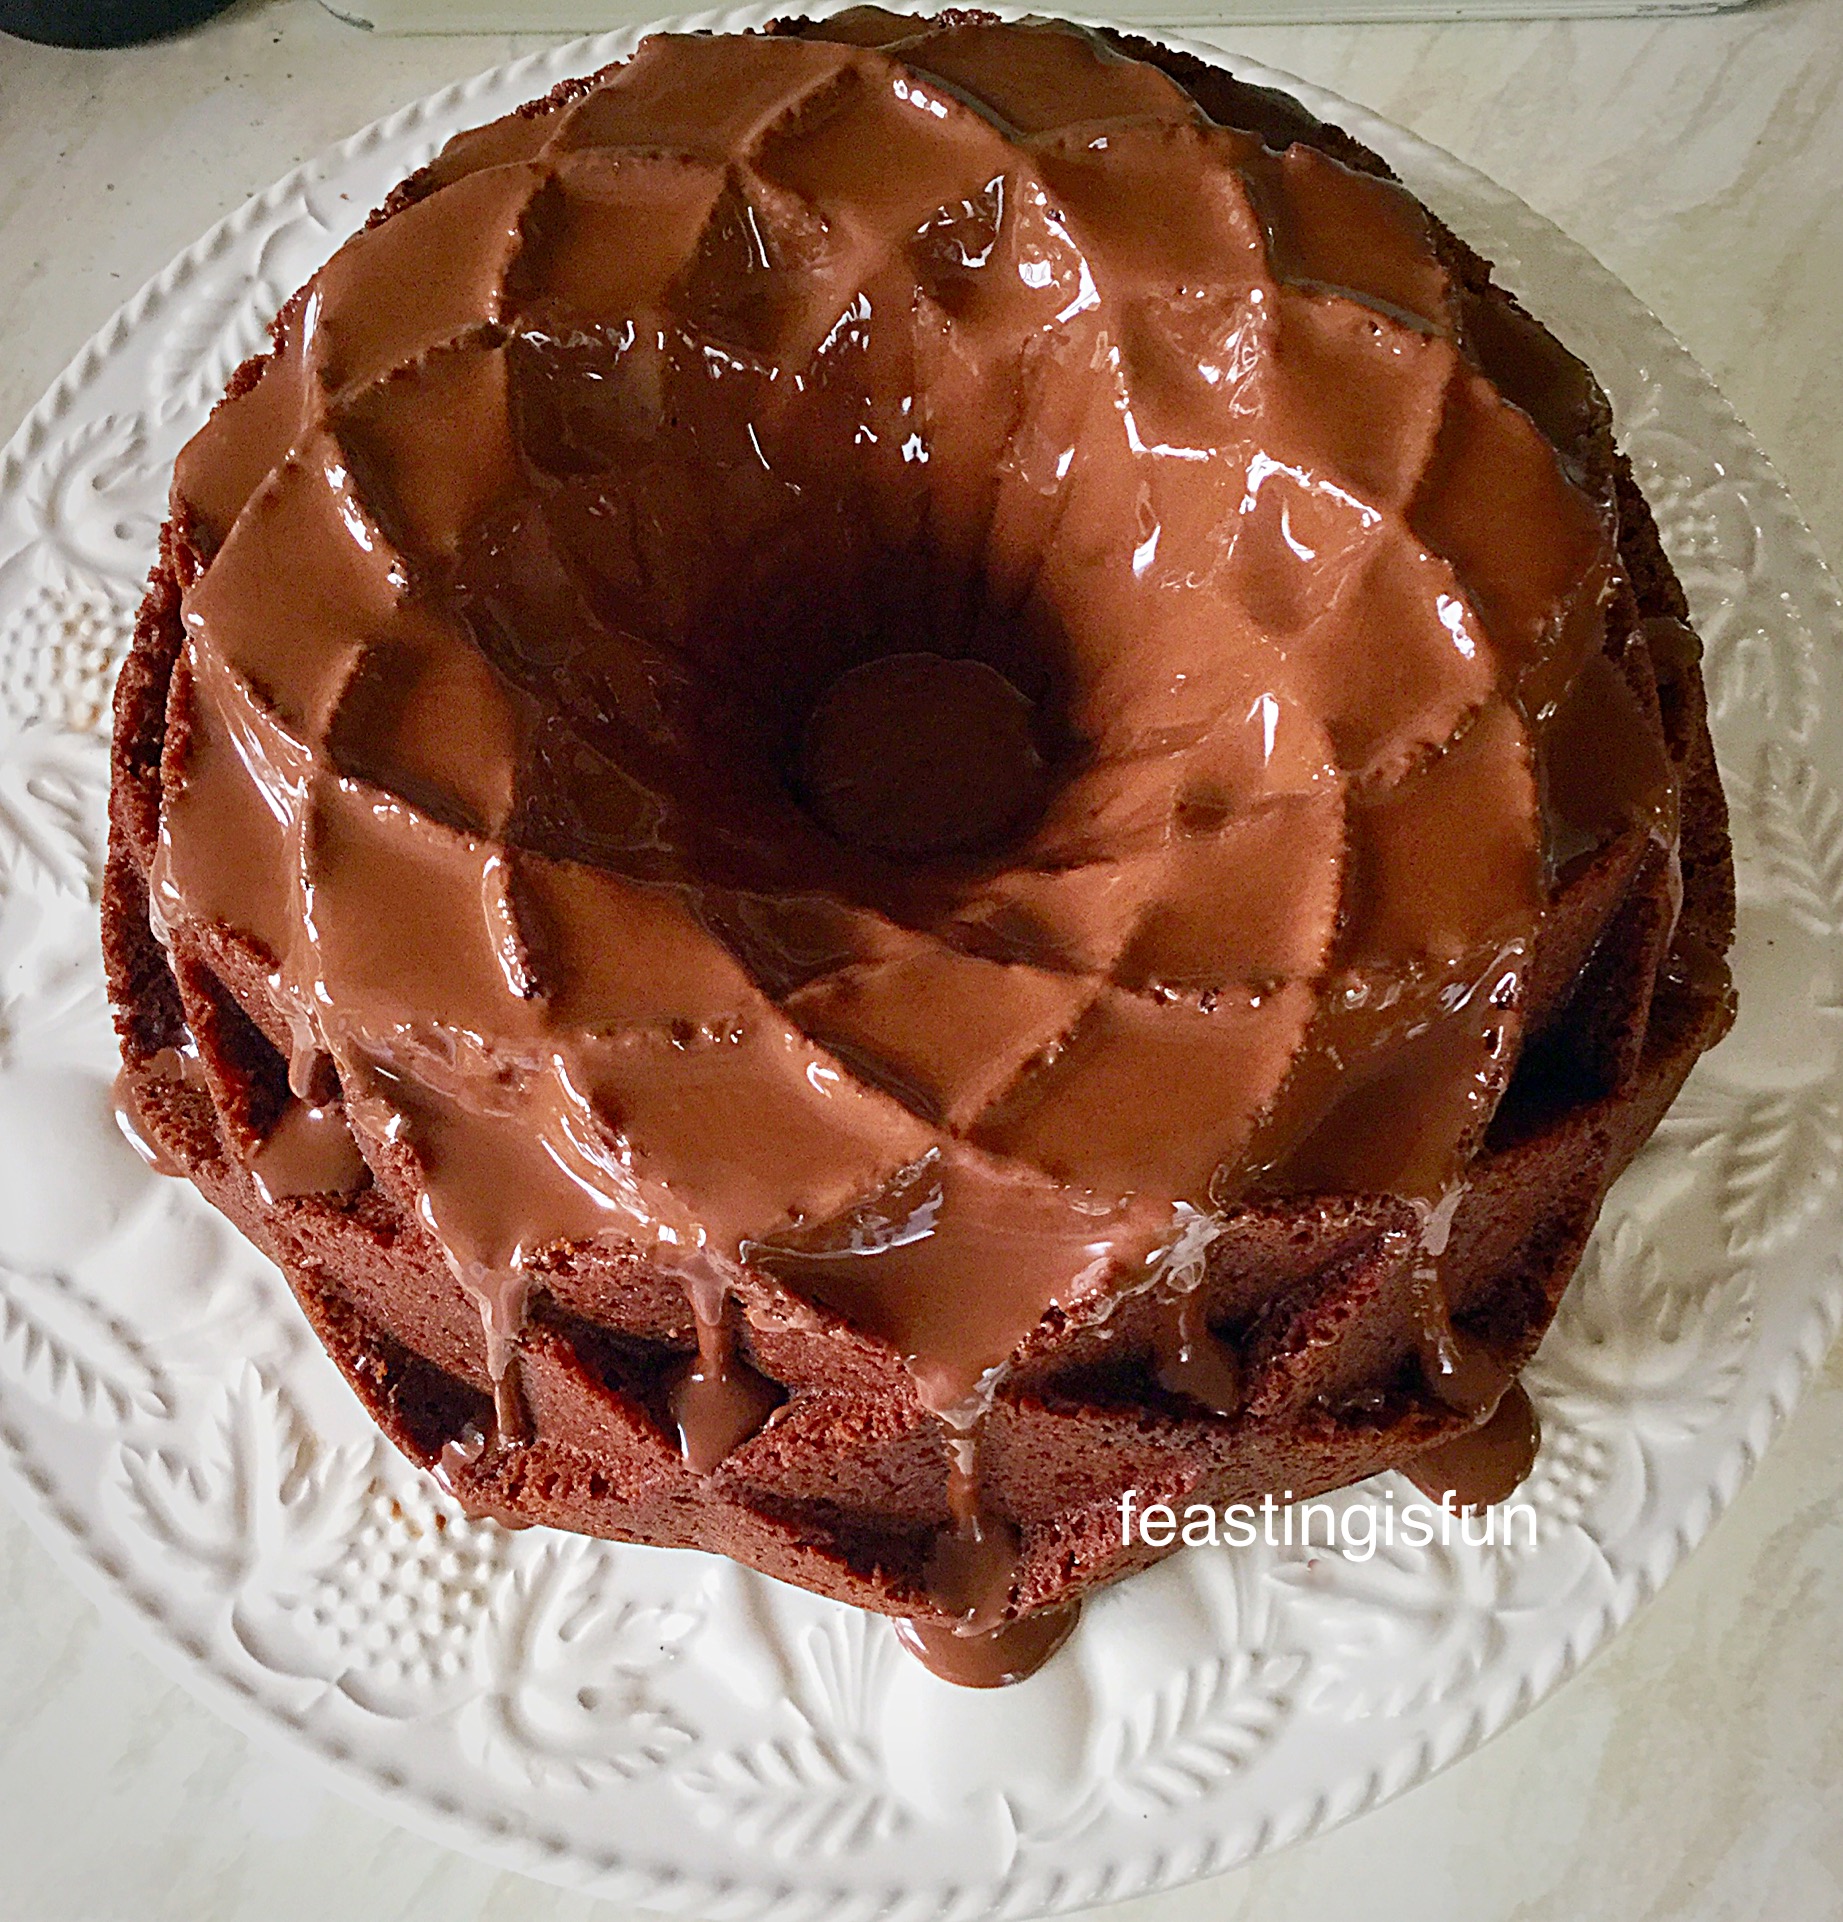
- Place the Caramac buttons in a heatproof, microwaveable bowl and zap for 20 seconds at a time. As soon as they start to melt remove and stir continuously until completely melted. Pour the melted Caramac into a disposable piping bag, or sandwich bag. Snip off the very end and pipe diagonally across the brownie, using approximately half of the Caramac.
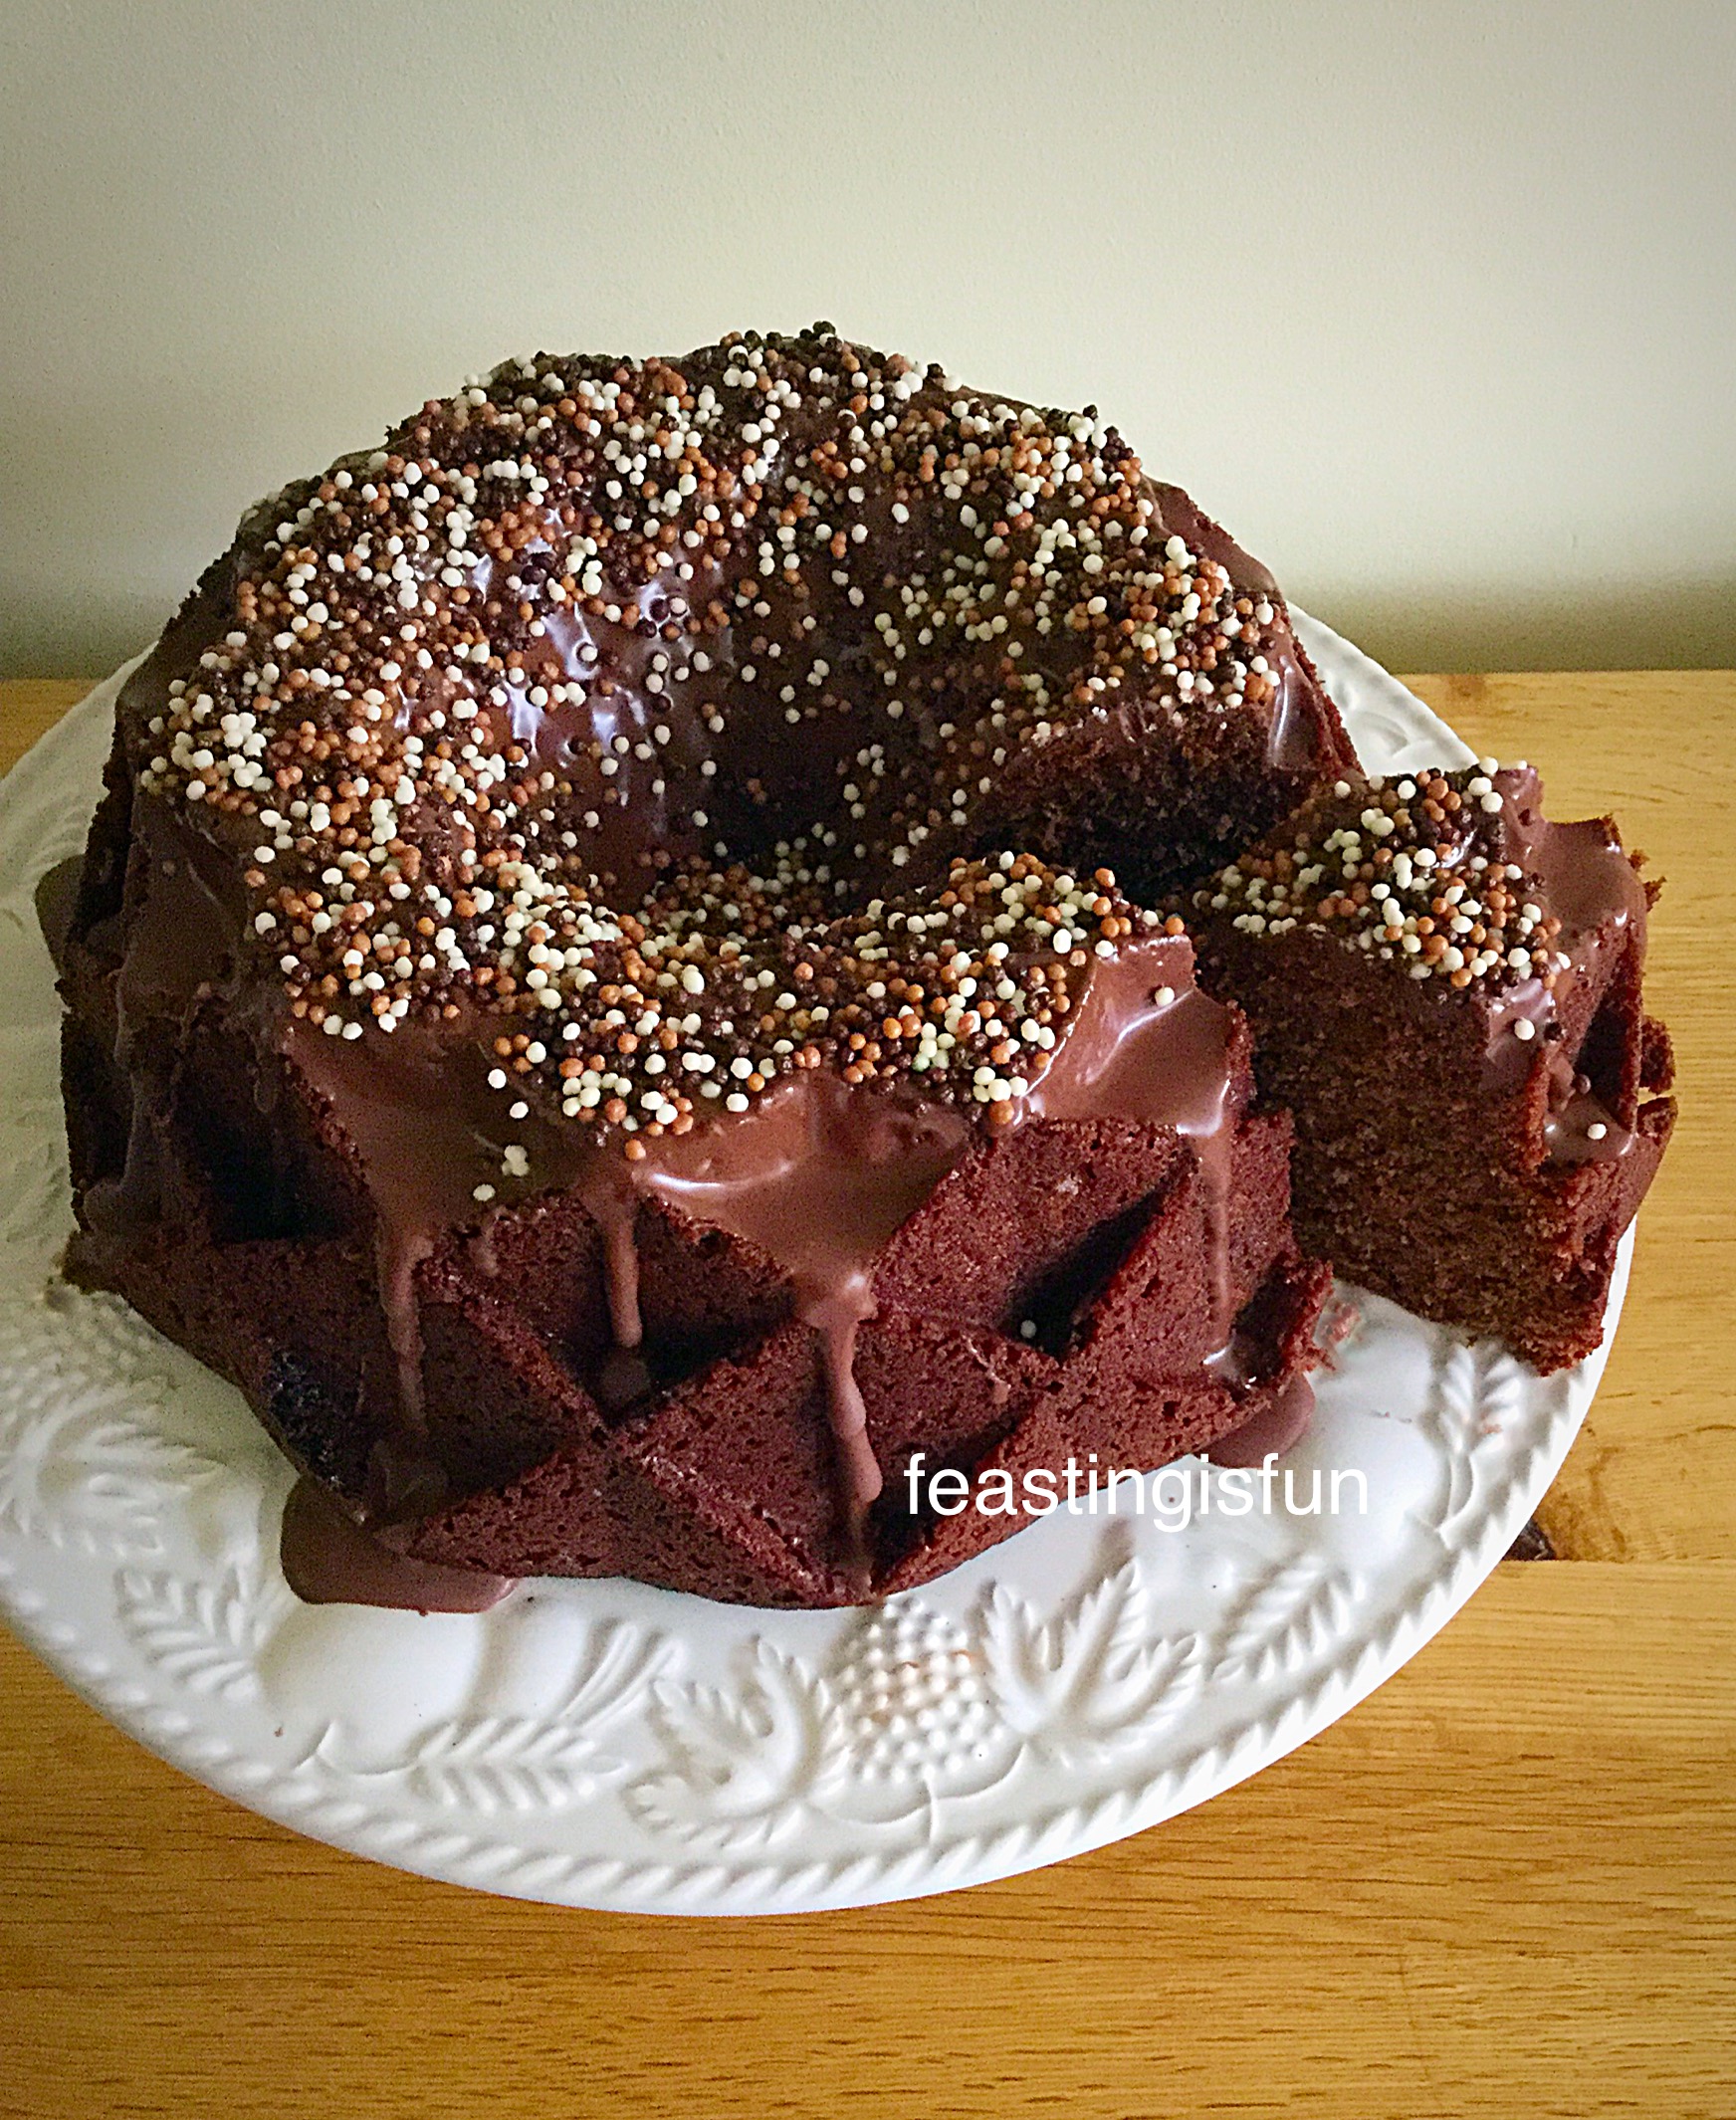
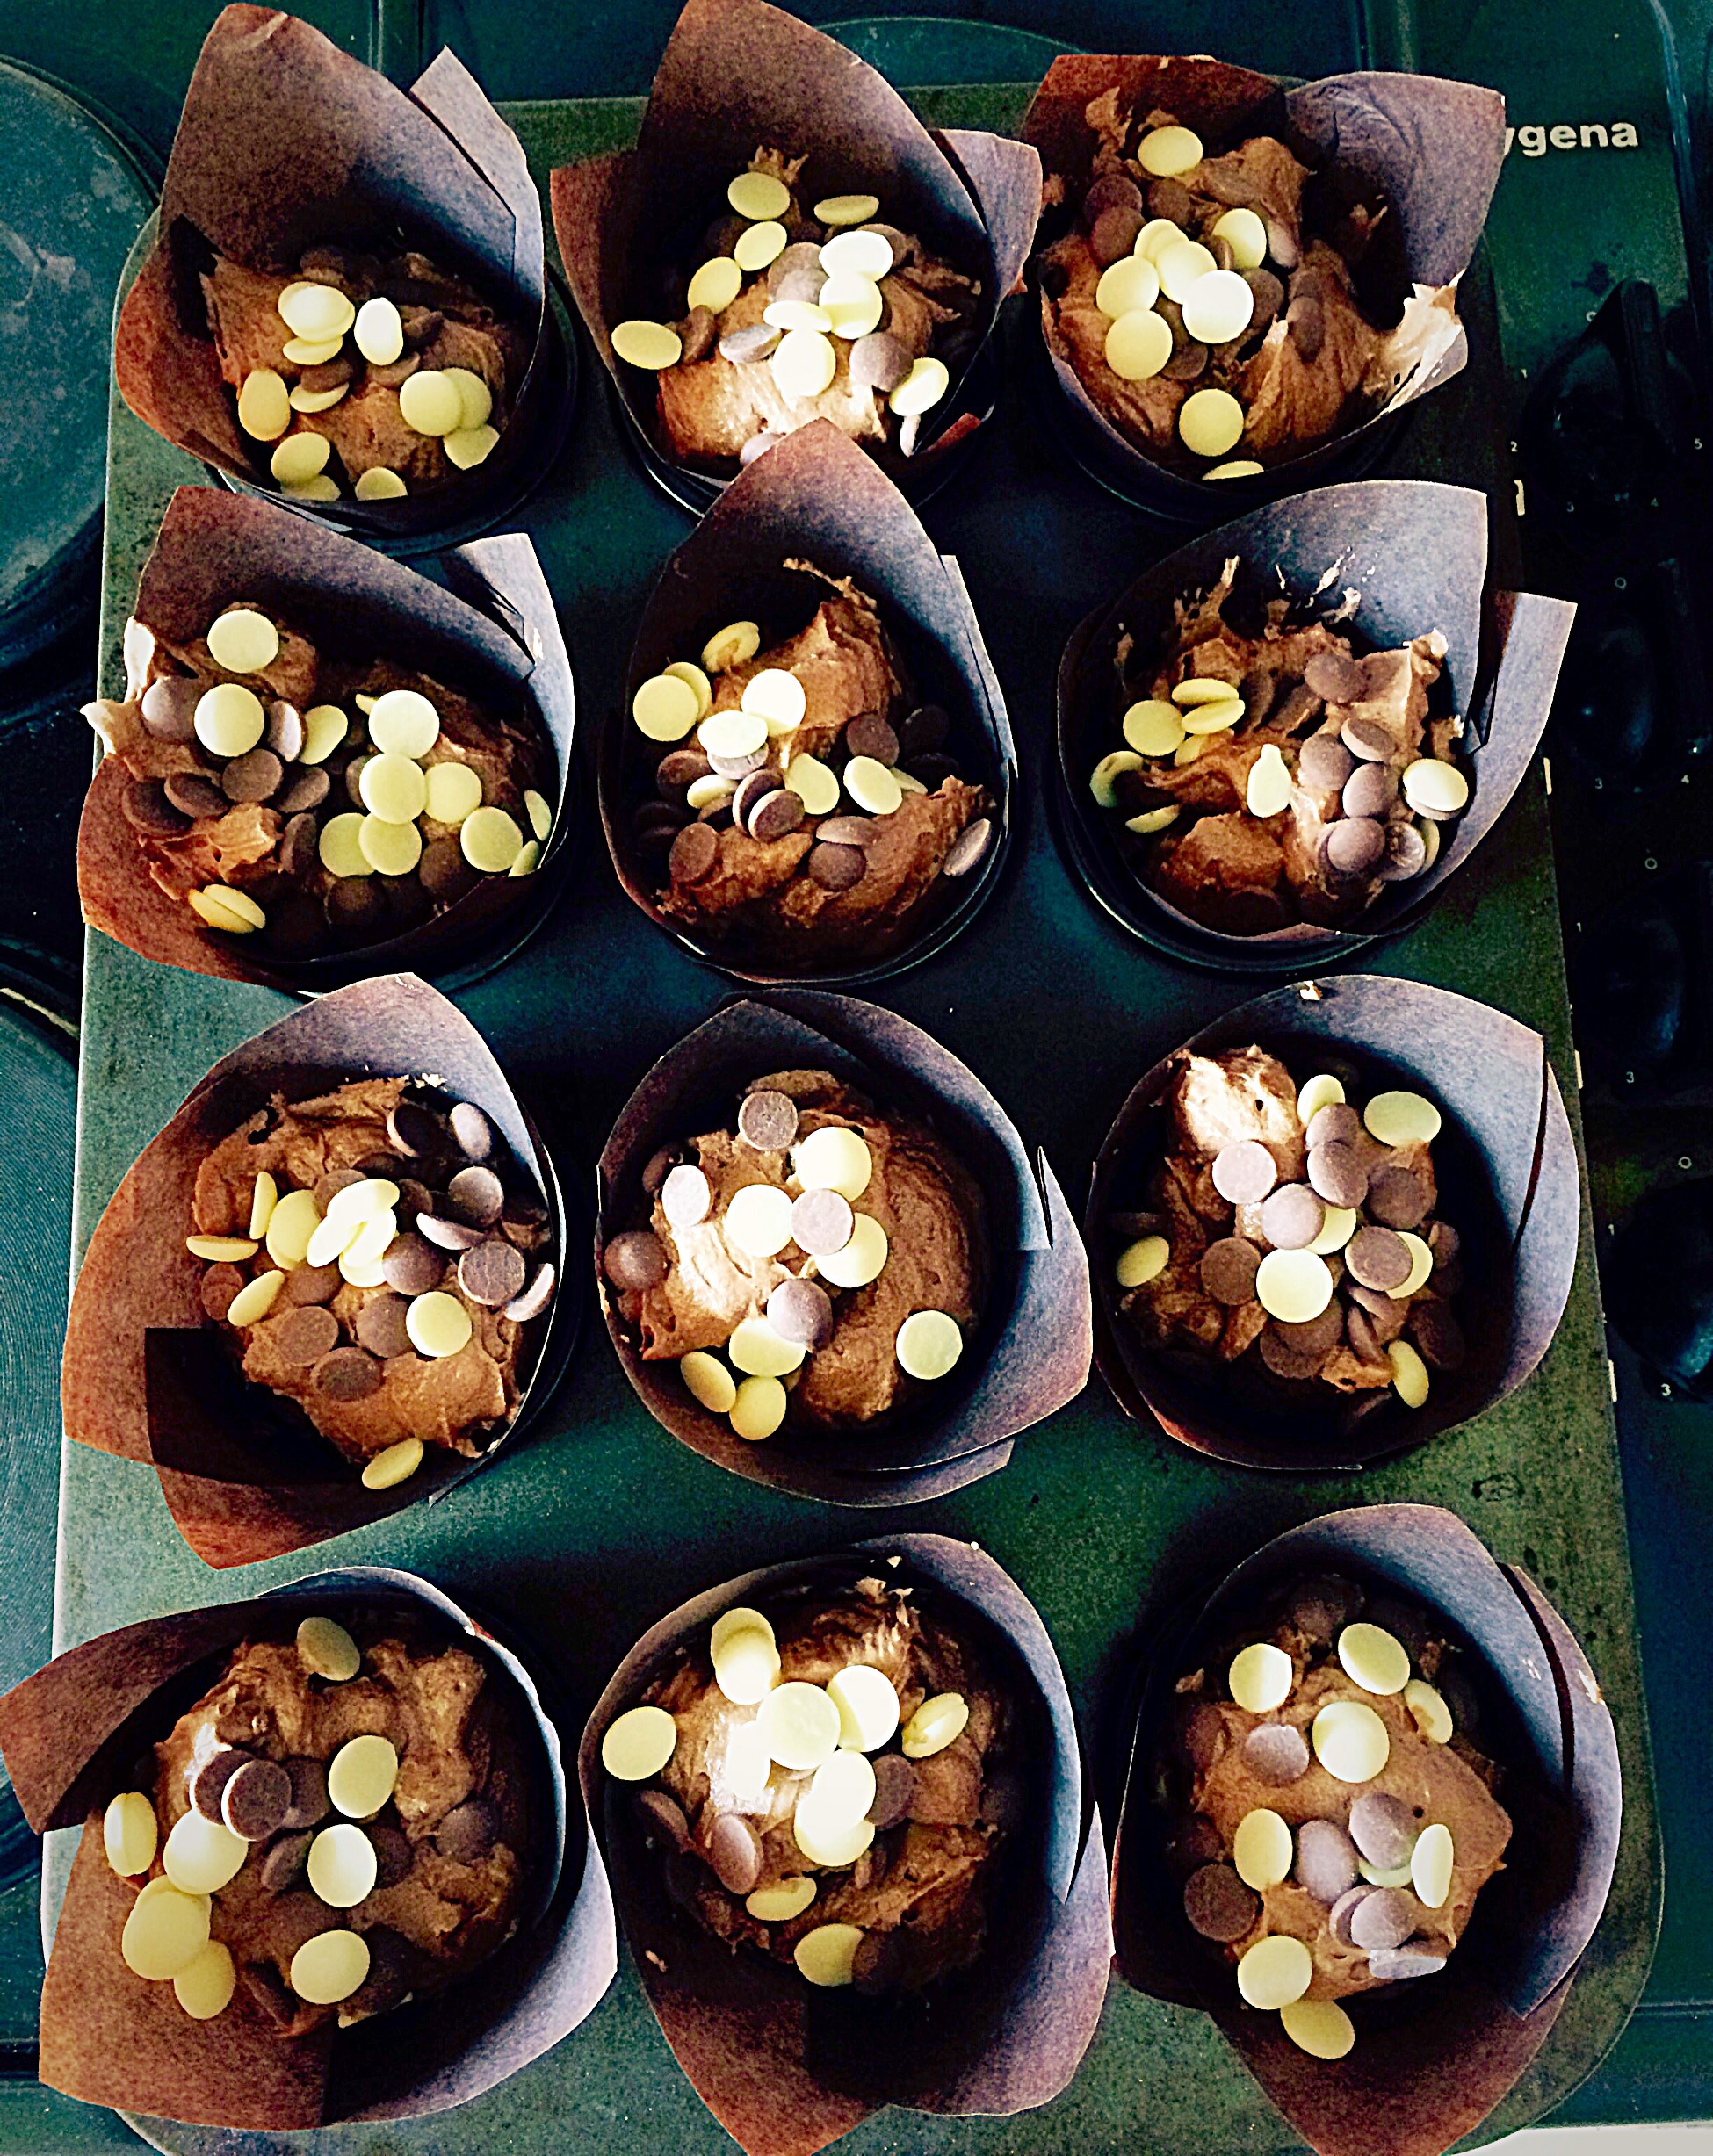
- Unwrap 3 tubes of Rolos and cut in half. Sprinkle the Rolos evenly across the brownie, making sure that some are cut side up so that the caramel inner can be seen. Also sprinkle over some crushed honeycomb.
- Finally pipe the rest of the Caramac on top, in a diagonal style as before.

- Slide the decorated brownie slab on to a board and place in the fridge for 30 minutes to allow the Caramac to set.

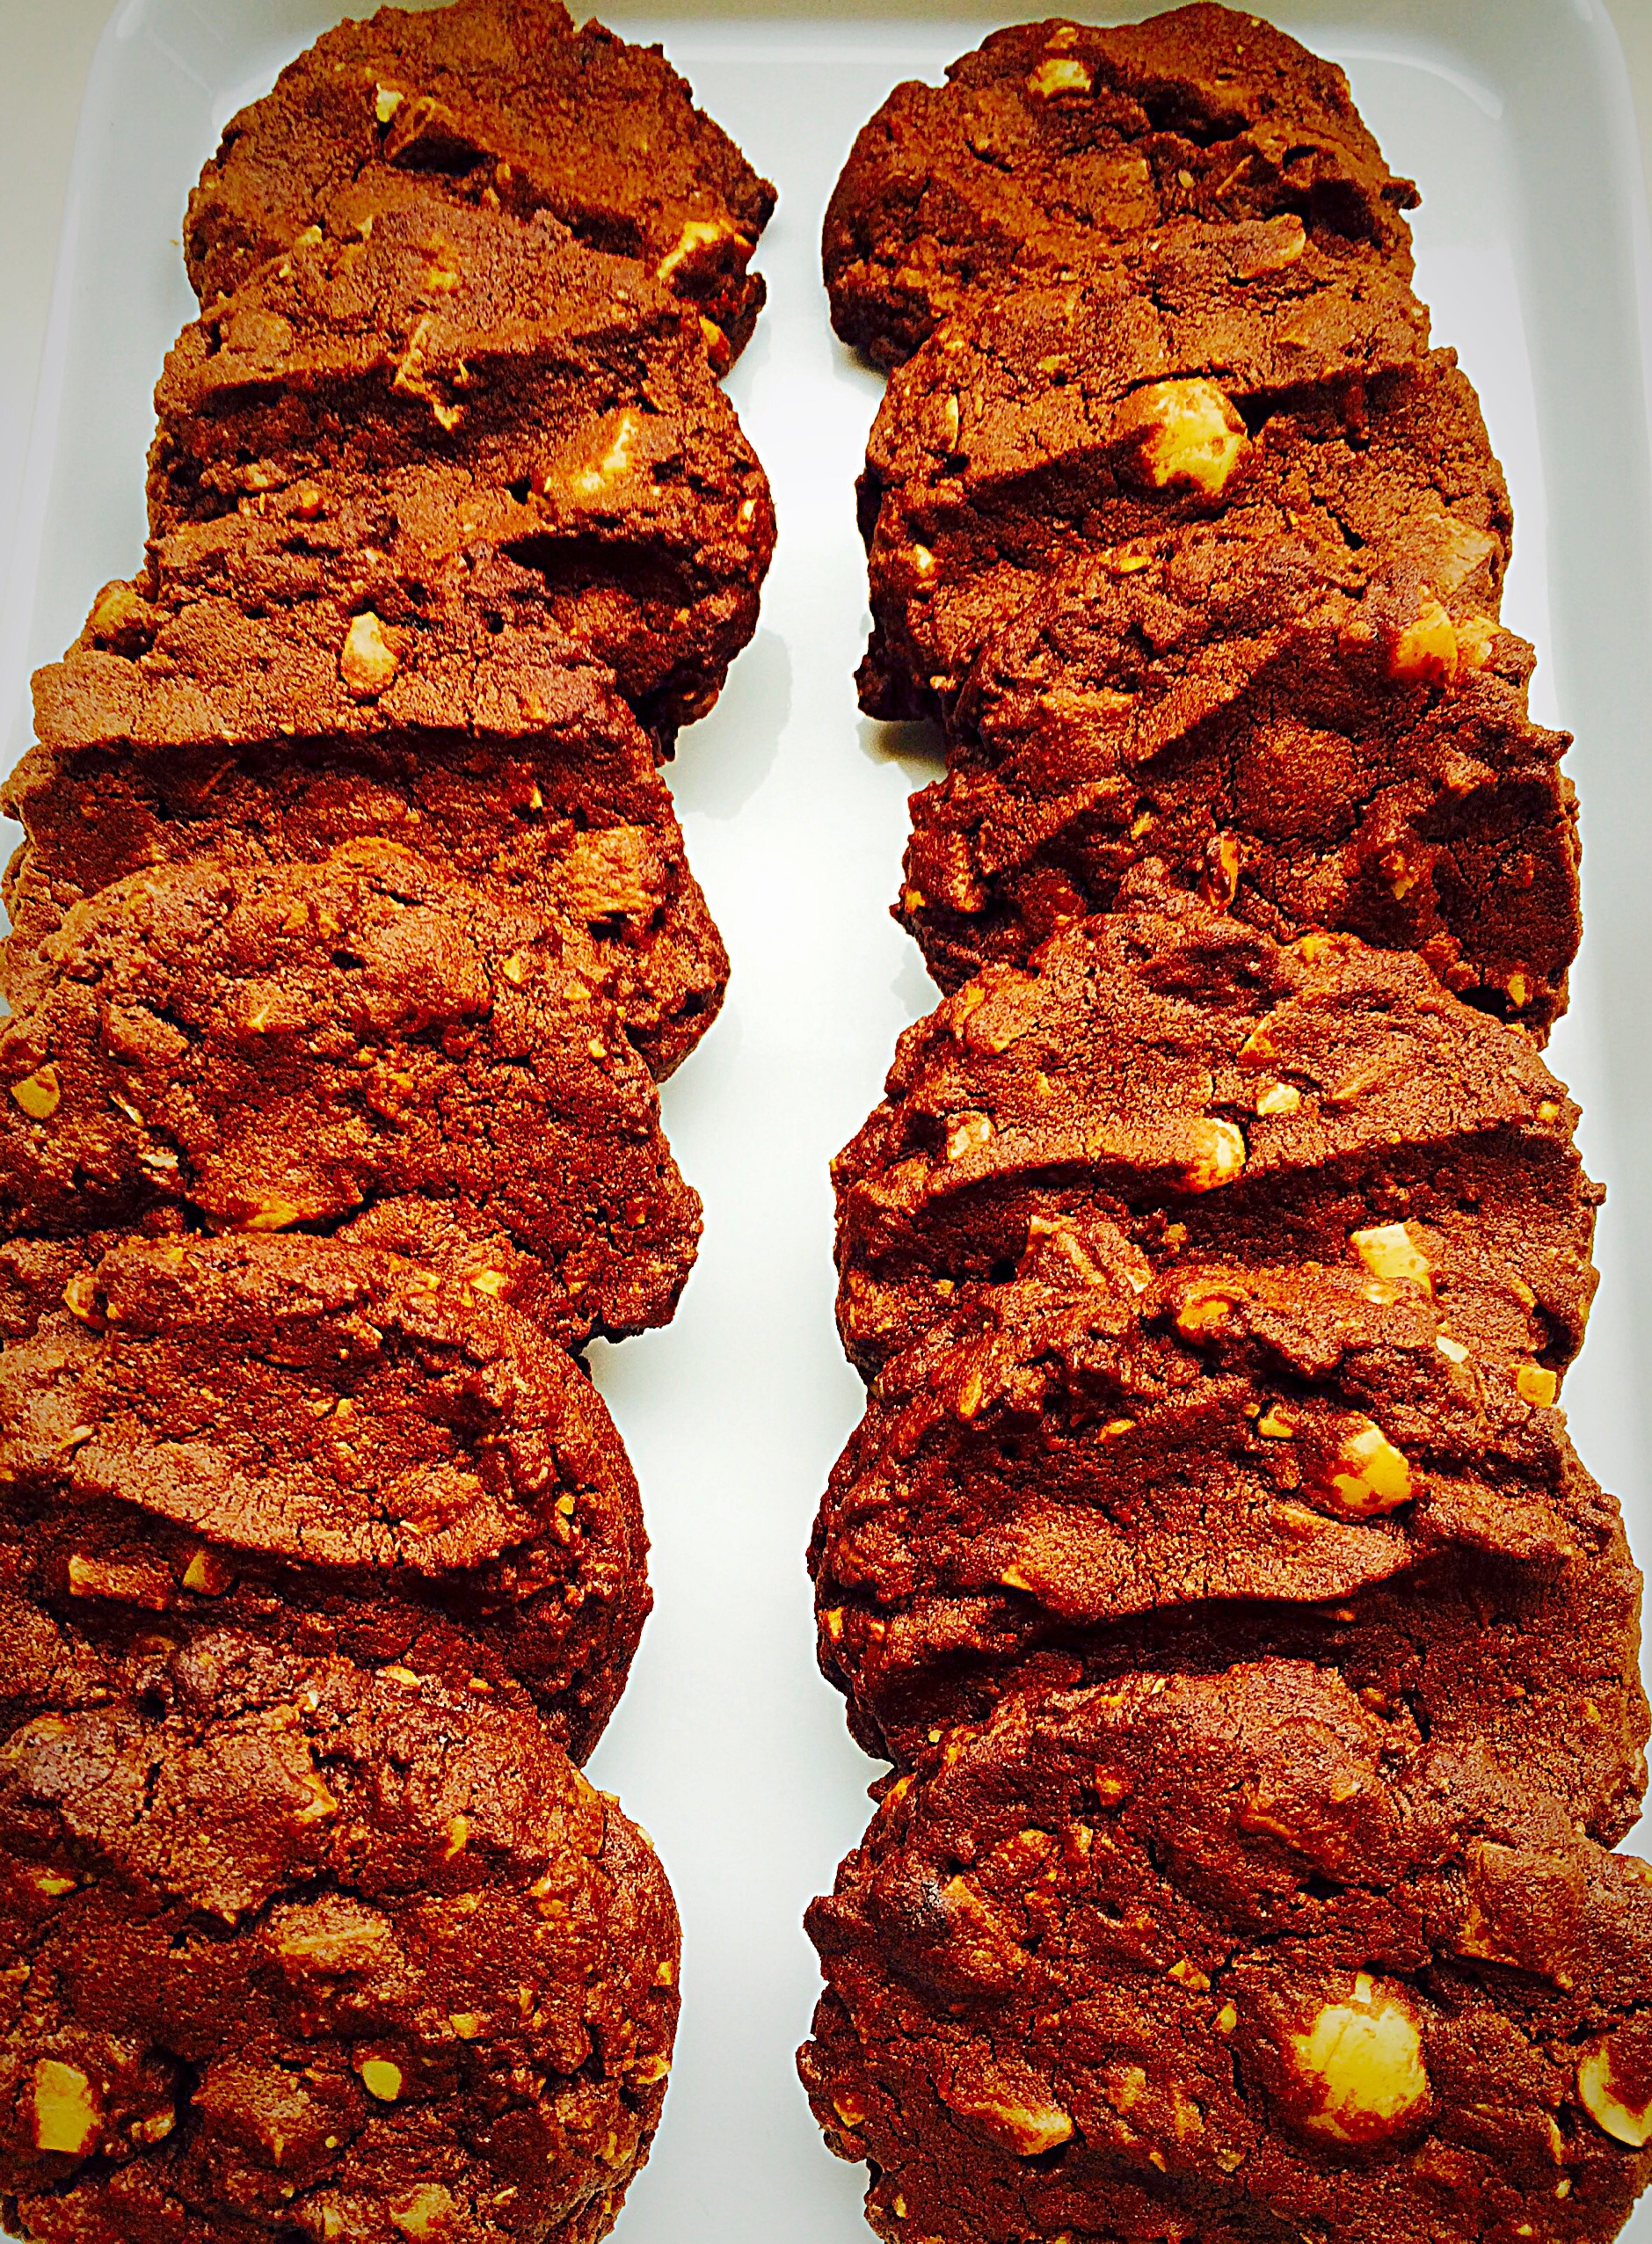
Portioning The Caramac Drizzle Rolo Caramel Brownies
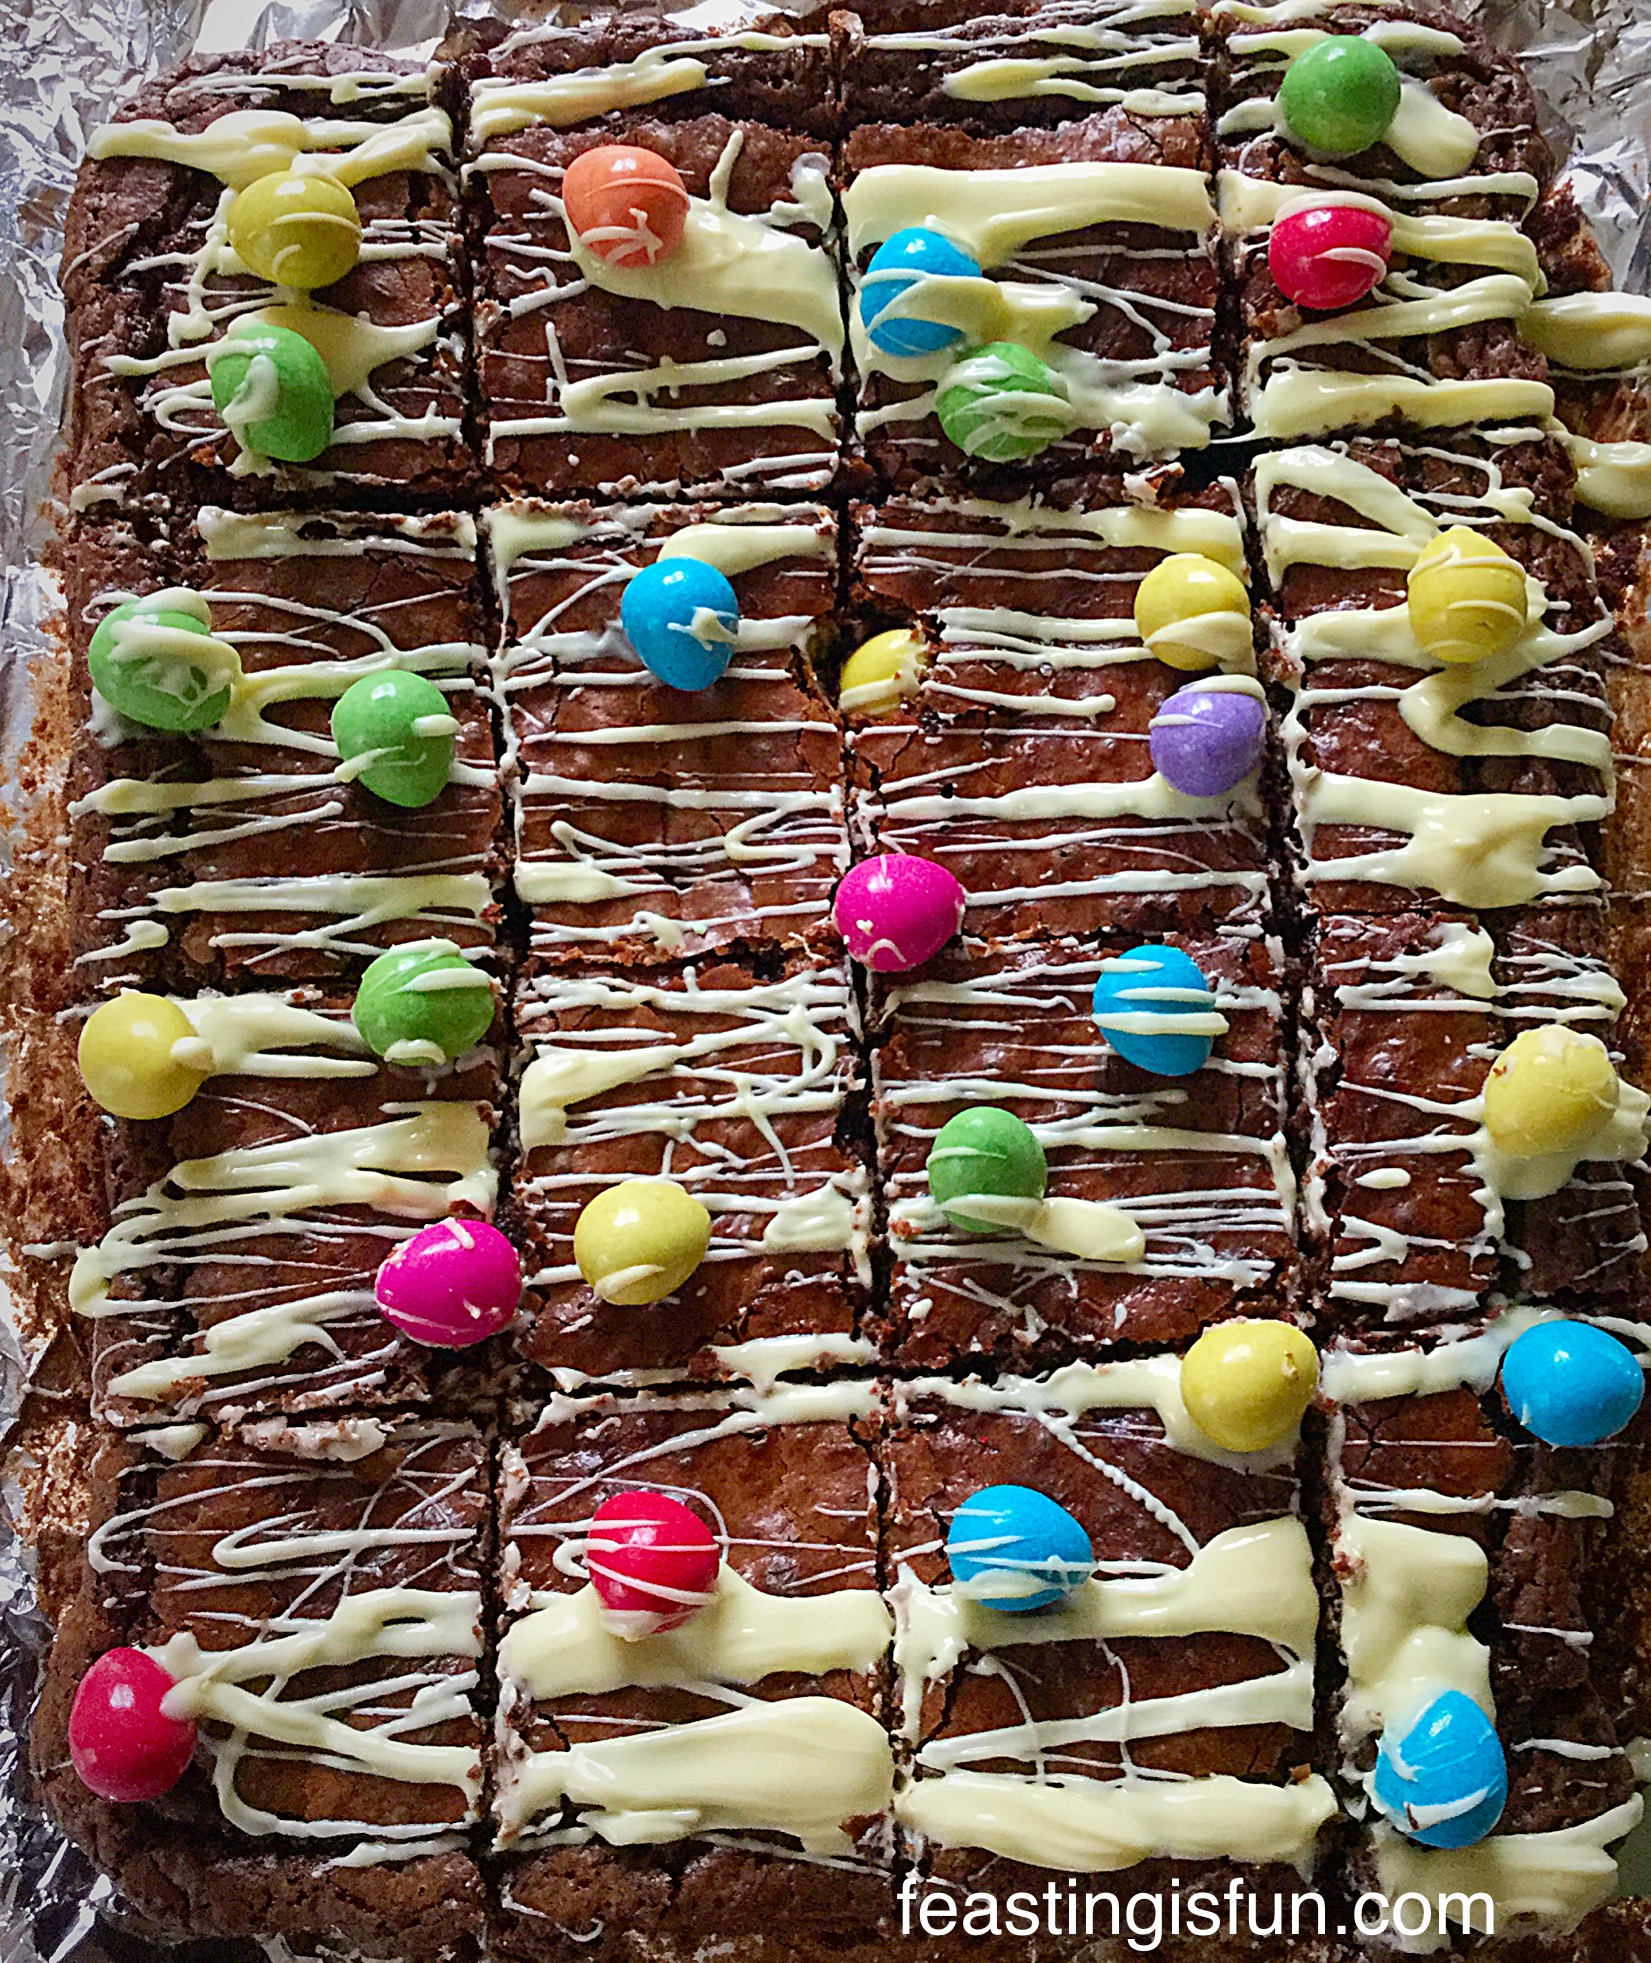
- As soon as the Caramac has set you can cut the brownie into portions.
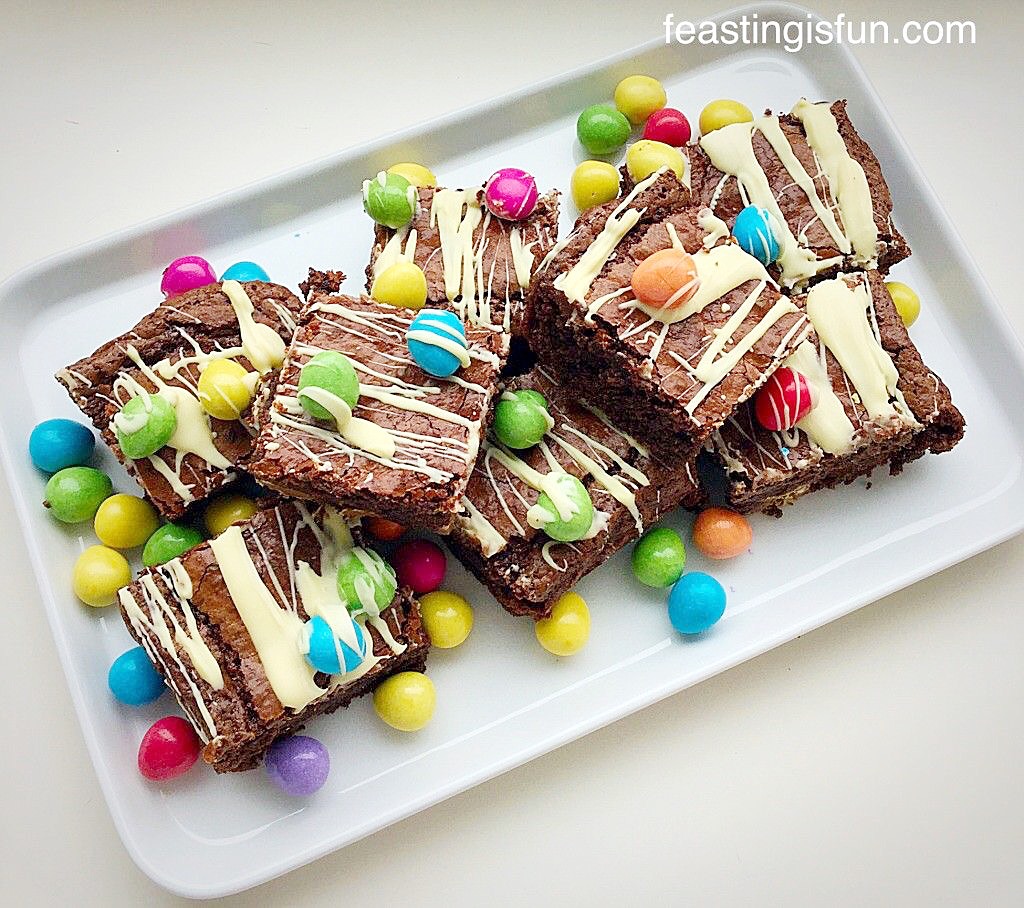
- First of all cut across the width twice, dividing it into 3 separate pieces. Now cut down the centre dividing the brownie in half. Cut down twice on either side creating 3 sections on each side. You should have 18 equally sized brownie bars.
- Each of the Caramac Drizzle Rolo Caramel Brownies has a little bit of everything, resulting in a lot of fabulous, fudgey, flavour.
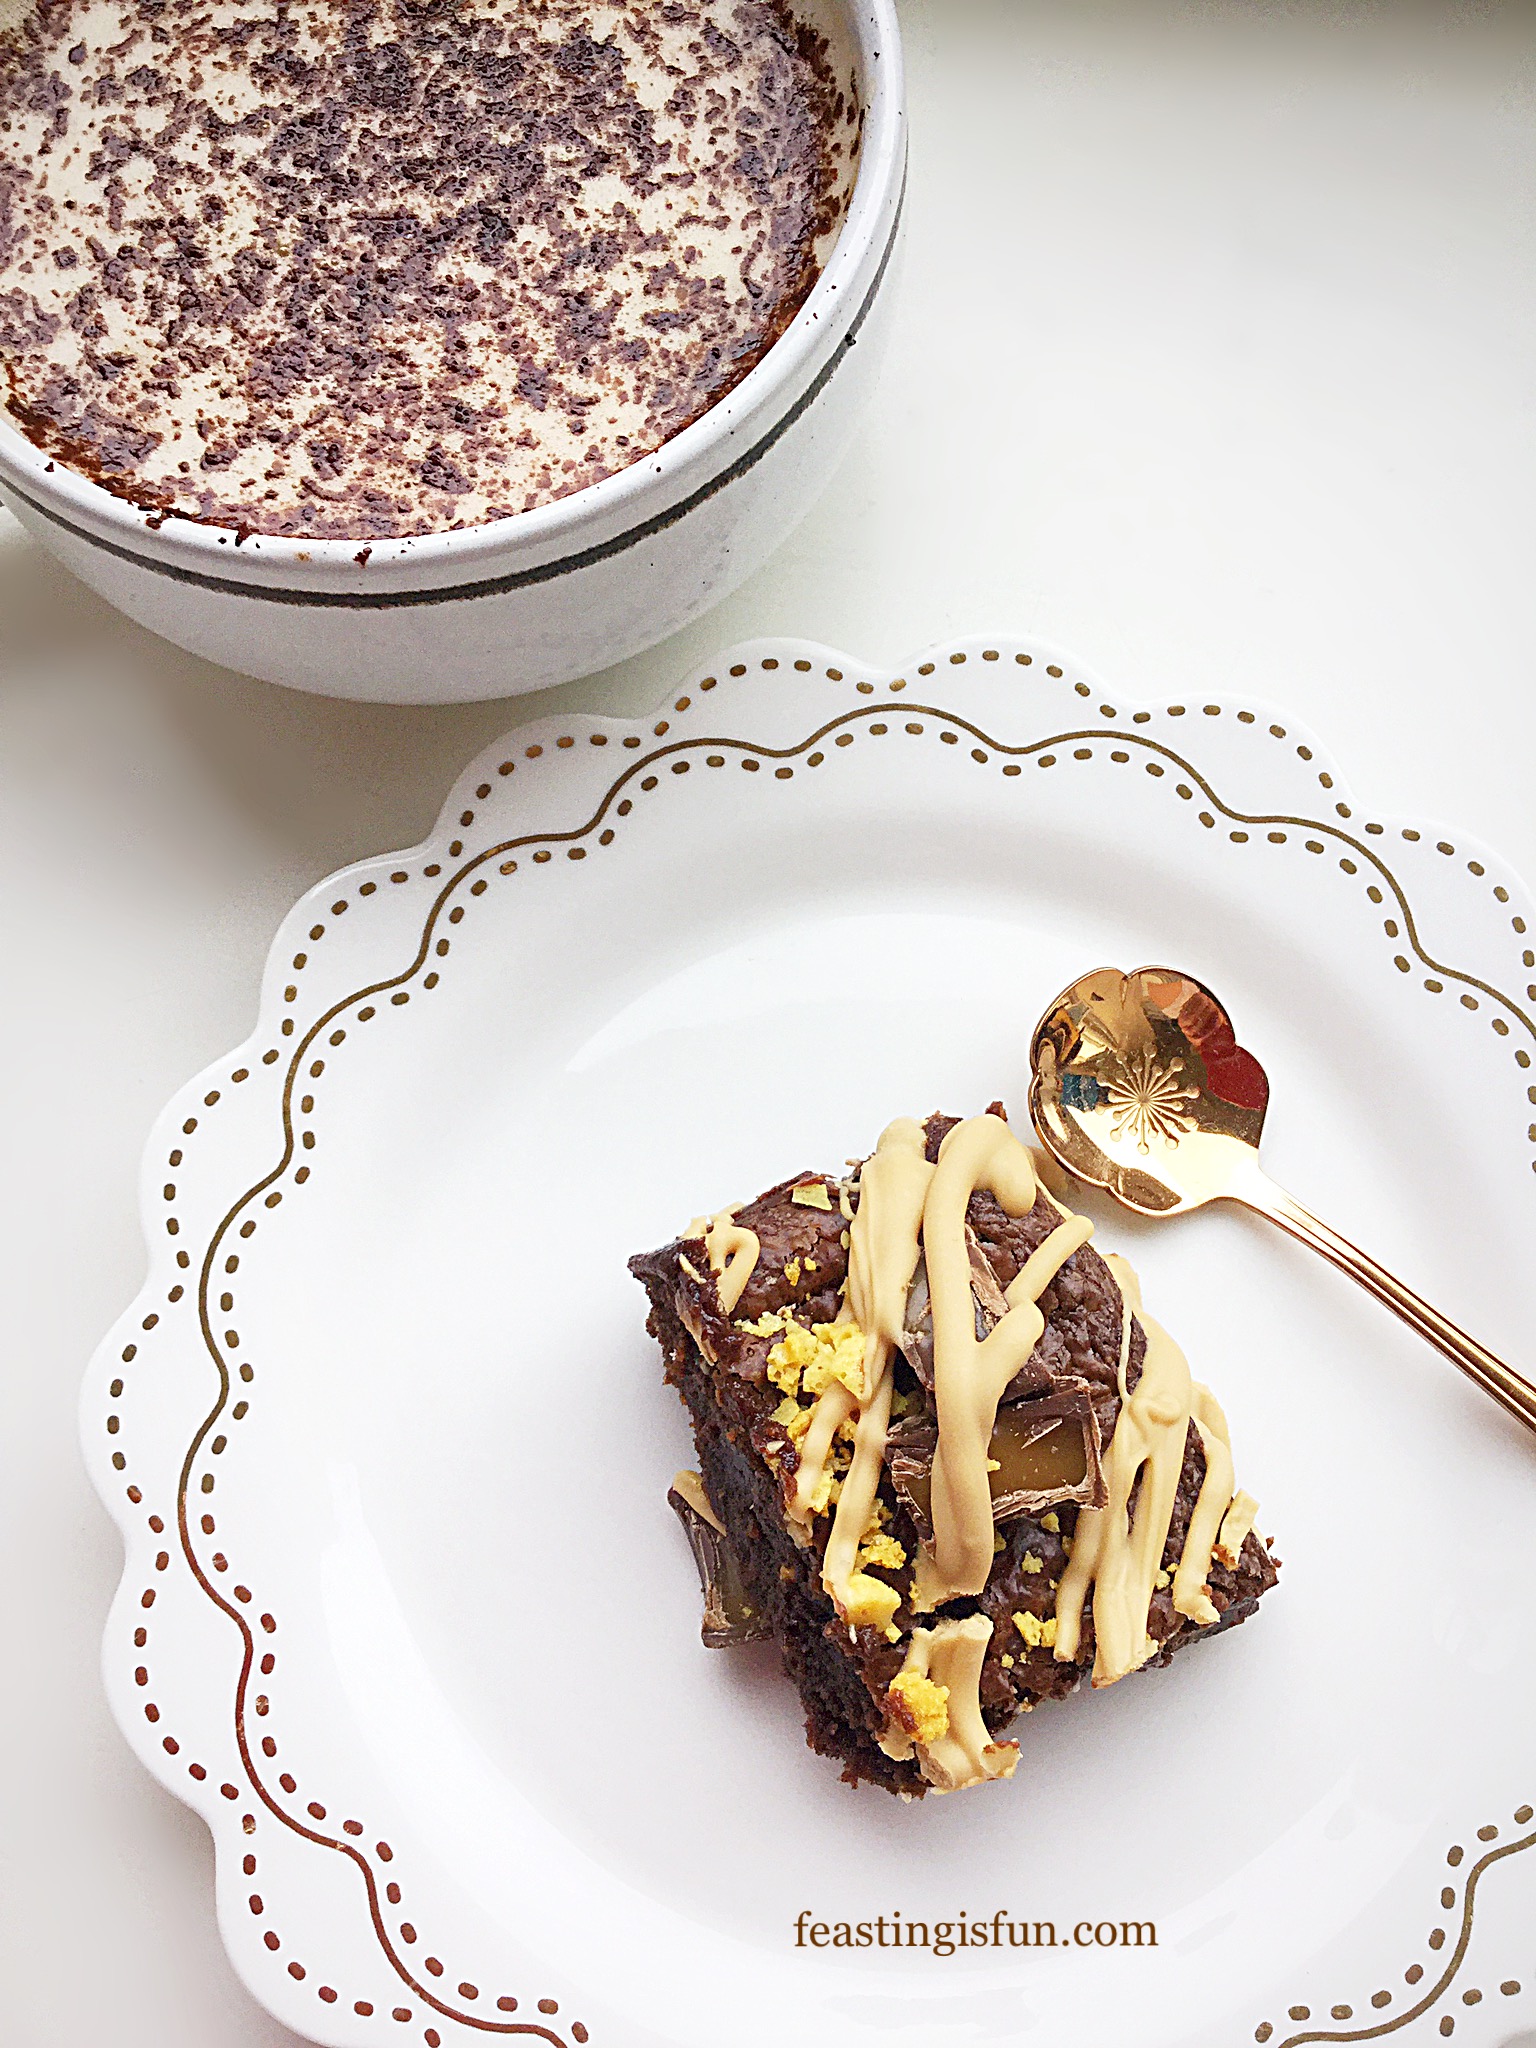
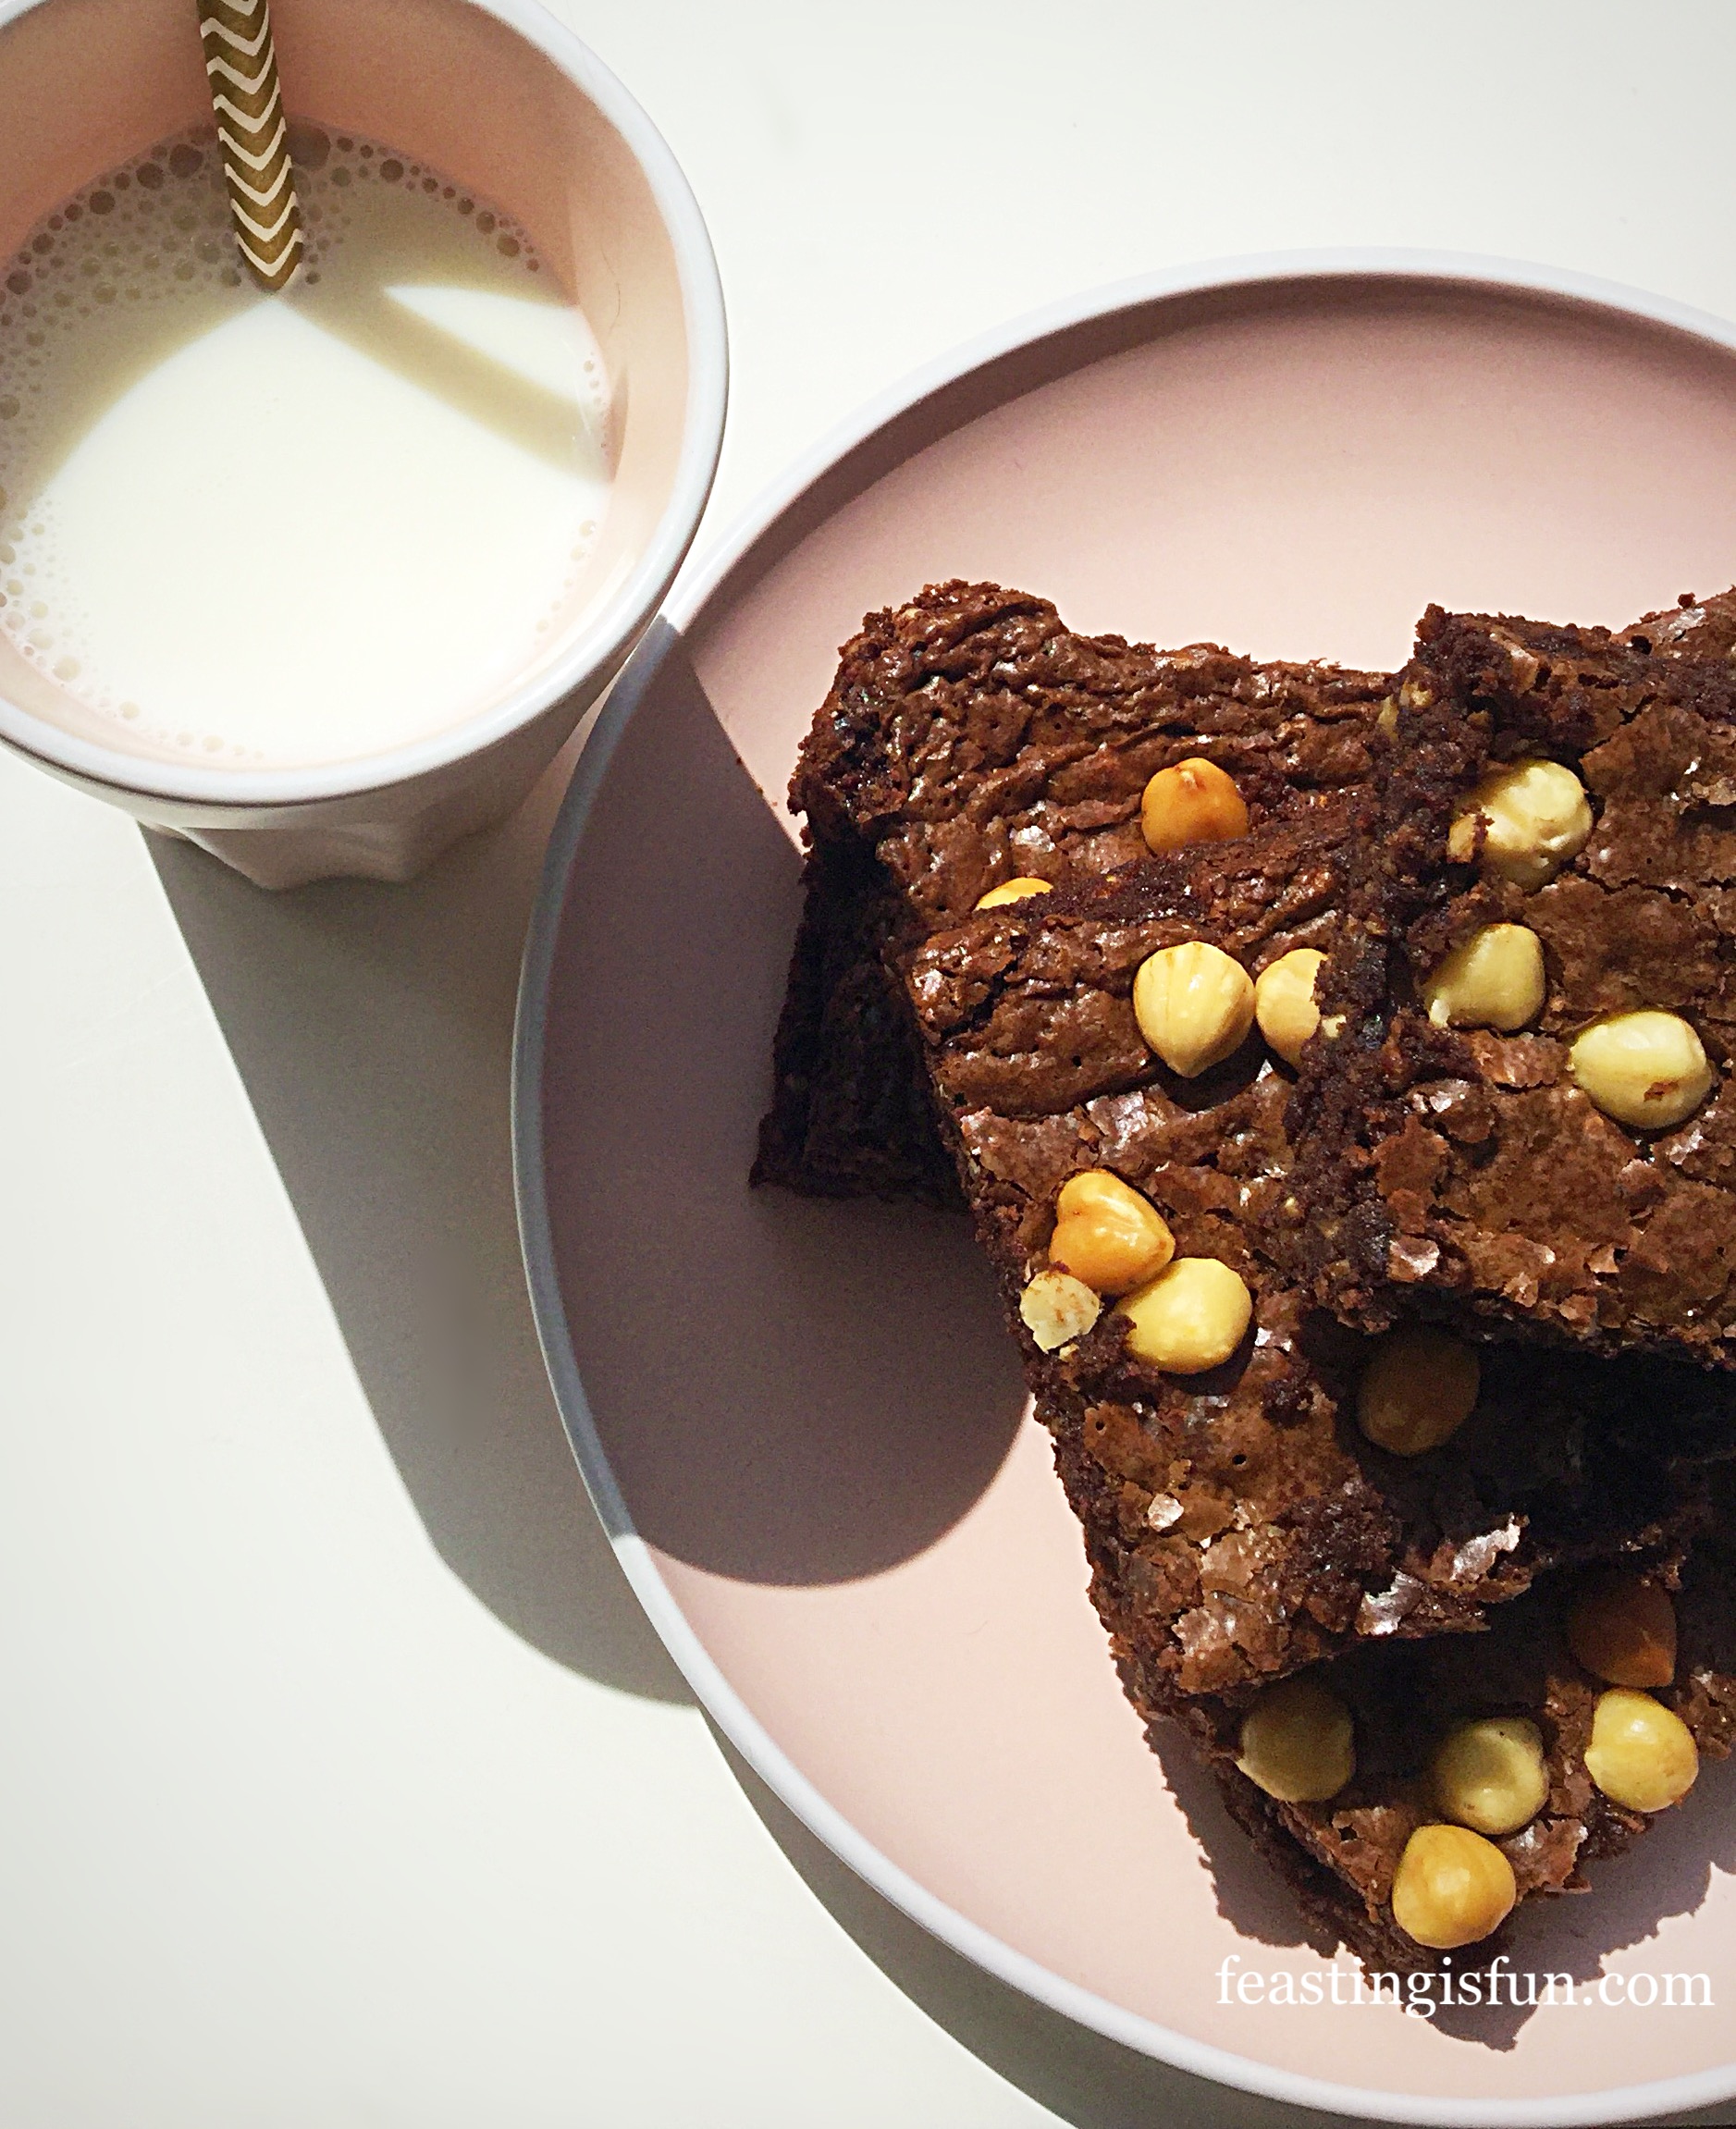
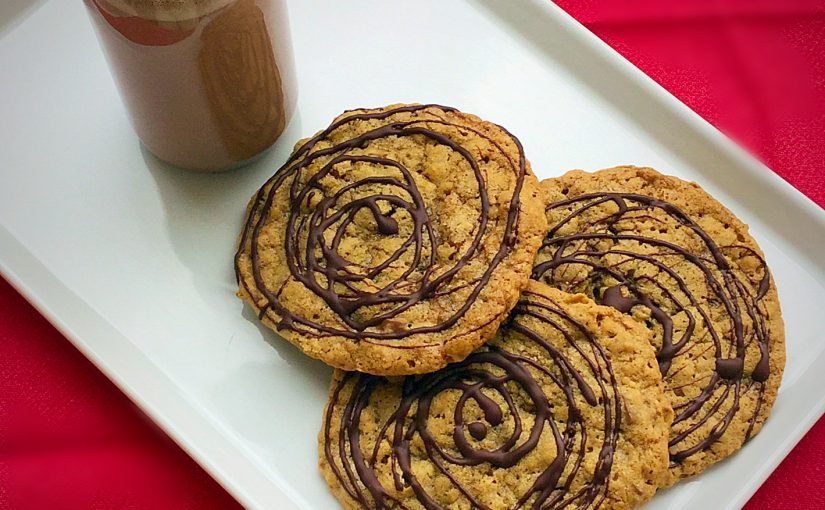
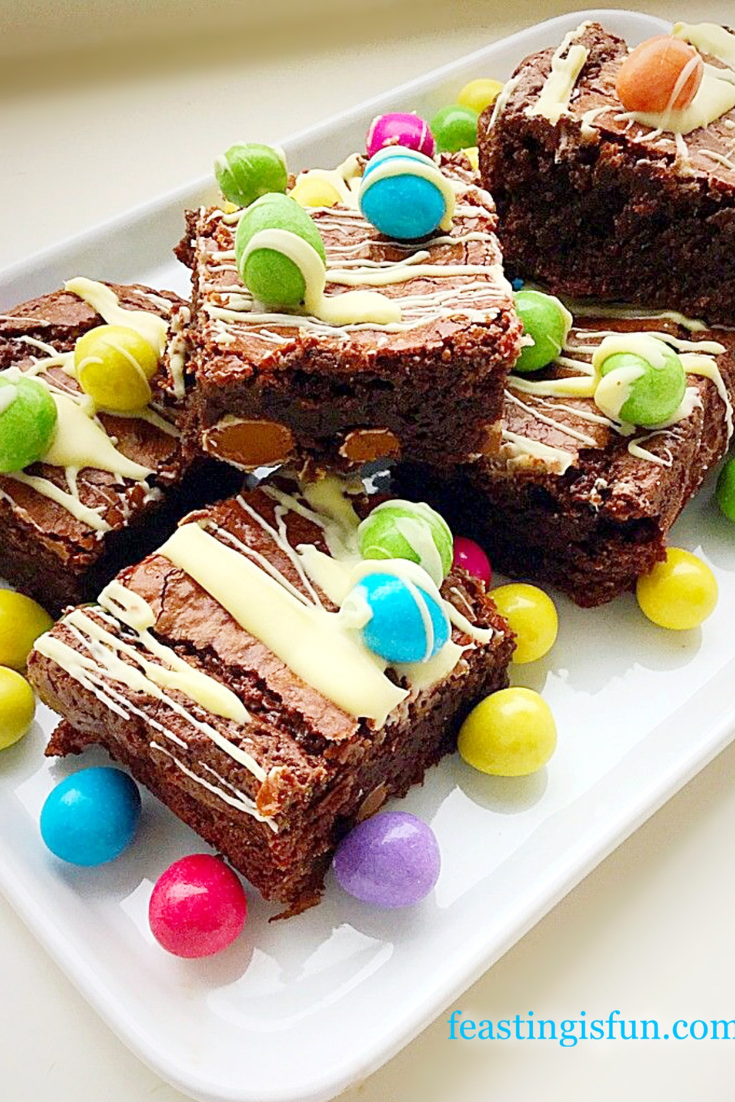
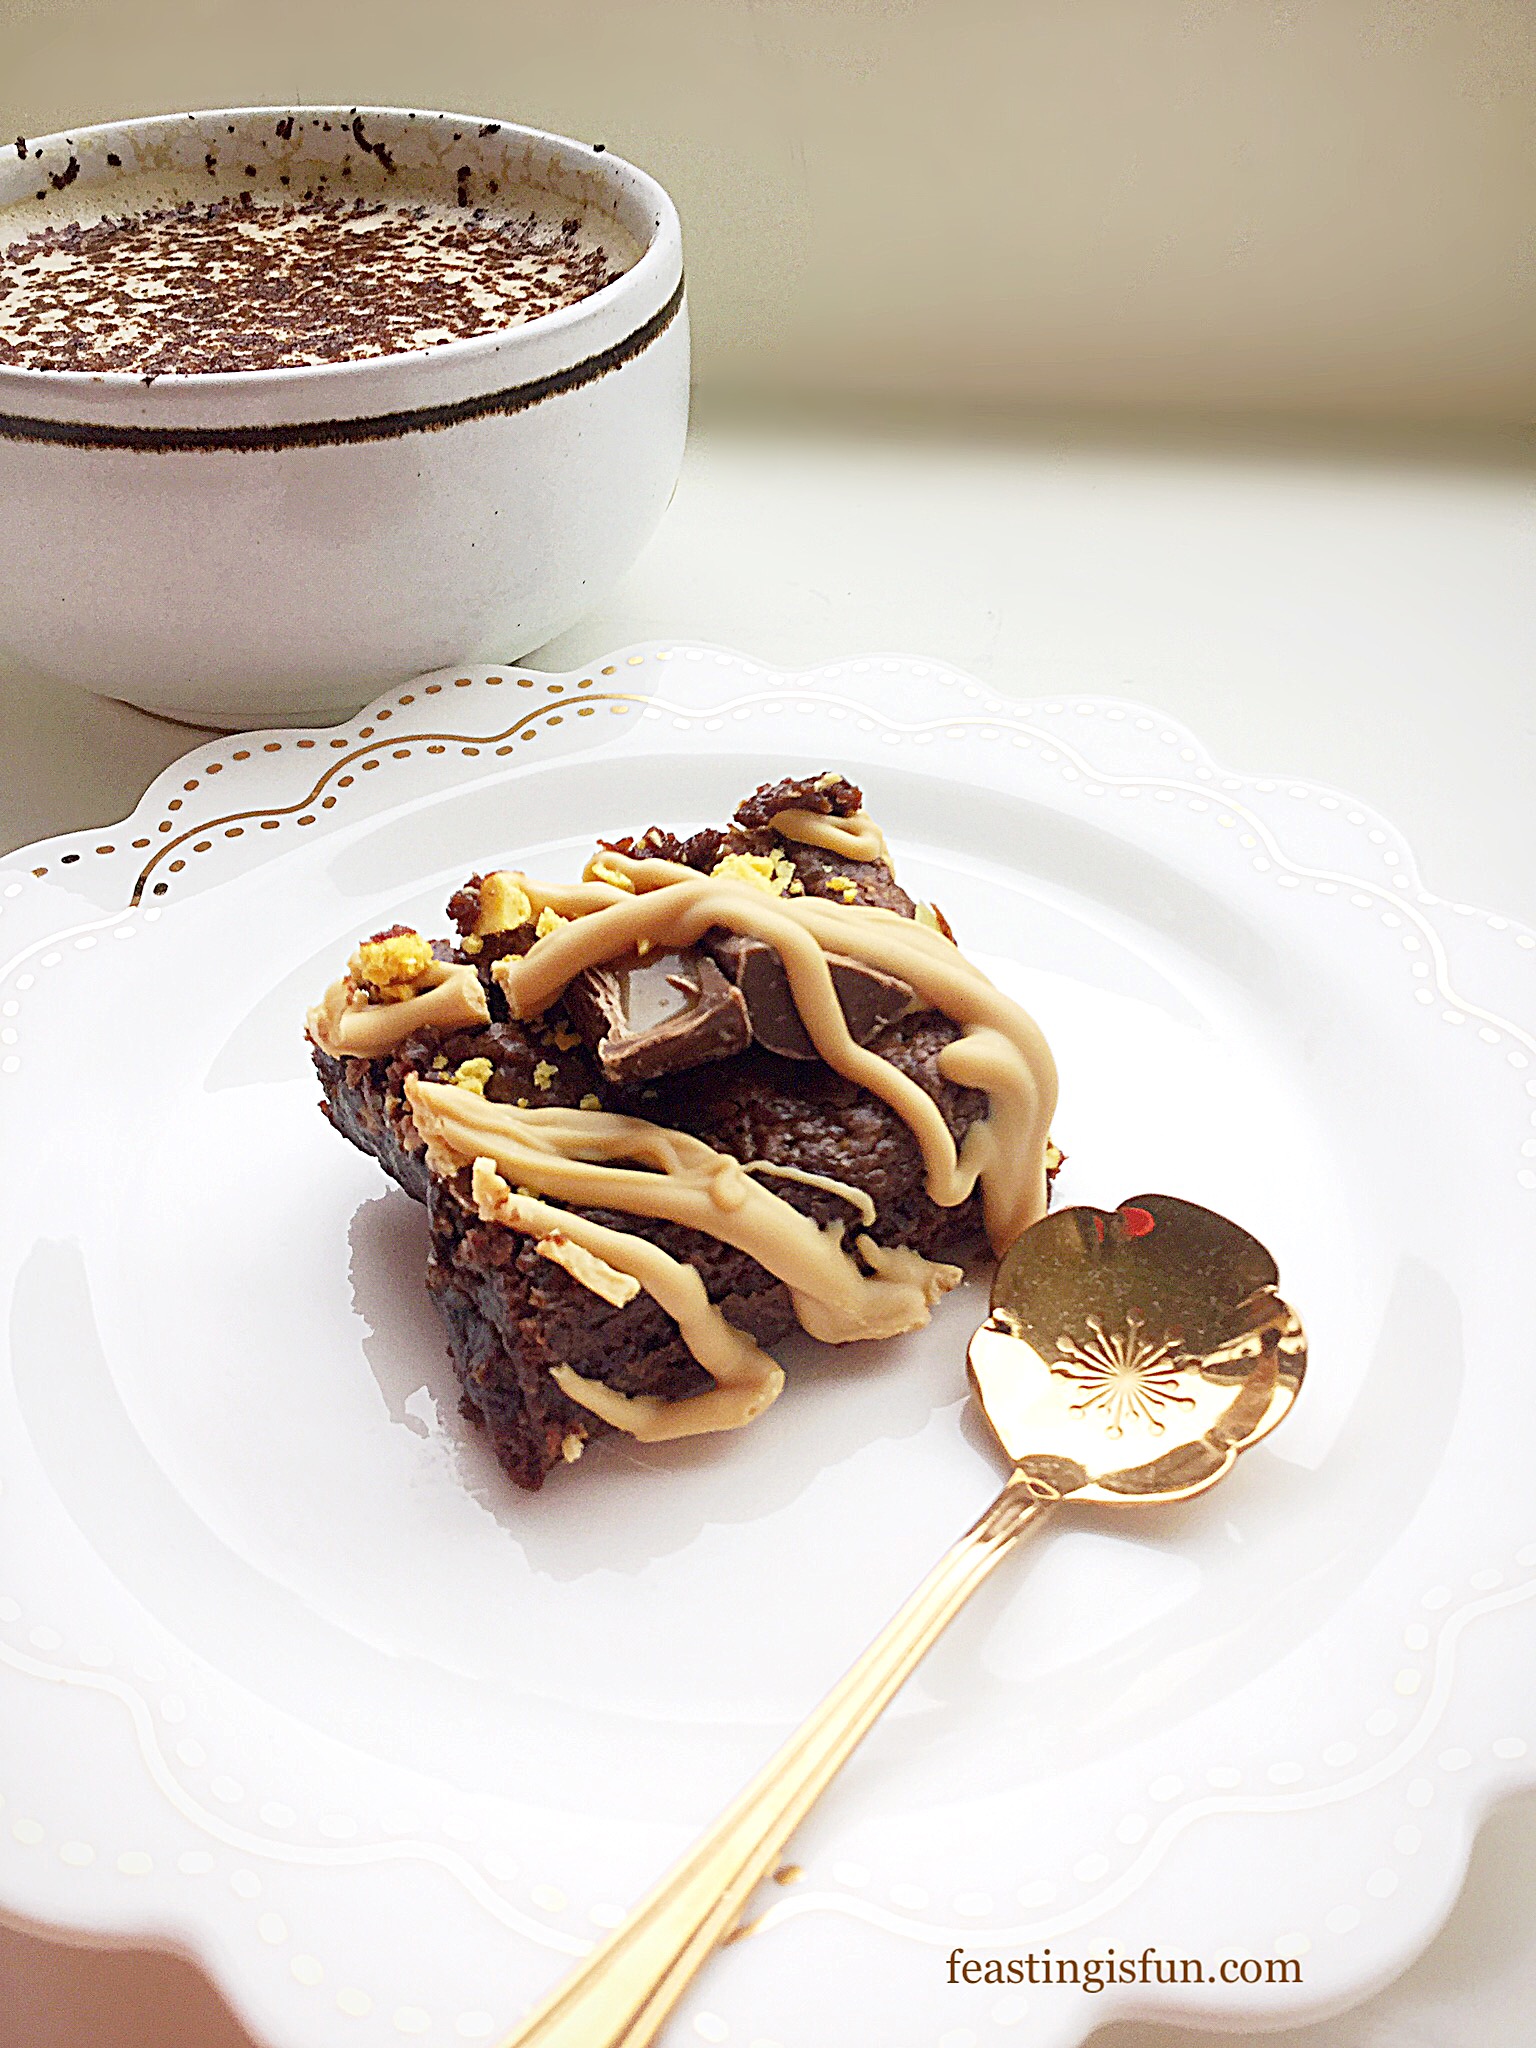
Serve each brownie with a smile. I enjoyed my first taste alongside a delicious hot latte. The perfect combination.
Store in layers, separated with baking parchment, in an airtight container. During warmer weather keep refrigerated. Eat within 5 days, if they last that long!
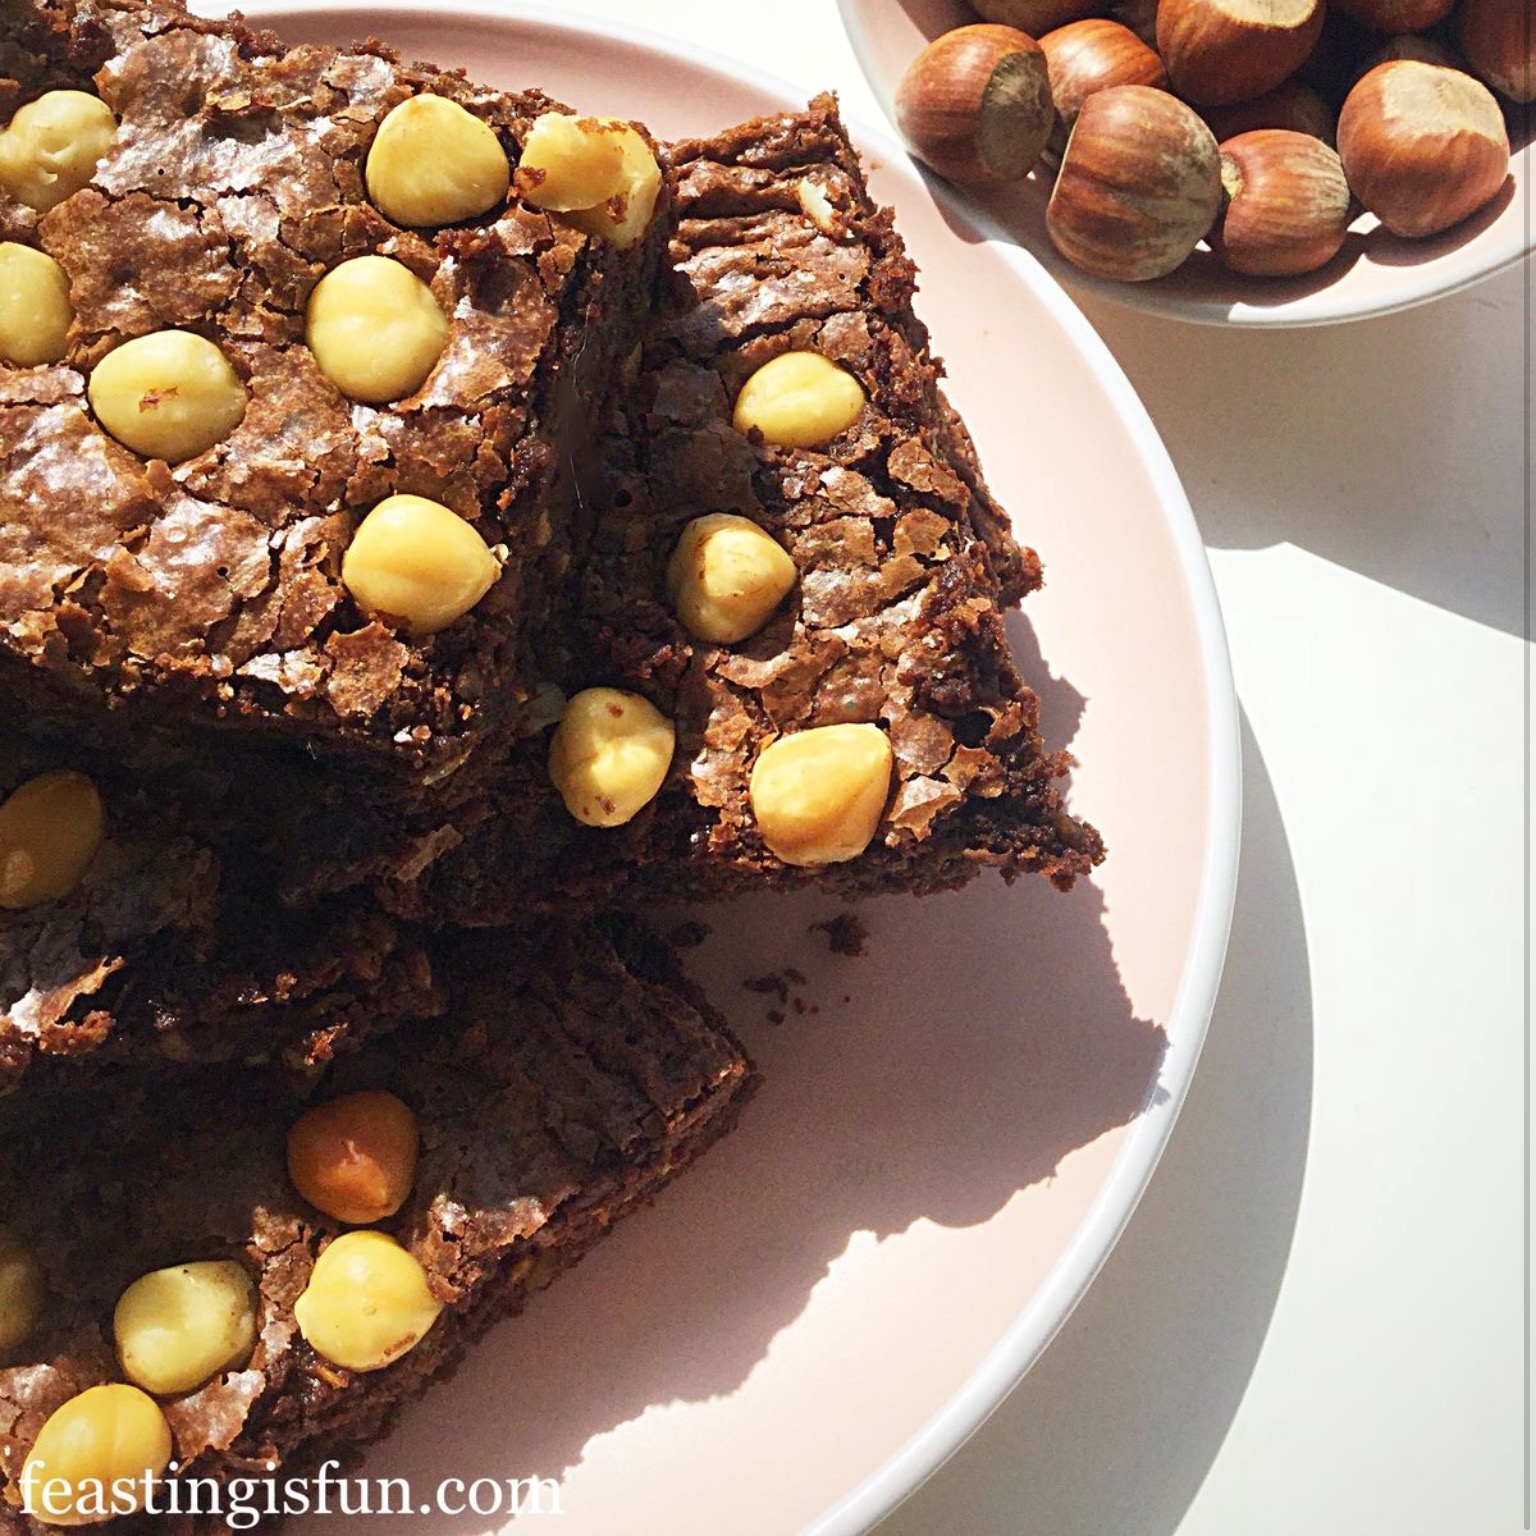
If you have enjoyed this recipe for Caramac Drizzle Rolo Caramel Brownies you may also like these:
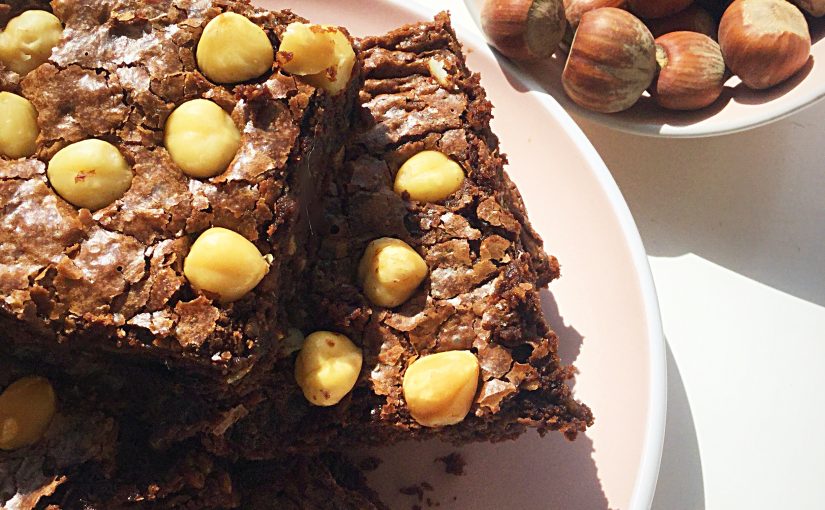
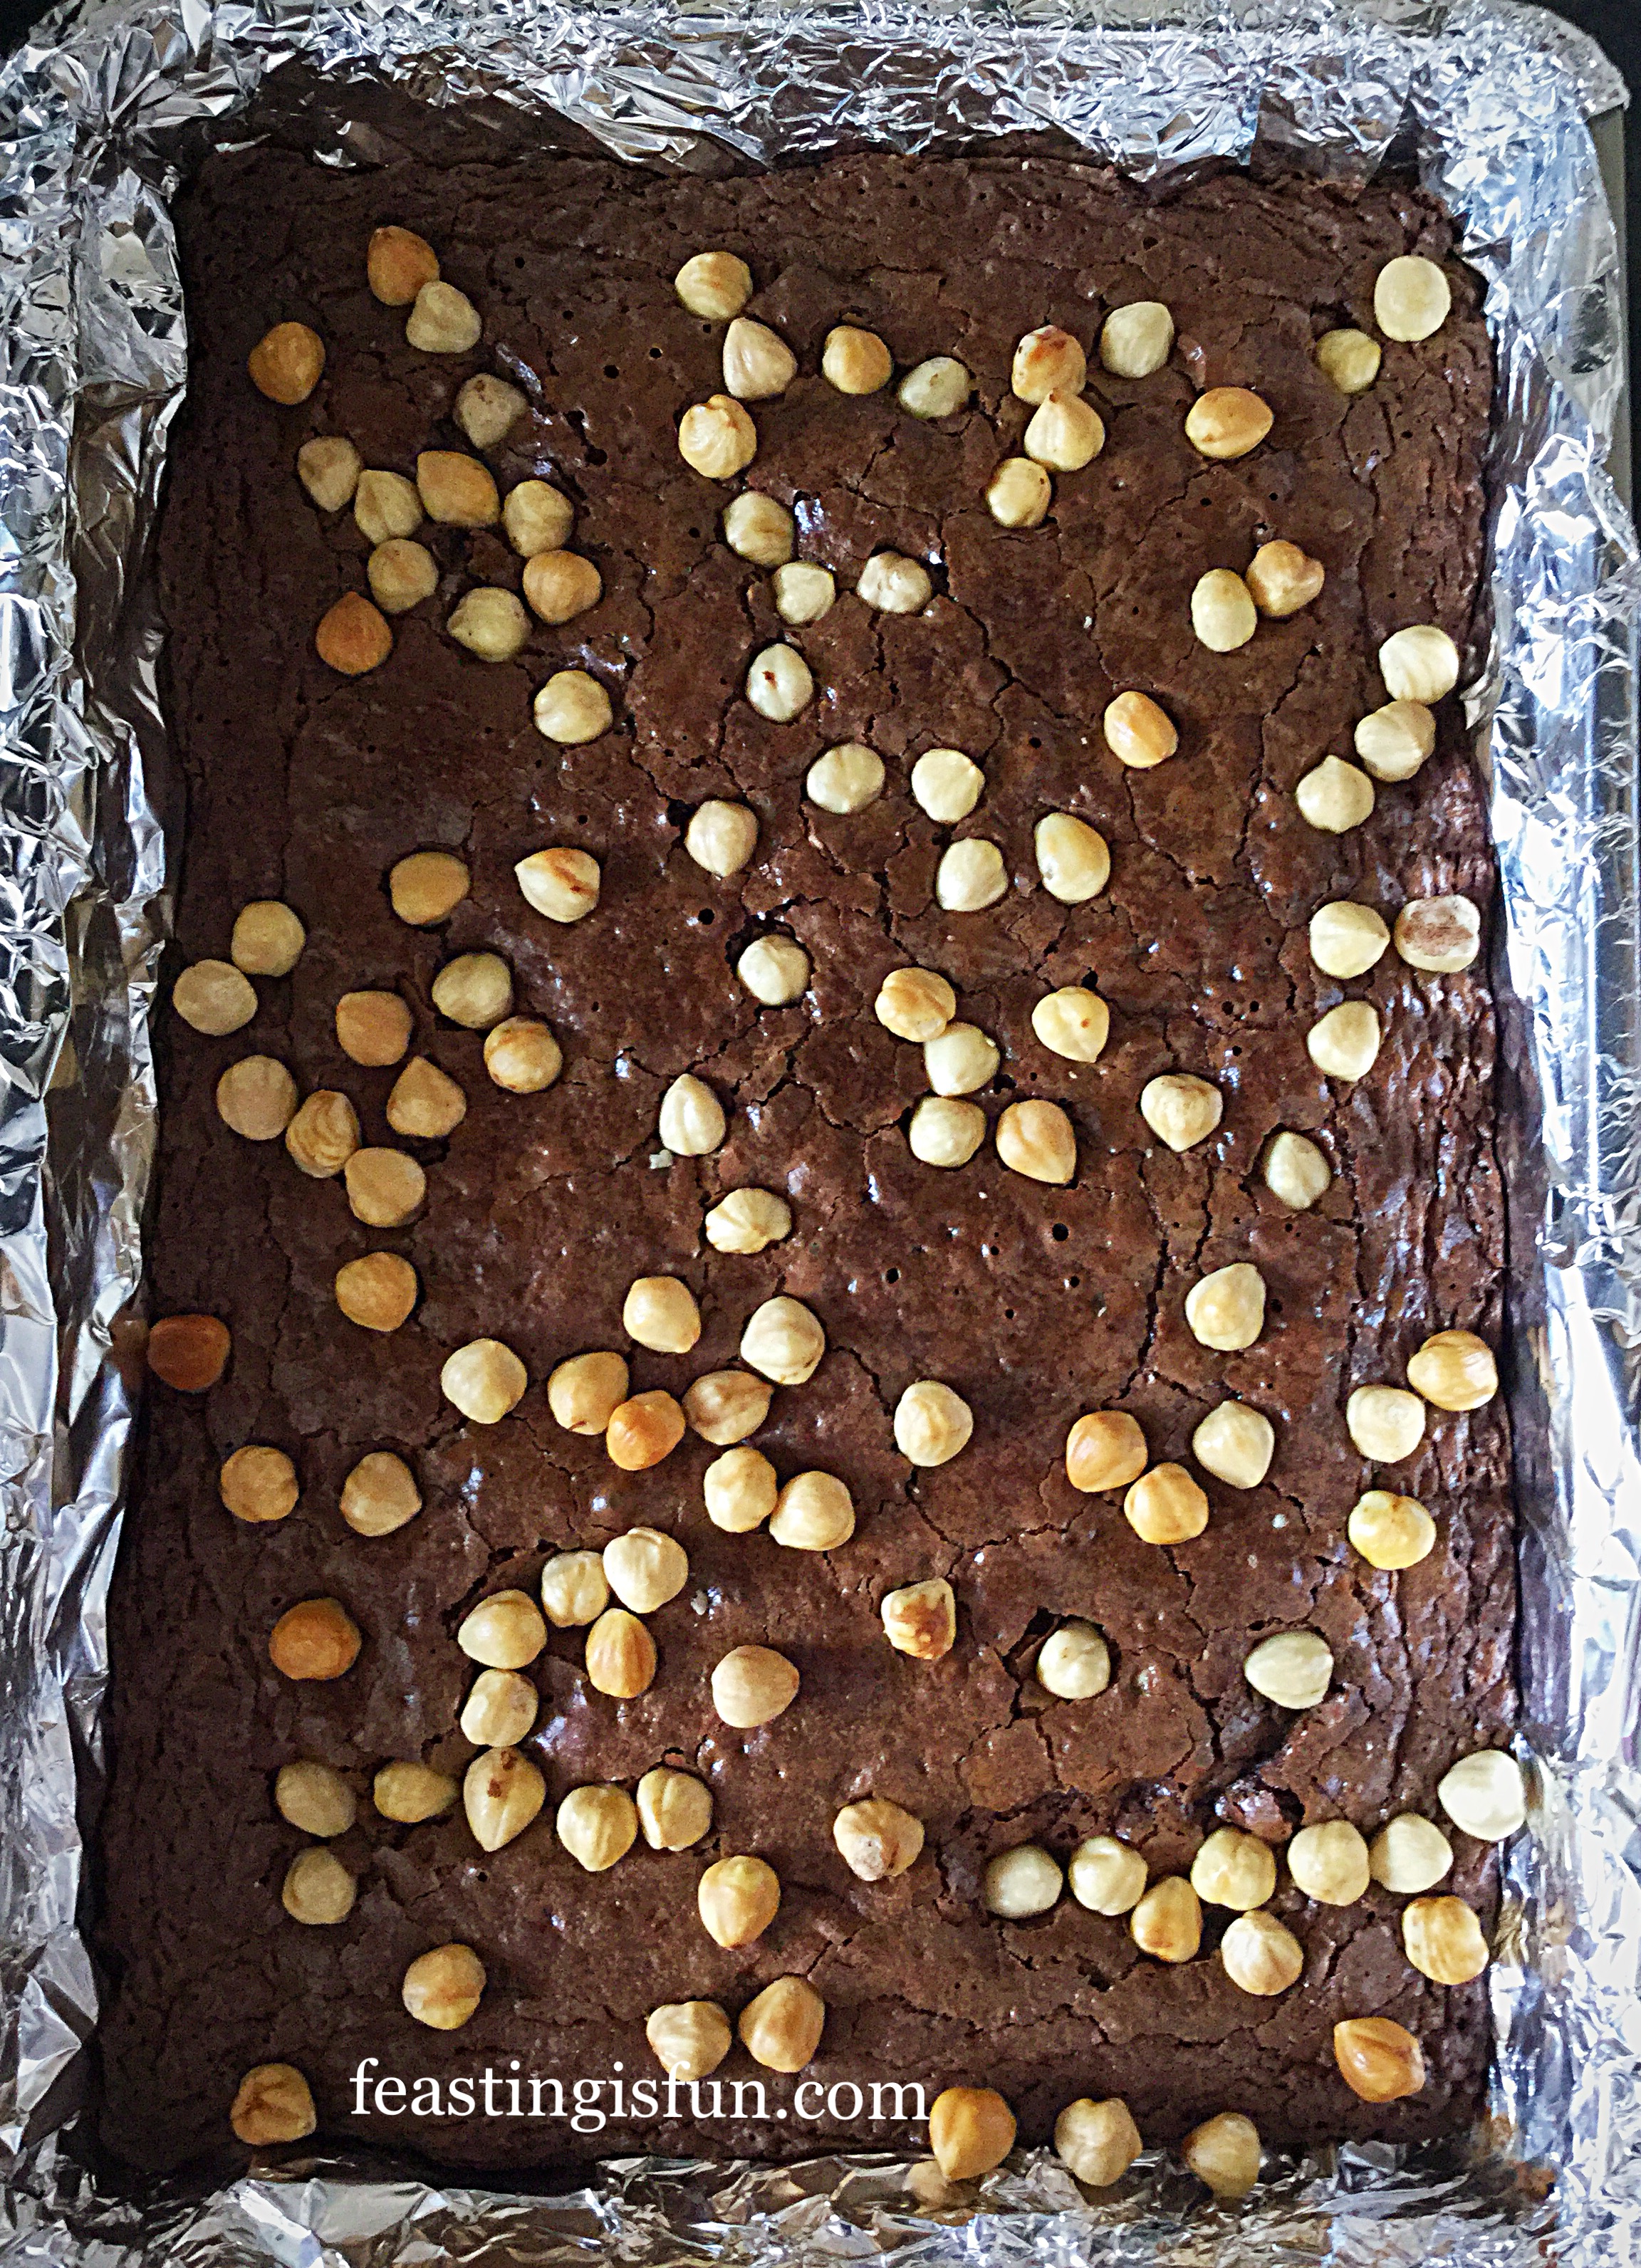
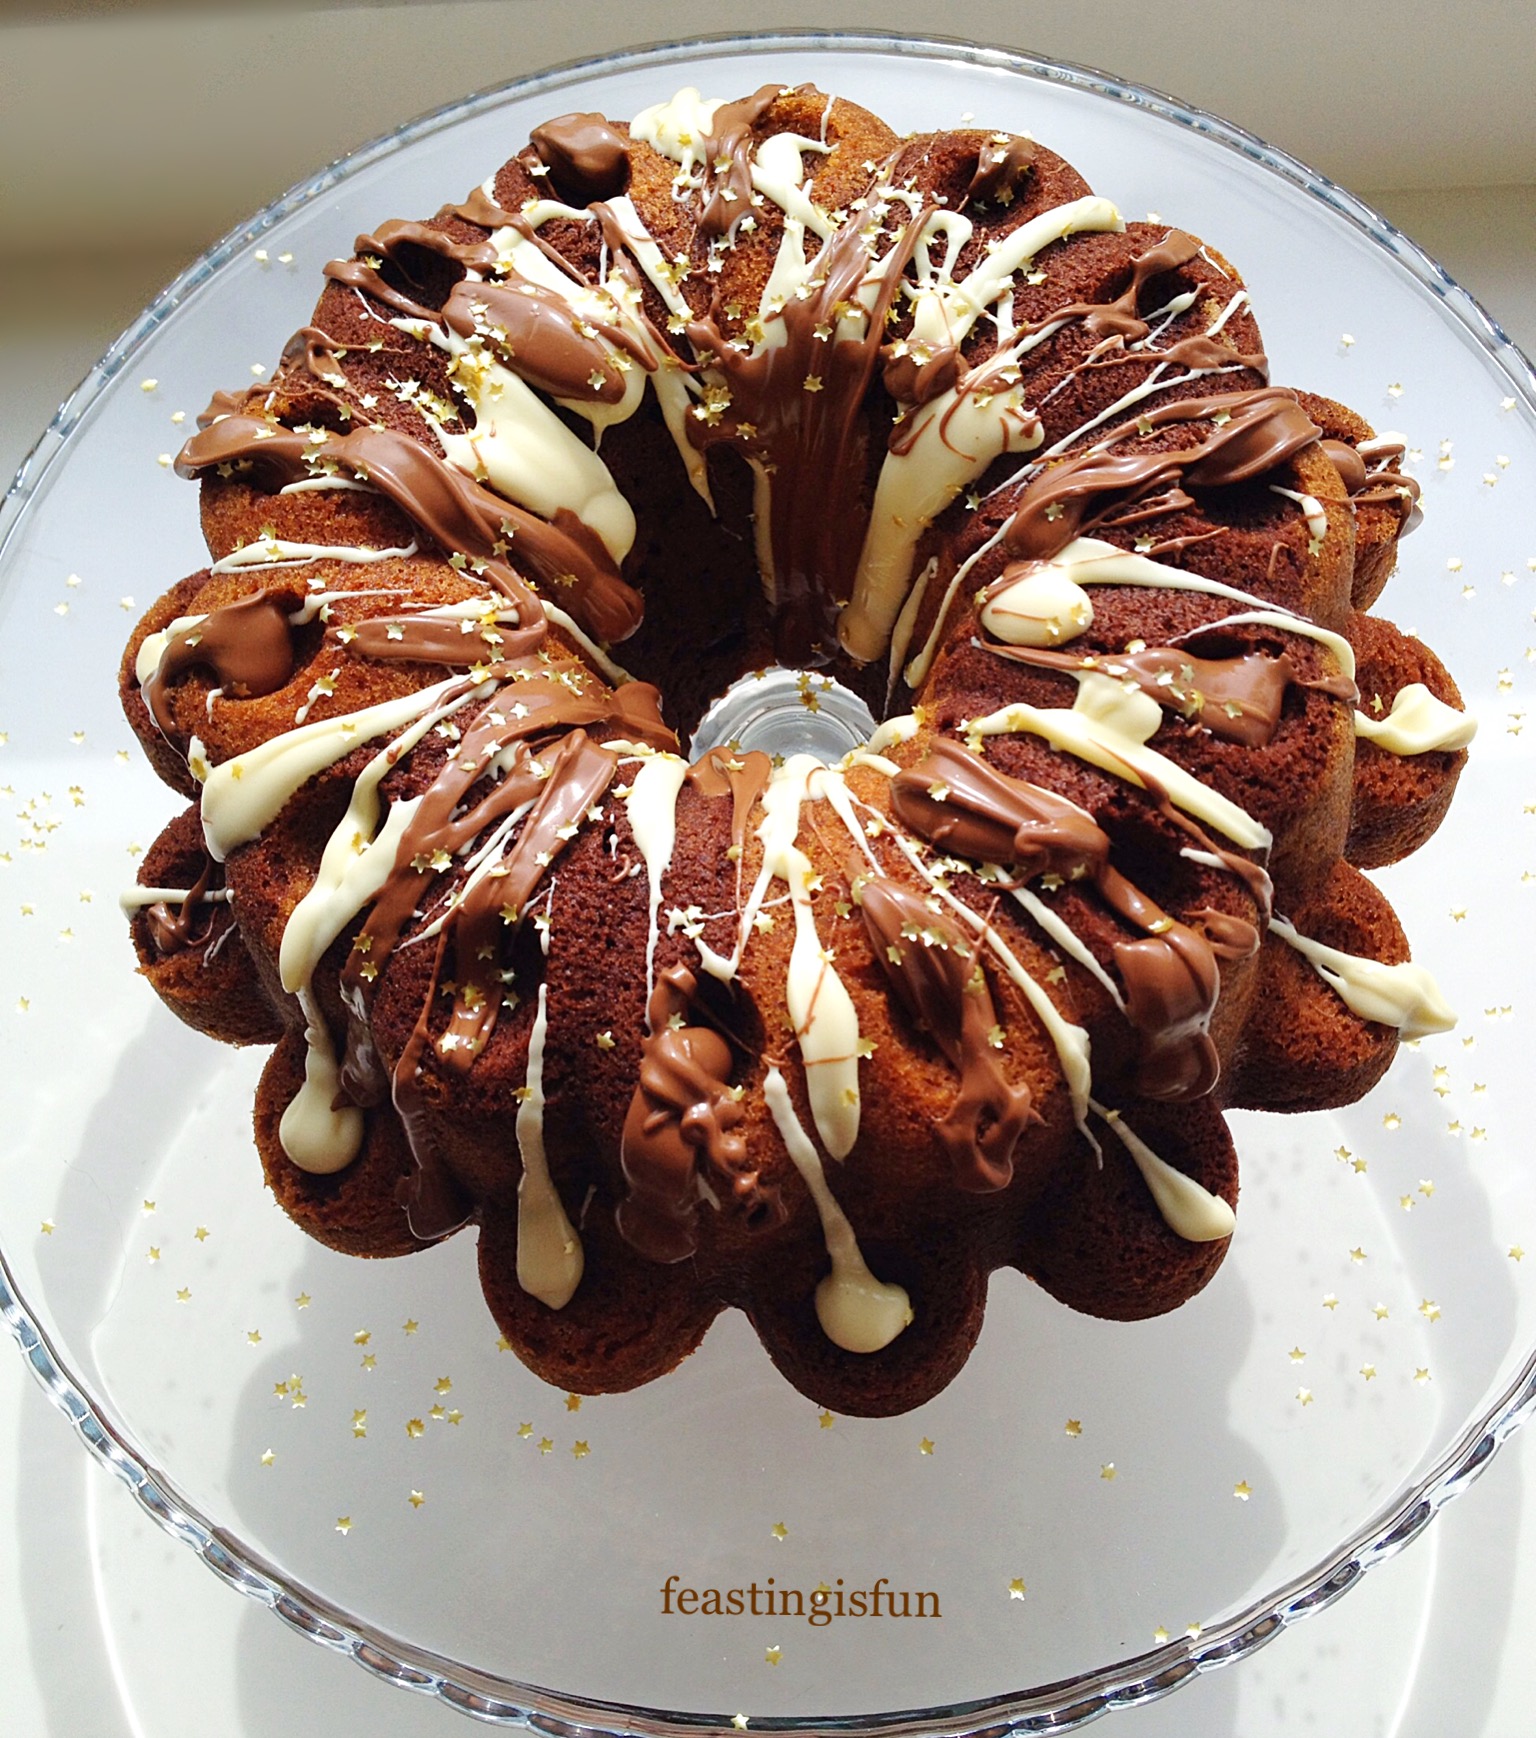
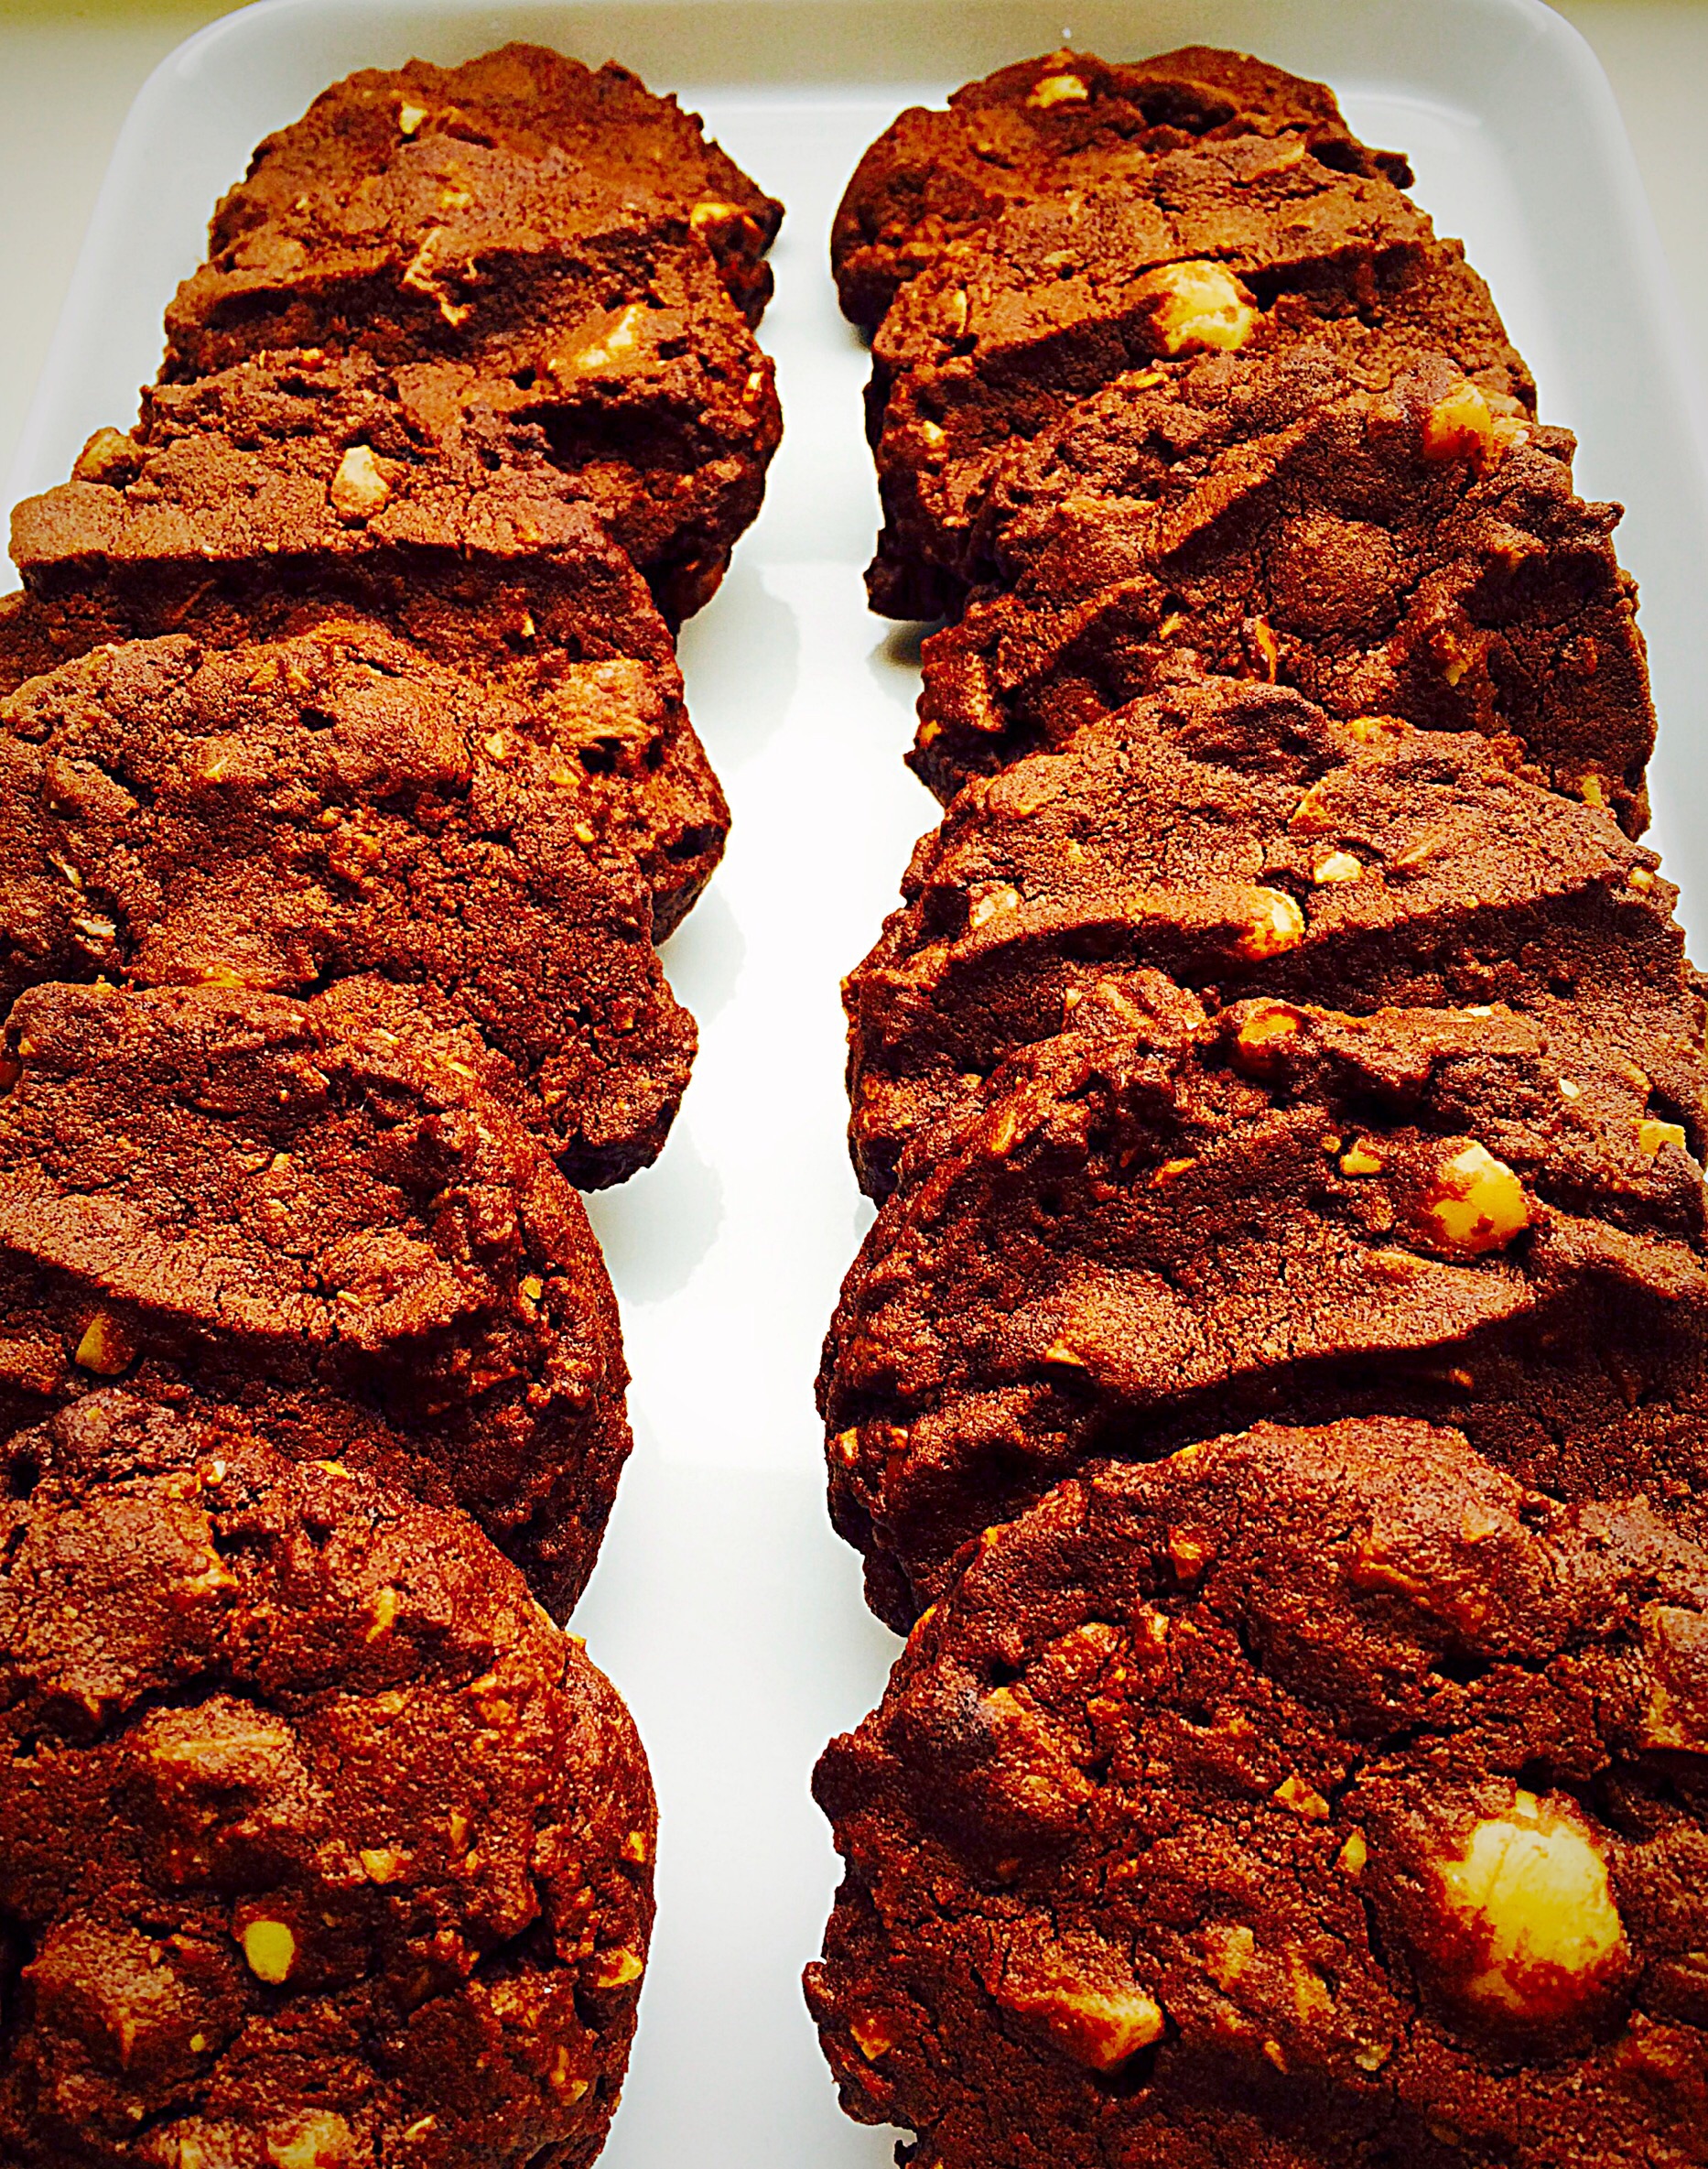
Chocolate Fudge Double Hazelnut Brownies
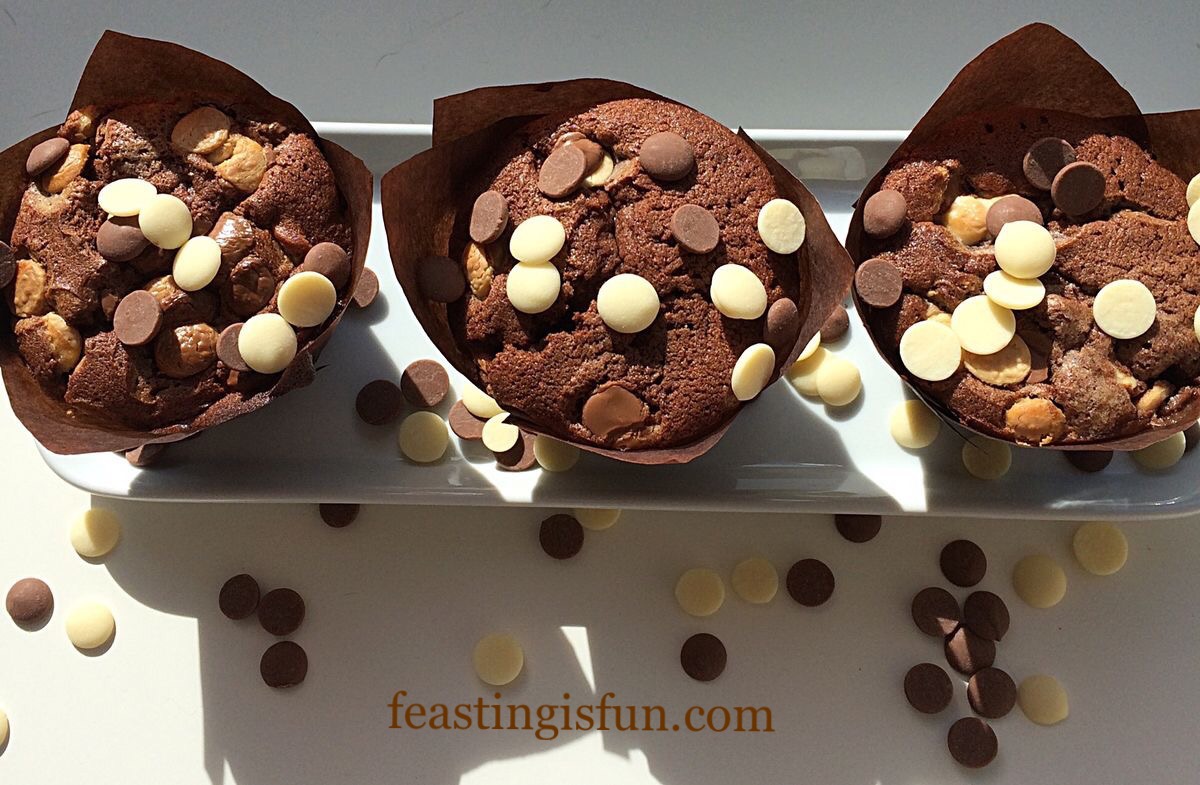
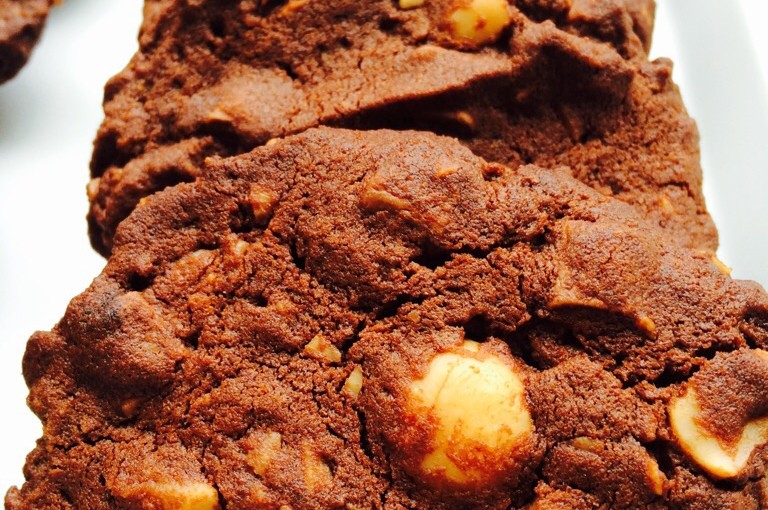
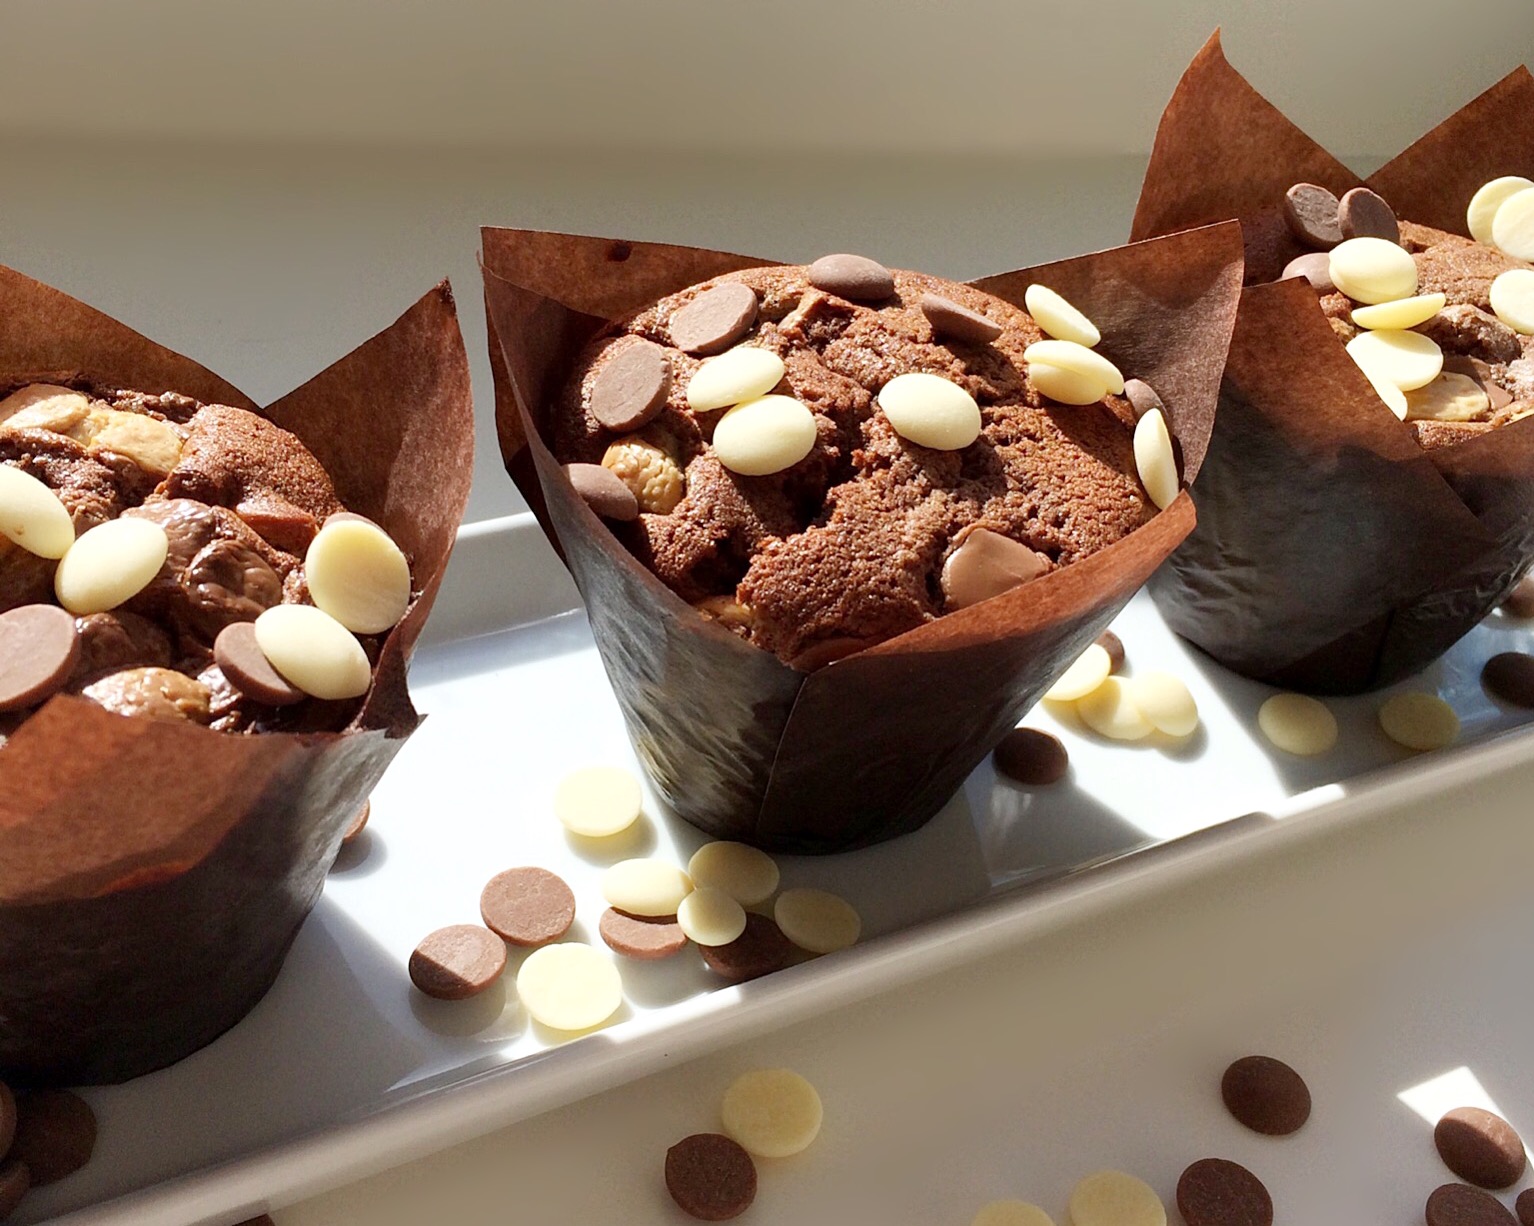
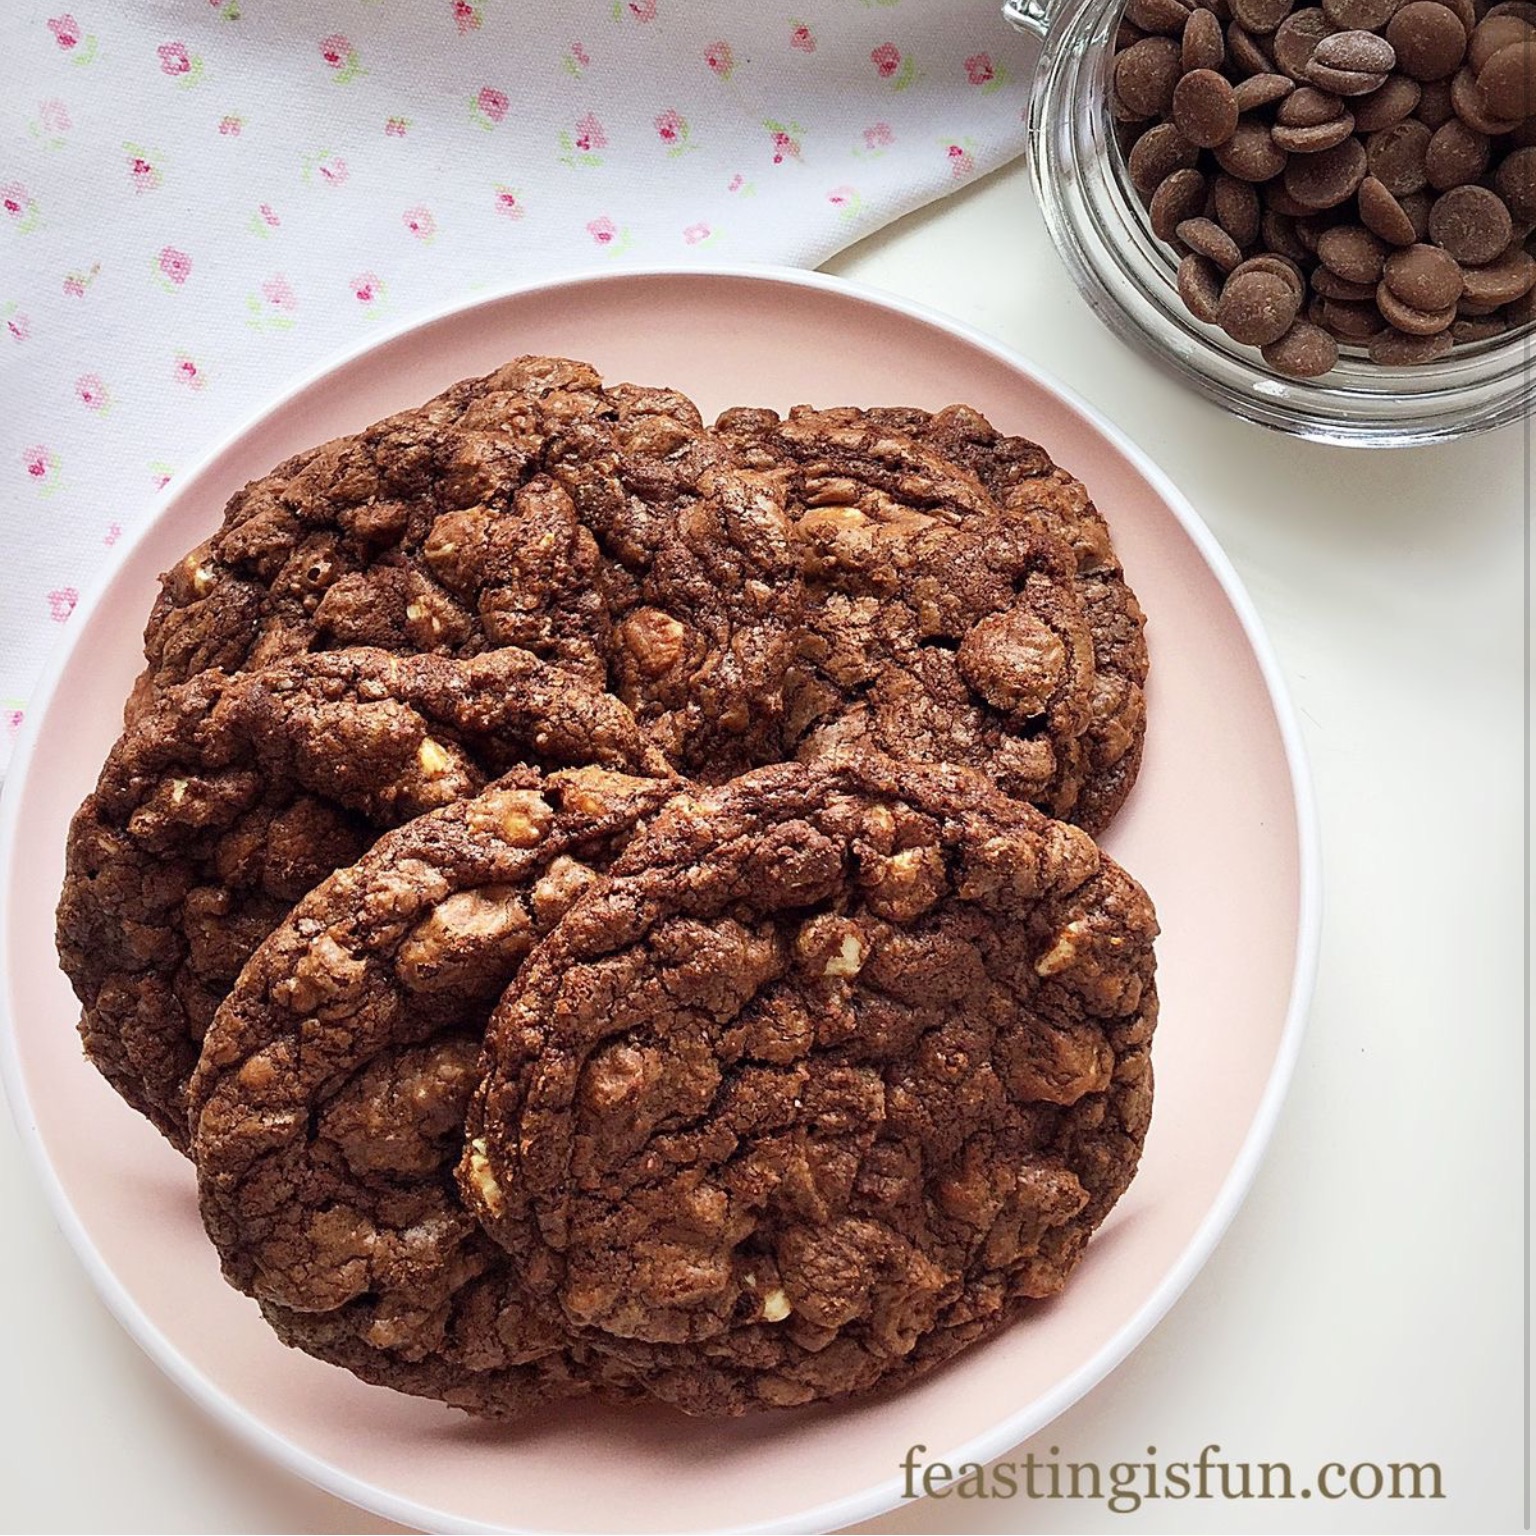
Bakery Style Triple Chocolate Cookies

Baking and cooking for others is my passion. Especially seeing eyes light up, big smiles and chocolatey faces appreciating what I’ve made gives me a warm feeling inside. Sharing and enjoying feasting with others makes eating an experience, not simply a fuel-stop function. While chatting, laughing and having fun also creates shared memories that knit us all closer together. As we head towards the bank holiday weekend here in England I hope that you will take every opportunity to have fun and enjoy feasting.
Sammie xx
No part of this post may be reproduced or duplicated without the written permission of the owner. Please see my Disclosure Policy.
Share