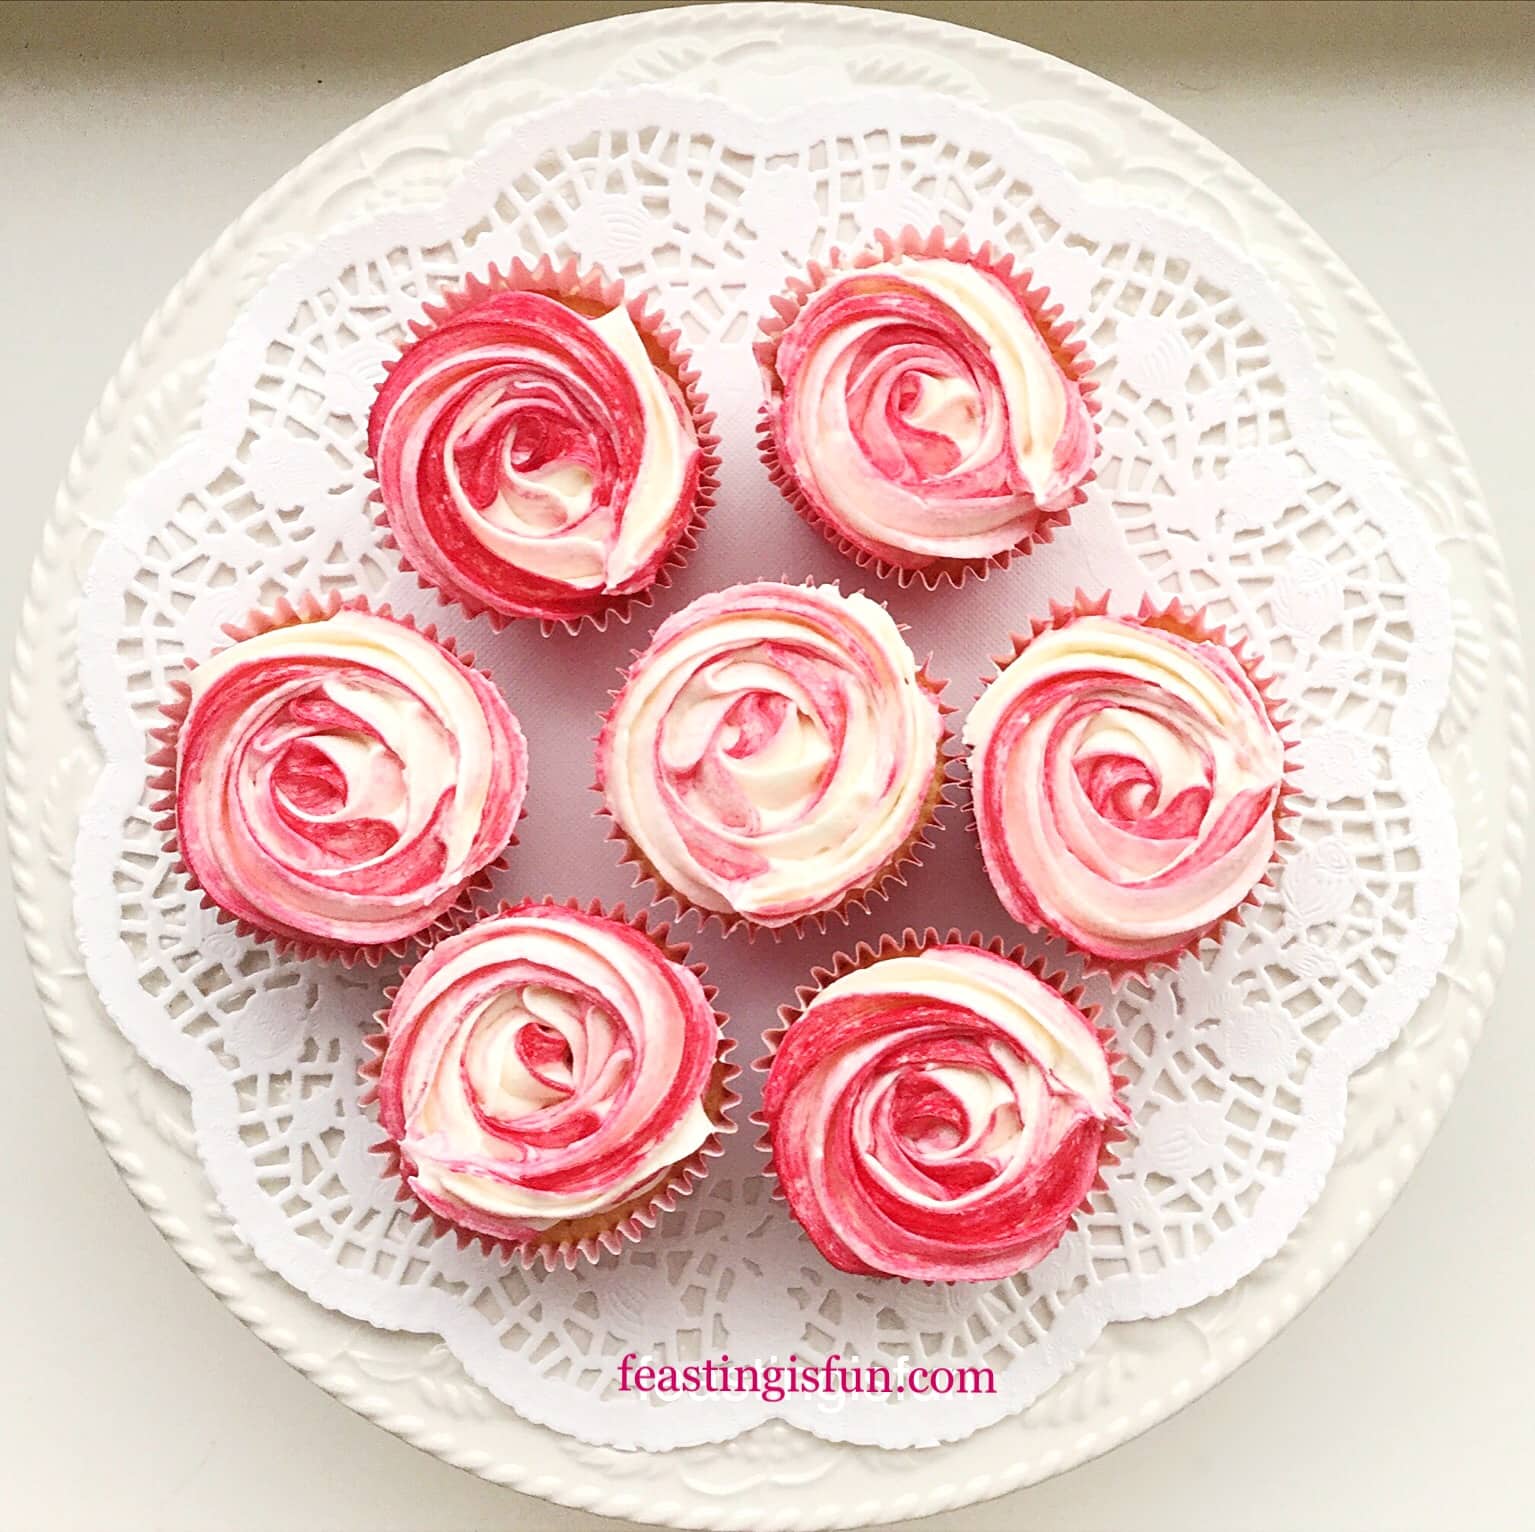
Finally Spring has finally arrived! And following what has seemed a very long, very cold and very dark Winter, daffodils are now lighting up the landscape with their cheery yellow faces. Bird song is abundant, especially as long shut windows have now been flung open. So in celebration of this beautiful season I have created a fruit packed cupcake that will bring sunshine to your day even when the rain clouds descend. Enjoy these Fresh Raspberry Frosted Lemon Cupcakes at anytime of the year.

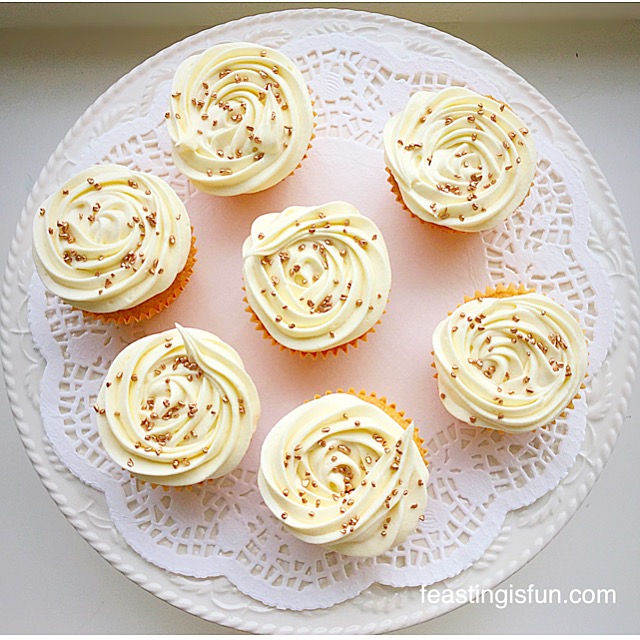
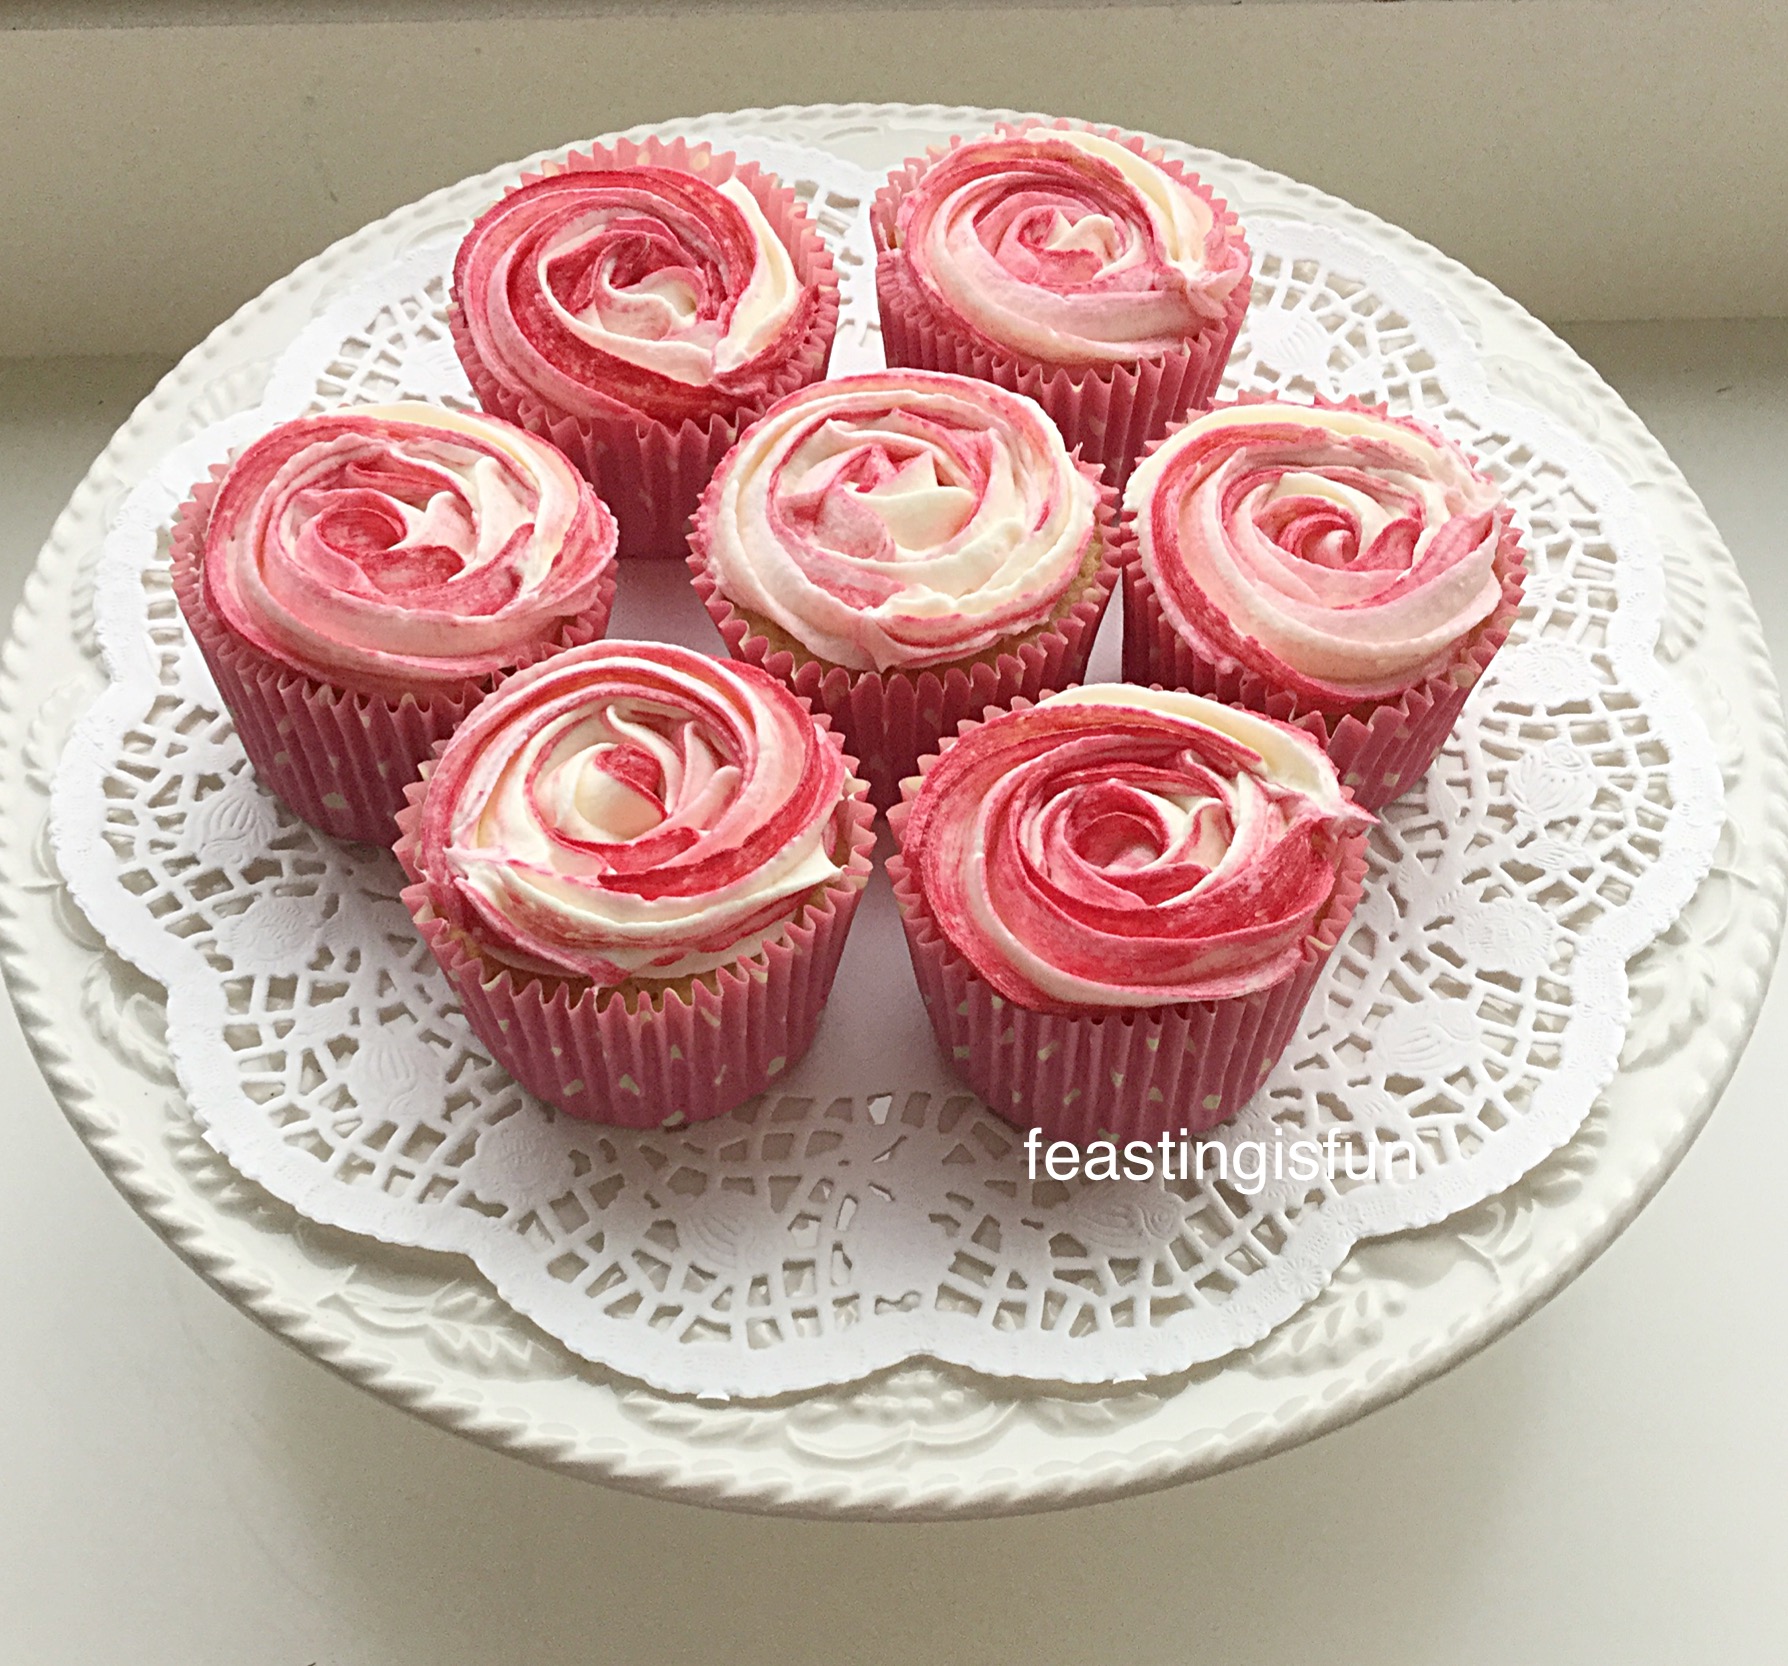
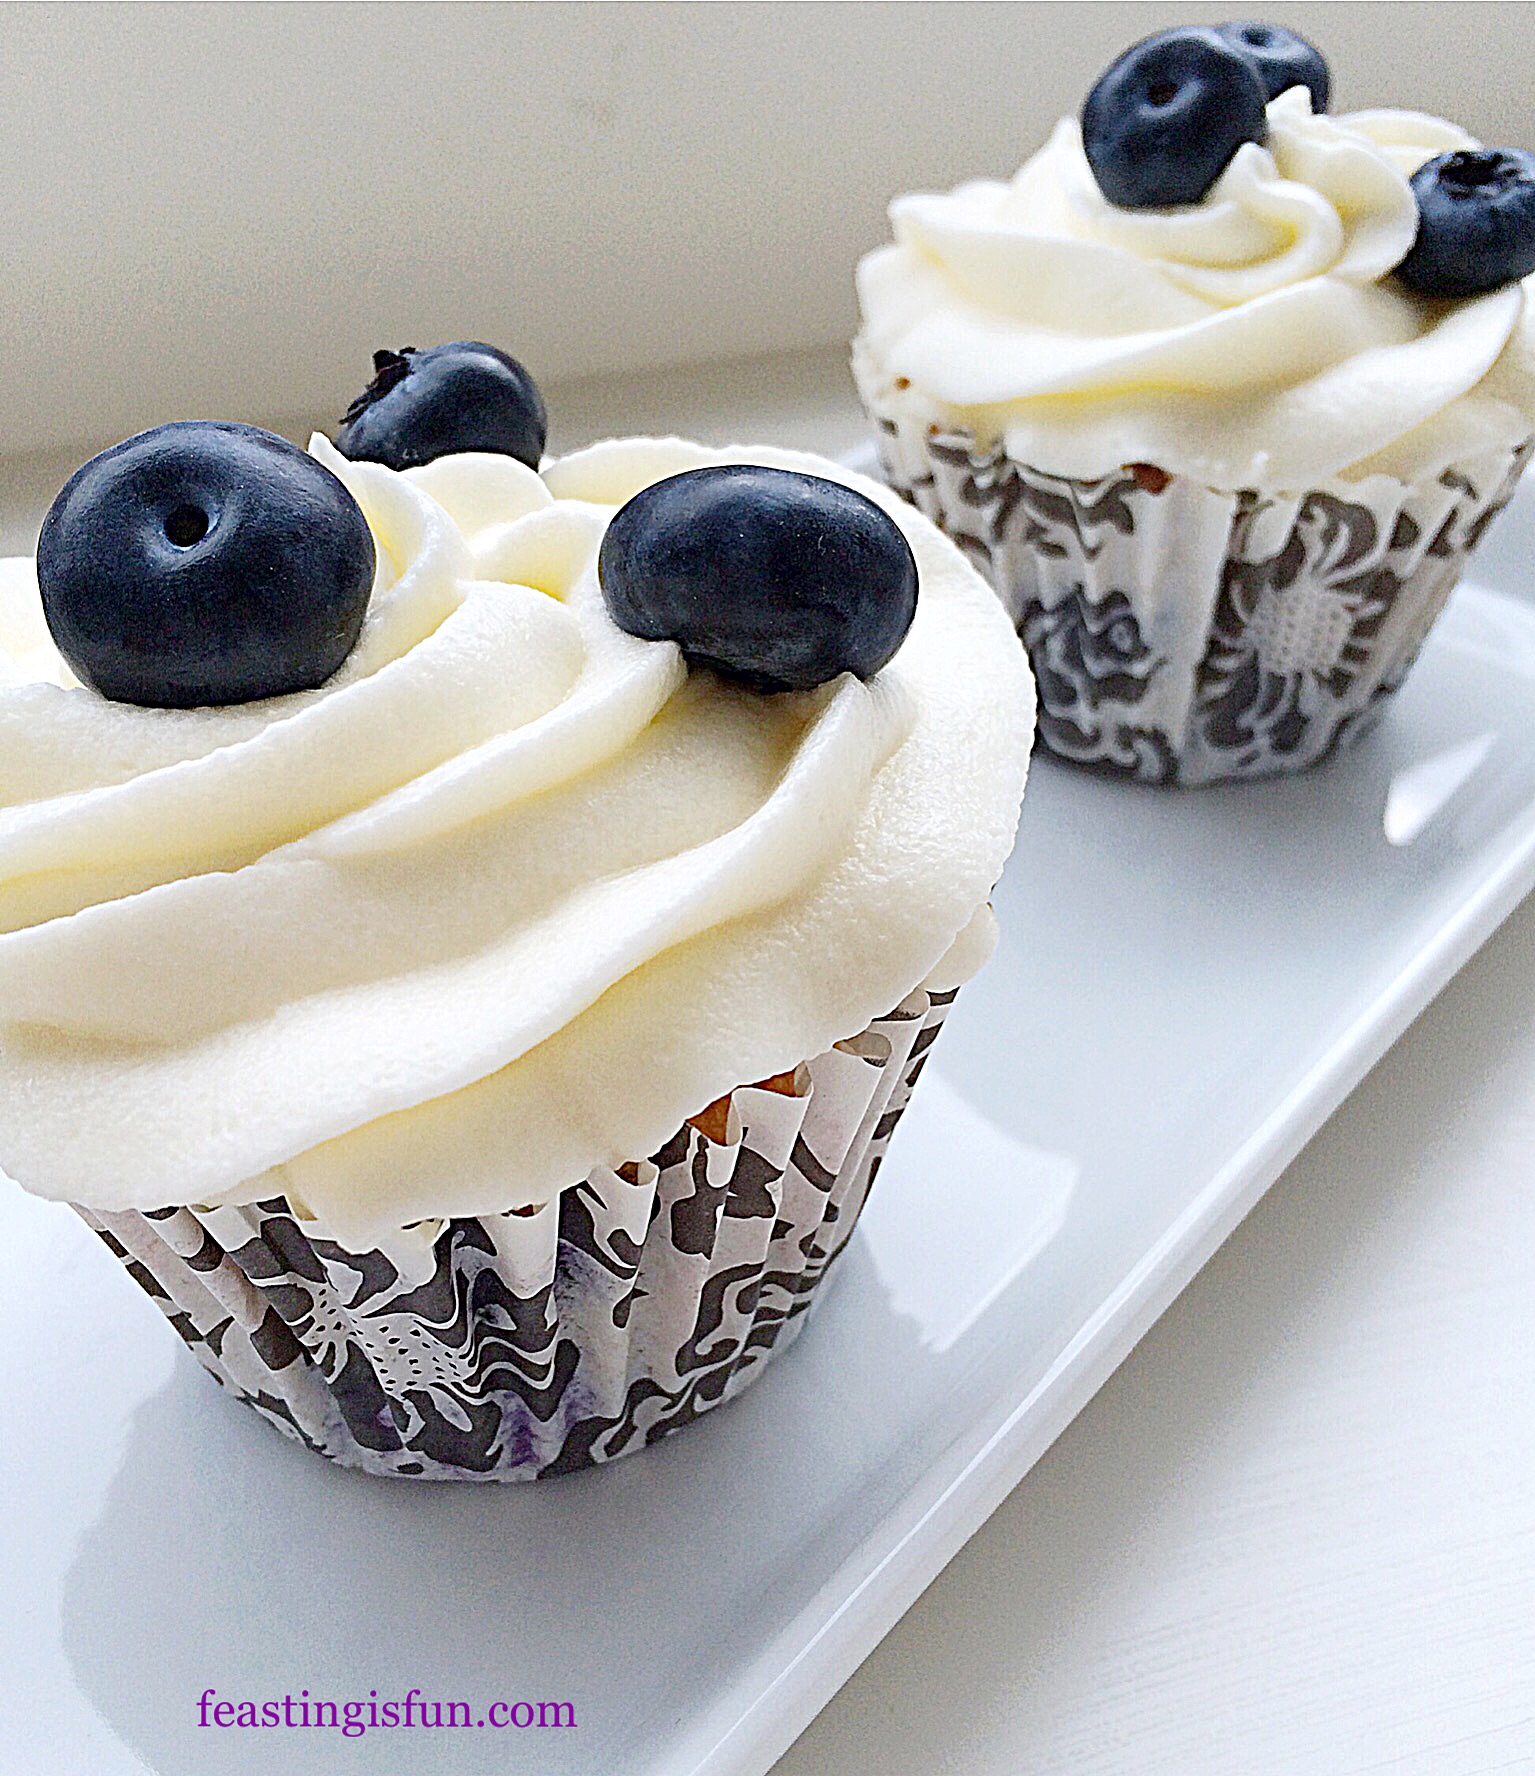
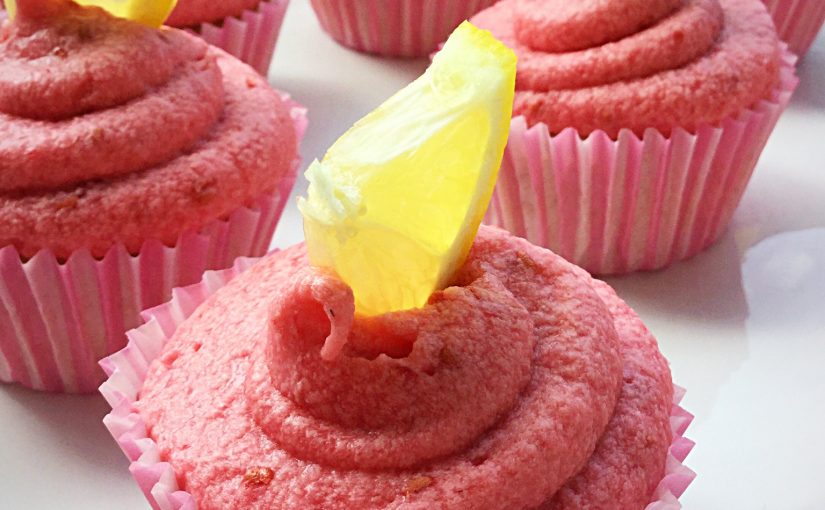
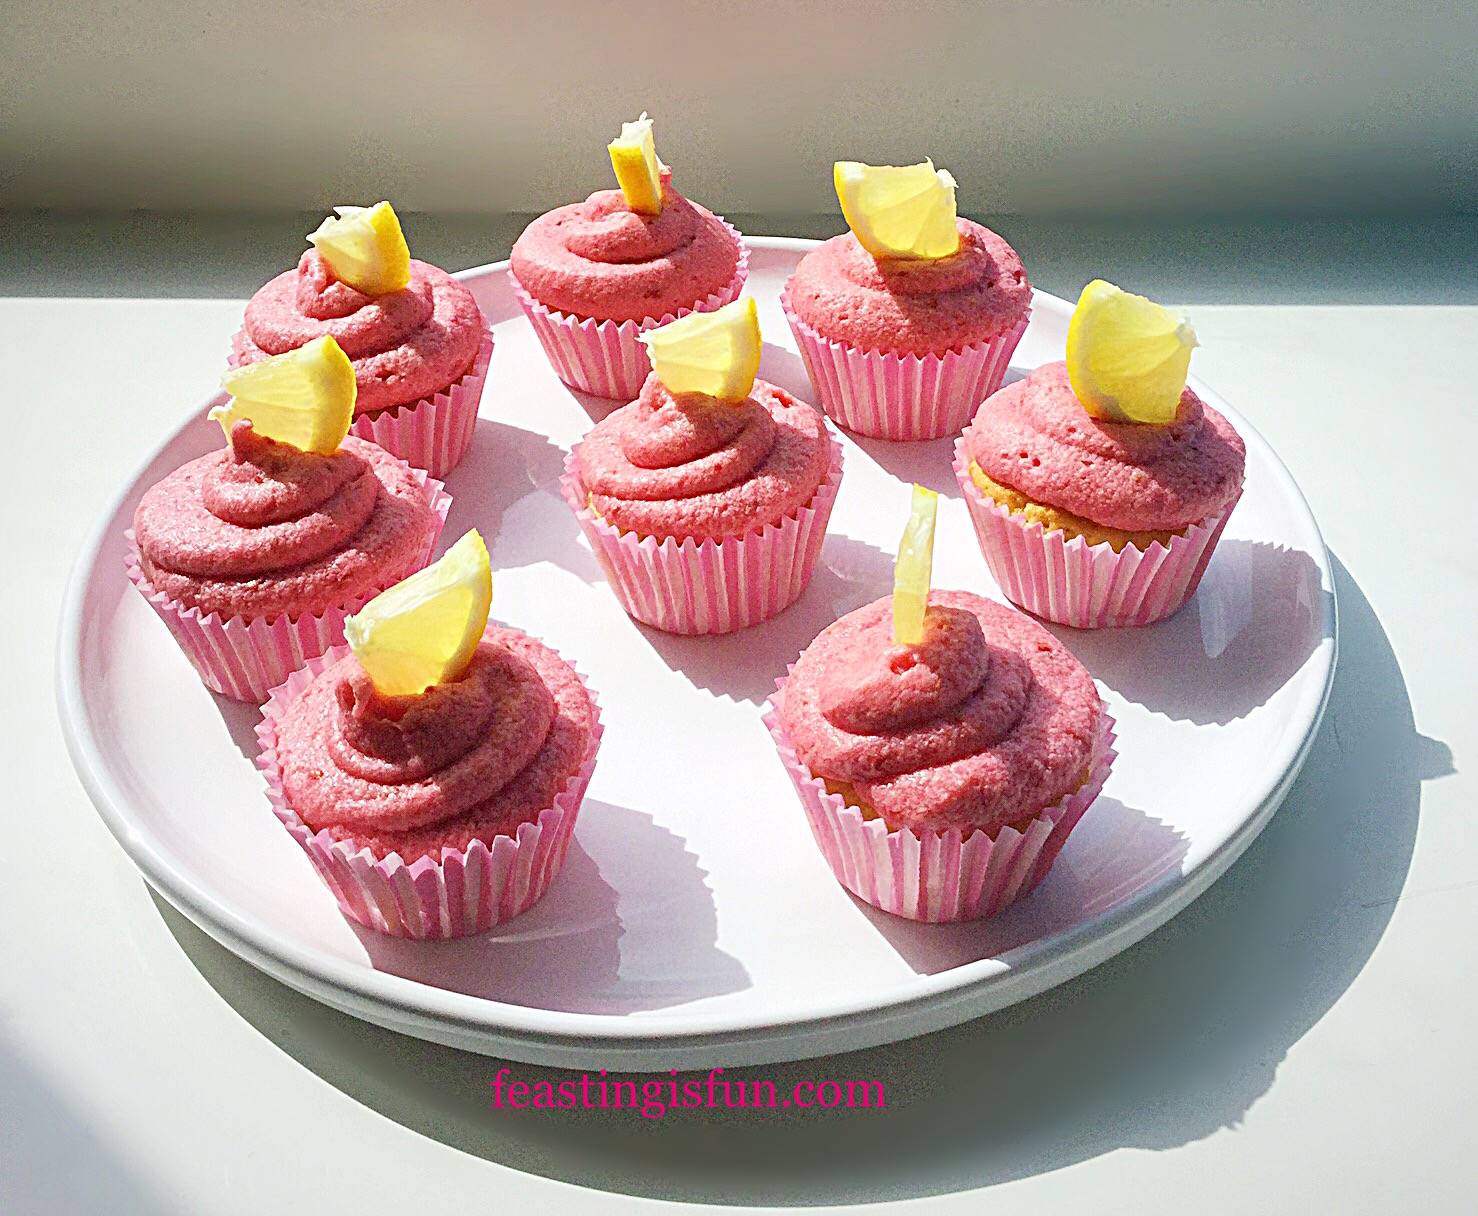
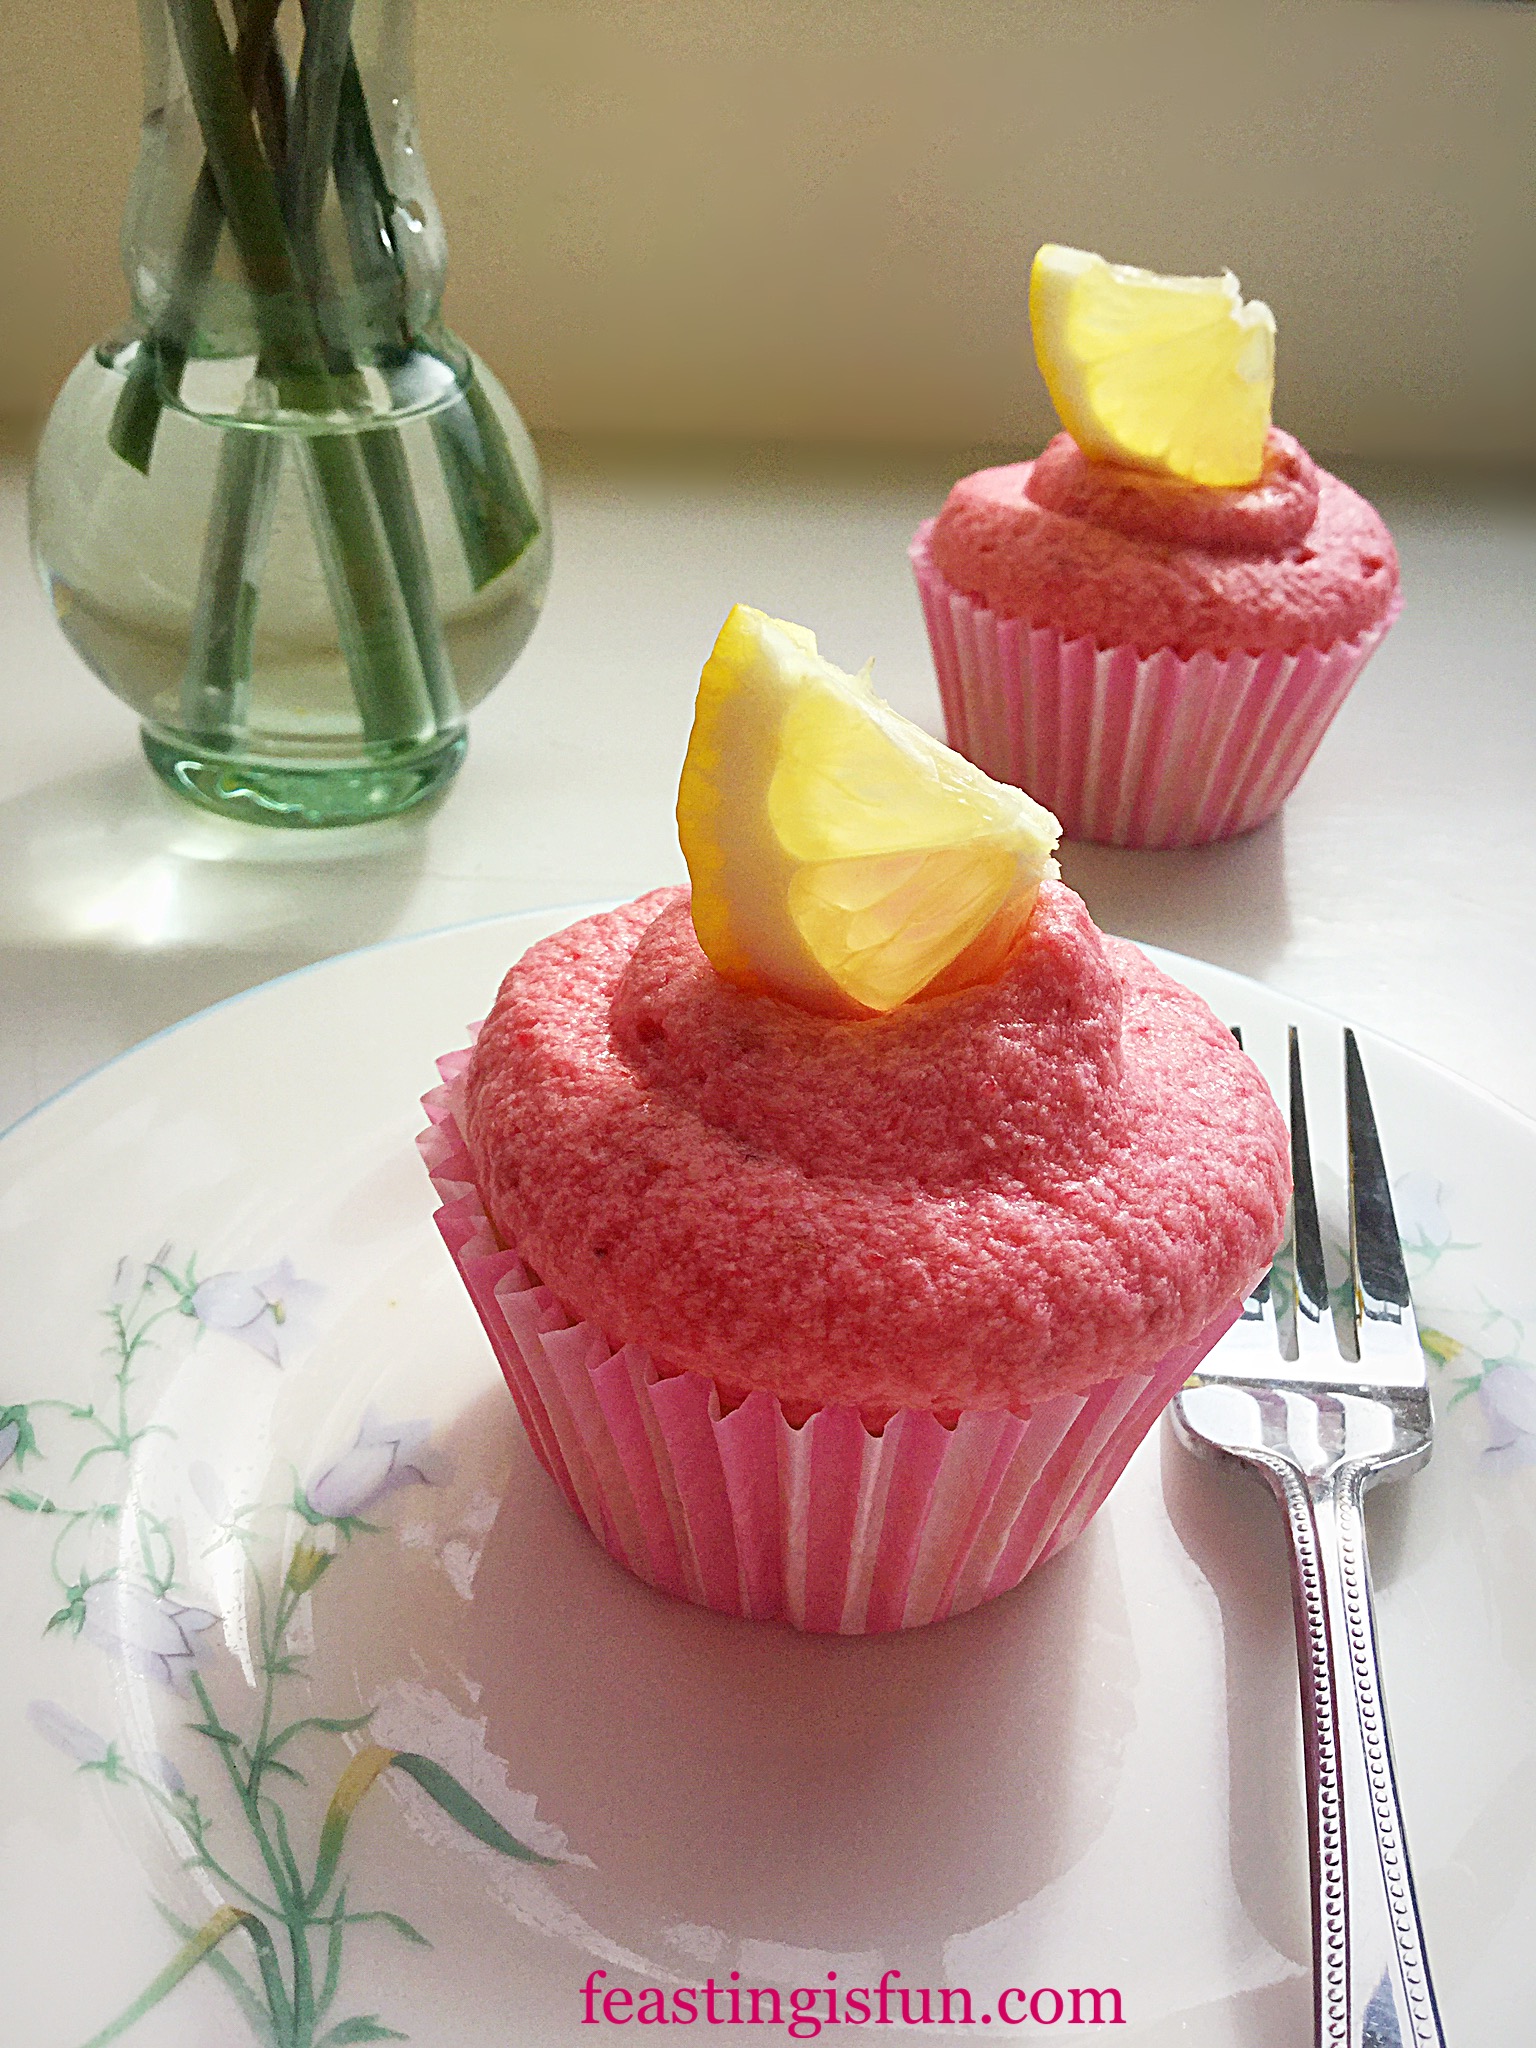
Light, lemon flavoured cupcakes topped with a fresh (frozen out of season), vibrant pink raspberry buttercream. Since both fruits used in this recipe can be tart to the palette, the combination is very refreshing. Also using fresh raspberries, as opposed to raspberry jam, results in the frosting having an almost sherbet like flavour. Resulting in a subtle, yet delicious change from a regular, sweet cupcake.
Simply looking at these cupcakes reminds me of sunshine. Something that has been in scant supply these past few months. So I say, when the clouds gather, you simply have to bake the sunshine into your day. While you are making these, why not double up and make some to share among neighbours, friends or work colleagues? And they are certain to cheer anyone’s day as food always tastes better when shared.
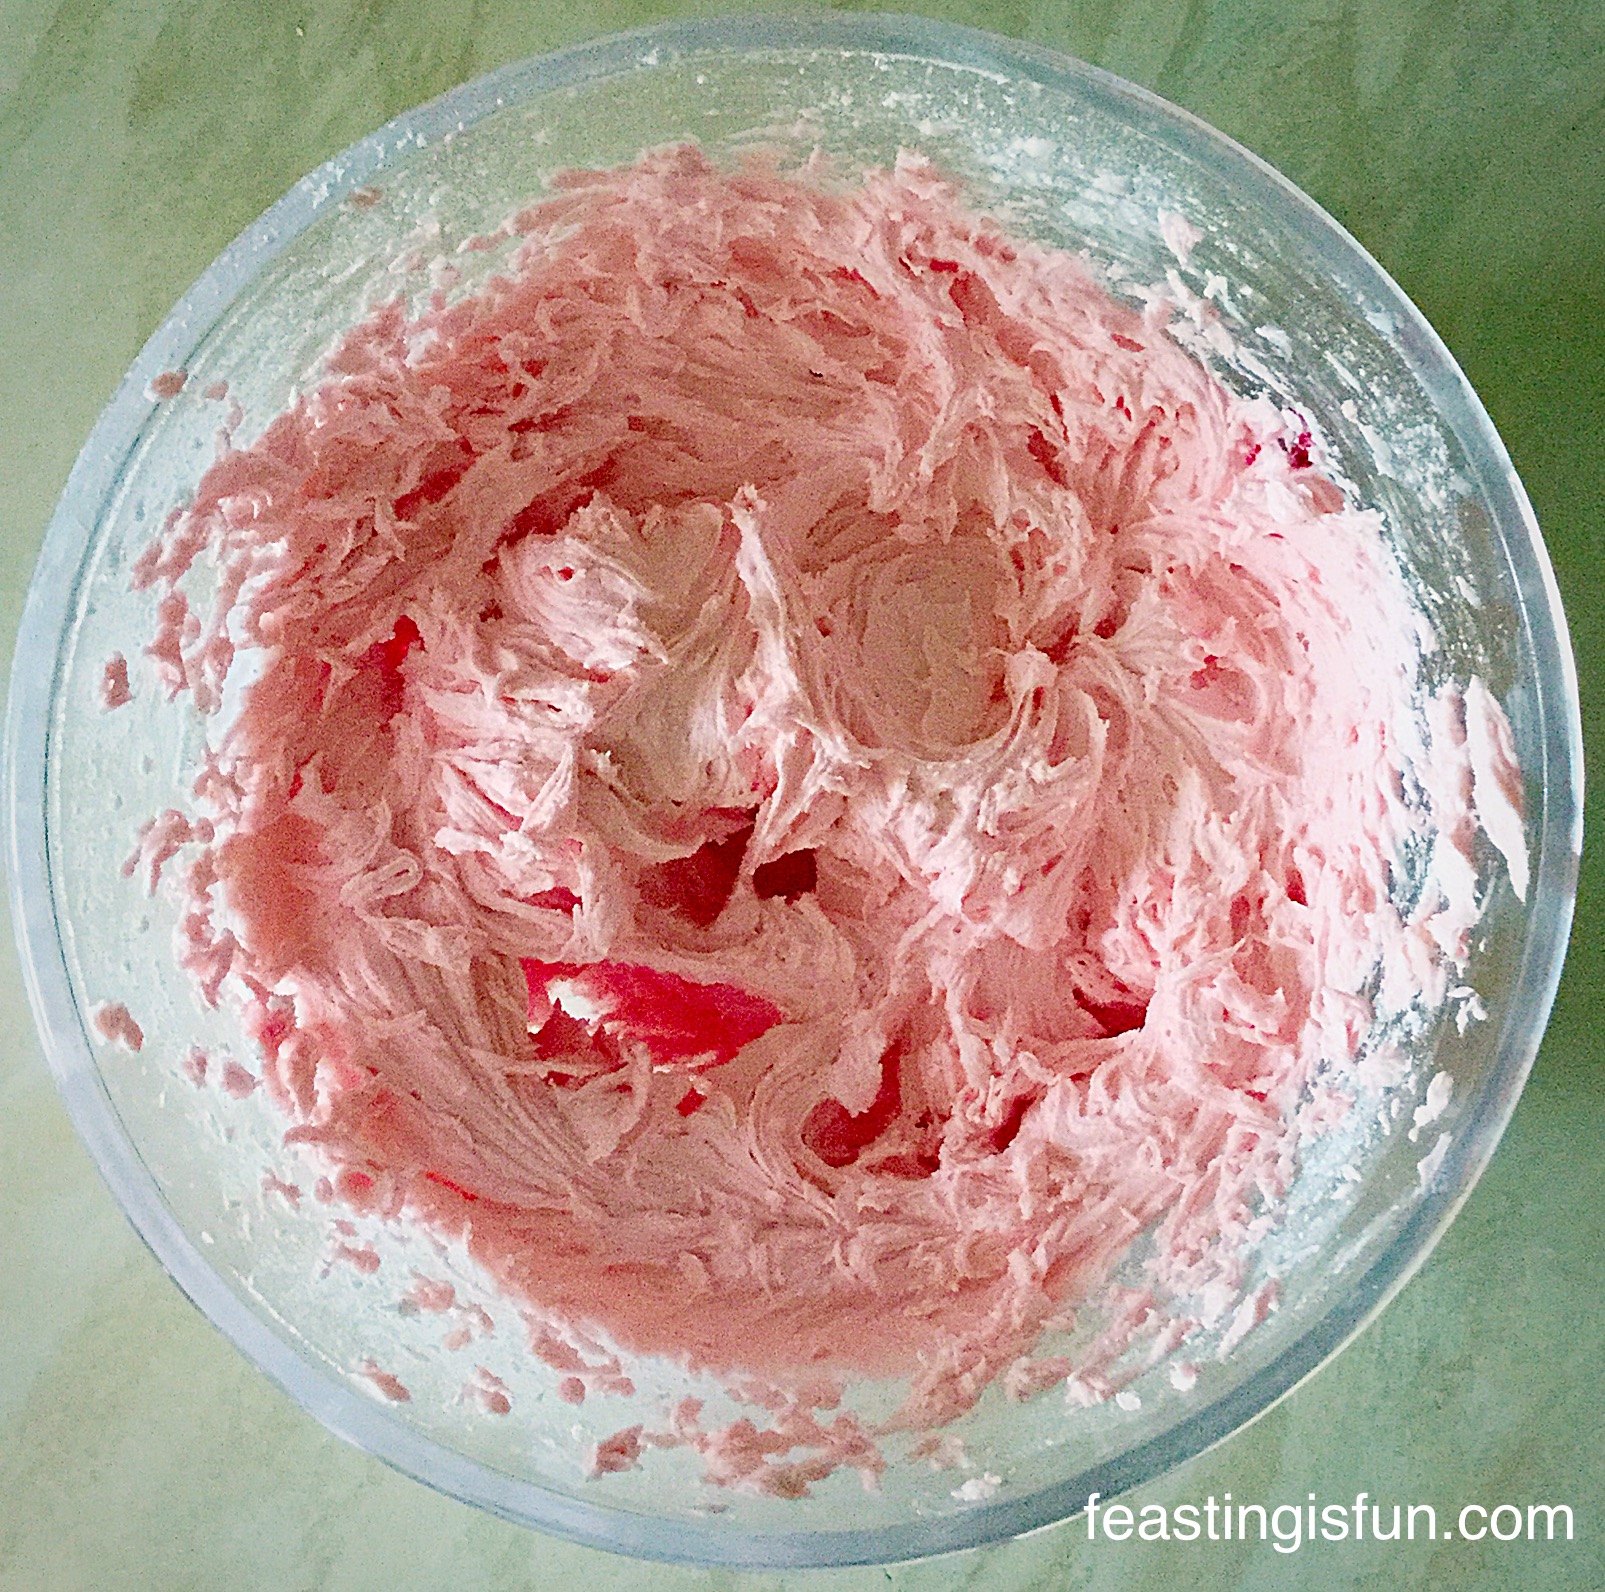
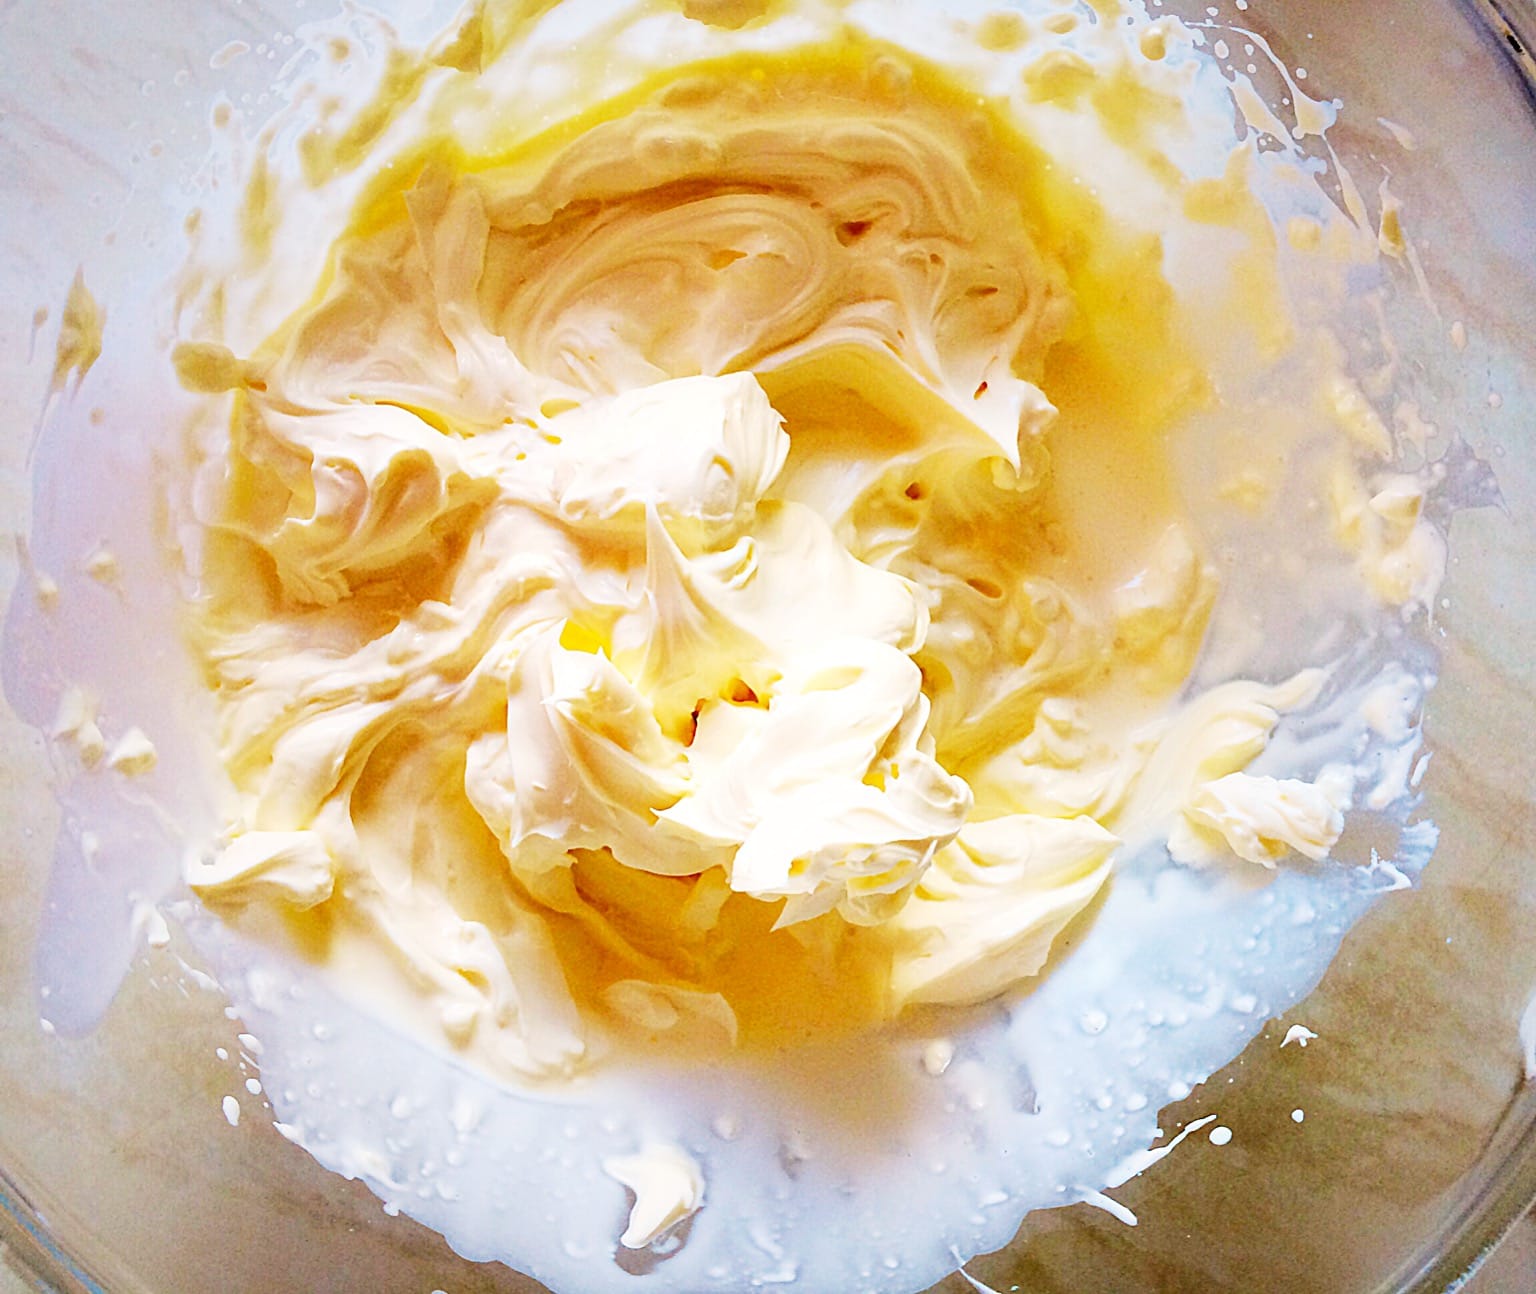
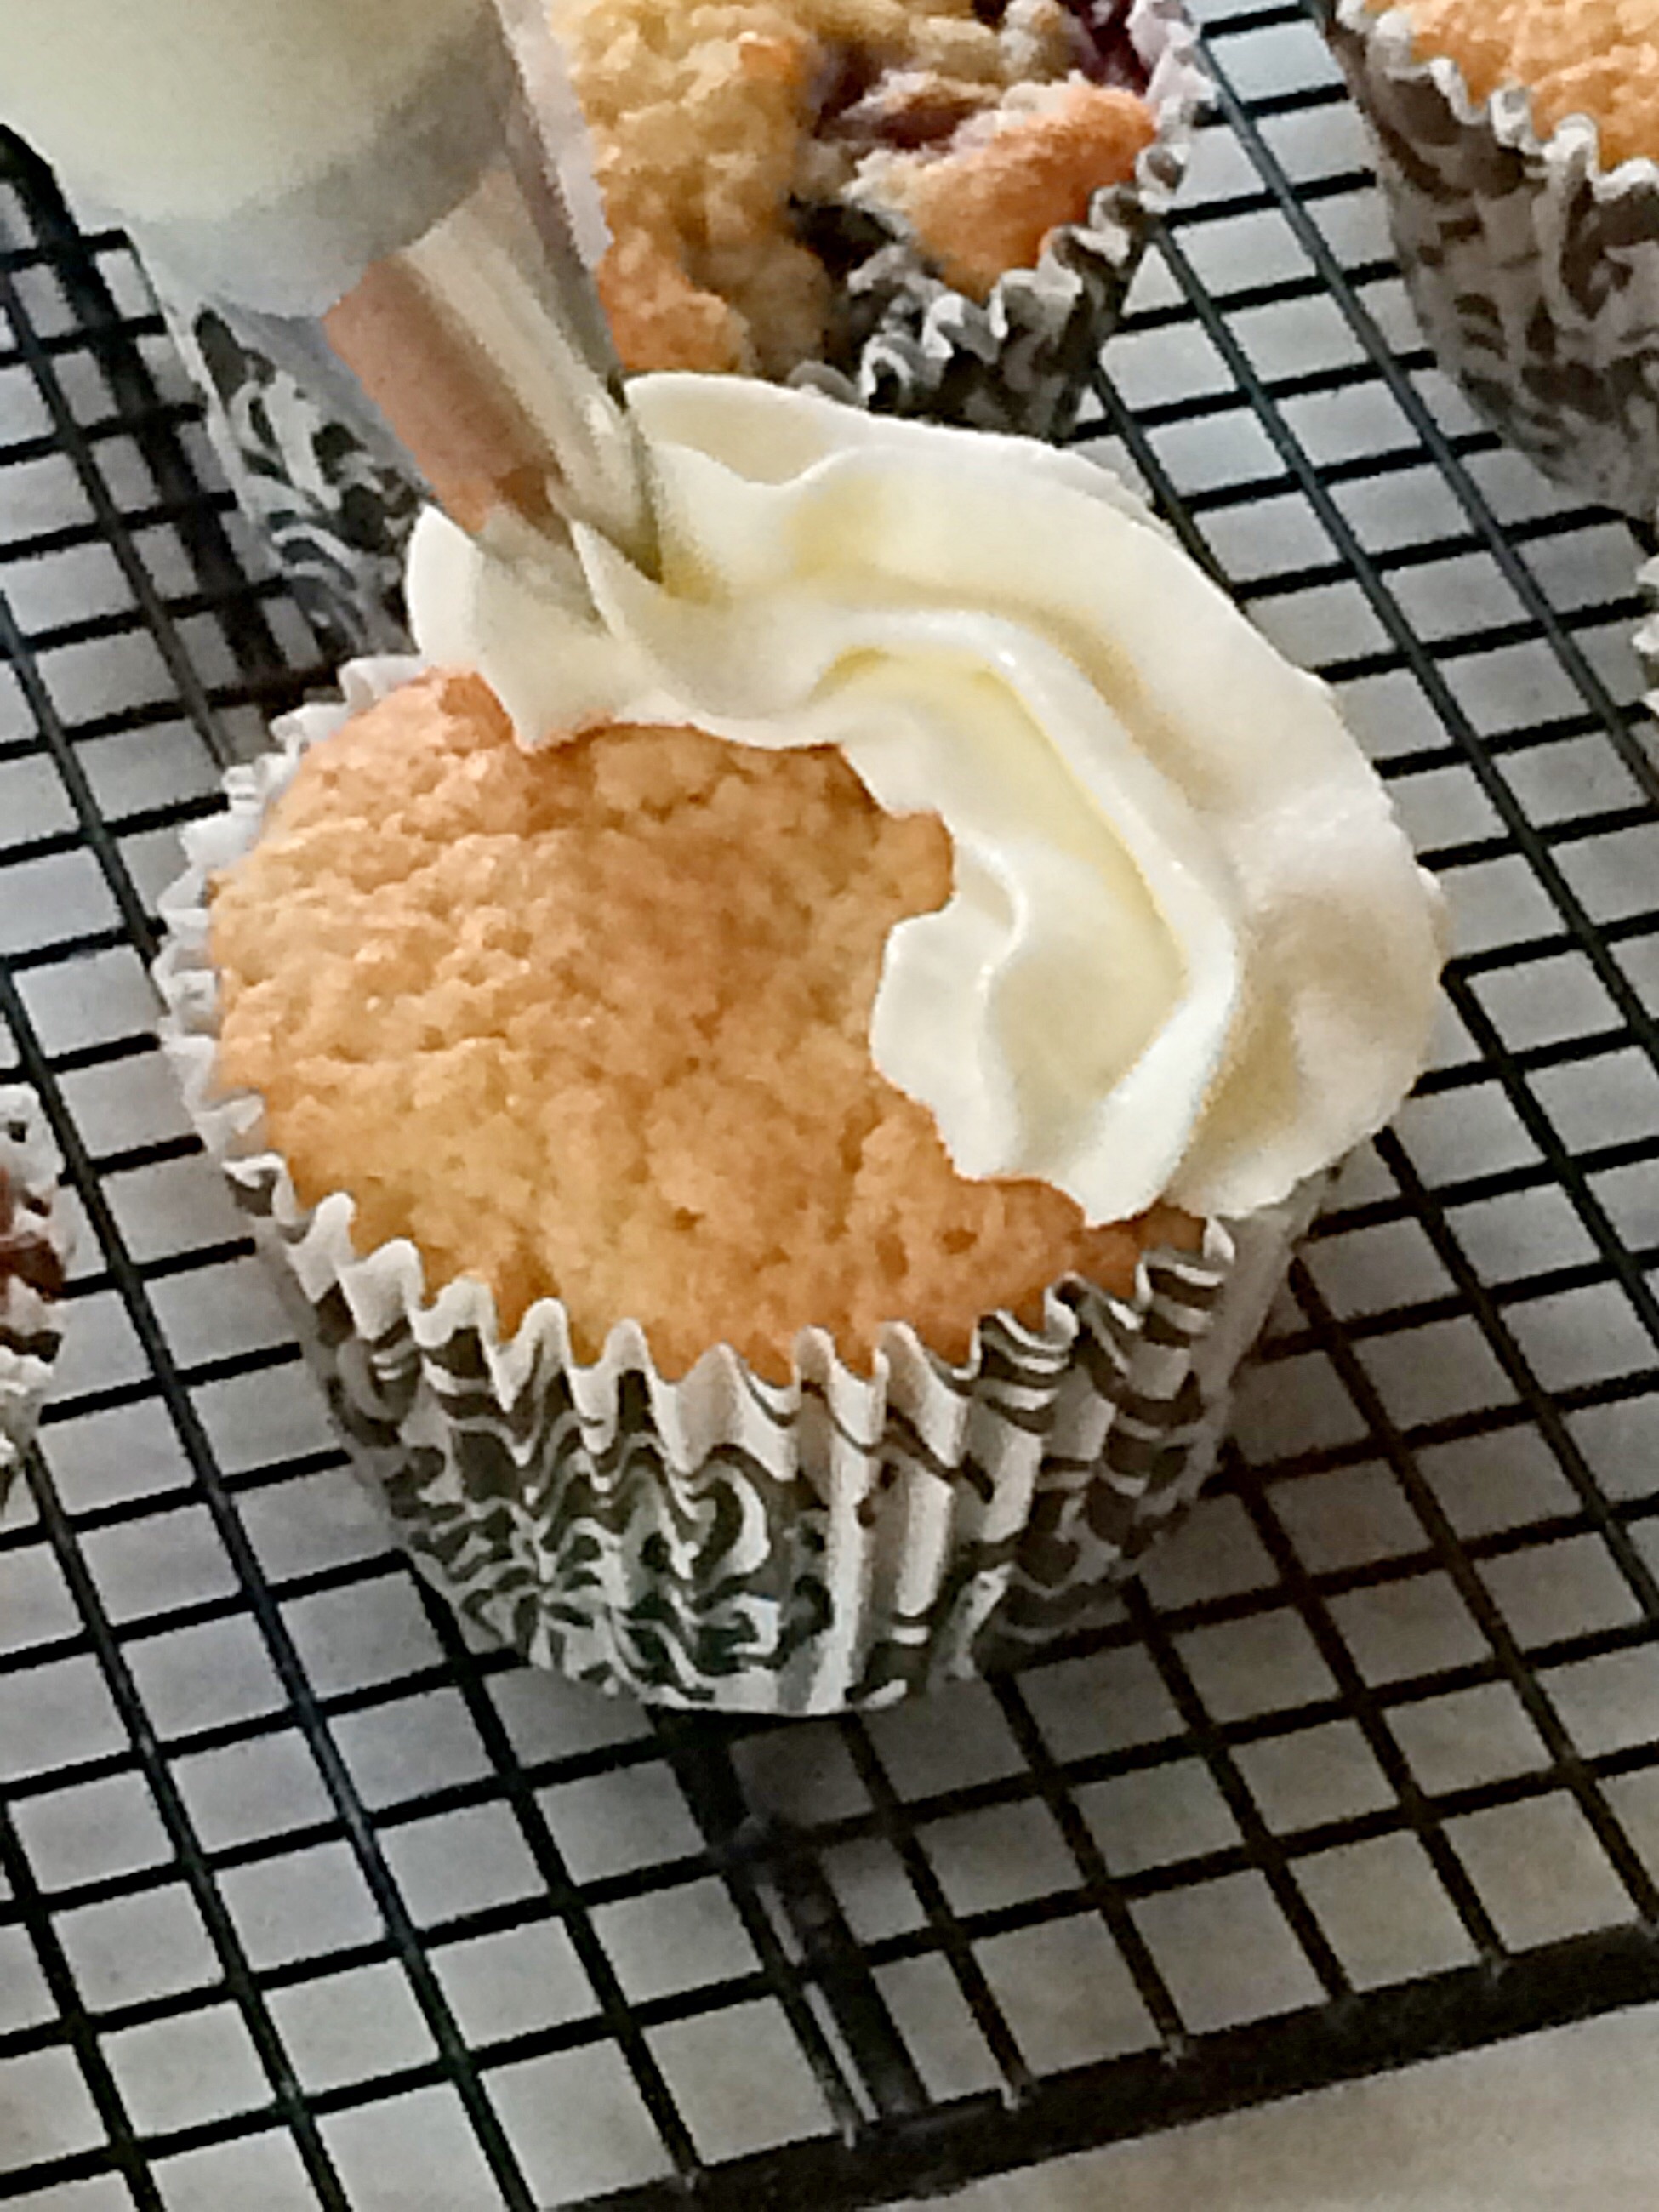
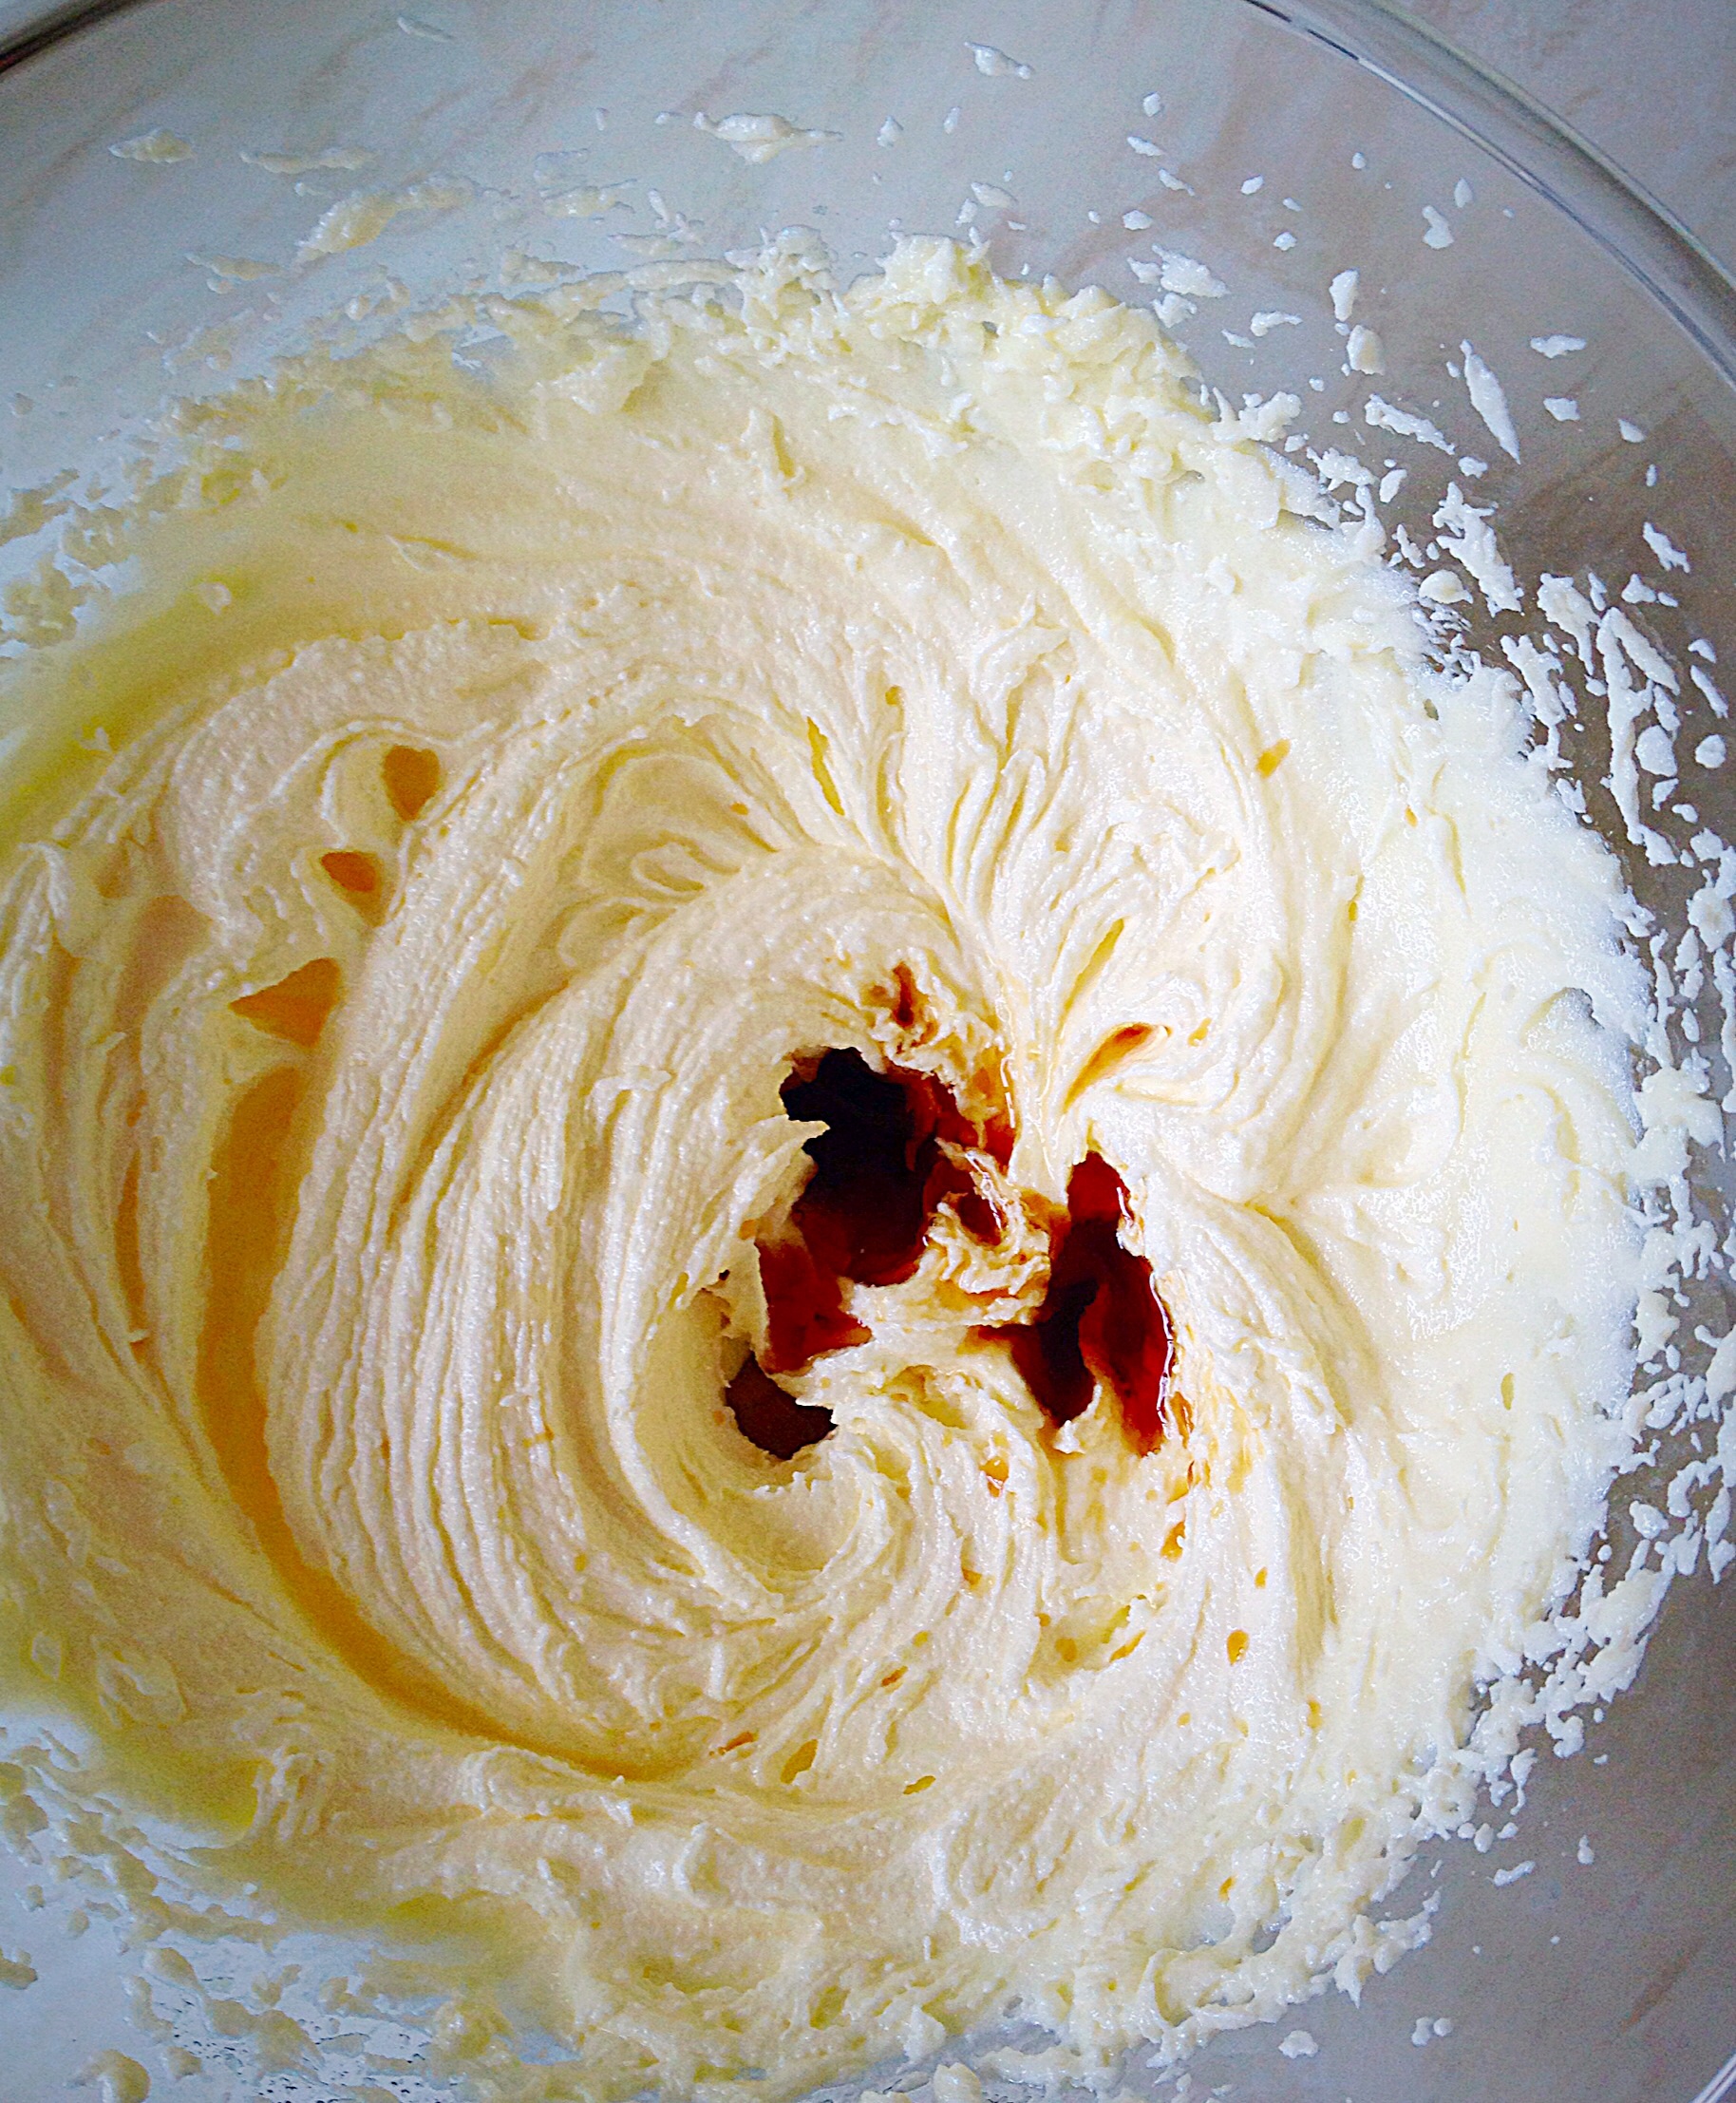
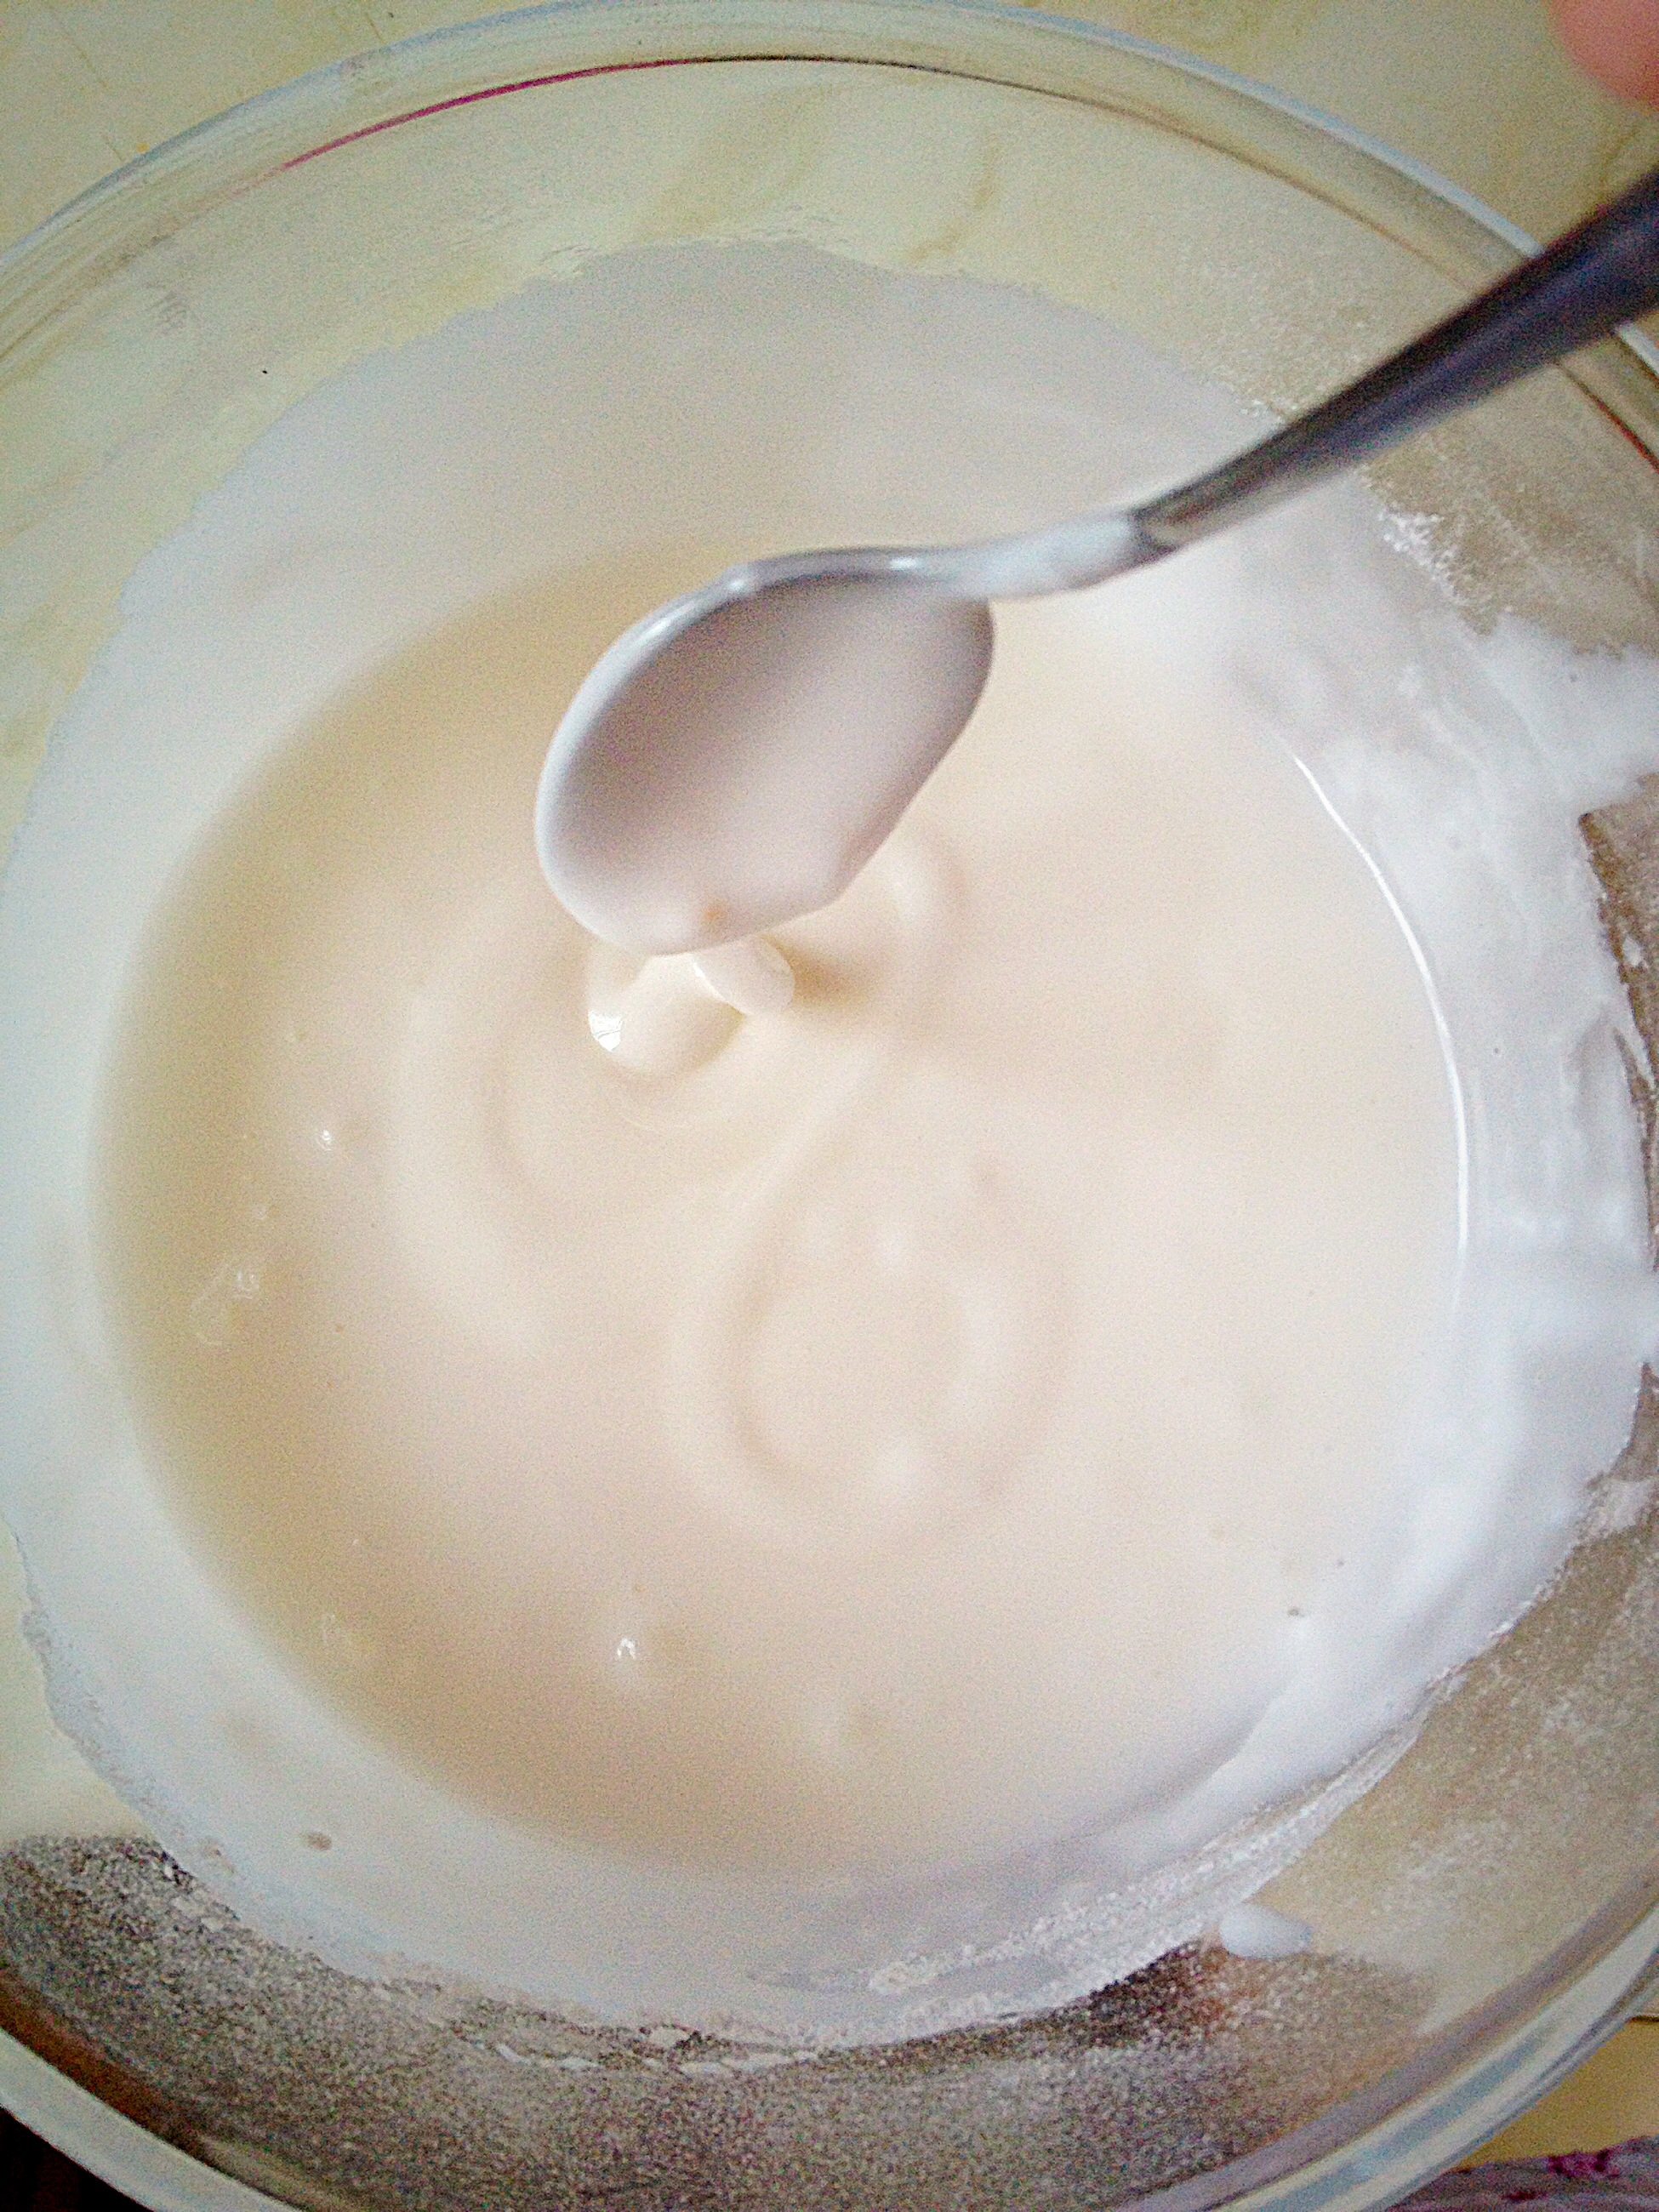
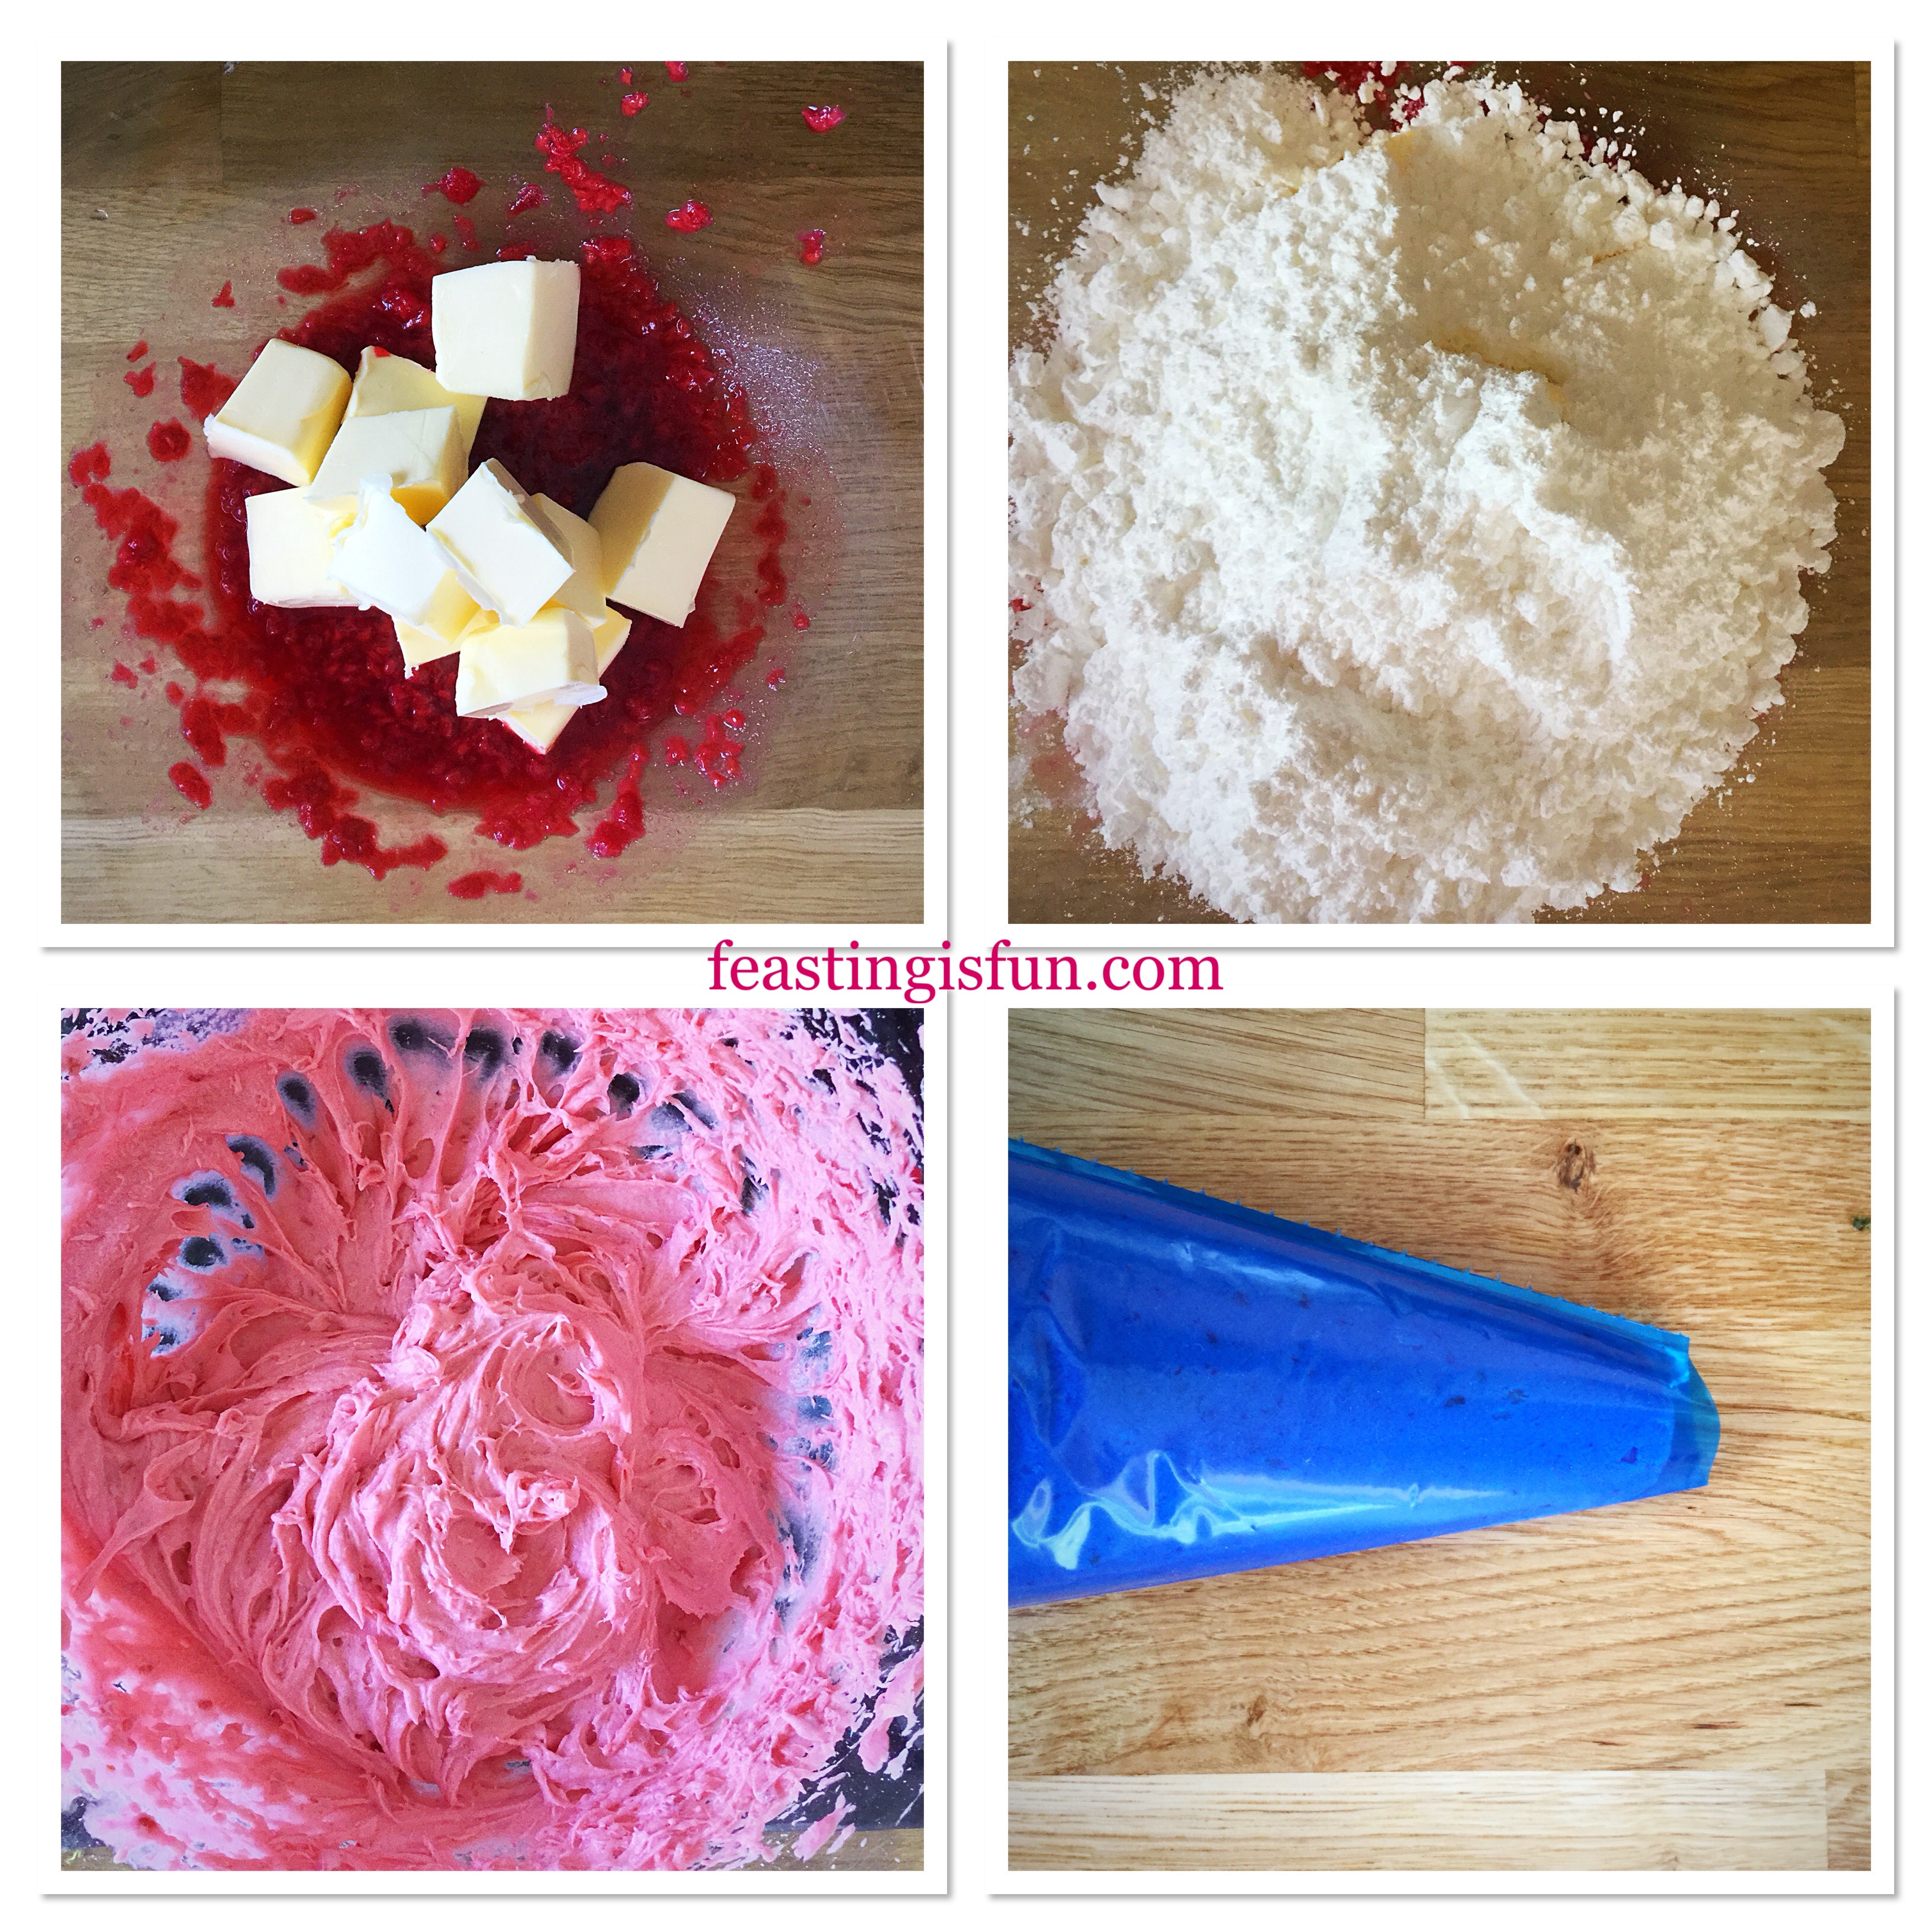
Note – when making the frosting don’t worry if it looks like it has curdled. It hasn’t! Rather it is the addition of fresh raspberries that give it a slightly mottled appearance.

Recipe: Fresh Raspberry Frosted Lemon Cupcakes – makes 12
For the cupcakes:
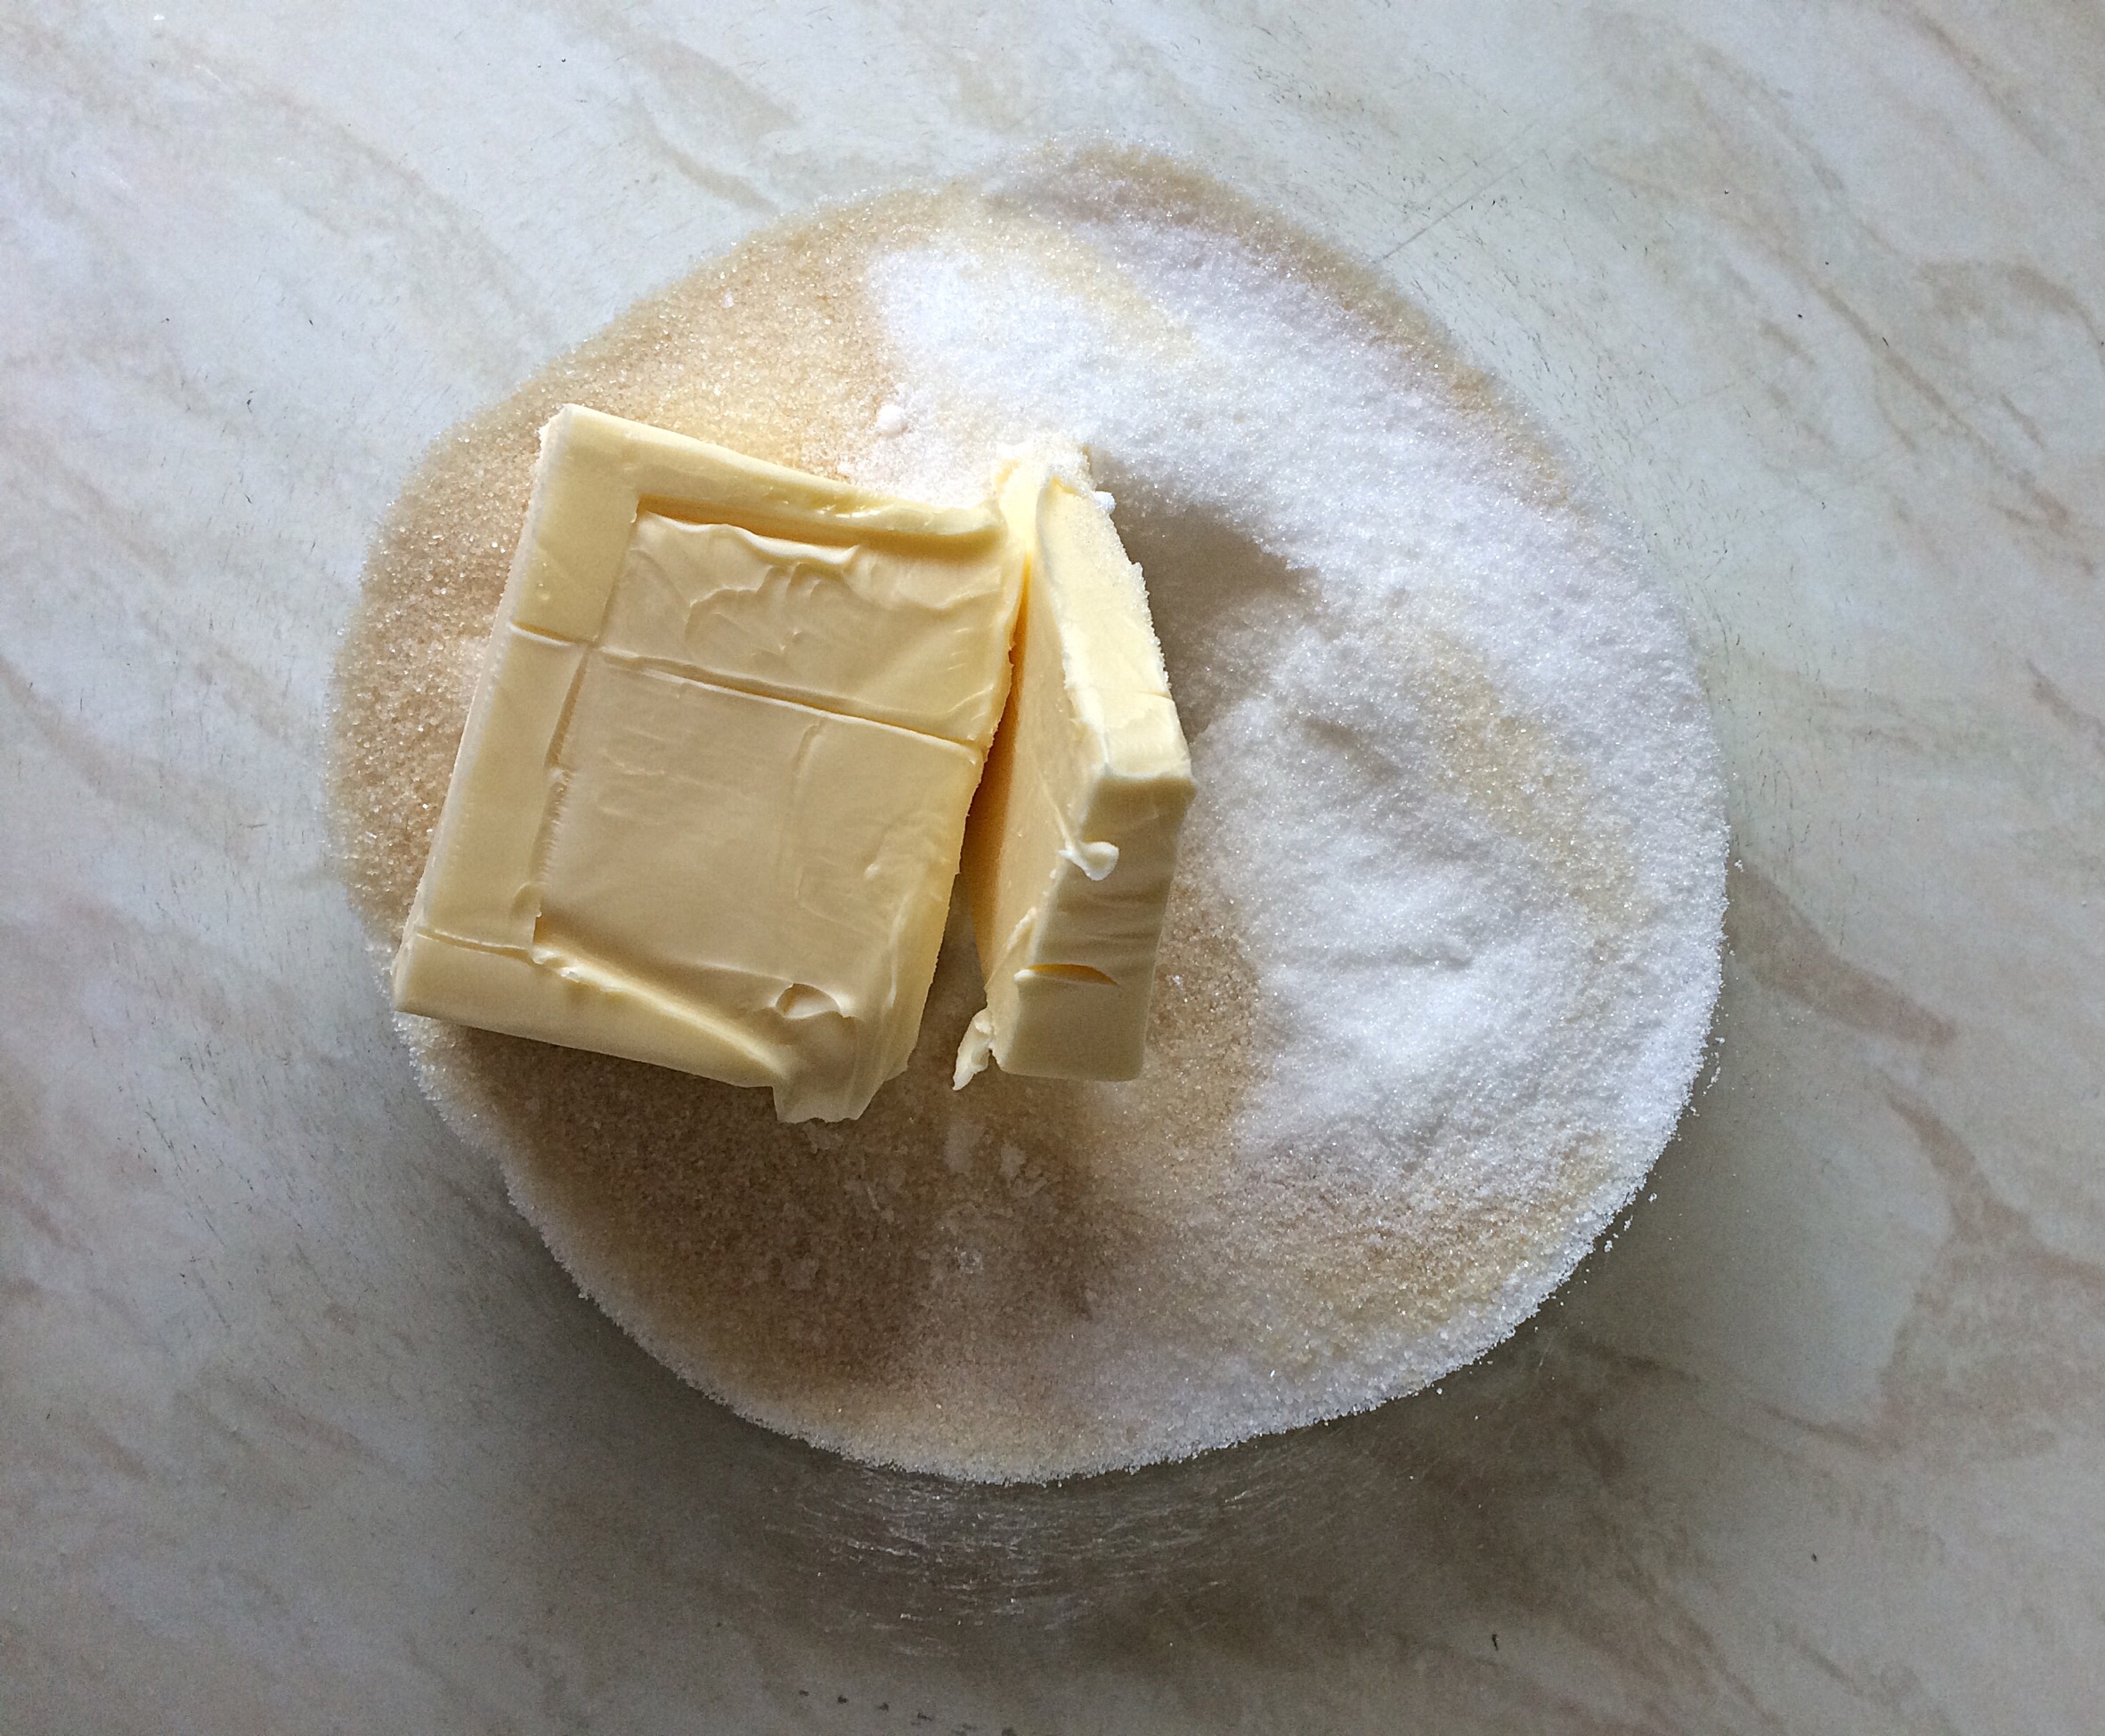
100g/4oz Unsalted Butter at room temperature
100g/4oz Caster Sugar
1/8 tsp Sea Salt – I use Maldon
2 Large Free Range Eggs
1/2 tsp Vanilla Extract – I use Nielsen-Massey
100g/4oz Plain White Flour
1 tsp Baking Powder
Finely Grated Zest of 1 Large Lemon – approximately 1 tsp
For the frosting:
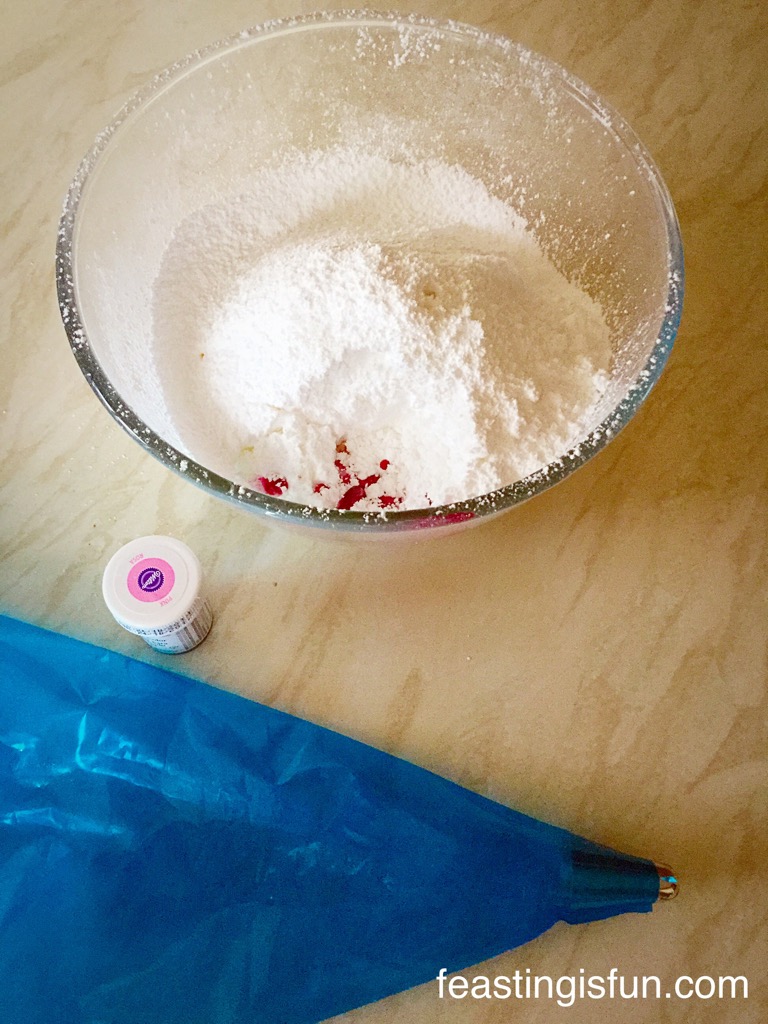
100g/4oz Raspberries – if using frozen include defrosting juice in weight
150g/5.2oz Unsalted Butter at room temperature
300g/10.5oz White Icing Sugar (confectioners sugar)
To decorate:
3 slices of fresh lemon
Method: preheat oven to 160C/140C fan, 325F, gas mark 3
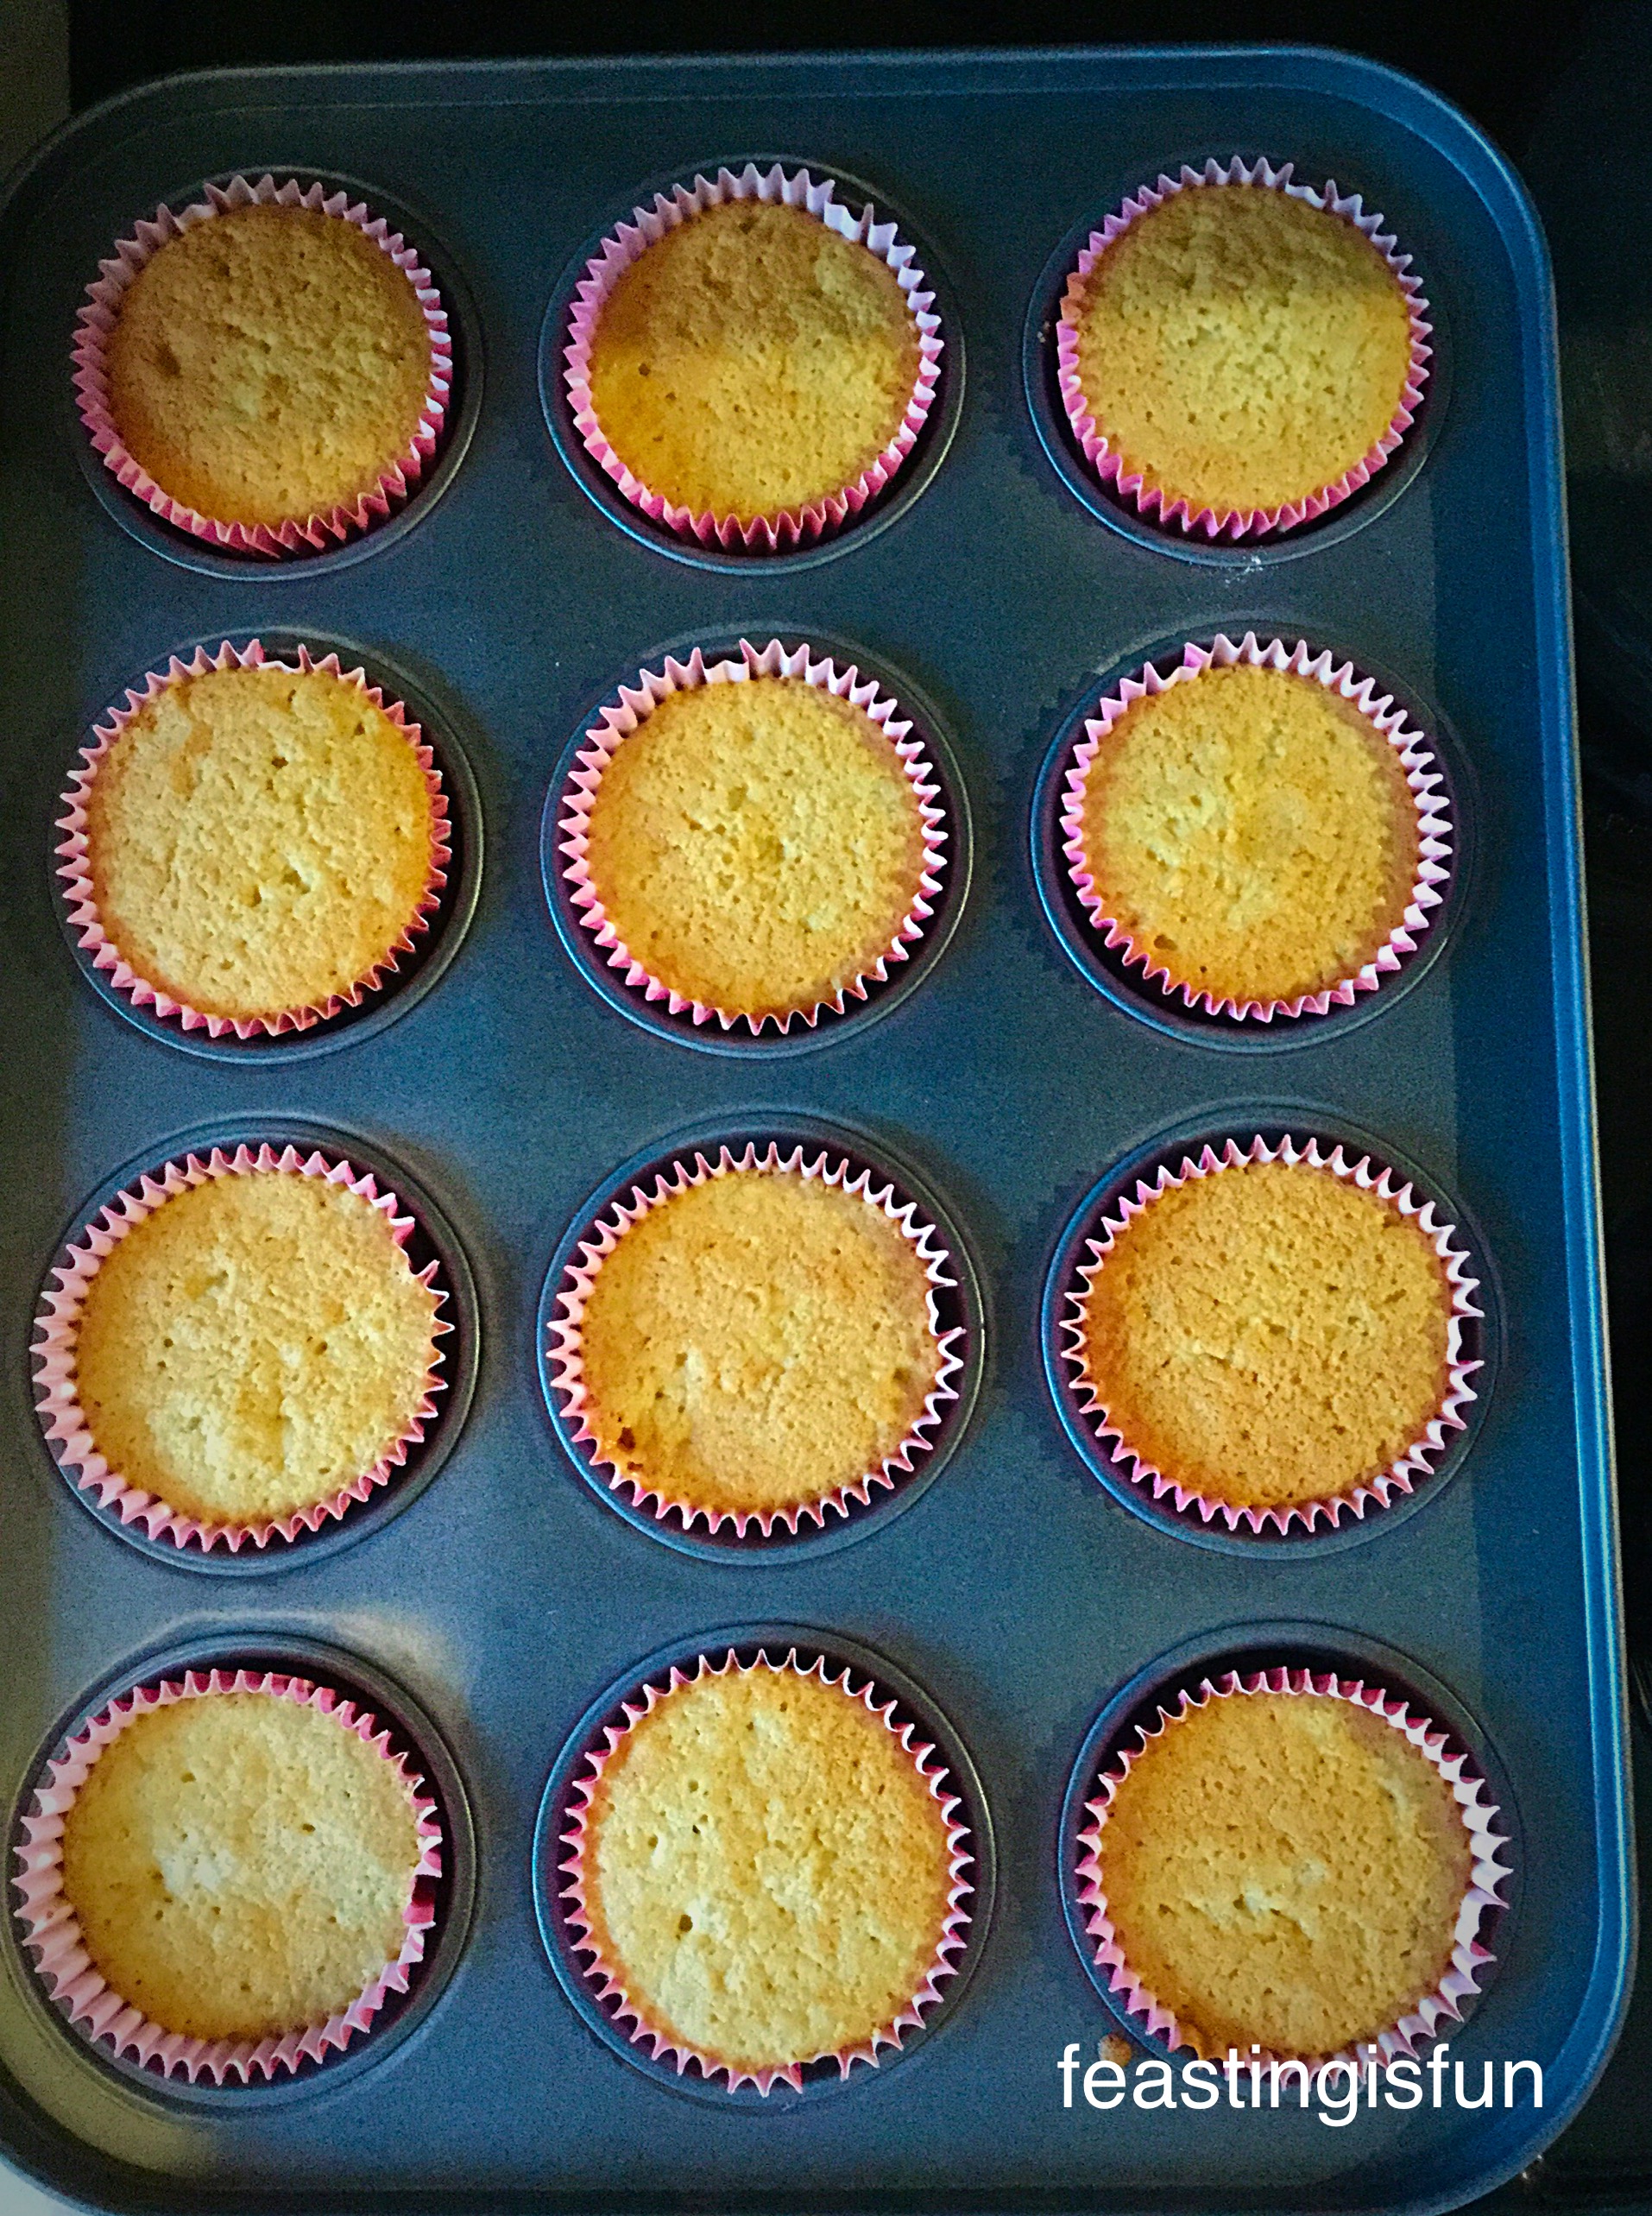
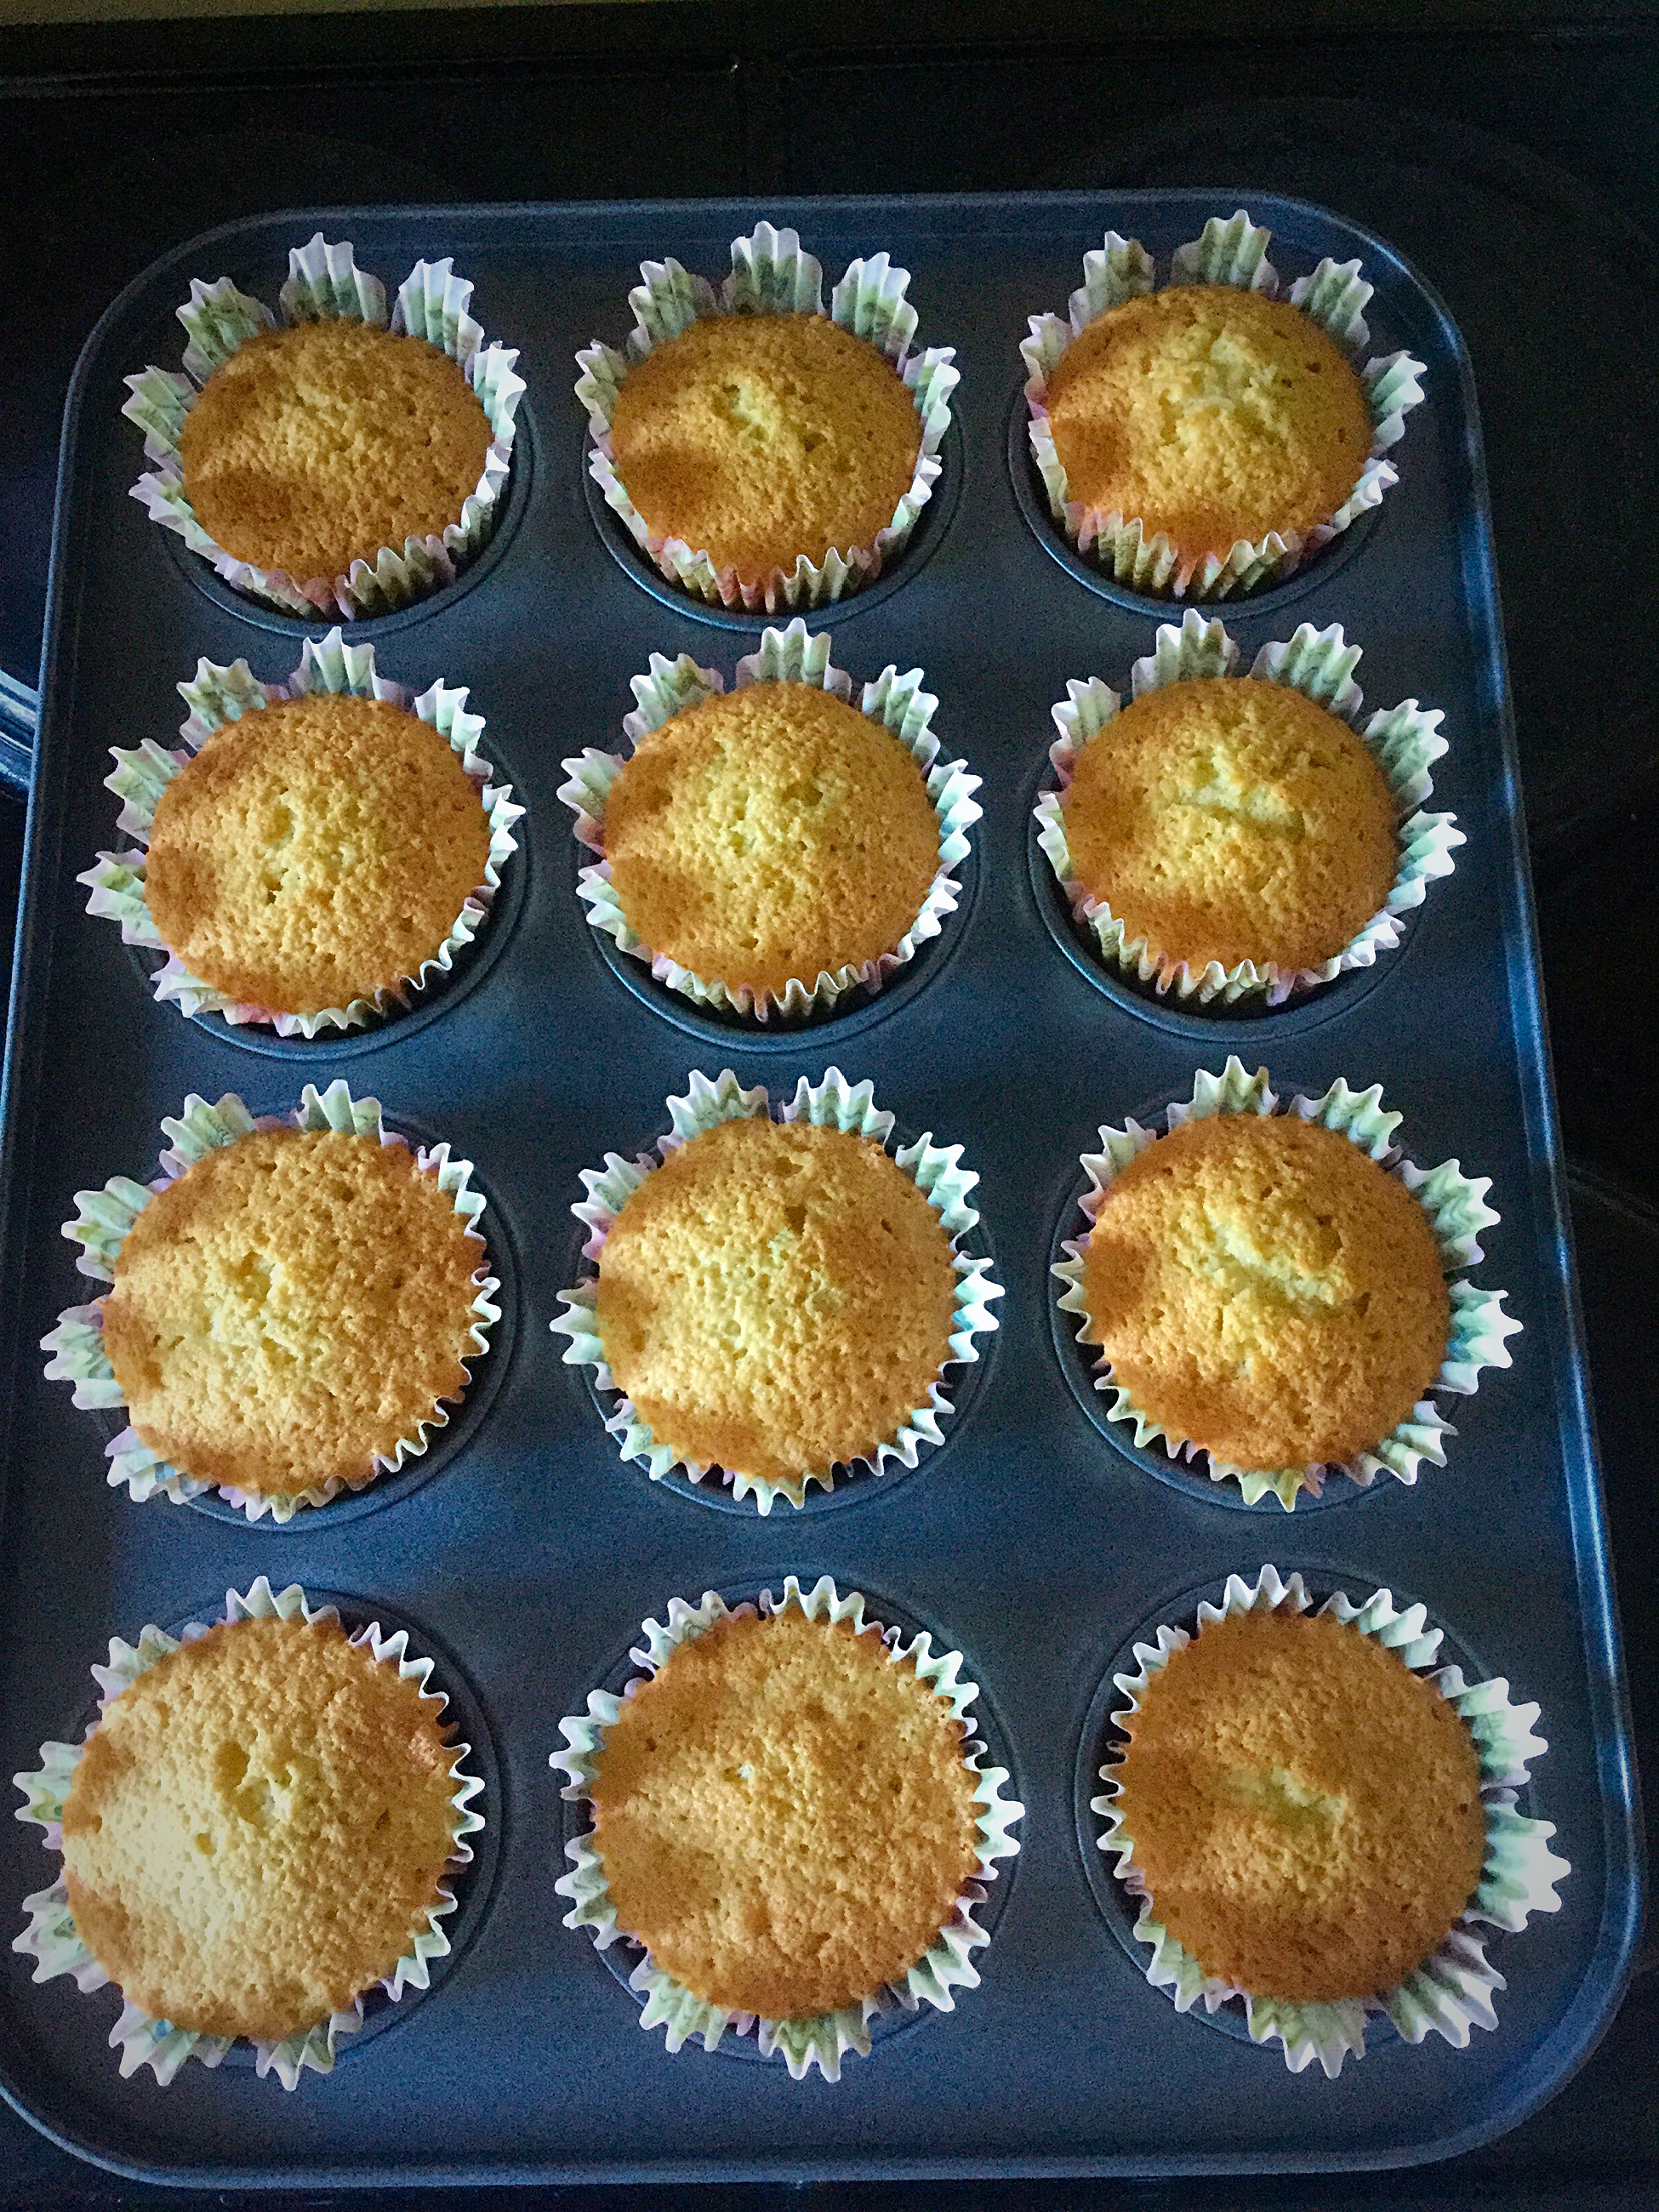
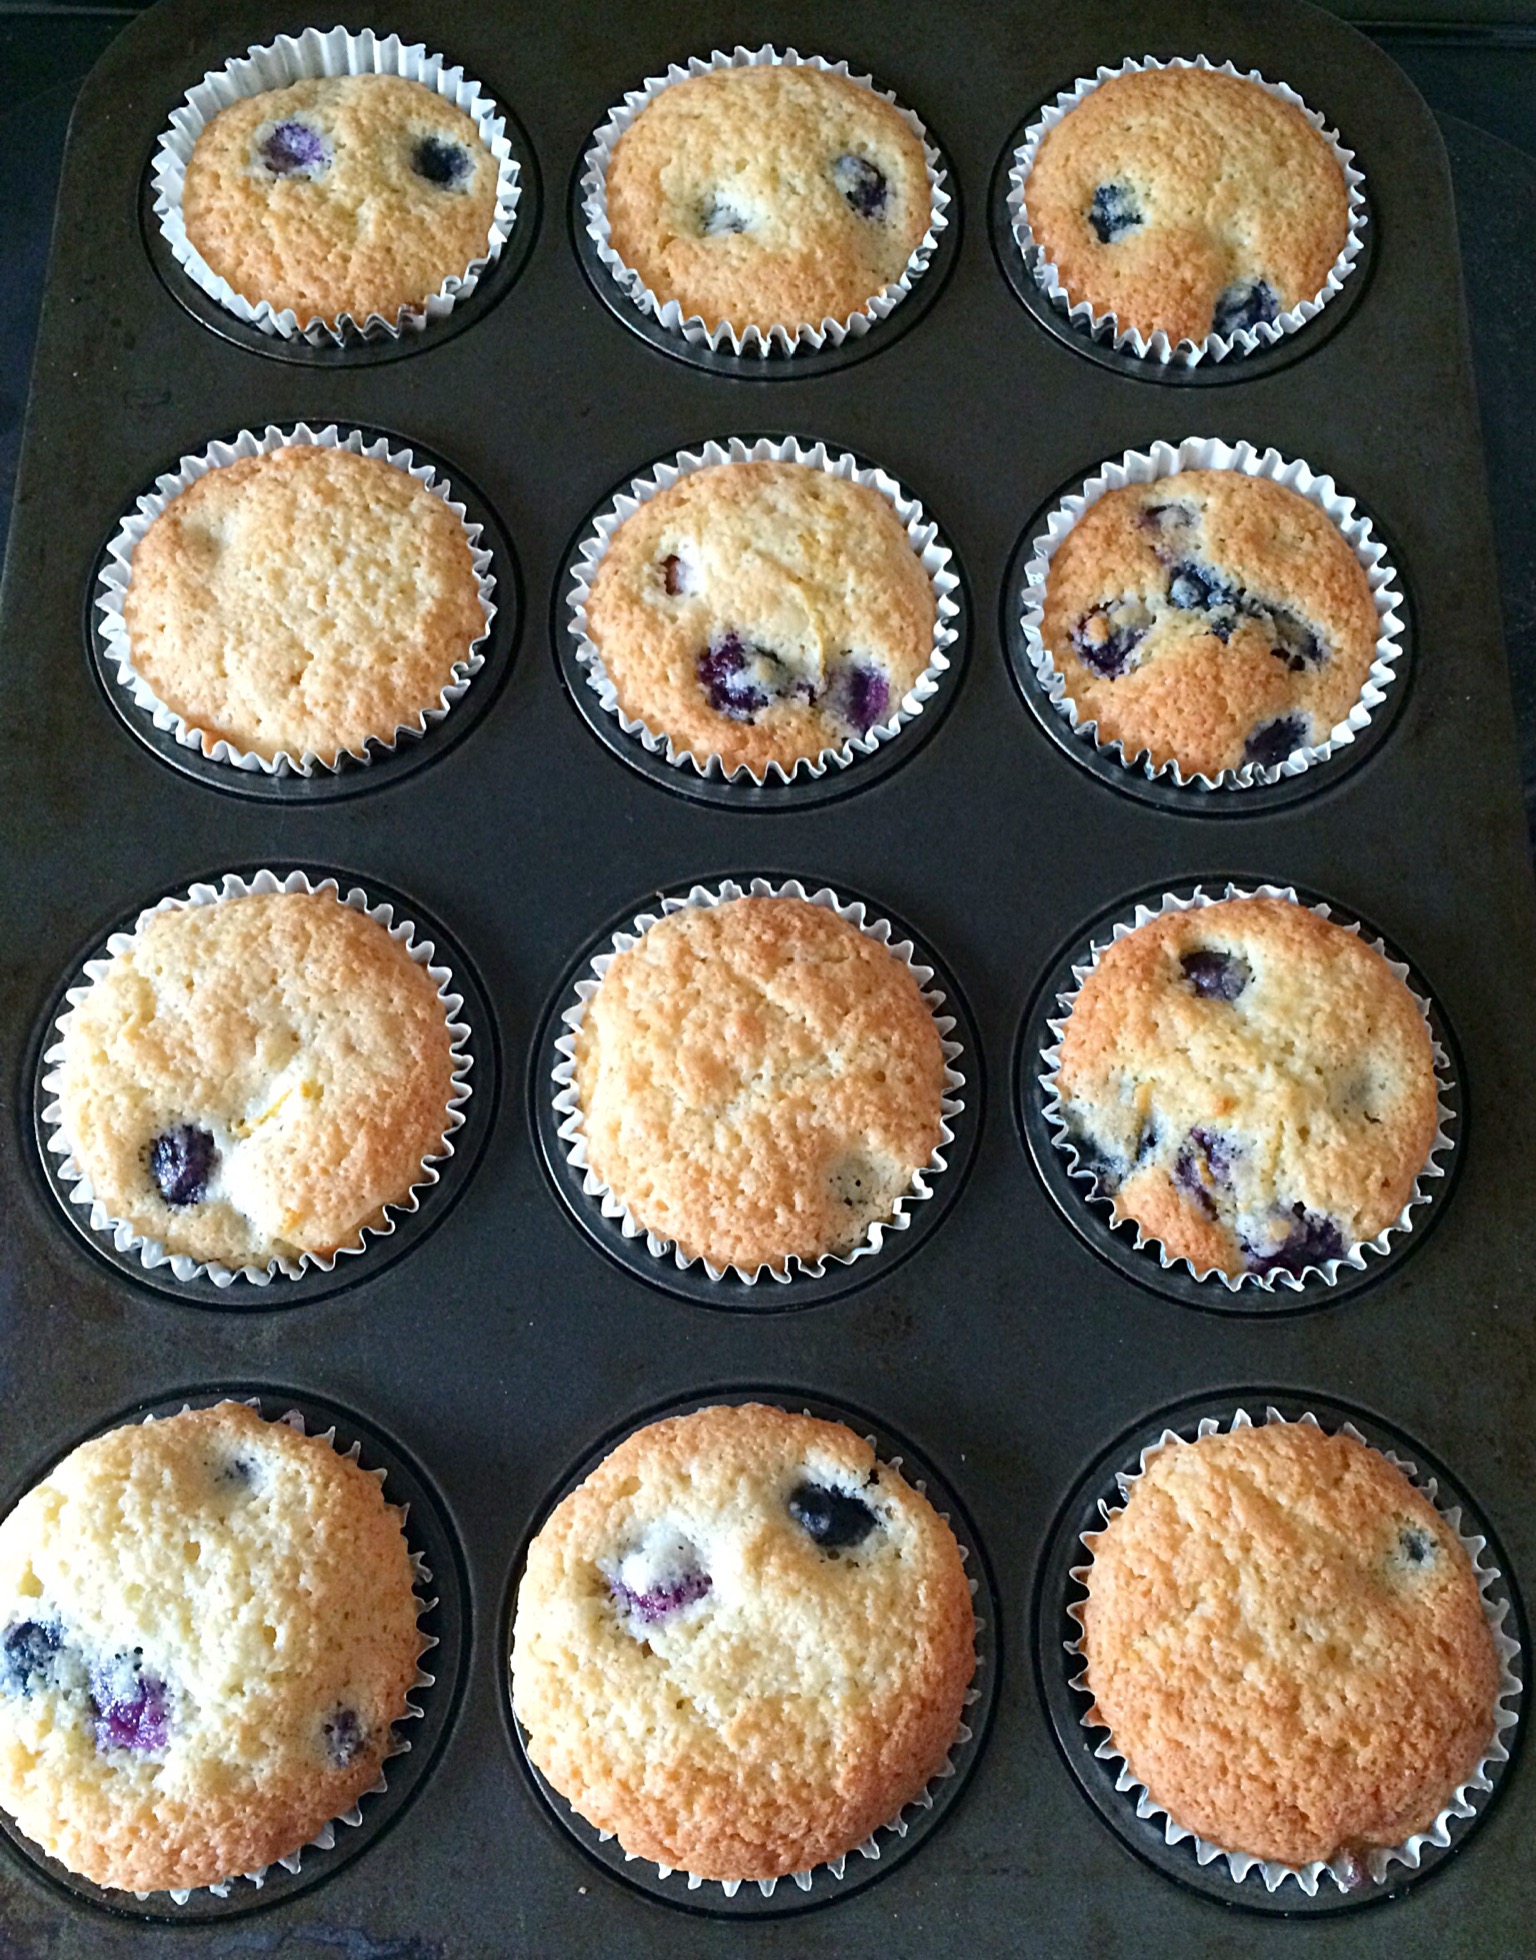
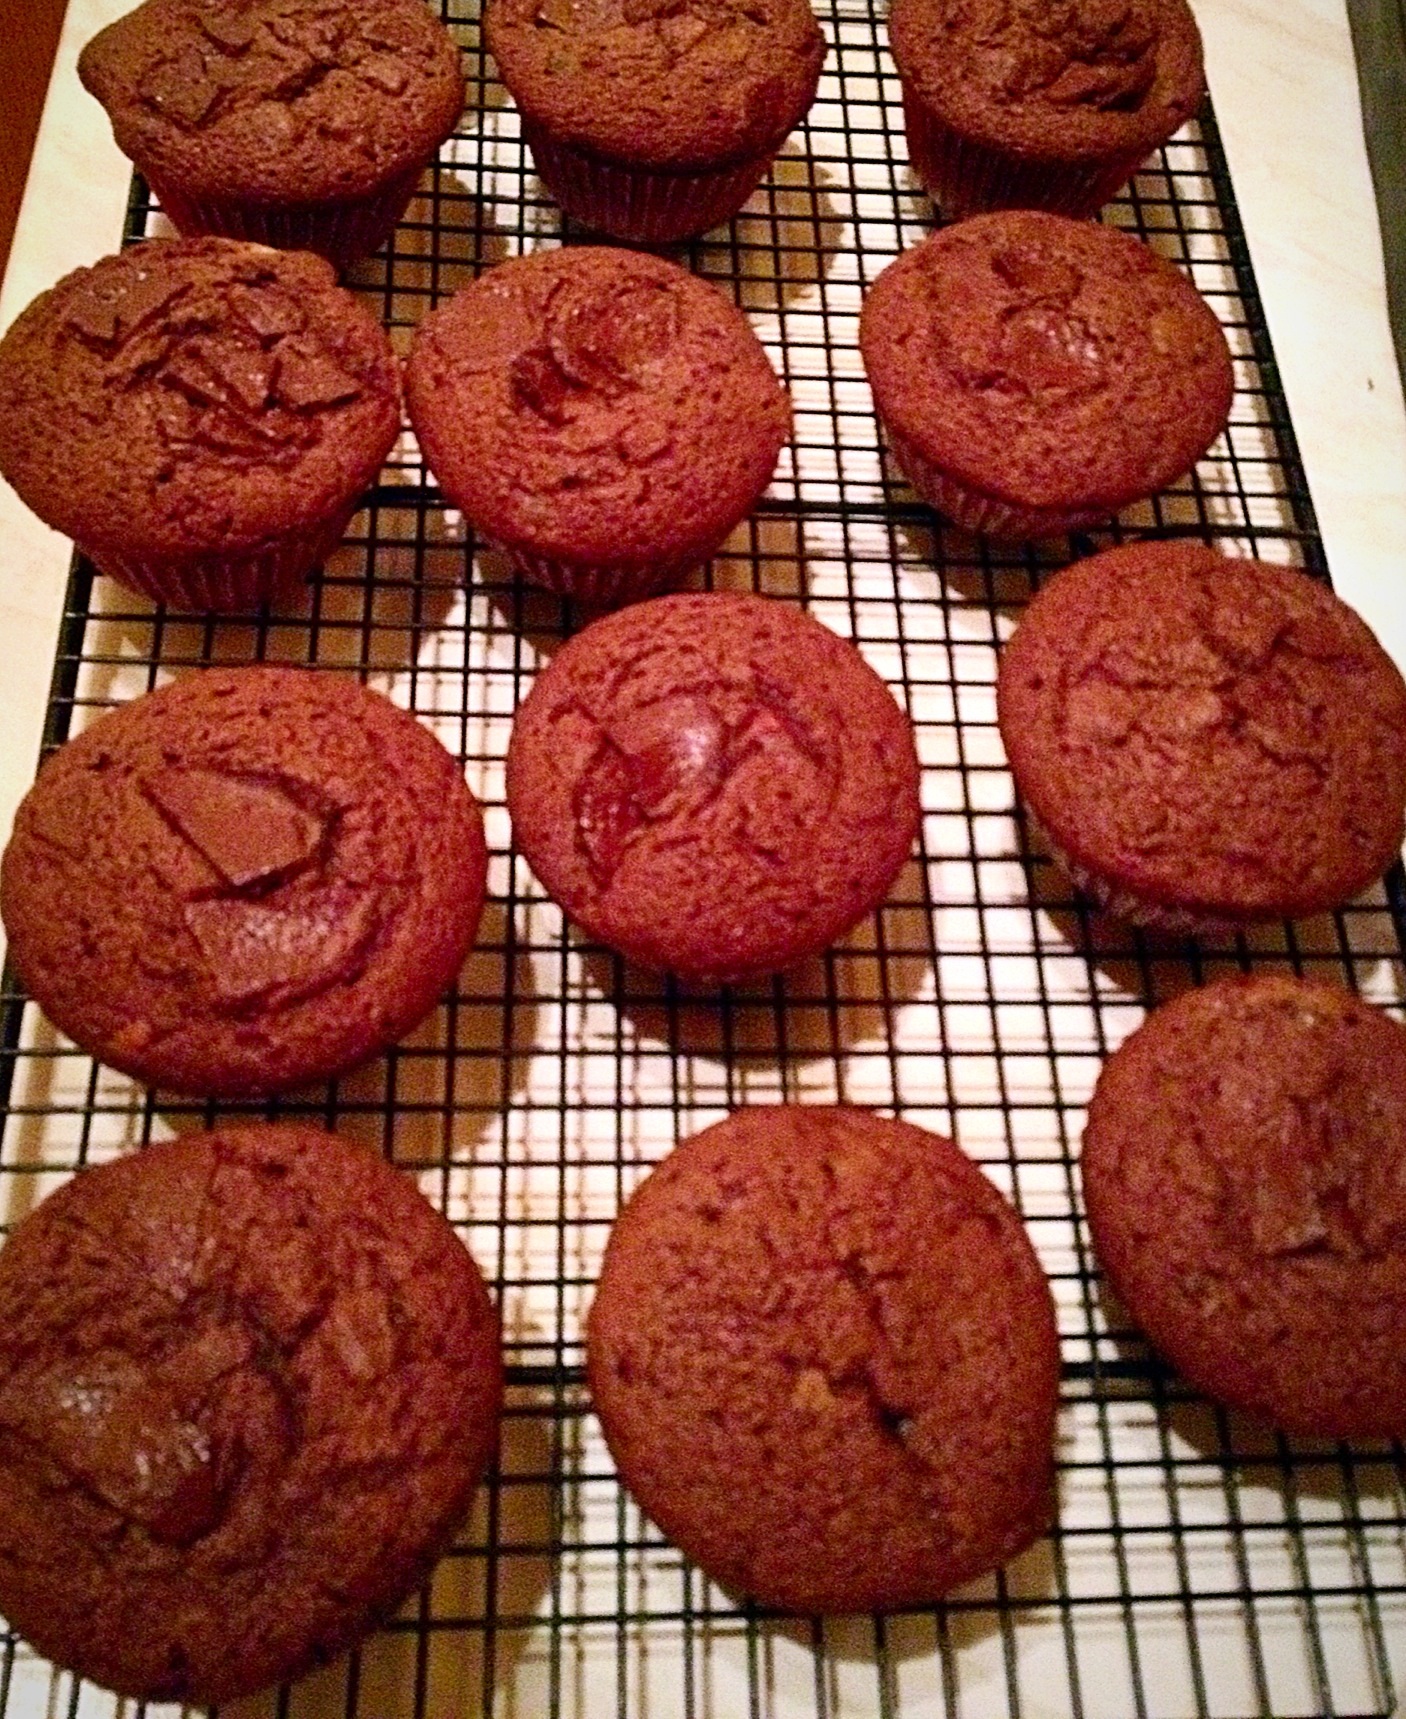
Making And Baking The Lemon Cupcakes
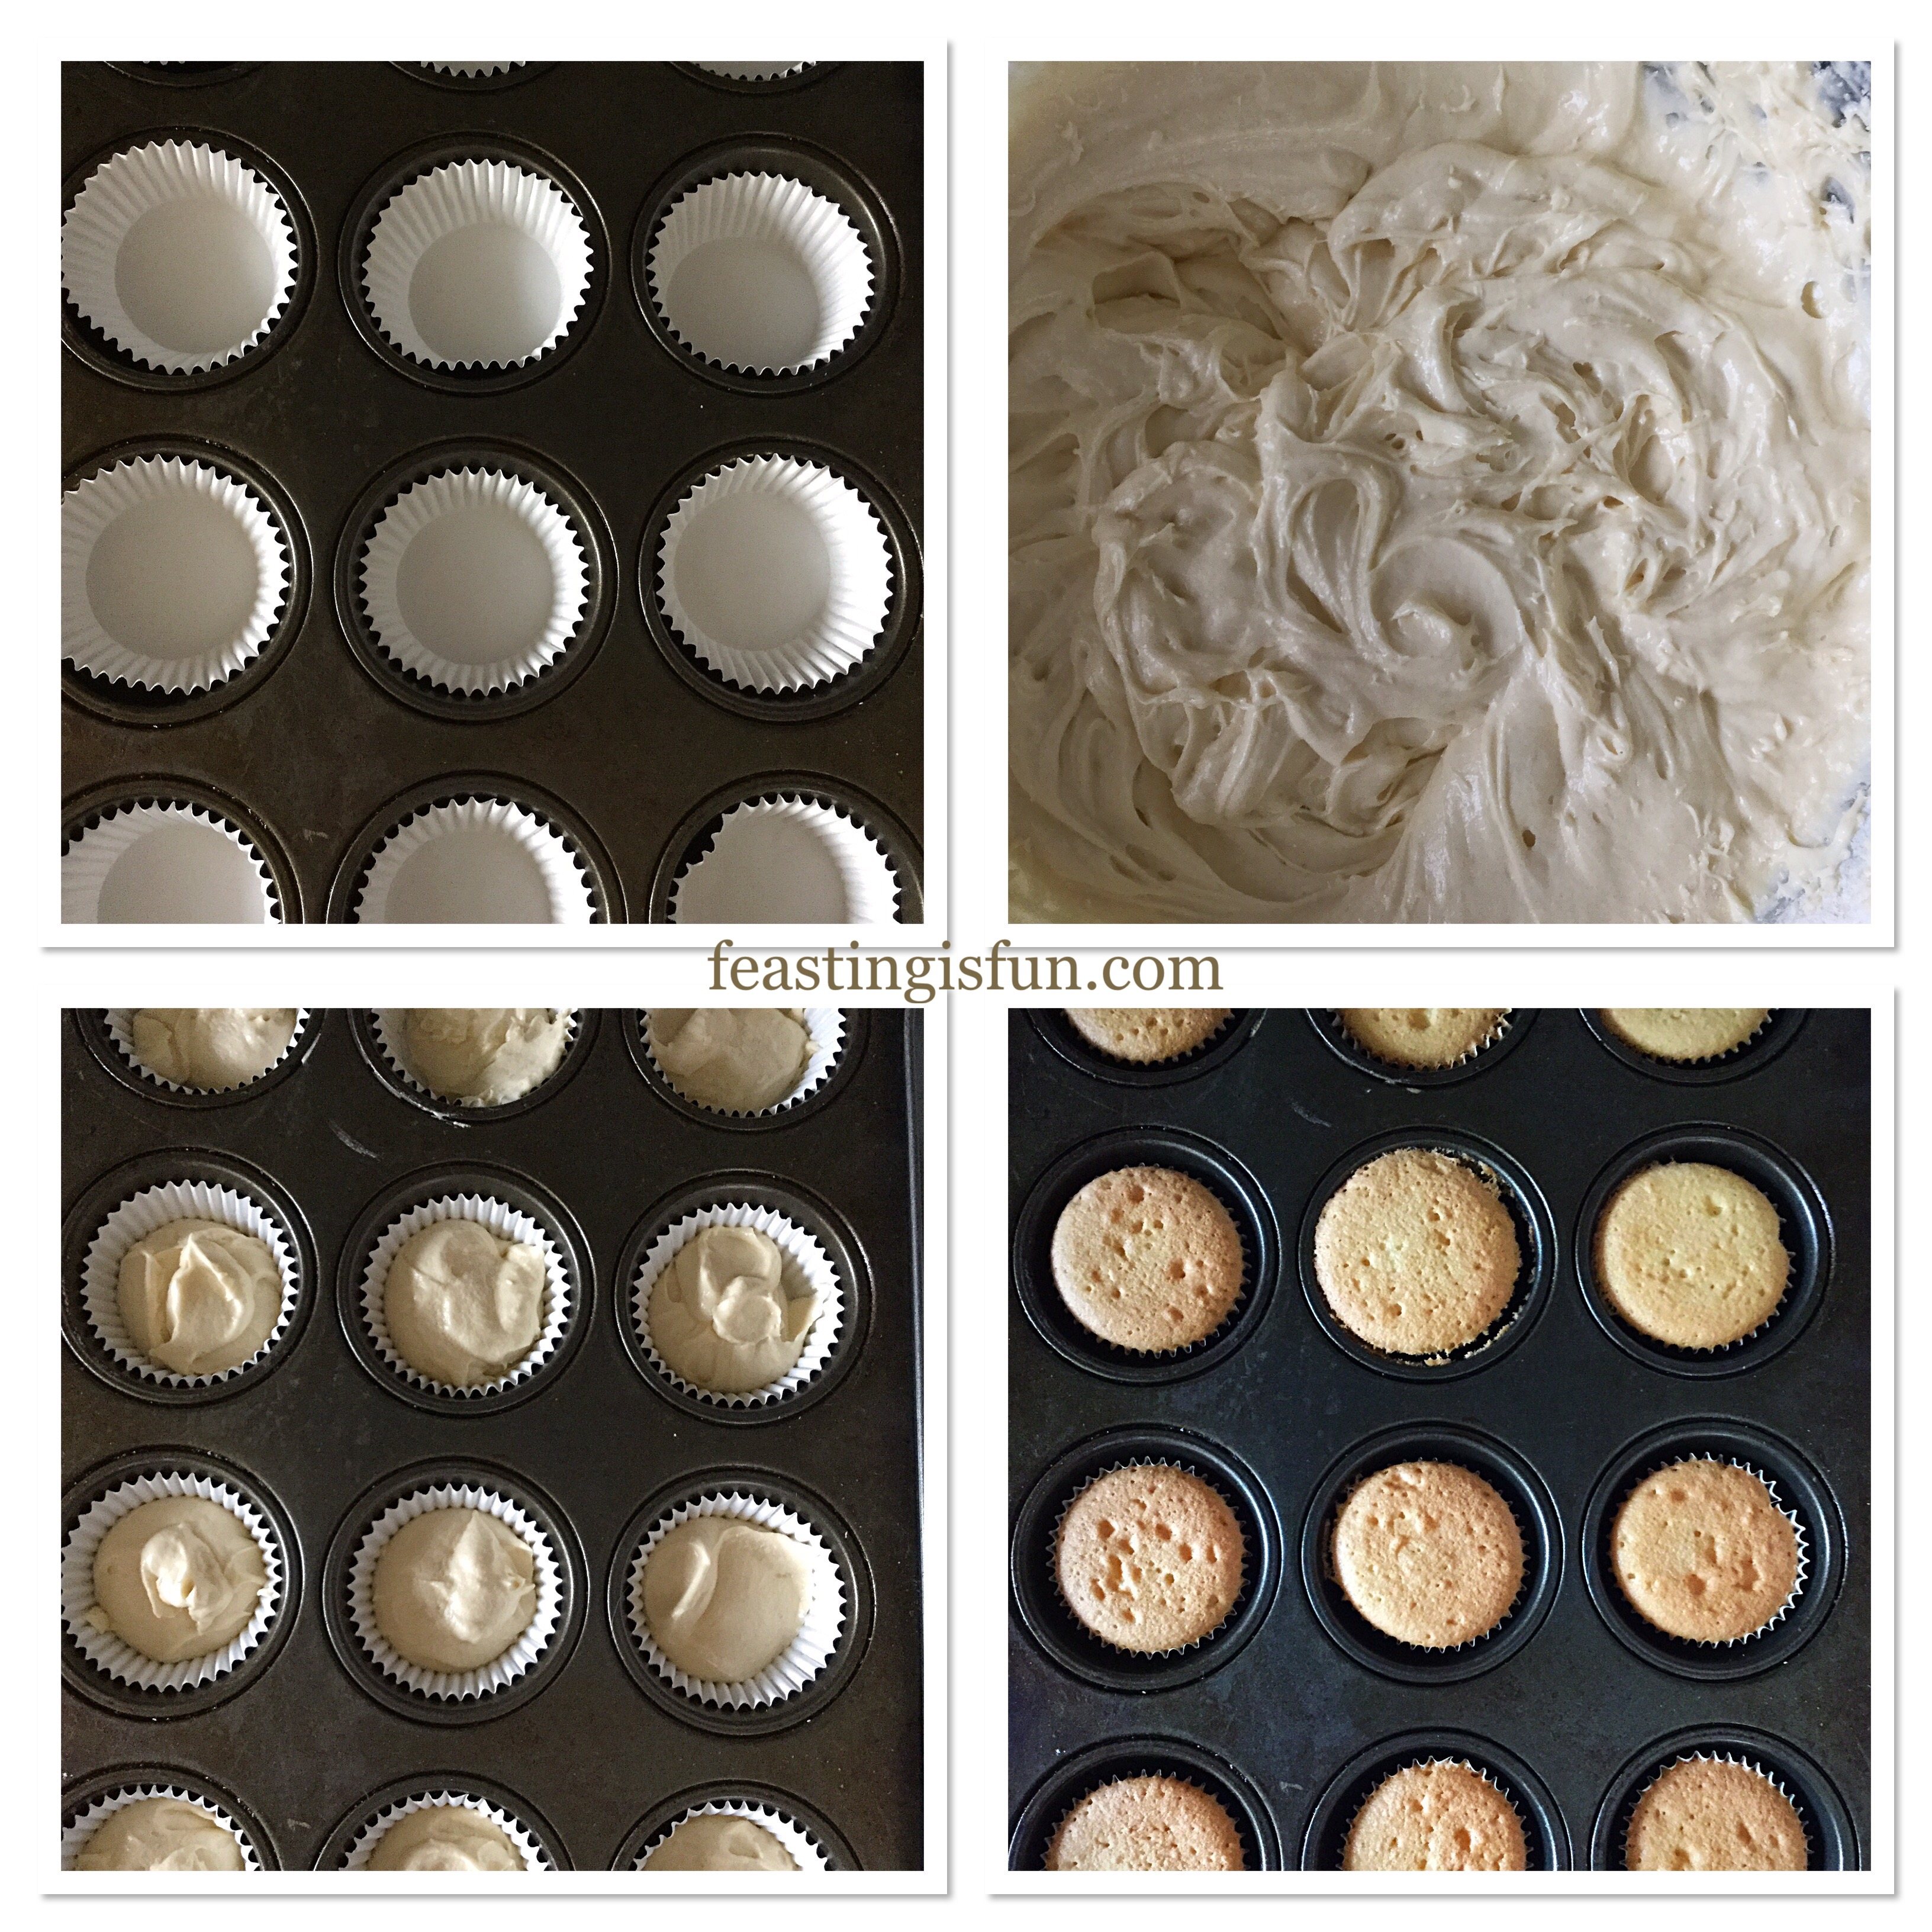
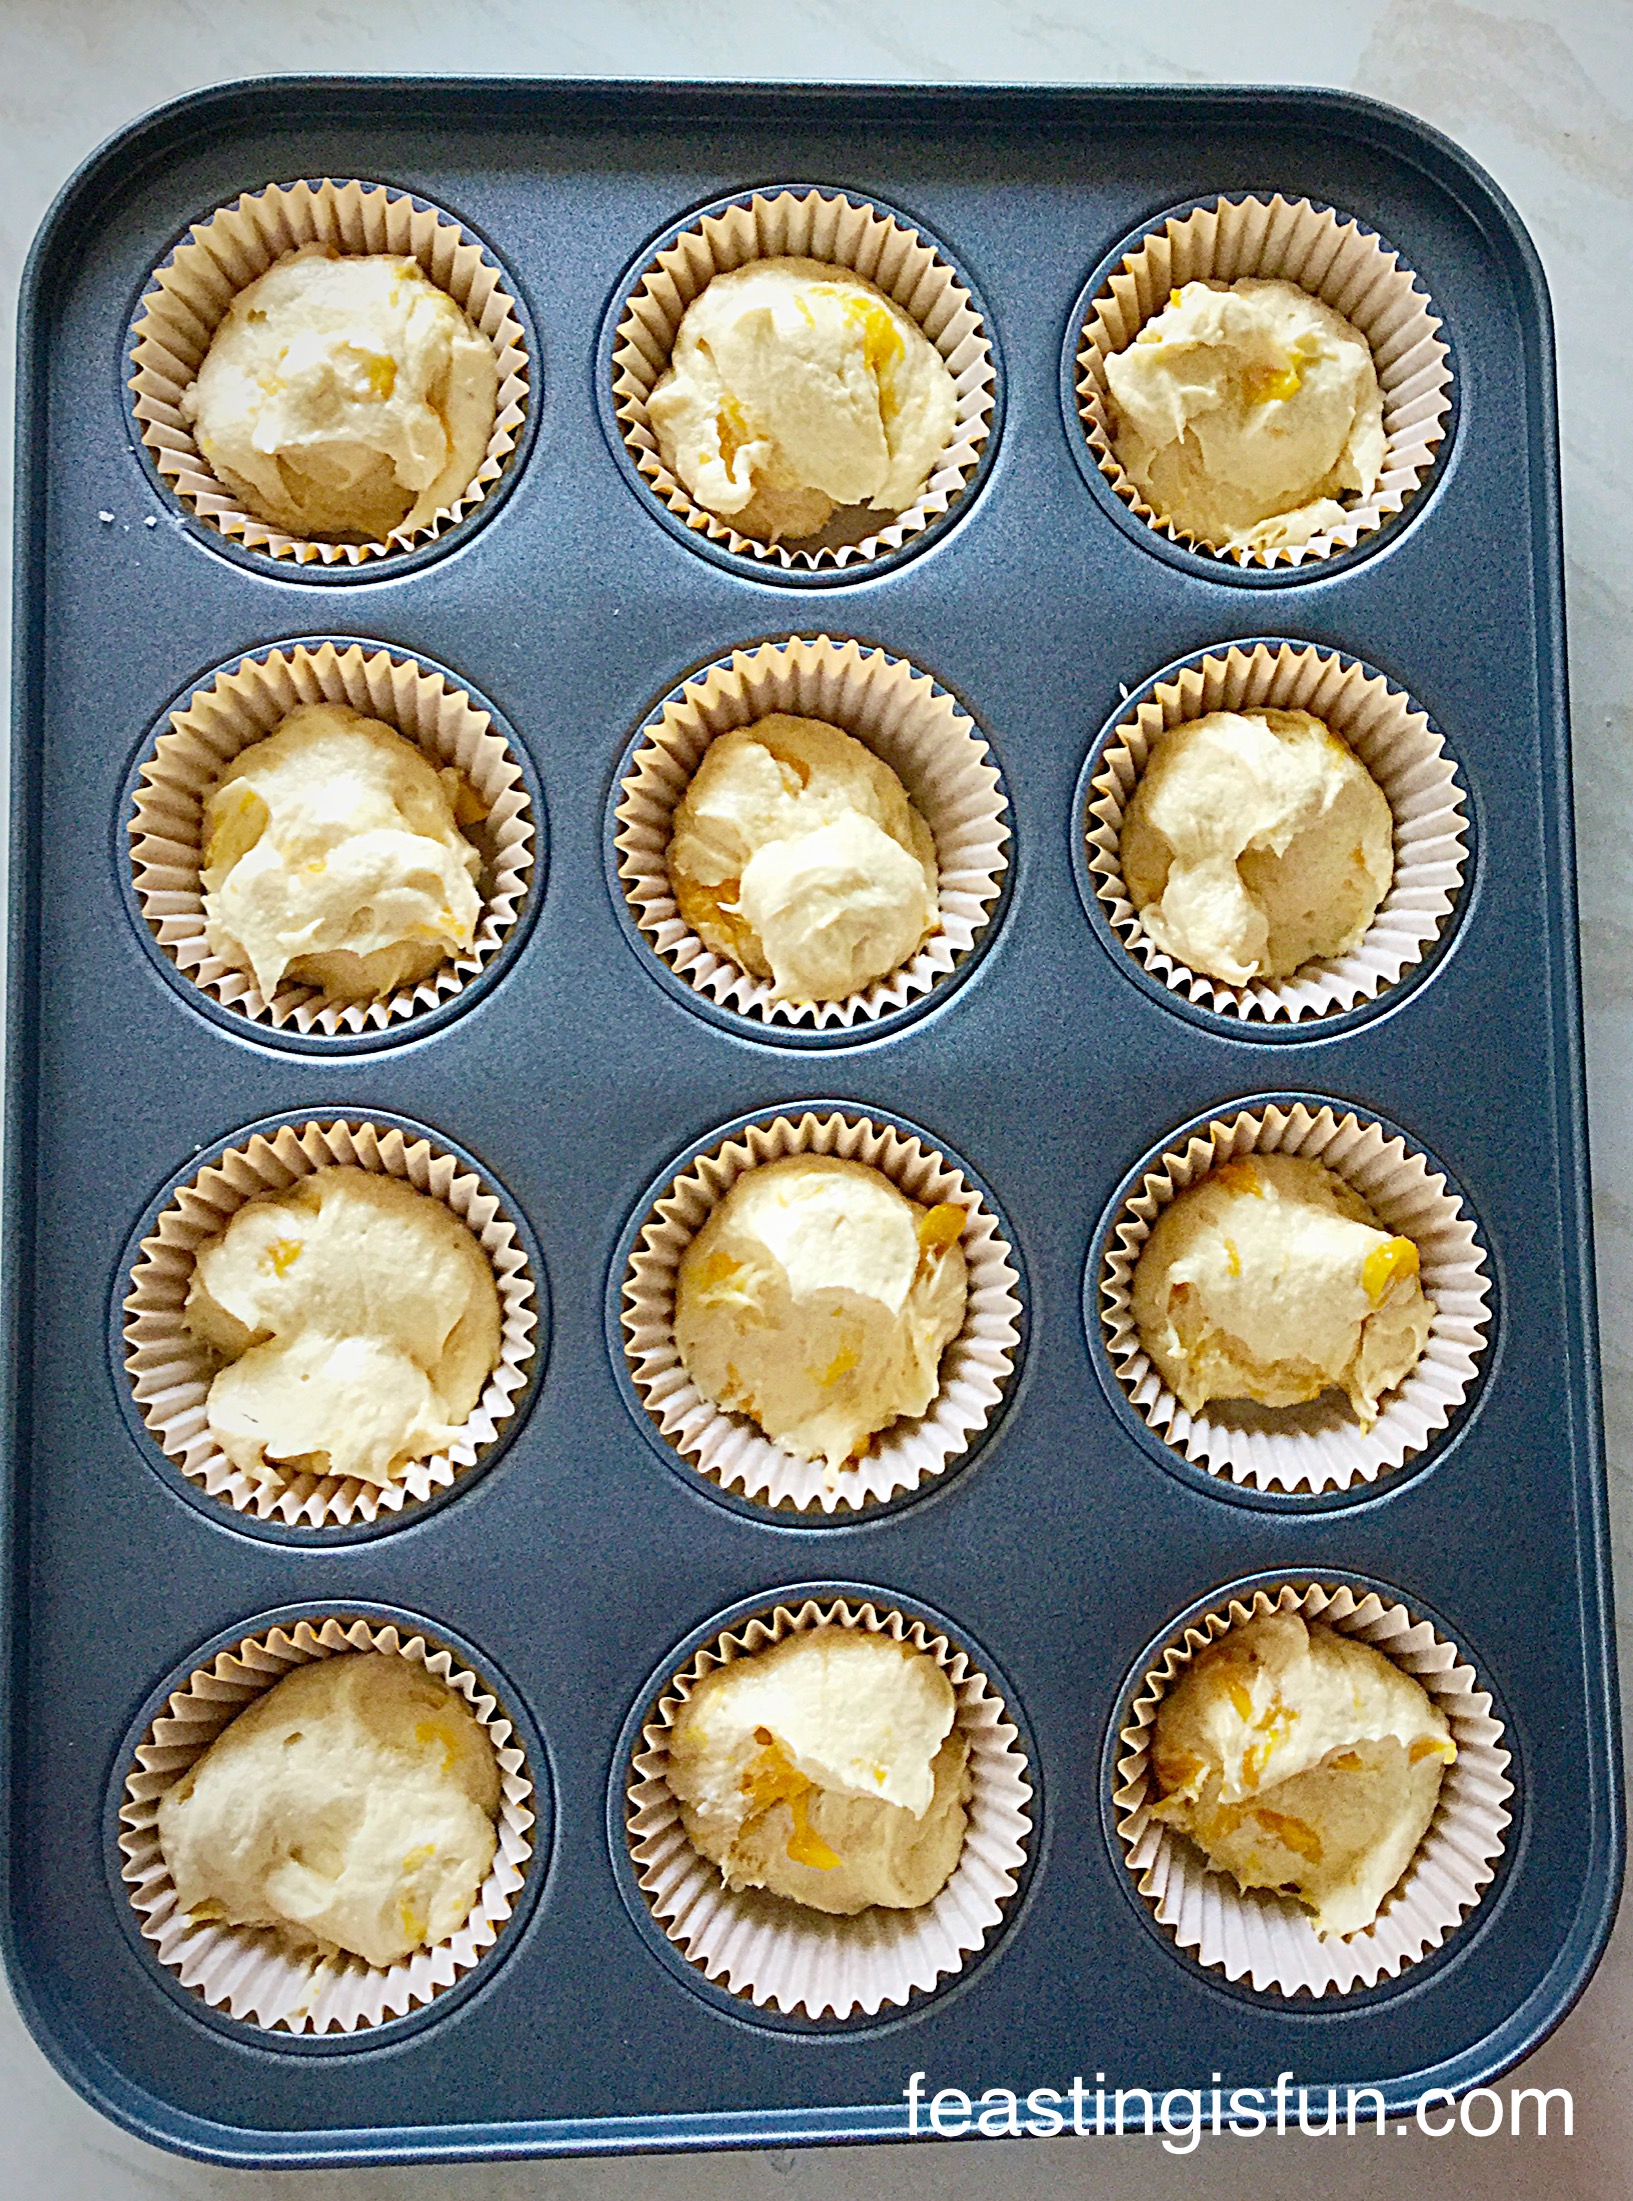
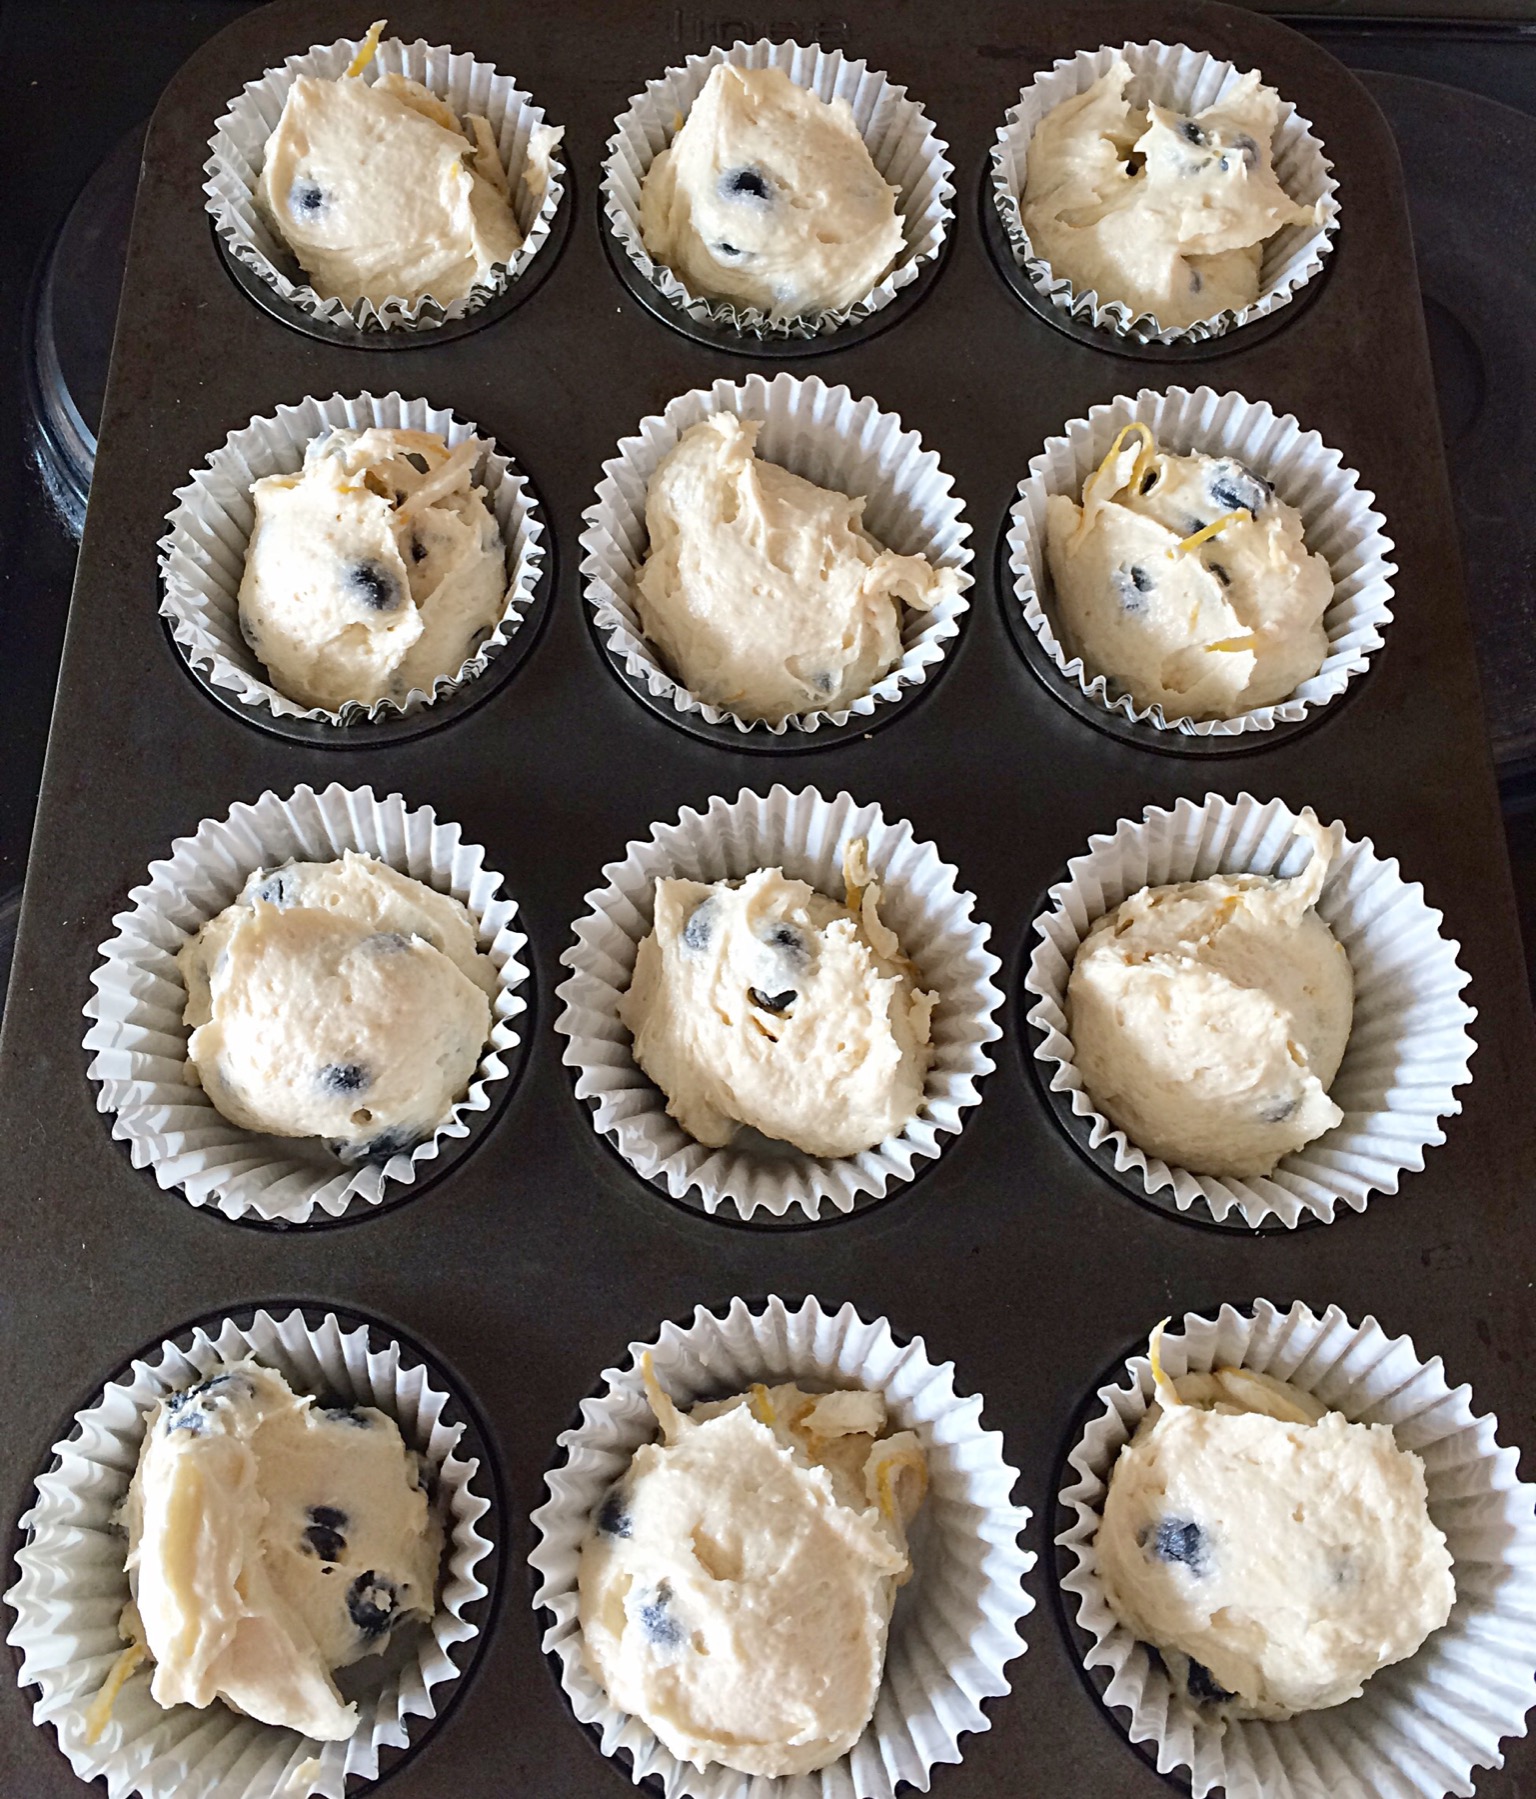
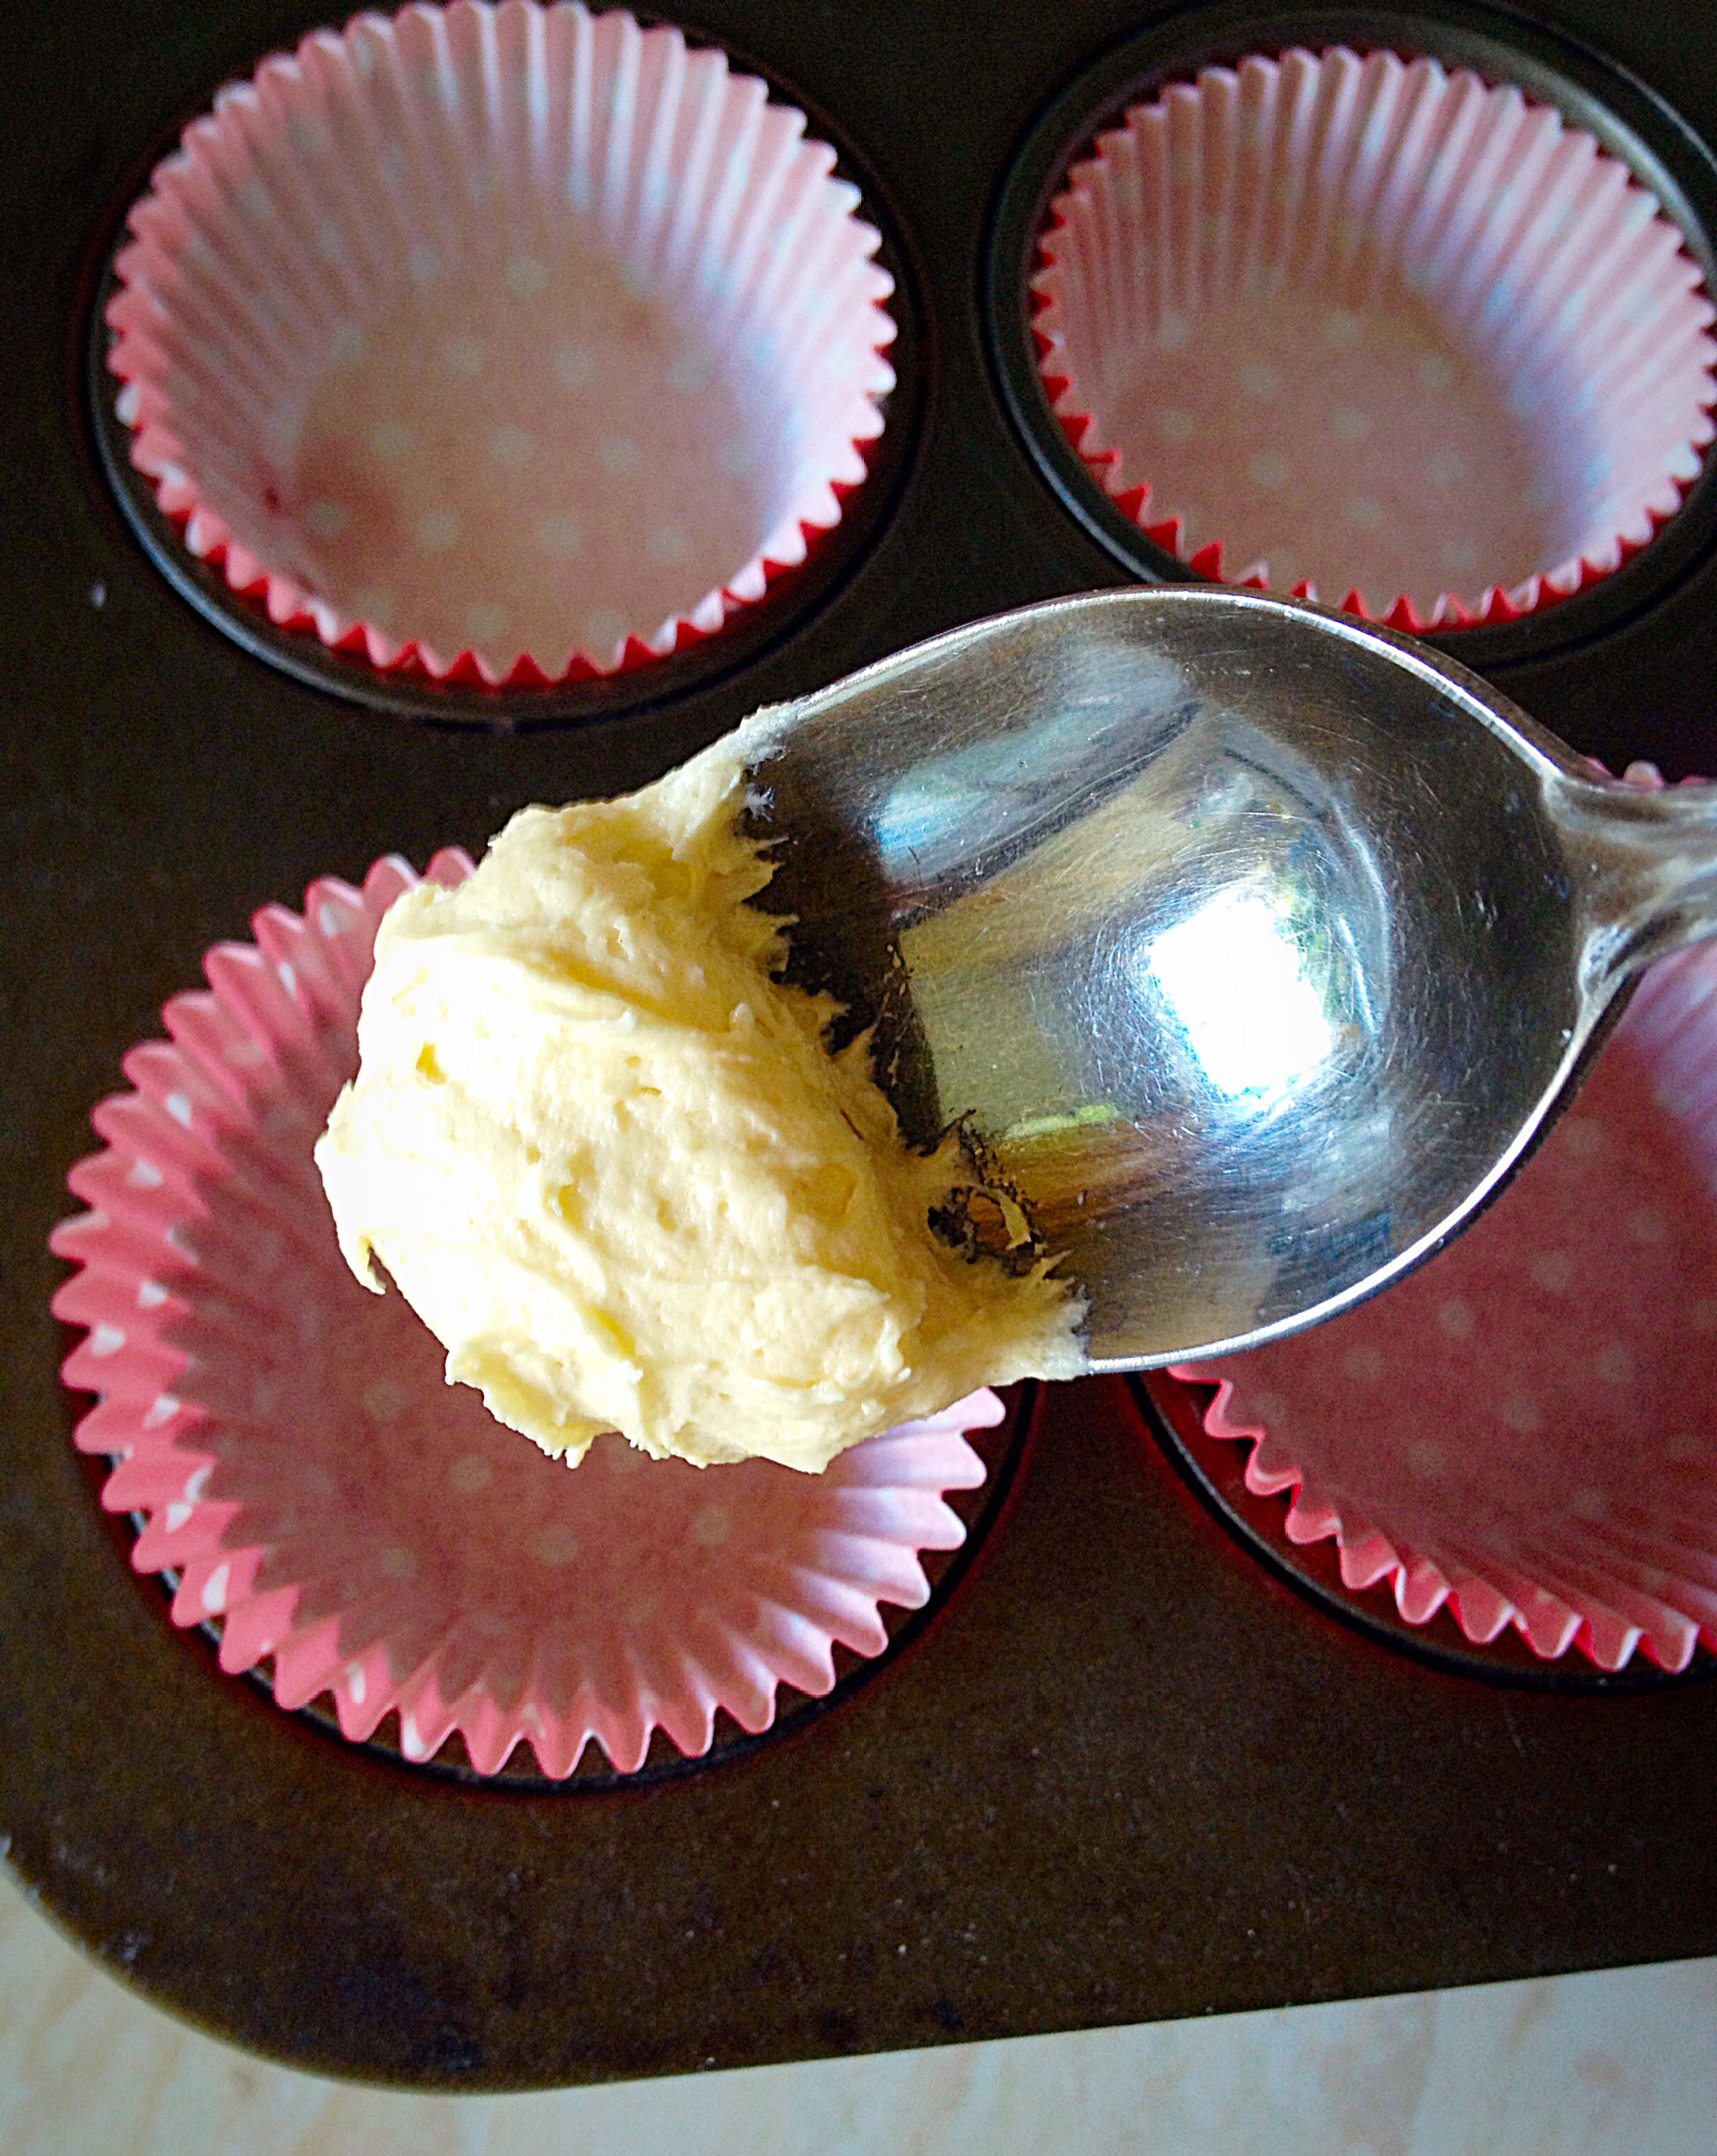
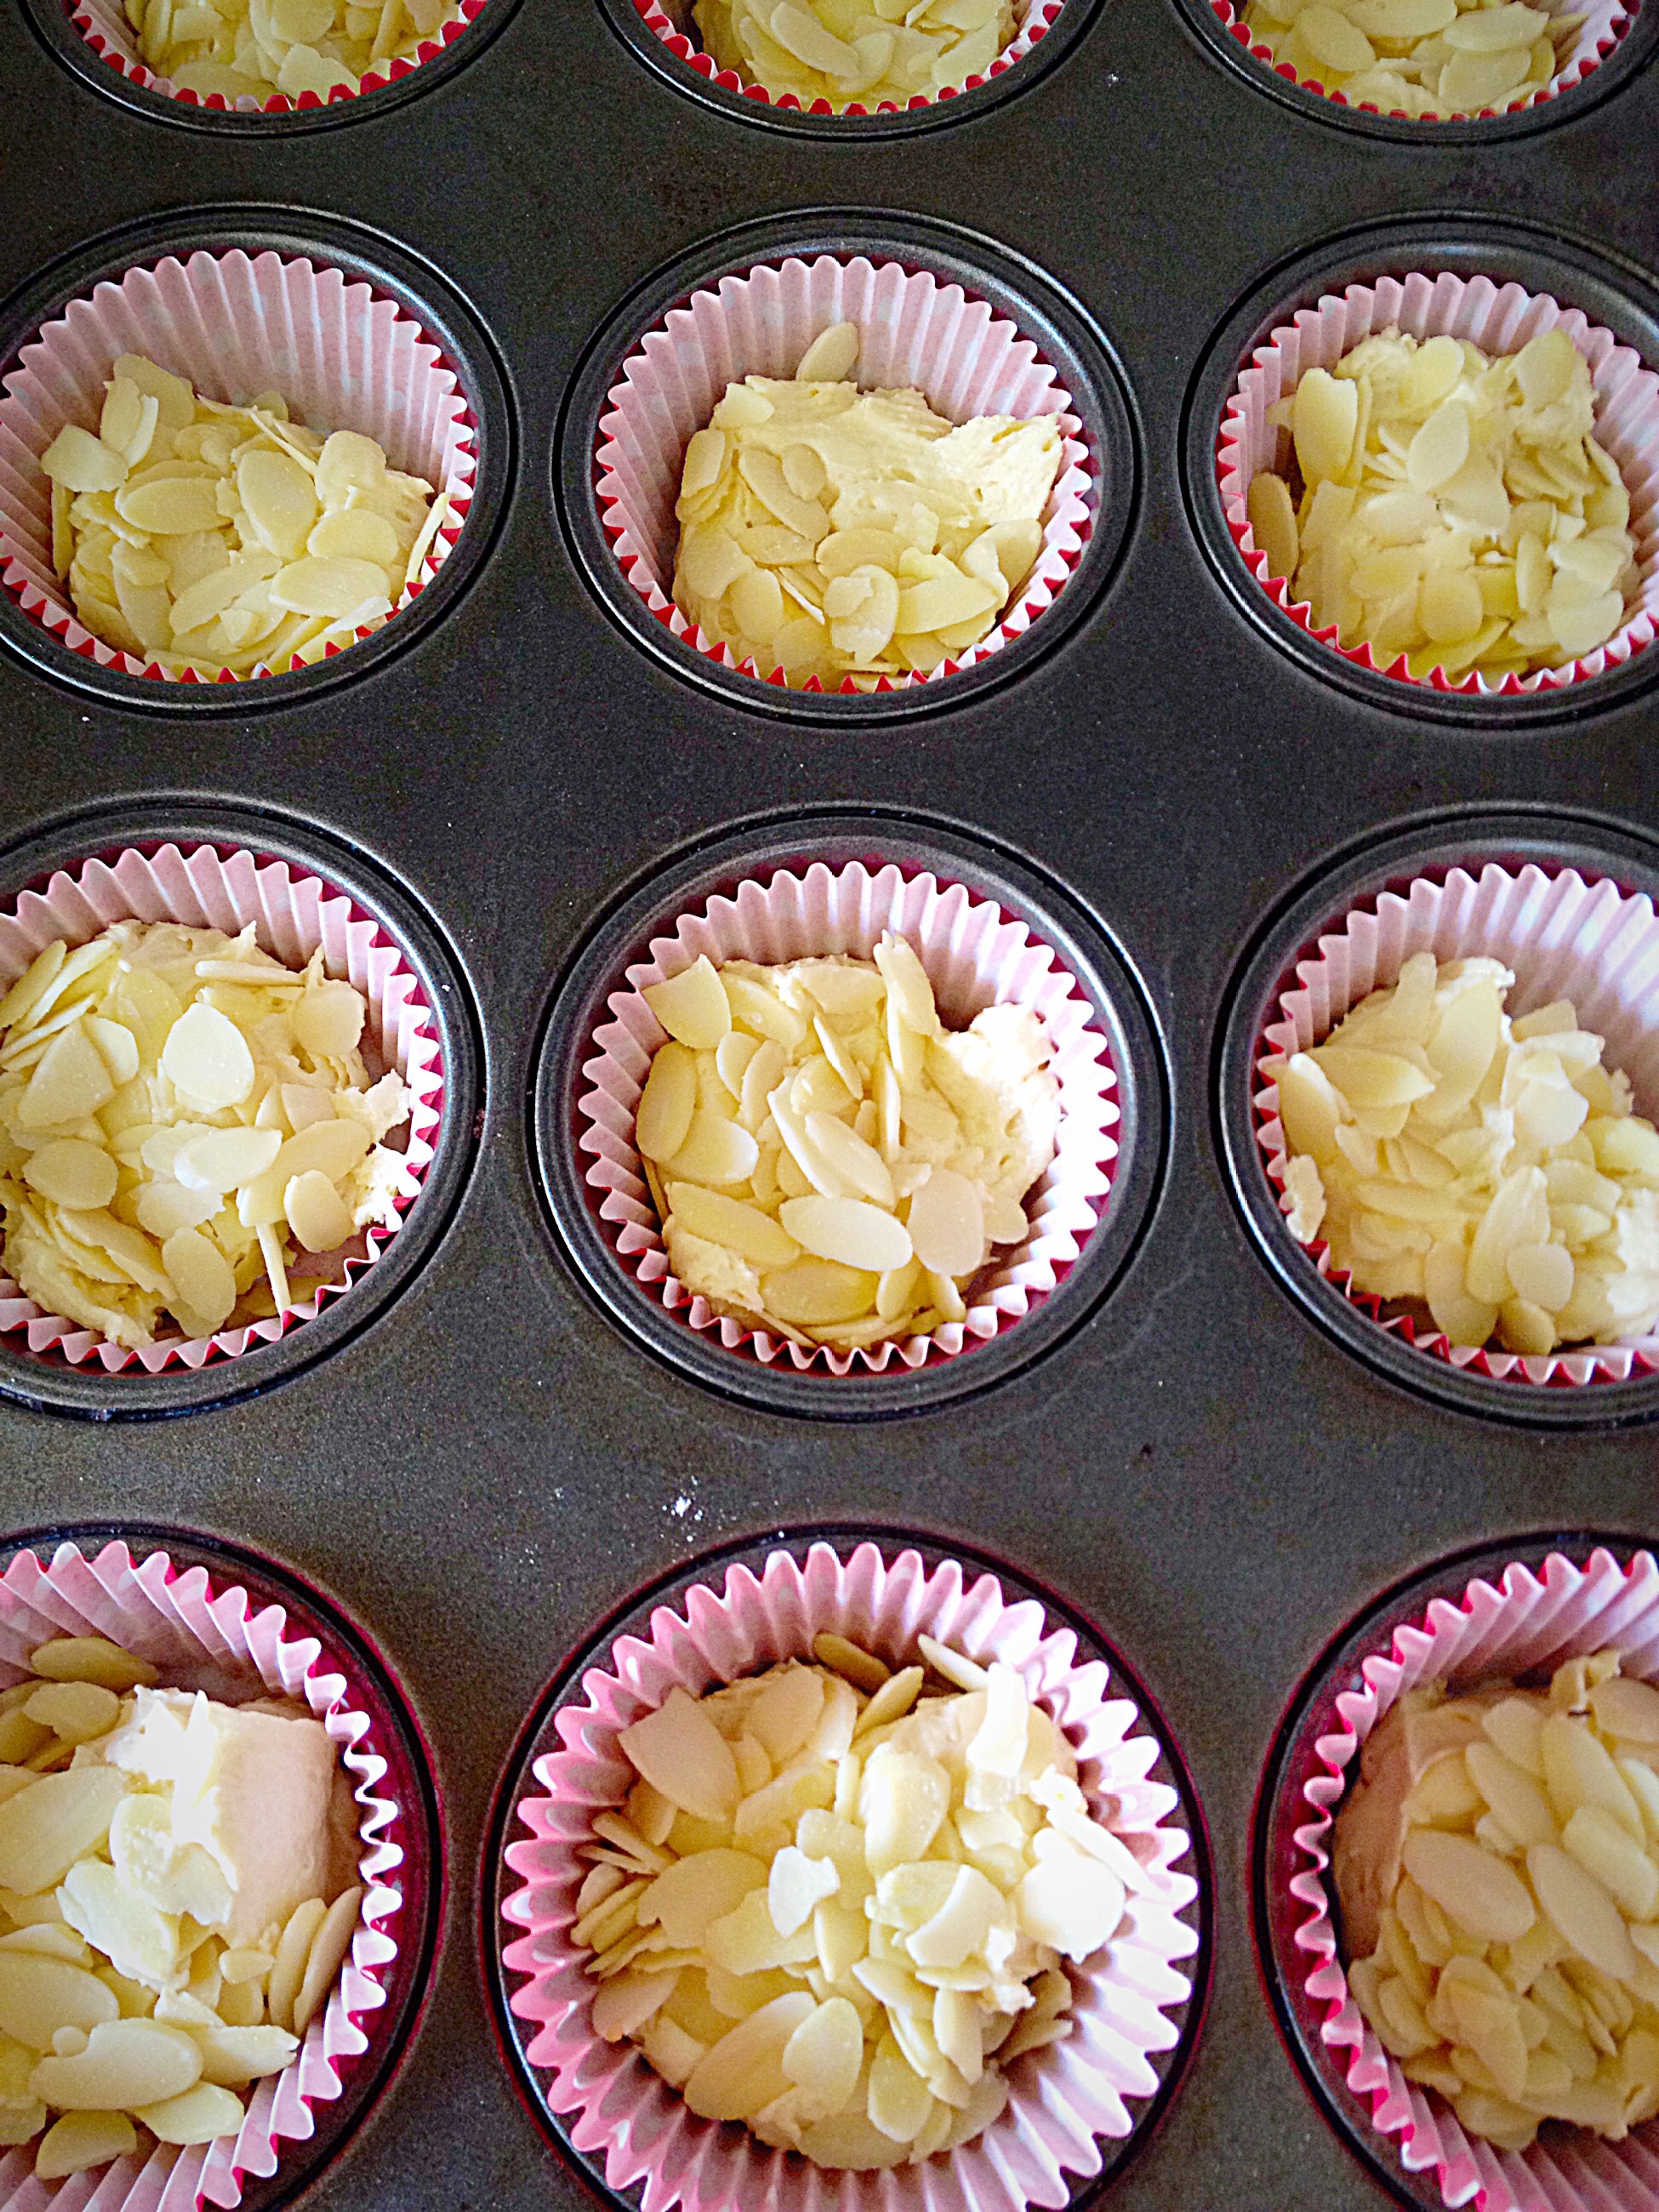
- First of all line a muffin tin with 12 pretty cupcake cases.
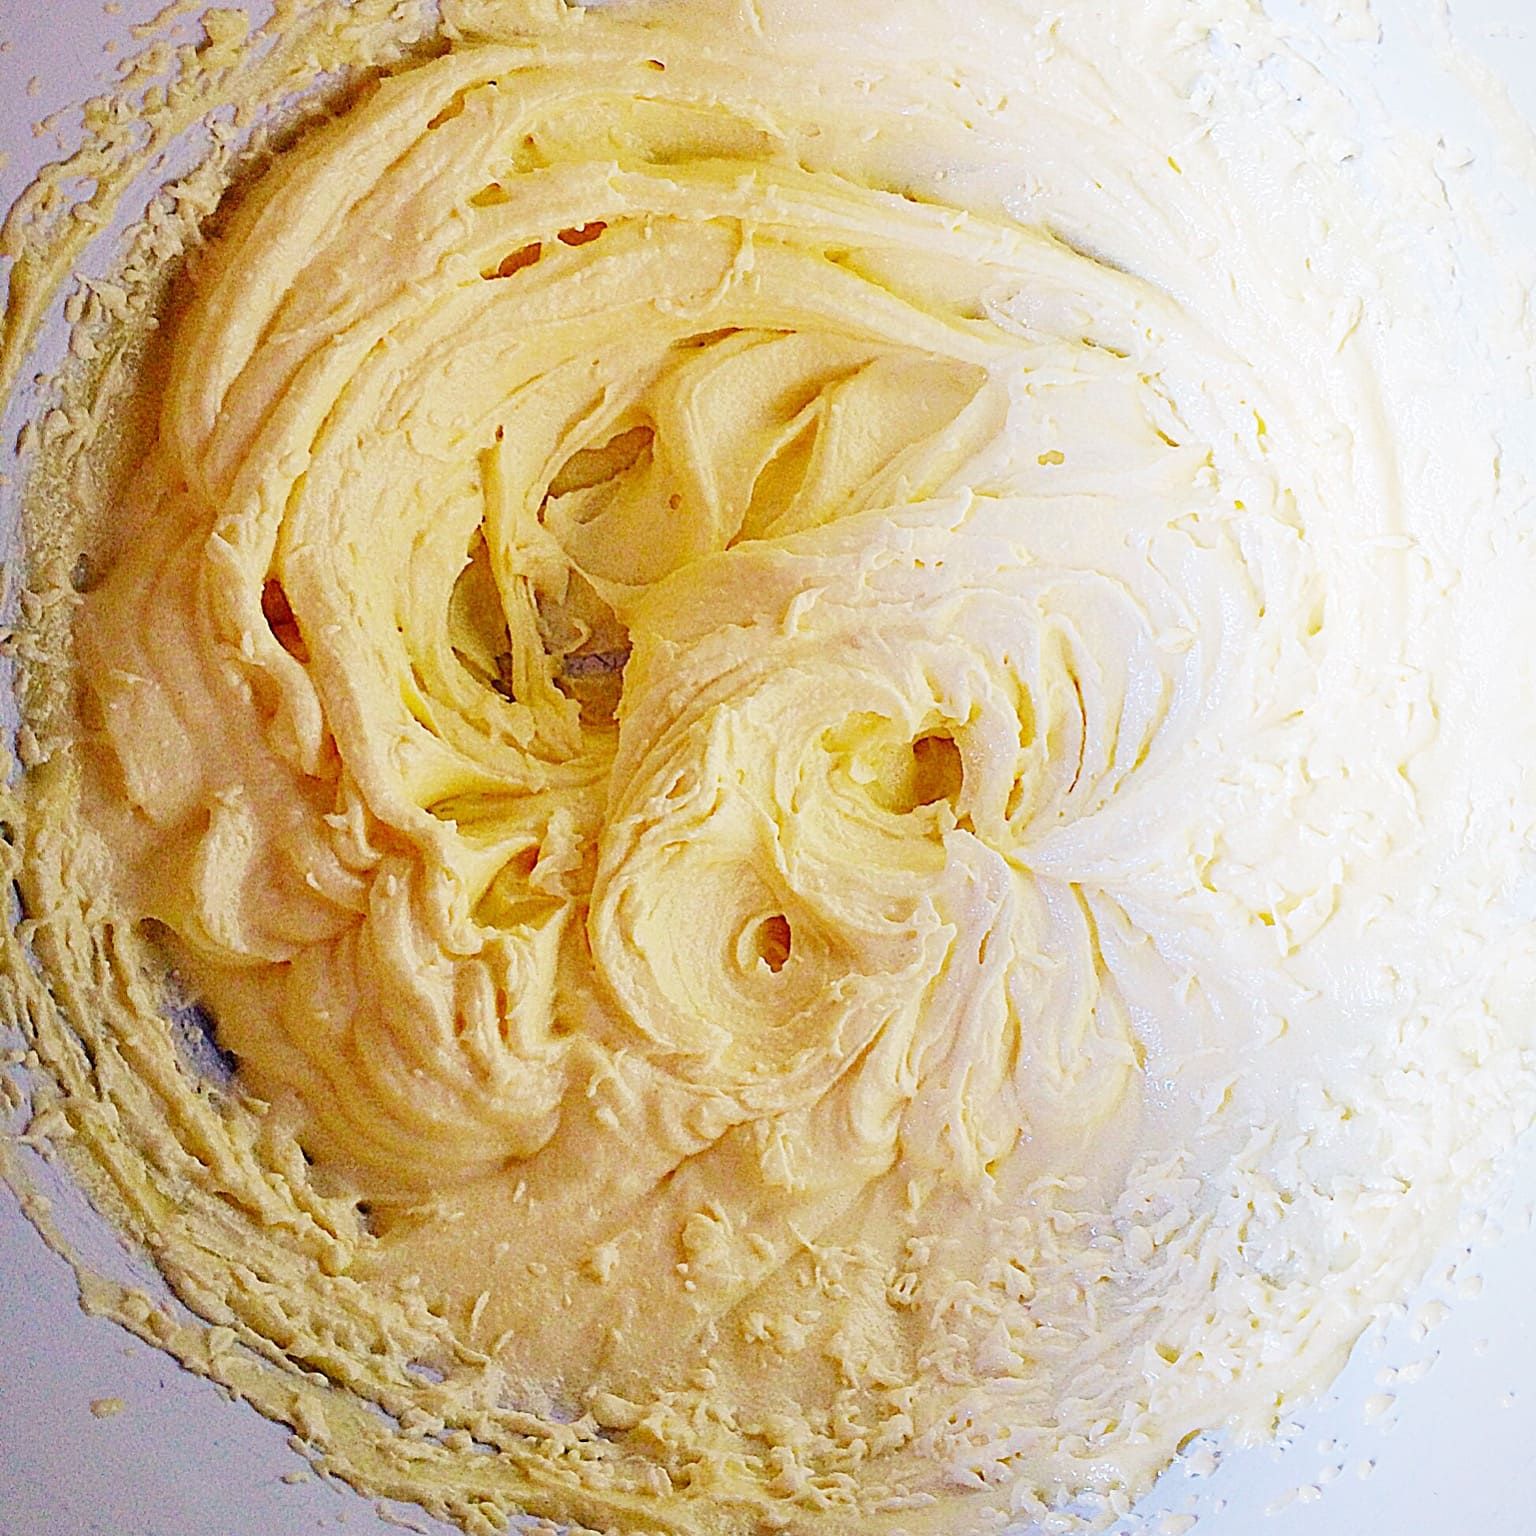
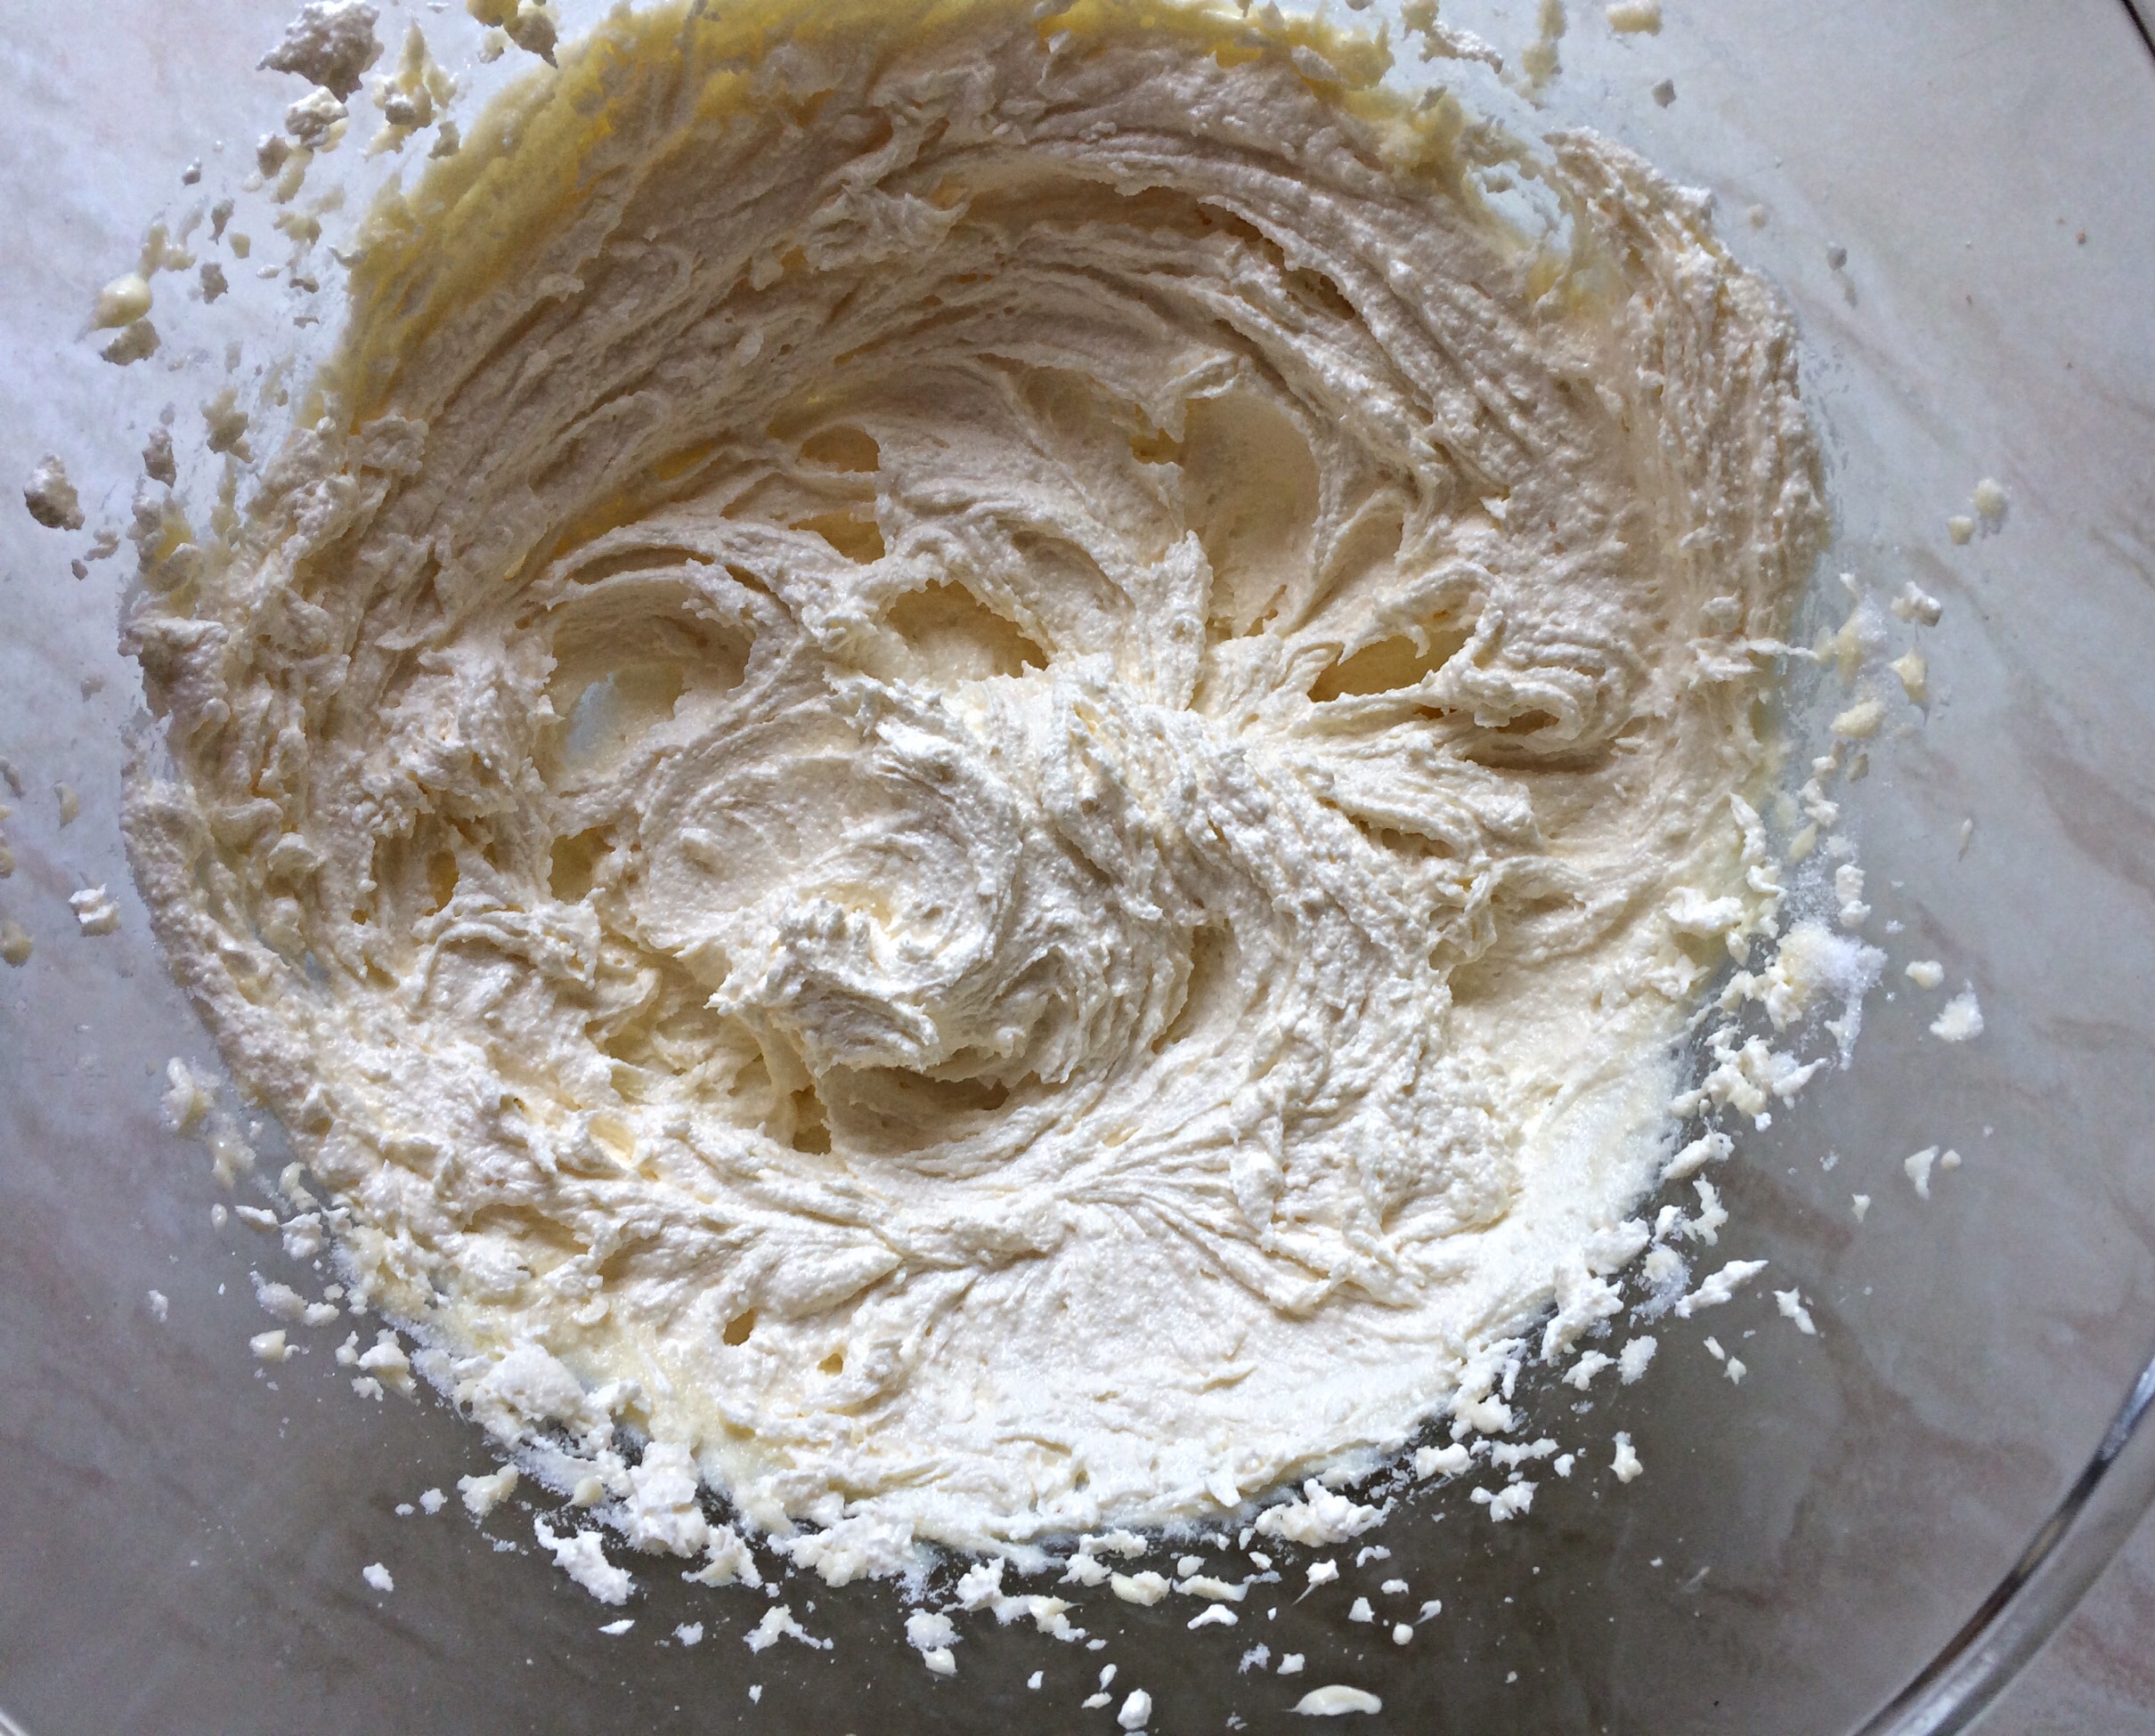
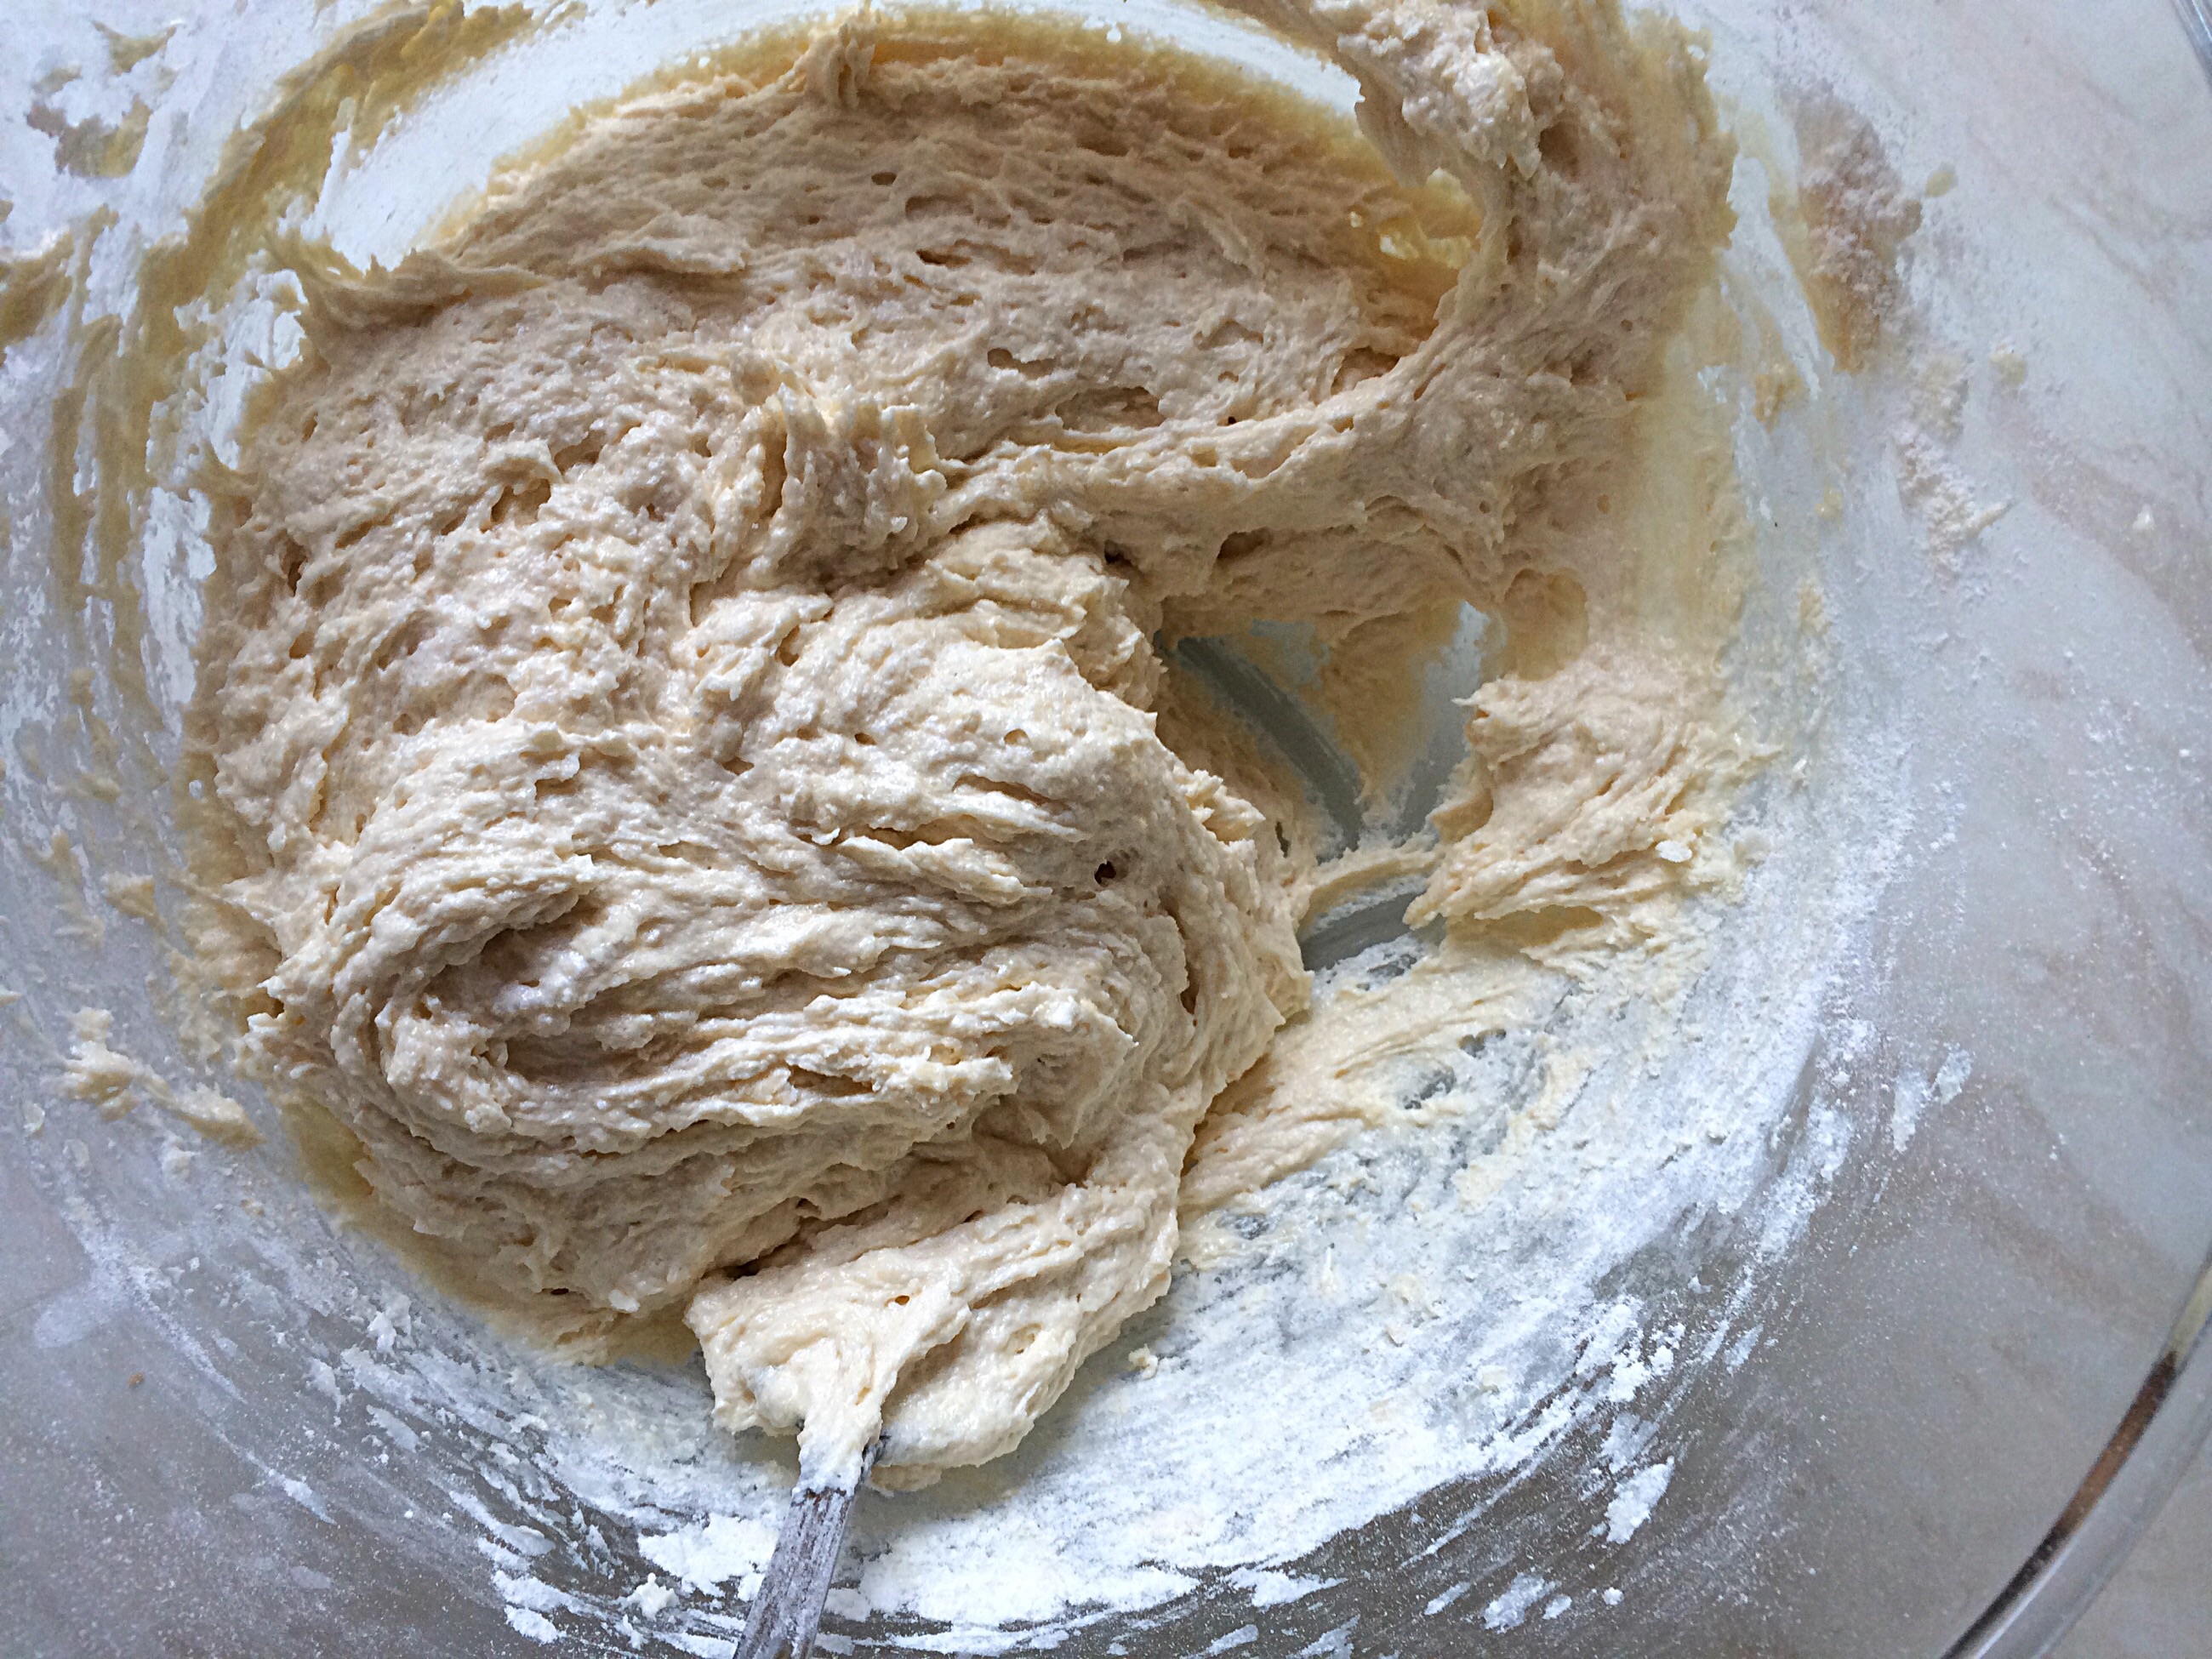
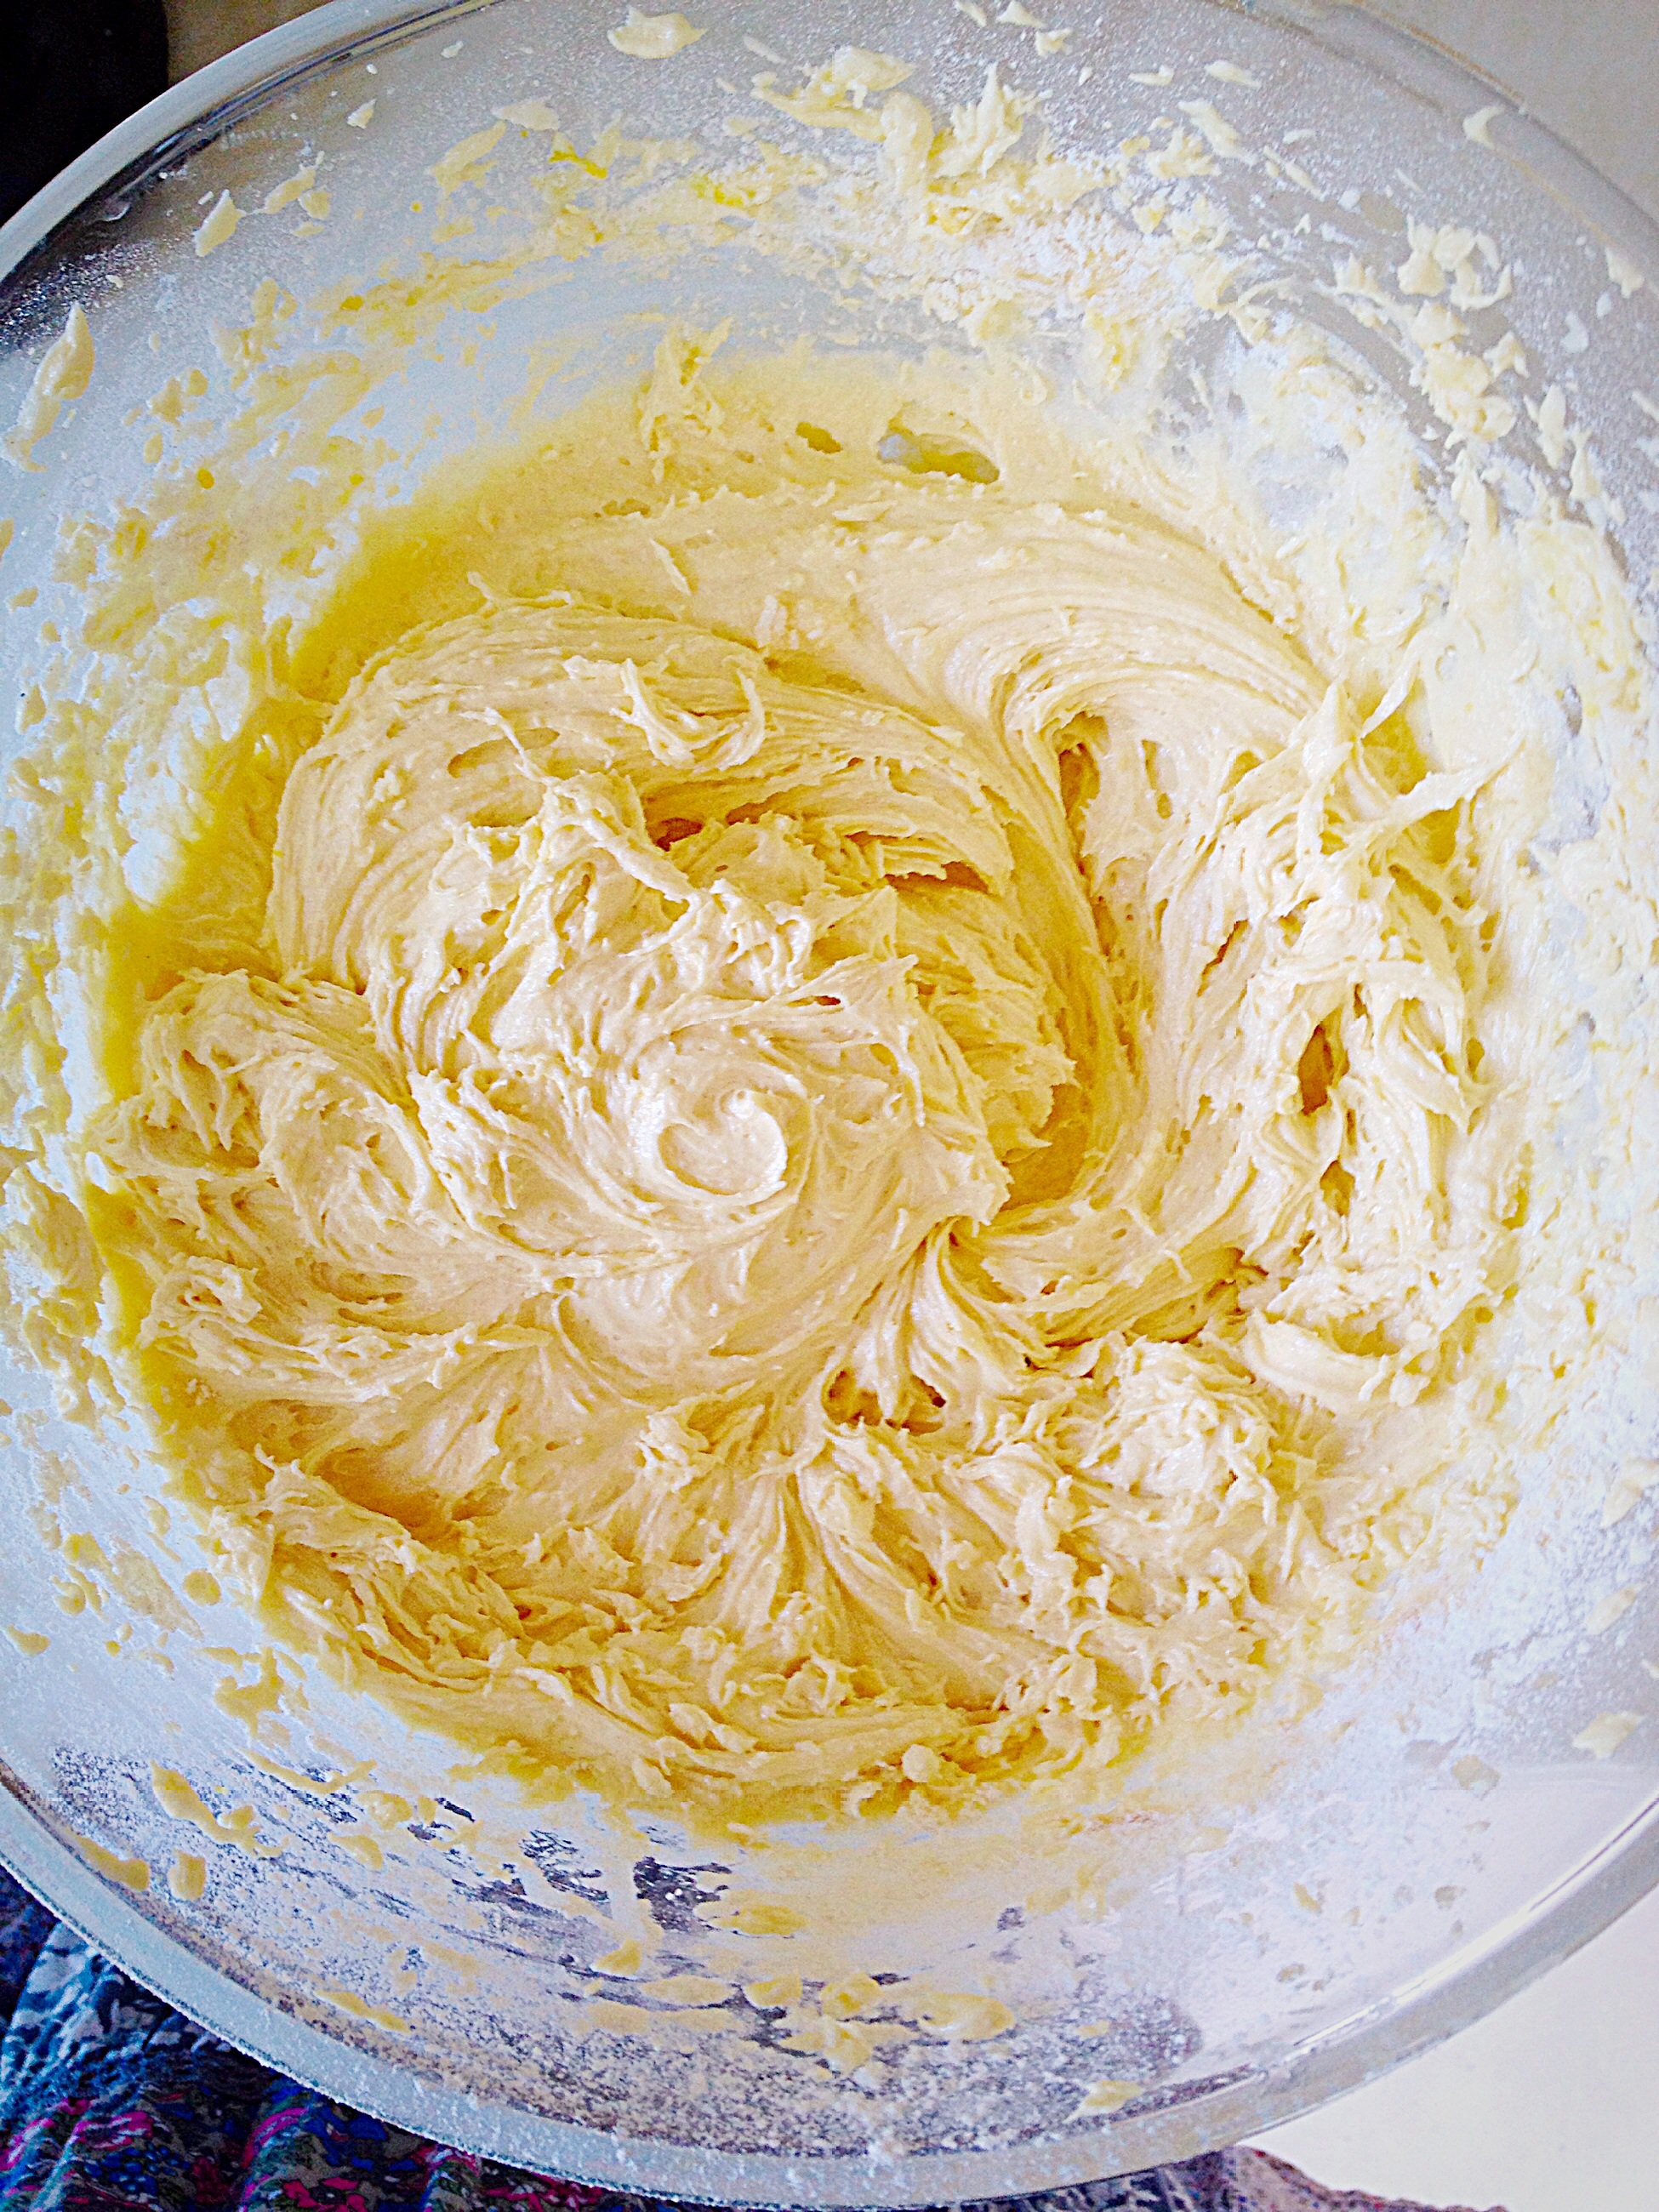
- Into a bowl add the butter, sugar, salt and vanilla extract. Whisk together until pale and creamy.
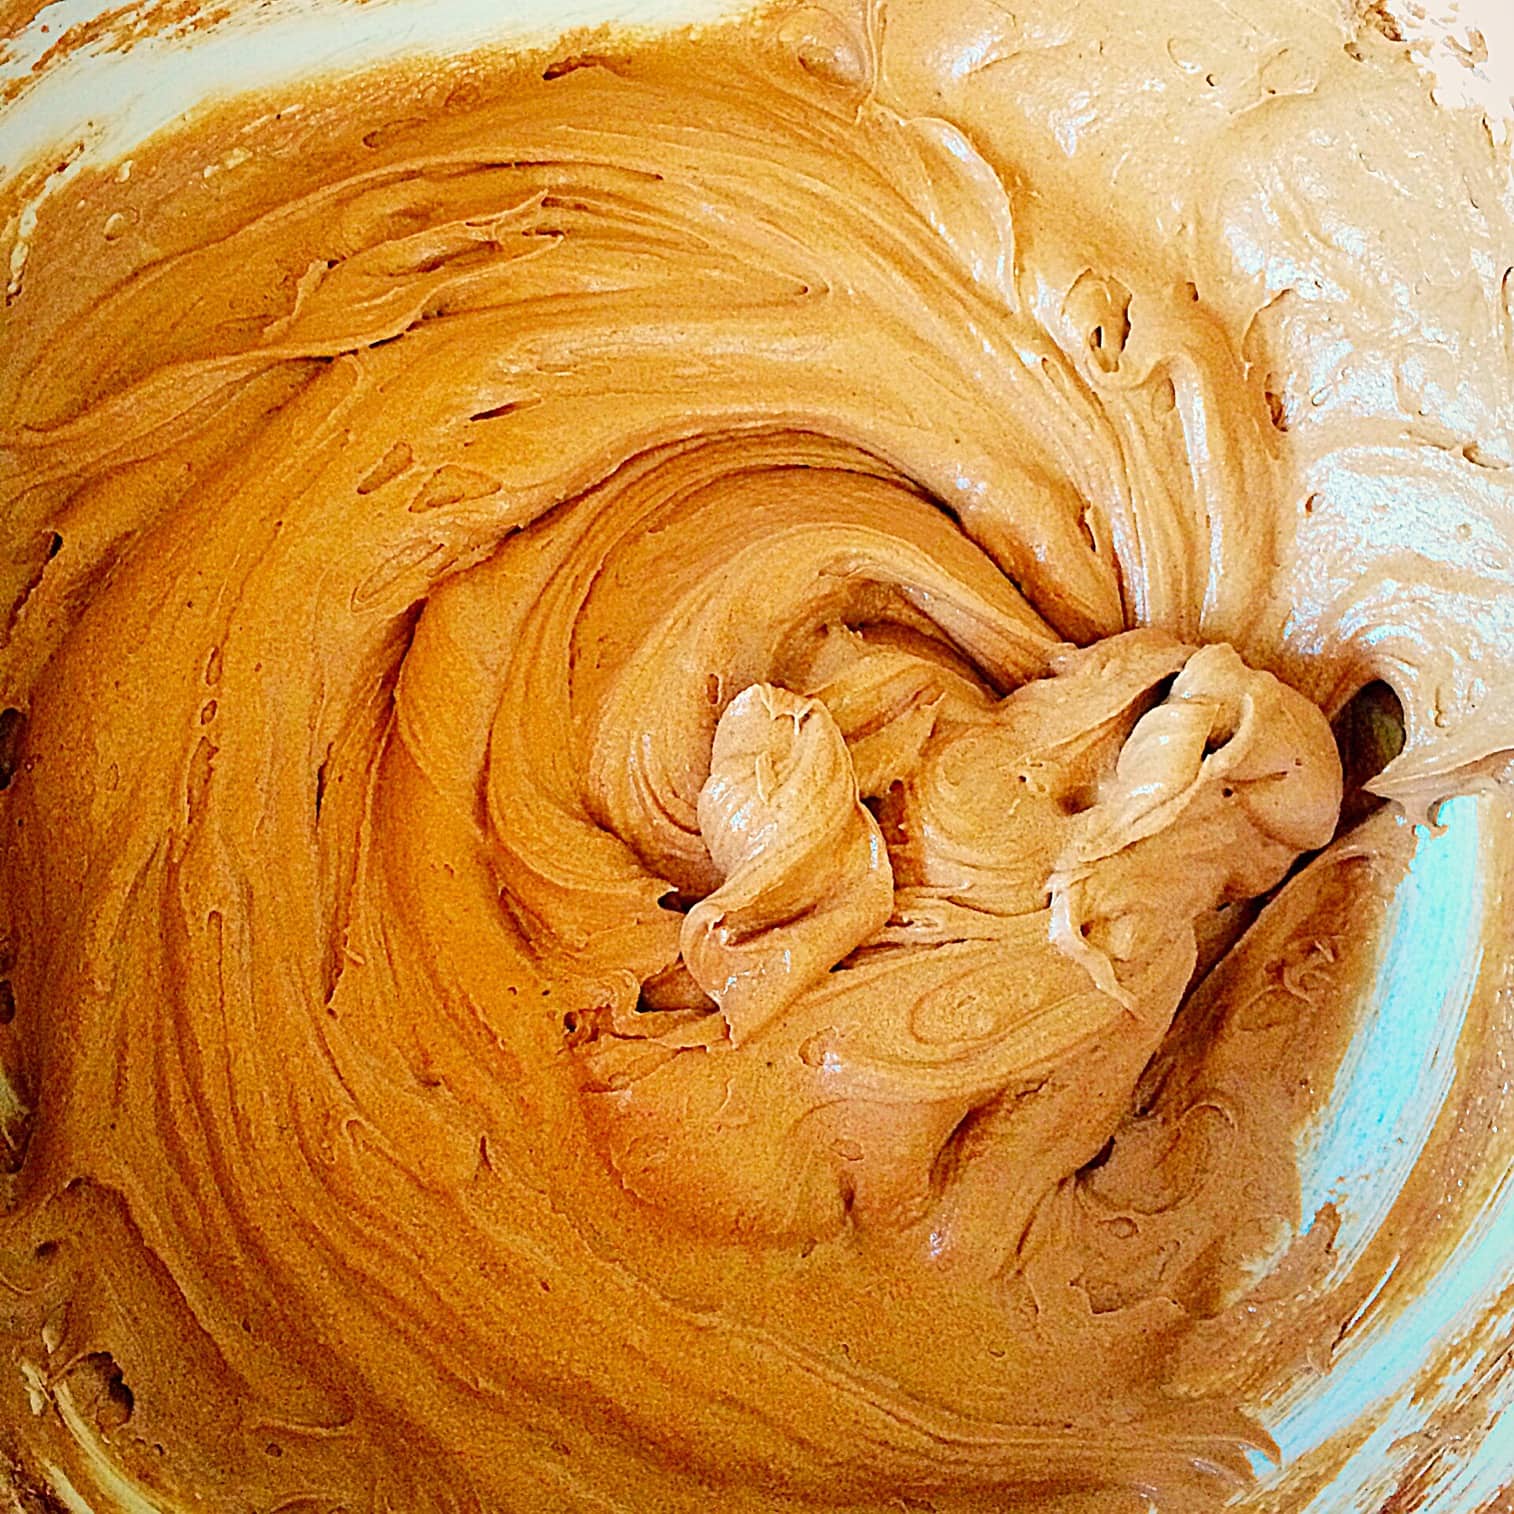
- Next add the two eggs and then sift in the flour and baking powder. Finely add the finely grated zest of a lemon.
- Whisk all the ingredients together until they are combined. Importantly, avoid over mixing as this can lead to a tough cake when baked.
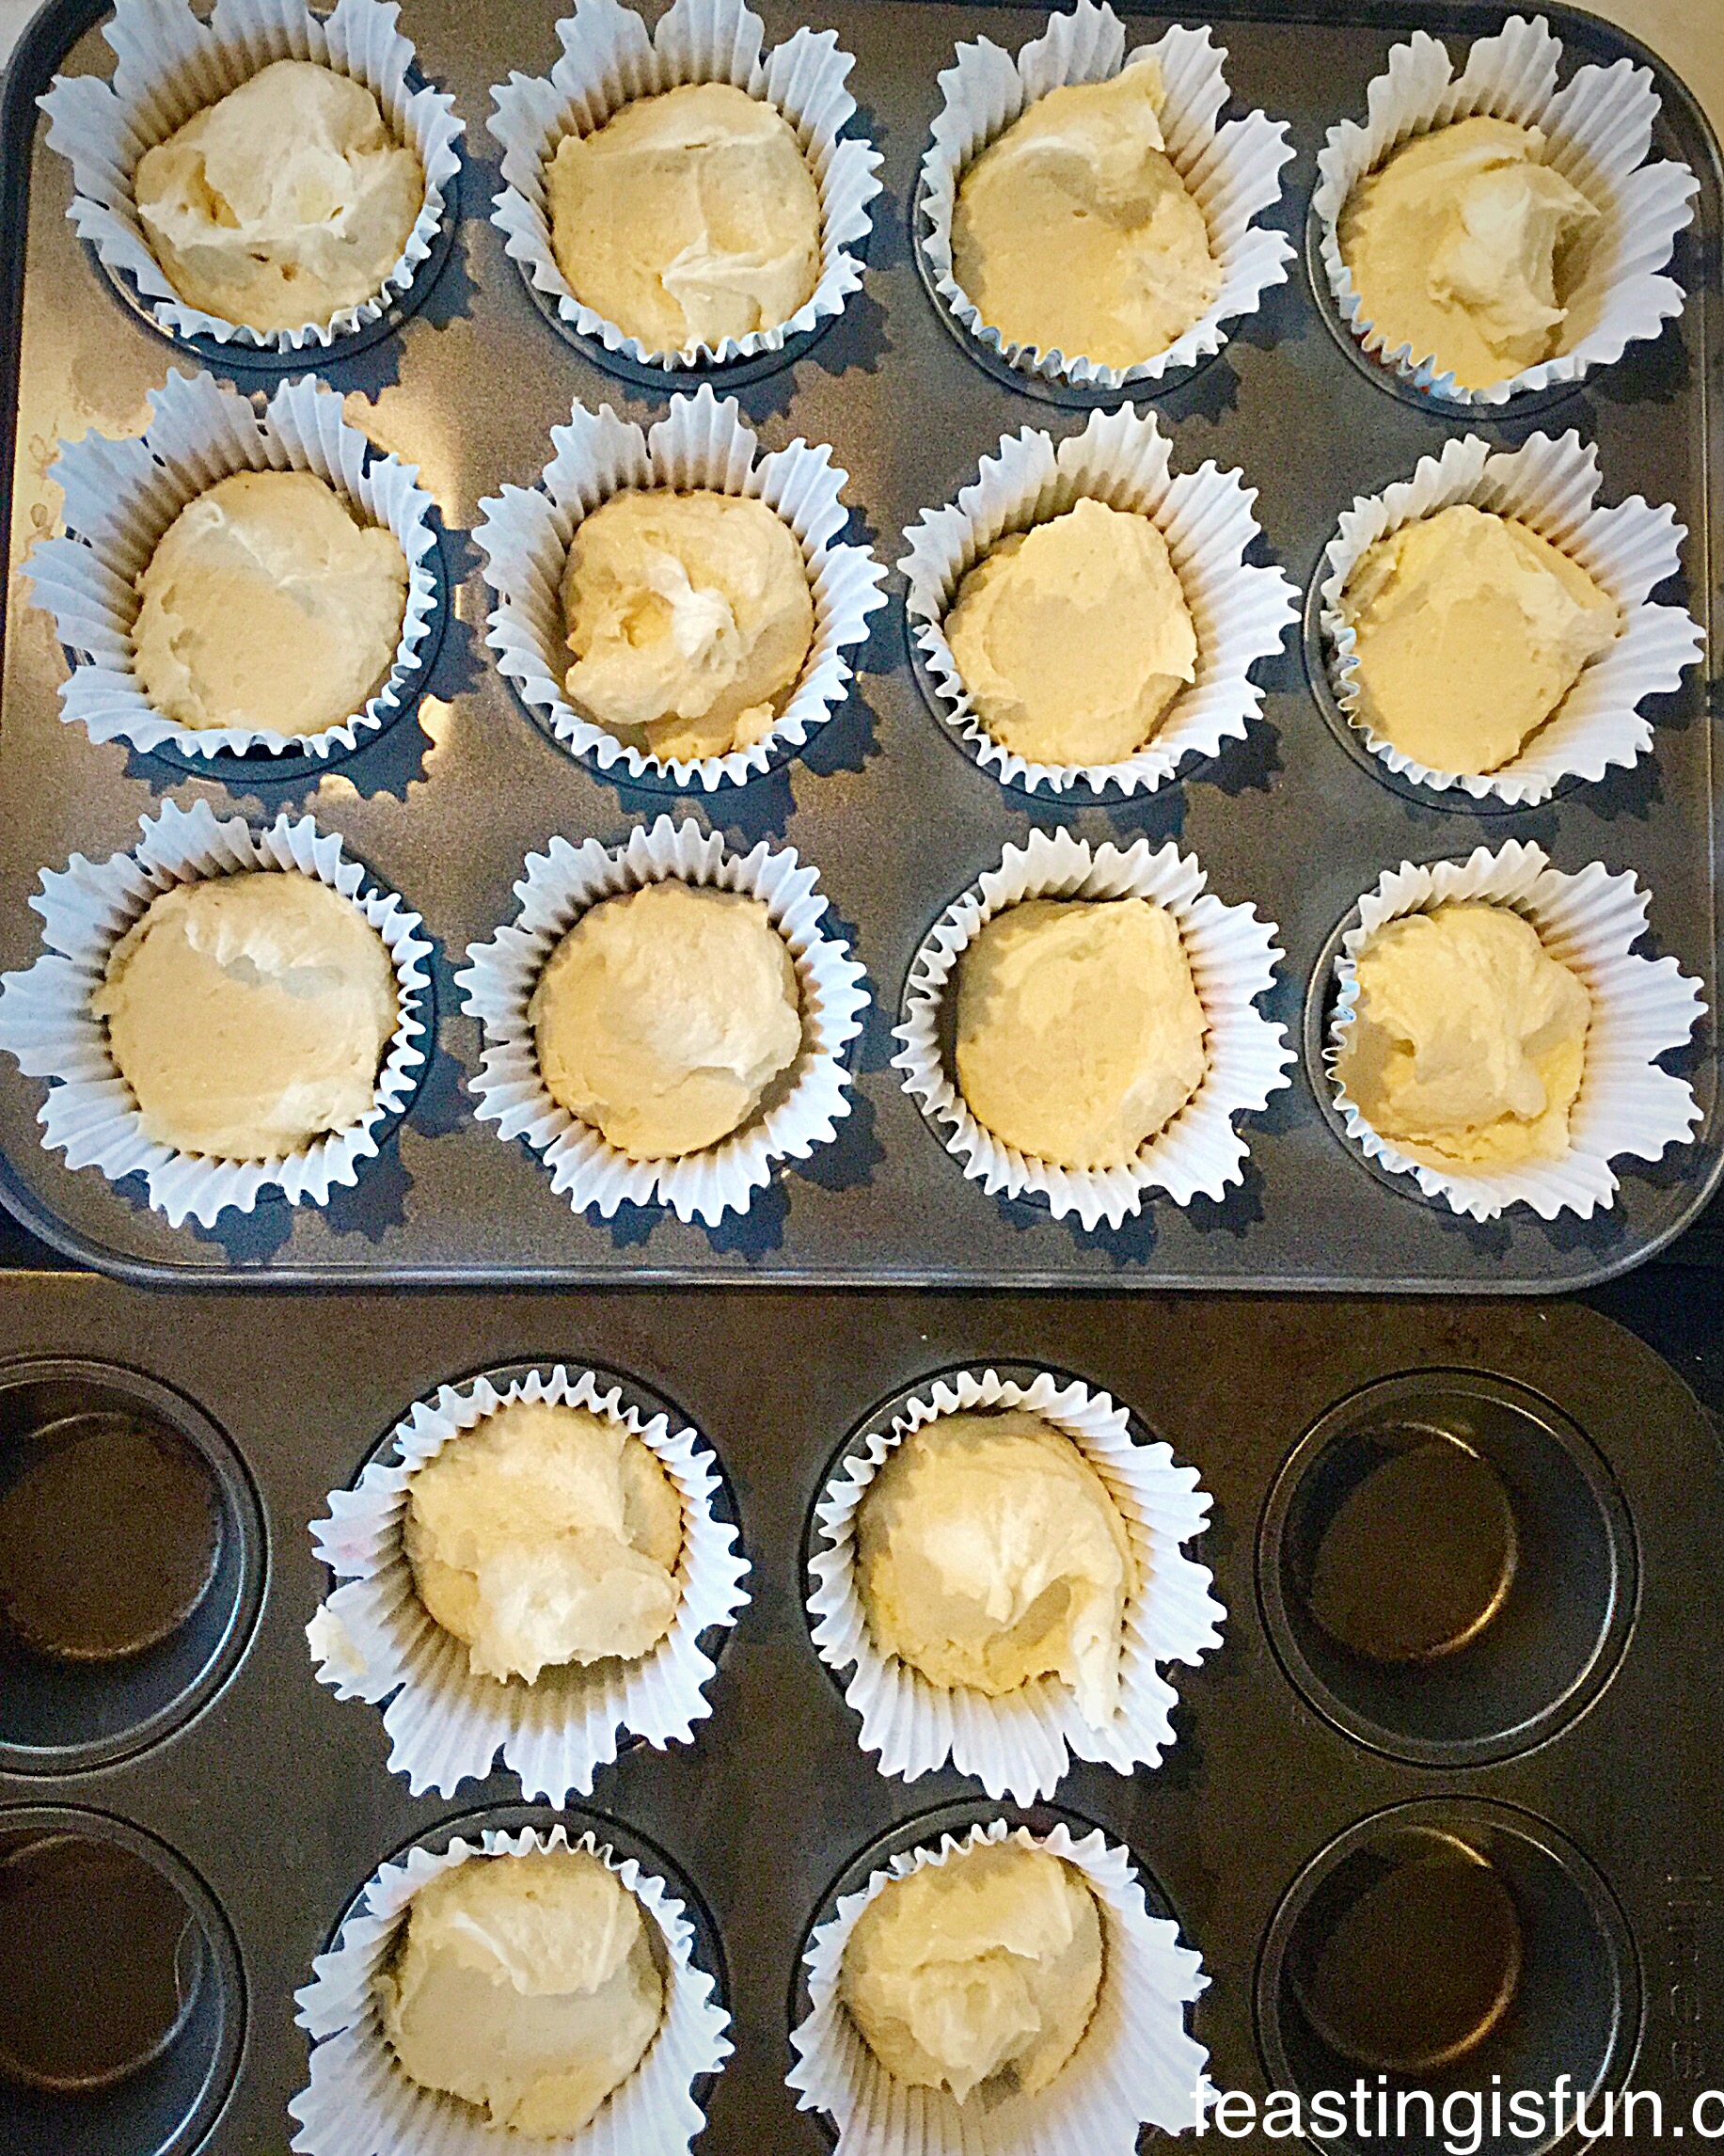
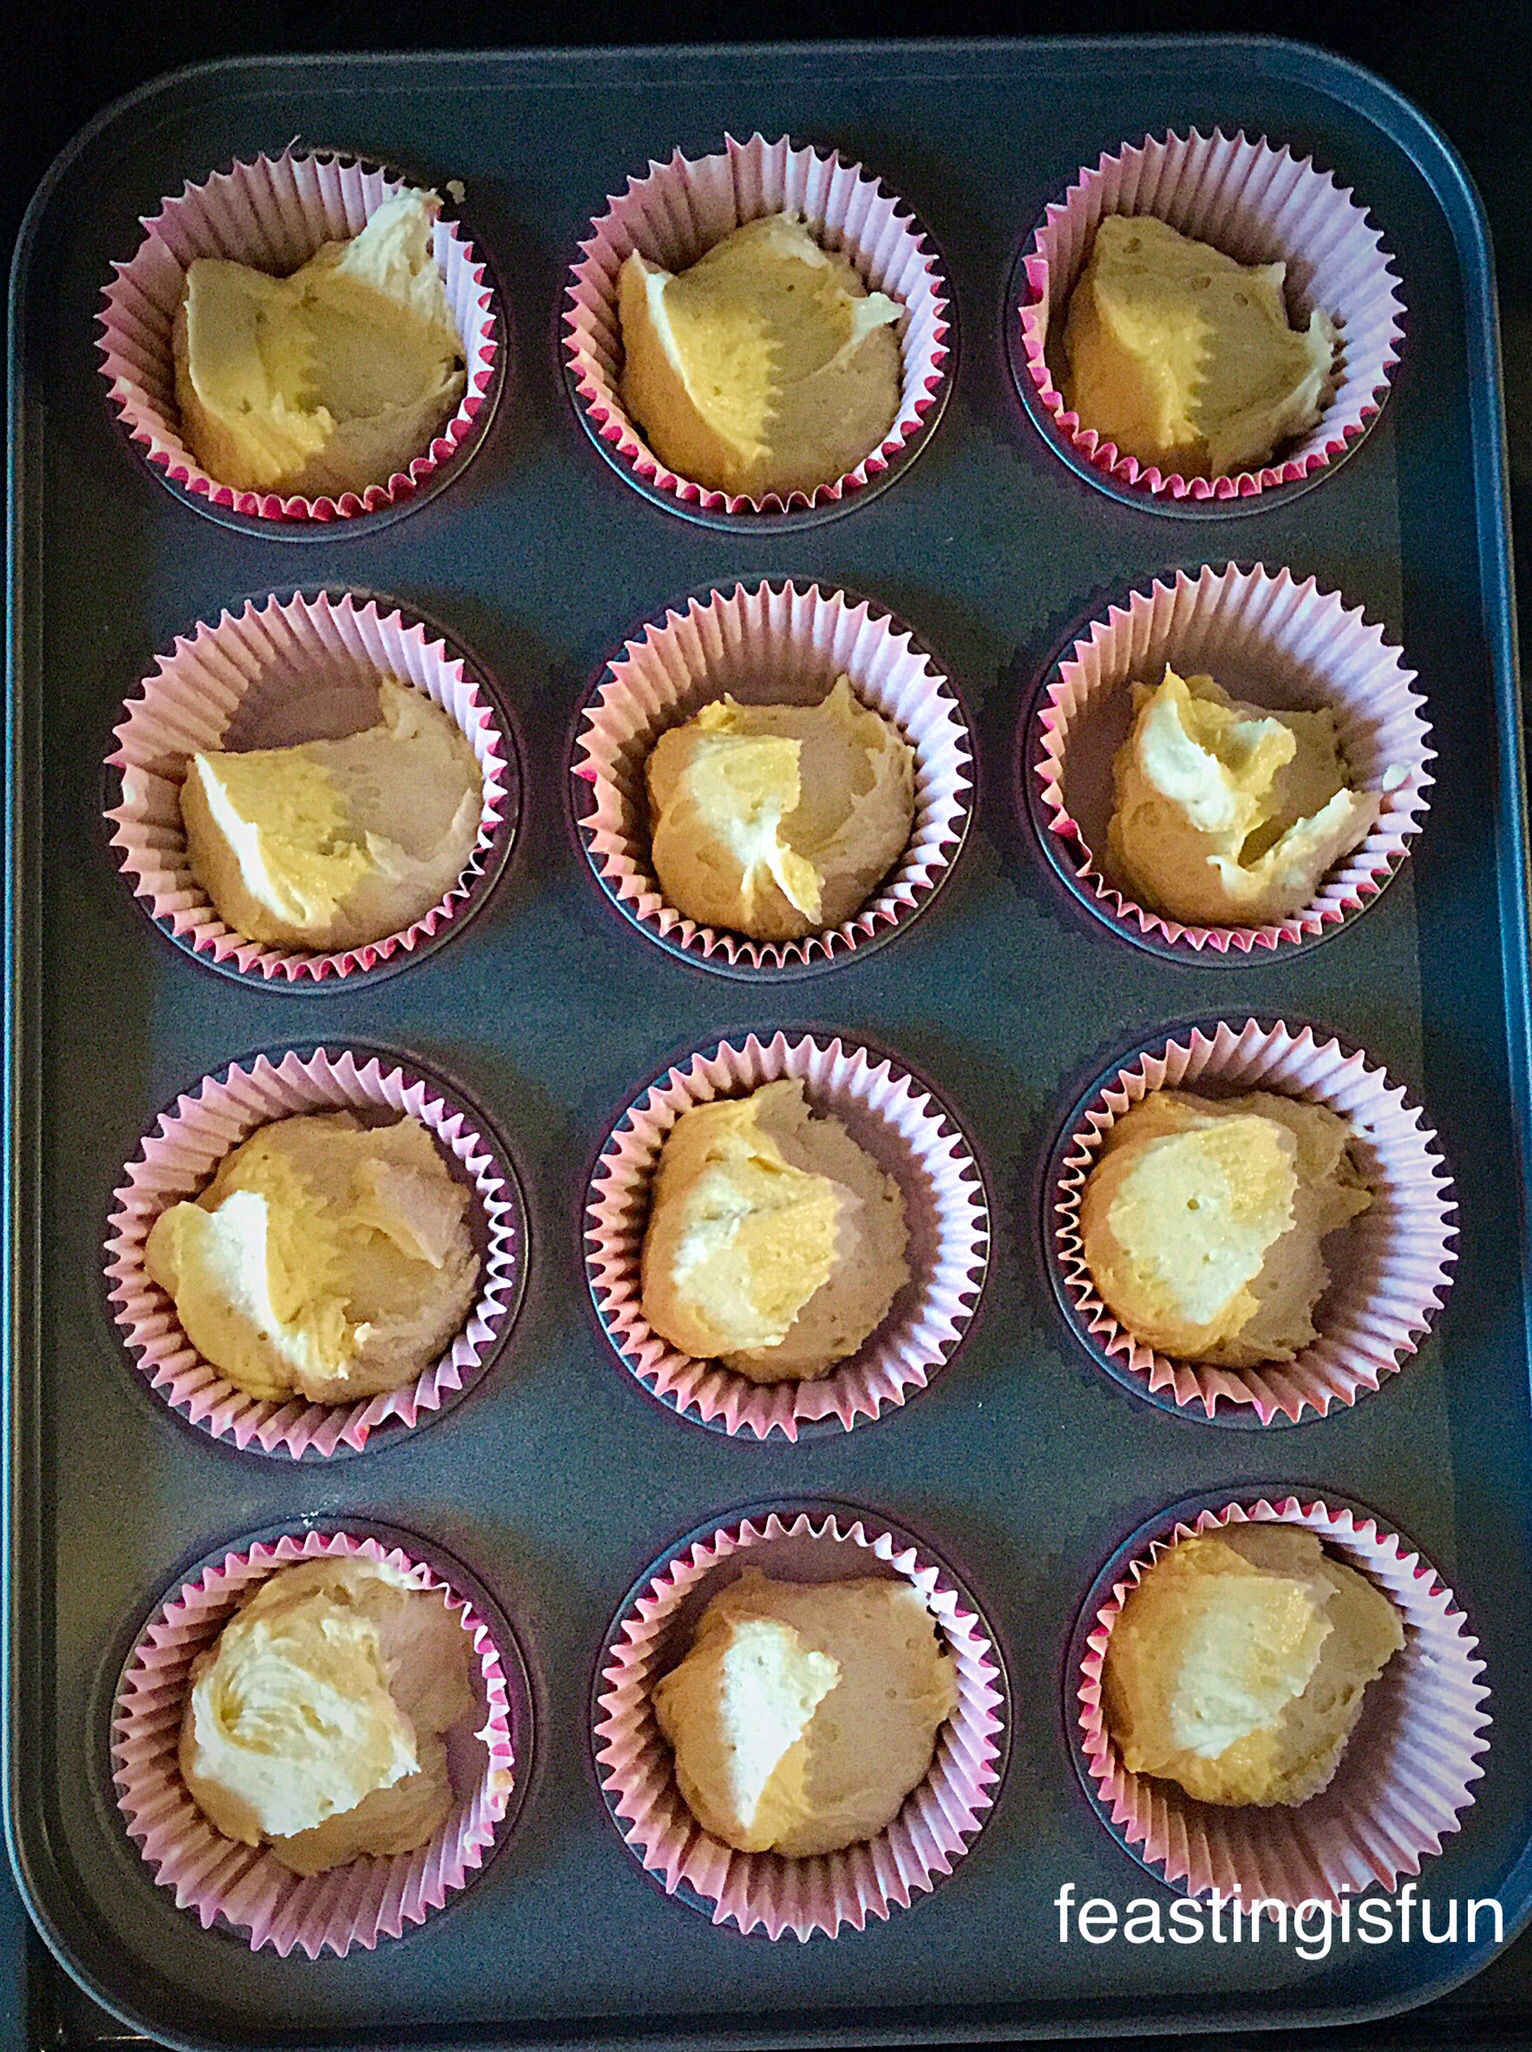
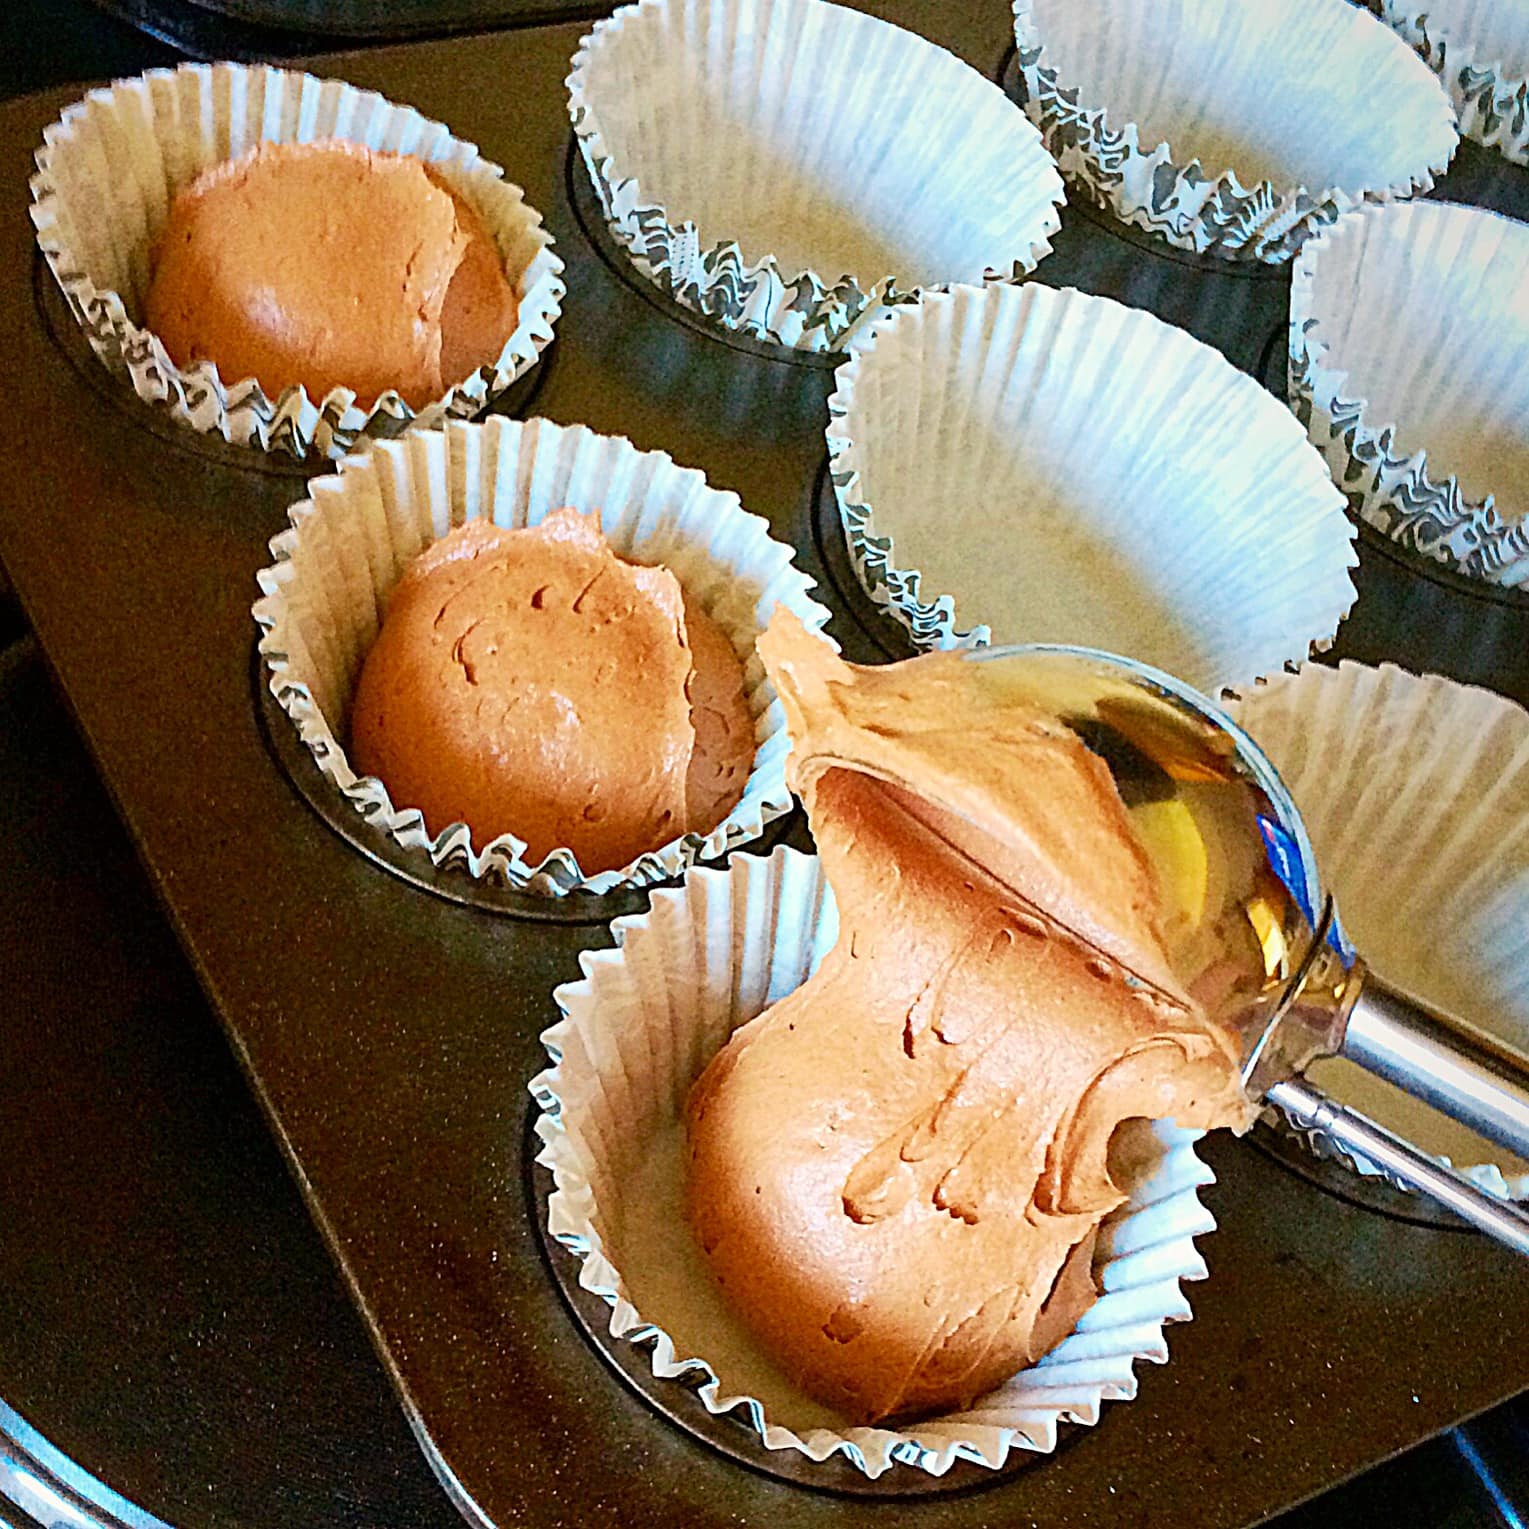
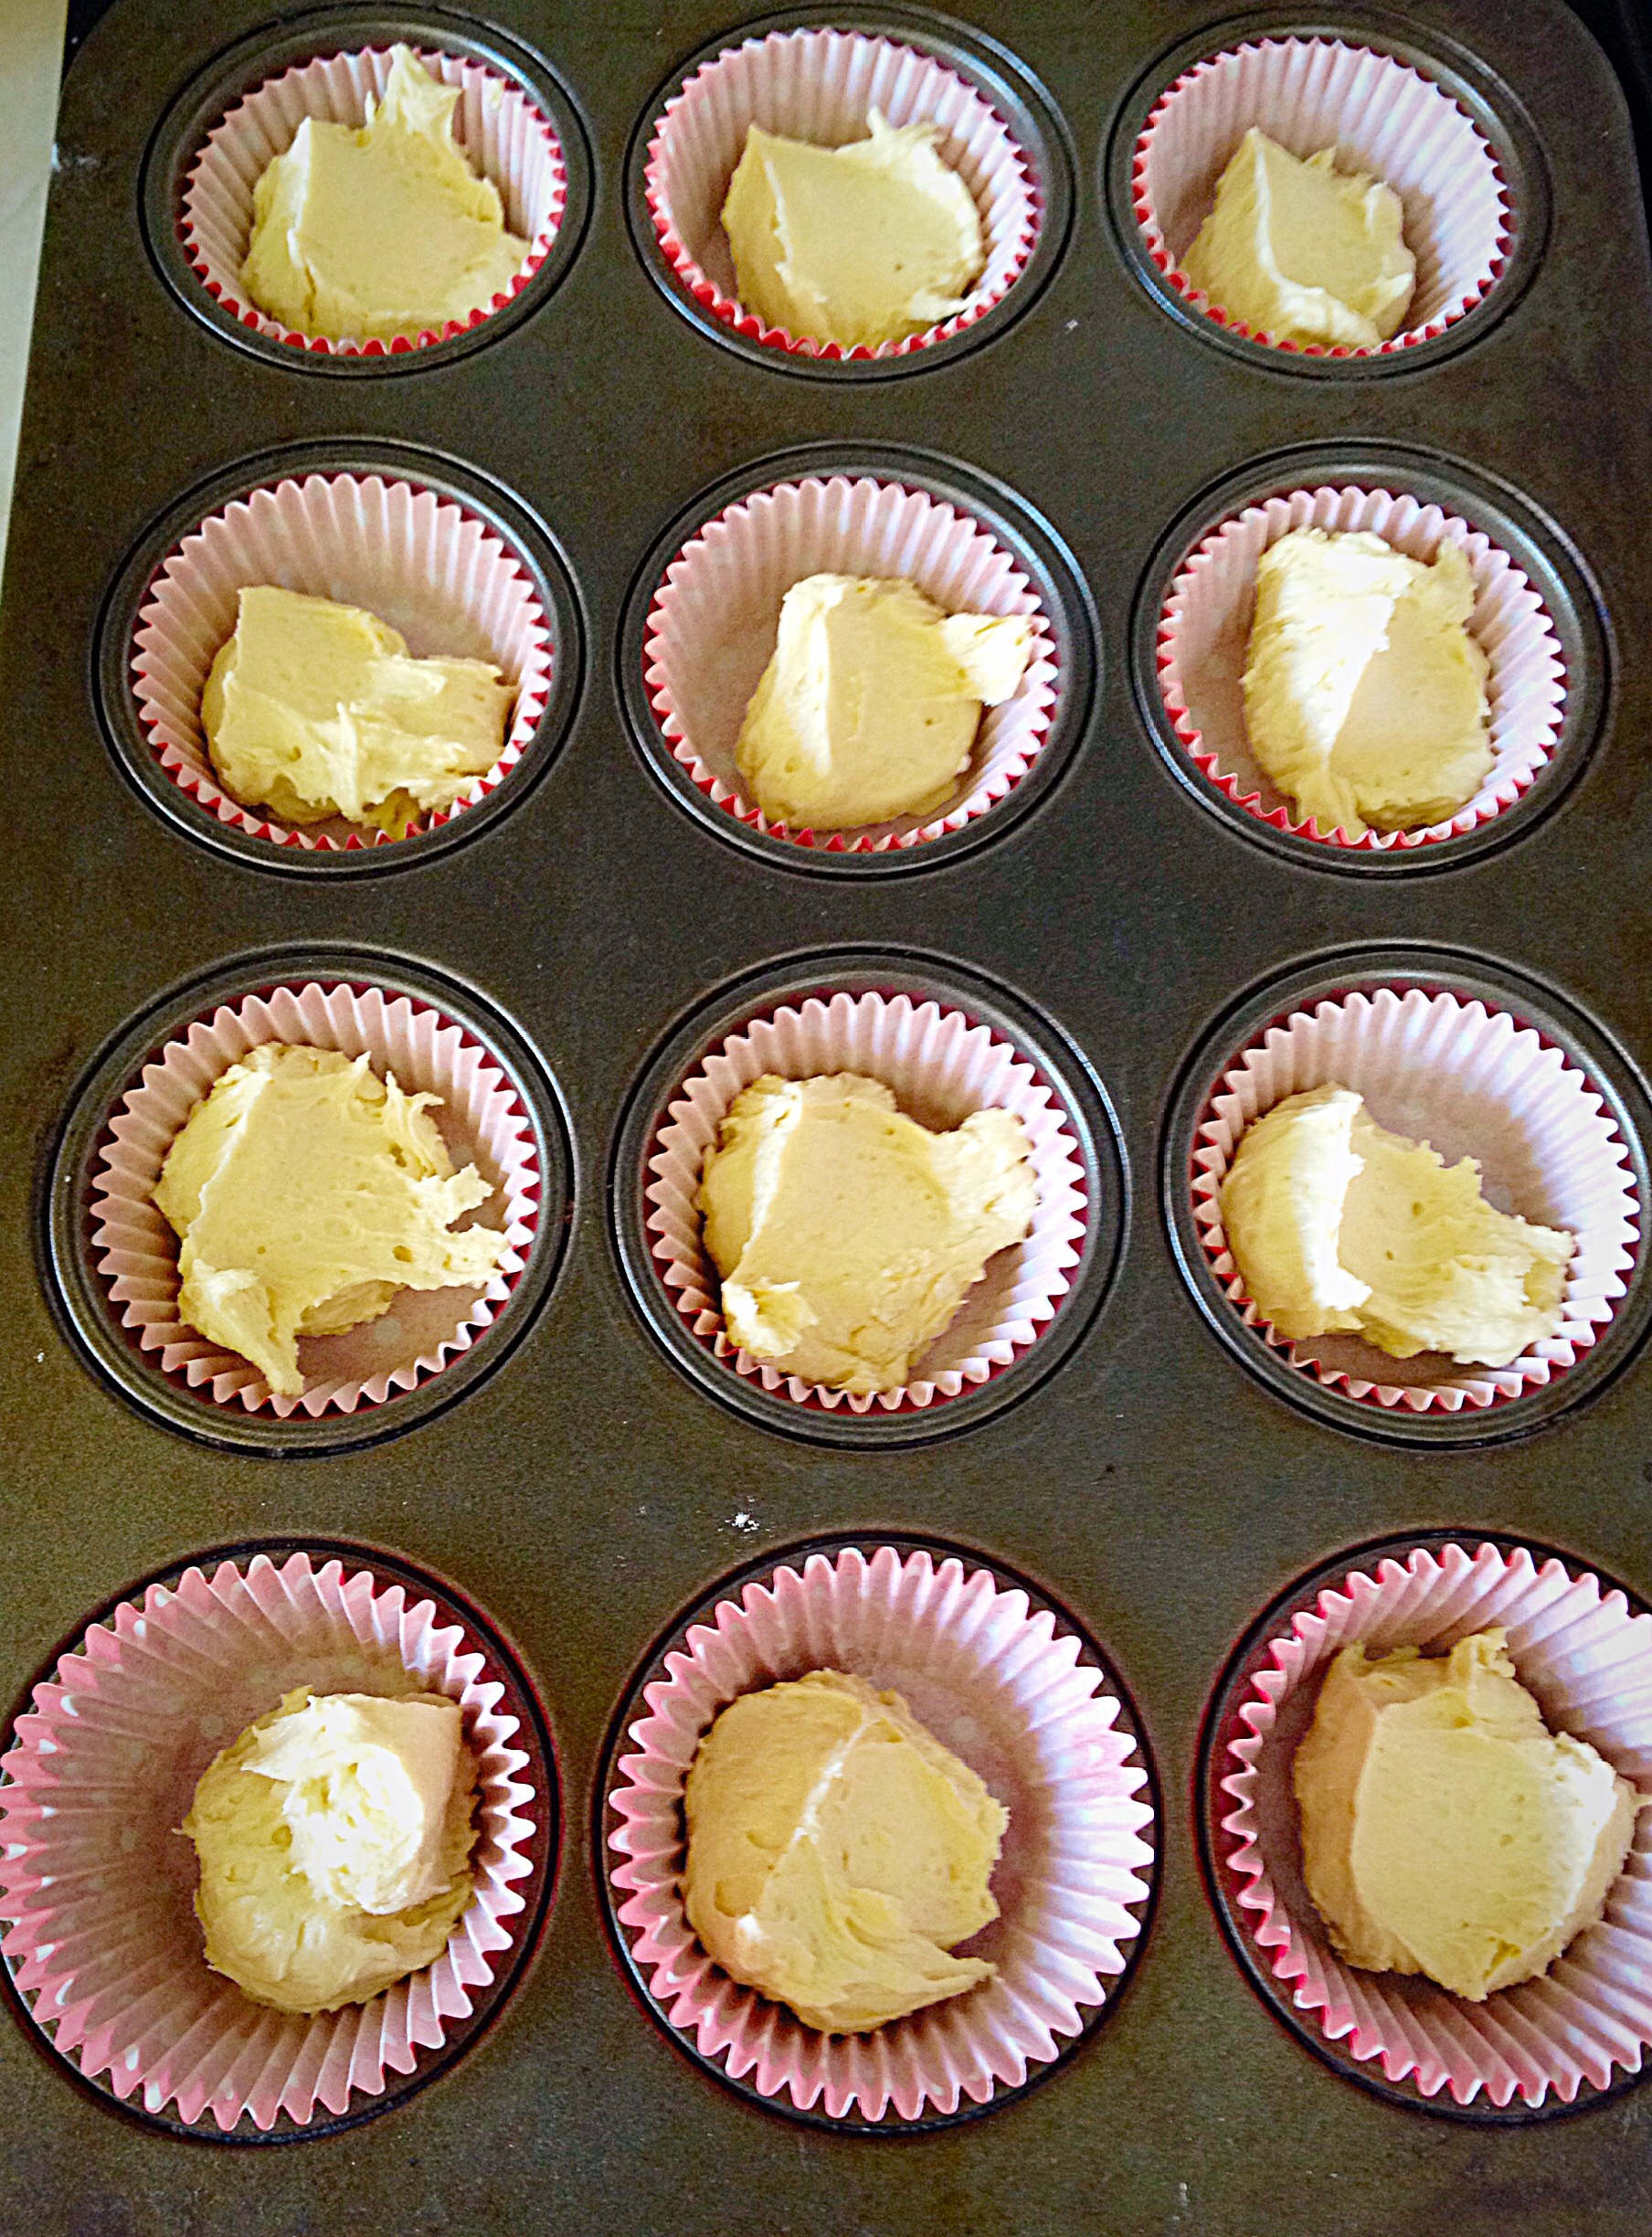
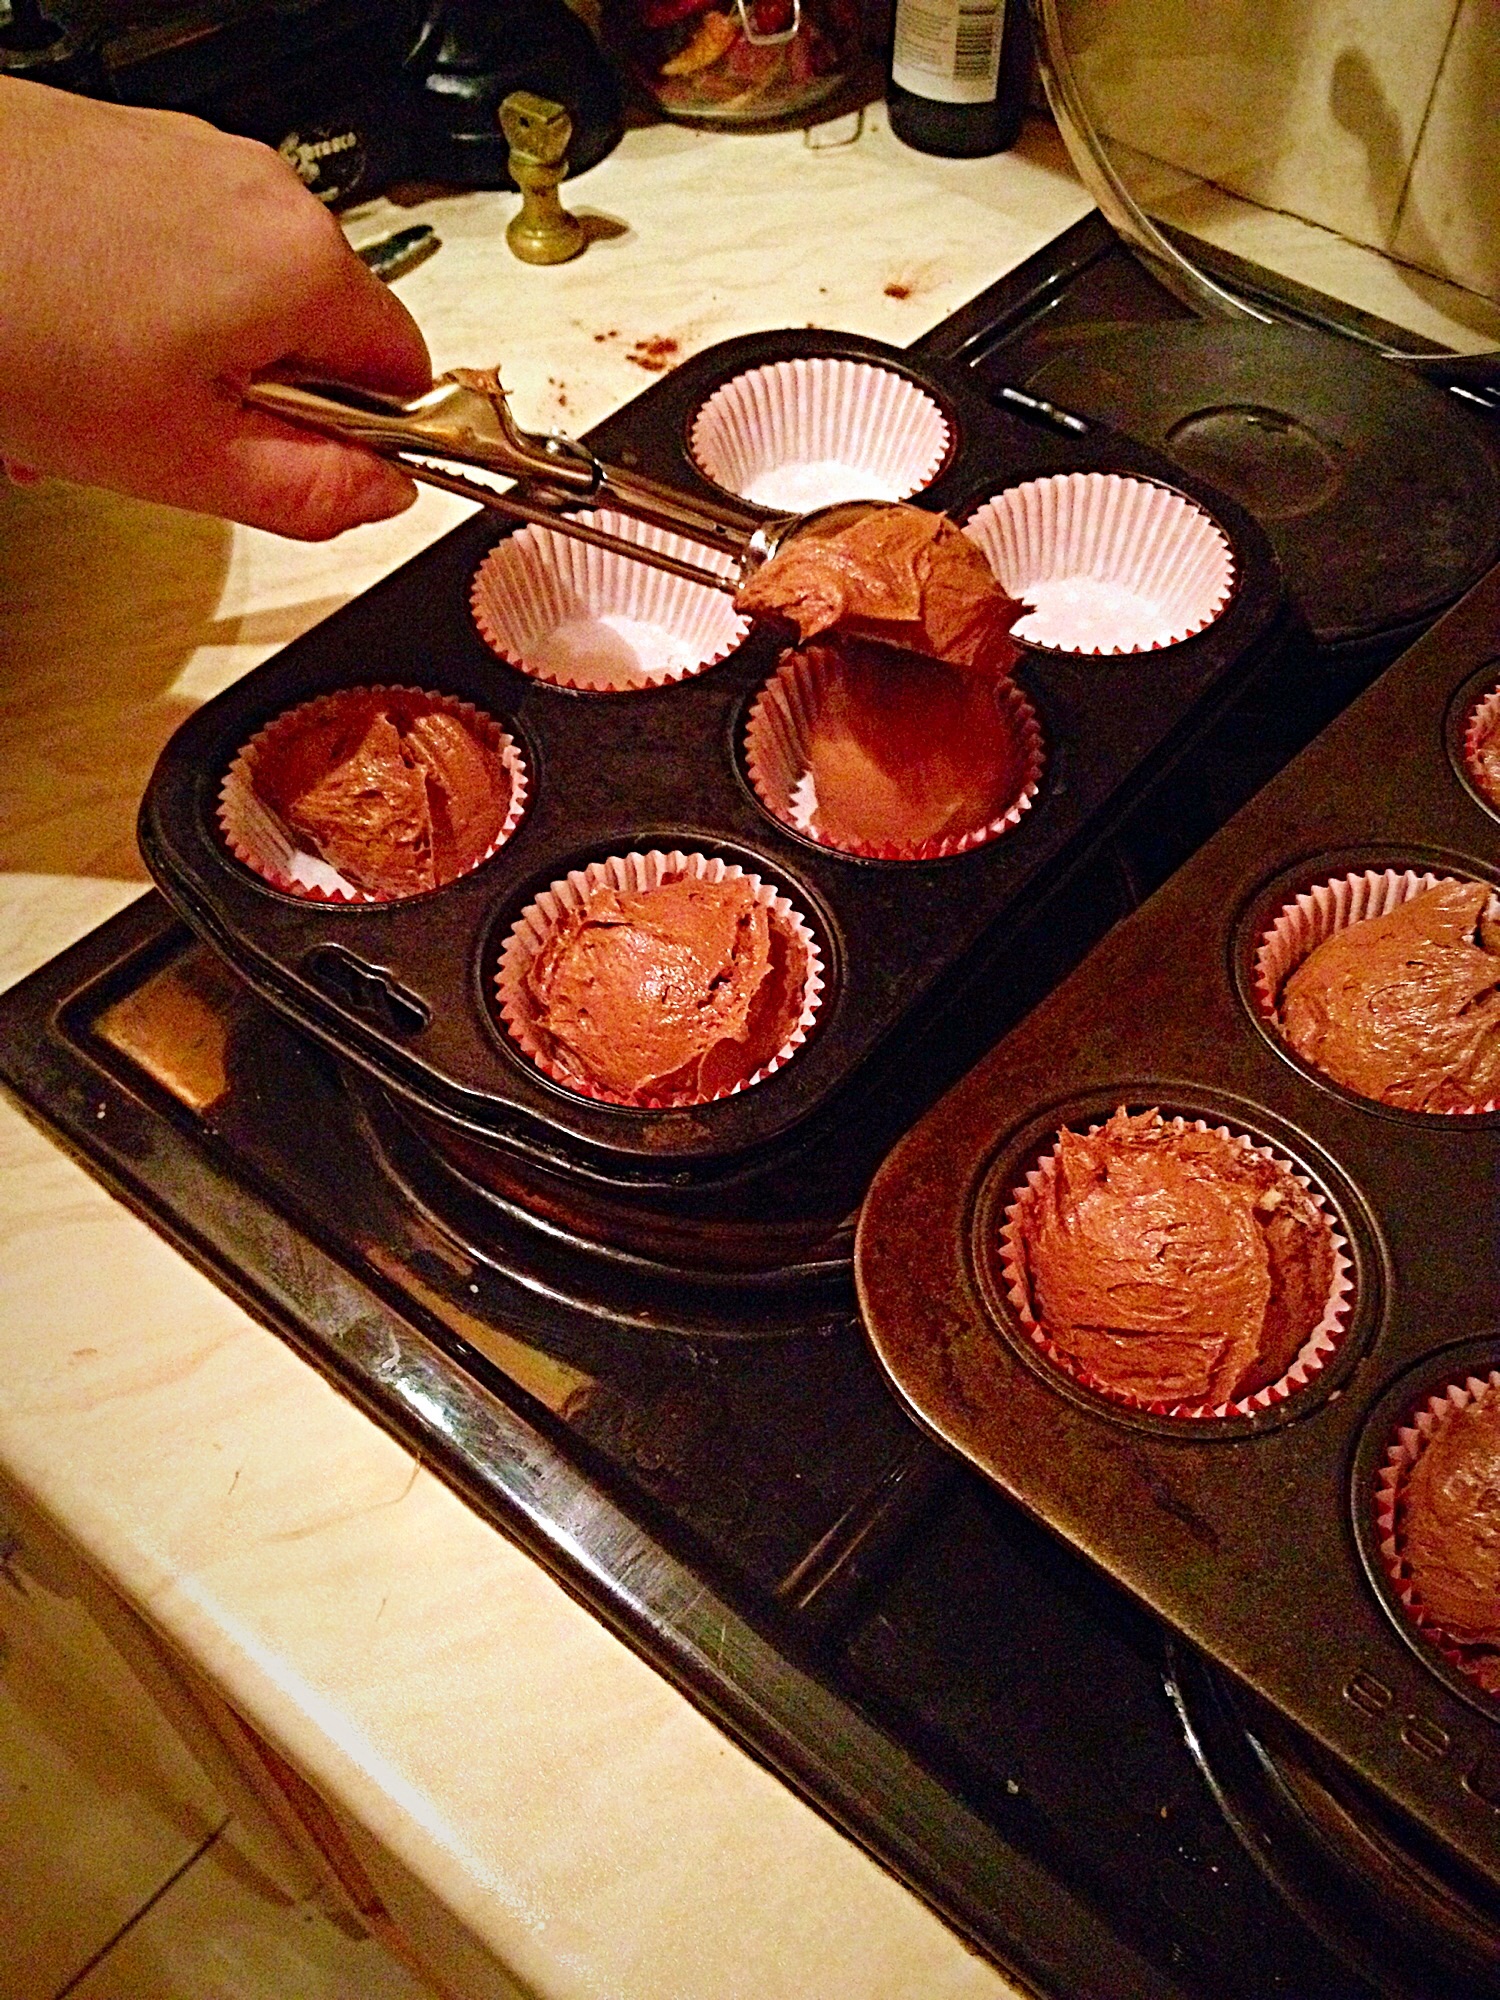
- Divide the mixture equally between the 12 cupcake cases .

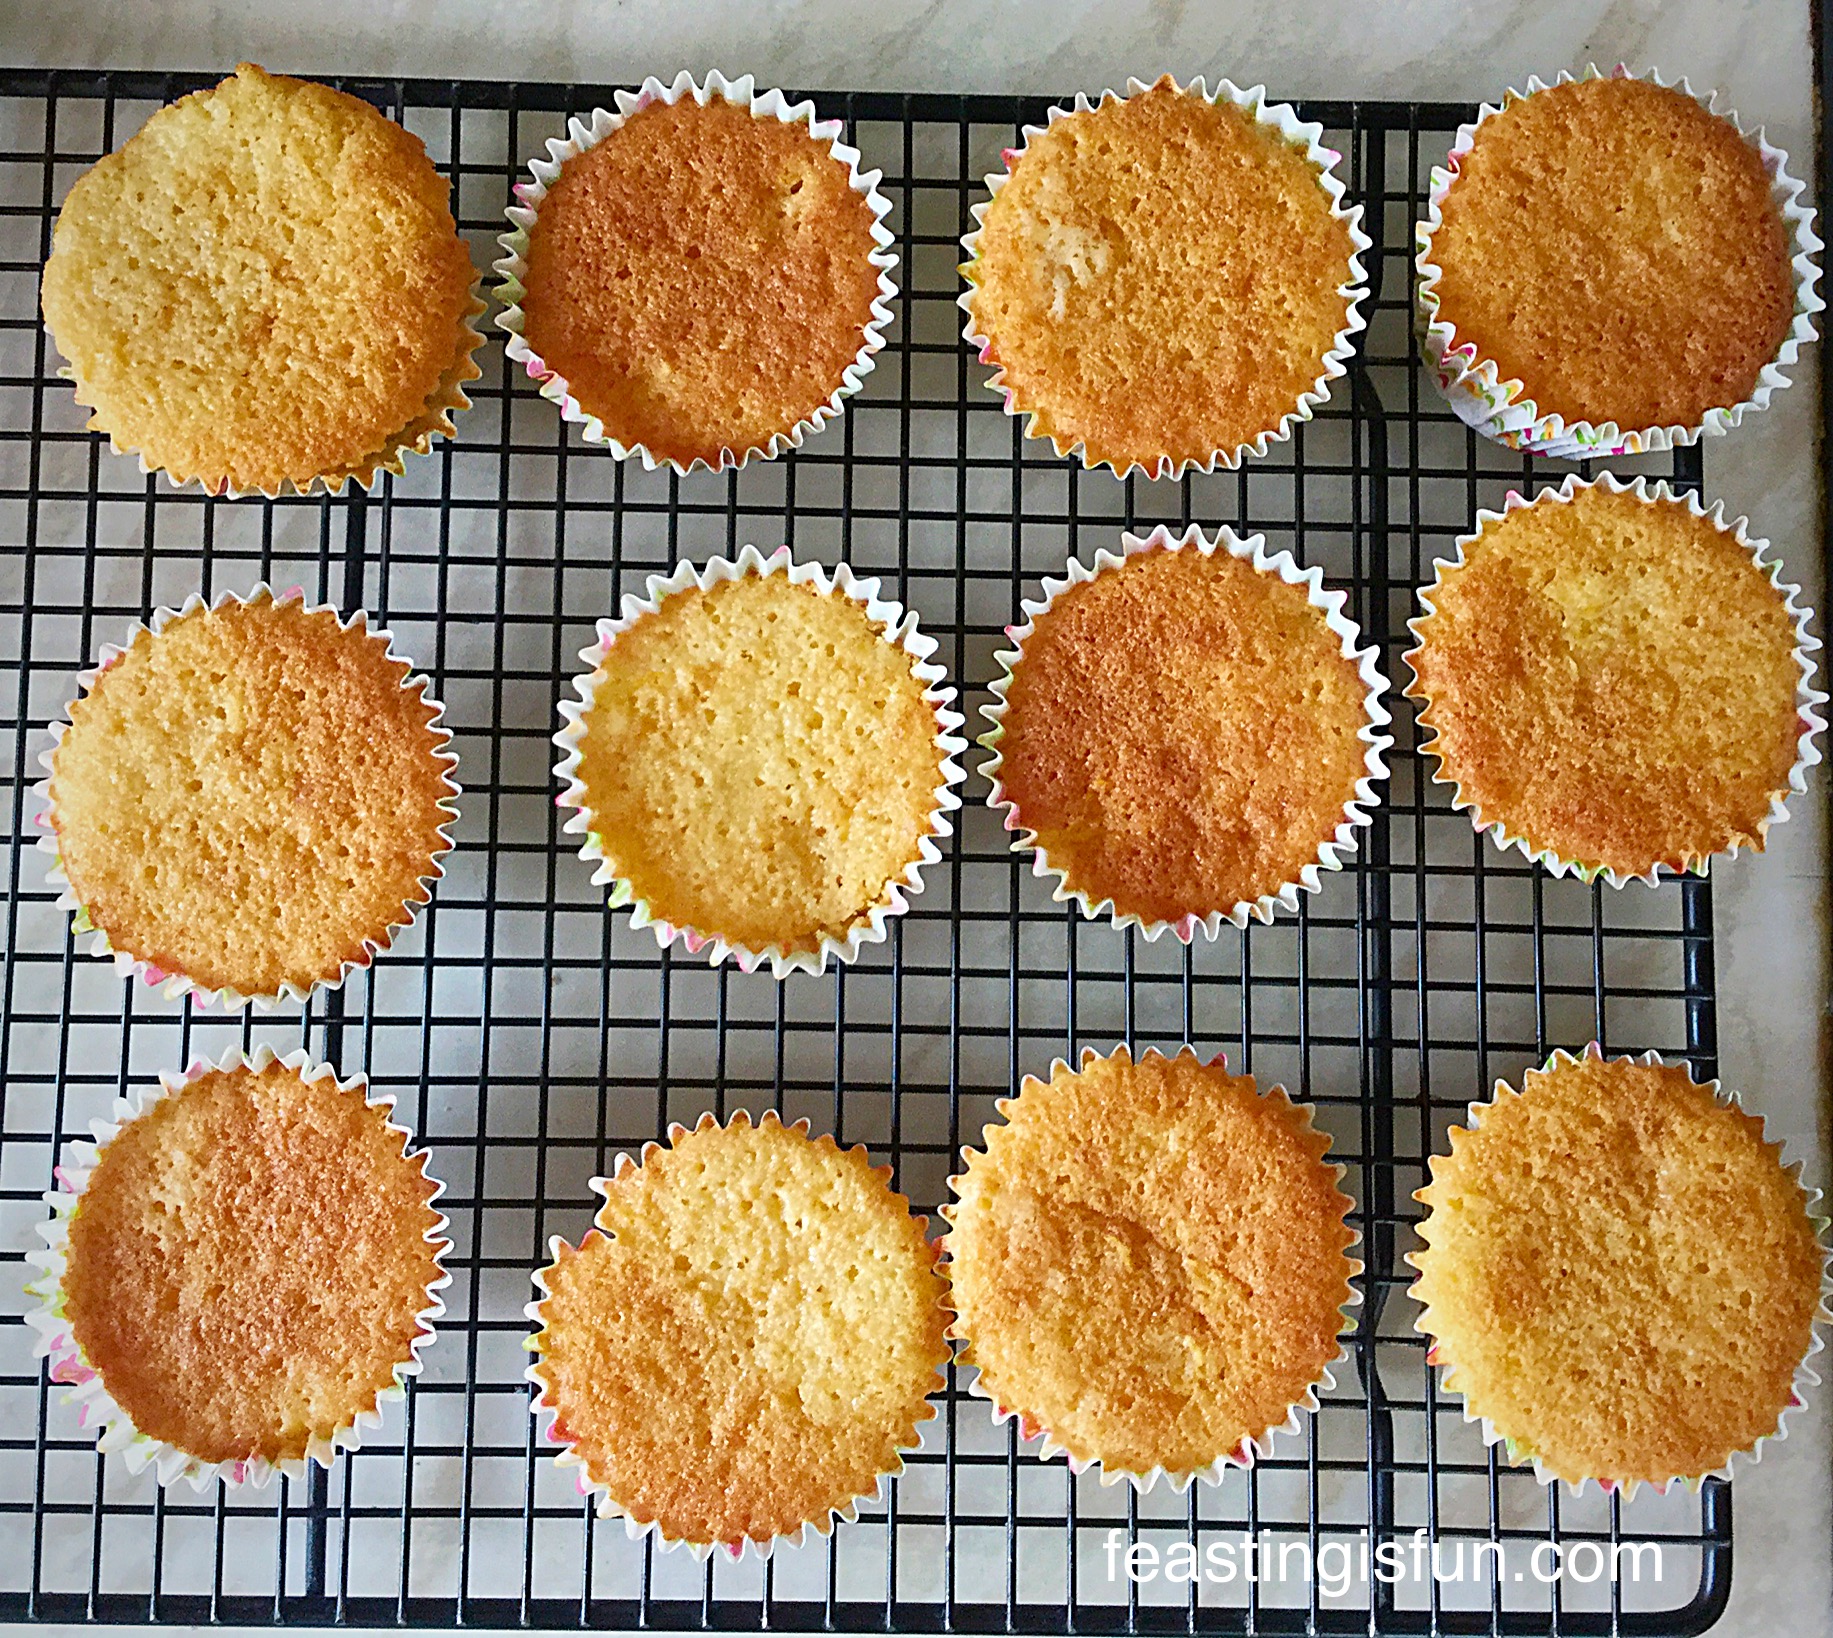
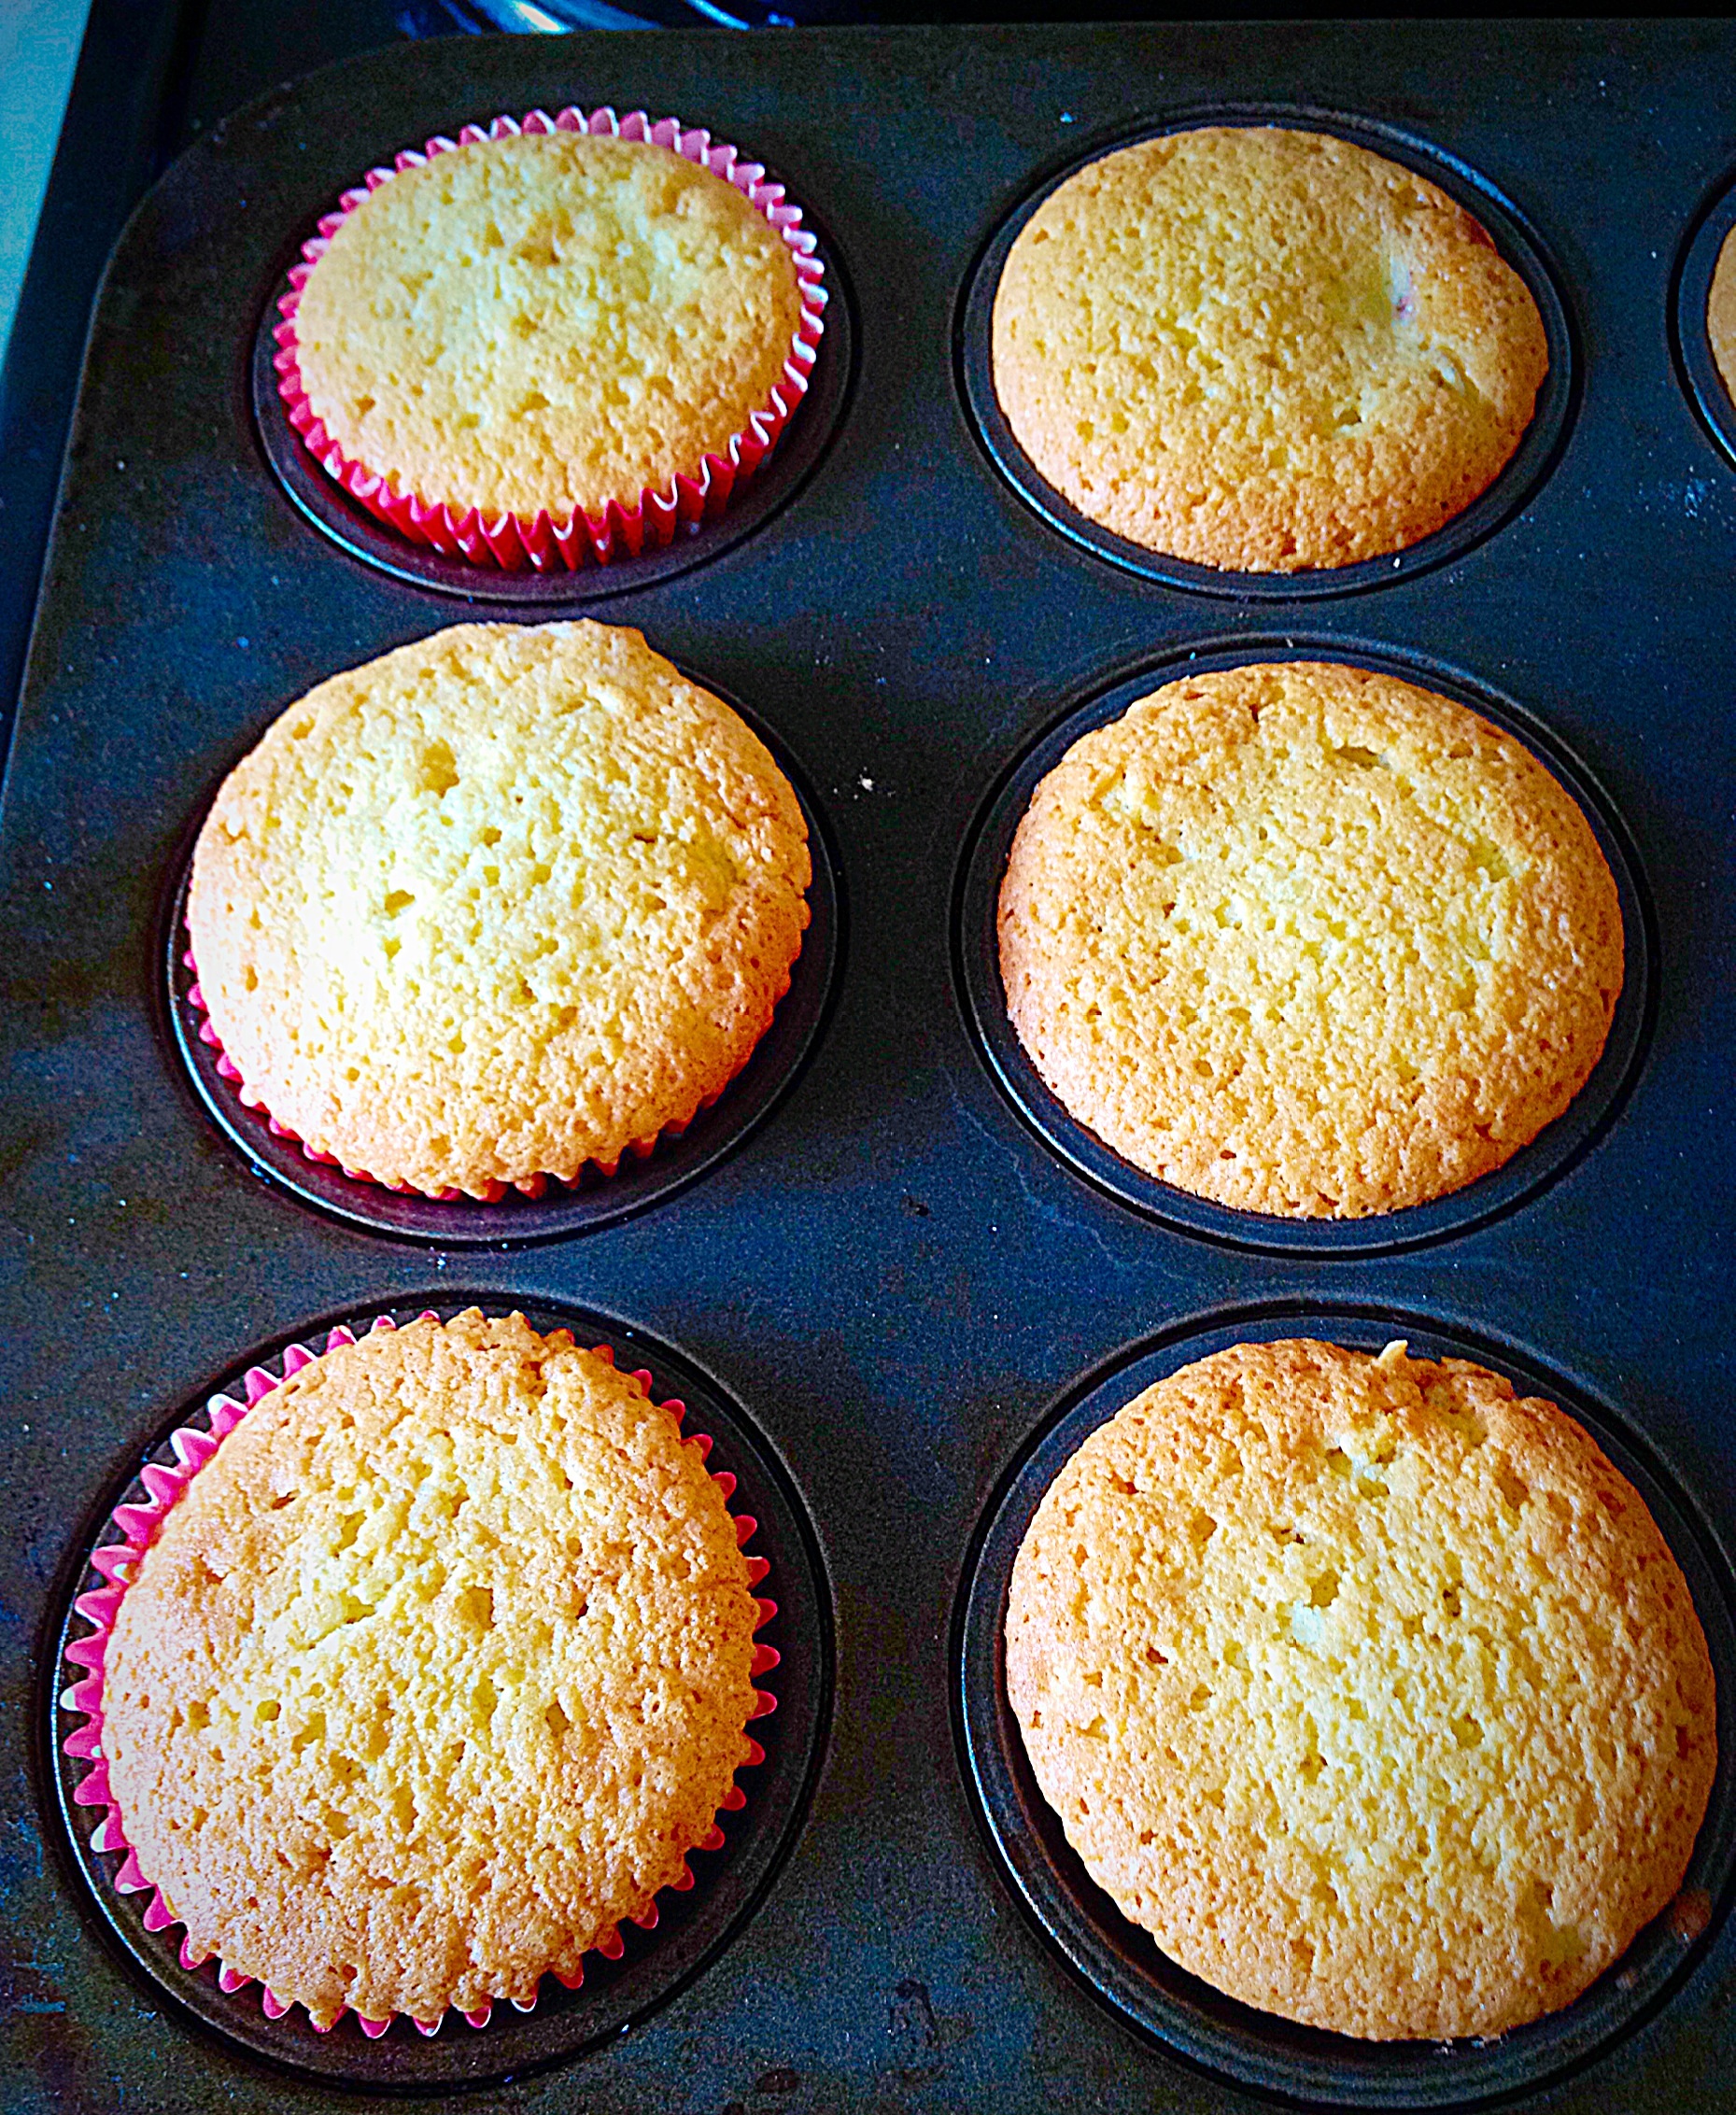
- Place the cupcakes in the centre of the oven and bake for 30 minutes.
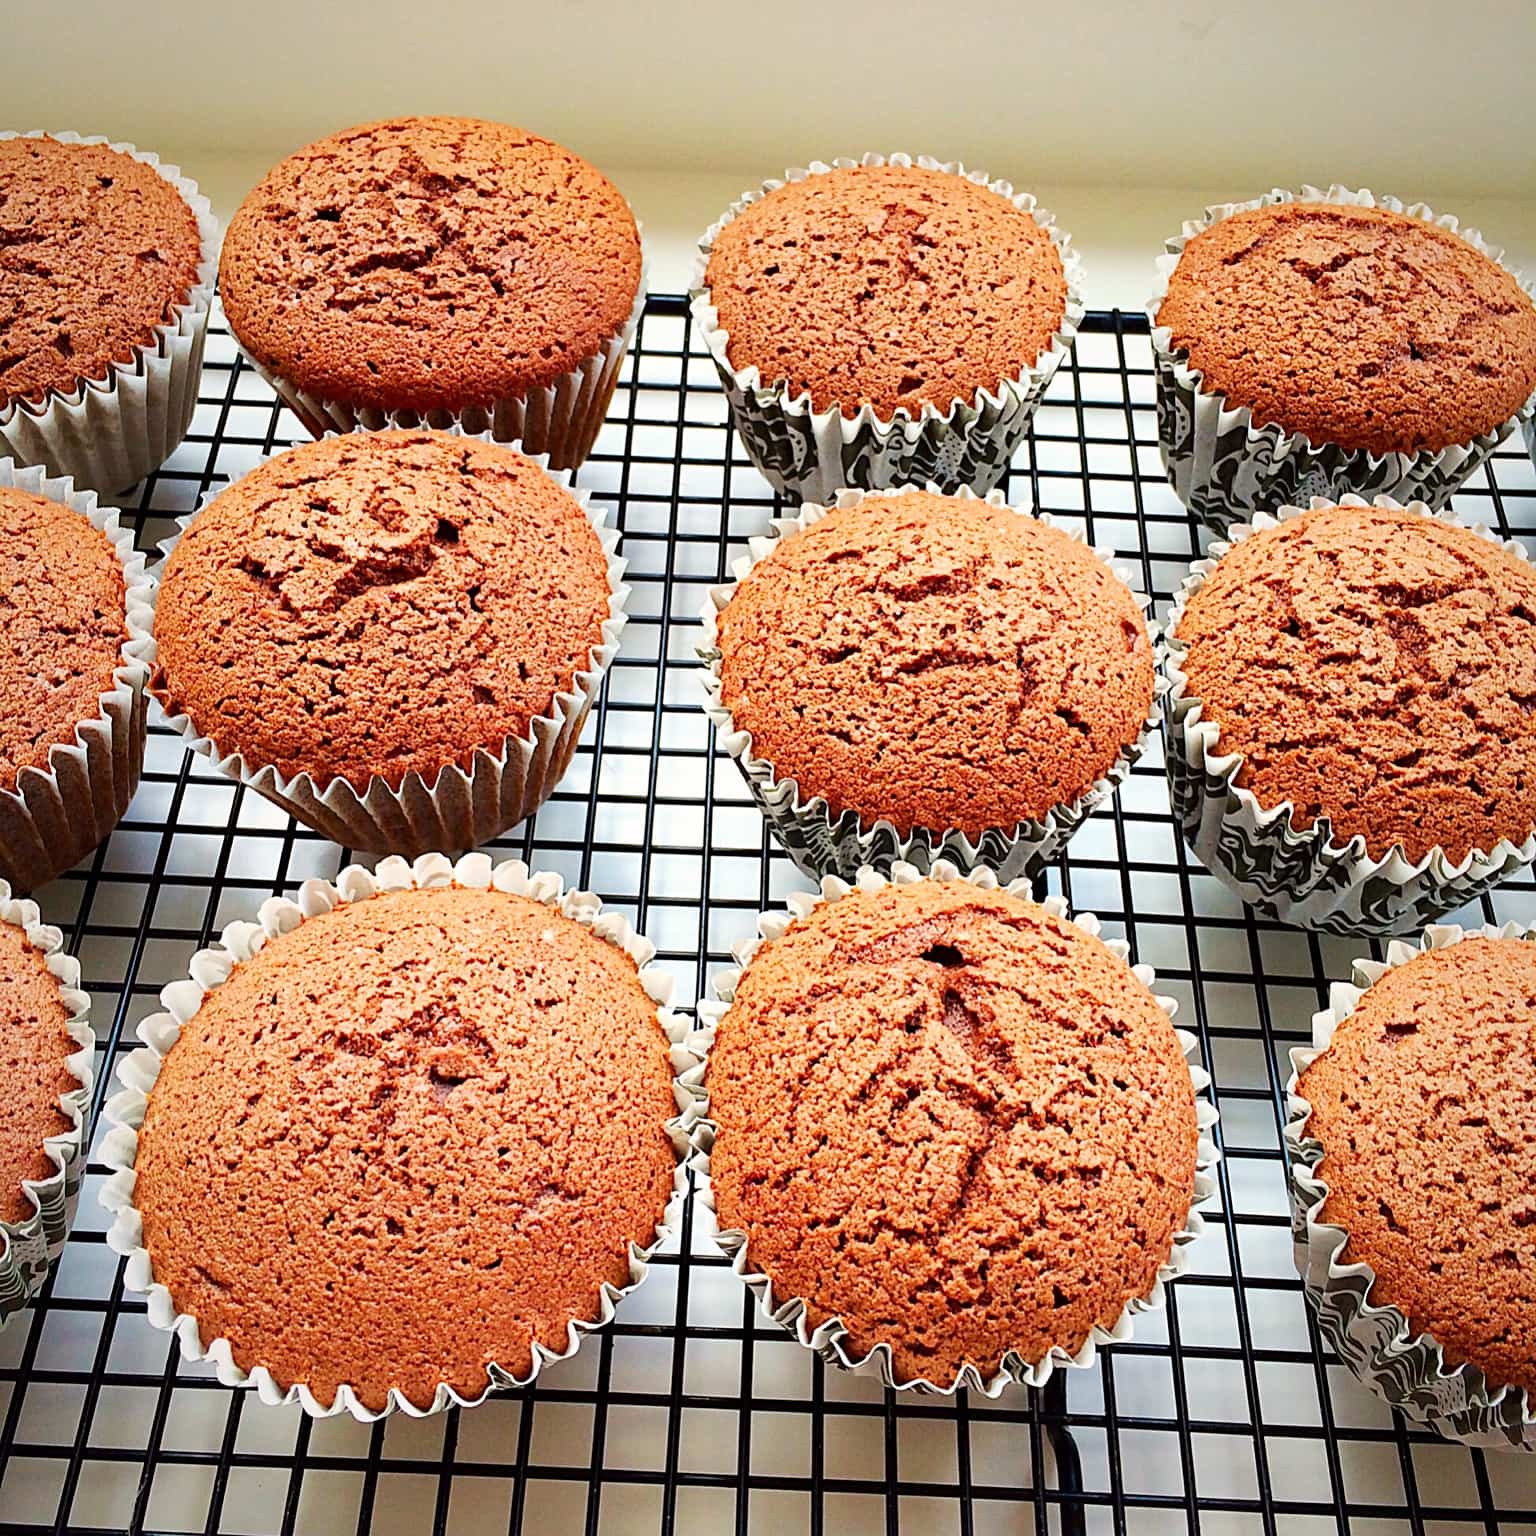
- Additionaly, baking at a low temperature for a longer time results in well risen, flat topped cupcakes.
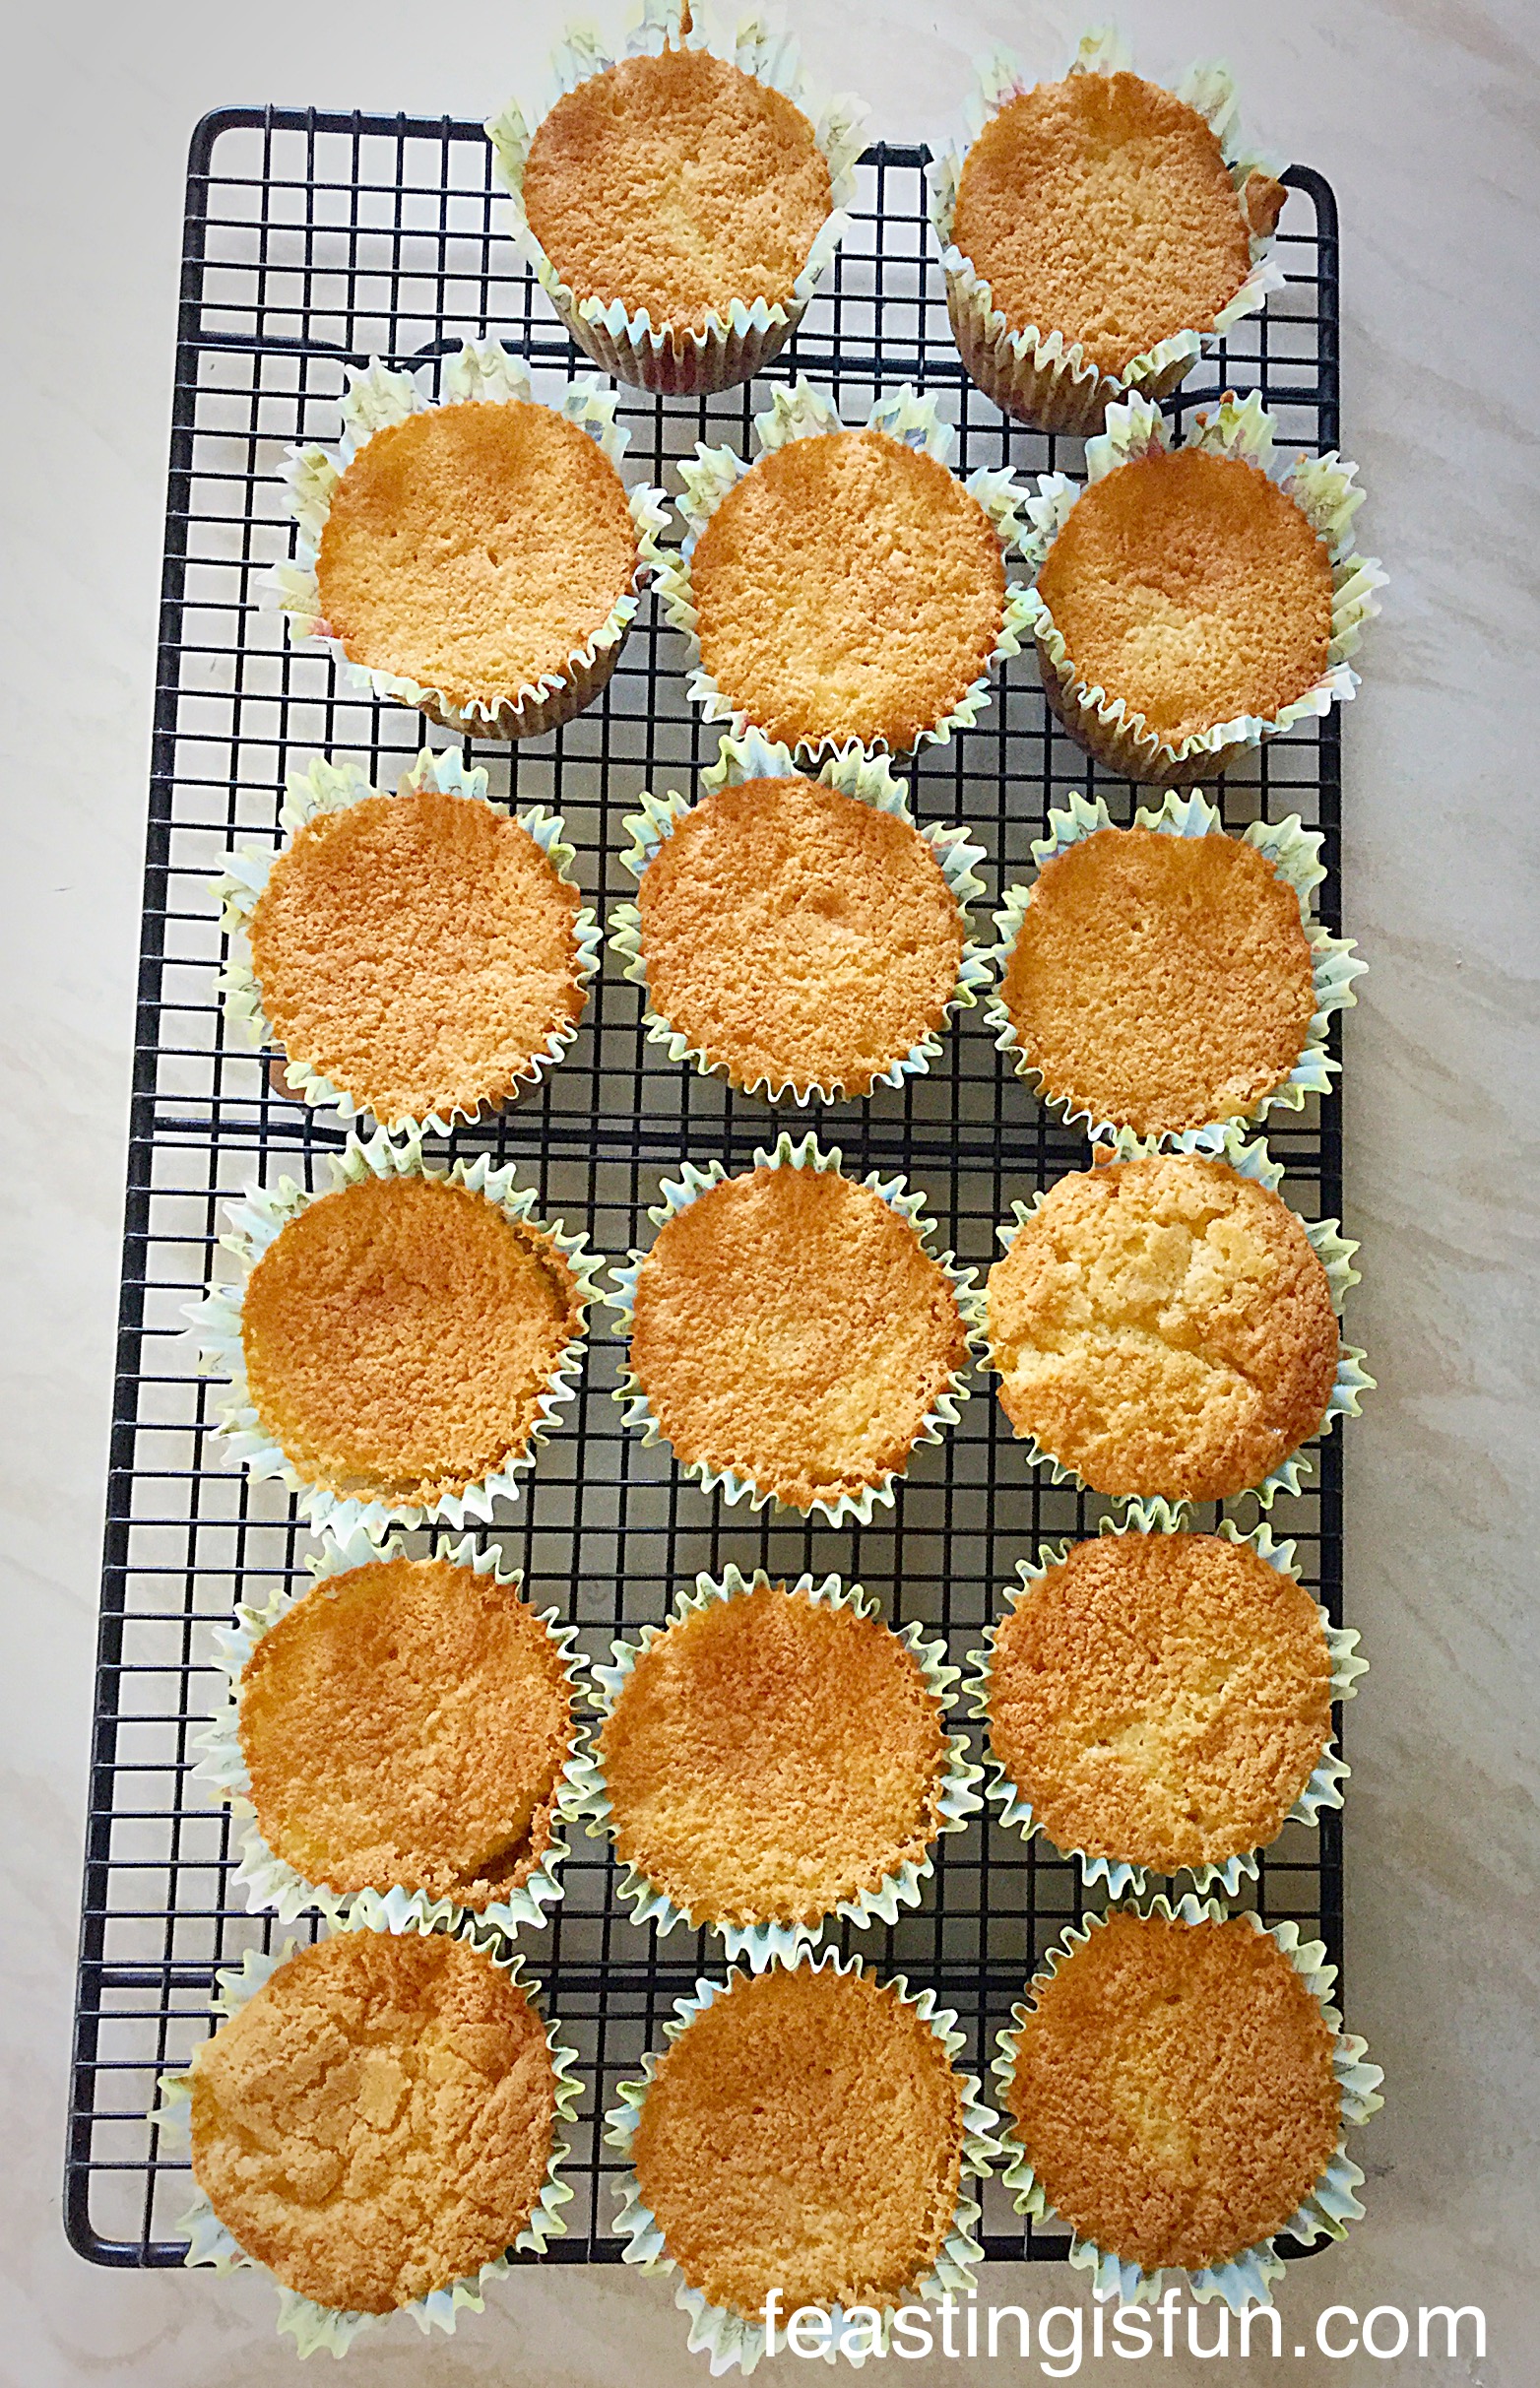
- The cupcakes are baked when risen, golden and spring back from a light touch.
- As soon as the cupcakes are baked remove from the oven.

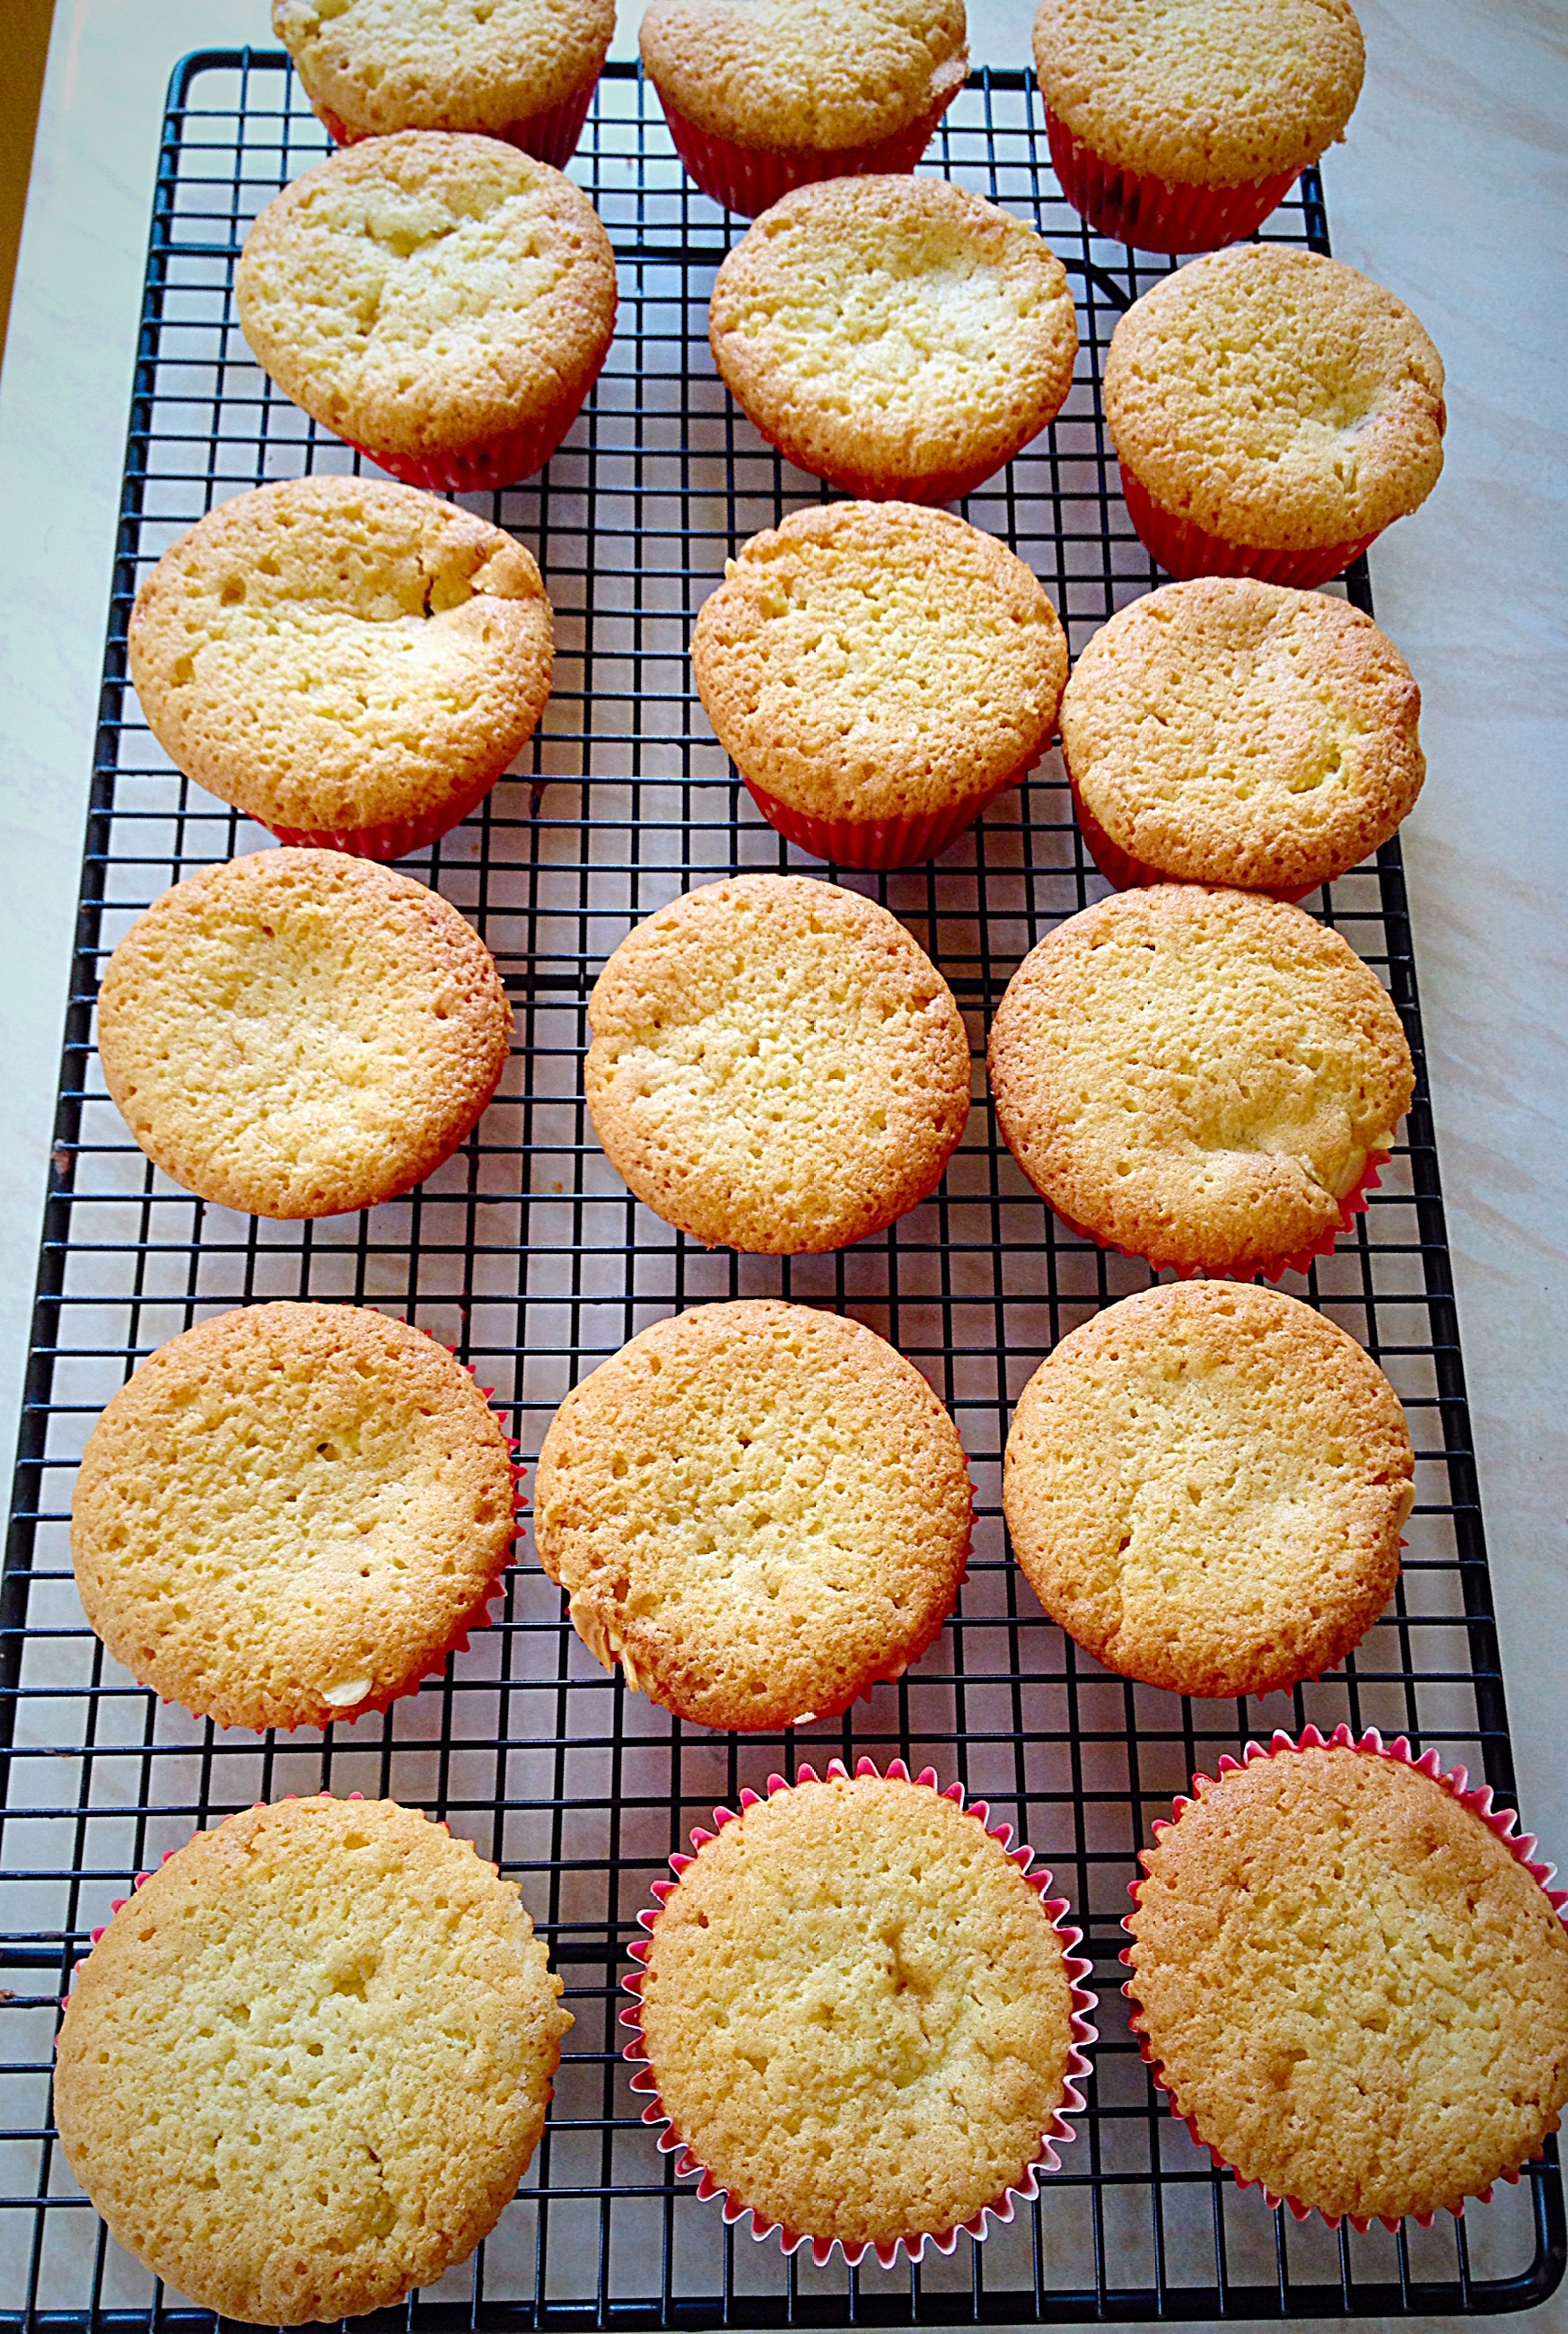
- Leave to cool in the tin for 5 minutes then remove and place the cupcakes on a cooling rack to completely cool.
- While the cupcakes cool make the fresh raspberry frosting.
Making The Fresh Raspberry Buttercream Frosting
- Place the raspberries into a bowl and mash using a fork.
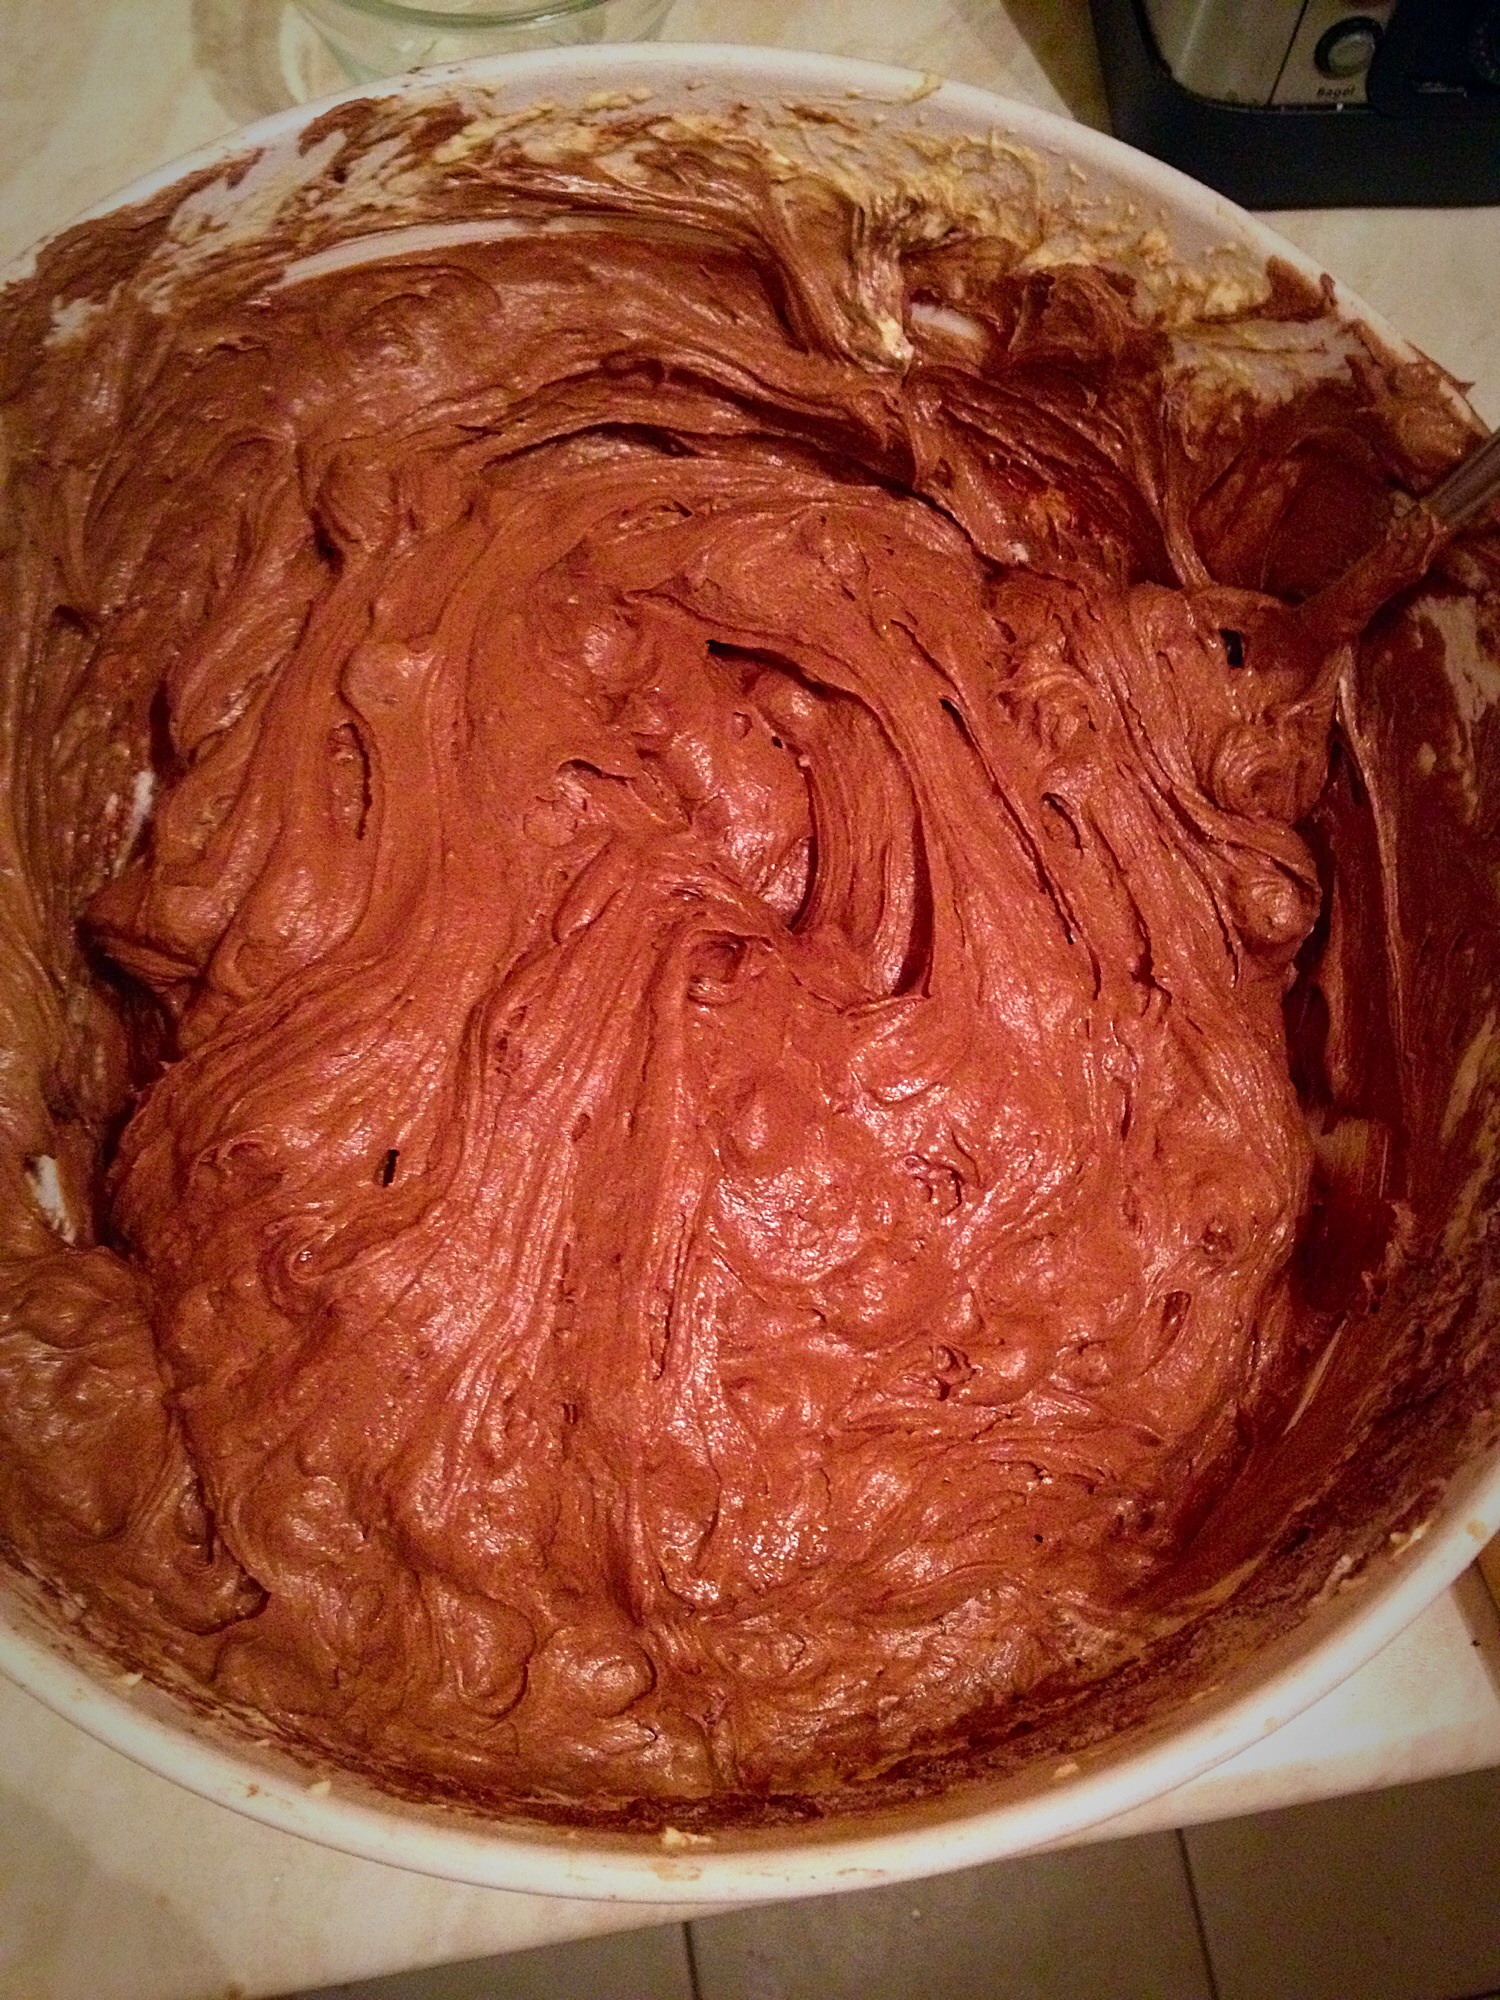
- Add the butter and icing sugar to the mashed raspberries and whisk together – approximately 5 minutes. resulting in a frosting that should be shocking pink in colour and have a light airy texture.
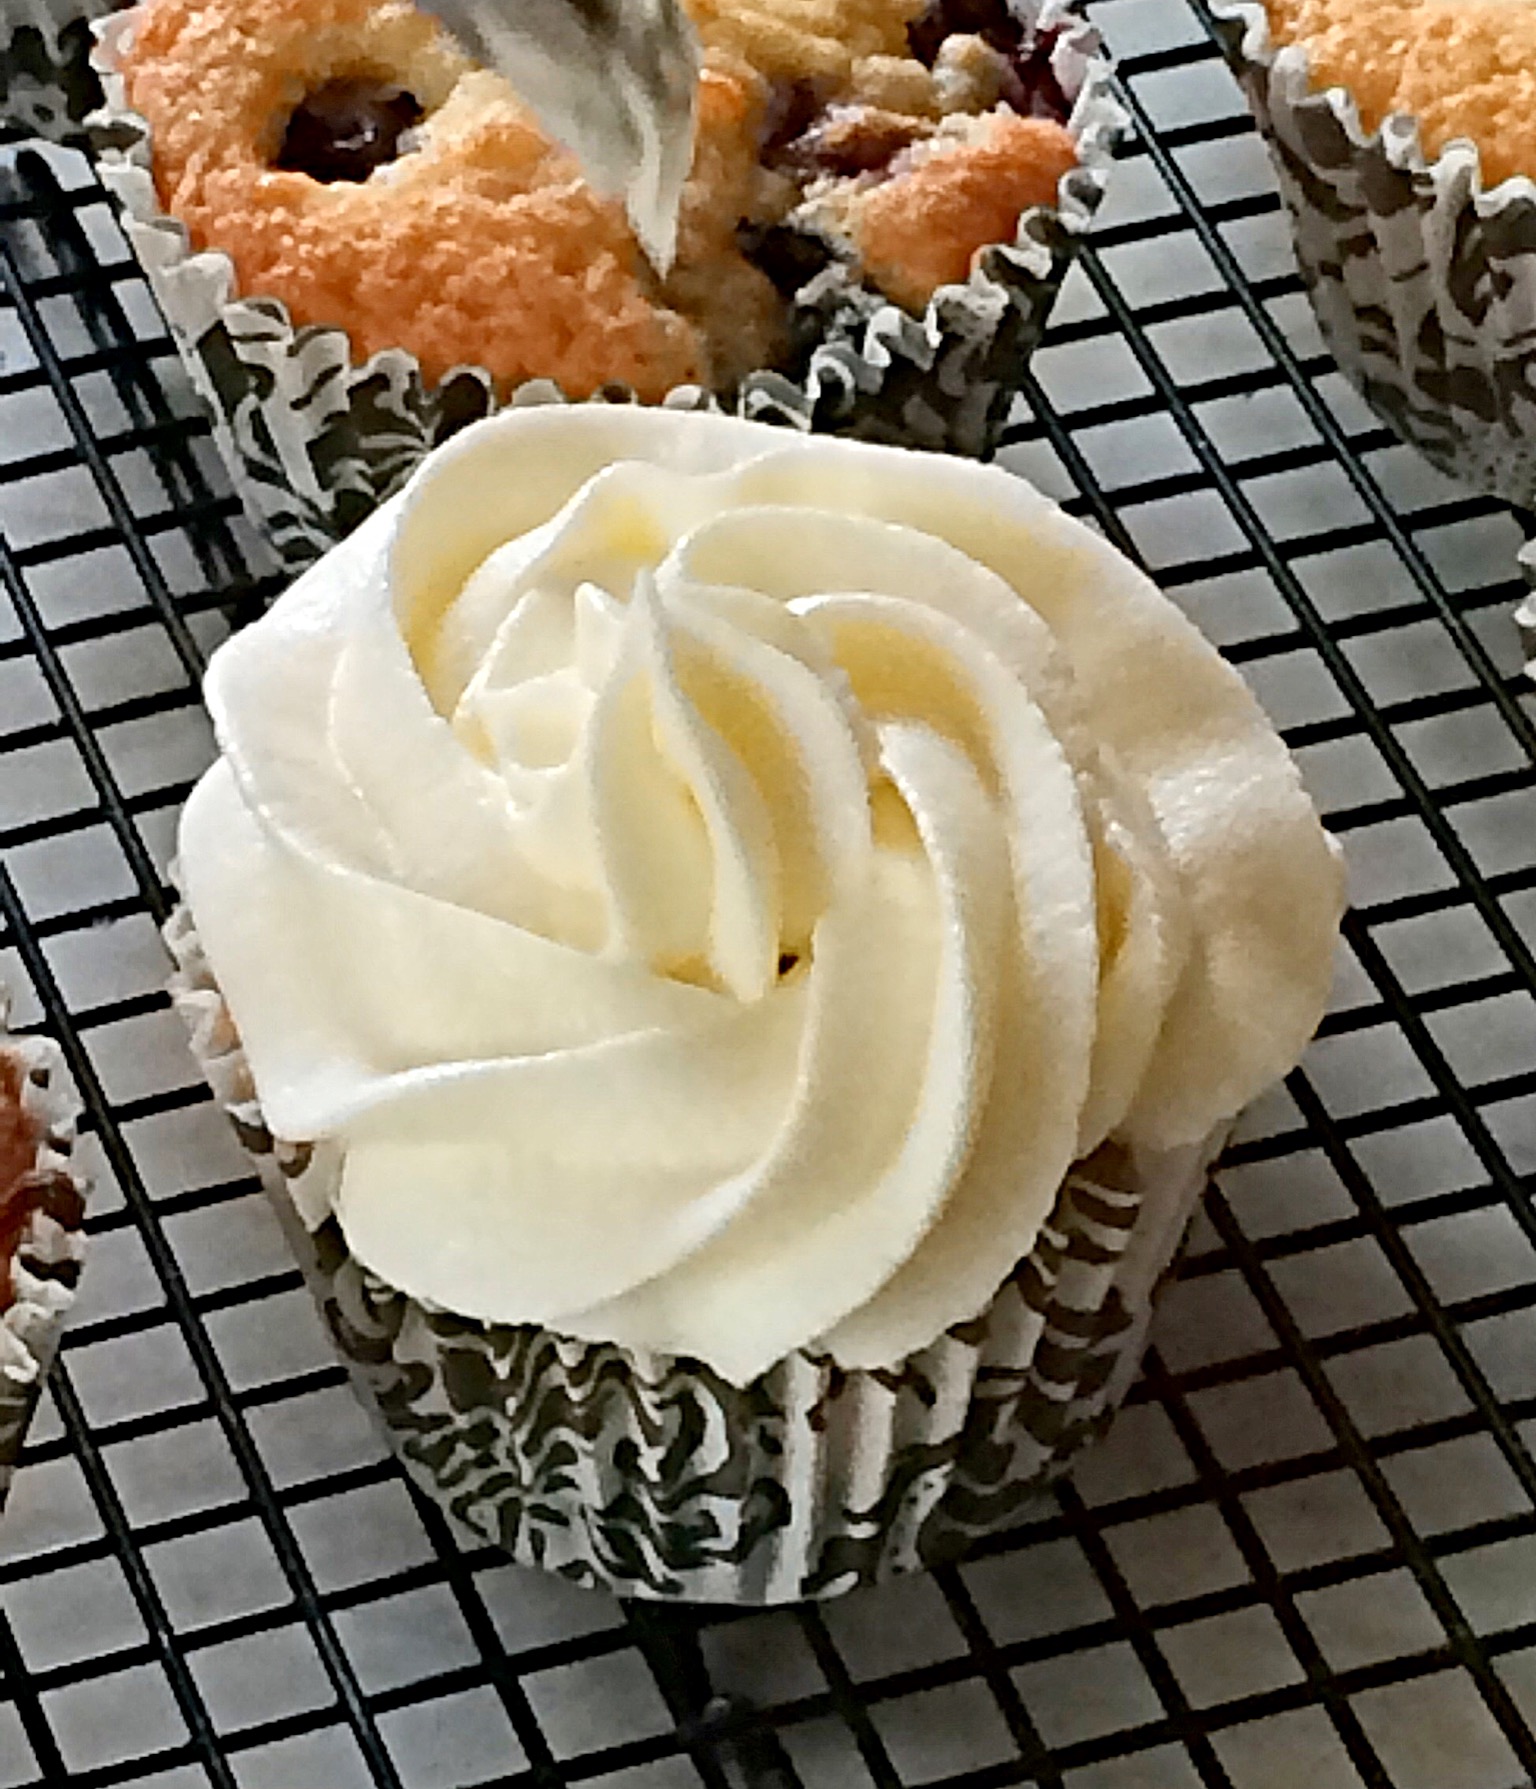
- Decant the frosting into a piping bag that has not been fitted with a piping nozzle. If using a disposable bag cut the end to leave a 1cm opening.
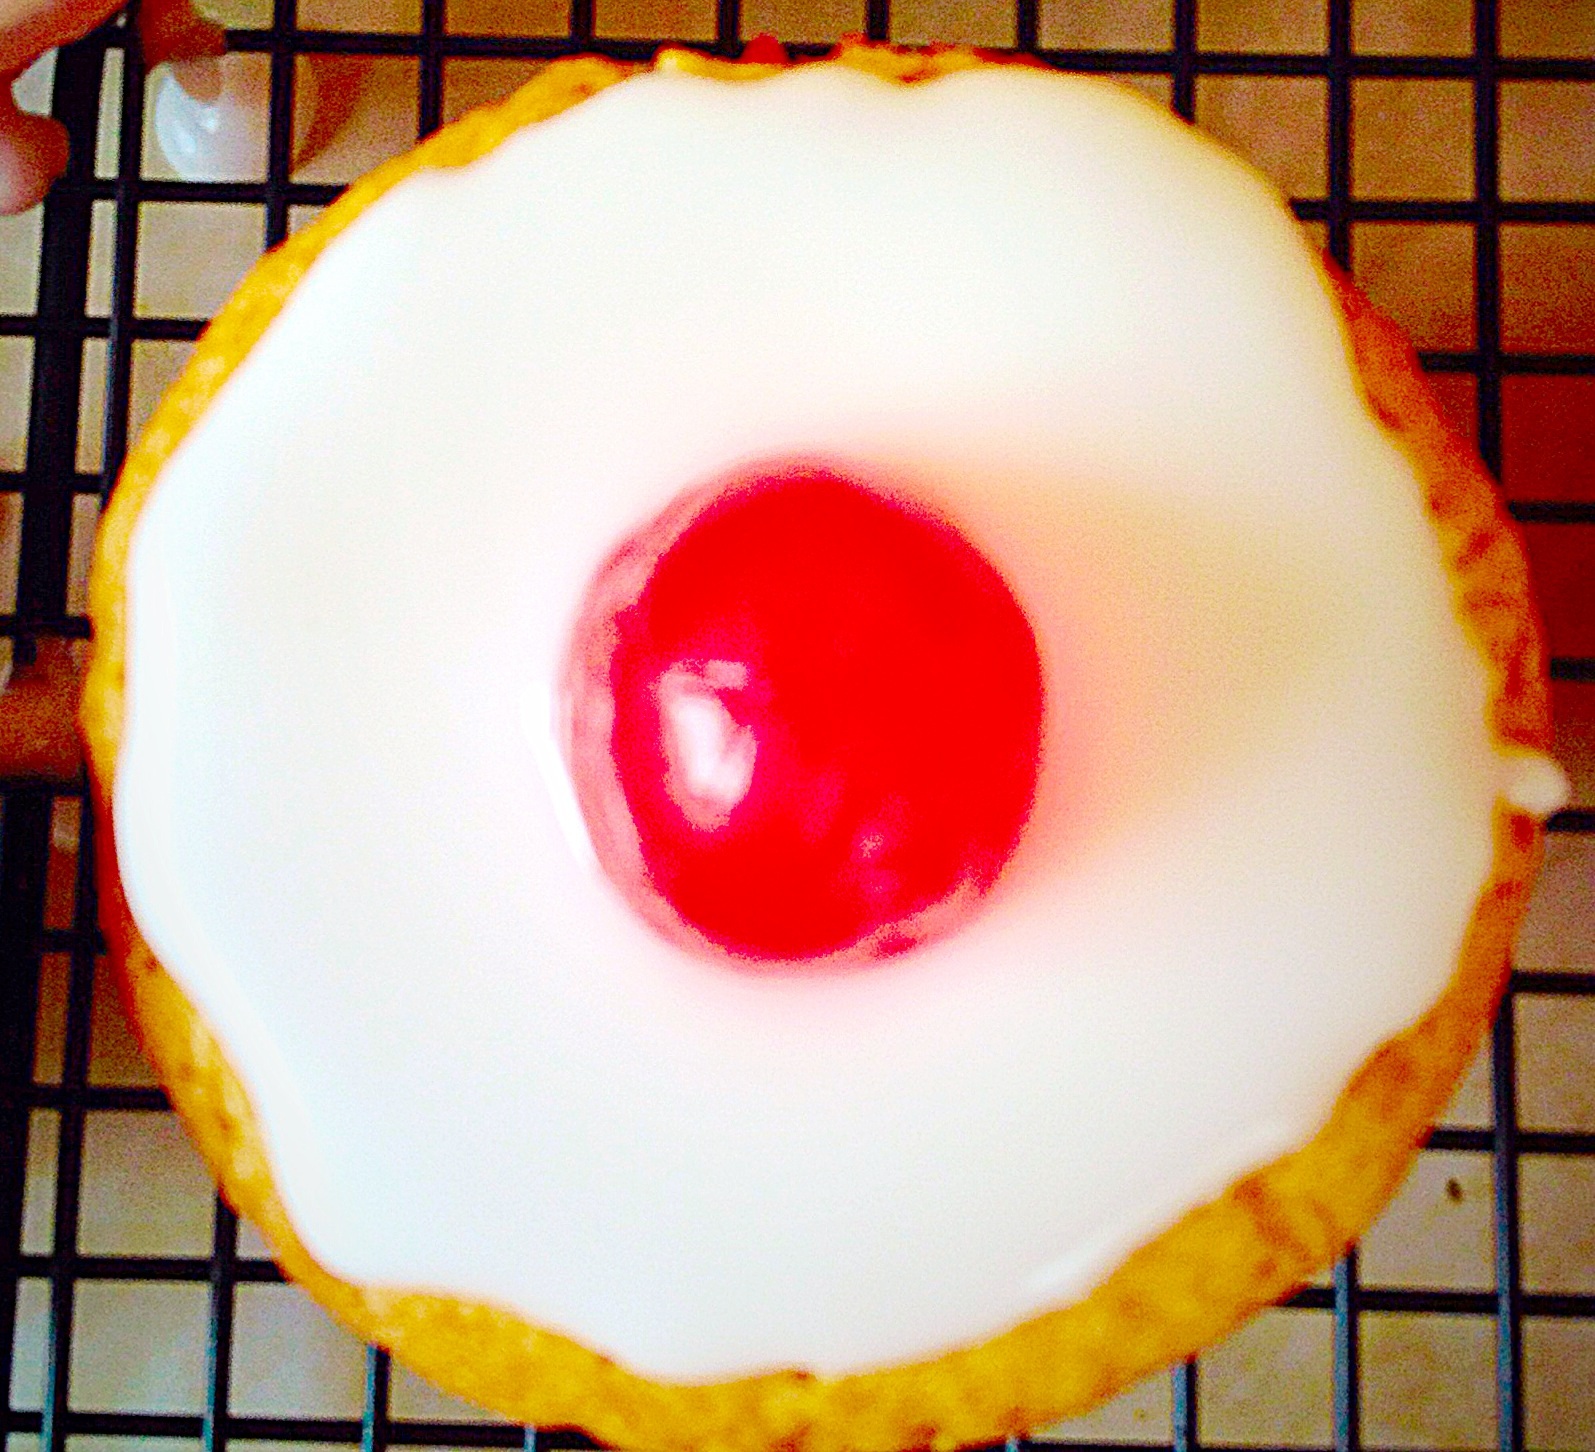
- Before piping on to the cupcakes cut 3 slices of lemon. Cut each slice into 4 portions. Each will decorate the top of the frosted cupcakes.
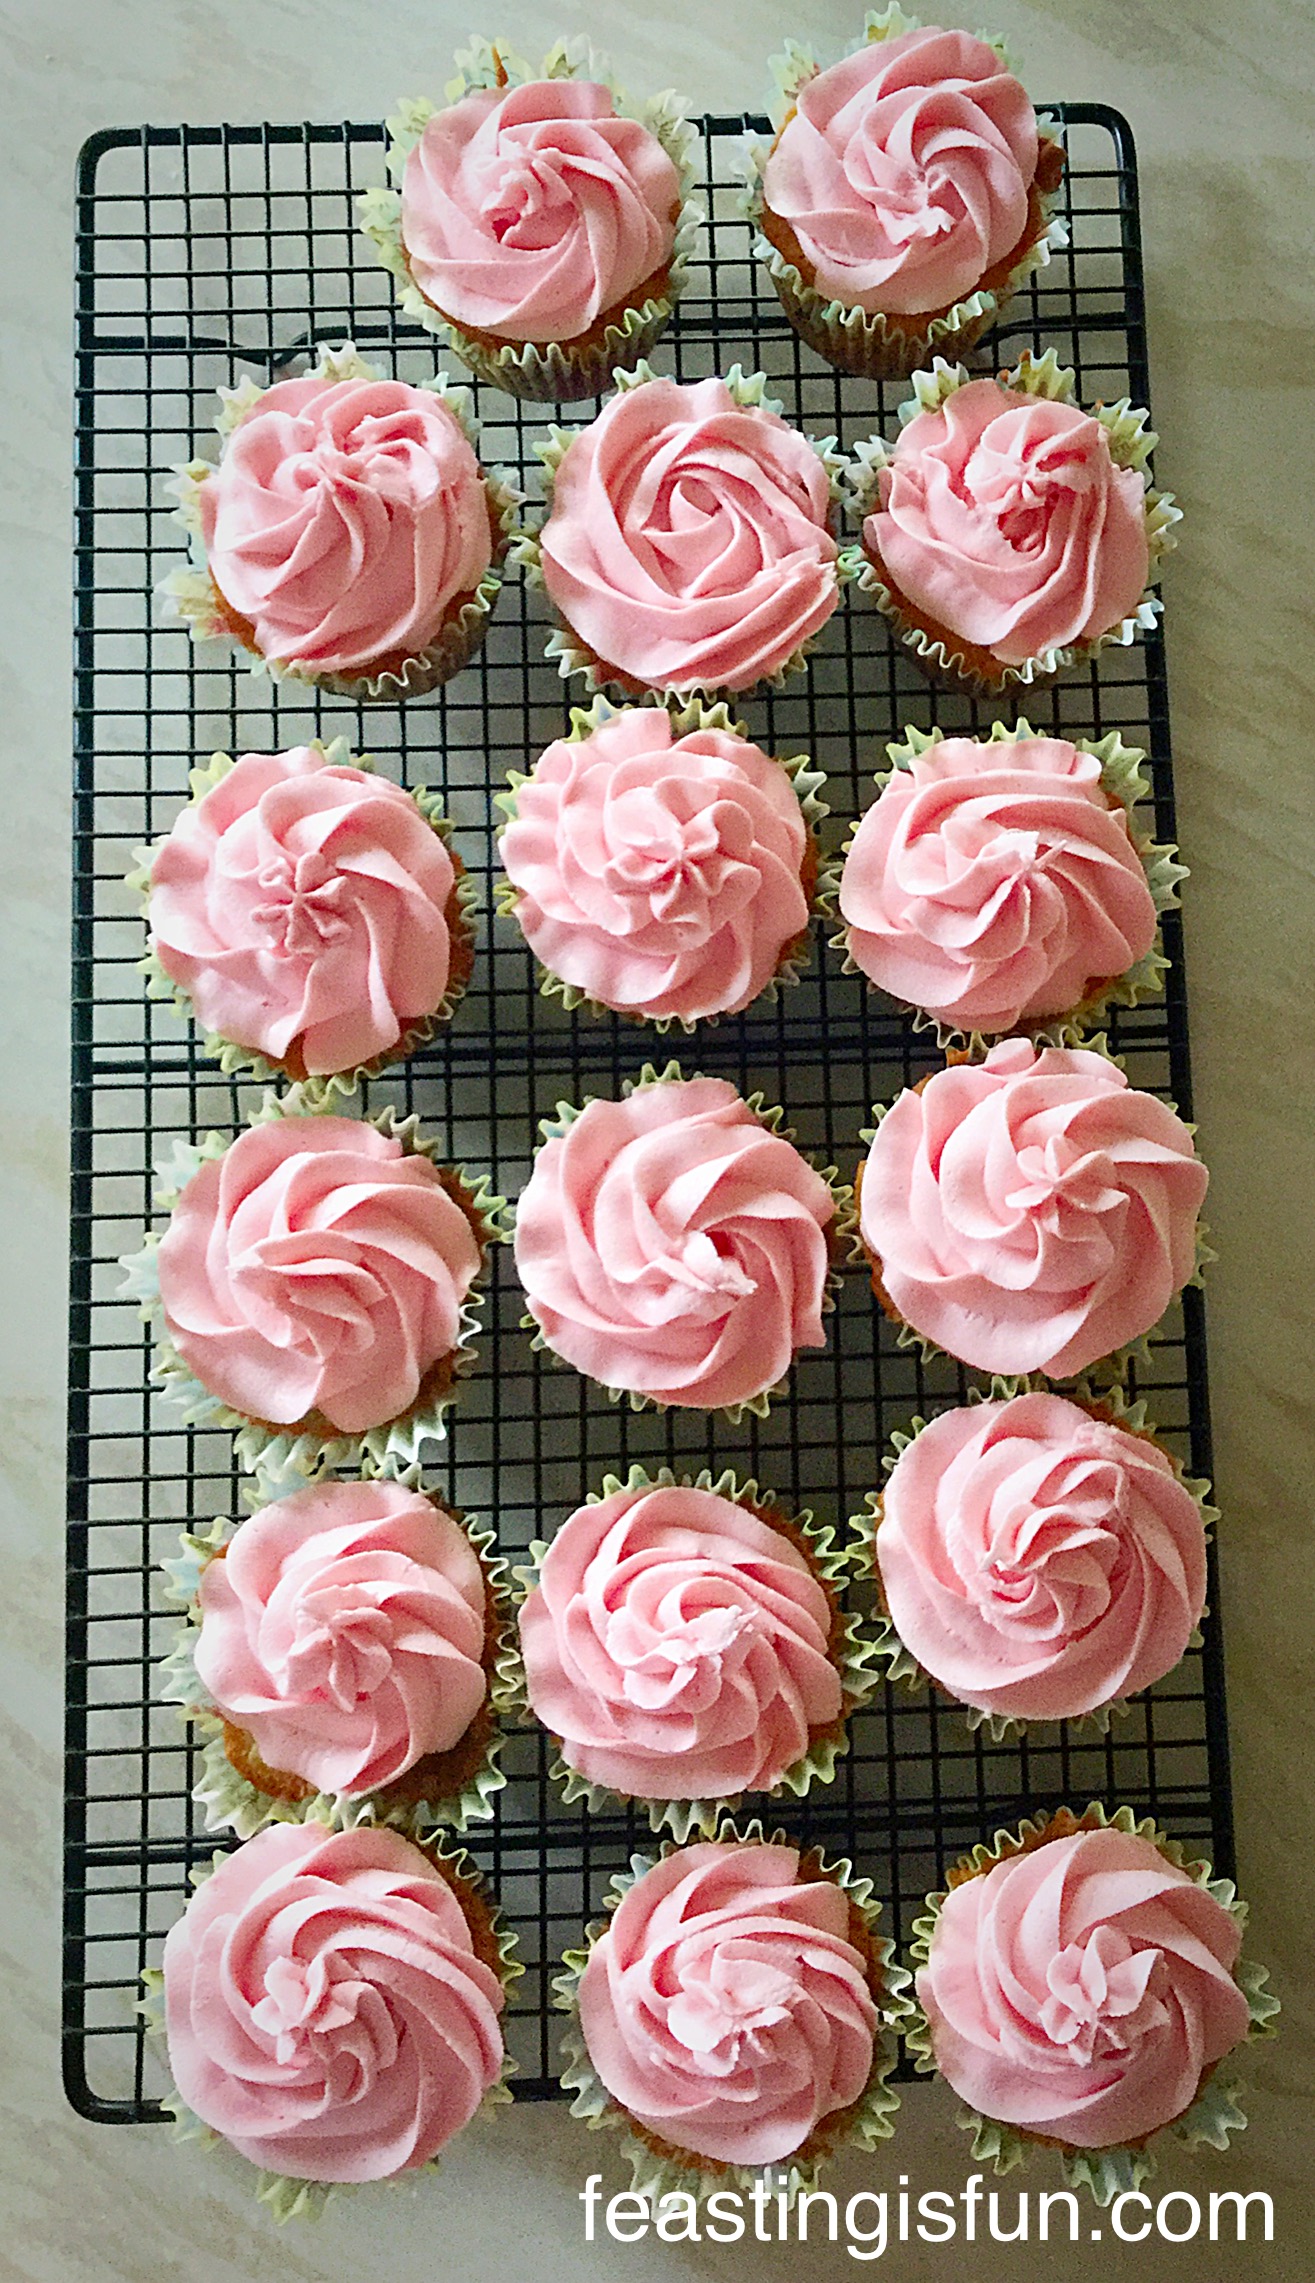
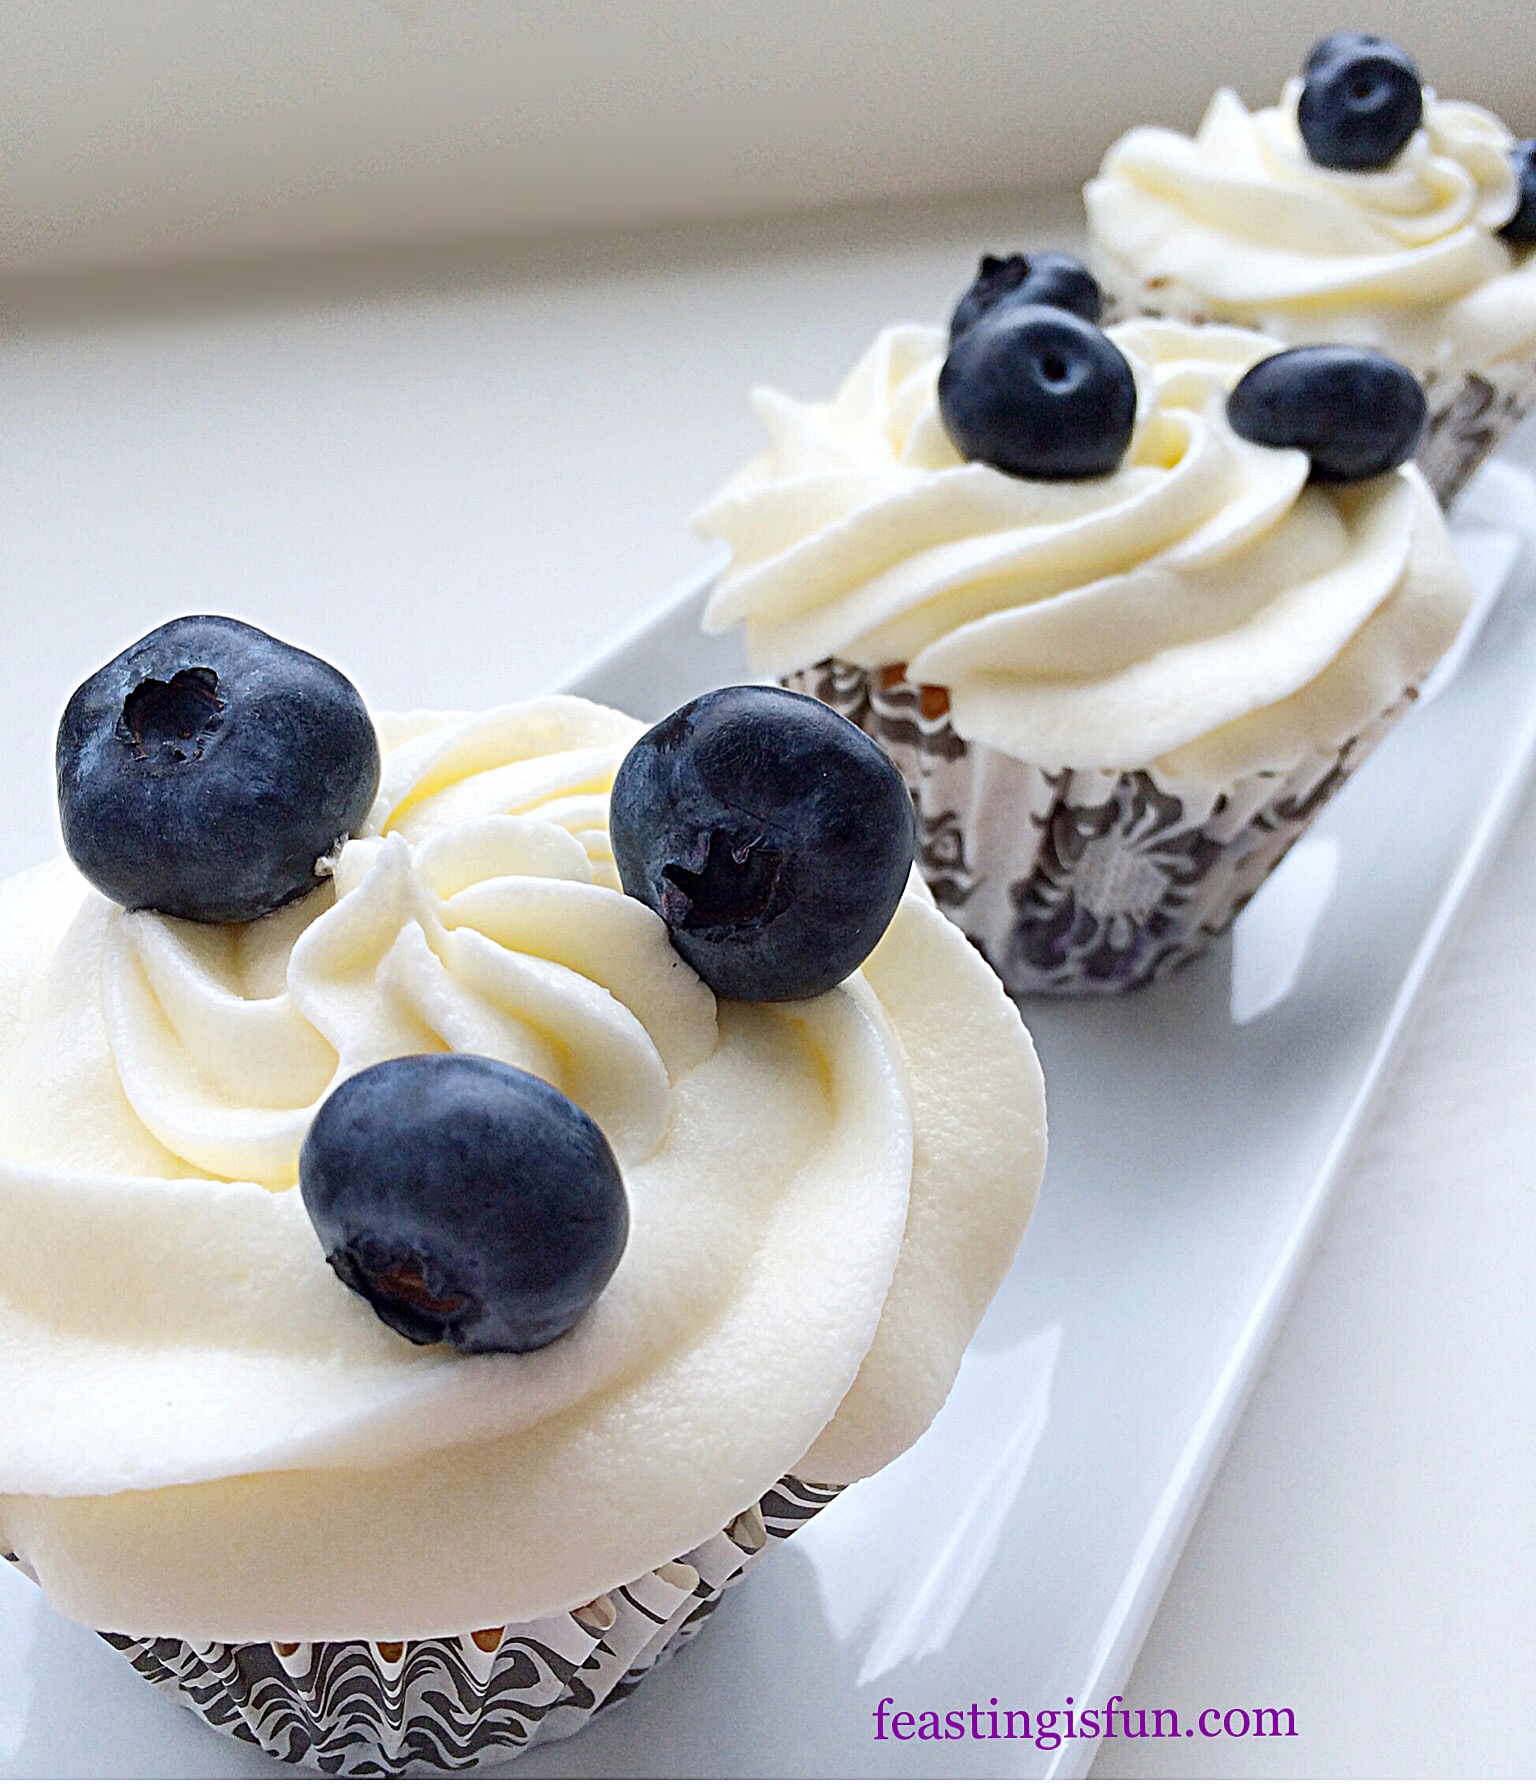
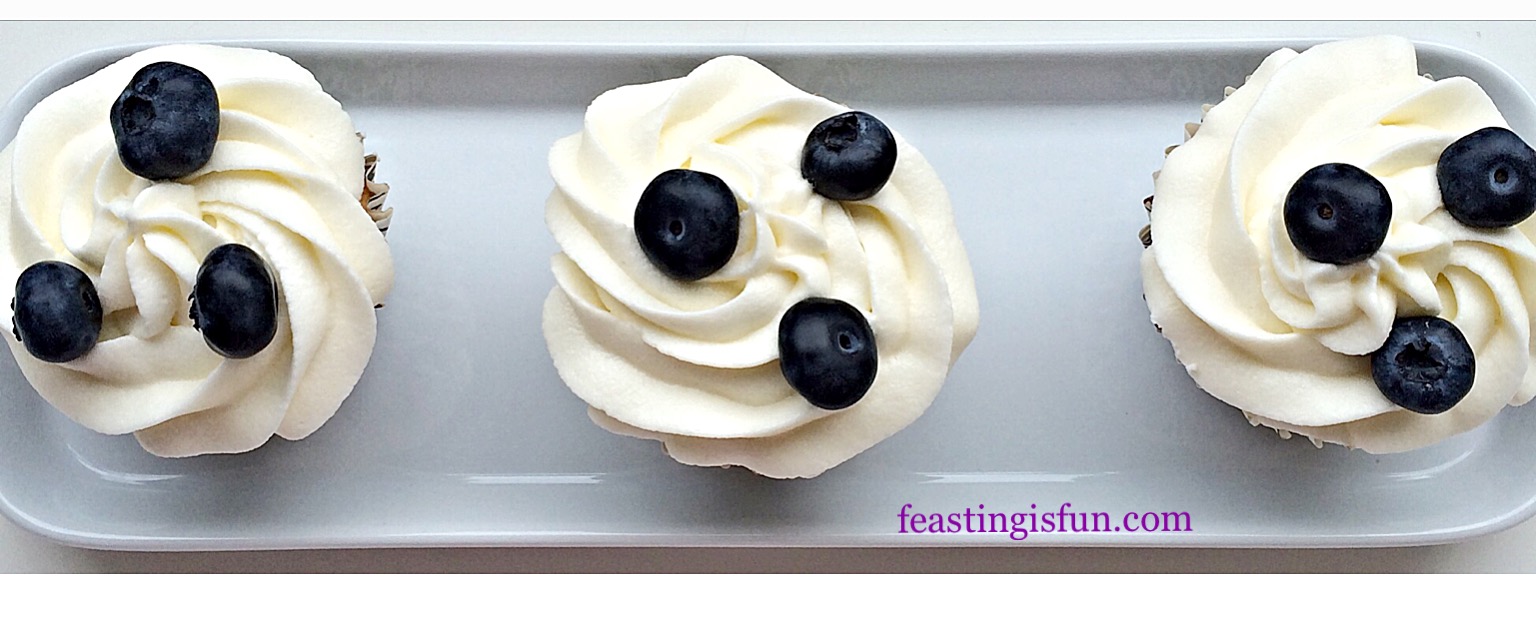
- To pipe the swirls on to the cupcakes: start at the outside edge of the cupcake, keep an even pressure on the bag and pipe a double swirl.
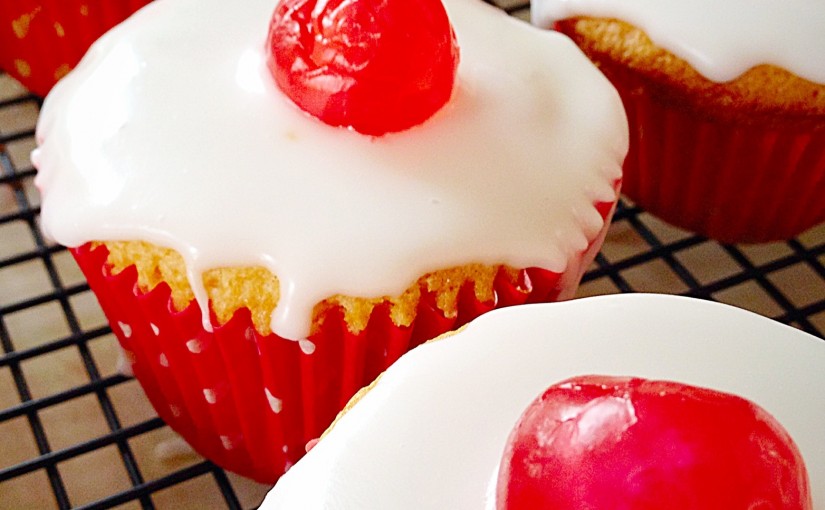
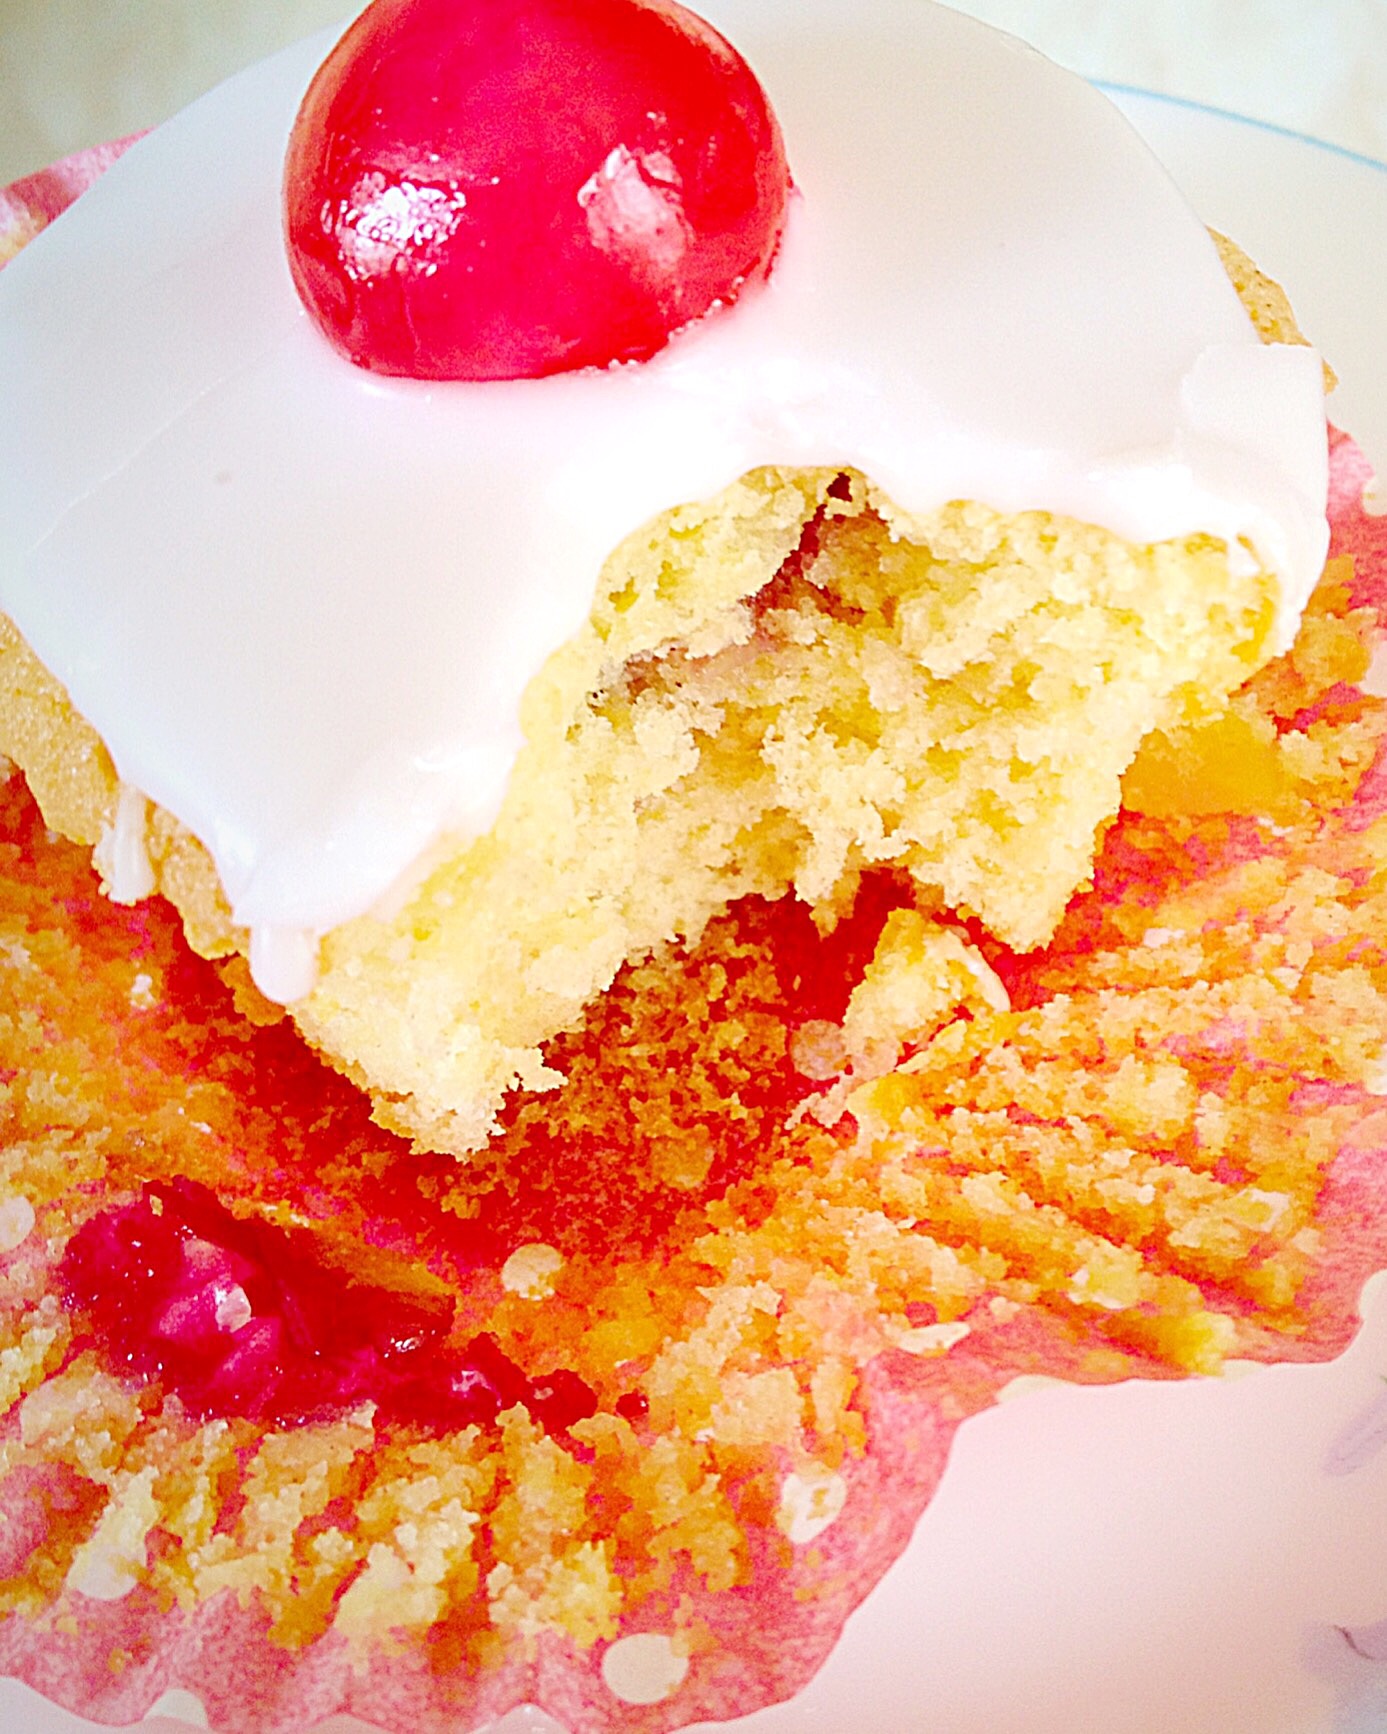
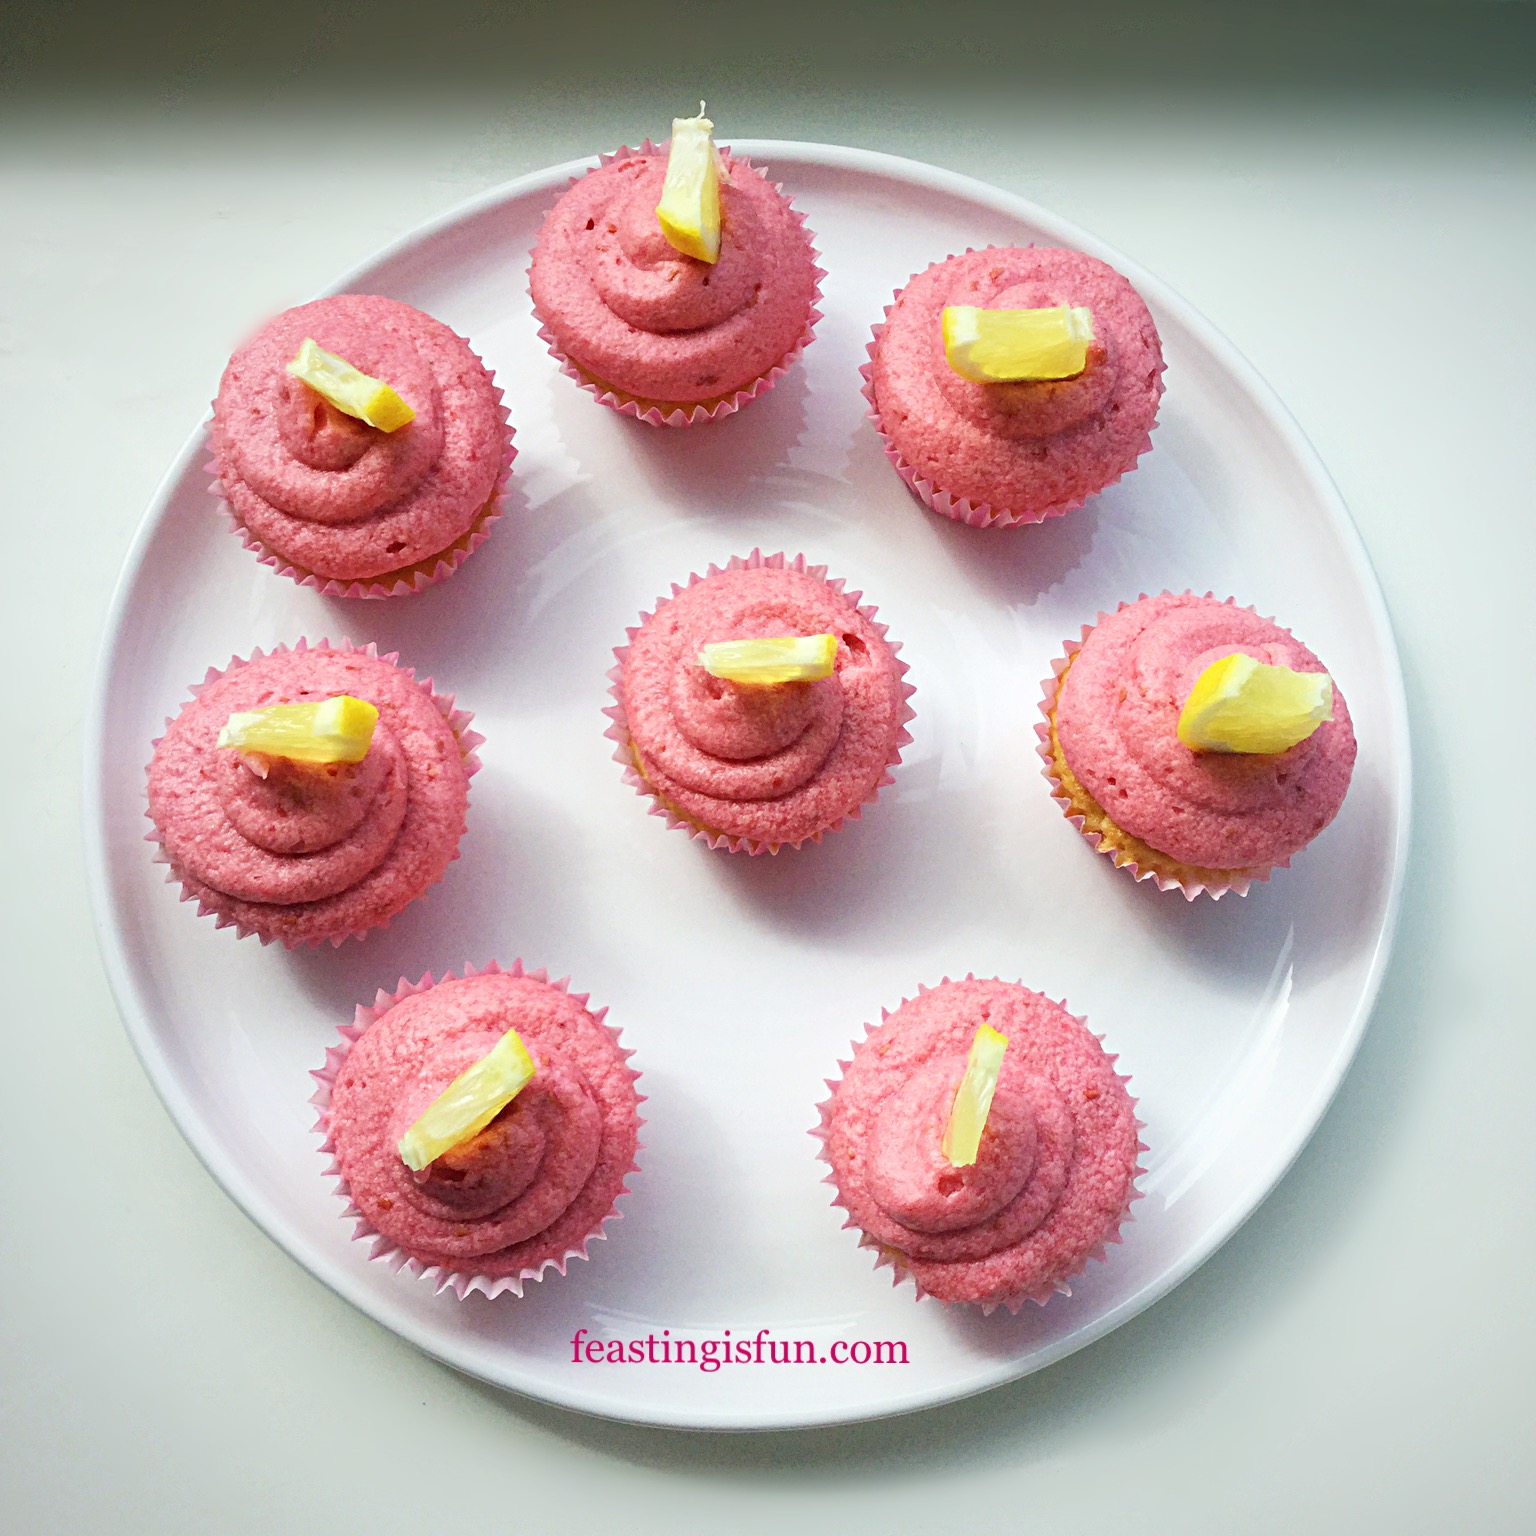
- Top each frosted cupcake with a lemon segment.
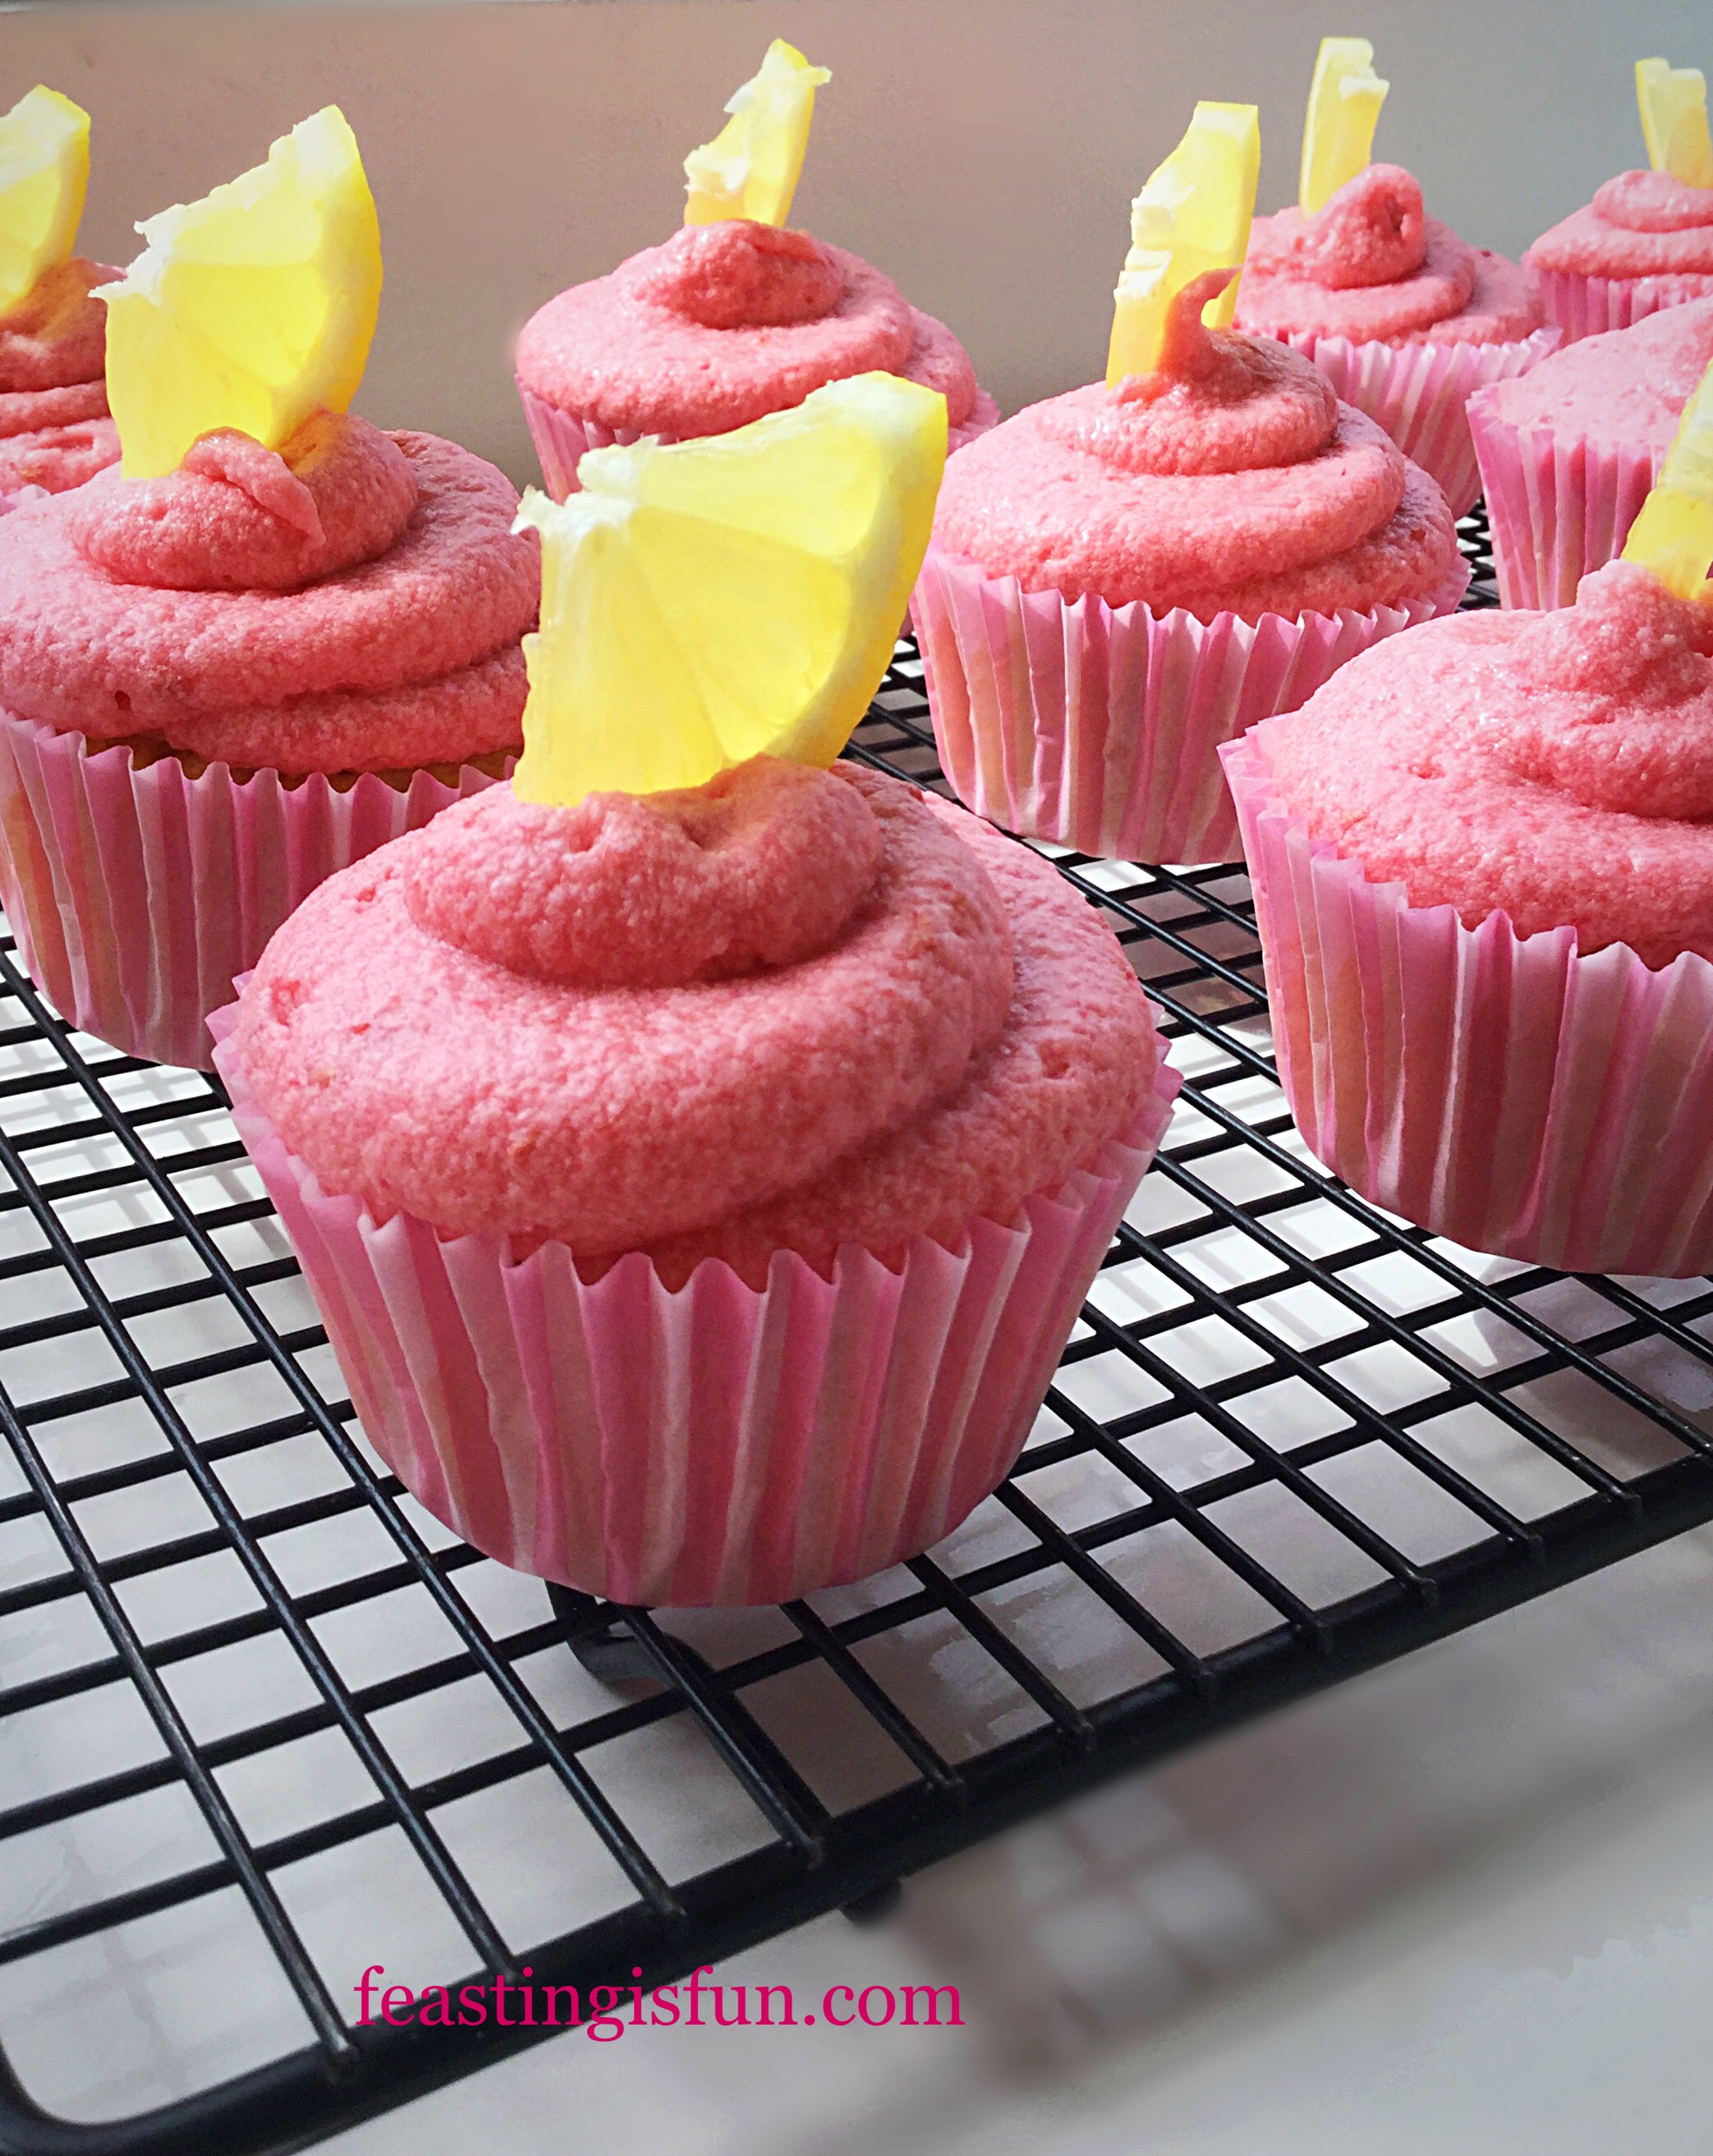
Vibrant, fresh raspberry frosting topped with a luminous lemon segment.
Serve with lemon tea or freshly made lemonade. And where possible, enjoy sitting outside in the garden listening to the birdsong.
If you have enjoyed this recipe for Fresh Raspberry Frosted Lemon Cupcakes you may also like these:
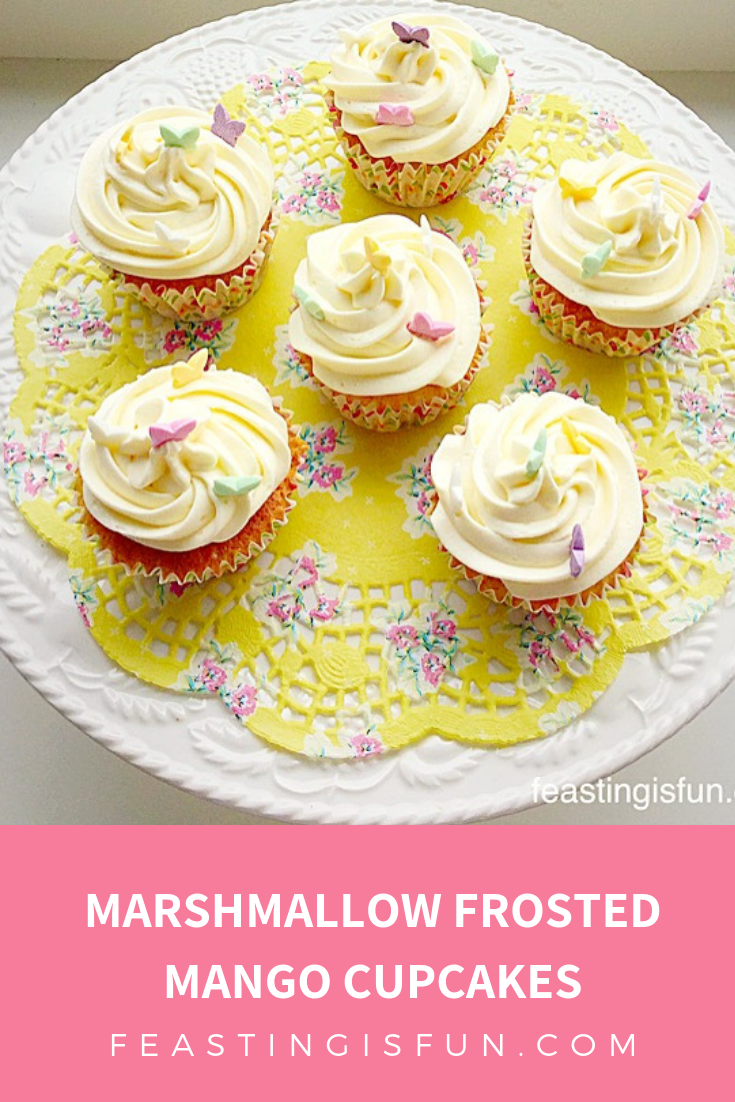
Marshmmallow Frosted Mango Cupcakes
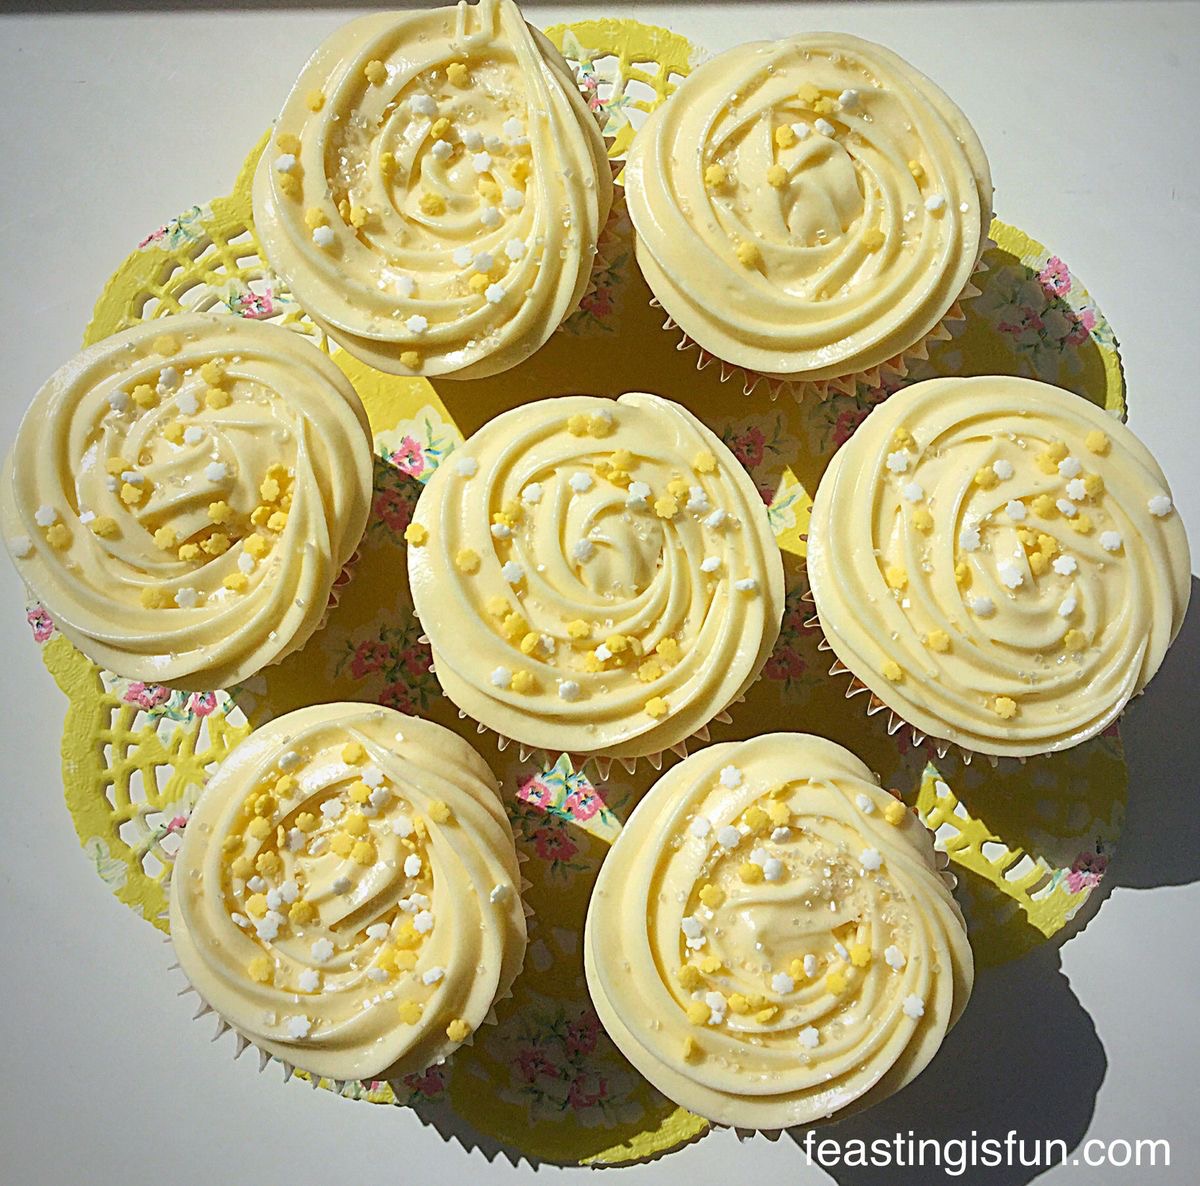
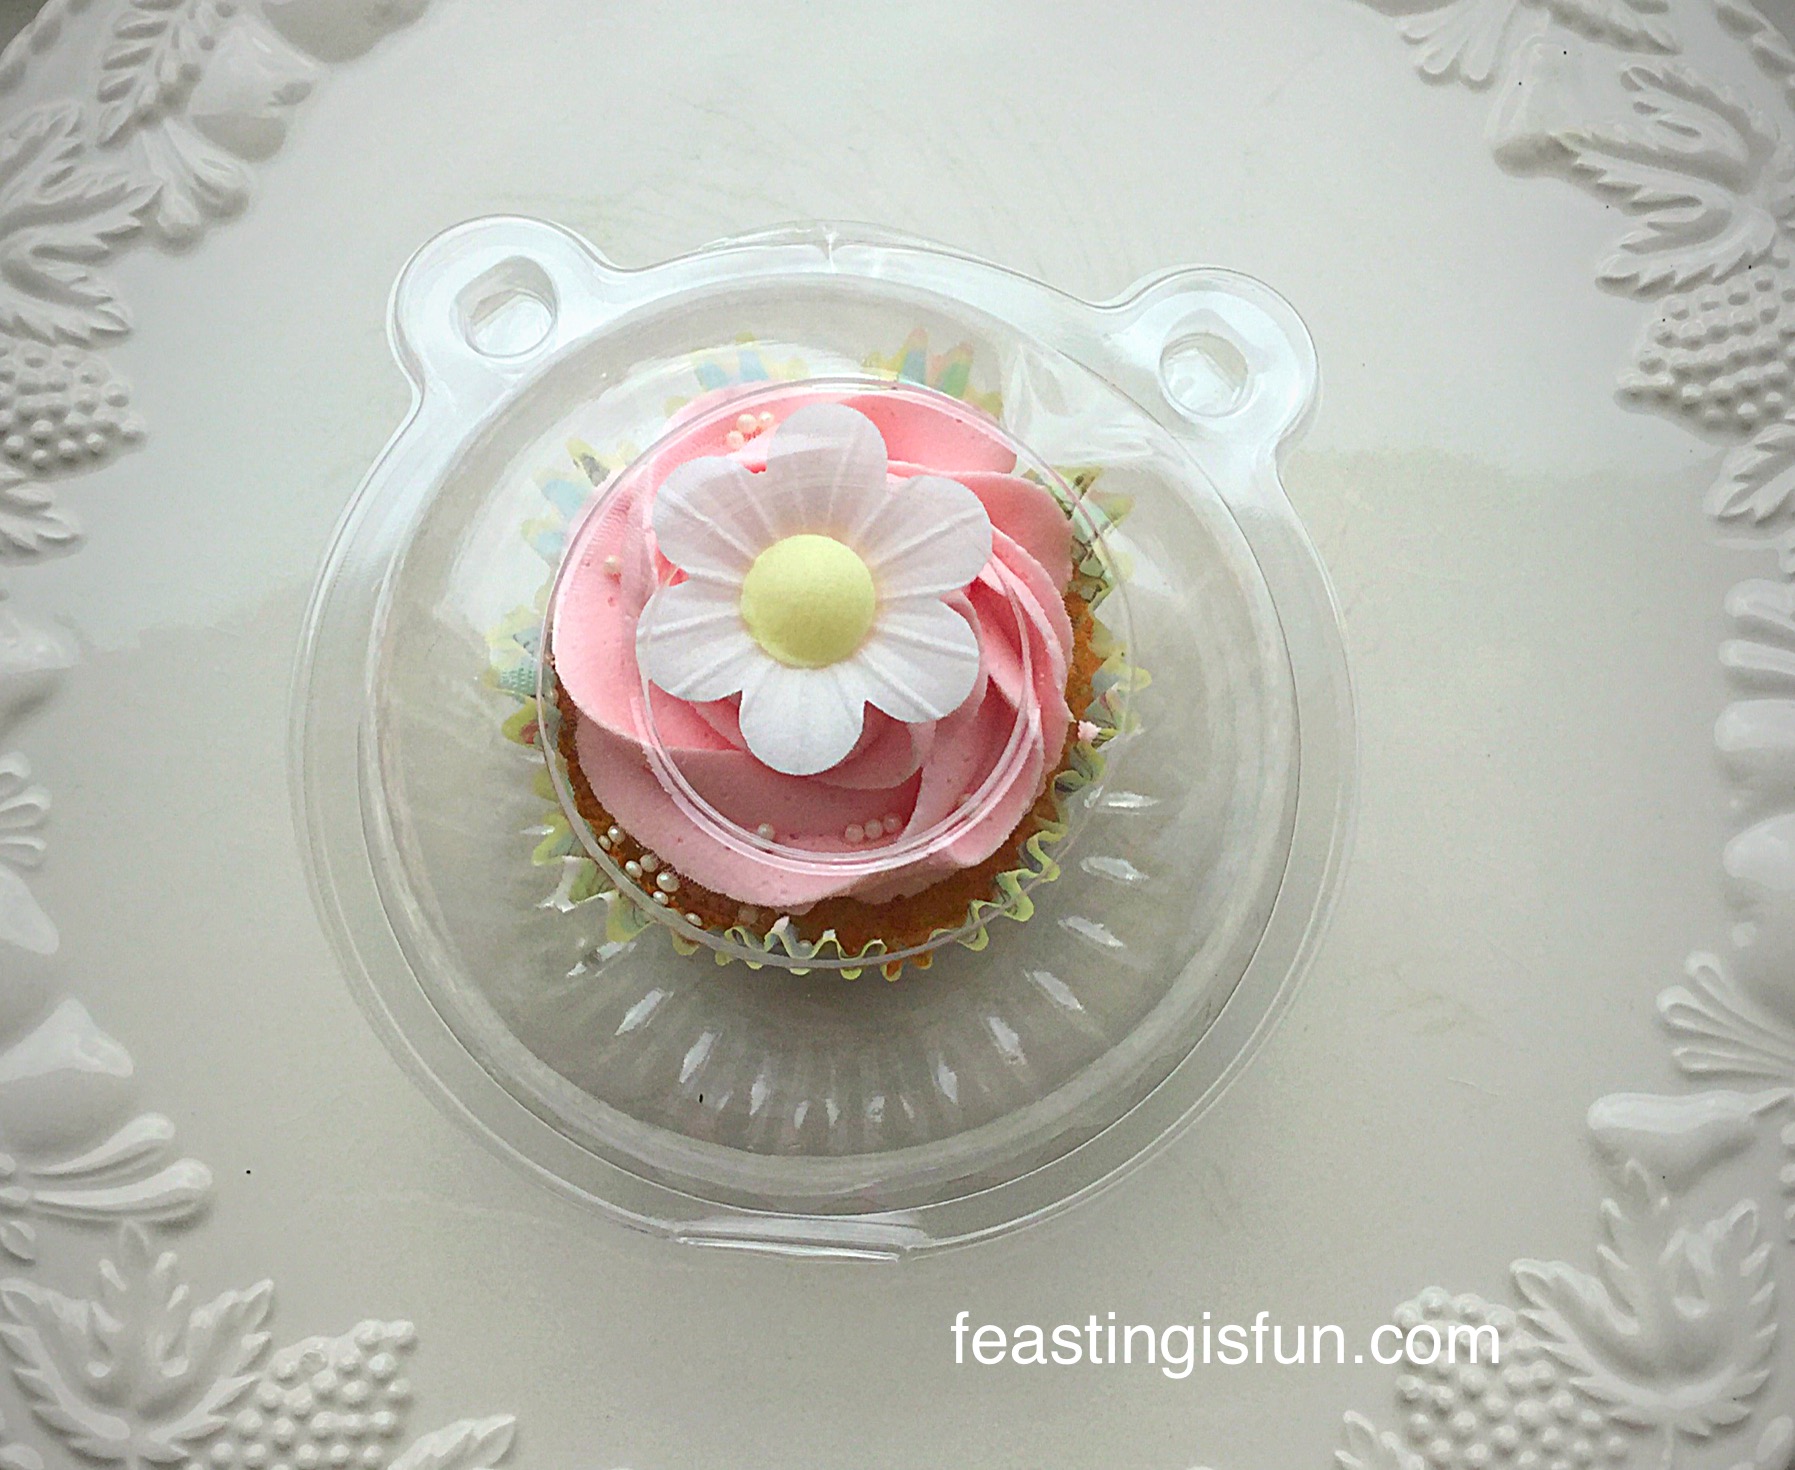
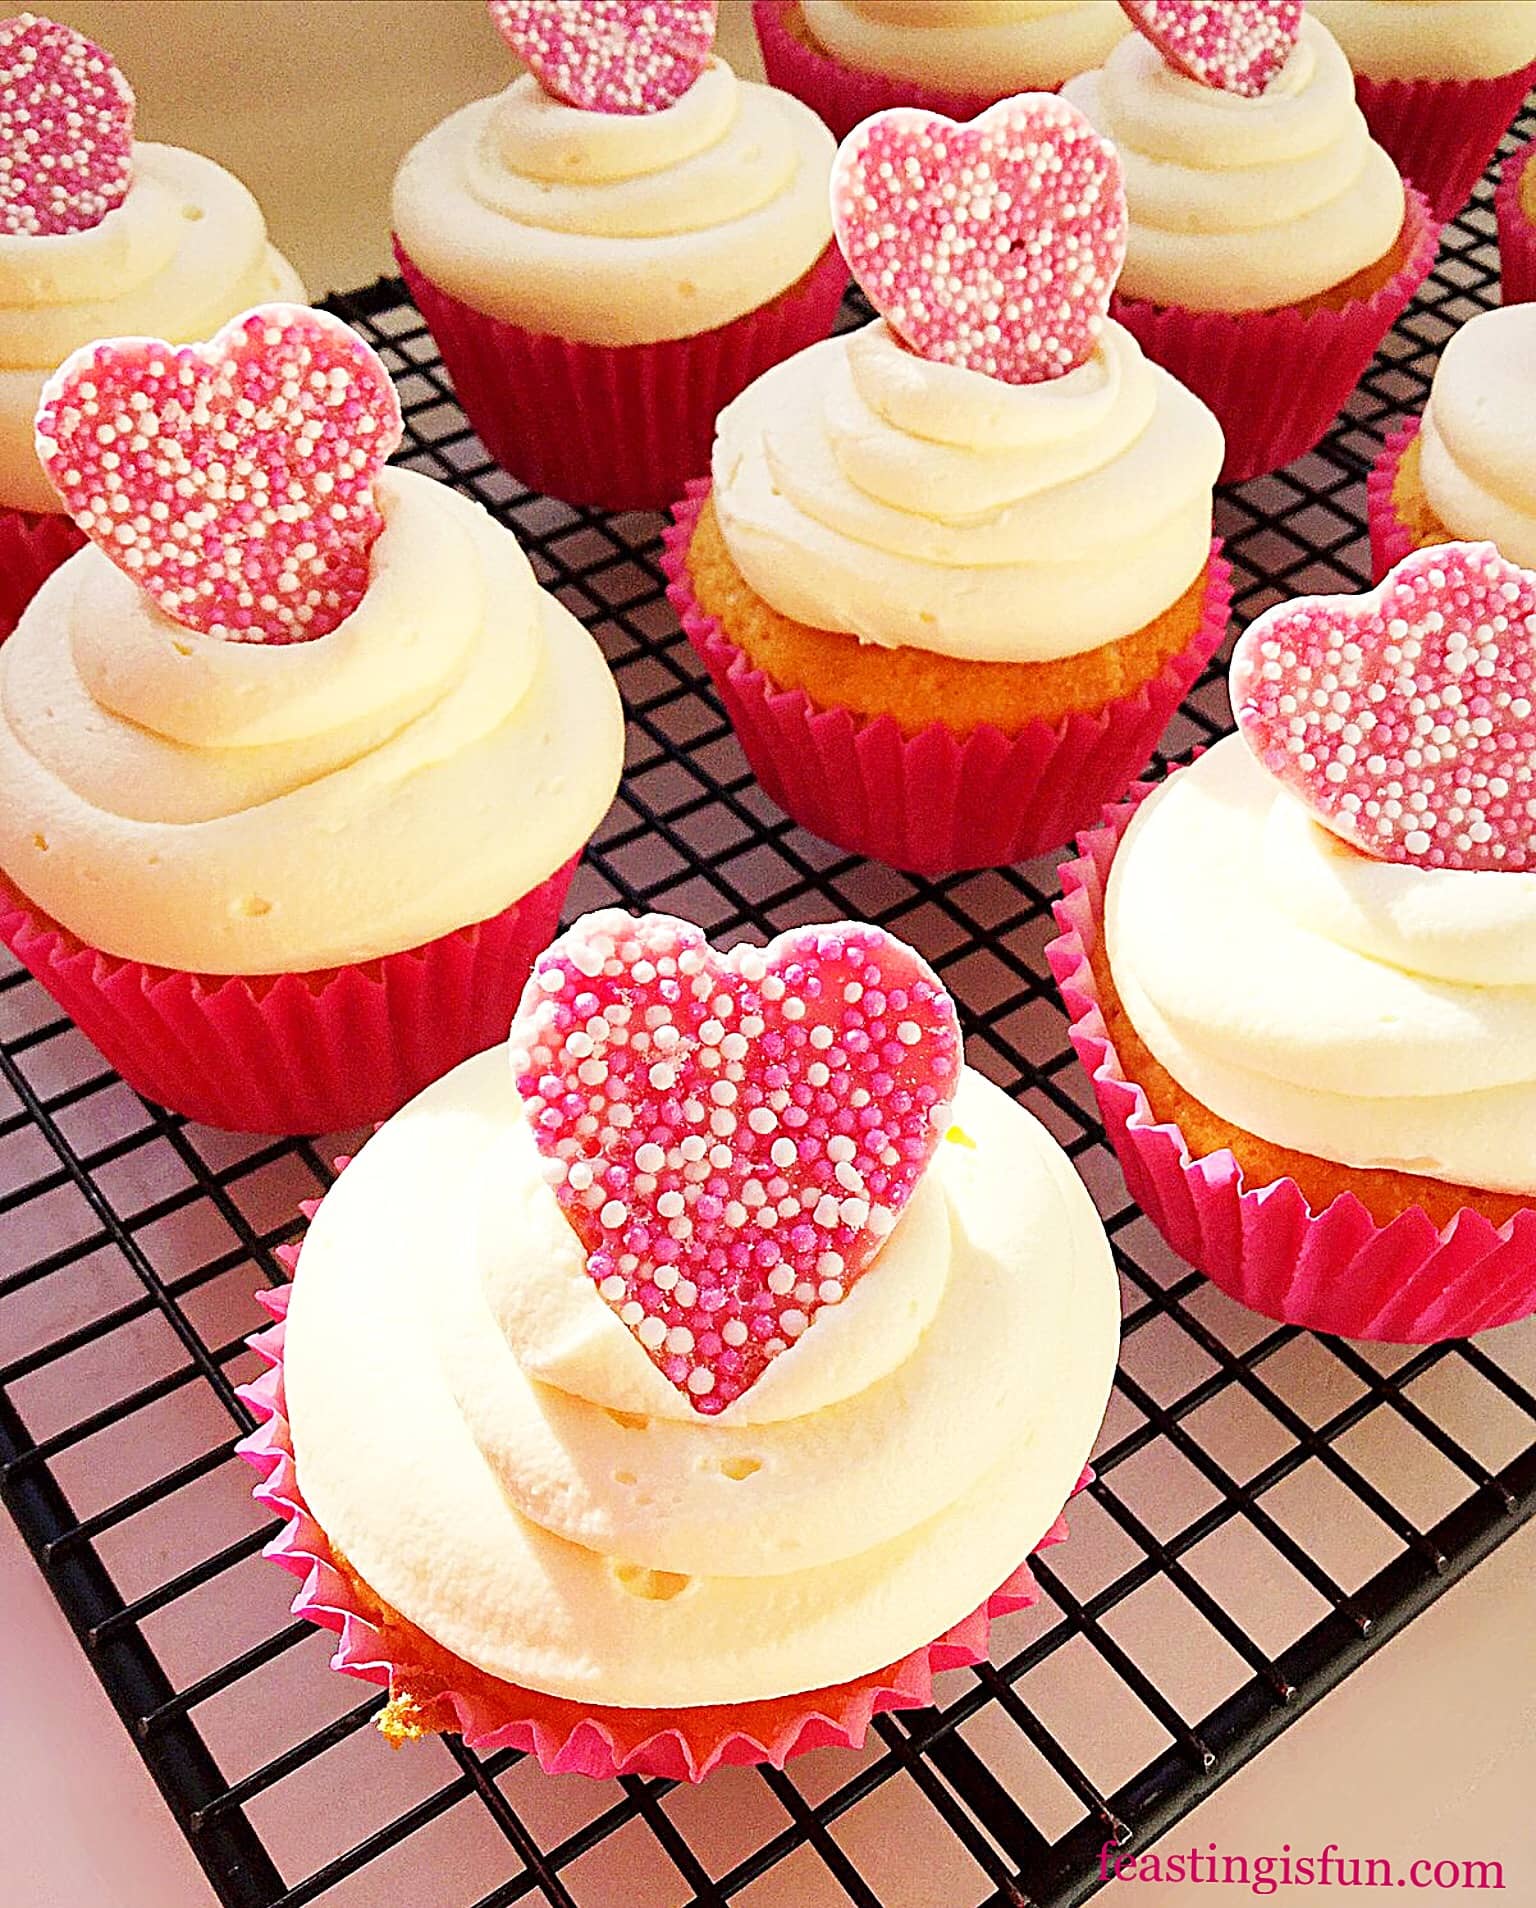
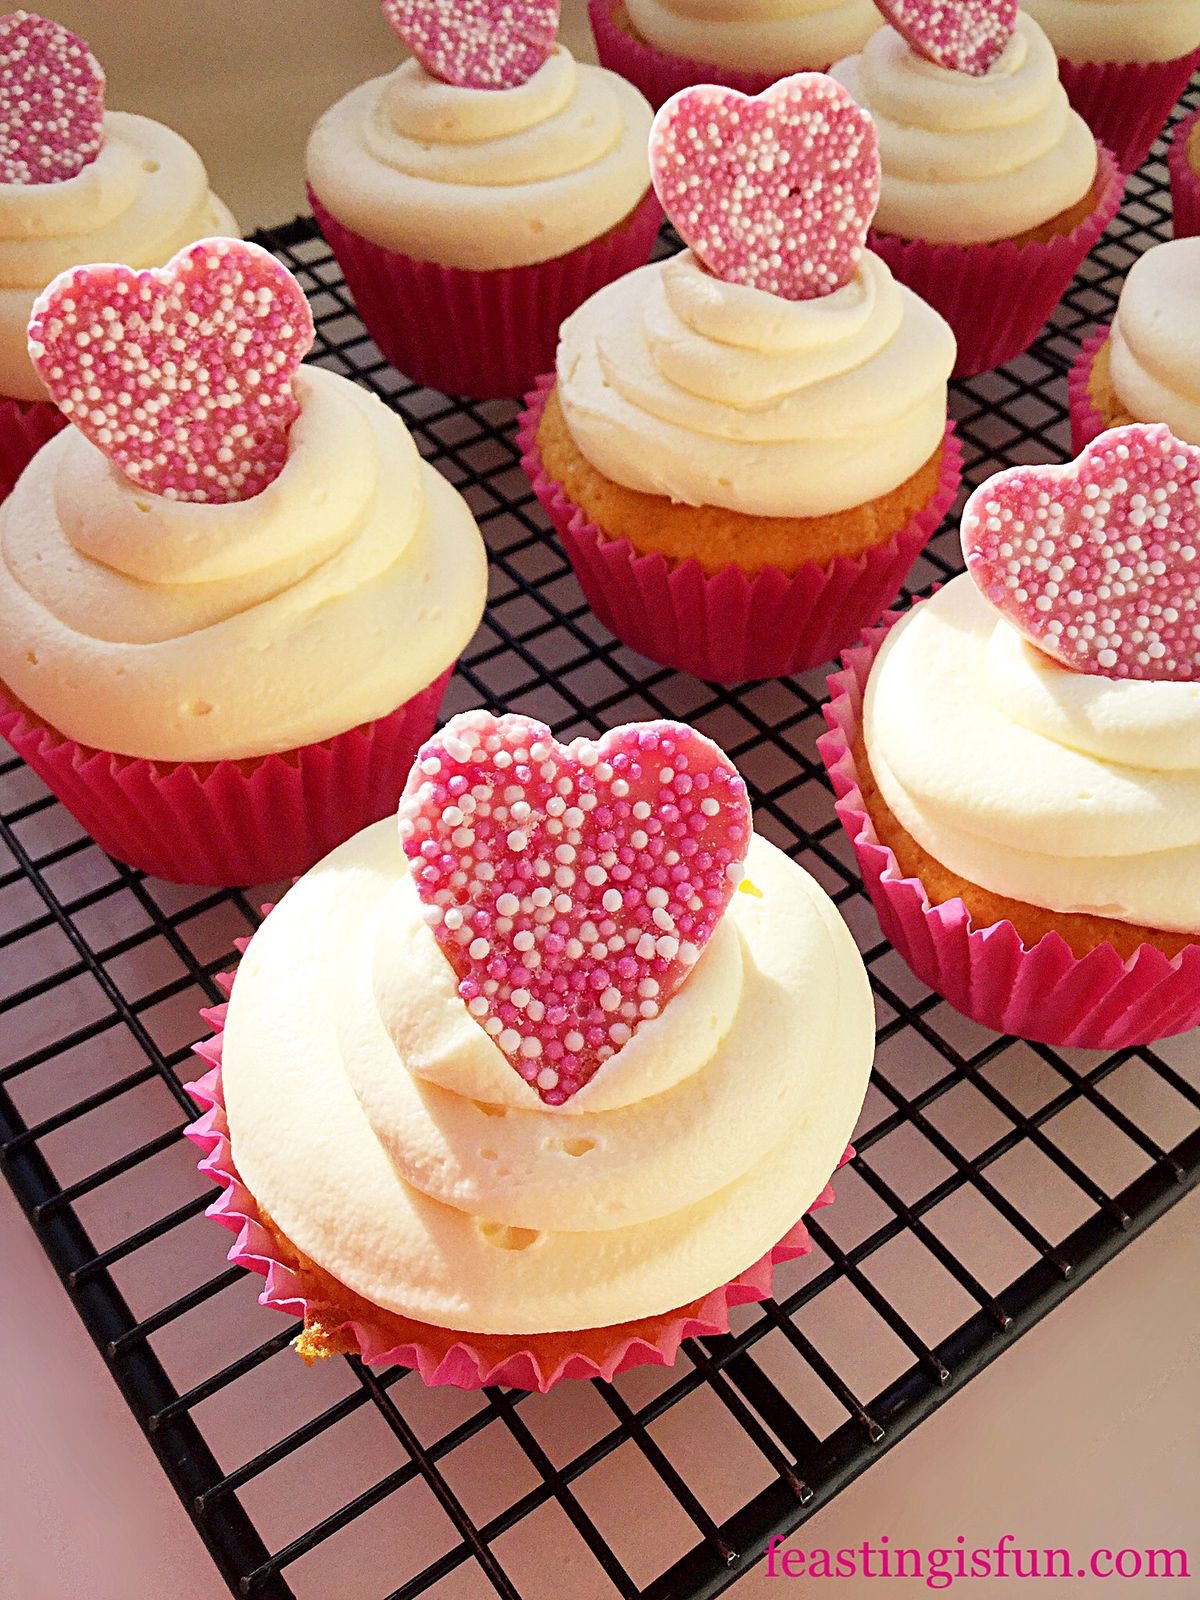
Pink Heart Topped White Chocolate Cupcakes
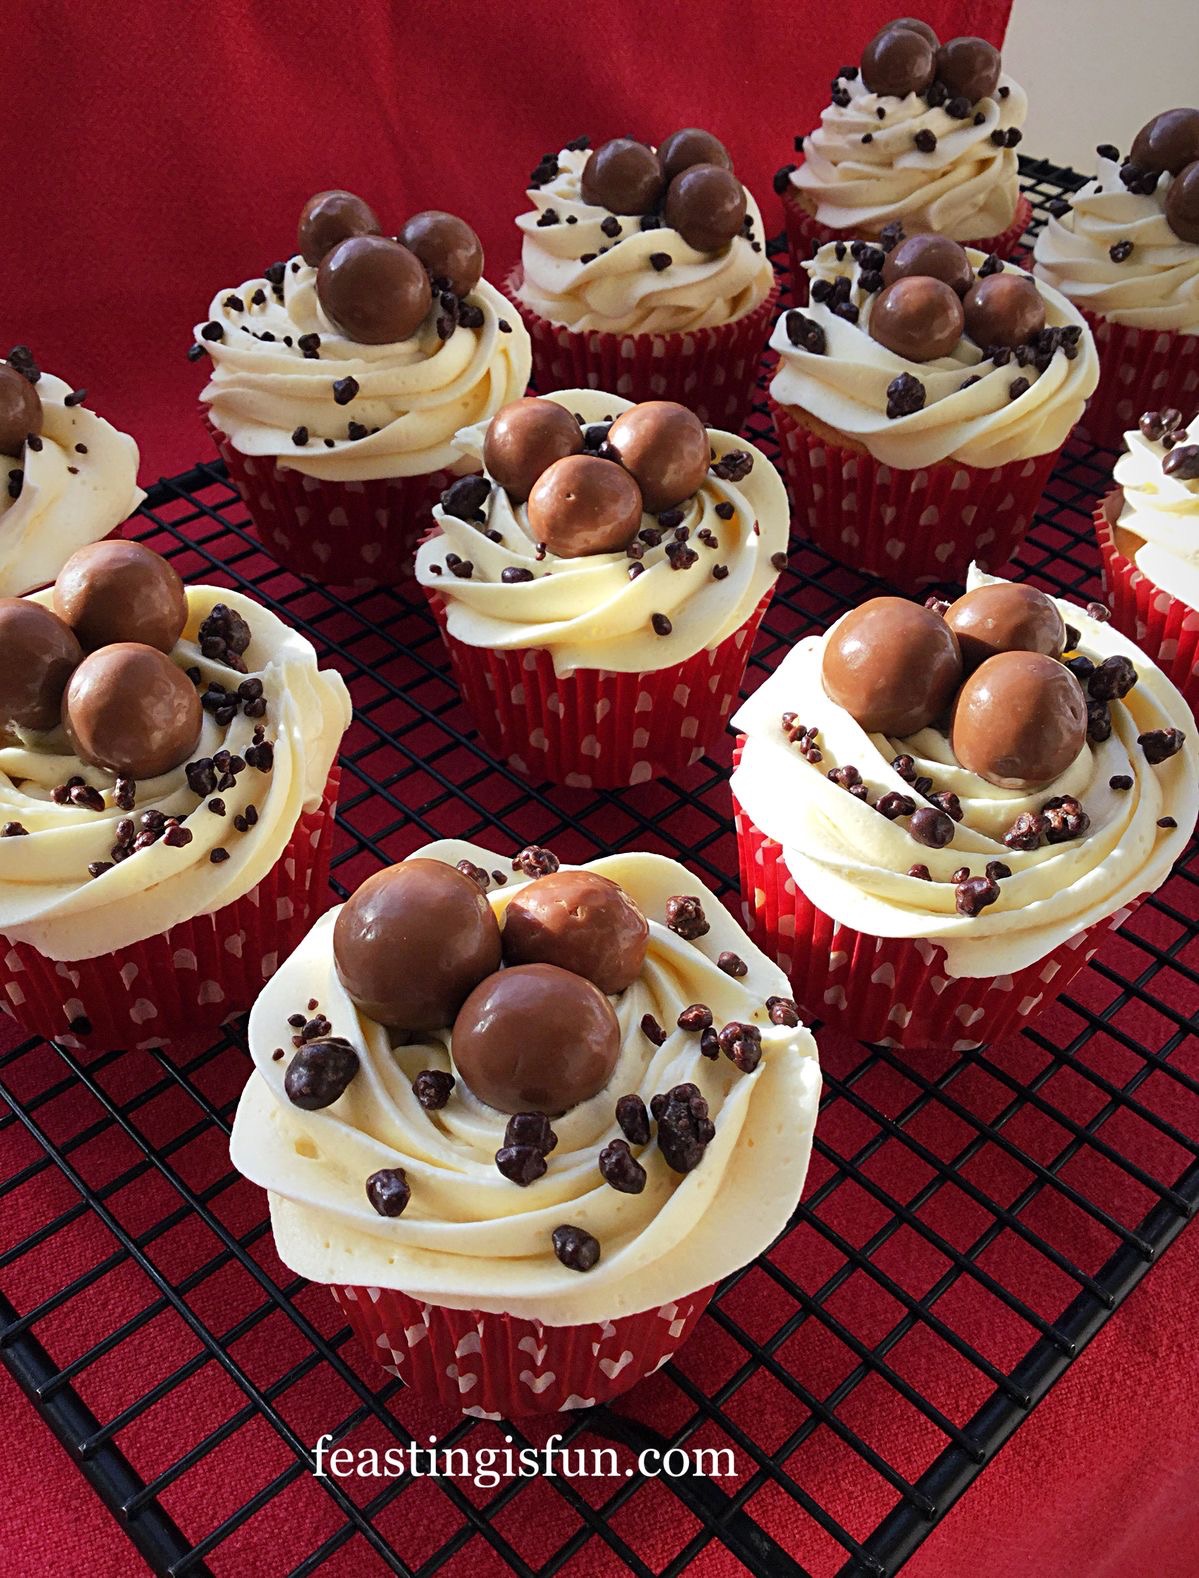
Malteser Popping Candy Cupcakes

Baking and sharing are at the very heart of Feasting is Fun. While I thoroughly enjoy creating new recipes to share with you my readers, encouraging you to share what you have made is as important. Especially as there are many lonely people in this world. Because simple gift of a cake, or meal such as this Chicken and Four Cheese Lasagne, given with a smile can lift an entire day for a stay at home mum with young children. Just one example of how you can help.
So whatever you are making, baking and creating, have fun preparing and sharing your feast.
Sammie xx
No part of this post may be reproduced or duplicated without the written permission of the owner. Please see my Disclosure Policy.
Share