Today is #NationalDonutDay. While I can only assume from the spelling that it applies to those in the United States and yet here I am baking a Black Forest Giant Doughnut. Because any reason to eat doughnuts is good enough for me!
Making a Black Forest Gateaux has been on my list of bakes for a while. Finally I took the opportunity of making a Black Forest Giant Doughnut. Alternatively, if you do not have doughnut moulds – mine were from Lakeland are were very reasonably priced – I see no reason why this recipe shouldn’t work using 7-8″ sandwich tins.
Since this has the lightest of chocolate sponges I opted to add a little Kirsch (cherry liquer).
Cherries And Chocolate Sponge
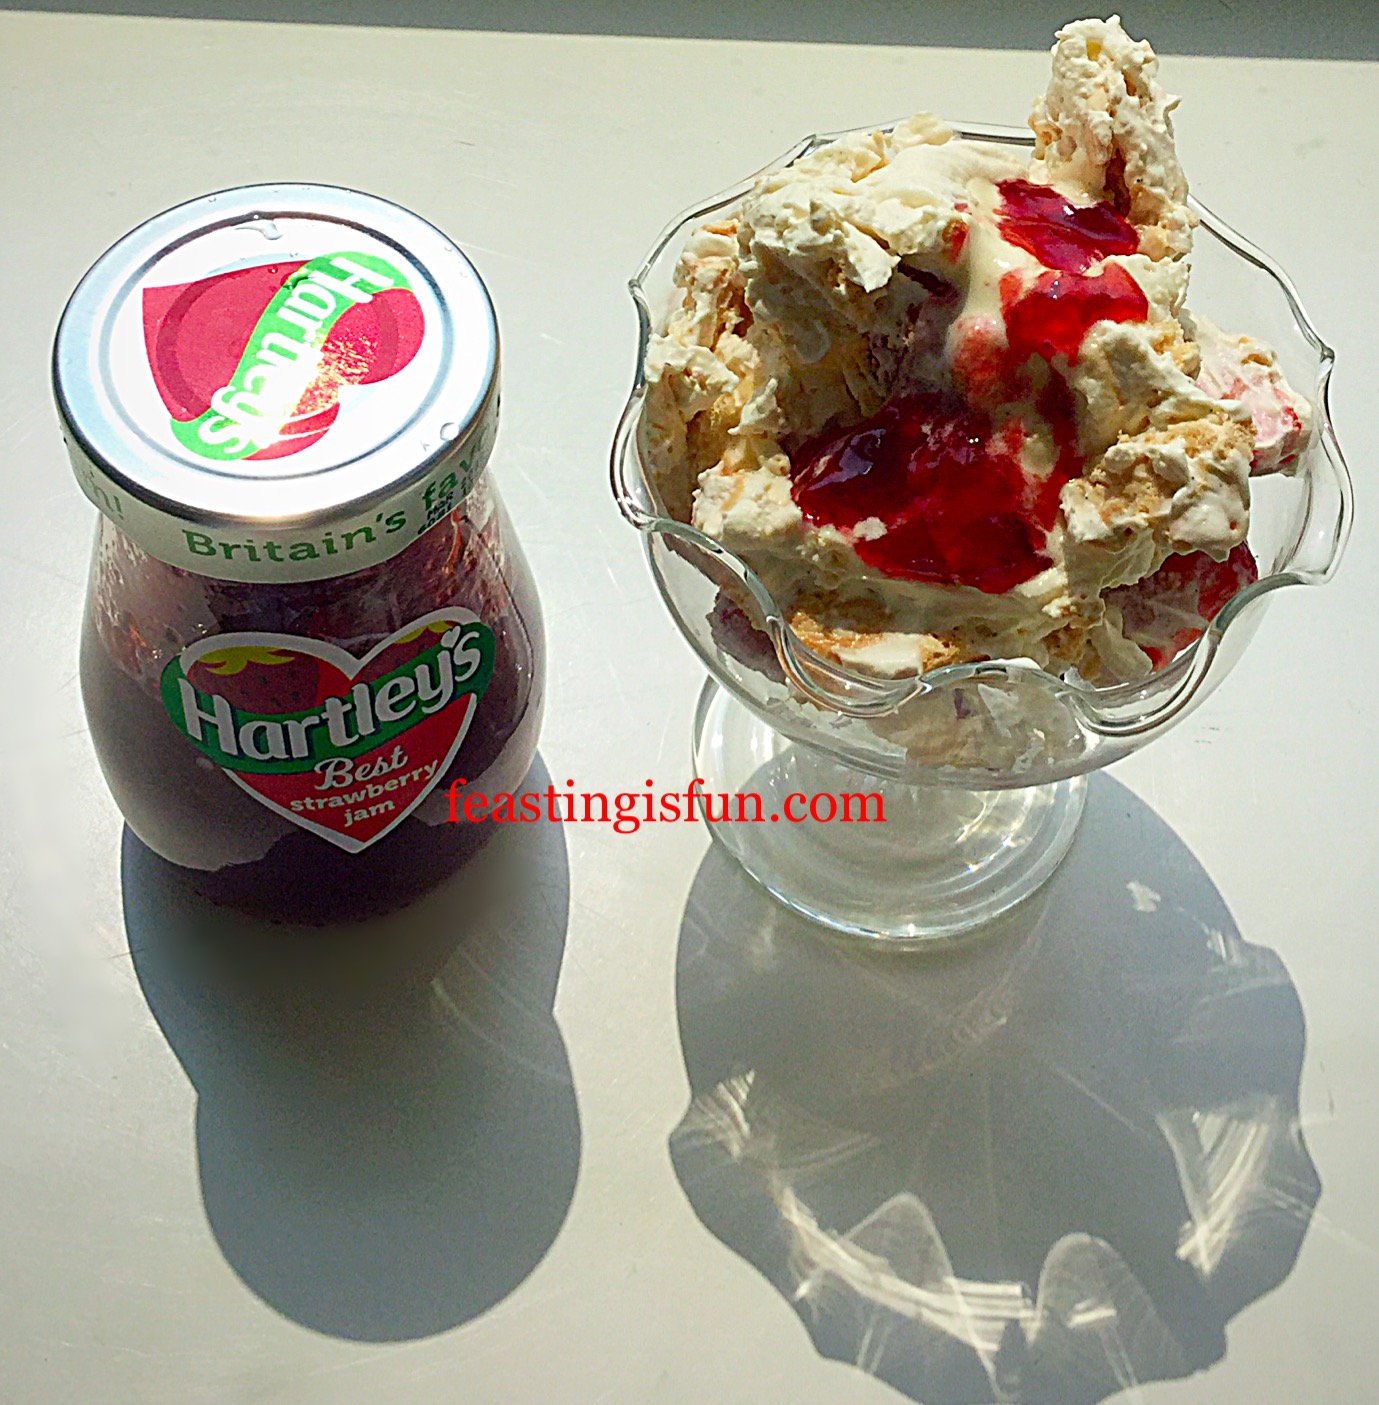
When in season fresh cherries, that have been macerated in a little liquer and sugar will be used. Because they aren’t quite in season yet, I opted for tinned cherry pie filling. Alternatively, morello cherry jam would work well here. Since this is a very adaptable recipe, use whatever you have to hand, or can easily get hold of.
Although this is a giant doughnut I would happily bring it out for dessert after dinner, or serve with afternoon tea on a sunny day in the garden. Most importantly I encourage you to share this delicious bake. Because it is simply too good to be kept hidden away.
Recipe: Makes one Black Forest Giant Doughnut serves 8
200g/7oz Unsalted Butter – plus a little extra for greasing the moulds
200g/7oz Caster Sugar
Scant pinch of salt – no more than 1/4 tsp
1 tsp Vanilla Extract – I use Nielsen-Massey
6 Large Free Range Eggs
75g/3oz Cocoa Powder
125g/4oz Plain White Flour
1.5 tsp Baking Powder
For the filling/topping:
200ml/8fl oz Double Cream
1 x 410g Tin Cherry Pie Filling – note morello cherry jam and fresh cherries can be used instead.
Optional – 1tbs Kirsch
Method: Preheat the oven to 160C/140C fan, gas mark 3, 325F
Making And Baking The Chocolate Doughnut Halves
- First of all, grease the inside of both doughnut moulds well with soft butter.
- In a large bowl add the butter and sugar.
- Whisk/beat until pale and creamy. Approx 5 minutes, this helps create a very light sponge.
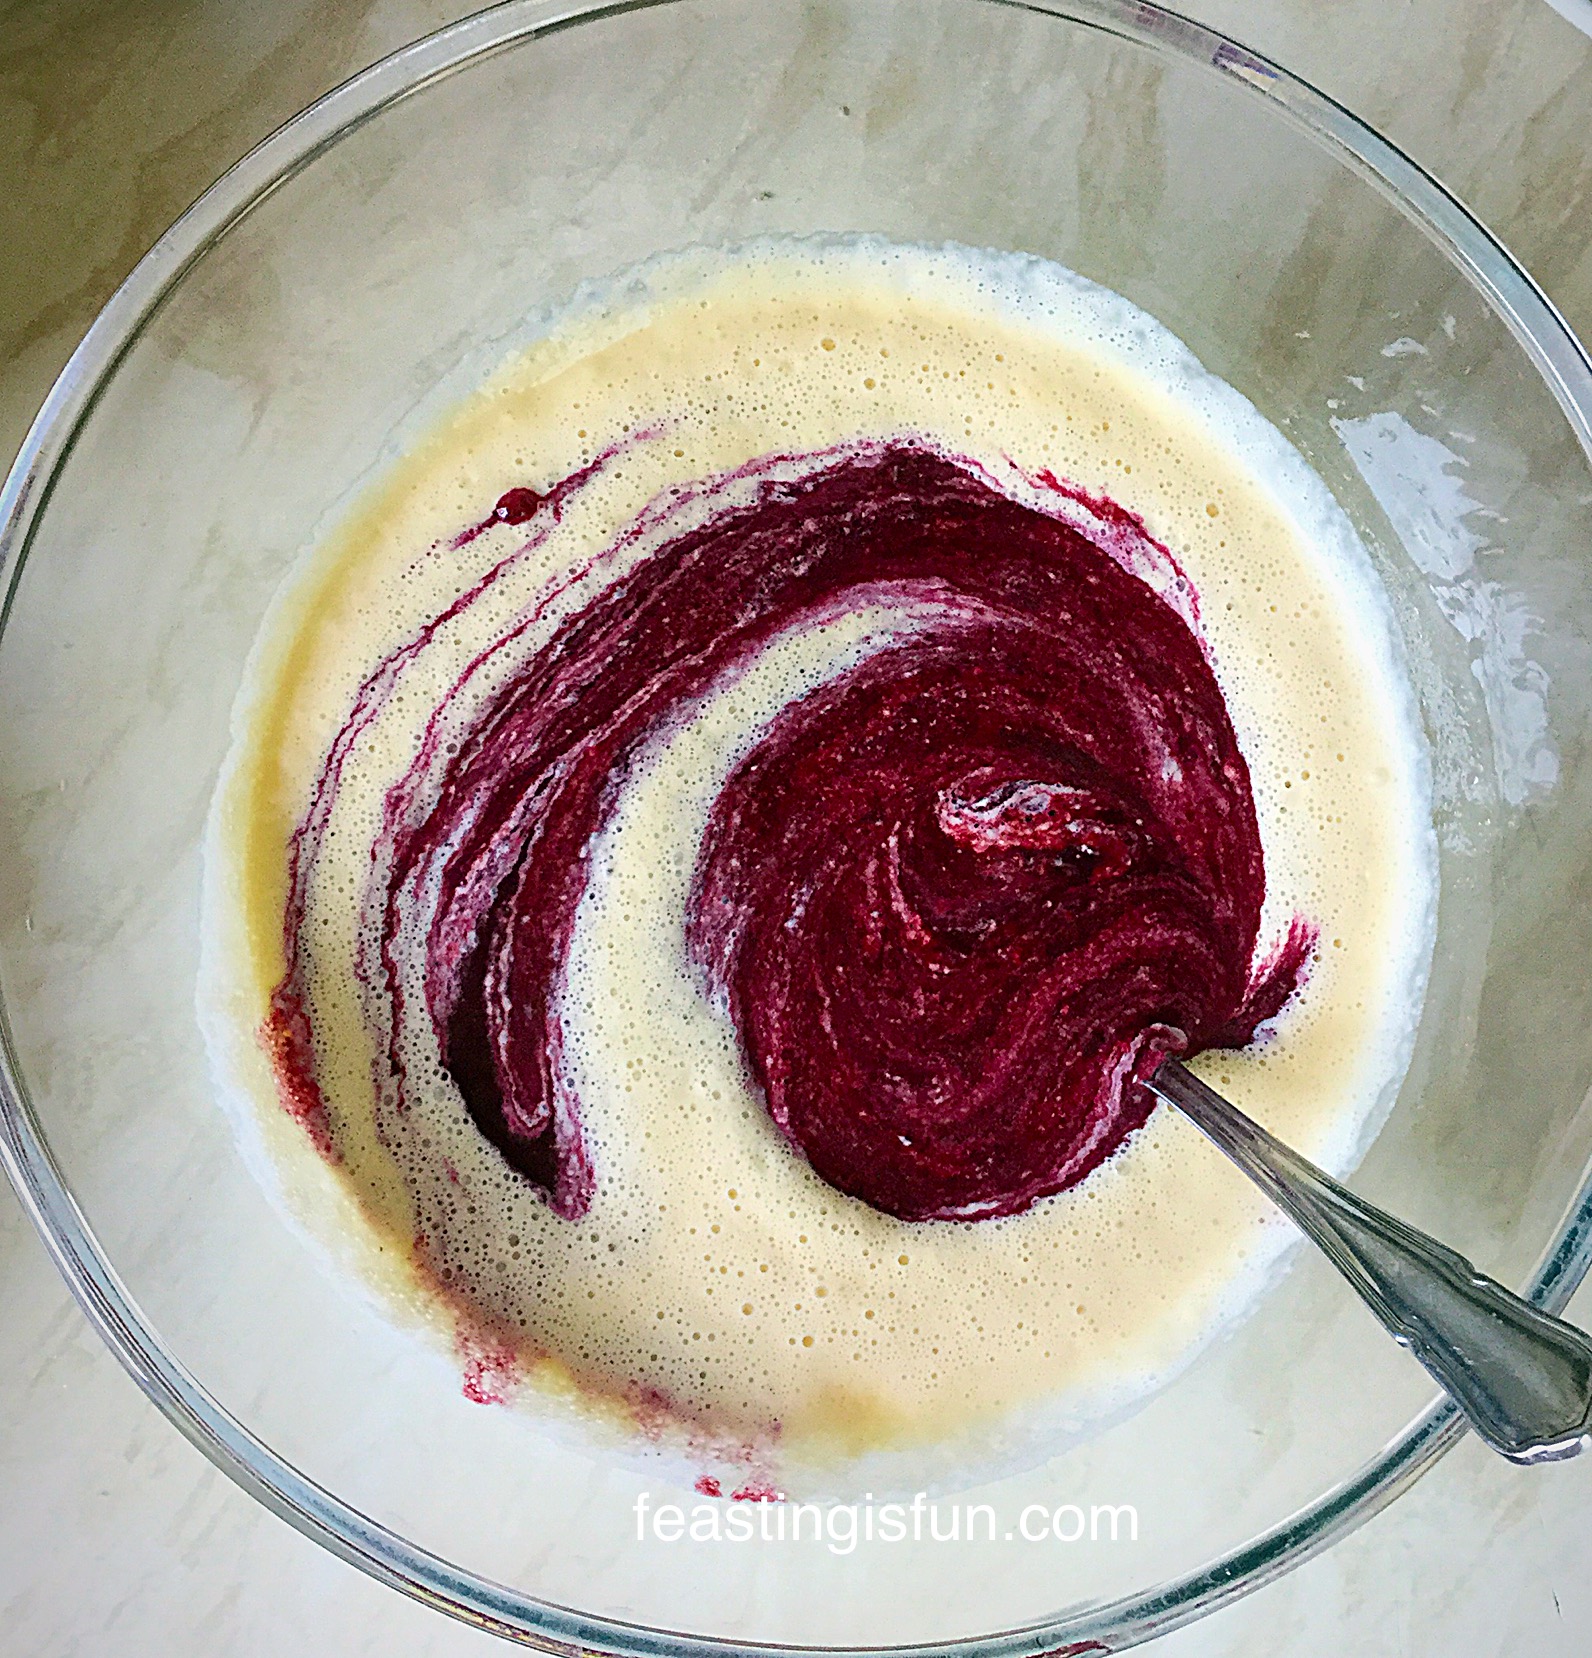
- Add all 6 eggs and the vanilla extract to the bowl – I always crack my eggs into a separate bowl first.
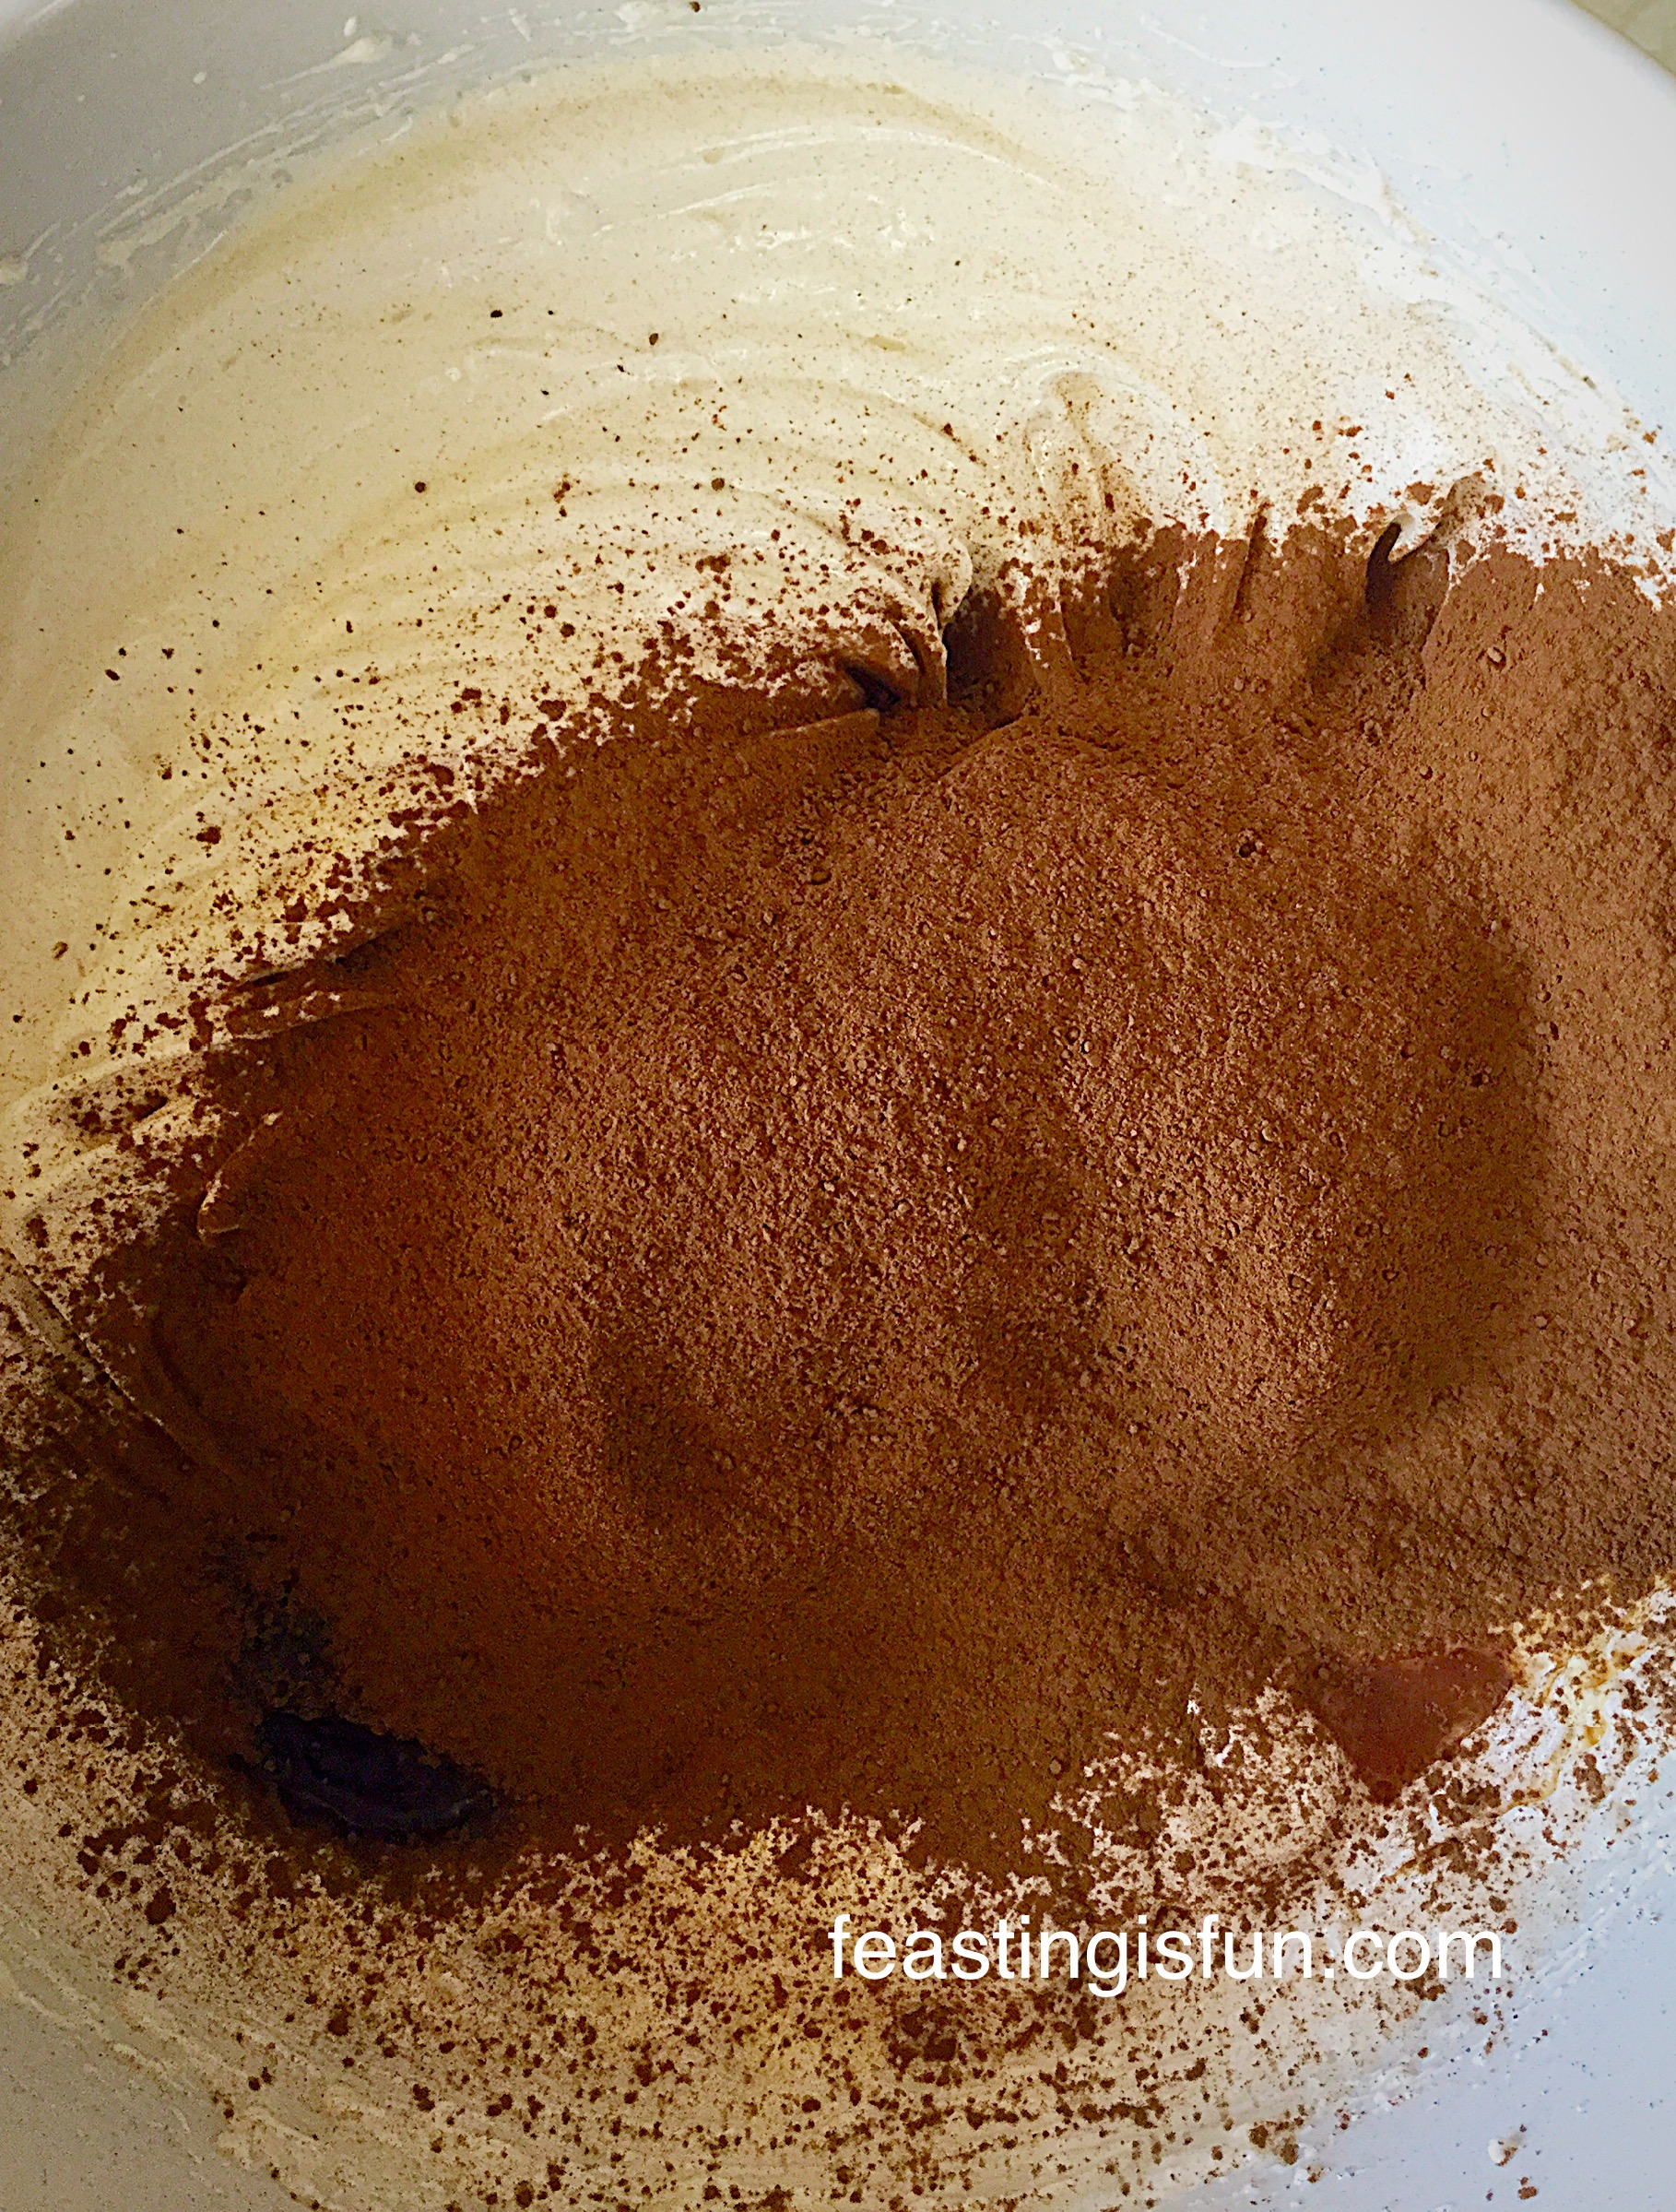
- Sift the flour, salt, cocoa powder and baking powder into the bowl.
- Whisk/beat on a slow speed until all the ingredients have come together.
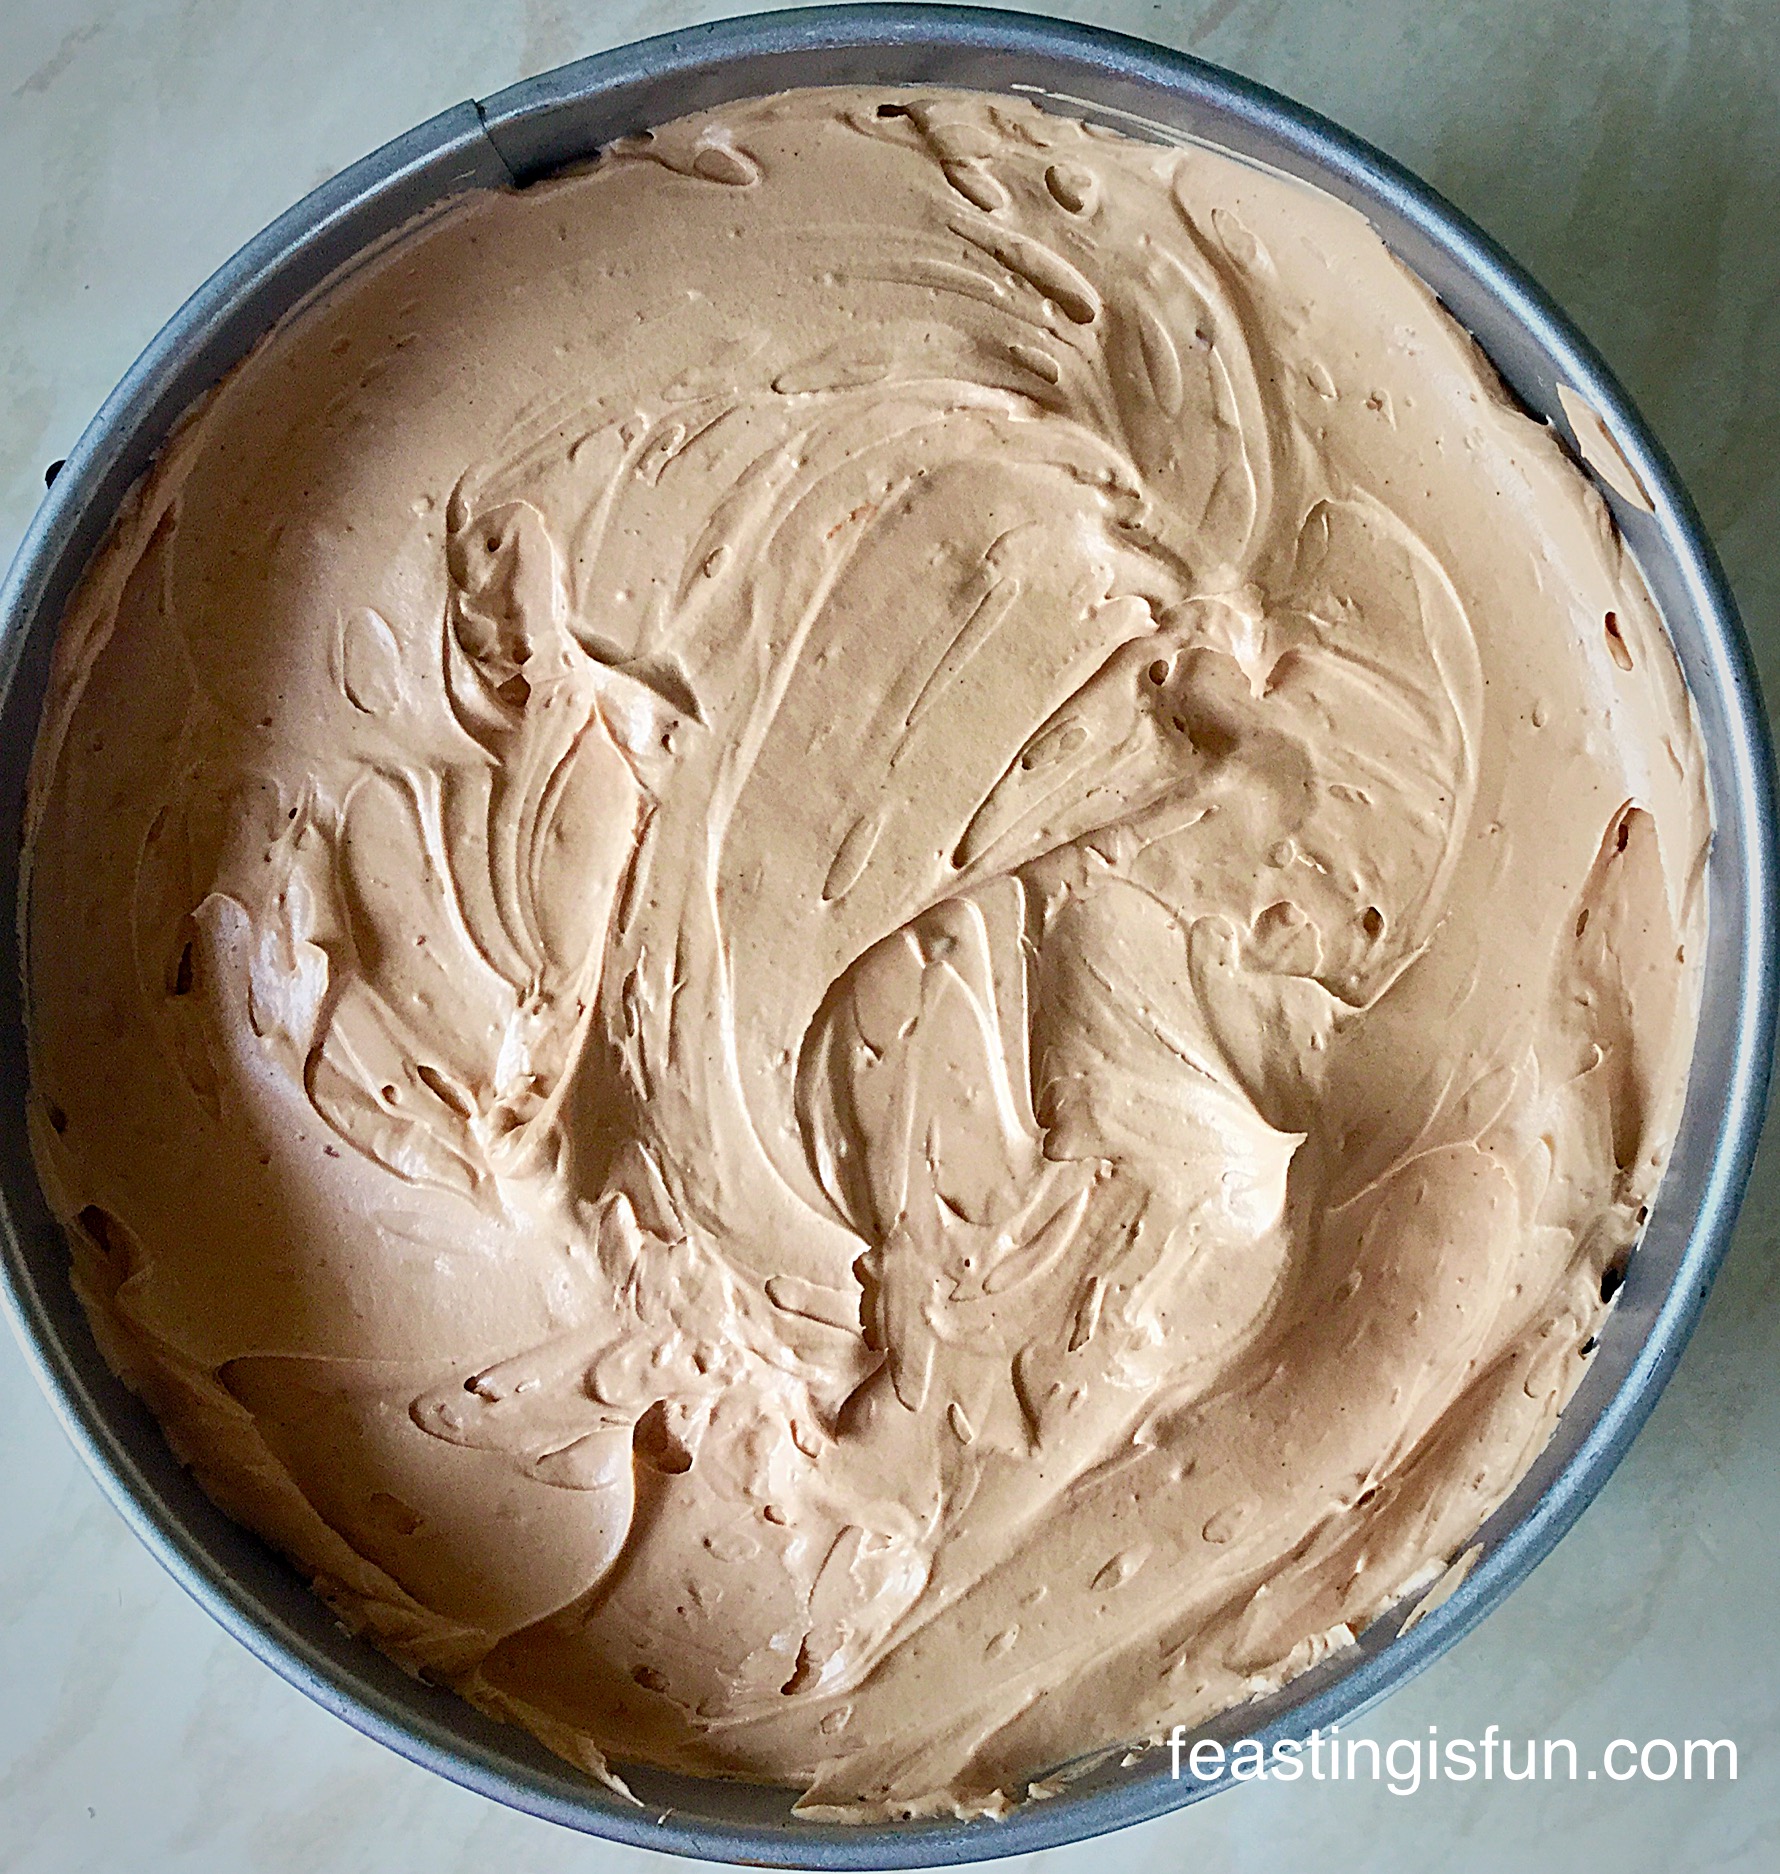
- Using a large spoon give the chocolate sponge mix a good stir to ensure all the ingredients are well combined.
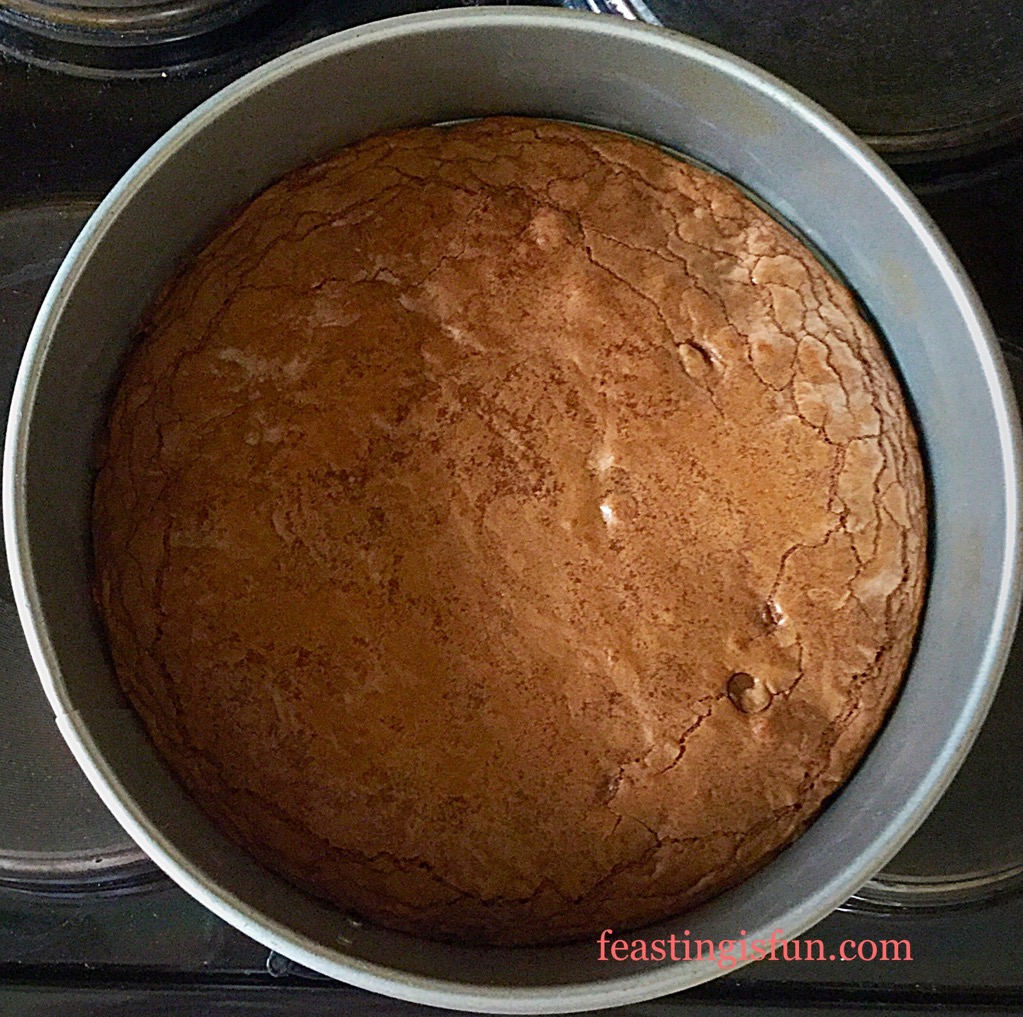
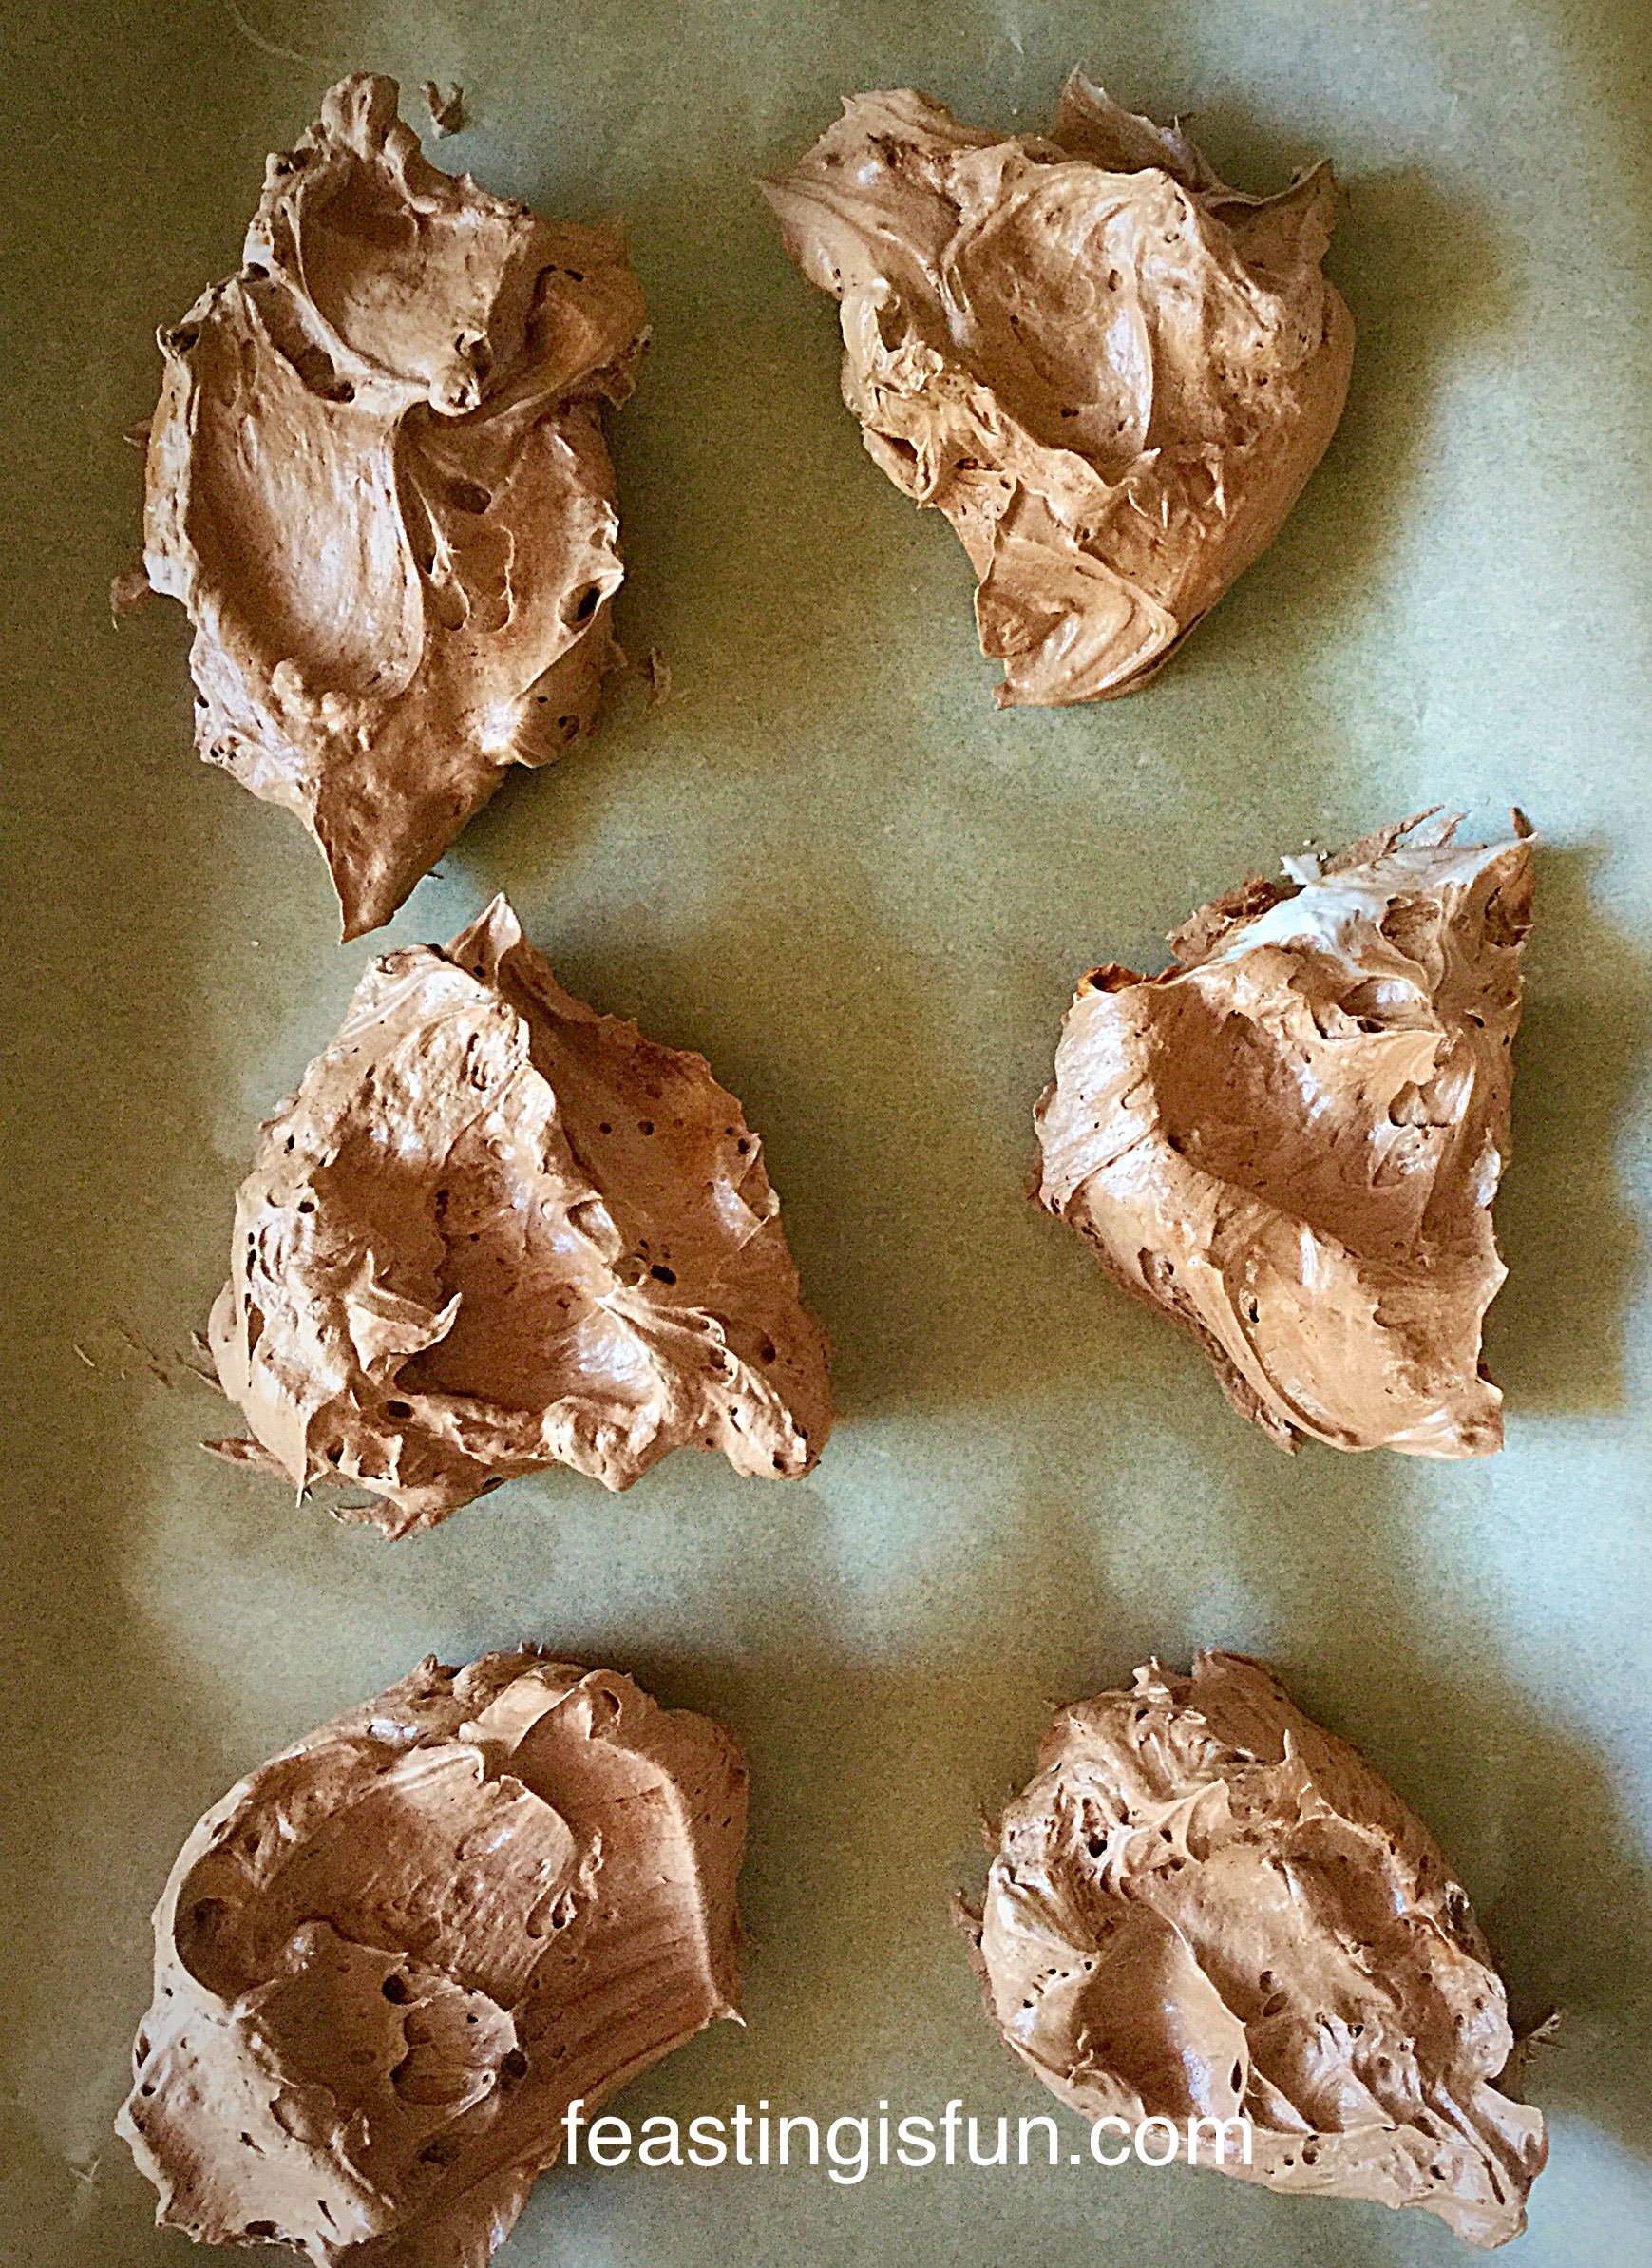
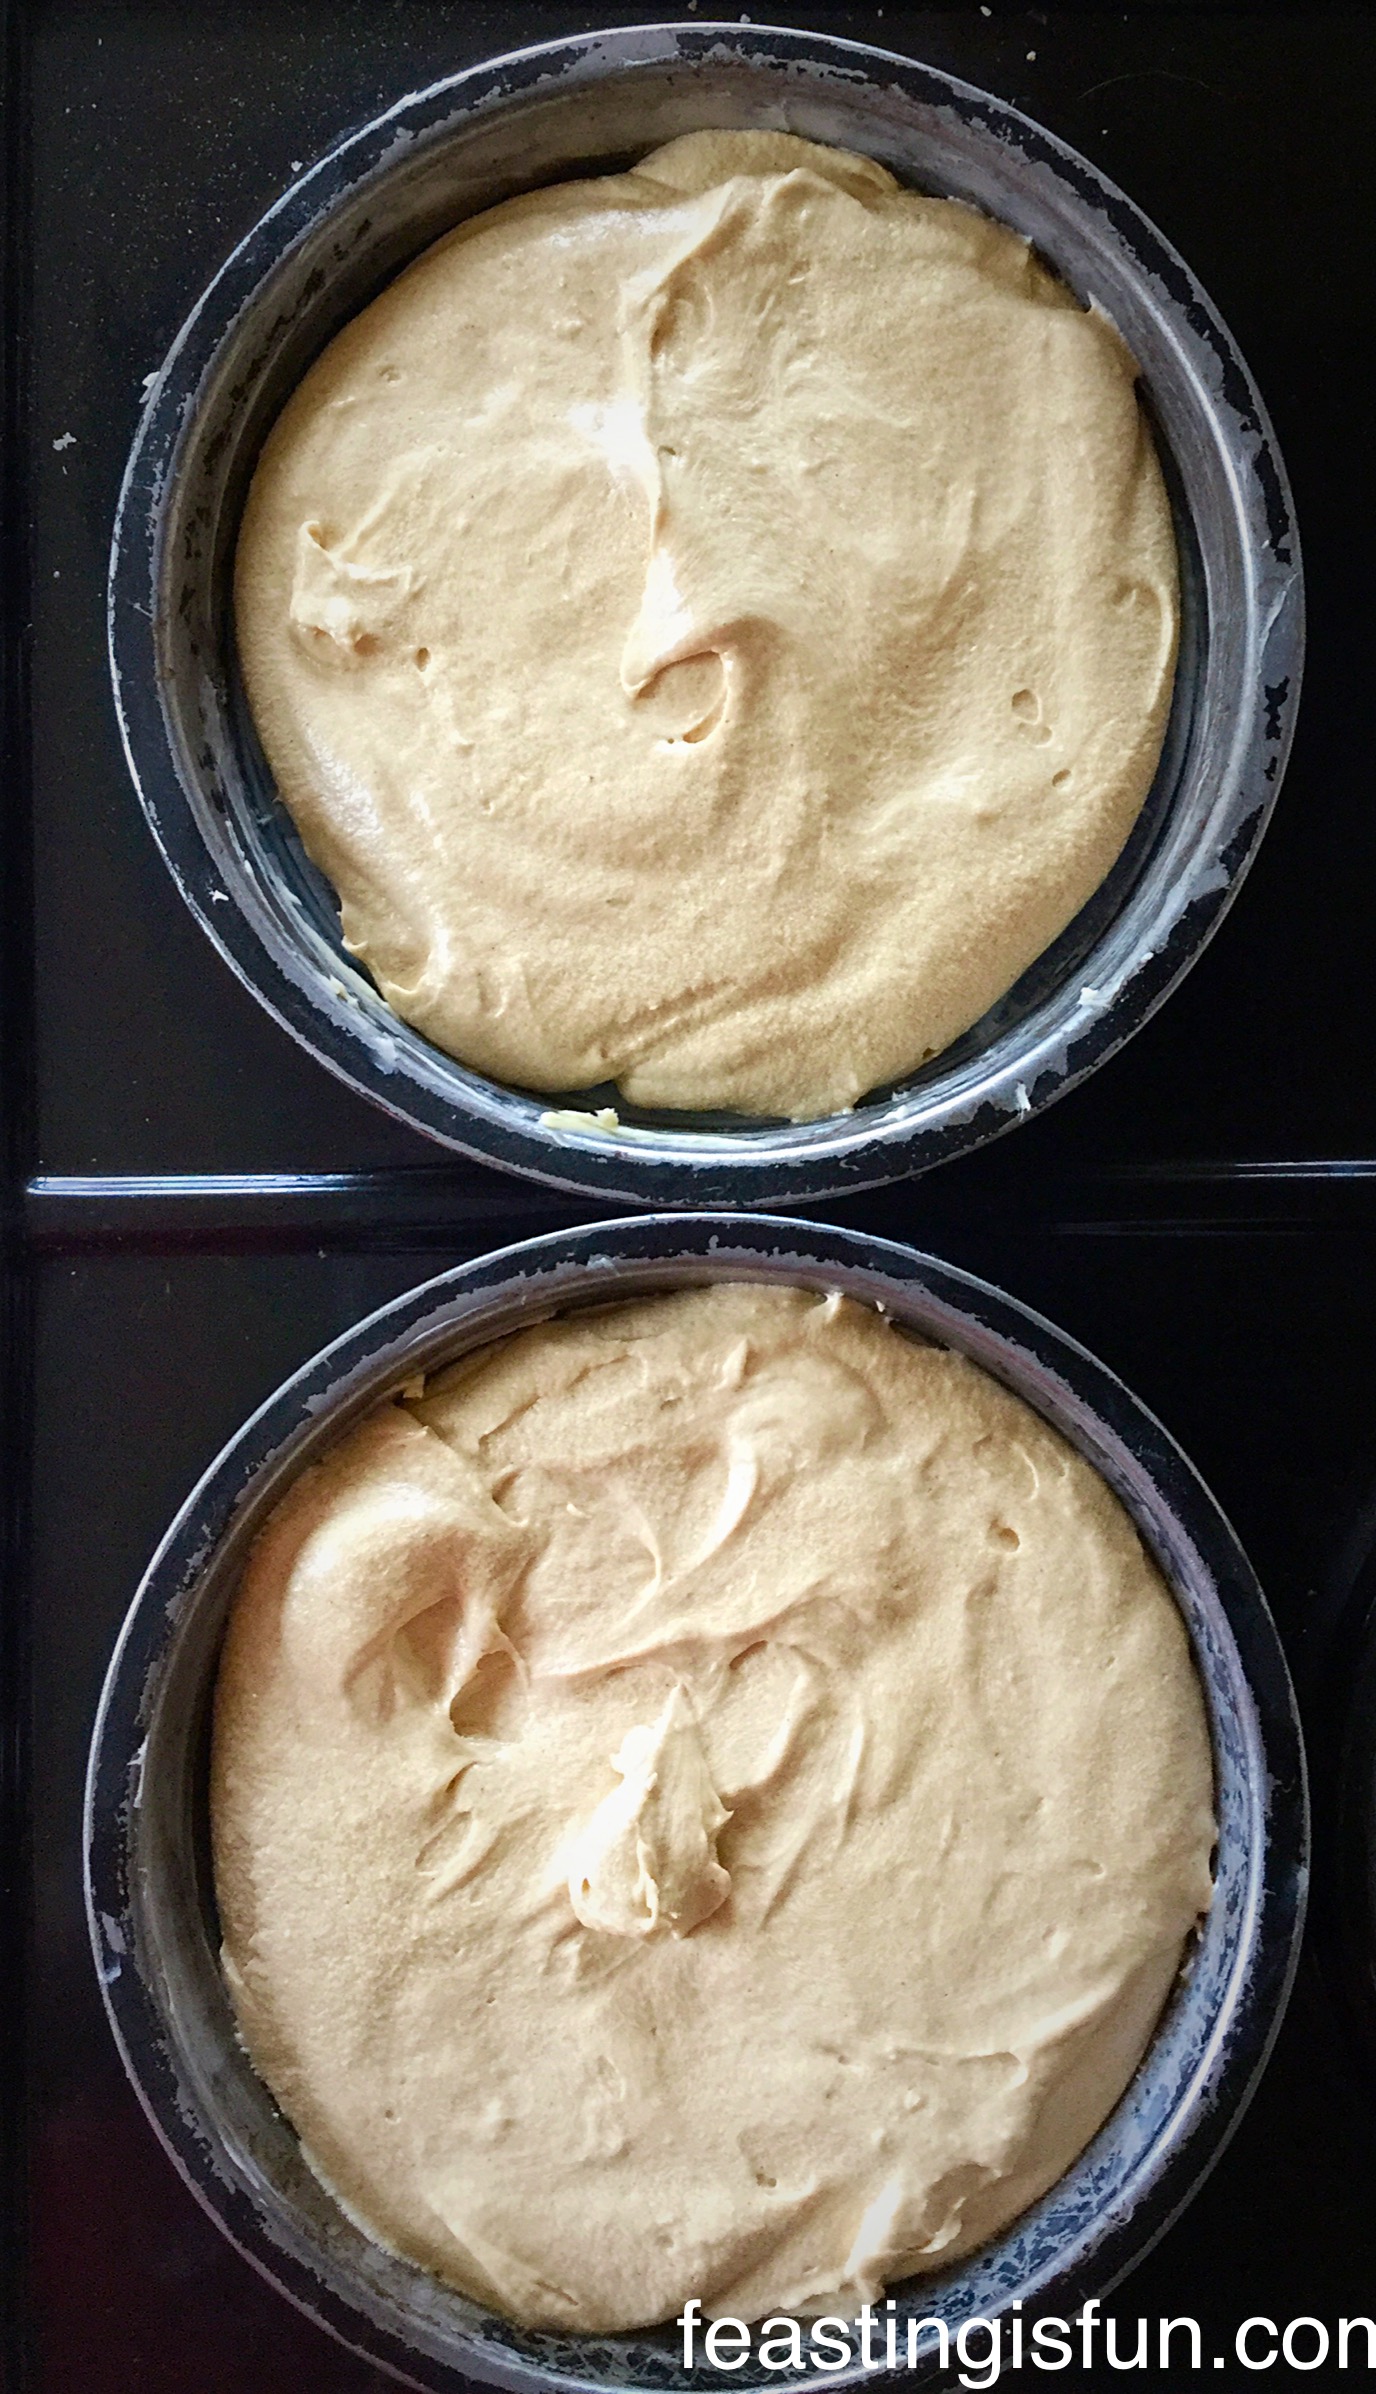
- Divide the cake batter in half and spoon into each of the 2 doughnut moulds.

- Place the doughnut moulds on to a baking tray, ensuring they don’t squash each other (I actually switched trays after this photo was taken).
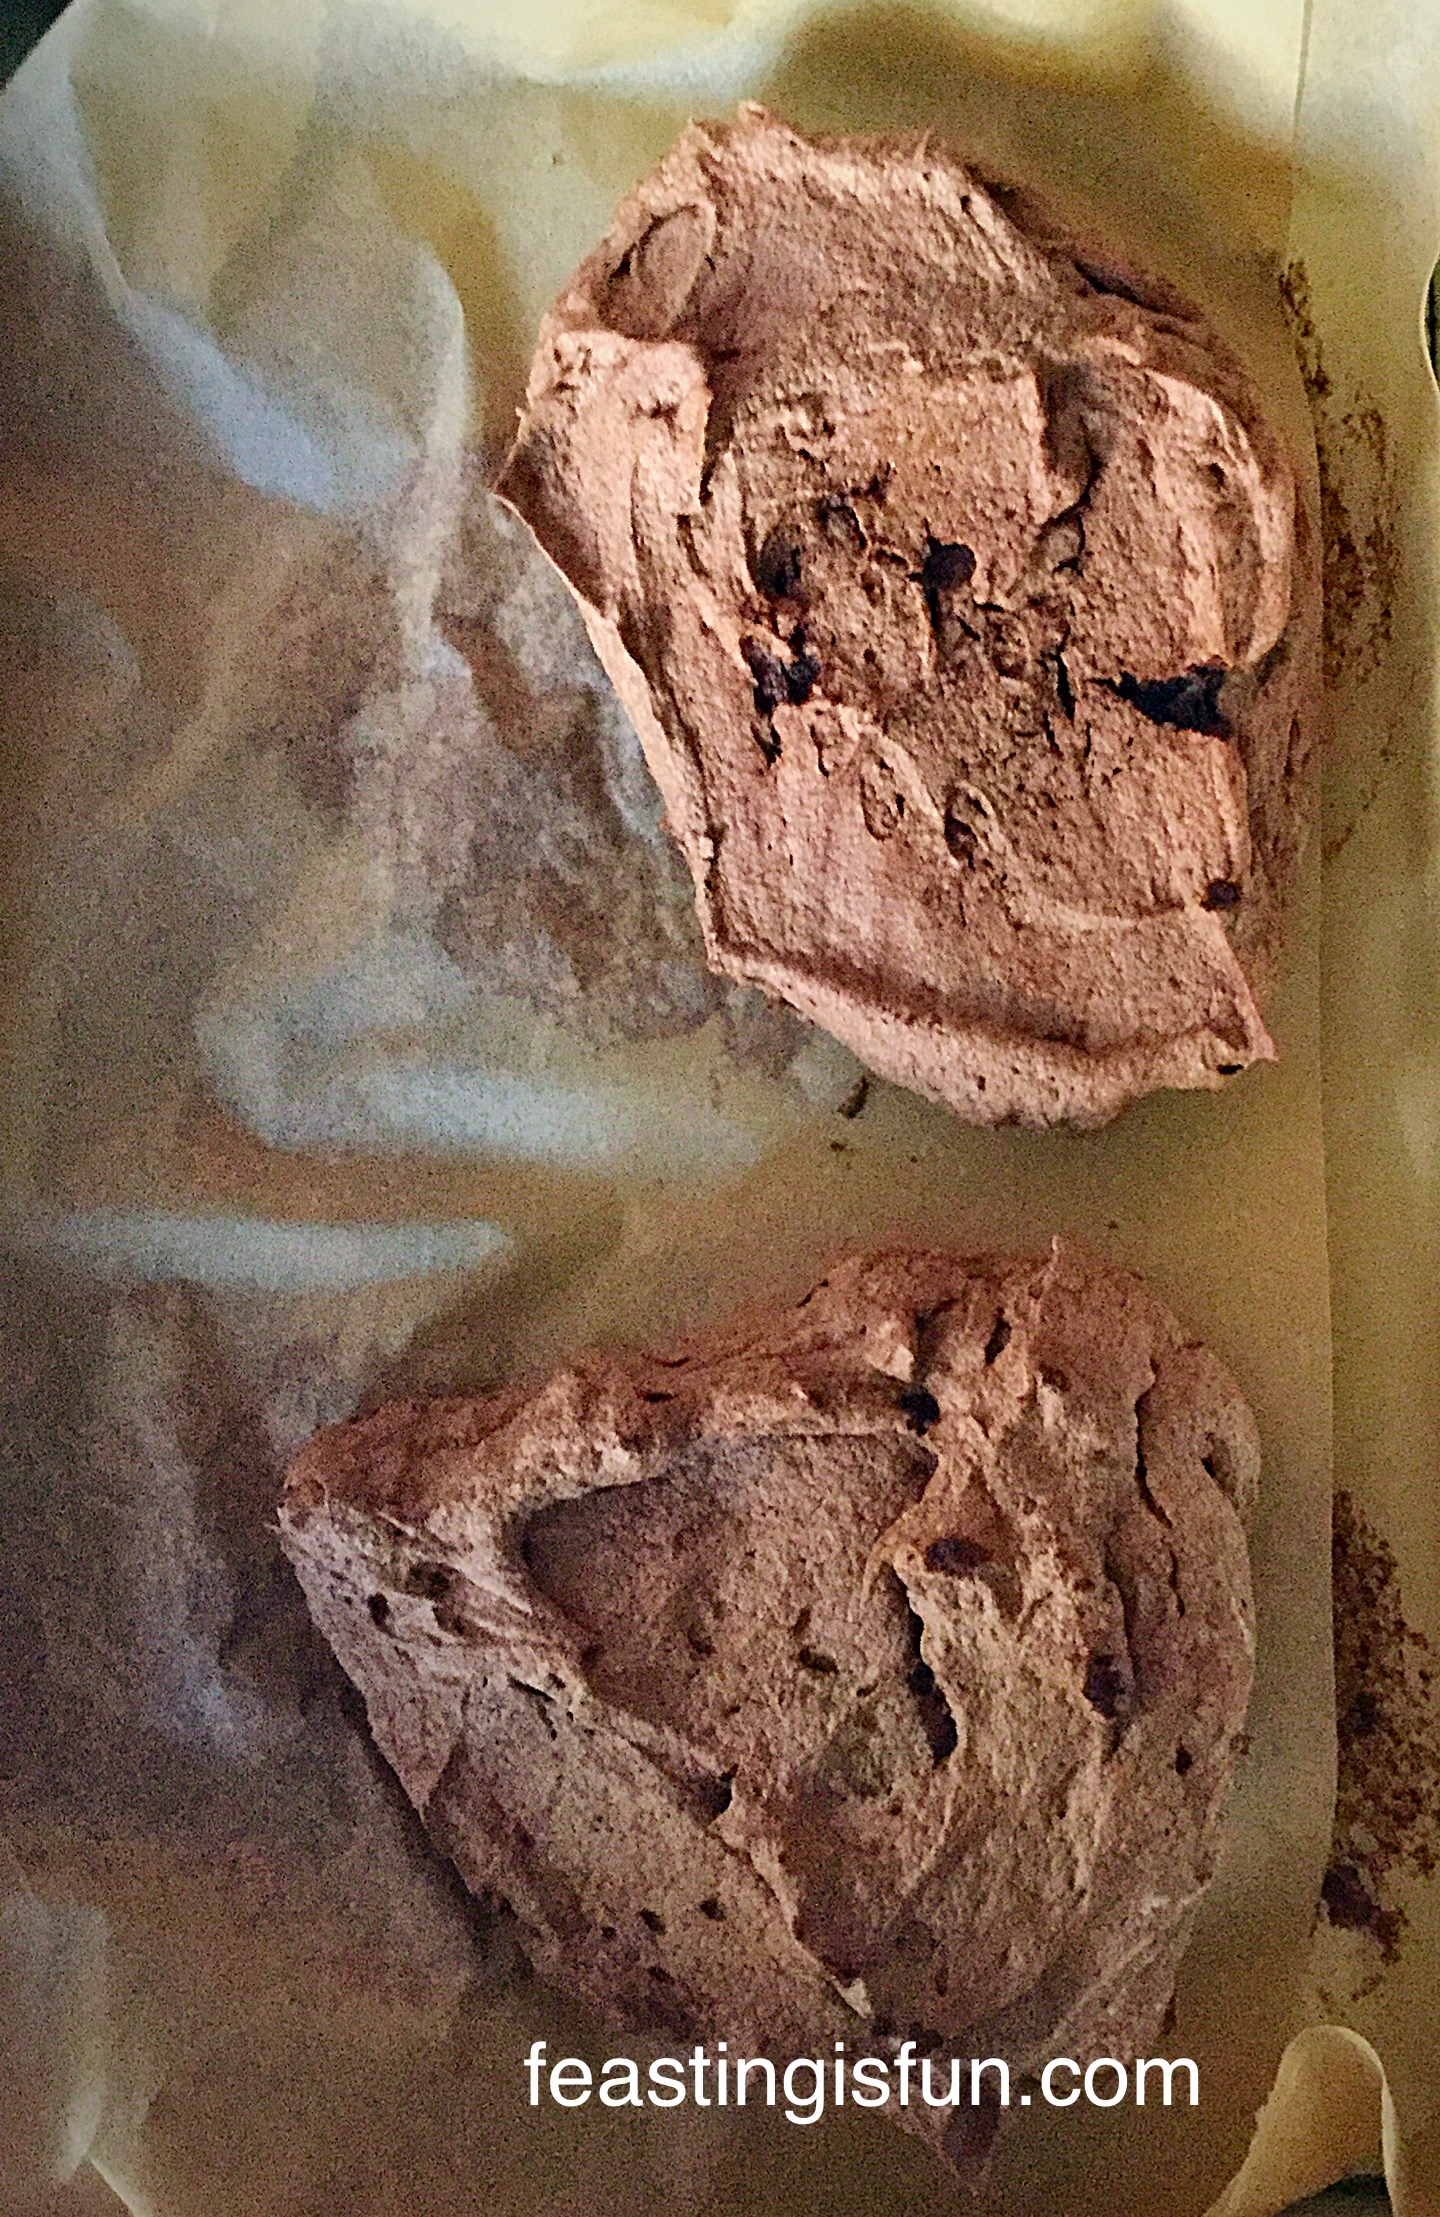
- Put the tray into the centre of the oven and bake the doughnut halves for 30-40 minutes.
- The doughnut halves are baked when they spring back from a light touch.
- As soon as the doughnut halves are baked remove from the oven.
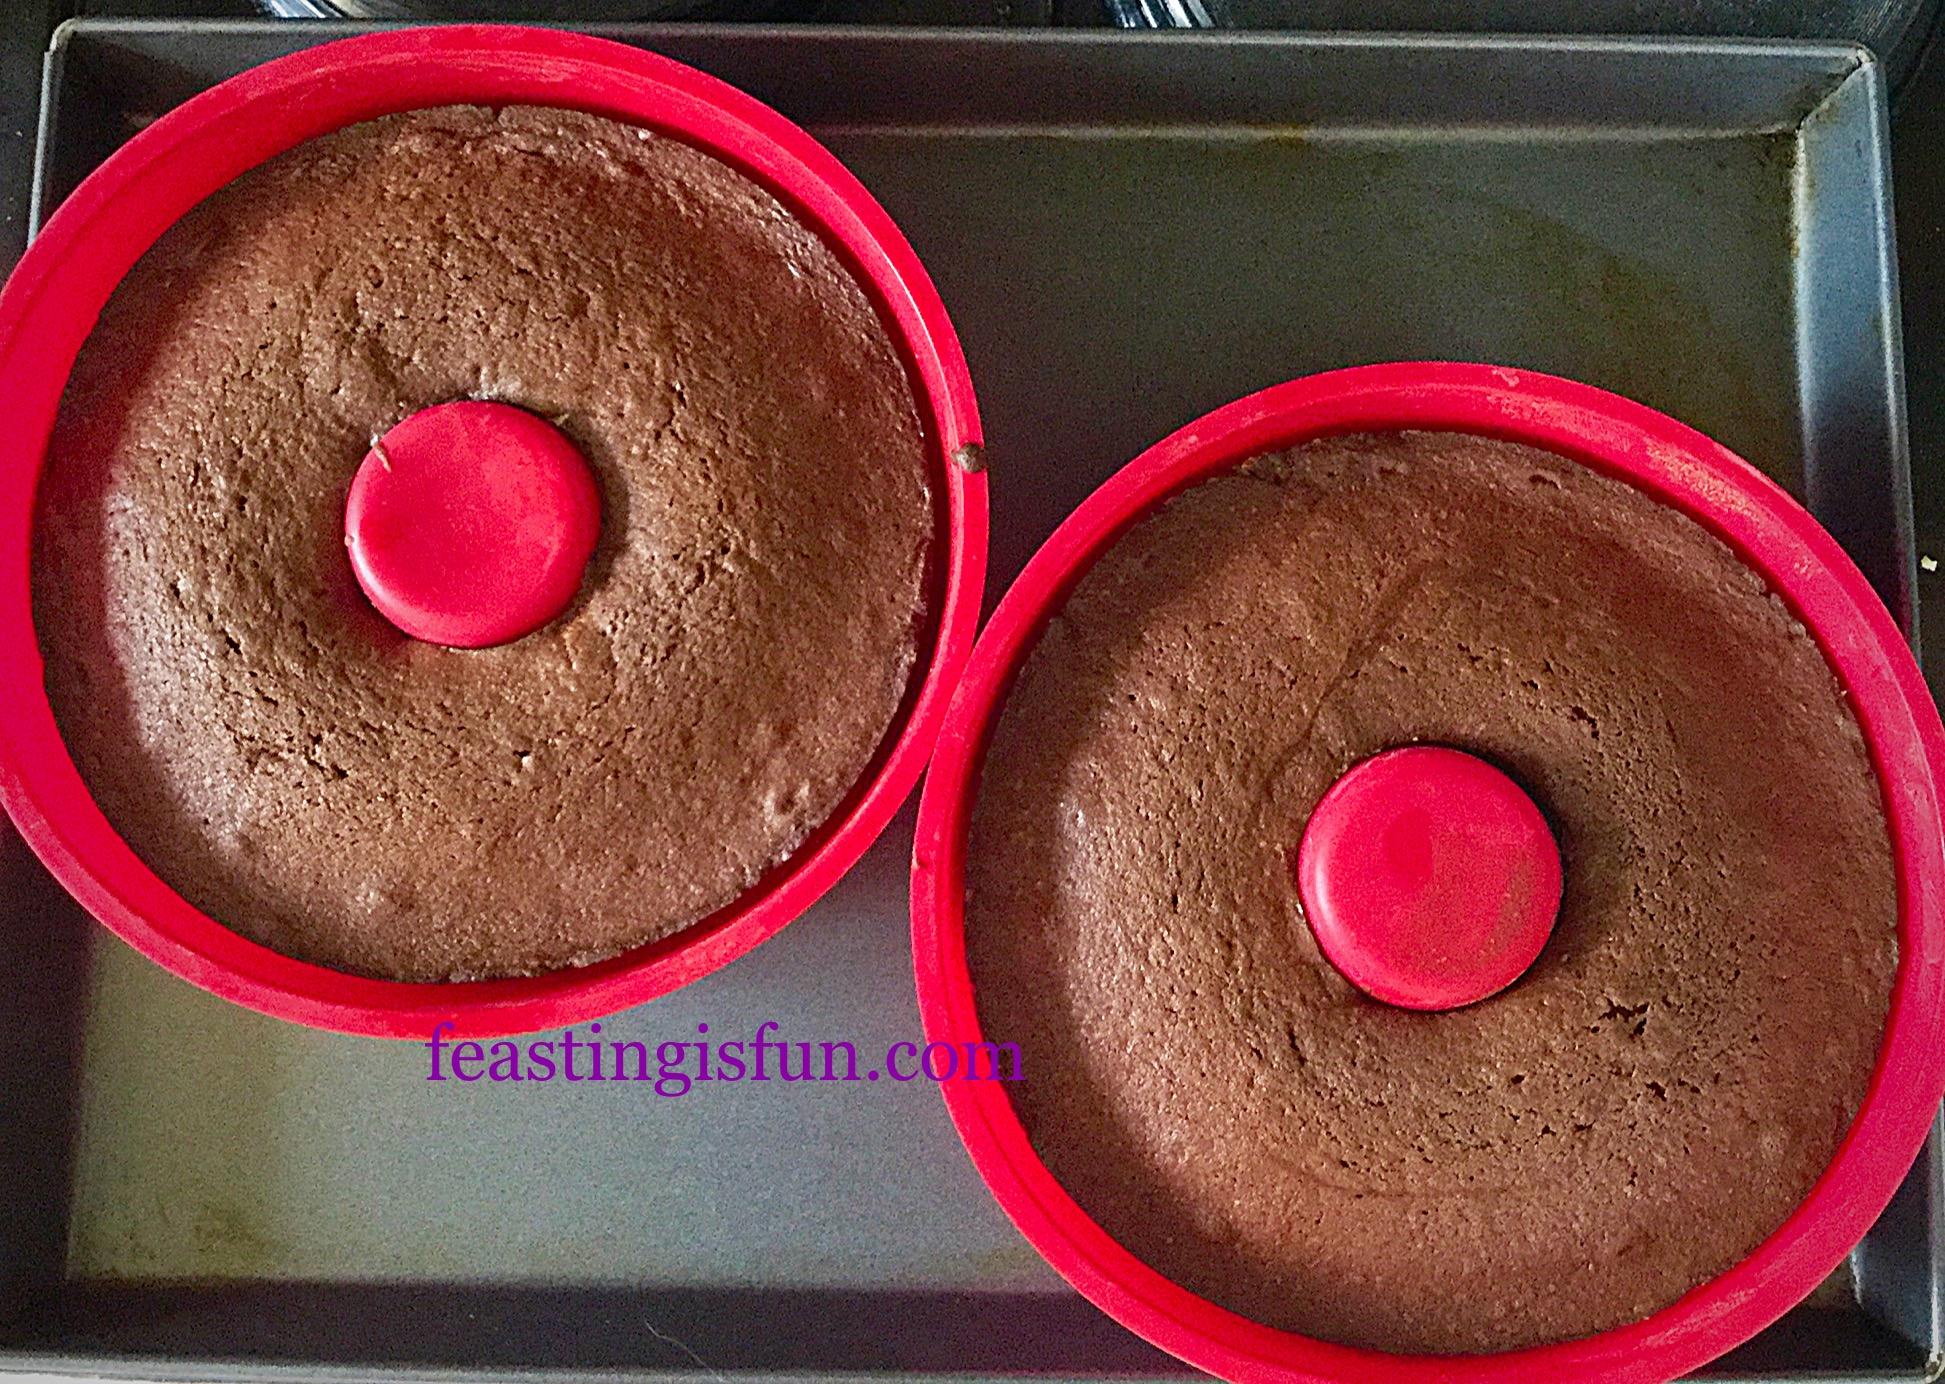
- Carefully place each silicone mould on to a cooling rack.
Adding A Kick Of Kirsch
- If adding Kirsch carefully prick each mould lightly with a cocktail stick, being careful not to puncture the silicone mould.
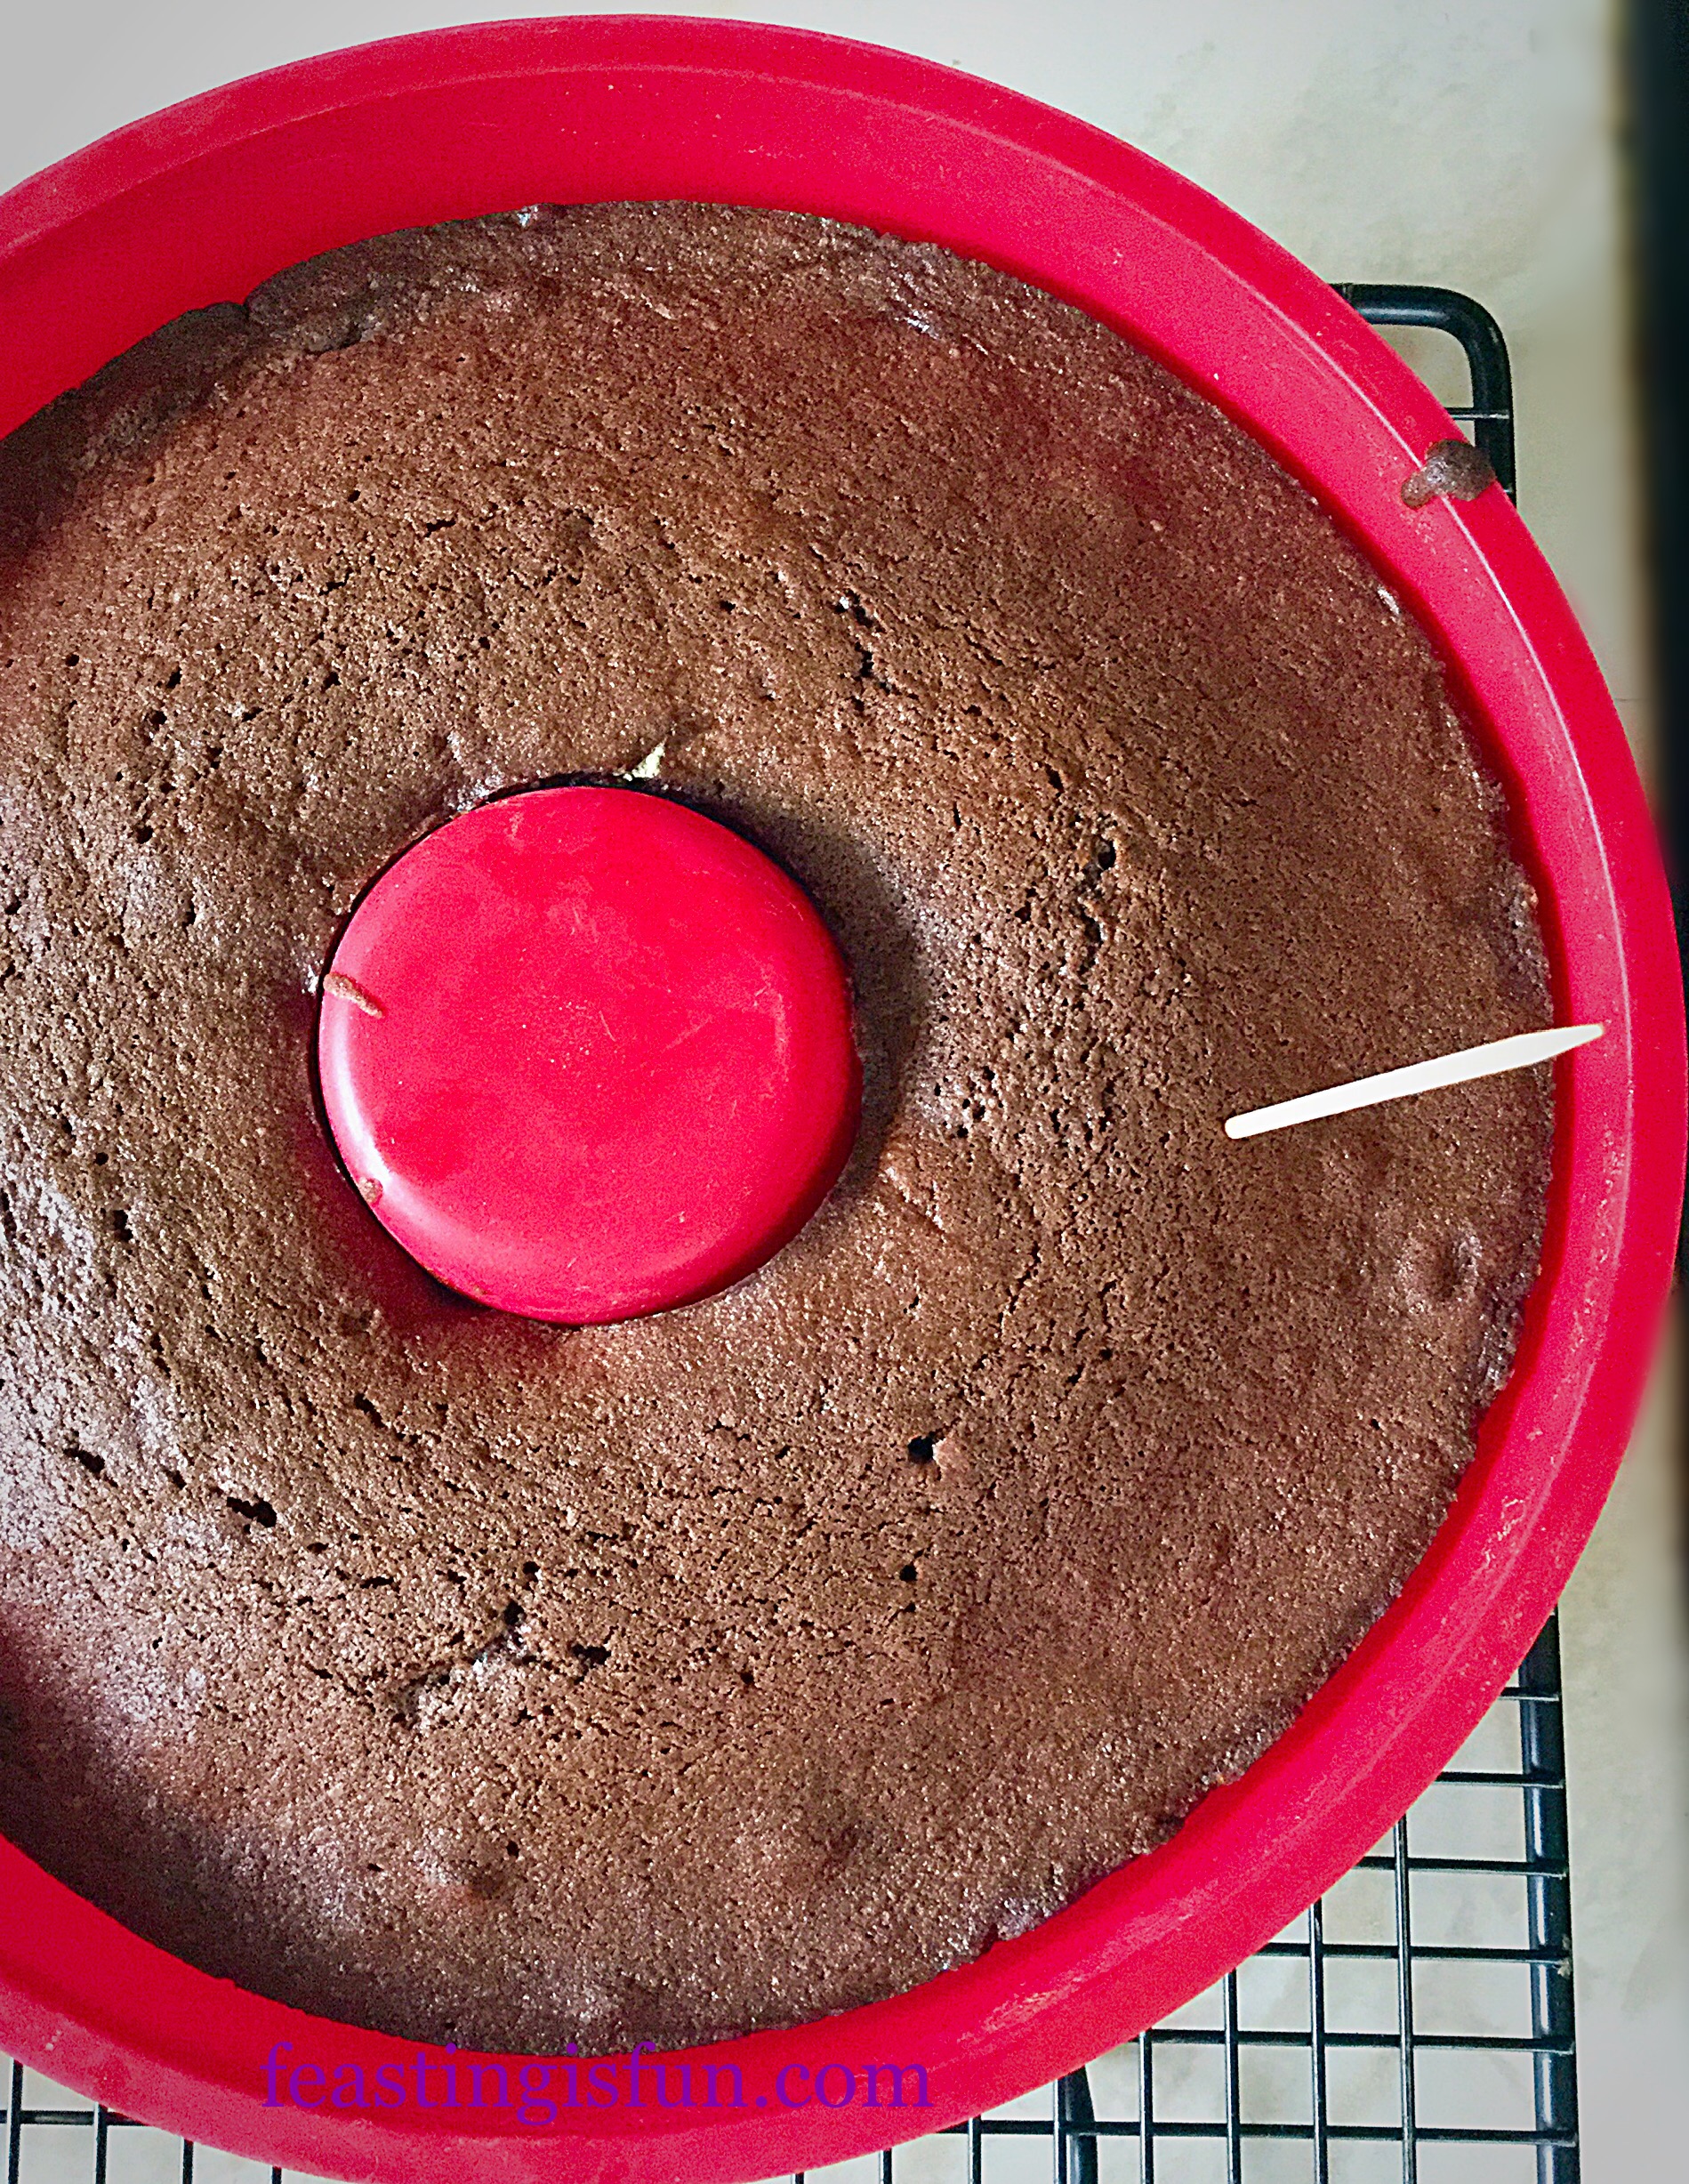
- Spoon half a tablespoon of Kirsch over each half of the doughnut sponge whilst it is still hot.
- Leave to cool for 5 minutes and then turn each of the sponges out onto the cooling rack. Cool fully before decorating.
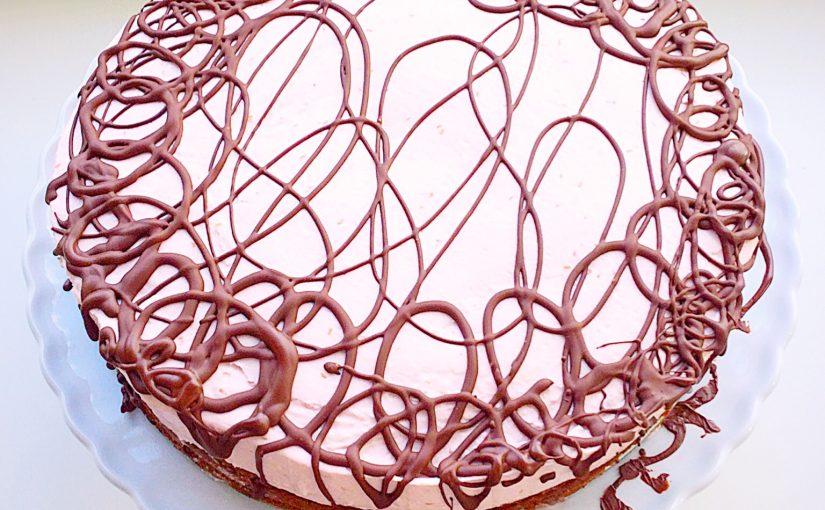
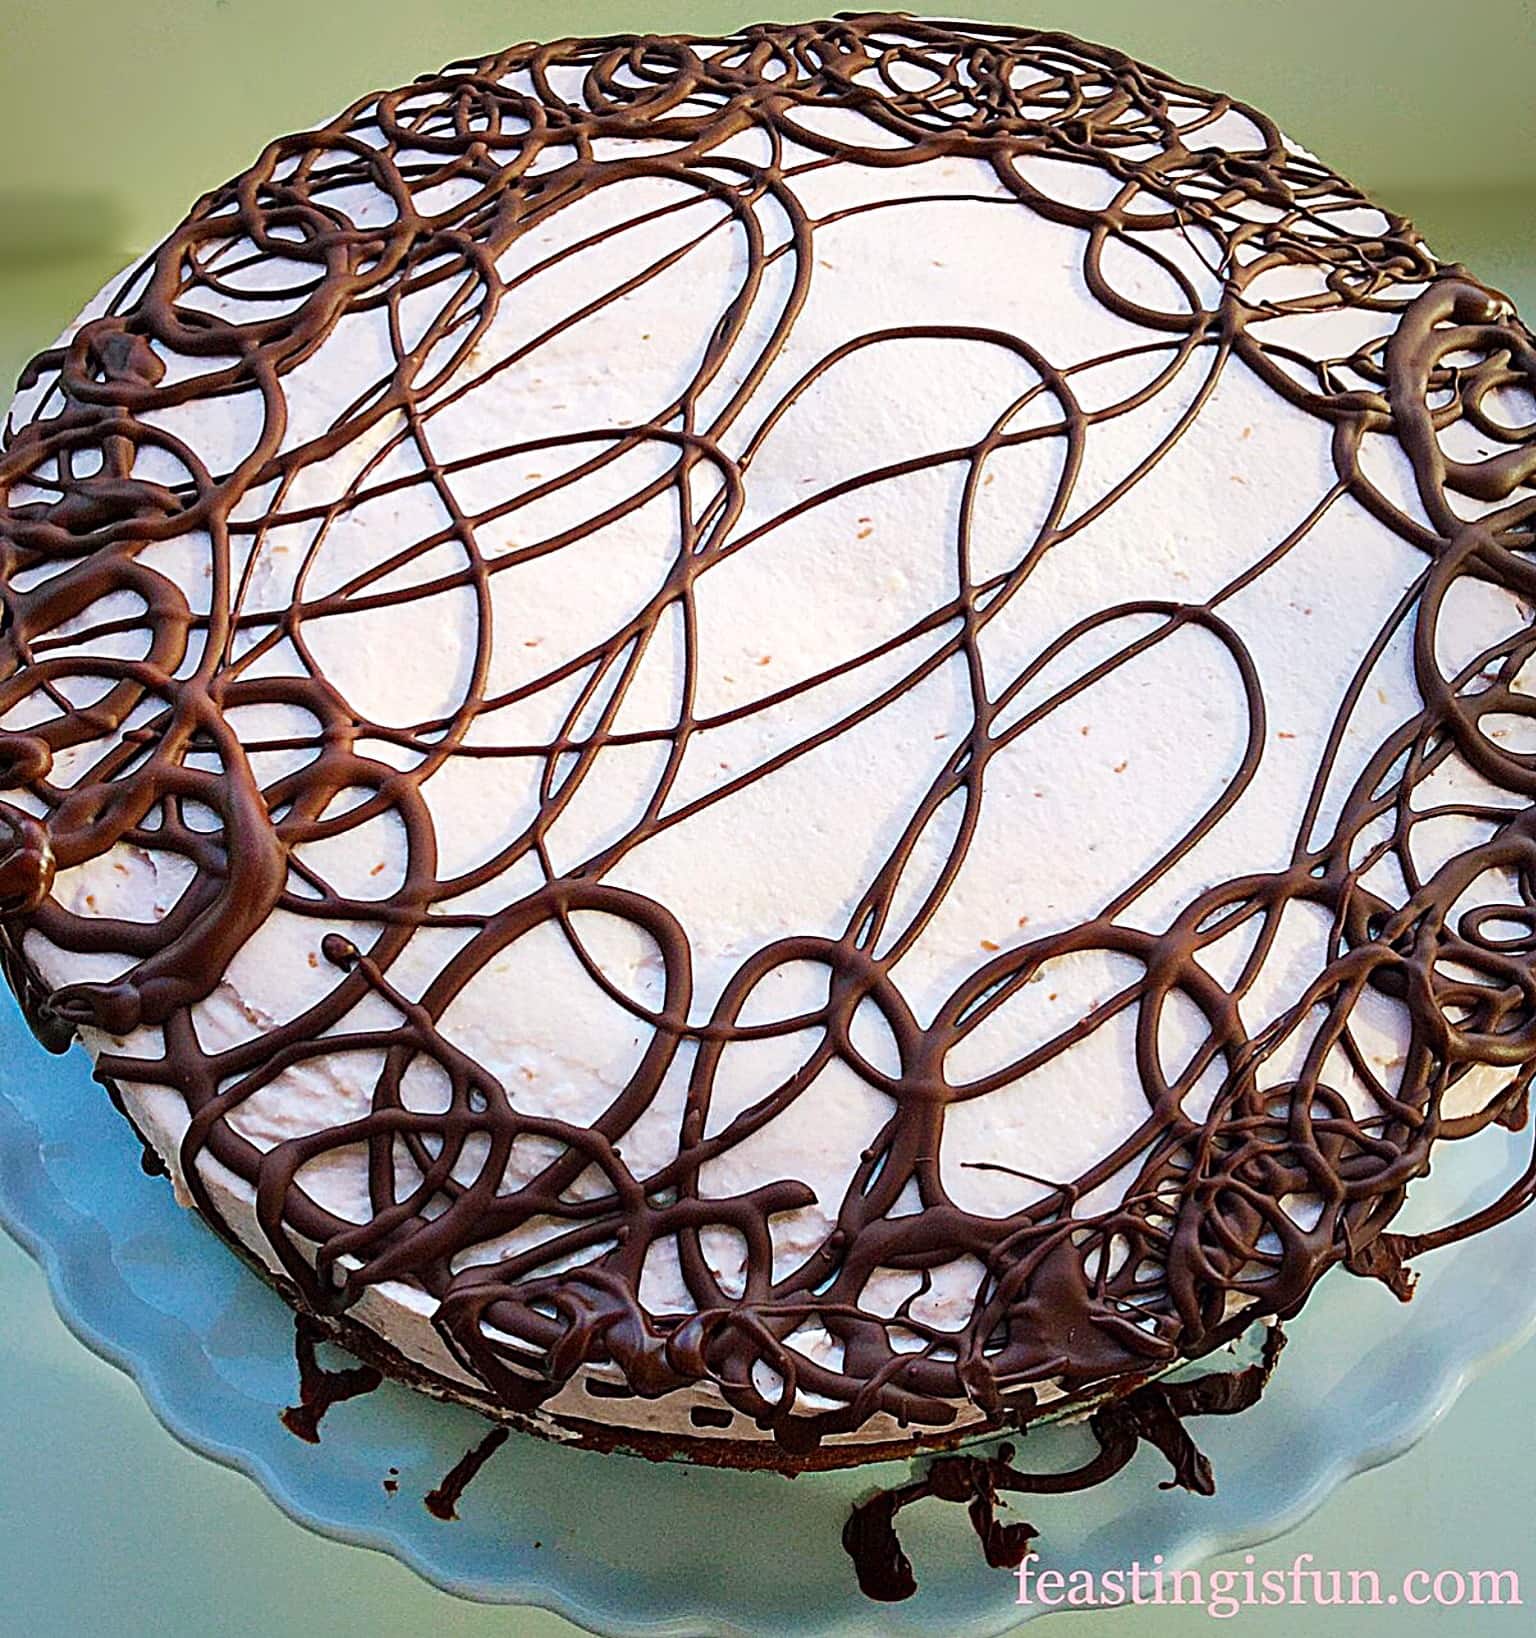
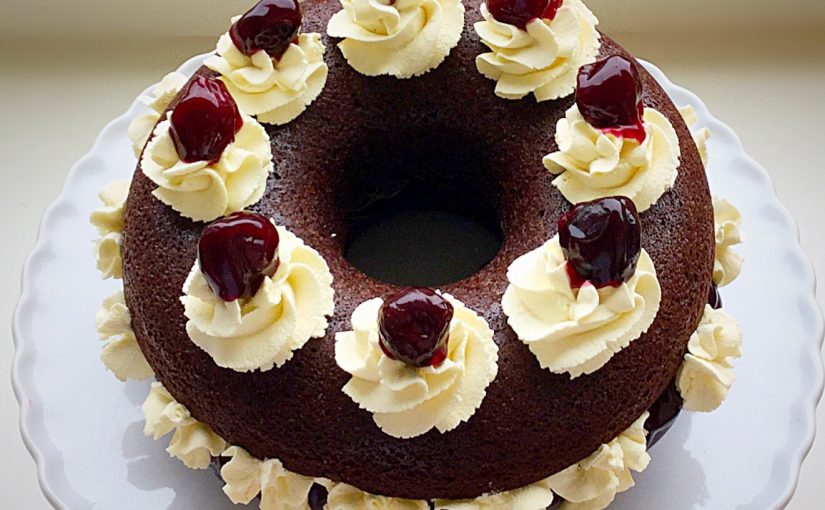
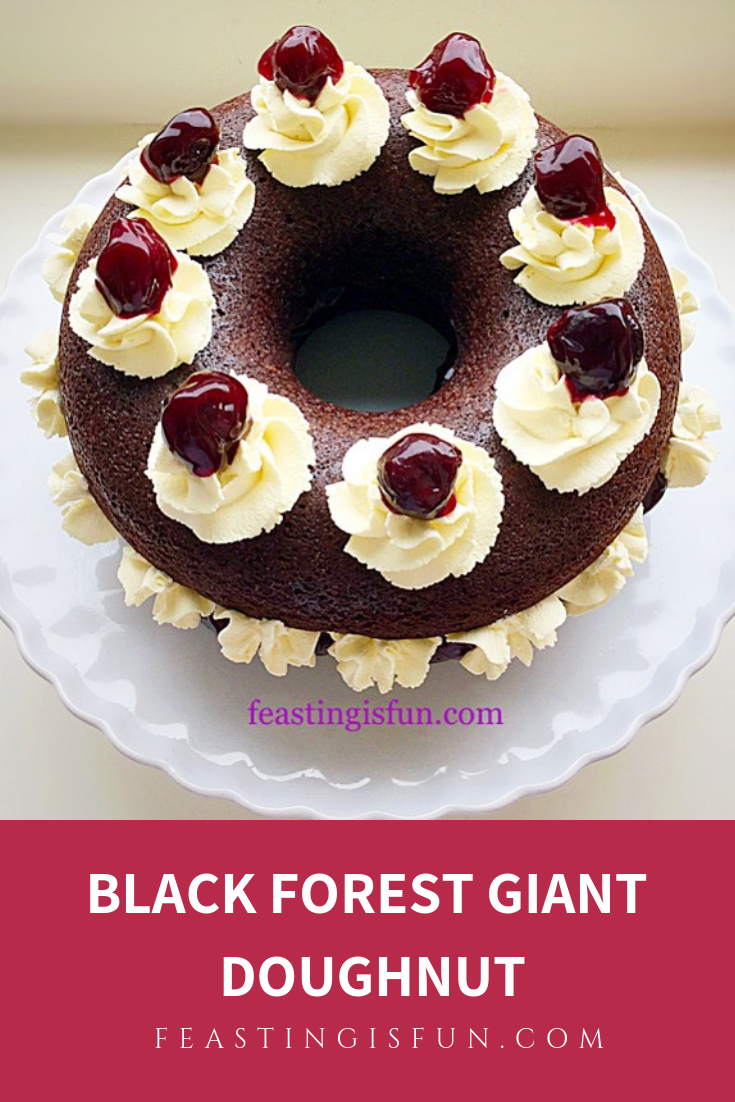
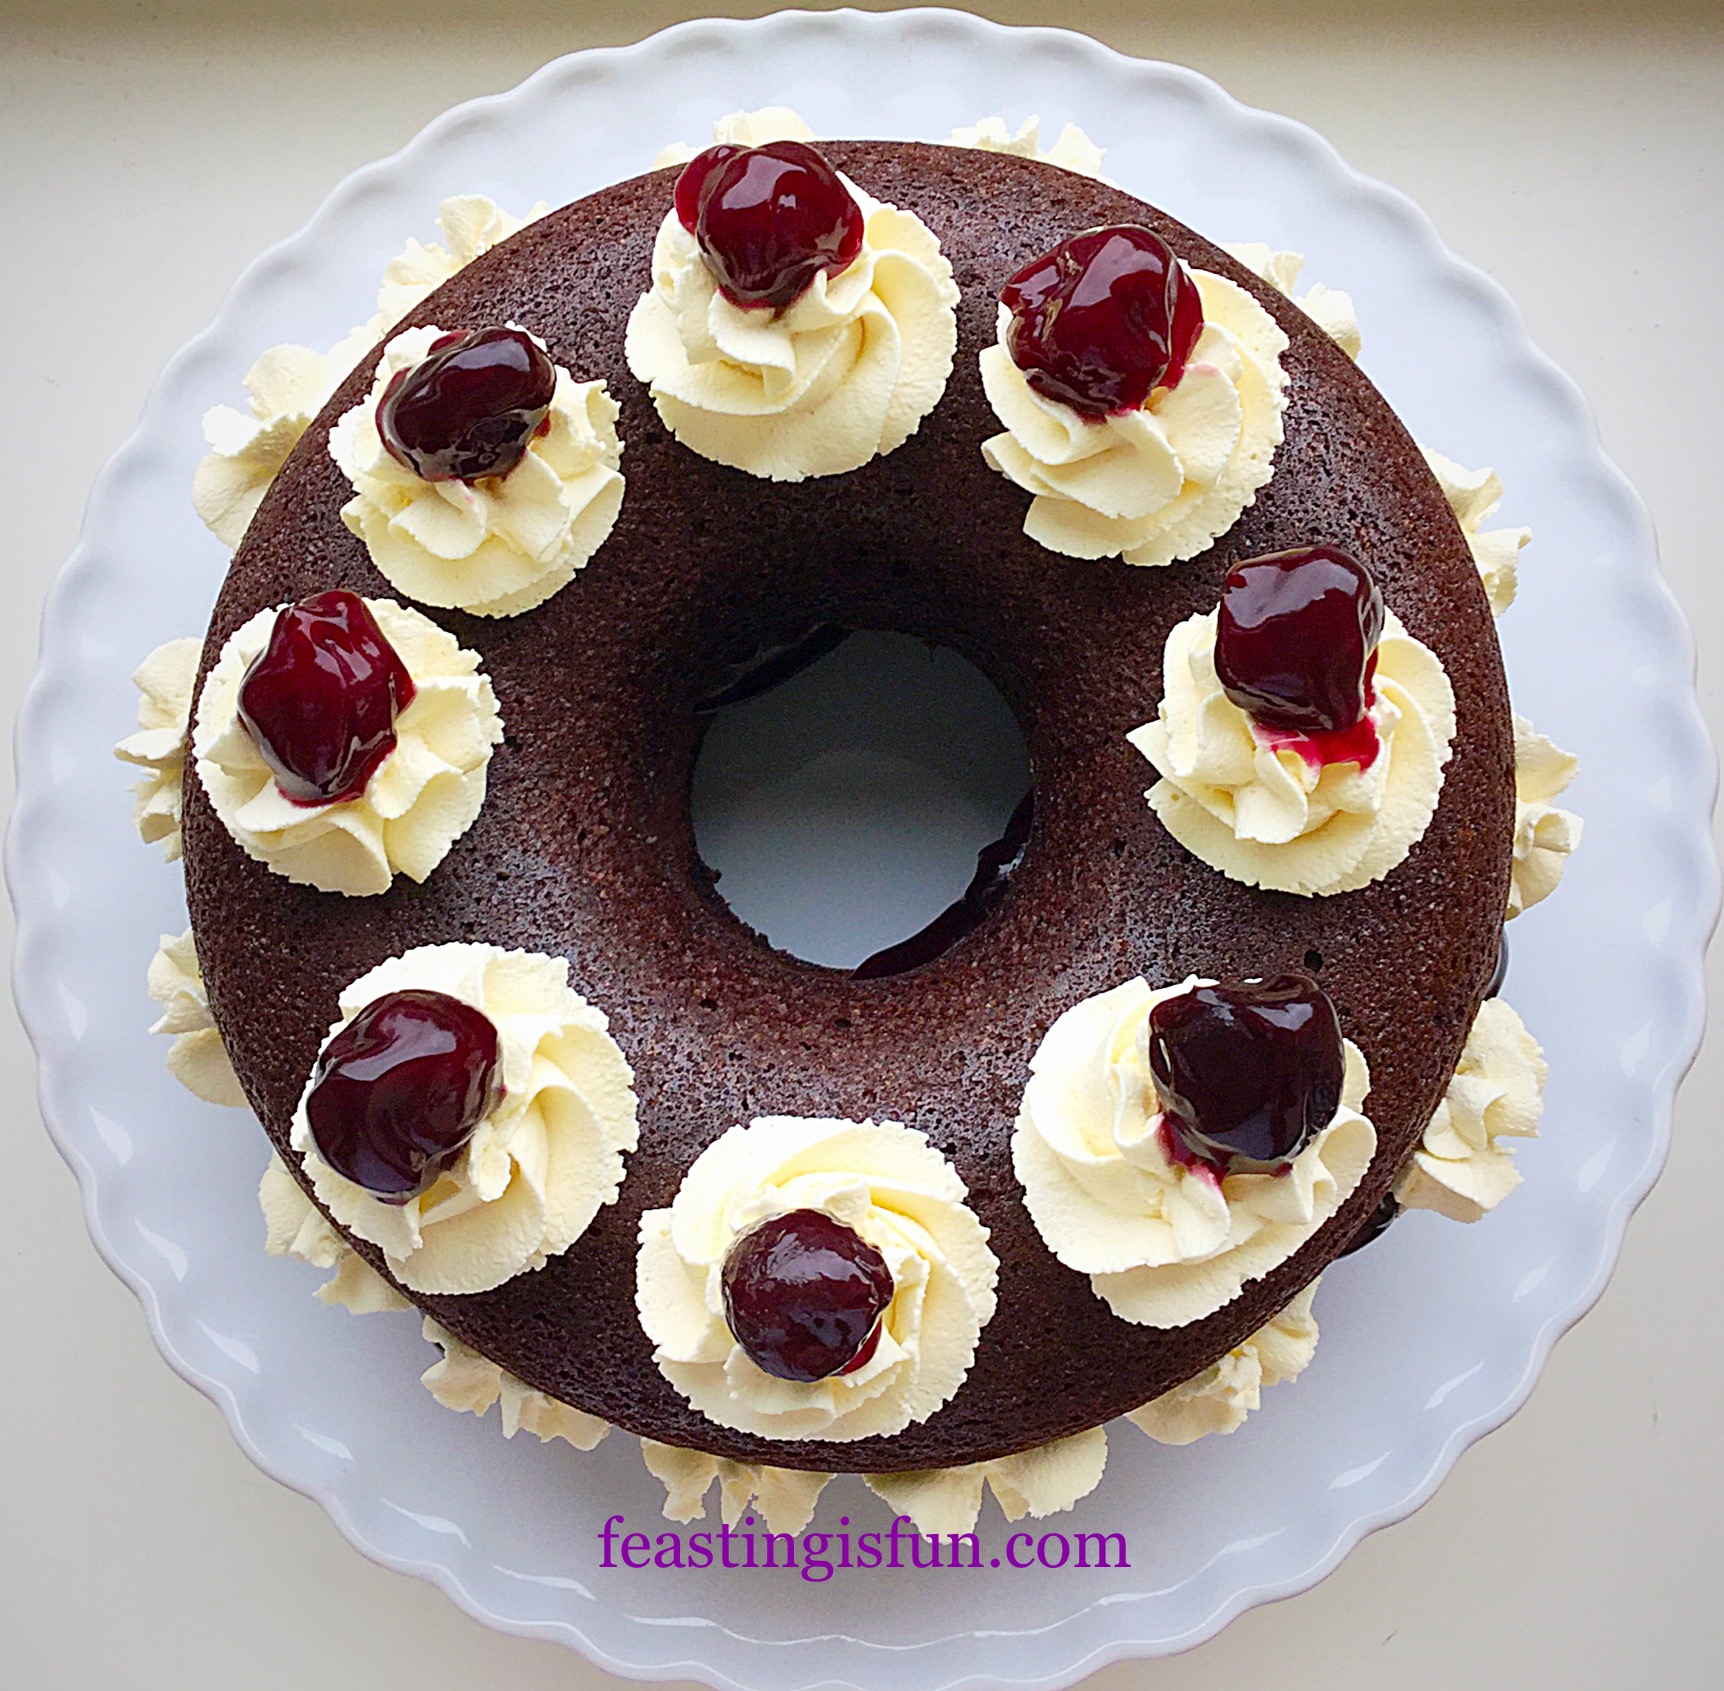
Decorating The Black Forest Giant Doughnut:
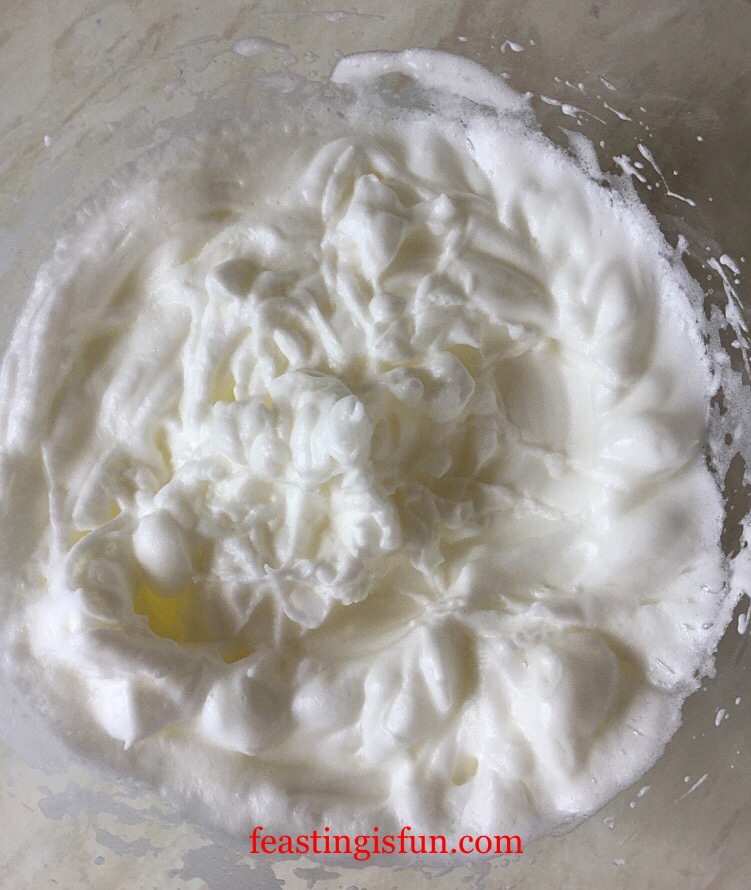
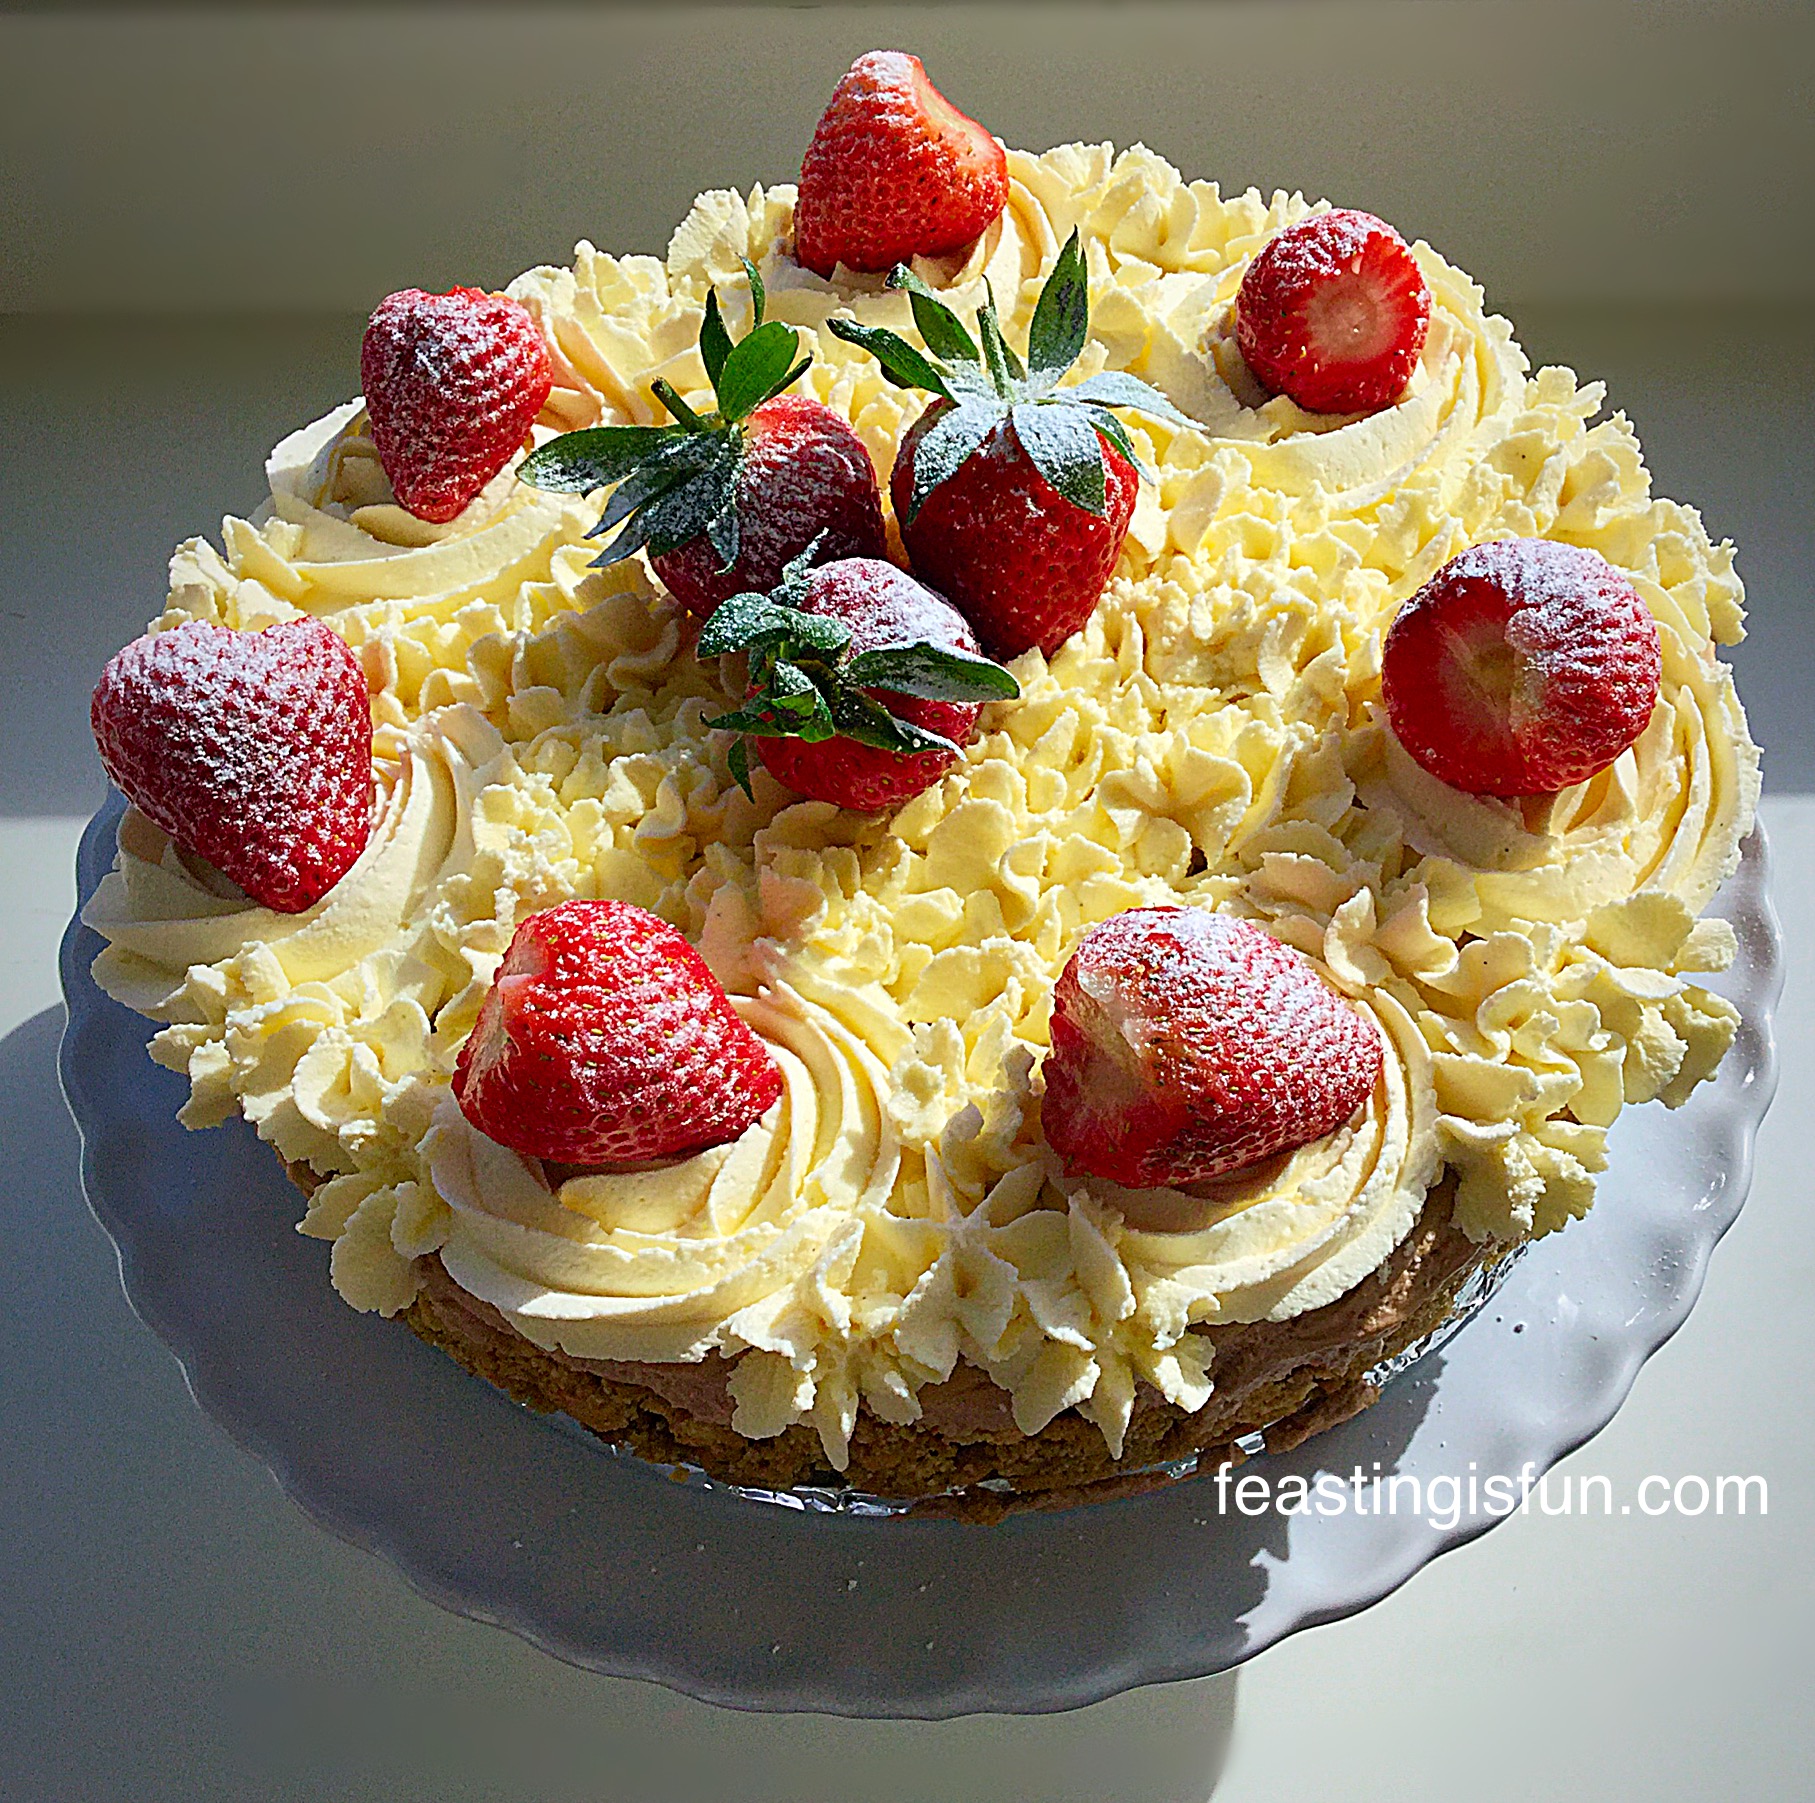
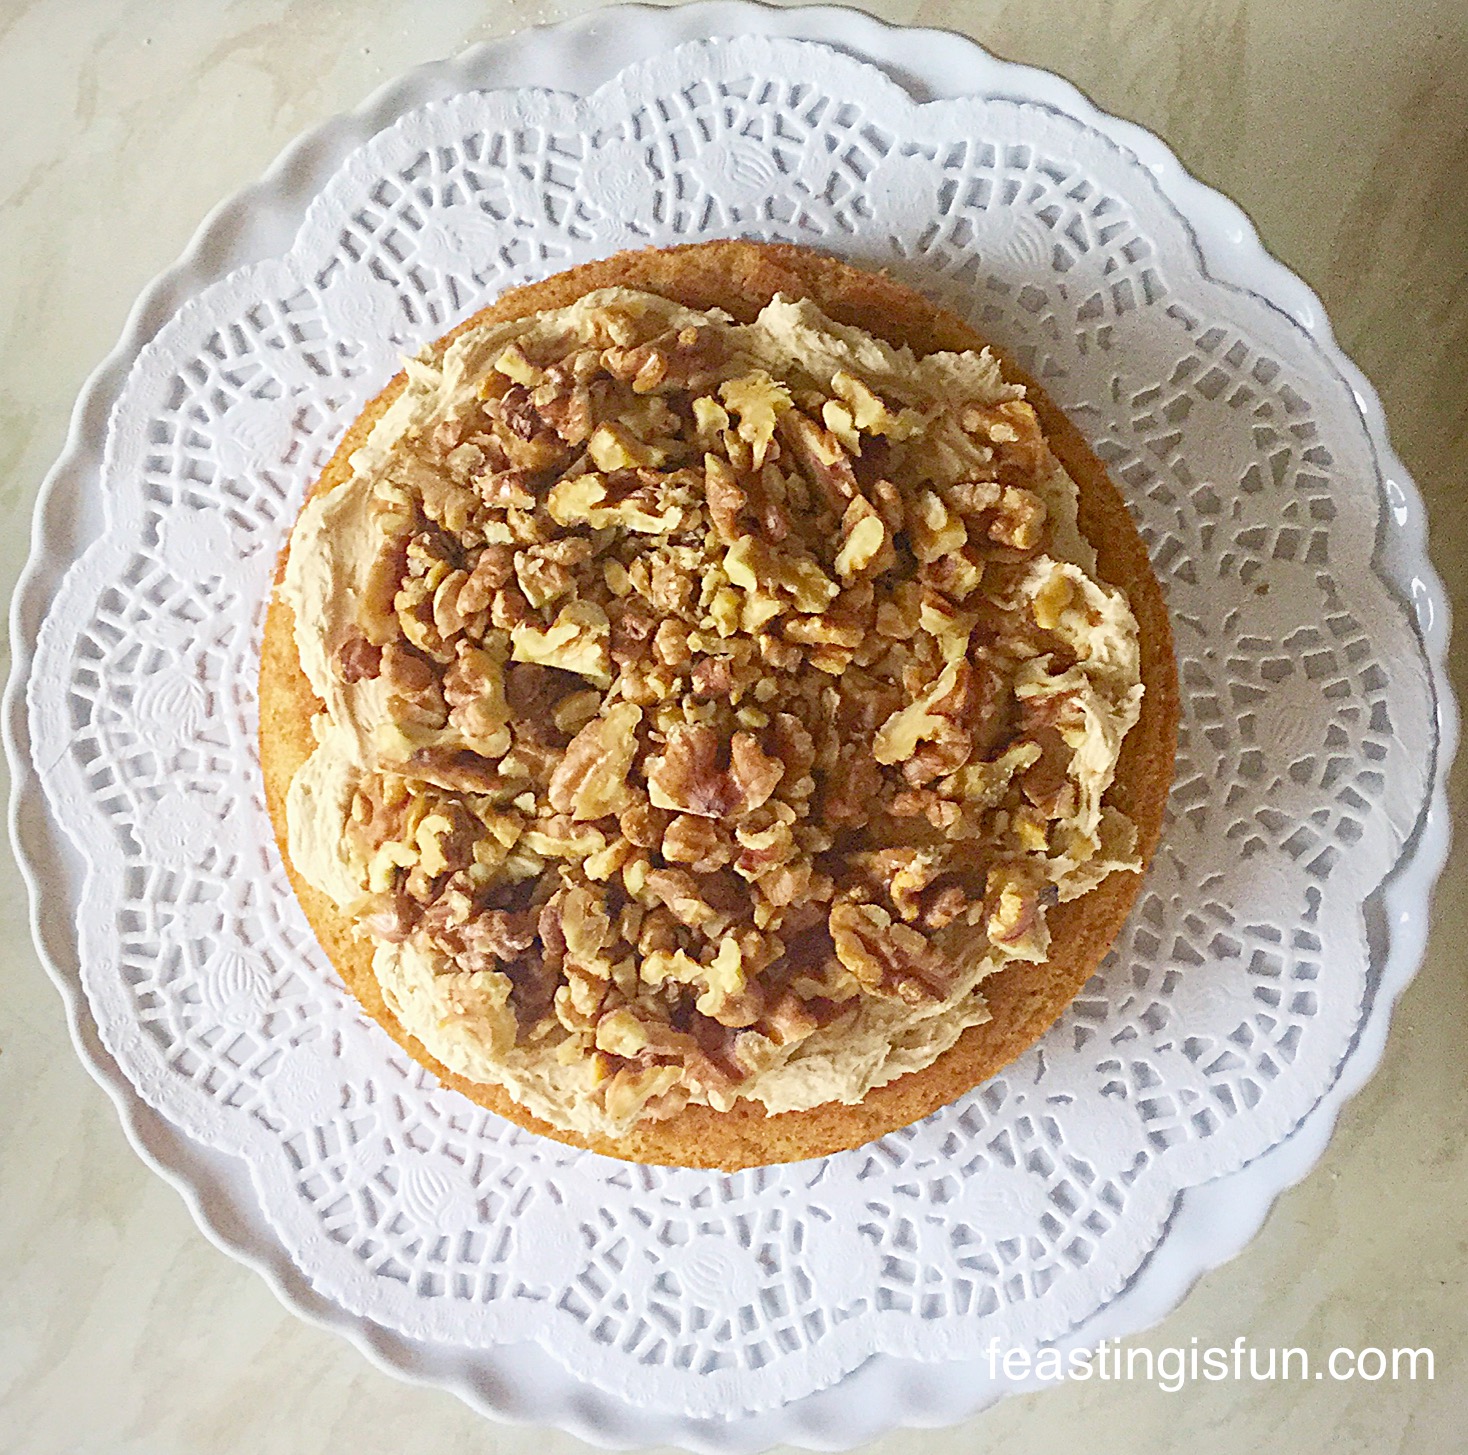
- In a medium bowl add the double cream and whip until it holds a firm peak.
- Fill a piping bag with a large star tip (I use Wilton #1M) with the whipped cream).
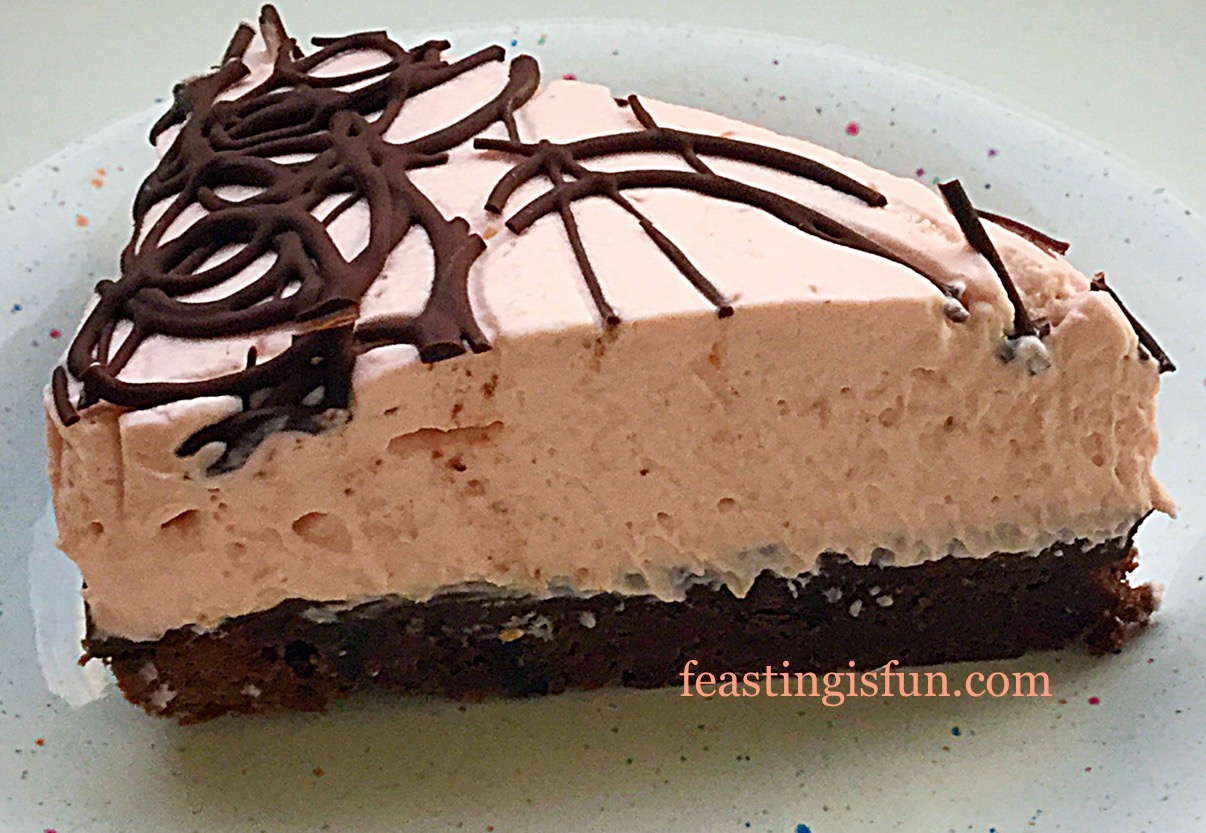
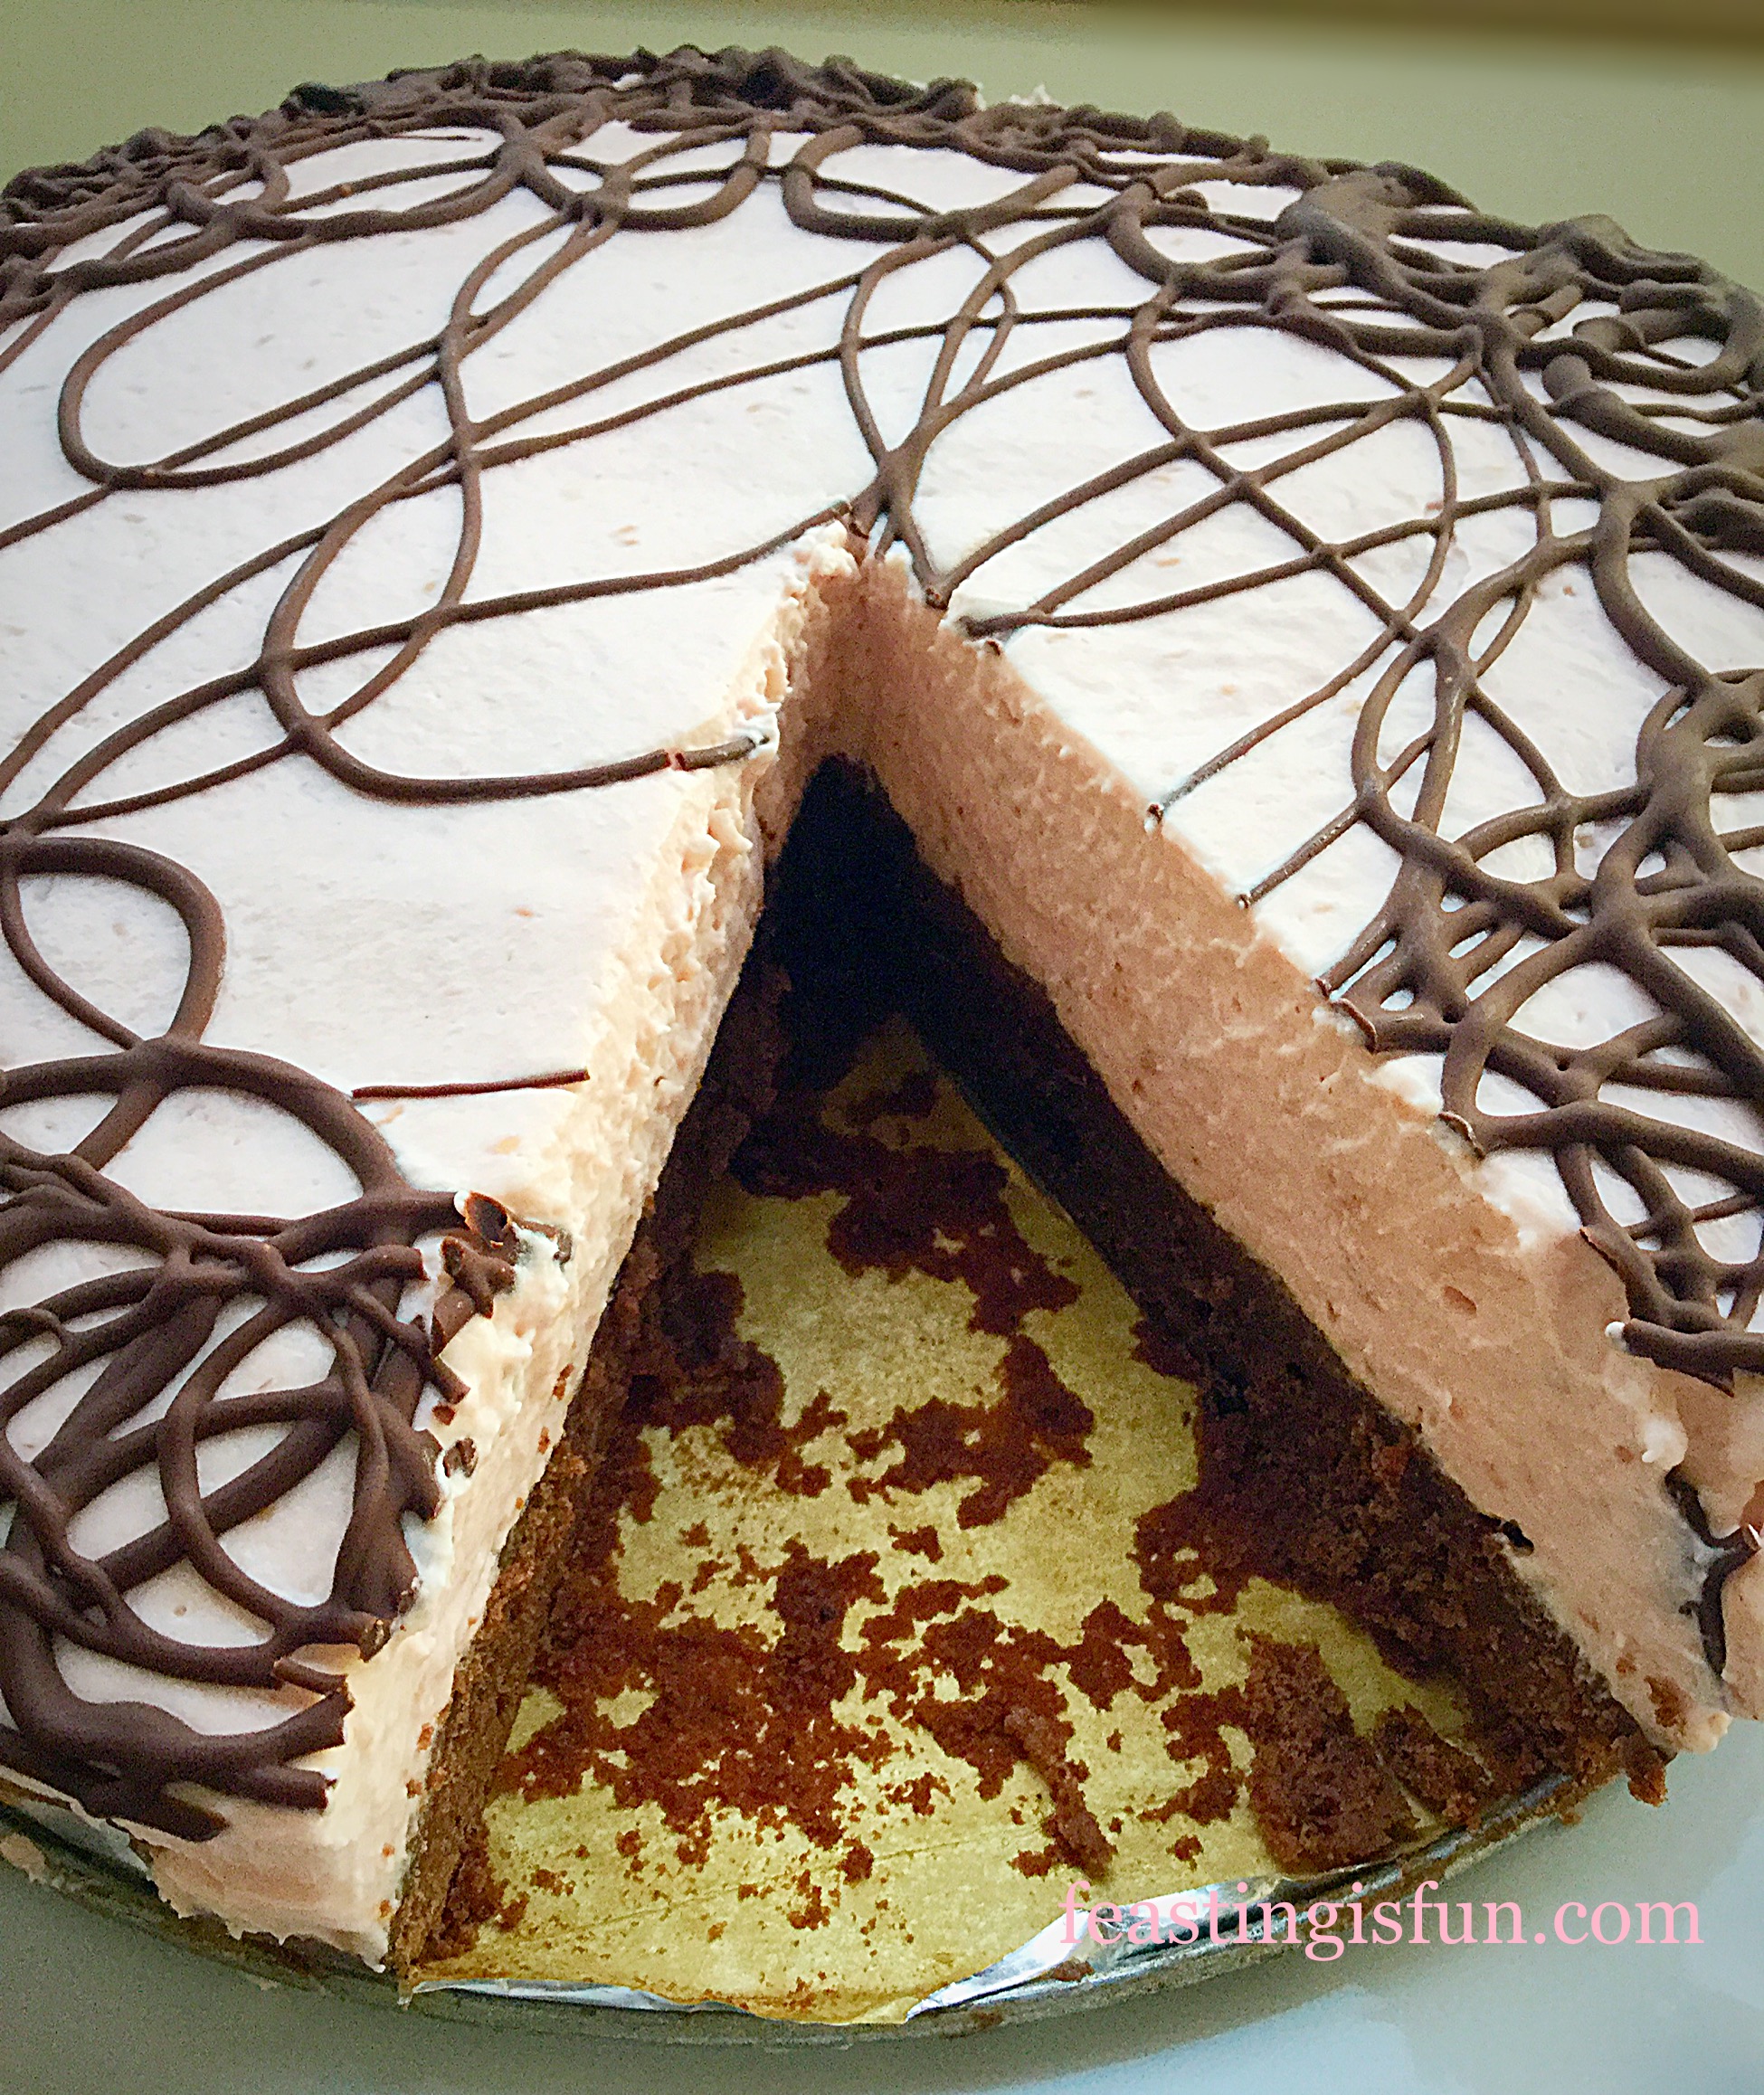
- Place one half of your doughnut, flat side up on a cake stand or plate.
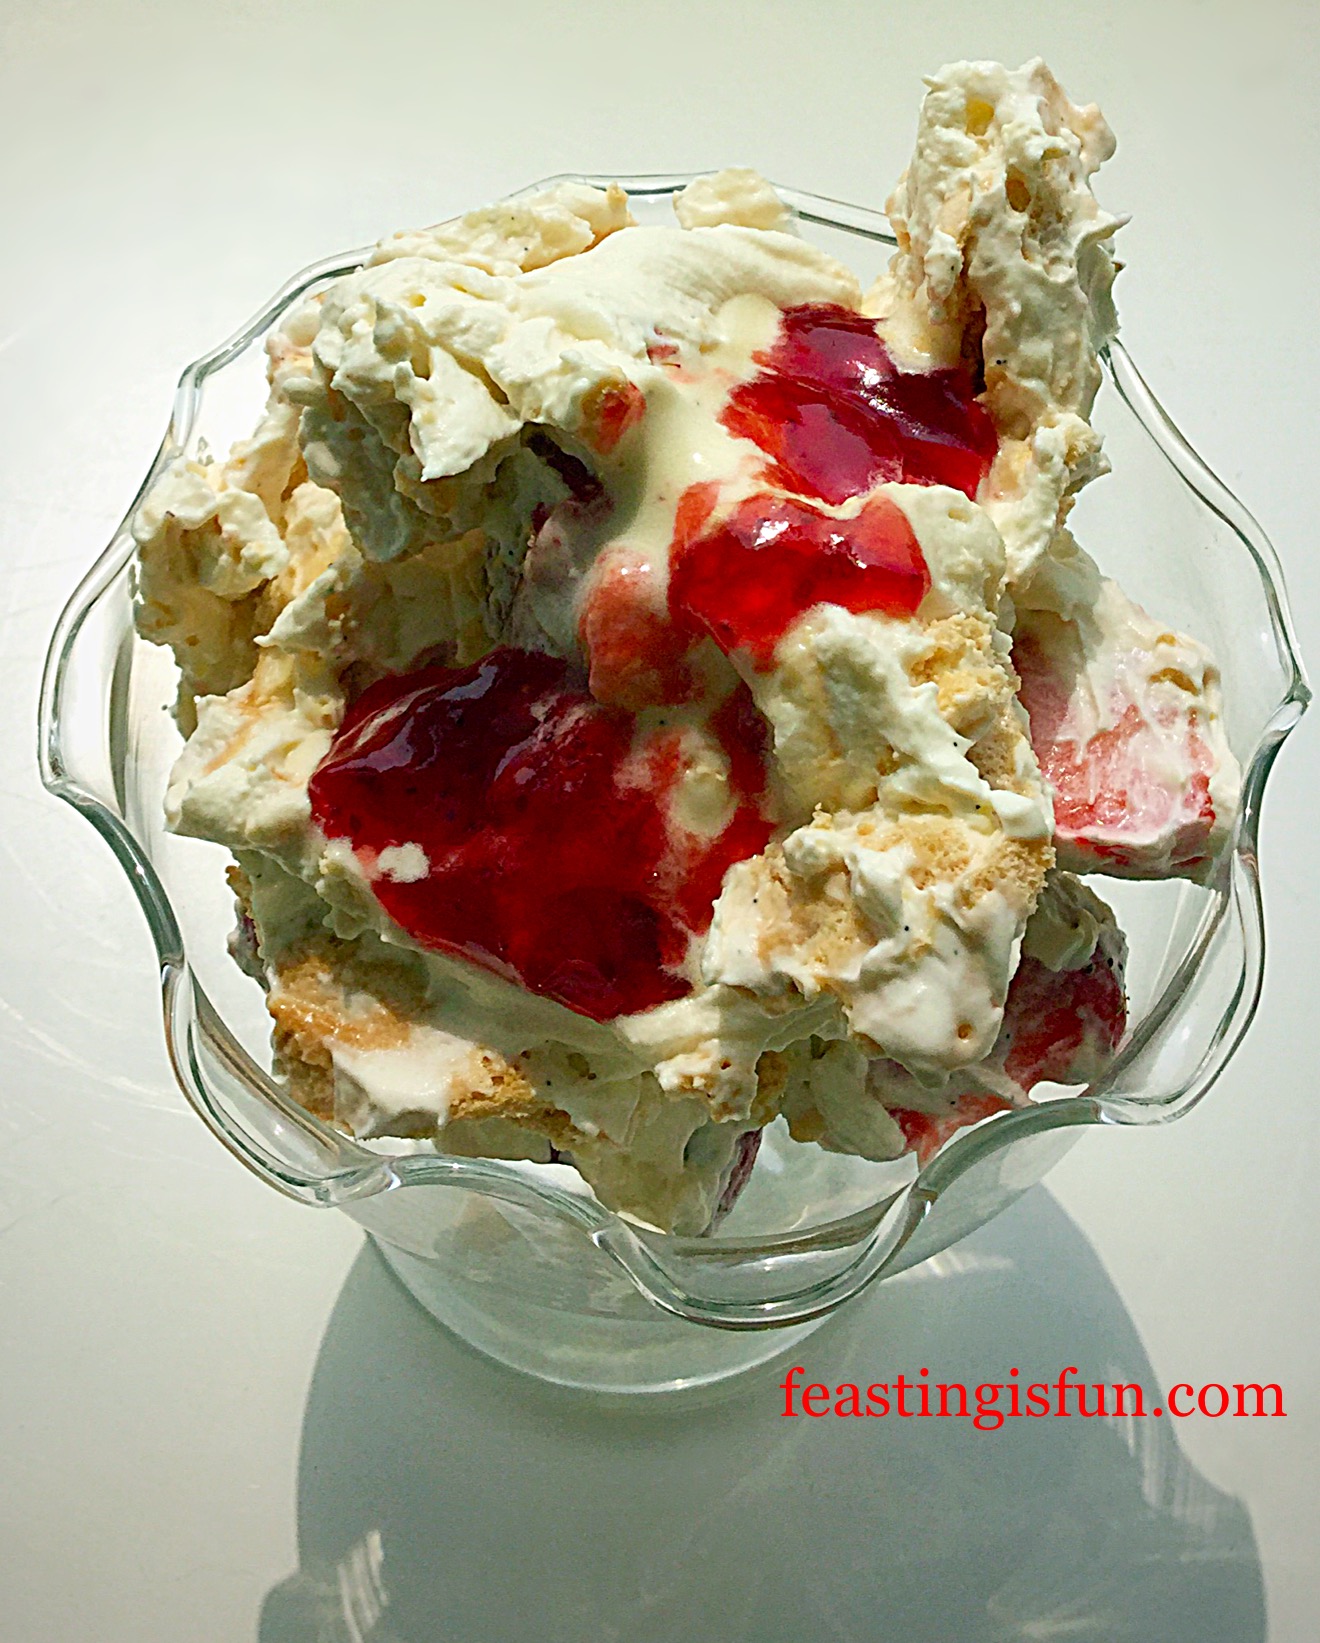
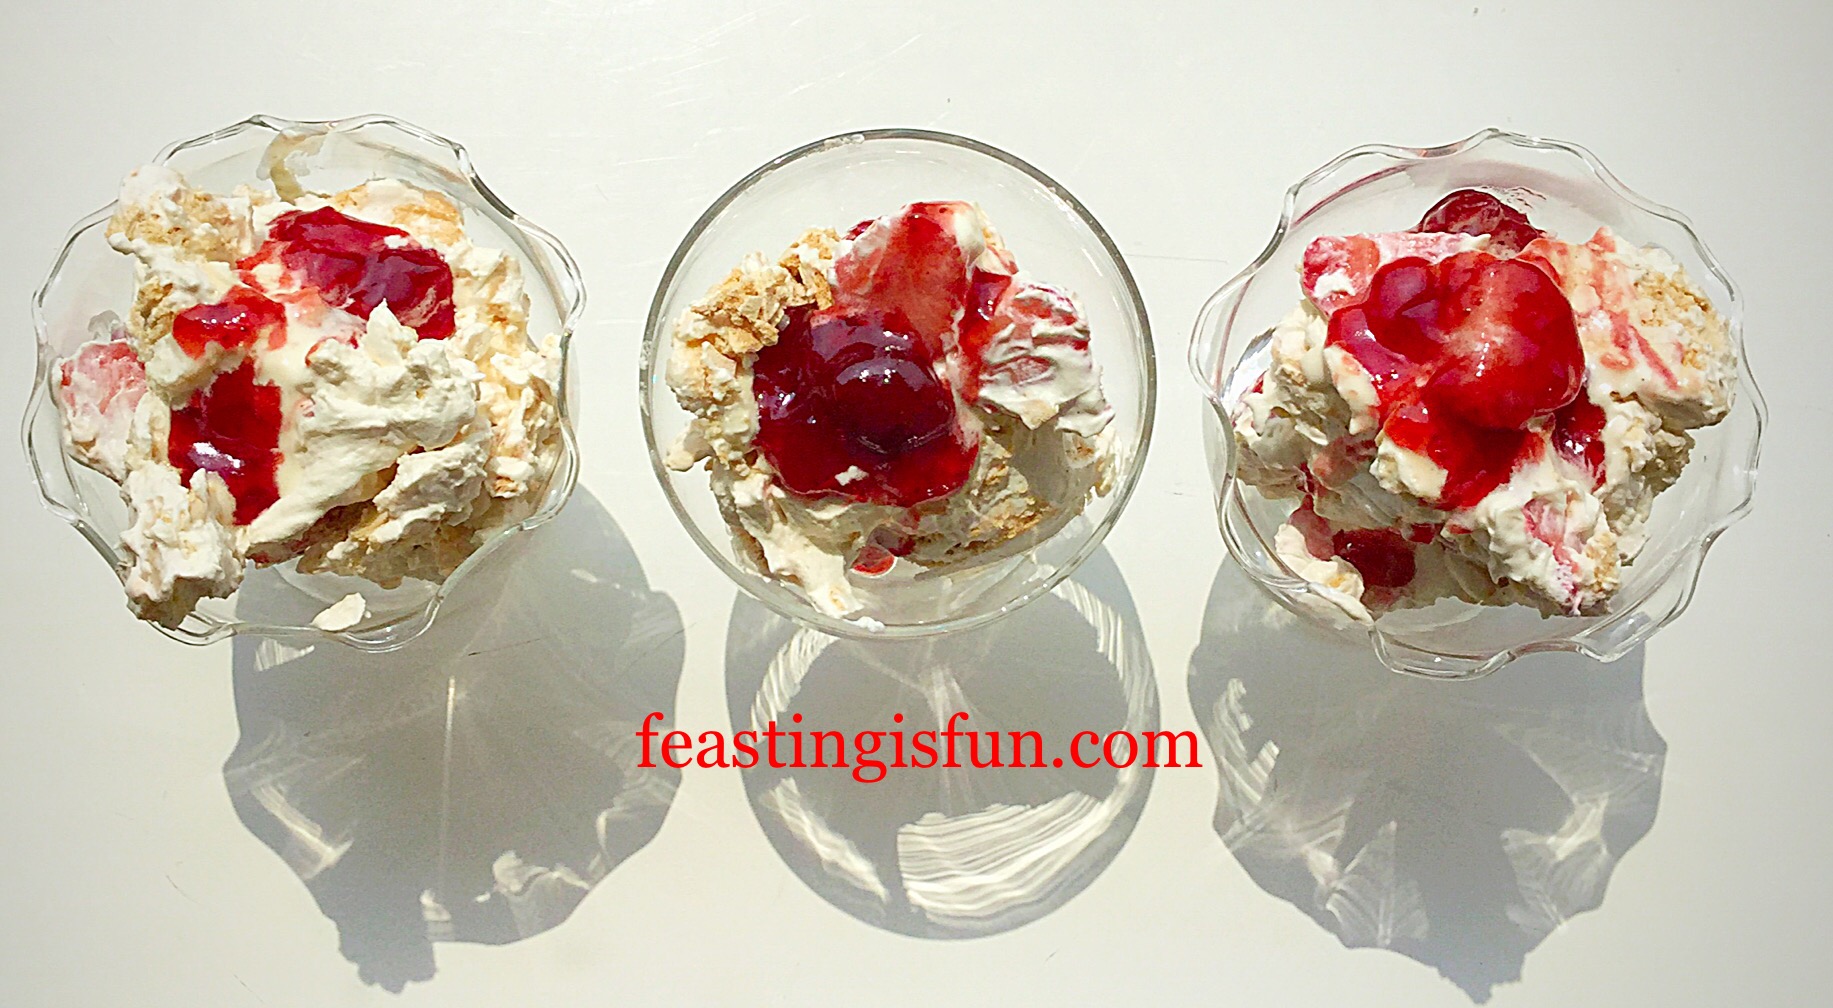
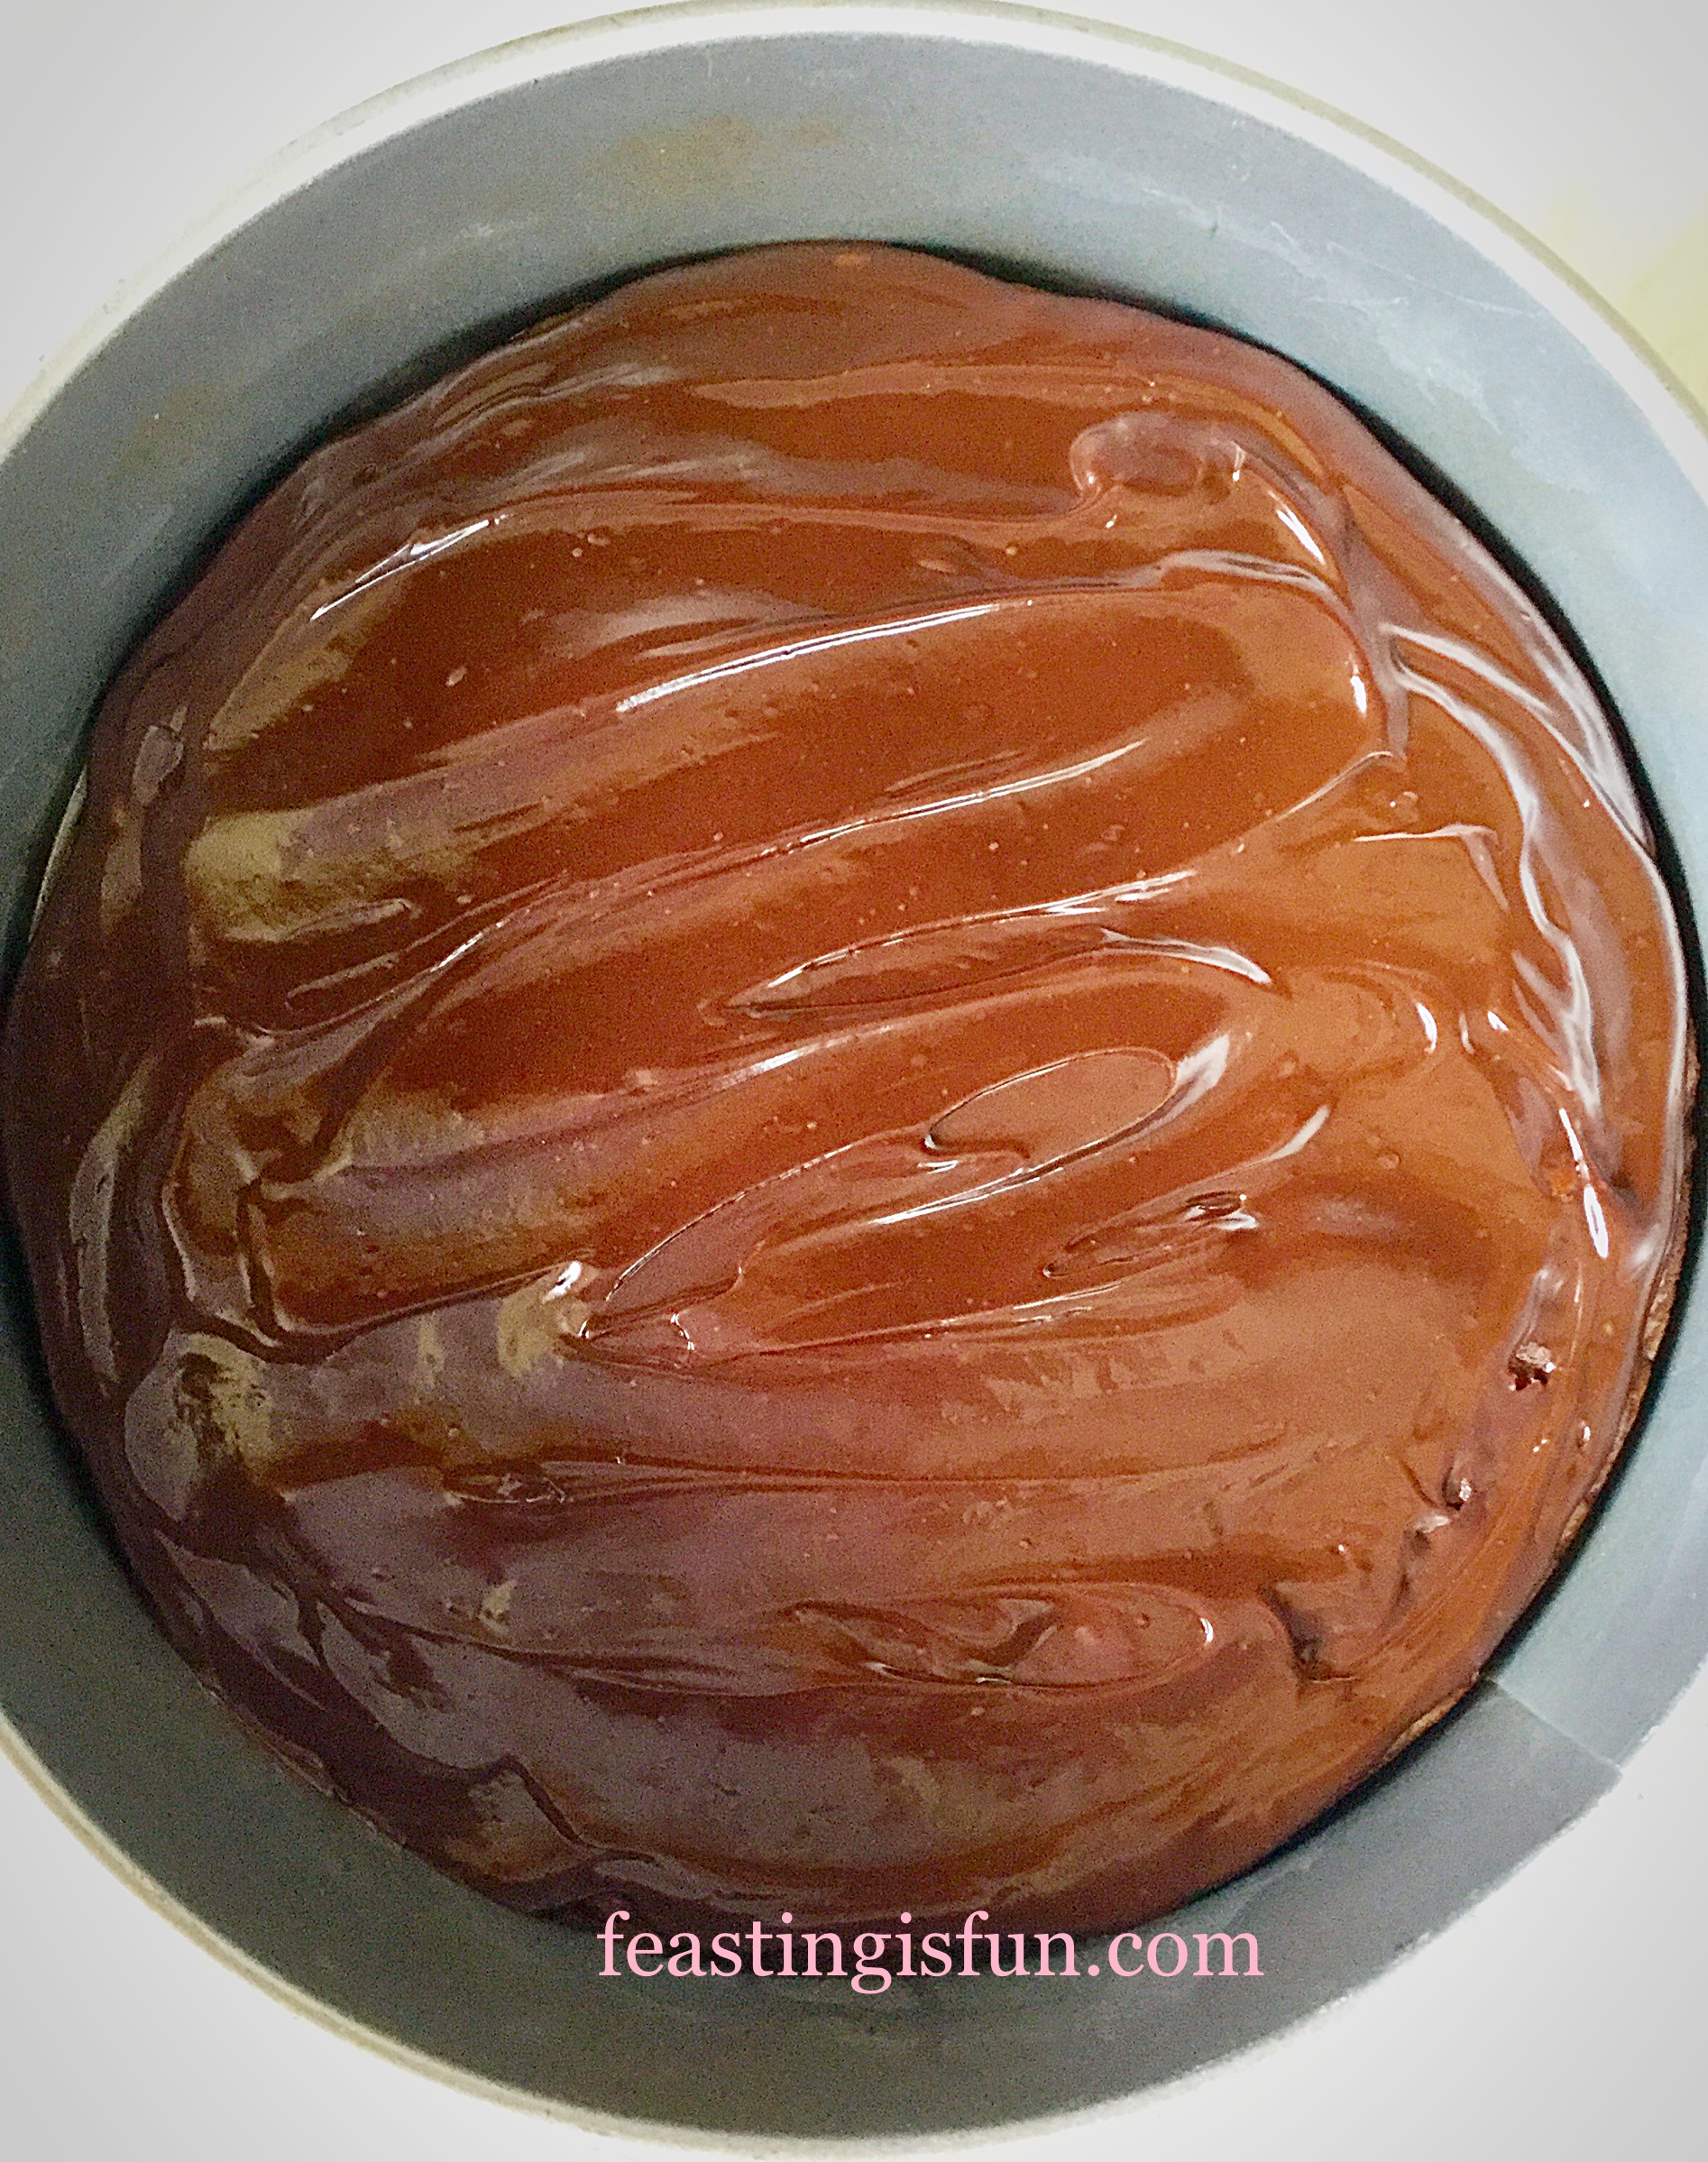
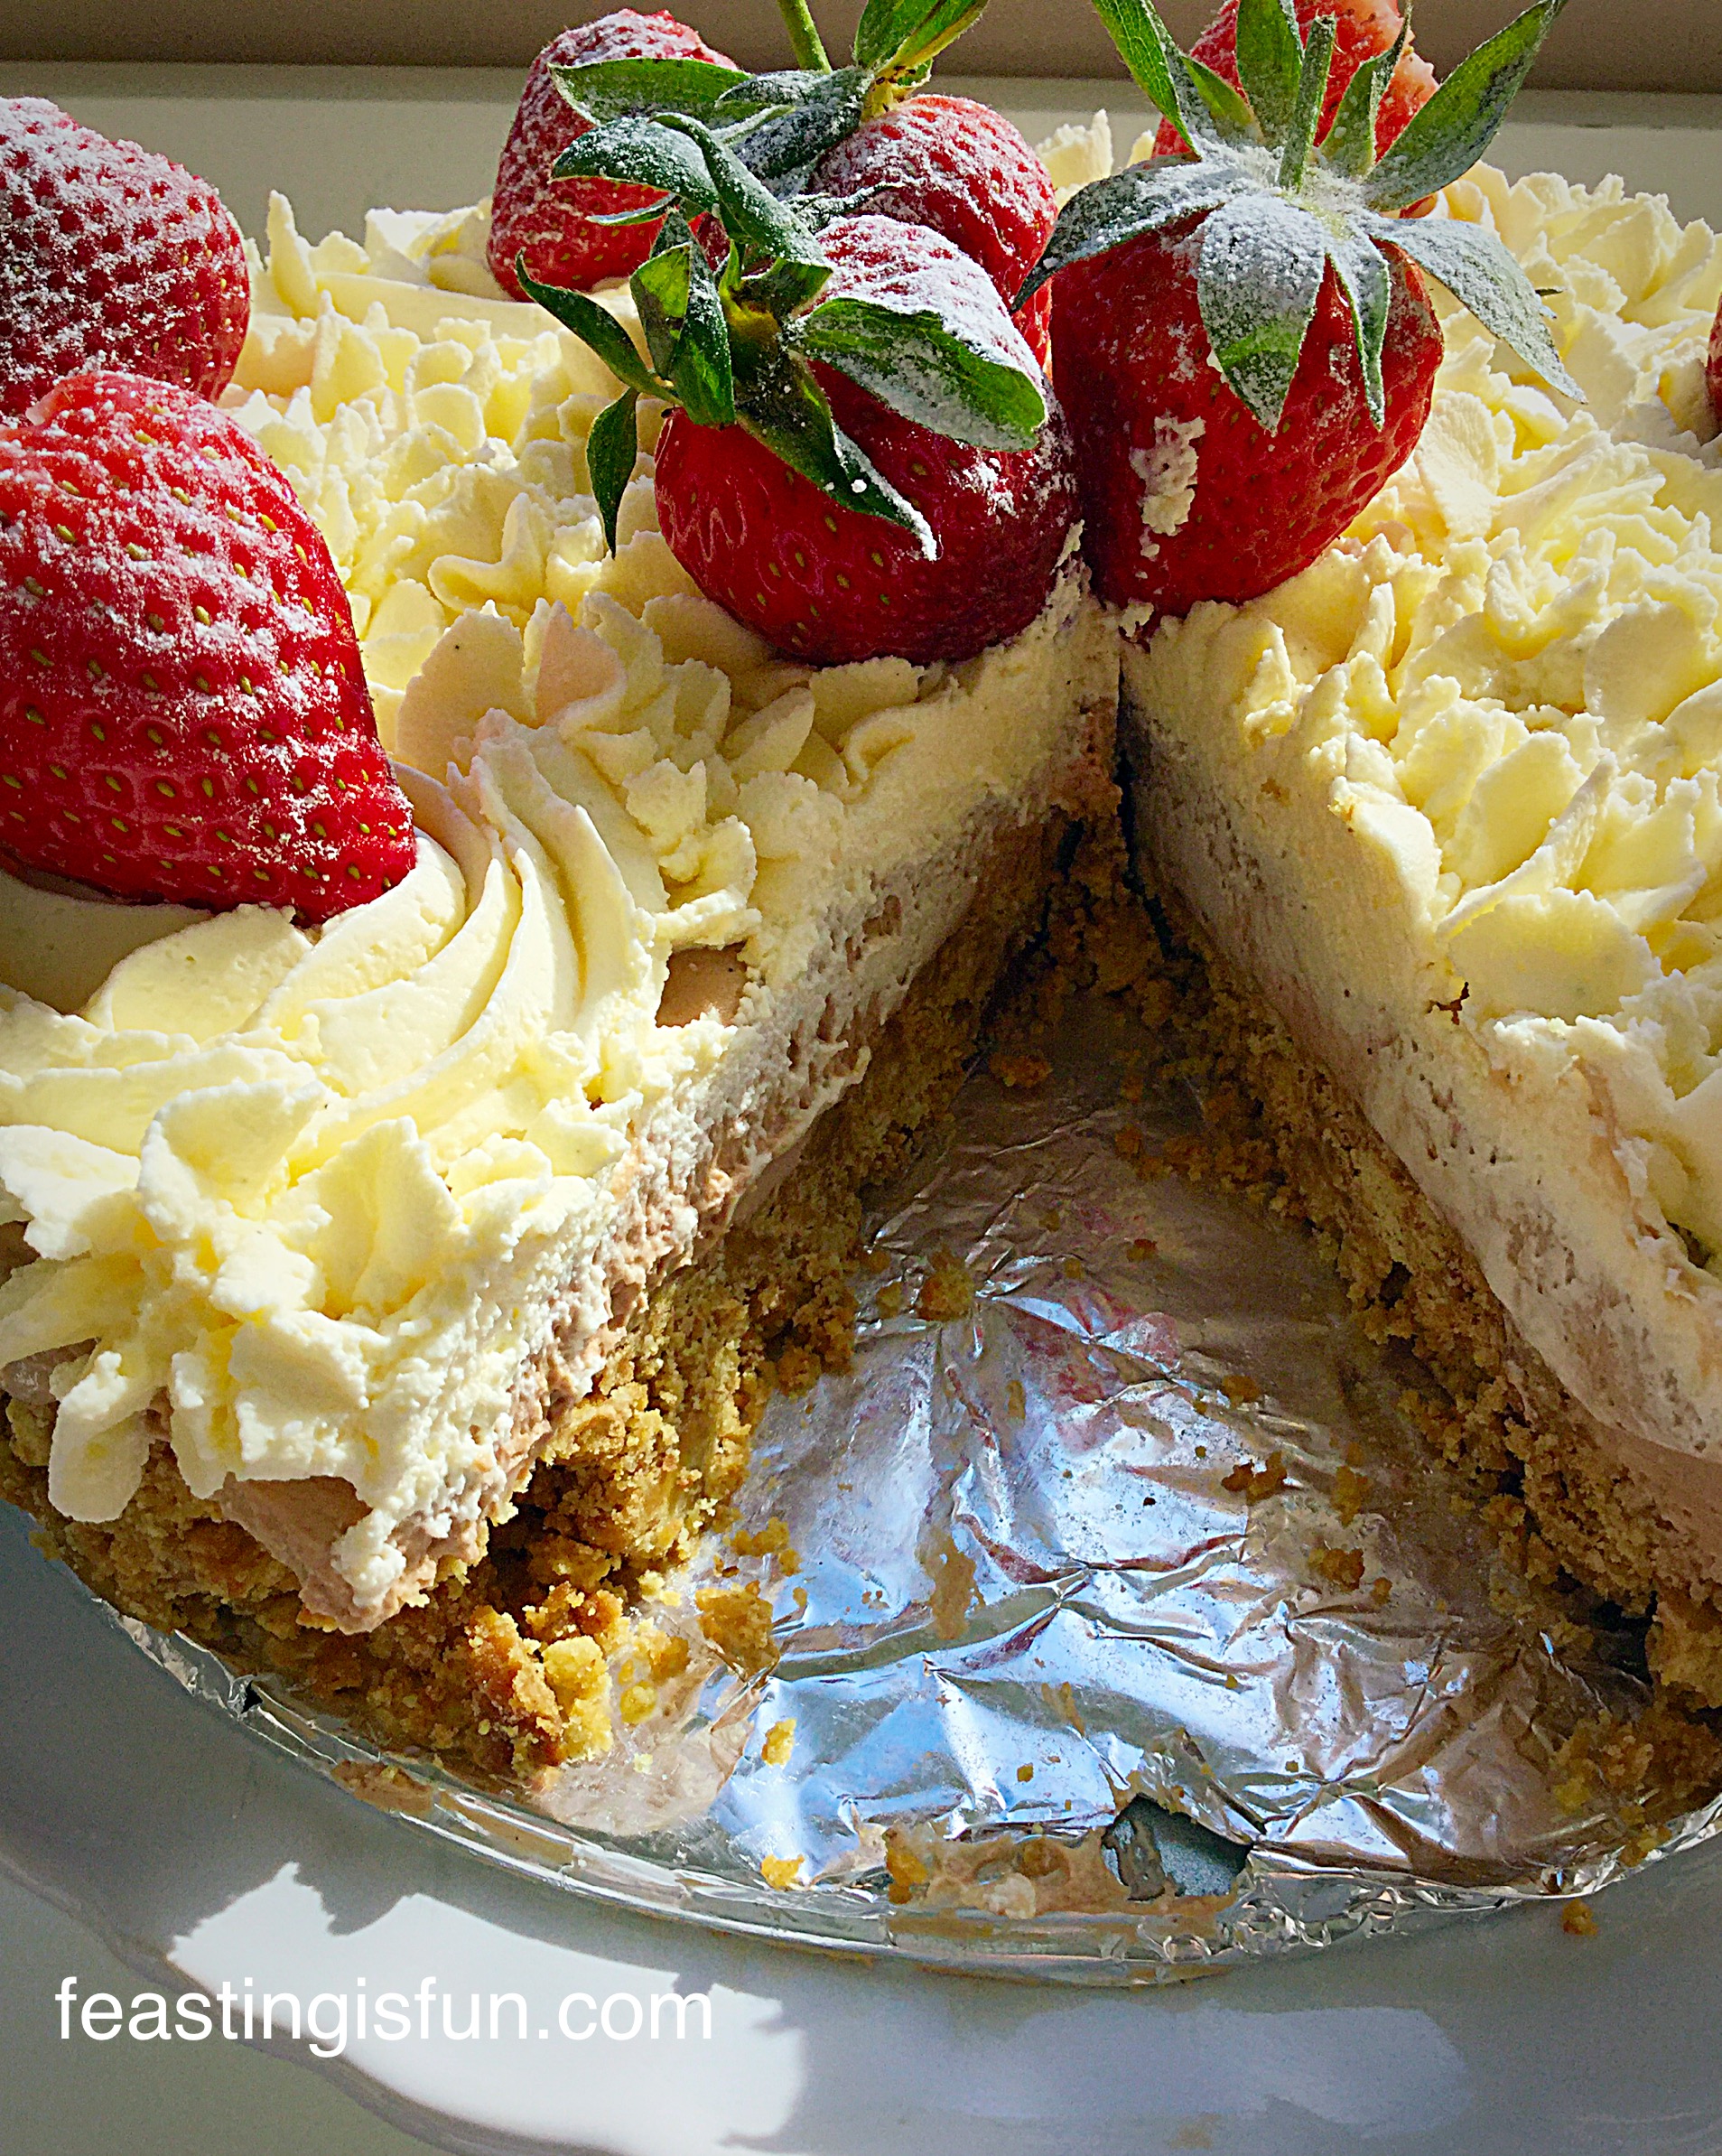
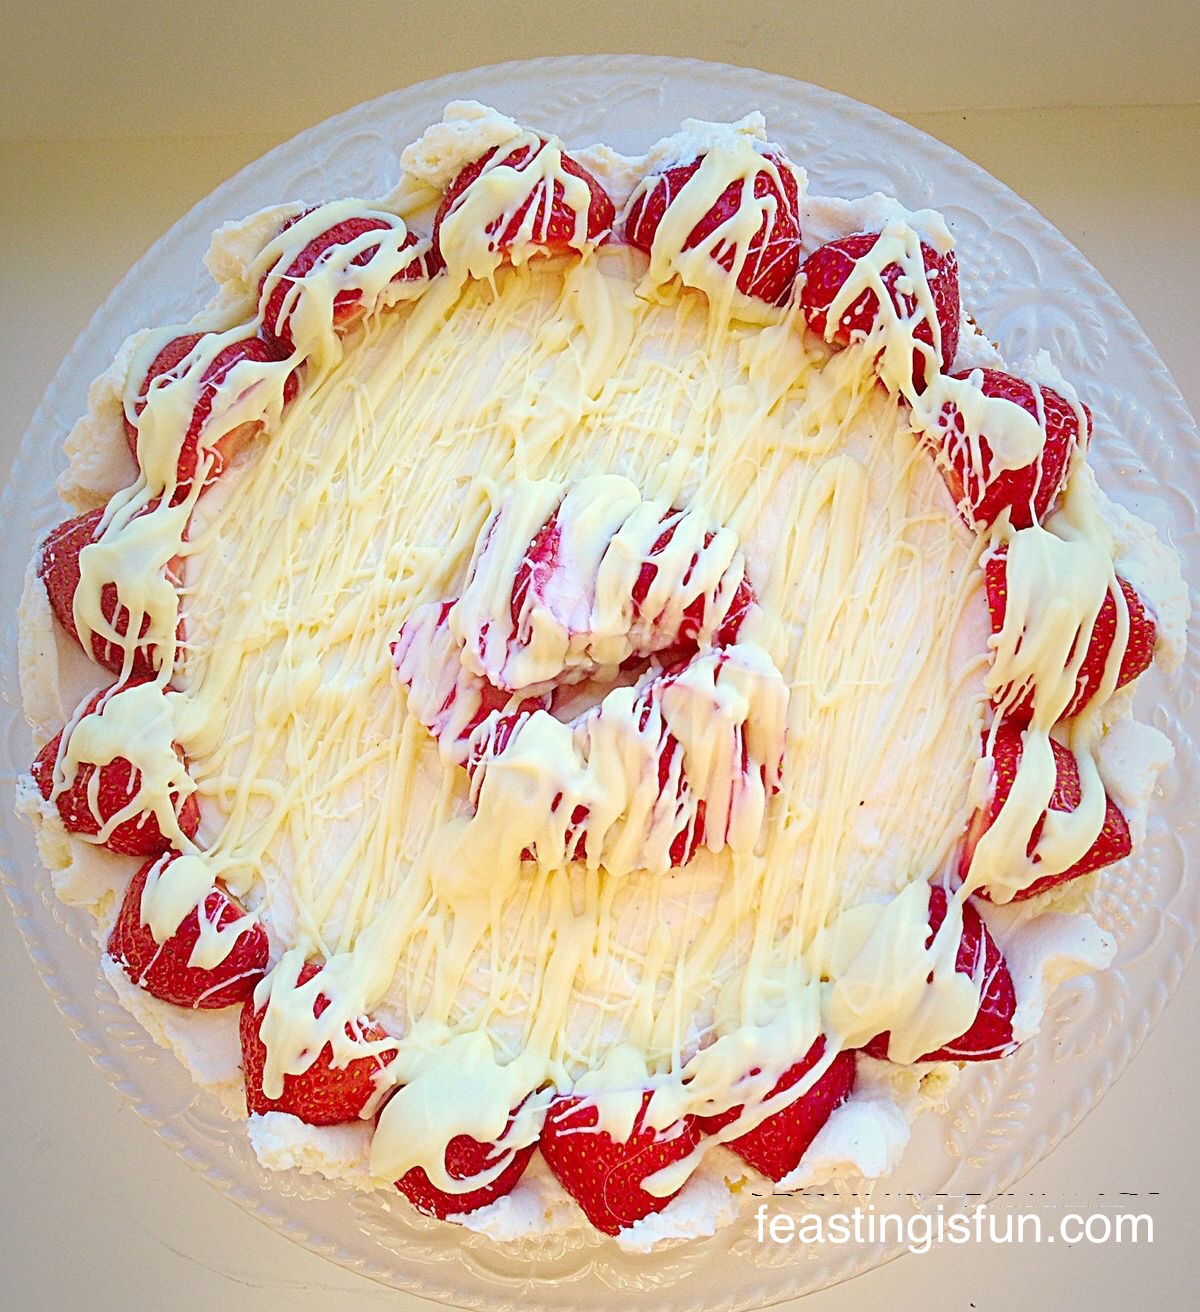
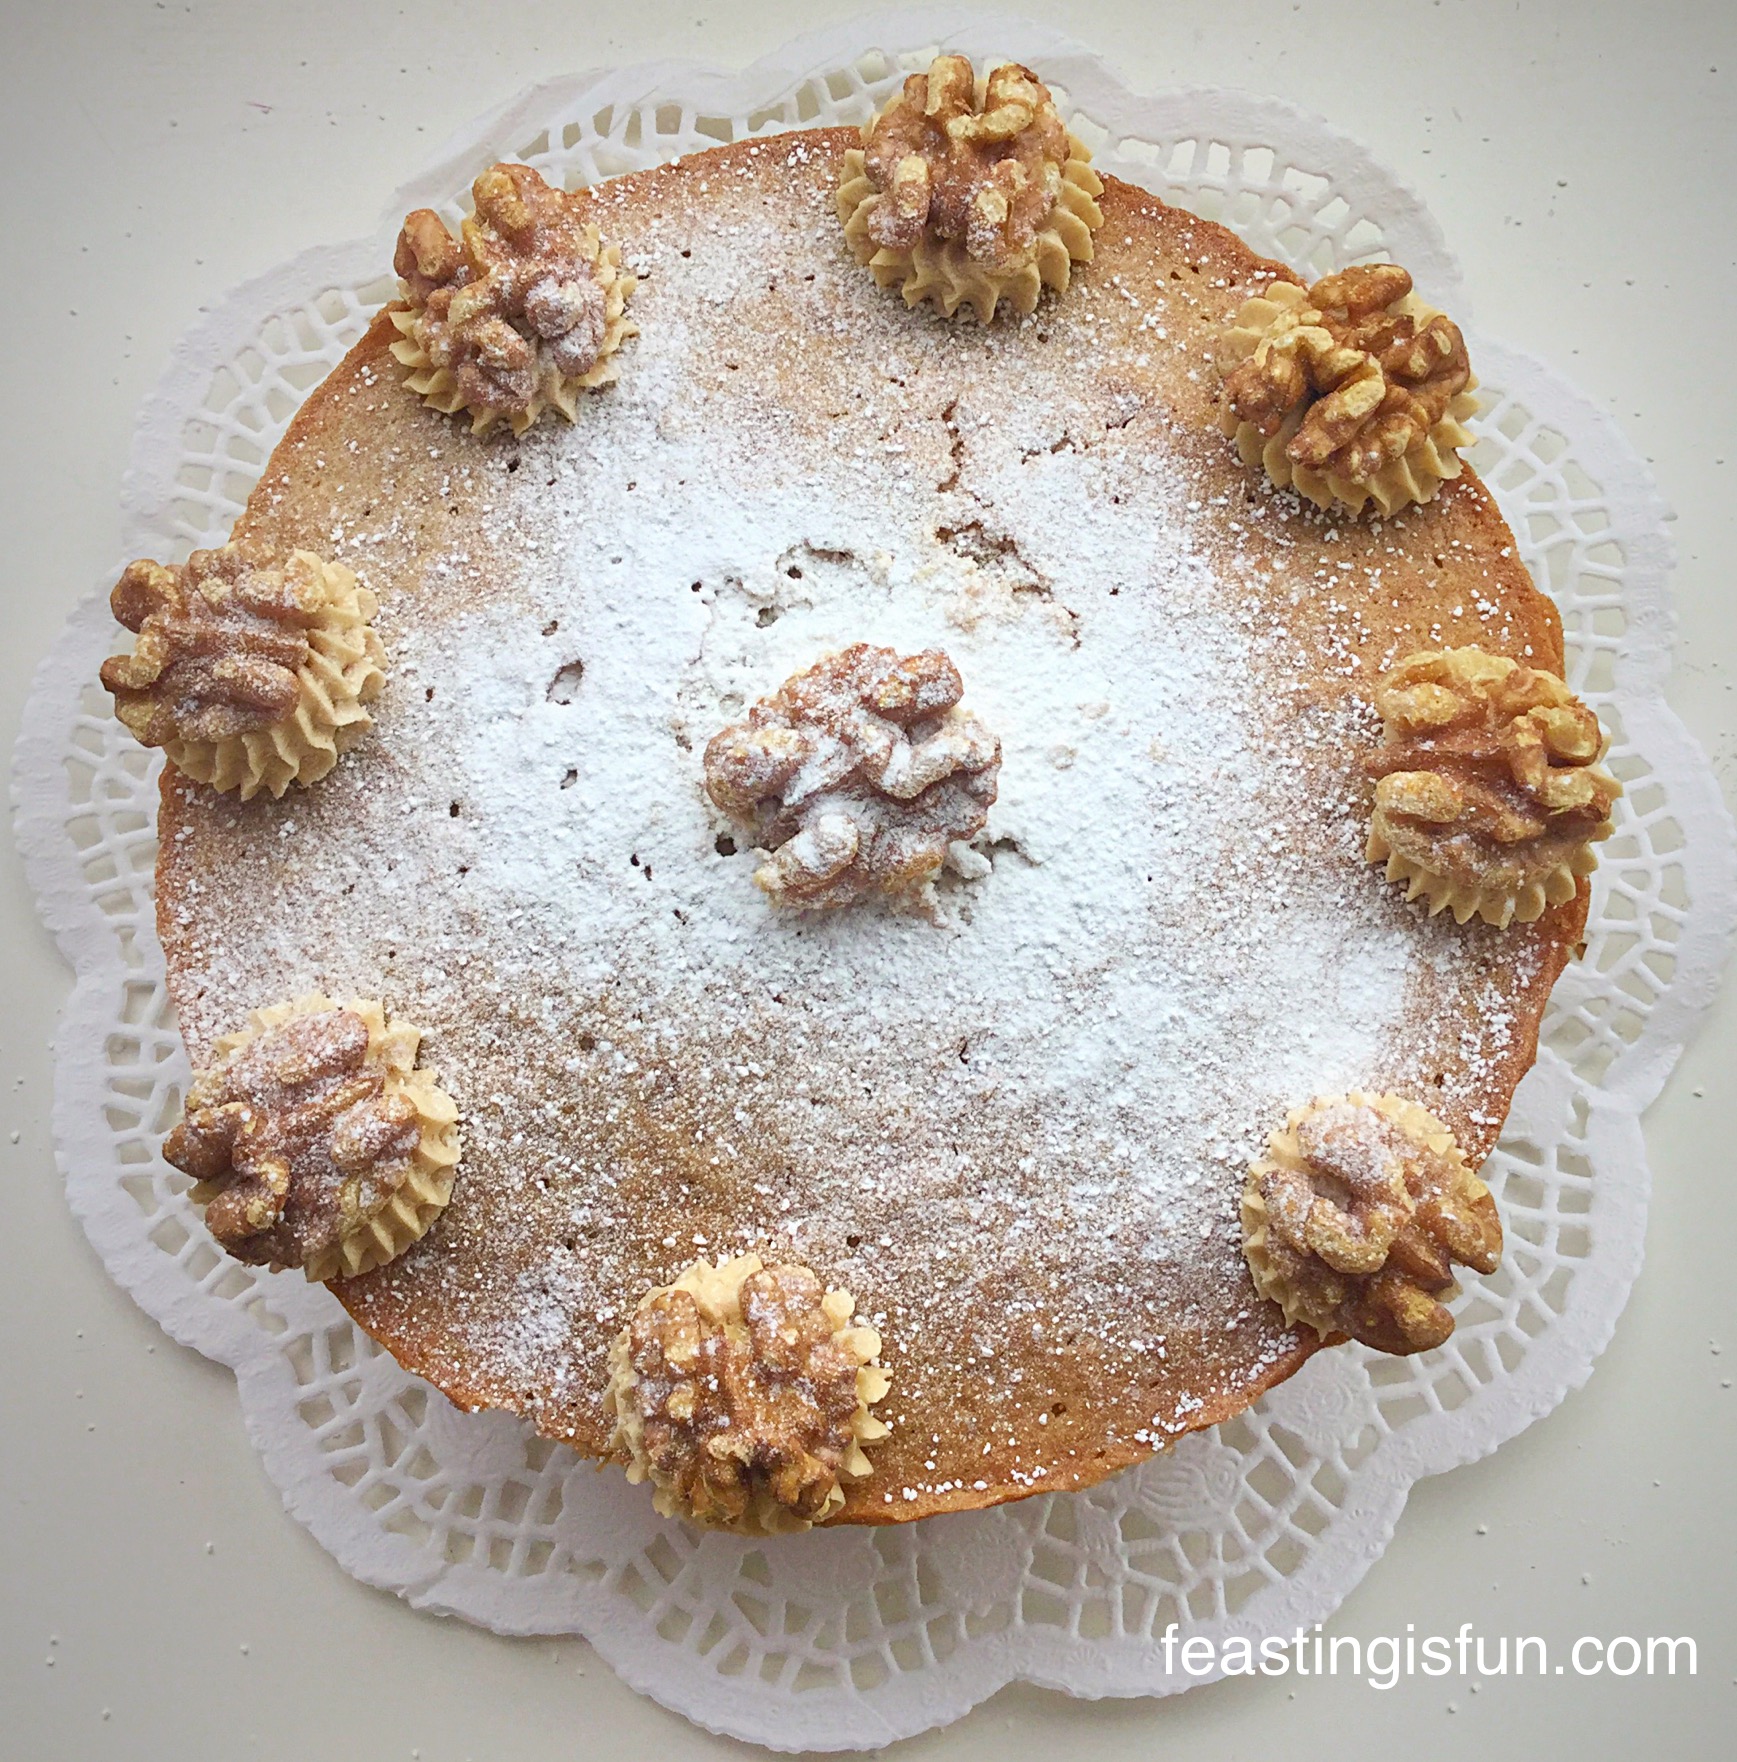
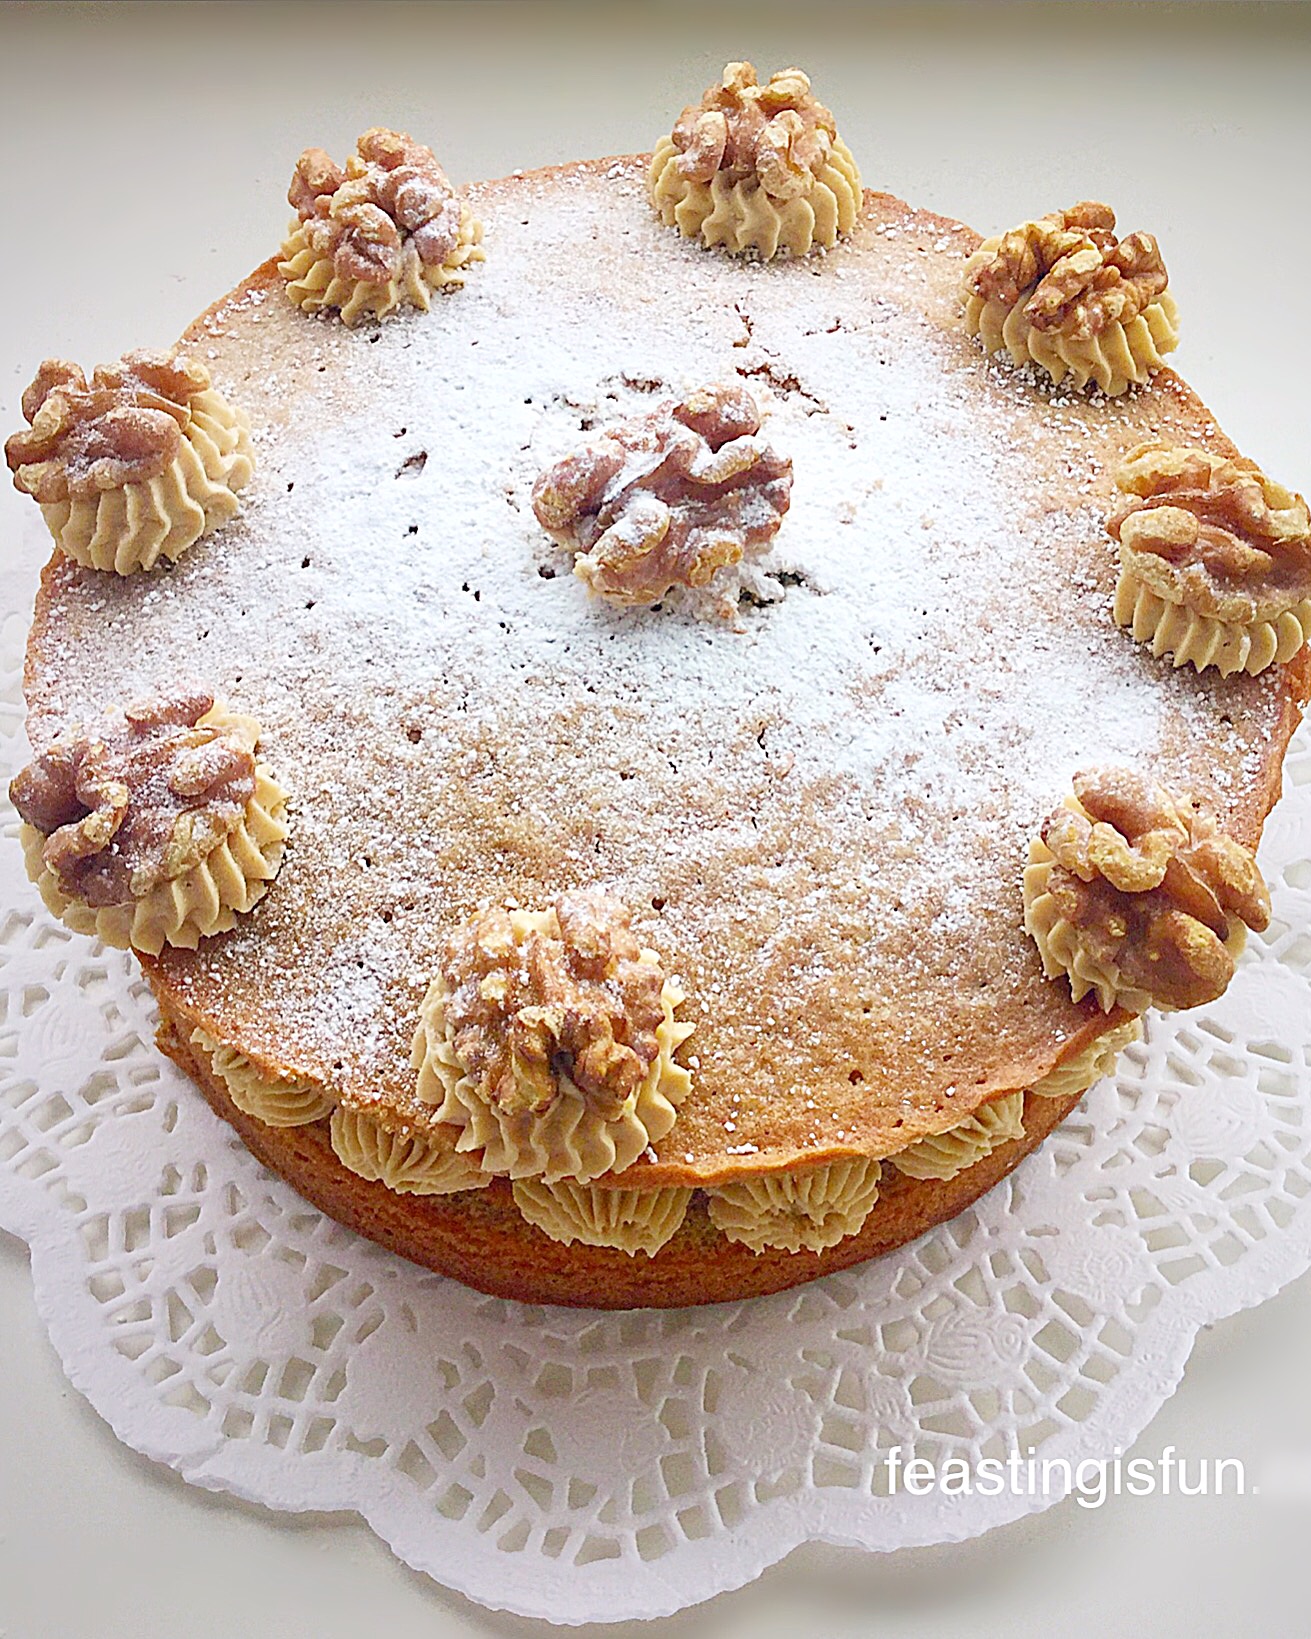
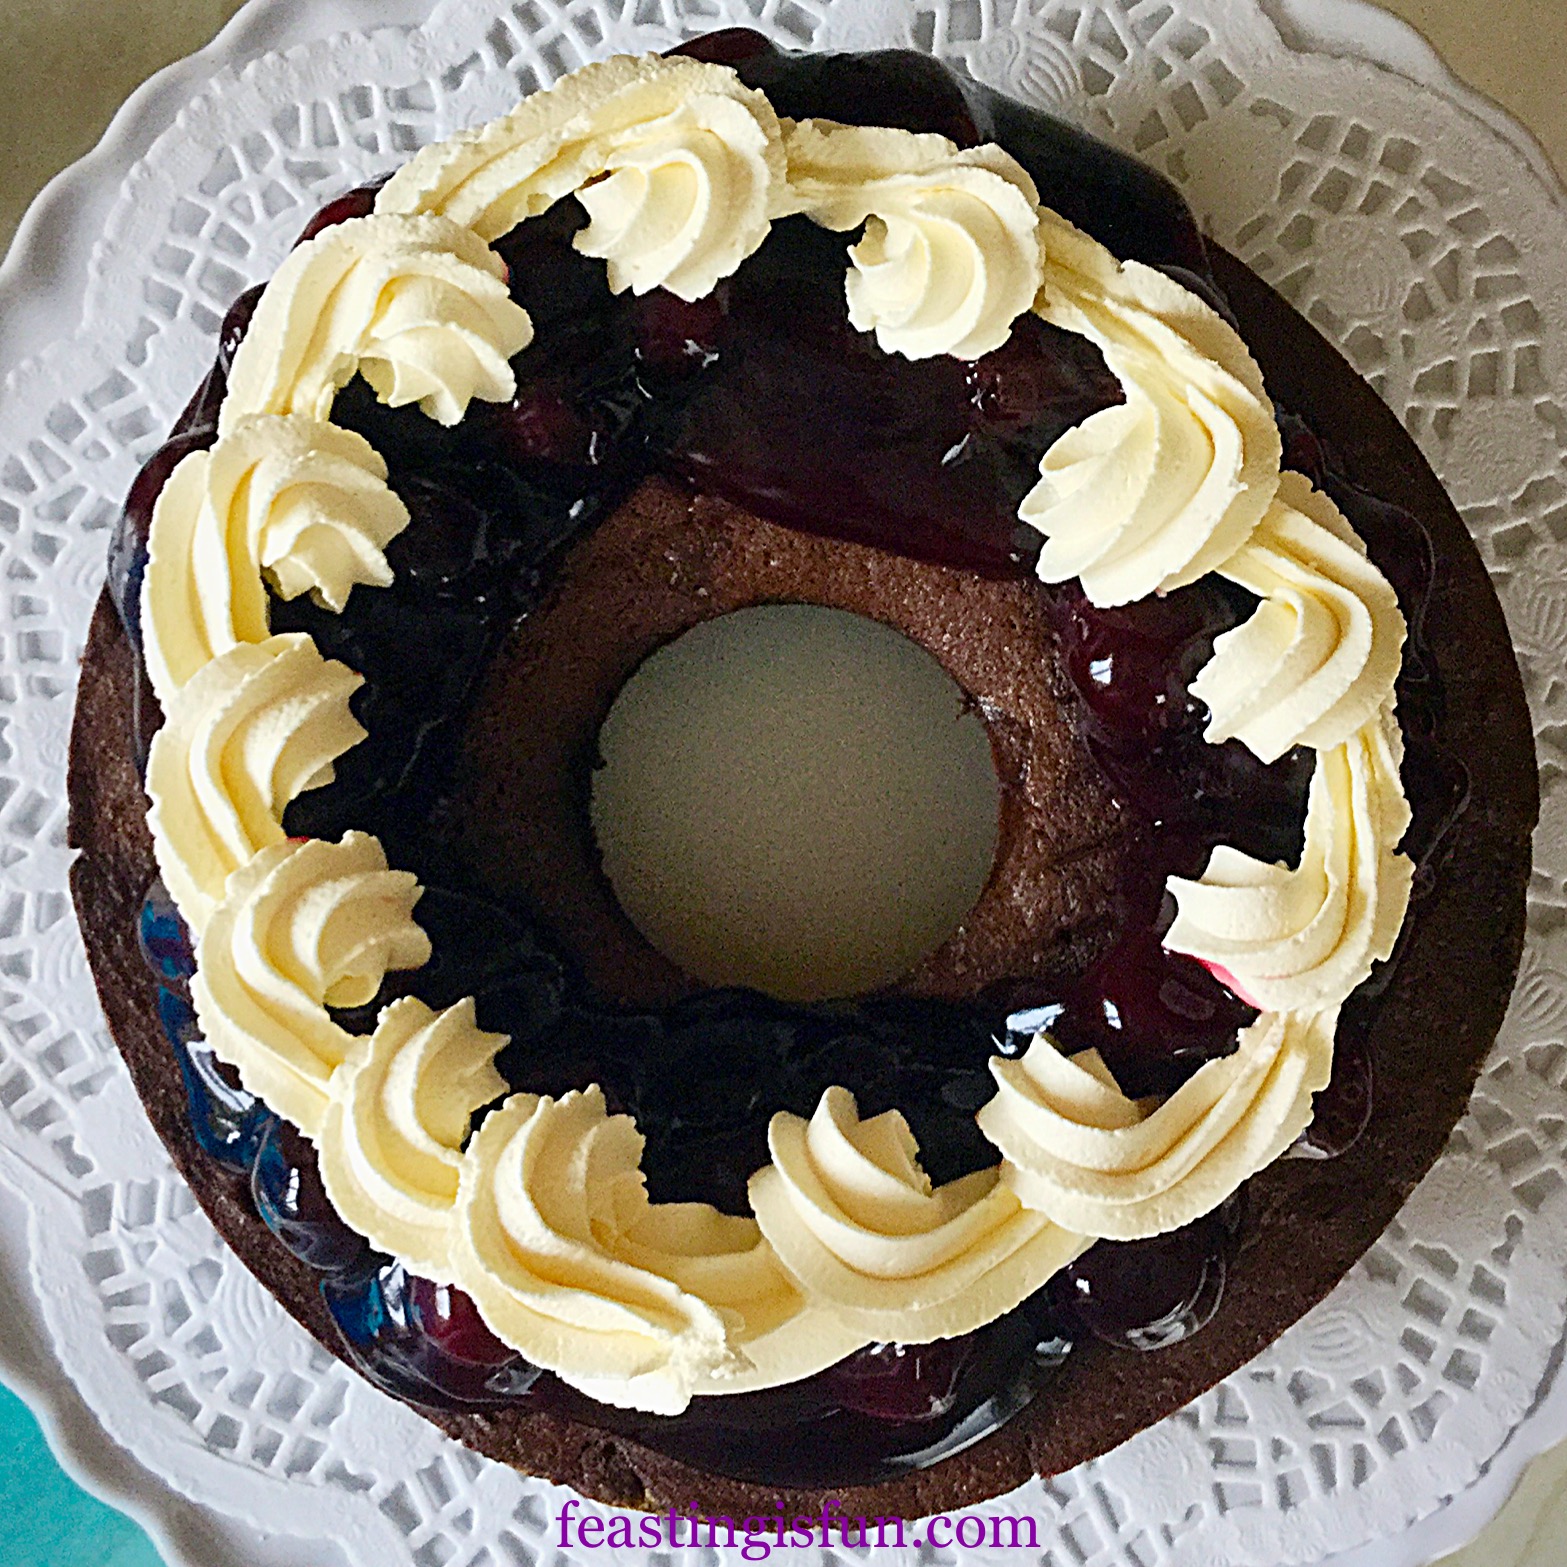
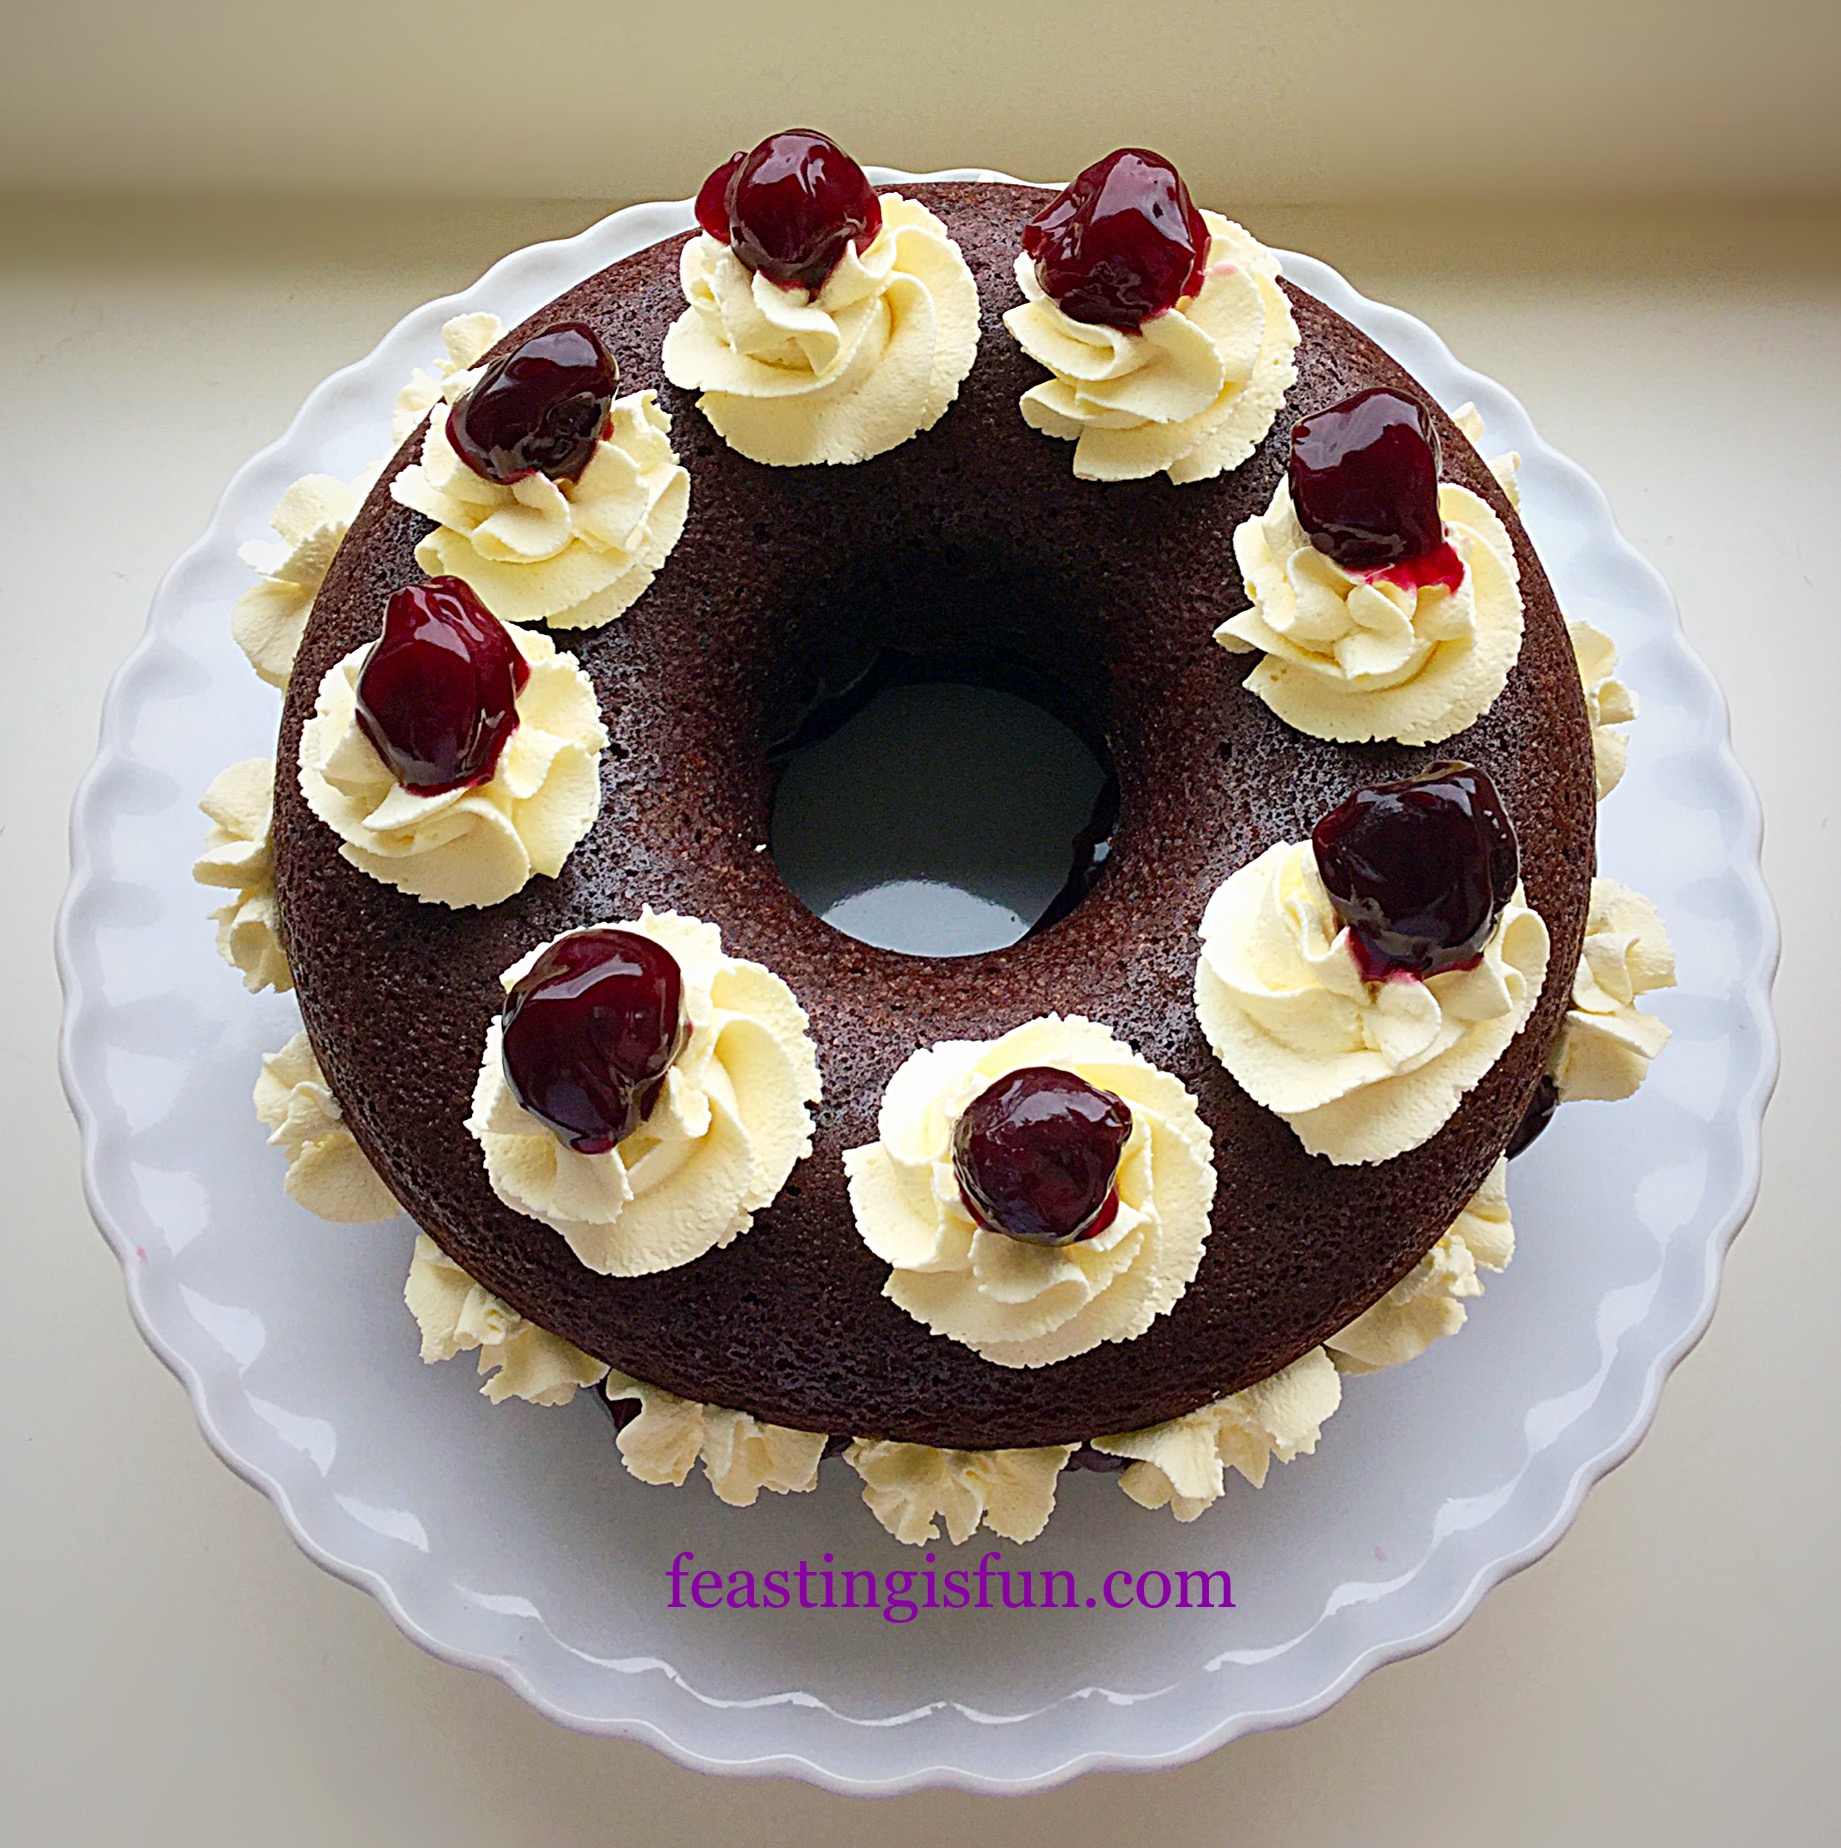
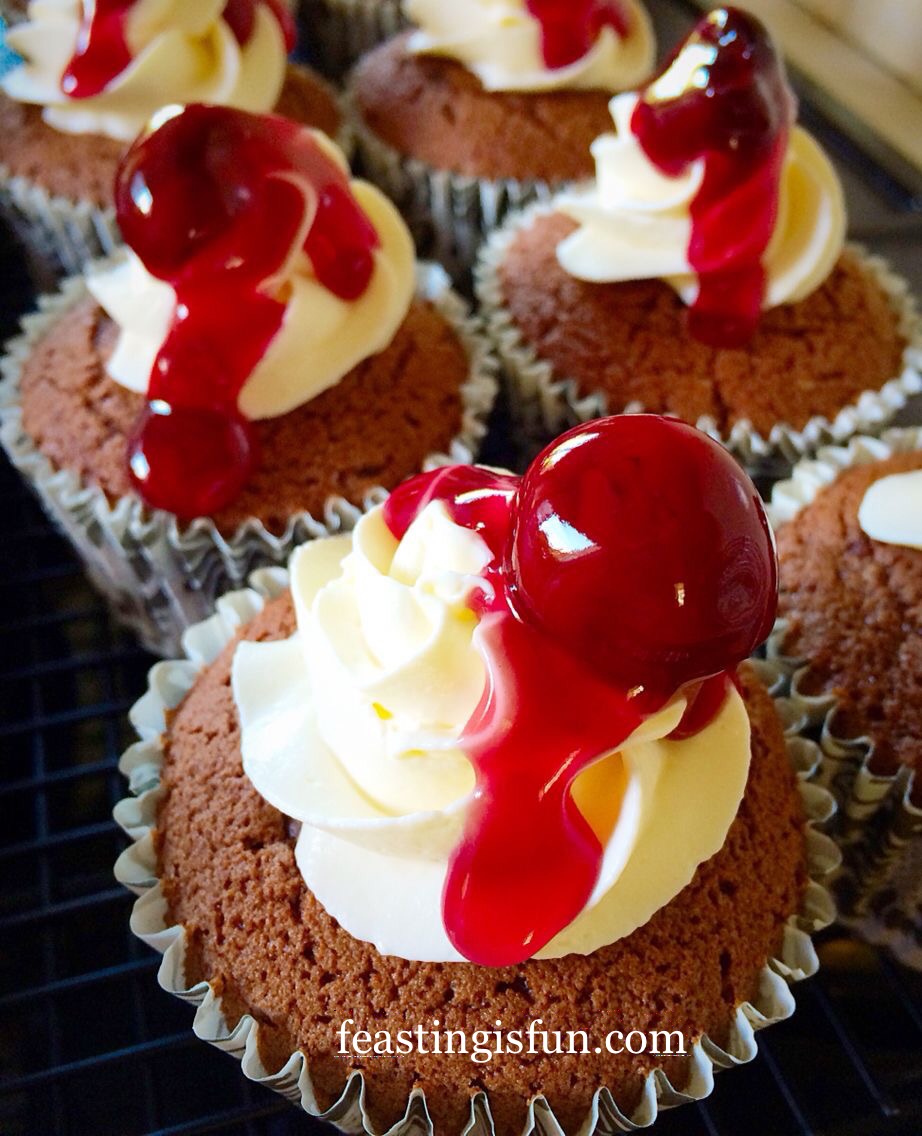
- Reserve 8 whole cherries to decorate the top, spoon the remaining cherry pie filling on to the bottom half of the doughnut – DO NOT over fill.

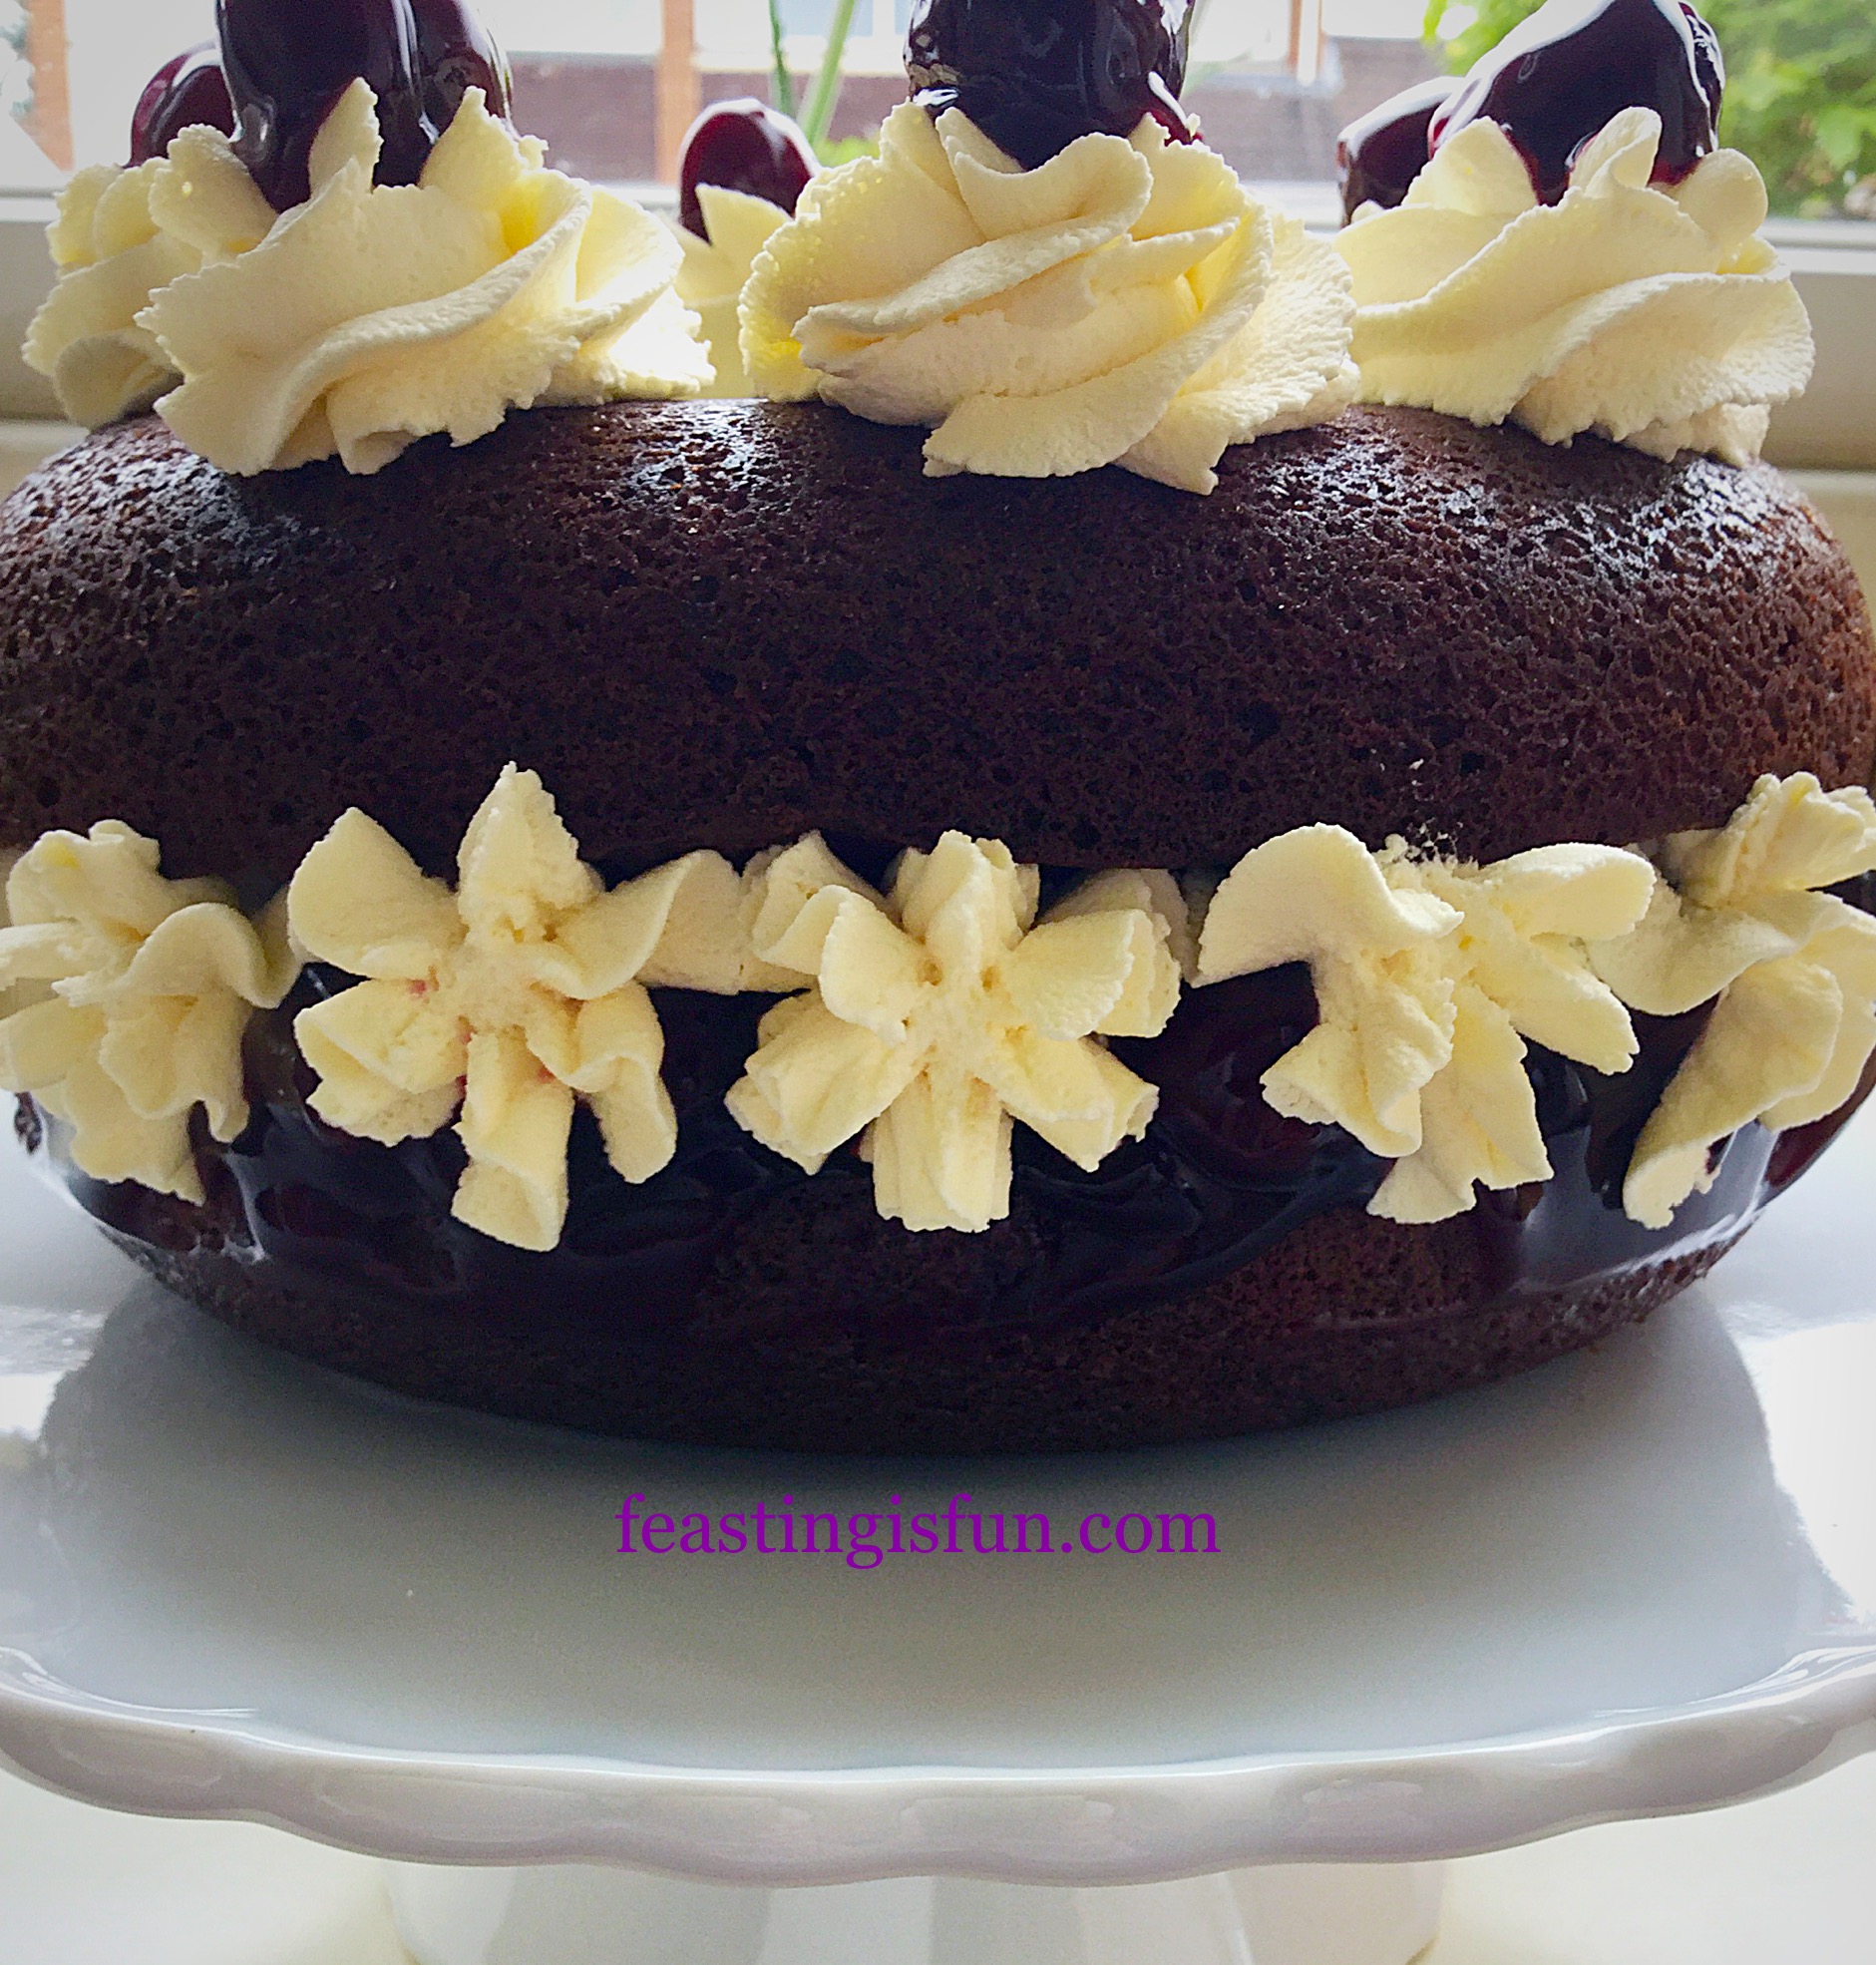
- Pipe the cream in a swirl pattern on top of the cherries.
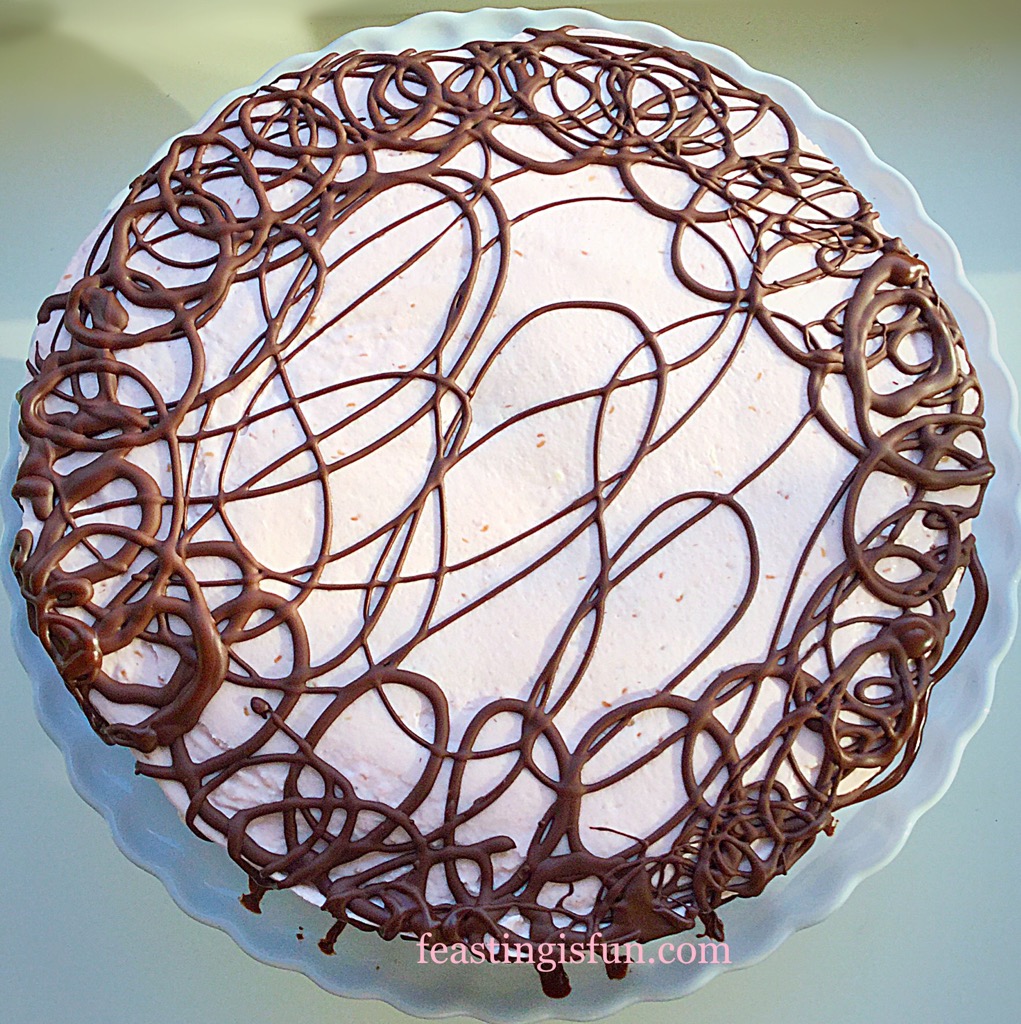
- Place the top of the doughnut on to the base. Wipe away any excess cherry syrup – notice that in my finished photos there isn’t a doilie.
- Pipe 8 swirls evenly around the top of the doughnut and top each with a reserved cherry.
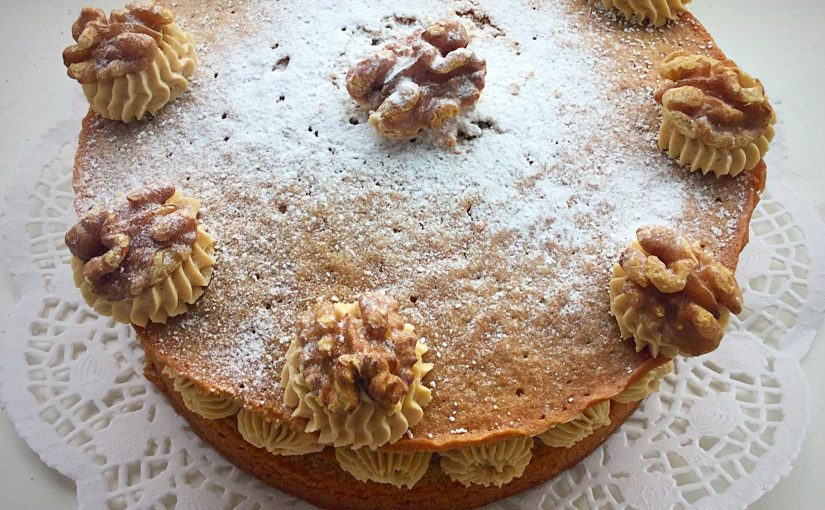
- Pipe stars around the outside of the middle of the doughnut, this creates a tidy, professional finish.
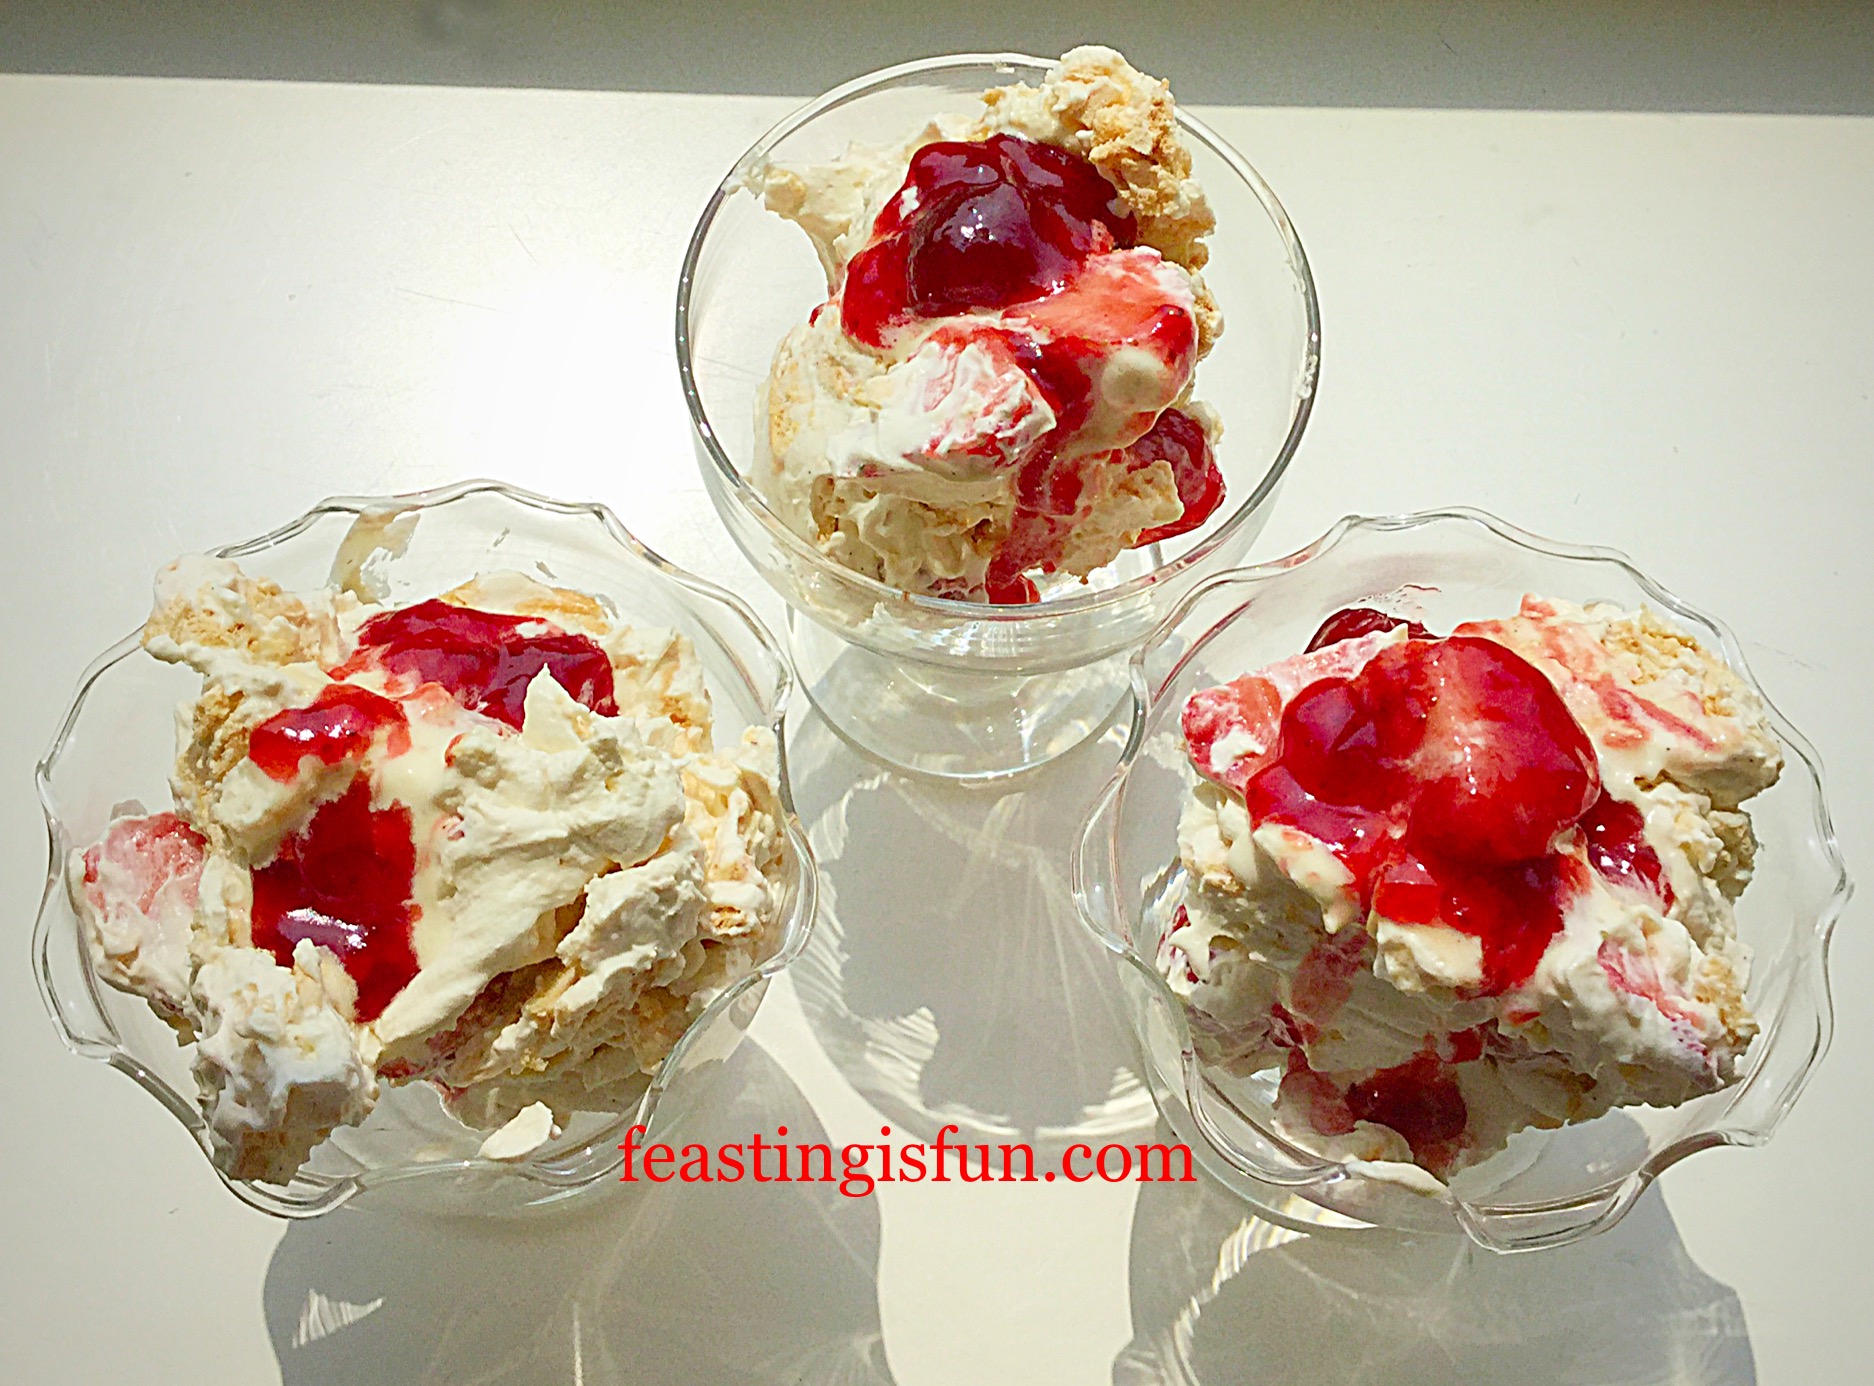
Serve the Black Forest Giant Doughnut cut into generous slices, with a smile and a lovely hot drink!
While growing up I had Black Forest Gateaux every year, for my birthday. So taking a classic recipe and turning it into an amazing giant doughnut was fun.
Finally this is a stunning, yet easy to accomplish bake. Since a slice of Black Forest Giant Doughnut is bound to evoke memories of the retro gateaux and break out smiles once tasted and devoured!
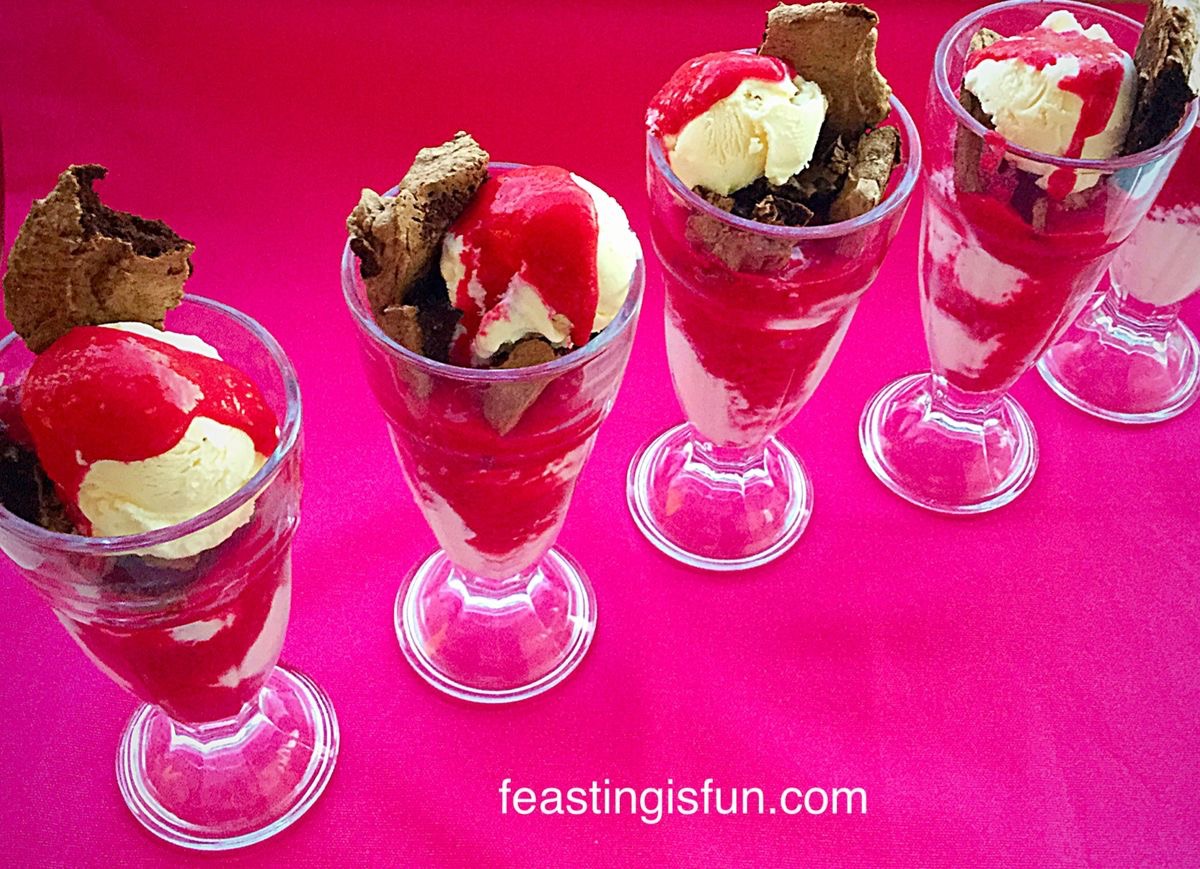
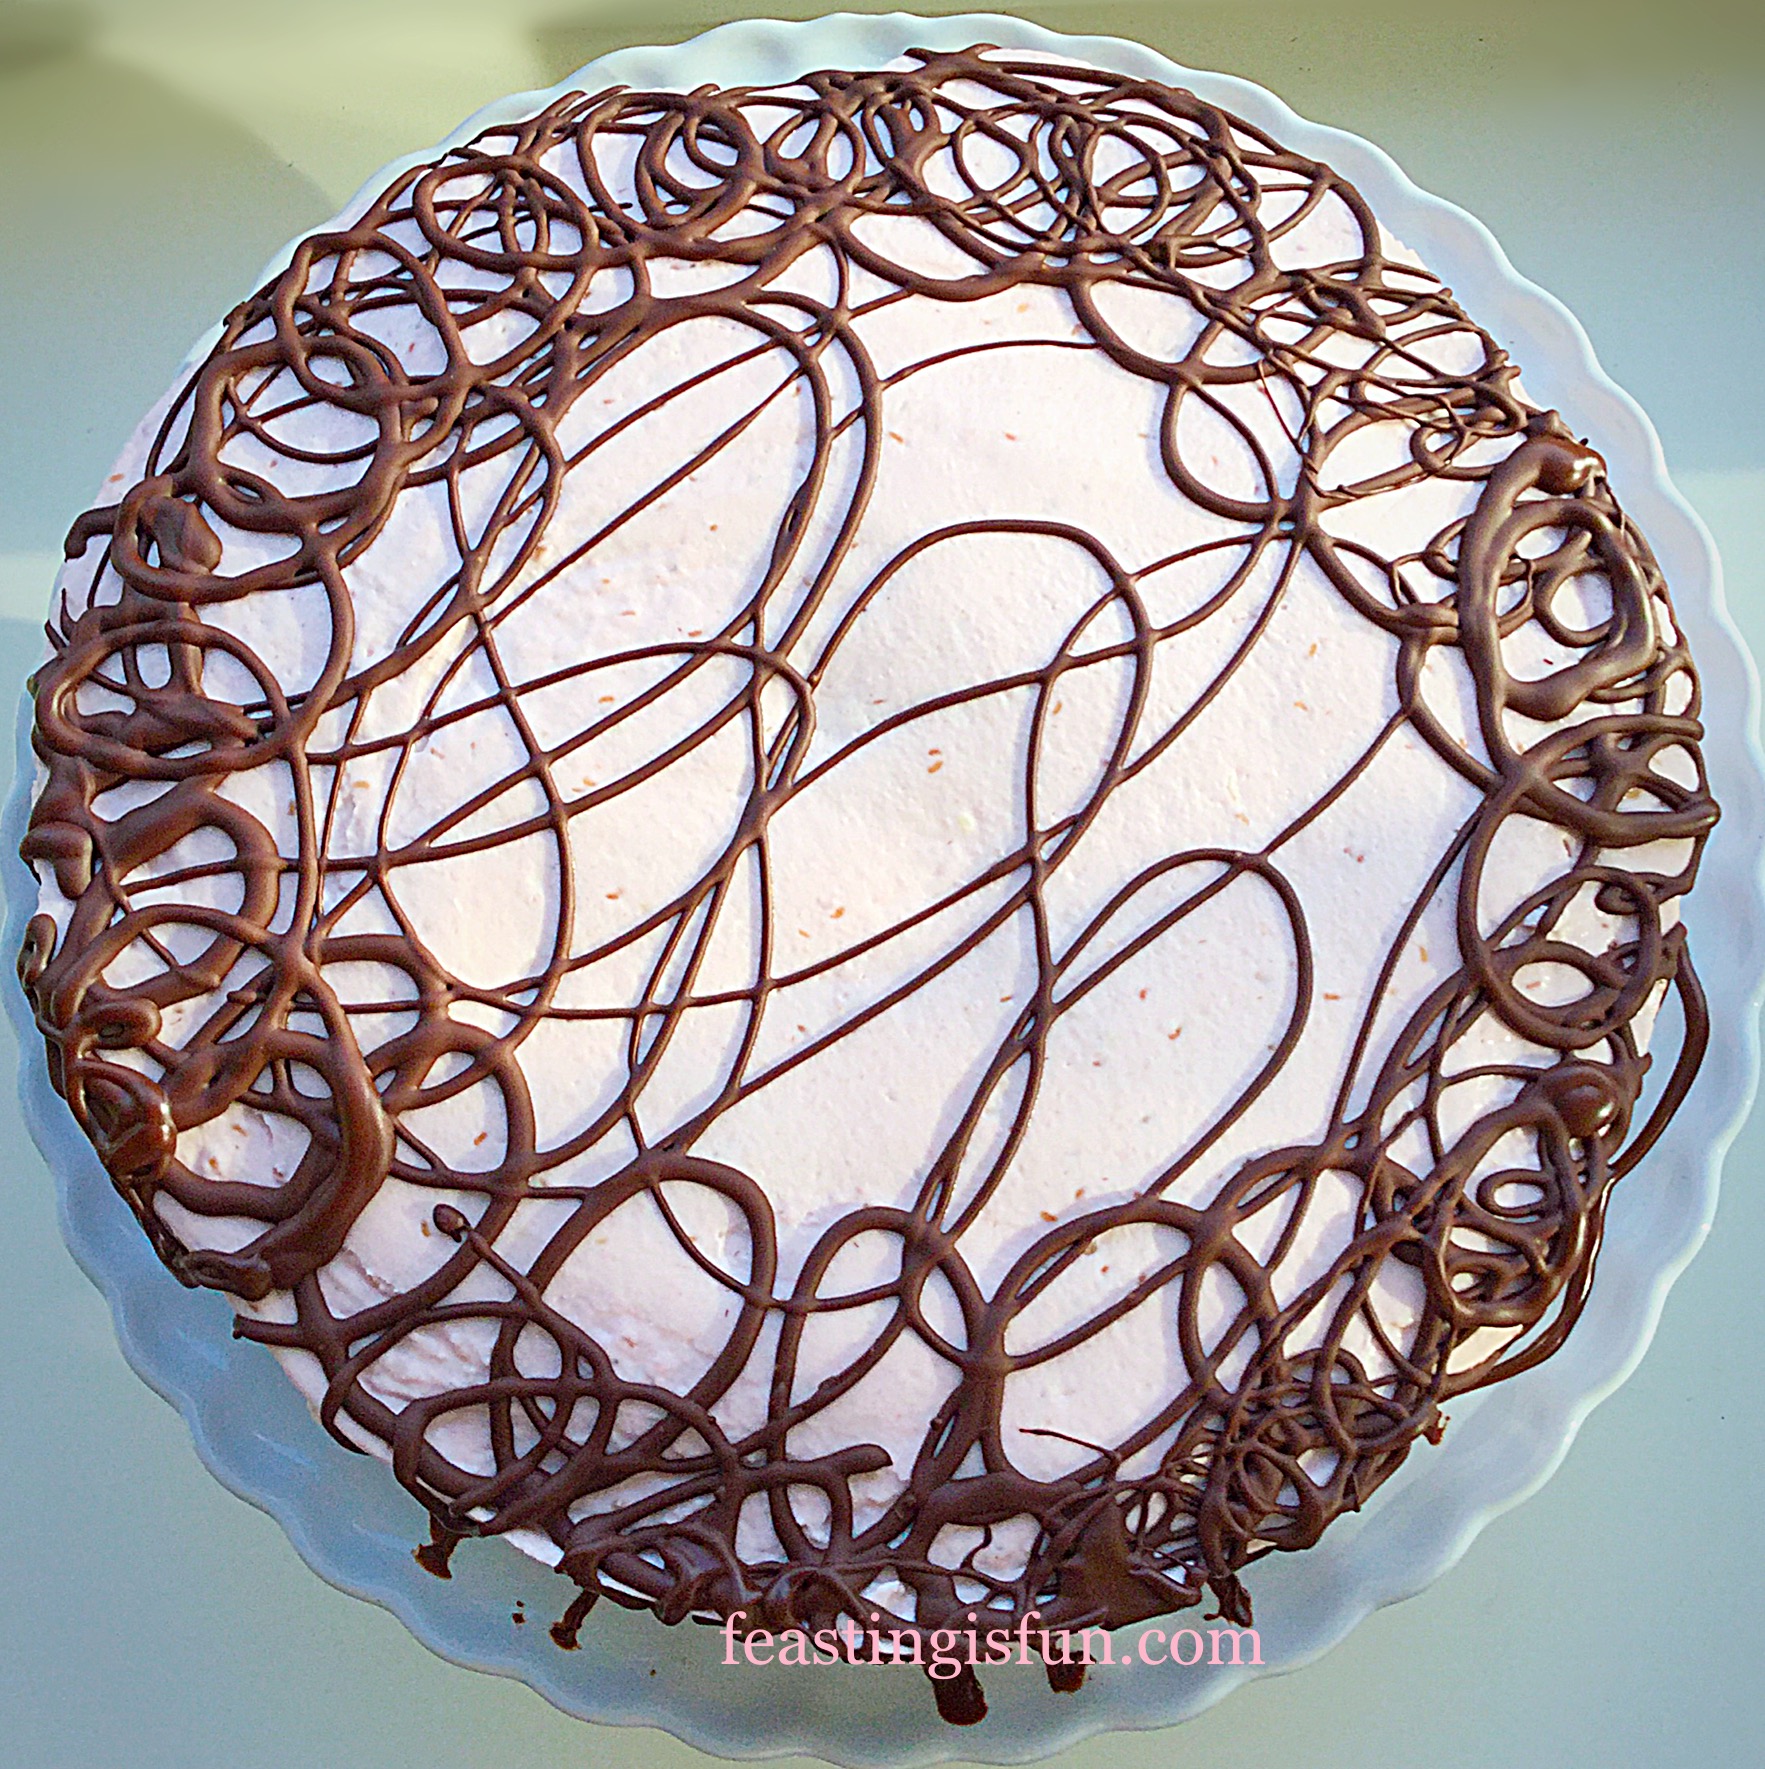
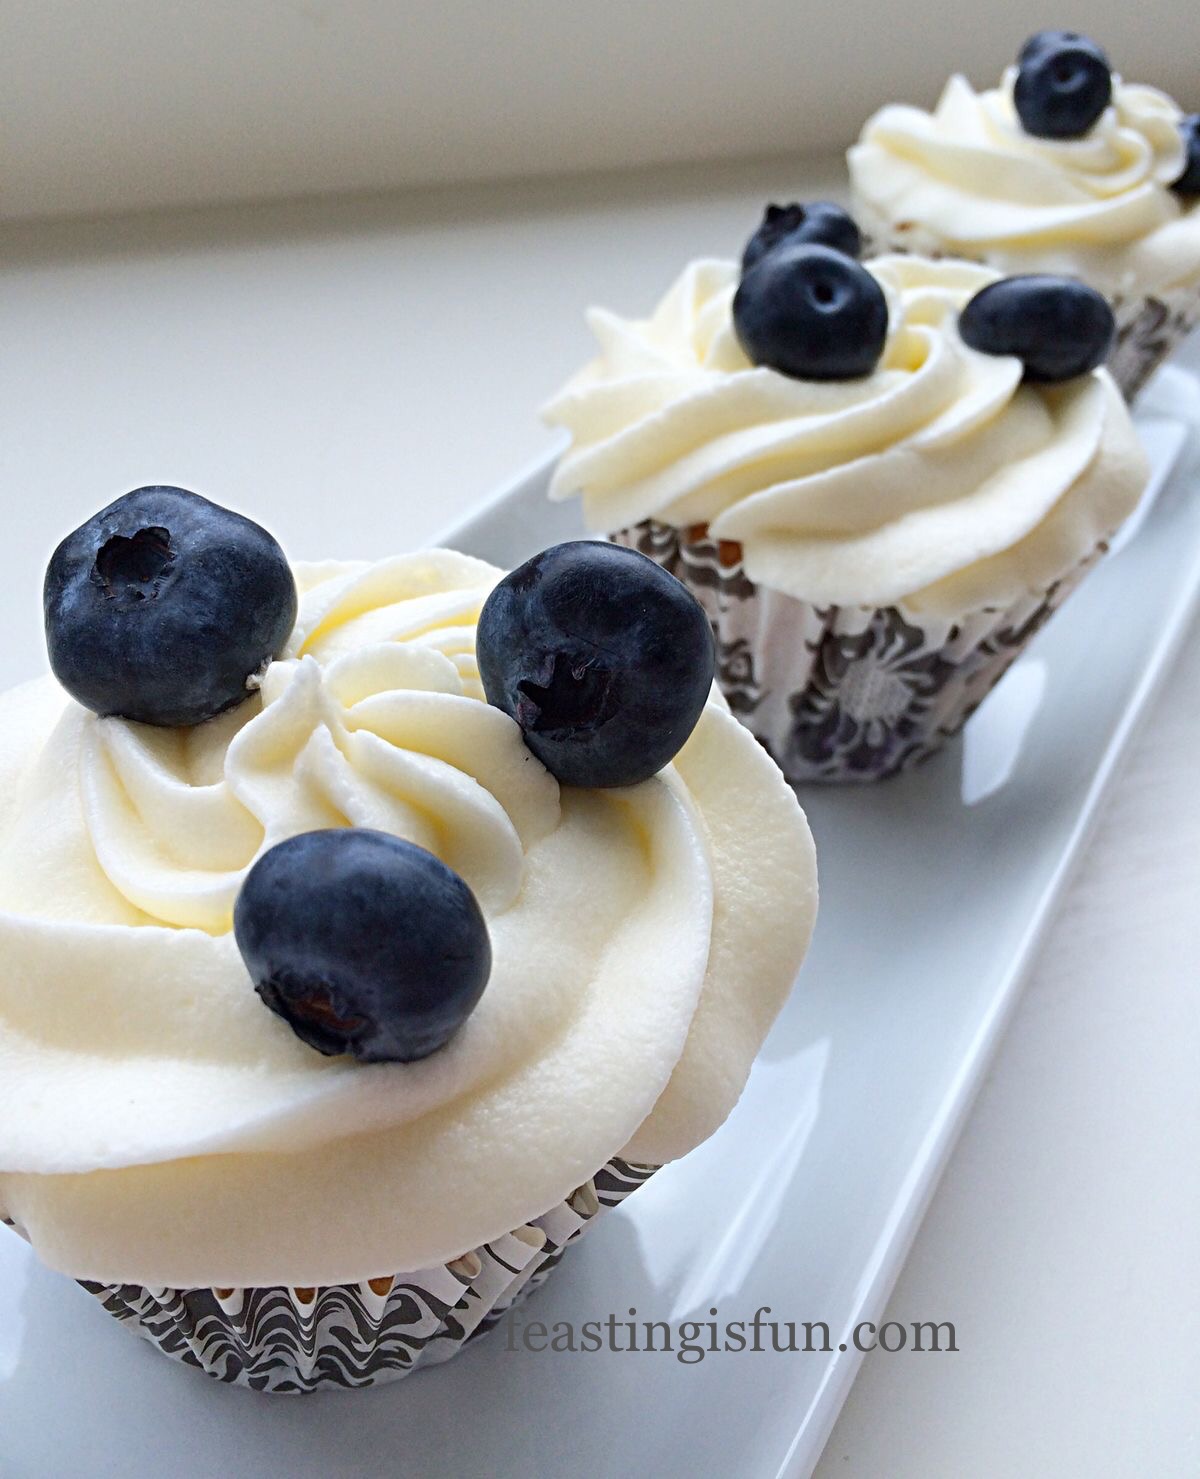
If you have enjoyed this Black Forest Giant Doughnut Recipe here are some others you may like to try:
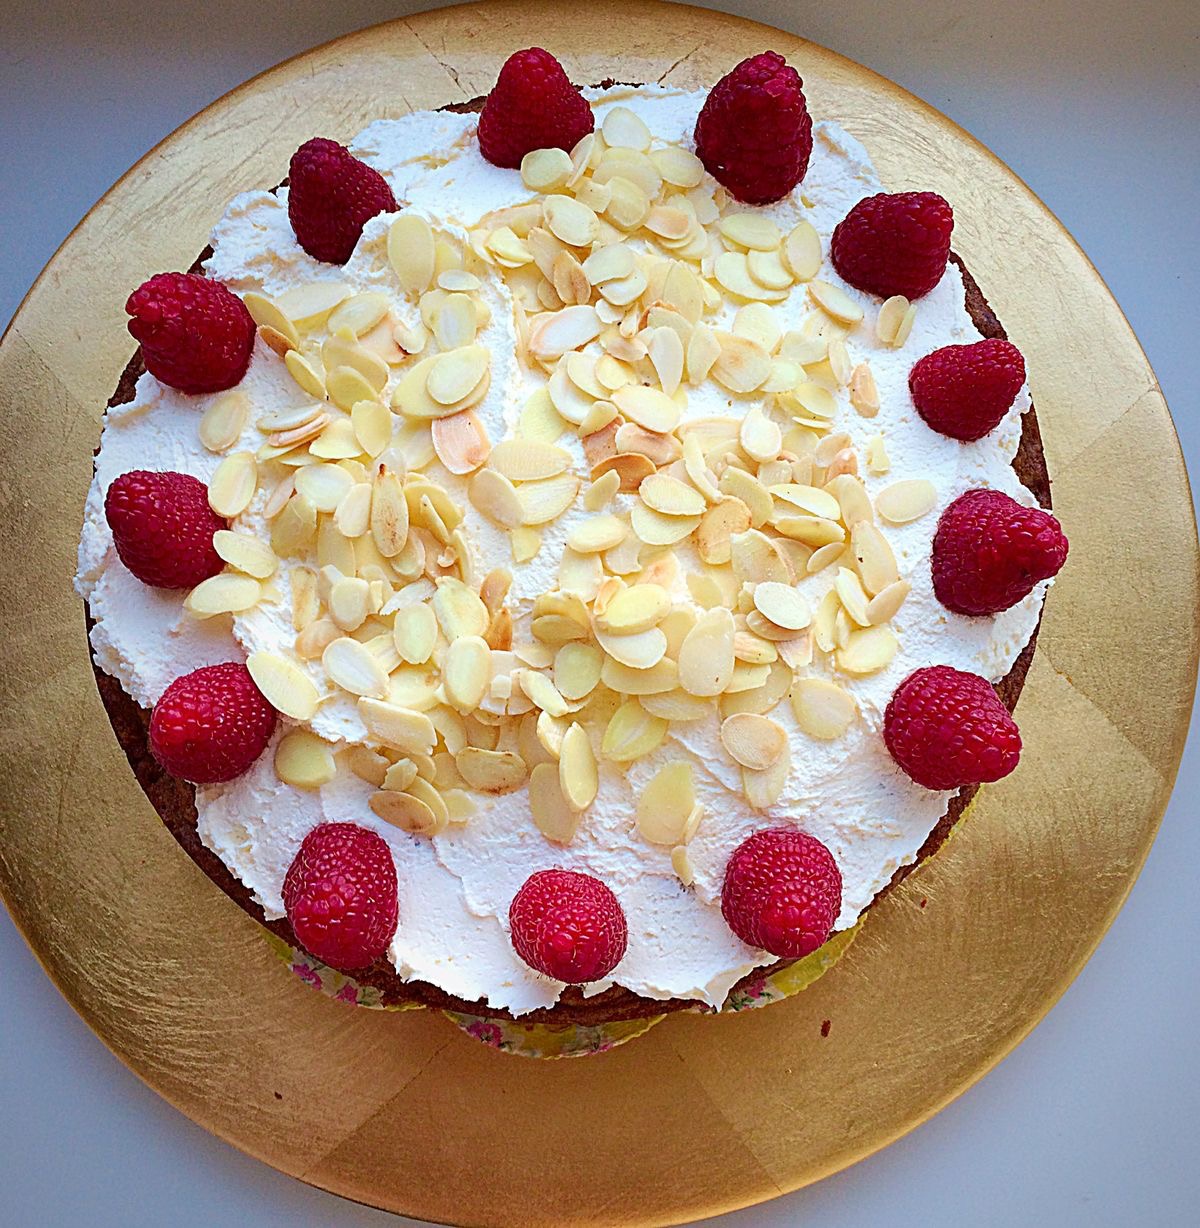
Raspberry and Cream Giant Doughnut
While this recipe can be made using sandwich tins I recommend buying the silicone doughnut moulds. Because they create a beautiful rounded doughnut shape, are incredibly easy to use and inepensive to buy. Alternatively add them to your birthday or Christmas list!
Sammie xx
Share