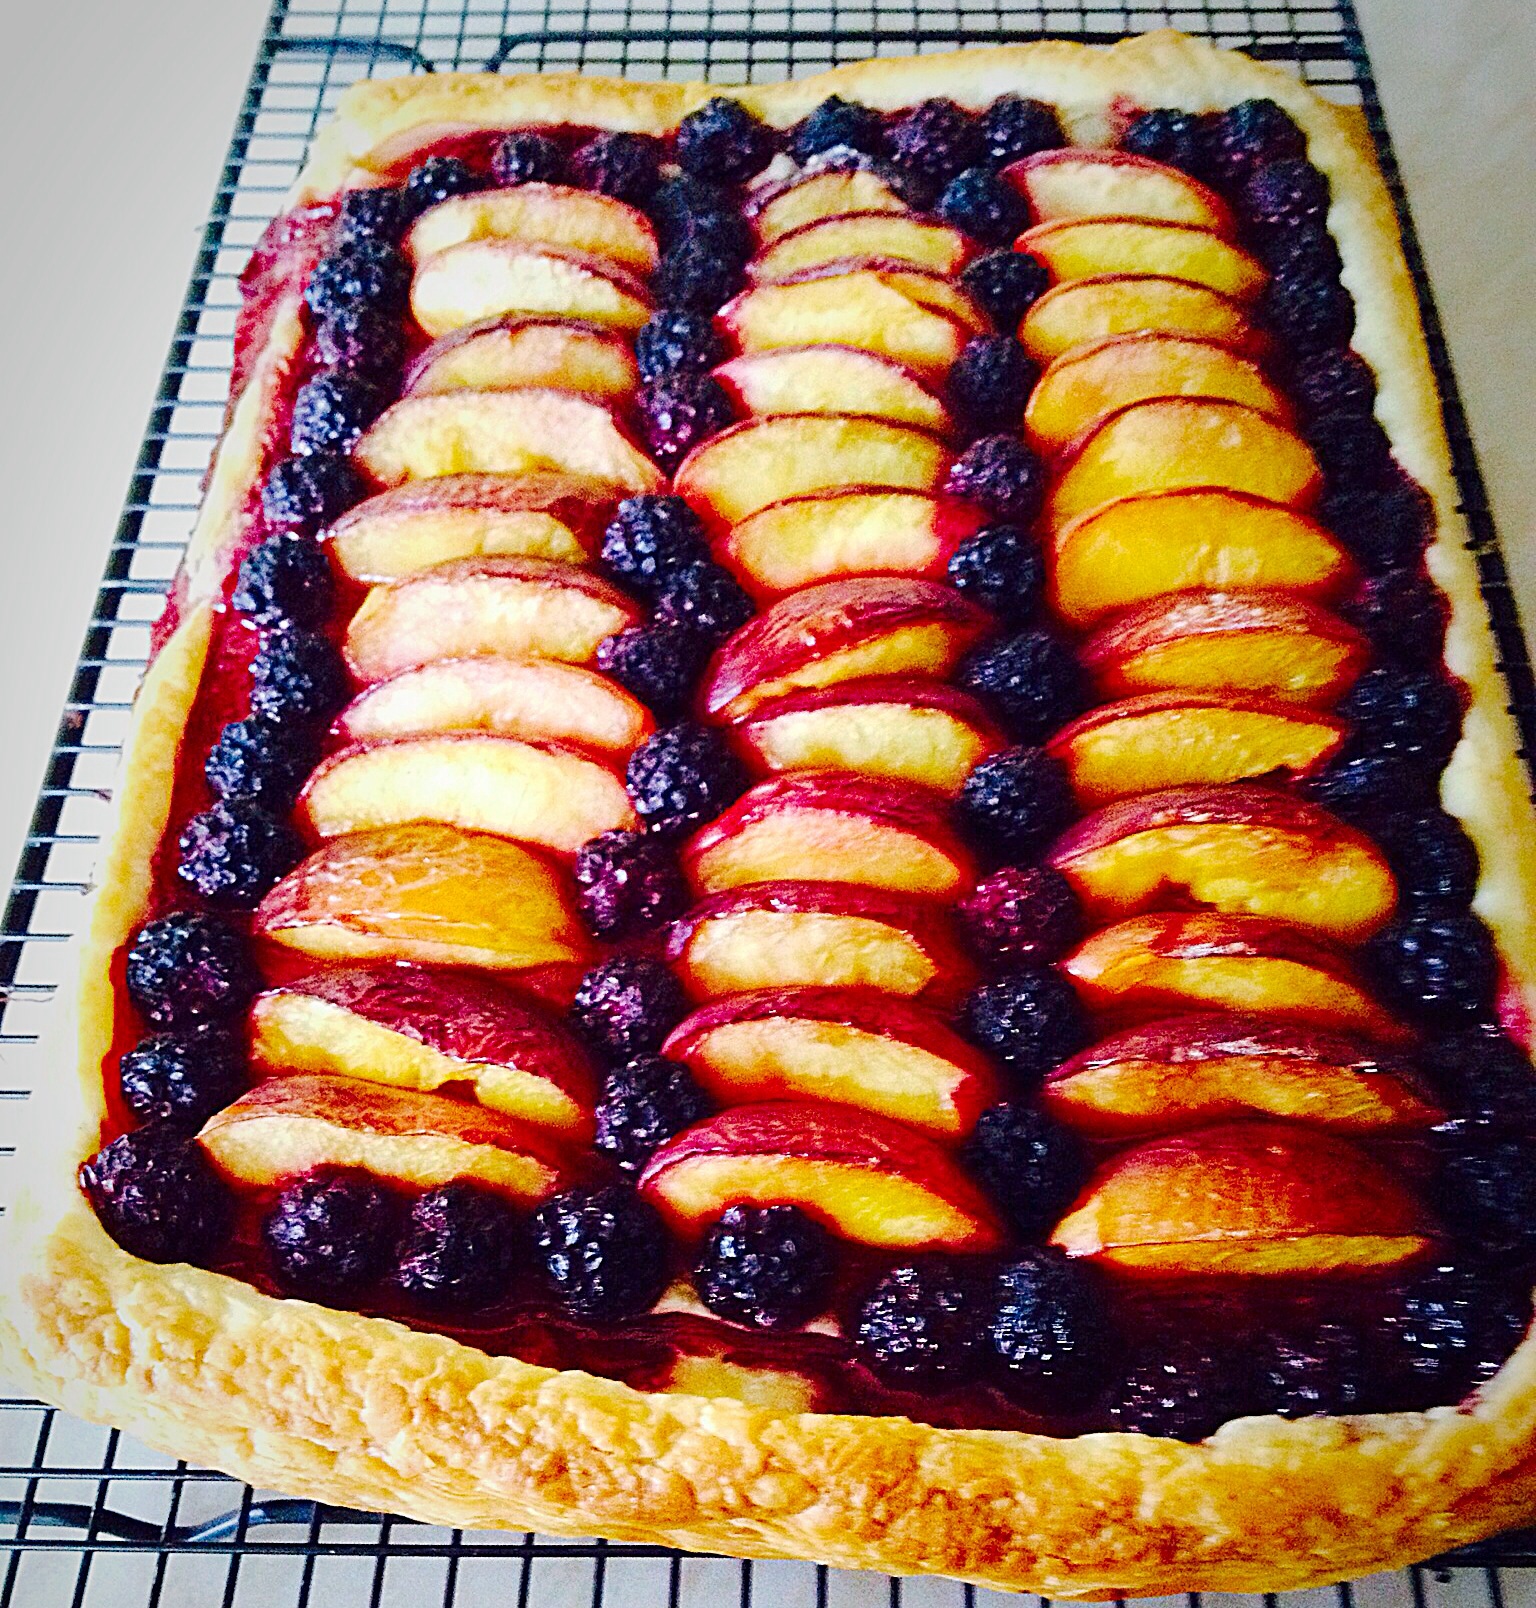
Hi, I’m celebrating. Because today is the first day I’ve woken up without a migraine for too long. So when I get a fairly good day I smile and give thanks, harder to do on the other days, more like clinging on by my fingertips. AND I made the easiest tart ever! This Blackberry Nectarine Tart is made with shop bought, all butter, puff pastry, a tub of blackberries (mine were frozen) and a punnet of nectarines. Alternatively you could easily use peaches.
So if you imagine roasting vegetables intensifies their flavour, then think what 30 minutes in a hot oven does to the fruit in this tart. Even with the addition of a sprinkle of vanilla sugar the intense fruit flavours in this Blackberry Nectarine Tart are a delight on the taste buds. While this is not a sweet tart. For me it’s a perfect balance of fruity flavour and flaky, buttery pastry.
Create An Easy Dessert Using Store Cupboard Staples
I really can’t emphasise how easy this tart is to make. Since the pastry and blackberries were in the freezer, the nectarines, ridiculously cheap and in season, ripening at an increasingly rapid pace, needed using. Also, given how well this tart turned out I would happily make this during the colder months using, shock, horror, tinned peaches! Yup I would, with custard poured over. I am shameless!!!
I hope I’ve convinced you to give this tart a try? Because as they say “The proof of the pudding, is in the eating!”
Recipe : Blackberry Nectarine Tart Serves 6
375g/13oz All Butter Puff Pastry – defrosted, if frozen, I use JusRol. Alternatively use vegetable fat puff pastry for a vegan dessert.
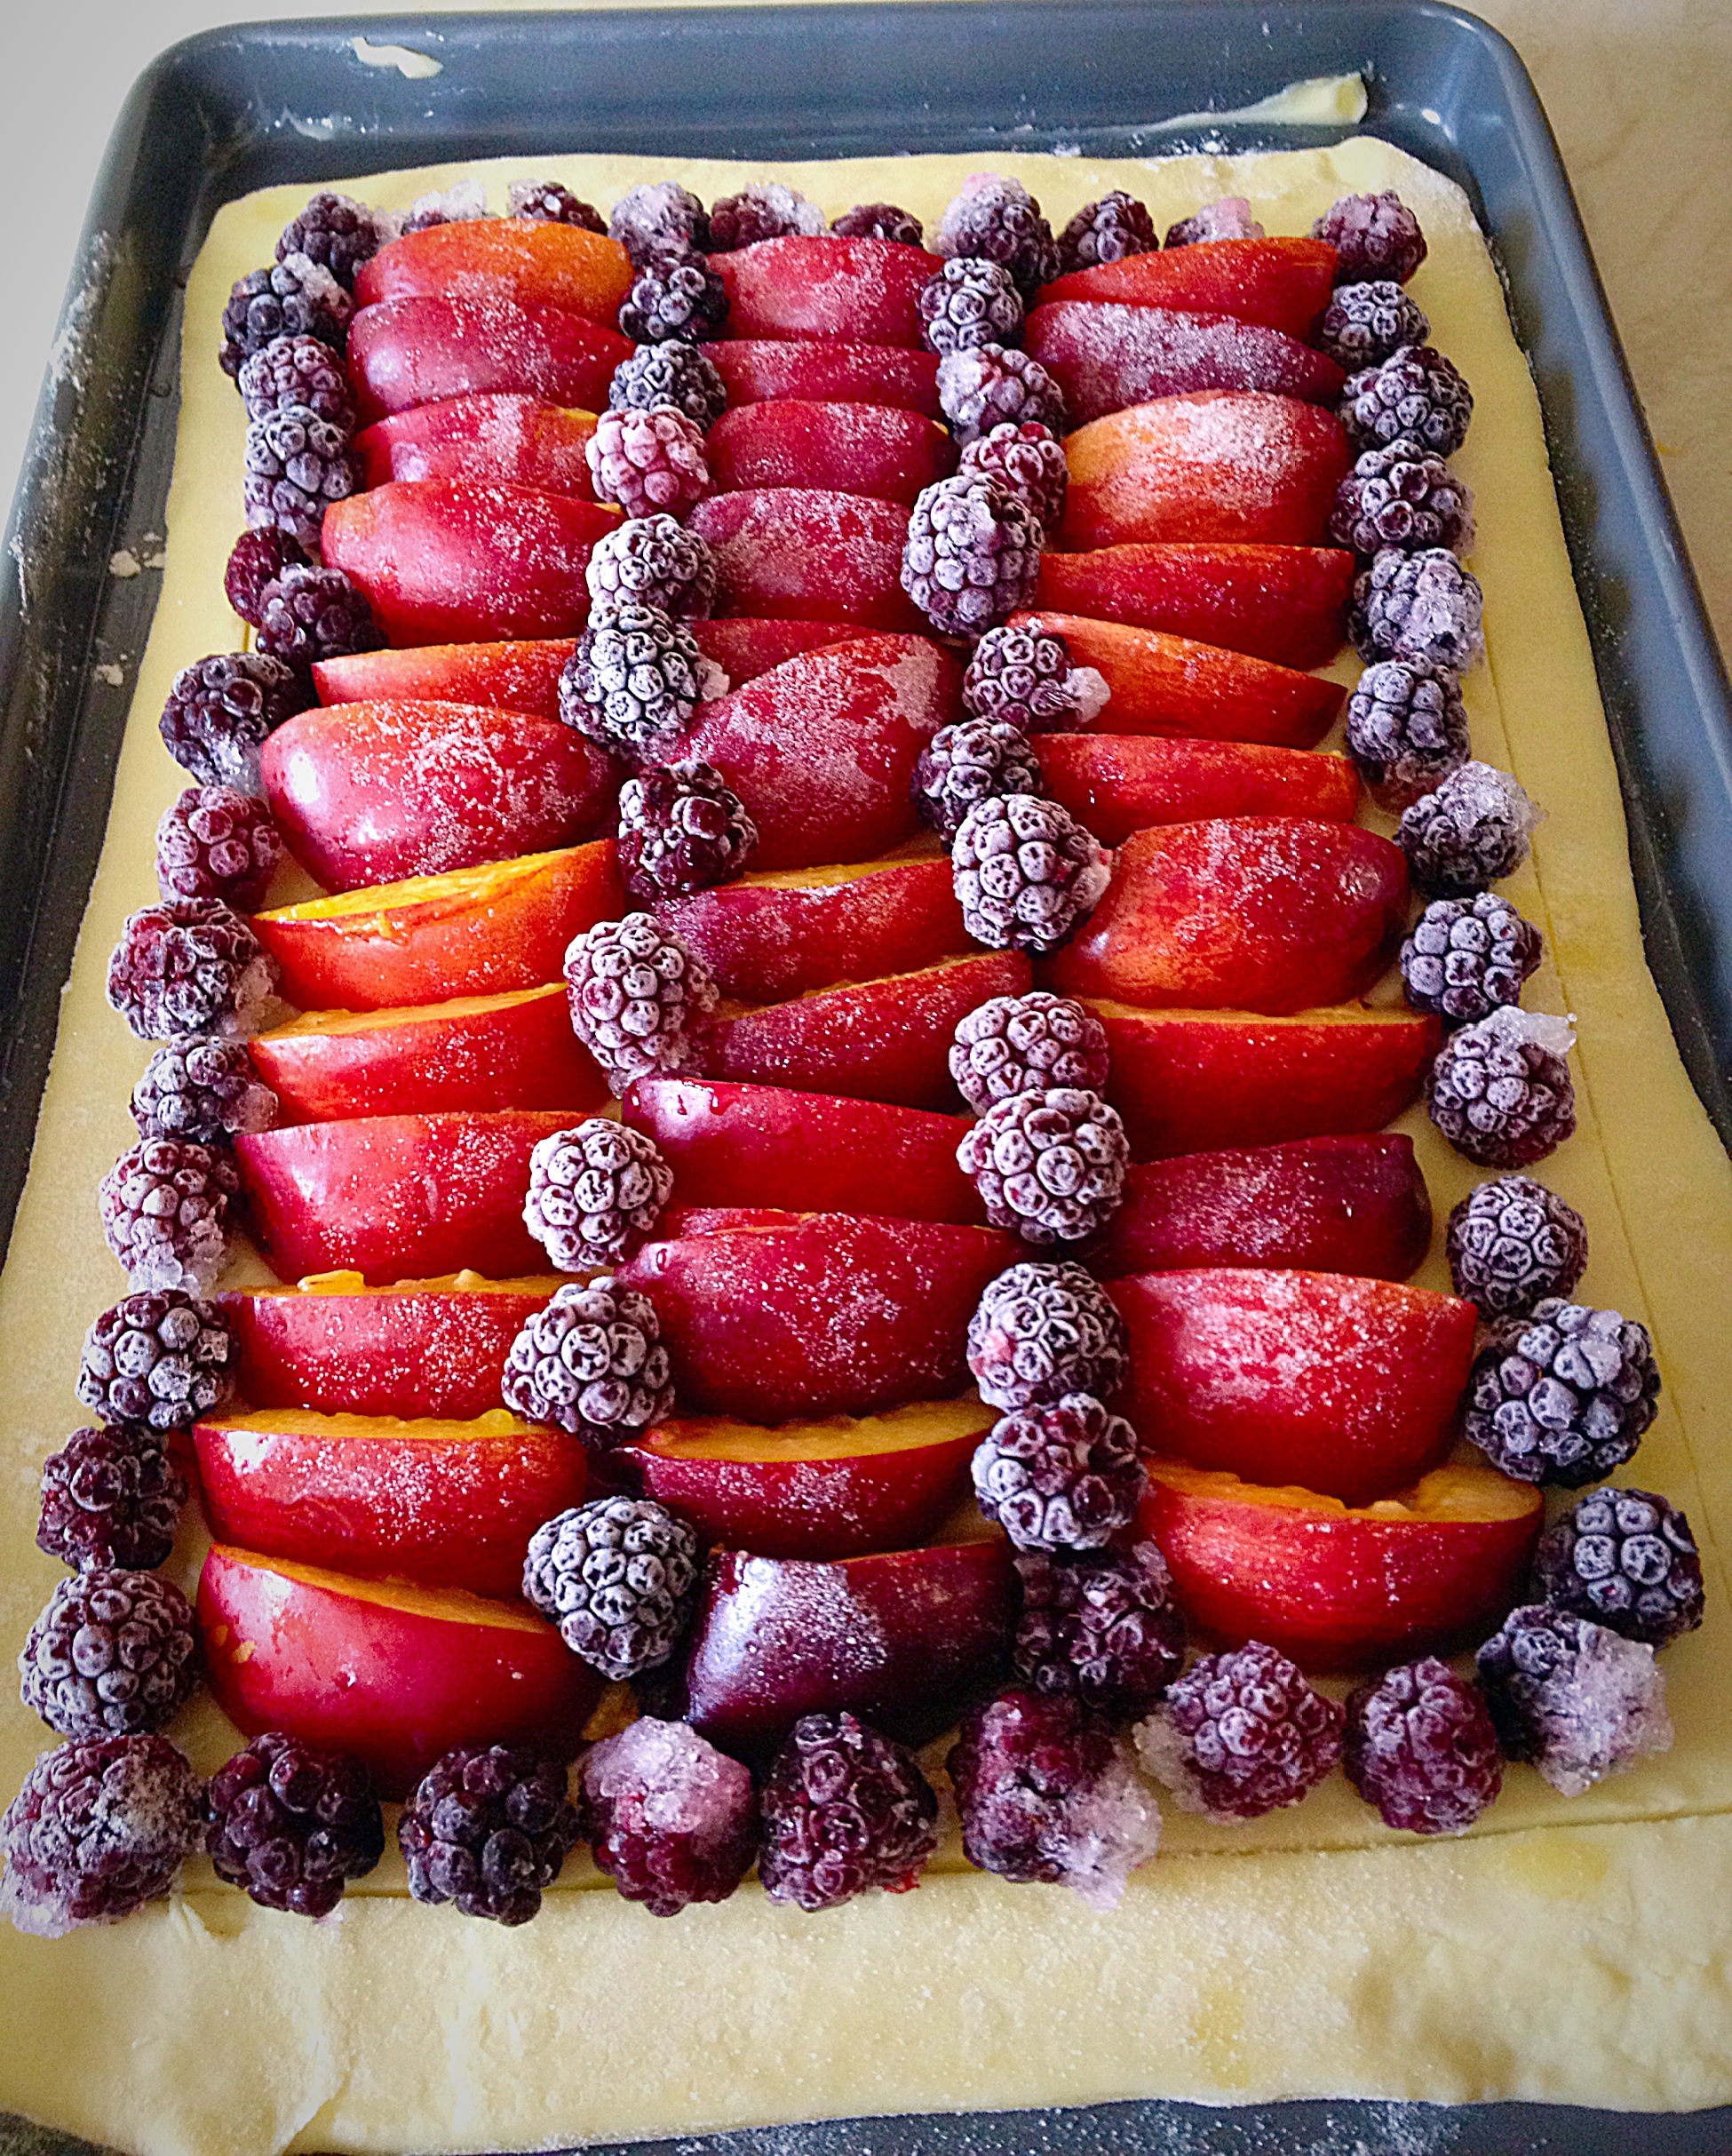
300g/11oz Blackberries – if frozen don’t defrost – I buy frozen punnets from Waitrose
7-8 Nectarines – peaches are a good substitute
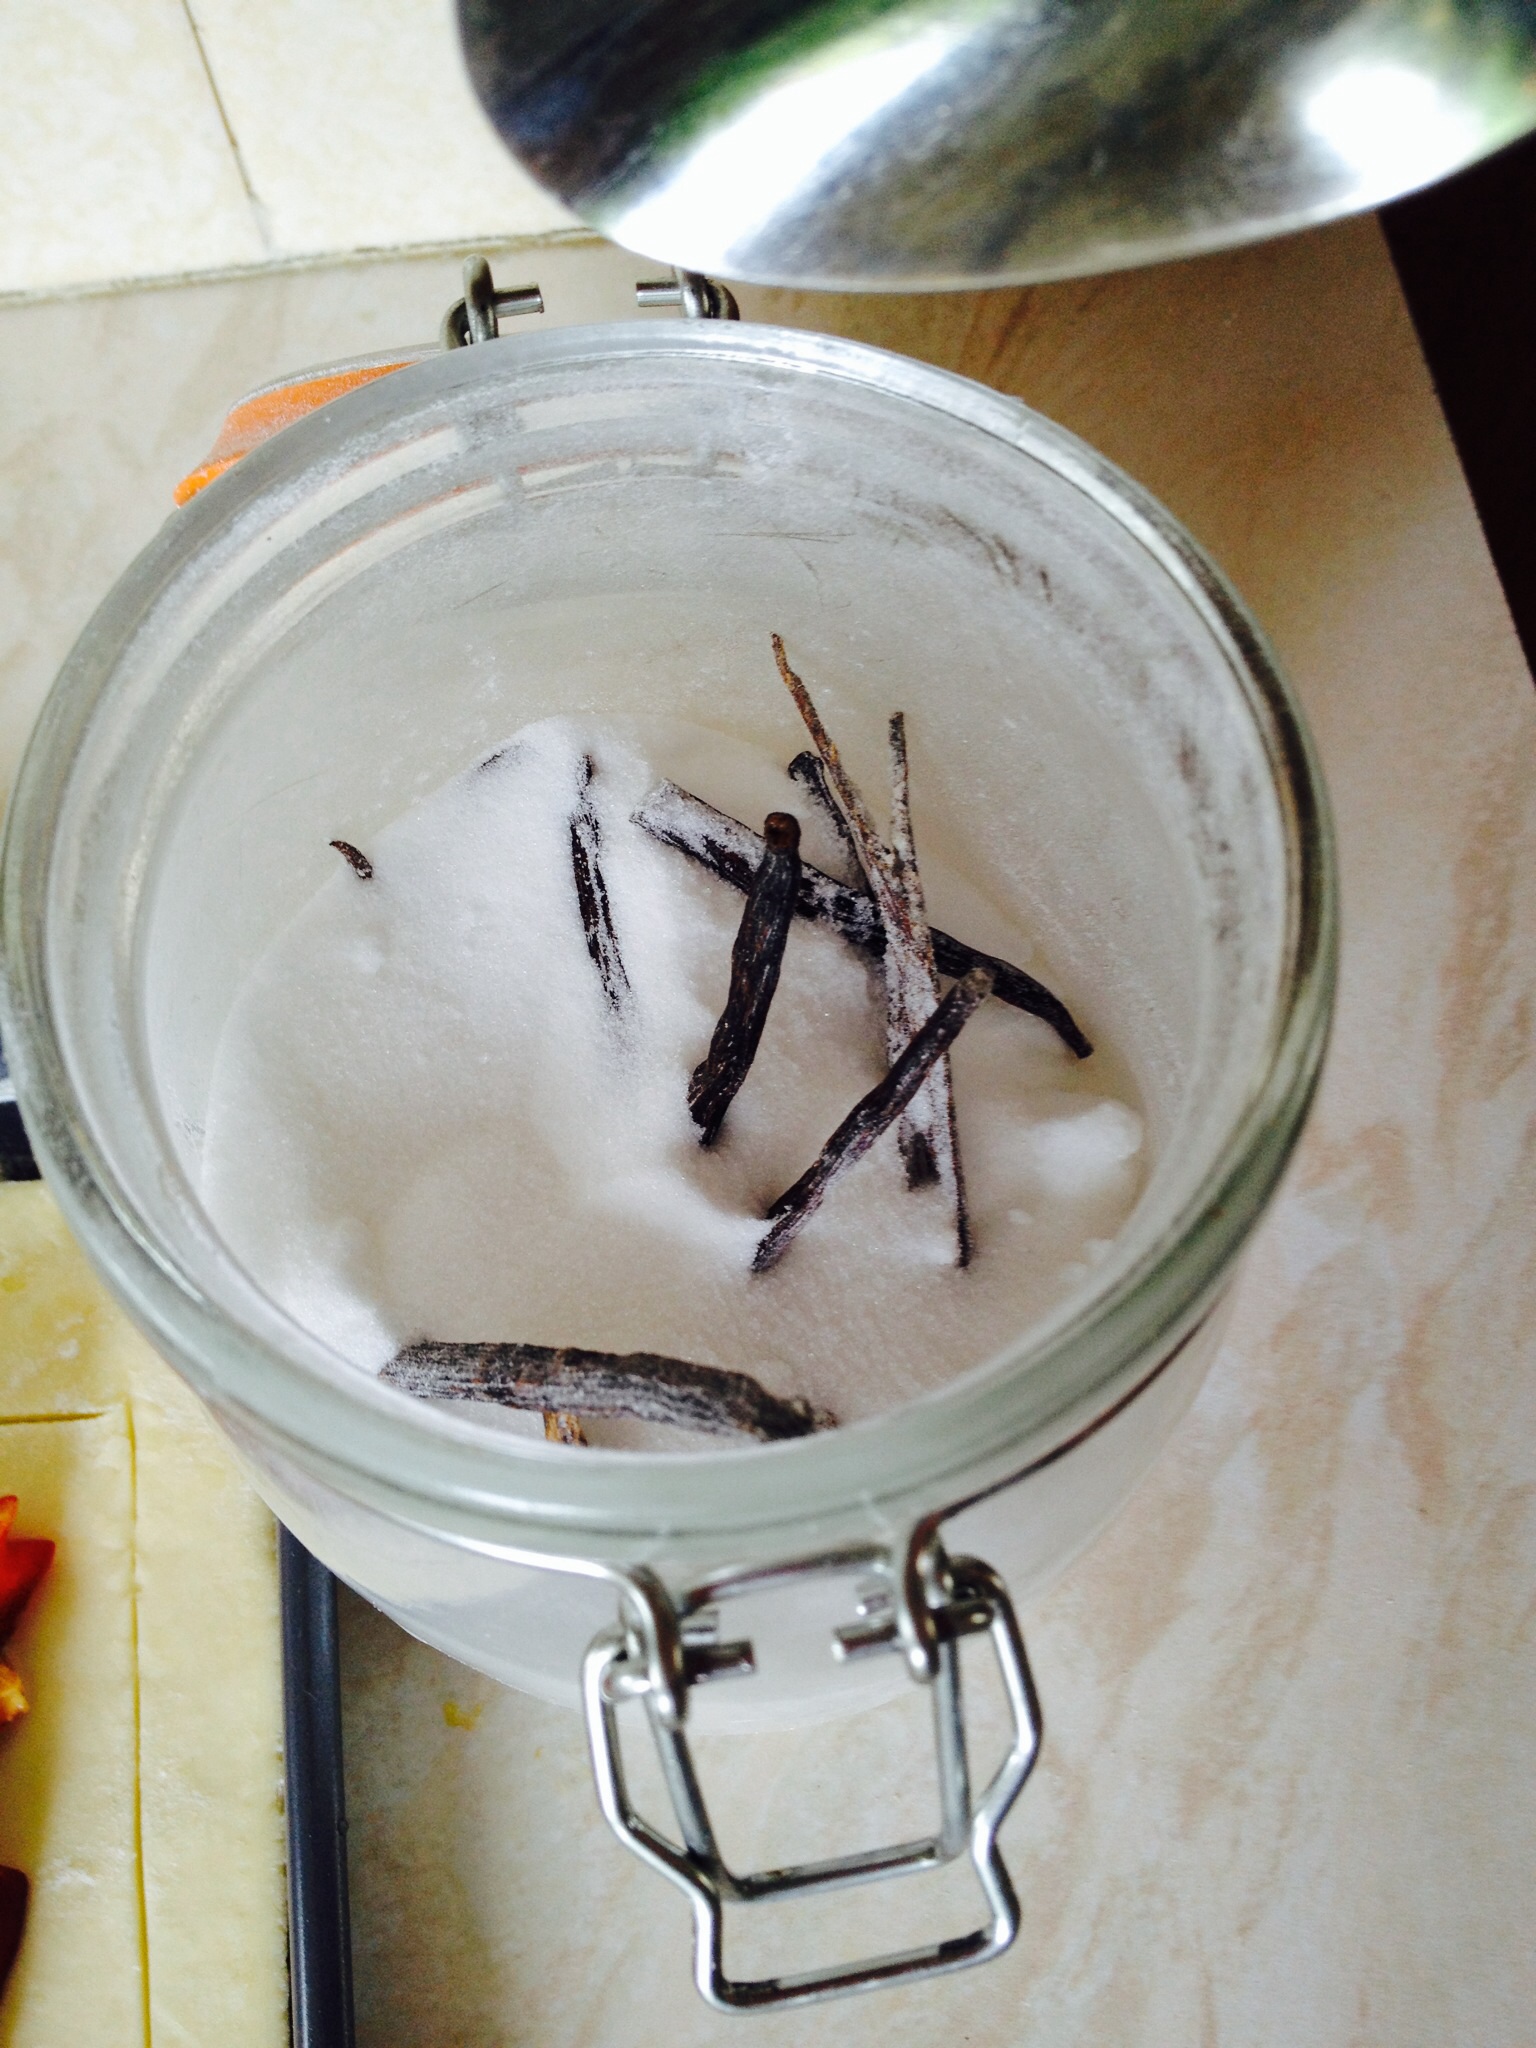
1tbsp Vanilla Sugar
Method : Preheat oven to 220C/200C fan, 425F, gas mark 7
Grease or line with parchment paper a baking tray with shallow sides, the fruit give off juices when baked, 26cm x 39cm (10.5″ x 15.5″).
Assembling The Puff Pastry Tart
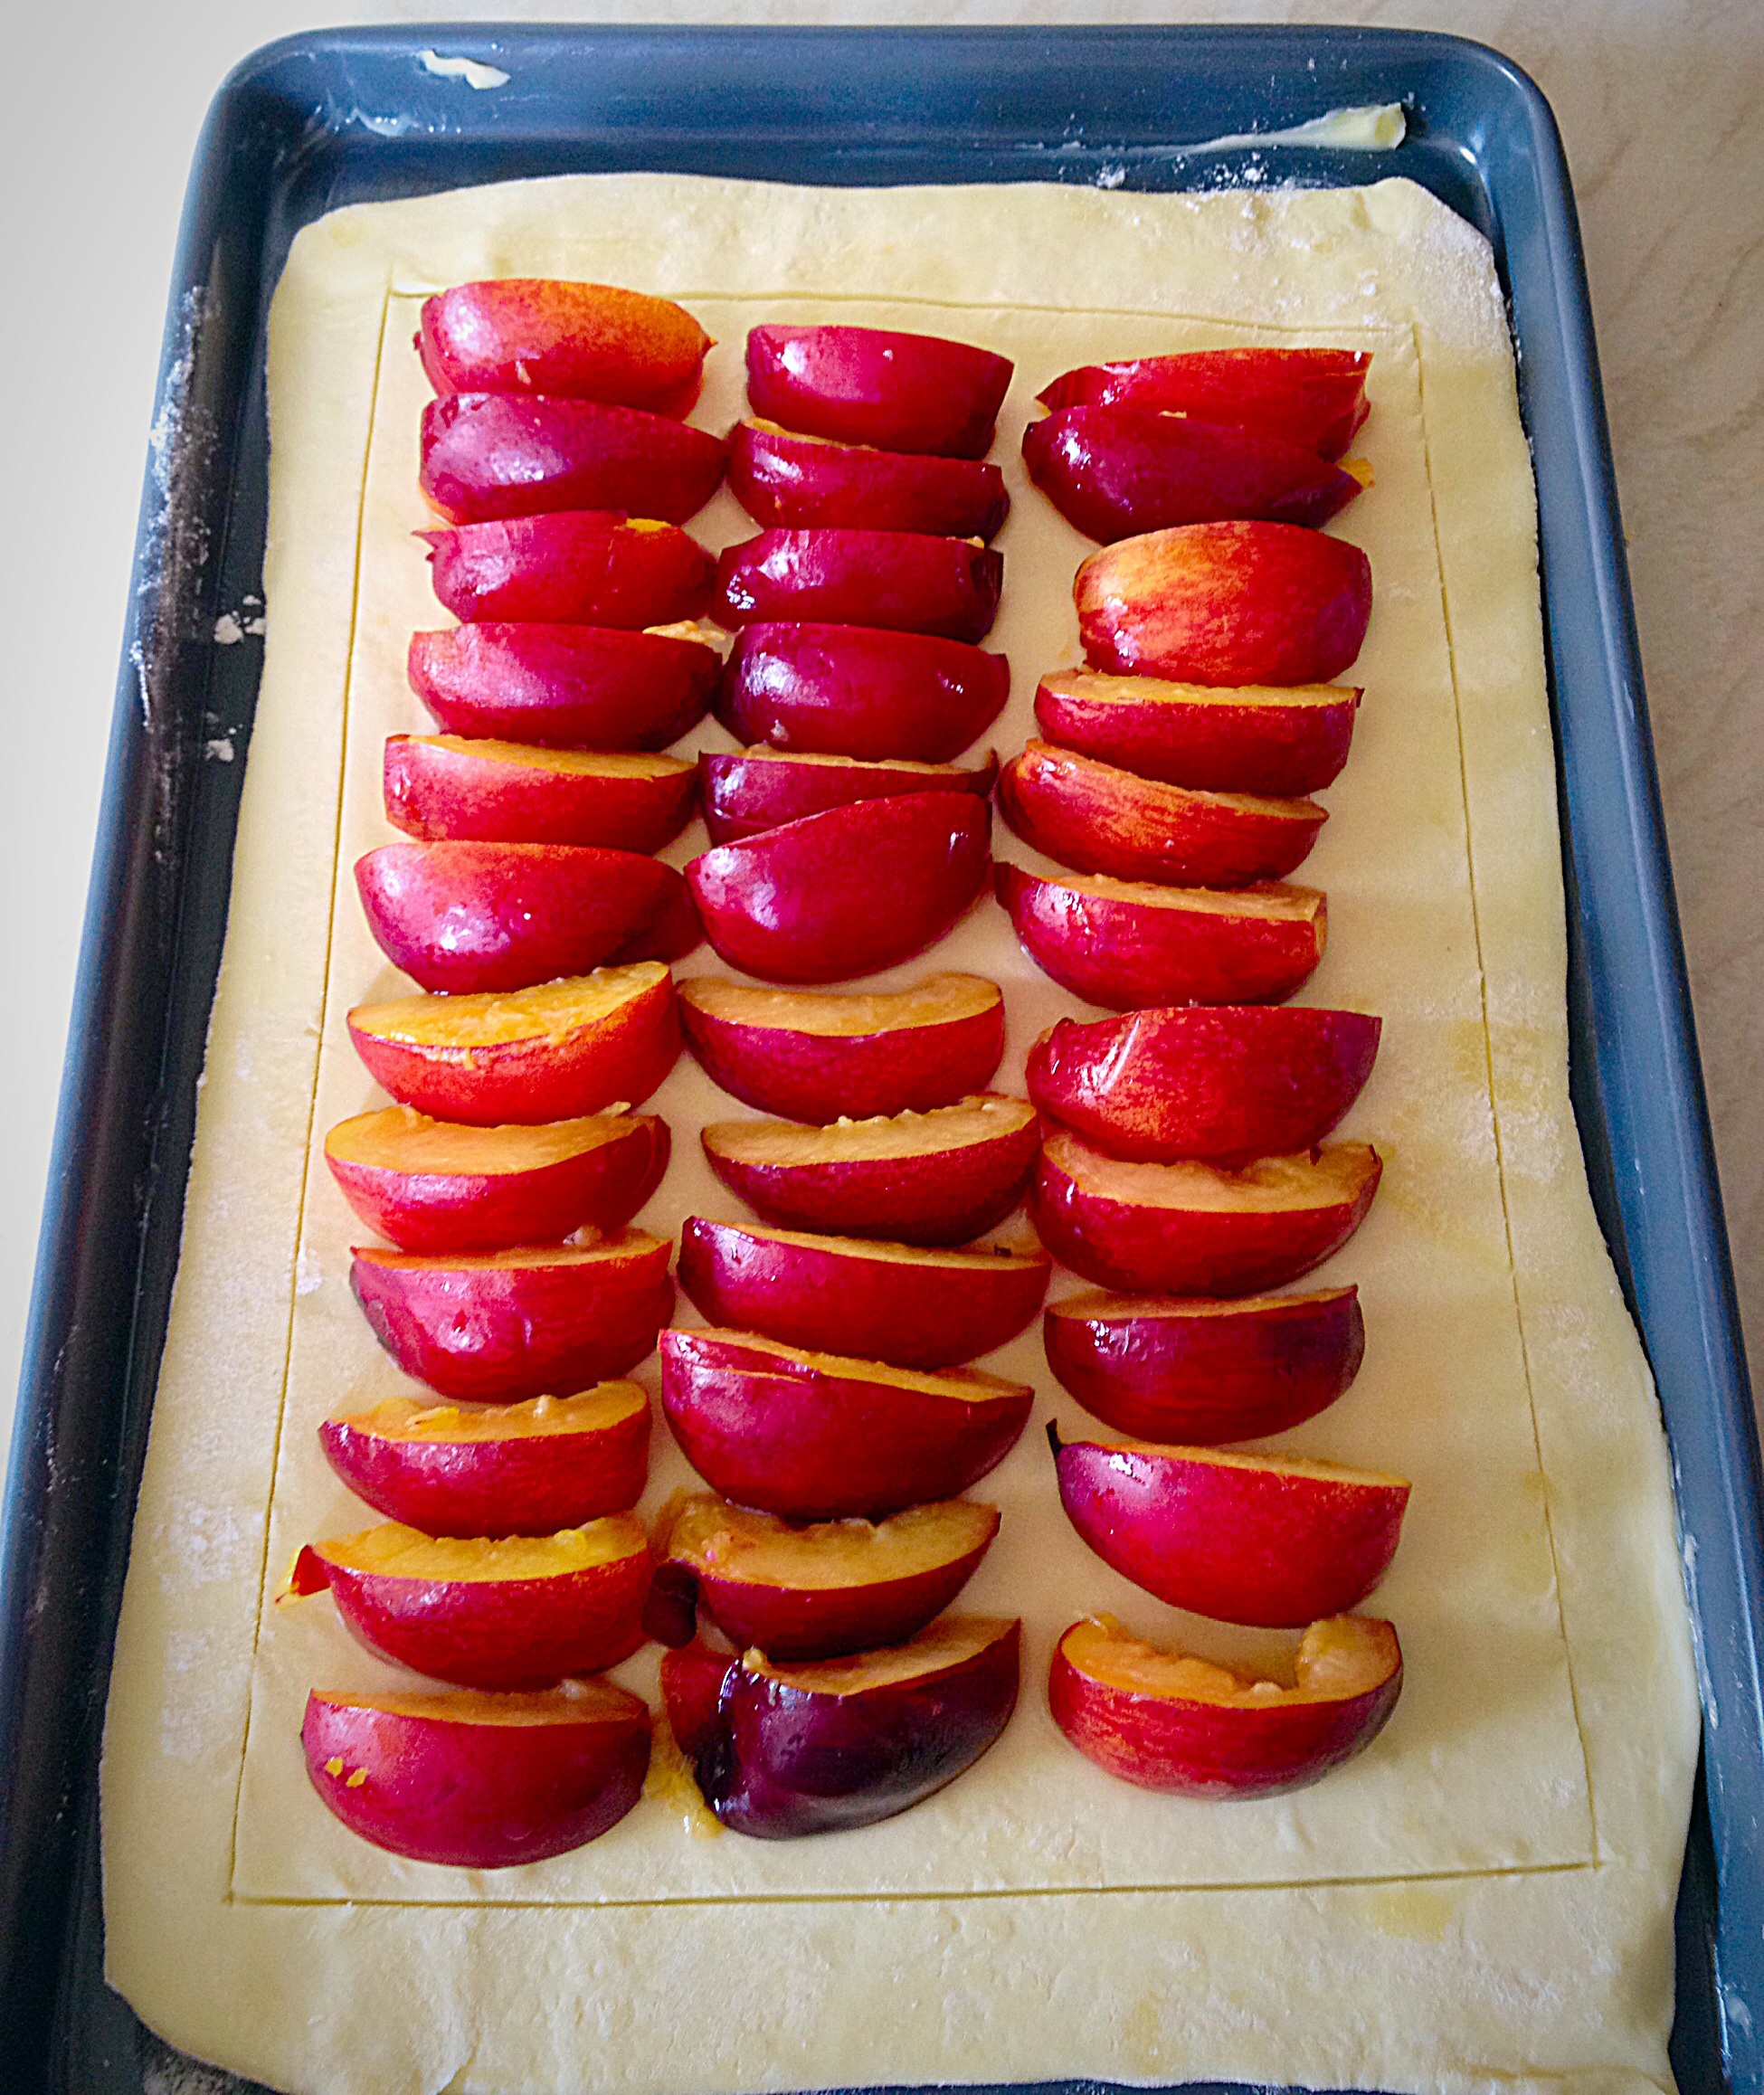
First of all, on a clean, dry, lightly floured surface, roll out the pastry so that it will just fit in the baking tray – I haven’t given dimensions, as if your baking tray size differs from mine a few centimetres either way, it won’t matter.

I lightly scored the pastry approx. 1cm in from the edge with a sharp knife. This will ensure that a nice, even, crust, borders the tart.
Next slice each nectarine into 6 equal(ish) portions. If they are still firm this should be fairly easy. Because mine were very ripe so I cut out the slices, against the stone, while holding the nectarine, over a bowl to catch the juices.
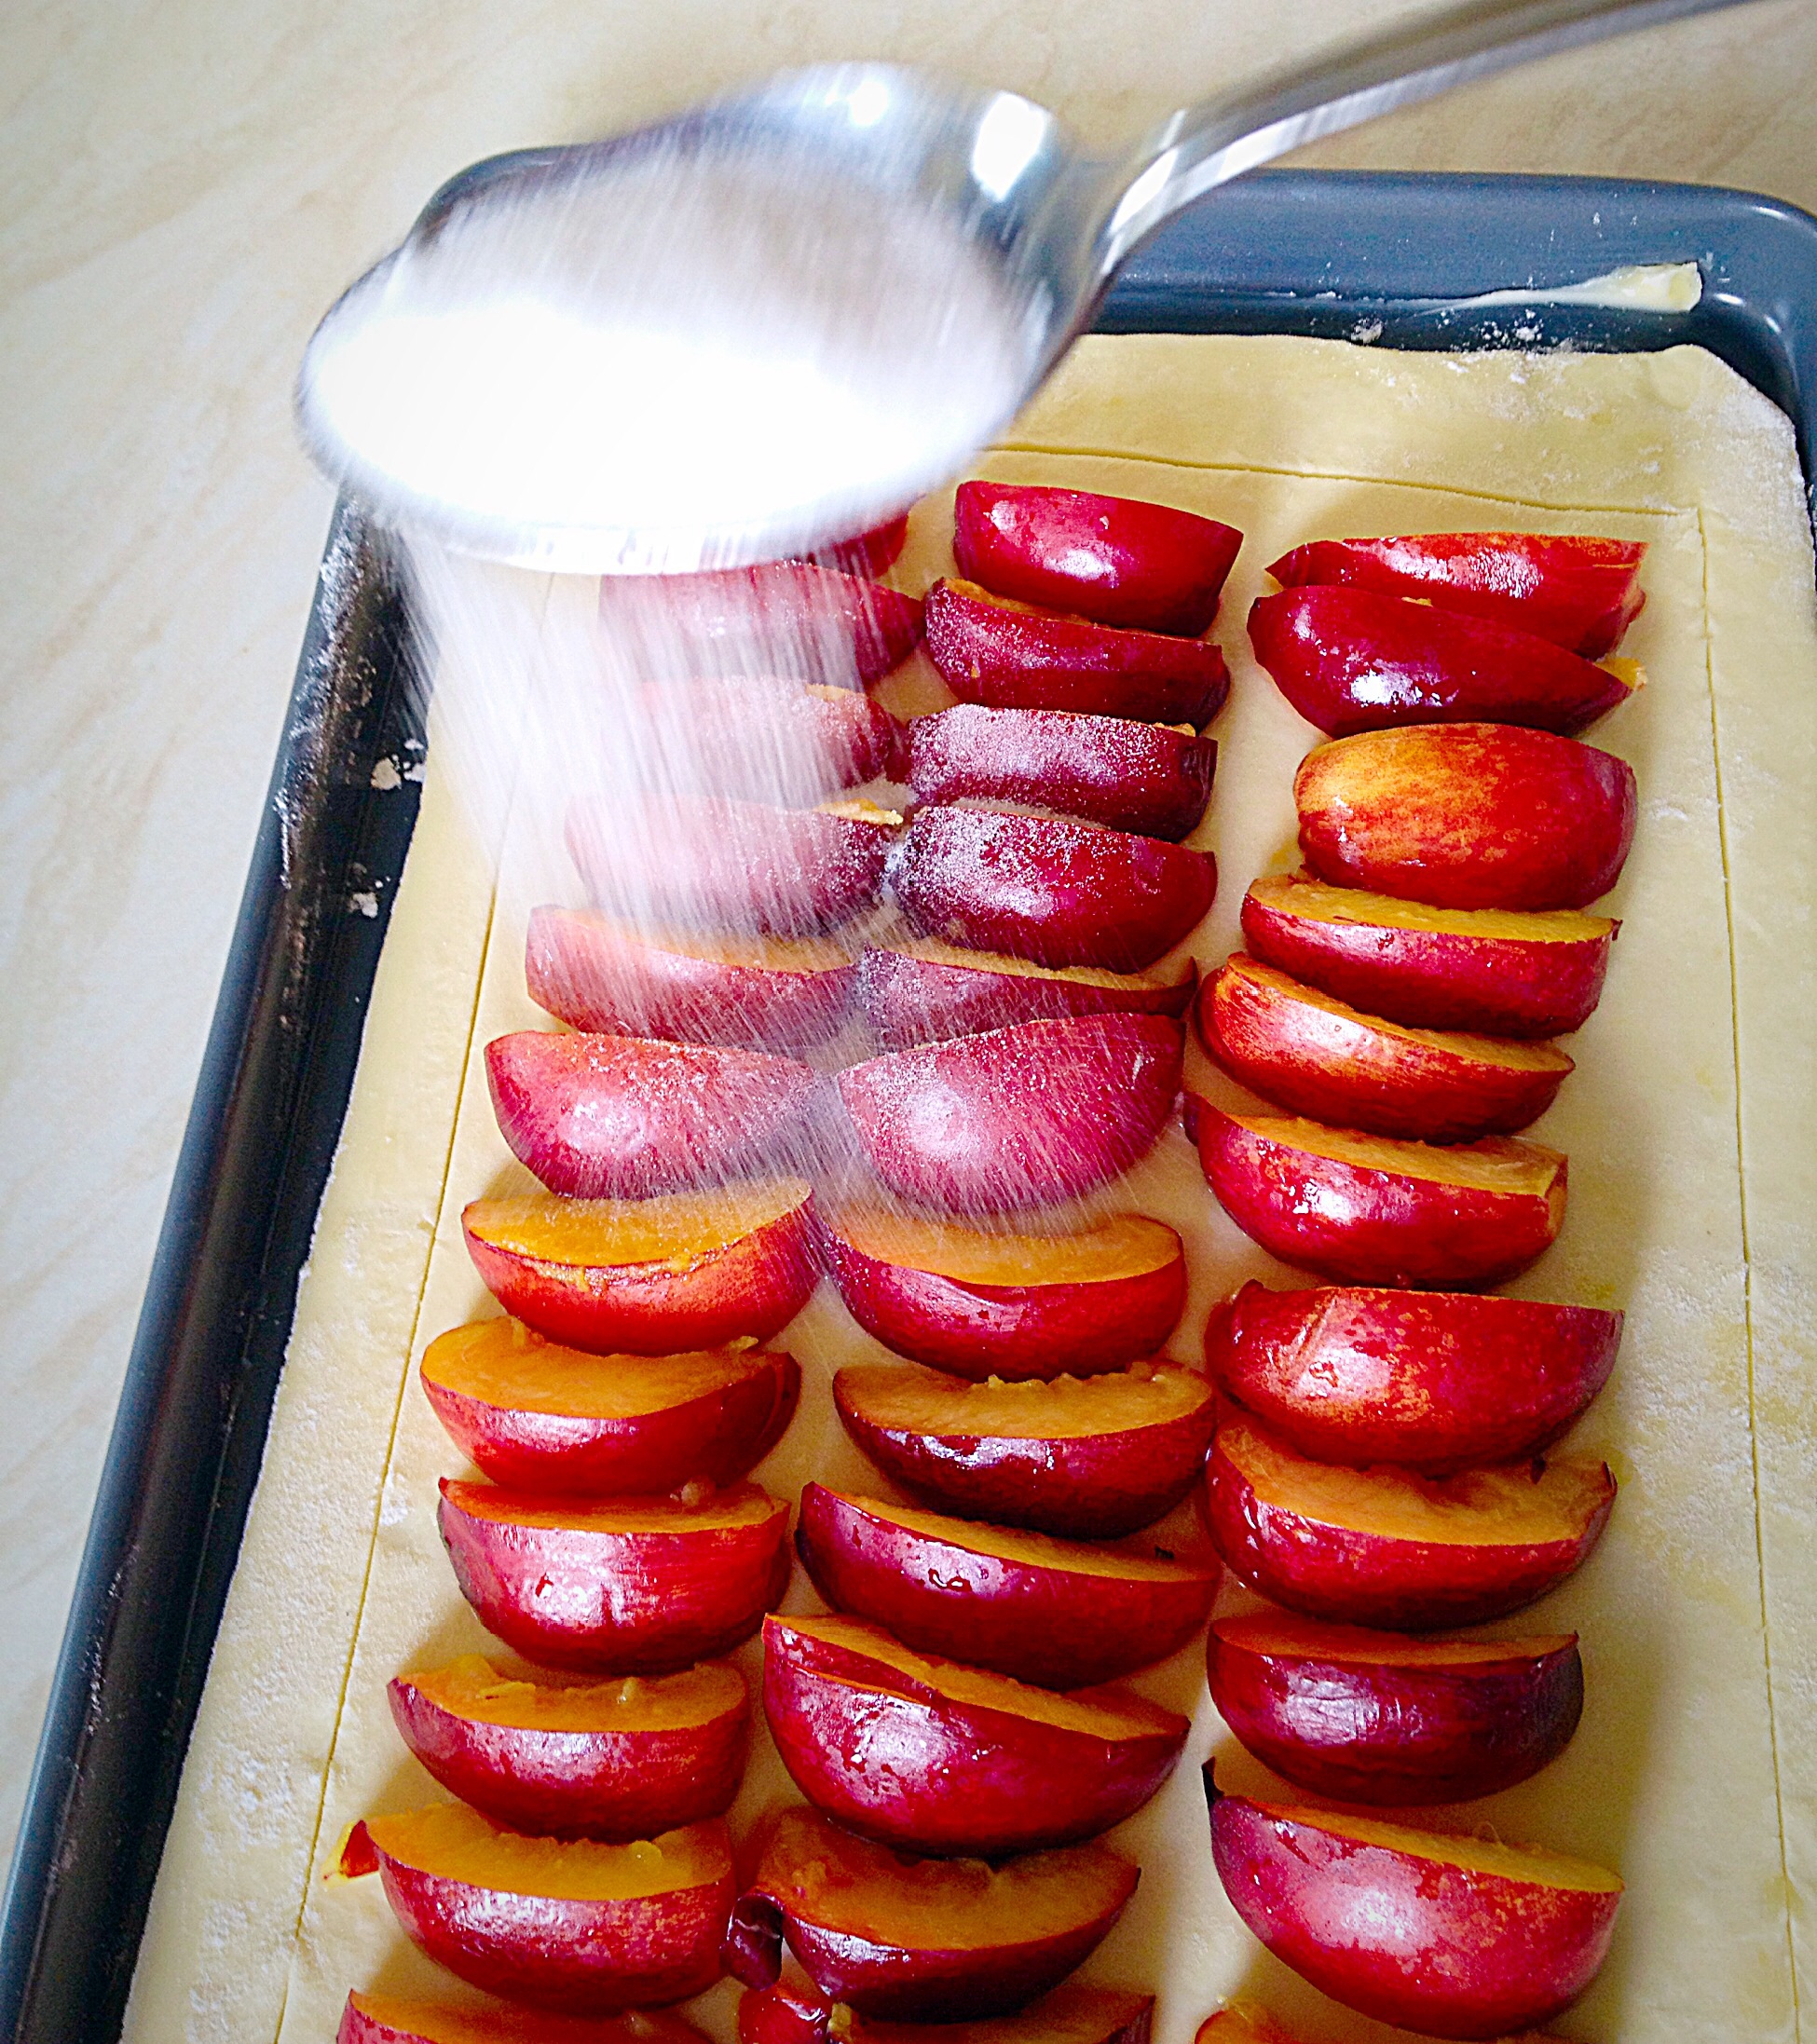
Either buy Vanilla Sugar, or alternatively you can make your own.
Tip : A light (little goes a long way) sprinkling of Vanilla Sugar over homemade popcorn is delish!!
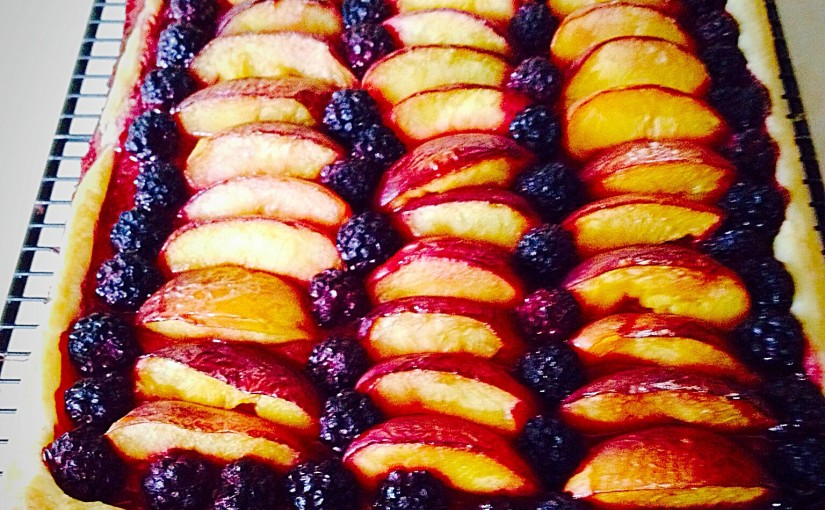
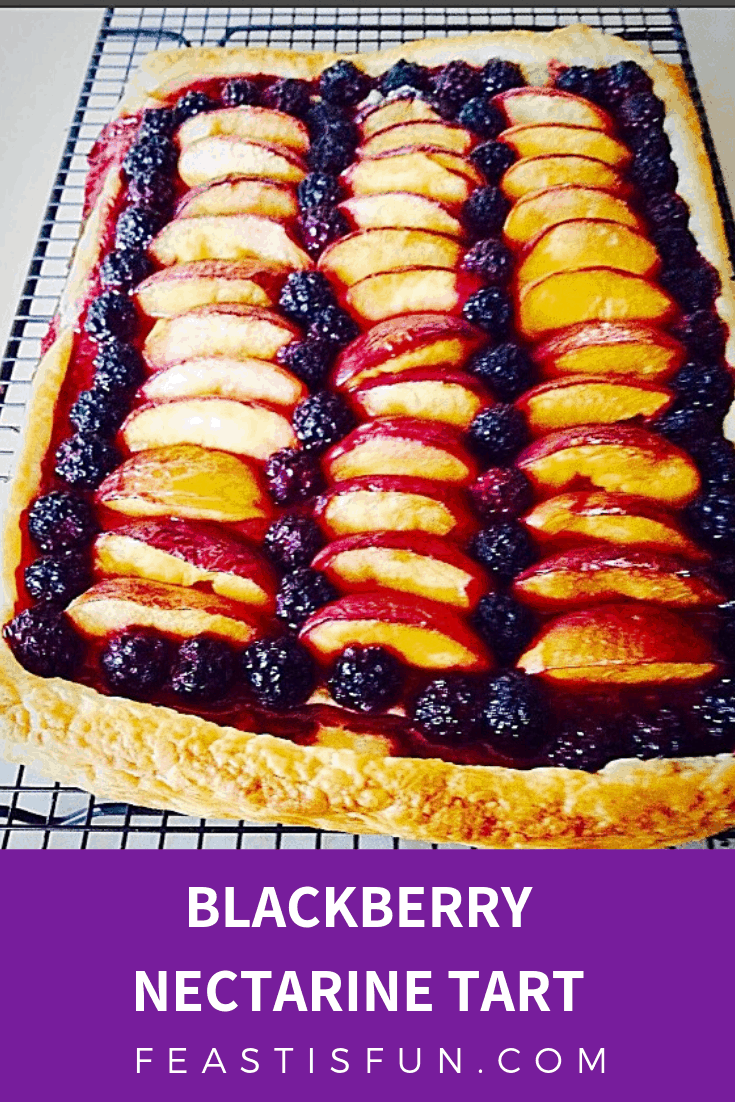
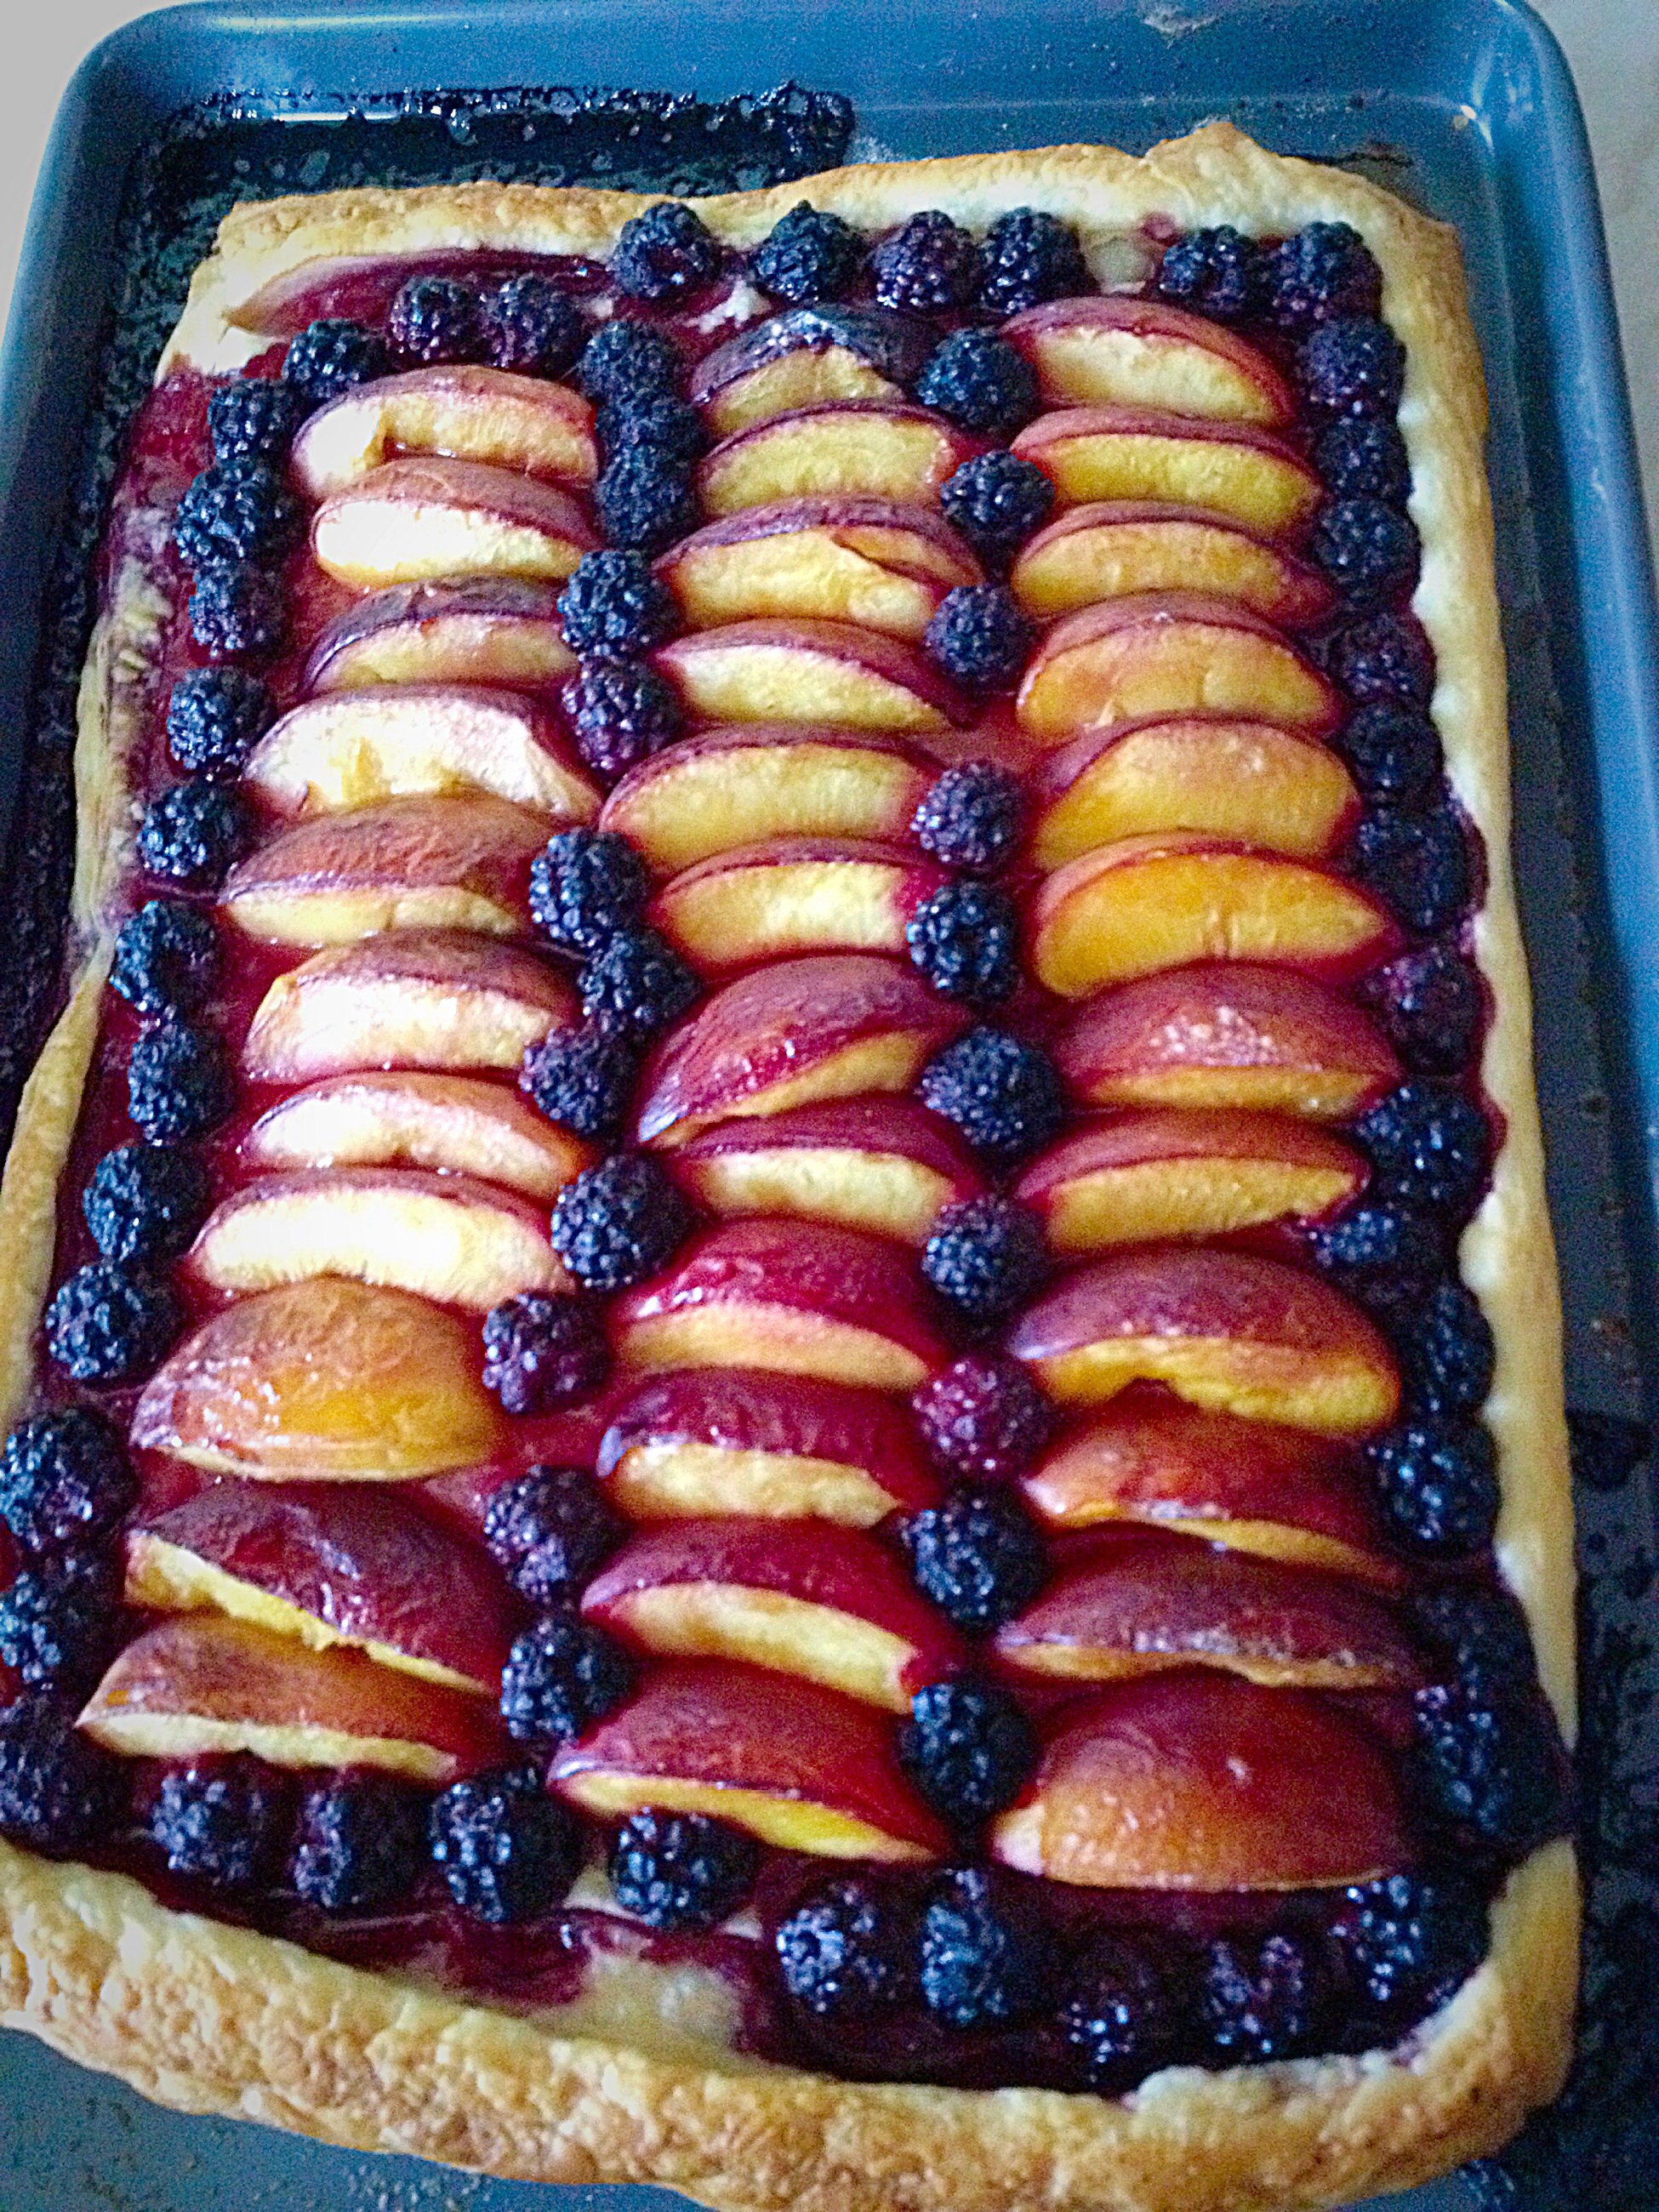
Next arrange the blackberries on the tart, however you choose. I chose to go with the lines of the tart.
Baking The Fruit Tart
Place the tart in the oven and bake for 30 – 35 minutes. While some juice from the fruit leaks, I found, once the 30 minutes baking time was up, it had concentrated and did not make that part of the tart soggy.
The tart is cooked when the outside crust is golden brown and the base, when gently lifted, is golden brown too.
As soon as the tart is baked remove from the oven.

Transfer the Blackberry Nectarine Tart on to a cooling rack. This keeps the tart bottom and crust nice and flaky.
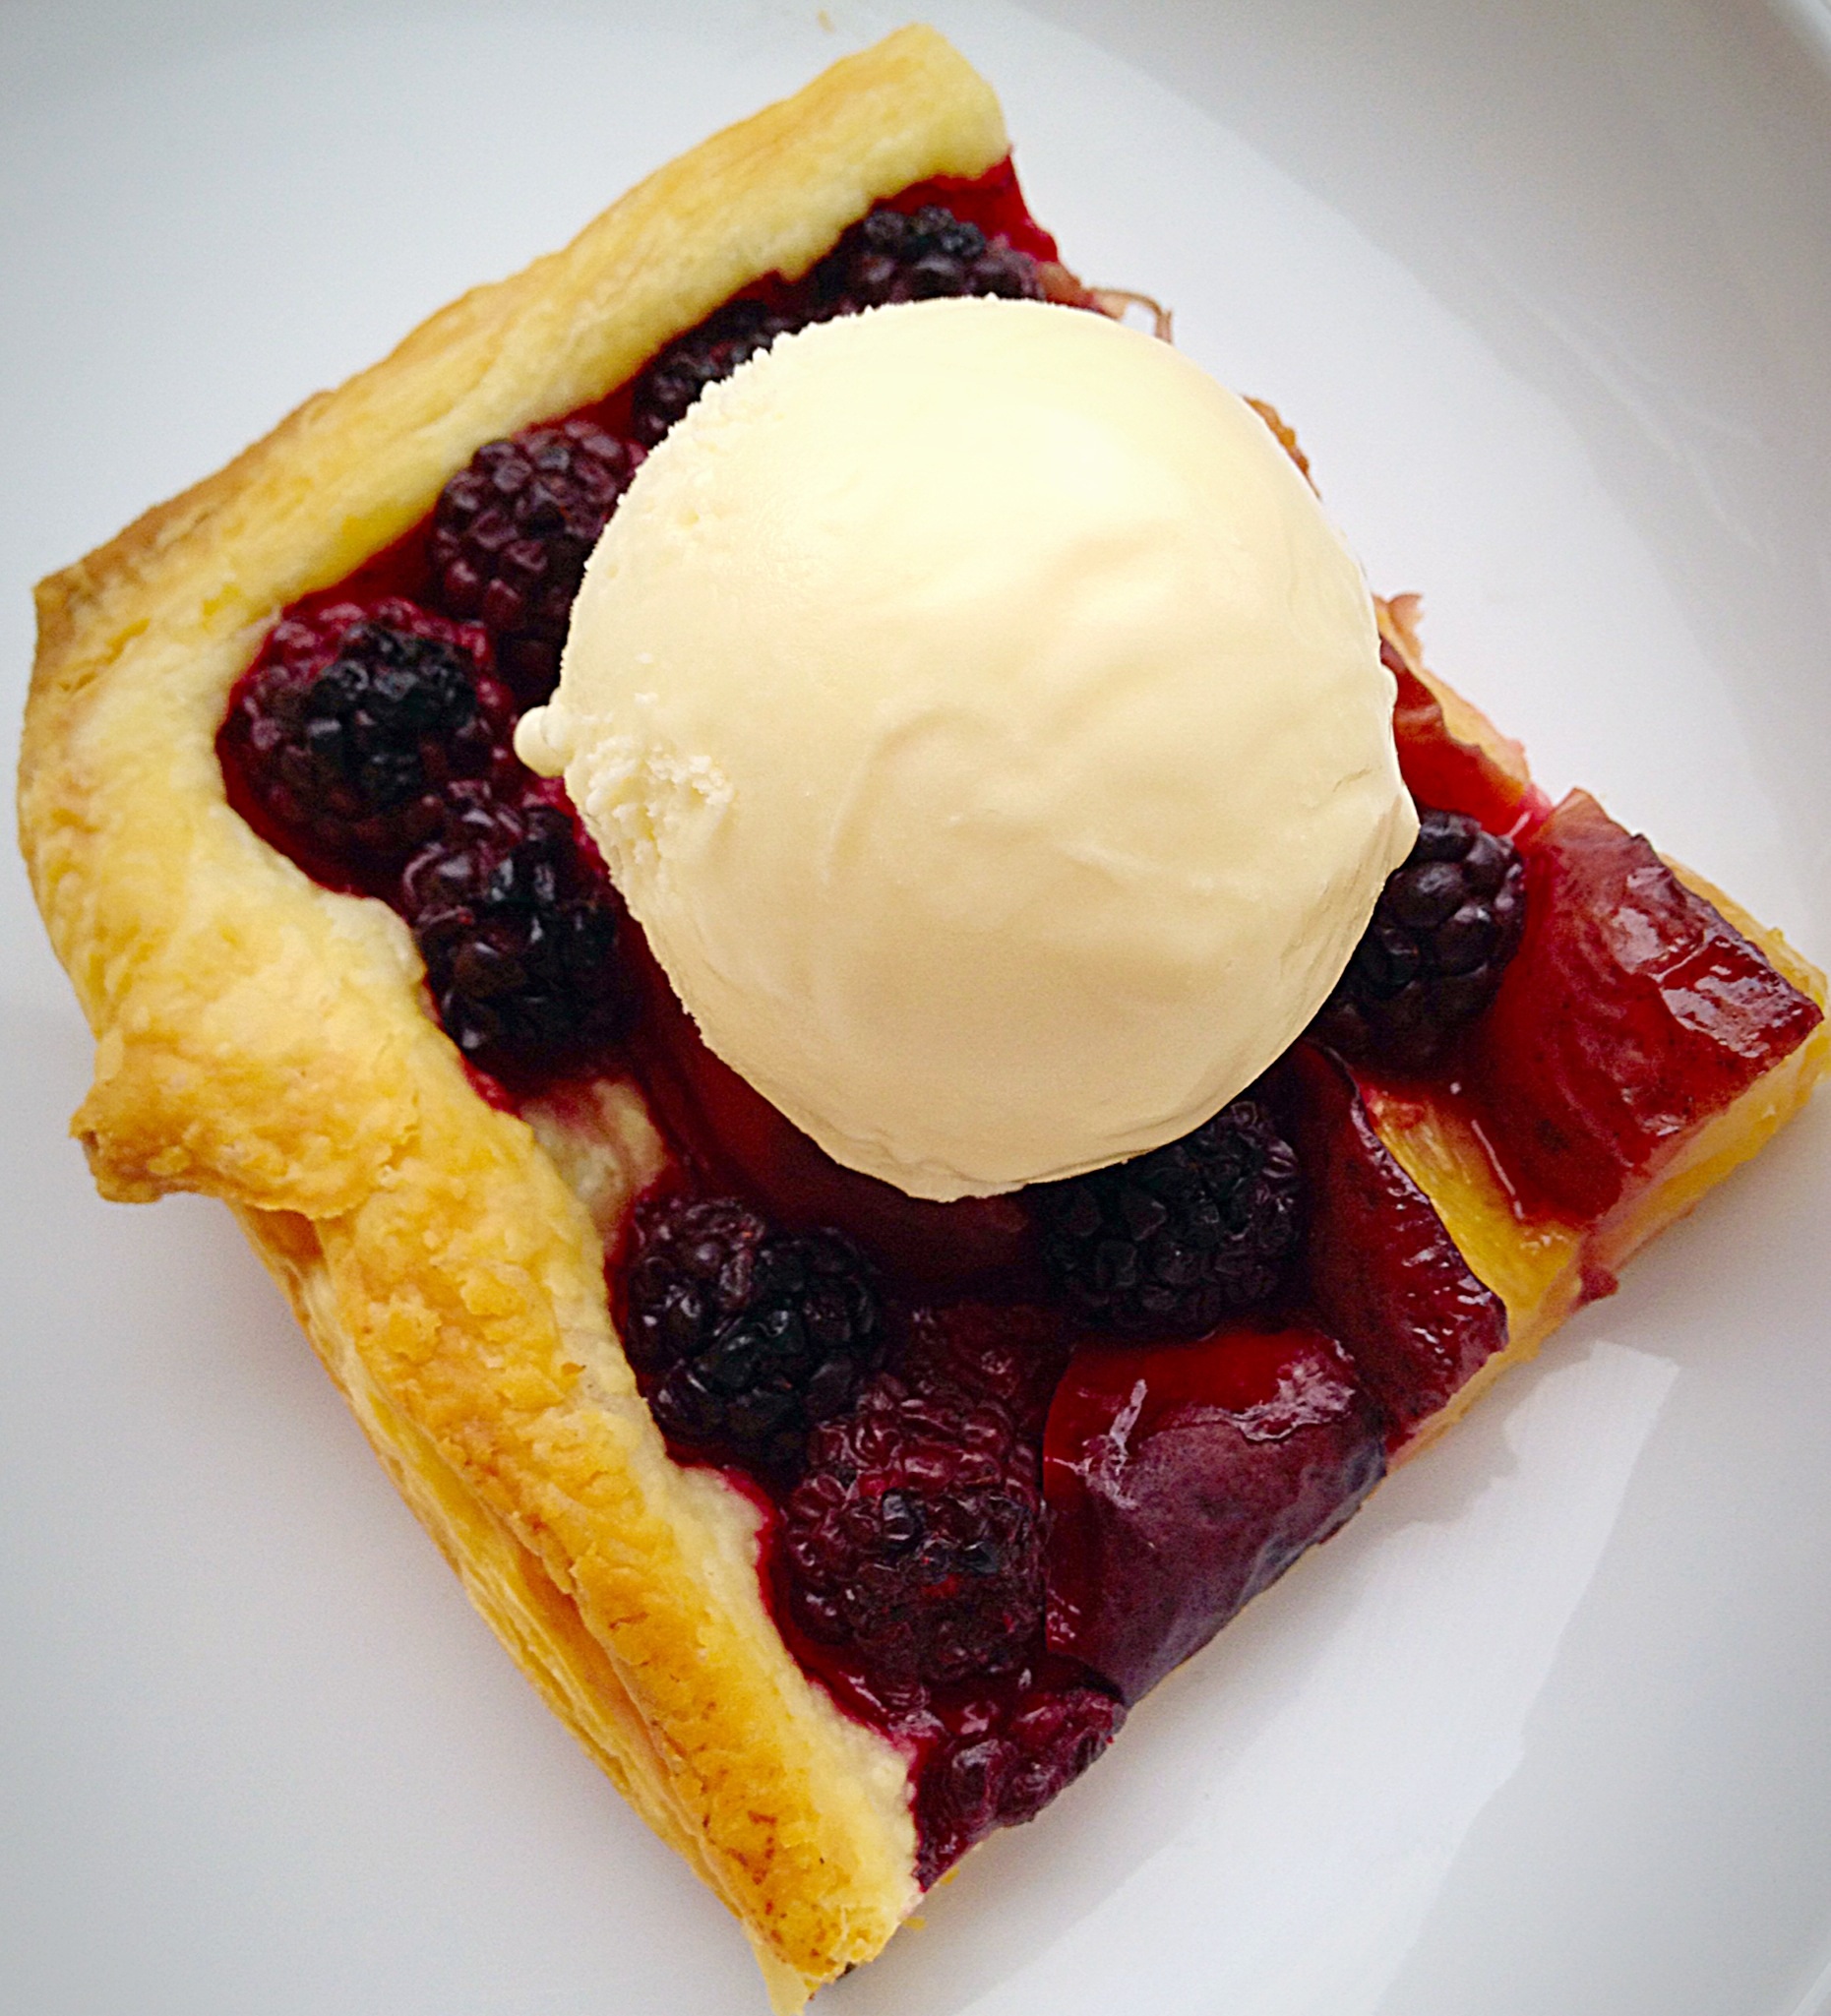
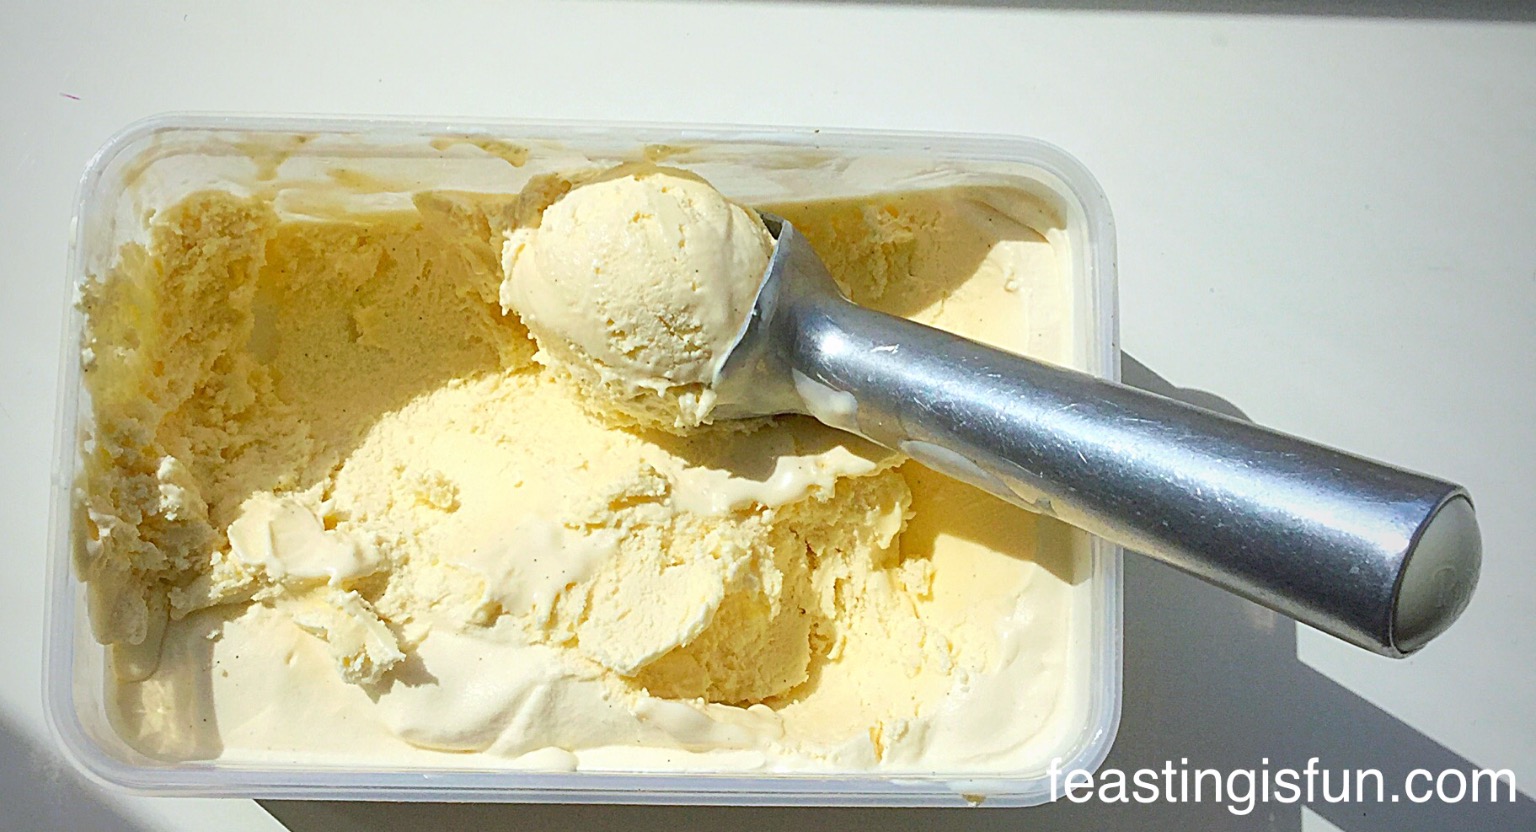
Serve warm or cold. This tart was perfectly complimented by a scoop a good, vanilla ice cream.

If you have enjoyed this recipe for Blackberry Nectarine Tart you may also like these:
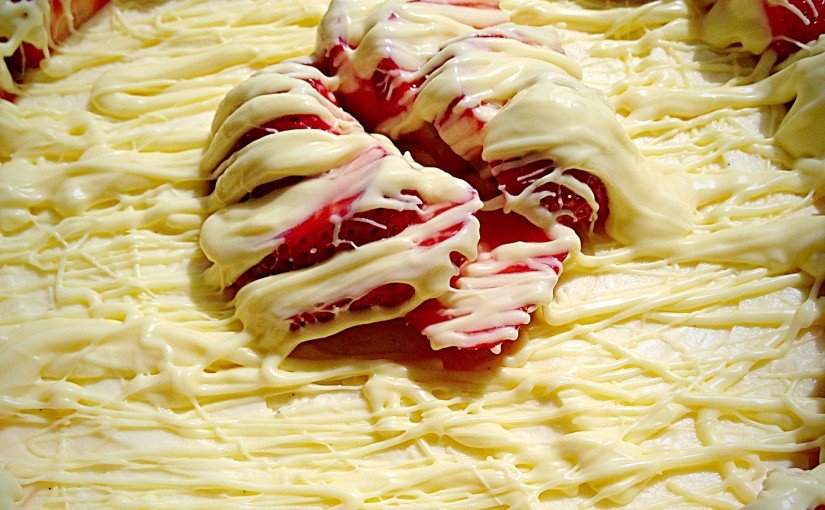
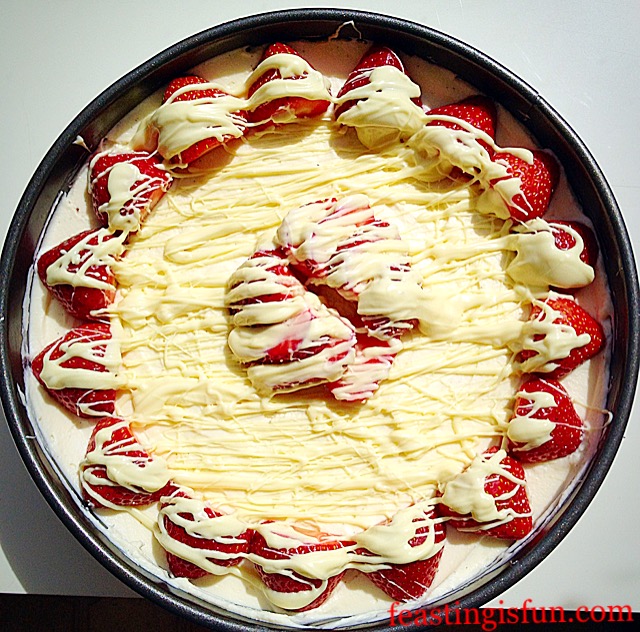
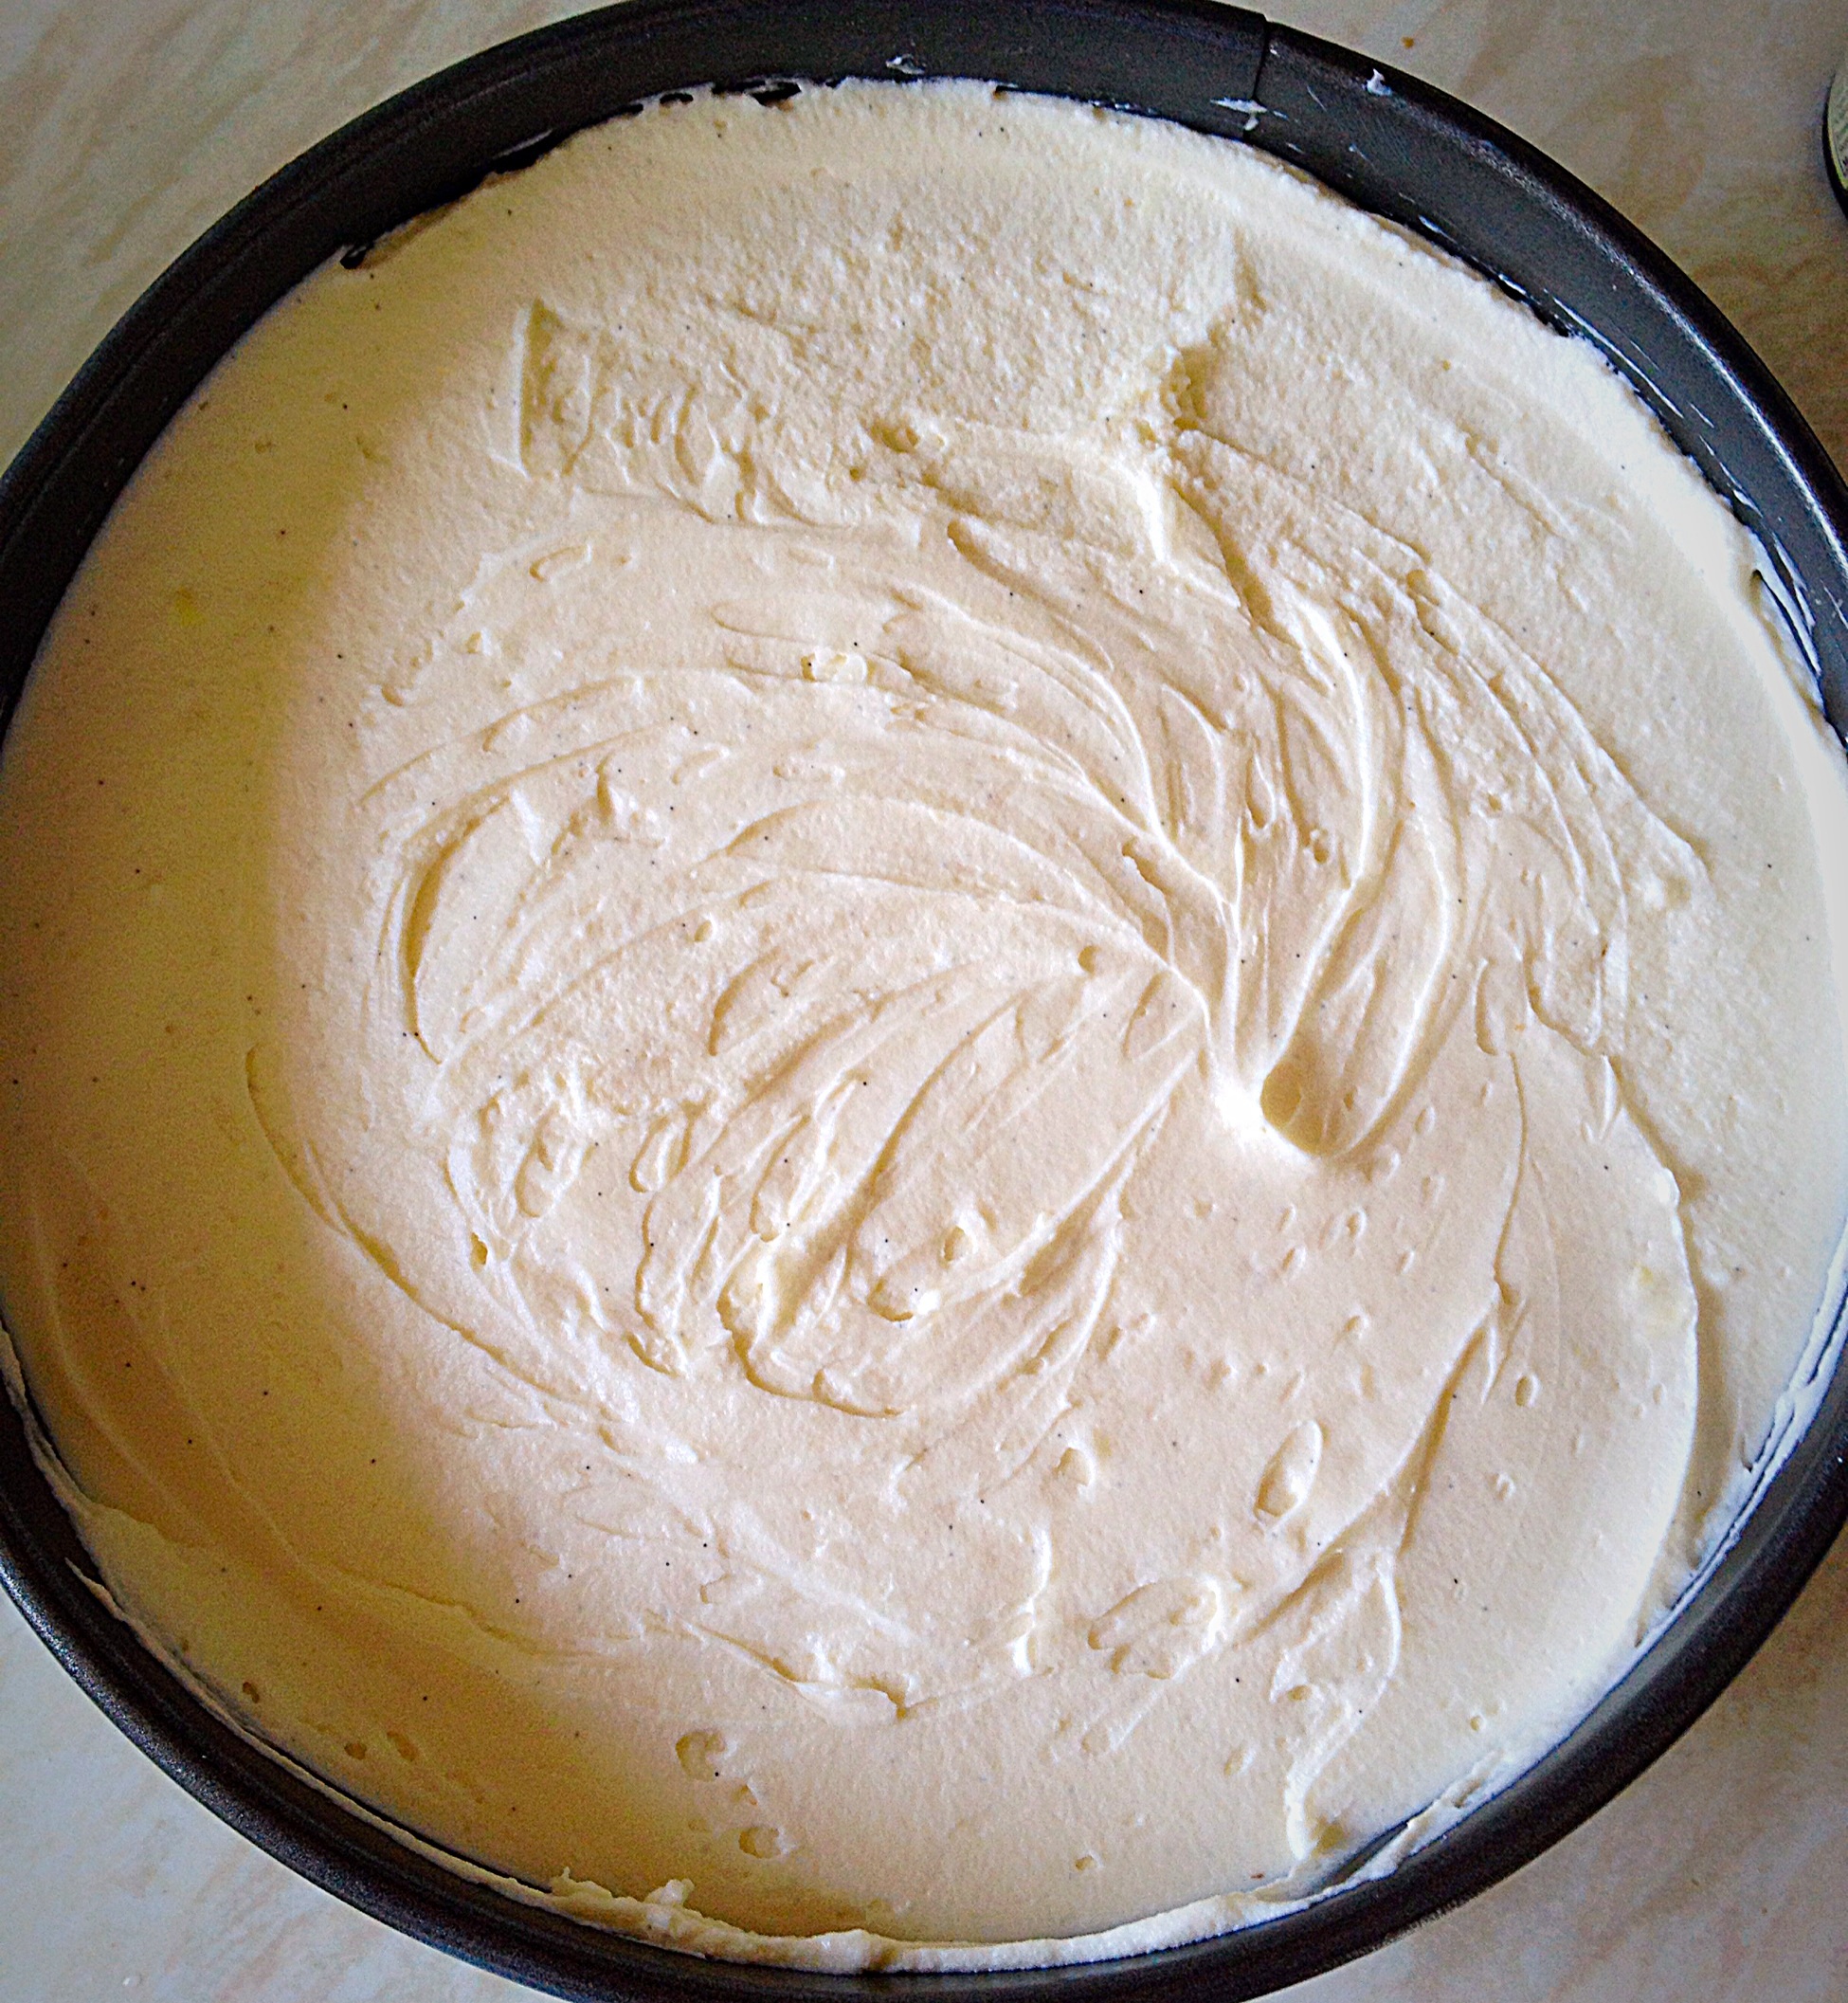
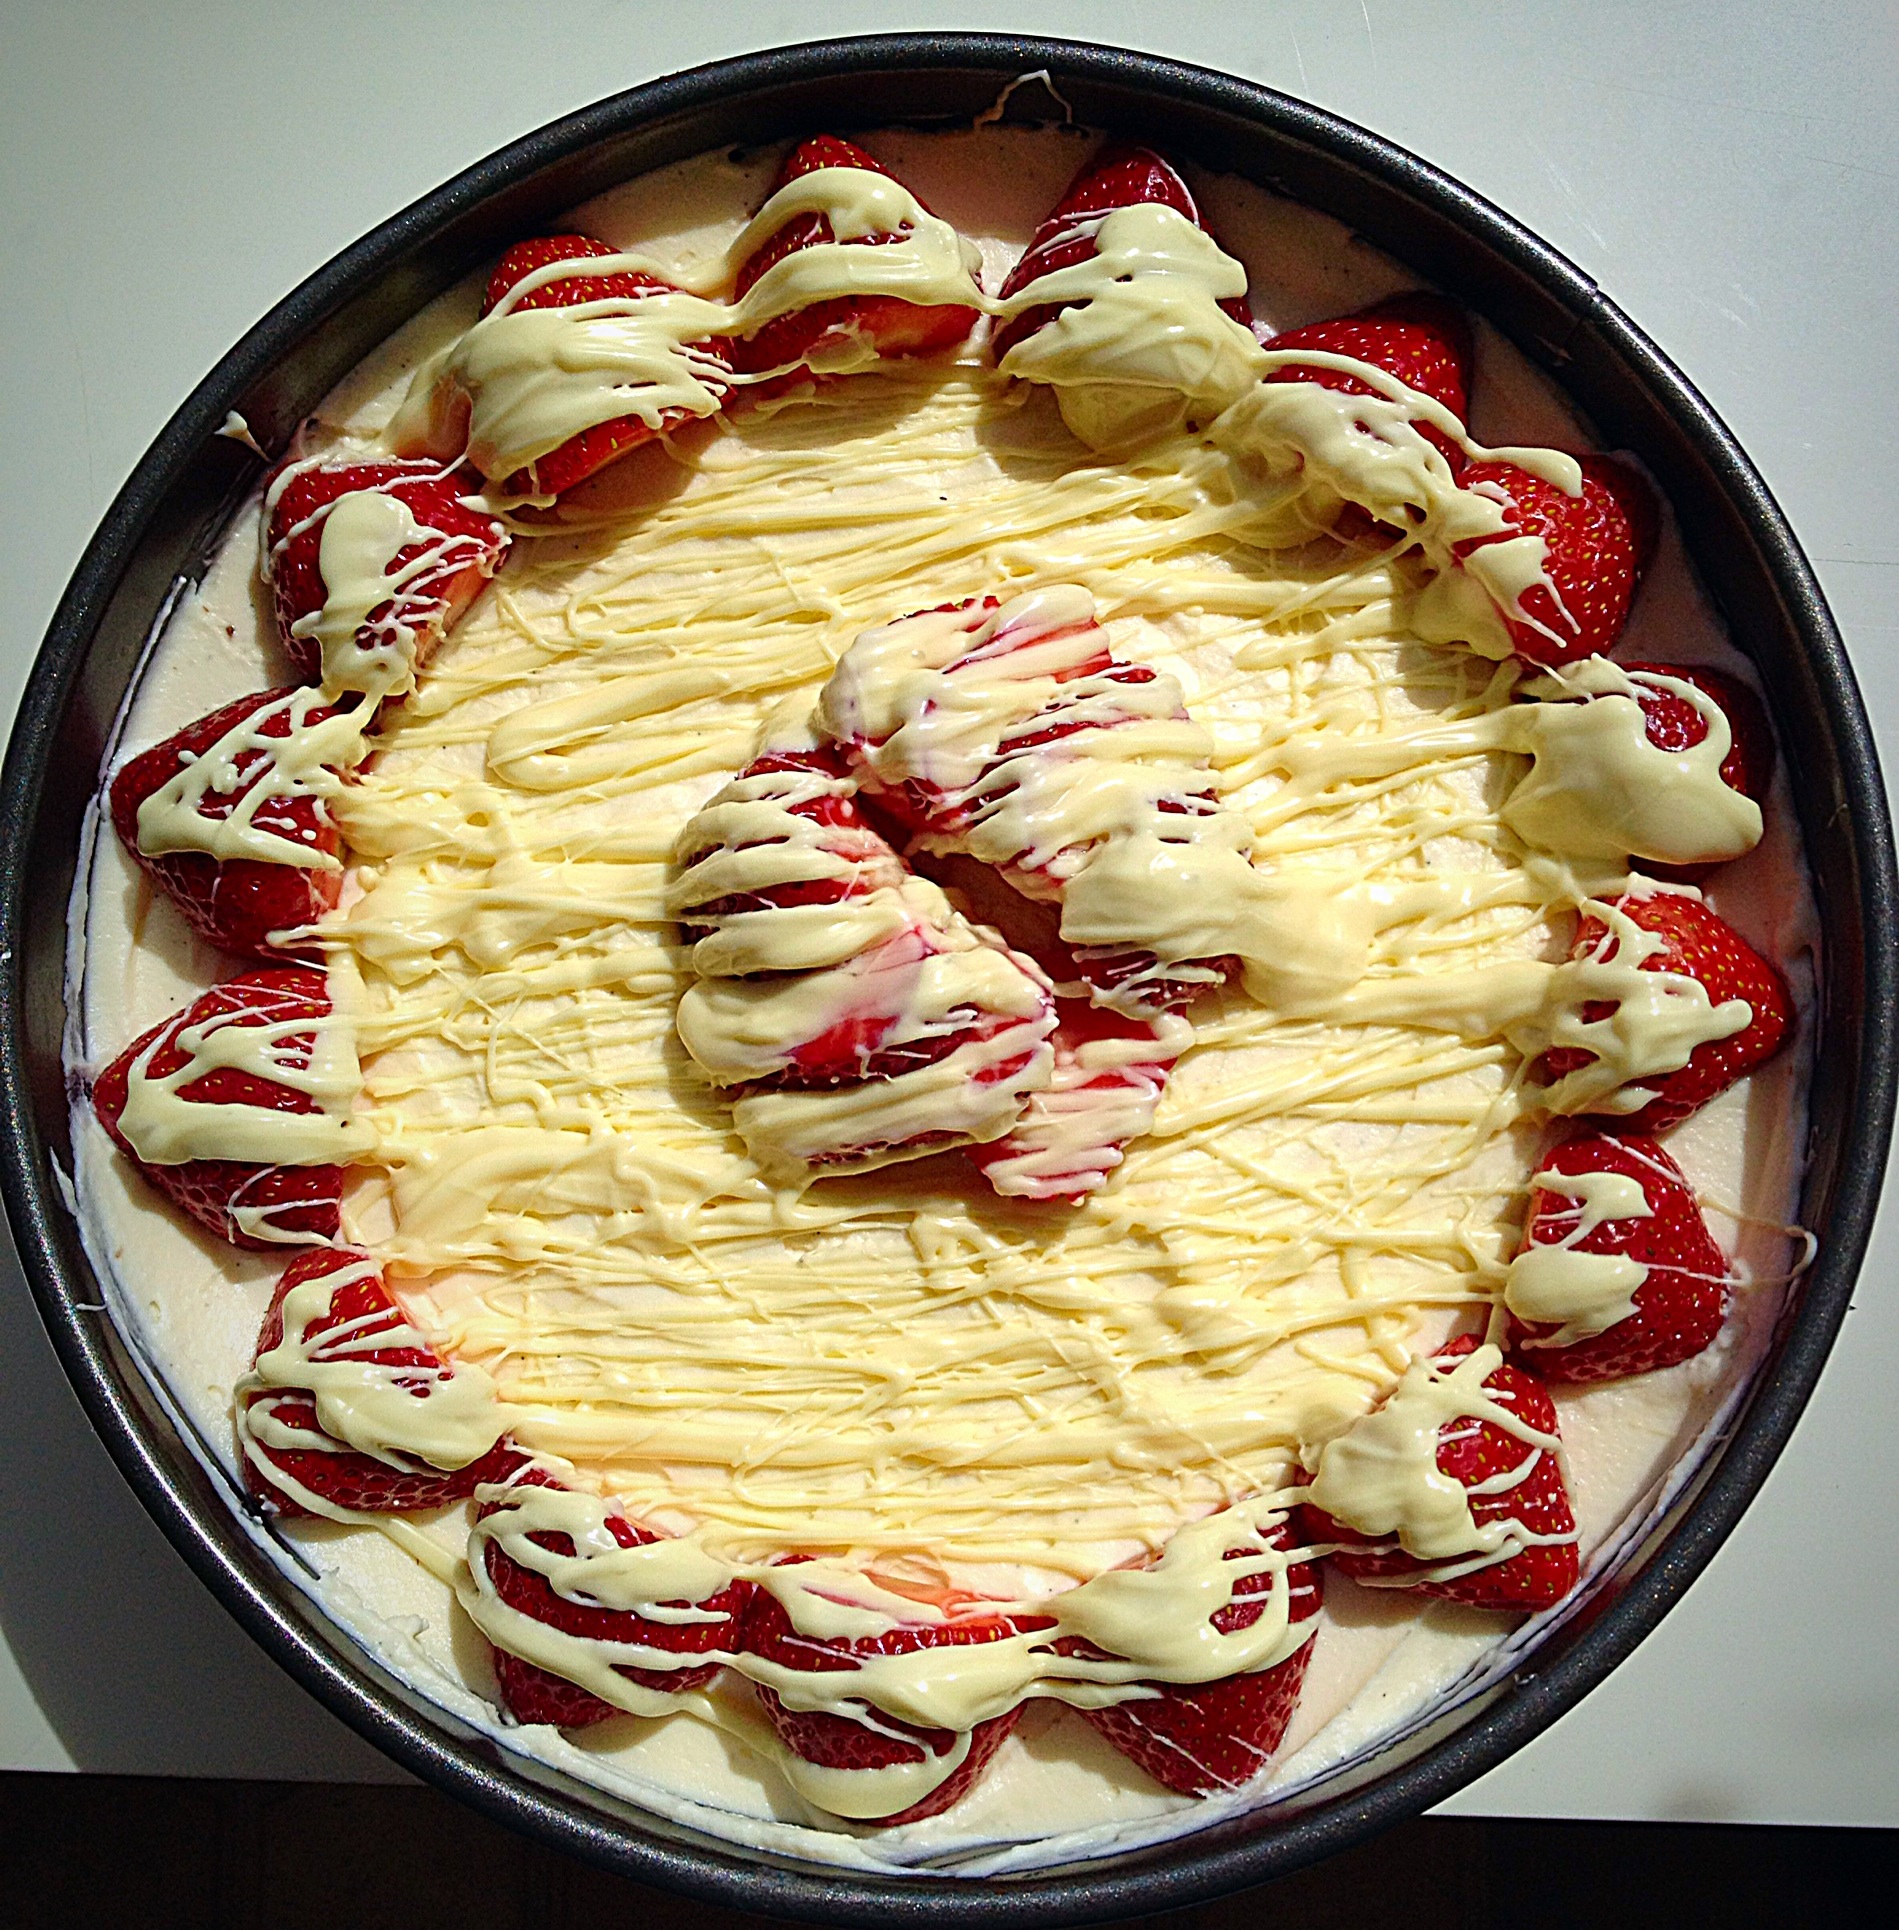
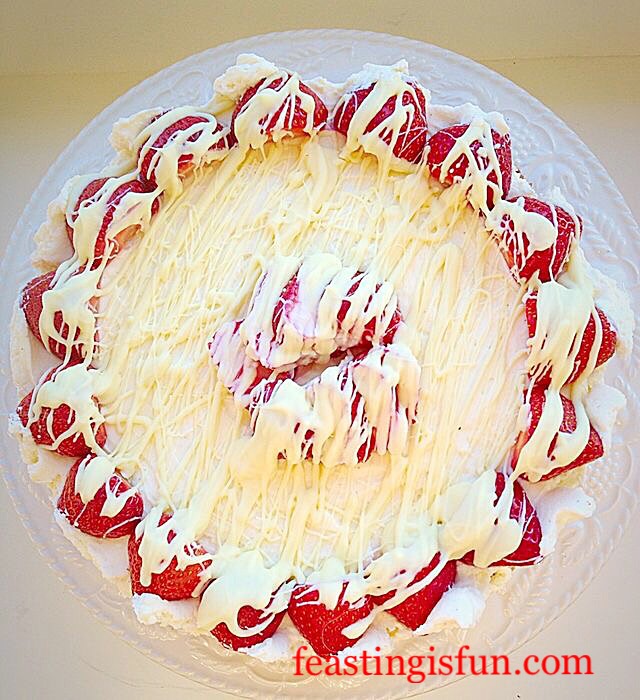
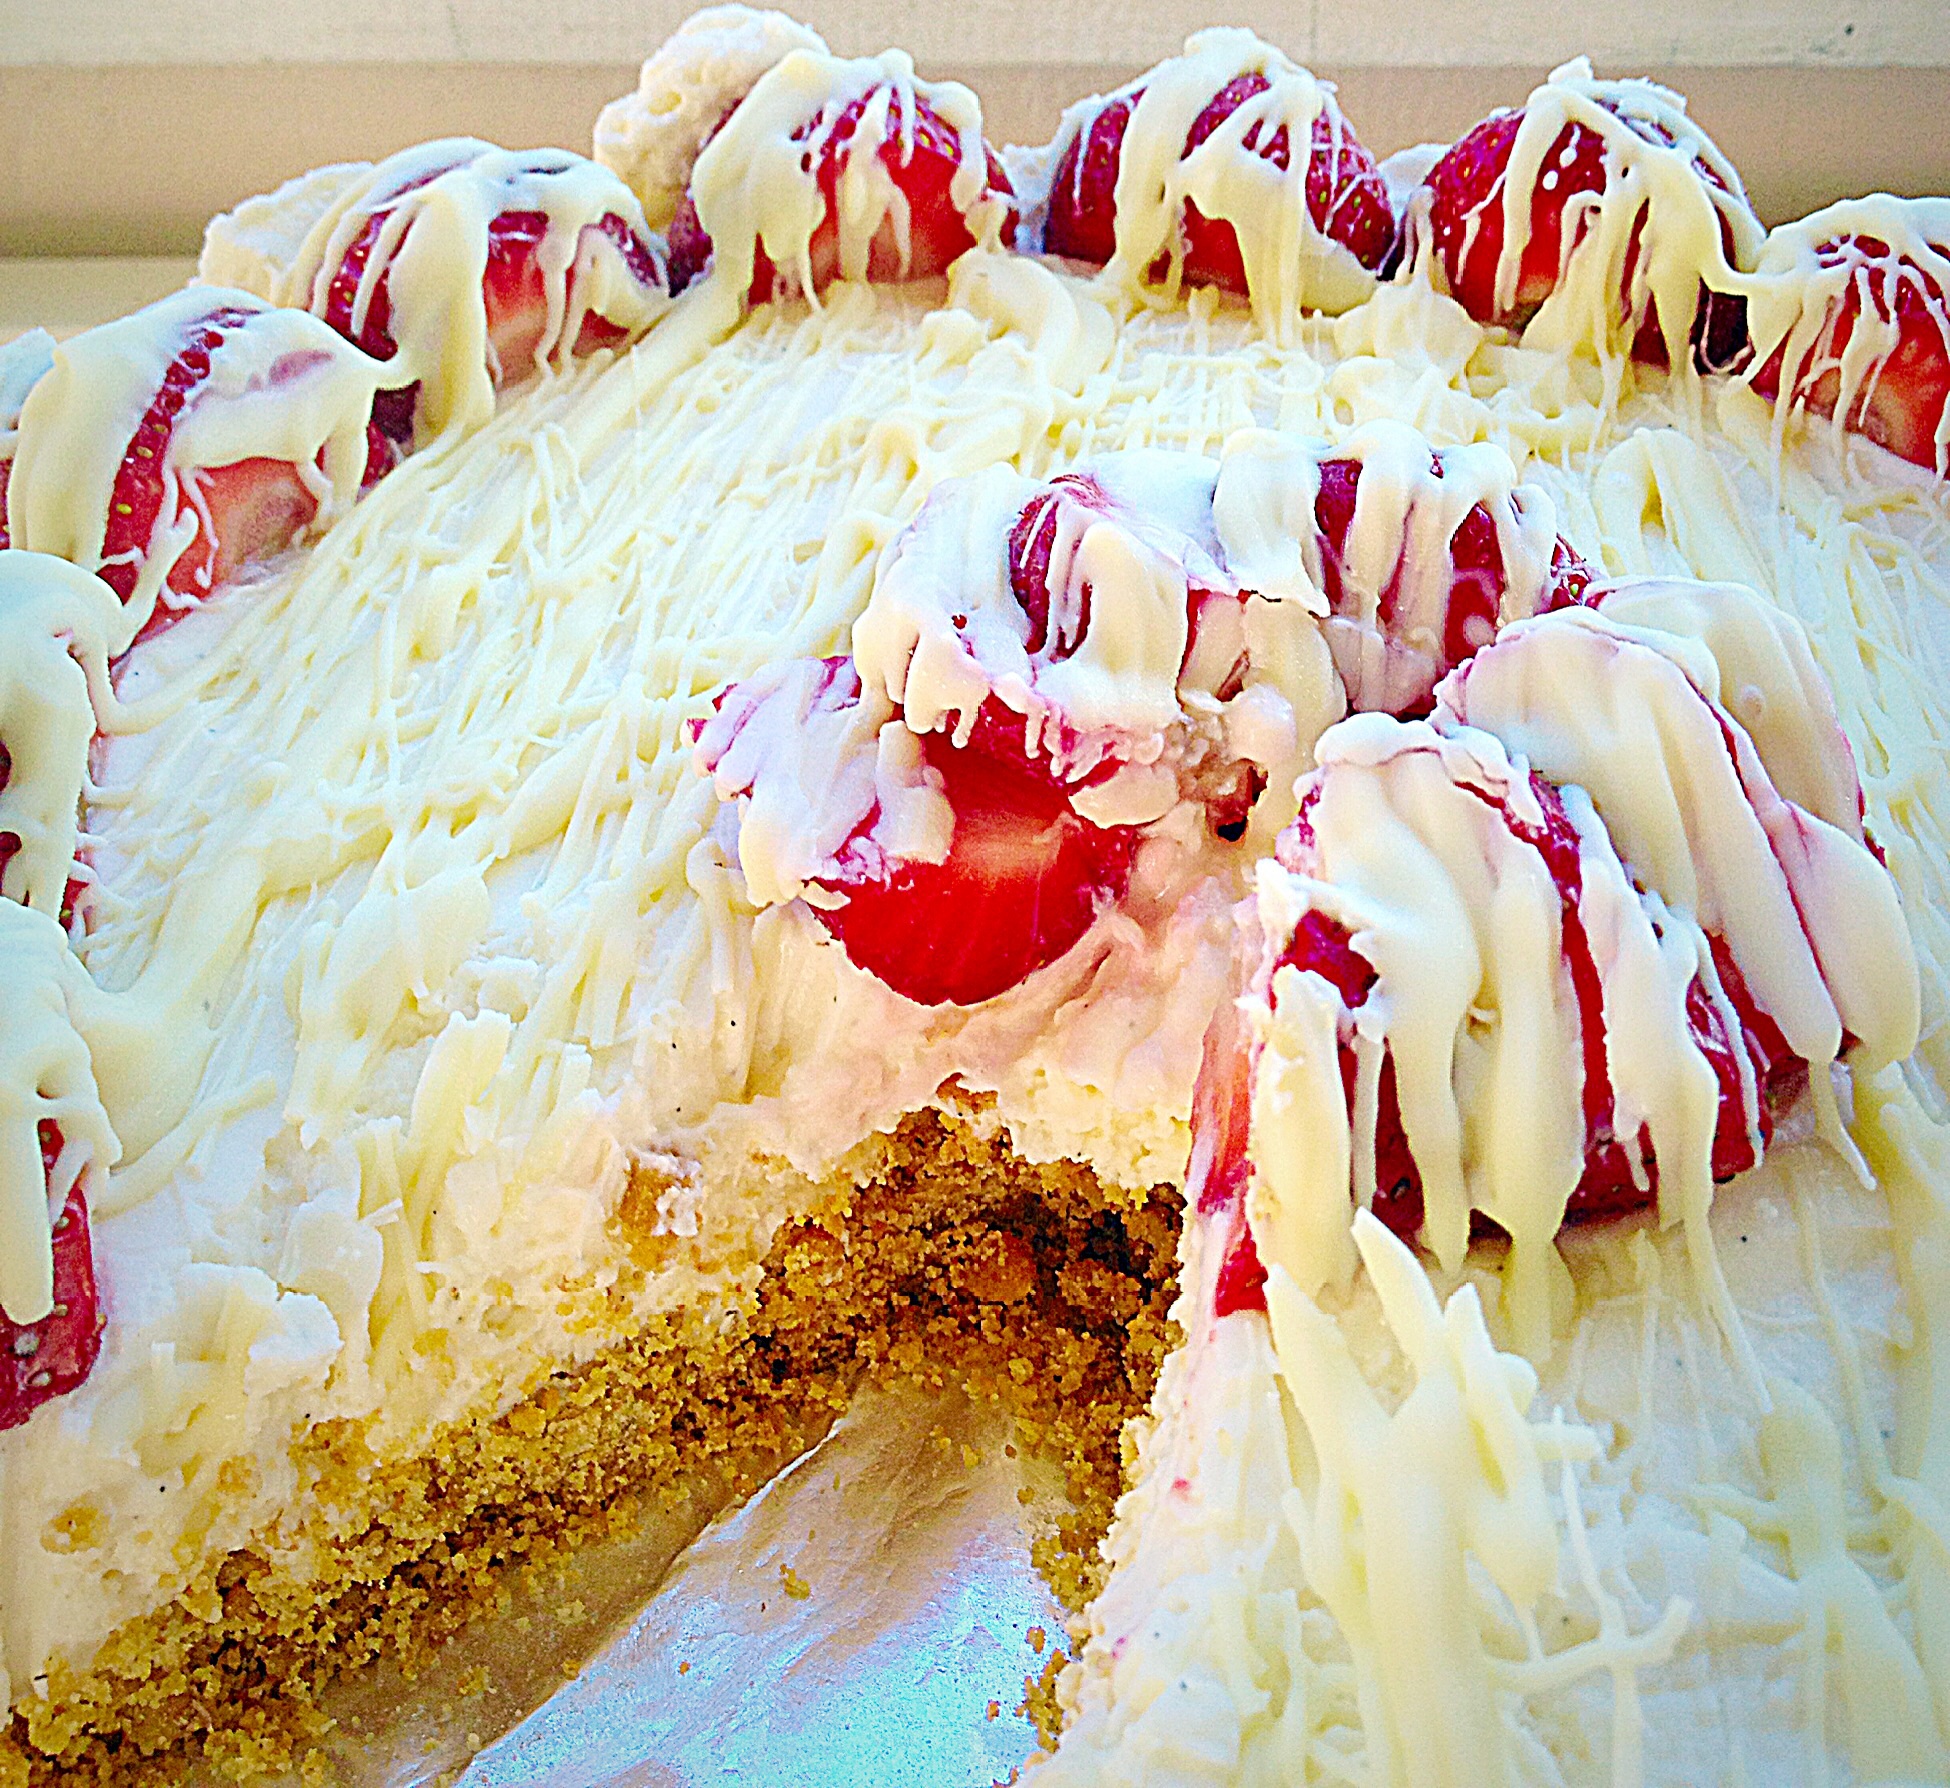
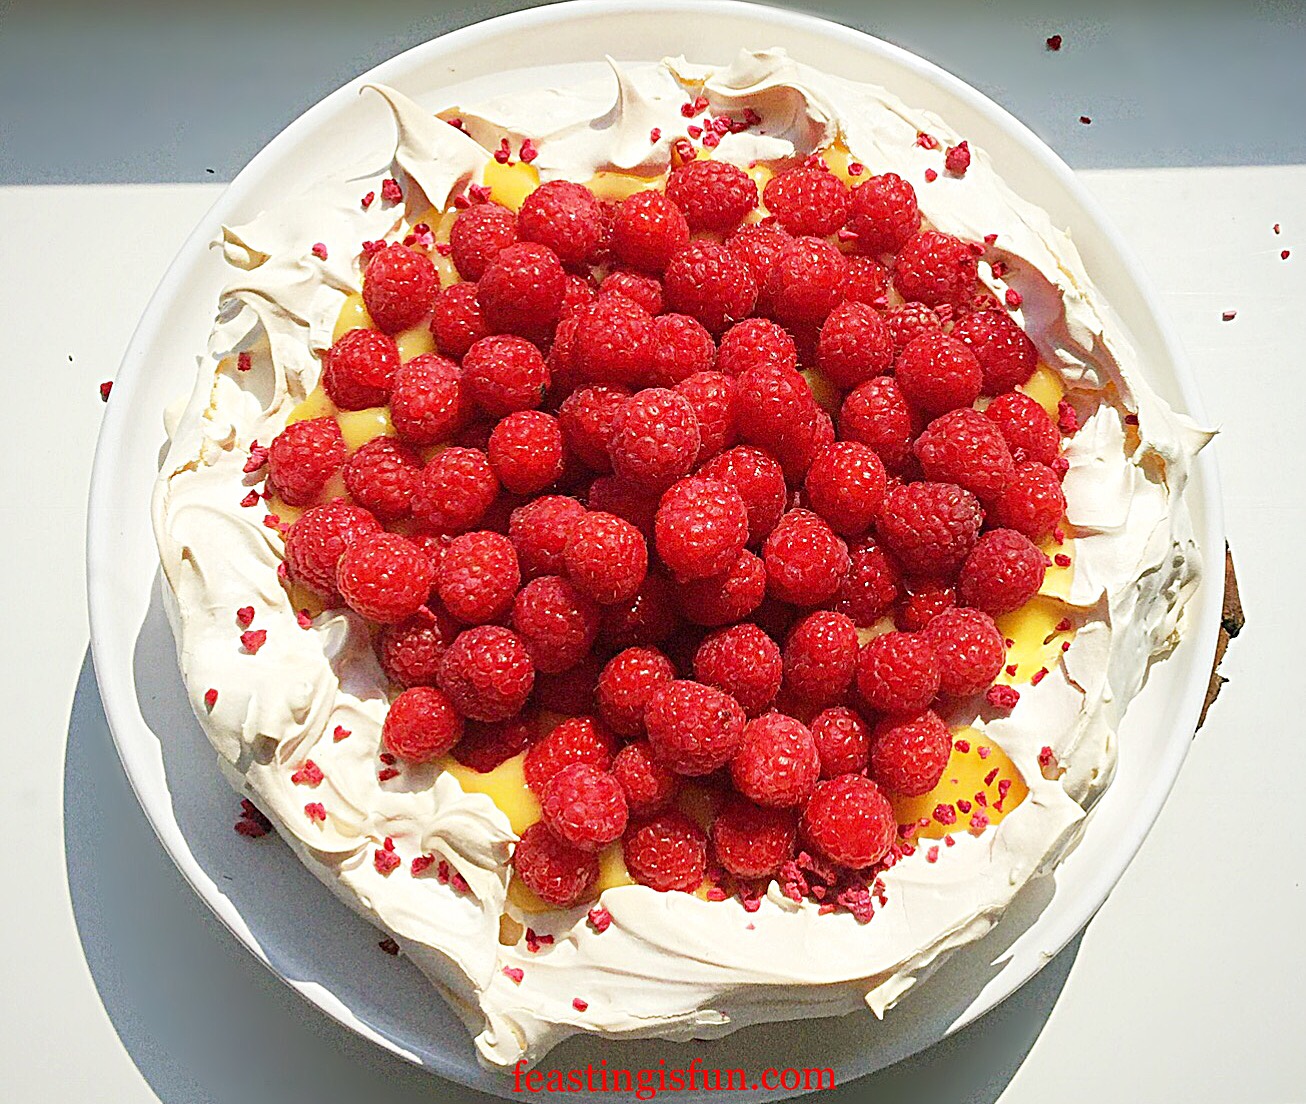
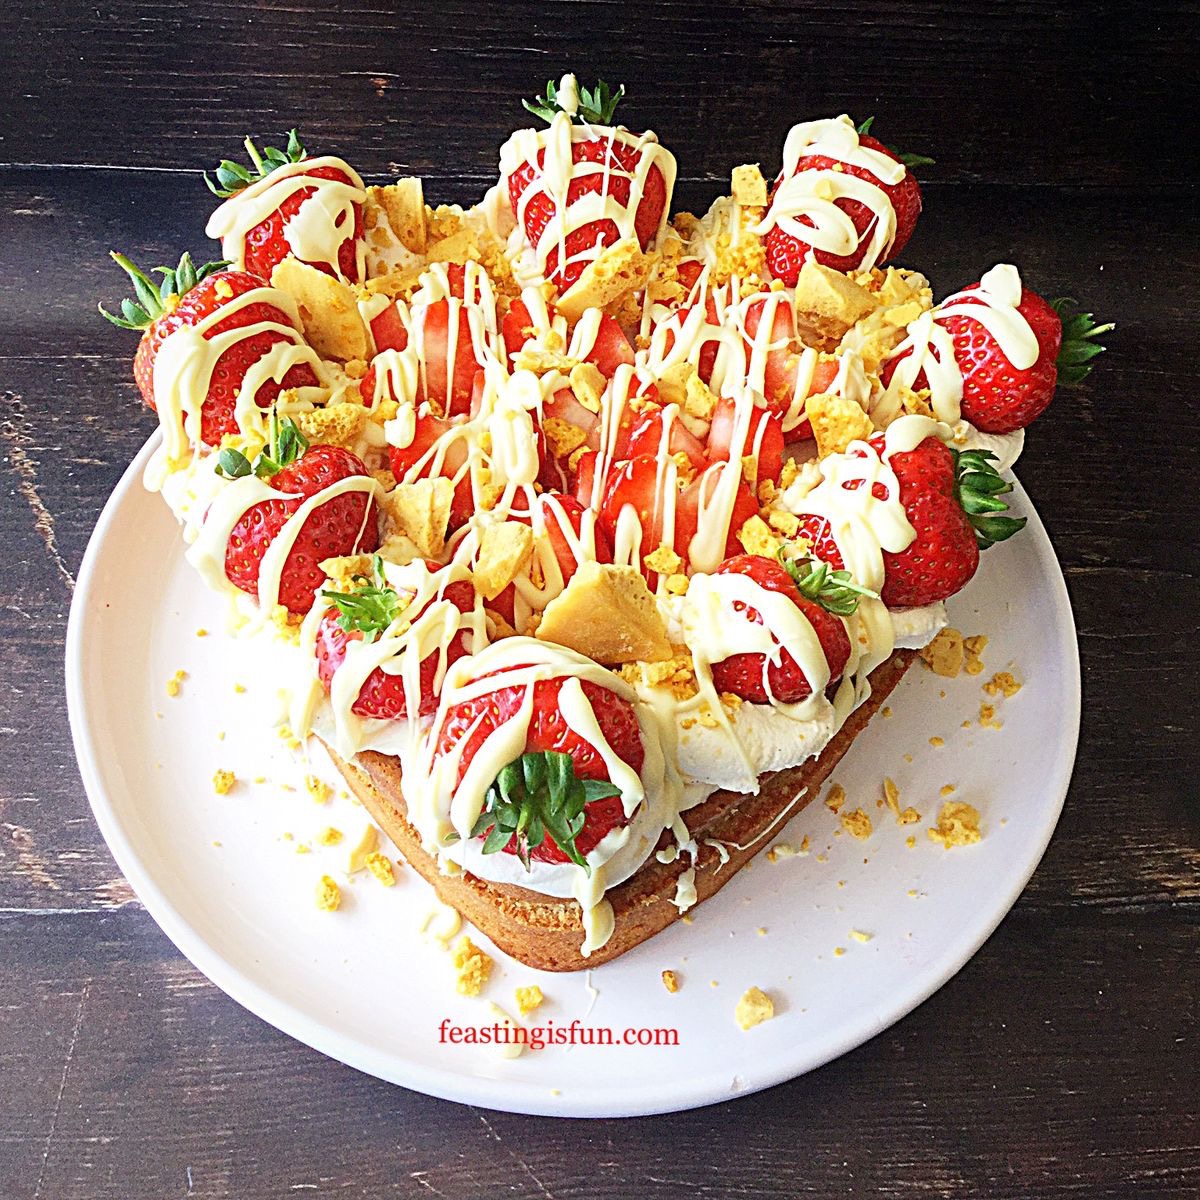
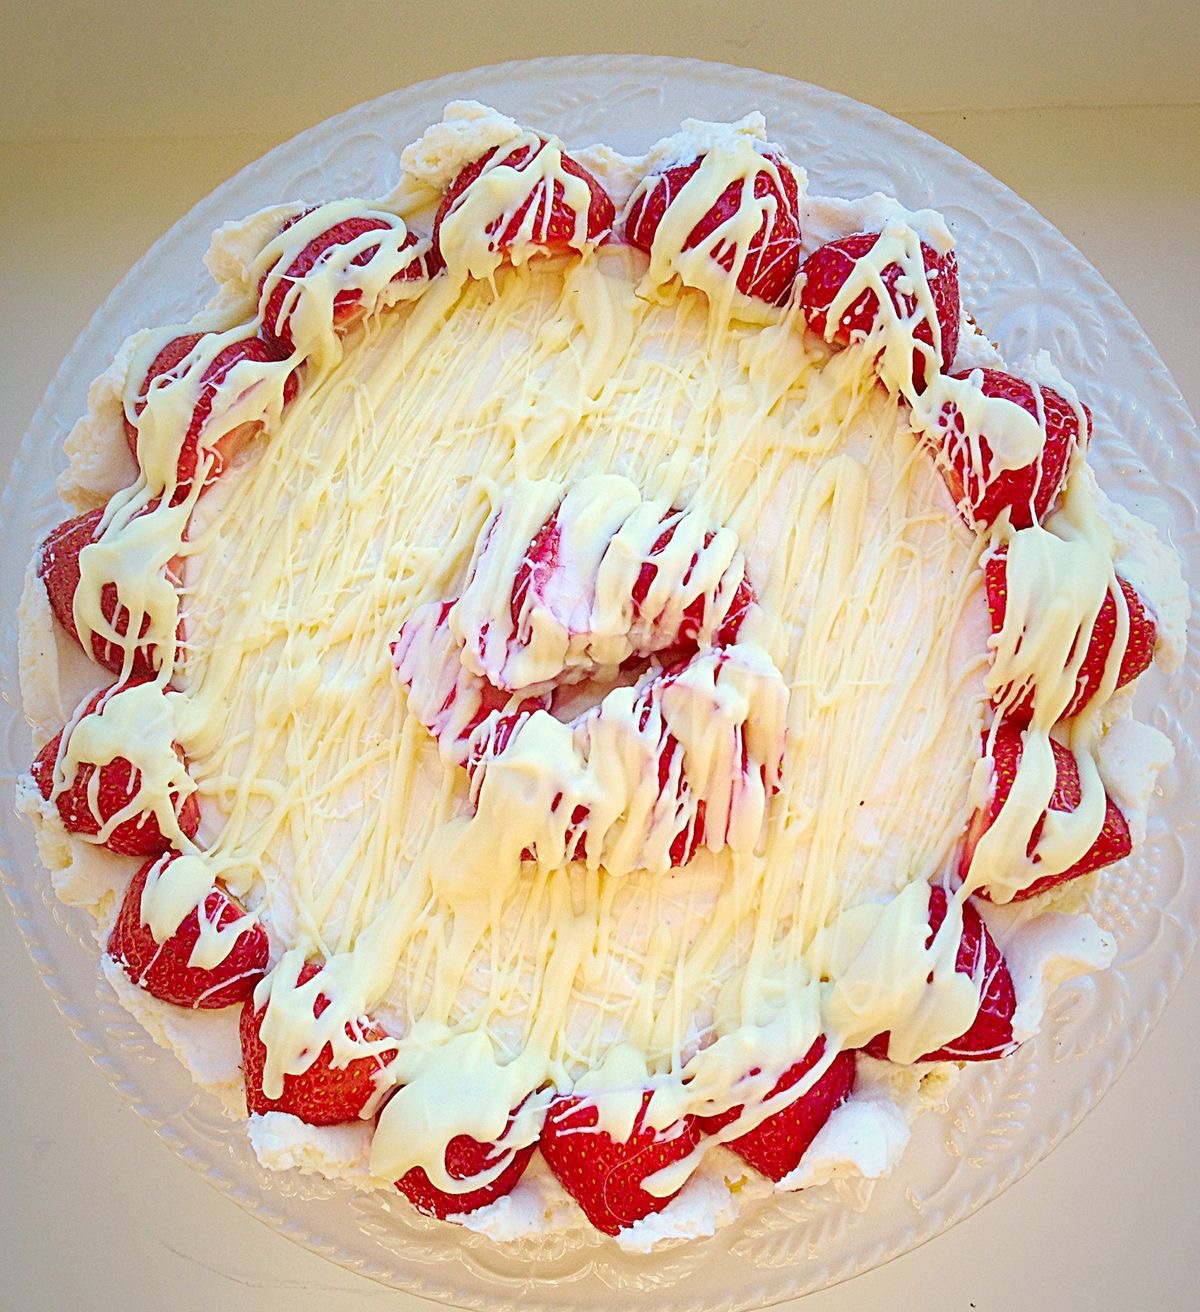
No Bake White Chocolate Strawberry Cheesecake
If you keep pastry and fruit in the freezer regularly, I’d say this is the perfect, pull together, easy dessert. Especially perfect for eating while snuggling on the sofa watching a film, or entertaining last minute, or even planned dinner guests!!
Because I used nectarines their tender skin doesn’t need to be removed.
What go-to freezer staples do you keep on hand. As well as ice cream!
So whatever you are making, baking and creating in your kitchens, have fun preparing and sharing your feast.
Sammie xx
No part of this post may be reproduced or duplicated without the written permission of the owner. Please see my Disclosure Policy.
Share