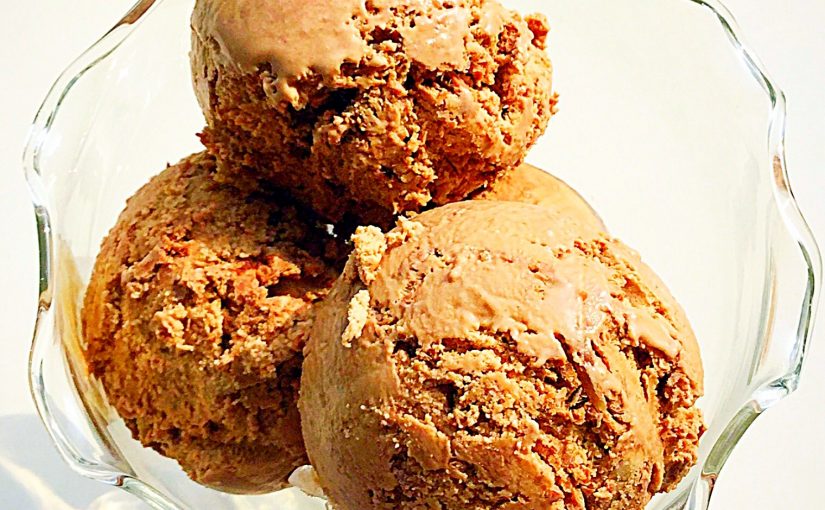
Finally, Summer is finally here. And I hope the sun shines throughout the day and any necessary rain falls at night! I’m loving using my new Which Best Buy Andrew James Ice Cream Maker to create as many different flavoured ice creams as I can think of. Because there are lots and lots of them. This Chocolate Orange Ice Cream is my son’s idea of food heaven.
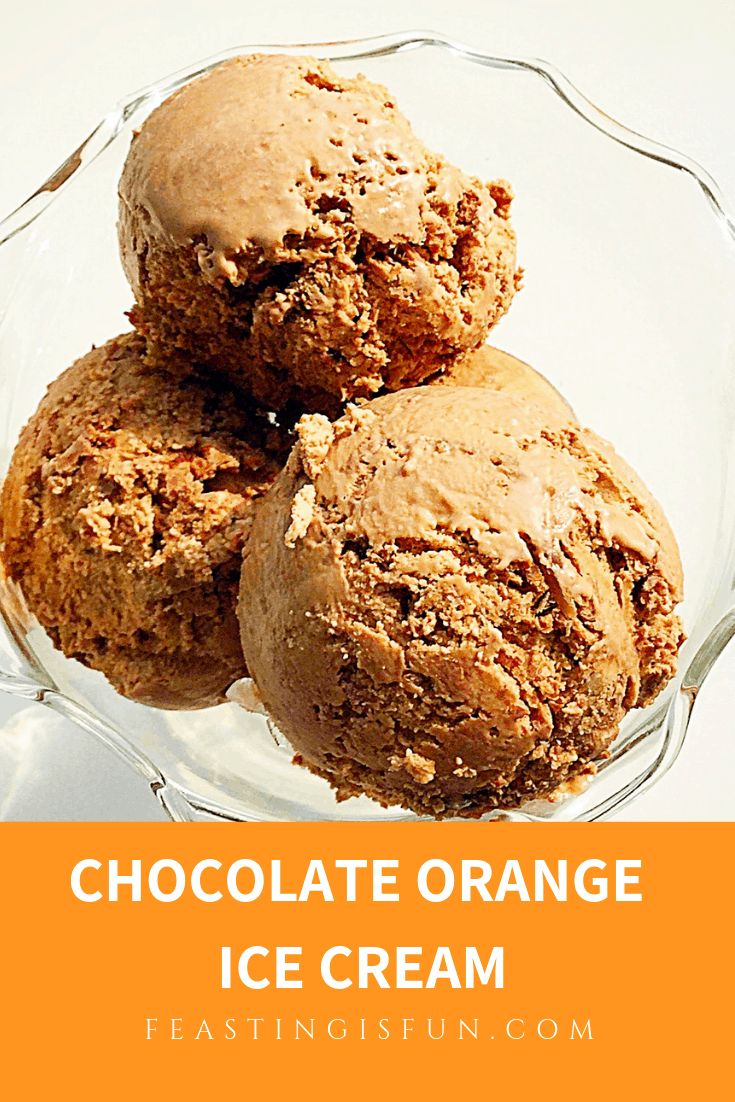
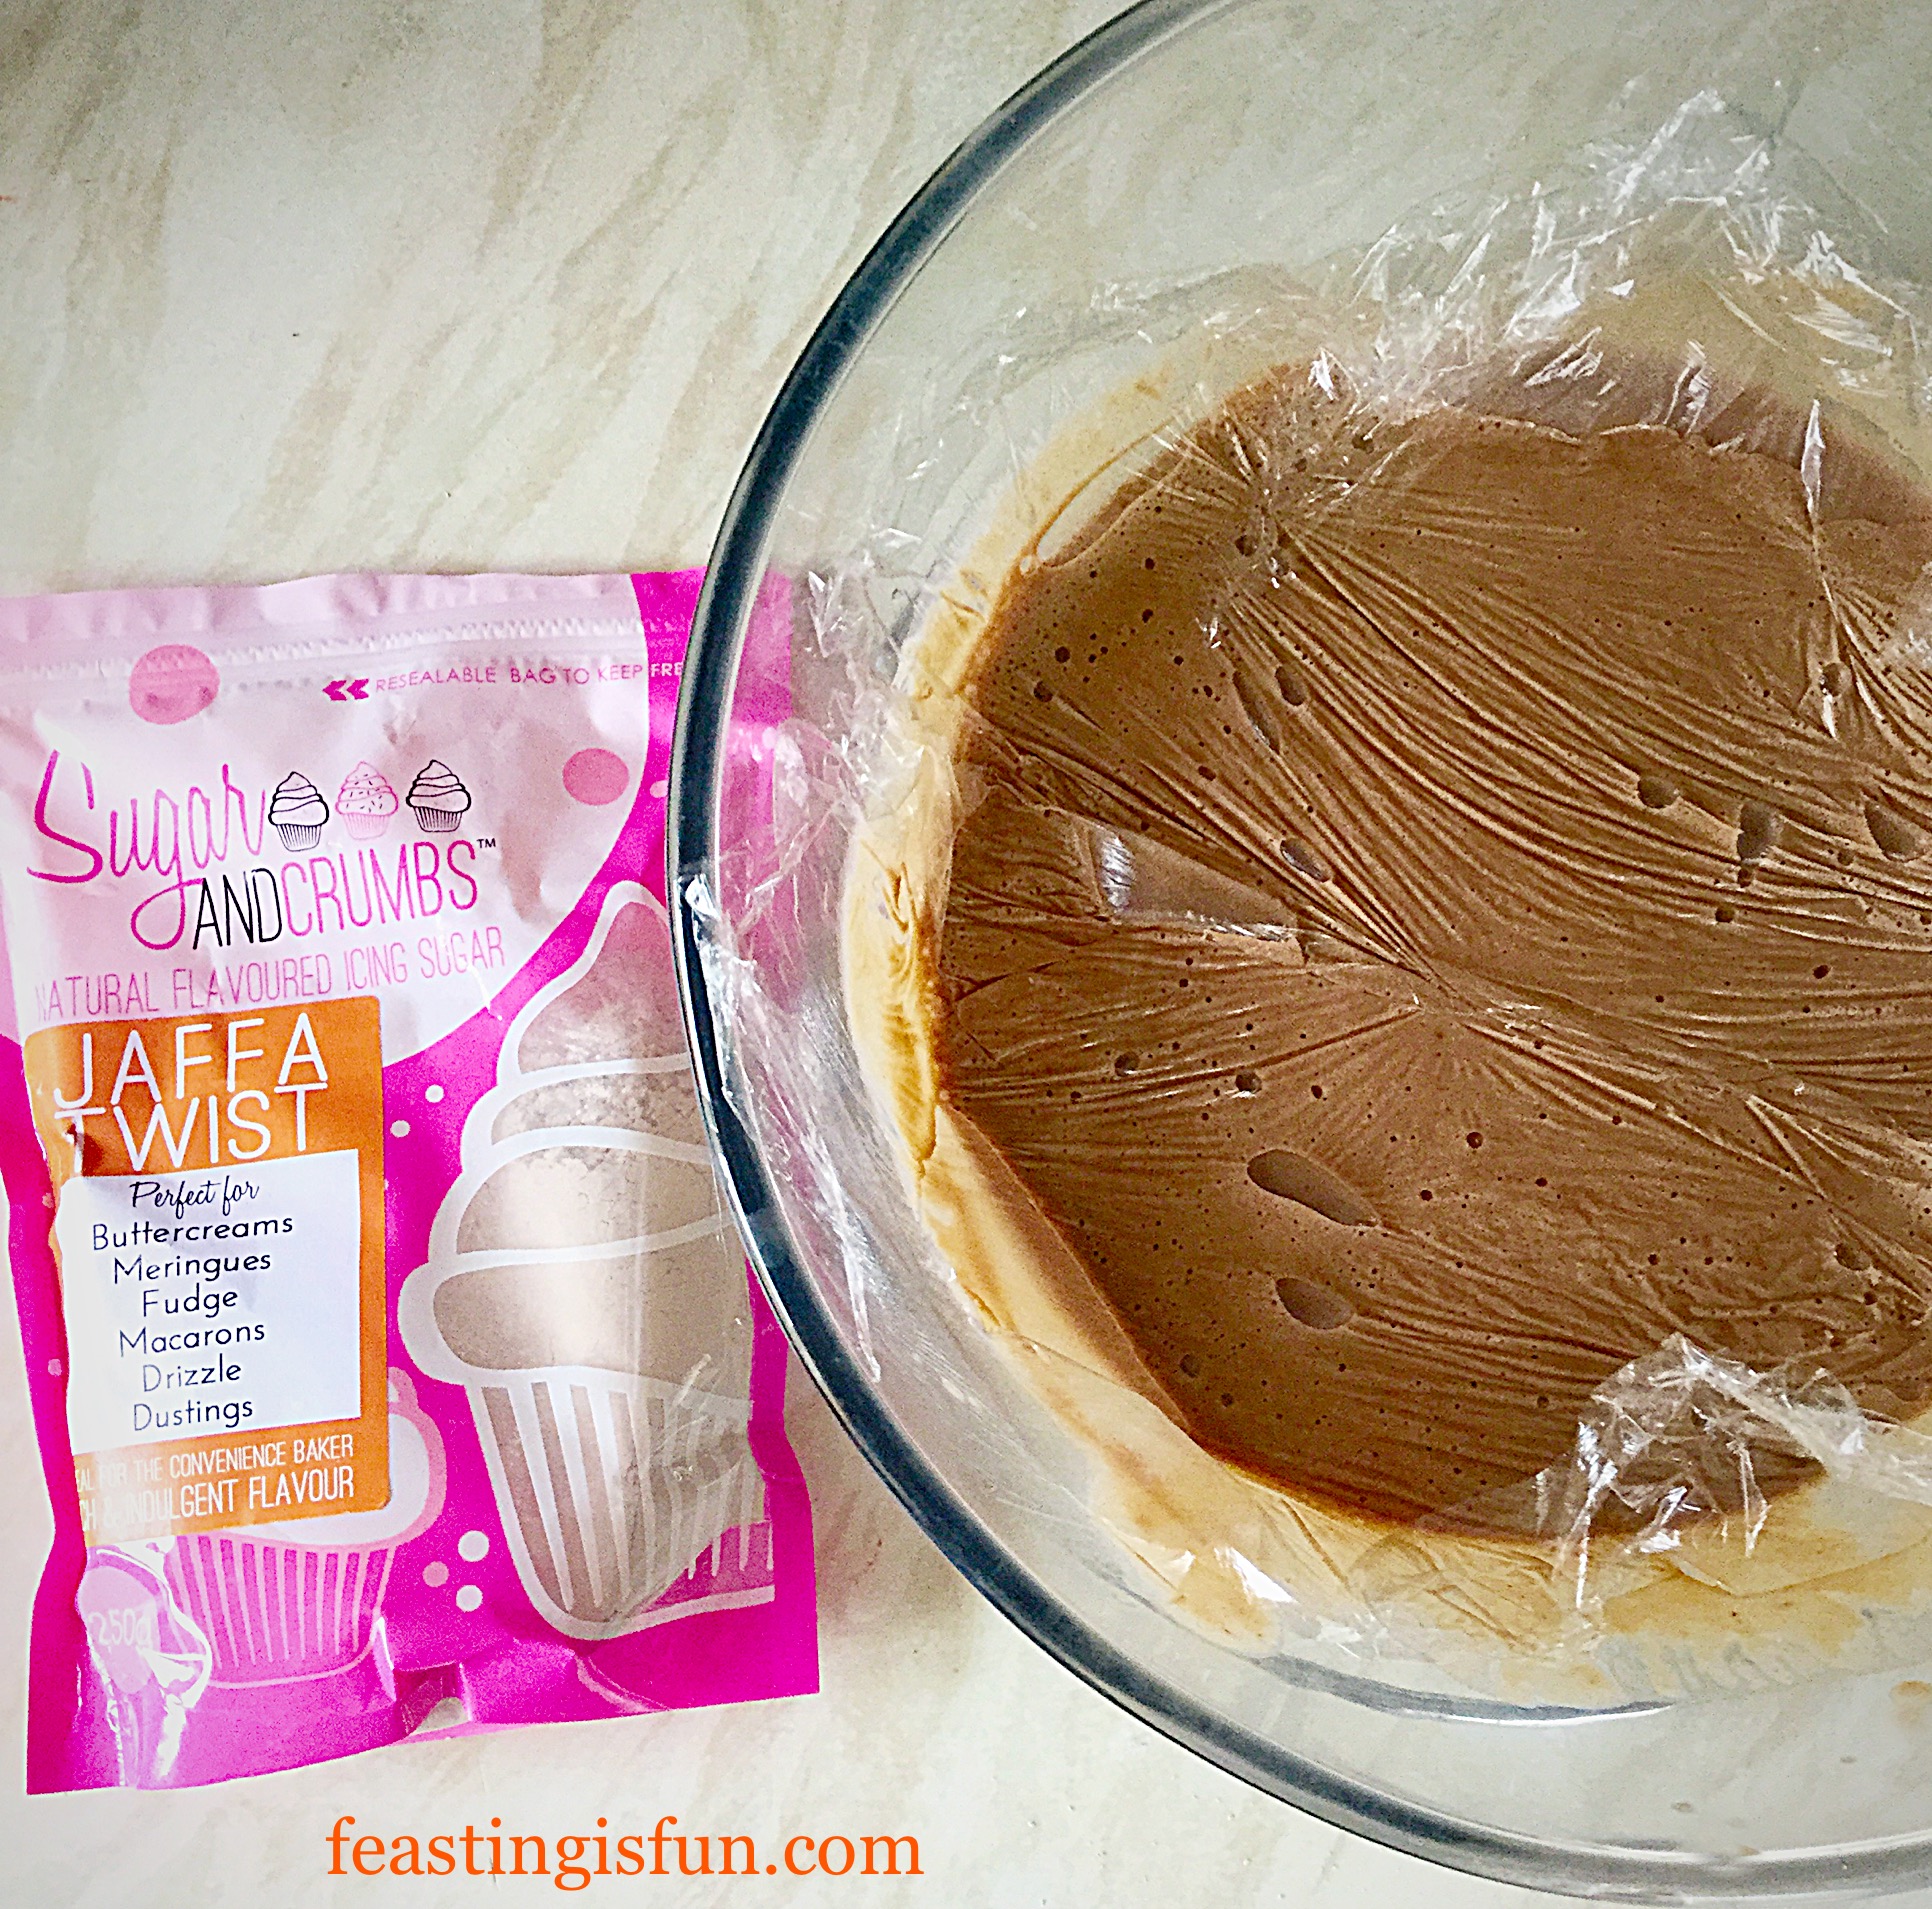
Our not so little man, more teenage strapping lad, adores Jaffa Cakes, so when Sugar and Crumbs sent me some of their Jaffa Twist Icing Powder as a gift, with an order I’d placed, I knew exactly what I was going to make with it. Can you imagine how great it felt to have my son hug me and say “Mum this ice cream tastes just like Jaffa Cakes”?
He had absolutely no idea what ingredients I’d used, which is rare as he loves being in the kitchen cooking alongside me. So 10 out of 10 for Sugar and Crumbs in the flavour department. Also, I used a Lindt Intense Orange Chocolate Bar to create a chocolate ganache ripple that runs through the Chocolate Orange Ice Cream.
Why An Ice Cream Maker Is Worth The Space In Our Kitchens
Making the chocolate orange custard was simple, I simply switched the caster sugar for Jaffa Twist Icing Sugar. Churning the Chocolate Orange Ice Cream in an ice cream maker ensures that the finished product is silky smooth, the result of smaller ice crystals forming during the churning process. For around £25 it really is a worthwhile investment.
I am thrilled with the Which Best Buy Ice Cream Maker from Andrew James. It’s really straightforward to use & more importantly, from past experience, clean! It’s actually faster at freezing the ice cream than my old model & the freezing bowl takes up very little space in our freezer. If you are looking to purchase an ice cream machine, I thoroughly recommend this one.

If you wanted to add a splash – tablespoon or two of your favourite orange liquer, the result would be a slightly softer set ice cream that is perfect served in pretty bowls, for dessert, when entertaining. Or alternatively you could reserve the chocolate ganache and pour whilst still warm over the cold Chocolate Orange Ice Cream. See with homemade ice cream the possibilities really are limitless!
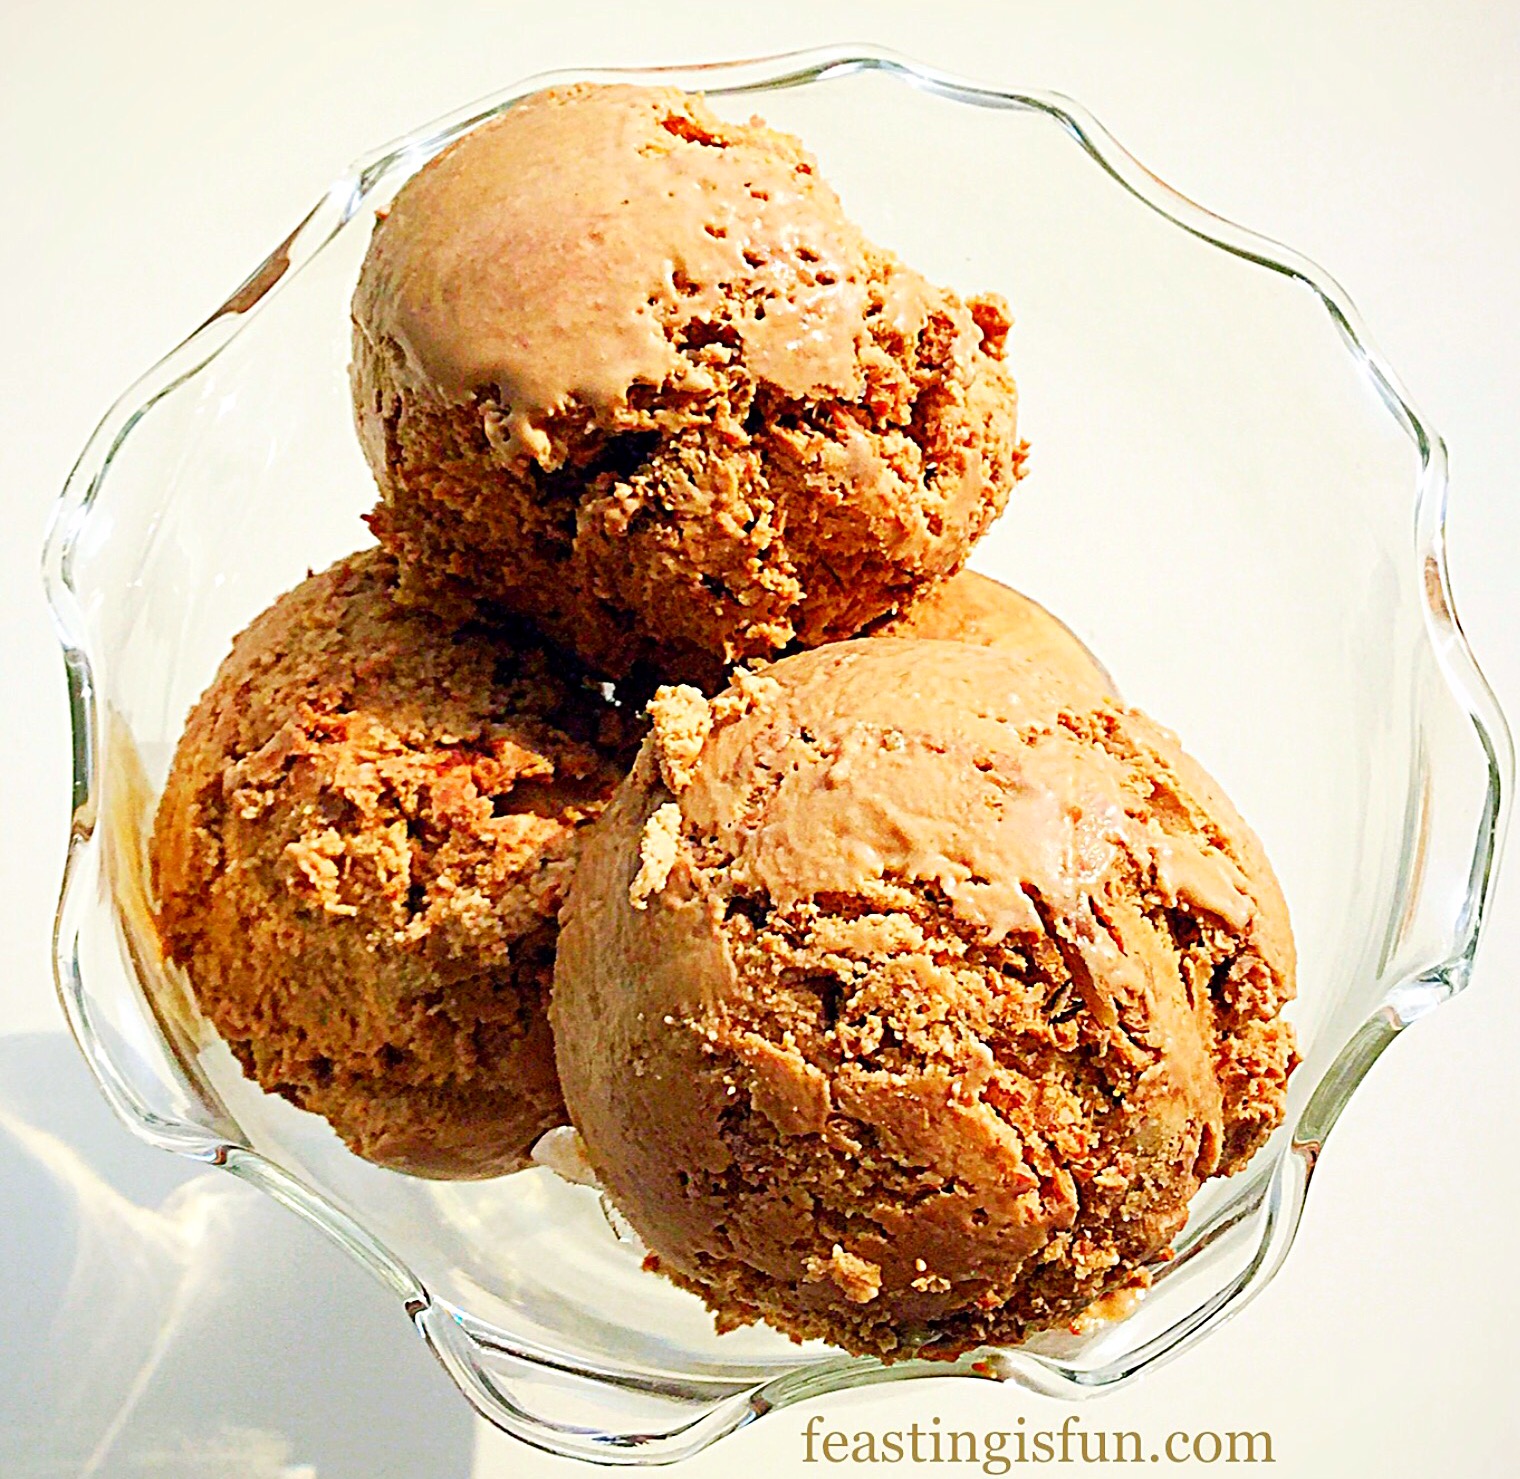
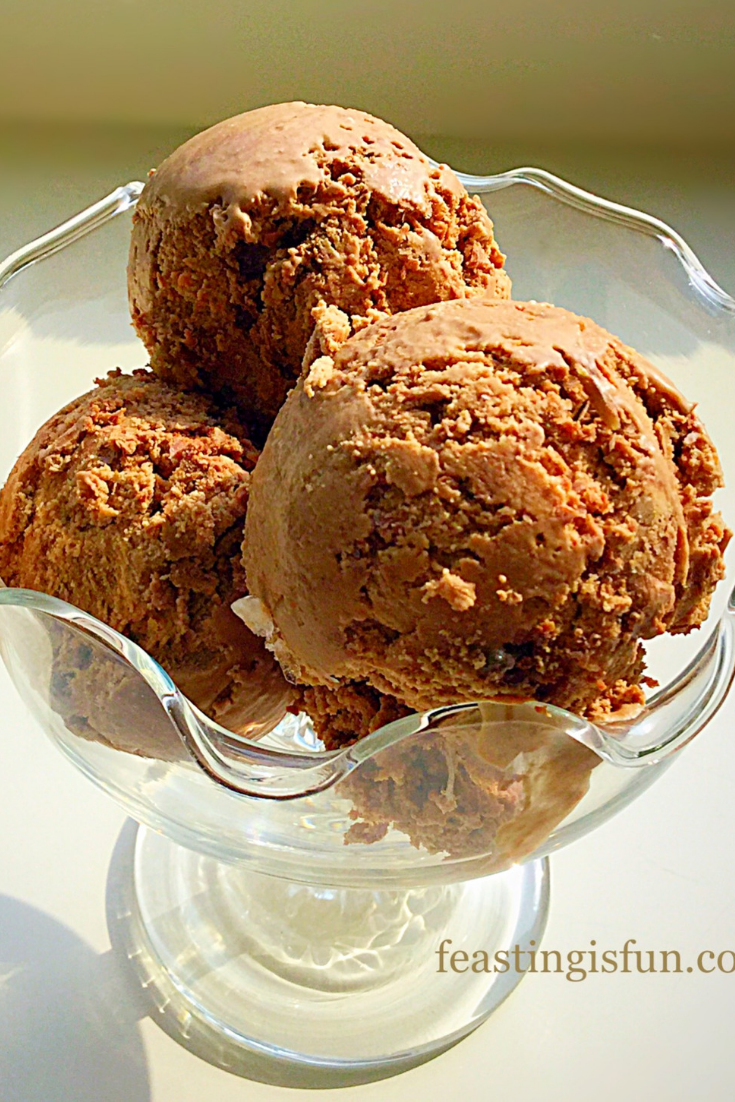
Served in bowls or scooped into cones this Chocolate Orange Ice Cream is sure to be a huge hit with all Chocolate Orange lovers.
Recipe: Makes 750ml Chocolate Orange Ice Cream
400ml Double Cream
300ml Milk – whole or semi-skimmed
4 Large Free Range Egg Yolks – the whites can be frozen for 1 month – ideal to make my Lemony Strawberry Pavlova
6tbsp Jaffa Twist Icing Sugar by Sugar and Crumbs alternatively use 6tbsp of caster sugar (super fine sugar) and add 3tbsp Cocoa Powder 1/2tsp orange extract
1tsp Corn Flour – I use Doves Farm as it is certified gluten free
1/2tsp Vanilla Extract – I use Nielsen-Massey
100g Bar Lindt Intense Orange Chocolate Bar
Method: Place the freezing compartment of your ice cream maker into the freezer 24 hours prior to making this recipe.
Note: For photographic step by step instructions please see Very Vanilla Ice Cream
Making The Chocolate Orange Ice Cream Base
- In a large heavy bottomed saucepan add the milk, 300mls of the double cream and the vanilla extract. Heat on medium until the milk is scalded – it has not yet boiled and little bubbles appear around the rim – remove from the heat at this stage.
- In a large bowl whisk together the egg yolks, flavoured icing sugar (or cocoa powder and orange extract) and corn flour, until pale and thickened.
- As soon as the cream mixture has reached scalding point, pour the hot cream slowly down the side of the bowl, with the whisk on, into the egg mixture. Continue whisking until everything is combined. This is now a custard base for the ice cream.
- Pour the custard base back into the saucepan and heat on low, stirring continuously until the custard has thickened and coats the back of a wooden spoon.
- Remove the saucepan from the heat and pour the custard, through a sieve into a large bowl.
- Cover the custard with with cling film to stop the surface forming a skin.
- Set the custard to one side to cool and then place in the fridge to chill completely.
Making The Chocolate Orange Ganache
- Set a small saucepan with 5cm/1″ of water on to a medium heat.
- In a heatproof bowl add 100mls of double cream and the chocolate orange bar, broken into pieces.
- Place the bowl on top of the saucepan ensuring that the base of the bowl does not come into direct contact with the water – this is called a double boiler.
- Stir the chocolate and cream continuously until the chocolate has completely melted and mixed in with the cream.
- Remove the bowl from the saucepan and set to one side to cool.

Churning The Ice Cream Using Andrew James Ice Cream Maker
- Set your ice cream maker up according to it’s instruction booklet.
- With the Andrew James Ice Cream Maker, as with my previous model, the machine must be started prior to pouring the custard in – this prevents a thick layer of un-churned ice cream immediately freezing on contact with the freezer container.
- Transfer the custard to a jug and then, with the mixer stirring pour through the open spout.
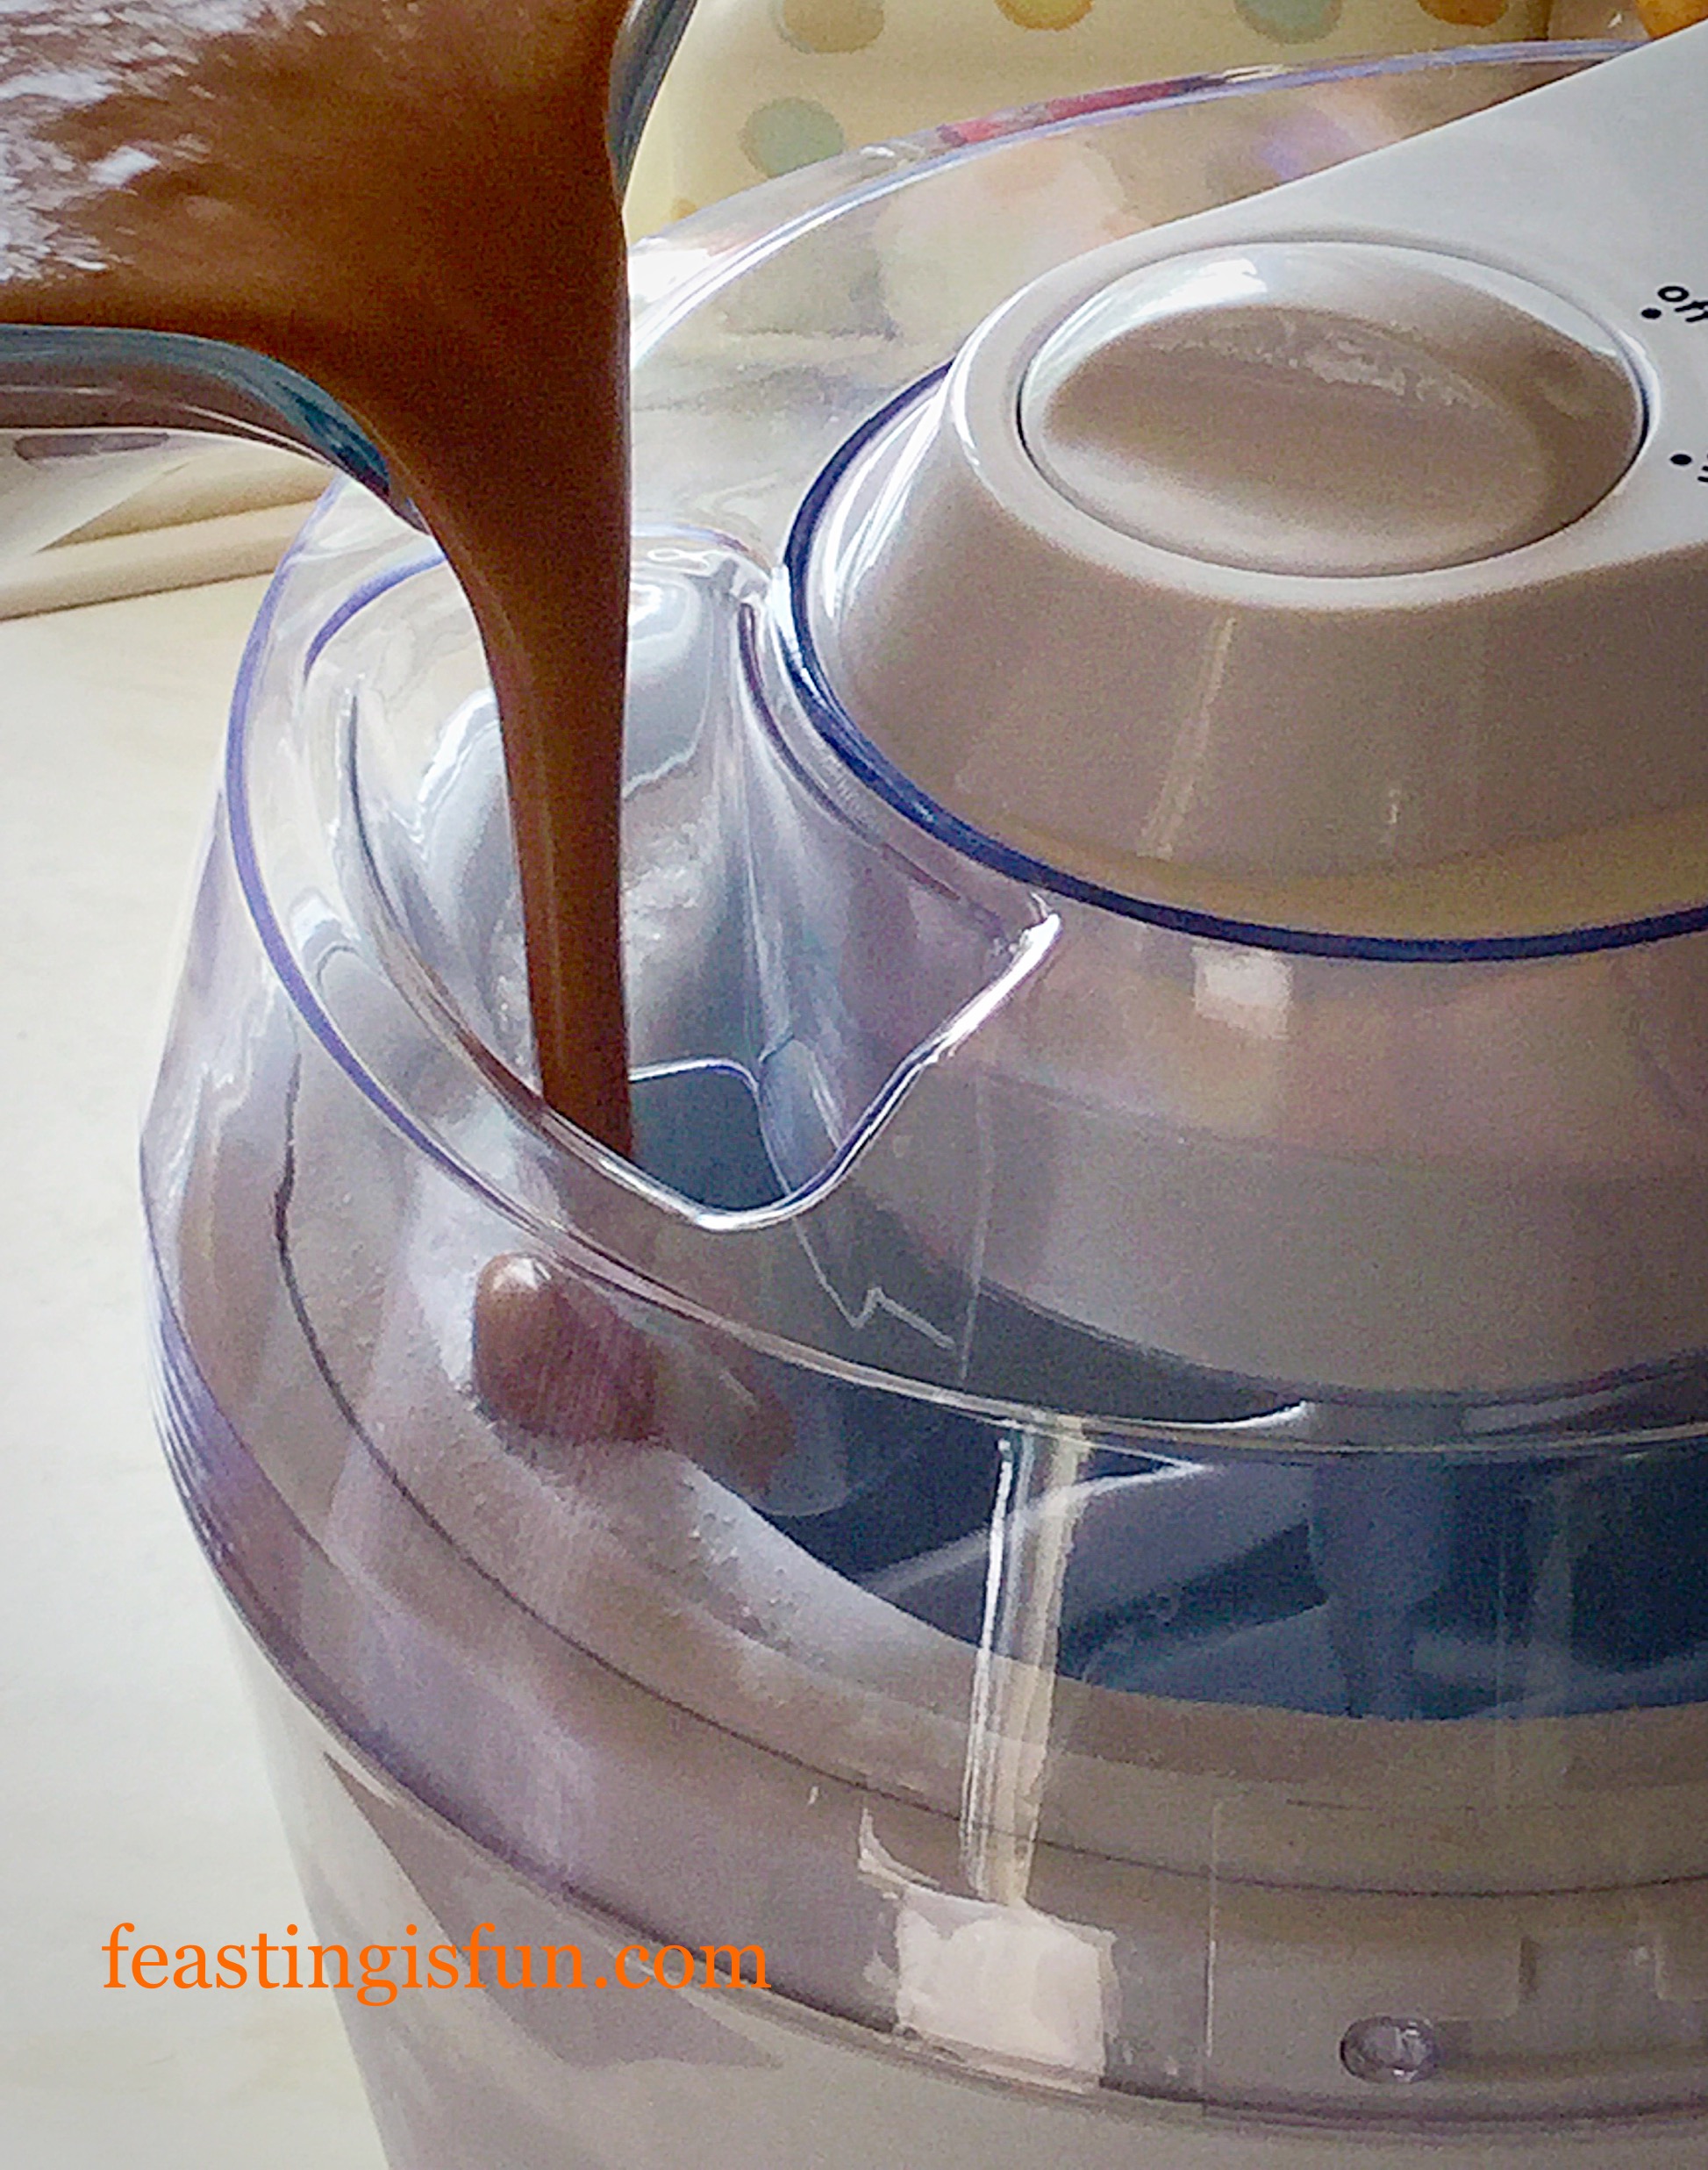
- Churn the ice cream until it is a thick, but still slightly soft ice cream.
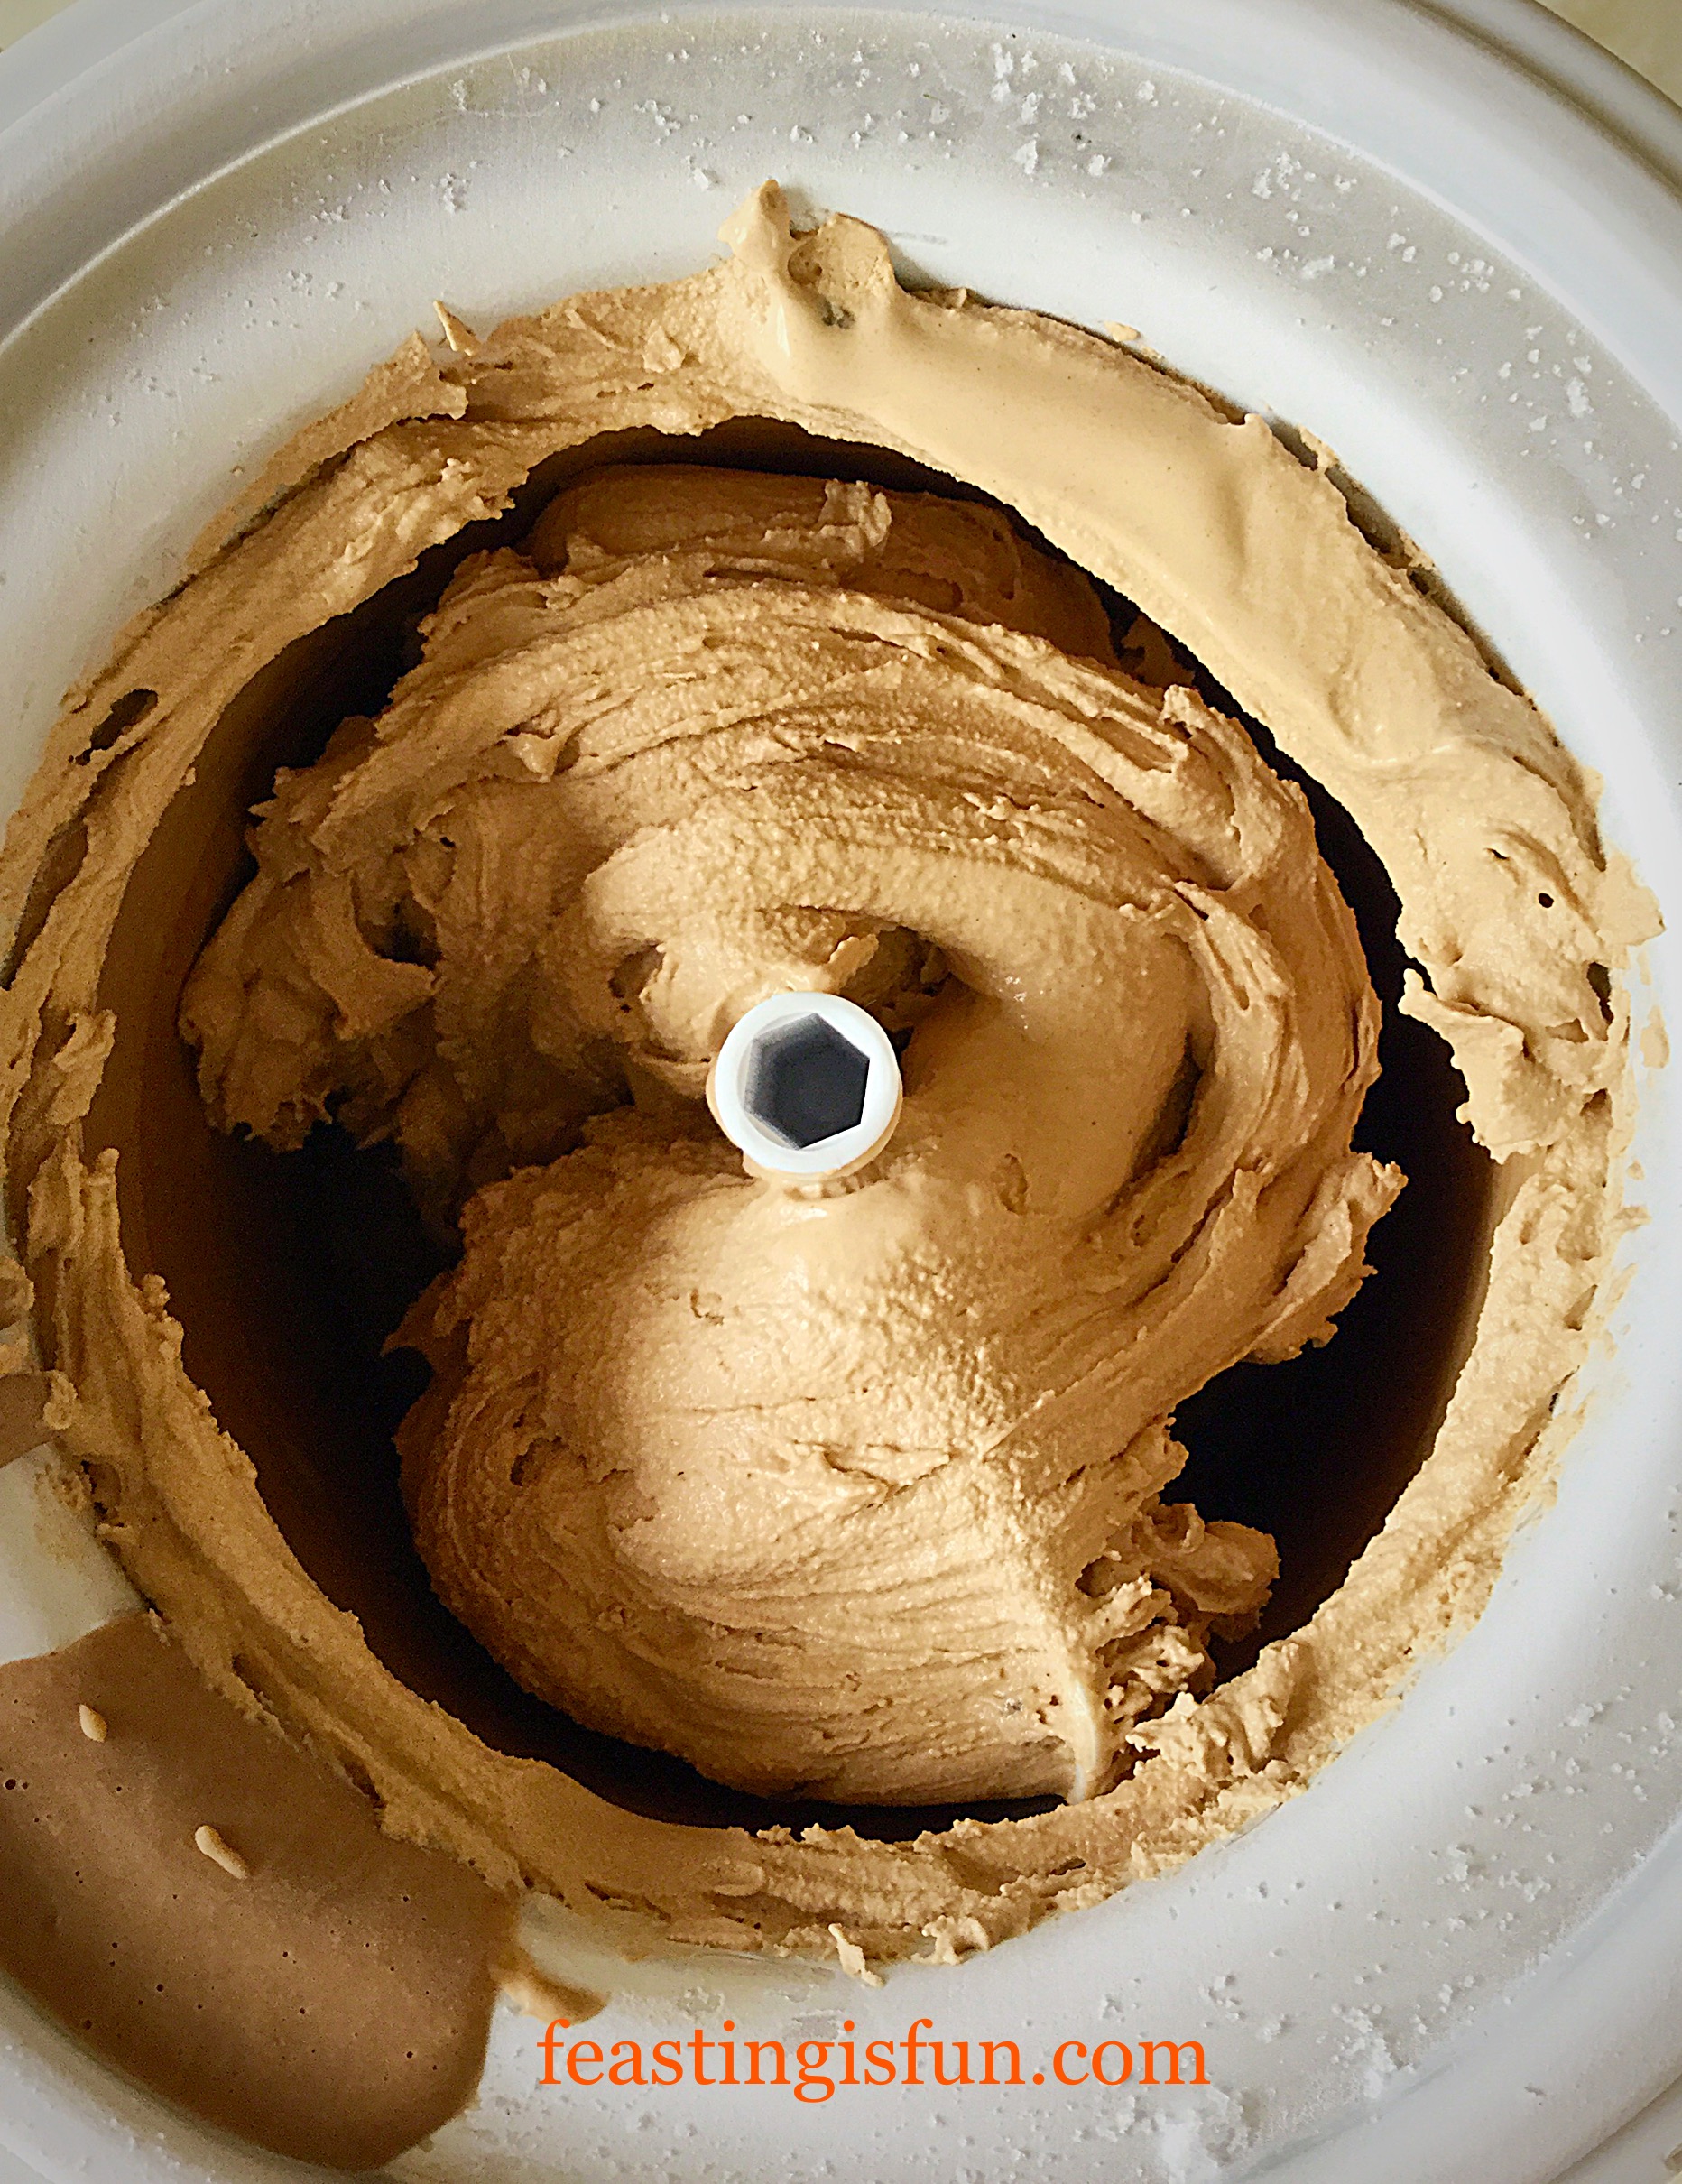
- Turn the power off on the machine and at the plug. Remove the cover and then the paddle, scape as much ice cream off of the churning paddle as you can and then lick the rest off 😉.
- Using a soft silicone spatula transfer the ice cream to a suitable, freezer proof tub.
Adding The Chocolate Orange Ganache
- Pour over the cooled chocolate ganache.
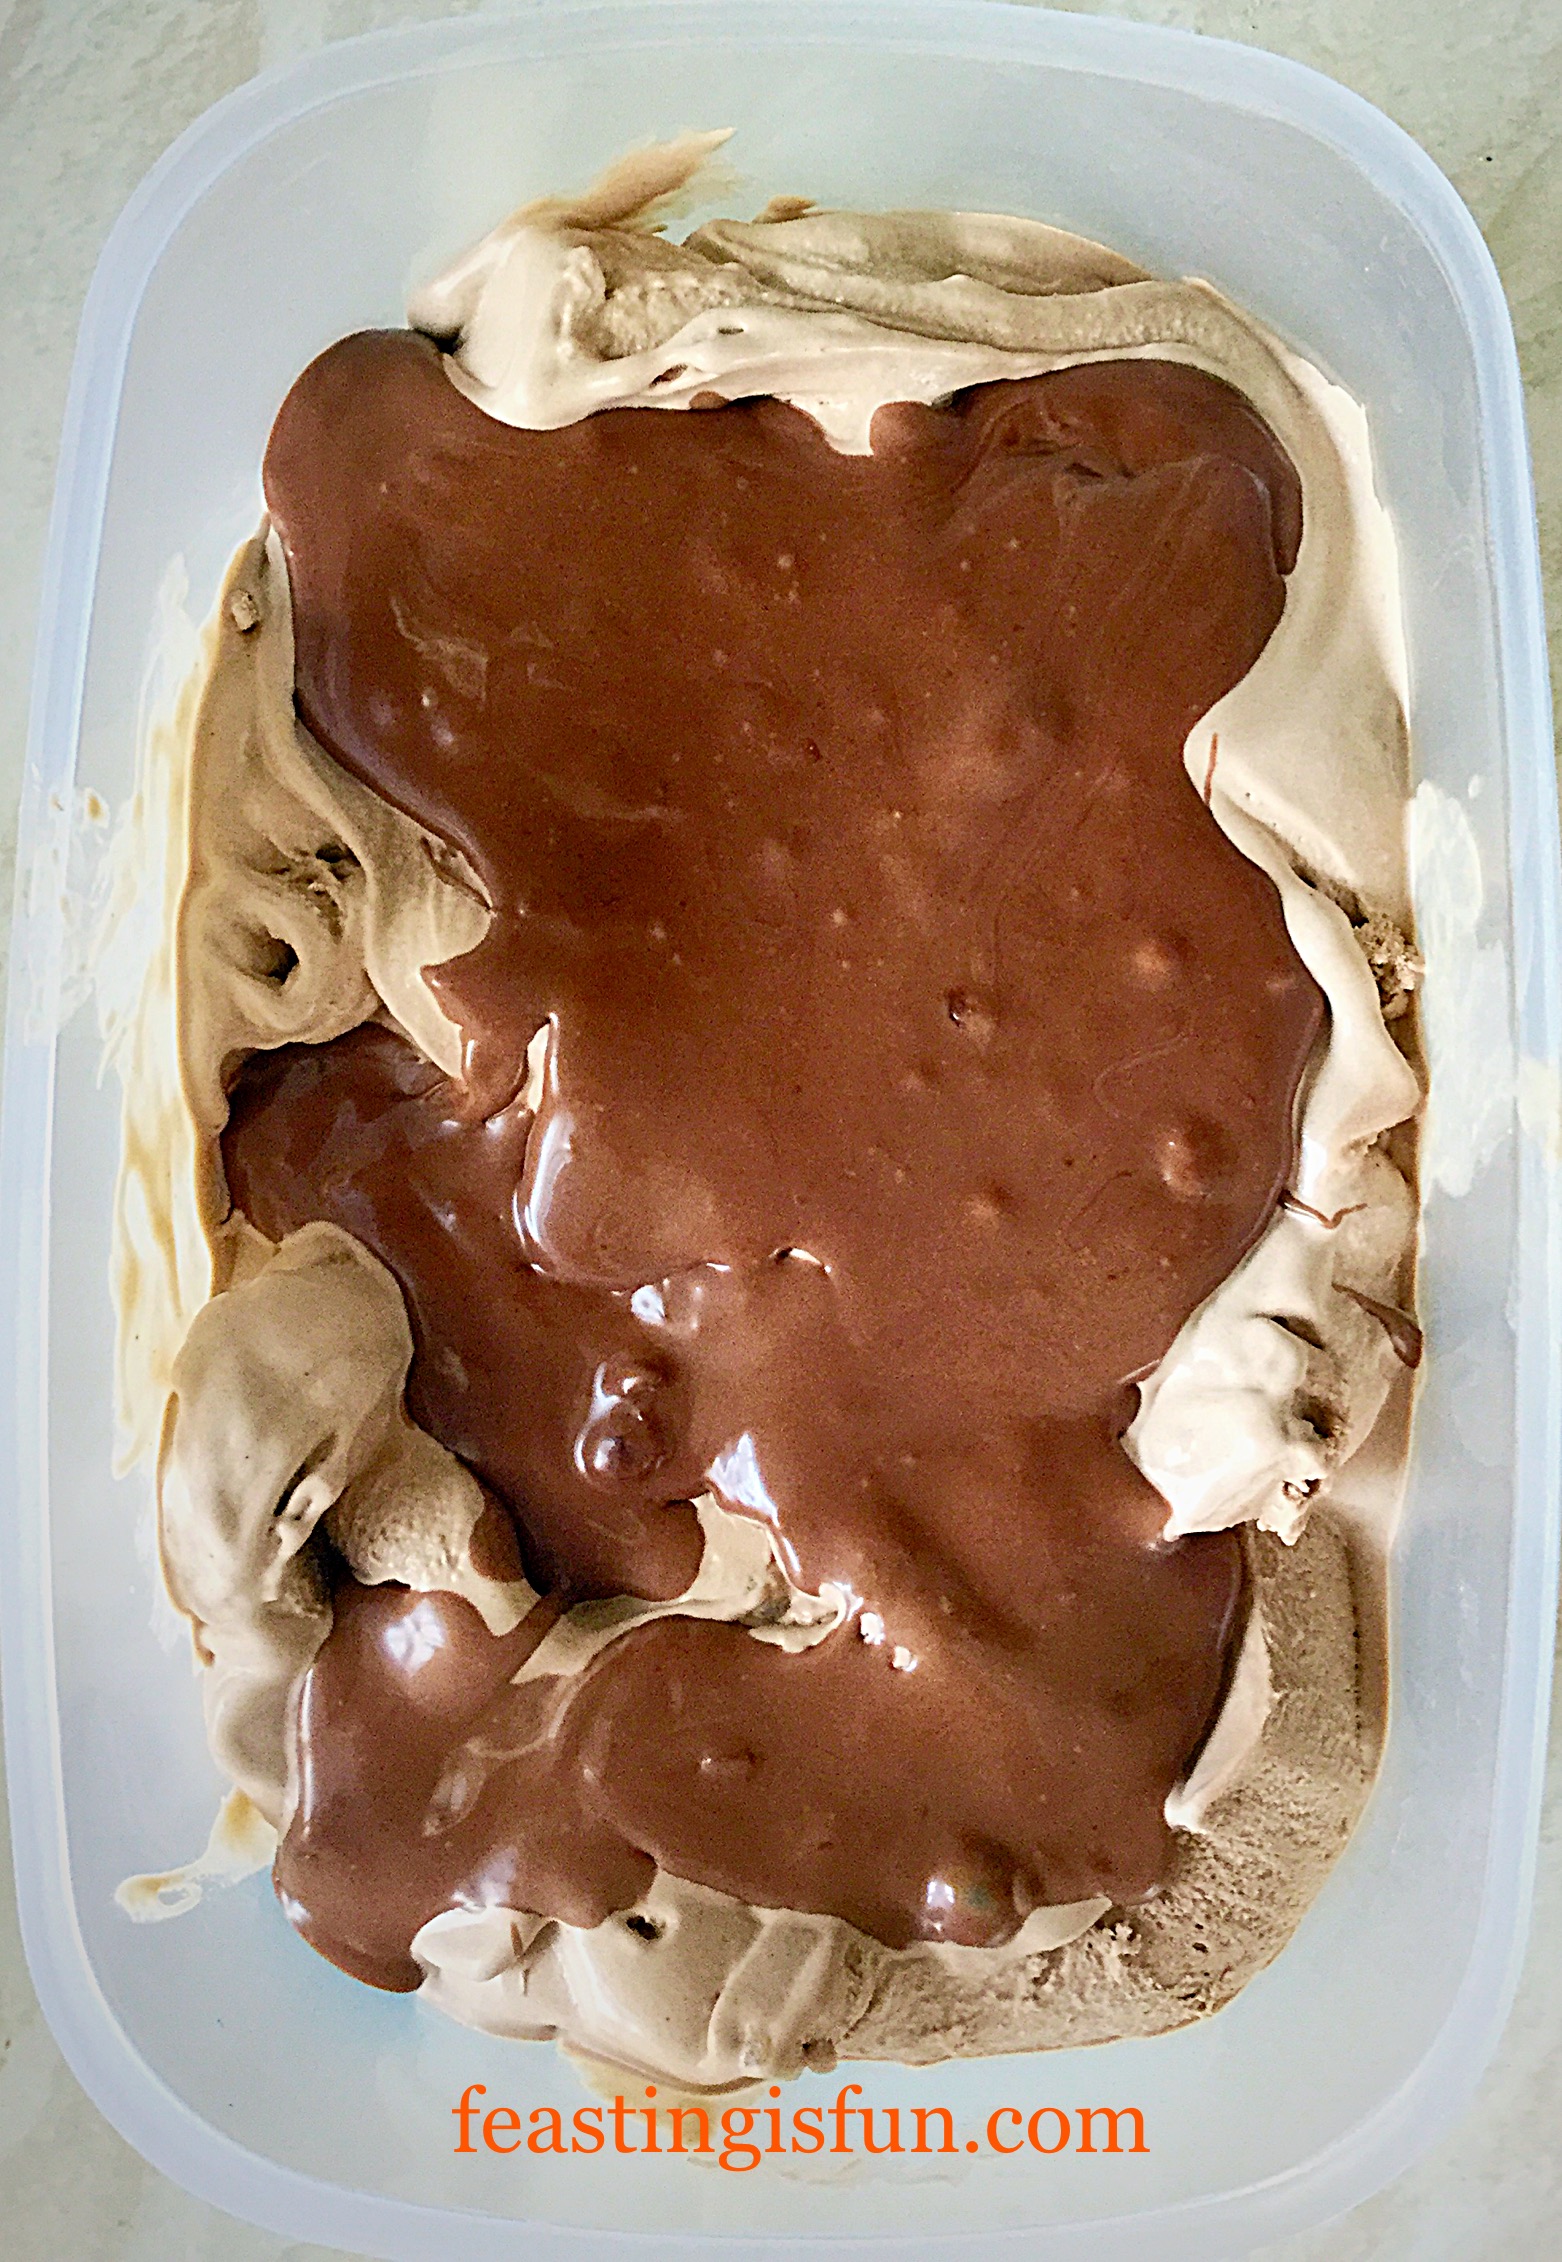
- Using the handle of a wooden spoon, or indeed the other end of the silicone spatula ripple the ganache through the Chocolate Orange Ice Cream.
- Pop the lid on, label and place in the freezer to finish freezing.

Remove the ice cream from the freezer 20 minutes prior to serving. Because there aren’t any artificial additives, homemade ice cream takes a little while to soften, ready to be scooped.
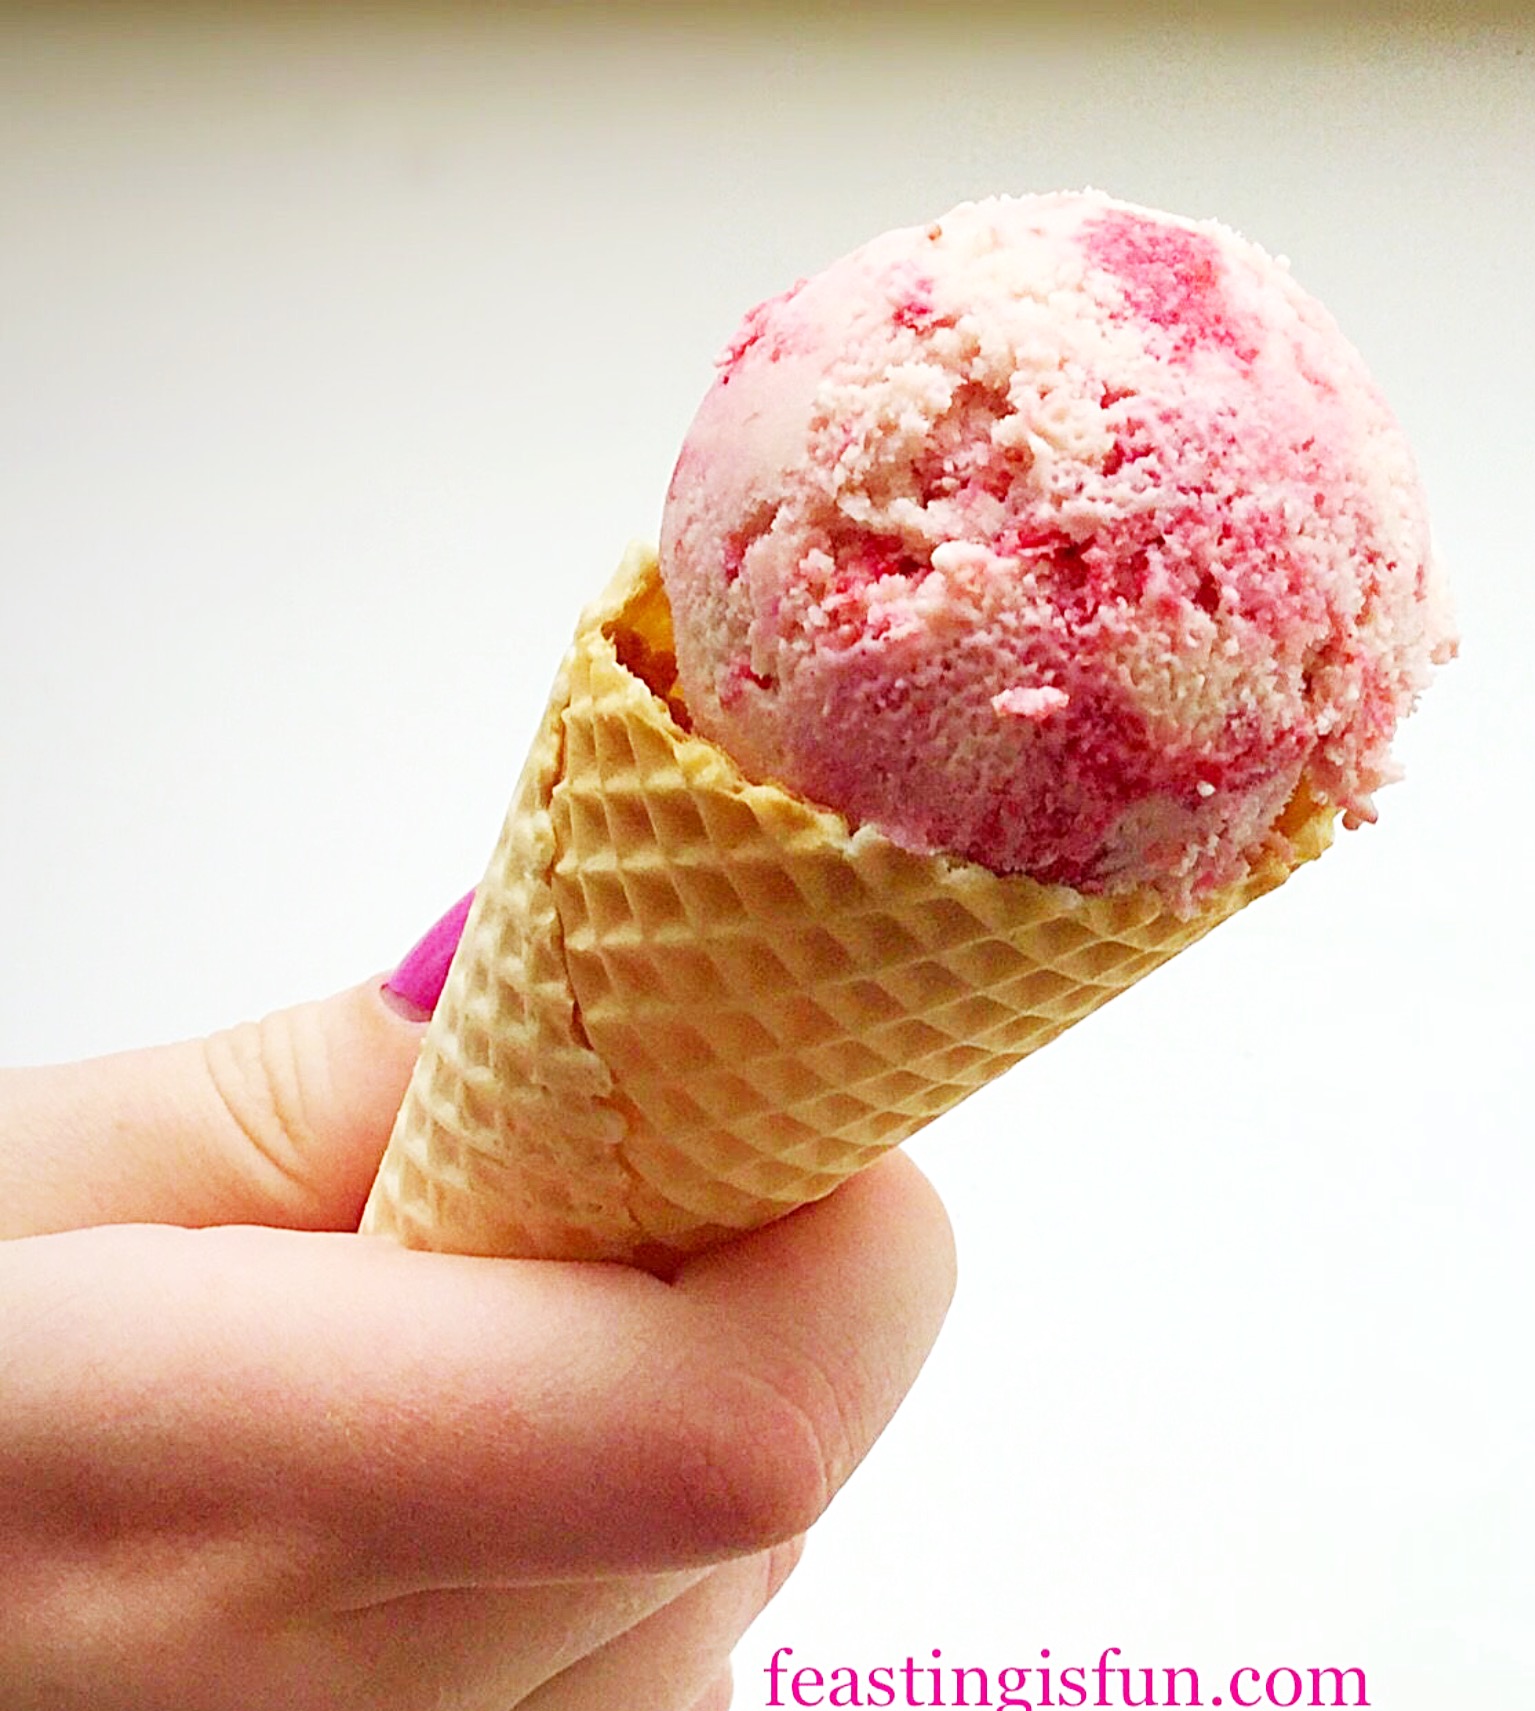
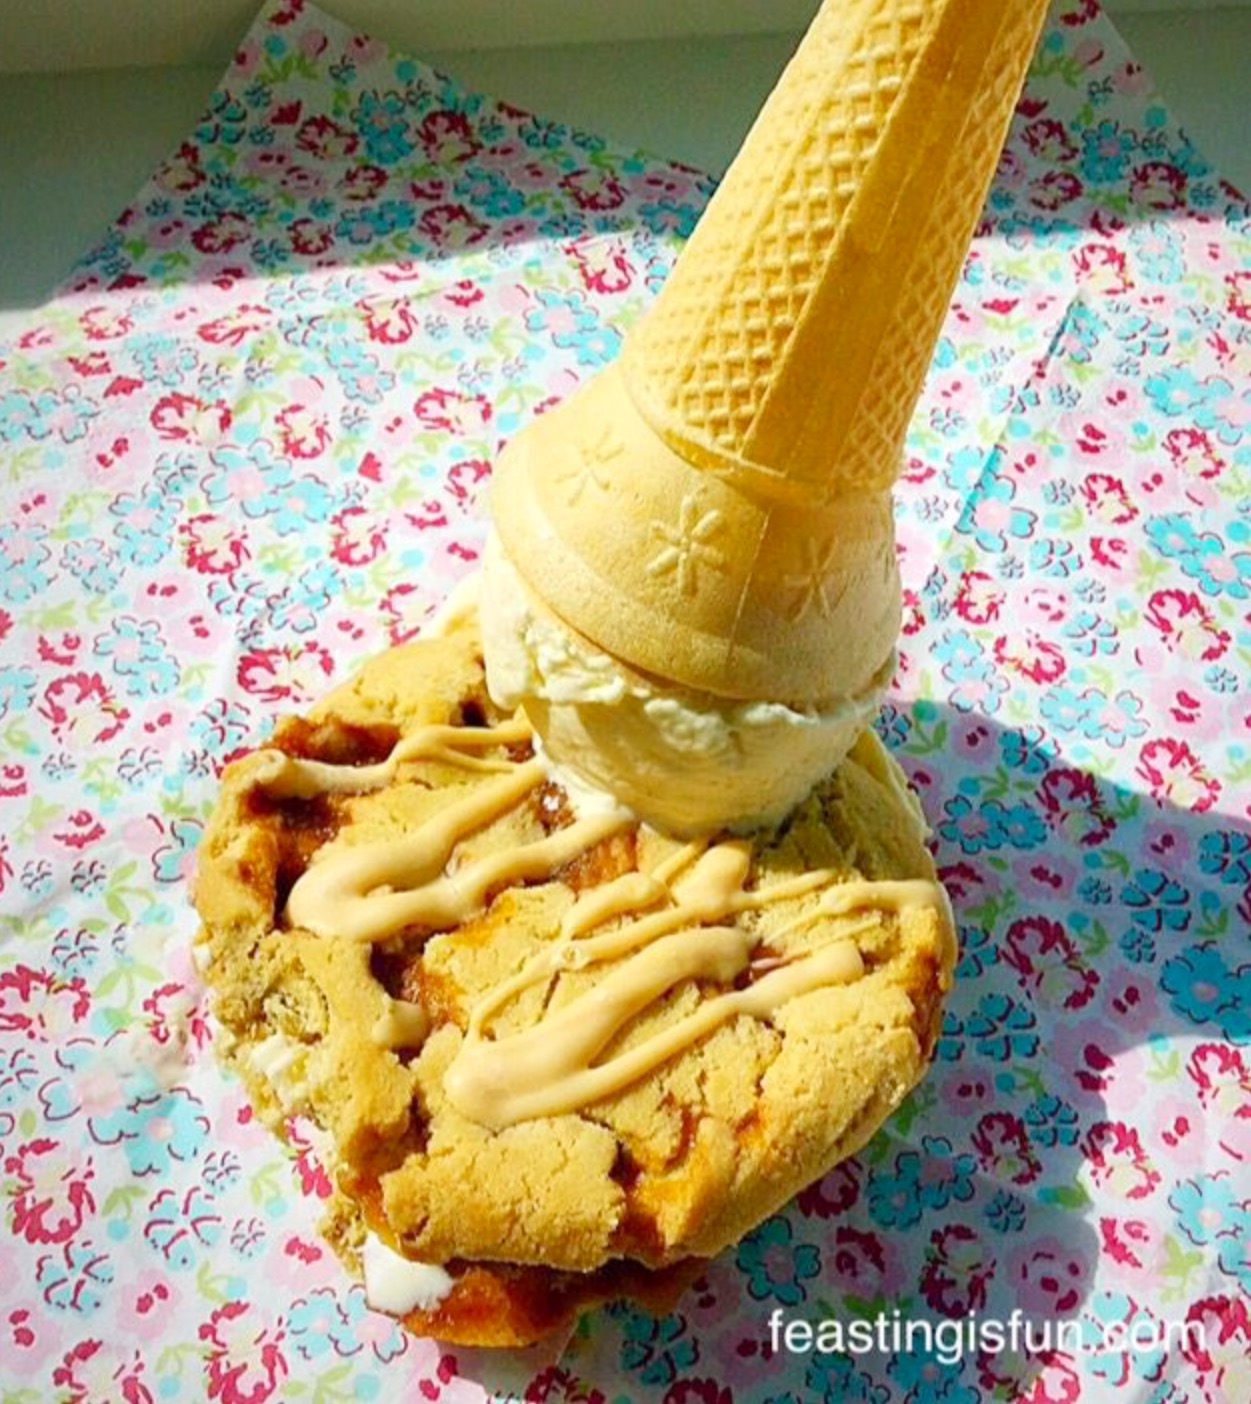
Serve scooped into bowls or cones. This is one very delicious and creamy ice cream, that should be savoured.
If the children are noisy during the summer holidays, give them a scoop full of this Chocolate Orange Ice Cream, not forgetting 2 scoops for yourself and buy yourself 10 minutes peace and quiet. Honestly nobody makes a sound when savouring this delicious treat.
Also, being homemade, you know exactly what ingredients have gone into your ice cream. In a consumer society that is increasingly interested in what goes into our food, making ice cream yourself removes any worries.
If you have enjoyed this Chocolate Orange Ice Cream Recipe, here are some others you may like too:
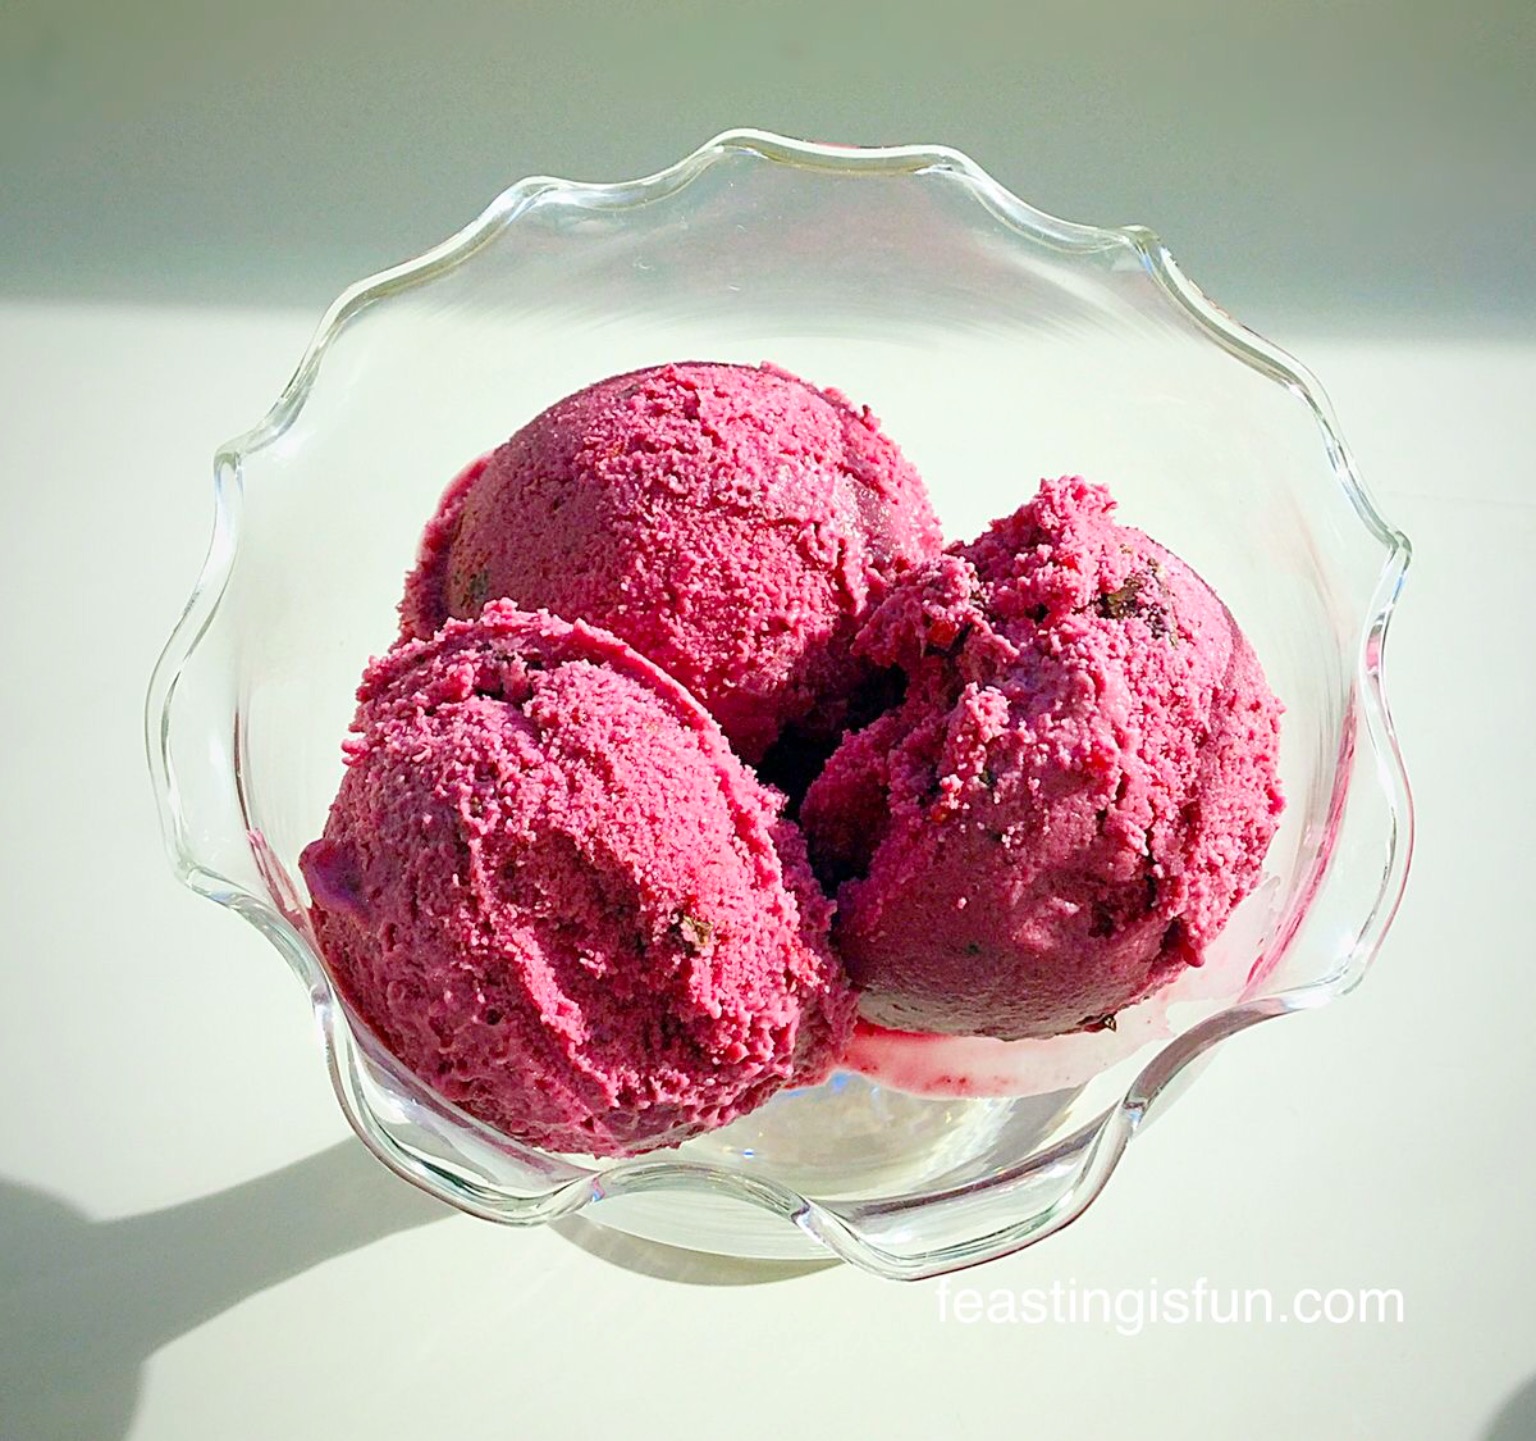
Blackberry Chocolate Chunk Ice Cream
Ice Cream is such a wonderful year round treat, yet during the Summer heat it is also very cooling. When it is very hot I quite often have just a cone with a couple of scoops of homemade ice cream. Knowing I have used fresh produce, including fruit, I am happy with my choice.
I have never believed in ‘good’ and ‘bad’ food. Preferring a balanced diet, with a heavy emphasis on homemade food, has ensured that over the years, not withstanding medication, my weight has always been fairly stable.
Do you struggle with guilt about food? I know a lot of people do and I am absolutely not here to judge you.
So, whatever you are making, baking and creating in your kitchens, have fun preparing and sharing your feast.
Sammie xx
Andrew James provided me with this ice cream maker for the purposes of a review. All opinions, views, content and photography is my own. Sugar and Crumbs sent me a free sample of their Jaffa Twist Icing Sugar with an order that I paid for. I have not been paid or reimbursed for writing this post, please see my Disclosure Policy.
Share