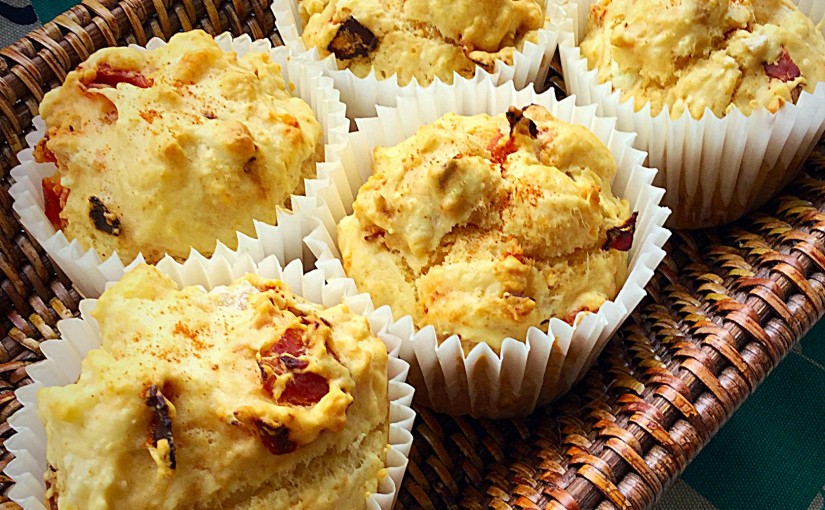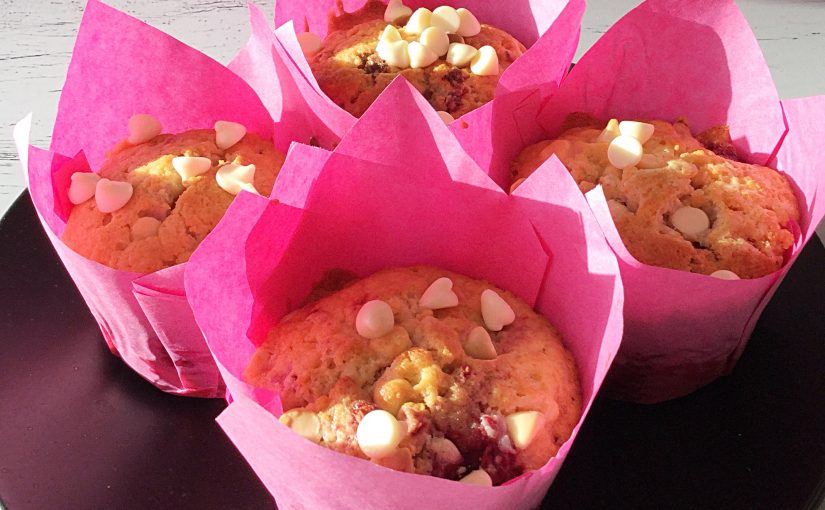
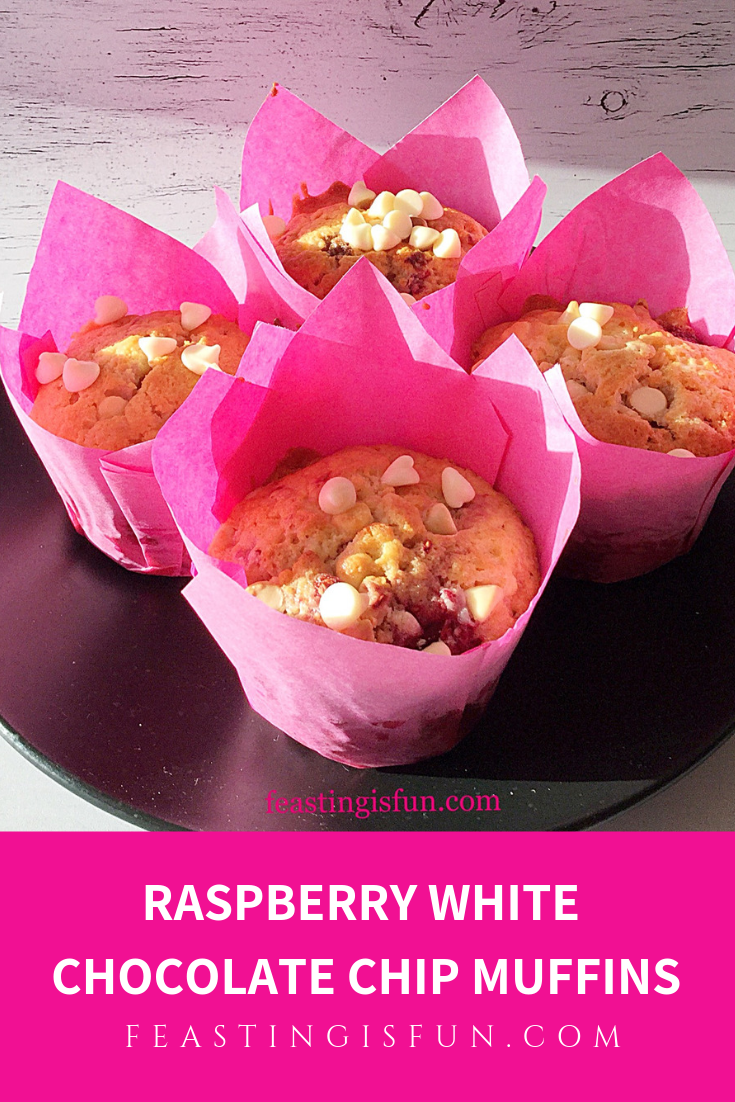
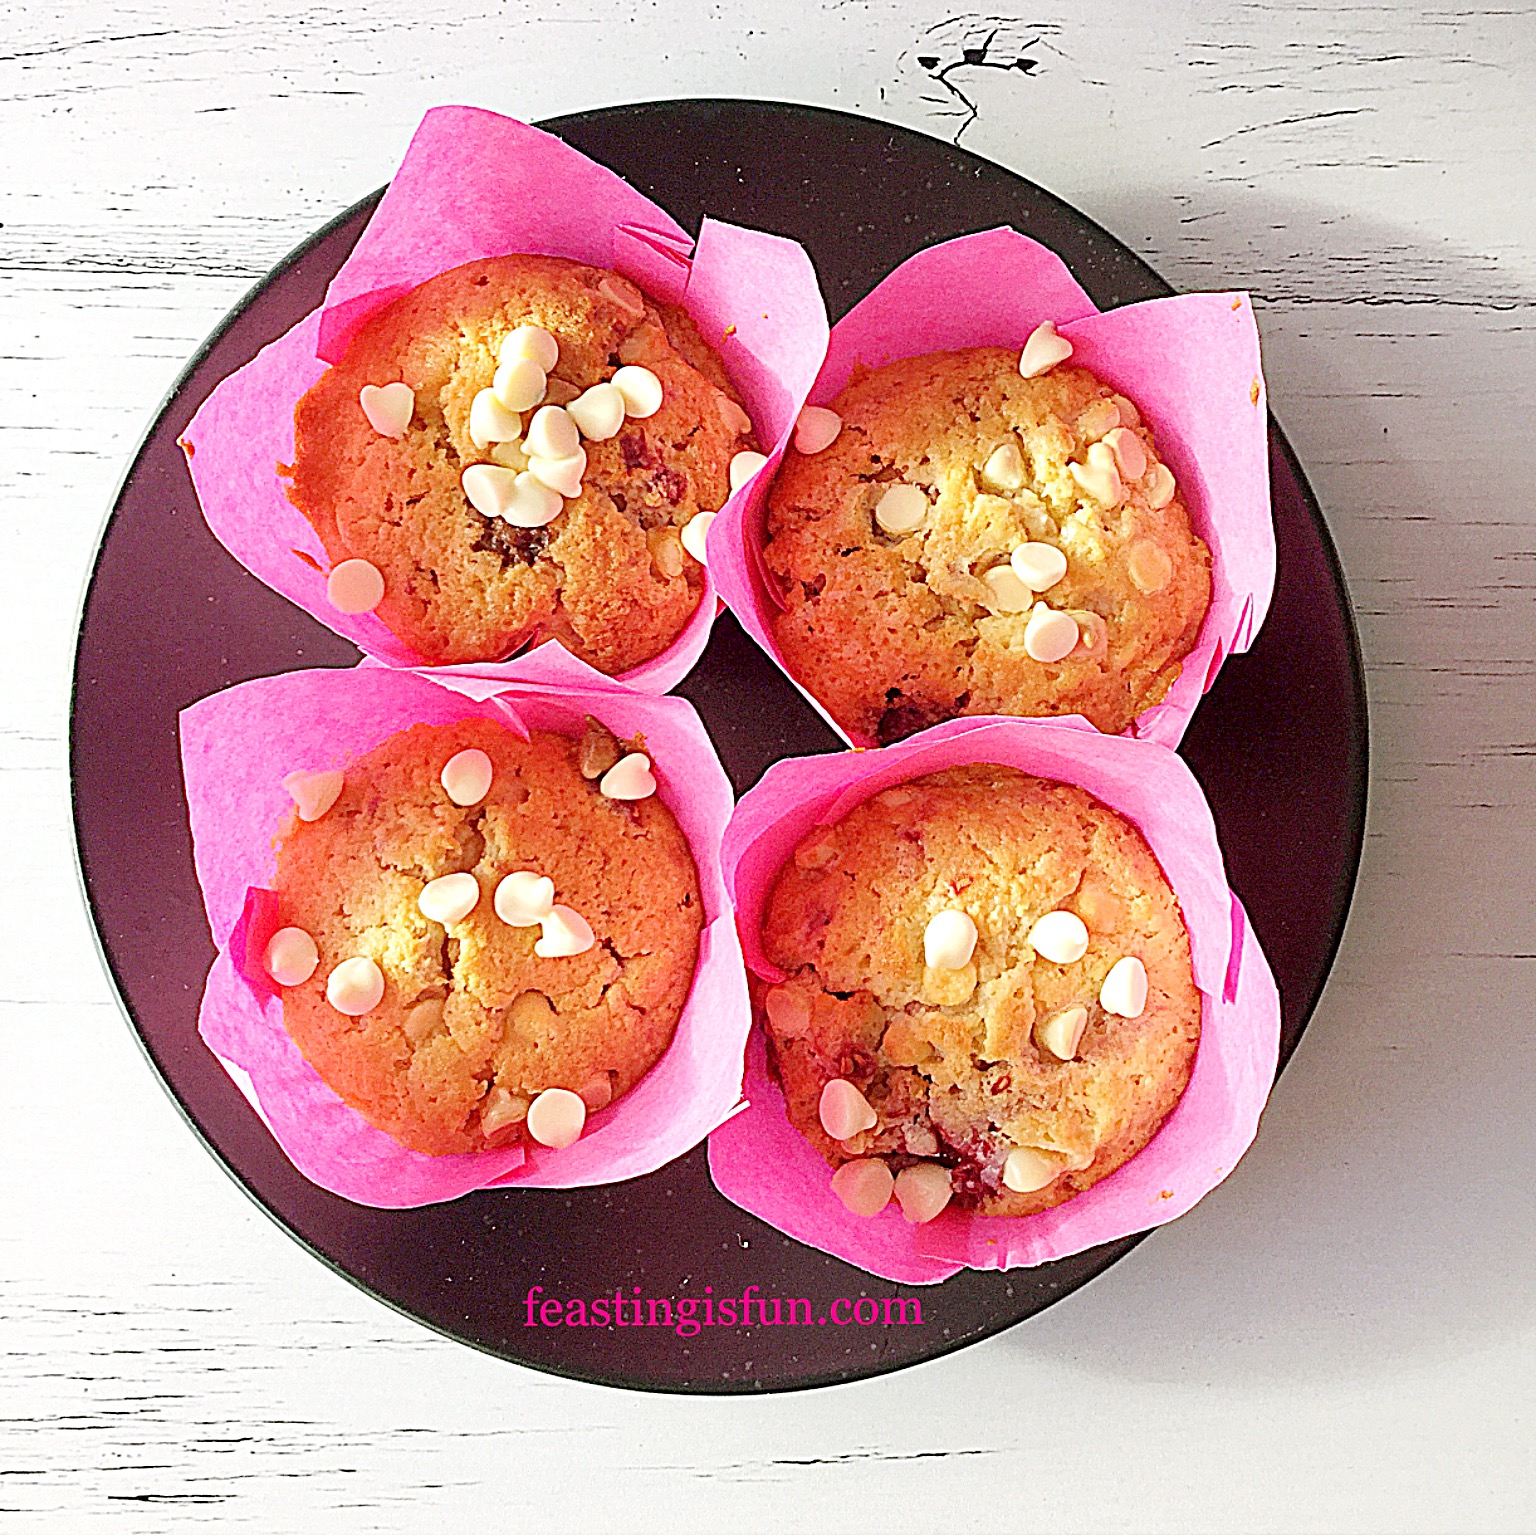
Coffee shop style muffins, it would seem, are here to stay. Big, light, tulip wrapped delights, packed full of chocolate or fruit. Why fight a trend that is clearly doing so well? Since we enjoy this style of muffin too, I have embraced everything about them and come up with my own recipes. So these Raspberry White Chocolate Chip Muffins are utterly delicious.
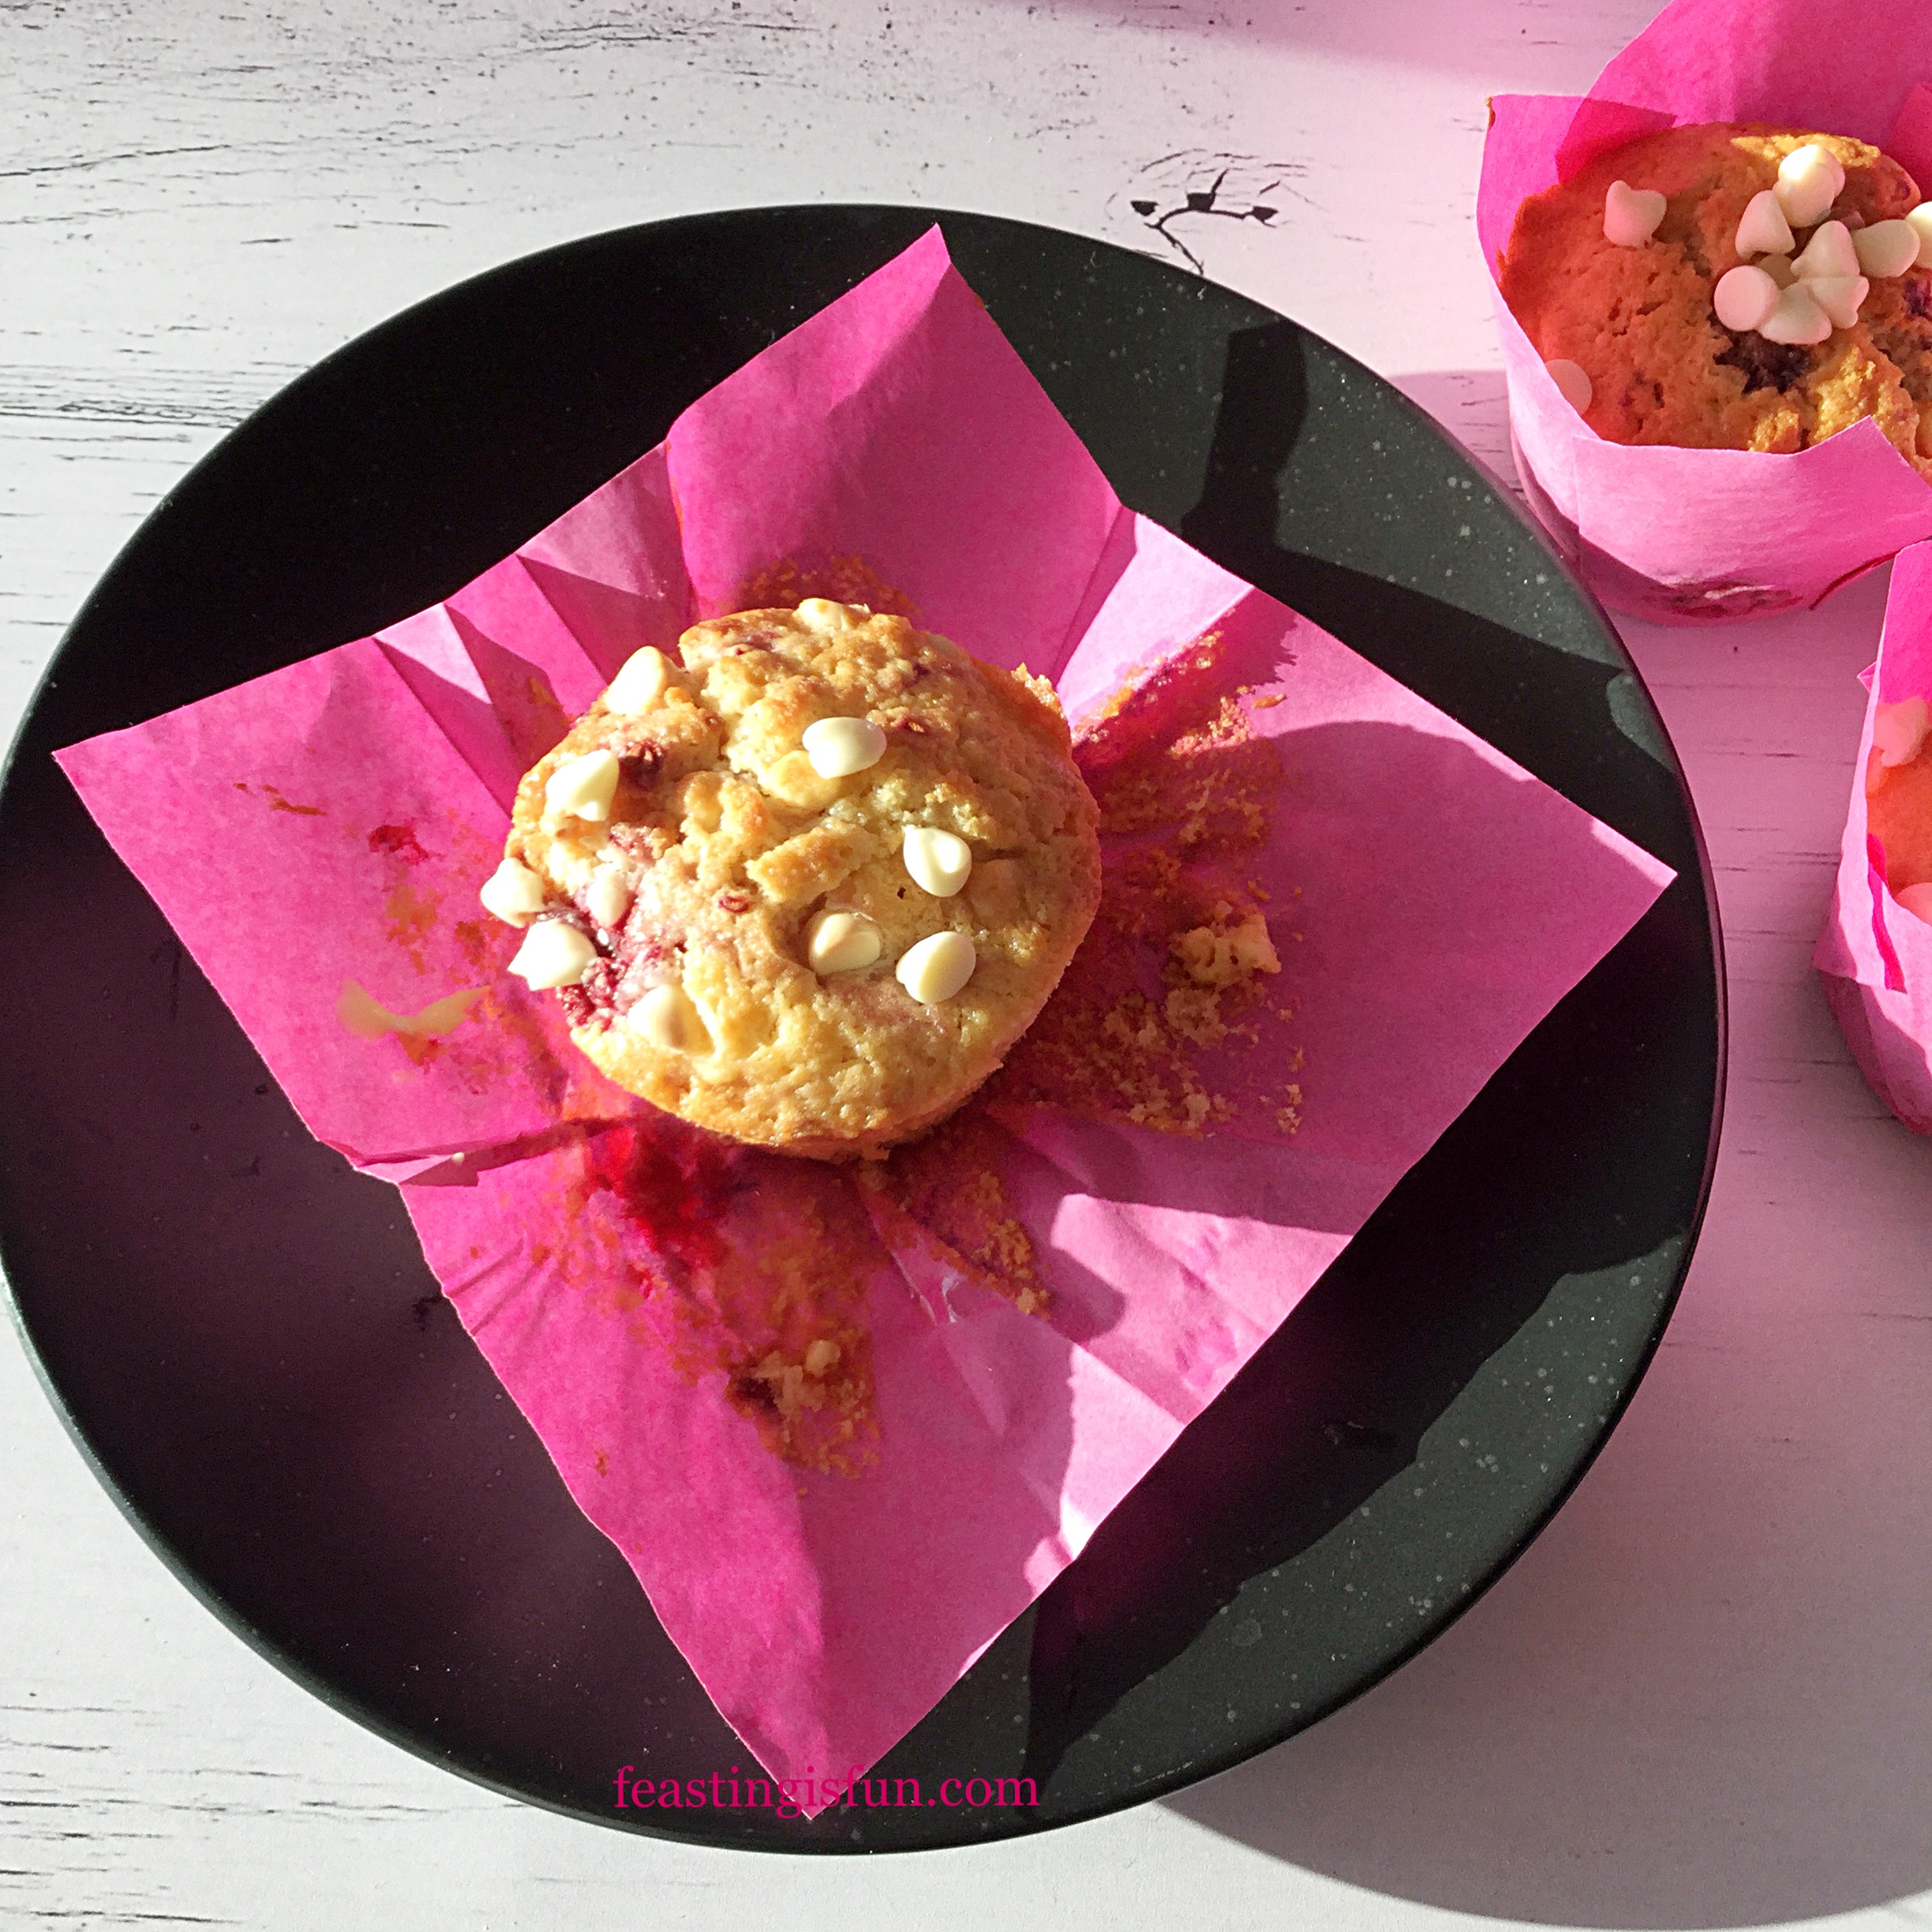
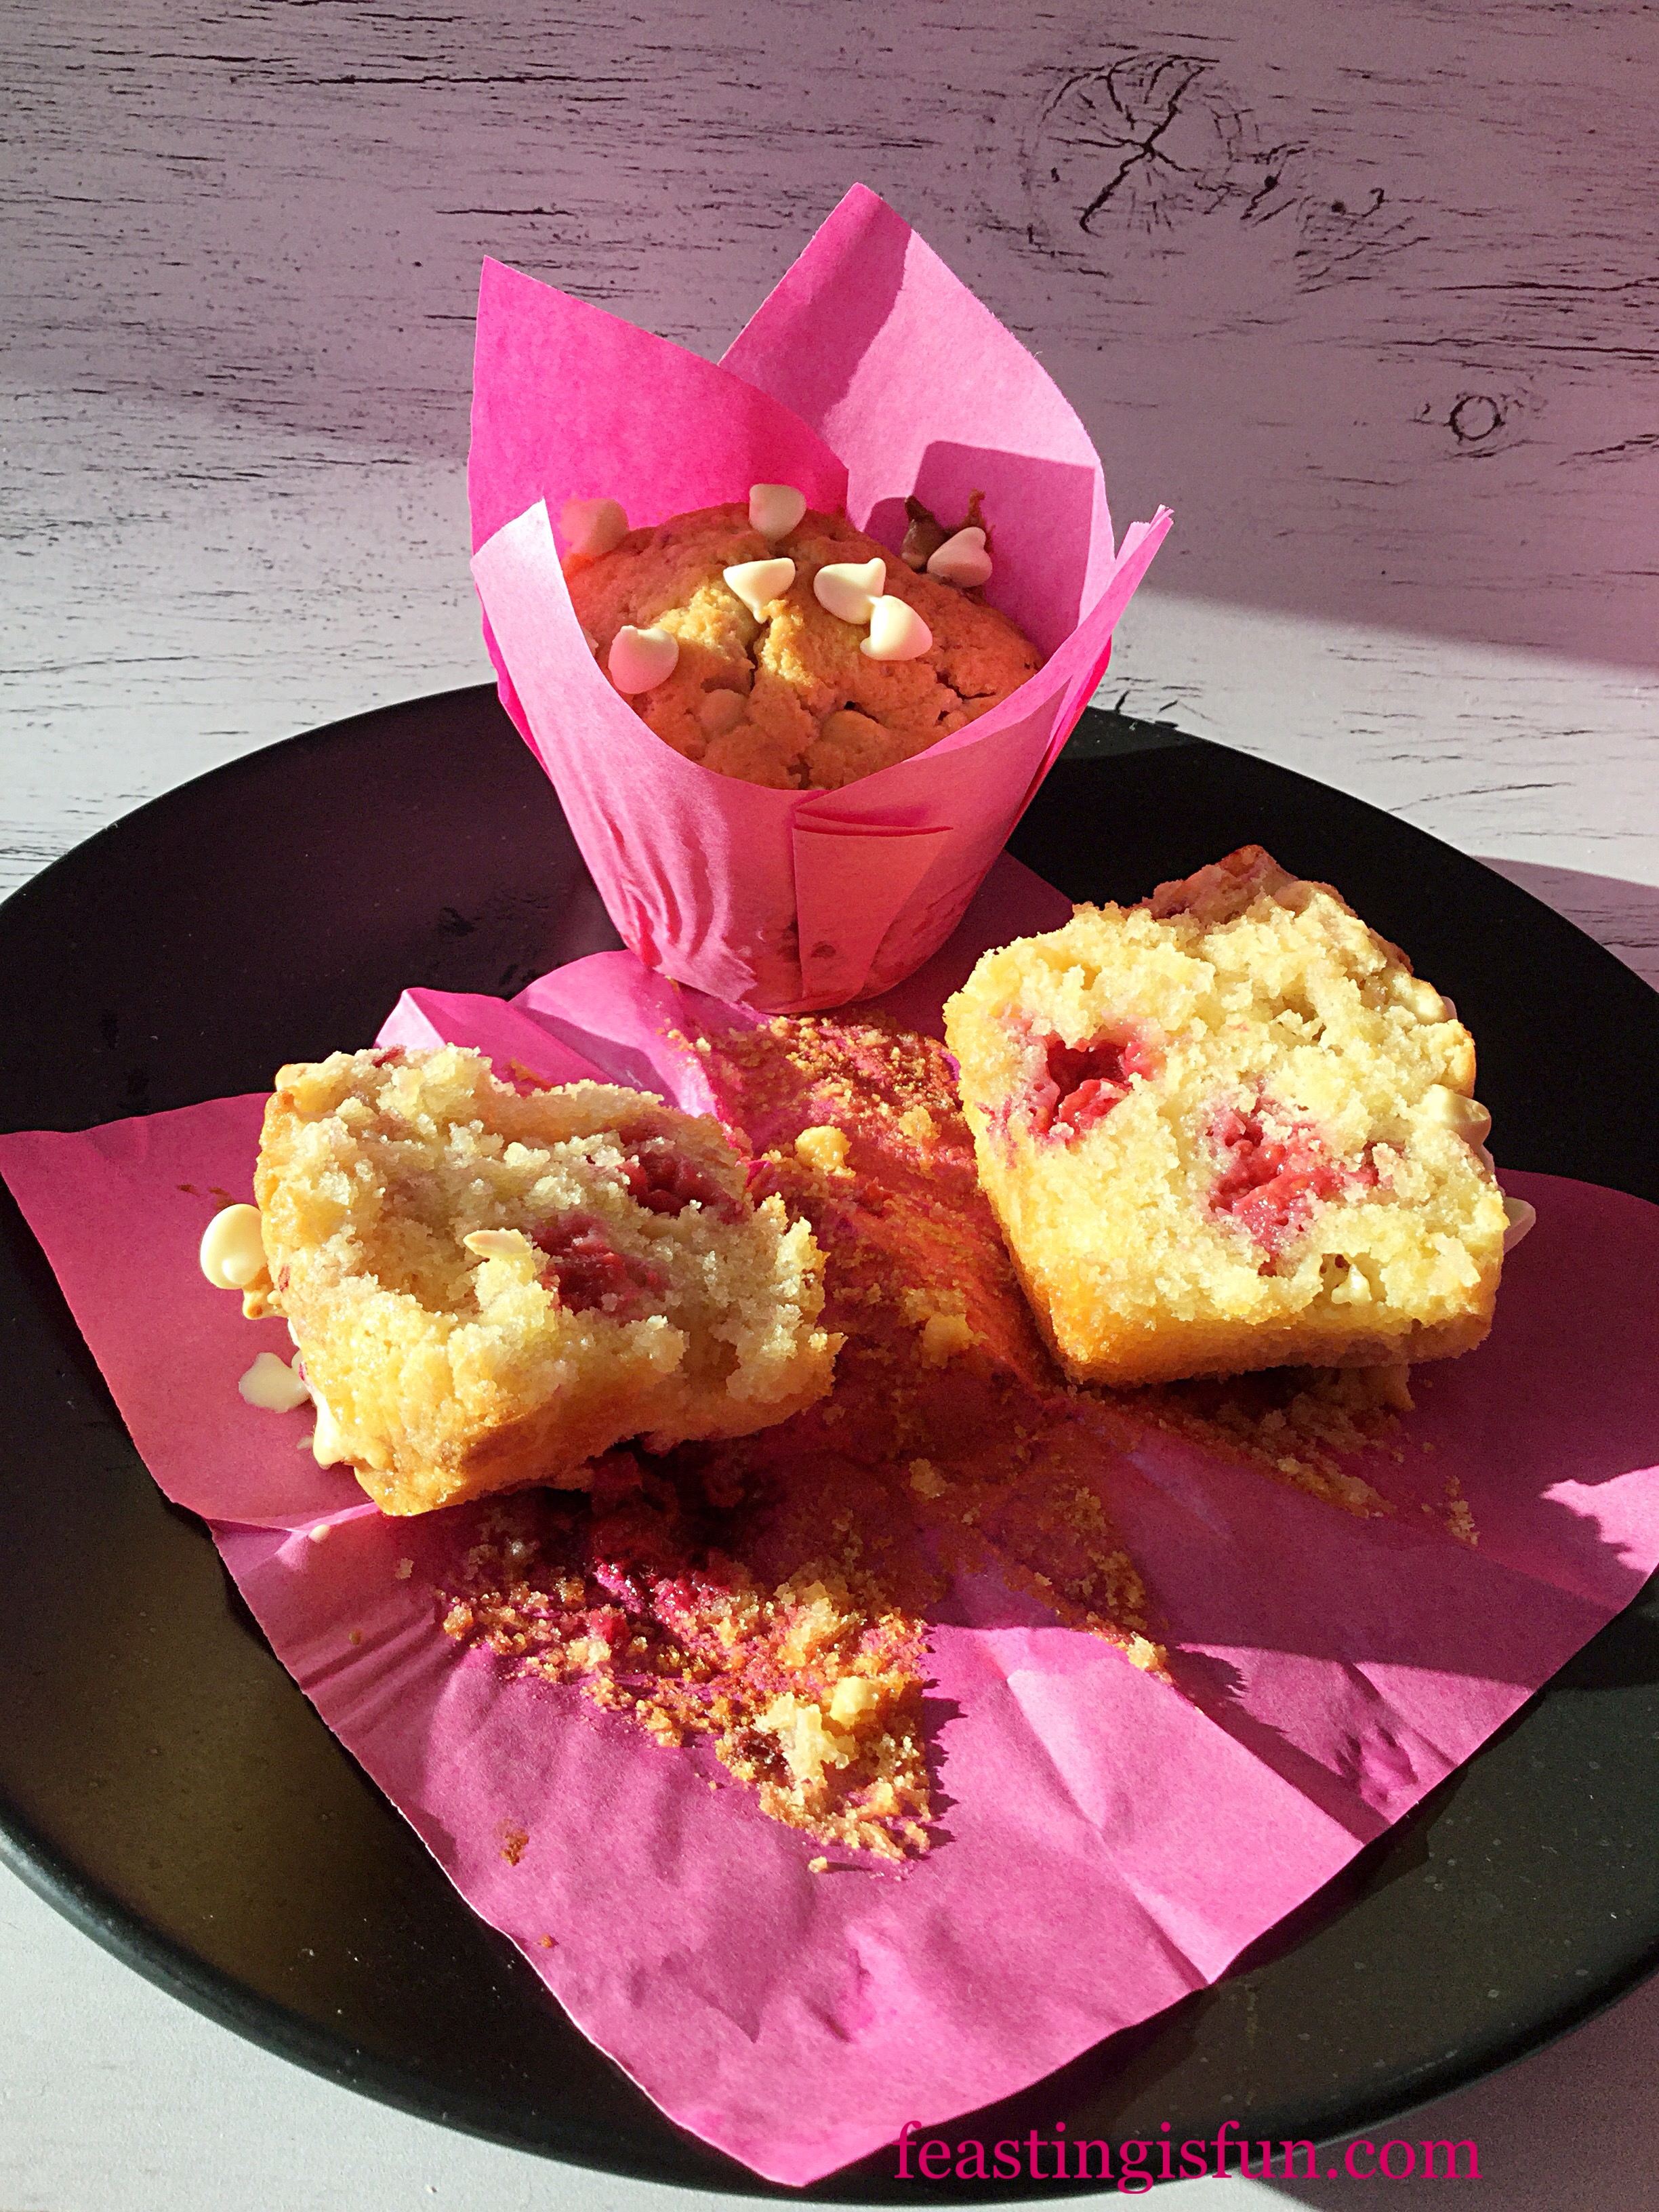
While the texture has more in common with a cake, than a true muffin such as Cheese Bacon Breakfast Muffins , there is room for both in our home. Because not everyone is keen on whipped buttercream that tops most cupcakes, these light, raspberry filled treats are a great alternative. As well as being not-too-sweet, the raspberries on baking become jammy pods within the muffin.
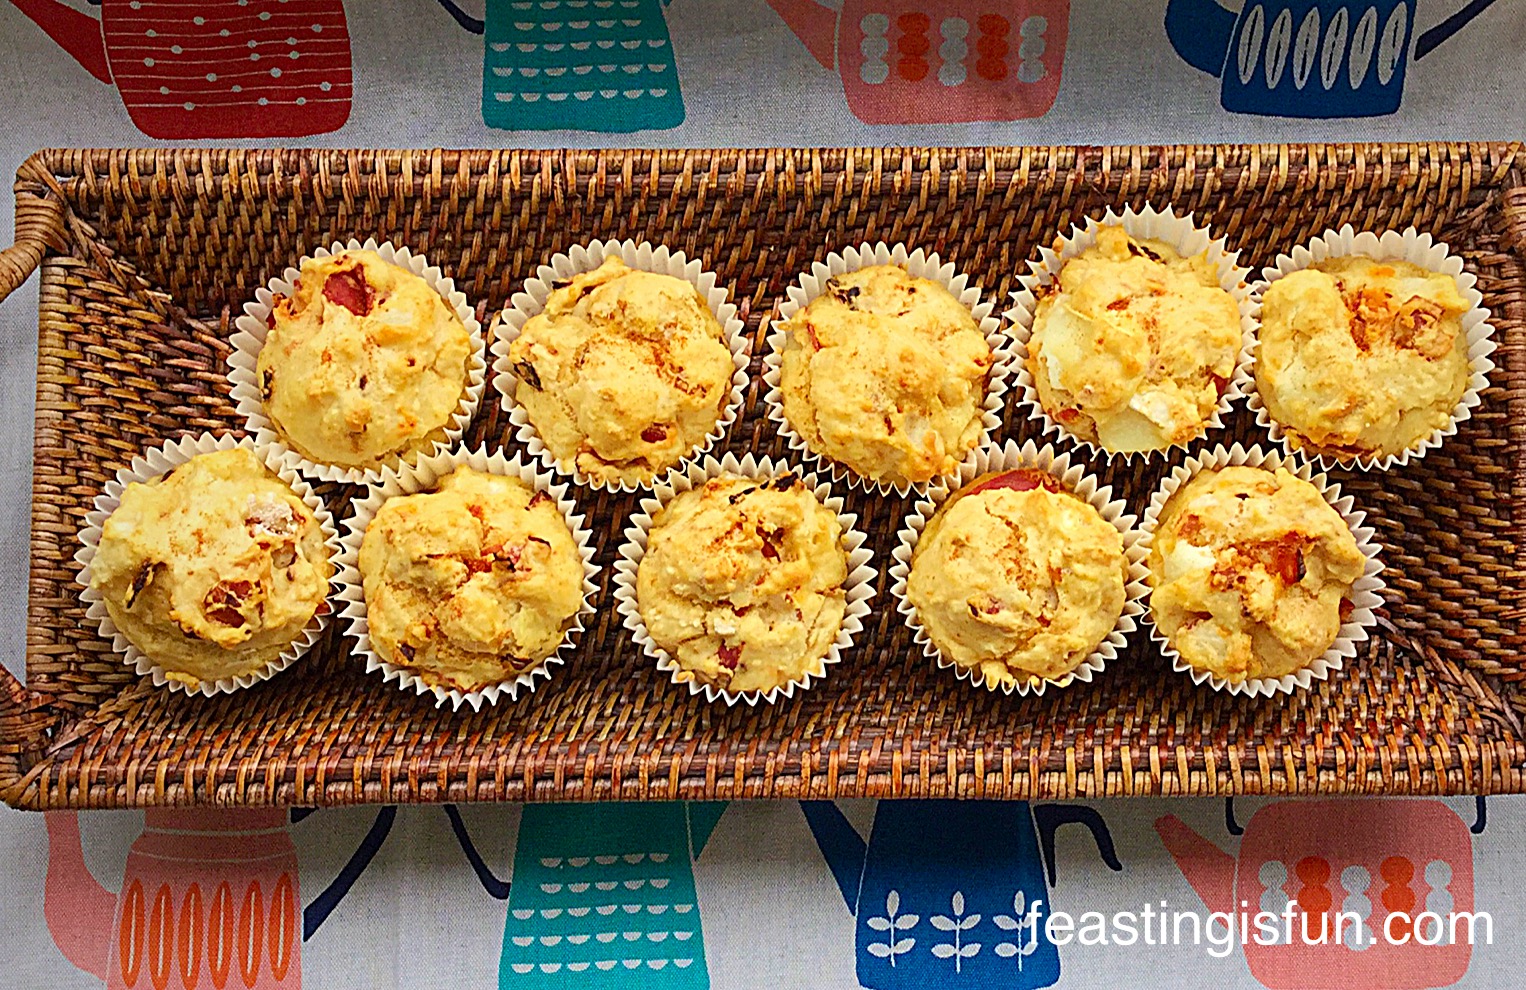
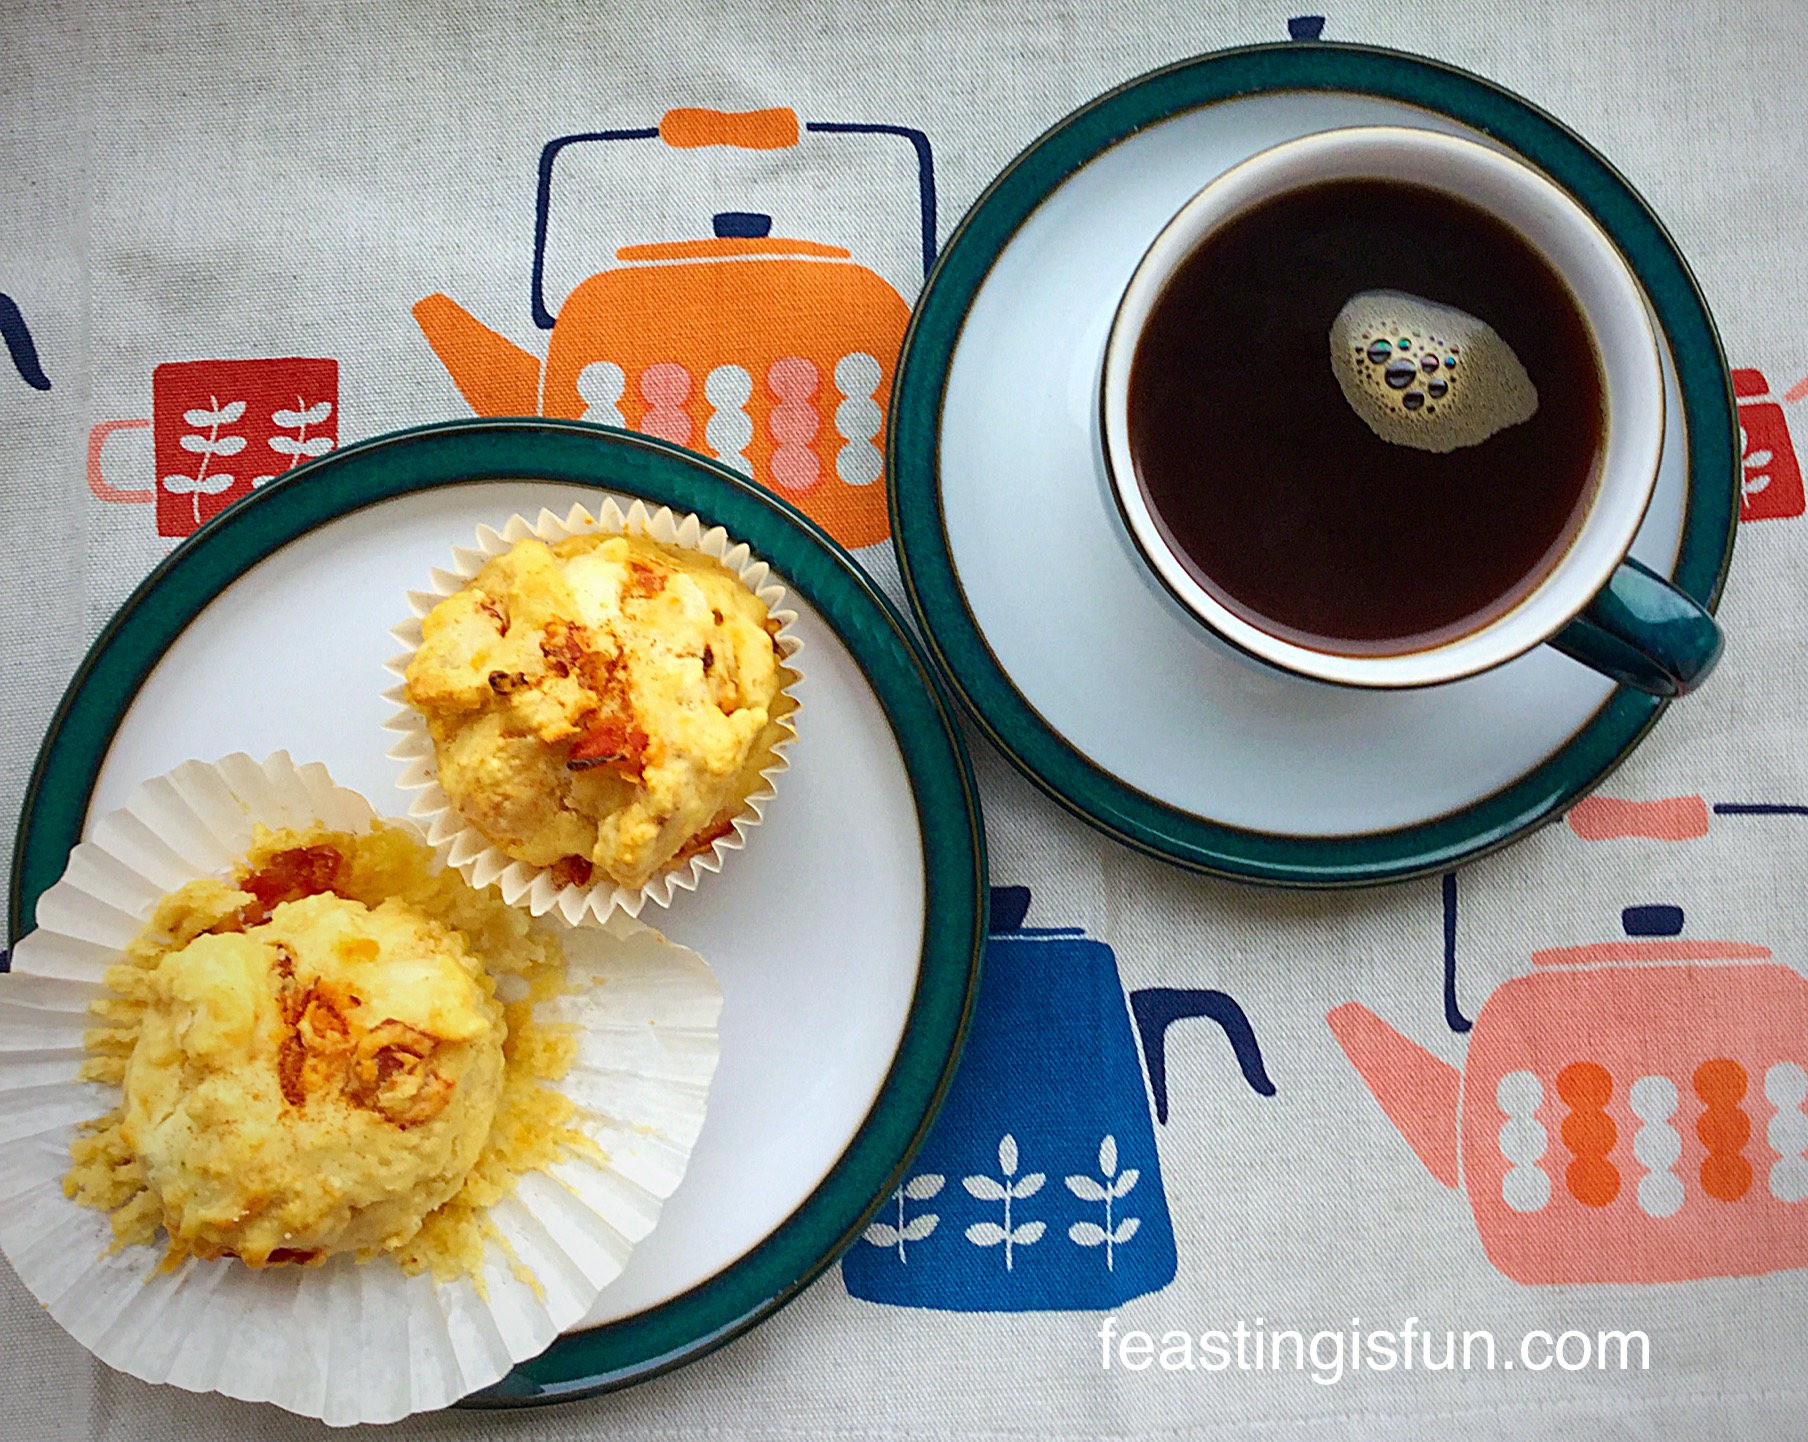
White chocolate chips within and on top of the muffin, provide small, sweet burst of vanilla chocolate flavour. While balancing the slightly tart flavour given by the raspberries. Together they create a delightful flavour pairing within the lightest of muffins. Perfect for grabbing and eating for breakfast or brunch when rushed in the morning. Likewise they also travel well in packed lunches and as part of a picnic.
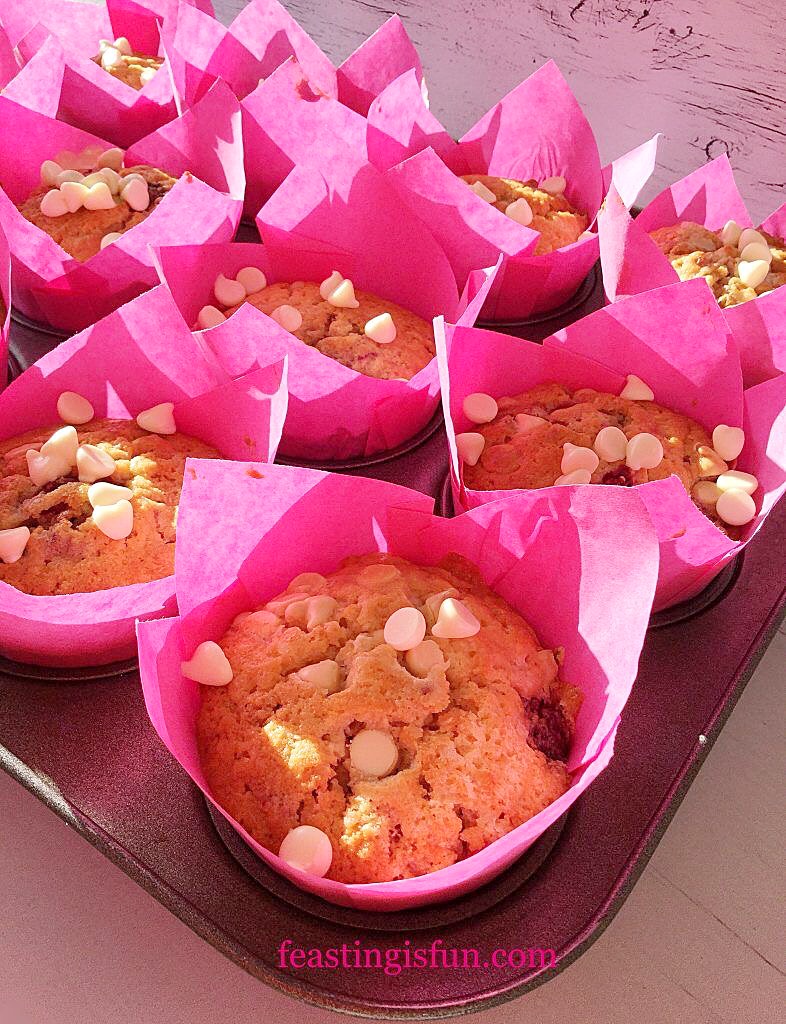
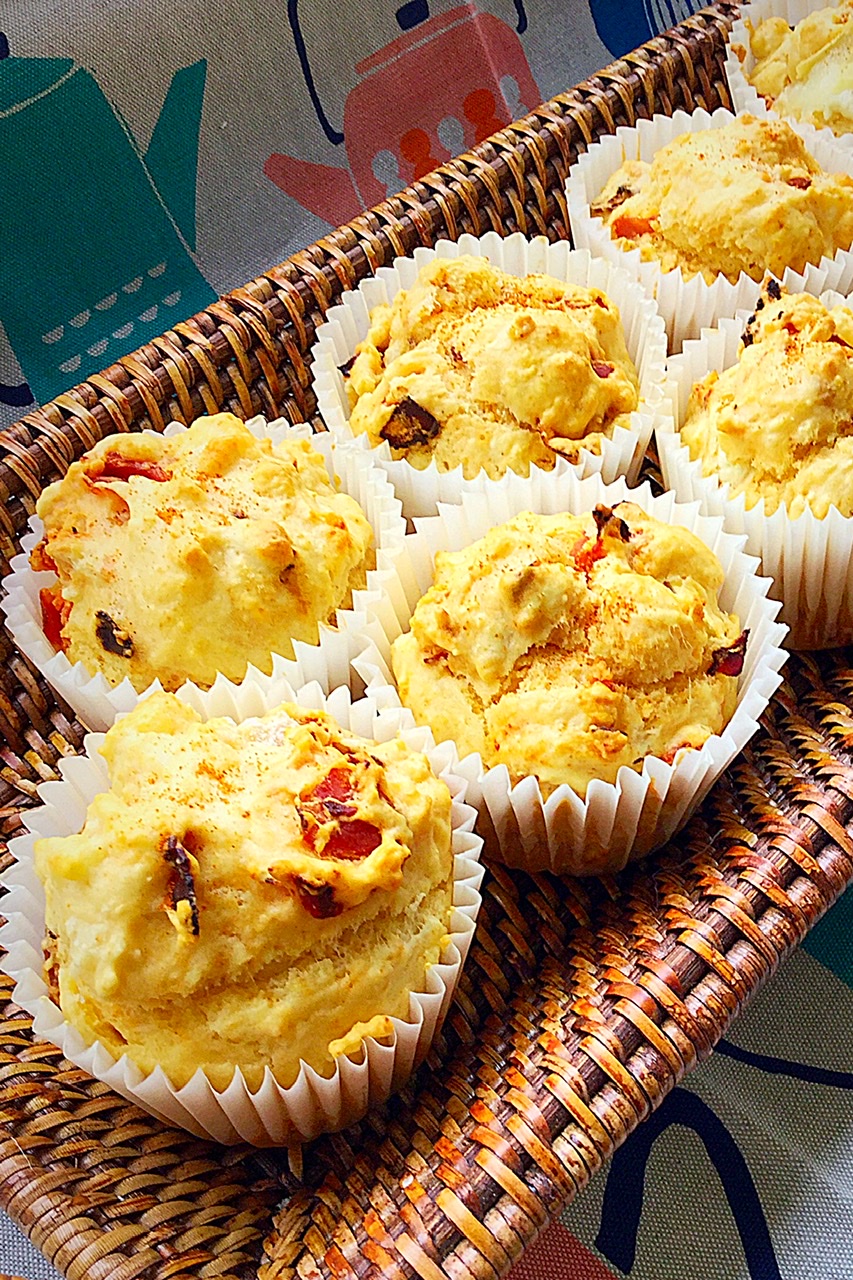
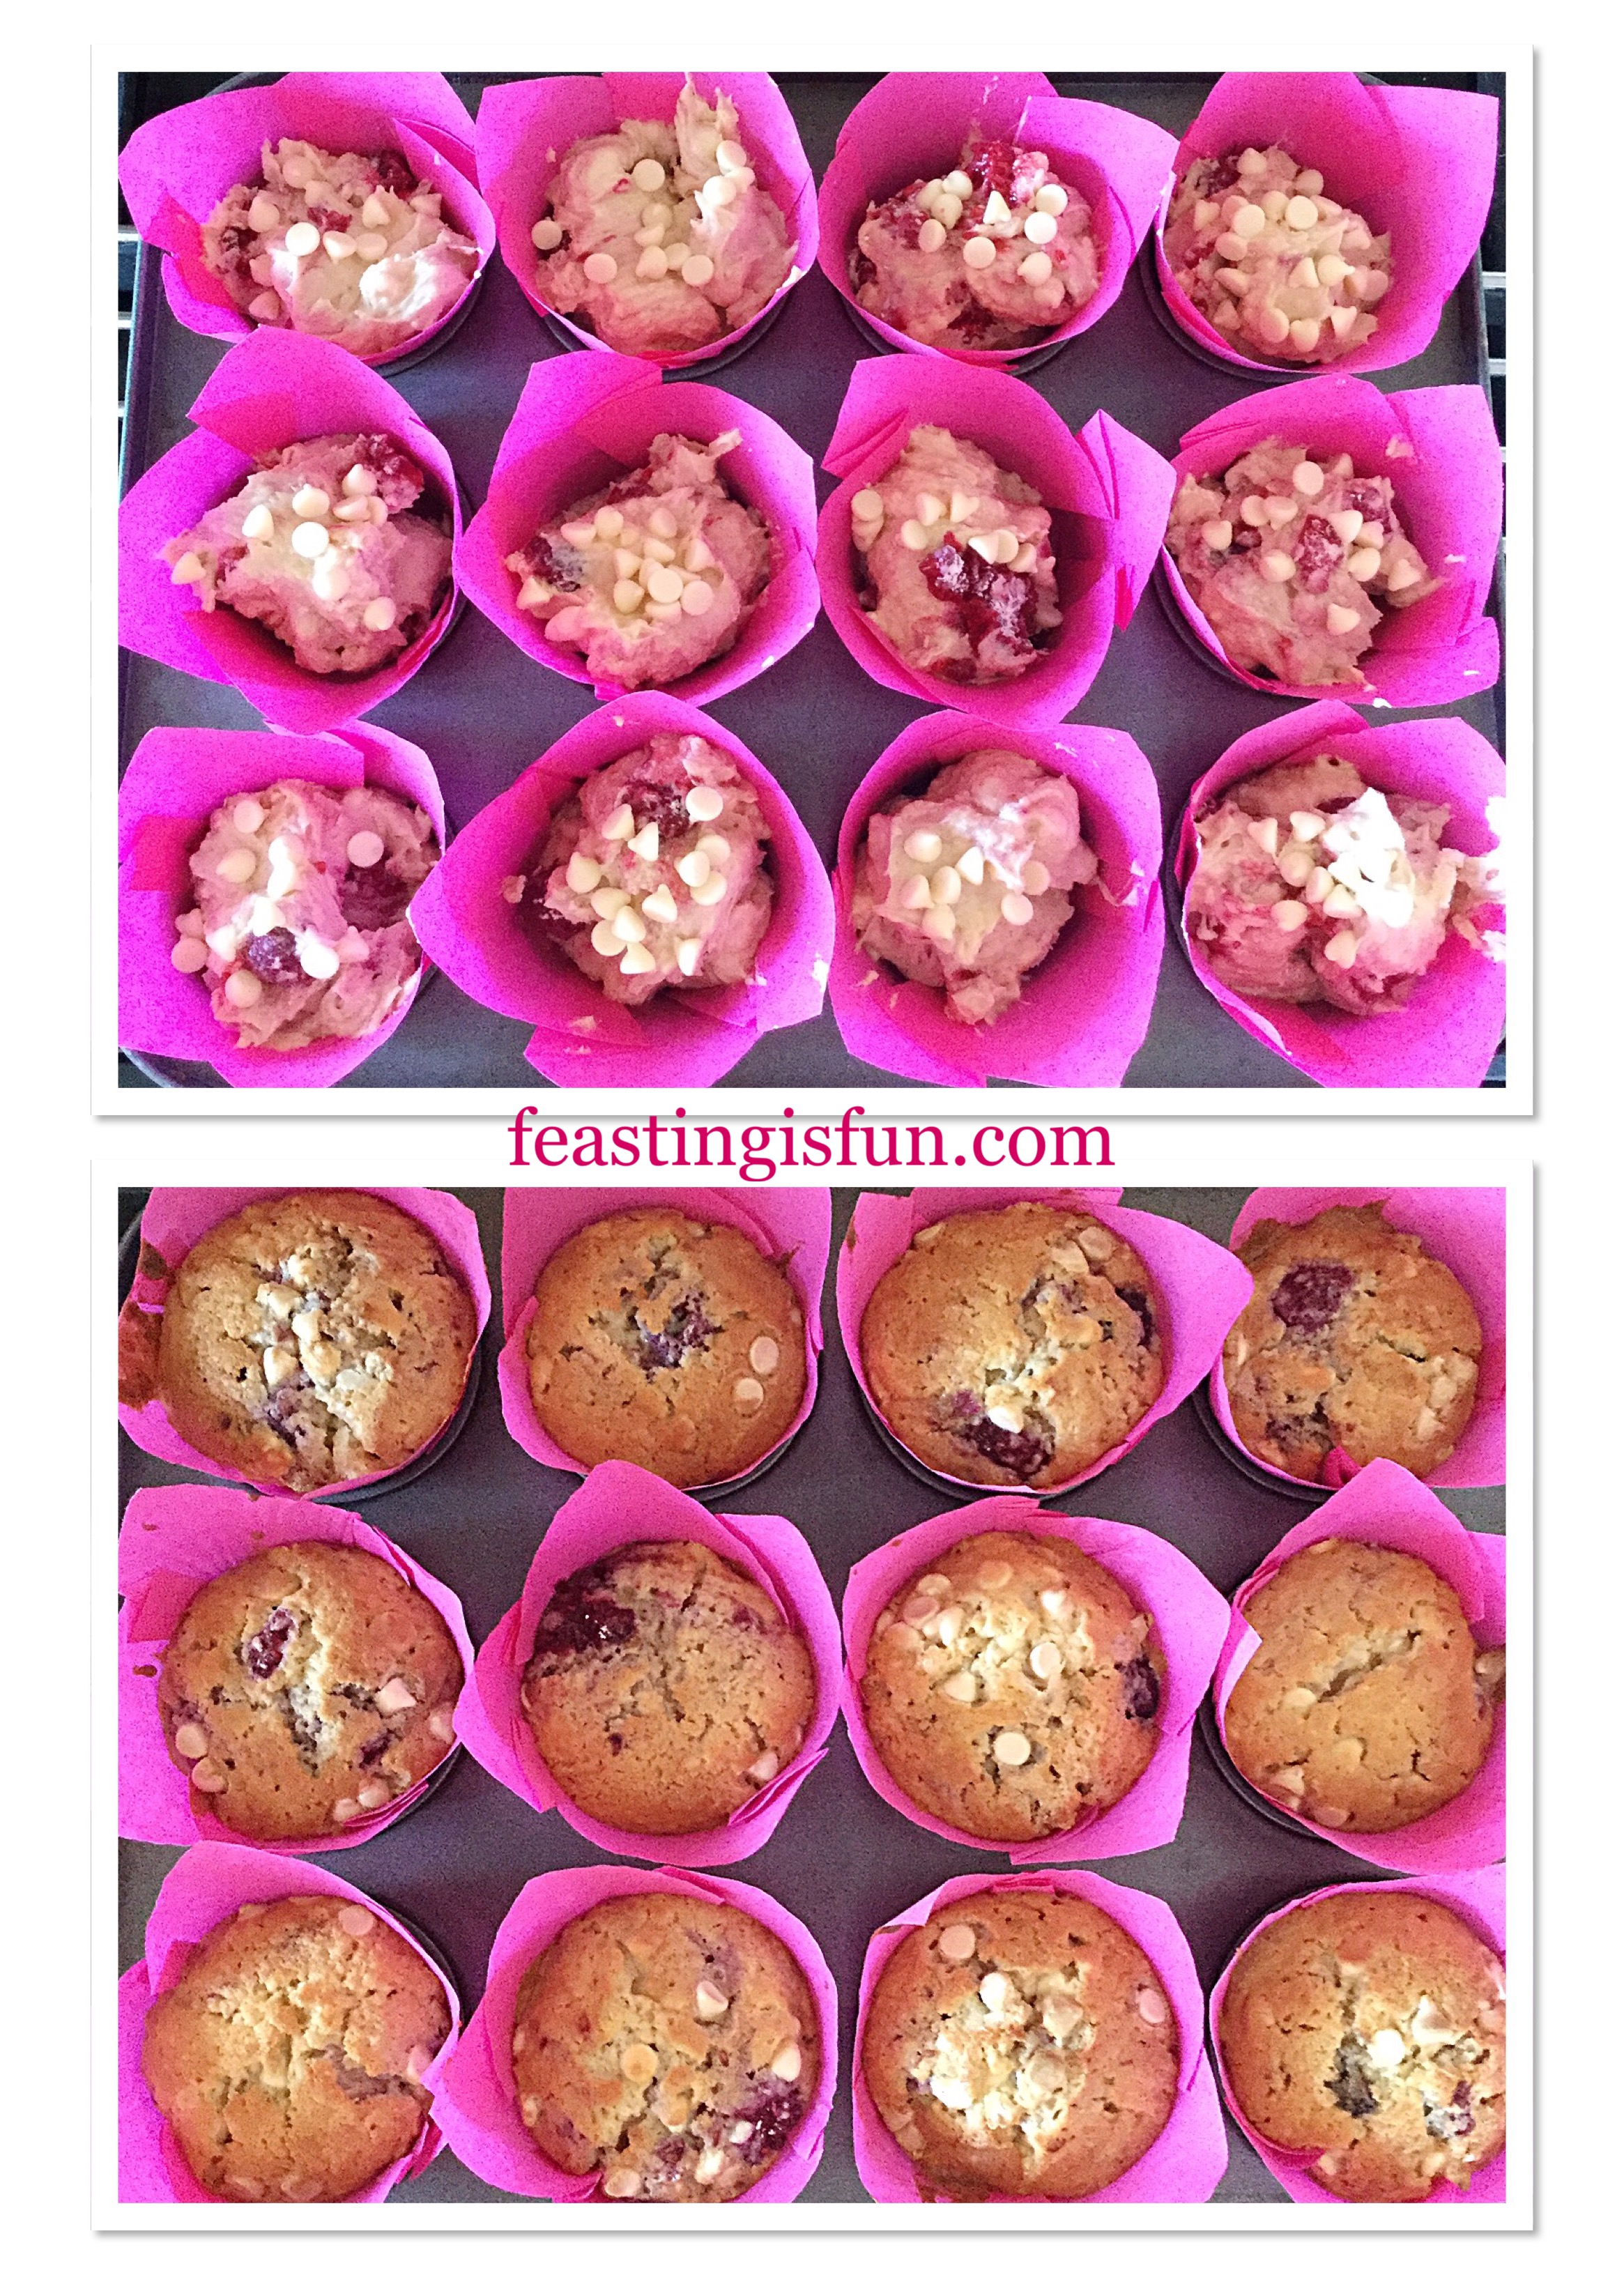
Baking the Raspberry White Chocolate Chip Muffins in tulip wrappers allows for a generously sized muffin. Also it adds to the coffee shop style of these muffins. If not using tulip wrappers to bake with, use the deepest muffin cases and fill two thirds full. As a result the baked muffins may bake over the muffin cases. If this happens, simply run a blunt butter knife between the muffin and tin to release.
Recipe: Raspberry White Chocolate Chip Muffins makes 26-30
225g/8oz Unsalted Butter at room temperature
225g/8oz Caster Sugar
1/4tsp Sea Salt – I use Maldon
4 Large Free Range Eggs
100g/4oz Full Fat Yoghurt – I use Yeo Valley
1tsp Vanilla Extract – I use Nielsen-Massey
1.5tsp Baking Powder
275g/10oz Plain White Flour
125g/4.5oz White Chocolate Chips – I use Callebaut
150g/5oz Raspberries – I used frozen
Method: Preheat the oven to 180C/160C fan, 350F, gas mark 4
Making The Raspberry Muffin Batter
- First of all line a 12 hole muffin tin with tulip wrappers or muffin cases.
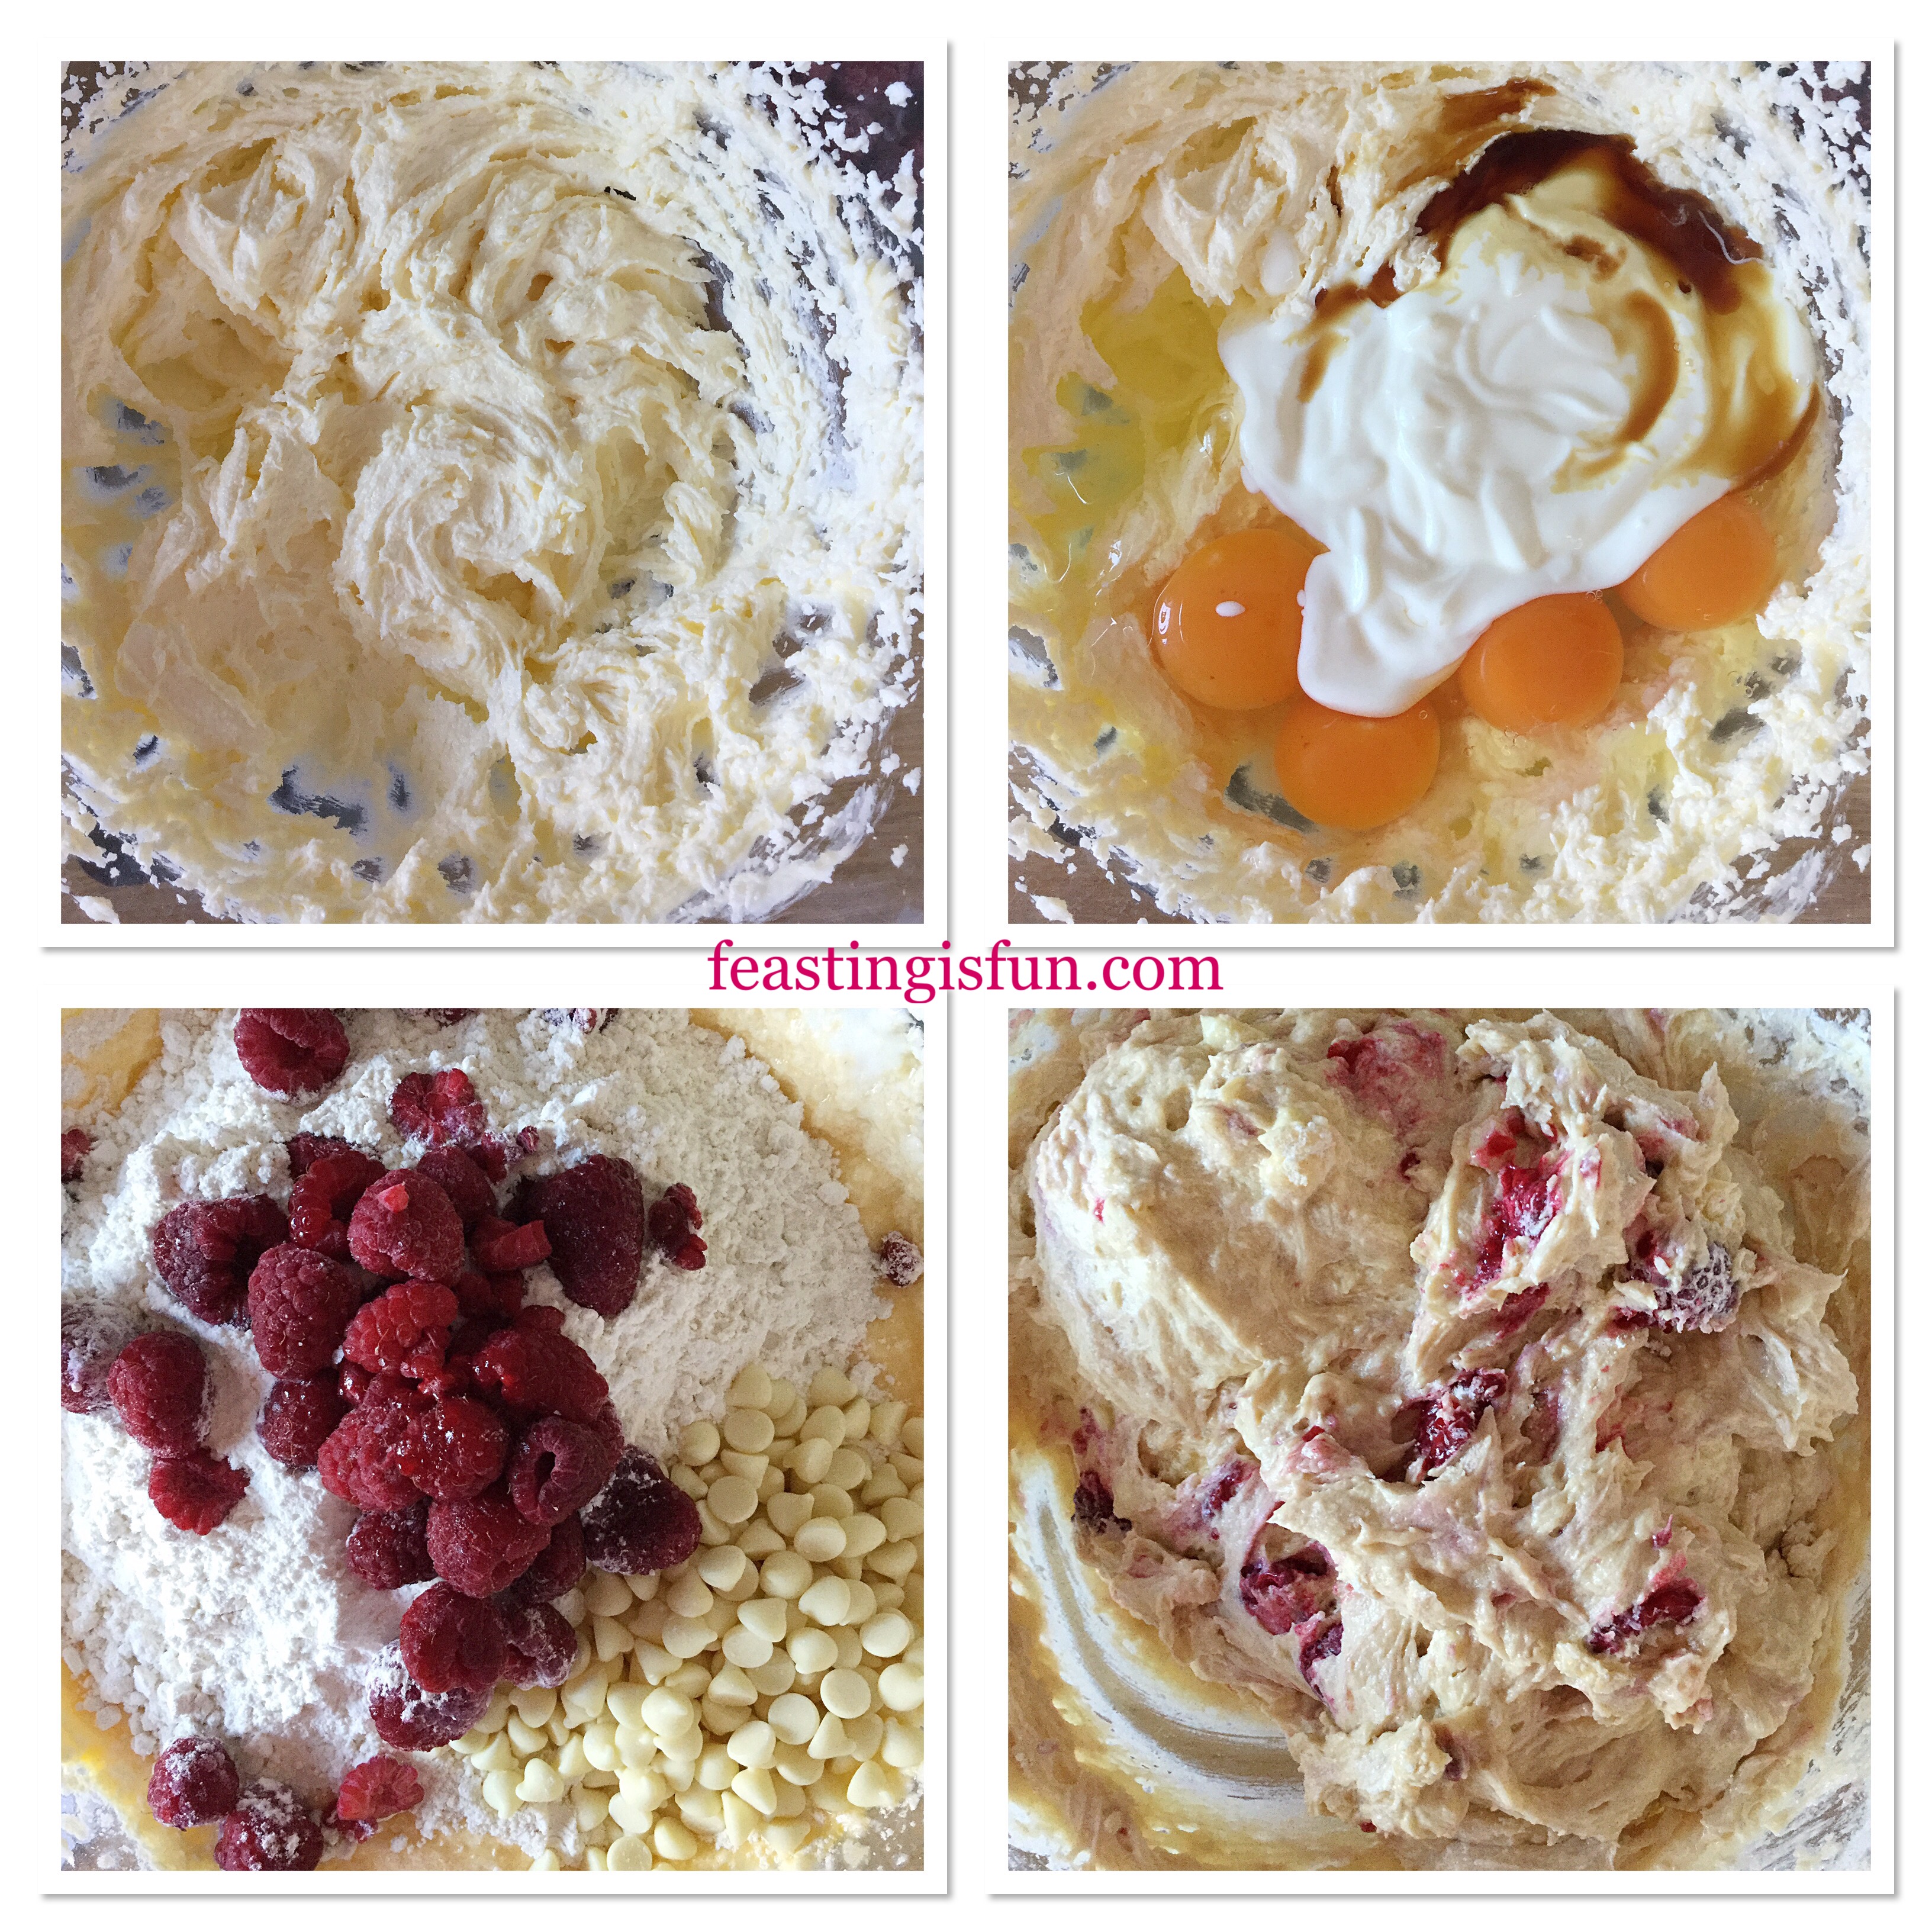
- Into a large bowl add the butter, sugar, salt and whisk until well combined.
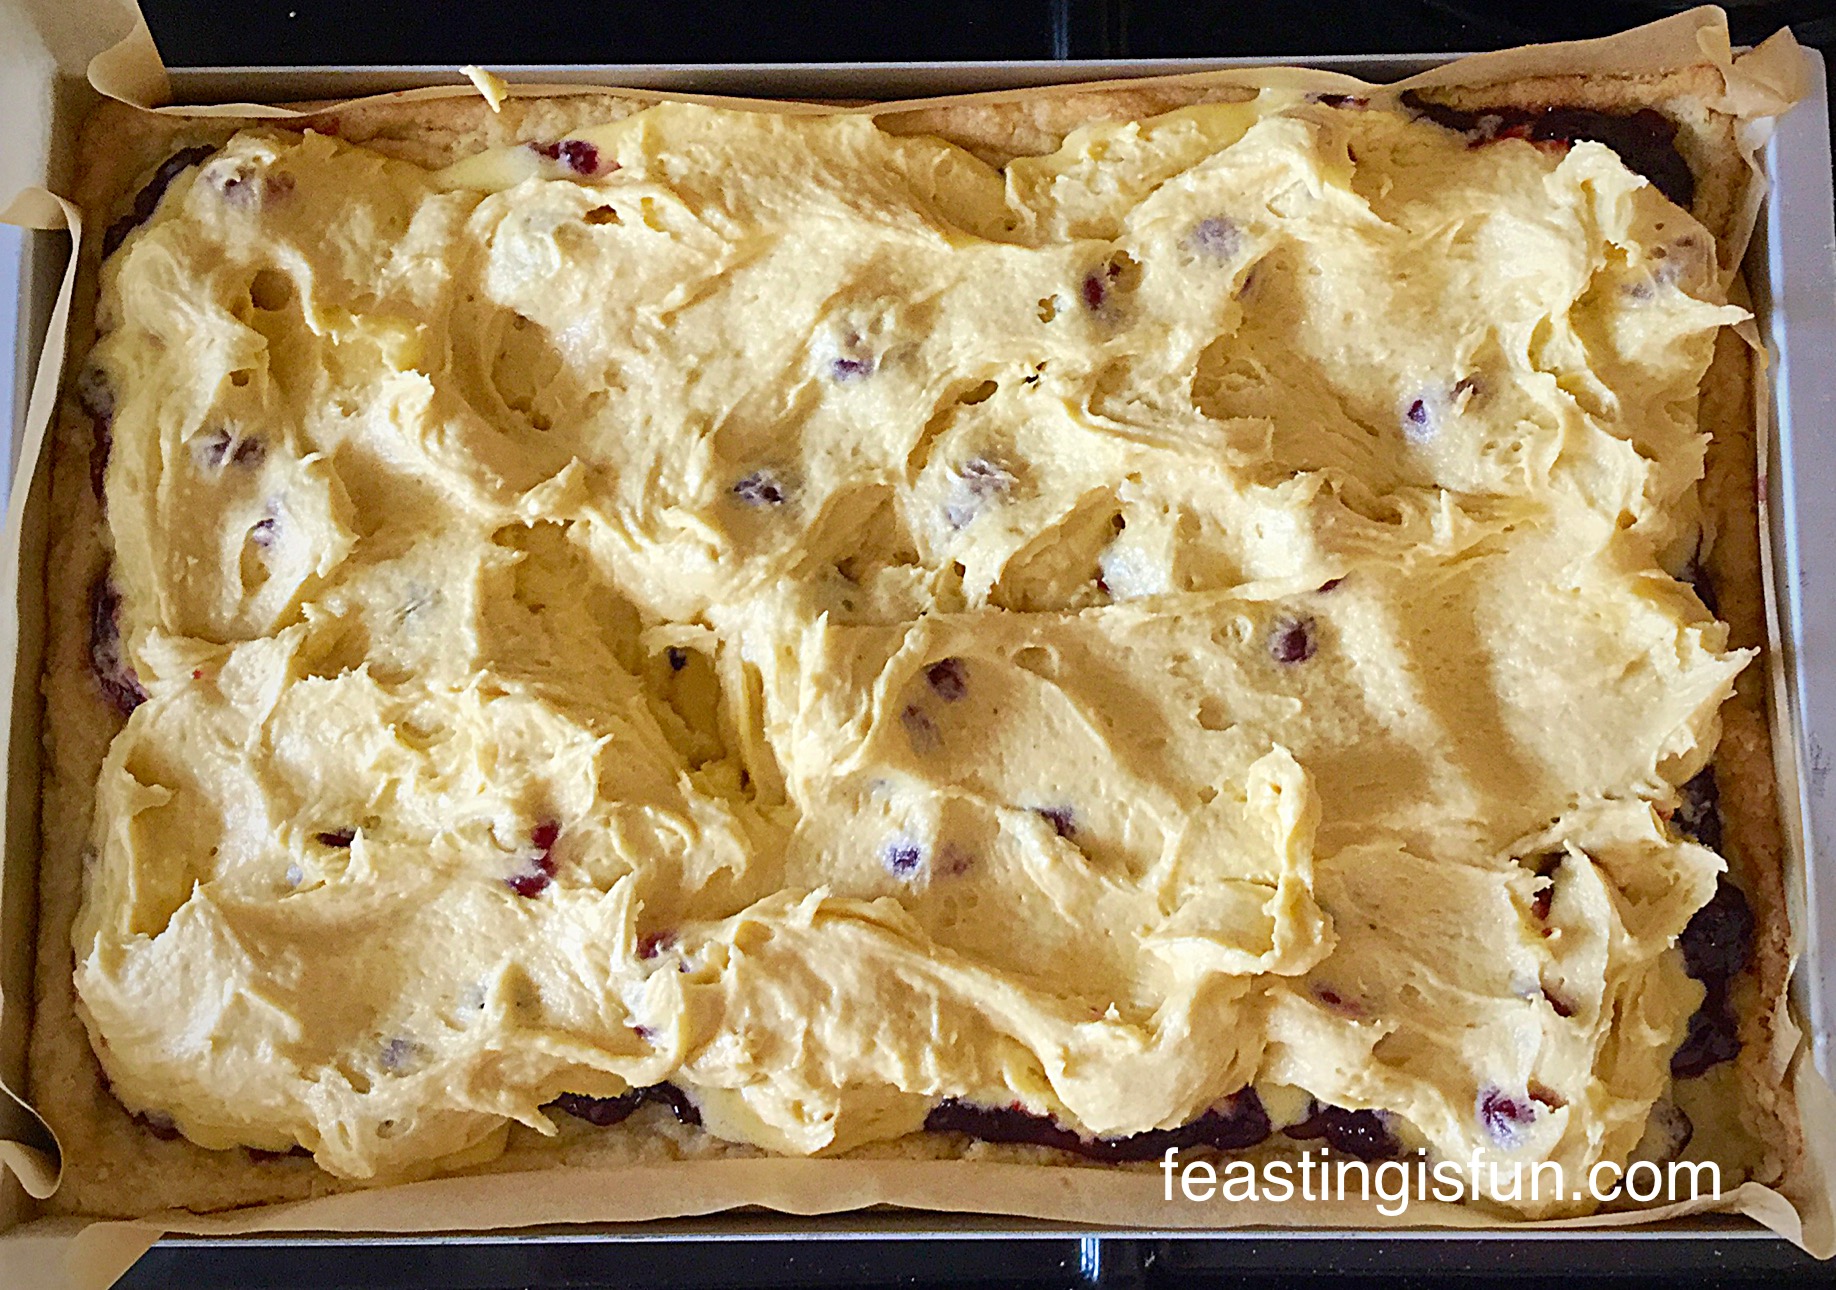
- Then add the eggs, vanilla extract and yoghurt. On top of these wet ingredients sift in the flour and baking powder. Finally add the raspberries and 100g/4oz of the white chocolate chips.
- Using a large spoon gently fold all of the ingredients together until just combined. Take care not to break up the raspberries.
- Spoon the batter into the wrappers, dividing equally between them.
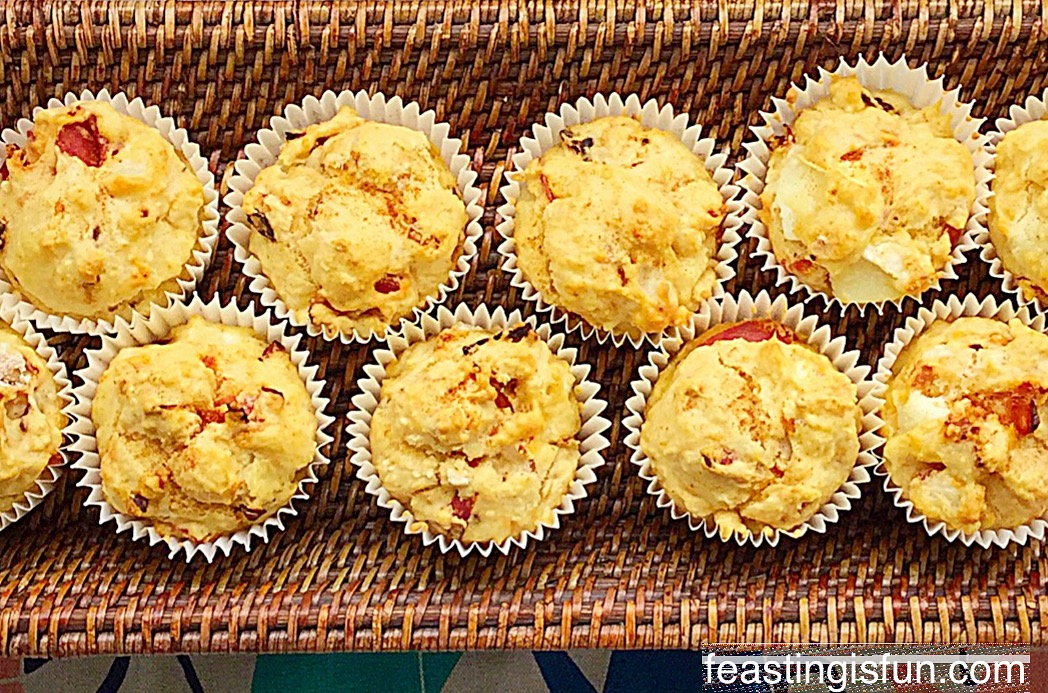
- Finish by sprinkling over the remaining white chocolate chips on to the surface of the un-baked muffins.
Baking The Bakery Style Muffins
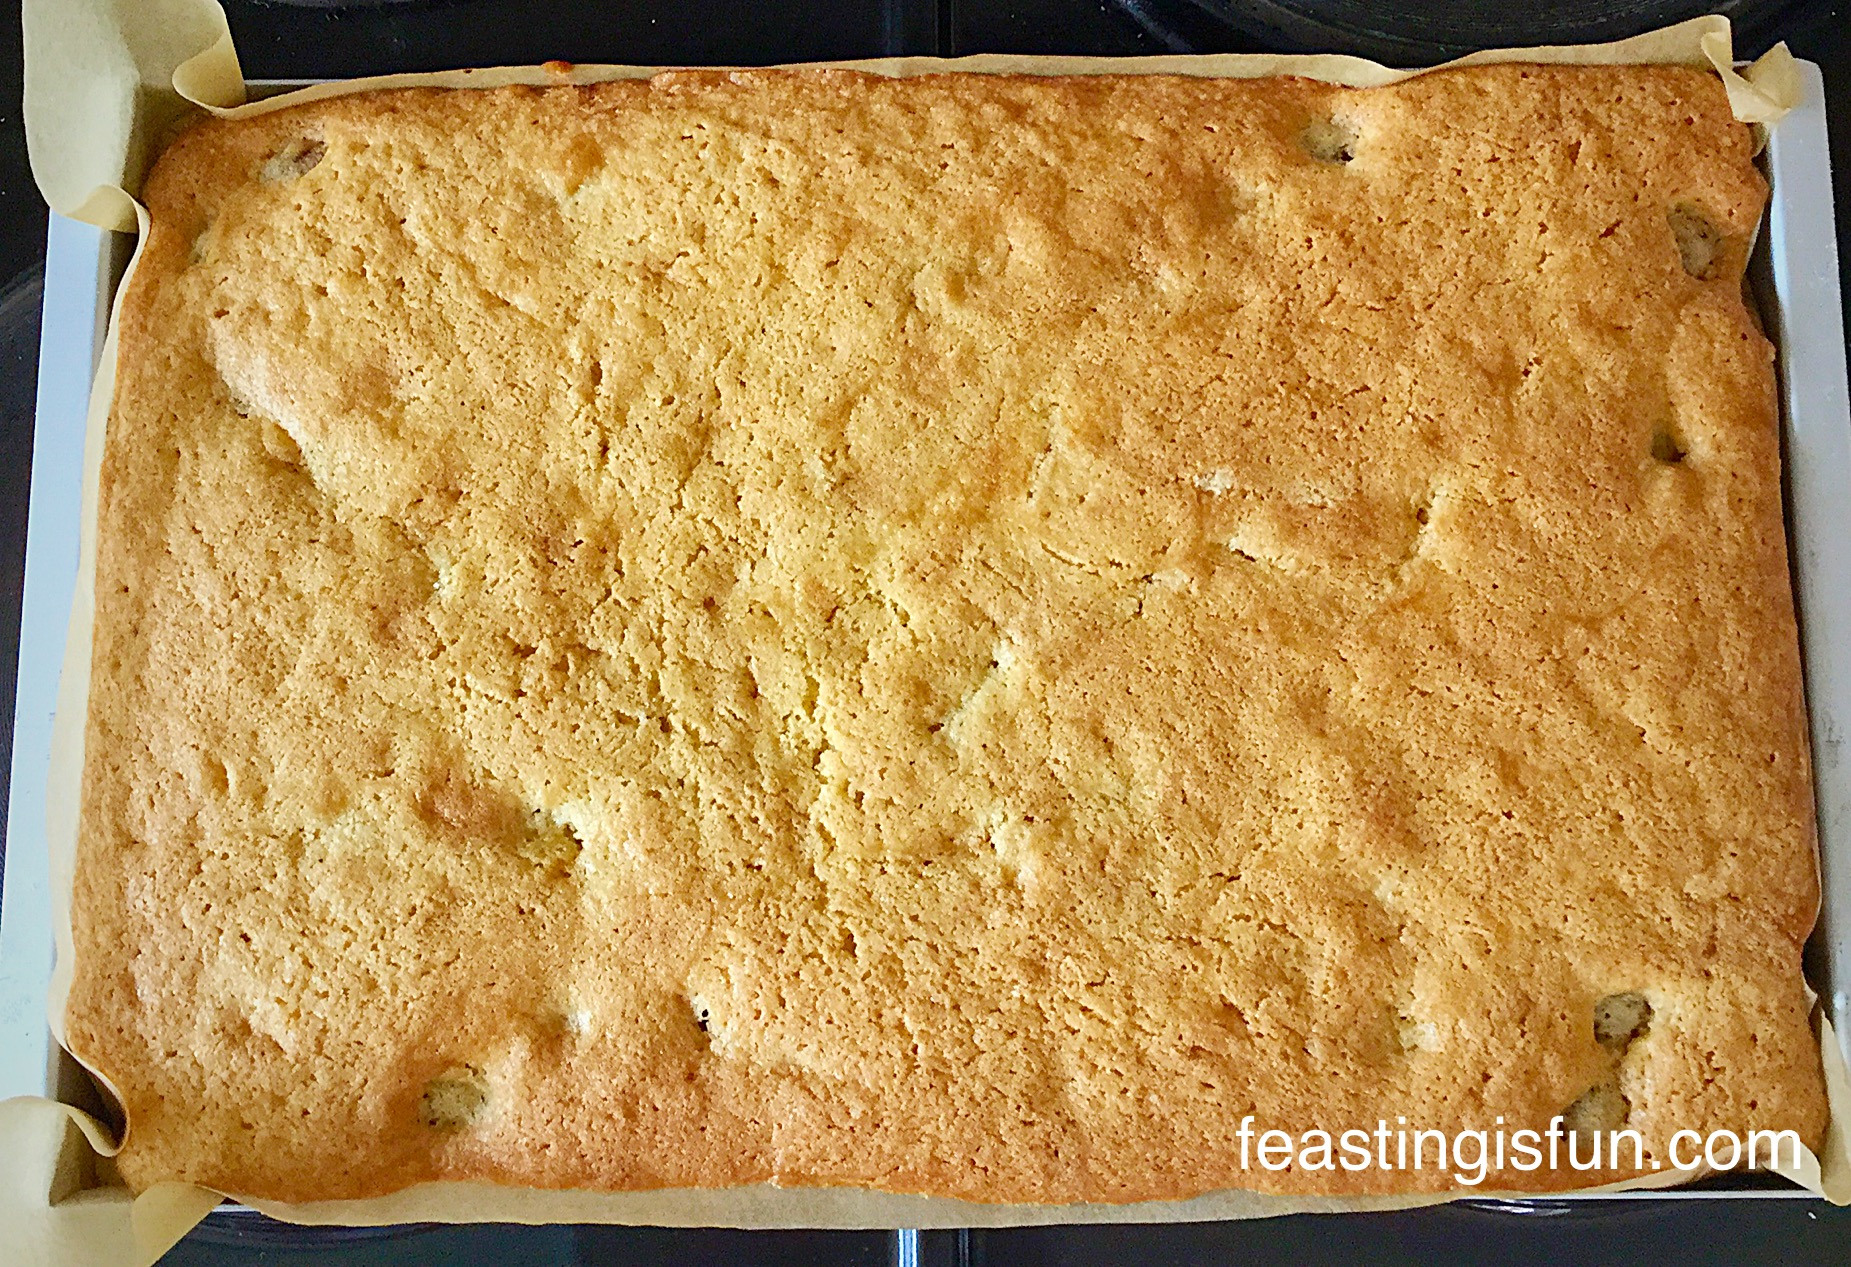
- Place the muffins into the centre of a preheated oven and bake for 25-35 minutes.
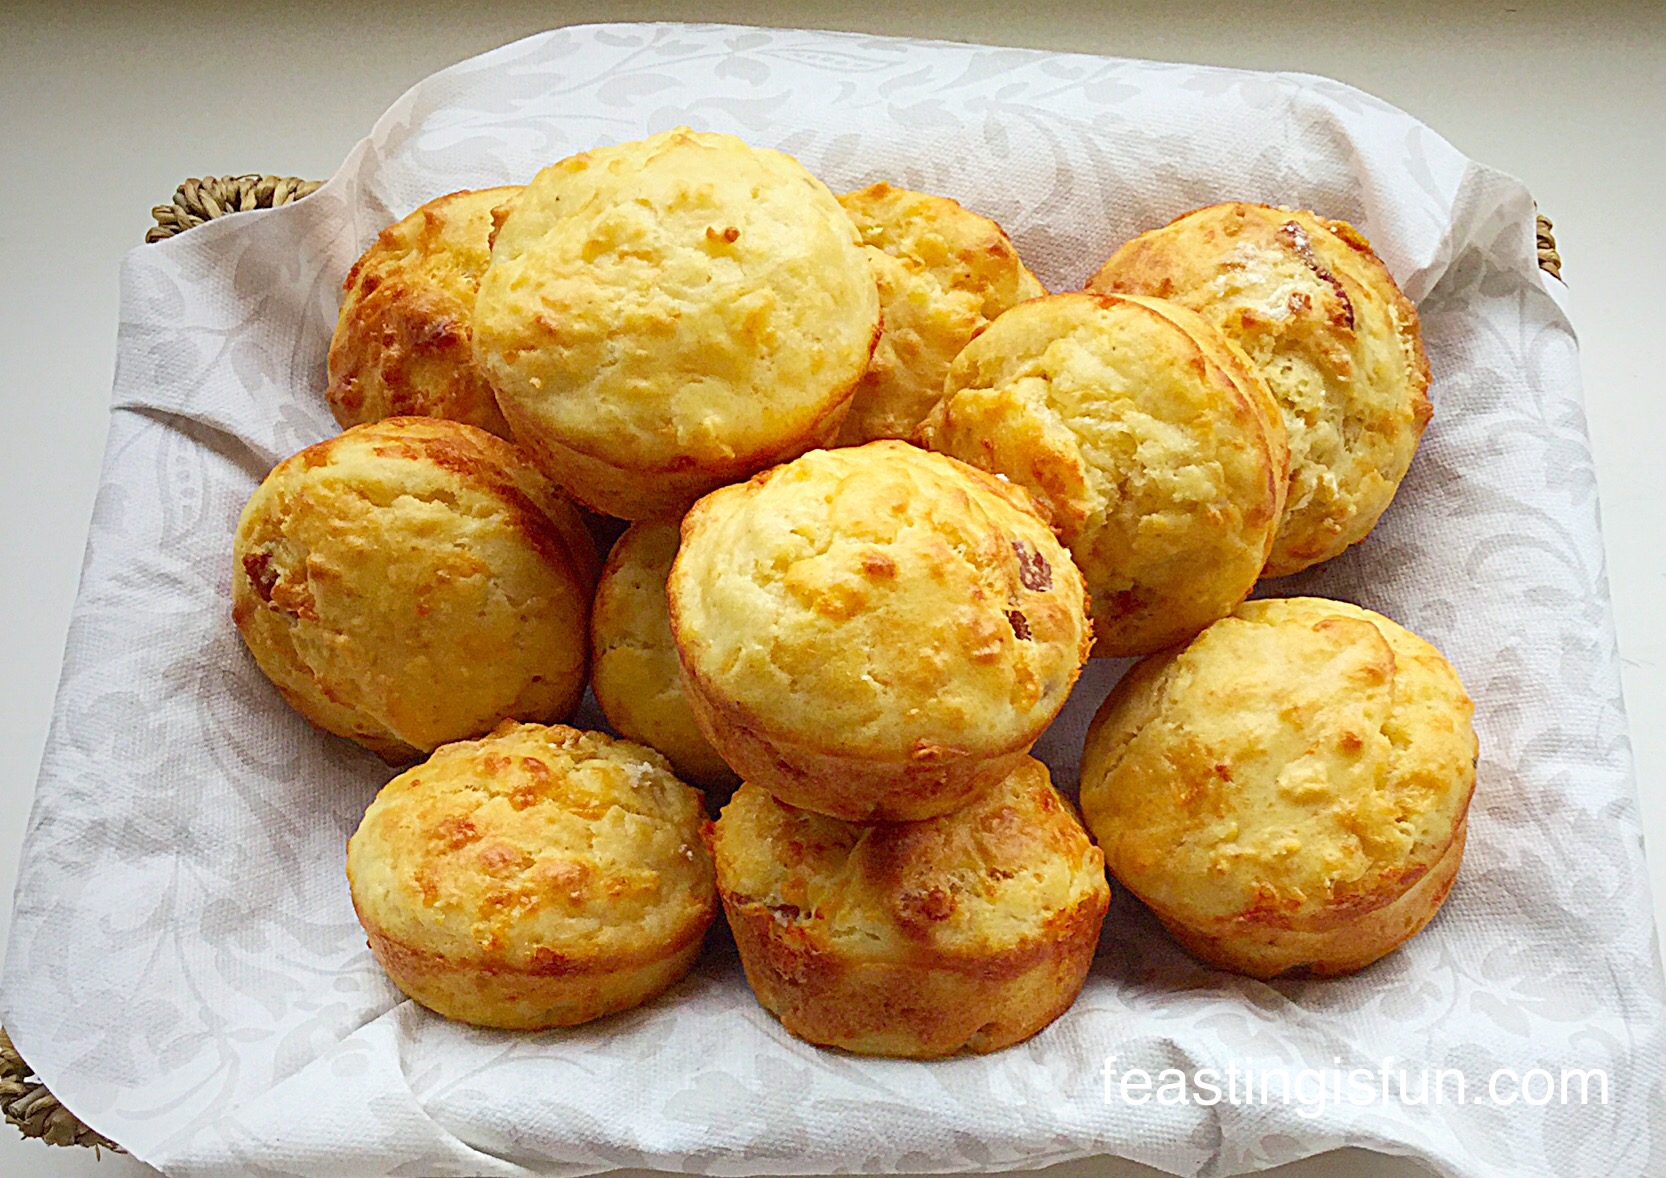
- The muffins are baked when they are golden, just firm to touch and an inserted cocktail stick comes out clean, without any batter attached.
- As soon as the muffins are baked remove from the oven and allow to cool in the tin if using tulip wrappers. Otherwise, if using muffin cases, cool for 10 minutes in the tin then remove and place on a cooling rack to finish cooling.

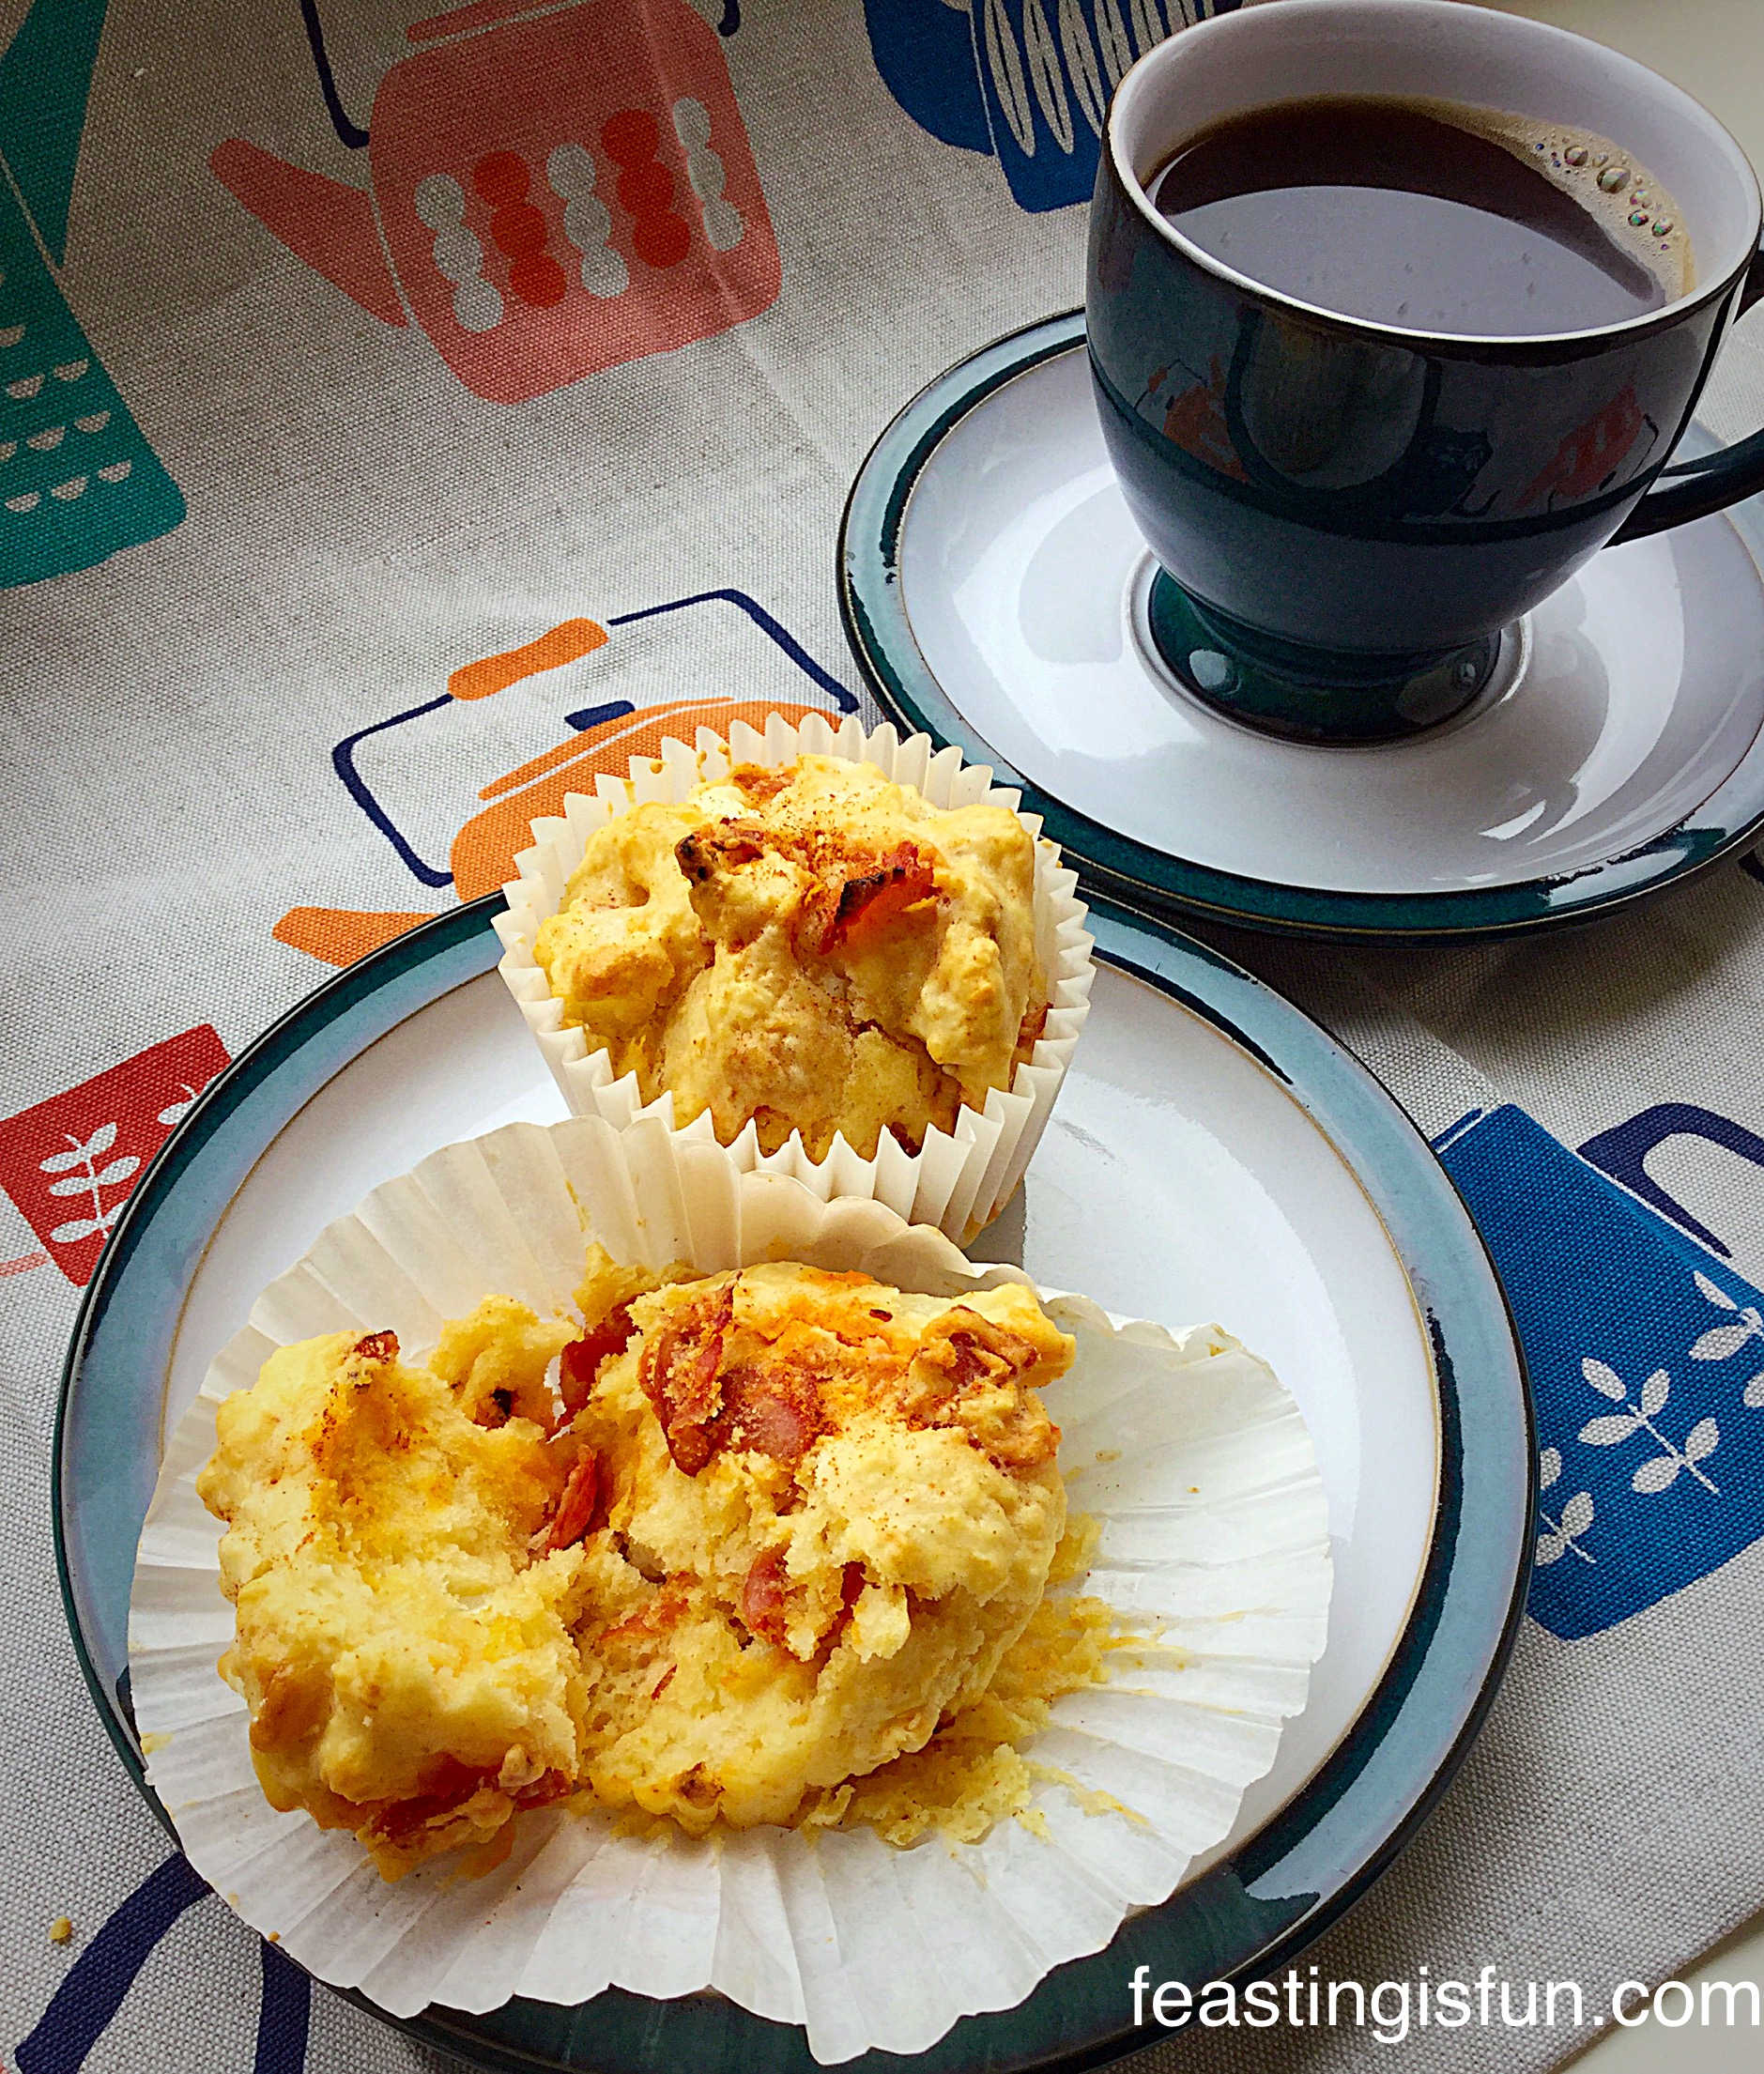
I like to serve these muffins warm. While the chocolate chips are still slightly melted. Although they are fine to serve cold as well.
These muffins are best eaten within 24 hours of being made. Yet they can be stored, once cooled, in an airtight container for up to 3 days. Keep refrigerated during warm weather.
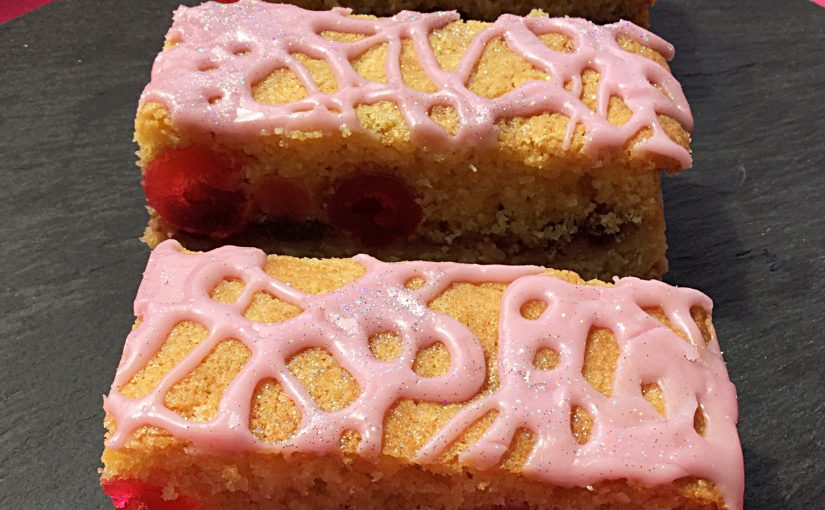
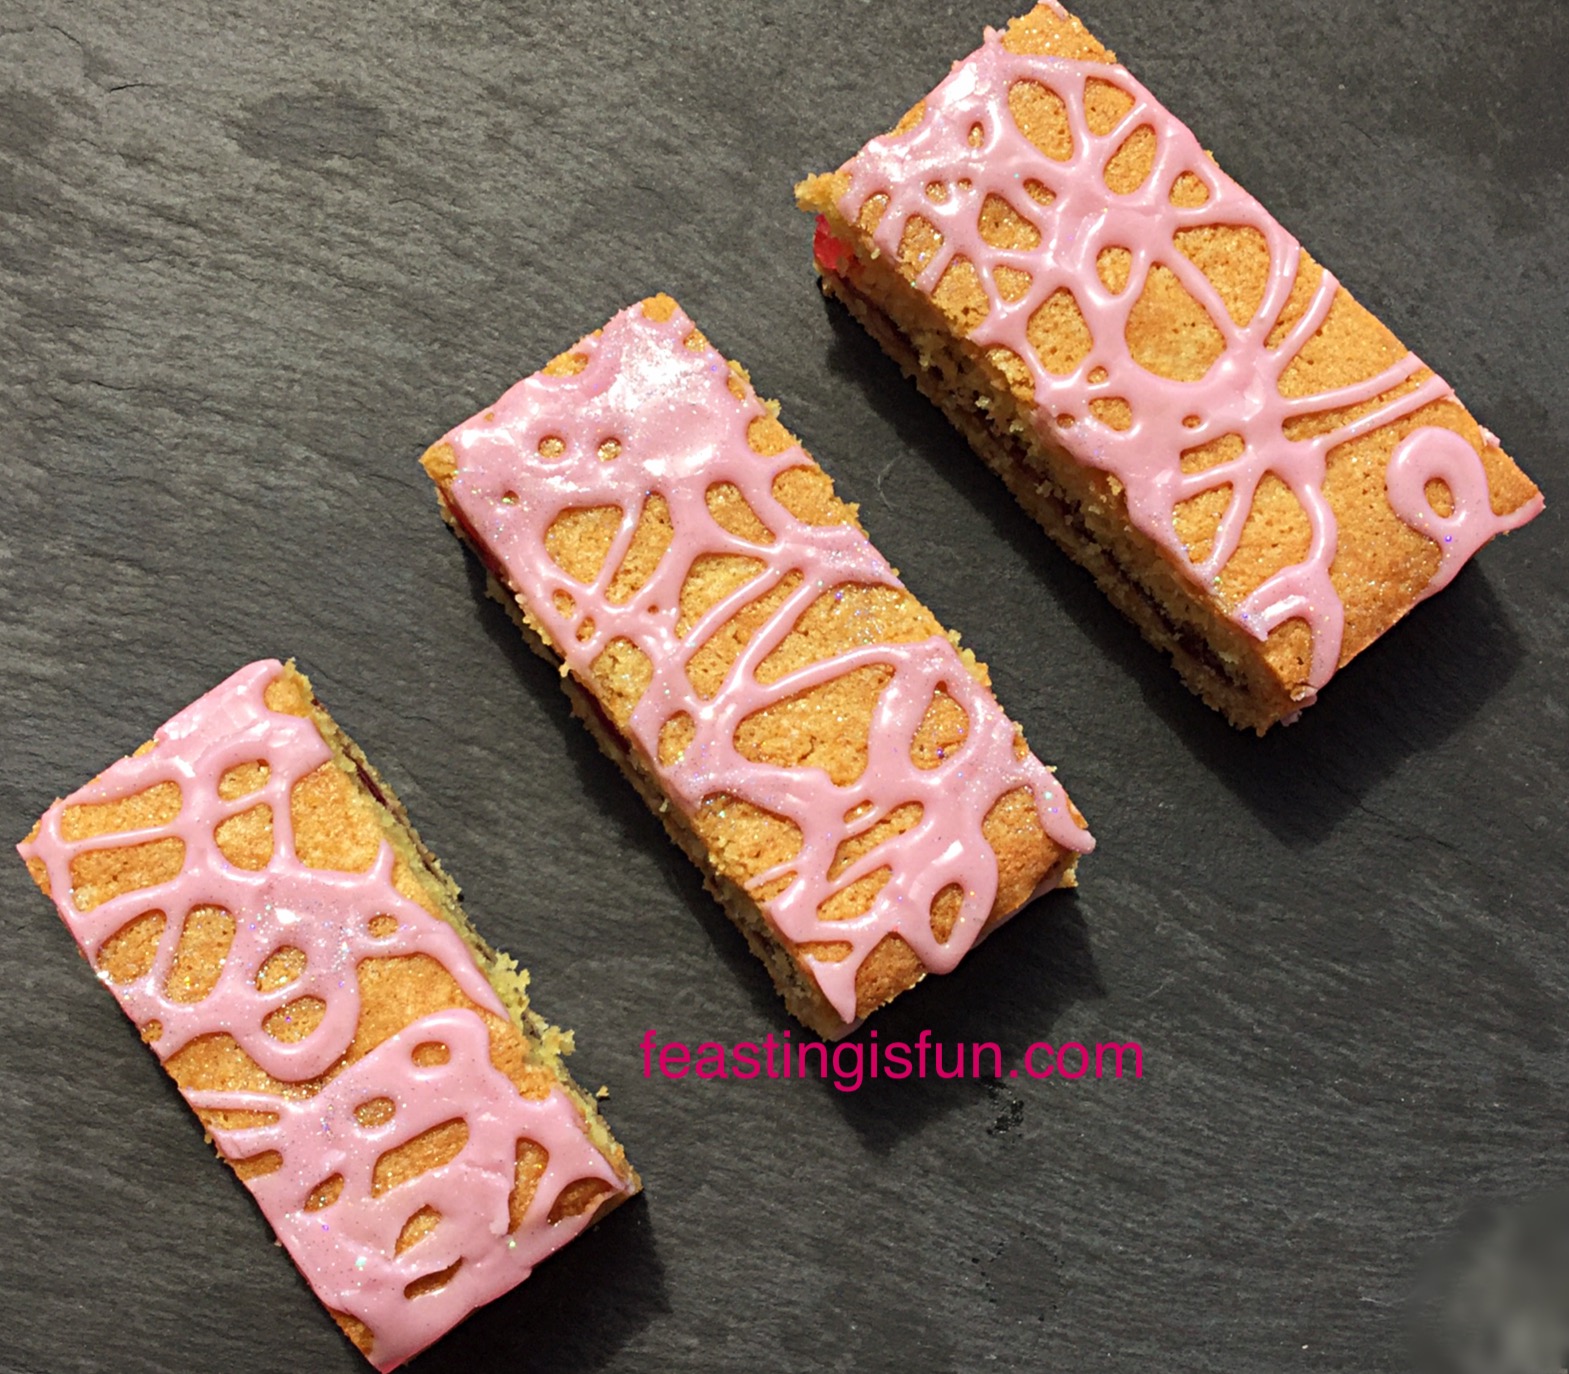
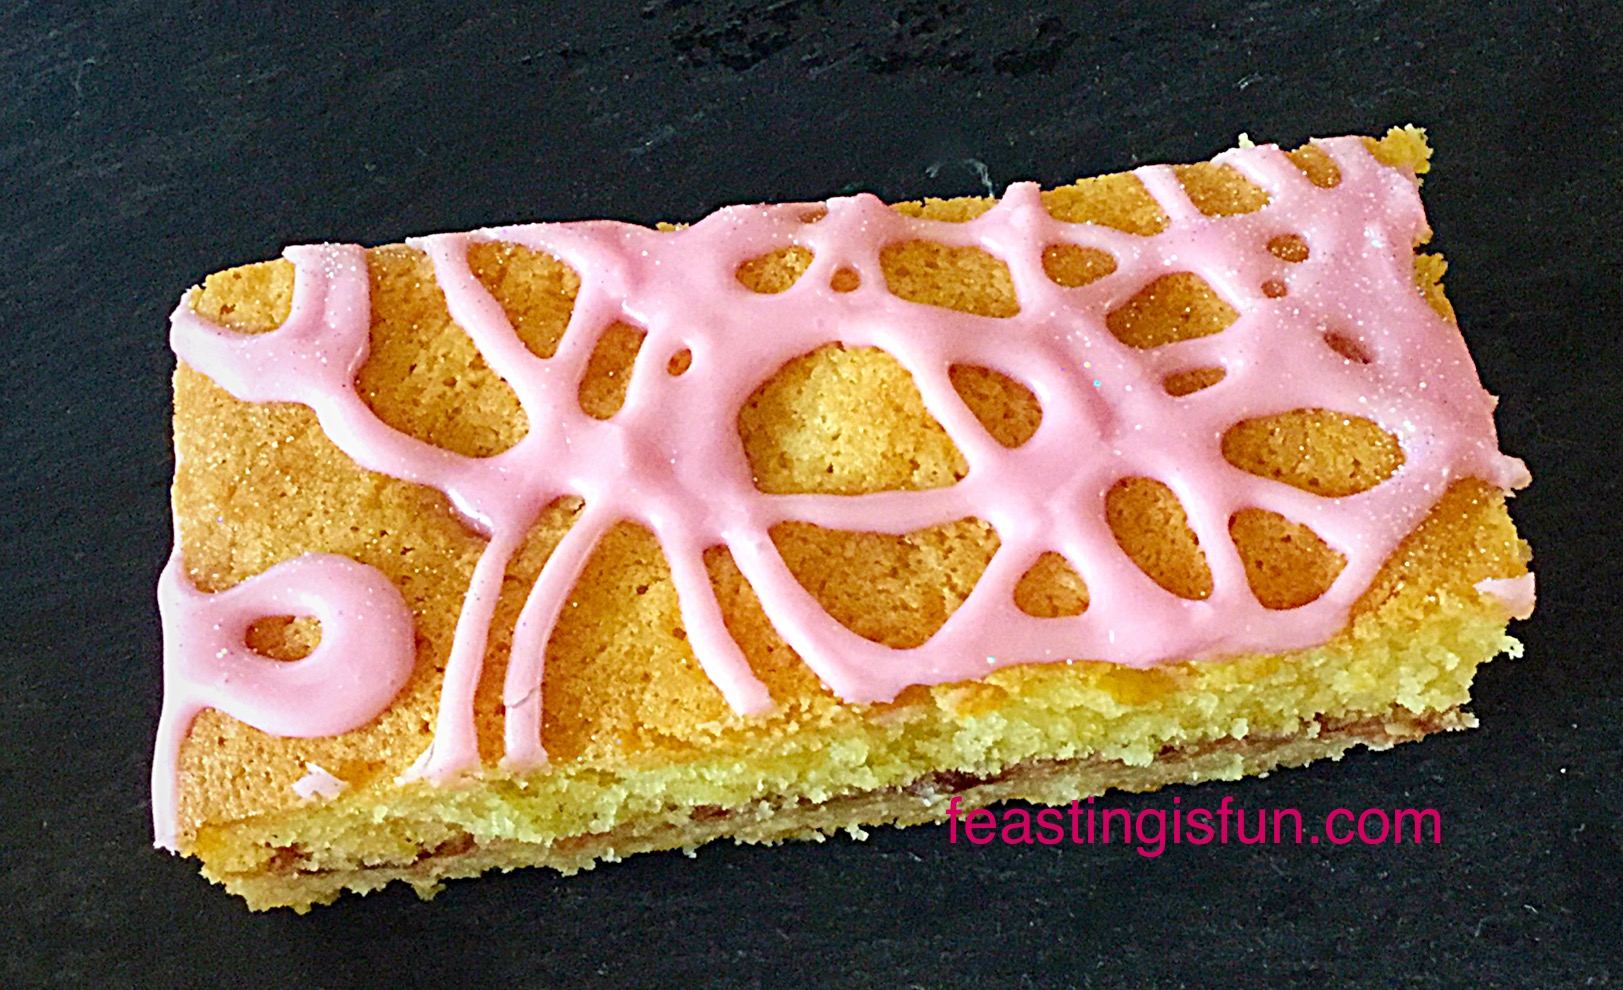
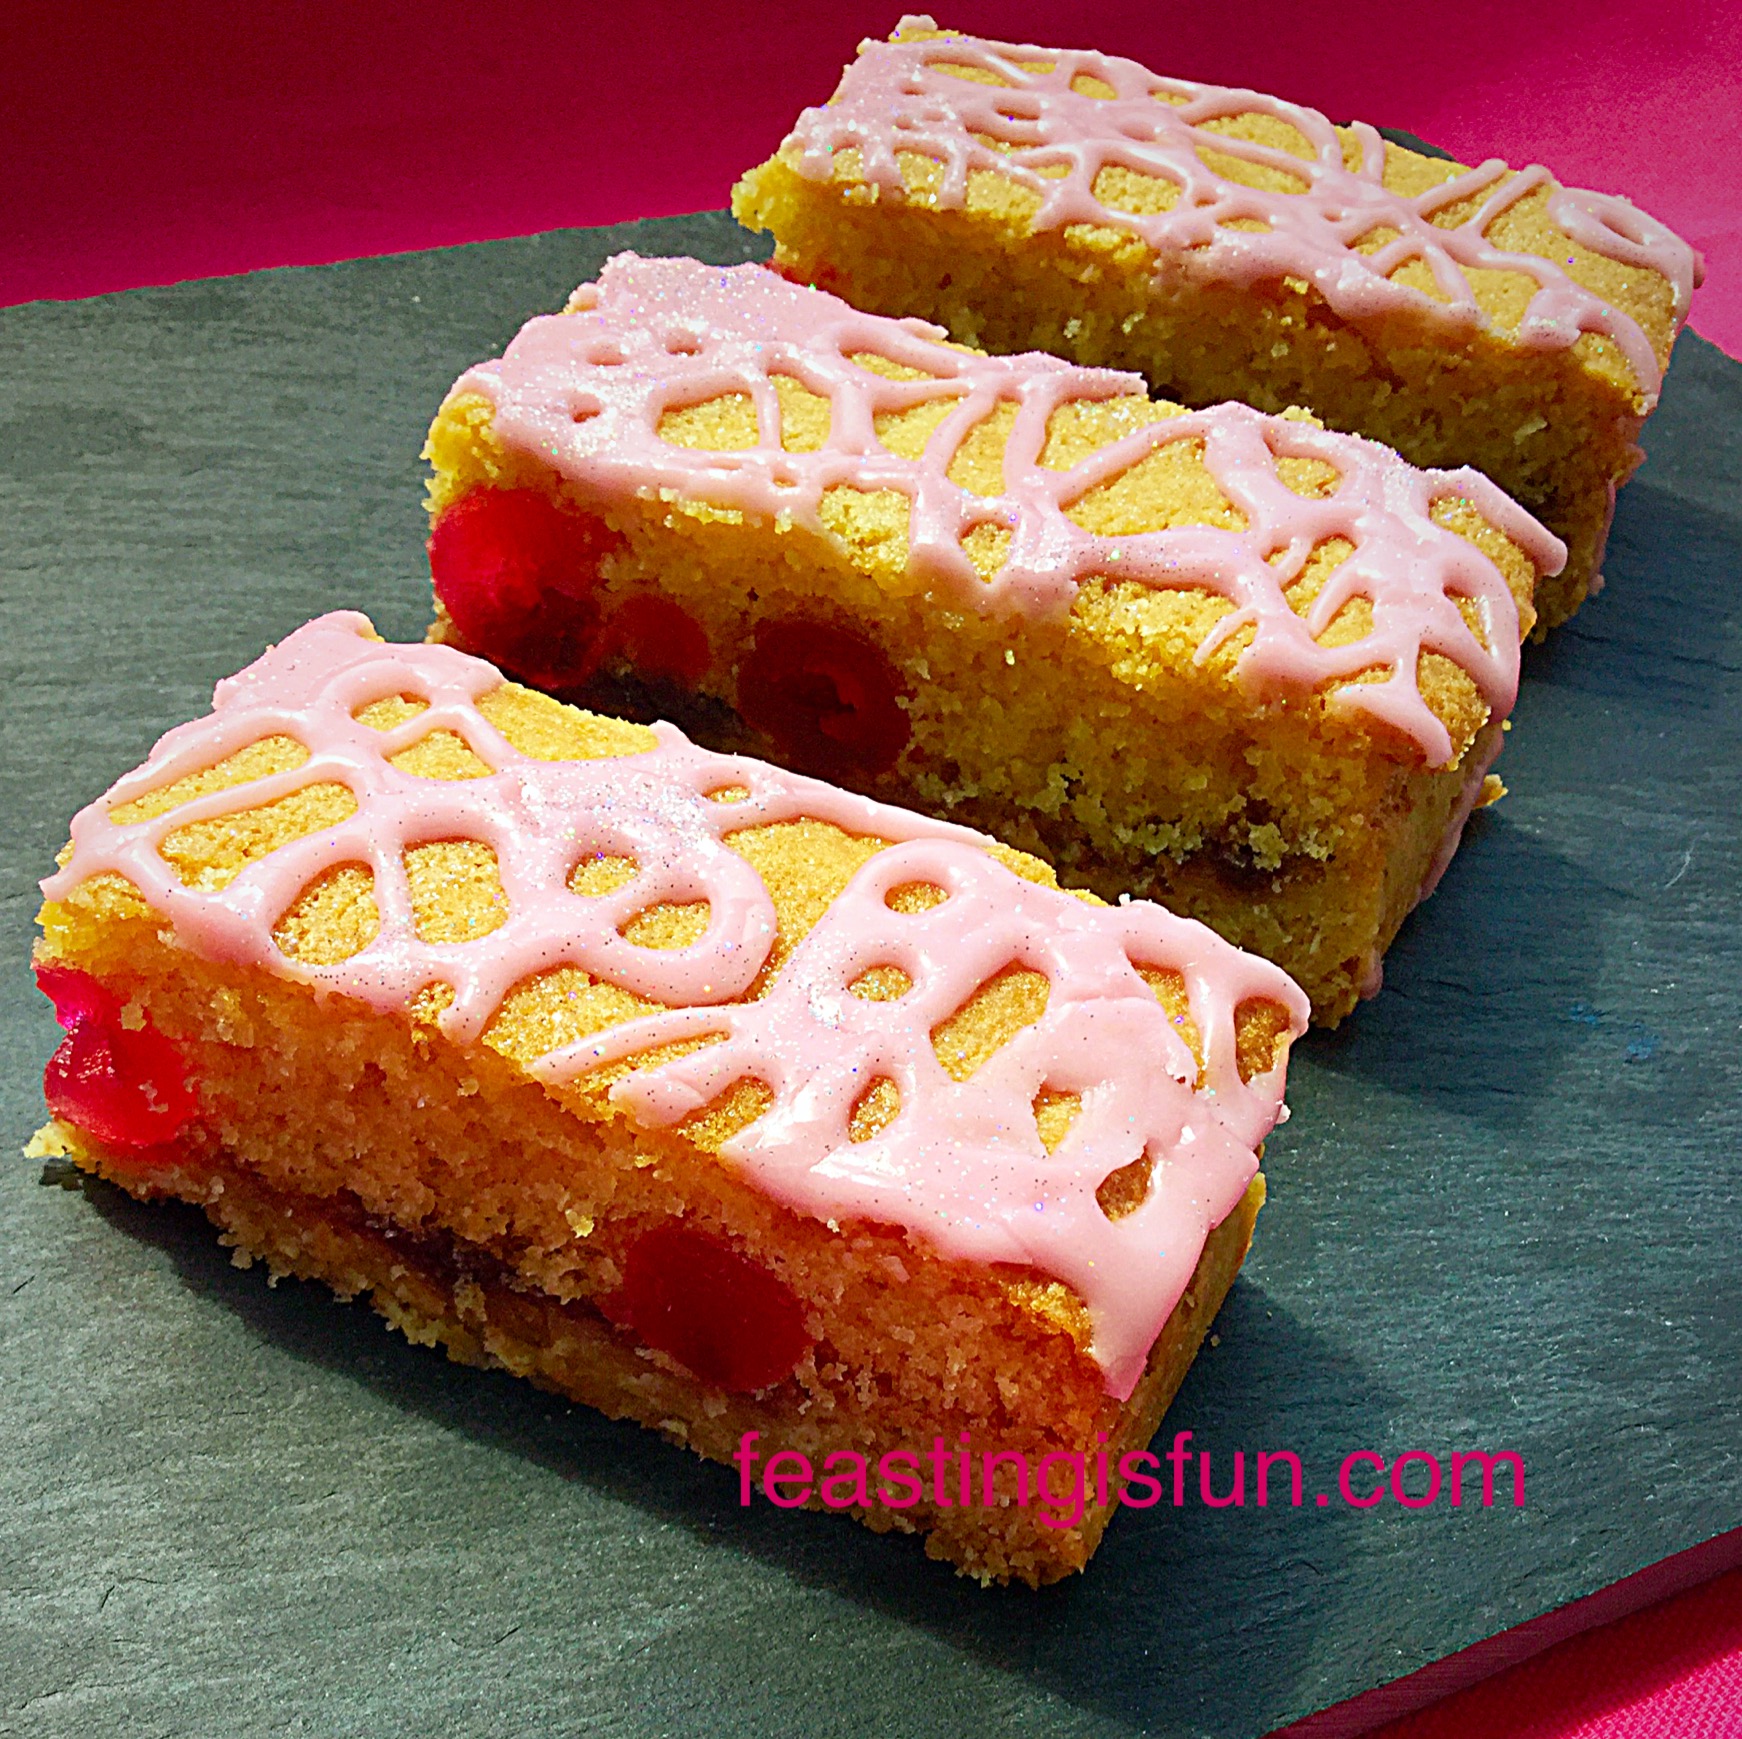
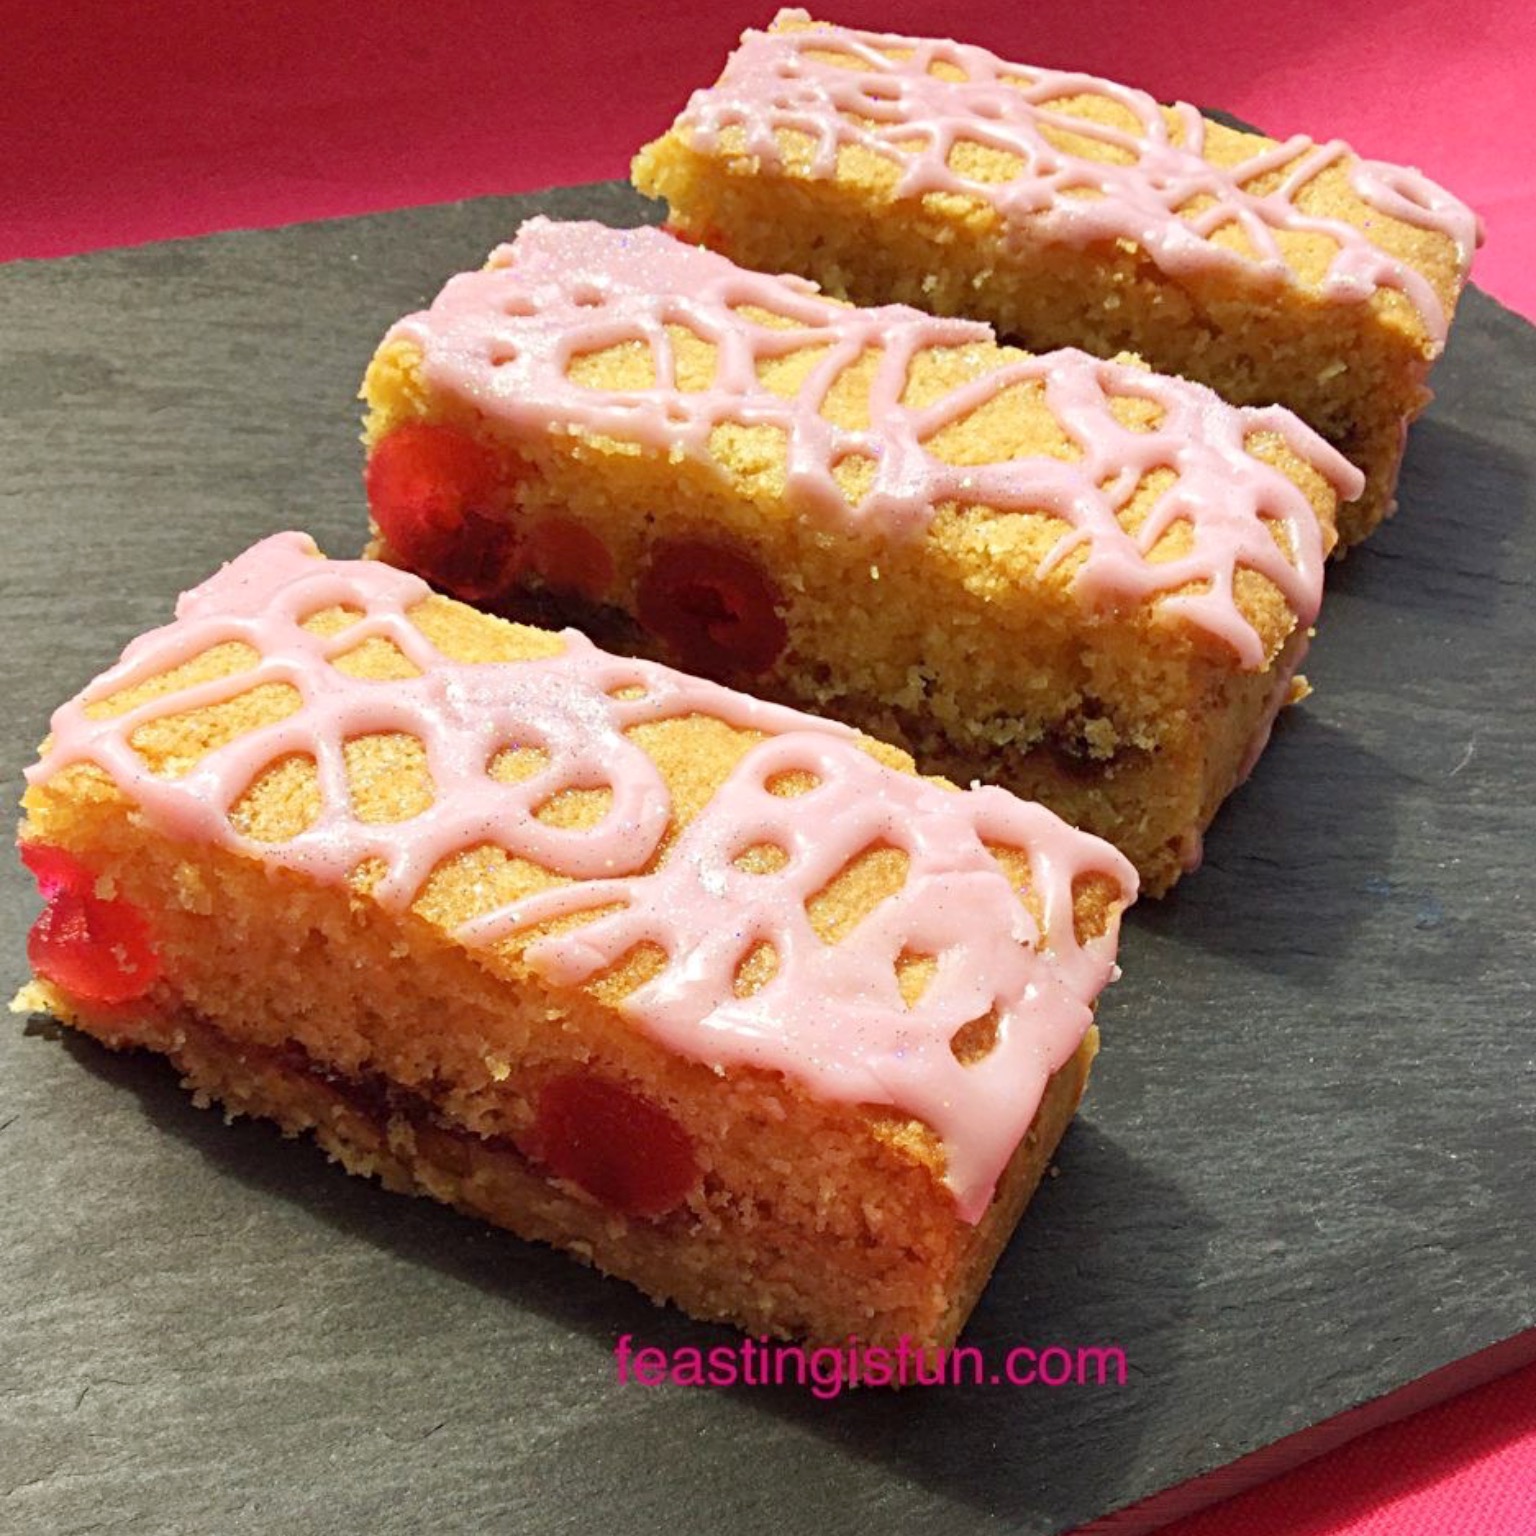
Another delicious bake that uses the same flavours as these muffins is my Raspberry White Chocolate Loaf Cake. Also great for transporting to share with others
If you have enjoyed this recipe for Raspberry White Chocolate Chip Muffins you may also like these:
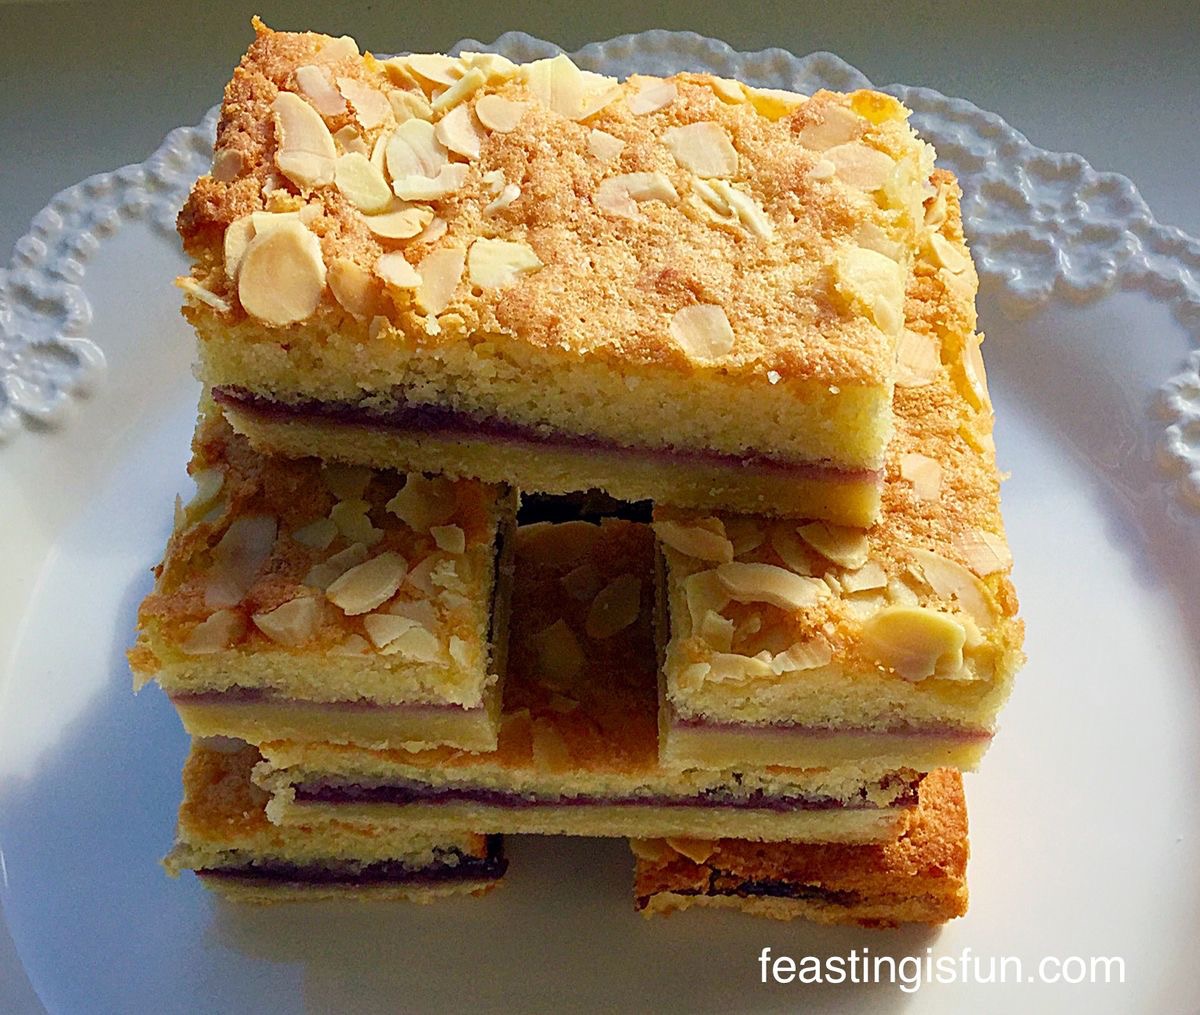
Double Strawberry Almond Muffins


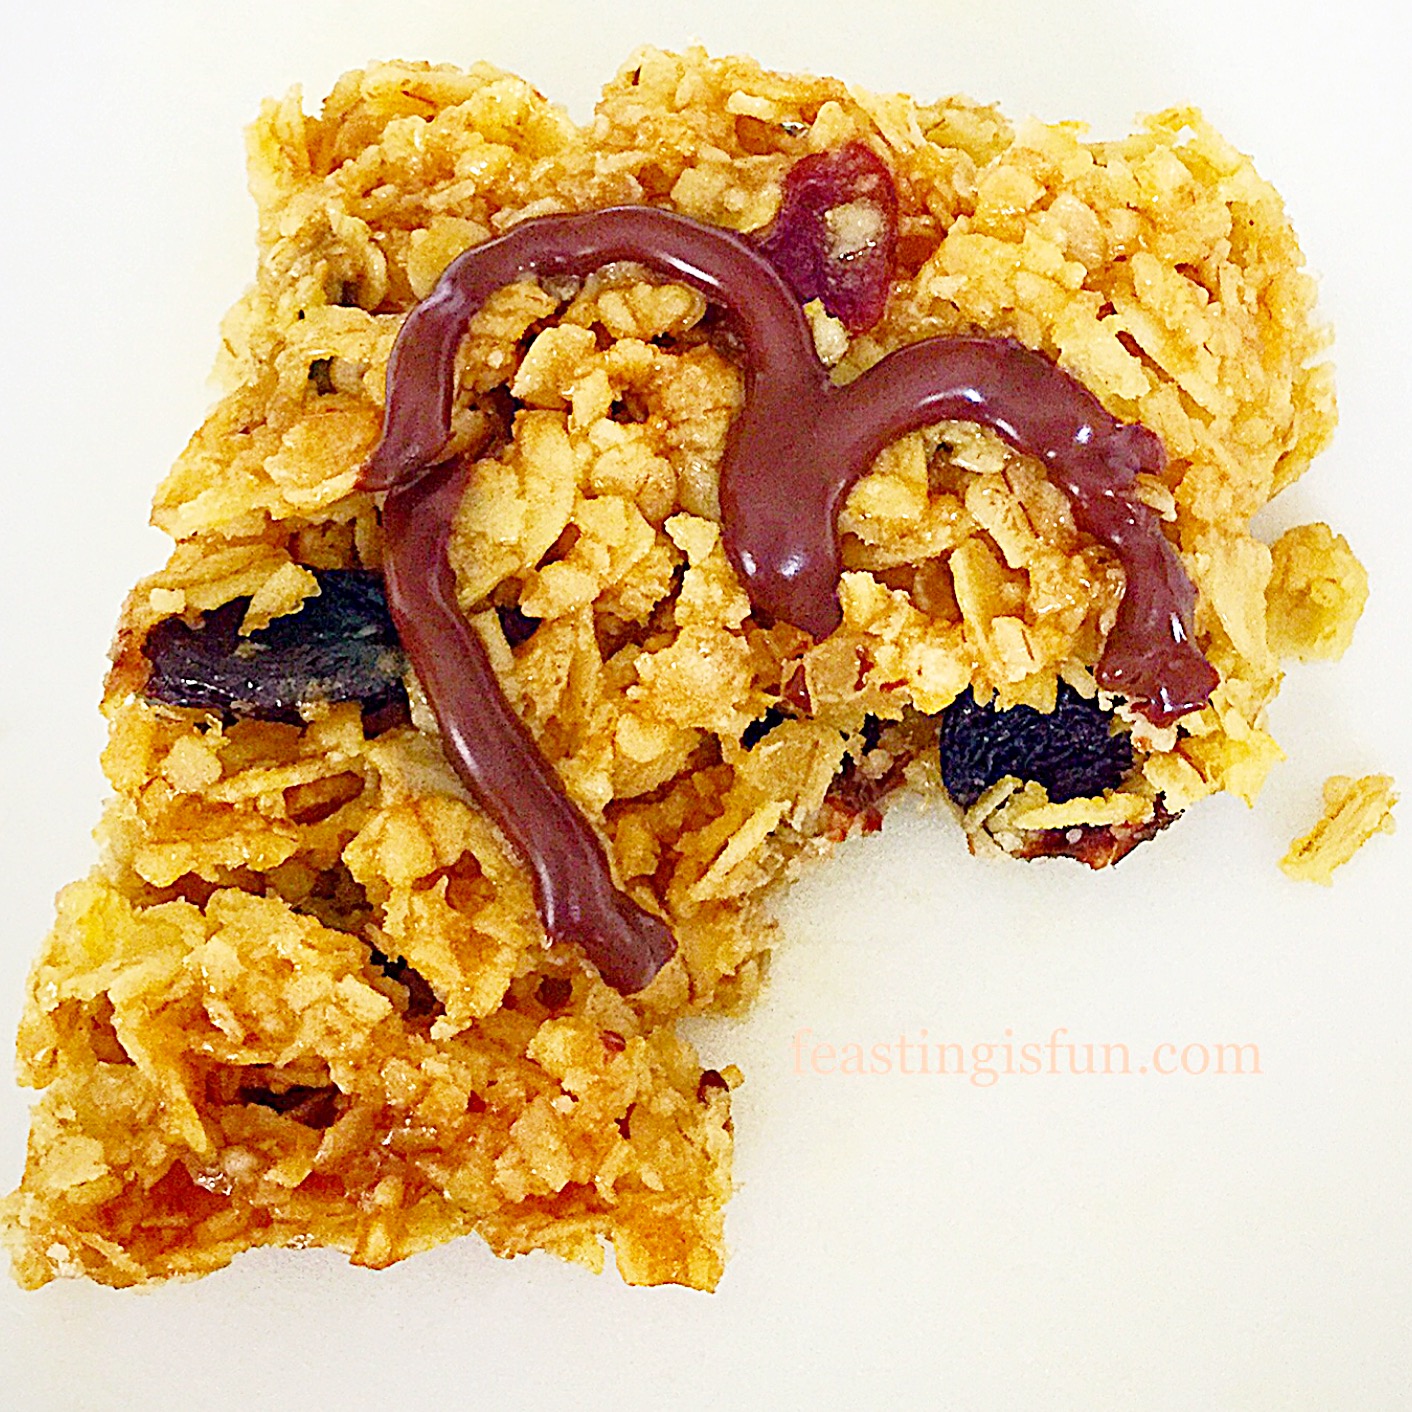
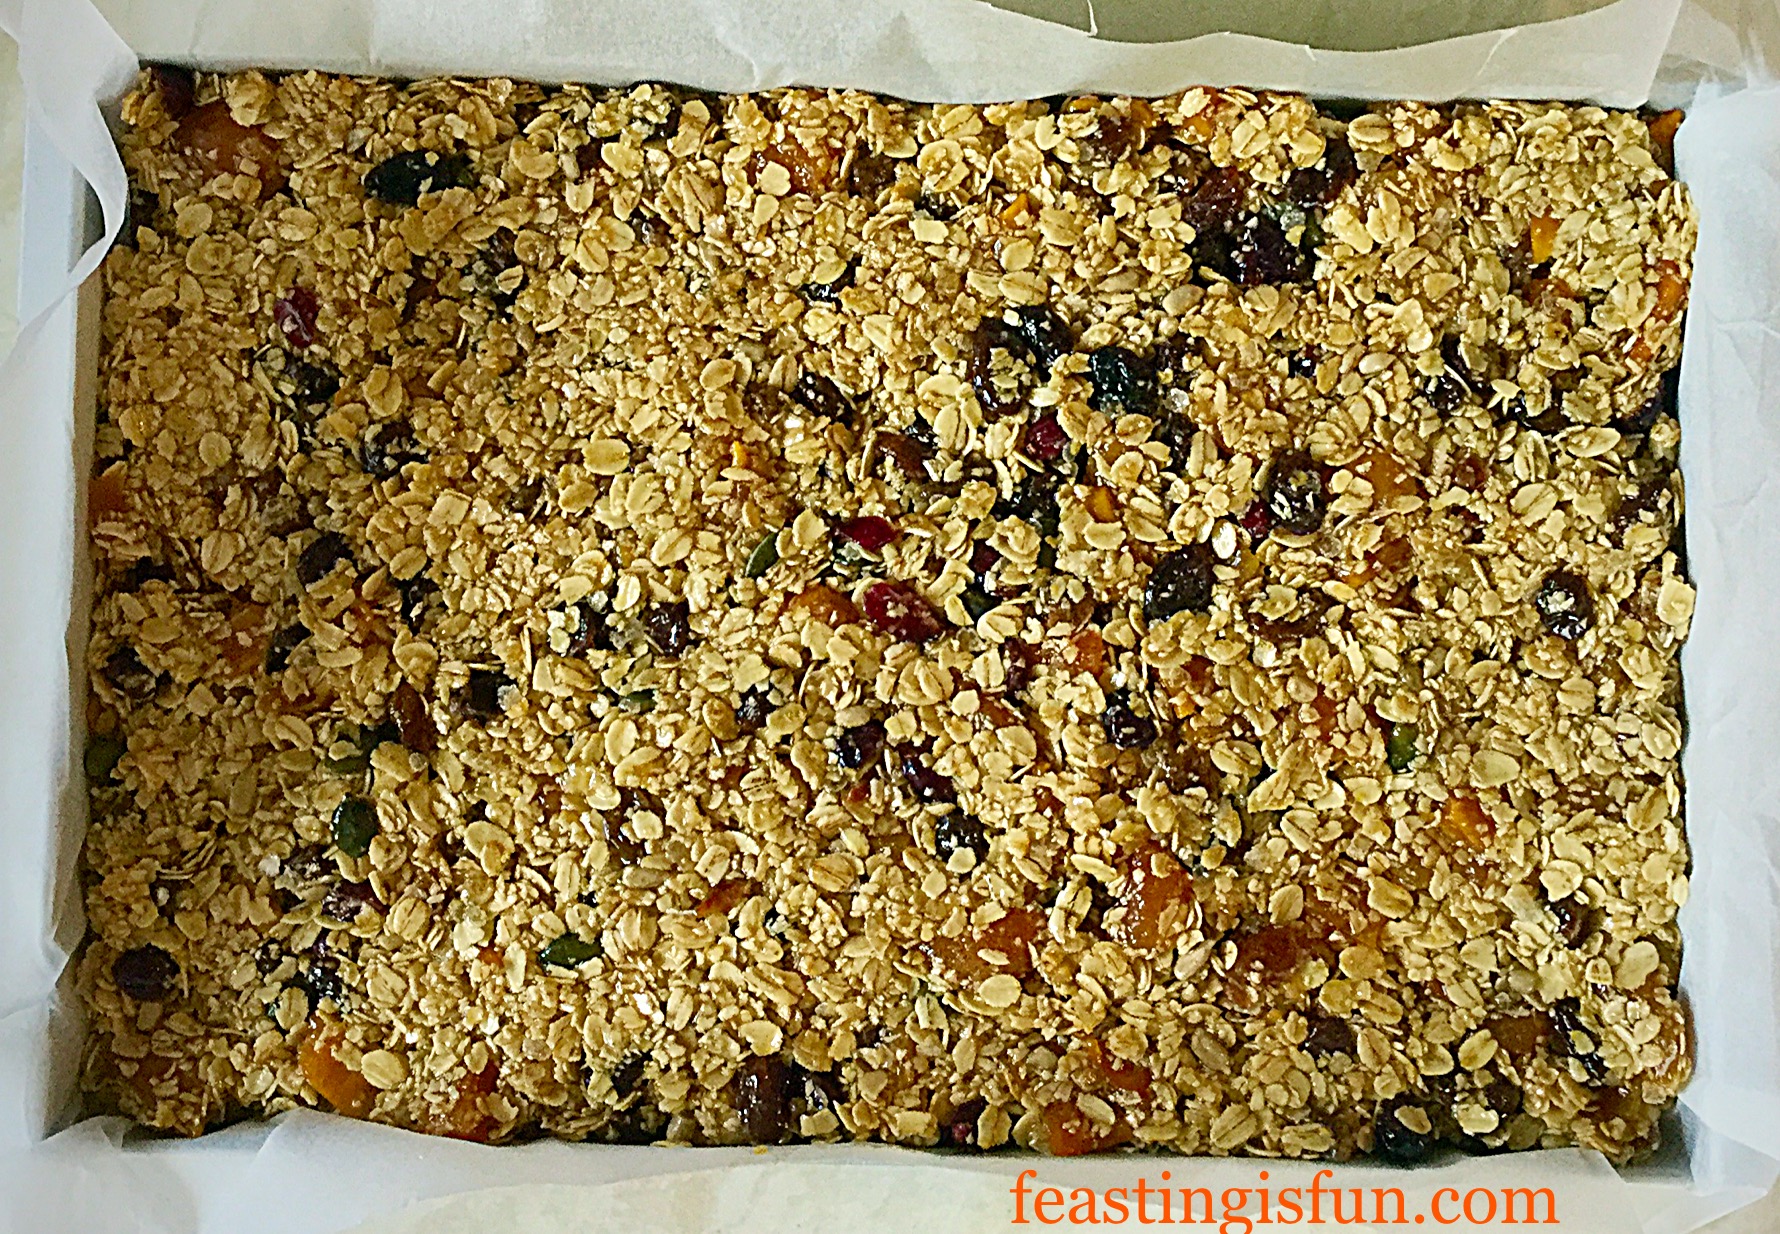
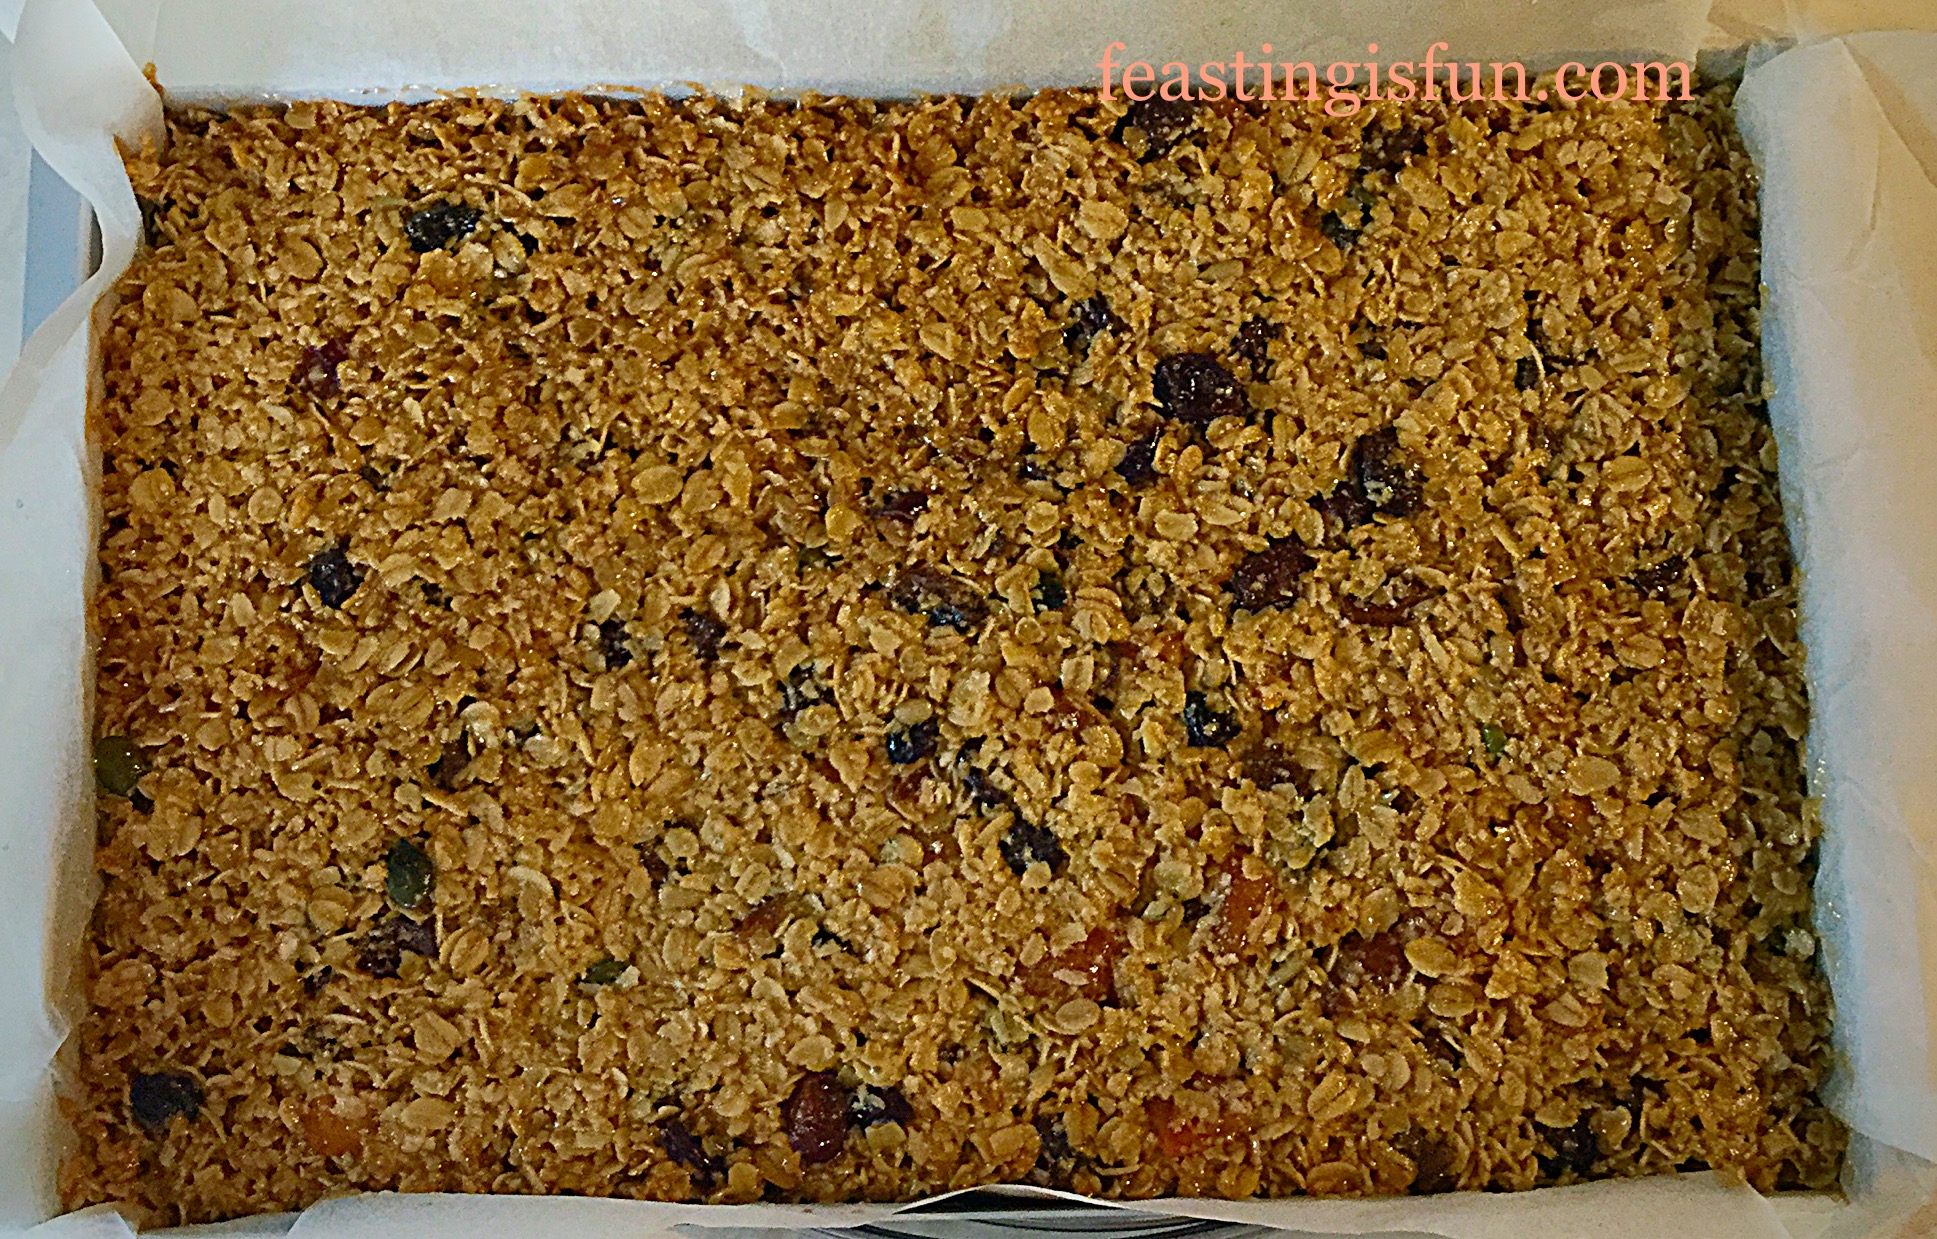
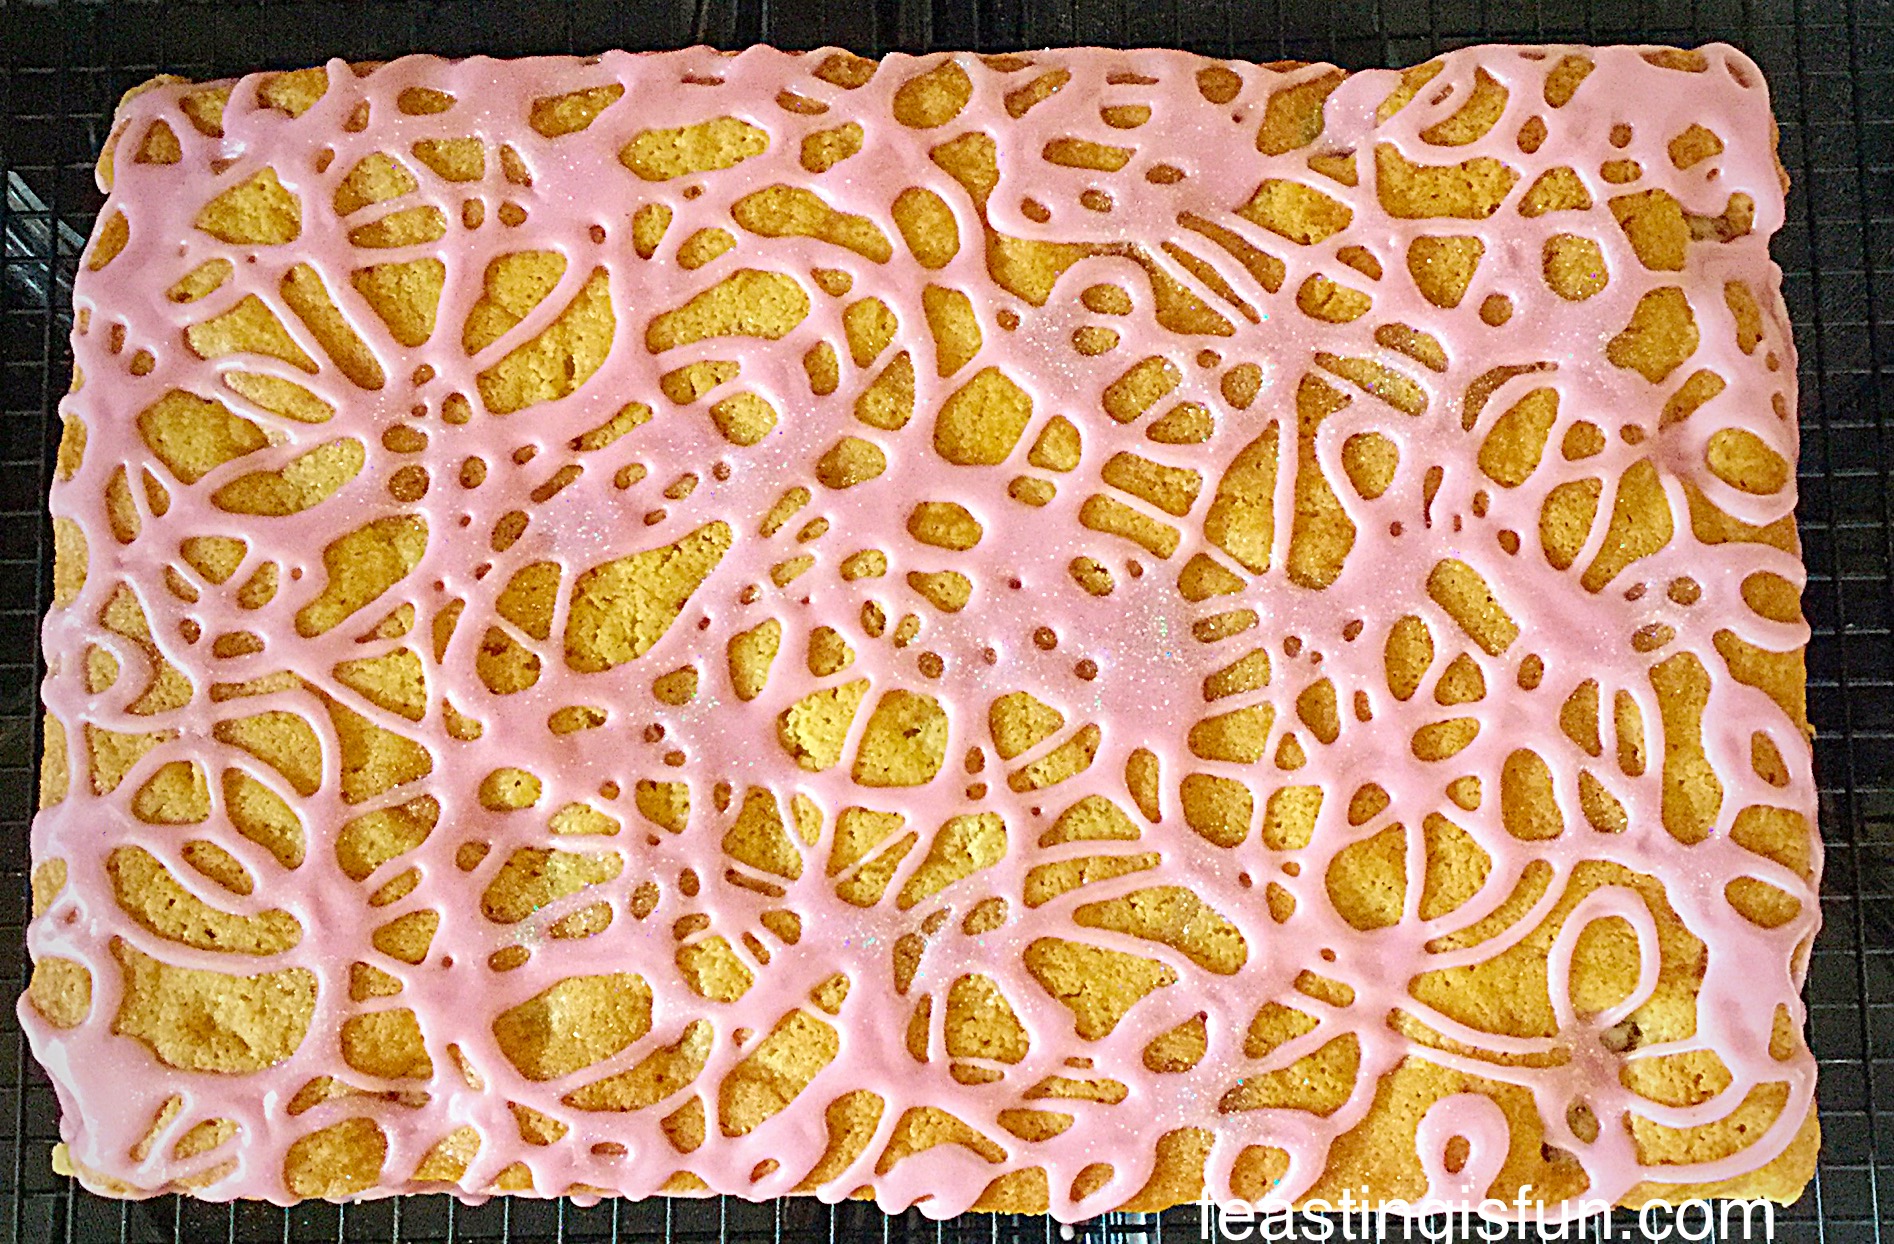
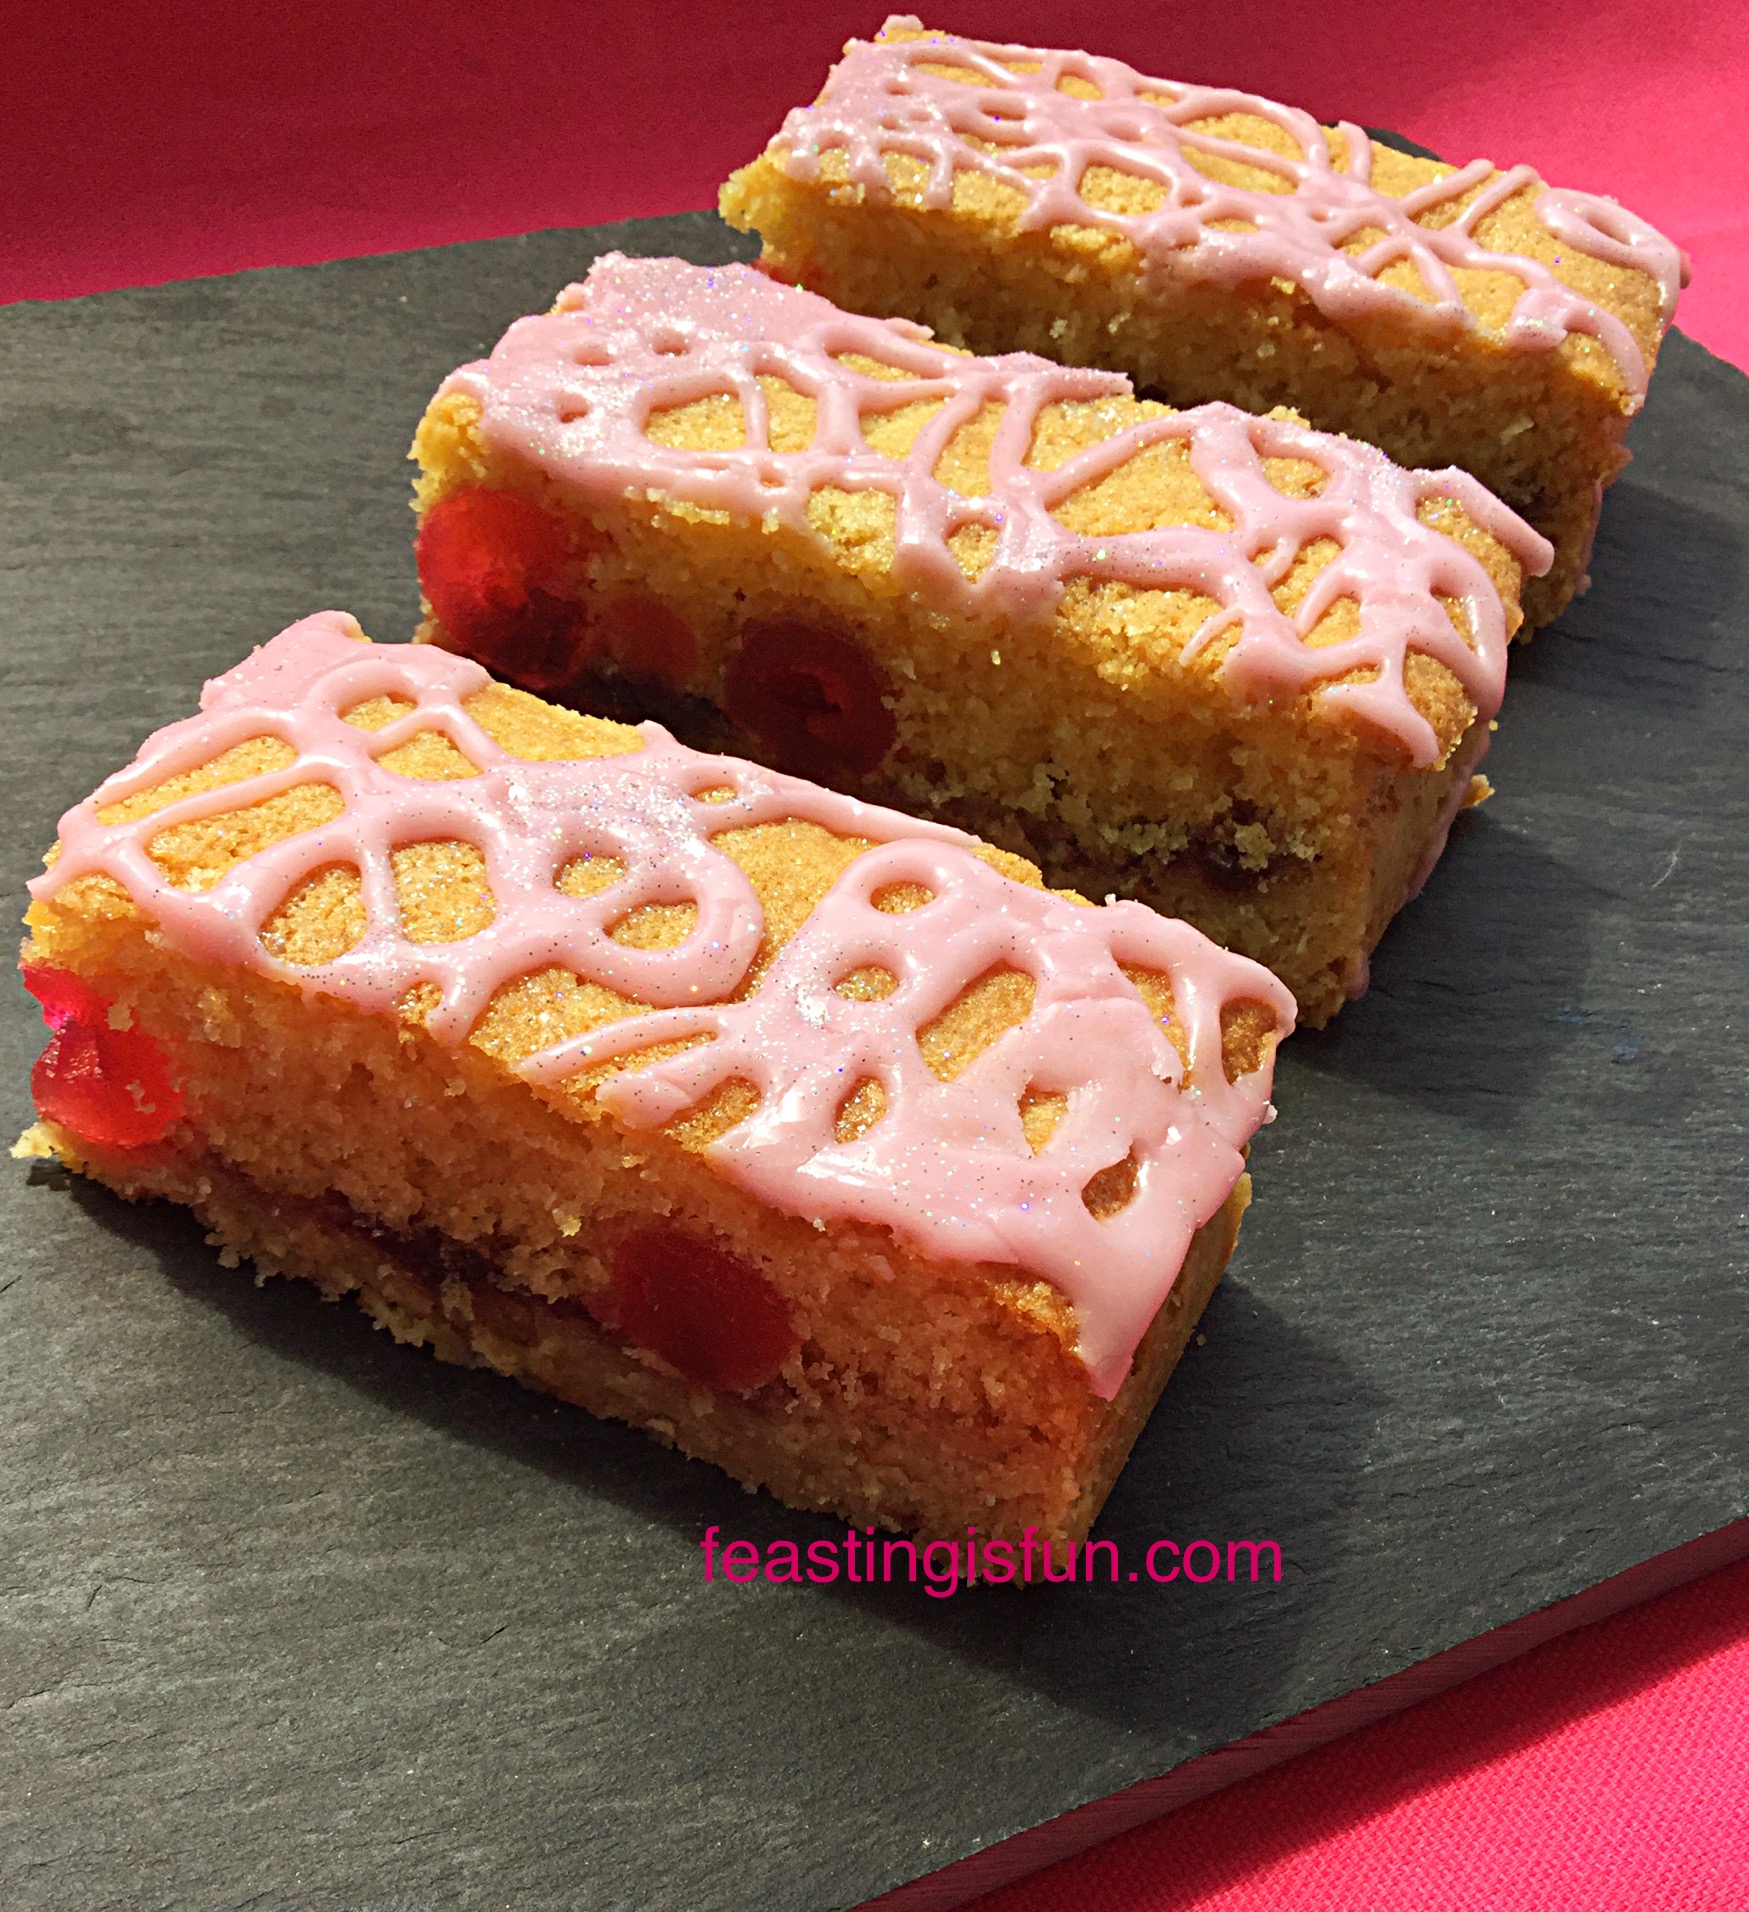
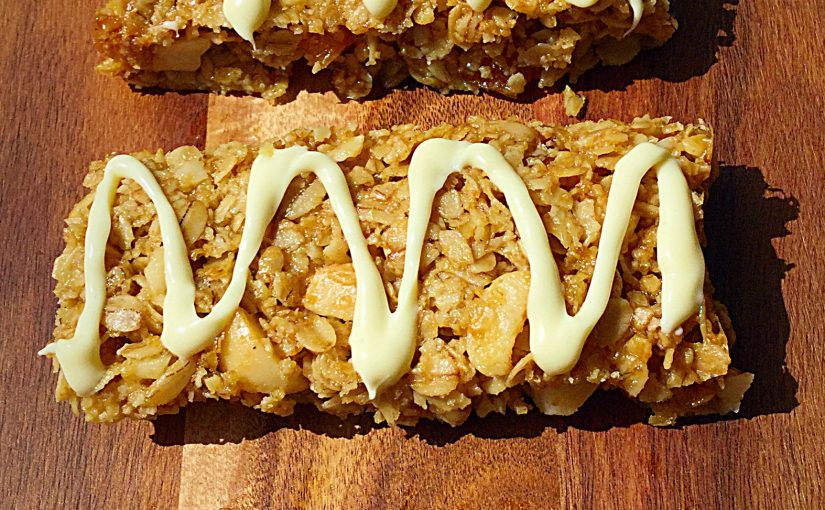
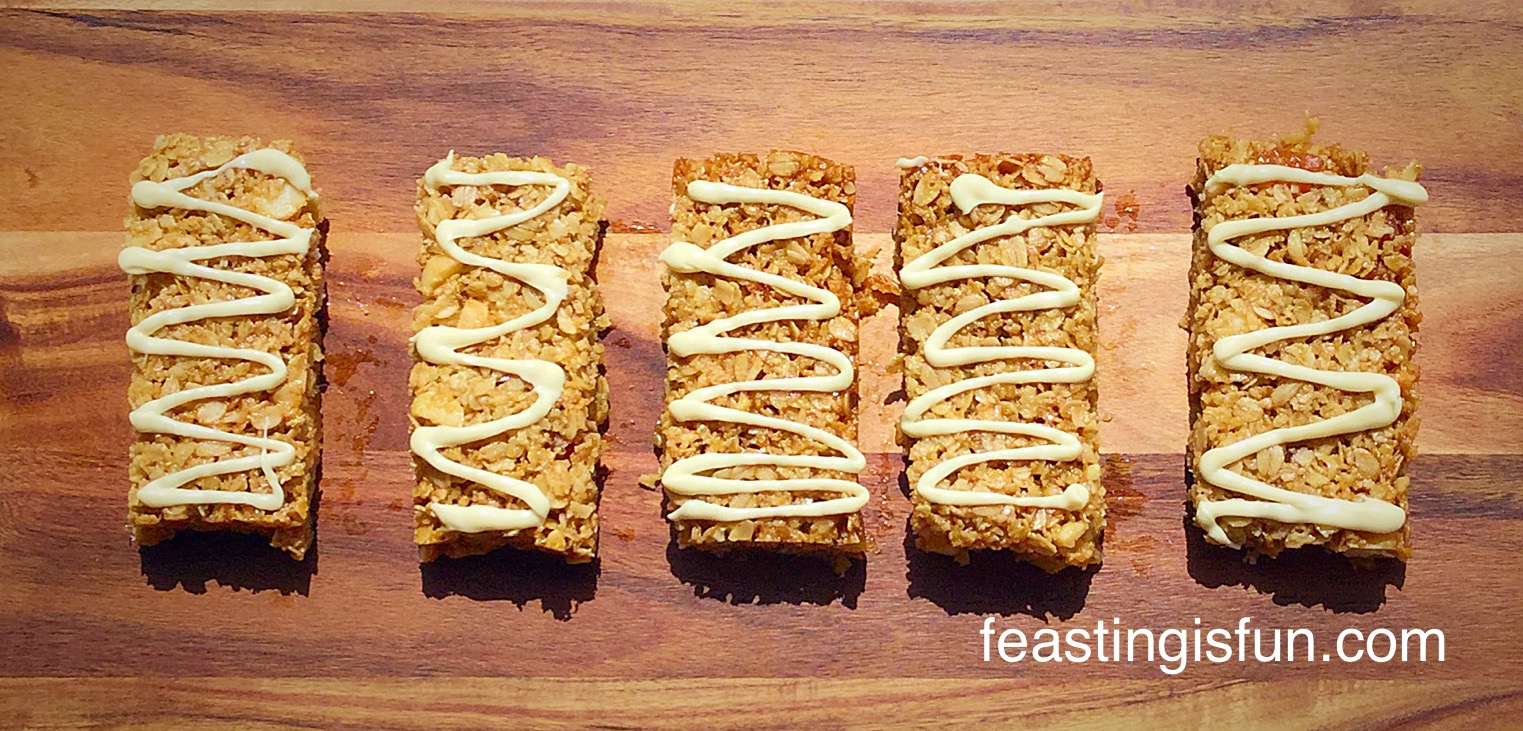
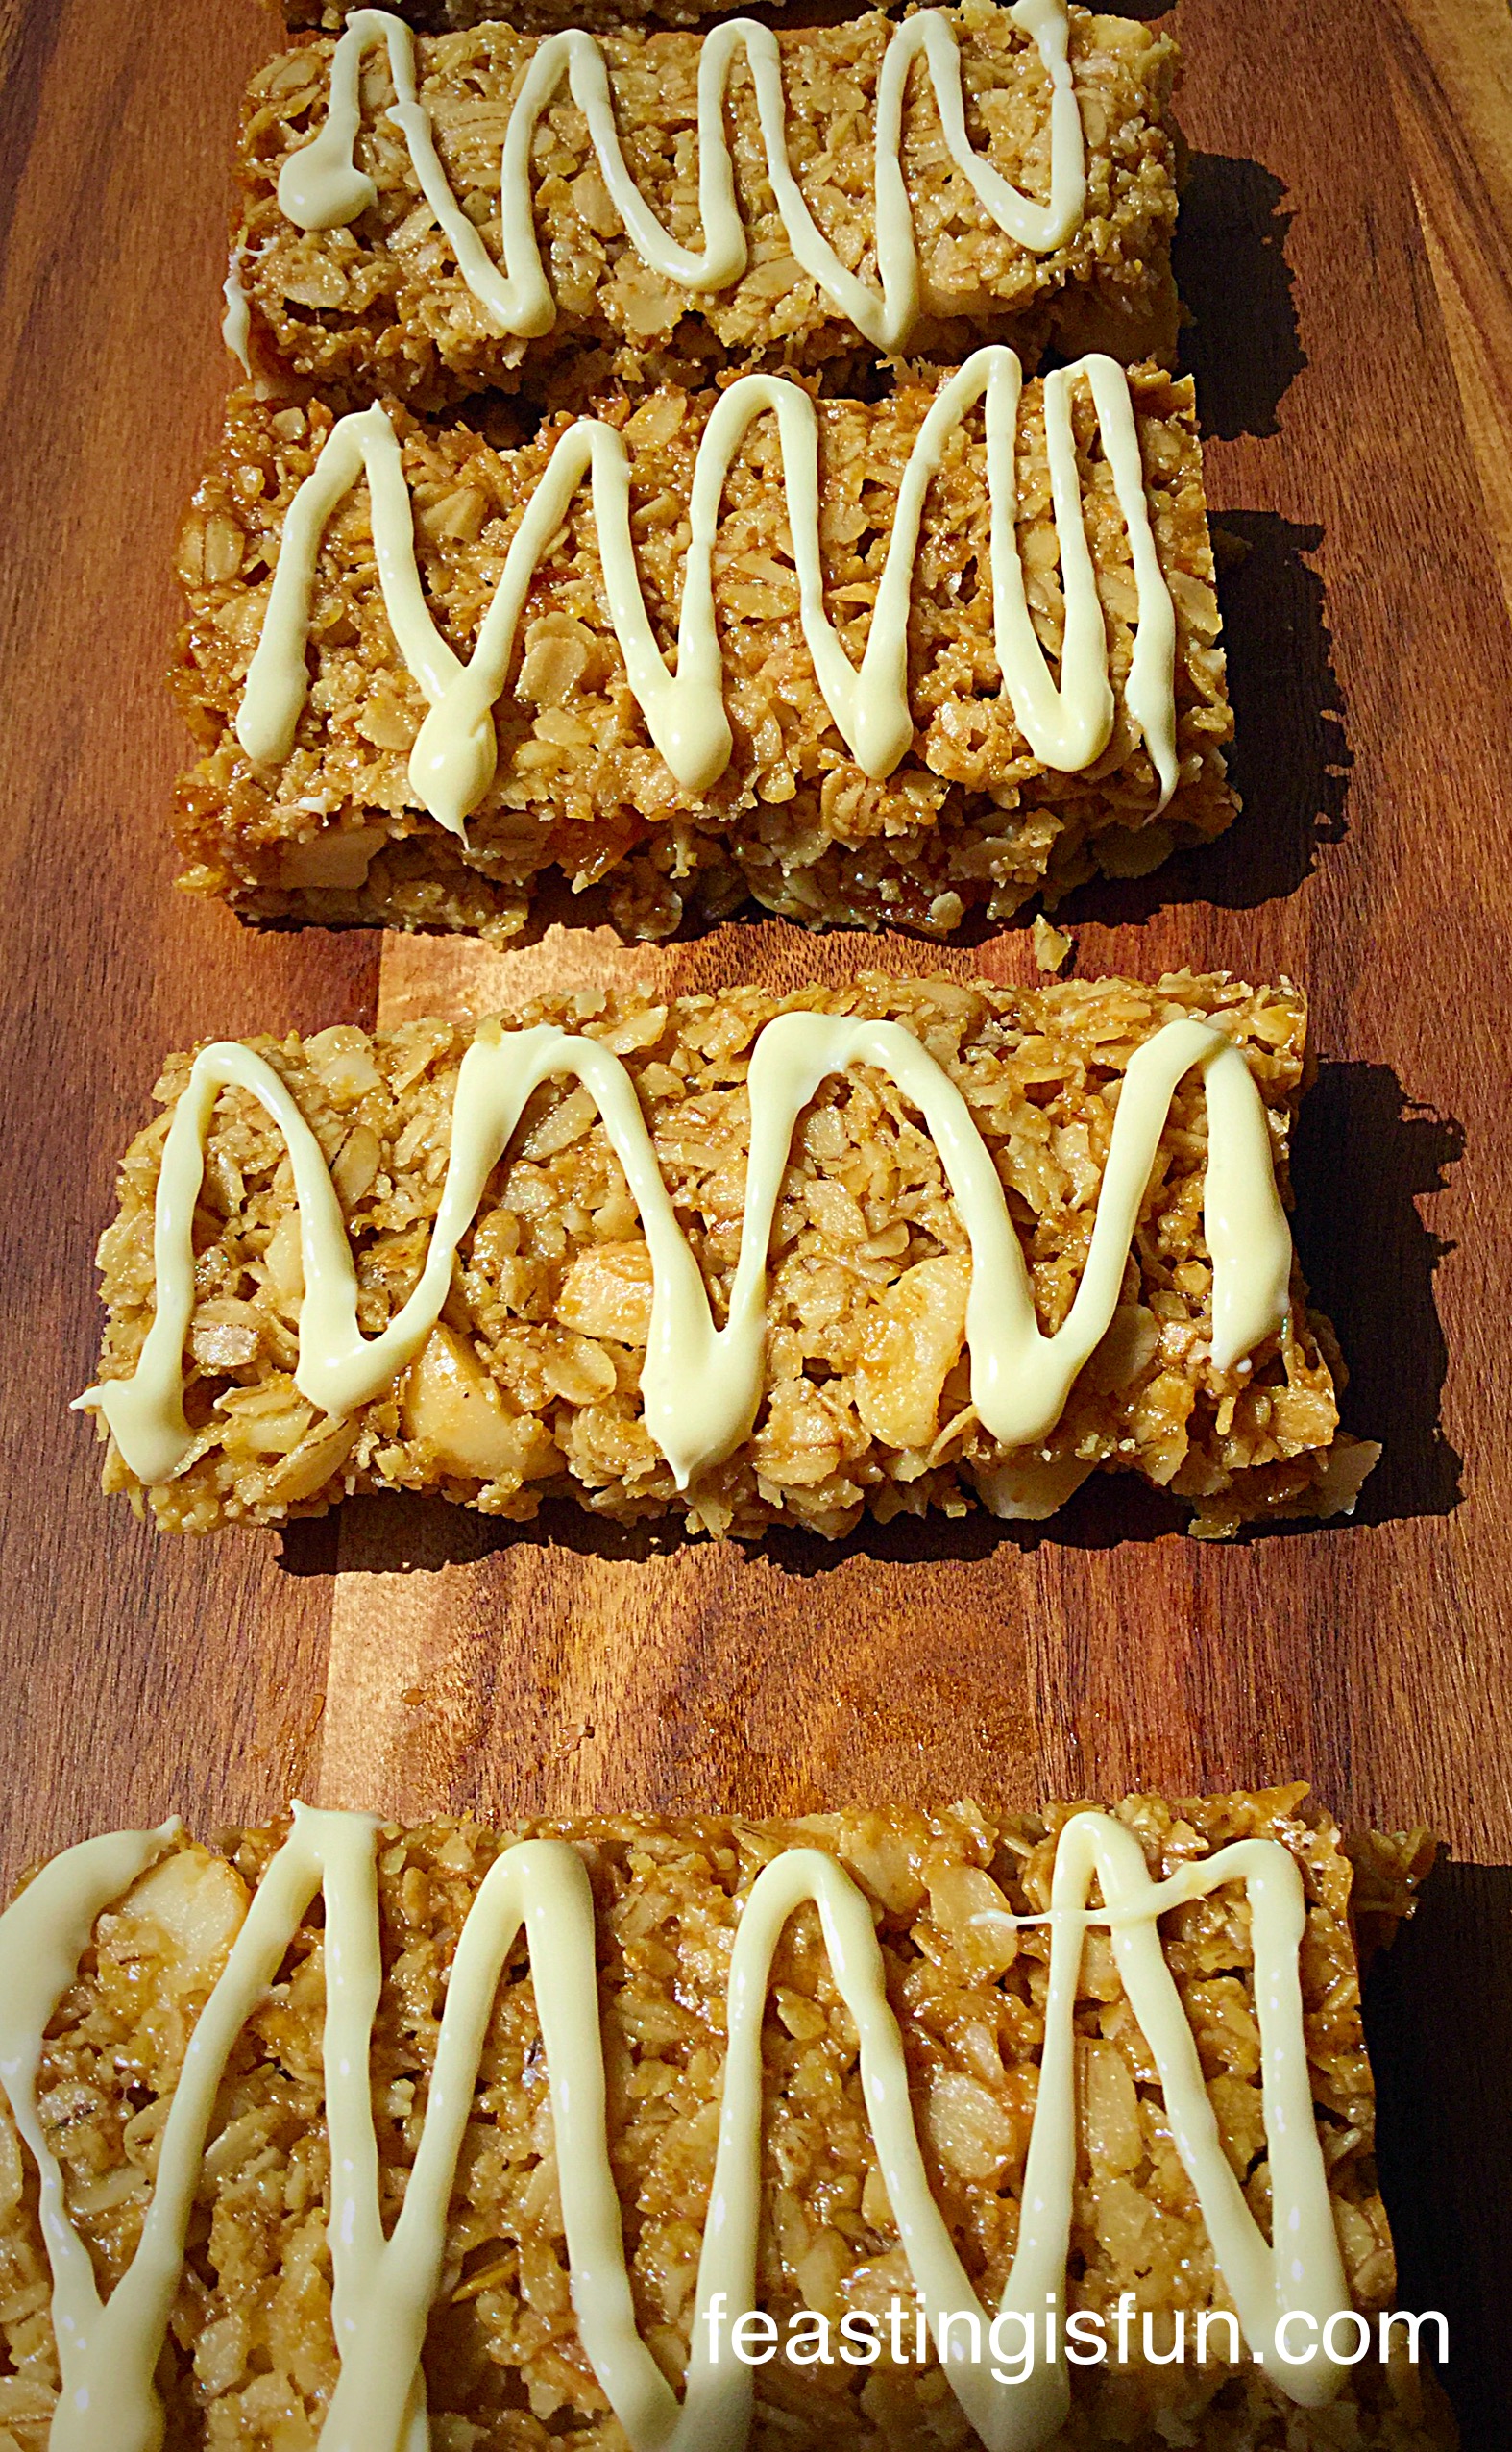
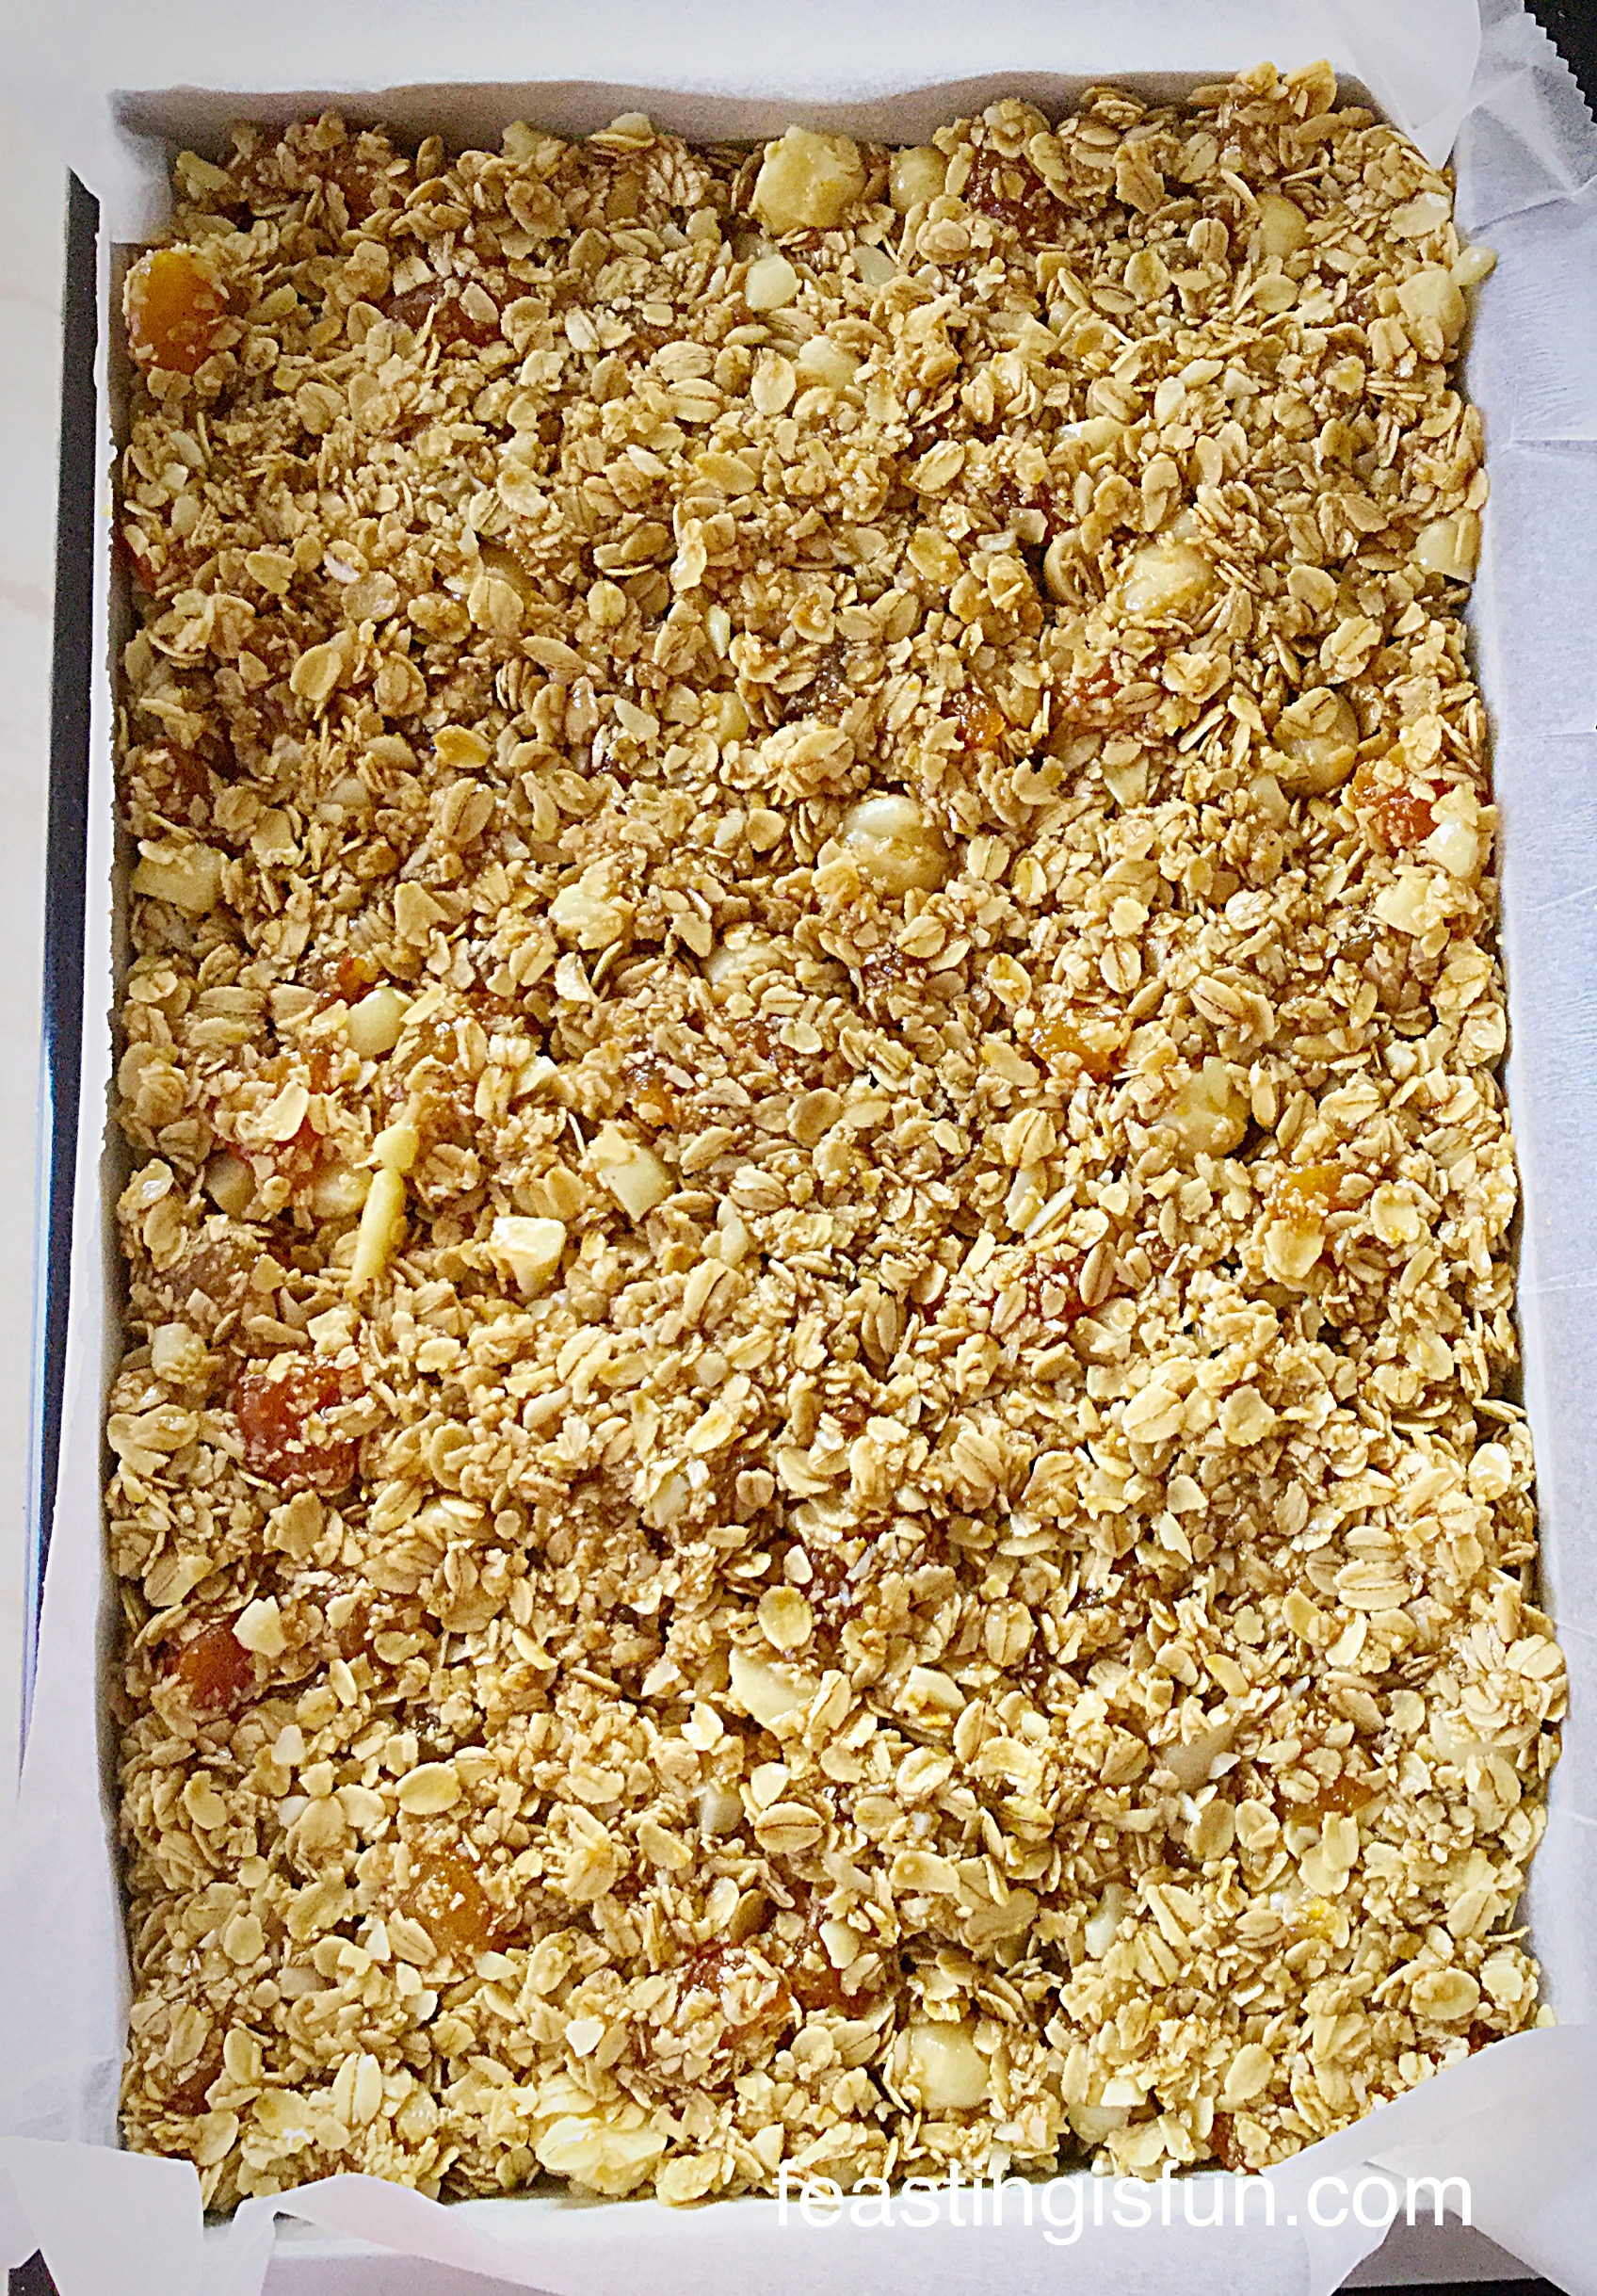
Double Cherry Drizzle Oat Bars
Since actually making these muffins took mere moments, why not try them yourself? Making use of frozen raspberries allowed the fruit to keep its shape more easily. Yet, if fresh raspberries are in abundance or growing in the garden absolutely use those. Deep blush streaked muffins, warm from the oven taste good any day of the year!
So whatever you are making, baking and creating in your kitchens, have fun preparing and sharing your feast.
Sammie xx
No part of this post may be reproduced or duplicated without the written permission of the owner. Please see my Disclosure Policy.
Share