Winter, the season where stews and casseroles become feasts that fill us with warmth and comfort. Chilli certainly is a giant, teddy bear hug in a bowl. Spiced meat, peppers and beans, cooked gently and slowly, providing a warm, filling dish. Here, the emphasis has been to keep the recipe low fat and healthy. Let me share my Healthy Turkey Mixed Pepper Chilli.
A healthy twist on a classic recipe
While traditionally Chilli-Con-Carne is made with beef mince, substituting turkey mince would have been the obvious choice. Yet, I wanted, indeed needed a Chilli with texture, such as this Chunky Chilli. Since turkey breast is a naturally low fat meat, using breast steaks provided the ‘bite’ required. Cooked low and slow this dish is as easy to make as it is delicious to eat.
Since the meat is seared separately, removed while the onion is sautéed and then added back into the dish, this recipe could easily be made in a slow cooker. Either cooked on the hob or in a slow cooker there are no difficult processes involved in making this Chilli. Simplicity in the kitchen is always welcome during a busy week.
Recipe: Healthy Turkey Mixed Pepper Chilli serves 4-6
500g/1lb 2oz Turkey Breast Steak
2 tbsp Ground Cumin
1 tbsp Raspeseed Oil (Canola oil) – I use Borderfields
2 Large Onions
4 Bell Peppers
2 x 400g Tins Chopped Tomatoes
2 x 400g Tins Red Kidney Beans rinsed and drained, or 500g cooked red kidney beans
3 tbsp Tomato Purée
1/2 tsp Sea Salt – I use Maldon
1 tsp Chili Flakes – adjust according to taste
2 Cloves Garlic – crushed
1/2 tsp Freshly Ground Black Pepper
3 tsp Corn Flour (corn starch) – I use Doves Farm
Method:
You will need a large heavy bottomed pan for this recipe. A Dutch oven (cast iron casserole dish) is ideal. While the recipe calls for simmering on a hob, alternatively the assembled dish can be left in the oven on a low heat.
Making the Chilli
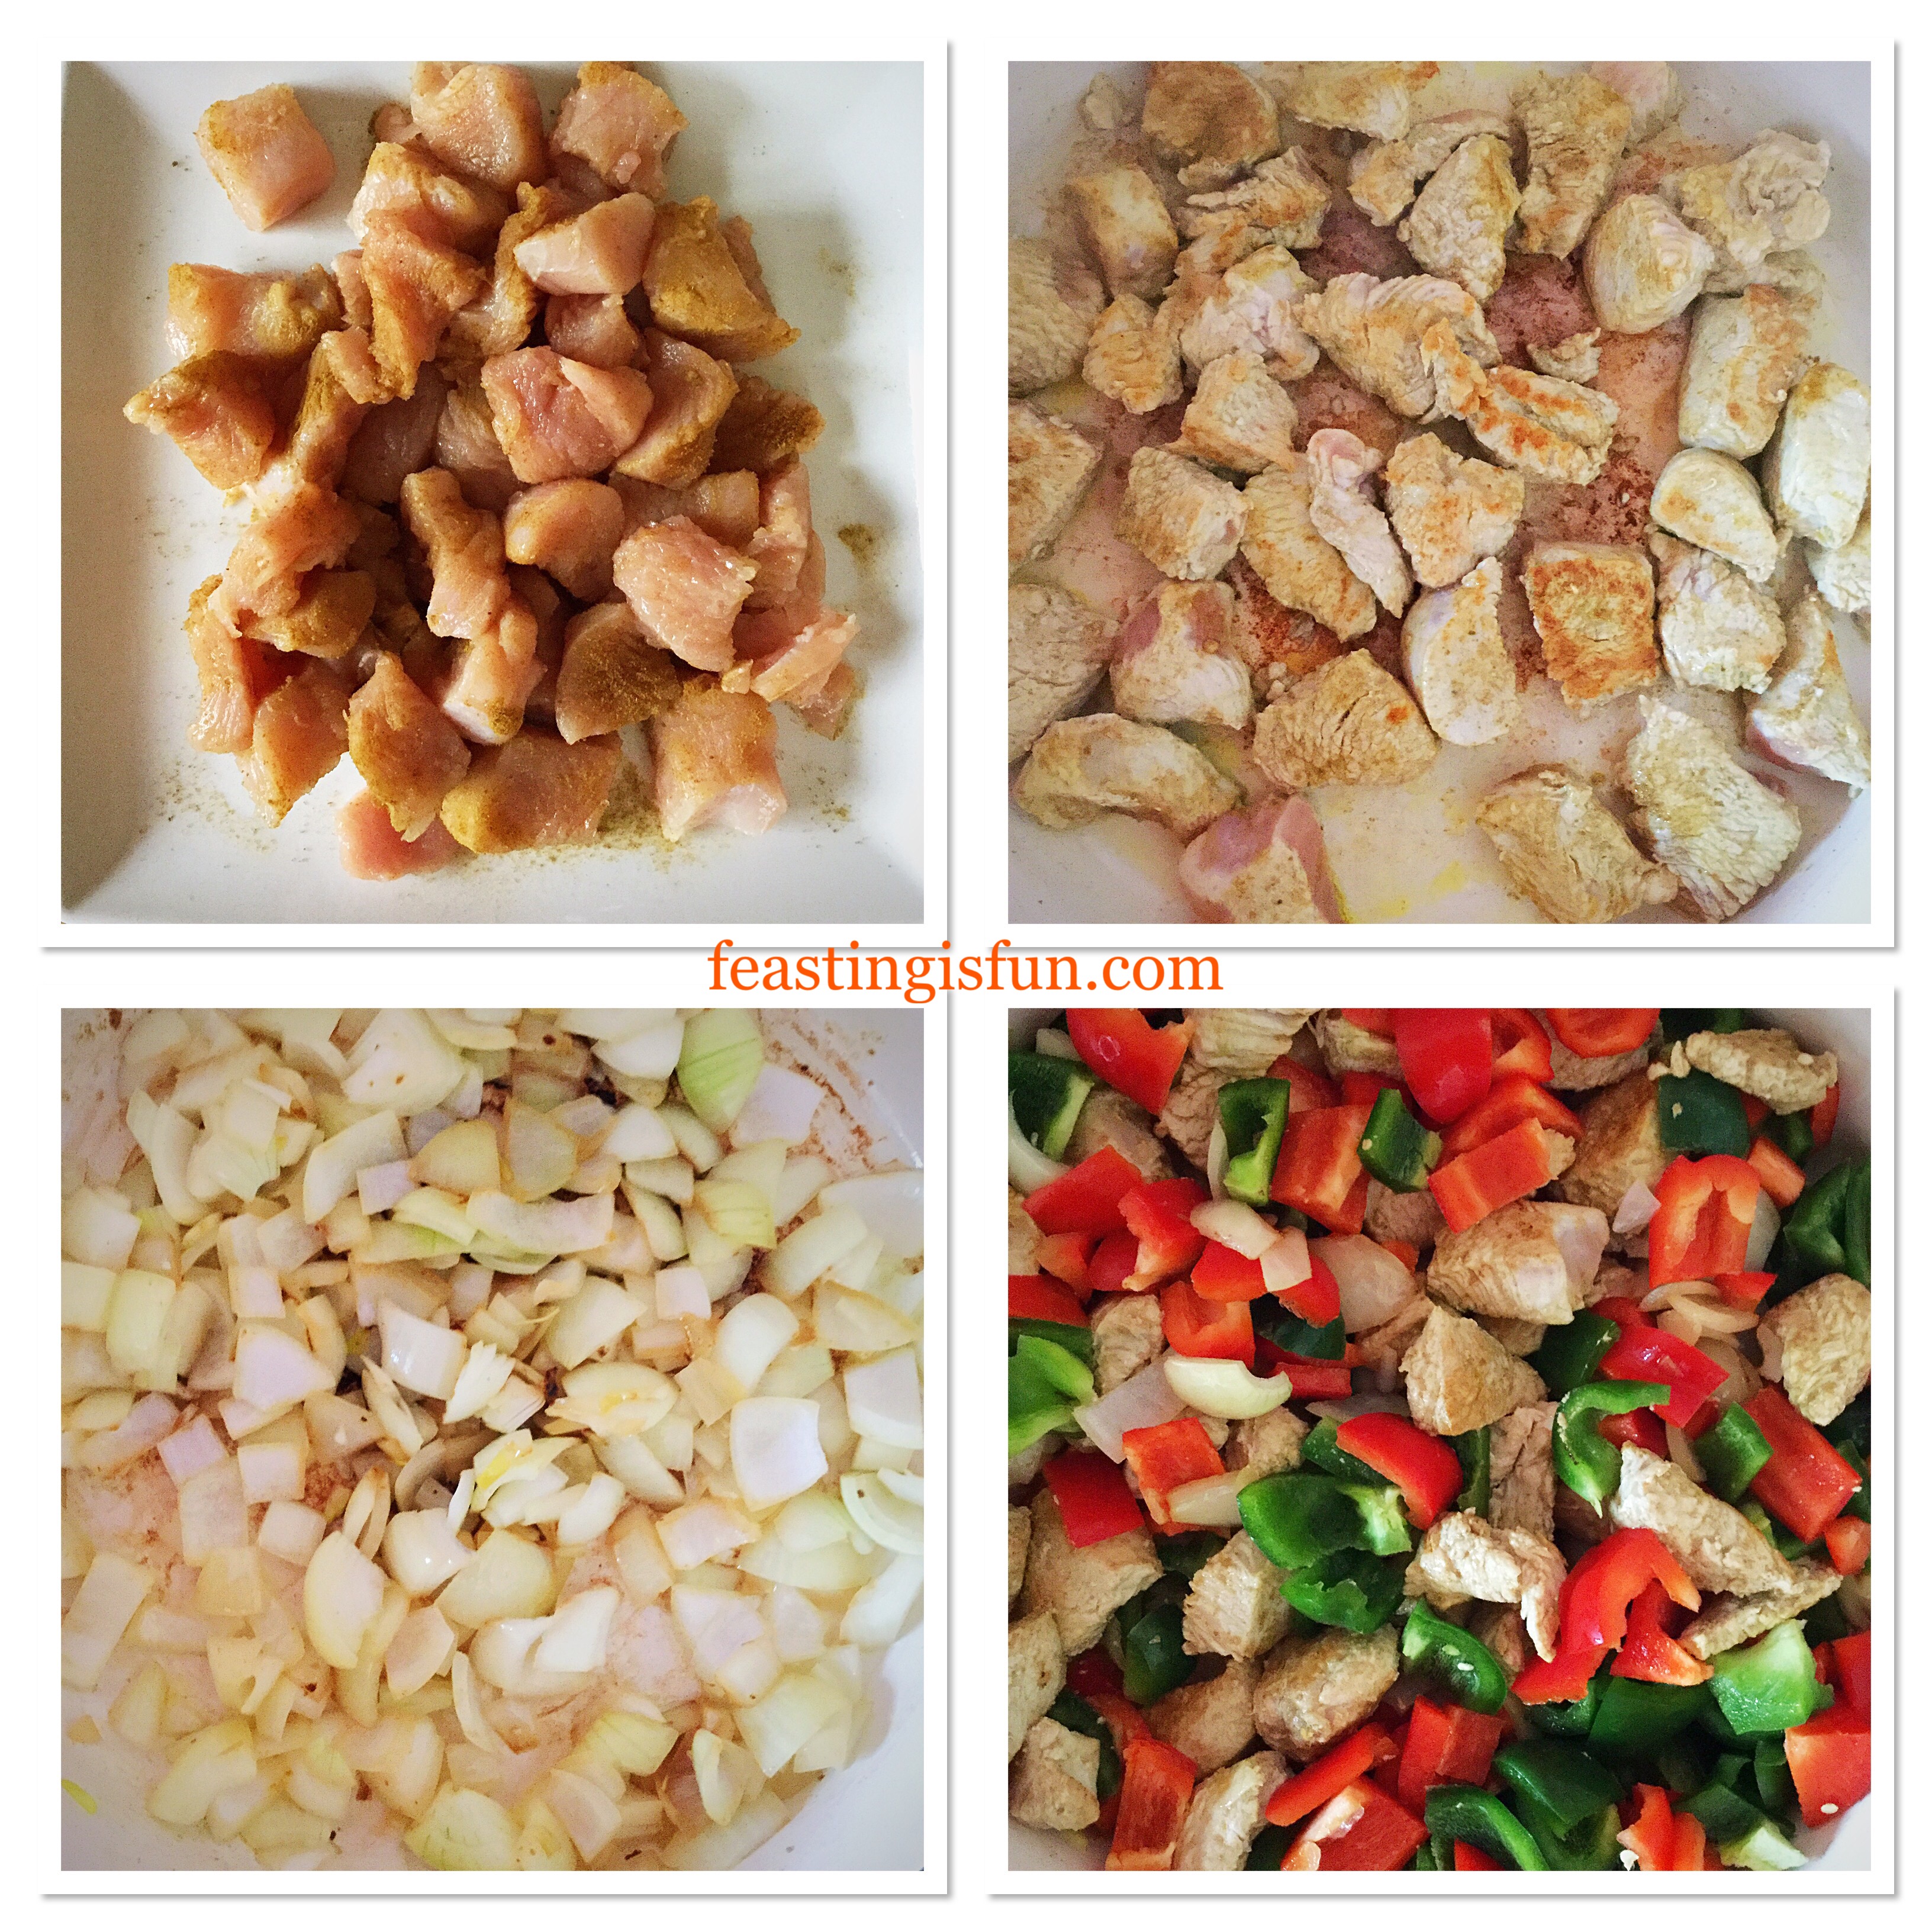
- First of all cut up the turkey breast into bite size chunks. Toss the chunks in the ground cumin so they are all coated in spice.
- Place a heavy bottomed pan on a medium heated hob. Add half the oil and then when hot place the turkey chunks, spaced evenly apart, into the pan. Brown the meat, turning to ensure each piece is seared in the hot pan. As soon as the meat is seared on all sides remove from the pan on to a clean plate.
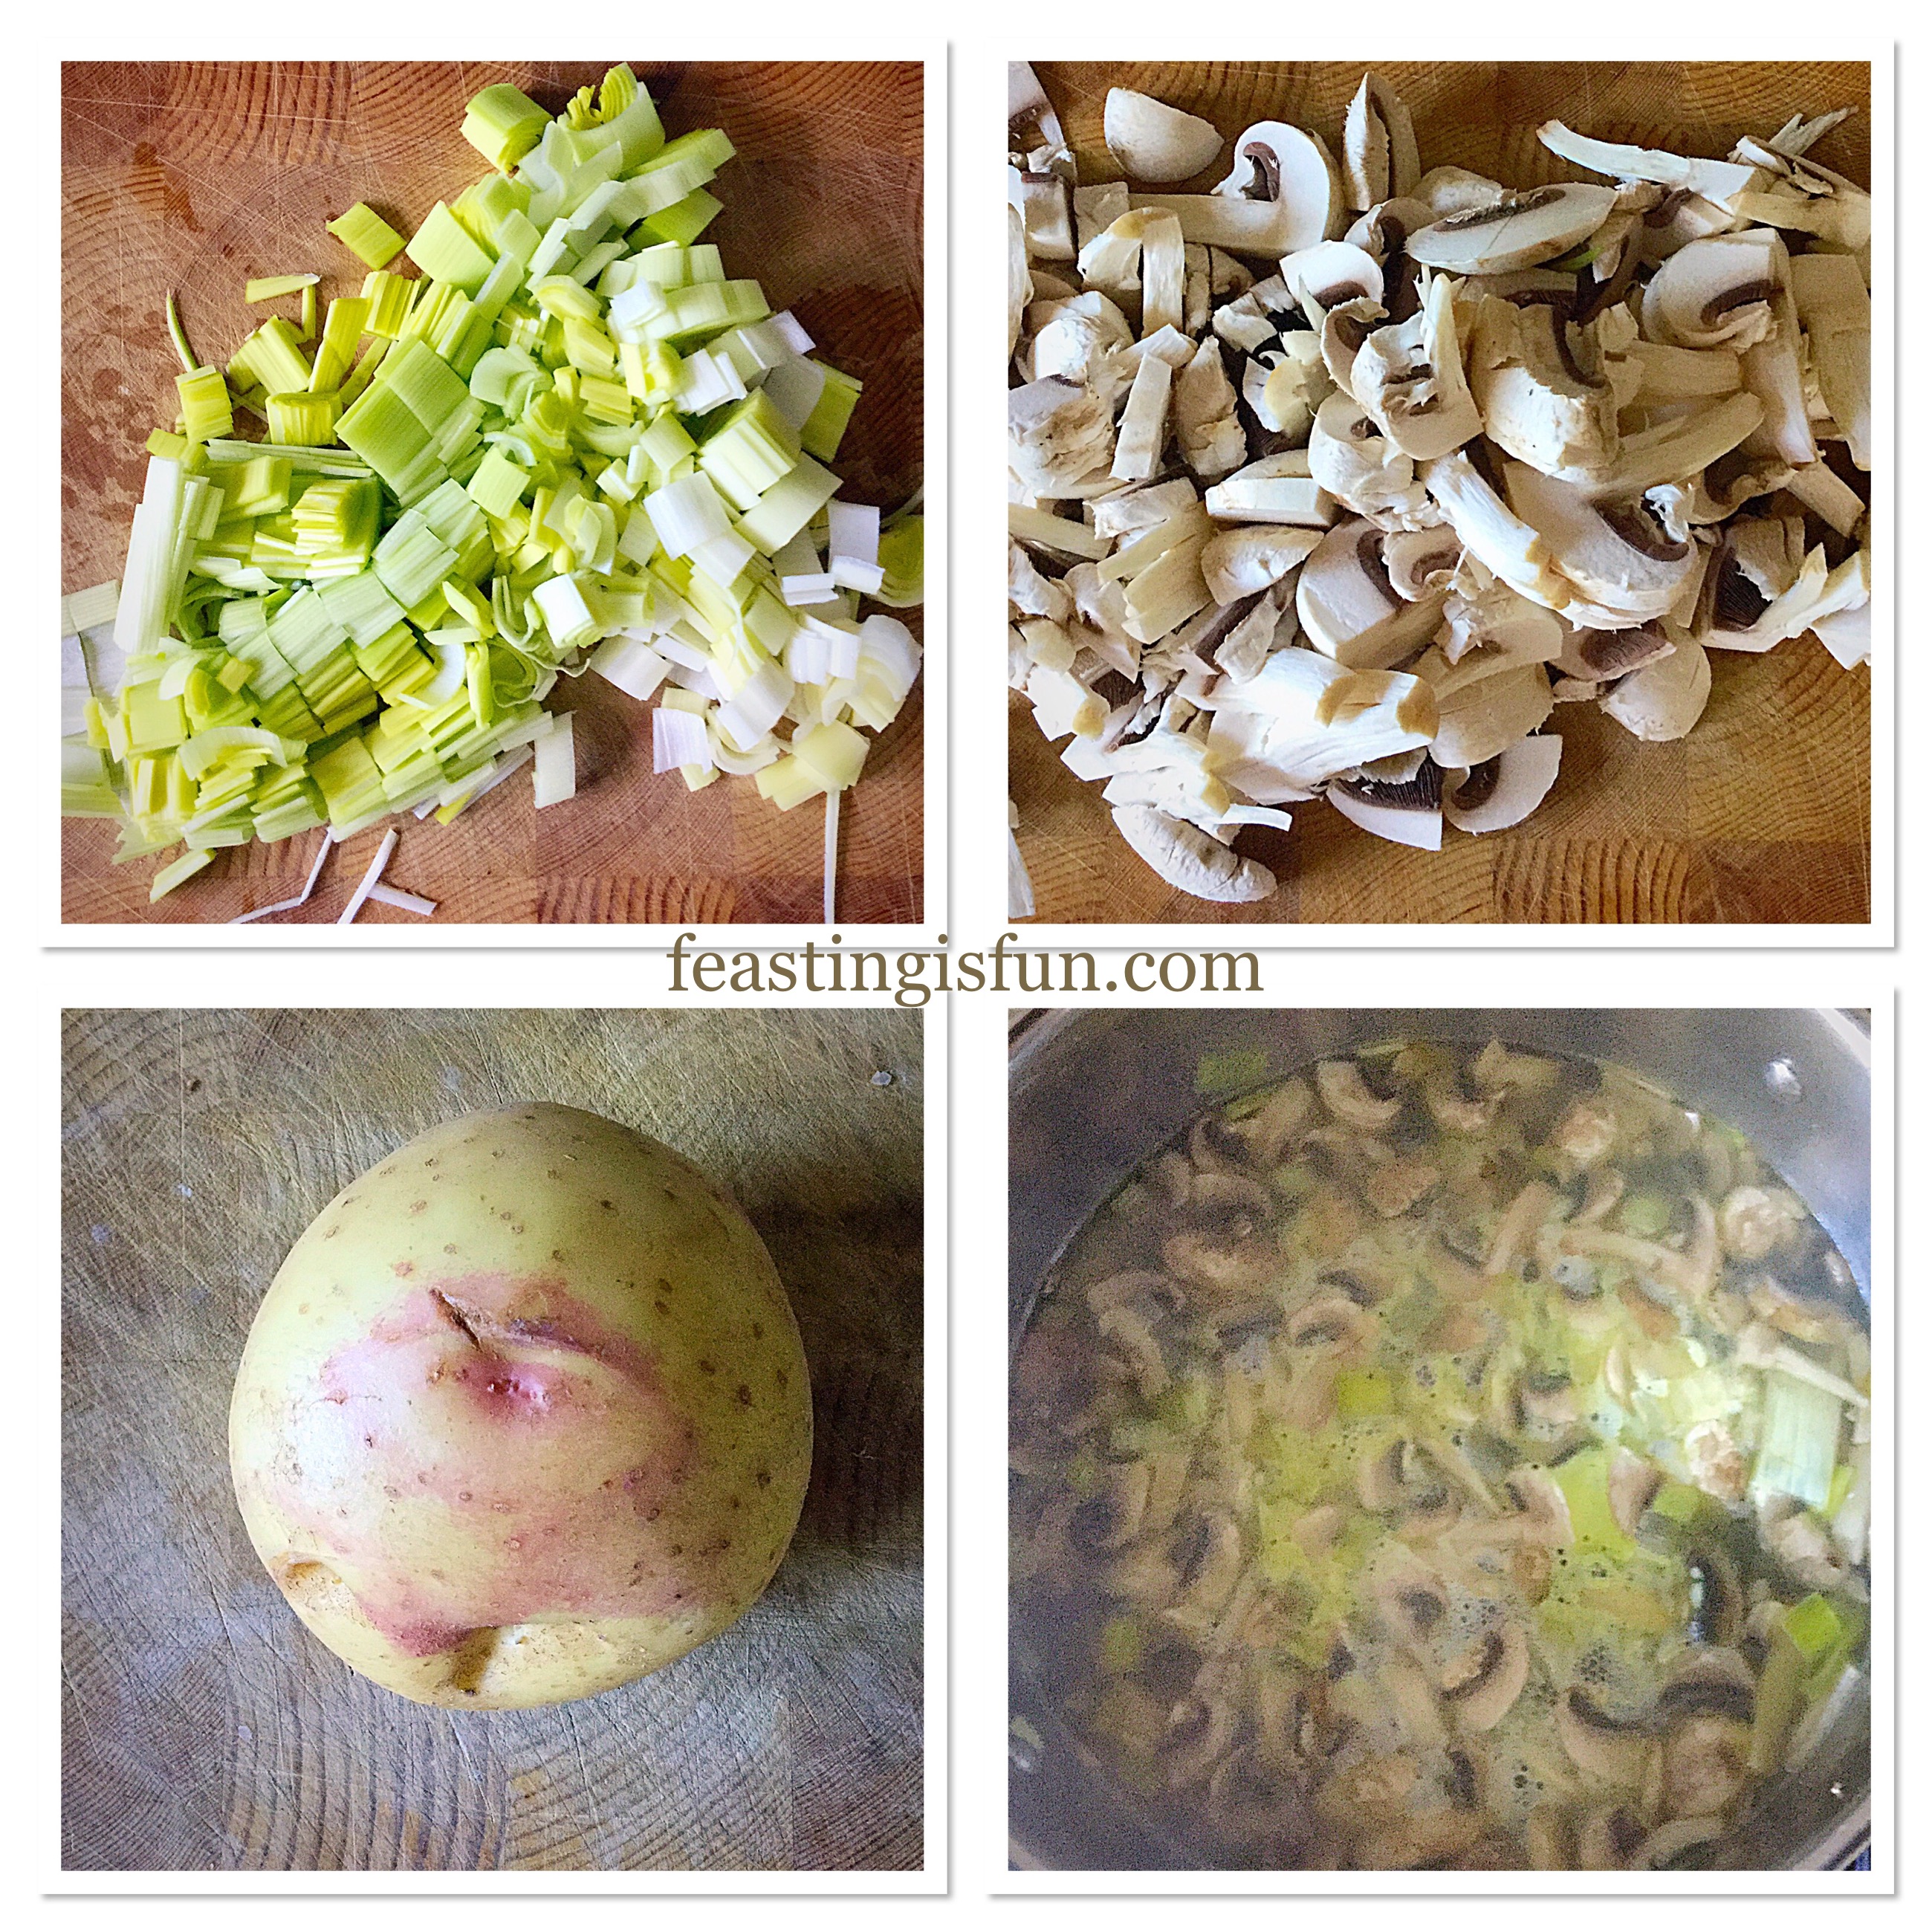
- While the meat is searing prepare the onions. Peel and cut into medium dice (approximately 1.5cm/0.5”).
- With the meat removed from the pan turn the heat down to low. Tip in the diced onions and add the salt. Sauté on a low heat for 5 minutes, stirring occasionally.
- Prepare the peppers while the onions are cooking. Wash, de-seed and cut into large dice – 2.5cm/1” pieces.
- As soon as the onions have started to soften add the seared turkey chunks and the mixed peppers into the pan.
- Add the crushed garlic, chili flakes and black pepper to the pan.
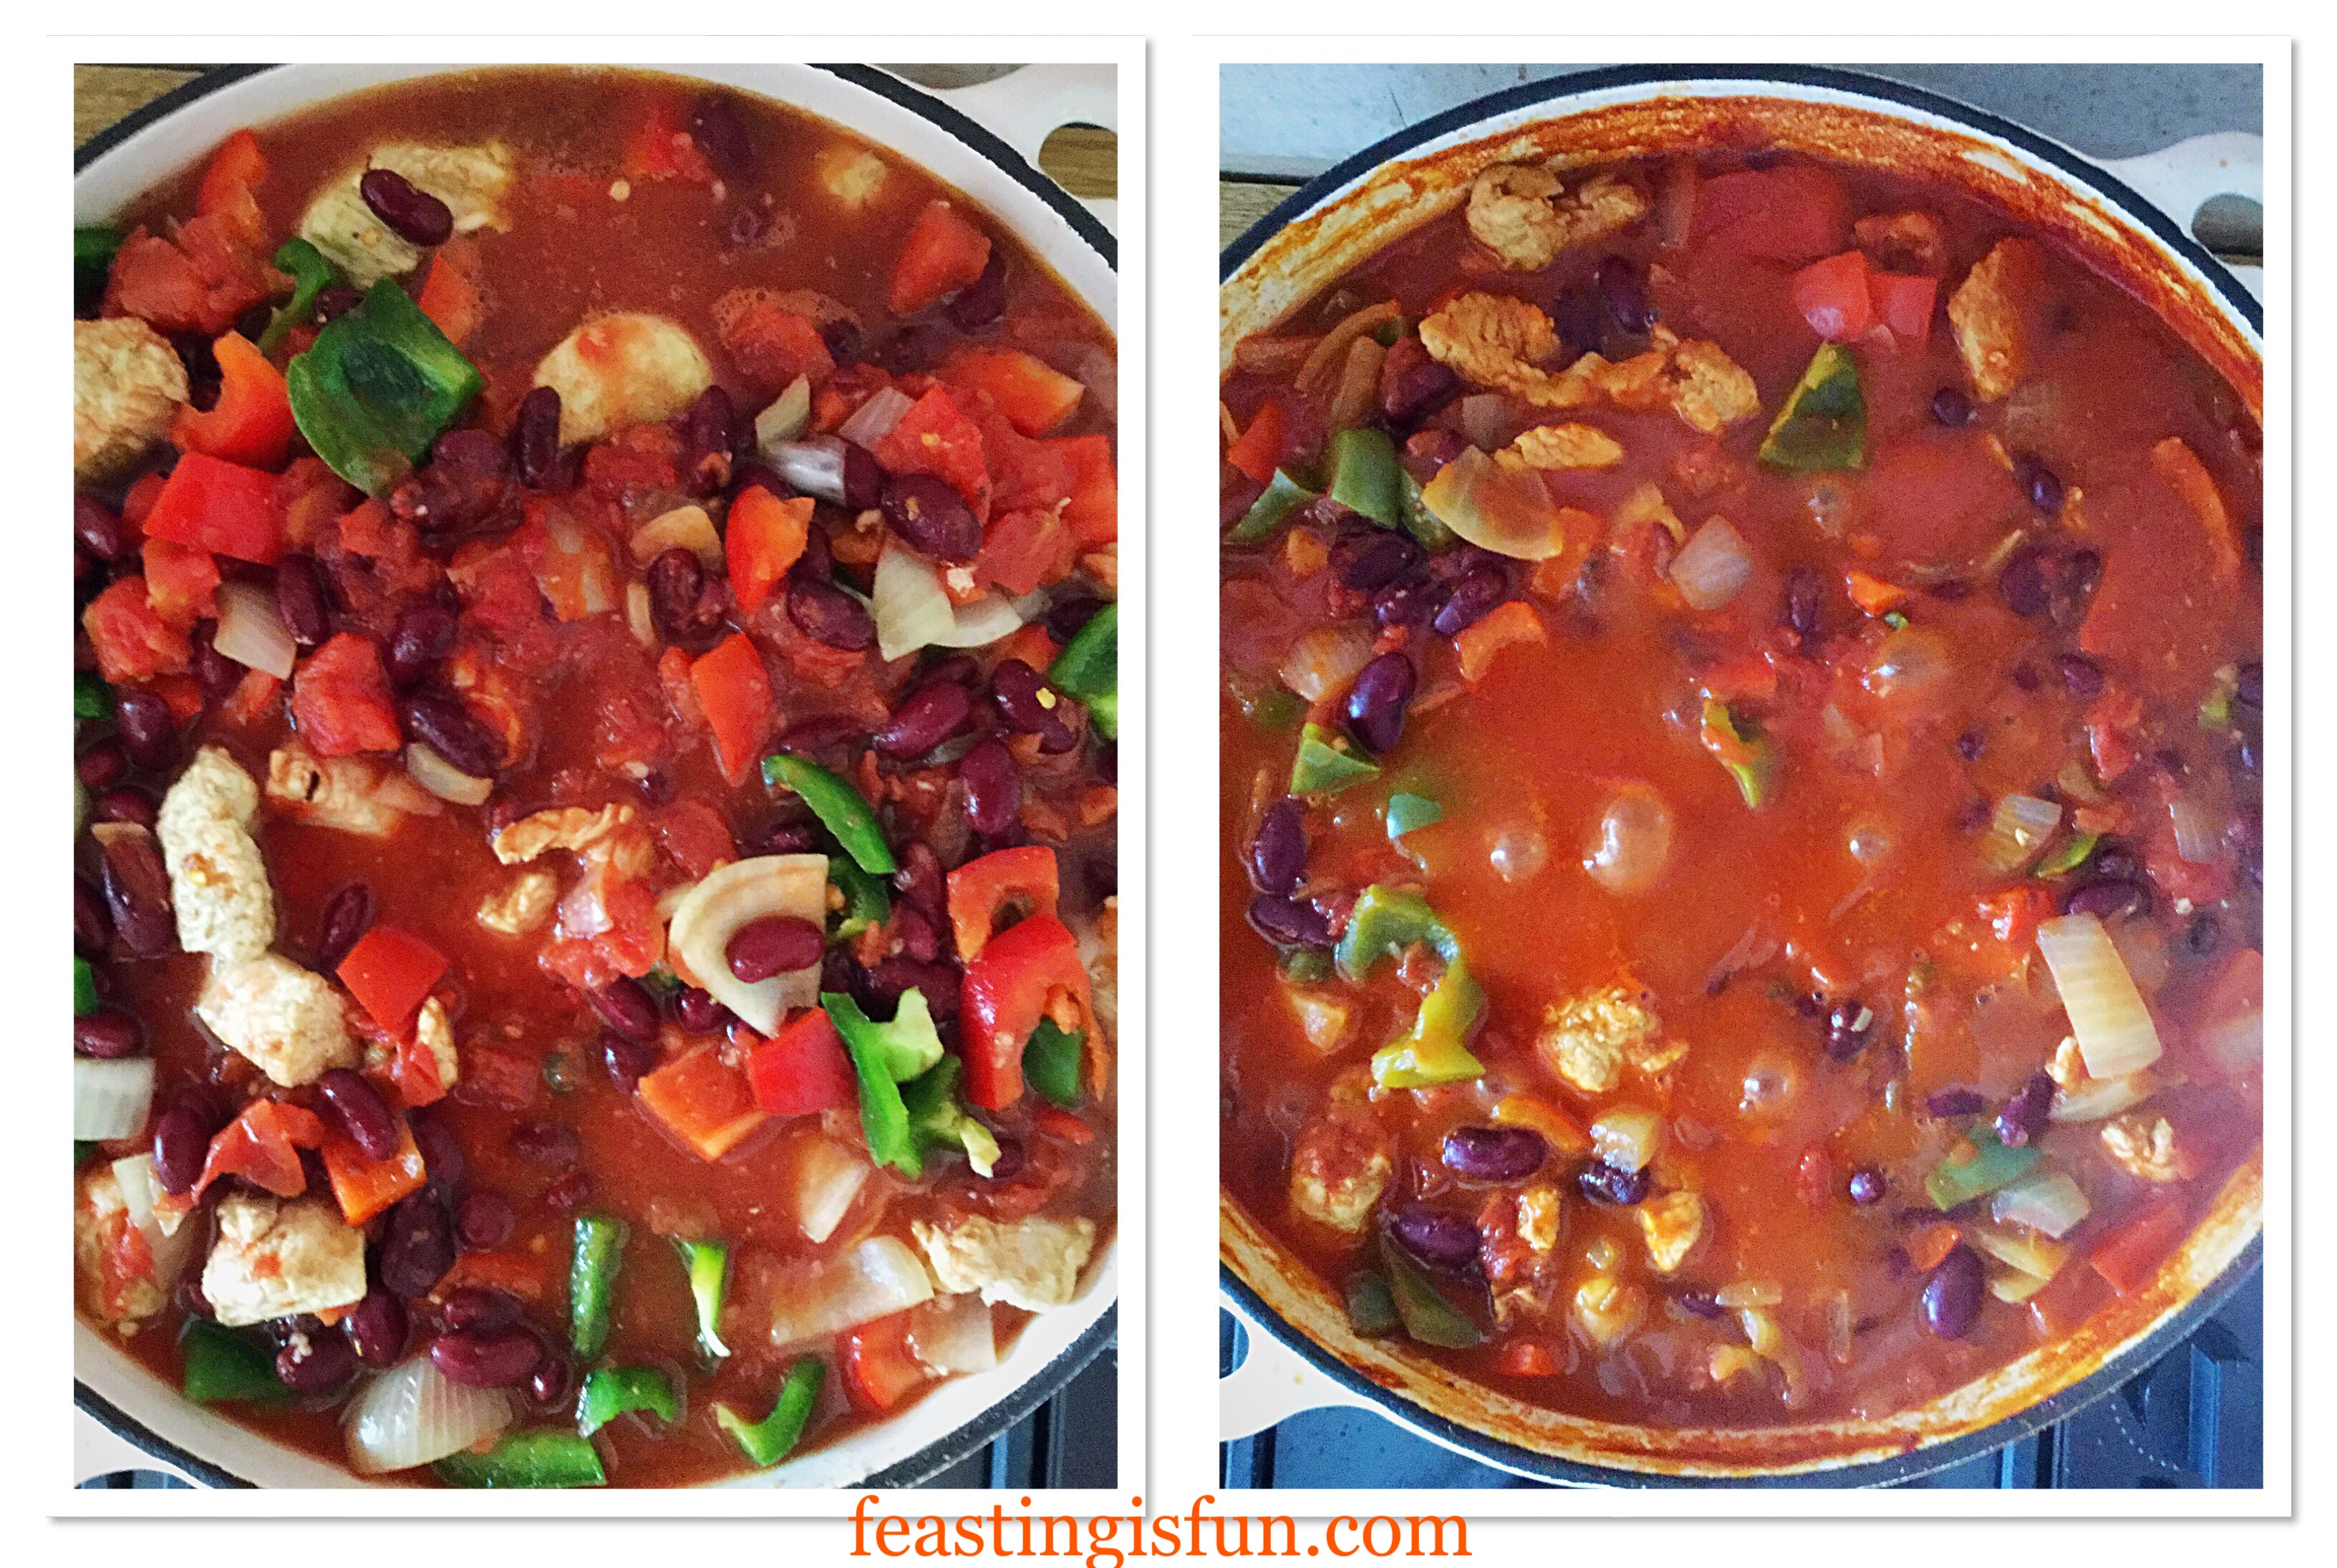
- Next pour in both tins of chopped tomatoes. Rinse the tins with cold tap water, keeping any tomato juice and fill three quarters full, add this to the pan.
- Tip in the drained and rinsed kidney beans and add the tomato purée.
- Stir all of the ingredients together, adding more water if needed. The meat and peppers should be just covered with liquid.
- Bring to a simmer on the lowest heat, uncovered on the hob for 1.5 – 2 hours. Stir occasionally.
Adding the finishing touches to the recipe
- The liquid should be reduced by half. Place a lid on the pan if it reduces too quickly.
- Mix the corn flour with 2-3 tablespoons of cold water.
- Pour the corn flour slurry into the Chilli and stir immediately.
- Gently simmer for a further 10 minutes. Stir frequently while the liquid thickens.
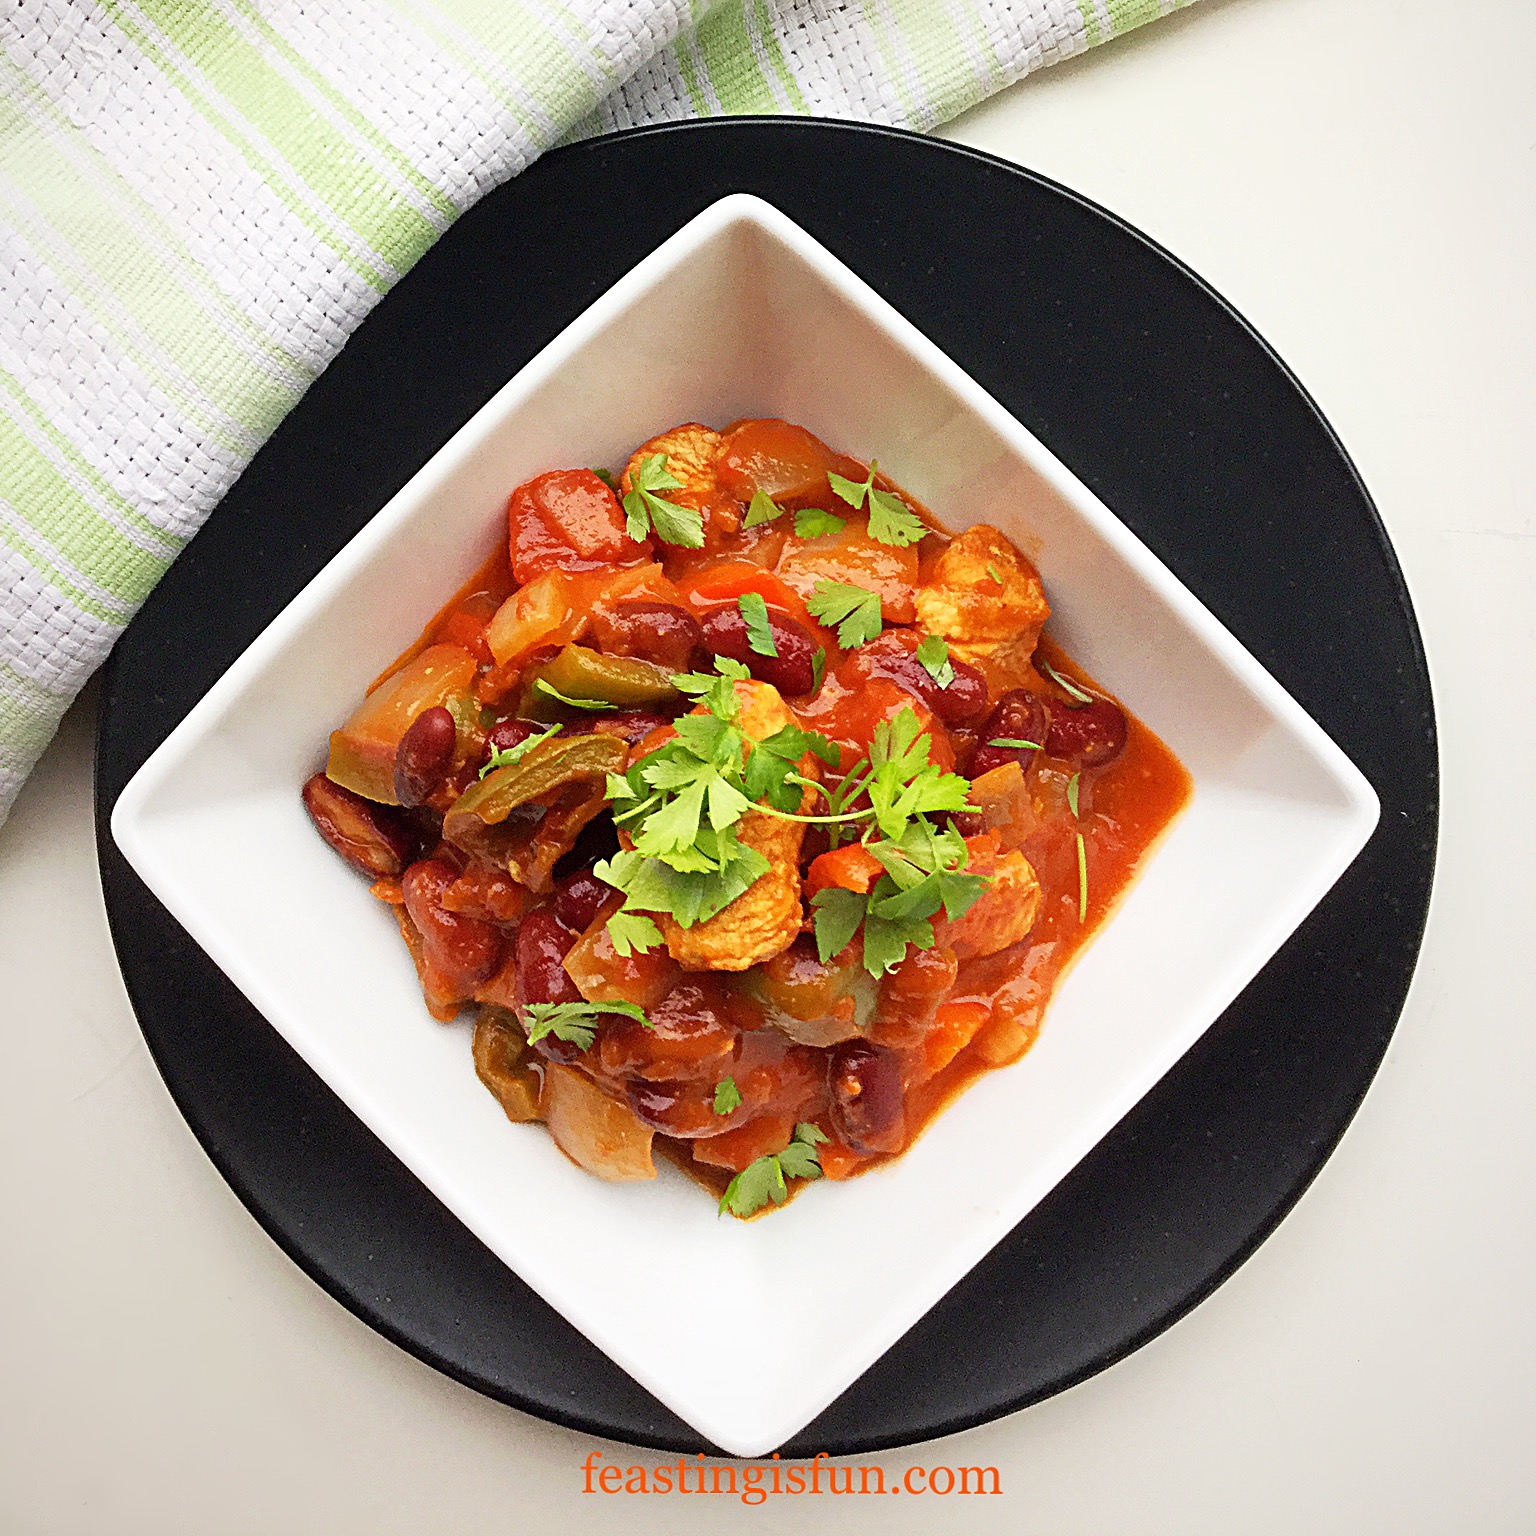
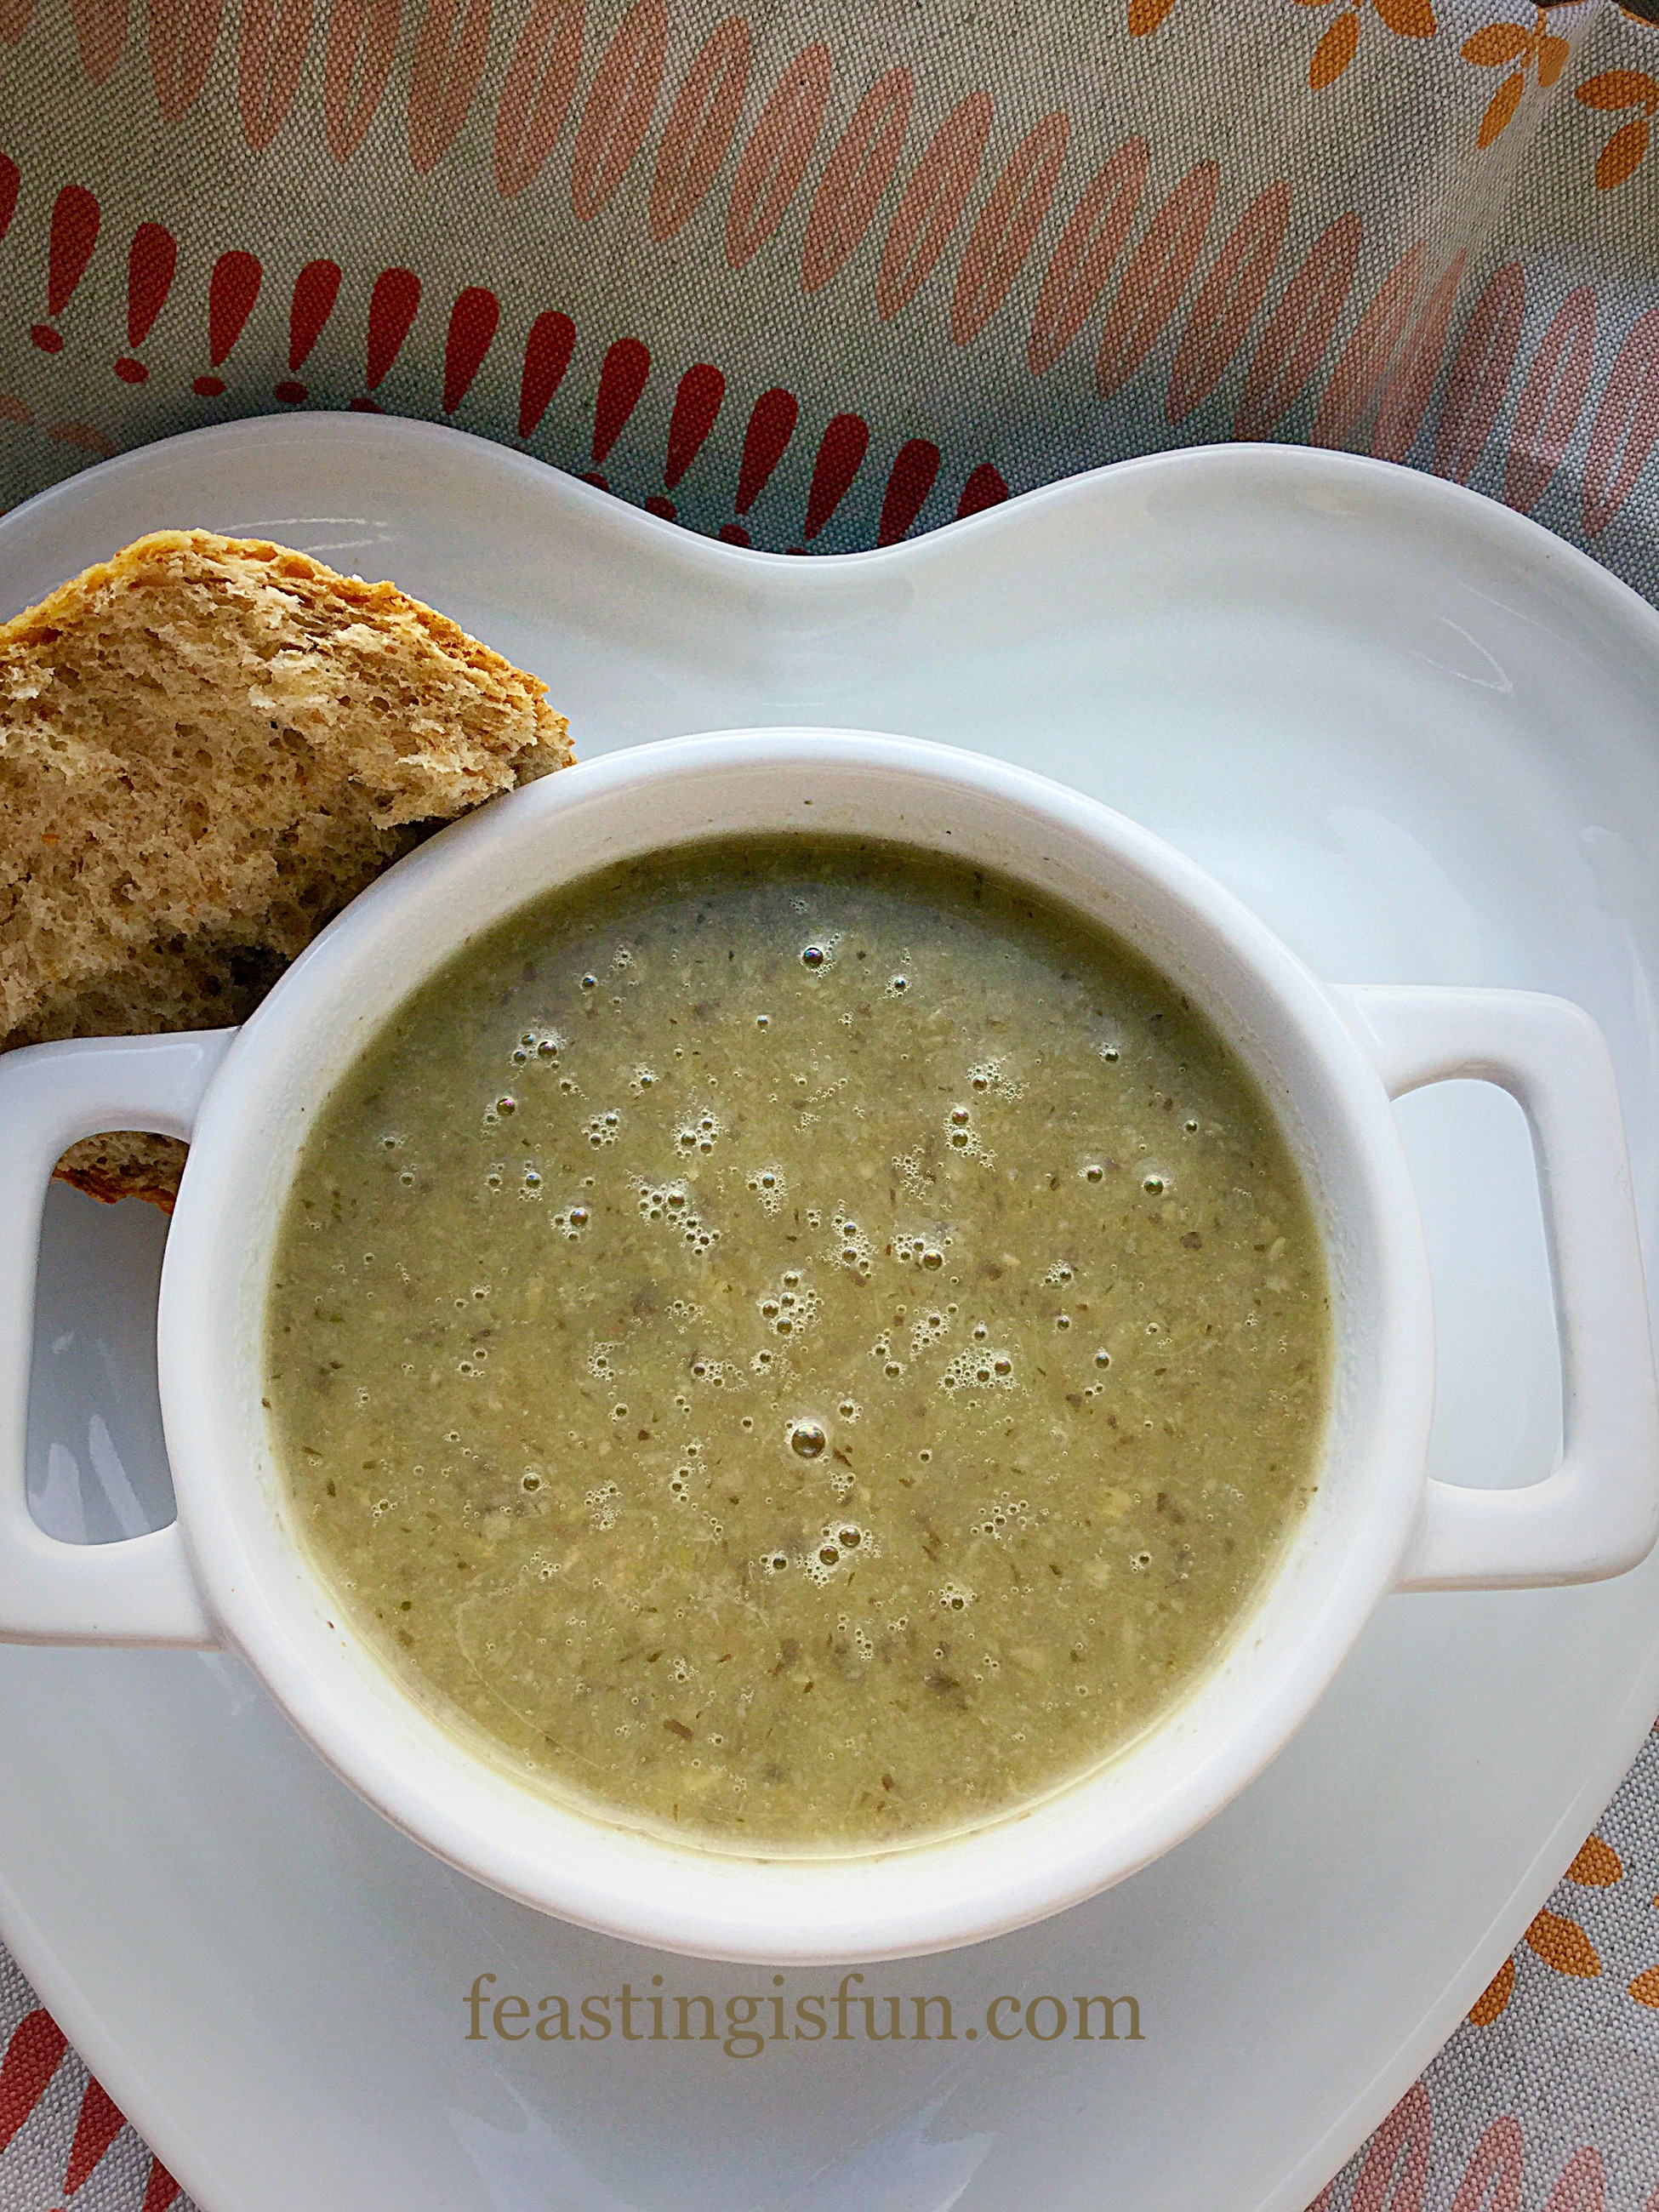
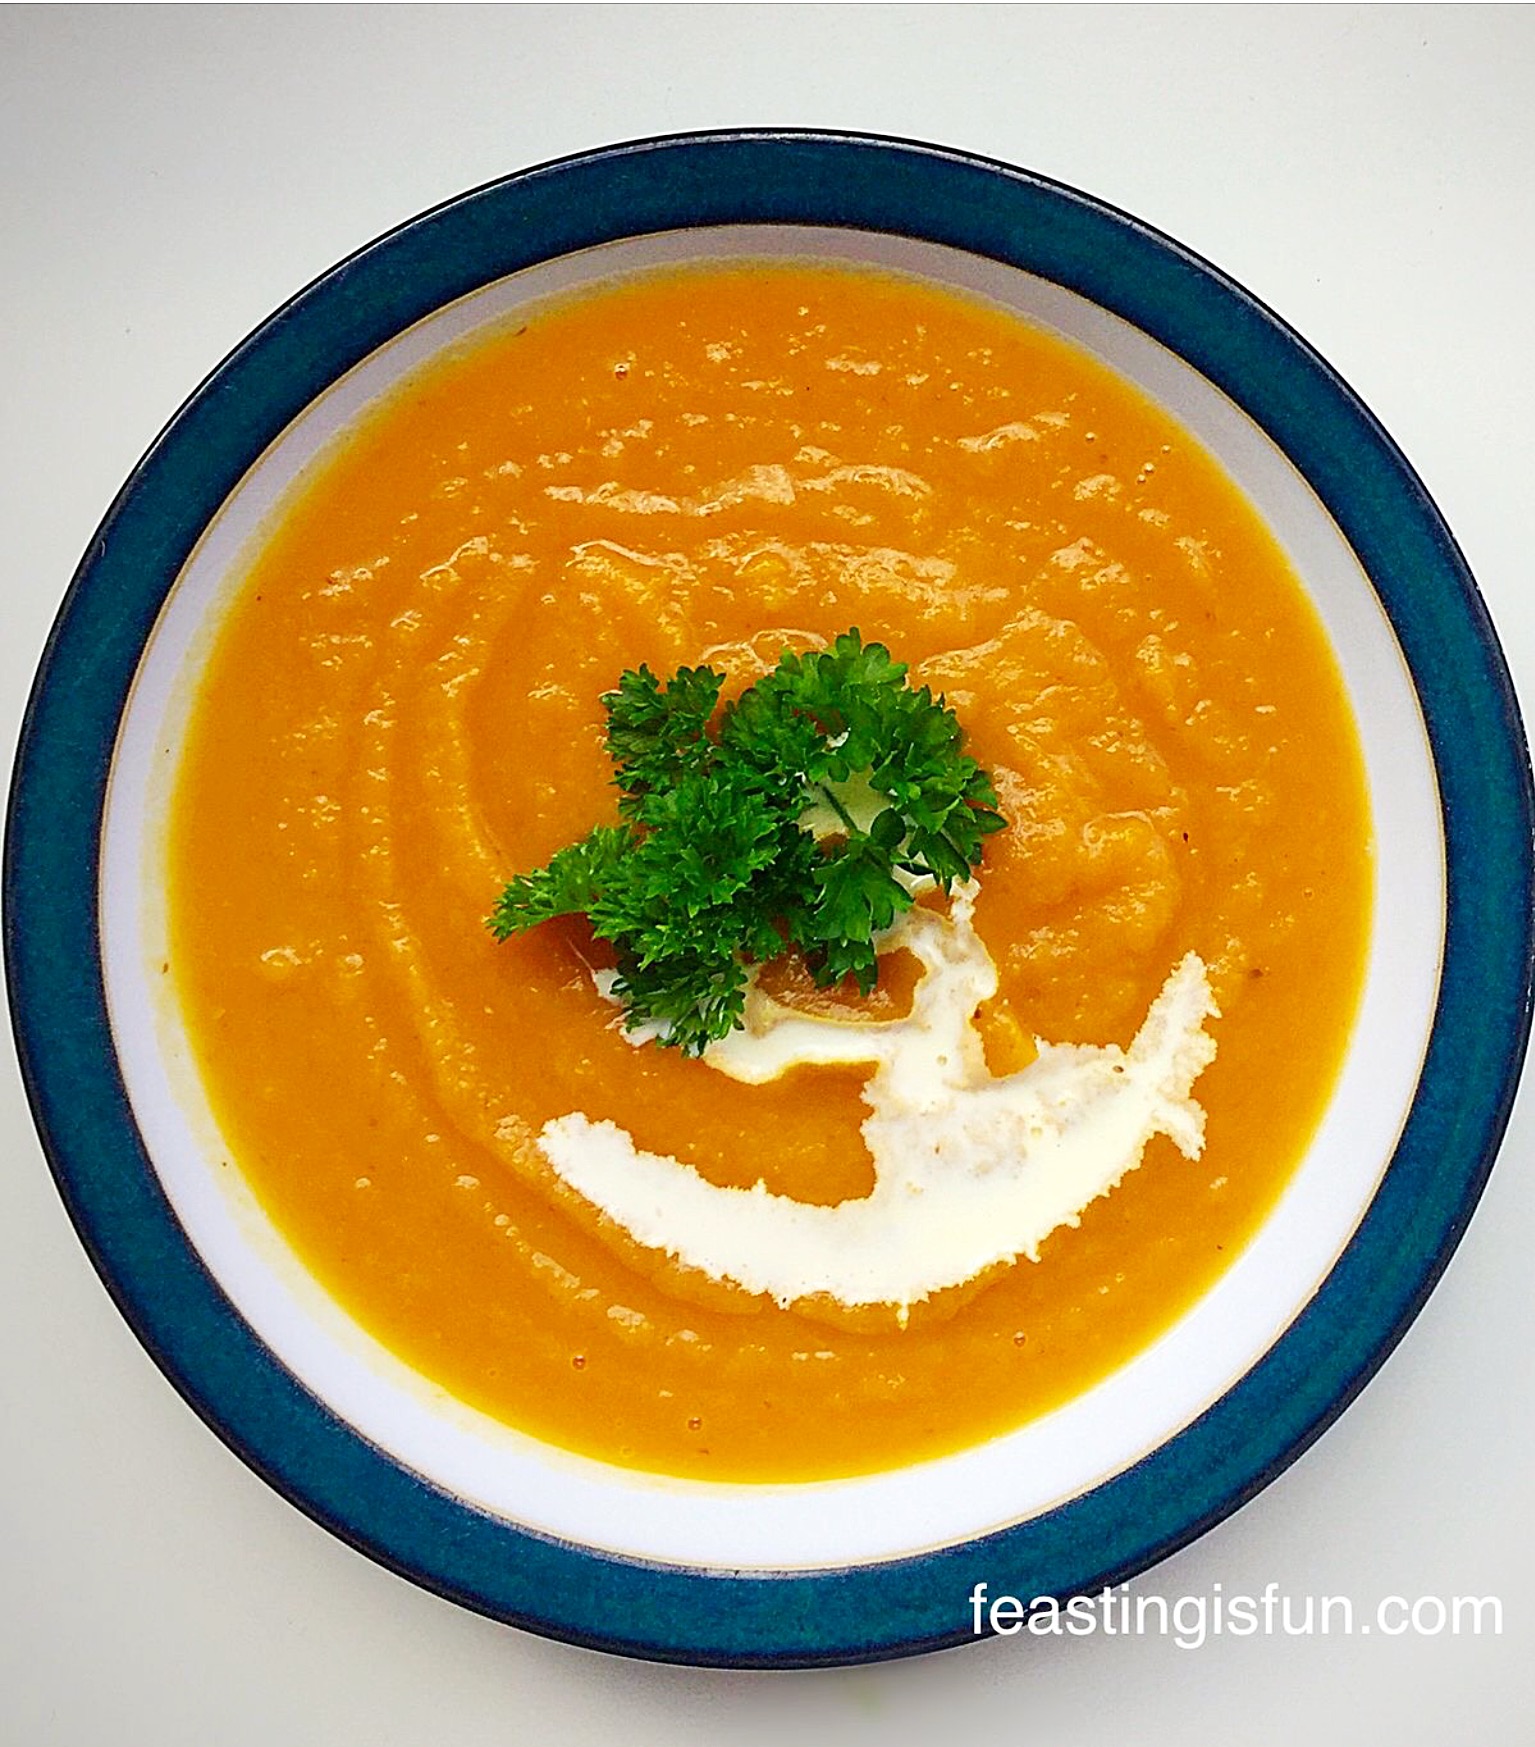
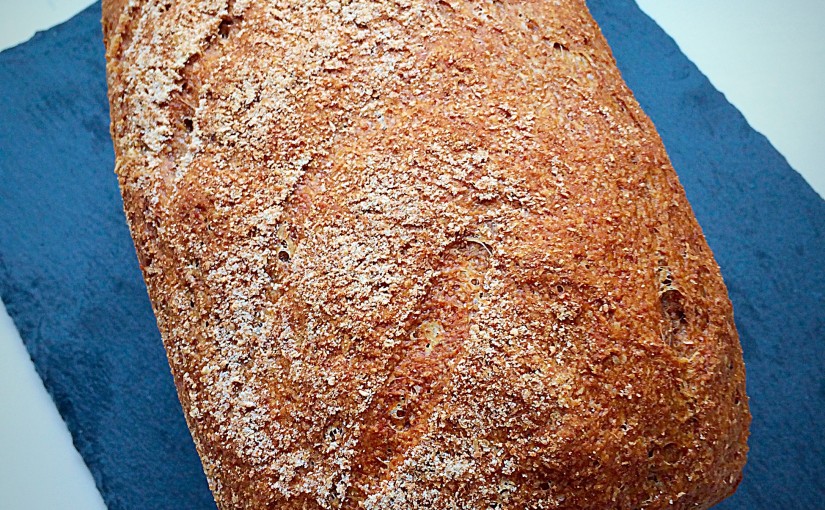
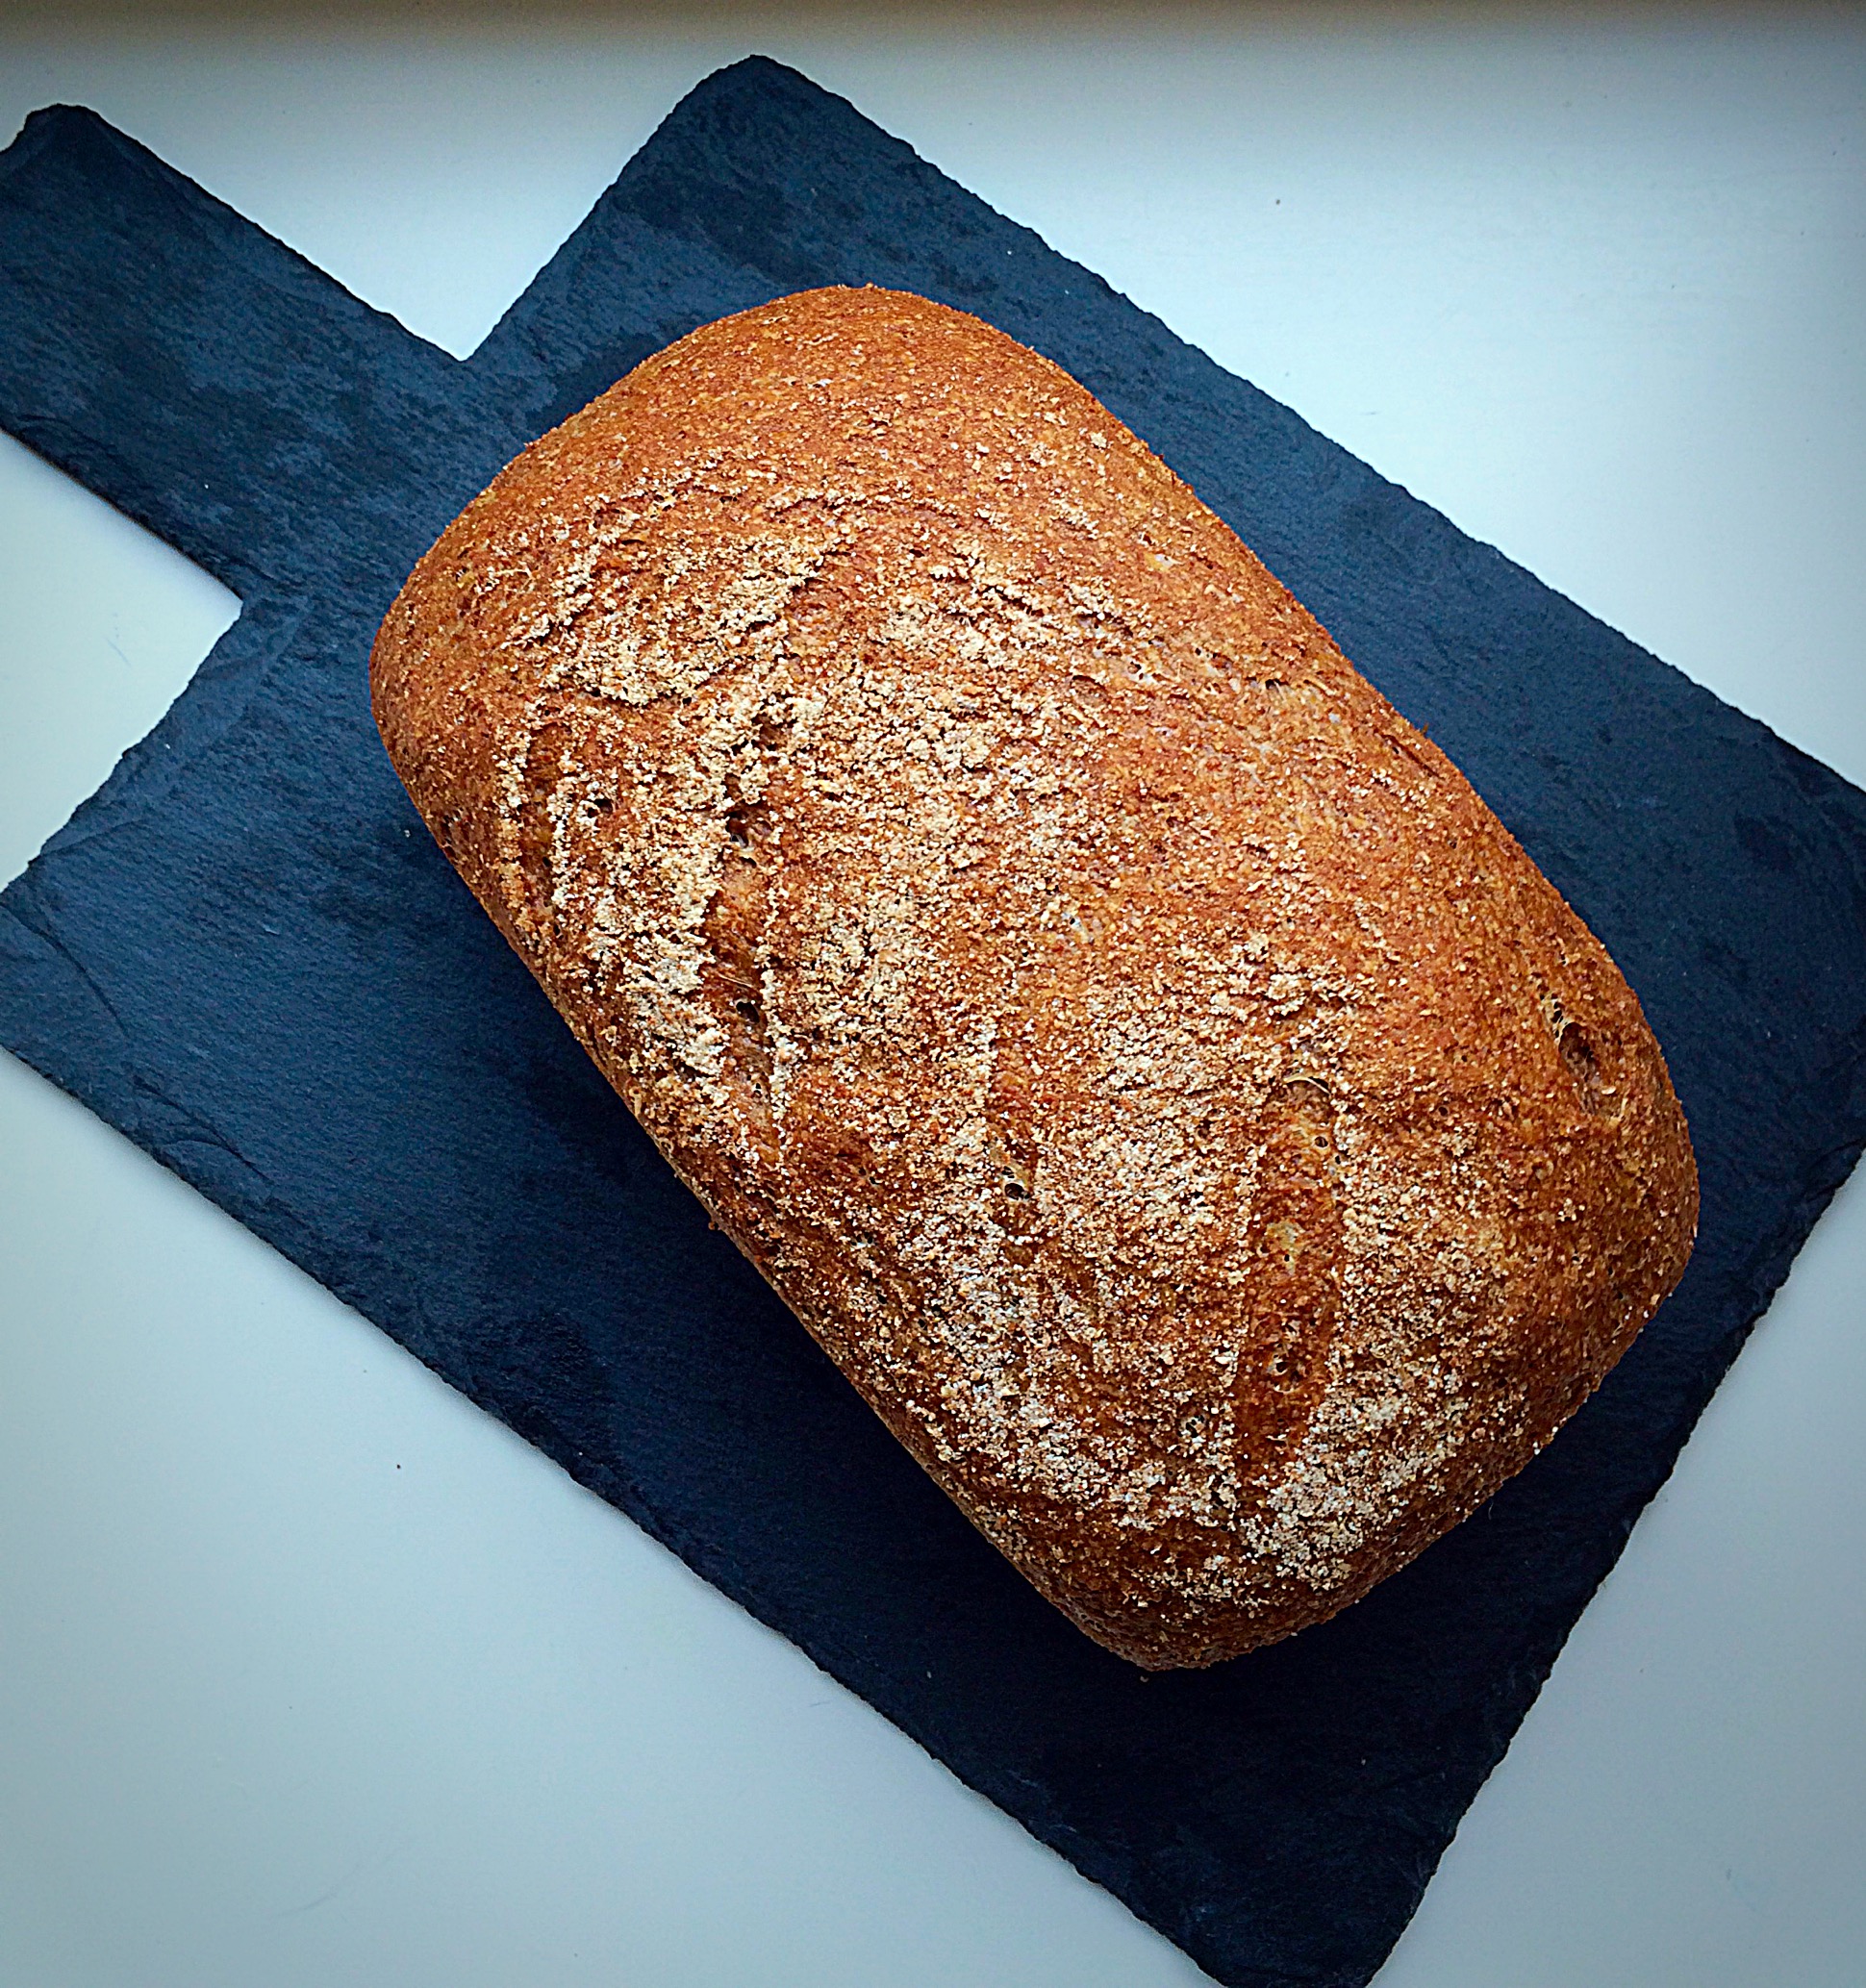
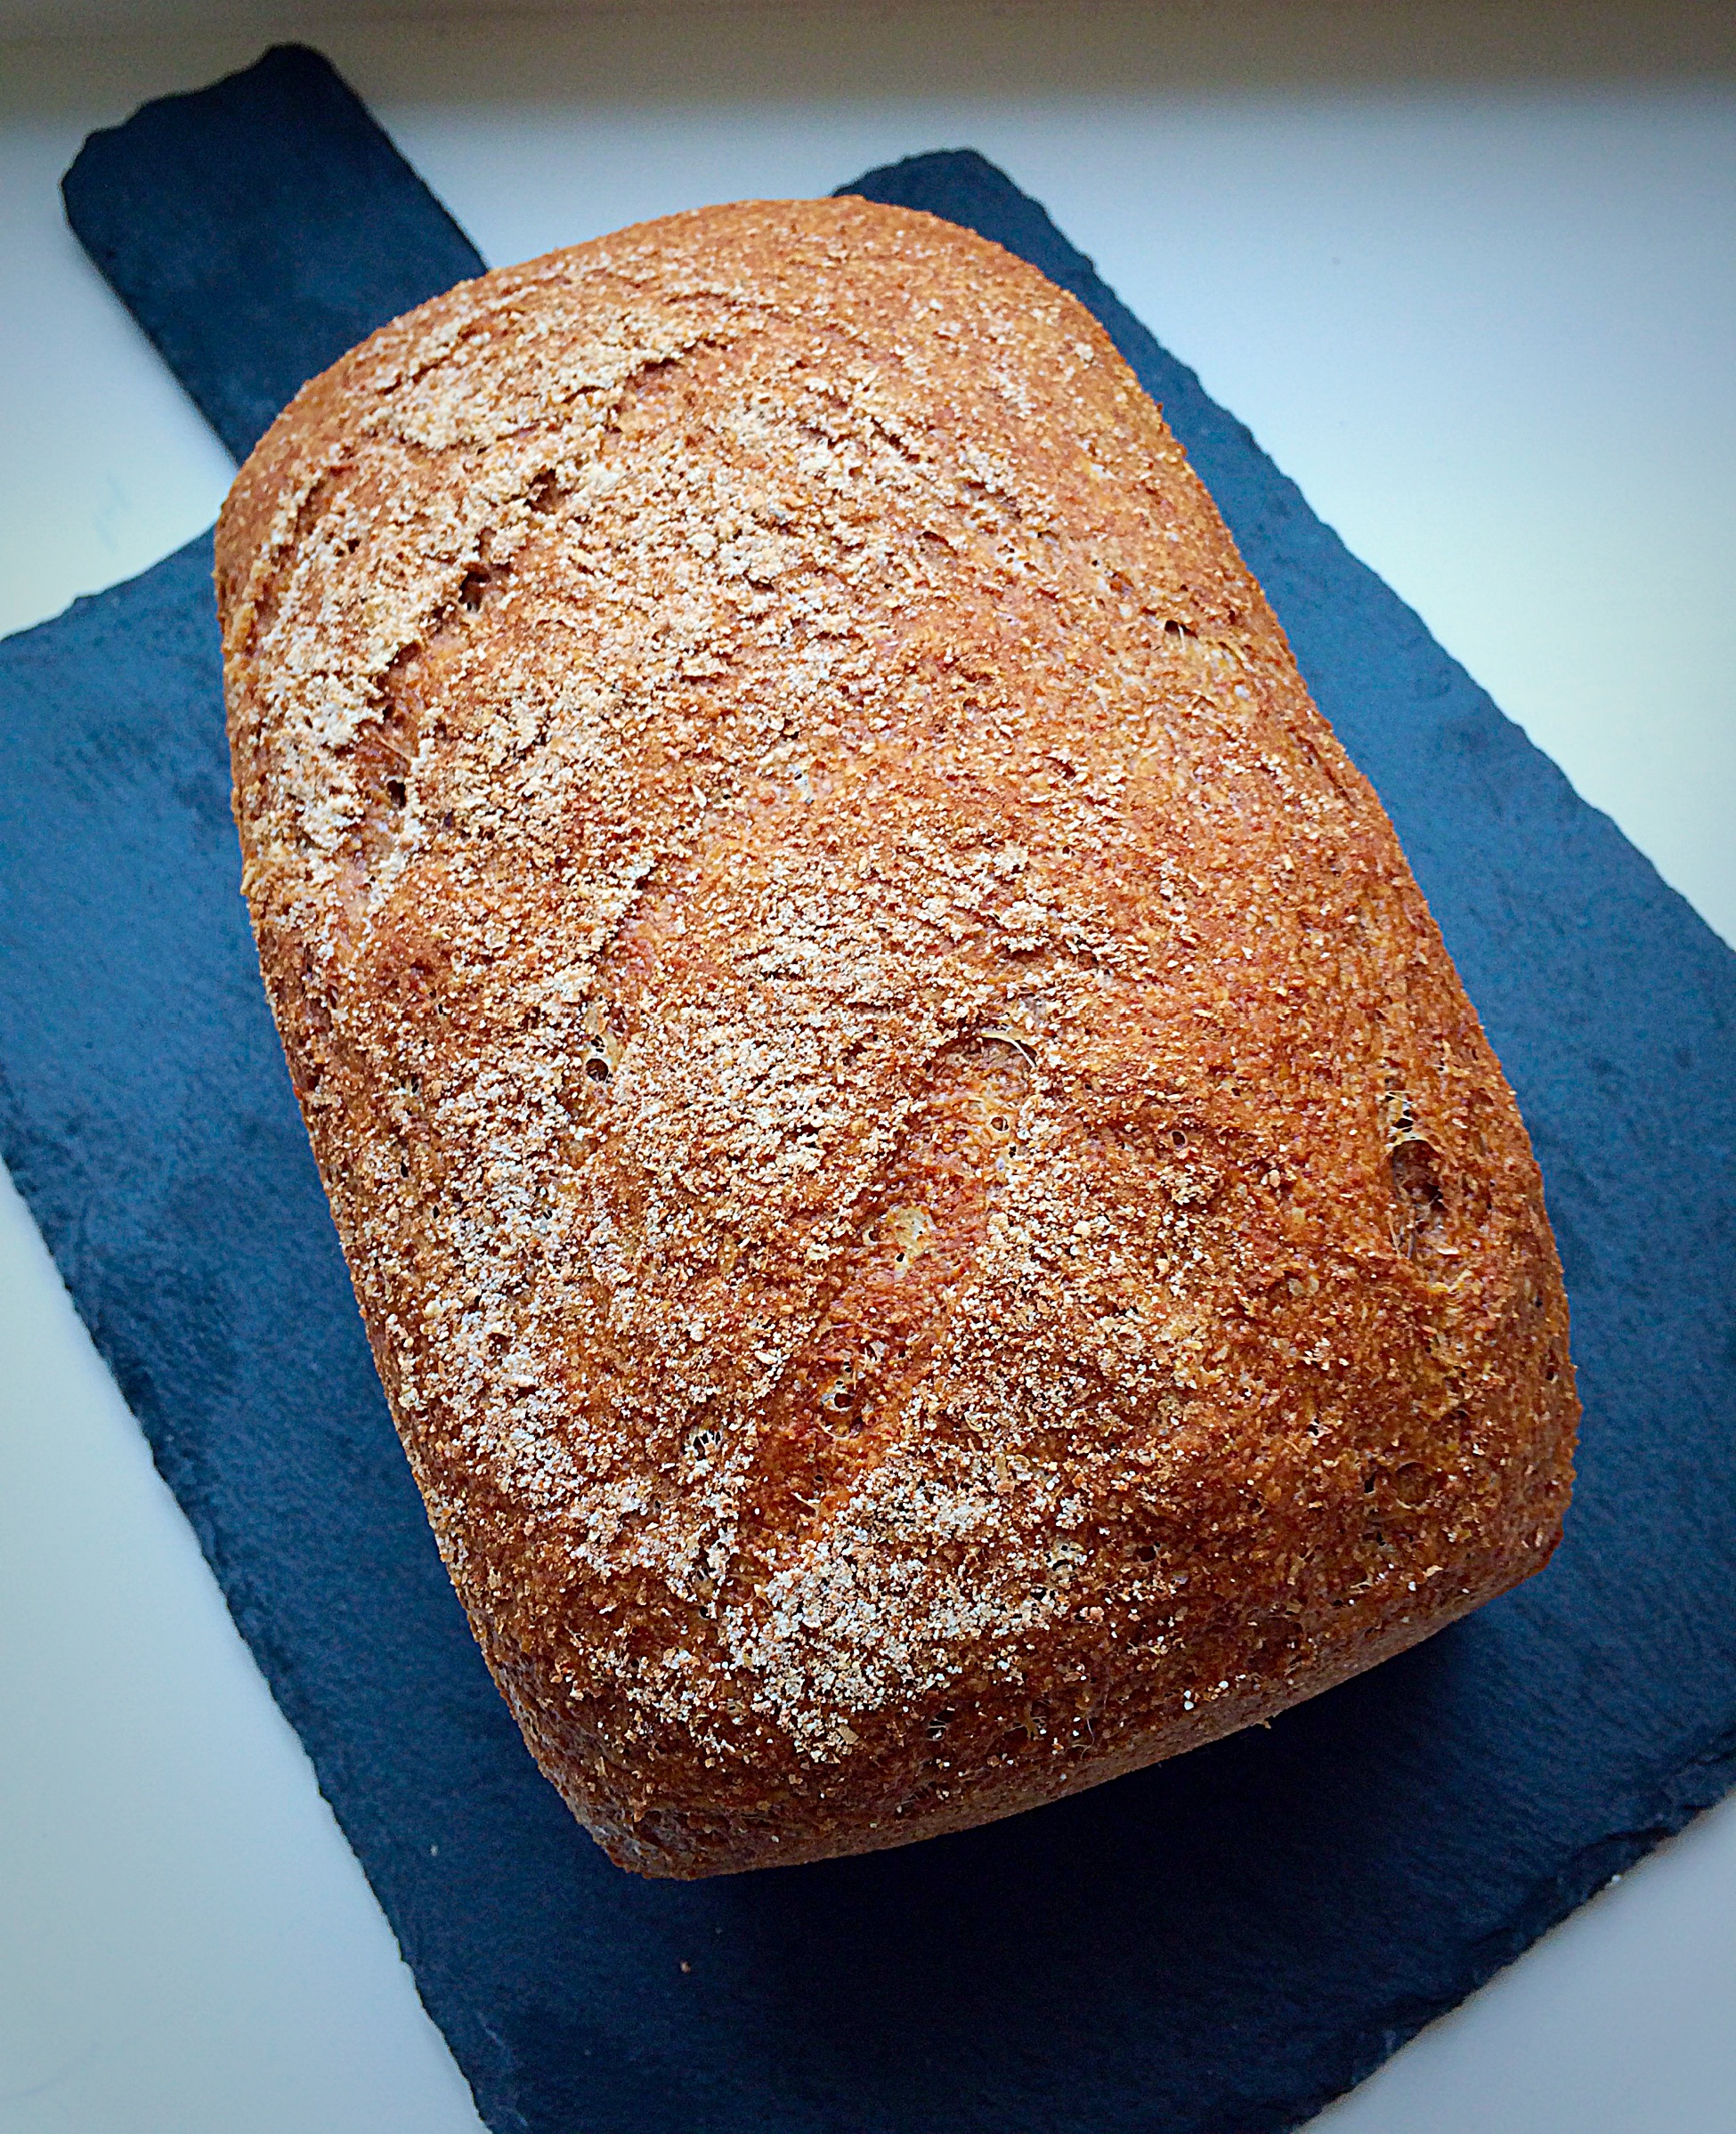
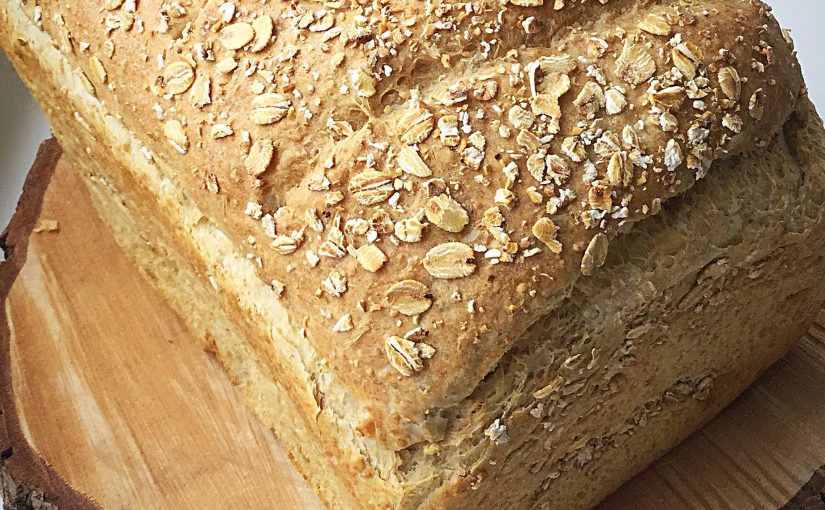
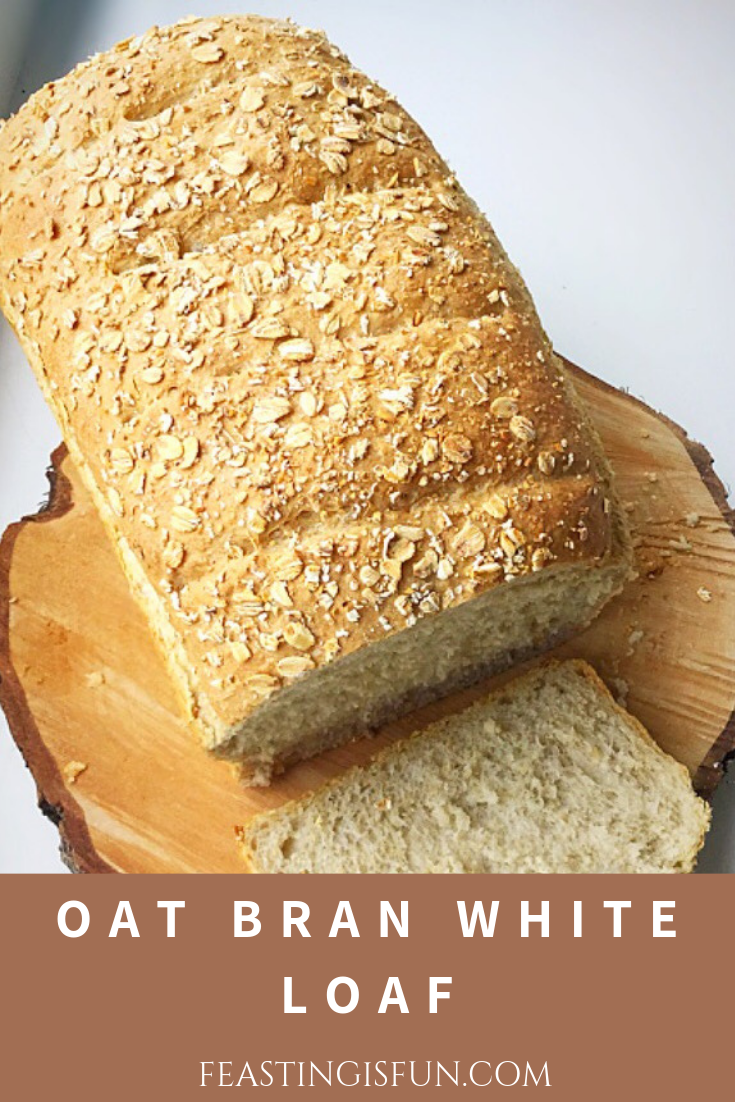
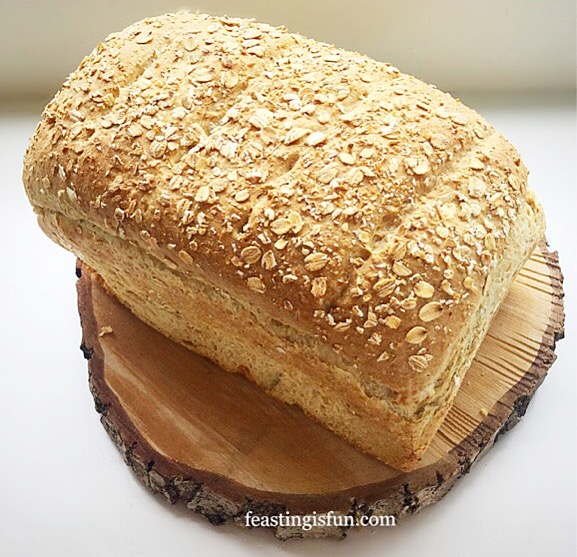
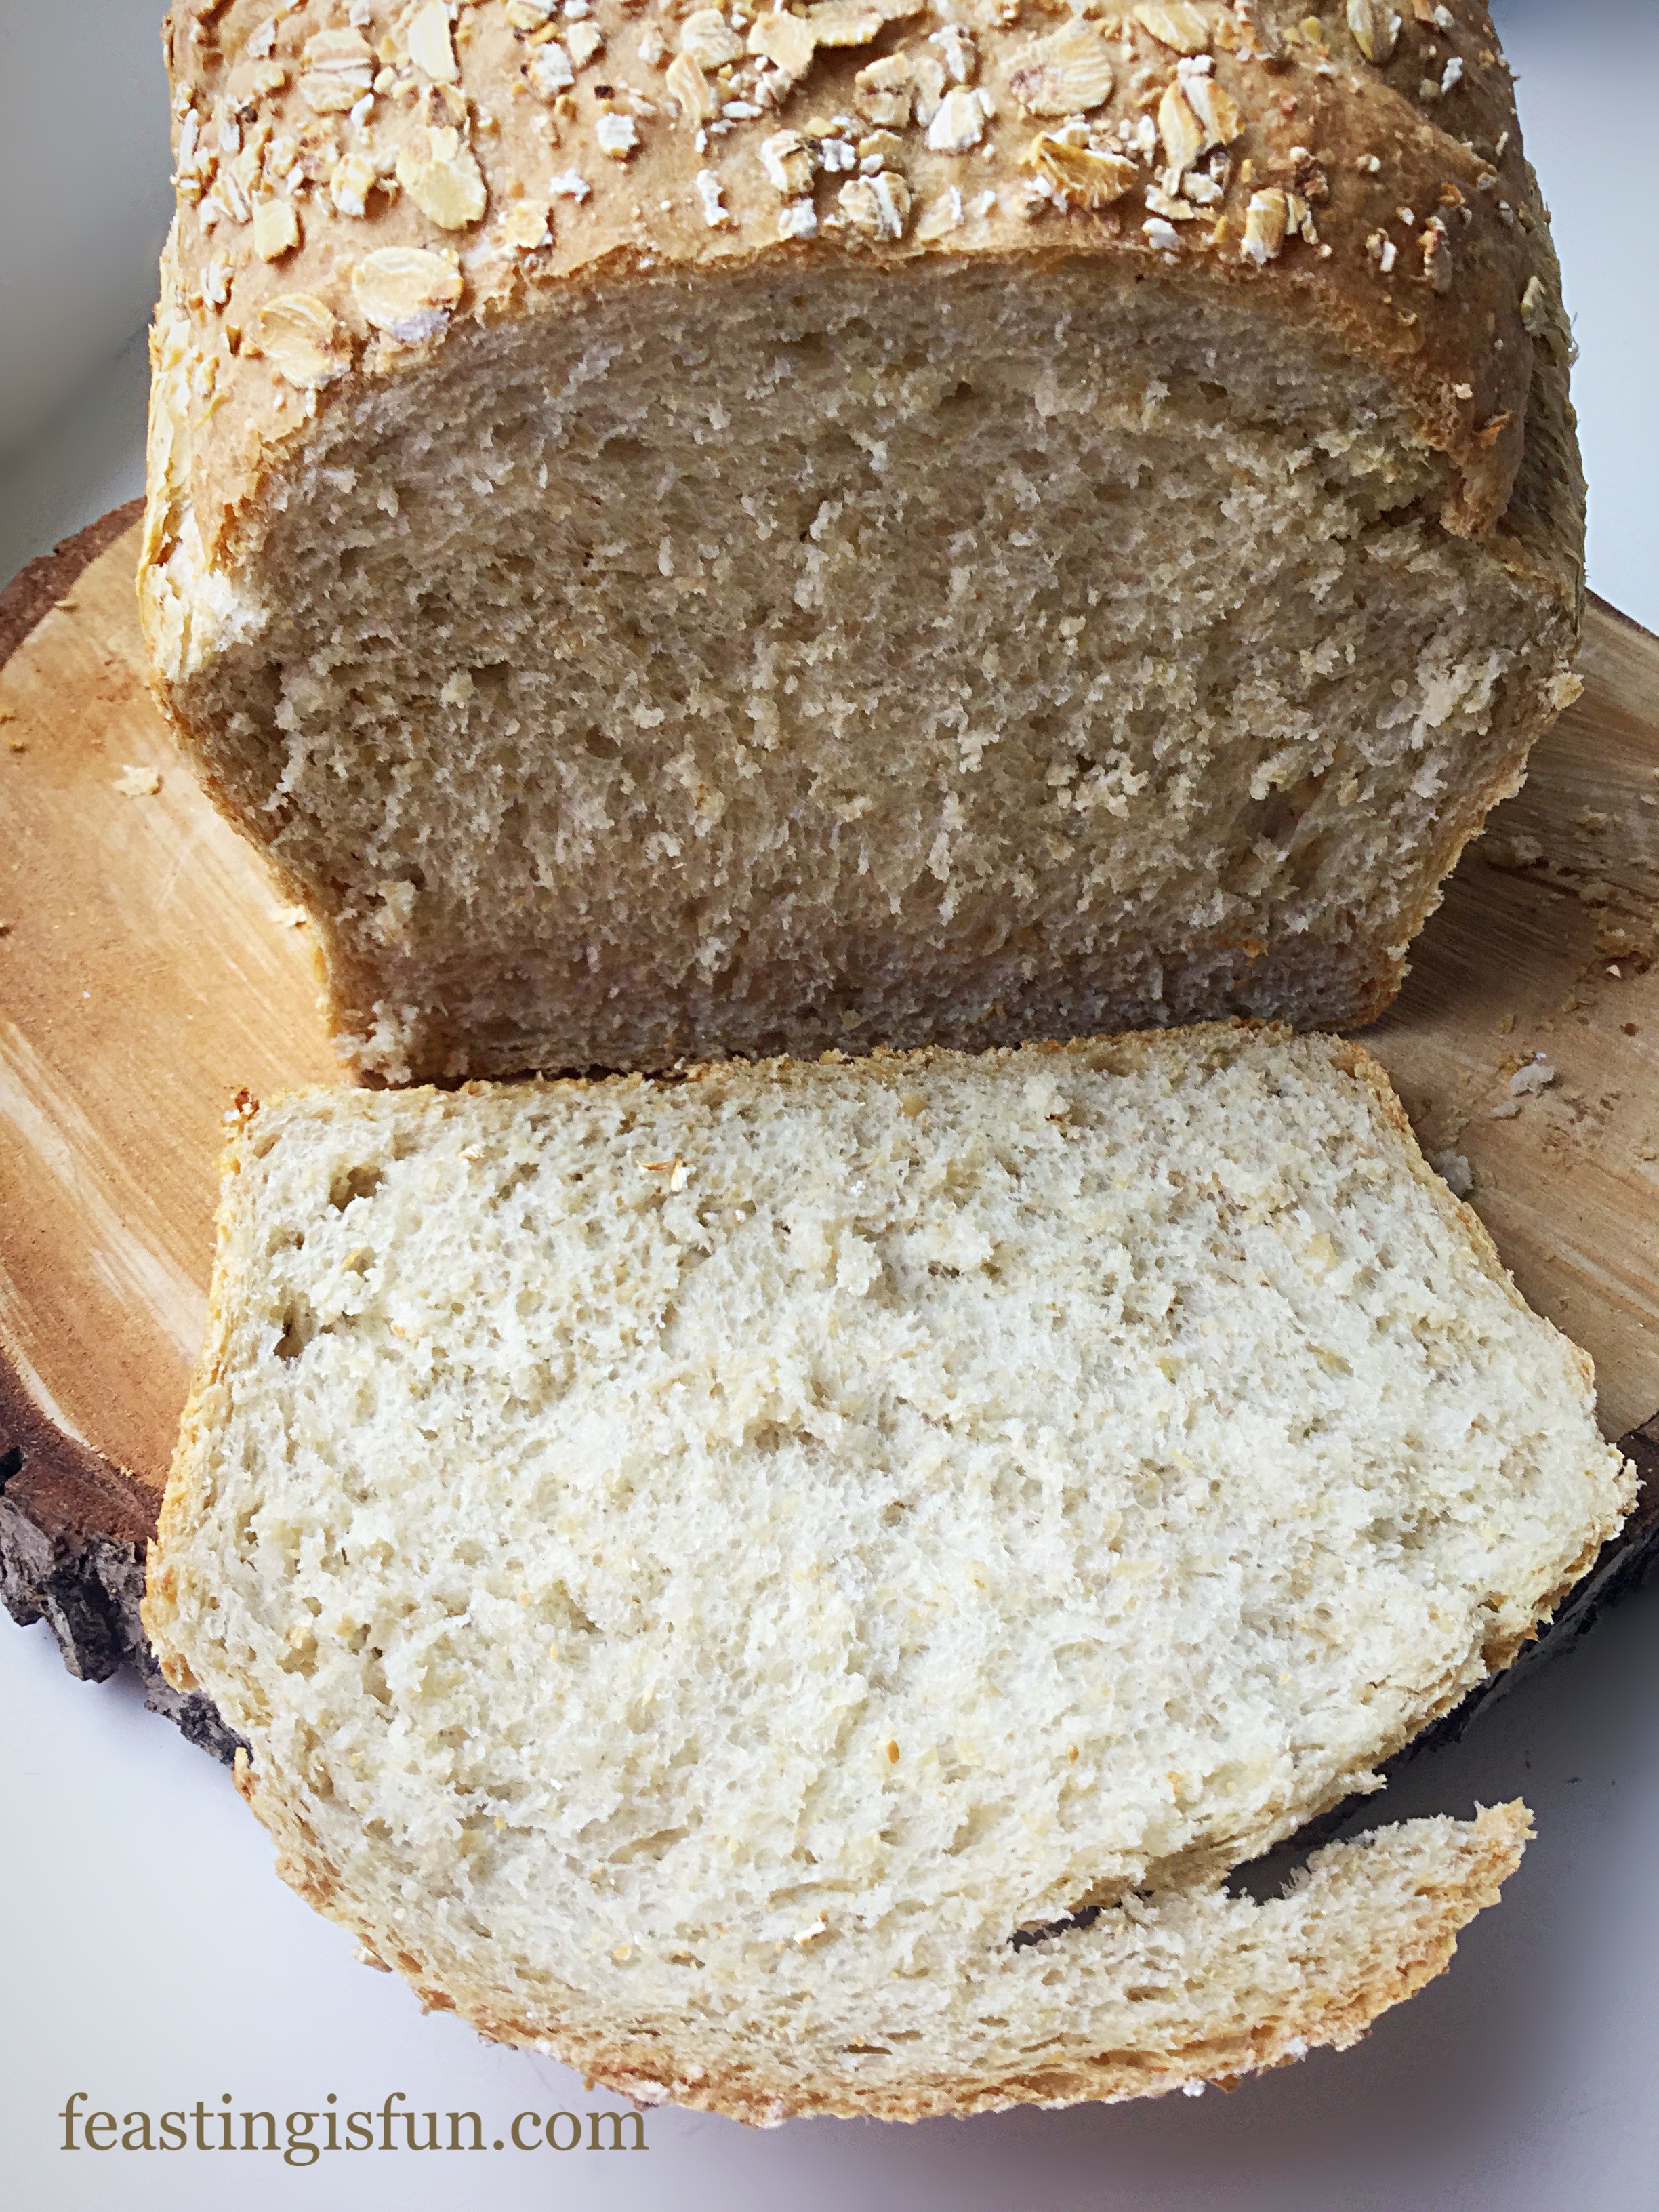
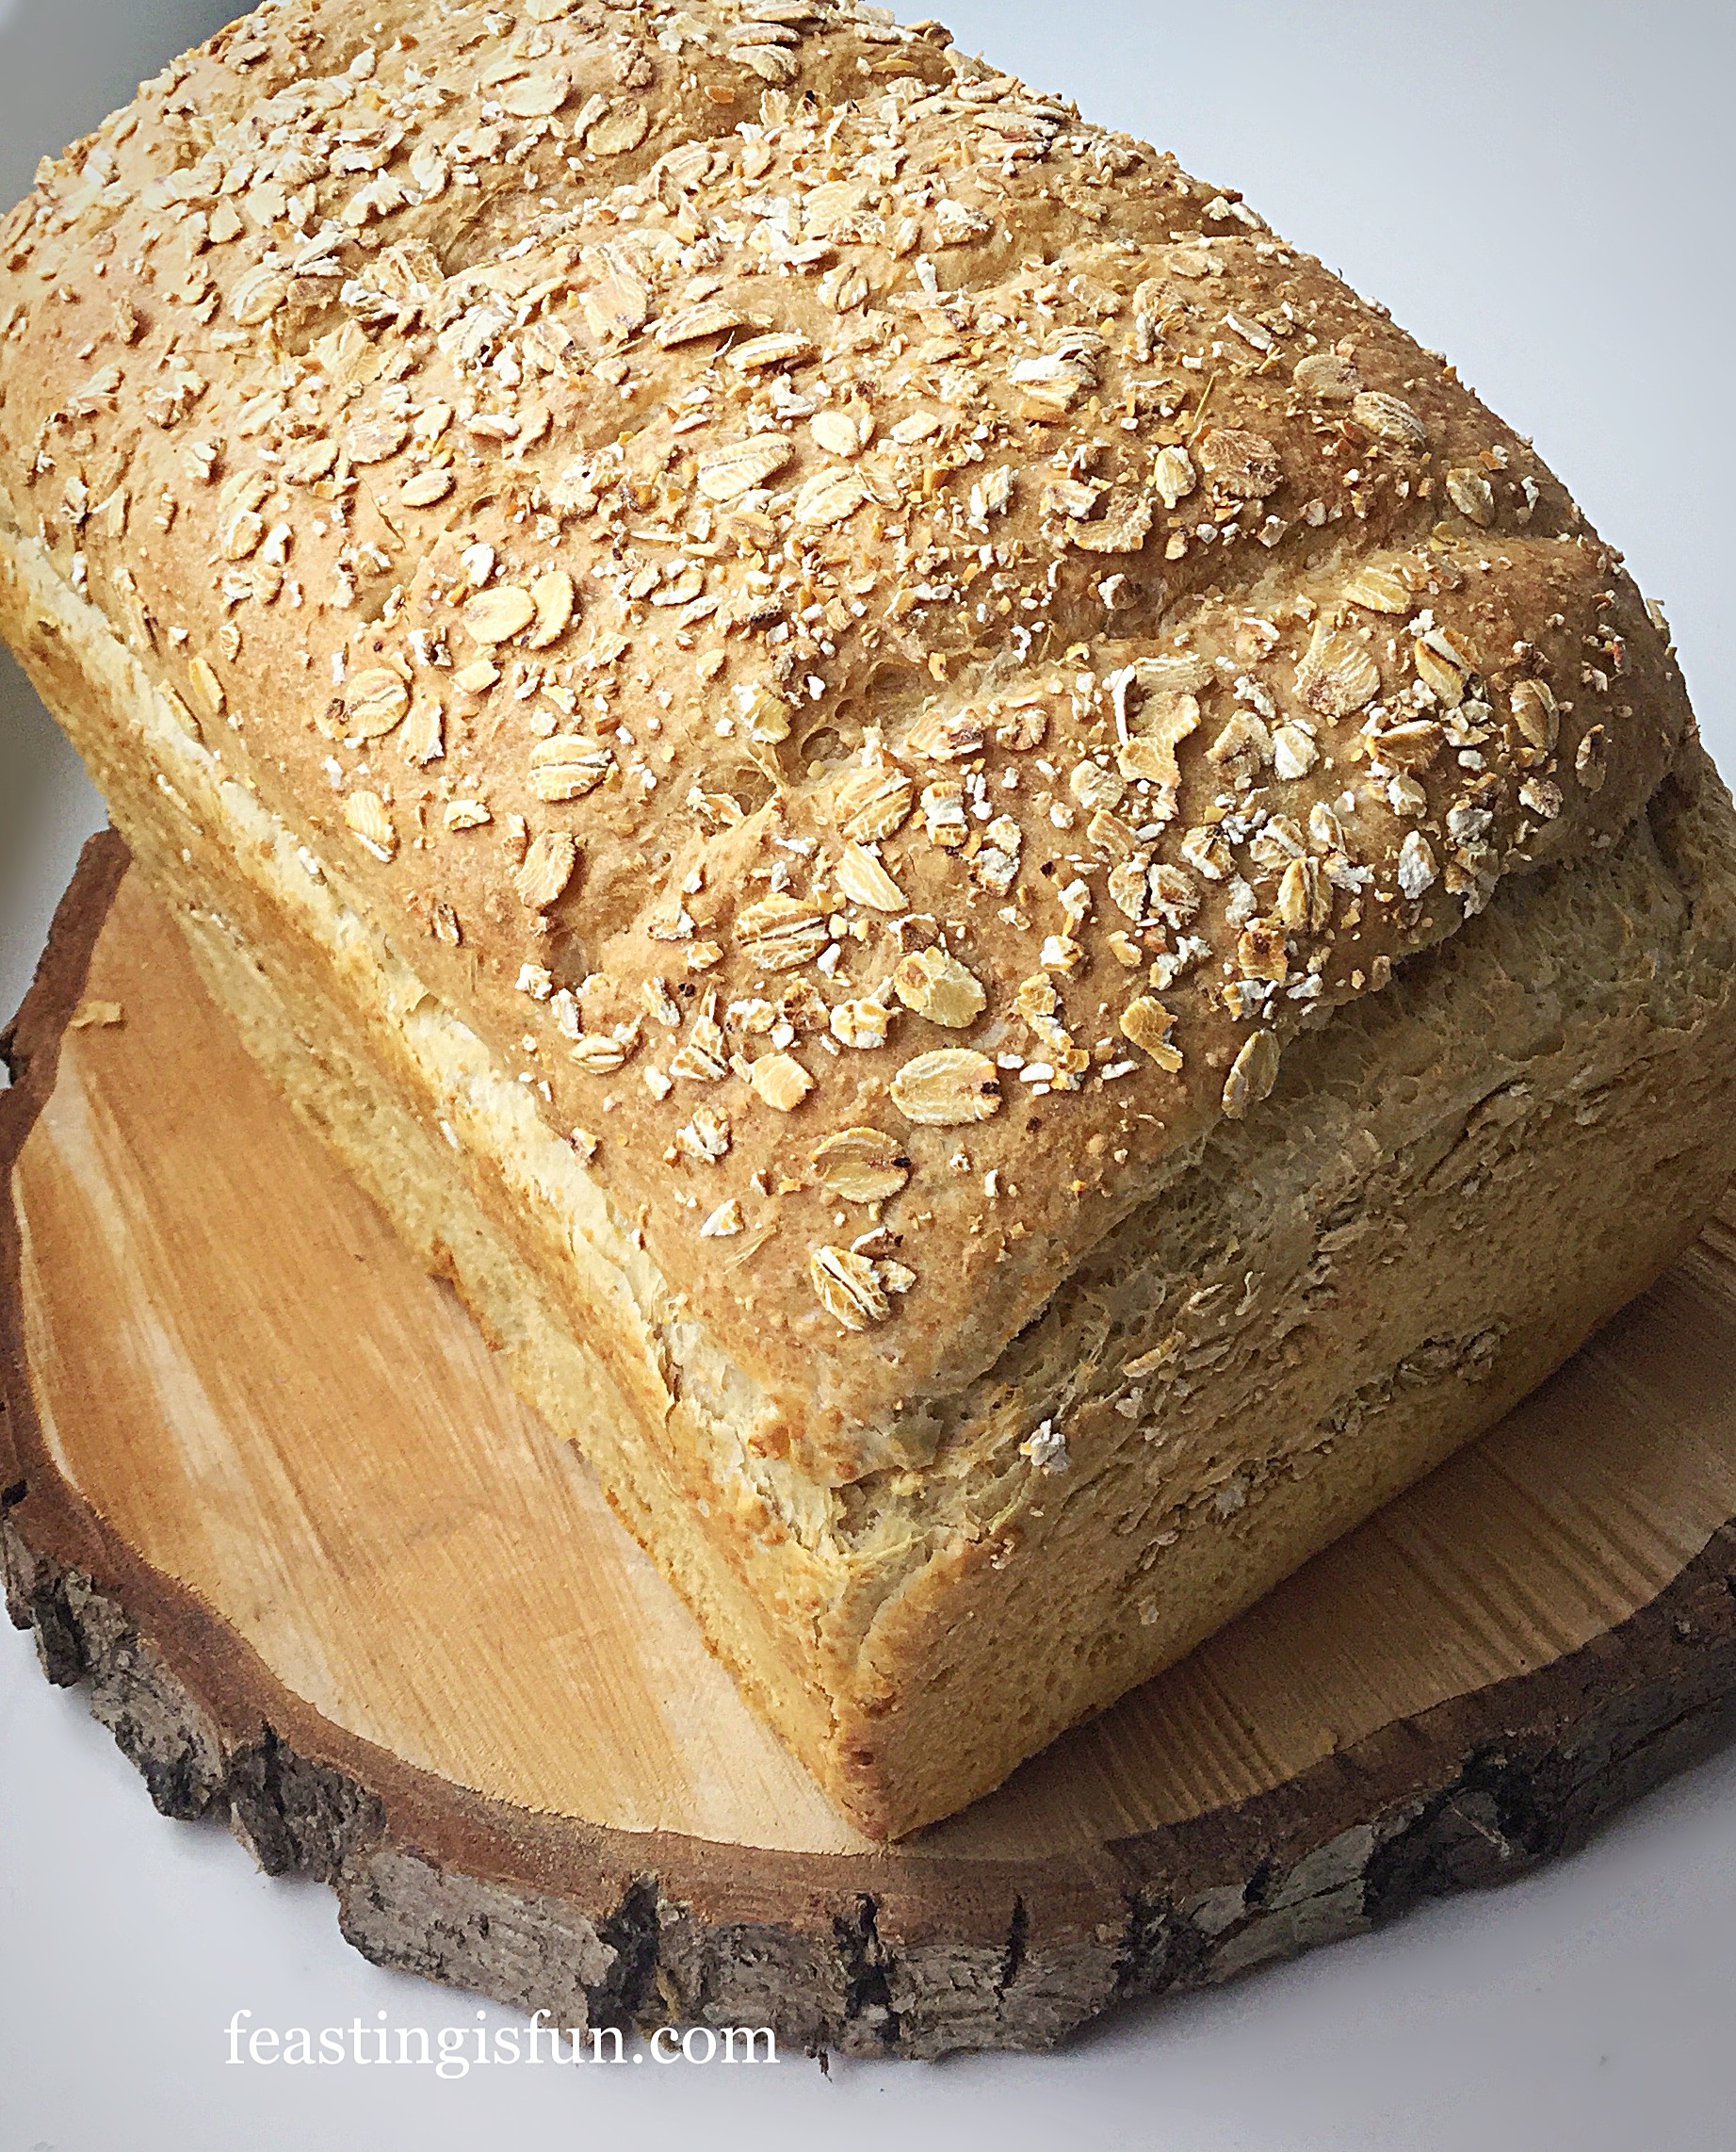
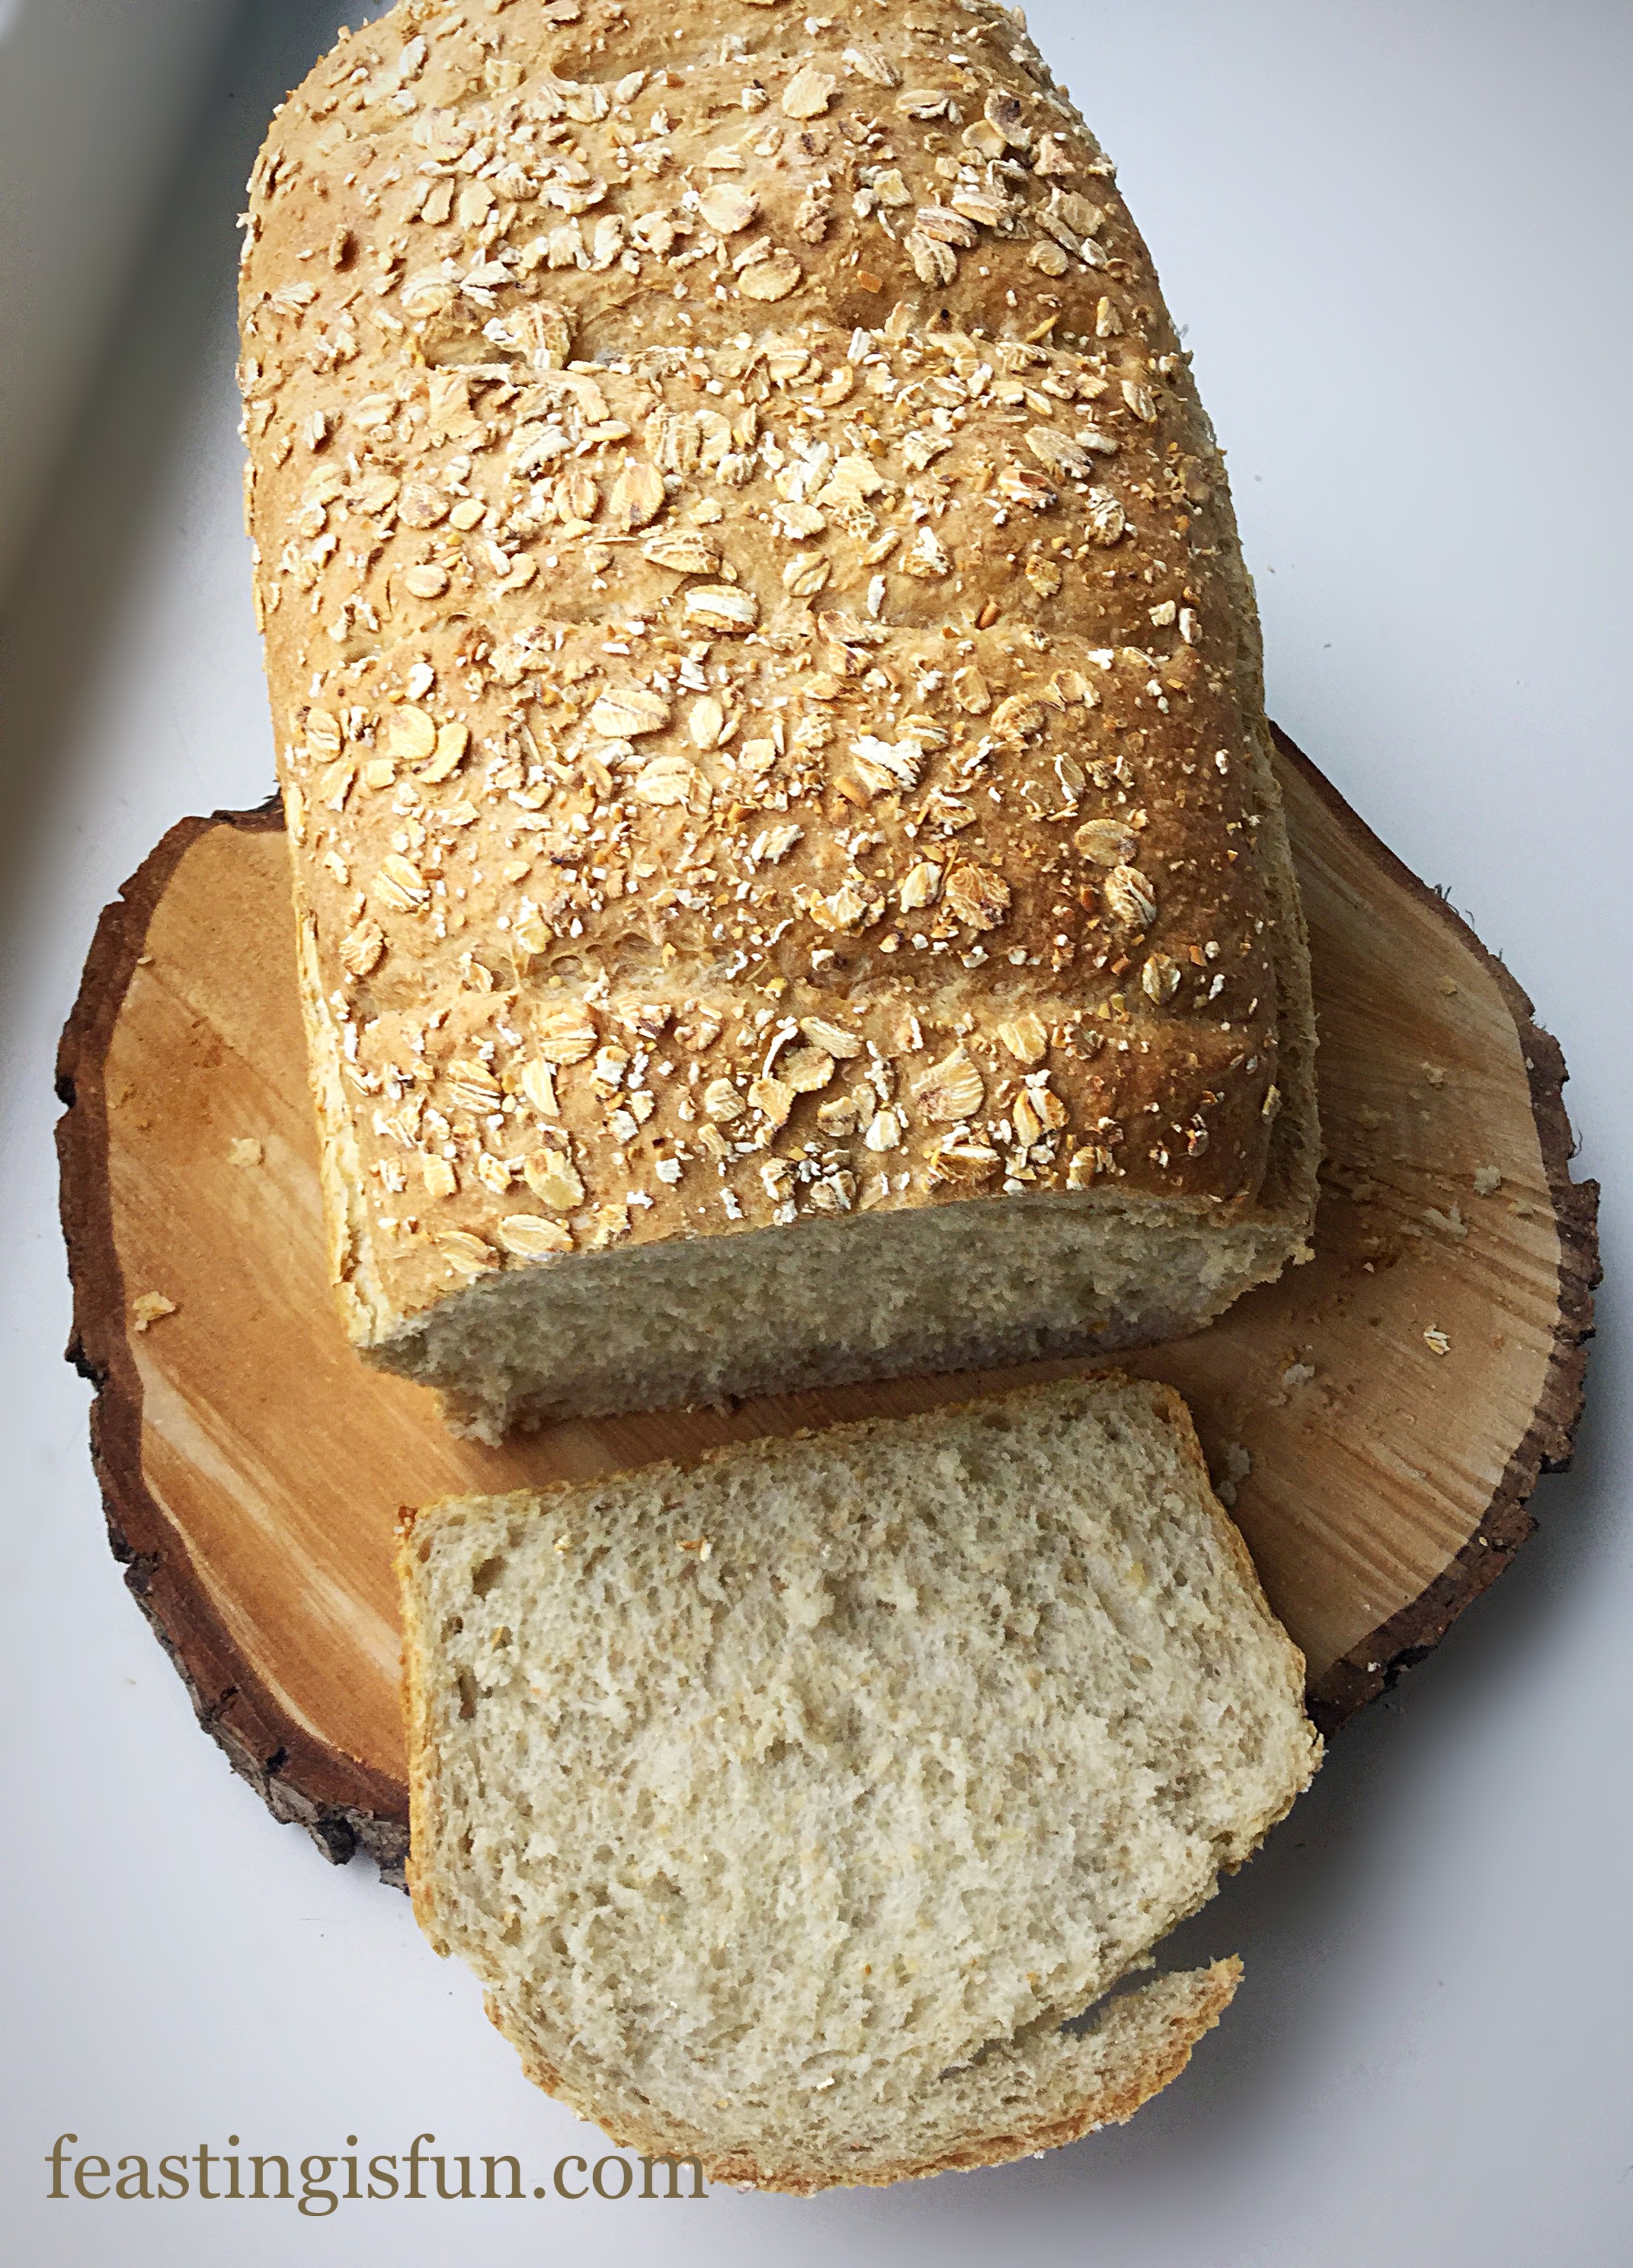
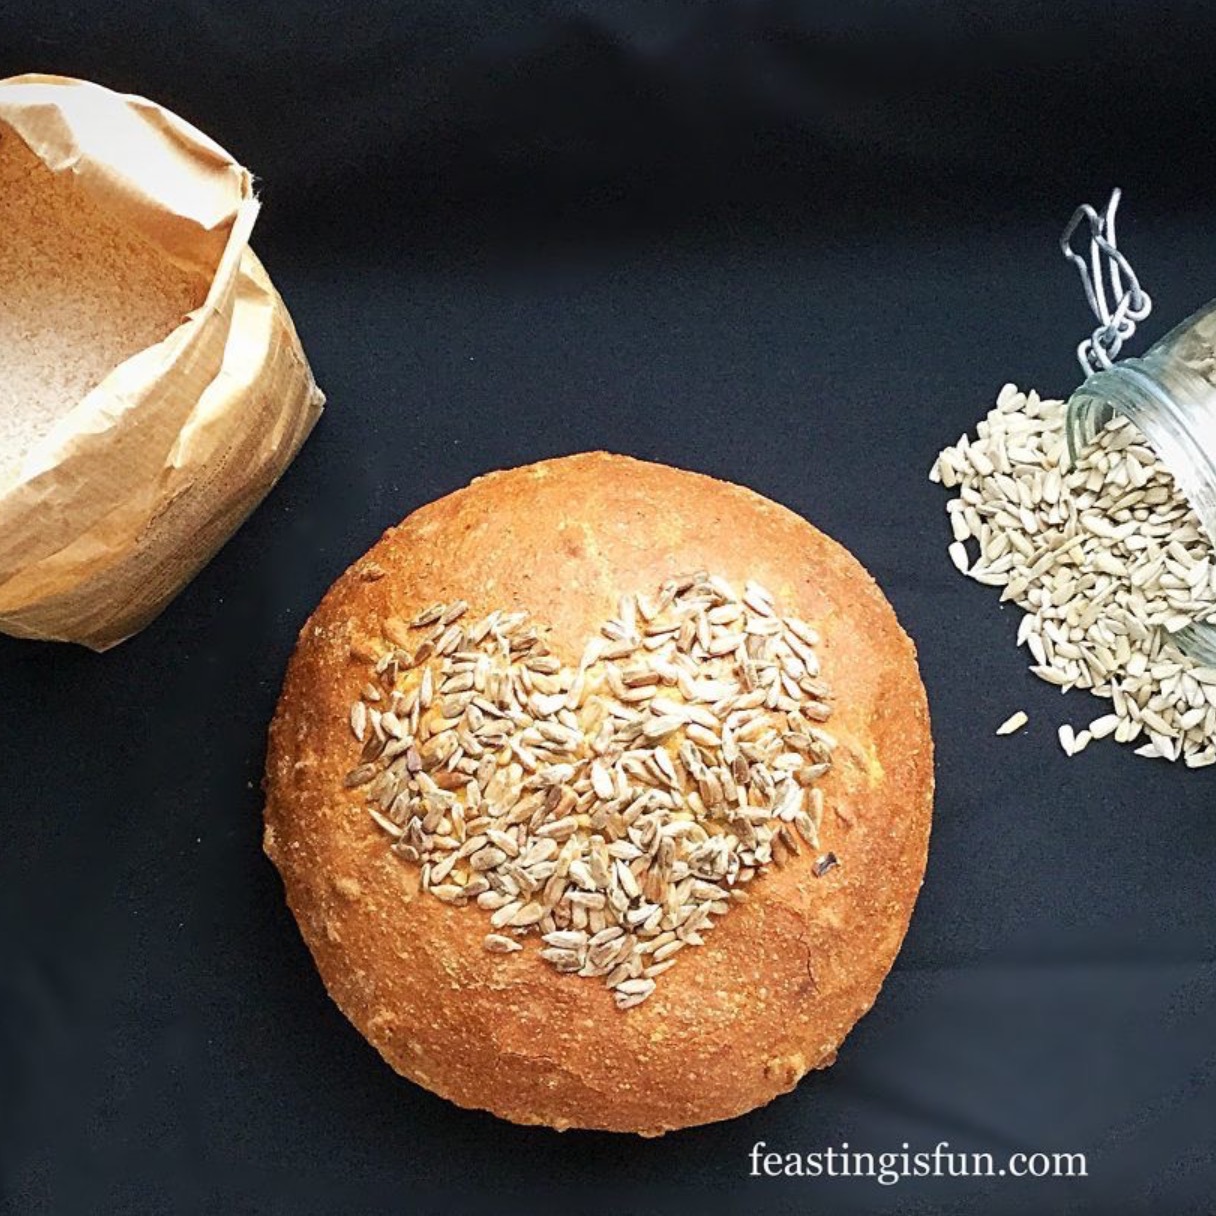
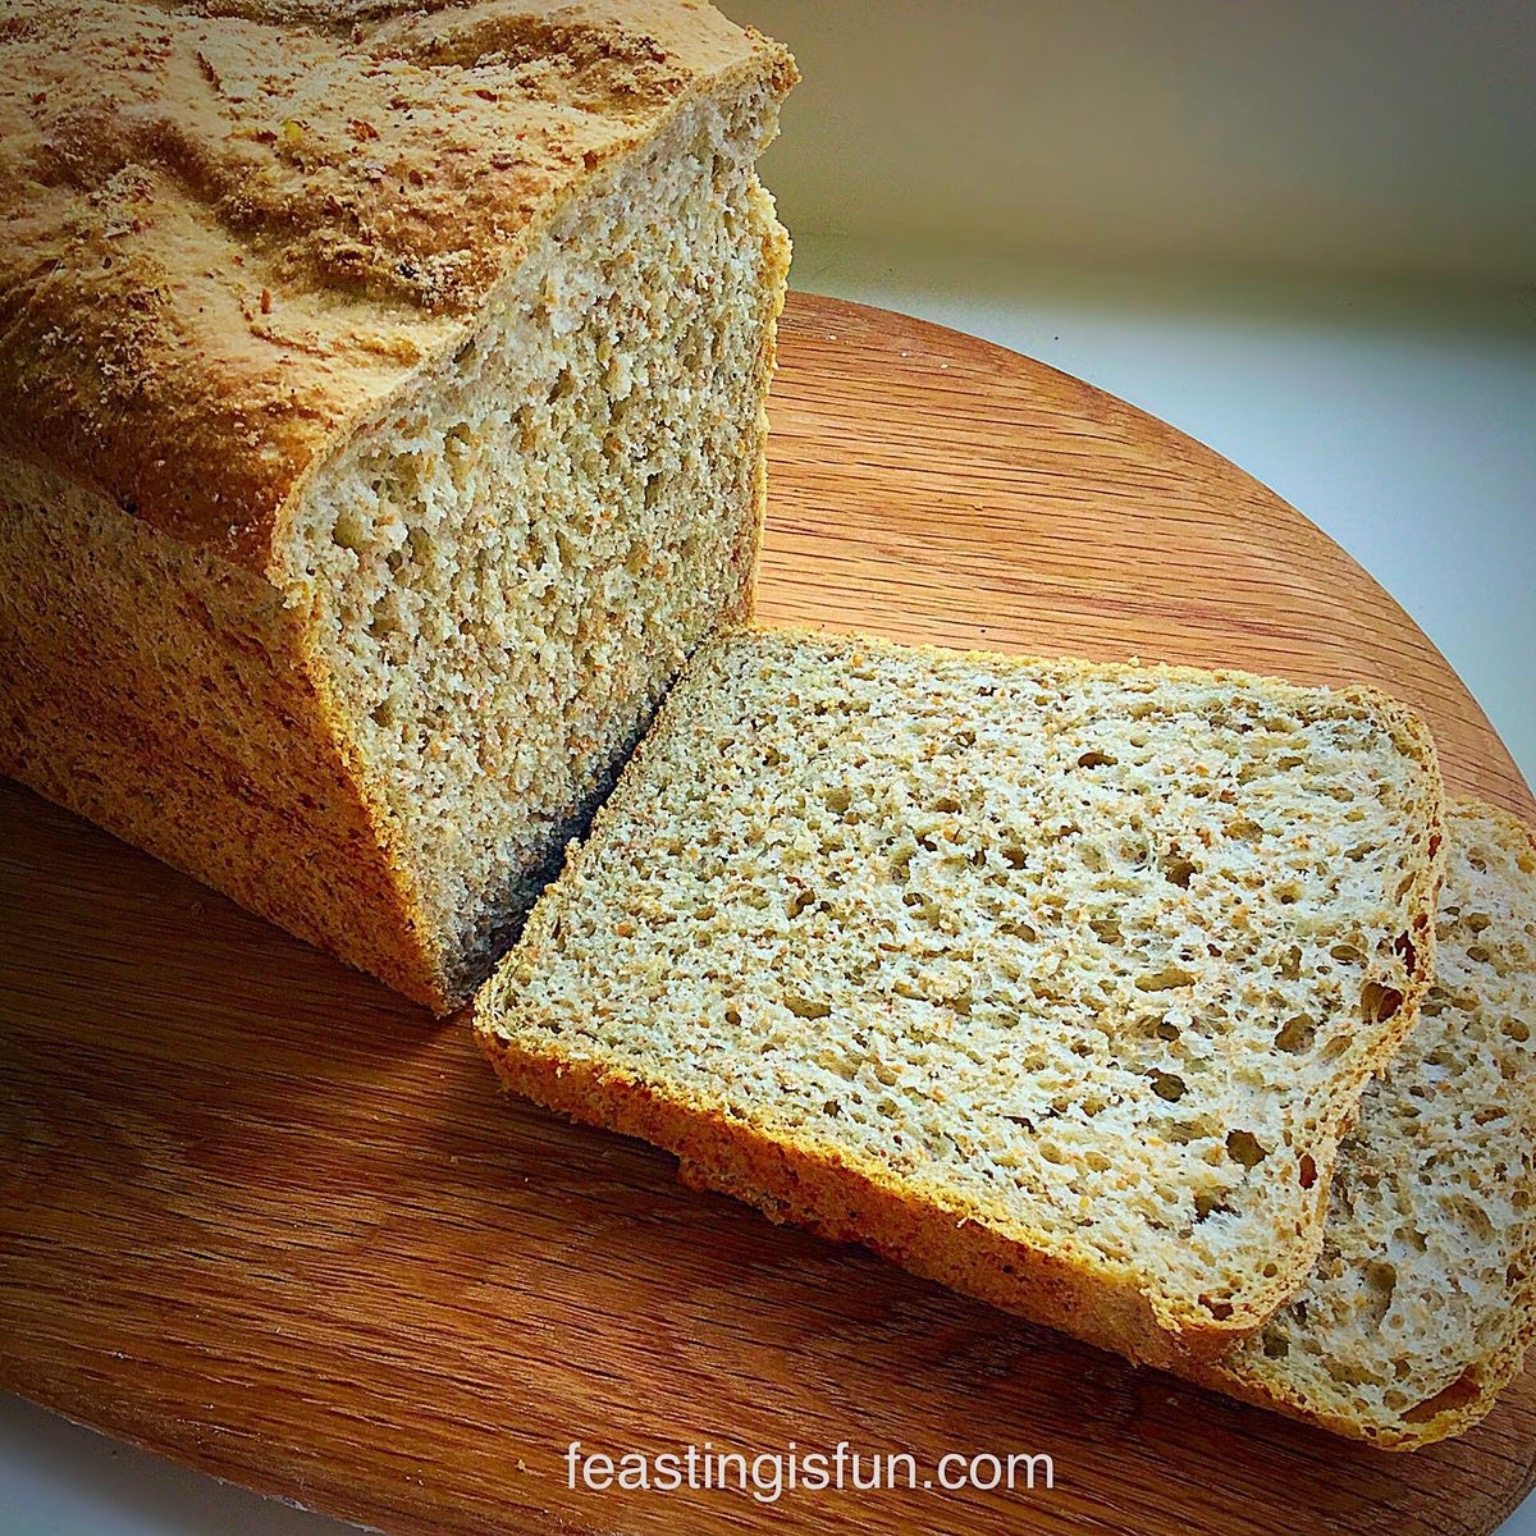
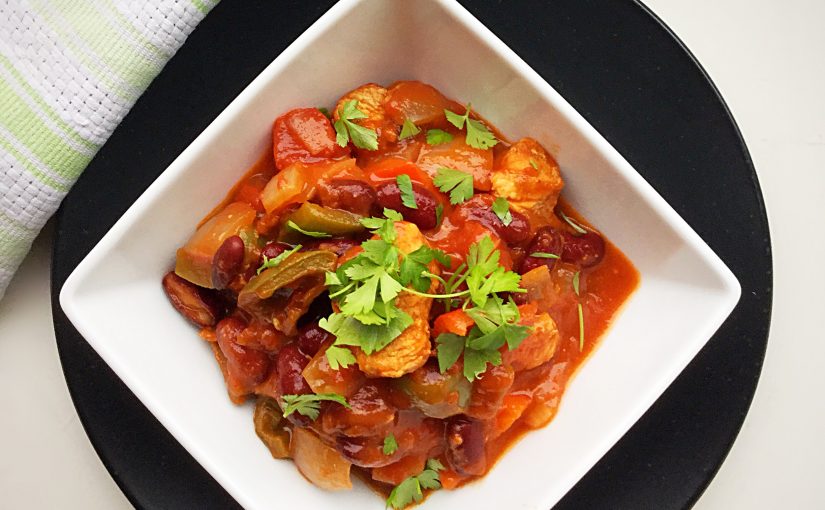
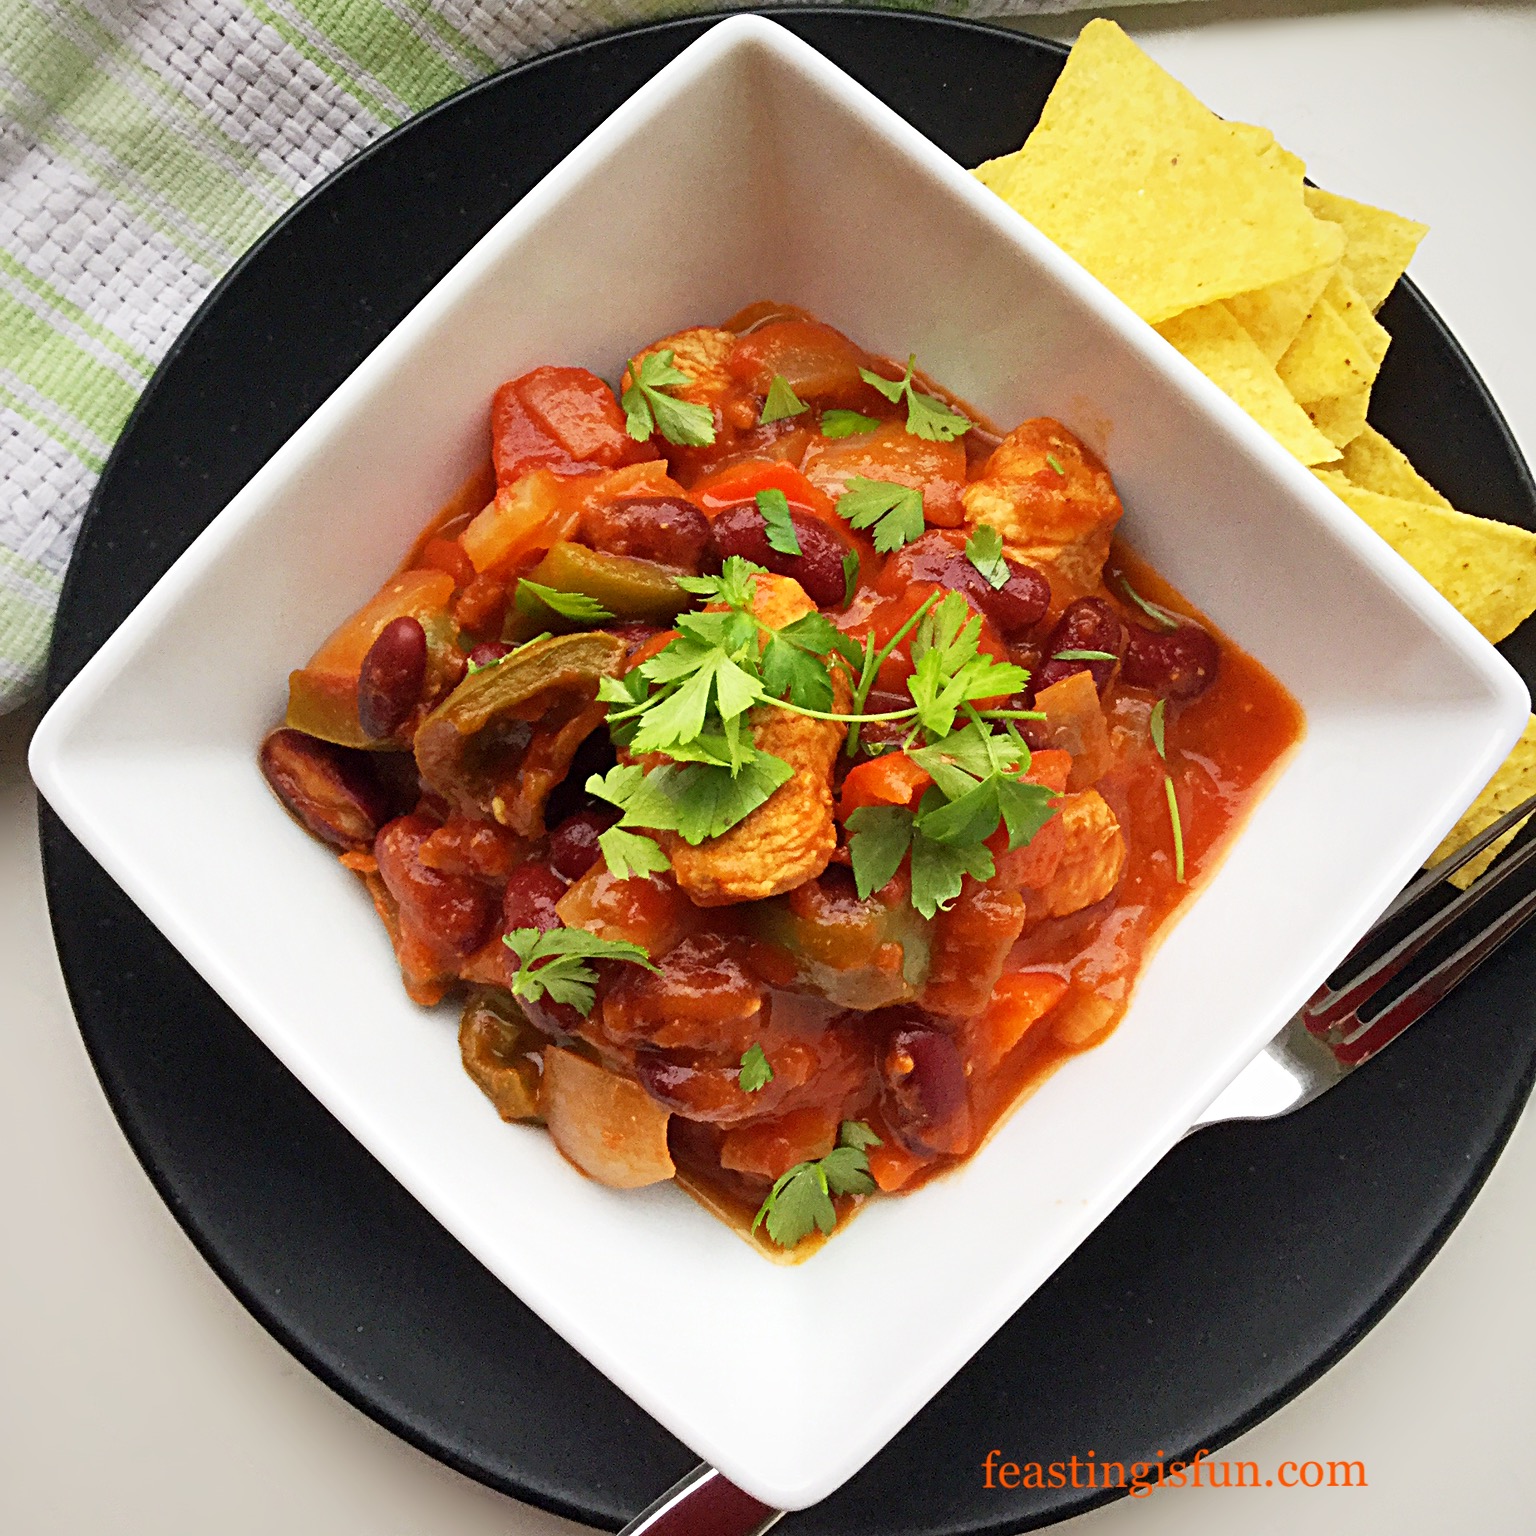
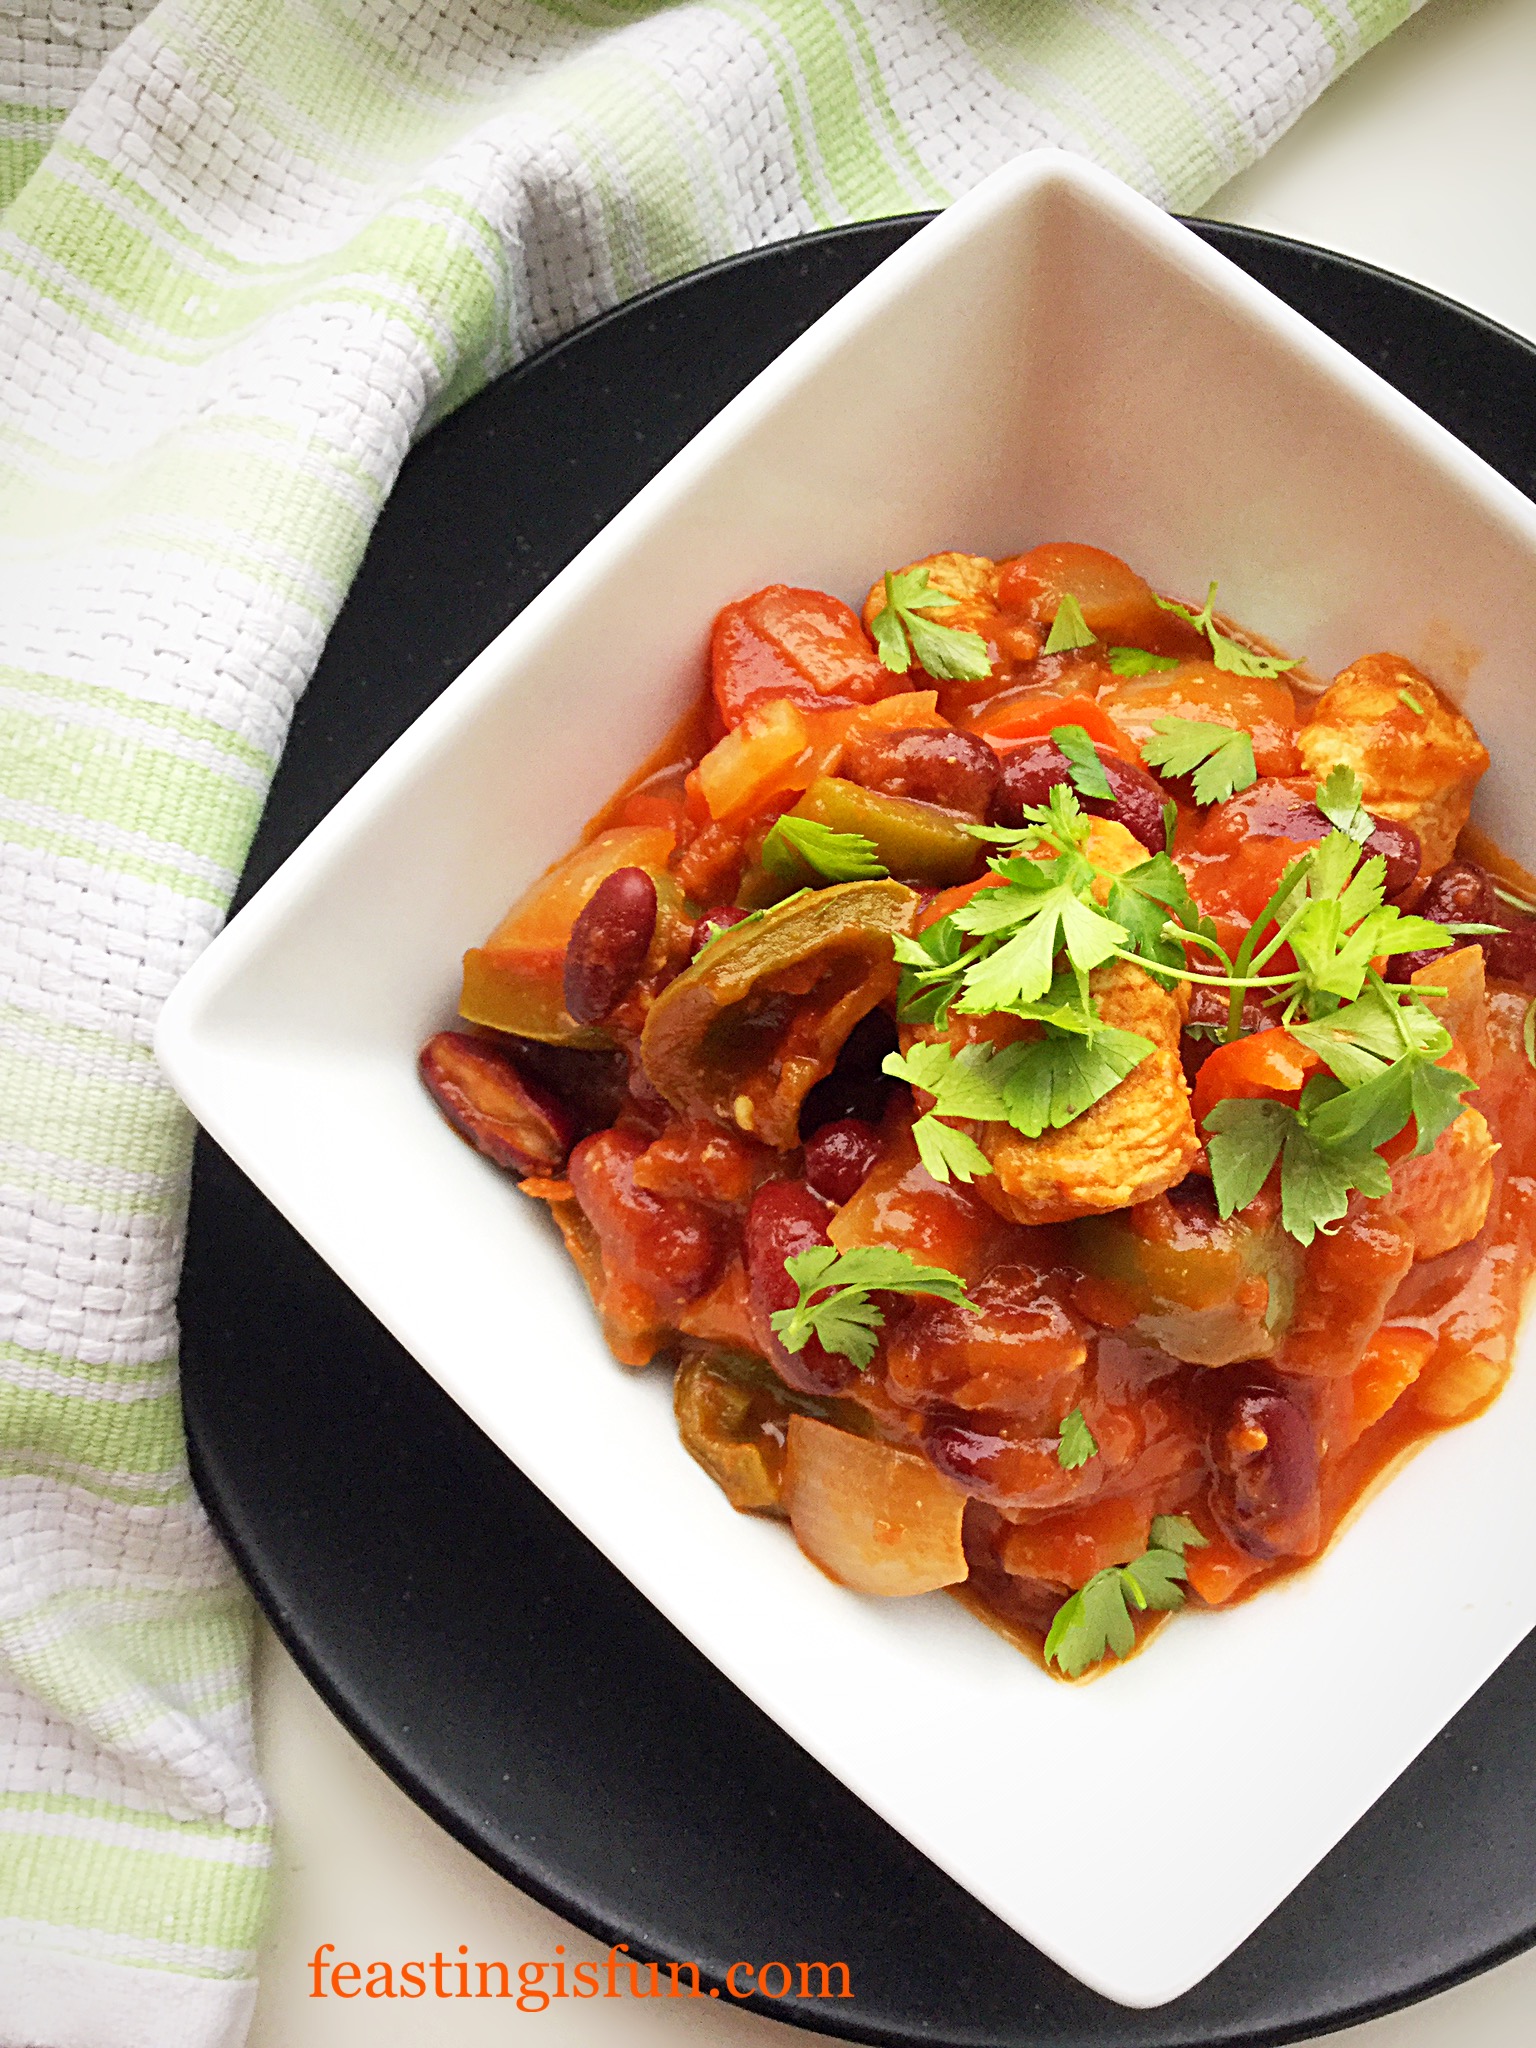
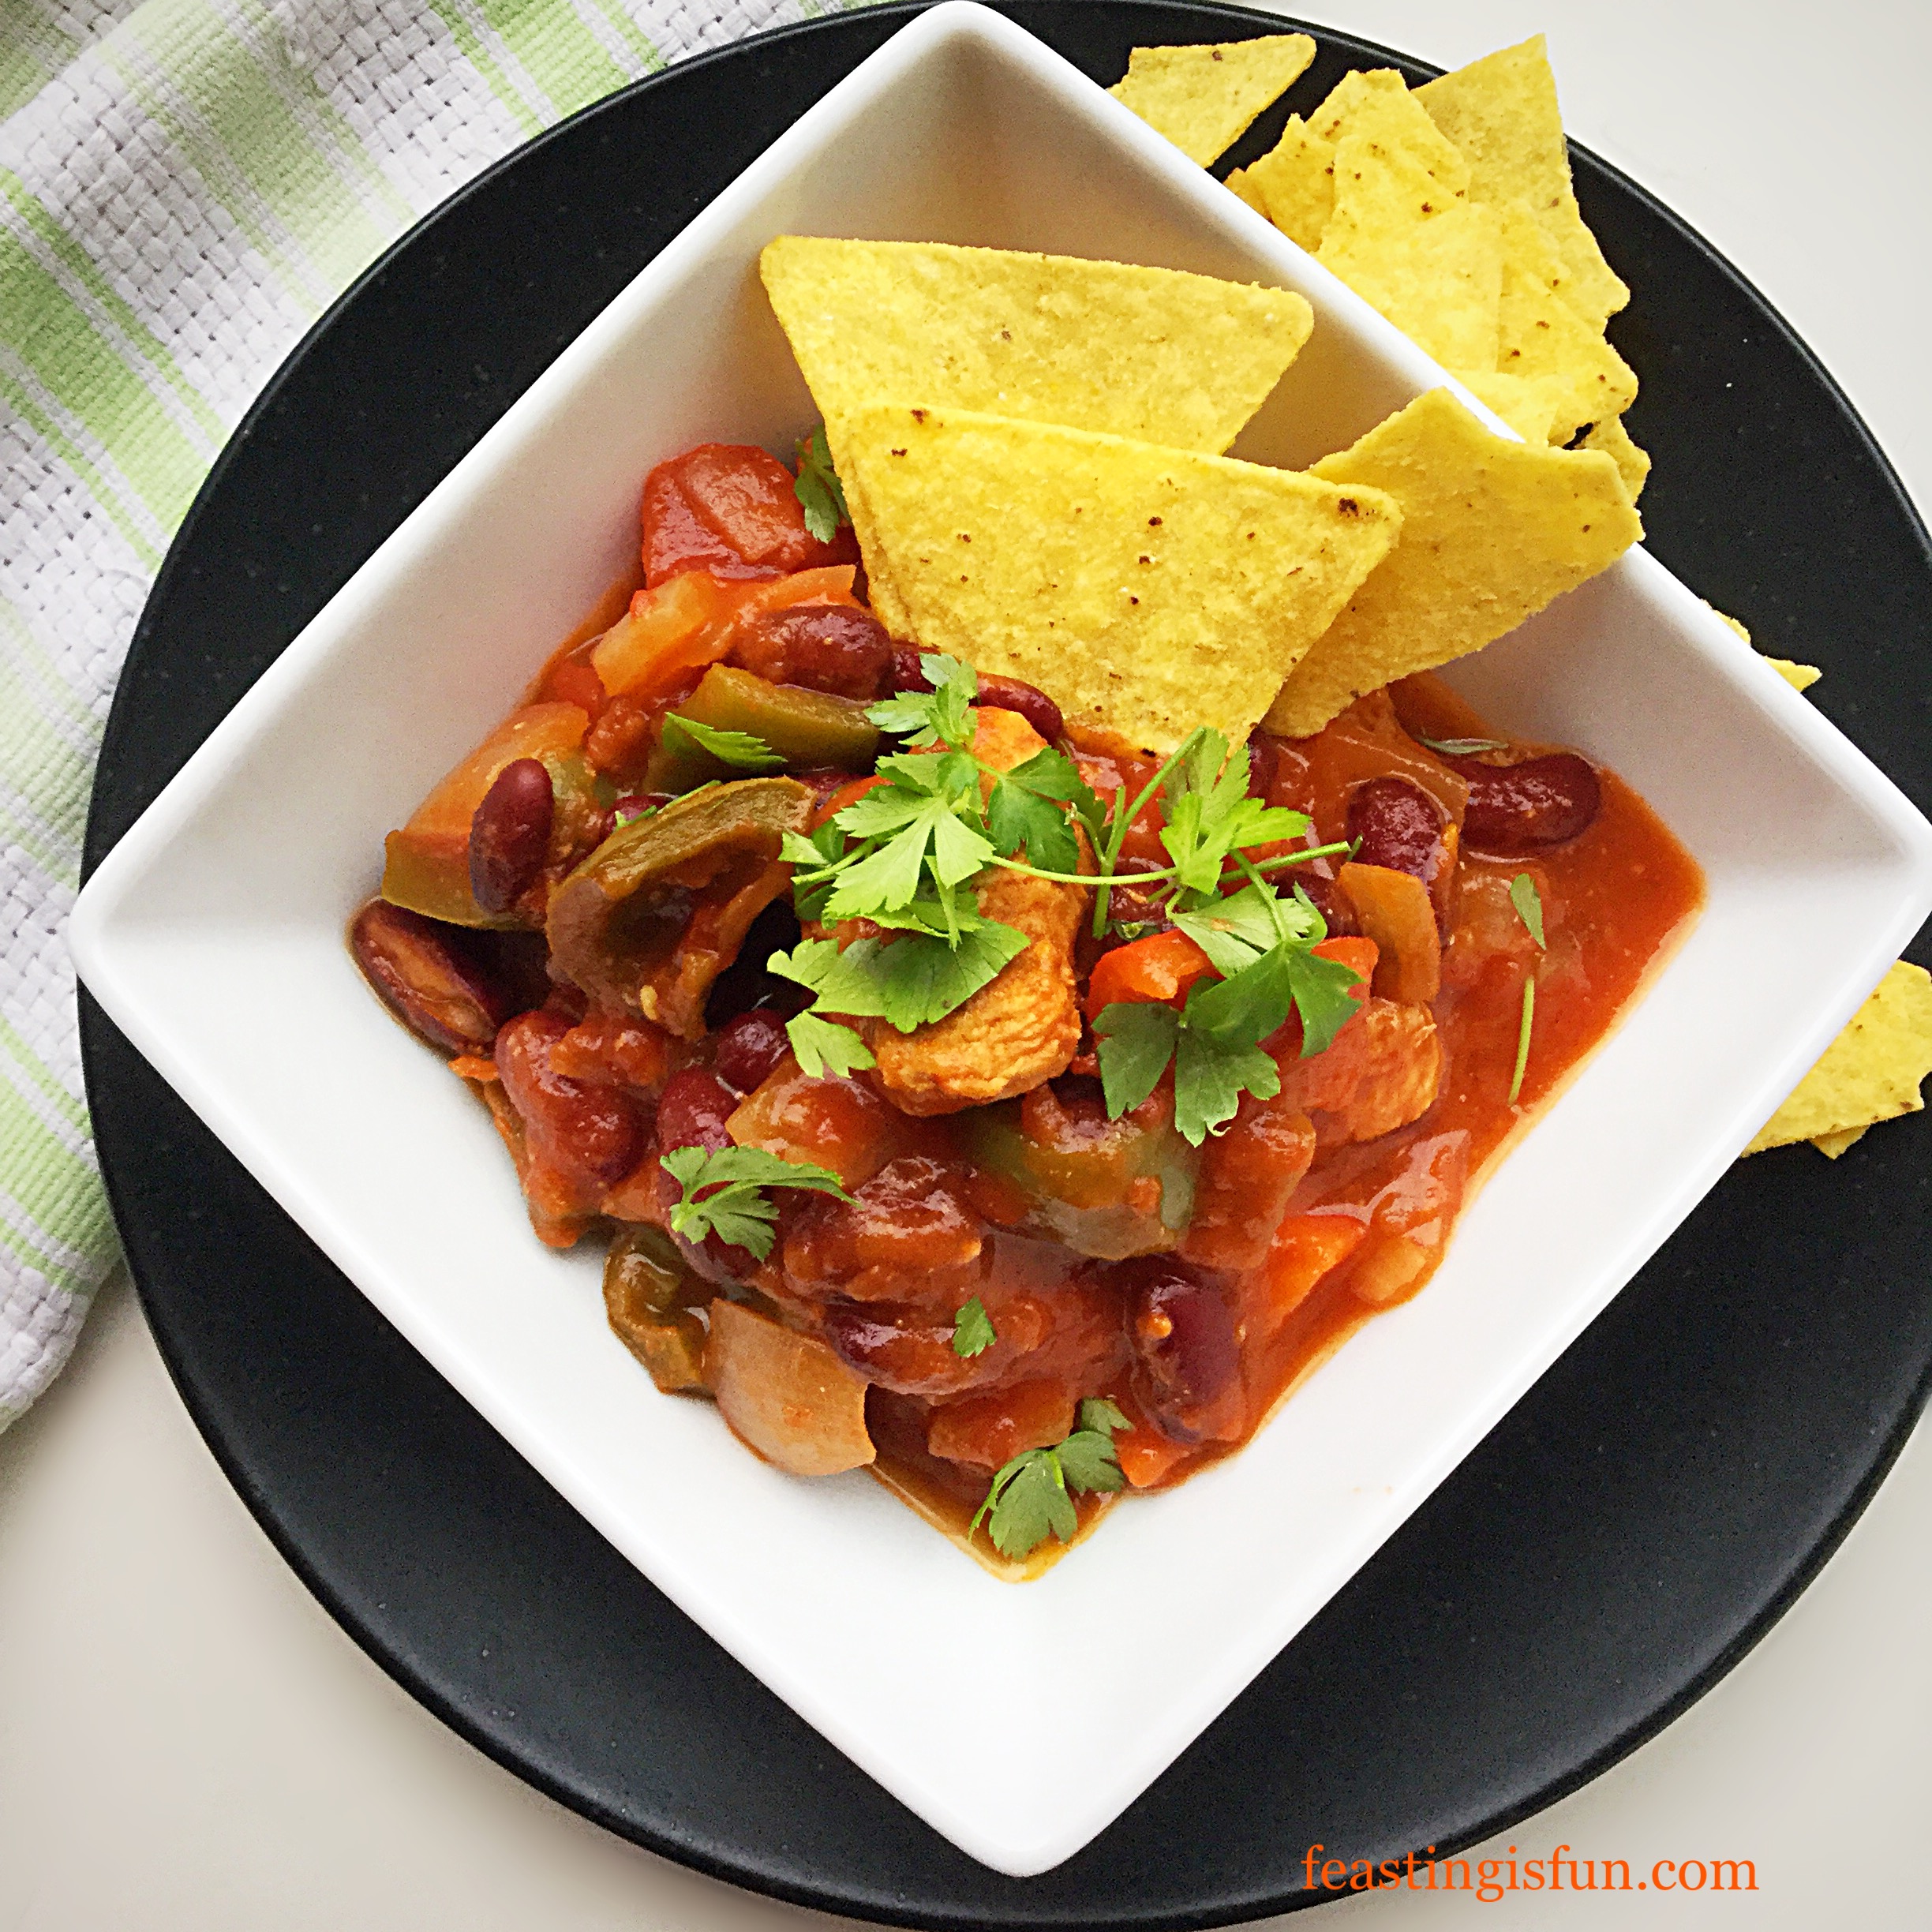
To serve ladle the thickened, spicy Chilli into warmed bowls. Fresh, homemade bread such as my Seeded Cob Loaf, baked tortilla chips or rice all make tasty accompaniments. Also adding a sprinkle of fresh coriander (cilantro) or parsley, provides the finished dish with a fresh, herb hit.
If you have enjoyed this recipe for Healthy Turkey Mixed Pepper Chilli you may also like these:


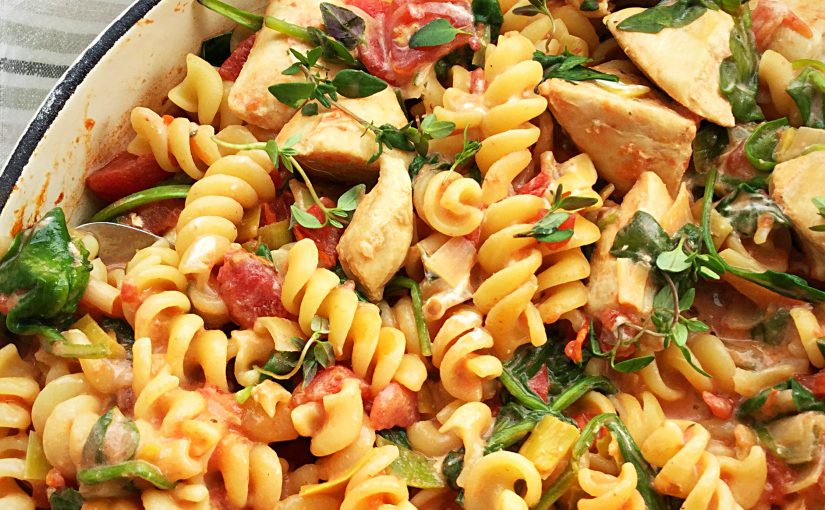
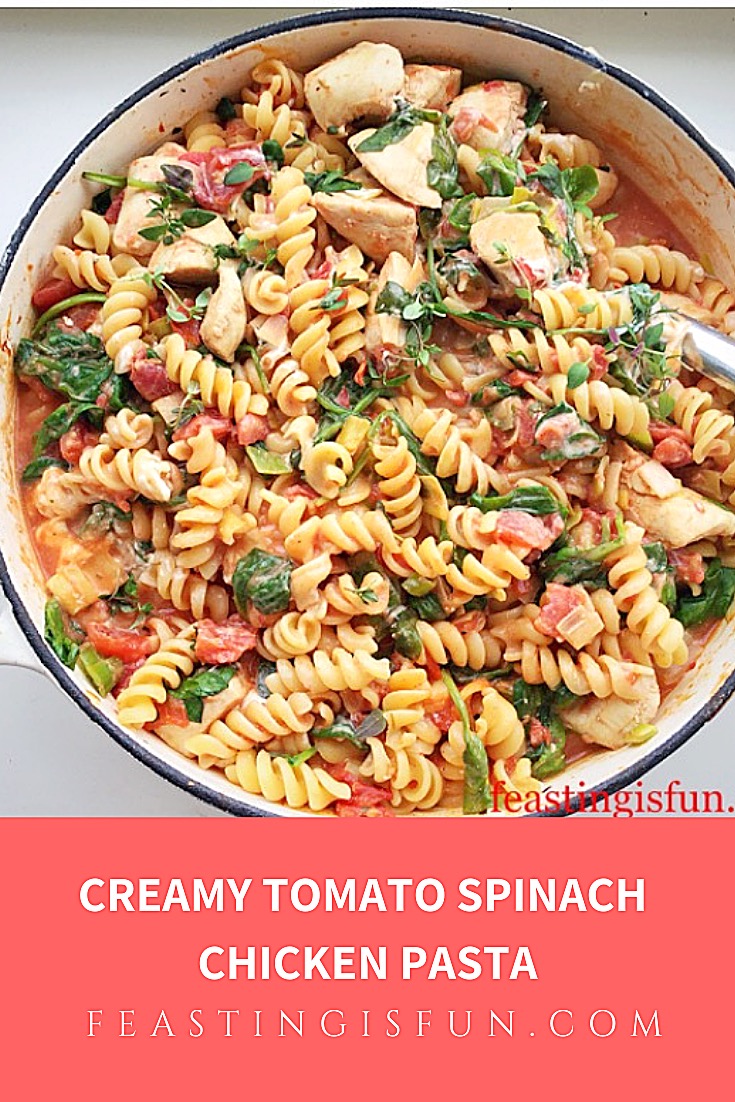
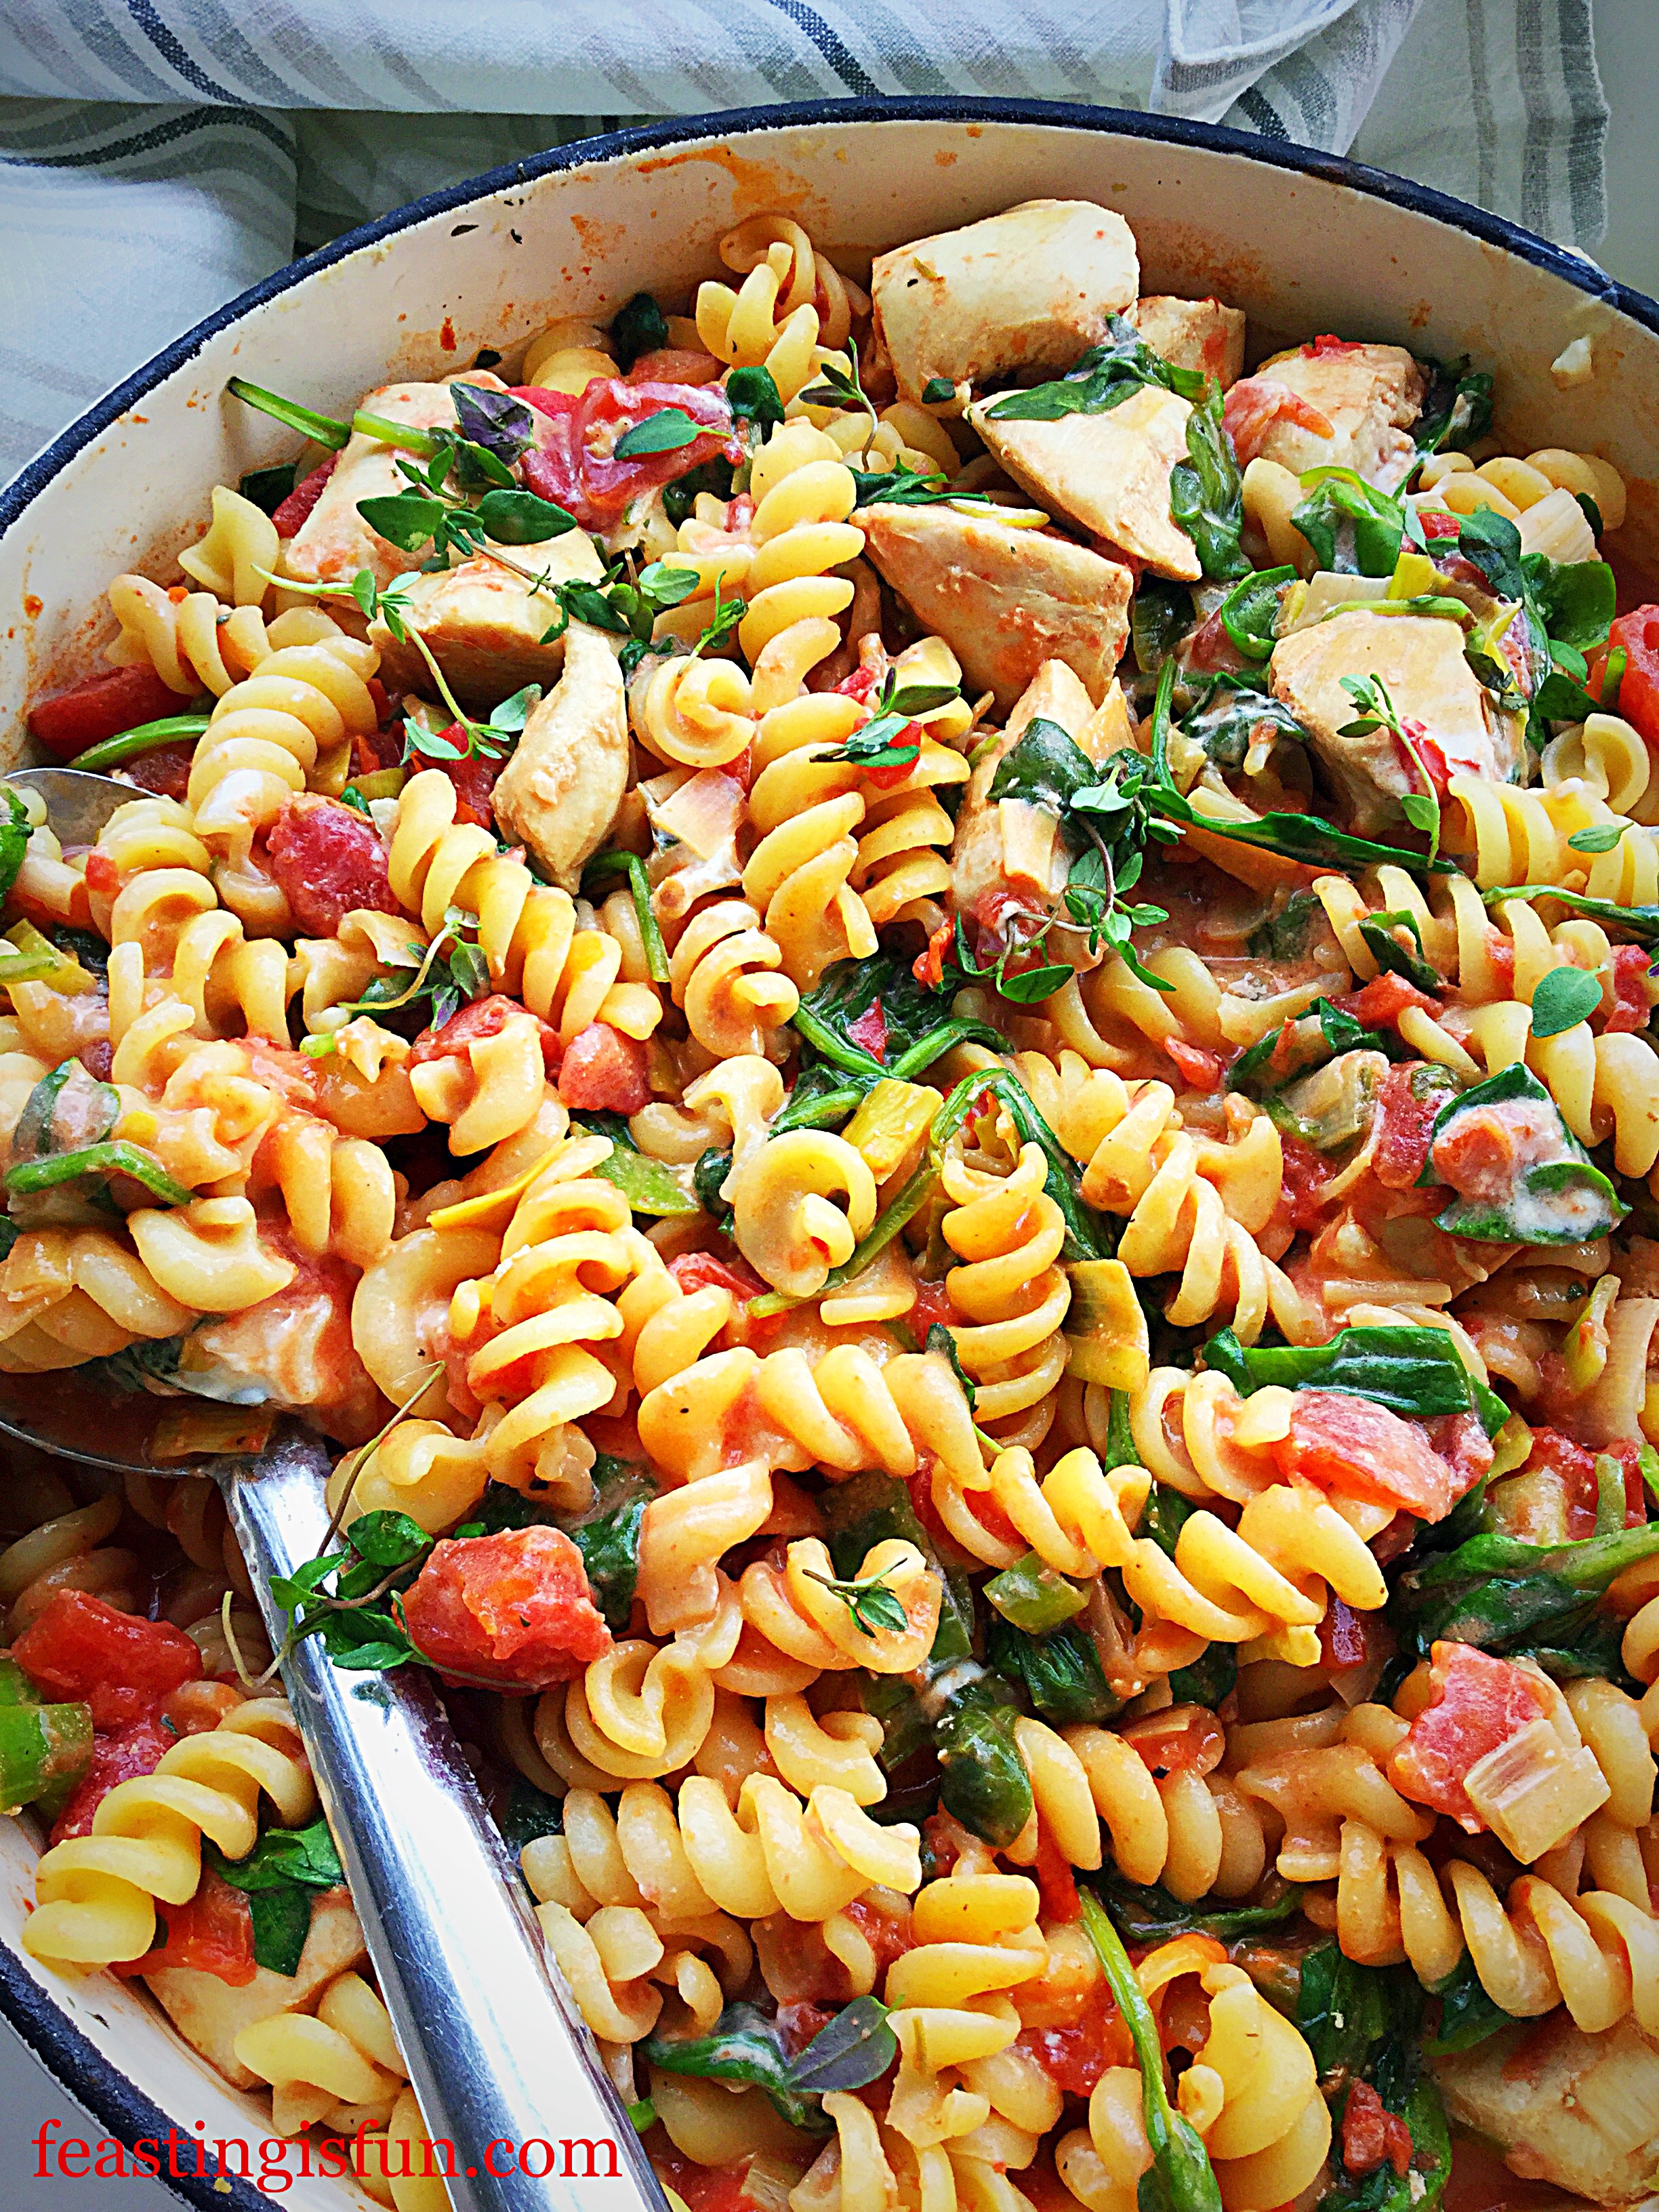
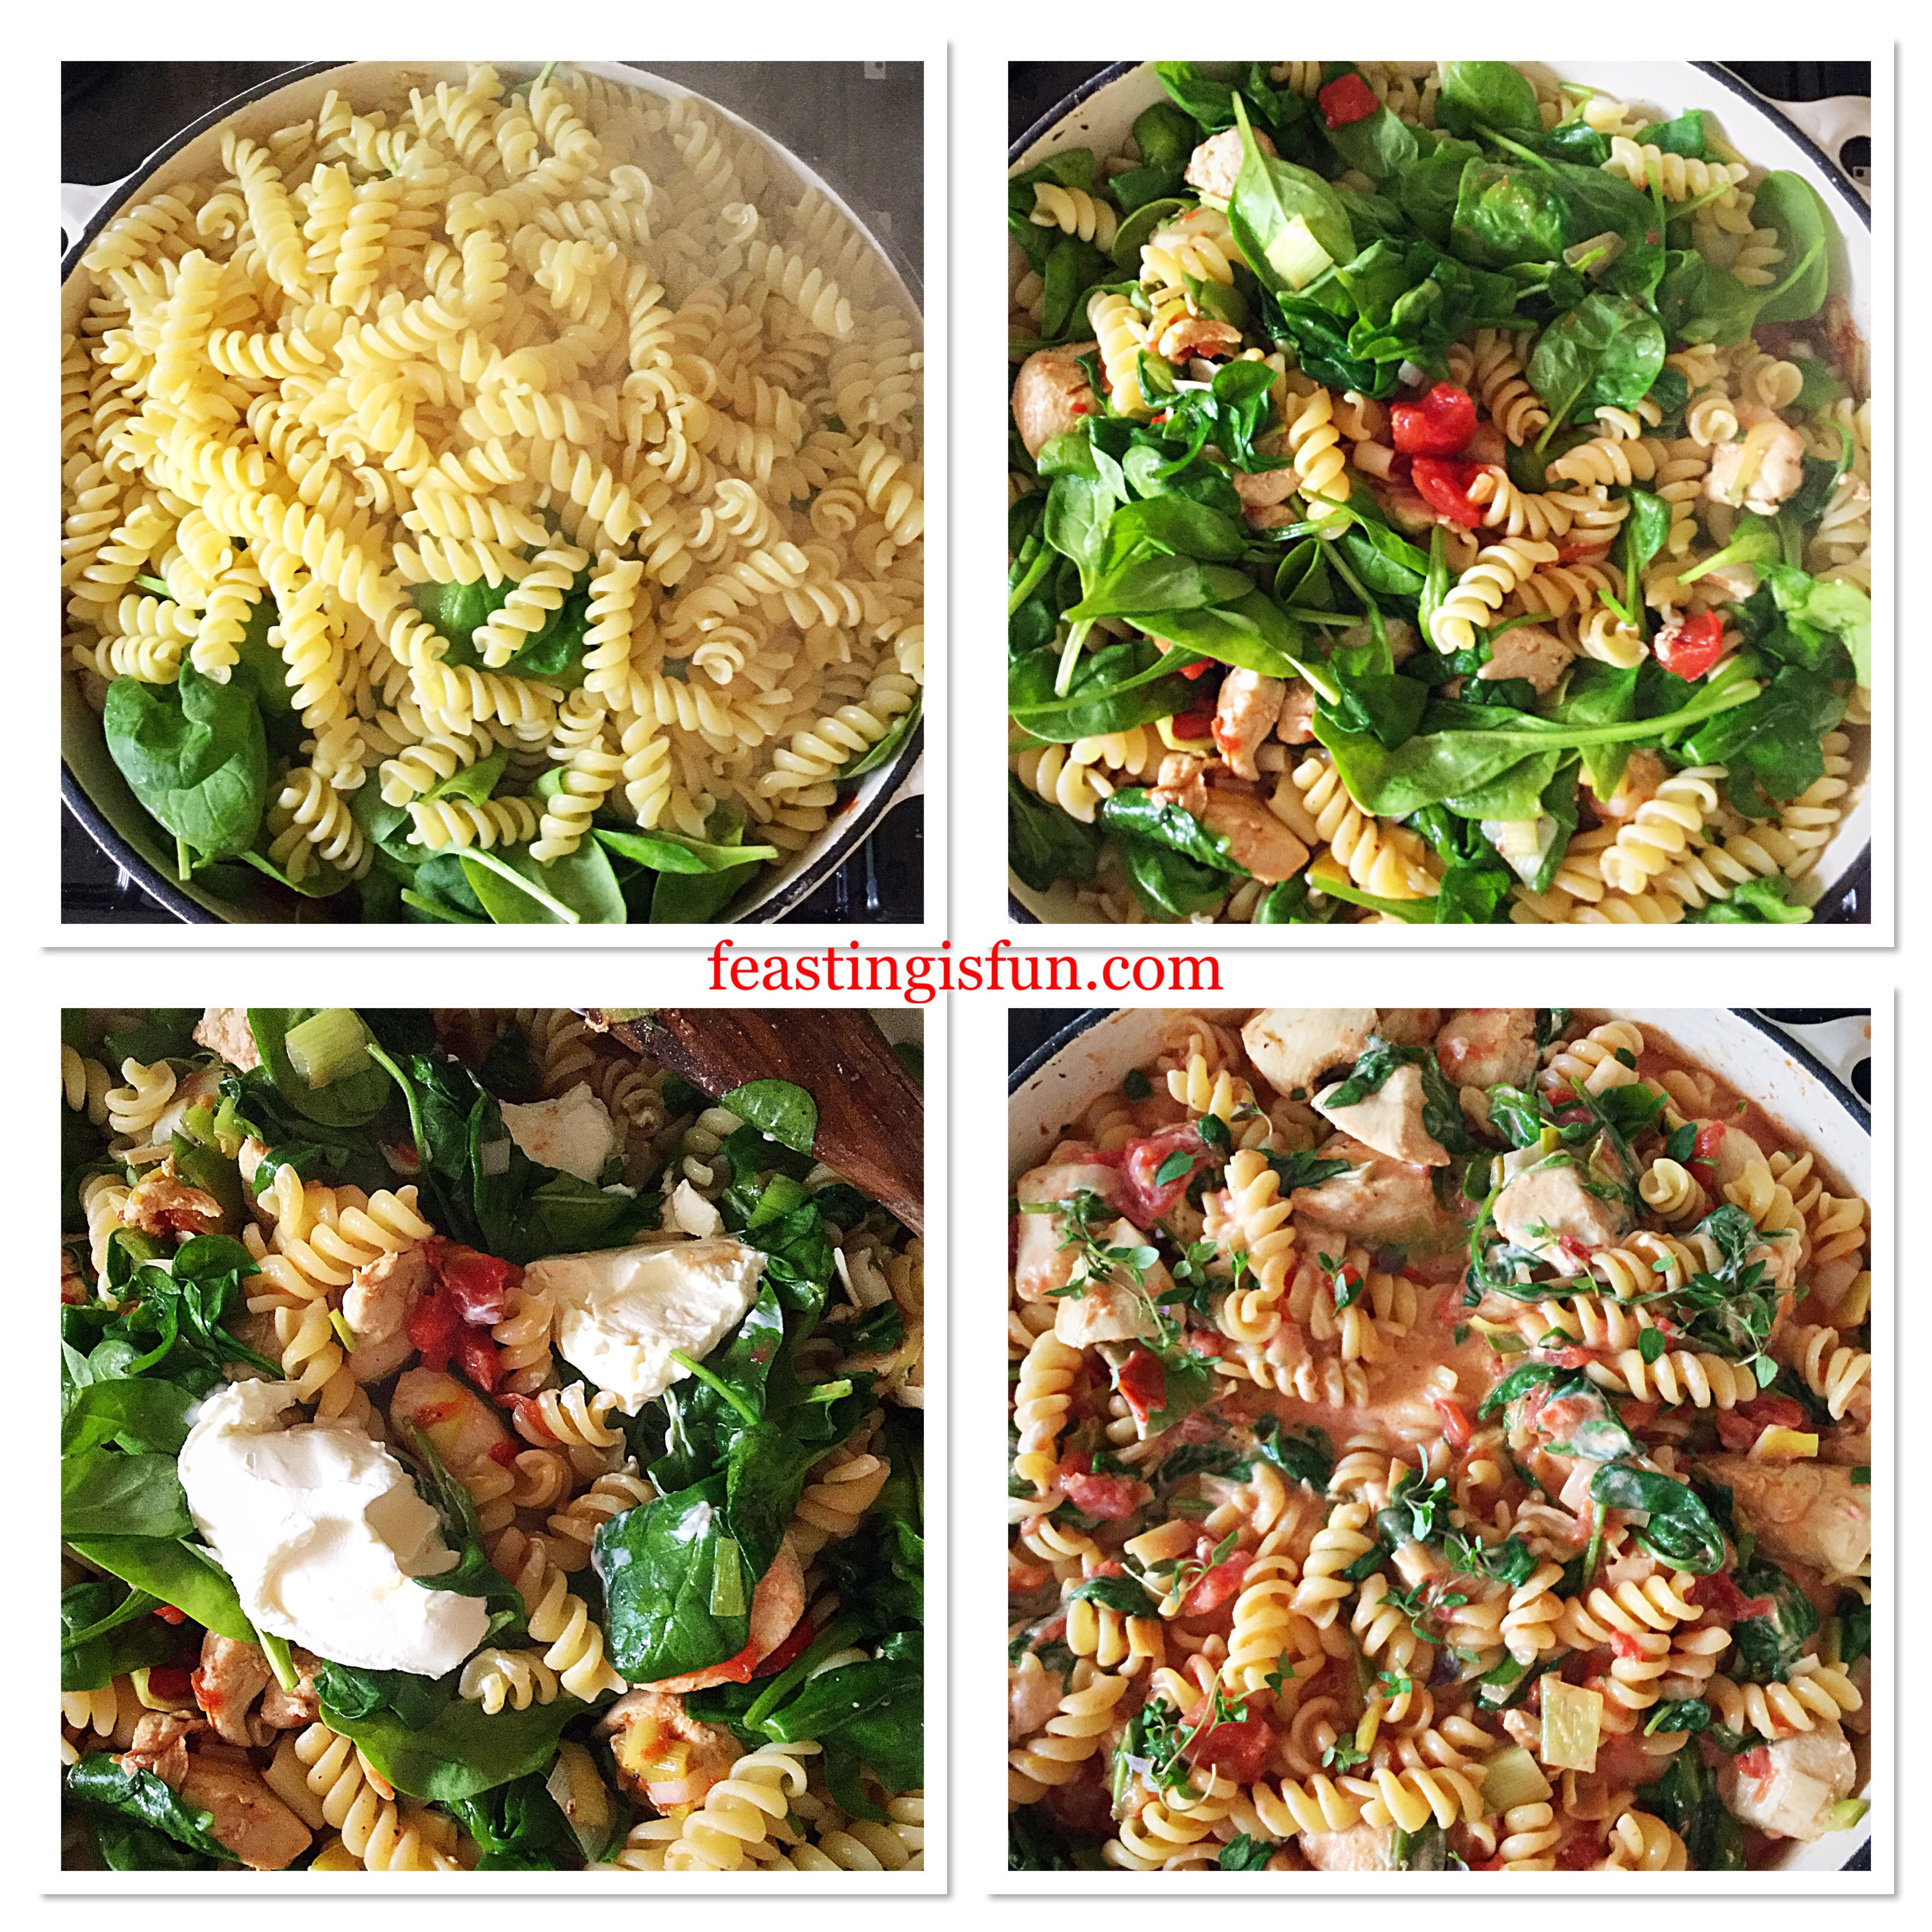
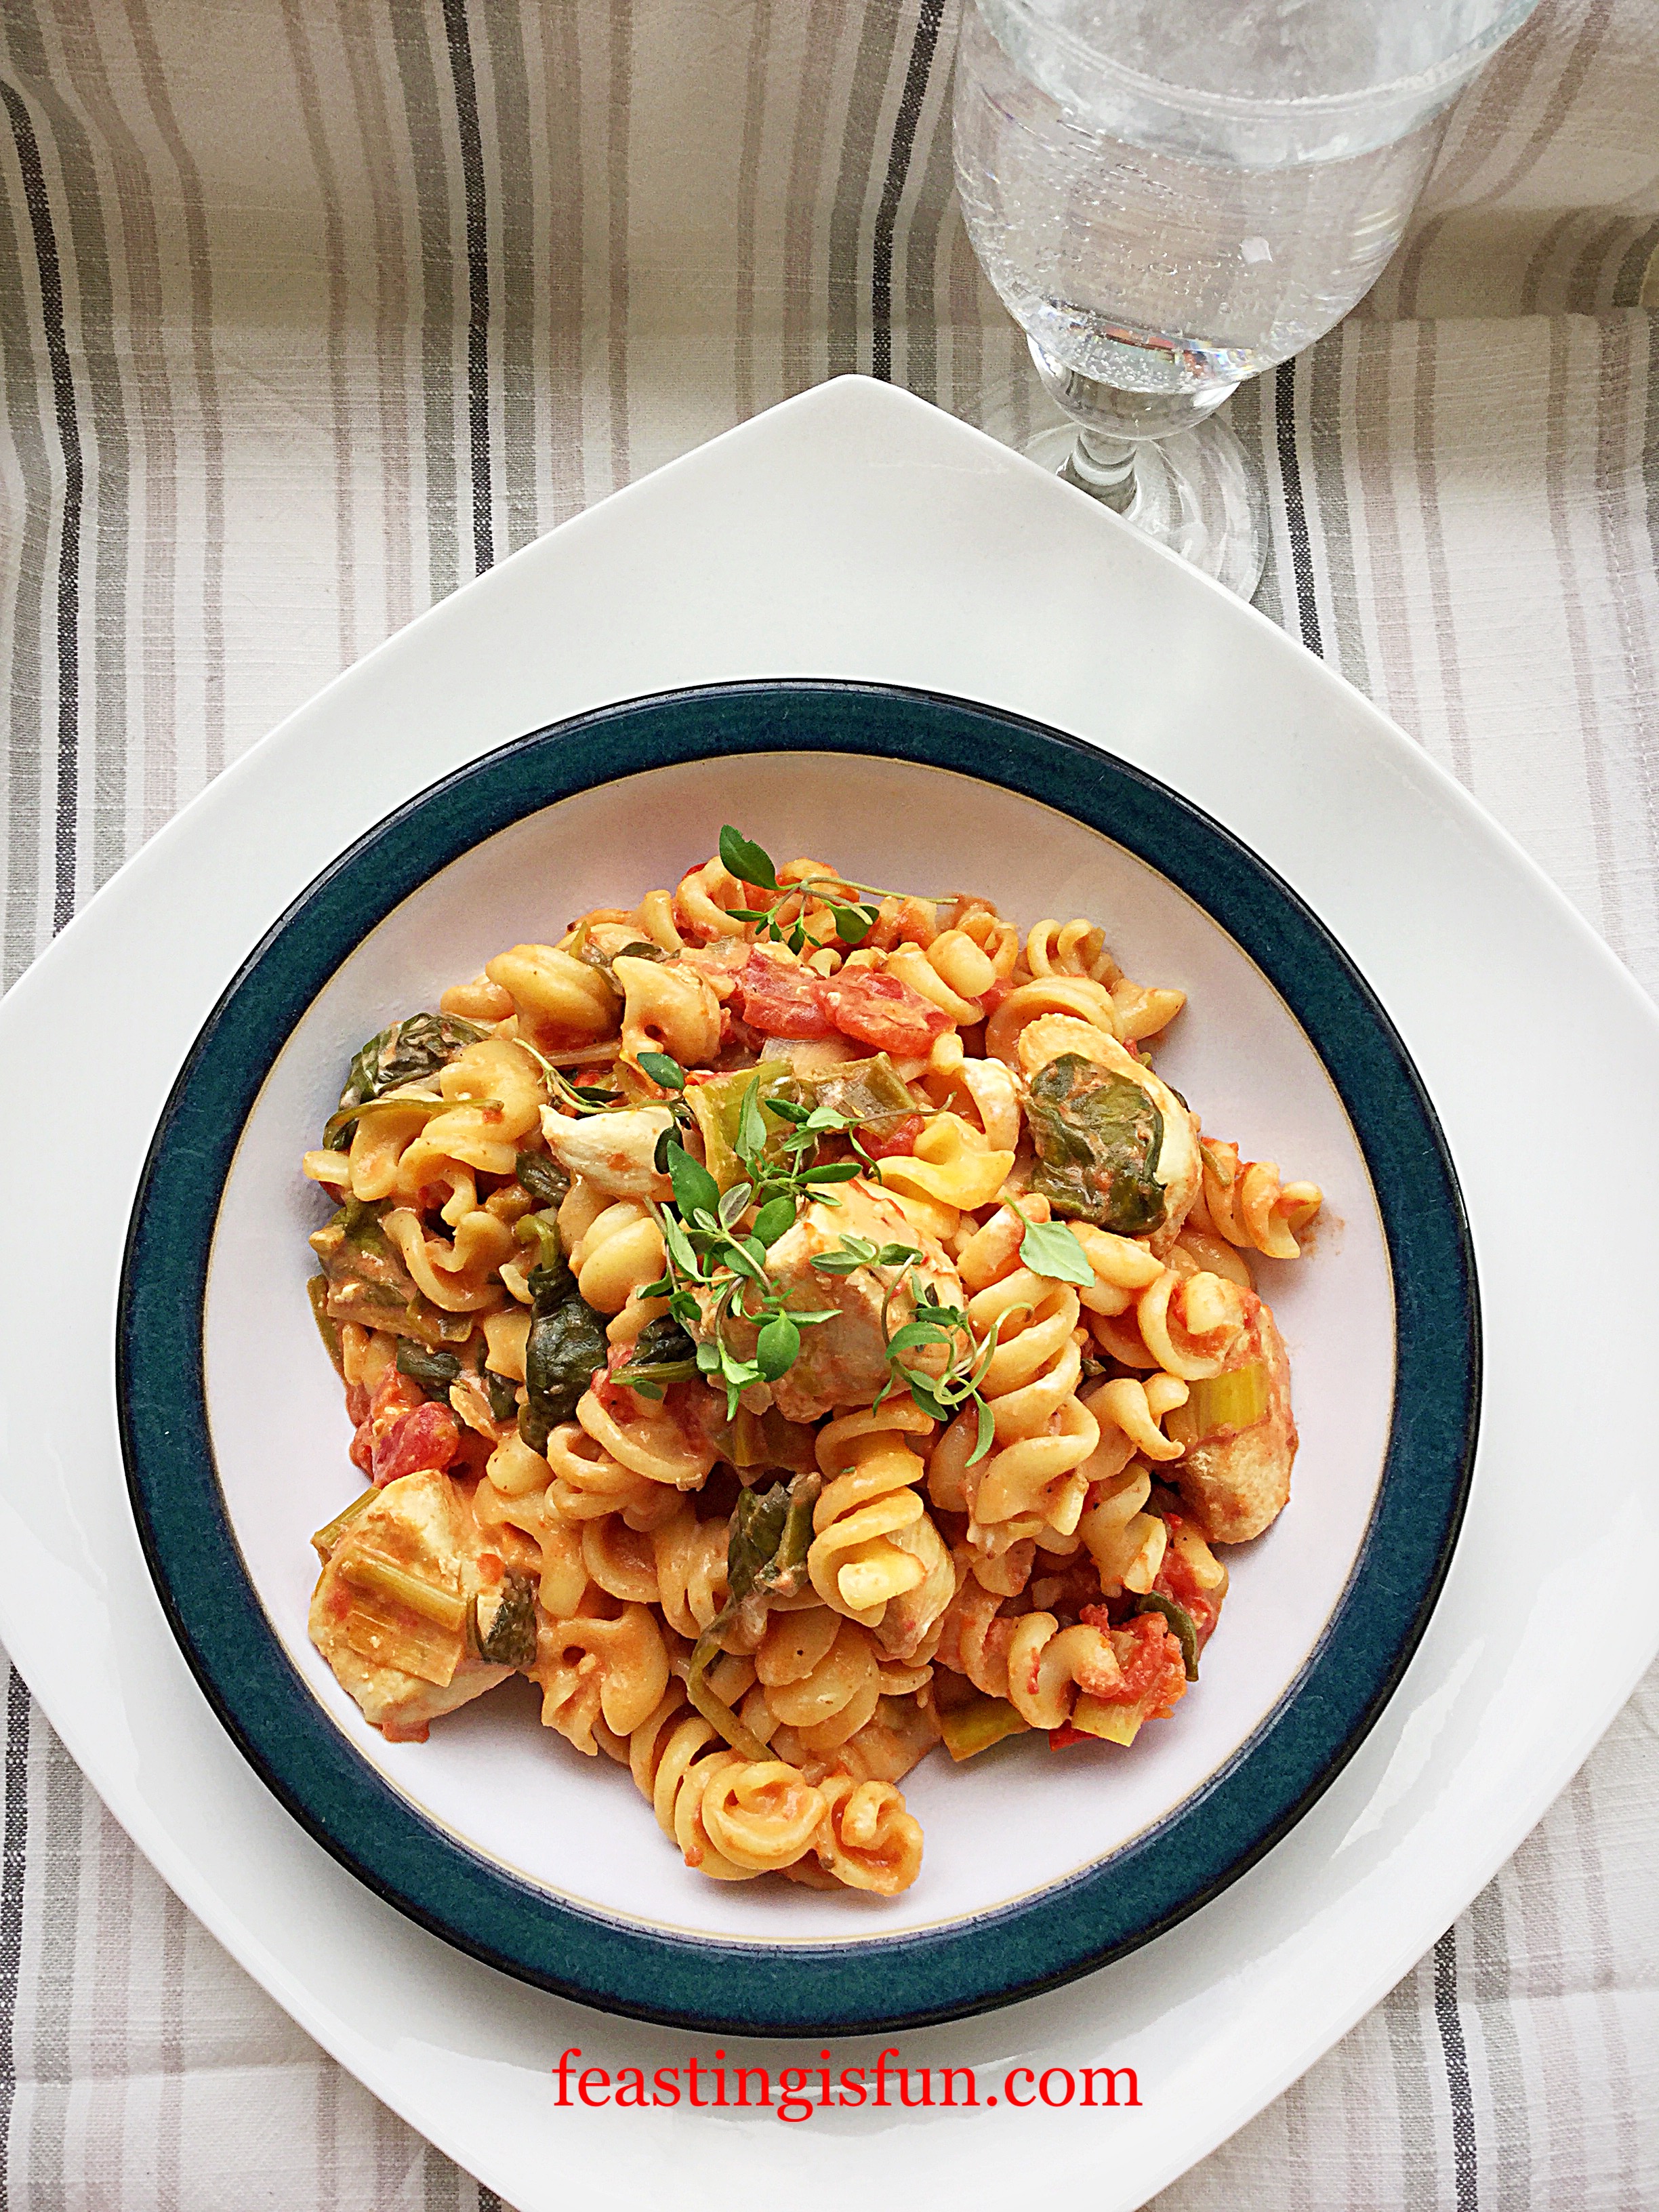
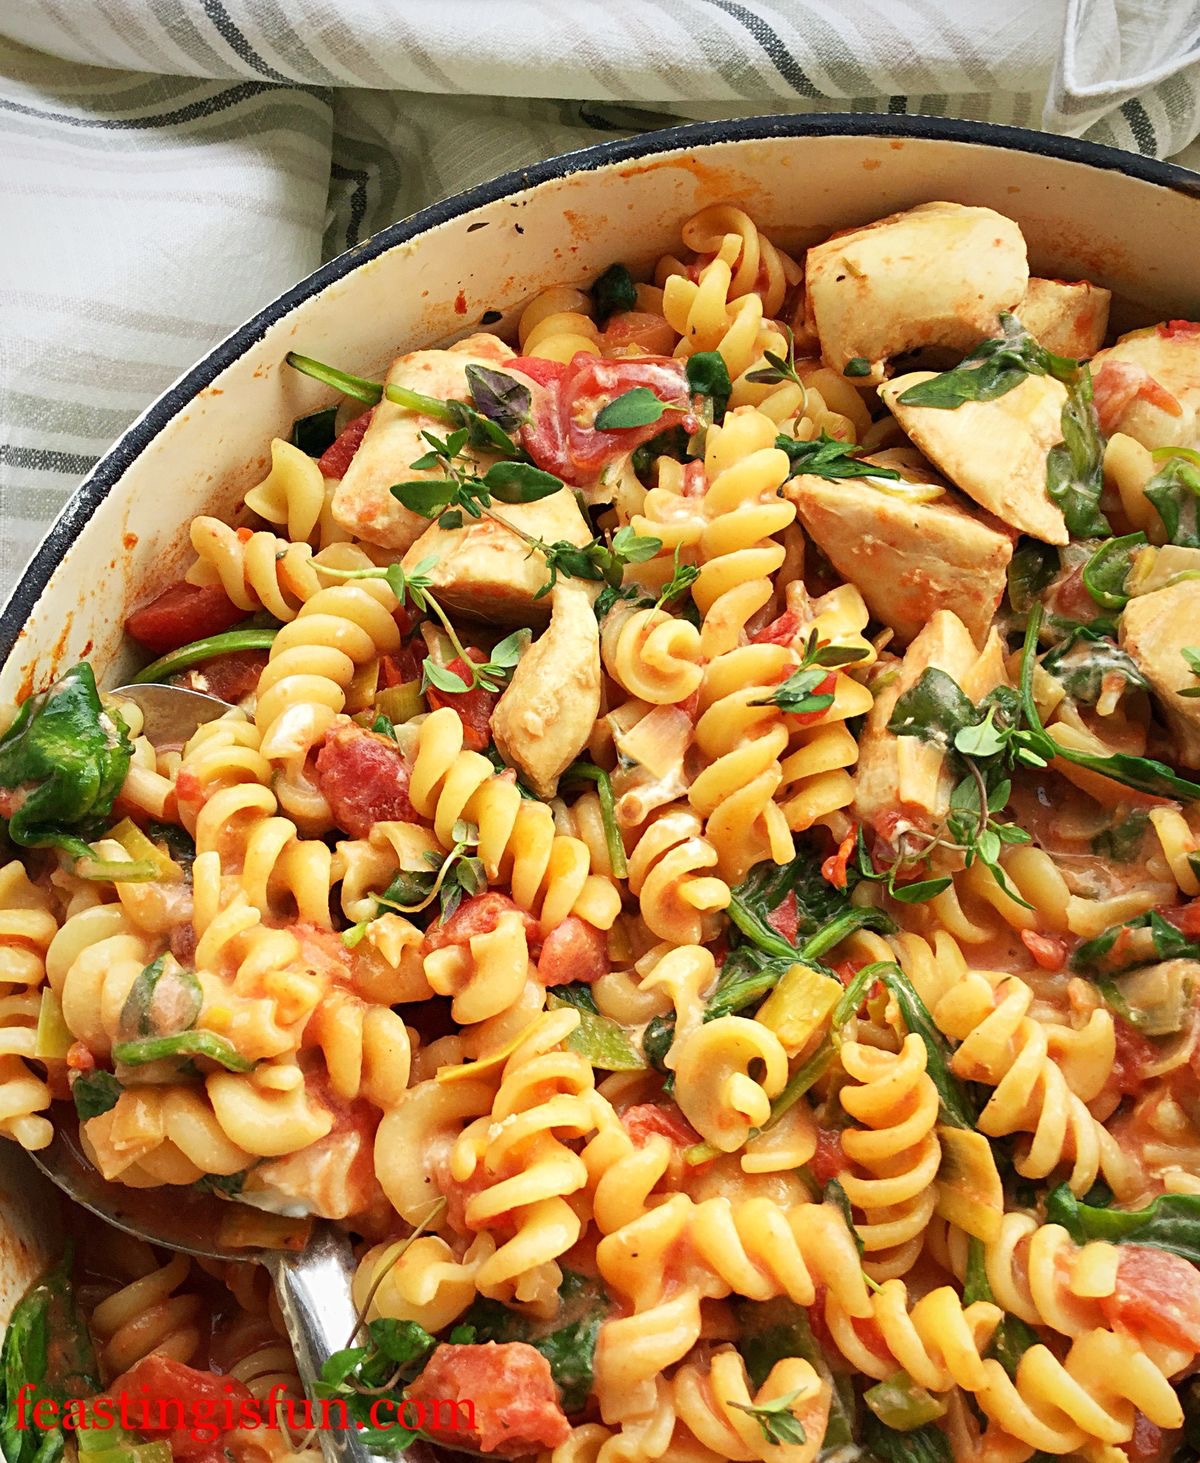
Creamy Tomato Spinach Chicken Pasta
Chilli can be enjoyed in the summer as well as in winter. Yet when the weather is cold I find warming food really does add an extra layer of comfort. Also this is a very versatile meal. While I have specified amounts in the recipe, adding extra tomatoes, beans or peppers will allow this dish to stretch to feed more people. Since feasting with friends can only improve on how good food tastes.
Whatever you are making, baking and creating in your kitchens, have fun preparing your feast.
Sammie xx
No part of this post may be reproduced or duplicated without the written permission of the owner. Please see my Disclosure Policy.
Share