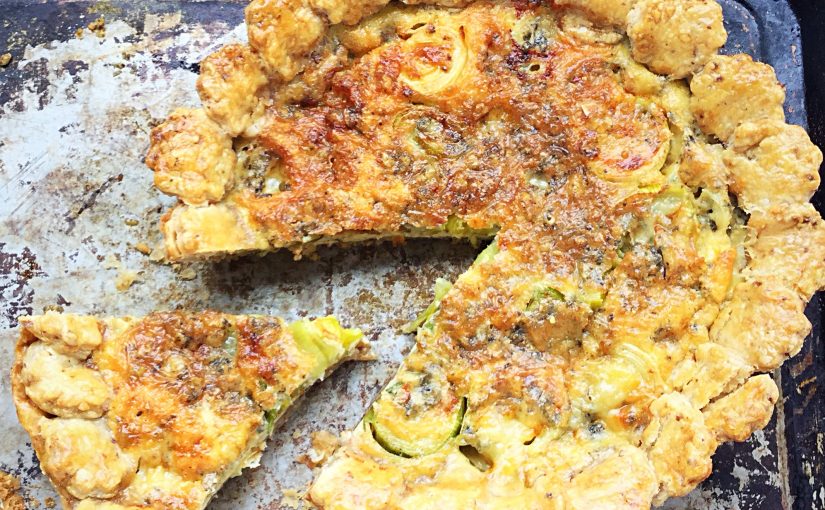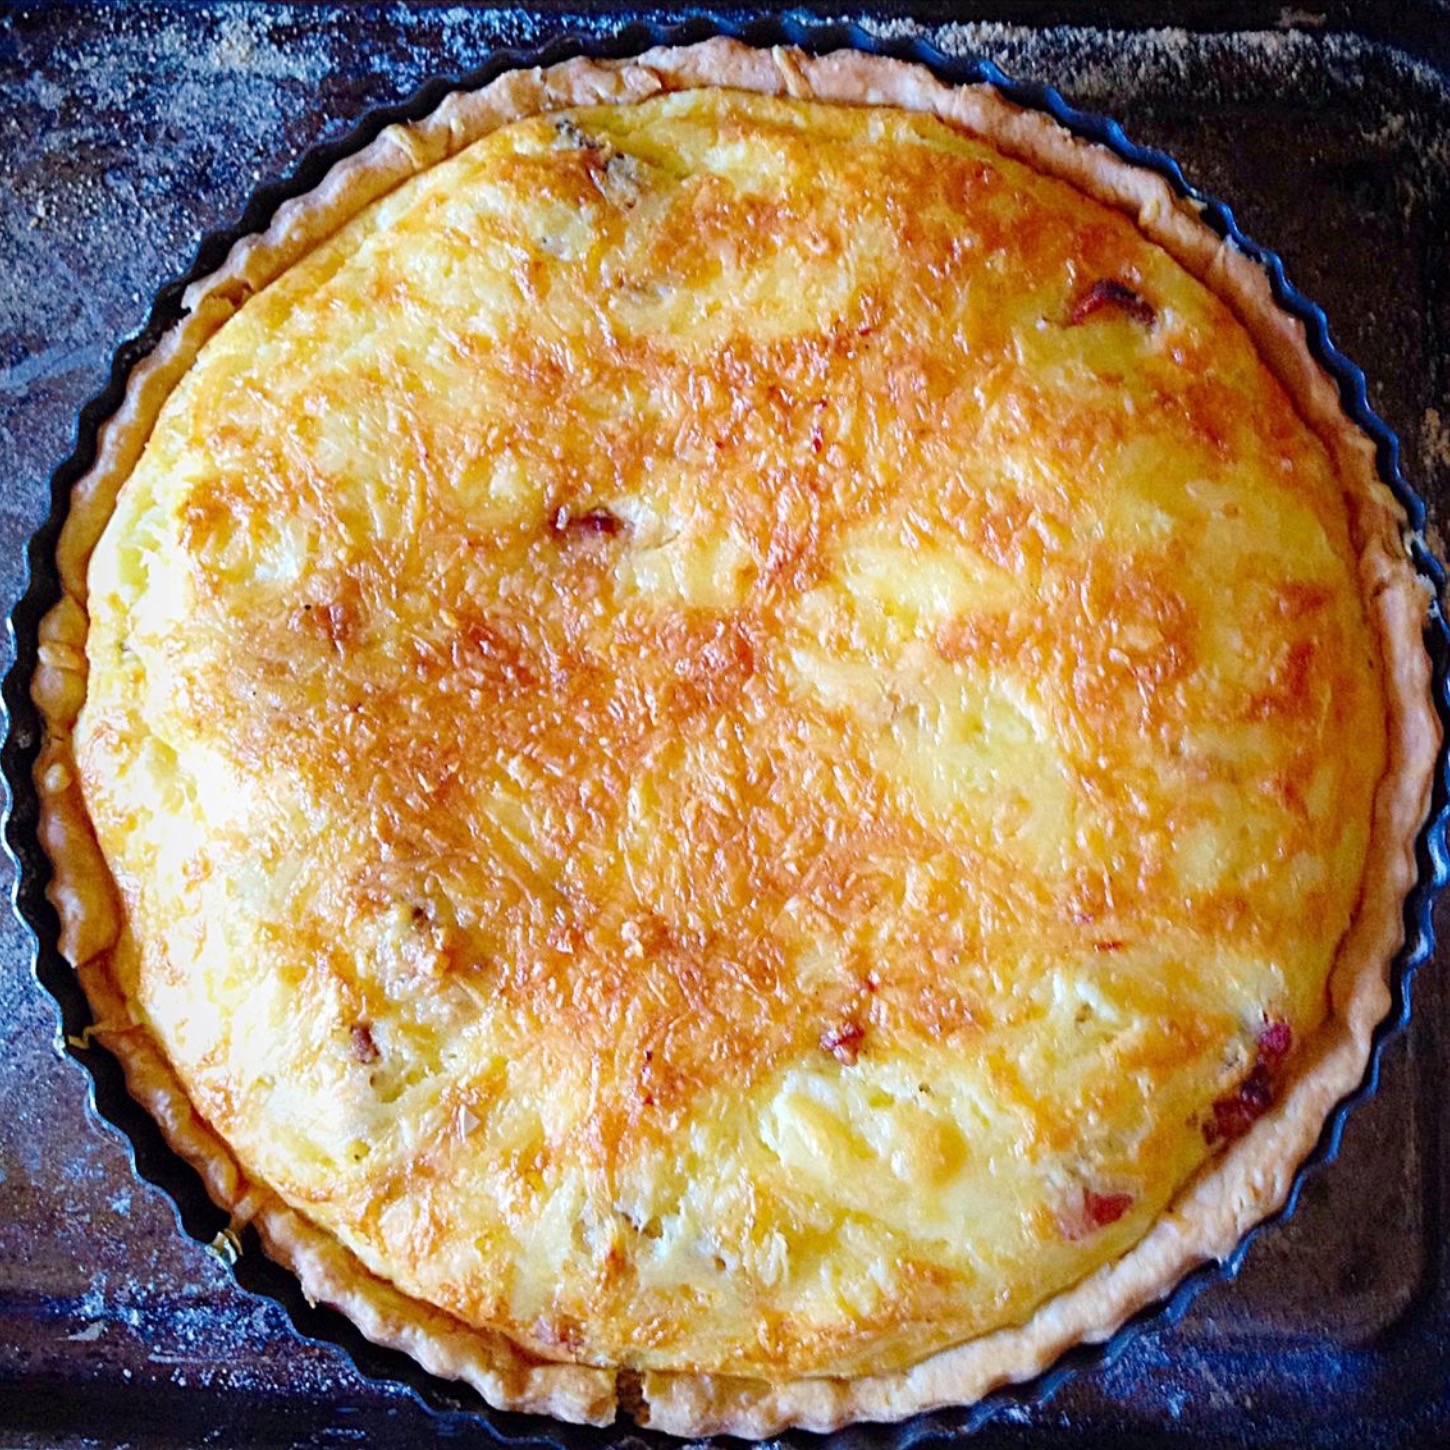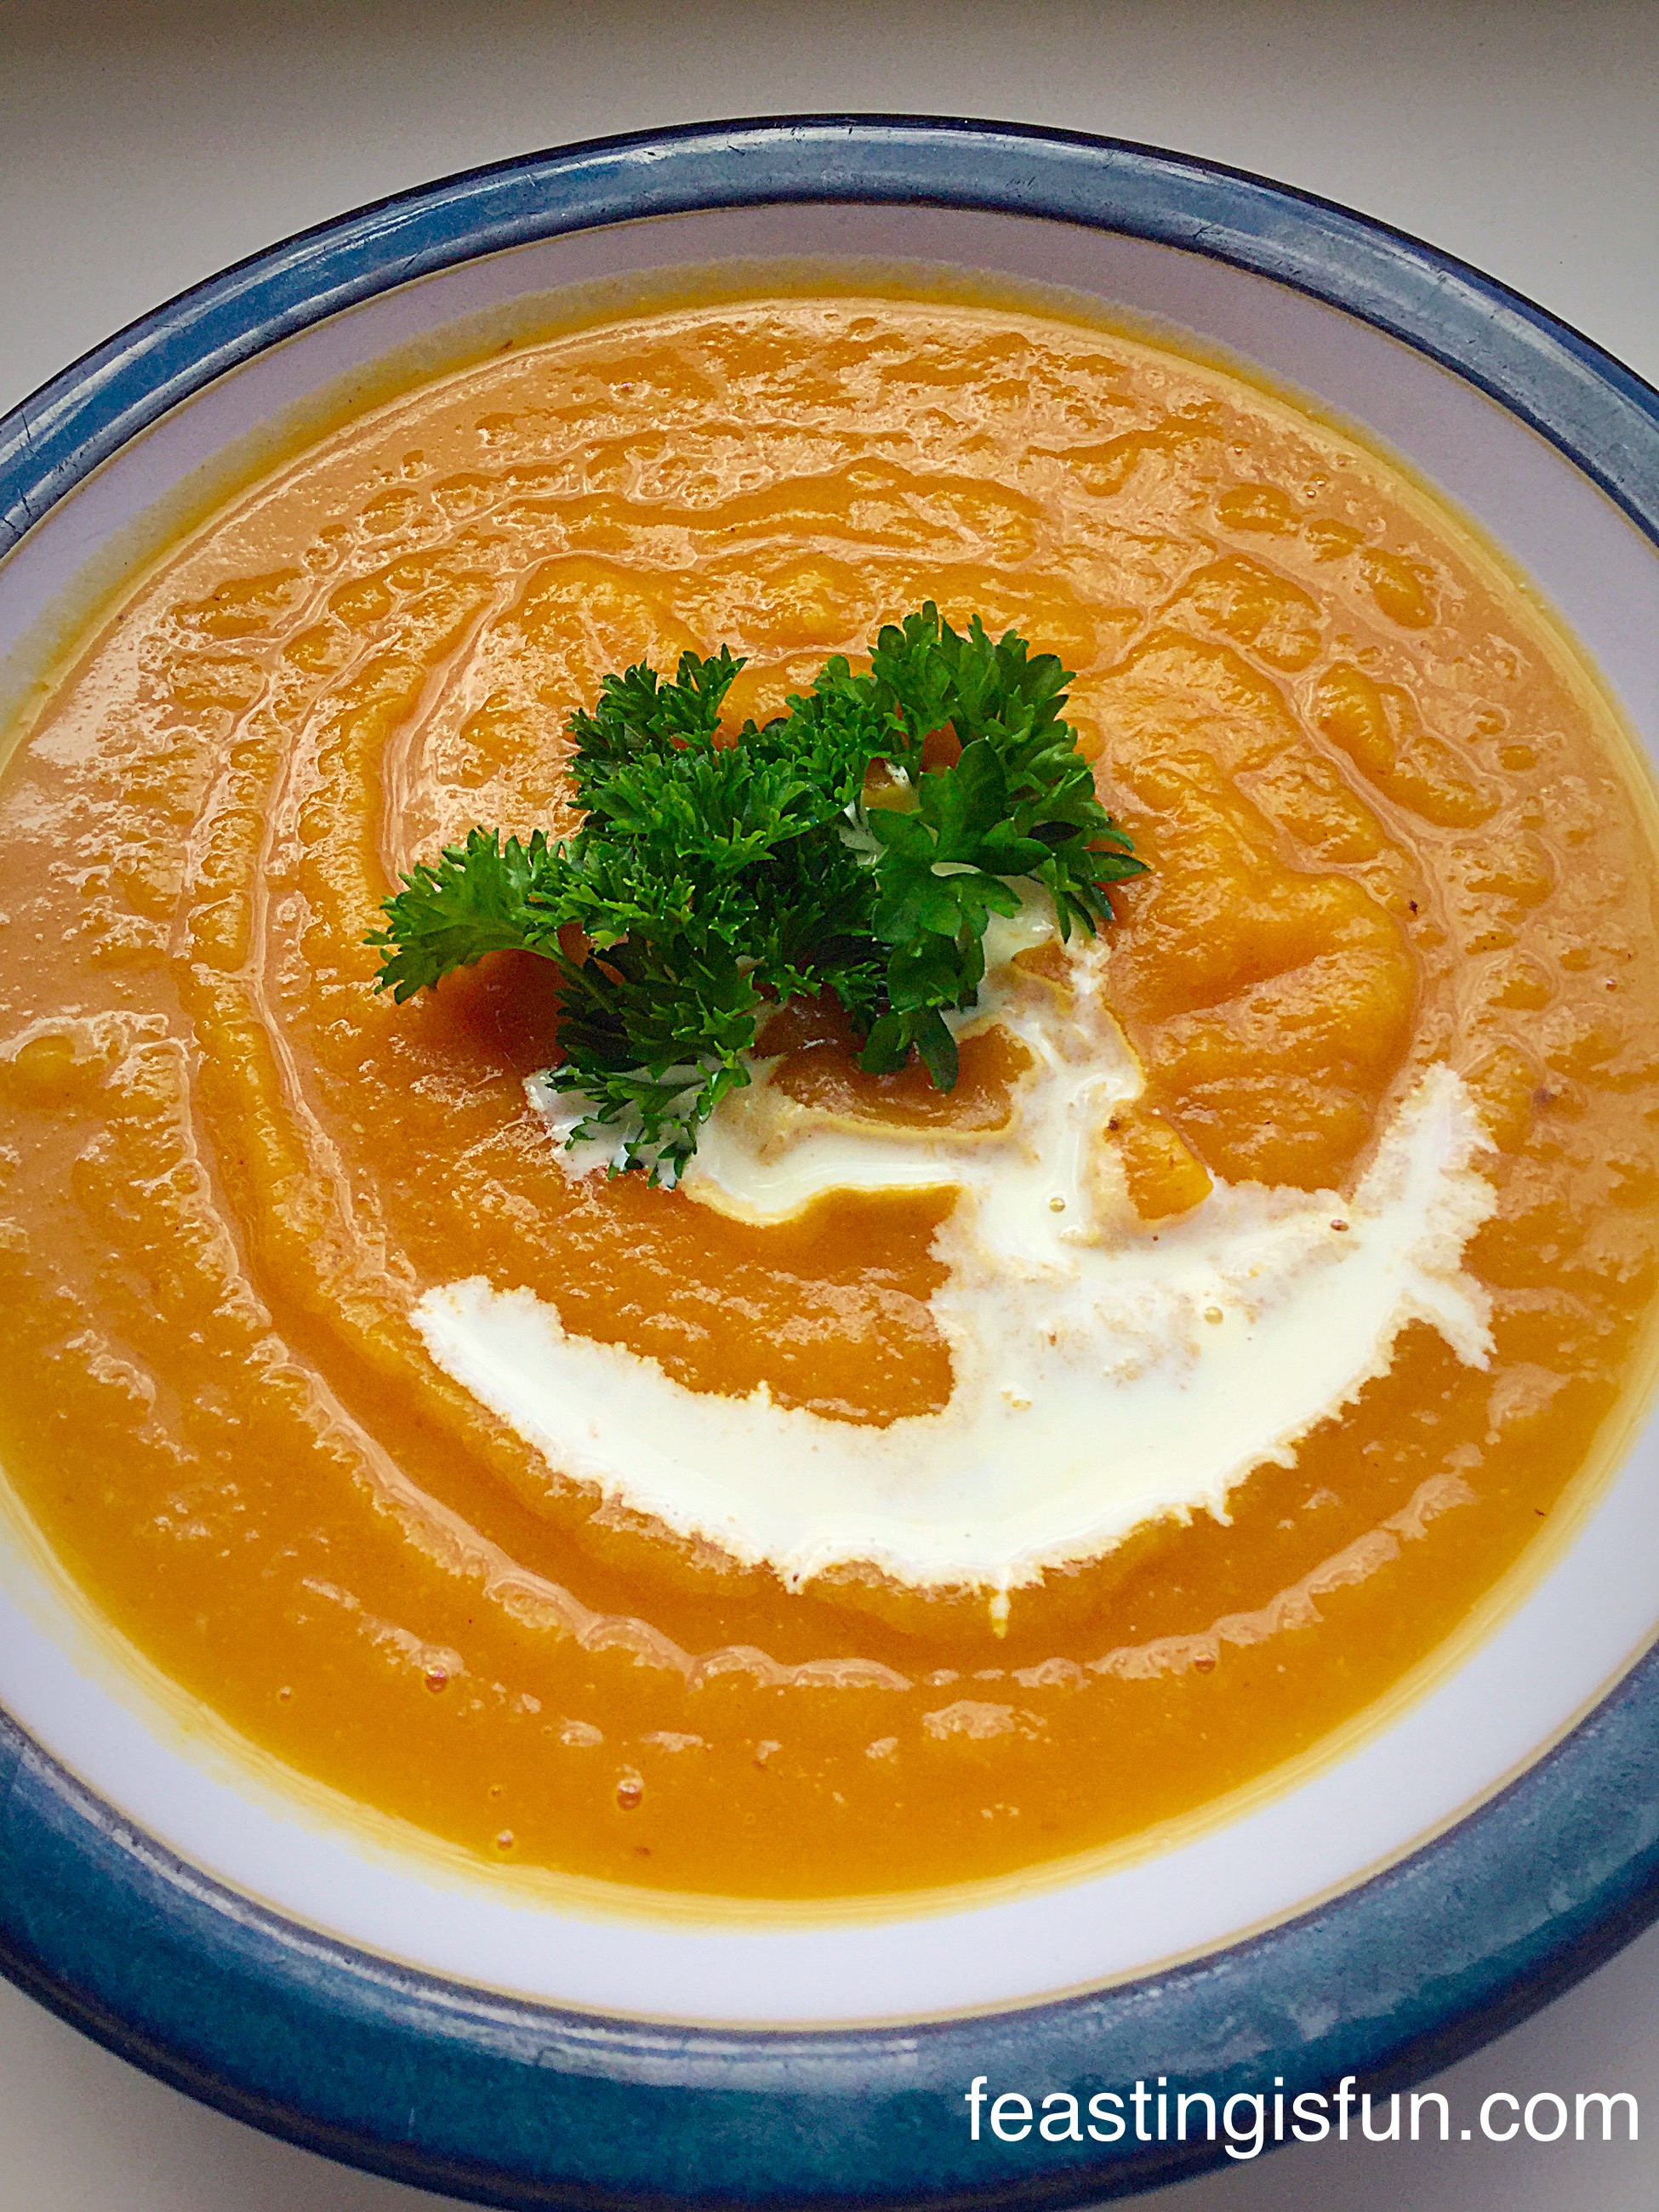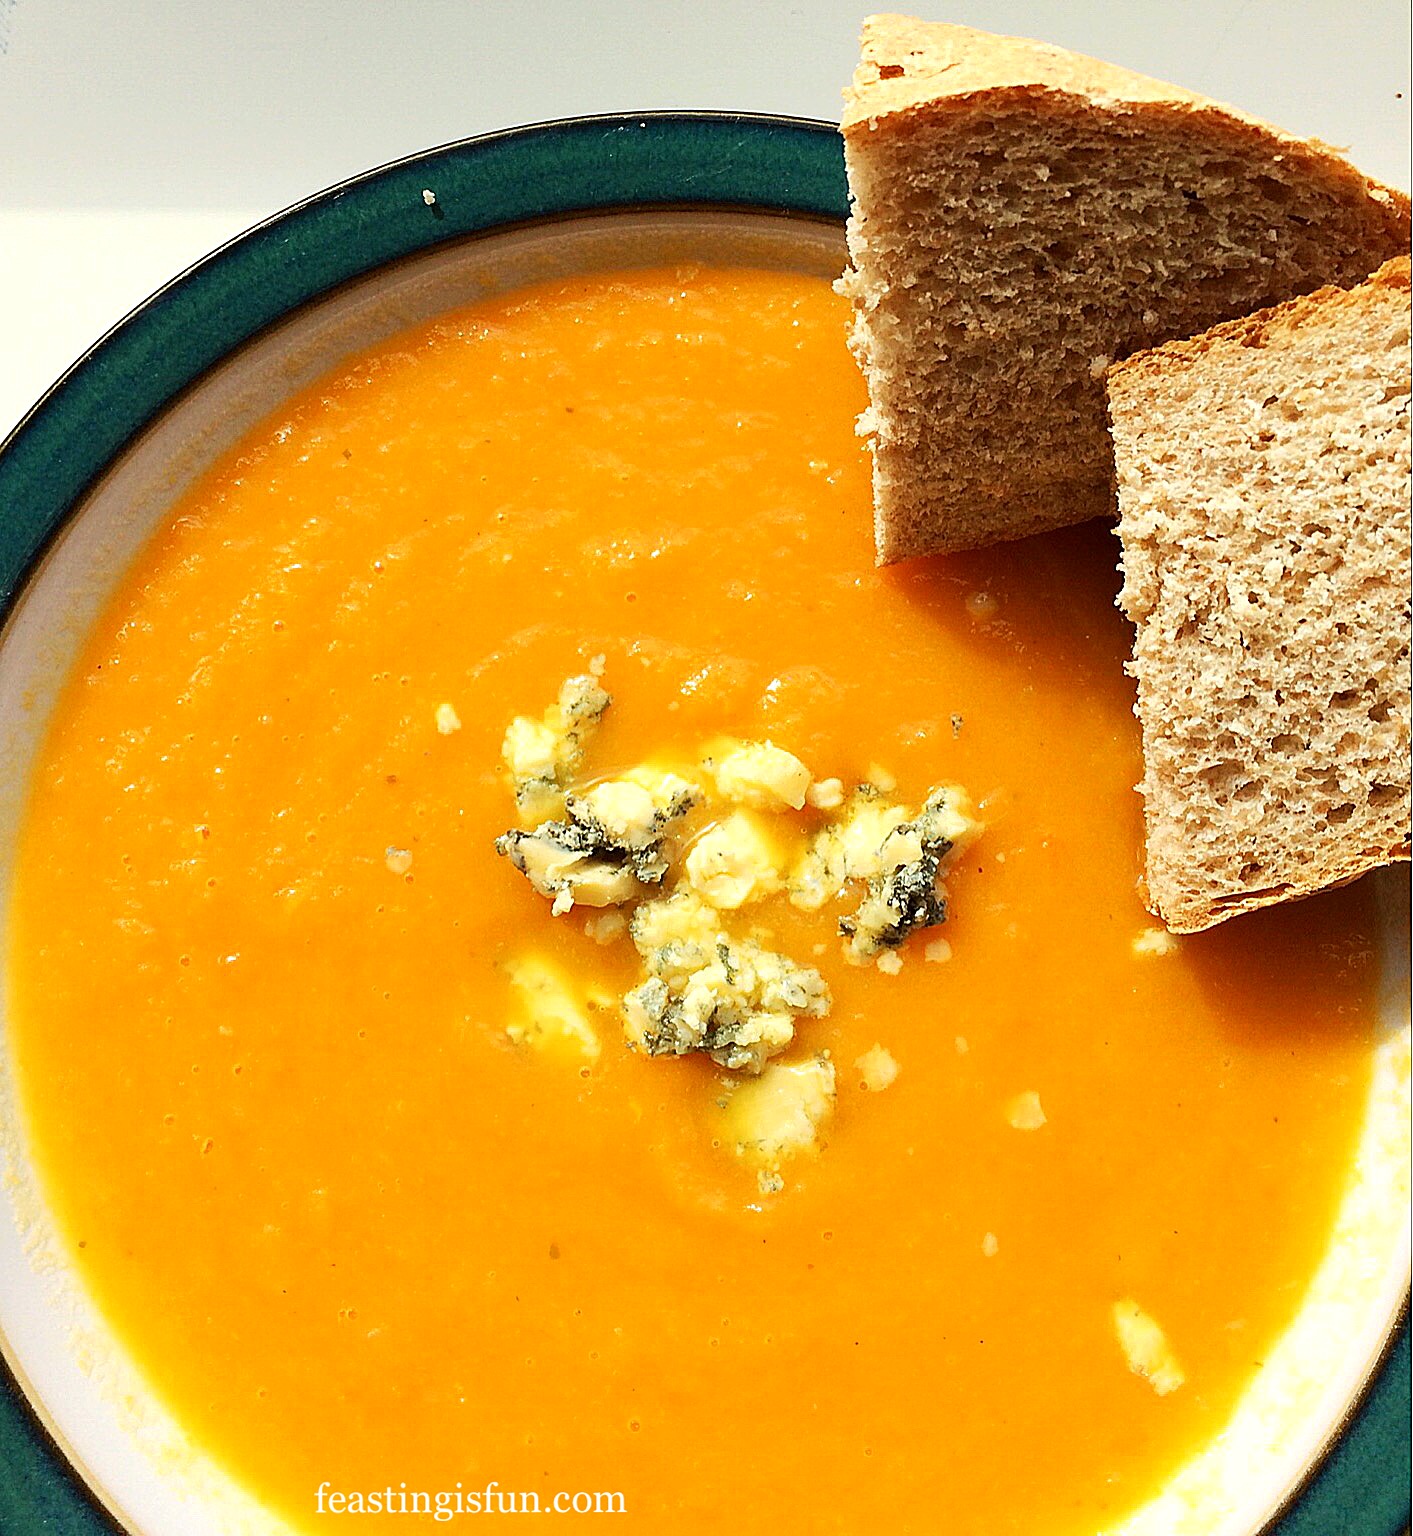
Wow the summer of 2018 has proved to be a scorcher so far. And I have to say I’m loving it! Flinging open the windows and doors and basking in the fresh, warm air. I was born in the Winter, yet I love the Summer sunshine. Because of the heat I have adjusted the way I go about my day. I’ve always been more of a morning person, however the hike in temperatures has got me organised. So I make dinner as early in the day as I can. And this Wigmore Cheese Red Pepper Tart is super easy to make, ready to be eaten at room temperature later in the day.
Artisan Wigmore Cheese, an award winner:
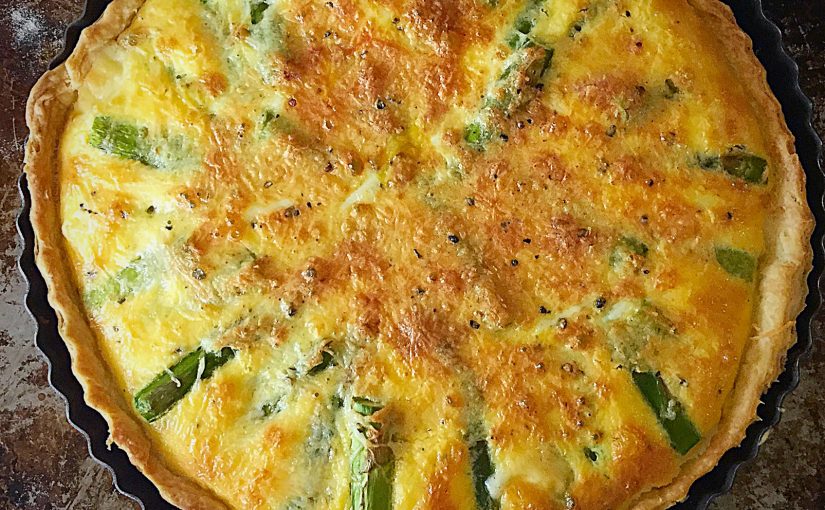
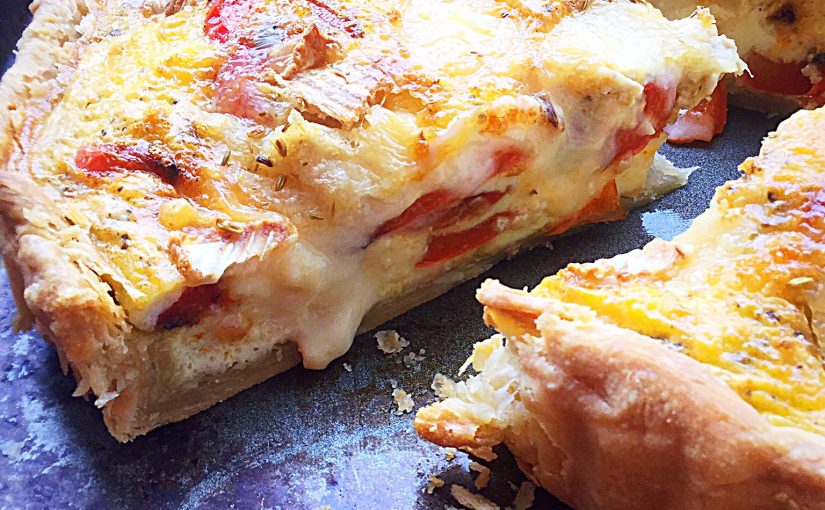
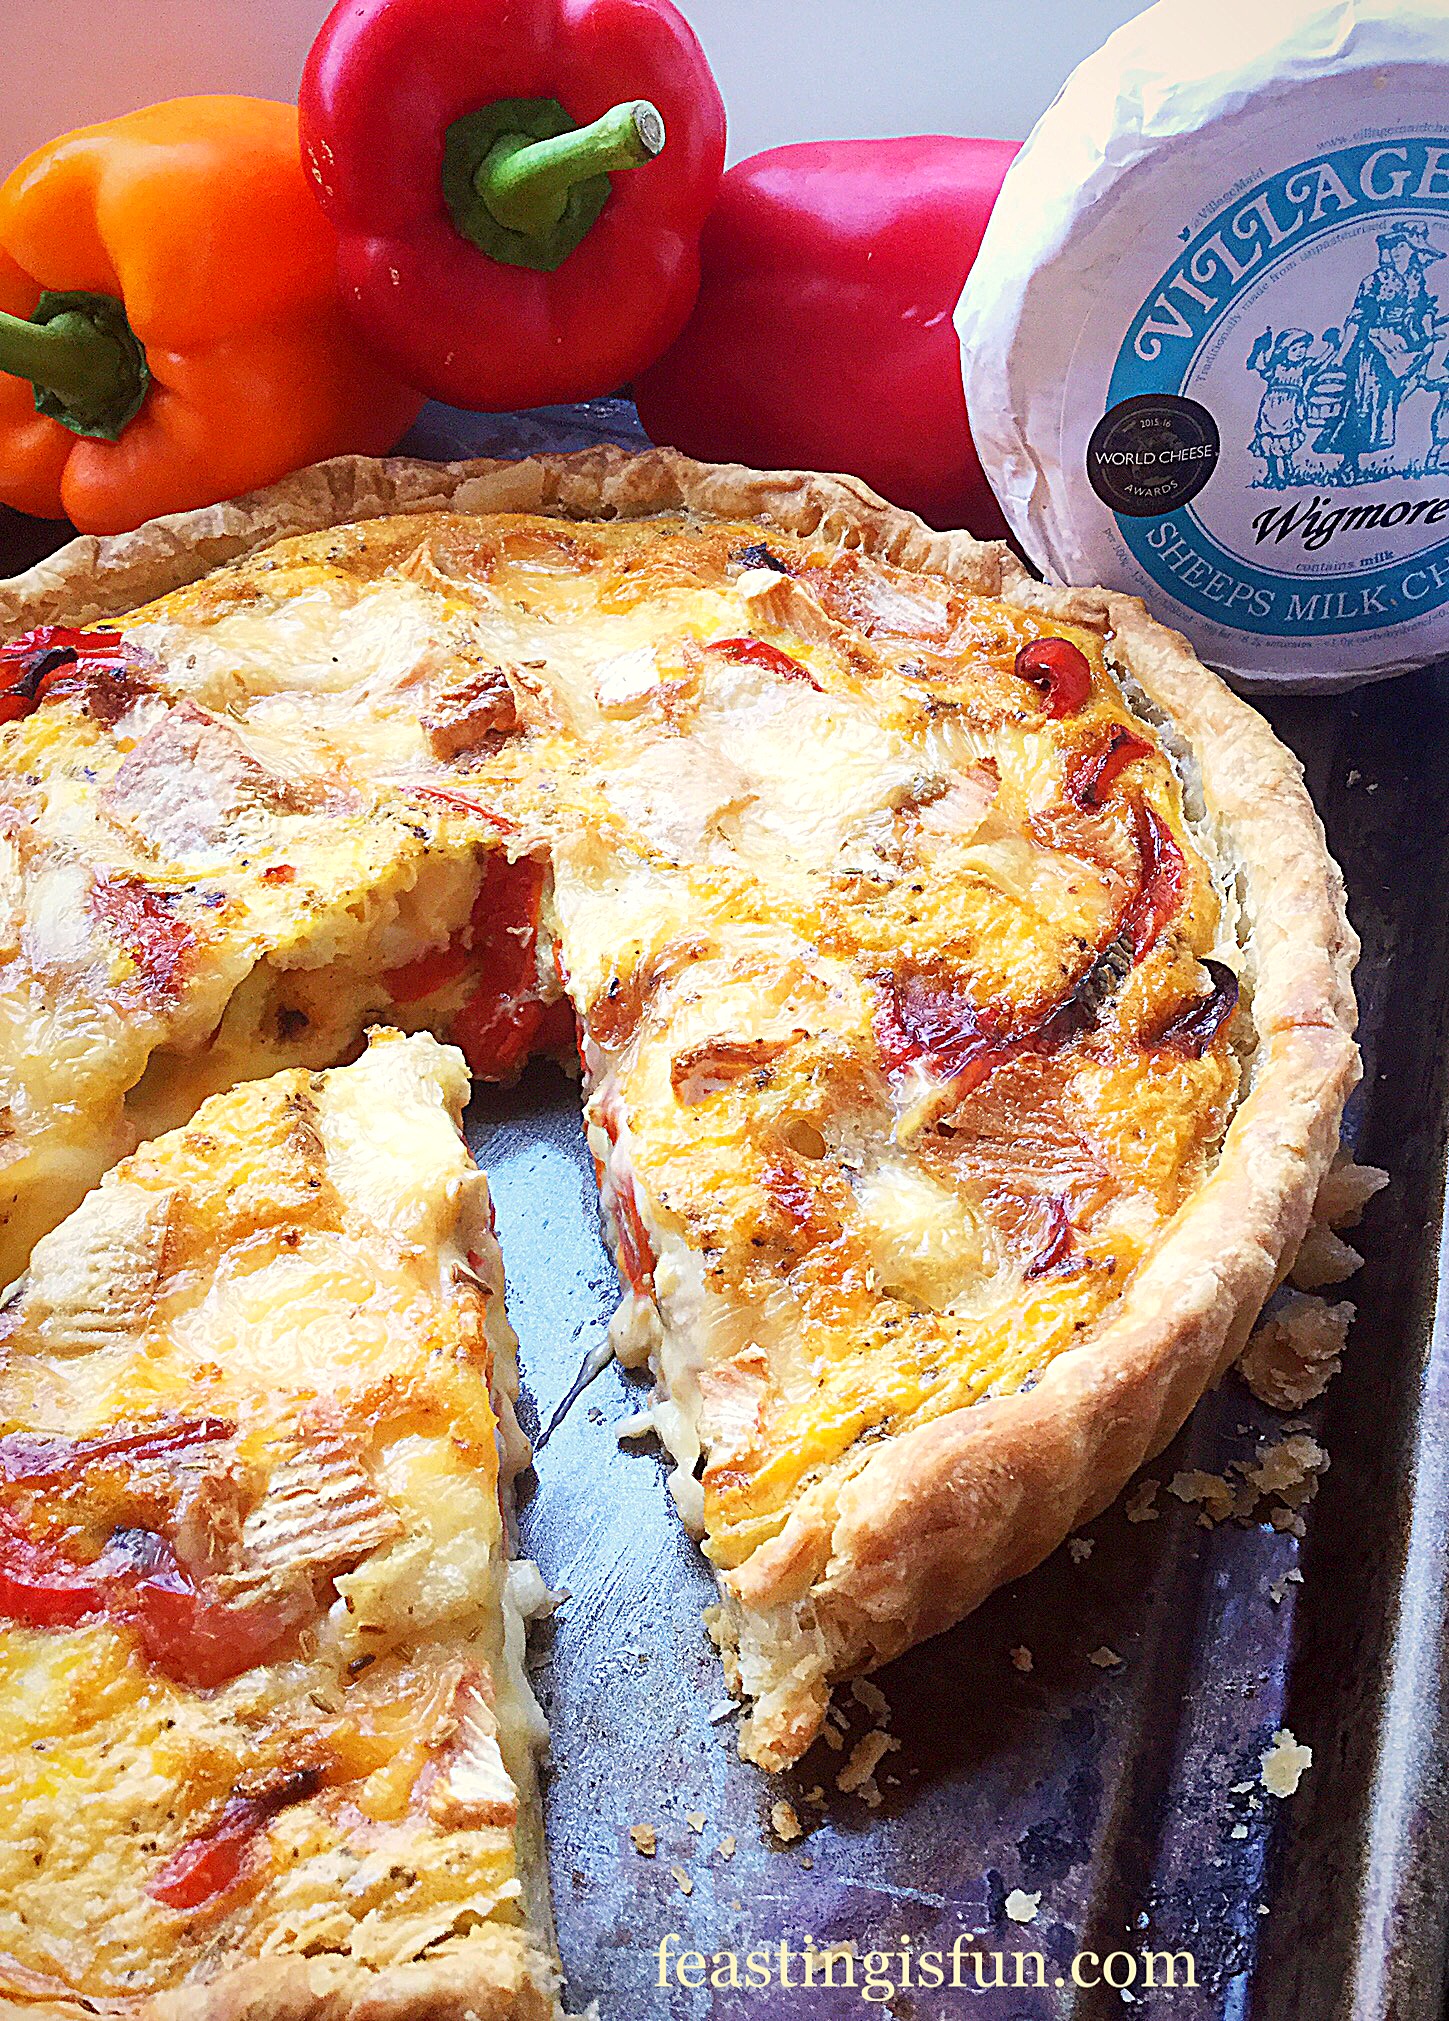
Wigmore Cheese, the dominant flavour at the heart of this tart is a semi soft, unpasteurised, ewes milk cheese. A handmade, washed curd cheese, with a flavour and texture similar to Camembert and Brie. Yet it has a flavour all of its own, slightly saltier with less of a nasal hit than a fully ripe Brie. Baked in this quiche style tart it’s flavour permeates throughout, balanced beautifully with sweet, softened red bell peppers.
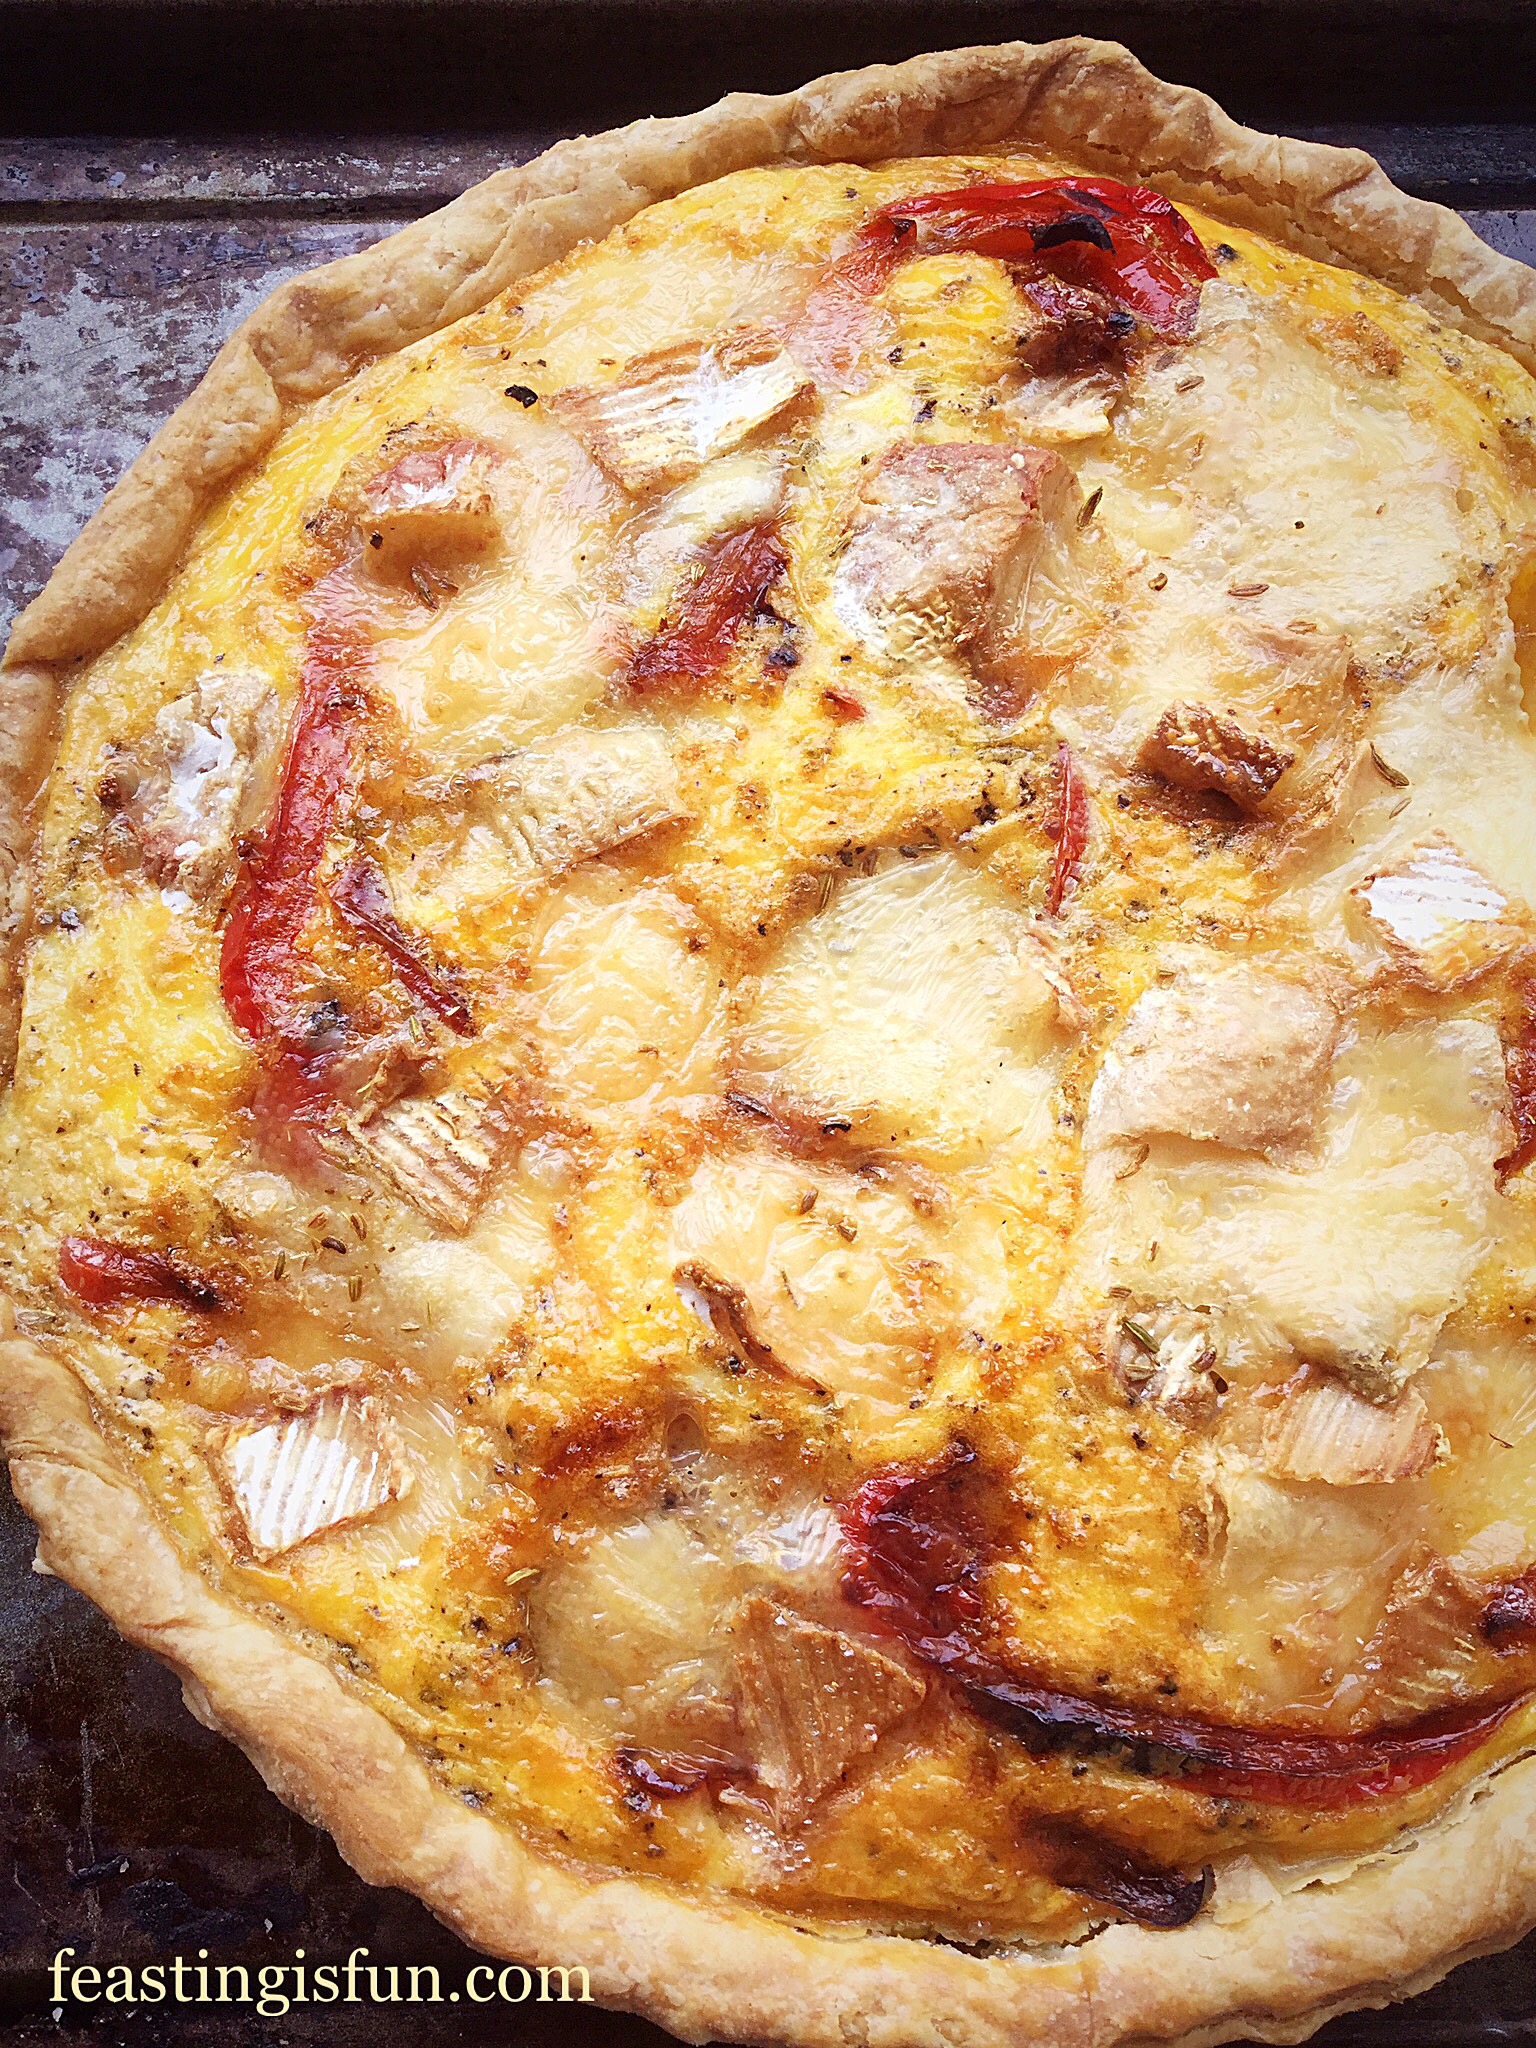
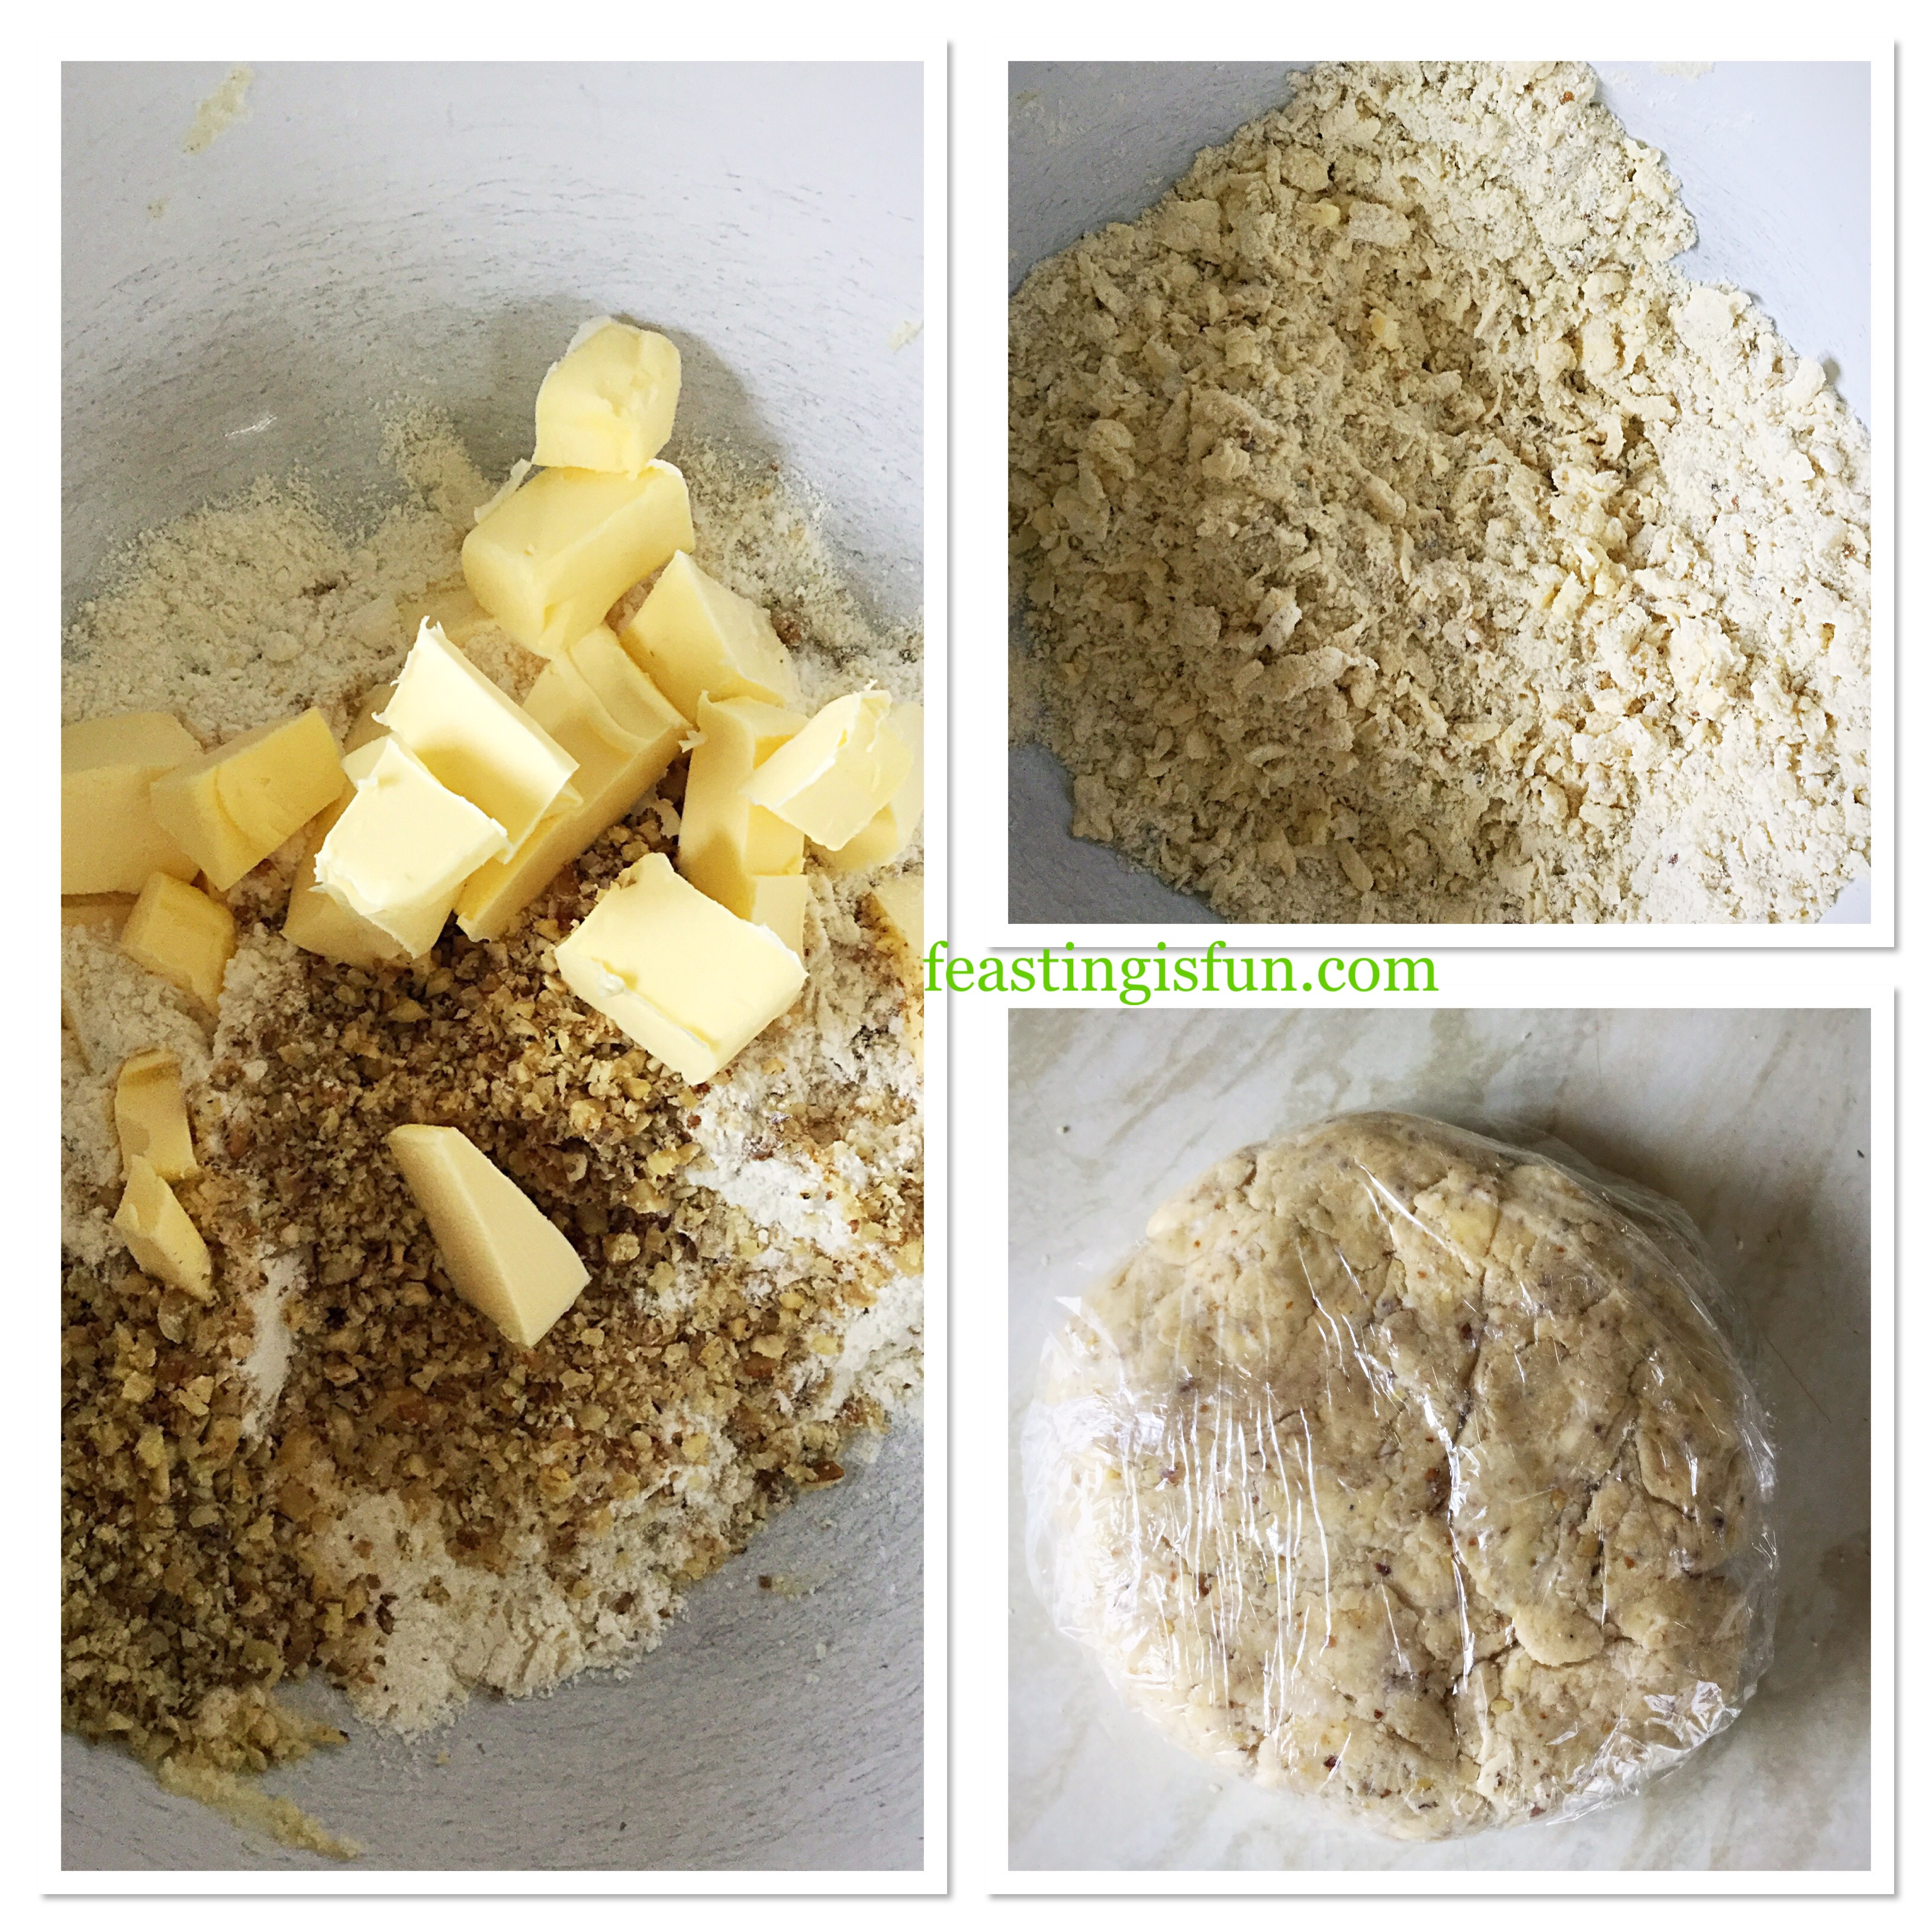
Perhaps unusually, I’ve added a subtle hint of anise flavour to the tart with the addition of fennel seeds. Resulting in a Mediterranean taste to this all butter pastry tart. While you may be tempted to buy the pastry, I strongly suggest you try my recipe. It is absolutely foolproof and is consistently good. Since the recipe makes double the amount needed it’s a bonus to freeze half, knowing next time you make this tart all that’s needed is for it to be defrosted overnight in the fridge!
Recipe: Wigmore Cheese Red Pepper Tart serves 6
450g/1lb Butter Shortcrust Pastry – half the quantity of my Perfect Butter Shortcrust Pastry
200g/7oz Wigmore Semi Soft Cheese available from Village Maid Cheese if you are not in the U.K. a great substitute would be Camembert or Brie style cheeses with a soft, edible rind.
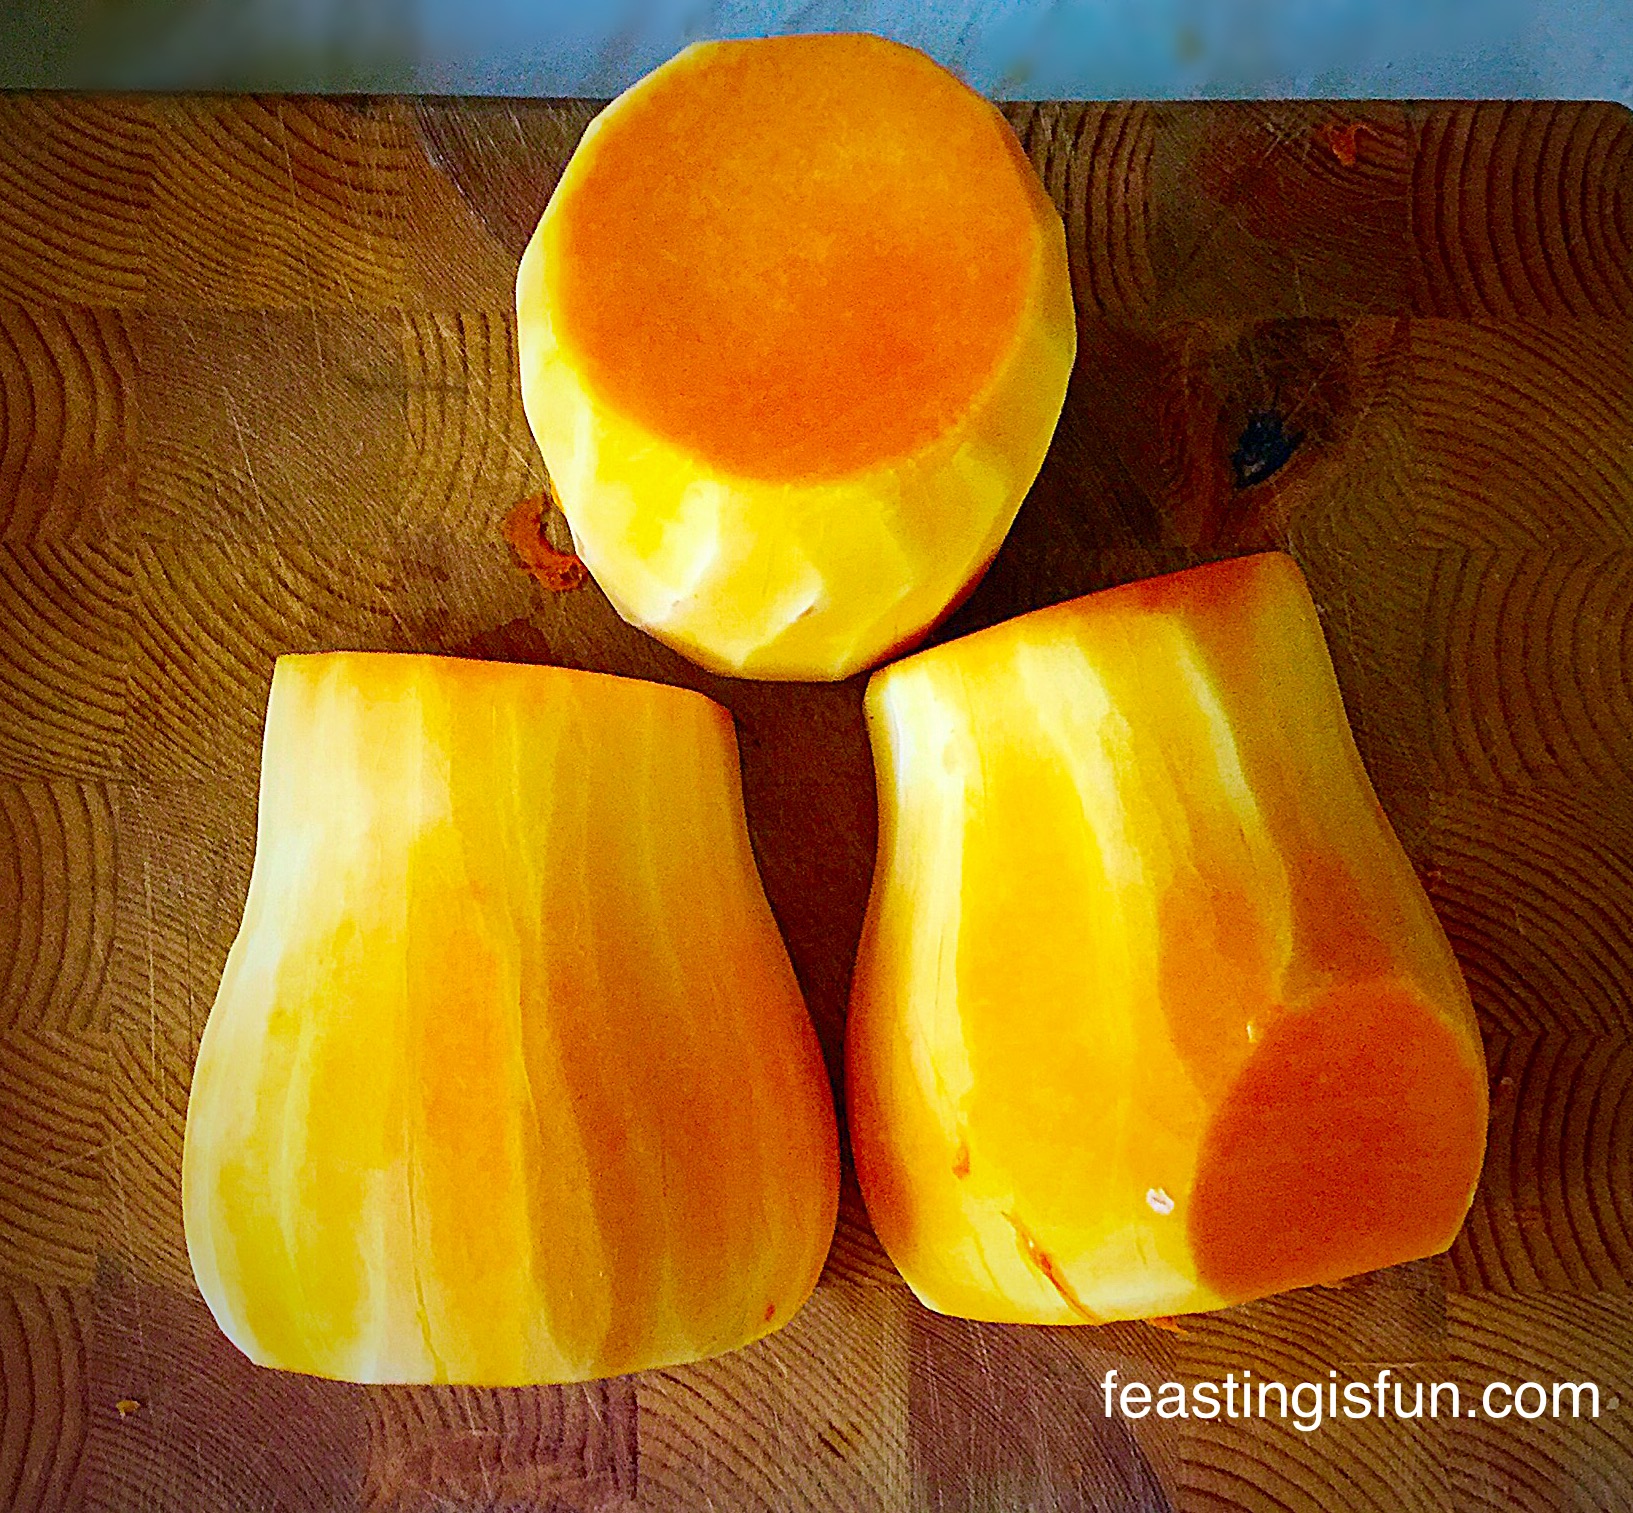
3 Red Bell Peppers (400g/14oz sliced de-seeded red pepper)
1tbsp Rapeseed/Canola Oil – I use Kentish Oils
8 Large Free Range Eggs – I use Clarence Court
1/4tsp Freshly Ground Black Pepper
1/2tsp Lightly Ground Fennel Seeds
Method: Making the tart crust:
Note – You will need a 25cm x 5cm (10in x 2in) preferably loose bottom round tart tin for this recipe.
- First of all if making the pastry from scratch chill it in the fridge for 2 hours before using. Especially during this super warm weather. Otherwise defrost ready made pastry in the fridge overnight.
- Preheat the oven to 200C/180C fan, 400F, gas mark 6.
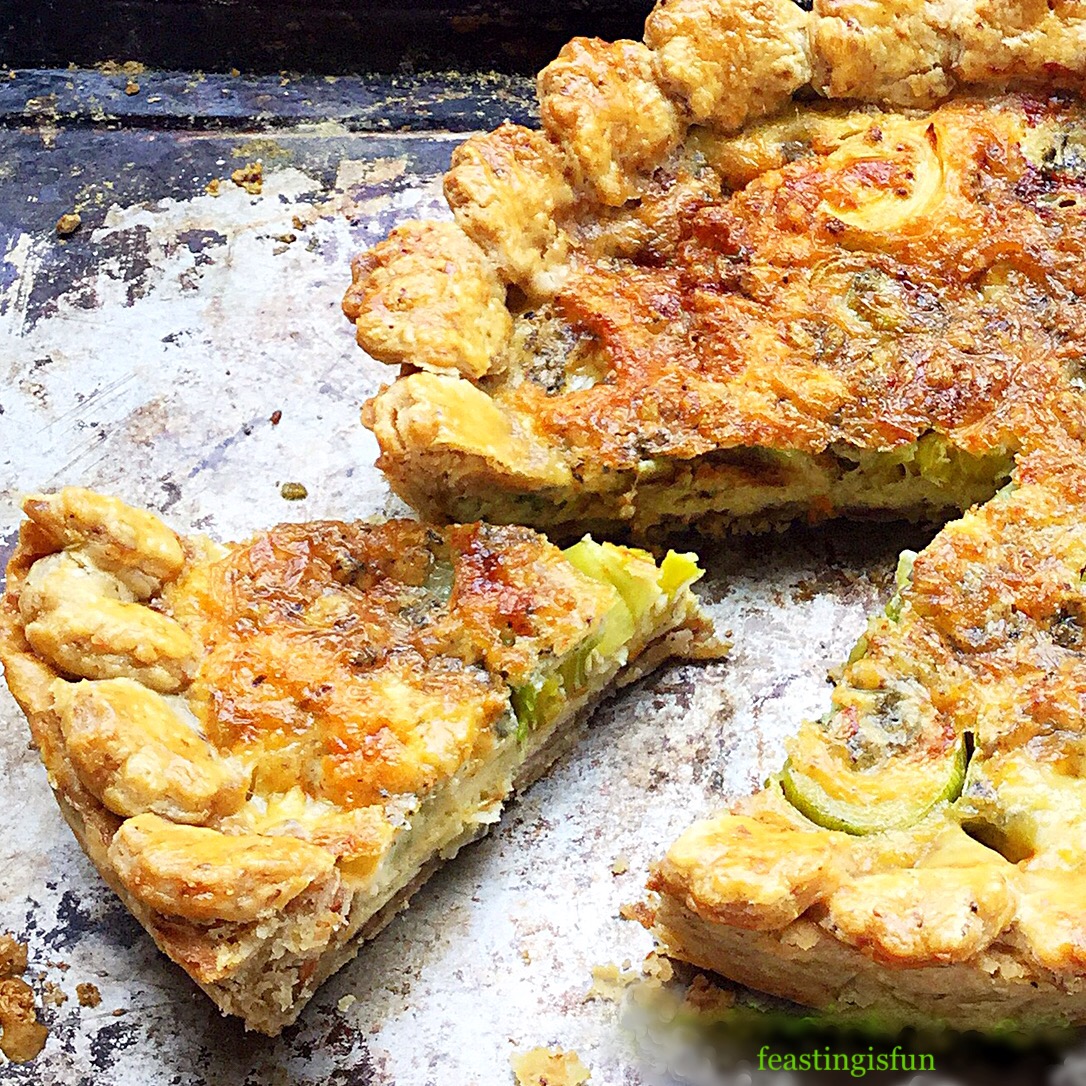
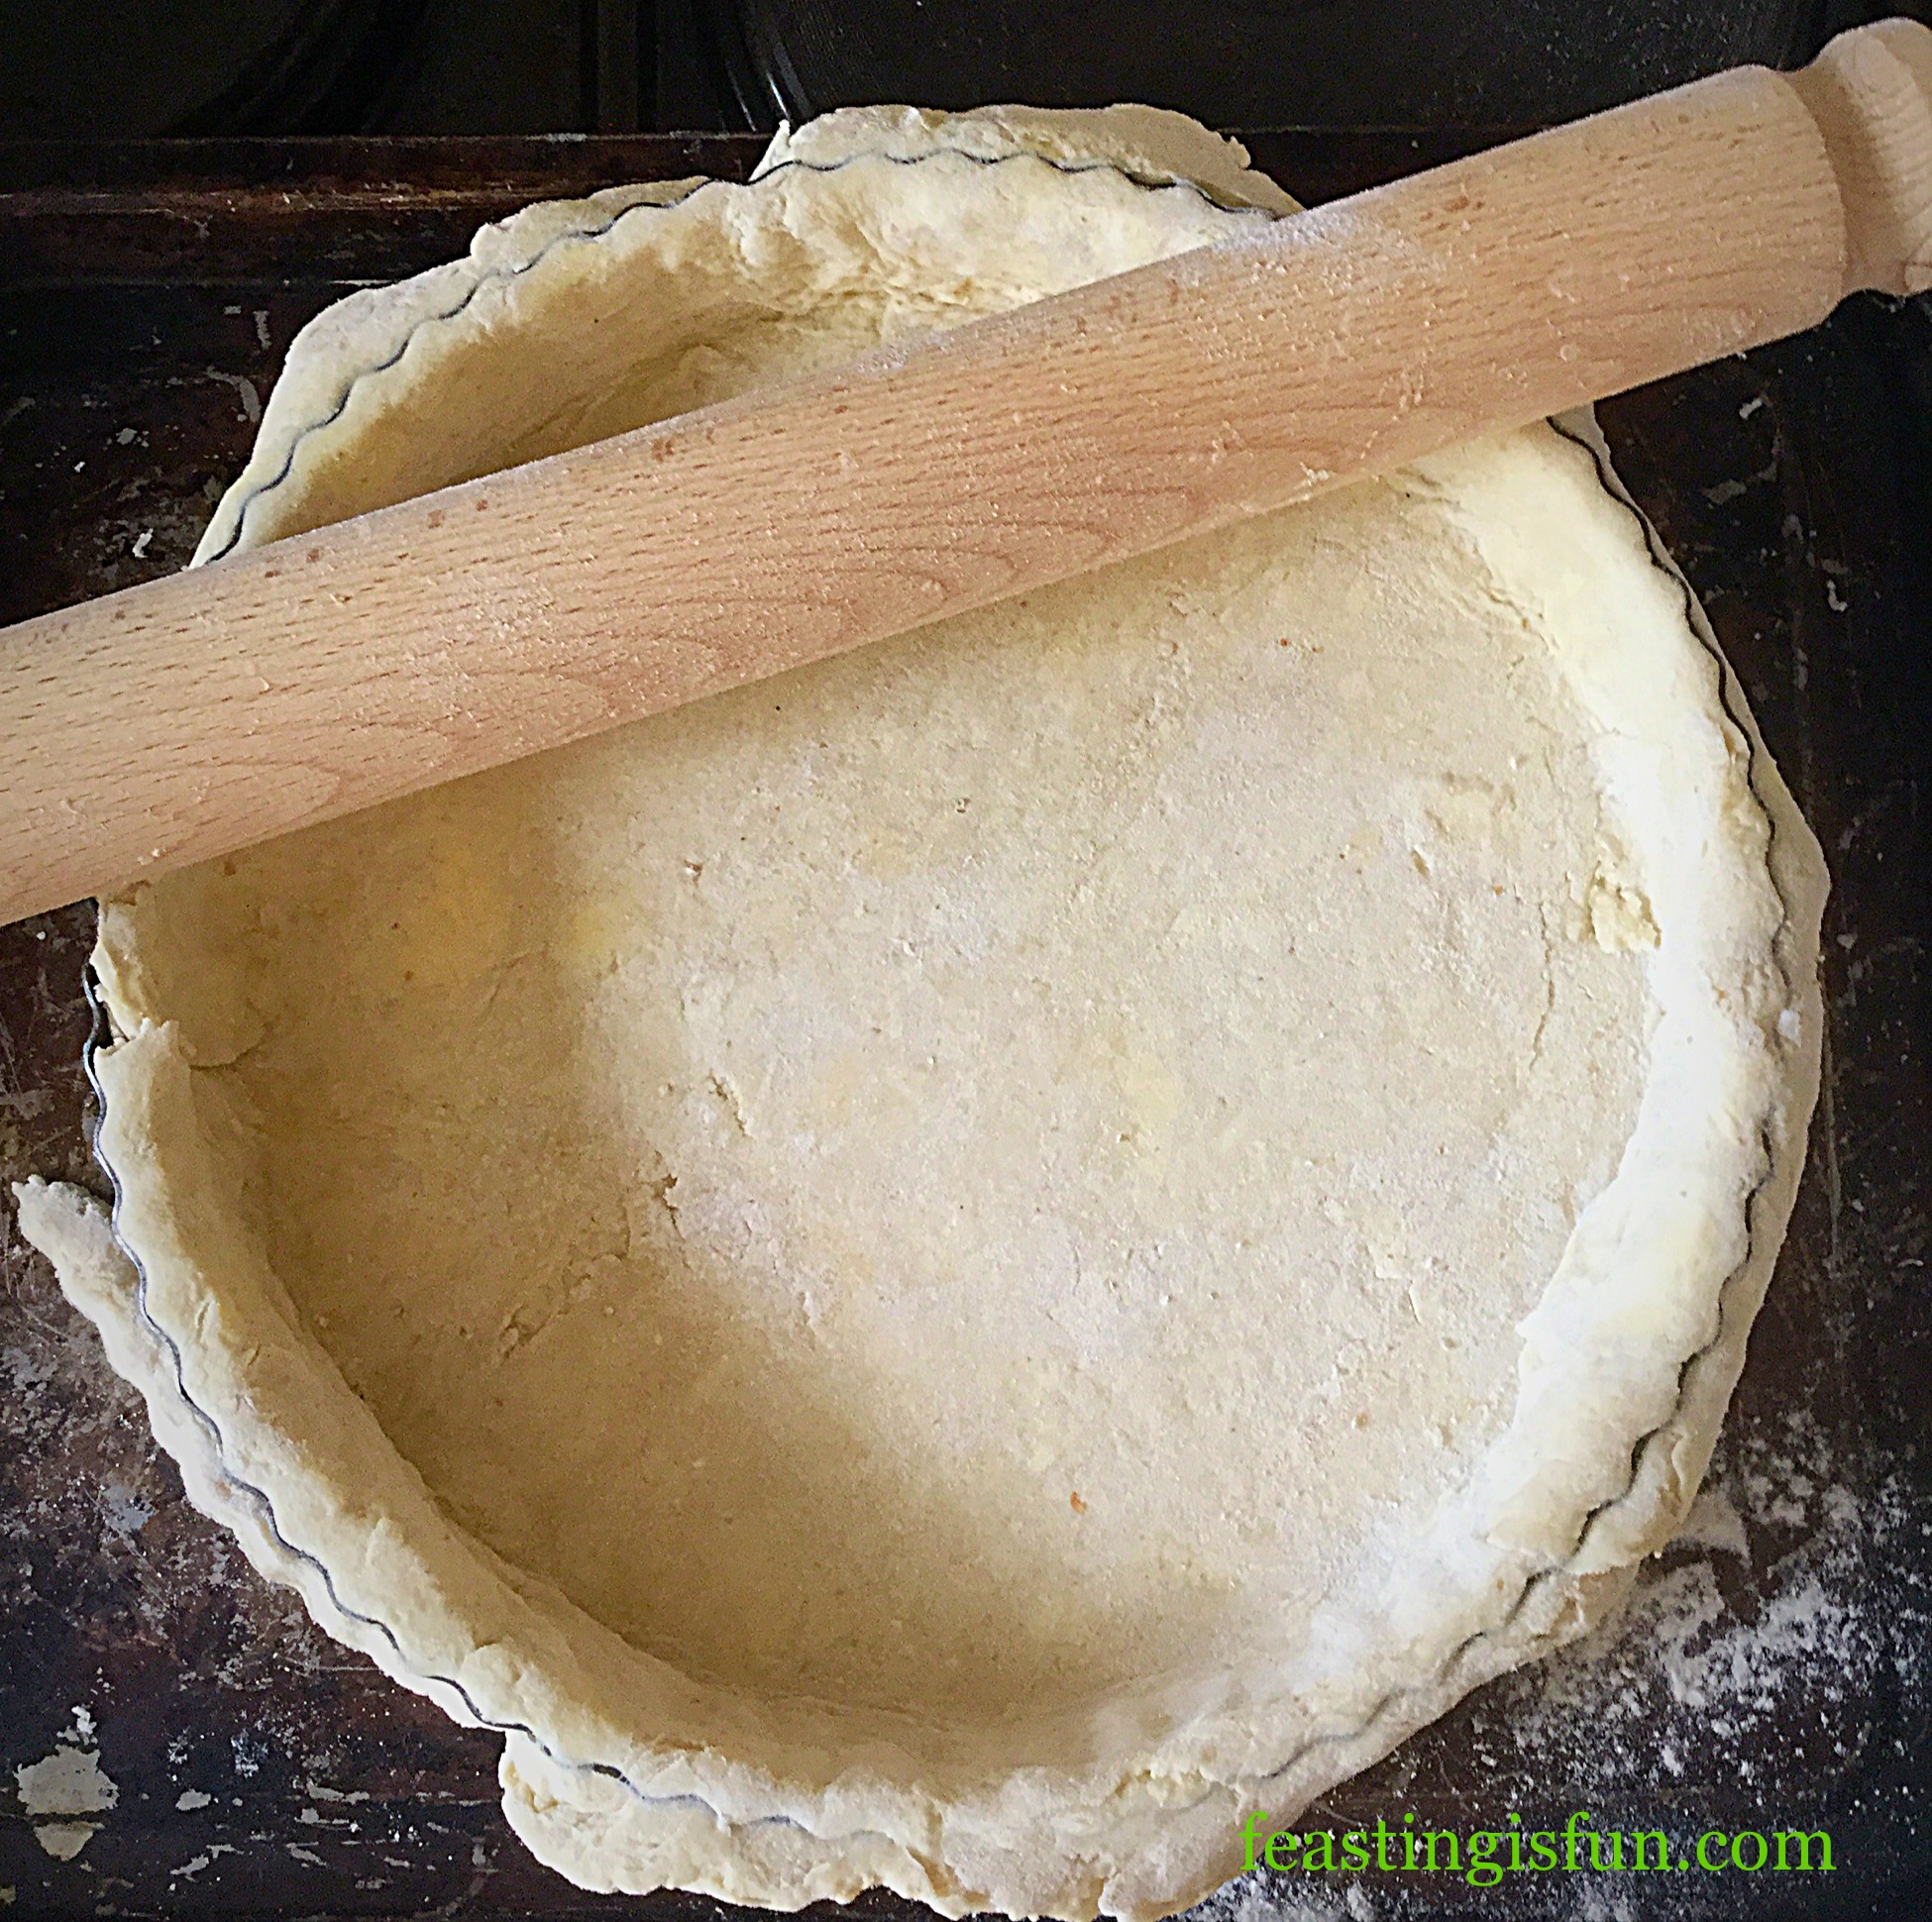
- Lightly flour the worktop and roll out the pastry so that it is slightly bigger than the width and sides of the tart tin.
- Roll the pastry around the rolling pin and transfer to the tin.
- Most importantly do not stretch the pastry. Ease it gently into the tin taking care to press it into the crease between the base and sides.
- Trim any excess pastry and then dock the base with a fork.
- Place baking parchment directly on to the pastry and fill with baking beans.
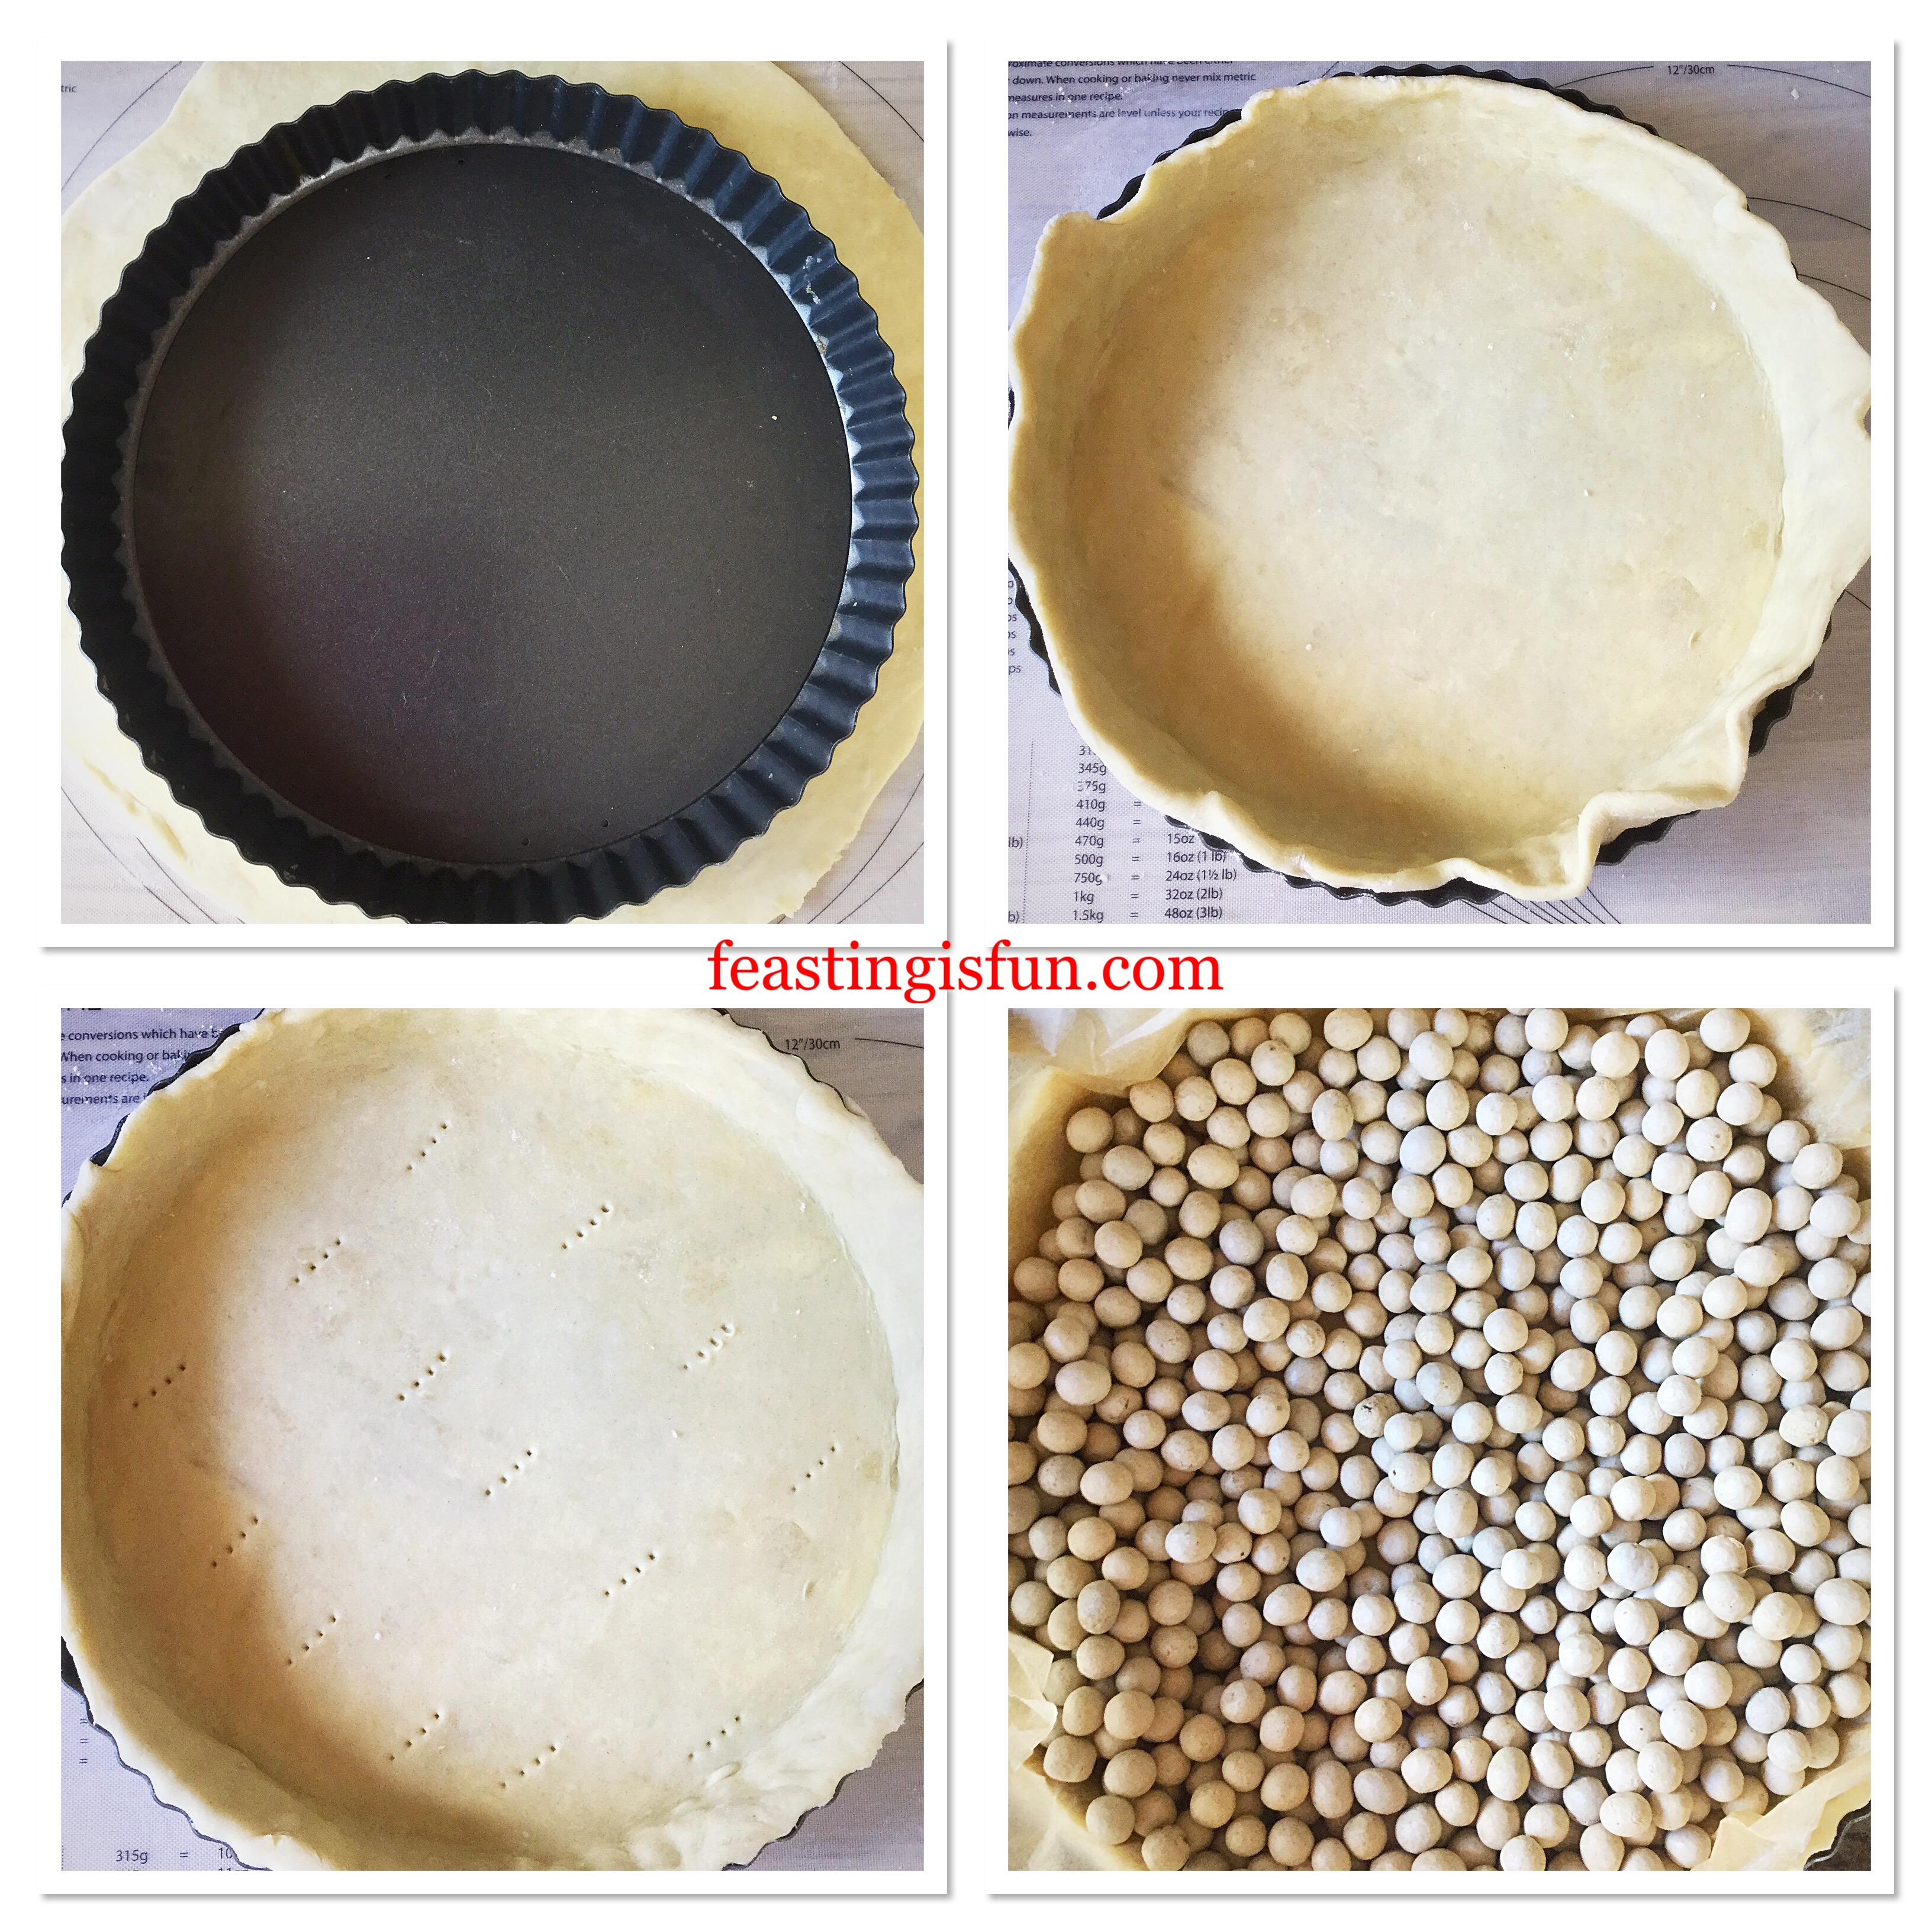
- Place the tart tin on to a baking sheet and put into the centre of the preheated oven.
- Bake for 15 minutes, remove the baking beans and parchment paper, return the tart back to the oven for a further 10 minutes. Once baked, remove and set to one side.
- Reduce the oven heat to 190C/170C fan, 325F, gas mark 3.
Filling the tart:
- While the tart case is baking prepare the filling.
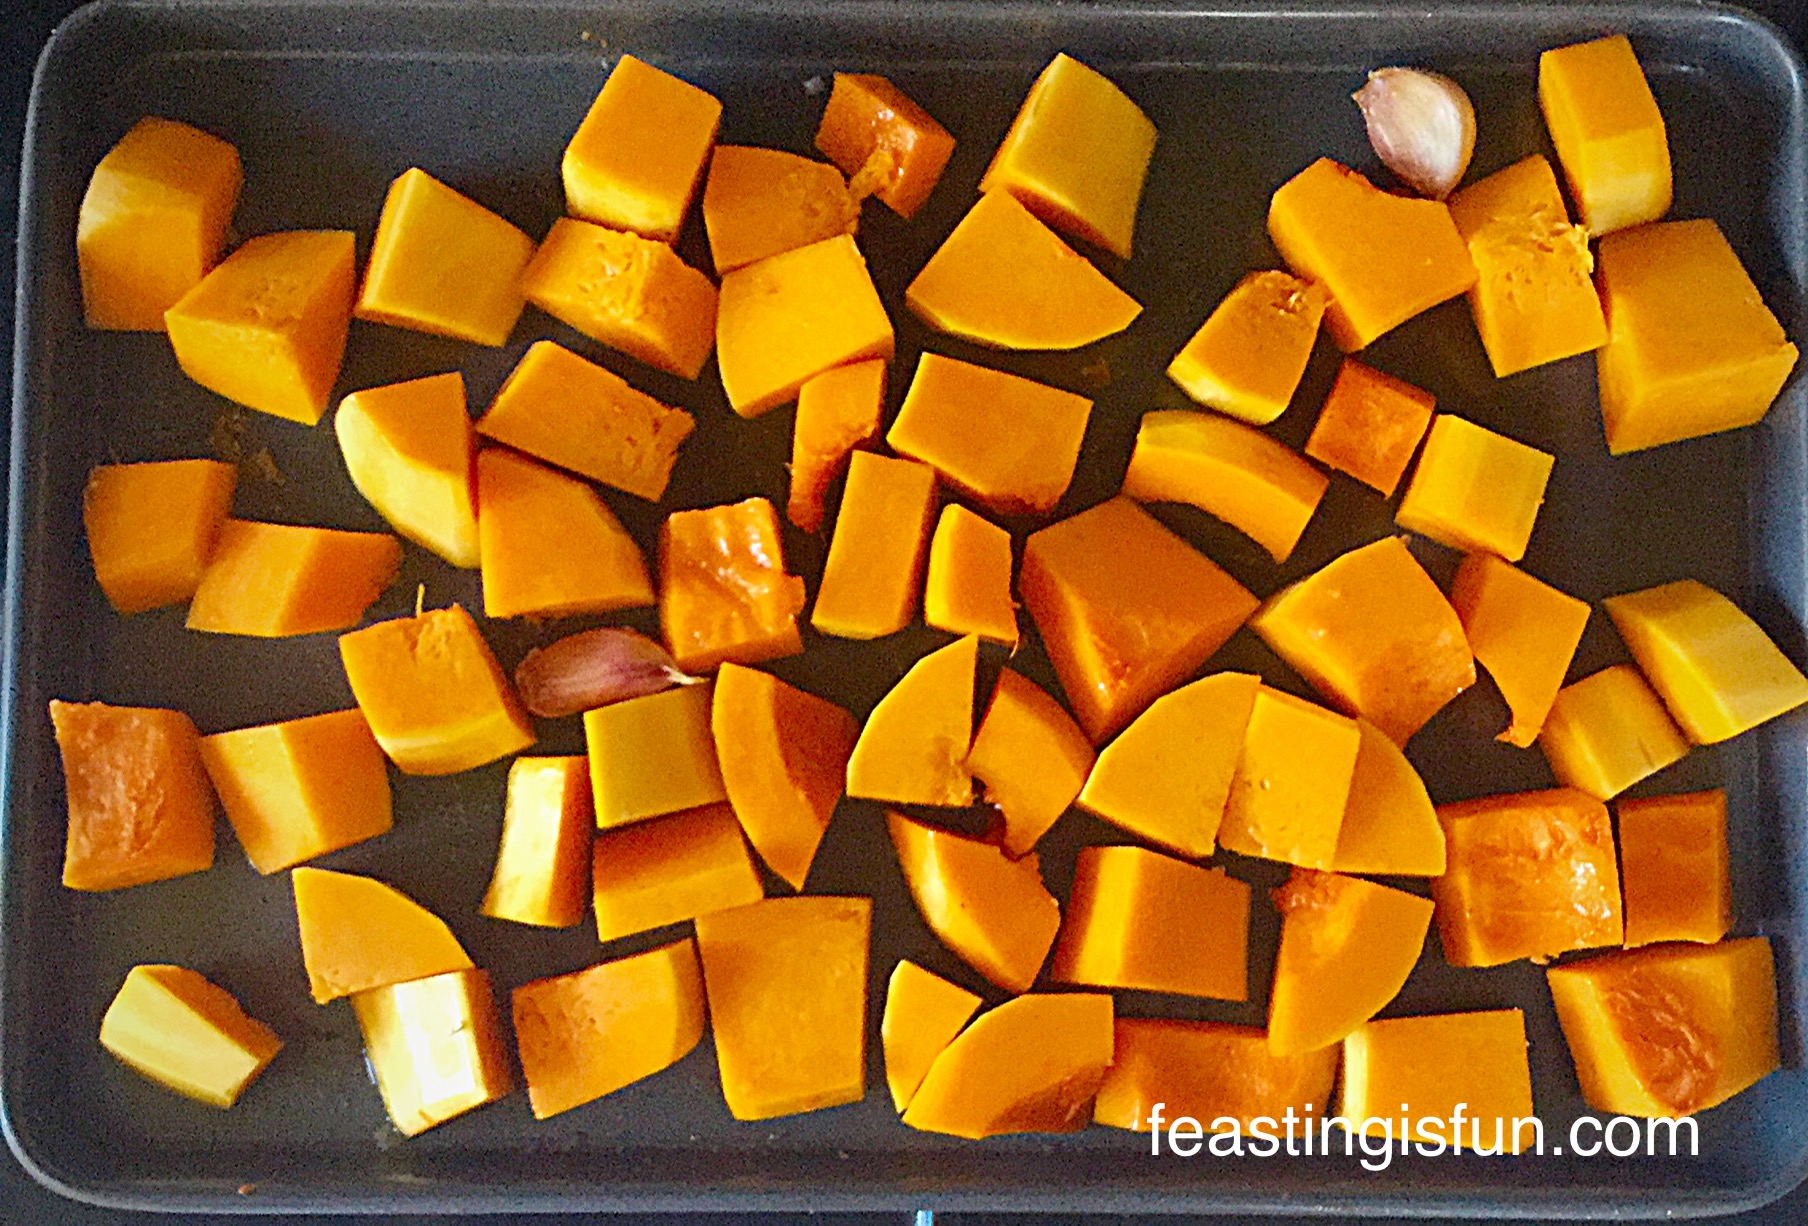
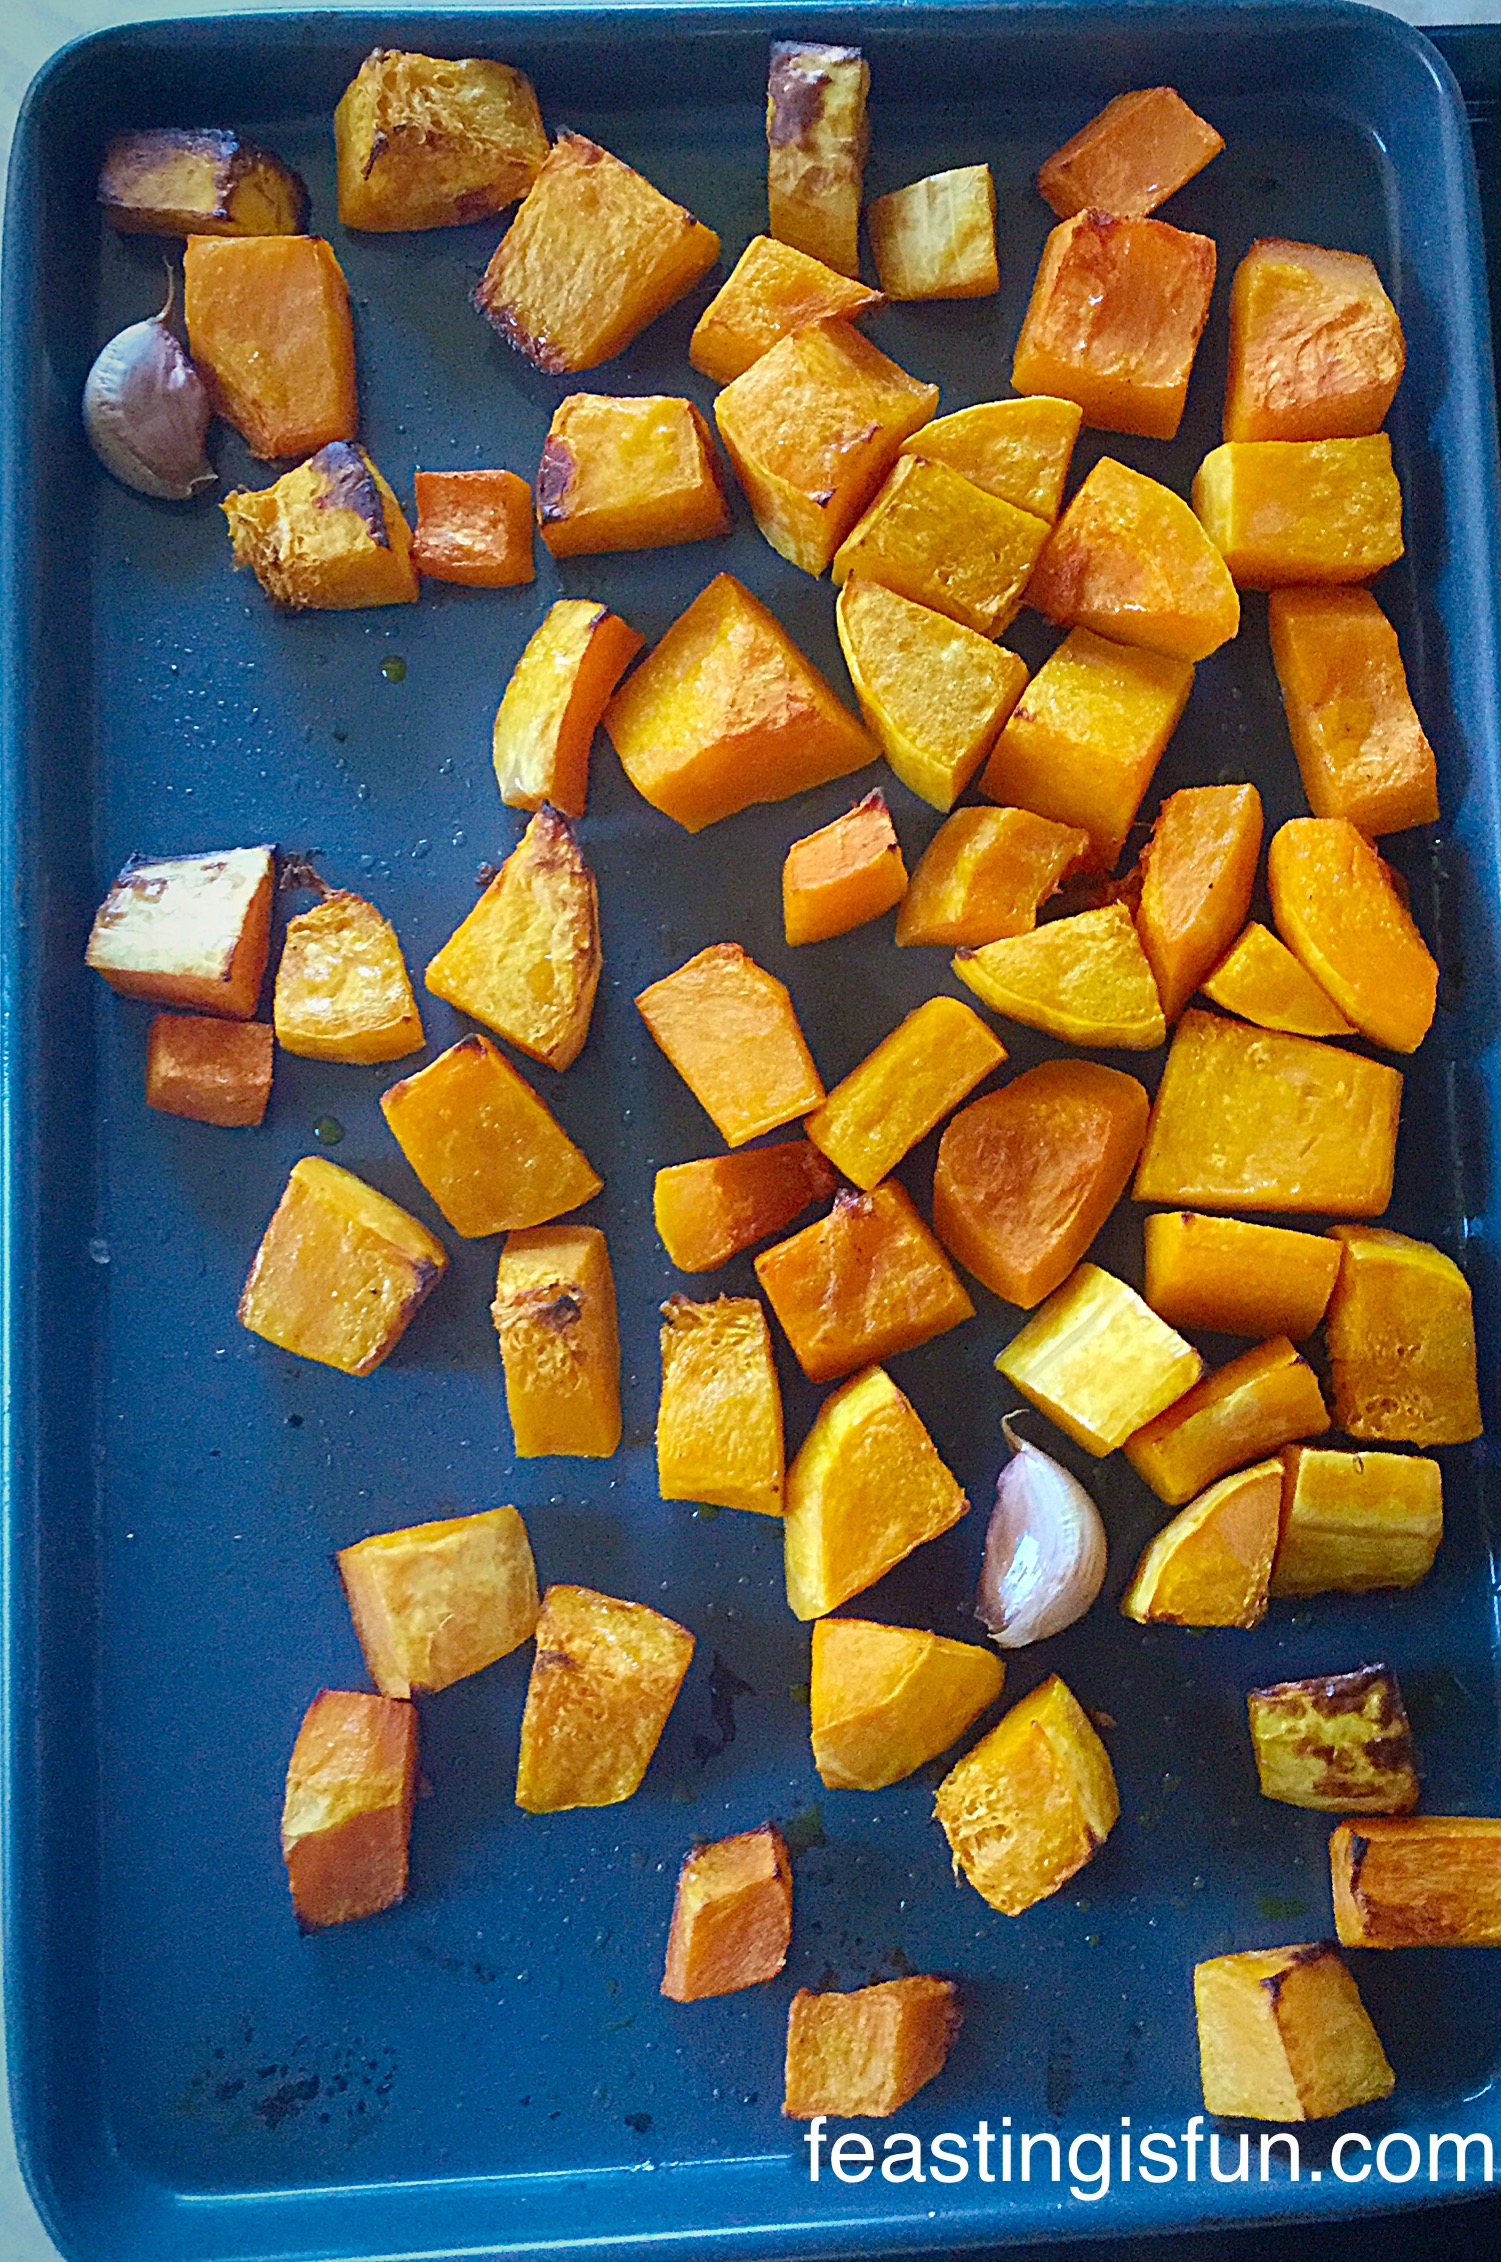
- Remove the seeds and green part from the peppers. Slice lengthways to produce long strips.
- Pour the oil into a pan over a medium heat. Add the peppers and sauté for 10-15 minutes until slightly softened and reduced in size.
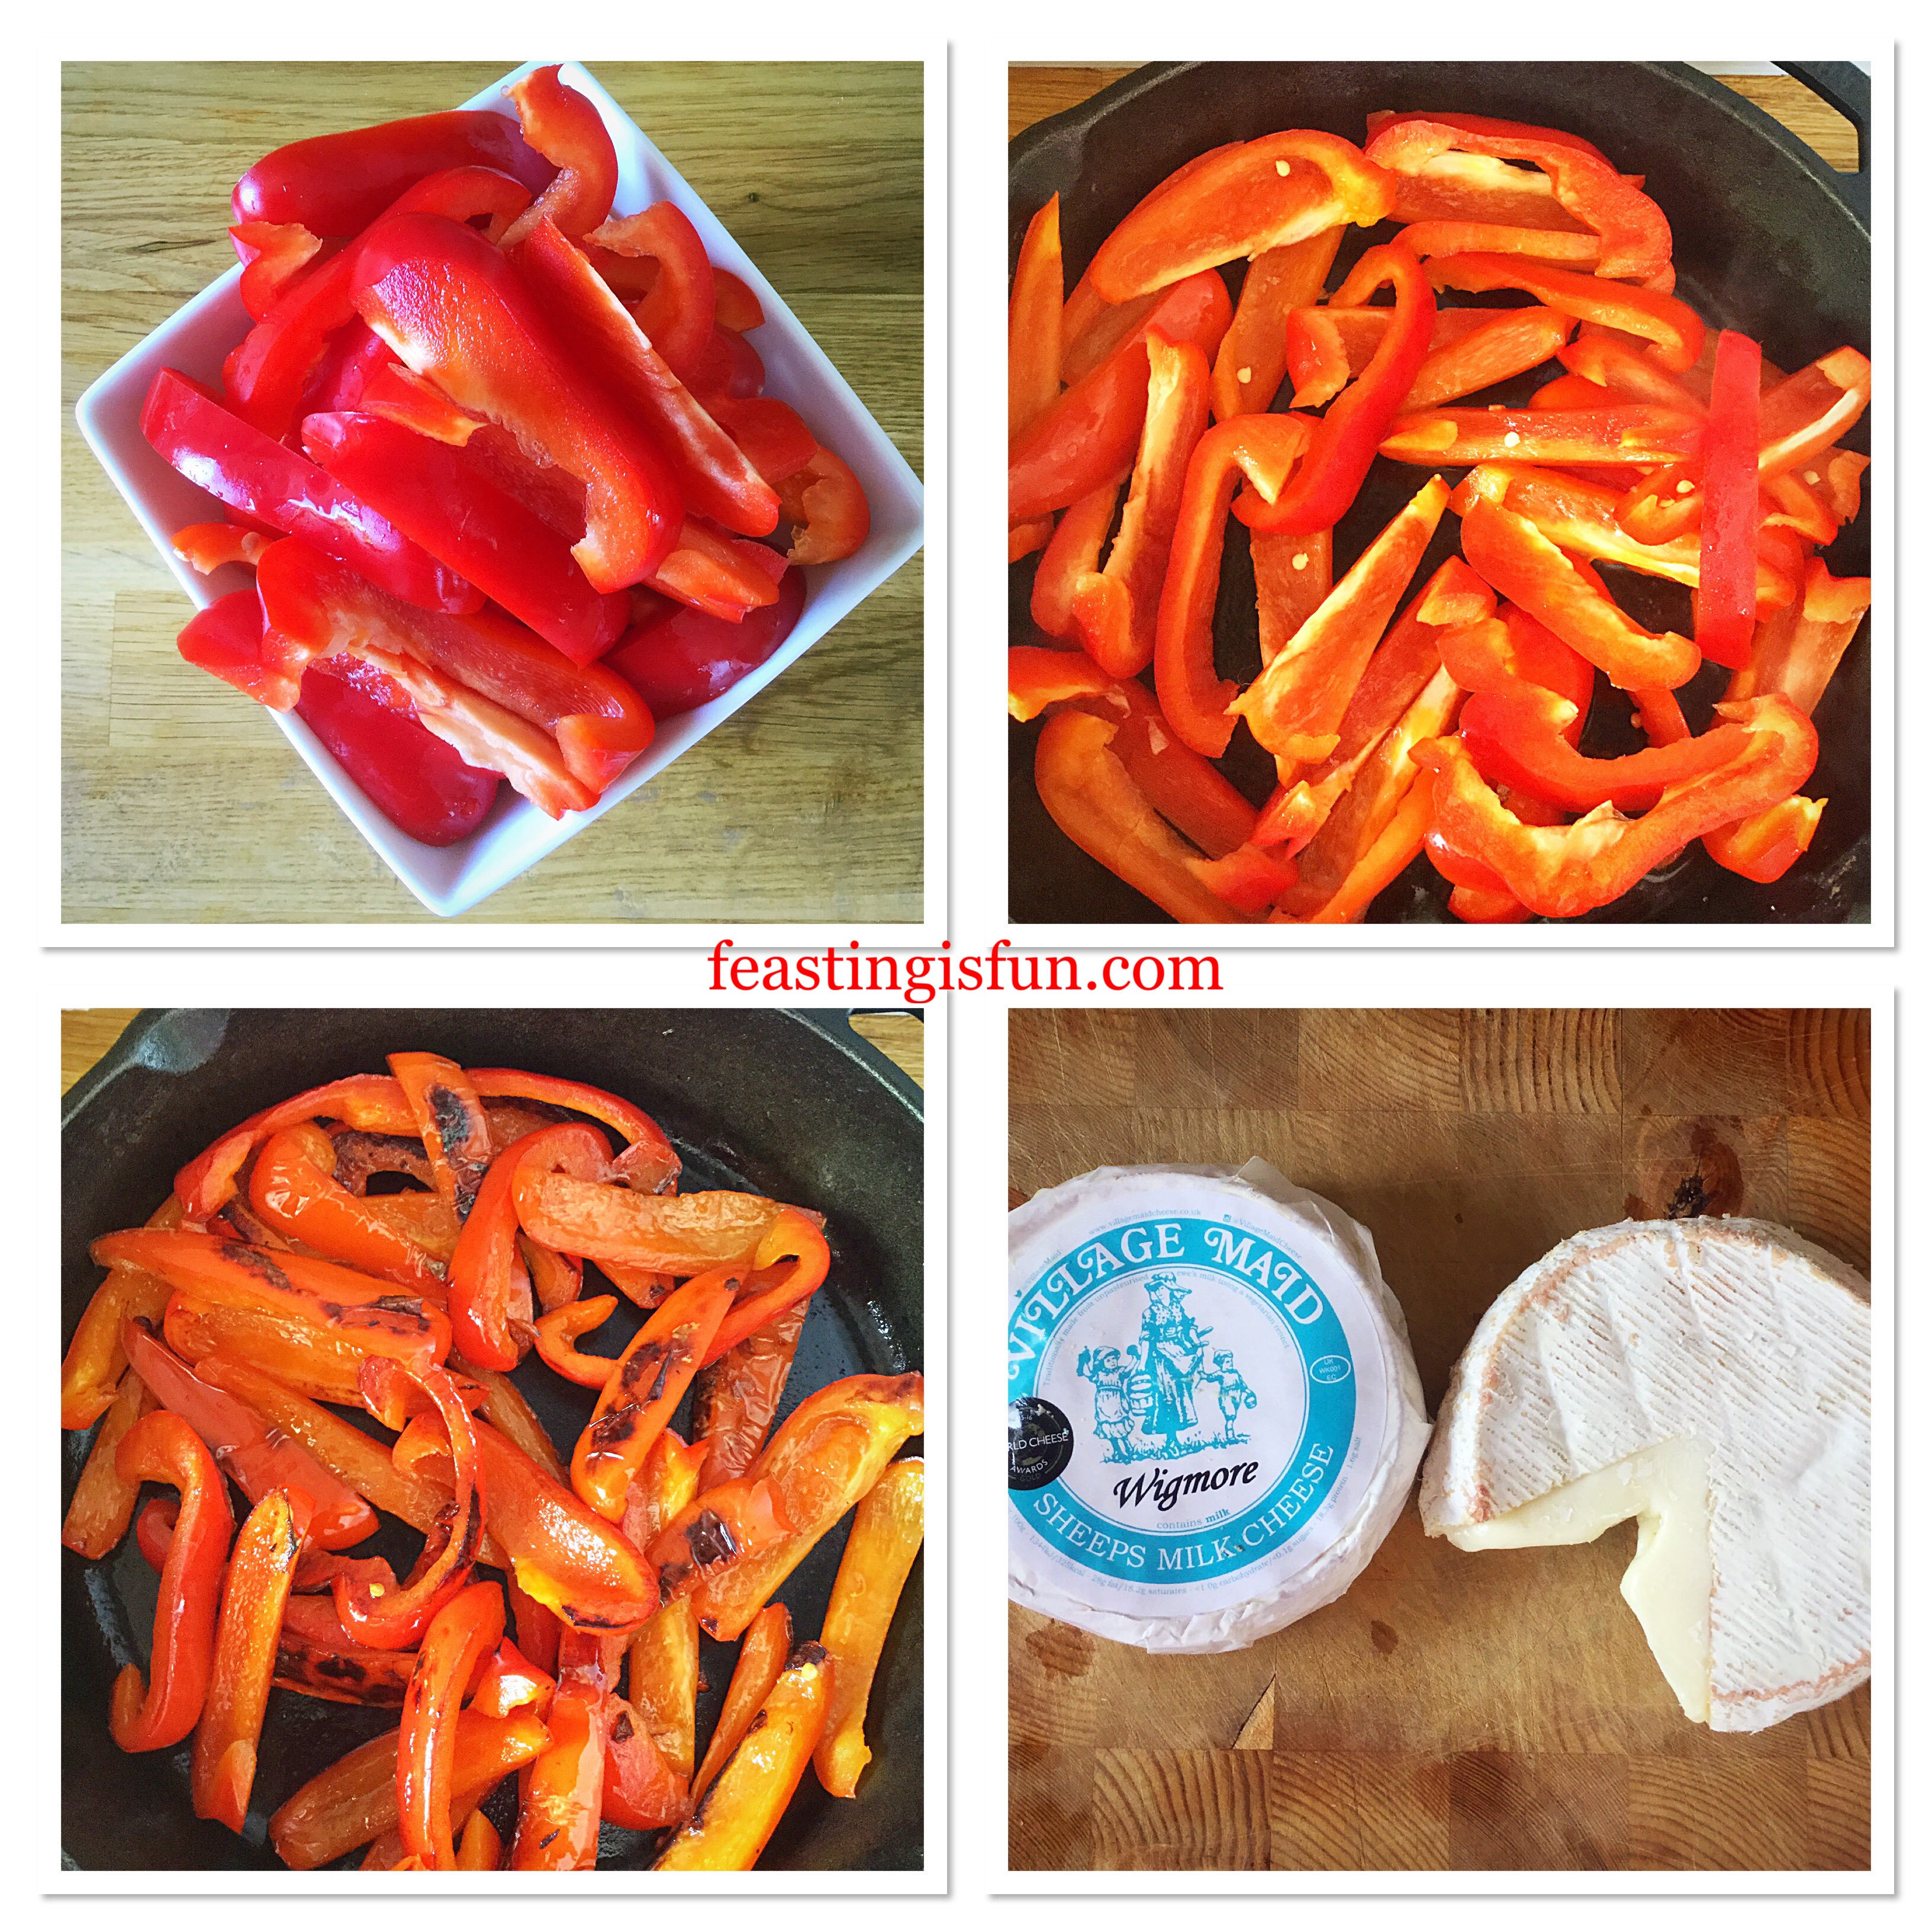
- Cut up the cheese into bite size chunks. It helps if the cheese is fridge cold before cutting.
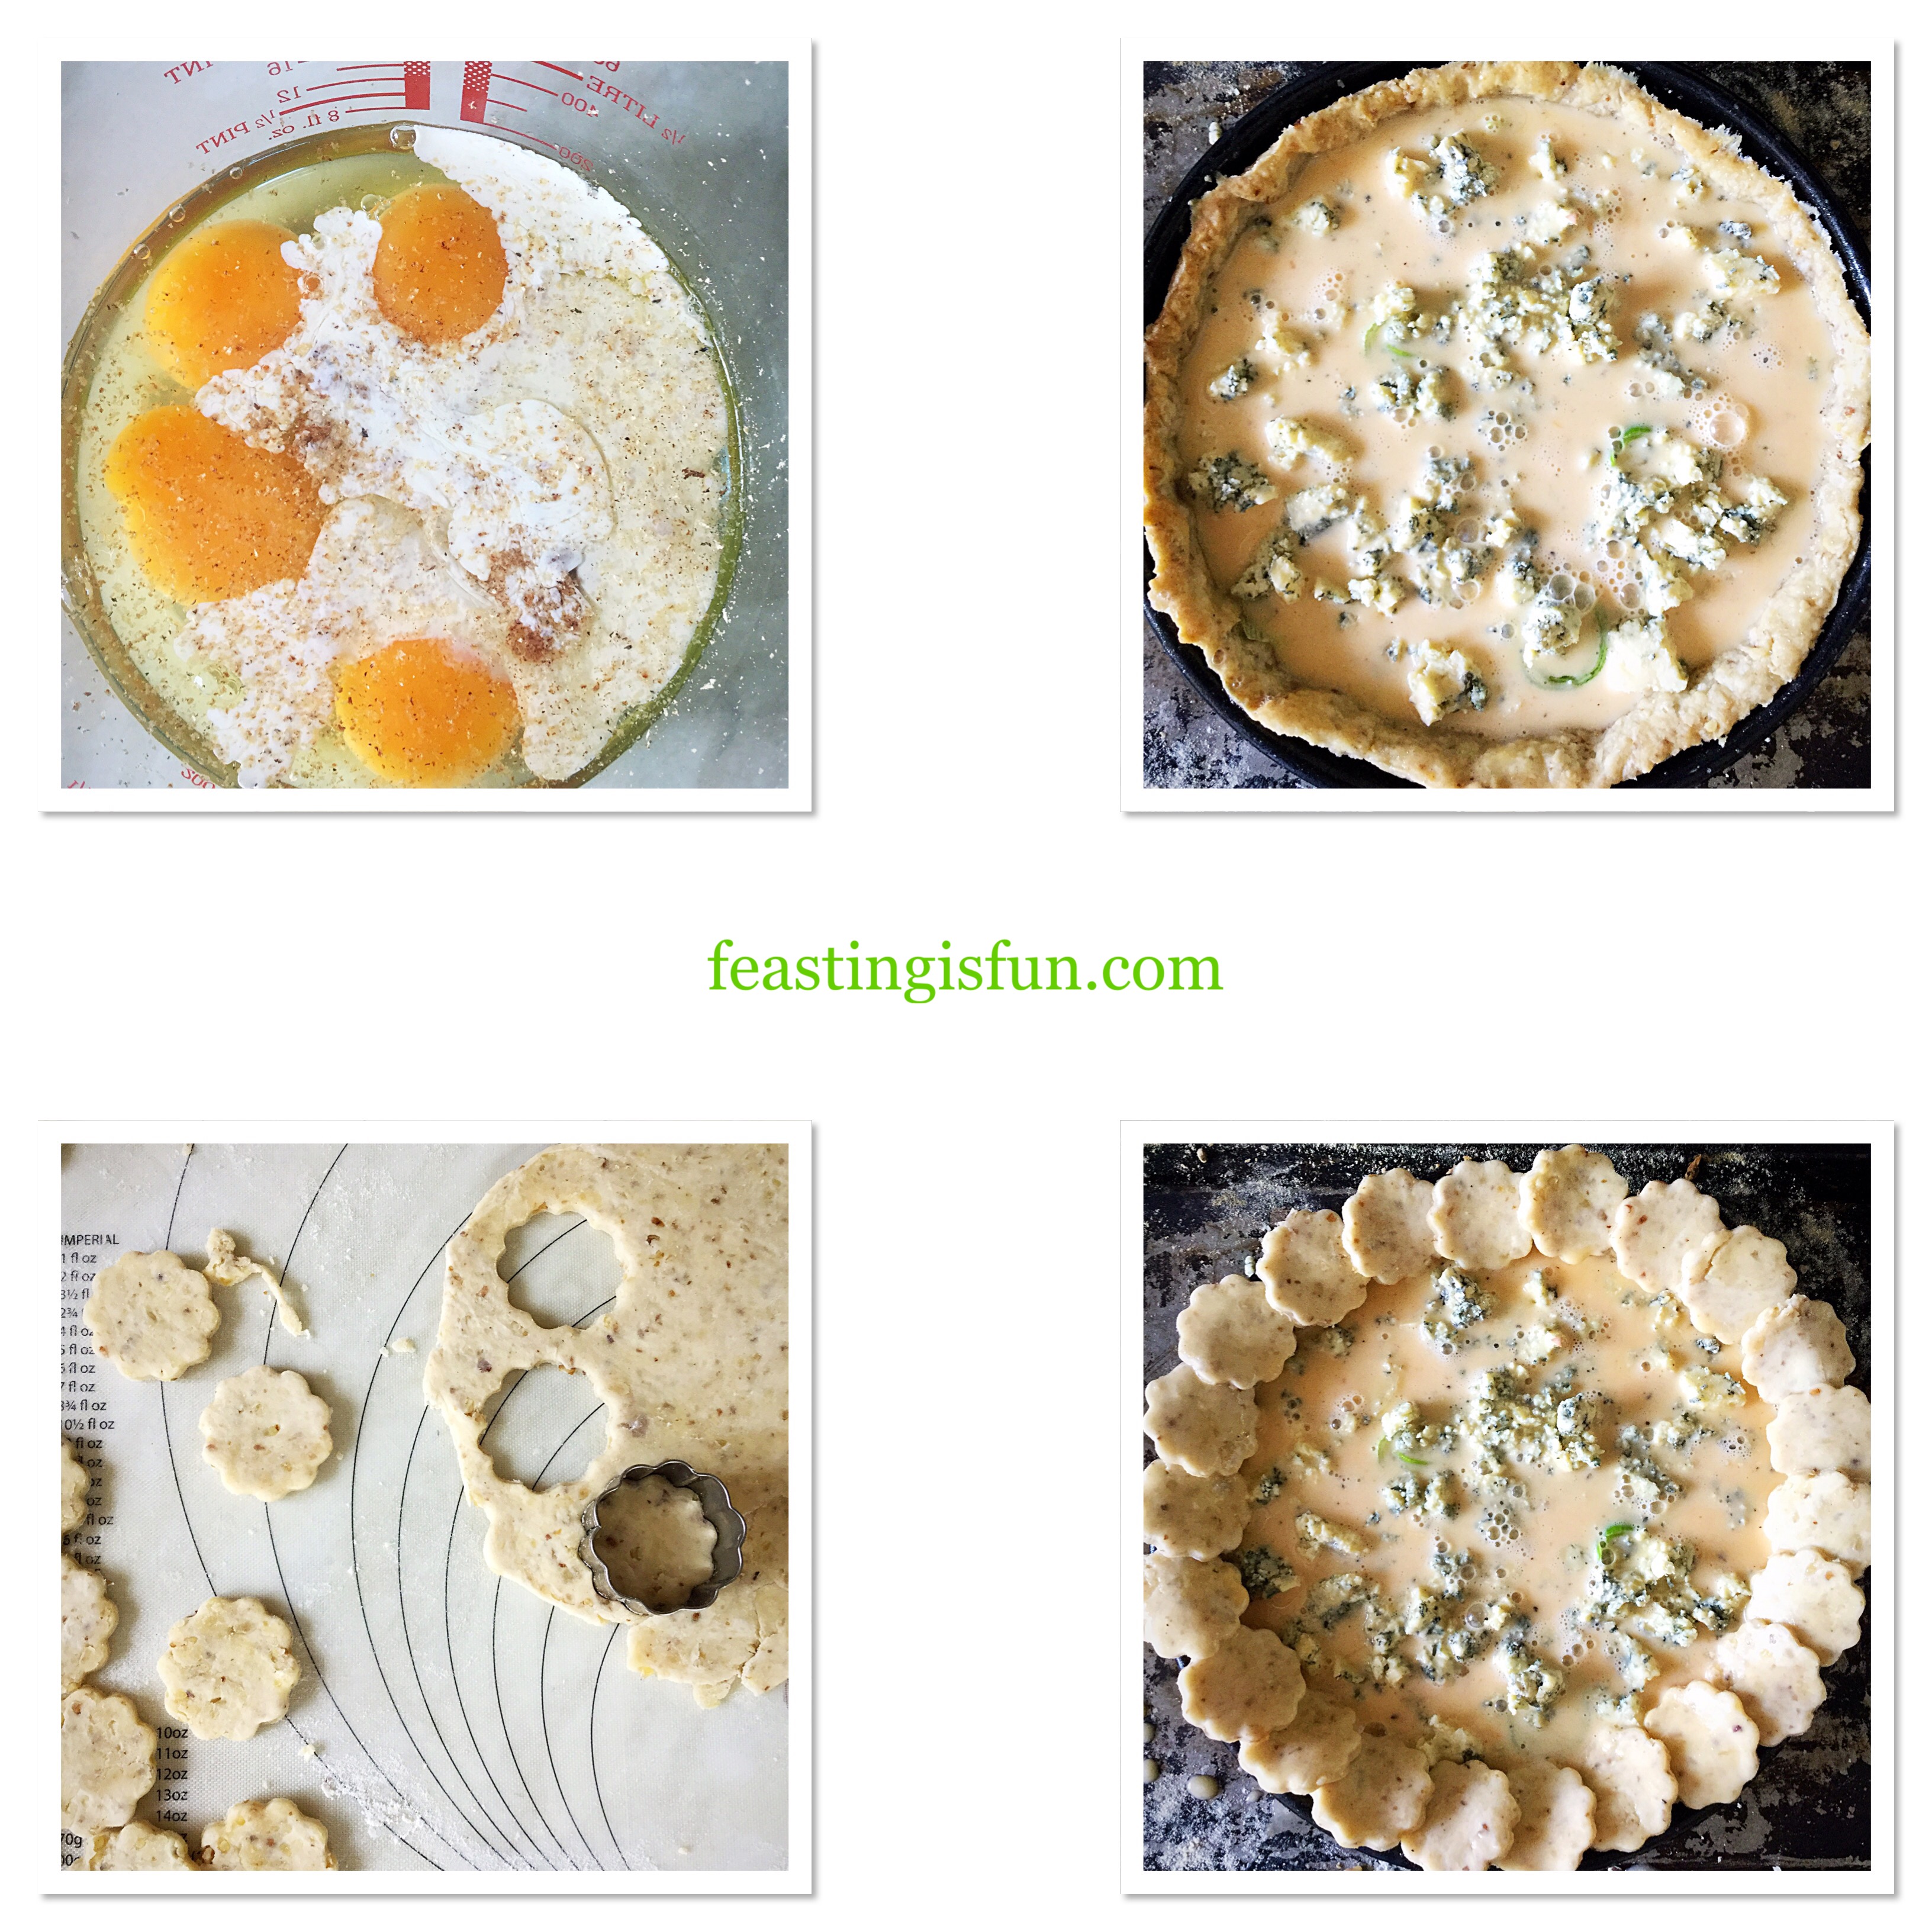
- Into a jug add all 8 eggs, black pepper and fennel seeds. Whisk with a fork to combine.
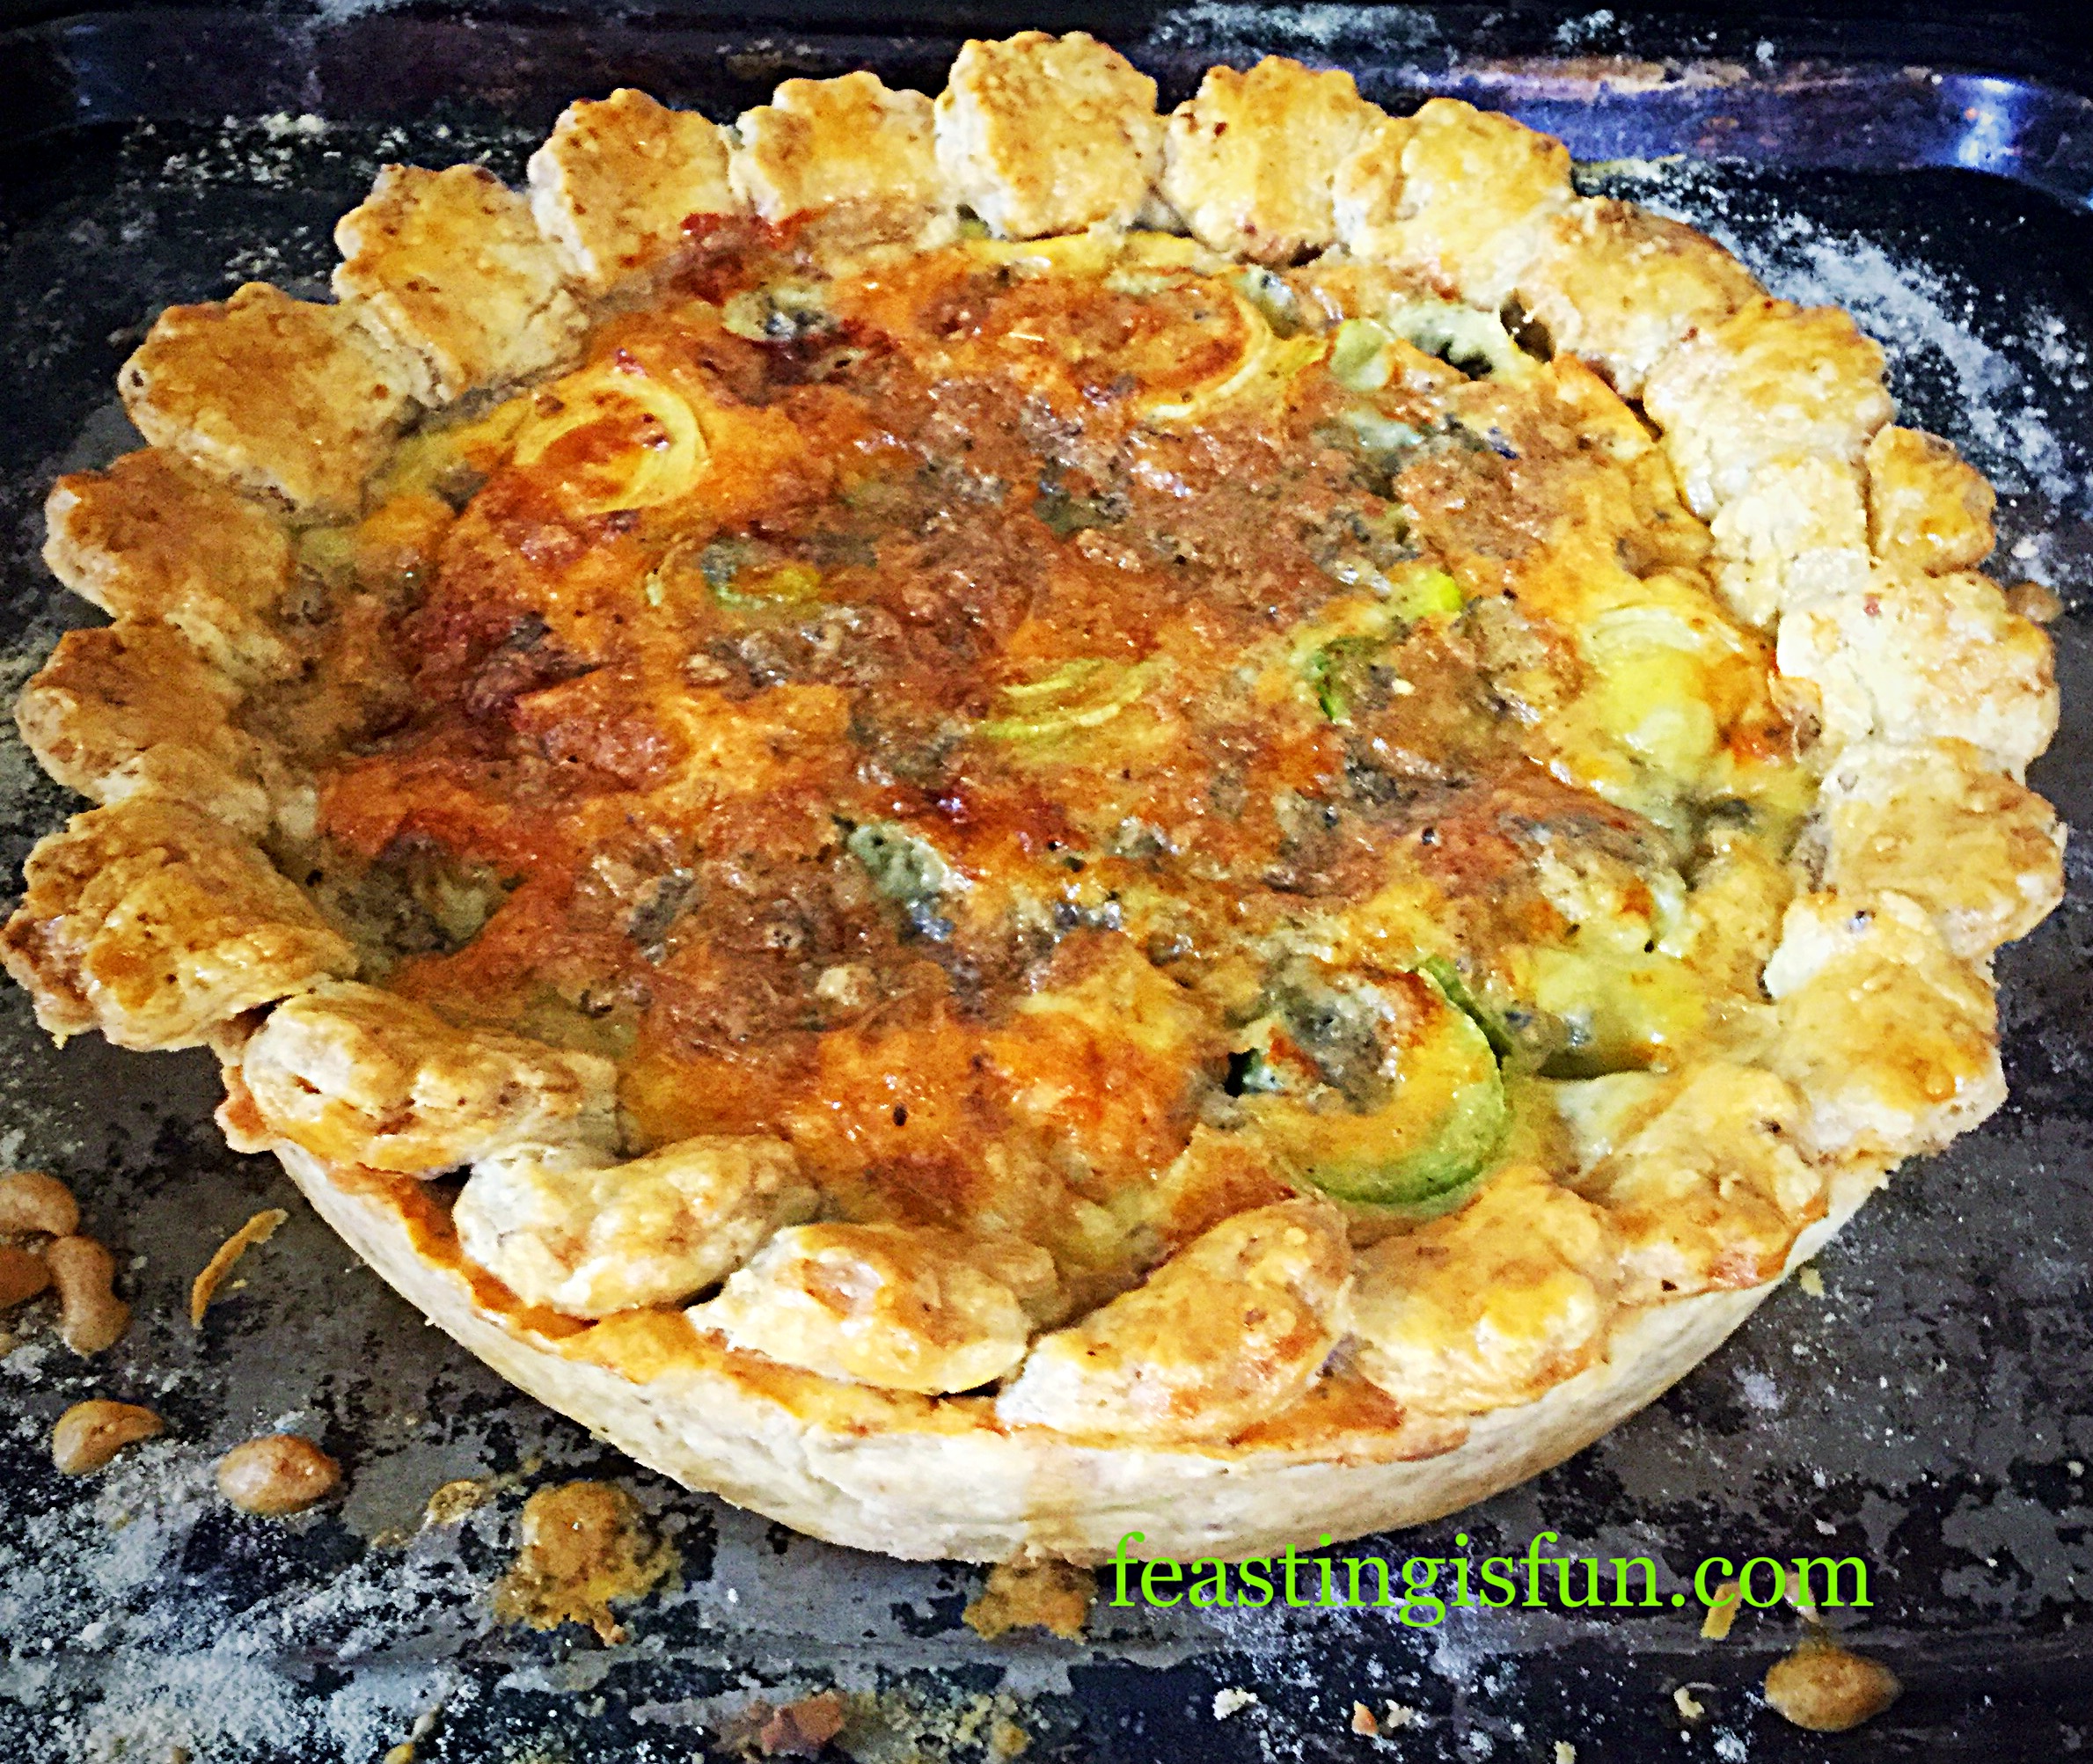
- Cover the base of the tart with sautéed peppers.
- Next add the chunks of cheese, spread evenly around.
- Finally pour over the seasoned, whisked eggs.

Baking the tart:
- Place the tart into the centre of the oven and bake for 30-35 minutes.
- The tart is baked when the top is set and there is no jiggle in the centre.
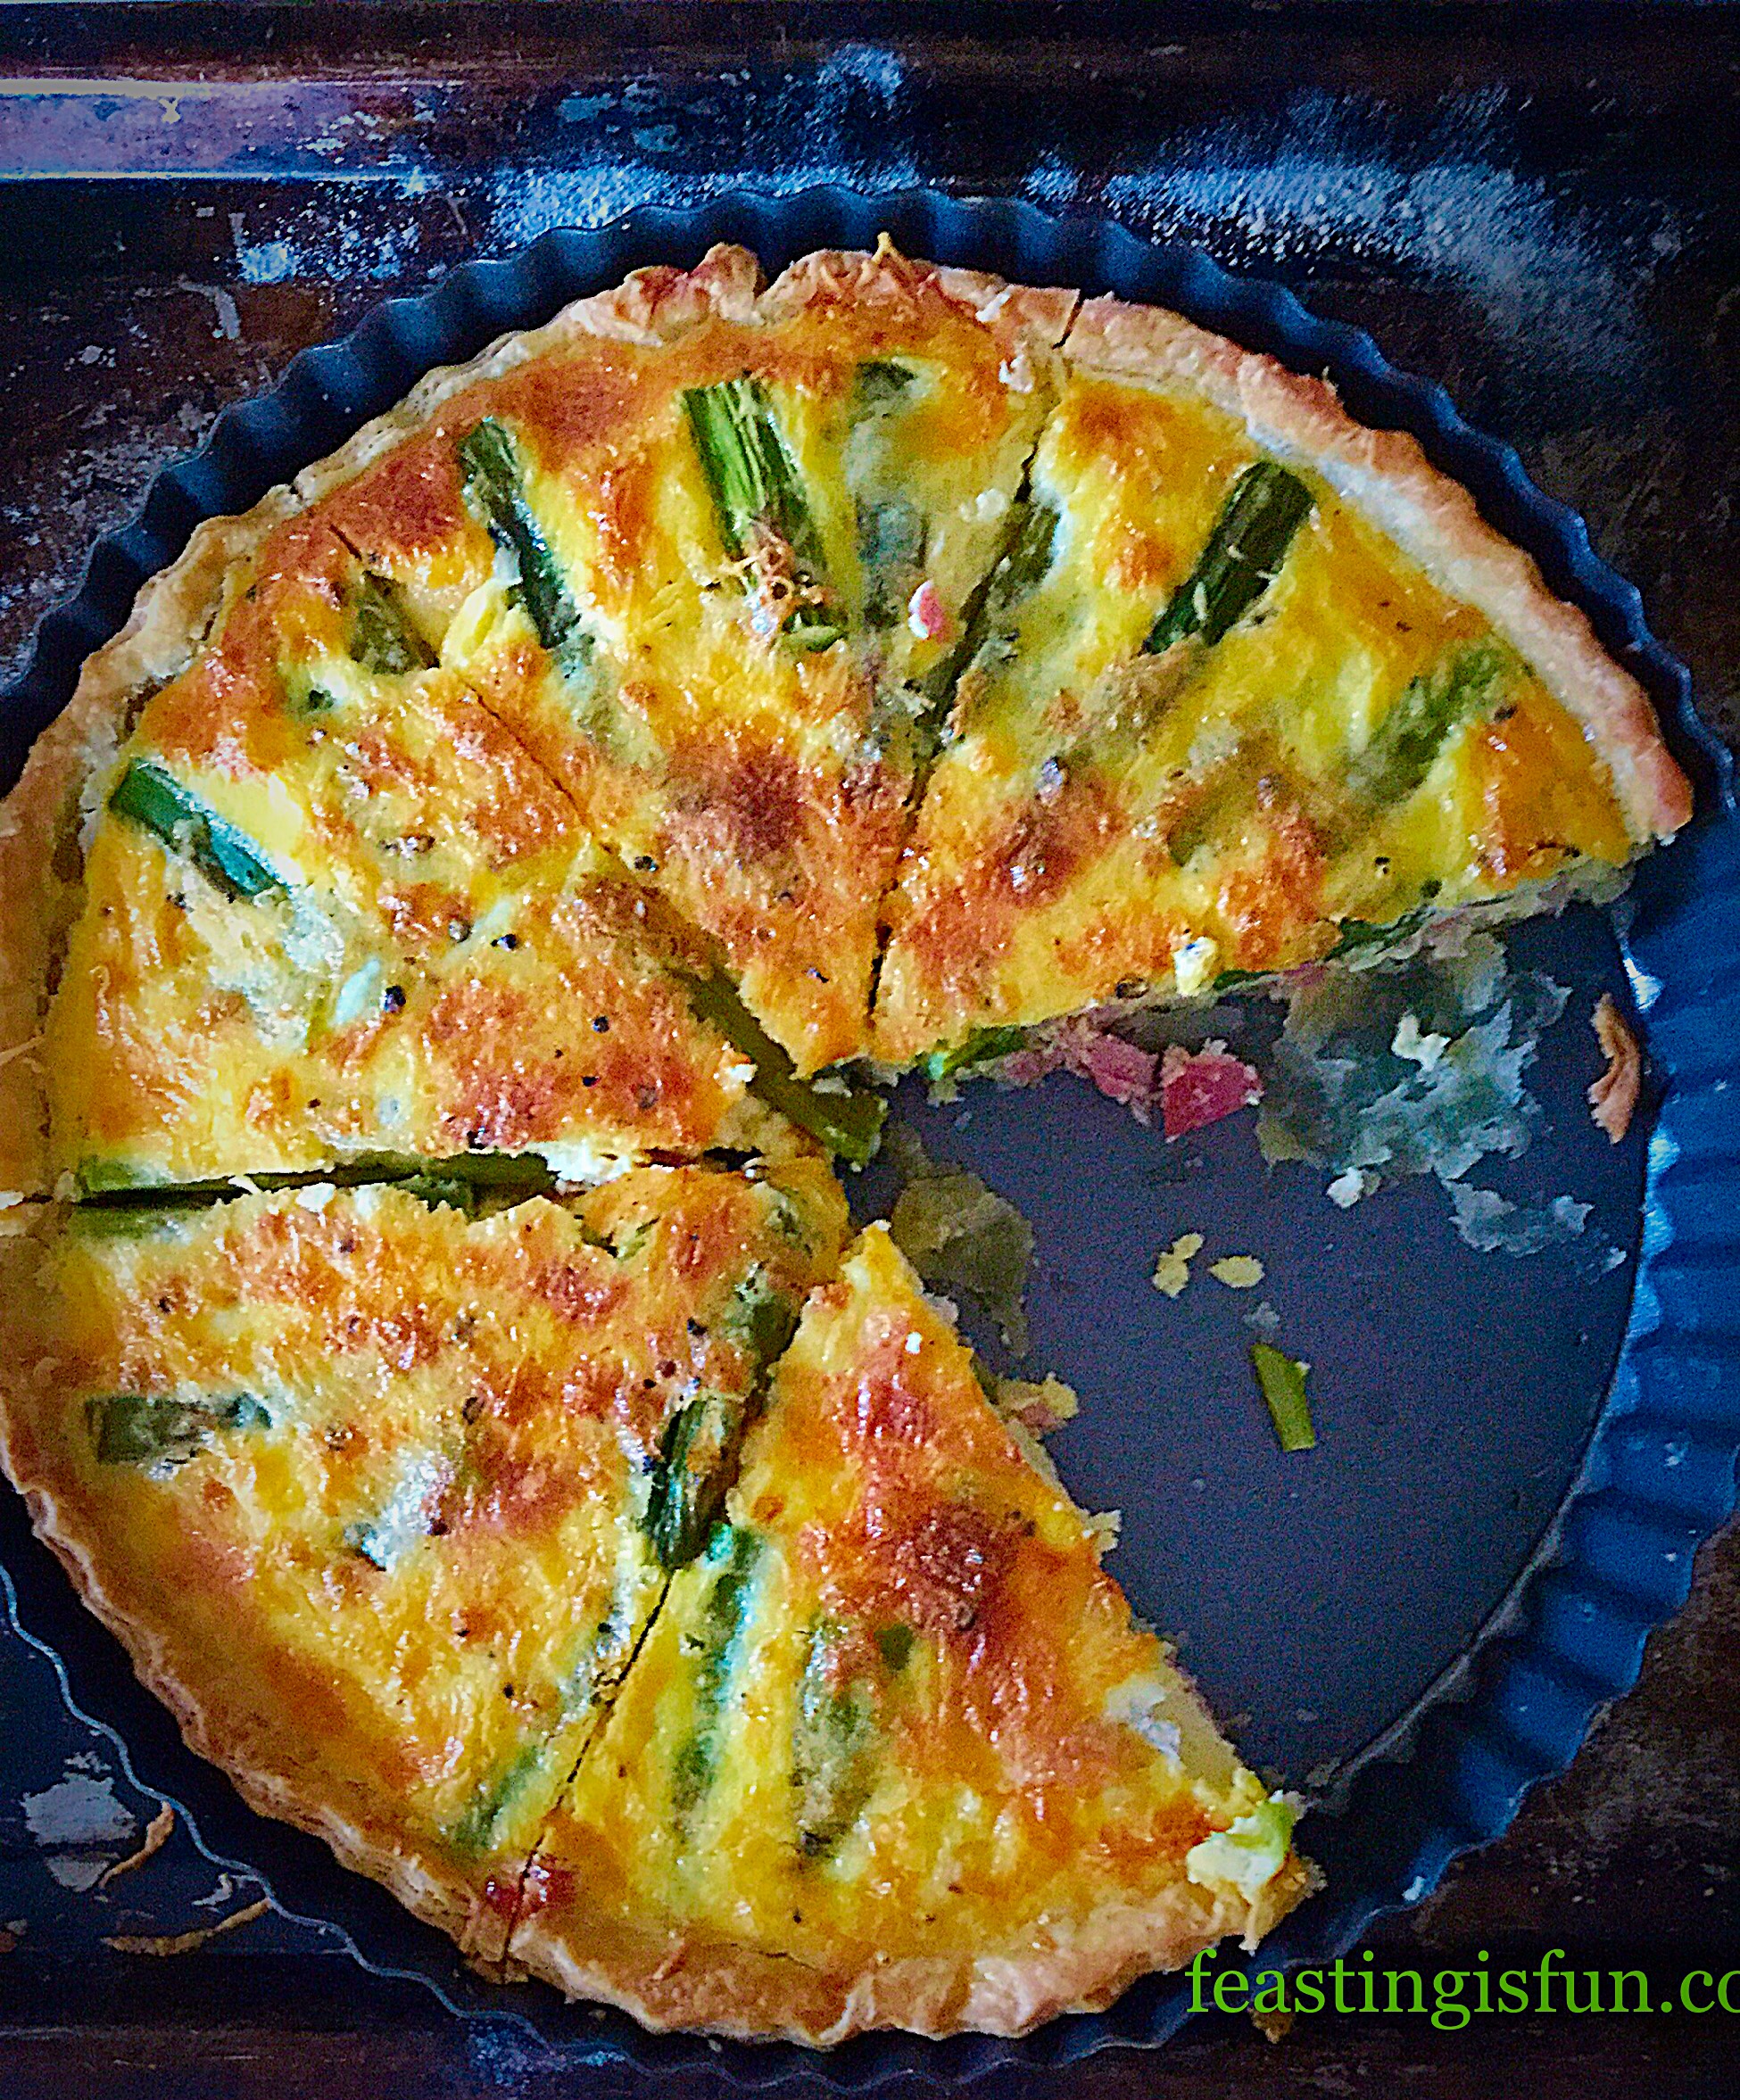
- As soon as the Wigmore Cheese Red Pepper Tart is baked remove from the oven and set to one side.

- If serving as soon as baked allow the tart to settle for 10 minutes before slicing.

I love serving this tart when it is warm. At the moment this means room temperature! However if making during a cooler time of the year simply reheat in a medium oven for 10 minutes to lightly warm through.
Store any leftover tart in an airtight container or wrapped in cling film and refrigerate. Eat within 3 days.
Due to the moisture content of the peppers I would advise against freezing.
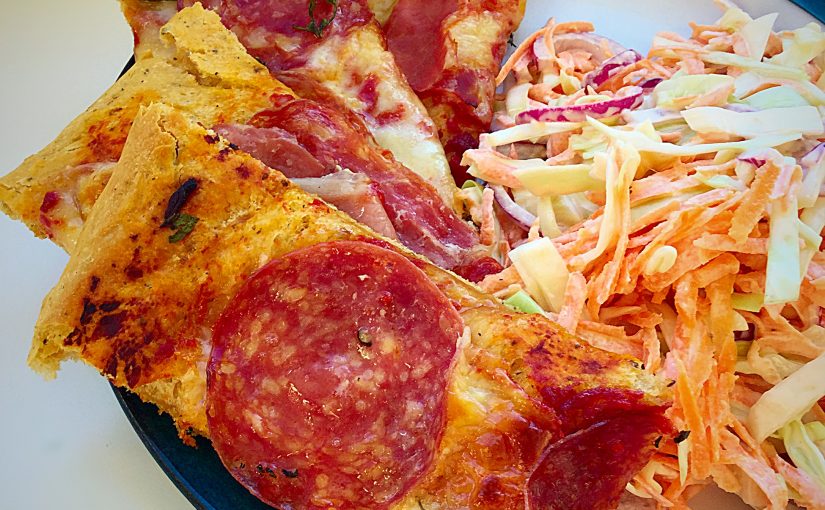
If you have enjoyed this recipe for Wigmore Cheese Red Pepper Tart you may also like these:
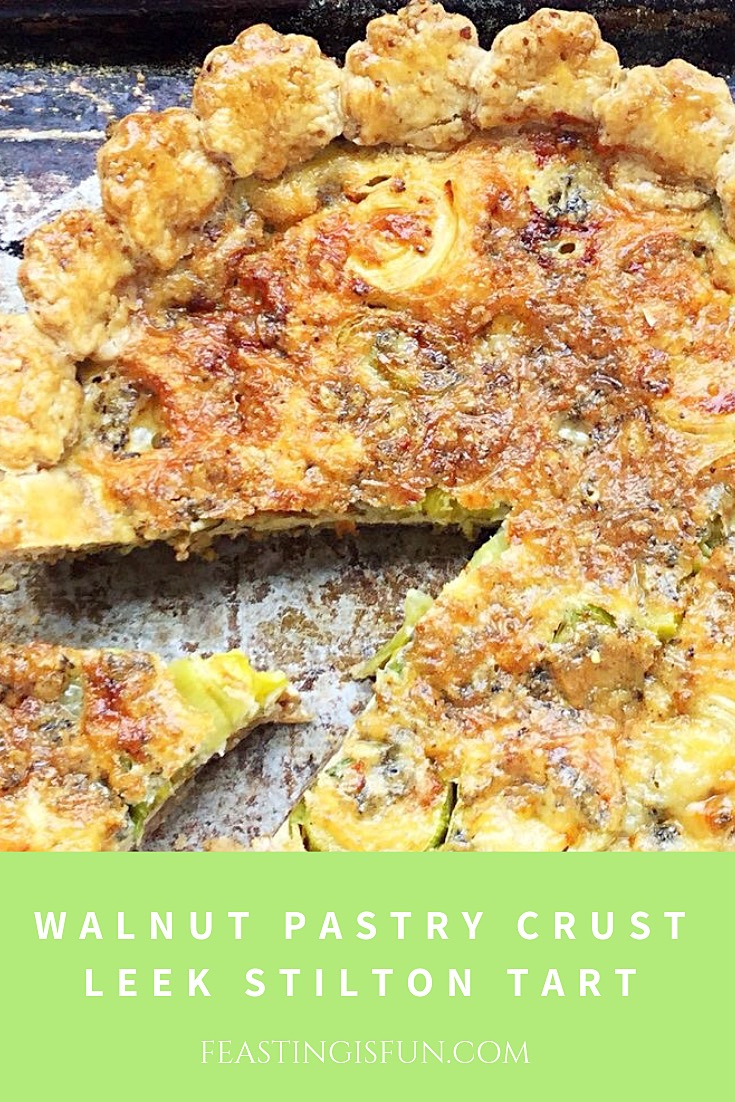
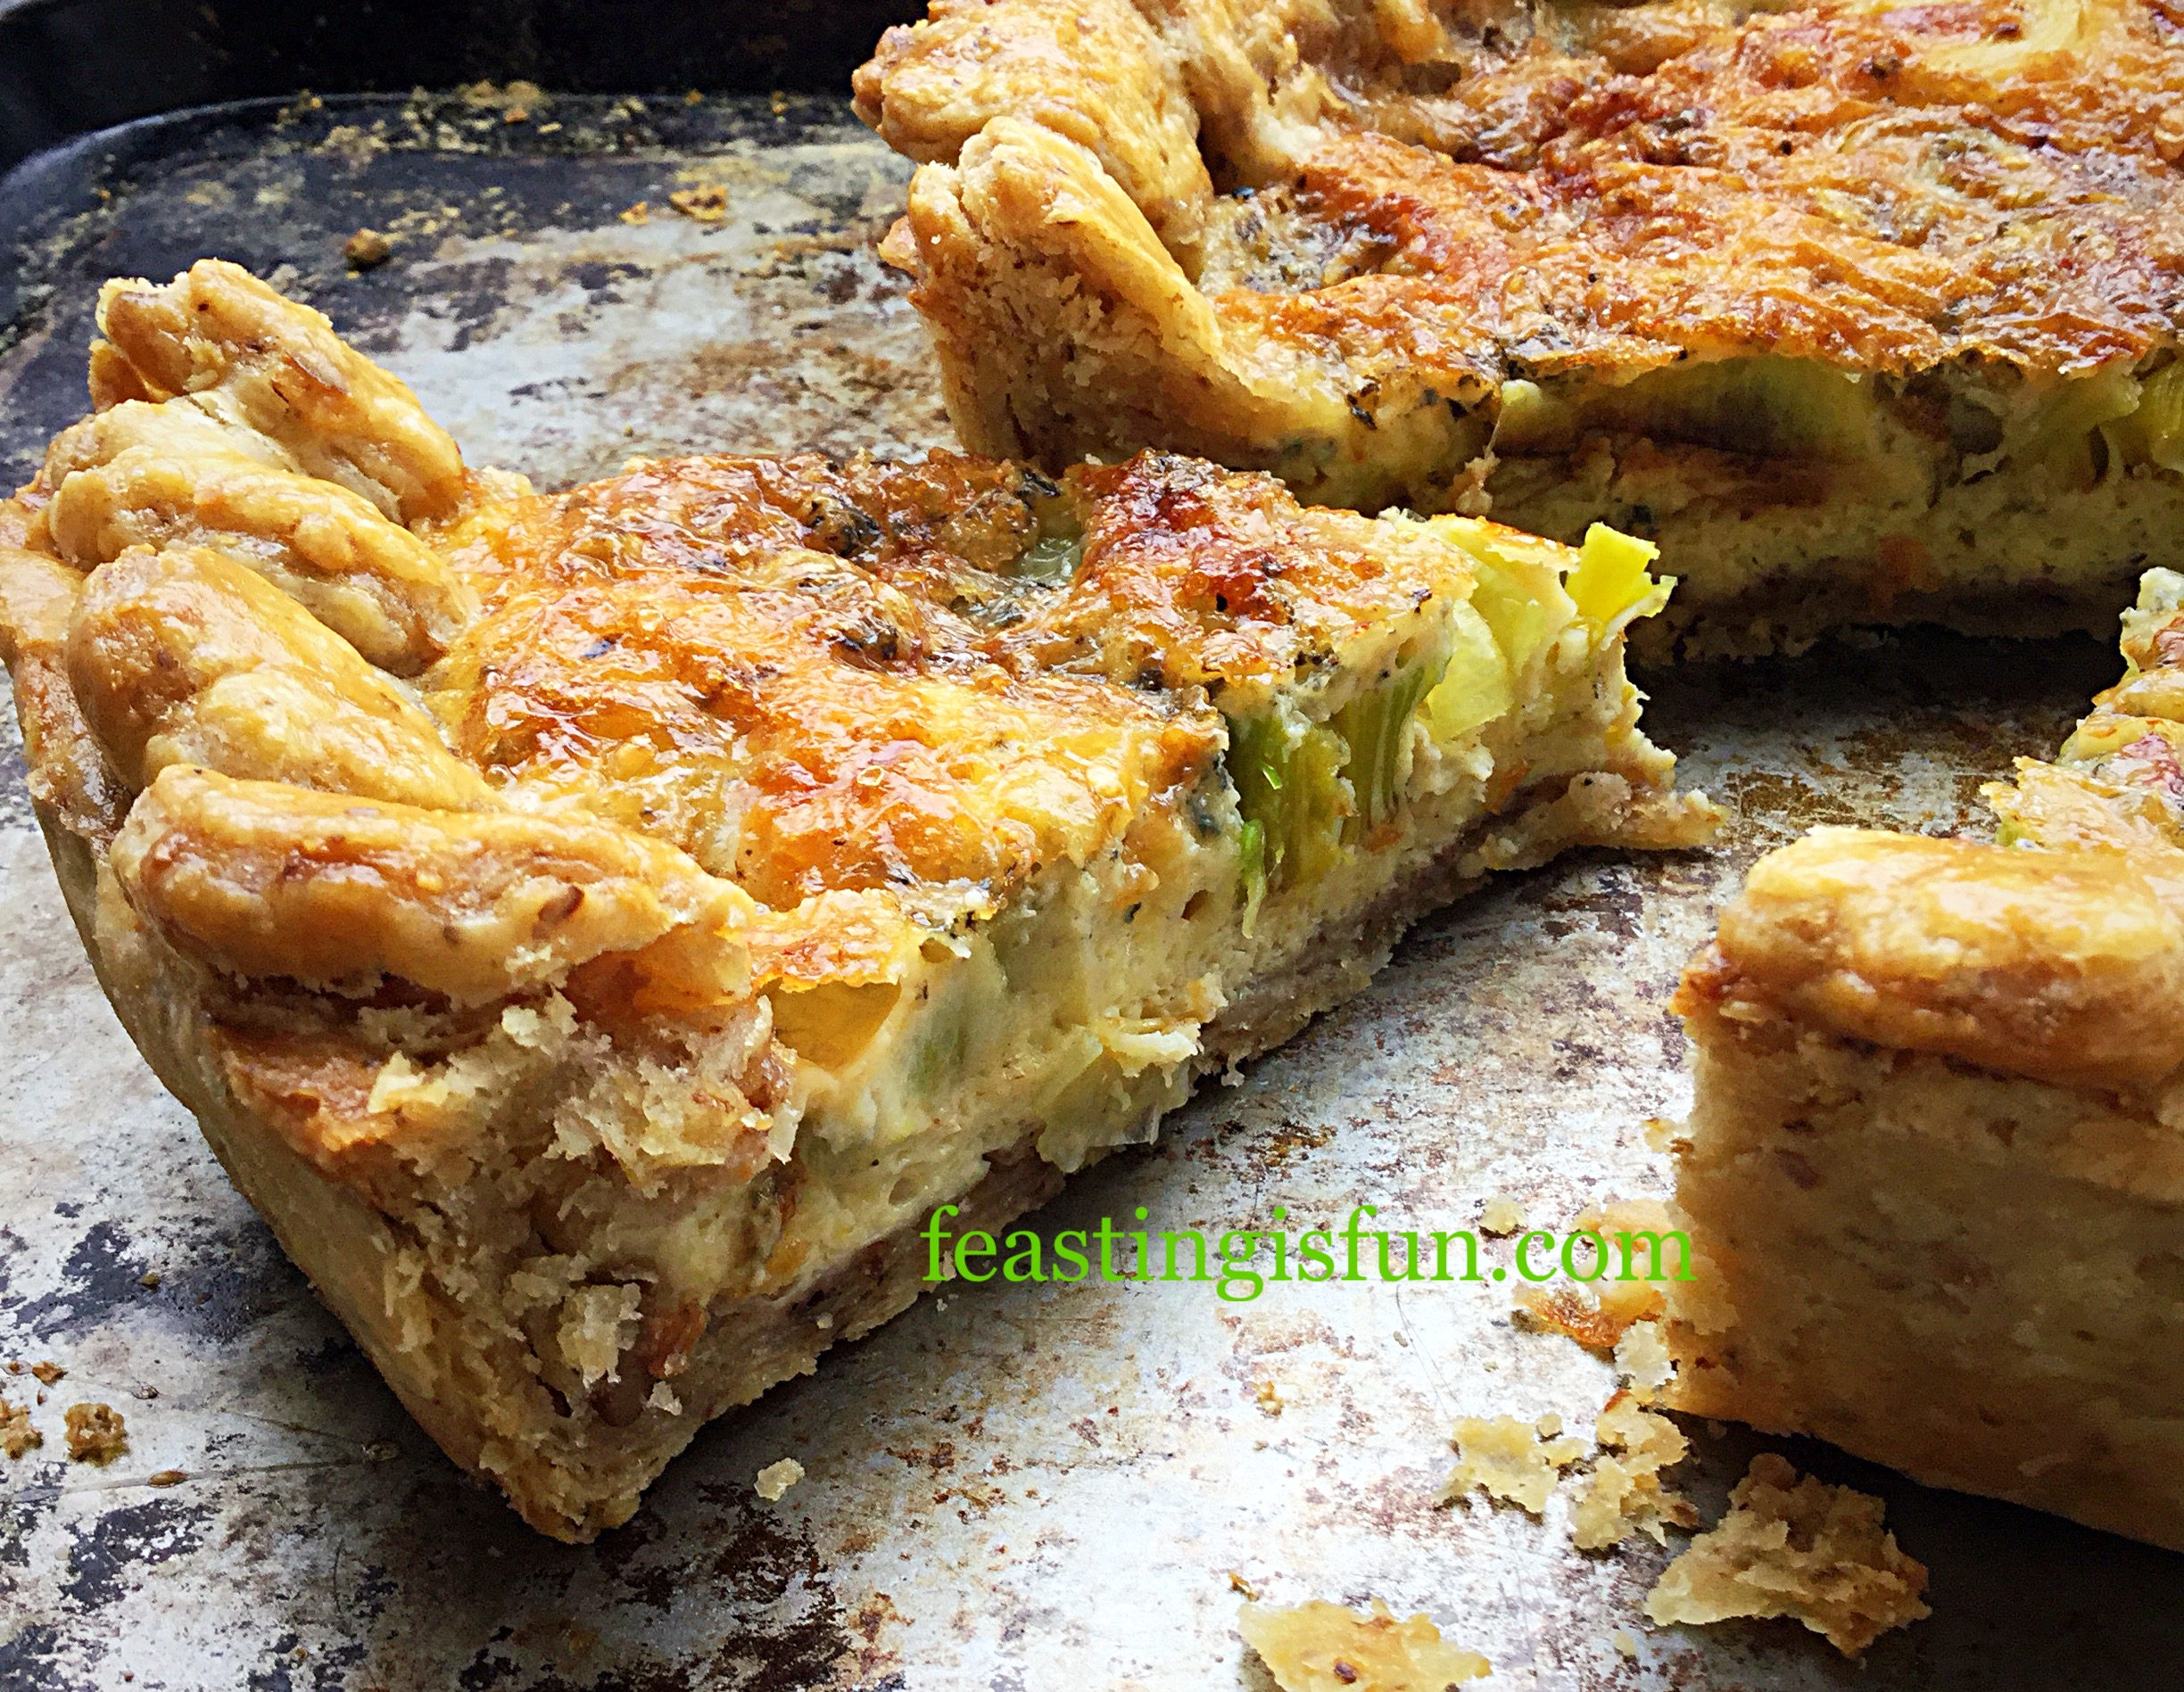
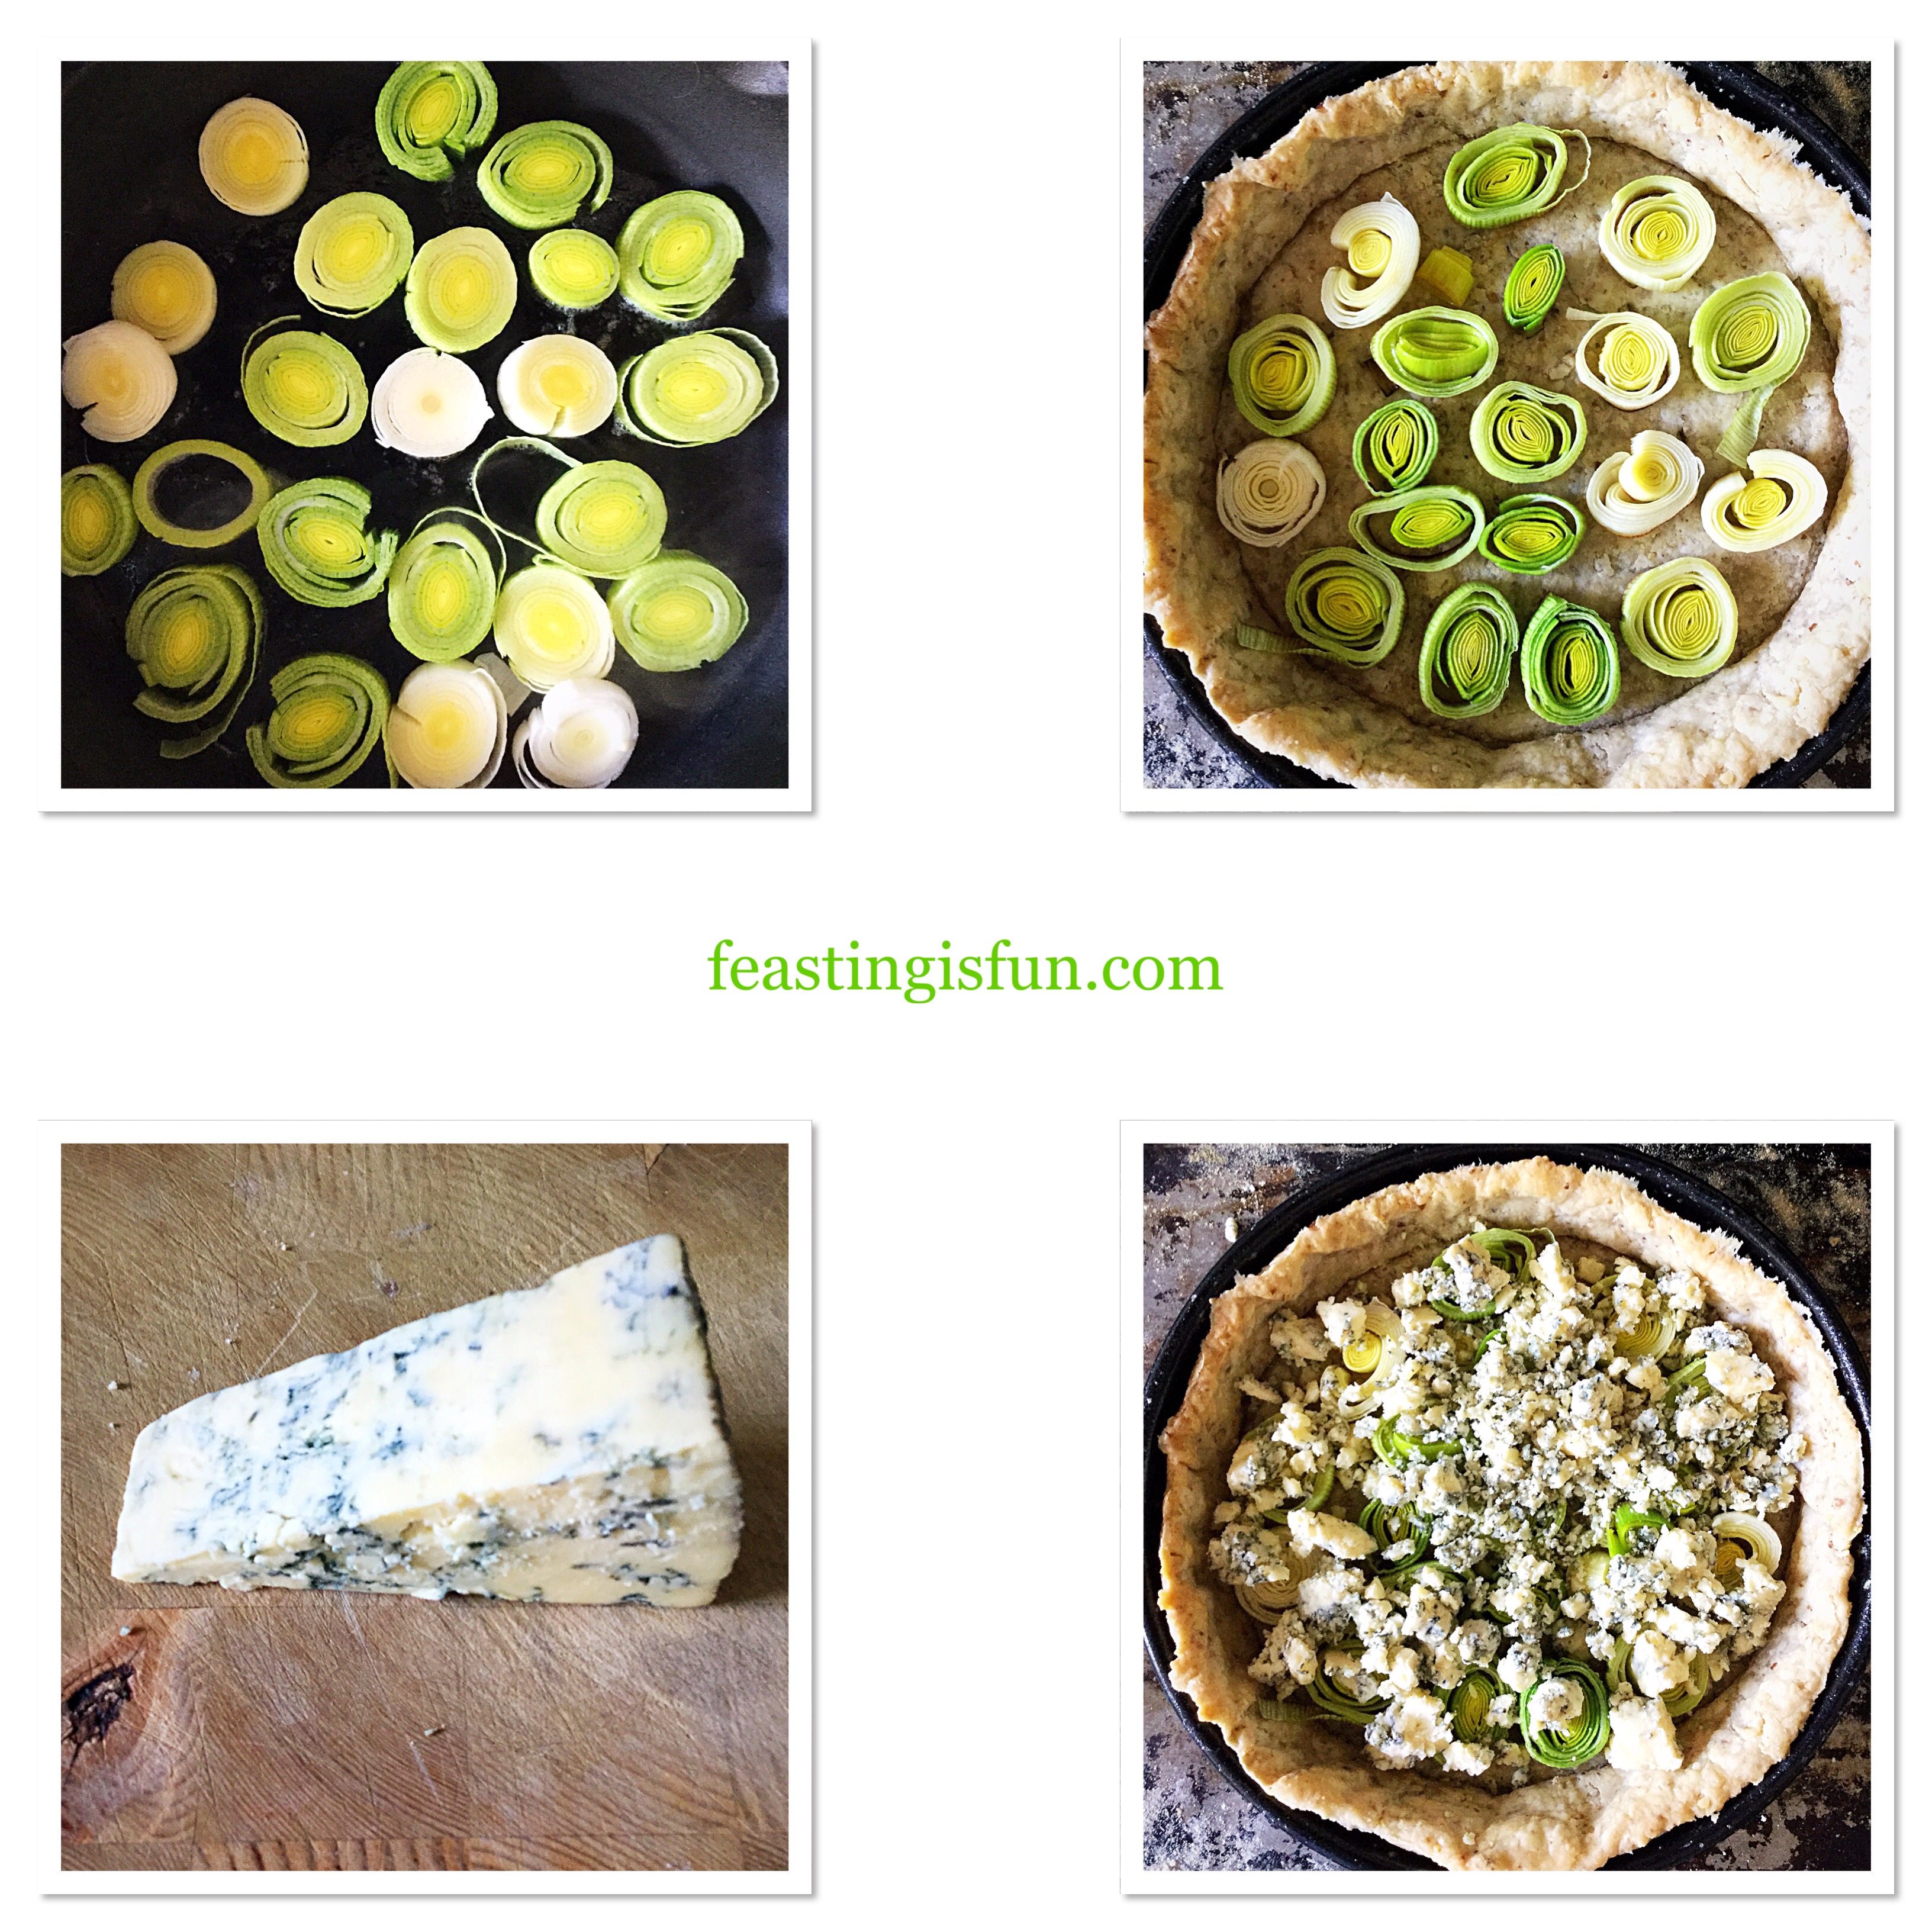
Walnut Pastry Crust Leek Stilton Tart

Cheddar Cheese Thyme Soft Breadsticks

Making pastry and baking during this unusually hot summer may seem like the last thing anyone would want to do. Yet, by mid morning dinner is made. I quite often make my Tangy Lemon Potato Salad at the same time, as it’s absolutely delicious, fridge cold, served alongside with a salad. Also when using the tasty Wigmore Cheese, this recipe only uses half a wheel, leaving plenty for you to enjoy with apples, crackers and a cold glass of wine on a Summer’s evening.
Whatever you are making, baking and creating in your kitchens, have fun preparing and sharing your feast.
Sammie xx
Village Maid Cheese sent me the Wigmore Cheese to try. All opinions and content are my own and I was not paid to write this post. No part of this post may be reproduced or duplicated without the written permission of the owner. Please see my Disclosure Policy.
Share