As a family we eat a fairly balanced diet, with lots of fruit and vegetables and the occasional takeaway. Because balance is everything, in life, as it is in cooking and eating. While I cook most of our meals from scratch I’m also realistic. So in our freezer there is usually a bag of oven chips, frozen peas and some good quality sausages. Occasionally though it’s treat time and my Maple Drizzled Apple Blueberry Loaf Cake is not only delicious it’s also packed full of fresh fruit.

To be clear, I am not advocating that this cake is a ‘health food’. Rather, that anything homemade firstly, has to be better than a mass produced, long shelf life product and secondly, while cooking and baking, we become more aware of the ingredients that go into our food.
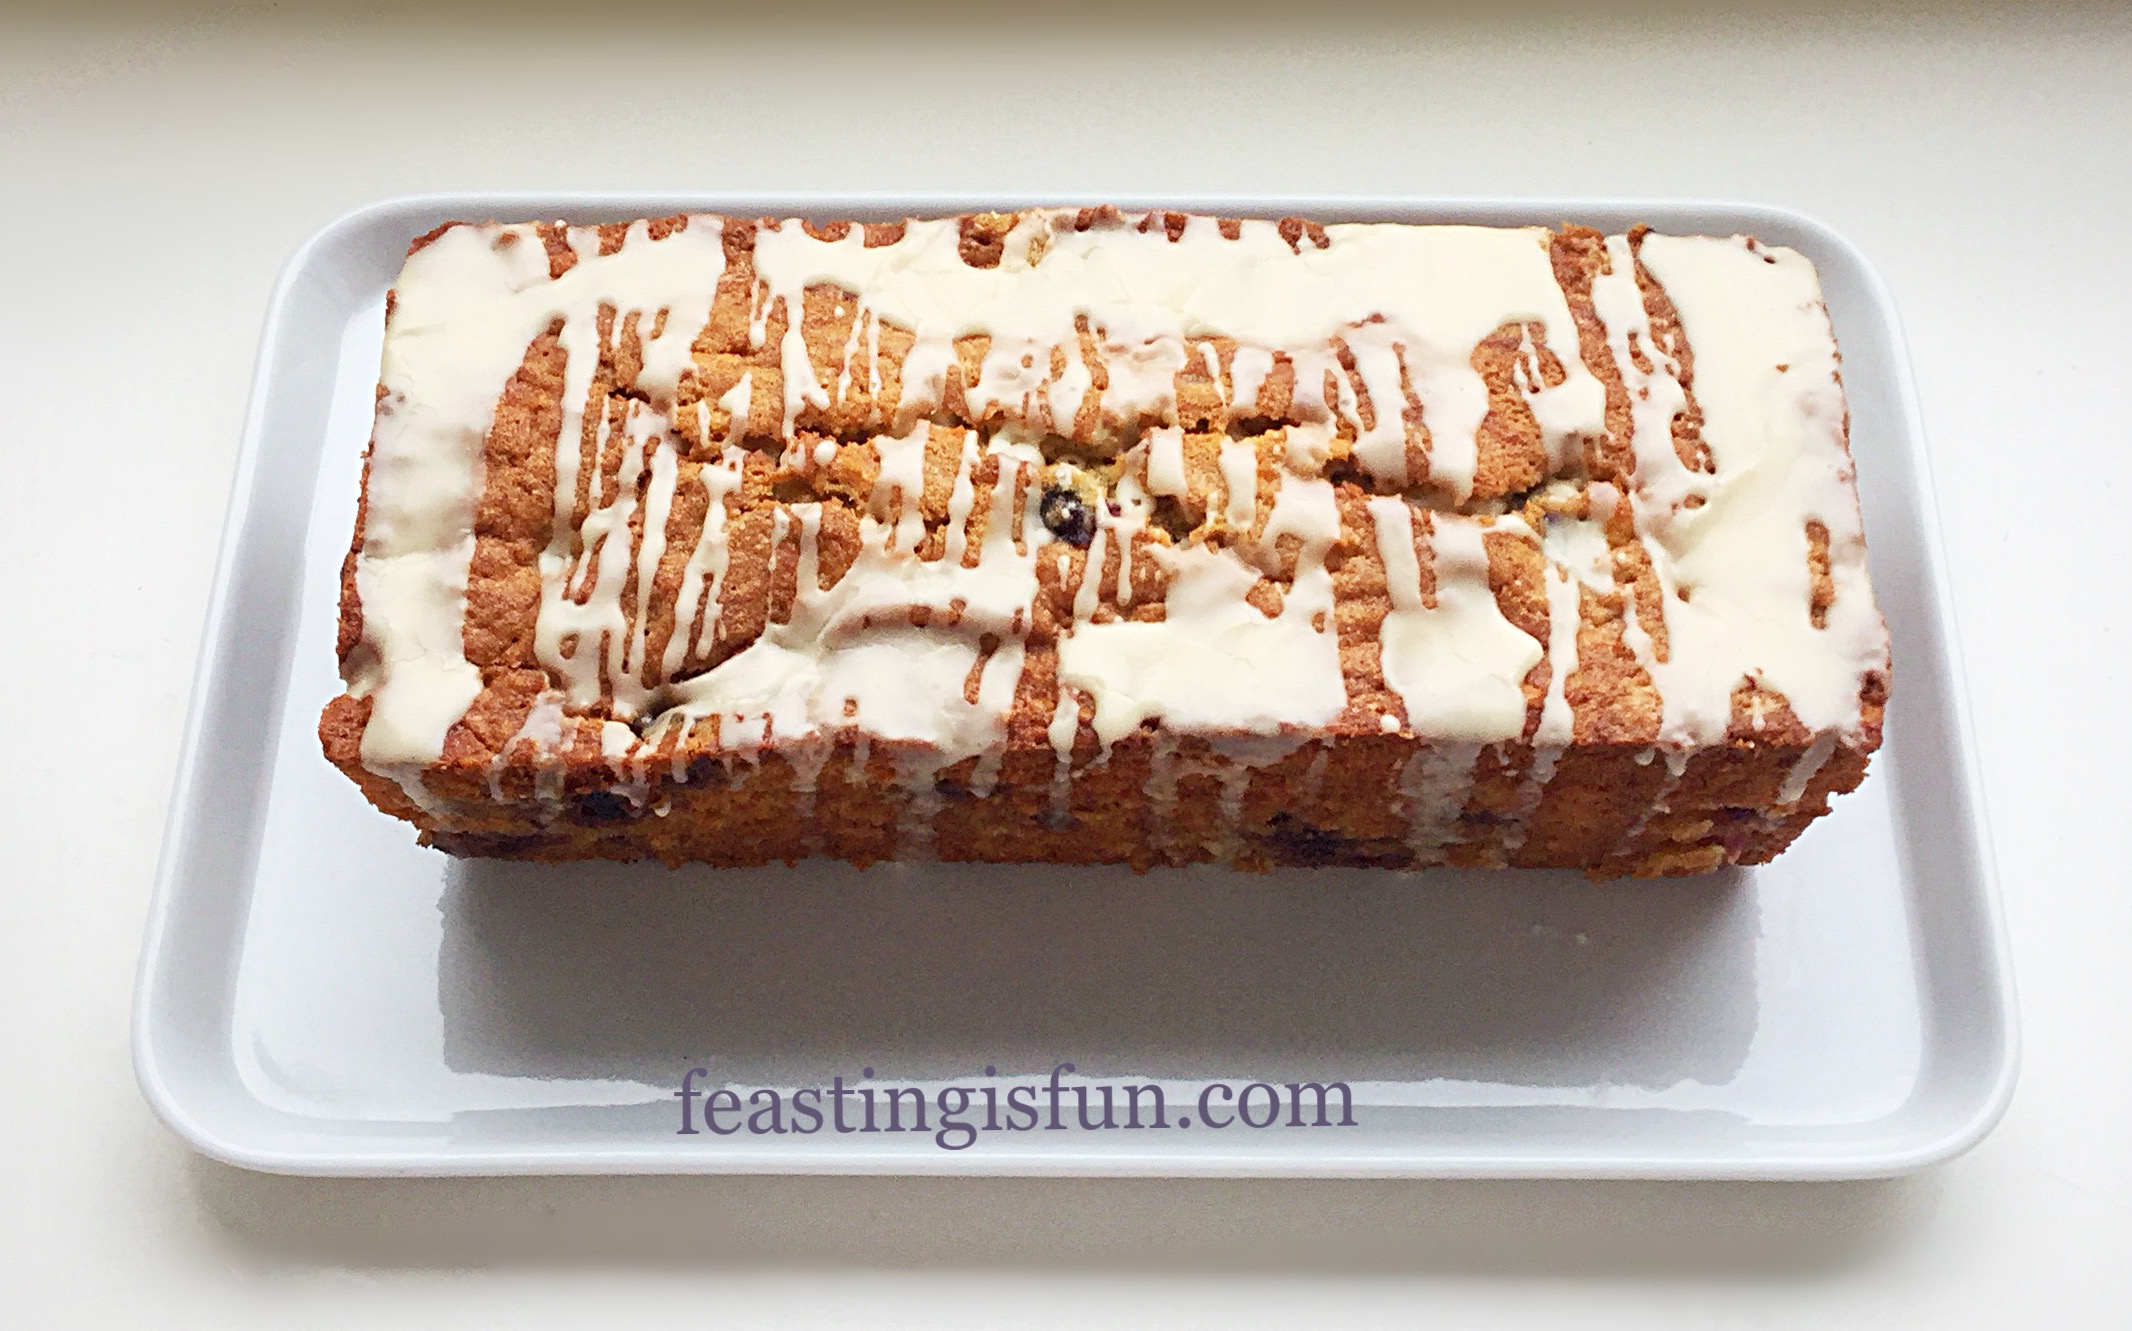
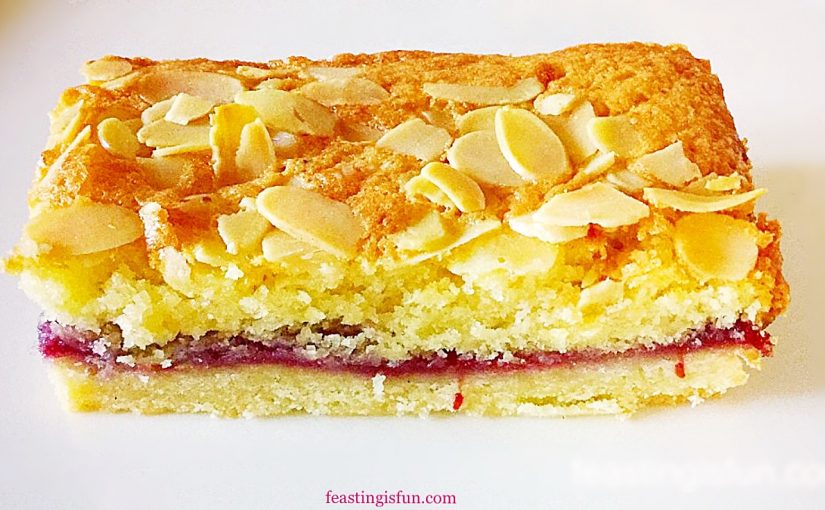
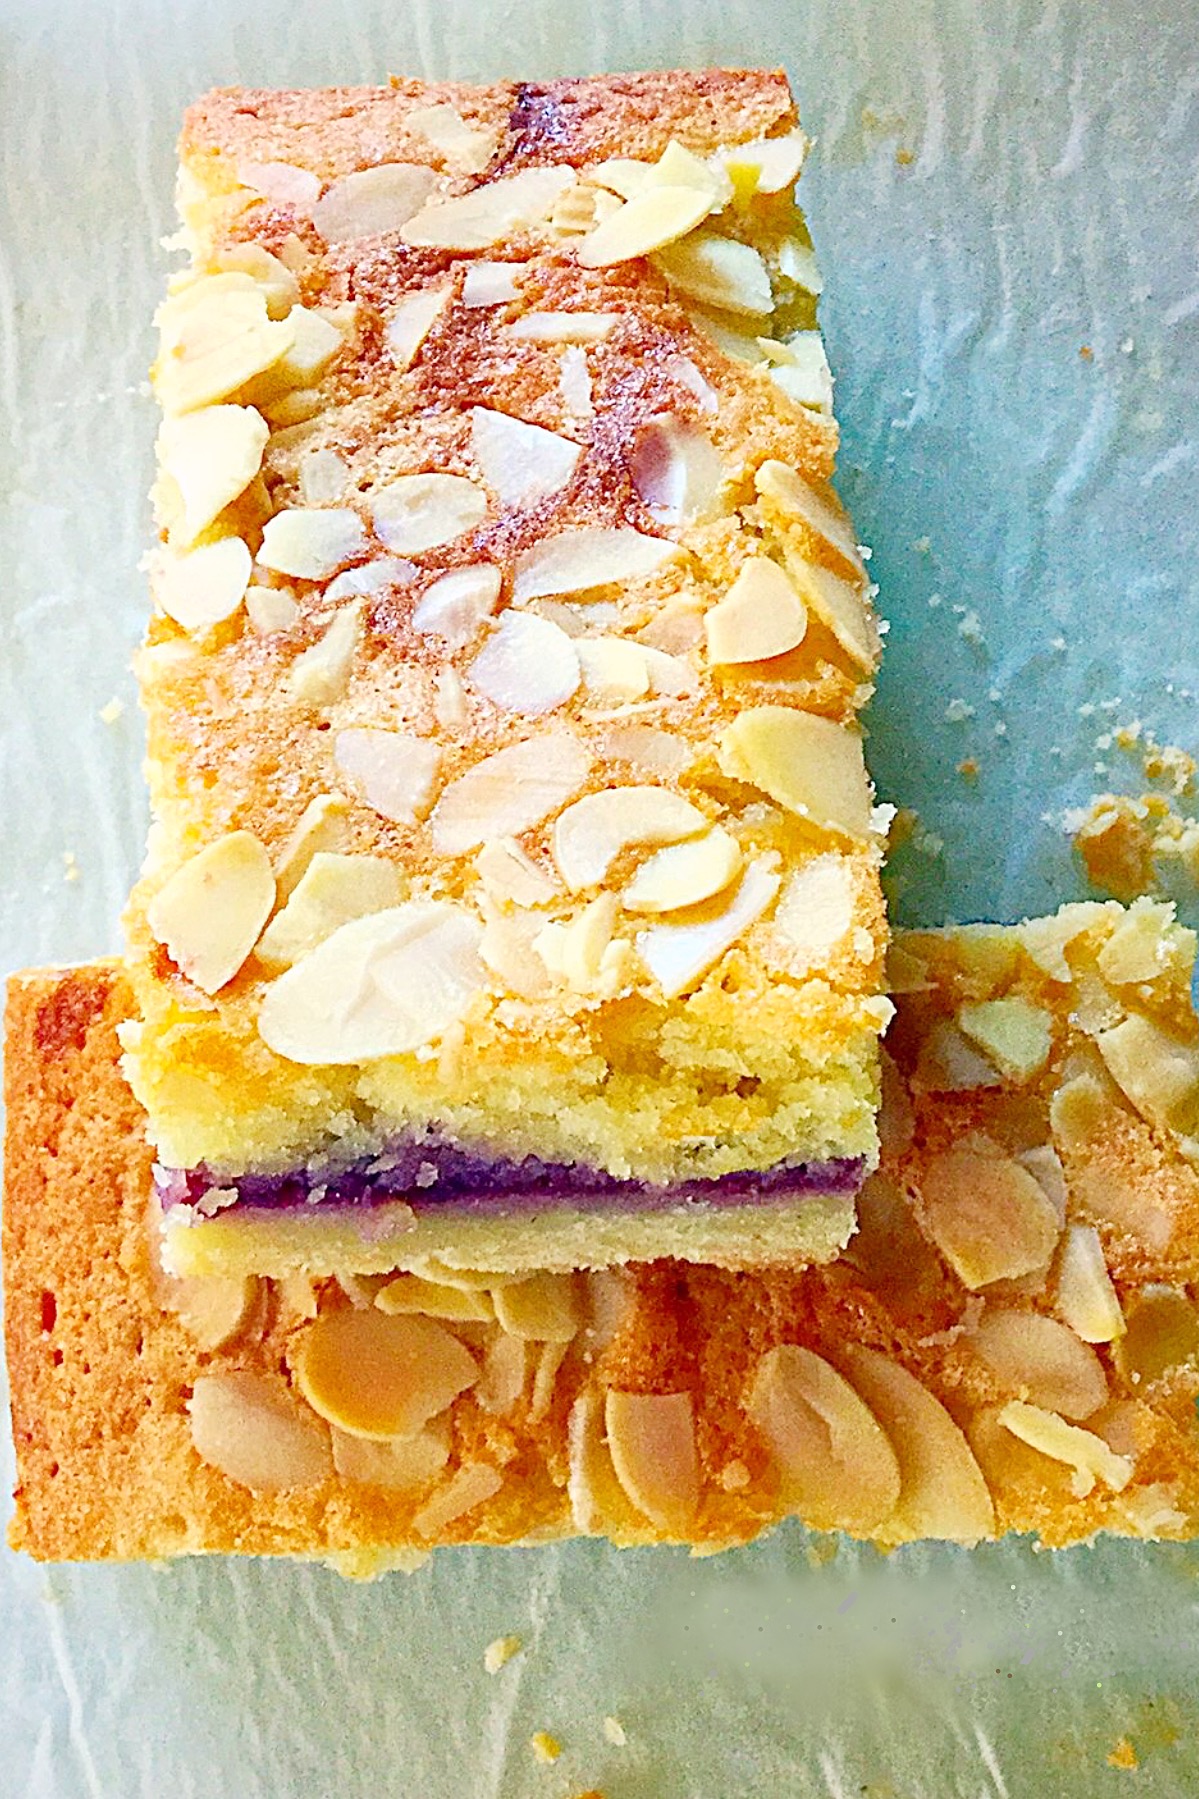
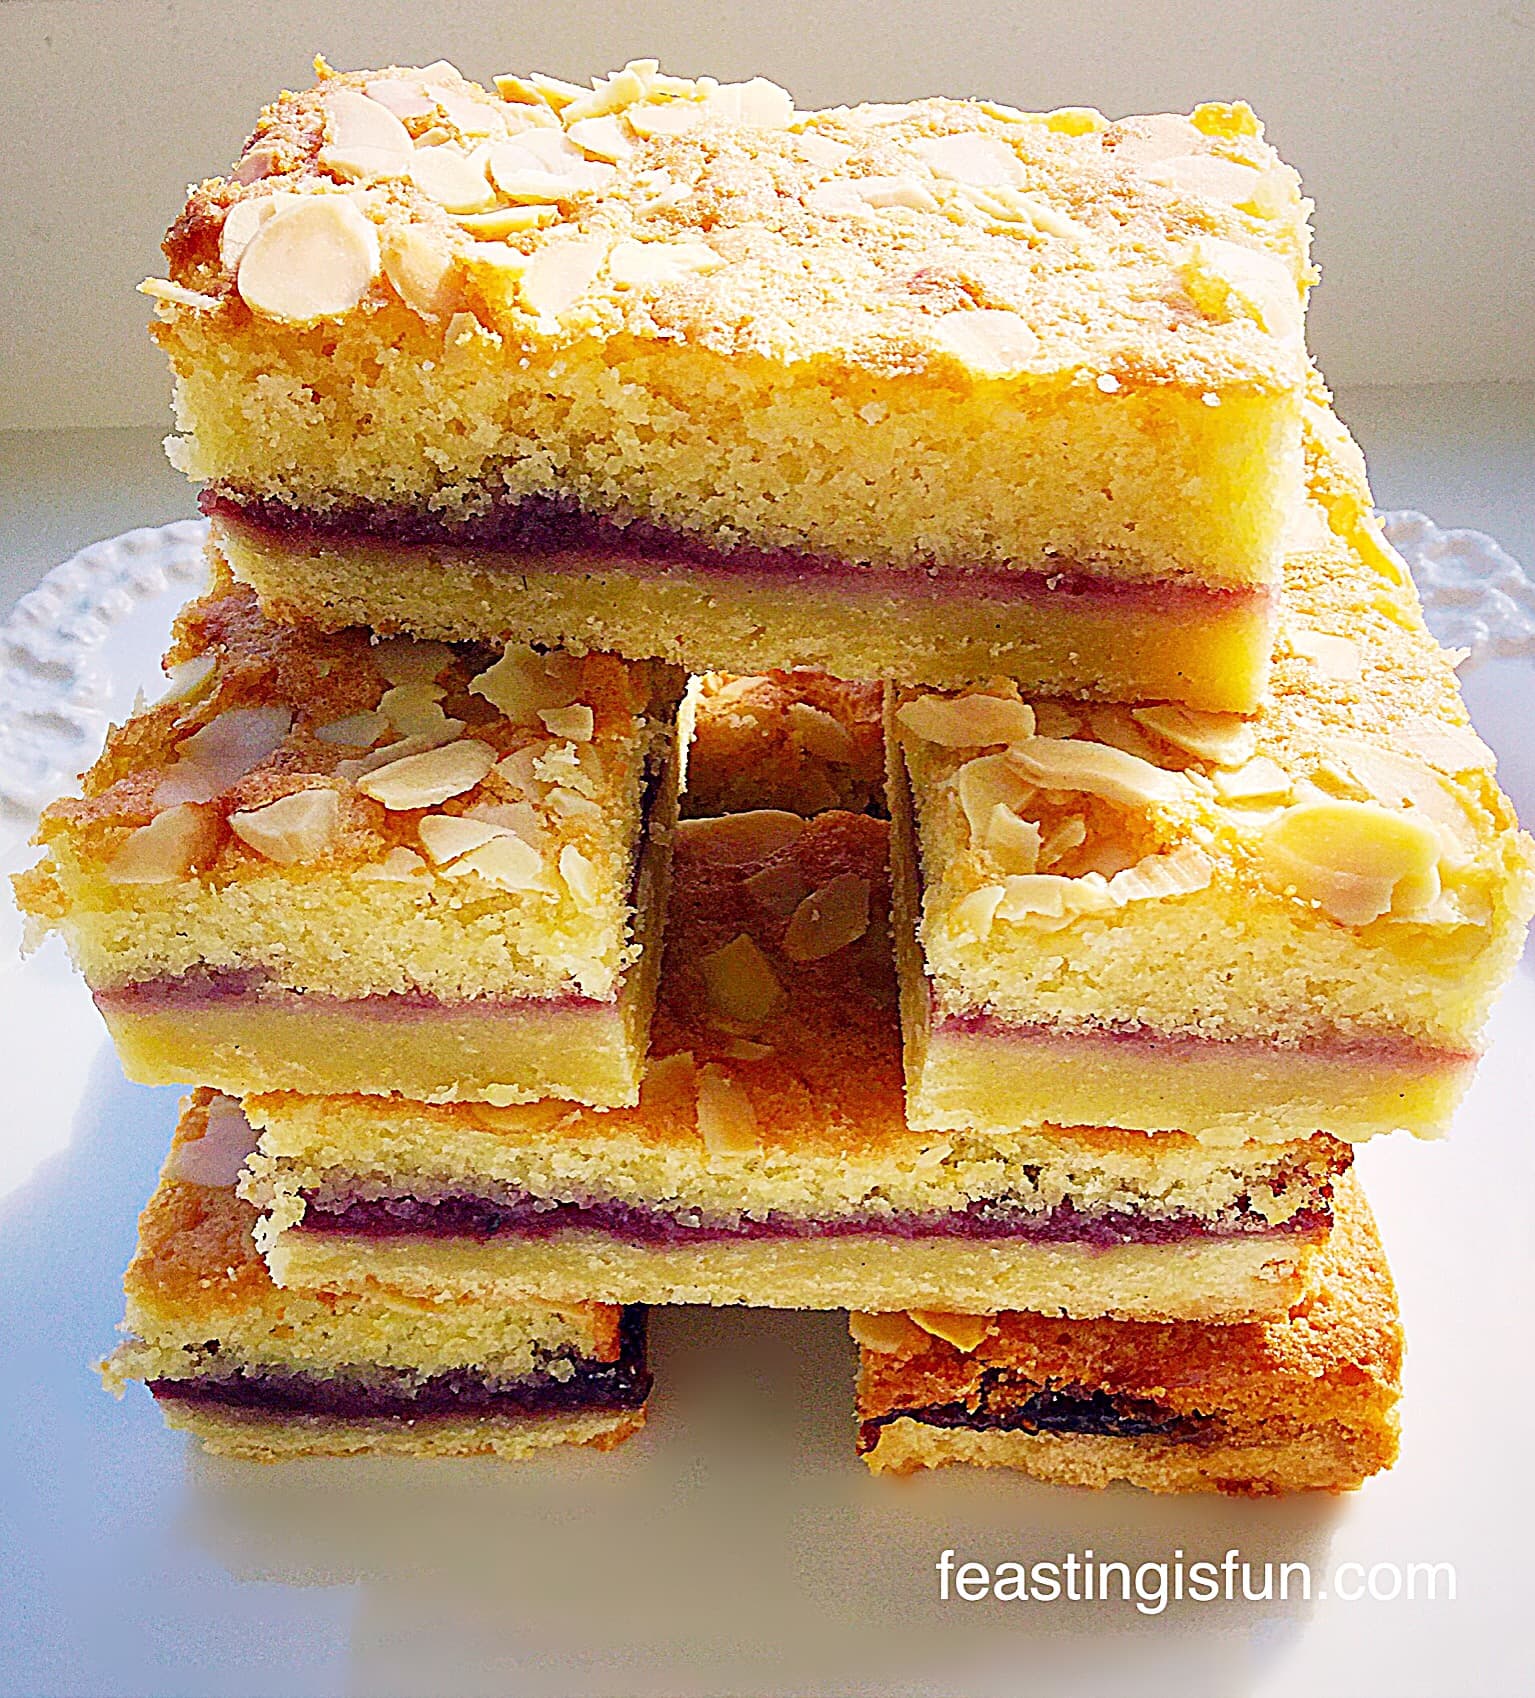
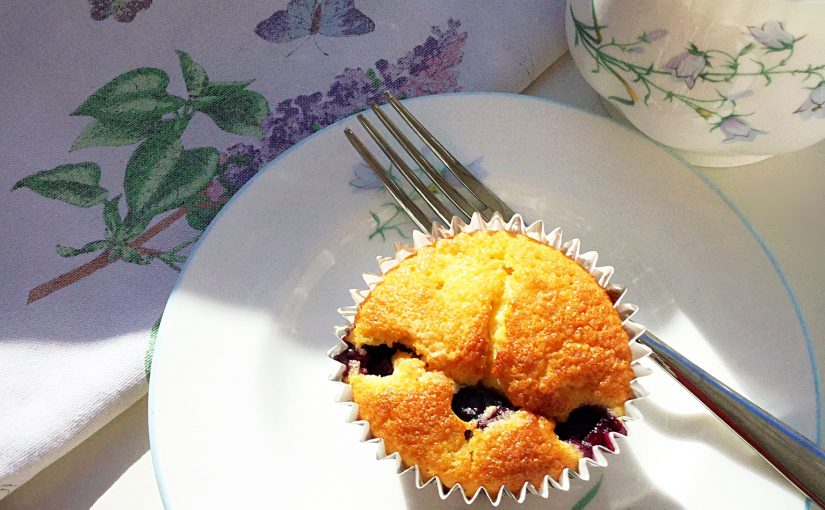
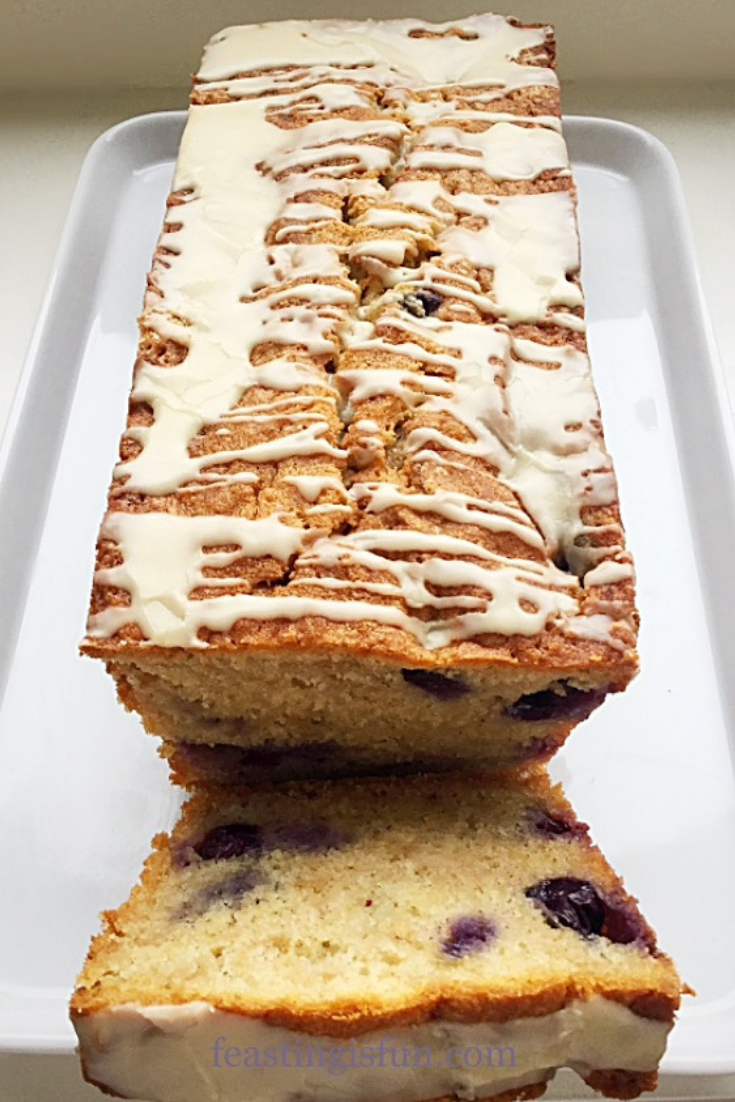
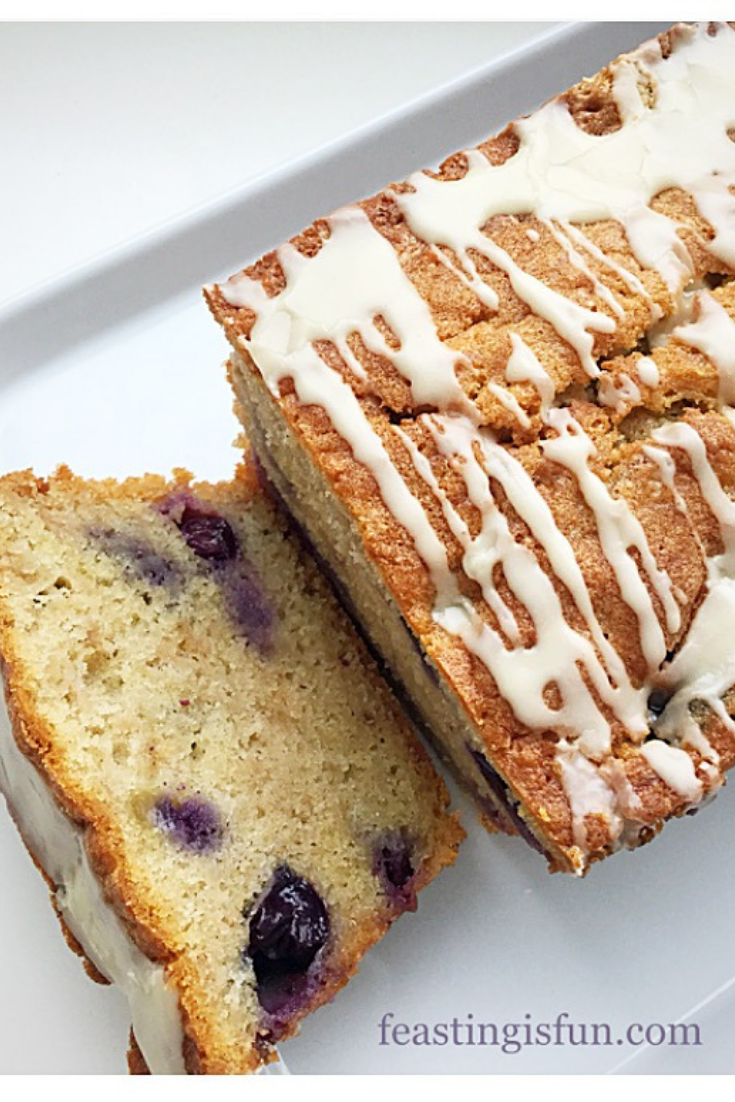
Because there is a large portion of fruit packed into this cake, it is extremely and deliciously moist. Ideal for slicing, wrapping and adding to a packed lunch. Yet equally enticing, shared with friends or neighbours over a mid morning cup of coffee. Since all food tastes better when shared, why not bake this cake and take it with you to work? Sharing does not have to be confined to our homes!
A quick note before making this cake: similar to Maple Syrup Frosted Apple Cupcakes, the cake batter is made before grating and adding the apple. Because a sweeter variety works best, unlike Granny Smith’s which are more acidic, this helps to ensure the apple browns as little as possible. Also, the skins are left on the apple quarters whilst grating.
Recipe: Maple Drizzled Apple Blueberry Loaf Cake serves 8
175g/6oz Unsalted Butter softened
150g/5oz Caster Sugar
1/8tsp Salt – I use Maldon
50g/2.5tbsp Maple Syrup I use – Pure Maple
1tsp Vanilla Extract I use – Nielsen-Massey
3 Large Free Range Eggs
225g/8oz Plain White Flour
2tsp Baking Powder
1/4tsp Cinnamon
225g/8oz Grated Apple preferably a sweeter variety
125g/4.5oz Blueberries
75g/3oz Icing Sugar
2tbsp Maple Syrup
Method: Preheat the oven to 160C/140C fan, gas mark 3, 315F
First of all grease a 2lb loaf tin, 26cm x 12cm x 7cm (approx. 10″ x 5″ x 3″). Line the base with baking parchment.
Making The Apple And Blueberry Filled Cake Batter
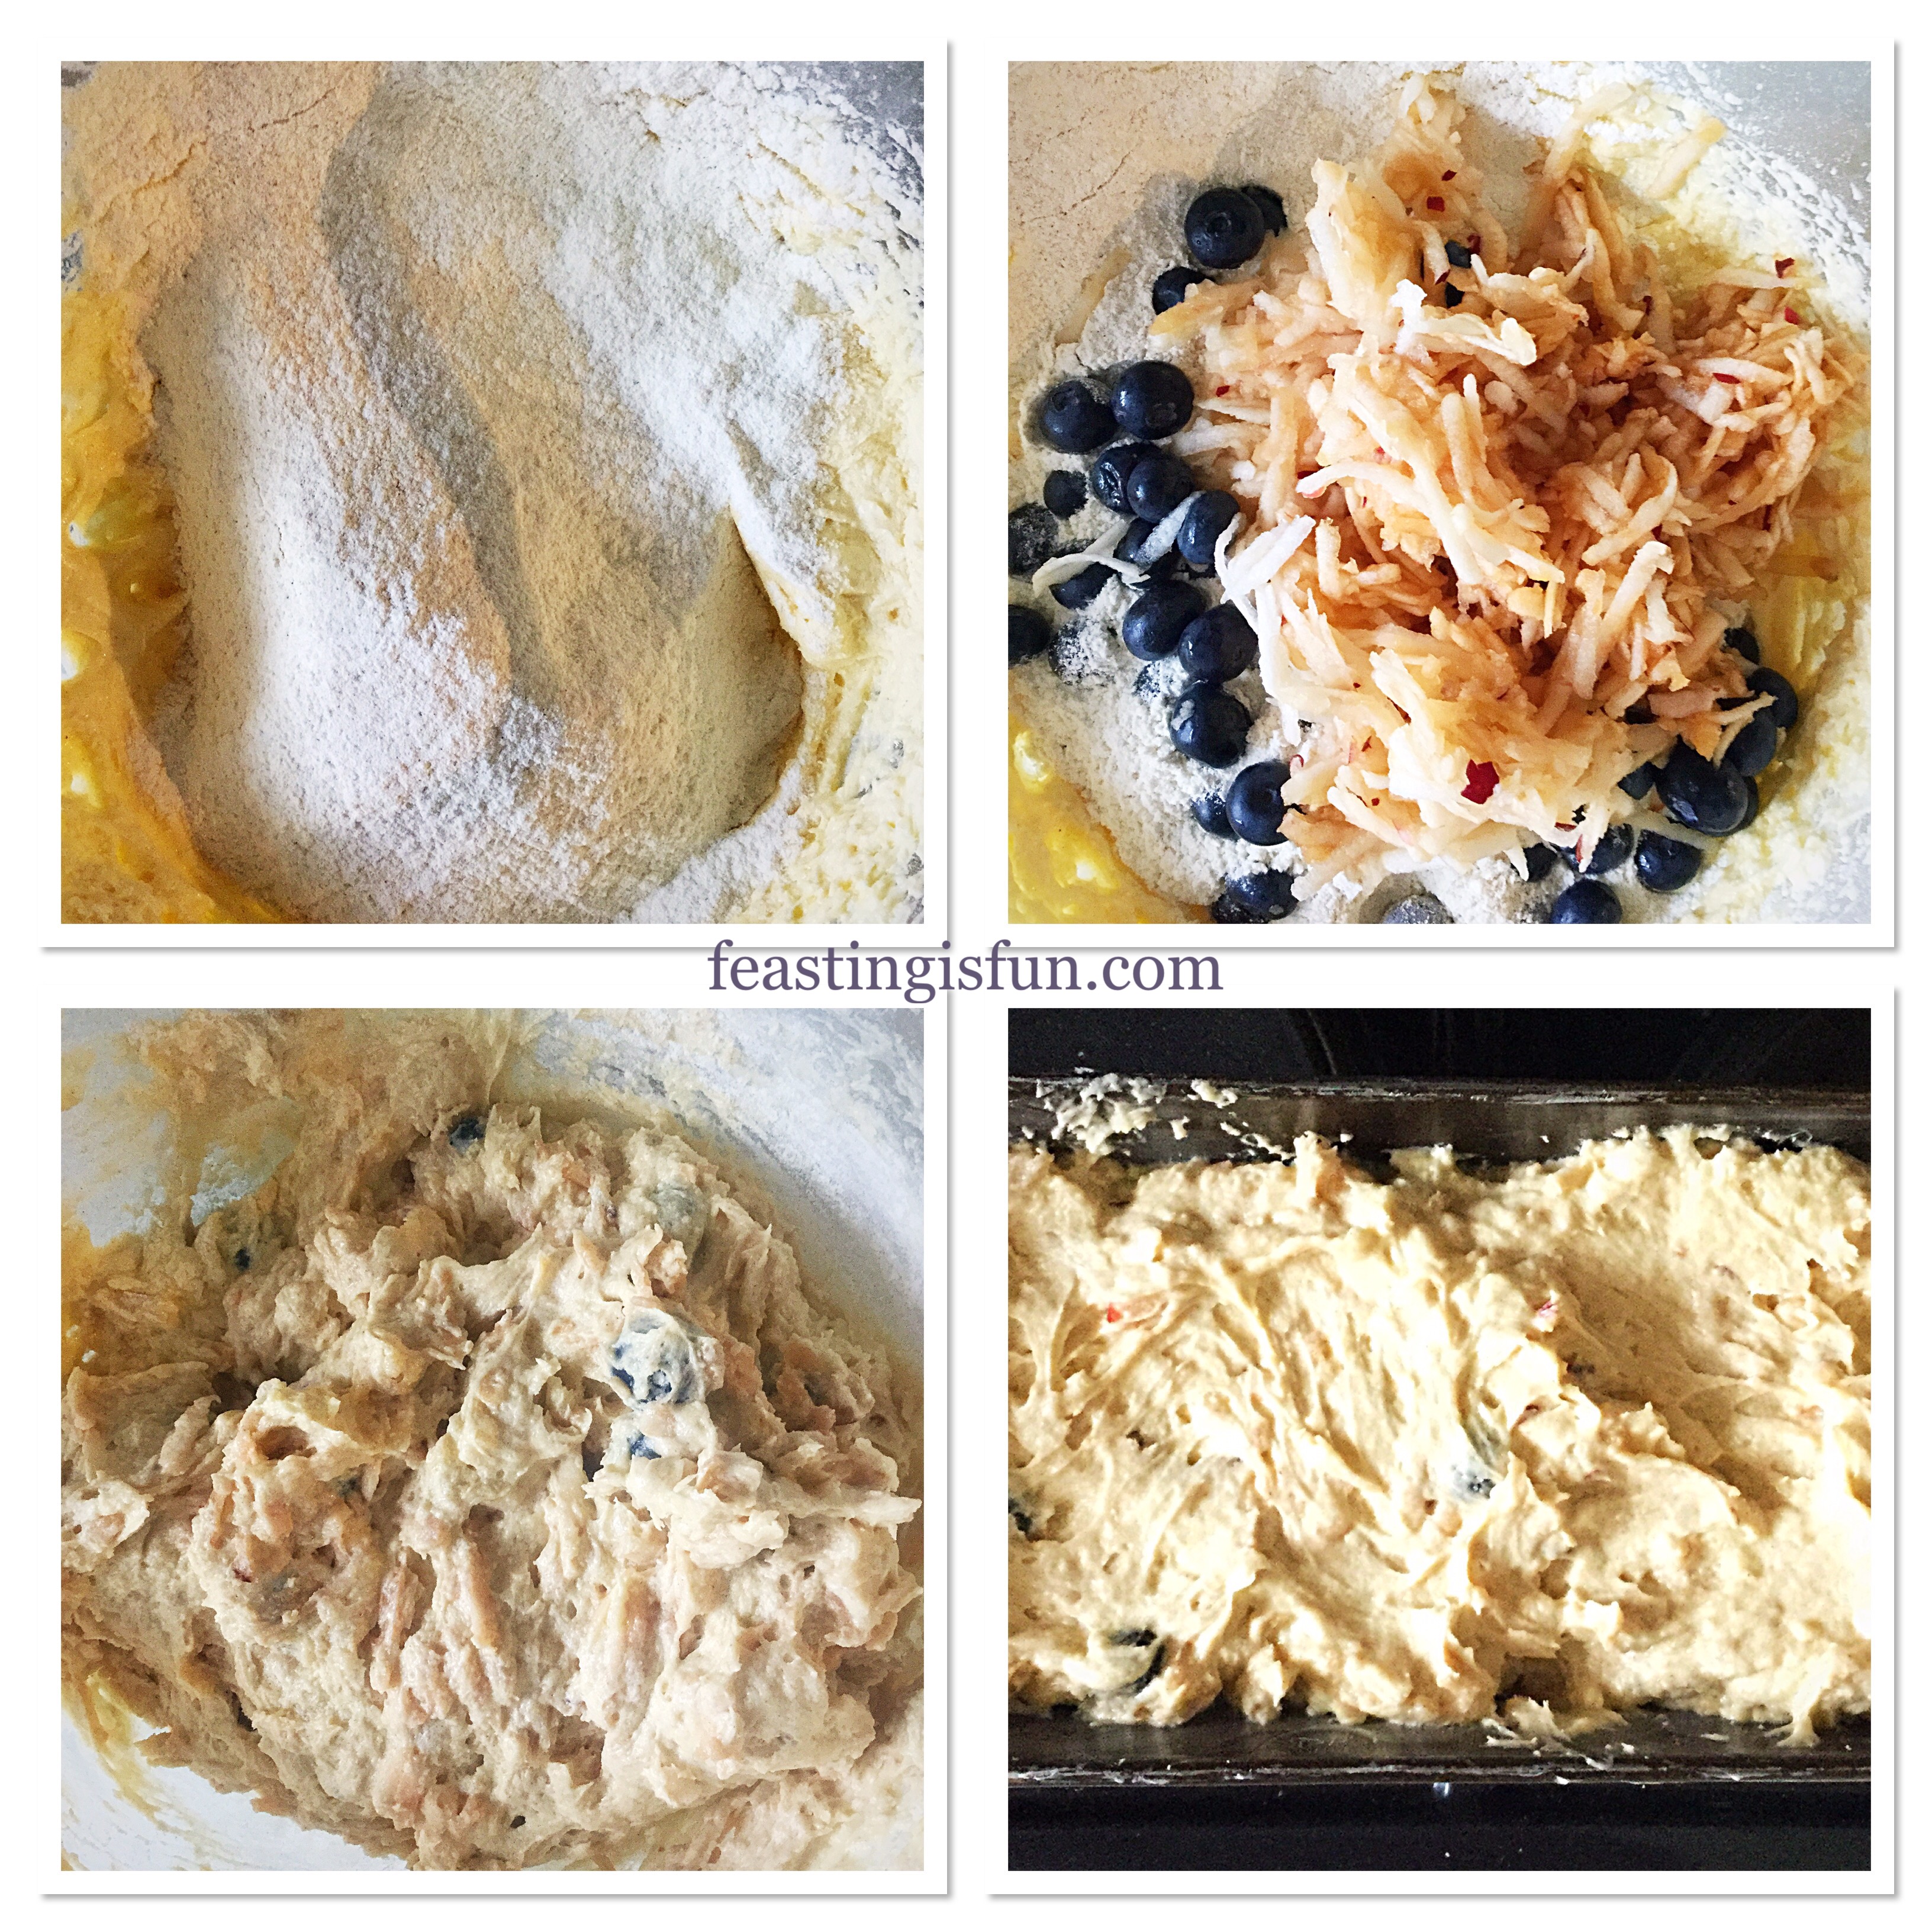
- Into a bowl sift the flour, baking powder, cinnamon and salt – dry ingredients. Set this to one side.
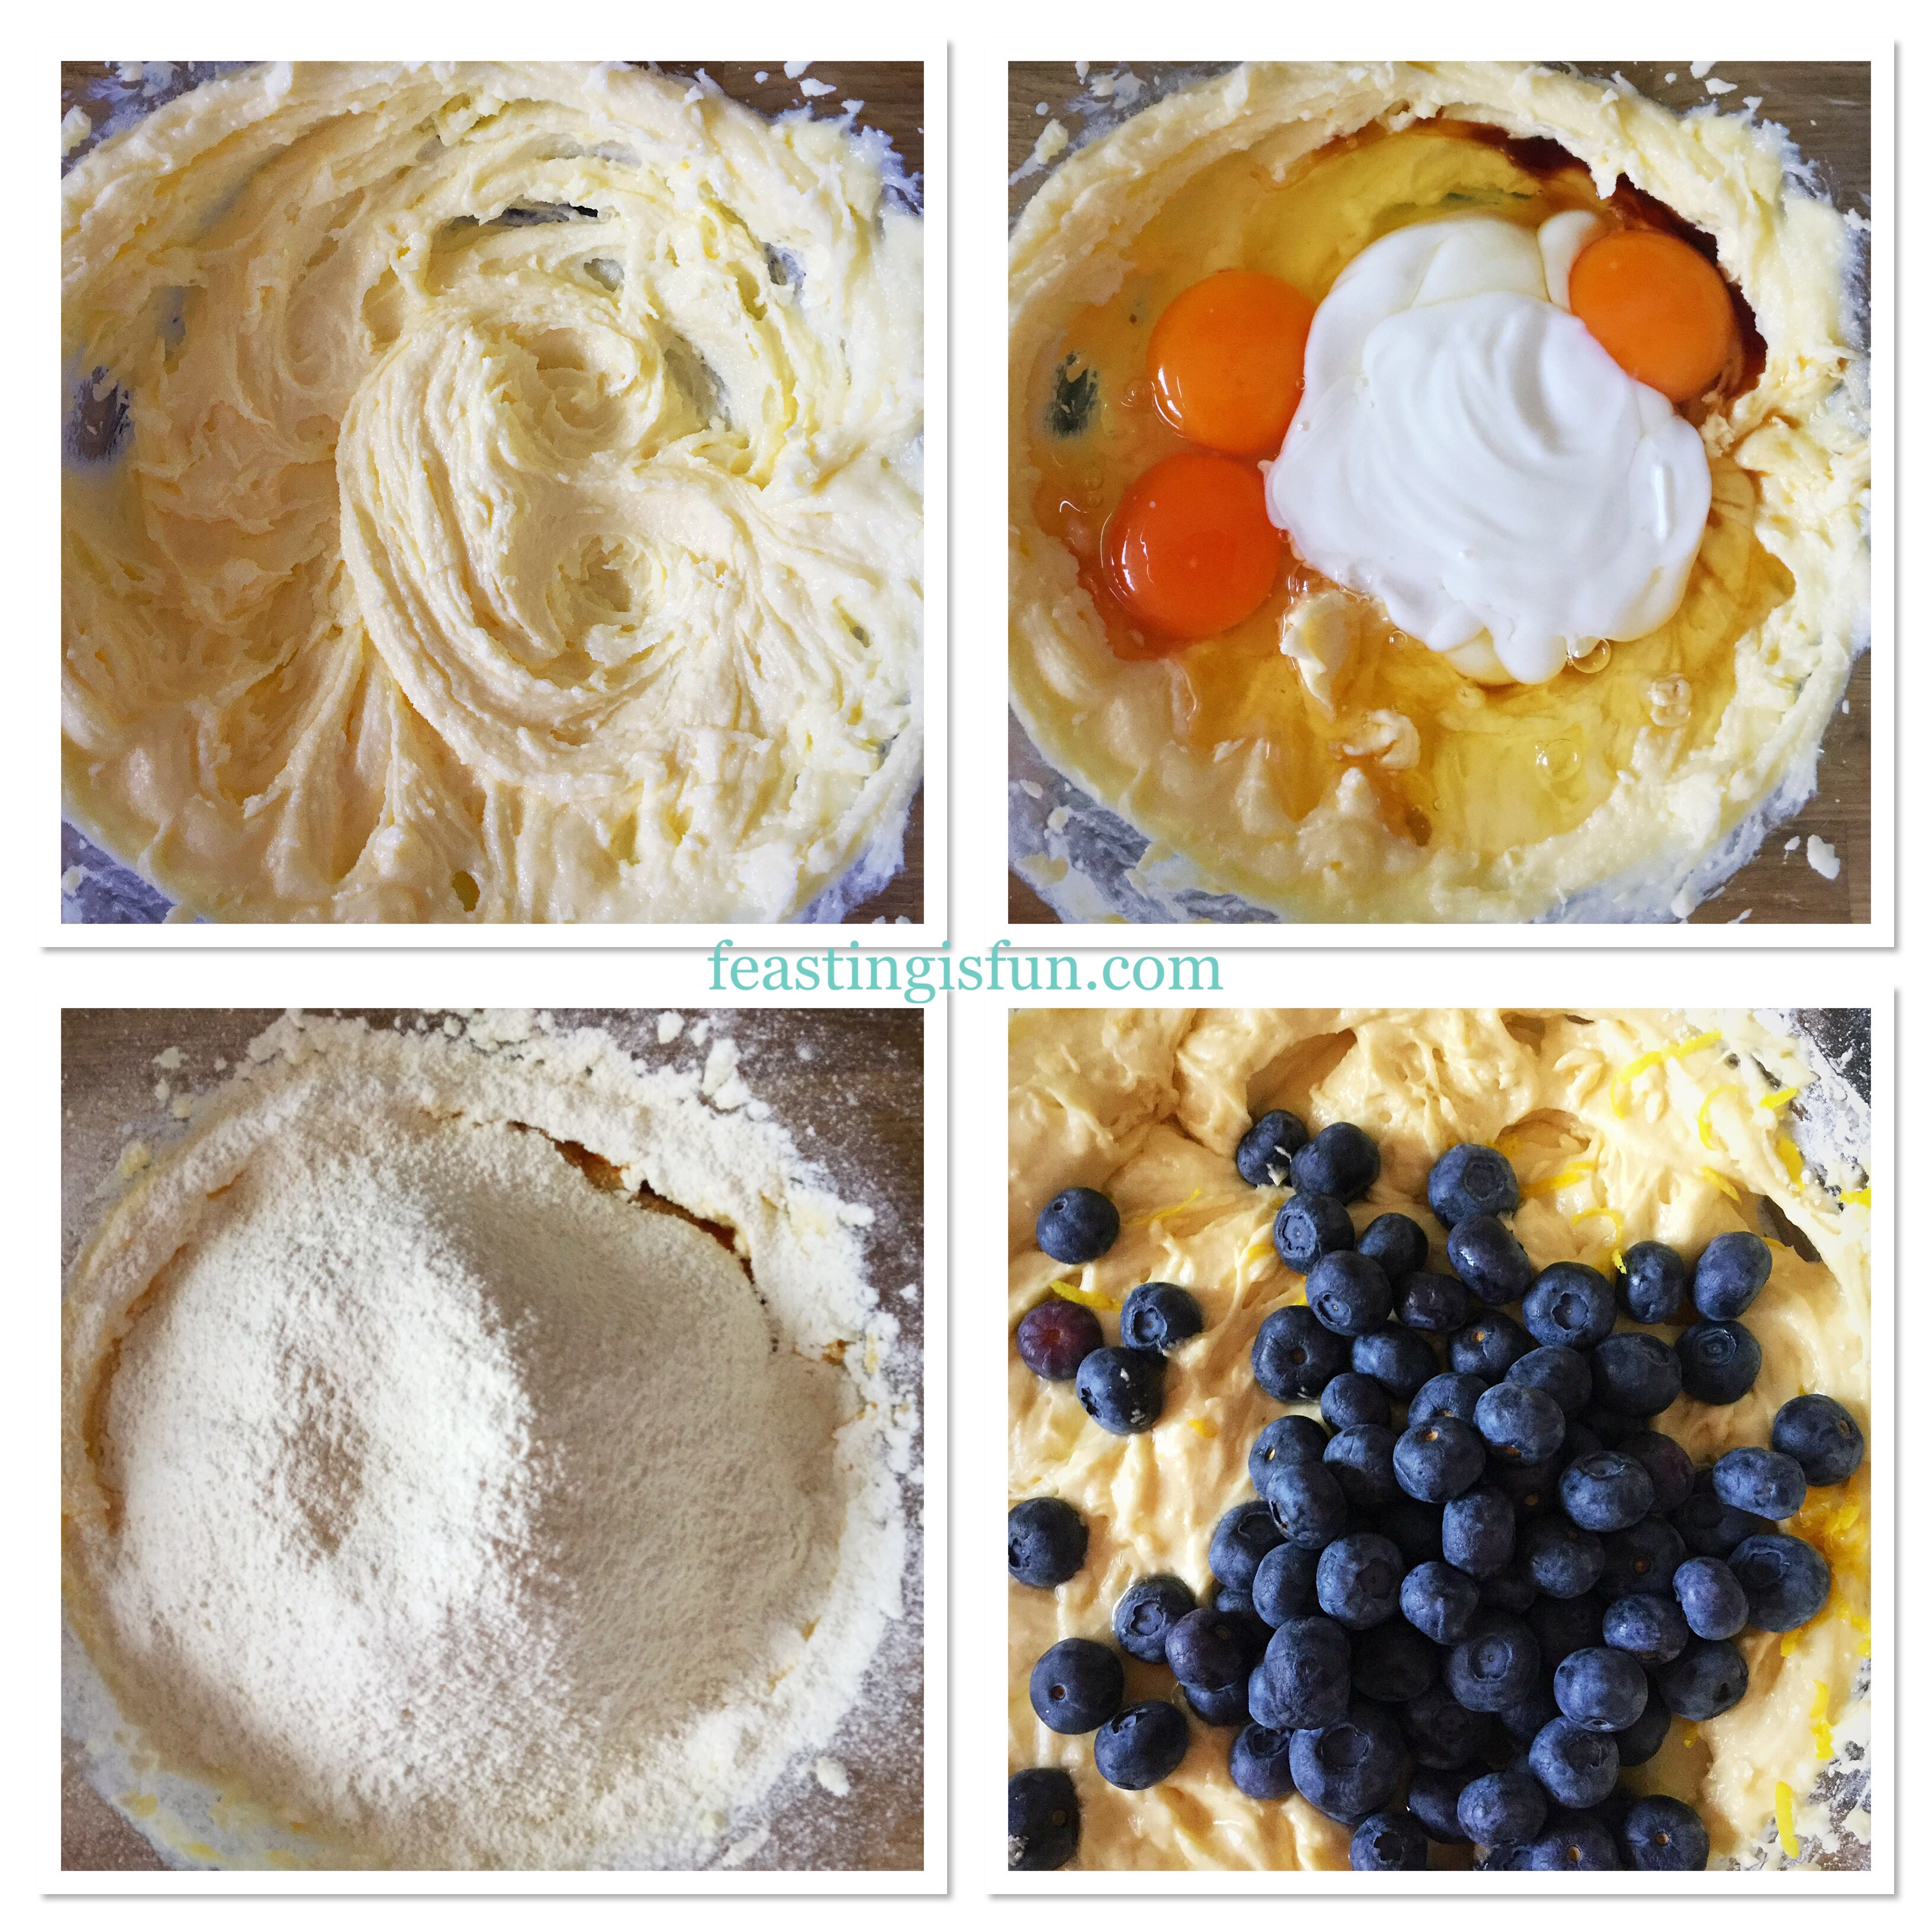
- Next, in a large bowl add the softened butter, caster sugar and 2.5 tablespoons of maple syrup. Beat until pale and creamy. Rub the mixture between your finger and thumb, it should feel smooth. If it feels gritty continue mixing until the sugar is fully combined with the butter.
- Add the vanilla extract and beat to incorporate.
- Now add all 3 eggs and then the sieved, dry ingredients. Gently mix until just combined.
- To grate the apple set a bowl on to digital scales. Cut one apple at a time into quarters, removing the core. Use a box grater and grate the apple, using the coarse grater, until only skin remains. Continue until the whole apple has been grated. Add the grated apple to the bowl on the scales, this will give you an idea of how much each grated apple yields.
- Continue grating the apples, as before, until you have the desired weight.
- Tip the grated apple and whole blueberries into the cake batter.
- Fold the fruit into the batter using a spoon and taking care not to break up the blueberries.
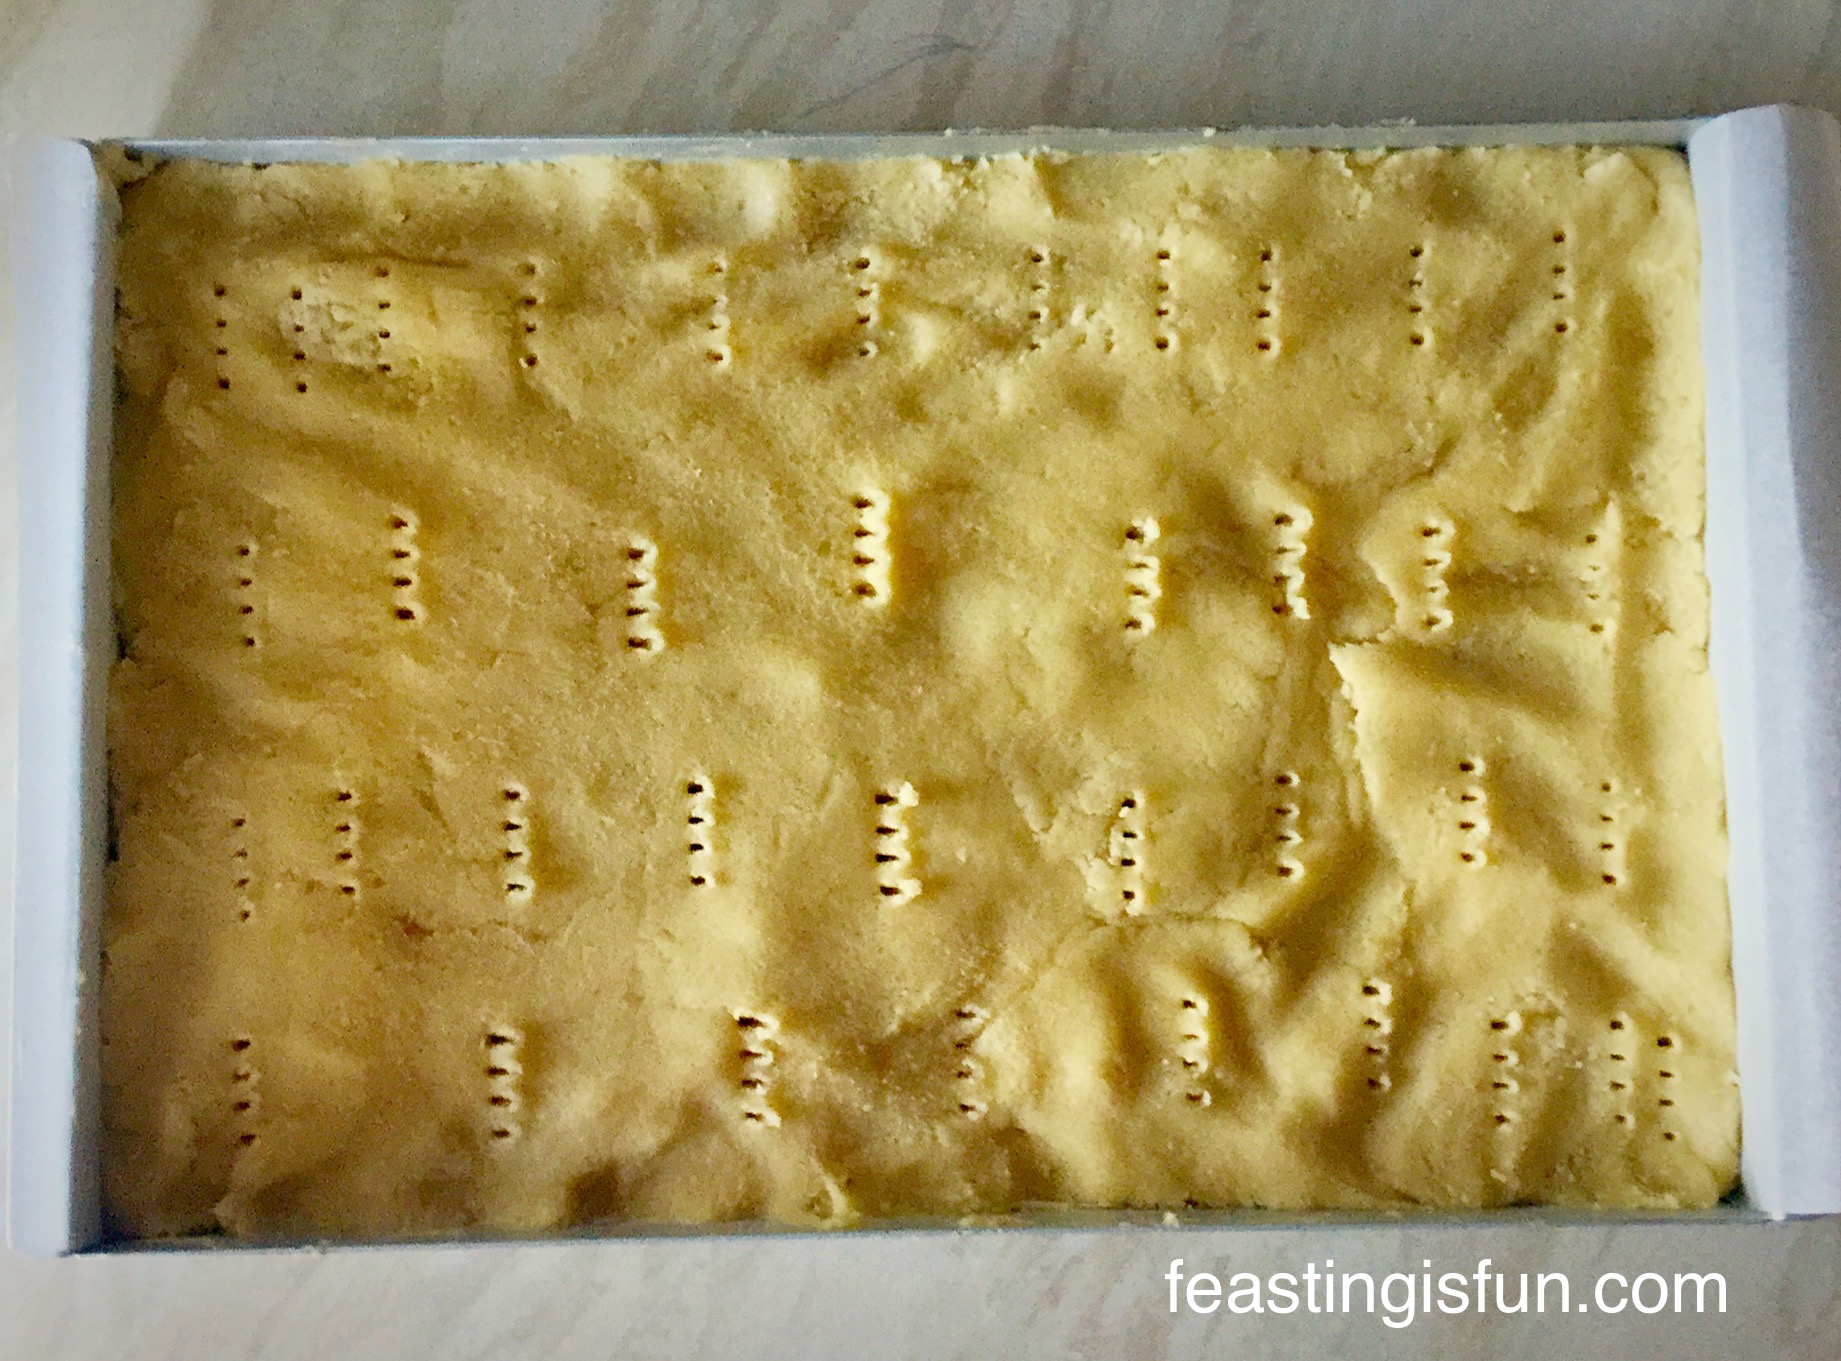
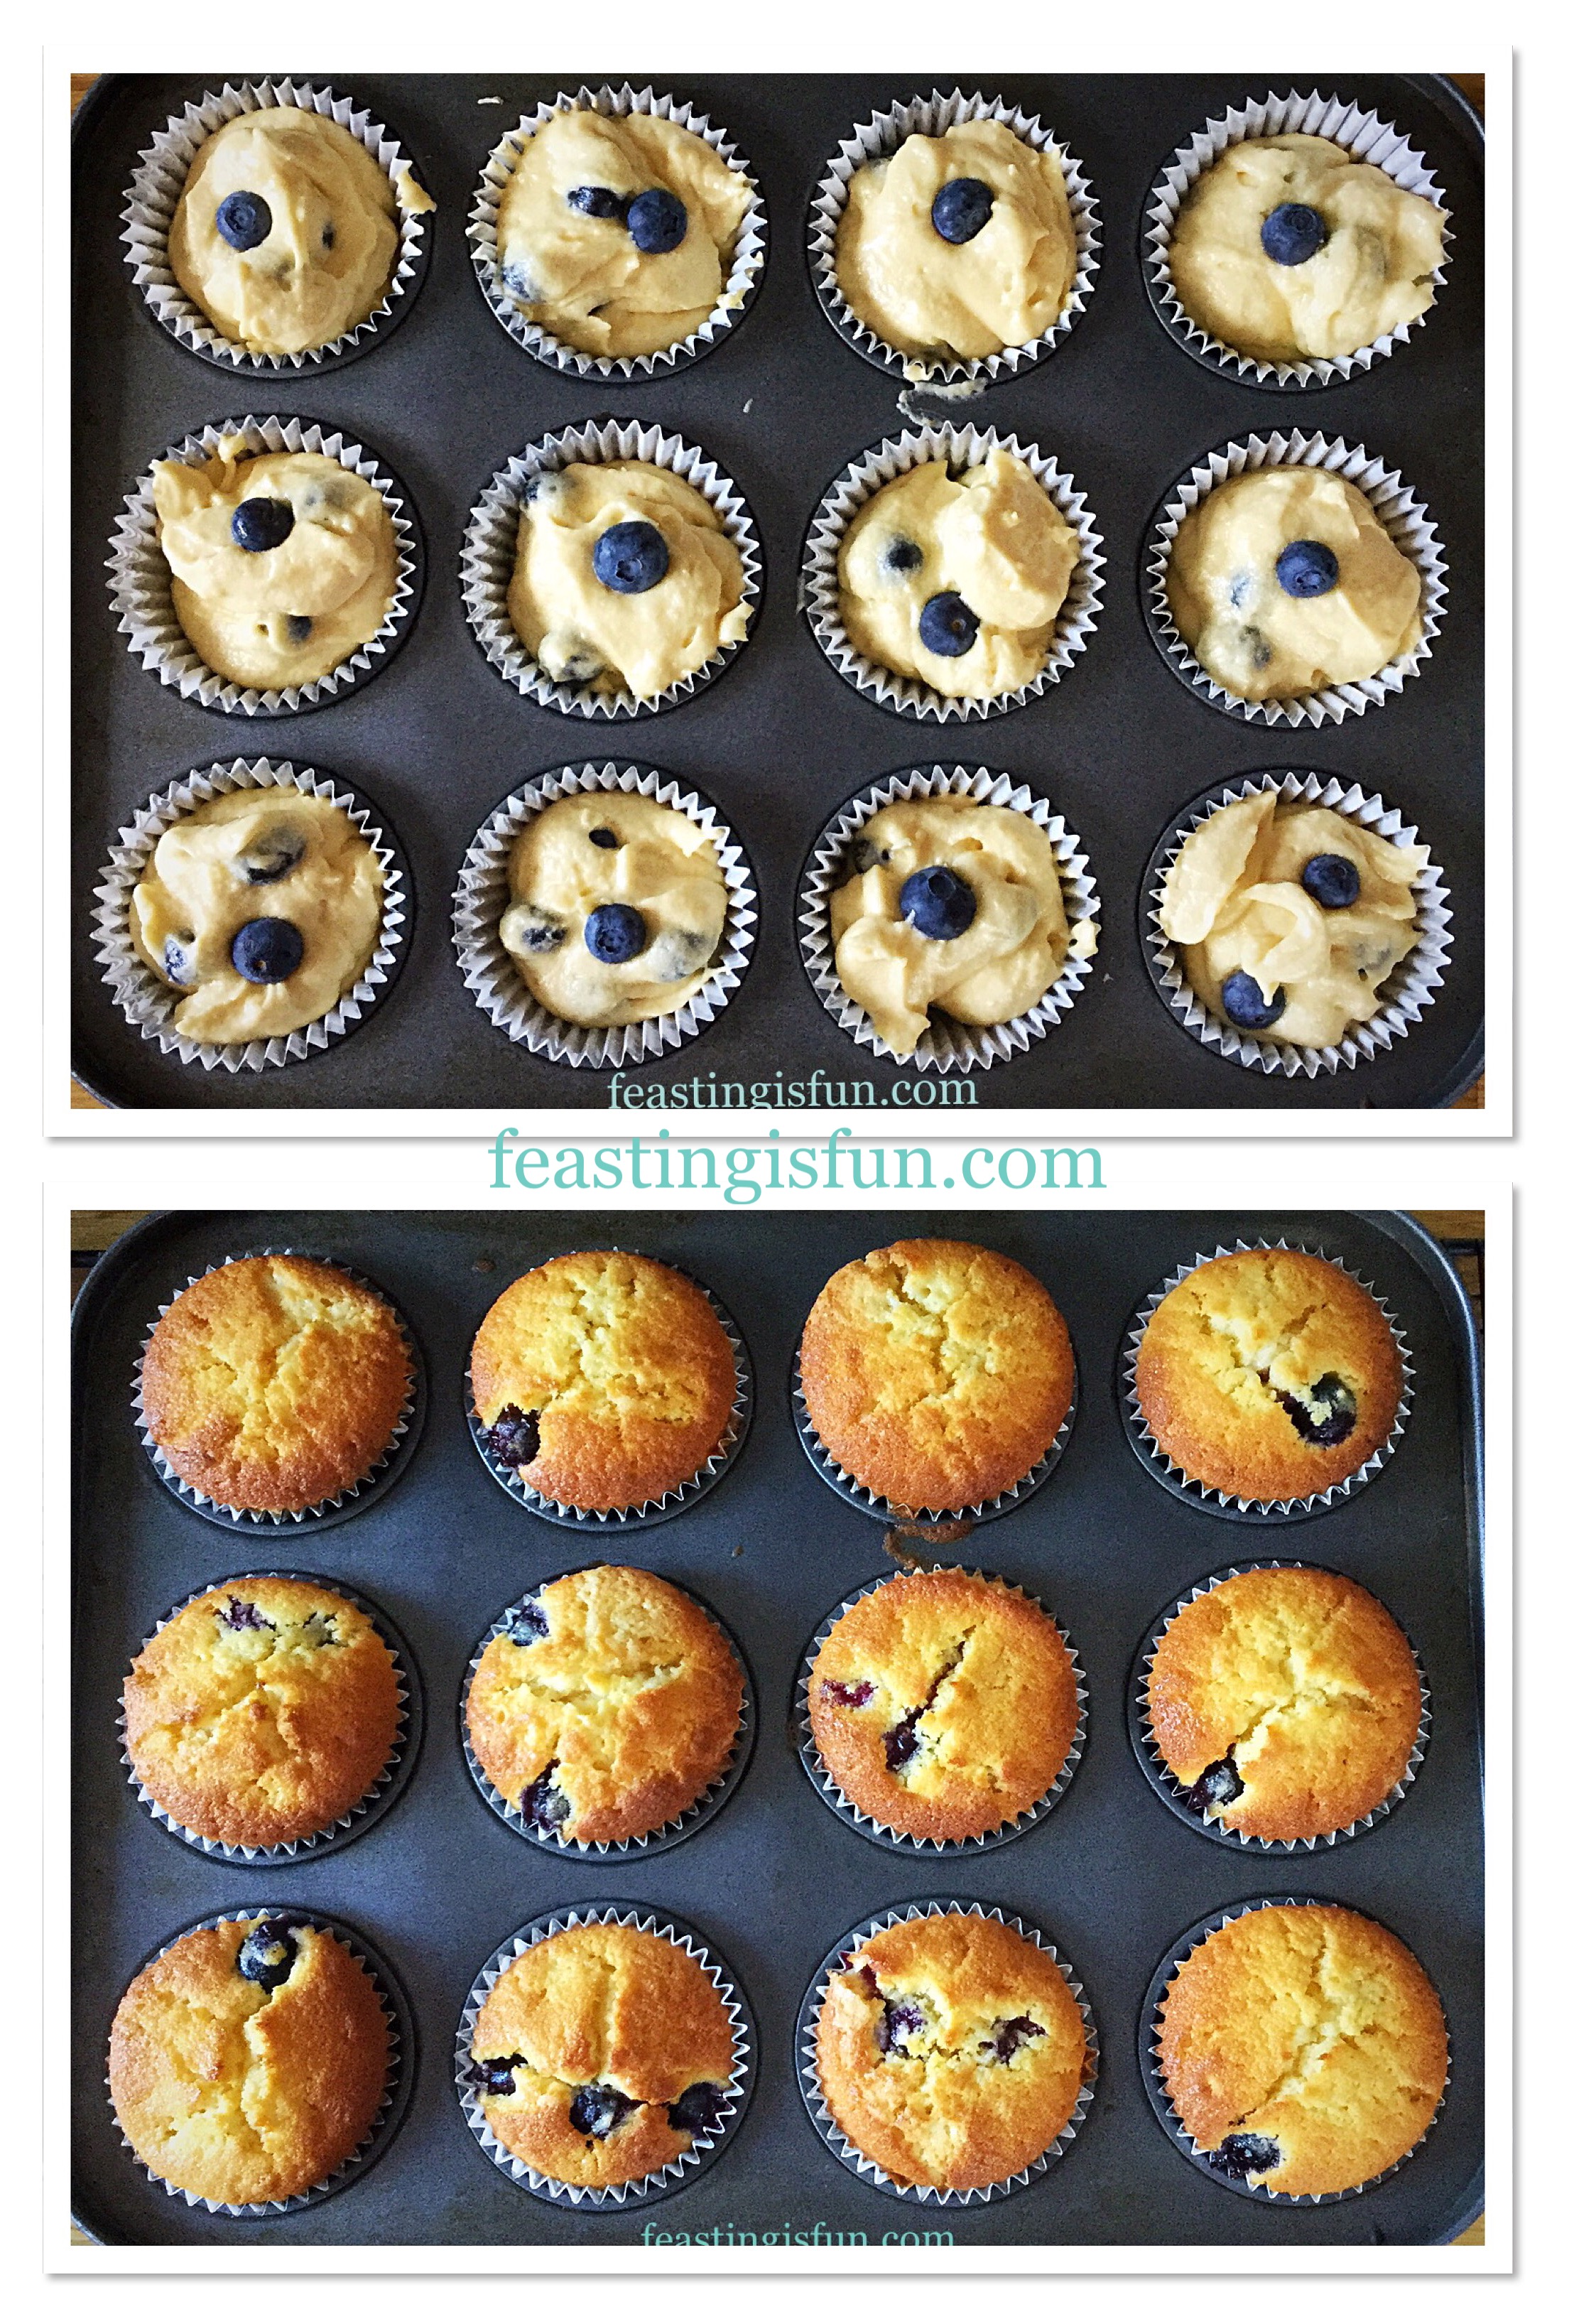
- Spoon the cake batter into the prepared loaf tin and smooth the surface using the back of a spoon.
Baking The Loaf Cake
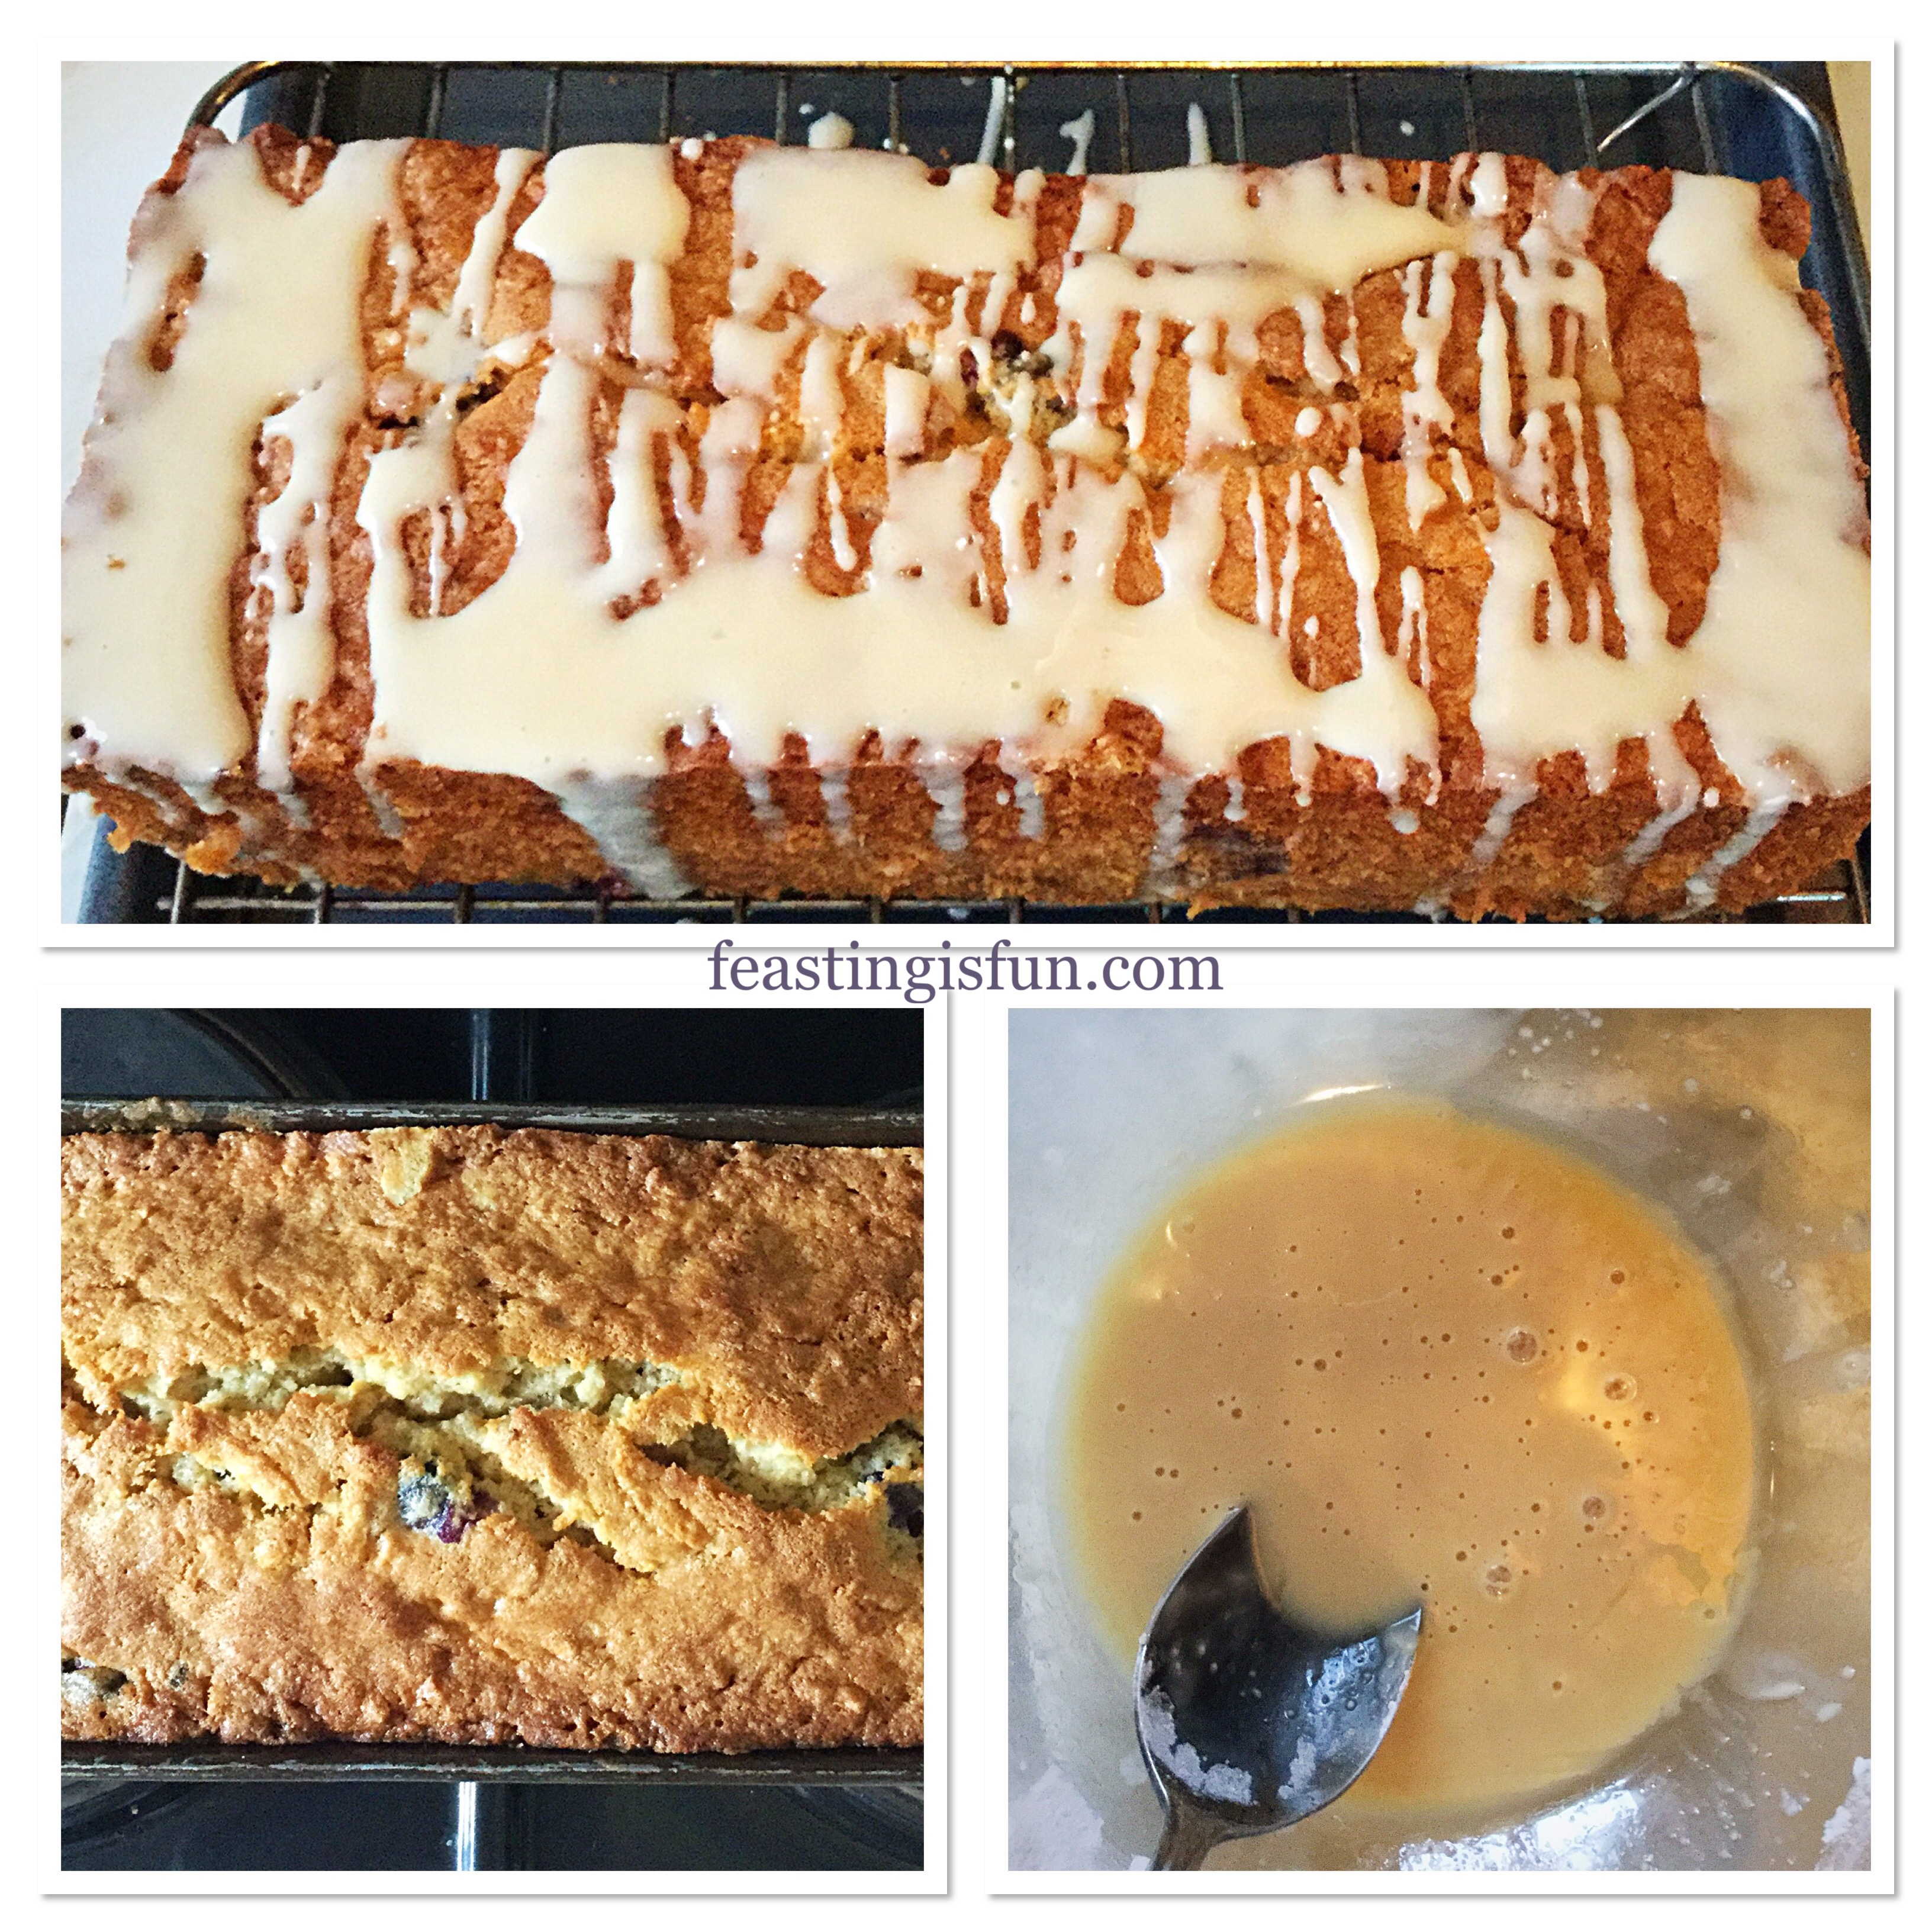
- Place the tin into the centre of the oven and bake for 1 hour – 1 hour 20 minutes.
- The cake is baked when an inserted skewer comes out clean.
- As soon as the cake is baked remove from the oven and allow the cake to cool completely in the tin.
- When the cake is cooled, use a palette knife to run around between the cake and the inside of the tin, releasing any sticky bits.
- Now turn the cake out on to a cooling rack and gently peel away the baking parchment.
- Place the cooling rack over a clean baking tray.
Making The Maple Syrup Drizzle And Decorating The Cake
- Sift the icing sugar into a bowl. Then add 2 tablespoons of maple syrup and stir until the icing has a smooth consistency.
- Use a spoon to drizzle the icing across the cake. Also encouraging the icing to drip down the sides of the cake.
- Leave the cake to set.
While the icing is setting, put the kettle on and invite your neighbours round!
Since this delicious cake was made a little while ago, it is very tempting to jump through the screen and grab a slice!
Serve this cake sliced and with a smile. It will keep in an airtight container for 3 days. During warmer weather store in the fridge.
If you have enjoyed this Maple Drizzled Apple Blueberry Loaf Cake you may also enjoy these:
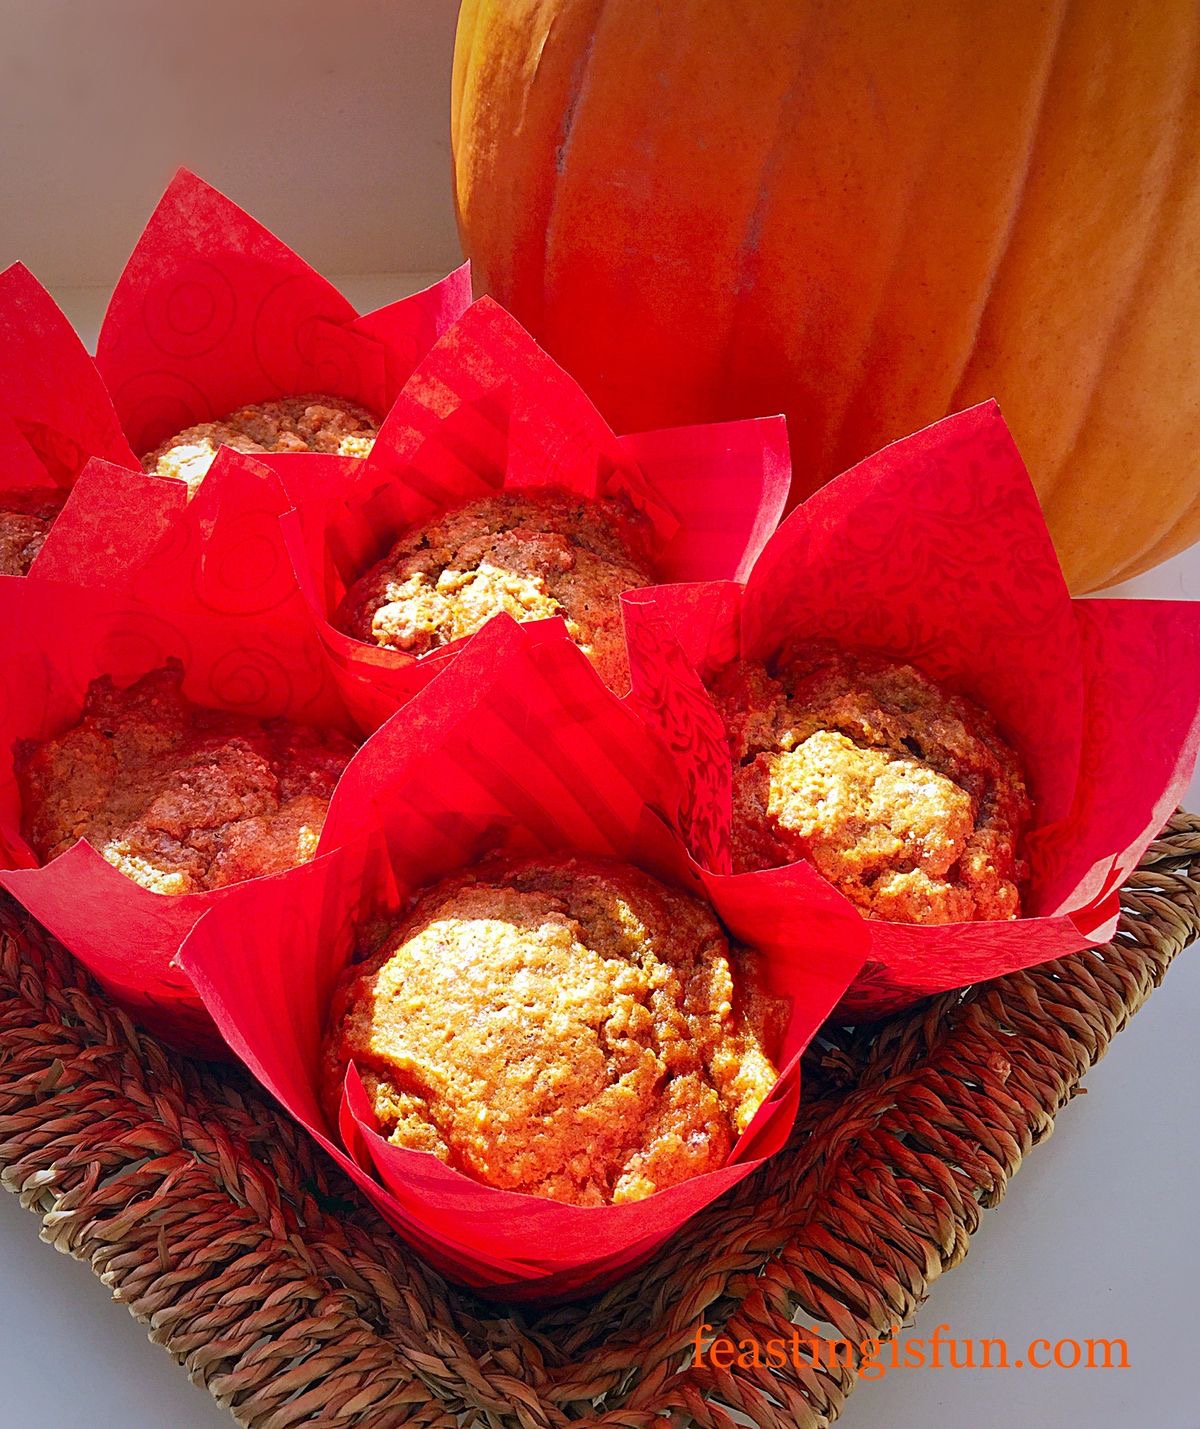
Chocolate Chip Pumpkin Loaf Cake


Adding fresh fruit to cakes makes them deliciously moist. And fruit filled cakes are a million miles away from dry, moisture sucking, mass produced alternatives that are readily available in the shops. Most of all, home baked cakes not only taste so good, their flavour is far superior to most bought cakes.
Whatever you are making, baking and creating in your kitchens, have fun preparing your feast.
Sammie xx
No part of this post may be reproduced or duplicated without the written permission of the owner. Please see my Disclosure Policy.
Share