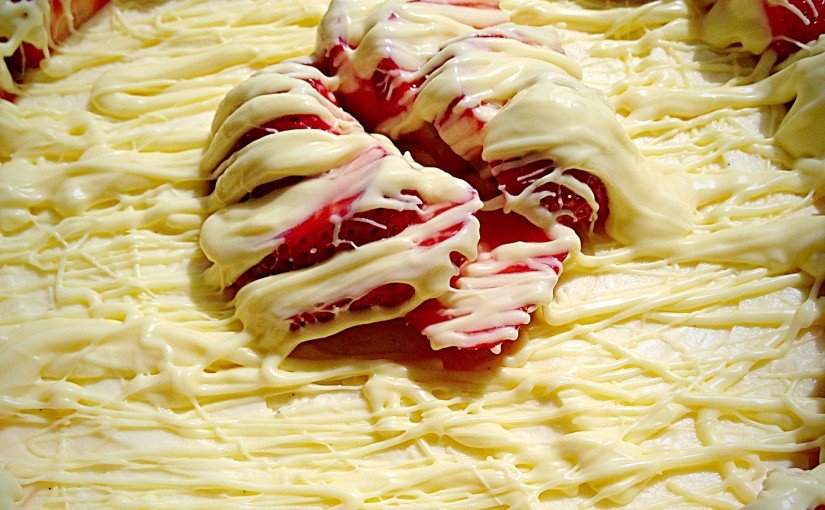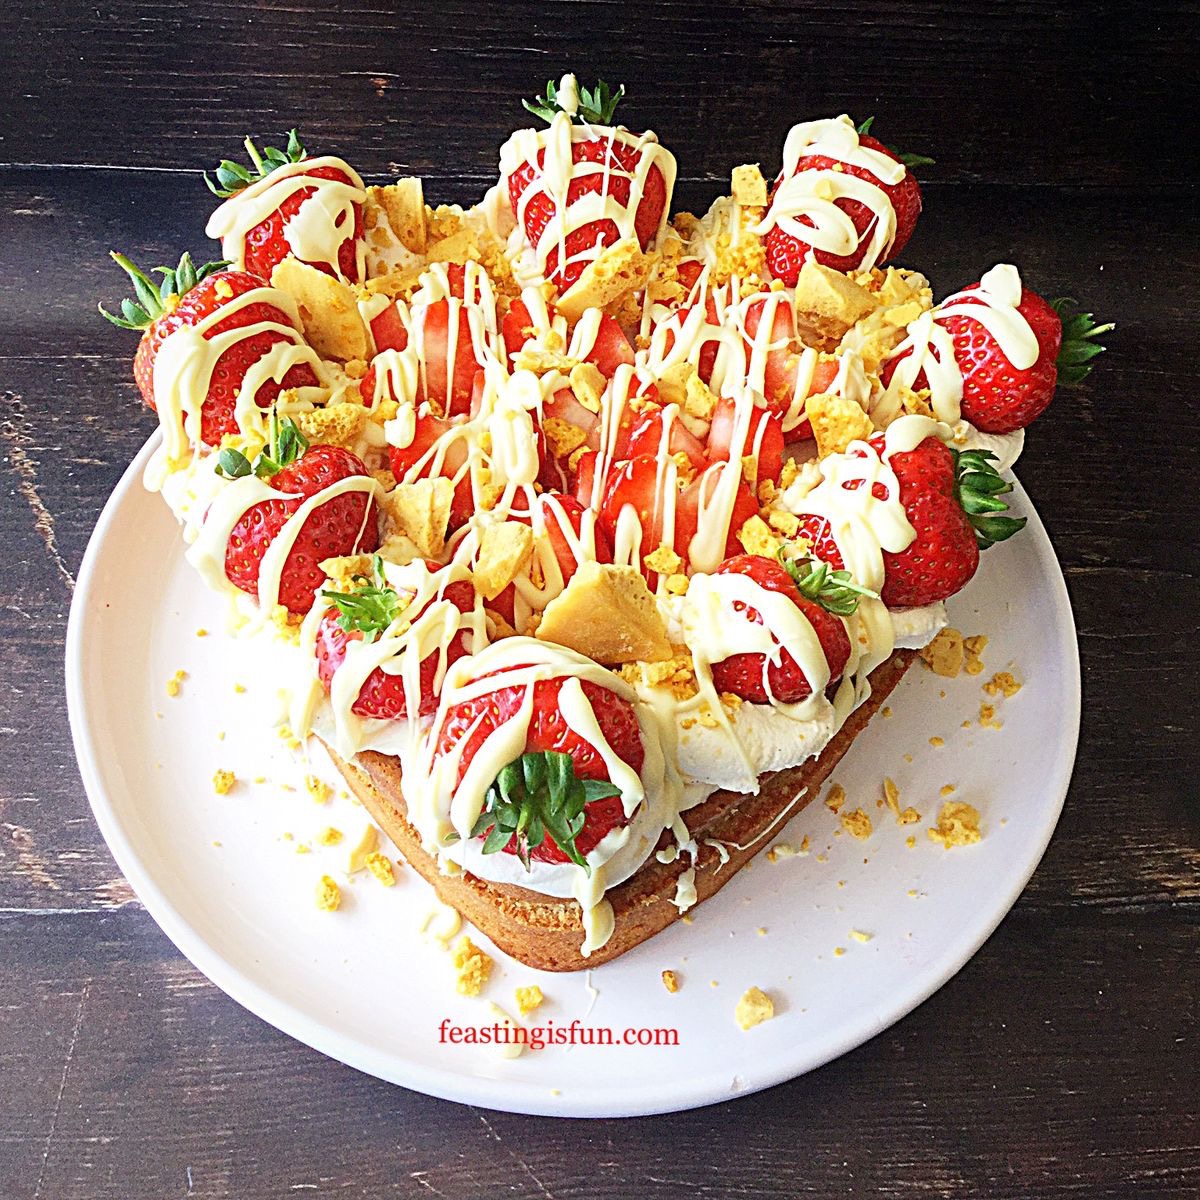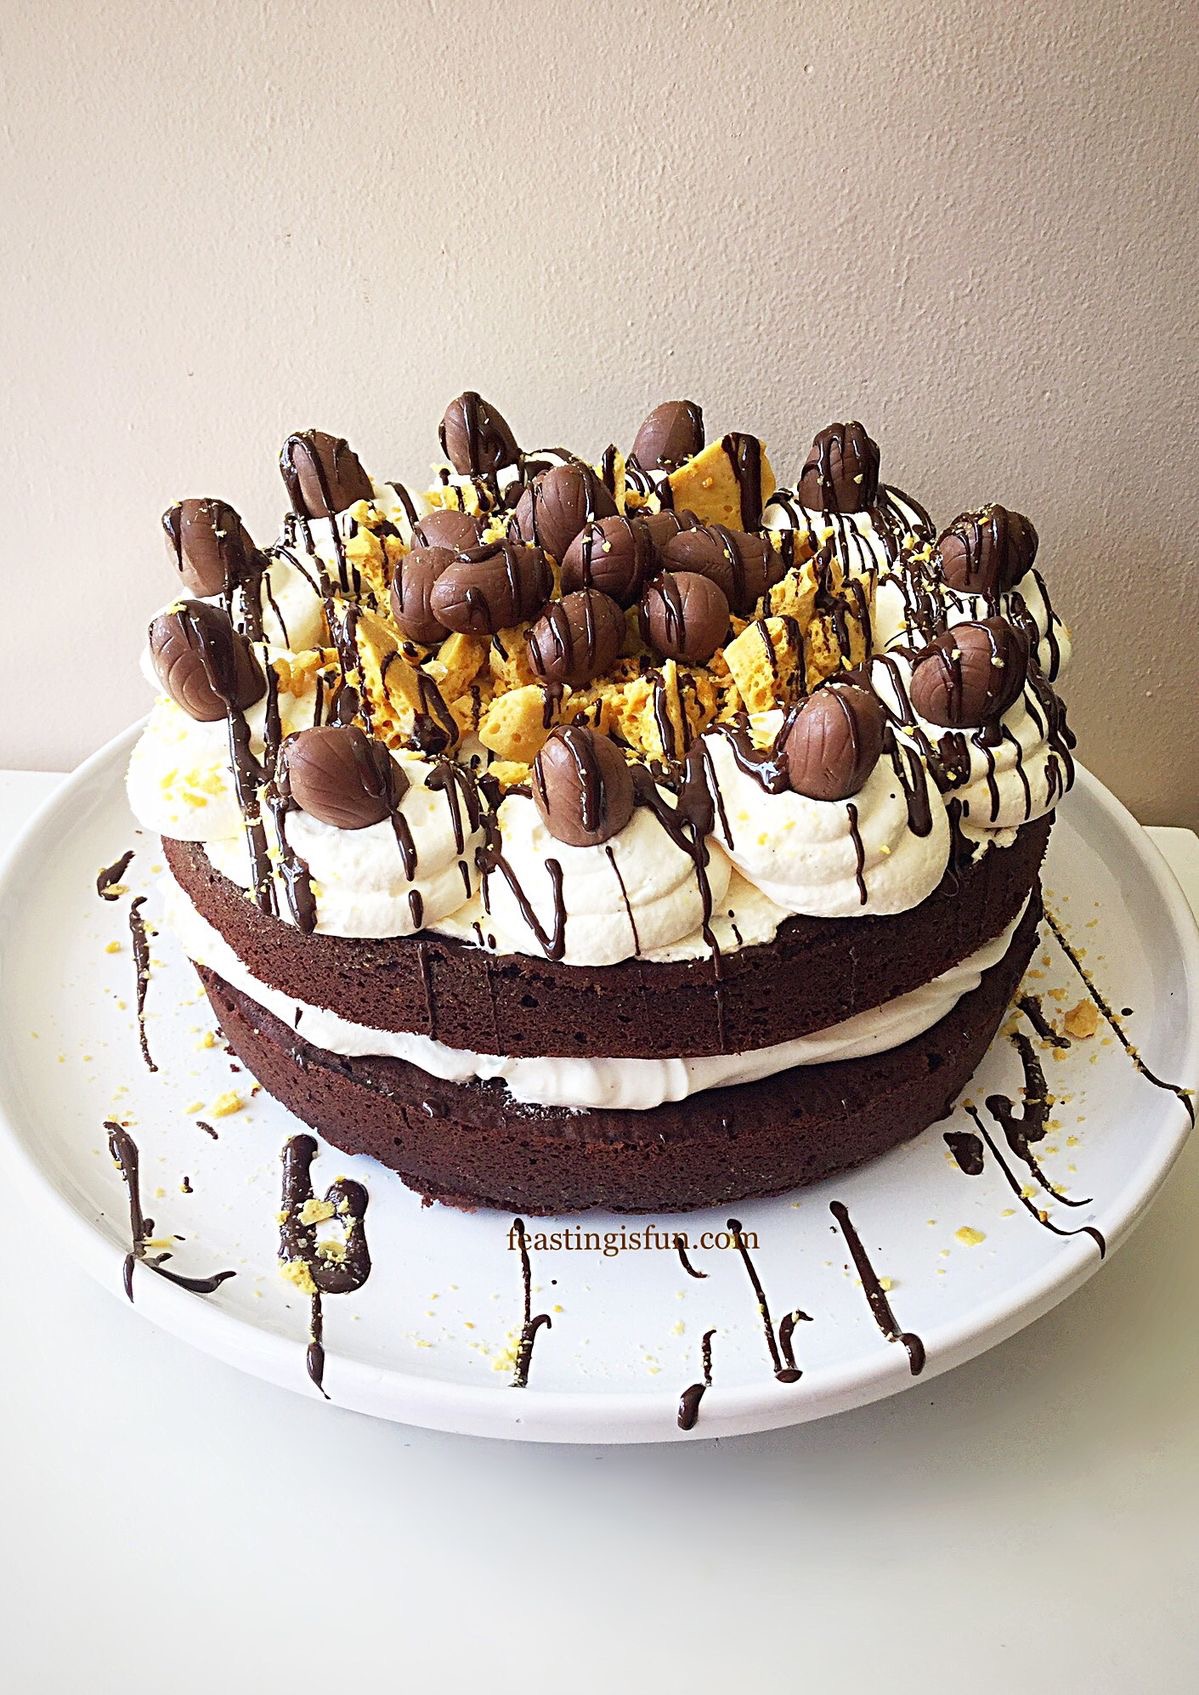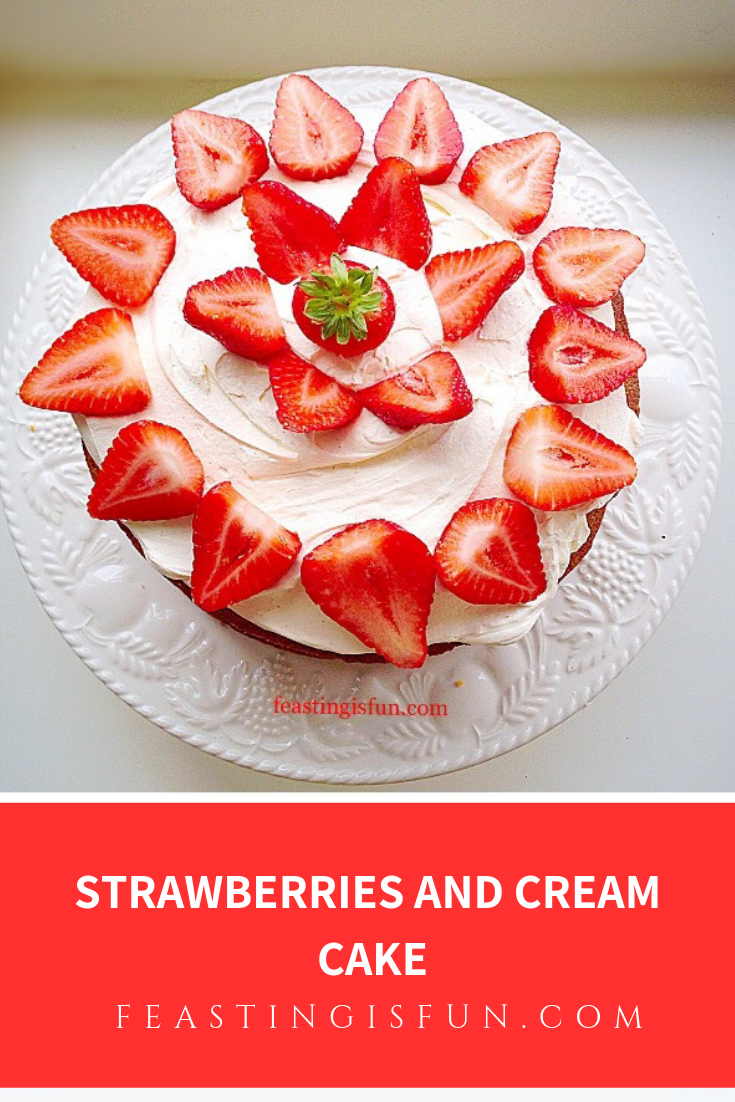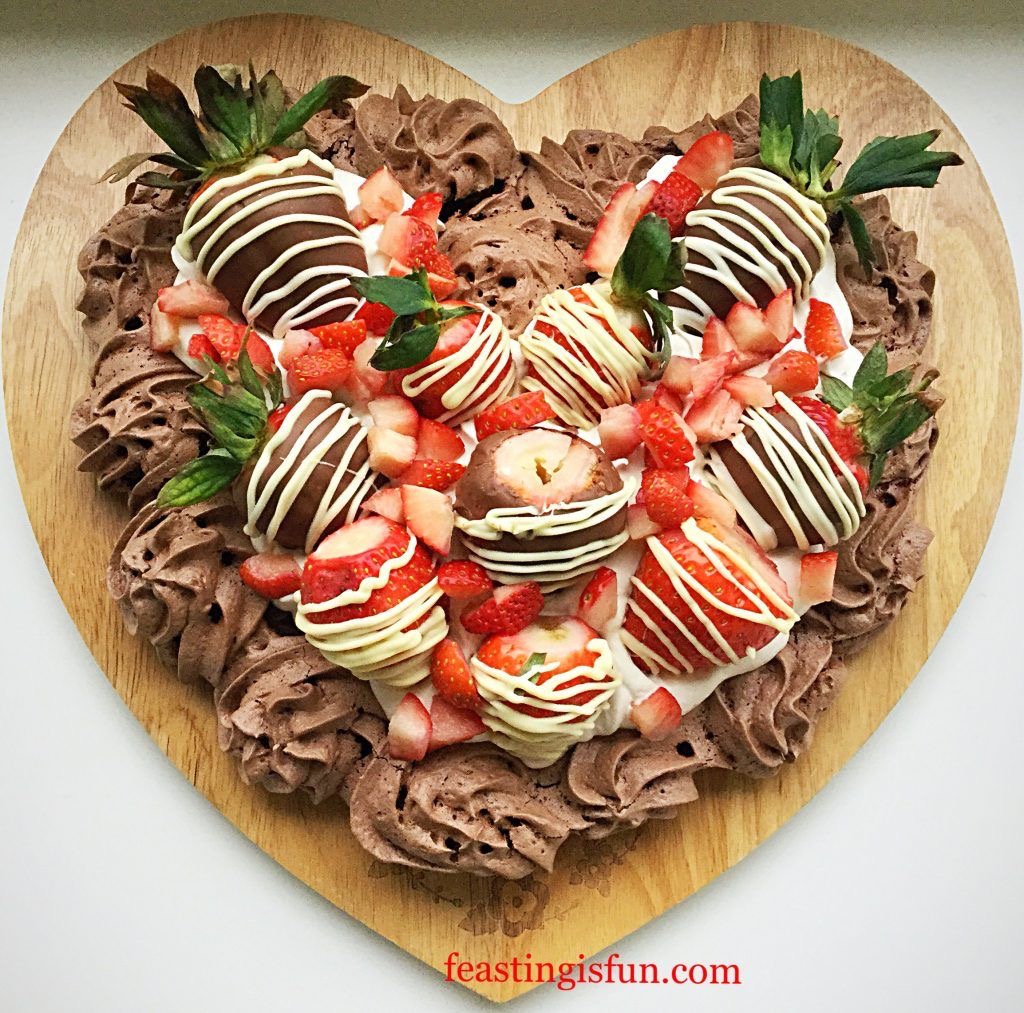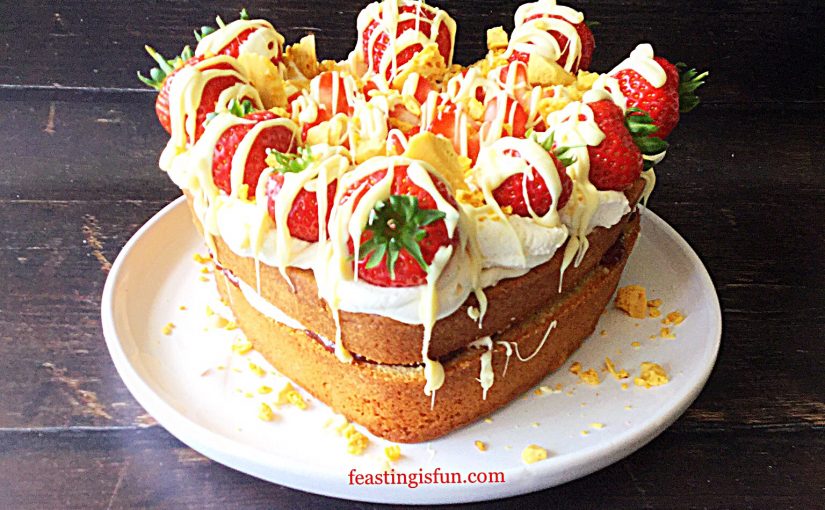
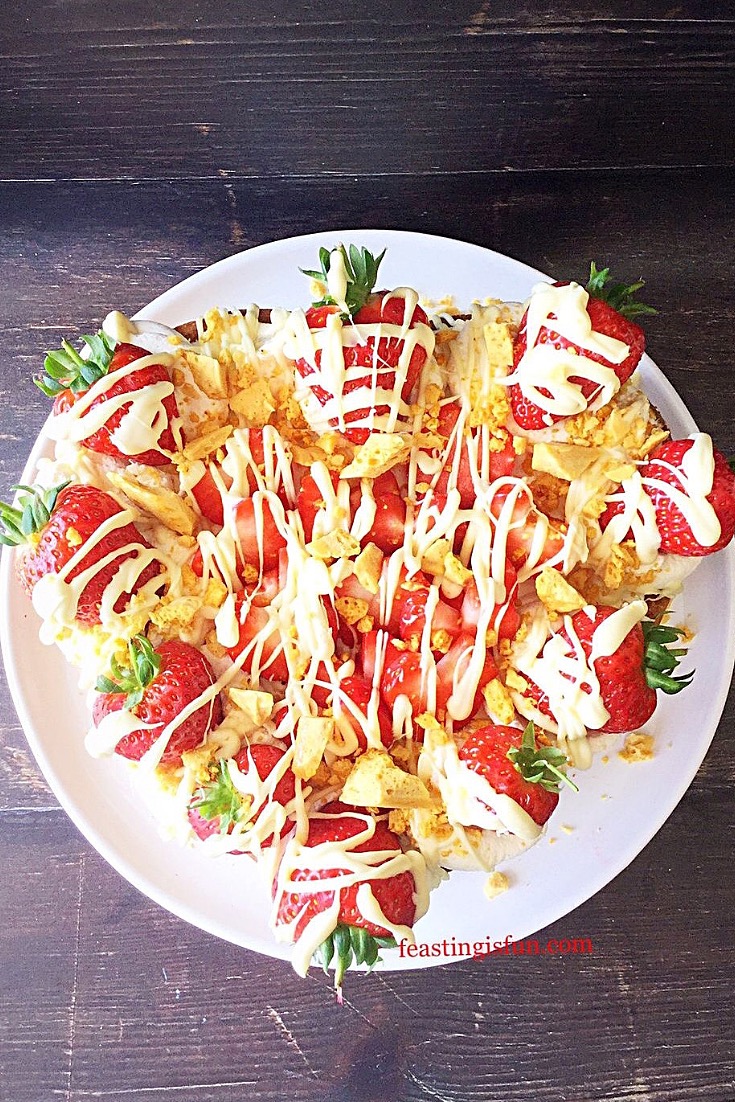
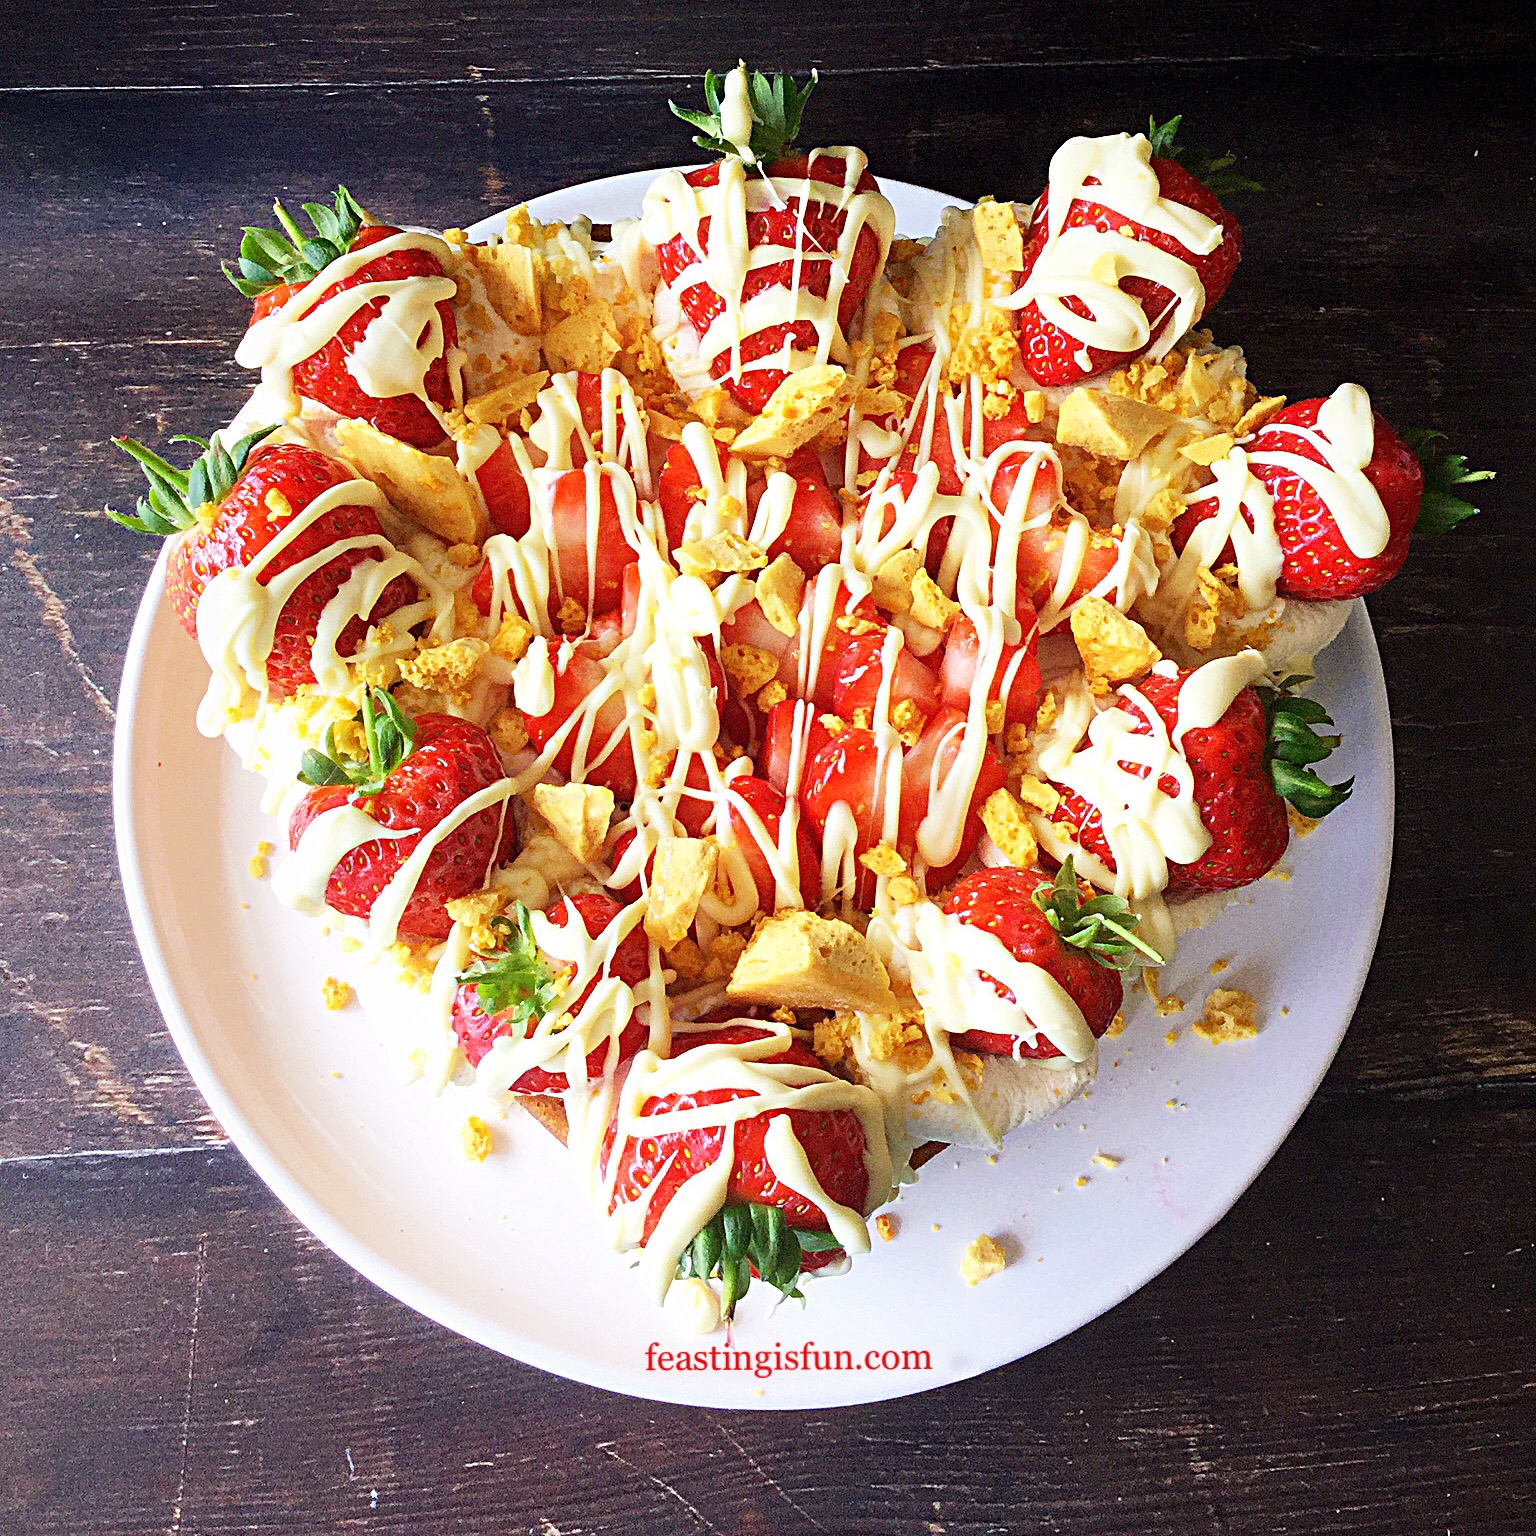
In my last post Chocolate Honeycomb Sponge Cake, I confessed my love for cream cakes. So, I decided to make another one! A delicious White Chocolate Drizzle Strawberry Cream Cake. Golden sponge sandwiched together with cream and strawberry daiquiri jam, topped with more cream, fresh strawberries a white chocolate drizzle and finally a sprinkling of honeycomb. One bite of this cake and you too will be smitten.
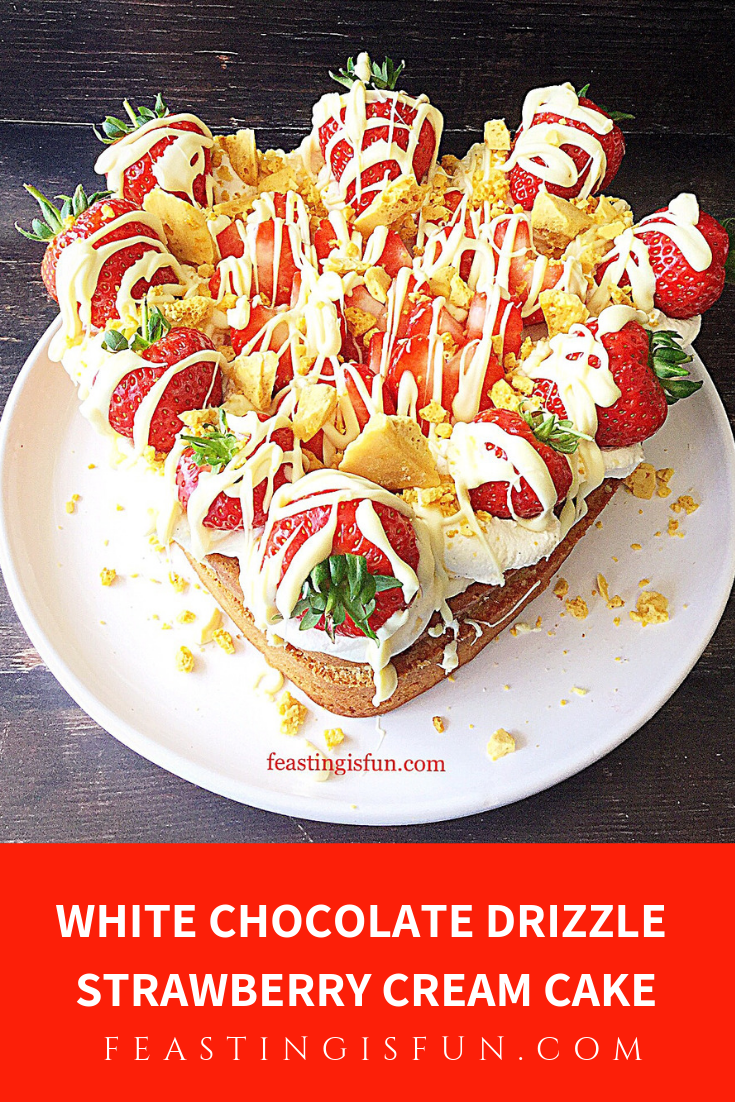
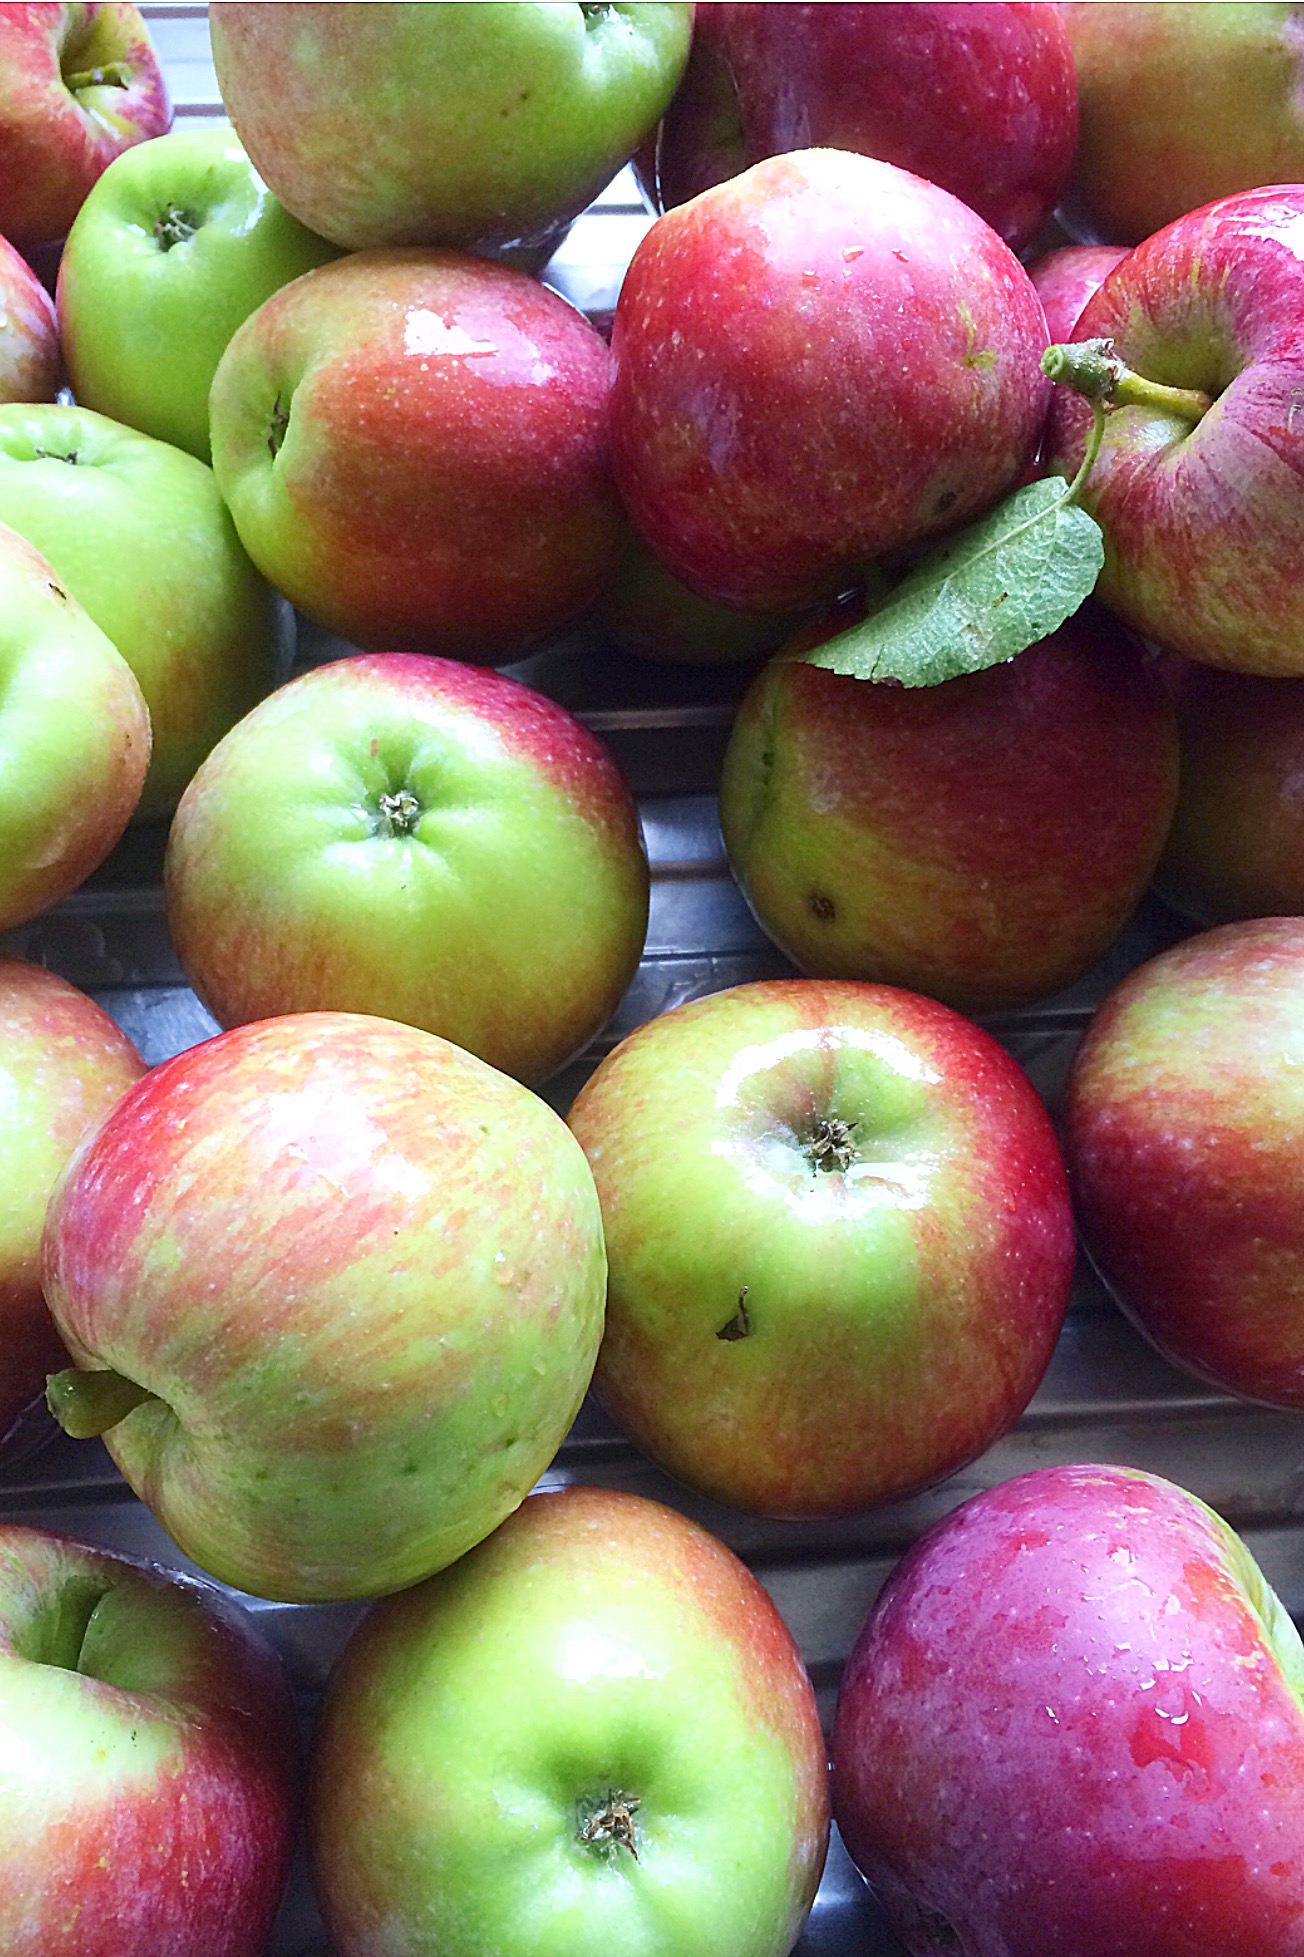
Since the very earliest of our Kent strawberries are becoming available I simply couldn’t resist buying some. Together with fresh cream they make the perfect combination. However, when used to decorate this cake, with white chocolate and crushed honeycomb, these strawberries are elevated to true celebration feasting status. And the first strawberries of the season should, most definitely, be celebrated.

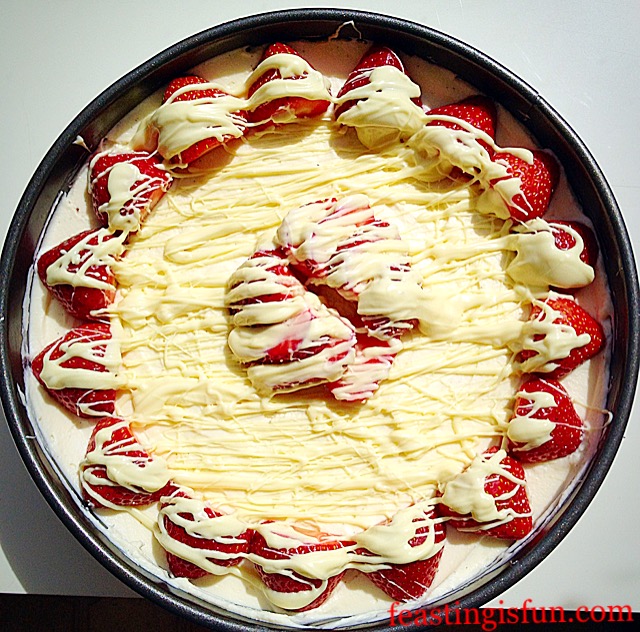
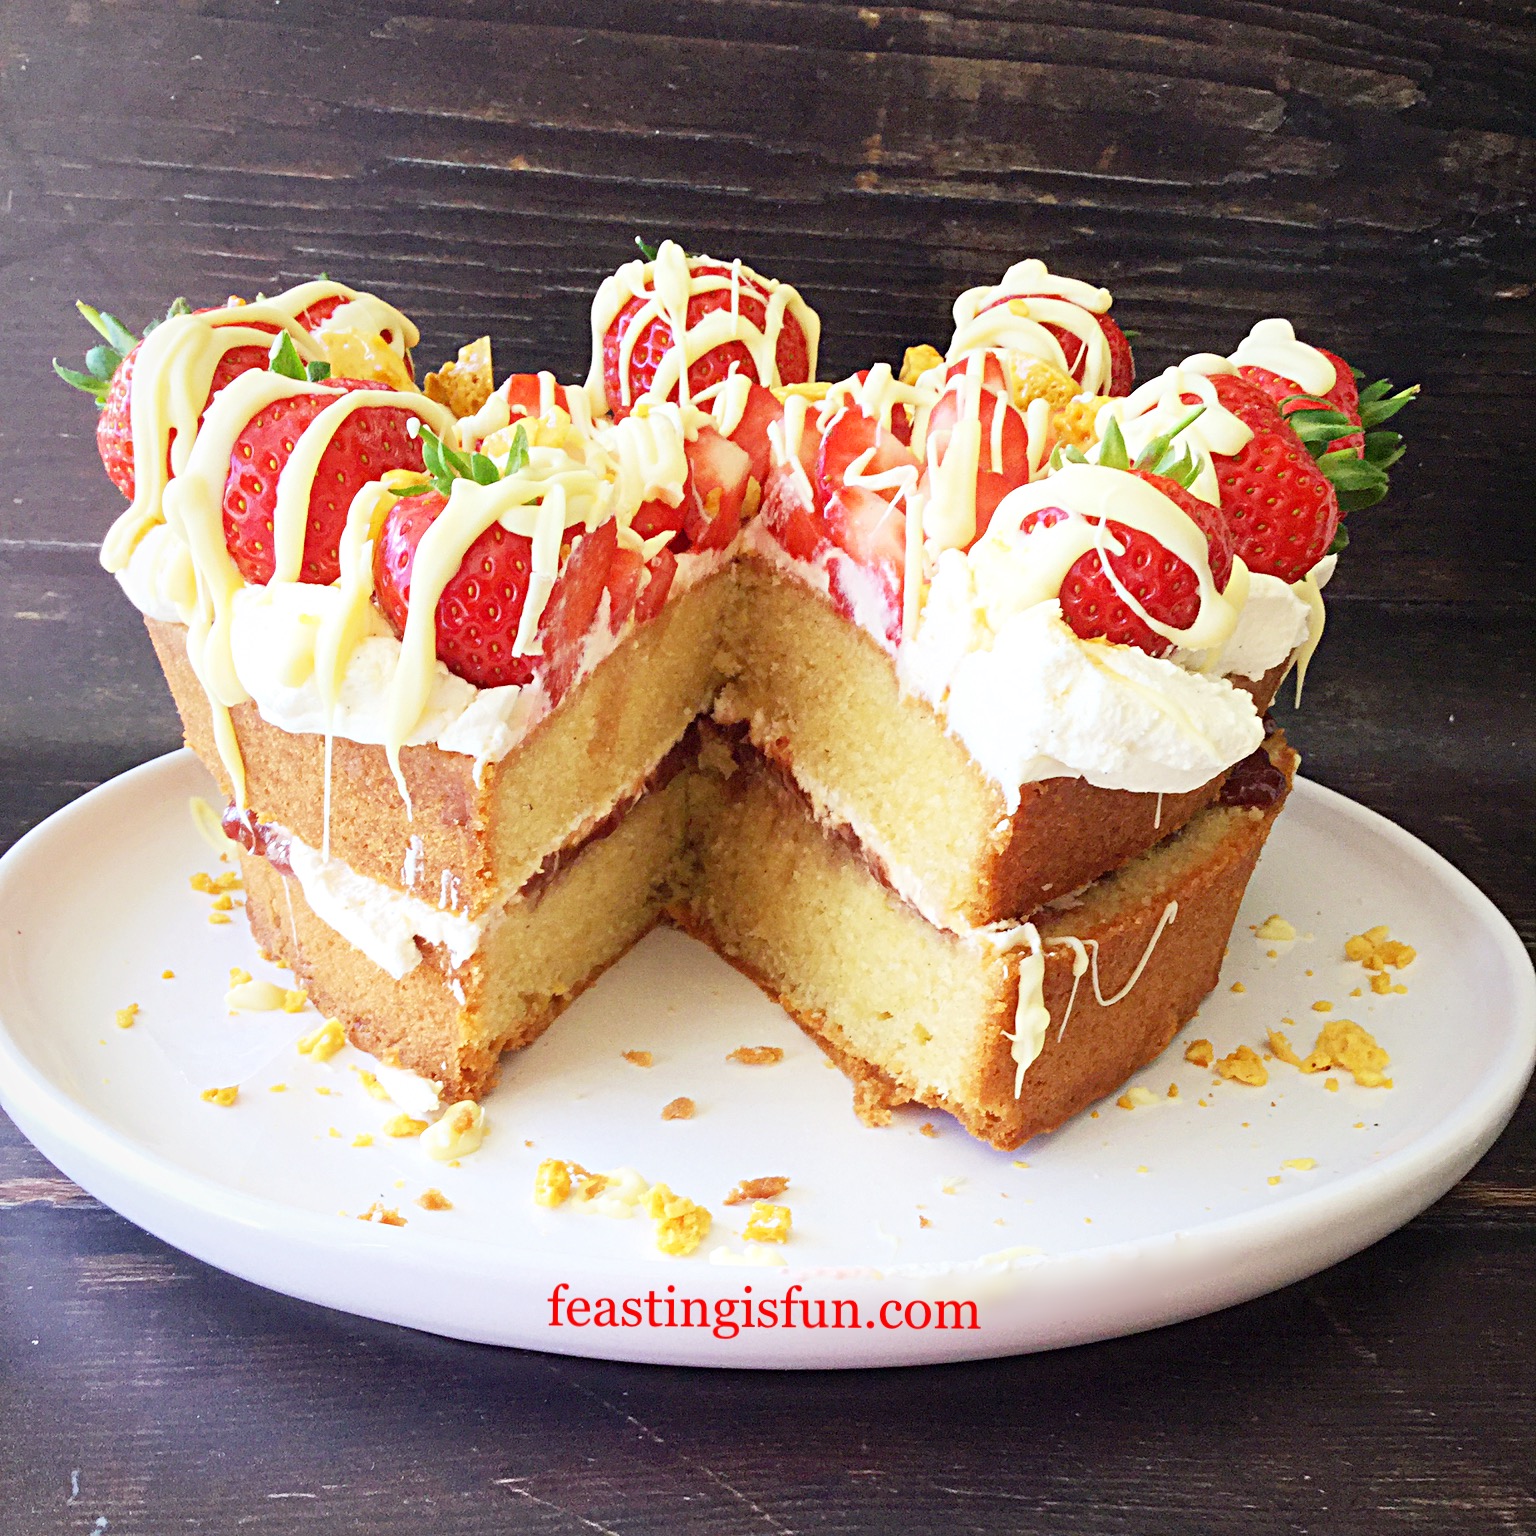
Using a heart shaped tin to bake this cake creates an elegant shape. Also it reflects the romantic side of my personality. If you do not have a heart cake tin then a round tin will be perfectly suitable. While removing the Strawberry husks I cut either side to create a ‘V’ shape. Resulting in sliced strawberries that look like love hearts.
Finally, using a good quality strawberry jam really adds to the finished flavour of the cake. I used a strawberry daiquiri jam with its subtle hint of white rum and lime juice. It definitely adds to the luxurious finish of this cake. Alternatively mix in a couple of teaspoons of raspberry jam. Doing so will add a hint of tartness and elevate the flavour from good to great!
Recipe: White Chocolate Drizzle Strawberry Cream Cake serves 10
275g/10oz Unsalted Butter at room temperature plus a Extra for greasing the tin
275g/10oz Caster Sugar
1/2 tsp Sea Salt – I use Maldon halve quantity if using free flowing salt
1 tbsp Vanilla Bean Paste/Vanilla Extract – I use Nielsen-Massey
6 Large Free Range Eggs
275g/10oz Plain White Flour
2 tsp Baking Powder
450ml/1 pint Double Cream (heavy cream)
1 tsp Vanilla Bean Extract/Vanilla Extract
350g-400g/12-14oz Fresh Strawberries
275g/10oz Jar Strawberry Jam – I used Strawberry Daiquiri Jam available from Hawkshead Relish
100g/4oz White Chocolate
Optional – Honeycomb – I use Art of Mallow
Method: preheat oven to 160C/140C fan, 325F, gas mark 3
Note – you will need a 22.5cm x 22.5cm/9” x 9” (approximately) heart tin that is at least 7.5cm/3” deep. I use a springform tin which allows for easy release of the cake. The tin I have is from Steamer Trading. Alternatively use a deep 22.5cm/9 inch round tin, or slightly shallower 20cm/8 inch round tin.
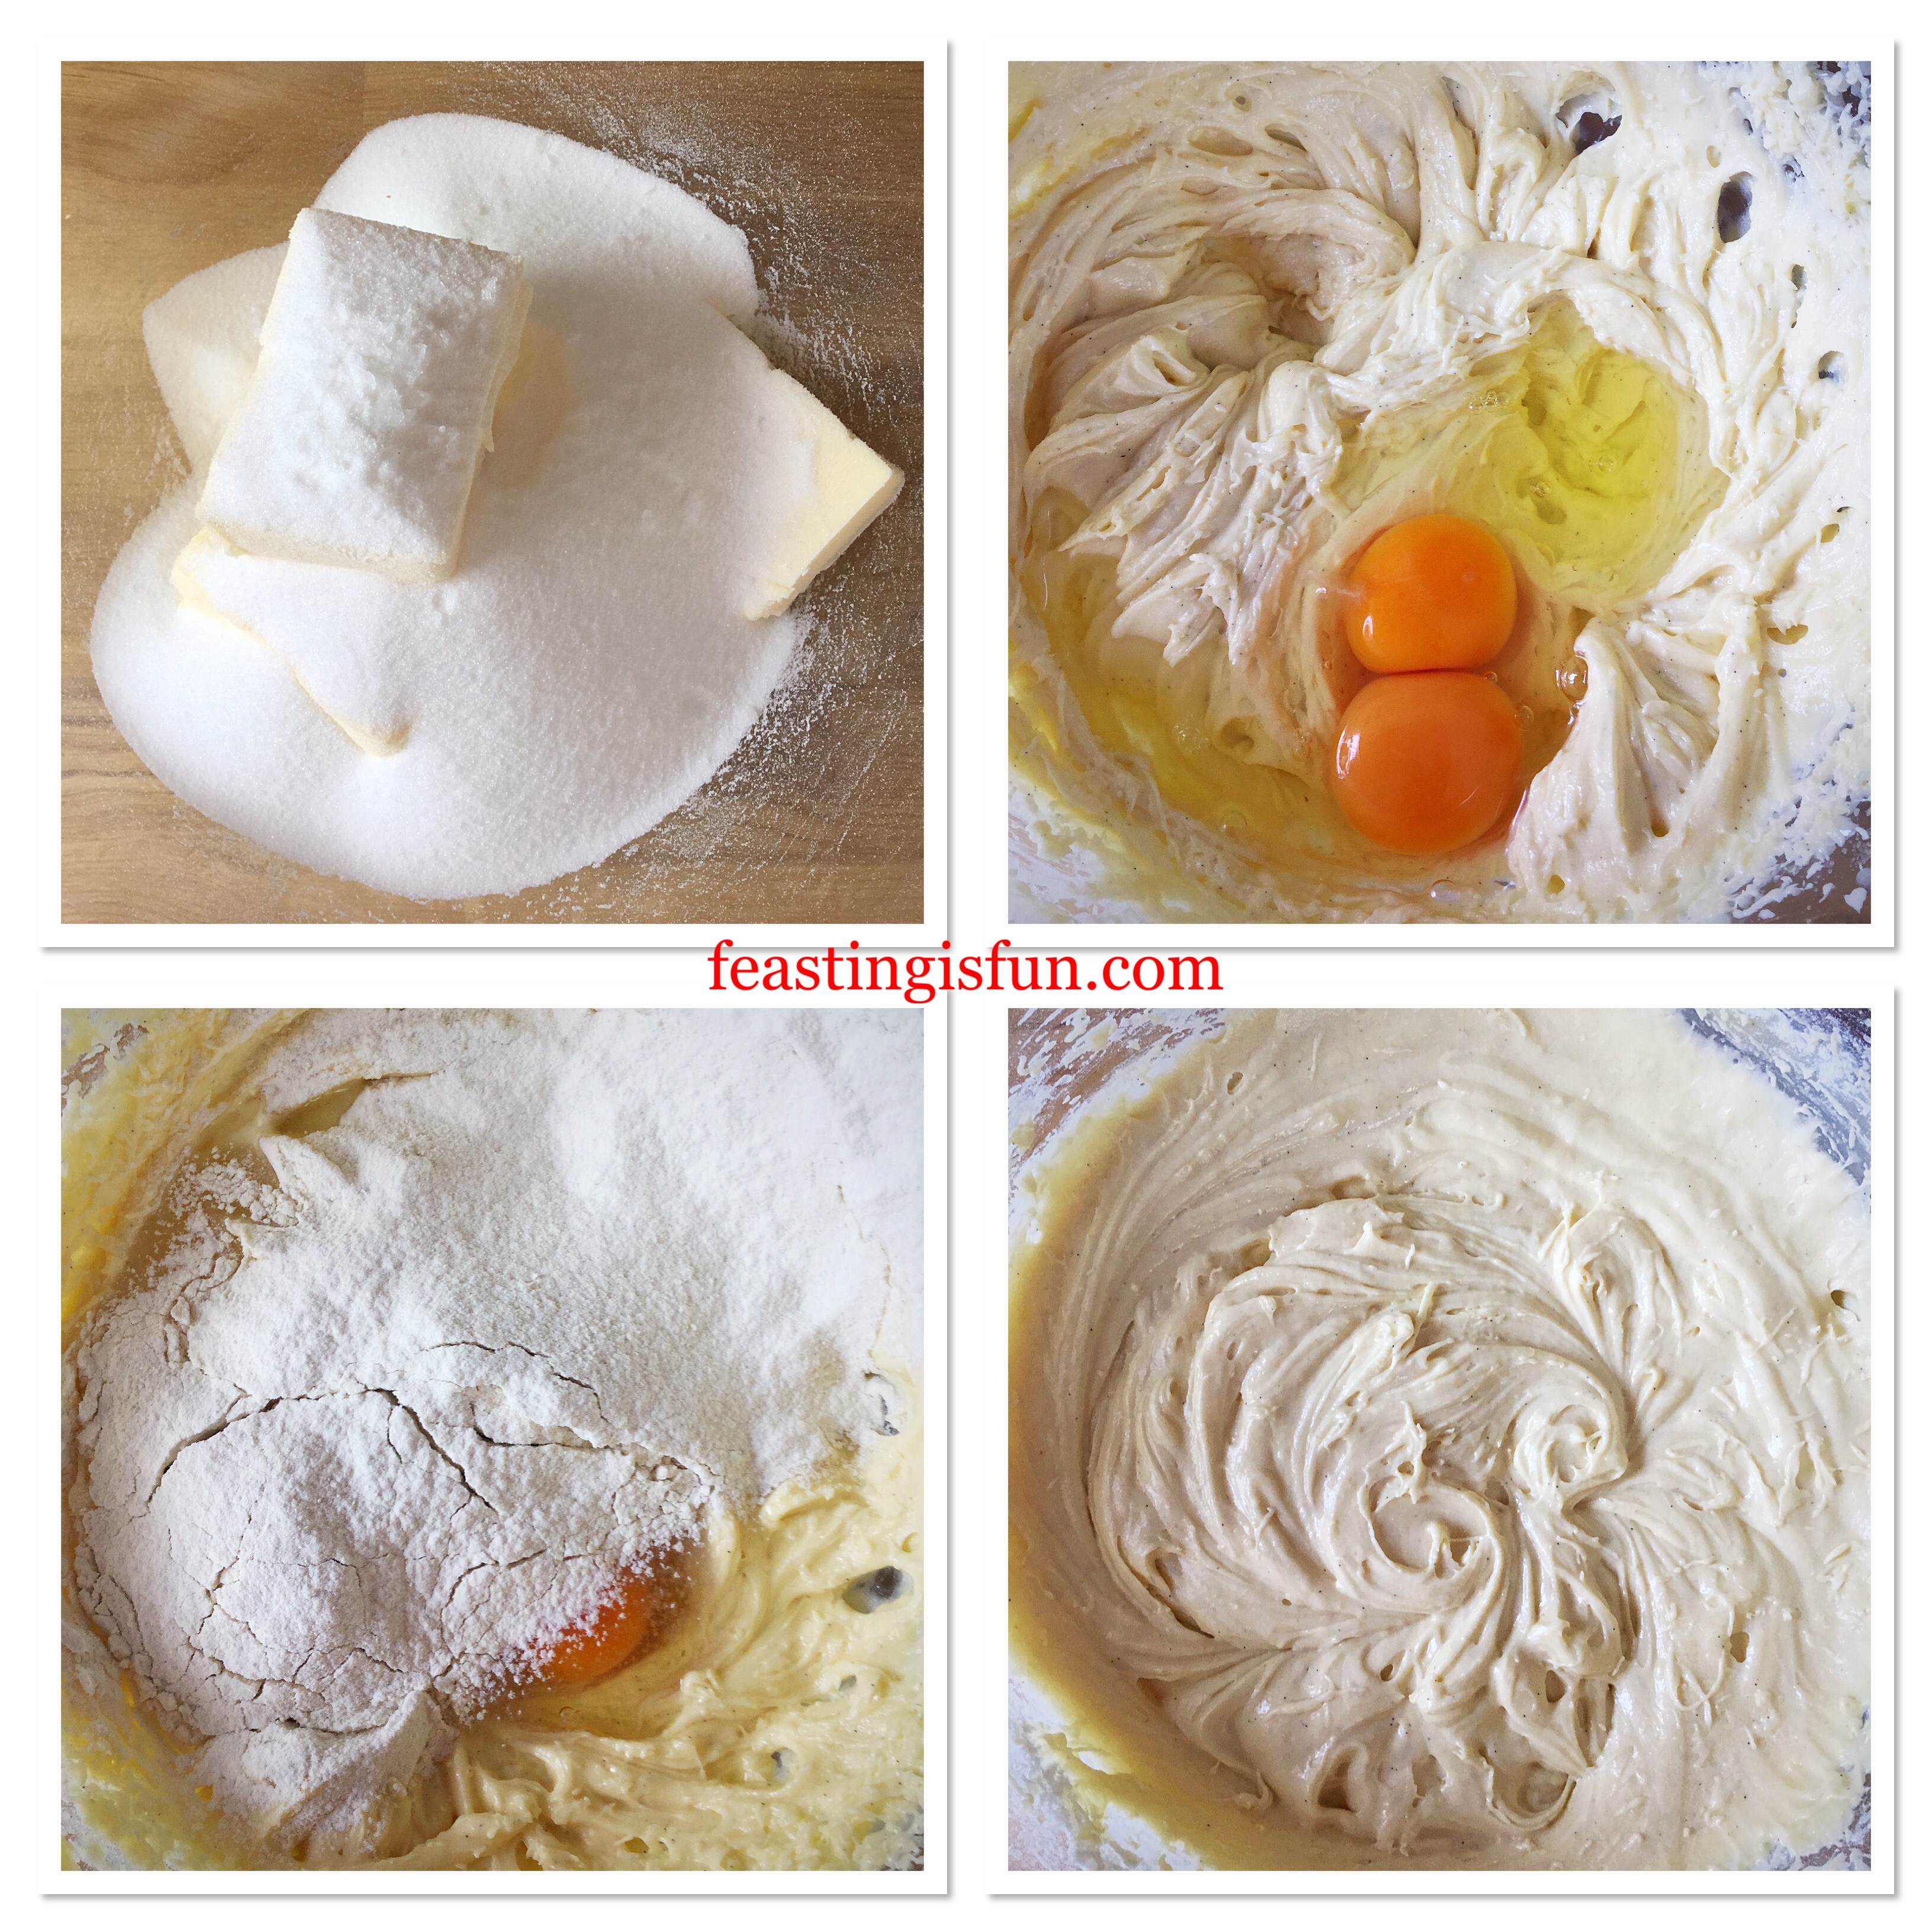
Making The Vanilla Cake Batter
- First of all grease the tin with butter and line the base with baking parchment.
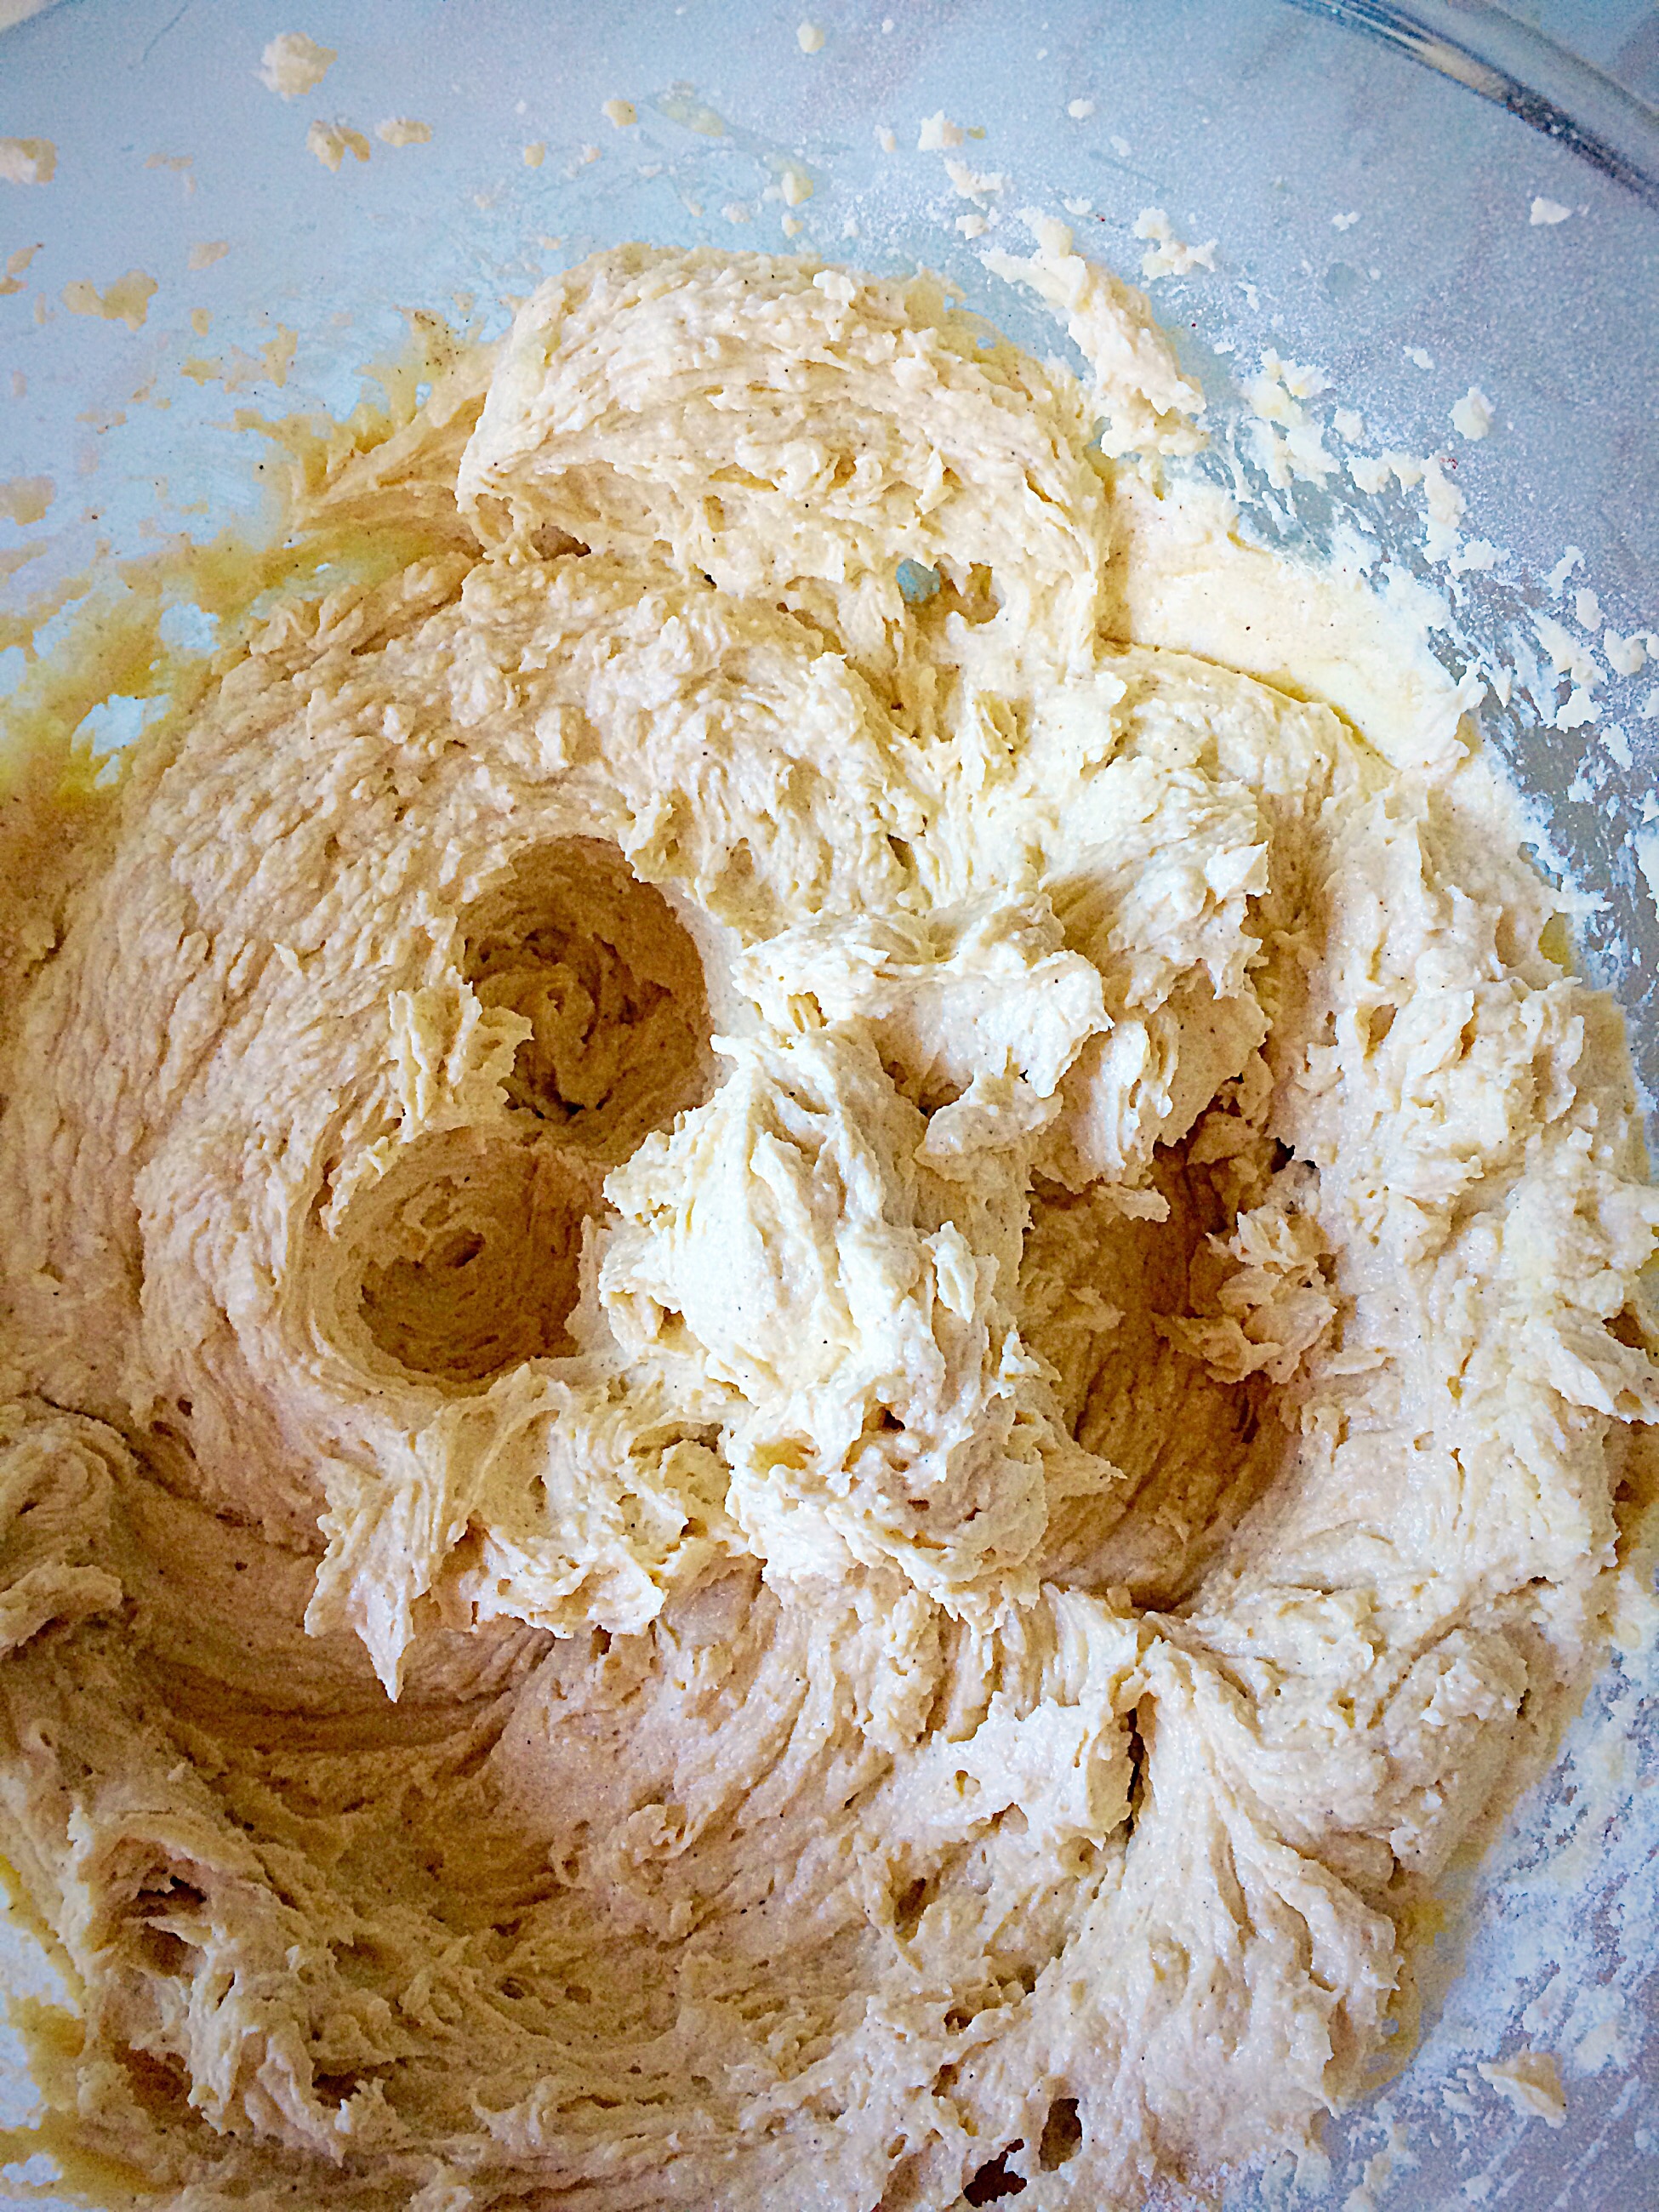
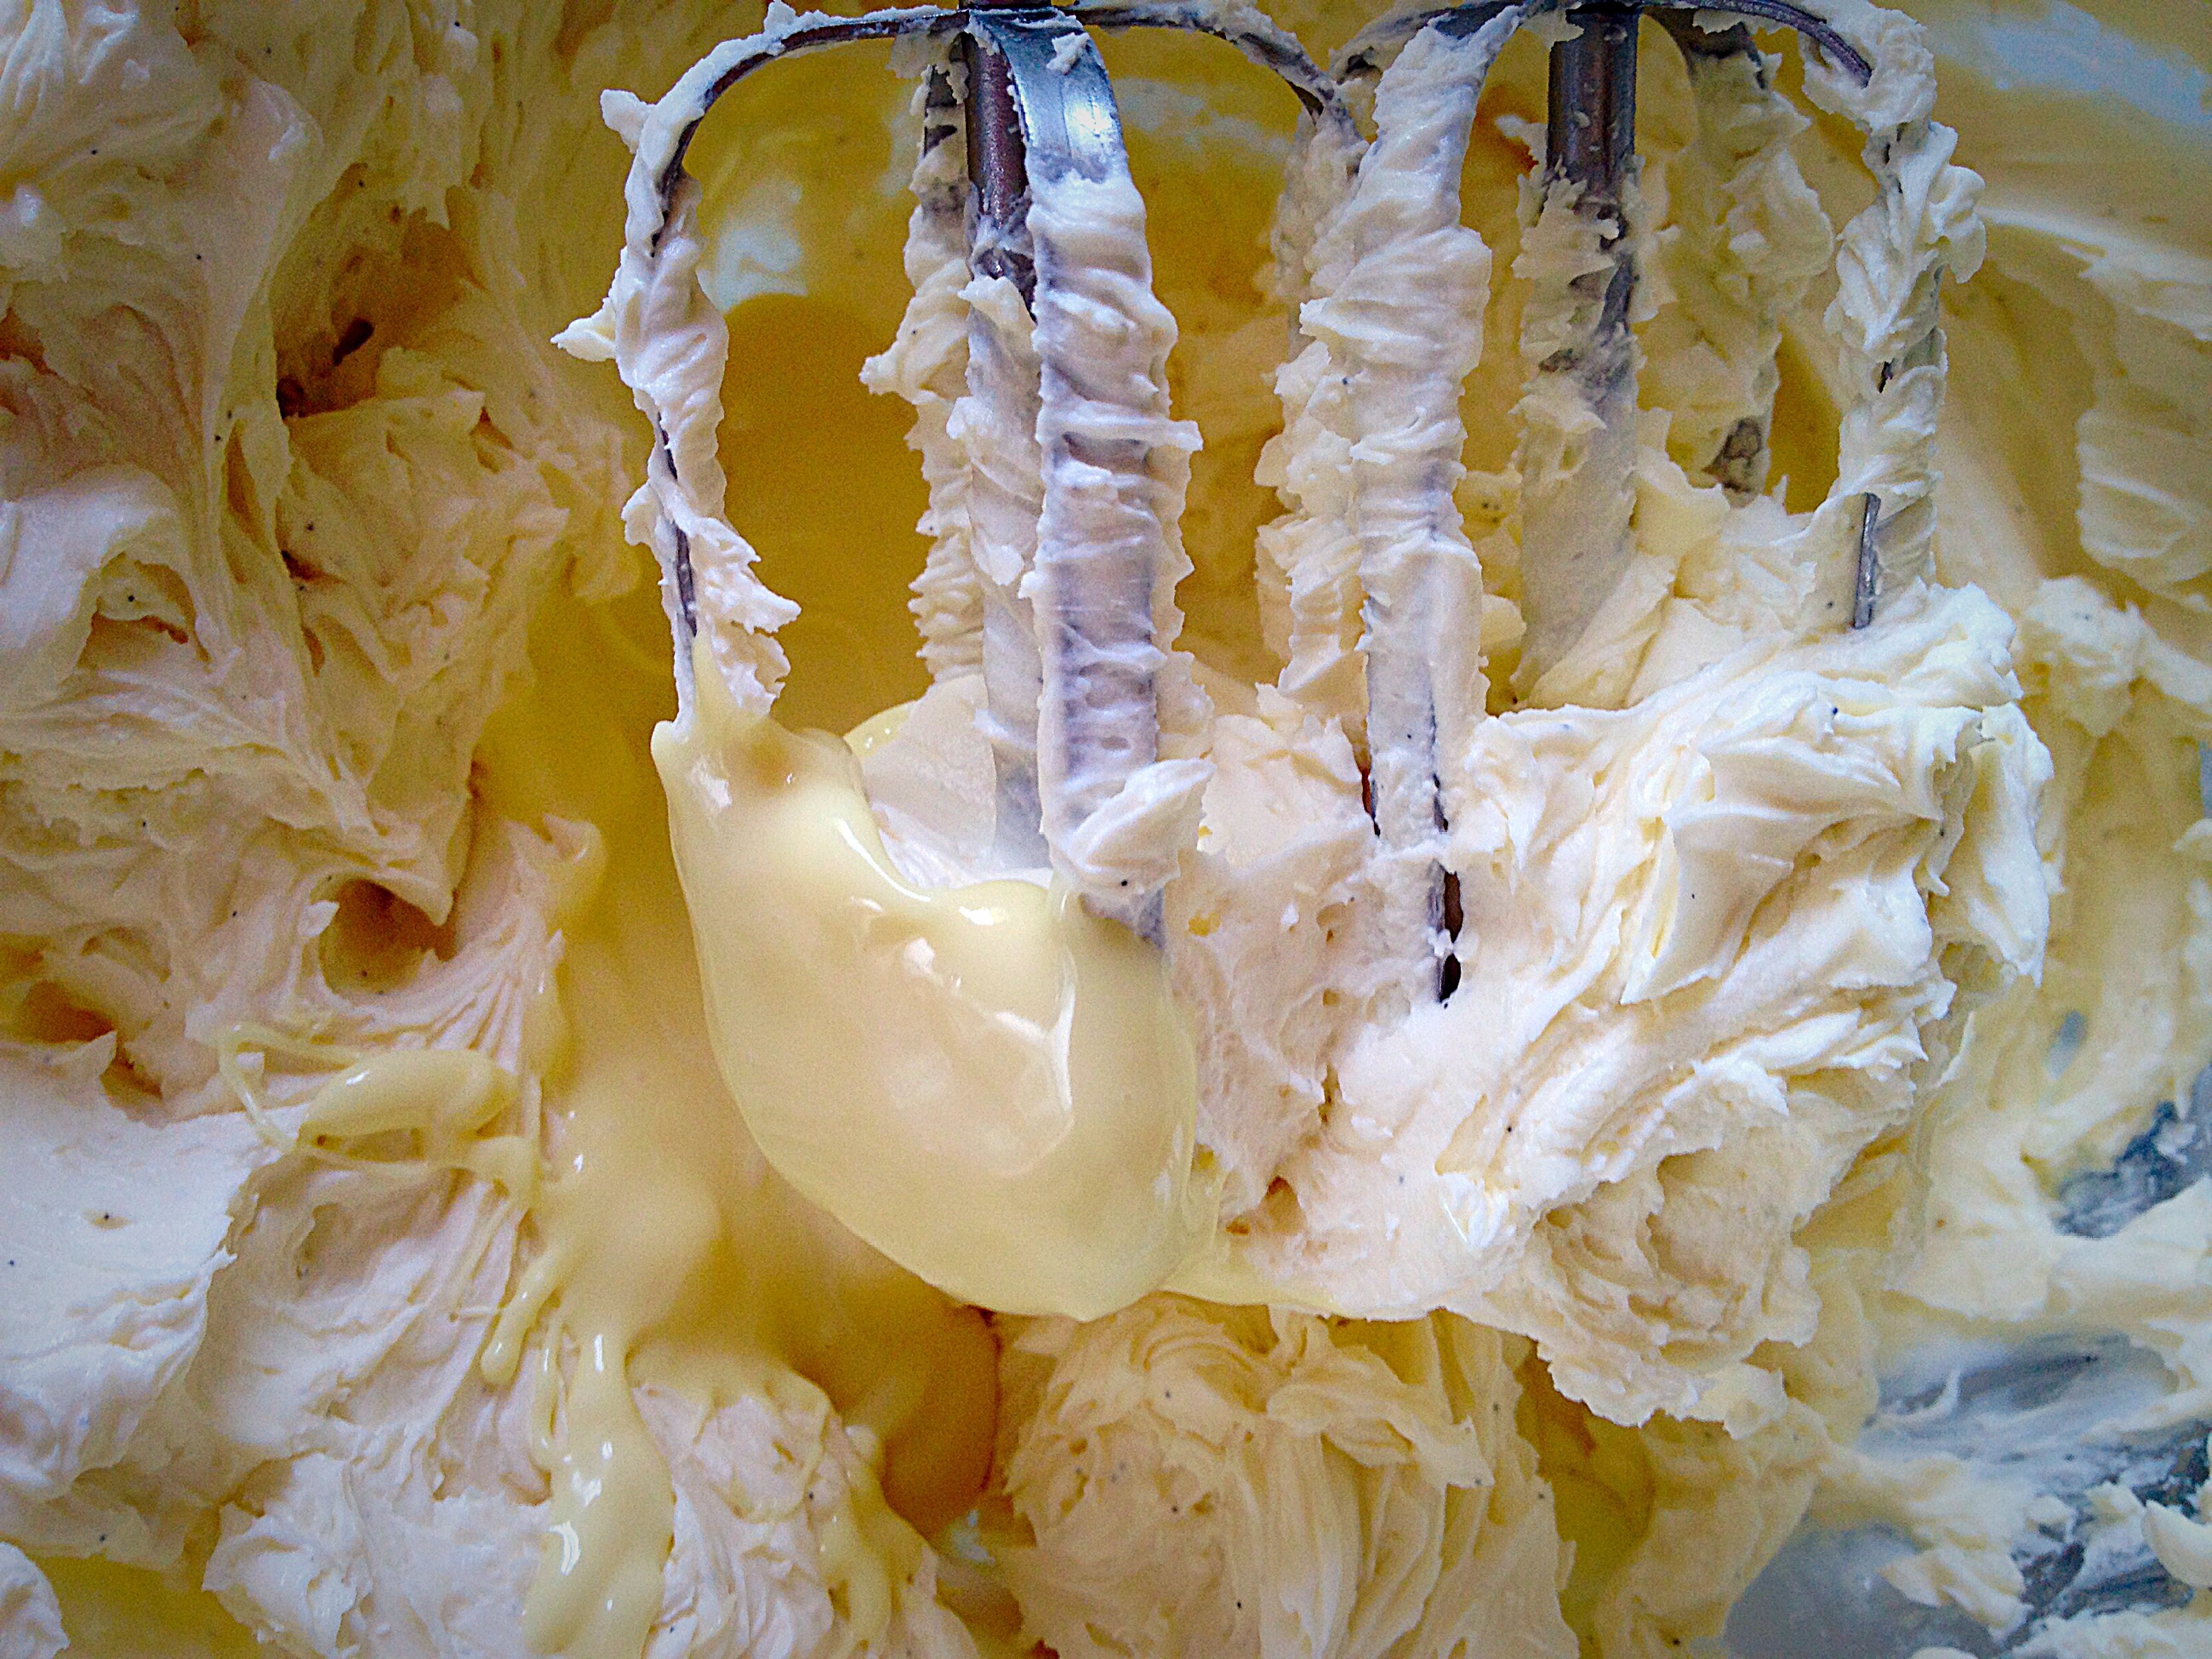
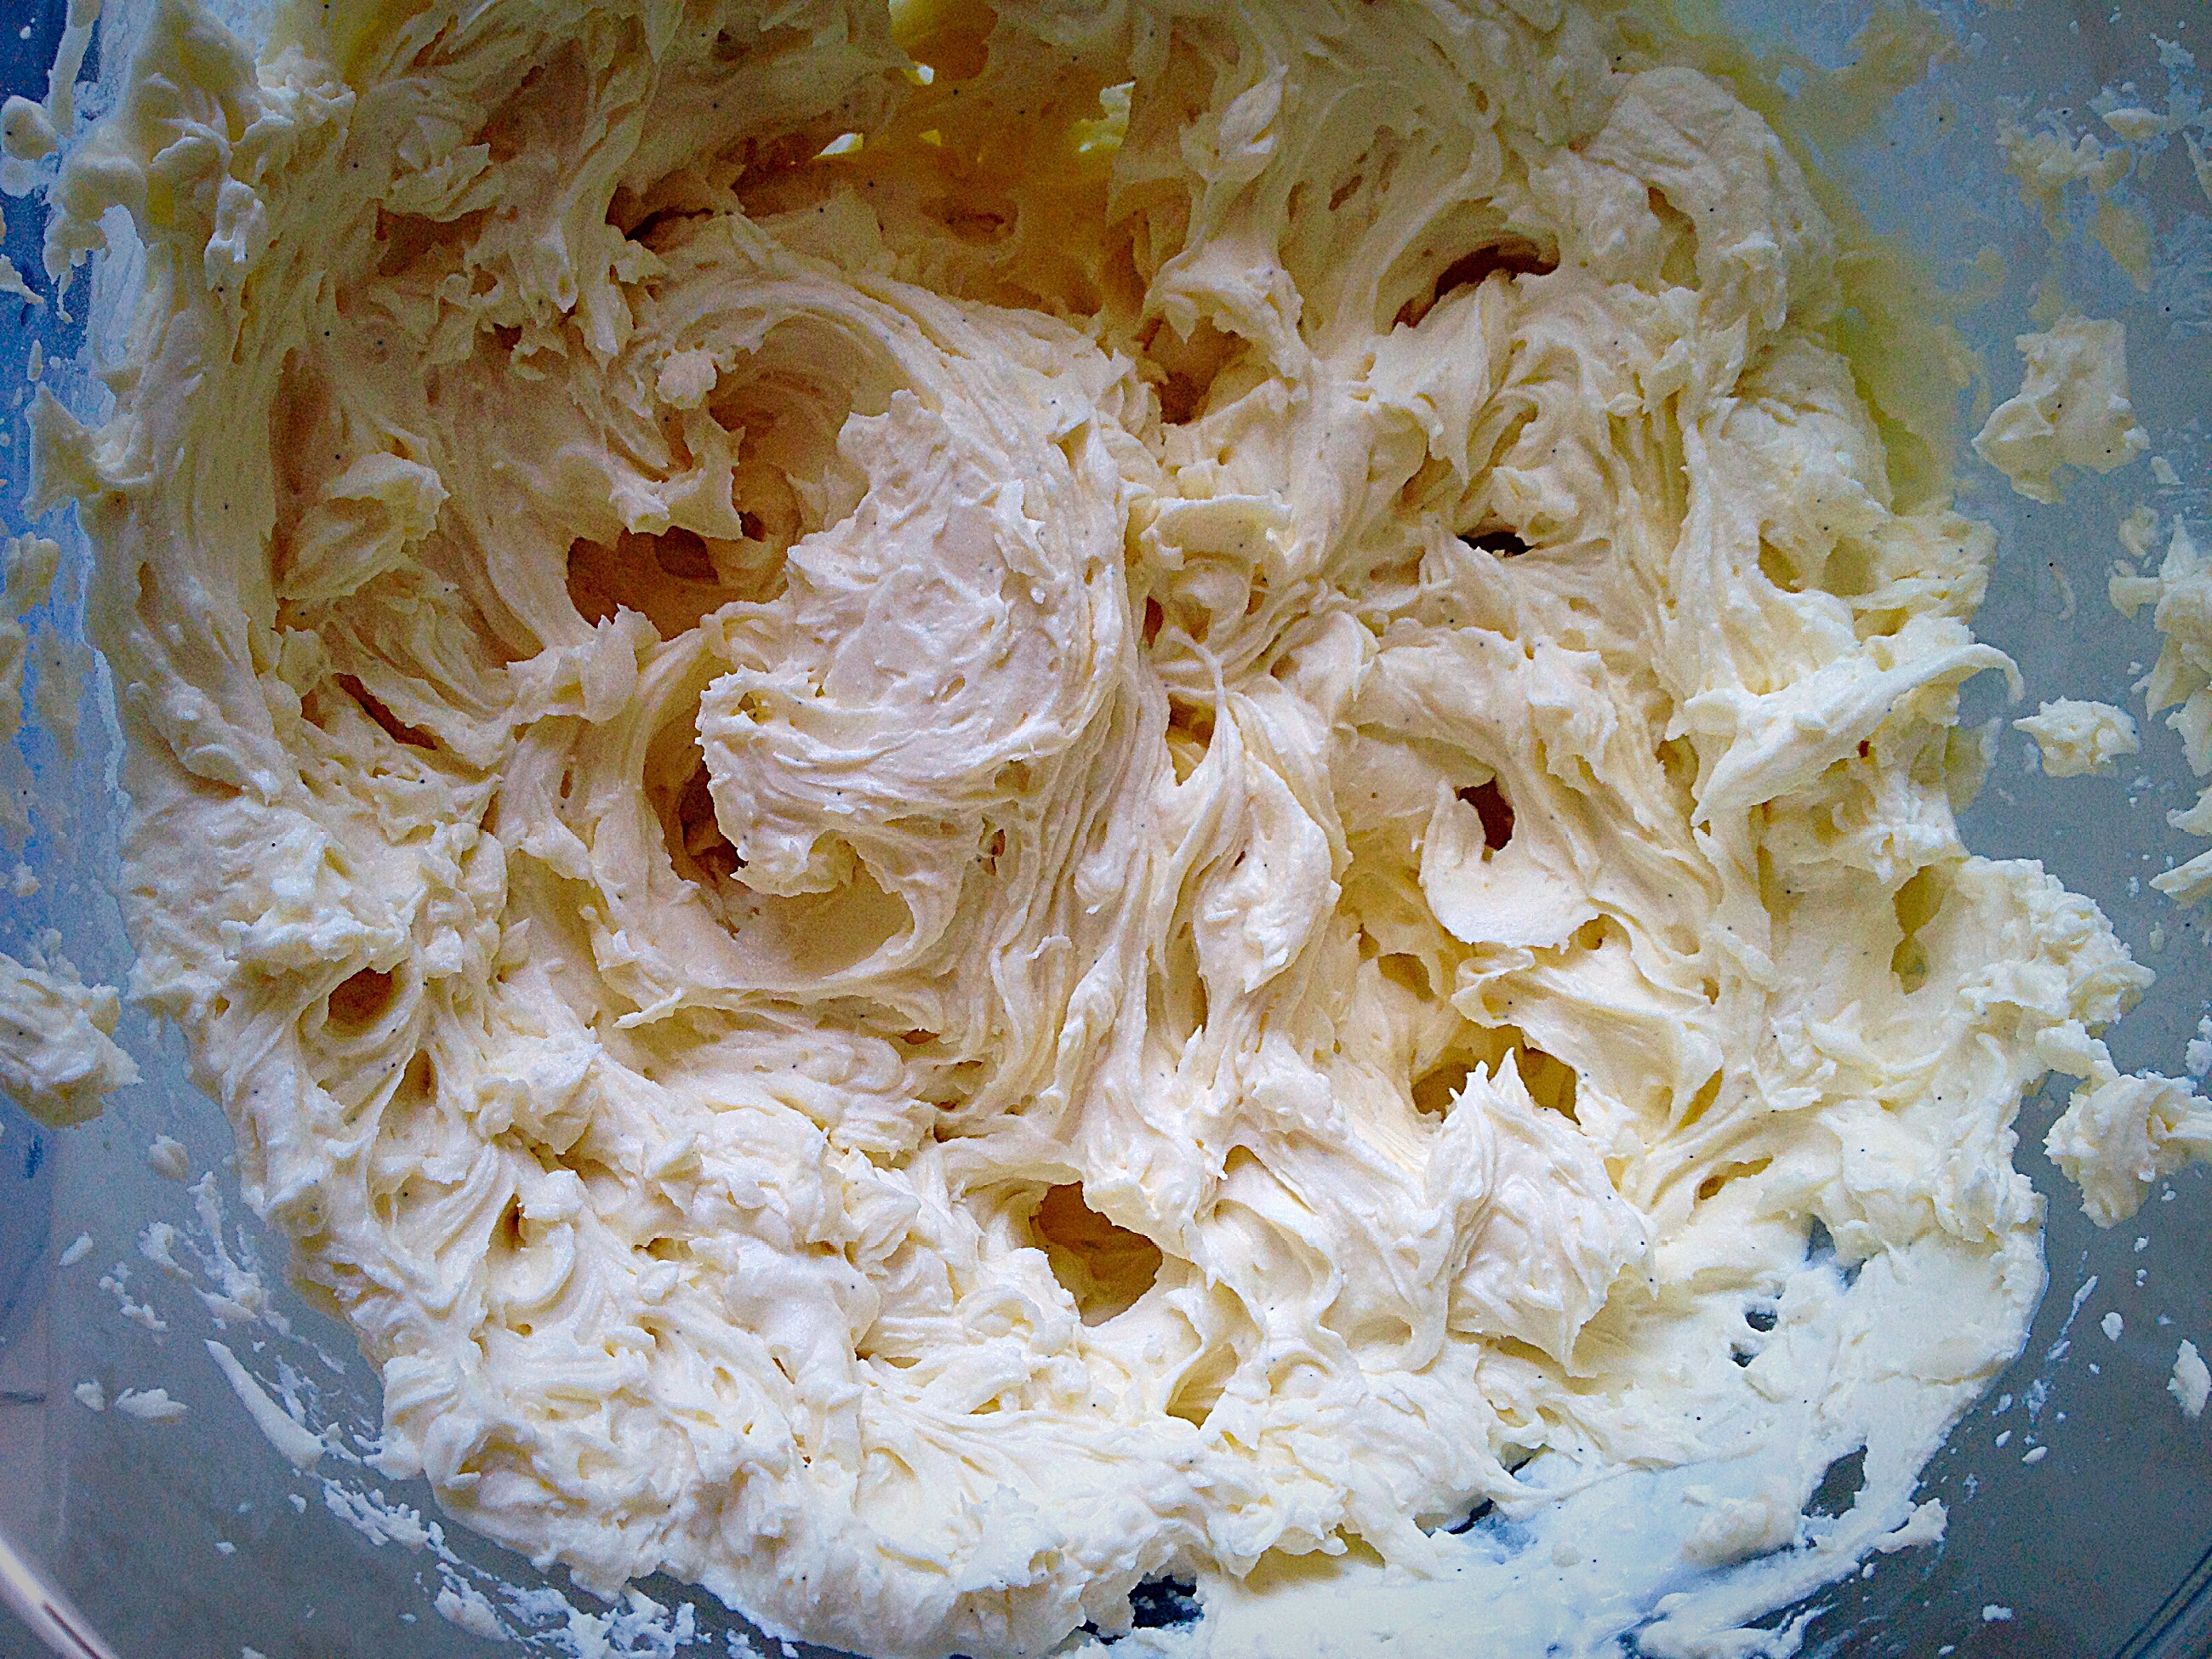
- Add the butter, sugar and salt to a large bowl. Whisk until pale and creamy.
- While whisking add the vanilla.
- Next add 2 eggs and one third of the flour. Whisk until just combined.
- Repeat the last step.
- Add the last 2 eggs, the remaining flour and baking powder. Whisk until fully combined, taking care not to over mix as this can cause the baked cake to become tough.
Filling The Heart Shaped Tin And Baking The Cake
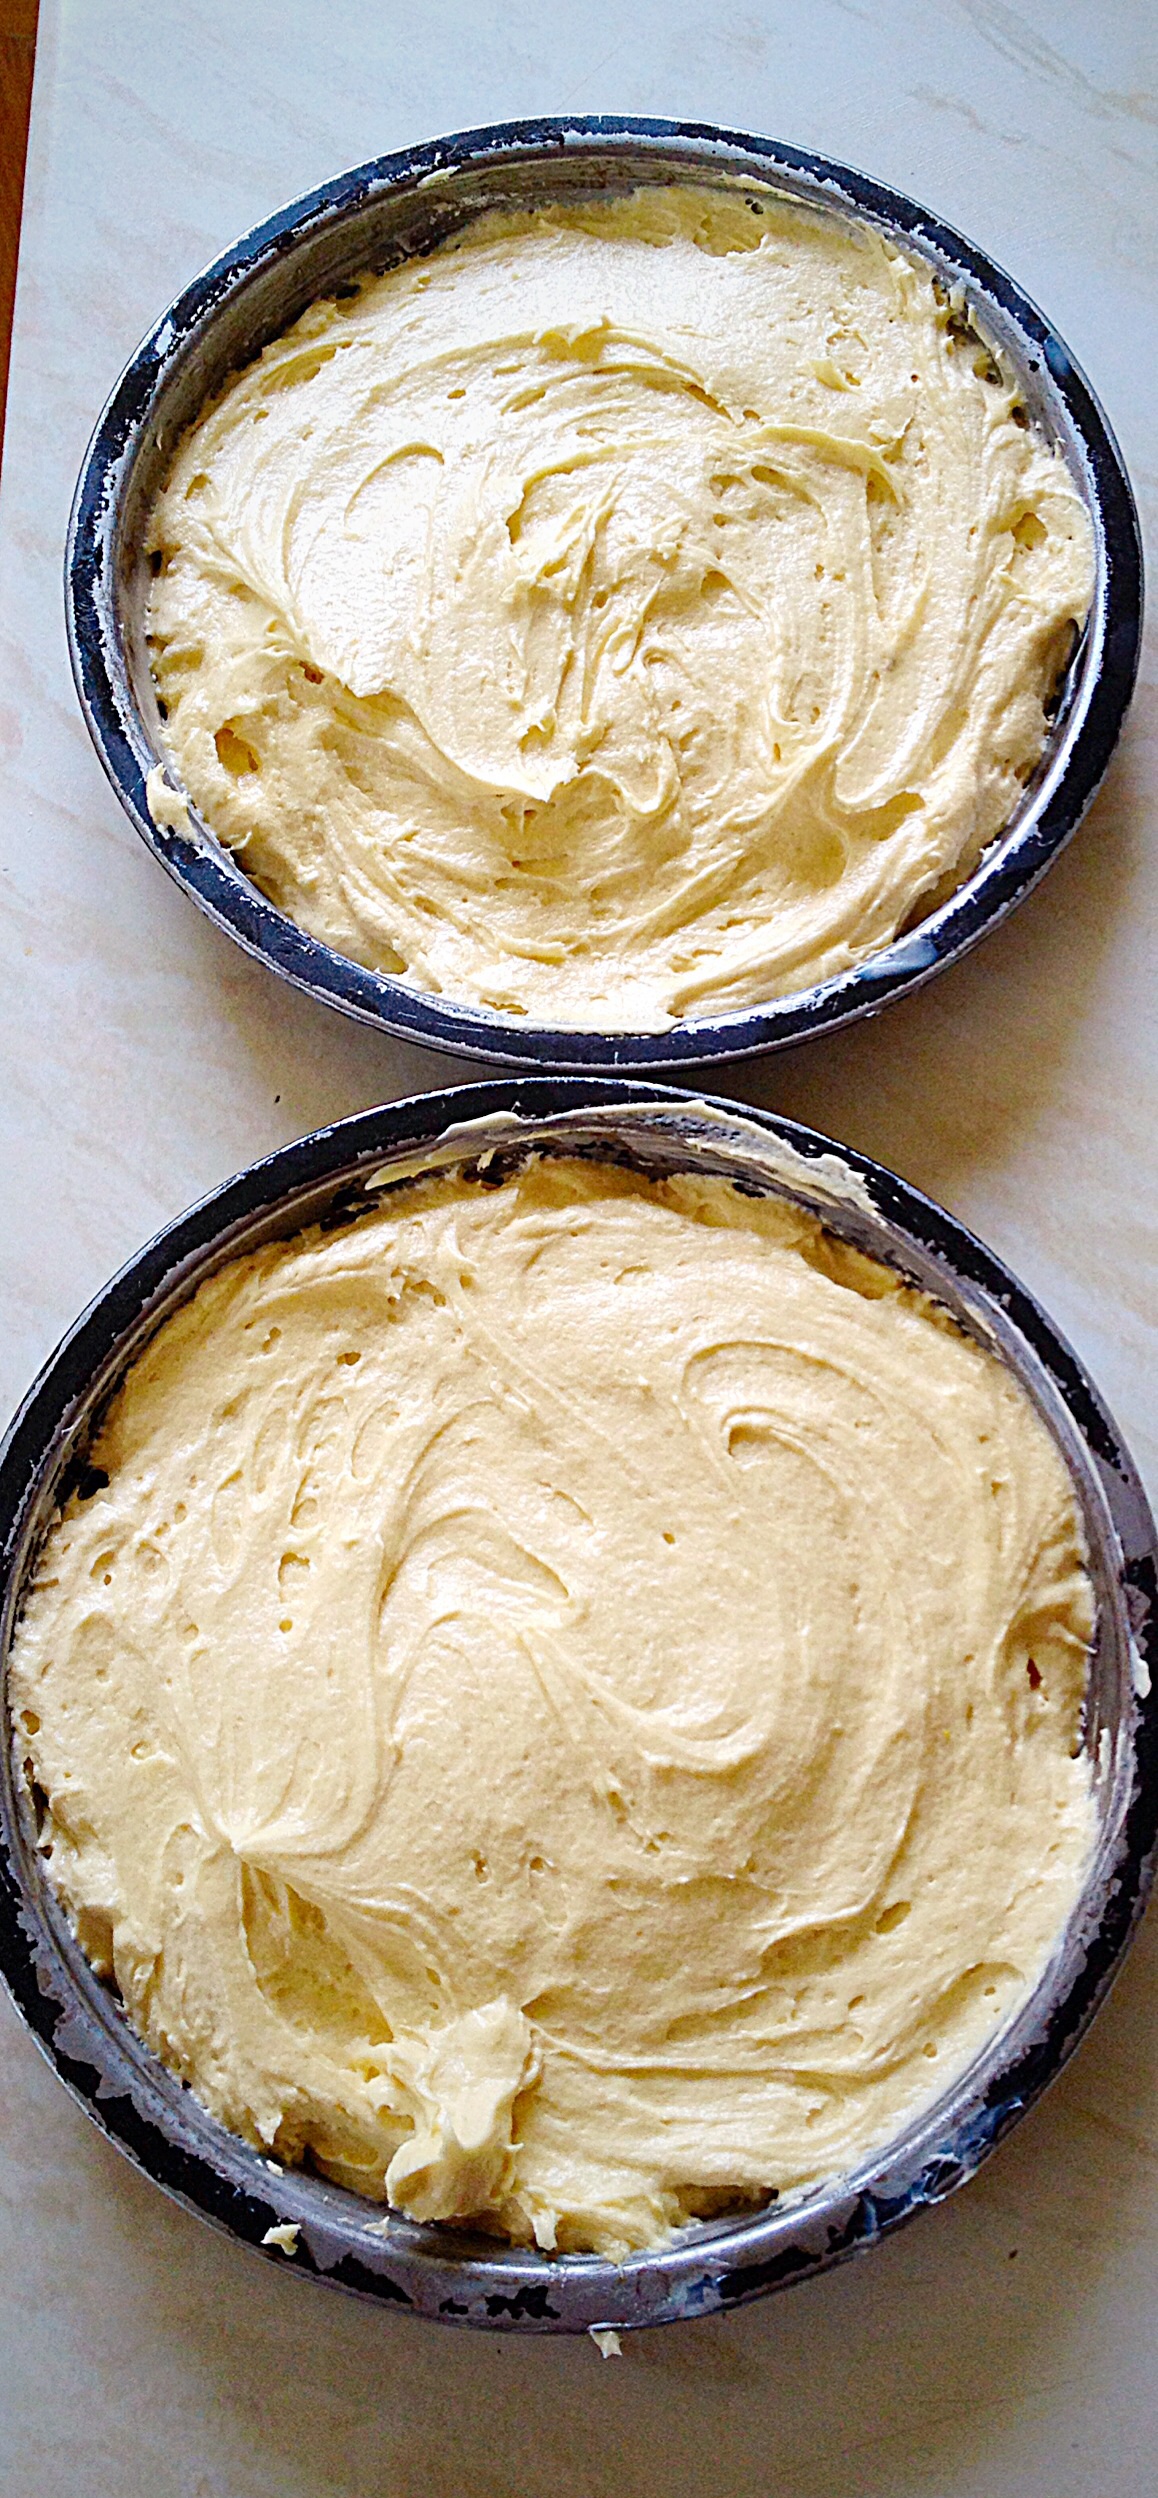
- Spoon the cake batter into the prepared tin. Smooth the surface of the batter.
- Place the cake tin into the centre of the oven and bake for 1 hour 20 minutes – 1 hour 40 minutes. My cake took exactly 1 hour 30 minutes, however as ovens differ start checking at the earlier time.
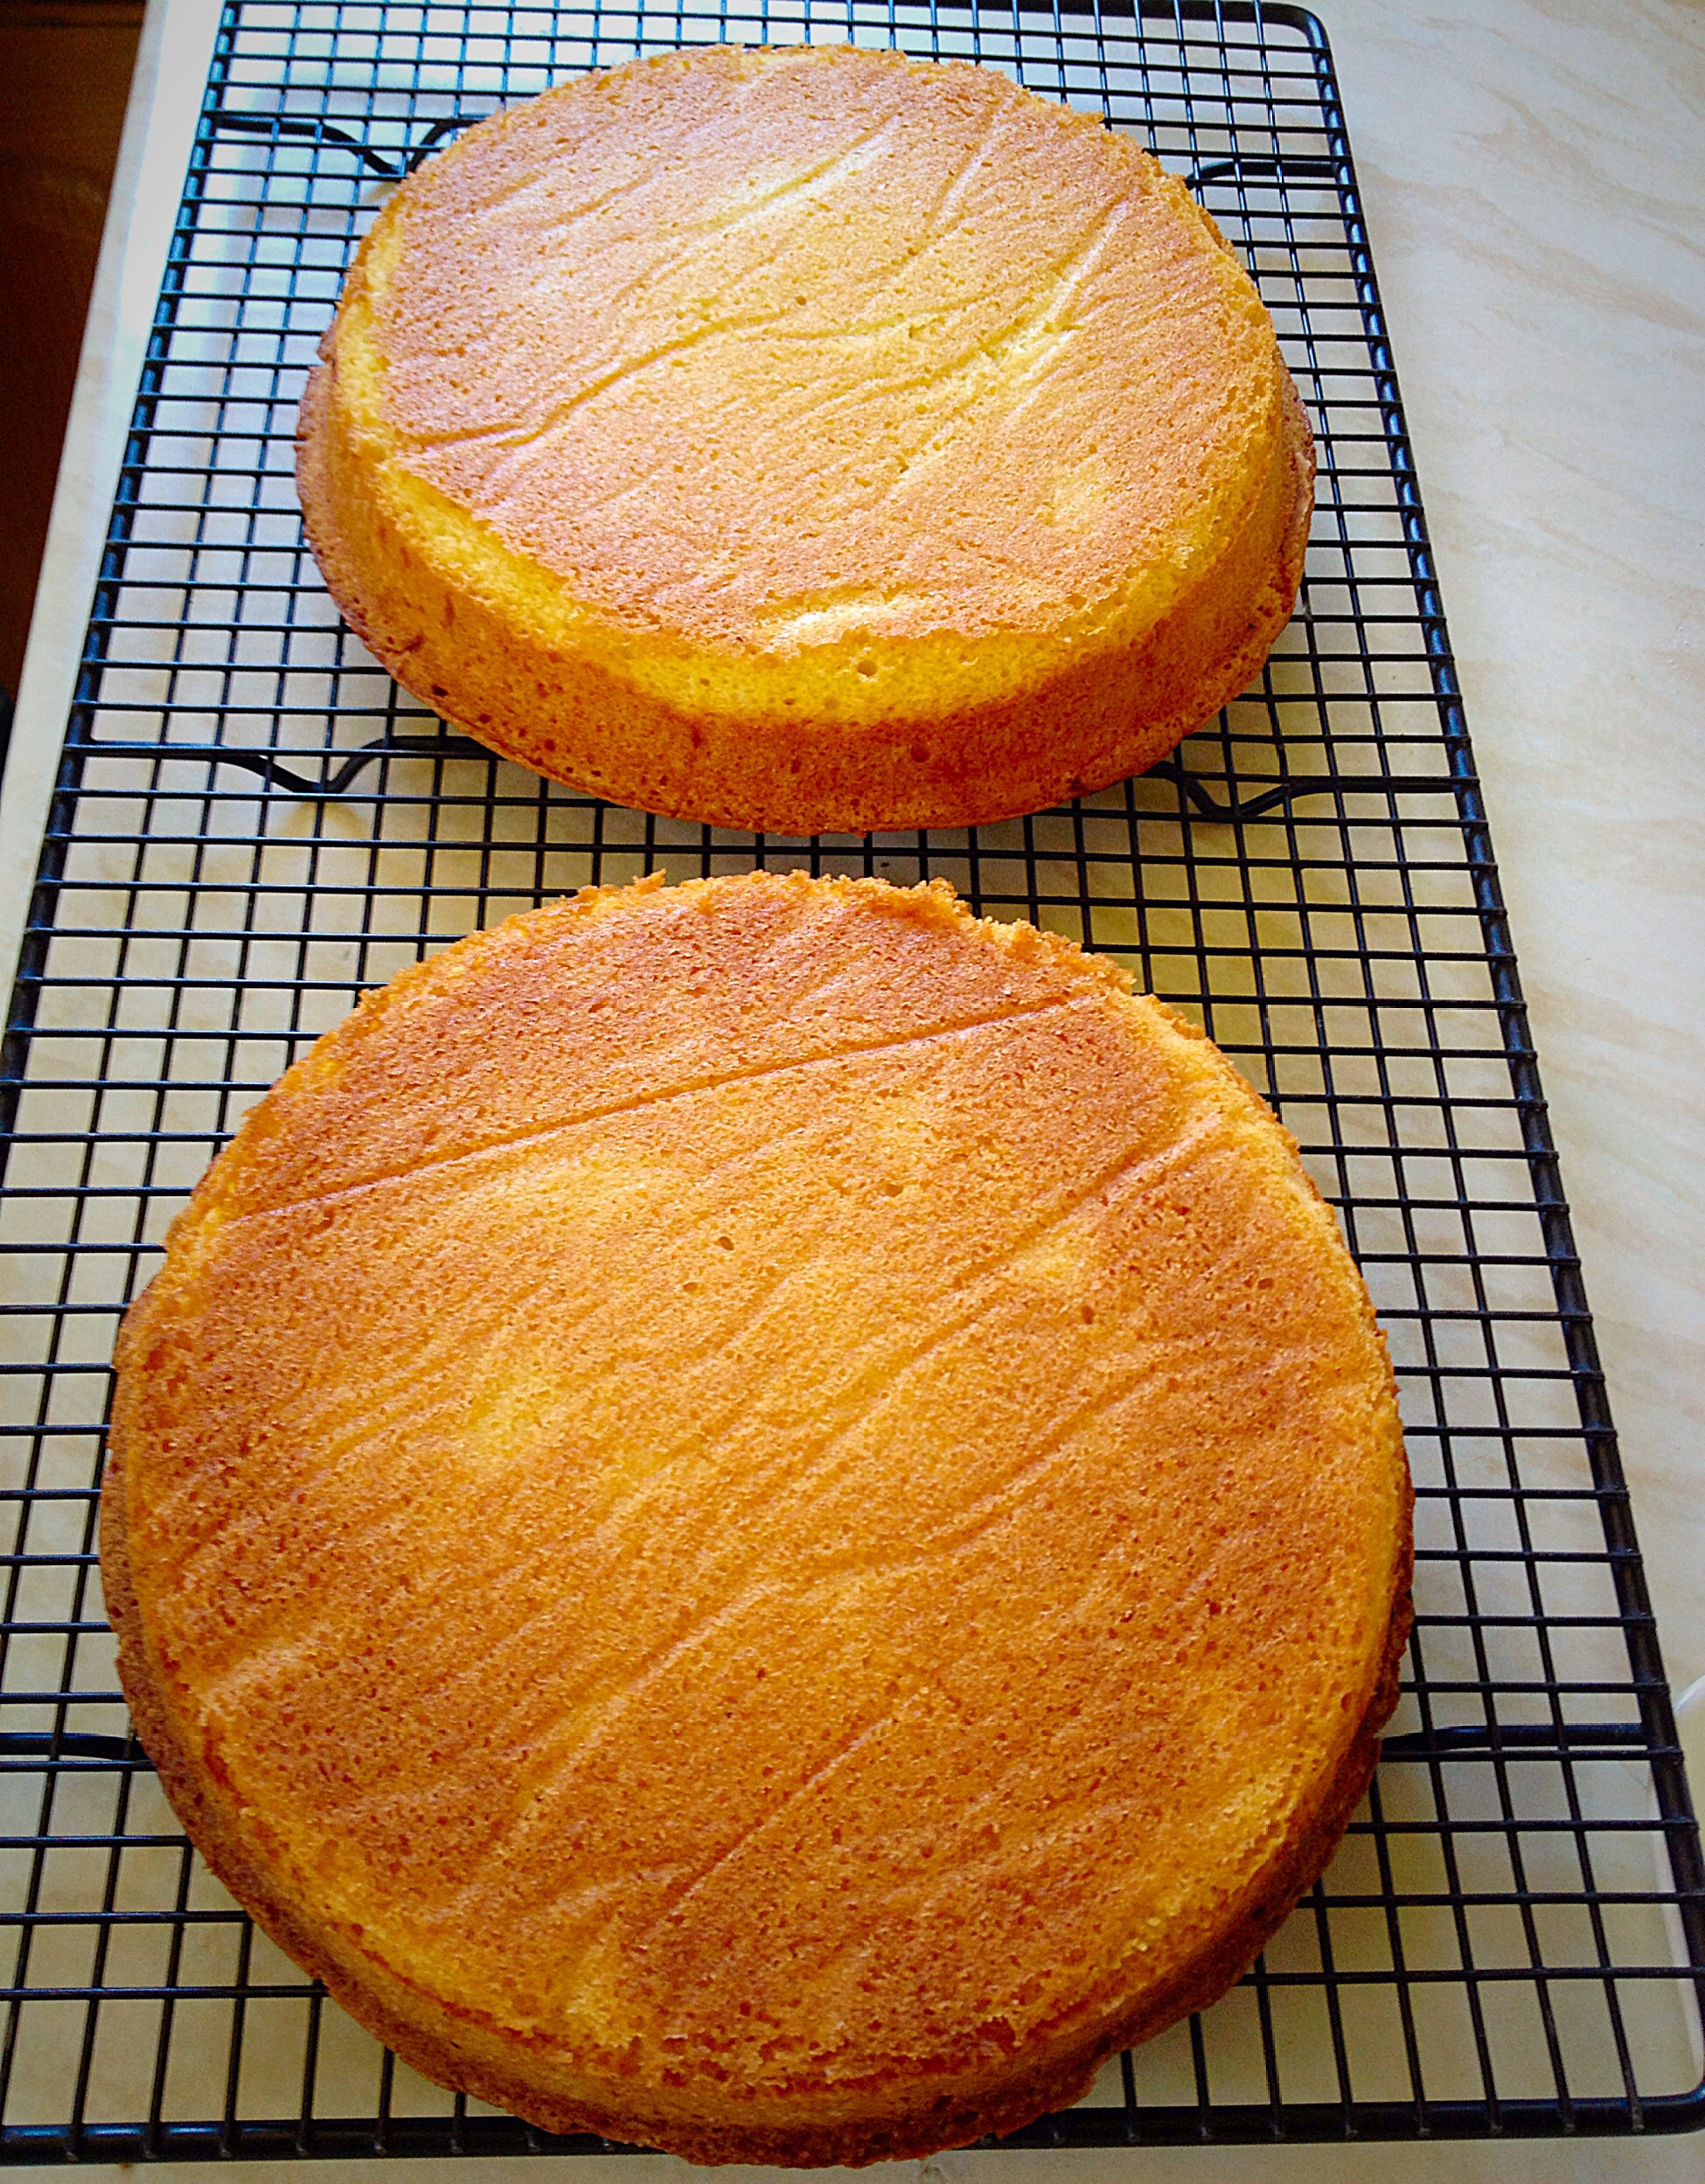
- The cake is baked when it is golden brown, springs back from a light touch and an inserted skewer comes out clean.
- As soon as the cake is baked remove from the oven and place the tin on a cooling rack.
- Allow the cake to fully cool in the tin.

- When the cake is fully cooled release from the tin.
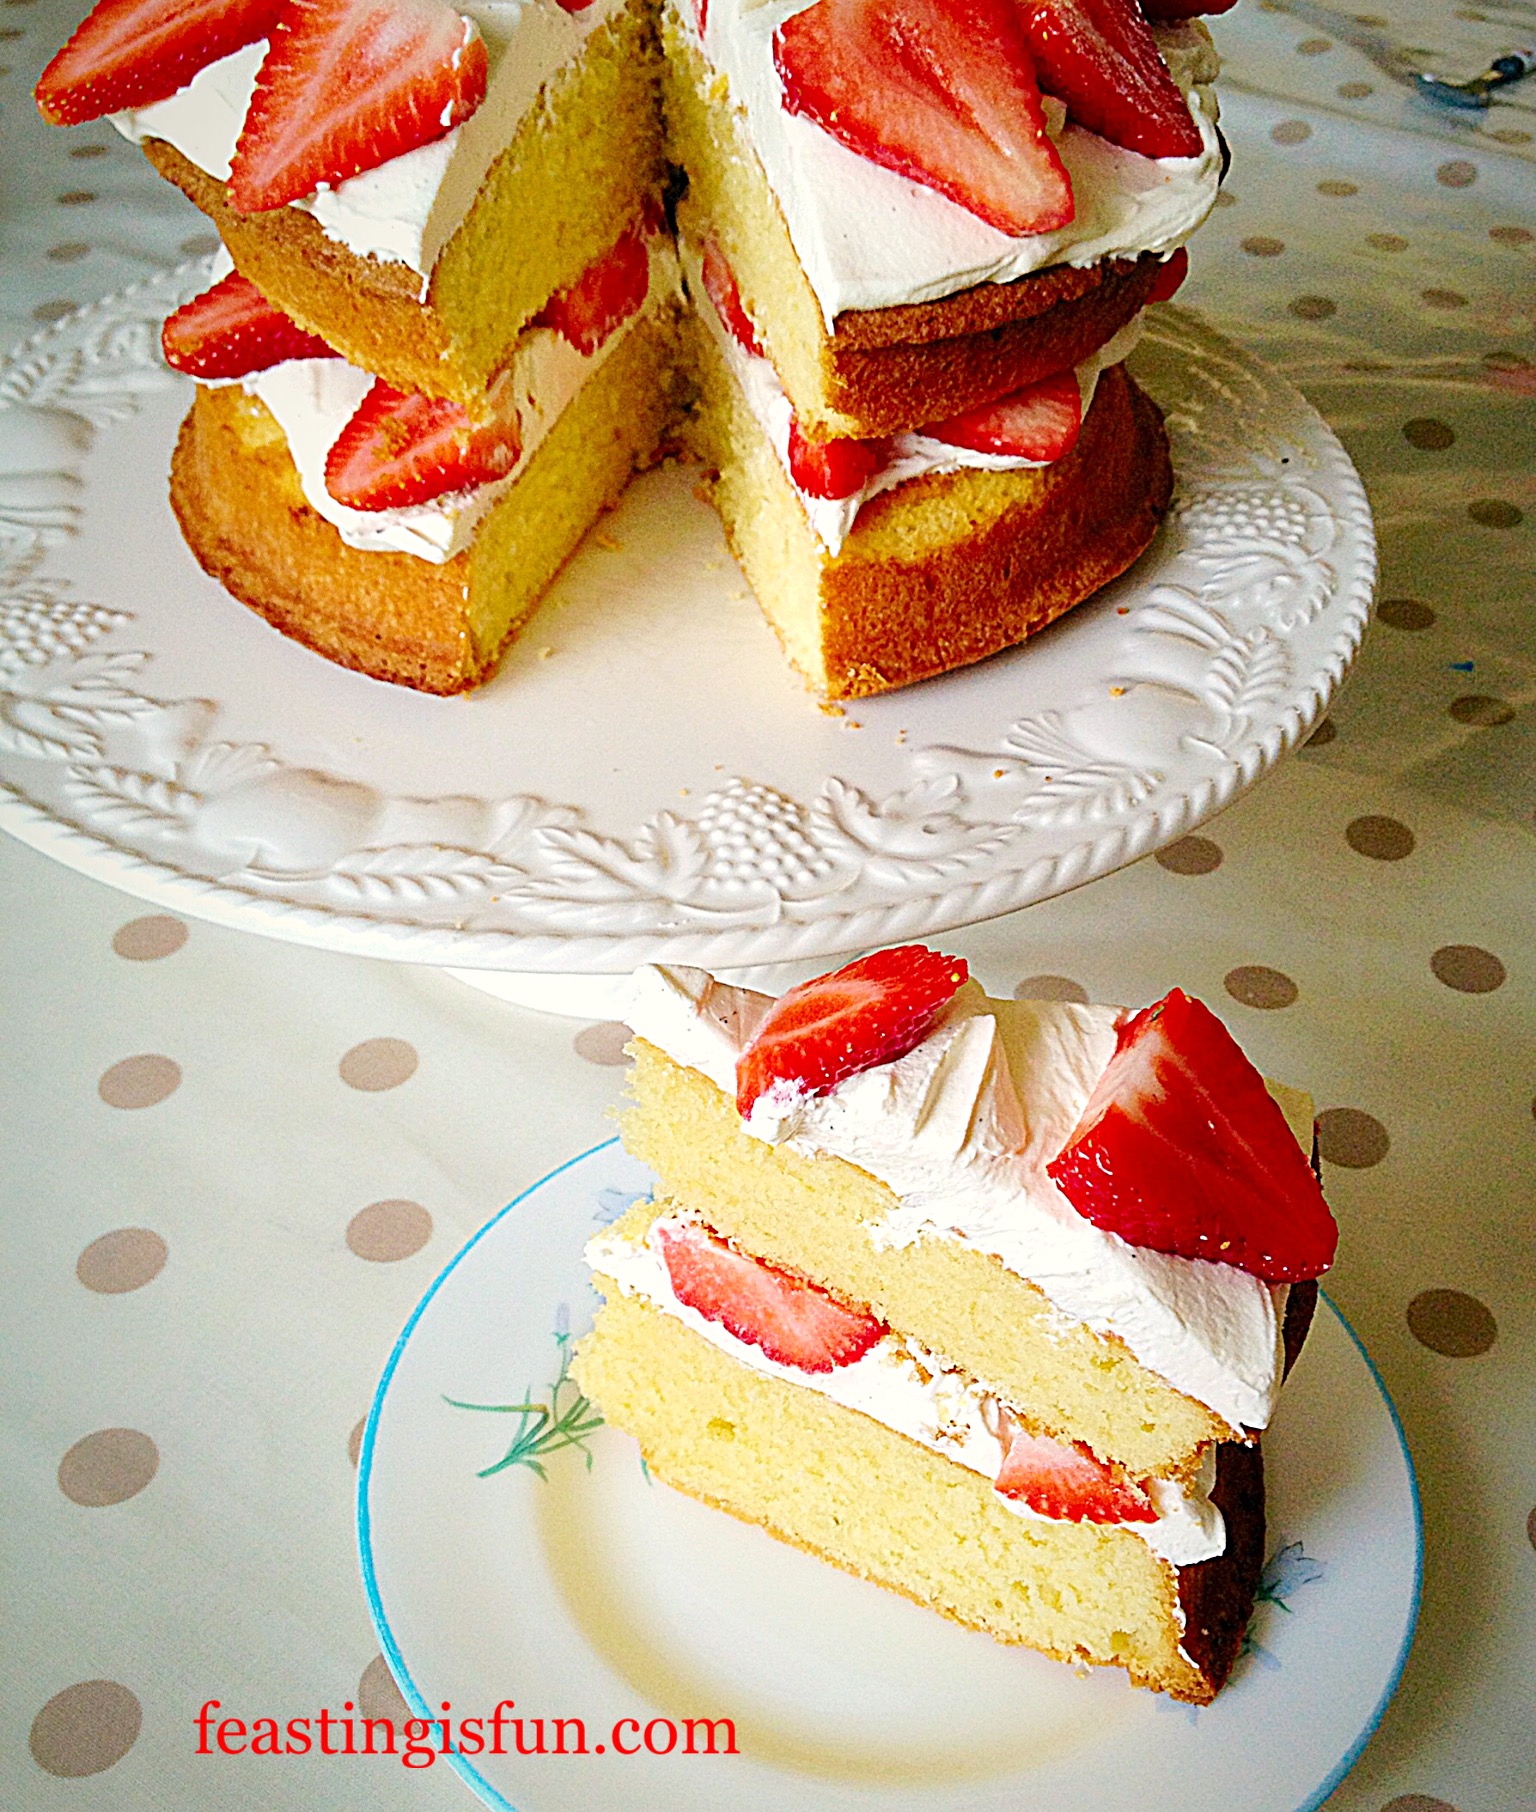
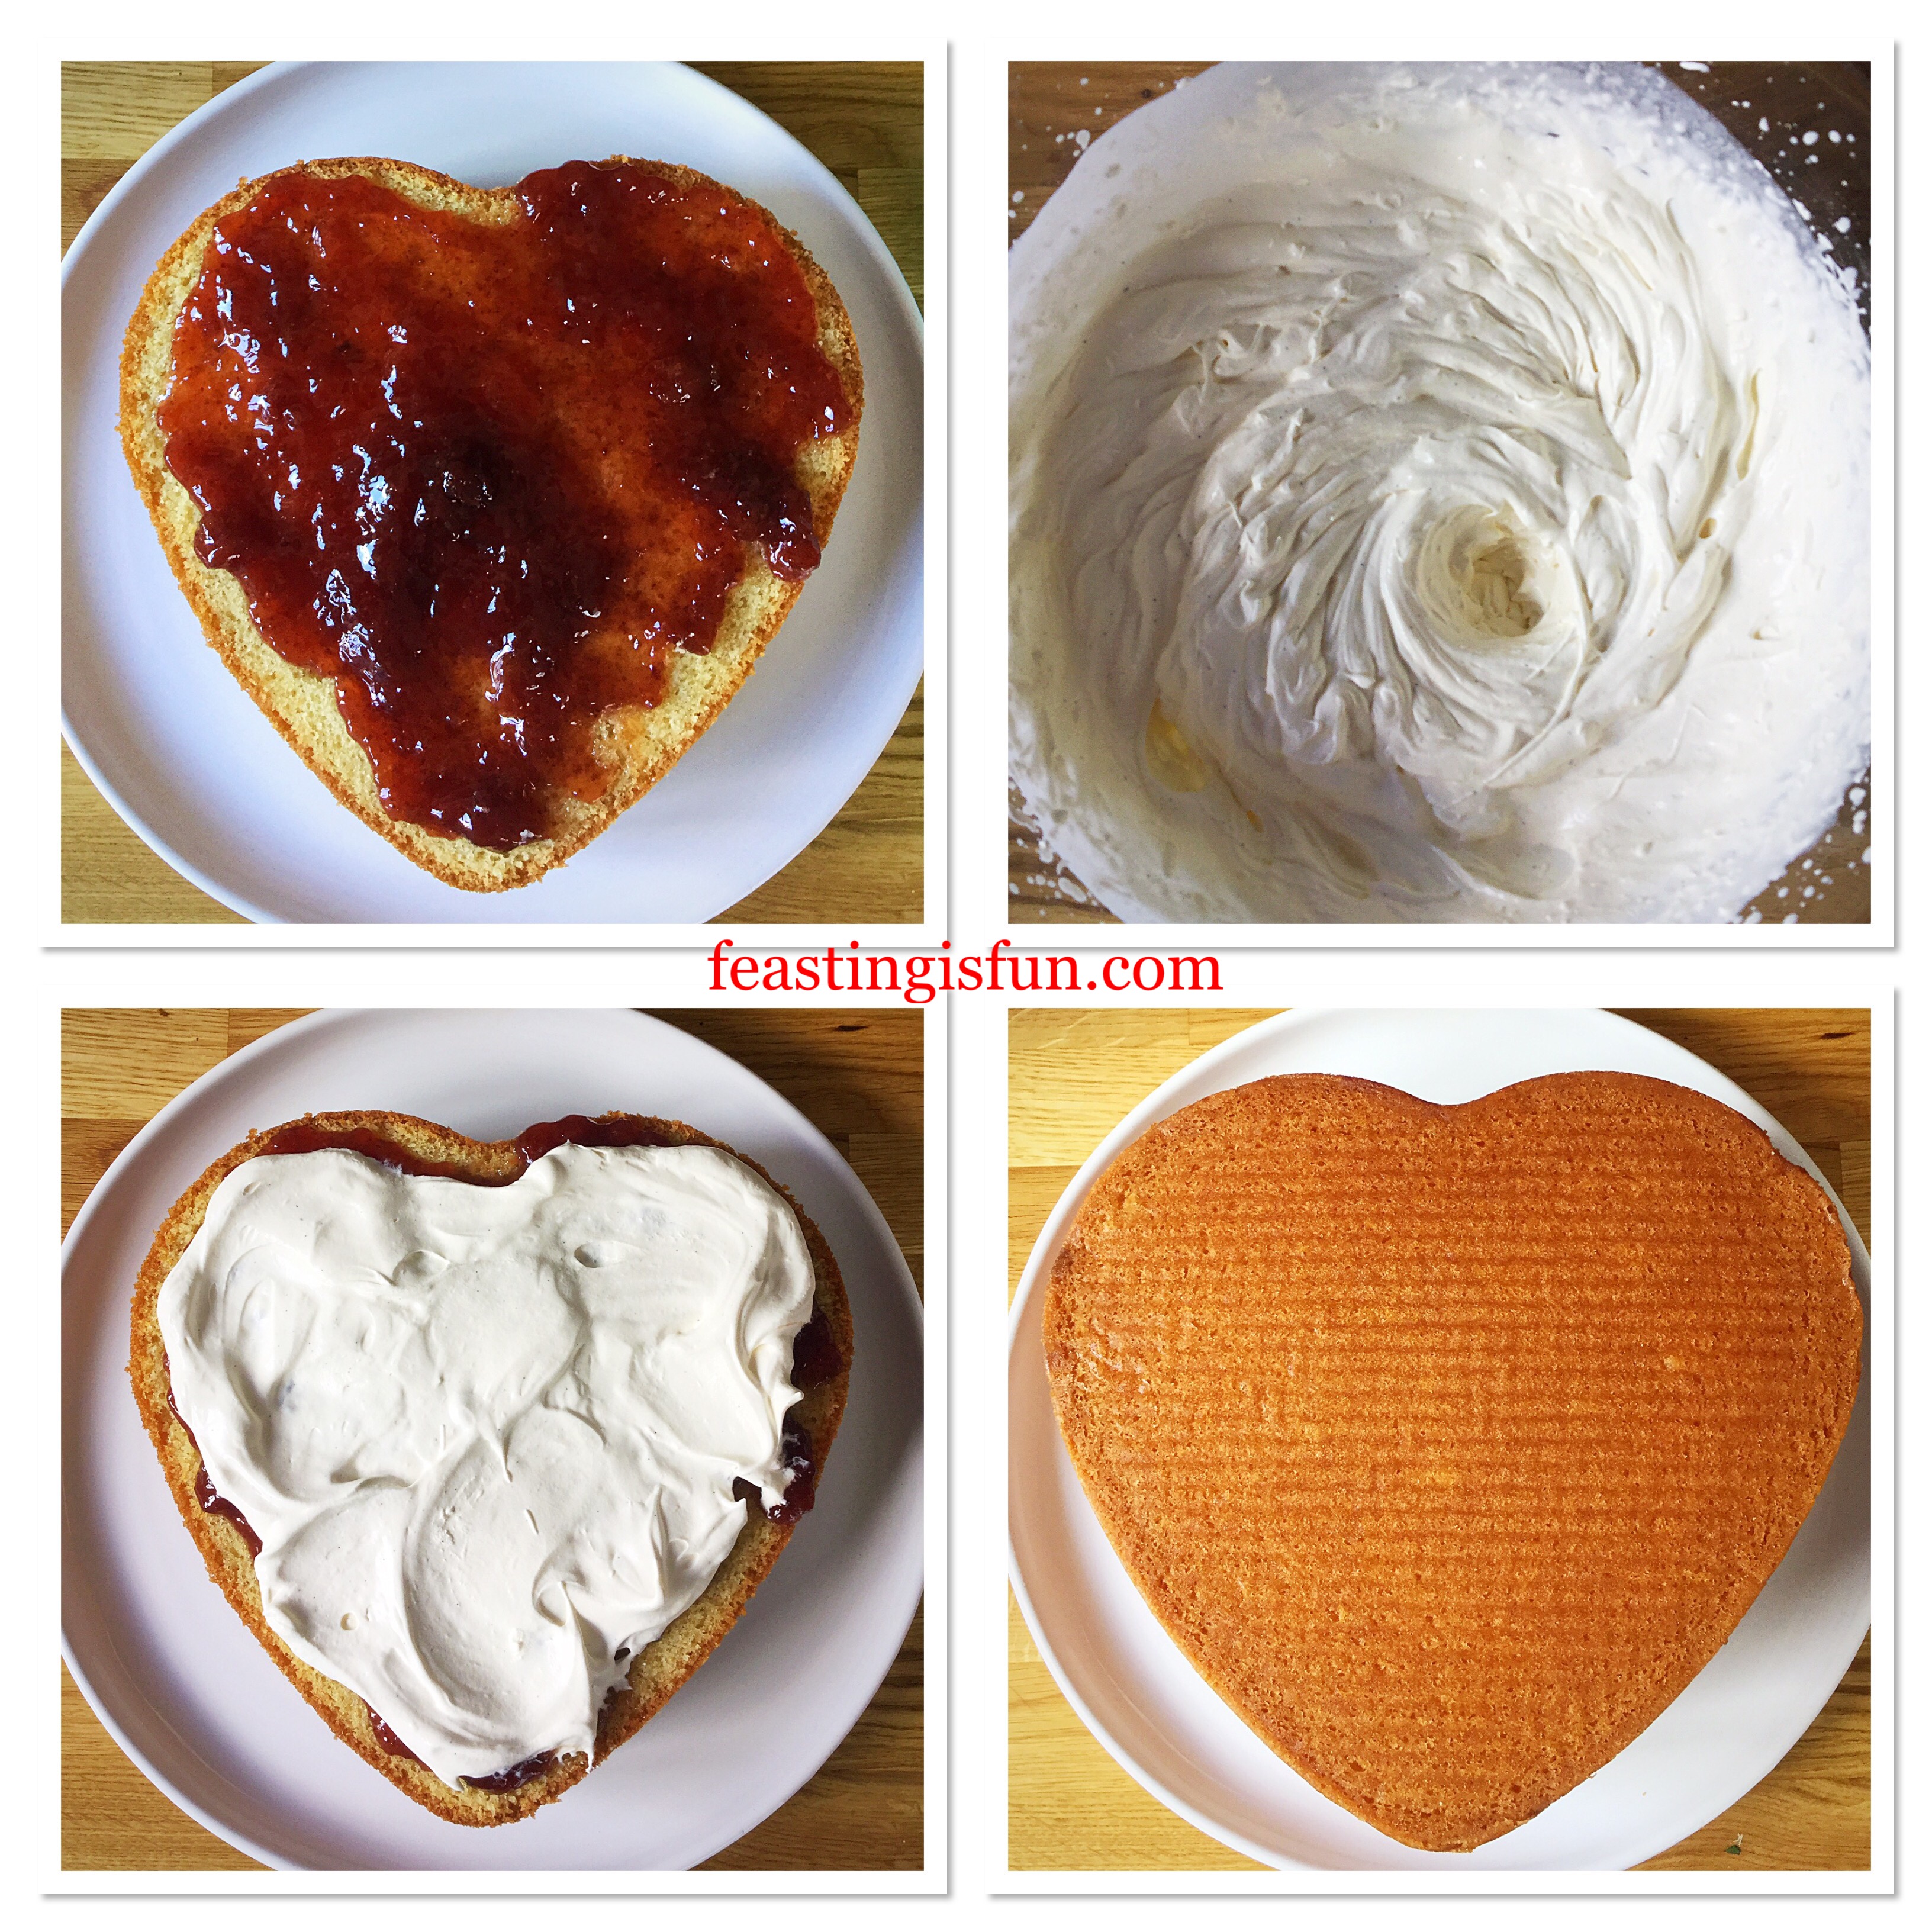
Cutting The Cake In Half And Filling With Jam And Cream
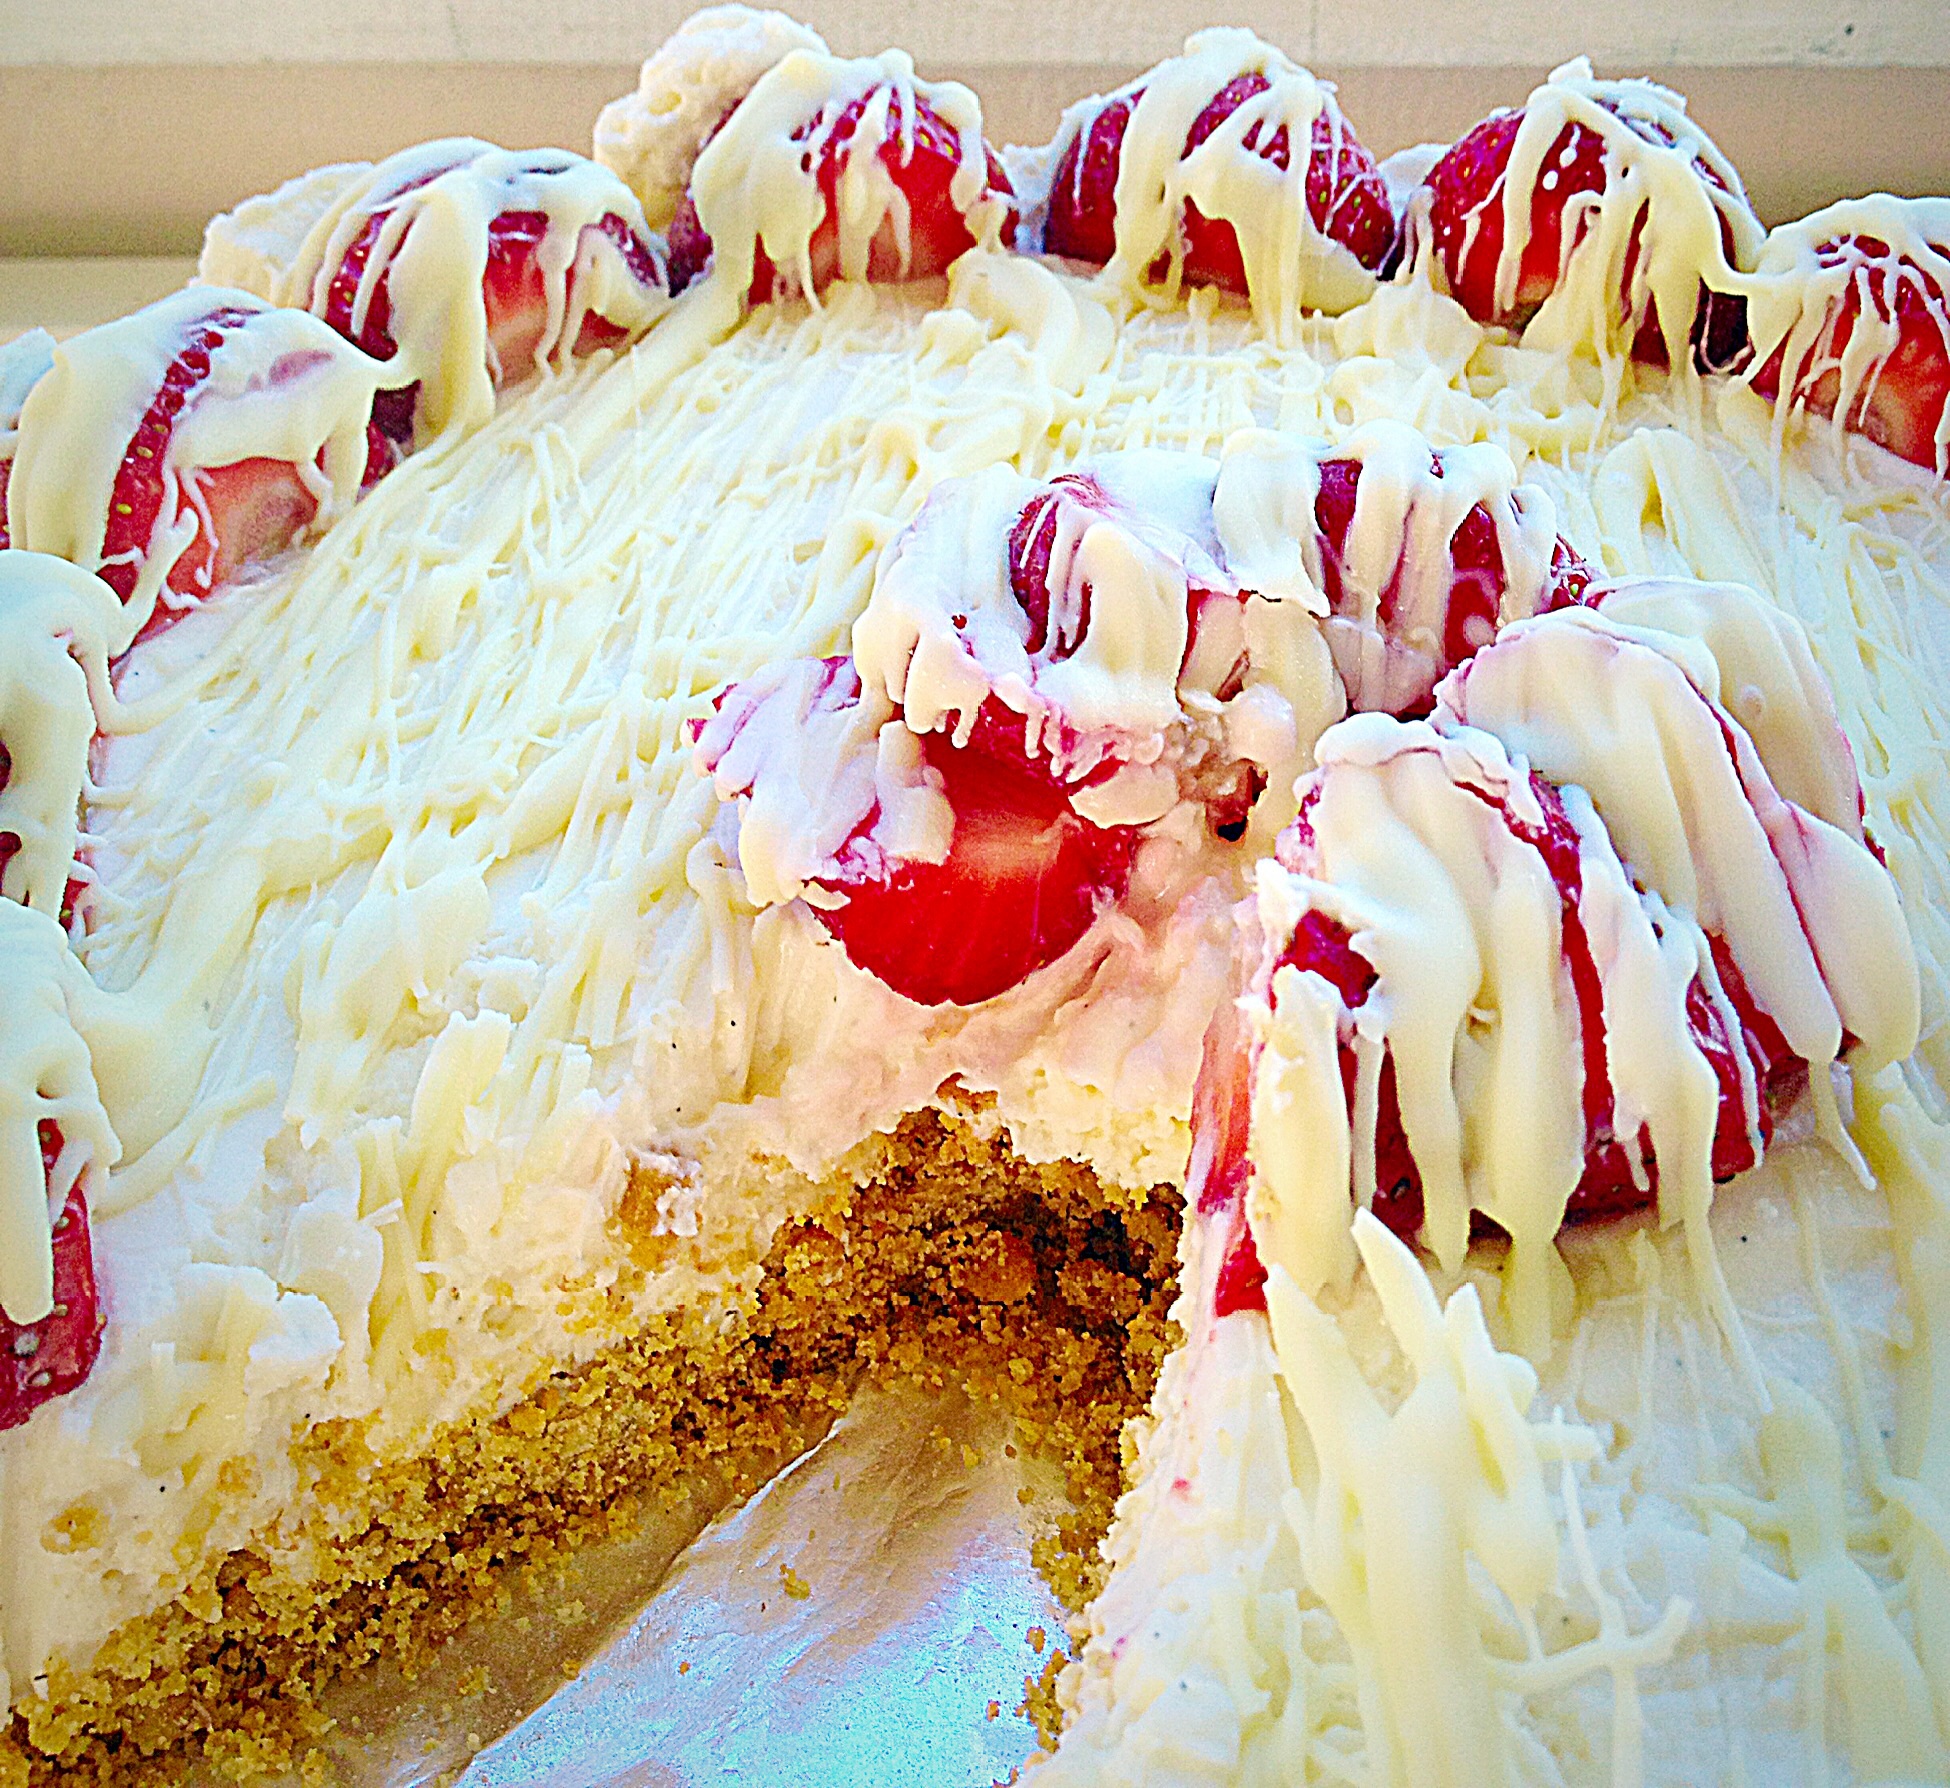
- Use a long, serrated knife to cut through the middle of the cake, creating two layers.
- Place the top layer of the cake face down on to a plate or board.
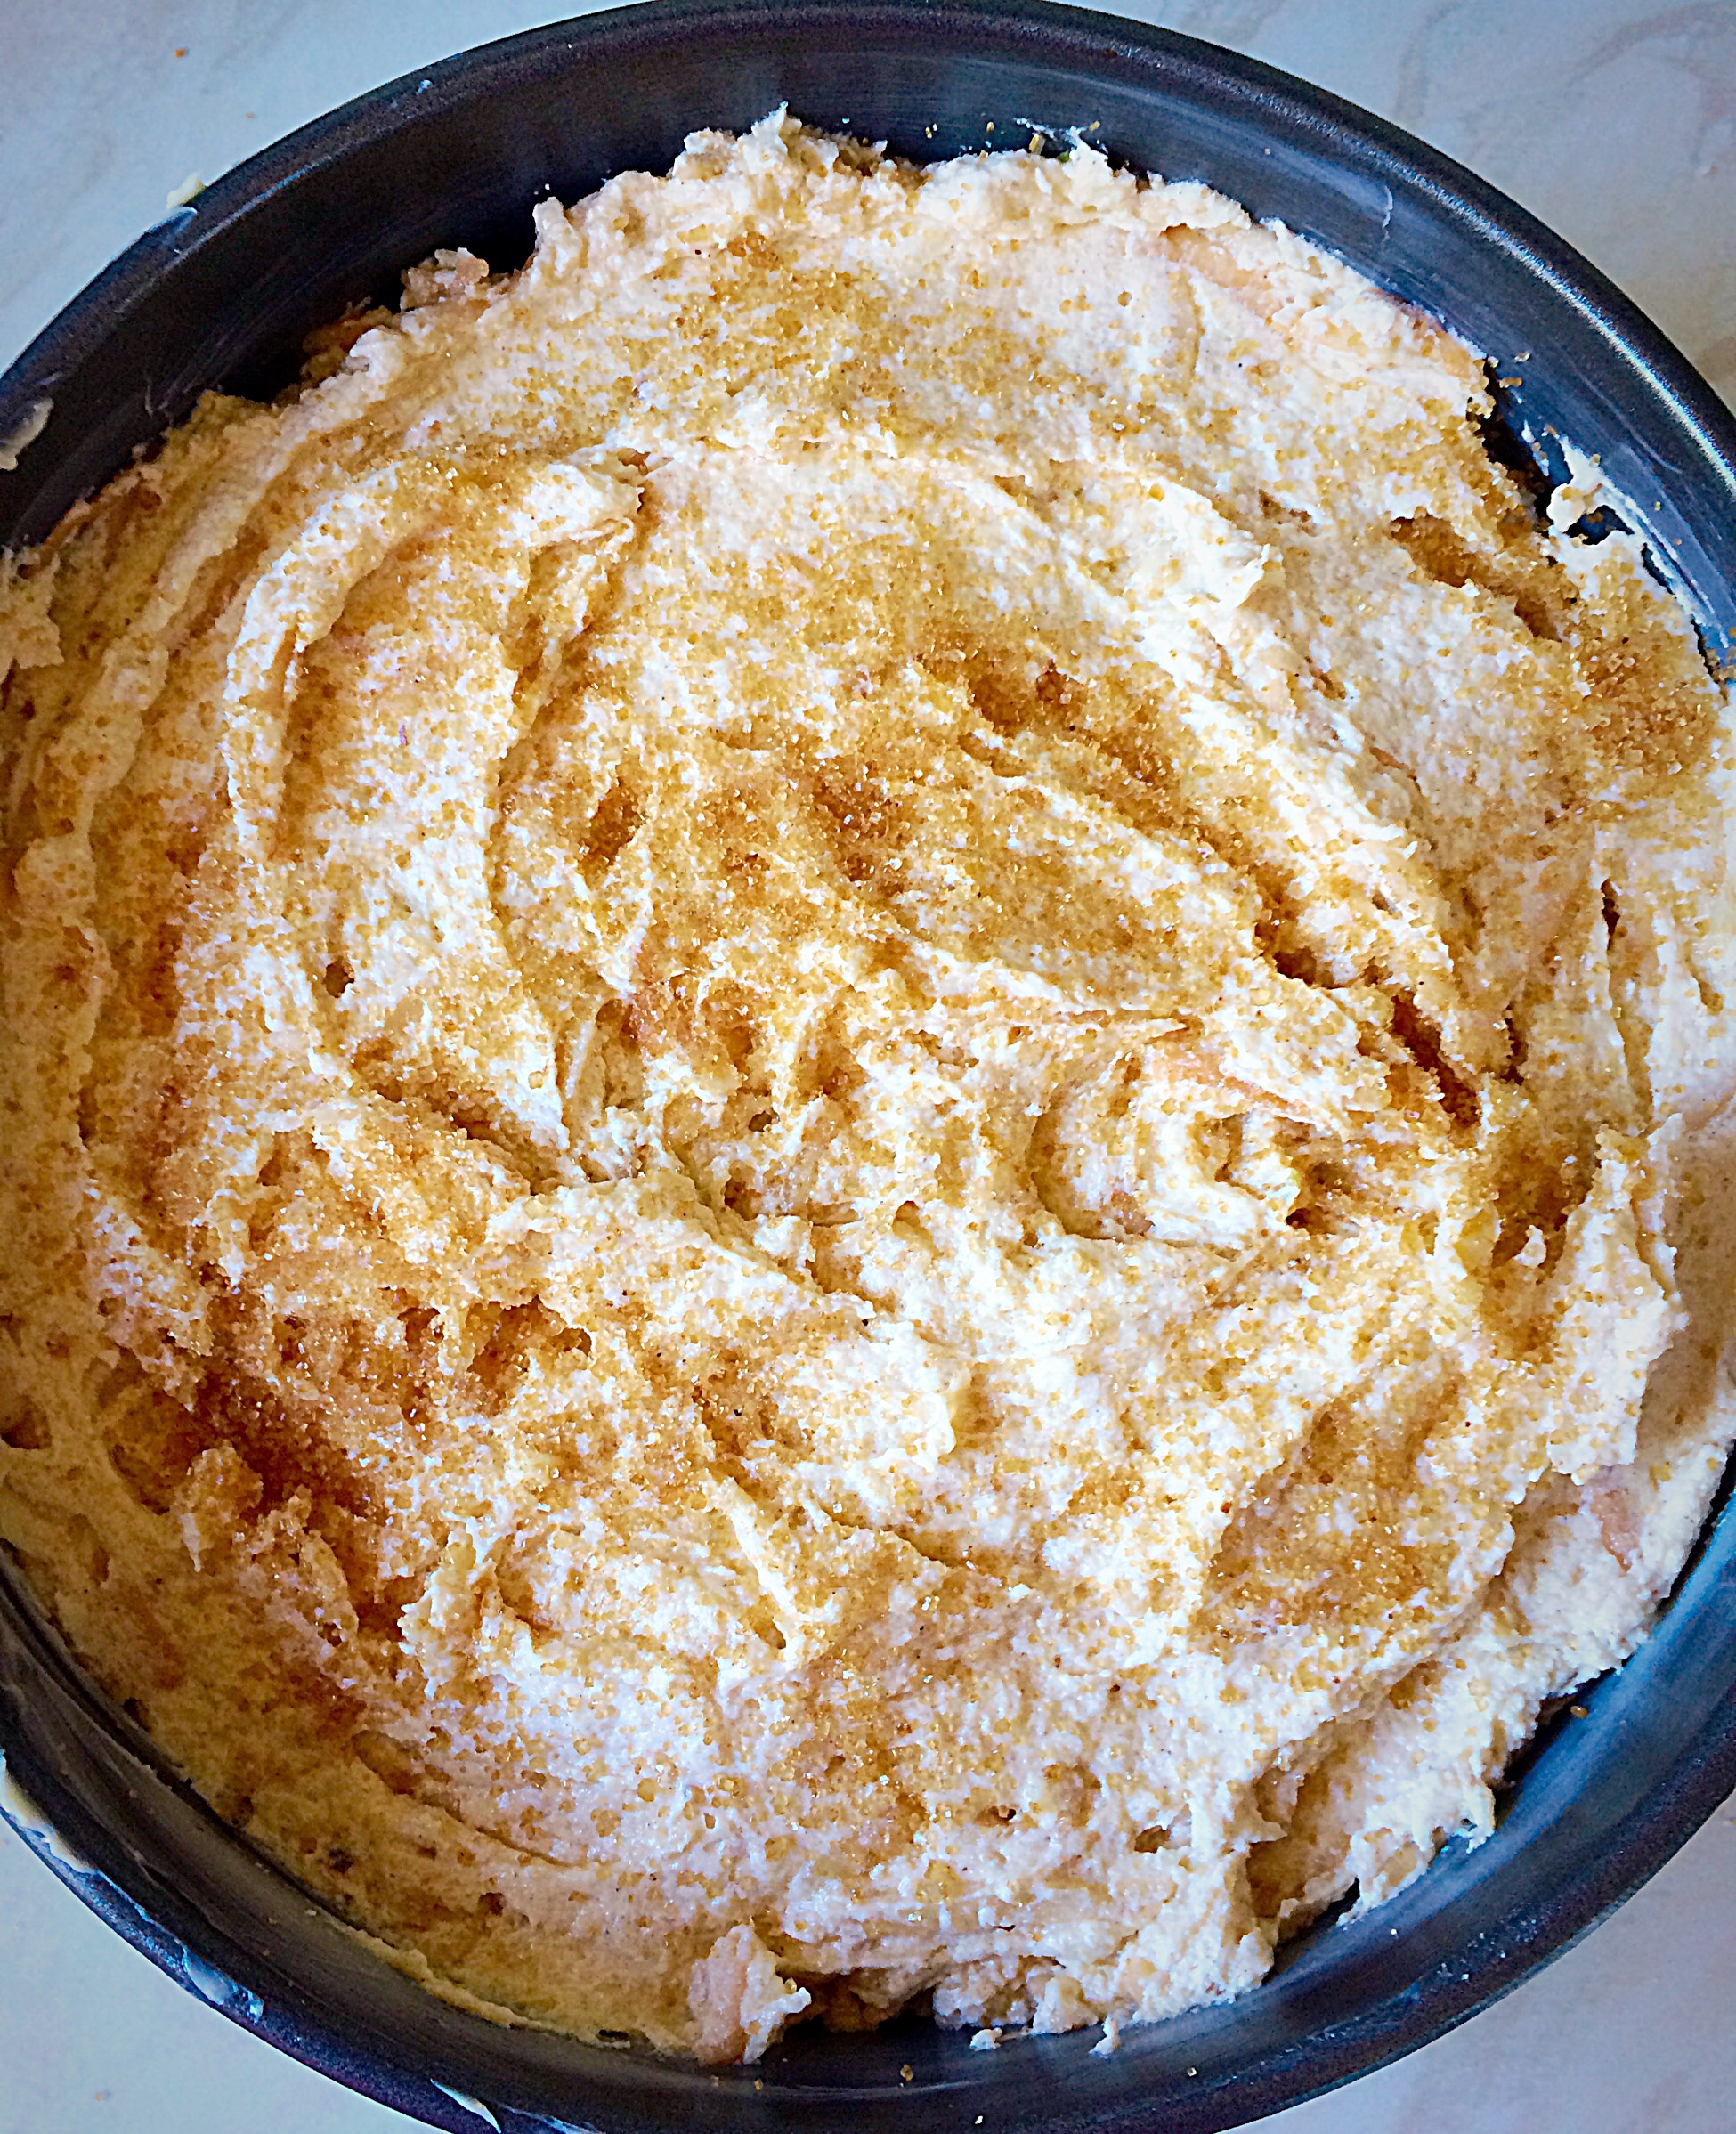
- Spoon the jam on to the sponge and spread out so that it covers almost to the edges.
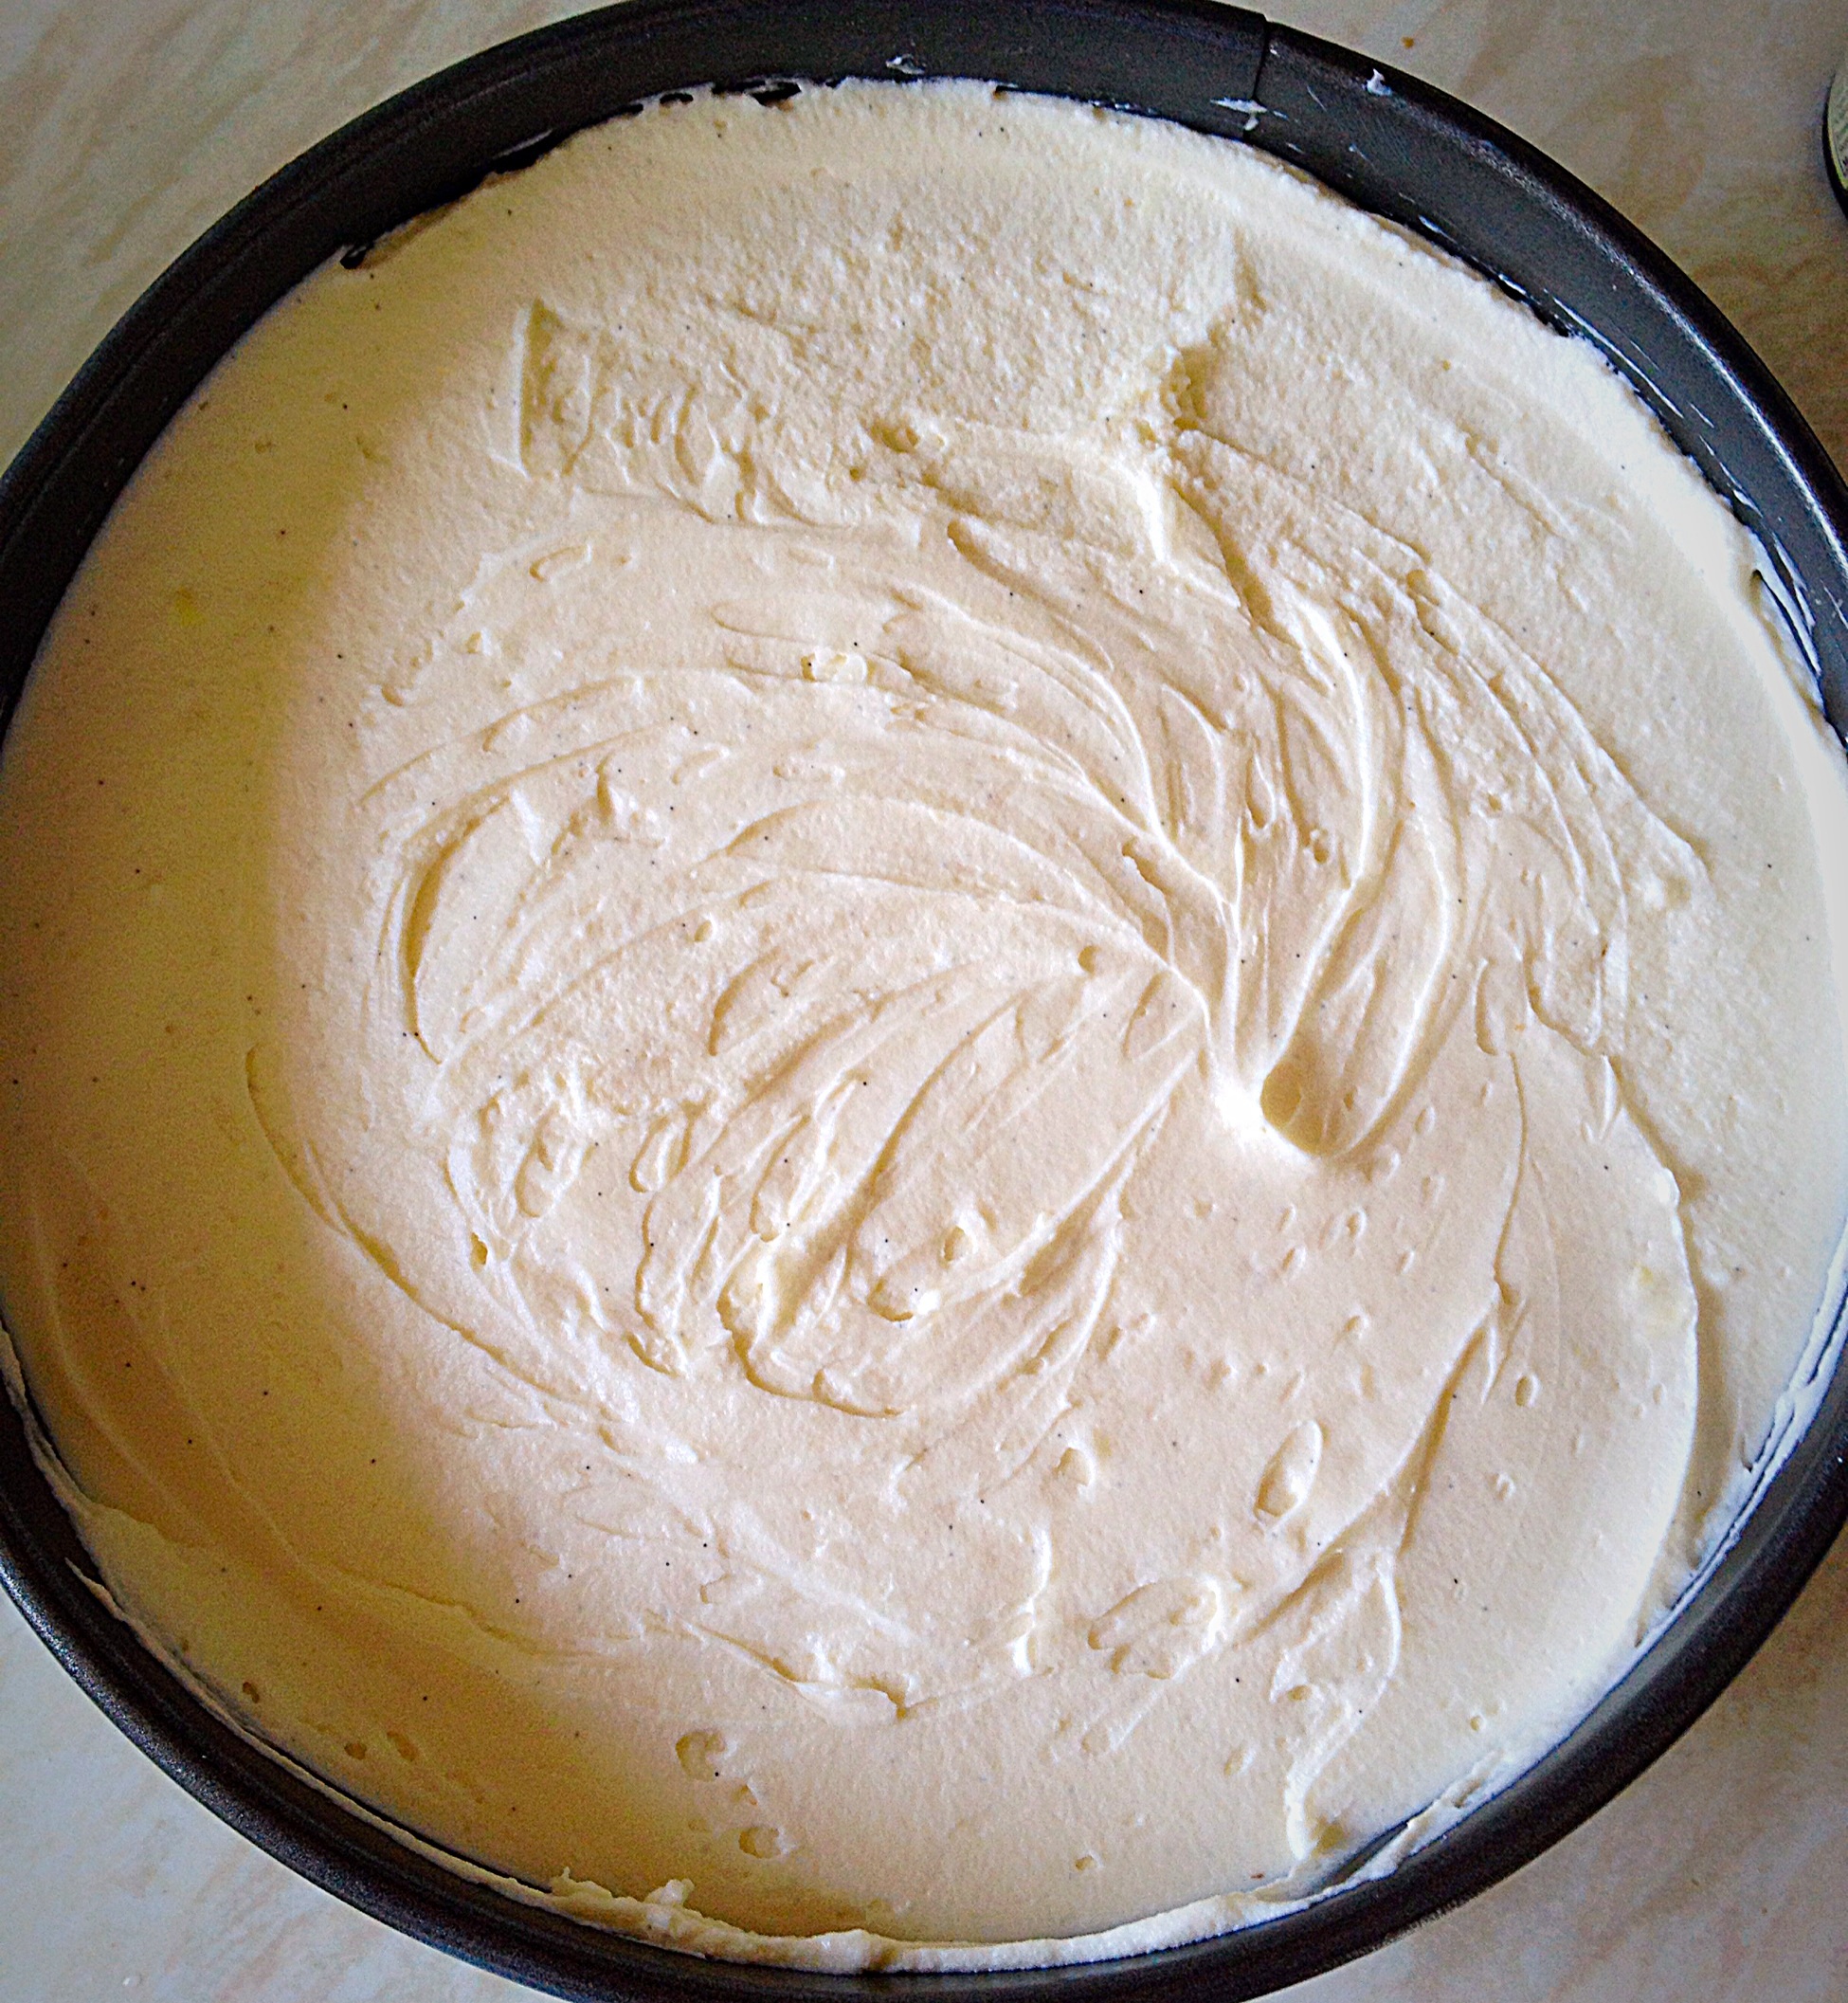
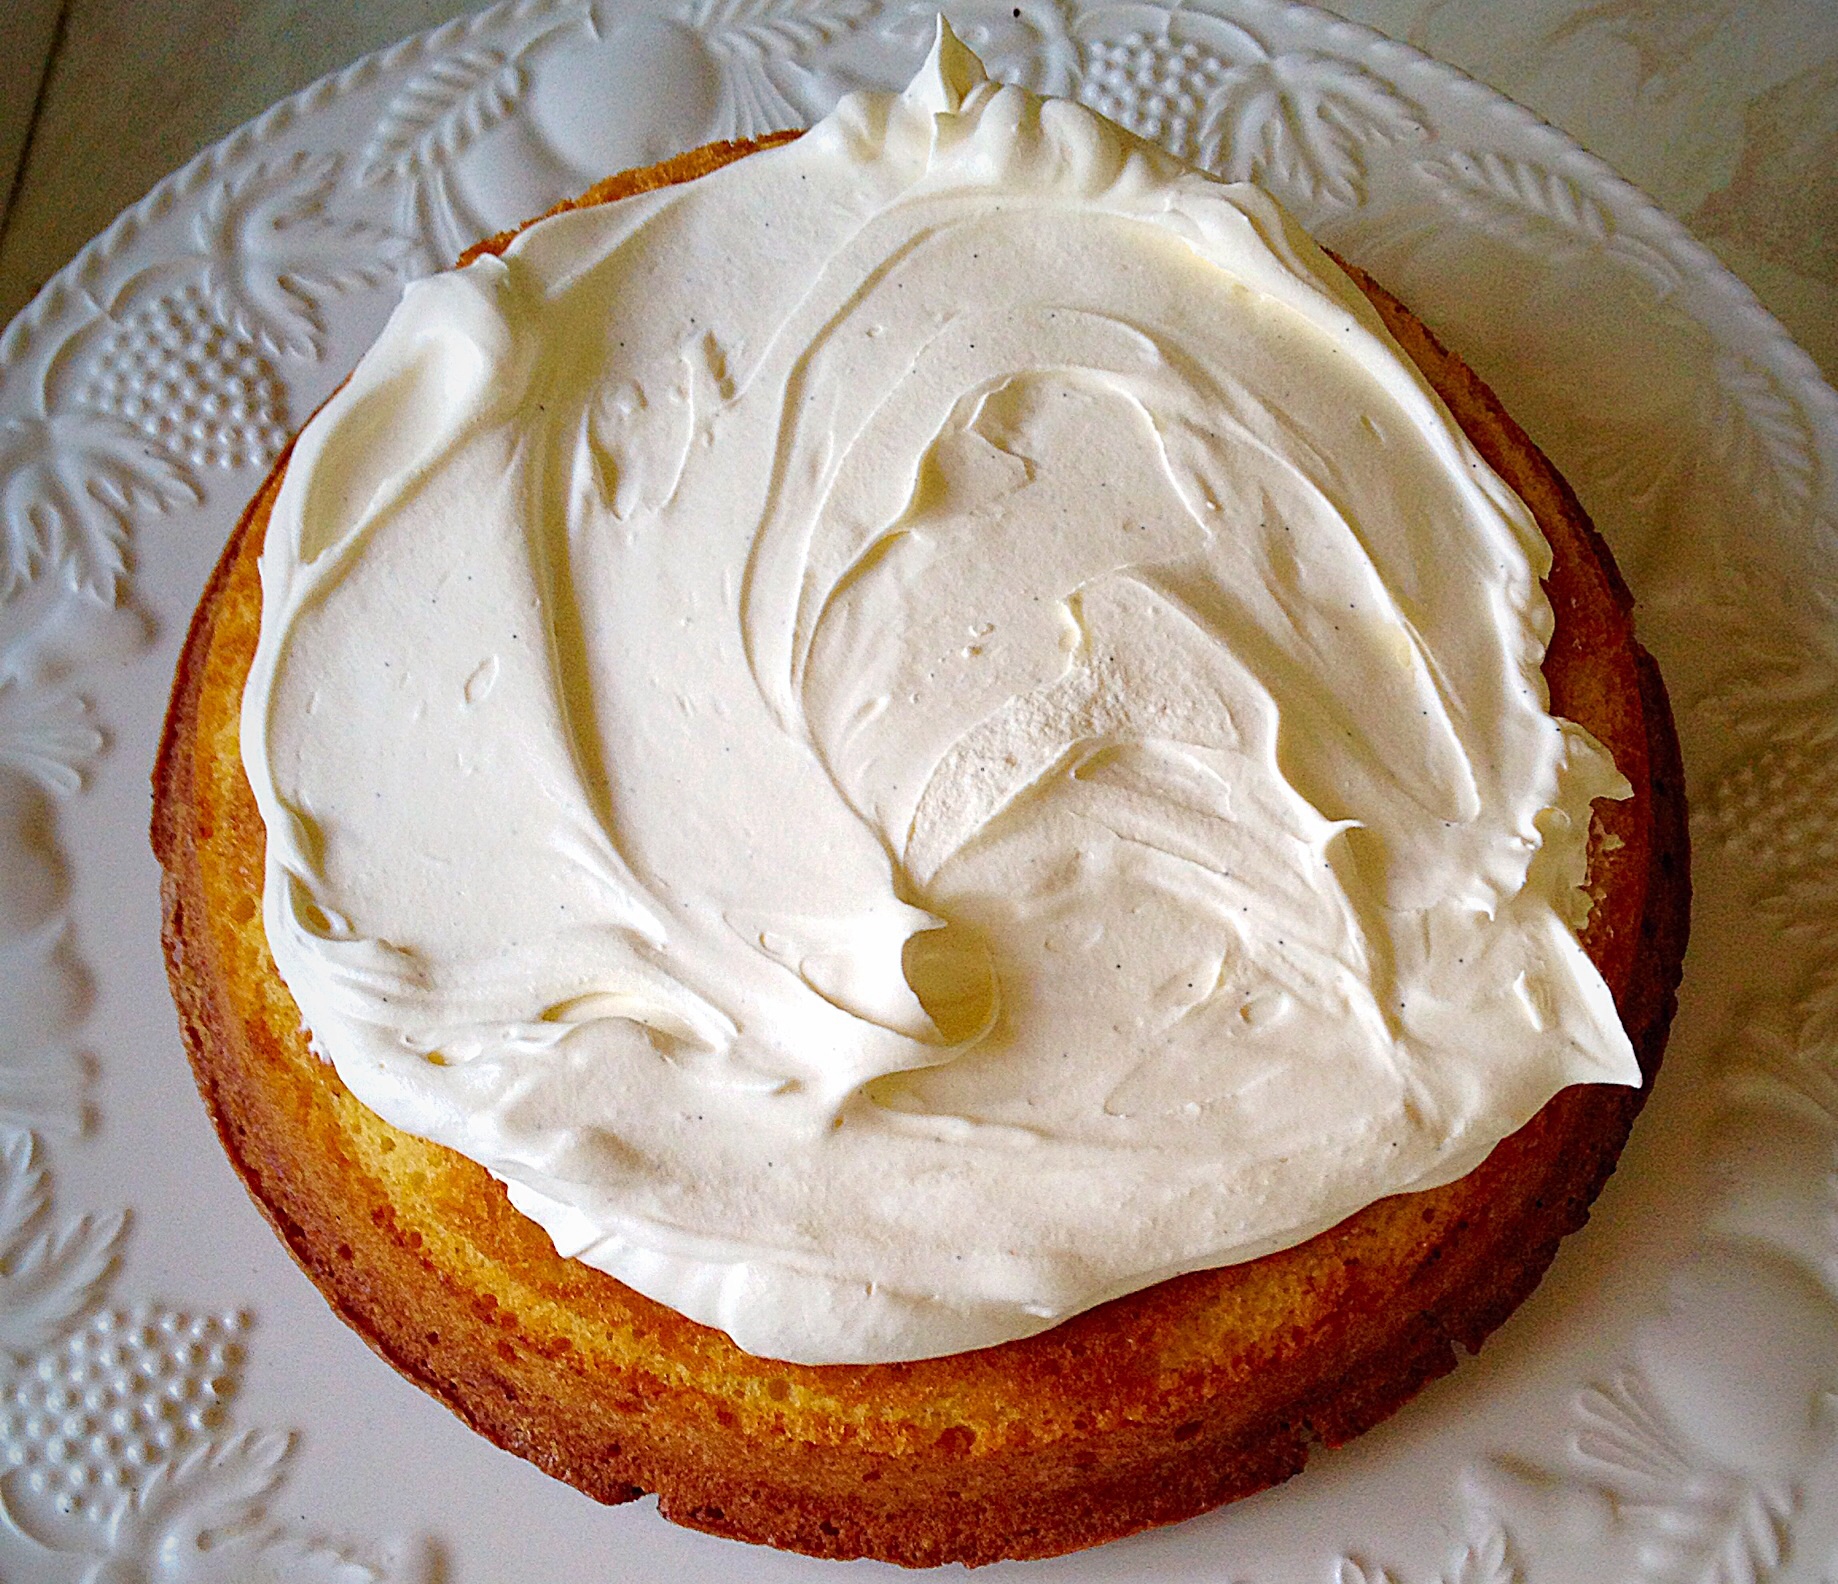
- Pour the cream and vanilla into a bowl and whisk until it just holds it’s shape.
- Spoon three large dollops of cream on top of the jam. Spread the cream out to cover the jam.
- Place the bottom half of the cake, cut side down, on to the jam and cream covered sponge.
Decorating The Heart Shaped Cake
- Fill a piping bag, without a piping tip fitted, with the remaining whipped cream.
- If using a disposable piping bag cut the tip off to leave a 1cm opening.
- Pipe approximately half of the cream on to the sponge.
- Spread the cream to cover using a palette knife.
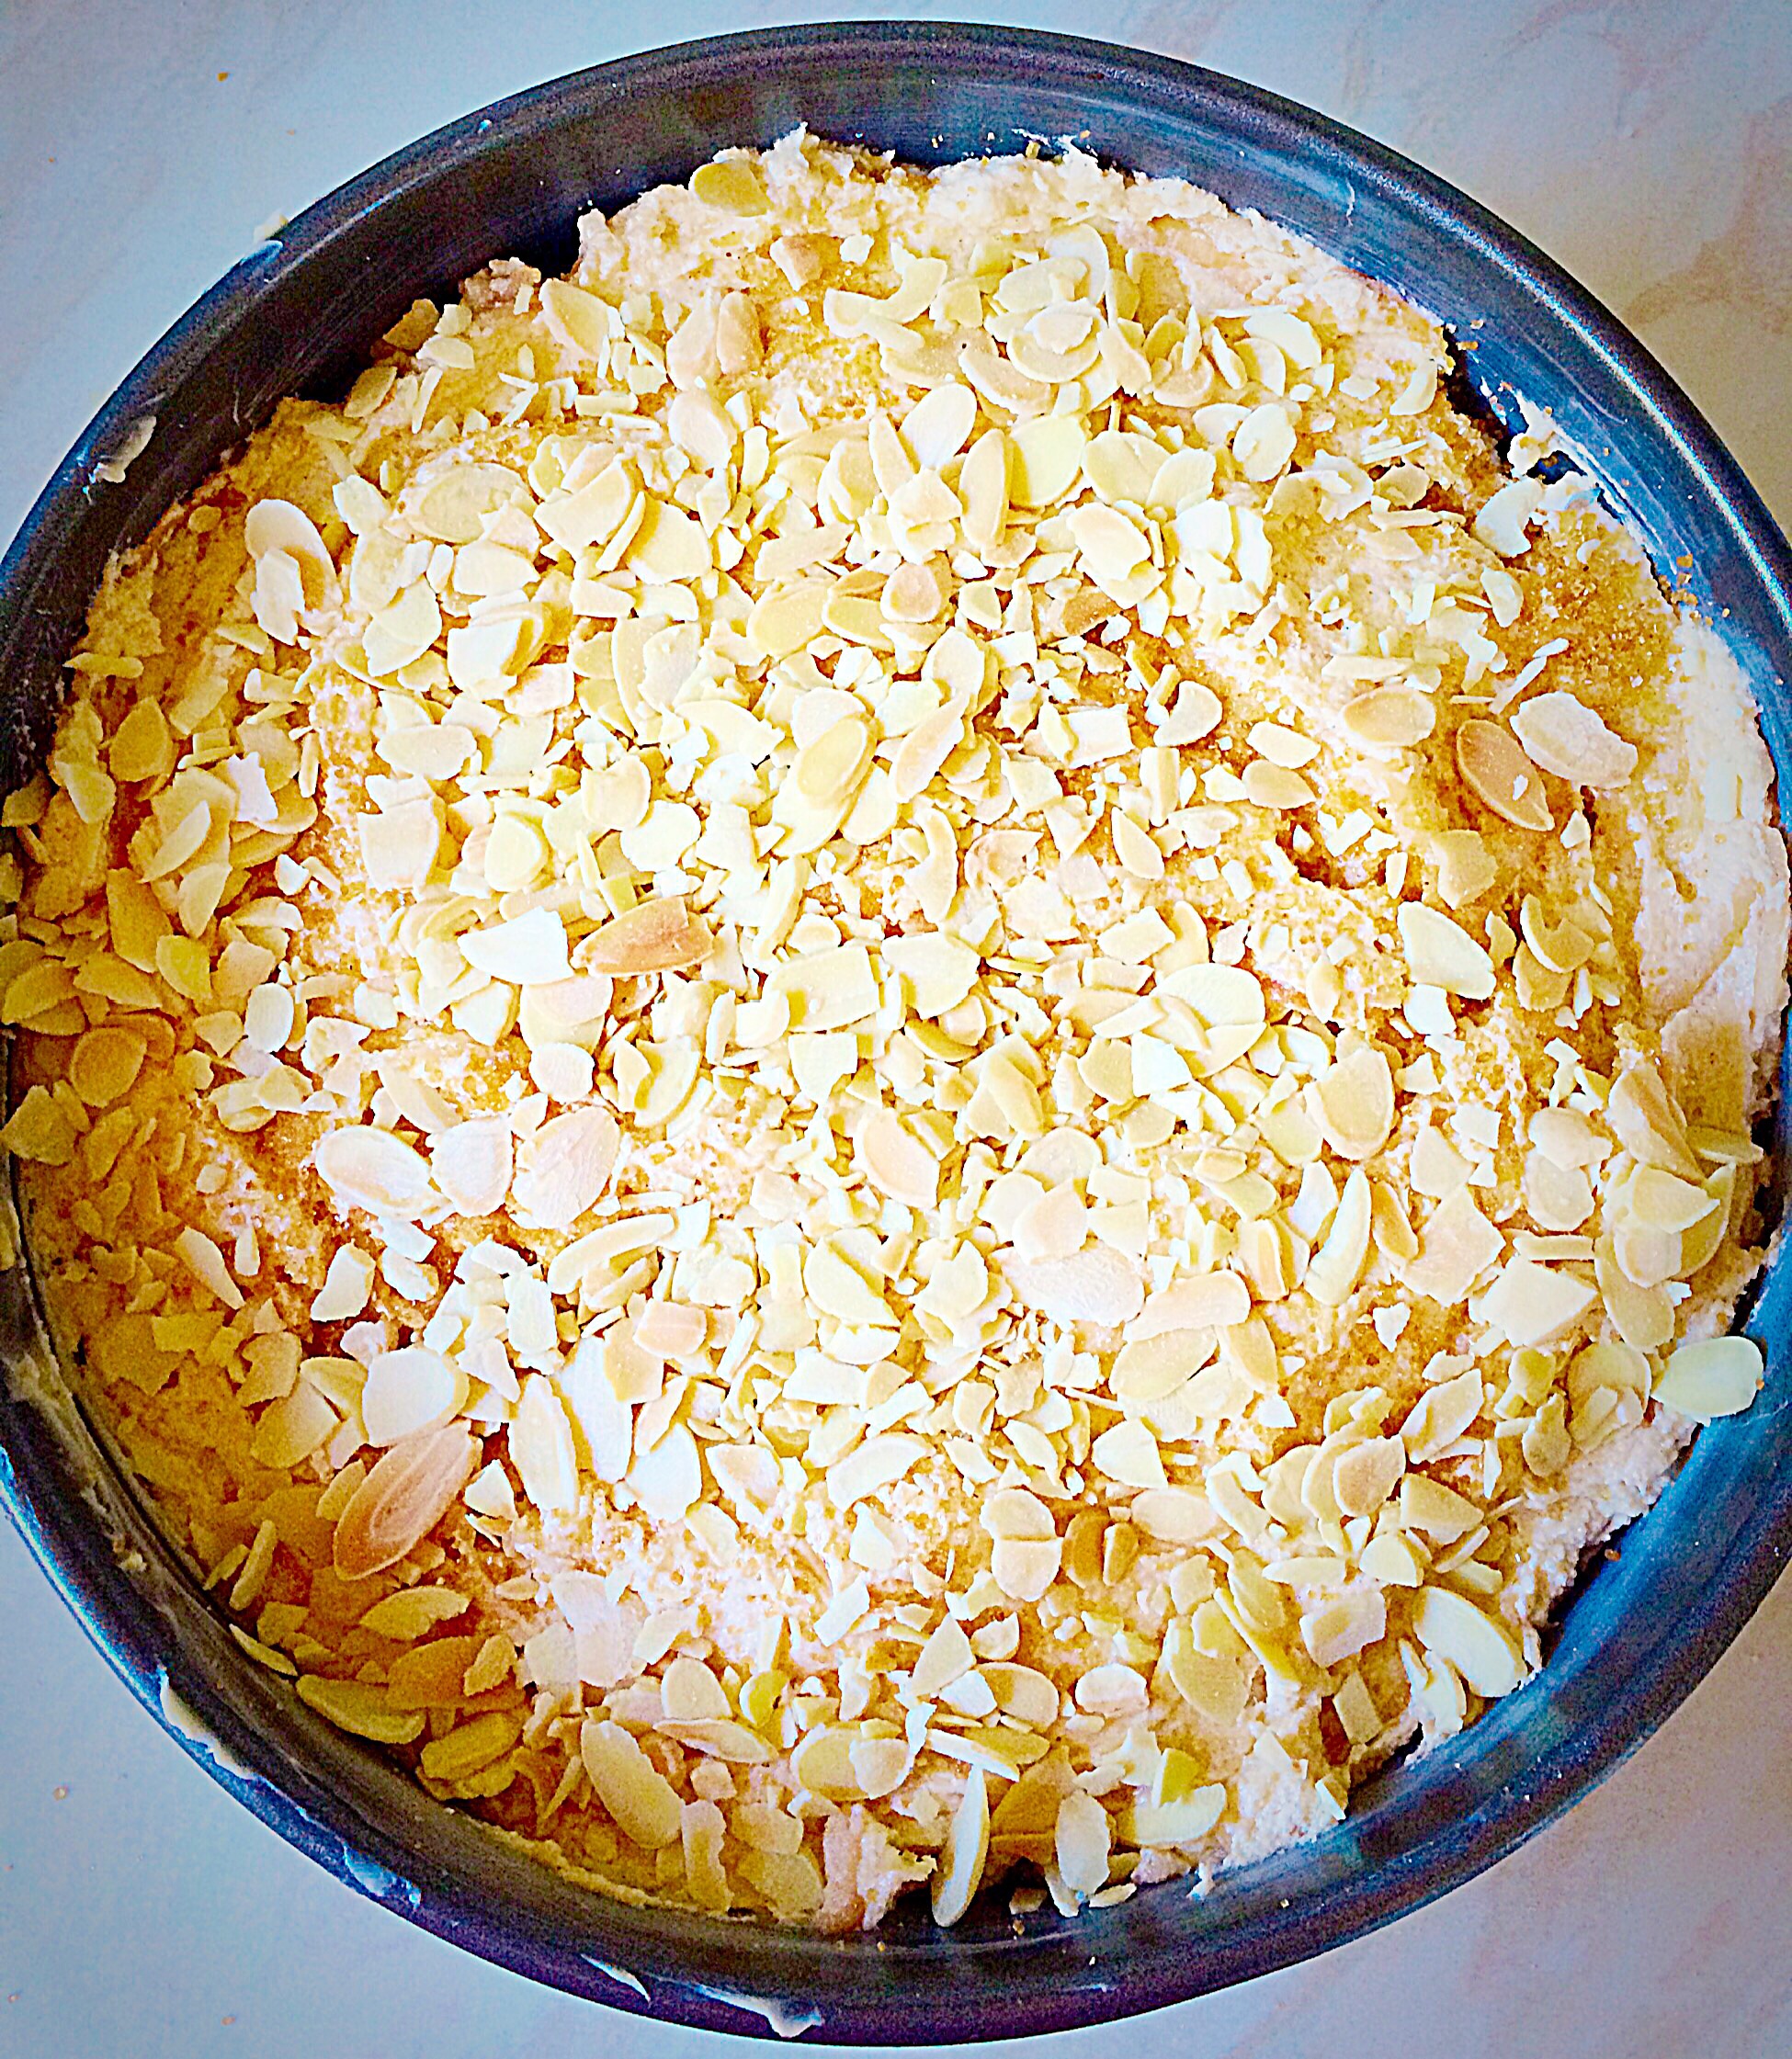
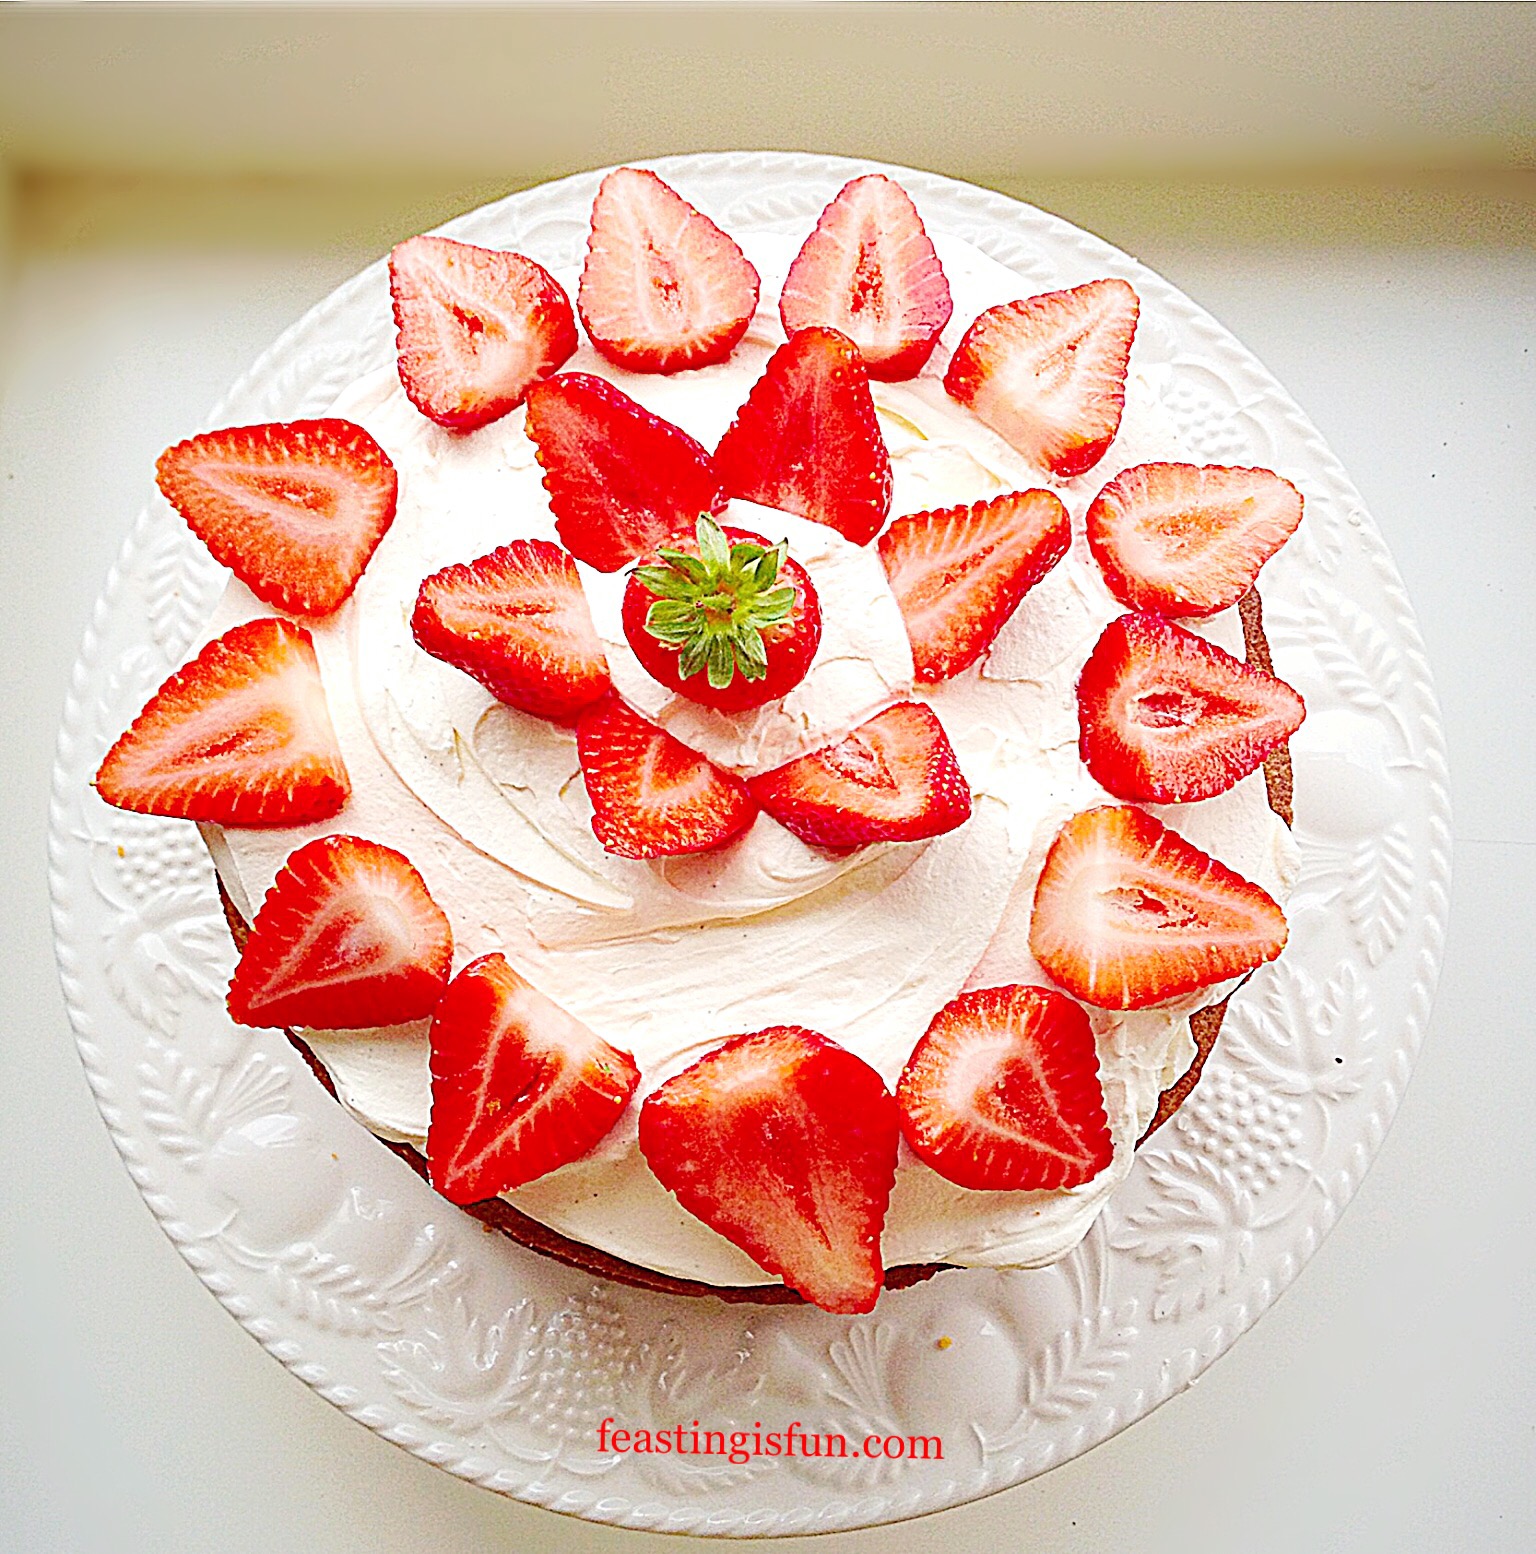
- Pipe swirls around the outside edge of the cake.
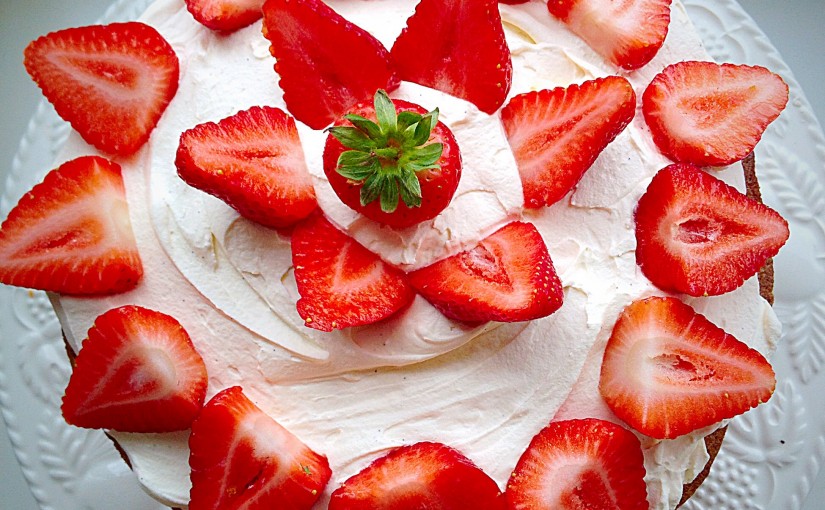
- Top the whipped cream swirls with a fresh strawberry.
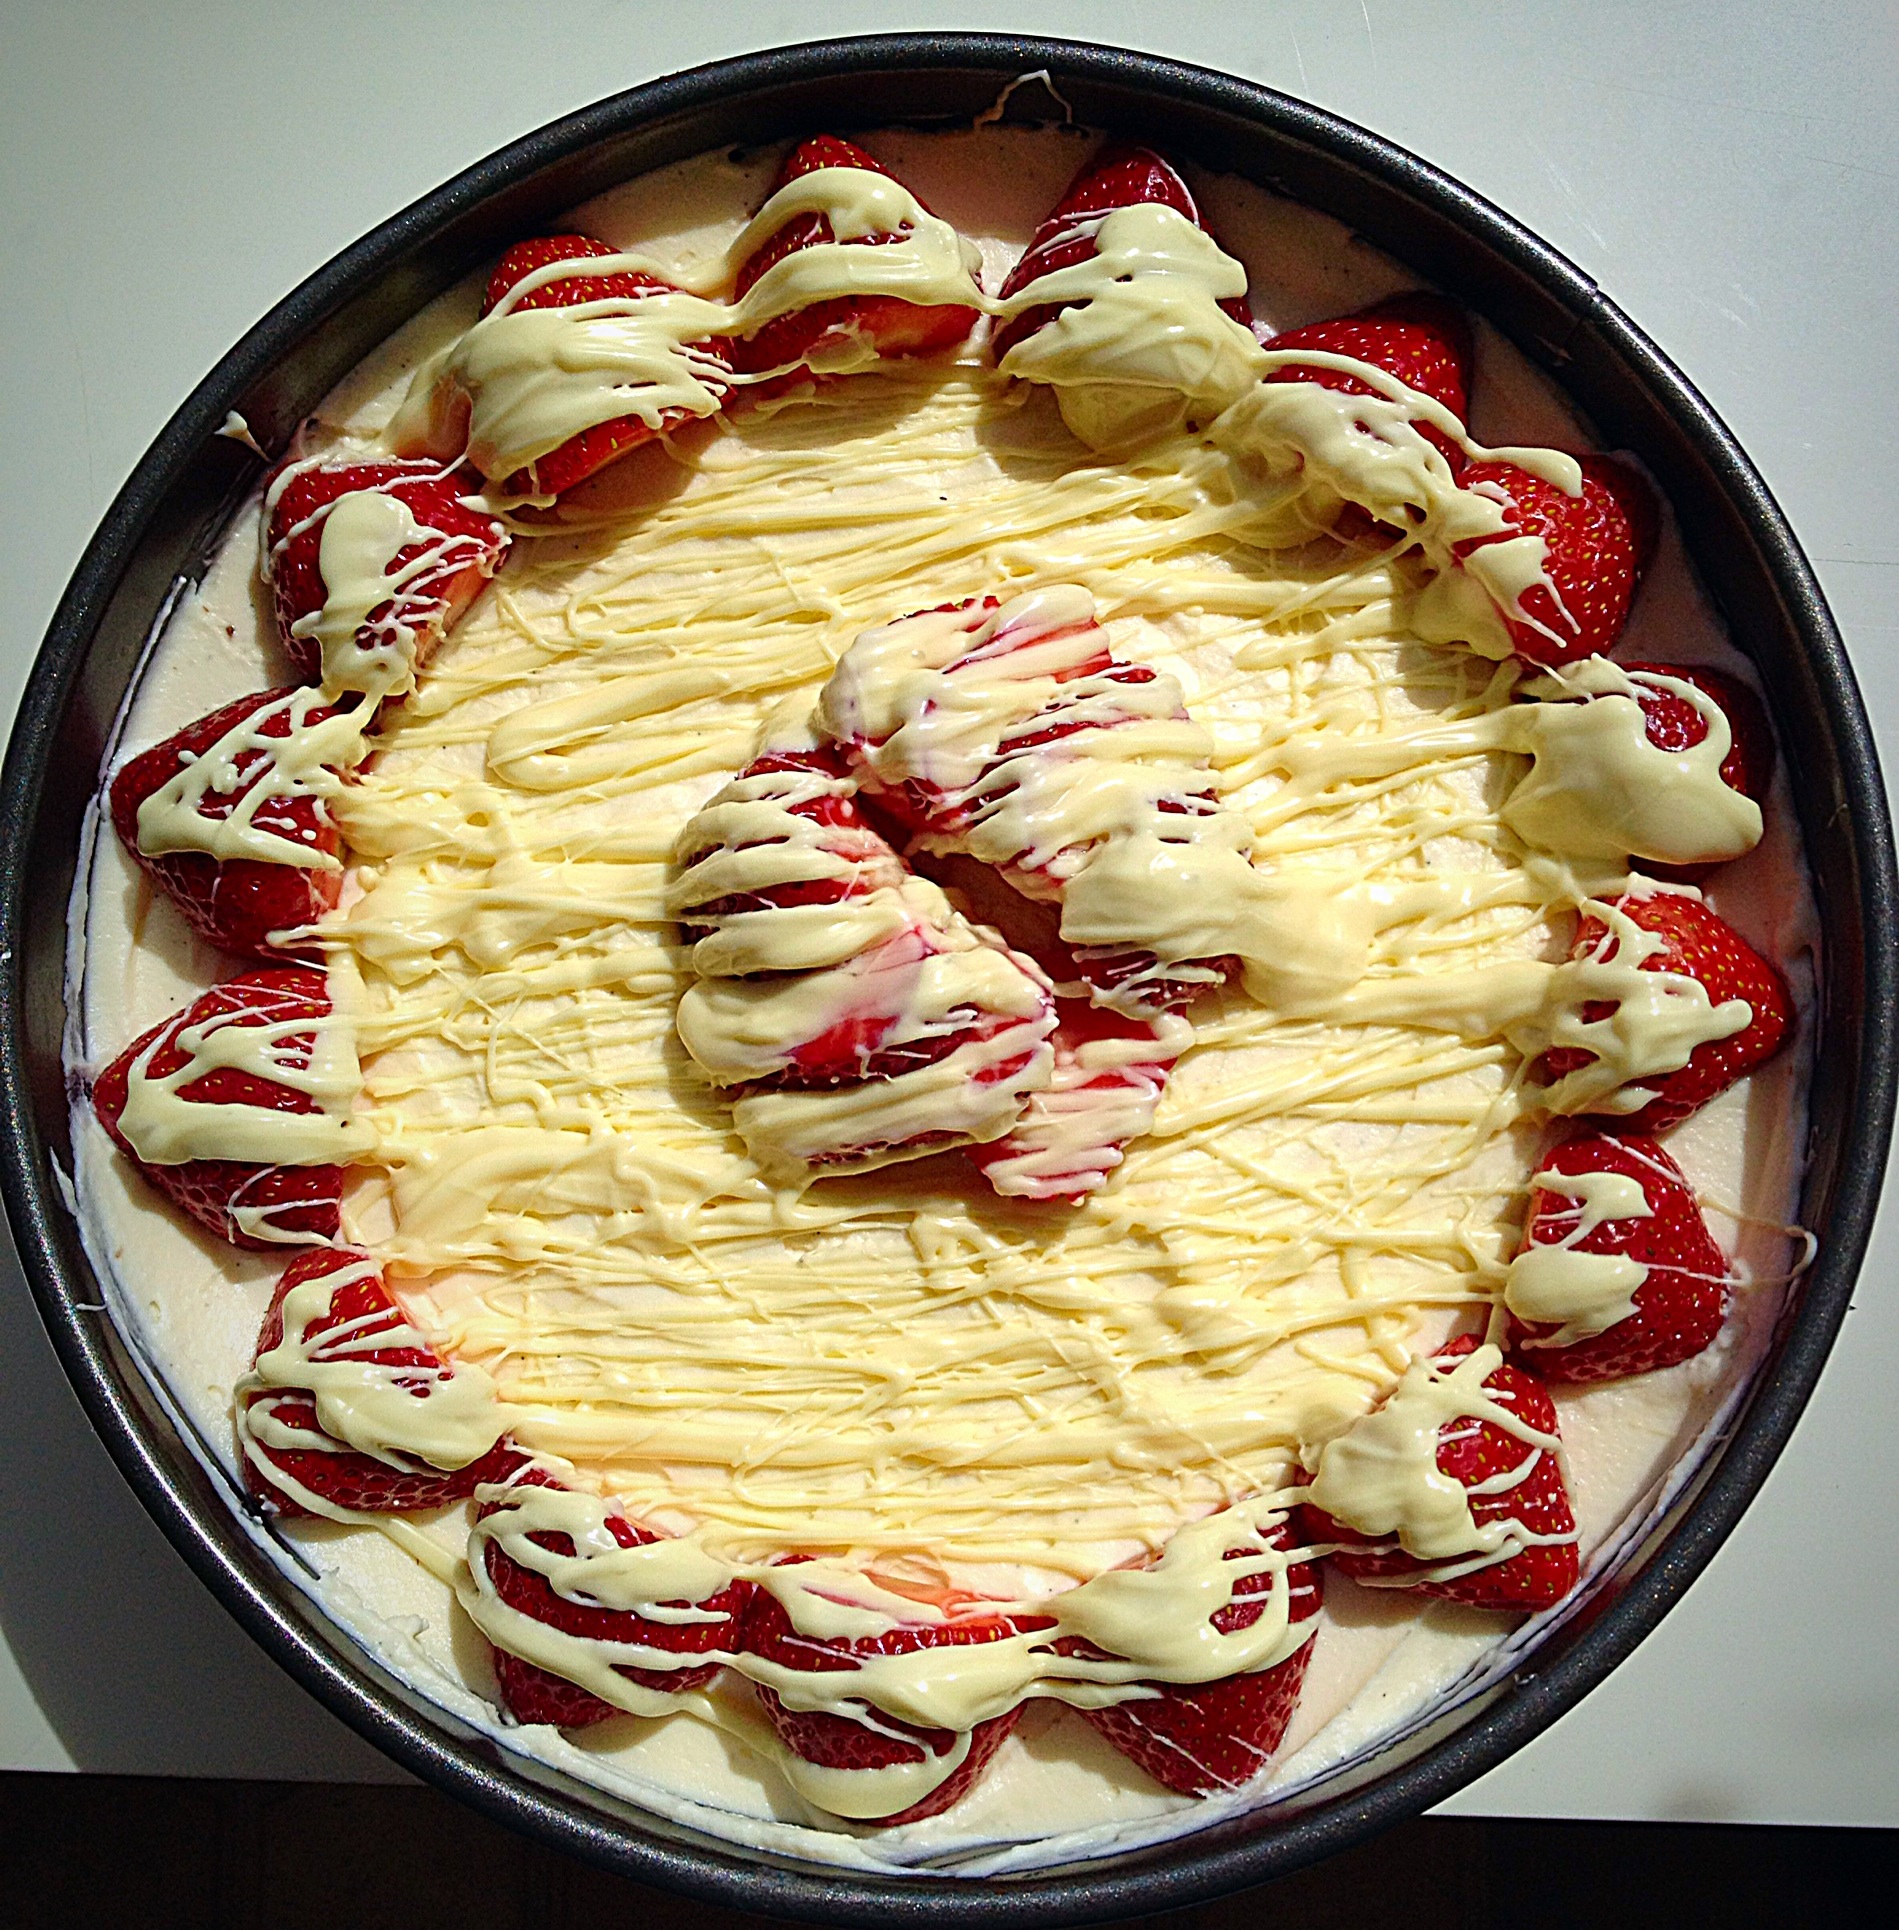
- Remove the green part (hull) of the remaining strawberries by cutting diagonally down either side creating a ‘V’ shape.
- Slice each strawberry into 4-5 mini red hearts.
- Place the strawberry hearts in the centre of the cake.
- Break/chop up the white chocolate and place in a heatproof, microwaveable bowl. Zap for 20 seconds at a time until the chocolate just starts to melt. Remove the bowl from the microwave and stir continuously until all of the chocolate has melted.
- Pour the melted white chocolate into a small, disposable, piping bag. Cut the very end of the tip off, leaving a small opening.
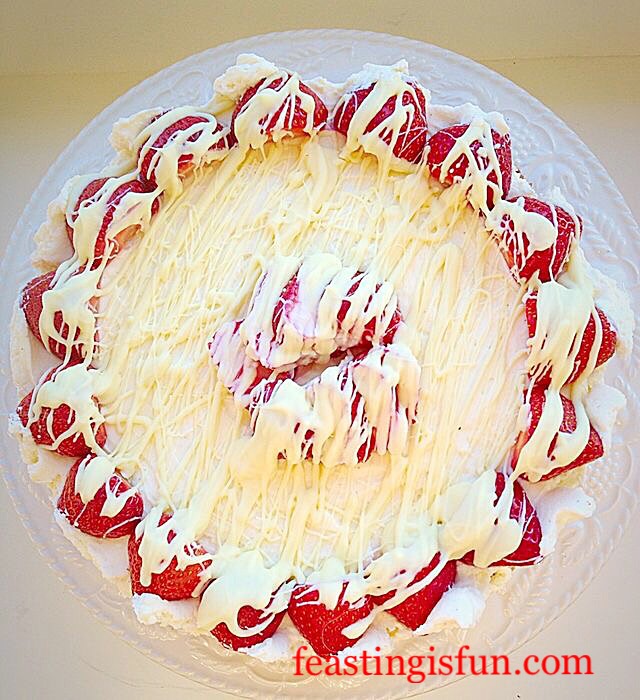
- Pipe white chocolate over the strawberries and then over the entire cake, encouraging some chocolate to drip from the cake.

- Finally sprinkle over some broken up, golden honeycomb.
- Refrigerate the cake for 30 minutes, or longer, until the white chocolate has set.
Serving The Heart Shaped White Chocolate Drizzle Strawberry Crean Cake
To serve, cut the cake in half from top to bottom, this makes it easier to portion slices.
Enjoy with friends, family and loved ones. For a special occasion serve with a glass of chilled champagne.
This cake is best enjoyed the day it is decorated. The sponge can be made up to 2 days ahead. Wrap the uncut cake in cling film and store in an airtight container.
Store the finished cake in the fridge and eat within 2 days.
If you have enjoyed this recipe for White Chocolate Drizzle Strawberry Cream Cake you may also like these:

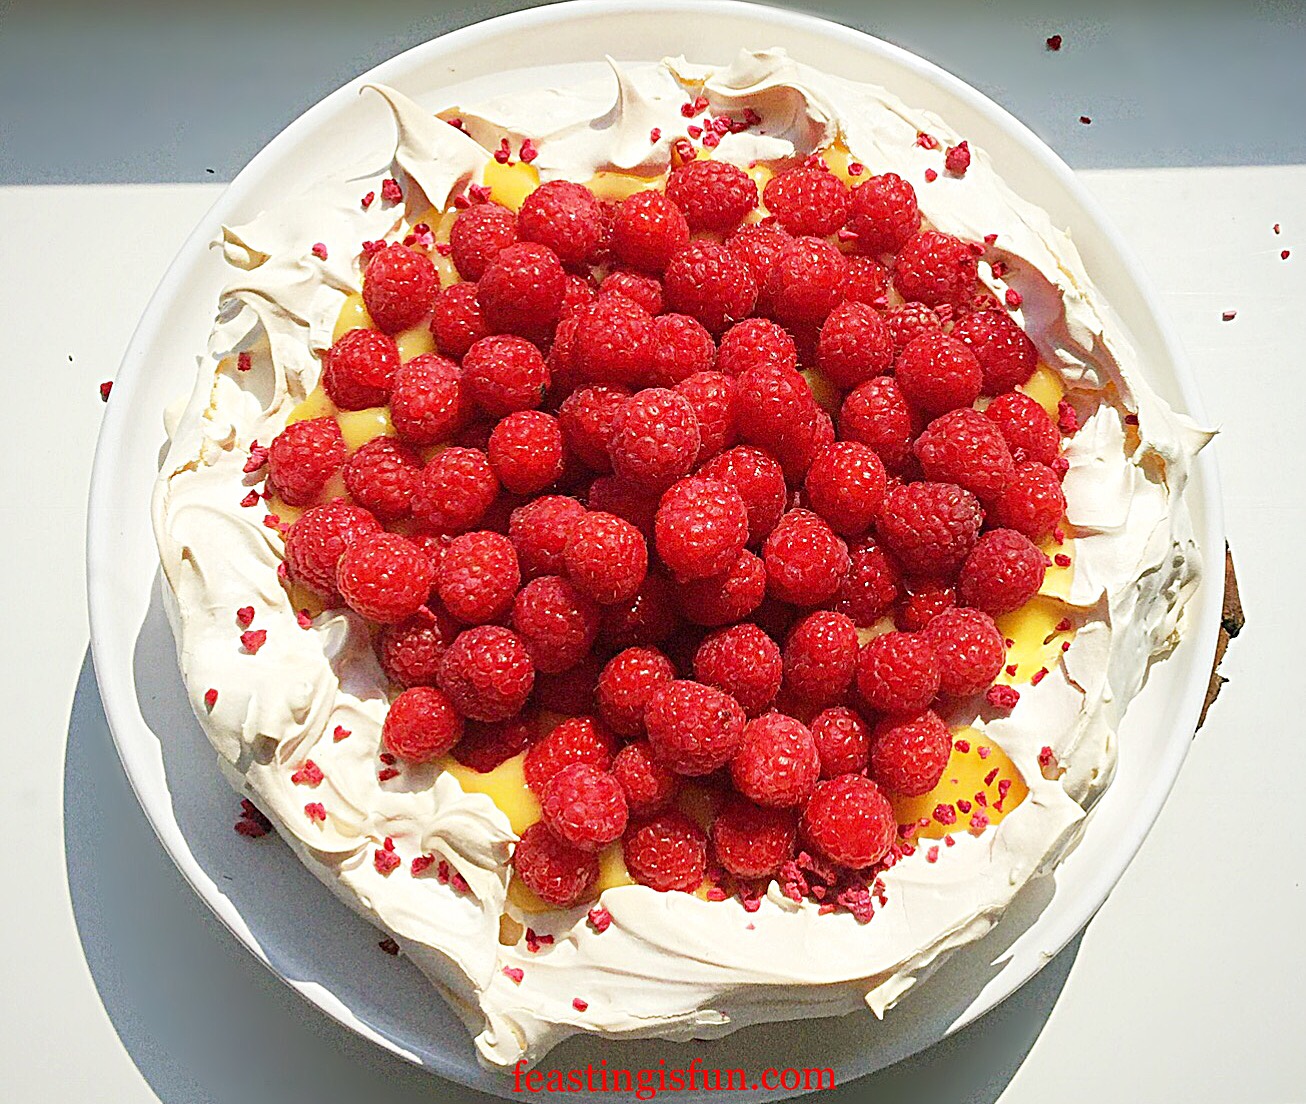
Raspberry Lemon Celebration Layer Cake
When strawberries are in season, warmed by the sun and picked straight from the plant they need nothing else to celebrate their sweet, juicy flavour. Yet adding them to desserts such as Pavlovas, Cream Cakes and other delights, showcases their versatility and beauty. So I get very excited about the start of the strawberry season, poly tunnels and super greenhouses making local, British fruit available earlier in the year and extending the season. While they might be available in the supermarkets all year long, which does have its benefits, nothing beats homegrown or farm fresh berries.
So whatever you are making, baking and creating in your kitchens, have fun preparing and sharing your feast.
Sammie xx
No part of this post may be reproduced or duplicated without the written permission of the owner. Please see my Disclosure Policy.