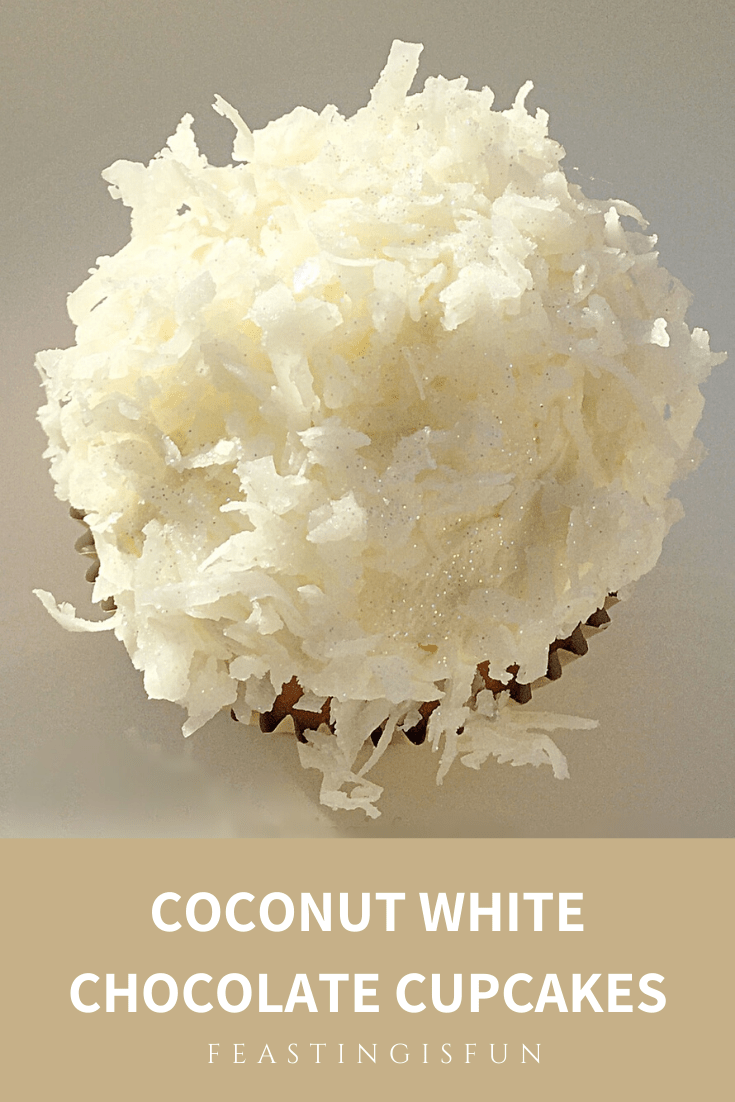
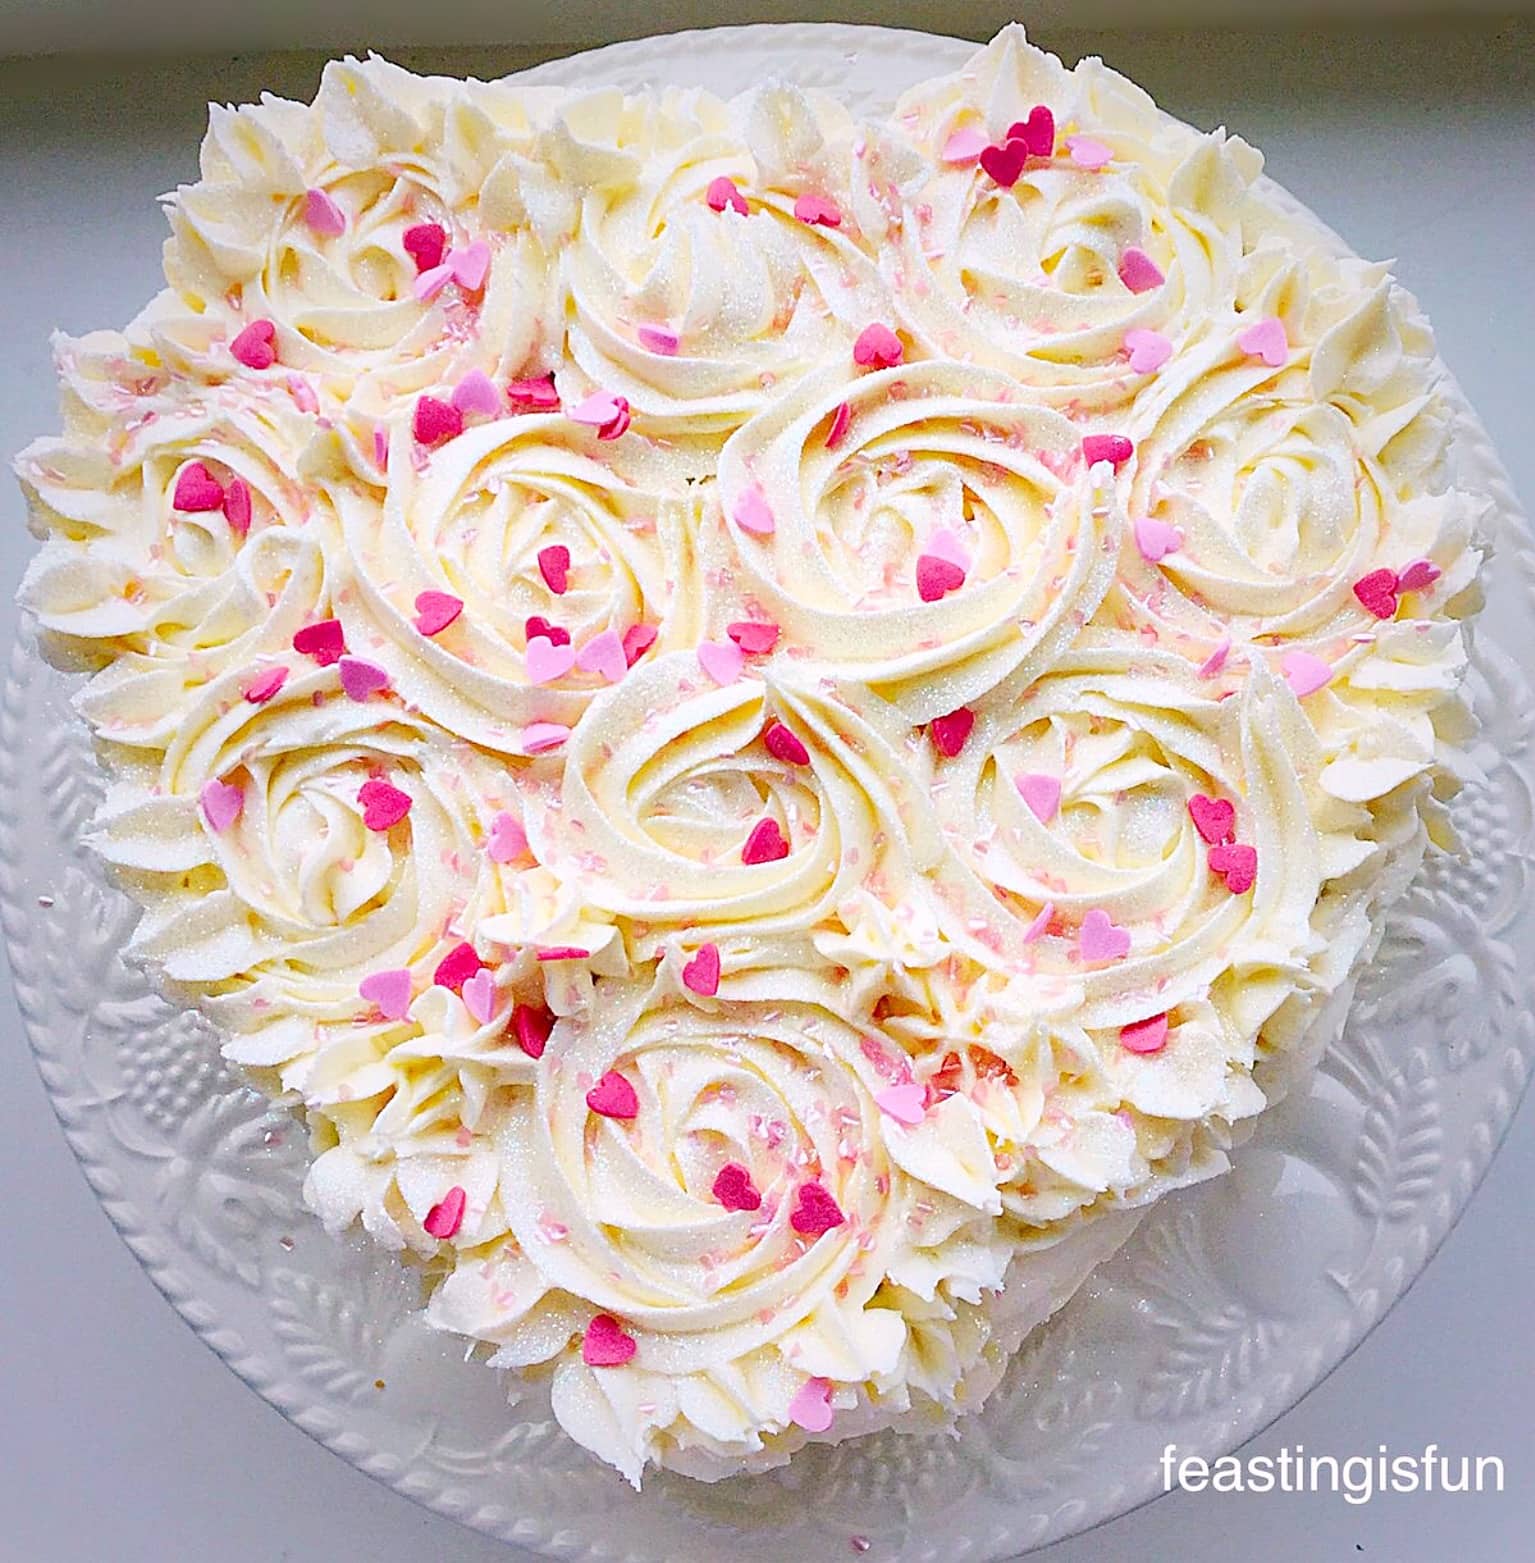
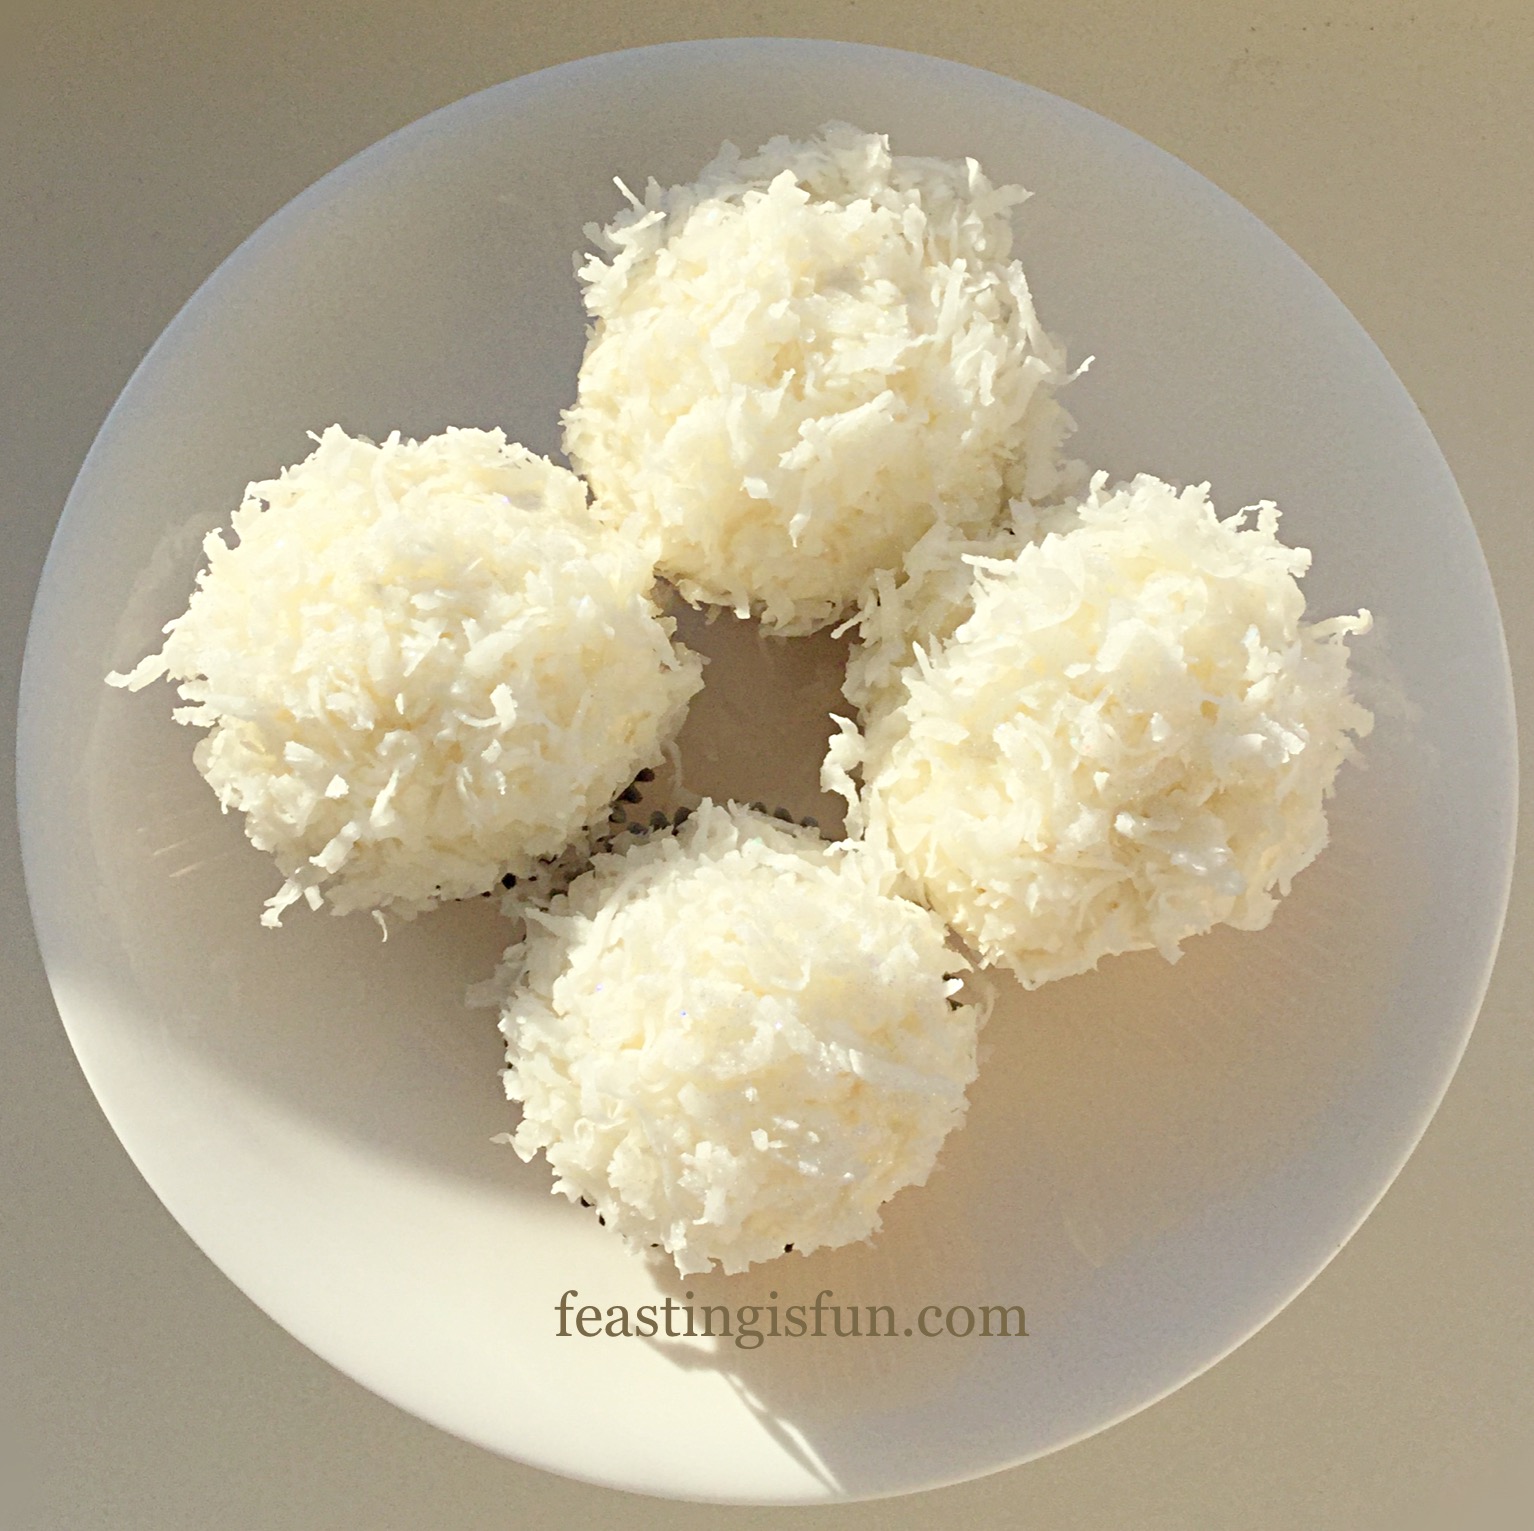
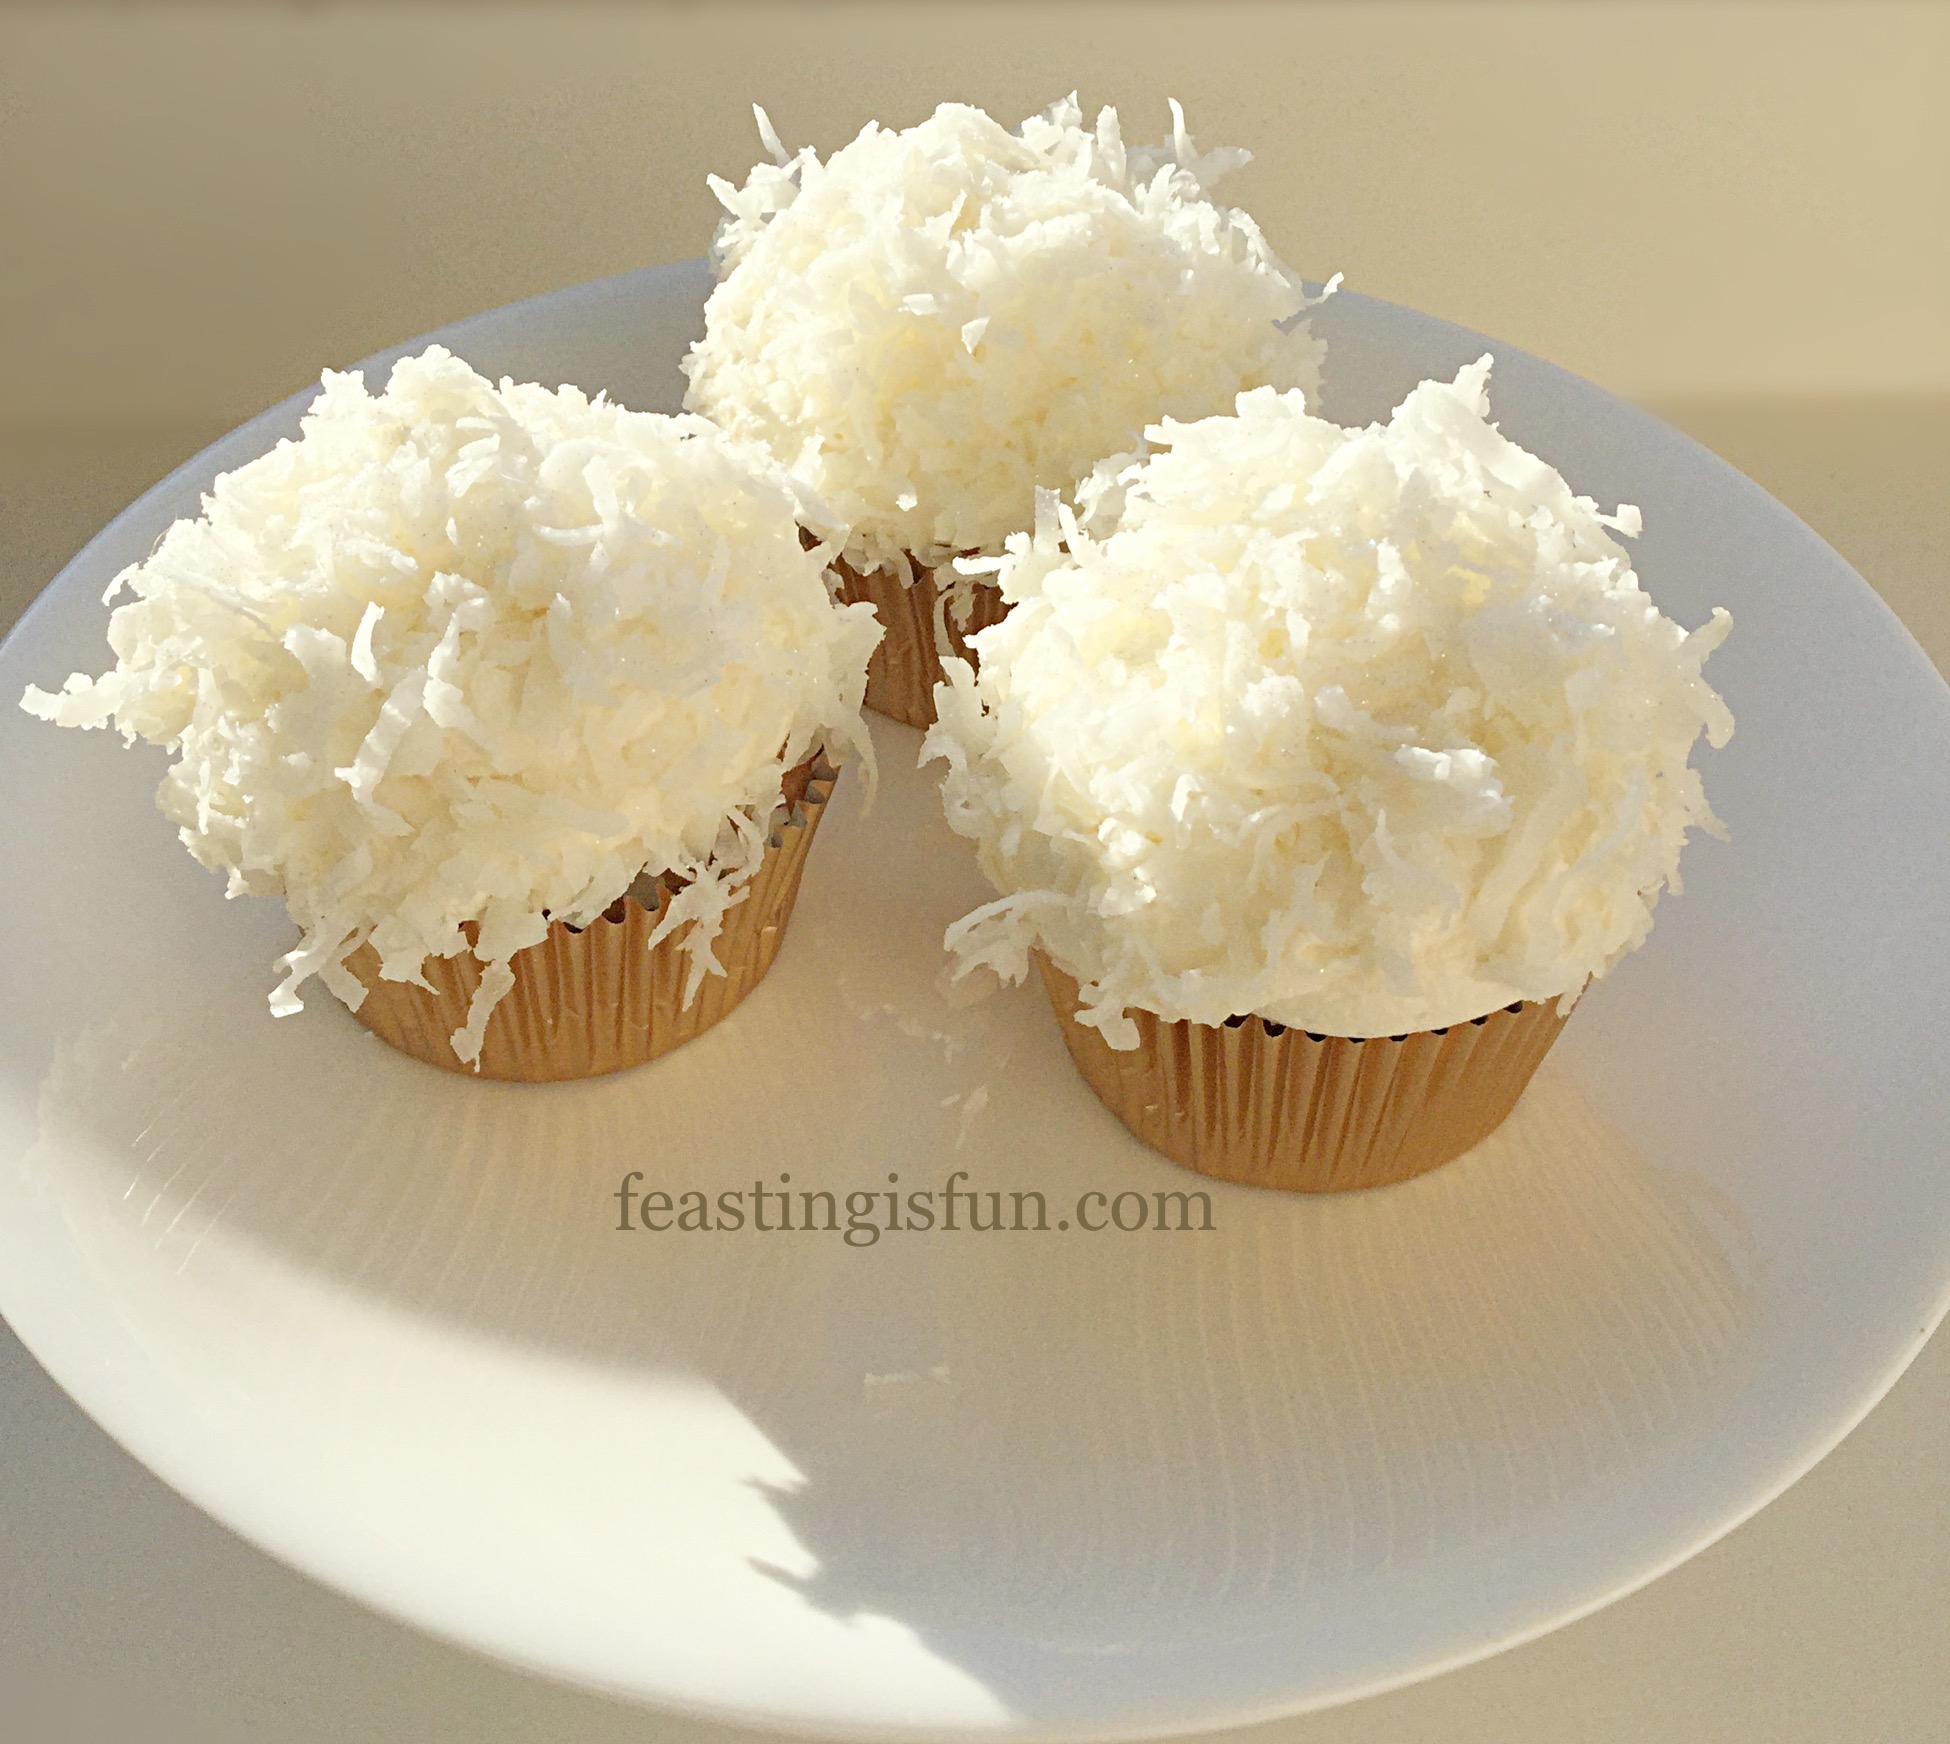
Today is the first day of December. Visits from Jack Frost over the last few nights and Winter has well and truly arrived. Sparkling pavements and frosted windscreens add to the beauty of crystal clear, blue skies. Inspired by the frosty weather I made these Coconut White Chocolate Snowball Cupcakes.
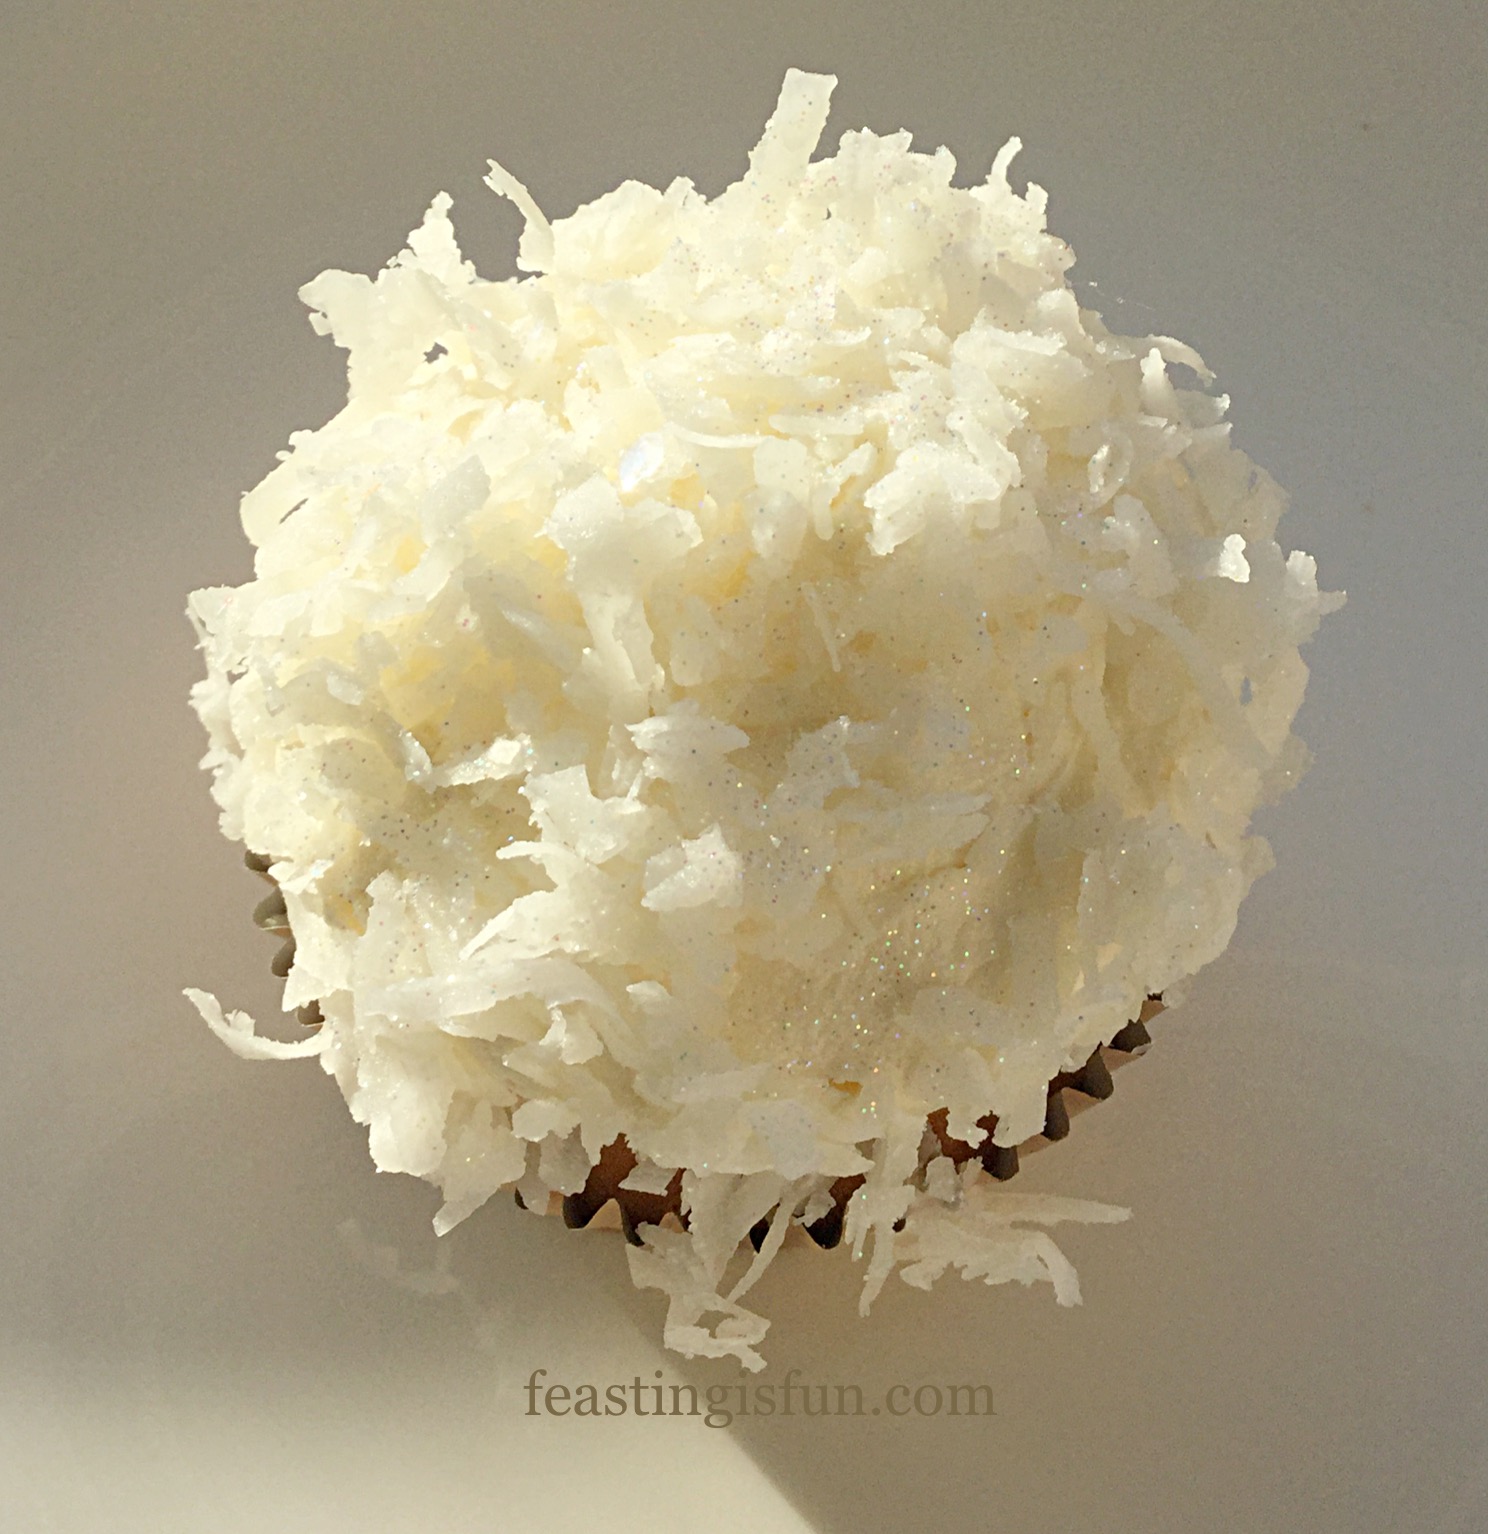
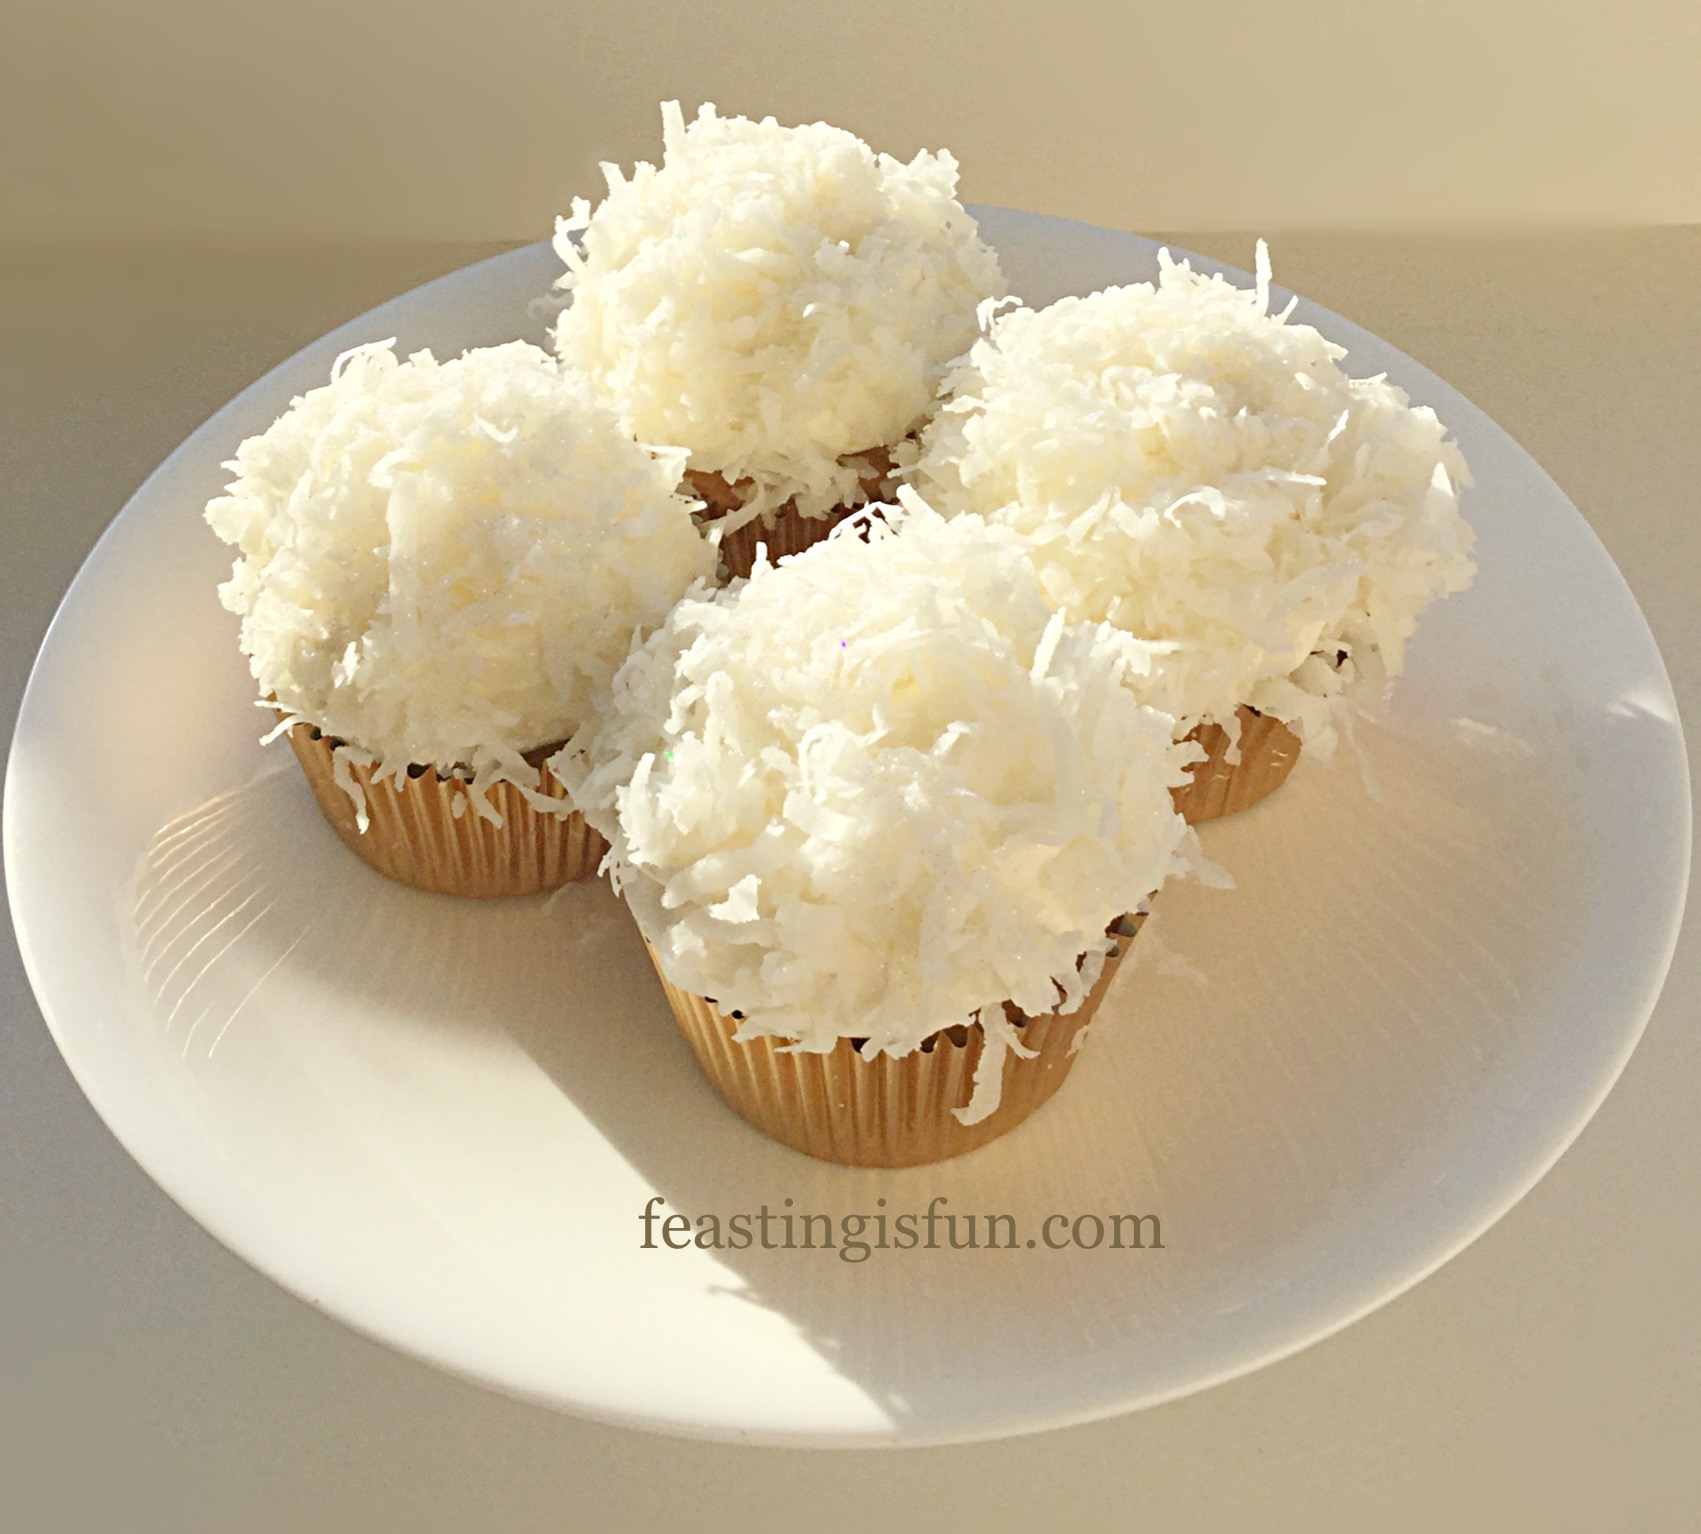
Vanilla and coconut sponge, topped with a whipped, white chocolate buttercream. Ooh that got your attention! And a complete covering of sweetened coconut and dusting of edible Magic Sparkles finishes the decoration. If you like coconut, I can guarantee you’ll love these cupcakes.
Using Sweetened Shredded Coconut
While there is a potential for these cupcakes to be overly sweet, I can assure you that they are not. Since the sweetened ‘Angel Flakes’ coconut is not, as one would imagine, overly sweet. Rather, the taste is predominantly that of pure coconut, with a little addition of sweetness to enhance the flavour. Resulting in a perfectly balanced, delightful cupcake.
I have been unable to source the ‘Angel Flakes’ from regular shops or supermarkets. However, it is readily available to buy online, from Amazon. Desiccated coconut is a real no no for me. In fact, I find it much sweeter than the coconut used here. Of course, if you like the flavour, then feel free to substitute it in this recipe. Likewise, if you can get hold of freshly grated coconut, that also can be used.
These cupcakes are a delicious bake for over the festive season. So, why not bake up a batch and share them with your work colleagues or friends? I have yet to meet anyone who doesn’t enjoy a delicious, homemade cupcake. And, as Christmas is the season for sharing, wouldn’t it be wonderful if we could extend that season throughout the whole year?
Recipe: Coconut White Chocolate Snowball Cupcakes makes 12
For the cupcake sponge:
125g/4.5oz Unsalted Butter – softened
125/4.5oz Caster Sugar
Scant pinch of salt – I use Maldon
1/2tsp Vanilla Extract – I use Nielsen-Massey
3 Large Free Range Eggs
125g/4.5oz Plain White Flour
1.5 tsp Baking Powder
50g/2oz Sweetened Shredded Coconut
2-3tbsp Milk
For the frosting:
400g/14oz Icing Sugar
200g/7oz Unsalted Butter softened
1tsp Vanilla Extract
2tbsp Very Hot Water
100g/4oz White Chocolate
For the decoration:
Approximately 200g/7oz Sweetened Shredded Coconut
Edible glitter
Method: Preheat the oven to 170C/150C fan, gas mark 3.5, 325F
Making And Baking The Coconut Cupcakes
- First of all, line a 12 hole cupcake tin with cupcake cases.
- Next, in a large bowl add the butter, sugar and salt. Whisk until light and creamy.
- Now add all 3 eggs and the vanilla extract. Then sift in the flour and baking powder. Next add the coconut and whisk until everything is just combined, adding 2 or 3 tablespoons of milk to achieve a soft, dropping consistency.
- Place a dessertspoon of cake batter into each cupcake case.
- Finally, put the cupcake tin into the centre of the preheated oven and bake for 20-30 minutes.
- The cupcakes are baked when they are risen, golden and spring back from a light touch.
- As soon as the cupcakes are baked, remove from the oven.
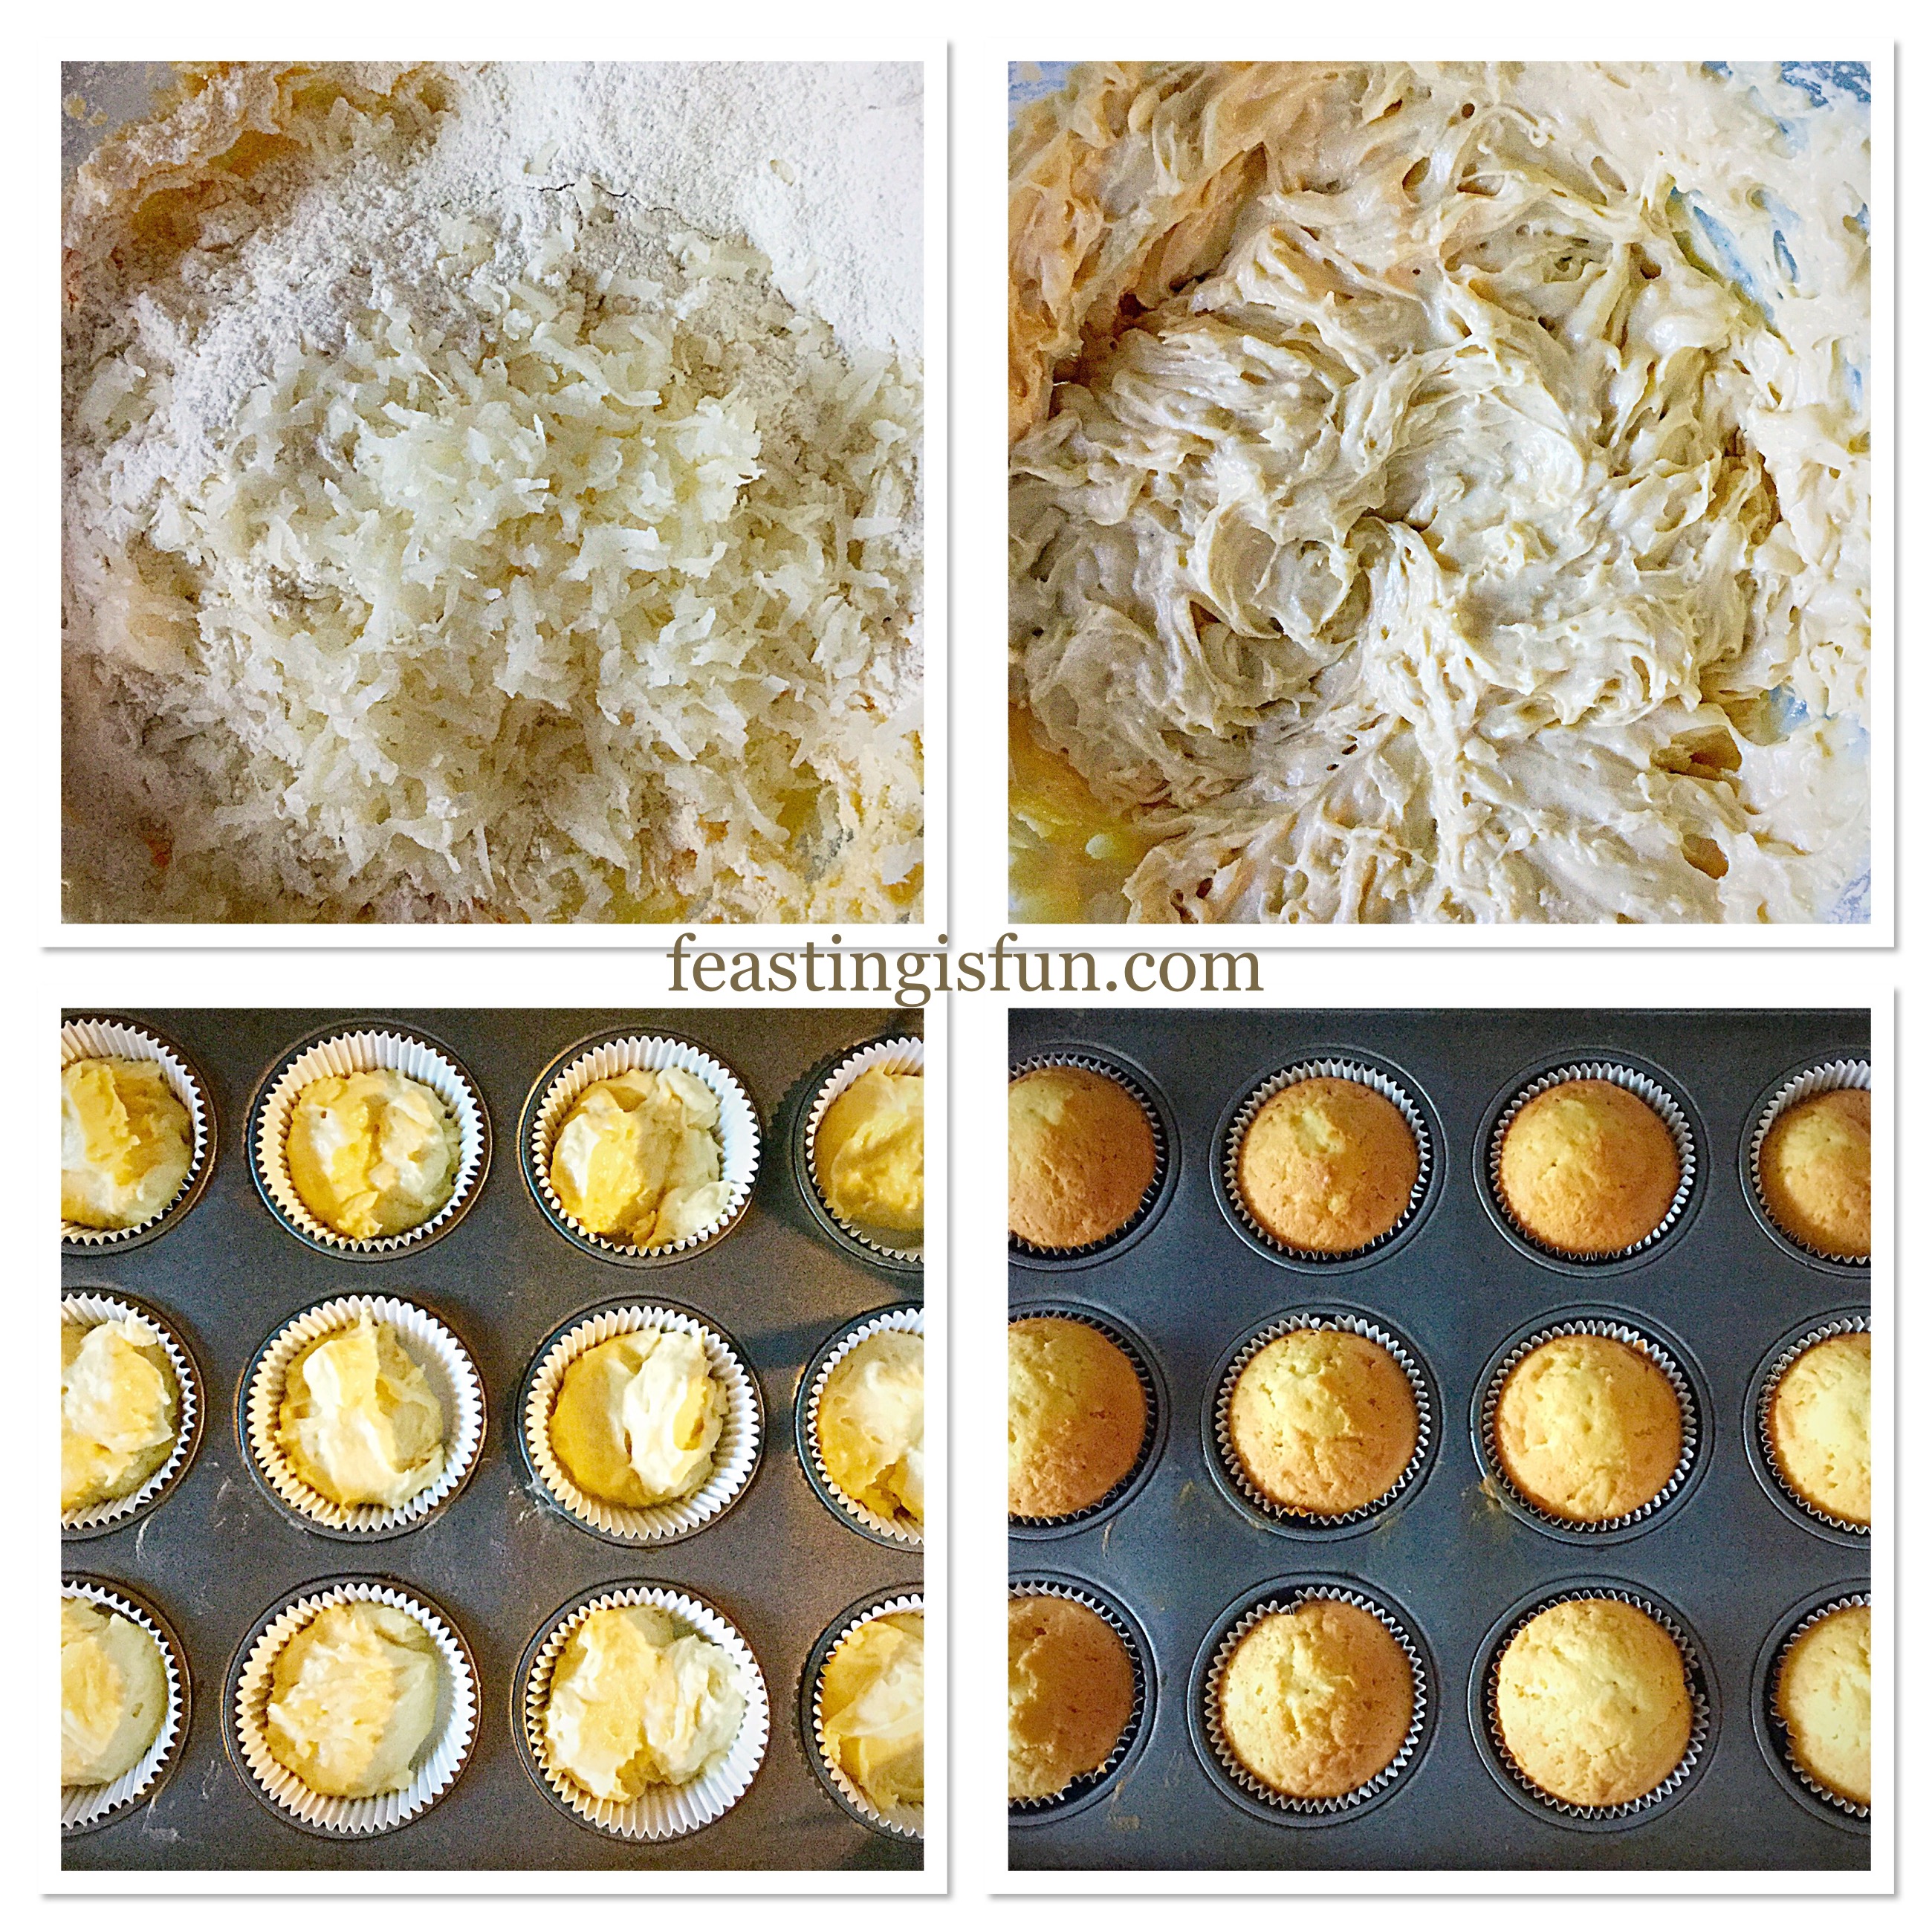
- Baking the cupcakes at a slightly higher temperature results in a domed rise. This is deliberate, as it helps the shape of a snowball later when icing and covering.
- Remove the hot cupcakes from the tin and place on to a cooling rack.
Making The White Chocolate Frosting And Piping Onto The Cupcakes
- While the cupcakes are cooling make the buttercream icing.
- First, place the softened butter into a large bowl and then sift in the icing sugar. Now add 2 tablespoons of very hot water from a recently boiled kettle and one teaspoon of vanilla extract.
- Whisk, starting on a slow speed and then gradually increasing, whipping until the buttercream is light and fluffy. Set to one side.
- Next, break up the white chocolate and place in a heatproof, microwaveable bowl. Zap for 20 seconds at a time, stirring in between, until the chocolate starts to melt. Remove the bowl from the microwave and stir continuously. The residual heat will continue to melt the remaining chocolate.
- Once the chocolate is completely melted pour it into the buttercream.
- Now whisk the buttercream and chocolate together, gradually increasing the speed, until the frosting is fully combined and cooled.
- Fit a piping bag with a round piping tip approximately 12mm in diameter.
- Fill the bag with the whipped, white chocolate, buttercream. Set to one side.
- Remember to wait until the cupcakes are completely cooled before icing.
- To ice the cupcakes, start in the centre and pipe a double swirl (one on top of the other), keeping an even pressure on the piping bag. Continue until all of the cupcakes have been iced.

Decorating The Cupcakes
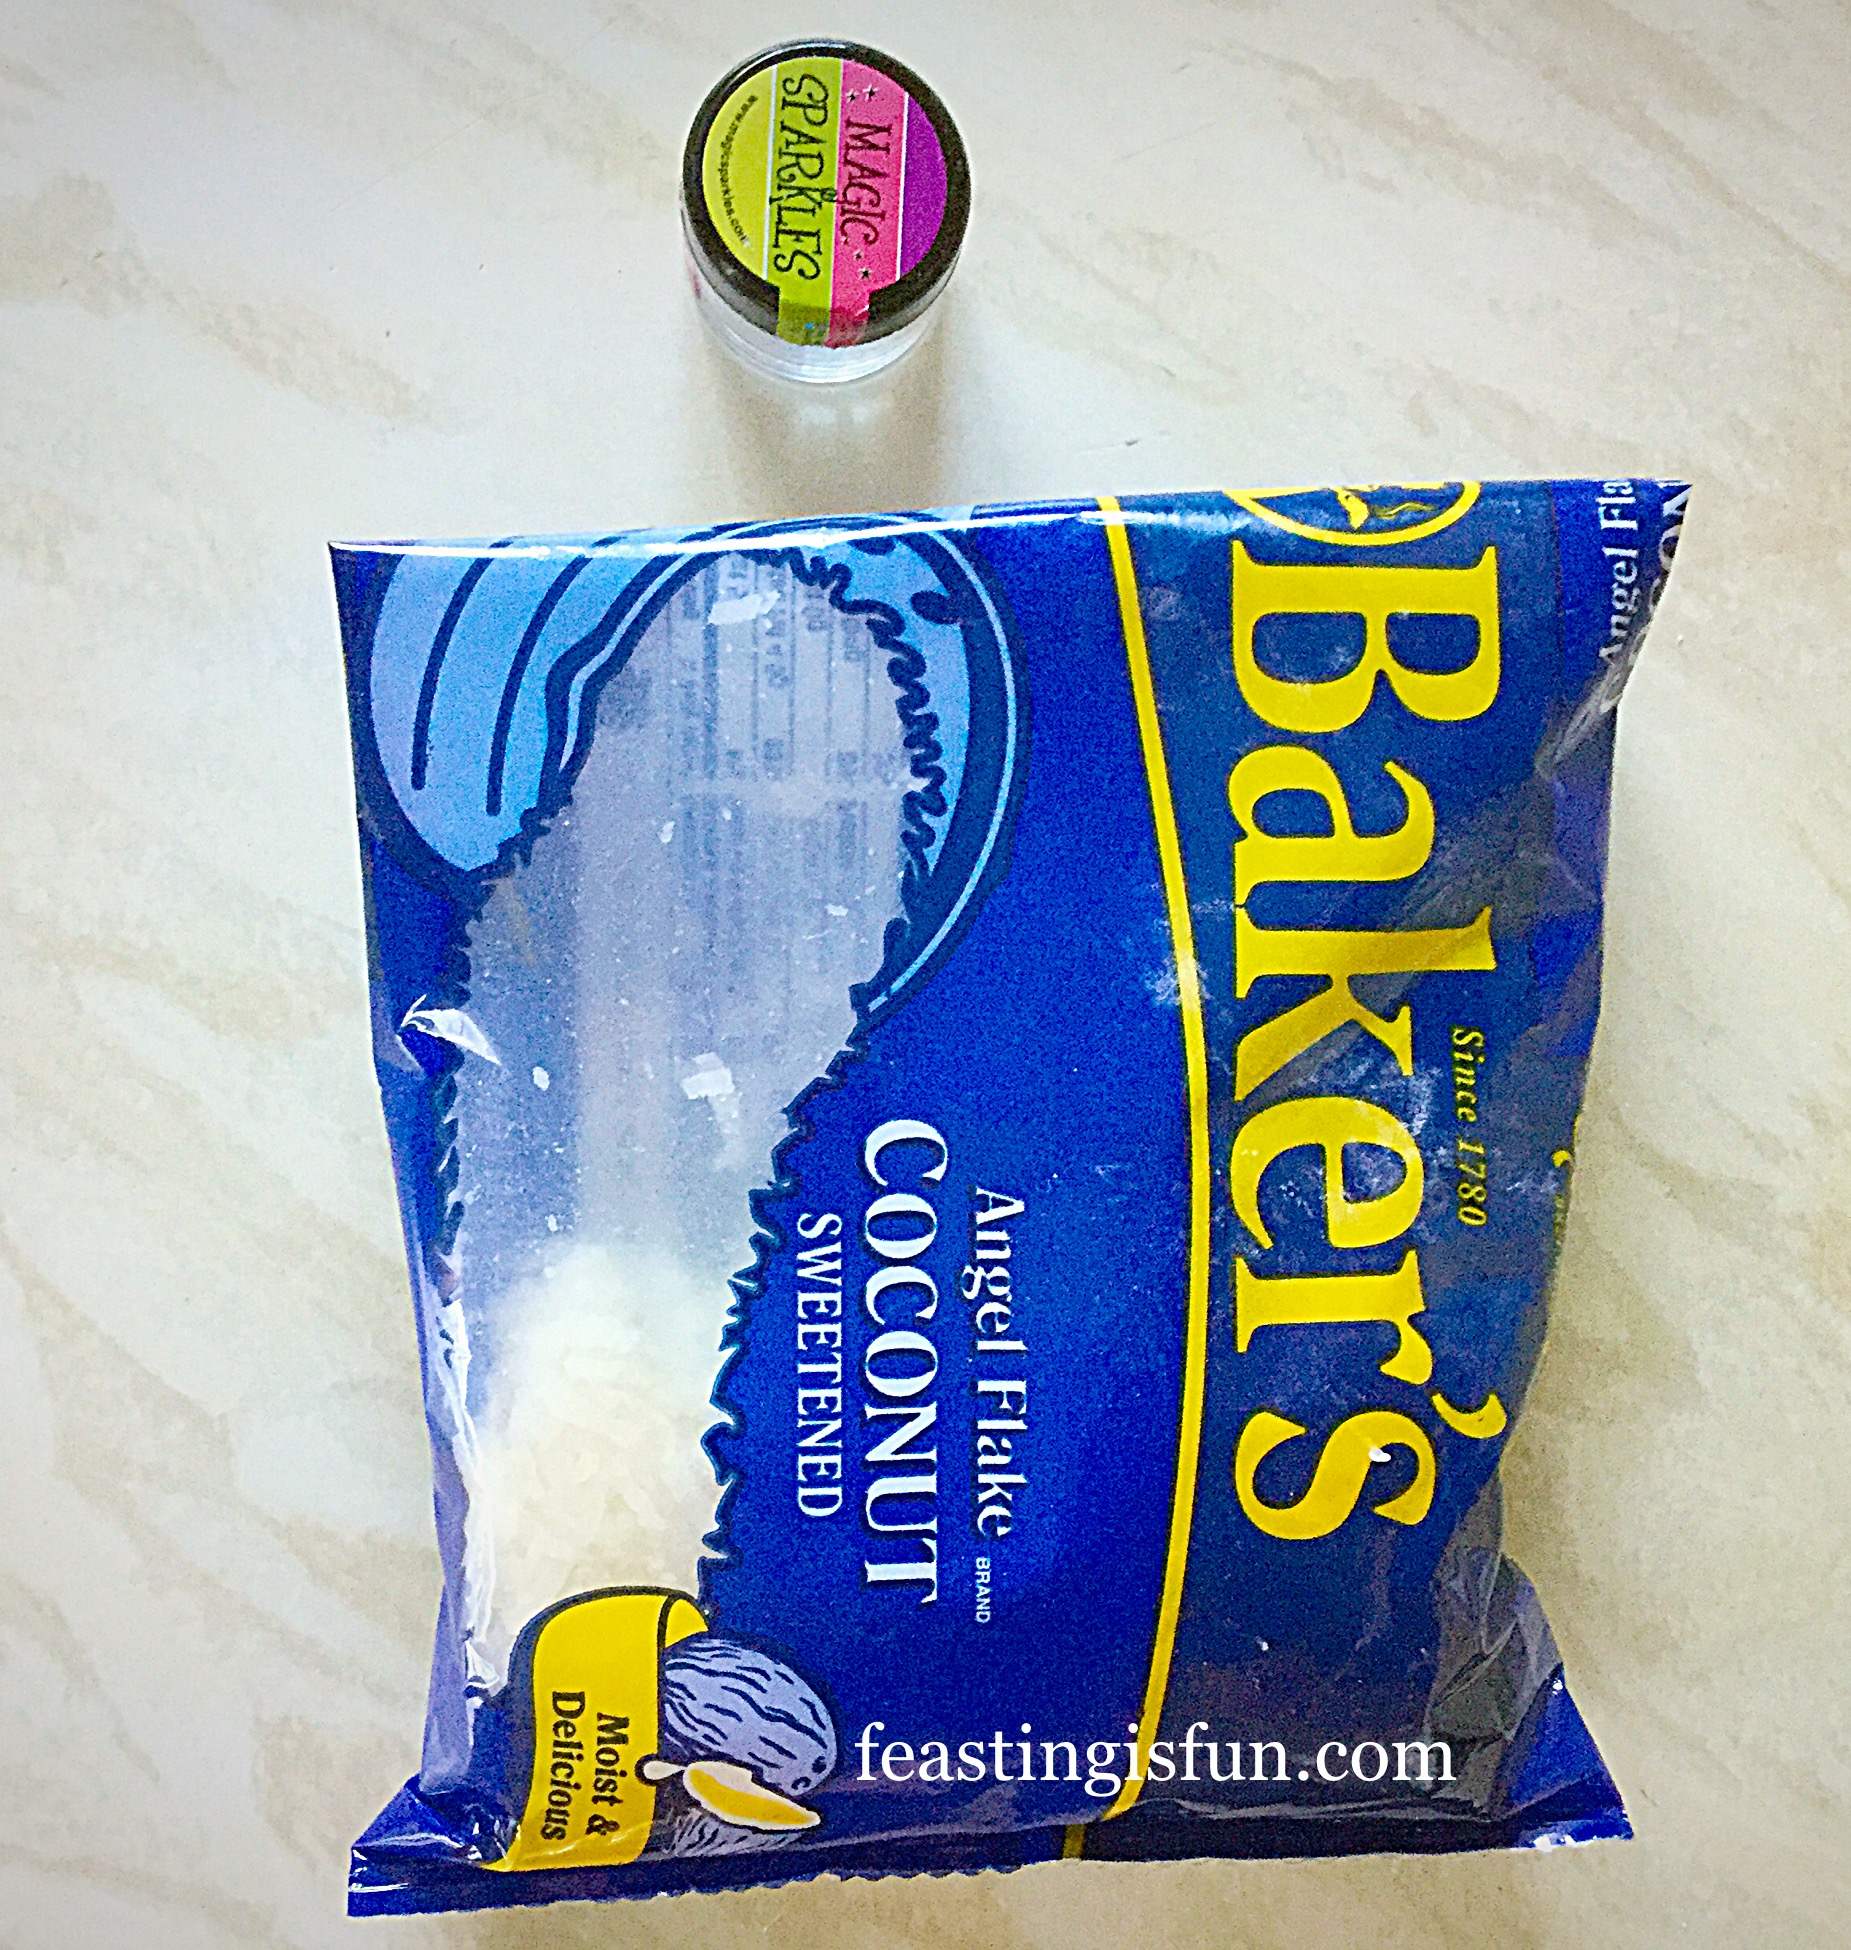
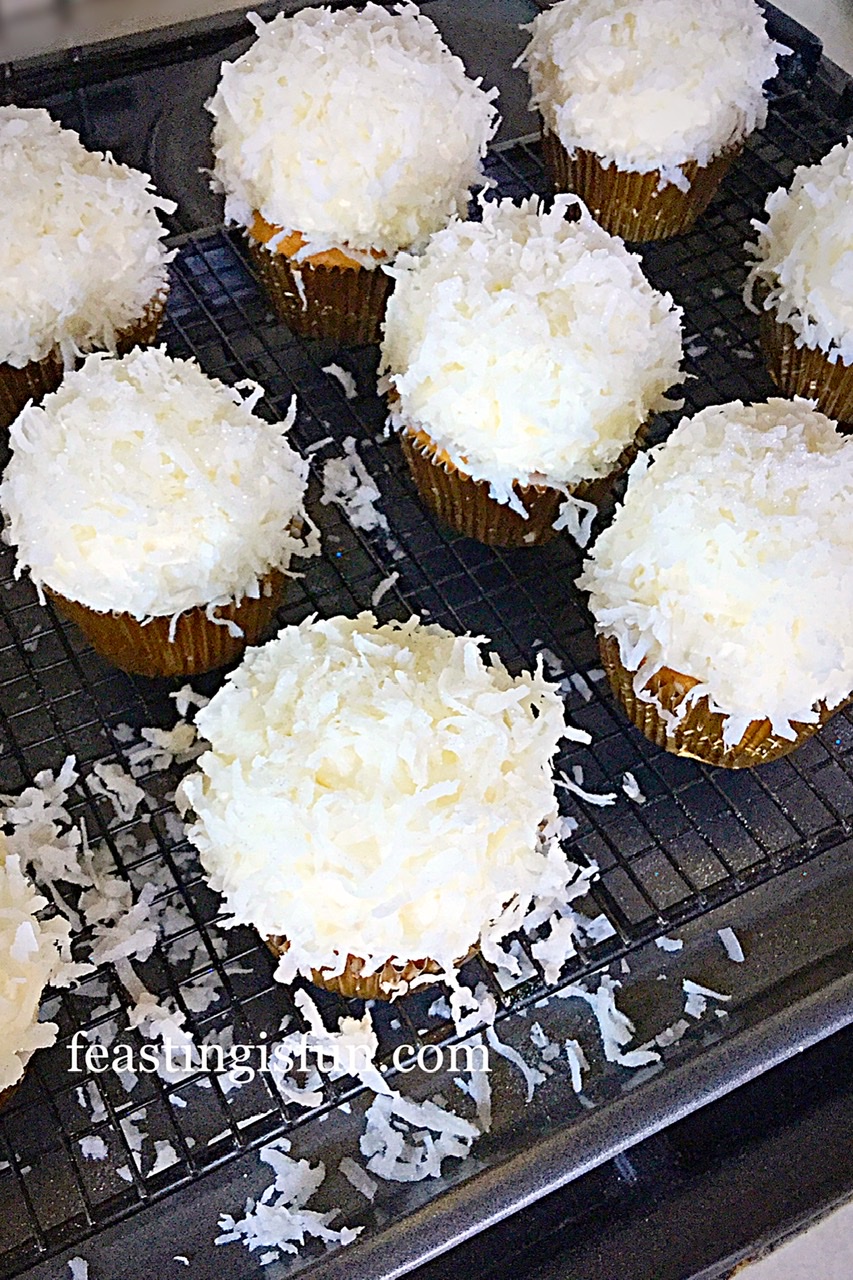
- Next, weigh out the sweetened coconut into a bowl and break any clumps apart with your fingers.
- To cover the first cupcake, hold it in your hand over the bowl of coconut. Use your other hand to cover the sides of the frosting with the coconut, gently pressing so that it sticks. Rotate the cupcake until the sides are covered with coconut, letting any excess drop back into the bowl. Now sprinkle a good amount over the top of the cupcake. Again pressing lightly so that it sticks to the buttercream. Continue until all of the cupcakes are covered in coconut.
- Next, sprinkle over the edible sparkles. Add as much glitter as you like!
These delicious, fun cupcakes are ready to serve straight away. To store, place in an airtight container and eat within 4 days. Although they are at their very best eaten within the first 24 hours of making.
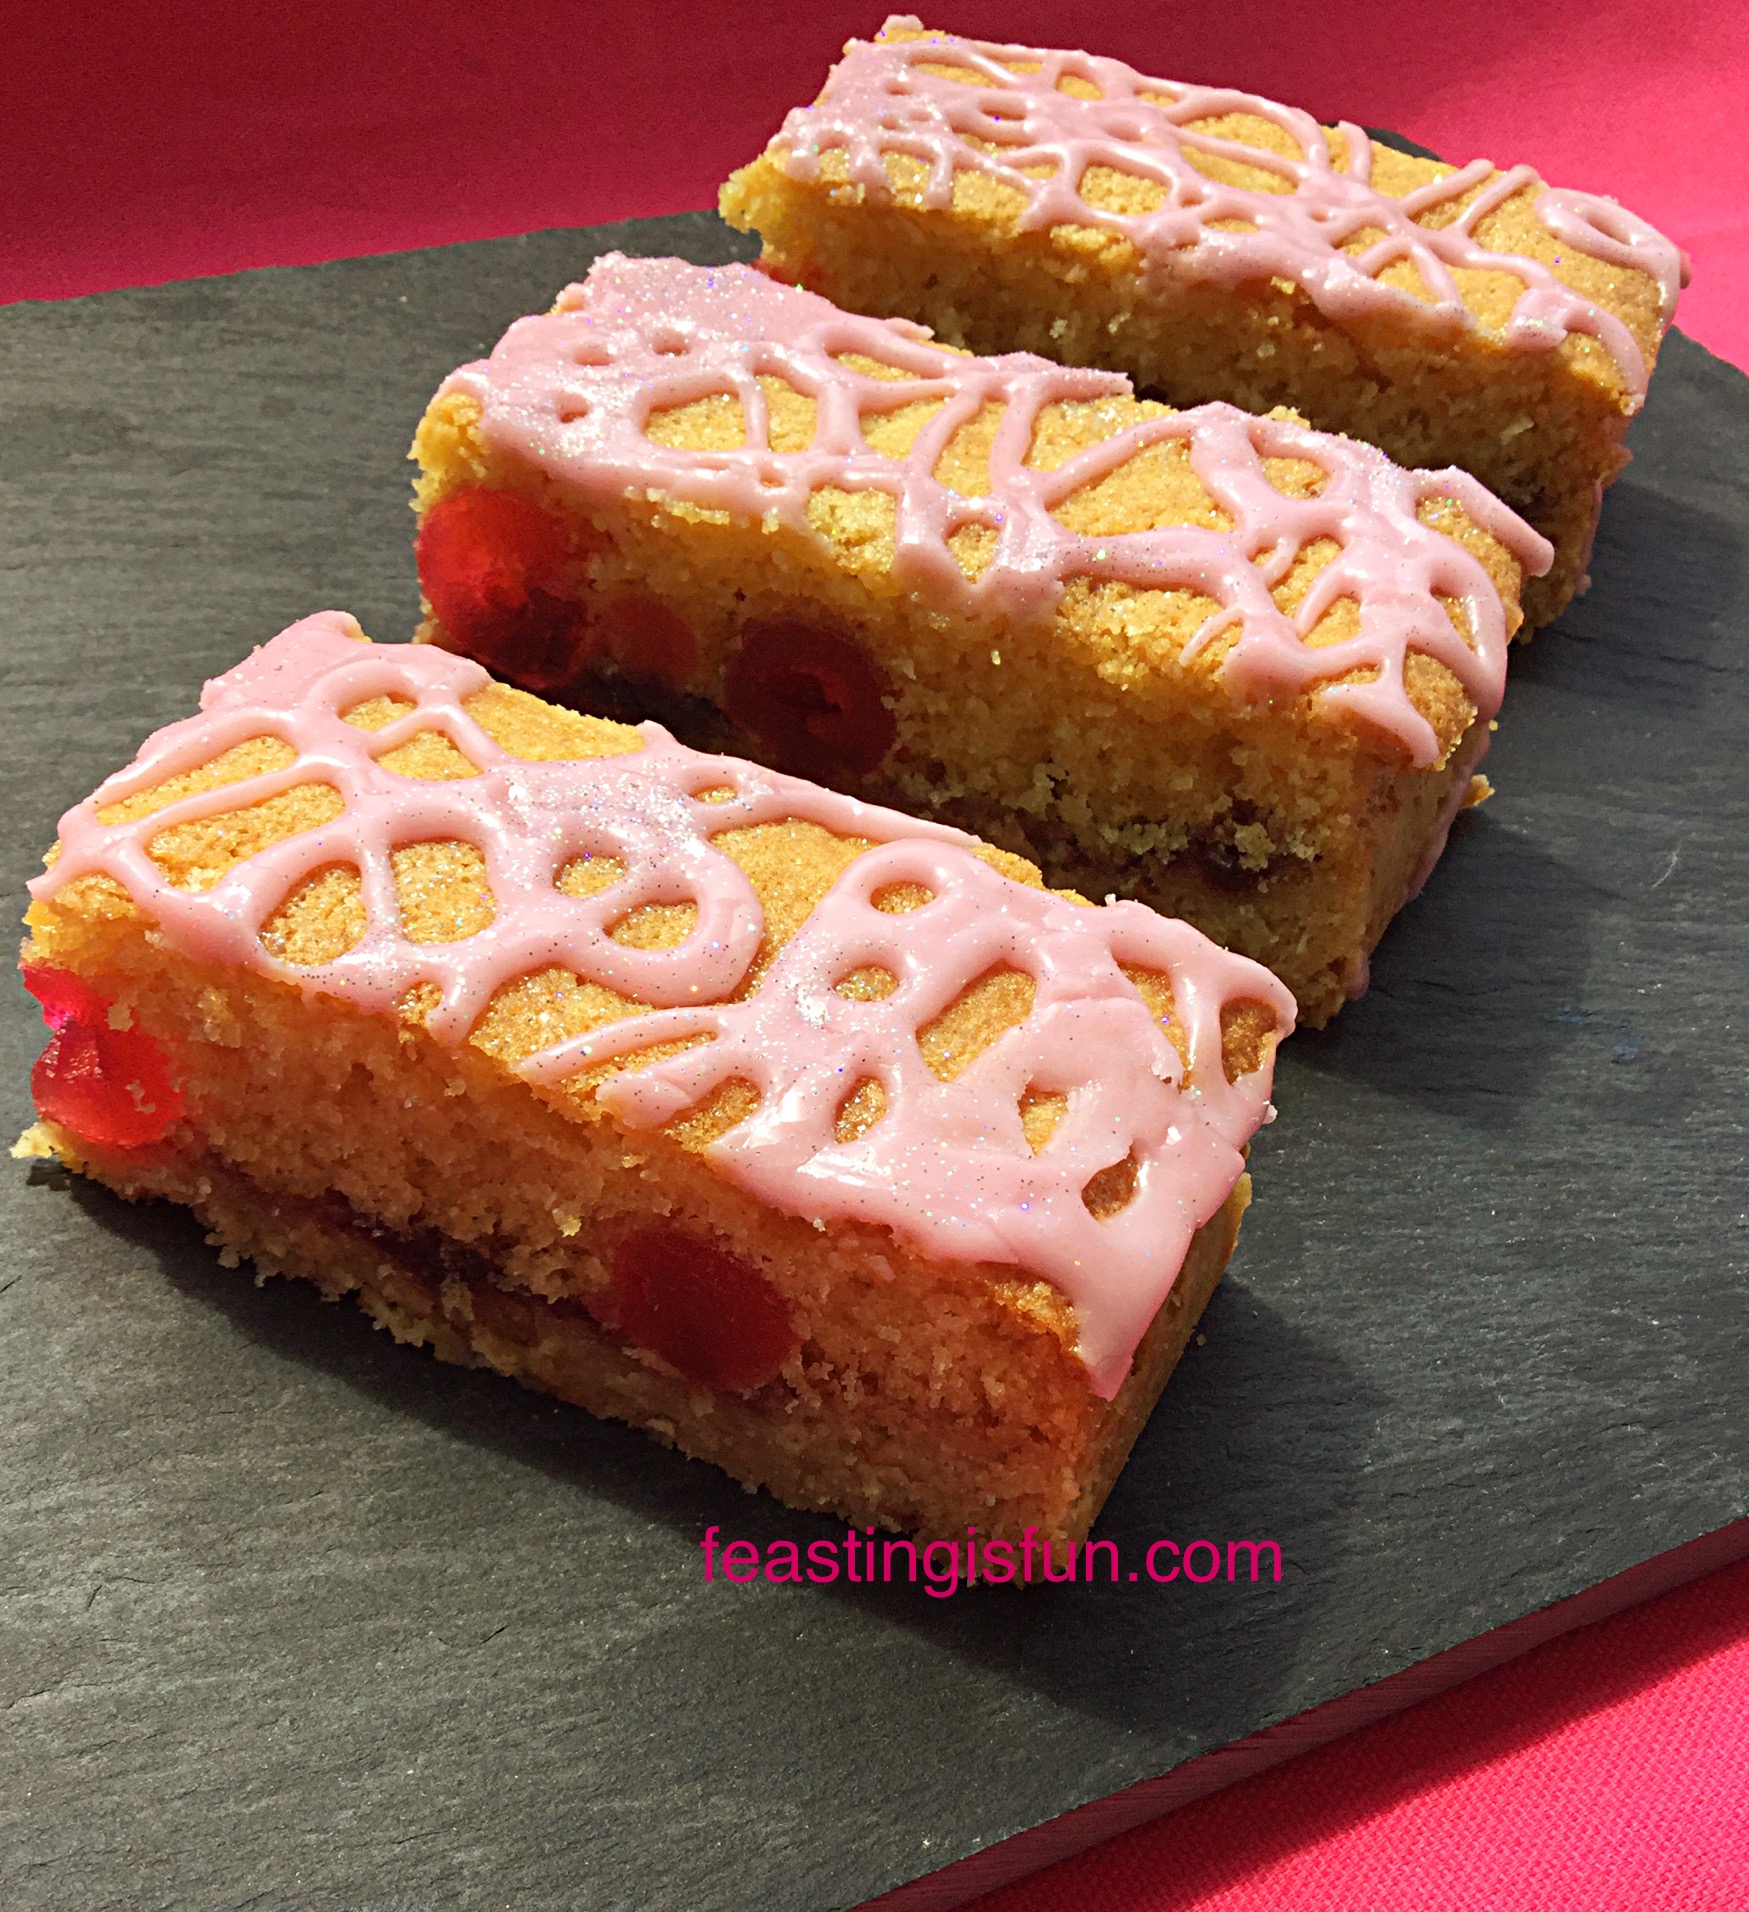
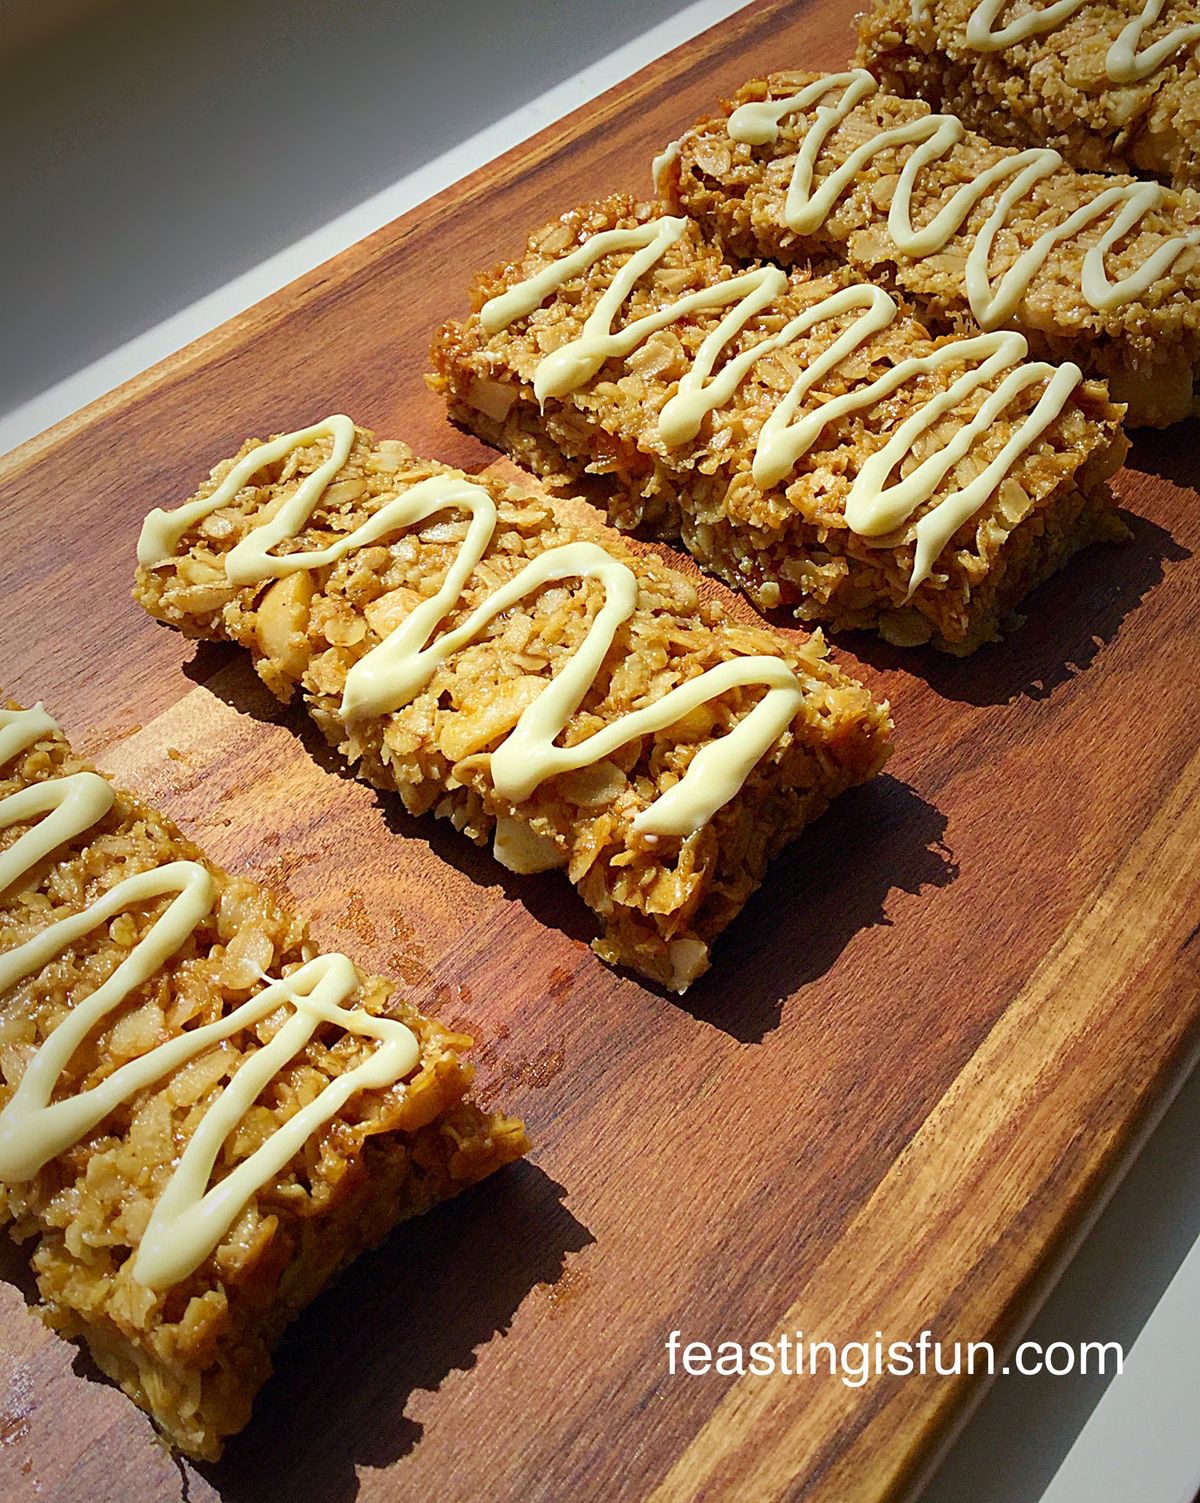
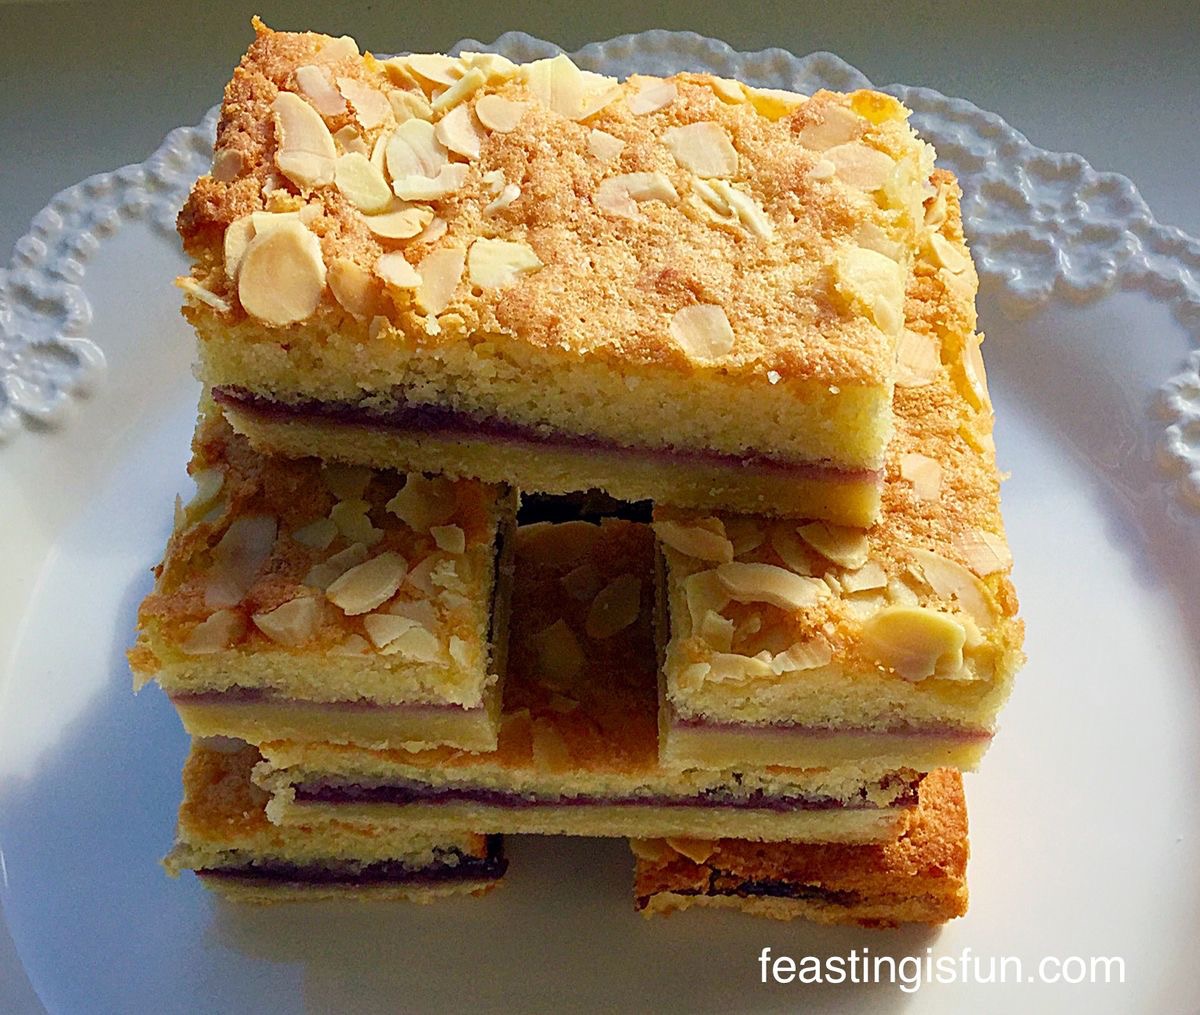
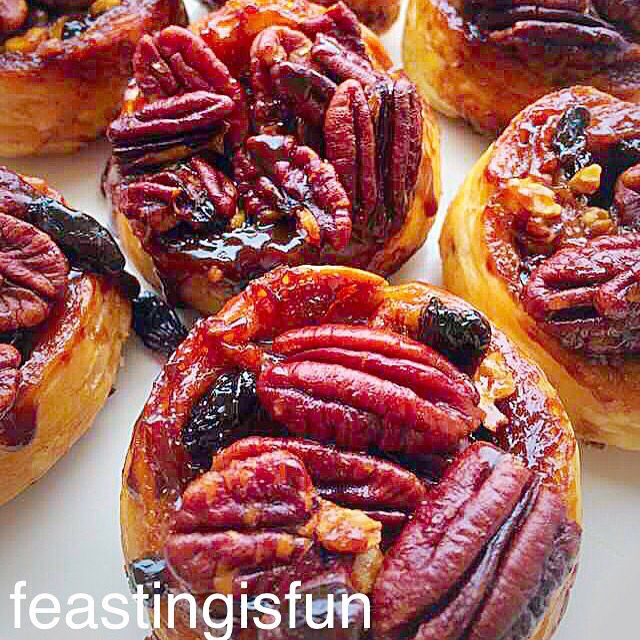
If you have enjoyed this recipe for Coconut White Chocolate Snowball Cupcakes you may also like these:
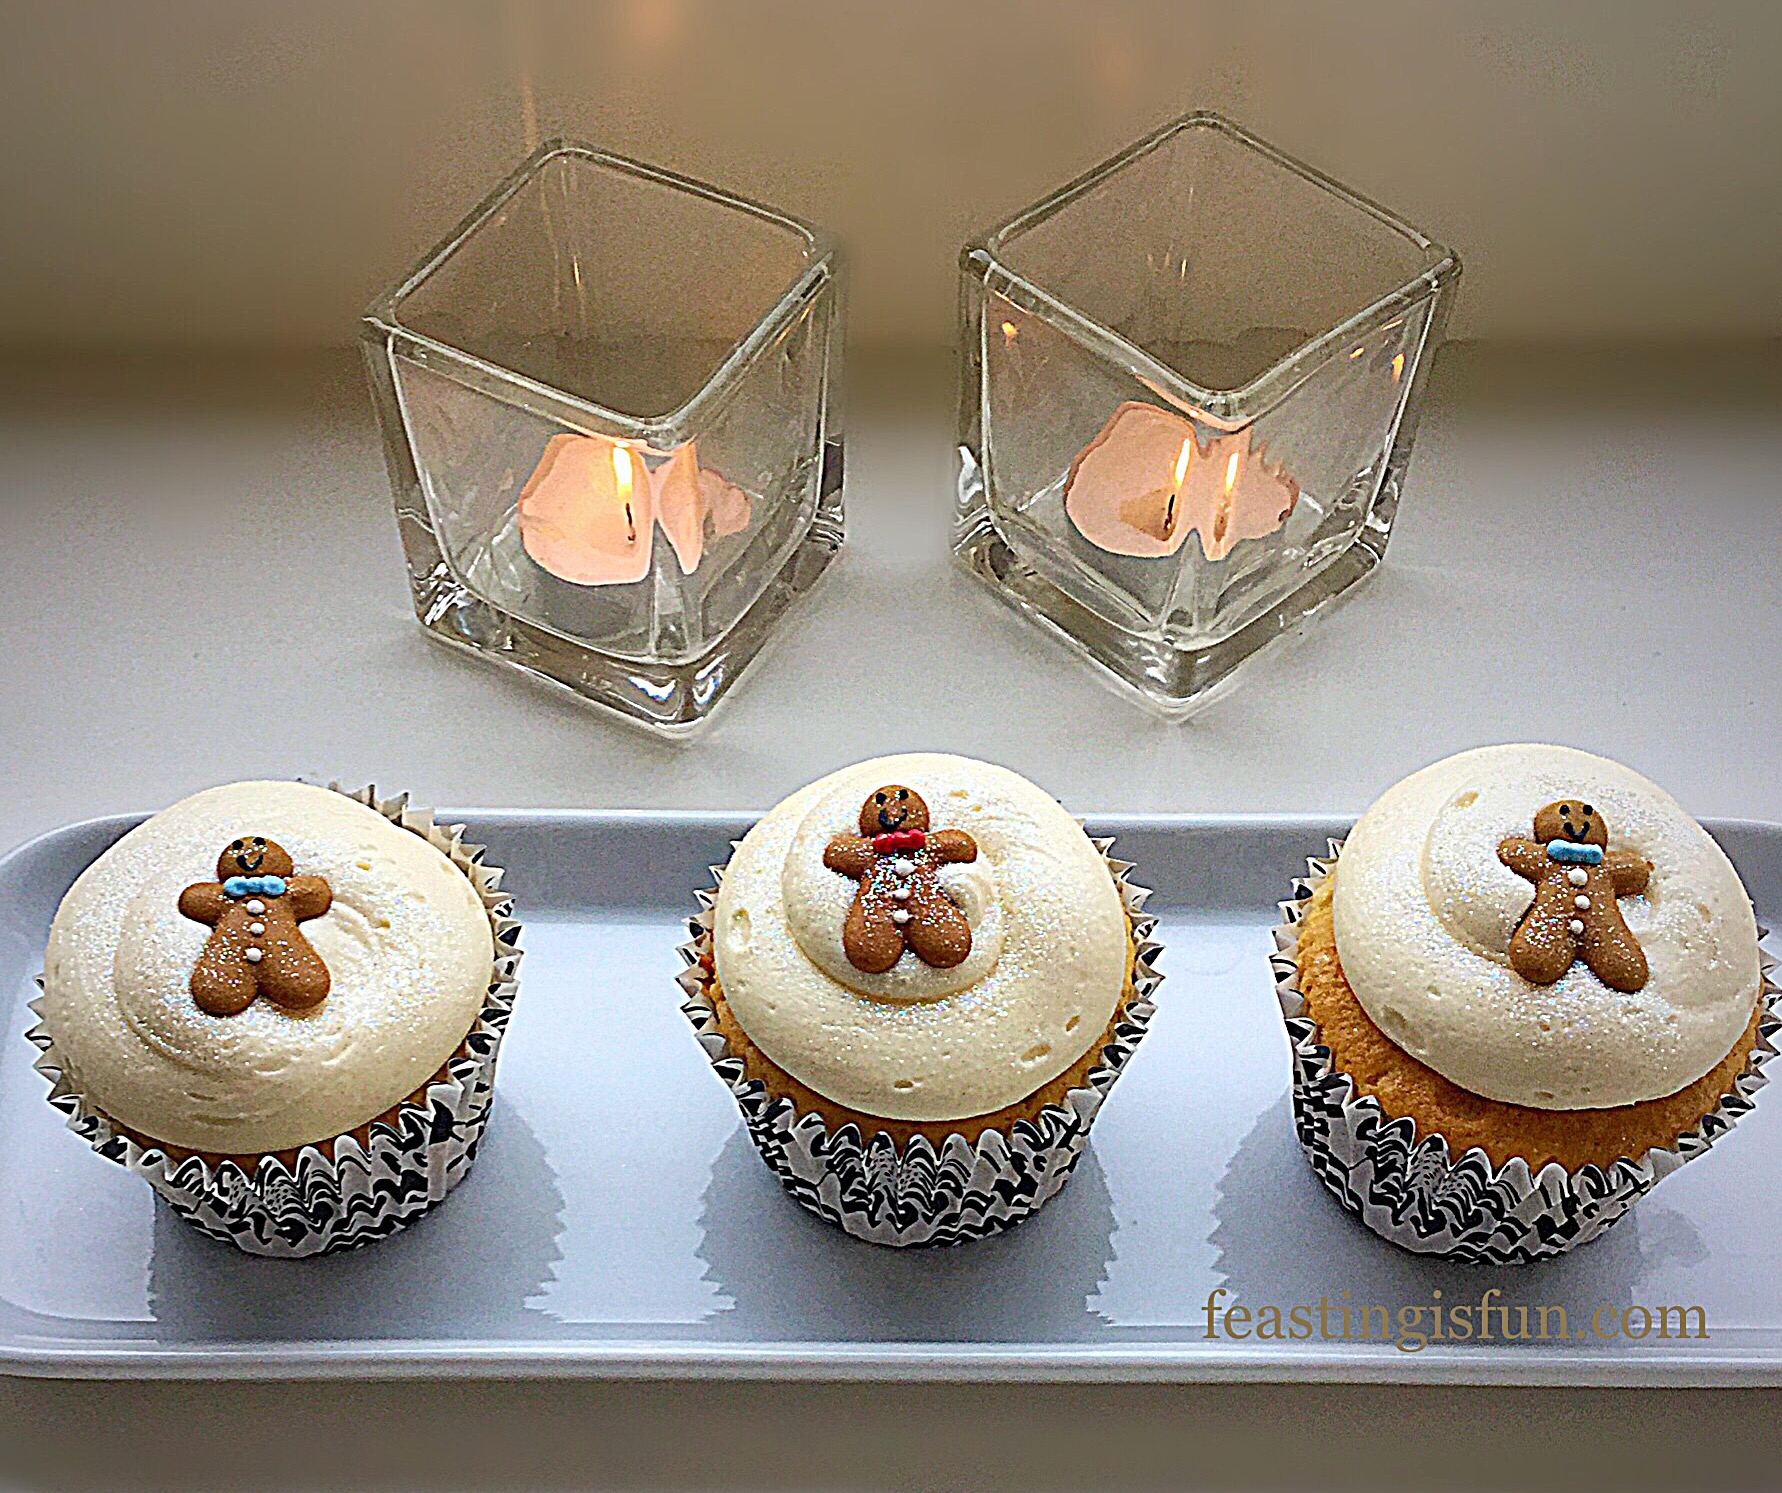
Gingerbread Frosted Ginger Christmas Cupcakes
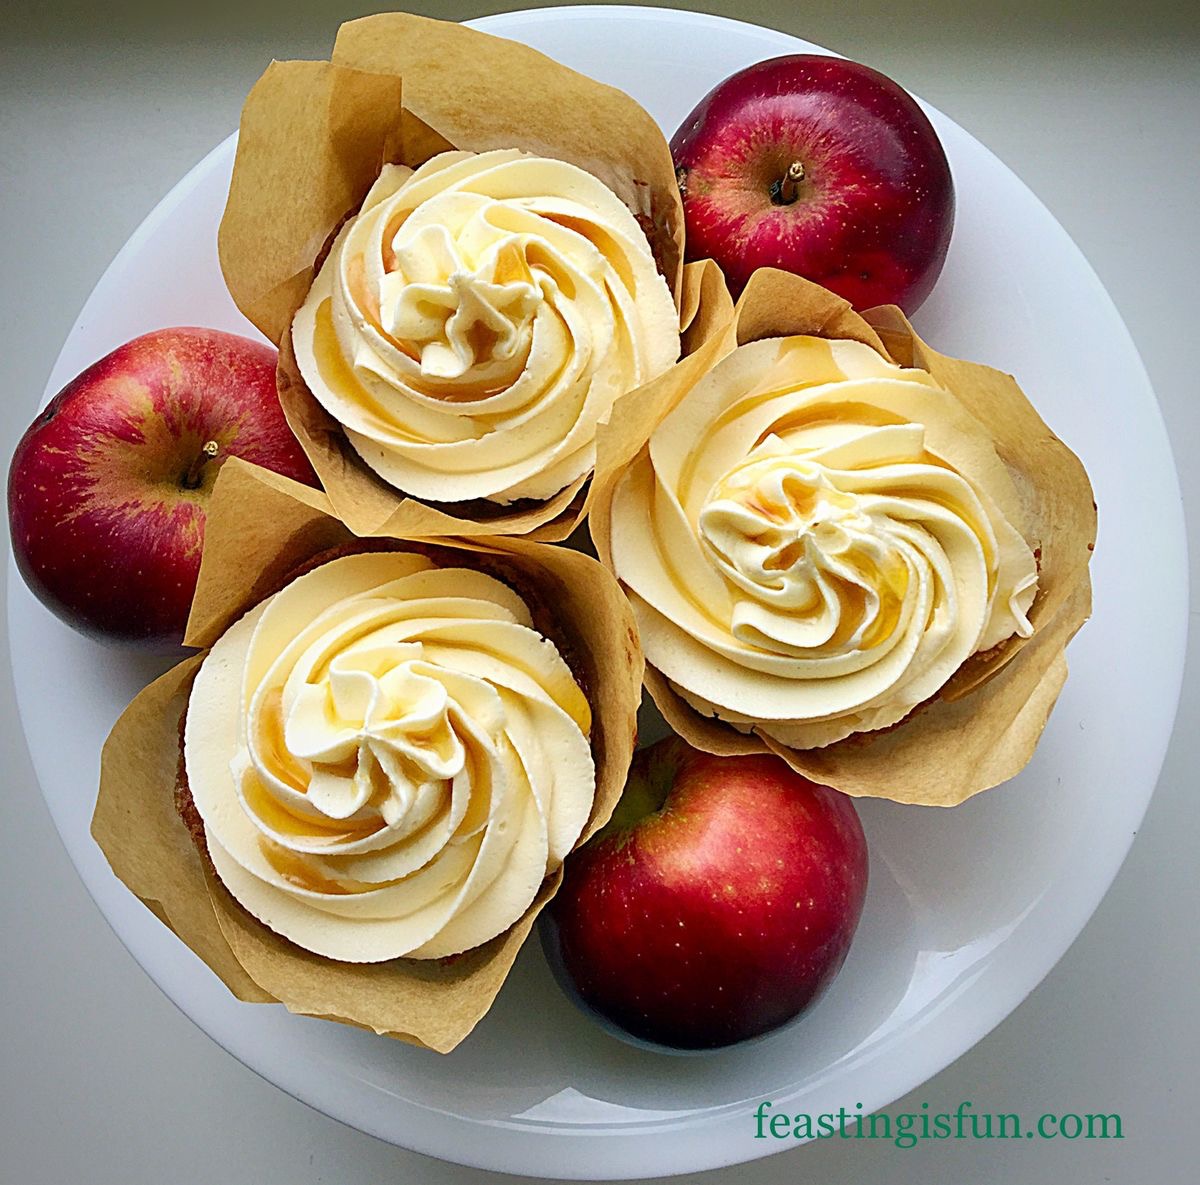
Maple Syrup Frosted Apple Cupcakes
Marshmallow Frosted Mango Cupcakes
While baking these coconut cupcakes with the festive season in mind, they would be a delicious treat at any time of the year. Because, baking to share, with love stirred in abundance, also makes a delicious treat for family, friends, or work colleagues. And food always tastes better when it is shared, these cupcakes are ideal for sharing.
So, whatever you are making, baking and creating in your kitchens, over this festive season, I hope you have lots of fun and laughter preparing and sharing your feast.
Sammie xx