Almond Cacao Nib Shortbread Bars

Share
Facebooktwitterpinterestlinkedintumblr

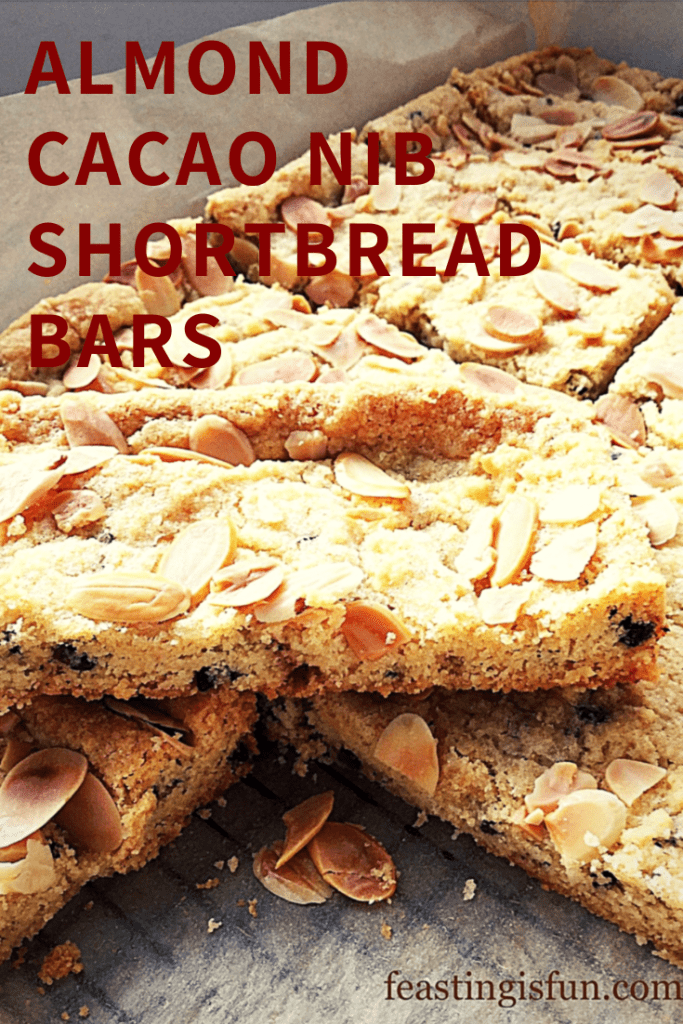
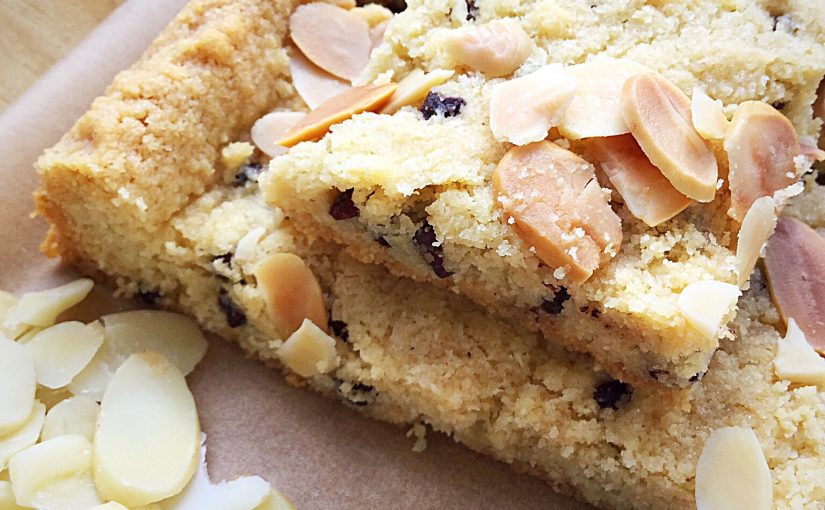
Regular visitors to this blog may know that I am a self confessed Cookie Monster. However, it is not just cookies I enjoy. Rather it is biscuits, cookies and shortbread that all have an equal place in my heart. And these Almond Cacao Nib Shortbread Bars certainly make the grade. Crunchy, flaked almond topped bars, studded with a deep, deep, slightly bitter chocolate flavour from the cacao nibs. Exactly what I need to satisfy a cookie craving.

Almond Cacao Nib Shortbread Bars

Cacao Nibs And Their Impact On The Shortbread Flavour

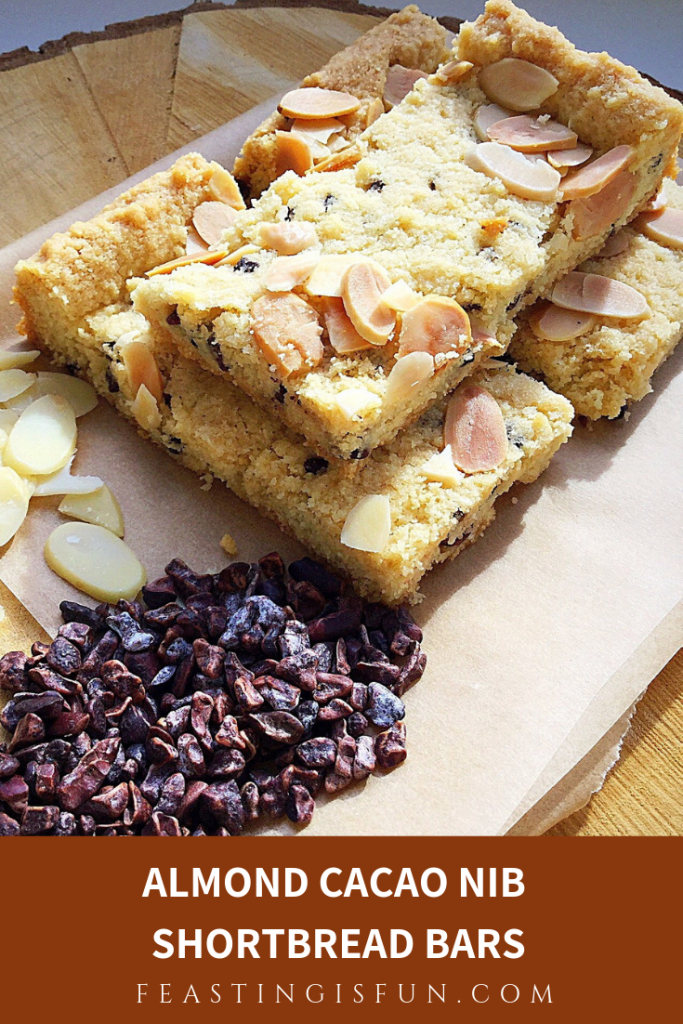
Since receiving a tub of Cacao Nibs from Food Thoughts, I couldn’t wait to see how their flavour would transfer in the shortbread. Each nib is packed with an intense flavour. Similar to very good quality, high cocoa content chocolate. Because cacao nibs are chocolate in its purest form before anything has been added to it. Each nib is the fermented, roasted part of a cocoa bean. Resulting in an intense, pure chocolate flavour.
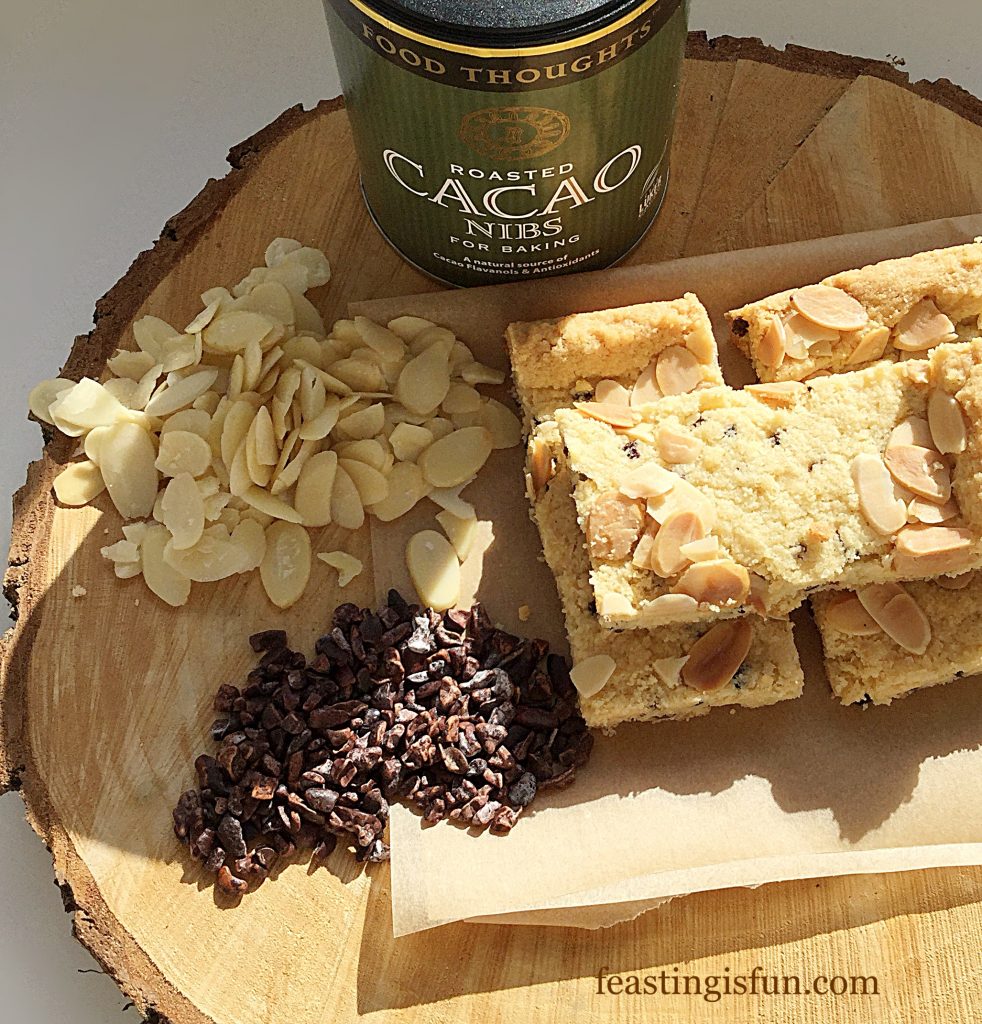
FF Almond Cacao Nib Shortbread Bars
Almond Cacao Nib Shortbread Bars

While I am not a fan of very dark chocolate, these tiny nibs give just the right amount of flavour in this bake. Complimented by the almonds, each nib bursts with intense flavour on the tongue, without being cloying or overwhelming. Resulting in shortbread bars that are incredibly delicious and a satisfying treat.
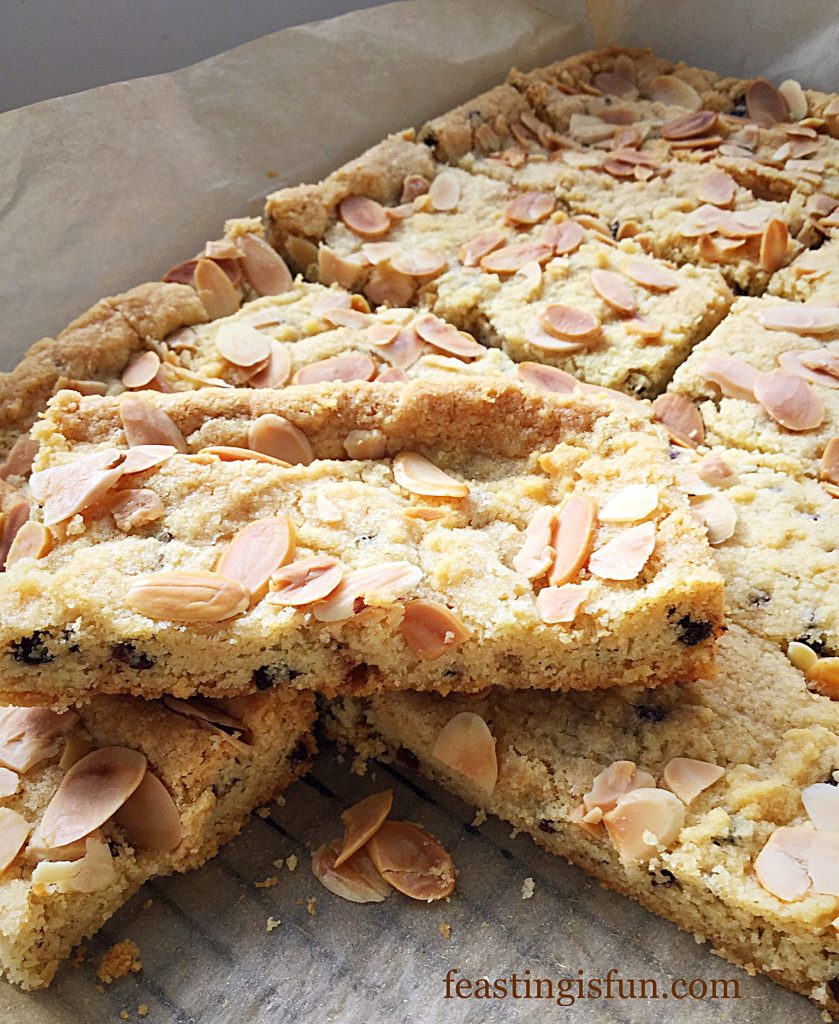
FF Almond Cacao Nib Shortbread Bars
Freshly baked Almond Cacao Nib Shortbread Bars

Although I have cut the shortbread bars into a generous size, simply cut smaller squares for smaller potions. While shortbread squares are ideal for serving with afternoon tea, individual bars fit happily into packed lunch boxes. Whichever way you cut and serve this shortbread, be sure to share it. Introducing new flavours into a bake is always an experience to be shared.

Recipe: Almond Cacao Nib Shortbread Bars – makes 12

200g/7oz Unsalted Batter at room temperature

100g/4oz Caster Sugar – plus 1tbs extra for topping

1/4tsp Sea Salt – I use Maldon

1tsp Vanilla Extract – I use Nielsen-Massey

100g/4oz Ground Almonds

50g/2oz Semolina

150g/5oz Plain White Flour

50g/2oz Cacao Nibs – I use Food Thoughts available at Sainsburys, Waitrose and Ocado

25g/1oz Flaked Almonds

Method: Preheat oven to 170C/150C fan, gas mark 3, 325F.

Butter and line a 28 x 20 x 5cm (12″ x 8″ x 2″) Swiss roll tin with baking parchment.

Making The Shortbread Dough

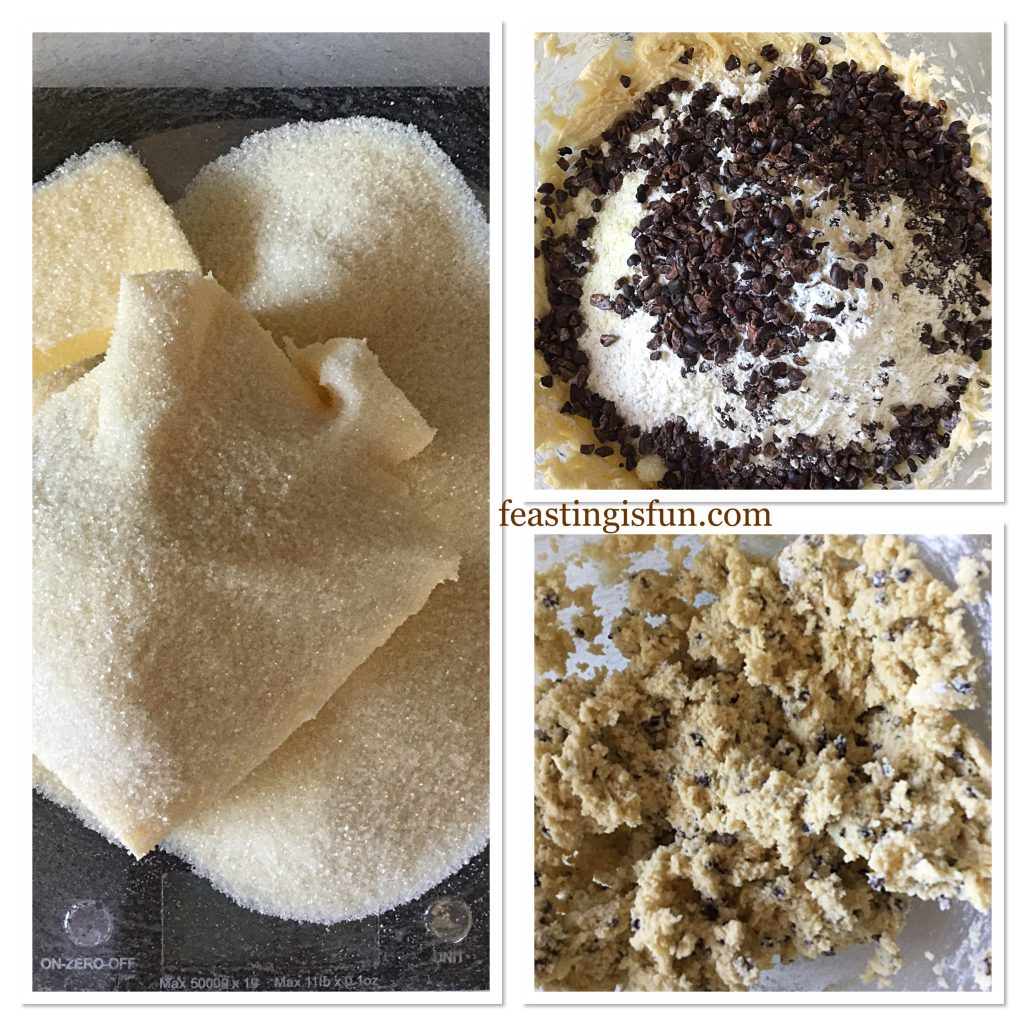
  • First of all, into a large bowl add the butter, sugar and salt.
  • Whisk together until pale and creamy.
  • Add the vanilla extract and whisk to incorporate.
  • Sift in the plain flour and then add the ground almonds, semolina and cacao nibs.
  • Mix together until just combined.
FF Almond Cacao Nib Shortbread Bars
Preparing the shortbread.
  • Spoon the shortbread mixture into a prepared tin. Press out, using the back of a metal spoon, so that the mixture evenly fills the tin.
  • Dock the shortbread all over with a fork.
  • Sprinkle over the additional tablespoon of sugar and evenly scatter over the flaked almonds.
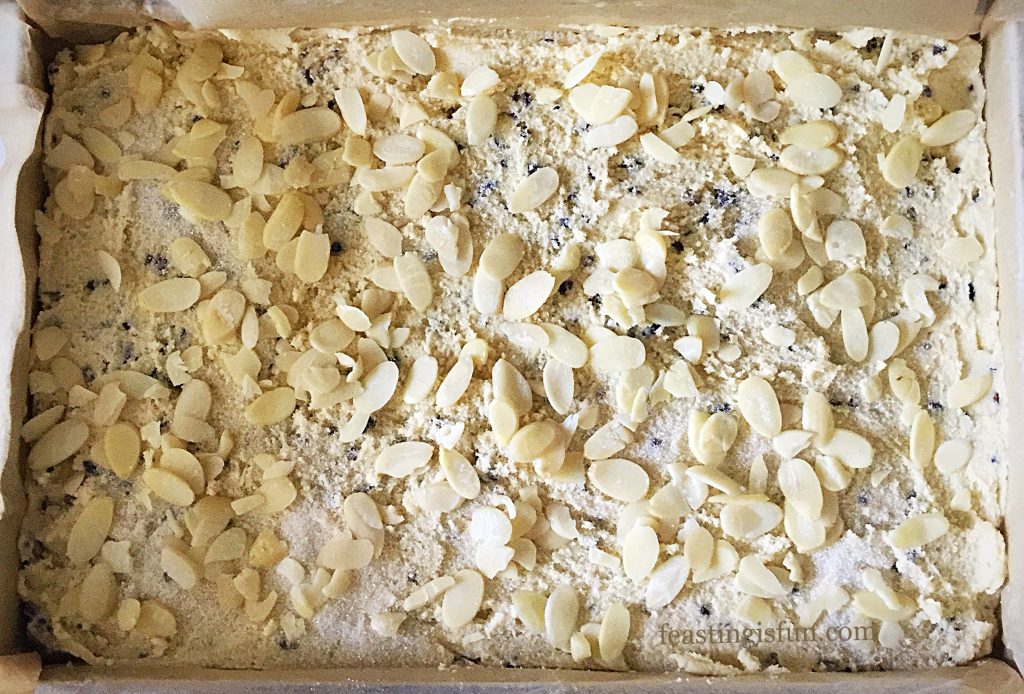
FF Almond Cacao Nib Shortbread Bars
Almond Cacao Nib Shortbread Bars ready for the oven.

Baking The Cacao Nib Studded Shortbread

  • Place the shortbread into the centre of a preheated oven and bake for 35-45 minutes. If you find that the almonds are browning too quickly during baking, either reduce the heat and bake for a little longer, or cover the top of the shortbread with aluminium foil.
  • When golden all over and semi-firm to the touch the shortbread is baked.
  • As soon as the shortbread is baked remove from the oven and allow to cool for 10 minutes in the tin.
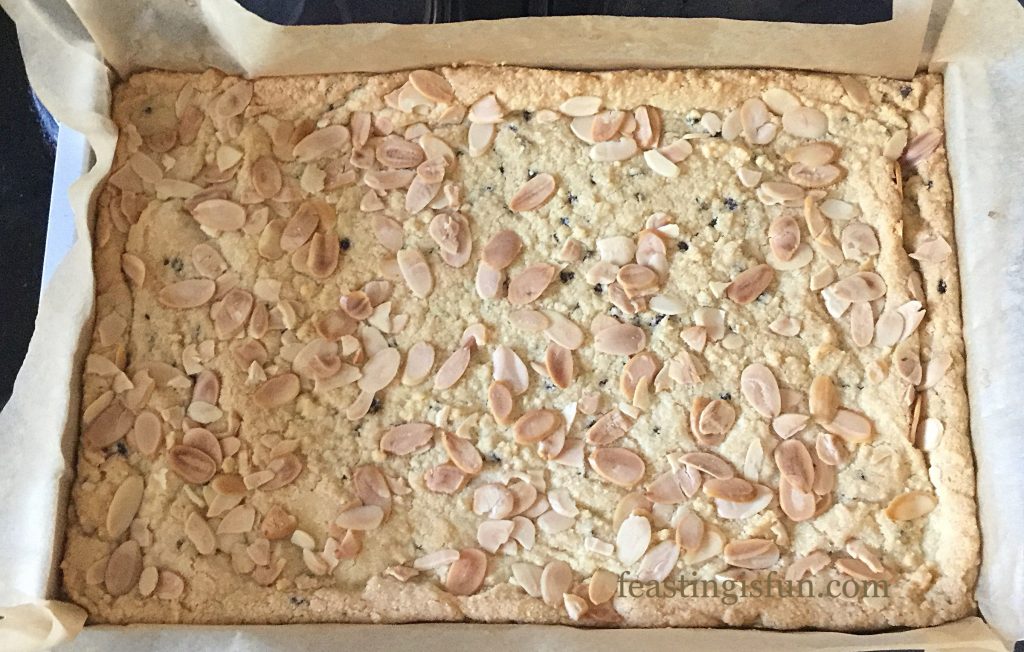
FF Almond Cacao Nib Shortbread Bars
Golden baked shortbread.
  • After the cooling period slice the shortbread into 12 bars. Cut across the middle, then down the width, forming 4 squares. Follow by dividing each square into 3. To create 24 squares, simply cut across the middle at 4 even (8cm) spaces.
  • Leave the shortbread to fully cool in the tin.
  • Once cooled, use a palette knife to help lift out the shortbread. Because the shortbread is already cut it’s more flexible and therefore unlikely to crack when removing from the tin.
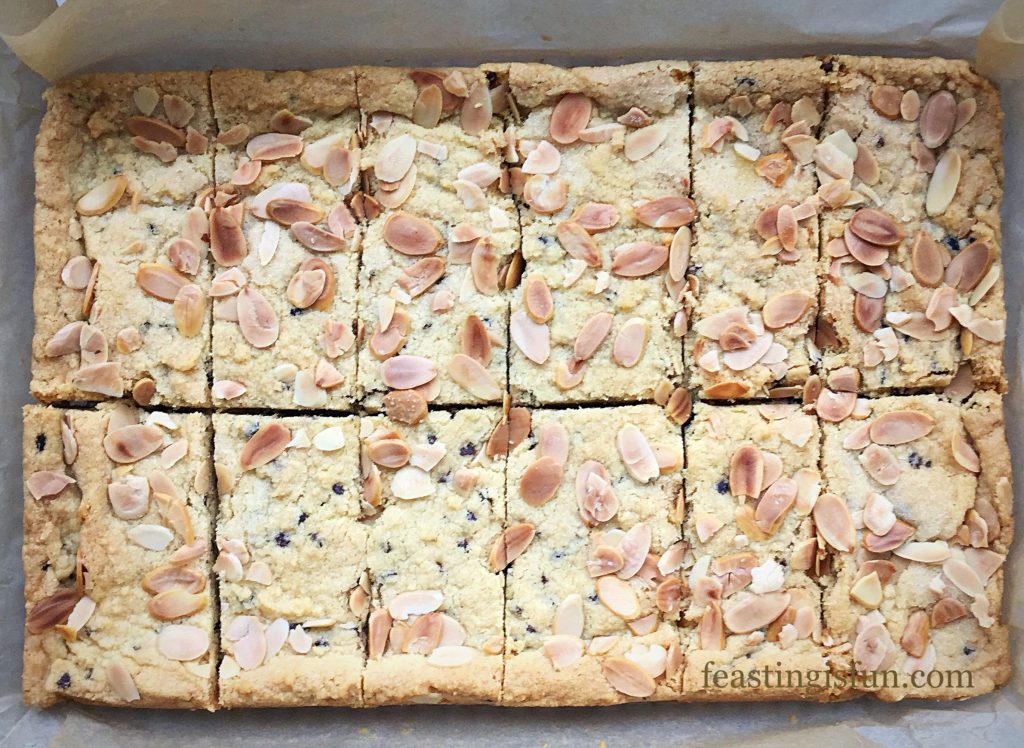
FF Almond Cacao Nib Shortbread Bars
Sliced, cooled Almond Cacao Nib Shortbread Bars

Serve with a hot drink. Especially as the go well with tea, coffee and of course hot chocolate.

Store in an airtight container for up to one week. Since these bars improve in flavour after a day, dare I suggest you hide the tin? It’s only for a day 😉.
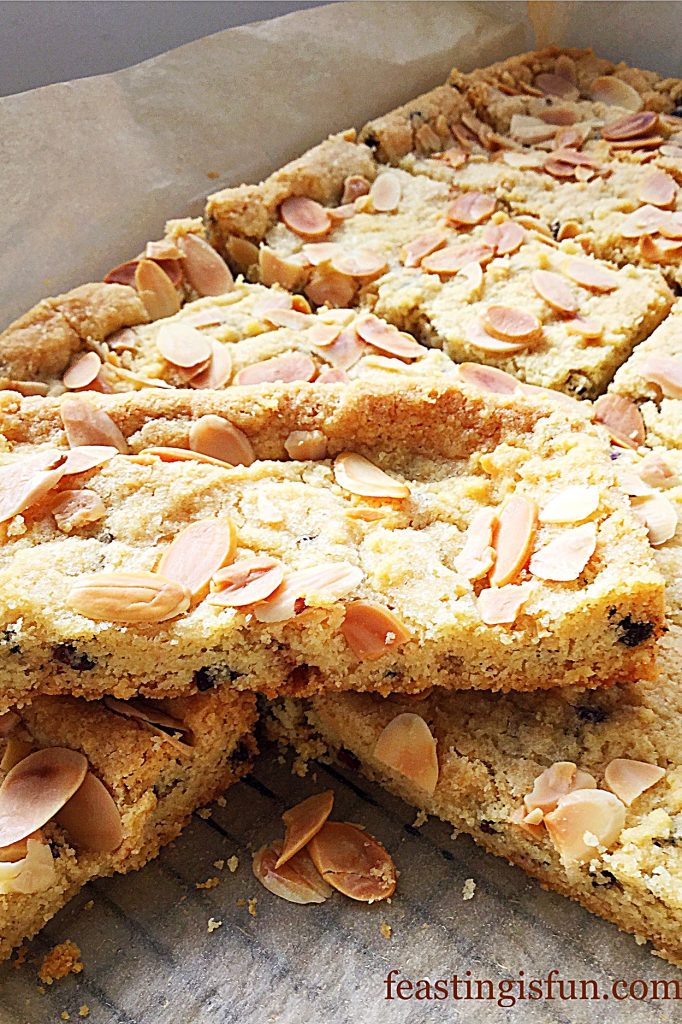
A nut and raw chocolate biscuit traybake.
Almond Cacao Nib Shortbread Bars

If you have enjoyed this recipe for Almond Cacao Nib Shortbread Bars you may also like these:
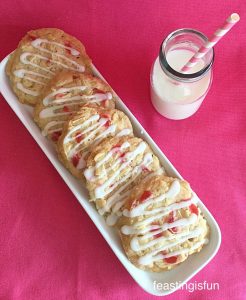
Cherry Bakewell Cookies

FF Almond Cacao Nib Shortbread Bars
Cherry Bakewell Cookies

Blueberry Lemon Shortbread Cake Bars

FF Almond Cacao Nib Shortbread Bars
Blueberry Lemon Shortbread Cake Bars

Multi Millionaires Shortbread Squares
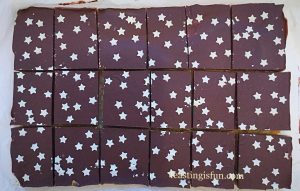
FF Almond Cacao Nib Shortbread Bars
Multi Millionaires Shortbread Squares

While biscuits and shortbreads are readily available in the shops, there are huge advantages to making your own at home. Firstly and most importantly to me, the flavour is far superior to their mass produced equivalents. Also, flavour combinations that aren’t available in the shops, I can easily make at home. Finally, unless you live close to an artisan bakery, where each product is made with love and care, baking at home is a pleasure. Since you know exactly what ingredients have gone into your bake, including the love with which they are made.

So, whatever r you are making, baking and creating in your kitchens, have fun preparing and sharing your feast.

Sammie xx

Food Thoughts sent me the cacao nibs as a gift, to try. All opinions, content and photography are my own. No part of this post may be reproduced or copied without the specific, written permission of the owner. Please see my Disclosure Policy .

Share
Facebooktwitterpinterestlinkedintumblr

Chocolate Fudge Double Hazelnut Brownies

Share
Facebooktwitterpinterestlinkedintumblr

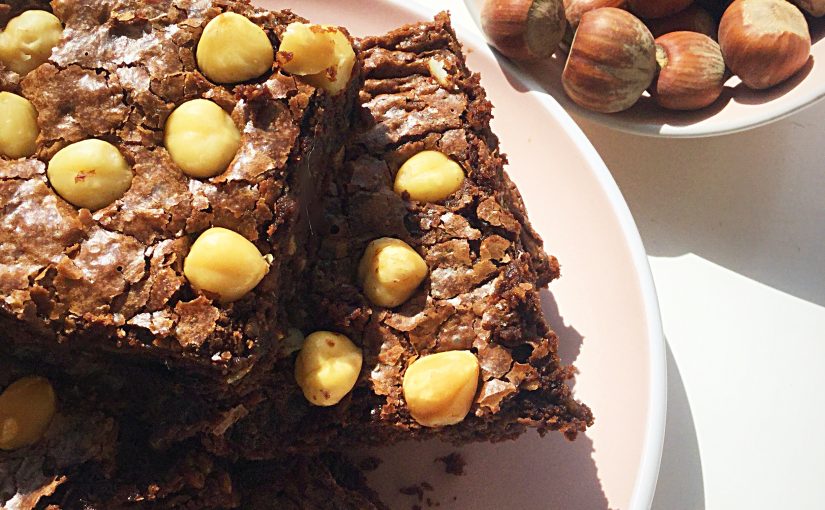
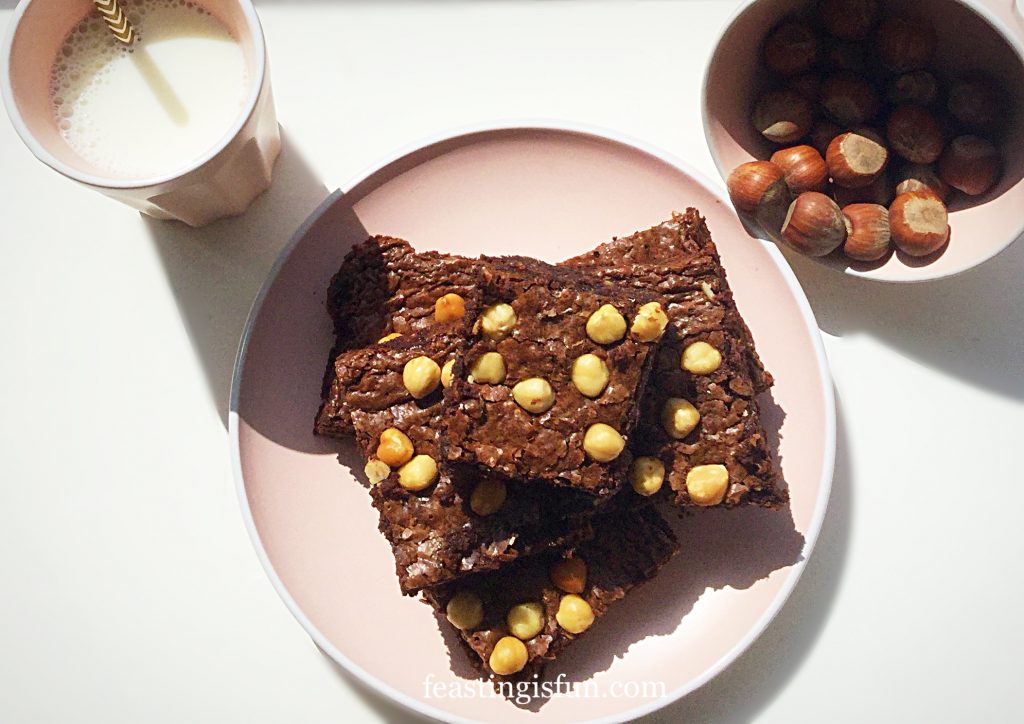
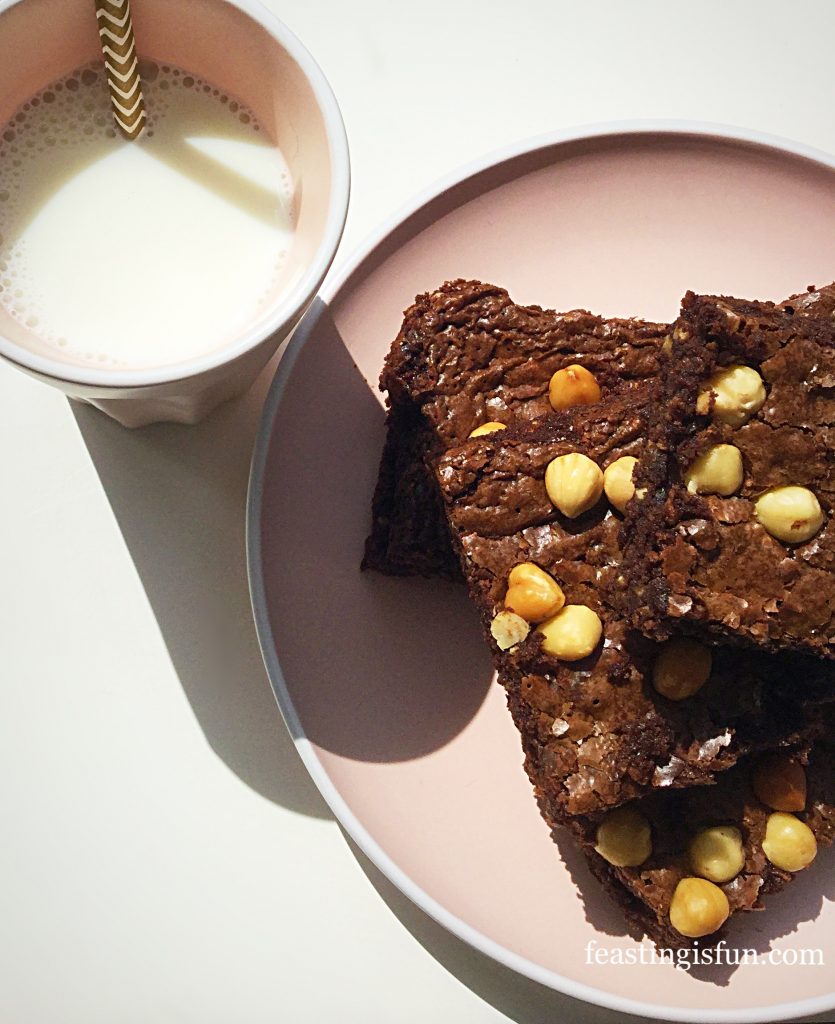
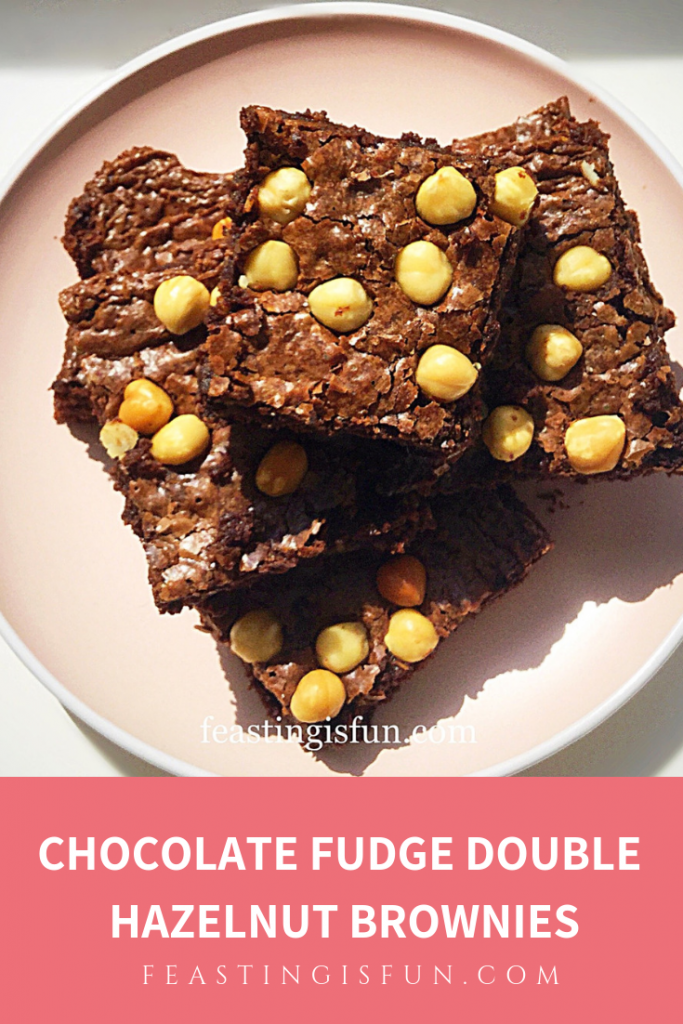
If you are a fan of nuts and brownies I can guarantee you will be mad for these Chocolate Fudge Double Hazelnut Brownies. Since they are packed with an almost obscene amount of chocolate, giving the dense fudgey texture and taste required in all great brownies. Also add in a ridiculous amount of chopped and whole hazelnuts and the resulting flavour is Ferrero Rocher in a brownie. Resulting in a gooey, crunchy combination of chocolate and hazelnut flavours.

FF Chocolate Fudge Double Hazelnut Brownies
Chocolate Fudge Double Hazelnut Brownies.

Since eating a brownie is an indulgence, it makes sense to eat only the best. Made using 400 grams of good quality chocolate, dark, treacly sugar and aromatic vanilla extract, the basic brownie is already exceptional. In addition, by adding roasted, chopped hazelnuts to the brownie batter, not only does the flavour resemble Nutella, the hazelnuts add crunch to the texture. Finally, whole hazelnuts, roasted during the baking process, completes the exceptional flavour profile.

FF Chocolate Fudge Double Hazelnut Brownies
Chocolate Fudge Double Hazelnut Brownies

Preparing The KItchen For Brownie Making

While brownies are fun to make, things can get messy! So wearing an apron, or if you are like me with chocolate in the kitchen, overalls, is advisable. Also a sink full of soapy water is handy. Furthermore, mentally preparing for a ‘bit’ of kitchen mess relaxes the mind for the chocolate bomb to come! Since it is impossible for me to make brownies without creating a mess, I assume the same of everyone. Finally, know that the clean up process takes less time than baking the brownies. 😉

Pinterest image with graphics describing what the image is

Recipe: Chocolate Fudge Double Hazelnut Brownies makes 15

200g/7oz Dark Chocolate minimum 70% Cocoa Solids

200g/7oz Milk Chocolate minimum 35% Cocoa Solids

225g/8oz Unsalted Butter

2tsp Vanilla Extract – I use Nielsen-Massey

4 Large Free Range Eggs

1/4tsp Sea Salt – 1/8tsp Free flowing salt – I use Maldon

225g/8oz Dark Brown Muscavado Sugar – I use Waitrose as their dark sugar’s are made by Billingtons 

75g/3oz Plain White Flour

1/2tsp Bicarbonate of Soda

100g/4oz Ready Roasted Chopped Hazelnuts

100g/4oz Whole Blanched Hazelnuts

Method: Preheat the oven 170C/150 fan, gas mark 3.5, 325F

You will need a 22.5cm x 30cm (9″ x 12″) deep tin, lined with foil or baking parchment.

Making The Hazelnut Studded Brownie Batter

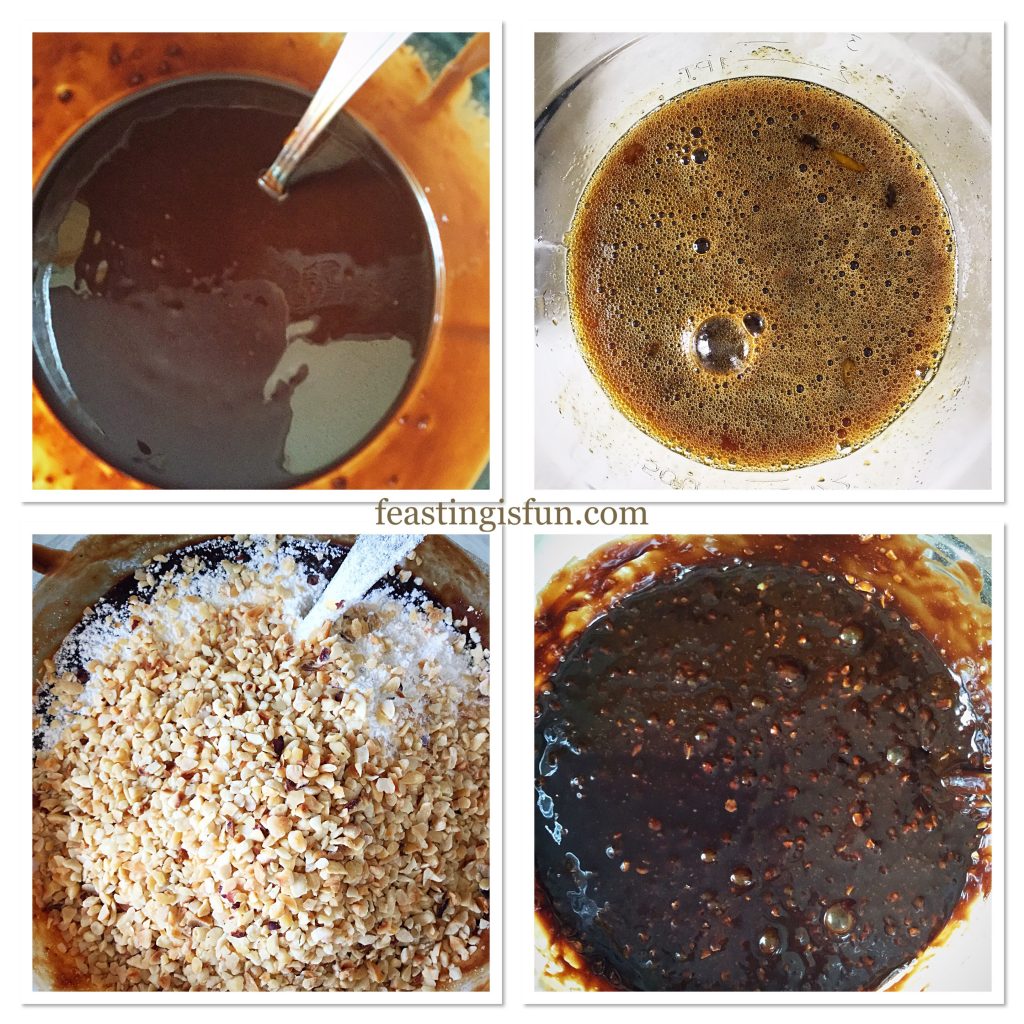
  • First of all break or chop the chocolate into chunks and place in a medium, heatproof, microwaveable bowl.
  • Add the butter to the chocolate.
  • Heat, using a microwave, on medium power, for 30 second bursts. Stir between each heating period.
  • As soon as the chocolate starts to melt remove the bowl from the microwave. Continue to stir until all of the chocolate is melted and combined with the melted butter. Set to one side to cool.
  • Next, into a separate bowl, add the eggs, sugar and vanilla extract. Stir to combine the ingredients.
  • As soon as the chocolate mixture is cooled to body temperature pour the egg mixture in and stir constantly until the mixture is combined.
  • Sieve the flour and bicarbonate of soda on to the combined mix. Now add the chopped, roasted hazelnuts.
  • Stir the flour and nuts into the chocolate mix.
FF Chocolate Fudge Double Hazelnut Brownies
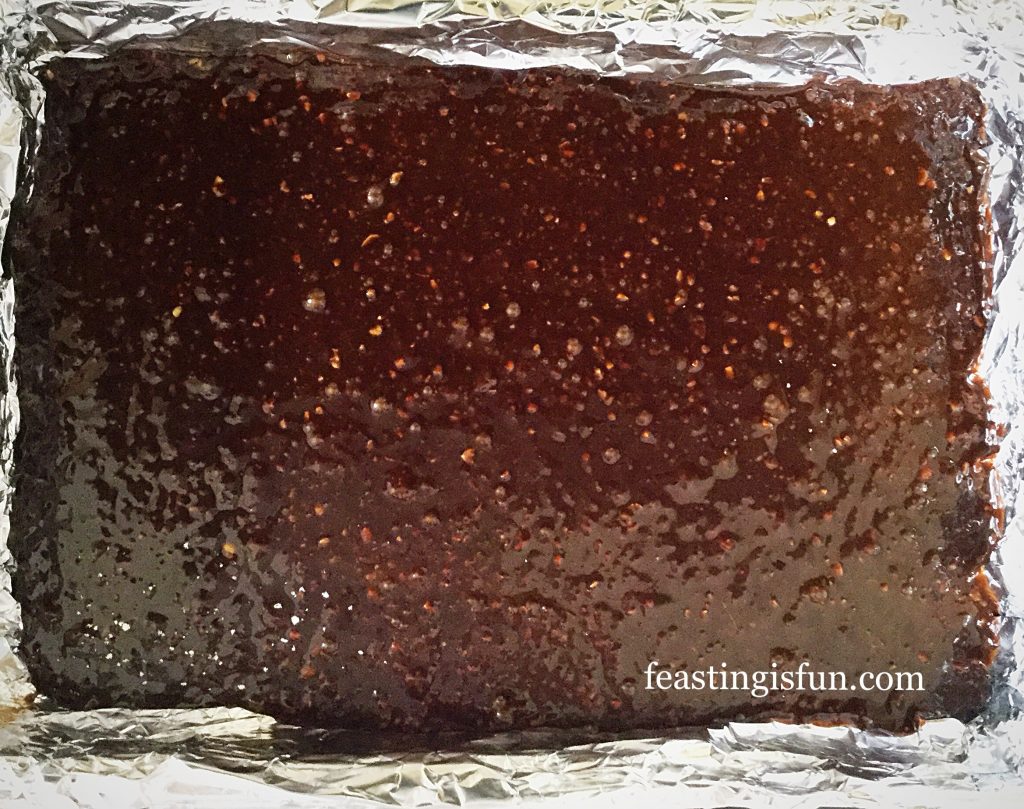
Nutty brownie batter ready for the baking tin.
  • Pour the brownie batter into the prepared tin.
FF Chocolate Fudge Double Hazelnut Brownies
Chocolate Fudge Double Hazelnut Brownies ready for the oven.

Tips On Baking The Ultimate Brownies

  • Unlike baking a cake, where air bubbles are needed to help the cake rise, brownies are rich and dense with very little rise. To encourage an even bake, rap the filled baking tin sharply on the worktop. Doing so encourages any air bubbles present to rise to the surface of the batter.
  • Place the baking tin in the centre of the oven and bake for 10 minutes exactly.
  • Remove the baking tin after the initial baking time has elapsed. The surface of the brownies will have just started to set.
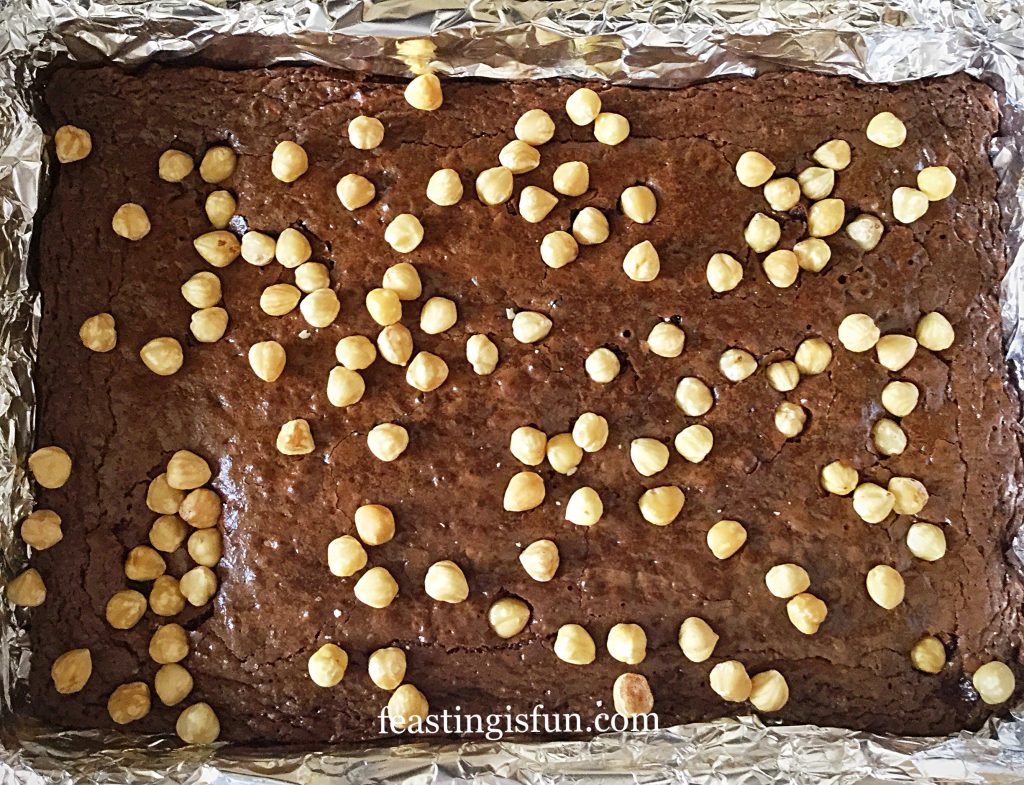
  • Sprinkle over the additional whole hazelnuts, use the back of a spoon to gently press into the surface of the brownie. Take care as the brownie tin will be very hot.
FF Chocolate Fudge Double Hazelnut Brownies
Whole hazelnuts give crunch to the finished bake.
  • Return the tin to the oven and continue to bake for 20-25 minutes.
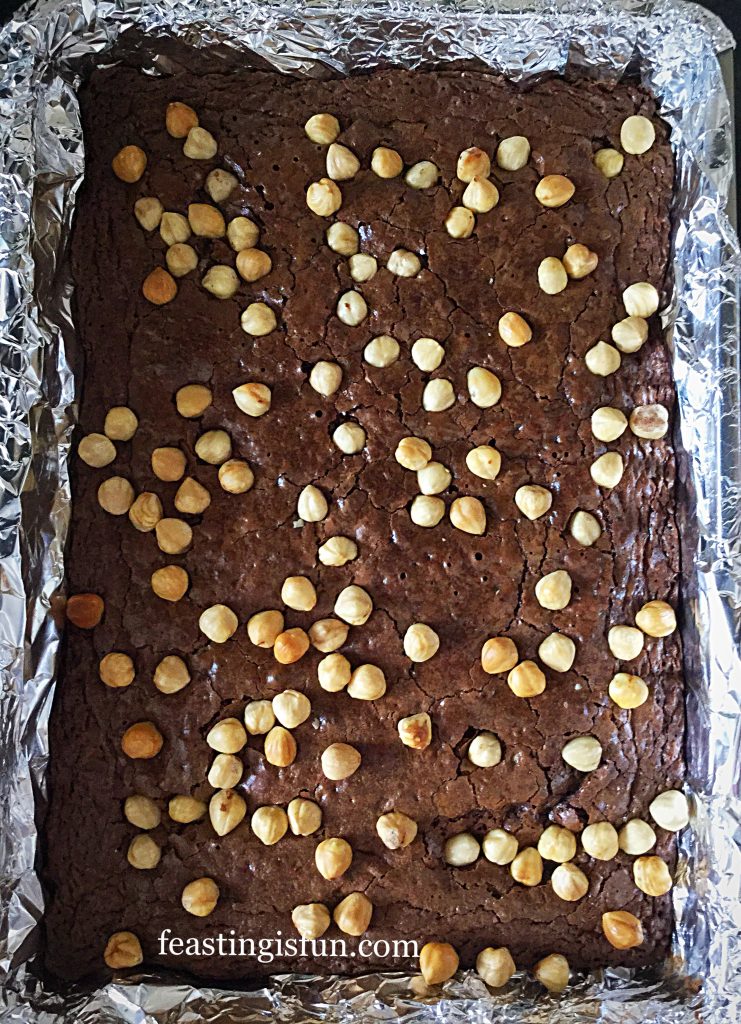
  • The brownies are baked when set, with only a hint of a wobble in the centre.
  • As soon as the brownies are baked remove from the oven and place the tin on a cooling rack.
FF Chocolate Fudge Double Hazelnut Brownies
Chocolate Fudge Double Hazelnut Brownies cool in the tin.
  • Leave the brownies to cool in the tin. Or if you simply cannot wait, cool slightly, scoop portions of brownie into bowls and top with vanilla ice cream!

Serving Suggestions

Cut the cooled brownie slab into 3 even sized widths, then cut across at 5 evenly spaced lengths. Use a palette knife to slide between the base of the brownie and foil. Although the foil/baking parchment should easily peel away.

FF Chocolate Fudge Double Hazelnut Brownies
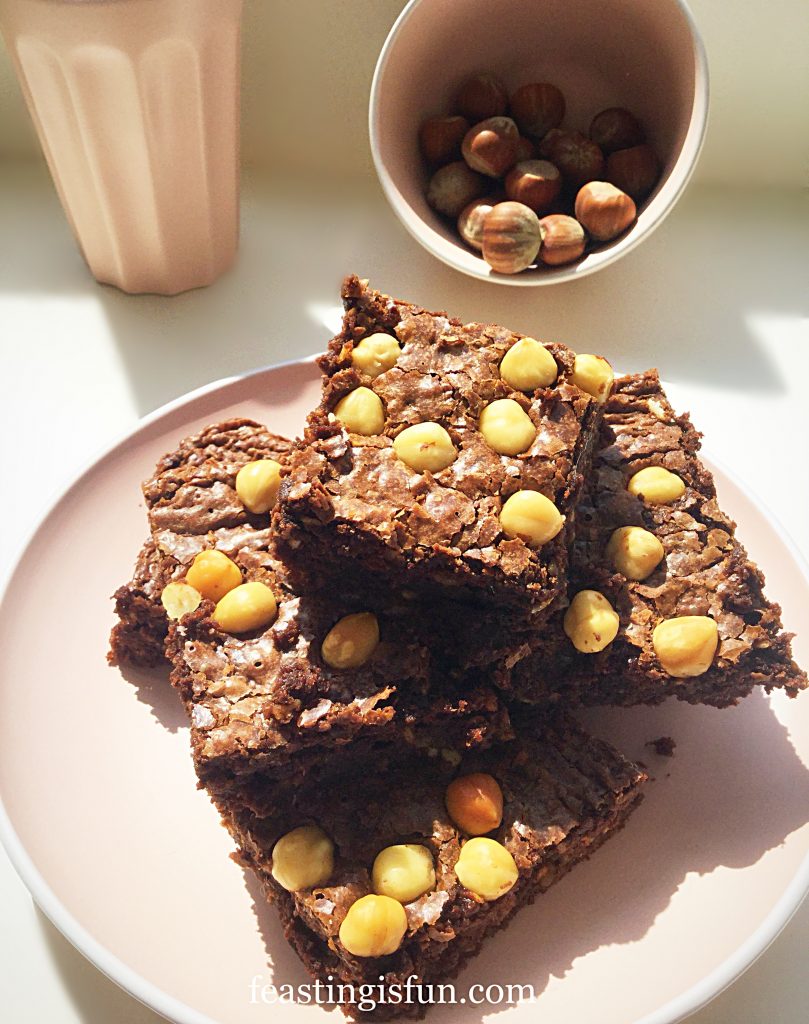
Chocolate Fudge Double Hazelnut Brownies very tasty.

Serve slightly warmed (20 seconds in the microwave) with a scoop of ice cream for dessert. Alternatively, serve with a cold tumbler of milk.

Once cooled keep in an airtight container for up to 5 days. Although, who’s kidding that they will last that long? Definitely not in this house!

If you have enjoyed this recipe for Chocolate Fudge Double Hazelnut Brownies then you may like these:

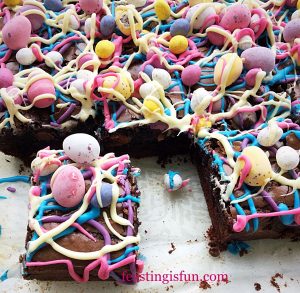
Chocolate Biscuit Base Mini Egg Brownies

FF Chocolate Fudge Double Hazelnut Brownies
Chocolate Biscuit Base Mini Egg Brownies

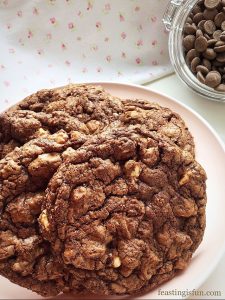
Bakery Style Soft Triple Chocolate Cookies

FF Chocolate Fudge Double Hazelnut Brownies
Bakery Style Soft Triple Chocolate Cookies

Chocolate Madness Muffins

FF Chocolate Fudge Double Hazelnut Brownies
Chocolate Madness Muffins.

I really enjoy baking cakes, brownies, muffins and cookies at home. And once I have mastered a particular recipe I can then adapt it to include other ingredients. Since you are the baker, you get to decide if hazelnuts or alternatively peanuts are used in your bake. As a result you get to create your own, personalised feast. And that is part of the fun of baking at home!

So, whatever you are making, baking and creating in your kitchens, have fun preparing and sharing your feast.

Sammie xx

No part of this post may be replicated or copied without the written consent of the owner. Please see my Disclosure Policy.


Share
Facebooktwitterpinterestlinkedintumblr

Lemon Drizzle Cake Bars

Share
Facebooktwitterpinterestlinkedintumblr

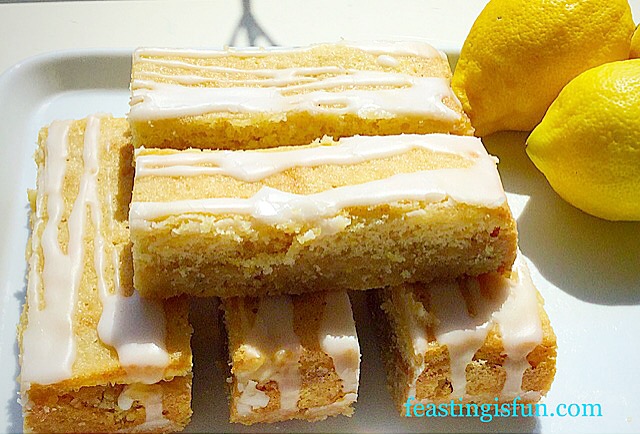
It is no secret that I love lemon. Whether it be in a glass of Franklin’s tonic water with clinking ice and a slice of lemon, cut into quarters as part of savoury Lemon Thyme Roast Chicken recipe, or even in a sweet bake such as my Lemon Blueberry Bundt Cake. Lemons are very versatile. And they bring sunshine into the kitchen on the dullest day’s. So let me introduce my Lemon Drizzle Cake Bars.

FF Lemon Drizzle Cake Bars

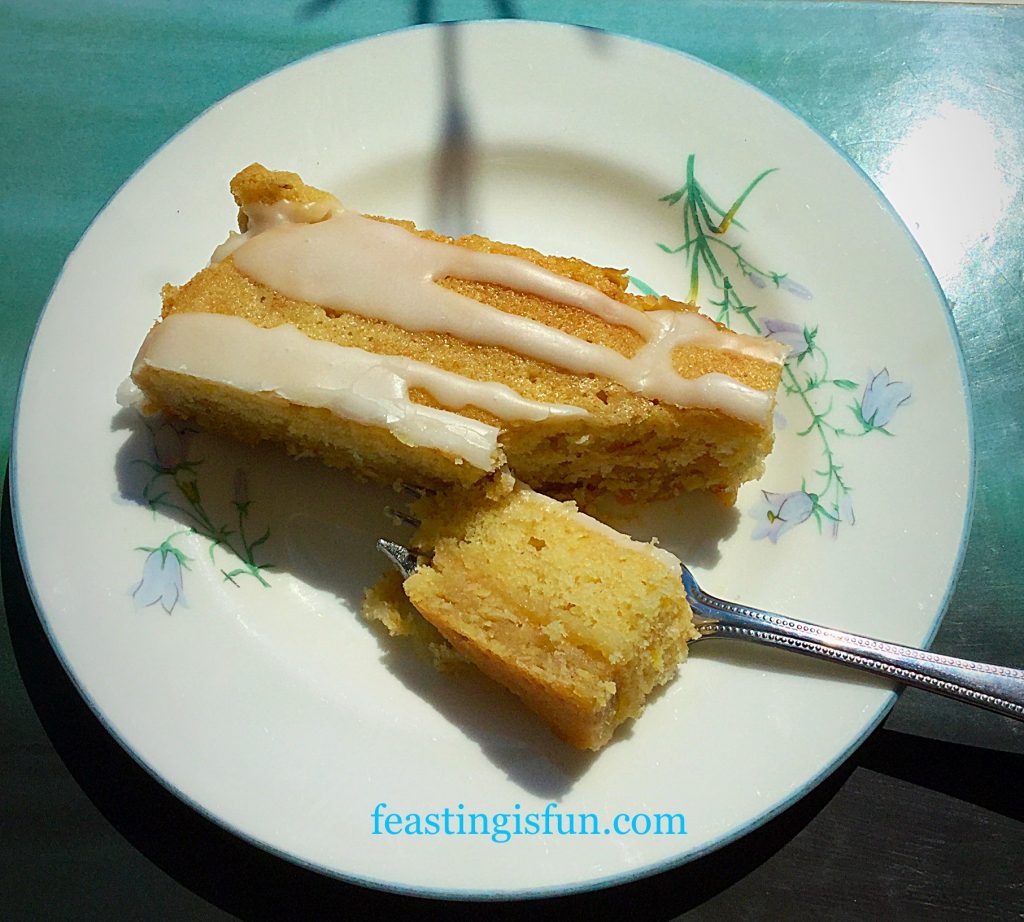
While a sturdy, yet delicious oat biscuit base covered in lemon curd and then topped with the lightest lemon sponge ensures these bars are easy to handle. And a  drizzle of fresh lemon juice icing ensures your tastebuds wake up with a zing. Resulting in a tasty bar that keeps you feeling full for longer because of the oats.

FF Lemon Drizzle Cake Bars
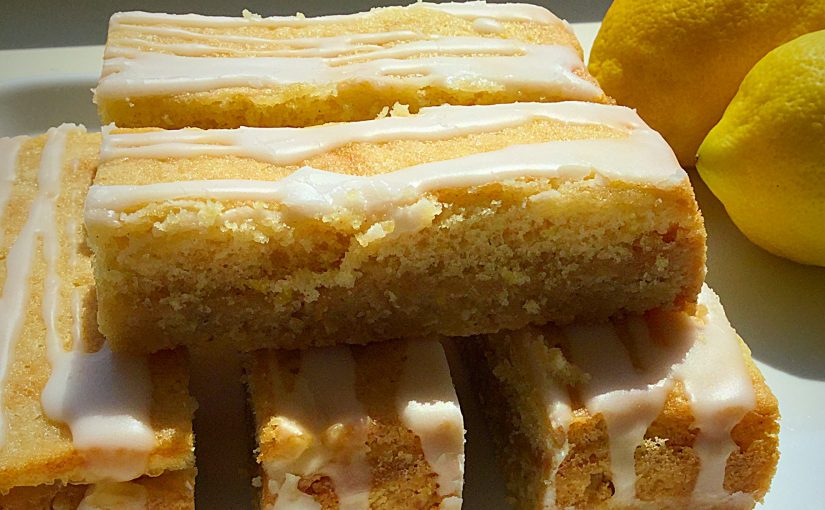
Lemon Drizzle Cake Bars

Especially ideal for picnics, packed lunches, or just as a mid morning or afternoon snack to keep you going until meal time.

Although I really do need to get around to making my own lemon curd, for this recipe I used Waitrose own luxury lemon curd. Because using a good quality lemon curd makes all the difference to the overall flavour.

Lemon Drizzle Cake Bars

Recipe: Makes 16  Lemon Drizzle Cake Bars

For the Oat Biscuit Base:

225g/8oz Unsalted Butter

125g/4.5oz Caster Sugar

1/8tsp Salt – I use Maldon

1tsp Vanilla Extract – I use Nielsen-Massey

1 Large Free Range Egg Yolk

100g/4oz Rolled Oats – not quick cook

125g/4.5oz Plain White Flour

3tbs Lemon Curd – use the best quality one that you can afford

For the Lemon Sponge Layer:

125g/4.5oz Unsalted Butter

100g/4oz Caster Sugar

1/8tsp Salt

1/2tsp Vanilla Extract

2 Large Free Range Eggs

125g/4.5oz Plain White Flour

1tsp Baking Powder

Finely grated zest of 1 Lemon – reserve the juice for the icing

For the Lemon Drizzle Icing:

100g/4oz Icing Sugar

Juice of 1 Lemon

Method: Preheat the oven to 200C/180C fan, gas mark 6, 400F.

Making the Oat Biscuit Base:

  • First of all, line a 28cm x 20cm x 5cm (12″x 8″x 2″) Swiss roll tin with baking parchment. I have found that I am able to line mine without greasing, however, lightly grease the tin if it is easier to keep the parchment in place.
  • In a large bowl beat/whisk together the butter, cream and salt until pale and creamy.
  • Add the vanilla extract and egg yolk and continue to beat/whisk until combined.
  • Add the oats and flour and stir together until combined.
  • Place the biscuit mixture into the lined tin and press into place using clean fingers.
  • Place the tin in the fridge and chill the biscuit mixture for 30 minutes.
  • As soon as it is chilled place the Swiss roll tin in the centre of the oven and bake for 20 minutes.
  • Remove after the 20 minutes has elapsed and turn down the oven temperature to 160C/140C fan, gas mark 3.
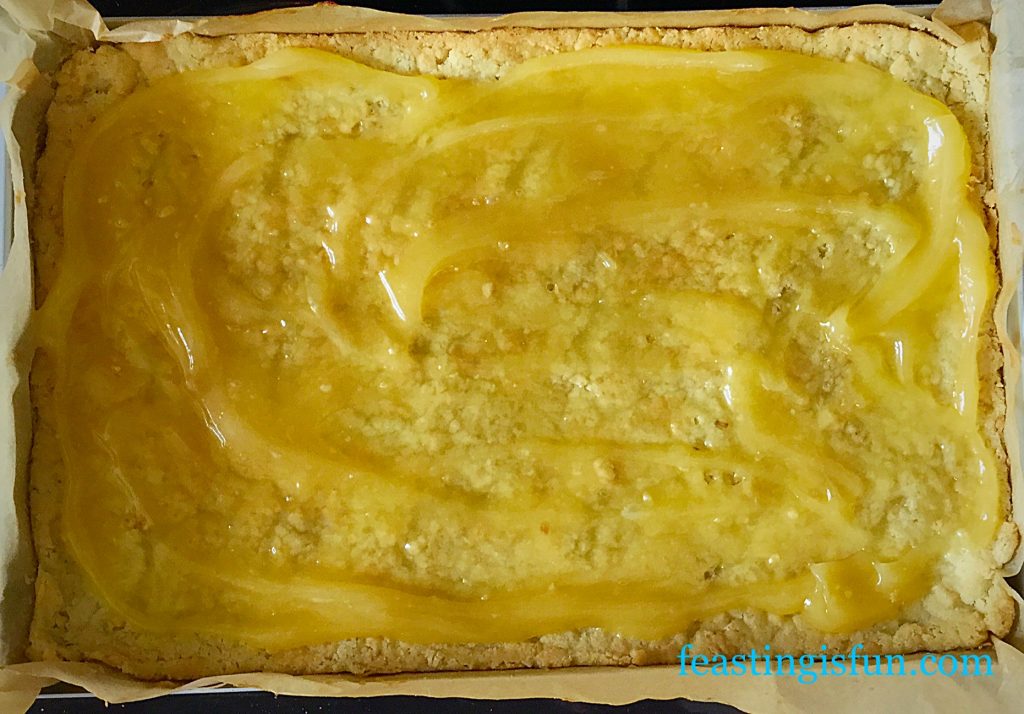
  • Spoon the lemon curd on to the hot biscuit base and spread so that it covers and almost reaches the edges.
FF Lemon Drizzle Cake Bars
This tangy lemon curd layer makes all the difference to the finished bake.

Making the Sponge Layer:

Note: This can easily be made whilst the oat biscuit base is baking.

  • In a large bowl whisk/beat the butter, sugar and salt together until they are pale and creamy.
  • Add the 2 whole eggs and vanilla extract. Whisk/beat until light and foamy.
  • Sift in the flour and baking powder. Add the finely grated zest of 1 lemon.
  • Fold all the ingredients together, using a spoon, until they are just combined.
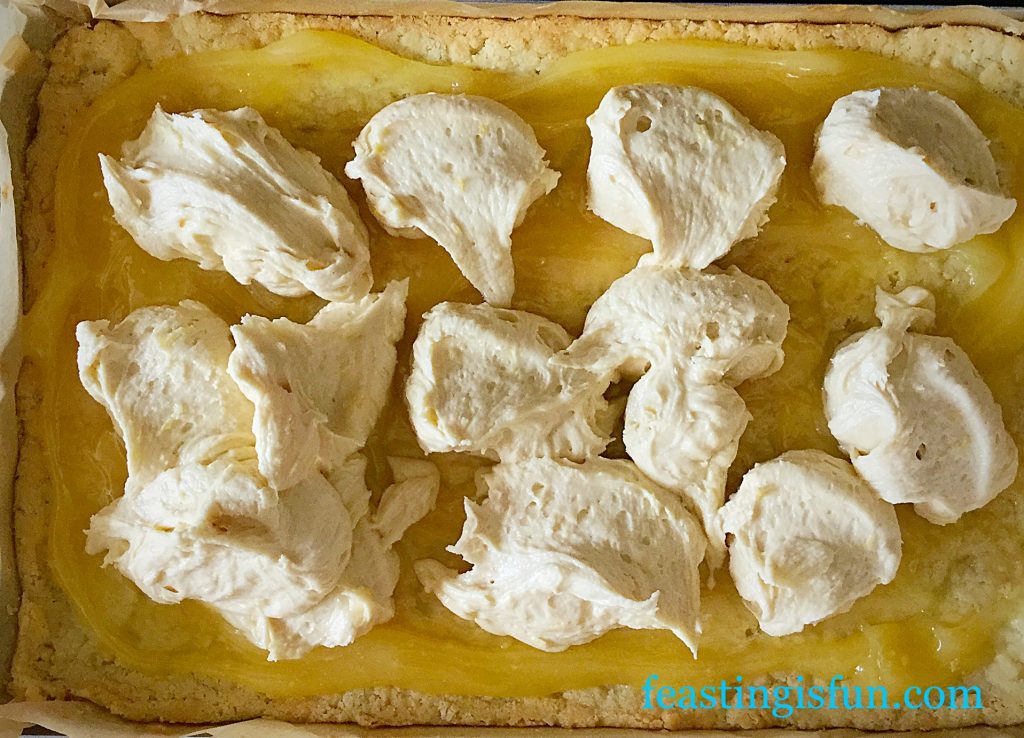
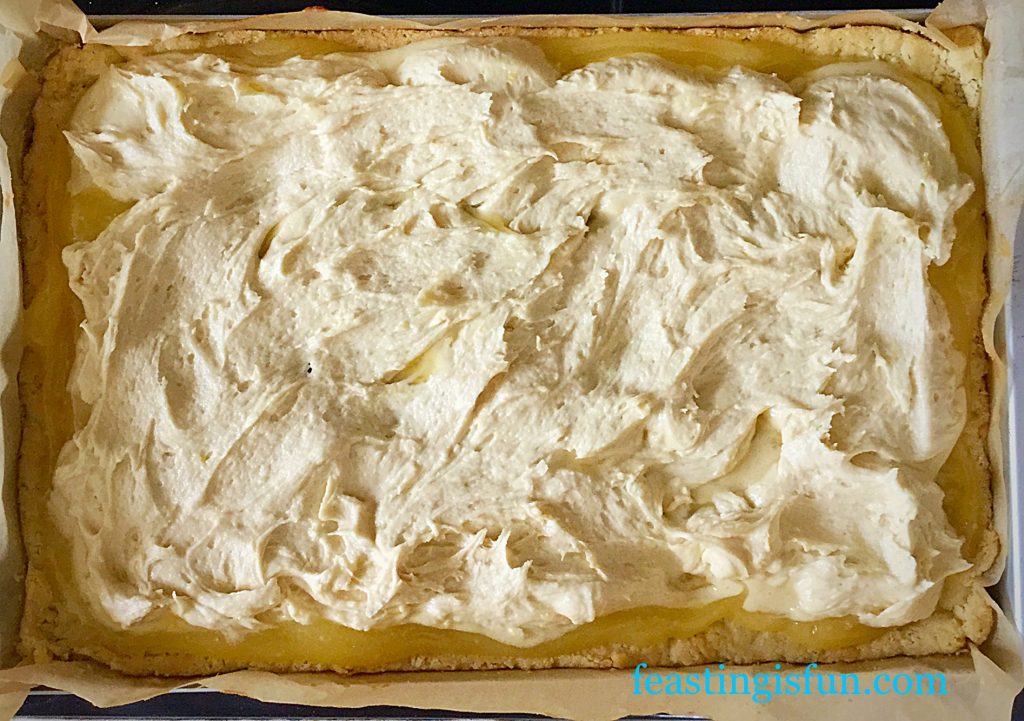
  • Spoon the mixture over the lemon curd coated biscuit base.
FF Lemon Drizzle Cake Bars
Spoon the cake batter evenly over the base.
  • Spread the cake batter using the back of a spoon, or an offset spatula, until it covers almost all of the biscuit base.
FF Lemon Drizzle Cake Bars
The lemon cake batter will spread to completely cover the biscuit base whilst baking.
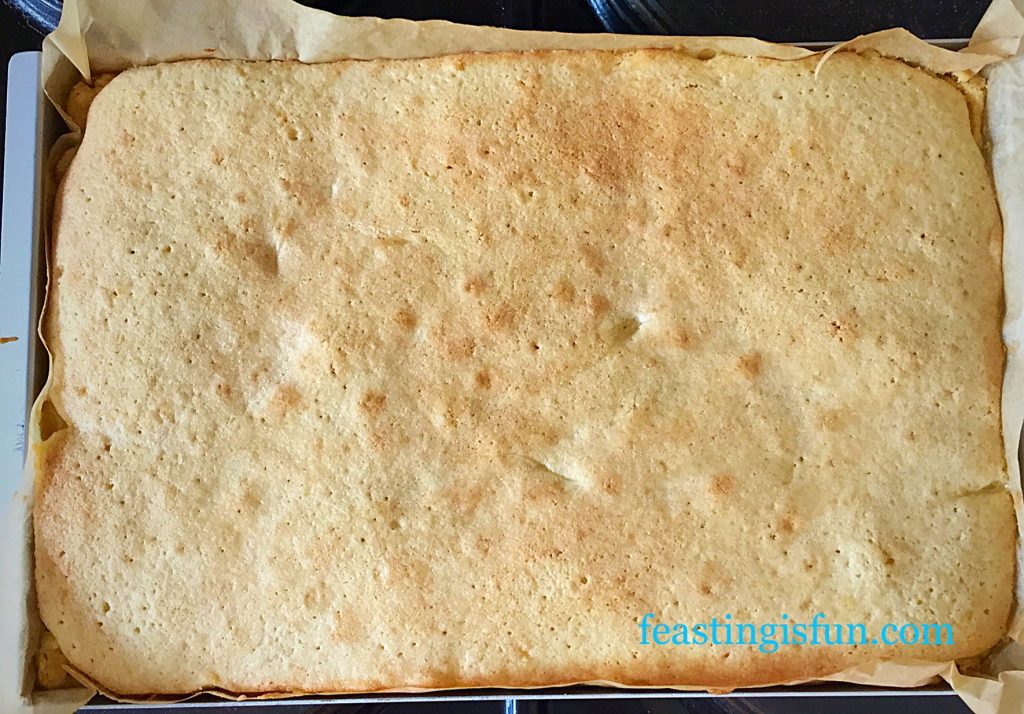
  • Place the Swiss roll tin in the centre of the preheated oven and bake for 30 minutes.
  • The sponge is baked when it springs back from a light touch and is a light golden colour. Don’t worry if it is paler than you expect, the lower baking temperature stops it browning as much as you may be used to.
  • As soon as the sponge is baked remove the tin from the oven, place on a cooling rack and allow the entire bake to cool in the tin.
FF Lemon Drizzle Cake Bars
The entire slab of sponge topped biscuit cooling in it’s tin.
  • When the bake is completely cooled, lift out of the tin, using the baking parchment and a palette knife and place on to a board.
  • Peel back the sides of the baking parchment and tuck them underneath.

Making the Lemon a Drizzle Icing:

  • Sift the icing sugar into a small bowl.
  • Add the juice of one lemon.
  • Mix until you have a smooth, slightly runny paste.
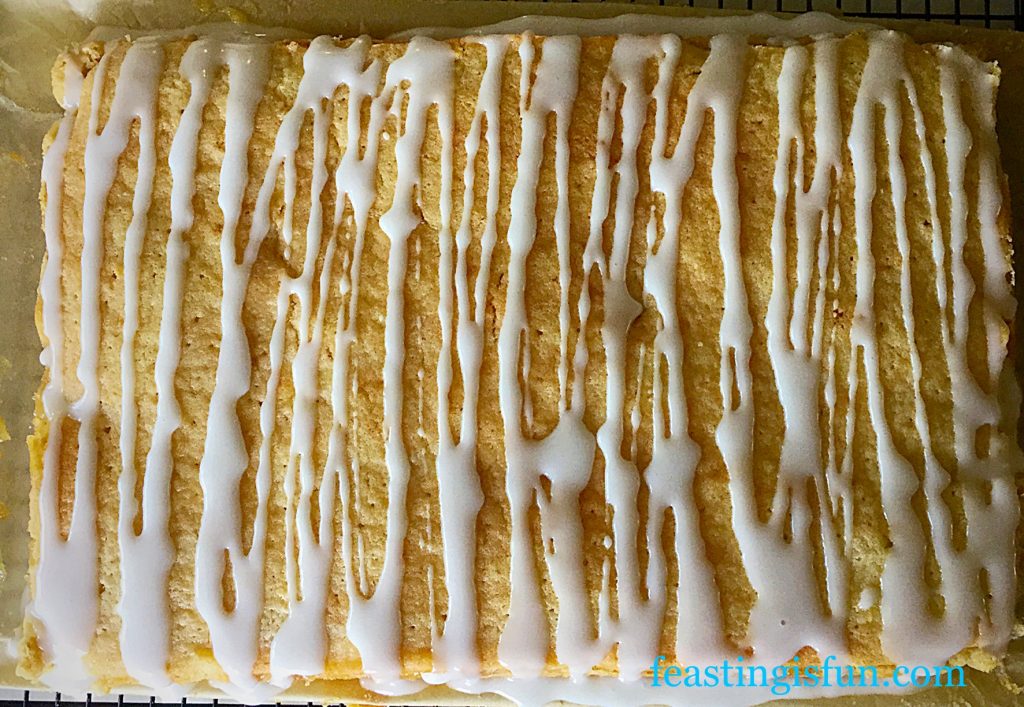
  • Using a spoon, drizzle the lemon icing over the top of the cake/biscuit slab. I prefer a line style drizzle, but you can drizzle your icing however you wish. Let your creative juices flow! Although I do advise against pools of icing gathering on top of the bake.
  • Set your Lemon Drizzle Cake Bars bake to one side to allow the icing to set.
FF Lemon Drizzle Cake Bars
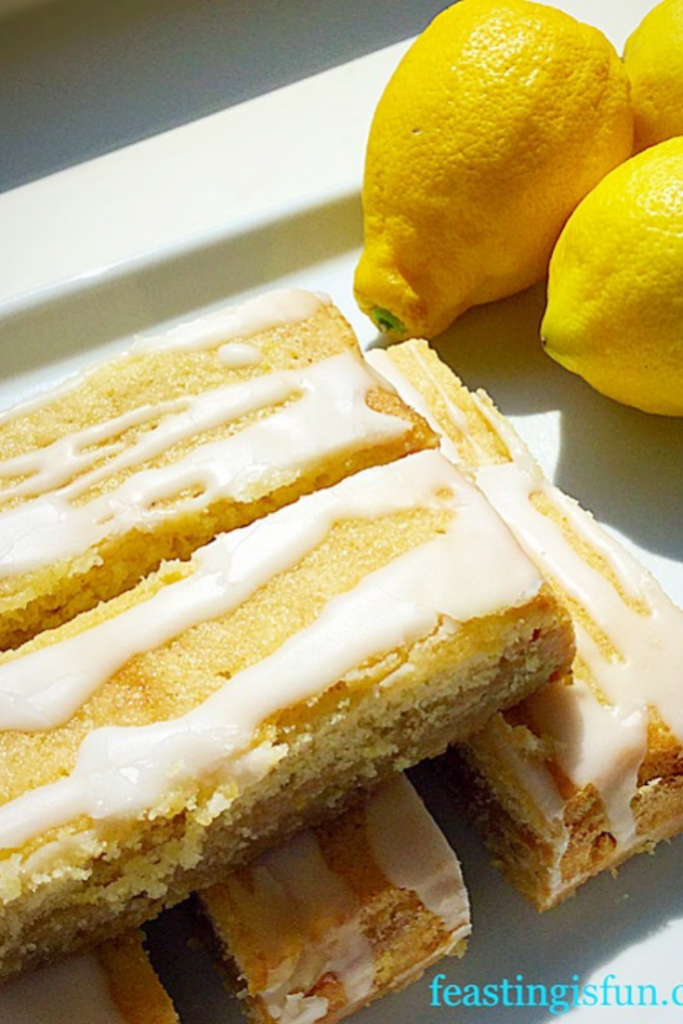
Lemon Drizzle Cake Bars the tart lemon icing gives these a professional finishing touch.
  • Once set you may cut your slab into individual bars.
  • Cut down the length of the bake in the middle.
  • Next cut across the width of the bake, creating four quarters.
  • Cut each quarter into four individual bars.
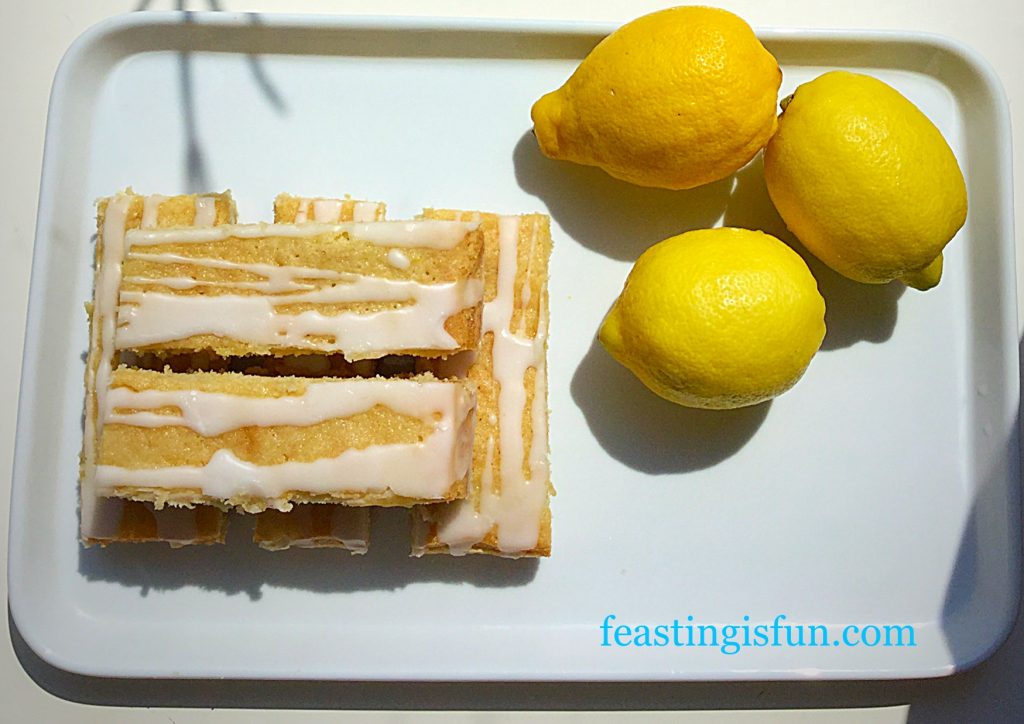
FF Lemon Drizzle Cake Bars
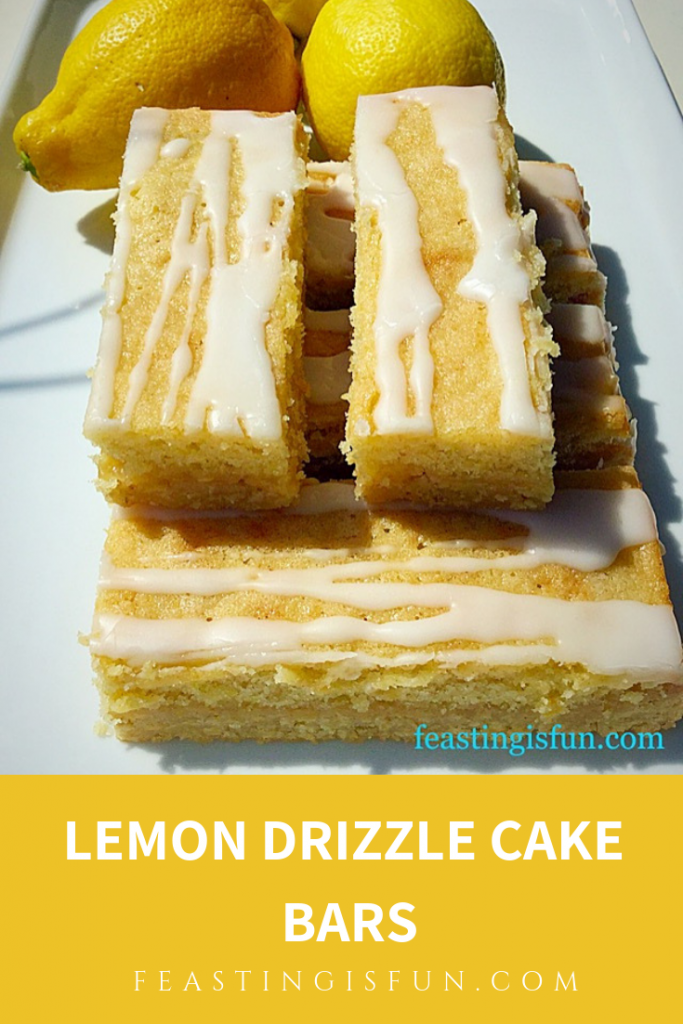
Lemon Drizzle Cake Bars gloriously tempting in the sunshine.

Because of the sturdy and delicious oat biscuit base, these Lemon Drizzle Cake Bars are the perfect, portable food.

Store in an airtight tin (I use old biscuit tins, usually from Christmas), separating layers with pieces of baking parchment and eat with 5 days.

I had one of the Lemon Drizzle Cake Bars with a cup of tea for a rather late lunch and it was incredibly tasty and refreshing. While using good quality Lemon Curd ensures the right balance of tartness within the bar, as does using fresh lemon juice in the drizzle icing. So I highly recommend these delightfully tangy Lemon Drizzle Cake Bars!

FF Lemon Drizzle Cake Bars
Lemon Drizzle Cake Bars perfect for Afternoon Tea.

If you have enjoyed this recipe for Lemon Drizzle Cake Bars, here are a few more you may like too:

Bakewell Shortbread Bars

FF Lemon Drizzle Cake Bars
Bakewell Shortbread Bars

Macadamia Apricot Flapjacks

FF Lemon Drizzle Cake Bars
Macadamia Apricot Flapjacks

Double Cherry Drizzle Oat Bars

FF Lemon Drizzle Cake Bars
Double Cherry Drizzle Oat Bars

Since my family love having something homemade to take to school or work in their packed lunches these bars are ideal. Also I hope I have inspired you to try these delicious Lemon Drizzle Cake Bars. Alternatively, why not bake a batch and take them into the office as a Friday, or mid-week treat for everyone?

Finally, whatever you are making, baking and creating in your kitchen, have fun preparing and sharing your feast.

Sammie xx

No part of this post may be reproduced or duplicated without the written permission of the owner. Please see my Disclosure Policy.

Share
Facebooktwitterpinterestlinkedintumblr

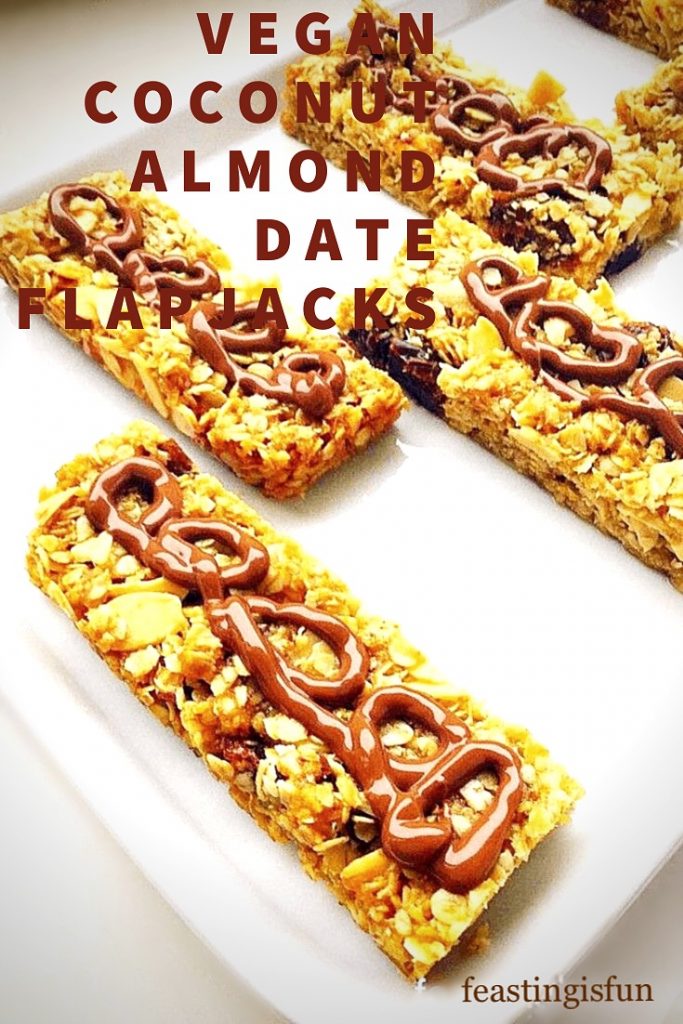
Coconut Almond Date Flapjacks

Share
Facebooktwitterpinterestlinkedintumblr

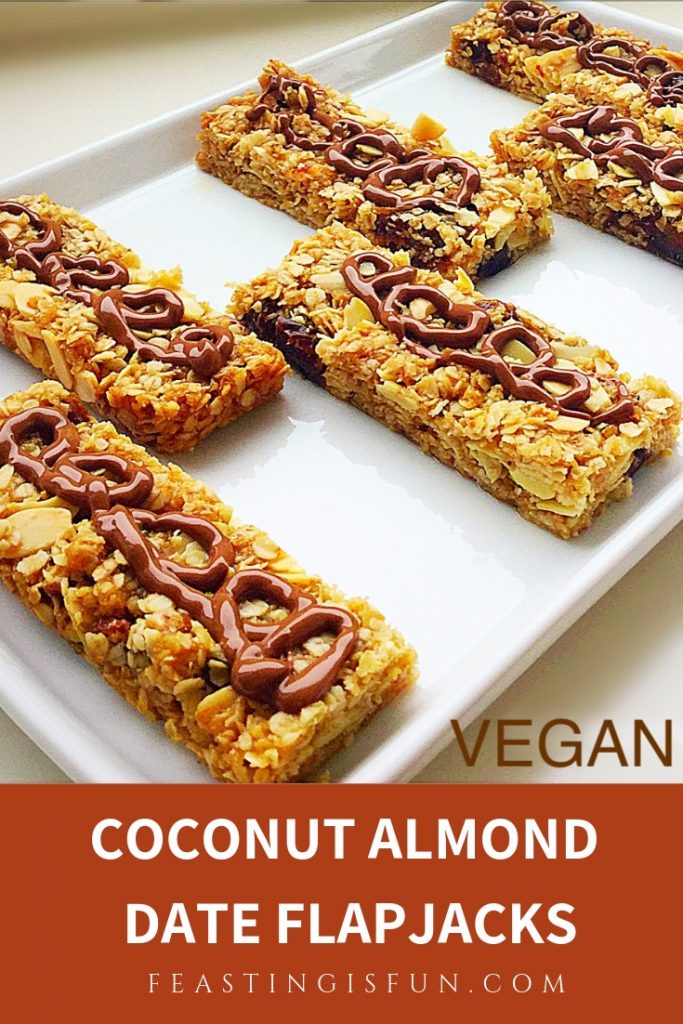
Do you love the smell of coconuts? I do! And with coconut oil being hailed as the new all round, healthy oil, I was interested in what it would be like to bake with. So, after receiving a 250ml jar of cold pressed, organic coconut oil from the lovely people at Vita Coco I decided to make these vegan Coconut Almond Date Flapjacks.

Vegan flapjacks sized for Pinterest with descriptive graphics

Since having previously tried and failed, on two separate occasion to make flapjacks using honey, I knew I would have to go back to using sugar and golden syrup, if I stood any chance of these bars holding together. And switching the butter for coconut oil was also a risky proposition.

VC Coconut Almond Date Flapjacks
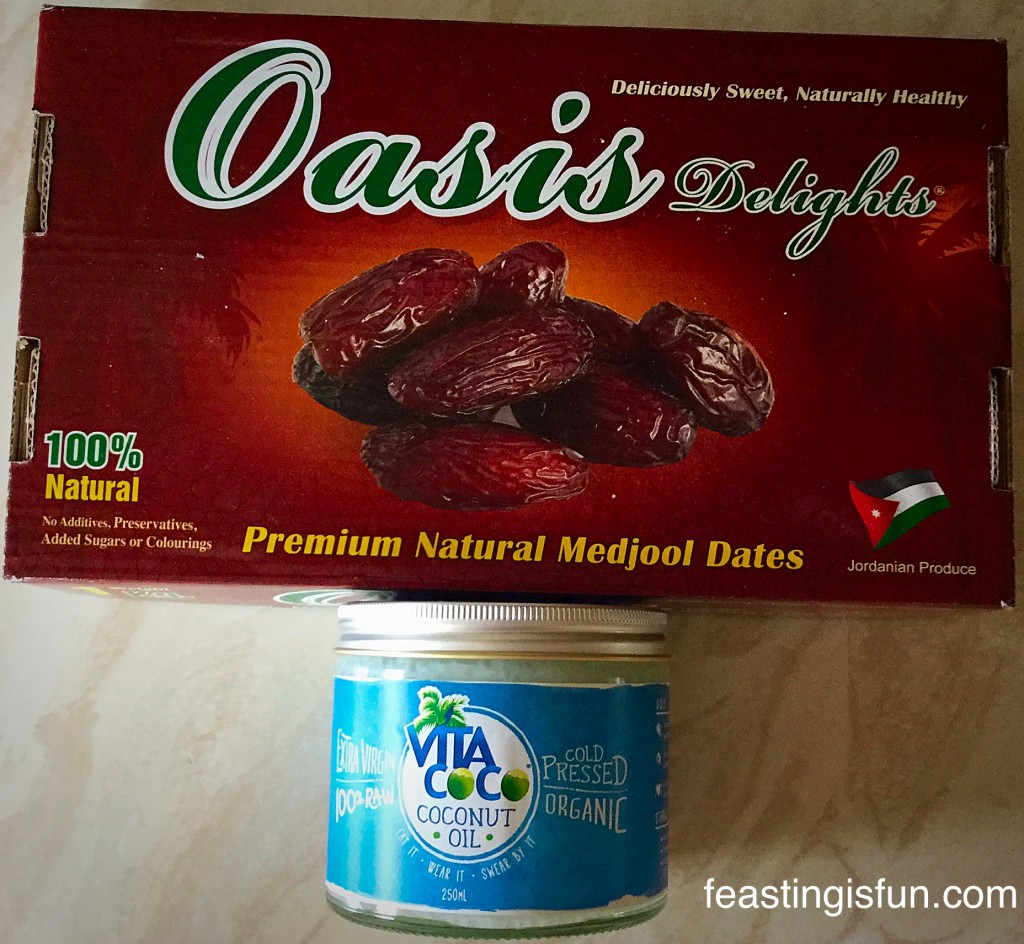
Medjool dates and Vita Coco coconut oil.

Since I was using beautiful medjool dates from the Medjool Date Co. I reduced the amount of golden syrup. The dates are so naturally sweet it didnt need the extra sweetness like my Cranberry Walnut Flapjacks. Also, flaked almonds added the perfect crunch, plus all their nutty goodness and flavour.
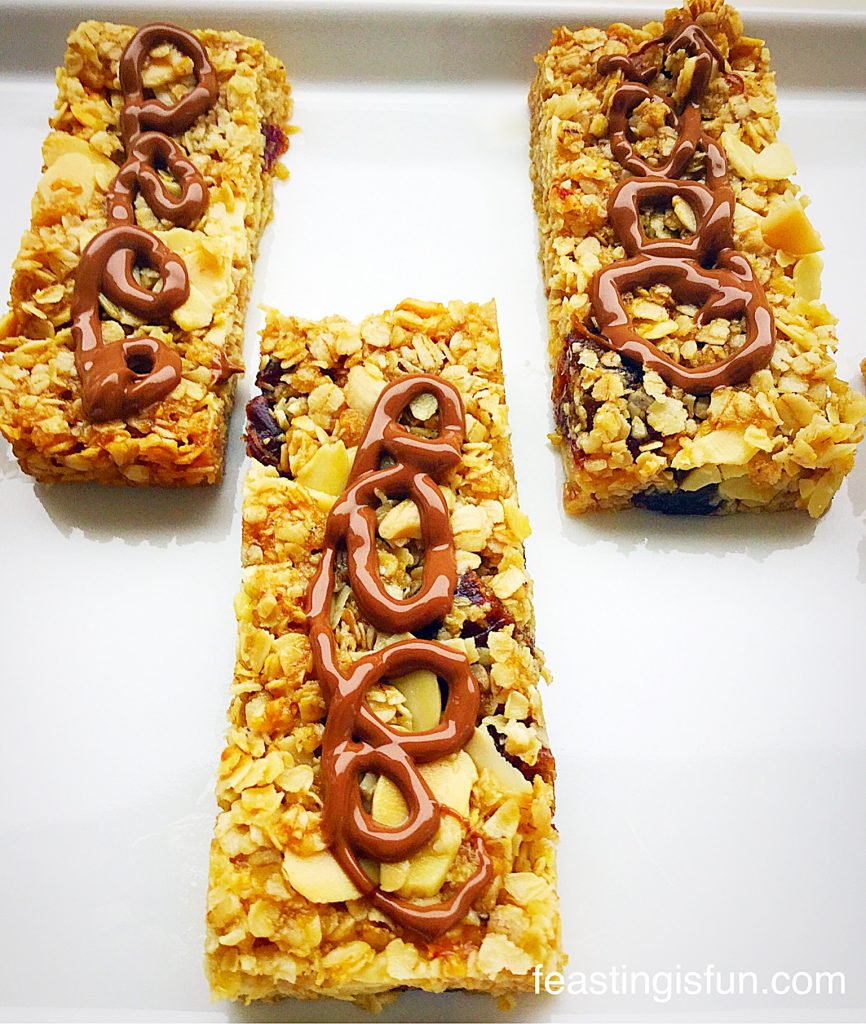
Three vegan flapjacks on a plate.
Coconut Almond Date Flapjacks

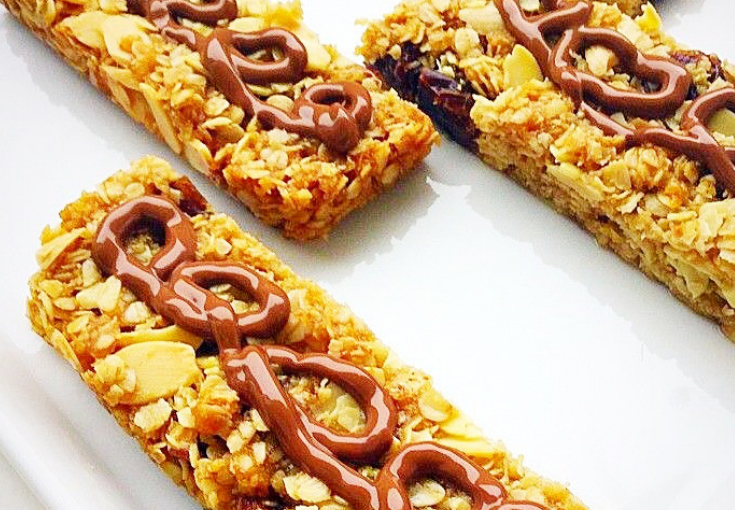
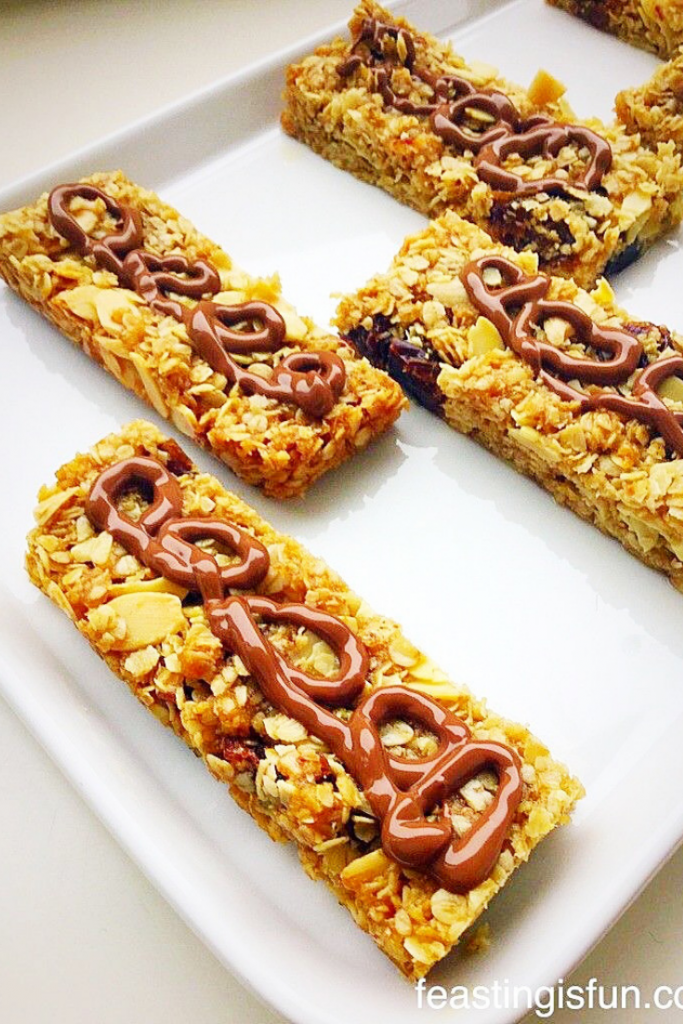
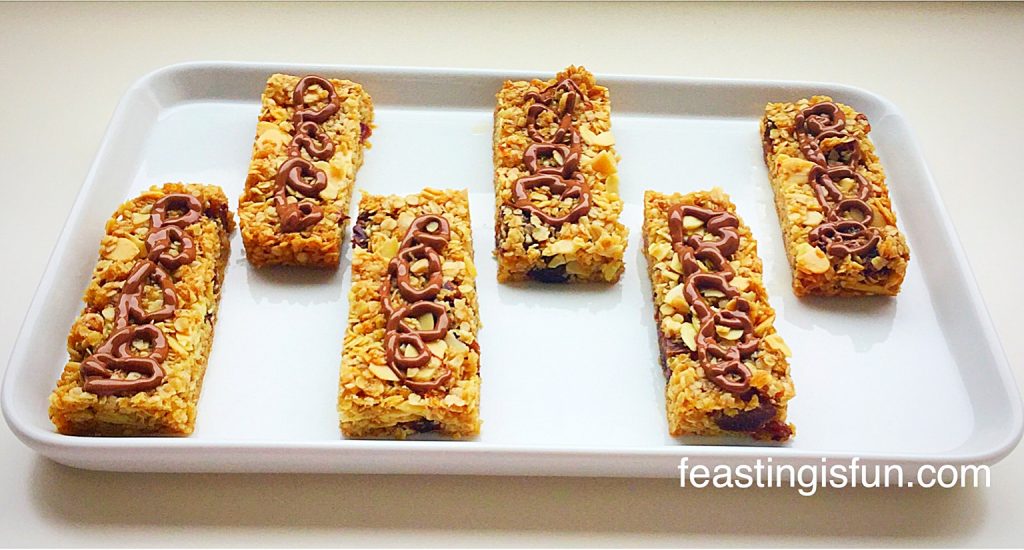
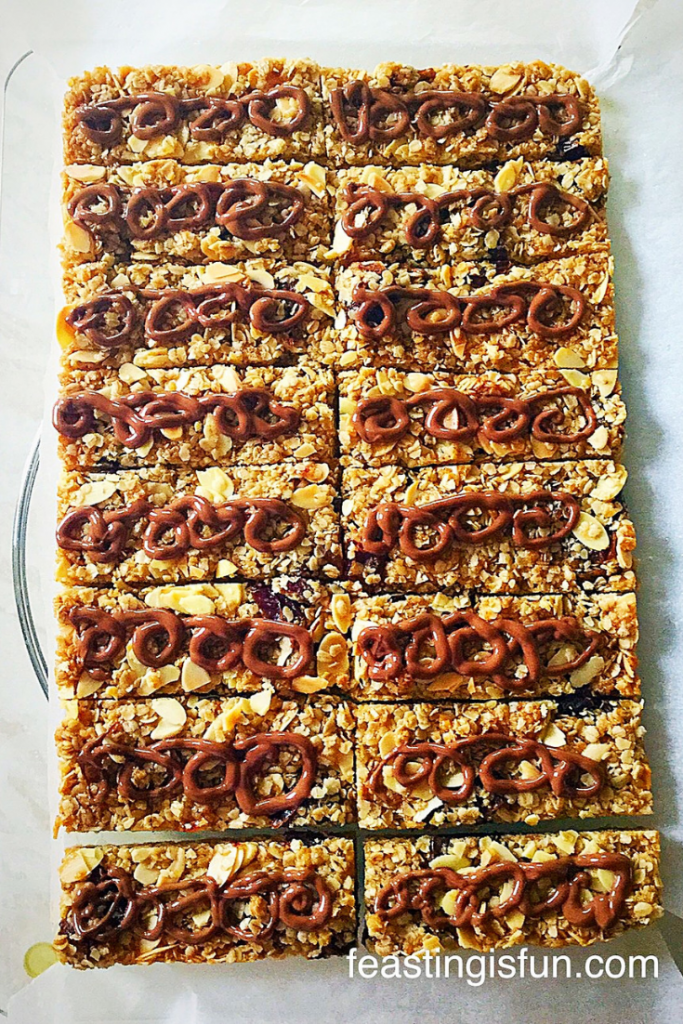
Finally, the swirl of milk chocolate gives the Coconut Almond Date Flapjacks a beautiful finish and let’s face it, a little chocolate always makes things better. Since these flapjacks are naturally vegan, use dairy free, vegan dark chocolate when sharing with those following a vegan diet.
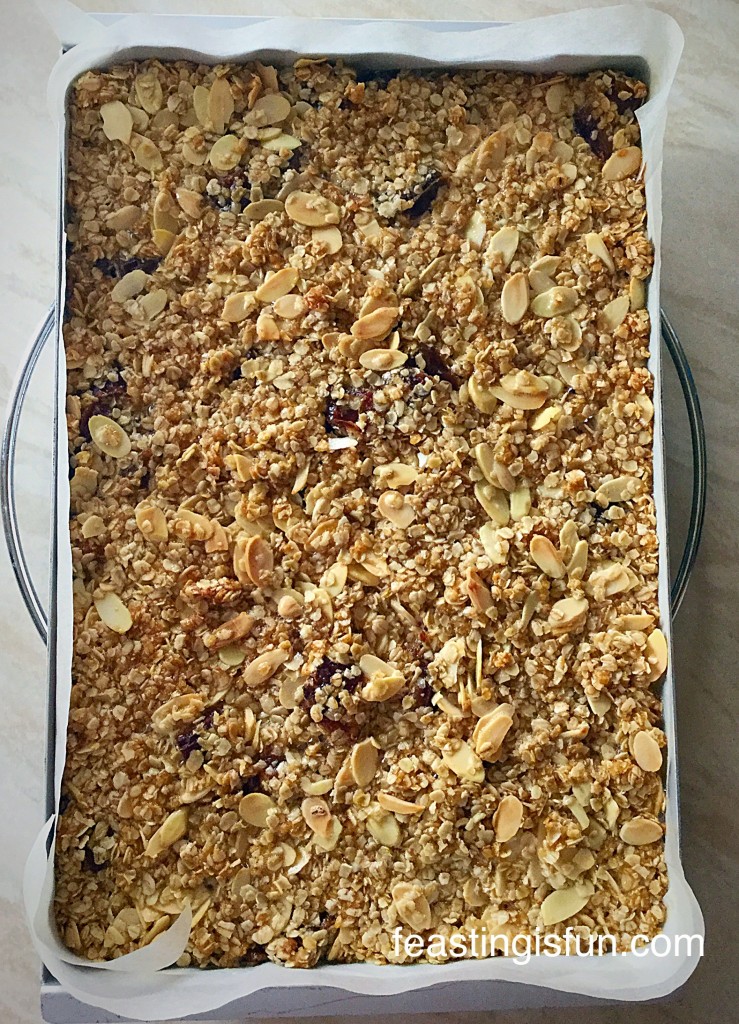
Vegan flapjacks on a white platter.
Coconut Almond Date Flapjacks vegan and very delicious.

Wow!! These Coconut Almond Date Flapjacks taste amazing. I mean really, really good.

And I needn’t have worried about missing the buttery flavour of my usual flapjacks as these are packed full of chewy, nutty, flavour. Because my taste buds threw a party after my first bite, demanding another and then another bite.

So utterly delicious and clean tasting, if you get my meaning?

Recipe: Makes 16 Coconut Almond Date Flapjacks

225g/8oz One 250ml Jar of Vita Coco coconut oil

125g/5oz Light Soft Brown Sugar

75g/3oz Golden Syrup -light corn syrup

325g/11.5oz Rolled Oats – NOT quick cook oats

100g/4oz Flaked Almonds

125g/5oz Medjool Dates – seed removed and chopped into 1cm pieces

Optional – 100g/4oz Milk or alternatively Vegan Chocolate Sainsbury’s essential dark chocolate is Vegan

Method: Preheat the oven to 180/160C fan, gas mark 4, 350F

Making The Vegan Flapjacks

  • First of all, line an 8″ X 11″ – 20cm X 28cm Swiss roll tin with baking parchment. While I didn’t grease my tin first, the baking parchment lifted out without any problems.
  • In a large, heatproof/microwaveable bowl add the coconut oil, sugar and golden syrup.
  • Place in the microwave and heat on medium, for approximately 3 minutes, until the coconut oil has melted.
  • Stir the coconut oil, sugar and golden syrup together.
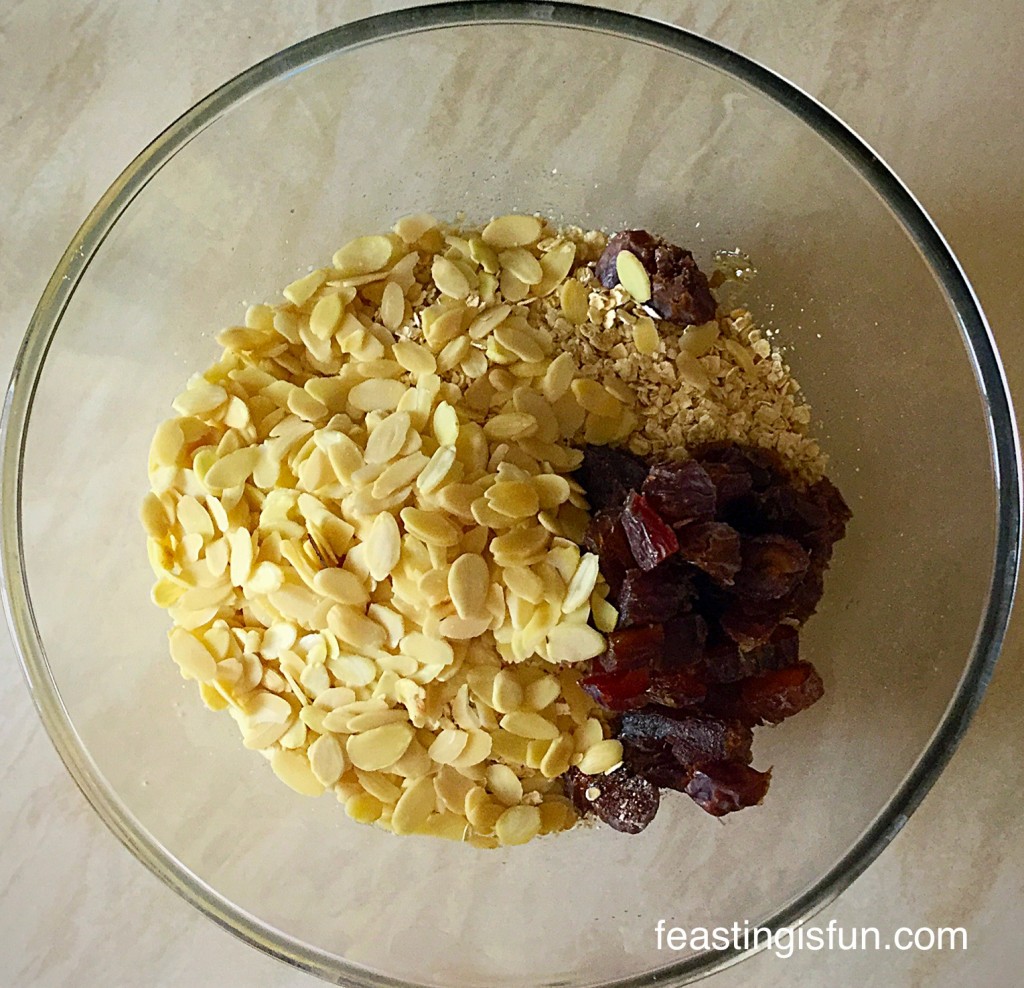
  • Add the rolled oats, chopped dates and flaked almonds.
VC Coconut Almond Date Flapjacks
All the ingredients for Coconut Almond Date Flapjacks in one bowl!
  • Mix all the ingredients together so that everything is coated in the melted coconut oil and sugar mix.
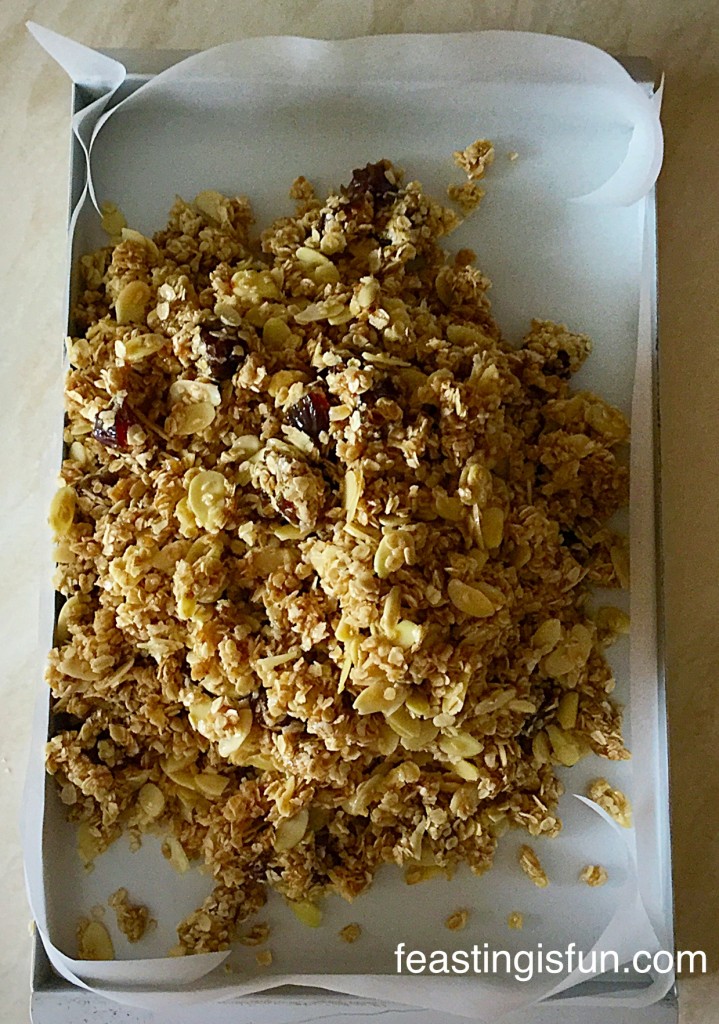
  • Tip the flapjack ingredients into the prepared tin.
VC Coconut Almond Date Flapjacks
Tip the delicious mix into a prepared tin.
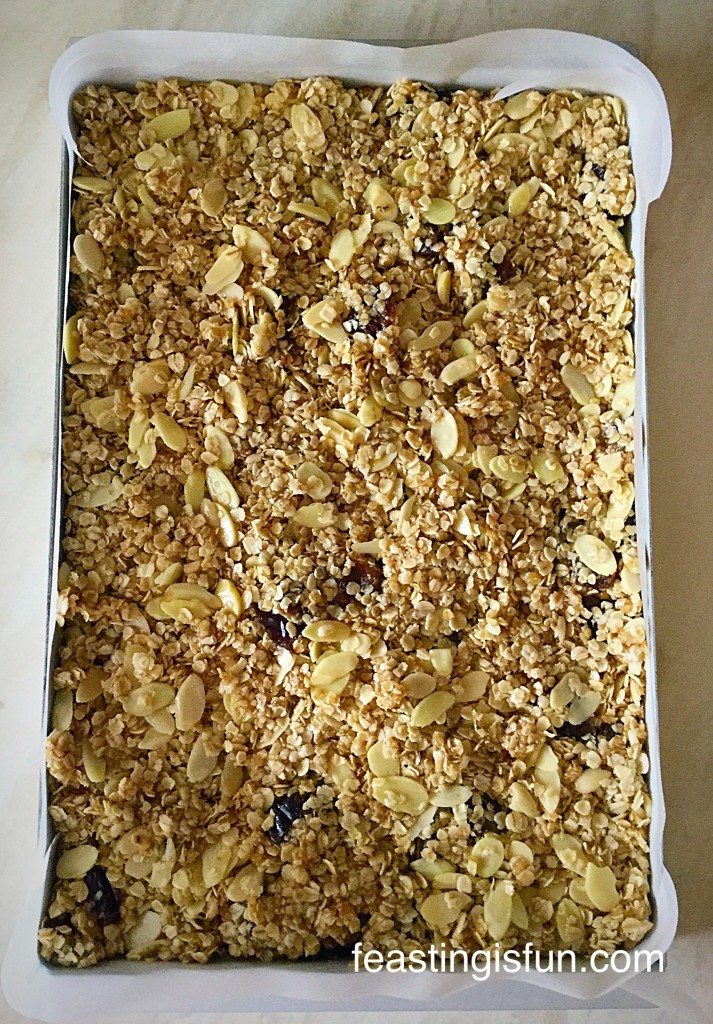
  • Using the back of a metal spoon, press the mixture evenly into the tin.
VC Coconut Almond Date Flapjacks
Coconut Almond Date Flapjacks ready for the oven.

Baking The Coconut Almond Date Flapjacks

  • Place the flapjacks into the centre of the oven and bake for exactly 20 minutes.
  • The flapjacks should be a golden colour once cooked. As soon as the 20 minutes has elapsed remove from the oven.
  • Finally, resist the temptation to cook them for just a bit longer. Since this will result in the flapjacks becoming very hard and not chewy, on cooling.
VC Coconut Almond Date Flapjacks
Coconut Almond Date Flapjacks leave to cool completely in the tin.
  • Leave the flapjacks to cool completely in the tin.
  • Once cooled remove the from the tin using the parchment to lift them out.

Cutting And Decorating The Flapjacks

  • With a sharp knife cut down the length of the flapjack block, dividing it in two. Next cut across the middle of the flapjack, creating four quarters. Cur each quarter into four bars.
  • Break up the milk chocolate and place into a heatproof, microwaveable bowl.
  • Zap for 20 seconds at a time, on high, in the microwave. Stirring as the chocolate starts to melt. When the chocolate is nearly melted remove from the microwave and keep stirring until it is completely melted.
  • Pour the melted chocolate into a small piping bag (or a freezer/sandwich bag).
VC Coconut Almond Date Flapjacks
The glass keeps the bag steady as you pour in the melted chocolate.
  • Cut the very end of the piping bag (or corner of bag), so that you have a small hole.
  • Pipe a pattern of your choice down the length of each of the Coconut Almond Date Flapjacks.
  • Leave to set.
Chocolate decorated flapjacks
Coconut Almond Date Flapjacks

Store the flapjacks in an airtight container for up to a week.

Coconut Oil A Vegan Substitute For Butter

While the coconut flavour in these flapjacks is subtle, it mixes well with the dates and almonds to create a really flavoursome bar. Especially ideal for mornings when you’re in a rush and need breakfast on the go, or for filling that mid afternoon hunger gap and seeing you through to your evening meal!

I am incredibly impressed with how well the Vita Coco coconut oil worked in this recipe and I shall most definitely be buying more and using it in other recipes. So providing the chocolate is vegan, these Coconut Almond Date Flapjacks they are vegan, dairy AND gluten free (providing you use certified gluten free oats).

Coconut Almond Date Flapjacks

Creating a recipe that is not only nutritious, tasty and easy to pack up and take to work or school, but that can also be enjoyed by more people is a fantastic feeling!

Do you have diet constraints?

Have you substituted coconut oil for butter in any of your cooking/baking?

Please let me know as I am new to baking with coconut oil and would love to hear any tips you may have?

If you have enjoyed these Coconut Almond Date Flapjacks here are a couple more recipes you may like.

Cranberry Walnut Flapjacks

VC Cranberry Walnut Flapjacks
Cranberry Walnut Flapjacks

Macadamia Nut Apricot Flapjacks 

Macadamia Nut Apricot Flapjacks

Double Cherry Drizzle Oat Bars

Double Cherry Drizzle Oat Bars

Creating a vegan snack happened accidentally. Because the butter is switched to coconut oil and all of the other ingredients are gluten free and vegan I am thrilled that the resulting bake is so tasty. Since more people can enjoy this snack it fits in well with the theme of Feasting Is Fun.

So, whatever you are making, baking and creating in your kitchen, have fun preparing and sharing your feast.

Sammie xx

VitaCoco and The Medjool Date Co. provided me with coconut oil and dates which were used in this recipe. Also, all opinions, views, content and photographs are my own. I did not receive payment for writing this post. Please see my Disclosure Policy.

Also, this recipe is an entry into the #Swearbyit challenge with Vita coco. Find more great coconut oil recipes and tips on using coconut oil at www.swearbyit.com.

Vegan breakfast bars with descriptive graphics overlay.

Share
Facebooktwitterpinterestlinkedintumblr

Oat Topped Lemon Shortbread Bars

Share
Facebooktwitterpinterestlinkedintumblr

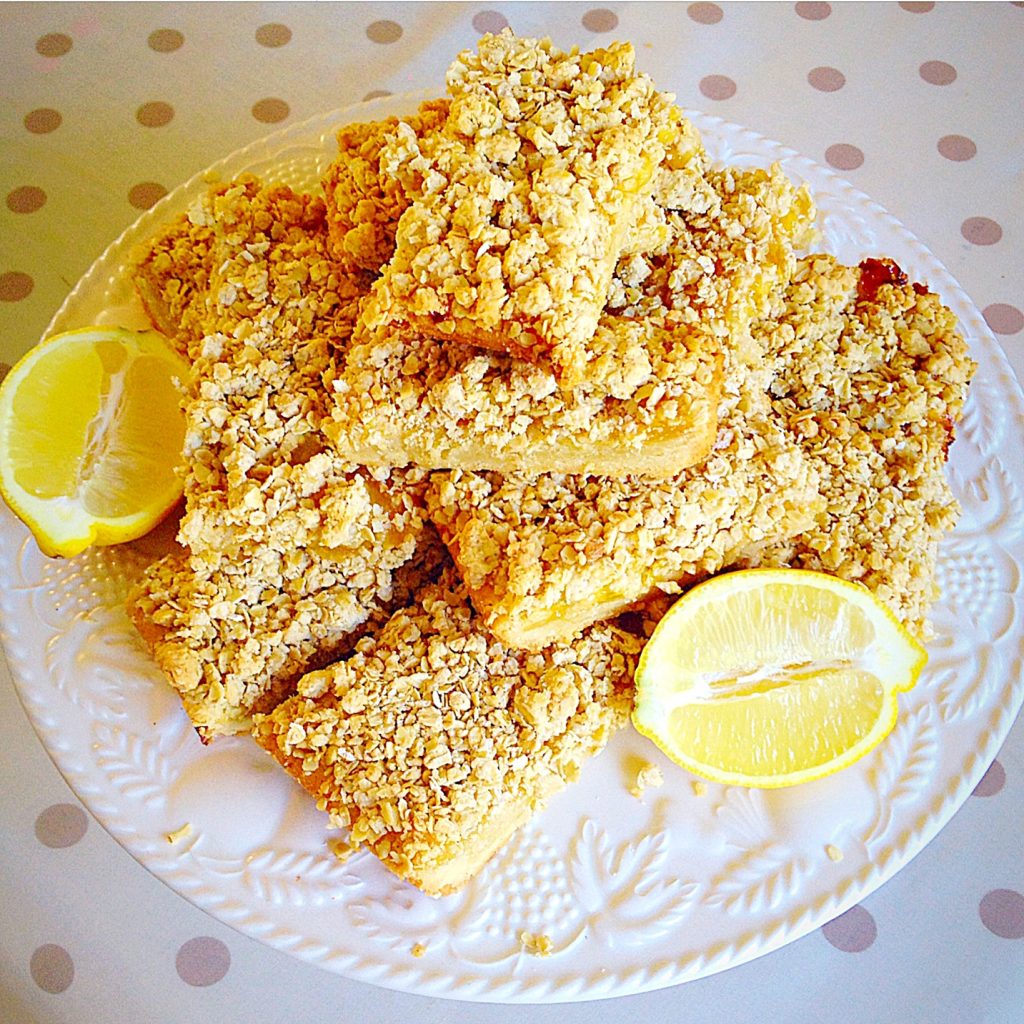
Hi and thank you for dropping by. I have a delightful treat for you today, my – Oat Topped Lemon Shortbread Bars.

Oat topped lemon shortbread bars
Oat Topped Lemon Shortbread Bars


The other day I spotted a jar of Lemon Curd (unopened) in the cupboard. My brain started whirring with all the possibilities of how I could incorporate the Lemon Curd into my next bake. I didn’t fancy making pastry, let’s be honest, sometimes it seems like too much effort – even though it is really easy – anyhow, wasn’t feeling the pastry thing. Then I thought about a cake, but that wasn’t doing it for me either, I must’ve been having a funny day? Then I thought shortbread. But not as a biscuit, as a base. Yippee, I was finally getting somewhere. Everything good so far, shortbread base, slathered with lemon curd and then oats. Wasn’t quite sure how I was going to use them in the topping, just knew I needed oats – and that’s how these Oat Topped Lemon Shortbread Bars were born!


With the oat topping I decided to keep back a quarter of the shortbread dough and then crumble with the oats and pray that it would work – am not joking. It did! Although in all honesty, the bars were quite crumbly when I cut them up. Next time I would leave the whole tray bake intact, for at least a few hours, or even better overnight. The bars had firmed up beautifully by the next day.


Recipe : Oat Topped Lemon Shortbread Bars – makes 12

225g/8oz Unsalted Butter – room temp

150g/5oz Caster Sugar

1/4tsp Salt – I use Maldon 

1tsp Vanilla Extract

1 Large Egg Yolk – room temp

275g/10oz Plain White Flour

310g/11oz Jar Lemon Curd

175g/6oz Rolled Oats – not quick cook

Making The Shortbread Layer

Preheat the oven to 180C/160C fan, gas mark 4, 350F.

Butter and line with parchment paper a 30cm x 20cm (12″ x 8″) at least 4cm (1.5″) deep tin.

Into a large bowl whisk the butter, sugar and salt until light and fluffy.

Add the egg yolk and vanilla extract, whisk until fully incorporated.

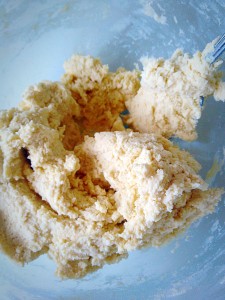
Next add the flour and stir with a spoon until just combined.

This is how your shortbread dough should look.


Reserve a quarter of the shortbread dough (for the topping).

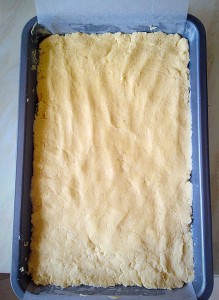
Using the remaining shortbread dough, press lightly into the pan, so it forms an even layer.
Using the remaining shortbread dough, press lightly into the tin, so it forms an even layer.


Pop the tin into the oven for 10 minutes. This will form a light crust on, but not fully cooked, the shortbread. After 10 minutes remove from the oven.

Adding The Lemon Layer

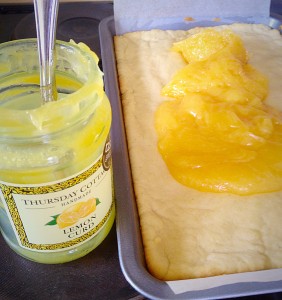
Immediately start spooning the Lemon Curd over the shortbread base
Immediately start spooning the Lemon Curd over the shortbread base.
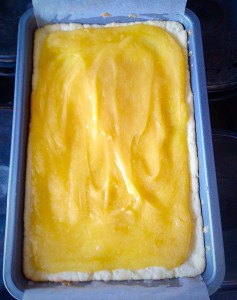
Cover the entire shortbread base, just inside the edge.

Making And Using The Oat Crumble Topping

Set to one side whilst you make the oat topping.

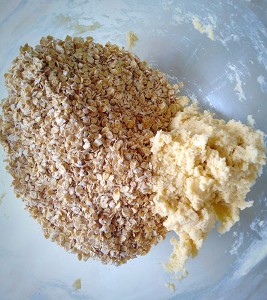
Add the oats to the remaining shortbread dough.
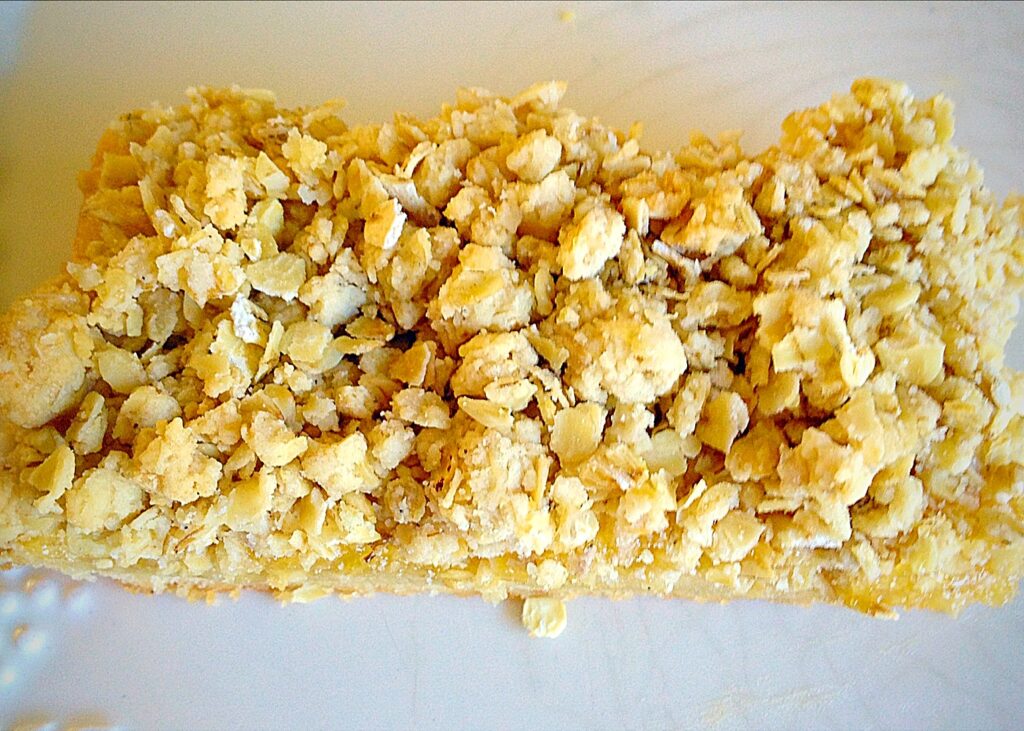
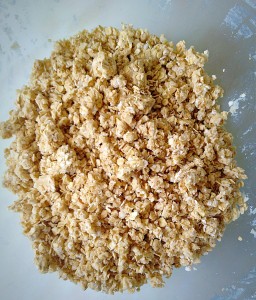
Using your fingers rub the buttery shortbread dough through the oats until you have an even crumble mix.
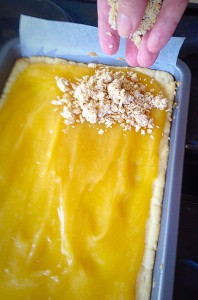
Starting at one corner sprinkle the oat crumble topping...
Starting at one corner sprinkle the oat crumble topping…
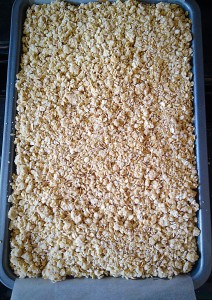
...until the entire top is covered. Very gently press down on the topping to slightly compact it.
…until the entire top is covered. Very gently press down on the topping to slightly compact it.

Baking The Oat Topped Lemon Shortbread Bars

Place in the oven for 25-30 minutes, until the oat topping is golden in colour, then remove from oven.

Oat Topped Lemon Shortbread Bars - allow to cool completely in the pan.
Oat Topped Lemon Shortbread Bars – allow to cool completely in the tin.


Once completely cooled, cut lengthways down the middle of the bake. Then cut into bars. Remove and store in an airtight container.

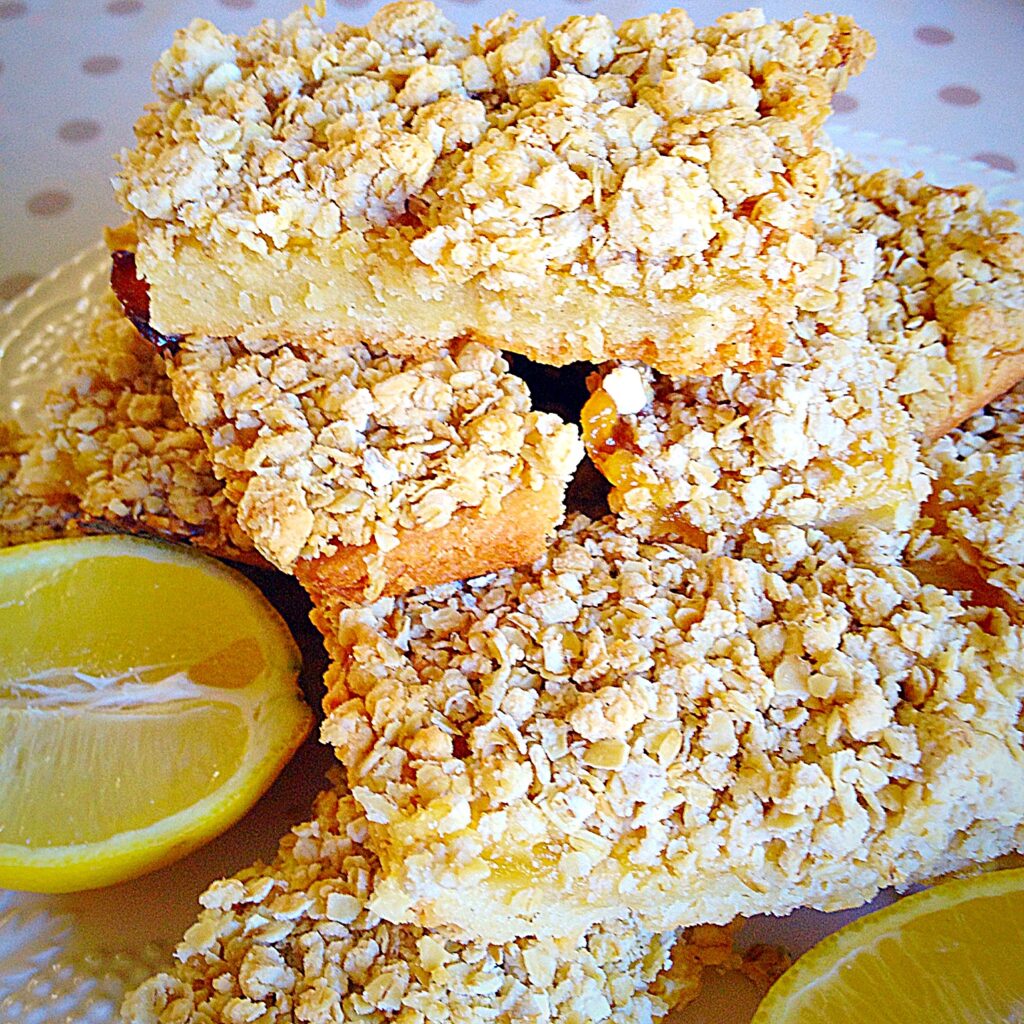
Oat Topped Lemon Shortbread Bars - pre-cooking the shortbread layer ensures it is cooked through with a lovely golden bottom.
Oat Topped Lemon Shortbread Bars – pre-cooking the shortbread layer ensures it is cooked through with a lovely golden bottom.


I really cannot emphasise how gorgeous these Oat Topped Lemon Bars are. The buttery shortbread, topped with good, tangy, lemon curd and then the crunch from the oat crumble topping.


Everyone who has tried these has loved them! That’s definitely a winner in my book (or blog!!!).

Perfect for sharing!

Please let me know what you think?

Sammie x

Share
Facebooktwitterpinterestlinkedintumblr