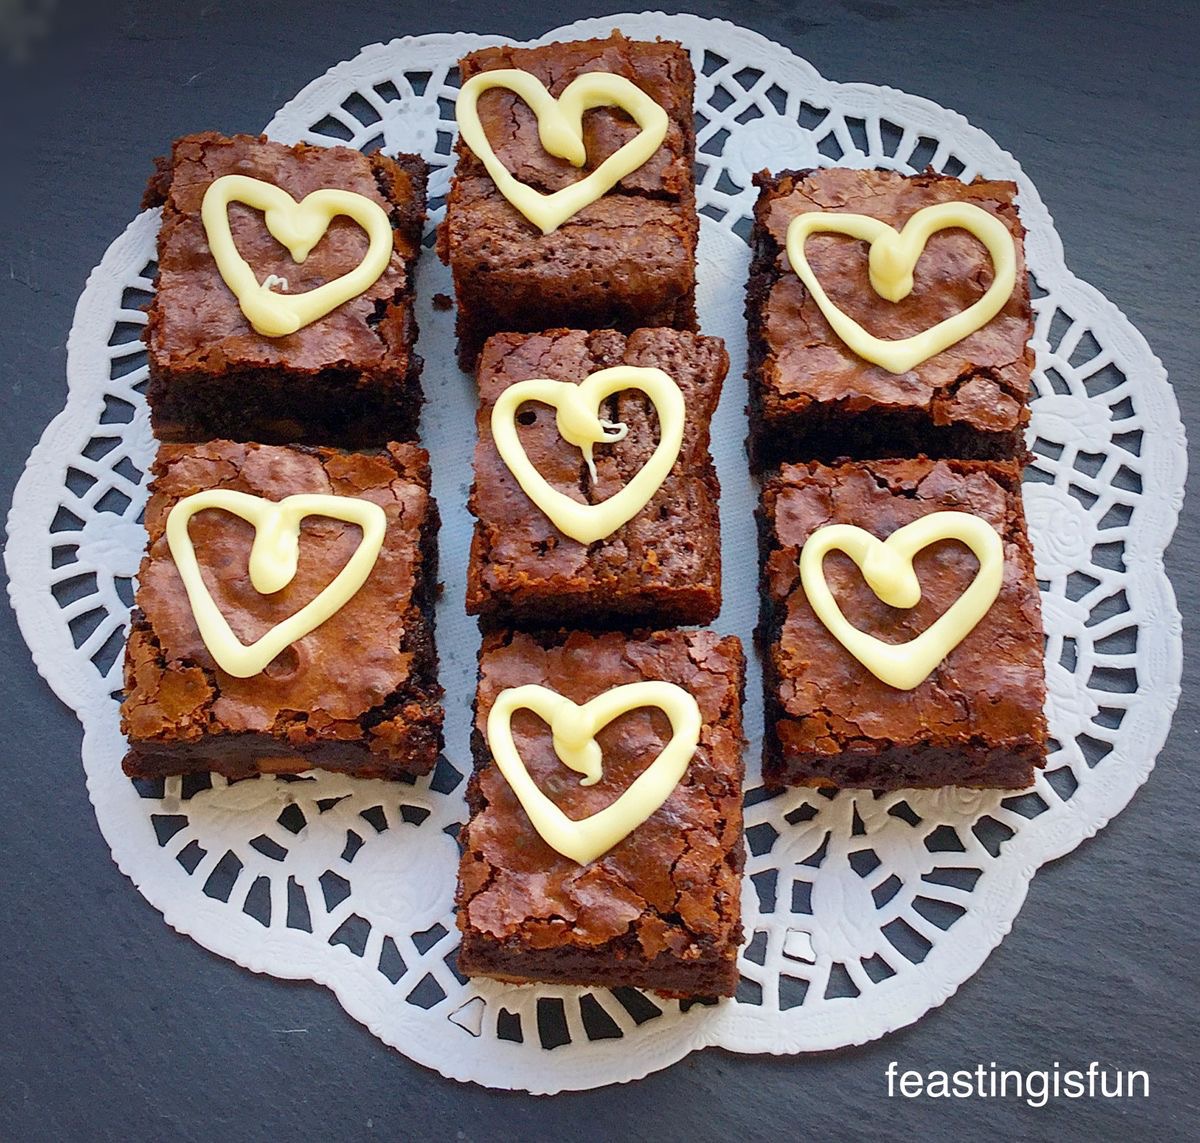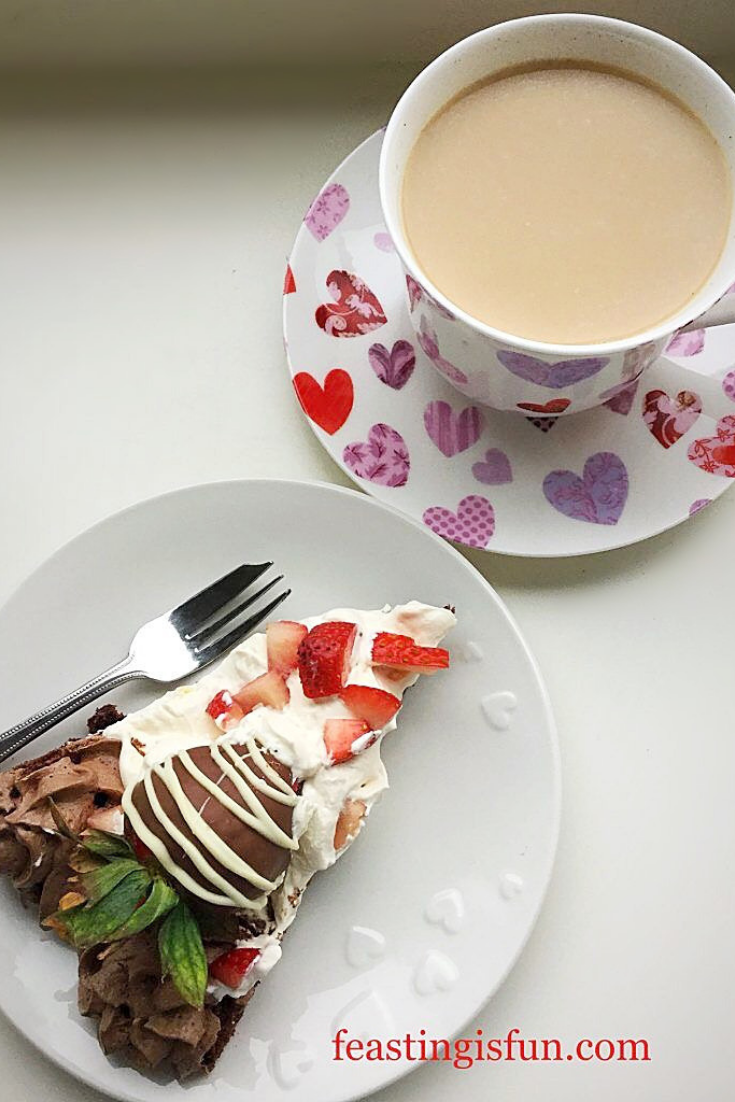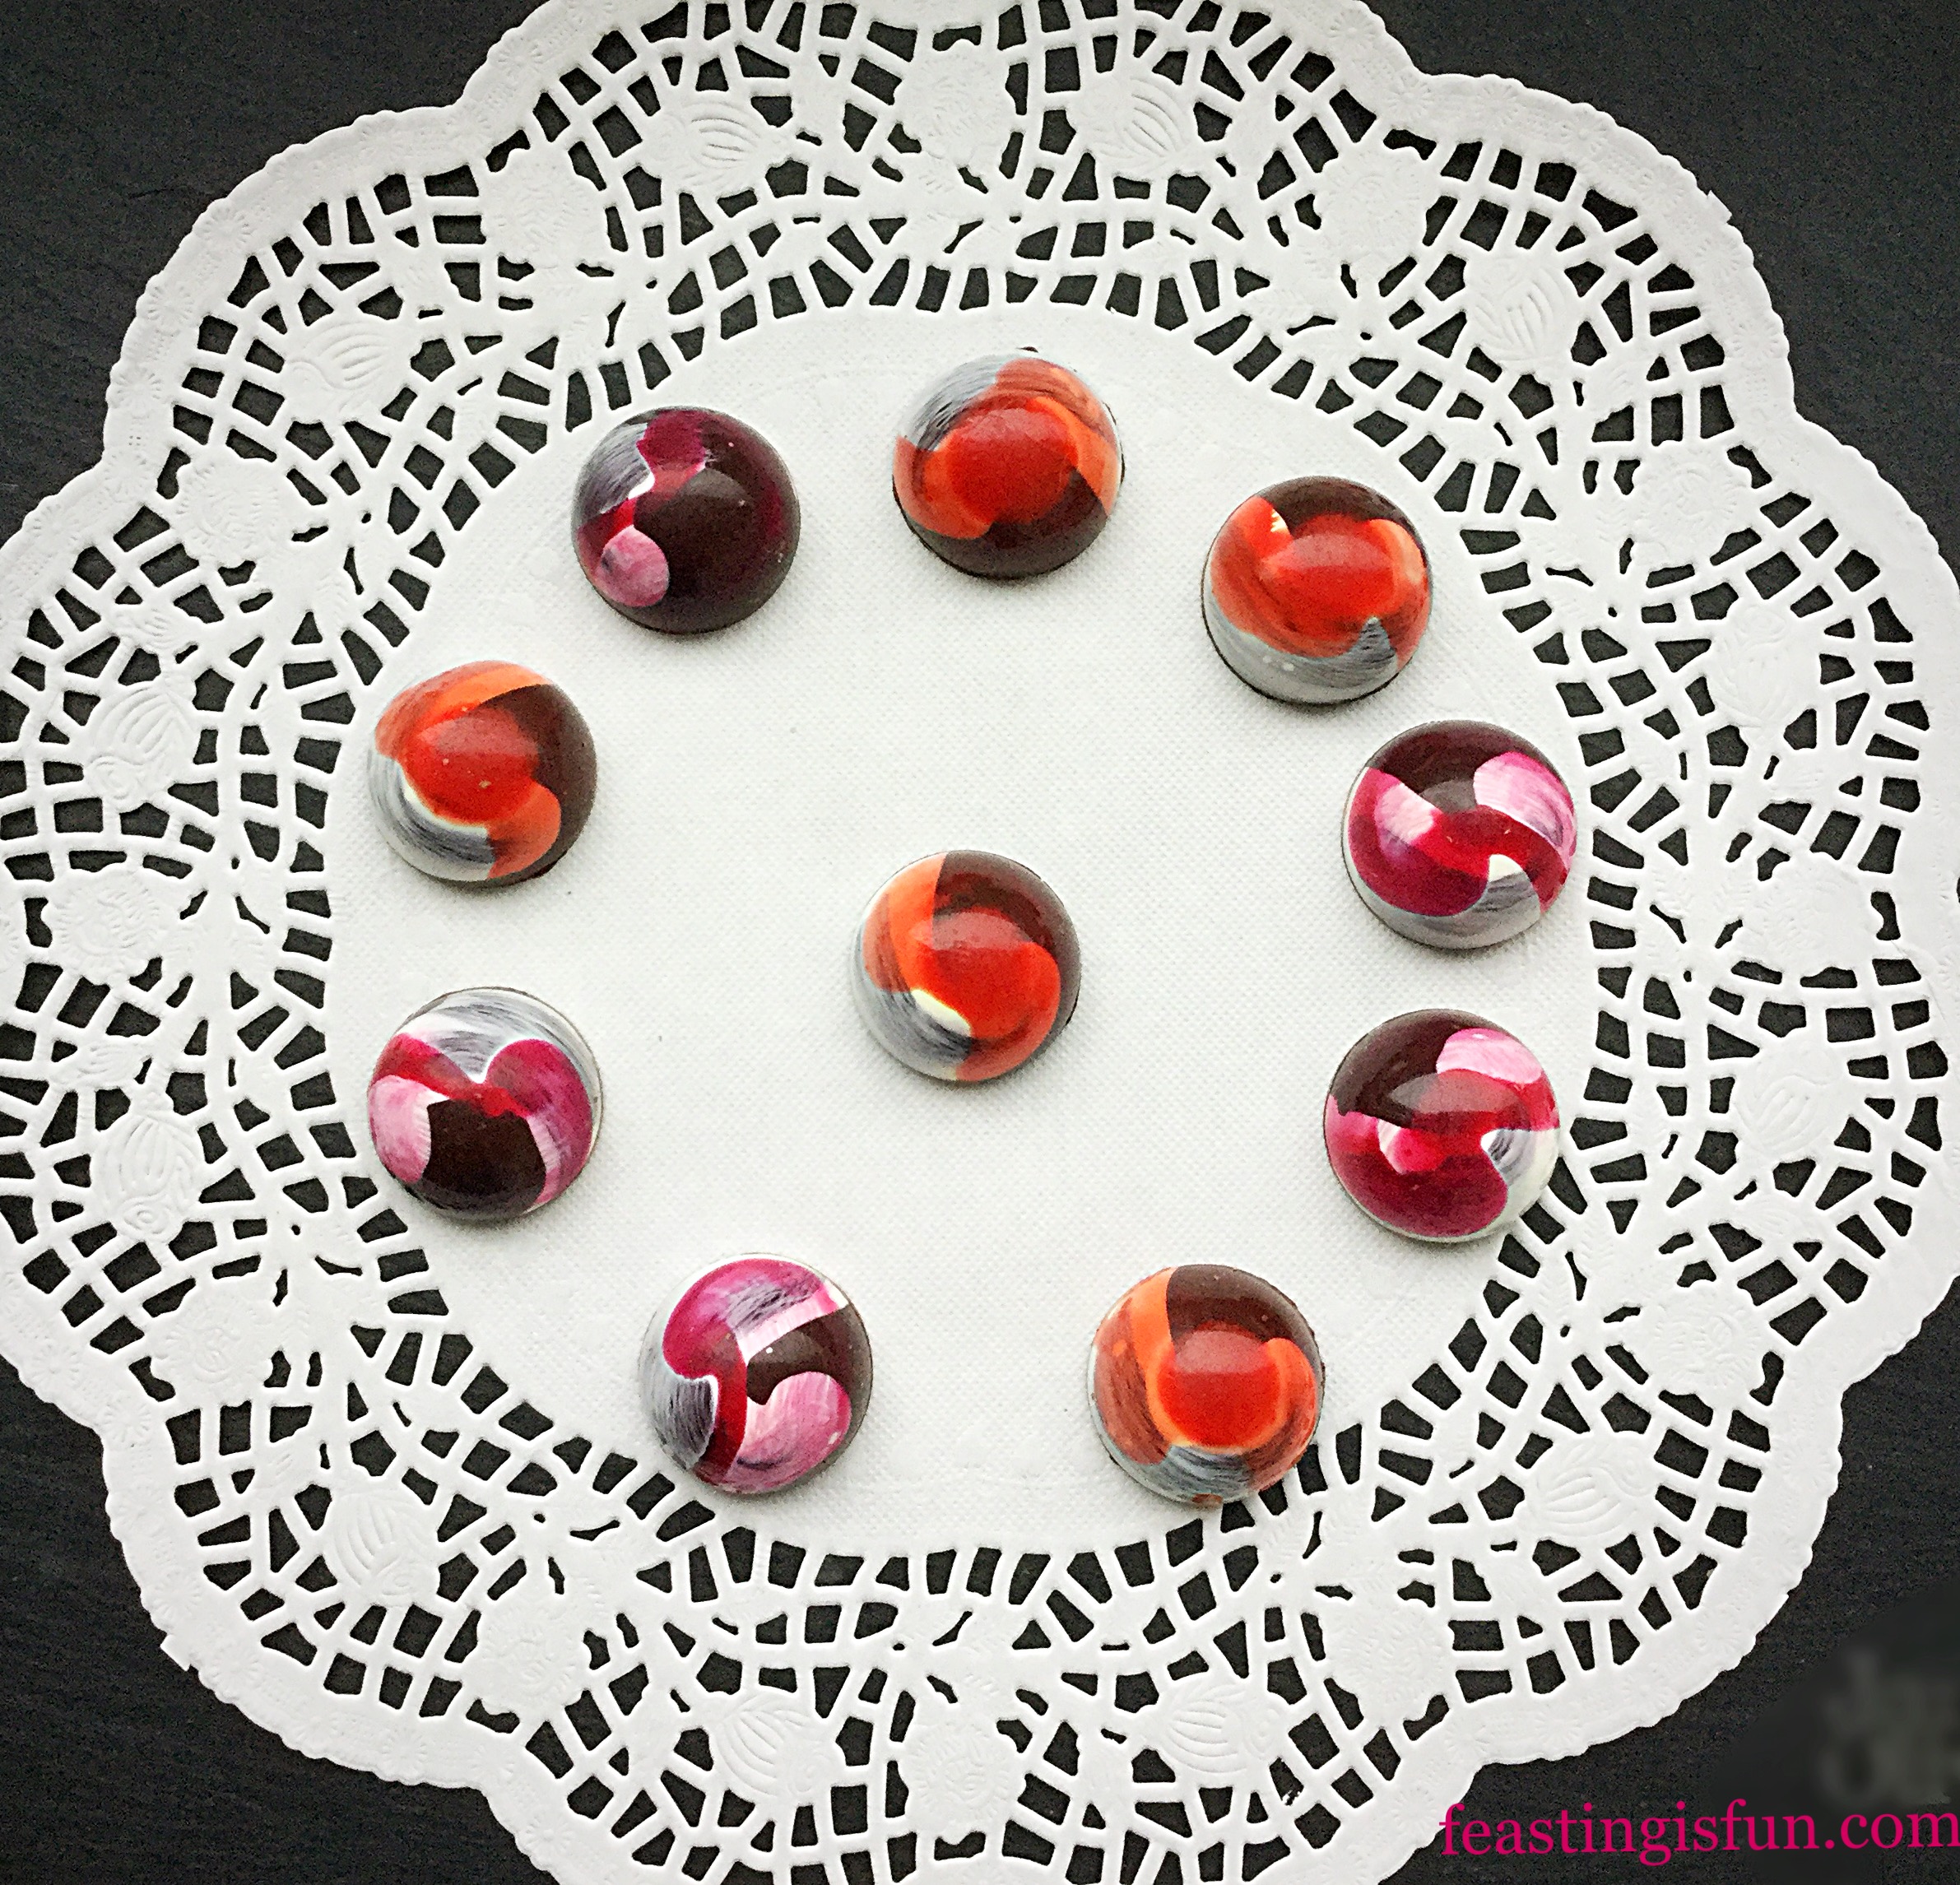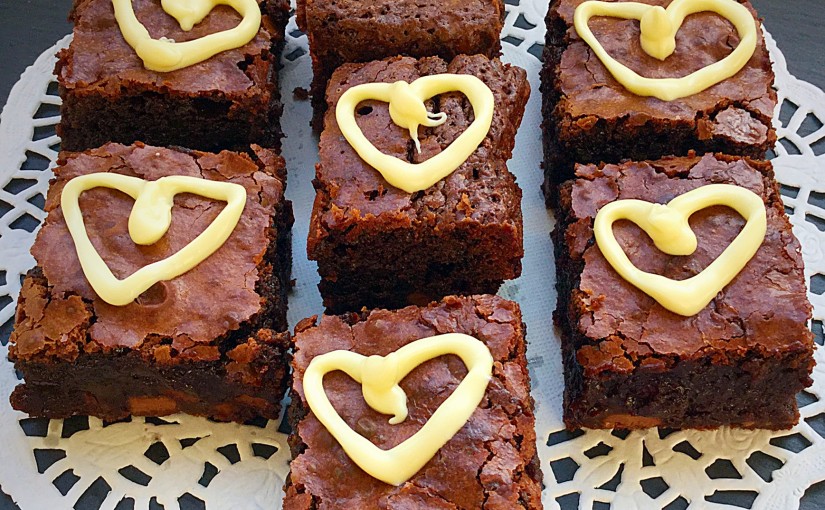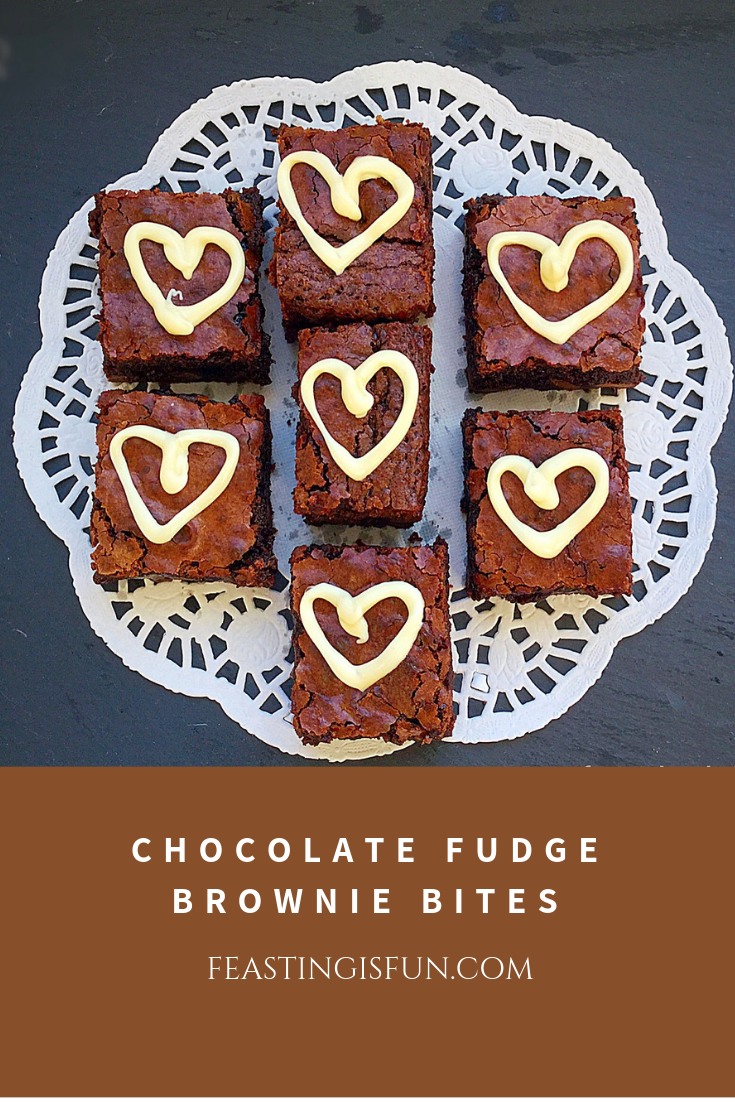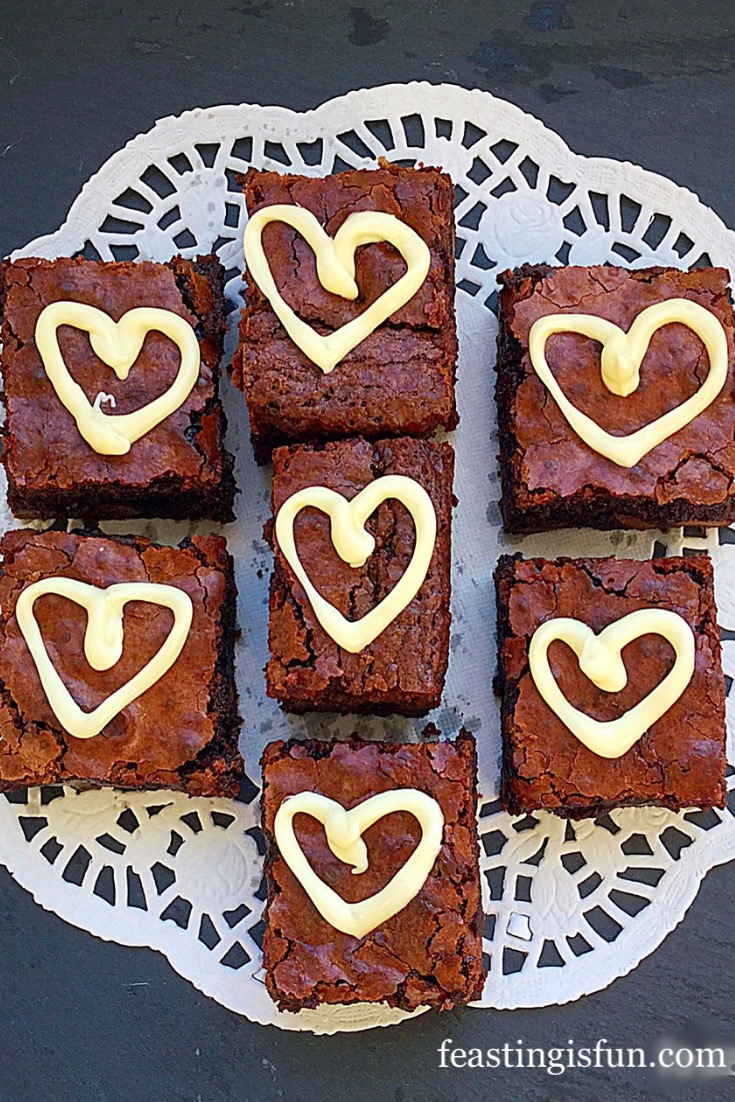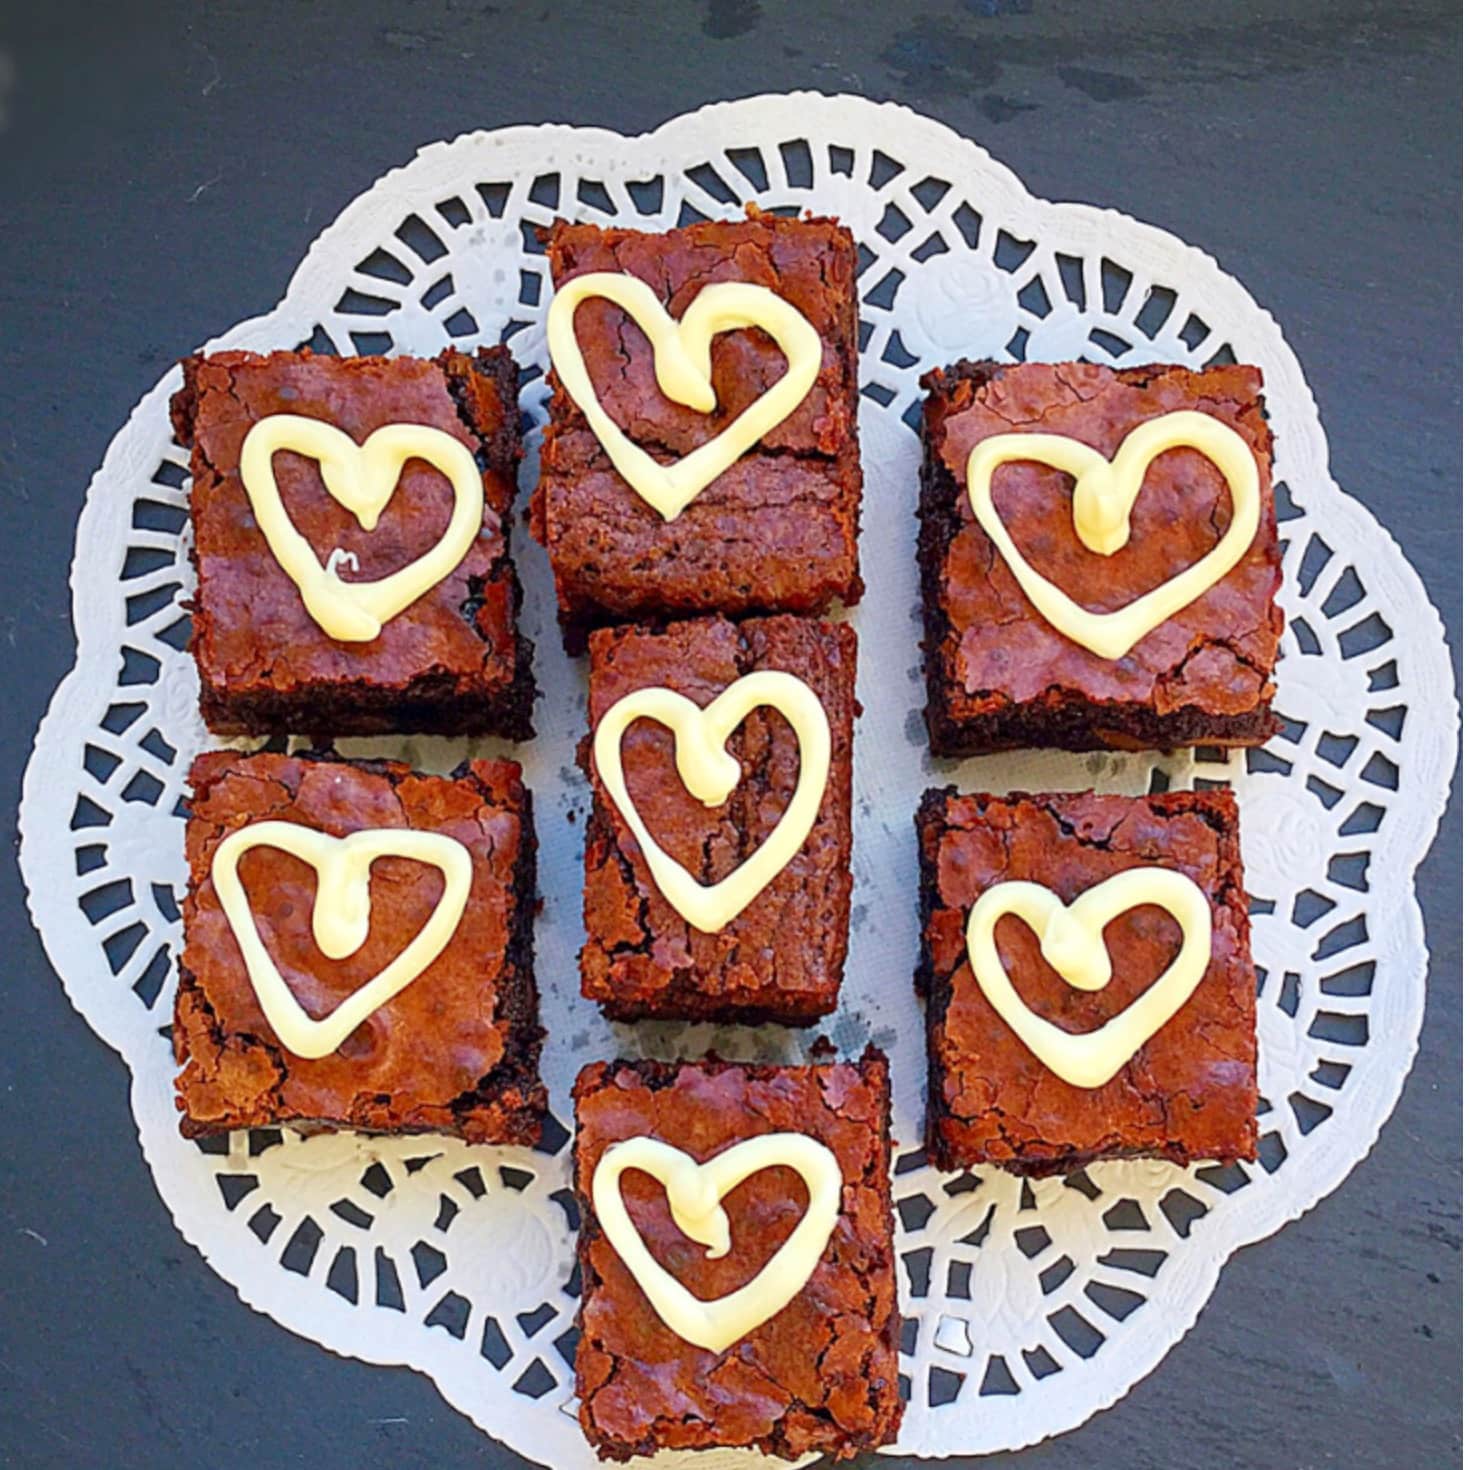
Marshmallow Topped Rich Chocolate Brownies are a perfect party portion. Decadent, fudgy, chocolate brownies splashed with edible coloured candy and scattered marshmallows. Easy to make and bake, fun to decorate and perfect for sharing with family and friends.

Since it is half term this week, here in England I created a bake that children can get involved in. While adult supervision may be needed for certain stages of brownie baking process, decorating is child’s play. Whether that be children in your care, or the inner child within us all. Simply looking at these brownies screams fun and that is of upmost importance to us here at Feasting is Fun!
While many children are happy to share, some thrive better when given their own blank canvas (or brownie in this case) to with. Because it is easy to divide the baked brownie in half, or quarters, or however many children you have helping, decorating these brownies couldn’t be more fun! Disposable piping bags are easy to get hold of, check the baking aisle of your local supermarket. However small sandwich or freezer bags can double as a great substitute. Simply cut a small hole in one corner, once the bag is filled.

Likewise, should very young children be taking part, icing sugar with a little water and colouring added, removes any risk from piping warm chocolate. Be prepared. If making these brownies with children of any age, including some adults, things will get messy and get eaten! Yet that is the fun of making and eating these brownies. Make sure there are plenty of paper towels to hand.
Recipe: Marshmallow Topped Rich Chocolate Brownies
For the brownies:
250g/9oz Milk Chocolate
250g/9oz Dark Chocolate
1/4 tsp Sea Salt – I use Maldon
275g/10oz Unsalted Butter – cut into squares
5 Large Free Range Eggs
2 tsp Vanilla Extract – I use Nielsen-Massey
275g/10oz Light Brown Muscavado Sugar – I use Billingtons
1/2 tsp Bicarbonate of Soda
100g/4oz Plain White Flour
For the topping:
100g/4oz White Chocolate
100g/4oz both pink and red Rainbow Dust Colour Melts available from Party Animal Online
Large and Small Marshmallows
Method: Preheat the oven to 180C/160C fan, 350F, gas mark 4
You will need a 34cm x 24cm x 5cm (13.5in x 9.5in x 2in) tin lined with baking parchment.
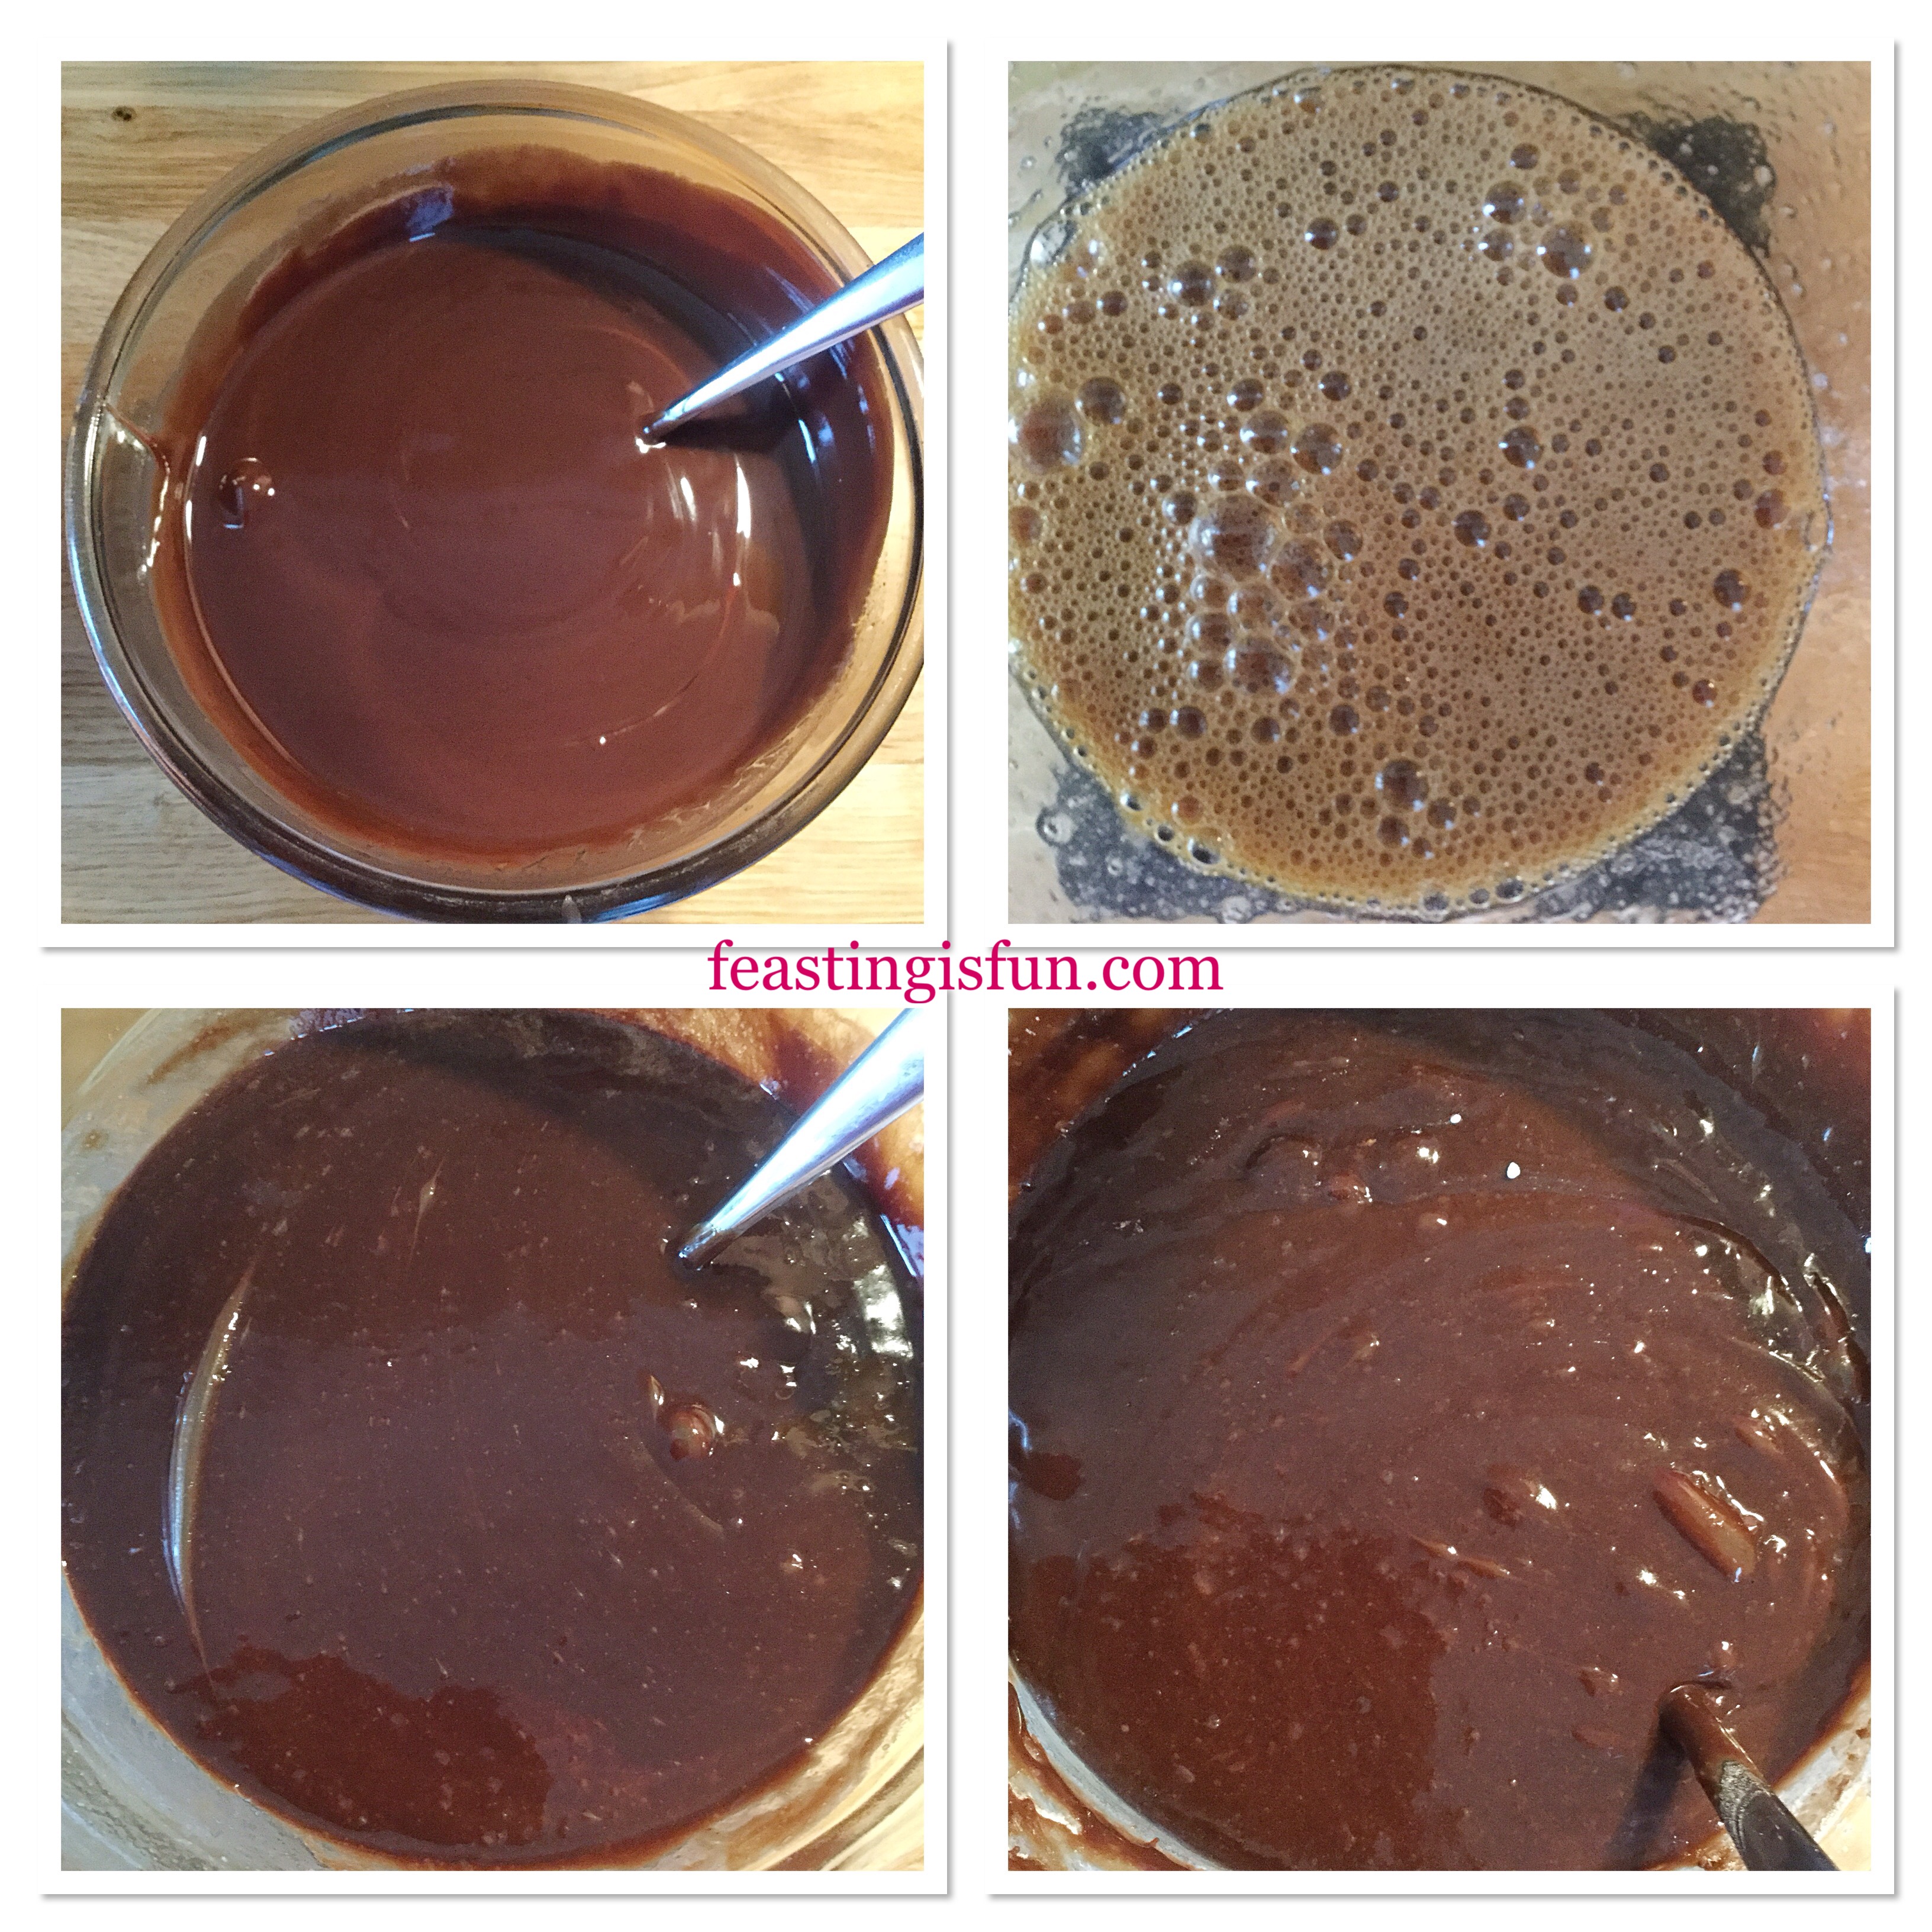
- First of all break/cut both milk and dark chocolate into small pieces, approximately 1cm.
- Place the chocolate and butter into a heatproof, microwaveable bowl.
- Heat in the microwave on medium for 30 second bursts, stirring after each heat burst.
- As soon as the butter is melted remove the bowl and stir continuously until all of the chocolate is melted and combined with the butter. Set aside to cool slightly.
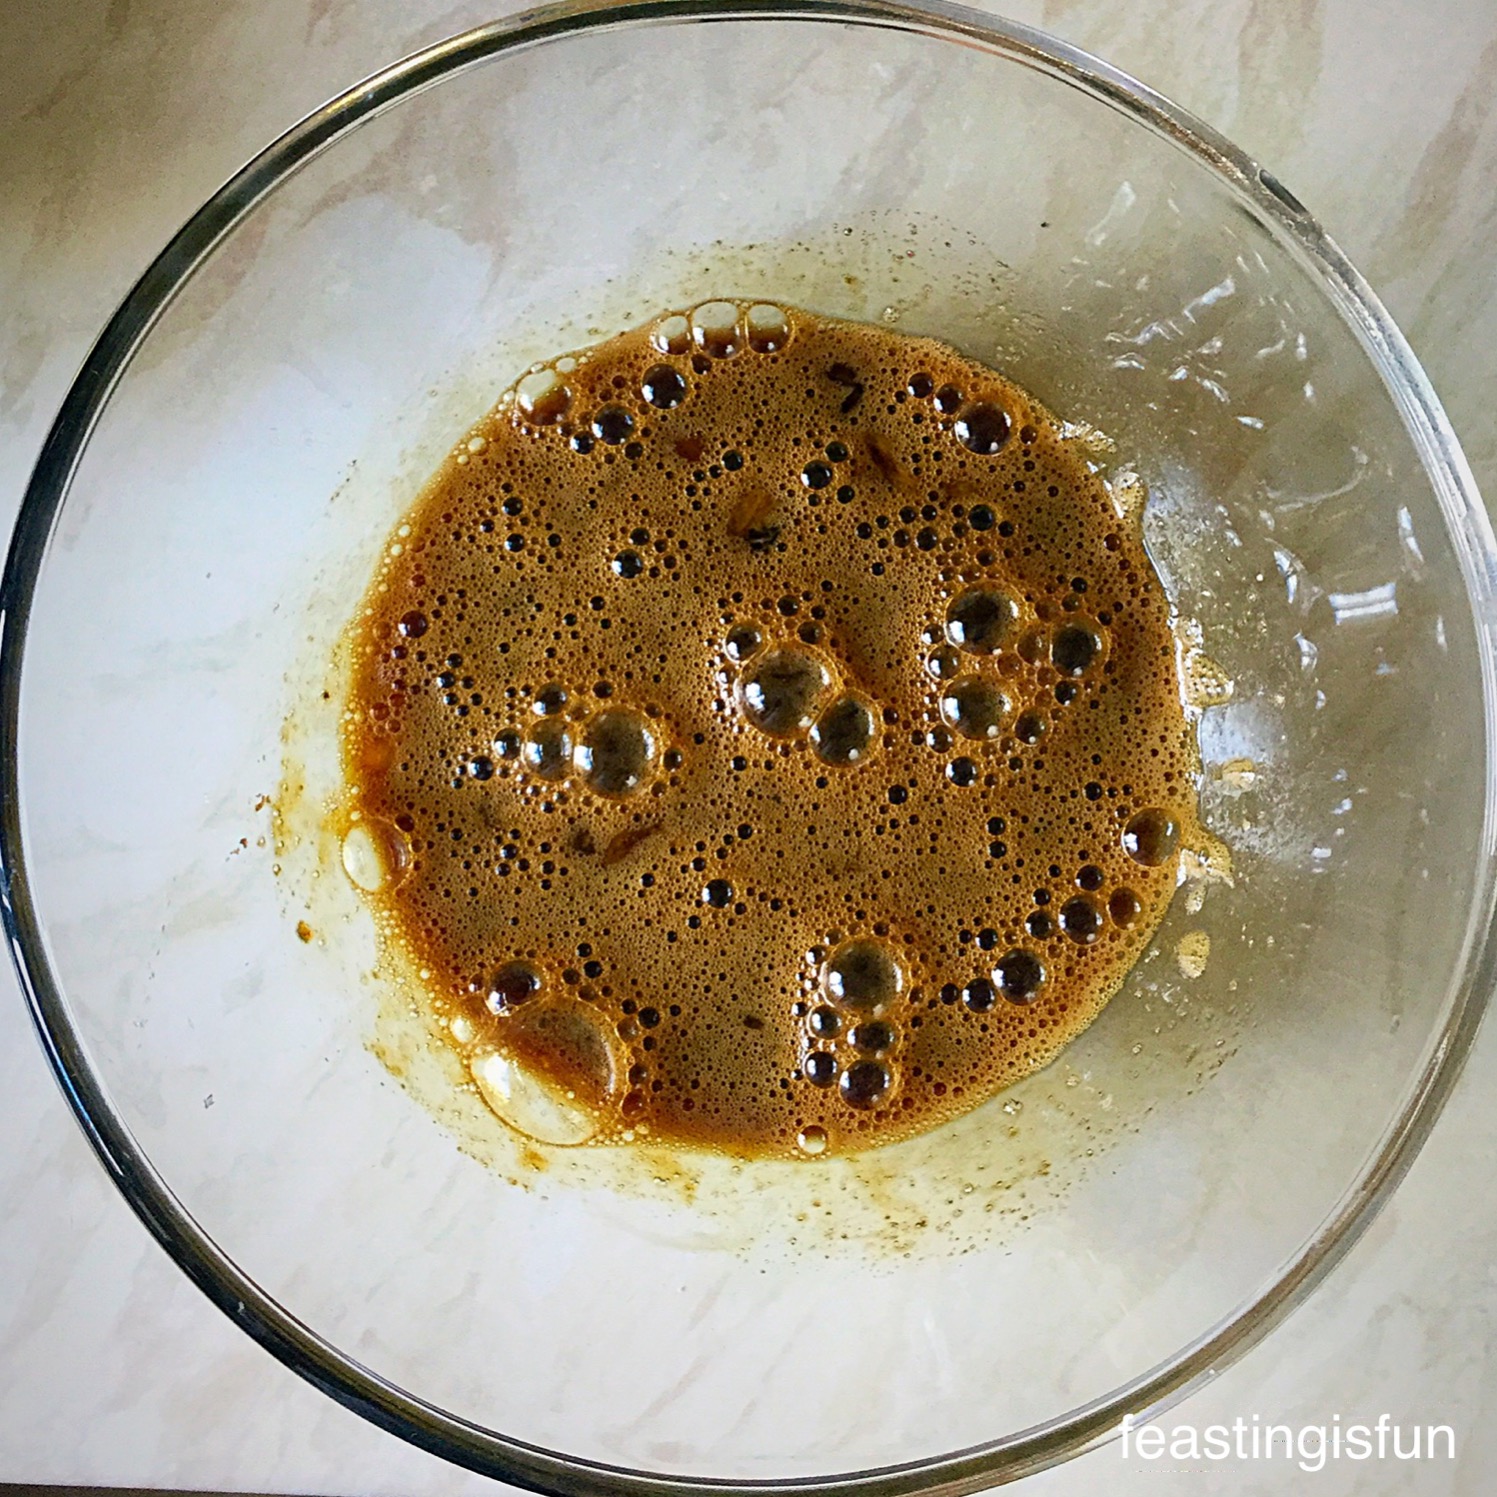
- In a separate bowl add the eggs, salt, sugar and vanilla extract. Whisk together until fully combined.
- Pour the cooled chocolate into the egg mixture, stirring as you pour to combine both liquids.
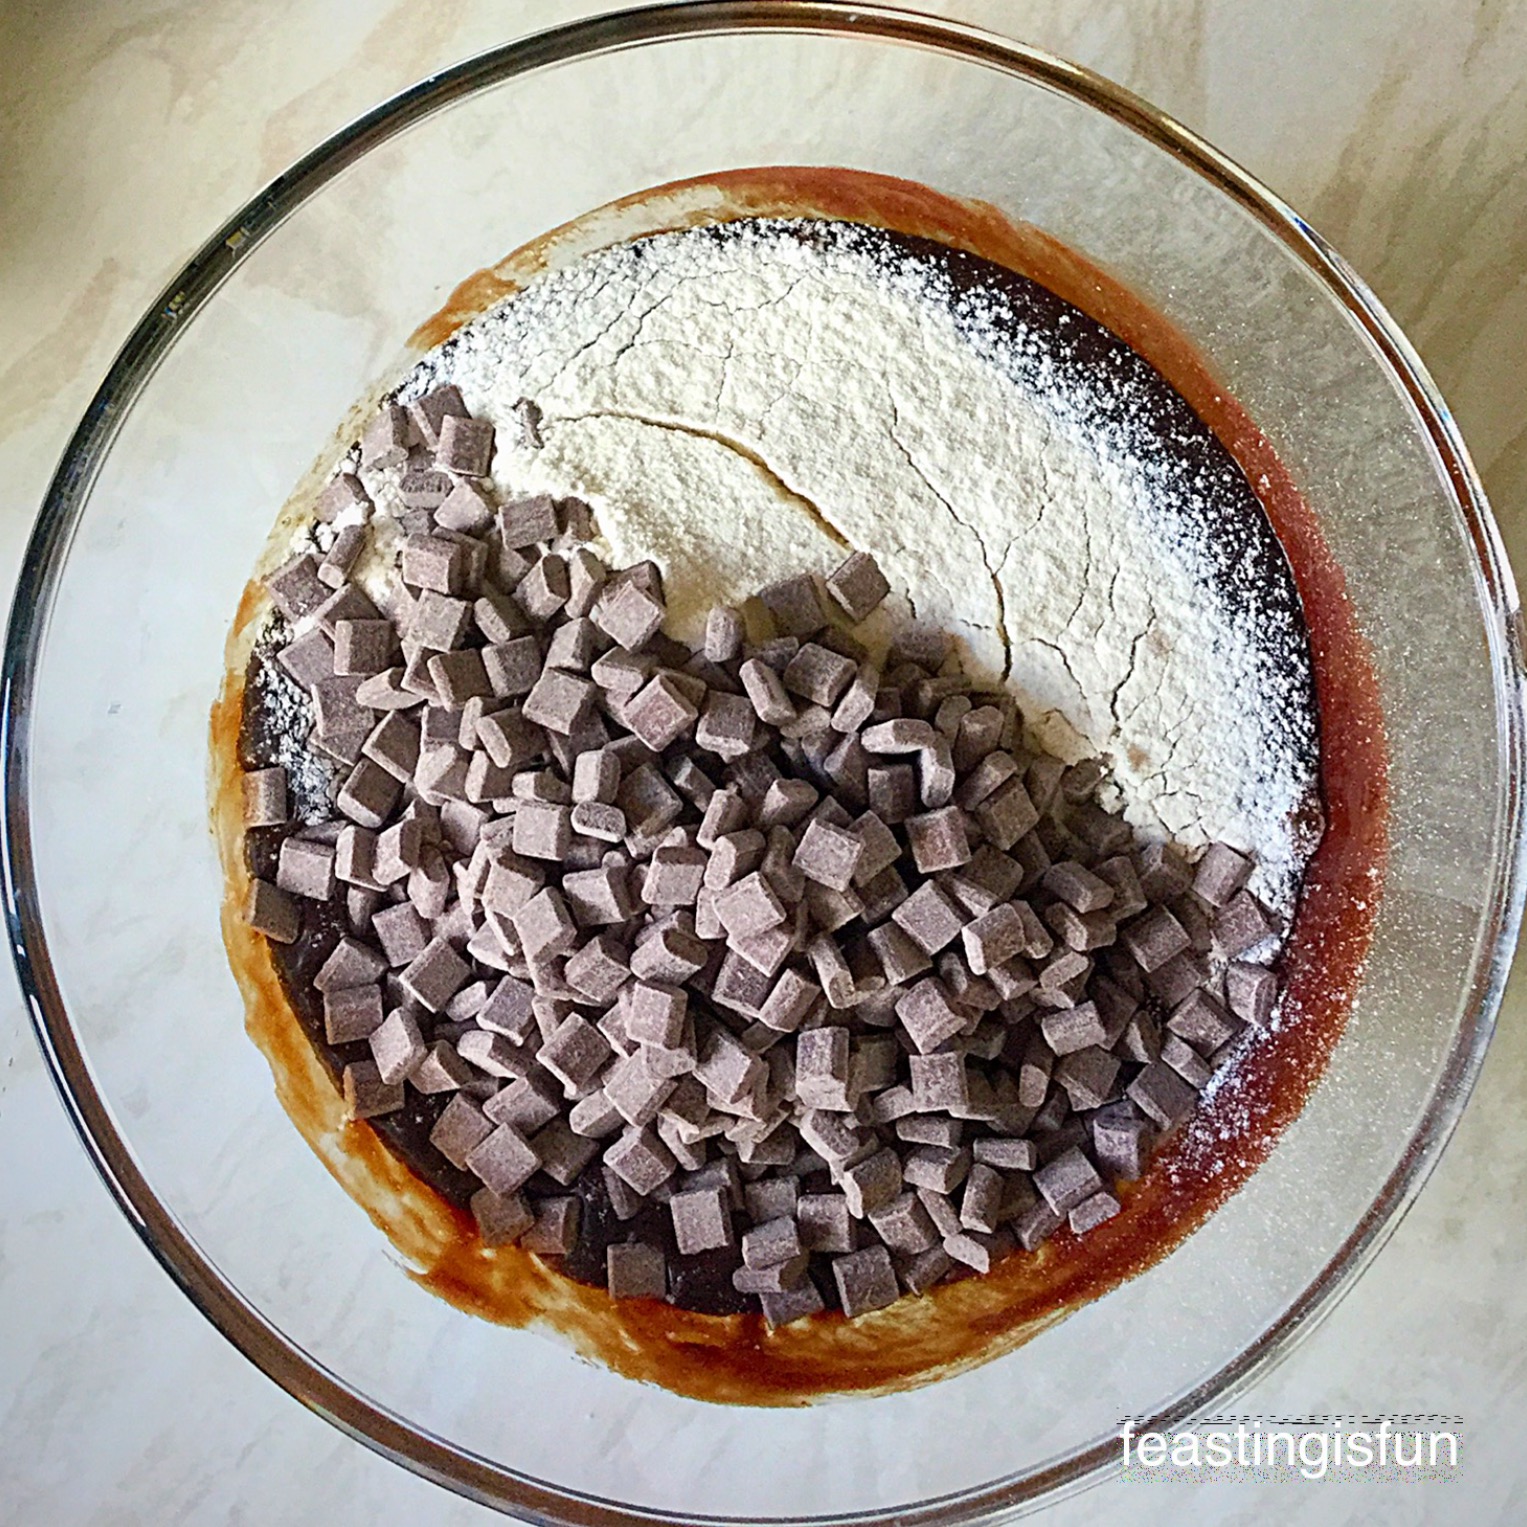
- Sift the flour and bicarbonate of soda on to the chocolate mix. Fold the flour into the chocolate mixture until is just combined.
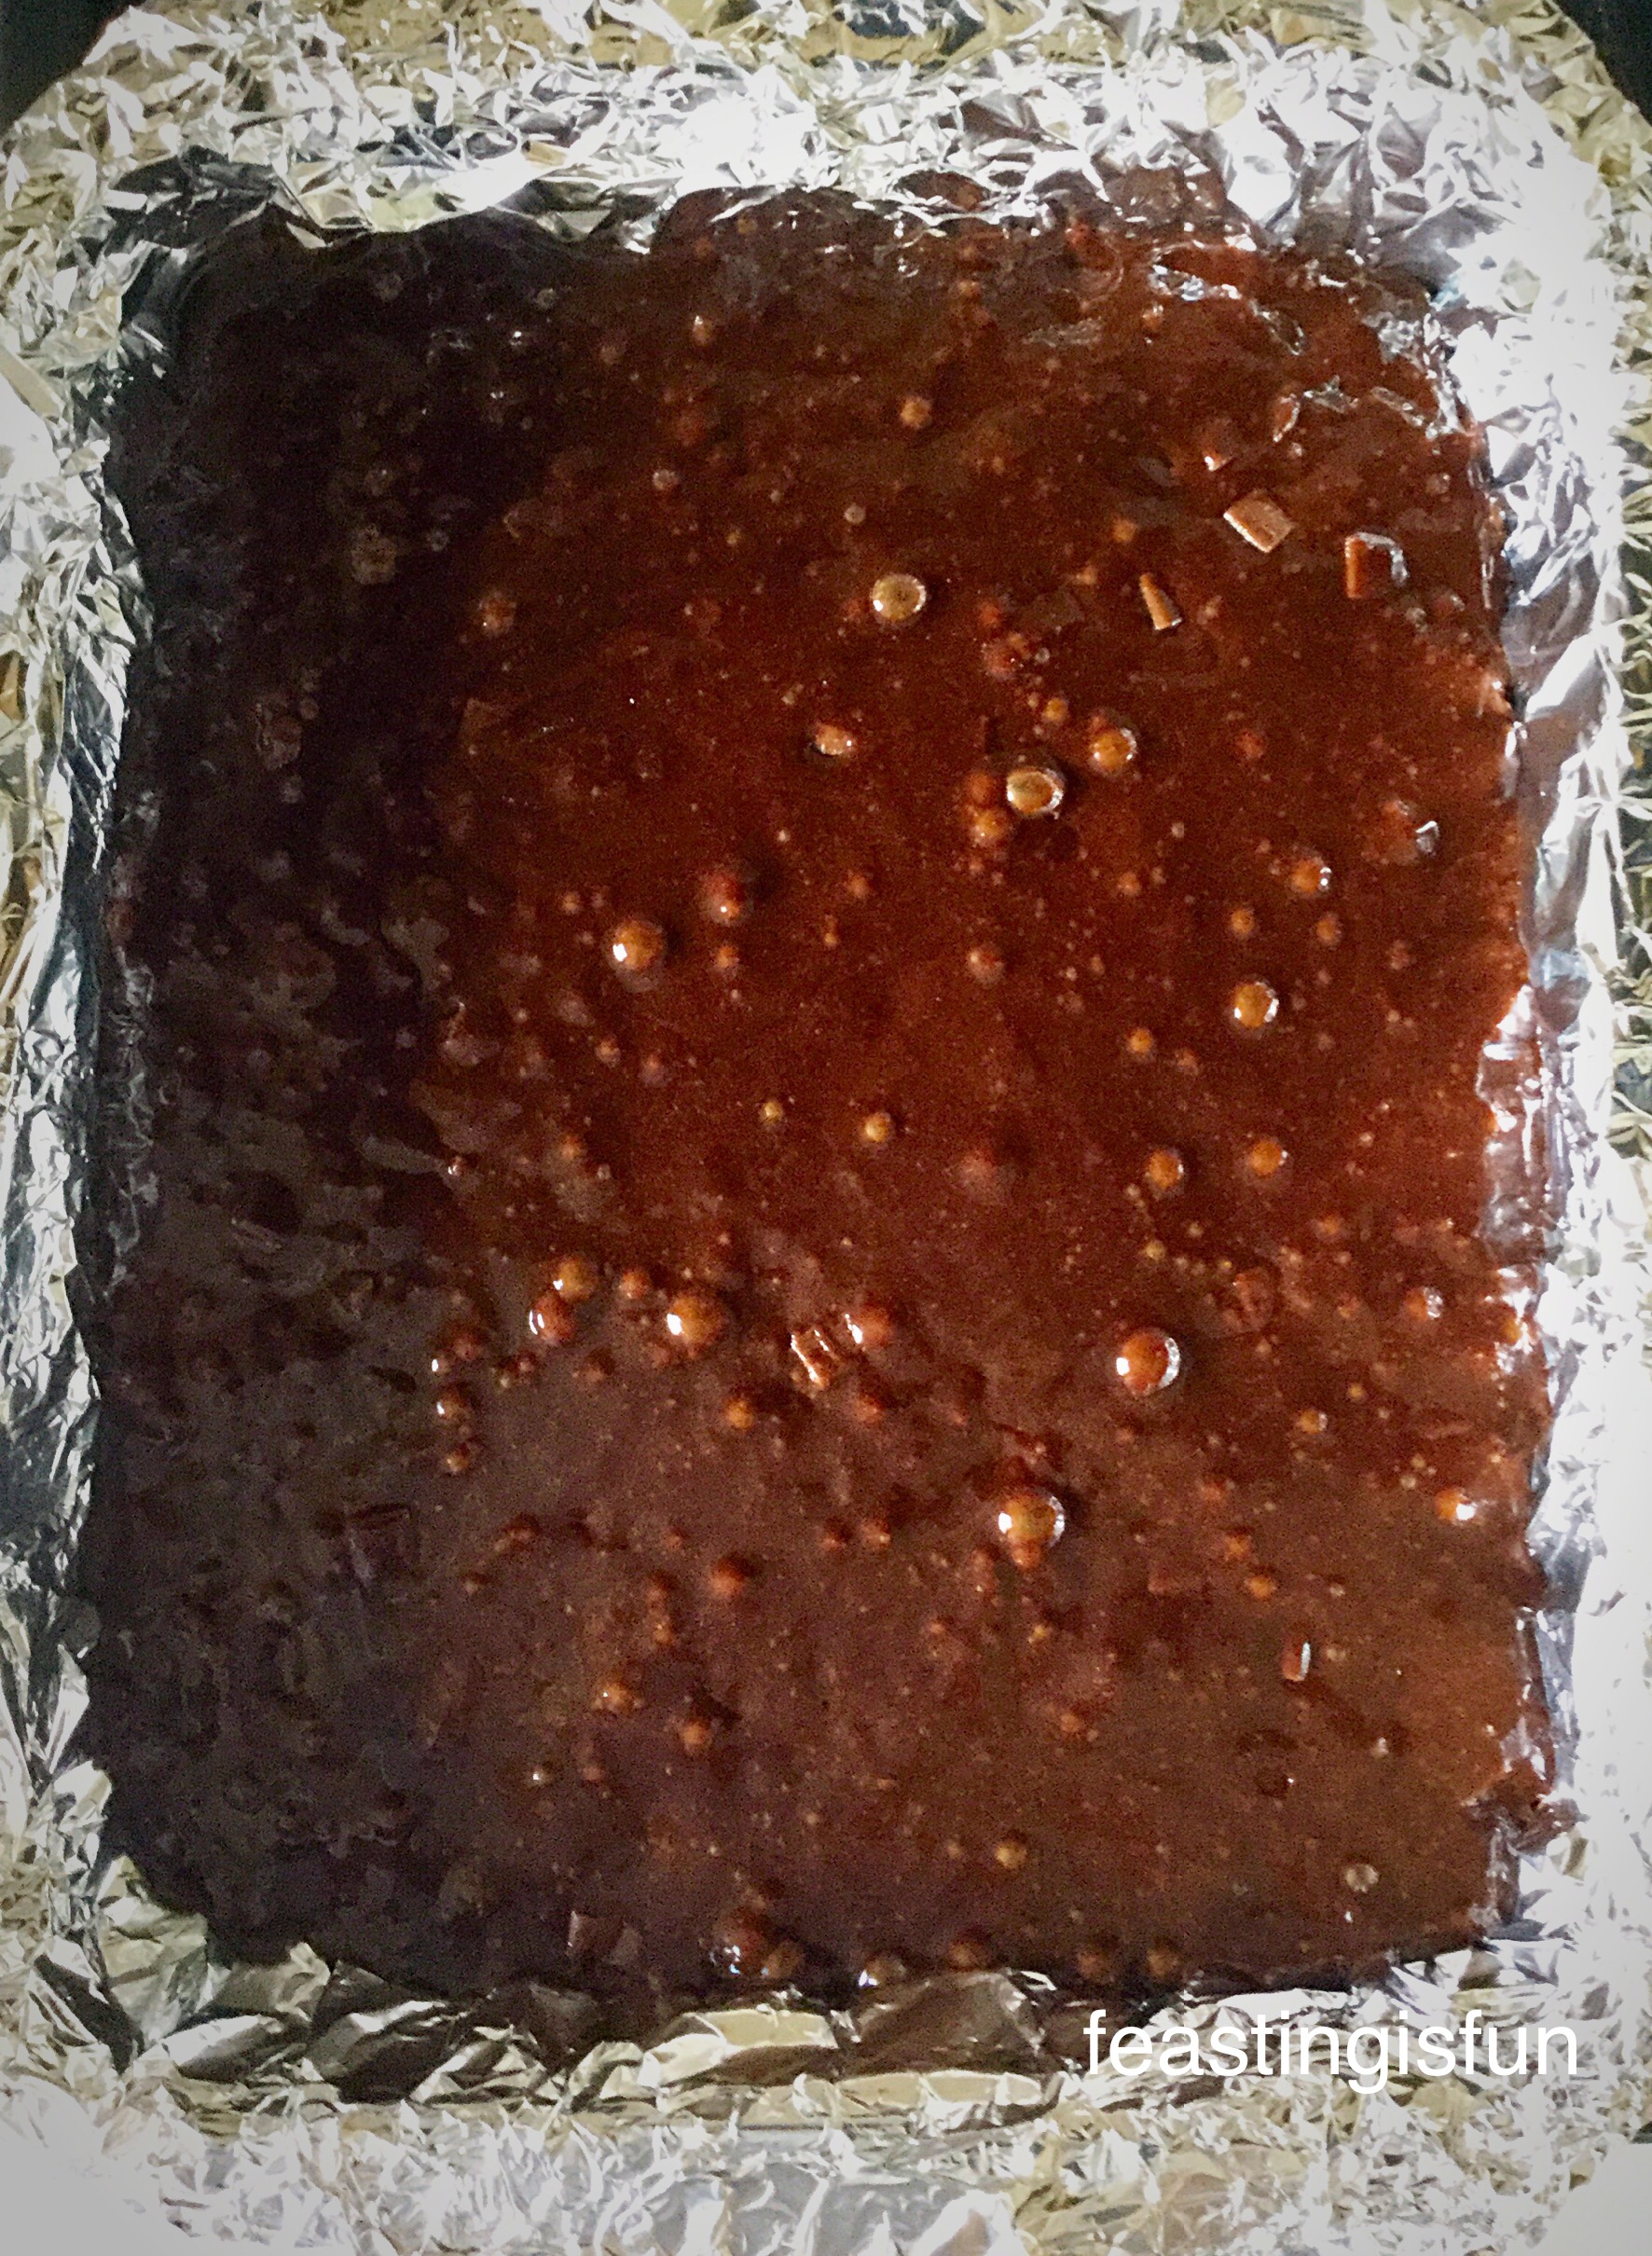
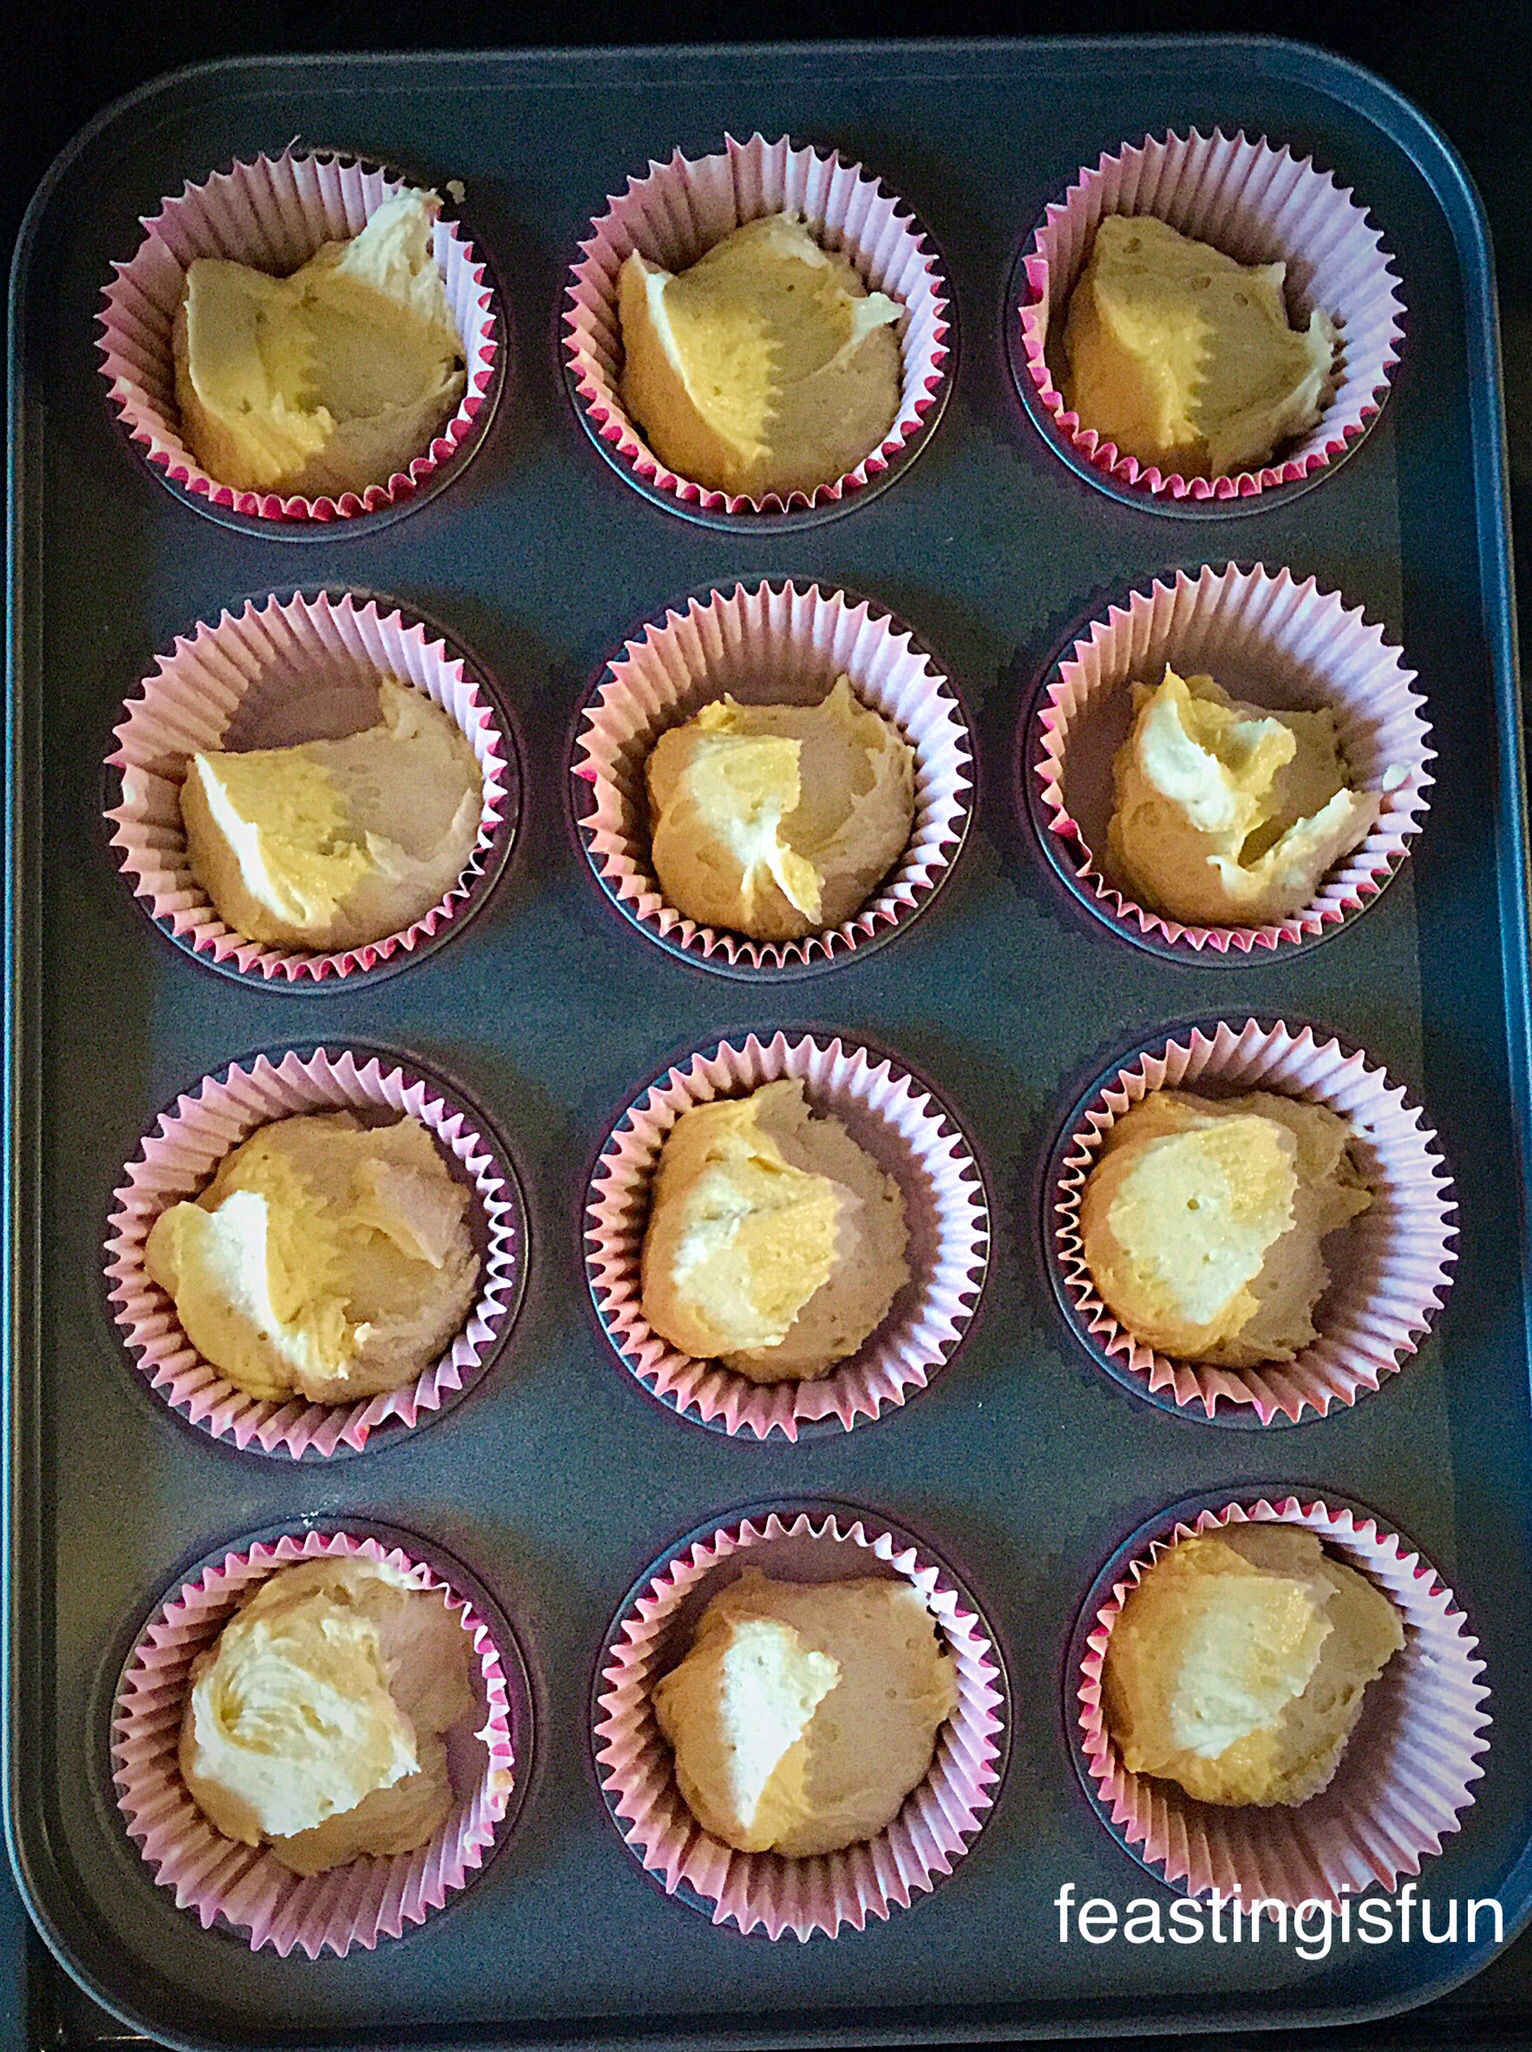
- Pour the chocolate brownie batter into the prepared tin.
- Rap the tin hard on the worktop twice to release any trapped bubbles.
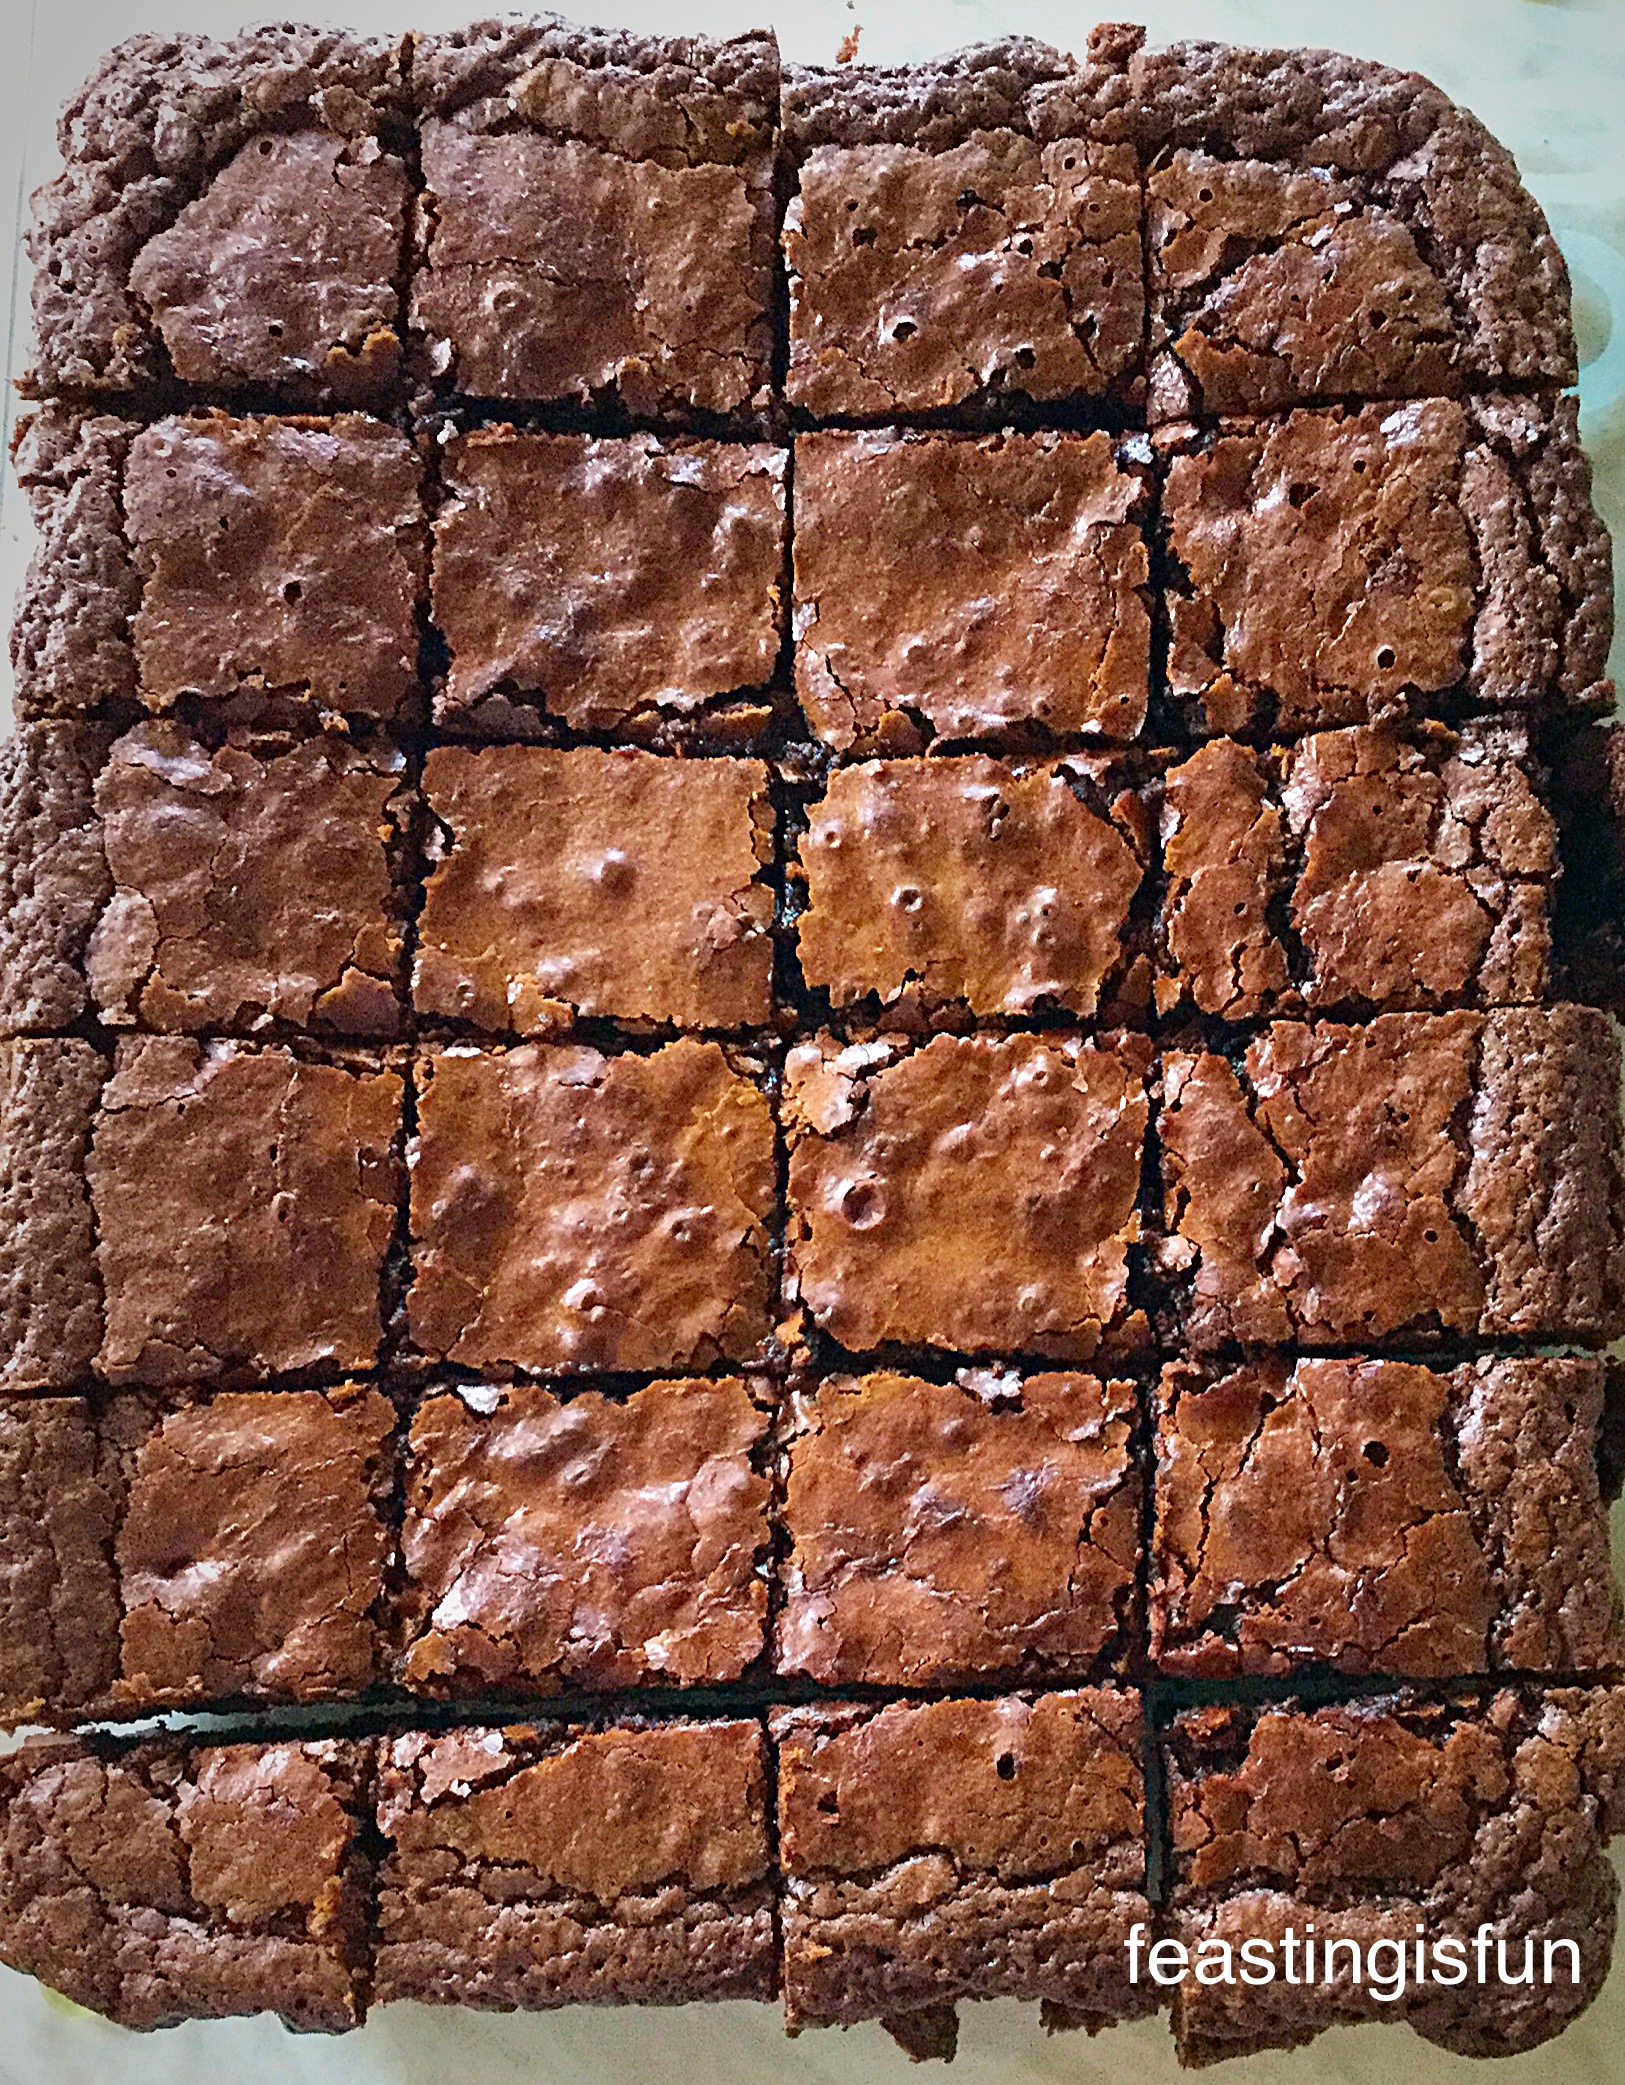
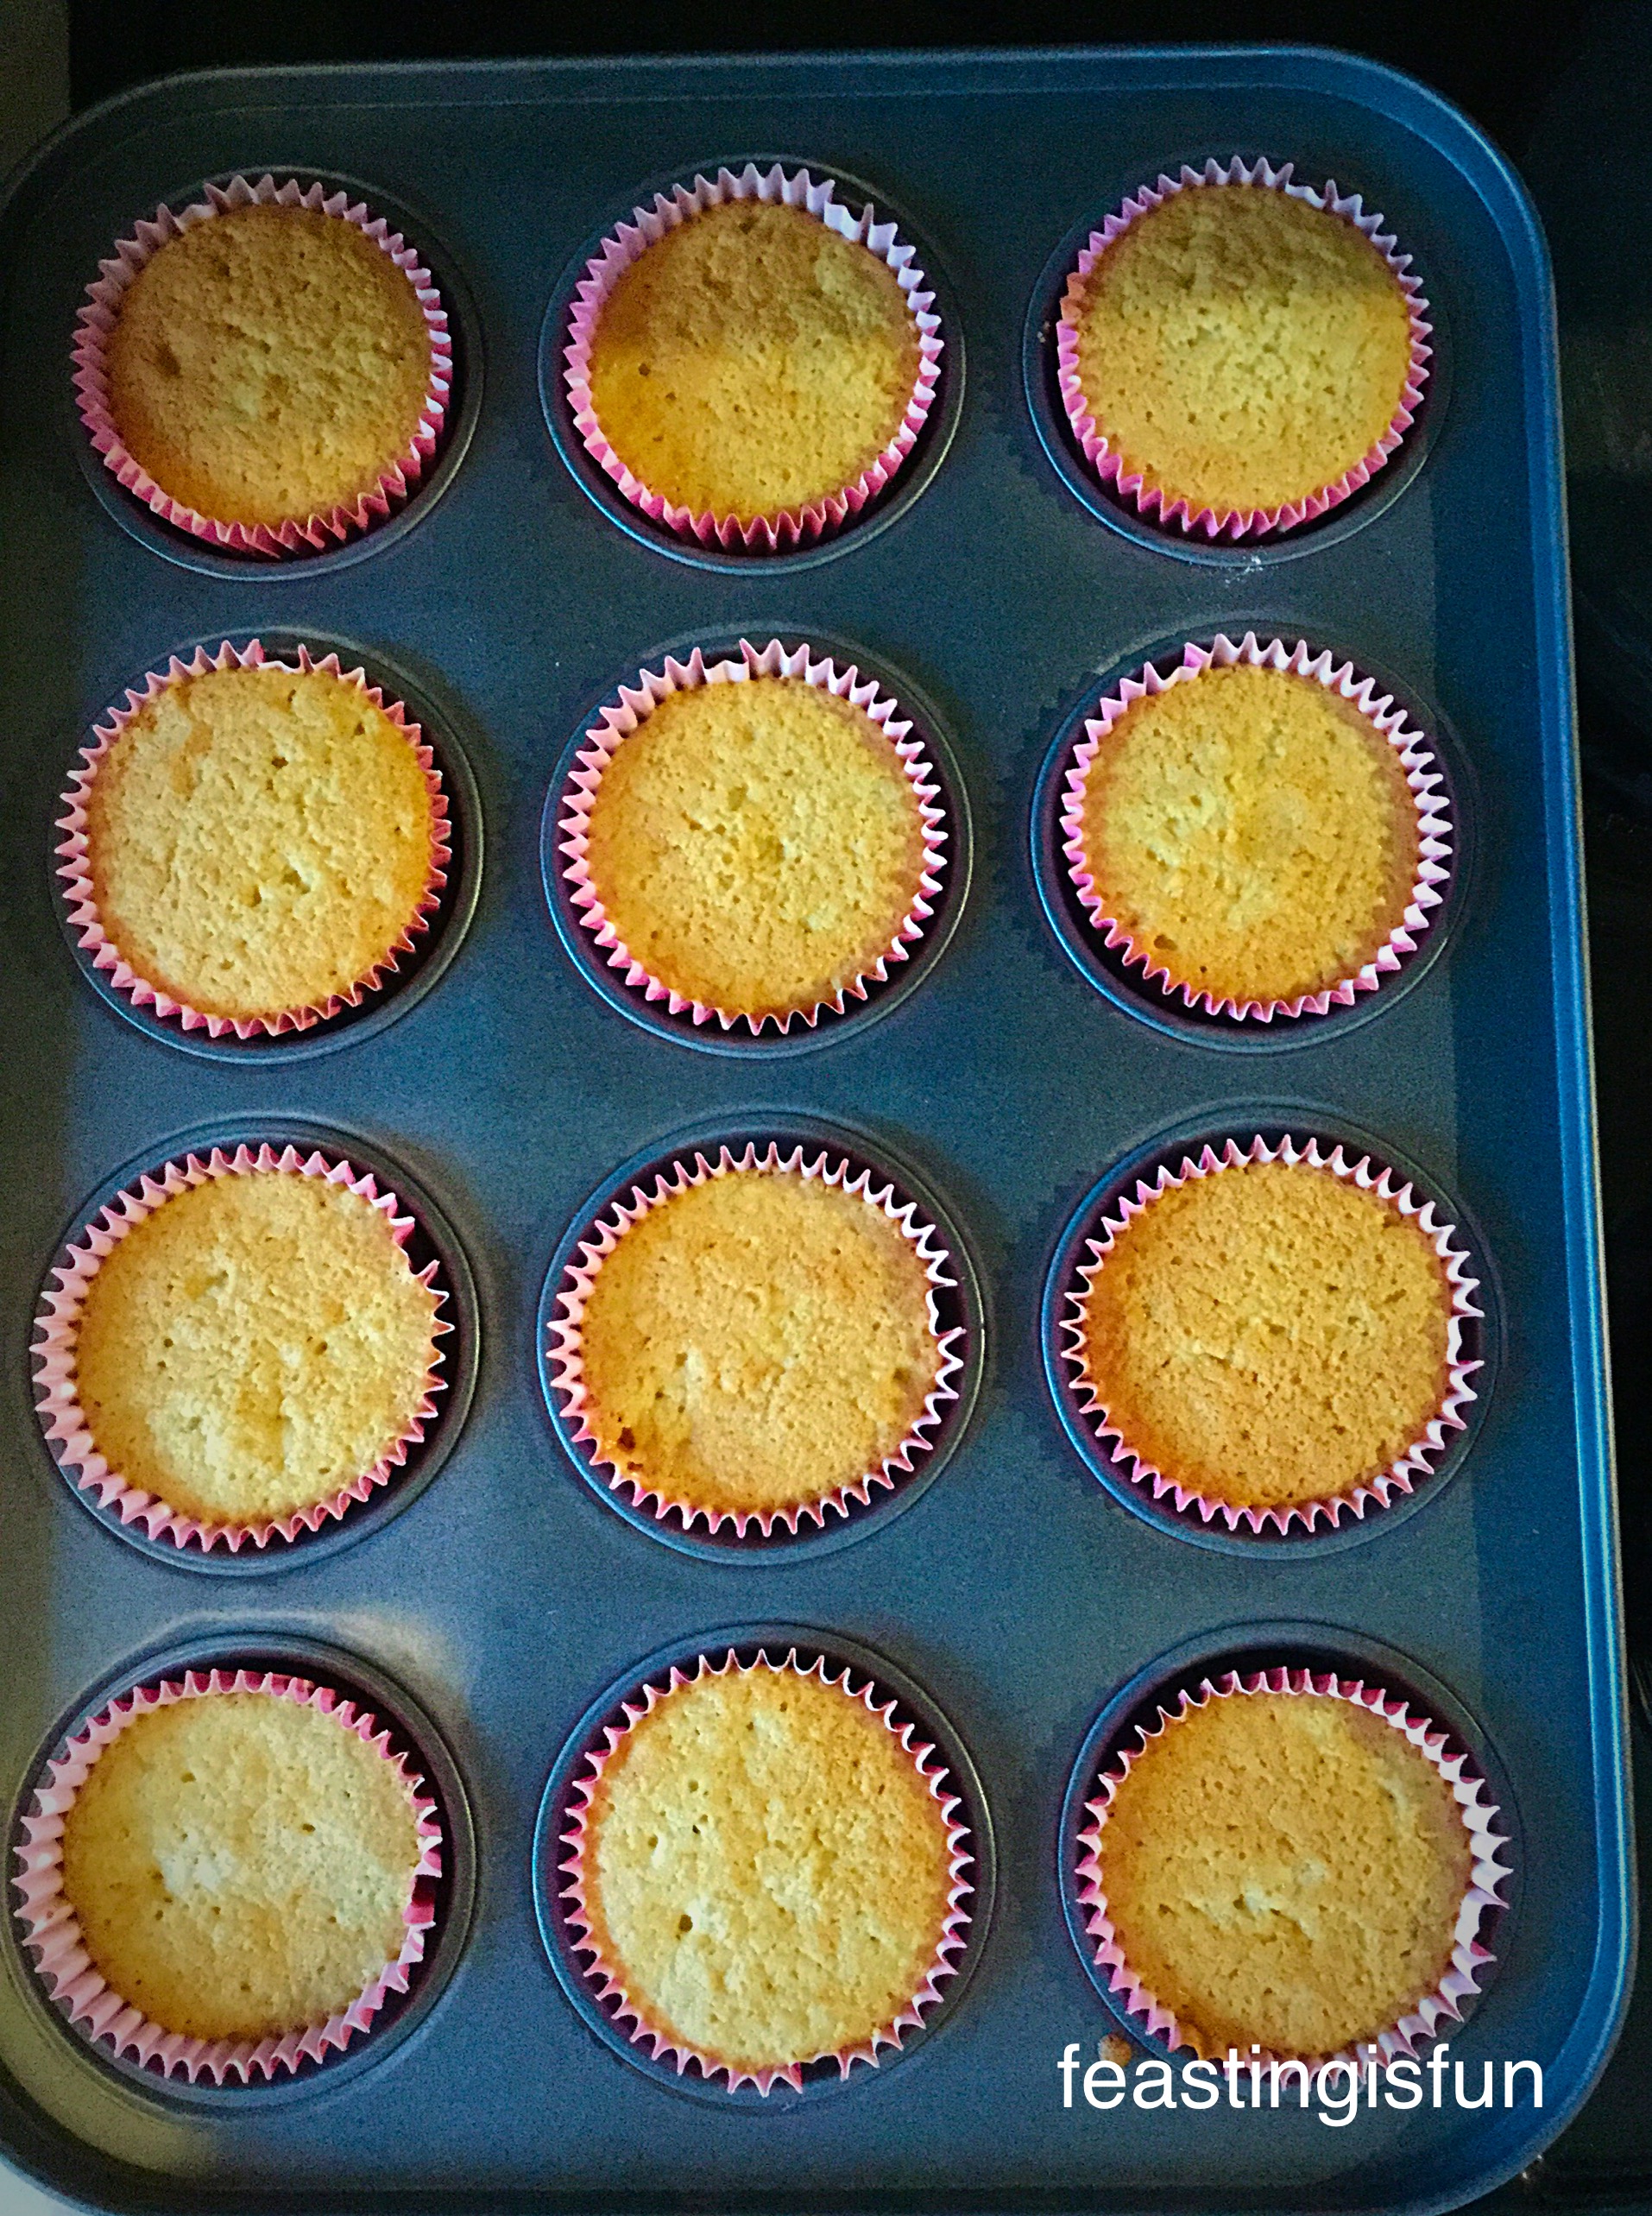
- Place the tin in the centre of a preheated oven and bake for 20-25 minutes. The brownies are baked when the top has set and there is a very slight wobble in the centre. Over baking the brownies will cause them to be dry, instead of rich and fudgy.
- As soon as the brownies are baked remove from the oven and leave to cool completely in the tin. Any cracks or crackles on the surface of the finished bake will close on cooling. Also the top is to be decorated and so they will be covered!

- As soon as the brownies have cooled they are ready to be cut and decorated.
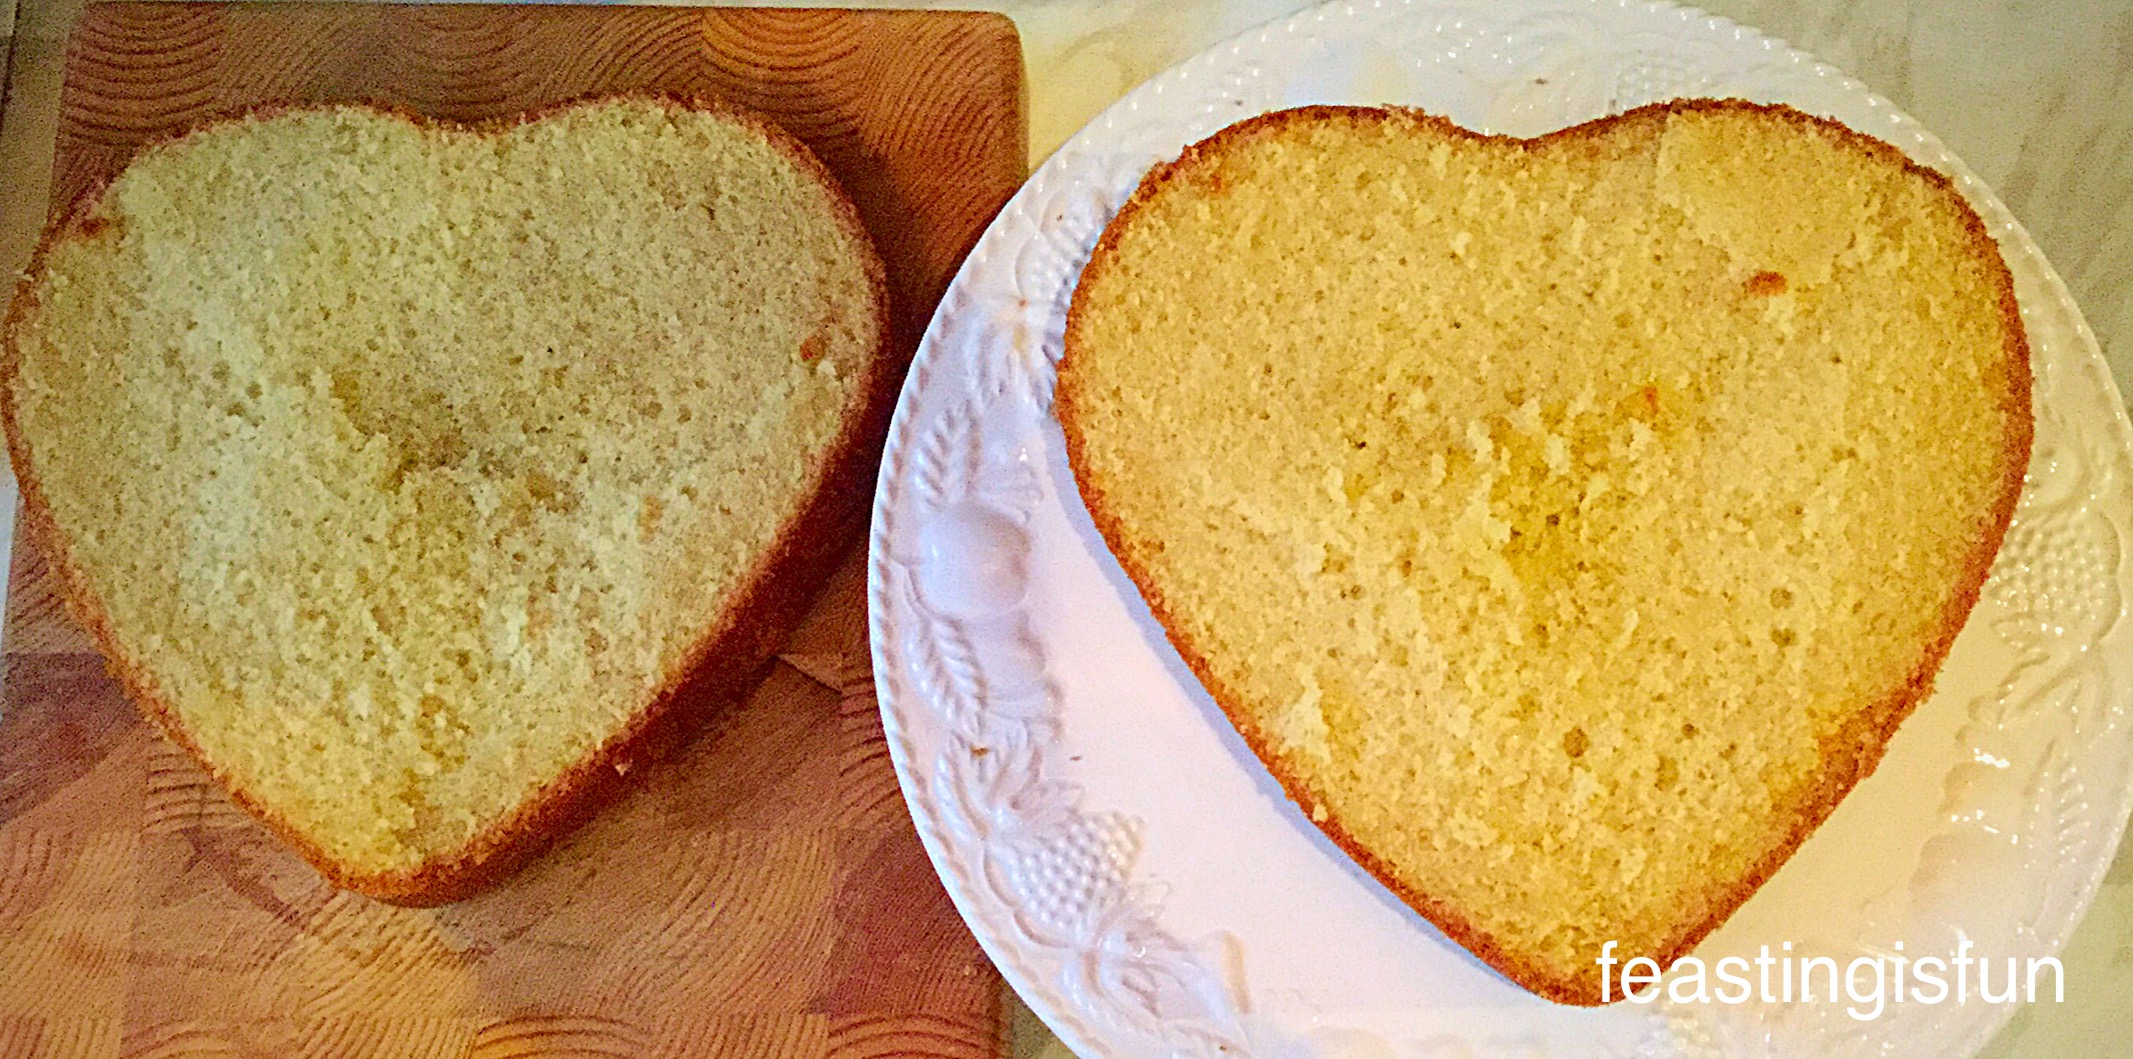
- First of all using the baking parchment lift the brownie slab from the tin and place on a board.
- Use a palette knife, run the flat side between the base of the brownie and the baking parchment.
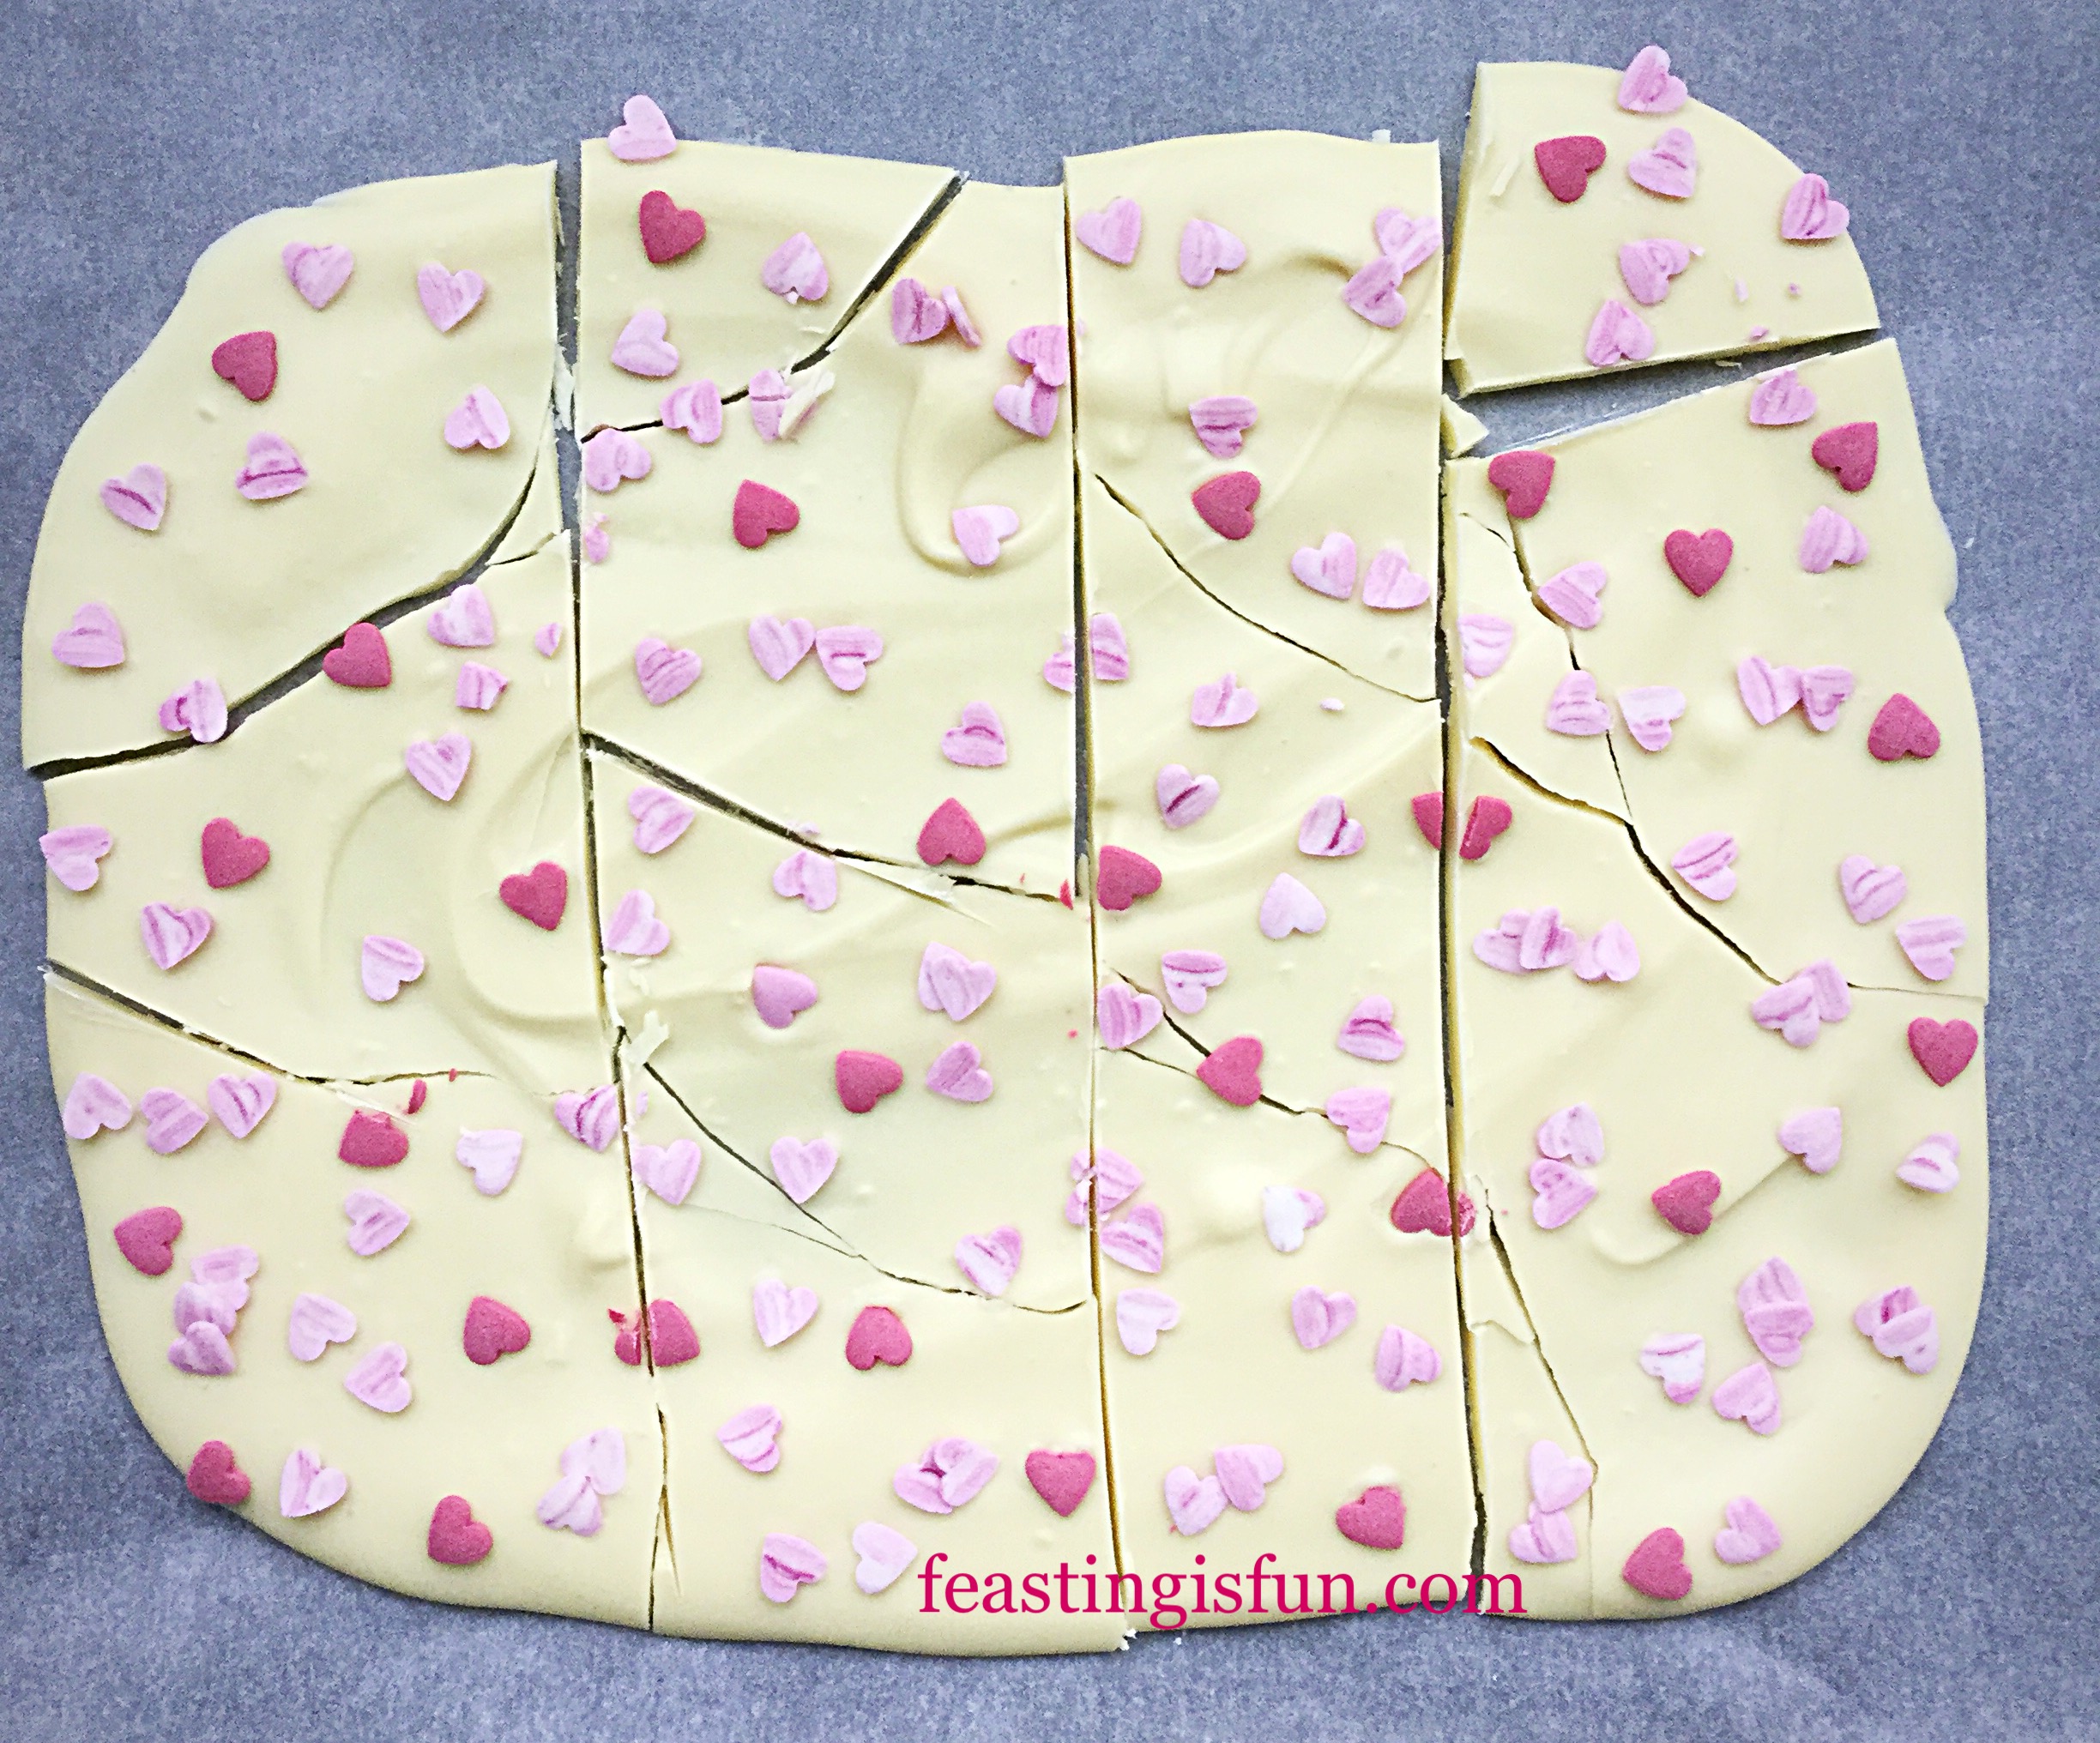
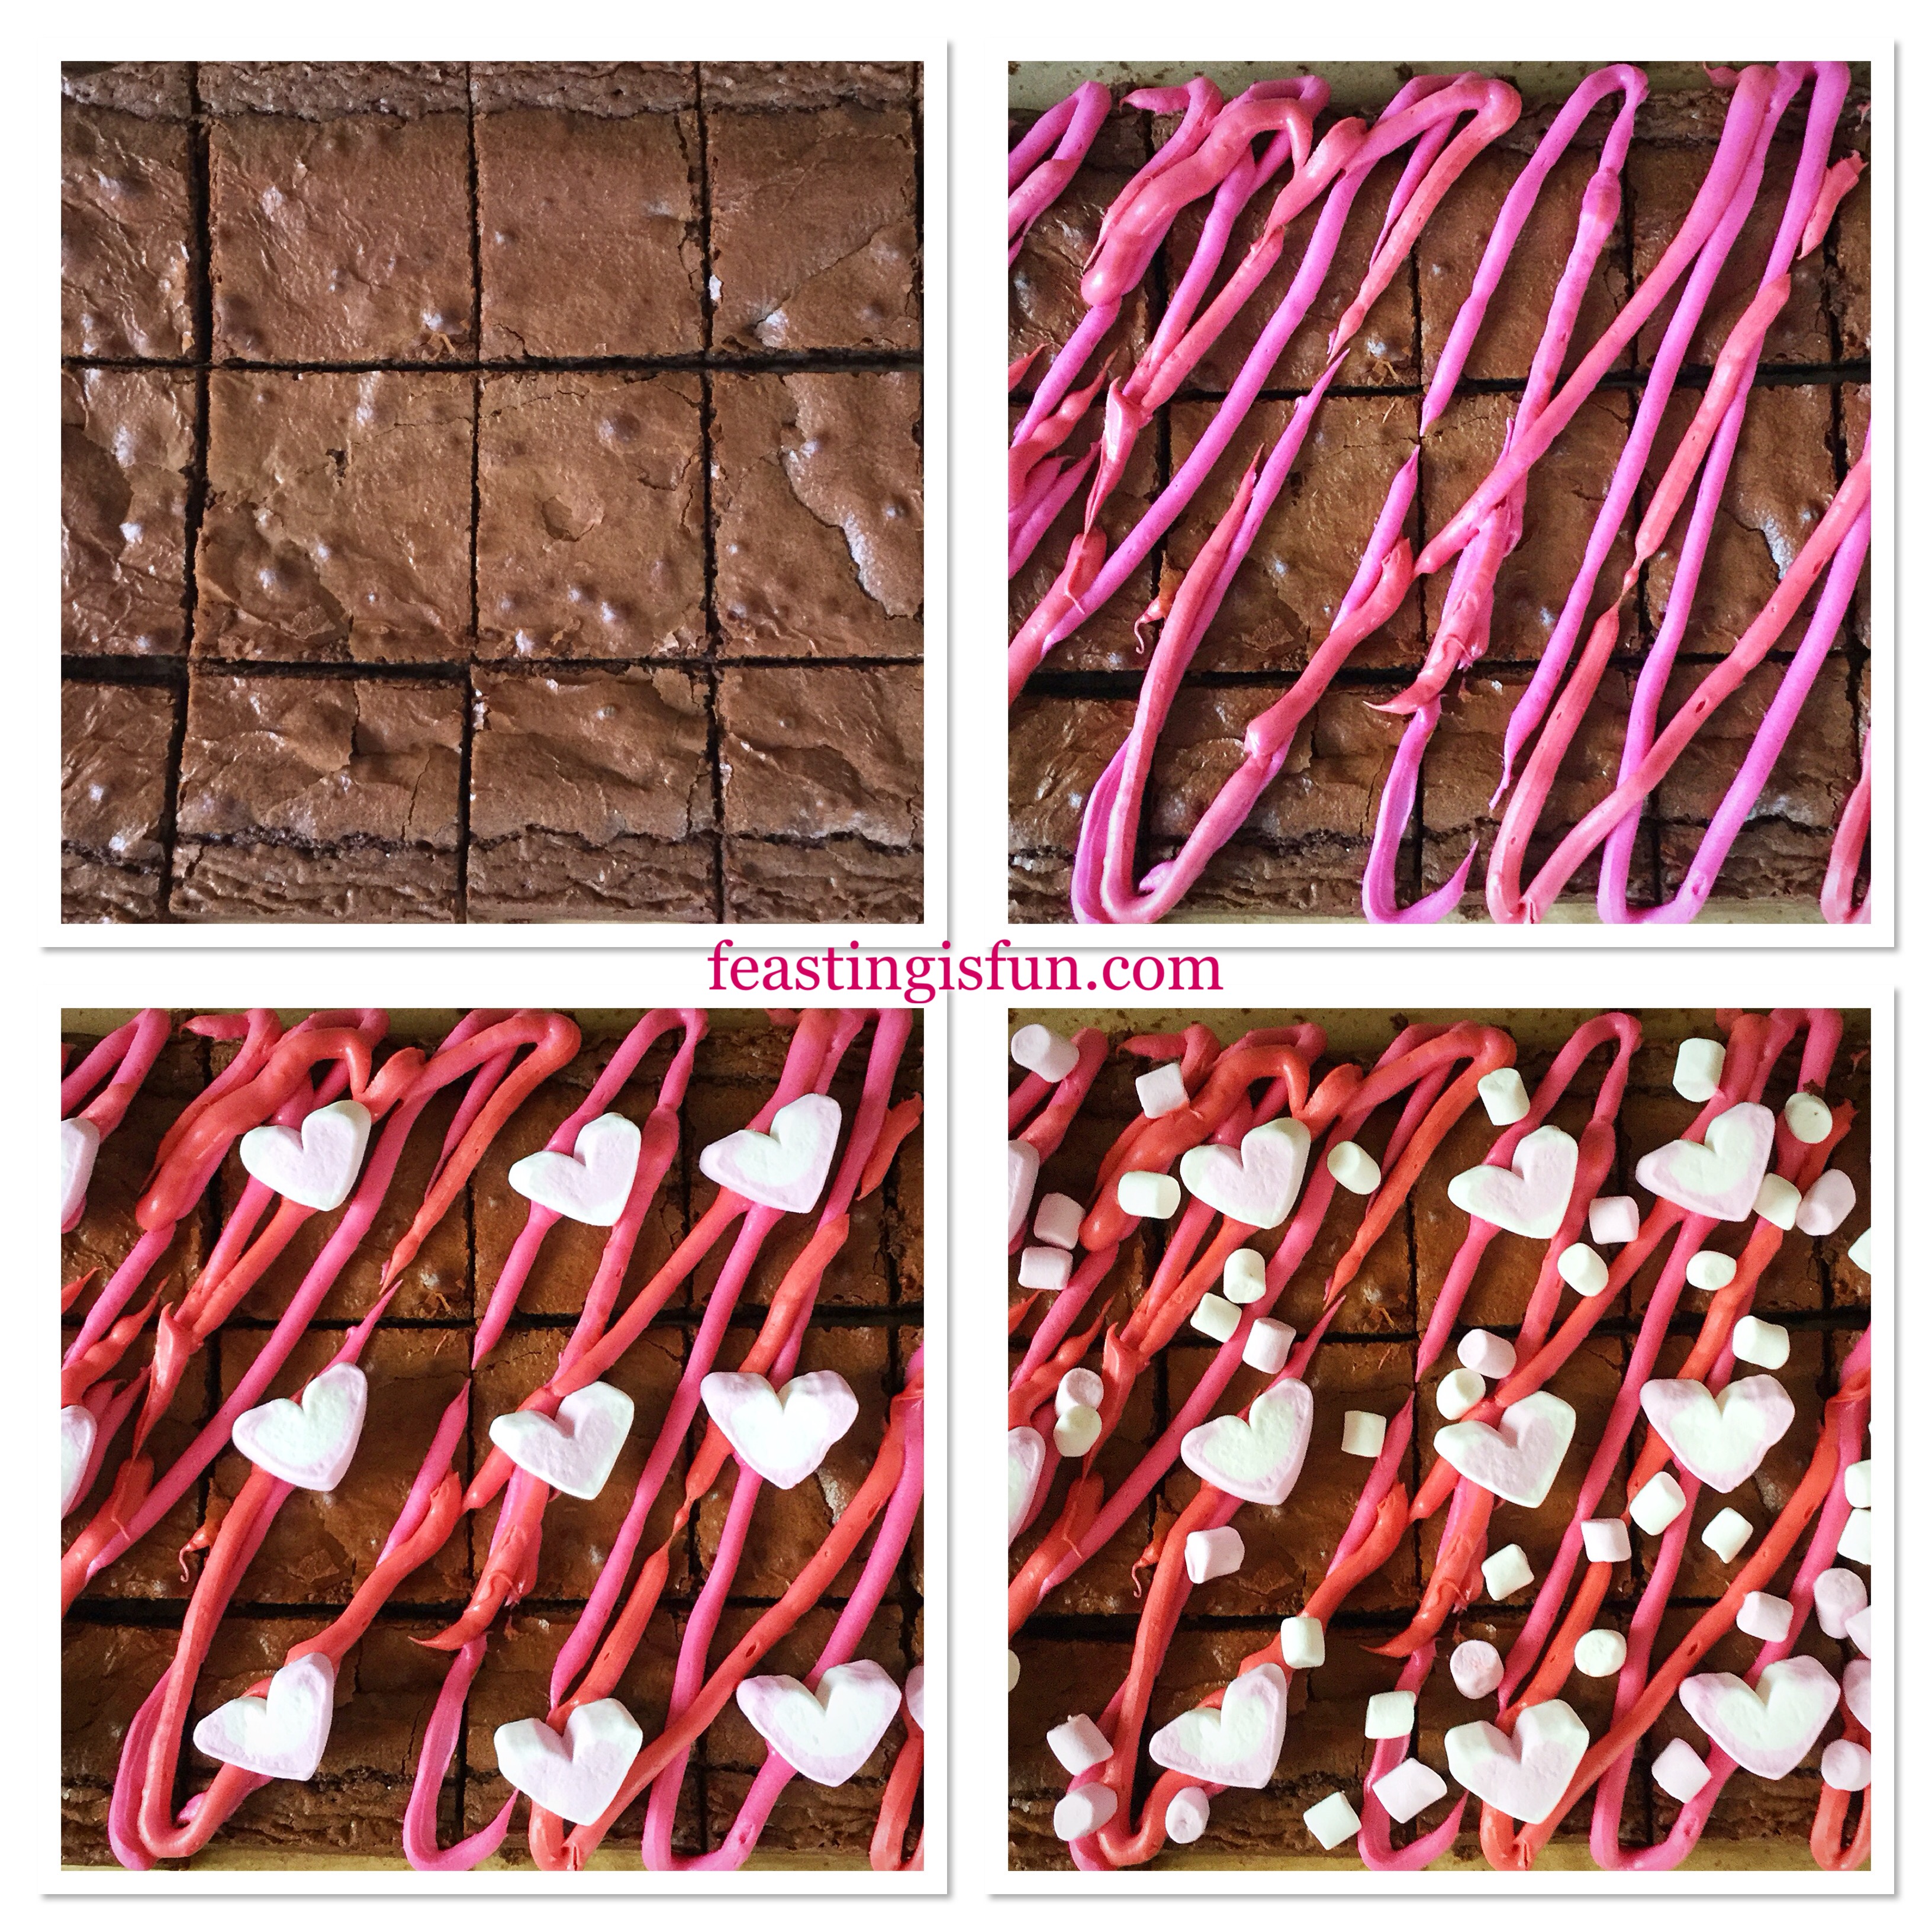
- Cut across the brownie in three equal portions. Now cut downwards five times, creating fifteen equal sized brownie squares. Alternatively cut the brownies into smaller portions.
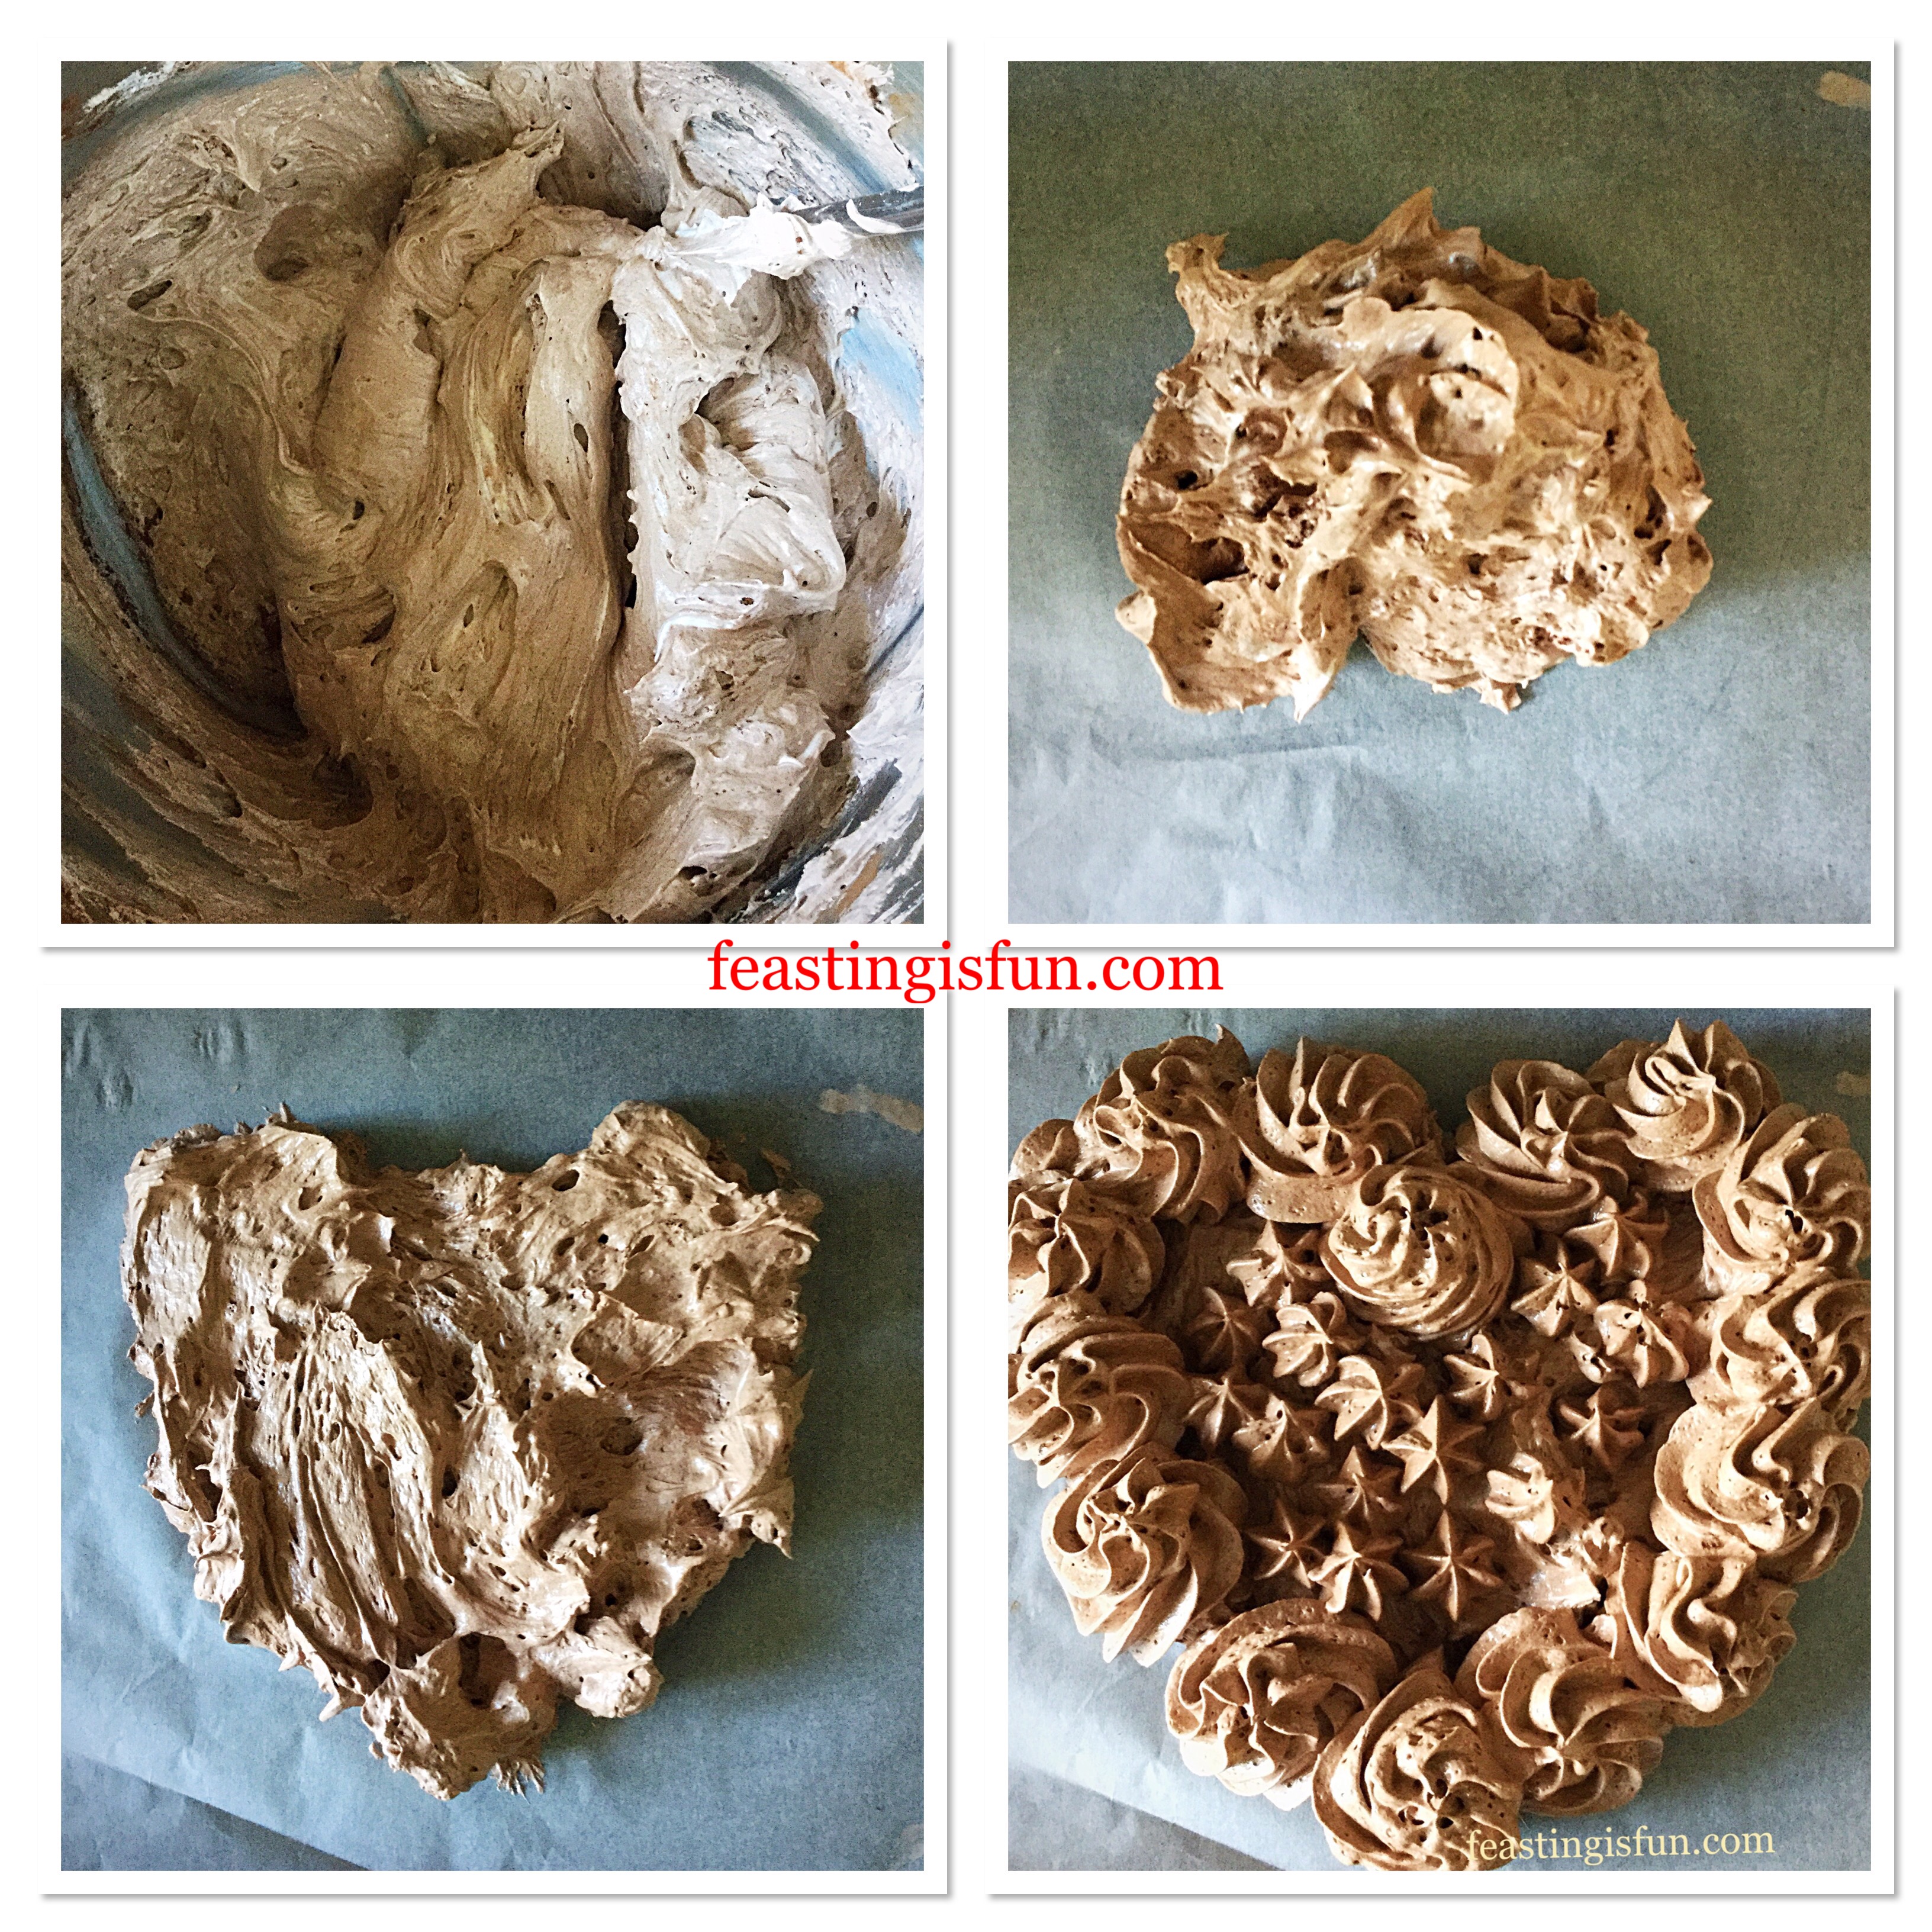
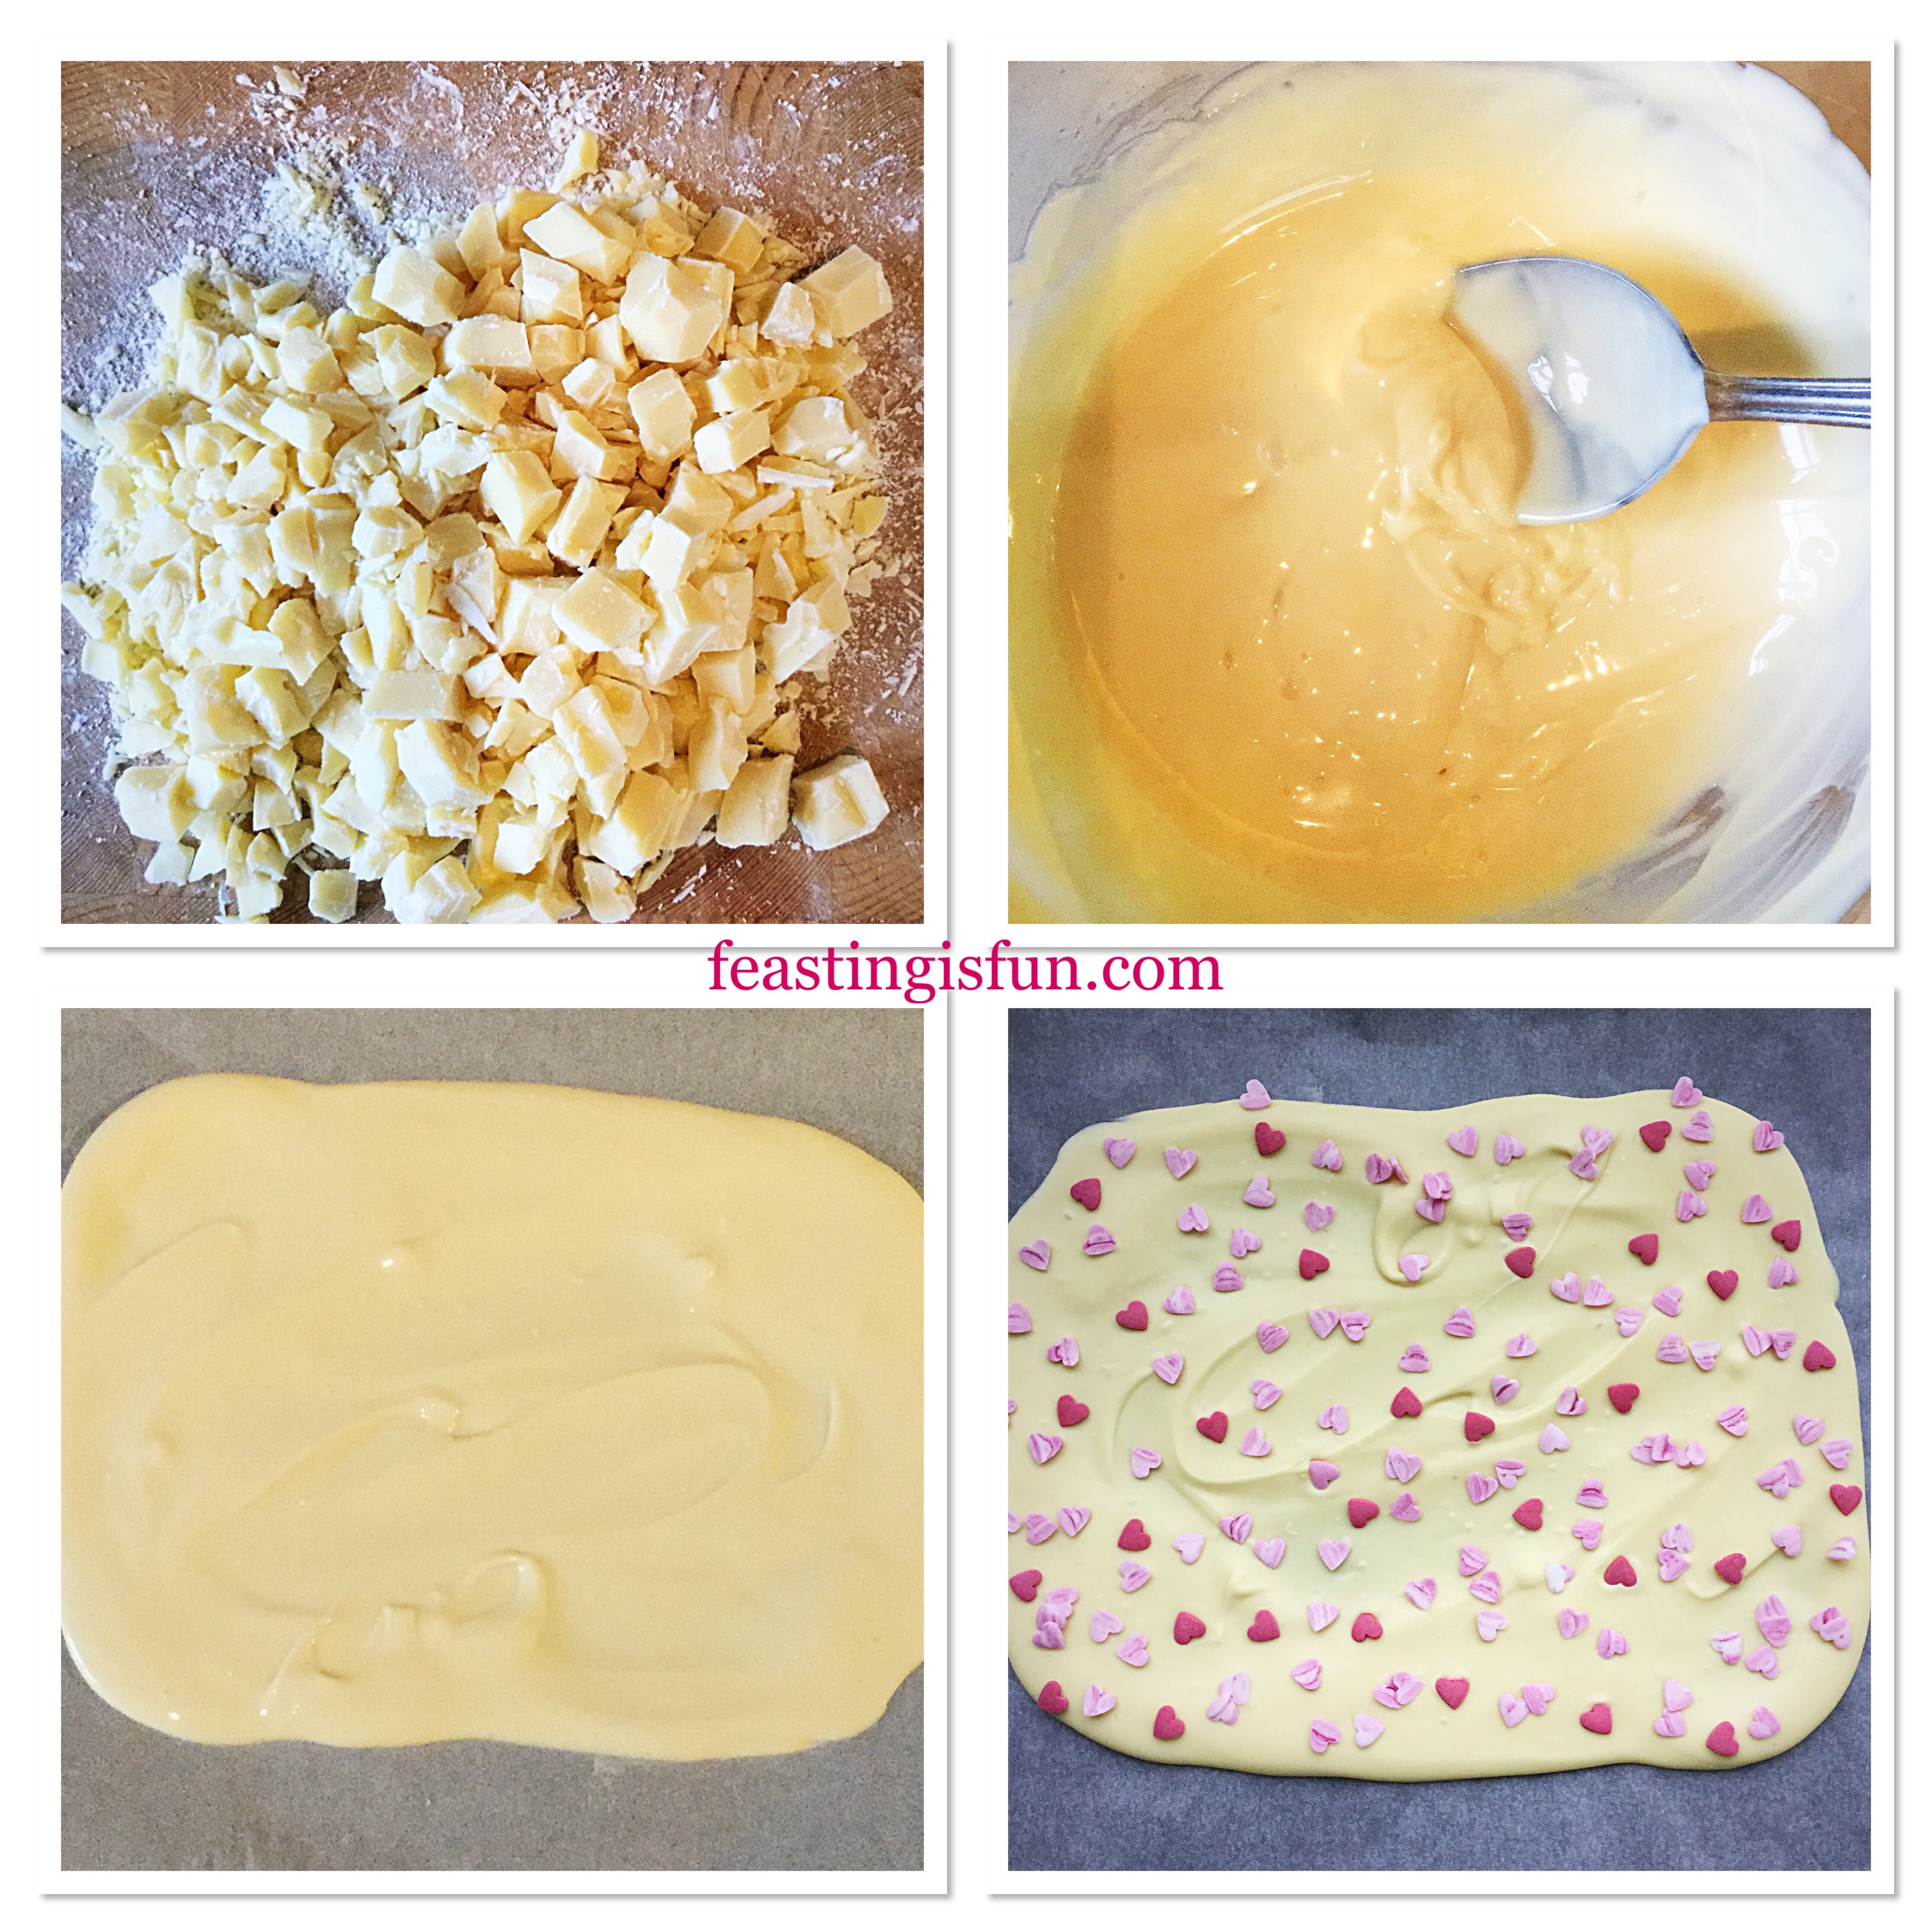
- Into three separate, heatproof and microwaveable bowls add the coloured rainbow melts and broken up white chocolate. Since it is easy to overheat white chocolate and especially the melts, heat each bowl separately in short bursts, stirring in between. As soon as the rainbow melts, or white chocolate start to melt remove from the microwave, stirring constantly until completely melted.
- Decant each separate colour into a small, disposable piping bag. Just prior to using cut a small opening at the tip of the bag.
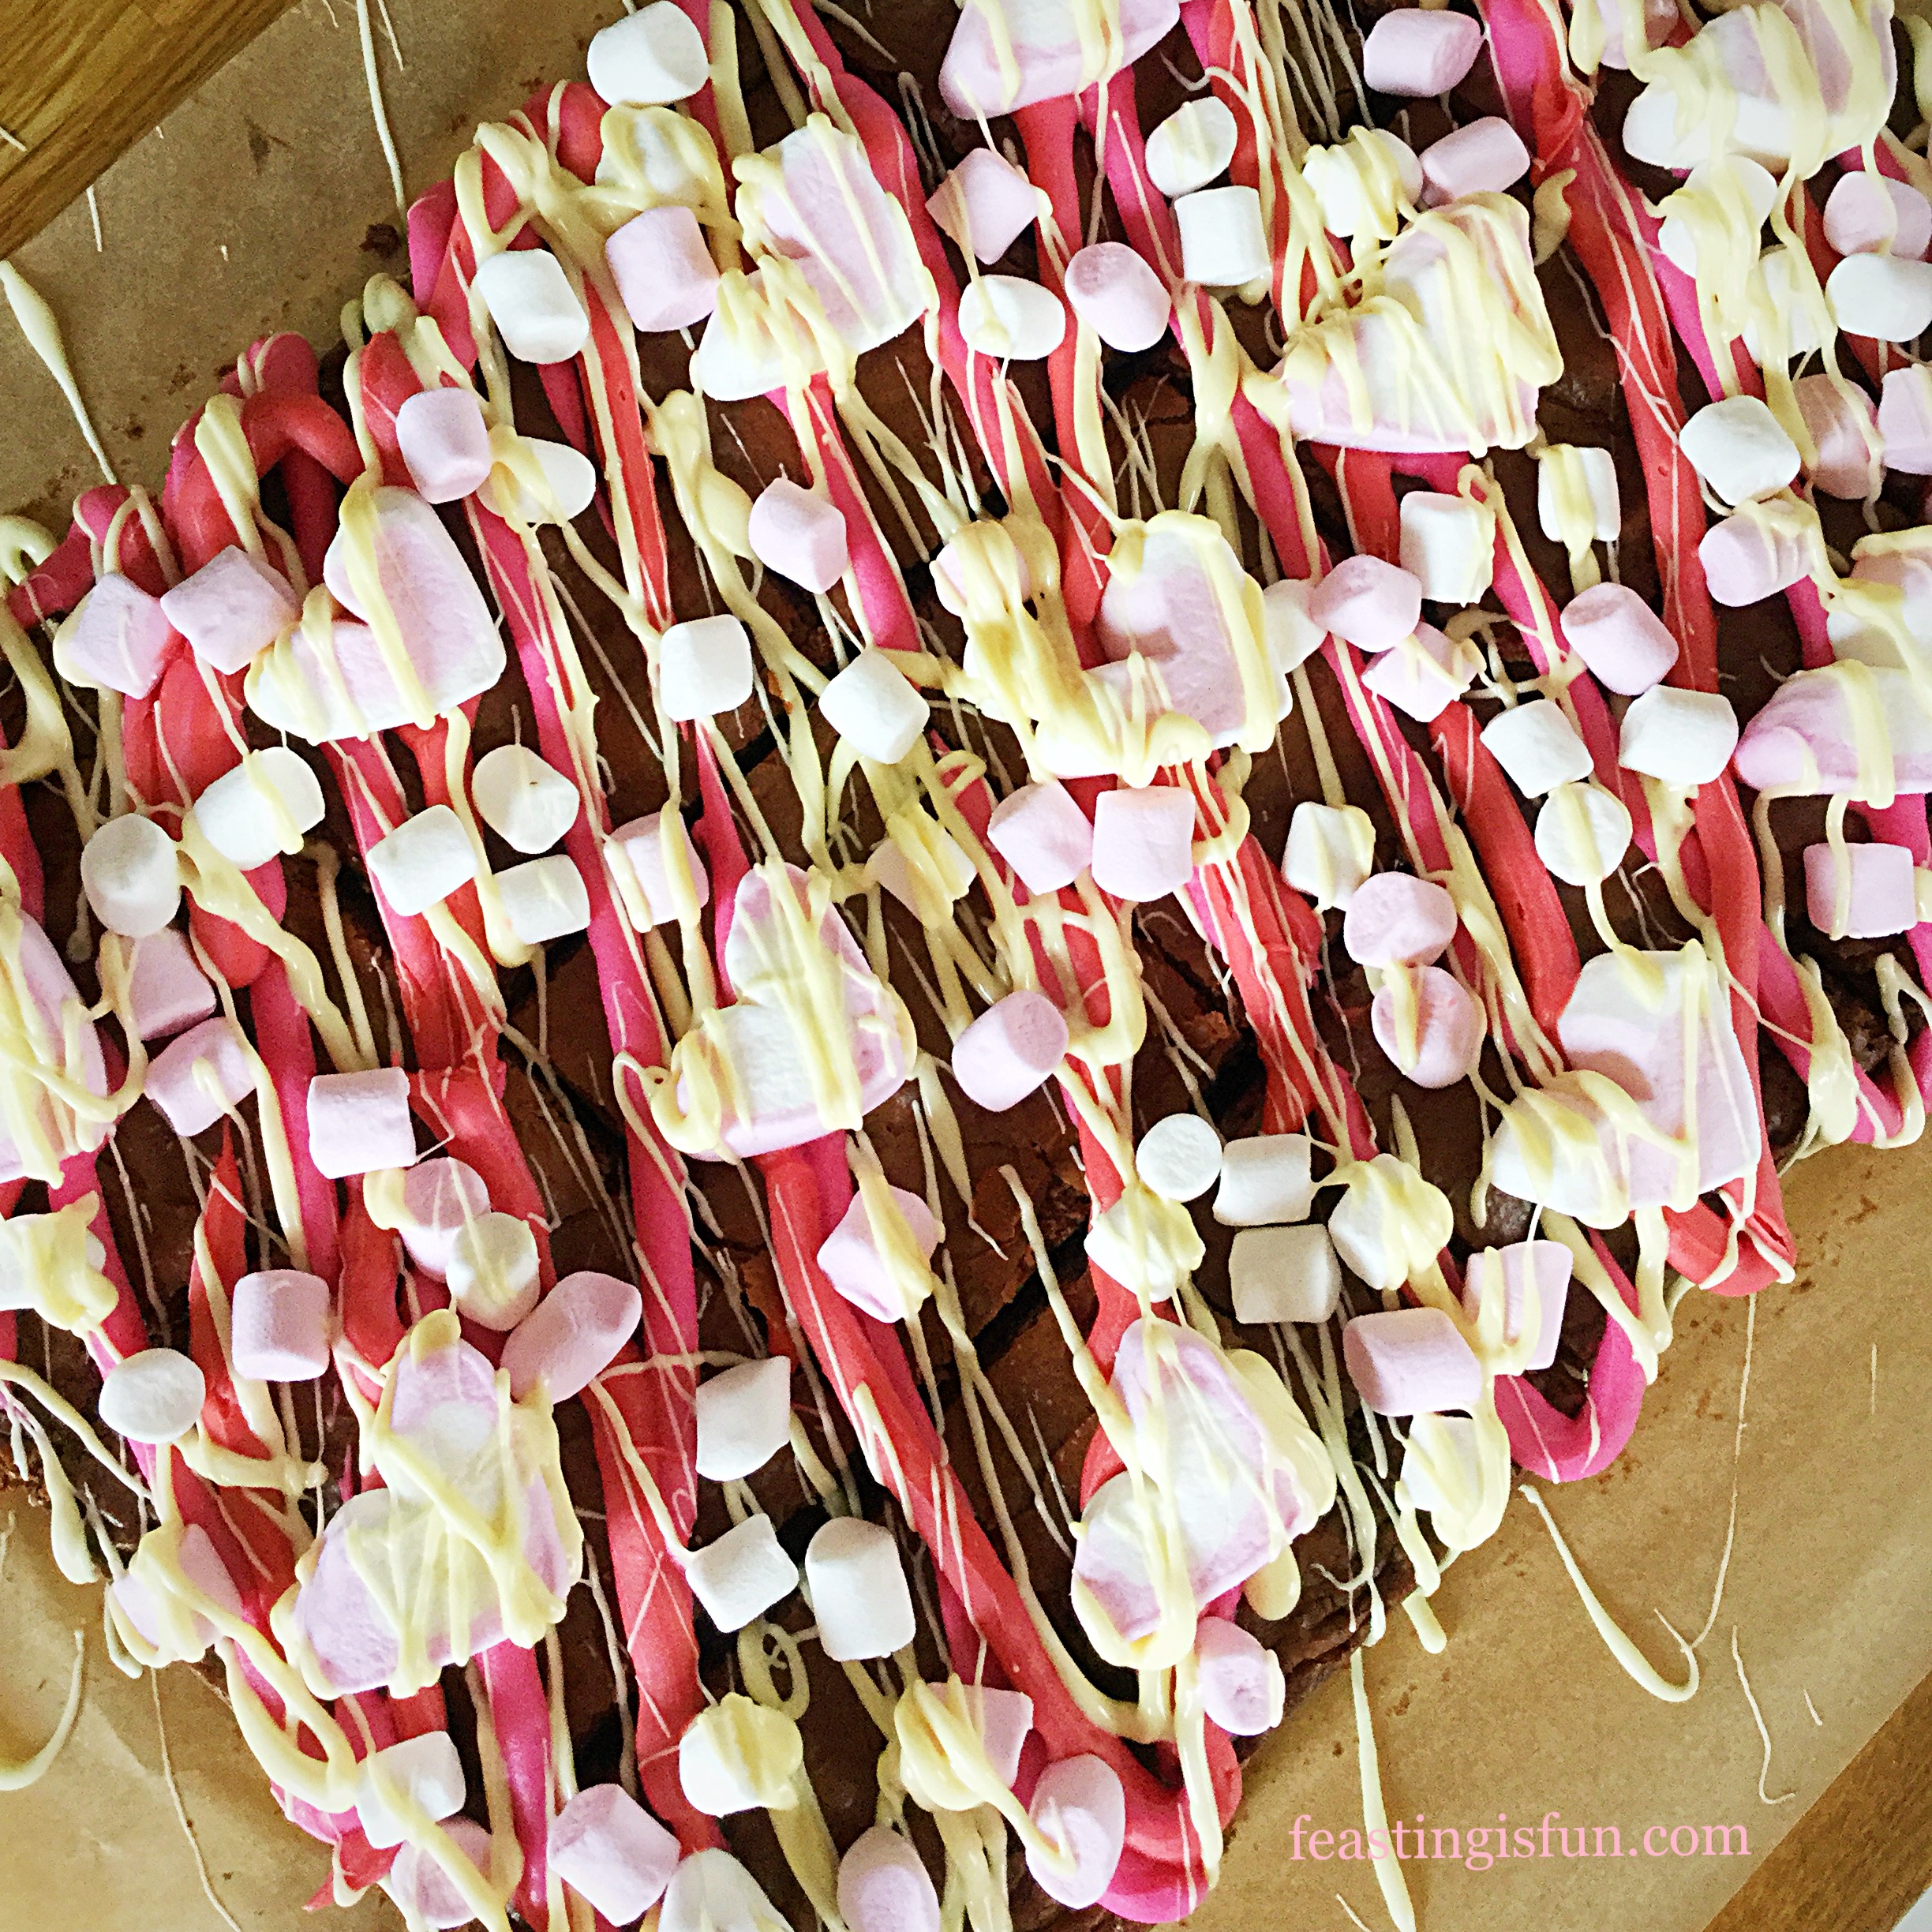
- Starting with the darkest colour first pipe across the brownies in a diagonal fashion. Continue piping with the next colour, reserving the white chocolate for last.
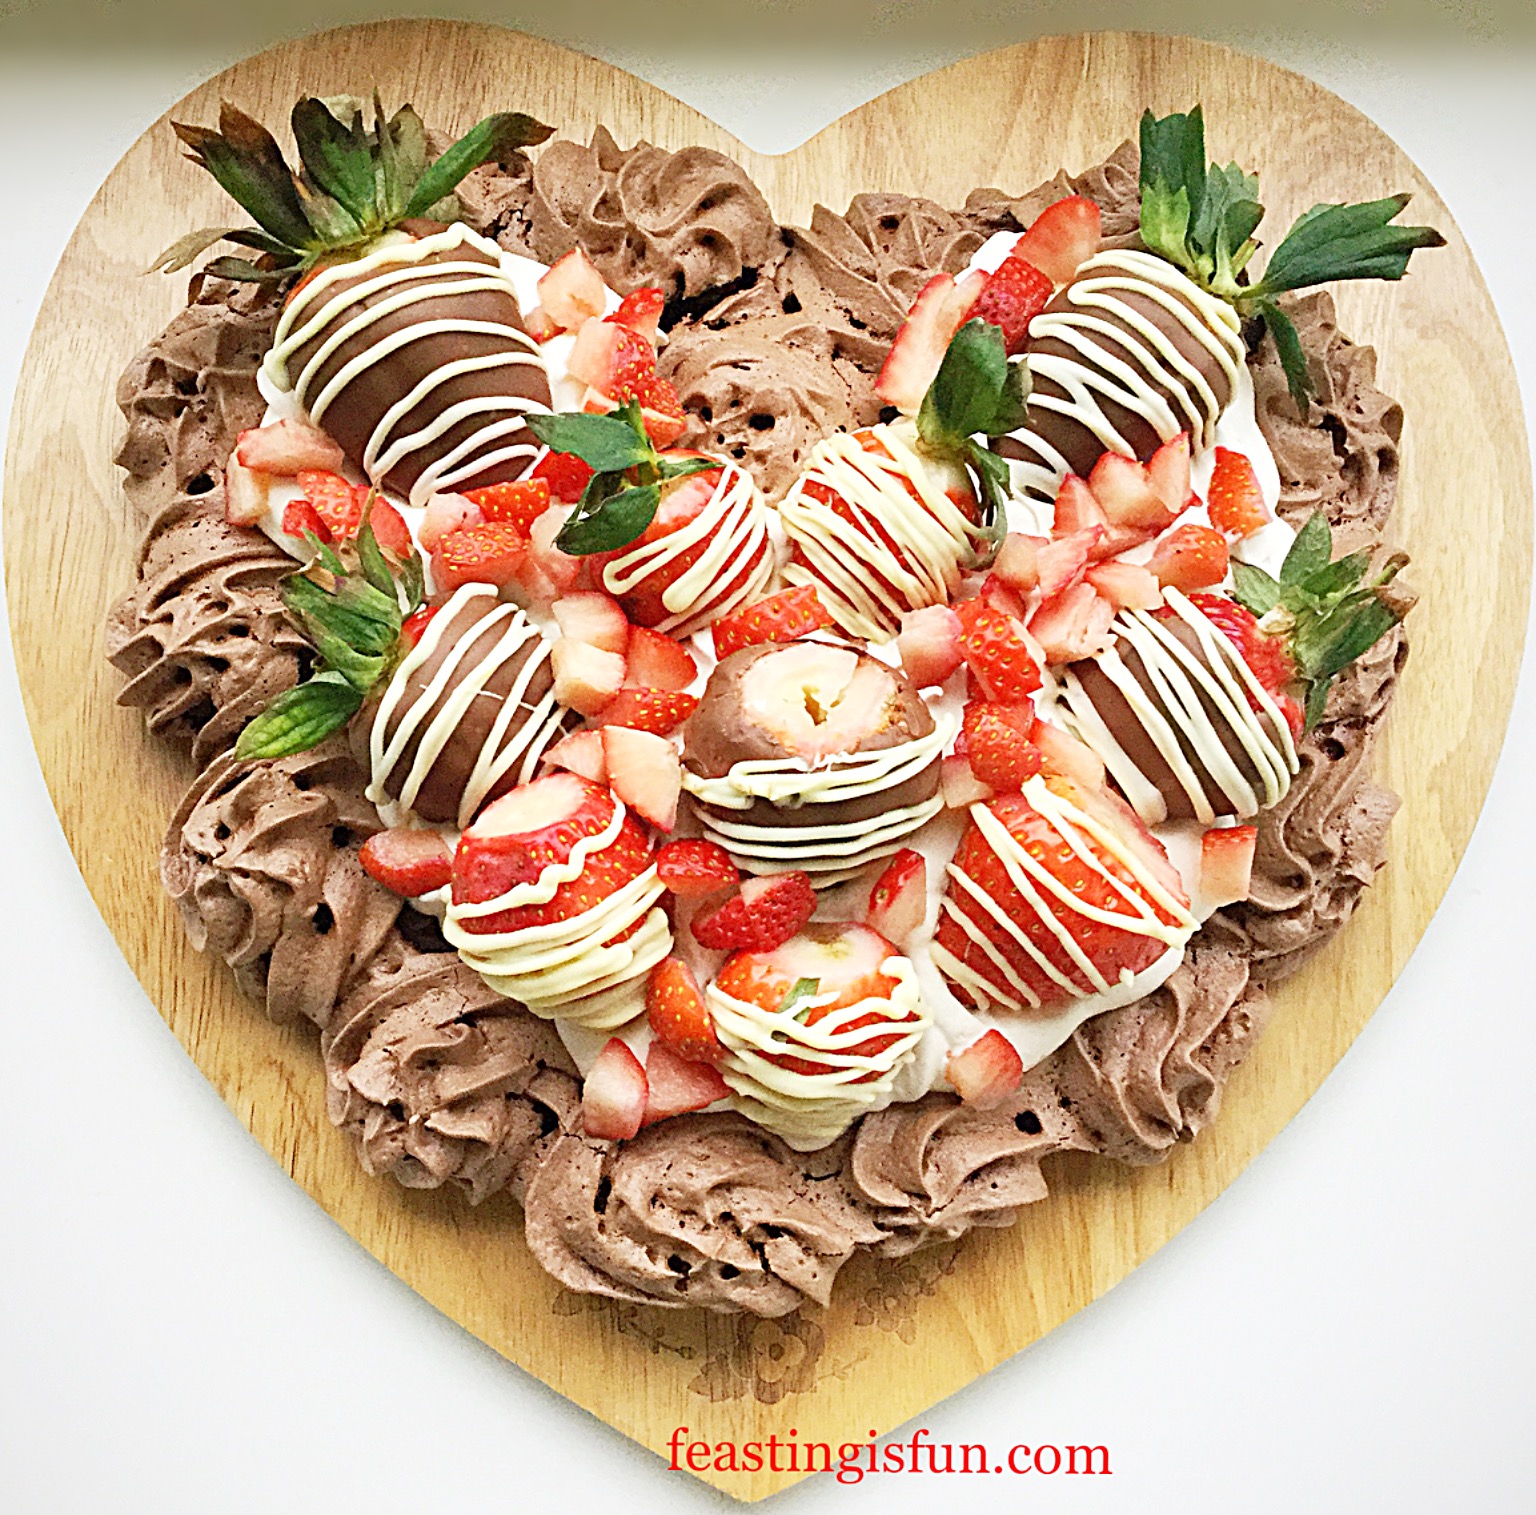
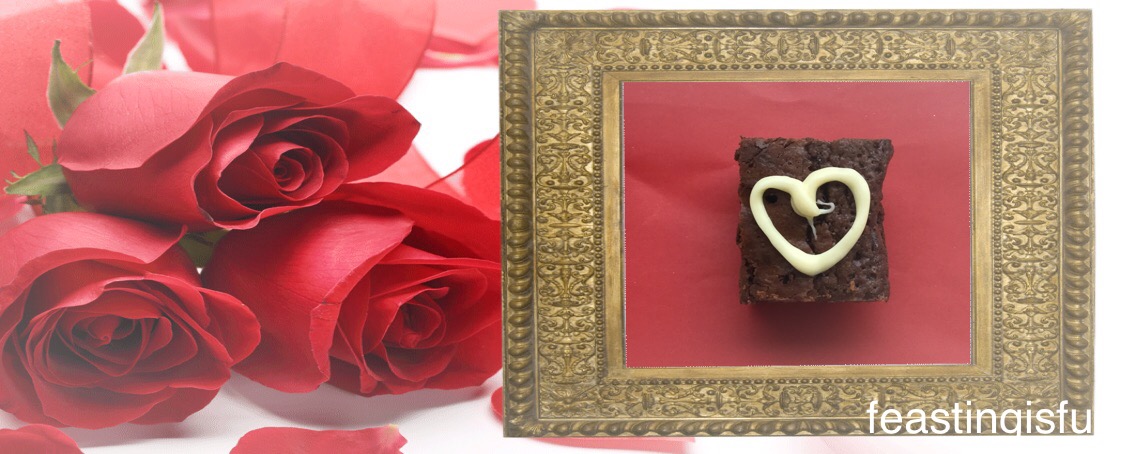
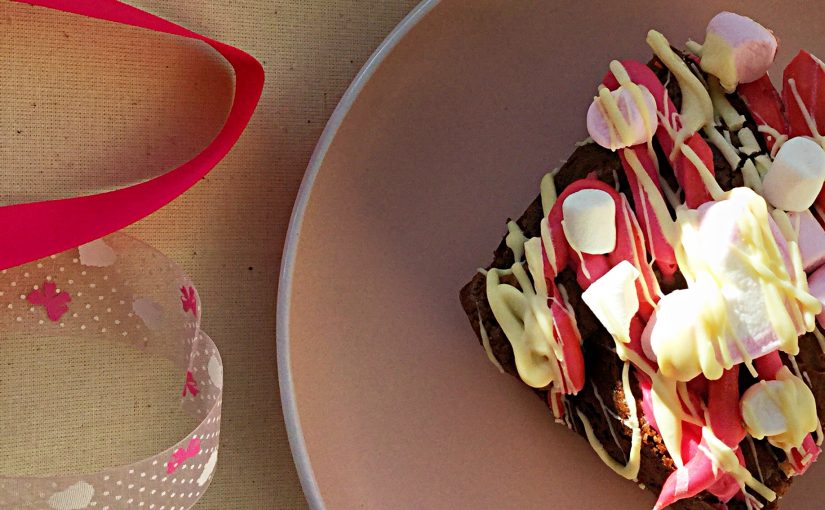
- Place a large marshmallow on to each individual brownie. With Valentine’s Day nearly upon us I used marshmallow hearts. Also sprinkle over smaller, mini marshmallows.
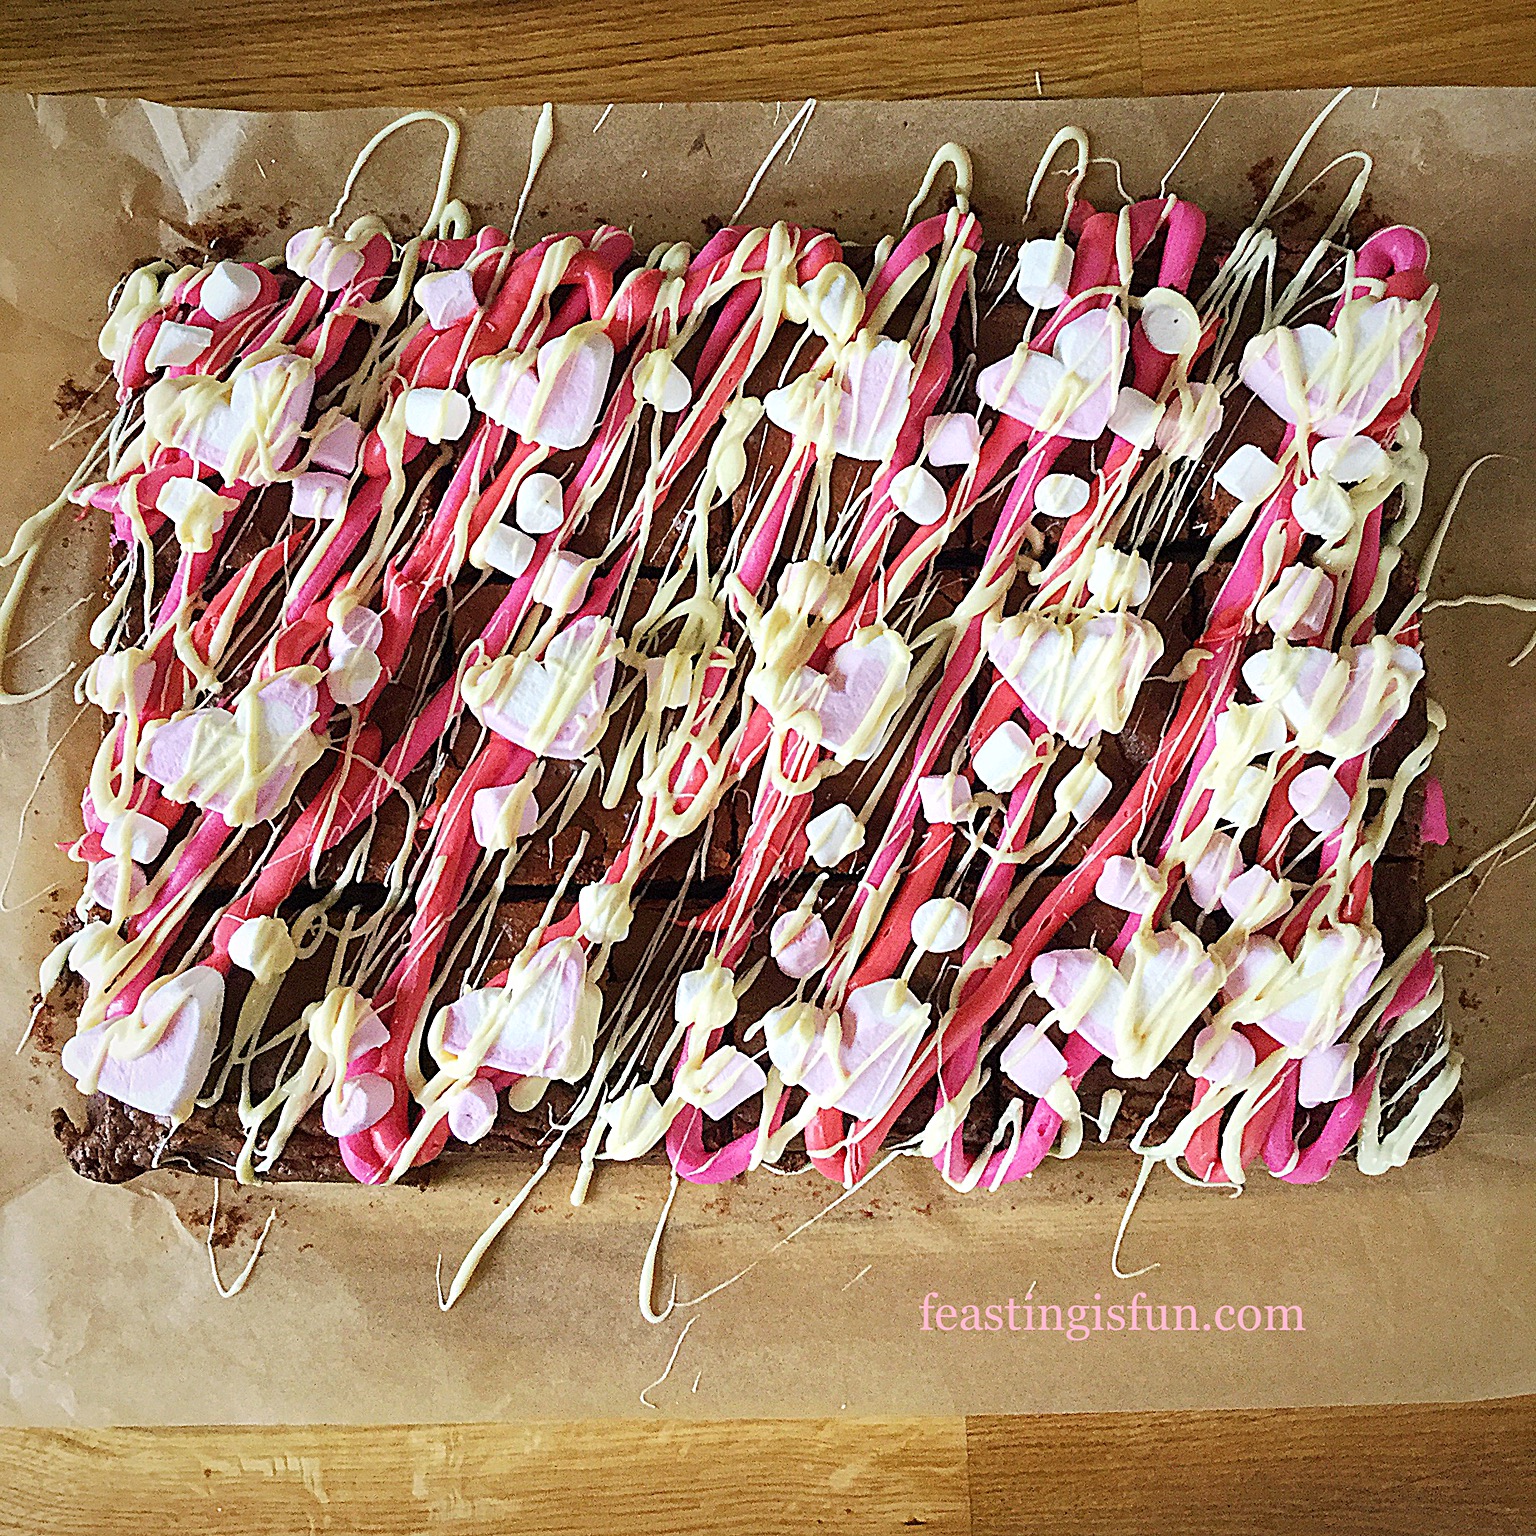
- Next pipe the runnier white chocolate over the entire brownie, including the marshmallows.
- Finally sprinkle over more mini marshmallows. These will stick to the melted white chocolate.
- Set the brownies aside in a cool place to allow the chocolate to set. During warmer weather place in the fridge to set.
You can choose any colour combination you like. Even personalising the brownies by piping names or Happy Birthday. Also for special celebrations sprinkle over edible gold stars or coloured sugar balls. The simple rule to remember when decorating is to use the darkest colours first, finishing with the lightest. Resulting in a creation that really pops.
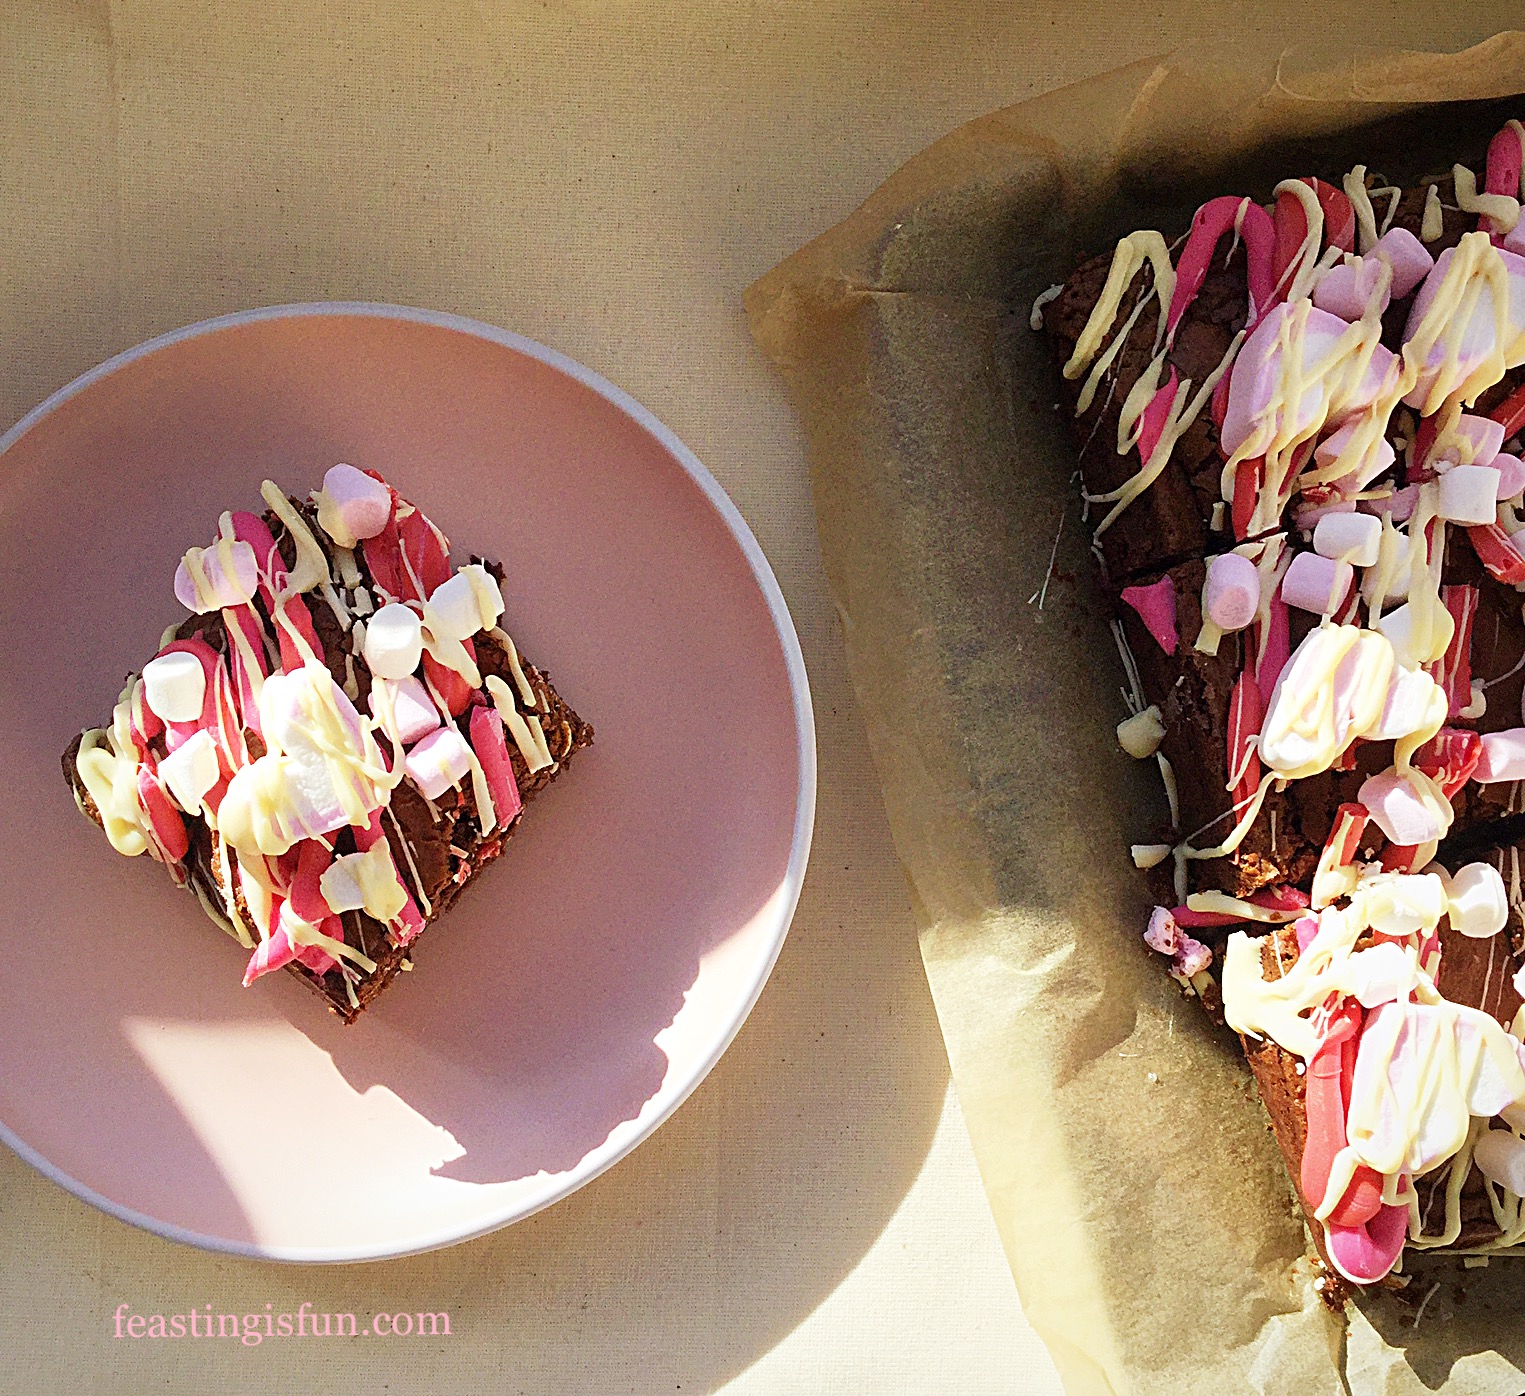
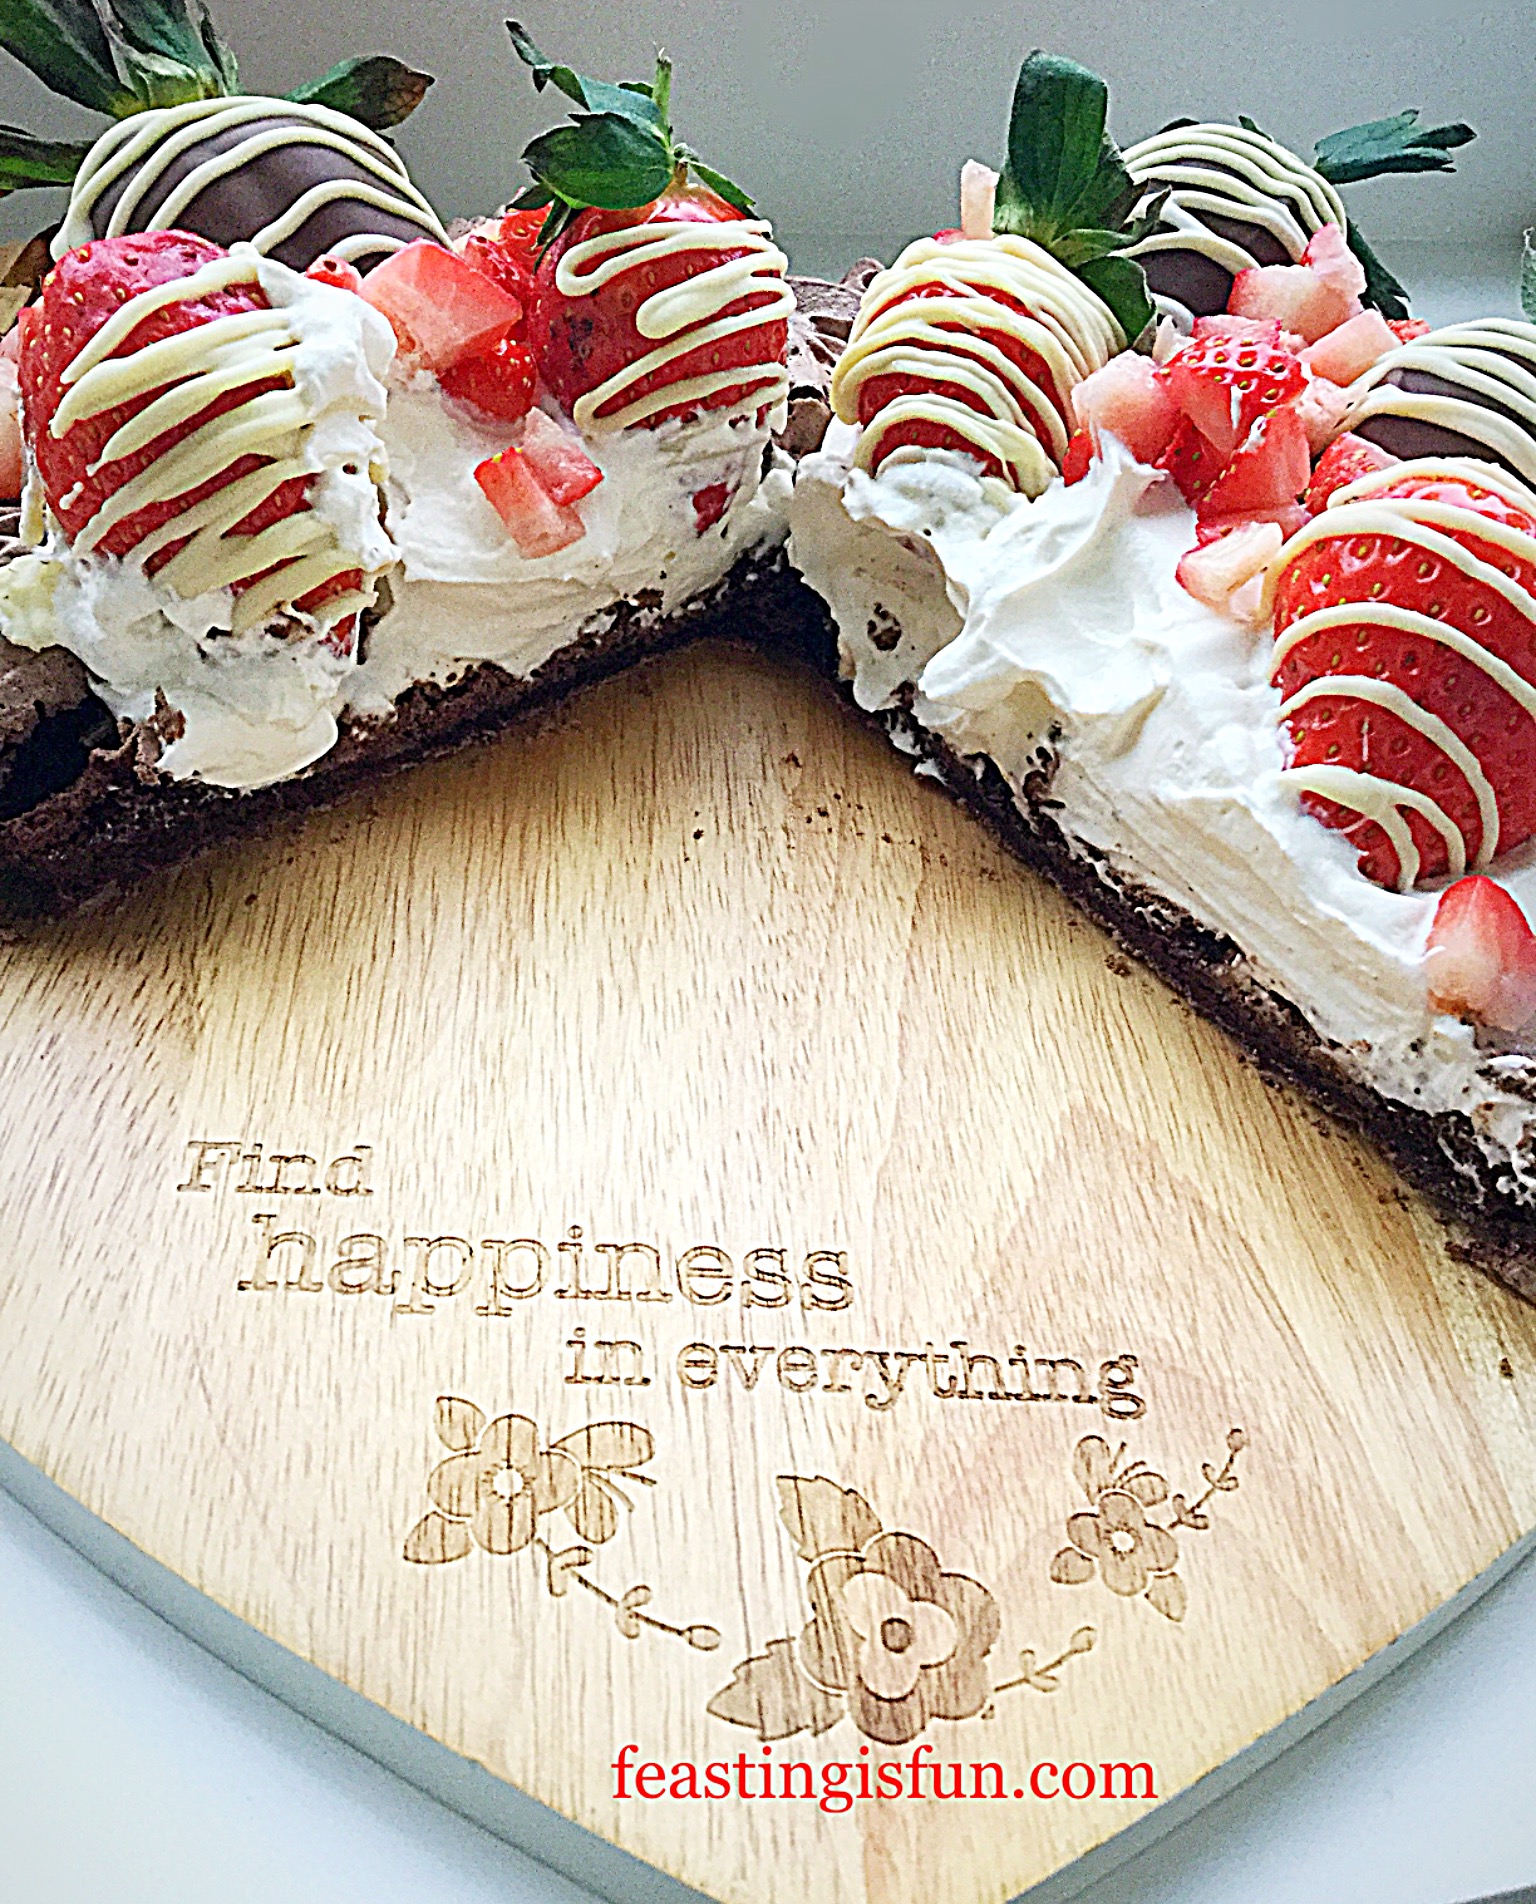
To serve the brownies cut through the chocolate and marshmallows at the same point where the individual brownies had previously been cut.
Store in an airtight container for up to 5 days. Refrigerate during warmer weather.
If you have enjoyed this recipe for Marshmallow Topped Rich Chocolate Brownies you may also like these:
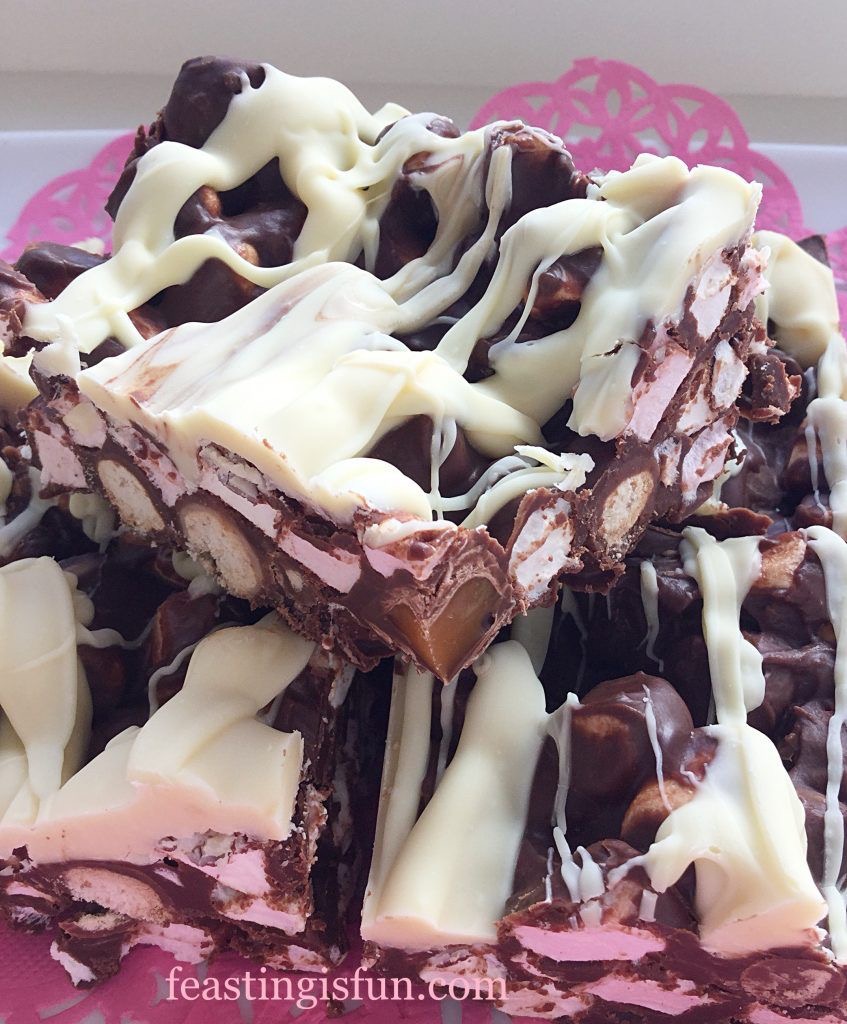
Caramel Crunch Rocky Road Bars

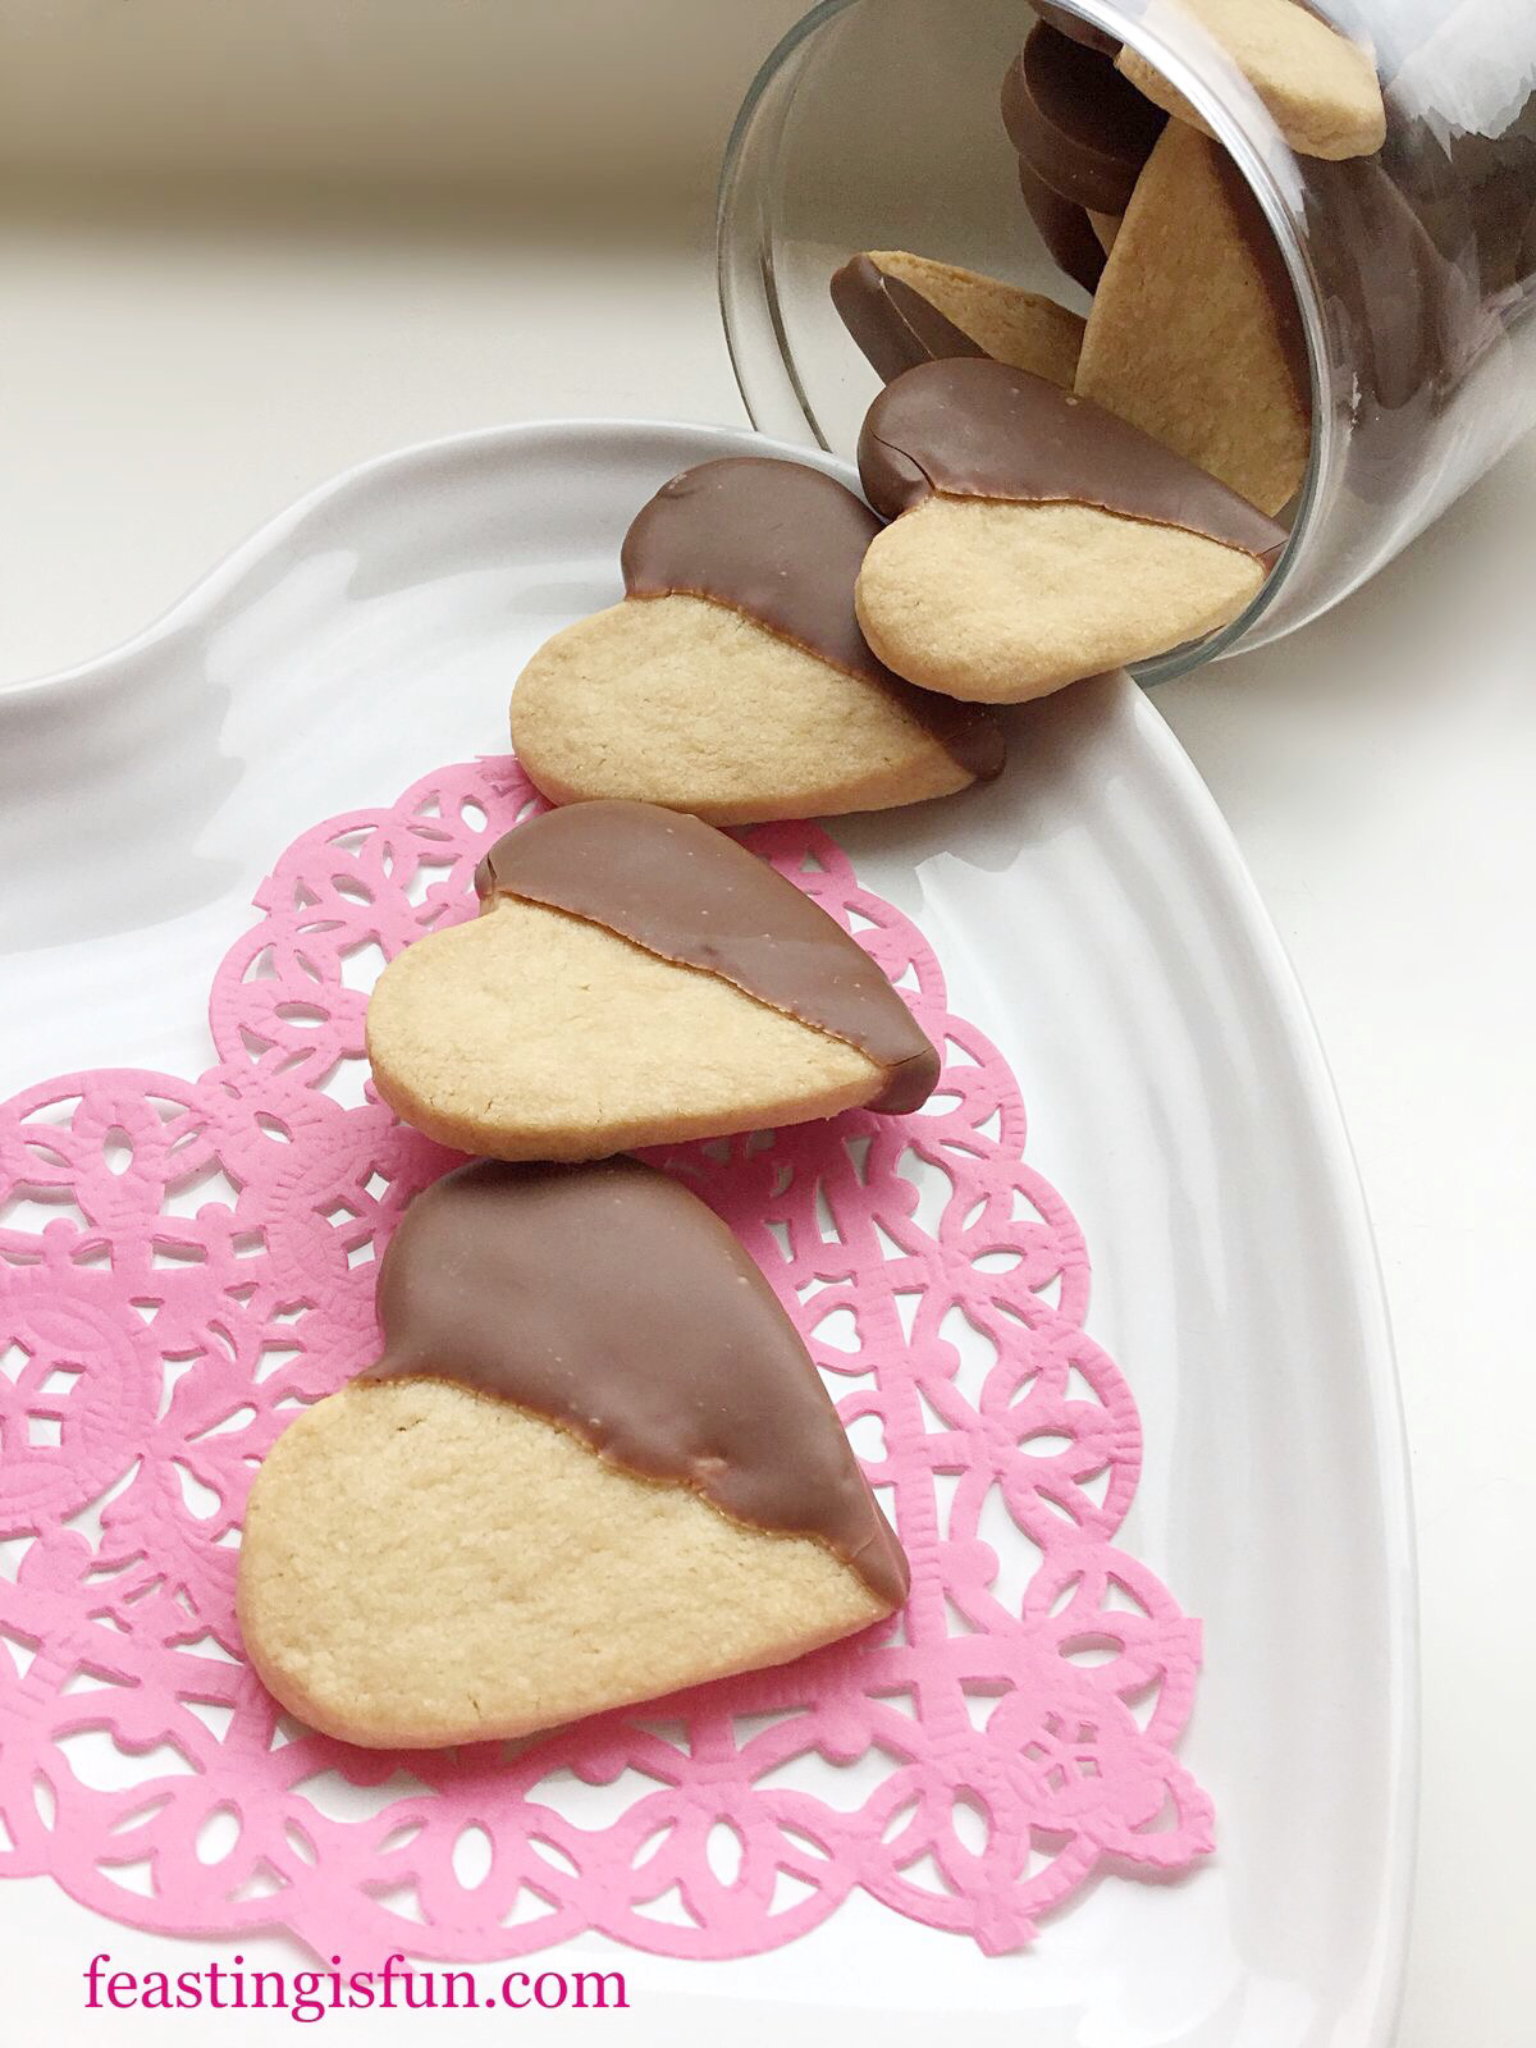
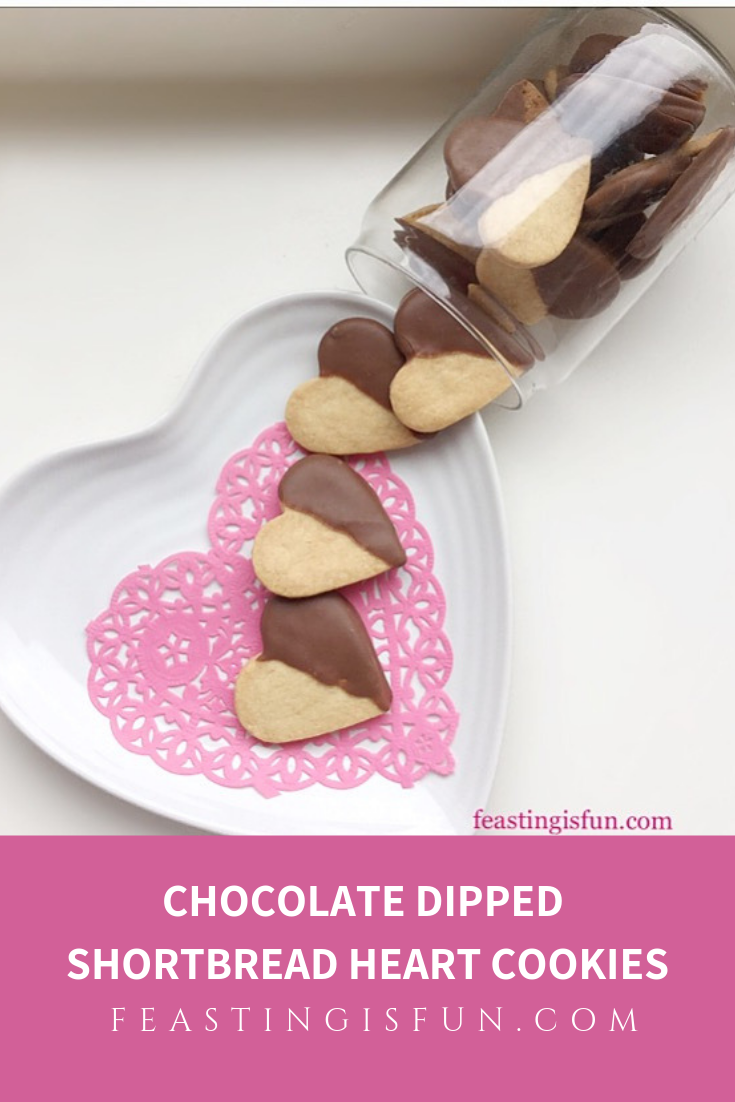
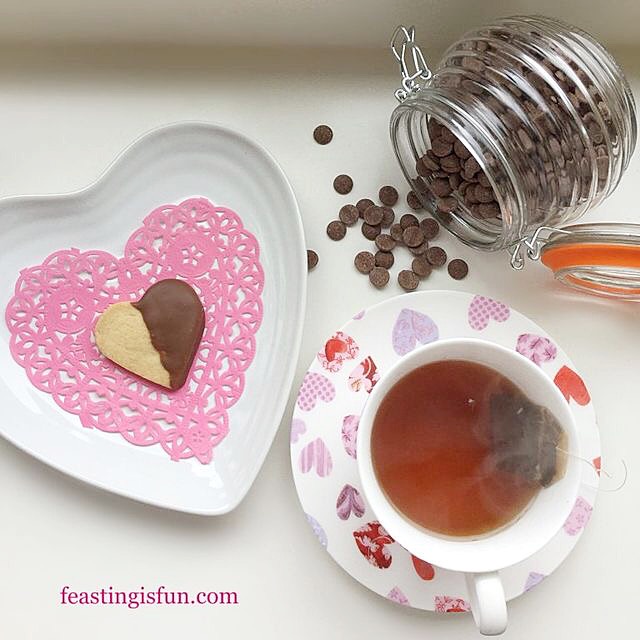
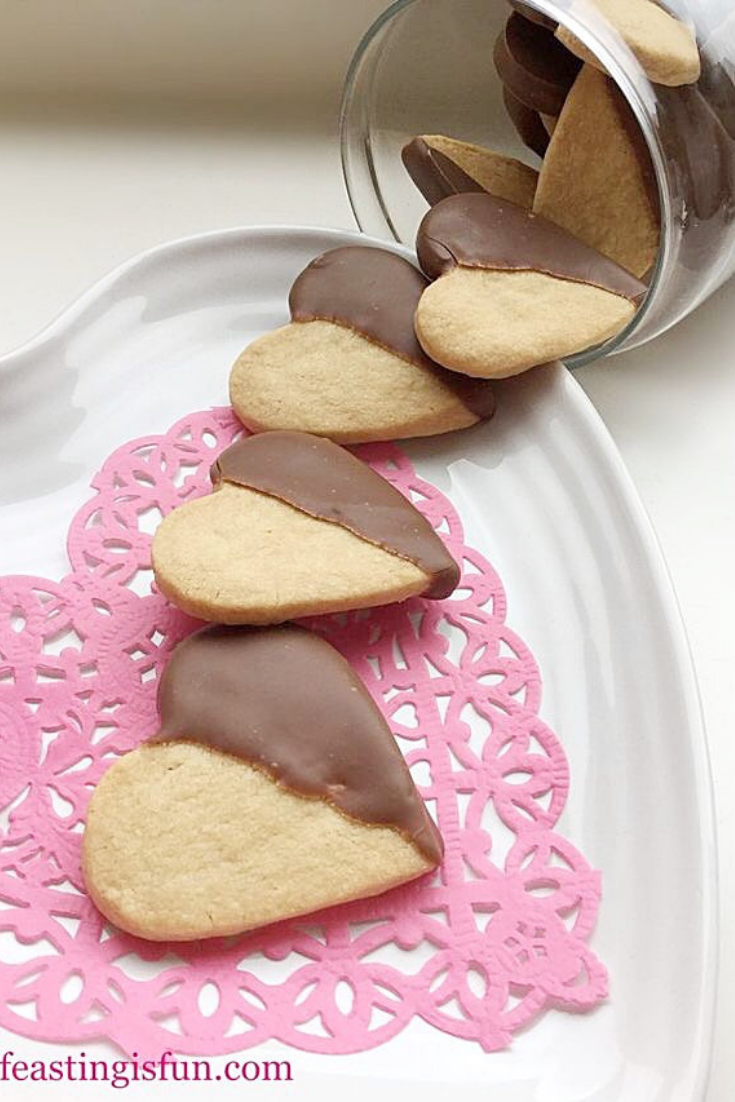
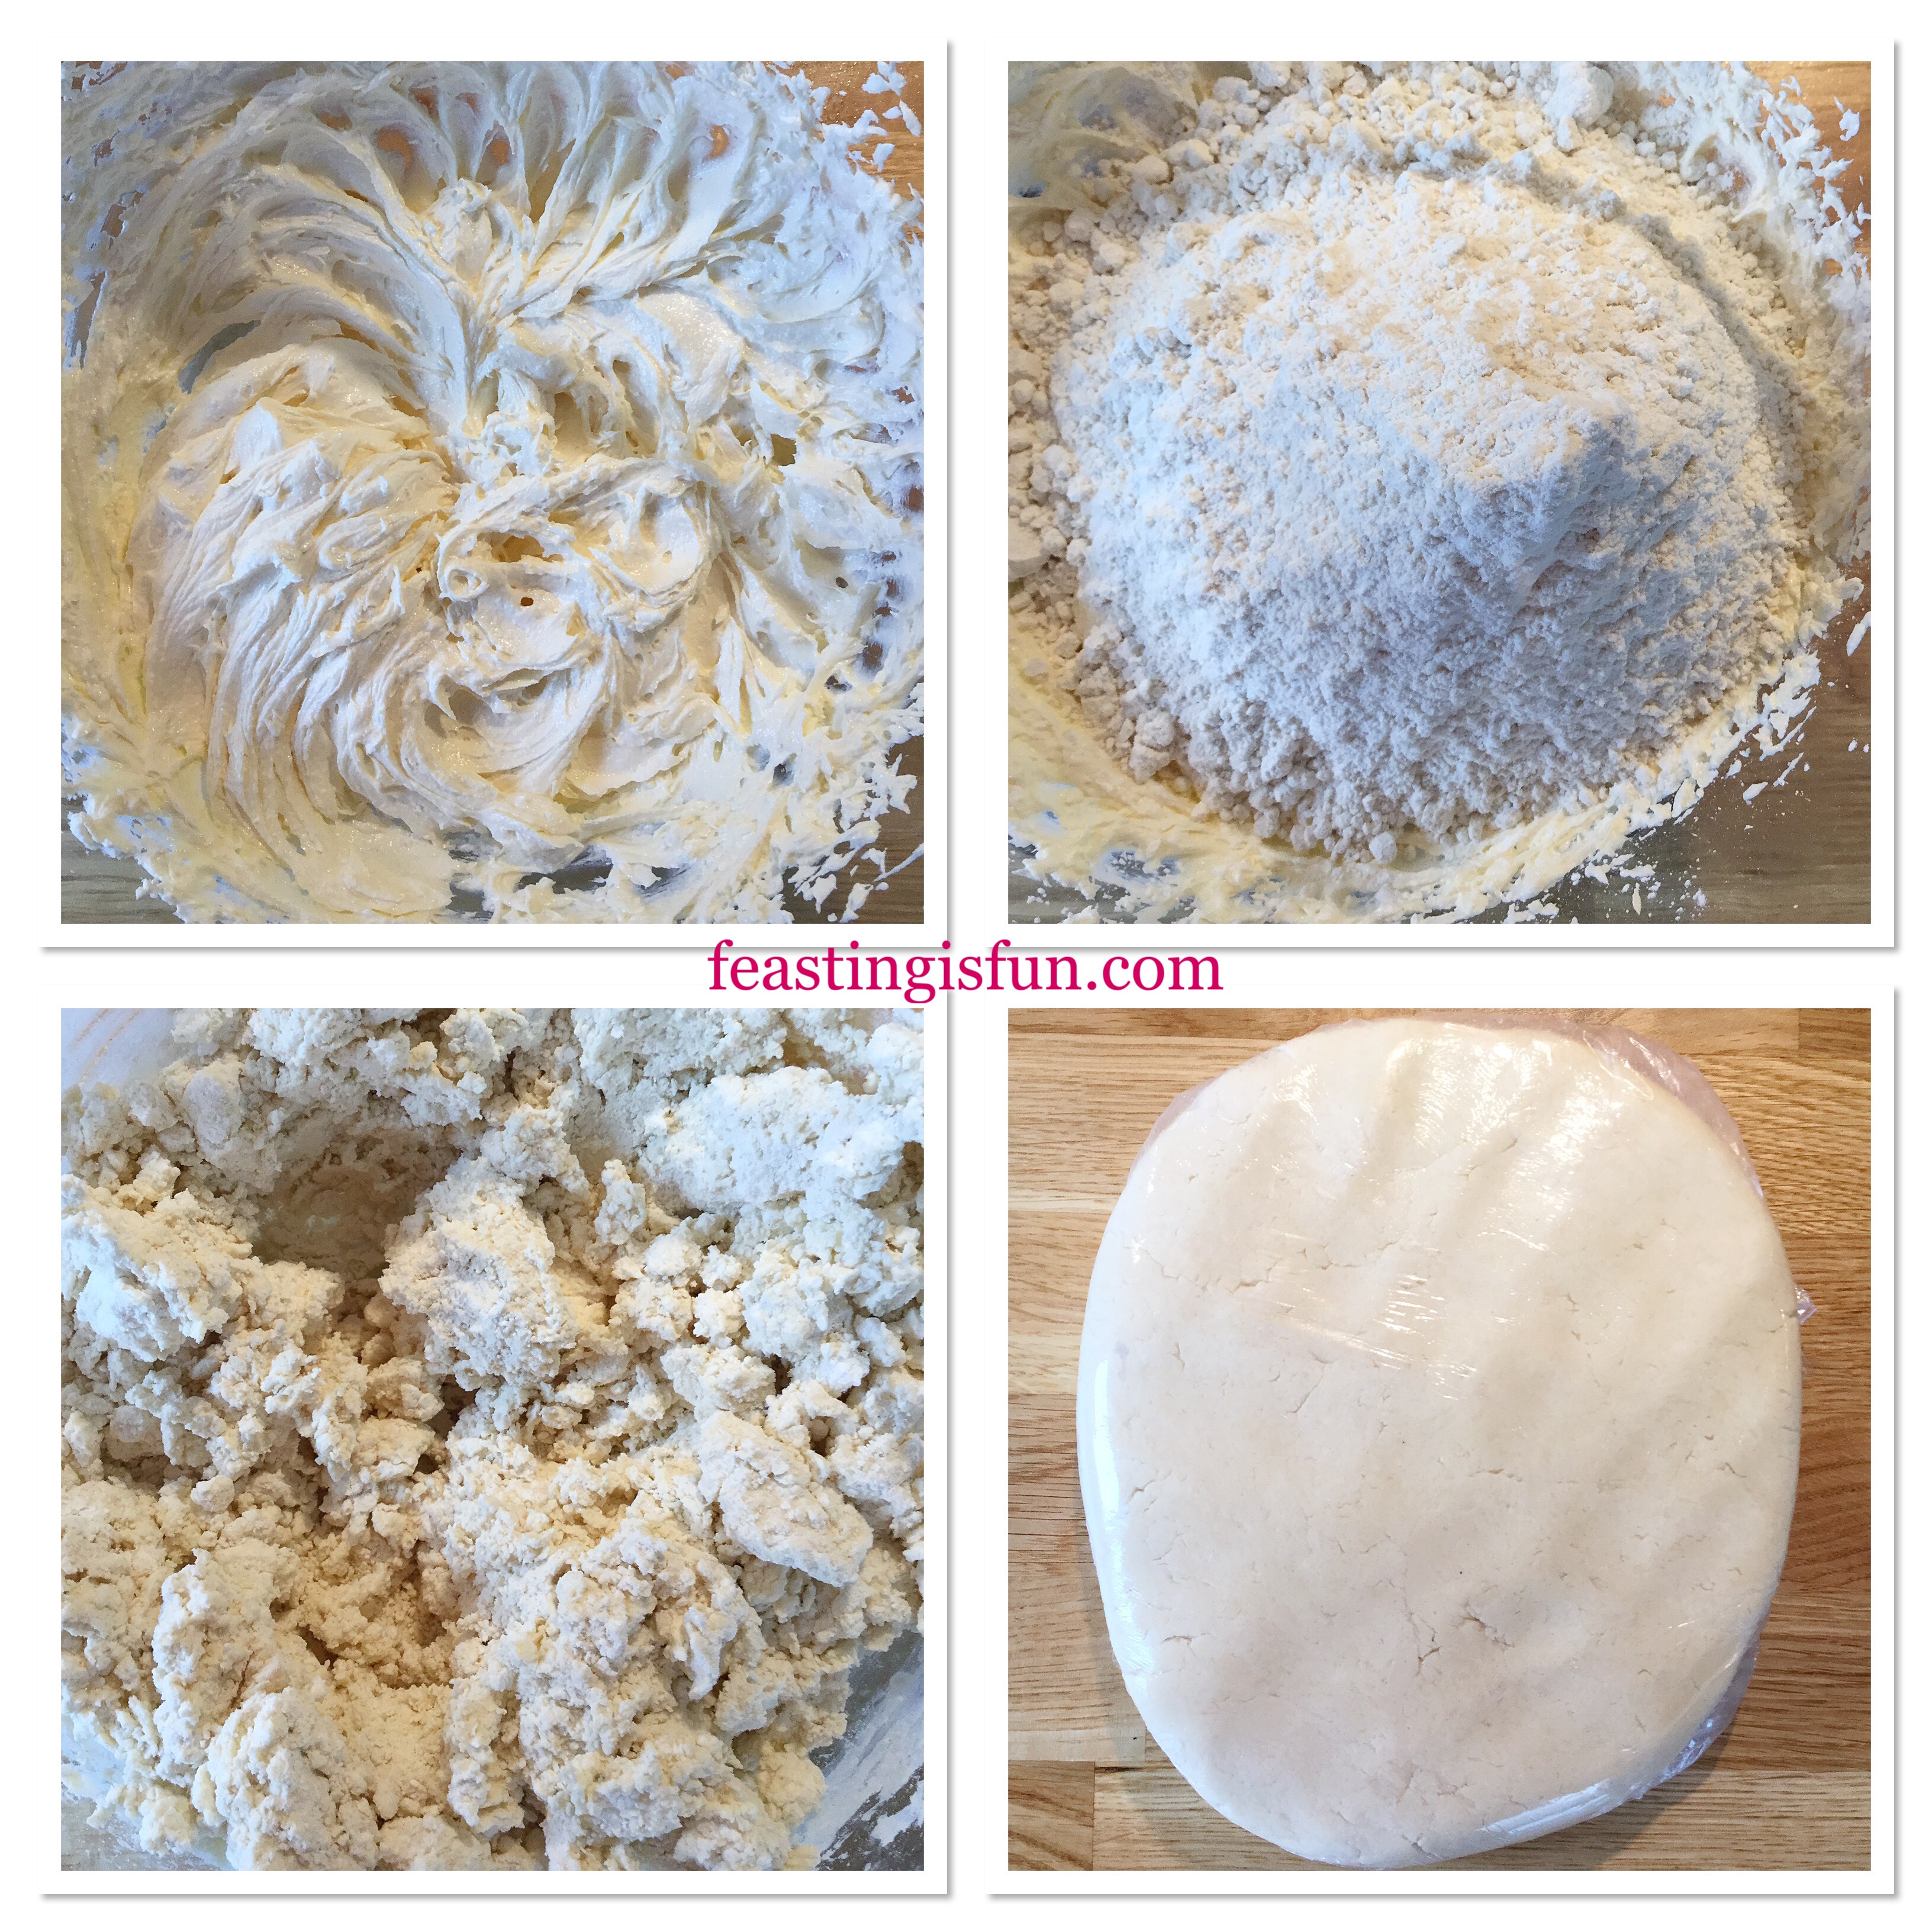
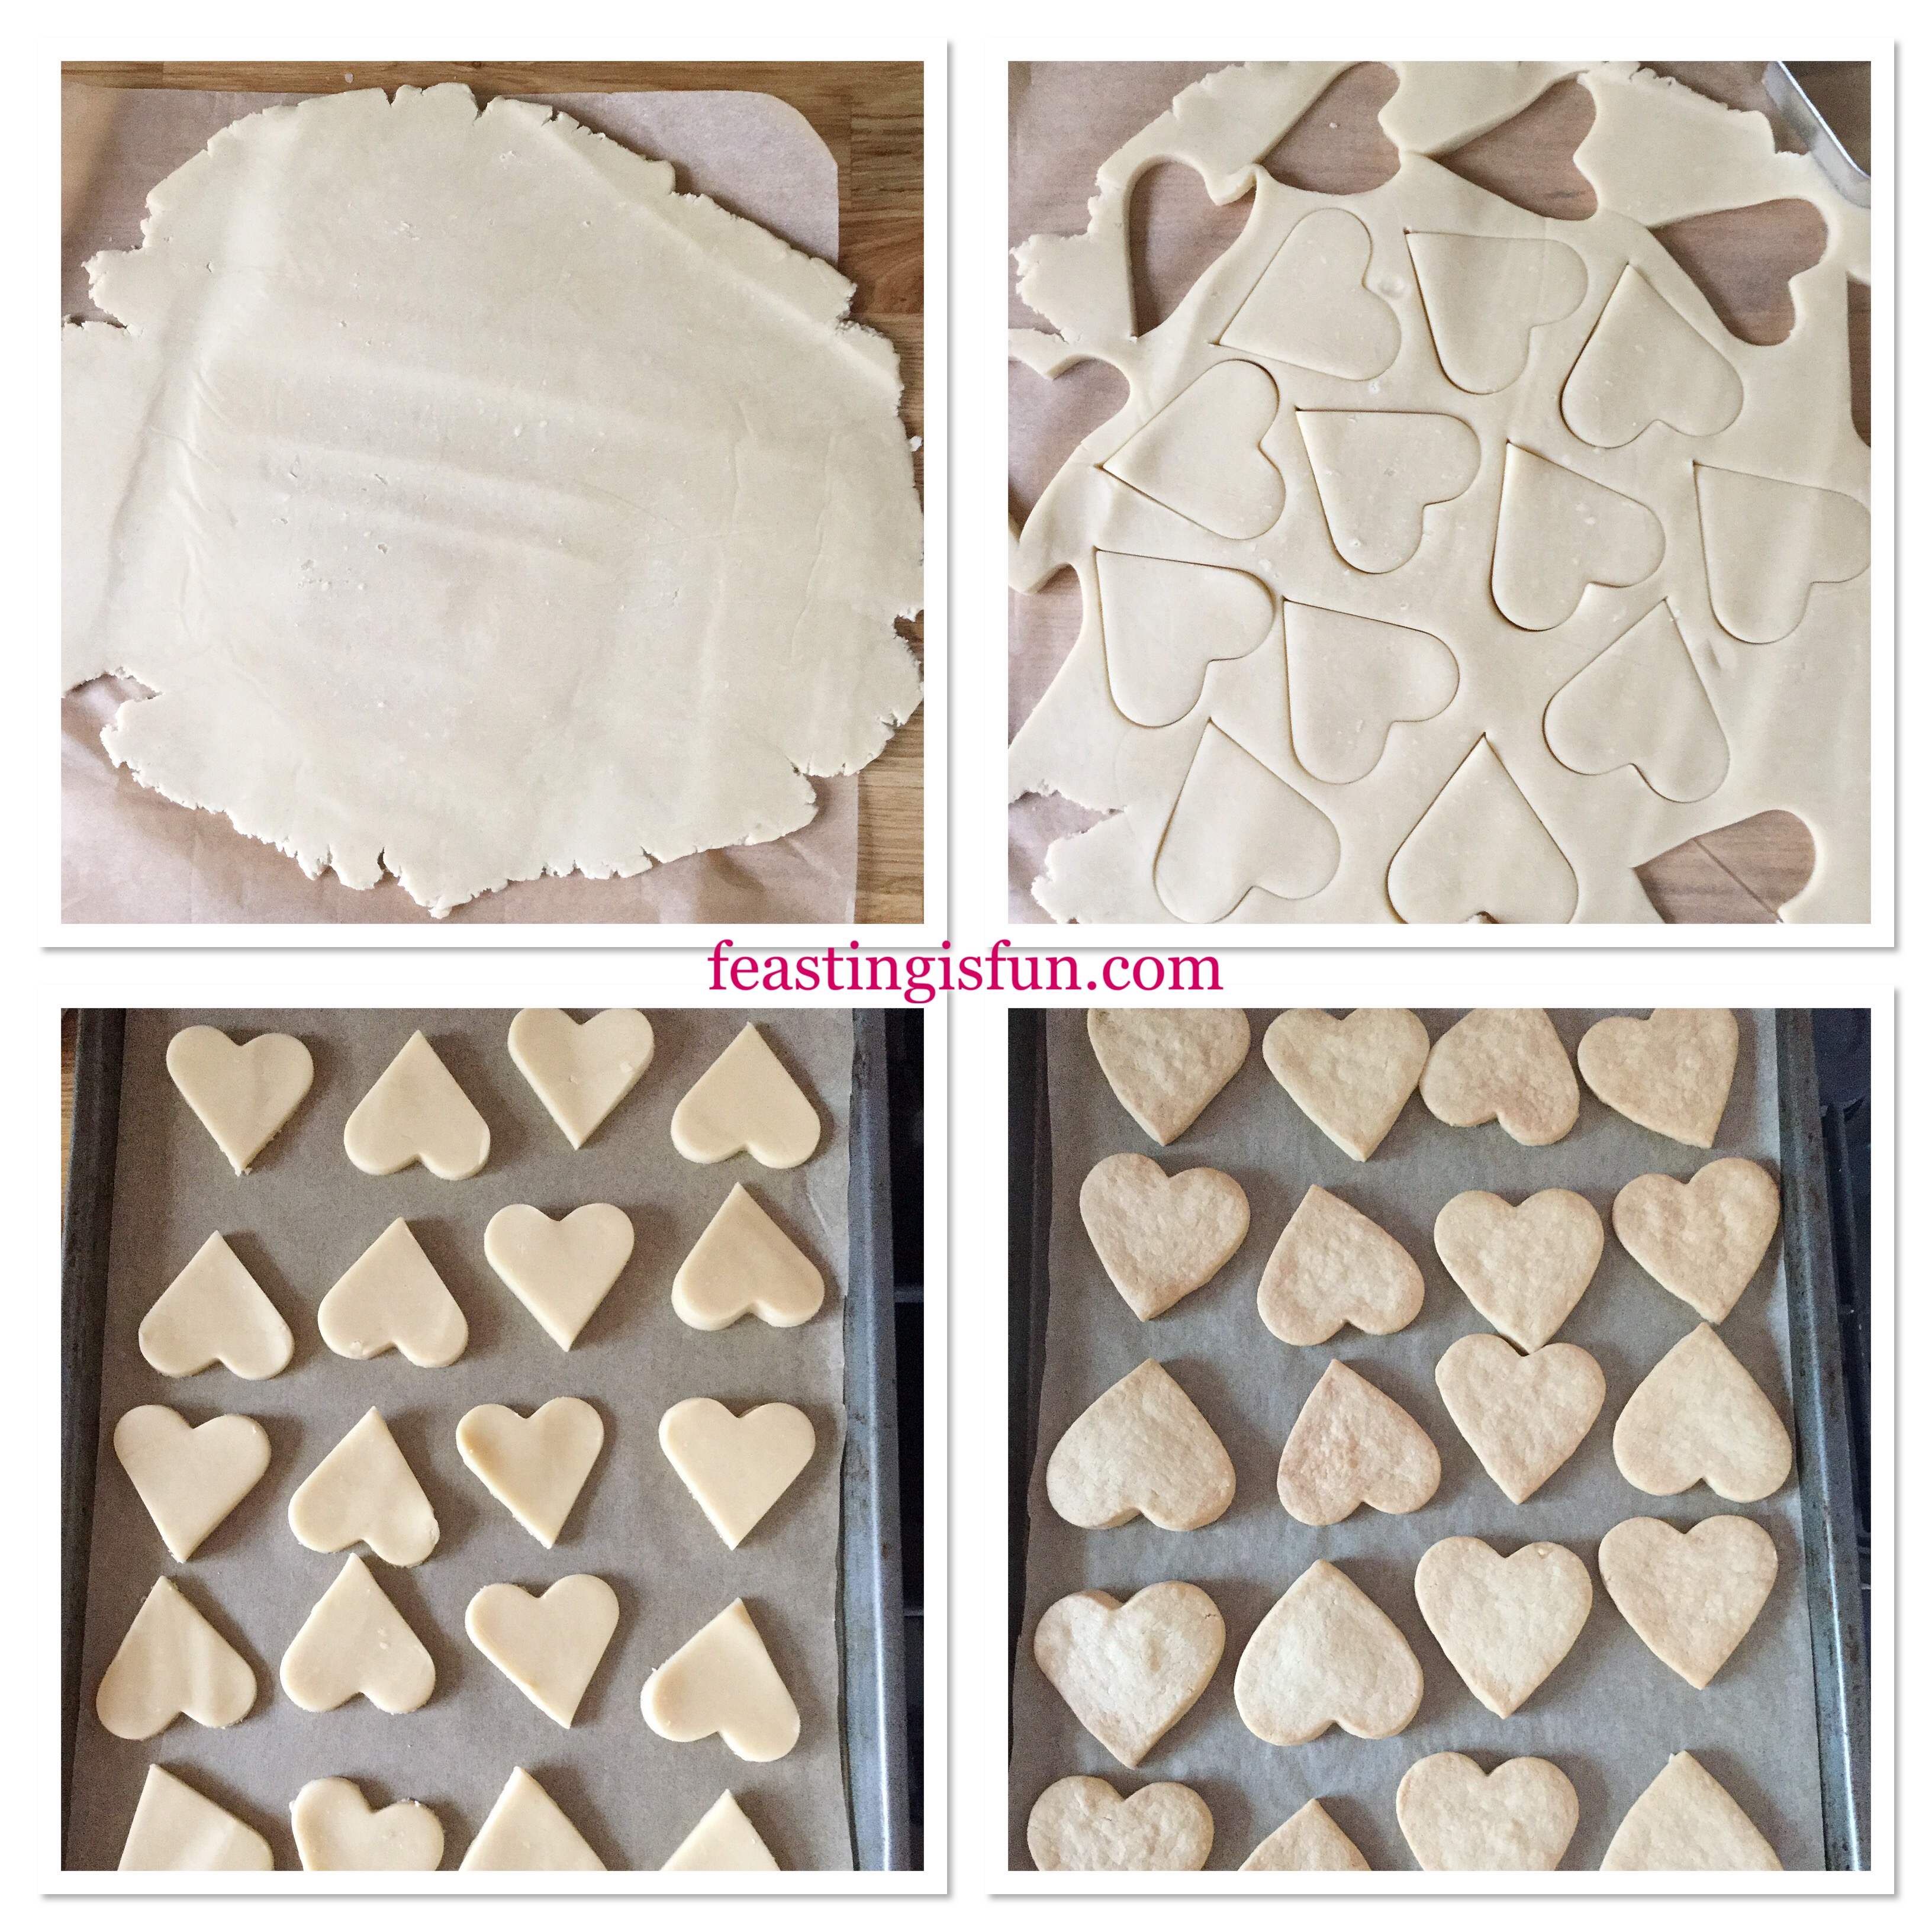
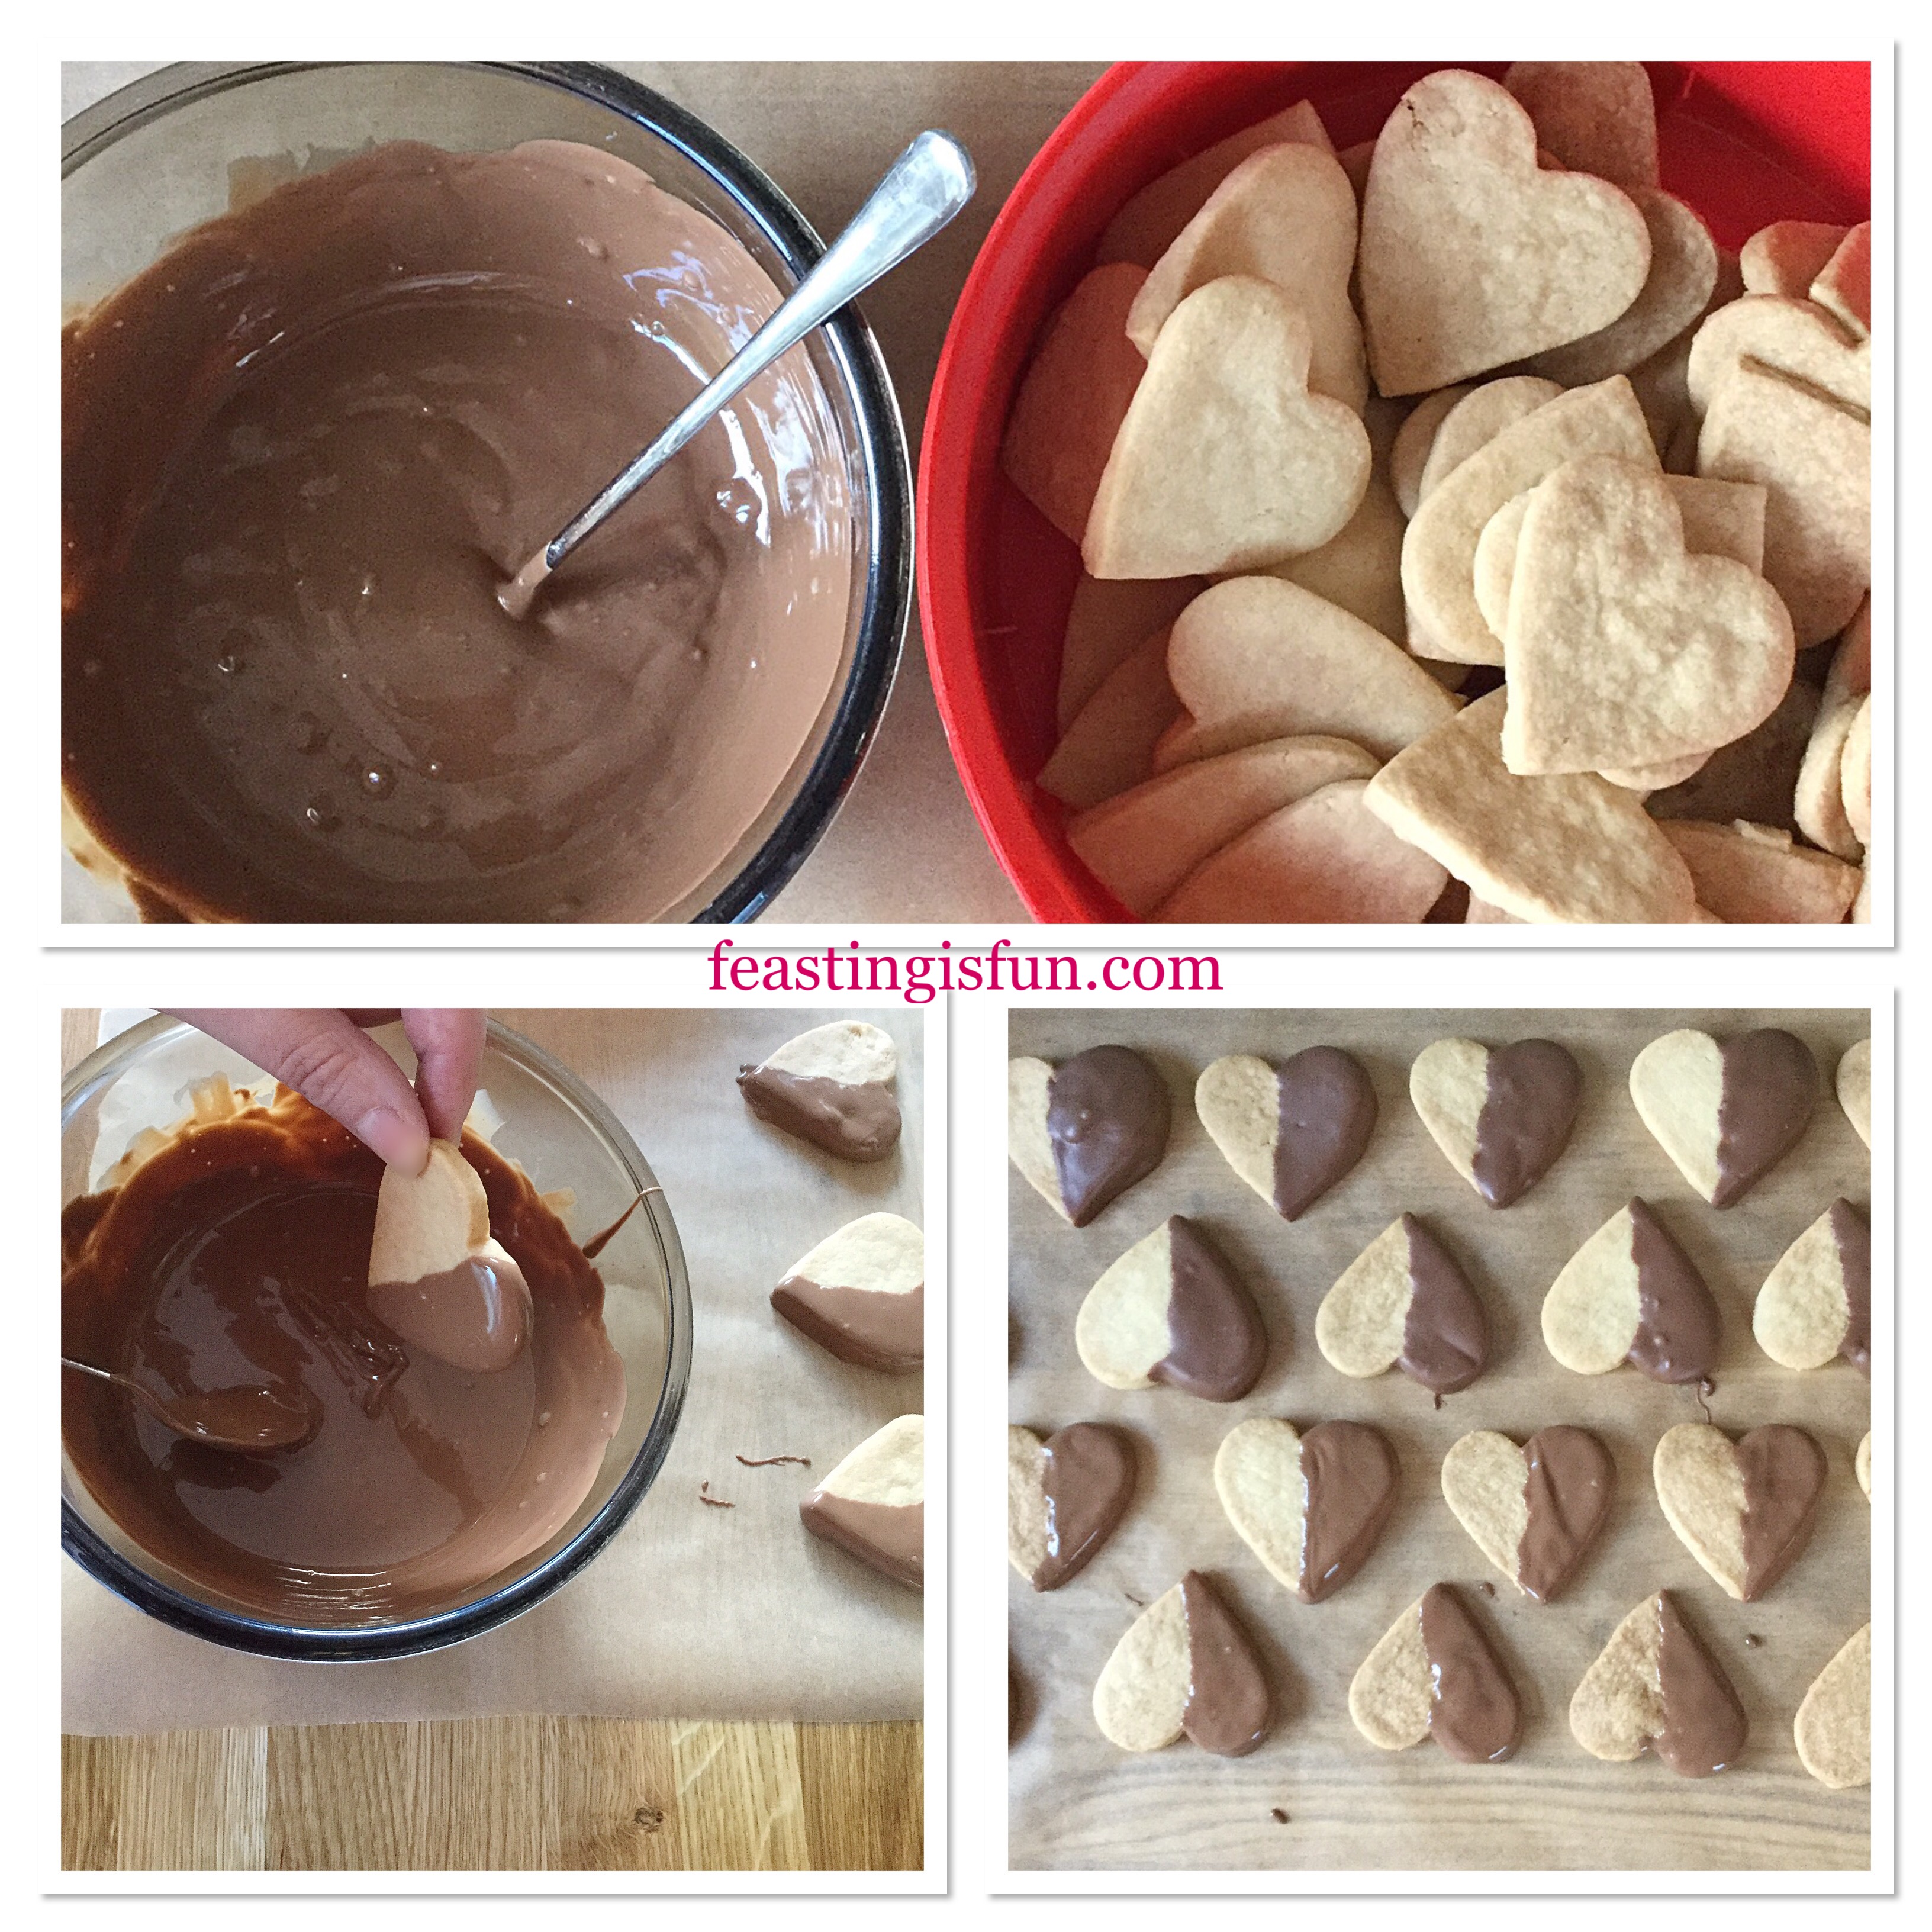
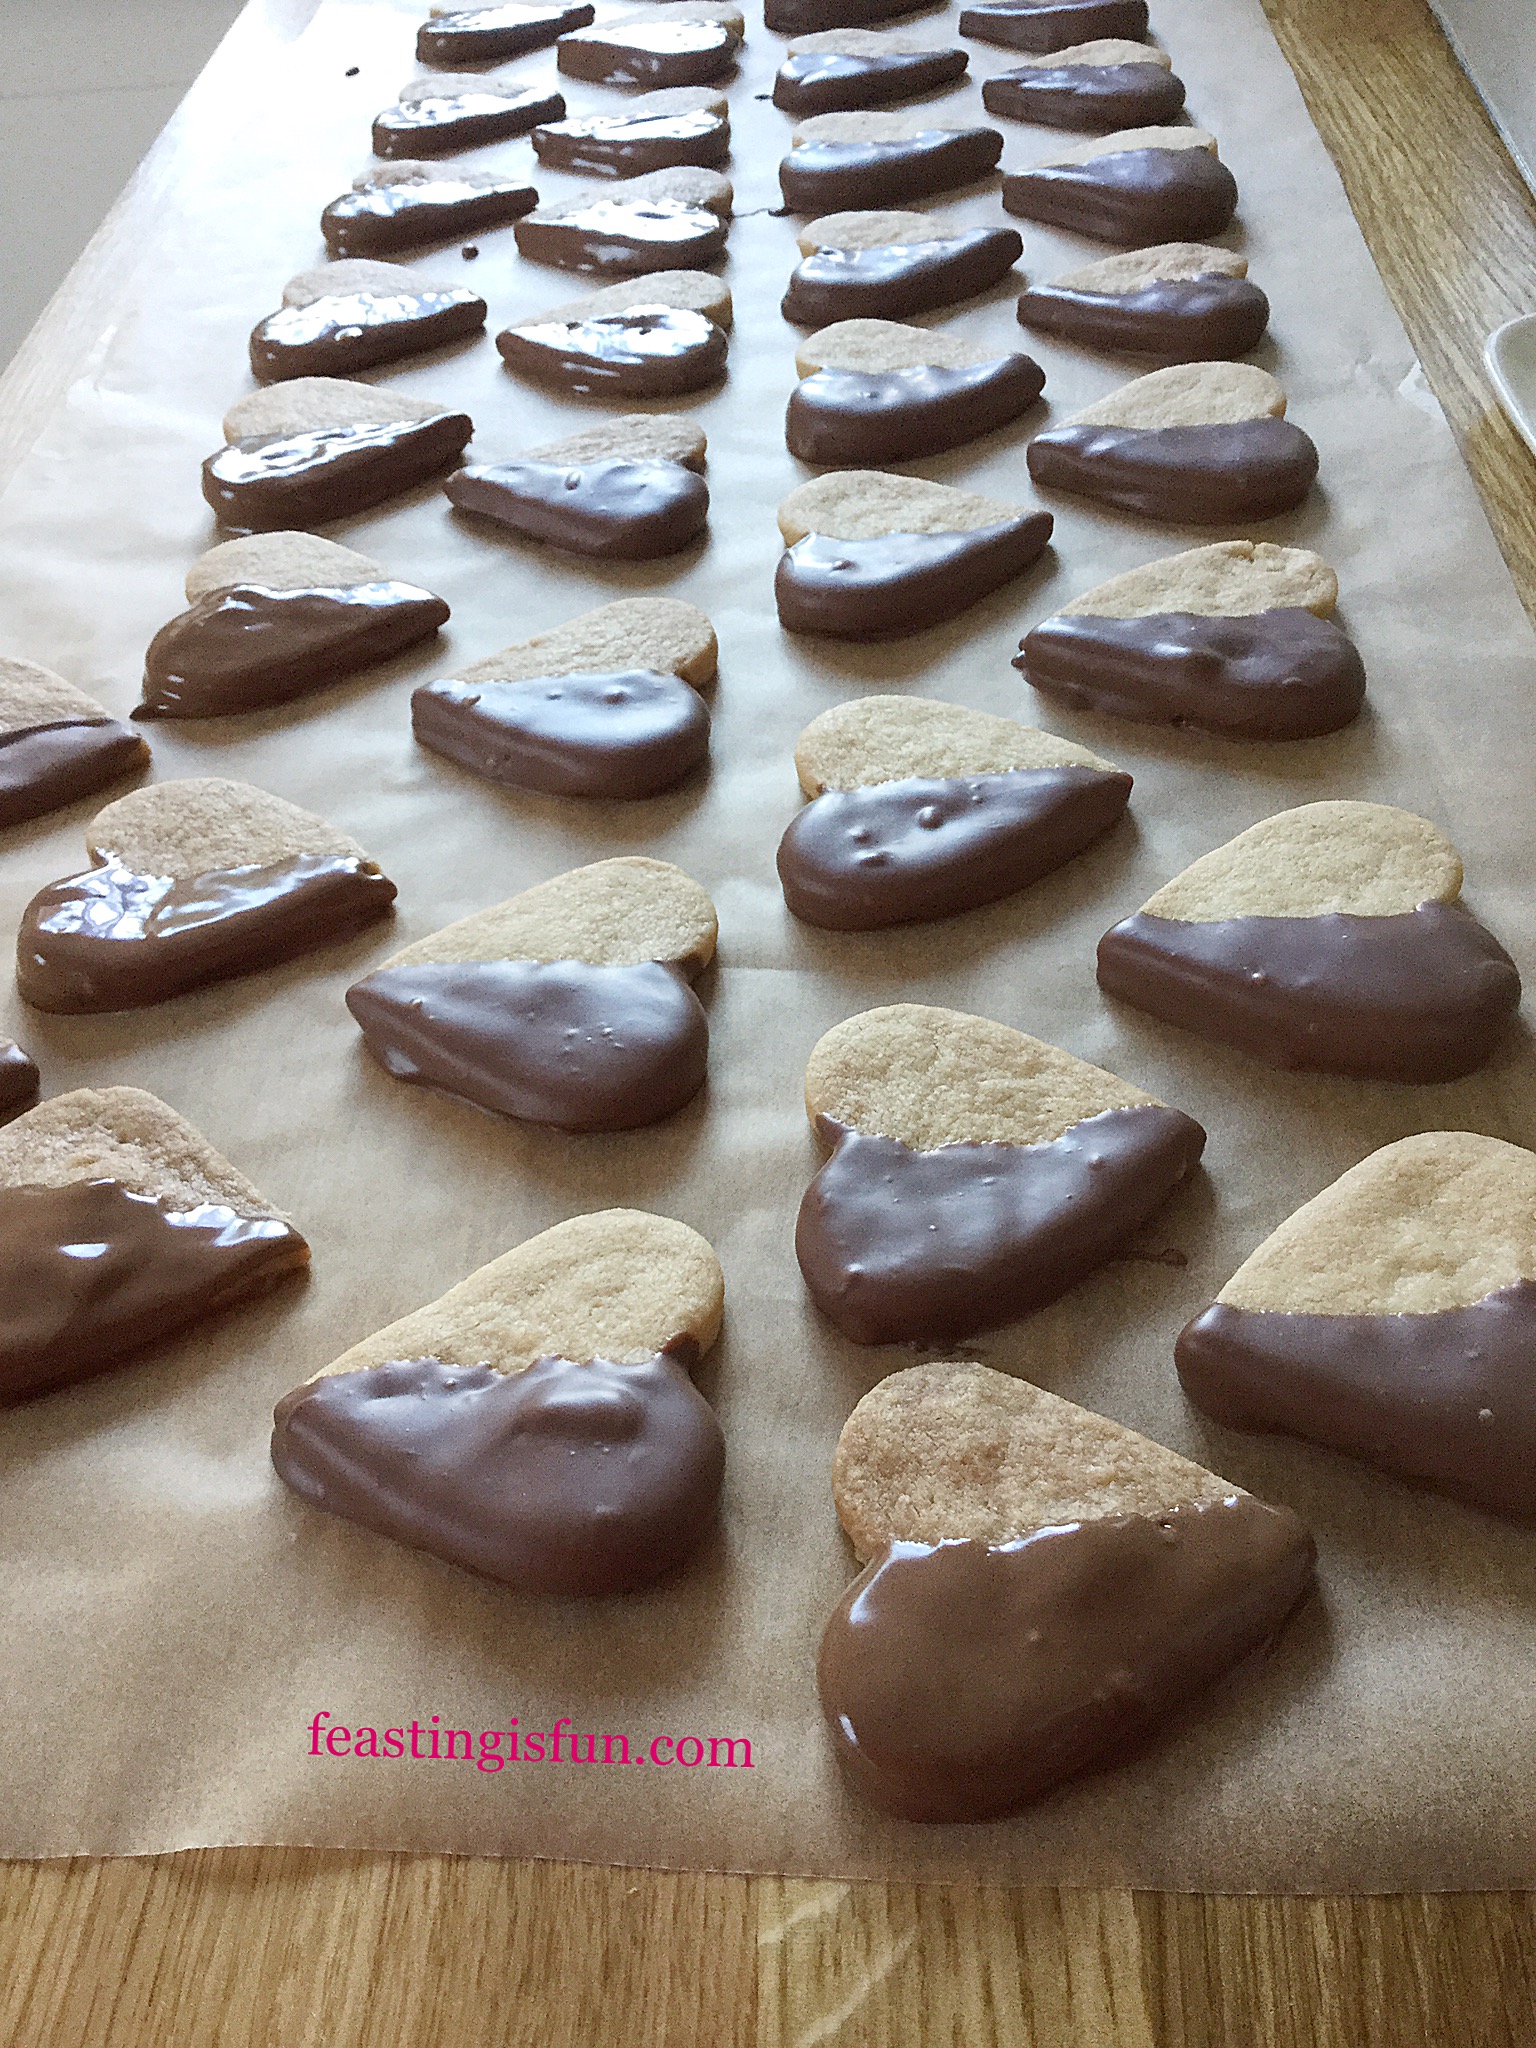
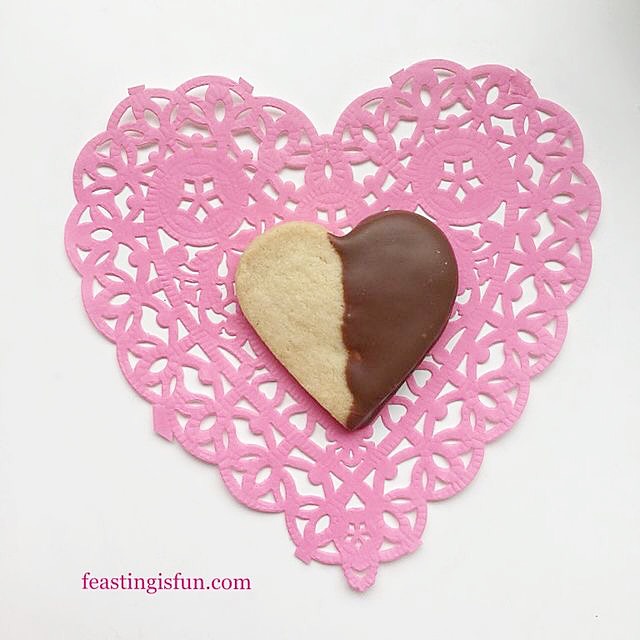
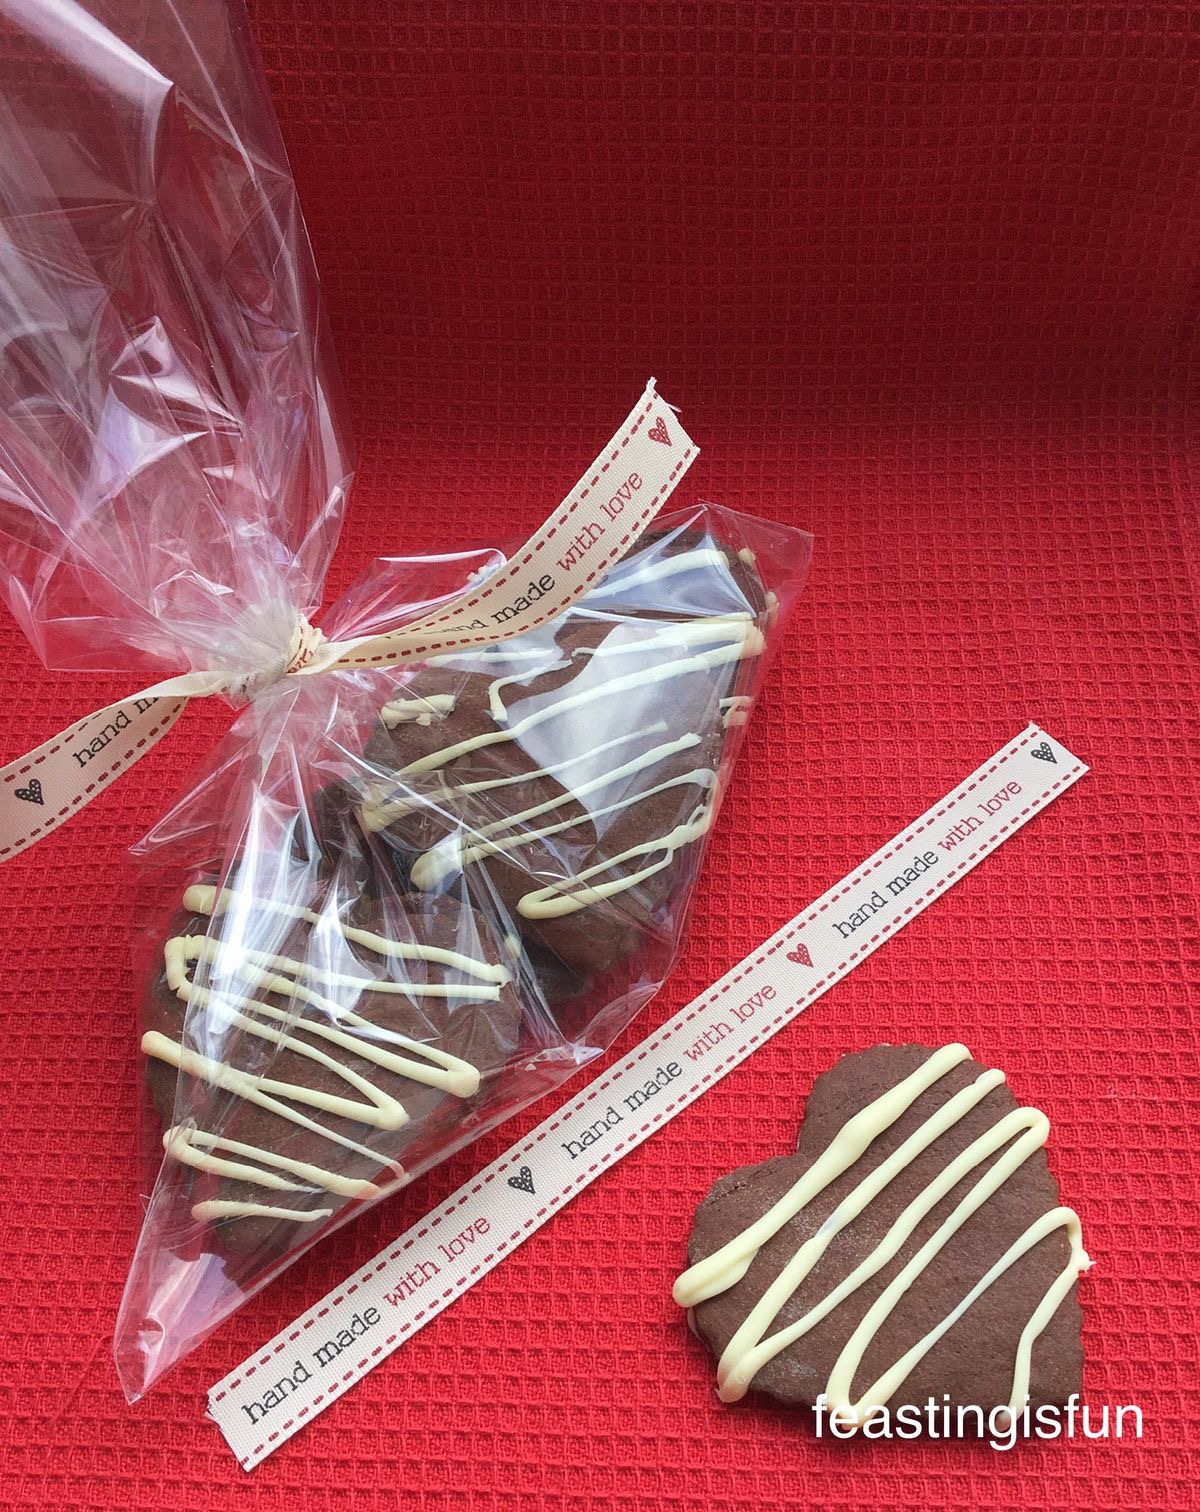
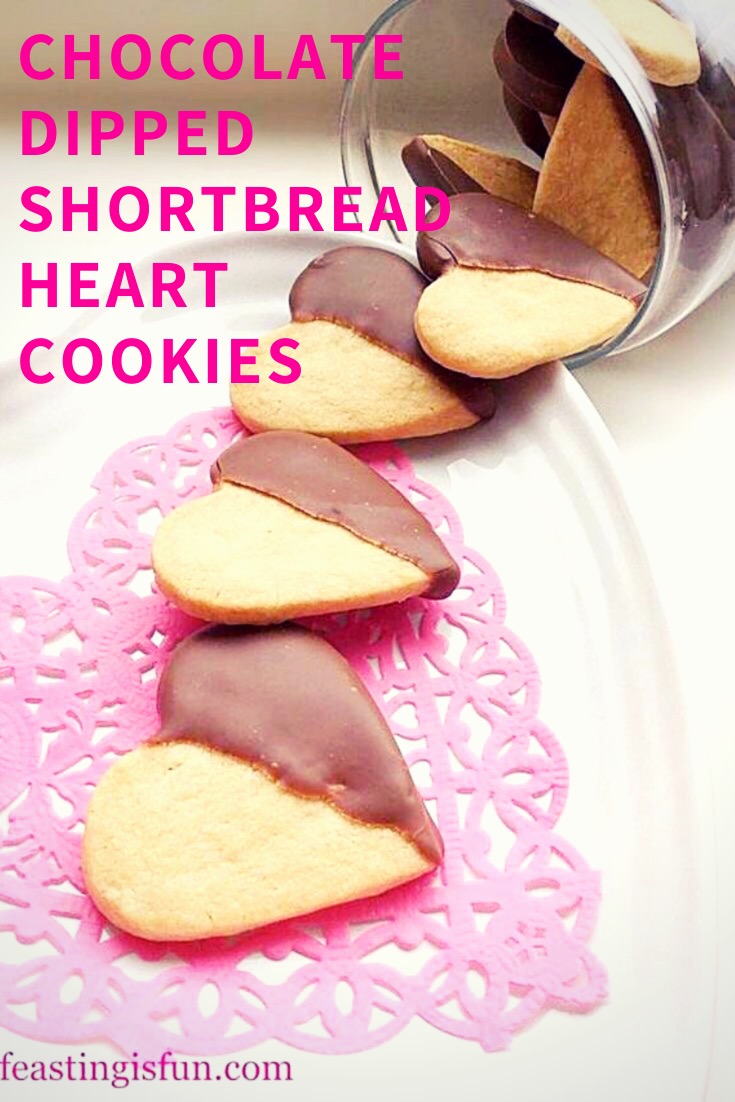
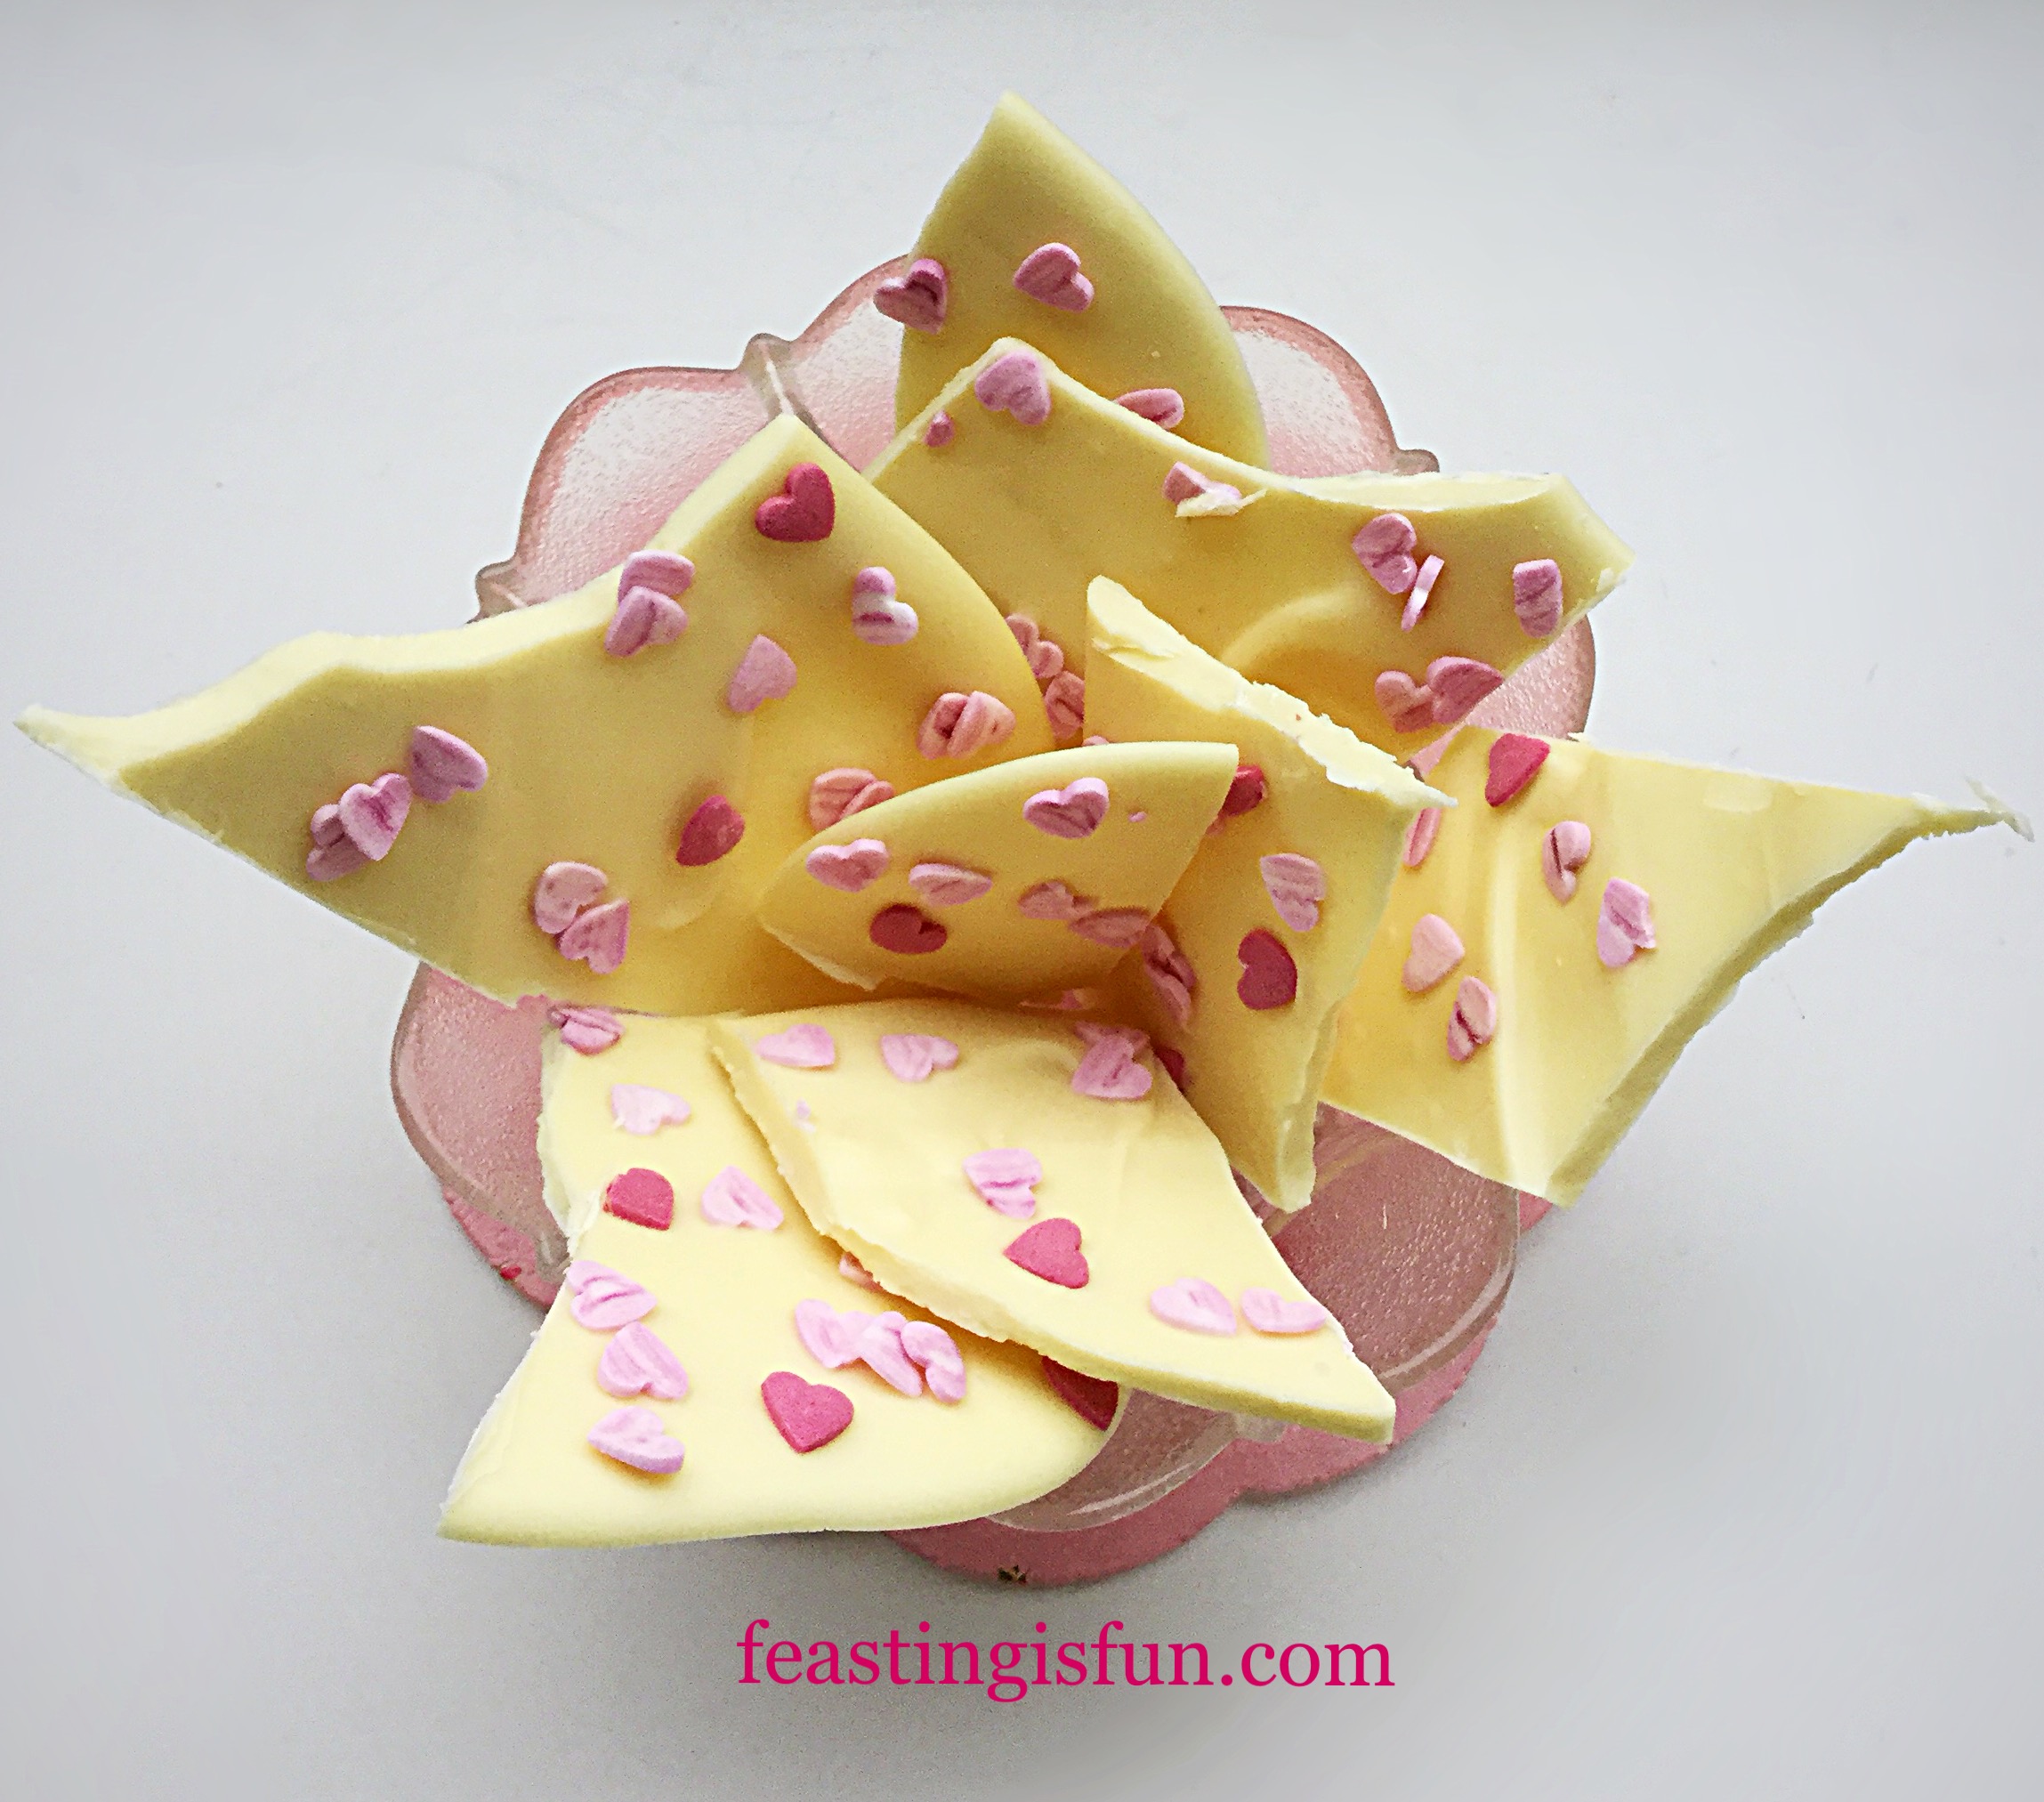
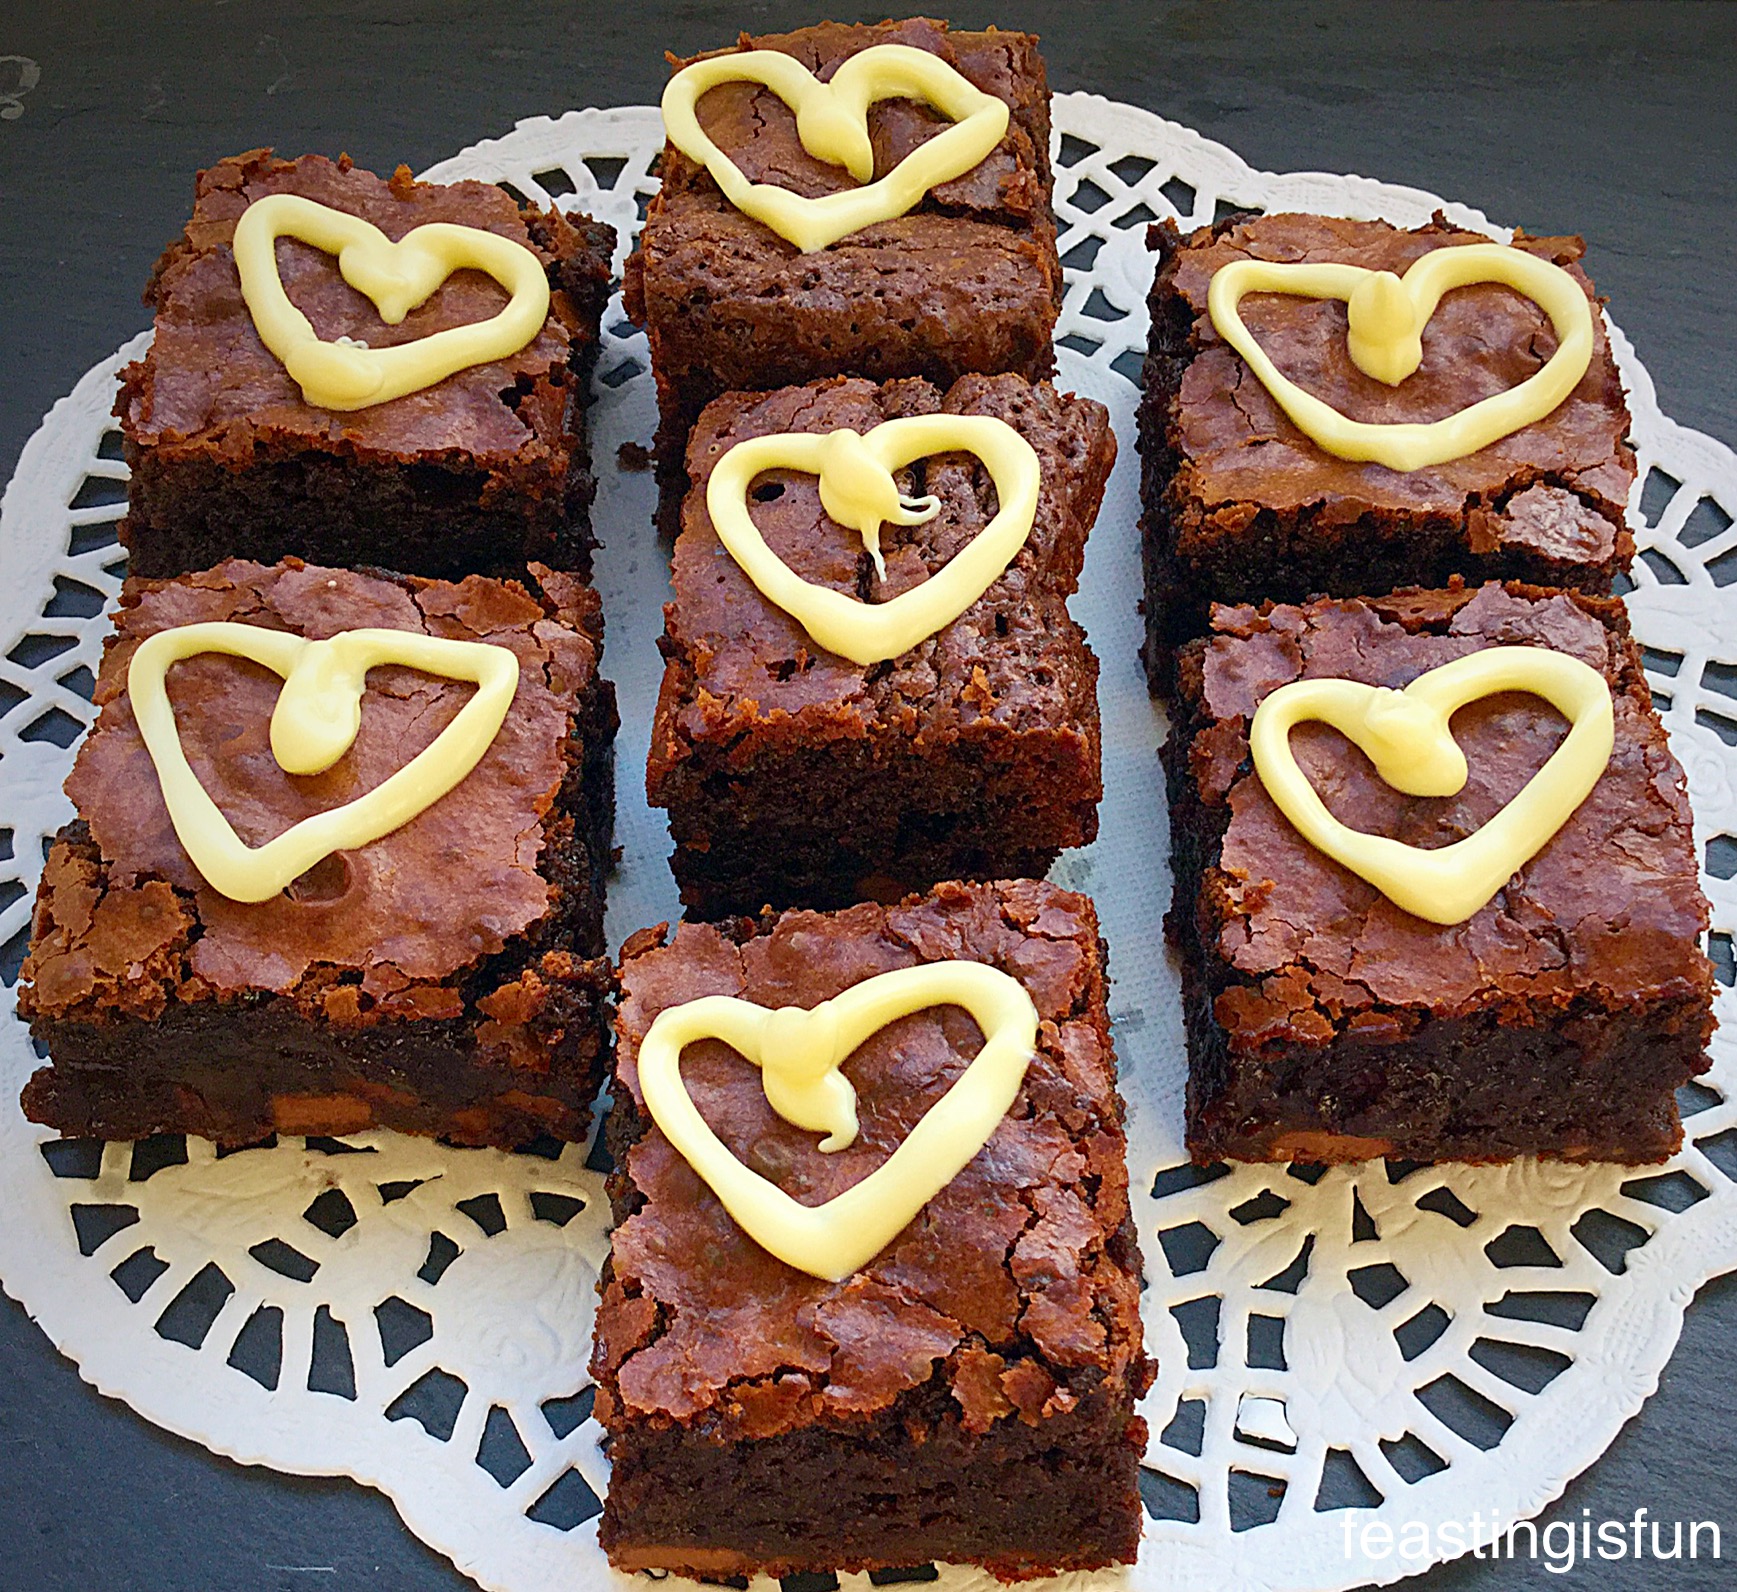
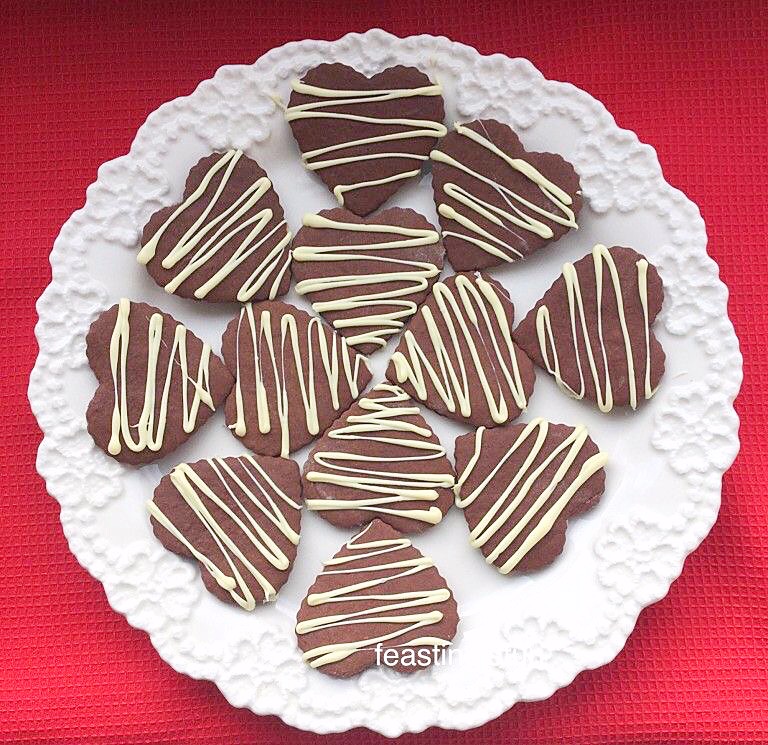
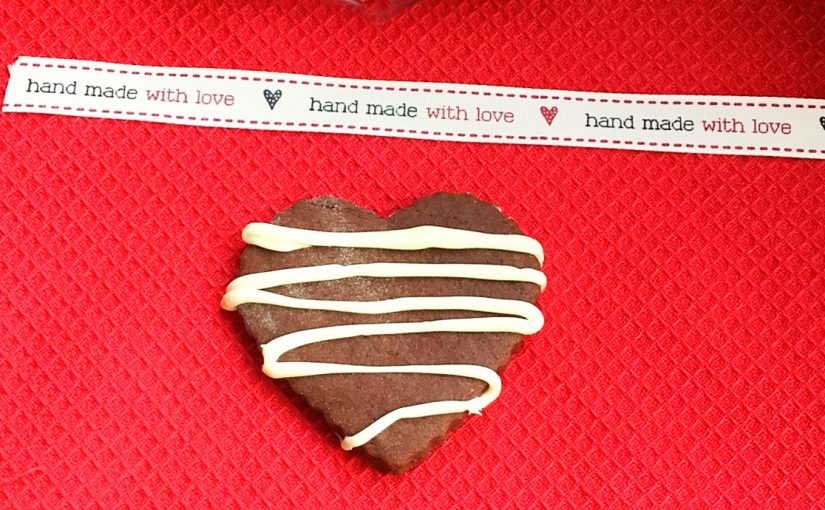
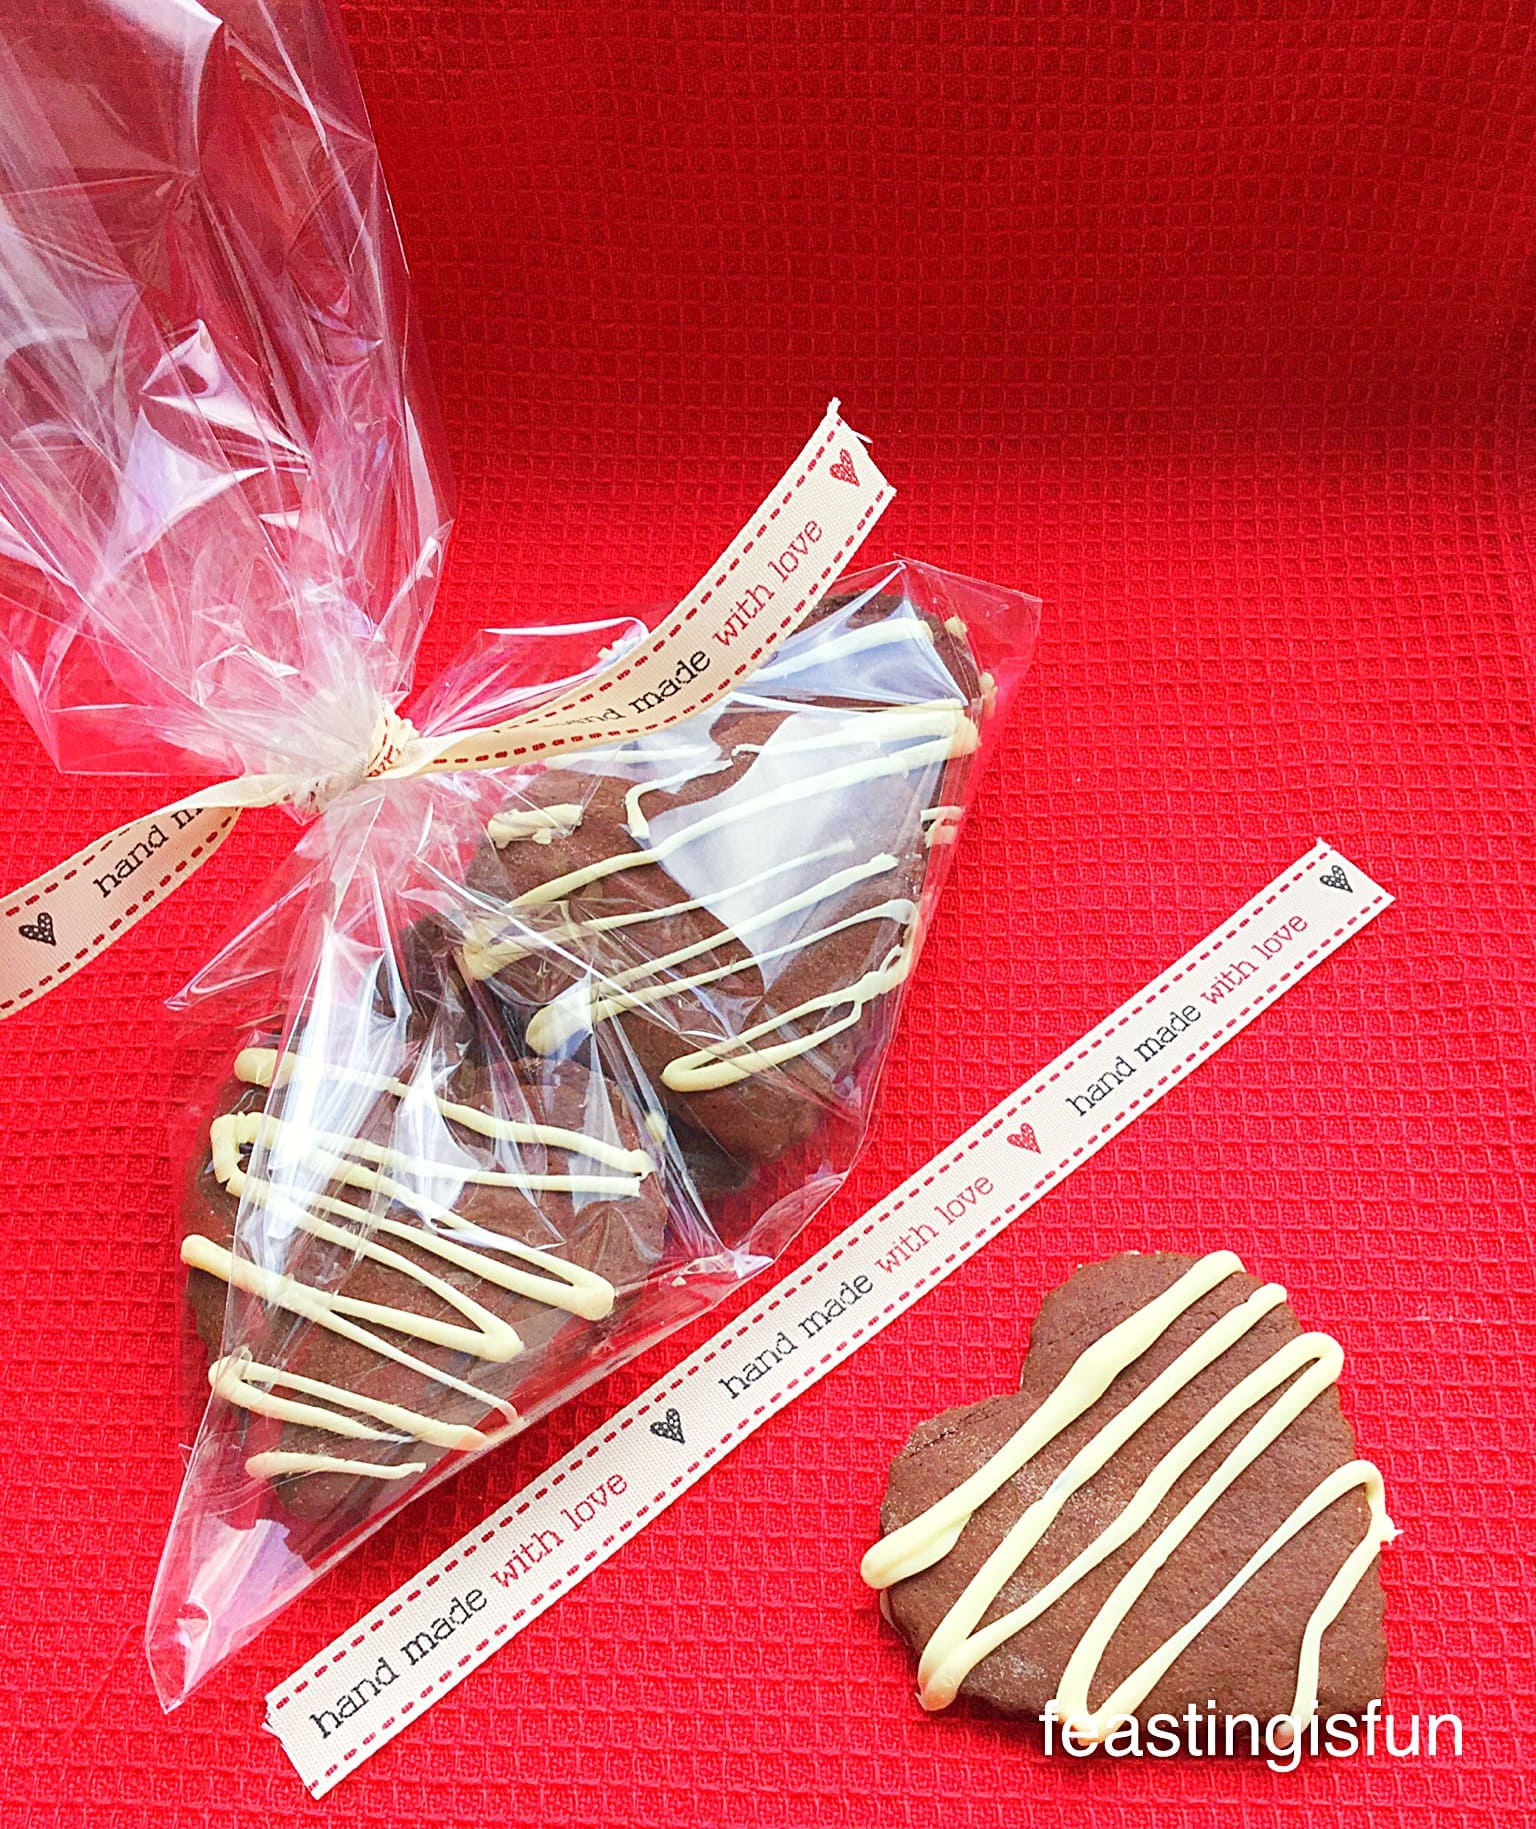
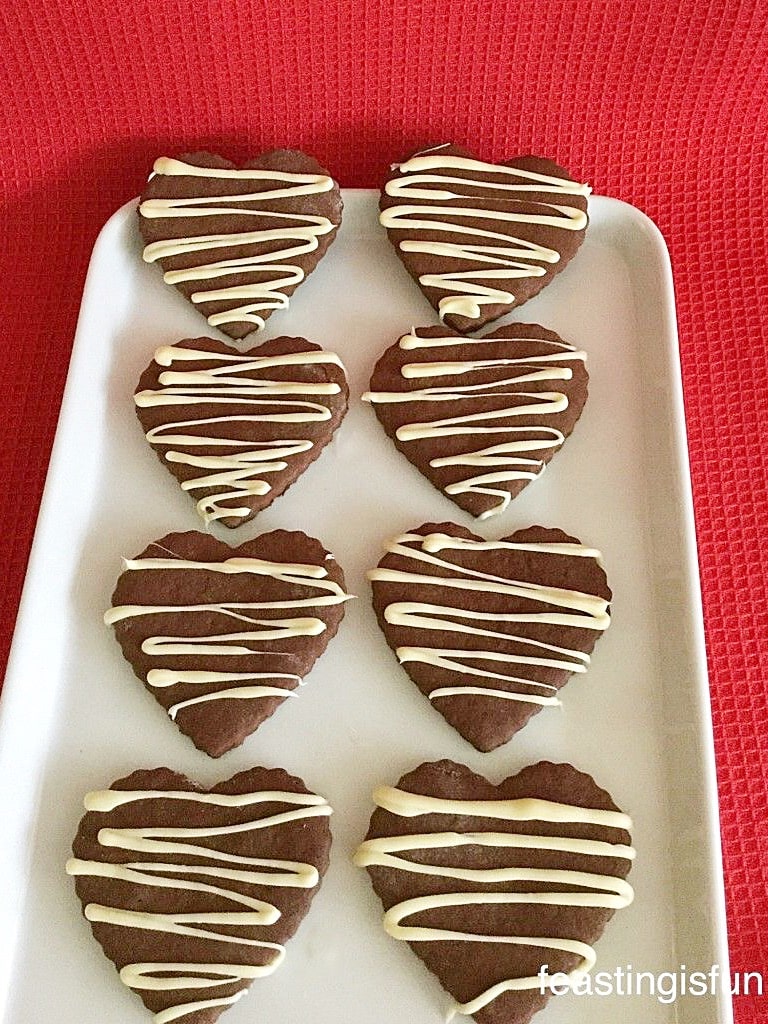
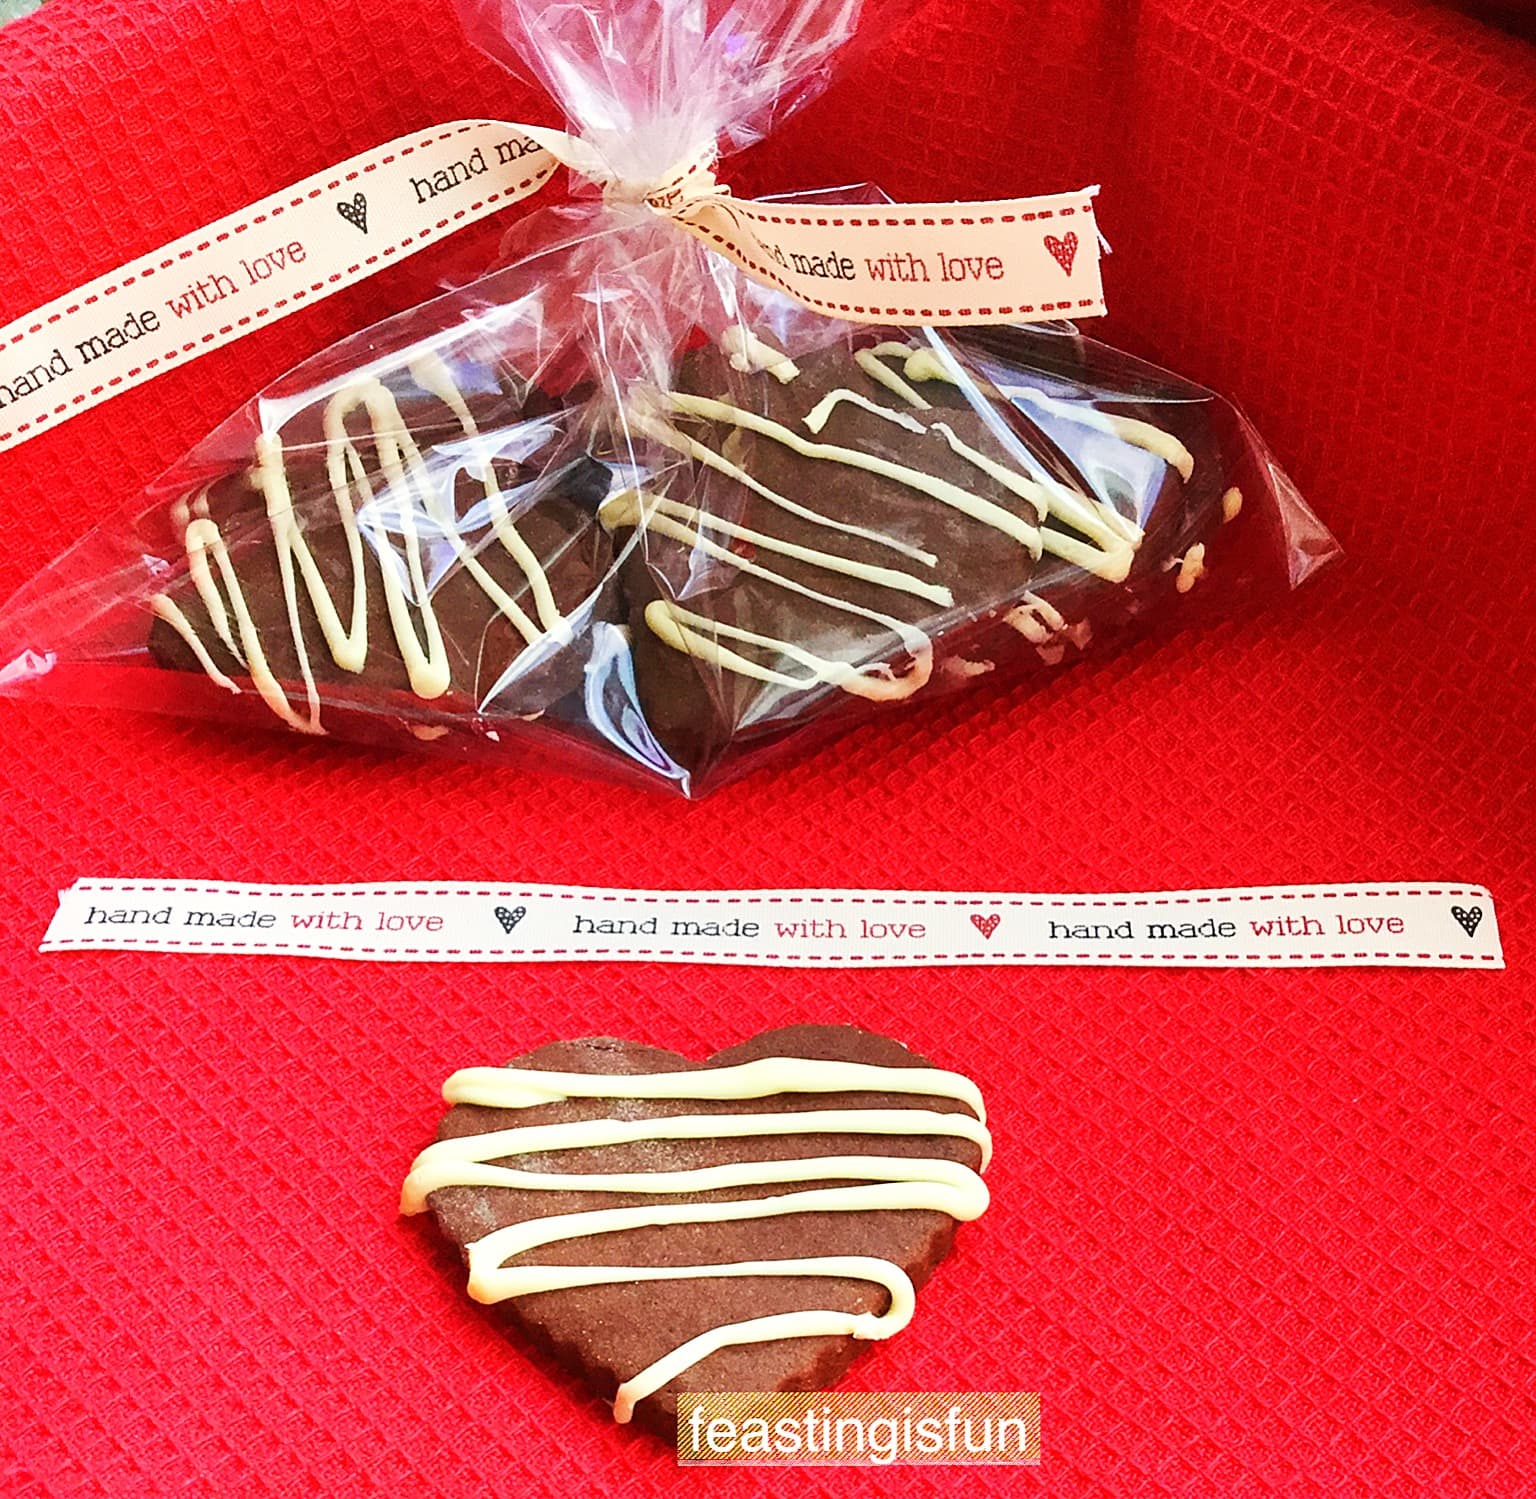
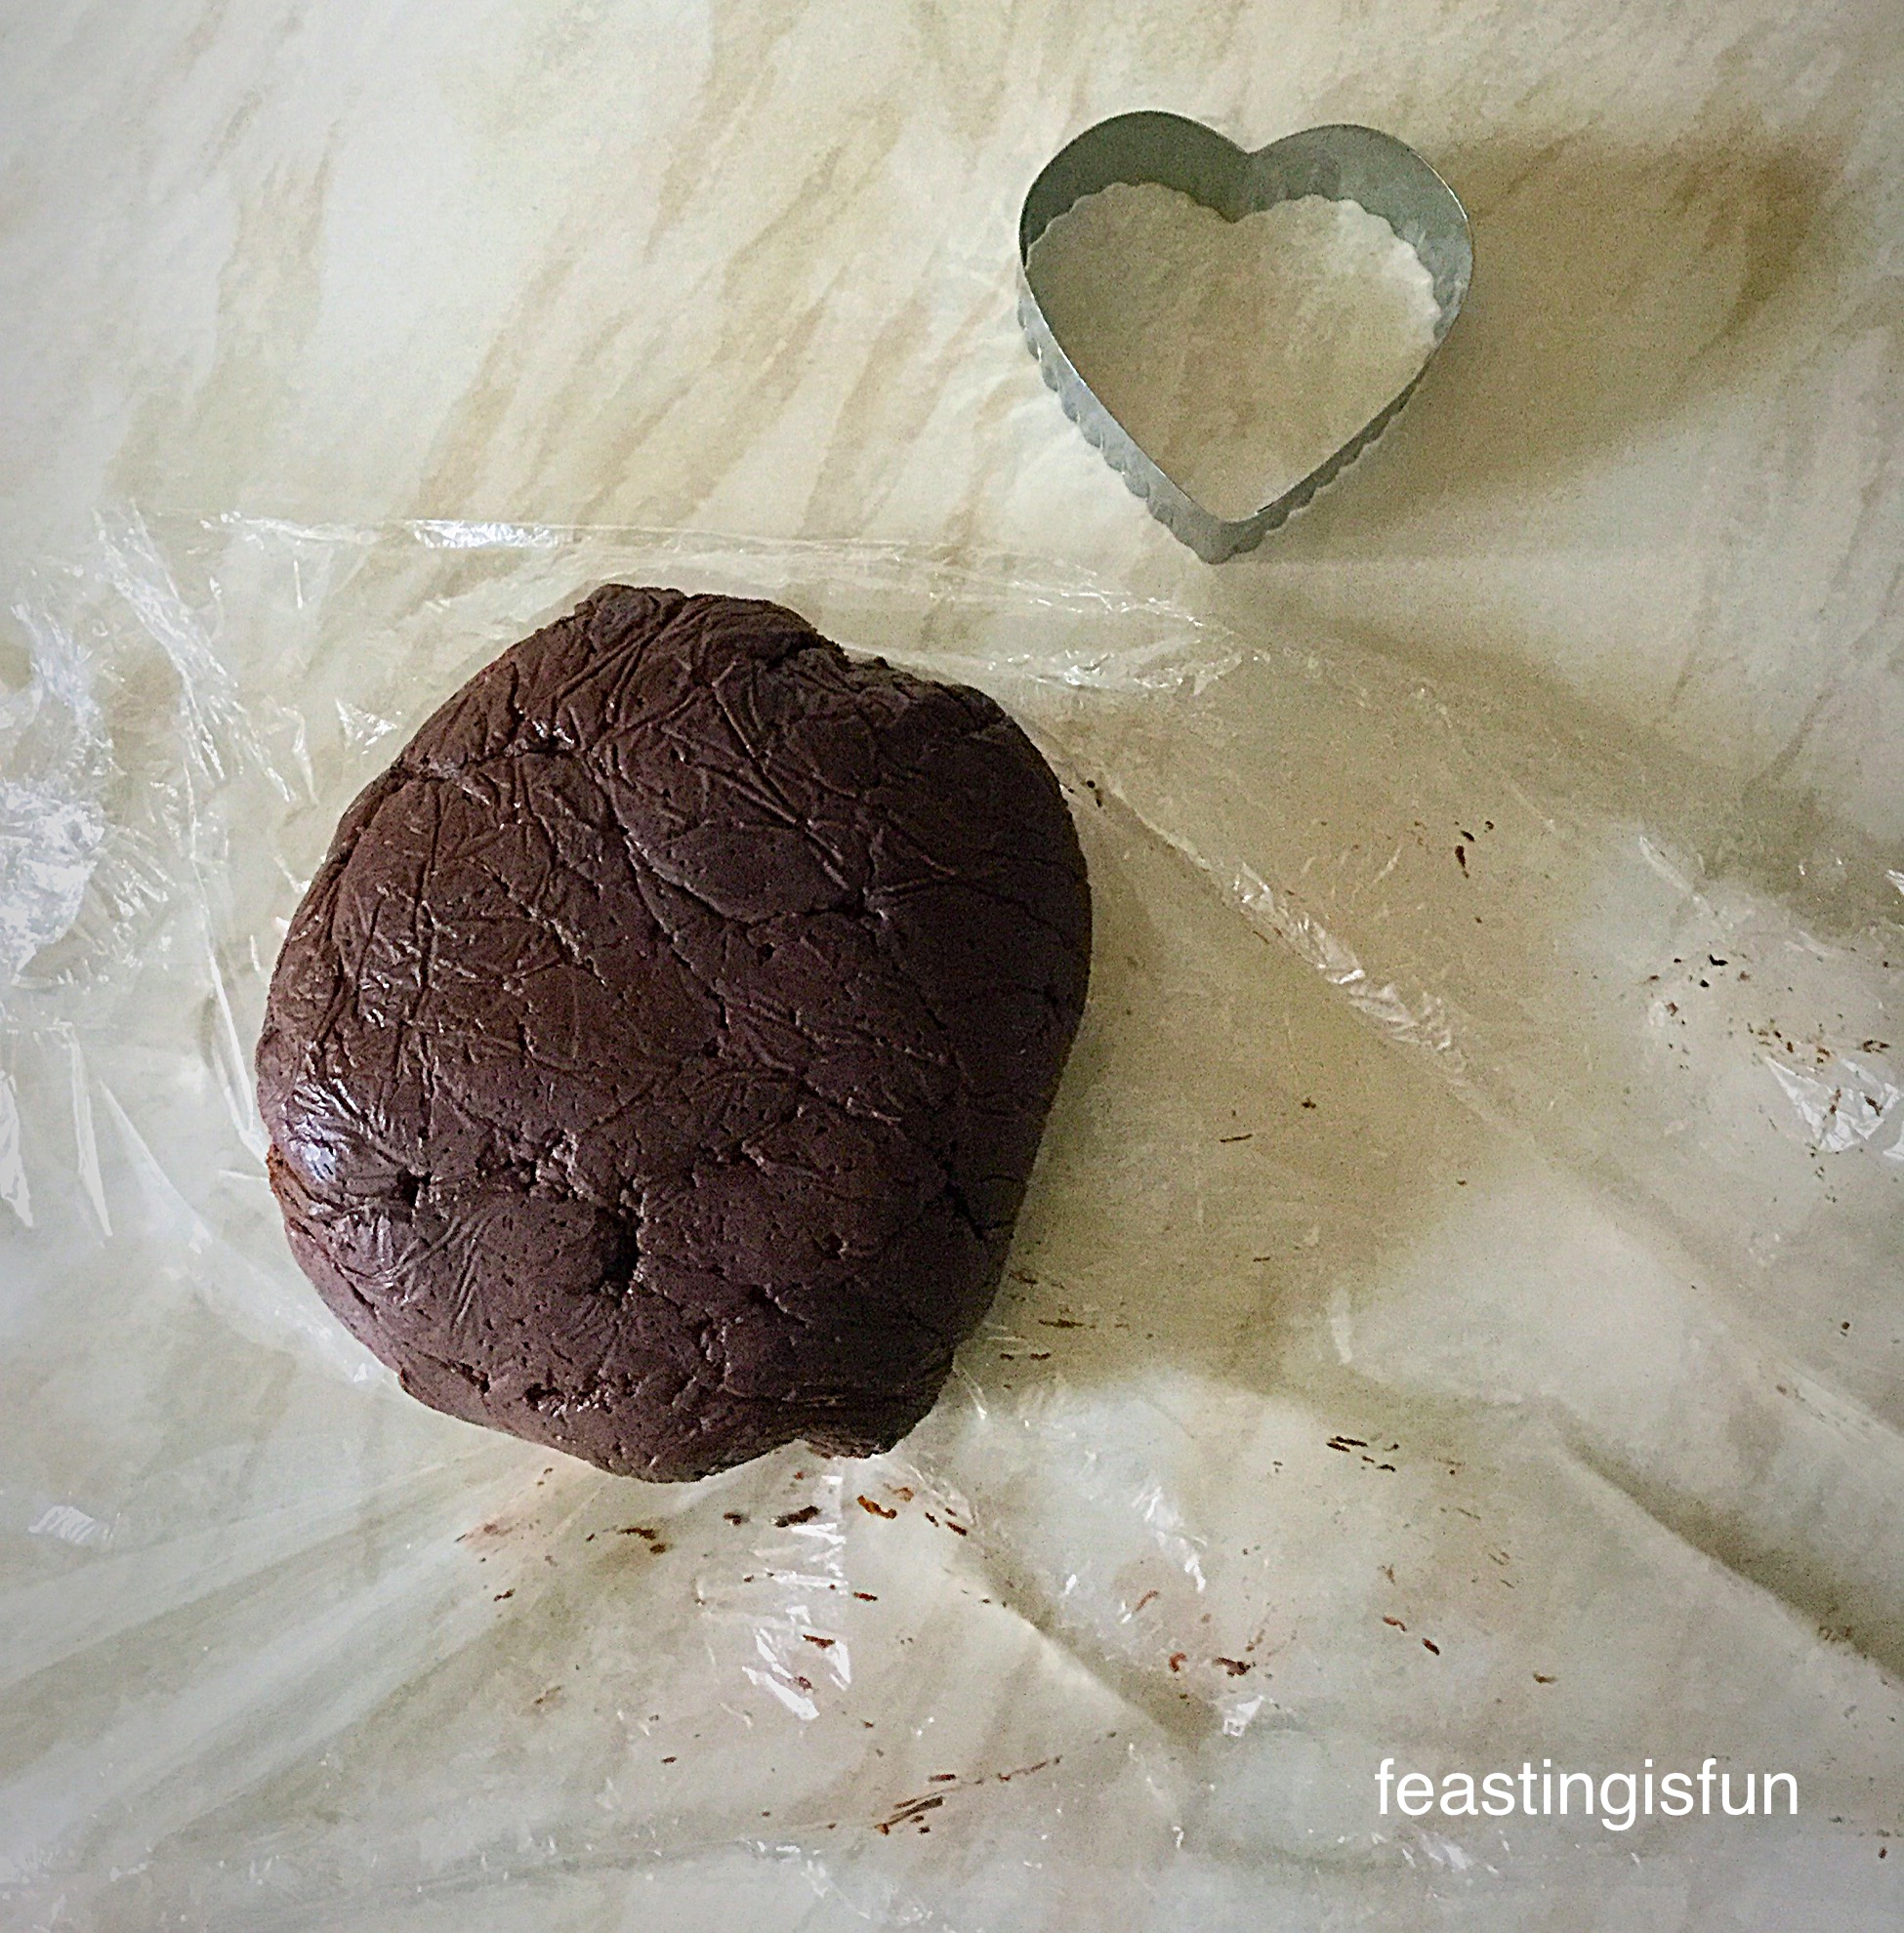
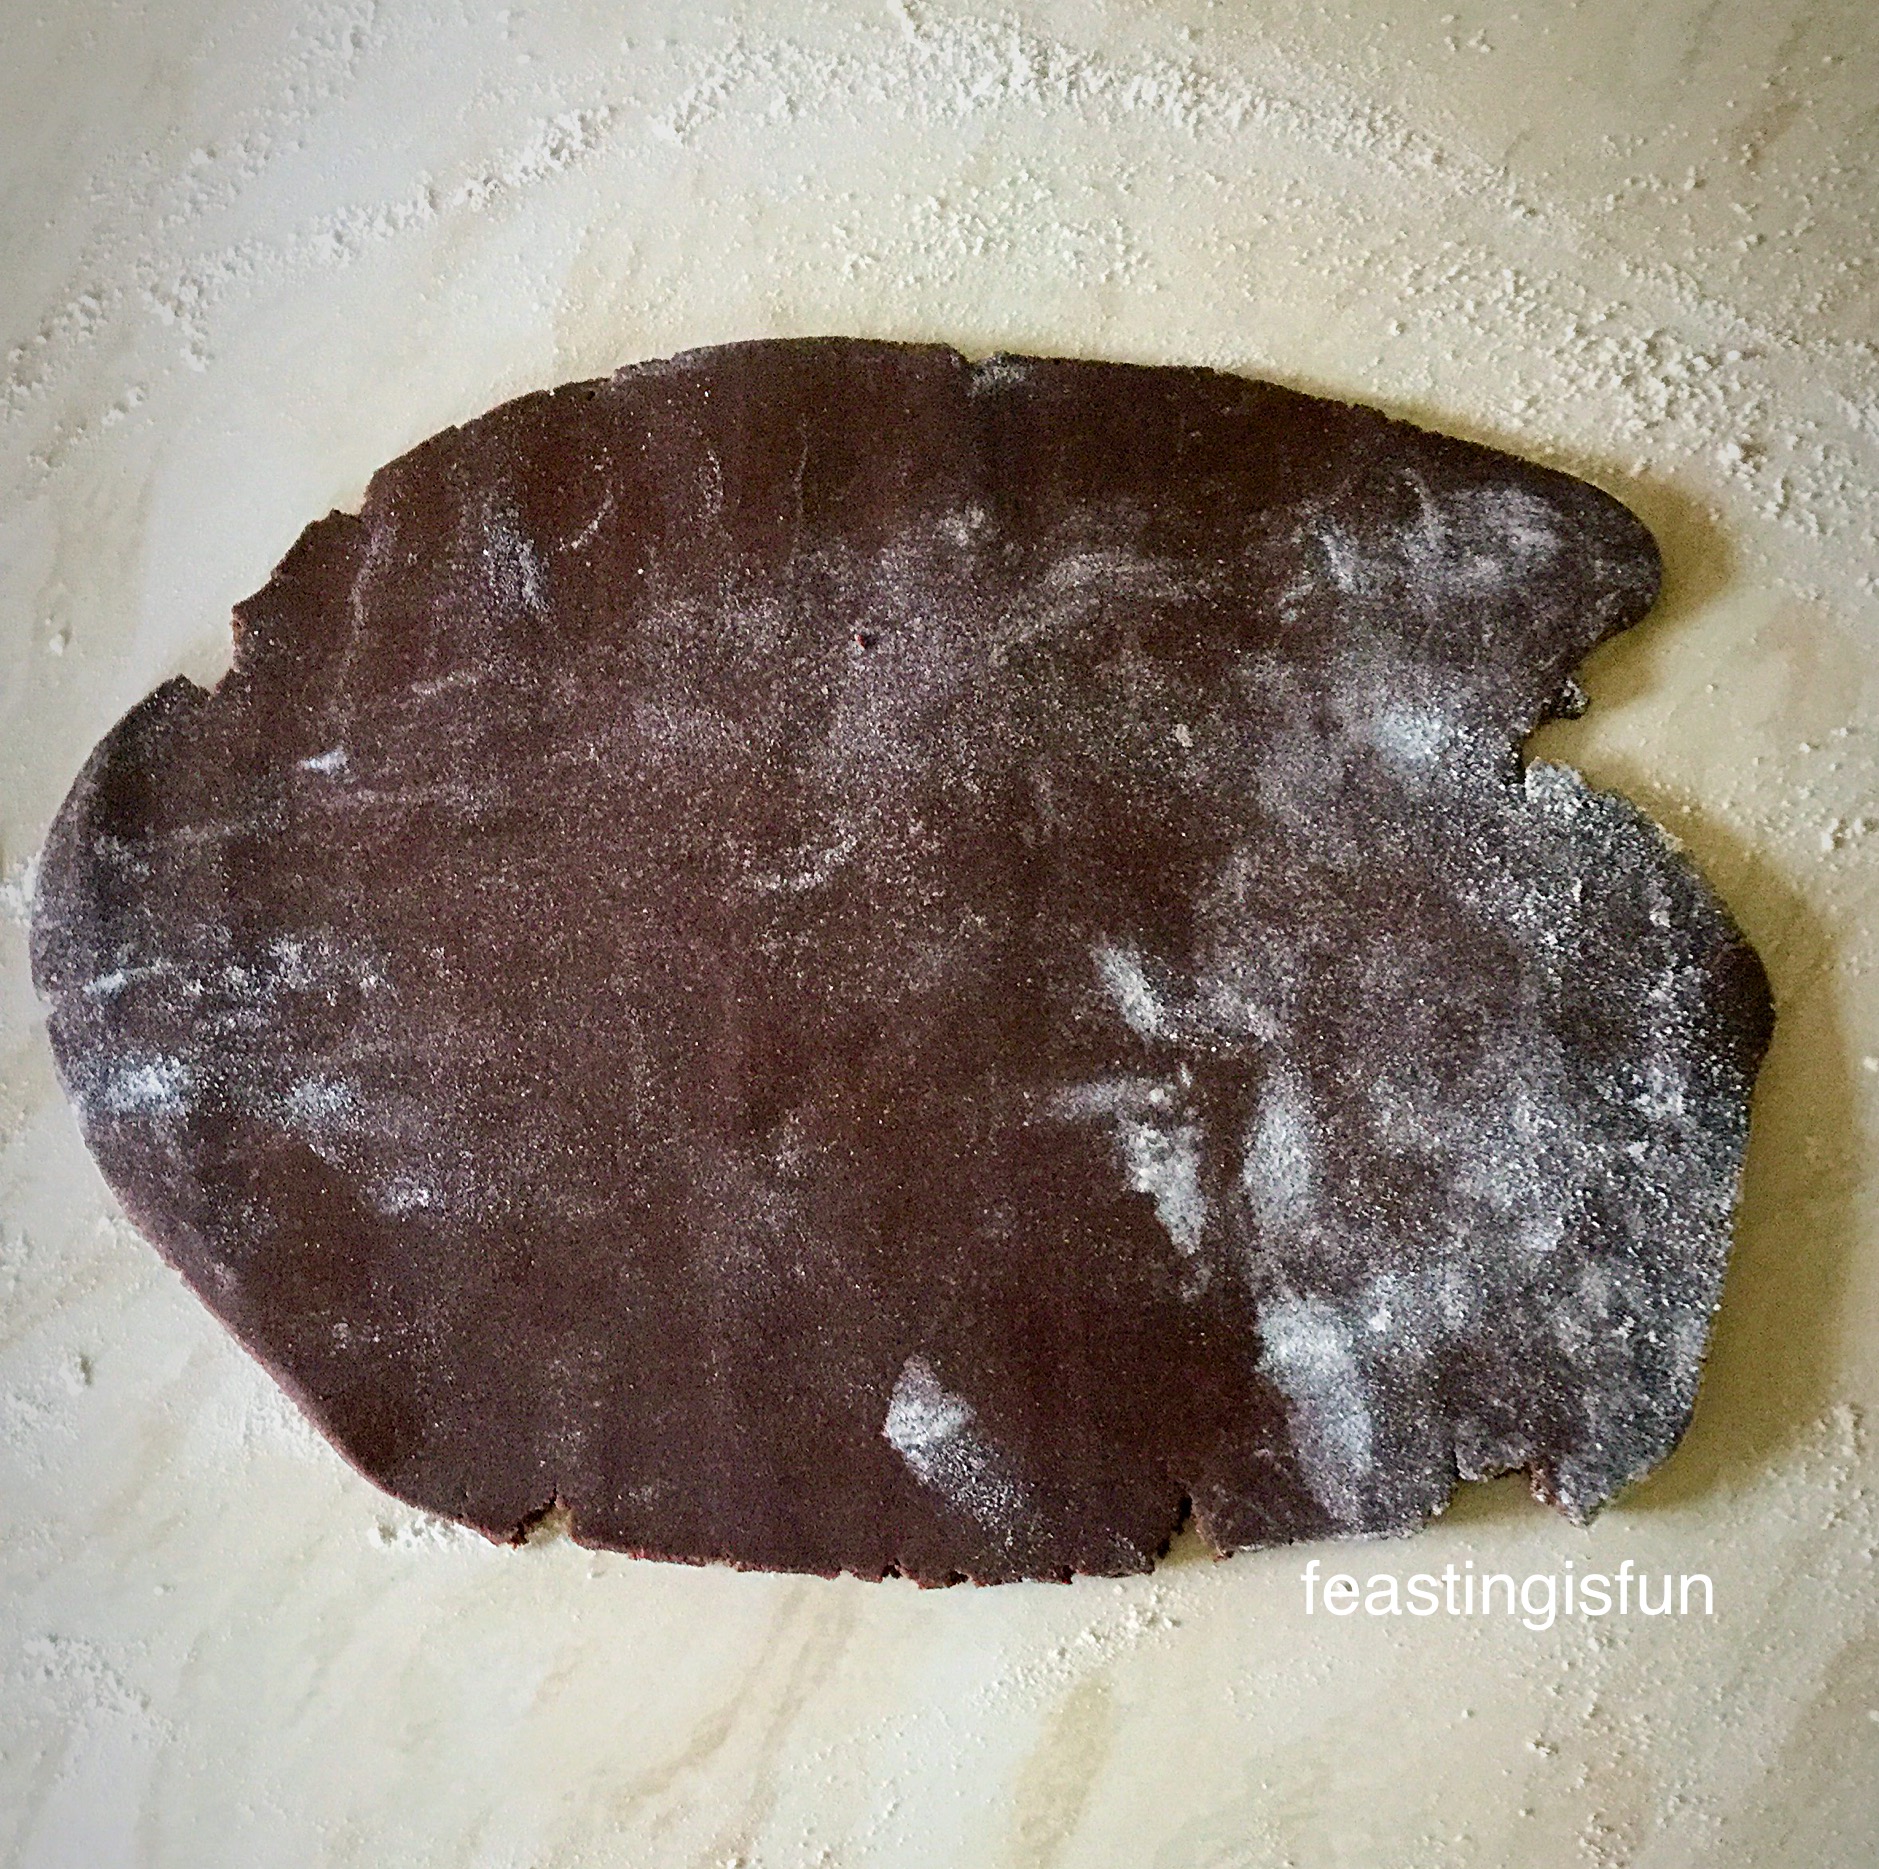
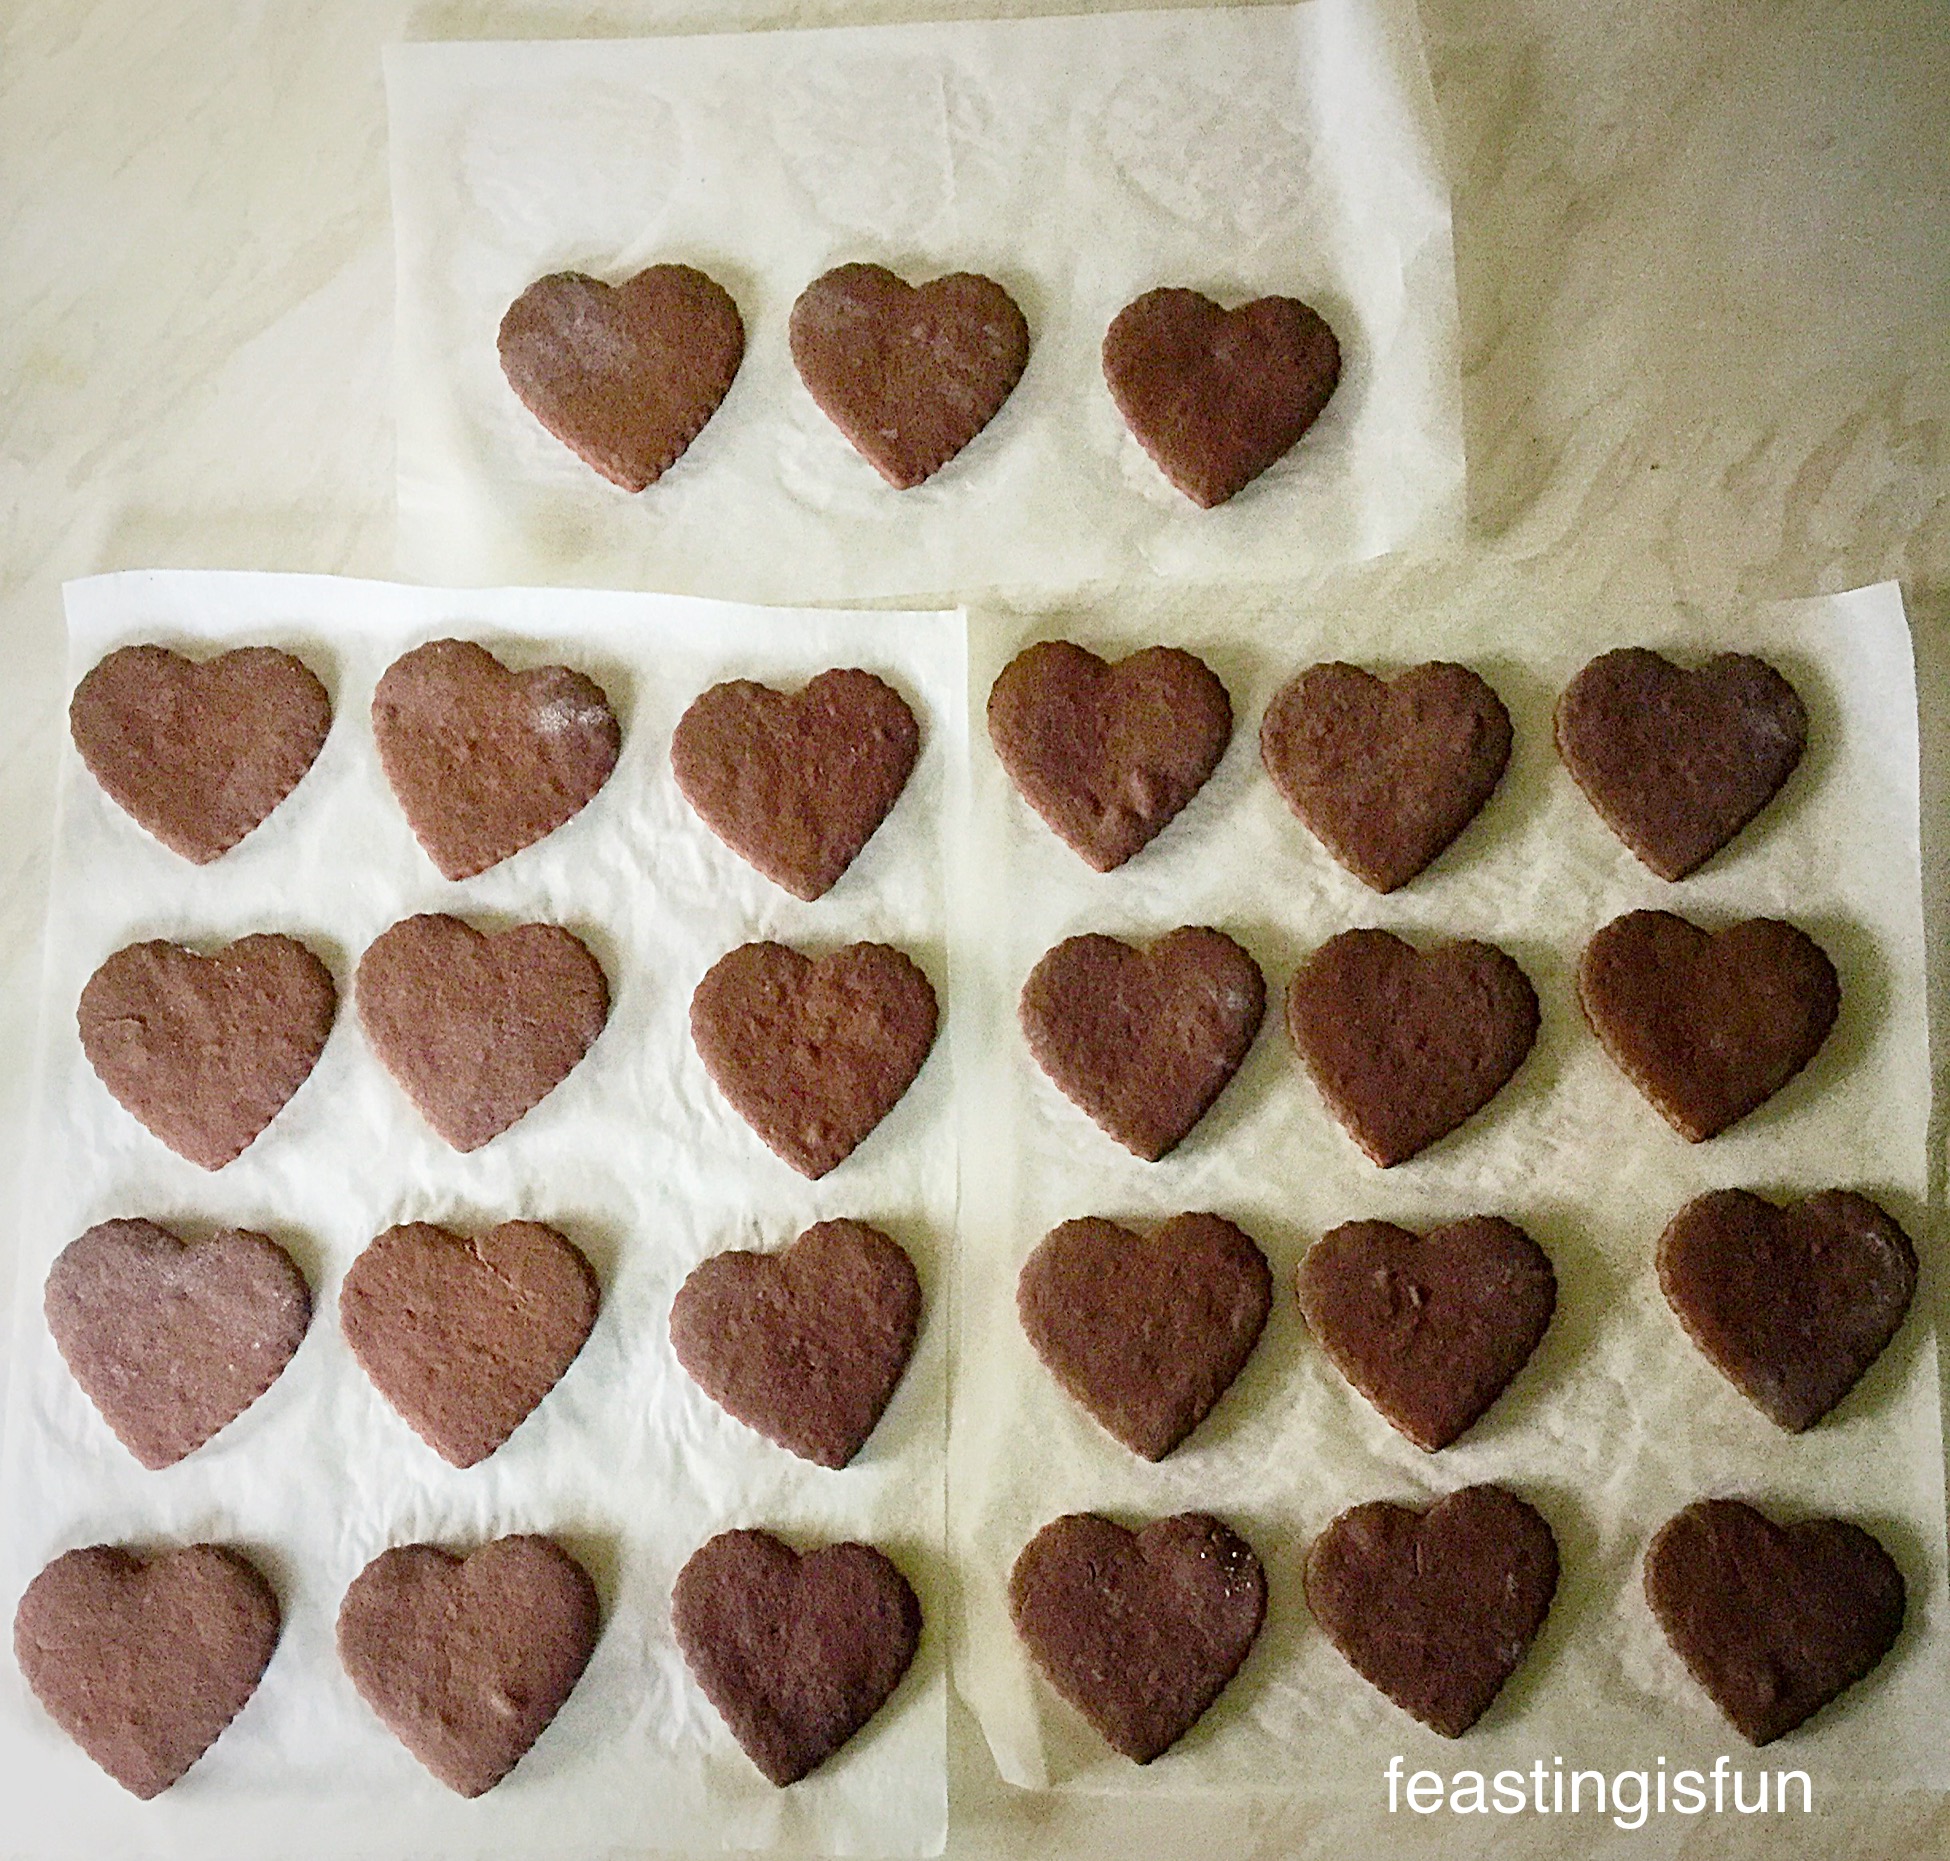
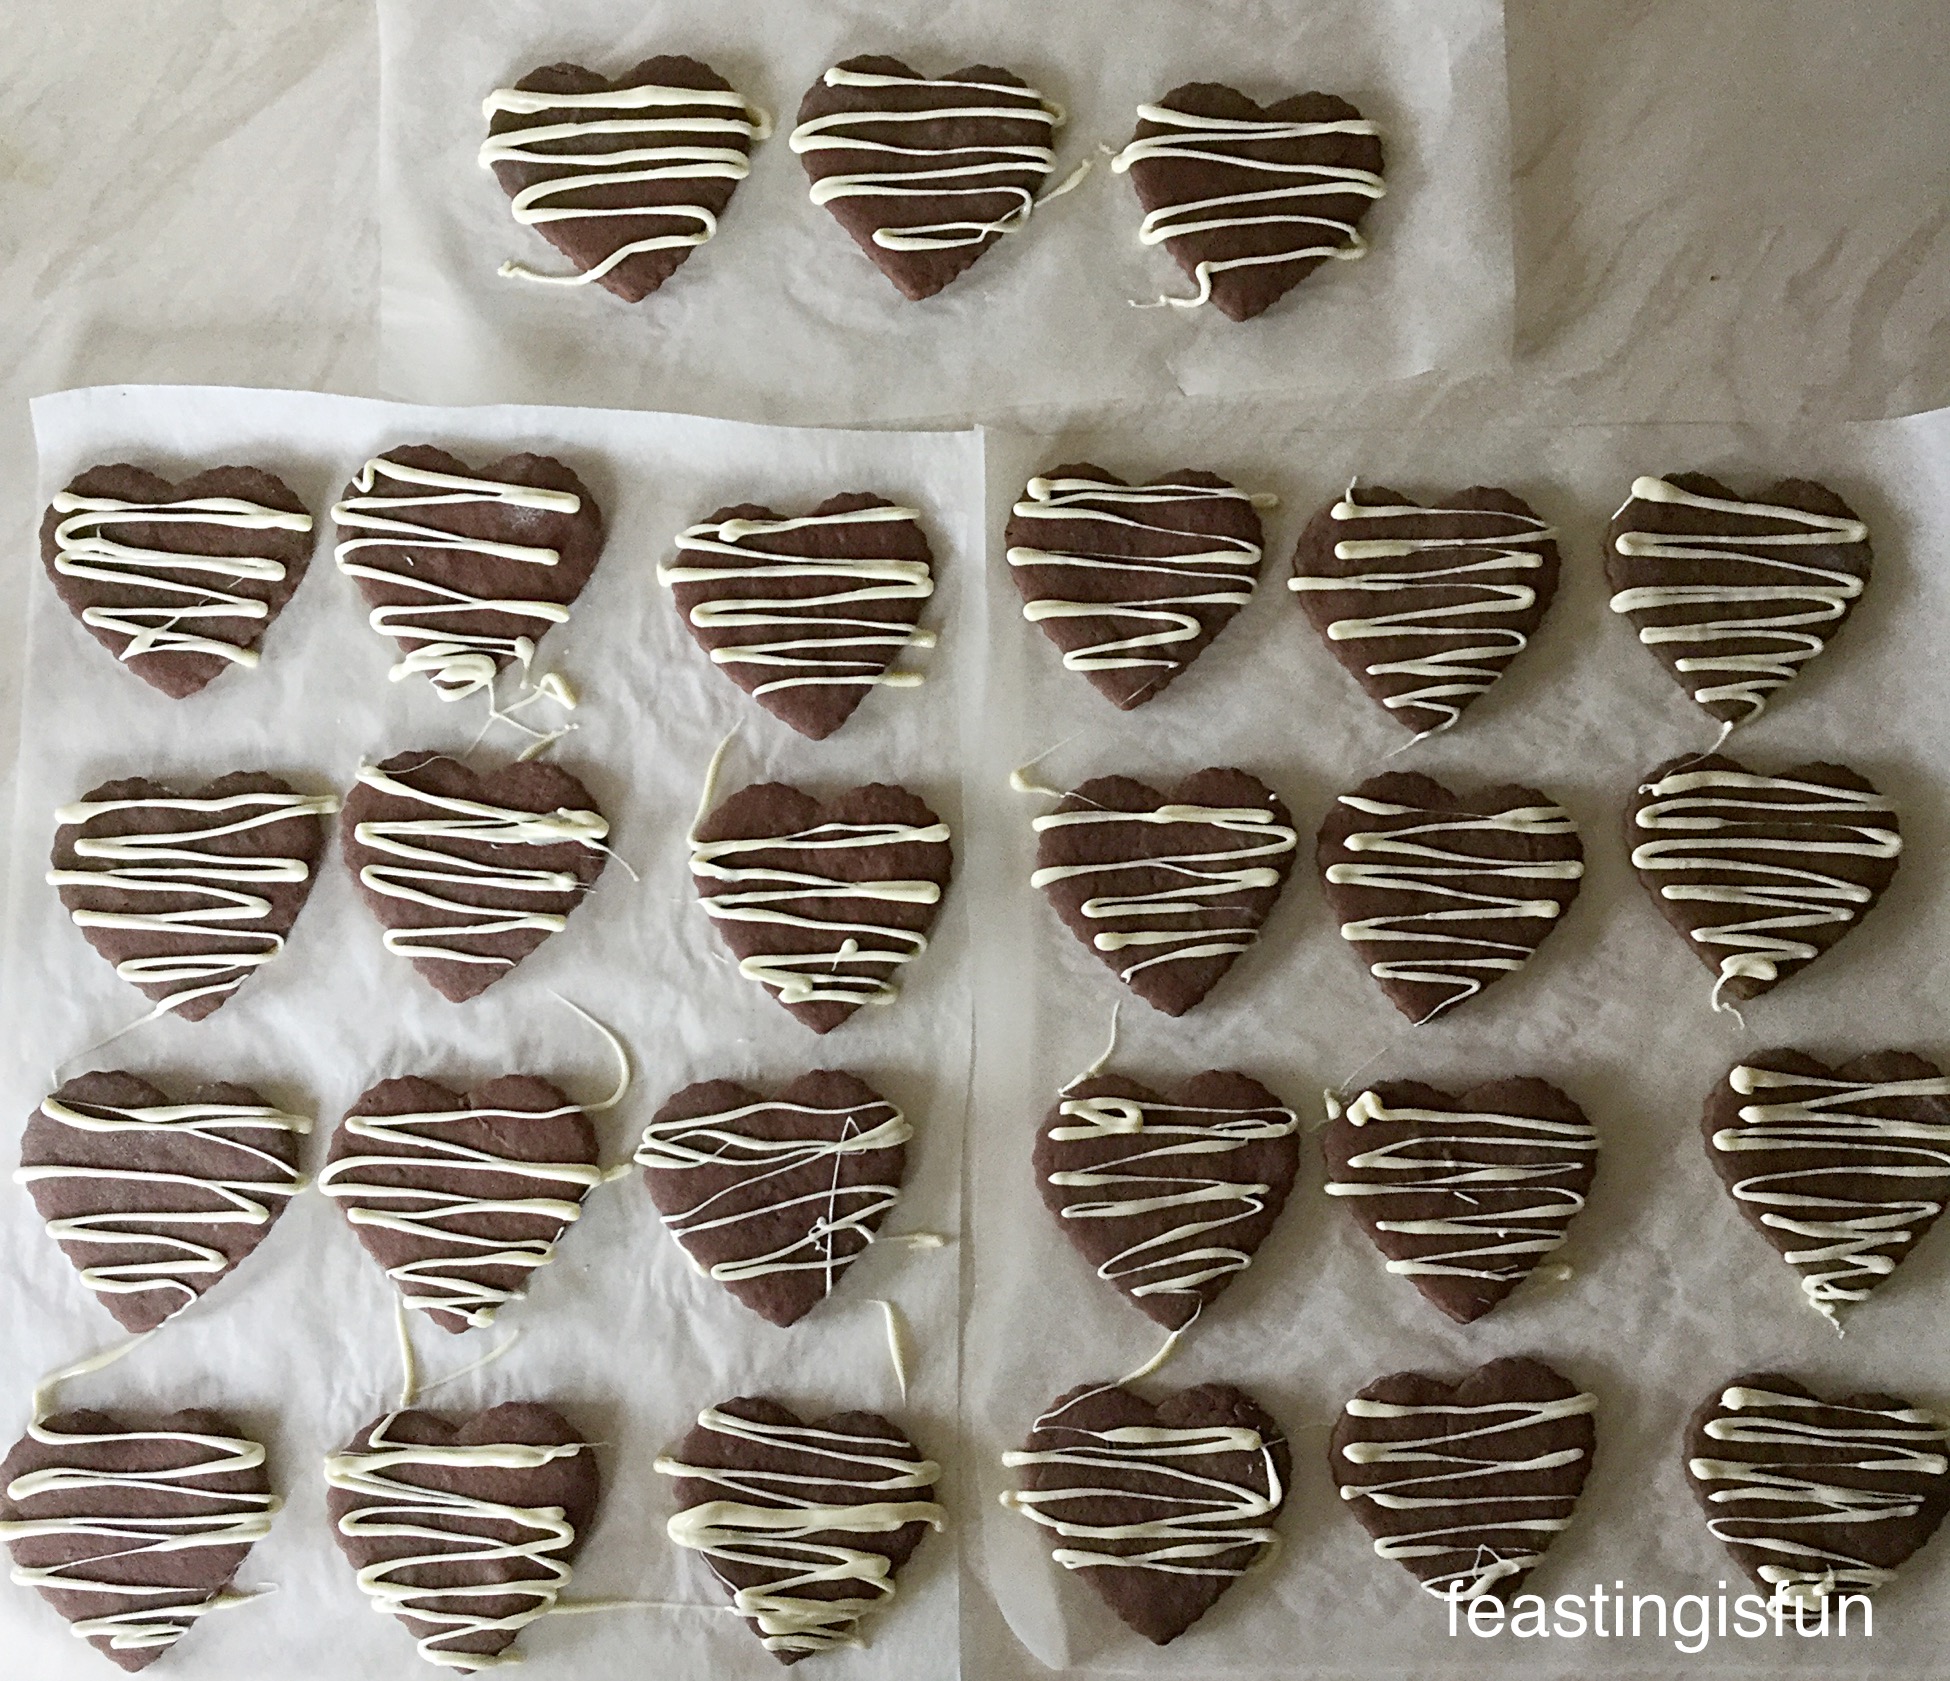
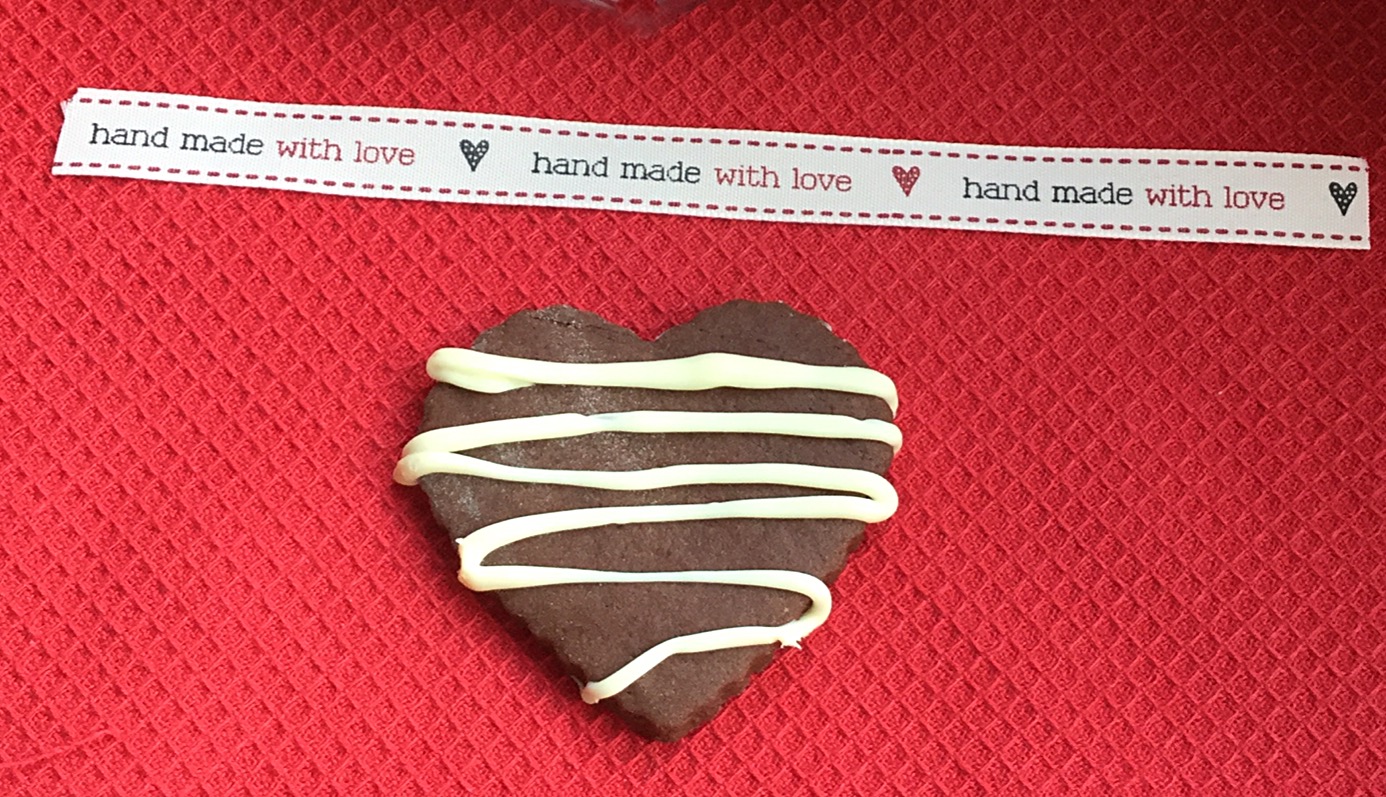
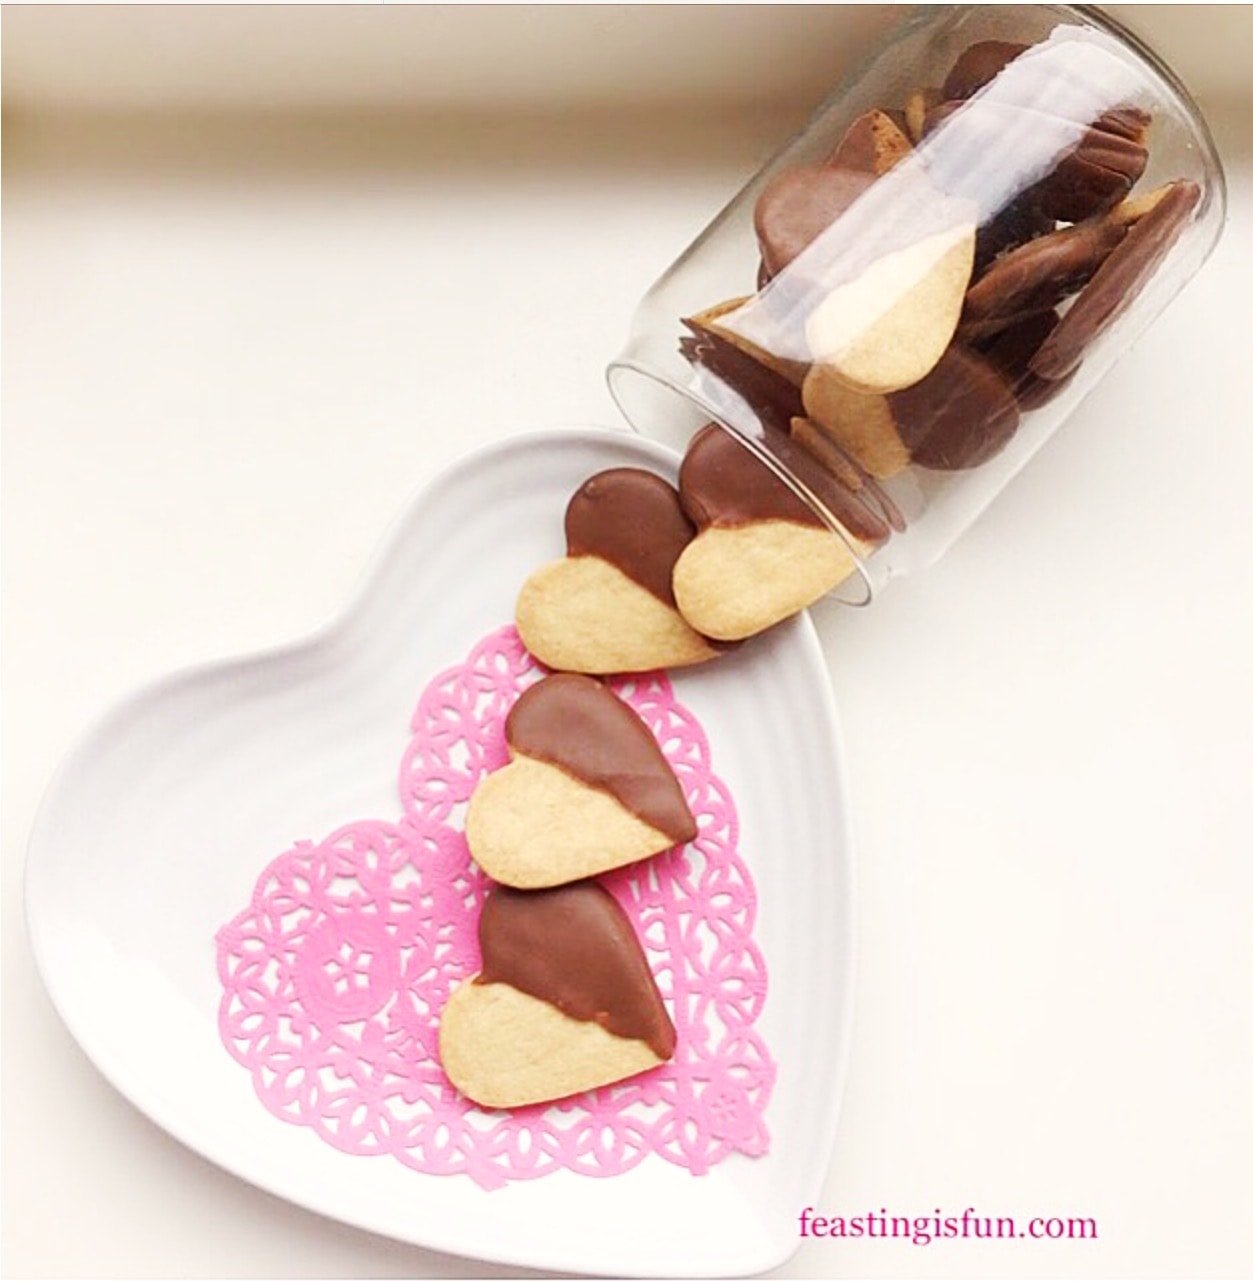
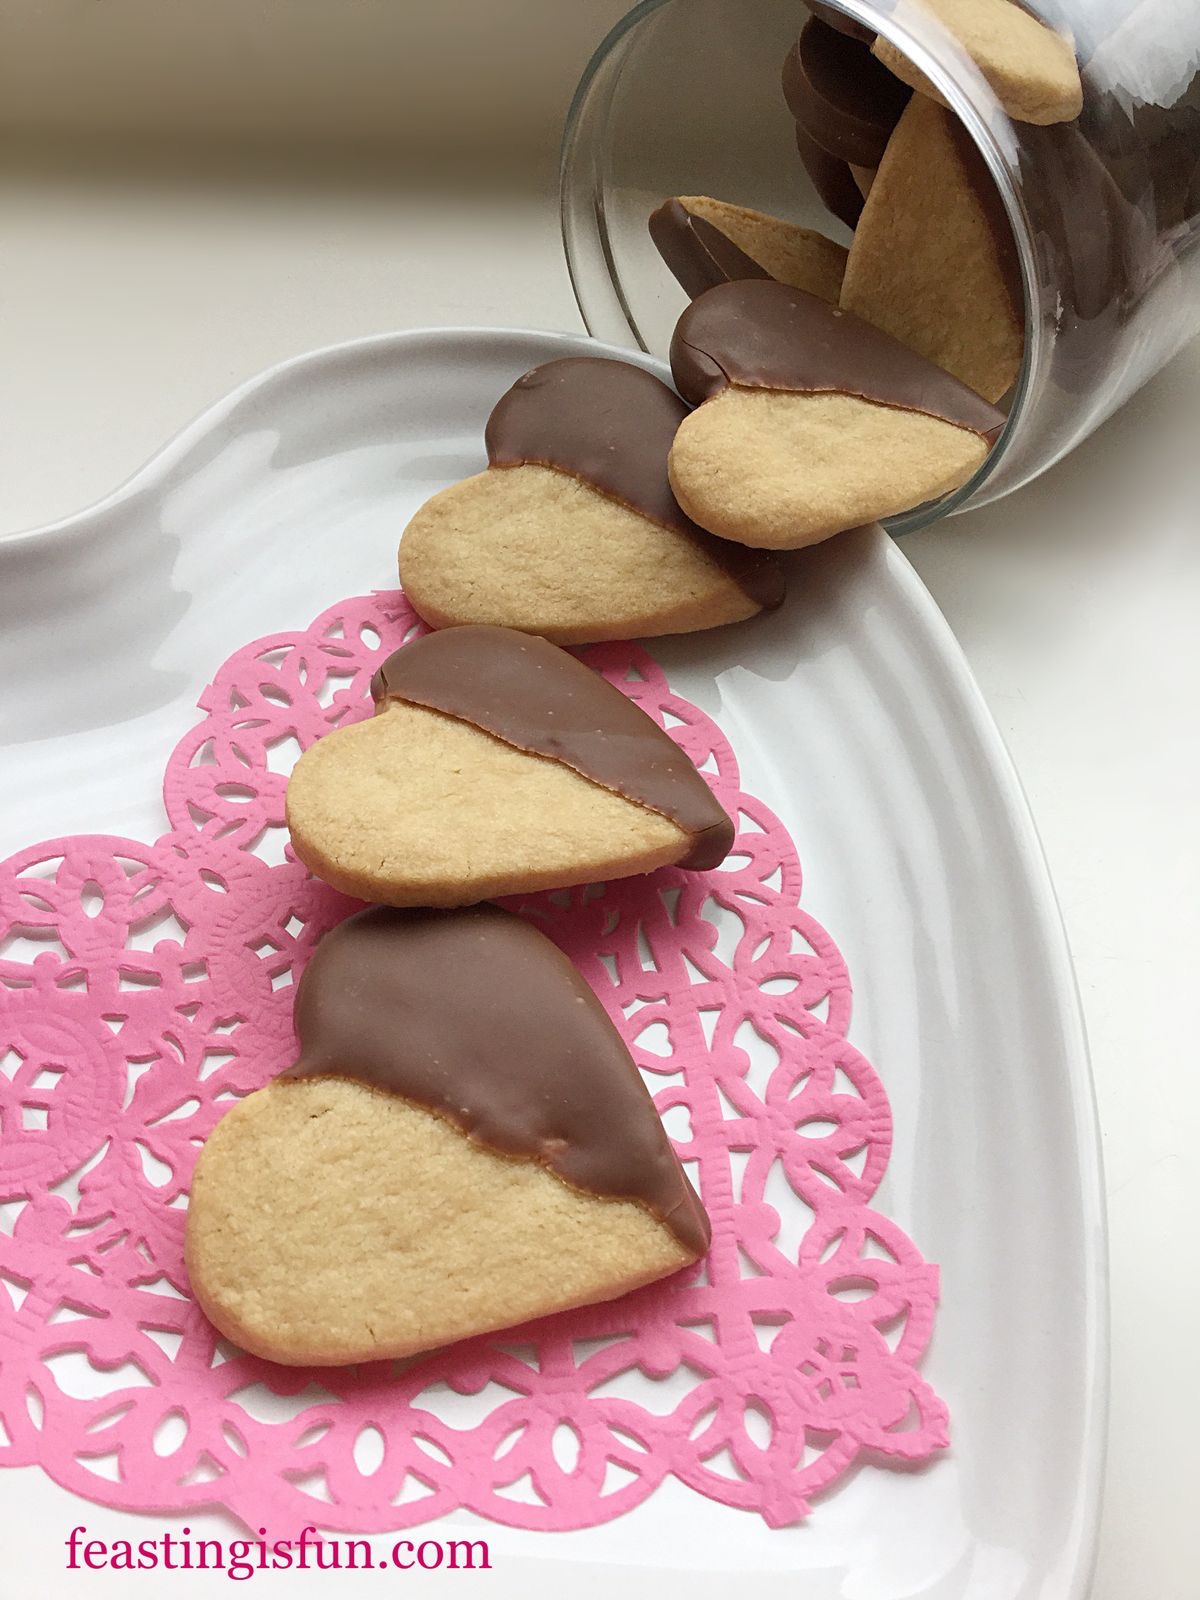
Chocolate Dipped Shortbread Heart Cookies
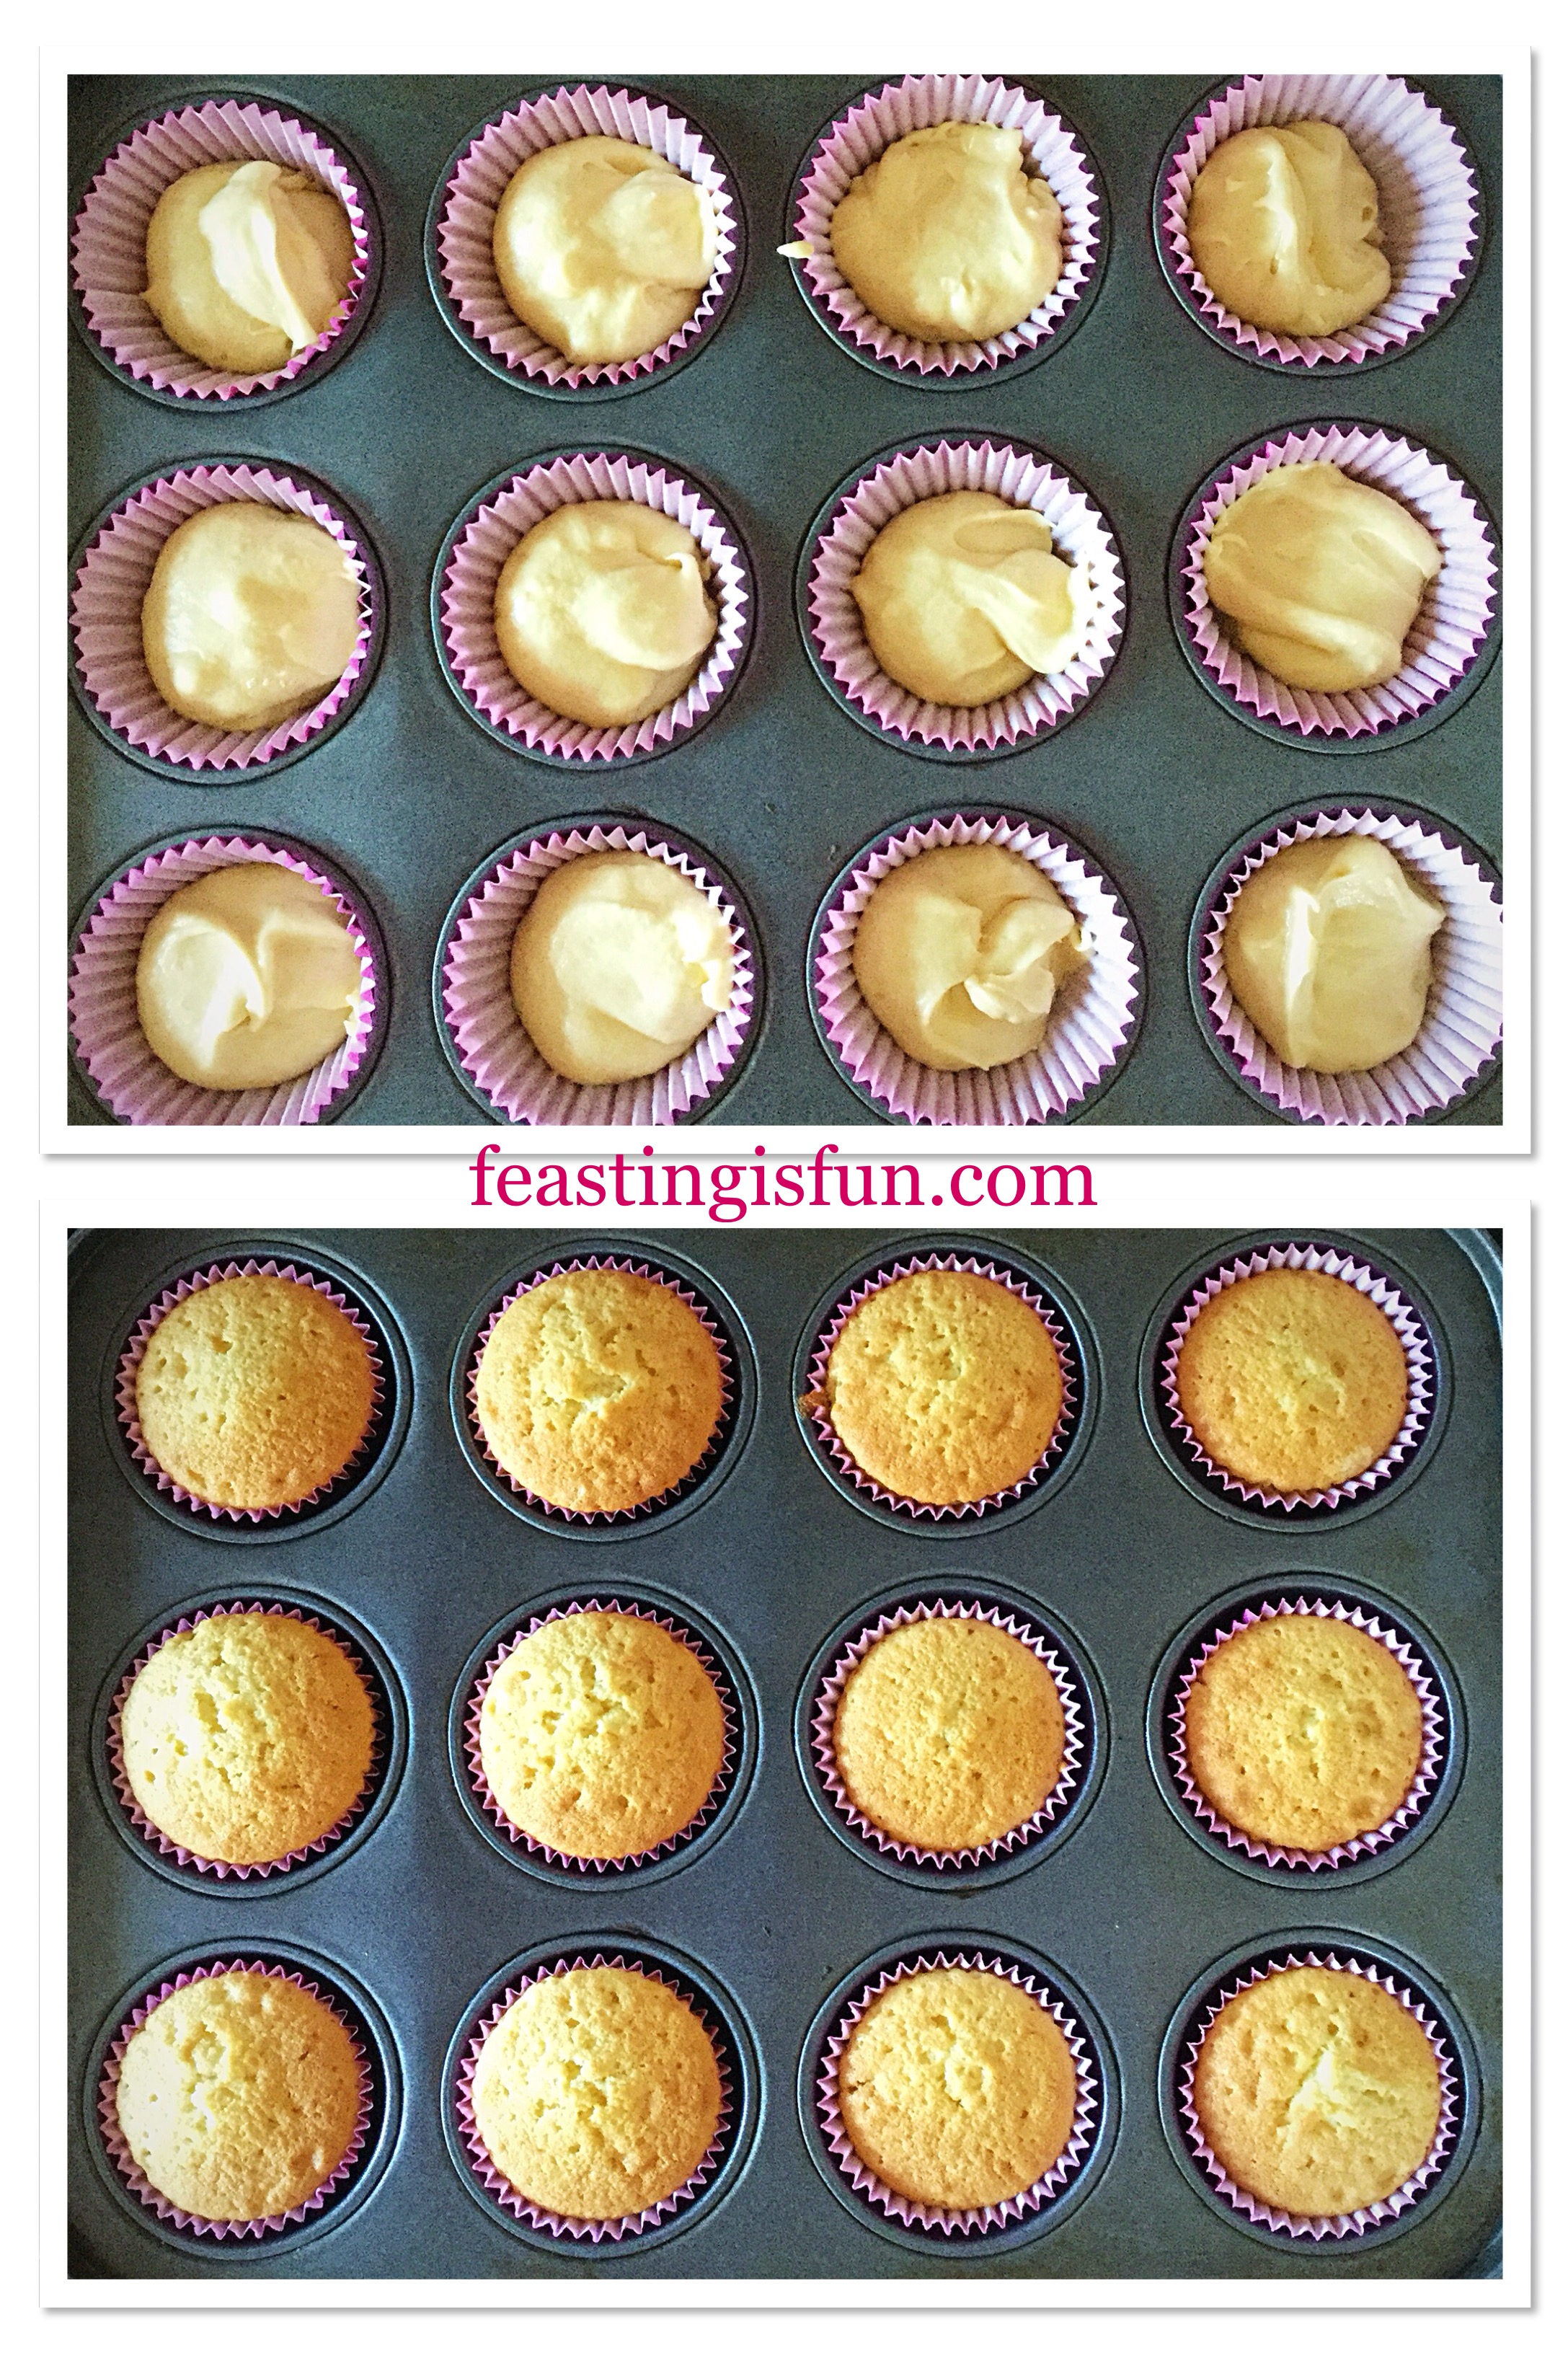
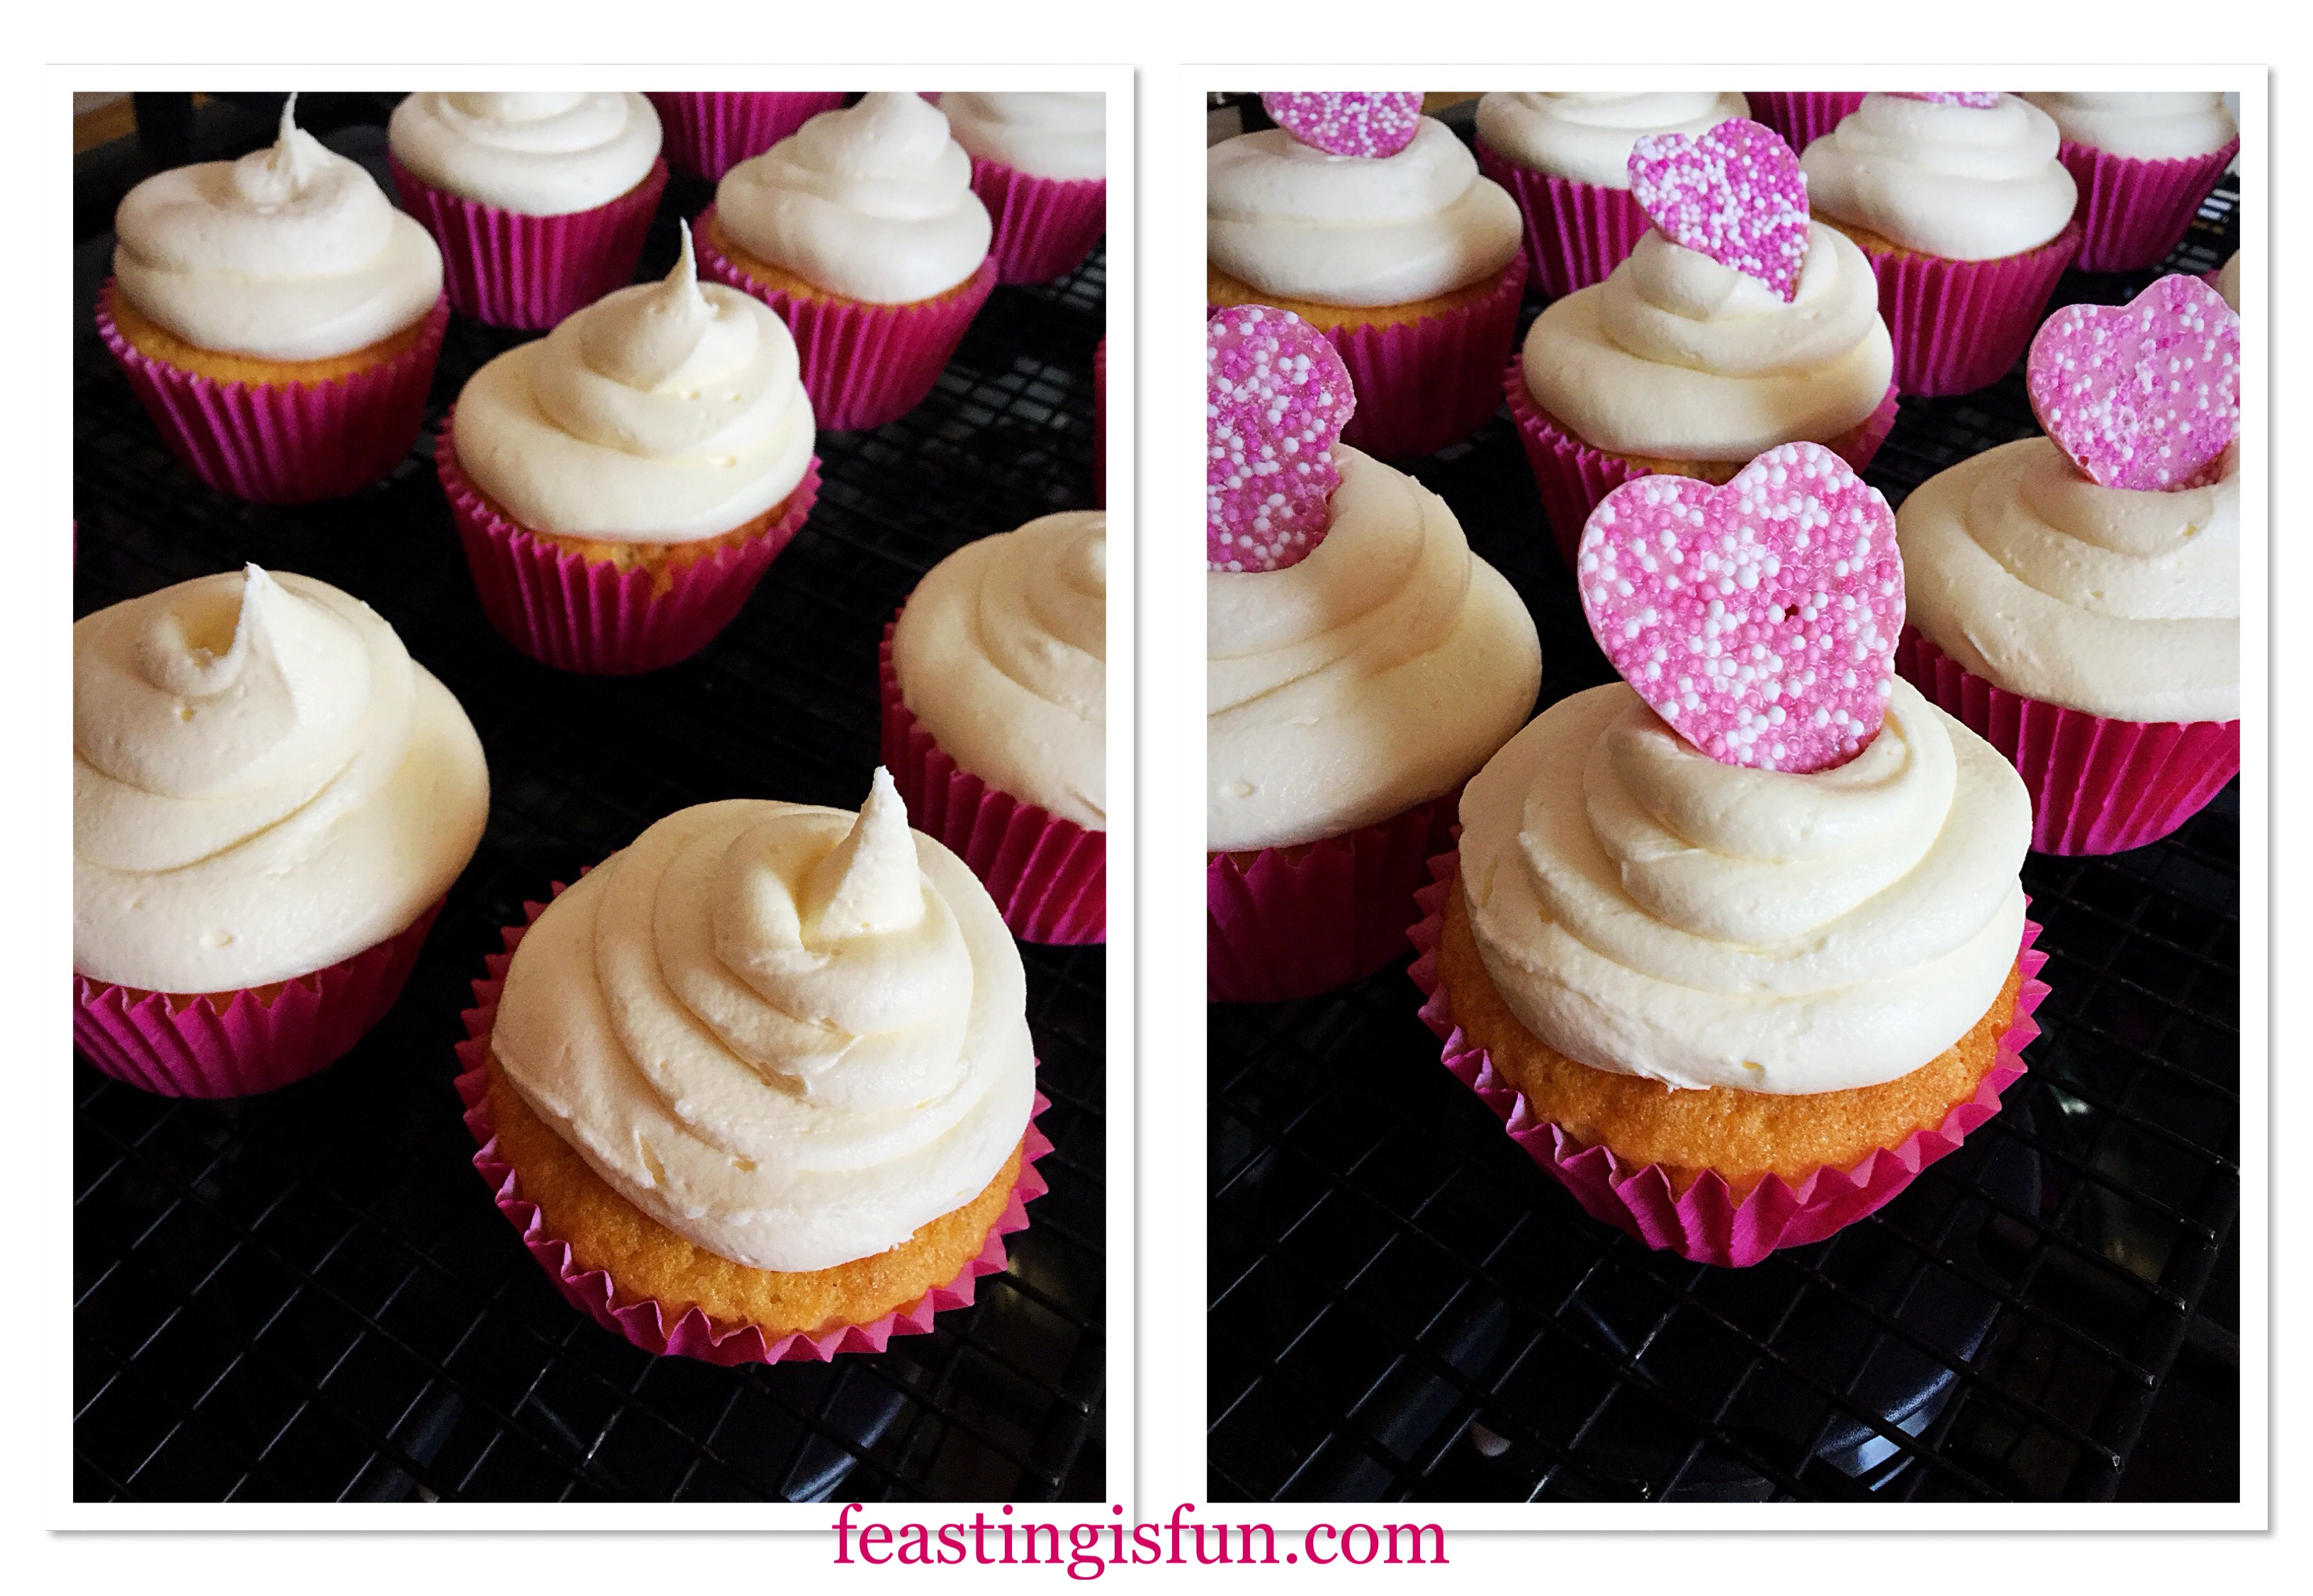
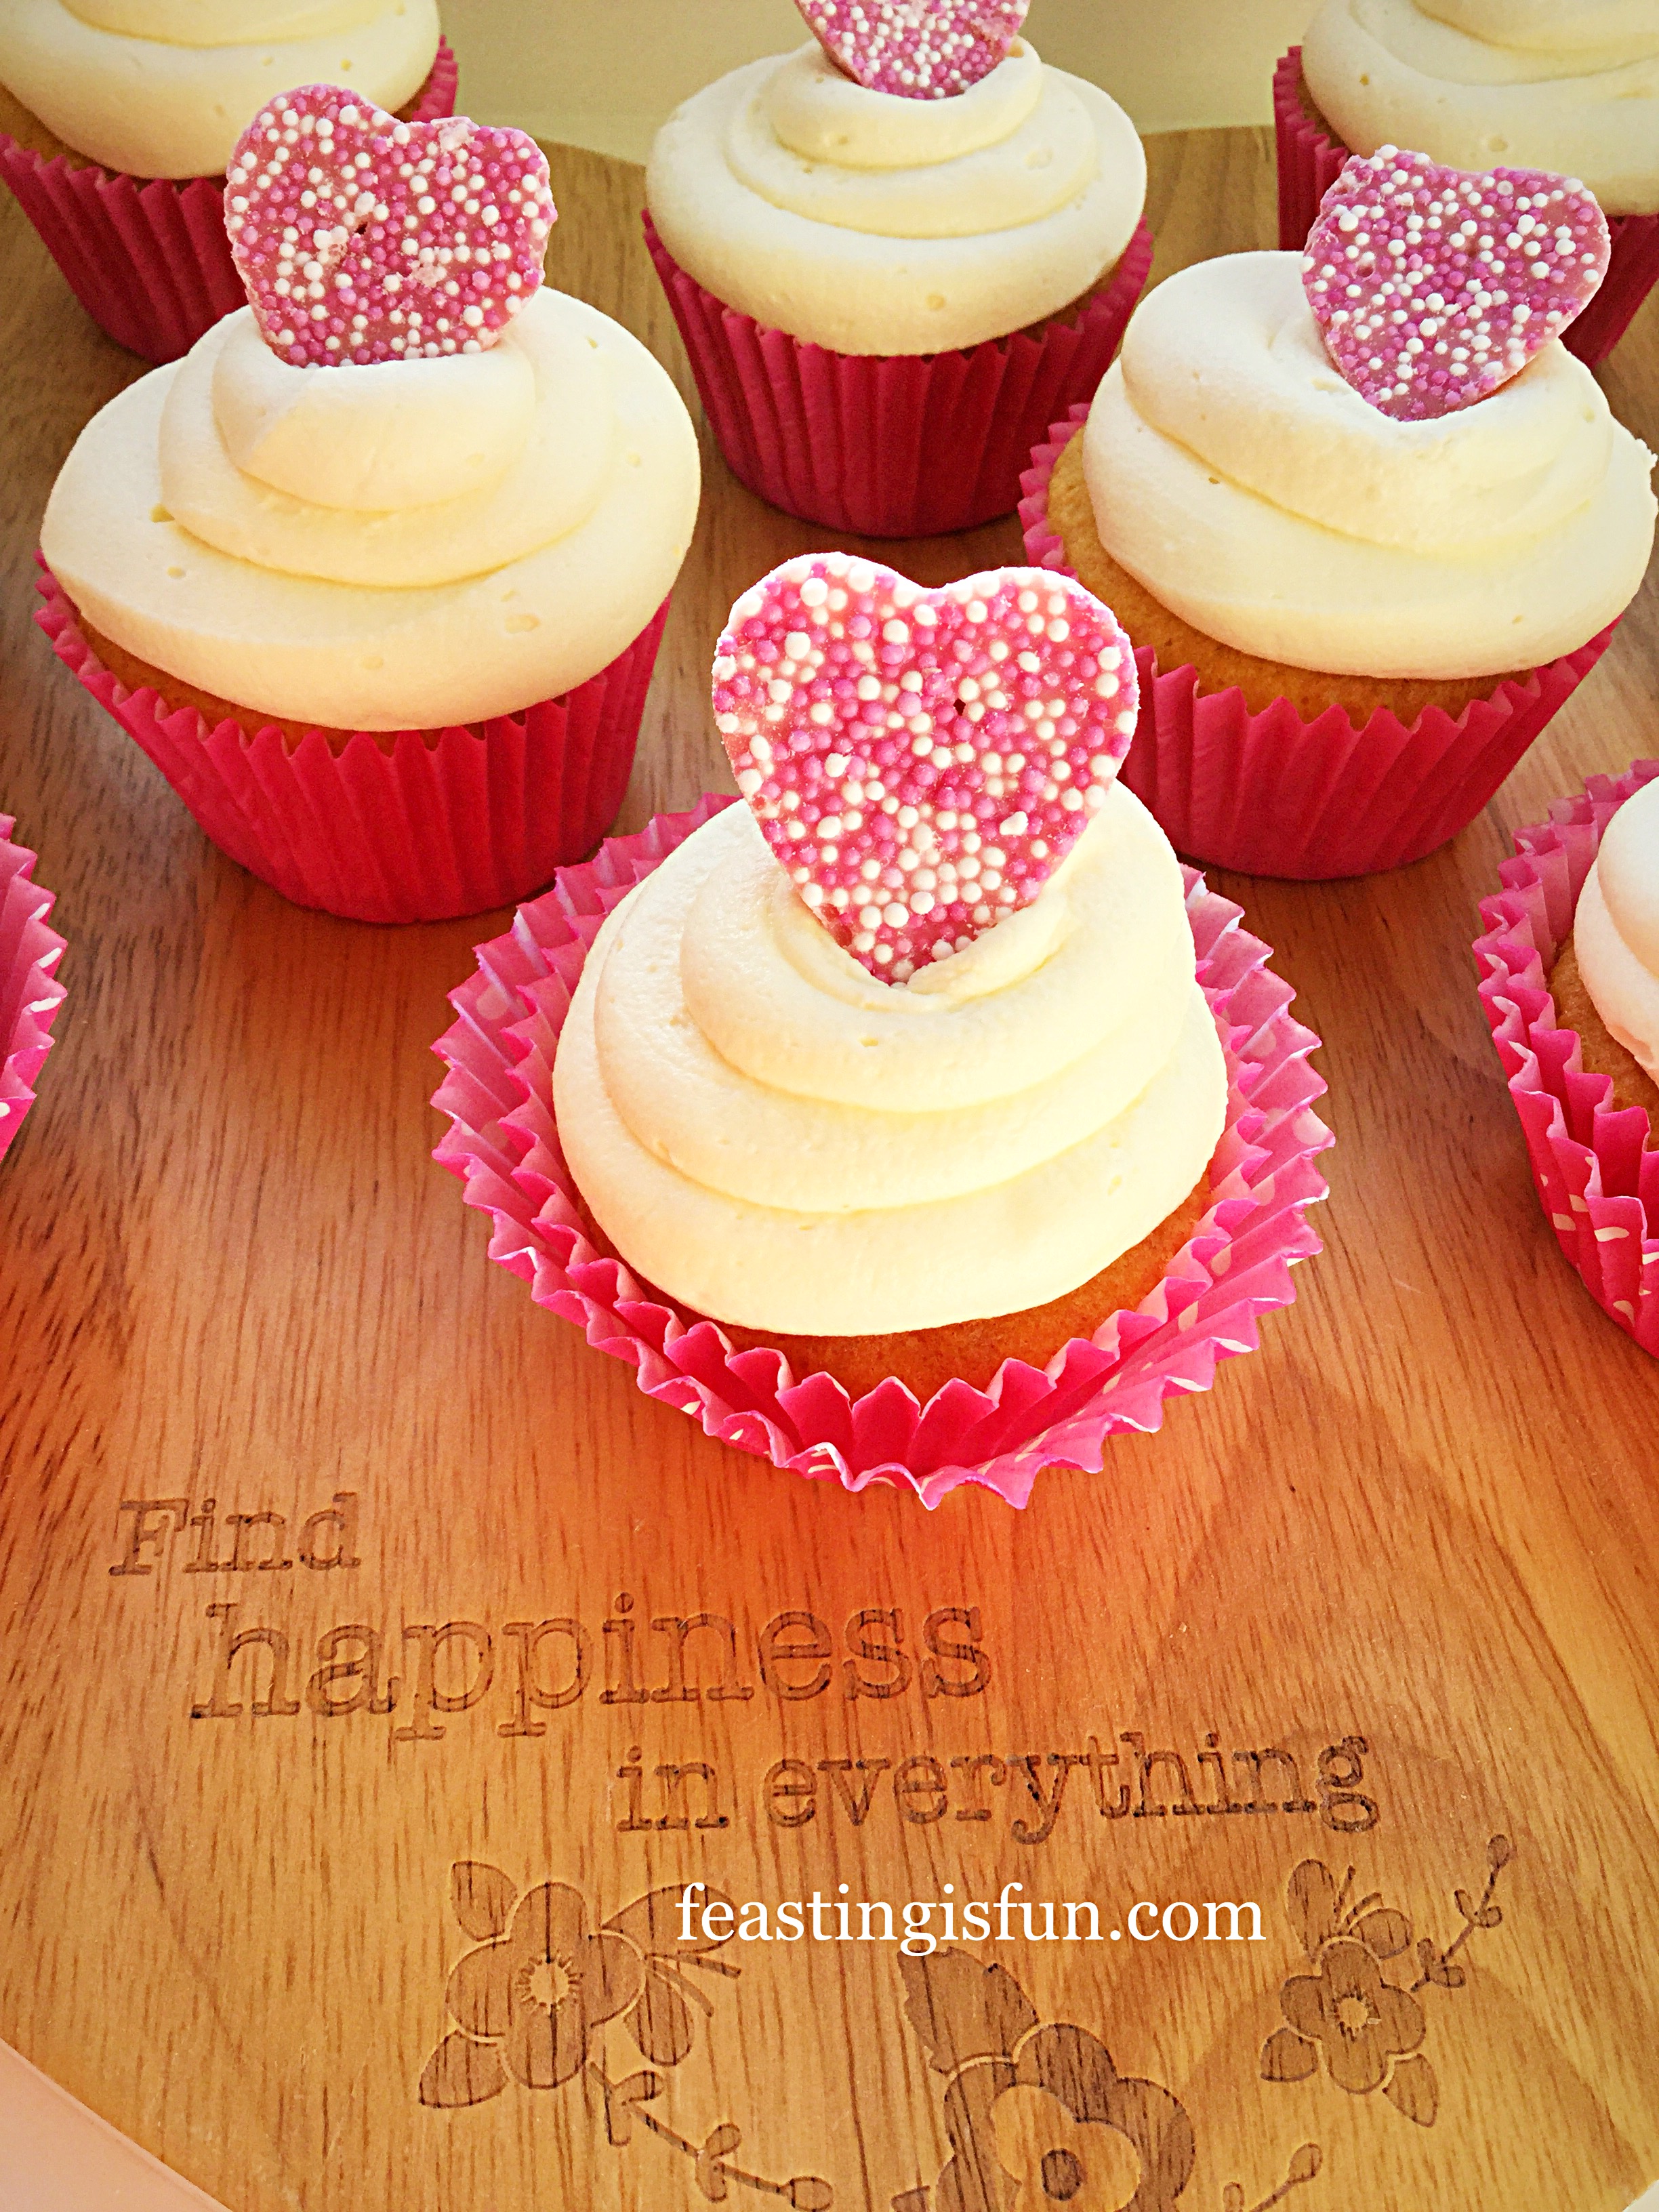
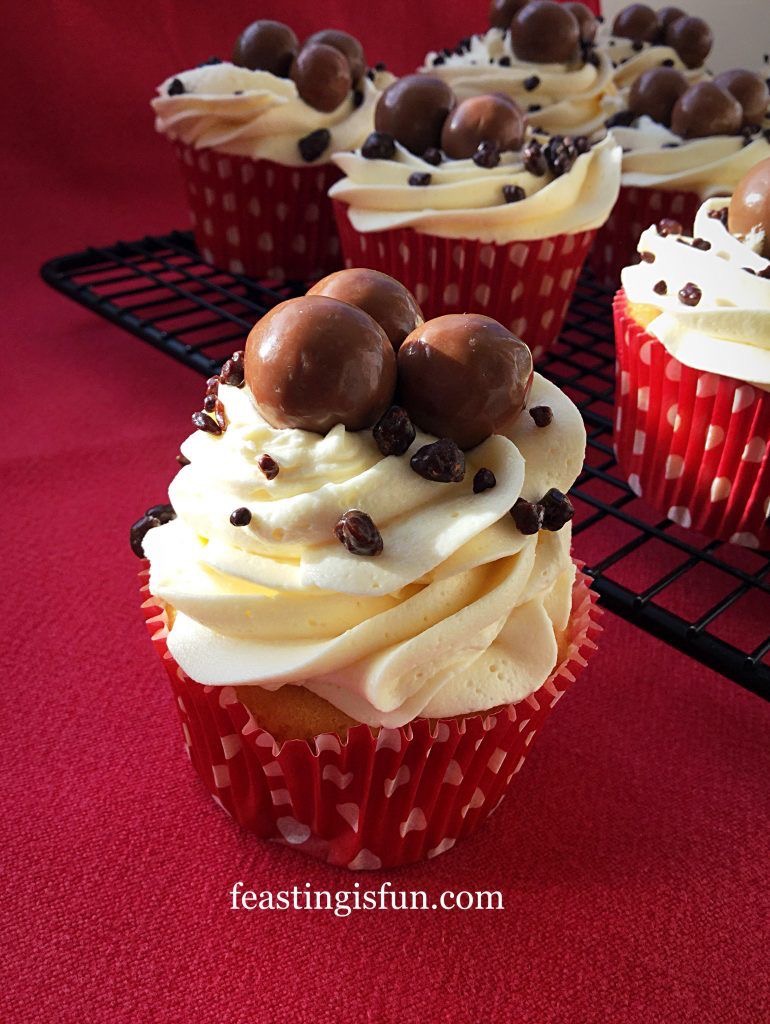
Maltesers Popping Candy Cupcakes
While making these brownies I did not have any little people to help me. Yet when writing up this blog post and especially, choosing and editing the photographs it struck me that this is exactly the sort of fun, mess filled activity that children enjoy. And yes I completely acknowledge the inner child in me and the fun I had while decorating these brownies. If you have play dates arranged, these brownies make great gifts for them to take home.
Also, it has to be said, these brownies taste amazing!
Whatever you are making, baking and creating in your kitchens, have fun preparing and sharing your feast.
Sammie xx
No part of this post may be reproduced or duplicated without the written permission of the owner. Please see my Disclosure Policy.
Share