Crusty White Bread

Share
Facebooktwitterpinterestlinkedintumblr

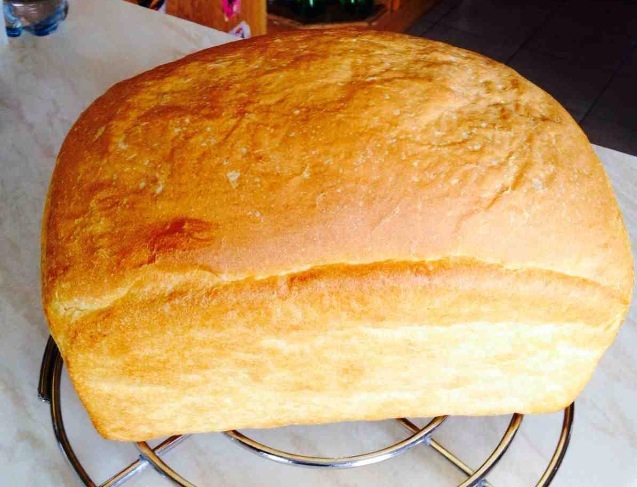
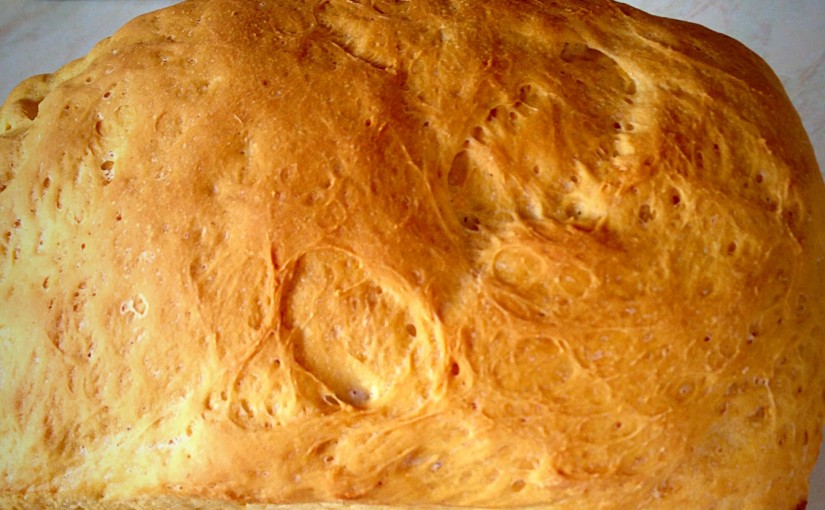
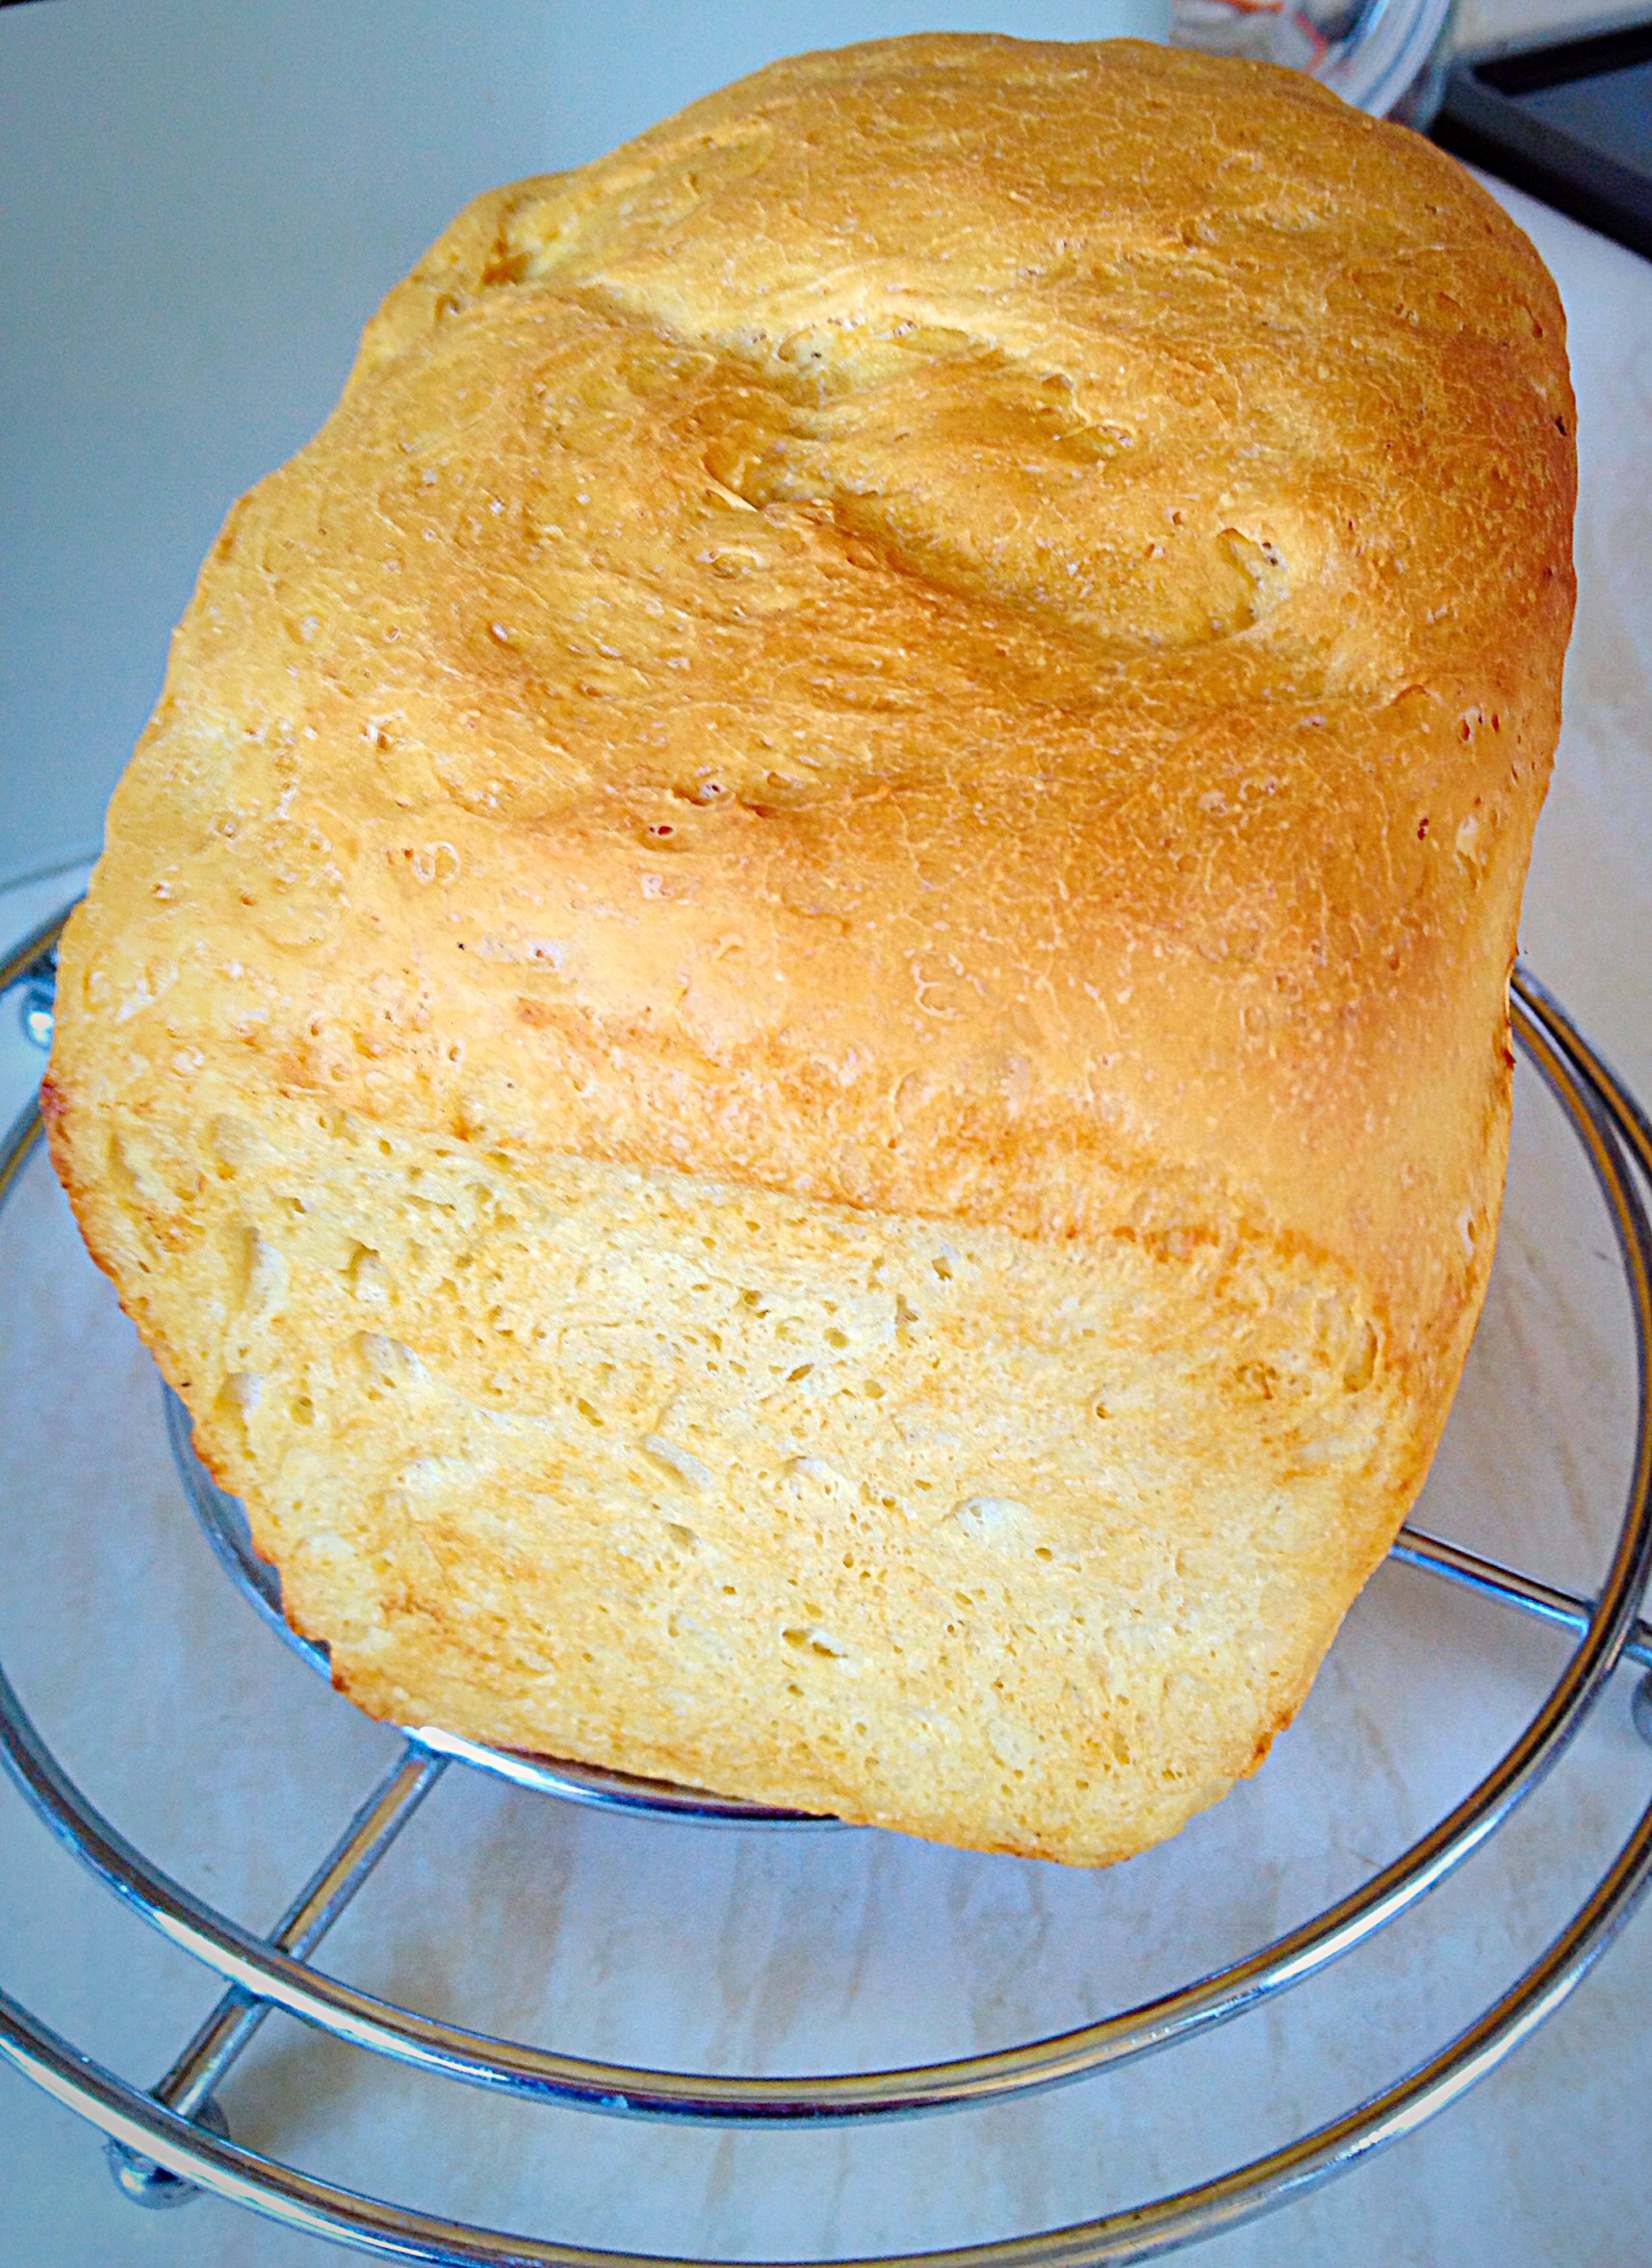
Hi, how are you liking my new site layout? This is my first recipe post : Crusty White Bread. Delicious and Homemade, since recovering my site from WordPress Help The WhiteScreen Of Death. It’s not completely ‘fixed’ yet – so I’m going through, remaking some of my earlier recipes and posting them, starting with Crusty White Bread.

Ooh yummy. Perfect, Crusty, White Bread

This loaf of Crusty White Bread is for a small loaf (450g/1lb flour) baked in a 2lb loaf tin.

I just want to take a moment to talk about ingredients; as there are only 5 ingredients in this Crusty White Bread it really pays to use good quality flour. Shop brand, cheap bread flour WILL make a perfectly good loaf, however, if you want the BEST tasting loaf; organic, unbleached, strong bread flour will REALLY make a difference!

Yes this flour is more expensive (I buy in bulk online – it really helps bring down the cost), but when comparing the price of a homemade, organic, loaf of Crusty White Bread to a shop bought, plastic wrapped loaf, not only is the difference astoundingly smaller, but the quality of the homemade loaf is way, way better!!

The perfect slice. Lovely soft crumb inside with a nice crunchy crust.

Convinced yet?? Make one loaf of Crusty White Bread and try for yourself!

Buttered and slathered in strawberry jam. The best Crusty White Bread ever!!

Recipe :

300ml  Tepid Tap Water

1 Sachet/7g  Active Dried Yeast

450g/1lb  Strong White Bread Flour – I use Organic, unbleached.

3/4tsp  Sea salt (1/2tsp free flowing)

25g/1oz  Unsalted Butter – cubed

Method:

For ease I use a bread maker to mix, prove and knock back the dough.

You can also make the Crusty White Bread by hand,  or use a stand mixer with a dough hook attached.

For the purpose of this and every other Bread recipe, the bowl is a large bowl/the bowl of the stand mixer/the removable container from a bread maker.

Pour 300ml of warm water into the bowl. Sprinkle over the yeast. Add the flour to the bowl. Next add the salt and butter.

Set your bread maker to mix and prove, press start, make a cup of tea!!

Set your stand mixer to slow mix, allow the dough hook to mix and knead the dough for 10 minutes until smooth and elastic. Place the dough into a lightly oiled bowl, cover with cling film, place in a warm, draught free spot until doubled in size 1-2 hours.

*If making the bread by hand, rub the butter into the flour, sprinkle over the yeast/salt  and mix through the flour using your hand, make a well in the middle of the flour and add most of the water (280ml). Bring all the ingredients together using your hand (in a claw like position). Mix thoroughly adding the rest of the water if the dough seems dry. Tip out the dough onto a lightly floured surface, using the heel of your hand push out the dough from the centre. Fold the dough back into the centre, rotate a quarter turn and repeat for 10-15 minutes until the dough feels, smooth, springy and elastic in your hands. Place the dough in a lightly oiled bowl, cover with cling film and leave in a warm draught free spot until doubled in size 1-2 hours.

Once doubled in size gently punch the dough in the oiled bowl (if using a bread maker, set to mix for 20 seconds – this will ‘knock back the dough and is the main method I use).

Turn the knocked back dough onto a lightly floured surface. Stretch the dough lengthways, then fold the ends into the middle. Rotate the dough a quarter turn and repeat the stretching/folding/rotating 3 more times – this technique builds structure into the loaf and my bread baking really improved once I’d adopted this small extra technique.

Place the dough into a buttered 2lb loaf tin. Cover with a clean tea towel, leave again to double in size, as before.

Preheat the oven to it’s hottest setting (250C in my oven). Place a deep tray, half filled with hot tap watering the bottom of the oven – this will create steam, helping build a crunchy crust.

Once the dough has doubled in size remove the towel and place the tin in the oven. Immediately turn the oven down to 225C (or down 1 gas mark).

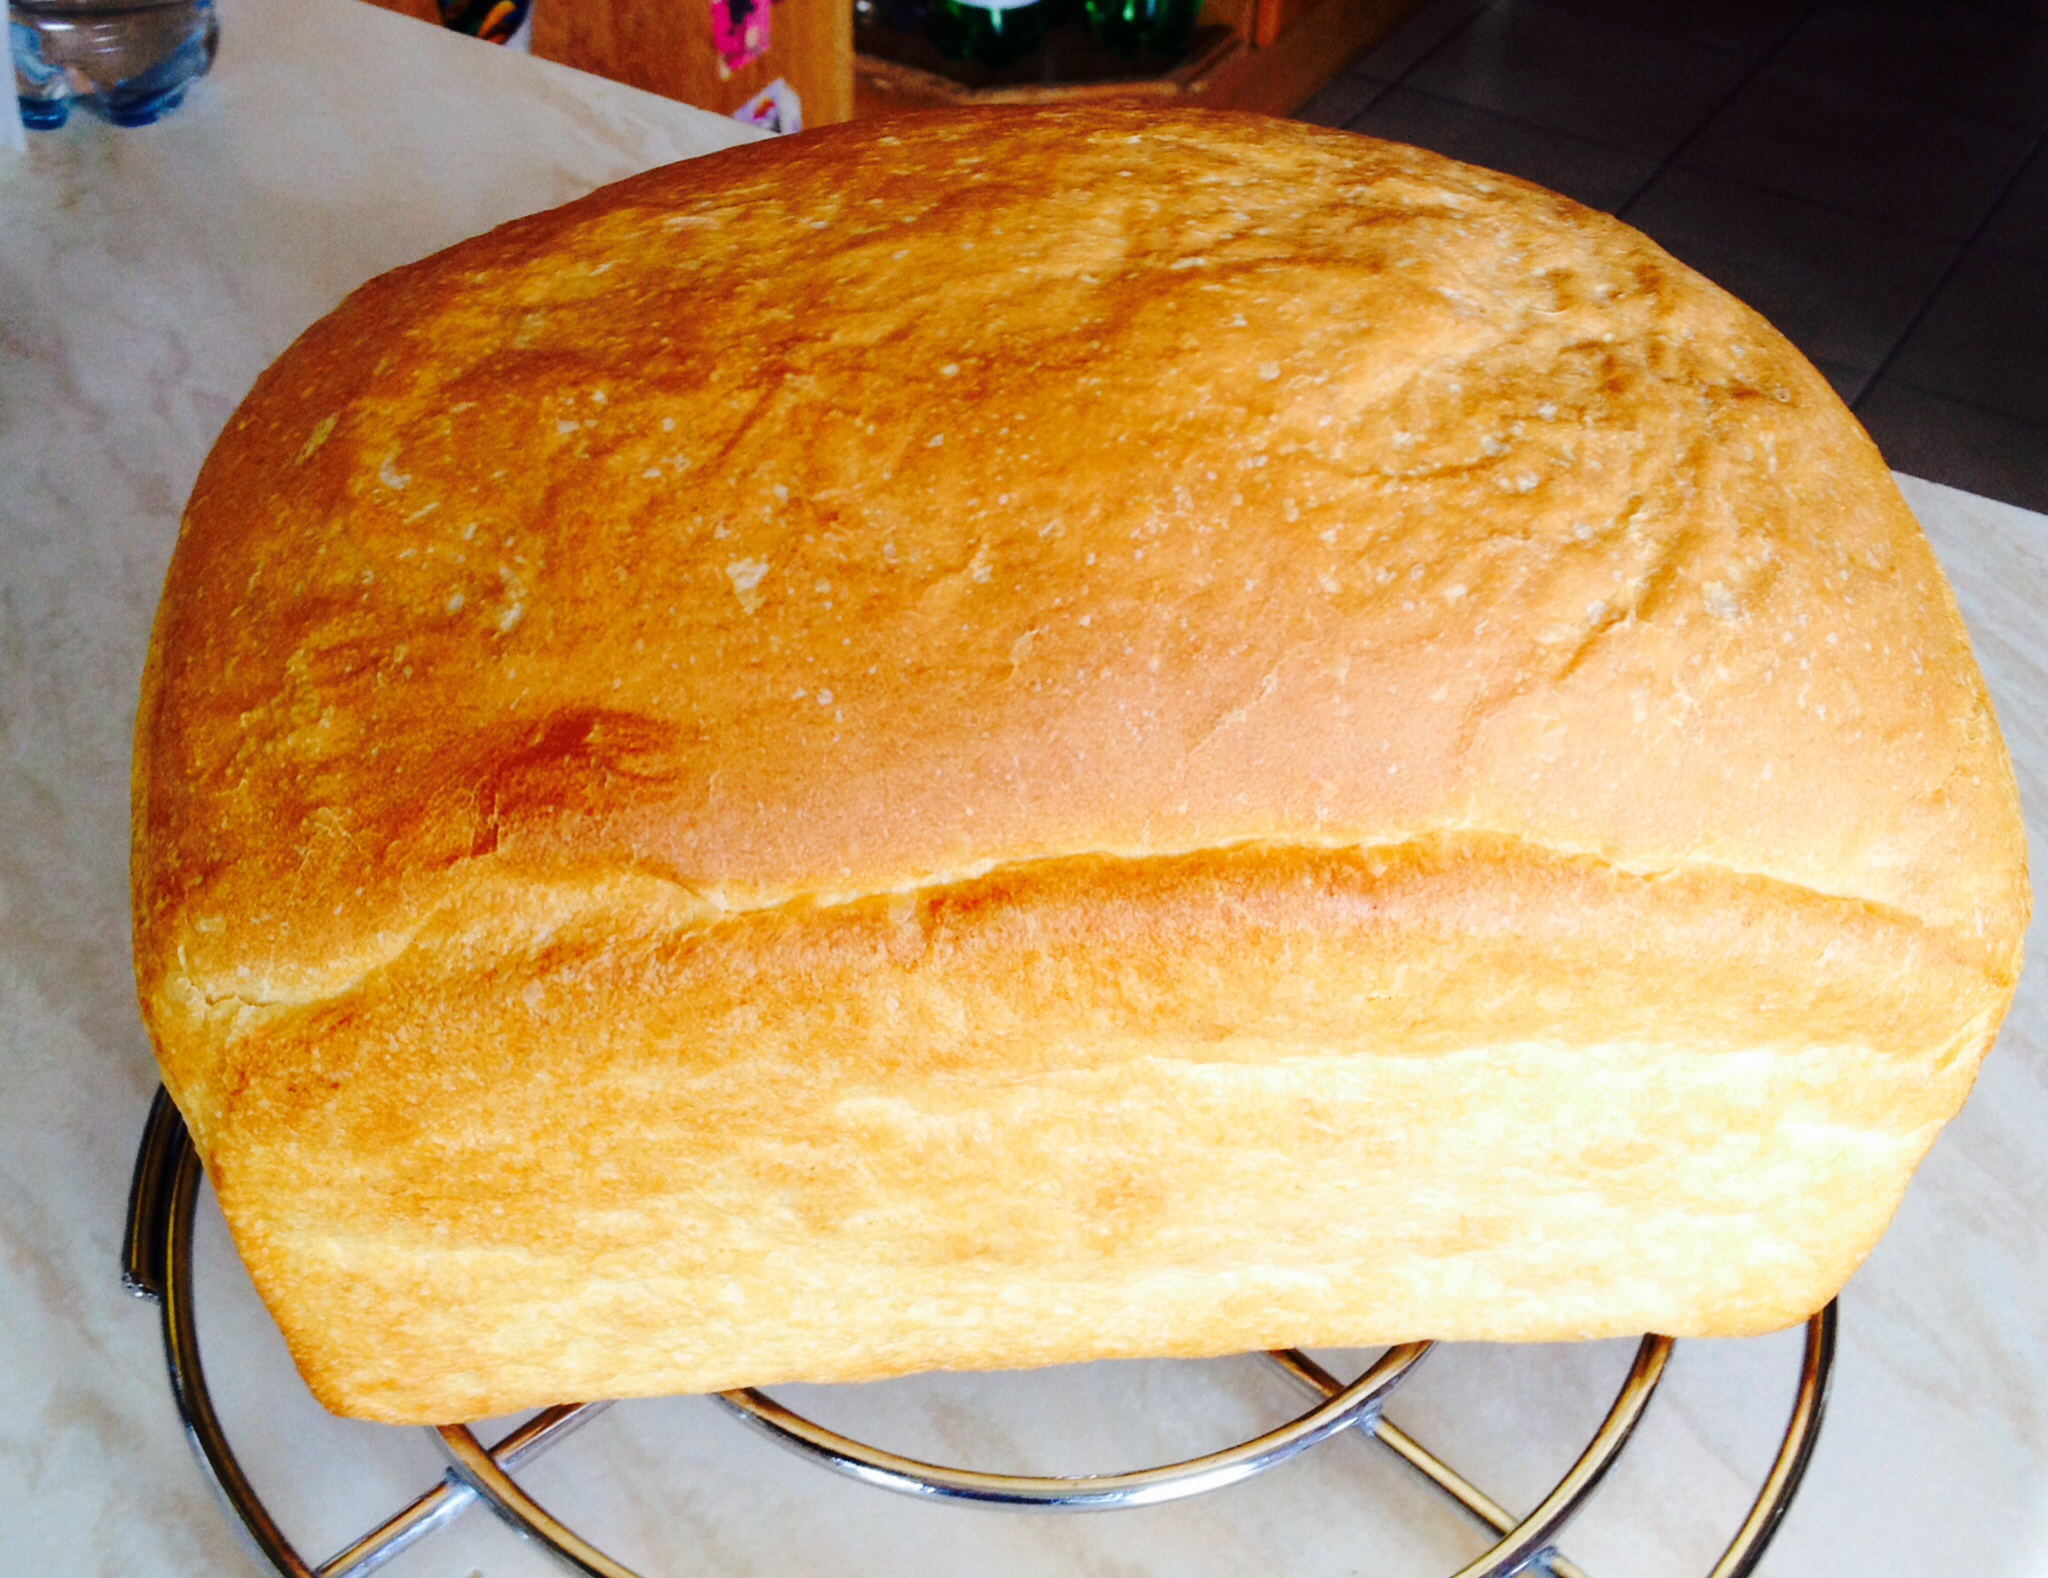
Bake for 20 minutes until golden brown (30 minutes for a thick crust). I then turn my loaf out directly onto the oven rack and continue to bake for a further 10 minutes, this allows the base and sides to get really crusty.

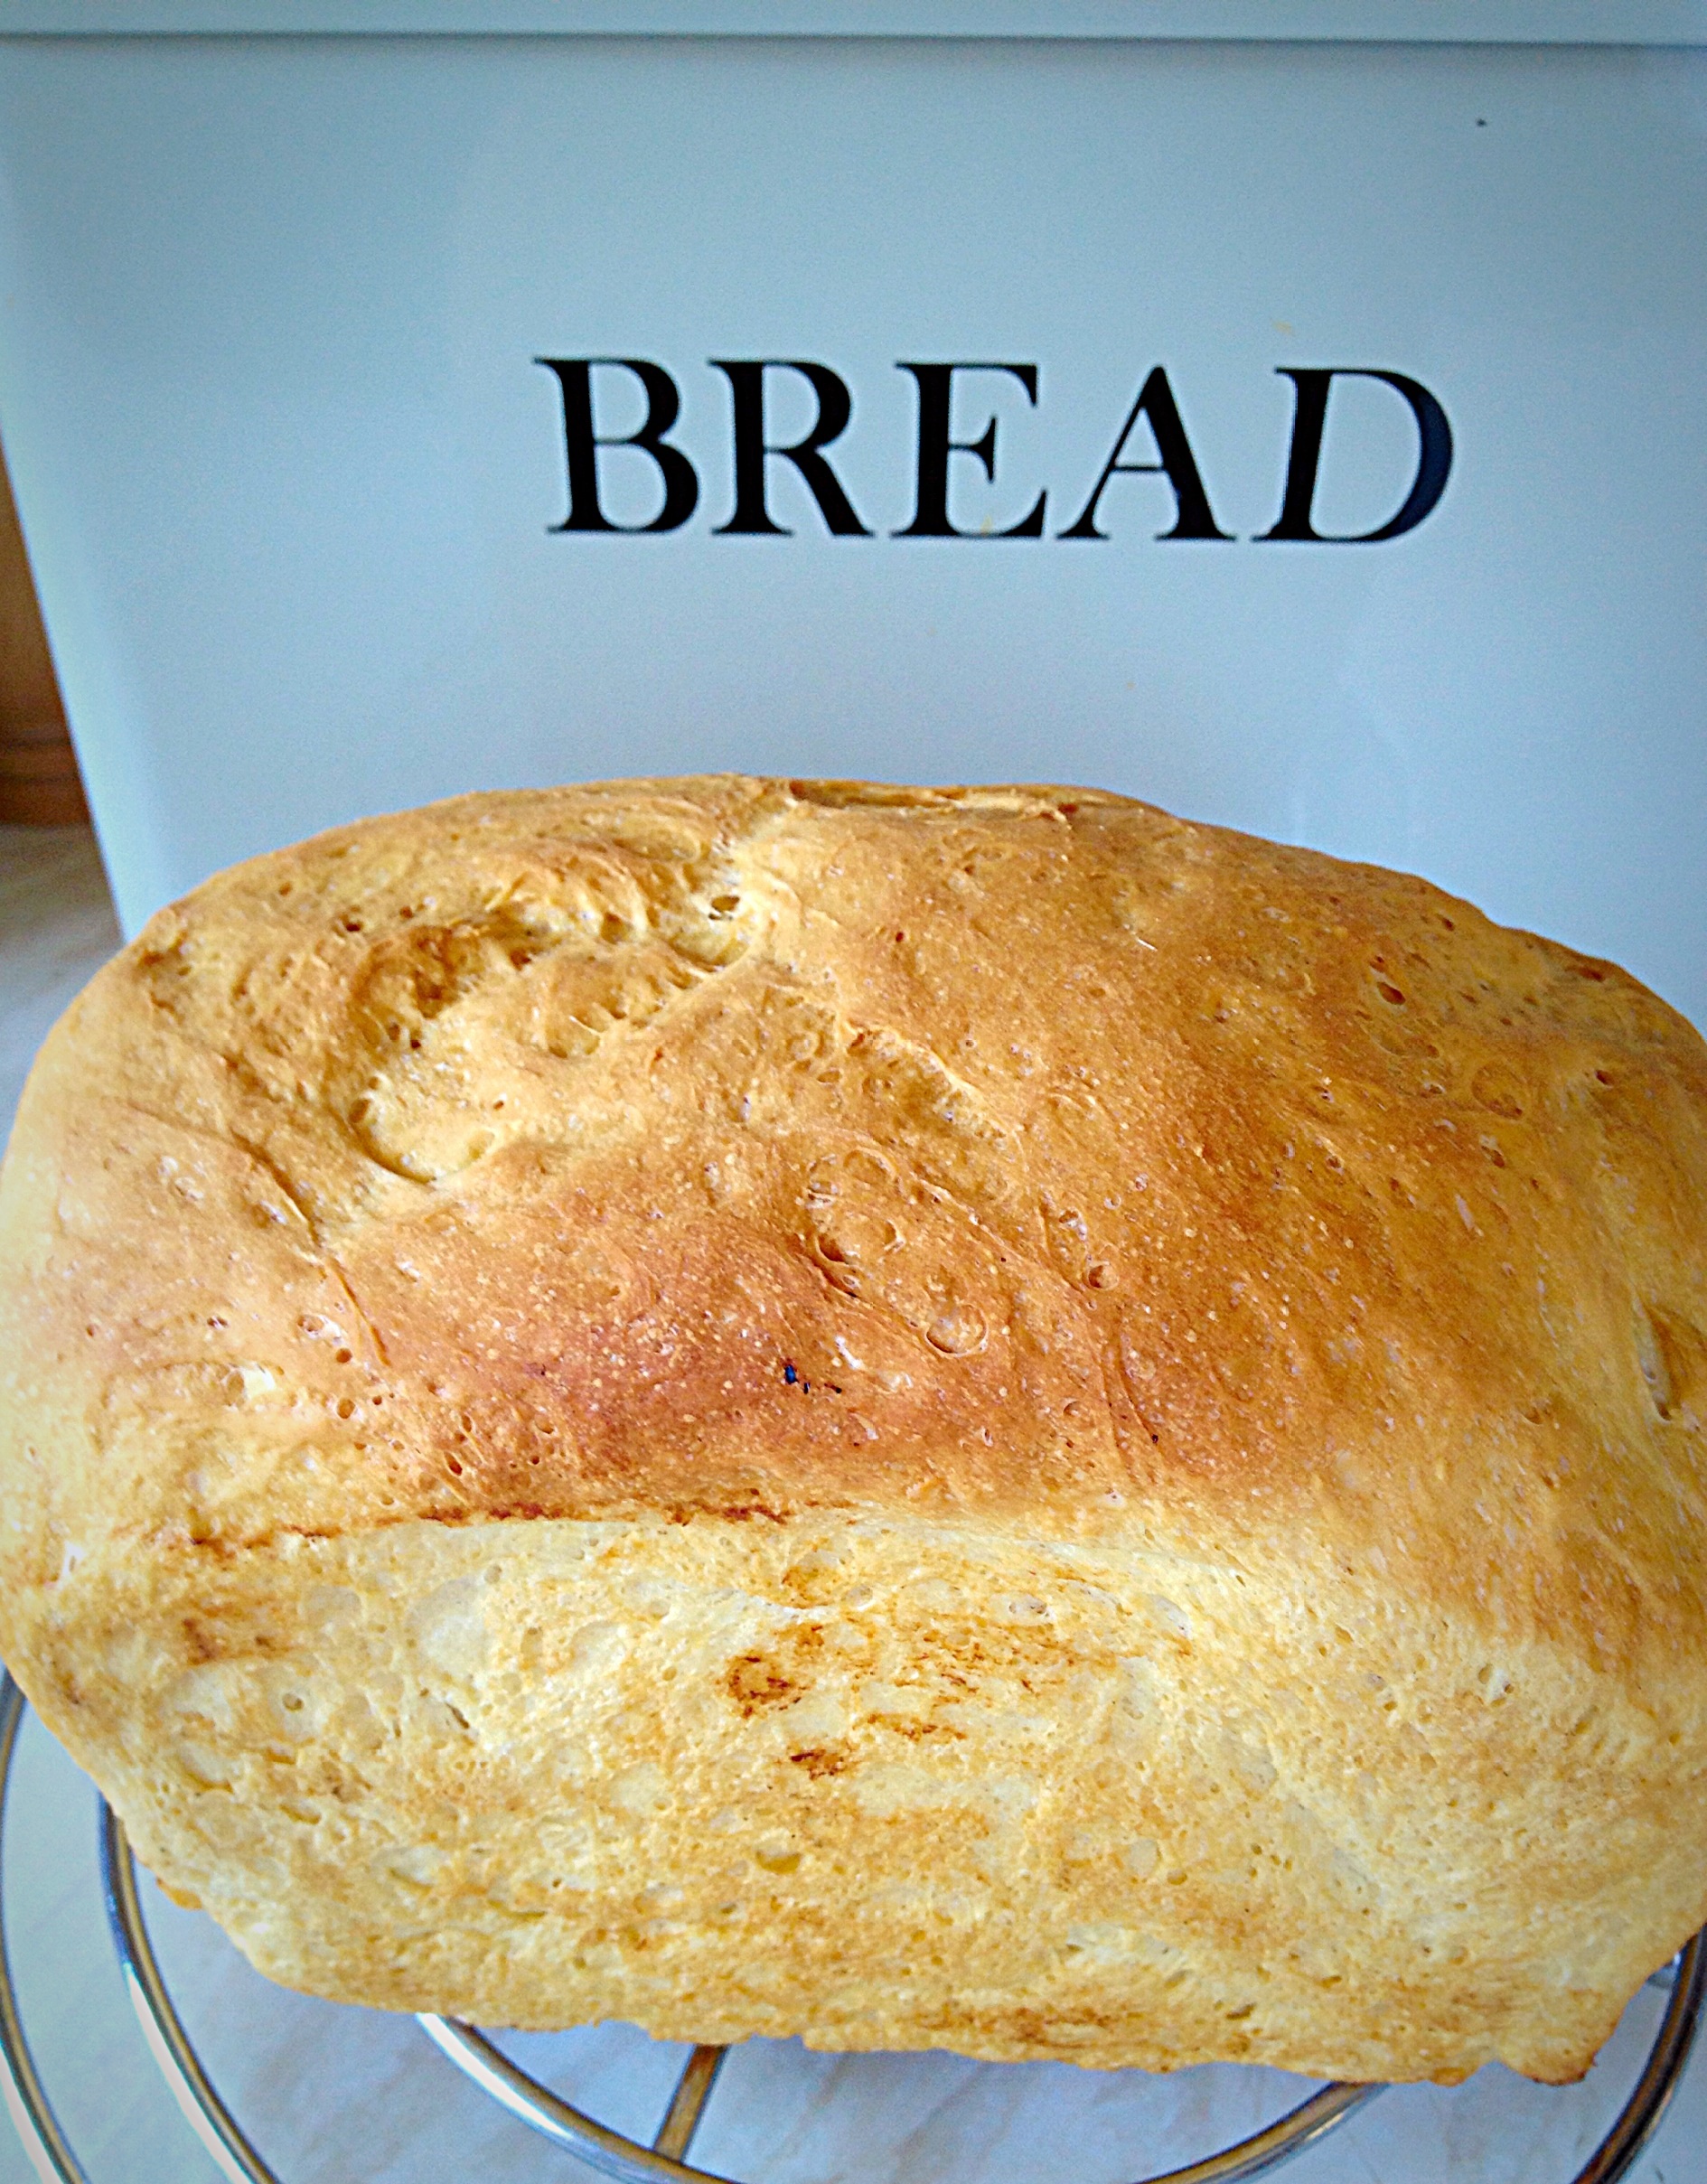
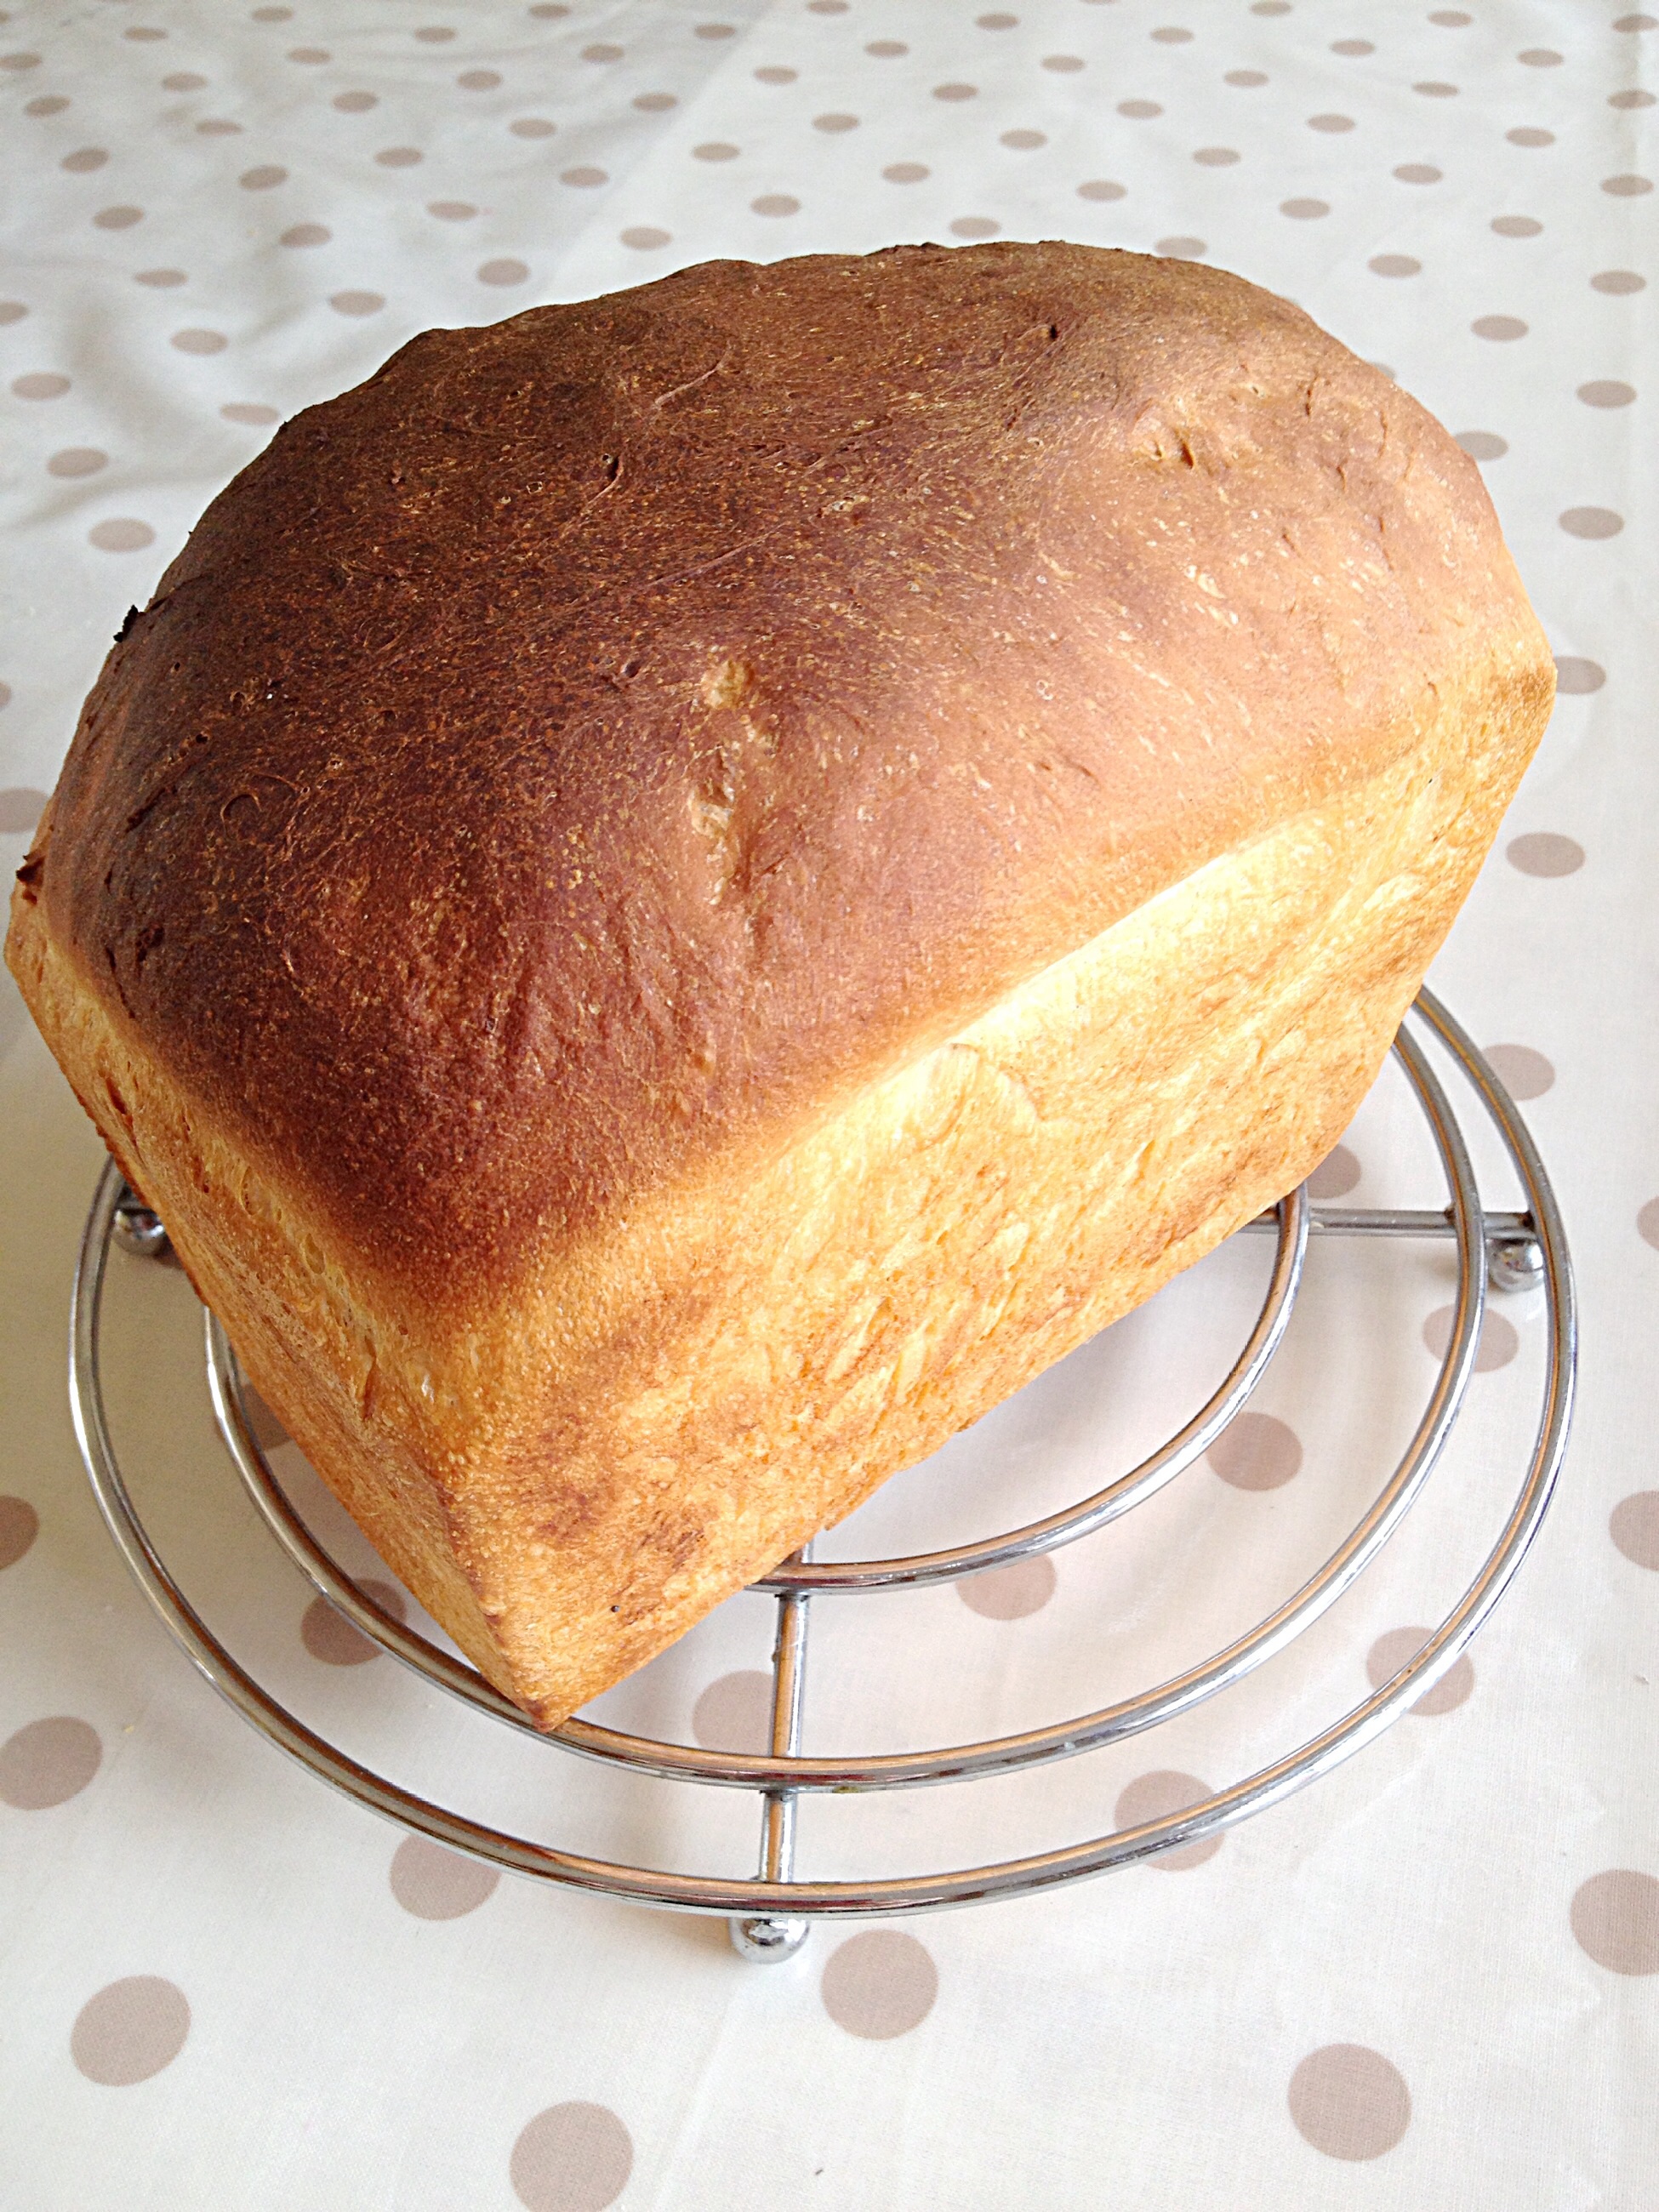
When baked remove from the oven and turn out of the tin immediately (if not already done). The base of the loaf should sound hollow when tapped with your knuckle. Leave to fully cool on a rack.

Nothing beats the smell of homemade bread! Mmmmm

Inhale deeply, enjoy the smell of freshly homemade bread! No matter how many times I bake bread, the smell still warms my heart every time.

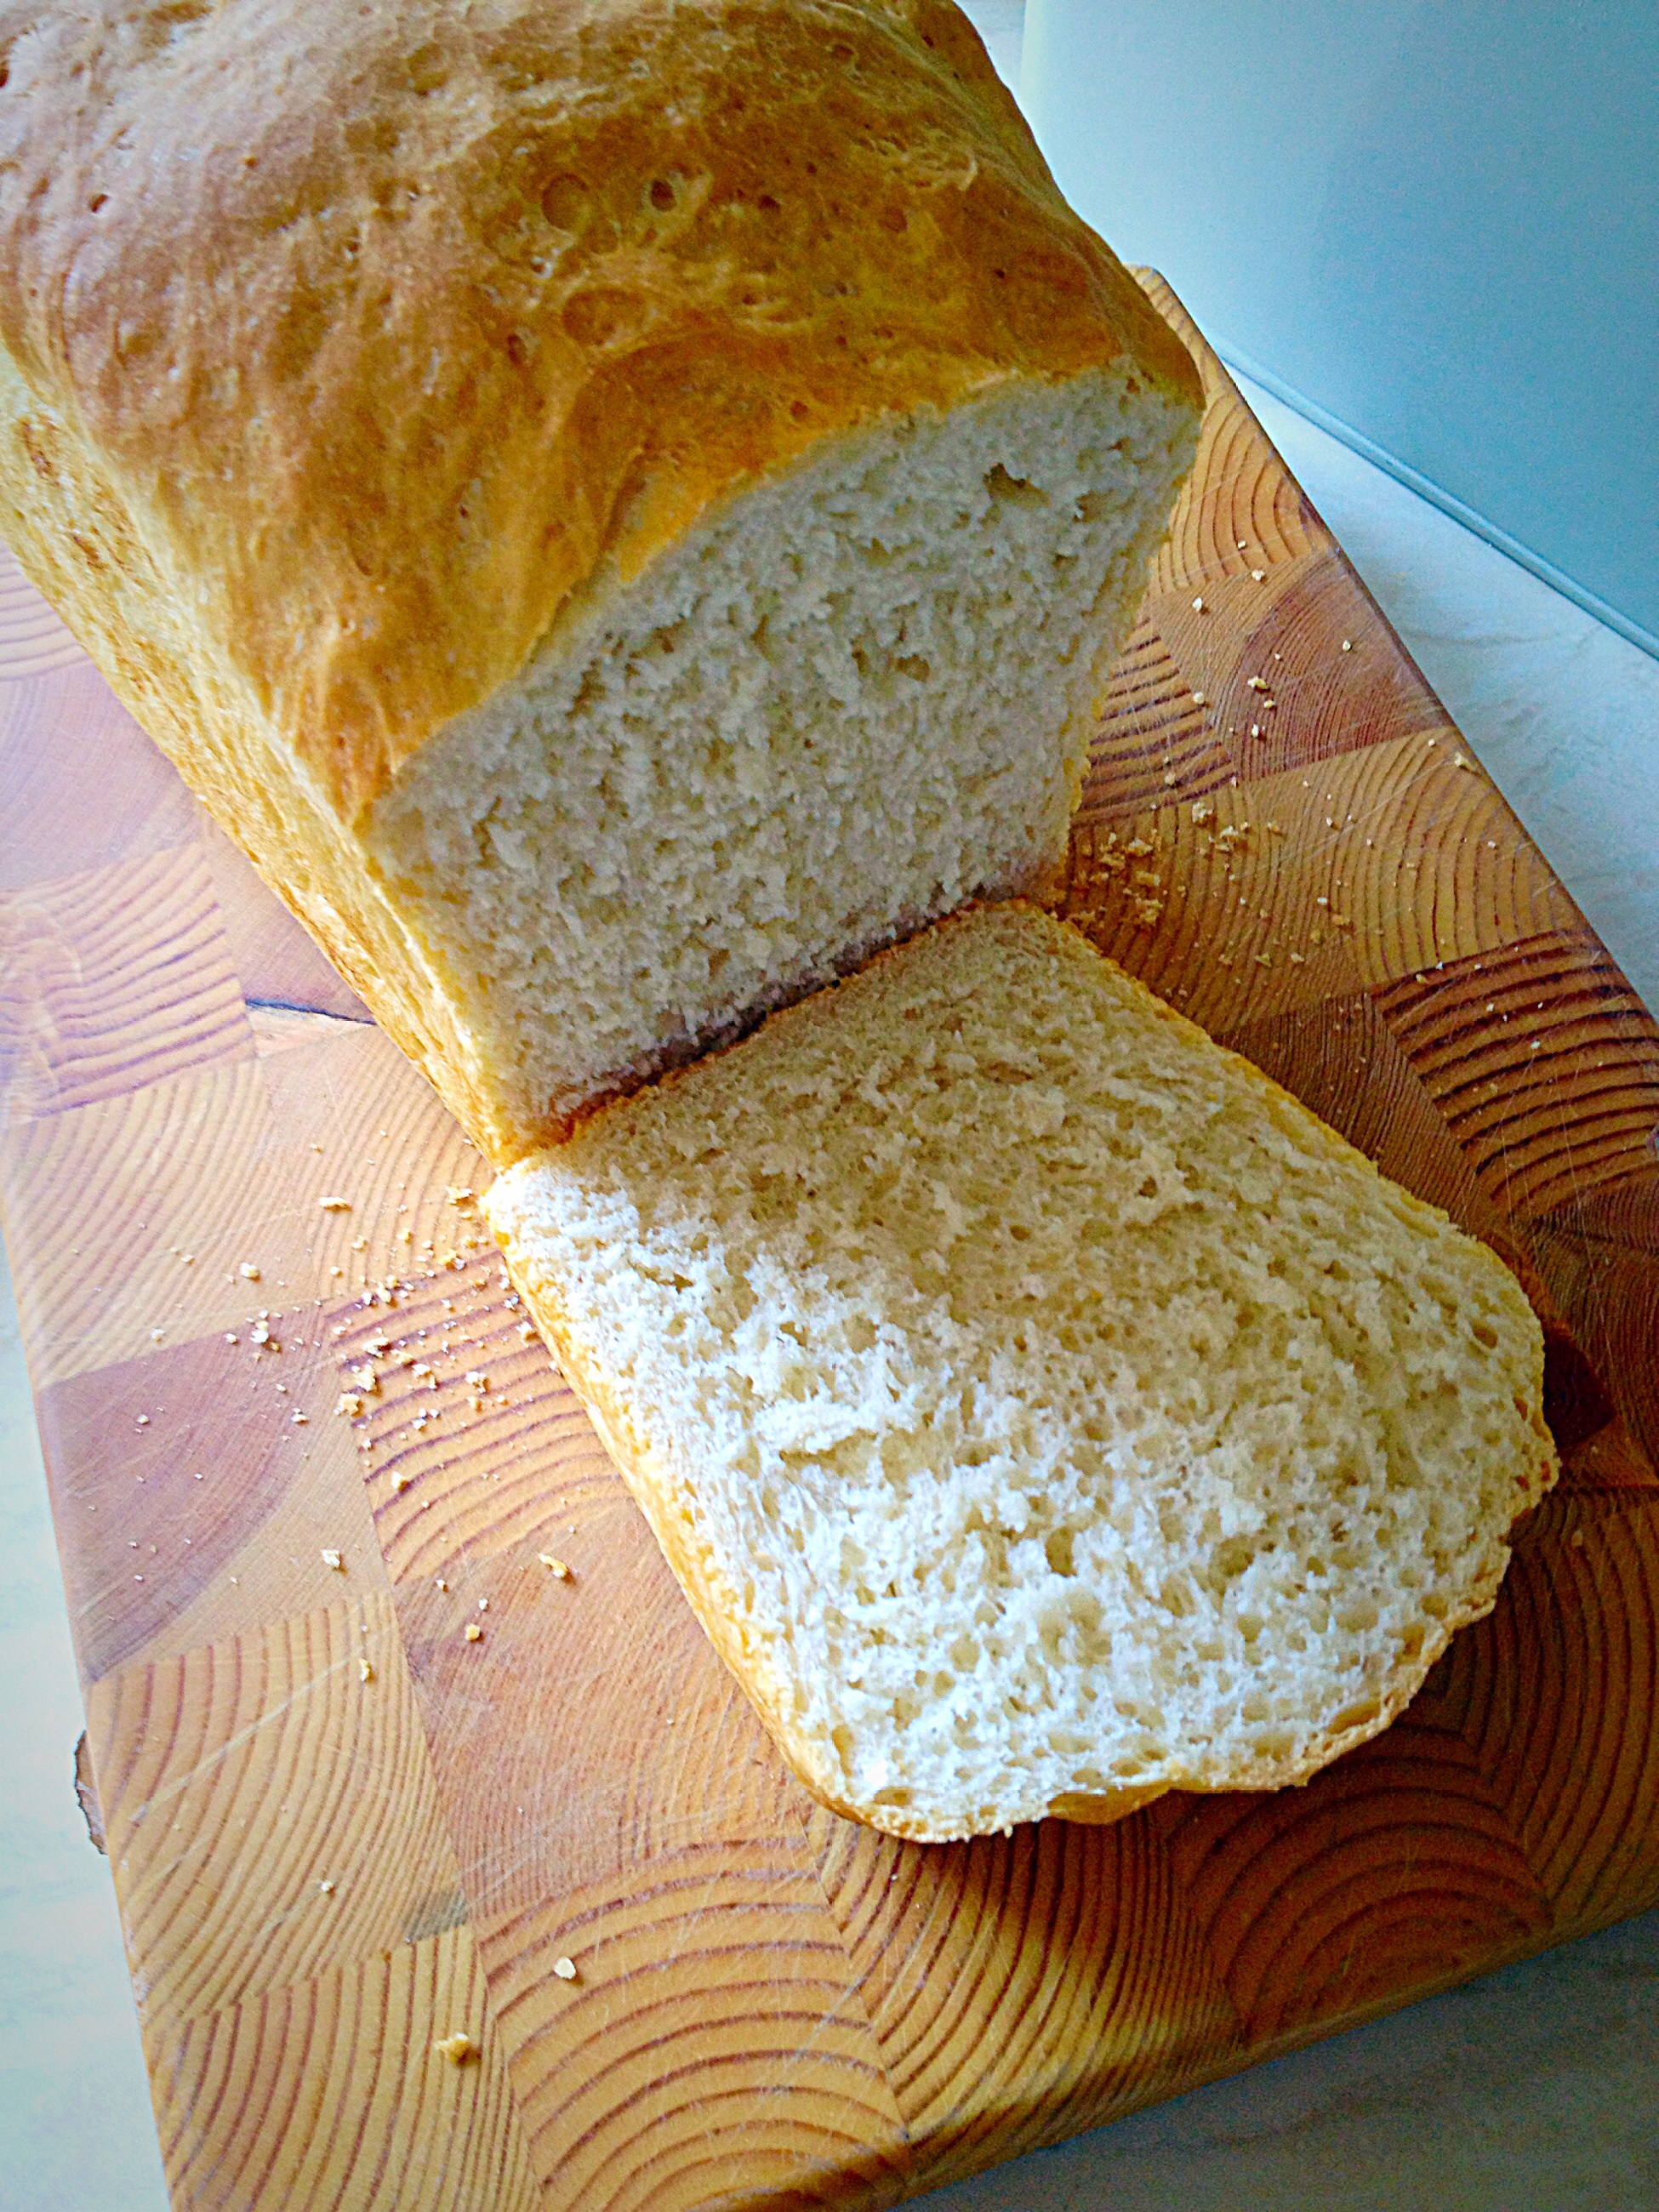
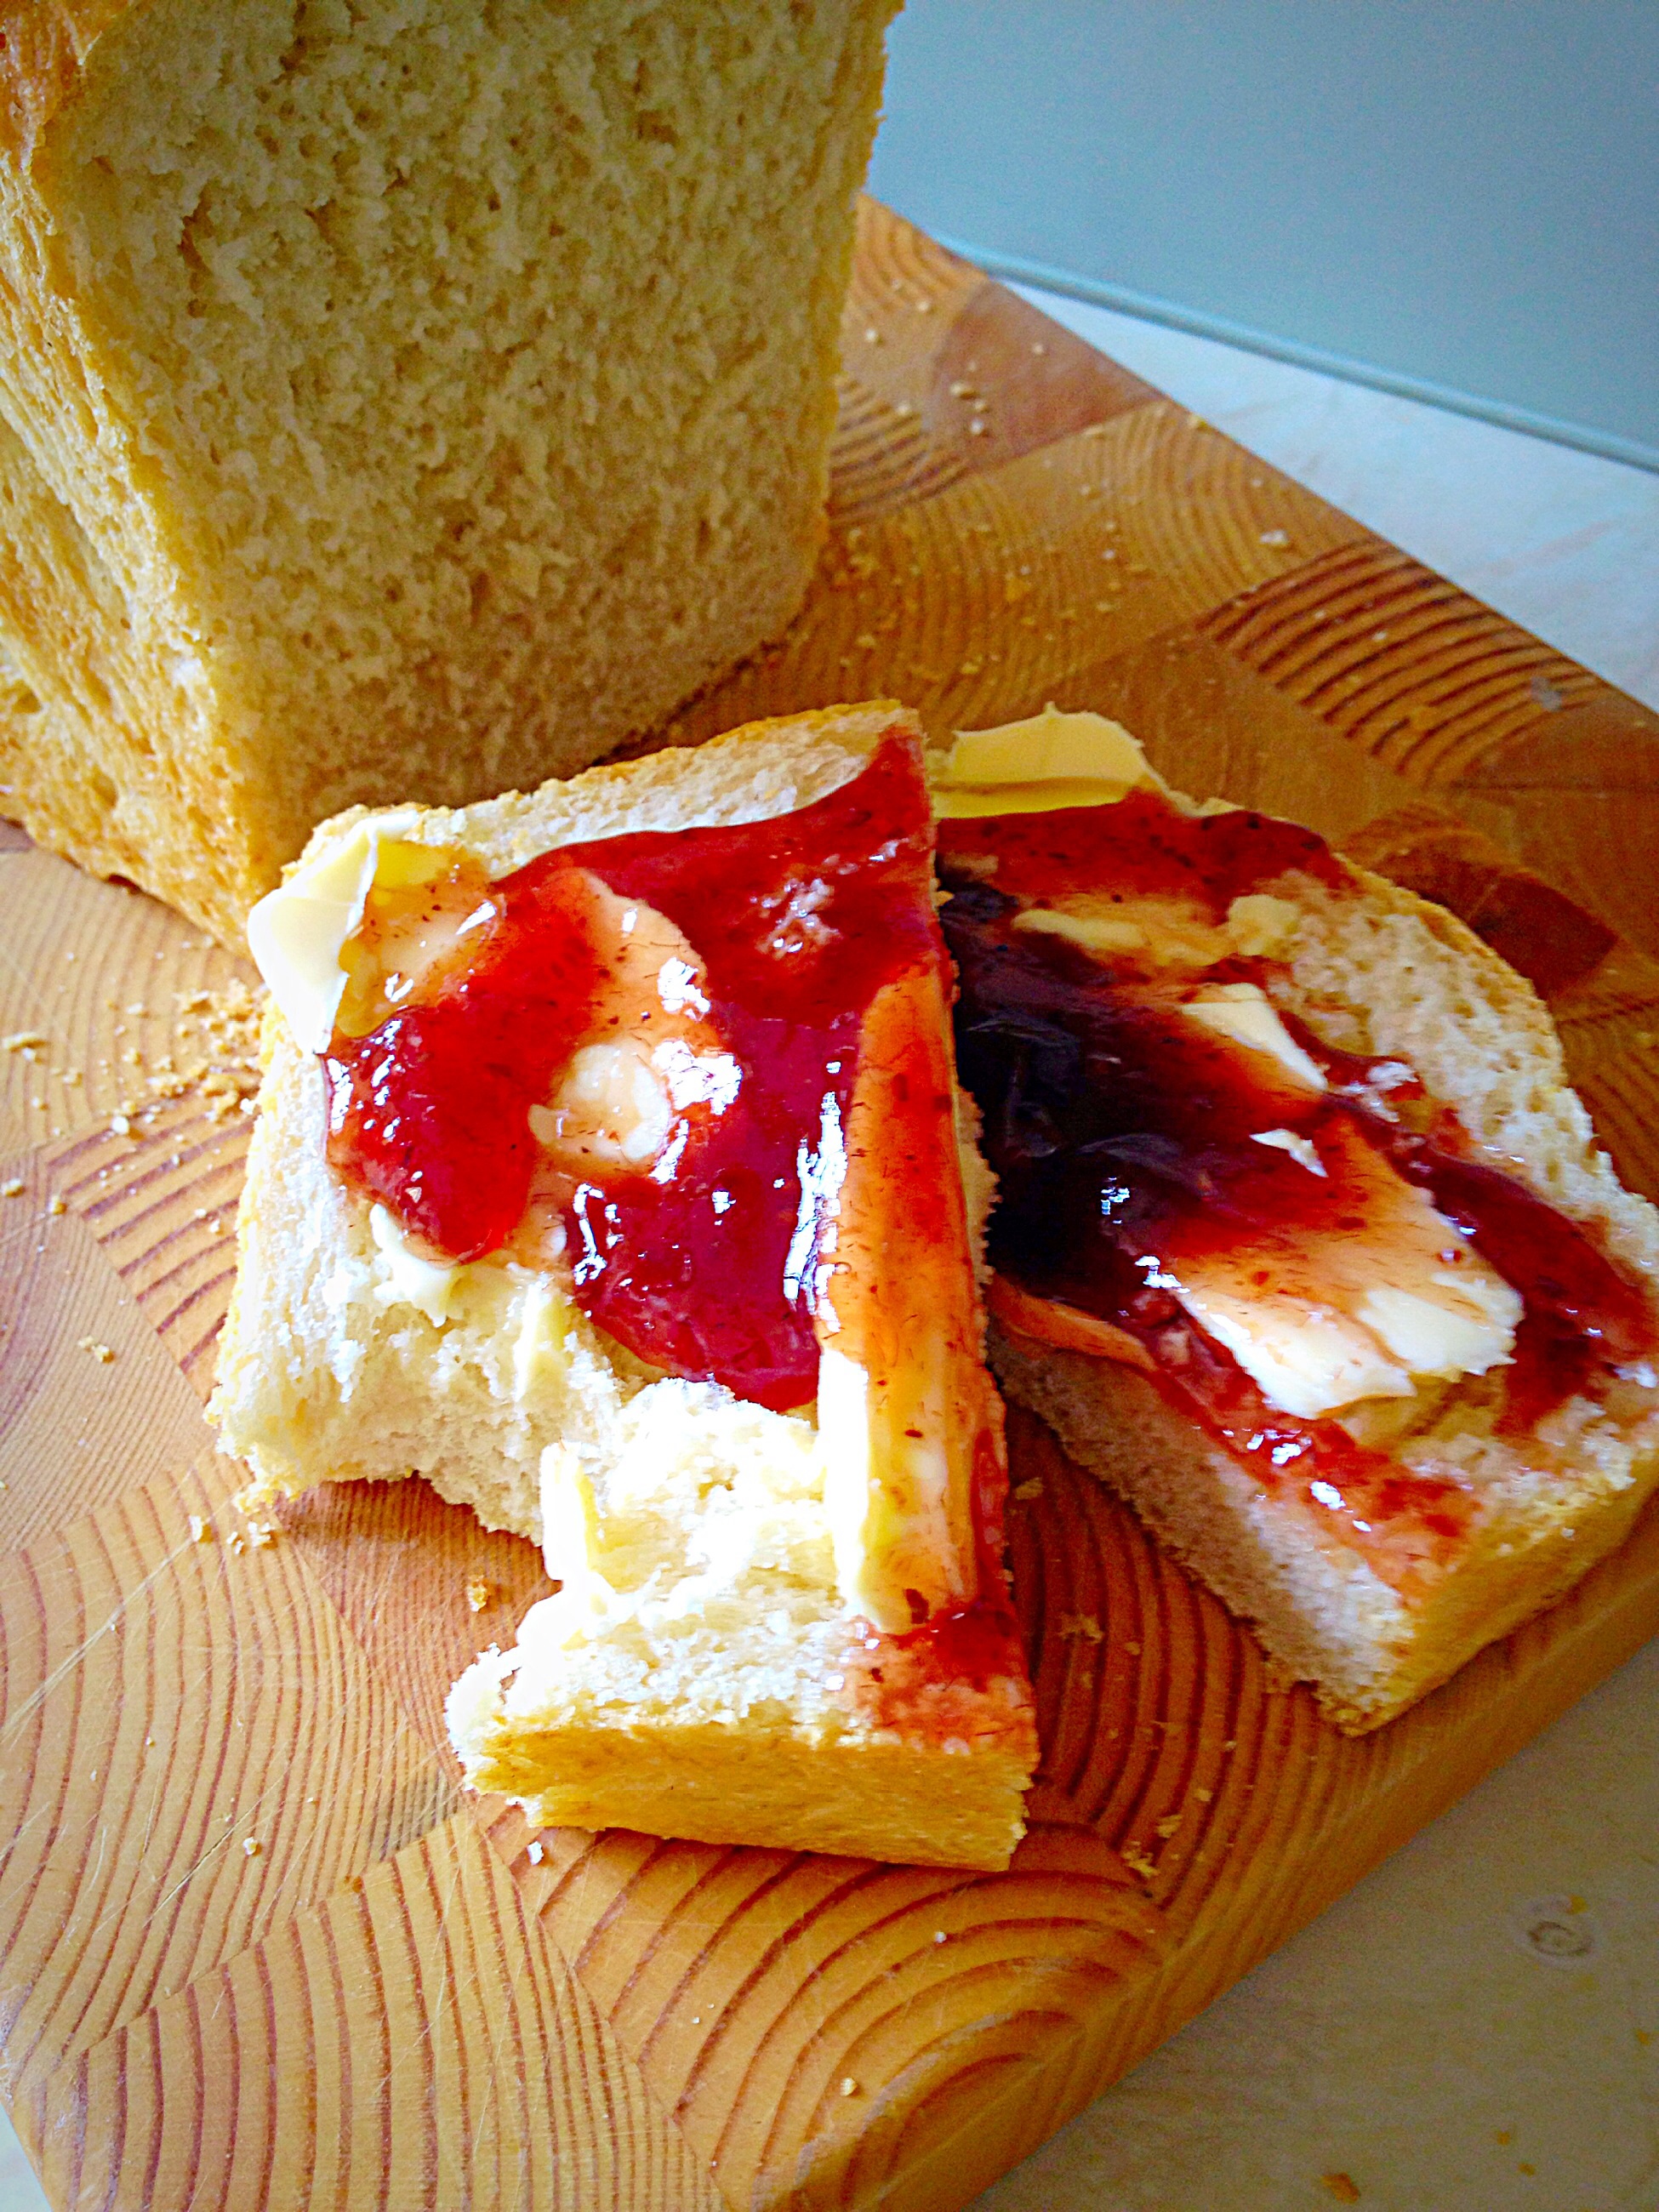
Ideally you should leave the loaf to cool completely, it will cut much better when cold. Who am I though to deny you warm bread, smothered in butter???

If you try to cut through the loaf, hot, straight from the oven, the inside will squish together and it will be almost impossible to spread butter on! Give the loaf at least 30 minutes to cool a bit before you start slicing.

The perfect slice. Lovely soft crumb inside with a nice crunchy crust.

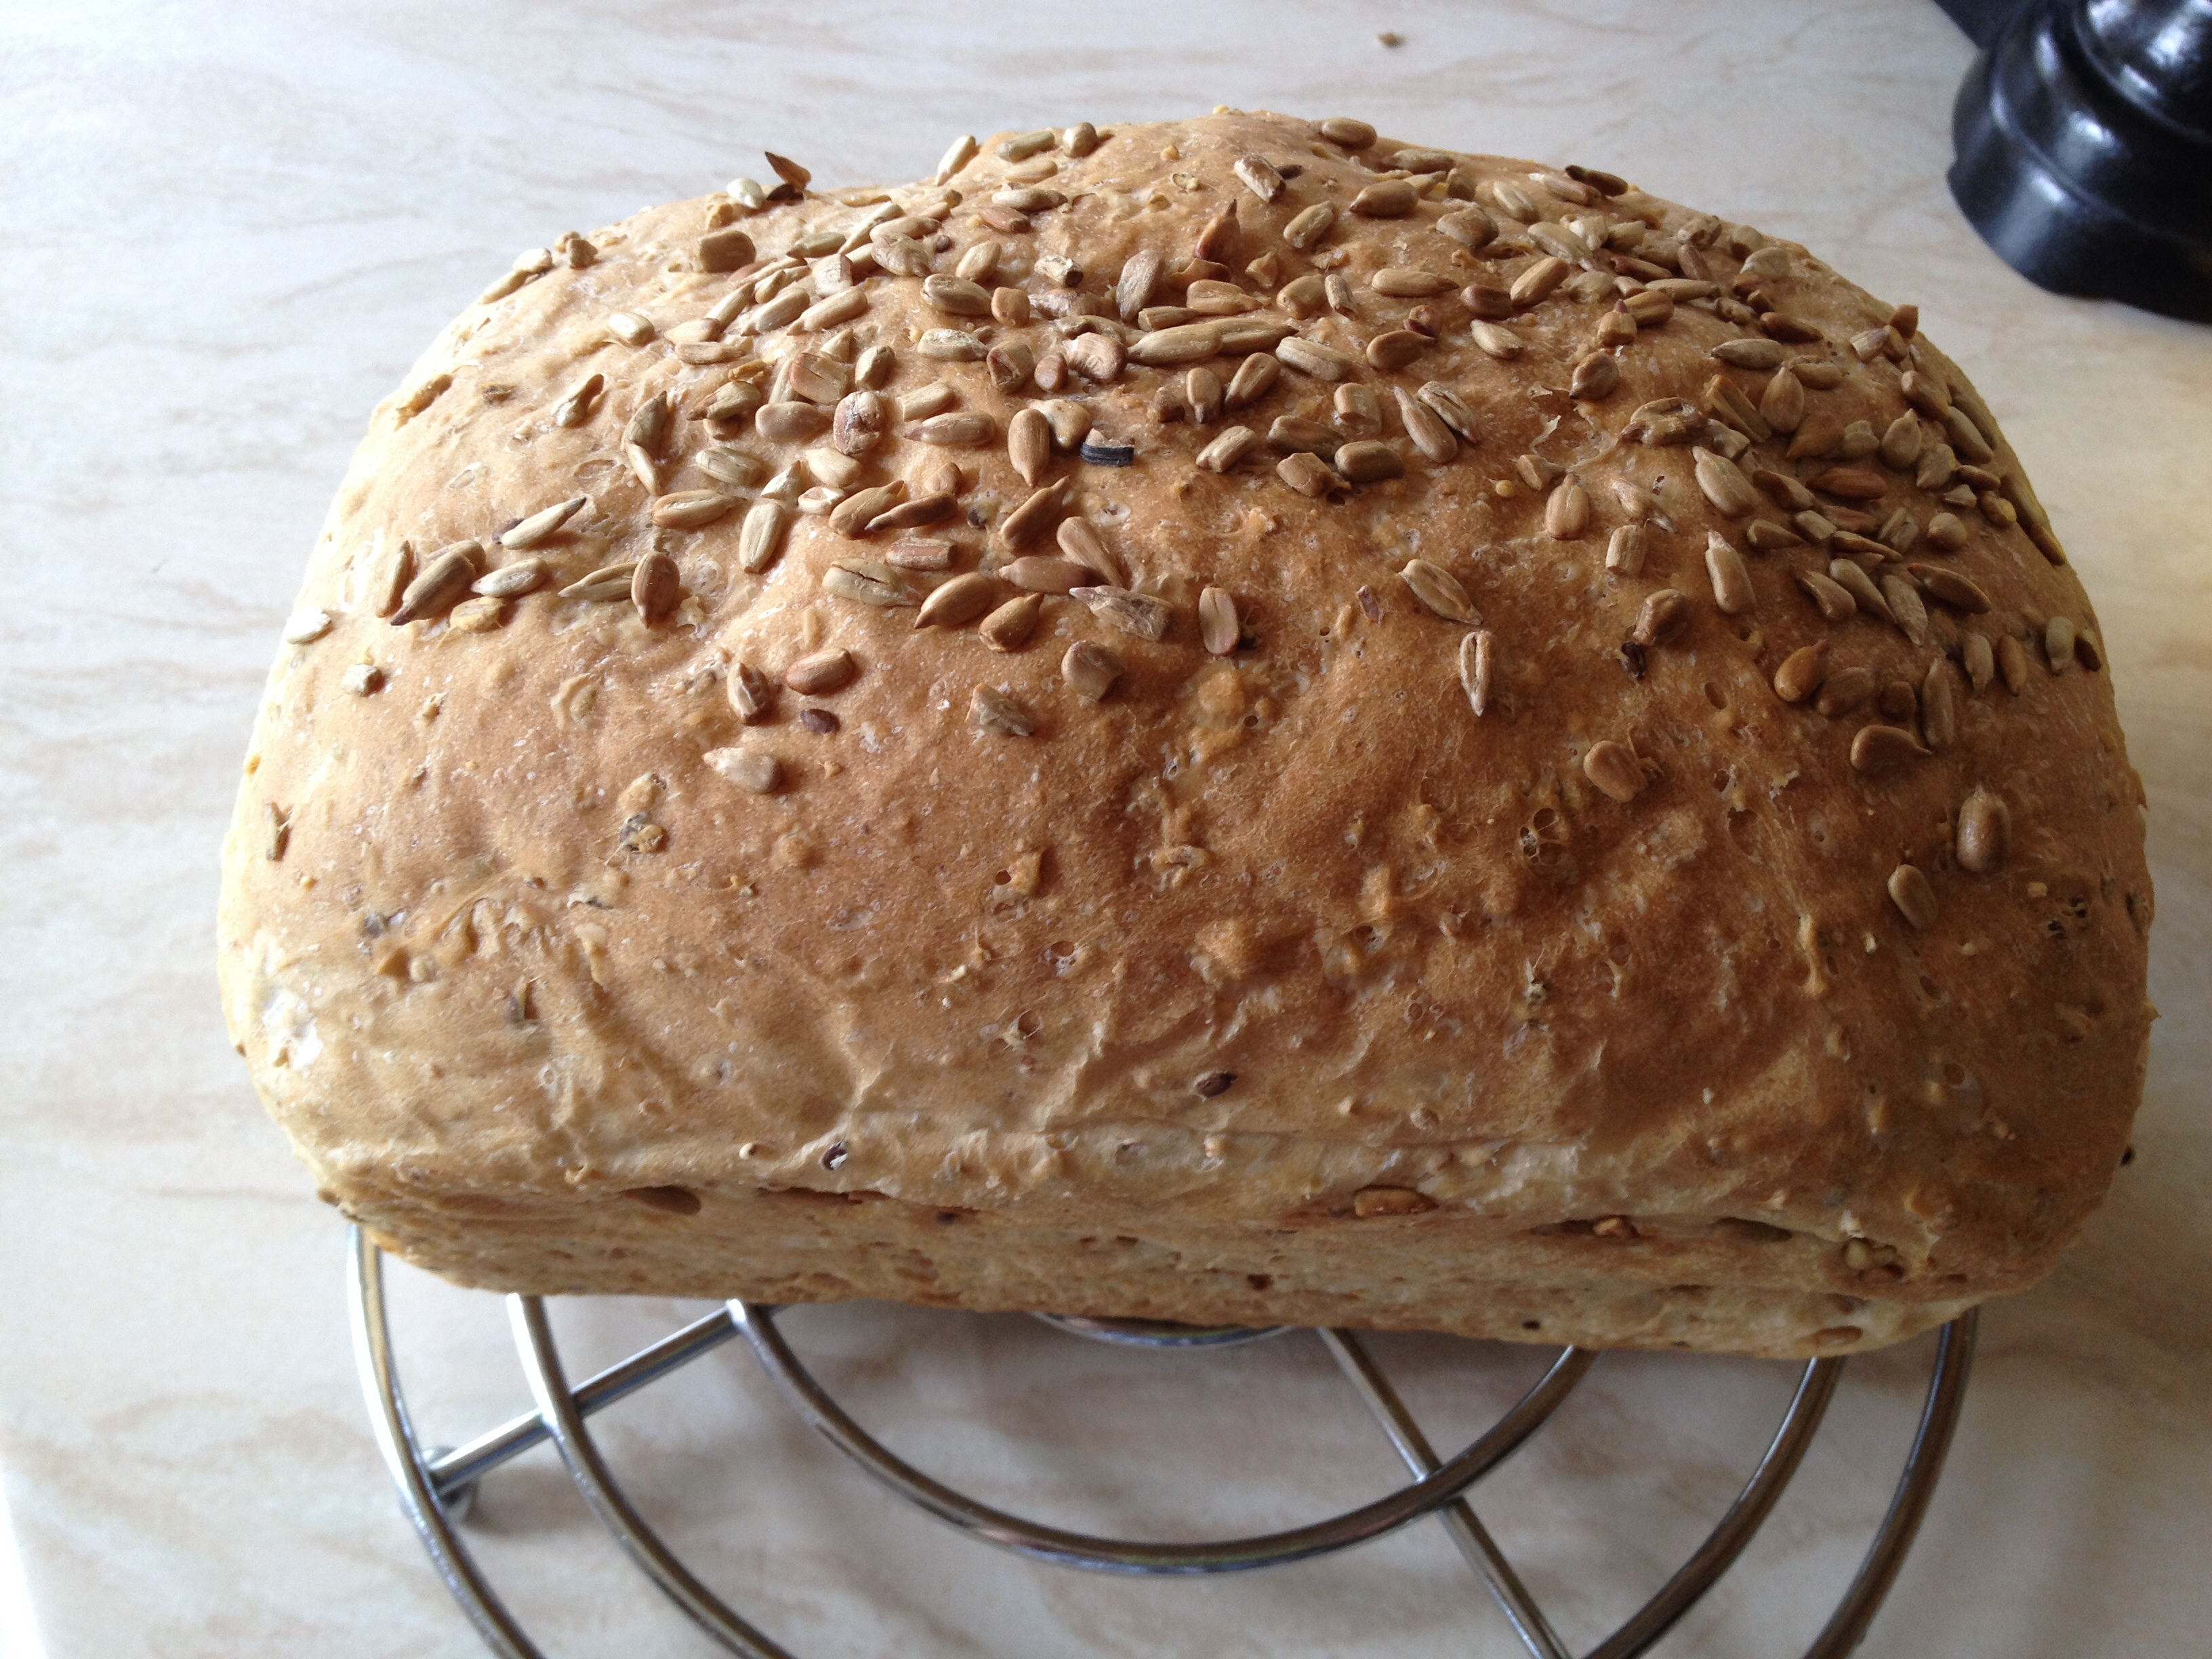
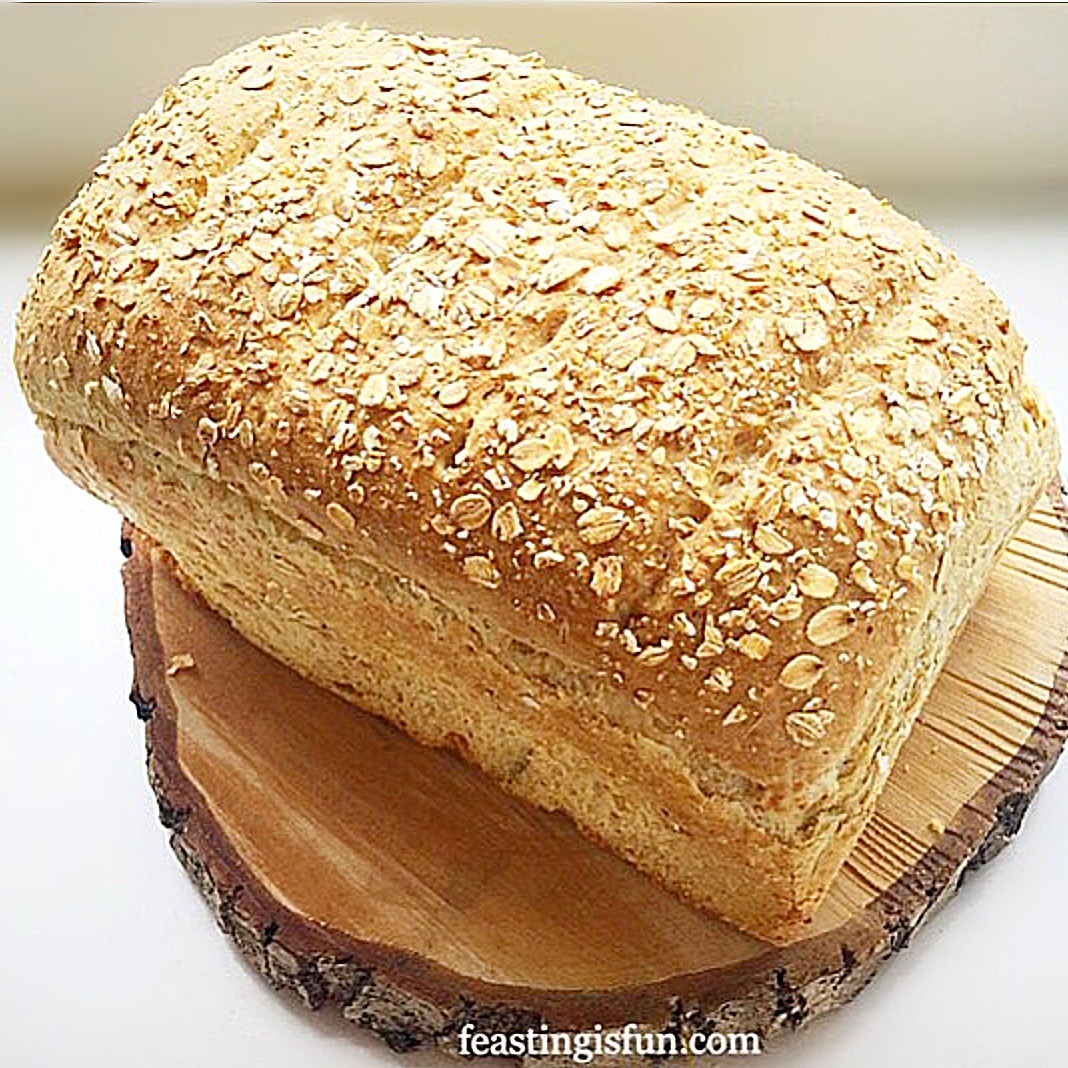
Yummy Crusty White Bread!

The same loaf baked the following day for 20 minutes in its tin - I forgot to turn the oven temp down!!!!!
The same loaf baked the following day for 20 minutes in its tin – I forgot to turn the oven temp down!!!!!

Bread is the ultimate sharing food. Everyone sitting round the table having toast for breakfast, or dunking thick slices into warming soup. Even Jesus took bread and shared it with His disciples and when feeding the 5000. Wow what a feast that must have been?

Bake a loaf for someone – it will make them smile and feel loved?

Until next time remember Food Tastes Better When It’s Shared!

Sammie x


Share
Facebooktwitterpinterestlinkedintumblr

Bread Baked The Easy Way

Share
Facebooktwitterpinterestlinkedintumblr

Bread baked the easy way.

image

Hi, thank you for dropping by.

Today is my first day of blogging!!! I’m excited. I’m going to show you how to bake bread the easy way! The sun is shining, so that means my veggie plants & flowers need watering.

I love the early morning smell of the garden, the slight dampness of dew on the grass, the smell of my tomato plants as I brush past them…

Anyhow I’m waffling, you may find that happens a lot! Back to business. Hey, no, didn’t I say that “Feasting is Fun”??

Bread: that’s what I will be making this morning (with the aid of my bread maker). If you have a stand mixer that can do the same job as my bread maker.

Recipe for a Large White Loaf 

4lb loaf tin, buttered.

1 1/2 sachets dried yeast or 15g fresh (or I’m using frozen) yeast.

1lb 8oz Strong White Flour

380-400ml Water (warm -body temp)

1 tsp Honey

2 tsp salt – I use Maldon

2oz butter

1 large (4lb) buttered loaf tin

Clean tea towel

Place most of the water (380ml) into a bowl (of stand mixer or bread maker if using), add yeast. Swish about a bit with clean fingers to mix the yeast into the water ( rub the fresh/frozen yeast through your fingers until it is dissolved into the water). Add the teaspoon of honey & set to one side whilst you weigh the flour.

Add the flour so it sits on top of the yeast/honey/water mixture. Then add the salt.  Break the butter into 3-4 pieces (it’s best if it’s room temp – but if it’s cold don’t worry, the bread will just take a little longer to rise).

With a stand mixer make sure the dough hook is attached a mix on slow/medium speed for 8-10 minutes. If using a bread maker I use a spatula to manually mix the dough, giving it approx 6-8 good stirs (this amount of mixture is a little too much for the paddle in my bread machine, doing this starts the mixing process & then the machine can happily cope with fully mixing the dough!).

As the dough comes together it should mix smoothly & look soft & elastic. If it looks dry – or the mixing device makes a clunking sound add more water (the extra 20mls).  Be patient it takes a minute or so for the water to become incorporated.  Continue mixing for the 8-10 minutes.

If using a bread maker I use the dough cycle, so once mixing is finished the dough is then left in the machine to prove, until doubled in size (up to 2 hours), I then use the start of the dough cycle to knock back the dough for 2 mins before removing the dough.

If you are using a stand mixer, after the initial mixing process is complete, remove all the dough, place onto a clean floured surface & shape into a ball.  Place into a buttered bowl, turn over once, so the top has a coating of butter on it & cover the bowl tightly with cling film. Place in a warm, draught free place until doubled in size (up to 2 hours).  After this time remove the cling & punch down into the dough gently (feels sooo nice) to deflate the dough.

With either method you now have bread dough ready to be shaped.  Place the dough on a floured surface and stretch it out with your hands.  Fold one end into the middle & do the same with the other end.  Turn the dough by a quarter & repeat the stretching & folding.  Do this twice more.  This is building structure into your dough & this little bit if effort makes a BIG difference to your finished loaf.

Place the dough seam side down into your buttered loaf tin.  Cover with a tea towel & place in a warm draught free place until doubled in size (up to 2 hours).

Just before it has completely doubled turn your oven onto its highest setting, 250C/500F.

When doubled remove tea towel & place the tin in the oven.  I then turn the heat down to 230C (but it’s fine to keep it at its hottest – just don’t forget about your bread!!). Bake for 15-25 minutes (depending on your oven & how crusty you want your bread), I usually tip mine out of its tin & leave it upside down on the oven rack (with the oven still on) whilst I rinse out the loaf tin –

White/Wholemeal 50:50 loaf with added seeds. Delicious - might need a lil more water.
White/Wholemeal 50:50 loaf with added seeds. Delicious – might need a lil more water.

– CAREFUL it’s very HOT!

When the bread is a gorgeous deep golden colour remove from the oven, tip out of the tin straight away, or you will have a soggy loaf on the bottom.  The bread should sound hollow if you knock on the base with your knuckle.

Enjoy the smell!!! There is nothing like the smell of freshly baked bread.


Now’s the hard part WAITING!  The loaf needs to cool to just above room temp otherwise it won’t cut properly.

Prep time is no more than 10 mins. Once you’ve made your first couple of loaves you should get into a rhythm & see how easy it is to make your own bread.

If you enjoyed Bread Baked The Easy Way here are other recipes you may like:

Oat Bran White Bread

Oat Bran White Bread
Oat Bran White Loaf

Then find someone to share it with.  Food ALWAYS tastes better when it’s shared.

Please let me know how you get on.  I’m not a professional chef but I’m happy to try & answer baking/cooking related questions.

Until next time have fun making each meal a feast!!


Share
Facebooktwitterpinterestlinkedintumblr