Salted Caramac Centre Toffee Cookies

Share
Facebooktwitterpinterestlinkedintumblr

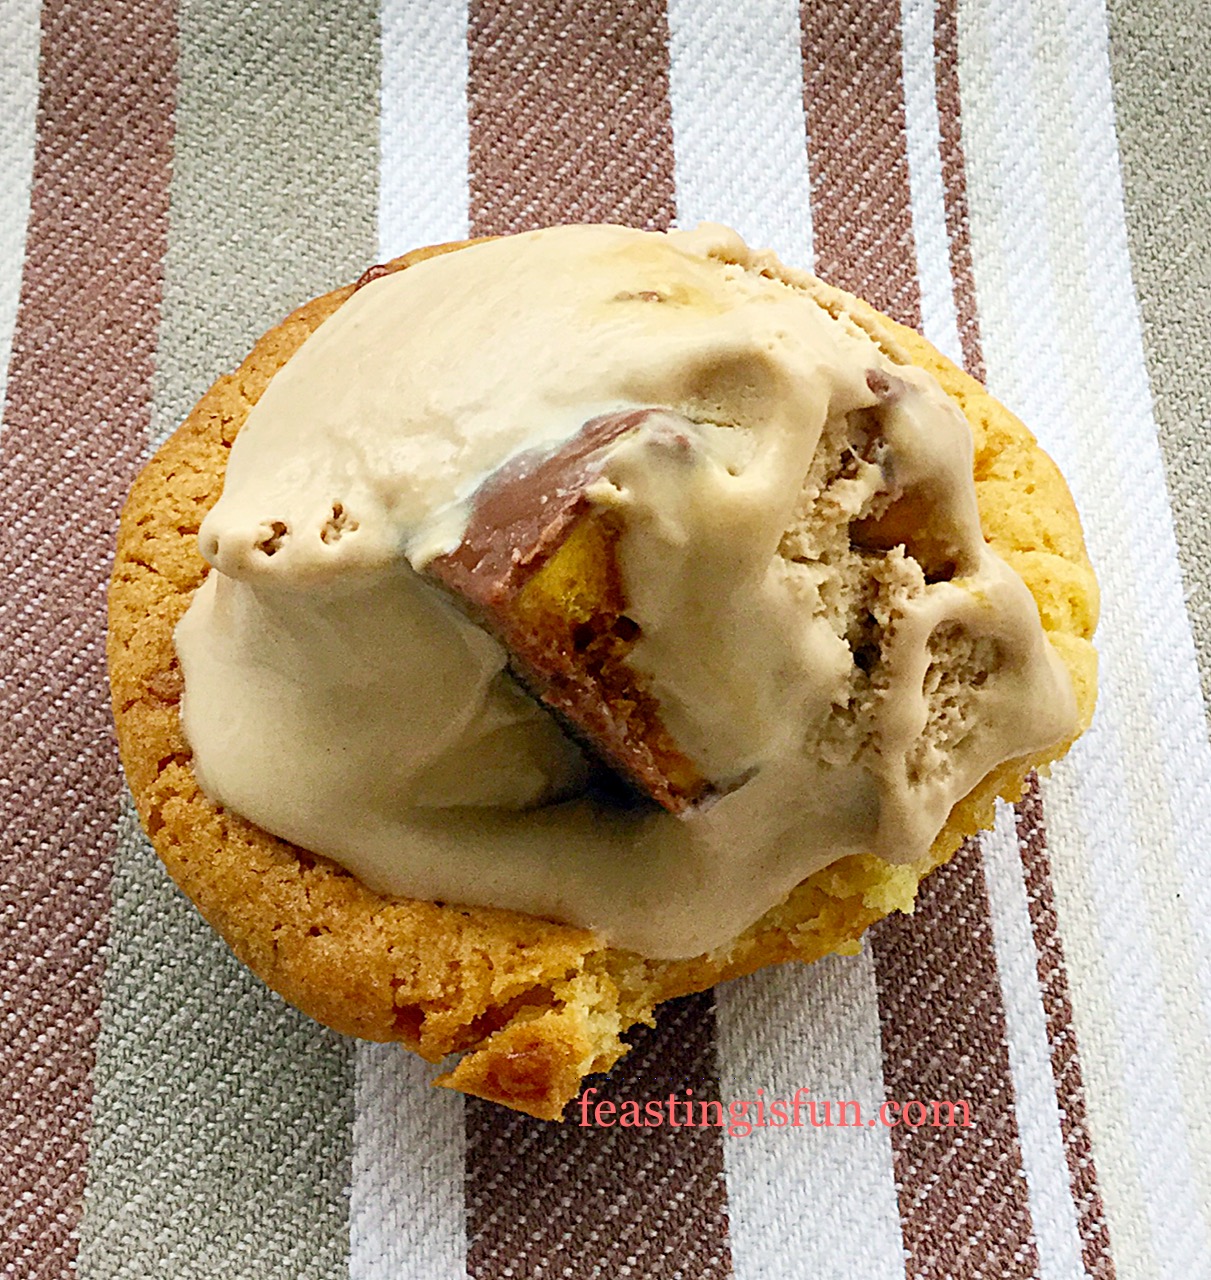
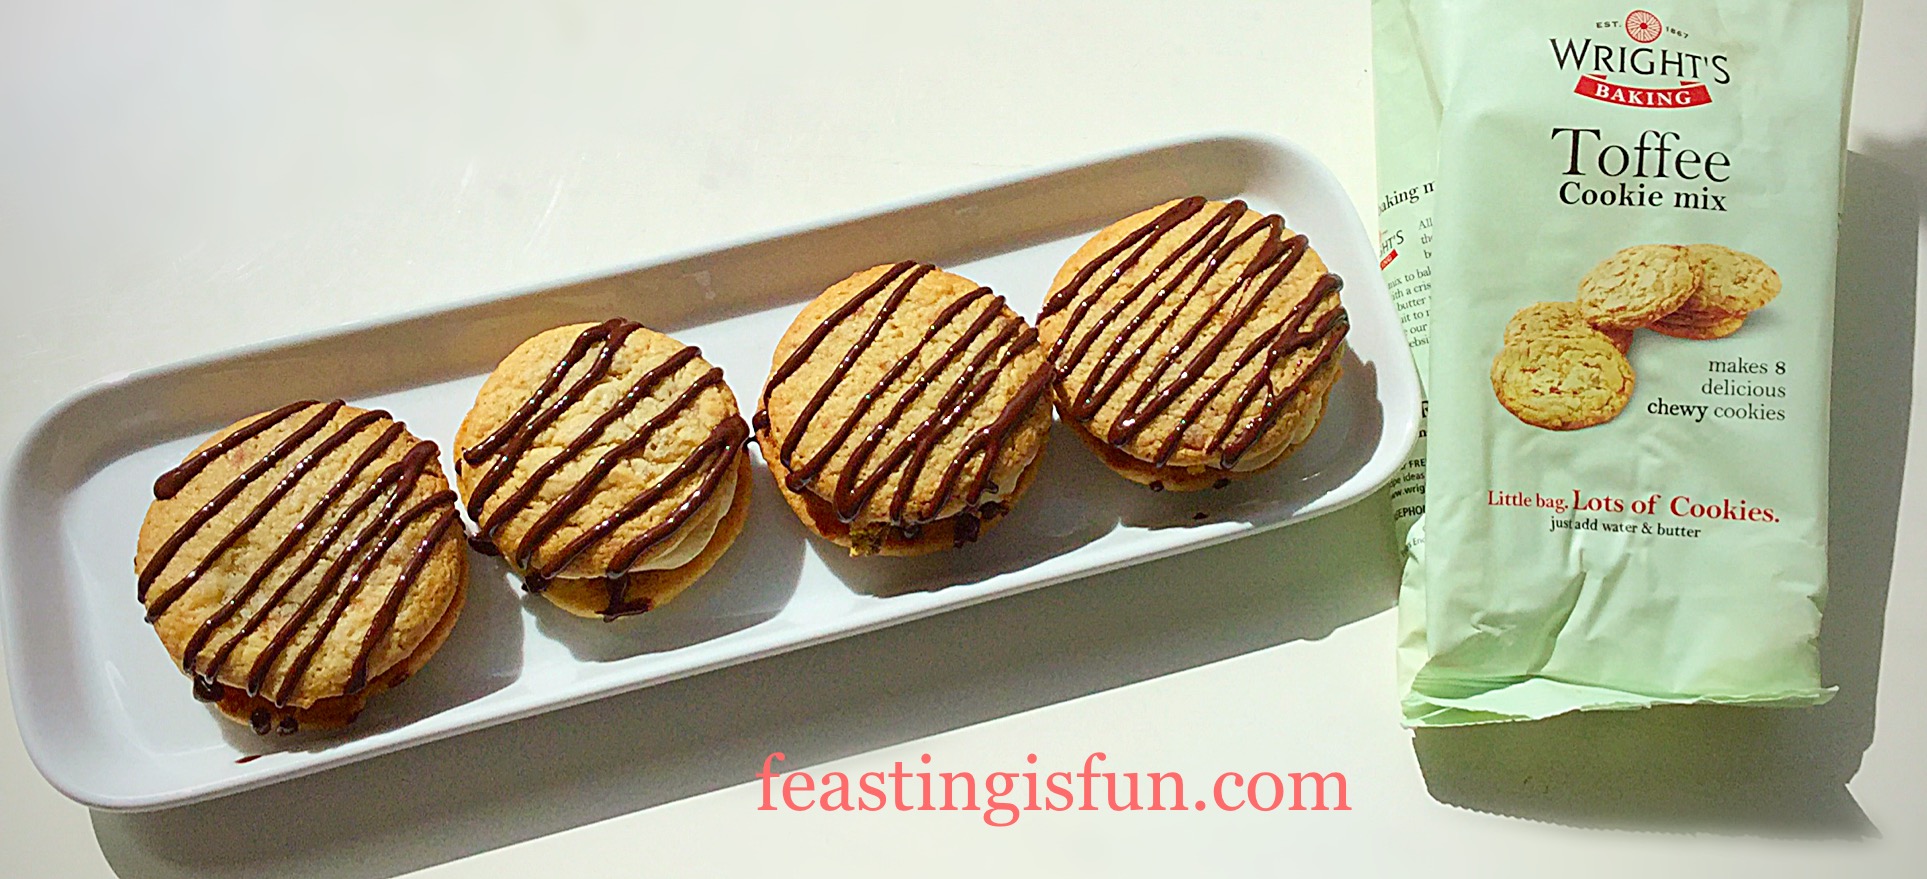
Hello, I have a super, special treat for you today, my Salted Caramac Centre Toffee Cookies.

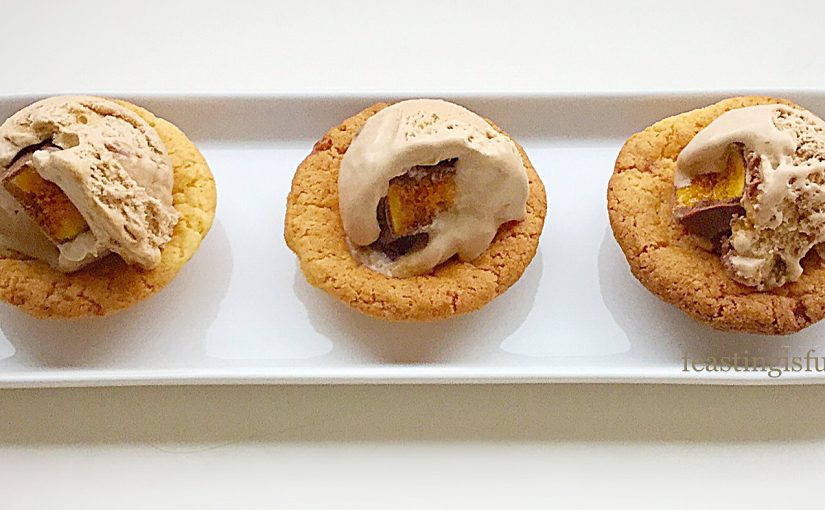
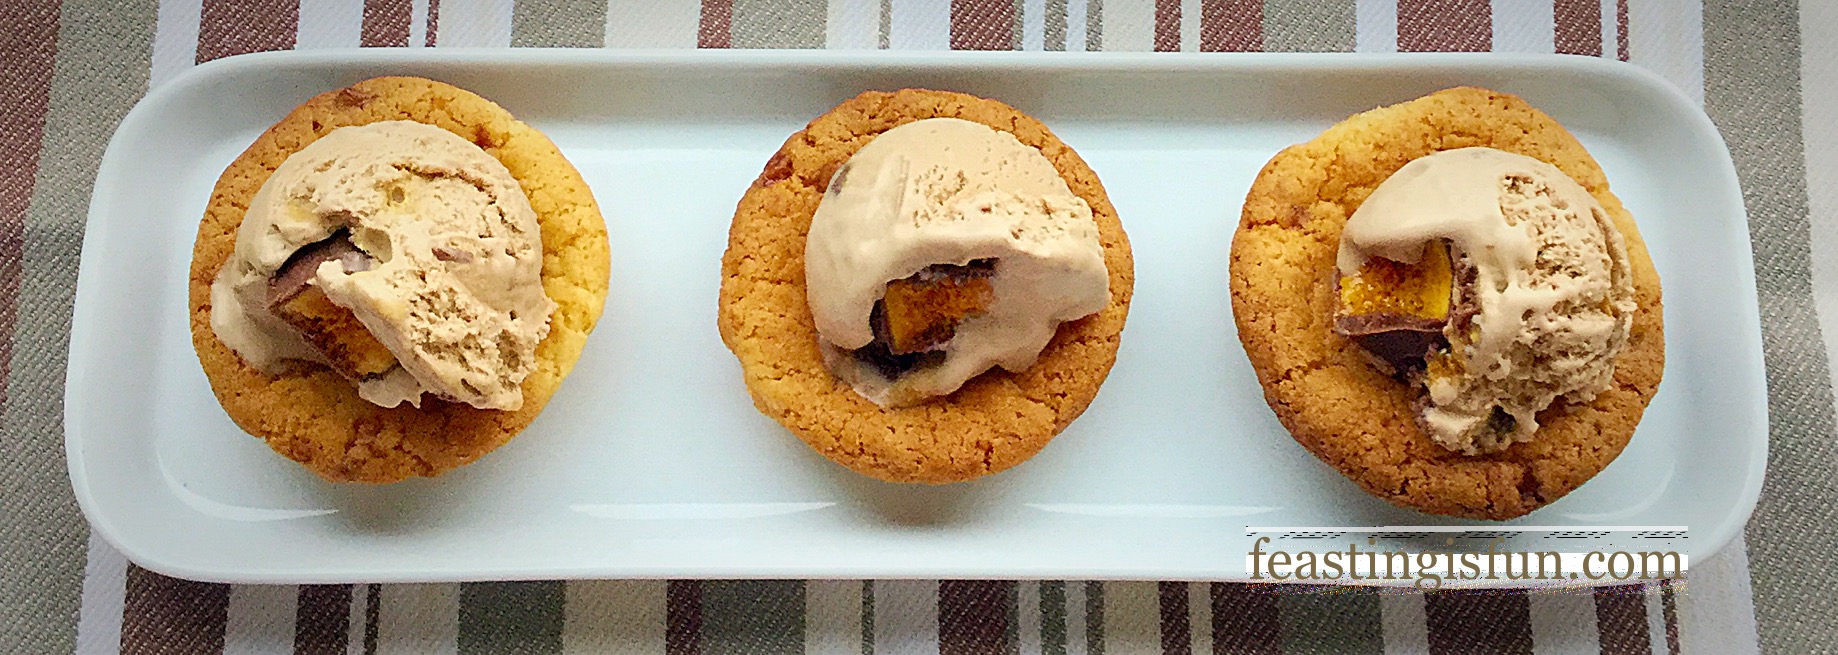
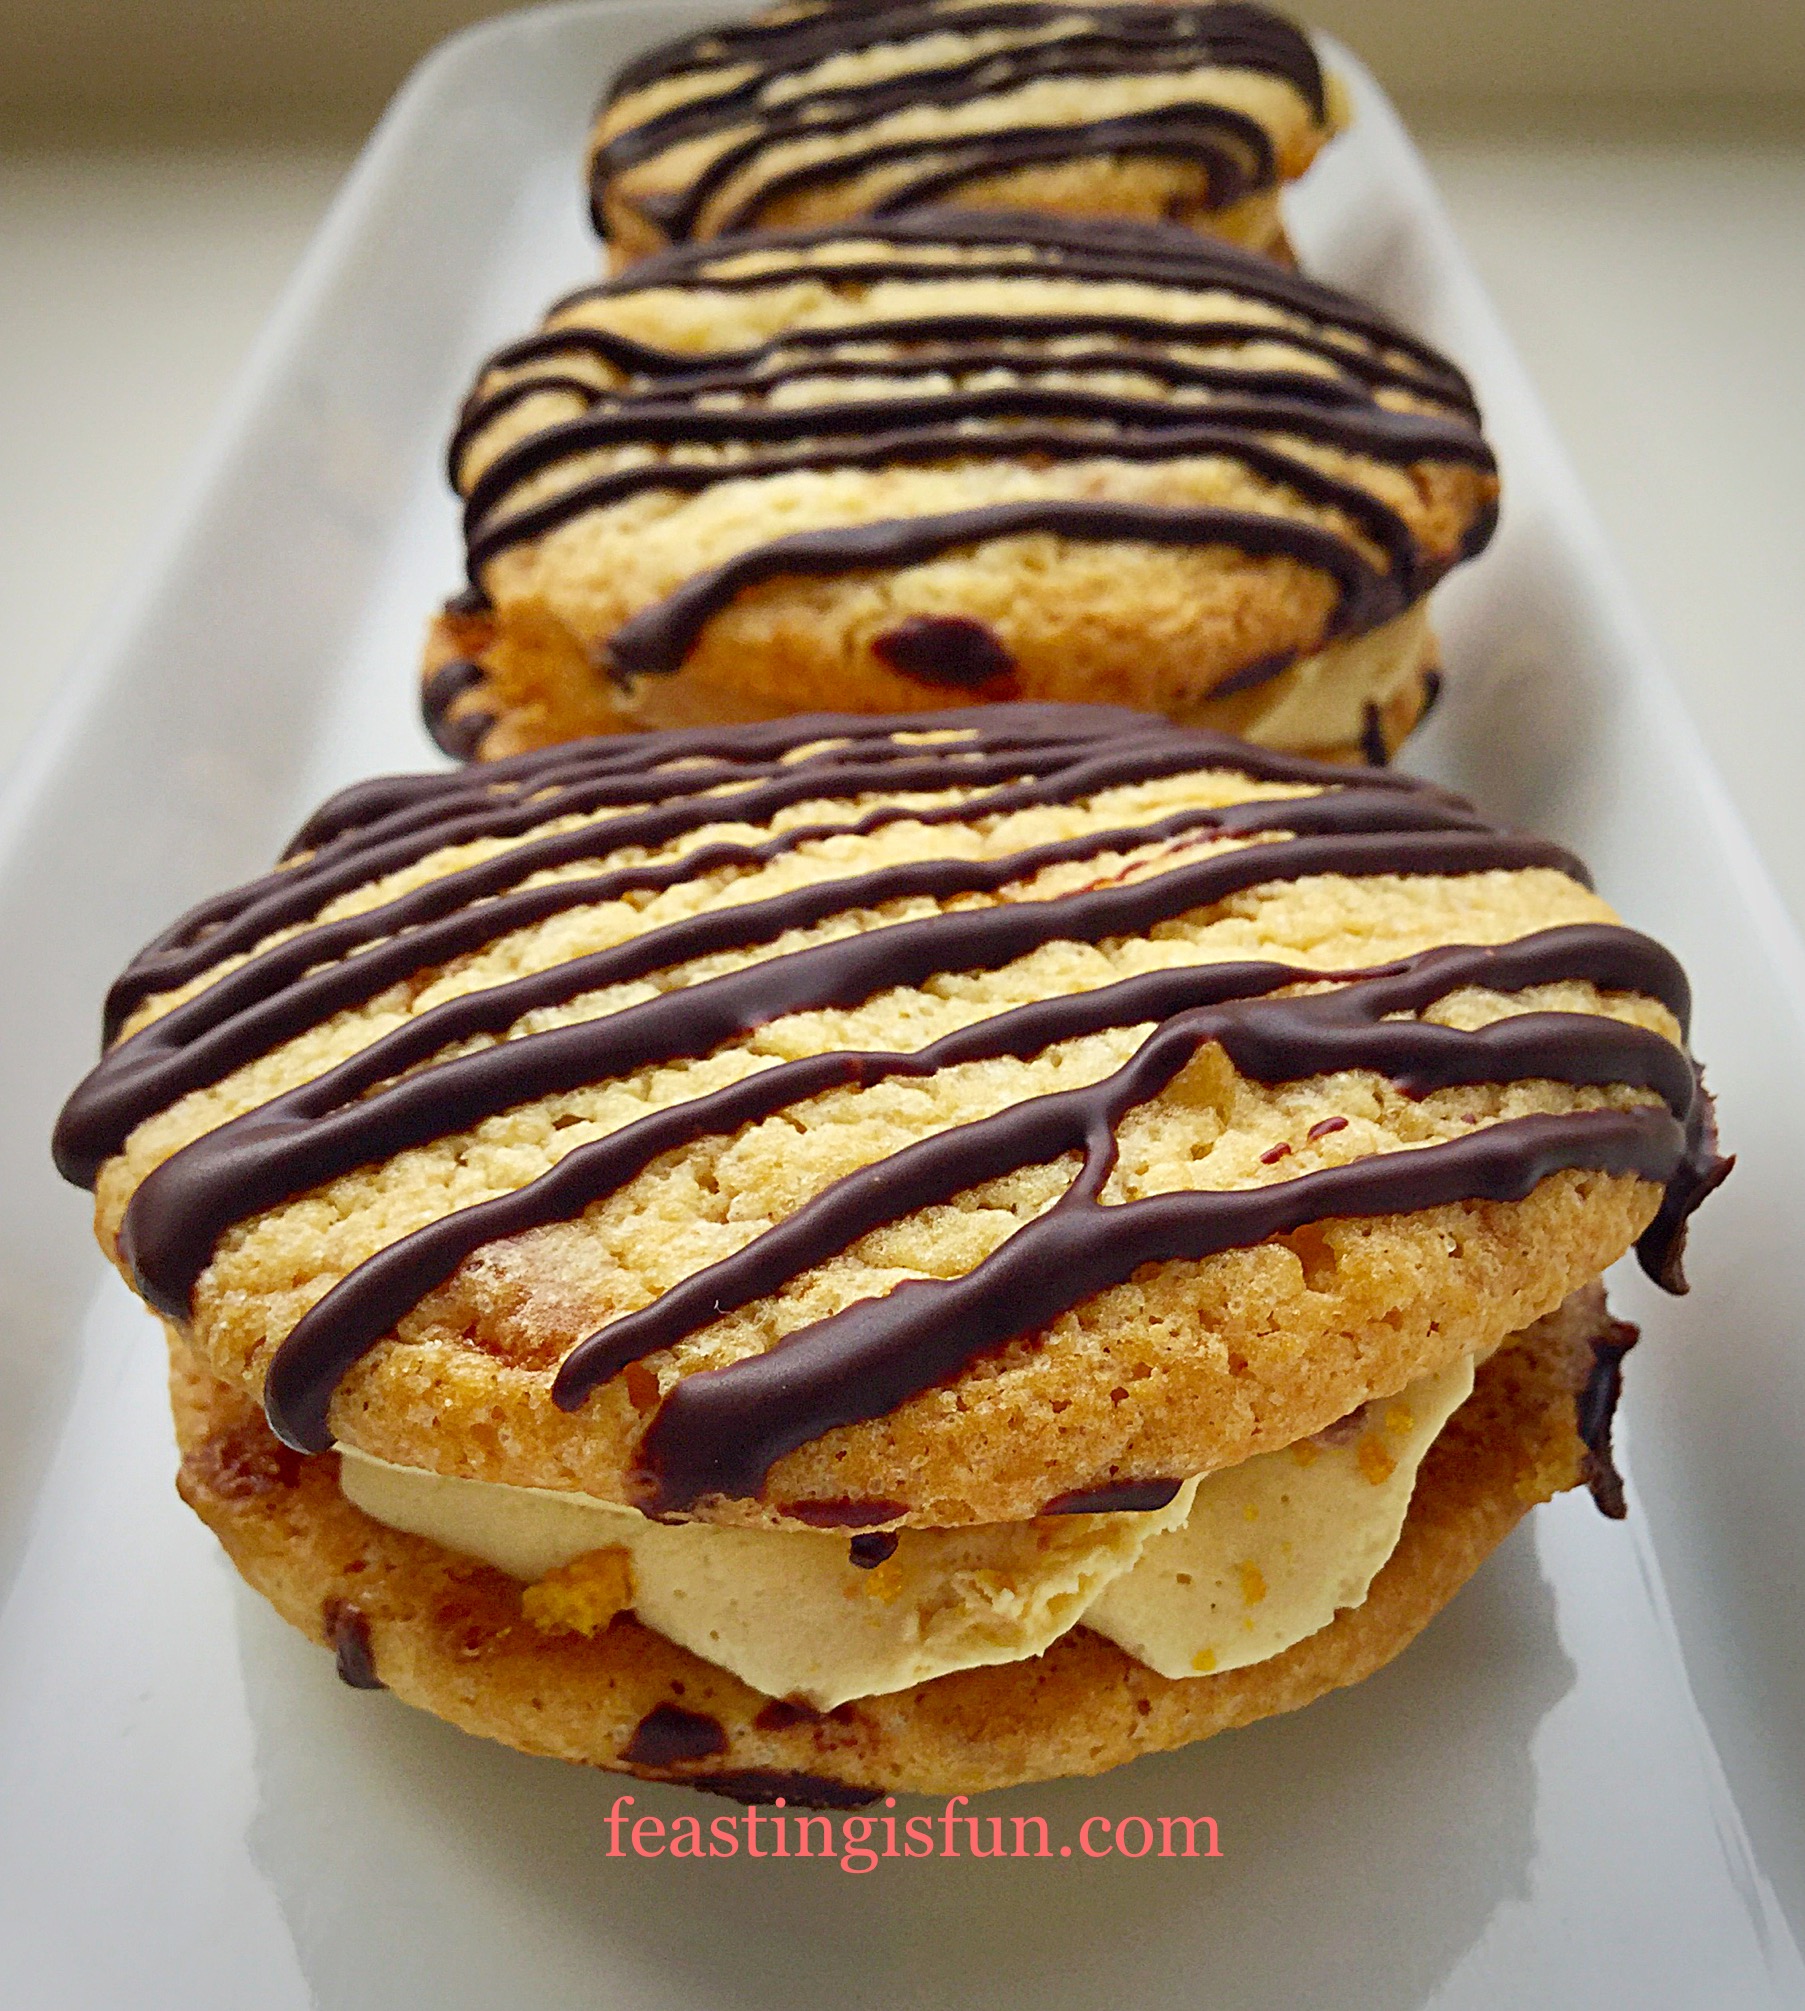
Salted Caramac Centre Toffee Cookies are so easy to make and such a treat to eat. Whipped, light, salted Caramac ganache, with a sprinkle of honeycomb dust, sandwiched between two toffee cookies. Oh and then finished with a dark chocolate drizzle. A complete flavour festival ready for you to bite into!

FF Salted Caramac Centre Toffee Cookies

    Salted Caramac Centre Toffee Cookies a flavour party in your mouth!

Sandwich Cookies Double The Pleasure

I love eating these sandwich cookies and that comes from someone who, until now, did not have a single salted caramel recipe on here. I didn’t jump on the bandwagon, I barely like caramel, why would I add salt to it?

FF Salted Caramac Centre Toffee Cookies
Salted Caramac Centre Toffee Cookies perfect with Afternoon tea or morning coffee.

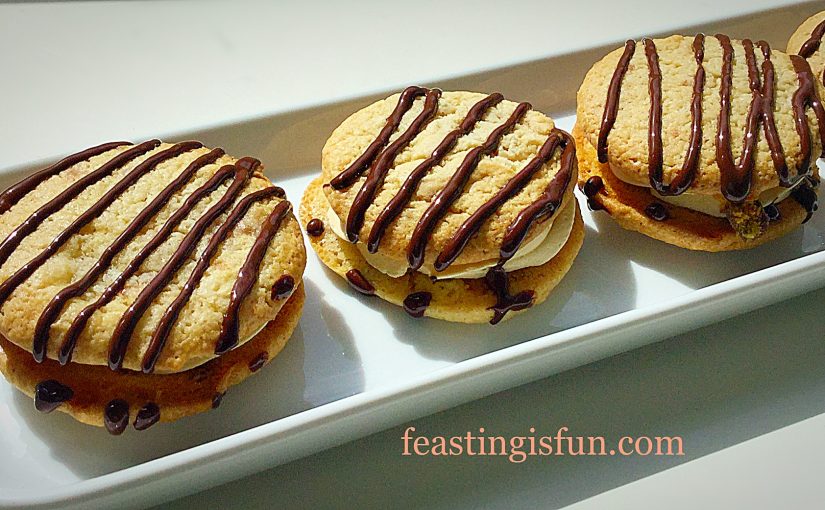
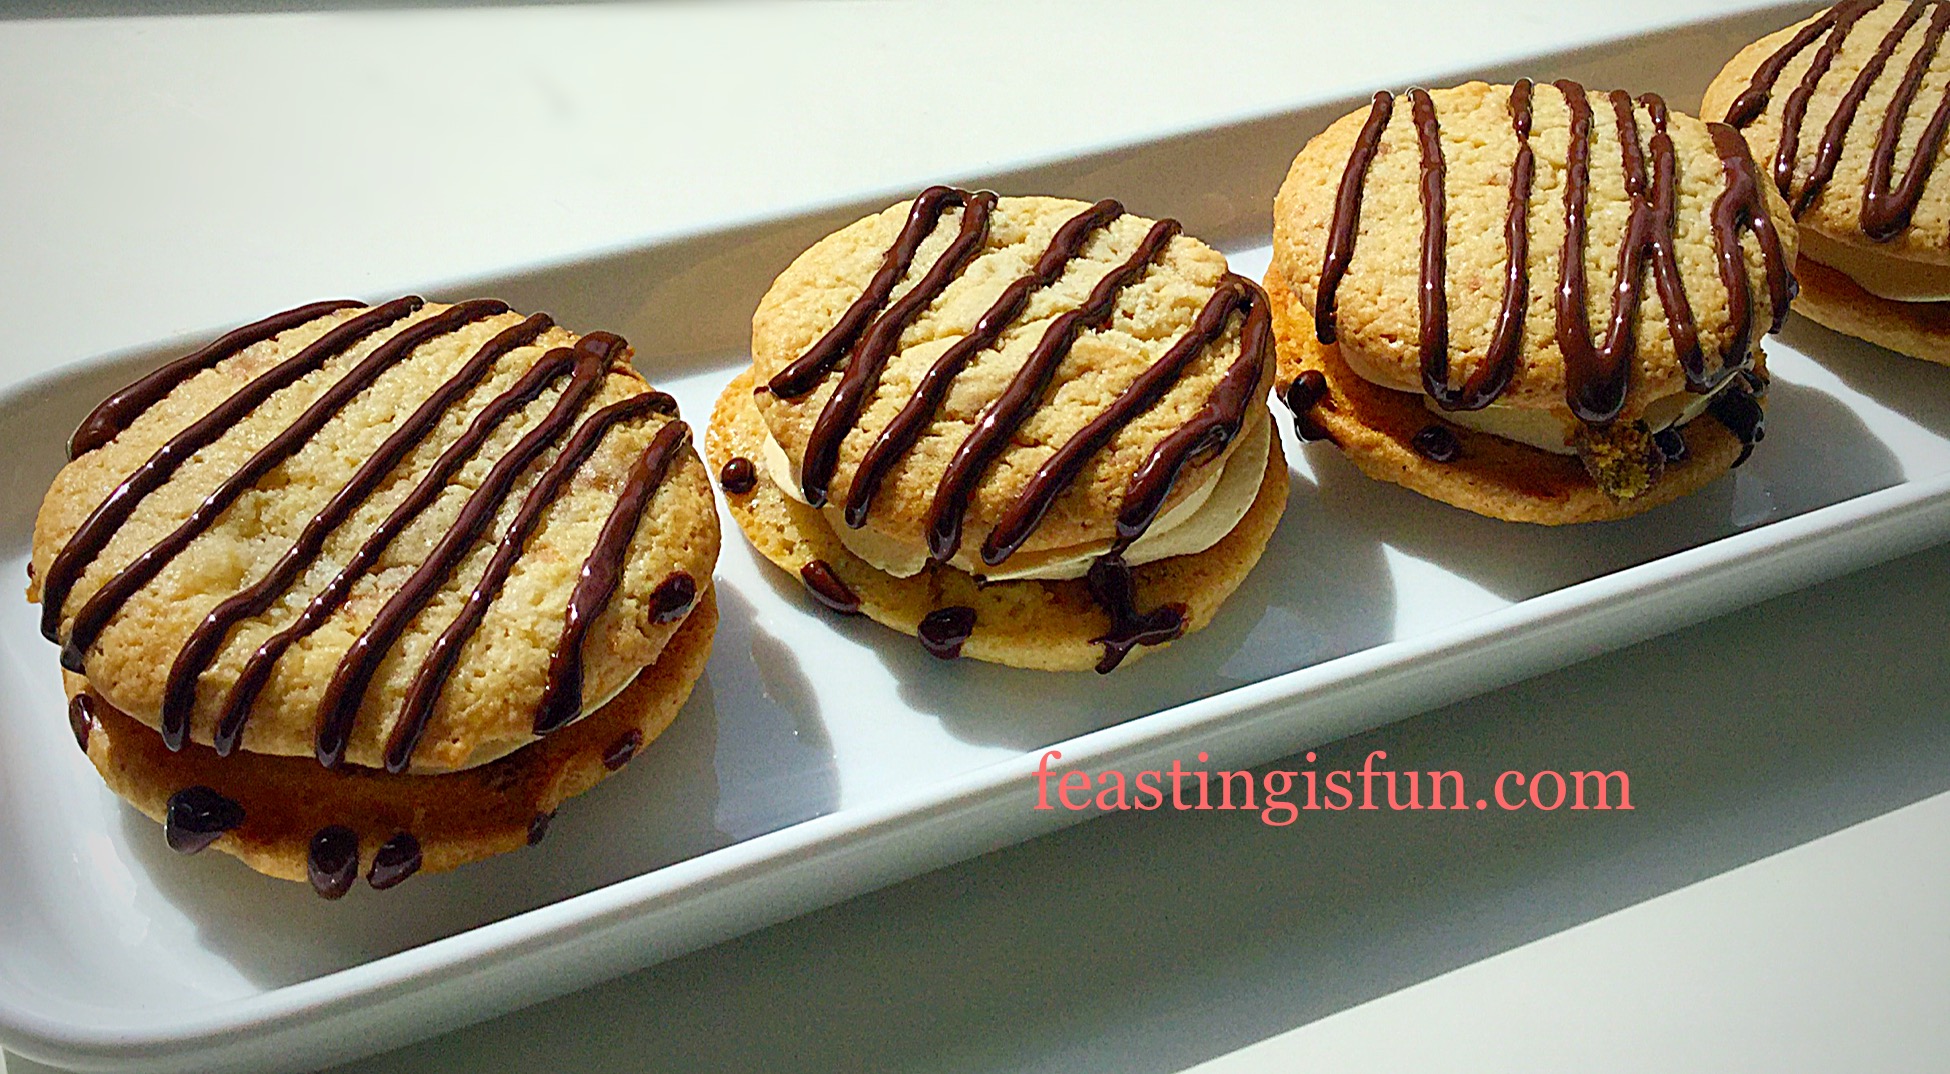
So there’s a toffee cookie base with swirled, salted Caramac ganache on top, a sprinkle of honeycomb dust, topped with another toffee cookie and finished with a chocolate drizzle. That’s how these cookies stack up and believe me, they are a beautifully light, indulgent treat!

FF Salted Caramac Centre Toffee Cookies
Salted Caramac Centre Toffee Cookies with Wright’s Baking.

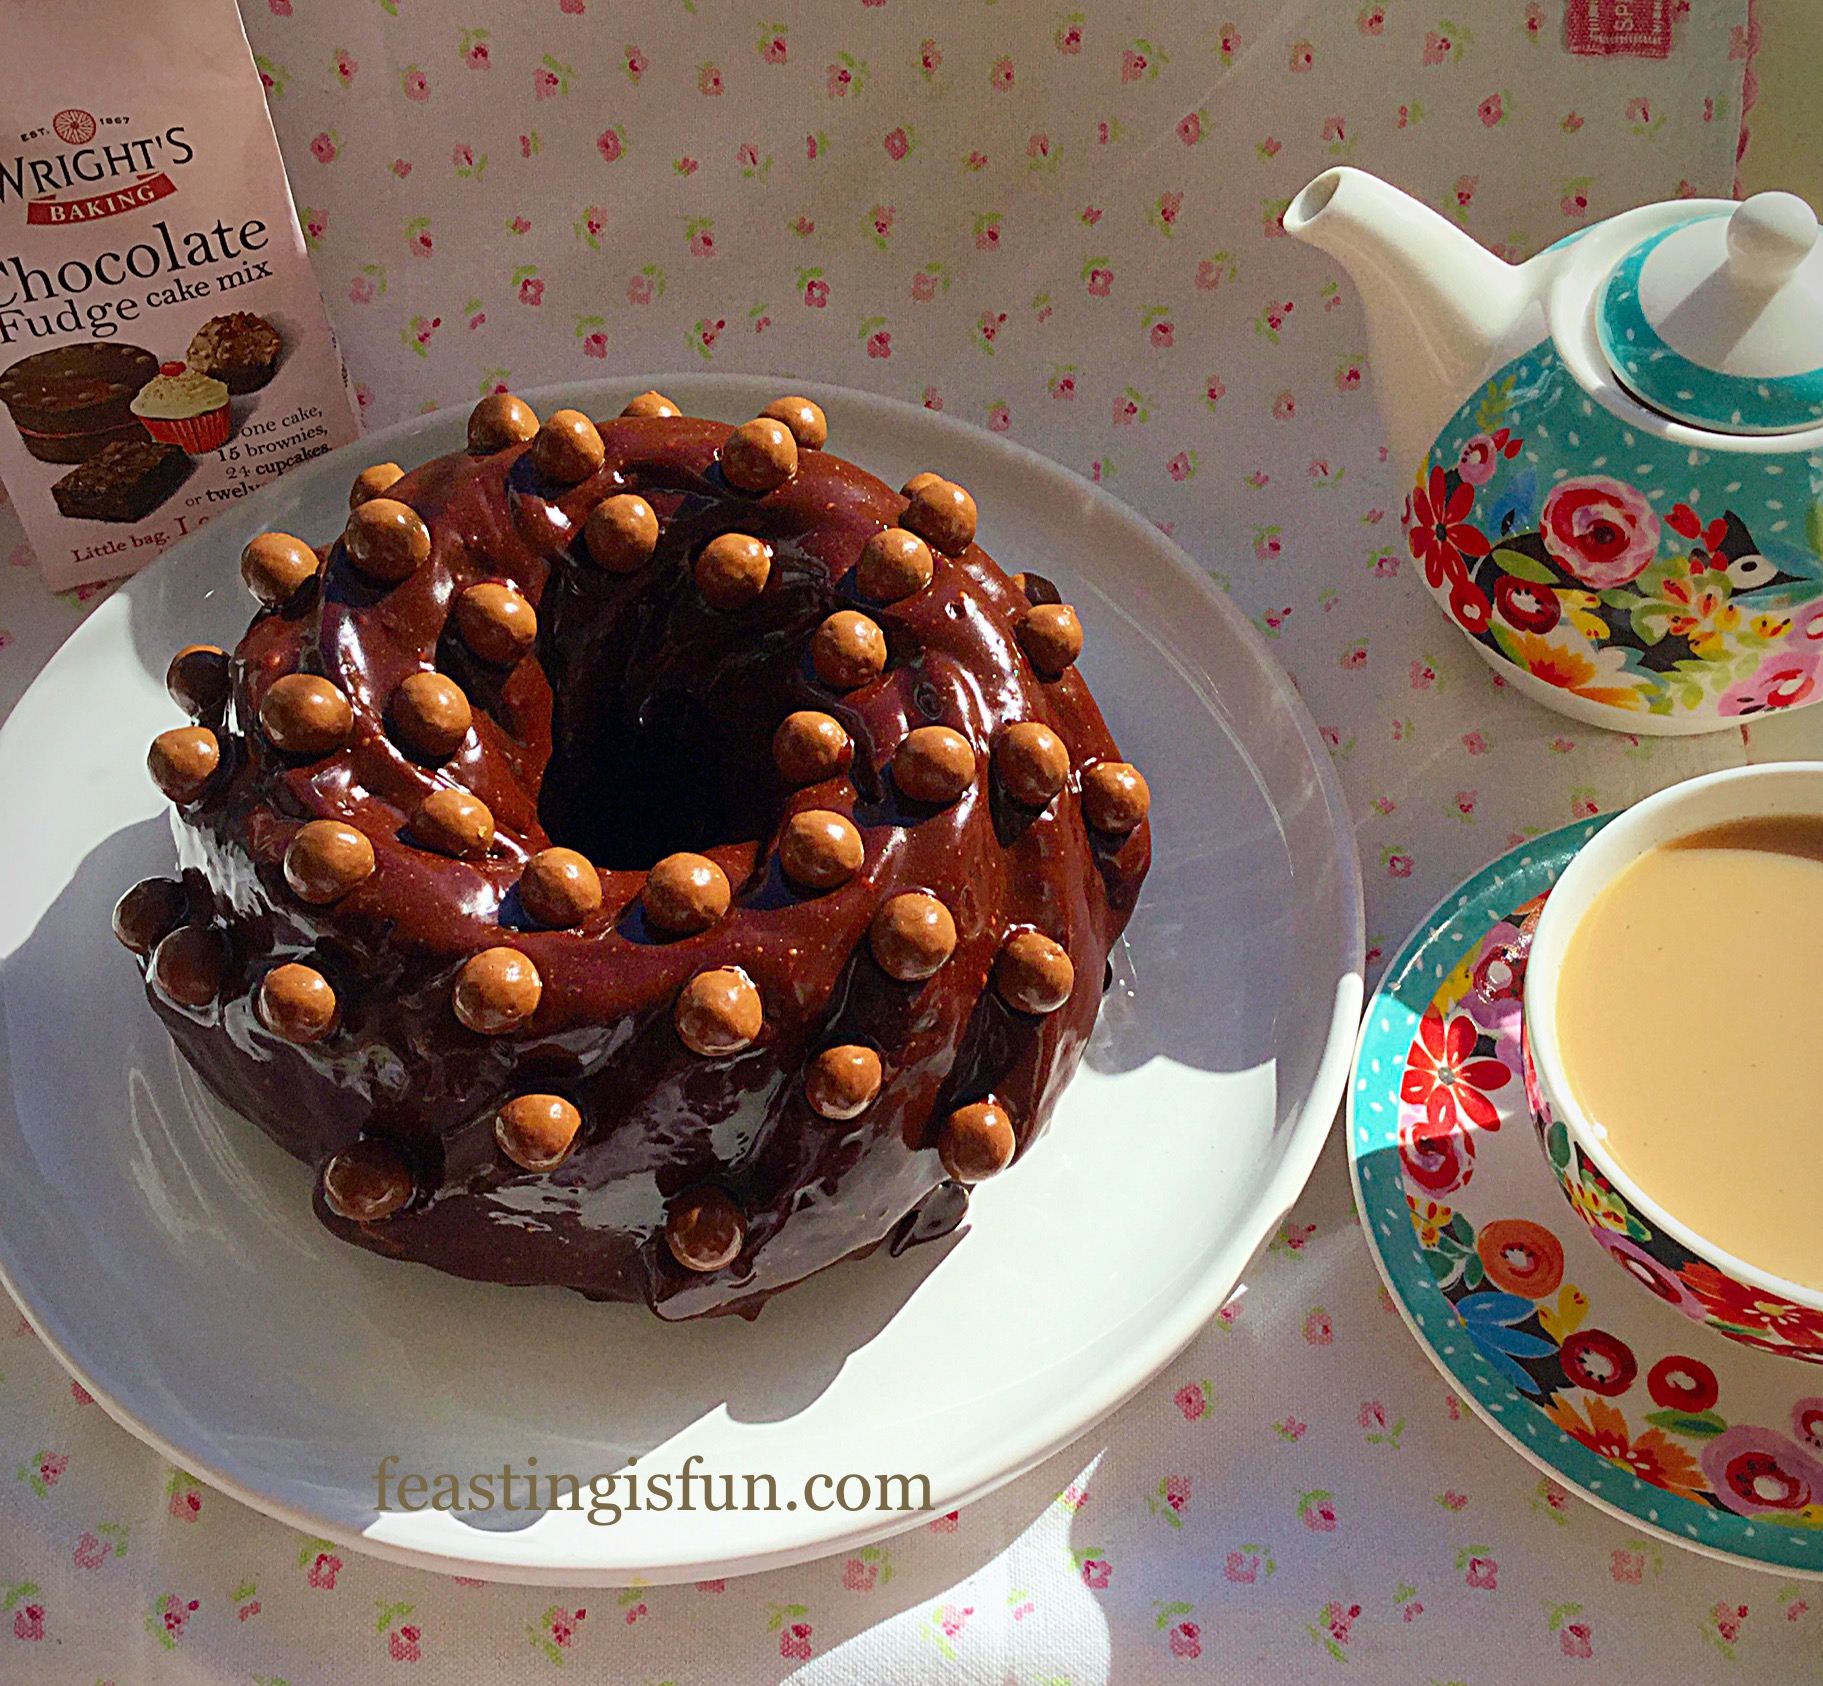
More like sandwich biscuits, these Salted Caramac Centre Toffee Cookies are perfect on their own, or with a relaxing cup of tea or coffee.

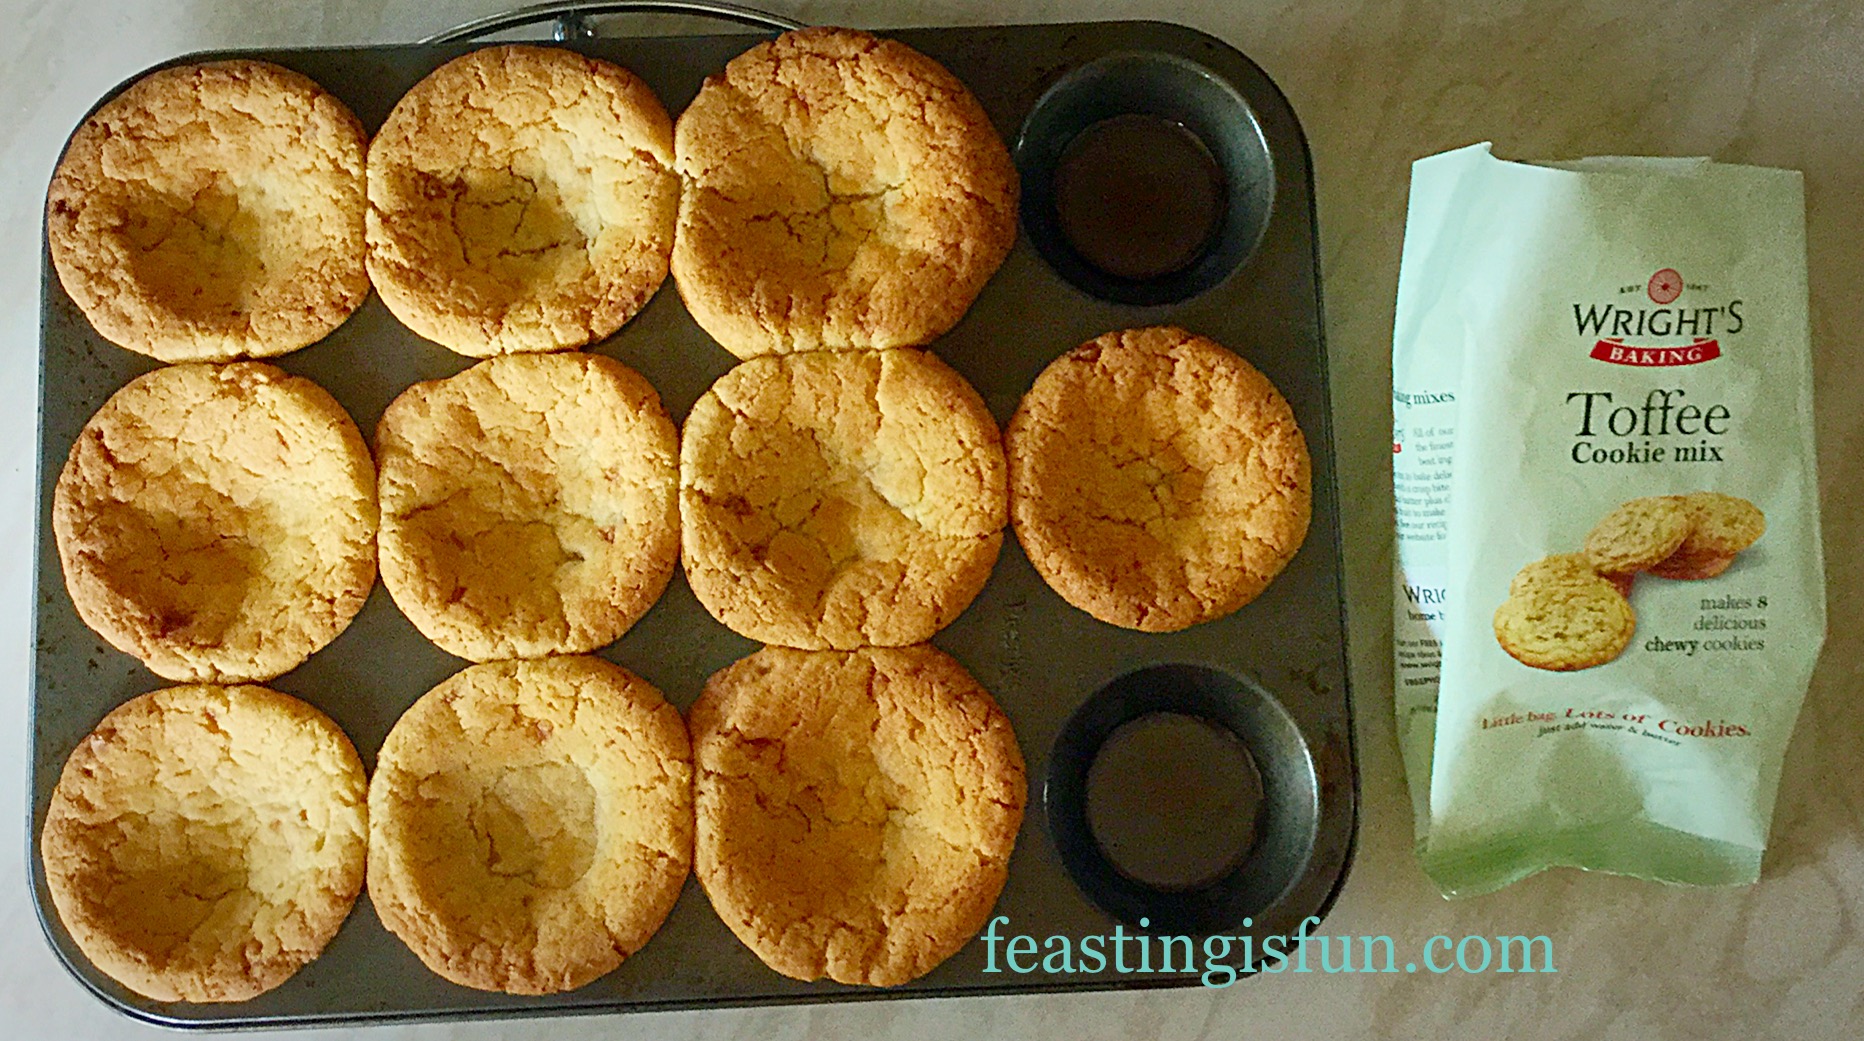
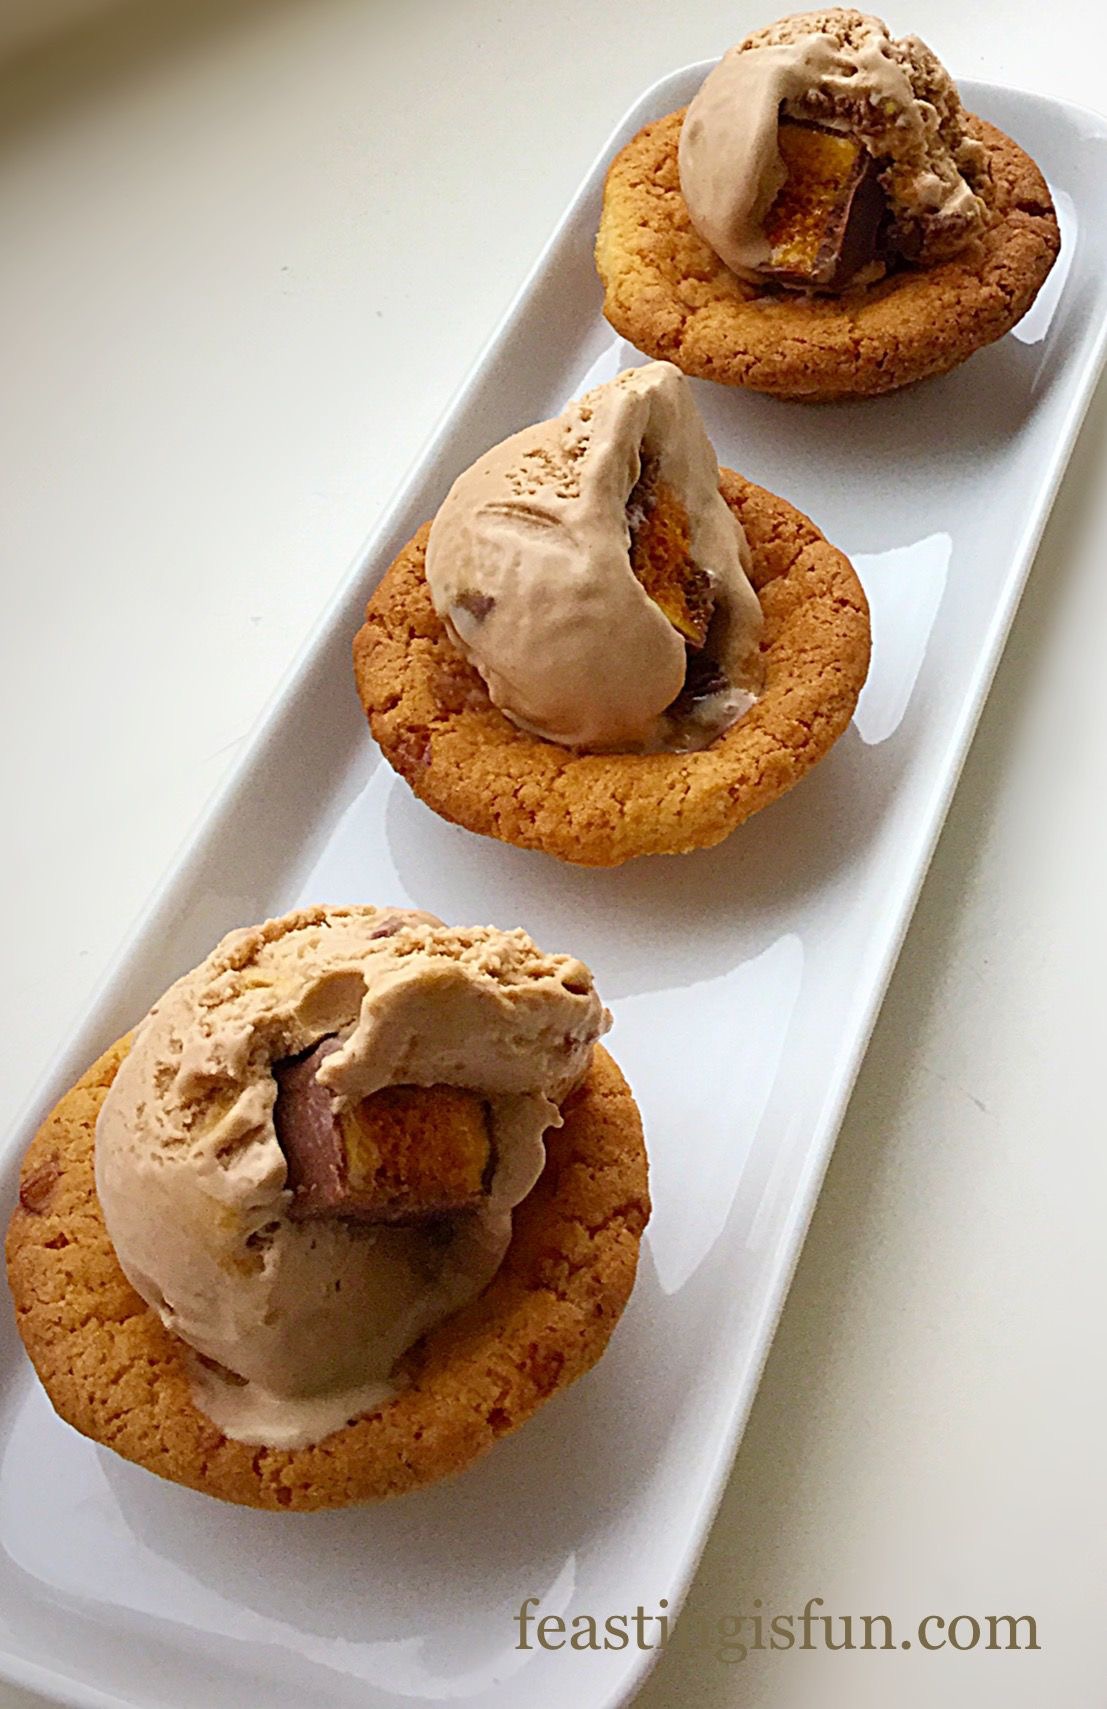
Each packet makes 8-10 good sized cookies, as can be seen below. I dipped each cookie in dark chocolate, so that one half was completely encased. Then I added delicious mini pieces of fudge (which I bought from Asda – in the baking aisle).

FF Salted Caramac Centre Toffee Cookies
Chocolate Dipped Fudge Topped Toffee Cookies delicious.

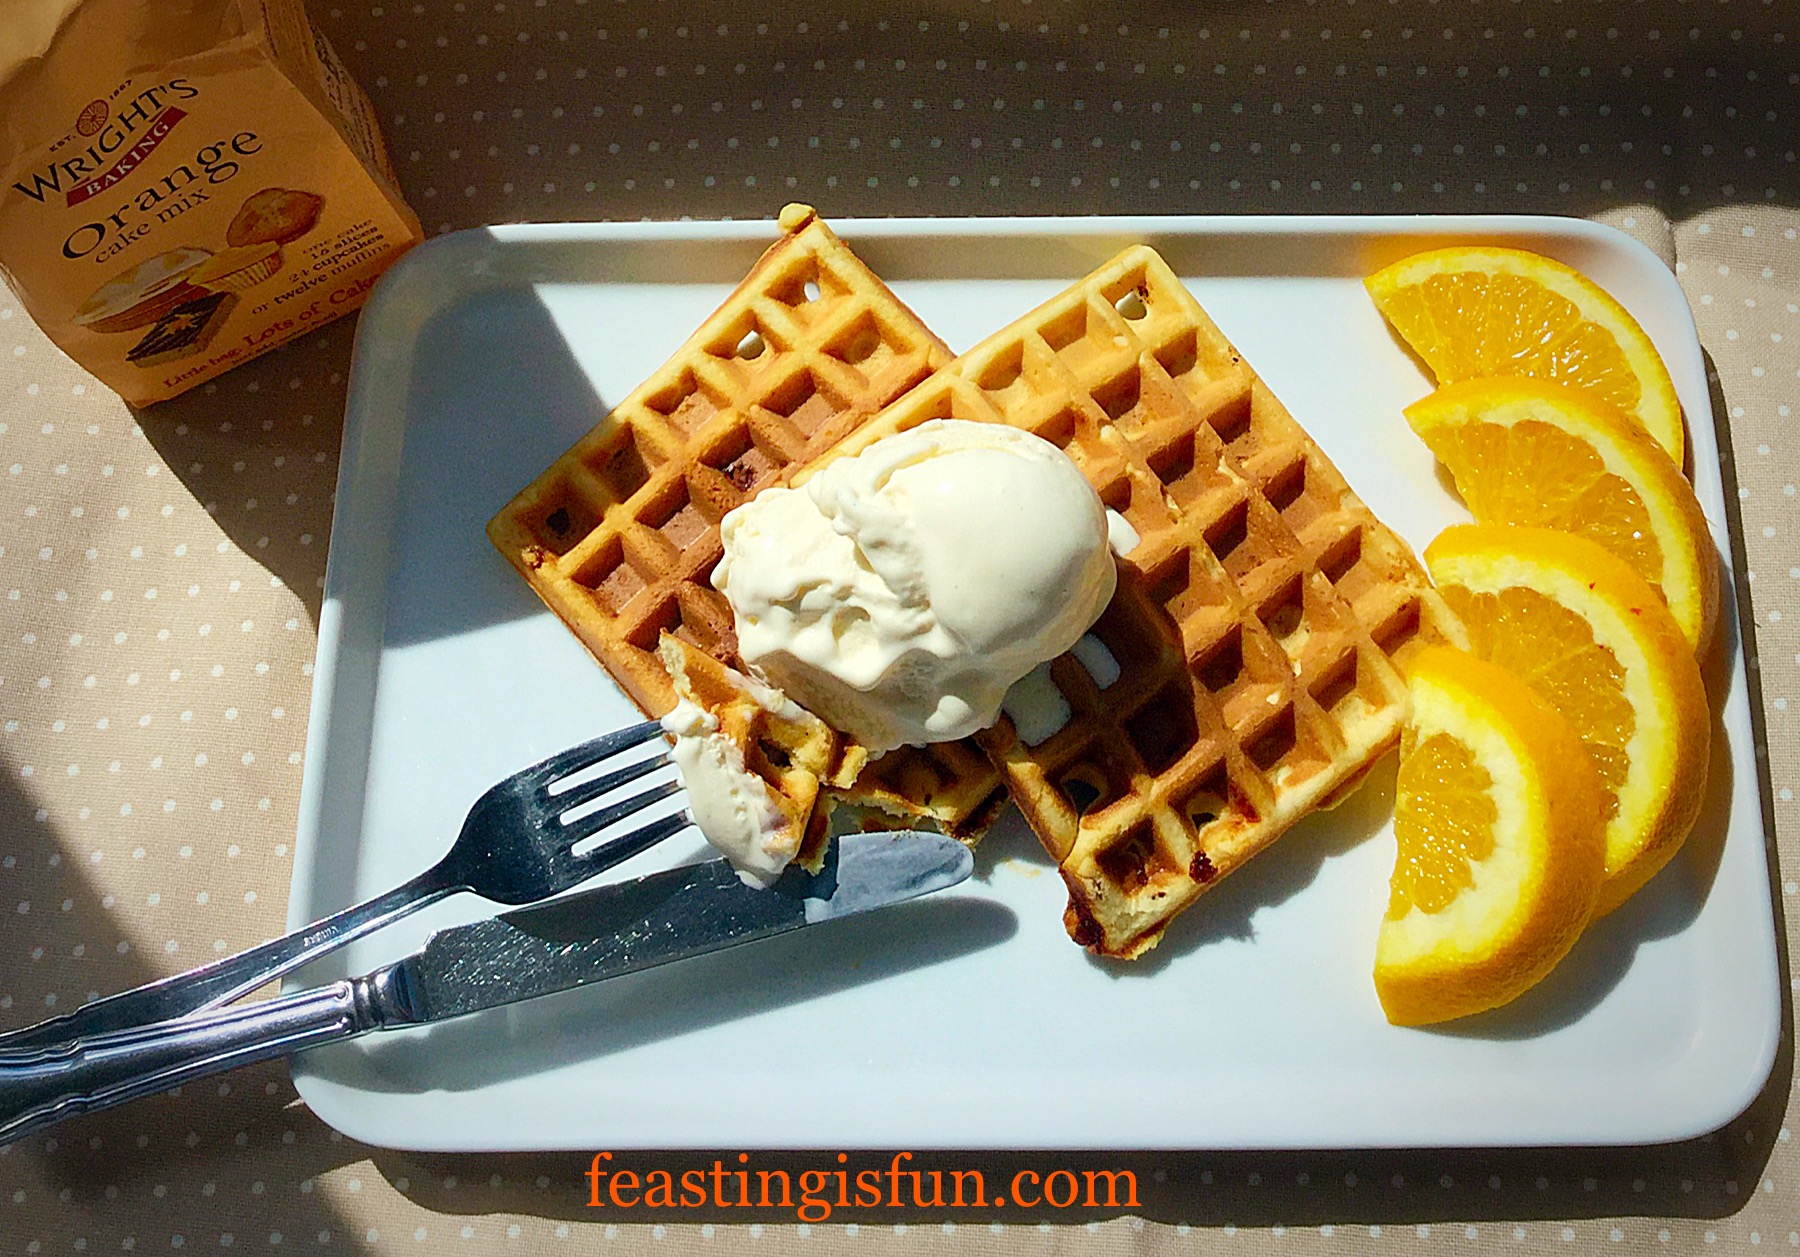
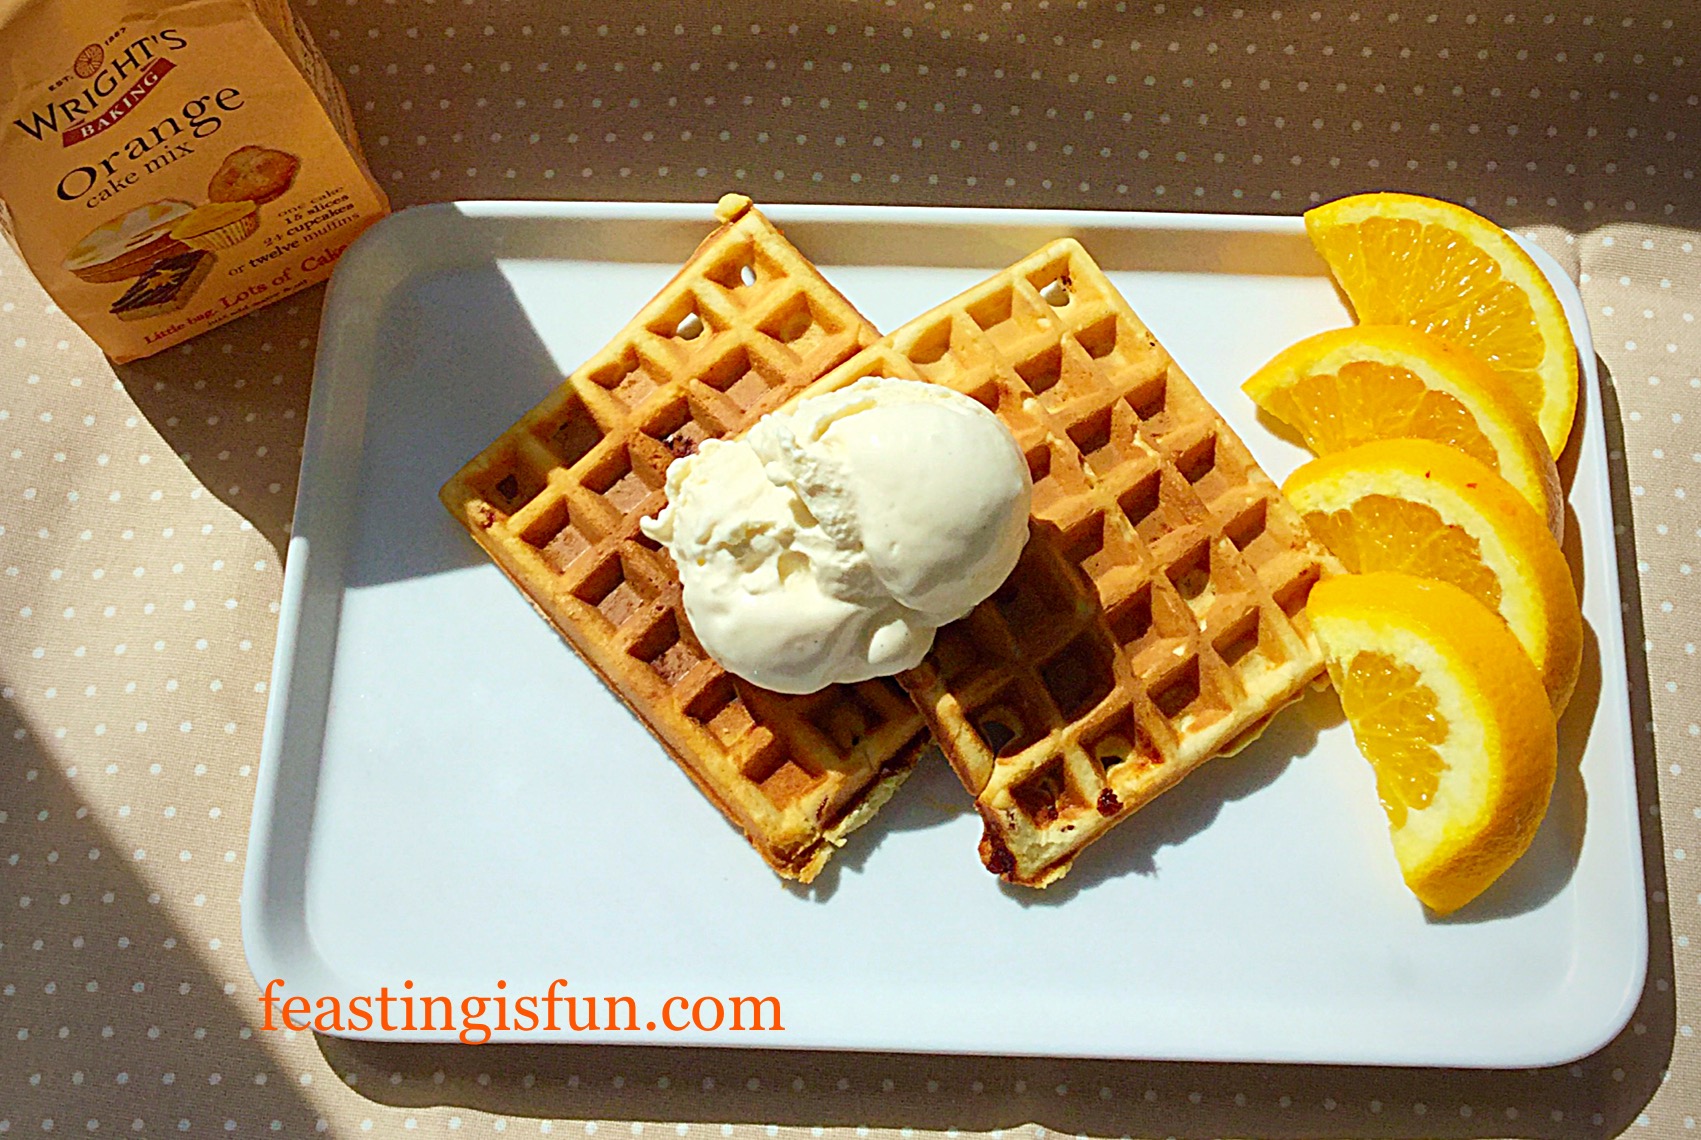
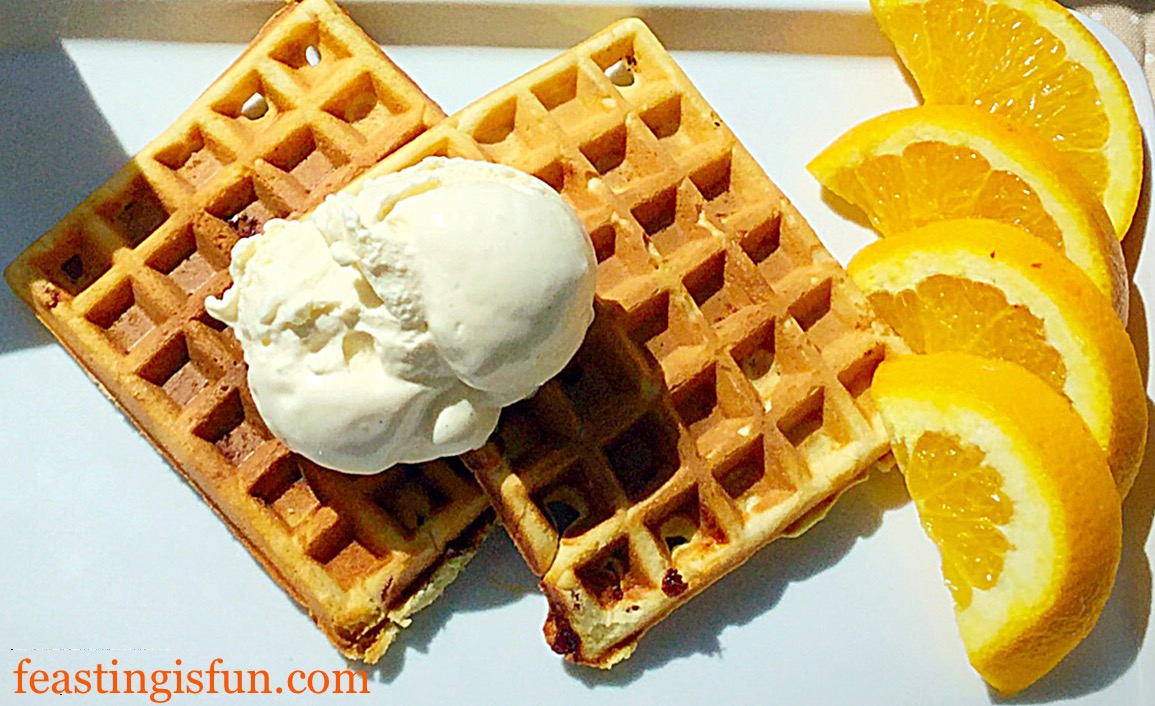
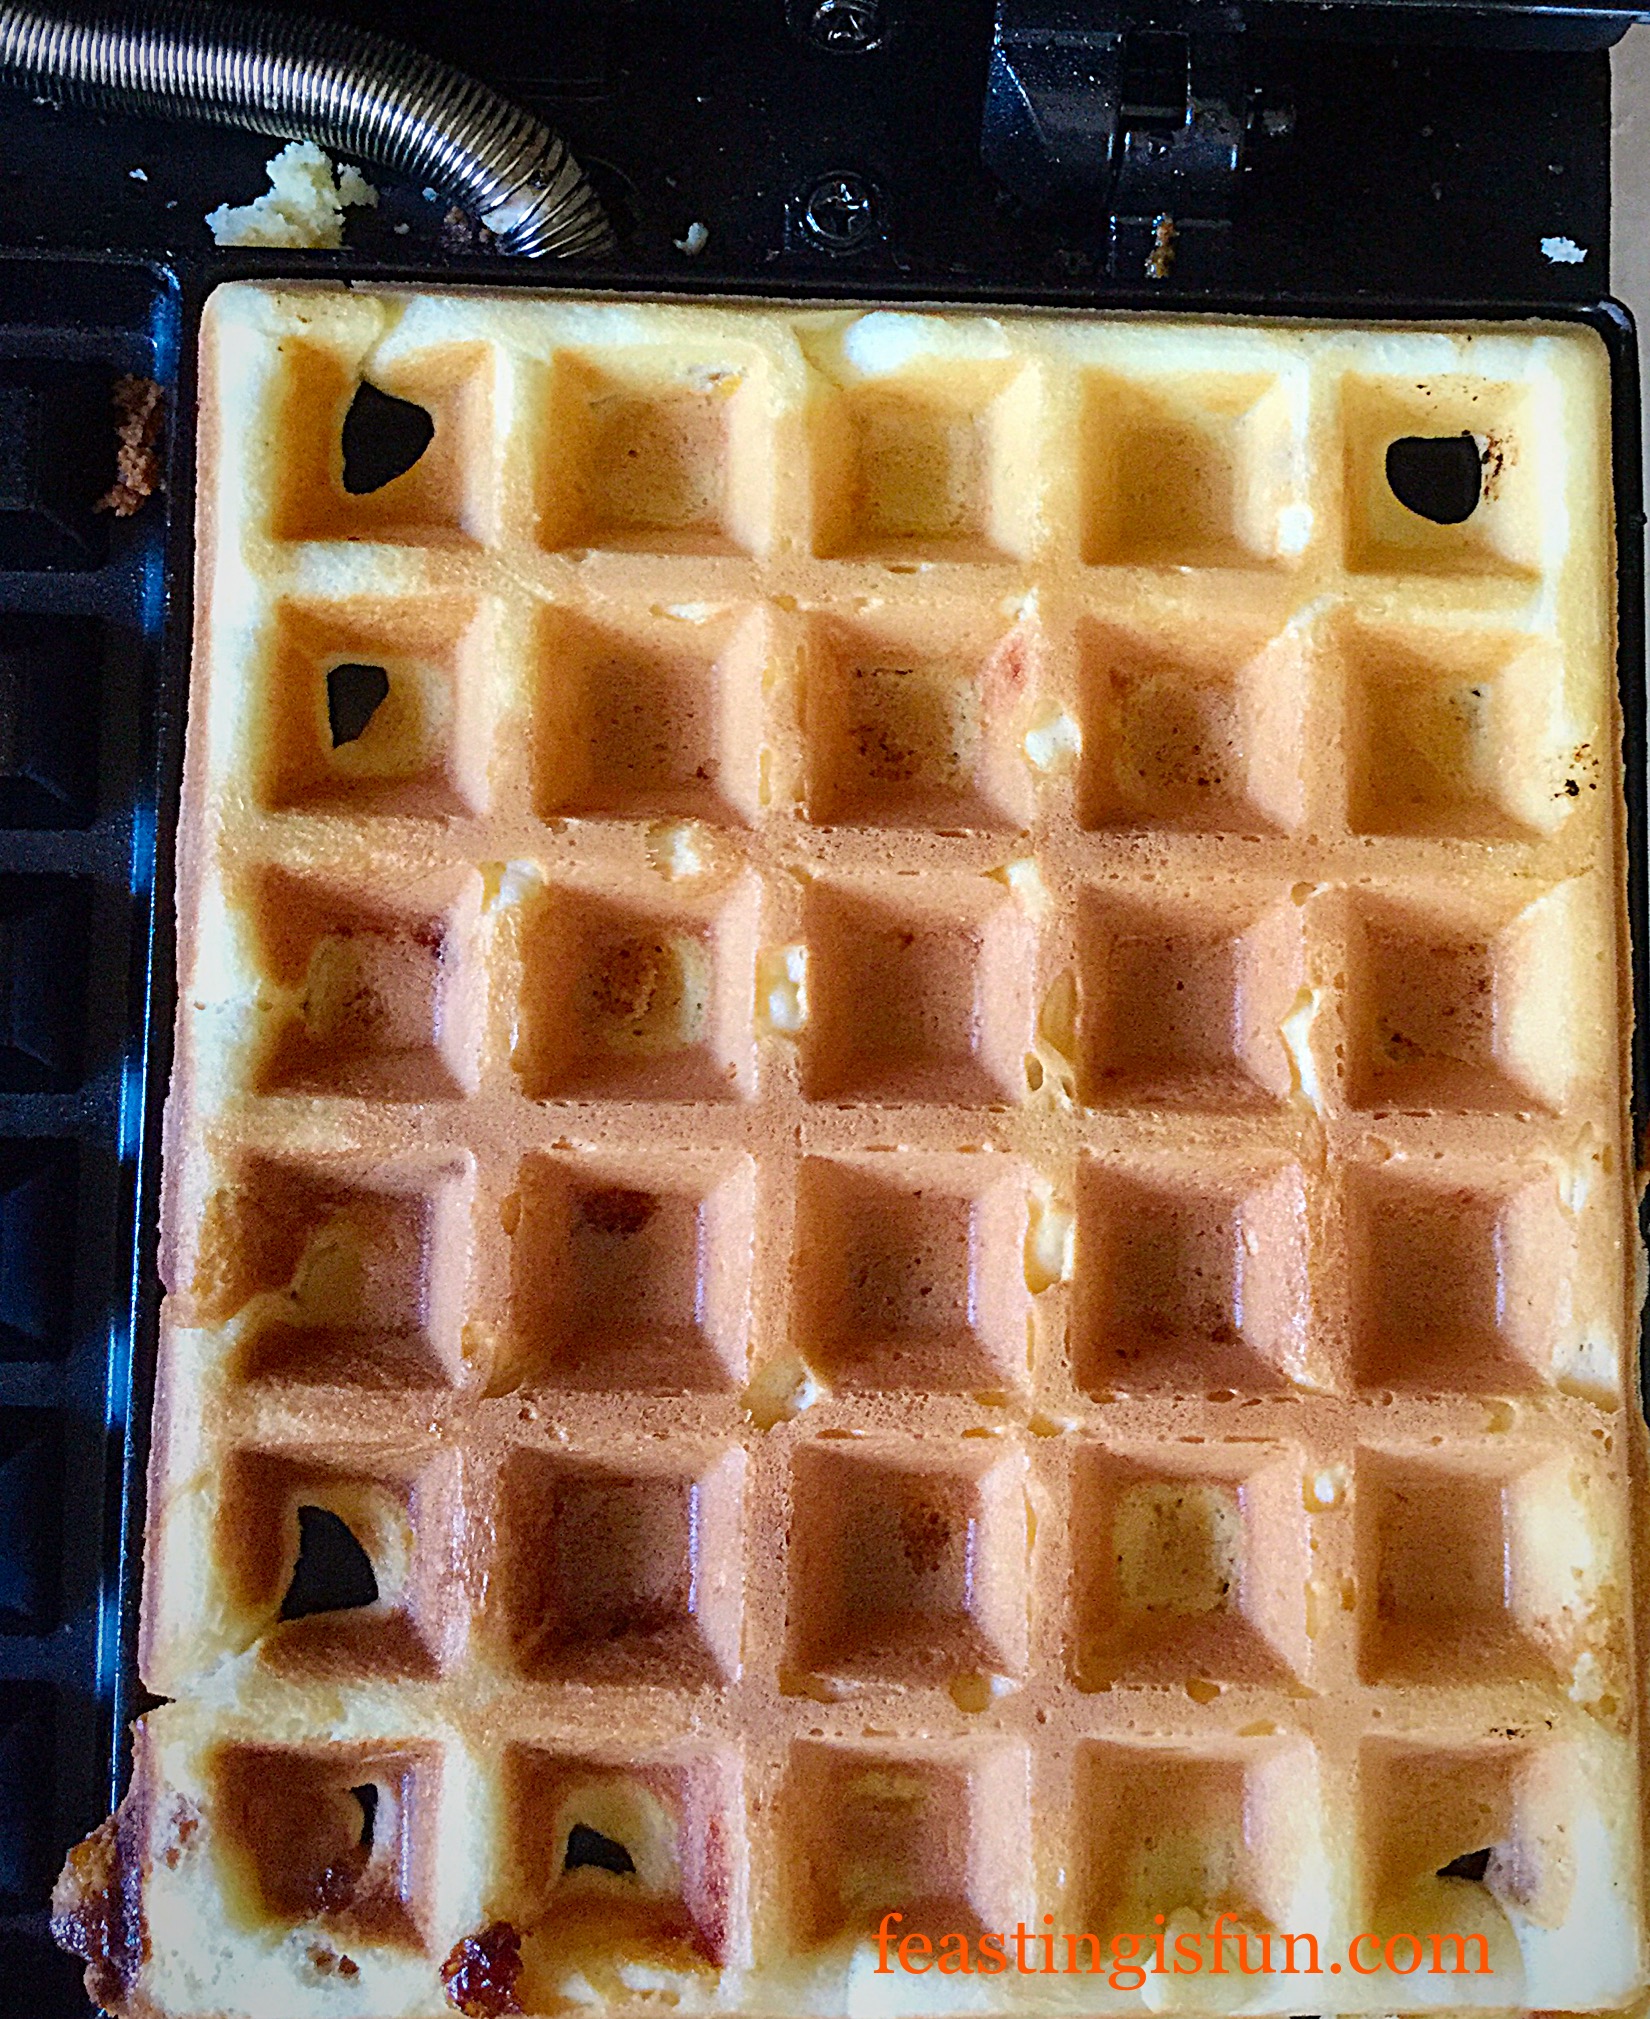
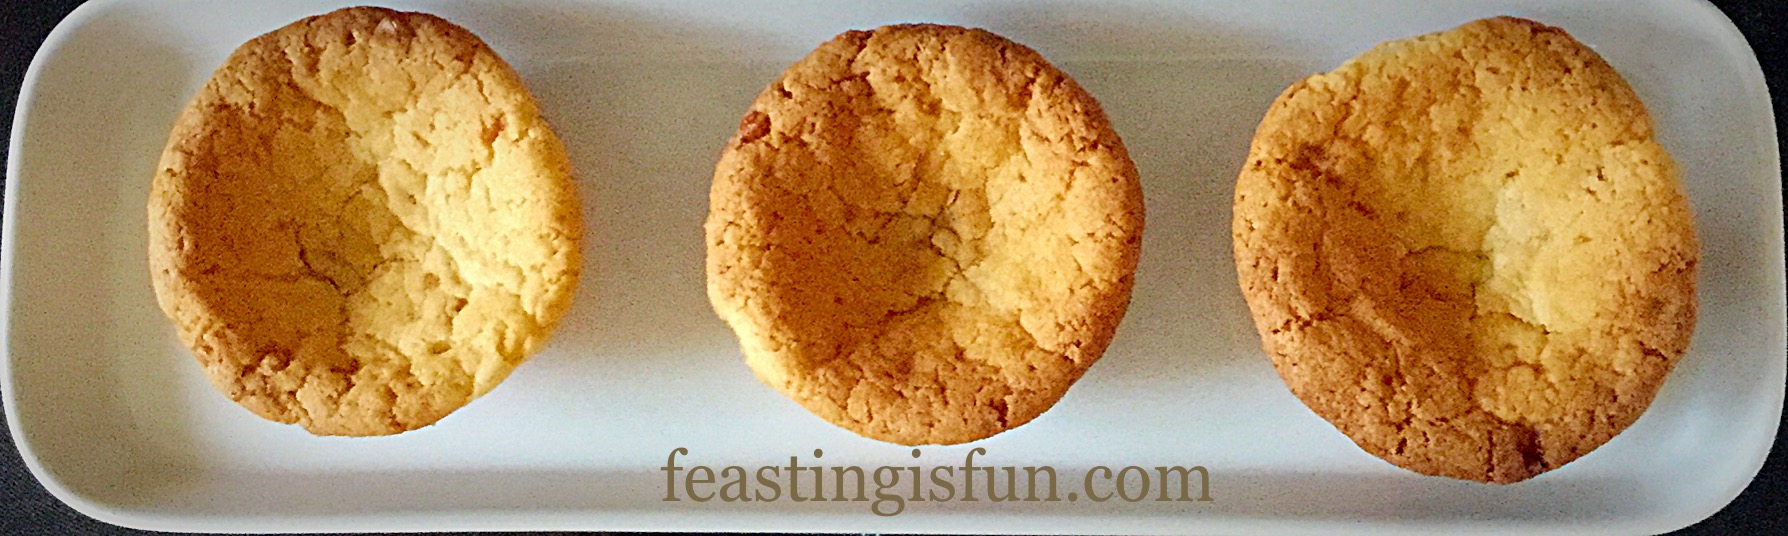
As you can see there are different ways to bake using the Toffee Cookie Mix.

For the smaller sandwich cookies I baked them a little longer as I wanted them to be crisper, more like a biscuit and able to hold the delicious salted Caramac ganache in the centre.

Recipe: Makes 8 Salted Caramac Centre Toffee Cookies

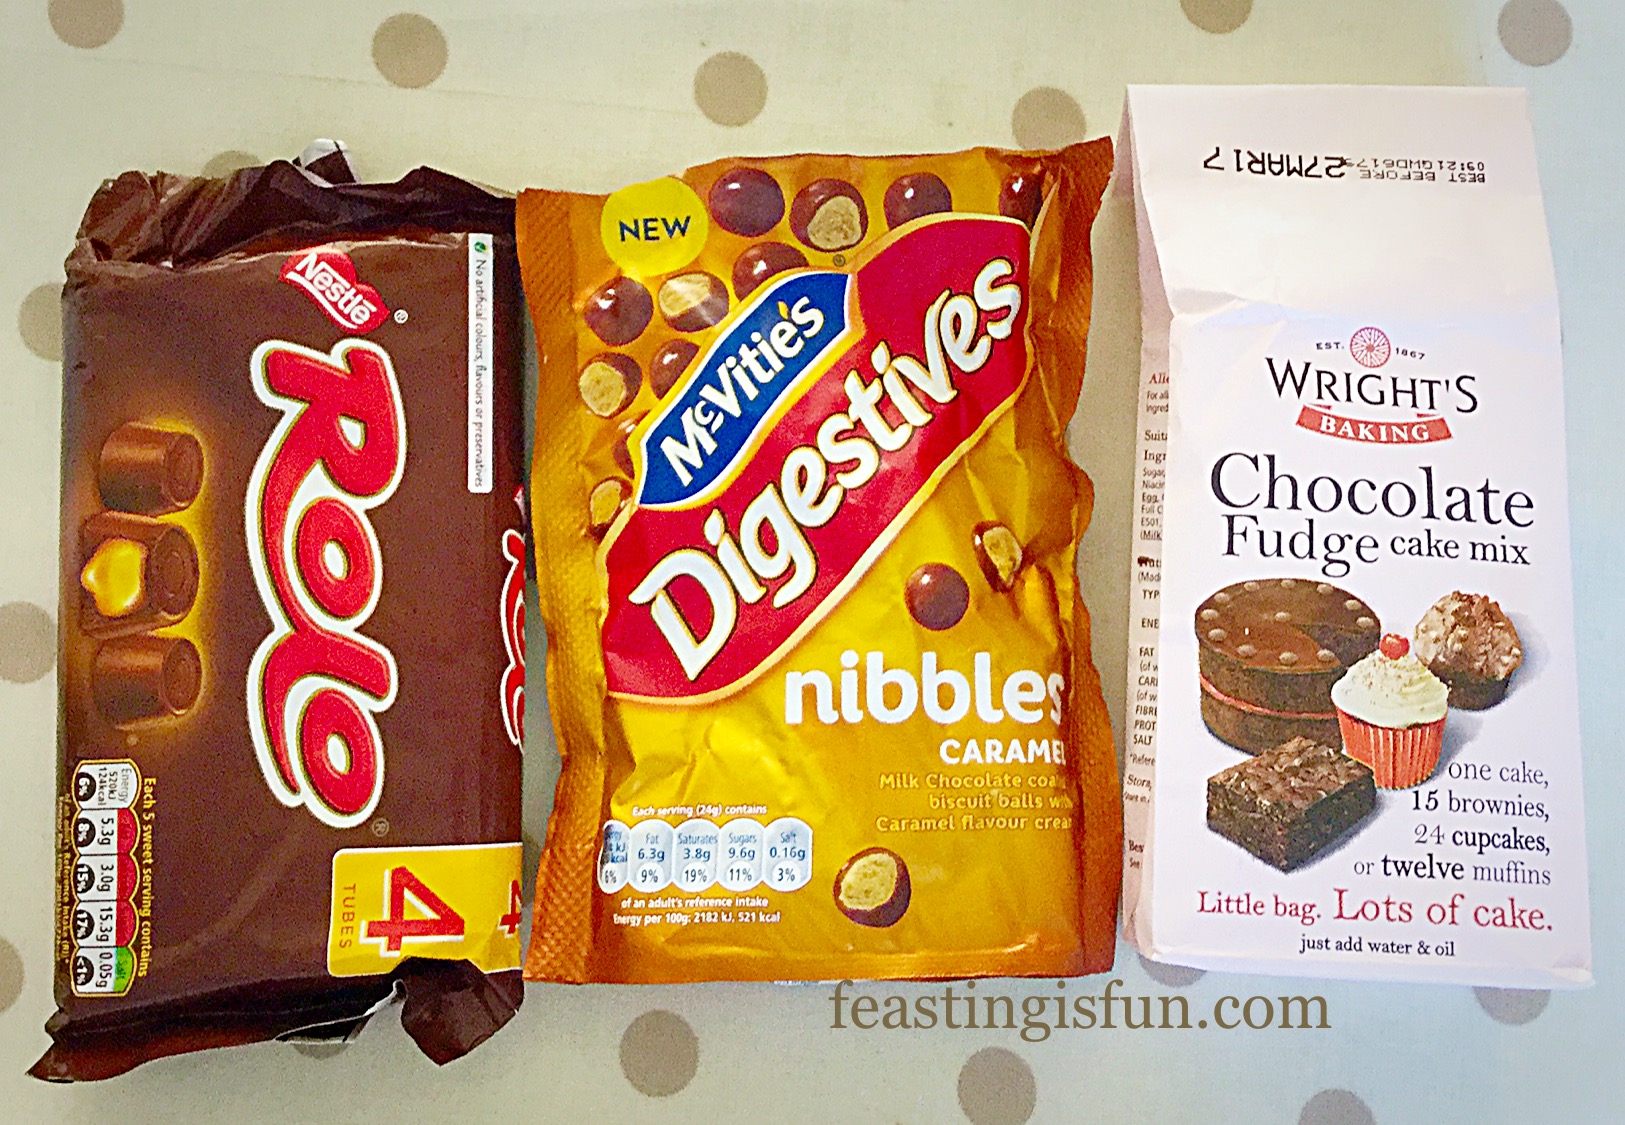
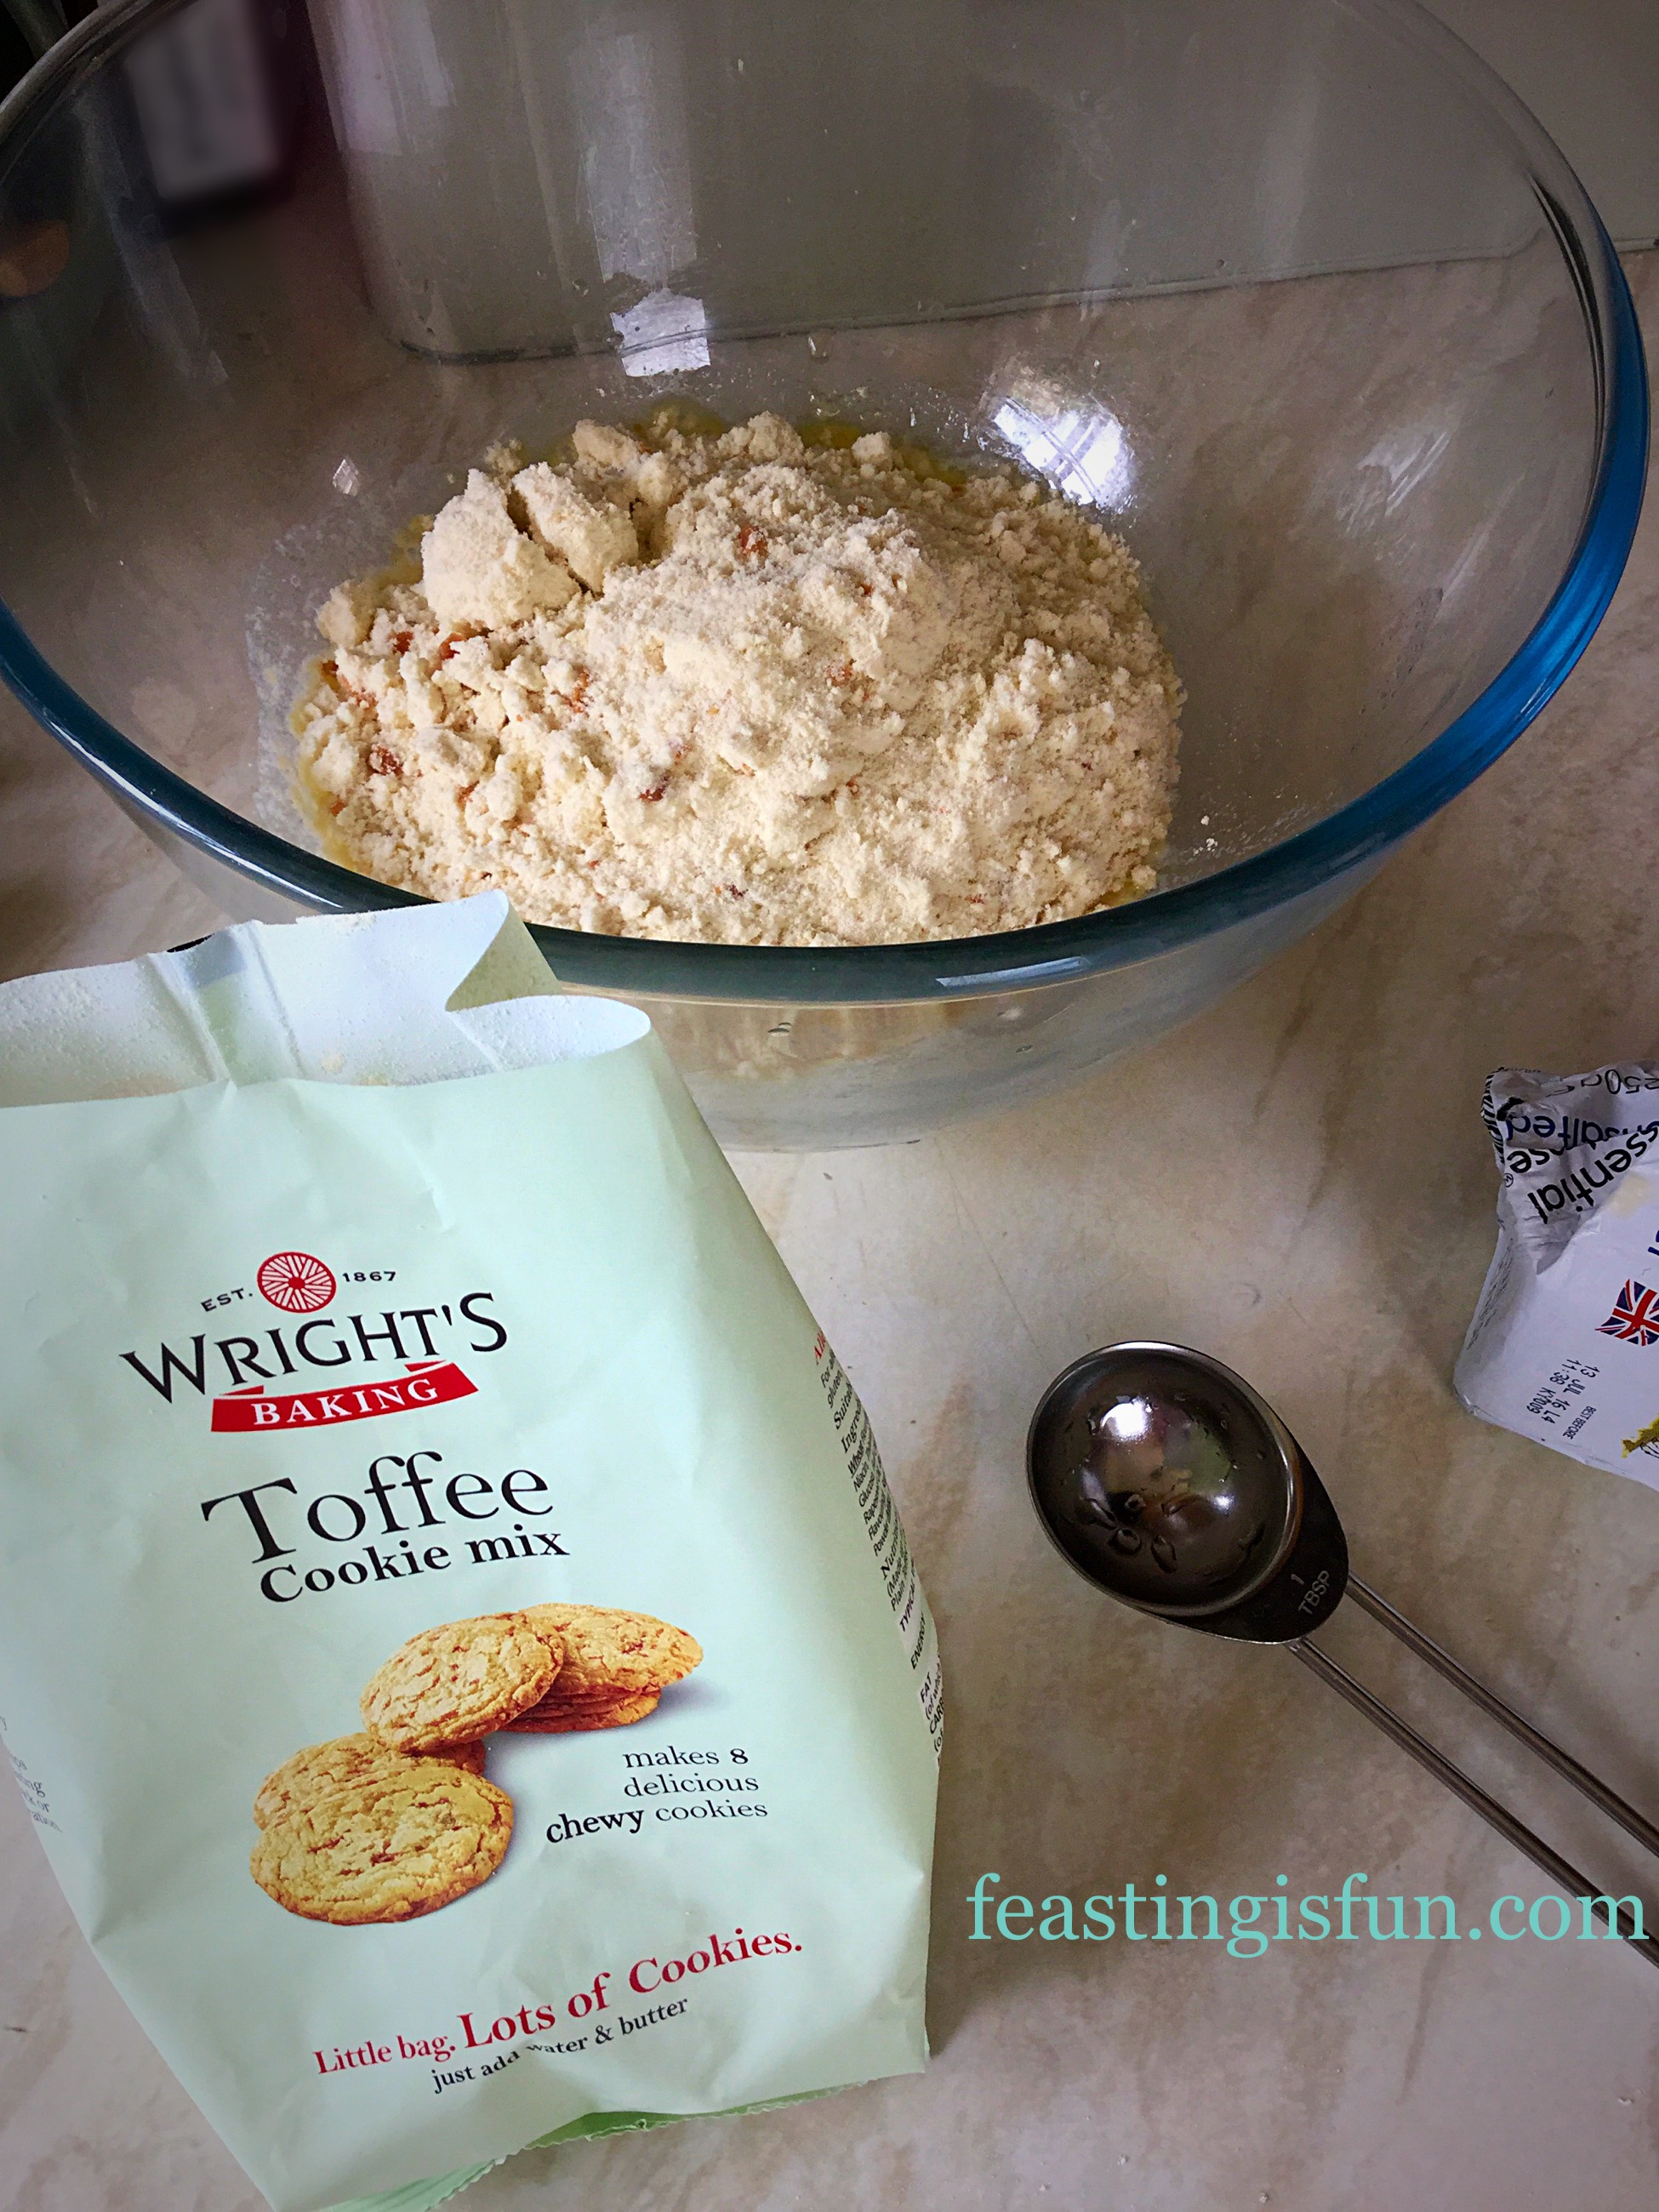
1 Packet Toffee Cookie Mix – available online from Wright’s Baking alternatively use my Caramac Caramel Cookies recipe

25g Unsalted Butter – I melt mine and allow it to cool

30mls Water as specified on the packet although I used 40mls

1 Cadbury’s Crunchie Bar

50g/2oz Caramac Buttons

50ml Double Cream

Very small pinch 1/8tsp Sea Salt – I use Maldon

50g Dark Chocolate

Method: Preheat the oven to 180C/160C fan, gas mark 3, 350F

Making And Baking The Toffee Cookies

  • Line 2 large baking trays with non stick silicone mats, or baking parchment.
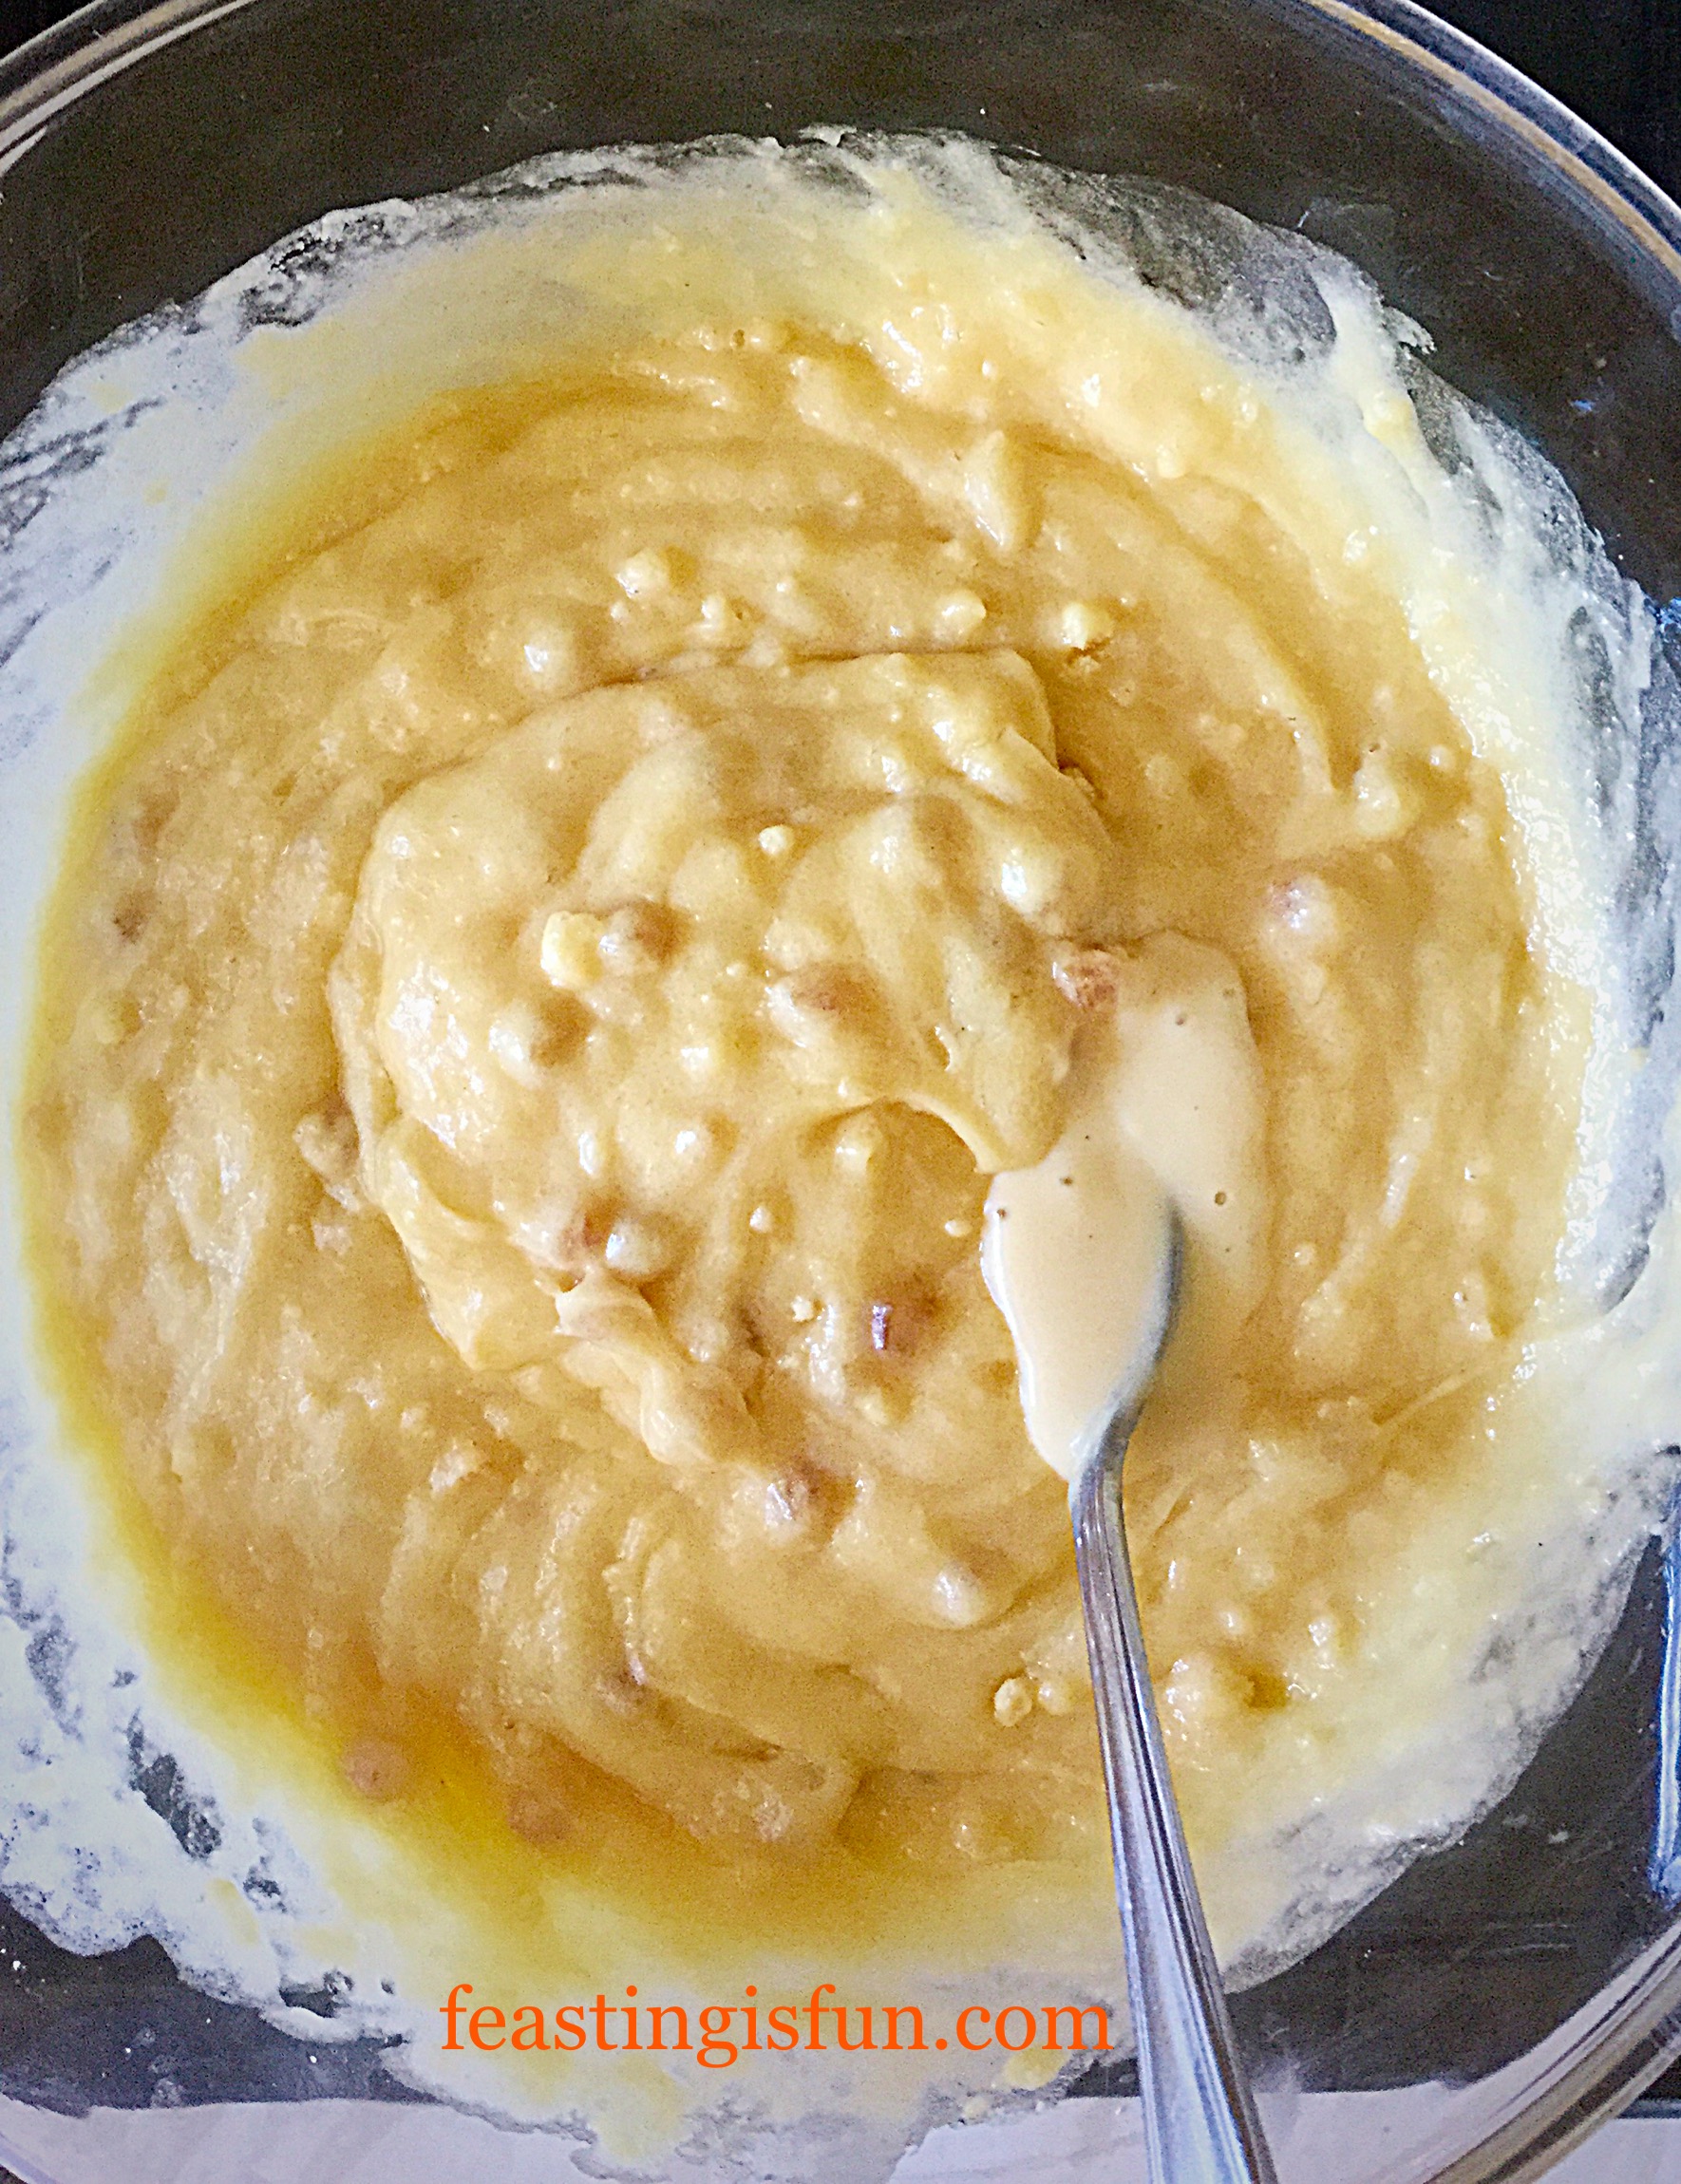
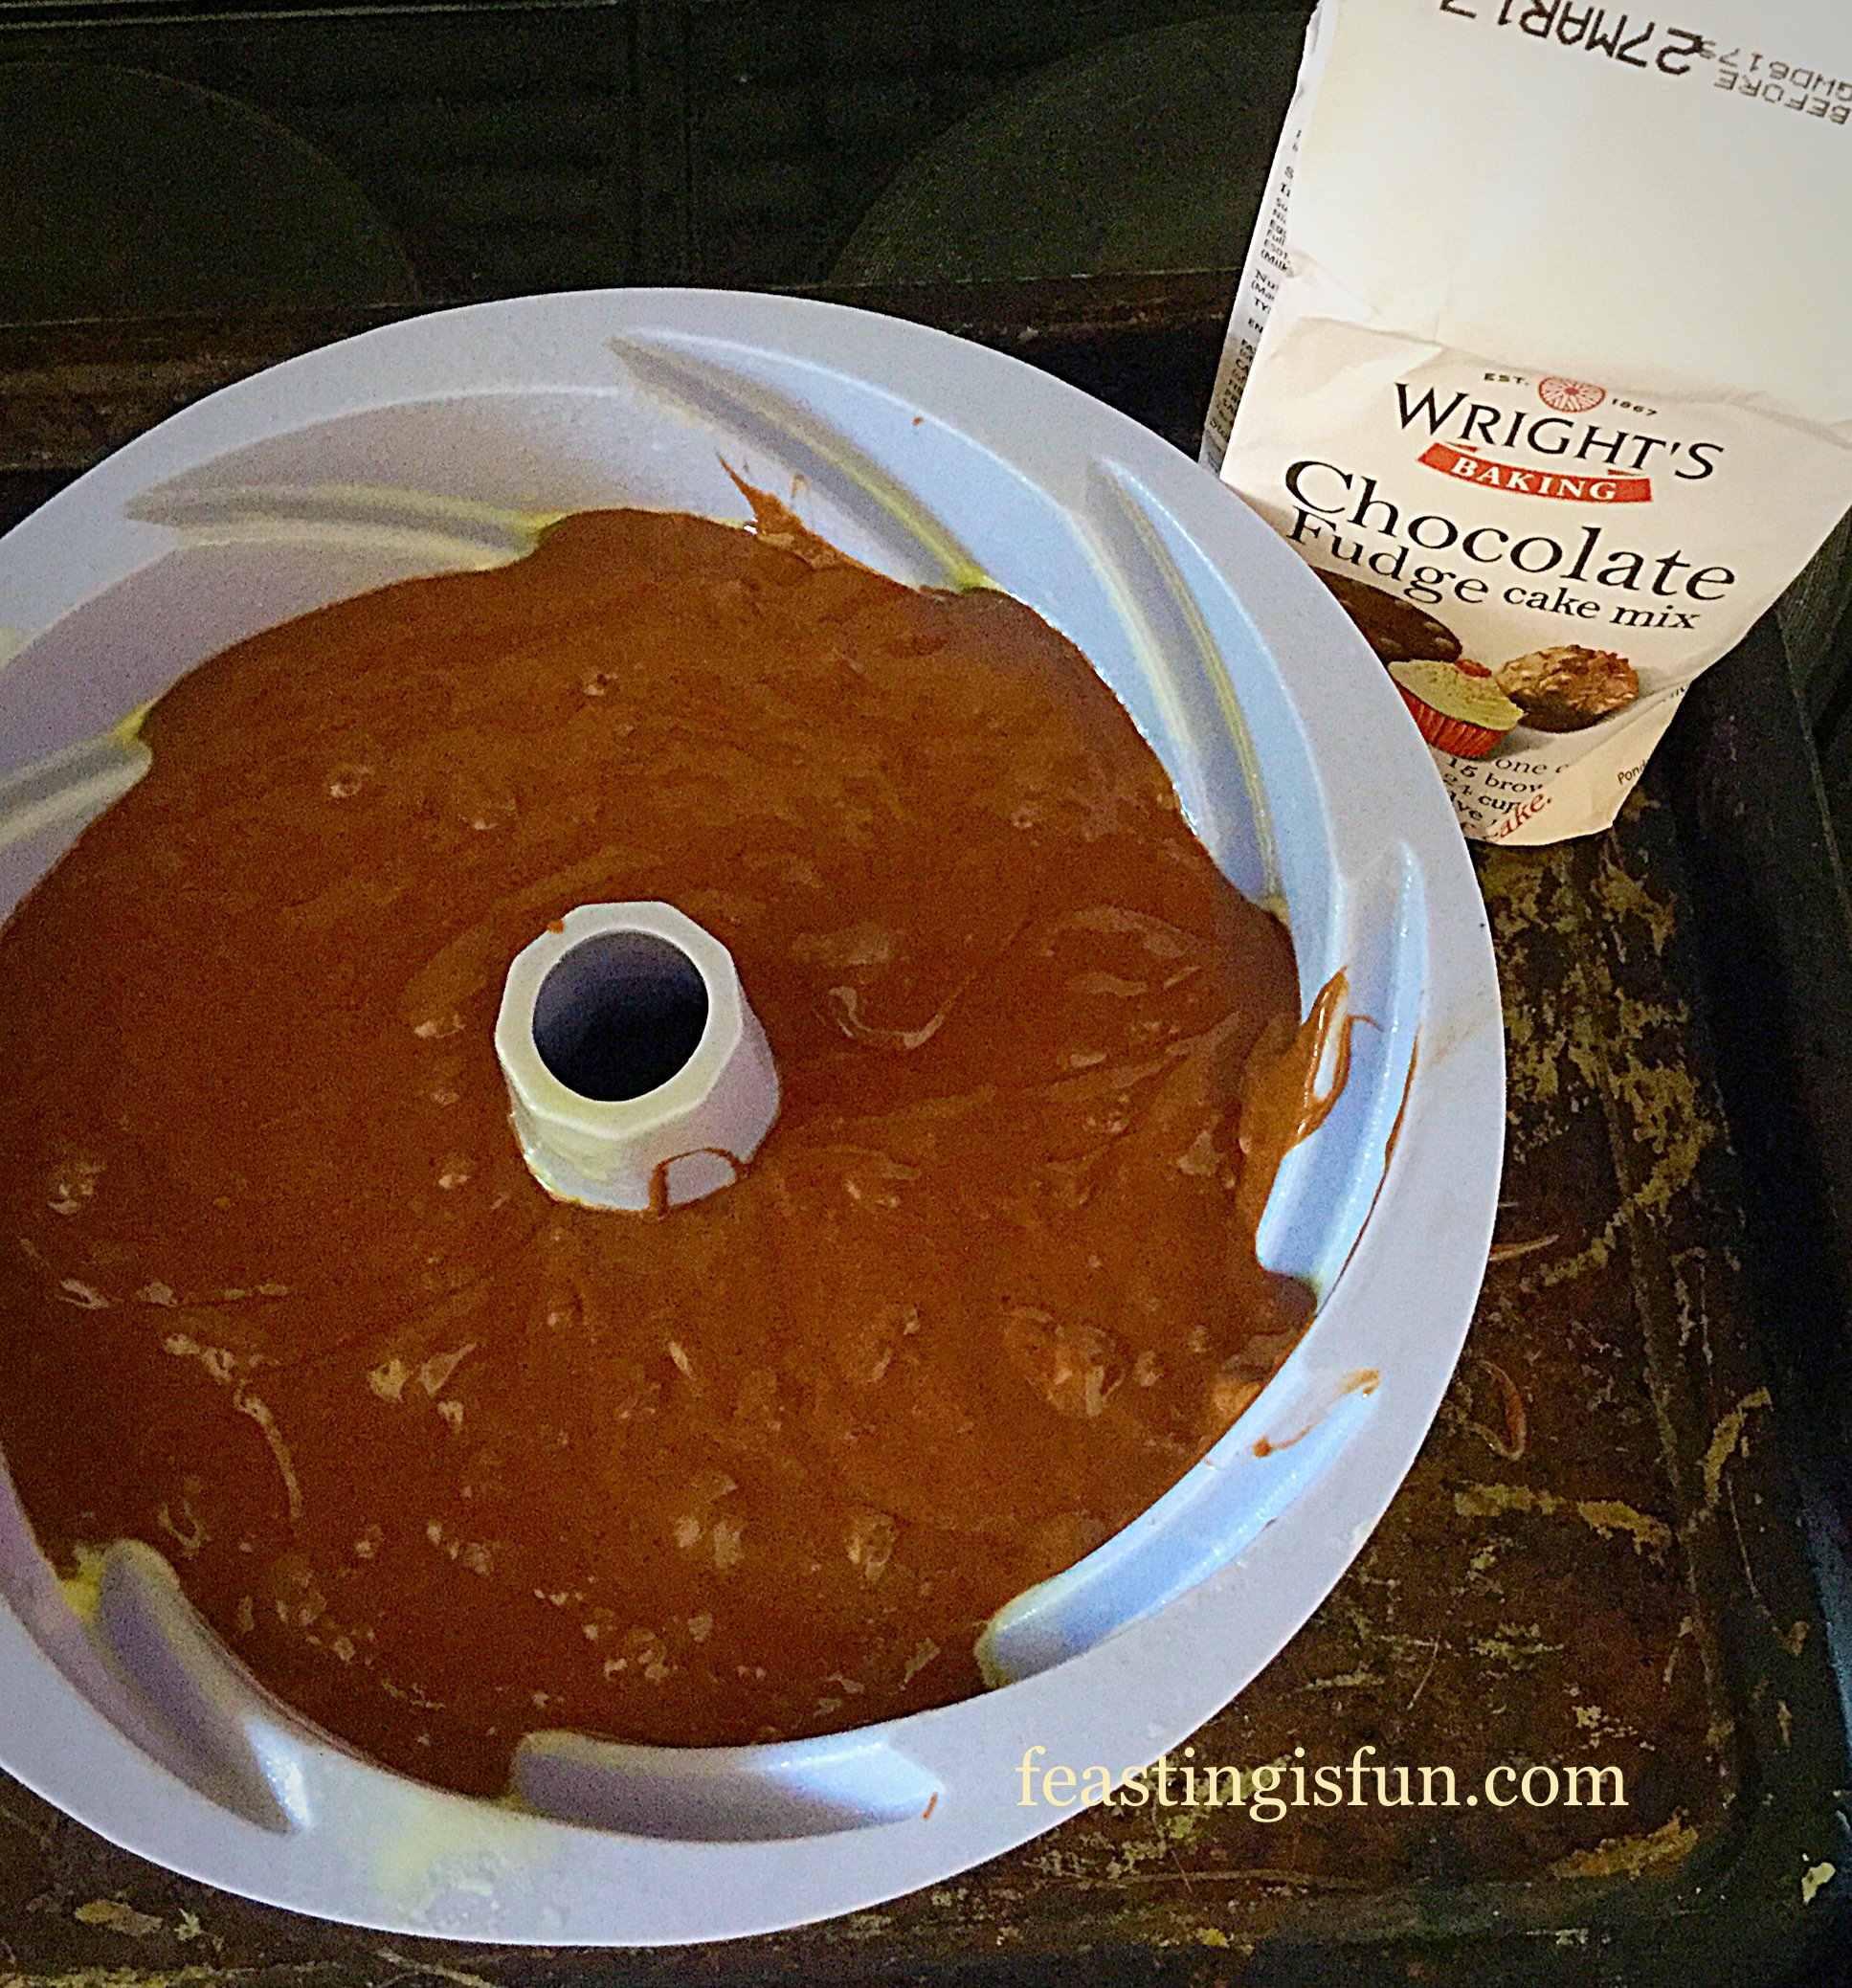
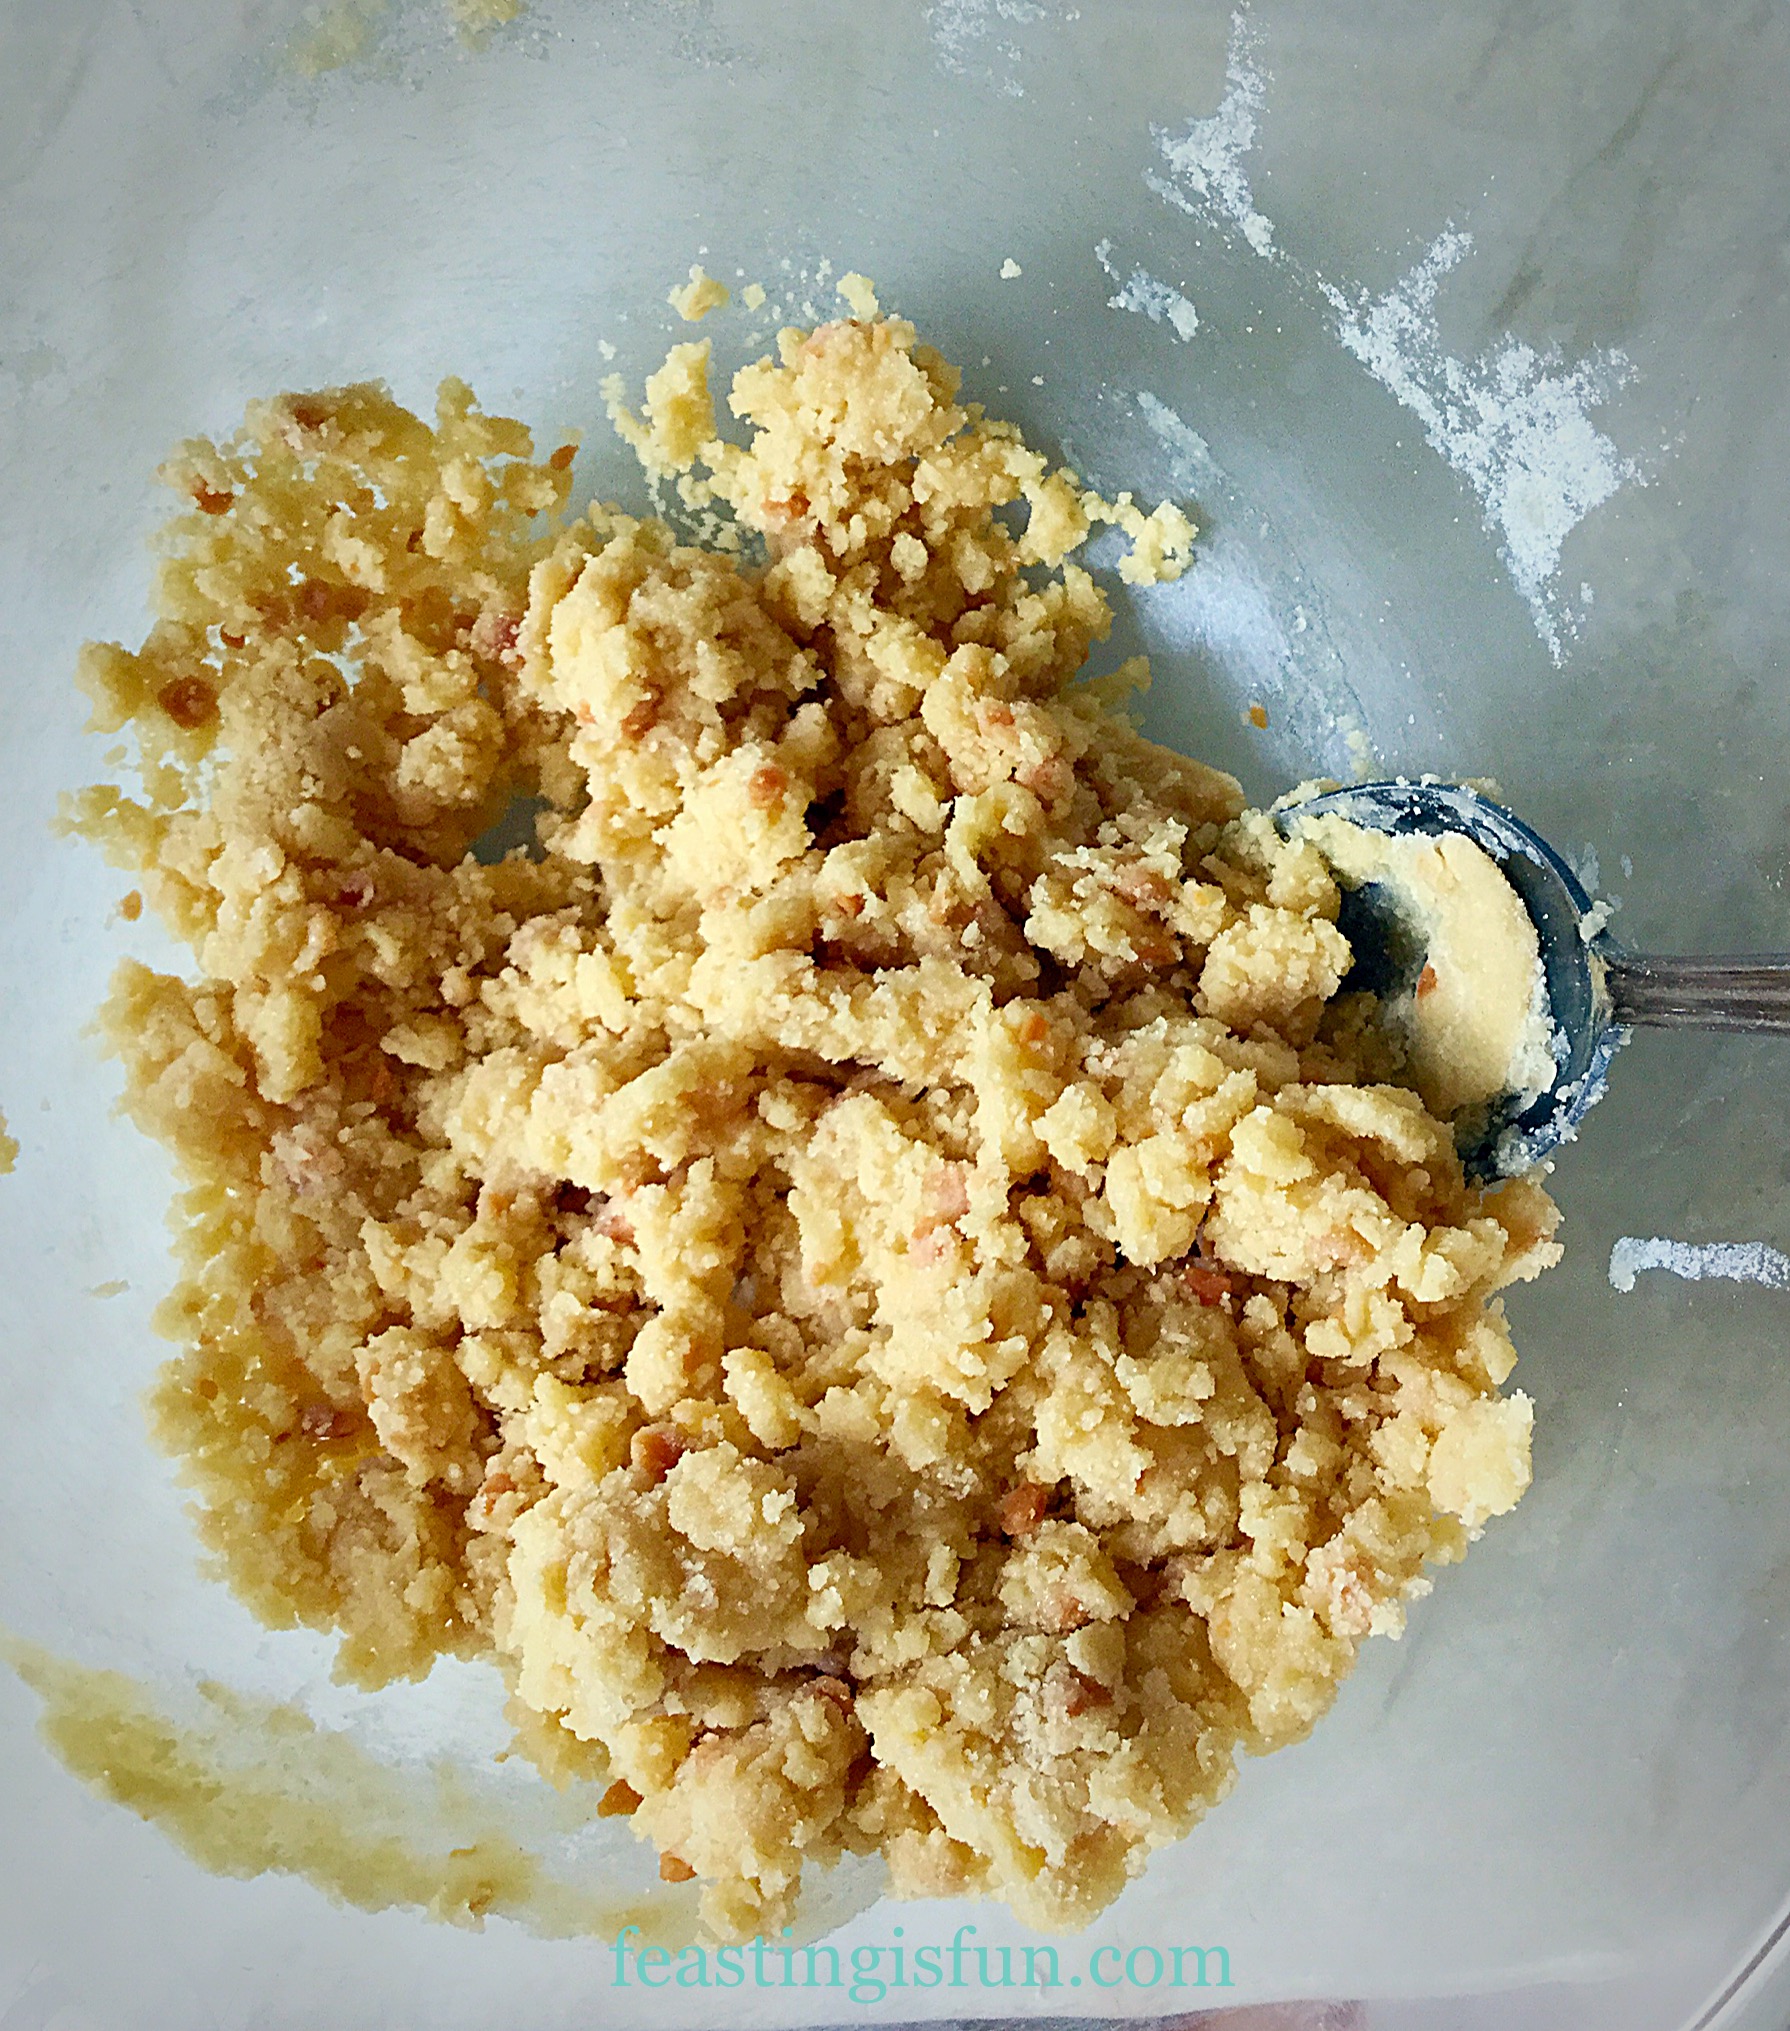
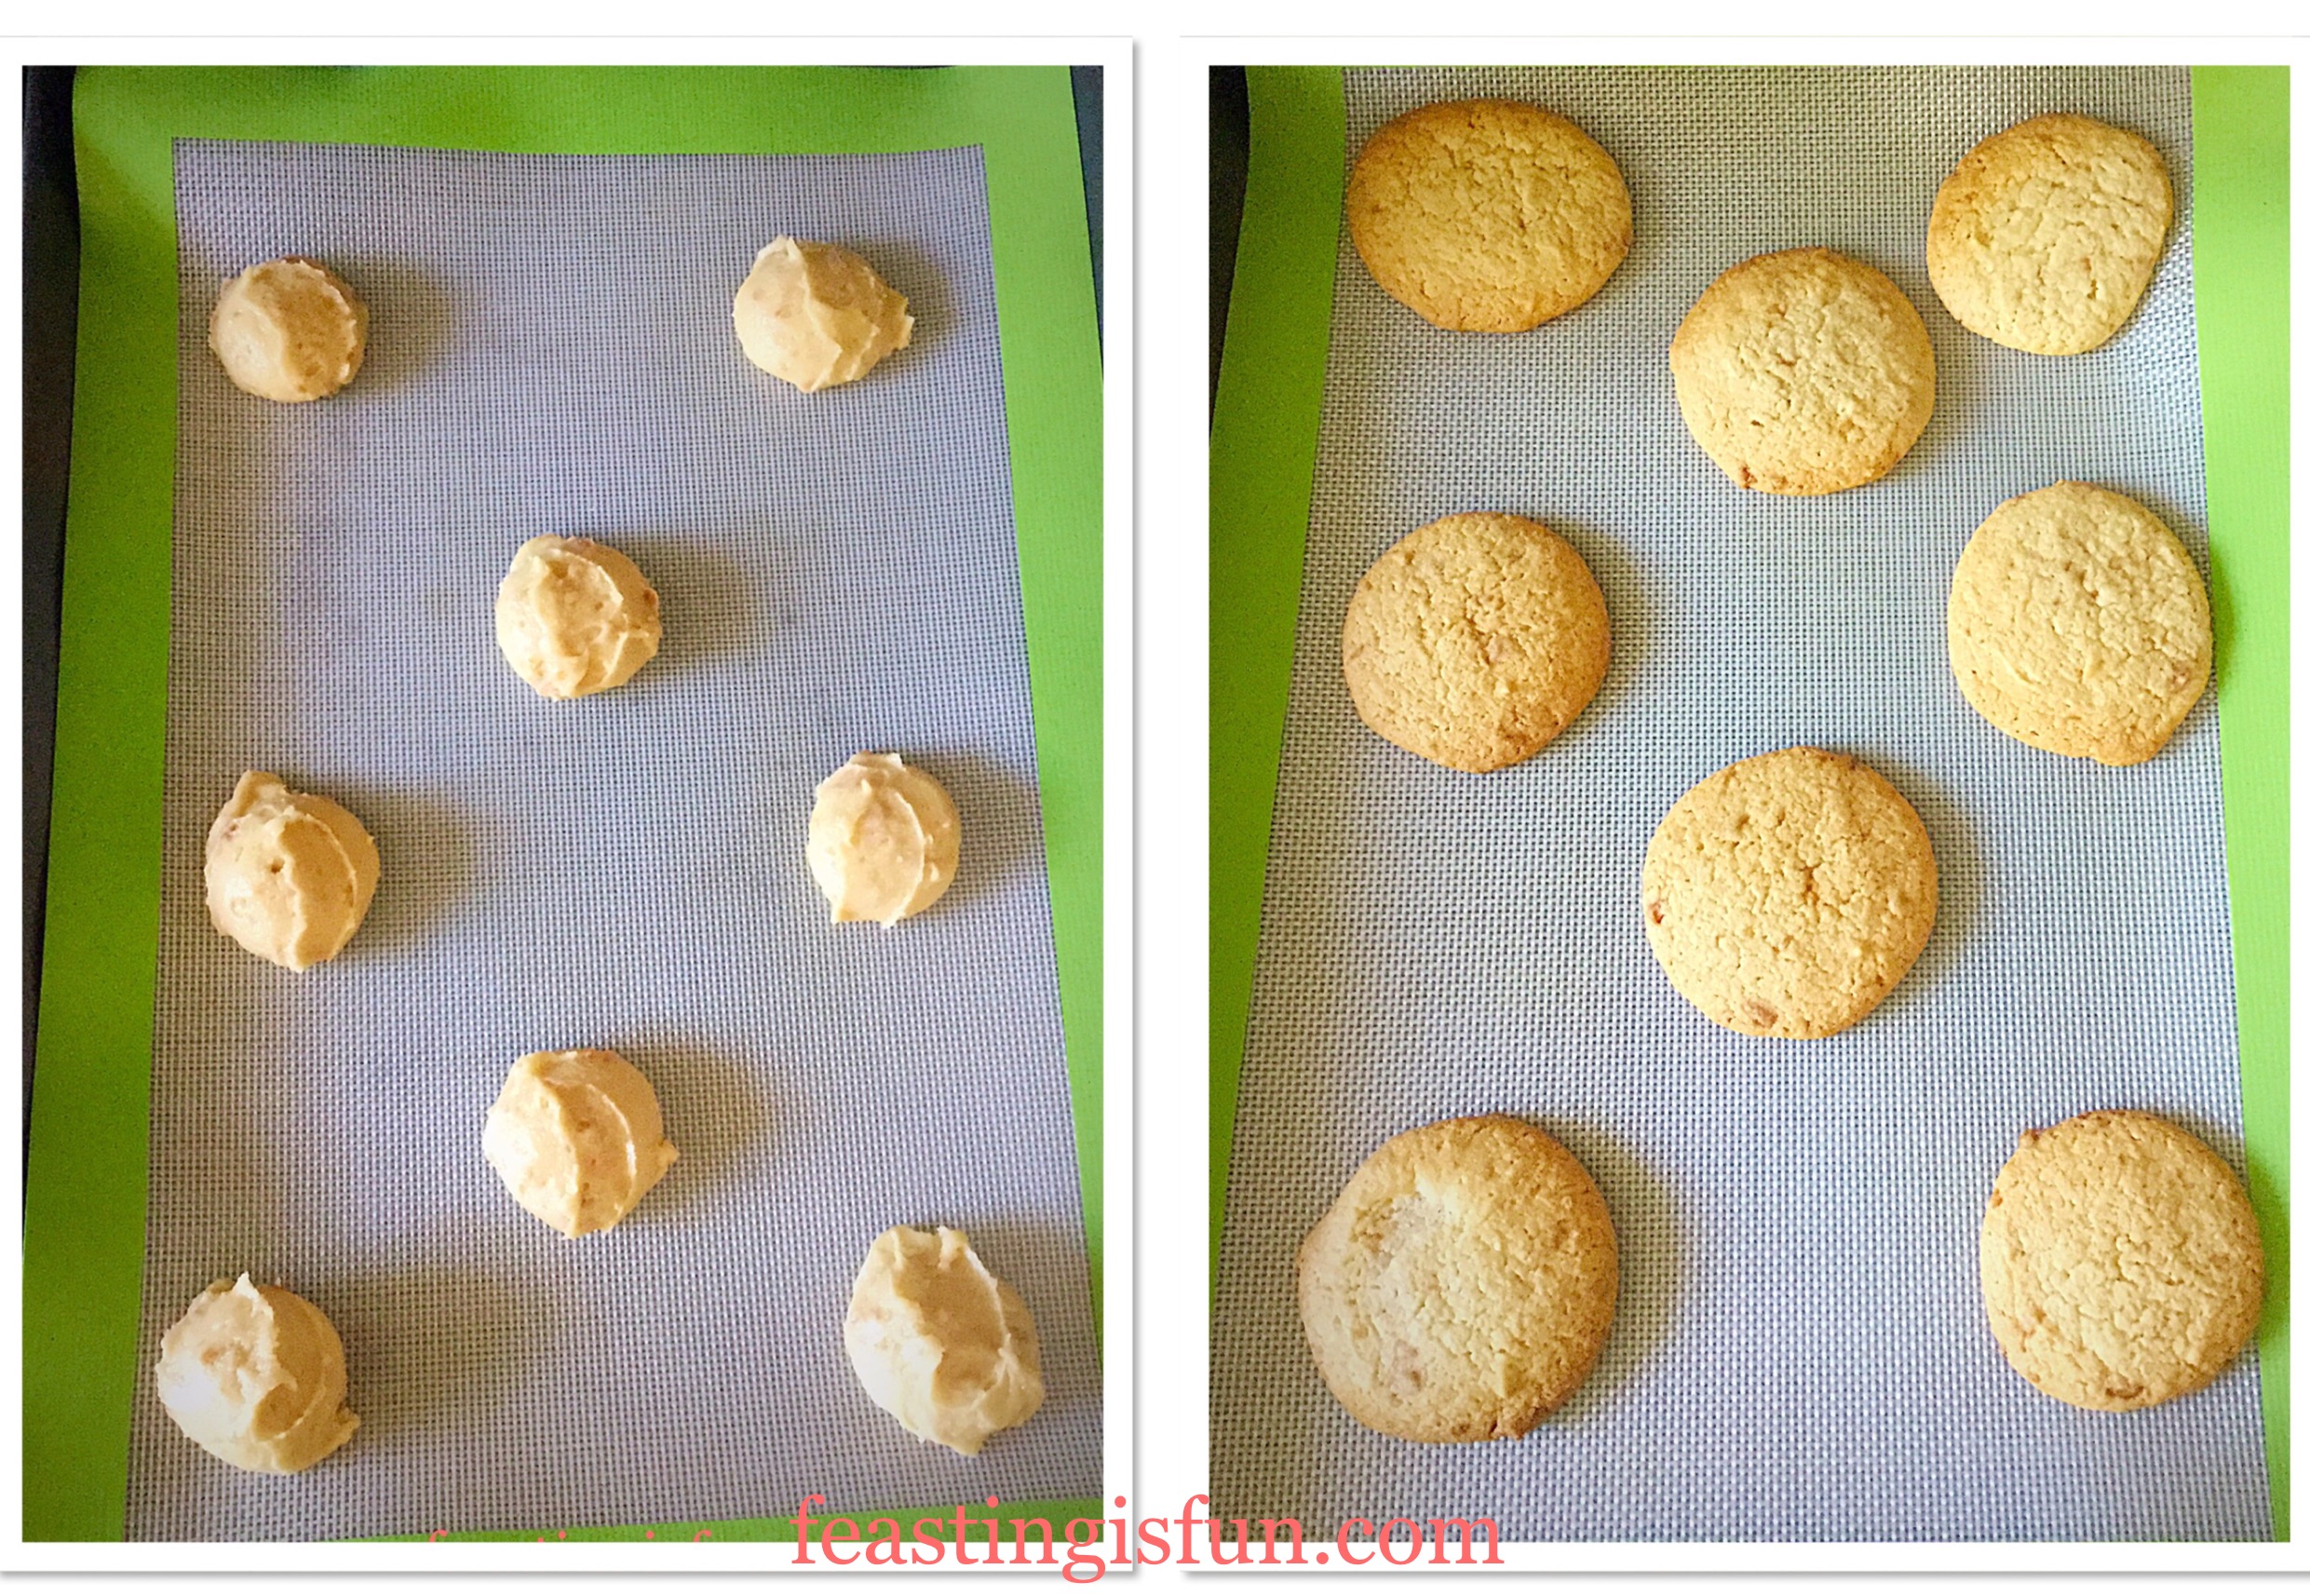
  • Make the cookie mix up according to the packet instructions, including the extra water.
  • Using a small, truffle sized scoop, or a teaspoon, scoop 16 equal mounds of cookie dough, placing them spaced well apart on the baking trays.
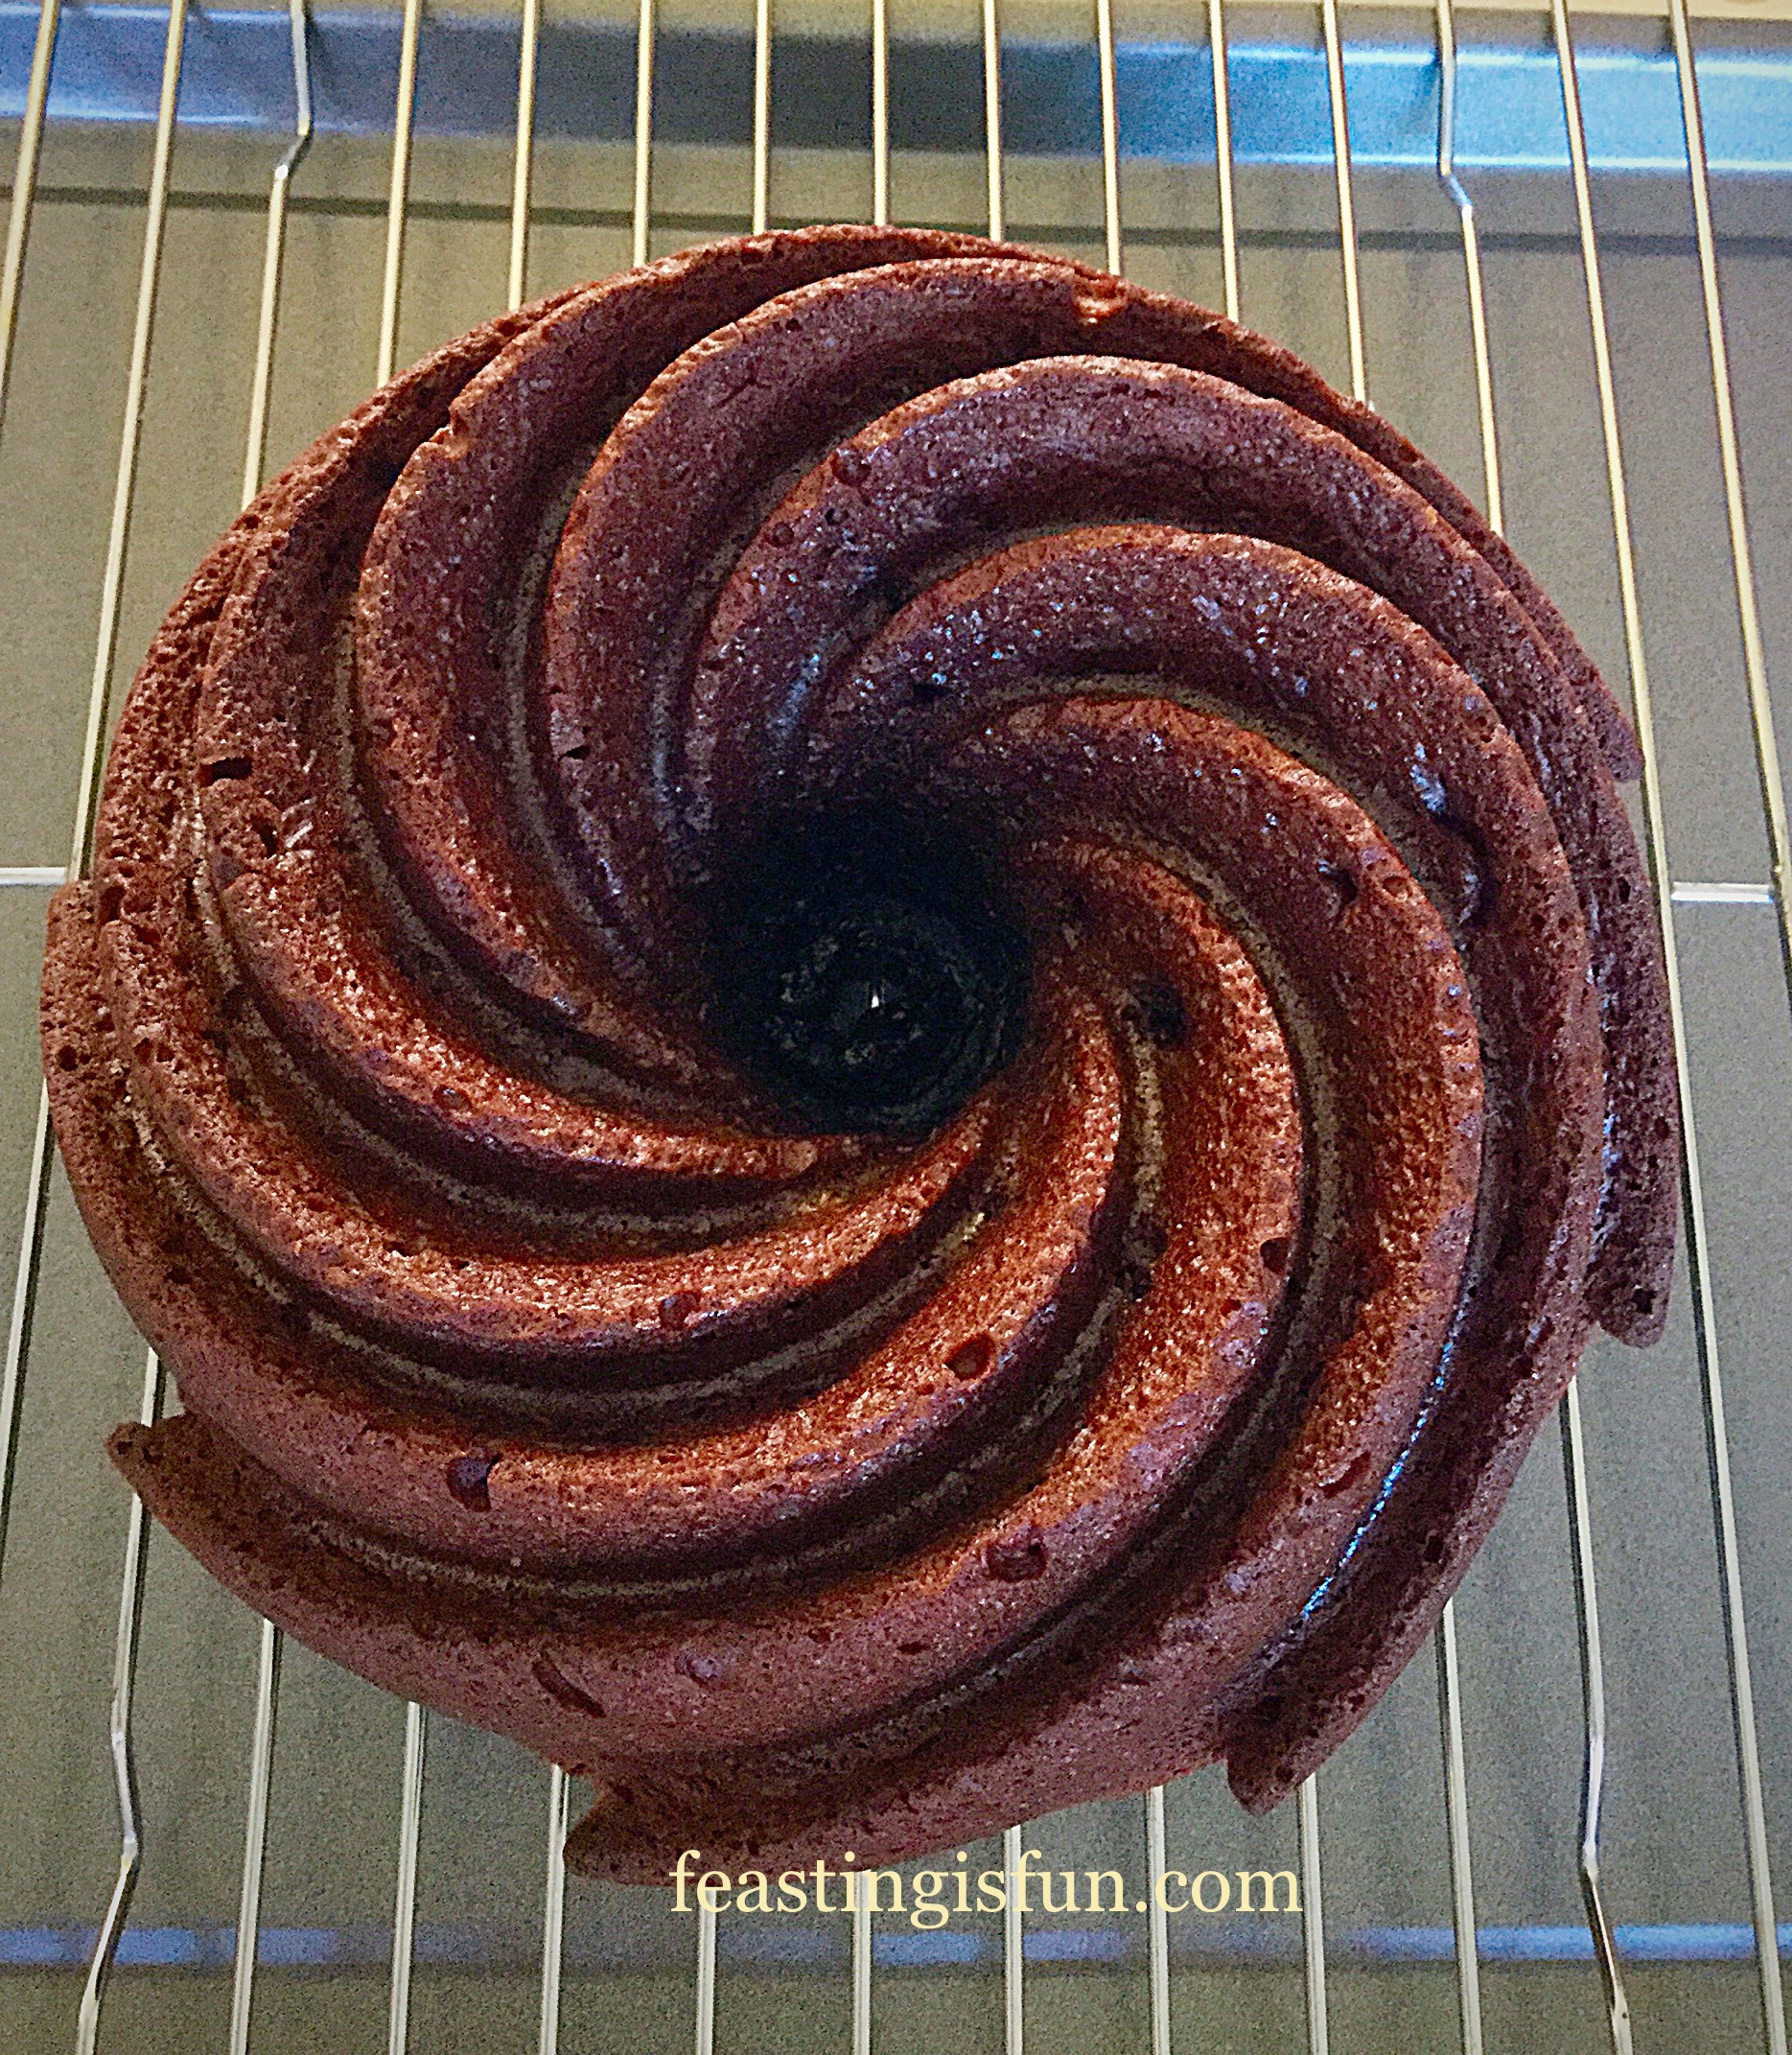
  • Place them in the preheated oven and bake for 15 minutes. This allows them to bake into firmer biscuits, perfect for holding the delicious centre.
  • Rotate the baking trays halfway through the bake time to give an even bake.
  • Remove the cookies after 15 minutes of baking and allow to cool completely on the baking tray.
FF Salted Caramac Centre Toffee Cookies
Toffee Cookies before and after baking.
  • While the cookies are cooling, make the ganache.

Making The Salted Caramac Filling And Assembling The Cookies

  • Place the Caramac buttons and double cream in a heatproof, microwaveable bowl. Heat on medium for 1 minute in the microwave, remove stir and heat for 30 seconds more, or until the Caramac when stirred, fully melts and mixes with the cream. Cover the bowl in cling film and place in the fridge to chill.
  • Once the cookies are cooled remove, using a palette knife and place on a cooling rack.
  • Pair the cookies up with similar size/shape partners. Line them up and turn one cookie over so that it is flat side up.
  • Using a rolling pin bash the Crunchie bar inside its packet so that the honeycomb comes away from the chocolate. You want golden dust not chunks! Open the packet and tip the contents into a bowl.
  • When the ganache is cold, but still liquid add the salt. Whisk the liquid ganache until pale, fluffy and able to hold its shape.
FF Salted Caramac Centre Toffee Cookies
Whipped Salted Caramac Ganache.
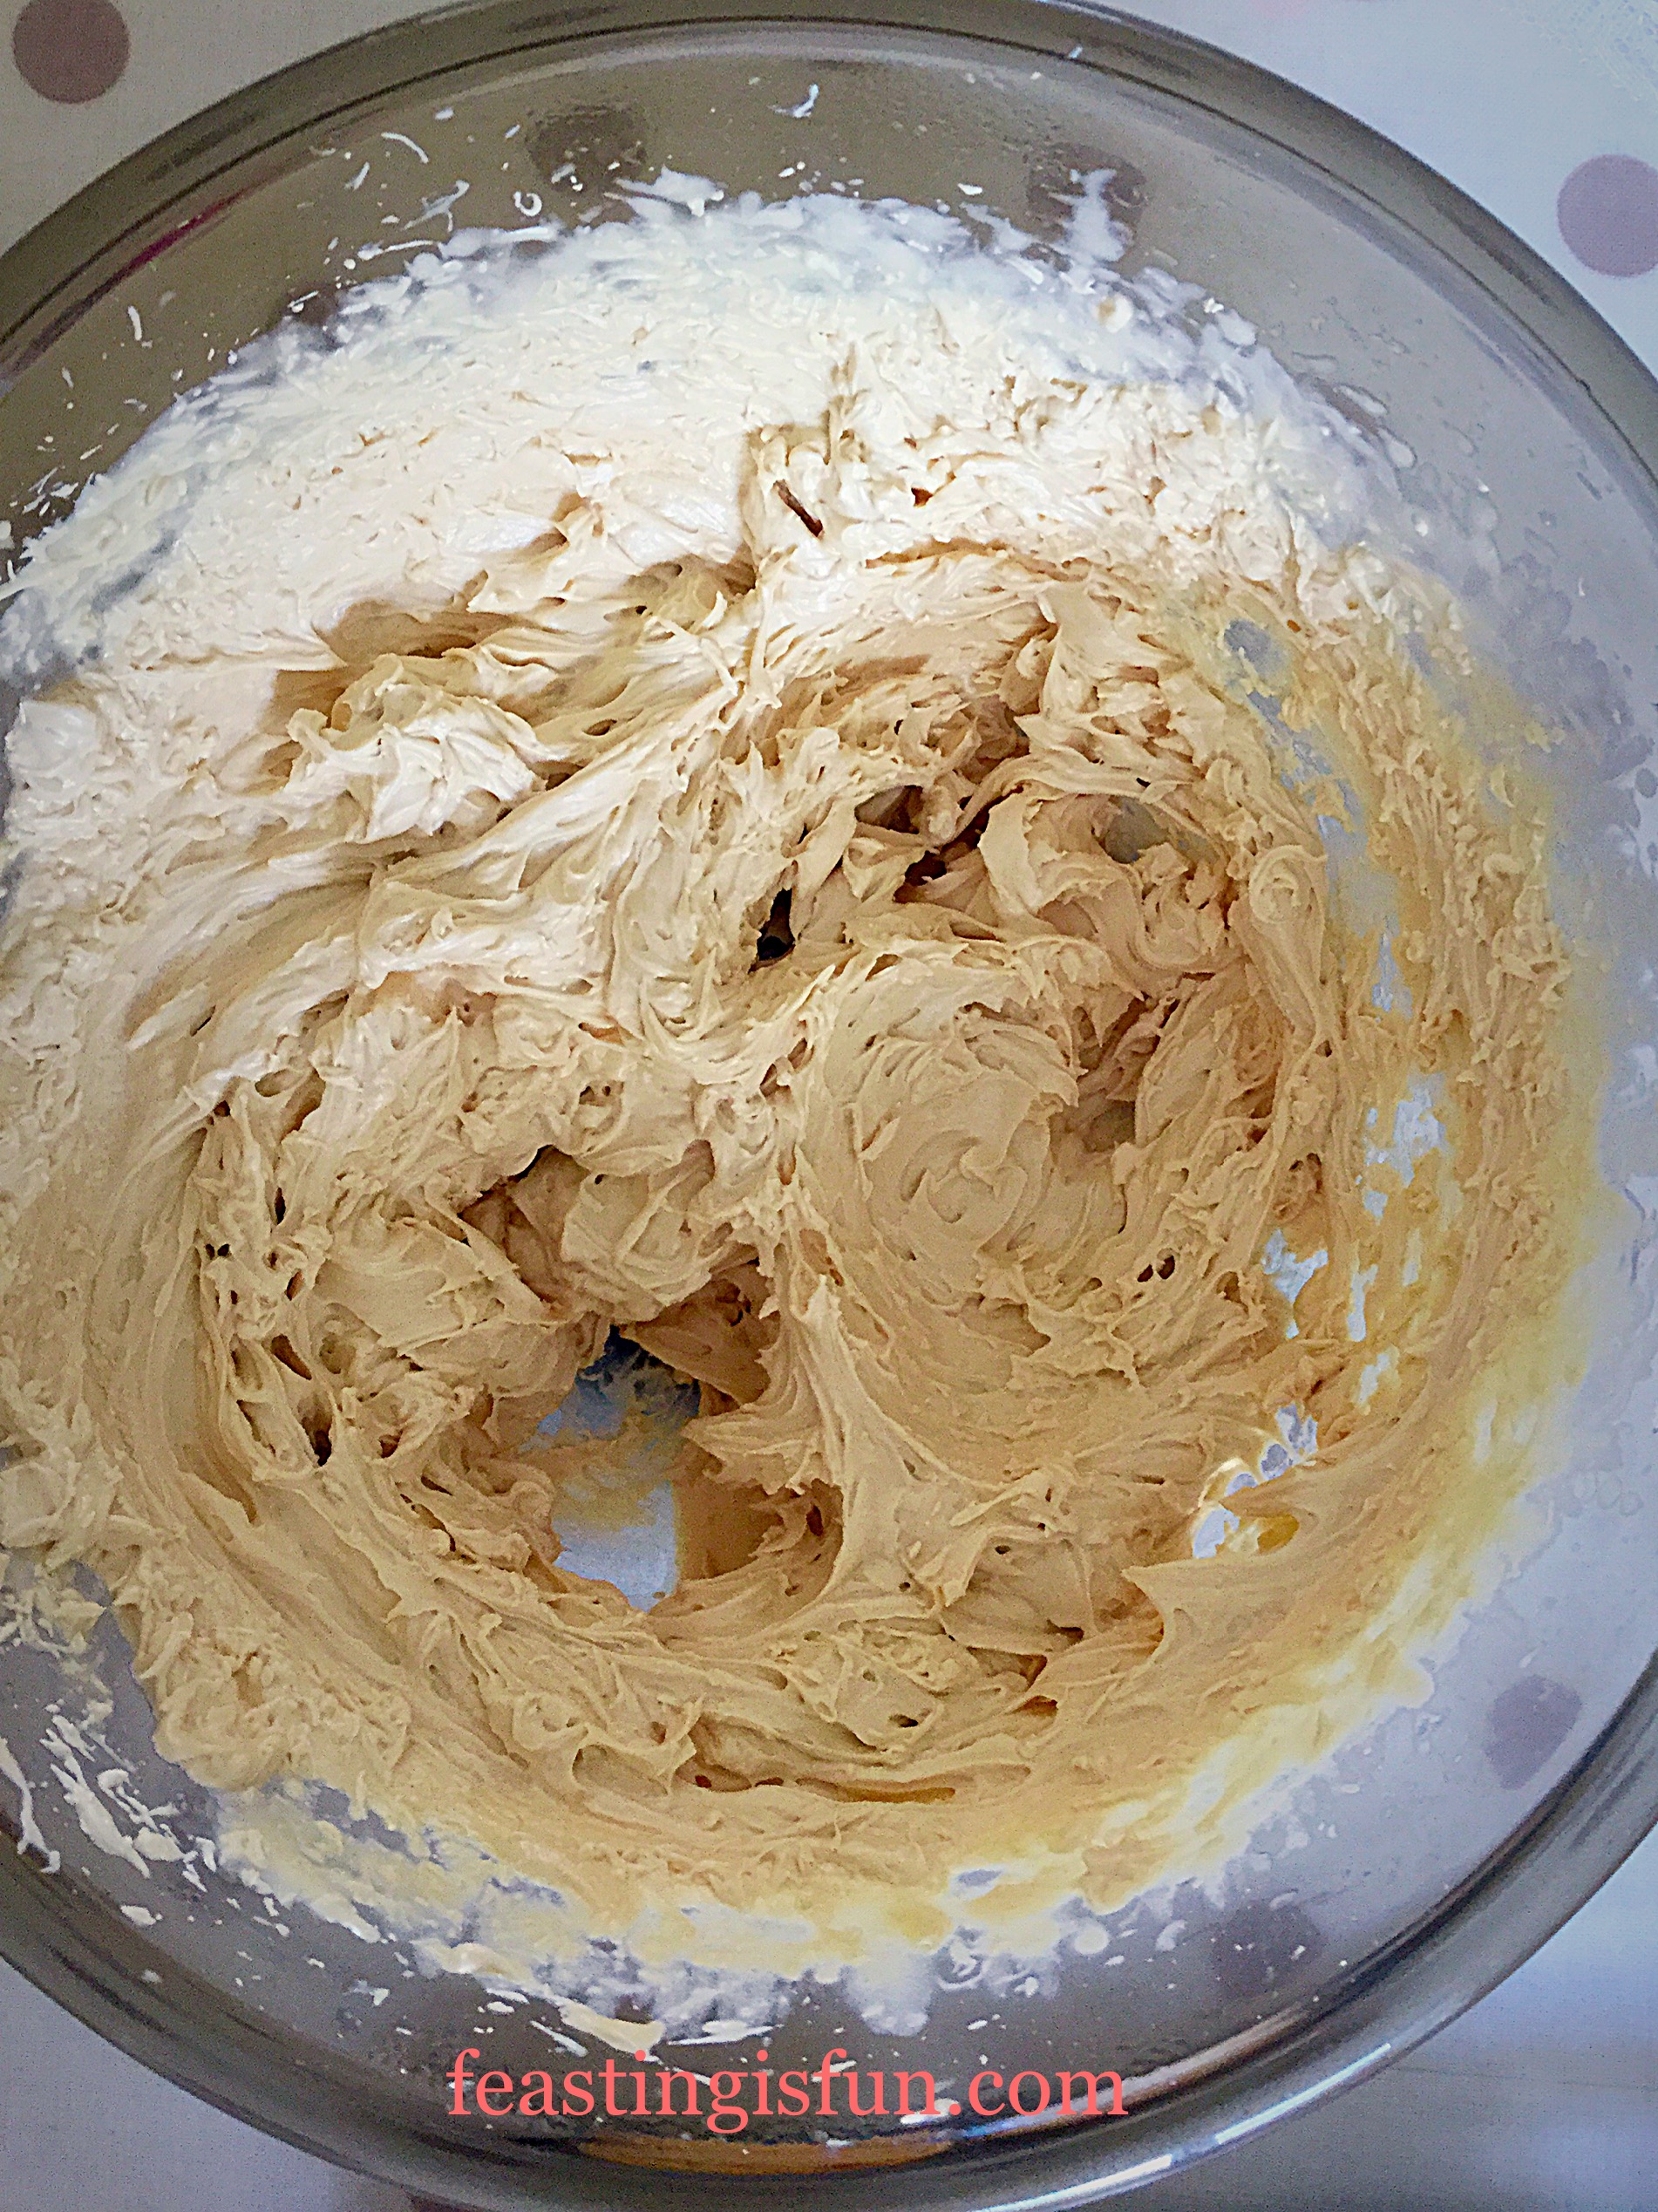
  • Fit a piping bag with a large star tip – I use Wilton #1M and fill the bag with the whipped ganache.
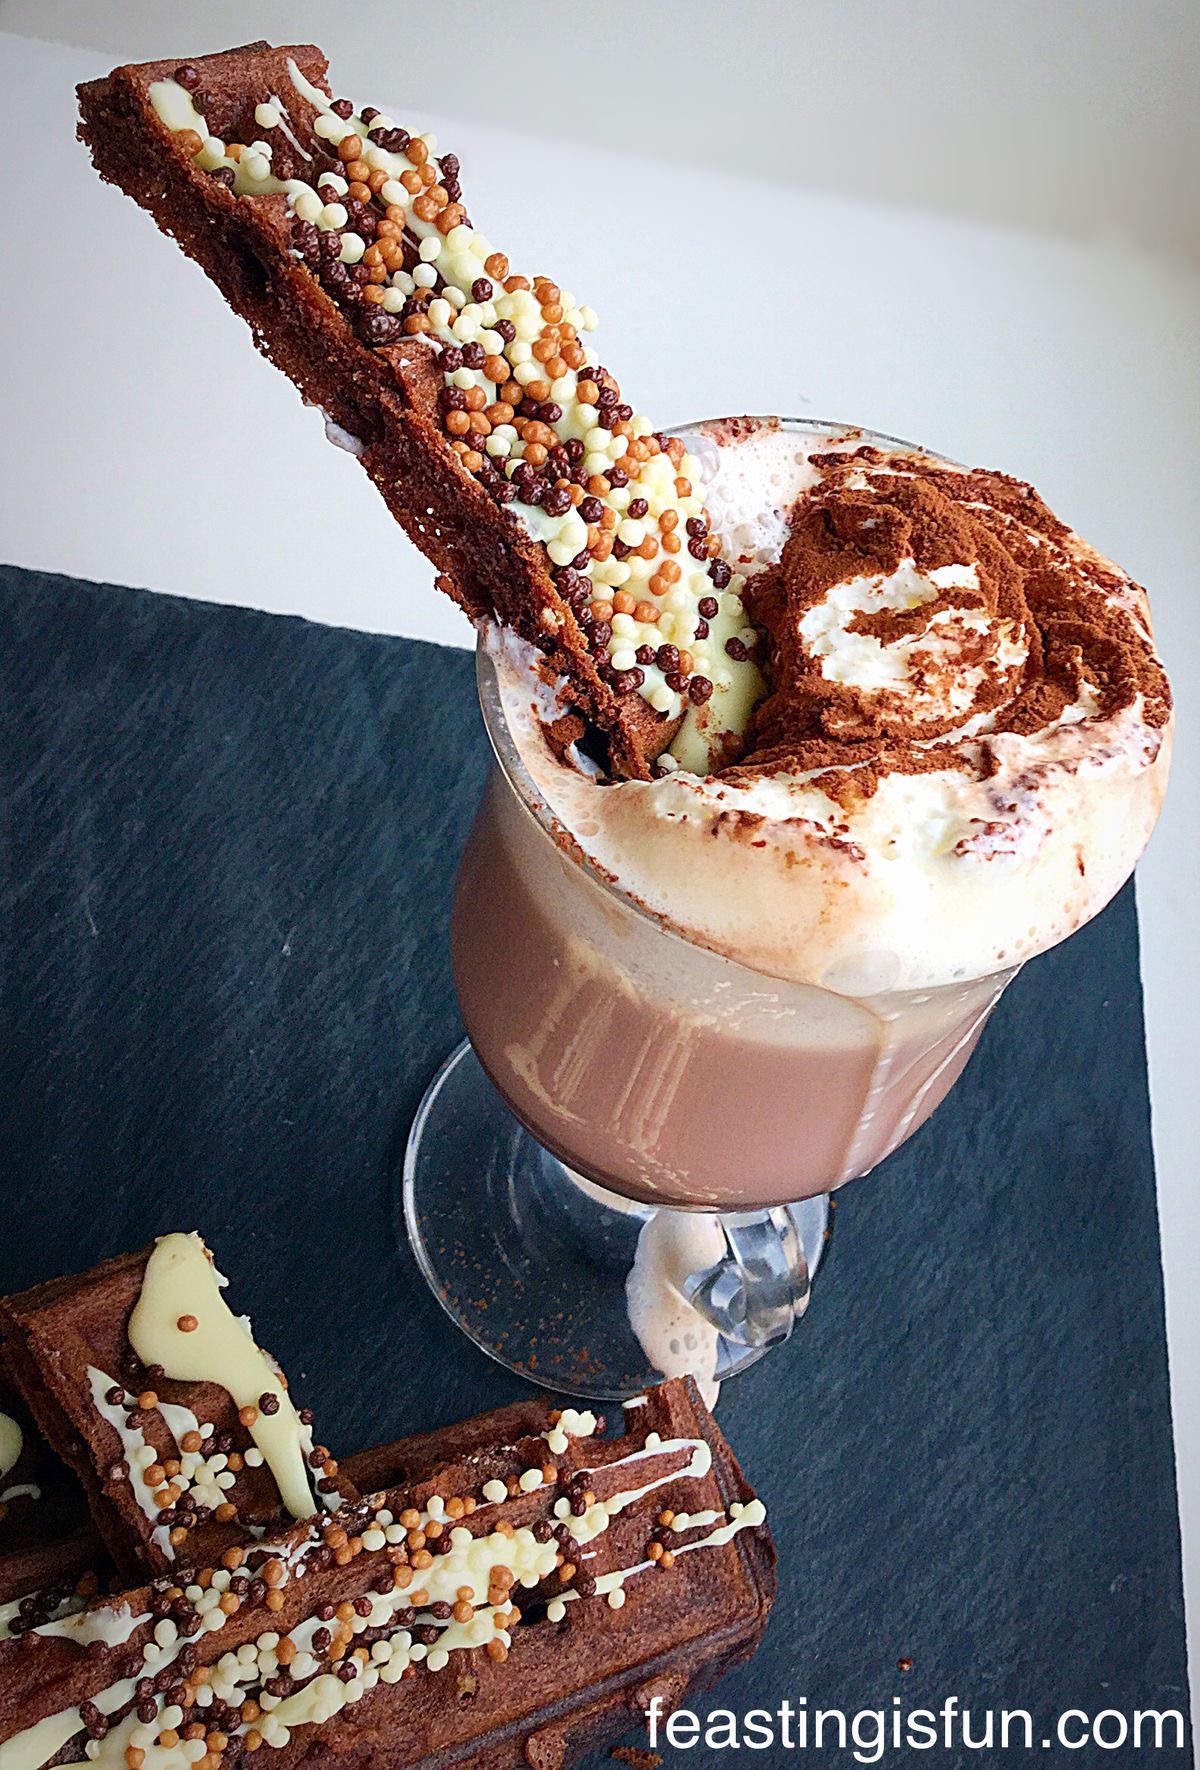
  • Pipe swirls of salted Caramac ganache on 8 of the upturned cookies and then sprinkle with golden honeycomb dust from the Crunchie bar – the chocolate and honeycomb that’s left is great sprinkled on a whipped cream topped hot chocolate 😉.
FF Salted Caramac Centre Toffee Cookies
Salted Caramac Centre Toffee Cookies piped, tops and drizzled with dark chocolate.
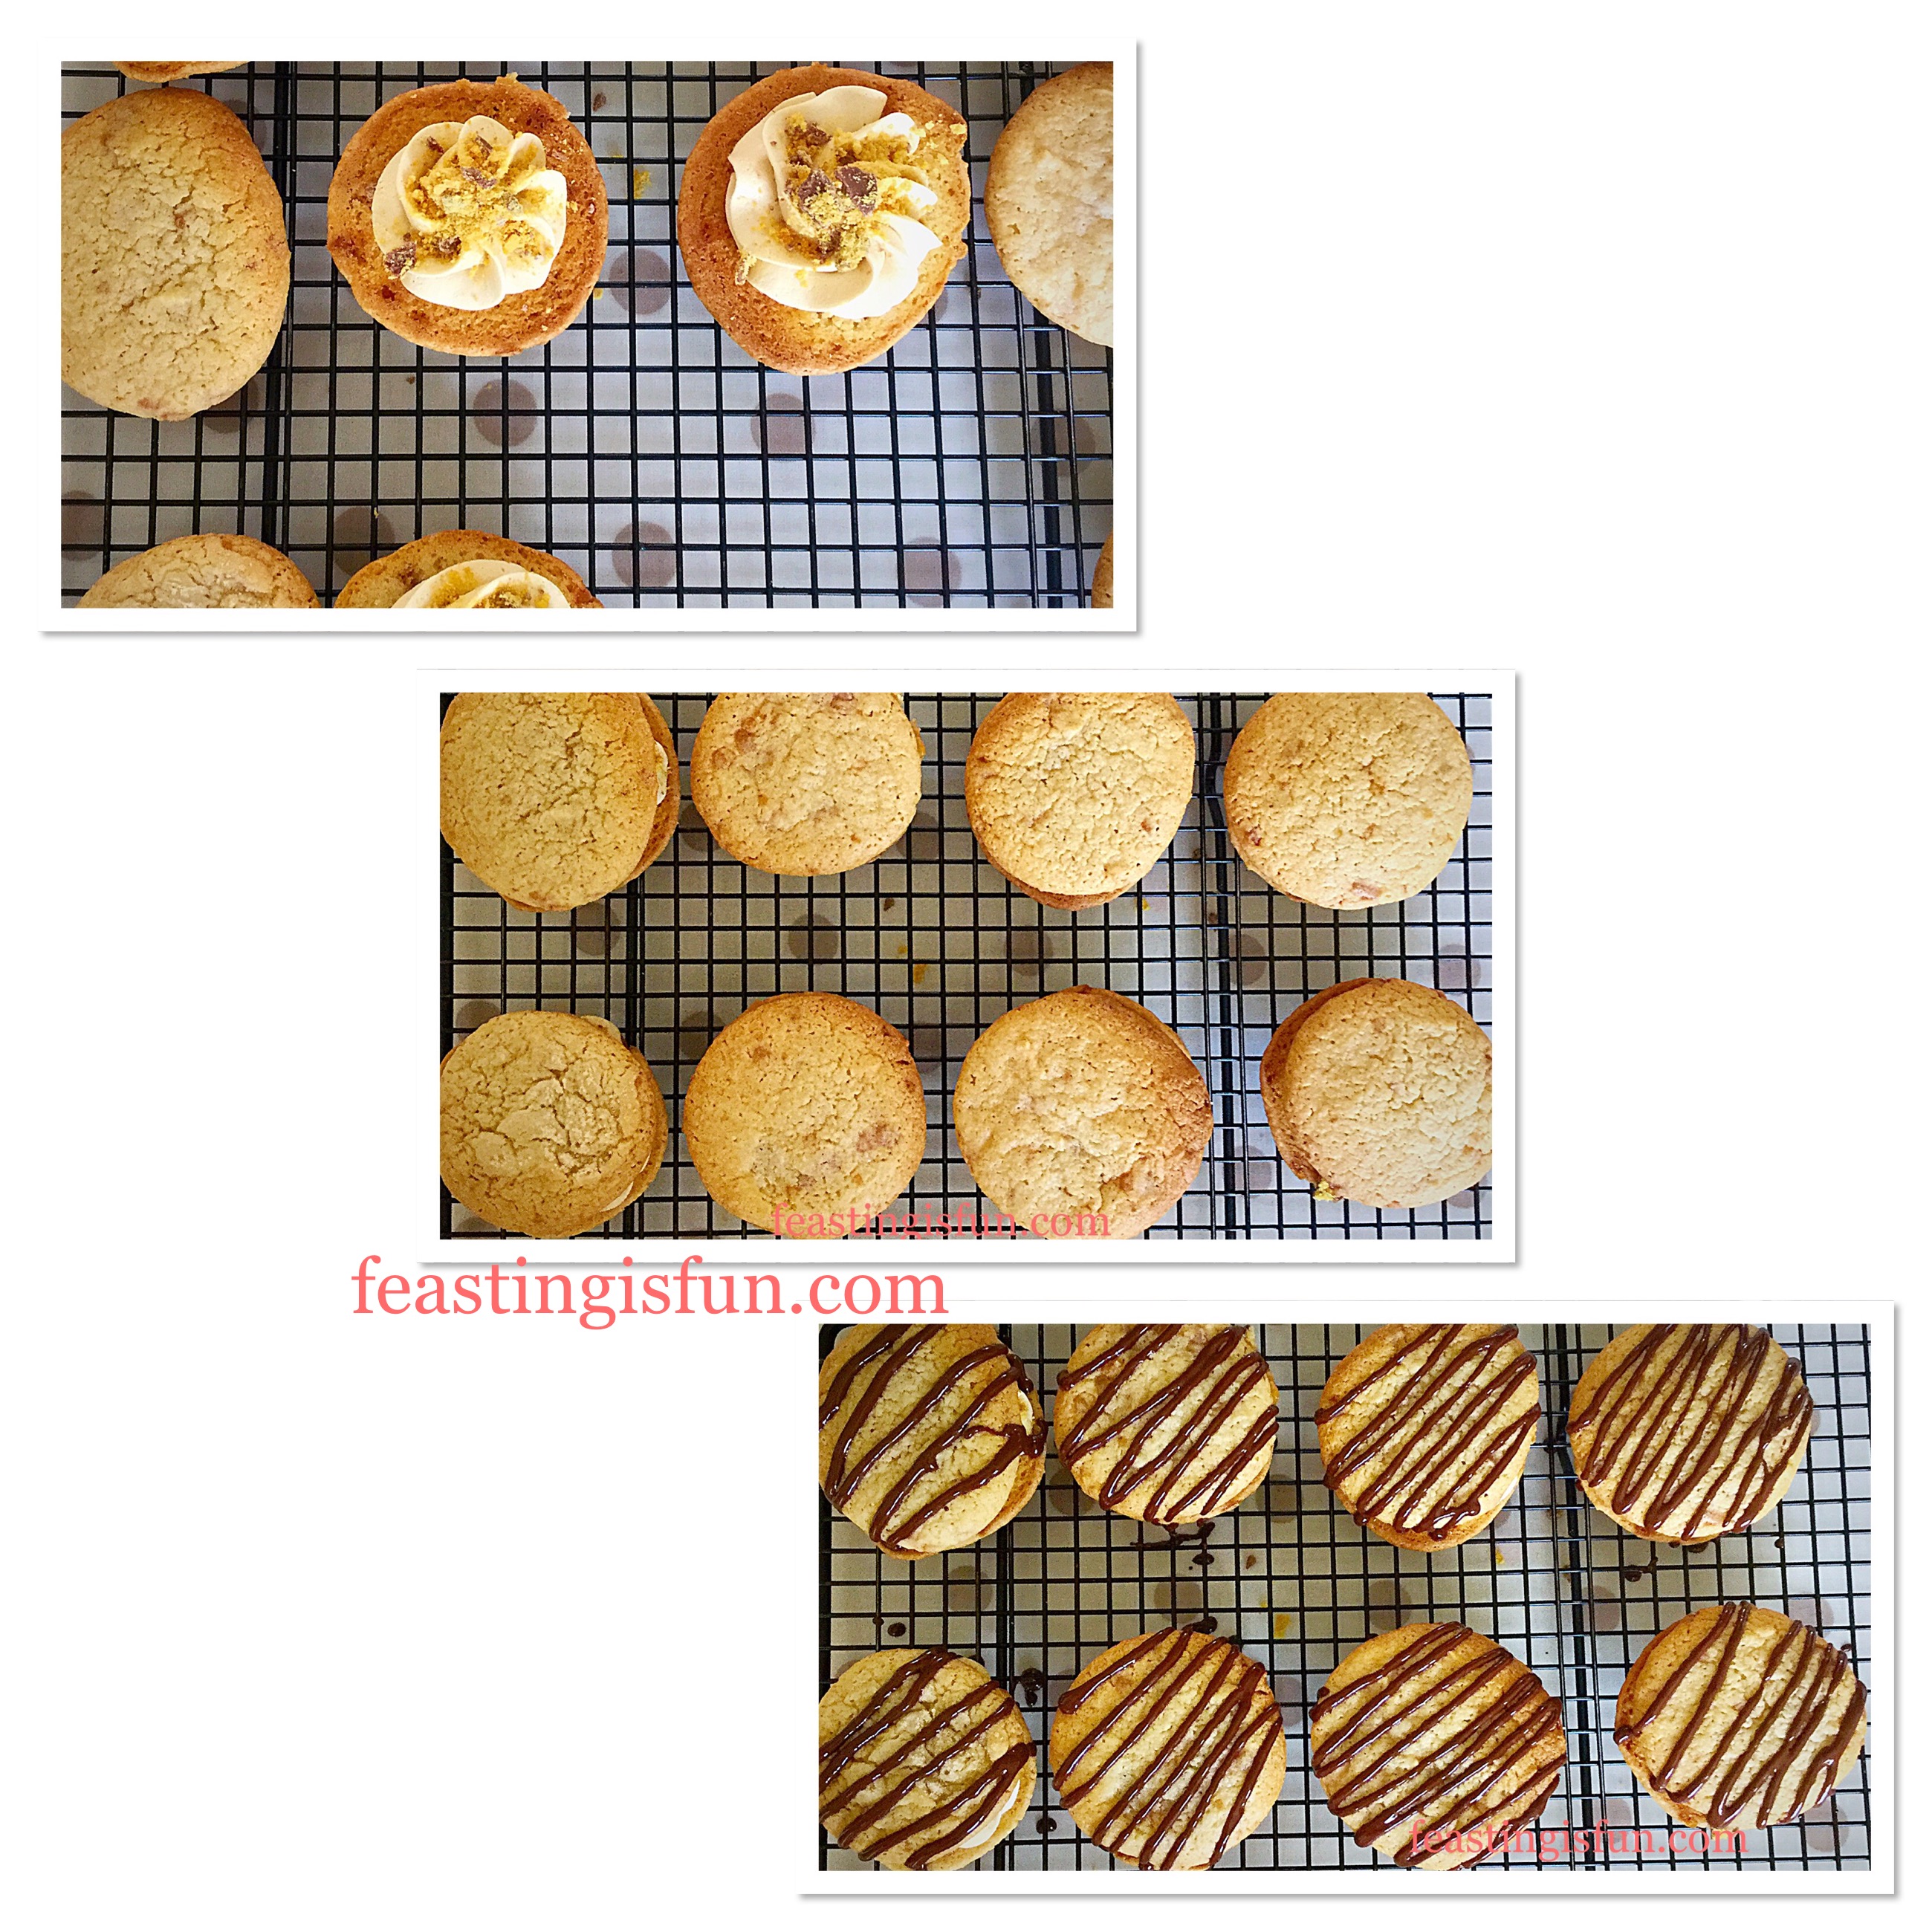
  • Pop the other toffee cookie on top.

Adding The Dark Chocolate Drizzle

  • Break the dark chocolate up, heat in a microwaveable bowl until melted.
  • You can either drizzle the chocolate over the cookies with a spoon, or for a cleaner finish, pour the melted chocolate into a small, disposable piping bag. Snip off the very end a pipe zig zag lines across the top of the Salted Caramac Centre Toffee Cookies.
  • Allow the chocolate to set.
FF Salted Caramac Centre Toffee Cookies
Salted Caramac Centre Toffee Cookies these won’t last long!

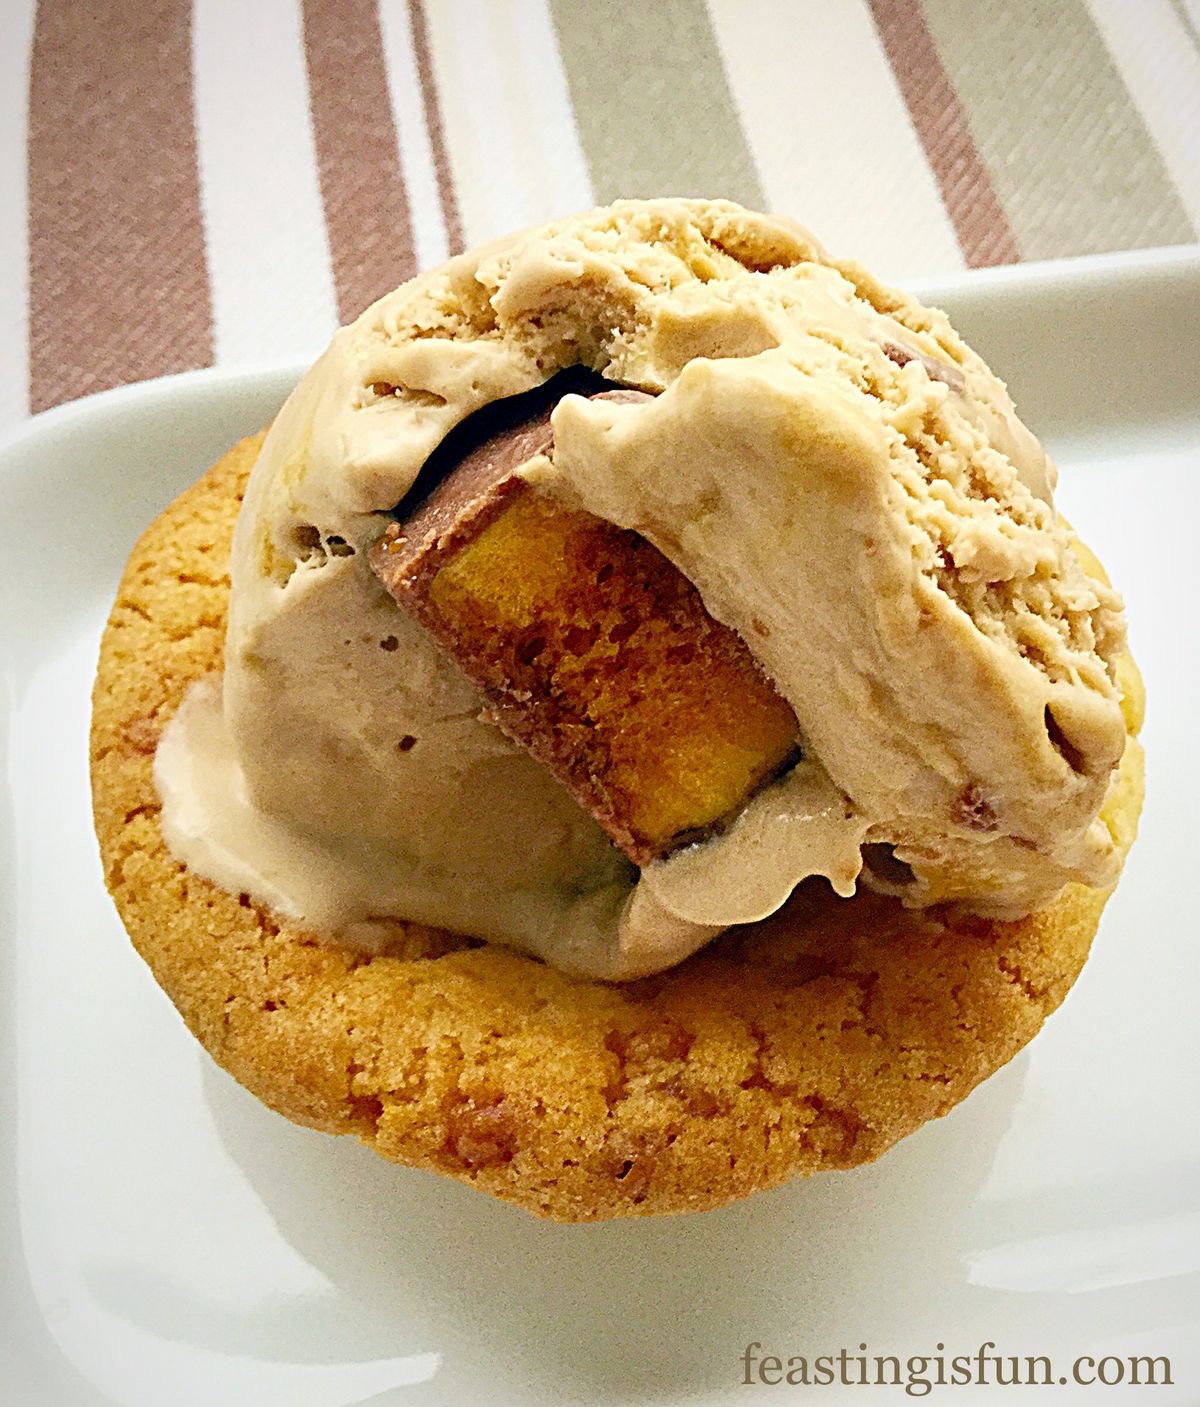
I chilled these delightful cookies in the fridge before serving. It allows the ganache to firm up and then, when eaten, the centre really does taste like ice cream!

To store, should you have any left over, keep in an airtight container, in the fridge.

In fact I am certainly going to make a double batch of these next time. There are 5 of us here at home and sharing is important. It’ll only take a few extra minutes to make 16 Salted Caramac Centre Toffee Cookies 😉.

If you have enjoyed these Salted Caramac Centre Toffee Cookies, here are some other recipes you may also like:

Toffee Cookie Cups

FF Salted Caramac Centre Toffee Cookies
Toffee Cookie Cups using the same Wright’ Baking mix.

Caramac Caramel Cookies

FF Salted Caramac Centre Toffee Cookies
Caramac Caramel Cookies so good!

Chocolate Vanilla Viennese Finger Biscuits

FF Salted Caramac Centre Toffee Cookies
Chocolate Vanilla Viennese Finger Biscuits with a white chocolate ganache filling.

This week has been #BiscuitWeek on Twitter, I’m not sure where else, as it’s always biscuit week here at Feasting is Fun!

I hope I’ve inspired you to be creative with your cookies, or biscuits. In my mind there isn’t a difference, however, I’m happy to be proven wrong.

Whatever you are baking, making and creating in your kitchens, I hope you have fun. Enjoy feasting with family and friends as we bid a sad farewell to the Summer, here in the South East of England and welcome Autumn The Most Beautiful Season.

Sammie xx

Wright’s Baking provided the mix for this recipe, all opinions, views, content and photography are my own. Please see my Disclosure Policy.

Share
Facebooktwitterpinterestlinkedintumblr

Fruity Orange Waffles

Share
Facebooktwitterpinterestlinkedintumblr

Today is National Waffle Day – as if we need a special day to eat delicious waffles – right 😉? So in the true spirit of Feasting is Fun, I decided to test Wright’s Baking new Orange Cake Mix out in my waffle maker. Oh boy are you going to be glad I did. These Fruity Orange Waffles are simply amazing!

FF Fruity Orange Waffles
Fruity Orange Waffles delicious with ice cream.

Not only are they an absolute whizz to make – literally 2 minutes and you’ve got Fruity Orange Waffles batter ready to go, they cook beautifully in the waffle maker.

FF Fruity Orange Waffles
Fruity Orange Waffles an easy, delicious treat!

We had these for brunch this morning and I was so pleased I didn’t have to cook. Ok I switched the waffle maker on see Andrew James Waffle Maker Review, but it didn’t take long to cook 9 waffles from one packet of mx. Plenty for the four of us, oh and with a tub of homemade Very Vanilla Ice Cream, fresh oranges and strawberries. We had a Feast!

FF Fruity Orange Waffles
Fruity Orange Waffles perfect any time of the year.

It is now 30C outside – at least!

We may well be having waffles for dinner if the house gets any hotter!!

Recipe: Fruity Orange Waffles makes 8-10

1 Orange Cake Mix Packet from Wright’s Baking

100g Melted Unsalted Butter – cooled

200mls Tap Water

Method: Prepare your waffle maker according to it’s manufacturer’s instructions.

  • With my waffle maker I brush the cold waffle plates with cooled, melted butter, prior to heating, hence the additional butter in the recipe.
  • Switch the waffle maker on and allow to fully heat, until the ready light comes on.
  • Whilst the waffle maker is heating up, in a medium bowl add 200mls of water and 60mls of melted butter.
  • Next add the Orange Cake Mix and stir until the batter appears smooth – note, the cake batter has pieces of fruit in it so there will be small lumps, that is normal.
FF Fruity Orange Waffles
This is how the waffle/cake batter will look.
  • When the waffle maker is ready, remembering to protect your hands with oven gloves, open it and spoon a dessert spoon (like the spoon in the picture above) in the centre of each waffle plate.
  • Close the waffle maker and cook for exactly 4 minutes. It really is worth setting a timer, especially if in four minutes you get little jobs done in the kitchen! Just sayin’ I’ve not burnt a waffle yet – for a reason 😉.
  • After 4 minutes open the waffle maker (again protect yourself with gloves). The waffles will be fully cooked but not hard.
FF Fruity Orange Waffles
Fully cooked Fruity Orange Waffles ready to be removed from the waffle maker.
  • I use a wooden spatula to gently lift the waffle from the waffle maker. The Fruity Orange Waffles harden slightly on cooling and can easily be picked up by hand – just in case you want to try it dunked in your coffee/hot chocolate 😉.
  • Repeat the process of spooning batter on to the waffle plates until it is all used up.
  • Top Tip: I would much rather have a waffle with slightly frilled edges, where not quite enough batter has been added, than a perfectly square one with waffle batter oozing out of the side of the waffle maker. I got lucky with the waffles I made, cleaning gooey, stuck waffle batter is no fun!
FF Fruity Orange Waffles
Fruity Orange Waffles add ice cream, fresh fruit and your imagination!

These delicious Fruity Orange Waffles can be served warm or cold. They will keep for up to 3 days in an airtight container and can be popped in the toaster to warm up.

I like to serve these with cold vanilla ice cream and plenty of fresh fruit. You choose how to serve yours. They are deliciously light with delightful pieces of fruit that lend texture and extra flavour. If you like waffles you will love these.

If you have enjoyed the recipe for Fruity Orange Waffles you may also like these:

Toffee Banoffee Waffles

FF Fruity Orange Waffles
Toffee Banoffee Waffles also made using Wright’s Toffee Cake Mix.

Chocolate Dunking Waffles

FF Fruity Orange Waffles
Chocolate Dunking Waffles everyone should try these at least once in their lives.

Vanilla Bean Waffles

FF Fruity Orange Waffles
Vanilla Bean Waffles so delicious and versatile.

Waffles are such an amazingly fun food. They can be sweet or savoury and topped with a myriad of different things. Let your imagination run wild and make waffles. Not just because it is National Waffle Day, but because they are so much fun and so tasty!!

Sammie xx

Wright’s Baking  provided me with the cake mix to make these waffles. All opinions, views, content and photography are my own. I was not paid to write this post please see my Disclosure Policy.

Share
Facebooktwitterpinterestlinkedintumblr

Dreamy Chocolate Fudge Cake

Share
Facebooktwitterpinterestlinkedintumblr

Dreamy Chocolate Fudge Cake, the softest chocolate fudge cake, draped in a chocolate fudge icing and adorned with chocolate caramel biscuit balls.

Do you ever dream of chocolate? I do! While making and then tasting this recipe there was only one name that fitted the incredible flavour, taste and texture experience, that is this Dreamy Chocolate Fudge Cake.

FF Dreamy Chocolate Fudge Cake
Dreamy Chocolate Fudge Cake every bit as good as it looks.

So, this incredibly tasty cake was made using  Wright’s Baking Chocolate Fudge Cake Mix. Alternatively, there’s a link in the recipe below for a great chocolate cake made from scratch.

Also, I love to have a few Wright’s Baking Mixes on hand, especially for days like today.

FF Dreamy Chocolate Fudge Cake
Dreamy Chocolate Fudge Cake

Getting Back To Baking

Having just spent 2 whole days, floored by the monster of all migraines, today I was able to get up. So, if you too suffer with migraines, you may find this helpful Migraine Not Always Sunshine And Roses.

My therapy, comfort and pleasure is to bake and cook. Yet baking a cake, from scratch today was beyond me. So instead I used my trustworthy packet mix to create this Dreamy Chocolate Fudge Cake.

And yes, you may thinks I’m nuts, wanting to bake after spending the weekend in pain, in bed, with the curtains closed. For me though, being in the kitchen is freeing. Since my creativity is allowed to run wild. And for the record I had absolutely no idea if I could pull off the icing, yet that’s part of the thrill. If it hadn’t of worked I’d have switched to plan B.

FF Dreamy Chocolate Fudge Cake
Dreamy Chocolate Fudge Cake

A Dreamy Chocolate Cake

Ooh this cake is good.

Really, really good.

So, if you have a boyfriend/girlfriend and you want to impress them, I mean I’m not guaranteeing a marriage proposal, but, this is the cake you need to make them, or anyone you know who loves really good chocolate cake, that you simply want to treat.

And as I have said it before and I’ll say it again the Wright’s Baking Mixes that I’ve used taste like homemade. In fact I’m already wondering how I can make a cake this delicious from scratch, because at the moment I don’t have a recipe to match this. Probably the closest recipe, would be my Chocolate Fudge Bundt Cake.

FF Dreamy Chocolate Fudge Cake
What you’ll need for this Dreamy Chocolate Fudge Cake.

So I found these new McVities Digestive Caramel Nibbles and they work perfectly on the cake. The contrast between soft fudgey cake/icing and crunchy biscuit balls is fabulous, however, if you can’t get hold of them I’d suggest Malteser’s or Minstrel’s. Since both would work well with the flavour of the cake and give that additional crunch!

Recipe: Dreamy Chocolate Fudge Cake serves 8-10

Oil or melted butter to grease the tin -approx 2 tablespoons – I used melted butter

1 Packet Chocolate Fudge Cake Mix from Wright’s Baking  – alternatively use this recipe for Chocolate Fudge Bundt Cake

60ml Melted Butter or Vegetable Oil – I use melted unsalted butter

200ml Water

For the Chocolate Fudge Icing:

4 Packets of Rolo’s

100g Dark Chocolate

100ml Double Cream

To Decorate:

1 Packet Digestive Caramel Biscuit Balls from McVities 

Alternatively use Maltesers, chocolate sprinkles, or whatever you fancy!

Method: Preheat the oven to 160C/140C fan gas mark 3, 325F

Making The Cake Batter

I use a silicone Bundt style mould, you can use a standard 20cm/8″ round cake tin.

  • First of all, grease your mould/tin well. I prefer to use melted butter and apply it with a pastry brush.
  • Place the silicone mould on to a baking tray for stability.
  • In a large bowl add the water, oil and cake mix and whisk according to the packet instructions.
  • Pour the smooth, chocolate cake batter into the prepared mould/tin, wiping away any splashes or spills.
FF Dreamy Chocolate Fudge Cake
Dreamy Chocolate Fudge Cake ready for the oven.

Baking The Chocolate Cake

  • Place the cake into the middle of the oven and bake for 50-60 minutes.
  • Check the cake at 45 minutes. The cake is baked when an inserted skewer comes out clean. My cake took 50 minutes to bake.
  • As soon as the cake is baked remove from the oven an allow to cool in the mould/tin for 10 minutes.
  • Turn the cake out onto a cooling rack and allow to cool completely.
FF Dreamy Chocolate Fudge Cake.
Dreamy Chocolate Fudge Cake cooled and ready to be iced.

To make the Chocolate Fudge Icing:

  • Place a small saucepan with an inch of water in the bottom over a medium heat.
  • Place a heatproof, I use Pyrex, bowl on top of the saucepan ensuring that the bottom of the bowl doesn’t touch the water.
  • Add the Rolo’s, chocolate and cream to the bowl.
  • Stir until you have a melted, glossy chocolate fudge icing.
FF Dreamy Chocolate Fudge Cake
Steps showing the chocolate fudge icing being made and then covering the cake.

Covering The Cake In Icing

  • Place the cake on a rack that fits over a clean baking tray. The idea being that as the icing drips through to the tray it can be scooped up with a spoon and poured back over the cake.
  • Start at the centre of the cake, evenly spooning the thick, fudgey icing around the middle and gradually turning the cake to ensure little air holes, that appear, are covered.
  • Continue spooning the icing around the cake – I actually turn the whole tray/rack around so that I can get a clear view.
  • When all the icing from the bowl has been used the cake should be 3/4 covered.
  • Scoop the remaining icing from the tray underneath the cake – you should be able to slide the cooling rack along the tray – spooning the remaining icing over the last remaining parts of exposed cake.
  • Allow the cake, once covered to sit on the rack for 10 minutes, you’ll be surprised how the definition of the swirls become visible again.

Decorating The Cake

  • Use 2 flat implements, for example a fish slice and palette knife, to transfer the cake to a plate or cake board.
  • Again, starting in the centre and take care to keep to the symmetry of the mould, add the caramel biscuit balls. Since I prefer to complete the centre then decorate each swirl.
FF Dreamy Chocolate Fudge Cake
Dreamy Chocolate Fudge Cake beautiful and delicious.

Finally, the cake is ready to serve straight away, although it can also be chilled for a thicker, denser ganache finish. Although I wasn’t prepared to wait! While the only thing this cake needs is a good cup of tea to accompany it, ooh and preferably the love of your life, or family and friends to share it with.

Unless you’ve had a really, really bad day!

FF Dreamy Chocolate Fudge Cake
Dreamy Chocolate Fudge Cake, who will you share it with?

If you have enjoyed this recipe for Dreamy Chocolate Fudge Cake then you may like these:

Swirl Lime Drizzle Cake

FF Dreamy Chocolate Fudge Cake
Swirl Lime Drizzle Cake

White Chocolate Swirl Fudge Cake

FF Dreamy Chocolate Fudge Cake
White Chocolate Swirl Fudge Cake

Black Forest Giant Doughnut

FF Dreamy Chocolate Fudge Cake
Black Forest Giant Doughnut

I love how making a cake feels like a feast. Because it always feels like a celebration, even if you are having it for Afternoon Tea on a Sunday.

Whatever you are making, baking and creating in your kitchens, have fun and remember food always tastes better when it is shared!

Sammie xx

Wright’s Baking provided me with the mix to make this cake. All content, views, opinions, photographs and recipes are my own. I was not paid to write this post. Please see my Disclosure Policy.

Share
Facebooktwitterpinterestlinkedintumblr

Sun Dried Tomato Bread Pizza

Share
Facebooktwitterpinterestlinkedintumblr

Over the past couple of days Summer has asserted itself with a vengeance. Temperatures above 30C, blisteringly hot sunshine and clear blue skies. I love Summer and sunshine, but even this has been a little too hot for me. Cooking becomes a chore, rather than its usual relaxing pleasure. So you can imagine how relieved I was to be able to prepare a meal in under 10 minutes. Grabbing a packet of  Wright’s Baking cheddar and sun dried tomato bread mix, I came up with this easy Sun Dried Tomato Bread Pizza.

FF Sun Dried Tomato Base Pizza
Sun Dried Tomato Bread Pizza a delicious twist on a regular pizza base.

Also I have a recipe for Sun Dried Tomato Bread, which I’m sure would work just as well. However, I needed an easy, quick prep meal. So thank you Wright’s Baking for yet again coming to my rescue.

FF Sun Dried Tomato Base Pizza
Delicious Sun Dried Tomato Bread Pizza served with crunchy homemade coleslaw.

Pizza – So Much More Than The Toppings

The beauty of using the sun dried tomato bread mix, is that while it is mixing, in the stand mixer, I can make my Crunchy Homemade Coleslaw. I always keep lemons in the kitchen and I love the way they not only thin the mayonnaise, but also remove the acrid taste from the onions in this coleslaw, which is, in my opinion one of the best accompaniments to homemade pizza.

What’s great about making your own pizza, is that you can top it with whatever you like. I had an antipasto meat selection in the fridge that went beautifully with the delicious sun dried tomato base. In fact as well as lemons I generally have mozerella and at least one packet of cured meat in the fridge. Pizza makes a quick, delicious and nutritious meal, providing it is served with a healthy pile of salad of coleslaw!

FF Sun Dried Tomato Bread Pizza
Sun Dried Tomato Bread Pizza what would you top yours with?

It’s All About The Base

I have to mention just how completely delicious the base of this Sun Dried Tomato Bread Pizza is. The crust doesn’t turn jaw breakingly hard, but remains slightly soft with a delicious salty parmesan and herb tomato flavour all of its own. I wouldn’t recommend overloading this pizza with topping as the base is just as delicious, if not more so, than what you top it with.

Make this Sun Dried Tomato Bread Pizza with toppings that will work with the tasty bread base. In fact this pizza would be wonderful with a little sauce, mozerella and some basil leaves. The sun dried tomato bread base really is that good.

Recipe: Makes 2 Large Sun Dried Tomato Bread Pizza  – makes 20 slices

1 Packet Cheddar and Sun Dried Tomato Bread Mix by Wright’s Baking  – alternatively use my Sun Dried Tomato Bread  recipe – although I would recommend adding 1/2tsp of dried oregano to the flour

4tbsp Tomato Purée

2tbsp Olive Oil plus a little extra for greasing the baking trays – I use Filippo Berio

400g Block of Mozzerella

Selection of cured meats for topping

2 handfuls fresh basil leaves

Method:

Making The Pizza Dough

  • Make the Cheddar and Sun Dried Tomato Bread Mix according to the instructions on the packet.
  • TIP – while the bread is mixing make the coleslaw or salad!
  • Grease 2 large baking trays with a little olive oil.
  • Turn the kneaded bread dough on to one baking tray and divide in half.
FF Sun Dried Tomato Bread Pizza
Divide the sun dried tomato bread dough in half.
  • Place one half of the bread dough on each of the oiled baking trays.
  • Rub your hands in a little oil and then gently pat the dough until it is flat and fills the baking sheet. Do the same for the other half of the dough.

Adding The Pizza Toppings

  • Add 1 tablespoon of olive oil and 2 tablespoons of tomato purée to the top of each pizza base.
  • Using your hand smoosh the tomato purée and olive oil together so that they cover the pizza base – yes smoosh is a technical term in the Feasting kitchen!
FF Sun Dried Tomato Bread Pizza
Sun Dried Tomato Bread Pizza
  • Slice or tear the mozerella and lay on top of the pizza base.
  • Add thin slices of cured meat and scatter a handful of basil leaves over each pizza.
FF Sun Dried Tomato Bread Pizza
Sun Dried Tomato Bread Pizza
  • Cover both pizza’s with cling film, or do as I did on such a hot day, pop them into an unheated oven, uncovered, for 30 minutes. This will give them time to rise.
  • Turn the oven heat to 220C/200C fan, gas mark 7, 425F.

    Baking The Sun Dried Tomato Bread Pizza
  • Remove the cling film and place the pizza’s in the oven, if they are not already in there.
  • Bake for 20-30 minutes. The pizzas are cooked when the base is firm underneath. I use a large palette knife to slide under the pizza and lift it. If it’s not quite firm pop it back into the oven for another 5 minutes.
  • Once baked remove from the oven.
FF Sun Dried Tomato Bread Pizza
Baked Sun Dried Tomato Bread Pizza with melting cheese and crisp prosciutto ham.

To serve, remove the pizza from the tray – I slide it on to a board – and cut into slices or triangles.

Sun Dried Tomato Bread Pizza is ideal for feeding a crowd, as part of a buffet, or served with homemade coleslaw for an easy meal.

I really do recommend trying the Wright’s Baking range of bread mixes. Having a couple in the cupboard, even though I make almost all of our bread from scratch, is really handy on hot, busy days!

If you enjoyed this Sun Dried Tomato Bread Pizza you may also like these recipes:

Homemade Ciabatta Base Pizza

FF Sun Dried Tomato Bread Pizza
Homemade Ciabatta Base Pizza

Better Than Take Out Pizza

FF Sun Dried Tomato Bread Pizza
Better Than Take Out Pizza for when you have a little more time.

Asparagus Prosciutto Ham Tart

Sun Dried Tomato Bread Pizza
Asparagus Prosciutto Ham Tart easily made with puff pastry.


We all need a few quick prep. meals that we can draw on when we either don’t have the time, energy or both to create a nutritious and tasty meal. All of my pizza recipes contain less fat that delivery pizzas. That said, sometimes that really is the only option!

While in a perfect world I would have a freezer full of homemade pasta bakes, casseroles and the like, sometimes it’s nice to have a treat. Homemade pizza always feels like a treat simply because it takes so little effort to make and our children are always ready to help.

As the weather cools and we rediscover the urge to cook and bake again, enjoy it. Have fun in your kitchens creating your own very special feasts.

Since #NationalPizzaWeek is from 5th – 11th January, it simply shows how versatile pizza is. Summer or Winter, any day is a good day to make, bake and share pizza!

Sammie xx

Wright’s Baking sent me the parmesan and sun dried tomato bread mix to try. All opinions, views, content and recipes are my own. Please see my Disclosure Policy.

Share
Facebooktwitterpinterestlinkedintumblr

Toffee Cookie Cups

Share
Facebooktwitterpinterestlinkedintumblr

Toffee Cookie Cups easily made from Wright’sBaking new cookie mix. Tasty toffee flavoured cookies, with pieces of real toffee in the dough, shaped into cups for you to add a scoop of your favourite ice cream!

FF Toffee Cookie Cups
Toffee Cookie Cups great with Chocolate Honeycomb Ice Cream.

It is a well established fact here on Feasting is Fun that there are two things I am passionate about. Sharing is integral to who I am as a person and I genuinely believe that food really does taste better when shared. Also I love cookies. Not just – oh ok I’ll bake a batch – I really love cookies. I start almost everyday with a cup of tea and a cookie or two, so when Wright’s sent me their new Toffee Cookie Mix, well I was ridiculously excited!

FF Toffee Cookie Cups
Toffee Cookie Cups – what will you fill yours with 😉

After a little discussion with Deb-the-bread, Wright’s very own jewel in their crown, I decided to have a go at making the new cookie mix into cookie cups. Let’s just be clear on something, I had never baked these cookies before. Never having attempted to bake cookie cups before this was a first. Since I had never baked a Wright’s cookie mix before – because I couldn’t, this IS their first cookie mix.

Due to the Toffee Cookie Mix only just having been released, stocks were super low and there wasn’t a spare mix for me to practise with! Ok so we all know I love a challenge. Time to put my trust in Wright’s reputation for making fabulous mixes and my ability to ‘wing it’! I mean I have baked a fair few thousand cookies in my lifetime.

FF Toffee Cookie Cups
Toffee Cookie Cups – a resounding success.

As you can see from the photos, I not only managed to make Toffee Cookie Cups, using Wright’s new Toffee Cookie Mix, they are also the perfect size for one scoop of ice cream. Easy to pick up with your hands and eat. Similar to an ice cream cone, except if the ice cream drips it is caught in the cup shape.

I cannot begin to explain how thrilled I was that I’d made cookie cups. Ridiculously so. More than that though, they taste ooh so good. I filled ours with Chocolate Honeycomb Ice Cream. 

However, you could use coffee, caramel, chocolate, banoffee, in fact any flavour that pairs well with toffee would work well in these gorgeous cookie cups.

Enough waffling you want to know how they’re made and I’m desperate to share how I made them with you!

Recipe: Makes 10 Toffee Cookie Cups 

1 Packet of Wright’s Baking new Toffee Cookie Mix – Note if you cannot get hold of the mix use my Caramac Caramel Cookies recipe.

Vegetable Oil or Butter – I used butter & would recommend it for making the cookies into cups, simply because it firms up on coolinf, helping to give the cups rigidity,

Cake release spray, oil or butter for greasing the bun tin.

Method: Preheat the oven to the temperature recommended on the packet.

To make these Toffee Cookie Cups you will need a regular 12 hole fairy cake – NOT MUFFIN – tin.

FF Toffee Cookie Cups
I find it is always better to have everything I need to hand before I start baking.
  • Make up the Toffee Cookie Mix according to the packet instructions – I actually melted the butter.
  • Stir to combine the cookie mixture.
FF Toffee Cookie Cups
The Toffee Cookie dough.
  • Grease all of your fairy cake tin, not just the holes – I used cake release spray as I wanted to be sure these wouldn’t stick, I would advise brushing the whole tin lightly with vegetable oil.
  • Divide the cookie dough into 10 equal-ish sized balls.
FF Toffee Cookie Cups
The dough ball size and pressed out cookie cups.
  • Place a cookie dough ball into one of the fairy tin holes. Gently with your fingers press it into the hole and sides so that it is equal thickness all the way around. Ensure that you press the dough into the bottom of the tin so that it has a definite base.
  • Continue for the remaining cookie dough balls.
  • When all the cookie cups have been moulded place the tin in the middle of the oven and bake for 12-14 minutes. Mine took 14 minutes.
  • The Cookie Cups will puff up whist cooking DON’T PANIC!!
  • When golden brown and baked remove the tin from the oven.
FF Toffee Cookie Cups
Beautifully golden with a wonderful toffee smell, Toffee Cookie Cups.
  • Place the tin on a cooling rack and allow the cookie cups to cool in the tin as the cookies/cookie cups harden on cooling.
  • As the cookie cups cool slightly, very gently press the slightly puffed up base down.
  • Once the cookie cups are cooled remove them from the pan – mine came away easily, if yours are proving stubborn use a small palette knife to run between the top of the cookie cup and where it lays flat on the tin, this should loosen them.

Congratulations you have made 10 fantastic Toffee Cookie Cups!

To serve, add a scoop of your favourite ice cream, share and enjoy.

FF Toffee Cookie Cups
Toffee Cookie Cups already tasted by me!!!

Such an easy yet fantastic way to enjoy Wright’s new Toffee Cookie Mix. I have a couple more ideas but I will have to wait for more stock.

The Toffee Cookie Cups keep for up to 5 days in an airtight container.

If you have enjoyed this recipe for Toffee Cookie Cups you may also like these:

Chocolate Honeycomb Ice Cream

FF Toffee Cookie Cups
Chocolate Honeycomb Ice Cream

Very Vanilla Ice Cream

FF Toffee Cookie Cups
Very Vanilla Ice Cream

Chocolate Orange Ice Cream

FF Toffee Cookie Cups
Chocolate Orange Ice Cream

These Toffee Cookie Cups are a fun and delicious way to eat ice cream anytime of the year, but especially when it’s hot and we all need a little cooling down.

Whatever you are making and baking in your kitchens I hope you are having fun and remember to stash a couple of packets of Wright’s Toffee Cookie Mix in the cupboard. They take under 20 minutes to make and bake and are perfect for unexpected guests, or for when the urge for great cookies hits!

Sammie xx

Wright’s Baking  sent me a packet of their new Toffee Cookie Mix to try. I was not paid, or even asked to write this post. All opinions, views, content and photographs are my own. Please see my Disclosure Policy.

Share
Facebooktwitterpinterestlinkedintumblr