Hello lovely bakers, today I have 10 Steps That Will Improve Your Baking. I have had MANY baking failures over the years but experience, Food Network obsession and reading the intro’s to cook books has taught me how to avoid most disasters – in the kitchen!!!!
So here we go –
1 – Read the recipe through before starting. This may sound obvious, but, I have on more than one occasion, started a recipe, only to find, mid way through that I’m out of something! Nipping across the road to my neighbour asking to borrow wax discs, halfway through making Tomato Chutney springs to mind!!! Not baking, but the same principle applies!!
2 – Ensure you have all the ingredients and equipment before you start. Again seems obvious but, like with the wax discs, I’ve also borrowed garlic, different neighbour – we’re very friendly round here – when I was making bolognaise sauce and realised I was out of it, again halfway through cooking!!

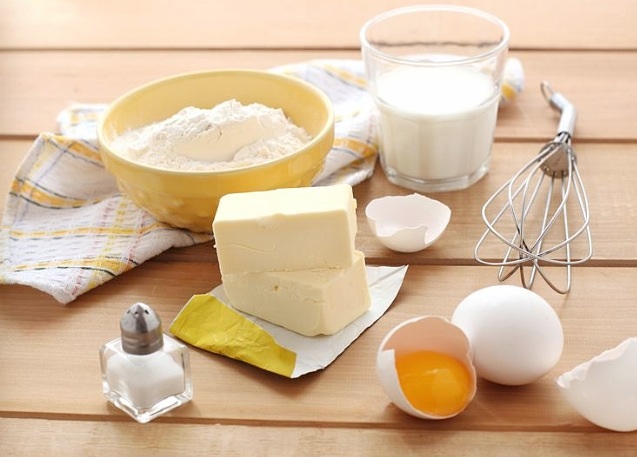
3 – When baking ensure ALL ingredients are at room temperature (unless specified by the recipe – which you will have read through fully!!). This small step will make a HUGE difference to the end result ; cakes will be lighter, the texture of cookies will be vastly improved. A good tip if you know you are going to be baking the next day is to remove eggs, butter, cream cheese etc from the fridge the night before.
4 – Measure/weigh your ingredients precisely. When cooking you can add bits here and there as you cook, tasting as you go along. In baking measurements are vital to success. You can’t taste your cake as it’s cooking, so you only know at the end, when the cake has cooked if it’s good.
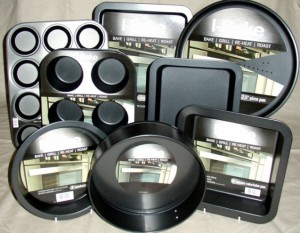
5 – Make sure you use the right size cake/loaf tin for the recipe. If the tin is too small the end result will be a muffin topped cake/loaf. Muffin tops are only good for muffins!!!
I will tell you a story – one Mother’s Day I had asked that any presents, from our children, be handmade. Imagine the scene, banished from the kitchen for 2 hours, I finally came downstairs to find ALL my baking supplies depleted. “Your self raising flour doesn’t work!” said hubby (who was helping the children to bake me a Victoria Sponge Cake). “I had to go to the shops and buy some more, but that’s not working either!!”.
The house smelled of freshly baked cake. I didn’t understand. “You mean the flour I used to make cupcakes for the school bake sale, two days ago?”, I asked perplexed. Then I looked at the cakes. All four 1/2 inch deep layers of them. They had risen, were beautifully baked, just, well, rather flat!!
“Which cake tins did you use?” I asked. “These,” said a flour covered child, holding up my 9 inch springform cake tins, 2 of them!!! There wasn’t anything wrong with the flour or recipe, they’d just used the wrong sized pan!! (6 inch sandwich tins – as stated in the recipe, would’ve been better!).
So, realign the cake was actually edible, all three children proceeded to demolish one layer, spread with Nutella! Then they made me the most gorgeous cake I have ever tasted. A three layered Victoria Sponge. Delicious.
So the cake was mostly rescued and very much cherished. The moral being – use the size pan/tin stated in the recipe!!
6 – Follow the recipe. I know this sounds obvious, but, certainly the first time you bake from a new recipe, follow each step exactly as it says. You will minimise anything going wrong by adding, mixing etc EXACTLY as the recipe says.
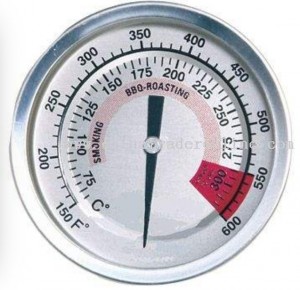
7 – Check your oven temperature and adjust if using a fan/convection oven. Firstly it’s a good idea to buy an oven thermometer (I don’t have one, it’s on my to-get list!). This will give you an accurate reading of the oven temp. You’d be surprised how much ovens vary in their accuracy. Remember to adjust the cooking temp according to your oven’s instructions, if using a fan/convection oven, your total cooking time will generally be shorter too.
8 – Do not open the oven door when baking cakes or breads. Most ovens have glass doors and lights, which helps when keeping an eye on your baking. I realise that most ovens have different hot spots. So I allow two thirds of the cooking time to pass and then I can open the door and turn the cake/loaf, so that it bakes evenly. Each time the oven door is opened the oven loses heat, so your bake may take longer.
9 – Once baked cool your baked items as recommended in the recipe. This is really important. Leave a loaf to cool in it’s tin and it will have a soggy bottom! Try to move cookies onto a cooling rack before they’ve hardened and you’ll have a crumbly mess! You get the picture.
10 – Allow your cake/cupcakes/cookies to cool completely before icing/decorating. You’ve spent time, energy and money creating your fabulous bake, the last thing you want is icing sliding off, or melting because it’s too hot! Wait for your bake to completely cool and then you can frost/decorate to your hearts content!
I hope this has been useful and made you smile. Remember sometimes things don’t always turn out as you want, even when you’ve followed the recipe completely. If you remember the 10 Steps That Will Improve Your Baking then hopefully baking disasters will be rare.
Do you have any tips to add to mine?
I’d love to read any funny baking mishaps that you’ve had?
Sammie x
Photos – Amazon and Pintrest
Great tips and even better reminders! My #1 rule is to never allow stress into the kitchen – the recipe will be sure to fail (or so I’ve found). So in essence, my #1 rule is to enjoy my time in the kitchen, have a little patience and believe that it’s all gonna turn out ok. 🙂
Thanks Liz, I agree. My Grandma used to say “More haste, less speed!” So true!
This is so helpful! I knew butter should be room temperature but not everything else! Definitely pinning this for future use.