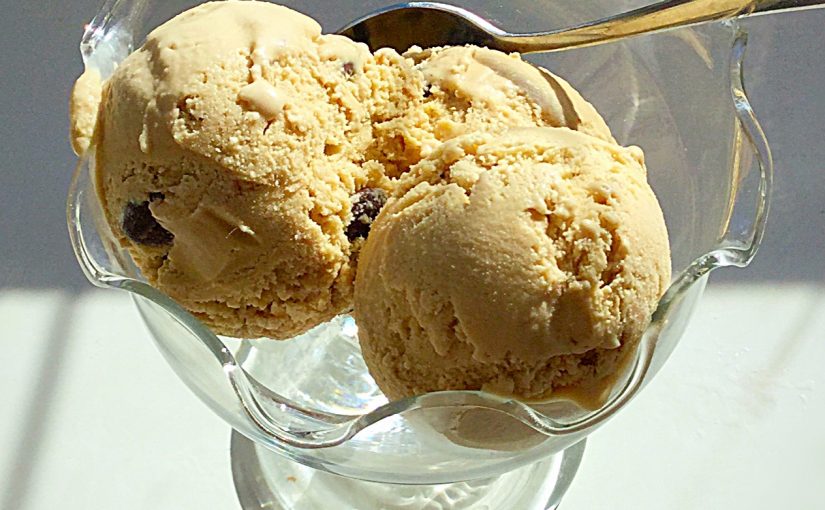
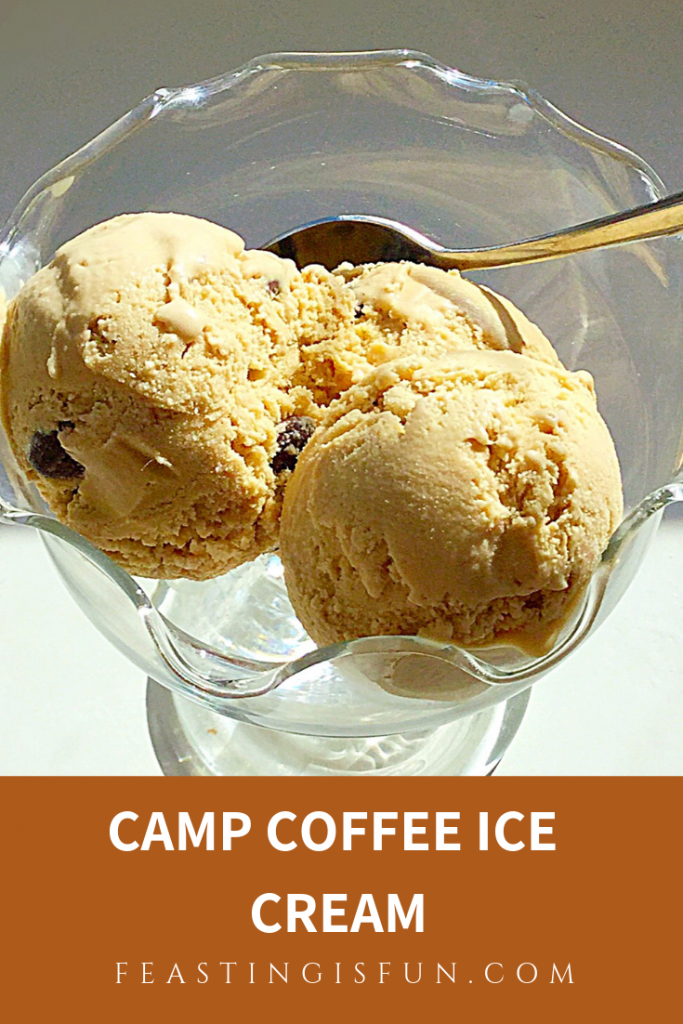
Camp Coffee Ice Cream with crunchy chocolate coffee beans.
It is mid September and here in the south of the U.K. the weather is still relatively warm. Not that you need it to be warm outside to enjoy my Camp Coffee Ice Cream.
Yes, ice cream is great to have during the hot, Summer months, but I happily eat it all year round. This particular ice cream with its inviting coffee flavour (without the caffeine) would be so good scooped on top of a warm chocolate brownie.
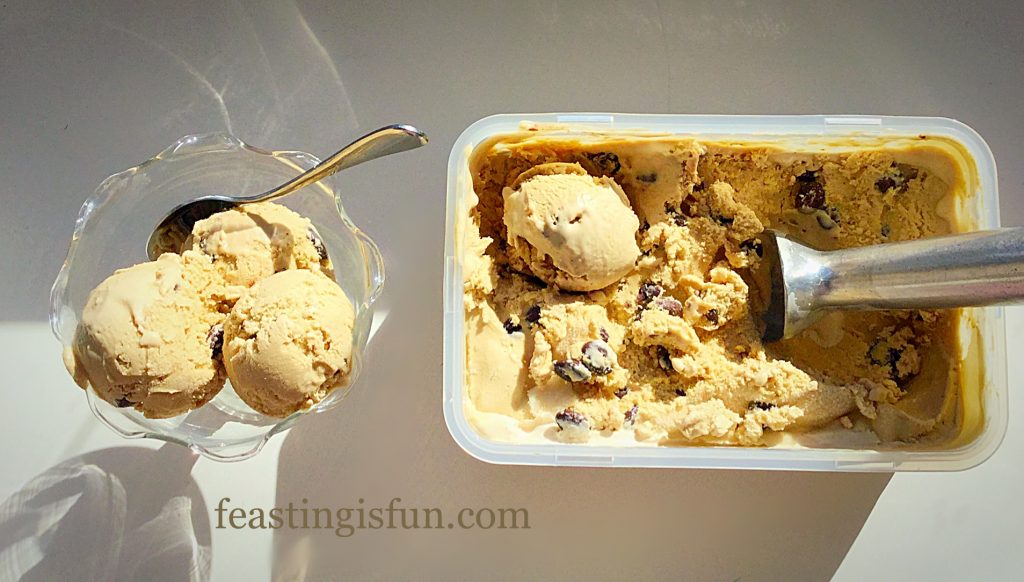
Chocolate and coffee are a classic combination, which is why I decided to add a good measure of chocolate coffee beans to this ice cream.
The delicious chocolate/coffee crunch against the smooth, silky, coffee flavoured ice cream, keeps this interesting on the palette.
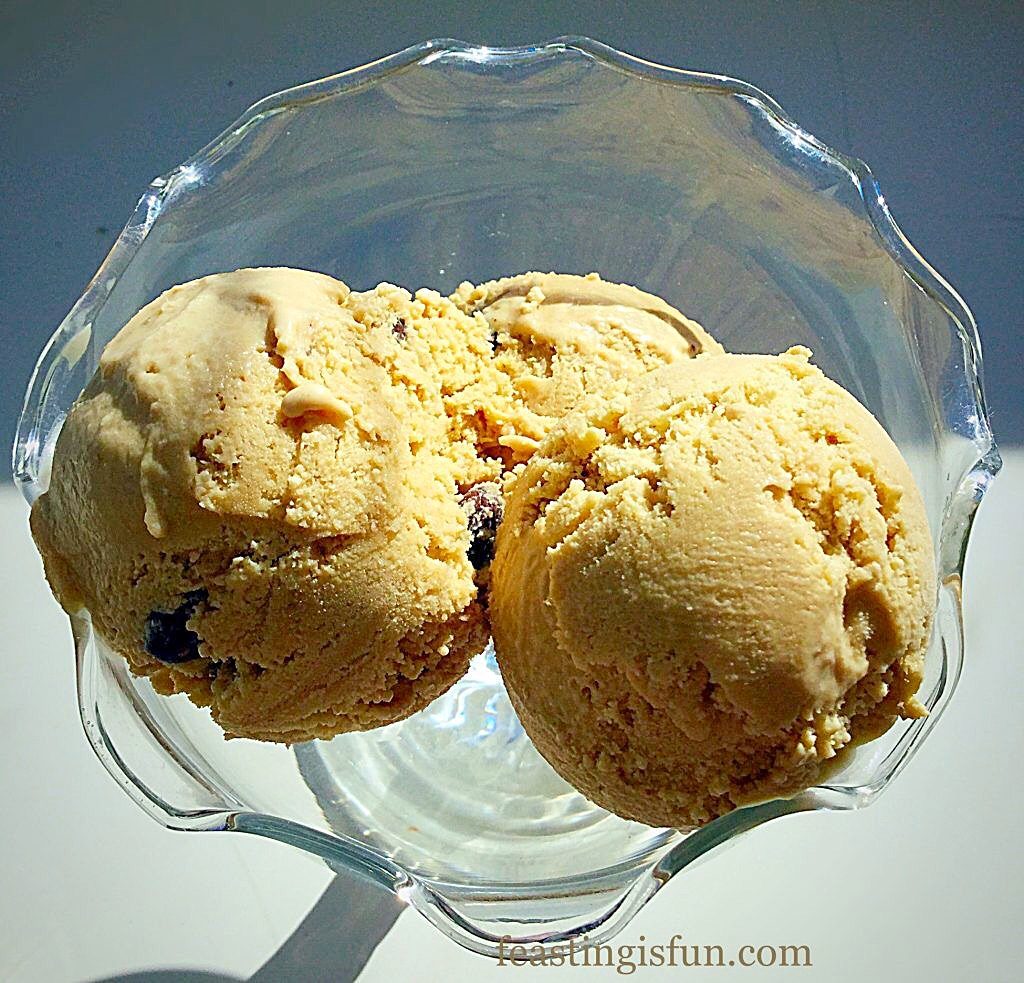
Making your own ice cream at home gives you complete control over the intensity of flavours. This Camp Coffee Ice Cream is how I’d drink my coffee, medium strength. You, however, can put as much, or as little Camp coffee as you like!
Churning this ice cream, in an ice cream maker, ensures it is silky smooth. If you like your ice cream just like that, leave out the chocolate coffee beans. Again, what you add is completely in your control.
So let’s show you how to make this delicious dessert, or fun treat.
Recipe: Makes 750ml Camp Coffee Ice Cream
300ml/ 1/2pt Double Cream
300ml/ 1/2pt Milk – Whole or Semi Skimmed
2tsp Camp Coffee – widely available in stores and online
4 Large Free Range Egg Yolks – the whites can be frozen for a month
1tsp Vanilla Extract – I use Nielsen-Massey
1tsp Corn Flour – I use Doves Farm as it is certified gluten free
5tbsp Caster Sugar
100g/4oz Chocolate Coffee Beans – mine were from Waitrose
Method: Ensure the ‘Frozen’ container part of your ice cream maker has been in the freezer for 8 hours, overnight, or according to the manufacturer’s instructions.
Note: For a step by step guide, with photographs, on making ice cream please see Very Vanilla Ice Cream.
Making the ice cream base
- Pour the cream and milk into a large, heavy bottomed saucepan and place over a medium heat.
- Heat the liquid until scalding point is reached – a rim of small bubbles will appear around the outside edge of the liquid – remove from the heat.
- Whilst the liquid is heating place the egg yolks, corn flour, sugar and vanilla extract into a large, heatproof bowl. Whisk until the eggs are pale and have increased in volume.
- With the whisk still running on low, slowly add the scalded cream mixture to the eggs, continually whisking.
- Whisk thoroughly until all the ingredients are combined.
- Tip the custard ice cream base back into the saucepan and place back over a medium heat, stirring constantly.
- Before putting the pan back on the heat I quickly wash and dry the original bowl used.
- When the custard has thickened and coats the back of a spoon remove from the heat.
- Pour the custard through a wire sieve into the large heatproof bowl.
- Add the Camp coffee and stir thoroughly.
- Place cling film directly on top of the ice cream base, to prevent a skin from forming.
- Allow the custard to cool slightly before placing in the fridge to chill thoroughly.
Churning the ice cream
- Once chilled, set up your ice cream maker according to its manufacturer’s instructions.
- Remove the cling film, stir the ice cream base and taste. If you wish to have a stronger coffee flavour add more Camp coffee, stirring and tasting until the desired strength is reached.
- With the ice cream machine switched on and churning, pour the ice cream base through the opening into the bowl.
- Churn for 15-20 minutes until the ice cream is thick, but not frozen solid.
- Switch off the machine and remove the top and the paddle.
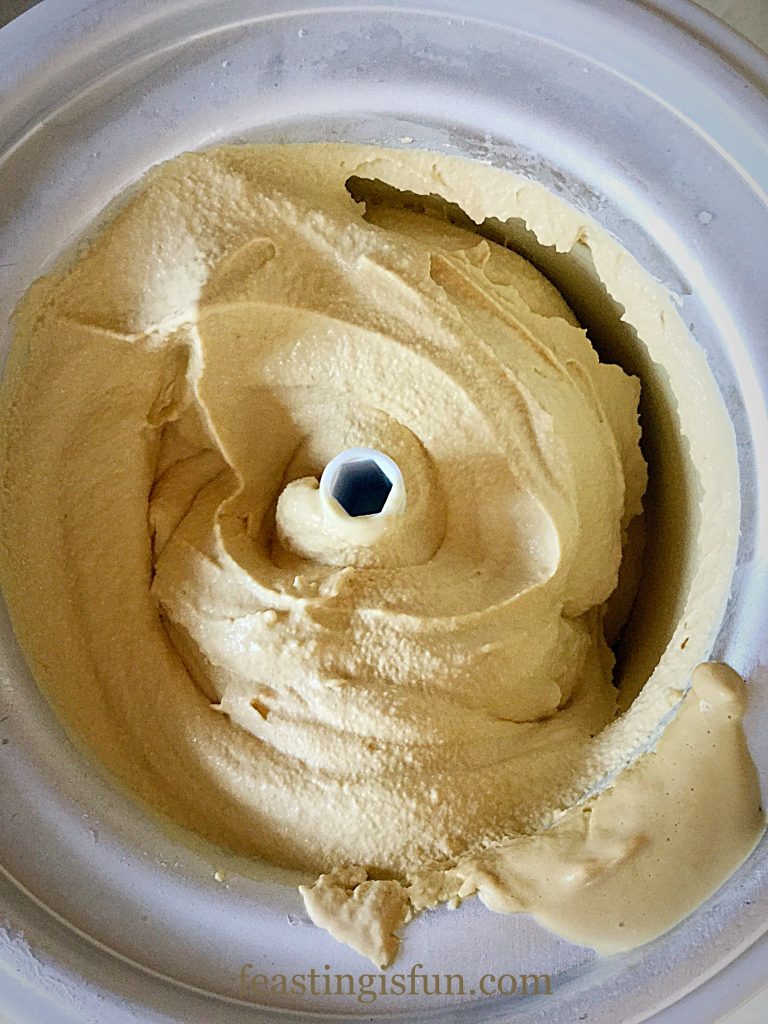
- Scrape as much ice cream as possible from the paddle (and then lick the rest off 😉).
- Using a deep silicone spatula transfer the rest of the ice cream to a freezer proof tub.
- Add the chocolate coffee beans and swirl through the ice cream using the handle of a wooden spoon.
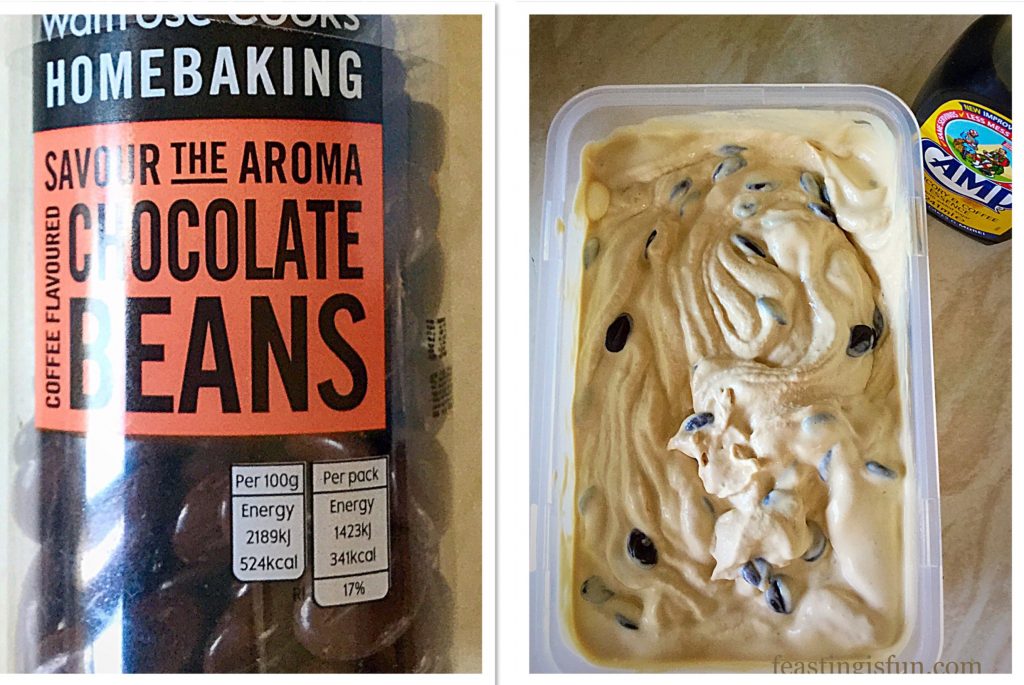
- Clip on a tight fitting lid and place the Camp Coffee Ice Cream into the freezer for at least 4 hours, longer if it is very hot weather, so that the ice cream completely freezes.
To serve, remove the ice cream from the freezer 15-20 minutes before scooping. As your ice cream is homemade and therefore does not contain any artificial softeners, preservatives or additives, it will take a little while to soften.
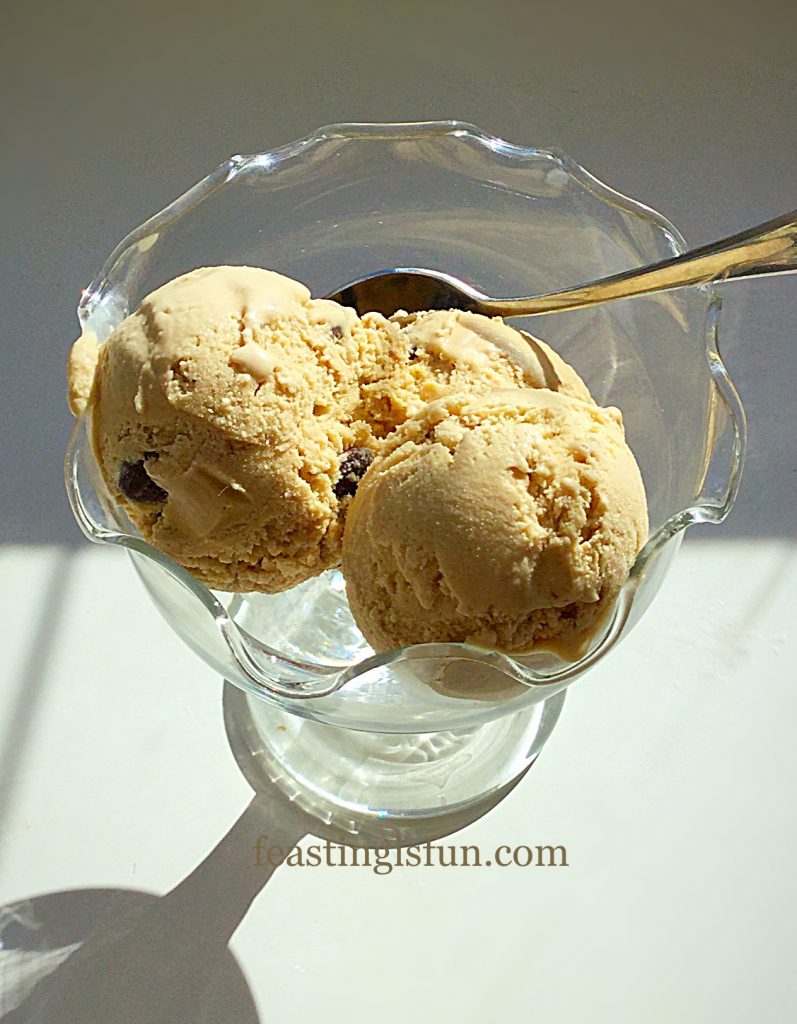
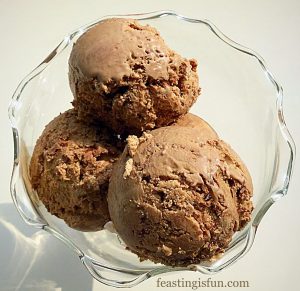
I like to serve Camp Coffee Ice Cream in a pretty bowl for dessert, or in a cone if we are eating in the garden and enjoying the sun. It’s not unheard of to be handing cones full of ice cream, over the fence to our neighbours either!
It’s definitely more fun to share.
If you have enjoyed this recipe for Camp Coffee Ice Cream you may also like these:
Blackberry Chocolate Chunk Ice Cream

I have a thing for hot and cold food together. So my Vanilla Fudge Chocolate Brownies with a scoop or two of Camp Coffee Ice Cream and hot custard poured over, would be my idea of pudding heaven!
That is exactly why I enjoy cooking and baking so much at home. The flavours and combinations are limitless, plus it’s usually a lot cheaper to make it yourself and tastes a lot better. Why? Because you can make it exactly how you want it to taste.
Whatever to are making, baking and creating in your kitchens, have fun creating you feast. Also if you have the means to share some of your bakes, it is so rewarding. Seeing someone smile as you hand them a slice of cake, knowing they have not been forgotten about, simply because the can’t get out and about. We live in communities. Let’s make someone’s day with a surprise treat?
Sammie xx
Camp Coffee Club provided me with the Camp coffee to make this recipe. All opinions, views, content and photography are my own. Please see my Disclosure Policy.
