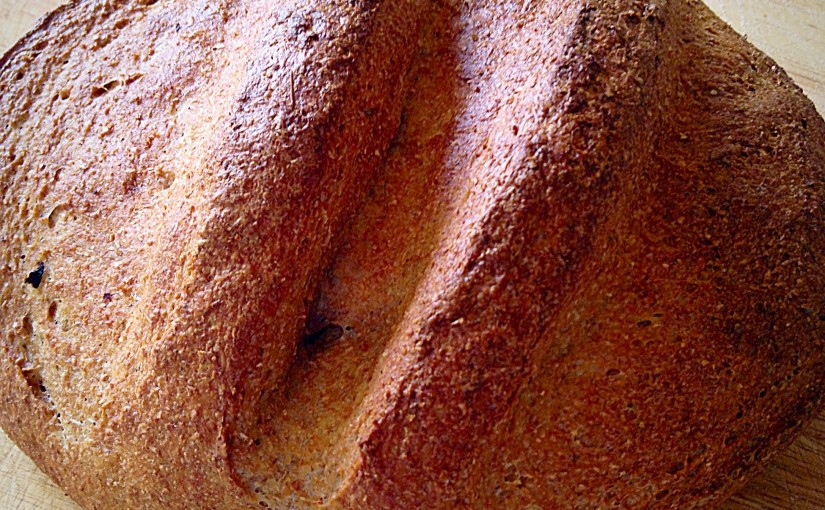
Hi, I’m so excited. I have a secret to share with you. 100% wholemeal bread that’s not heavy! My Wholemeal Cob Loaf is delicious, nutritious and so tasty – oh and did I mention it’s not heavy, like some 100% wholemeal loaves can be.
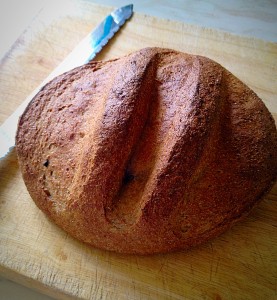
The trick, I’ve found, to make a Wholemeal Cob Loaf that ISN’T dense, is to triple prove the dough. This is most definitely a loaf that cannot be rushed. But hey, it’s not like you have to do anything while it’s proving! It’s very happy to be left alone!!! Also I used my bread maker to mix, prove, knock-back, prove etc. All I had to do was shape the final loaf. But it could easily be made by hand, with kneading and knocking back adding only a few extra minutes. Trust me it’s so worth it!
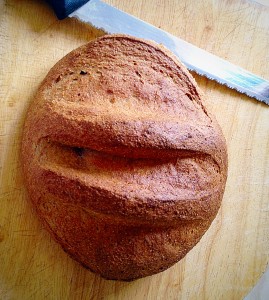
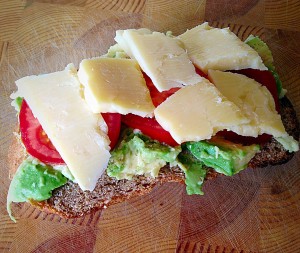
This Wholemeal Cob Loaf delivers massively on flavour. A deep flavoursome loaf that is part of a sandwich or toast, not just a medium for the topping or filling. Being 100% wholemeal ensures each slice is loaded with fibre and being homemade there are no artificial additives. A great tasting loaf that’s good for you. I also prefer to bake with Organic flour, so my loaf is as wholesome as it can be!
Recipe : Makes 2 Medium Wholemeal Cob Loaves (or 1 large)
450g/1lb Wholemeal Bread Flour
2tsp/1 x 7g Sachet Dried Yeast
1tbs Honey
300-350ml Water
1tsp Salt – or 1.5 tsp Maldon Sea Salt
1tbsp Butter or Olive Oil
Method : Given for bread maker/Stand mixer with dough hook.
Pour 300ml warm (body temp) water into the bowl. Add the honey and yeast. Swish around with clean fingers to mix.
Add the flour on top of the liquid mixture.
Next add the salt and butter/oil.
Set the bread maker to mix and prove the dough – the mixing cycle should last at least 10 minutes.
For a stand mixer switch on to a low/medium speed and mix for 15 minutes.In both cases check the dough, if the machne is labouring and the dough doesn’t seem soft, or it looks dry, add more water, 15ml at a time, until the dough is pliable and soft (no cracks).
The weather and flour can both influence how much water is needed. With wholemeal flour I would always err on the side of a slightly wetter dough, you don’t want to have dry bread!
With the stand mixer, after mixing place the dough in an oiled bowl, cover with cling film. When doubled in size return dough to the mixer bowl and mix again fo 15 minutes. Repeat proving and mixing process once more (total 3 proves, 3 mixes/knock backs).
If using a bread machine once the dough has been proved once, repeat the mixing (which will knock bake the dough) twice more.
Utimately this dough needs to be proved 3 times – trust me it’s worth it.
The third prove is the final prove, this is where you shape the dough.
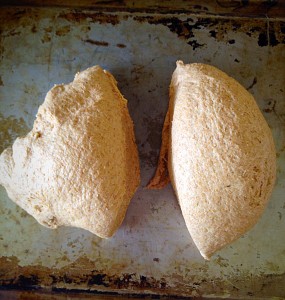
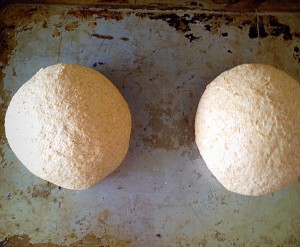
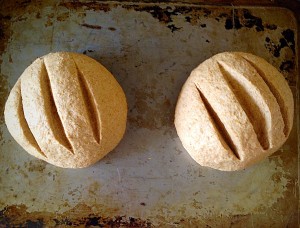
Tip the knocked back dough onto an oiled baking sheet. Form into a round.
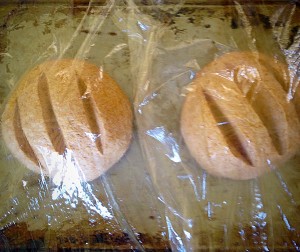
If baking one loaf, cover in oiled cling film and leave to double in size away from drafts.
Preheat your oven to its highest setting 230C/gas mark 8
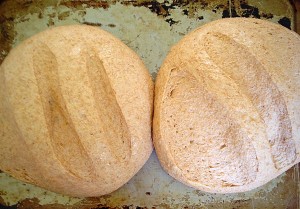
If you have a water sprayer (I keep one especially for bread), once the cling film is removed, spray the loaves and the inside of your oven as you put the loaves in. If not place a tin of hot water in the bottom of the oven whilst you are preheating it. The steam not only helps the dough to rise more fully before it sets, it also helps create a lovely, crisp crust.
Bake for 15-20 minutes (longer if you are baking one large loaf 30 minutes). The loaves are baked when they have a deep golden crust and sound hollow when rapped on the bottom with your knuckle. Remove the loaves from the oven and allow to cool on a cooling rack.

I made 2 loaves and gave one to my mum. We were both really impressed with the flavour, texture and lightness of this bread.
This is without doubt the best 100% Wholemeal bread I’ve ever made, possibly ever tasted. I used Bacheldre Organic Wholemeal Bread flour.
Please let me know if you make this bread?
Also do you use your bread maker to do the hard work and then finish the loaves off in the oven, or is it just me??
if you enjoyed making this recipe how about trying these:
Sammie x
This bread is fantastic. So lovely and moist
Thank you Rebecca. I have just made some 100% Wholemeal Hot Cross Buns which shall be going on the blog tomorrow. I hope that you will give them a try. 😉
Hi Sammie, At last! Time to write a comment on your blog & thank you for the wonderful wholemeal bread and delicious gluten free cookies, they taste even better than they look the photographs. We all agree that the bread is the best wholemeal we have ever tasted, the only disappointment was coming to the end of the loaf! Thank so much darling, it really is something special Love from both of us x
Thank you. So glad you both enjoyed the loaf. There will be more!! X
This looks so incredible. The crust truly is making me drool. :]
Thank you Carmen, spraying the oven with water really helps get the gorgeous, crisp, crust!
Oh man that looks awesome. I need a breadmaker! Although I think I would have a hard time limiting myself. The smell and taste of homemade bread brings a smile to my face. I’m glad I discovered your site. Thanks for sharing.
Thank you for your lovely comment Viviana. I’m glad you found my site too – I’m going to pop over and have a look at yours! Having a bread maker really does take the physical hard work out of making bread. I wouldn’t be making it otherwise!
Wow! The crust on that is GORGEOUS! (Love the slashes, am big on that!!) Thanks for the prompt, I haven’t made bread in weeks. Must get on it! 🙂
Thanks Nagi, I always slash the bread before the final prove, I can’t get it to stop the bread deflating if it’s after the prove let me know what bread you make?
Beautiful crust! I don’t bake bread very much. I probably should because my family goes crazy when there a fresh baked loaf in the house.
Thank you for your lovely comment. This loaf could easily be baked as one in a tin!
Oh your bread looks lovely! I wish I was better at making bread!
Thank you Marie. I have 2 really easy recipes Crunchy Seeded Bread and Crusty White Bread – Delicious that are both very easy recipes, with good results! If you want to be tempted to try bread making. I really love your site and regularly read your posts.