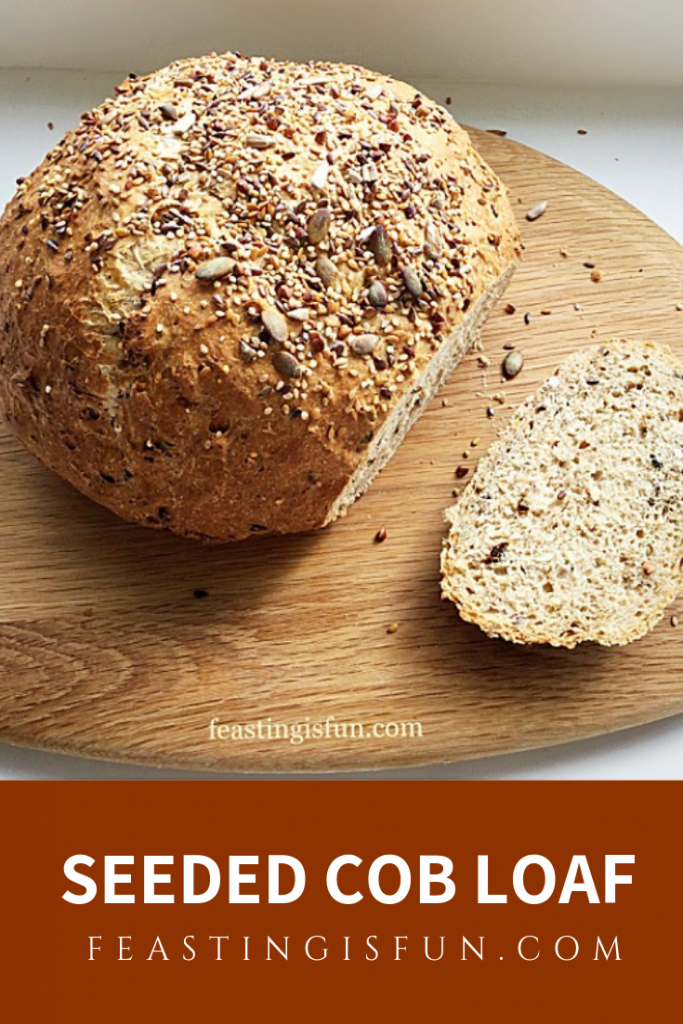
Seeded Cob Loaf

Share
Facebooktwitterpinterestlinkedintumblr

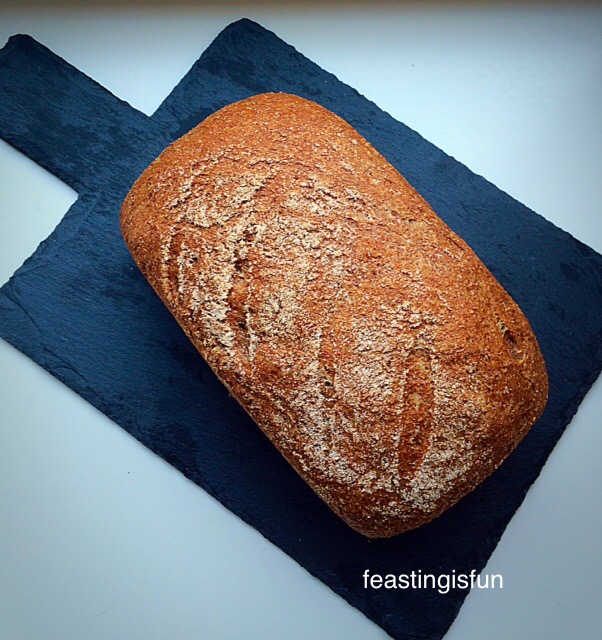
Bread is an everyday essential for most people in the Western world. And is available in different shapes, sizes and varieties. With the most popular bread, judging by the number of loaves sold each year, being sliced, predominantly white, plastic wrapped loaves. Yet what do offer in terms of flavour? In my opinion very little! Rather they are a carrier of flavours. Whether ham and mustard, egg and cress or the numerous filling combinations, the bread itself adds little to the taste or nutrition value of a sandwich. So, when you make this Seeded Cob Loaf, your world and tastebuds will open to the real flavour and texture of good, homemade bread.
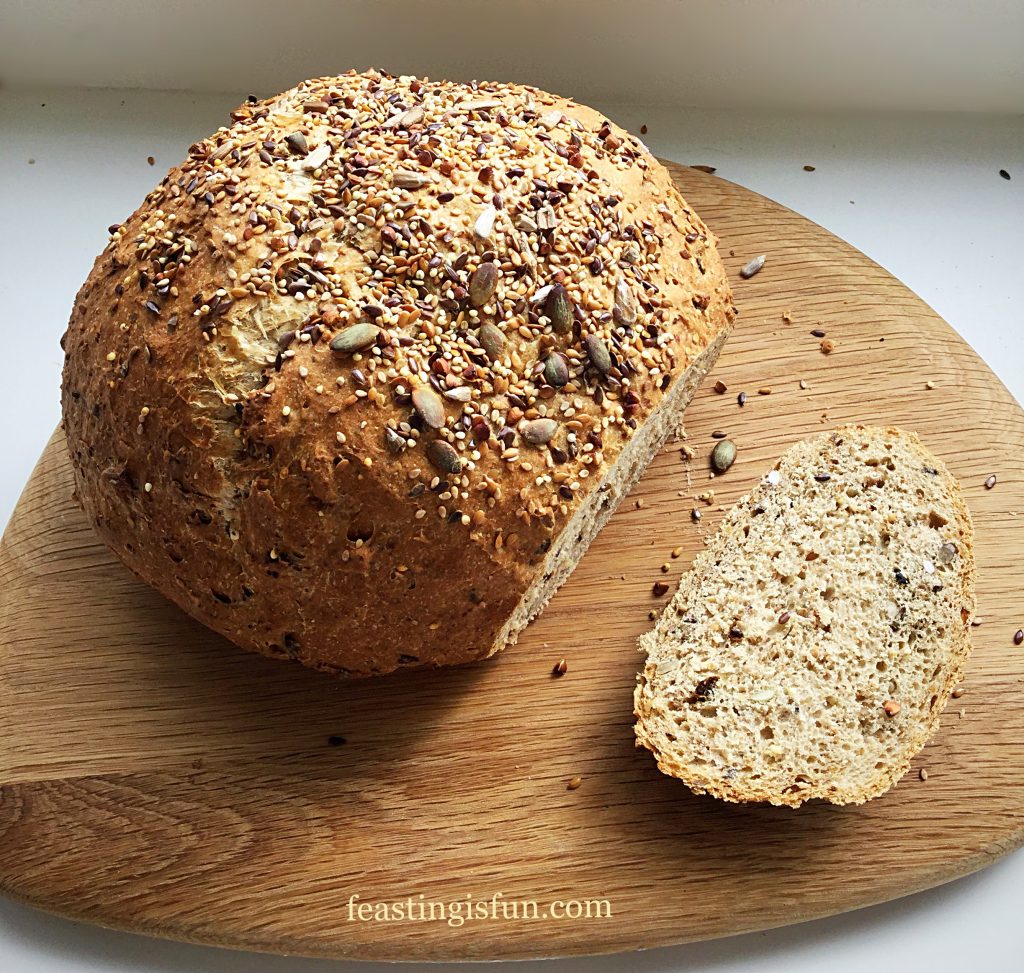
FF Seeded Cob Loaf
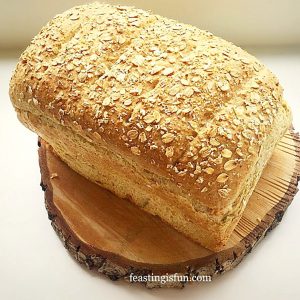
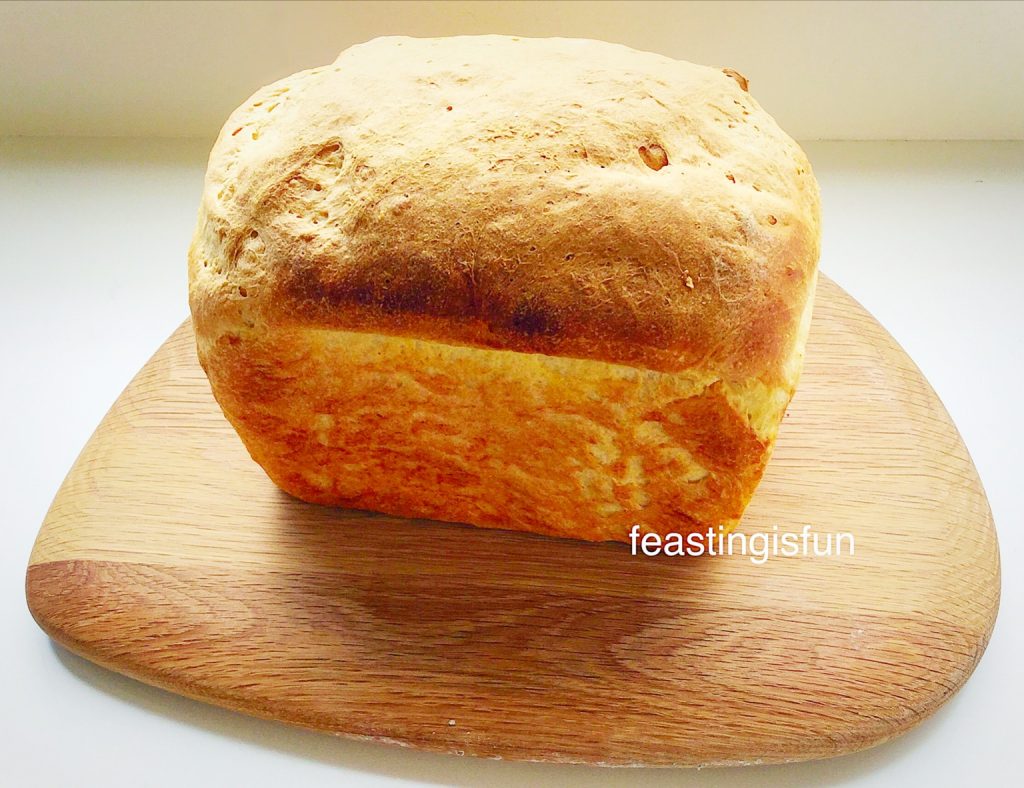
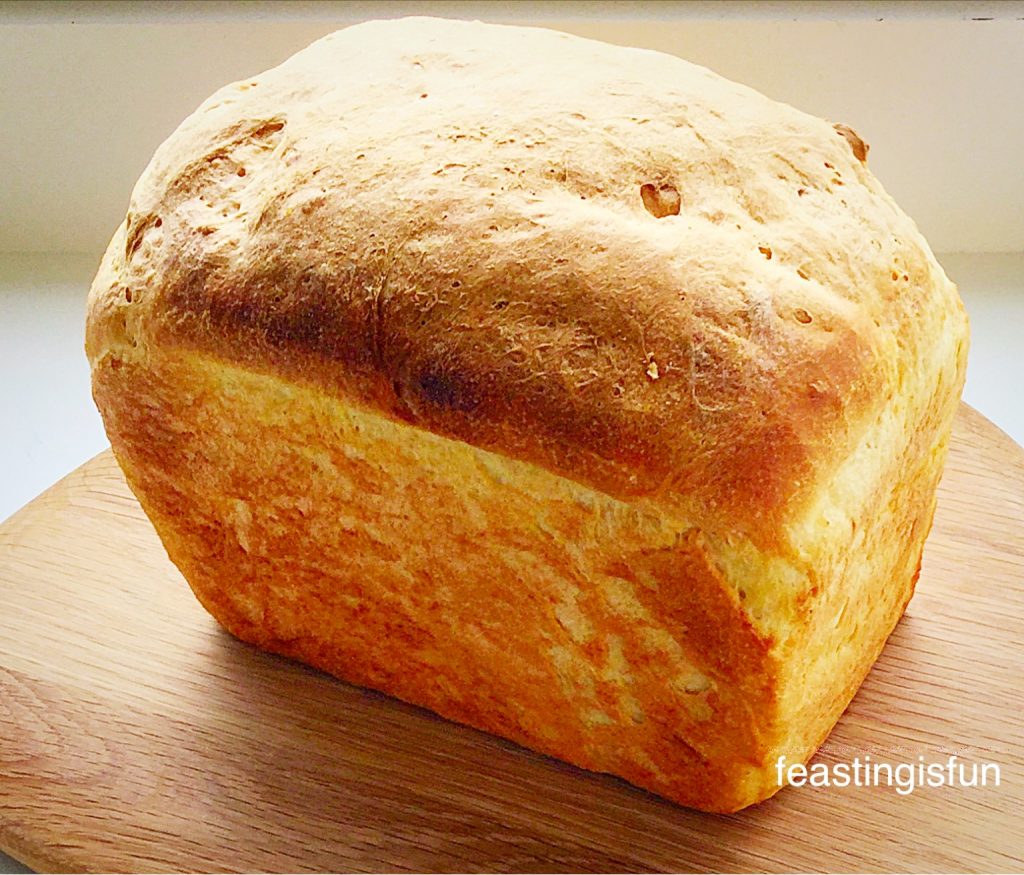
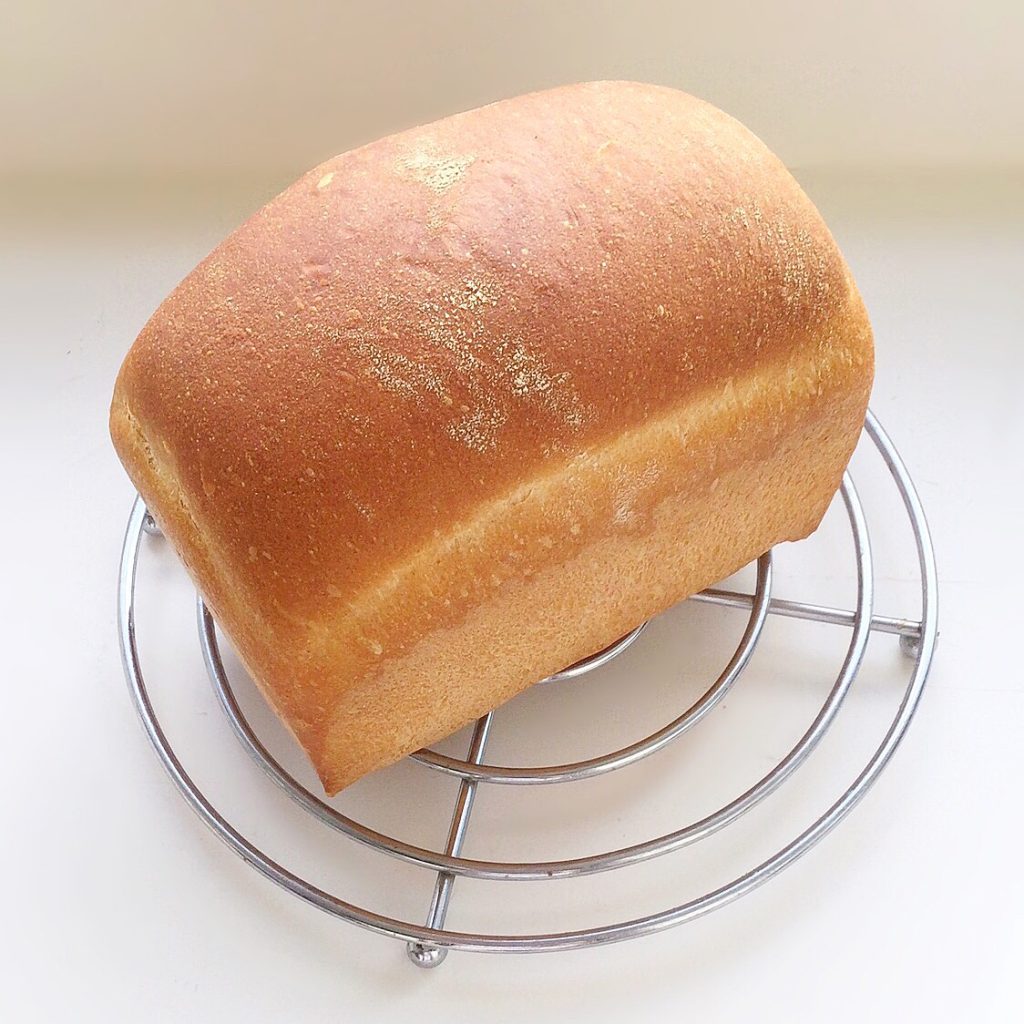
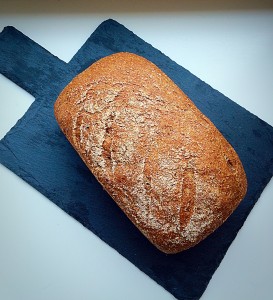
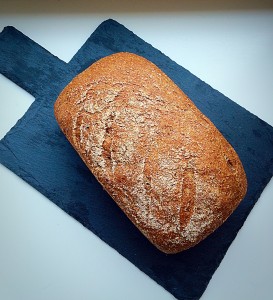
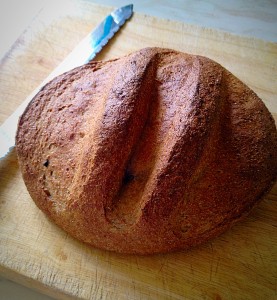
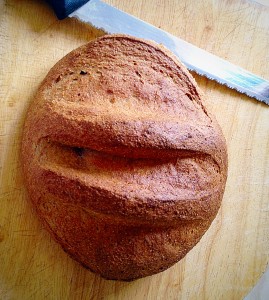
Seeded Cob Loaf full of flavour.

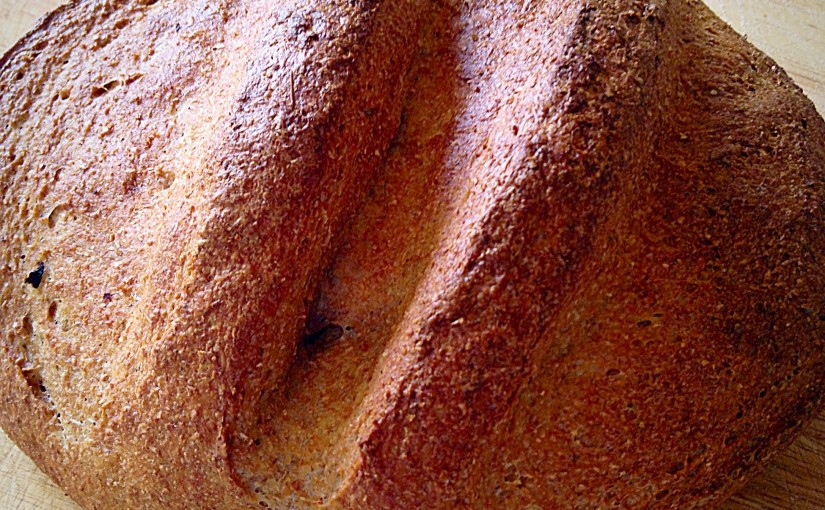
Seriously, this could be called ‘Change Your Life Seeded Cob Loaf.’ Because, as soon as you make it, with your own hands, bake and then try it, you will find it hard to go back to your usual loaf. Since it not only does it have incredible flavour, it’s cheaper, far healthier and more rewarding than plastic wrapped loaves.
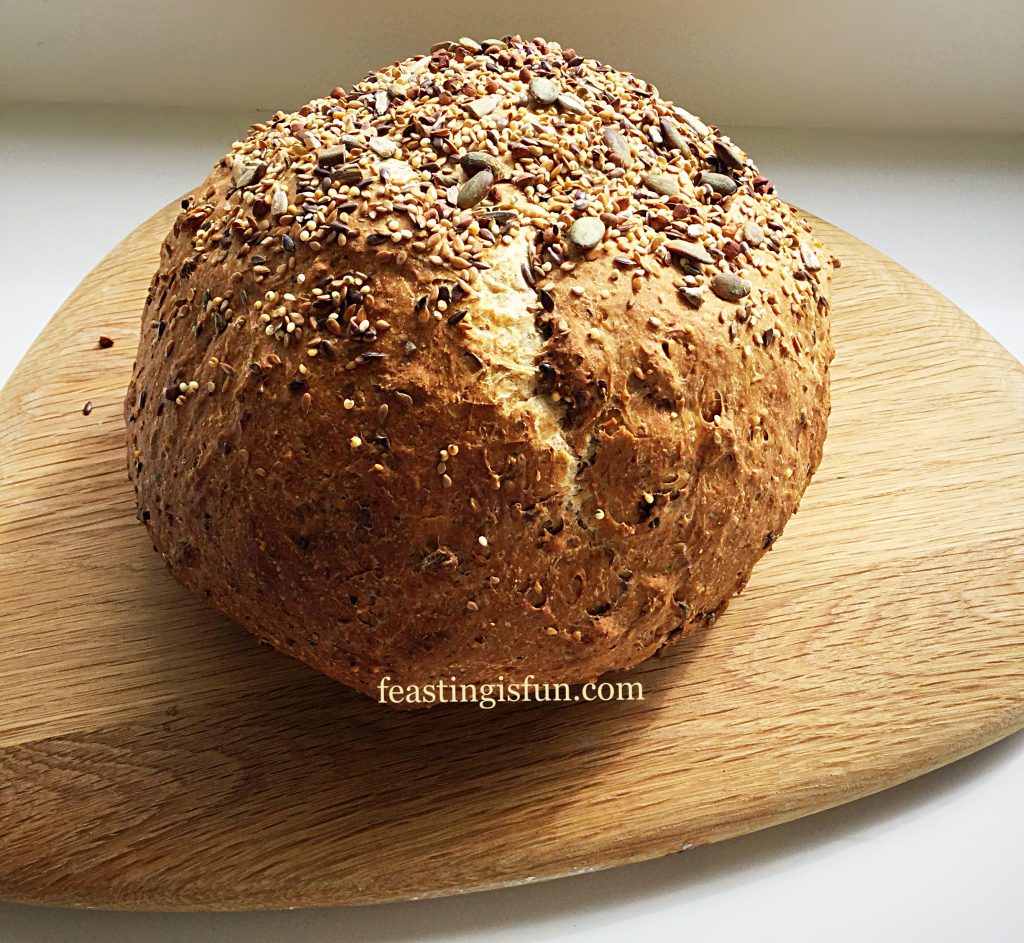
FF Seeded Cob Loaf
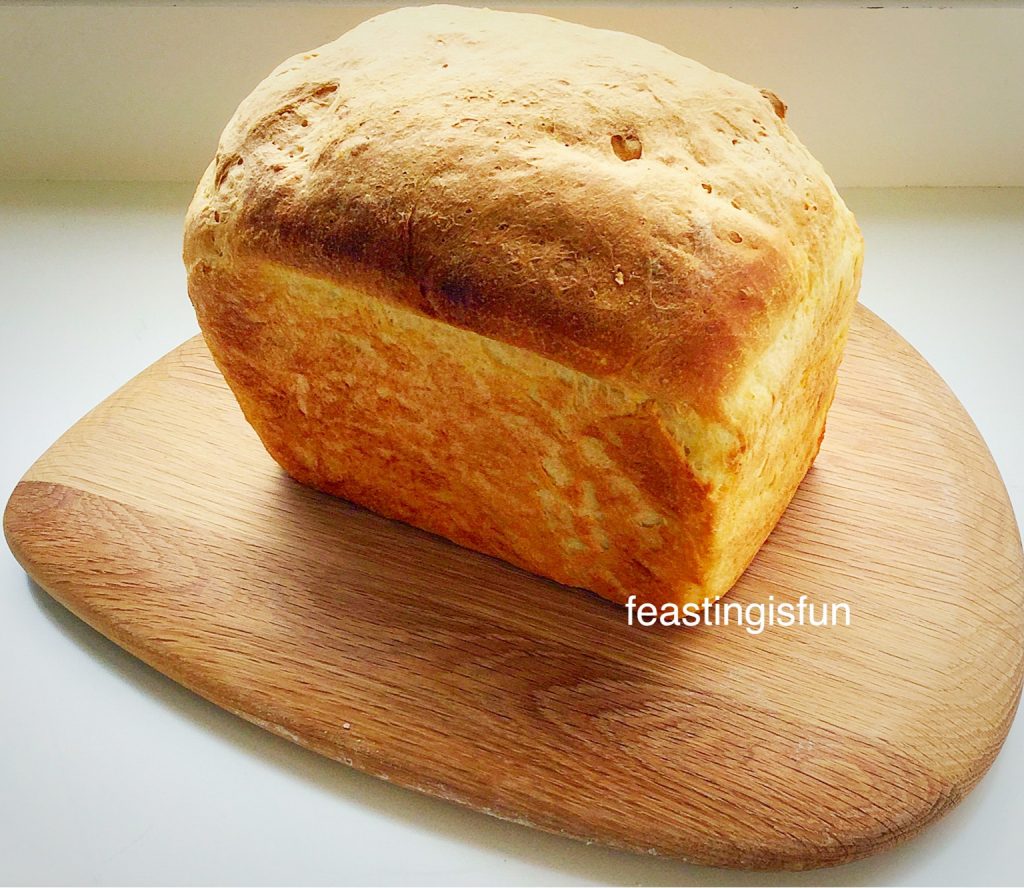
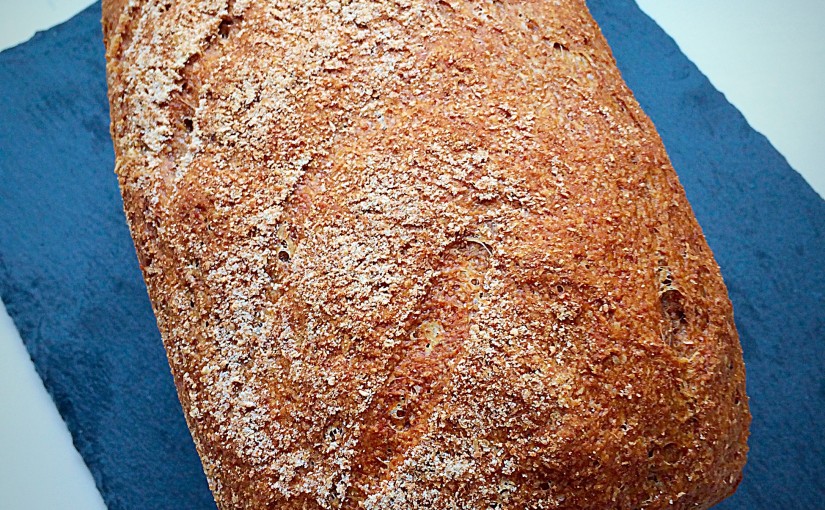
Seeded Cob Loaf baked in a standard fan oven.

The Benefits Of Homemade Bread

Also, an important benefit from making bread at home, is that you, the baker, know exactly what goes into your bread. Flour, yeast, water, salt and a little unsalted butter. No preservatives, additives, flour improvers or any other number of E numbers found in mass produced bread. Simply a great tasting homemade loaf.
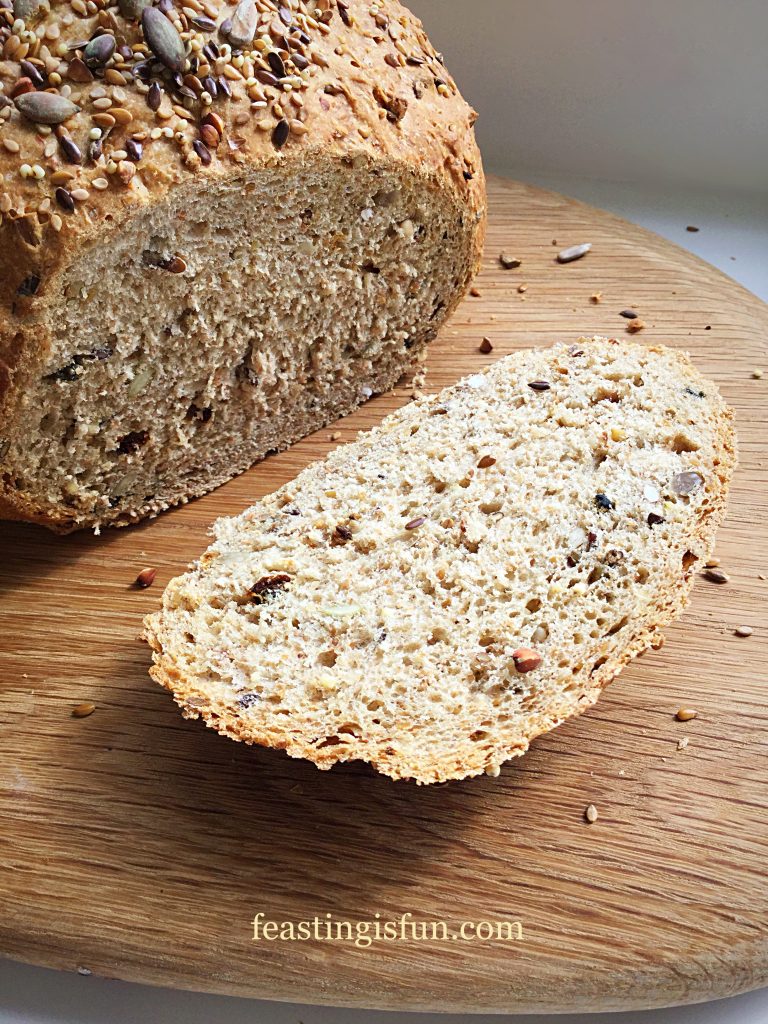
FF Seeded Cob Loaf
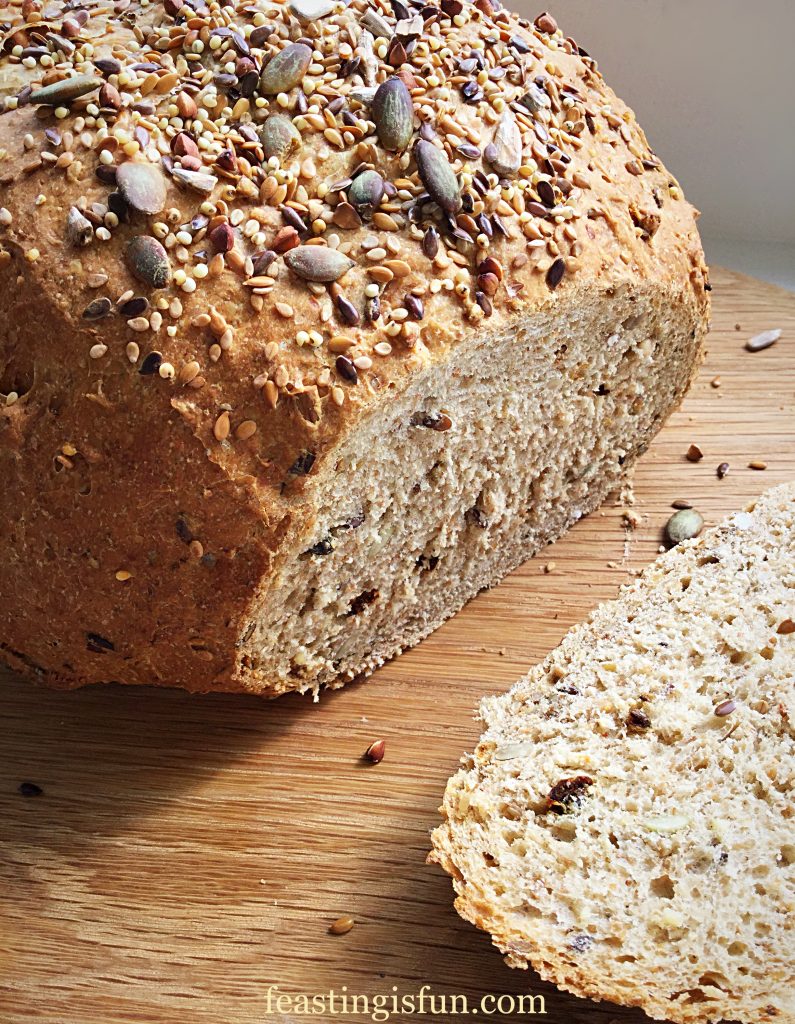
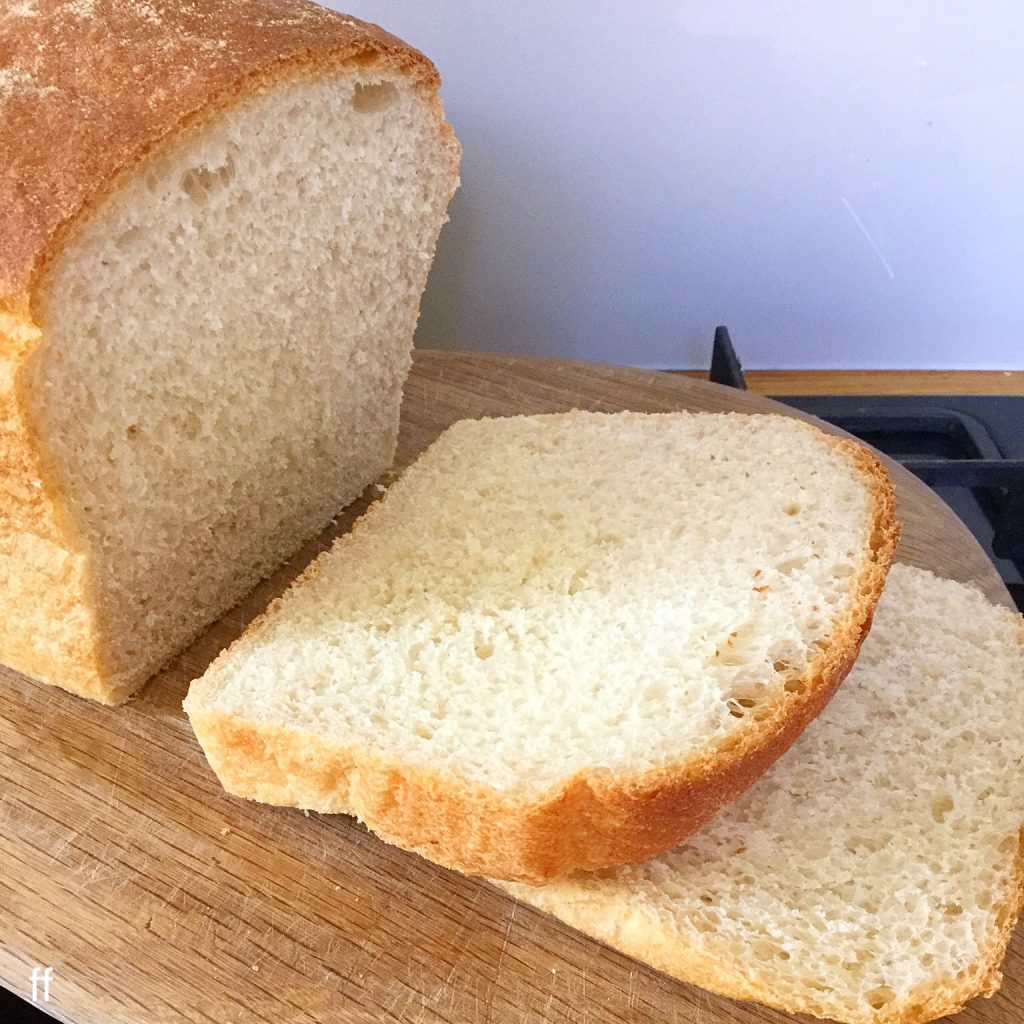
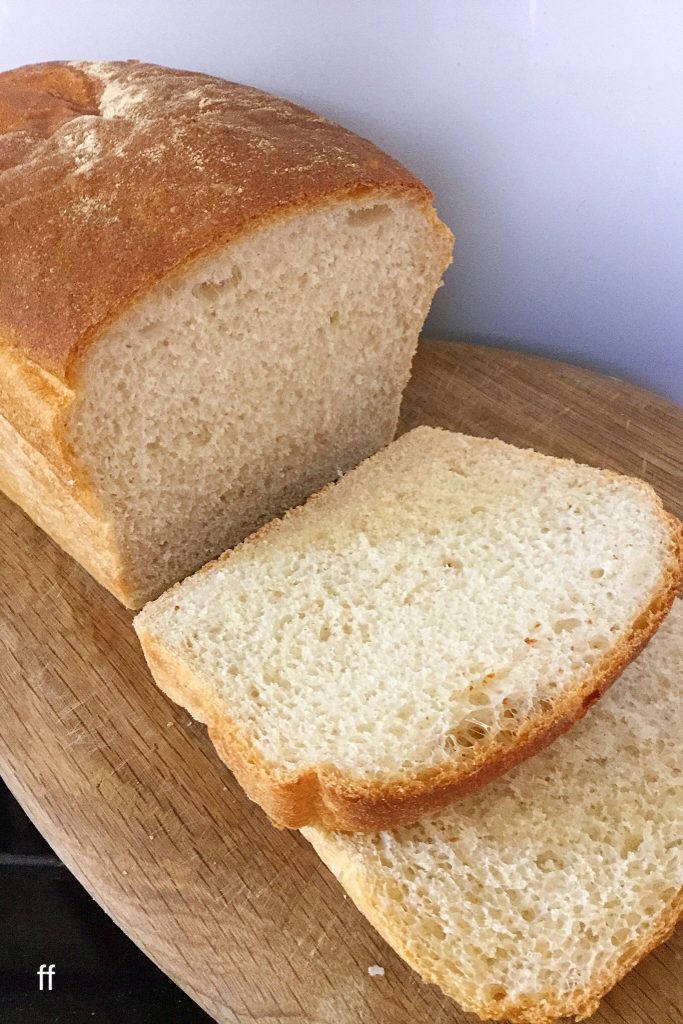
Sliced Seeded Cob Loaf.

Personally, this is one of the very best loaves I have made. Most importantly, I check my recipe twice, baking on two different days, to check consistency. Since tasting the first slice, lightly buttered, I have been eager to share this with you. Such is the depth of flavour and ease of shaping. Credit goes to Jack at Bake With Jack . Because watching his vlogs will improve both your knowledge and technique, when making bread at home.

Recipe: Makes 1 Seeded Cob Loaf

400g Wholemeal Seeded Bread Flour I use 3  Malts Sunflower from Shipton Mill – alternatively use half Wholemeal Bread Flour and half Strong White Bread Flour (250g + 250g = 500g total flour weight)

100g White Bread Flour (do not add if making your own flour mix – see above)

7g Fast Action Dried Yeast – I use Allinson’s

340mls Room Temperature Water

50g Mixed Seeds – plus a small handful for sprinkling on the loaf

30g Softened Unsalted Butter

7g Salt – I use Maldon

Method: I use a stand mixer fitted with a dough hook, alternately this bread can be made by hand.

Note: For complete accuracy the use of digital scales is advised. Even for weighing water, 1ml is equivalent 1g.

Making The Seeded Cob Loaf Dough Using A Stand Mixer

  • Into the bowl of the stand mixer weigh the water and yeast.
  • Next, add both flours and the additional 50g of seeds, even if you are using seeded flour.
  • On top of the flour add the salt and cubed butter.
  • Lower the dough hook and mix on slow for 5 minutes, then increase the speed and mix for a further 5-10 minutes on medium. The dough is ready when it can be stretched without tearing and light can be seen through the stretched dough. This is known as the windowpane test.
  • Use clean hands to scrape any dough stuck to the dough hook back into the bowl.
  • Cover the bowl with a clean tea towel and place on a surface that is draught free.
  • Leave the dough to prove until doubled in size. This may take between 1-2 hours, depending on the room temperature.
  • While the bread is proving, grease a large baking tray with a little butter.

Knocking Back And Shaping The Dough

  • After proving scatter a very small amount of flour on to the work top.
  • Turn out the dough ensuring the domed top becomes the bottom and the sticky underneath is uppermost.

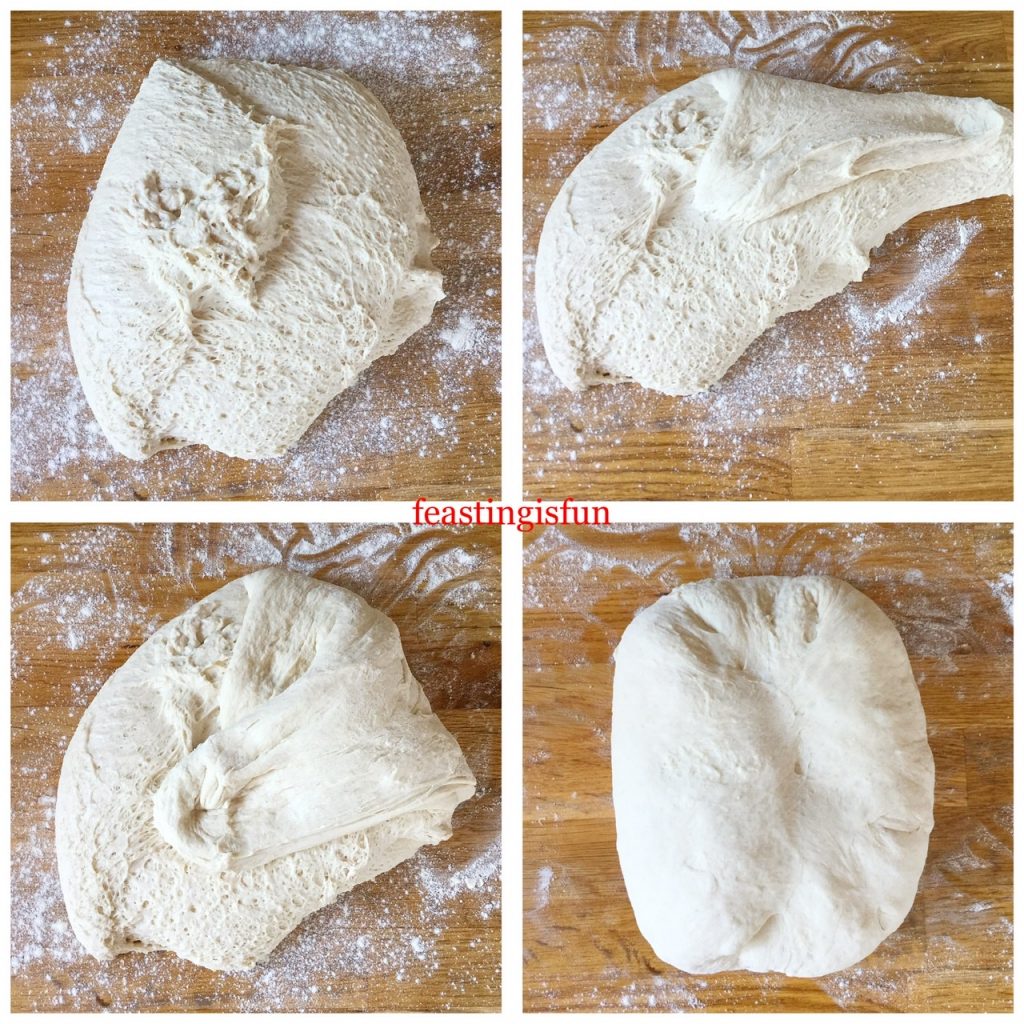
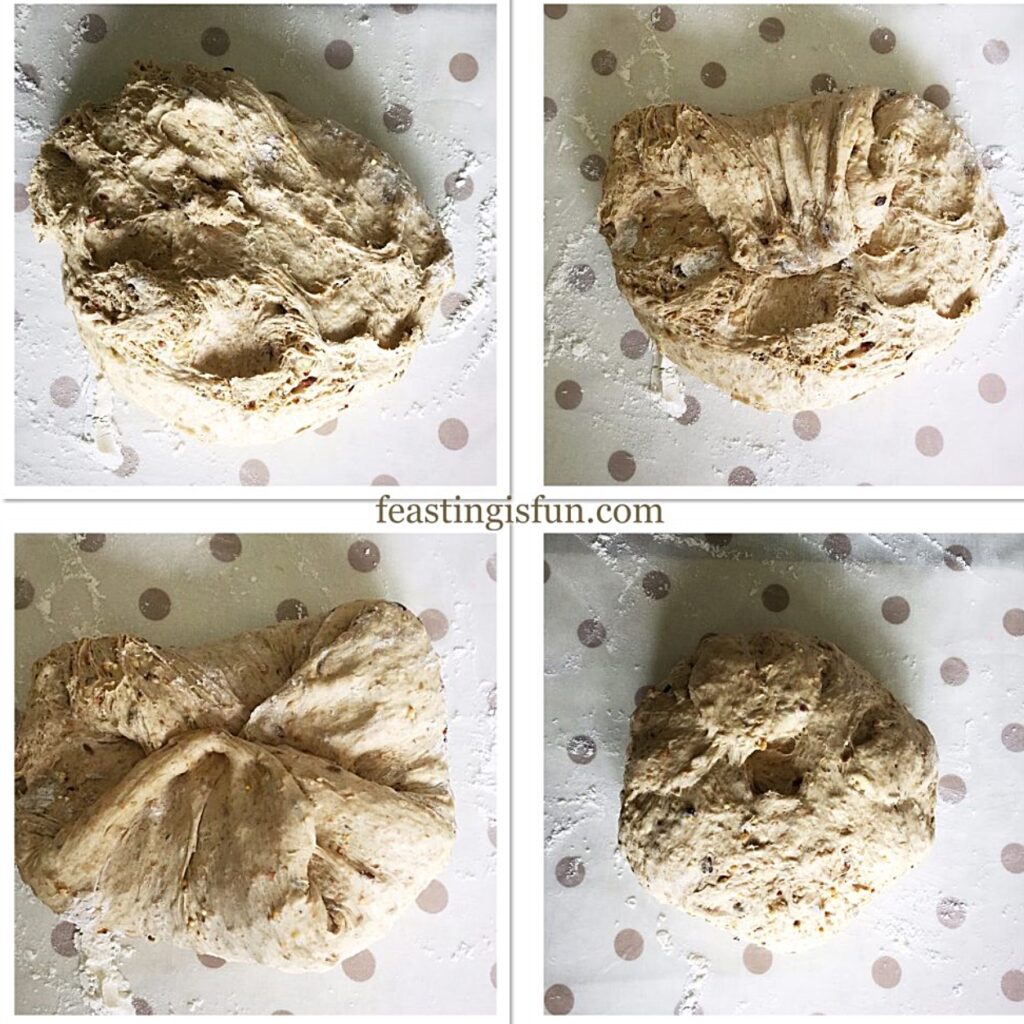
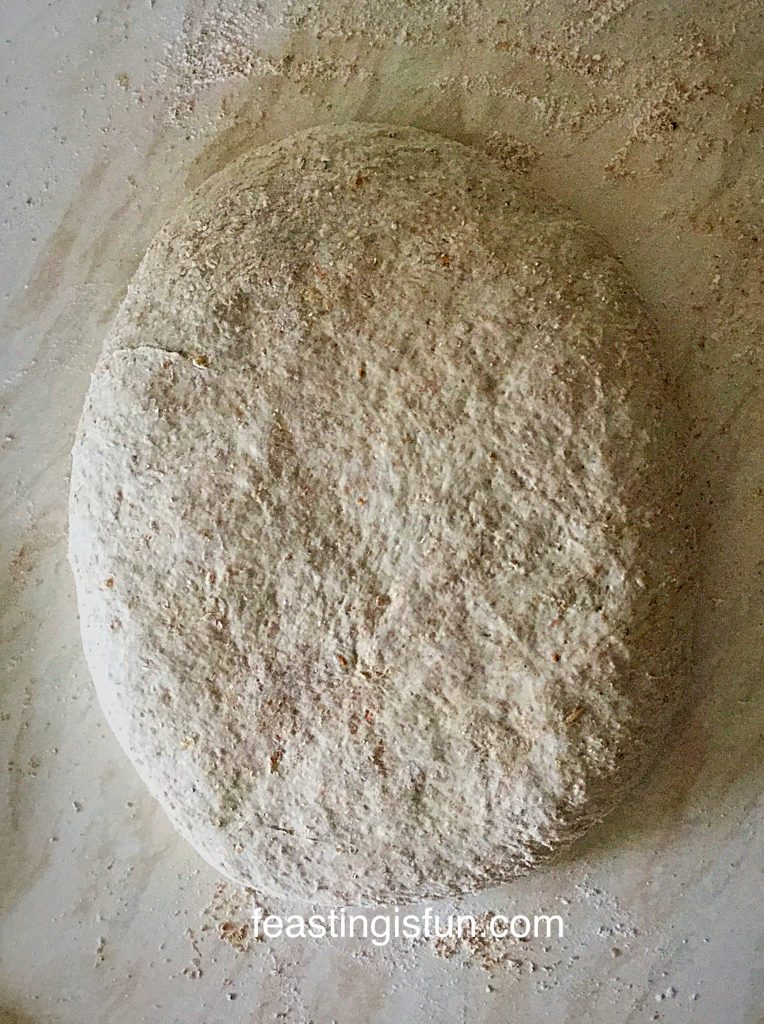
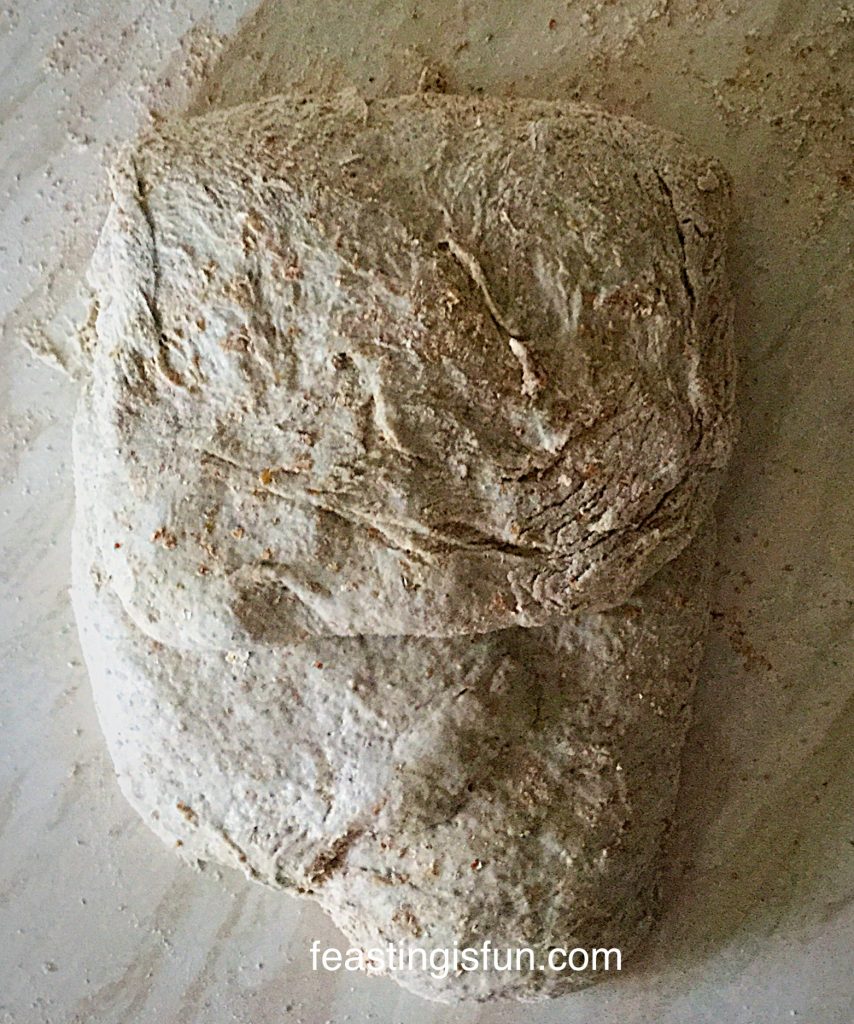
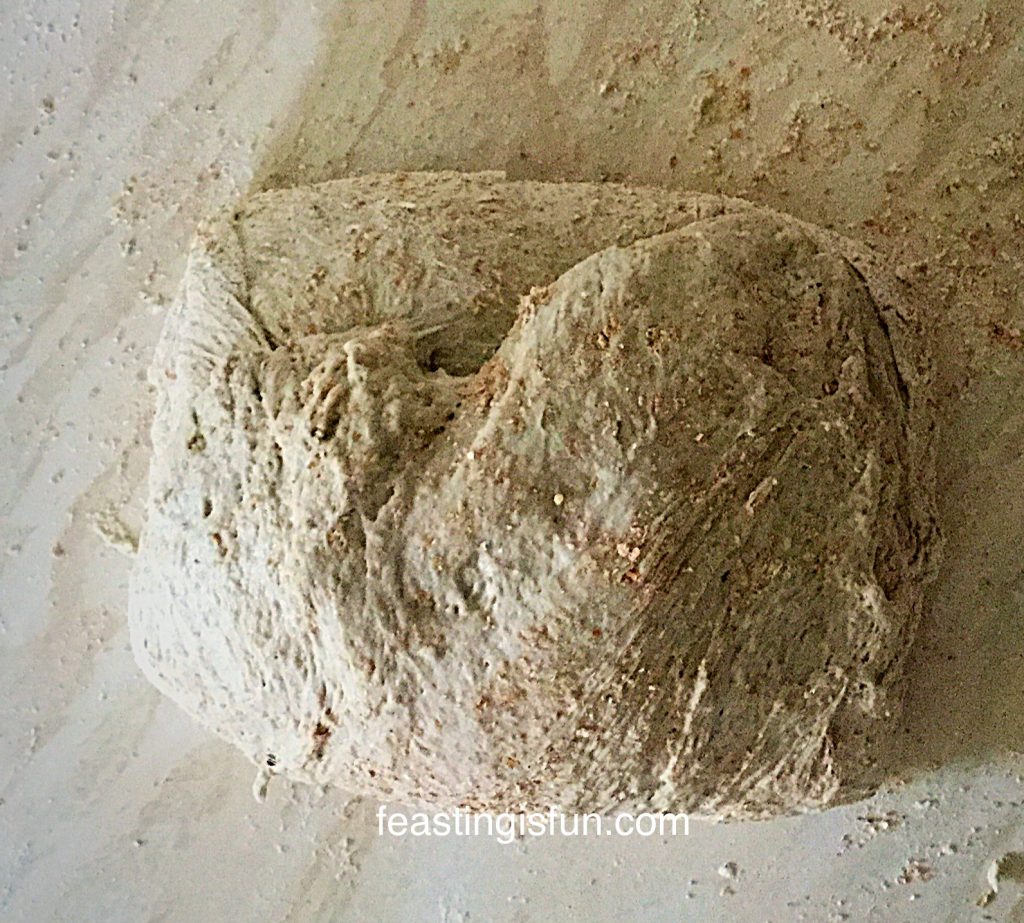
Shaping bread dough into a round.

  • Following the pictures above, shape the dough. First pull the edge of the dough and press it down into the sticky centre. Continue, working around the edge of the dough, pulling out and pressing in. While doing this, tension is being built across the top of the loaf, (the underneath of the dough), this helps ensure a tight ball shape that doesn’t collapse whilst proving or baking.
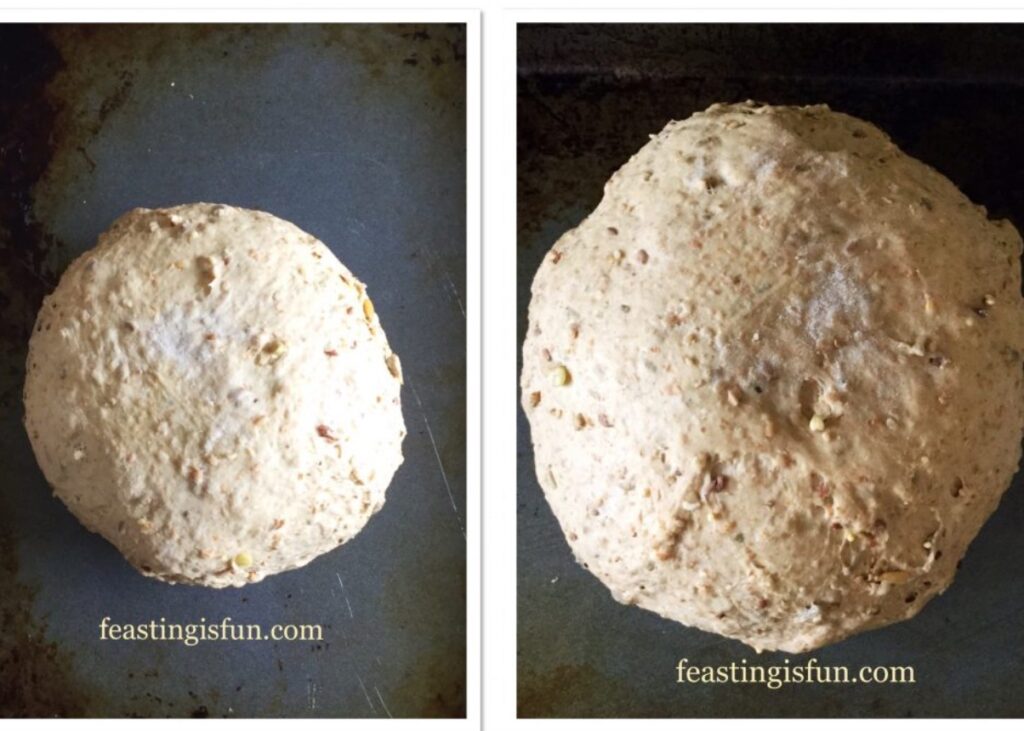
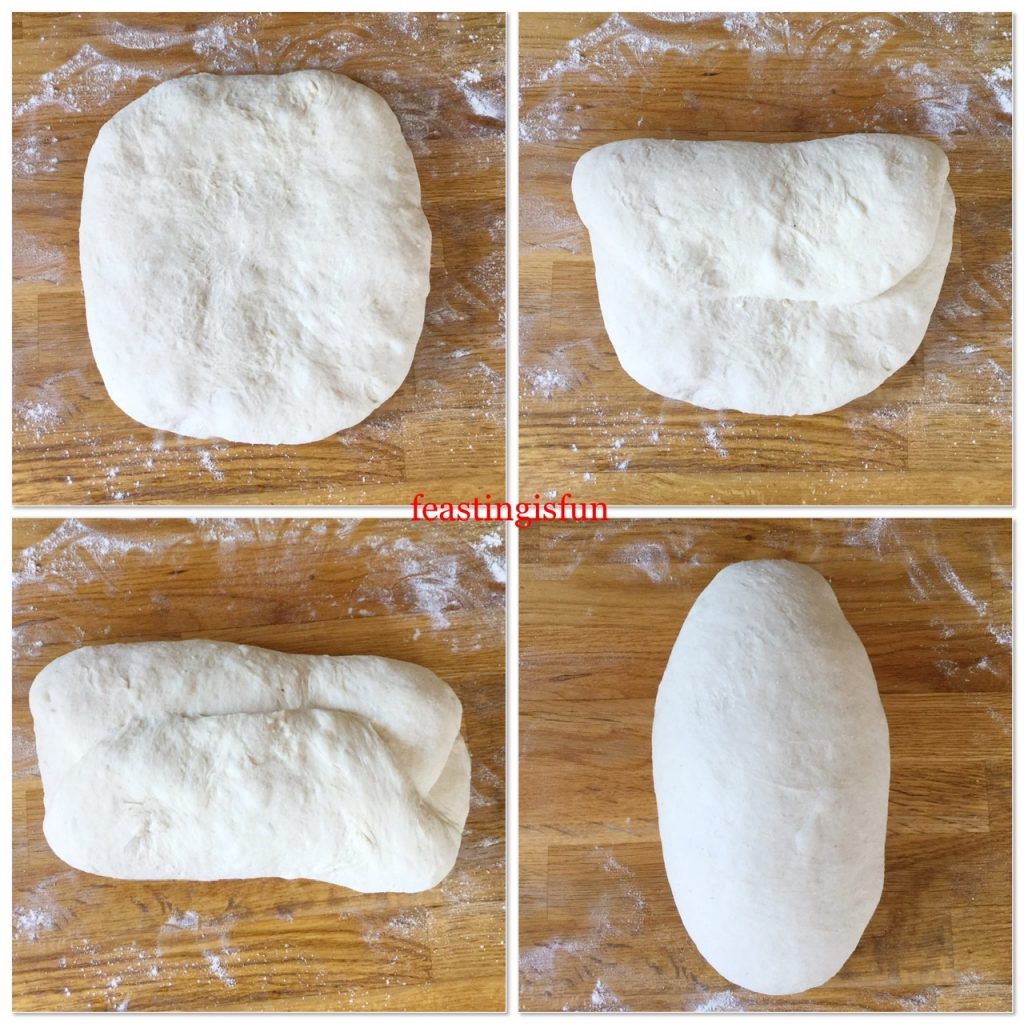
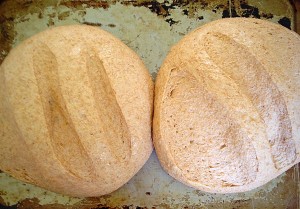
  • Keep working around the edge of the dough until you achieve a tight ball, as seen in the left of the photo below.

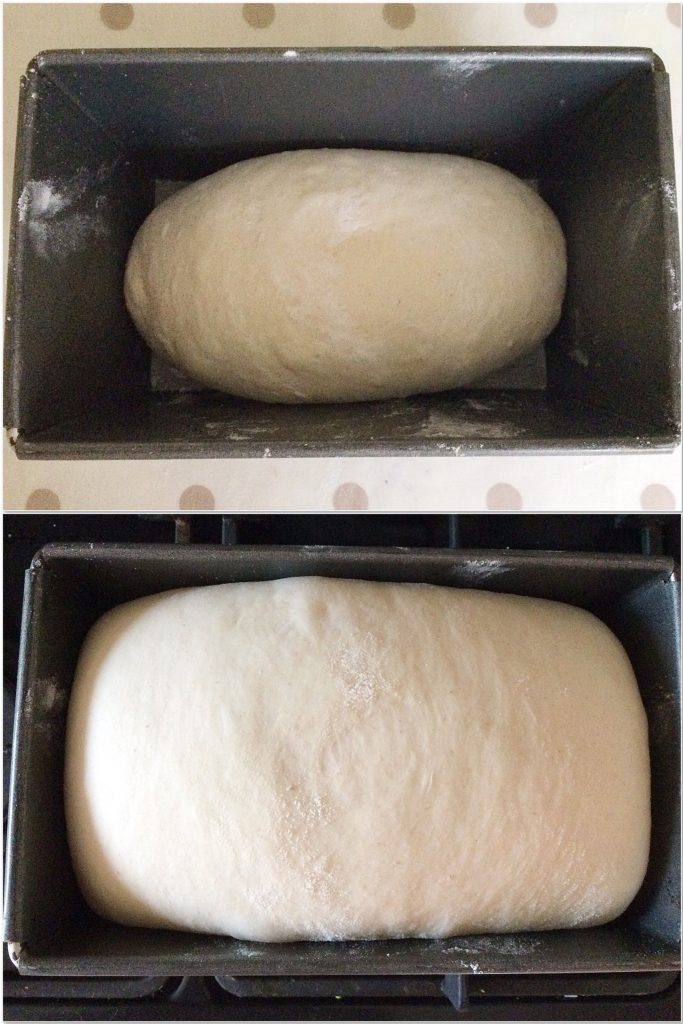
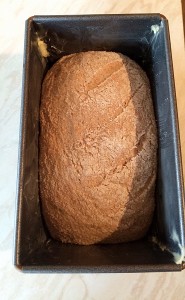
Dough before and after the second prove.

  • Cover the dough ball with the tea towel and leave until doubled in size. See photo above on the right.

Baking The Cob Loaf

  • While the dough is undergoing its second prove Preheat the oven to its hottest setting. Add a tray of water to the bottom of the oven. Since adding water provides steam which helps the dough to rise (oven spring) before forming a crust.
  • As soon as the dough has doubled in size, it is ready to bake. Remove the tea towel and brush the top of the dough with water. Then sprinkle over the remaining seeds.
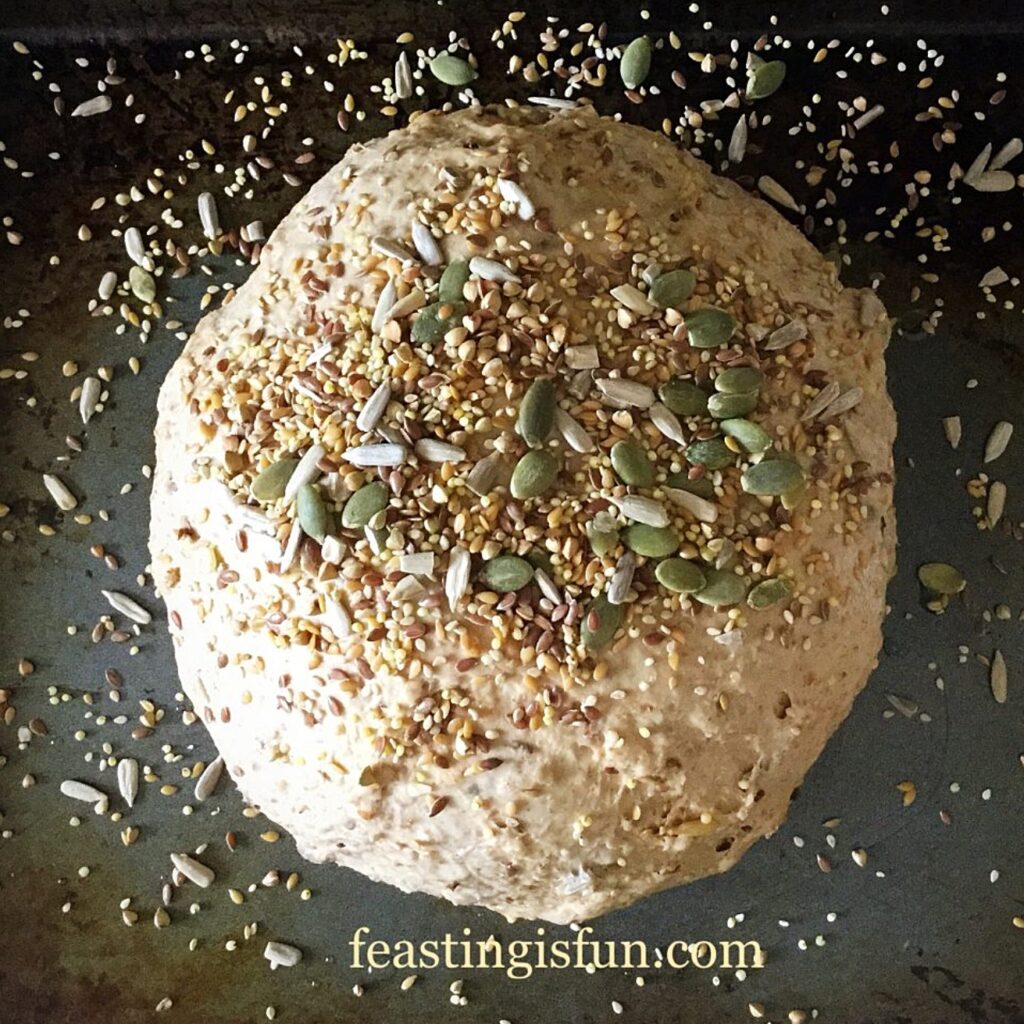
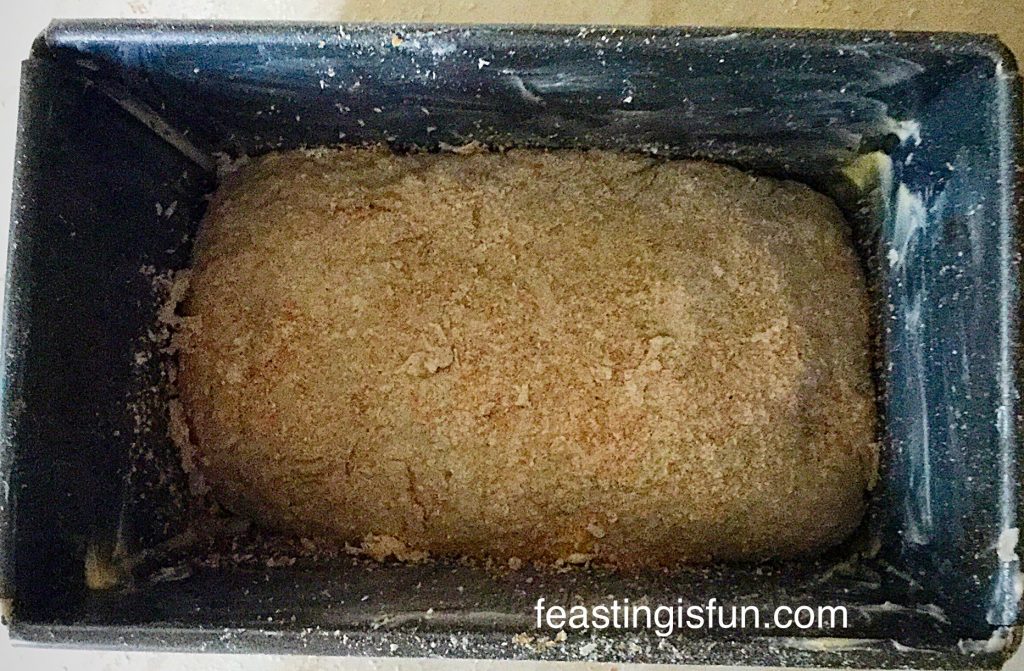
Round bread dough ready to be baked.
Seeded Cob Loaf ready for the oven.
  • Place the seed covered loaf into the middle of the oven.
  • Immediately reduce the temperature of the oven to 220C/200C fan, gas mark 7, 425F . Note – the reduction in heat stops the seeds from burning.
  • Bake for 45 minutes, remove from the oven. Take the loaf off of the baking tray and place back in the oven, directly on to the oven shelf. Continue baking for 10-20 minutes, depending on how crusty you want your bread.
  • As soon as the bread is done, remove it from the oven and place on a cooling rack.
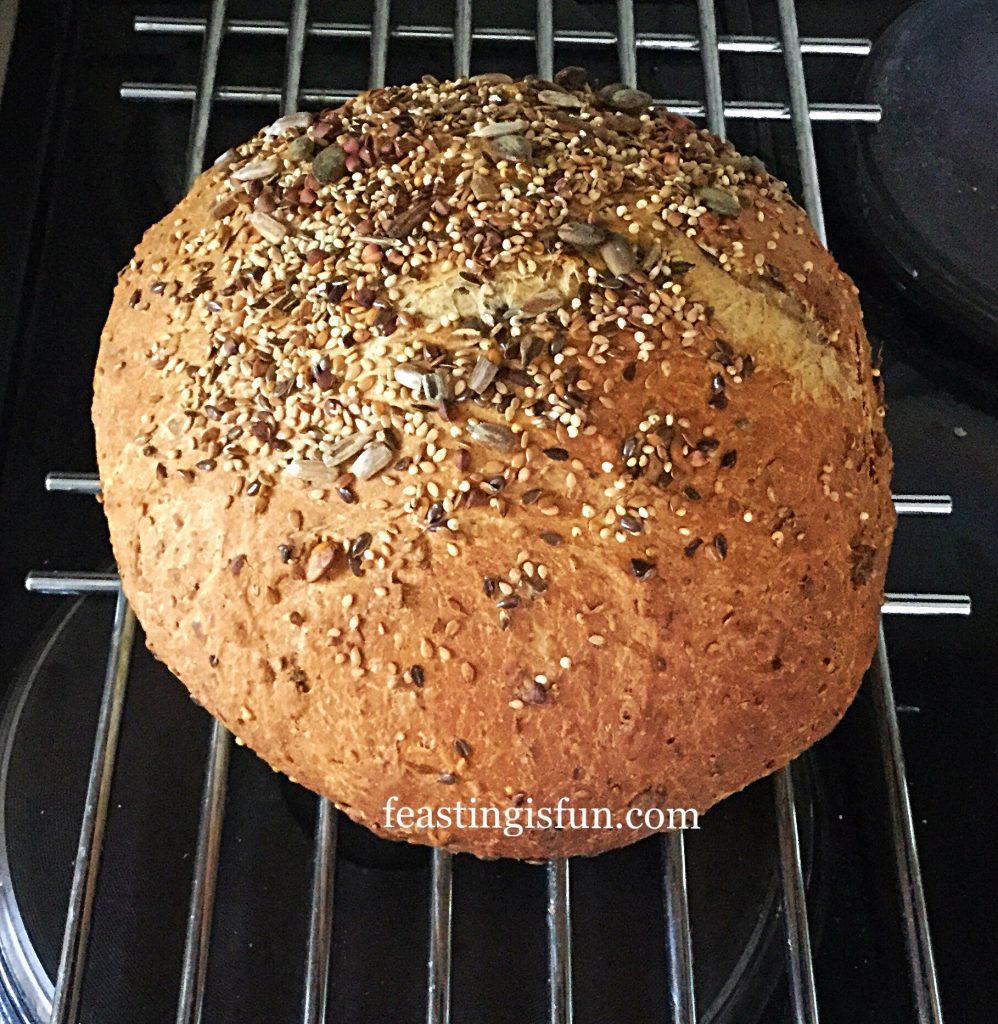
FF Seeded Cob Loaf
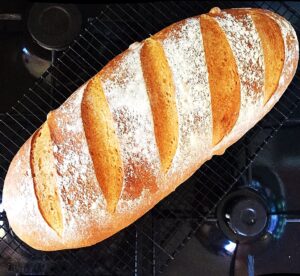
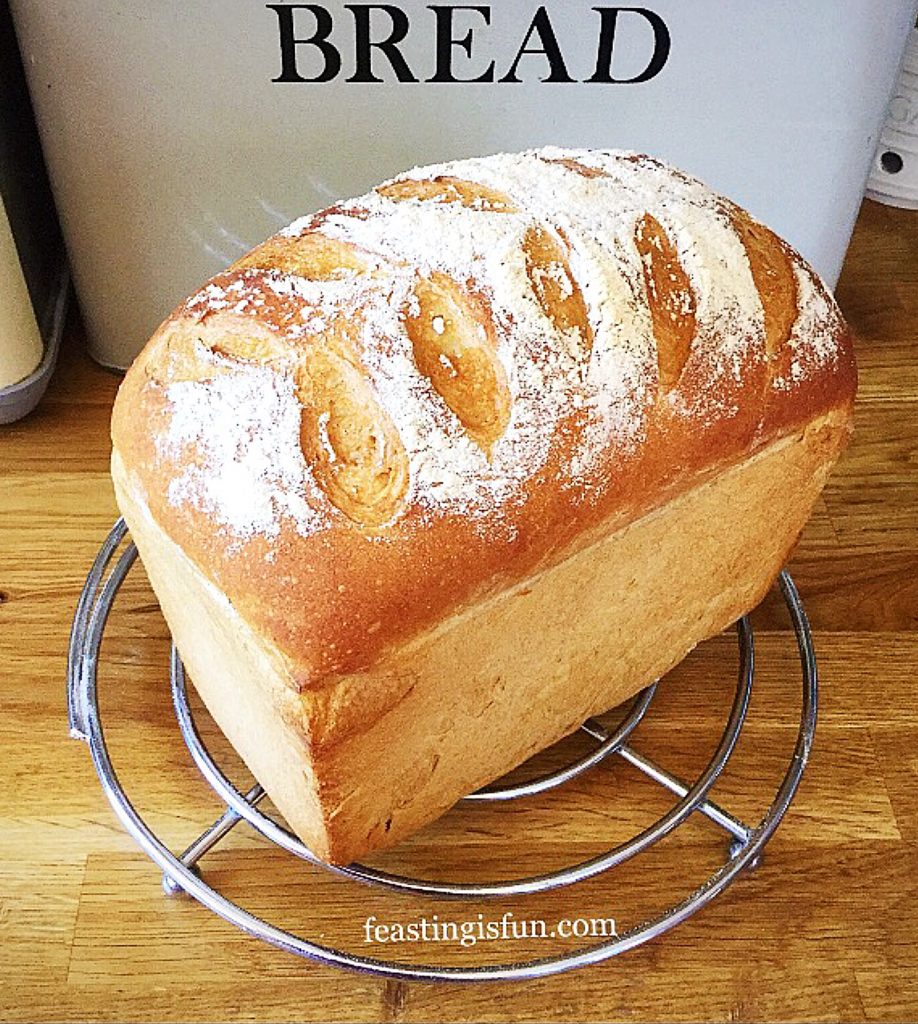
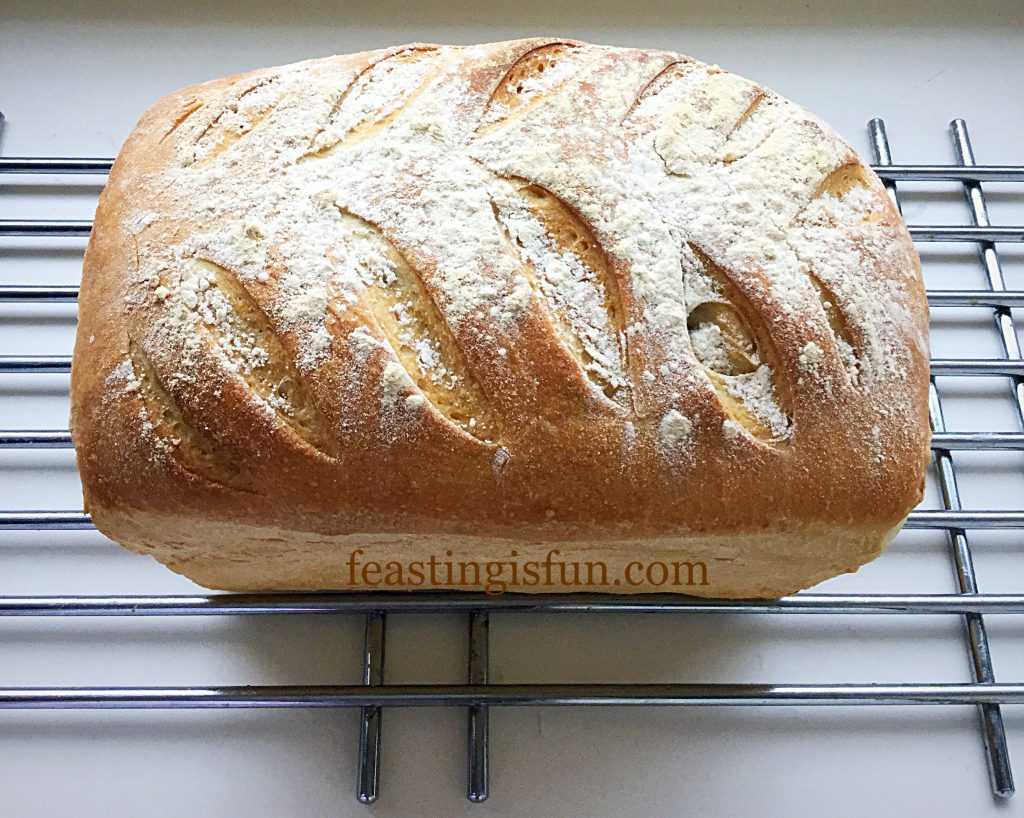
Seeded Cob Loaf cooling on a rack.
  • Ensure the loaf is completely cooled before slicing.

FF Seeded Cob Loaf

Perfect for slicing, packing up with an assortment of fillings and taking on a picnic. Alternatively simply tear into chunks and dunk in warming bowls of soup.

FF Seeded Cob Loaf

If you have enjoyed this recipe for Seeded Cob Loaf then you may also like these:
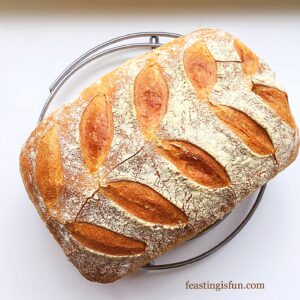
Farmhouse White Loaf

Farmhouse White Bread
Farmhouse White Loaf


Large White Bloomer

Crusty White Bloomer Bread
Large White Bloomer

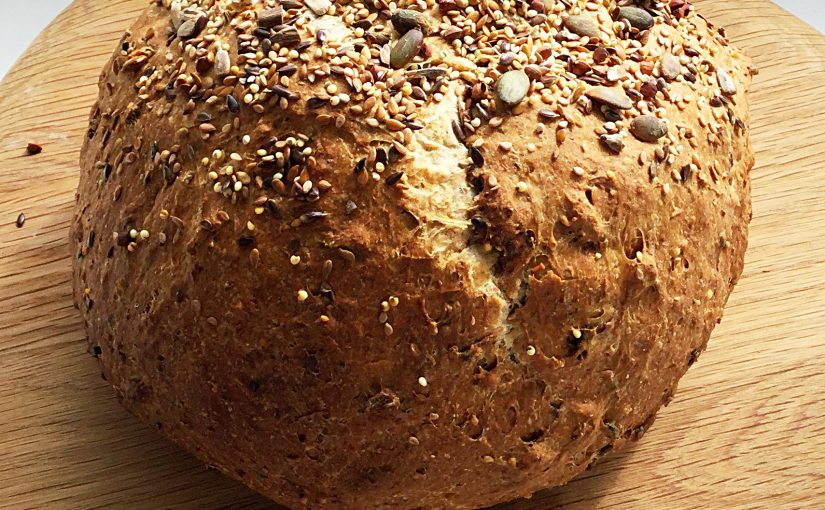
Easy White Cob Loaf

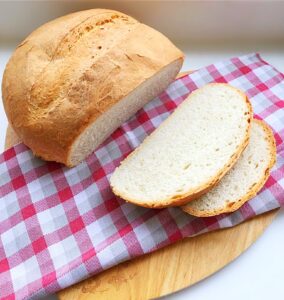
Easy White Cob Loaf sliced on a wooden board
Easy white Cob Loaf

I find baking at home an immensely fulfilling experience. Especially the tempting aroma as a beautiful bread in baking in the oven. And if your first loaf isn’t the perfect shape, it’s taste will more than make up for its appearance. So, keep practicing and your technique will improve! Finally, baking bread at home will give you a delicious loaf and a sense of accomplishment.

Have fun, making, creating and baking in your kitchens.

Sammie xx

Please see my Disclosure Policy regarding copyright and intellectual property laws, before reproducing any copy from this blog.

Share
Facebooktwitterpinterestlinkedintumblr

Christmas Spiced Fruit Loaf

Share
Facebooktwitterpinterestlinkedintumblr

Christmas is only four weeks away and I am thoroughly enjoying the build up. Especially when it comes to creating new recipes to share with you here. And food is a big part of our Christmas, with tradition dictating our ham is cooked on Christmas Eve, as well as fresh sausage rolls and mince pies. While this year there will also be a Christmas Spiced Fruit Loaf on offer for breakfast on the big day itself. Filling the house with scents of Christmas spice, as it is sliced and toasted.

FF Spiced Christmas Fruit Loaf
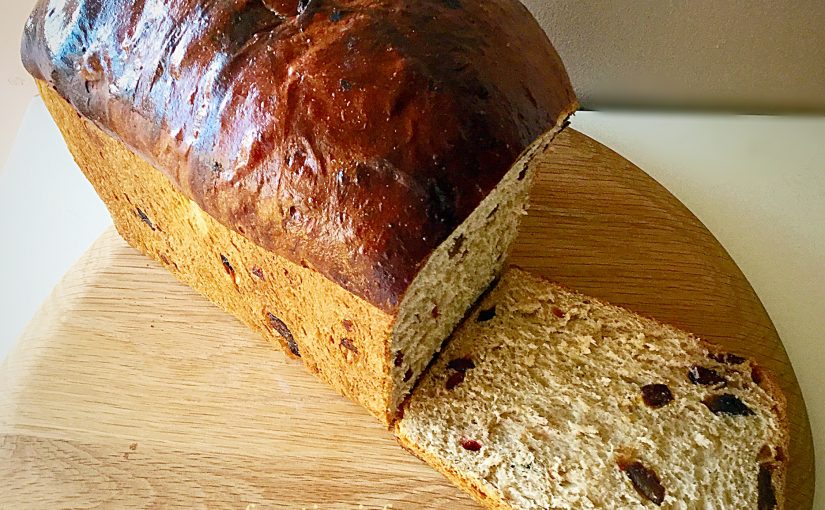
Christmas Spiced Fruit Loaf delicious toasted for breakfast.

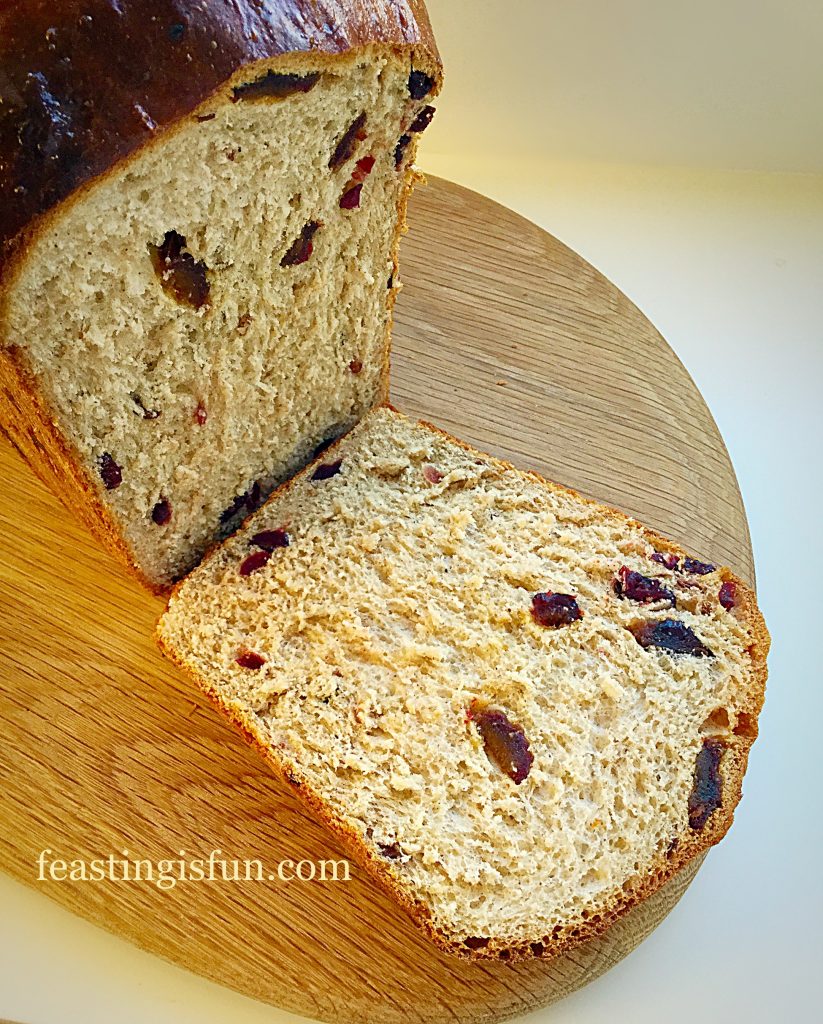
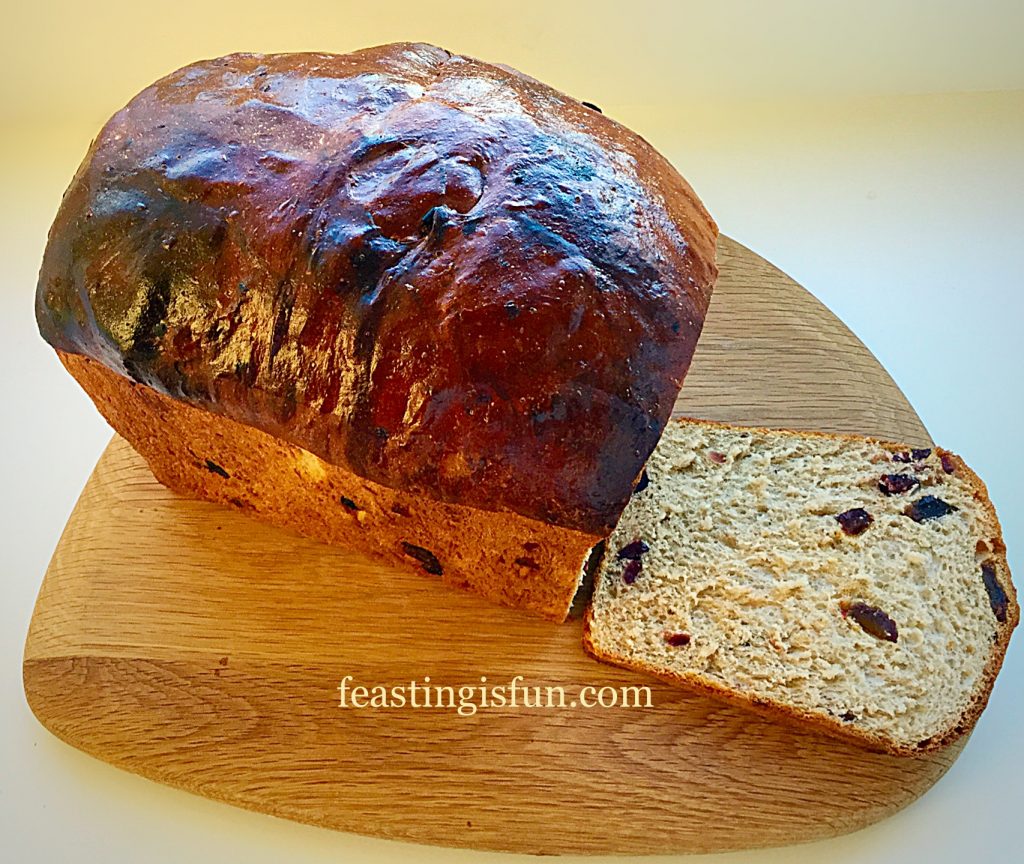
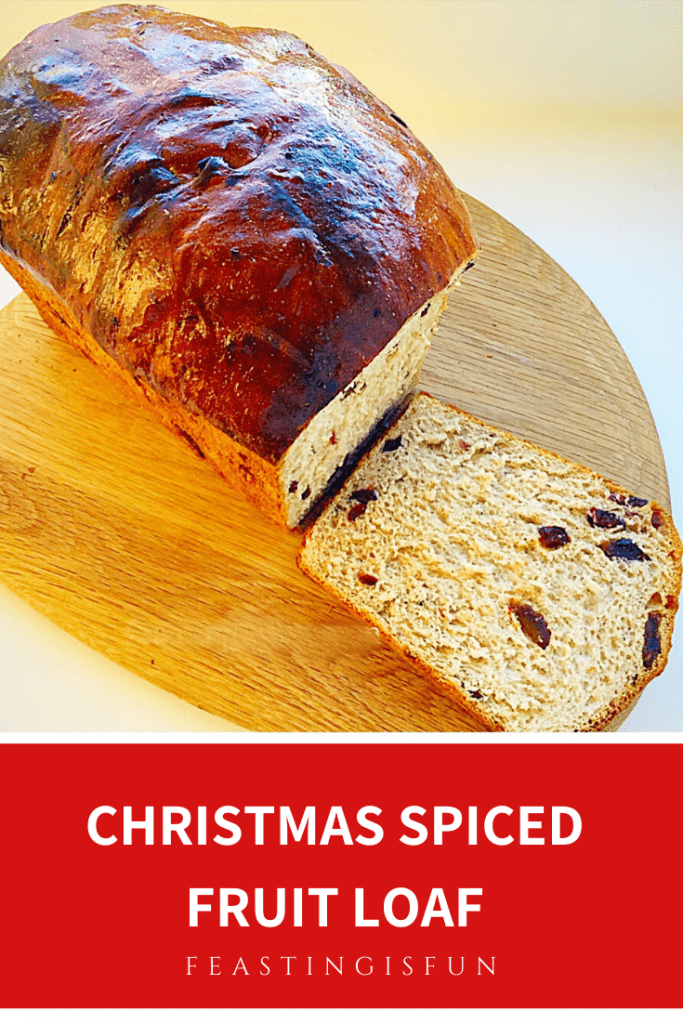
Packed full of dried fruits including dates, cherries and cranberries, in a brioche style loaf. While the added milk, eggs and butter used in a Brioche give it a wonderfully soft crumb. Delicious eating sliced as is, or toasted and slathered in butter, this loaf really does smell and taste of Christmas.

Creating a flavour packed sweet bread loaf

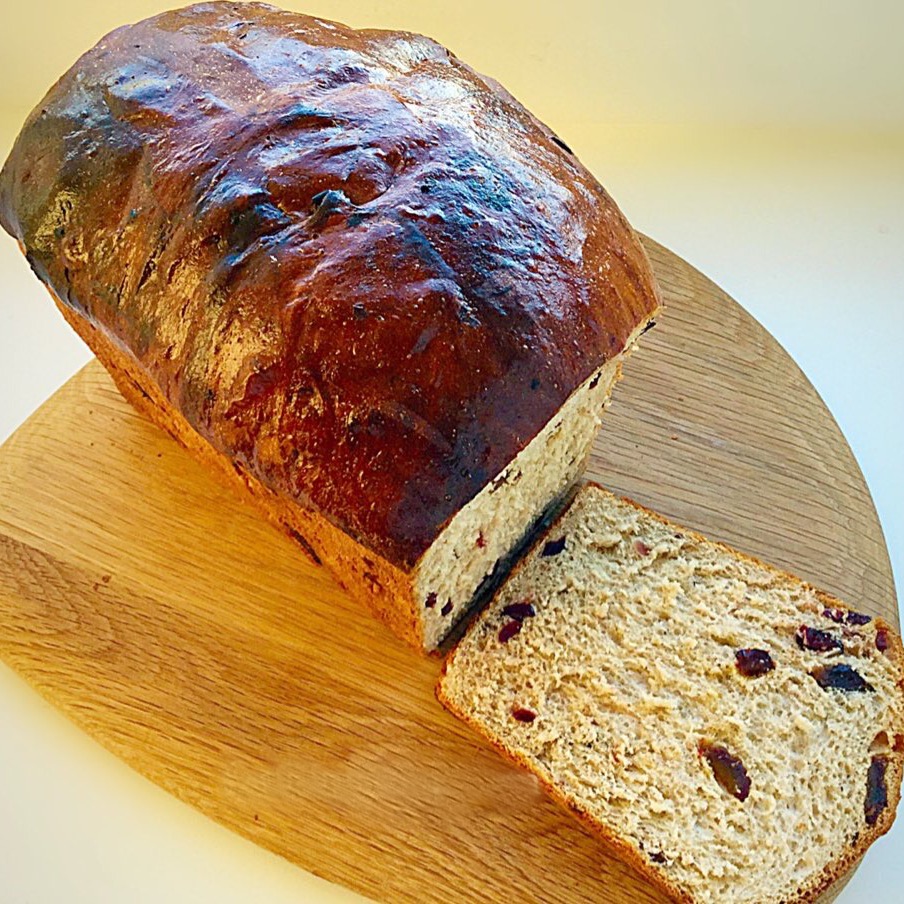
Most importantly use the best quality ingredients such as the Medjool Dates from The Medjool Date Company, certainly enhances the taste of this loaf. While sweeter than my Spiced Fruit Loaf, it does not hold back on the Christmas spices of Cinnamon, Ginger, Nutmeg and Allspice. Resulting in the most amazing aroma, filling the kitchen and then the house, as this beautifully bronzed loaf bakes.

FF Christmas Spiced Fruit Loaf
Christmas Spiced Fruit Loaf perfect with a cup of tea mid afternoon.

Baked in the British Bakeware, 3lb Farmhouse Loaf Tin, this fruited bread never sticks. And the deep sides of the tin ensure the dough is supported as it rises. Resulting in an evely risen loaf, without a muffin top. And the advantage is a great shaped loaf that is easy to slice and fit in the toaster. Also, this loaf tin has become a treasured piece of kitchen bakeware.

Recipe: Christmas Spiced Fruit Loaf

2 Large Free Range Eggs

Approx 320mls Whole Milk – to make volume to 350mls when added to eggs

1tsp Caster Sugar

7g Easy Bake Dried Yeast – I use Allinson in the green container/sachets

500g/1lb 2oz Strong White Flour

50g/2oz Unsalted Butter – at room temperature and cut into cubes plus extra for greasing the loaf tin

7g Salt – I use Maldon

1tsp Vanilla Bean Paste – I use Nielsen-Massey

2tsp Ground Cinnamon

1tsp Ground Ginger

1tsp Freshly Grated Nutmeg

1/2tsp Ground Allspice

100g/4oz Medjool Dates – I like The Medjool Date Co.

100g/4oz Dried Cranberries

50g/2oz Glacé Cherries

1 Egg whisked with a teaspoon of water for the egg wash

Method:

A stand mixer was used to make and knead the dough for this loaf. You may choose to make this by hand, however, the dough is incredibly sticky. So using a mixer is recommended.

Making the Christmas spiced fruit dough

  • First of all, measure 320mls of milk into a microwaveable jug. Zap on full power for 20 seconds. Stir and check the temperature, it should be the same as body temperature.
  • Into the slightly warmed (not fridge cold) milk add 2 whole eggs. The volume should be 350mls. Tip away any small excess of milk.
  • Pour the milk and eggs into the large bowl of a stand mixer.
  • Next add the sugar and yeast. Stir with a sooon to break up the eggs and mix the ingredients.
  • Now add the flour, on top of the liquid ingredients. This forms a barrier so that the yeast does not come into direct contact with the next addition, salt.
  • Add the salt and cubes of butter.
  • Fit a dough hook to the stand mixer and mix on a slow speed for 10 minutes.
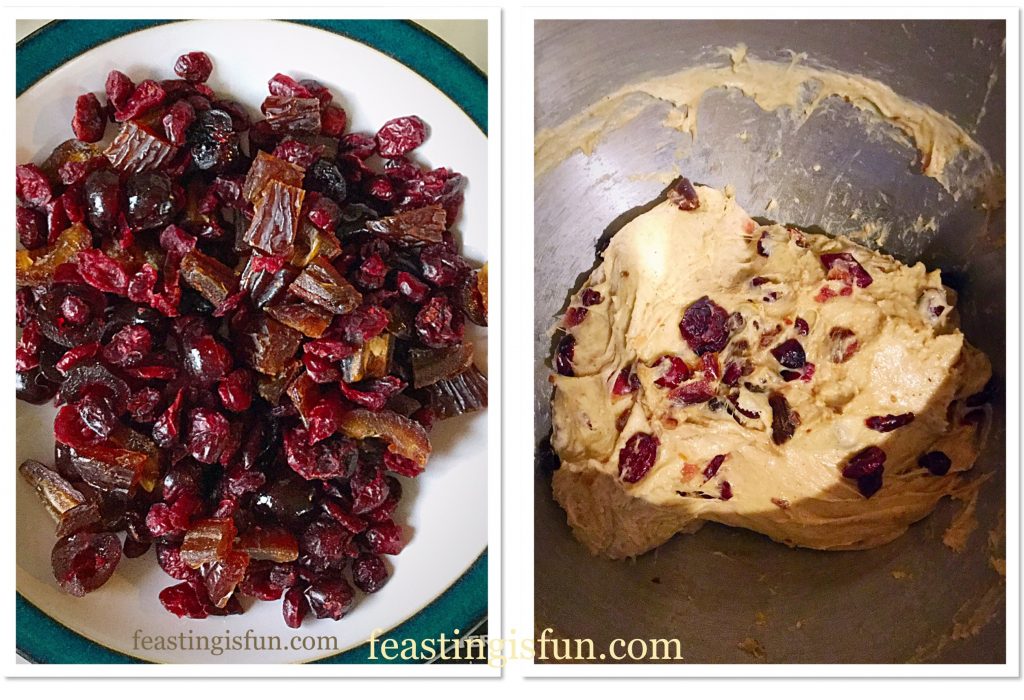
  • While the dough is mixing prepare the fruit; remove stones from the dates and cut in half, cut each half into four pieces. Next cut each glacé cherry into quarters. Place the cranberries, cherries and dates in a bowl together.
  • After 10 minutes of mixing, stop the mixer and lift the dough hook. Remove a small piece of dough and stretch it. The dough is properly kneaded when it can stretch, without tearing, thinly enough to see light through it. This is called the windowpane test. If the dough tears, lower the dough hook and continue mixing for a further 2 minutes, after which test it again.

Adding fruit and spices to the dough

  • As soon as the dough passes the windowpane test, add the fruit and spices.
  • Lower the dough hook and mix again on low speed for a further 2 minutes.
  • After the fruit is incorporated stop the mixer and lift the dough hook.
  • Use clean fingers to scrape the dough from the hook and place it in the bowl.
FF Christmas Spiced Fruit Loaf
The prepared fruit and dough ready for it’s first prove.
  • Cover the bowl with a clean tea towel and place it somewhere warm and away from draughts.
  • Now leave the dough to double in size.
  • NOTE: The presence of spices will slow down the action of the yeast. Therefore, the dough may take longer, up to 2 hours or more, to double in size.

Shaping the dough and proving for a second time

  • While the dough is proving thoroughly grease a 3lb deep farmhouse loaf tin with butter.
  • When the dough has at least doubled in size, scrape it out on to a lightly floured surface.
  • Press the dough into a rough rectangular shape. Now fold the bottom third up and then fold the top third down, so that it slightly overlaps the previous fold.
  • Finally, tuck either end under, so that you have an oval-ish shape. Place the shaped dough into the buttered loaf tin. Cover with the same tea towel as before and leave, as before until doubled in size.
  • While the dough is proving preheat the oven to 220/200fan, gas mark 7, 425F.
  • As soon as the dough has doubled in size, remove the tea towel. Using a pastry brush lightly brush over the egg wash.

Baking the Christmas Spiced Fruit Loaf

FF Christmas Spiced Fruit Loaf
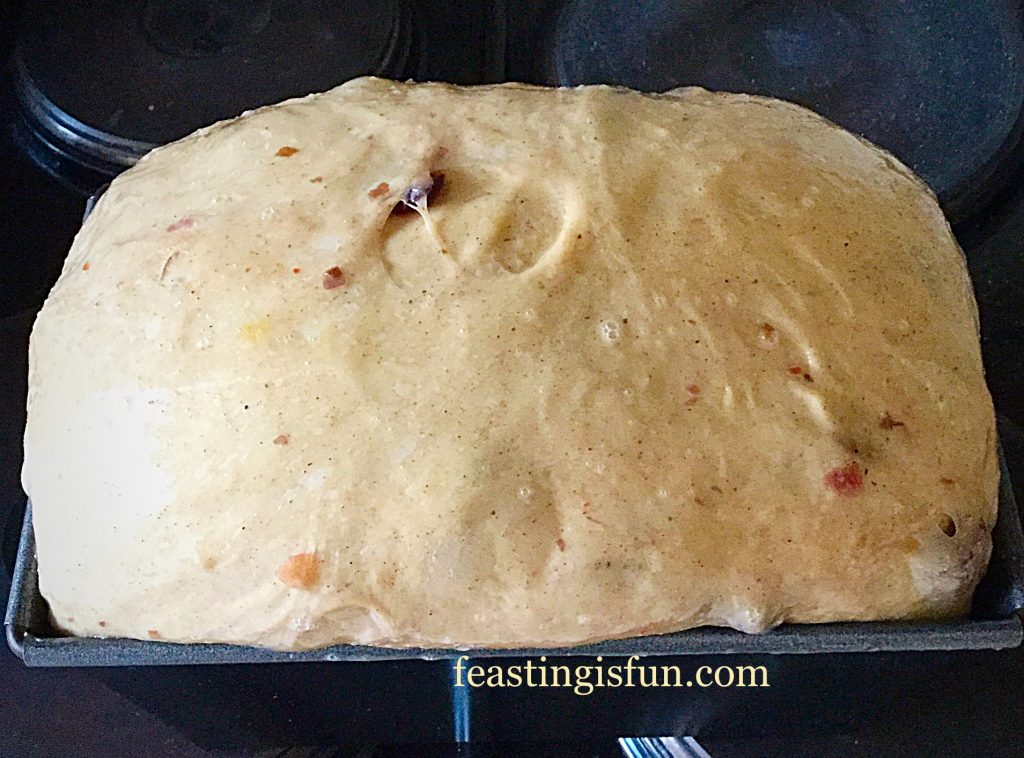
Christmas Spiced Fruit Loaf ready for the oven.
  • Now place the loaf carefully into the centre of the preheated oven. Bake for 10 minutes before reducing the oven heat to 200C/180C fan, gas mark 6, 400F.
  • Continue baking for a further 20 minutes and then remove the loaf from the oven.
  • Turn the loaf out on to a cooling rack. Rap the base of the loaf with your knuckle. The bread is baked if the rapping produces a hollow sound. If not, place the loaf, on its side back in the oven and check every 5 minutes until it is fully baked.
FF Christmas Spiced Fruit Loaf
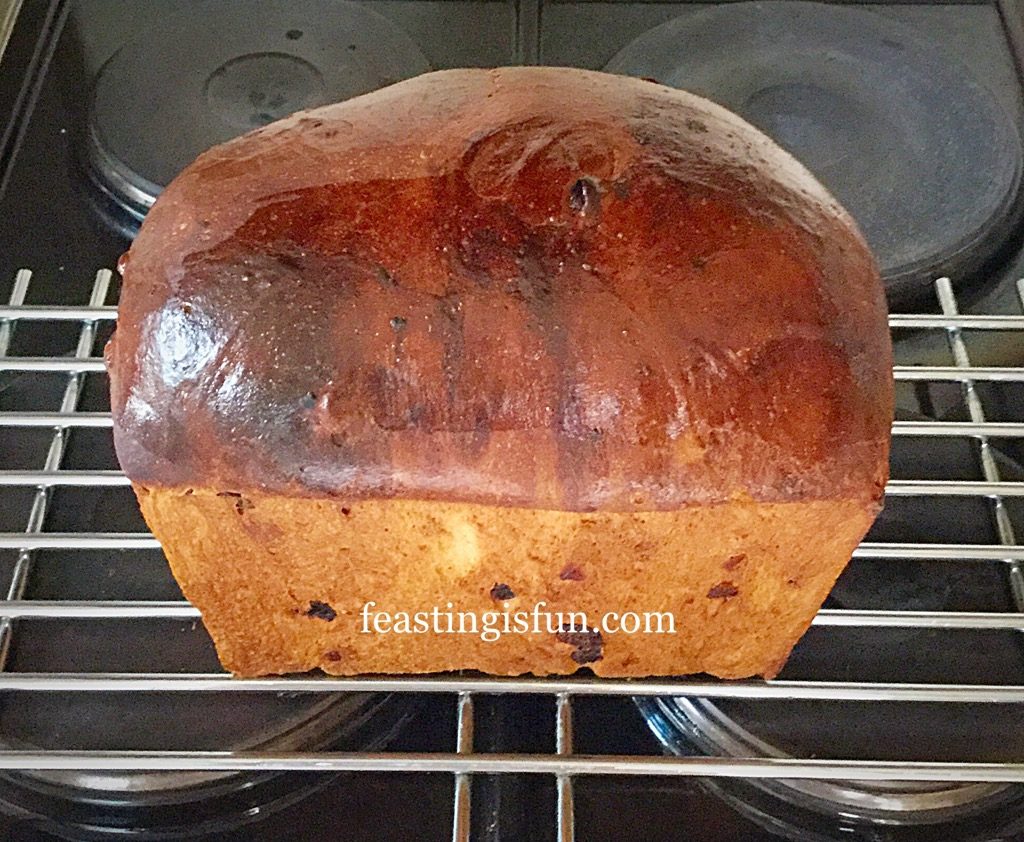
Christmas Spiced Fruit Loaf fresh from the oven.

Allow the Christmas Spiced Fruit Loaf to fully cool before slicing.

This fruited loaf will last for 3 days in a proper bread bin. Serve sliced, as is, or slice and toast for a delicious, fruit and spice filled breakfast.

Enriched festive bread filled with dried vine fruits and Christmas spices.

If you have enjoyed this recipe for Christmas Spiced Fruit Loaf you may also like these:

Chocolate Christmas Pudding Cookies 

FF Christmas Spiced Fruit Loaf
Chocolate Christmas Pudding Cookies

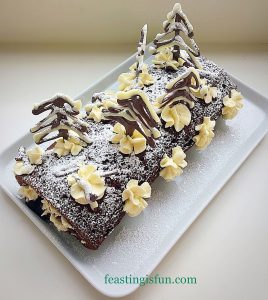
Snowy Black Forest Roulade 

FF Spiced Christmas Fruit Loaf
Snowy Black Forest Roulade – with GLUTEN FREE option.

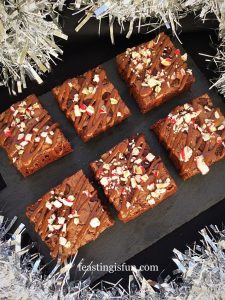
Peppermint Candy Cane Topped Brownies

FF Spiced Christmas Fruit Loaf
Peppermint Candy Cane Topped Brownies


Since you are setting the stand mixer up to make this fruited loaf, why not double up the ingredients and make two loaves? Sharing is inherently part of Christmas. I can think of no better reason, than to give one loaf away. Surely anyone would be happy to receive the gift of a freshly baked, Christmas Spiced Fruit Loaf!

So, whatever you are making, baking and creating in your kitchens, have fun and remember food always tastes better when it’s shared.

Sammie xx

No part of this post may be reproduced or duplicated without the written permission of the owner. Please see my Disclosure Policy.

Share
Facebooktwitterpinterestlinkedintumblr

Garlic Cheese Bombs

Share
Facebooktwitterpinterestlinkedintumblr

Who doesn’t love garlic bread, served alongside a great pasta dish, with a glass of something chilled? I certainly do and after seeing a fantastic foodie craze on Pinterest I knew I had to try it. Everyone is mad about these Garlic Cheese Bombs!


Baked mozzarella stuffed buns being pulled apart to show the gooey, melted cheese.
Garlic Cheese Bombs

In our house these are the BOMB 😉.

Everyone loves it when I make them and having successfully frozen them, uncooked, they are great to have on hand. Fresh or frozen.

Garlic Cheese Bombs
Garlic Cheese Bombs

Honestly these Garlic Cheese Bombs have become such a massive hit in our house. I’m really glad that they freeze well as my family would scoff the whole lot if I baked them all at once. I have learned from the first time I made Garlic Cheese Bombs

Garlic Cheese Bombs

Baking With Children

If you have little ones, they will thoroughly enjoy making these.

The only extra ingredient required to make the Garlic Cheese Bombs is a little patience. Making 30 – 40 individual, little cheese wrapped buns, could be seen as tedious – not here at Feasting is Fun though. We don’t do tedious!! So put on some great music or a play, clear the table and enjoy some therapeutic relaxation, whilst you play with dough!

Before you know it you’ll have two trays full of delicious, homemade, bread buns proving and you can give yourself a smug pat on the back, knowing that one tray is going to be stashed in the deep freeze.

Baking bread is a real passion of mine, second only to my faith see Important Stuff. As this week has been Real Bread Week it seemed fitting to end on a recipe that is fun to make and tastes best when feasting with family and friends.

Garlic Cheese Bombs
Garlic Cheese Bombs

Made From Scratch Versus Using A Bread Mix

I have made these Garlic Cheese Bombs using both my own dough recipe and a Wright’s bread mix. Truthfully and this almost hurts to write this, the children preferred the ones made with the bread mix.

Our children are very honest!!

Personally I think they are both great. The Wright’s bread mix is handy if you’re an infrequent bread baker, or haven’t made bread dough before and want to ensure they turn out great. My dough recipe is for those of us who are happy to make their dough from scratch. That said, there’s room in my kitchen for both.

Recipe: Makes 30 – 40 Garlic Cheese Bombs

1 quantity of dough that’s been proved and knocked back, from either my Farmhouse White Loaf or using Wright’s Baking Premium White Bread Mix

2 Tubs Mini Mozerrella Balls – there are approx 15 – 20 balls per tub

4 Fat Garlic Bulbs – or more if you want an extra garlic kick

100g/4oz Butter

4tbsp Olive Oil

1tsp Sea Salt – I use Maldon

1/2tsp Freshly Ground Black Pepper

Bunch of Fresh Parsley to garnish and add flavour

Making The Garlic Cheese Bombs

You will need a foil freezer/baking tray or 2 if you intend to freeze these.

  • Drain the mozerella balls well and count how many you have.
  • Make up the dough according to your chosen option.
  • Allow the dough to prove until doubled in size and then tip out on to a lightly floured surface.
  • For the very precise among you, weigh the bread dough and then divide that number by the number of mozerella balls. That will tell you exactly how much each piece of dough should weigh.
  • If you are more ‘laissez faire’ about things, like me, simply divide the dough evenly into 3 or 4 equal pieces (depending on whether you have 30 or 40 mozerella balls) and then divide each potion into 10.
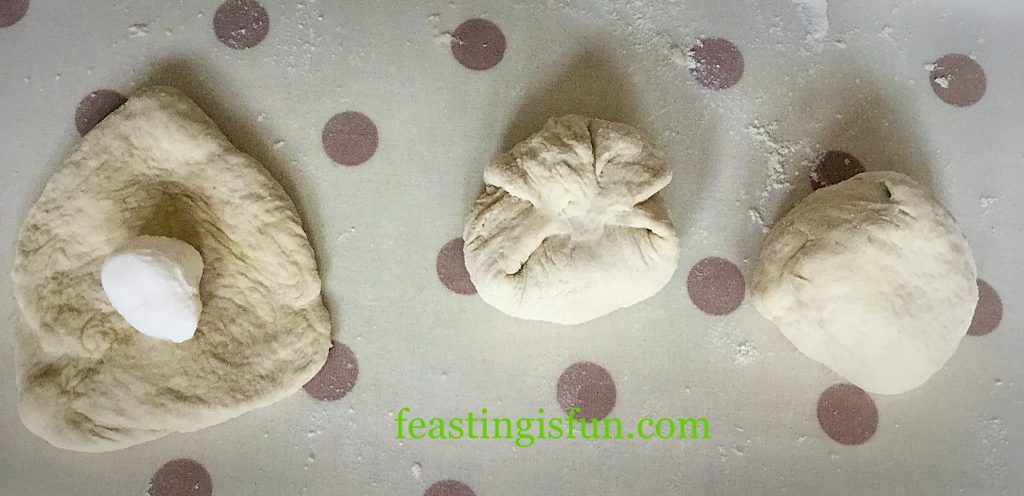
  • Flatten a small portion of dough into a rough circular shape.
  • Place the mozerella ball in the centre of the dough circle.
  • Bring the edges of the dough up so that they cover the cheese and seal by pressing together.
  • Place the Garlic Cheese Bomb seam side down on a lightly oiled baking tray.
FF Garlic Cheese Bombs
After a while you get into a rhythm and the process becomes very relaxing.
  • Continue until all of the Garlic Cheese Bombs have been made, allowing space in between each one the tray so that it has room to rise.
FF Garlic Cheese Bombs
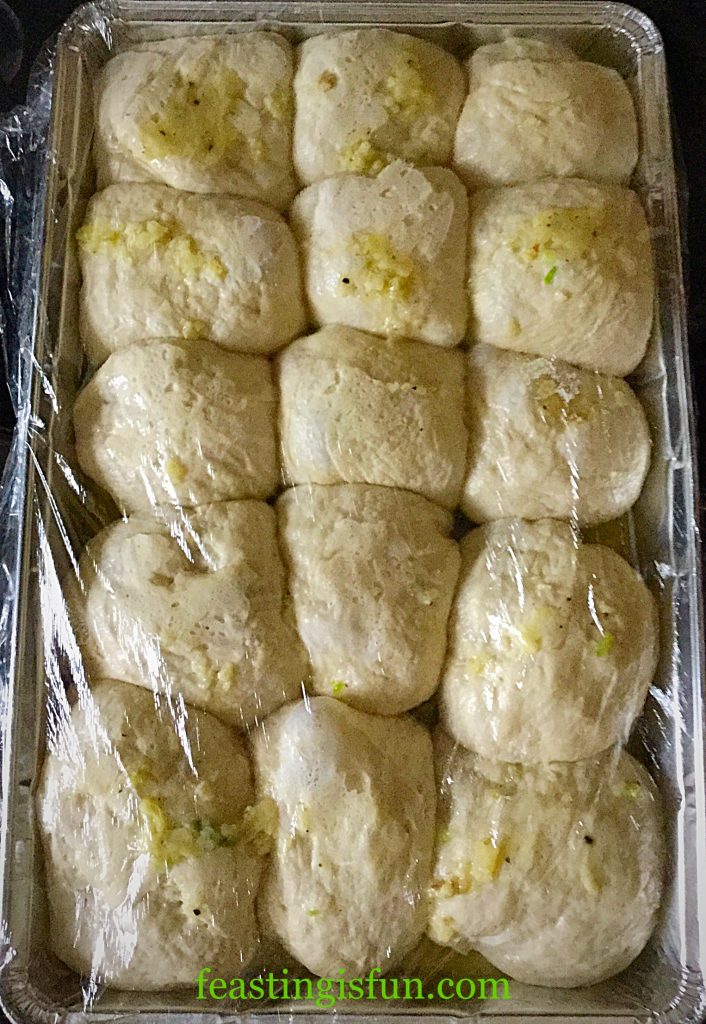
Cover with damp kitchen towel or oiled cling film.


Proving The Buns

  • The Garlic Cheese Bombs in the photo above are from the first batch that I made.
  • Leave until doubled in size.
  • Whilst the rolls are proving, make the garlic butter.
  • Place the butter, oil, crushed/finely minced garlic, salt and pepper into a small saucepan over a low heat.
  • Cook until all the butter has melted. Set to one side.
  • Preheat the oven to 200C/180C fan, gas mark 6, 400F.
  • When the Garlic Cheese Bombs have doubled in size, remove the damp cloth/cling film and brush liberally, using a pastry brush, with the melted garlic butter.
FF Garlic Cheese Bombs
You’ll be surprised at how much these delicious rolls puff up.

Freezing The Uncooked Bread Rolls

Now is the stage at which the Garlic Cheese Bombs can be frozen. Double wrap the foil tray with freezer safe cling film, label and pop in the freezer. They should be fine for at least one month in the freezer.

Baking The Garlic Cheese Bombs

  • To bake the freshly garlic glazed buns, place into the middle of the oven and bake for 25-30 minutes, or until the rolls are golden brown.
  • When baked remove the tray from the oven and immediately transfer the individual Garlic Cheese Bombs to a serving platter. Be careful as they will be very hot.
  • Pour over any garlic butter left in the tray and garnish with roughly chopped parsley,
  • Leave for 5 minutes before serving to allow thm to cool slightly.
  • Serve with a smile and watch as people break open these golden, light, cheesy rolls, flavoured with garlic butter.

Garlic Cheese Bombs

Baking From Frozen

To bake from frozen, preheat the oven to 190C/170C fan, gas mark 5, 375F. Remove all cling film/foil. Place the frozen rolls into the middle of the oven and bake for 40-45 minutes, until golden and baked through. To test remove a roll and cut in half, if the mozerella is gooey and melted then the Garlic Cheese Bombs are baked. Serve as for freshly baked.

Making Ahead Tips

So you’ve got a party in the evening and you want to make these earlier in the day? I’d suggest making them the day, or even a few days aheadand stashing them in the freezer. Alternatively make them in the morning, glazed with garlic butter before their final prove (it’ll save you stinking of garlic as you great your guests 😉), wrap in cling film and keep in the fridge. Take them out 10 minutes before baking, whilst you preheat the oven and bake as for fresh.

Make ahead recipes are fantastic as they allow you to enjoy spending time with your guests, rather than being stuck, on your own in the kitchen!

If you have loved these Garlic Cheese Bombs, then here are some other recipes you might like to try:

Breadsticks with Garlic and Herb Dipping Oil

Breadsticks with garlic and herb dipping oil.

Garlic Rosemary Focaccia Bread

Garlic Rosemary Focaccia Bread

Cherry Tomato Mozzarella Basil Focaccia 

Cherry Tomato Mozzarella Basil Focaccia


I really hope you do try making your own bread. Most bread doughs can withstand a reasonable amount of mistreatment and still turn into fabulous loves, breadsticks, baguettes. The possibilities are endless and nothing, not even chocolate cake such as this White Chocolate Swirl Fudge Cake beats the smell of home baked bread.

Thank you for all you lovely comments, especially on Twitter regarding the great yeast debate – more on that in a future post! It really makes my day to see pictures of you baking my recipes and in most cases they look even better. Which I think is completely brilliant. You all inspire me to try harder and write easy to follow, delicious recipes.

Together we really do make Feasting Fun!

Sammie xx

Wright’s Baking provided me with the Premium White Bread Mix used in this recipe alongside my own bread dough recipe. All opinions, views, content and photographs are my own. Please see my Disclosure Policy.

Share
Facebooktwitterpinterestlinkedintumblr

Lighter Wholemeal Loaf

Share
Facebooktwitterpinterestlinkedintumblr

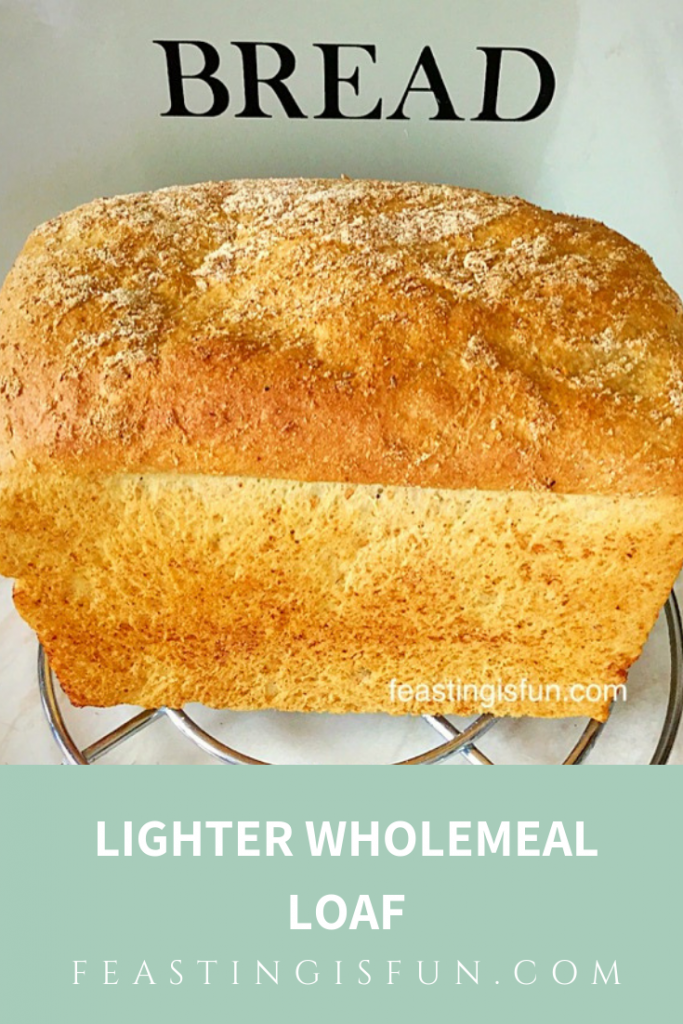
Bread is an everyday staple for a lots of people around the world, especially here in the U.K. Yet finding a loaf that is light, tasty, with added fibre can be hard. So, look no further my friends, as I present tasty, Lighter Wholemeal Loaf of bread.

FF Lighter Wholemeal Loaf

And I must admit I am a bit of a ‘bread head’ – does that make me sound cool? By that, I mean that I adore most breads, providing they are well made, do not contain additives and have a flavour of their own that contributes to the final dish. Especially if that is a simple slice of buttered toat.
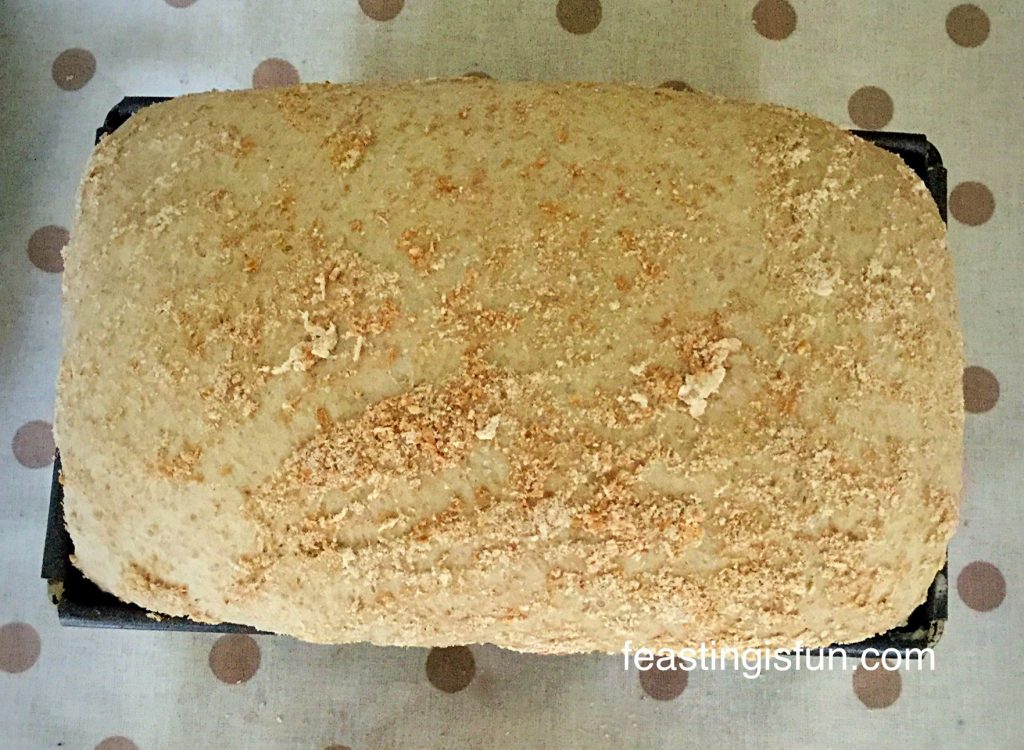
Since I do not live near an Artisan Bakery, where freshly baked bread, in all its array of shapes and flavours can be purchased, I make our bread at home instead.
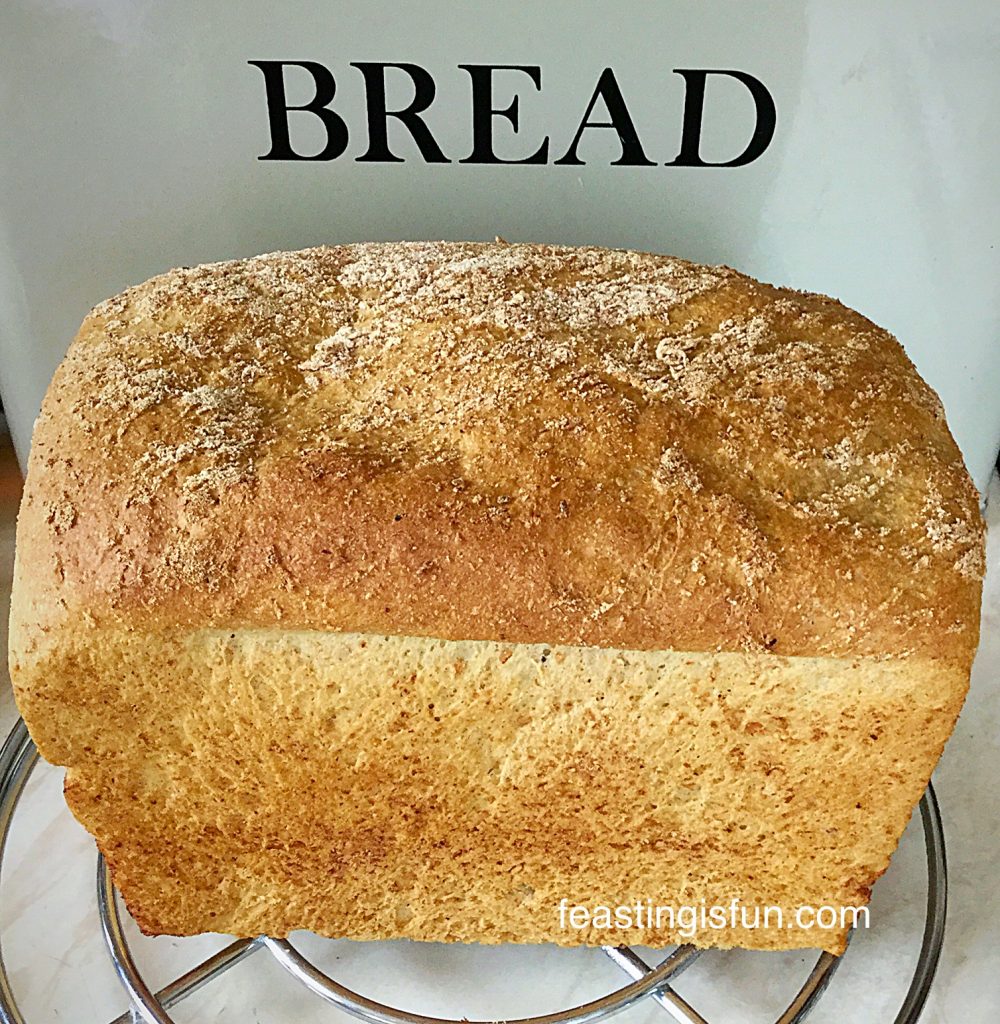
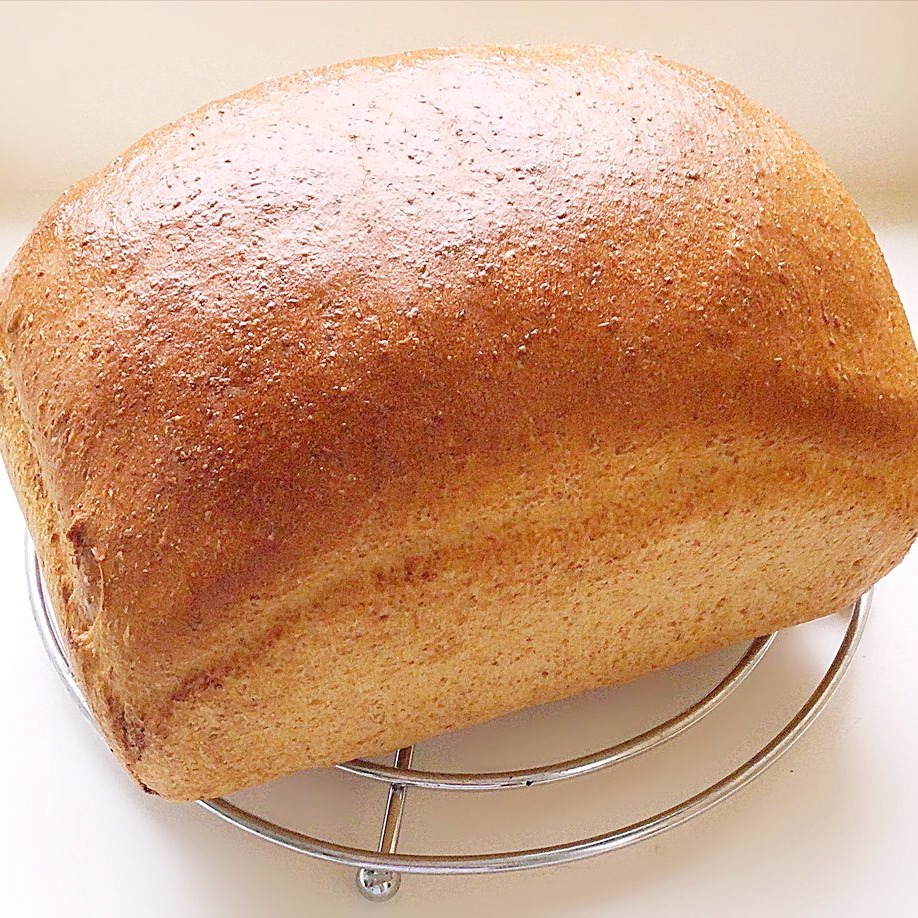
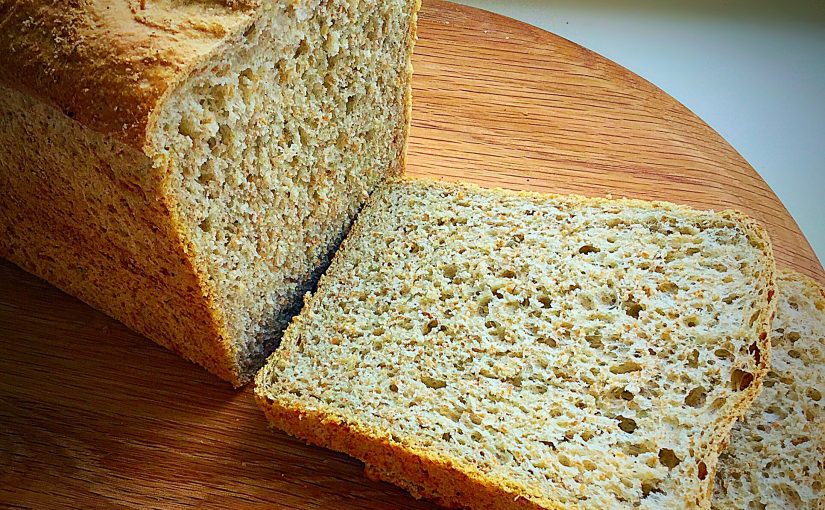
Lighter Wholemeal Bread full of flavour.
Lighter Wholemeal Bread

Extra Flavour And Extra Goodness From Your Bread

This Lighter Wholemeal Loaf is one of our family’s favourite breads. Also, this bread slices beautifully, so is perfect for packed lunches, or toasted for breakfast and then slathered in homemade jam.

While I have 100% wholemeal bread recipes such as my Wholemeal Cob Loaf and Wholemeal Loaf, if I’m honest, as delicious as they are, having the same bread every single day can get a bit boring. So I like to switch things up a bit, keeping our taste buds interested and in reality, ensuring our teenagers eat a decent portion of their lunch.

And they say variety is the spice of life!

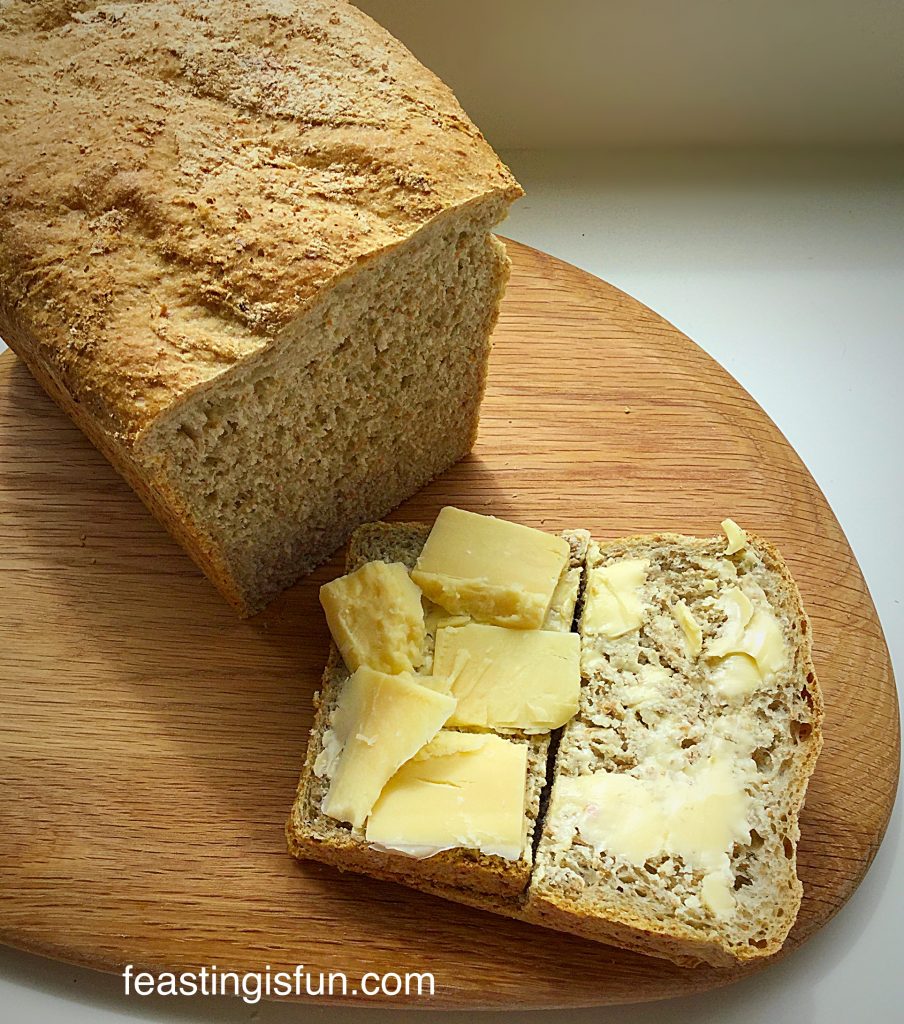
Lighter Wholemeal Loaf just add butter for a delicious feast.
Lighter Wholemeal Loaf

While eating bread I want it to contribute to the flavour of the whole dish. Most importantly, it shouldn’t, mustn’t, simply be be a limp carrier for other flavours. While the butter and cheddar cheese, used in the photo above, adds great flavour to a sandwich, the bread’s texture and flavour adds an additional element to the sandwich.

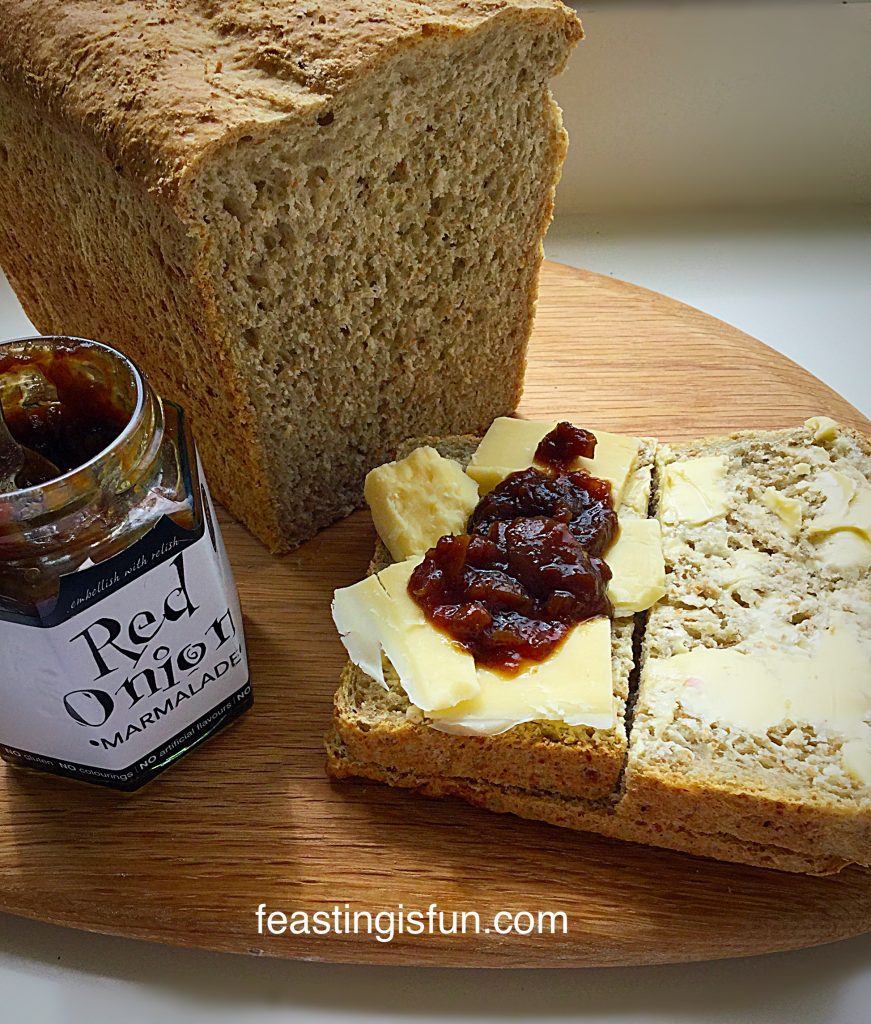
And this sandwich, with the addition of some Red Onion Marmalade, truly is one of my favourite lunches. Since each component adds flavour and varying  texture, so that as a whole, the resulting sandwich is incredibly appetising and filling.

Lighter Wholemeal Loaf a heart, flavour packed lunch.
Lighter Wholemeal Loaf

Start The Bread Making Journey Using Good Quality Flour

I use a mixture of stone ground, organic strong wholemeal and white flour from Shipton Mill to make this Lighter Wholemeal Loaf. Shipton Mill traditionally mill their flours between large grinding stones, using the flow of river water for as a source of energy. Resulting in flour that is consistently excellent, while it’s production is sympathetic to and works in harmony with the environment.

In order to guarantee consistent, excellent results when making this Lighter Wholemeal Loaf, this recipe has been thoroughly tested, with the resulting loaf being approximately one third wholemeal flour. Since a 2:1 combination of Strong White to Strong Wholemeal flour gives a great, nutty, wholesome flavour, while also keeping the bread light enough for everday use. And, it is a great way of adding extra fibre into your own and your familiy’s diet, especially if their preference is for white bread.

Recipe: Makes one Lighter Wholemeal Loaf

150g/5oz Strong Wholemeal Flour – preferably organic plus a little extra for dusting the work top.

350g/12oz Strong Unbleached White Flour – preferably organic

360ml Tepid Tap Water

7g/1 Sachet Dried Yeast

1tsp Honey

7g/1tsp Sea Salt – I use Maldon Sea Salt Flakes

25g/1oz Unsalted Butter

Method:

The ‘bowl’ is either a large bowl, with which to mix the bread, by hand, or the stand mixer/bread maker bowl.

Making And Proving the Dough Using Three Different Methods

For all methods:

  • First of all, pour the water into the bowl. Add the honey and yeast. Swish about with clean fingers to activate the yeast.
  • Now add the flour on top of the liquid.
  • Add the salt and the butter.

When using a bread maker, set to dough cycle and start the program. As soon as the cycle is completed re-start for 1 minute. This ‘knocks back’ the dough.

If using a stand mixer, attach the dough hook and mix on medium speed until the ingredients are combined. Continue to mix for a further 5 minutes, until the dough is smooth and elastic. Stop mixing. Scrape the dough from the dough hook and combine with the dough in the bowl. Form into a ball, place back into the bowl. Cover with a damp cloth and leave in a draught free place until doubled in size (approx. 1hour). Gently punch the dough to knock it back.

Alternatively when hand mixing, bring all the ingredients together with your hand until they form a doughy mess! Place this dough onto a very lightly floured worktop. Knead for approximately 10 minutes. If the dough gets sticky, keep kneading and working it. Avoid adding extra flour as this can result in a tough loaf. After a further 5-10 minutes kneading, the dough should have a smooth elasticity. Finally, place the kneaded dough into a oiled bowl, cover with a damp cloth and leave in a draught free place until doubled in size, 1-2 hours. Knock back as for stand mixer.

Shaping The Dough

To shape the dough: Tip the knocked back the dough out onto a lightly floured surface. Gently flatten the dough into an oval/rectangle shape.

Flatten out the dough into a rough oval.

  • Fold the top third of the flattened dough over.

Fold the top third of the dough over.

  • Next fold the bottom third of the dough up and slightly over the previous fold.

Bring the bottom third of the dough up.

  • Rotate the dough by a quarter, gently flatten out and repeat the folding process.
  • Repeat the turning and folding twice more, ensuring the last turn and fold is quite tight. This folding technique does not take long and unlike pastry, this bread dough can withstand being moved and worked. Most importantly the purpose of turning and folding is to build a good structure within the dough.
  • As soon as the folding and turning is complete turn the dough over so that it is seam side down.
  • Place into a greased 3lb loaf tin. Cover with a tea towel and leave in a warm, draught free place until doubled in size.
  • Finally, sprinkle some wholemeal flour over the top of the dough. Since this gives a nice, rustic finish to the baked bread. Omit this stage if you want a glossy finish to your bread – see below.

Neat, tightly folded dough ready for its second prove.

The dough can take between 45 minutes and a couple of hours to double in size, depending on the ambient temperature and humidity.

Baking The Lighter Wholemeal Bread

  • While the dough has it’s final prove, preheat your oven to it’s hottest setting.
  • 5 minutes before your loaf is due to be baked, fill a tray with ice cubes and place on the lowest shelf in the oven. The hot, steamy environment will help the dough to rise even further before the crust sets (this is known as oven spring) and helps bake a crusty loaf.
Lighter Wholemeal Loaf beautifully risen and ready for the oven.
Lighter Wholemeal Loaf
  • Place the loaf into the centre of a preheated oven and immediately reduce the oven temperature to 220C/200C fan, gas mark 7. Bake the Lighter Wholemeal Loaf for 30 minutes.
  • The bread is baked when it is a golden brown colour and sounds hollow when rapped on the base of the loaf with your knuckle.
  • As soon as the bread is baked remove from the oven and immediately tip out onto a cooling rack. Alternatively, for a thicker crust, place the loaf directly onto the oven rack and bake for a further 10 minutes.
Lighter Wholemeal Loaf such a delicious and versatile bread.
Lighter Wholemeal Loaf

Advantages Of Homemade Bread

First of all, the smell of freshly baked bread is unbelievably good. Our postman really likes delivering to us in the morning, as that tends to be when the bread is either baking or cooling! And the flavour beats anything you can buy from a supermarket.

Do not be surprised if your neighbours pop in, just for a chat, as they catch a whiff of freshly baked bread escaping from your house!

Rub a used butter wrapper over the top for a glossy finish.

This Lighter Wholemeal Loaf will keep in a bread bin for up to 3 days. To freeze, ensure the bread is completely cold and wrap tightly in cling film. Fresh bread can be frozen for up to 3 months. To defrost, remove all the cling film and allow the loaf to stand on a large trivet or a cooling rack at room temperature, until fully defrosted.

I like to refresh frozen bread, this simply involves preheating the oven to 220C/200C fan, gas mark 7. As soon as the bread has fully defrosted, spray it lightly with tap water and place directly onto the middle oven shelf for 10-15 minutes. After removing from the oven allow the loaf to cool and it will taste like it has been freshly baked that day! I won’t tell!

If you have enjoyed this recipe for Lighter Wholemeal Loaf, then I have some others you may like too:

Farmhouse White Loaf

FF Lighter Wholemeal Loaf
Farmhouse White Loaf

Oat Bran White Bread

Oat Bran White Bread

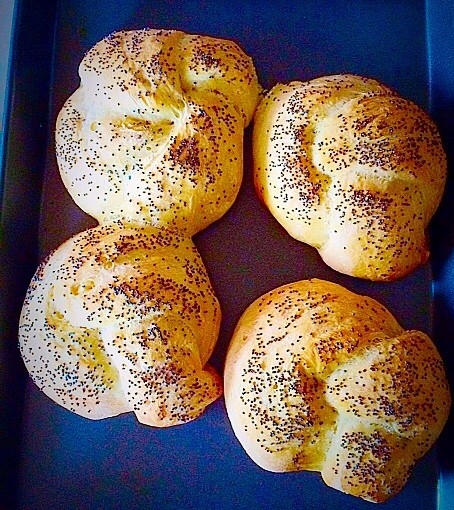
Knotted Poppyseed Rolls

FF Lighter Wholemeal Loaf
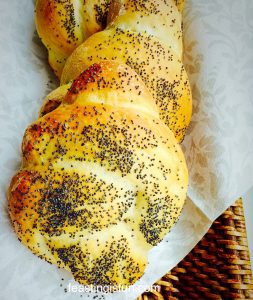
Knotted Poppyseed Rolls perfect for picnics.

Using a bread maker or stand mixer to carry out the kneading part of making bread dough isn’t cheating. Since hand kneading some incredibly sticky Brioche dough for 20 minutes at the weekend, it has really taken it’s toll on my body, especially my thumb joints. So, if using kitchen appliances enables us to eat better quality, homemade bread, that is also much cheaper than it’s shop bought counterpart, why not?

I hope that the detailed, yet easy steps in this recipe have encouraged you to bake your own bread. And you may find that once you start it is impossible to go back to mass produced, plastic wrapped loaves!!

Also, I’m always willing to answer any questions you may have with this, or any of my other recipes. Either leave a comment, or for a quicker reply message me on  Instagram or X (formerly Twitter).

Whatever you are making, baking and creating I your kitchens, have fun preparing and sharing your feast.

Sammie xx

Finally, this is not a sponsored post. I have been buying Shipton Mill flour for almost as long as I have been baking my own bread.

No part of this post may be reproduced or duplicated without the written permission of the owner. Please see my Disclosure Policy.


Share
Facebooktwitterpinterestlinkedintumblr

Hot Cross Buns

Share
Facebooktwitterpinterestlinkedintumblr

It is that time of year when the spicy scent of Hot Cross Buns hits you as you enter the supermarket. Somehow though, I’m always a bit disappointed with the slightly squished, supermarket Hot Cross Buns. Yes they may be convenient, but, I’m here to persuade you to try the homemade version.

FF Hot Cross Buns

The Benefits Of Making Hot Cross Buns At Home

The beauty of making and baking your own Hot Cross Buns is that you can add exactly what you like to them. Oh and leave out all the additives that you don’t need.

Our eldest daughter and myself are both allergic to orange, in any form. It brings on really nasty migraines (see here if you’d like to know more). So although orange is a traditional addition to these buns, by making them at home I can leave it out.

Hot Cross Buns

Not Just For Easter?

Speaking of our daughter, for one entire year, when she was a toddler, a Hot Cross Bun would be what she ate for breakfast. In fact she suffered very badly with tonsillitis and had to undergo a tonsillectomy when she was two and a half. We already had another little ‘un and I’d just found out I was pregnant with our son. Times were busy!

Anyway, her operation was during her Hot Cross Bun phase. So I buttered one, wrapped it up and took it to the hospital. I honestly didn’t think she would eat anything after undergoing her procedure, but sure enough, chicken nuggets and chips for tea. Then, the very next morning she devoured her Hot Cross Bun!

She is 16 now and has just shared a bun with me. It got 10 out of 10 which, from a life-long lover of Hot Cross Buns, was all I needed to hear.

Sharing This Recipe

I really do enjoy making food that my family and friends love. It was one of the reasons that I started feastingisfun, so I could share my own recipes with others.

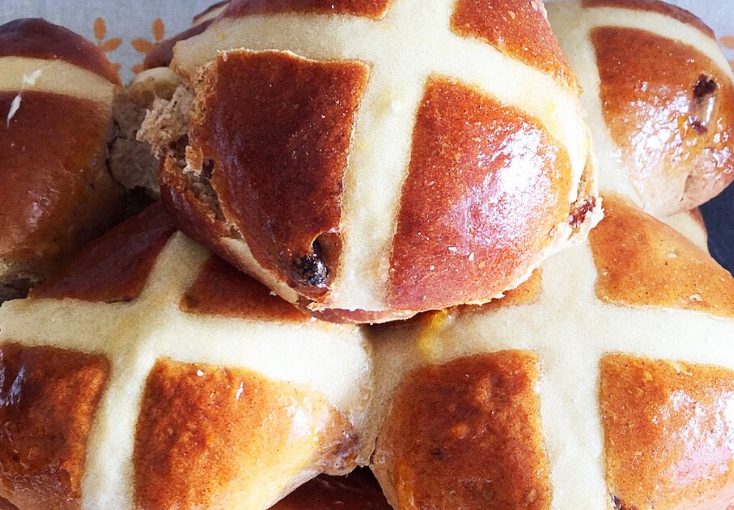
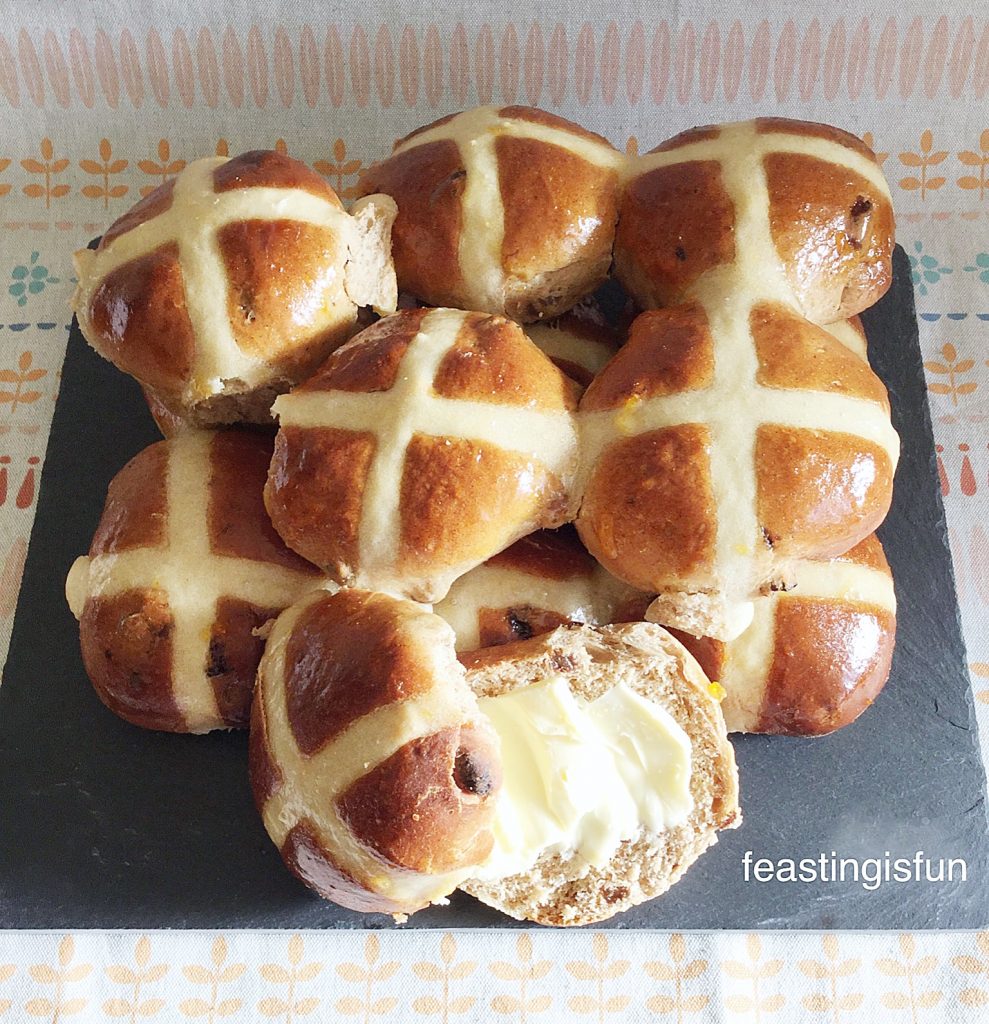
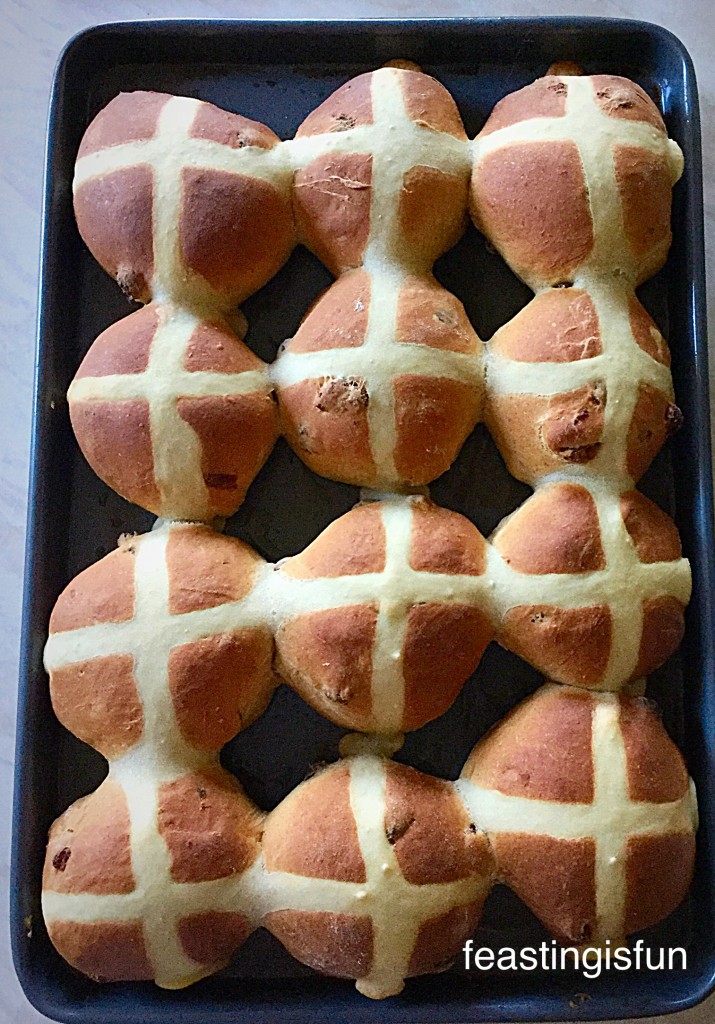
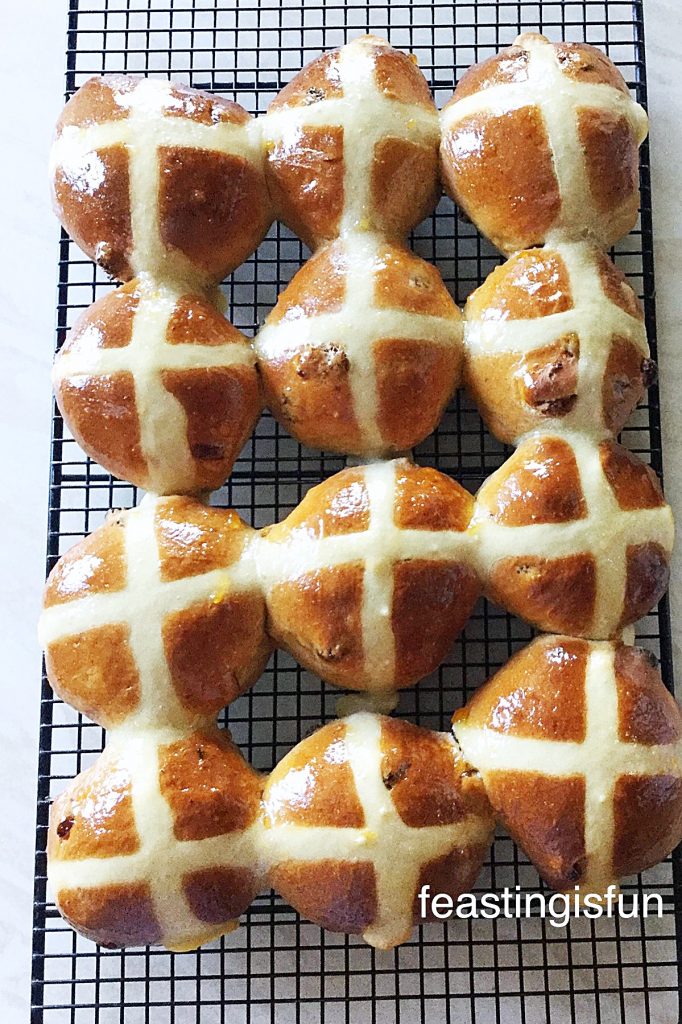
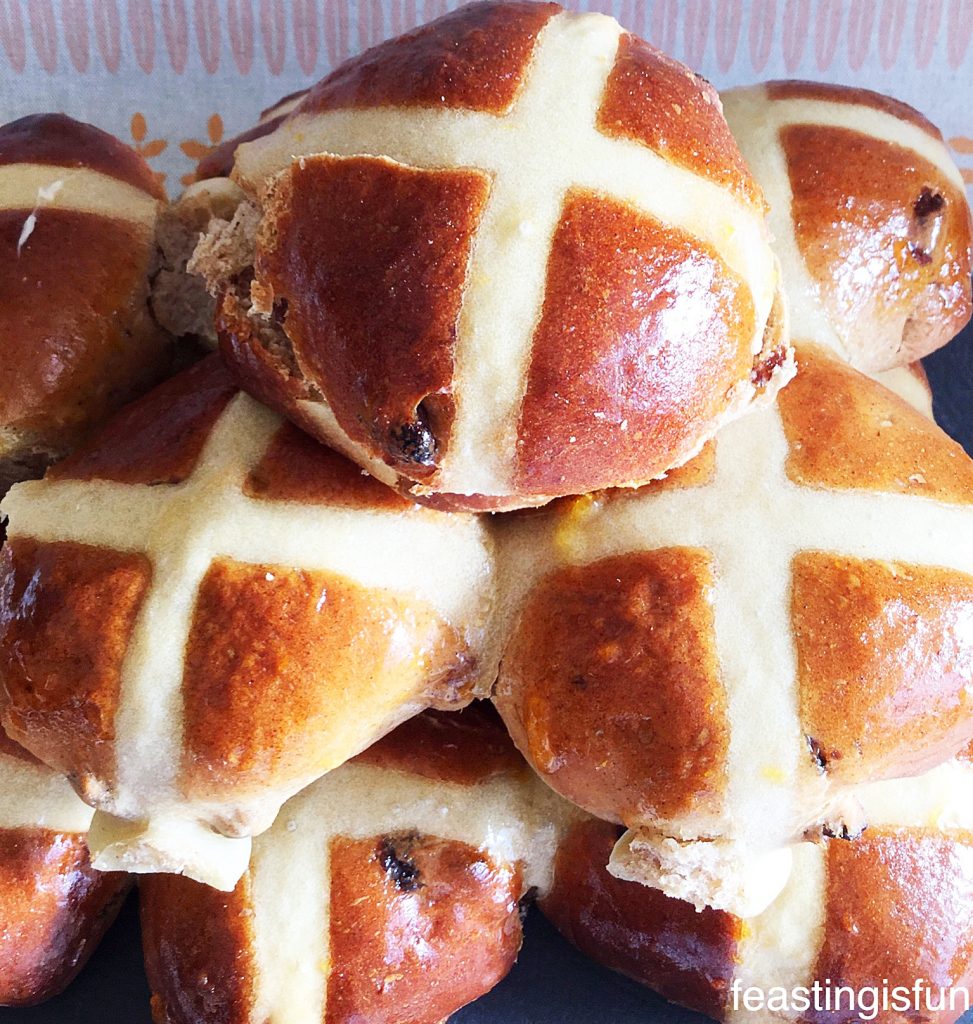
Traditional Easter bread bake, small rolls filled with plump vine fruits, spice and baked with a piped cross on top to represent how Jesus died.
Hot Cross Buns

Now I never actually believed anyone, other than family, would read this blog. But it seems you do and you enjoy it. Not only that but it has helped people, in a number of ways. Last Sunday I know of two people who specifically made recipes from this blog – and they turned out well. That puts a huge smile on my face.

Also others have been able to connect with me, as I understand, due to my own health issues (see Living With Seizures) and have found comfort in knowing they are not alone.

Sharing recipes, fun, love, encouragement and always a hug when ever needed.

The inspiration for this Hot Cross Bun recipe comes from both my daughter and the great baker Mr Paul Hollywood. I did actually start by looking at his recipe. However, me being me, I wanted to add some bits, change others, adapt the recipe for a bread maker/stand mixer. So in fact the recipe and method are mine, but thank you Paul for getting me off the starting blocks.

Recipe: Makes 12 Hot Cross Buns

500g/1lb 2oz Strong White Bread Flour

140ml/scant 5fl oz Whole Milk – slightly warmed (body temp)

120ml/4.5fl oz Water – slightly warmed (body temp)

2 Large Eggs – I use free range

1tbsp Honey

10g/1.5 Sachet Fast Acting Dried Yeast – I use allinson dried fast action yeast in the green tin or sachets

10g/ approx 1tsp Salt – I use Maldon

50g/2oz Unsalted Butter at room temperature

3tsp Cinnamon

150g/5oz Sultanas or Raisins

For the crosses:

50g/2oz Plain flour

50ml/2fl oz Water

Apricot jam or honey to glaze approx 2tbsp

Method: This method is for use with a bread maker or stand mixer, if you wish to make by hand, I suggest you look to the original recipe in Paul Hollywood’s book ‘How to Bake’ ISBN 9781 4088 19494.

Making The Spiced Fruit Dough

The ‘bowl’ refers to the bowl of a stand mixer or the mixing compartment of a bread maker.

  • Add both the milk and water to the bowl.
  • Next add both eggs, the honey and yeast.
  • Swish about with clean fingers to mix.
  • Now add the flour on top of the liquid mixture.
  • Place the salt and butter on top of the flour.

For a bread maker, set the cycle to dough and press start. When prompted by the machine, or 5 minutes before mixing stops, add the cinnamon and Sultanas. Allow the bread maker to complete the dough cycle.

When the bread maker has completed the dough cycle, ensure the dough has doubled in size, if not wait until it has. Then re start the dough cycle for 2 minutes, this will ‘knock back’ the dough for you.

For a stand mixer attach the dough hook. Start mixing on a low speed. Once the contents of the bowl resemble dough continue to mix on medium/slow speed for 5 minutes. Stop the mixer. Scrape all the dough, from the hook, into the bowl. Add the cinnamon and Sultanas. Lower the dough hook and mix on medium speed for a further 5 minutes.

After the 5 minutes mixing is complete, stop the mixer. Scrape all the dough back into the bowl, it will be very sticky – don’t worry. Cover with a damp cloth and leave in a draught free place until doubled in size – 1 – 1 1/2 hours.

Once the stand mixer dough has doubled in size, lower the dough hook and mix on medium speed for 2 minutes, this will ‘knock back’ the dough for you.

Shaping the Buns

Grease a large baking tray with butter.

  • Tip the dough out onto a lightly floured surface.
Hot Cross Buns
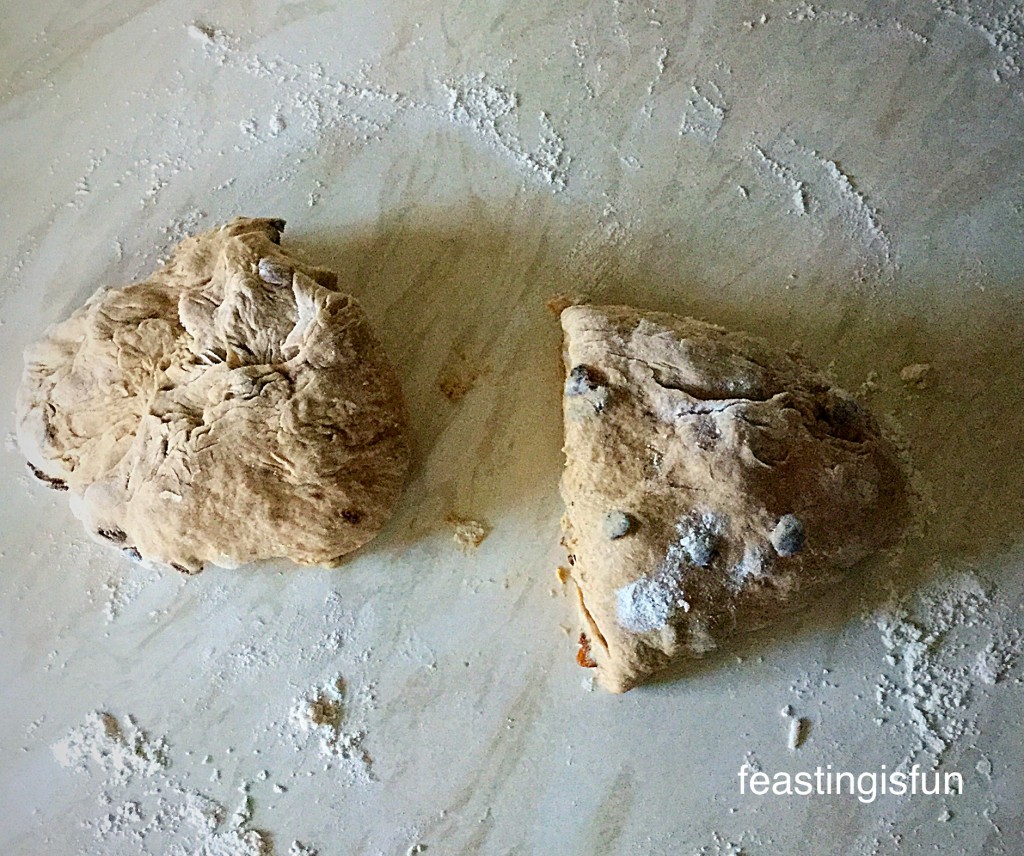
Shape the dough into a ball and using a dough scraper or large knife, cut the dough in half.
  • Roll each half into an even log shape.
Hot Cross Buns
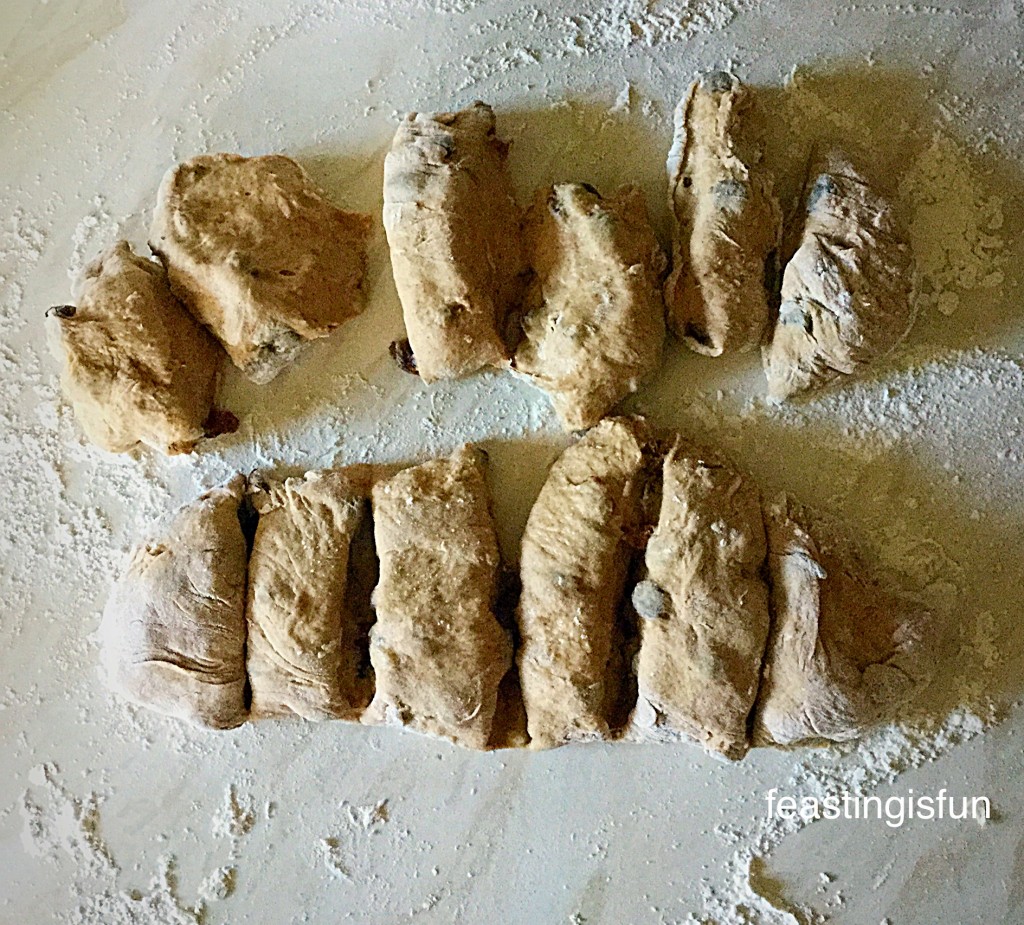
Cut each half into 6 equal pieces.
  • Using your hands form each portion into a ball with the seam underneath.
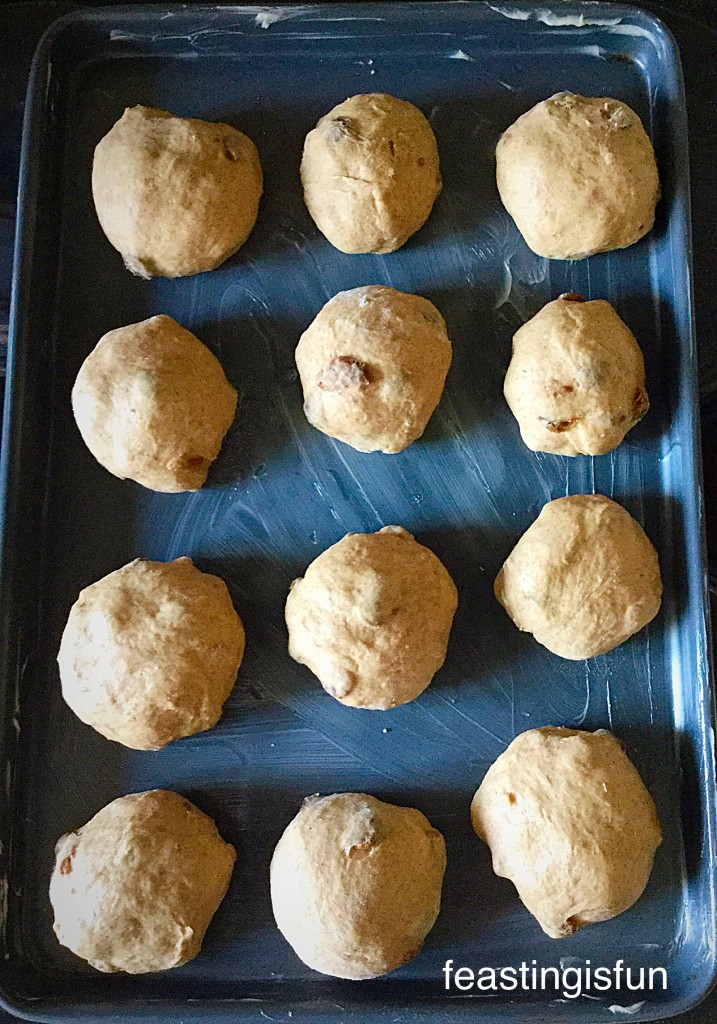
  • Place the dough balls onto the greased baking tray, evenly spaced apart.
Hot Cross Buns
Cover with a damp cloth and leave in a draught free place until doubled in size – approx 1 hour.
  • While the buns are proving, mix 50g of white flour with 50ml of water.
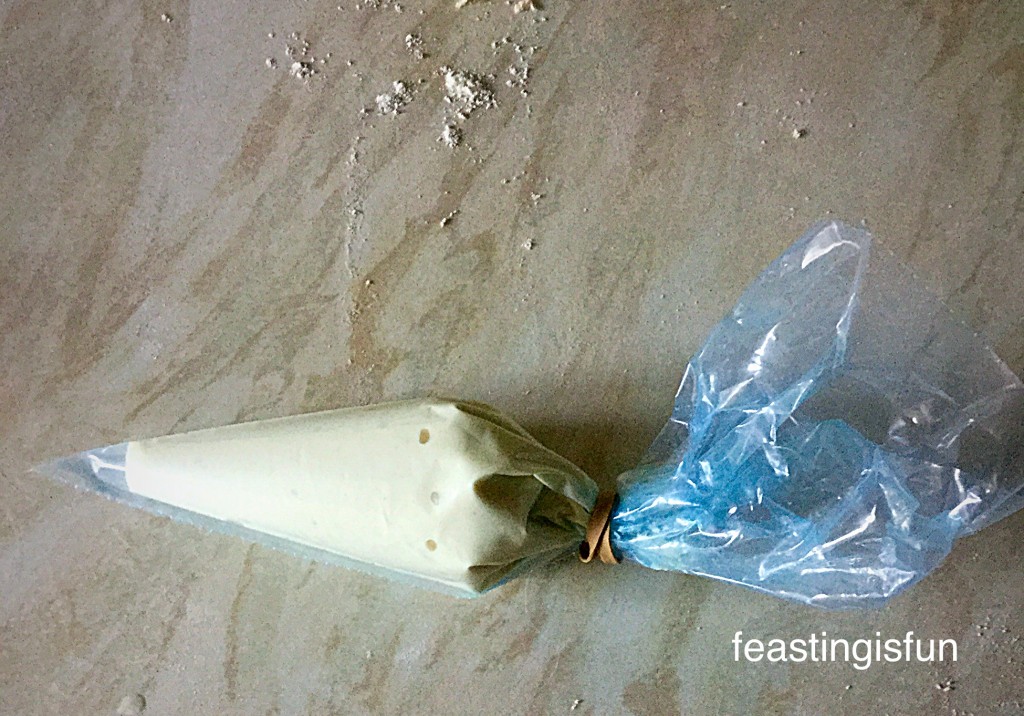
  • Spoon into a small piping bag, or a small plastic sandwich bag.
Hot Cross Buns
When you are ready snip the end/corner off to give a small hole.
  • 10 minutes before the Hot Cross Buns are ready to bake, preheat the oven to 220C/200C fan, gas mark 7, 425F.
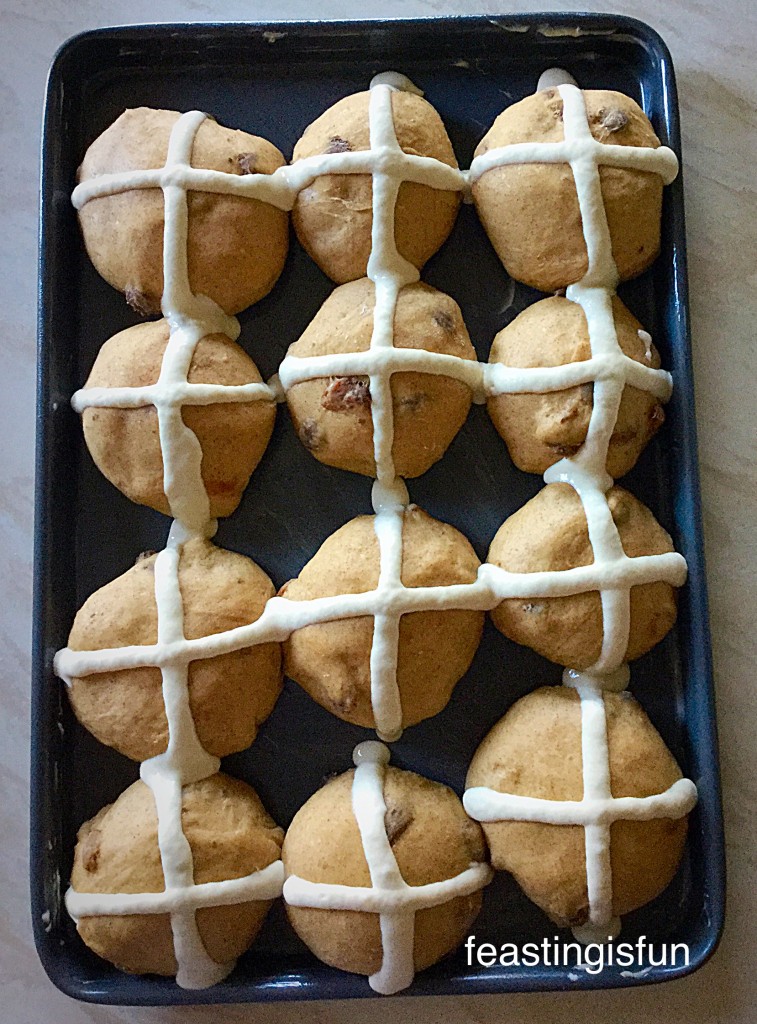
  • As soon as the buns have doubled in sized snip the end of the piping bag and pipe crosses on them.
Hot Cross Buns
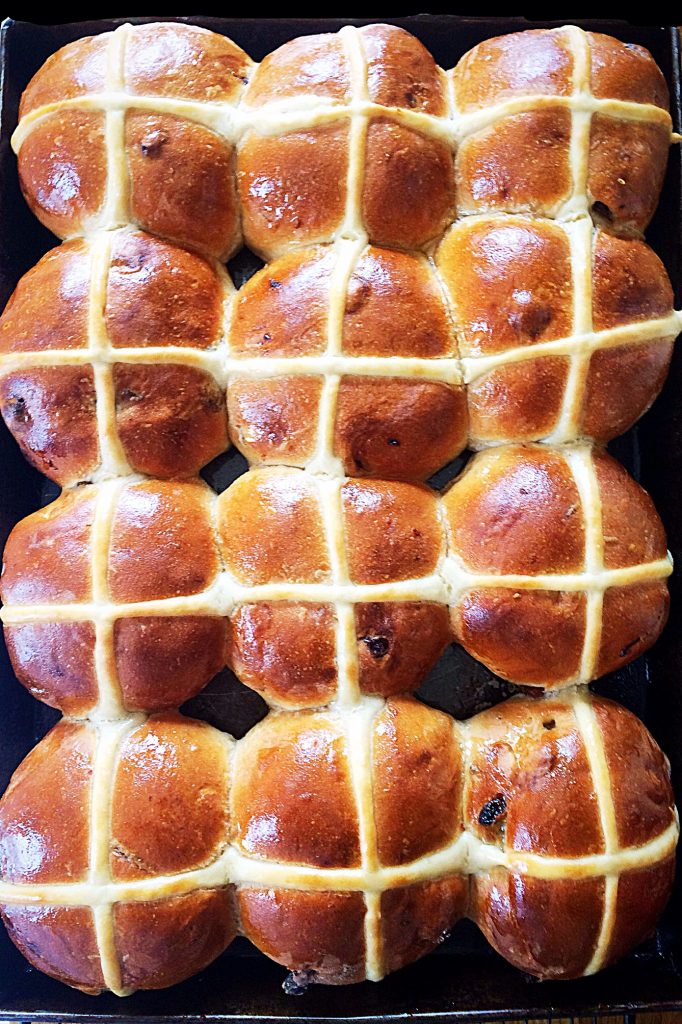
When the buns are double in size pipe the crosses on.

Baking The Hot Cross Buns

  • Place the buns in the oven and bake for approximately 20 minutes. They are baked when they are golden brown and sound hollow when rapped on the bottom with your knuckle.
Hot Cross Buns
The smell that fills the air whilst these Hot Cross Buns are baking is wonderful.
  • Immediately transfer the Hot Cross Buns onto a cooling rack.
  • Heat the 2 tablespoon of apricot jam, in a microwave proof bowl, on medium stating, in the microwave for 30 seconds.
  • Brush the hot jam over the buns whilst they are still warm.
  • Leave to cool completely.
Hot Cross Buns

These are absolutely THE best Hot Cross Buns I have ever tasted, let alone smelt whilst they were cooking.

Although there are a few steps, most of the hard work is done for you by kitchen machinery. I for one, would not be able to bake the quantity of bread and other items, if it weren’t for a little help in the kitchen.

Hot Cross Buns

We ate one of these Hot Cross Buns split and buttered, not even toasted and they tasted AH-MAZE-ZING. Please try, just this once, to make your own Hot Cross Buns.I am available via the comments section of this site or alternatively over on Twitter @sammiefeasting. It is true, I have been known, whilst on holiday in Devon, with a really dodgy signal, to give advice to someone baking these Crusty Baguettes so please don’t worry, ask.

Who will you share your homemade Hot Cross Buns with

If you have enjoyed this recipe you may also like these:

Chocolate Mini Egg Brownies

FF Chocolate Mini Egg Brownies
Chocolate Mini Egg Brownies

Golden Egg Chocolate Sponge Cake

FF Golden Egg Chocolate Sponge Cake
Golden Egg Chocolate Sponge Cake

Cherry Bakewell Hot Cross Buns

FF Cherry Bakewell Hot Cross Buns
Cherry Bakewell Hot Cross Buns

Sammie xx

Traditional Easter bread rolls baked with vine fruits and piped crosses on top.


Share
Facebooktwitterpinterestlinkedintumblr

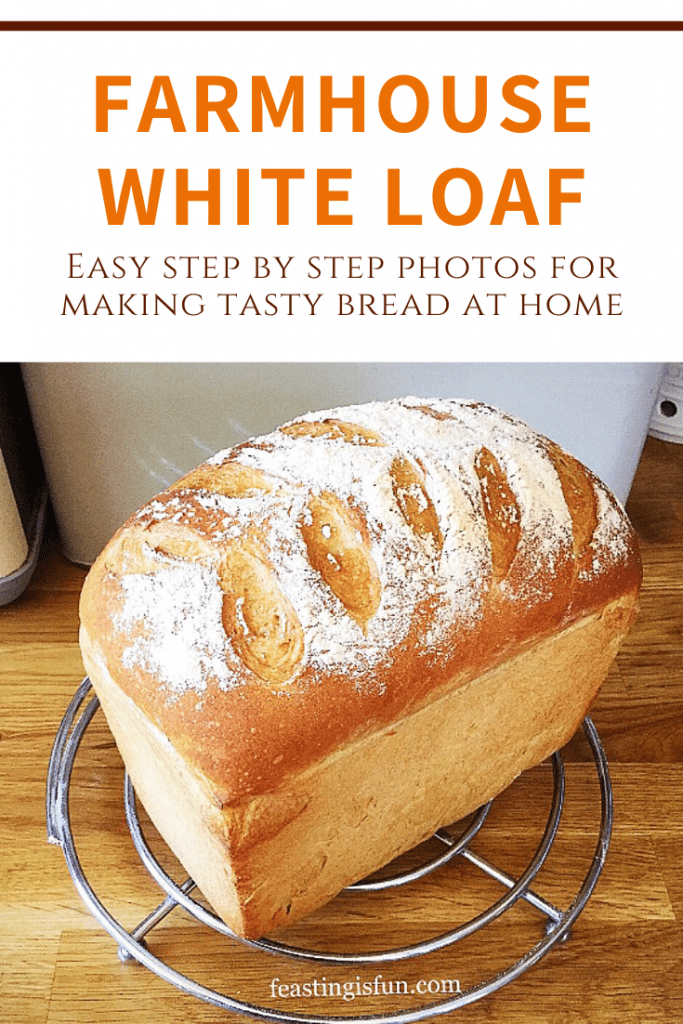
Farmhouse White Loaf

Share
Facebooktwitterpinterestlinkedintumblr

Is there anything better than the smell and taste of freshly baked bread? This Farmhouse White Loaf is utterly delicious. If you’ve never baked bread before, read on and let me encourage you to give it a go.

Baking your own bread is such a rewarding experience. From a few simple ingredients, mixed together, the bread literally grows before your eyes.

This Farmhouse White Loaf is the perfect recipe to start with, if you have never made your own bread before.

You will need a loaf tin to bake your bread in. I recently reviewed a British company, that sells British manufactured bakeware you can read it here.
British Bakeware sell a range of loaf tins, my favourite and the one used for baking this loaf is the 3lb deep farmhouse loaf tin.
Farmhouse white bread loaf


Farmhouse White Loaf – Bread Baked In A Regular Oven

The advantage of having a deep loaf tin is, no muffin topped loaves. In the past I have baked bread in tins that weren’t as deep as this one and the bread rose and billowed out, like a mushroom. I’d have to cut away the sides of the bread, where it had stuck to the outside of the tin. Not they way to bake a great looking loaf!

The instructions given below for making this bread are, by hand (which everyone should do at least once in their lifetime), or using a stand mixer/bread maker to carry out the mixing, kneading and knocking back.

Personally I prefer bread baked in the oven. I have baked many a loaf in a bread maker, however, I never seem to get the gorgeous, crunchy crust, that I achieve with an oven baked loaf. Plus bread maker bread is always a little soft for my liking and there’s the inevitable hole in the bottom of the loaf where the mixing paddle is!

Bread dusted with flour and lightly scored to create a pretty finish once baked.
Farmhouse White Loaf

Bread As It Should Be – Without Unnecessary Additives

If you like baking bread in a bread maker I am most certainly not going to judge you. Any bread baked at home is infinitely better than plastic wrapped, pre-sliced, mass produced bread! Aside from speciality breads like my Tomato Thyme Garlic Focaccia, bread should contain nothing more than flour, water, yeast, salt, water and a little oil or butter.

Read the ingredients on the back of a shop bought loaf and you will be amazed at all the additives.

Baking your own bread is easy, once you get into a routine. Even when baking by hand, it still only takes 20 minutes, hands on time, to get a loaf ready to be baked. Once you taste real, homemade bread, it’s hard to go back to the bought stuff – that said, I’m a realist and I usually have a bought loaf stashed in the deep freeze for days when my body is playing up (see here). So I won’t judge!!

Farmhouse White Bread Loaf

Helpful Bread Making Tips

Just a quick tip: if you do start to bake bread regularly, it can pay to bulk buy your bread flour. I use organic flour that is stone ground, from Shipton Mill currently I buy it through Amazon UK using their subscribe and save, although Shipton Mill now have their own online shop. Buying in bulk, through Amazon UK, 5 x 2.5kg bags, means that we eat good quality, organic, stone ground British flour, for about 60 pence a loaf!

While I love baking with fresh yeast, the shelf life is very short, so I have used 7g sachets of fast action dried yeast. Alternatively, if you do use fresh yeast, simply double the quantity stated for dried.

Farmhouse White Bread Loaf

Recipe: Makes 1 Large Farmhouse White Bread Loaf

500g/1lb 2oz Strong White Bread Flour – I use Shipton Mill organic white flour

1 x  7g Sachet Fast Action Dried Yeast – I use Allinson Easy Bake in the green packet or pot

1tbsp Honey – alternatively use 1tsp regular sugar

320ml/11oz Tepid Tap Water (approx body temp)

7g Salt – I use Maldon Sea Salt

1 tbsp Rapeseed Oil (Canola Oil) – I use Kentish Oils alternatively add 25g/1oz of unsalted butter.

Farmhouse White Loaf – Making The Bread Dough

The ‘bowl’ is either a large bowl, with which to mix the bread by hand, or the stand mixer/bread maker bowl.

For all methods:

Pour the water into the bowl. Add the honey and yeast. Swish about with clean fingers to activate the yeast.

Add the flour on top of the liquid.

Add the salt and the oil/butter.

Bread Maker

If using a bread maker, set to dough cycle and start the program. Once the cycle is completed re-start for 2 minutes. This ‘knocks back’ the dough. Then remove the dough, shape into an oval/ball and place into a buttered loaf tin. Cover with a damp cloth, leave in a draught free place until doubled in size.

Stand Mixer – with dough hook attachment

If using a stand mixer, attach the dough hook and mix on medium speed until all the ingredients are combined. Continue to mix for a further 5 minutes, until the dough is smooth and elastic. Stop mixing. Scrape the dough from the dough hook and combine with the dough in the bowl. Form into a ball, place back into the bowl. Cover with a damp cloth and leave in a draught free place until doubled in size (approx. 1hour). Once doubled remove the cloth, mix for 2 minutes on medium speed using the dough hook. This ‘knocks back’ the dough. Remove the dough and form into an oval/ball shape, place into a buttered loaf tin. Cover with a damp cloth, leave in a draught free place until doubled in size.

By Hand

If hand mixing, bring all the ingredients together with your hand until they form a doughy mess! Place this dough onto a very lightly floured worktop. Knead for a good 10 minutes. If the dough gets sticky, keep kneading and working it – if you add extra flour the finished bread will be dry. After a good 10 minutes kneading, the dough should have a smooth elasticity. Place the kneaded dough into a buttered bowl, cover with a damp cloth and leave in a draught free place until doubled in size, 1-2 hours.

Shaping The Dough Ready For The Second Proof

Ensure the area that you are shaping your dough is draught free.

First of all lightly dust the work surface with flour

Tip out the dough, from its bowl, so the top of the dough is directly in contact with the worktop. This will help as we start to build tension within the dough.

Lightly flour your hands and pull out part of the sticky dough, then press it into the centre of the dough, as seen in the photos below.

Continue this process all the way around the outside of the dough until you have a smooth, rectangular shape, with no sticky sides.

Creating tension across bread dough after the first proof.

Shaping The Loaf

Using your fingers, lightly press the dough out into a square shape, roughly the same width as the length of your dough tin.

Fold the top third of the dough onto itself and then repeat with the bottom third of the dough, pulling it so that it overlaps the first fold.

Flip the folded dough over and tuck in the top and bottom to create an oval shape.

Shaping bread dough in stages.

Place the shaped dough, with the seams underneath, into the loaf tin.

Cover with a clean tea towel and leave in a draft free place until doubled in size.

Shaped bread dough in tin before and after second rise.

Baking Your Farmhouse White Loaf

10 minutes before the dough is ready to bake, preheat the oven to 220C/200C fan, gas mark 7, 425F. Also, place an inch (2.5cm) of water in a container and place on the bottom of the oven. This will create steam which allows the bread to rise more (known as oven spring ) before forming a crust.

Also, if desired, score the loaf before placing in the oven.

Place the loaf tin into the middle of the oven. Bake for 30 – 40 minutes. Tip the loaf out of the tin.

The bread is cooked when it has a deep golden crust and sounds hollow when rapped on the base with your knuckle.

For an extra crusty loaf place the bread directly on the oven shelf and bake for a further 5-10 minutes. Remove from the oven and place on a cooling rack.

Enjoy the wonderful aroma of baking bread as it fills your kitchen. That alone is worth baking this bread for!

Farmhouse White Bread Loaf

Enjoying Your Farmhouse White Loaf At It’s Best

Allow the Farmhouse White Loaf to cool completely before slicing. I know it is sooo tempting to tear into the hot, freshly baked loaf, but if you do the bread will all squidge (is that a word??) together and be very hard to slice.

Give yourself a big pat on the back for making a cracking loaf!

You deserve it.

White Sandwich Bread sliced
Farmhouse White Loaf

This was not a sponsored post. All opinions are my own and recommendations for products are purely from my own personal experience.

Bread is a staple in so many homes, treat yourself to a home baked loaf and I promise you won’t regret it.

FF Farmhouse White Loaf
A Farmhouse White Loaf slashed after the second prove.

Here To Help You Bake The Perfect Bread

I do not presume to be an expert, however, I have baked a fair few loaves over the years. Please ask if you are having any problems, need guidance or reassuring?

Either leave a comment or tweet (@sammiefeasting) me a question. I will do my very best to help.

If you have enjoyed this recipe for Farmhouse White Loaf you may like to try these:

Oat Bran White Bread

FF Farmhouse White Loaf
Oat Bran White Bread

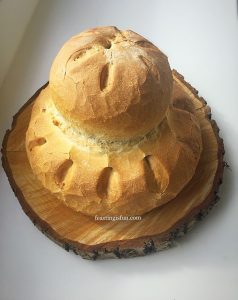
Easy Homemade Cottage Loaf

FF Farmhouse White Loaf
Easy Homemade Cottage Loaf

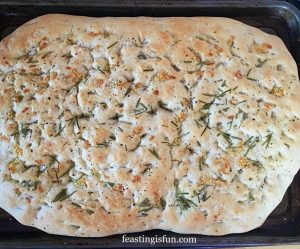
Garlic Rosemary Focaccia Bread 

FF Farmhouse White Loaf
Garlic Rosemary Focaccia Bread

While baking bread is not only a satisfying and tasty experience, it can also work out much cheaper than buying a standard loaf at the shops. Also, you know exactly what has gone into your home baked bread. And, the more bread you make, the better you will become at making it. As you become confident baking a  white loaf you can get creative and try other bread recipes. Although, I should issue a warning, bread making can become addictive!

So, whatever you are making, baking and creating in your kitchens, have fun preparing and sharing your feast.

Sammie xx

No part of this post may be reproduced or duplicated without the written permission of the owner. Please see my
Disclosure Policy.

Freshly baked white bread with descriptive graphics.

Share
Facebooktwitterpinterestlinkedintumblr

British Bakeware Product Review

Share
Facebooktwitterpinterestlinkedintumblr

Hello lovely readers. Today I am so thrilled to share with you my British Bakeware Product Review.

British Bakeware produce a wide range of fantastic bakeware that is all manufactured in the UK. If you need a well made, durable piece of baking kit, British Bakeware stock it.

I was sent a Large Baking Tray, 3lb Loaf Tin and 12 Cup Muffin Tray to review. I had so much fun developing recipes and testing each product and am excited to share the final results and my thoughts on their products with you.

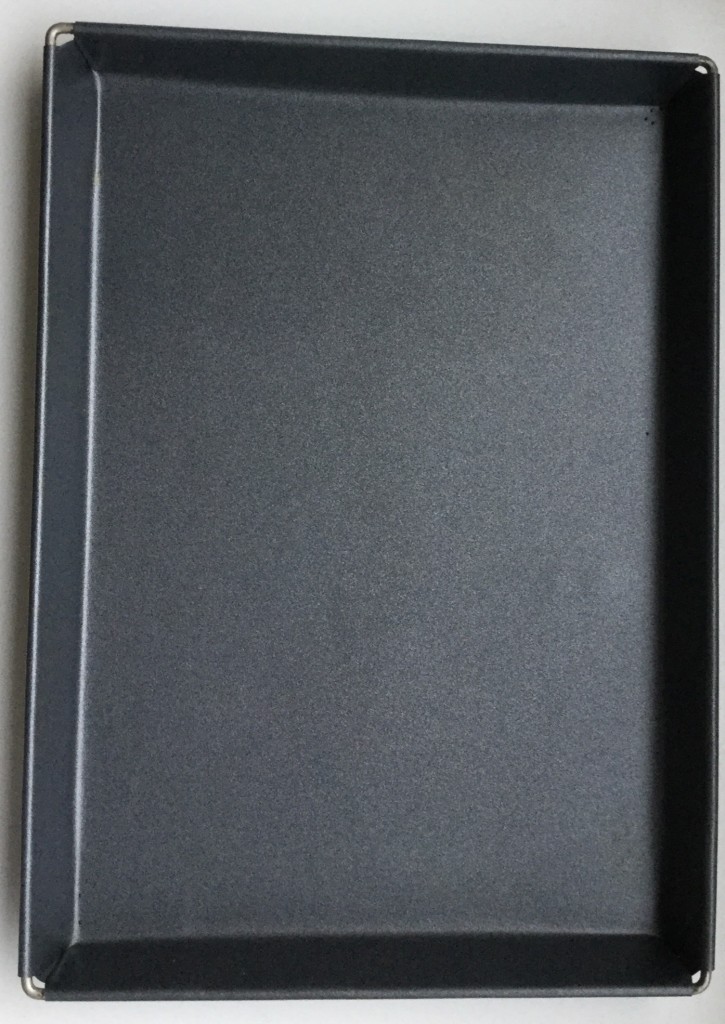
Large Baking Tray dimensions 33cm length x 24cm wide x 2.5cm deep

British Bakeware Product Review
Large Baking Tray with a non-stick finish.

This Large Baking Tray has a double non-stick coating and is oven, freezer and dishwasher safe.

Oh, did I mention it comes with a 5 year guarantee – yep a whole 5 years.

I really put this baking tray through it’s paces. From baking sausage rolls, on Christmas Eve, to roasting chicken, making biscuits and baking rolls. This baking tray performed time and time again.

Food cooked evenly and the baking tray was a dream to clean. Although it is non stick I gave it a very light coating of oil prior to using it. Doing so prolongs the life any non stick bakeware.

During my British Bakeware Product Review I developed new recipes. Using this Large Baking Tray I made Roast Chicken Noodle Soup  that is very low in fat and  these Cherry Bakewell Cookies for a little treat!

Cherry Bakewell Cookies
Cherry Bakewell Cookies cooling on the baking tray.

I deliberately did not grease the baking tray, or line with parchment paper. These cookies were very easy to remove, using a palette knife. That for me was the ultimate non-stick test and this large baking tray passed with flying colours.

In future I would line with baking parchment, as it is a great baking tray and I don’t want to scratch it!

Overall I was very impressed with the quality, durability and versatility of this Large Baking Tray.

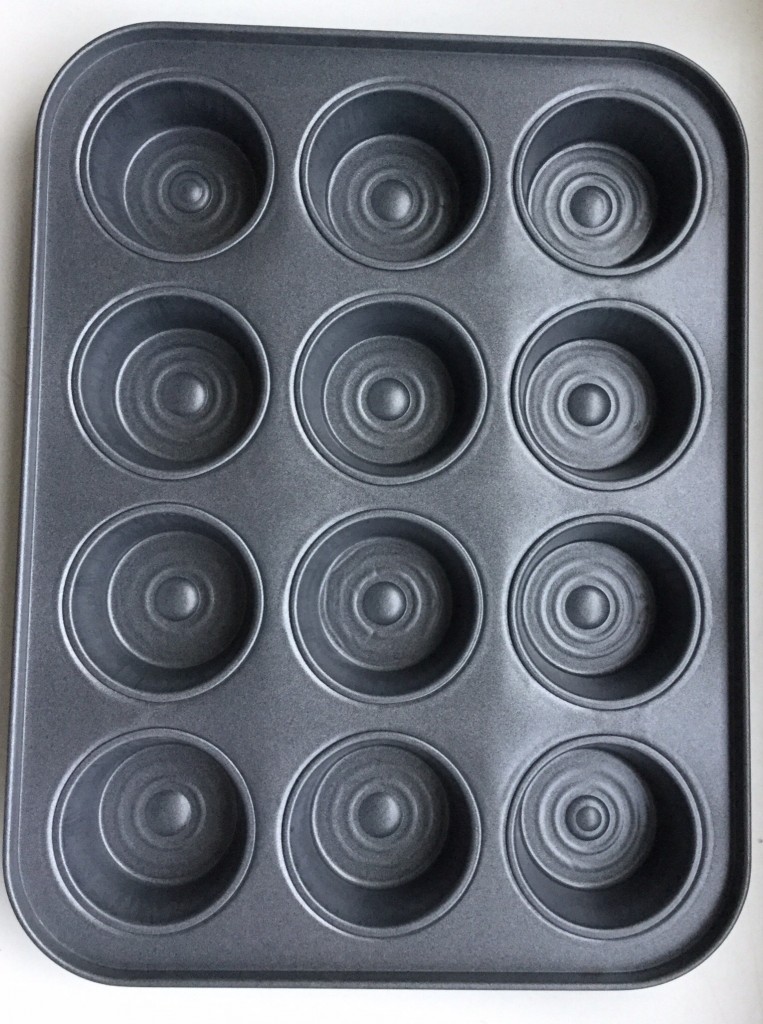
12 Cup Muffin Tray dimensions 36cm length x 26cm wide x 3cm deep

British Bakeware Product Review
12 Cup Muffin Tray

This Muffin Tray has a double non-stick coating and is oven, freezer and dishwasher safe.

Yes this Muffin Tray also has a whopping 5 year guarantee.

Although this is a Muffin Tray I wanted to bake deep cupcakes in it, to see how it performed.

Vanilla Bean Cupcakes
Baked, golden Vanilla Bean Cupcakes using the 12 Cup Muffin Tray.

With the 12 Cup Muffin Tray I baked a batch of these Vanilla Bean CupcakesThe cupcakes baked evenly across the tray and were easy to remove.

What I particularly like about this Muffin Tray is the lip it has, that runs around the outside, on the top of the tray. This is a fantastic feature when baking any muffin or cupcake with a streusel topping. Inevitably some of the crumbly streusel gets knocked off the top of the muffin whilst moving the tray, this little addition ensures the sticky, crumbly mixture, doesn’t end up on your oven floor!

I do not know anyone who enjoys having to clean the oven!!!

So top marks for that British Bakeware.

This 12 Cup Muffin Tray was easy to clean, baked evenly and can be used for muffins and cupcakes. It is a complete winner all round.

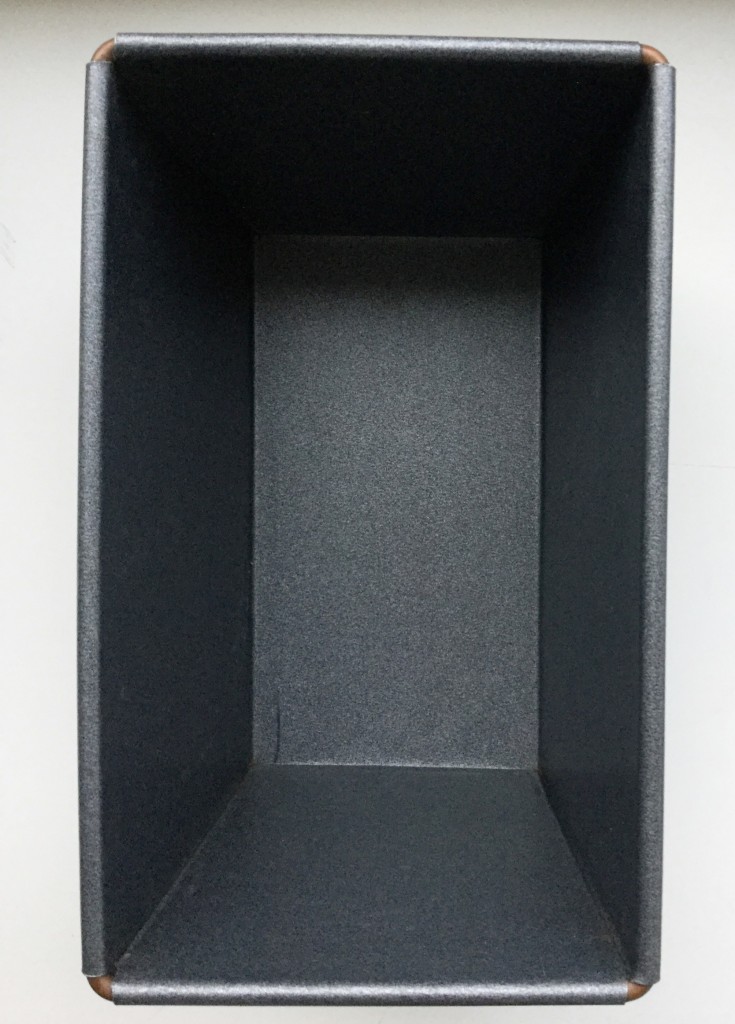
3lb Loaf Pan dimensions 21cm long x 13cm wide x 12cm deep.

British Bakeware Product Review
3lb Loaf Tin

The 3lb Loaf Tin has a non-stick coating and is also oven, freezer and dishwasher safe.

Those of you who know me, know I love baking all sorts of delicious cakes, cookies, pies……

Did you know that I bake almost ALL of our bread?

This 3lb Loaf Tin has been used almost every day, since just before Christmas. I have baked our regular variety of loaves and created 2 new recipes in honour of this loaf tin – if it is possible to love an item of baking equipment, well, let’s just say, don’t try and come between me and this loaf tin. Are we clear???

Time after time it produced fantastic loaves. If you bake bread you NEED this tin. If you don’t and want to start get THIS tin.

I have been baking bread for the best part of 40 years (I started very young!!) and this is, without question, the best non-stick loaf tin I have ever used.

I created a recipe for a Wholemeal Loaf and a Spiced Fruit Loaf

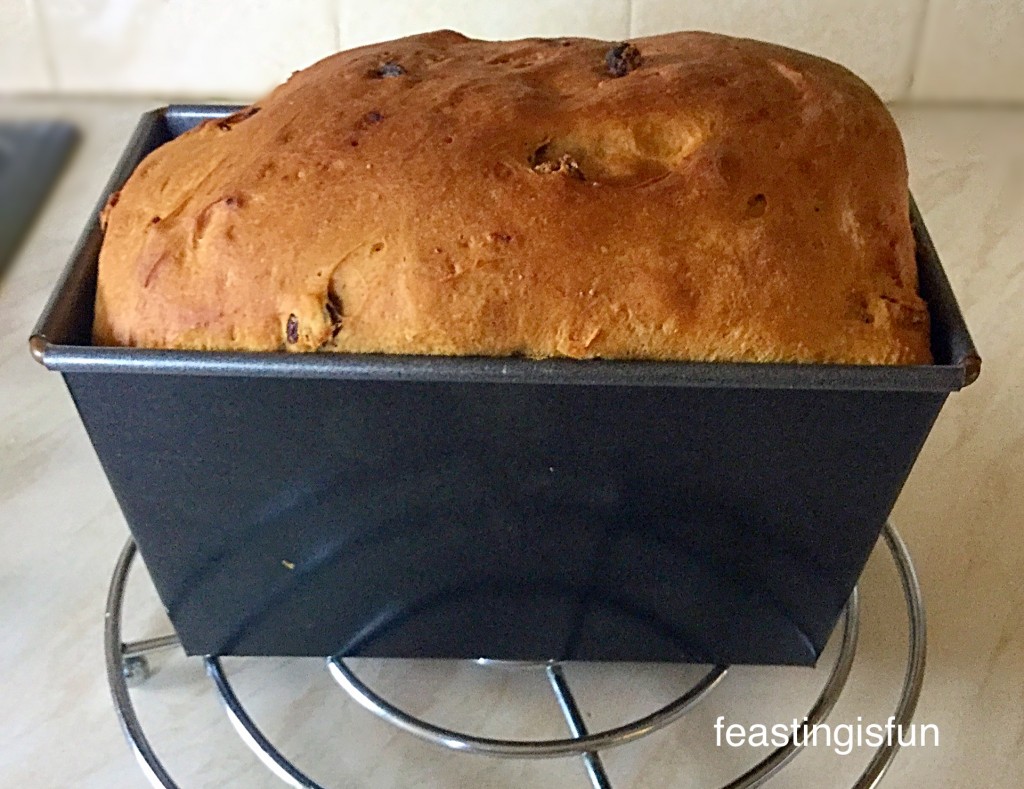
The fruit loaf has a very, very sticky dough, yet it baked perfectly in this Loaf Tin.

British Bakeware Product Review
The 2nd Spiced Fruit Loaf I baked for this British Bakeware Product Review.

The 100% Wholemeal Loaf also baked beautifully in this 3lb Loaf Tin.

British Bakeware Product Review
Delicious and healthy Wholemeal Loaf.

Have I convinced you to start making your own bread yet?

I have thoroughly enjoyed carrying out this British Bakeware Product Review, not least because the products I reviewed were of excellent quality. They withstood the rigours of a normal household kitchen, although, it is probable that I bake more than most.

Whether you are a frequent baker, or not I can thoroughly recommend British Bakeware products. They are very reasonably priced, especially when you consider all three items I reviewed come with a 5 year guarantee and they are made right here in the UK.

Following this British Bakeware Product Review they will now be the first place I turn to when I need baking equipment – in fact I already have a few items on my list!!

As you know I frequently mention sharing on here. First home, wedding, birthday – how about giving a baking gift from British Bakeware? Maybe go one step further, pick a recipe (from feastingisfun of course 😉) buy the ingredients and the bakeware to bake it in and give it as a present?

Here are the links to get you started!

Large Baking Tray

12 Cup Muffin Tray

3lb Deep Farmhouse Loaf Tin

Do you enjoy baking?

Would you like to start baking?

Please let me know. I really enjoy reading your comments. I am not an expert but will always aim to give helpful advice.

Have fun baking, I’m off to do some online shopping at British Bakeware

Sammie xx

British Bakeware provided me with the 3lb loaf pan, large baking tray and 12 cup muffin tray, for me to review. All opinions and content are my own. I did not receive any payment for carrying out this review.


Share
Facebooktwitterpinterestlinkedintumblr

Wholemeal Loaf

Share
Facebooktwitterpinterestlinkedintumblr

What have I got here for you today? Only a 100% Wholemeal Loaf!

Delicious,tasty, Wholemeal Loaf www.feastingisfun.com

Gorgeous, crusty, healthy bread. Perfect for increasing fibre in your diet and keeping you feeling fuller for longer.

A completely Wholemeal Loaf is never going to be as light, or rise as much as a Large White Bloomer.

This is because the wholemeal flour has less protein (gluten) per gram than white flour, as the bran and germ have not been removed. So a Wholemeal Loaf is always going to be denser than a white loaf. What I have found, is, that when making wholemeal bread using the regular, knead/prove/knockback and then prove again, I’ve had disappointingly heavy loaves. So I set about trying to improve the result.

Wholemeal Loaf full of fibre and flavour www.feastingisfun.com

I am not claiming the following method is fool proof, or the only way to make 100% Wholemeal Bread, a quick search on the internet proved that! Sorry no pun intended well maybe! What I’ve found is, by triple proving the dough, the resulting bread is far more digestable and totally delicious.

Wholemeal Loaf where's the butter? www.feastingisfun.com
Wholemeal Loaf where’s the butter? www.feastingisfun.com

Wholemeal bread is extra delicious when paired with oily fish, such as smoked salmon, smoked mackerel or tuna. I particularly enjoy it, toasted, alongside a golden, dippy yolked, free range egg – the perfect breakfast.

Whatever your reason for wanting to make and bake this bread, the triple proving method ensures the resulting loaf is delicious and more easily digested.

I personally enjoy baking and eating a variety of breads, yet this Wholemeal Loaf and my Crunchy Seeded Bread are top of my favourite loaves for sandwiches and toast.

Well they do say that “Variety is the spice of life!!”

Recipe: Makes 1     Wholemeal Loaf (750g)

450g/1lb Strong Wholemeal Flour

2tsp/1 sachet Fast Action Dried Yeast

1tsp Runny Honey

325ml/1/2 pint Tepid Water

1tsp Salt

25g/1oz Unsalted Butter plus extra for greasing the loaf tin.

Method: Grease a 3lb Loaf Tin with butter.

Using either a bread maker or free standing mixer, with dough hook attachment, add the water, yeast and honey into the bowl. Gently mix together with clean fingers.

Add the flour on top of the water mixture.

Next add the salt.

Break the butter into small pieces and add to the bowl.

If using a bread maker, set the programme to dough cycle and start. When the cycle is complete, start the dough cycle again. This will knock back the dough and prove it for a second time.

If using a stand mixer, lower the dough hook and mix on a medium speed. Once all the ingredients have come together to form a dough, continue mixing for 10 minutes on a low – medium speed. Stop the mixer. Remove any dough from the dough hook and form into a ball. Place back into the mixer bowl, cover with a damp cloth and leave in a draft free place for an hour.

In the stand mixer, after an hour, lower the dough hook into the bowl and proceed to mix, as before for 10 minutes, this will knock back the dough. As before, stop the machine, scrape any dough off the hook, form the dough into a ball, cover with the cloth and leave for a further hour.

Once the second prove is complete, gently press the dough into a flat rectangle. Fold the bottom third upwards and then fold the top third down, over the first fold. Place the dough, seam side down, into the greased loaf pan. Cover with the cloth and leave for a further 1 – 2 hours, until doubled in size.

You can add a light dusting of flour to the top of the loaf before it bakes.

Preheat the oven to its highest setting 10 minutes before the wholemeal loaf is ready to bake.

Wholemeal Loaf a few gentle slashes across the top and a little sprinkle of flour give the loaf an extra special look www.feastingisfun.com

Place a baking tray, or grill pan in the bottom of the oven and fill with boiling water. Creating a steamy environment, will help the bread form a delicious crust.

When the oven is hot and full of steam, carefully place the loaf tin (with the cloth removed) into the oven and bake for 30-40 minutes.

The bread is baked when it is a golden, crusty brown and sounds hollow when rapped on the base with your knuckle.

Remove the bread from the oven. Turn out the loaf immediately and leave to cool completely on a rack.

Wholemeal Loaf - how do you like your bread? www.feastingisfun.com
Wholemeal Loaf – how do you like your bread? www.feastingisfun.com

If you make this loaf I would love to see your photos. Post them on Twitter and Tag me in with #feastingisfun.

I really hope you enjoy this delicious Wholemeal Loaf and you may also like this recipe –

Wholemeal Cob Loaf

This Wholemeal Loaf was baked in a British manufactured 3lb loaf tin available from British Bakeware.

I did not receive any payment for using this tin. All opinions and content are my own.

Sammie xx

Share
Facebooktwitterpinterestlinkedintumblr

Wholemeal Cob Loaf

Share
Facebooktwitterpinterestlinkedintumblr

Hi, I’m so excited. I have a secret to share with you. 100% wholemeal bread that’s not heavy! My Wholemeal Cob Loaf is delicious, nutritious and so tasty – oh and did I mention it’s not heavy, like some 100% wholemeal loaves can be.

Wholemeal Cob Loaf - a gorgeous crust and delicious taste.
Wholemeal Cob Loaf – a gorgeous crust and delicious taste.


The trick, I’ve found, to make a Wholemeal Cob Loaf that ISN’T dense, is to triple prove the dough. This is most definitely a loaf that cannot be rushed. But hey, it’s not like you have to do anything while it’s proving! It’s very happy to be left alone!!! Also I used my bread maker to mix, prove, knock-back, prove etc. All I had to do was shape the final loaf. But it could easily be made by hand, with kneading and knocking back adding only a few extra minutes. Trust me it’s so worth it!

Wholemeal Cob Loaf - cutting through the top creates more crunchy crust.
Wholemeal Cob Loaf – cutting through the top creates more crunchy crust.

This Wholemeal Cob Loaf delivers massively on flavour. A deep flavoursome loaf that is part of a sandwich or toast, not just a medium for the topping or filling. Being 100% wholemeal ensures each slice is loaded with fibre and being homemade there are no artificial additives. A great tasting loaf that’s good for you. I also prefer to bake with Organic flour, so my loaf is as wholesome as it can be!

Lunch - as slice of Wholemeal Cob Loaf with Avocado, sliced Tomatoes and Strong Cheddar - delish!
Lunch – as slice of Wholemeal Cob Loaf with Avocado, sliced Tomatoes and Strong Cheddar – delish!


Recipe : Makes 2 Medium Wholemeal Cob Loaves (or 1 large)

450g/1lb Wholemeal Bread Flour

2tsp/1 x 7g Sachet Dried Yeast

1tbs Honey

300-350ml Water

1tsp Salt – or 1.5 tsp Maldon Sea Salt

1tbsp Butter or Olive Oil

Method : Given for bread maker/Stand mixer with dough hook.

Pour 300ml warm (body temp) water into the bowl. Add the honey and yeast. Swish around with clean fingers to mix.

Add the flour on top of the liquid mixture.

Next add the salt and butter/oil.

Set the bread maker to mix and prove the dough – the mixing cycle should last at least 10 minutes.

For a stand mixer switch on to a low/medium speed and mix for 15 minutes.In both cases check the dough, if the machne is labouring and the dough doesn’t seem soft, or it looks dry, add more water, 15ml at a time, until the dough is pliable and soft (no cracks).

The weather and flour can both influence how much water is needed. With wholemeal flour I would always err on the side of a slightly wetter dough, you don’t want to have dry bread!

With the stand mixer, after mixing place the dough in an oiled bowl, cover with cling film. When doubled in size return dough to the mixer bowl and mix again fo 15 minutes. Repeat proving and mixing process once more (total 3 proves,  3 mixes/knock backs).

If using a bread machine once the dough has been proved once, repeat the mixing (which will knock bake the dough) twice more.

Utimately this dough needs to be proved 3 times – trust me it’s worth it.

The third prove is the final prove, this is where you shape the dough.

Tip the knocked back dough onto an oiled baking sheet. Form into a round.

If baking one loaf, cover in oiled cling film and leave to double in size away from drafts.


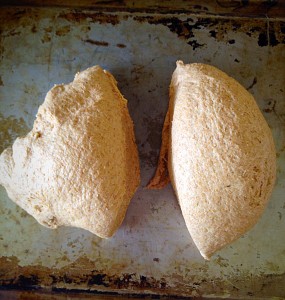
For 2 loaves cut the dough in half.
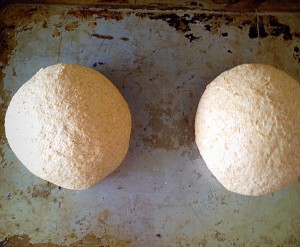
Rotate the dough on the baking sheet to form a tight ball.
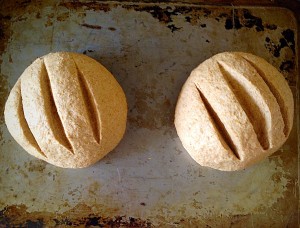
Cut three lines through each loaf - this is optional, but does give a better crust.
Cut three lines through each loaf – this is optional, but does give a better crust.
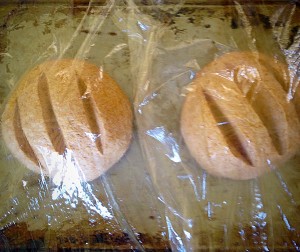
Cover with oiled cling film - this stops the loaves socking and drying out during their final prove. Leave to prove until doubled in size.
Cover with oiled cling film – this stops the loaves sticking and drying out during their final prove. Leave to prove until doubled in size.
15 minutes before your loaves are ready, preheat your oven to it's highest setting.
15 minutes before your loaves are ready, preheat your oven to it’s highest setting


Preheat your oven to its highest setting 230C/gas mark 8

If you have a water sprayer (I keep one especially for bread), once the cling film is removed, spray the loaves and the inside of your oven as you put the loaves in. If not place a tin of hot water in the bottom of the oven whilst you are preheating it. The steam not only helps the dough to rise more fully before it sets, it also helps create a lovely, crisp crust.

Bake for 15-20 minutes (longer if you are baking one large loaf 30 minutes). The loaves are baked when they have a deep golden crust and sound hollow when rapped on the bottom with your knuckle. Remove the loaves from the oven and allow to cool on a cooling rack.

Gorgeous, golden, healthy, Wholemeal Cob Loaf
Gorgeous, golden, healthy, Wholemeal Cob Loaf.


I made 2 loaves and gave one to my mum. We were both really impressed with the flavour, texture and lightness of this bread.

This is without doubt the best 100% Wholemeal bread I’ve ever made, possibly ever tasted. I used Bacheldre Organic Wholemeal Bread flour.

Please let me know if you make this bread?

Also do you use your bread maker to do the hard work and then finish the loaves off in the oven, or is it just me??

if you enjoyed making this recipe how about trying these:

Wholemeal Loaf

Farmhouse White Loaf

Sammie x

Share
Facebooktwitterpinterestlinkedintumblr

Crusty White Bread

Share
Facebooktwitterpinterestlinkedintumblr

Hi, how are you liking my new site layout? This is my first recipe post : Crusty White Bread. Delicious and Homemade, since recovering my site from WordPress Help The WhiteScreen Of Death. It’s not completely ‘fixed’ yet – so I’m going through, remaking some of my earlier recipes and posting them, starting with Crusty White Bread.

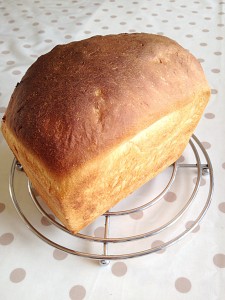
Ooh yummy. Perfect, Crusty, White Bread

This loaf of Crusty White Bread is for a small loaf (450g/1lb flour) baked in a 2lb loaf tin.

I just want to take a moment to talk about ingredients; as there are only 5 ingredients in this Crusty White Bread it really pays to use good quality flour. Shop brand, cheap bread flour WILL make a perfectly good loaf, however, if you want the BEST tasting loaf; organic, unbleached, strong bread flour will REALLY make a difference!

Yes this flour is more expensive (I buy in bulk online – it really helps bring down the cost), but when comparing the price of a homemade, organic, loaf of Crusty White Bread to a shop bought, plastic wrapped loaf, not only is the difference astoundingly smaller, but the quality of the homemade loaf is way, way better!!

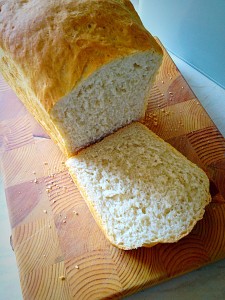
The perfect slice. Lovely soft crumb inside with a nice crunchy crust.

Convinced yet?? Make one loaf of Crusty White Bread and try for yourself!

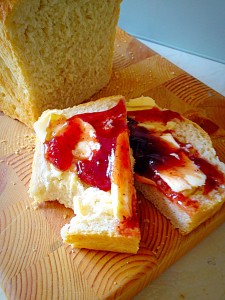
Buttered and slathered in strawberry jam. The best Crusty White Bread ever!!

Recipe :

300ml  Tepid Tap Water

1 Sachet/7g  Active Dried Yeast

450g/1lb  Strong White Bread Flour – I use Organic, unbleached.

3/4tsp  Sea salt (1/2tsp free flowing)

25g/1oz  Unsalted Butter – cubed

Method:

For ease I use a bread maker to mix, prove and knock back the dough.

You can also make the Crusty White Bread by hand,  or use a stand mixer with a dough hook attached.

For the purpose of this and every other Bread recipe, the bowl is a large bowl/the bowl of the stand mixer/the removable container from a bread maker.

Pour 300ml of warm water into the bowl. Sprinkle over the yeast. Add the flour to the bowl. Next add the salt and butter.

Set your bread maker to mix and prove, press start, make a cup of tea!!

Set your stand mixer to slow mix, allow the dough hook to mix and knead the dough for 10 minutes until smooth and elastic. Place the dough into a lightly oiled bowl, cover with cling film, place in a warm, draught free spot until doubled in size 1-2 hours.

*If making the bread by hand, rub the butter into the flour, sprinkle over the yeast/salt  and mix through the flour using your hand, make a well in the middle of the flour and add most of the water (280ml). Bring all the ingredients together using your hand (in a claw like position). Mix thoroughly adding the rest of the water if the dough seems dry. Tip out the dough onto a lightly floured surface, using the heel of your hand push out the dough from the centre. Fold the dough back into the centre, rotate a quarter turn and repeat for 10-15 minutes until the dough feels, smooth, springy and elastic in your hands. Place the dough in a lightly oiled bowl, cover with cling film and leave in a warm draught free spot until doubled in size 1-2 hours.

Once doubled in size gently punch the dough in the oiled bowl (if using a bread maker, set to mix for 20 seconds – this will ‘knock back the dough and is the main method I use).

Turn the knocked back dough onto a lightly floured surface. Stretch the dough lengthways, then fold the ends into the middle. Rotate the dough a quarter turn and repeat the stretching/folding/rotating 3 more times – this technique builds structure into the loaf and my bread baking really improved once I’d adopted this small extra technique.

Place the dough into a buttered 2lb loaf tin. Cover with a clean tea towel, leave again to double in size, as before.

Preheat the oven to it’s hottest setting (250C in my oven). Place a deep tray, half filled with hot tap watering the bottom of the oven – this will create steam, helping build a crunchy crust.

Once the dough has doubled in size remove the towel and place the tin in the oven. Immediately turn the oven down to 225C (or down 1 gas mark).

Bake for 20 minutes until golden brown (30 minutes for a thick crust). I then turn my loaf out directly onto the oven rack and continue to bake for a further 10 minutes, this allows the base and sides to get really crusty.

When baked remove from the oven and turn out of the tin immediately (if not already done). The base of the loaf should sound hollow when tapped with your knuckle. Leave to fully cool on a rack.

Nothing beats the smell of homemade bread! Mmmmm

Inhale deeply, enjoy the smell of freshly homemade bread! No matter how many times I bake bread, the smell still warms my heart every time.

Ideally you should leave the loaf to cool completely, it will cut much better when cold. Who am I though to deny you warm bread, smothered in butter???

If you try to cut through the loaf, hot, straight from the oven, the inside will squish together and it will be almost impossible to spread butter on! Give the loaf at least 30 minutes to cool a bit before you start slicing.

The perfect slice. Lovely soft crumb inside with a nice crunchy crust.

Yummy Crusty White Bread!

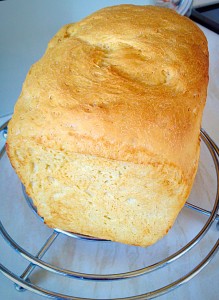
The same loaf baked the following day for 20 minutes in its tin - I forgot to turn the oven temp down!!!!!
The same loaf baked the following day for 20 minutes in its tin – I forgot to turn the oven temp down!!!!!

Bread is the ultimate sharing food. Everyone sitting round the table having toast for breakfast, or dunking thick slices into warming soup. Even Jesus took bread and shared it with His disciples and when feeding the 5000. Wow what a feast that must have been?

Bake a loaf for someone – it will make them smile and feel loved?

Until next time remember Food Tastes Better When It’s Shared!

Sammie x


Share
Facebooktwitterpinterestlinkedintumblr