I’m going to let you into a secret, I absolutely love a surprises. Especially when it involves cake. So I made this Heart Engagement Bundt Cake in complete secrecy, for a couple who had recently become engaged.
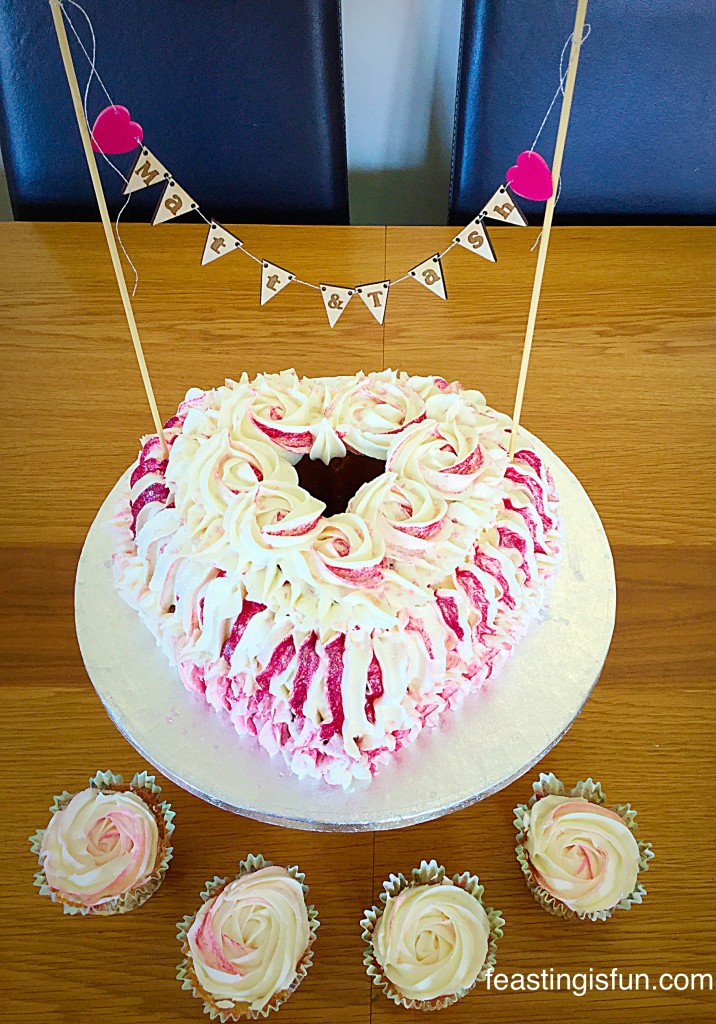
It was so much fun making this clandestine cake!
As the couple had been away, when they got engaged, we wanted to mark the occasion with a small celebration for family and friends. I offered to make the cake as I have a Tiered Heart Bundt Tin by Nordic Ware that I had still not baked with.
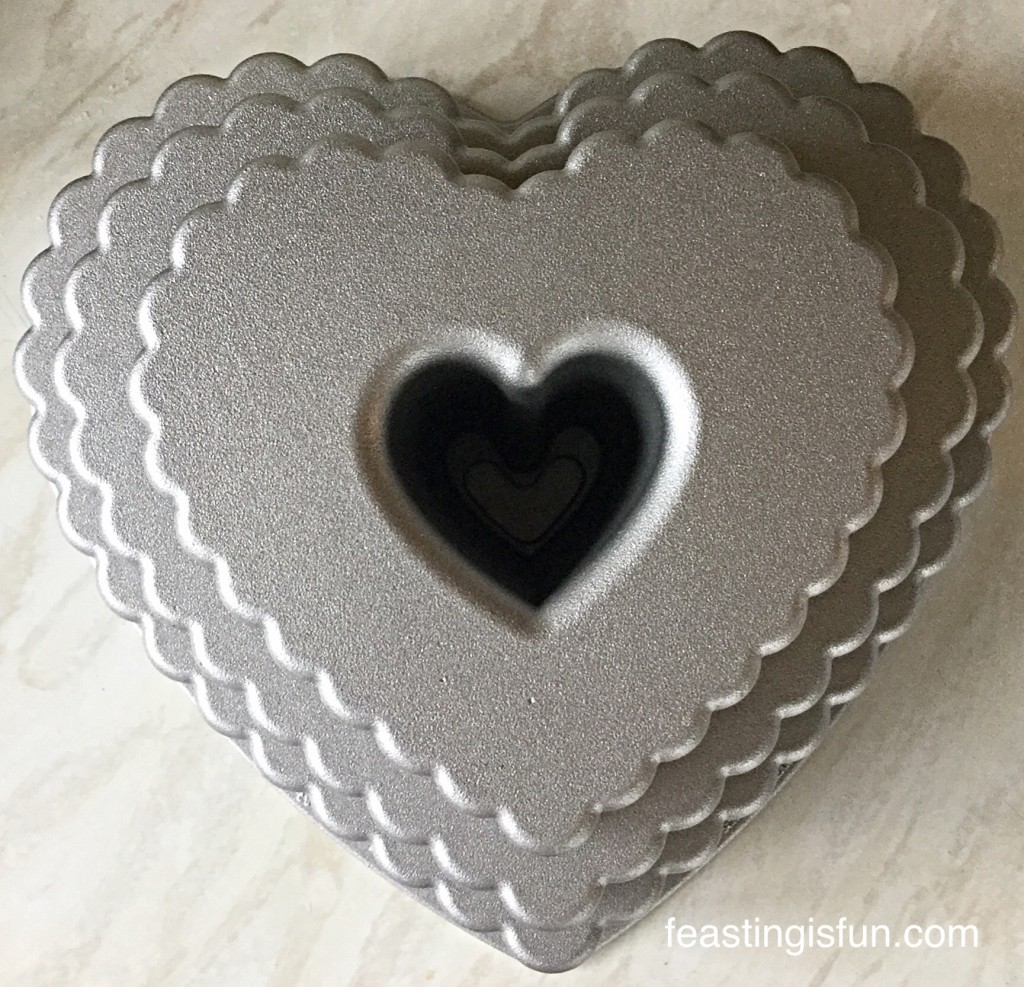
As I have never made a tiered, or stacked cake, this beautiful cake tin seemed the perfect choice. At the time of deciding to use this tin I had absolutely no idea how I would decorate or ice it. I’m big on planning NOT! Can you tell?
Fortunately I have a lovely friend, who I met on Twitter, called Tom. He has his own business Iced Rainbow where he makes absolutely beautiful jewellery. Happily for me, Tom is also a keen baker and creates the most beautiful cake toppers. It really is worth taking a look at his website.
After discussion with the parents of the happy couple, I decided to opt for a personalised bunting topper. Due to the shape of the cake and the heart shaped hole in the middle, I thought it would not only look pretty, but also add height to the cake.
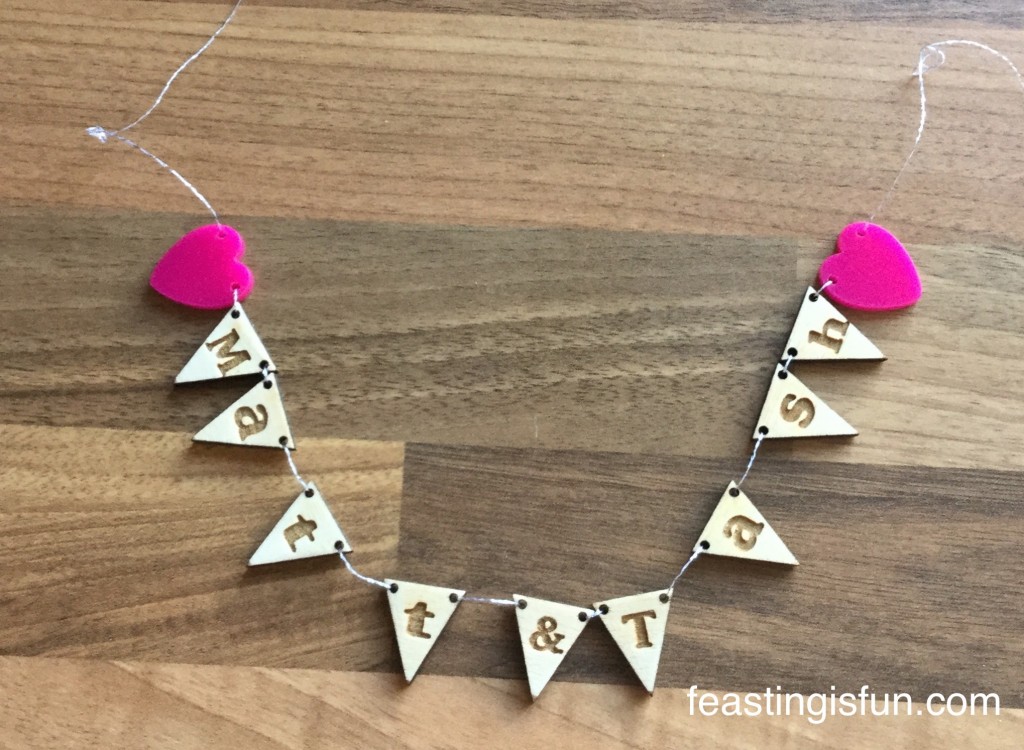
Tom was brilliant. He took my vision for how I wanted the bunting to look and turned it into a reality. Thank you Iced Rainbow for making my dreams a reality and for making the bunting at such short notice!
Next I had to decide on the flavours. Sugar and Crumbs sell a range of naturally flavoured icing sugars, amongst other baking ingredients and equipment. After much secret discussion, we decided to keep the cake plain, flavoured only with vanilla and use Sugar and Crumbs raspberry ripple flavoured icing. I was very happy as it is one of my personal favourites.
I still hadn’t decided how I was going to ice the cake!
After having such success with glazing my Lemon Blueberry Bundt Cake I was tempted to do the same with the Heart Engagement Bundt Cake.
Using the raspberry ripple icing meant that if I used buttercream I could create the same rippled effect as on these Raspberry Ripple Almond Cupcakes.
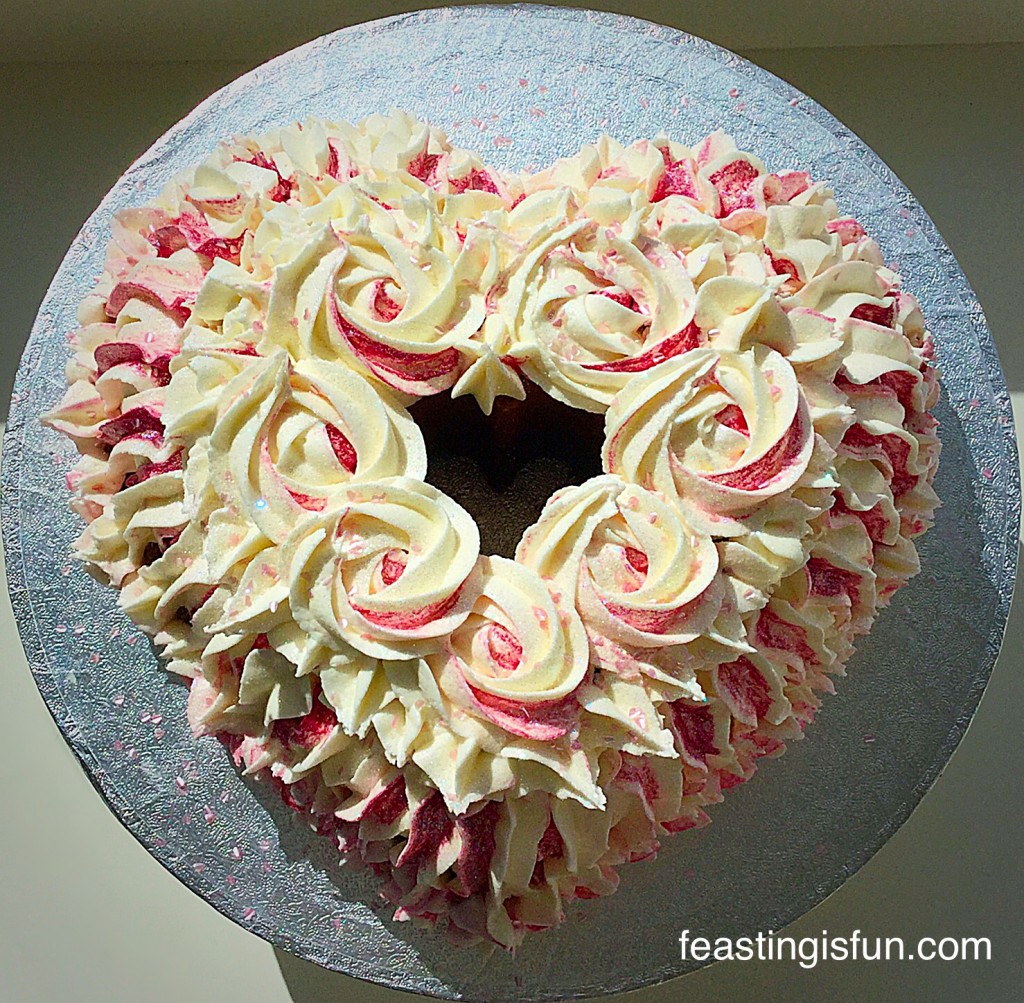
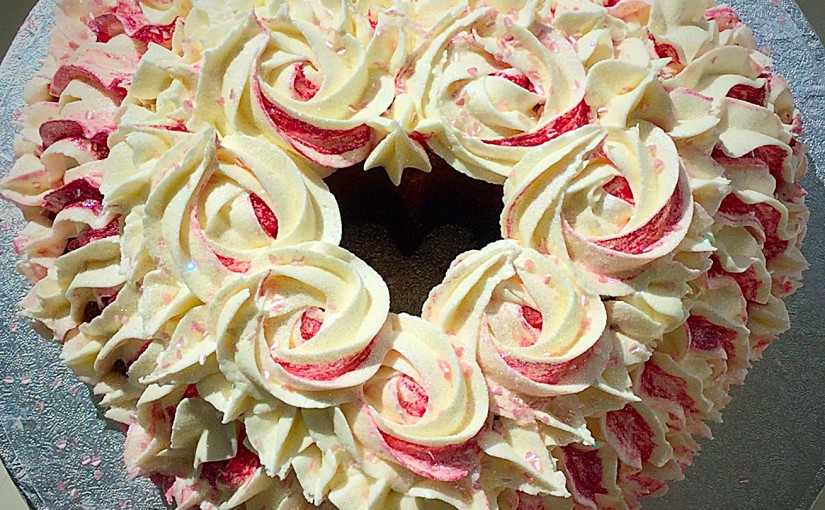
As you can see I decided to pipe raspberry ripple buttercream icing onto the cake. Aside from cupcakes this is only the second time I have fully covered a cake with piped buttercream. It wasn’t as scary as I had imagined!
The beauty of buttercream is that, if you do make a mistake, it can fairly easily be removed and piped over. I tell you this from experience 😉.
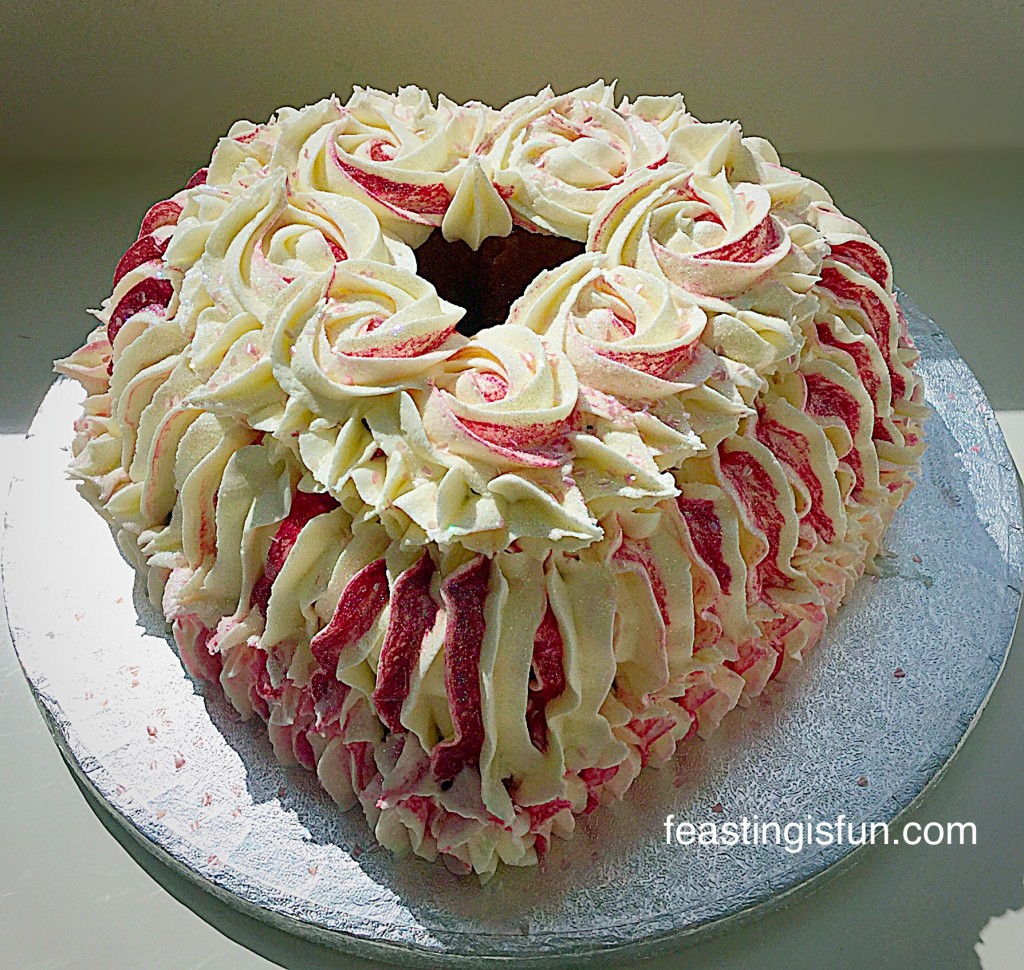
When deciding what pattern to pipe onto the cake, I knew I wanted to pipe swirled roses on the top. As for the sides, I really didn’t decide until I had the cake in front of me, piping bag in hand!
Once the roses were piped I decided to go with the lines of the cake and piped the second tier in fairly straight lines. Again I did the same for the bottom tier, although as this was not as deep, it looks like piped stars. I finished the top tier with piped stars to define the heart and fill in any gaps. All the piping was carried out using a Wilton #1M large star tip.
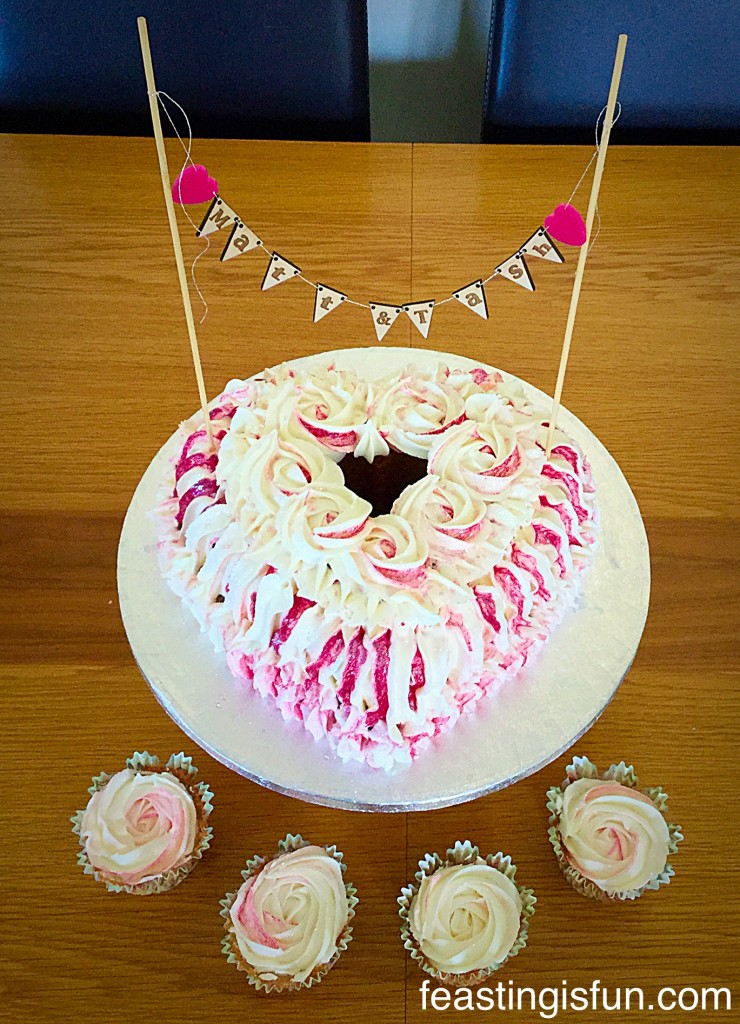
While it was great having a vision in my head of how the cake could look, once the bunting was in place, the finished version was so much better than I ever could have hoped for. A final sprinkle of tiny, pink, pearlised hearts and white, edible glitter and the Heart Engagement Bundt Cake was ready for the grand reveal.
The happy couple, Matt and Tash absolutely loved the surprise. Neither of them had any idea that this little surprise had been planned especially for them. They loved the cake and bunting, which was a huge relief for me! Together they enjoyed cutting the cake, good practice for their upcoming wedding and enjoyed eating it too.
I removed the bunting and packaged it back up, for them to keep and treasure forever. When all the cake has gone, they still have their personalised bunting from Tom at Iced Rainbow.
Recipe: Makes one Heart Engagement Bundt Cake – serves 20 people.
To make this cake you will need the Tiered Heart Bundt Tin made by Nordic Ware.
For the cake:
350g/12oz Unsalted Butter – at room temperature
350g/12oz Caster Sugar
2tsp Vanilla Extract – I use Nielsen-Massey
6 Large Free Range Eggs
350g/12oz Plain White Flour –
3tsp Baking Powder
1/4tsp Salt
Cake release spray – I use Wilton’s available from Amazon Uk, Lakeland and Hobbycraft
For the buttercream:
250g/9oz Unsalted Butter – very soft
500g/1lb 2oz Raspberry Ripple flavoured icing sugar – from Sugar and Crumbs
150g/5oz Plain Icing Sugar
3-4tbsp Very Hot Water
Pink food colouring gel
Optional – edible glitter, heart sprinkles.
Method: Preheat the oven to 165C/150C fan, gas mark 3
- Into a large bowl add the butter and sugar and whisk/beat for 5 minutes until very pale and creamy.
- Add the vanilla extract and whisk/beat for a further 2 minutes.
- Sift the flour, baking powder and salt into a separate bowl – dry ingredients.
- Add one third of your dry ingredients and 2 eggs to your butter/sugar mixture. Whisk/beat until just incorporated.
- Repeat the last step.
- Add the final third of dry ingredients and 2 eggs and mix by hand. Ensuring the bottom of the bowl is scraped, so that all of the ingredients are just combined.
- Spray your tiered heart Bundt tin with cake release spray, ensuring it covers all areas inside the tin.
- Spoon the cake mix into the Bundt tin, ensuring the batter is pushed into all parts of the tin, using a spoon.
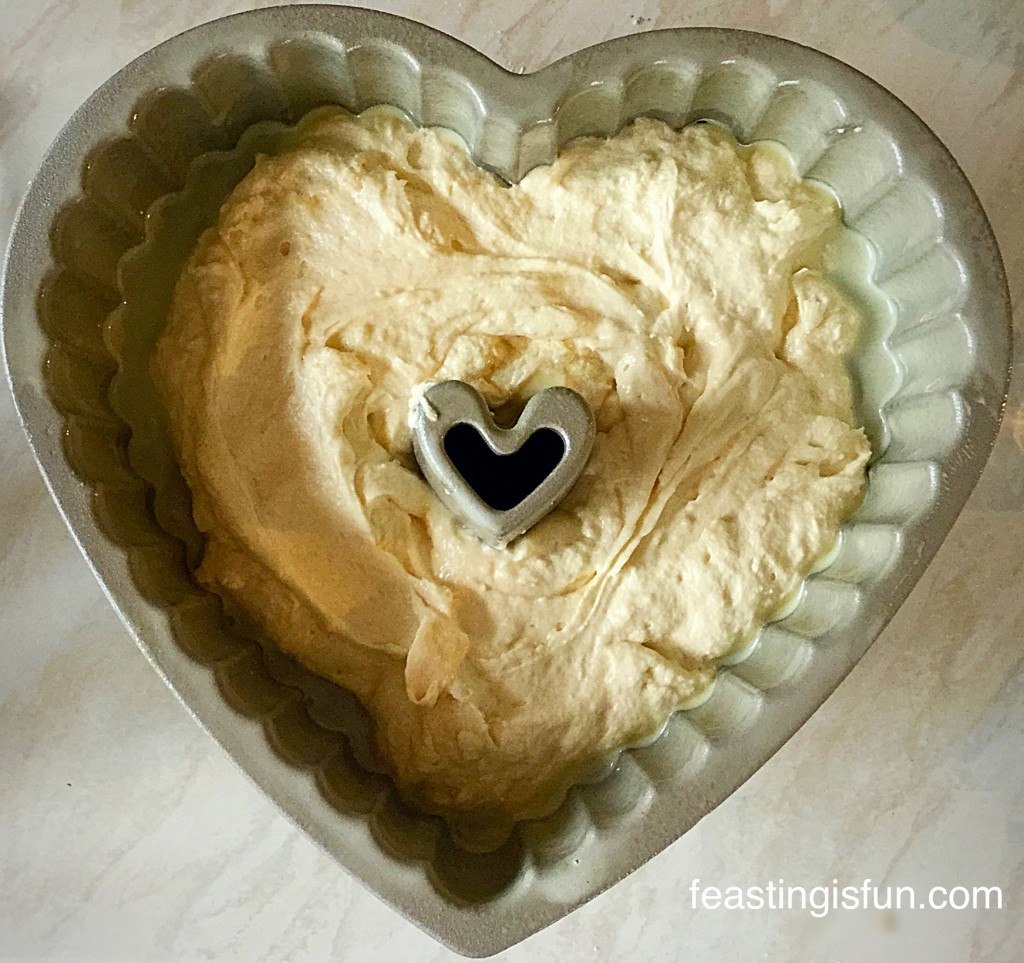
- Place the Bundt tin into the middle of the preheated oven and cook for approximately an hour.
- The cake is cooked when it is golden brown, coming away from the sides of the tin and an inserted skewer comes out clean.
- Once cooked remove the cake from the oven.
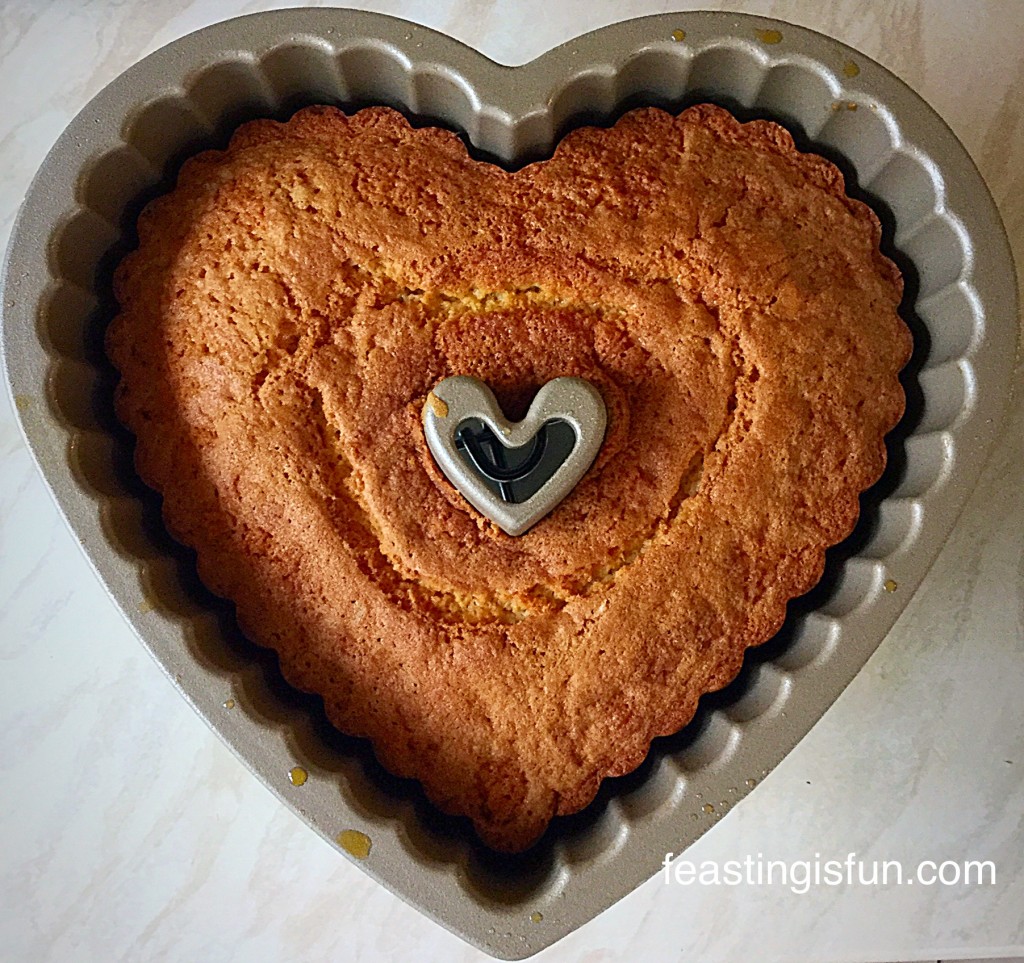
- After cooling in the tin for 10 minutes turn the cake out onto a cooling rack.
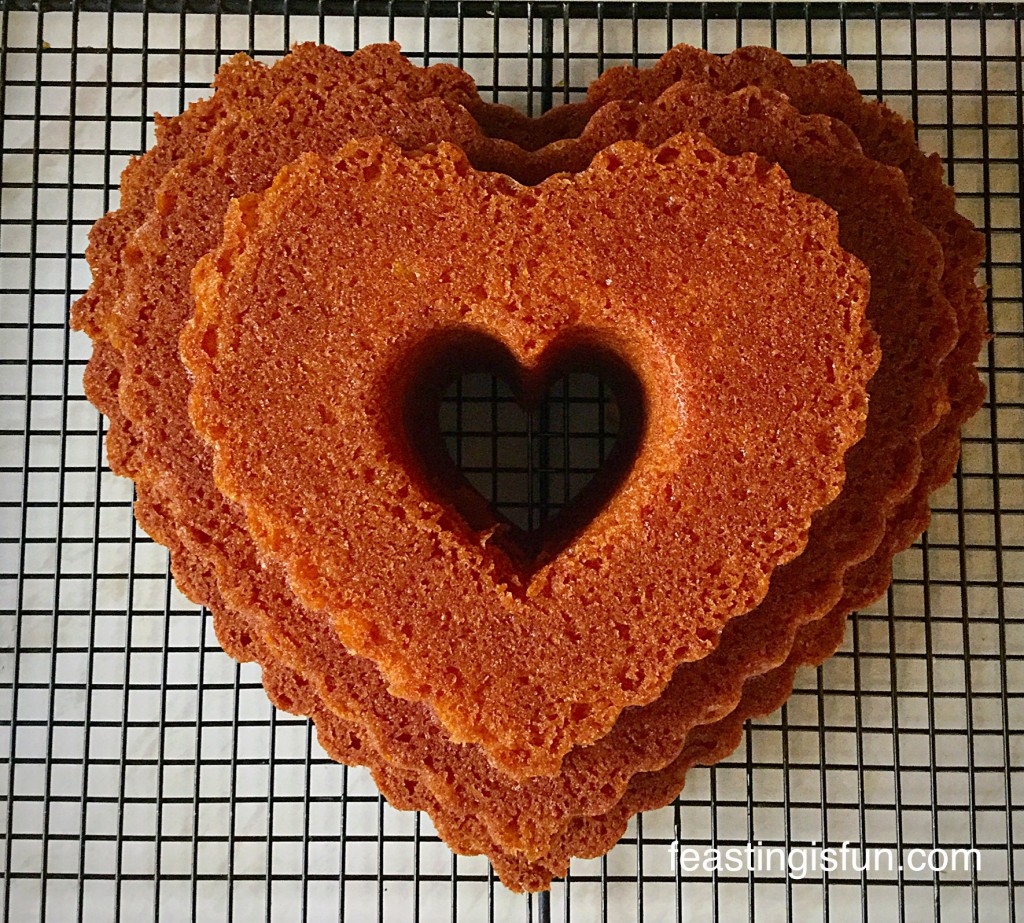
- Allow the cake to cool completely before icing.
To make the buttercream:
- Place the very soft butter into a large bowl.
- Sift both the flavoured and plain icing sugars into the same bowl.
- Add 3 tablespoons of very hot water from a kettle.
- Starting on a low speed whisk all the ingredients together. Add the extra tablespoon of hot water if the buttercream is too stiff. Continue whisking at a higher speed until the buttercream is pale and creamy.
- Fit a large Wilton #1M star piping nozzle to a large disposable piping bag.
- Using a small brush, or the blunt end of a wooden skewer dipped into the pink piping gel, paint a line of colour on one side (inside) of the piping bag. You may have to dip the skewer into the gel again to finish the line.
- Repeat this step on the opposite side. This is what gives the piping the ‘ripple effect’ and works especially well with the raspberry ripple flavoured icing.
- Fill the piping bag with buttercream.
To decorate the cake:
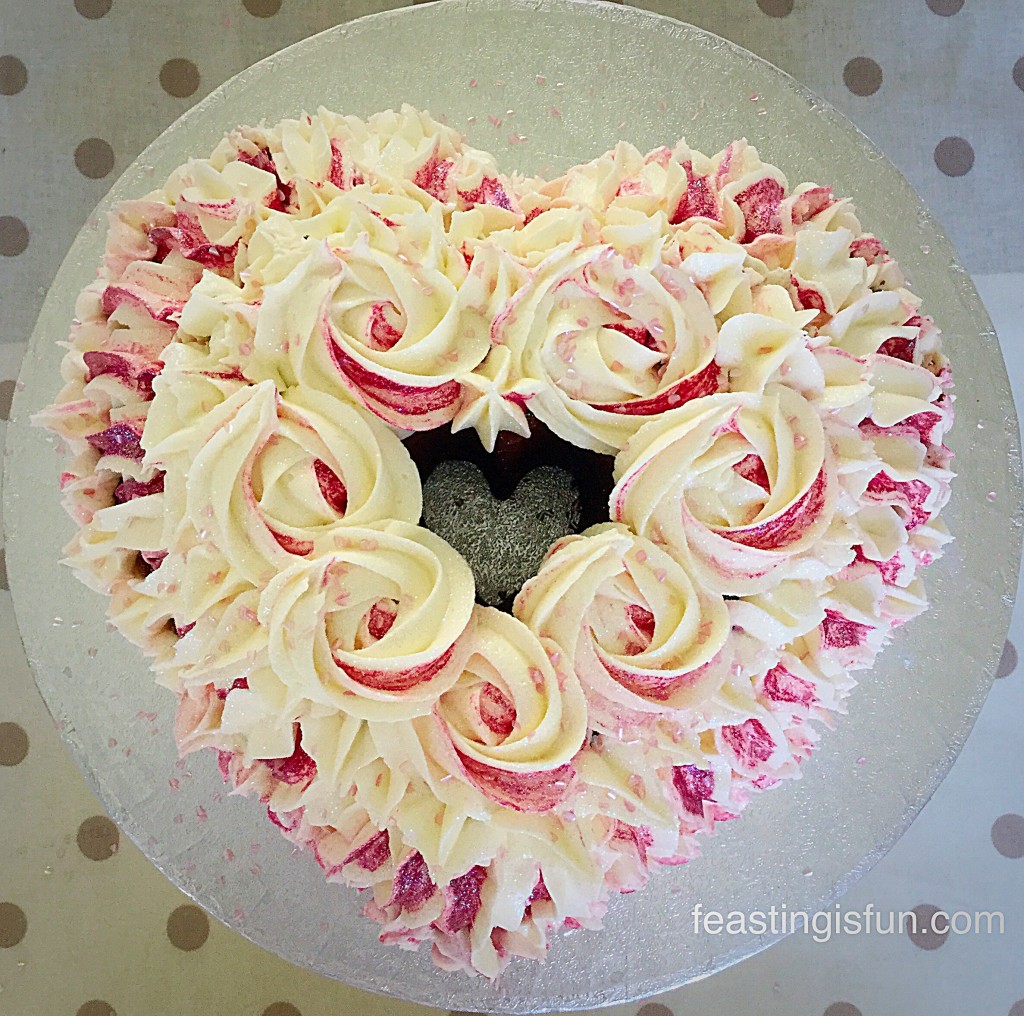
- Start by piping a small rose, on top of the cake, either side of the heart dip.
- Pipe a rose at the bottom point of the heart.
- Pipe 2 more roses on each side of the heart, so that they very slightly overlap.
- Next starting from the bottom of the second tier, pipe lines up, to meet the edge of the top tier. Continue all the way round the cake ensuring that a line is piped at the bottom point of the heart.
- Continue in the same manner for the bottom tier, although I was able just to pipe a large star – as my bottom tier was a little short. The recipe has been adjusted to counter this.
- Finish by piping a star in between the 2 roses at the top of the heart. Fill in any gaps around the edge of the top tier with piped stars.
- Sprinkle over glitter and pearlised hearts.
Now stand back and admire the beautifully stunning Heart Engagement Bundt Cake that you have created – ooh and take a gazillion photographs.
It was a beautifully sunny day and I took advantage of the glorious light in our porch. It really is so hard to capture how sparkly this cake twinkled in the sunlight. The light danced of off the glittery icing and was mesmerising to look at.
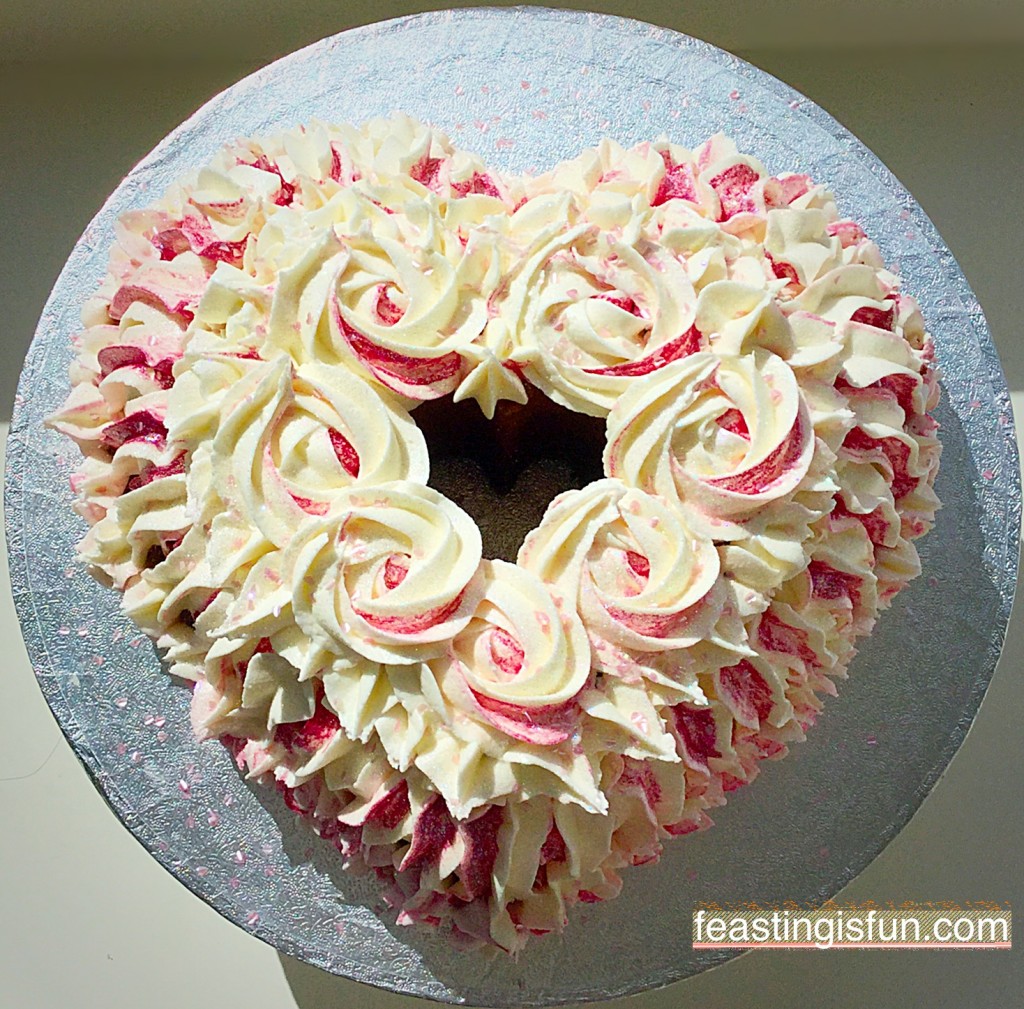
This Heart Engagement Bundt Cake had one very important ingredient that is not listed, love. My husband walked in and saw me smiling as I was writing up this post. When he asked what I was smiling about, I told him that I was remembering the look of love, between Matt and Tash in the photos I have of them. Because I respect their privacy I would not show you here.
To me this cake was so much more than Heart Engagement Bundt Cake, it was a symbol of their deep love for each other and our love for the two of them, as a couple, starting their journey of being together forever.
This post is dedicated to them. May they have a long, happy, healthy life together and long may they continue to bring happiness to those who are part of their lives.
May true love always be celebrated.
Baking and decorating this cake was such an enormous pleasure, have you ever made a cake, or something else, that made you smile?
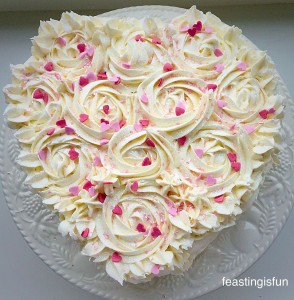
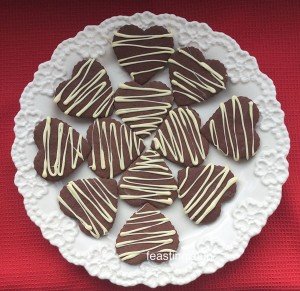
For all you true romantics, like myself, if you have enjoyed this beautiful Heart Engagement Bundt Cake here are some others that will make you smile:
I am so pleased that Matt and Tash gave me permission to share this cake with you. Also I hope you have enjoyed this post? I love seeing what cooking and baking you get up to. If you are on Twitter or Instagram please pop a photo up and I’ll be sure to give you a shout out or retweet.
Are you a romantic like me?
Sammie xx
@sammiefeasting Twitter/Instagram/Pinterest
The cake looked beautiful and tasted amazing. Thank you !
I love making cakes too so I would definitely like to try this recipe
Thank you for taking time to leave a comment Danni. The flavoured icing is delicious and so is the vanilla cake. Sammie xx