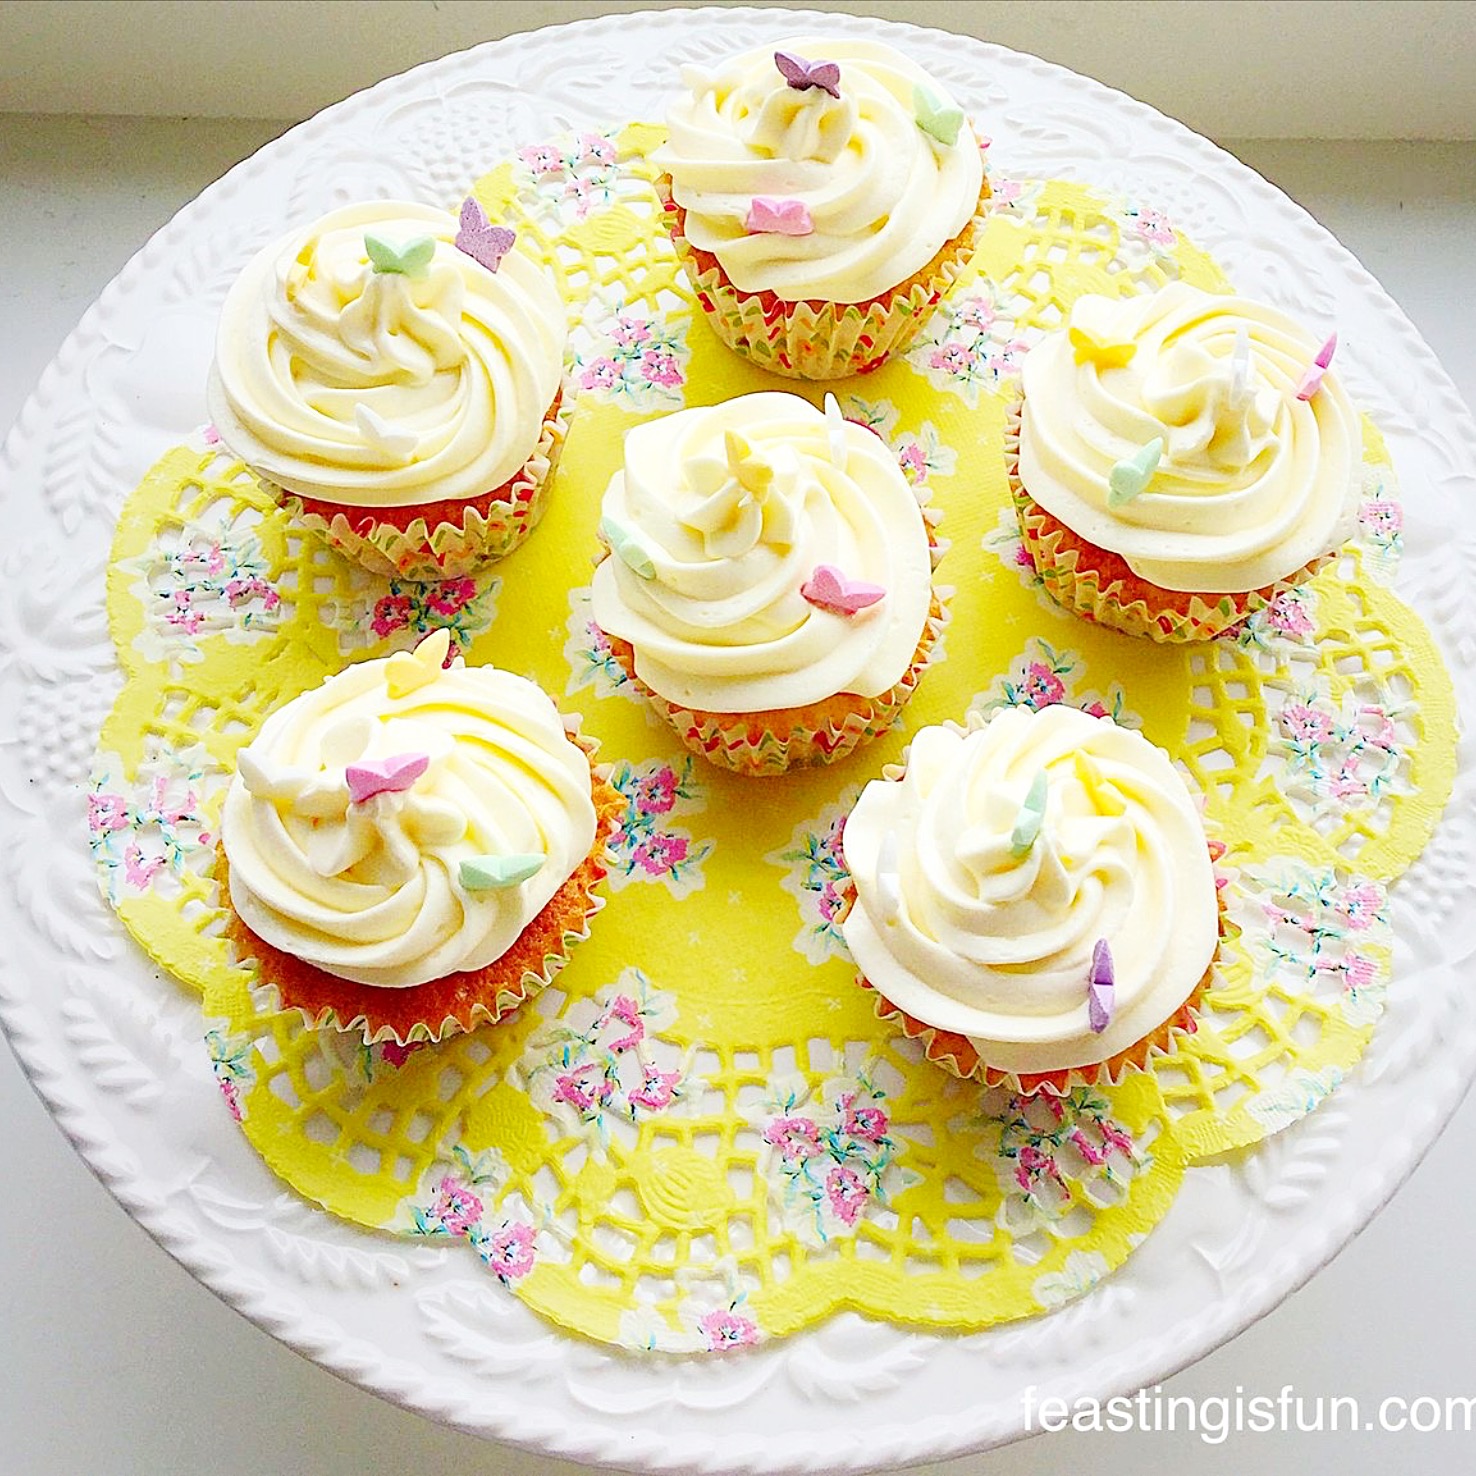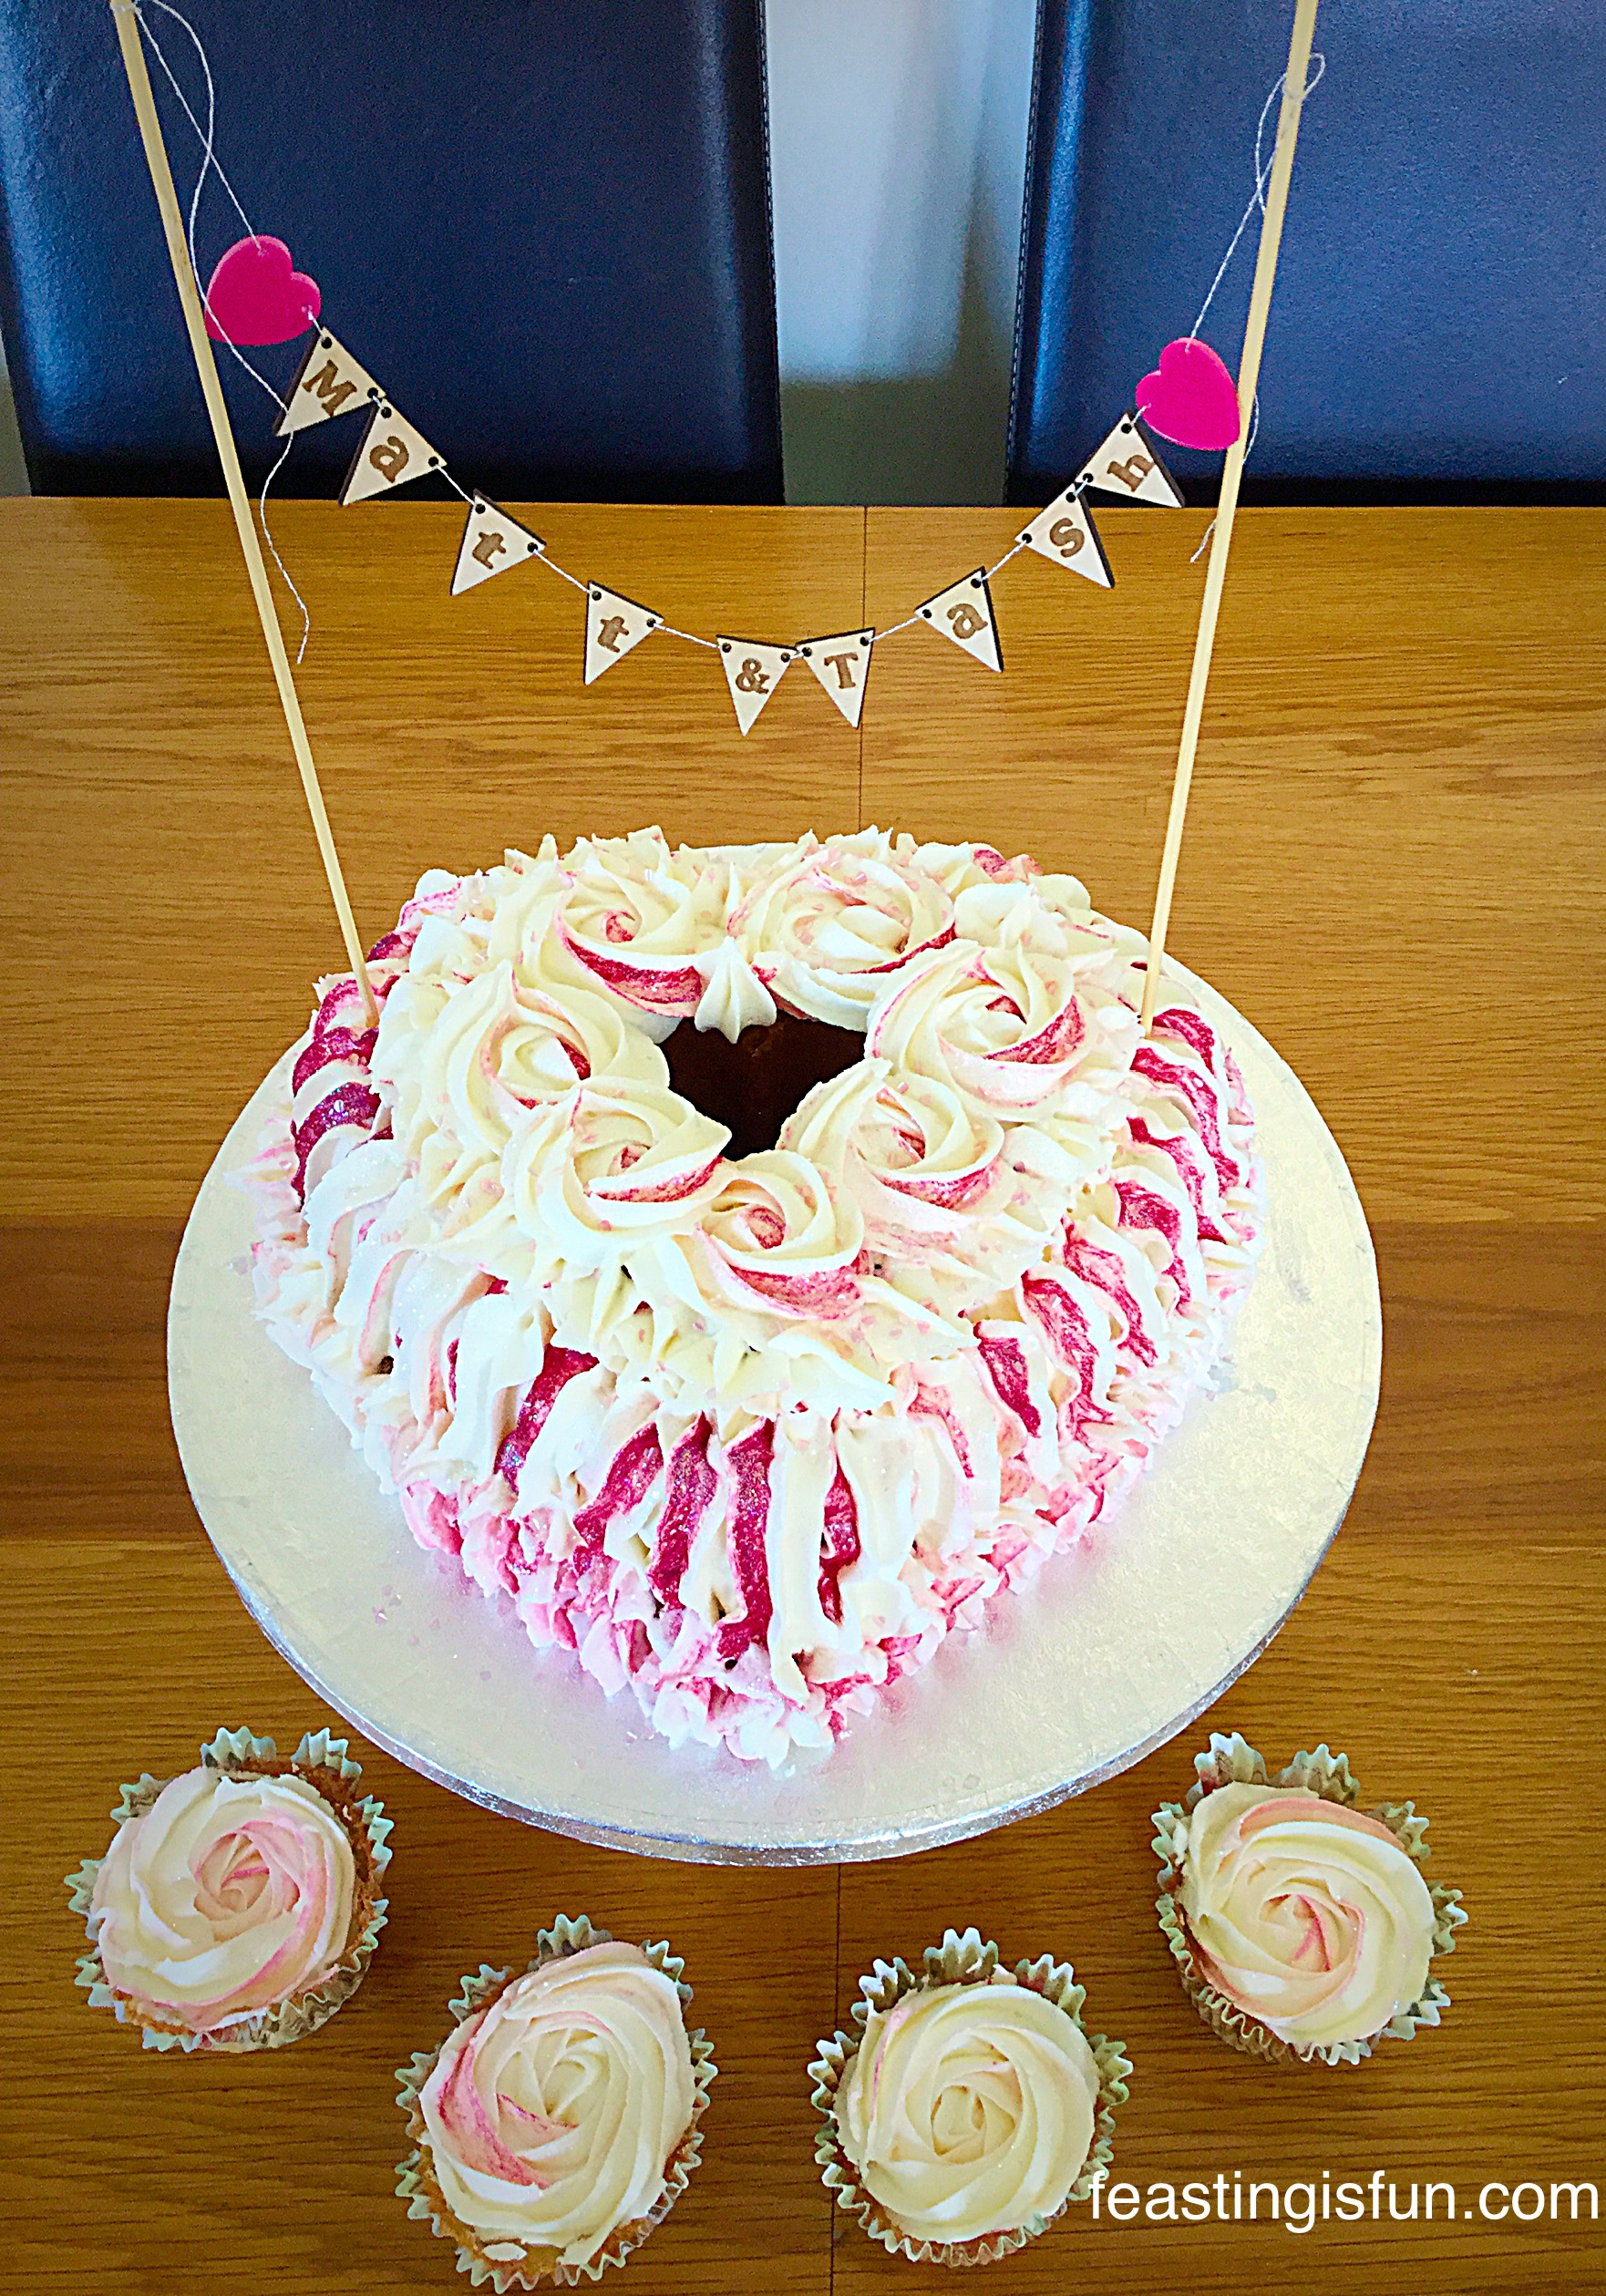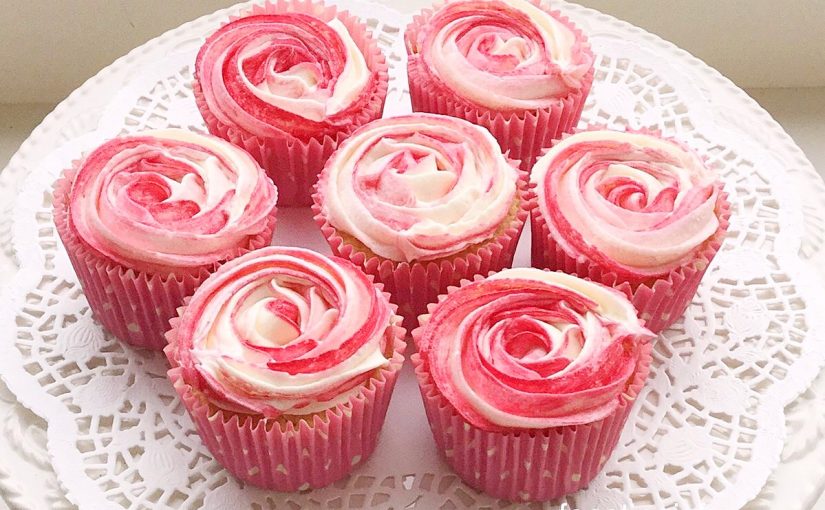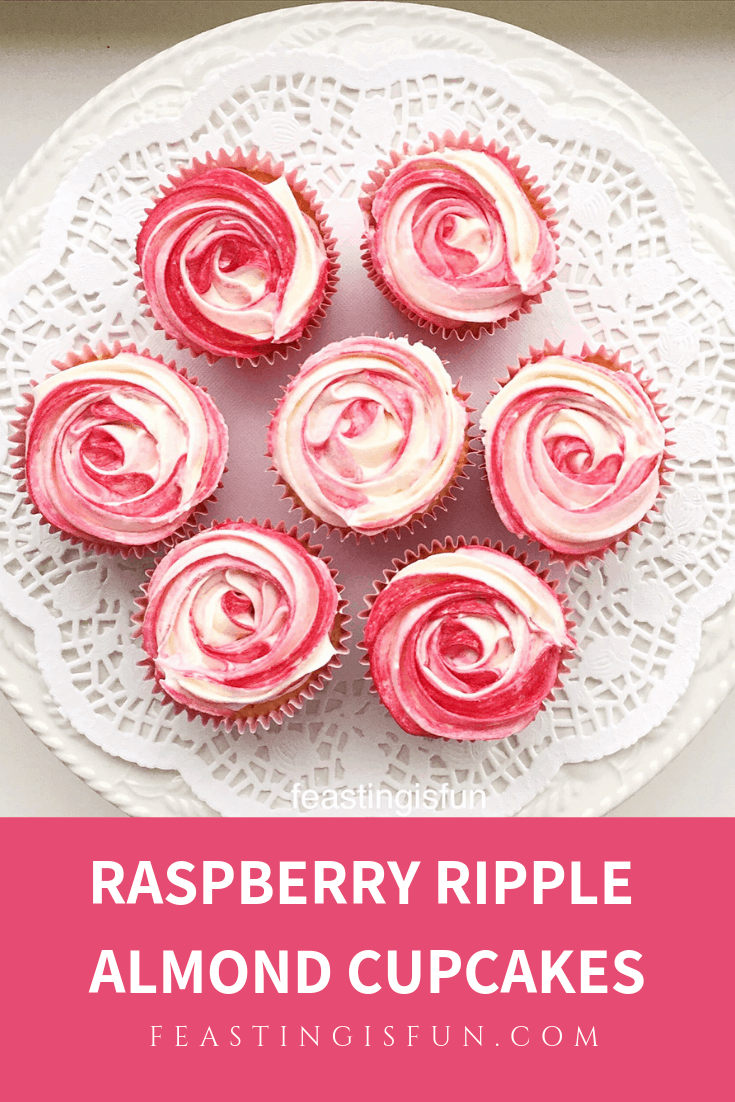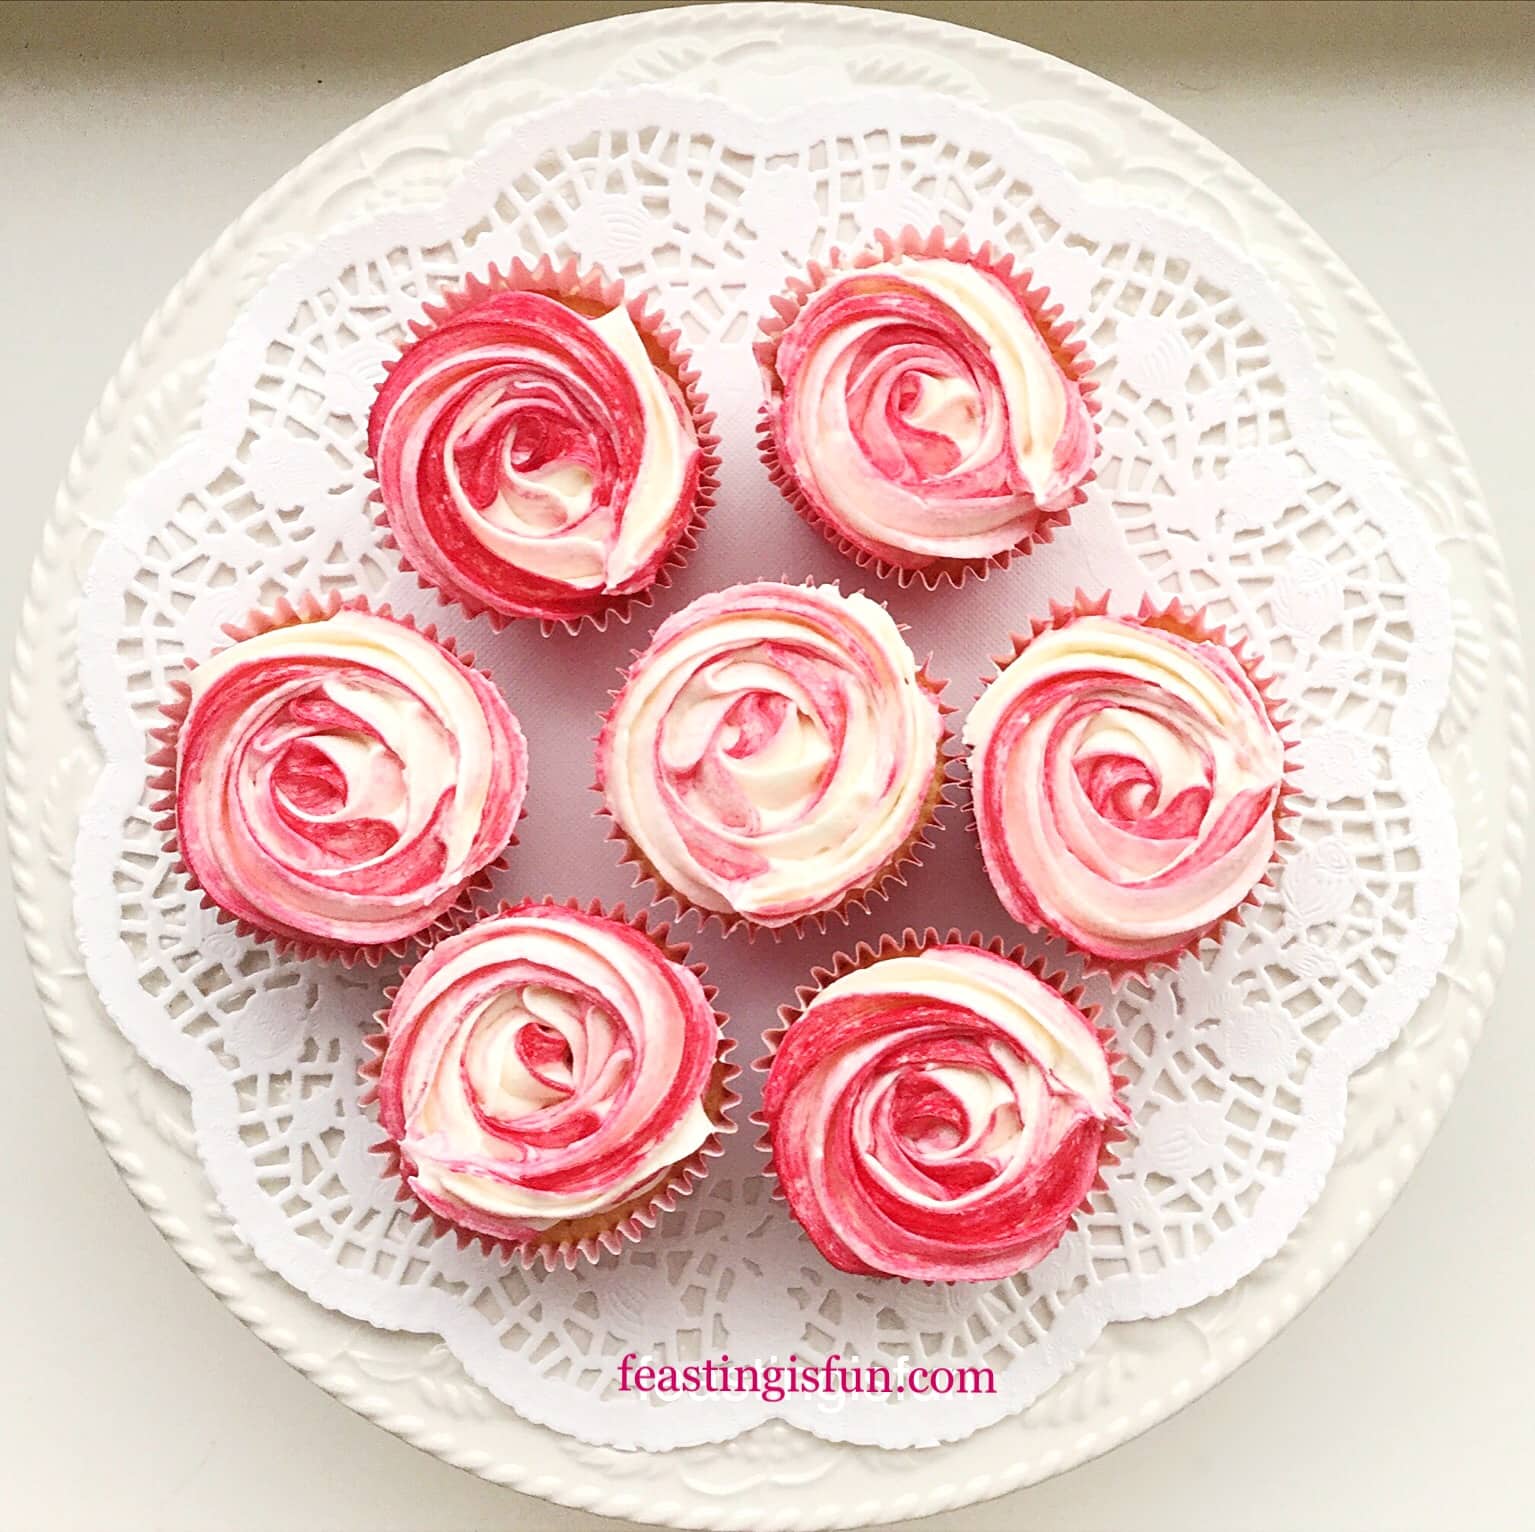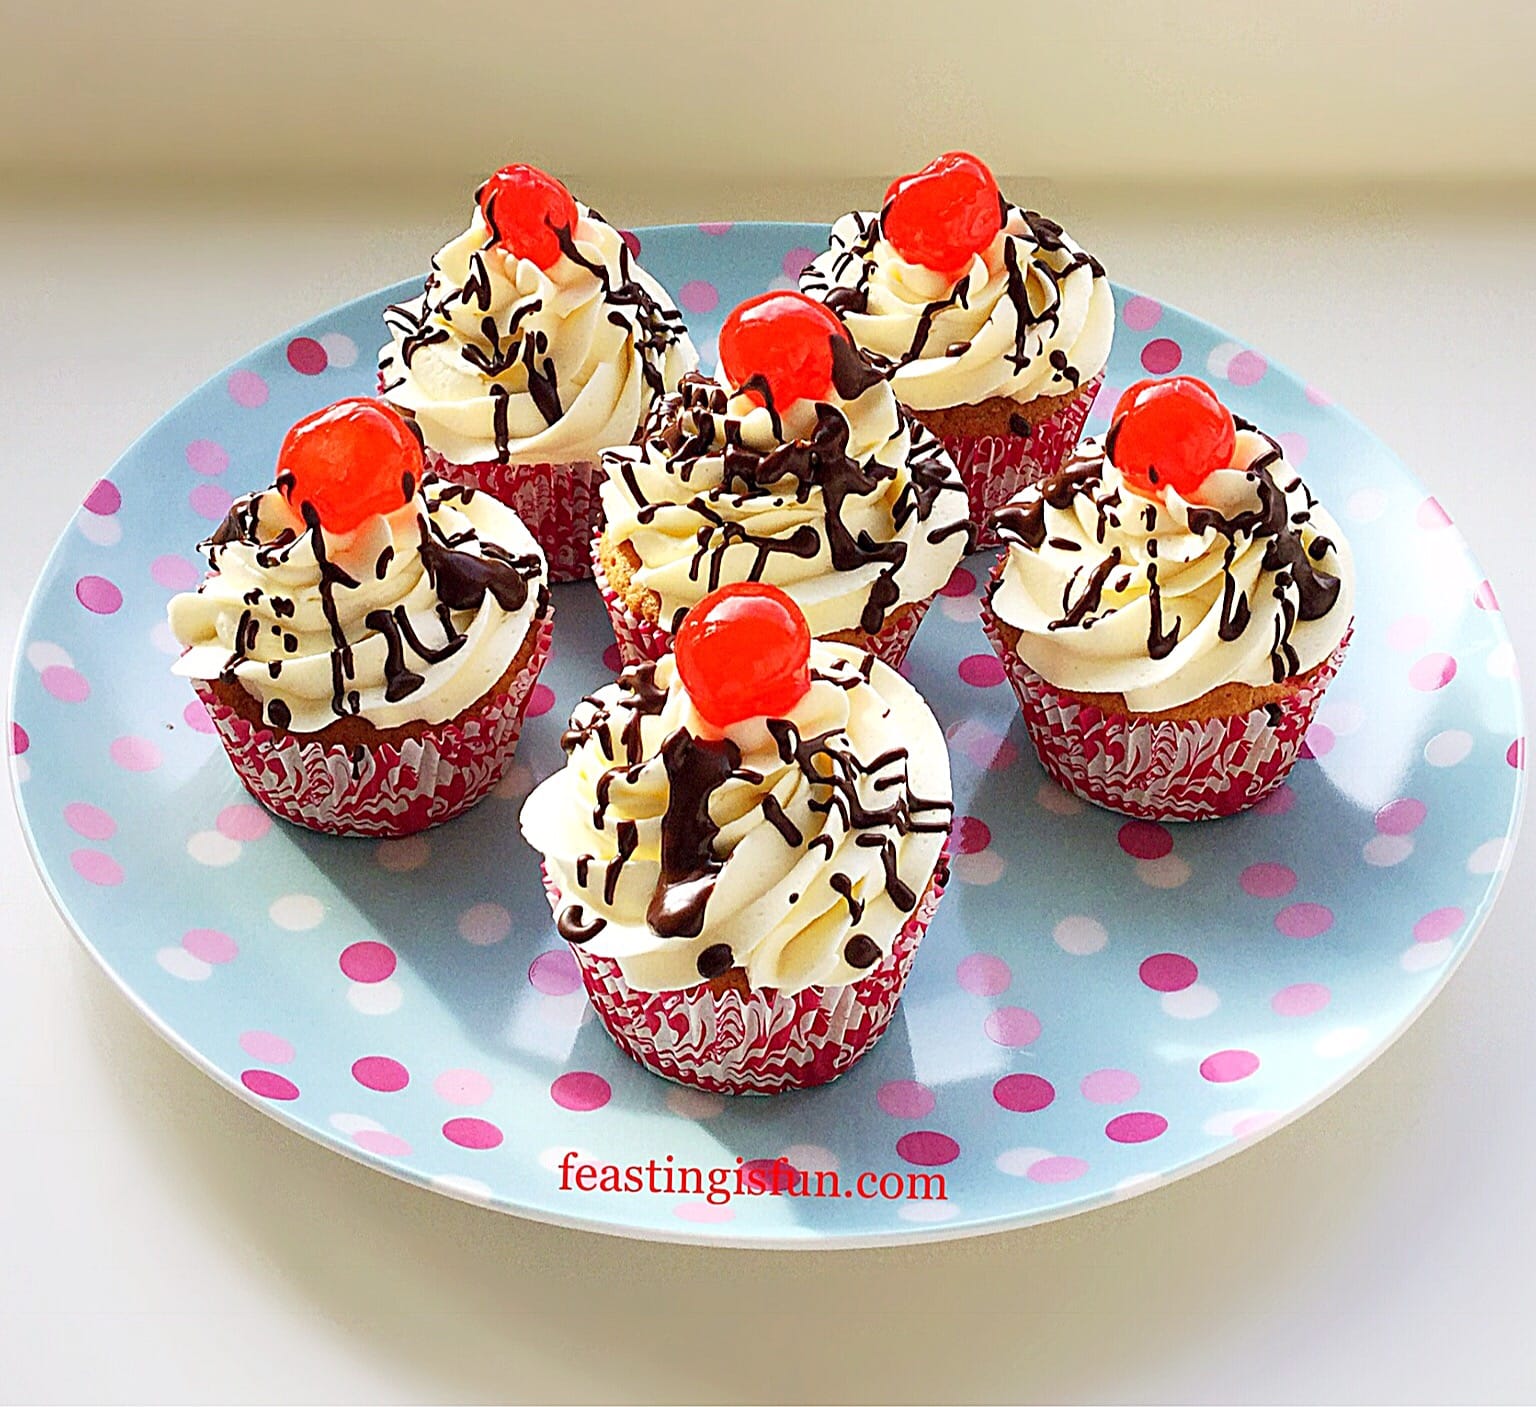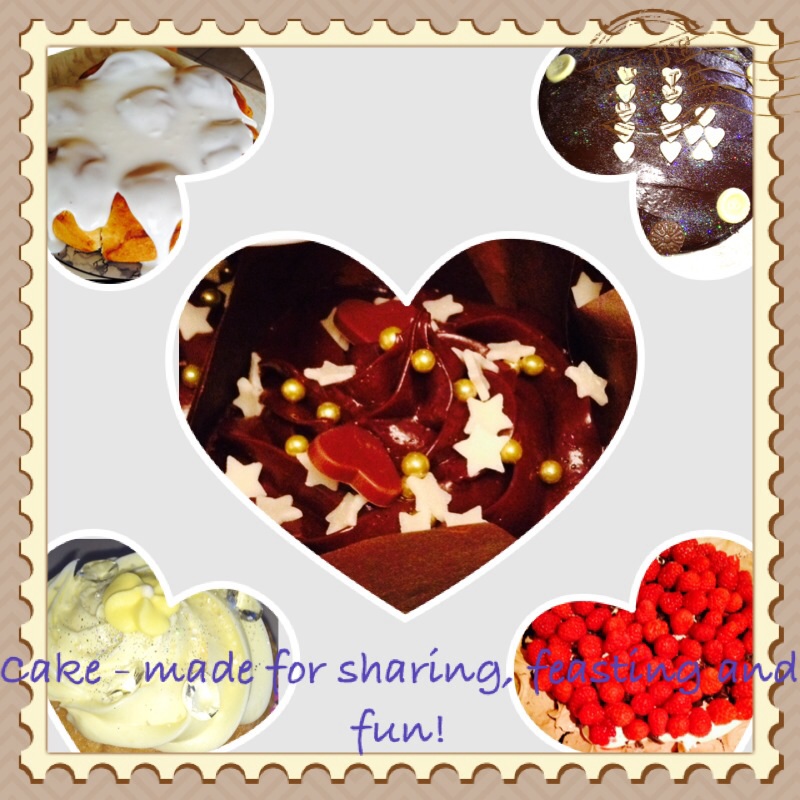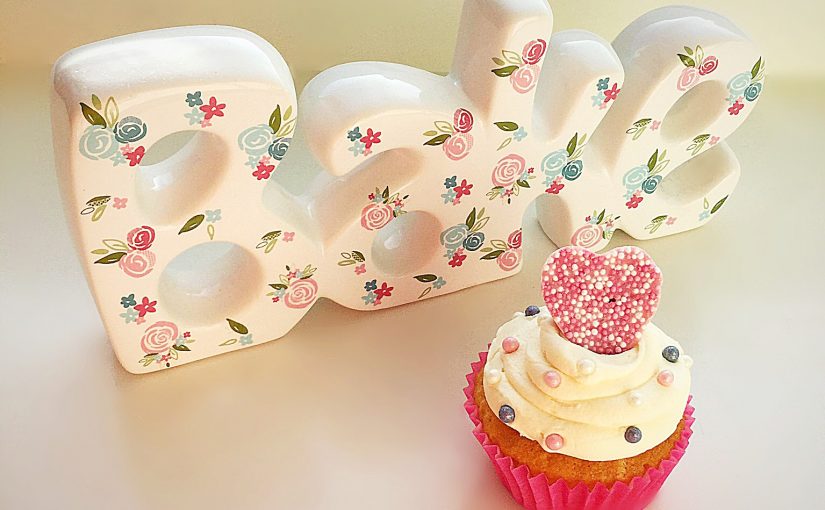
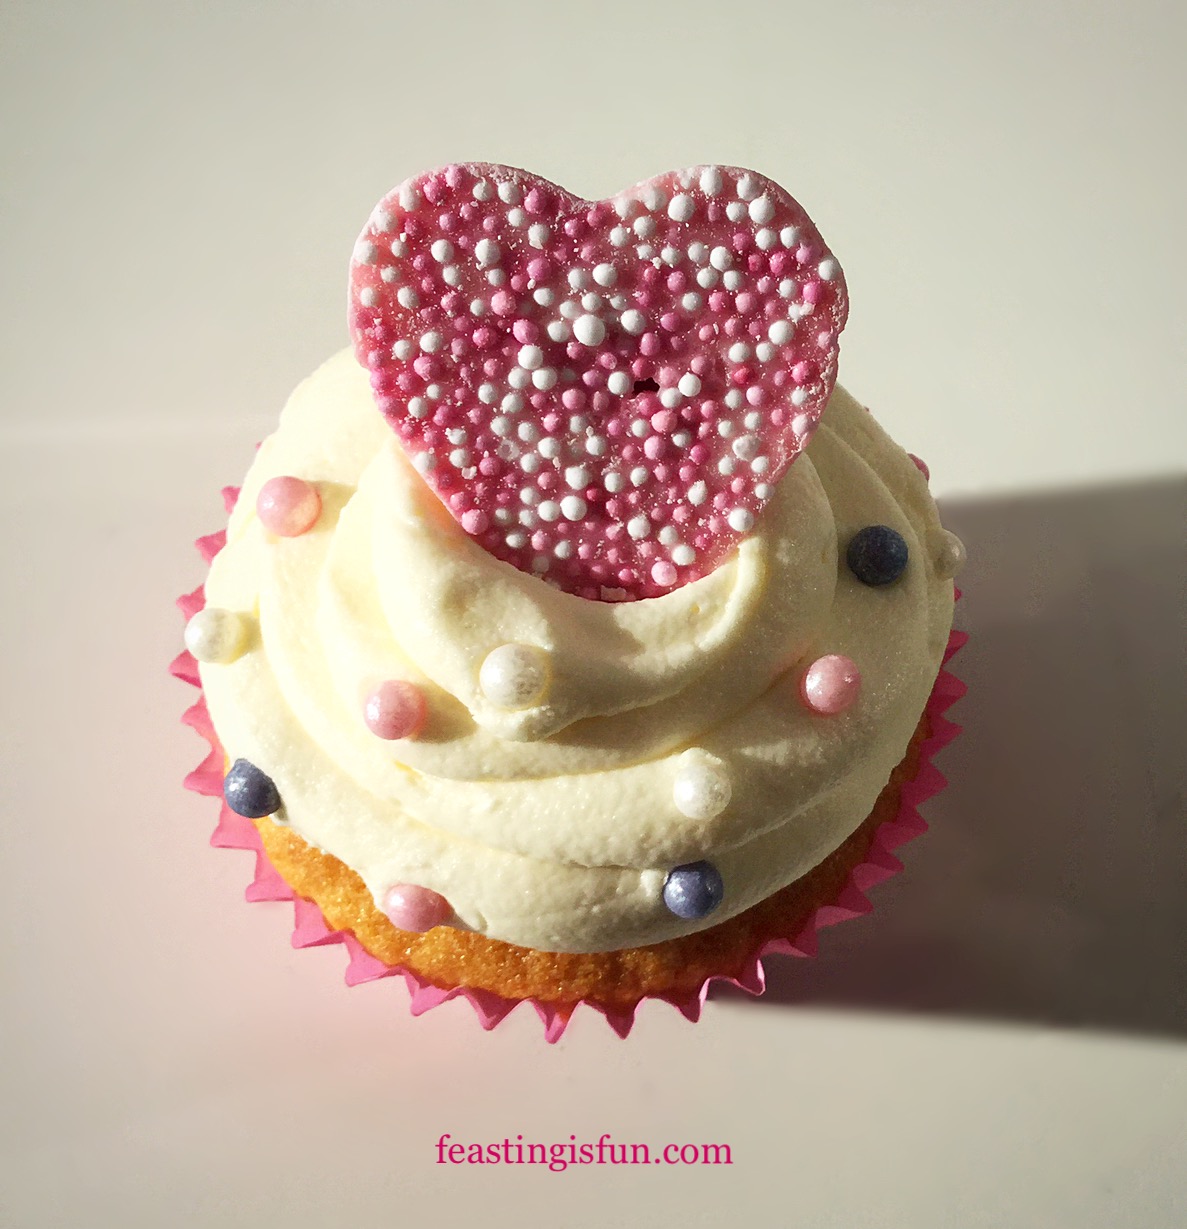
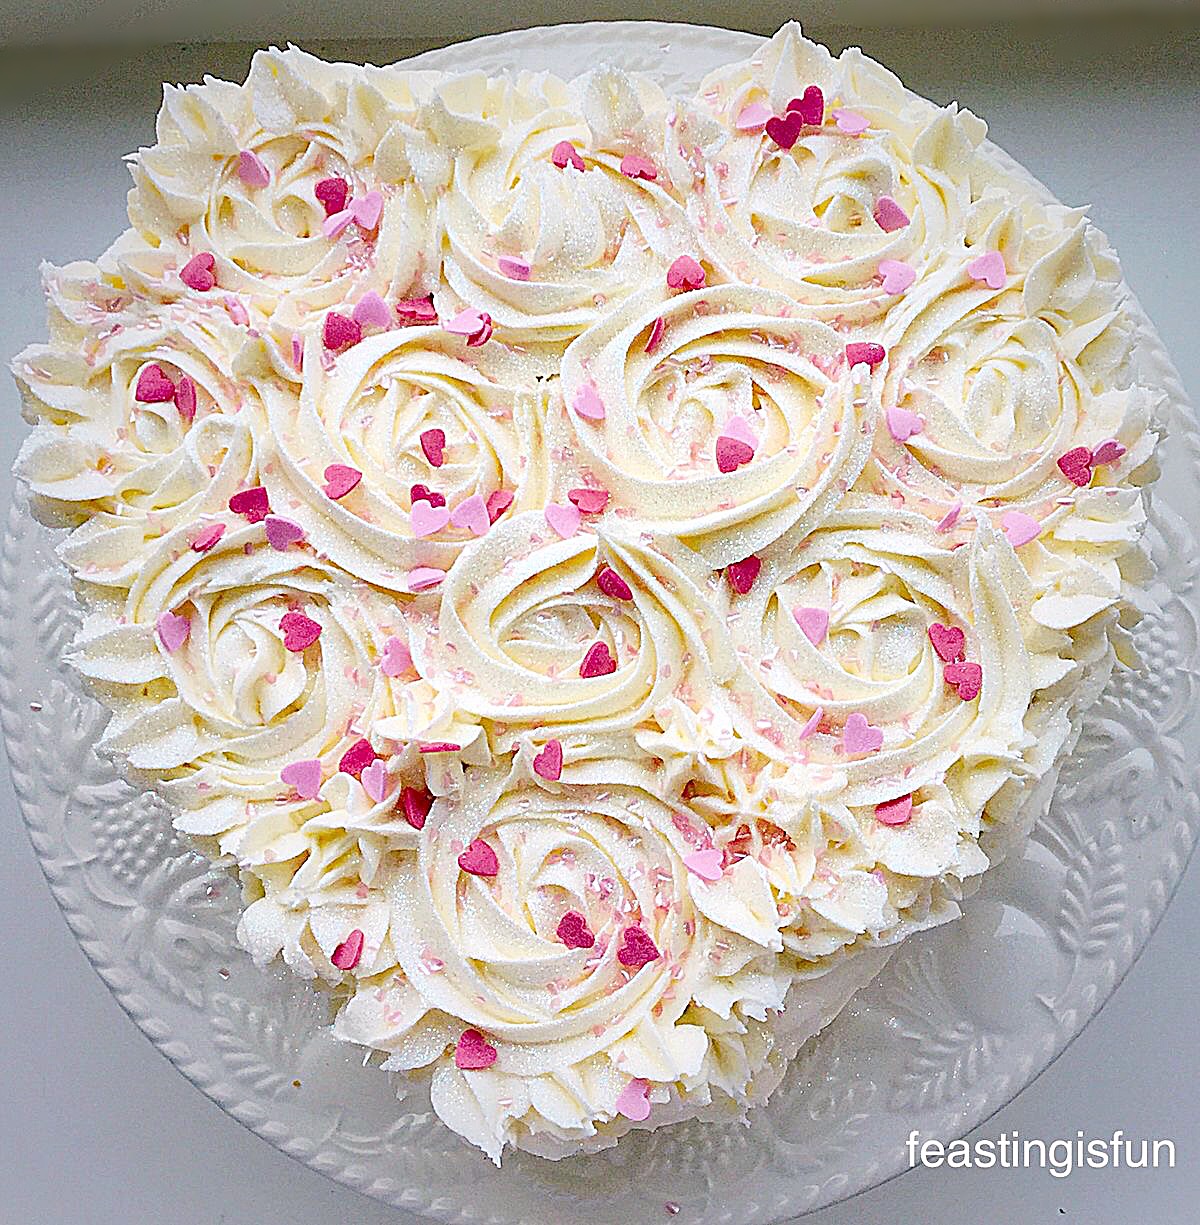
Cupcakes in themselves are moments of happiness. Since it must be impossible to be angry whilst eating a cupcake? And, imagine an entire, miniature cake all to ourselves. Cute and delicious let me share with you these Pink Heart Topped White Chocolate Cupcakes.
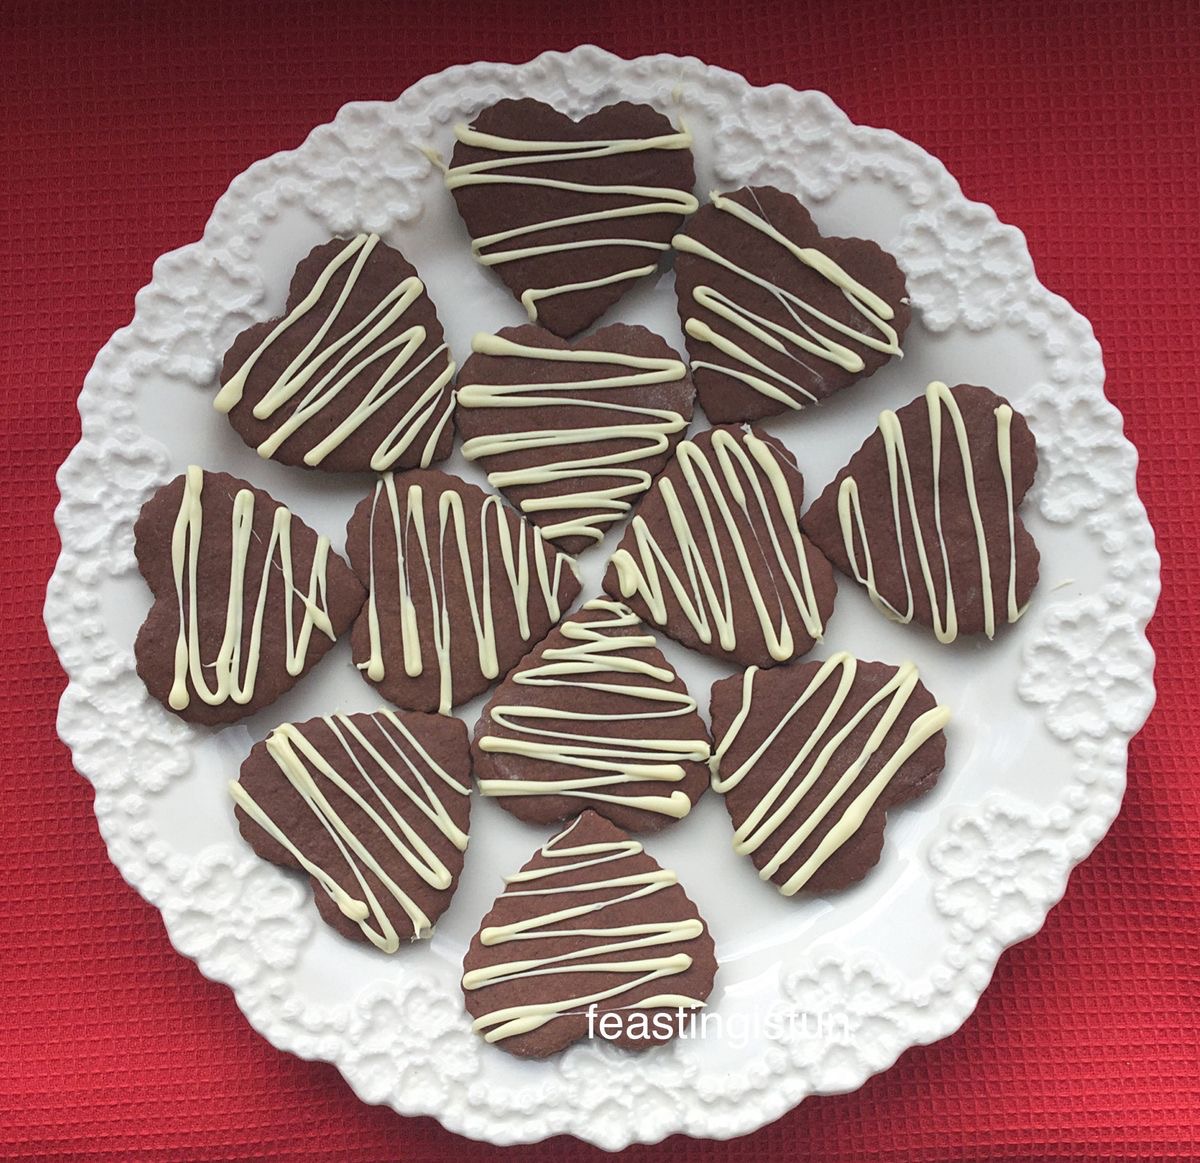
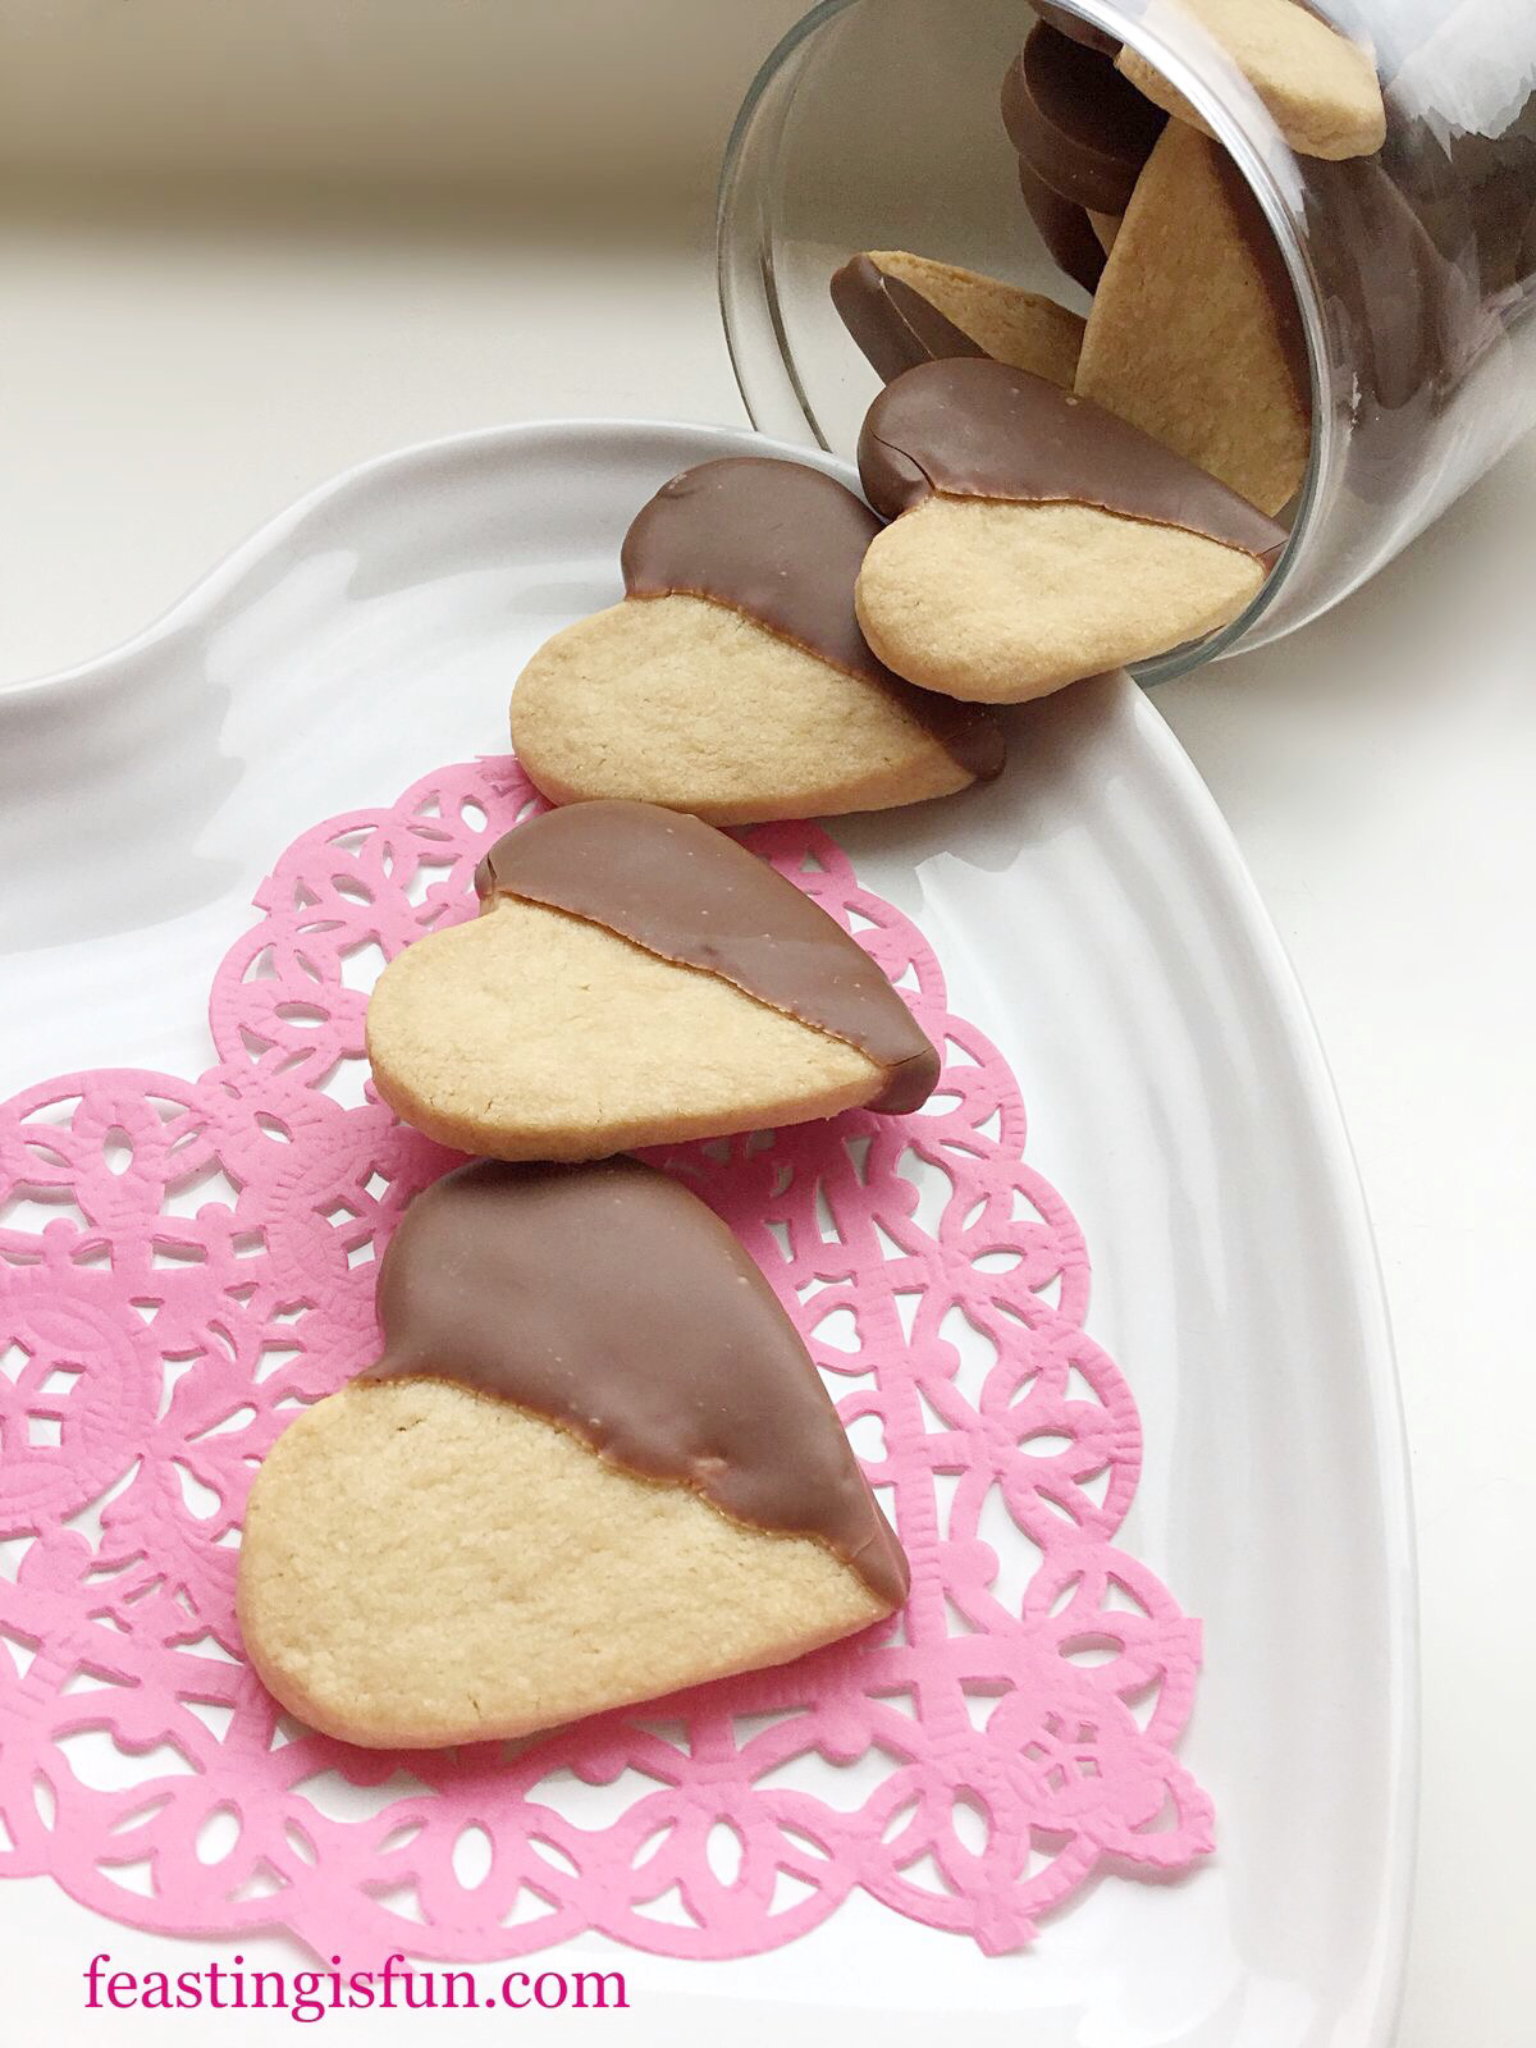
Since Valentines Day is only a few days away, creating a beautiful and tasty cupcake seemed a good idea. While I have mentioned in previous posts such as Chocolate Dipped Shortbread Heart Cookies, that every day should be an opportunity to show those we love and appreciate them, February 14th is the day of love. So to celebrate, these white chocolate chip cupcakes frosted with a velvet white chocolate buttercream, finished with a pink chocolate heart, fit the bill perfectly.
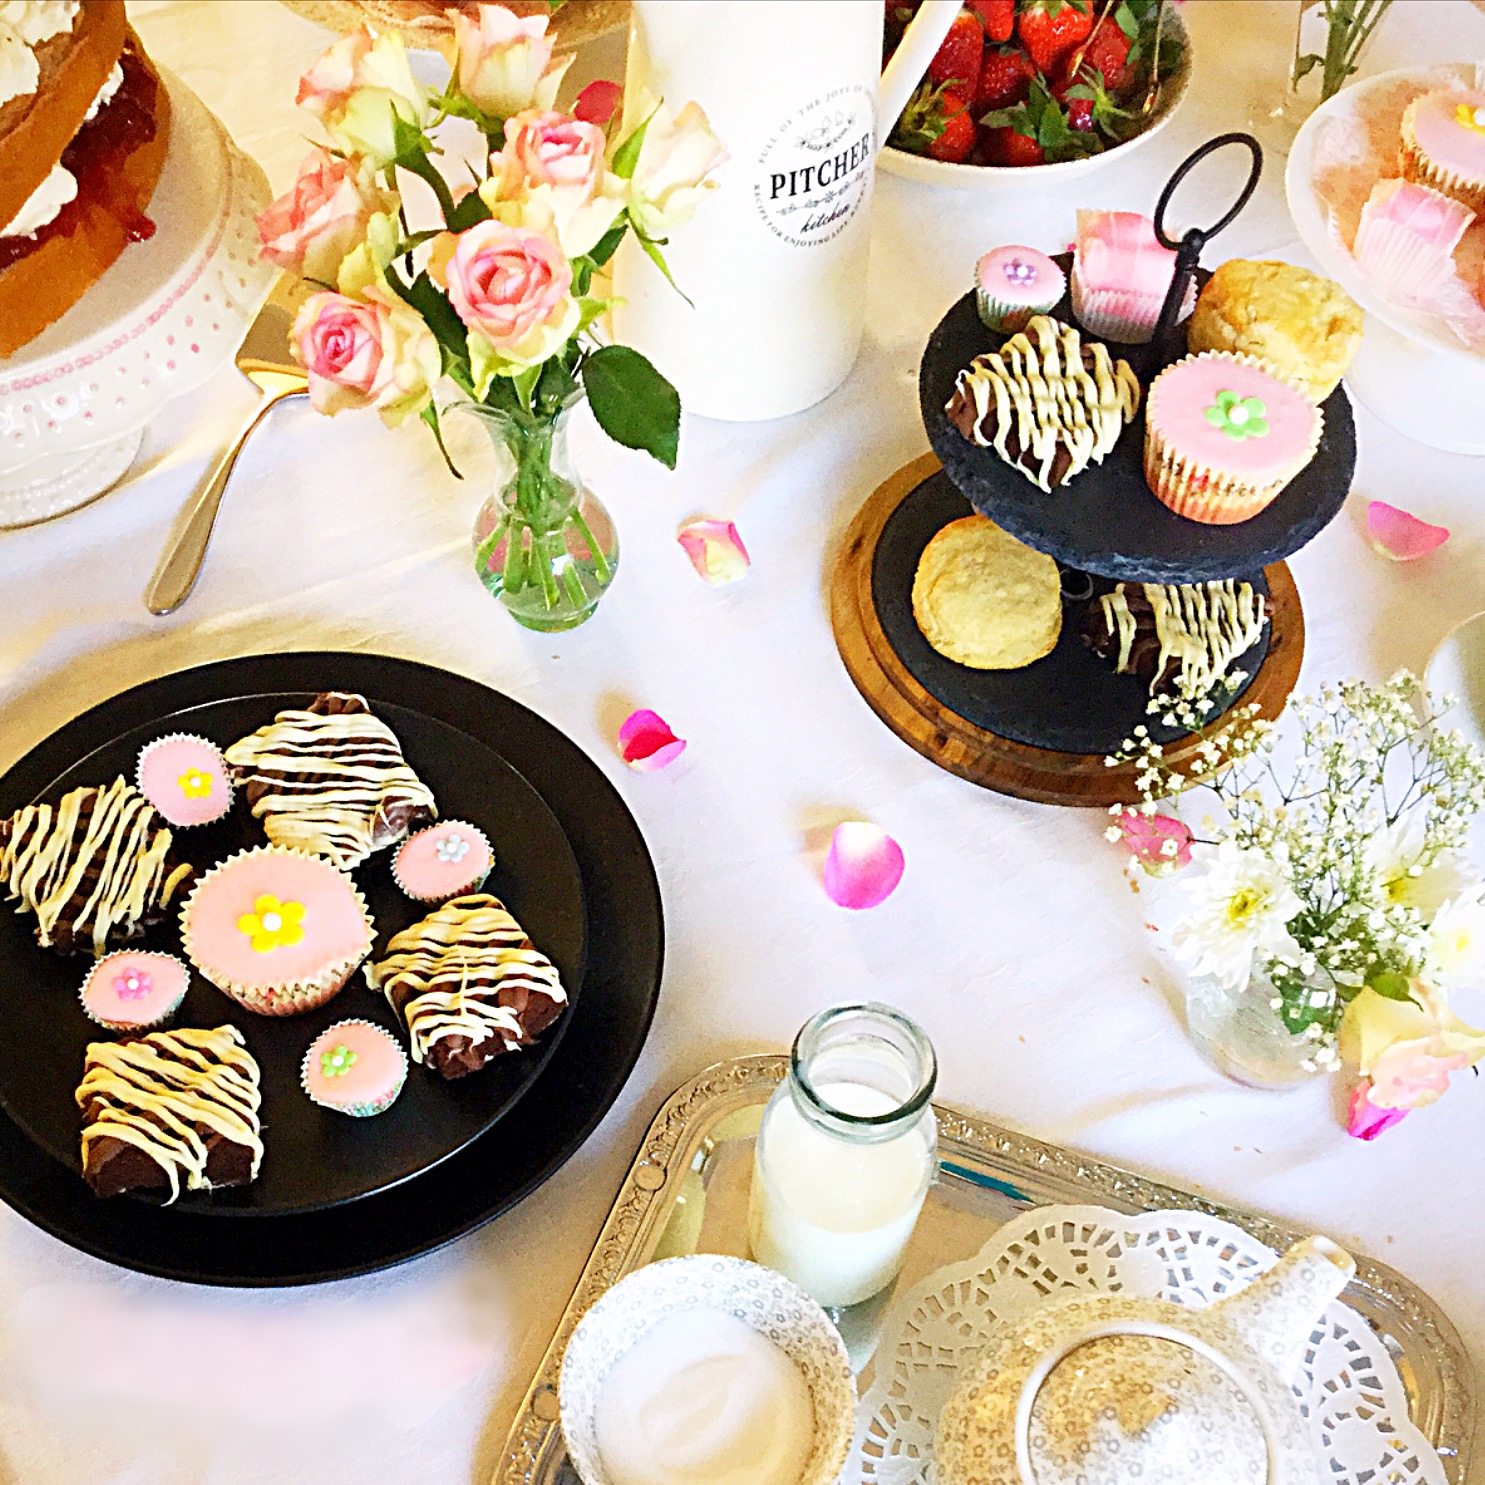
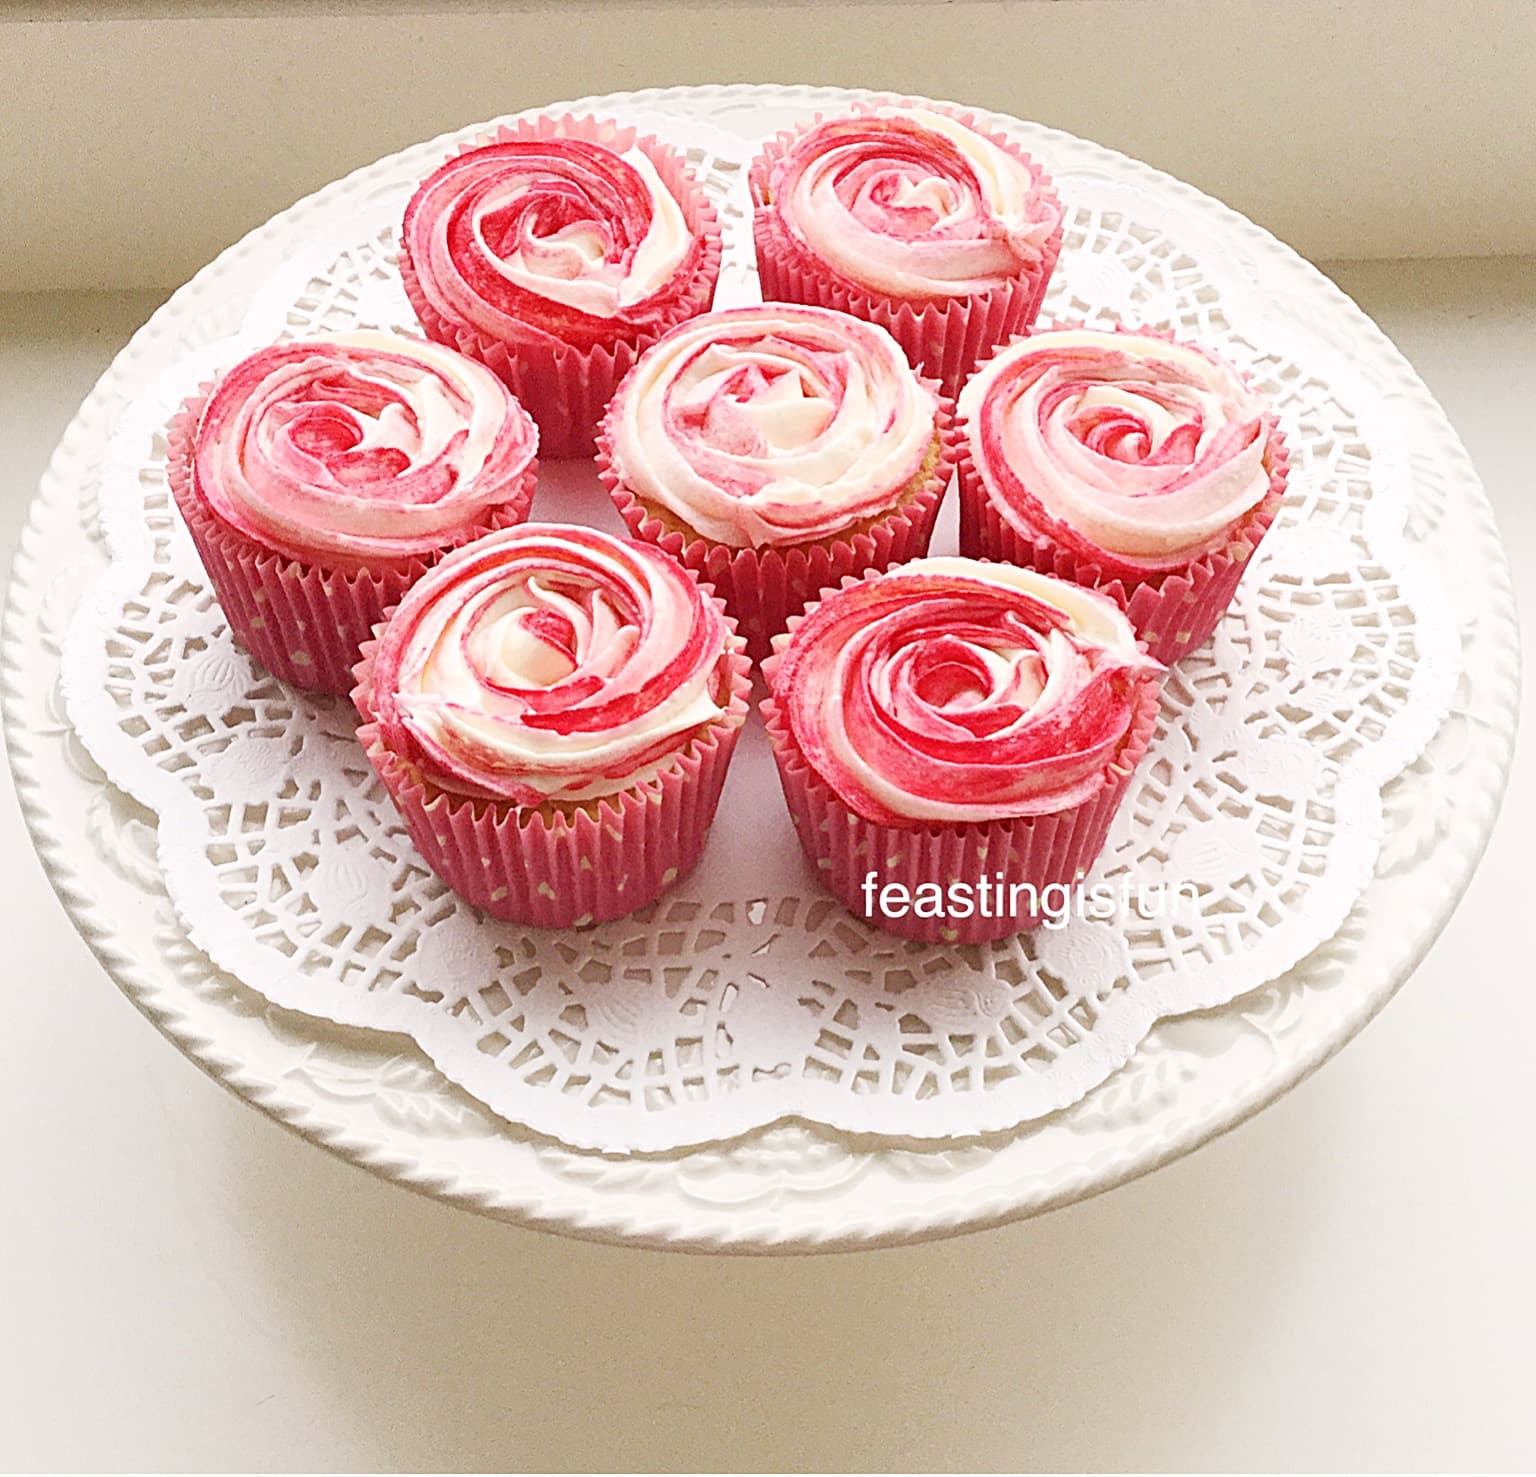
As these delightfully light cupcakes are so pretty they are also perfect for parties, celebrations and of course to serve at a wedding. Because who wouldn’t want to receive one of these cute cupcakes?
While simple and easy to make, this recipe is designed so that novice bakers can follow and bake incredible cupcakes. Also the buttercream is piped without a nozzle, therefore deleting a need for more equipment. Since a plastic freezer bag can double as an icing bag, simply cut off one corner to leave a 1cm opening, this recipe really is for everyone.
Recipe: Pink Heart Topped White Chocolate Cupcakes makes 12
For the Cupcakes:
100g/4oz Unsalted Butter at room temperature
100g/4oz Caster Sugar
Small Pinch 1/8tsp Sea Salt – I use Maldon
2 Large Free Range Eggs
1 tsp Vanilla Extract – I use Nielsen-Massey
2 tsp Whole Milk
100g/4oz Self Raising Flour, alternately use the same quantity of Plain White Flour and add 1 tsp baking powder
50g/2oz White Chocolate Chips
For the Buttercream:
125g/4.5oz Unsalted Butter at room temperature
250g/8.5oz Icing Sugar
150g/5oz White Chocolate suitable for melting
Up to 2 tbsp Whole Milk
Pink Jazzy Hearts available from Amazon
Optional pink/white sugar balls
Method: Preheat oven to 180C/160C fan, 350F, gas mark 4
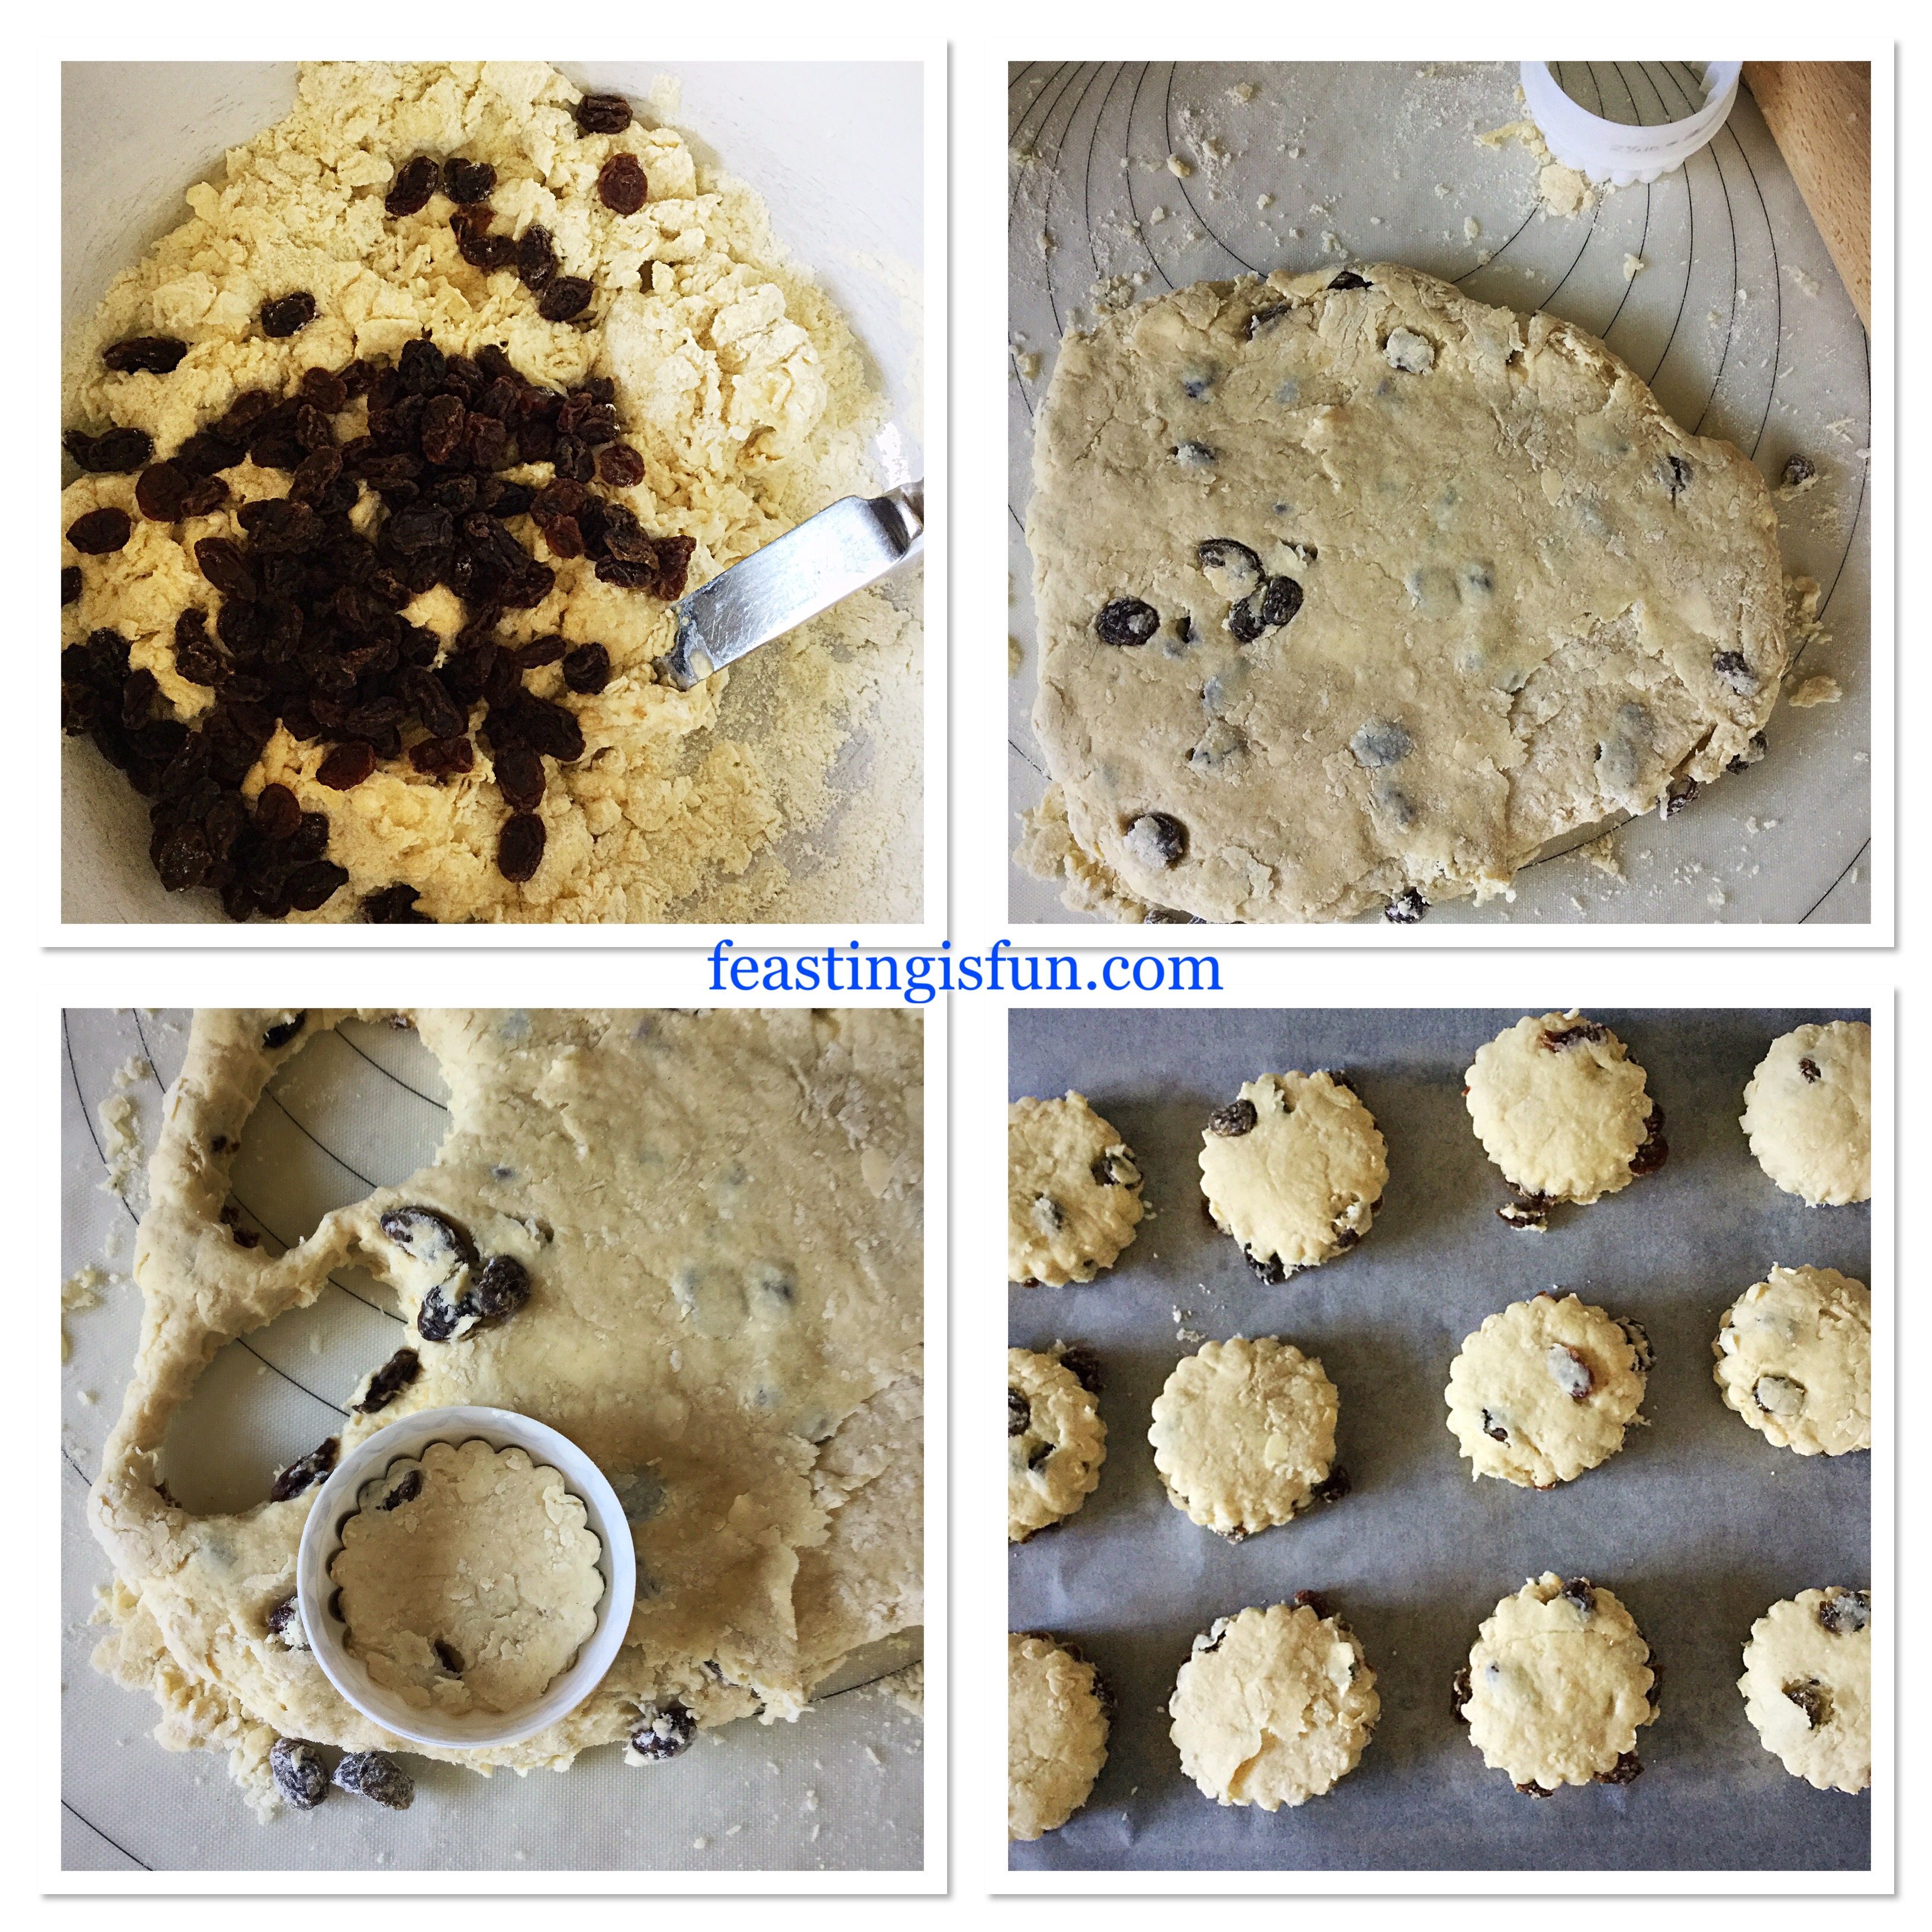
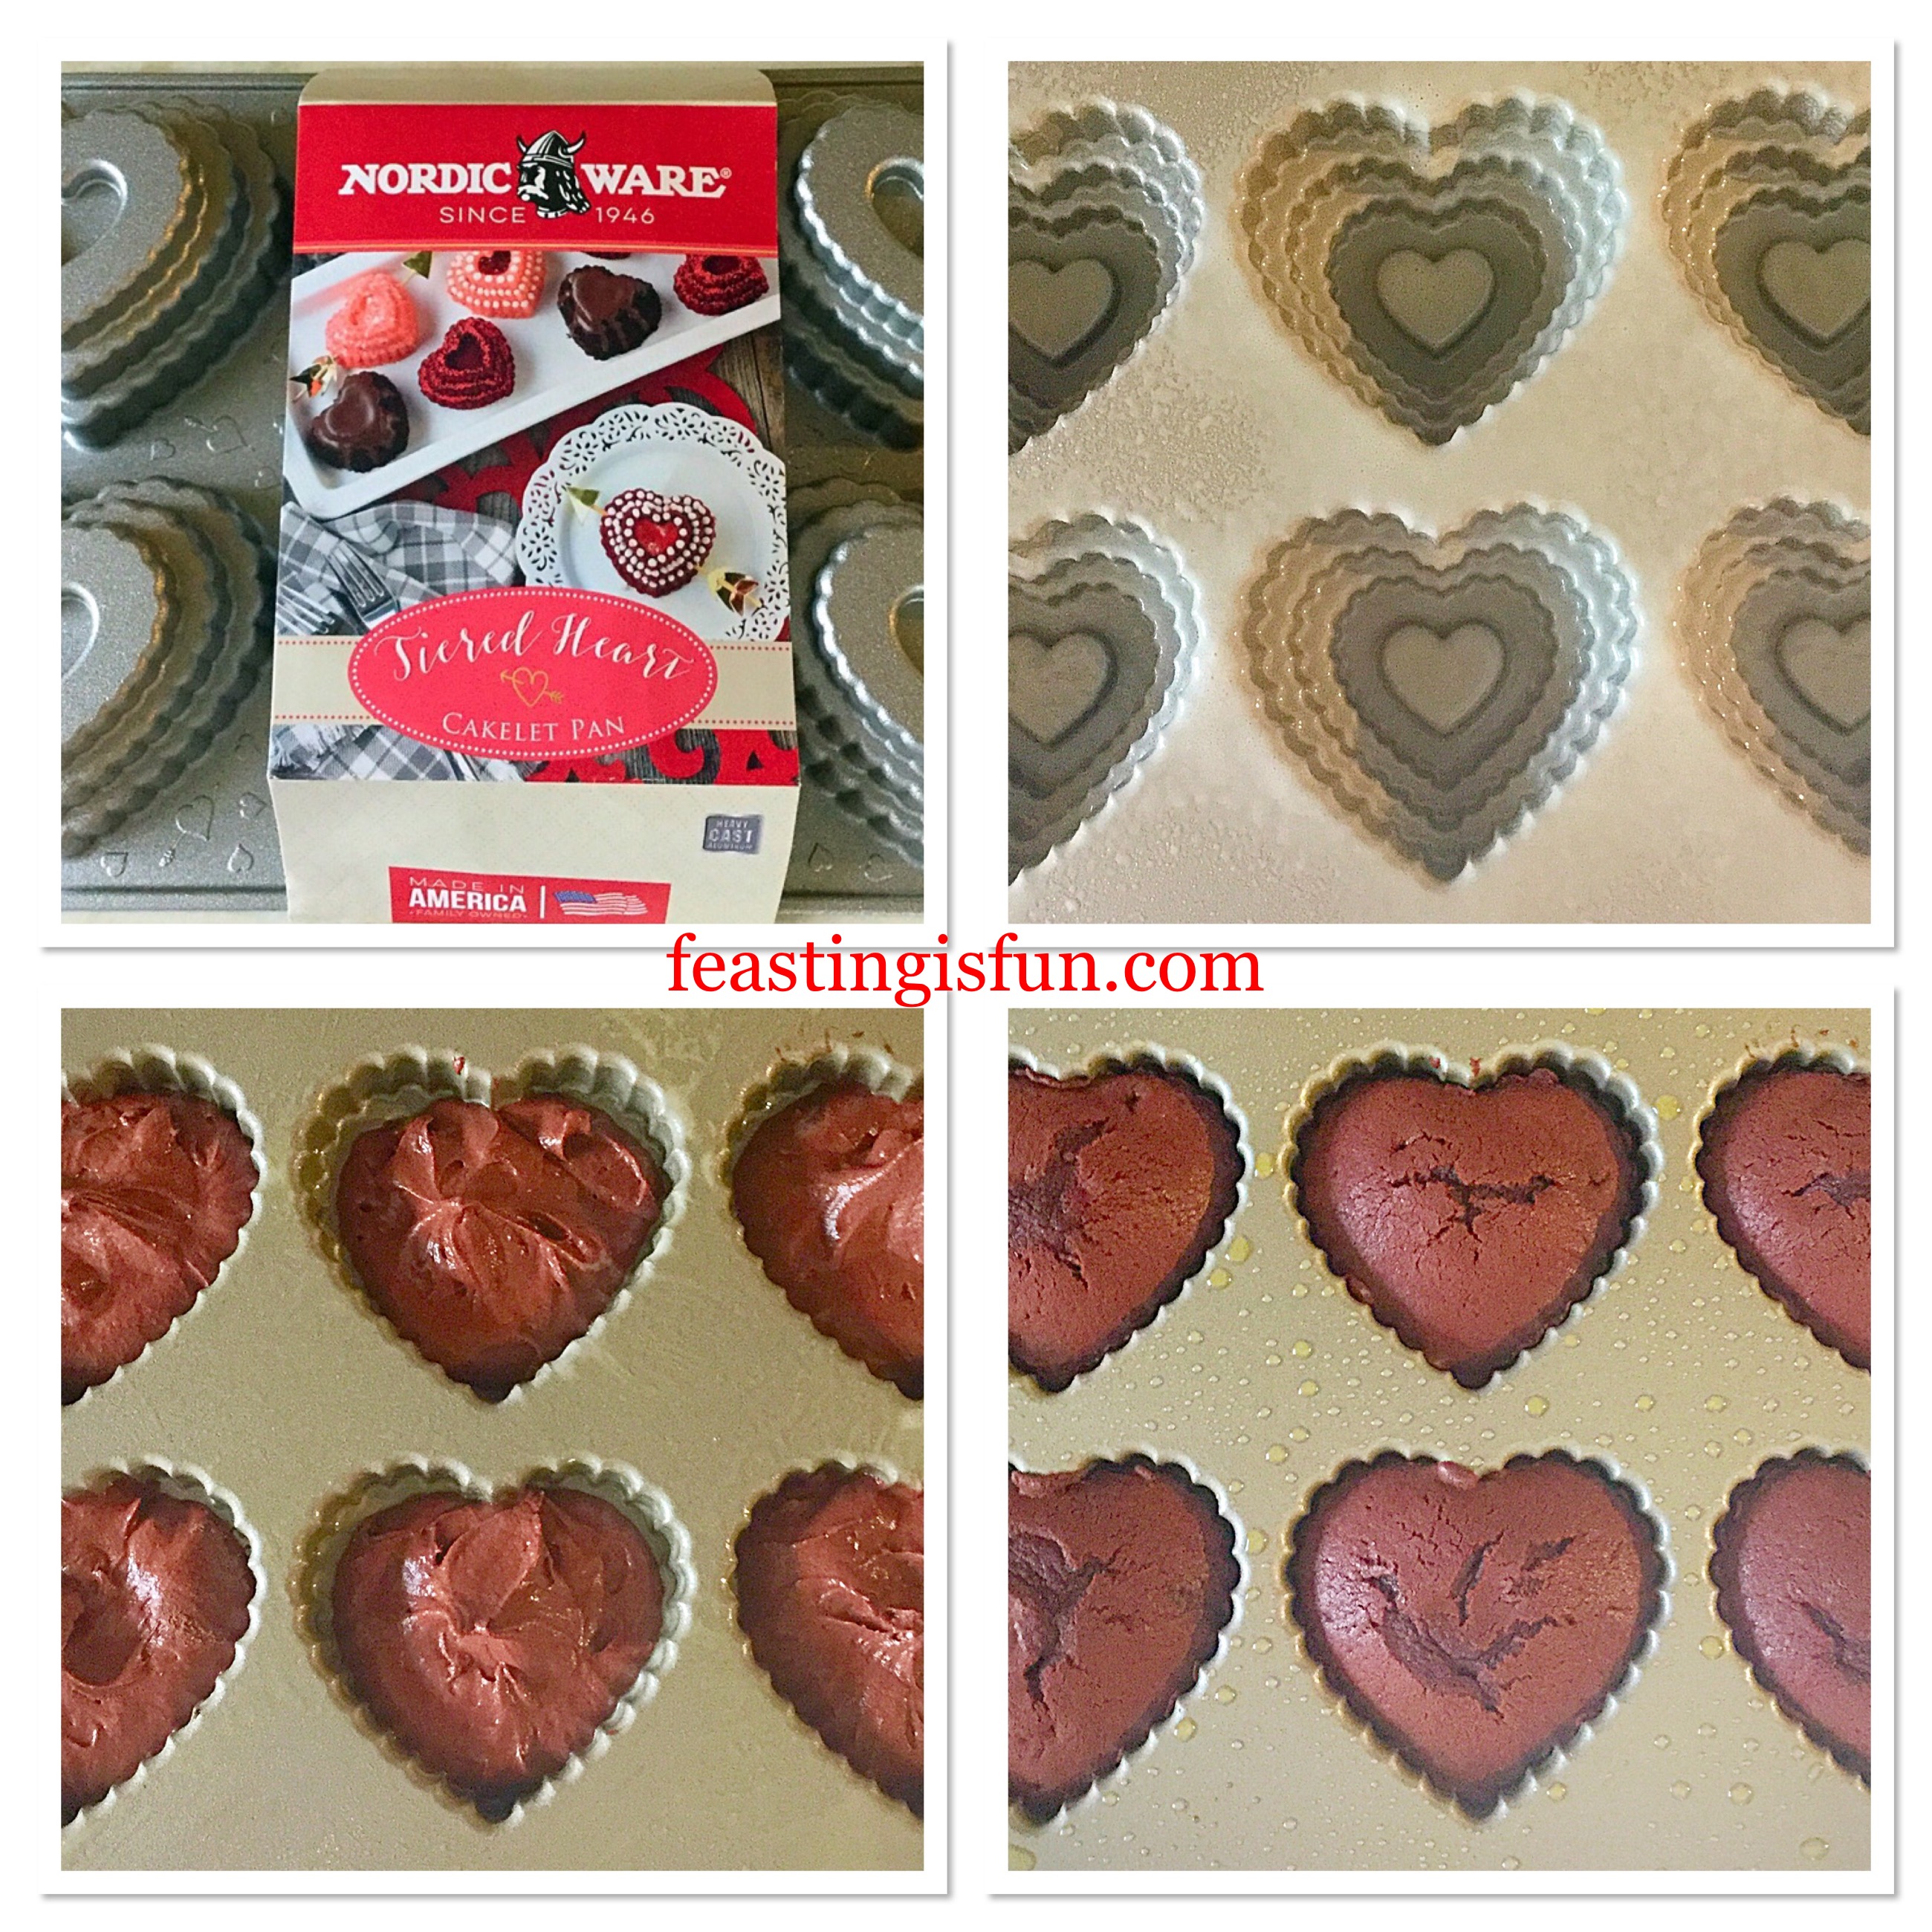
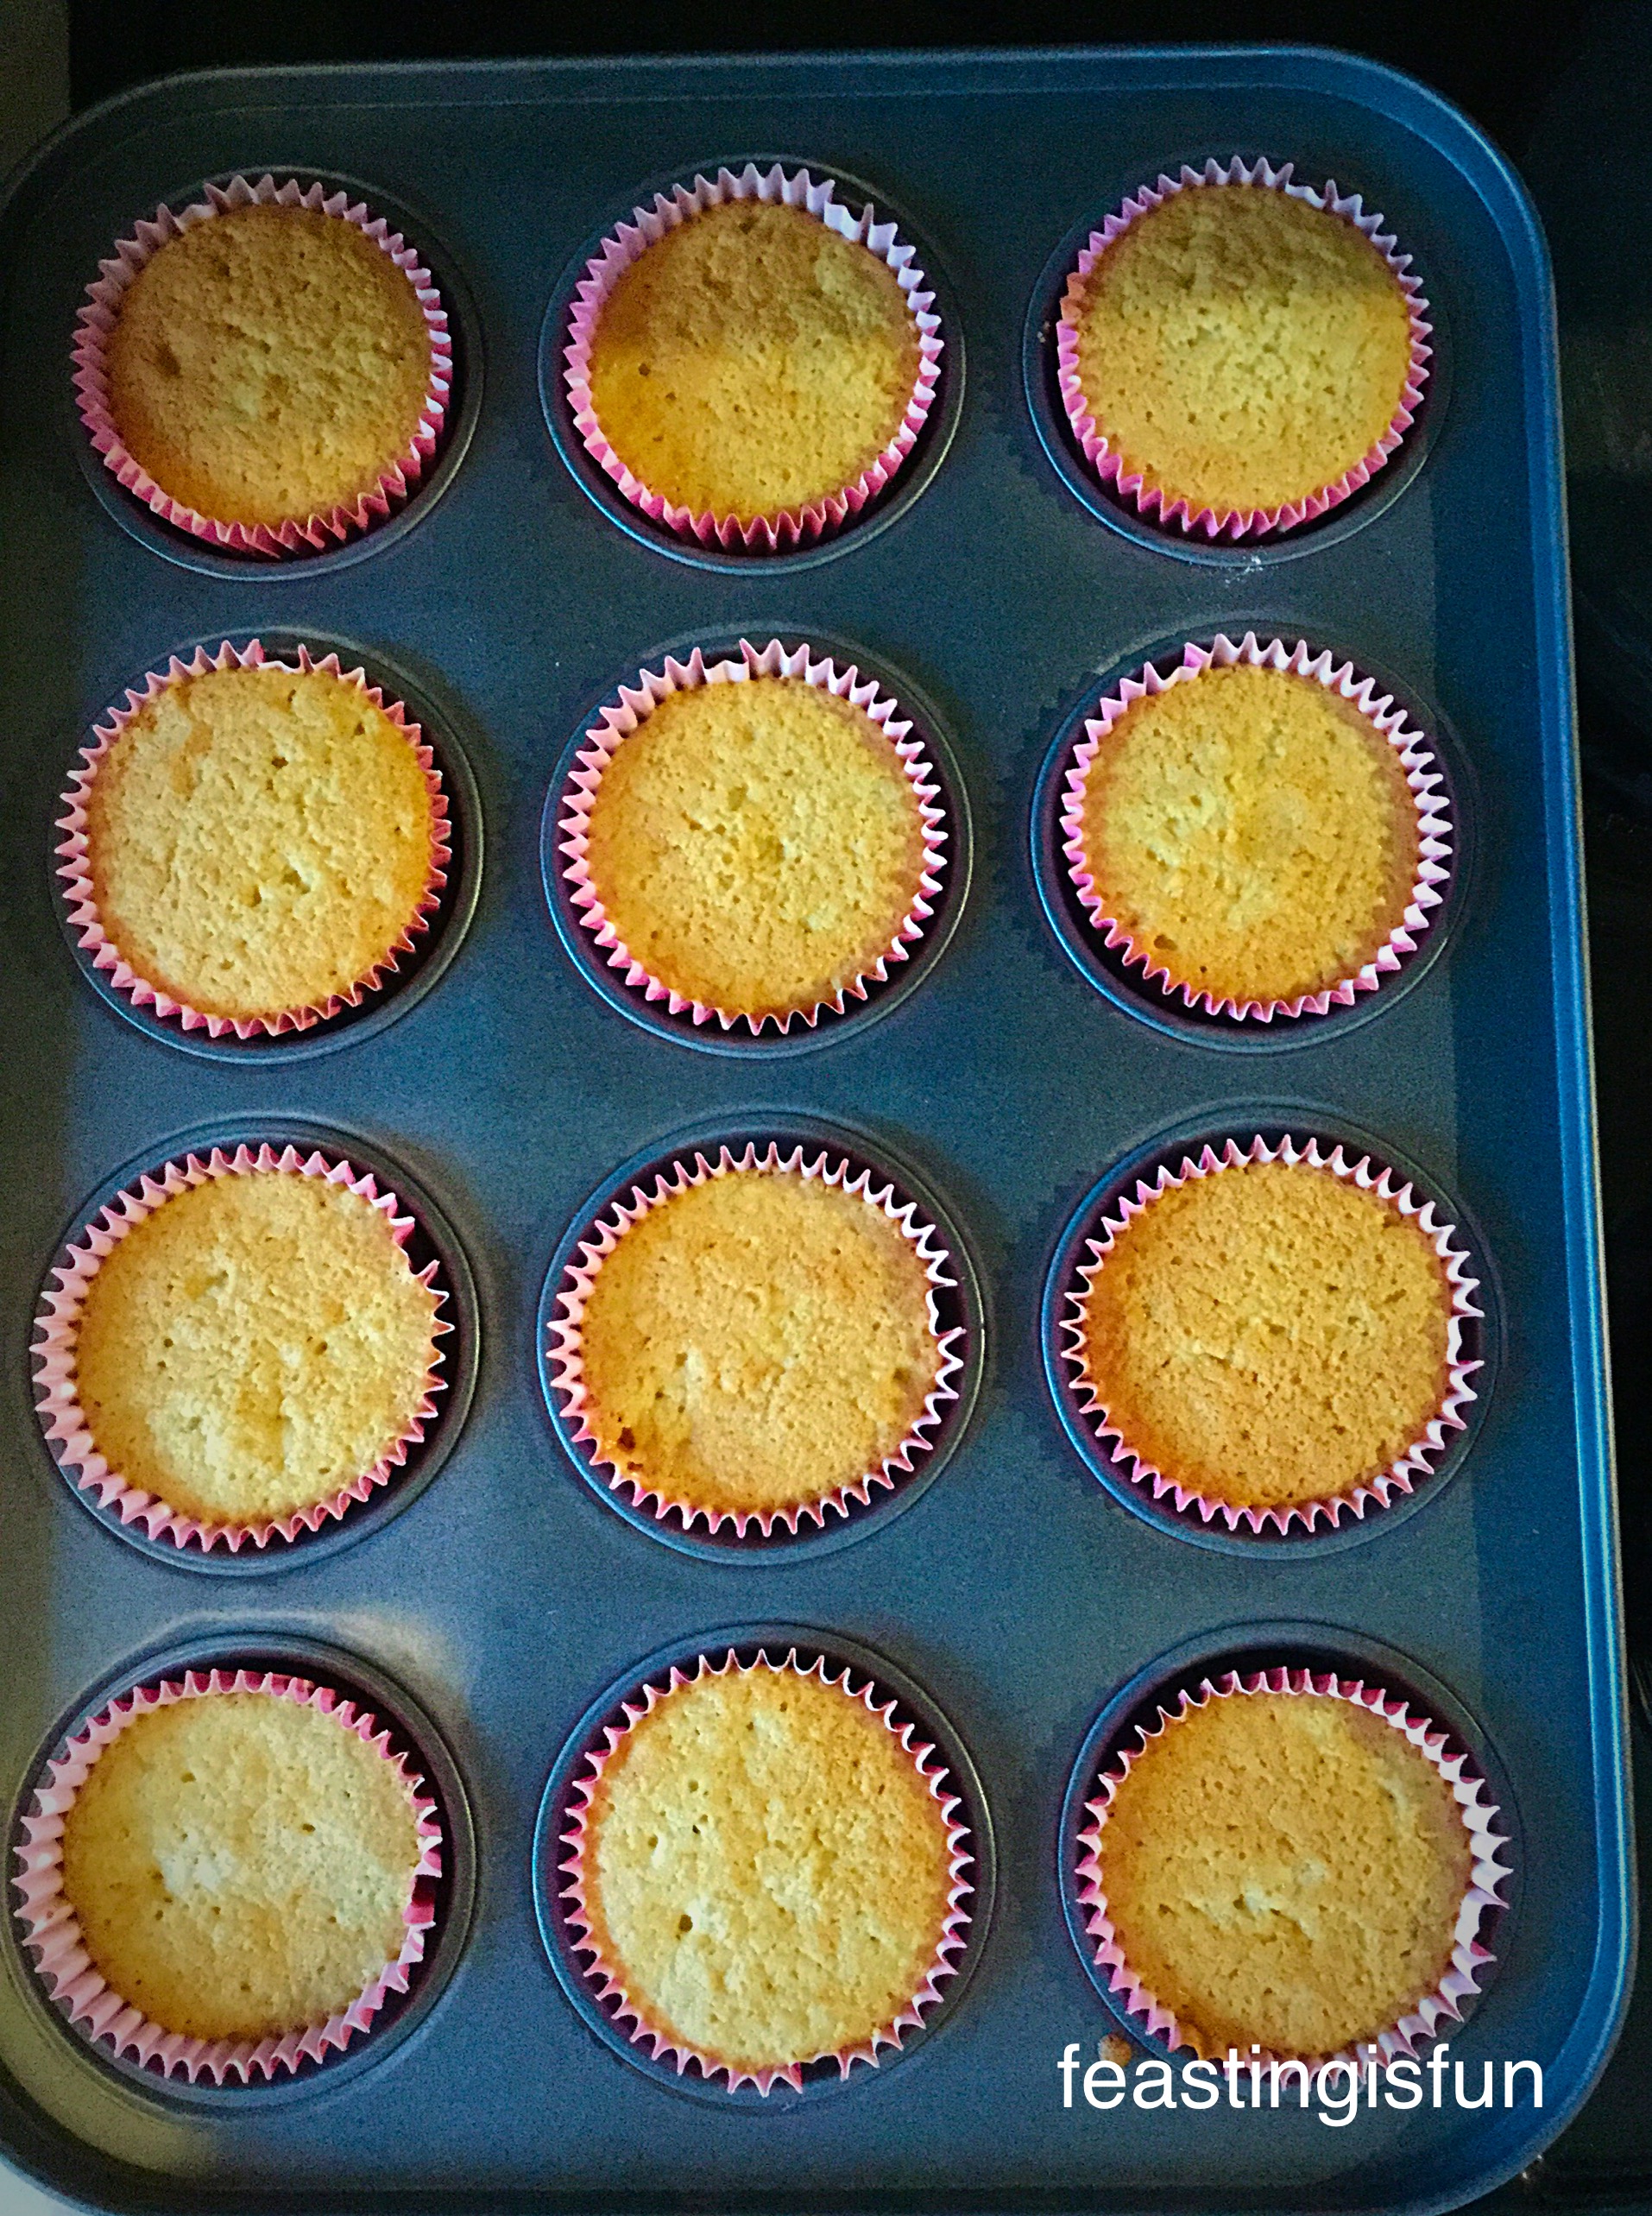
Making And Baking The Cupcakes
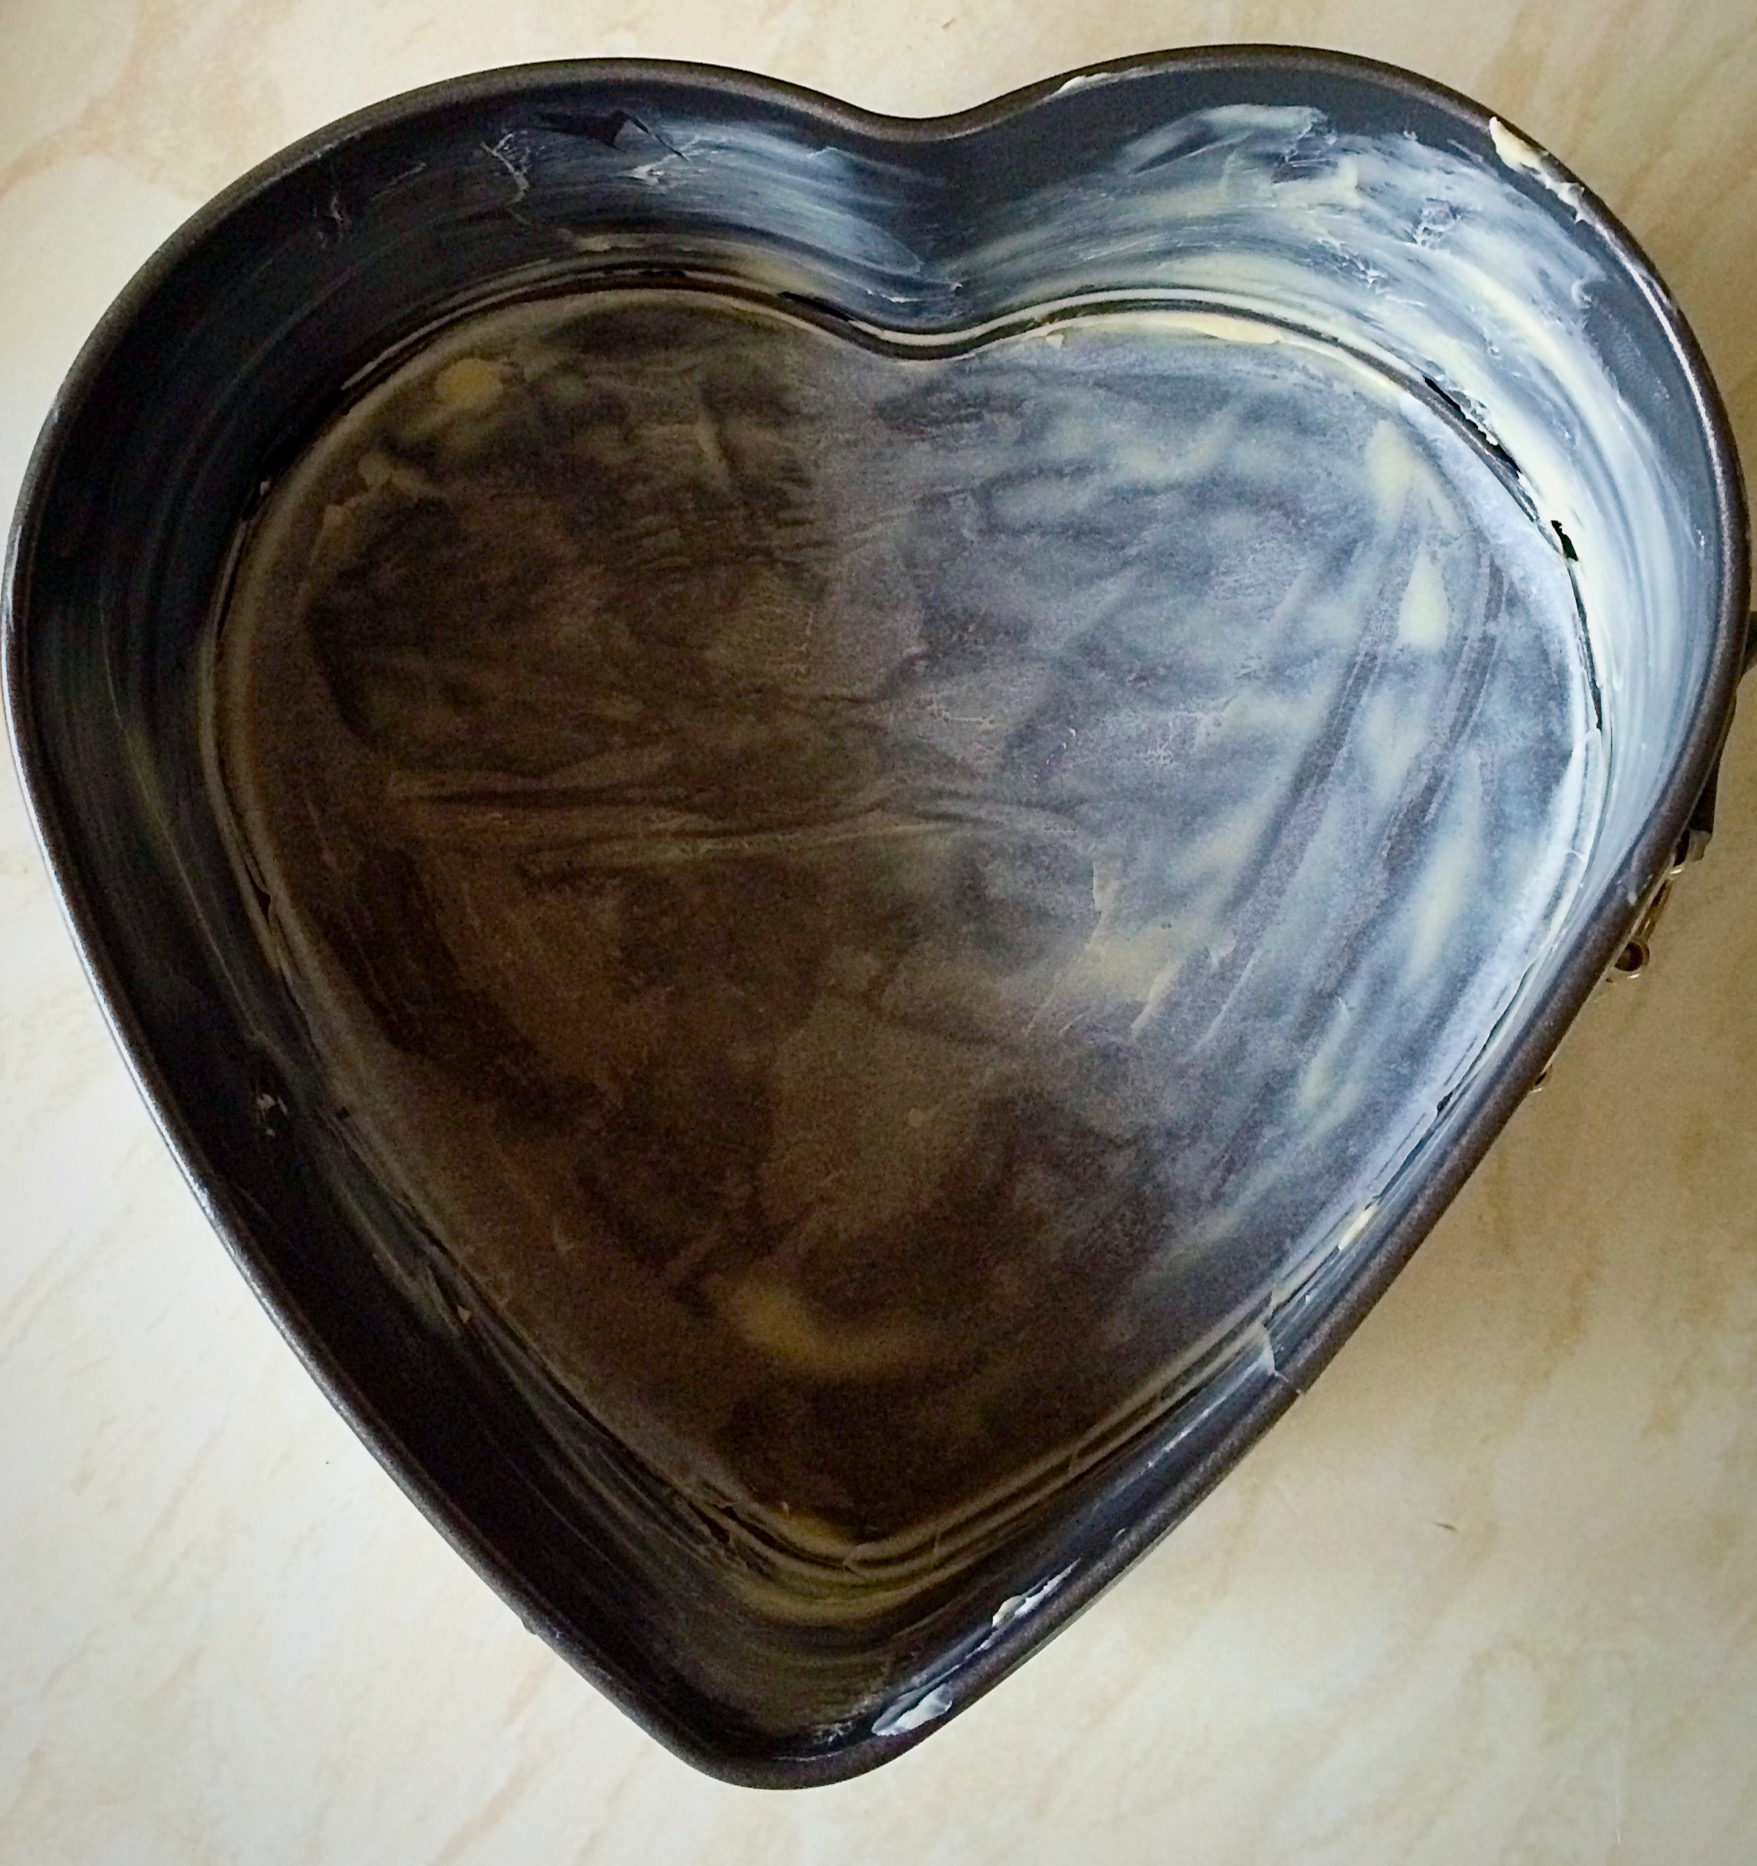
- First of all, line a muffin tin wth 12 cupcake cases.
- Place the butter, sugar and salt into a large bowl.
- Whish together until pale and creamy.
- Add the eggs and vanilla extract to the bowl. Also, sift the flour (and baking powder if using) into the same bowl.
- Whisk the ingredients together adding milk as you whisk. Continue until the mixture is uniform in texture, avoid over mixing as this can cause a tough, baked cupcake.
- Add the white chocolate chips and fold into the batter.

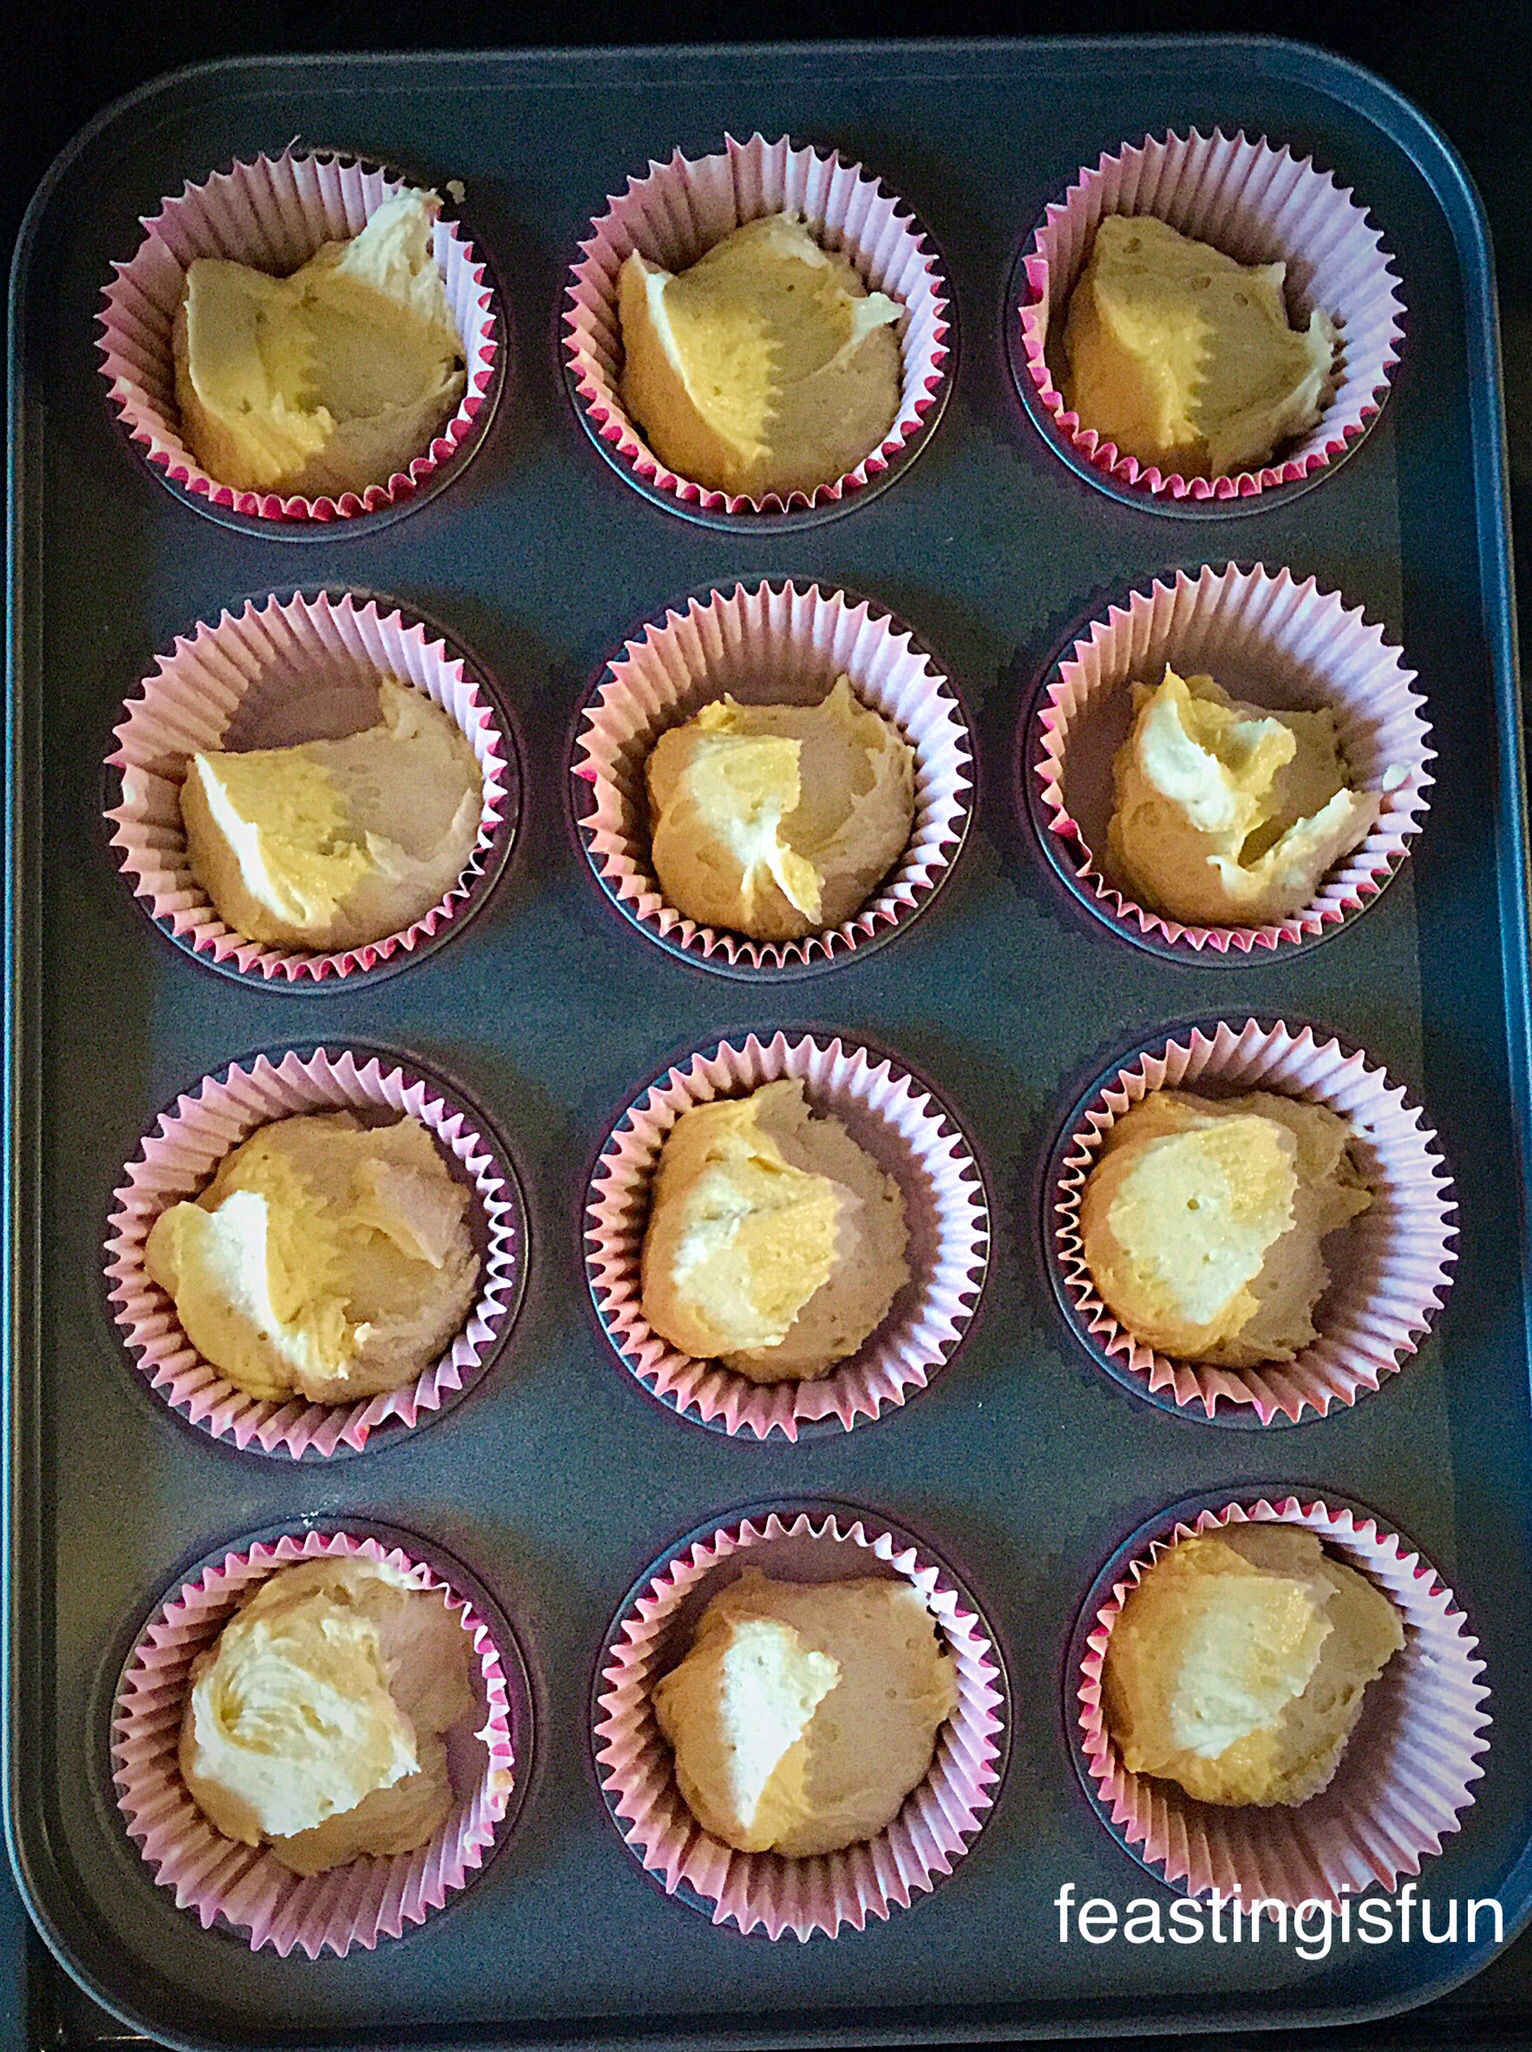
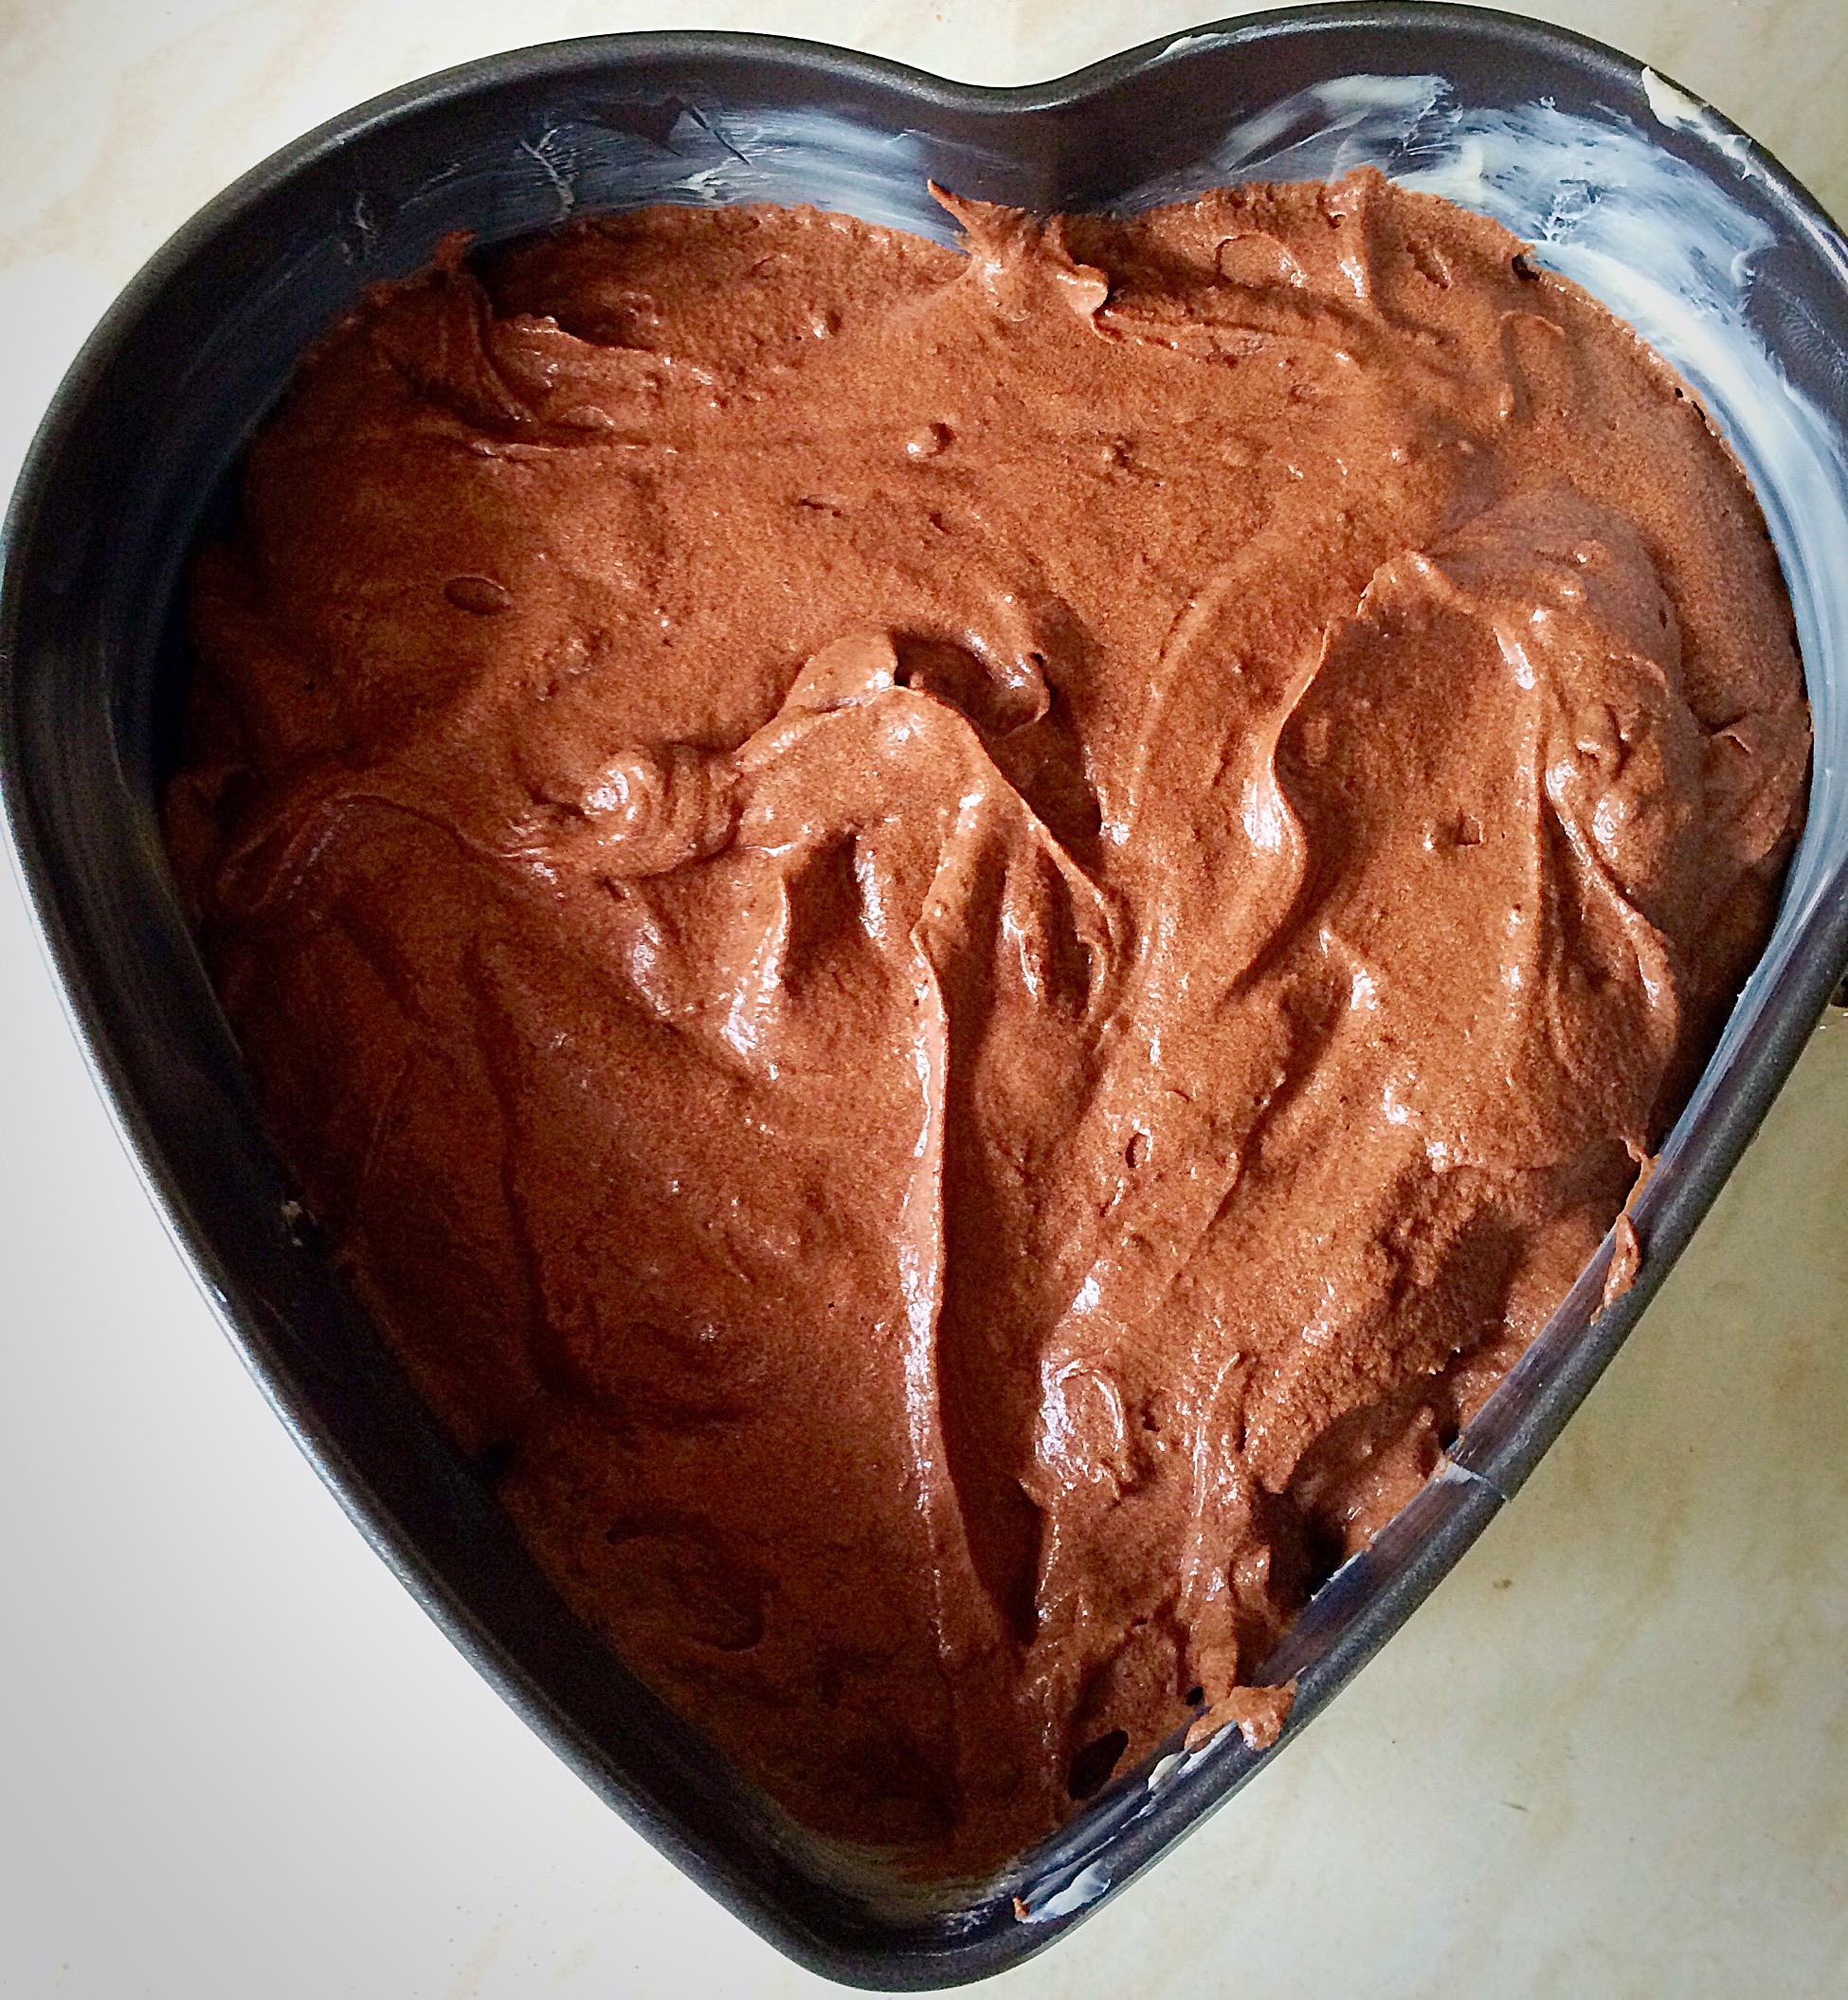
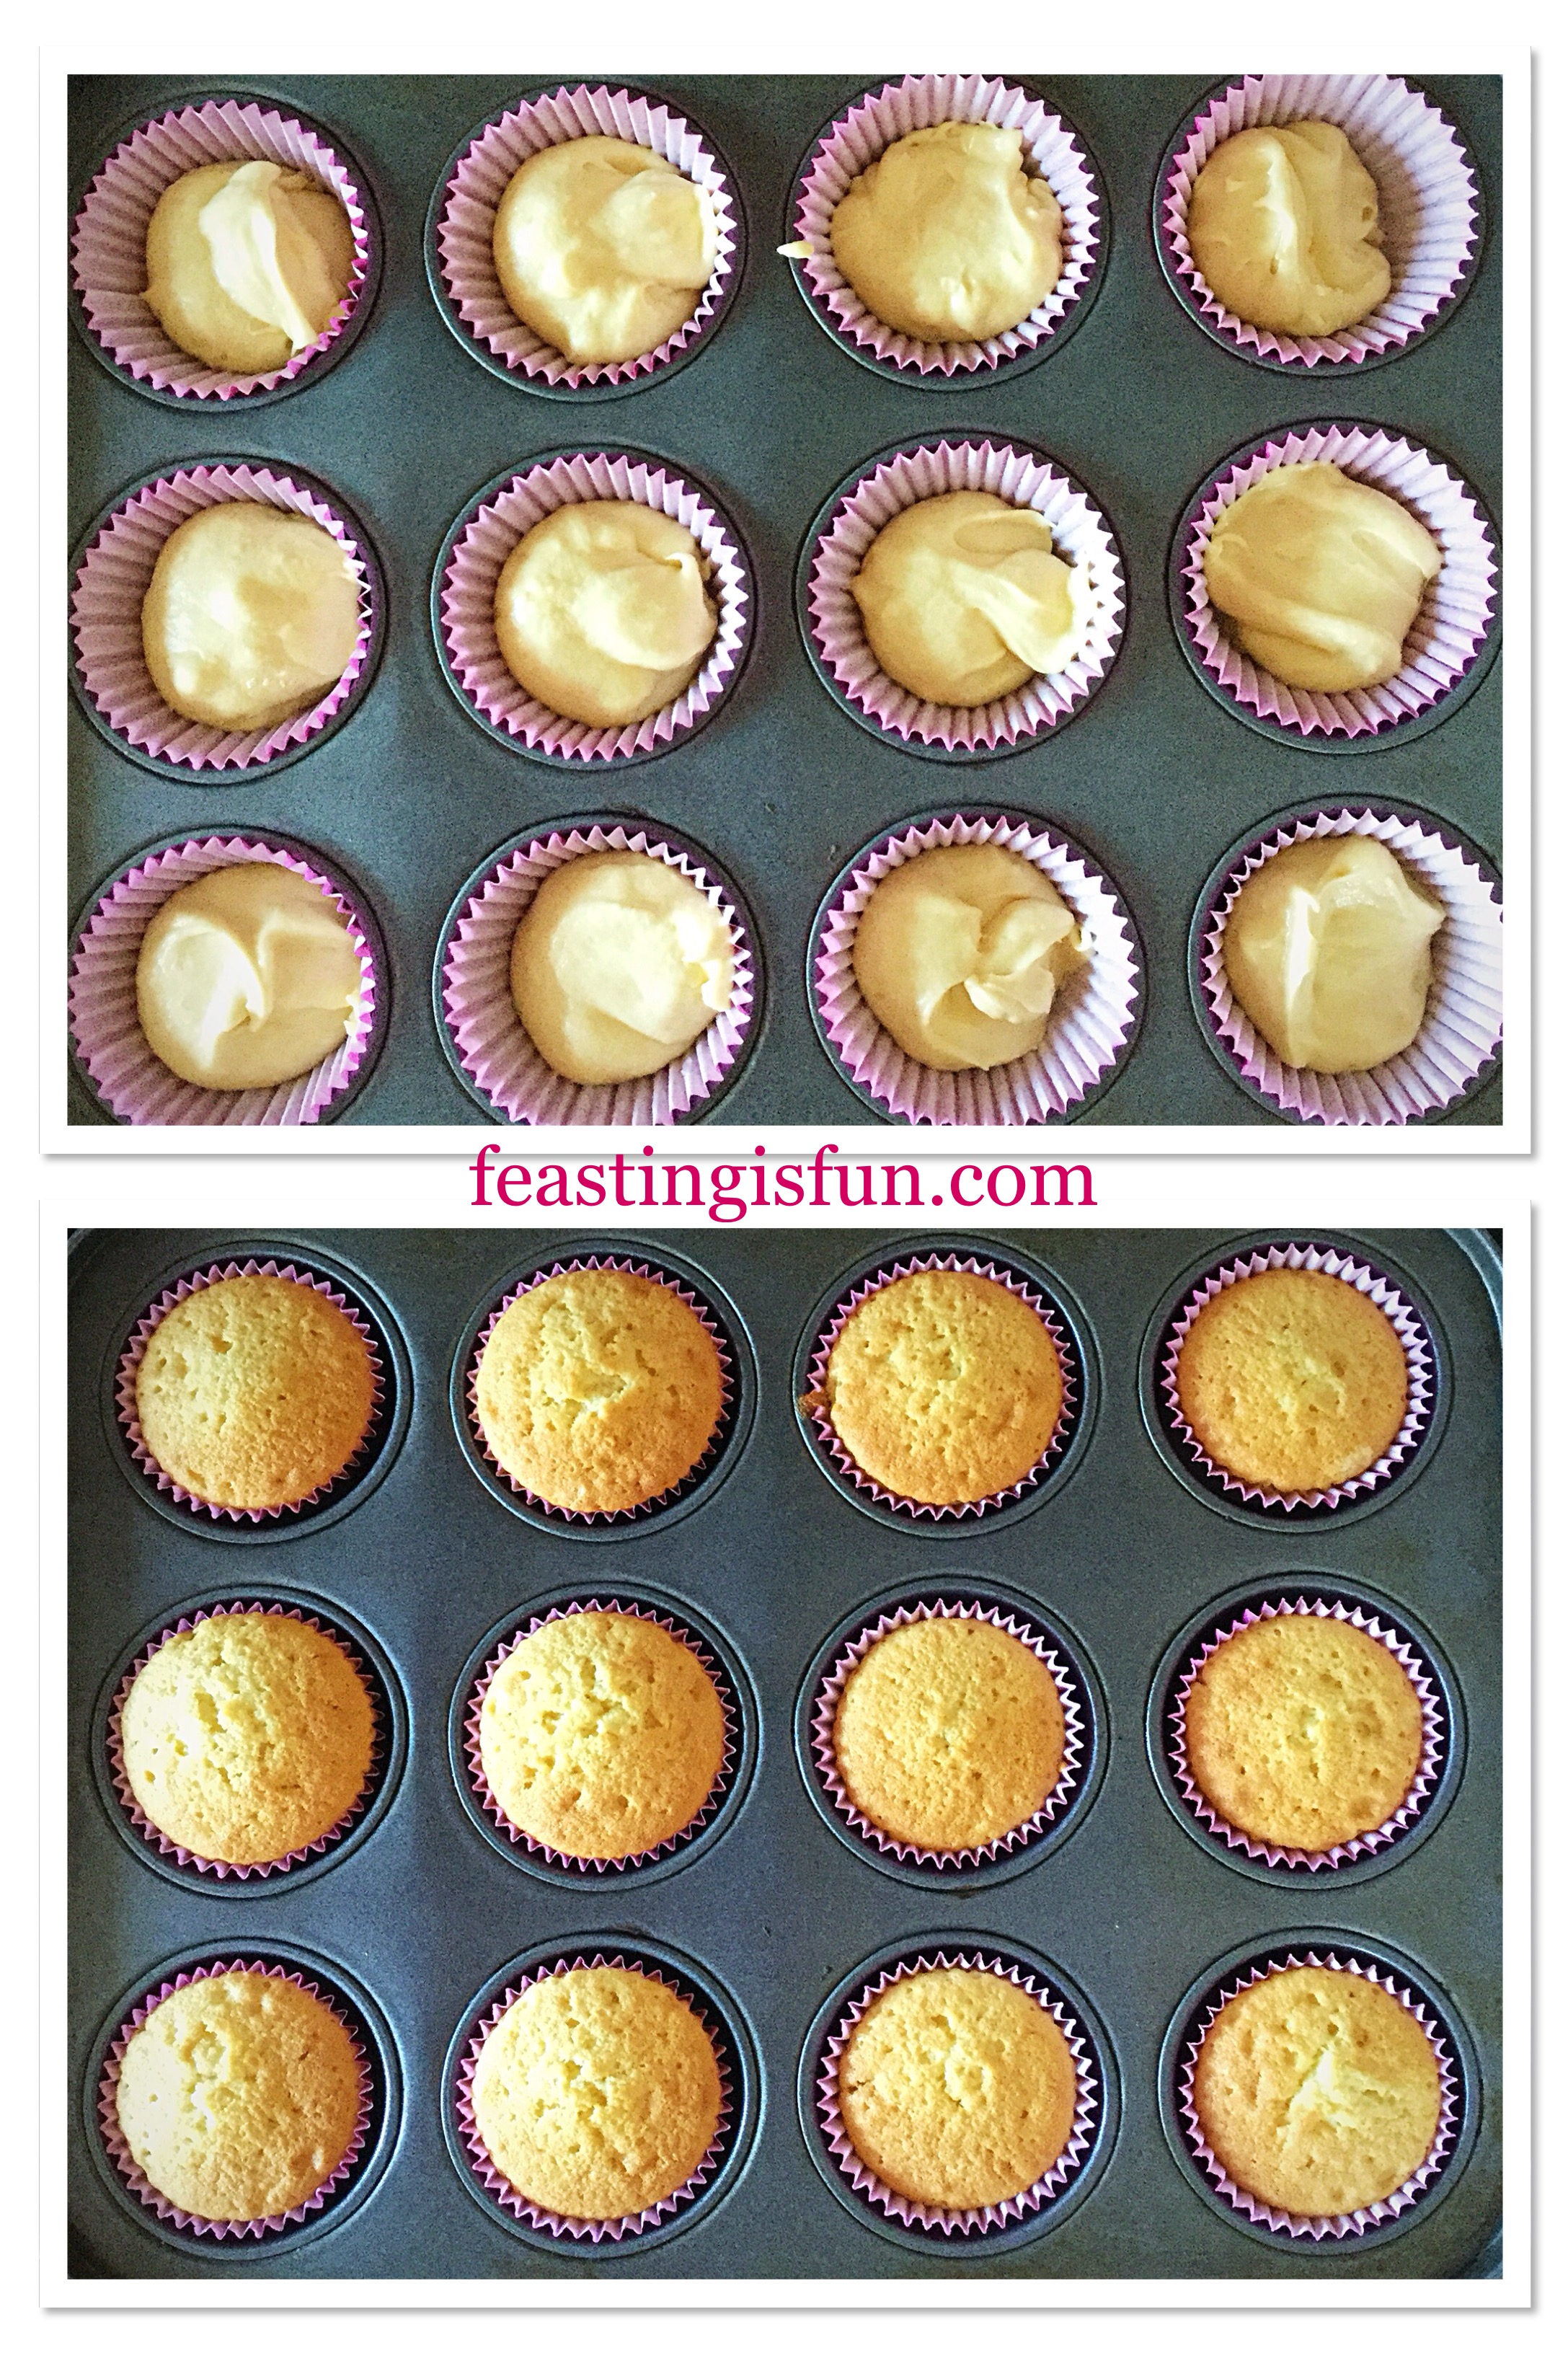
- Spoon the cake batter into the cupcake cases, dividing it evenly between them.
- Place the cupcakes in the centre of the preheated oven and bake for 20-30 minutes.
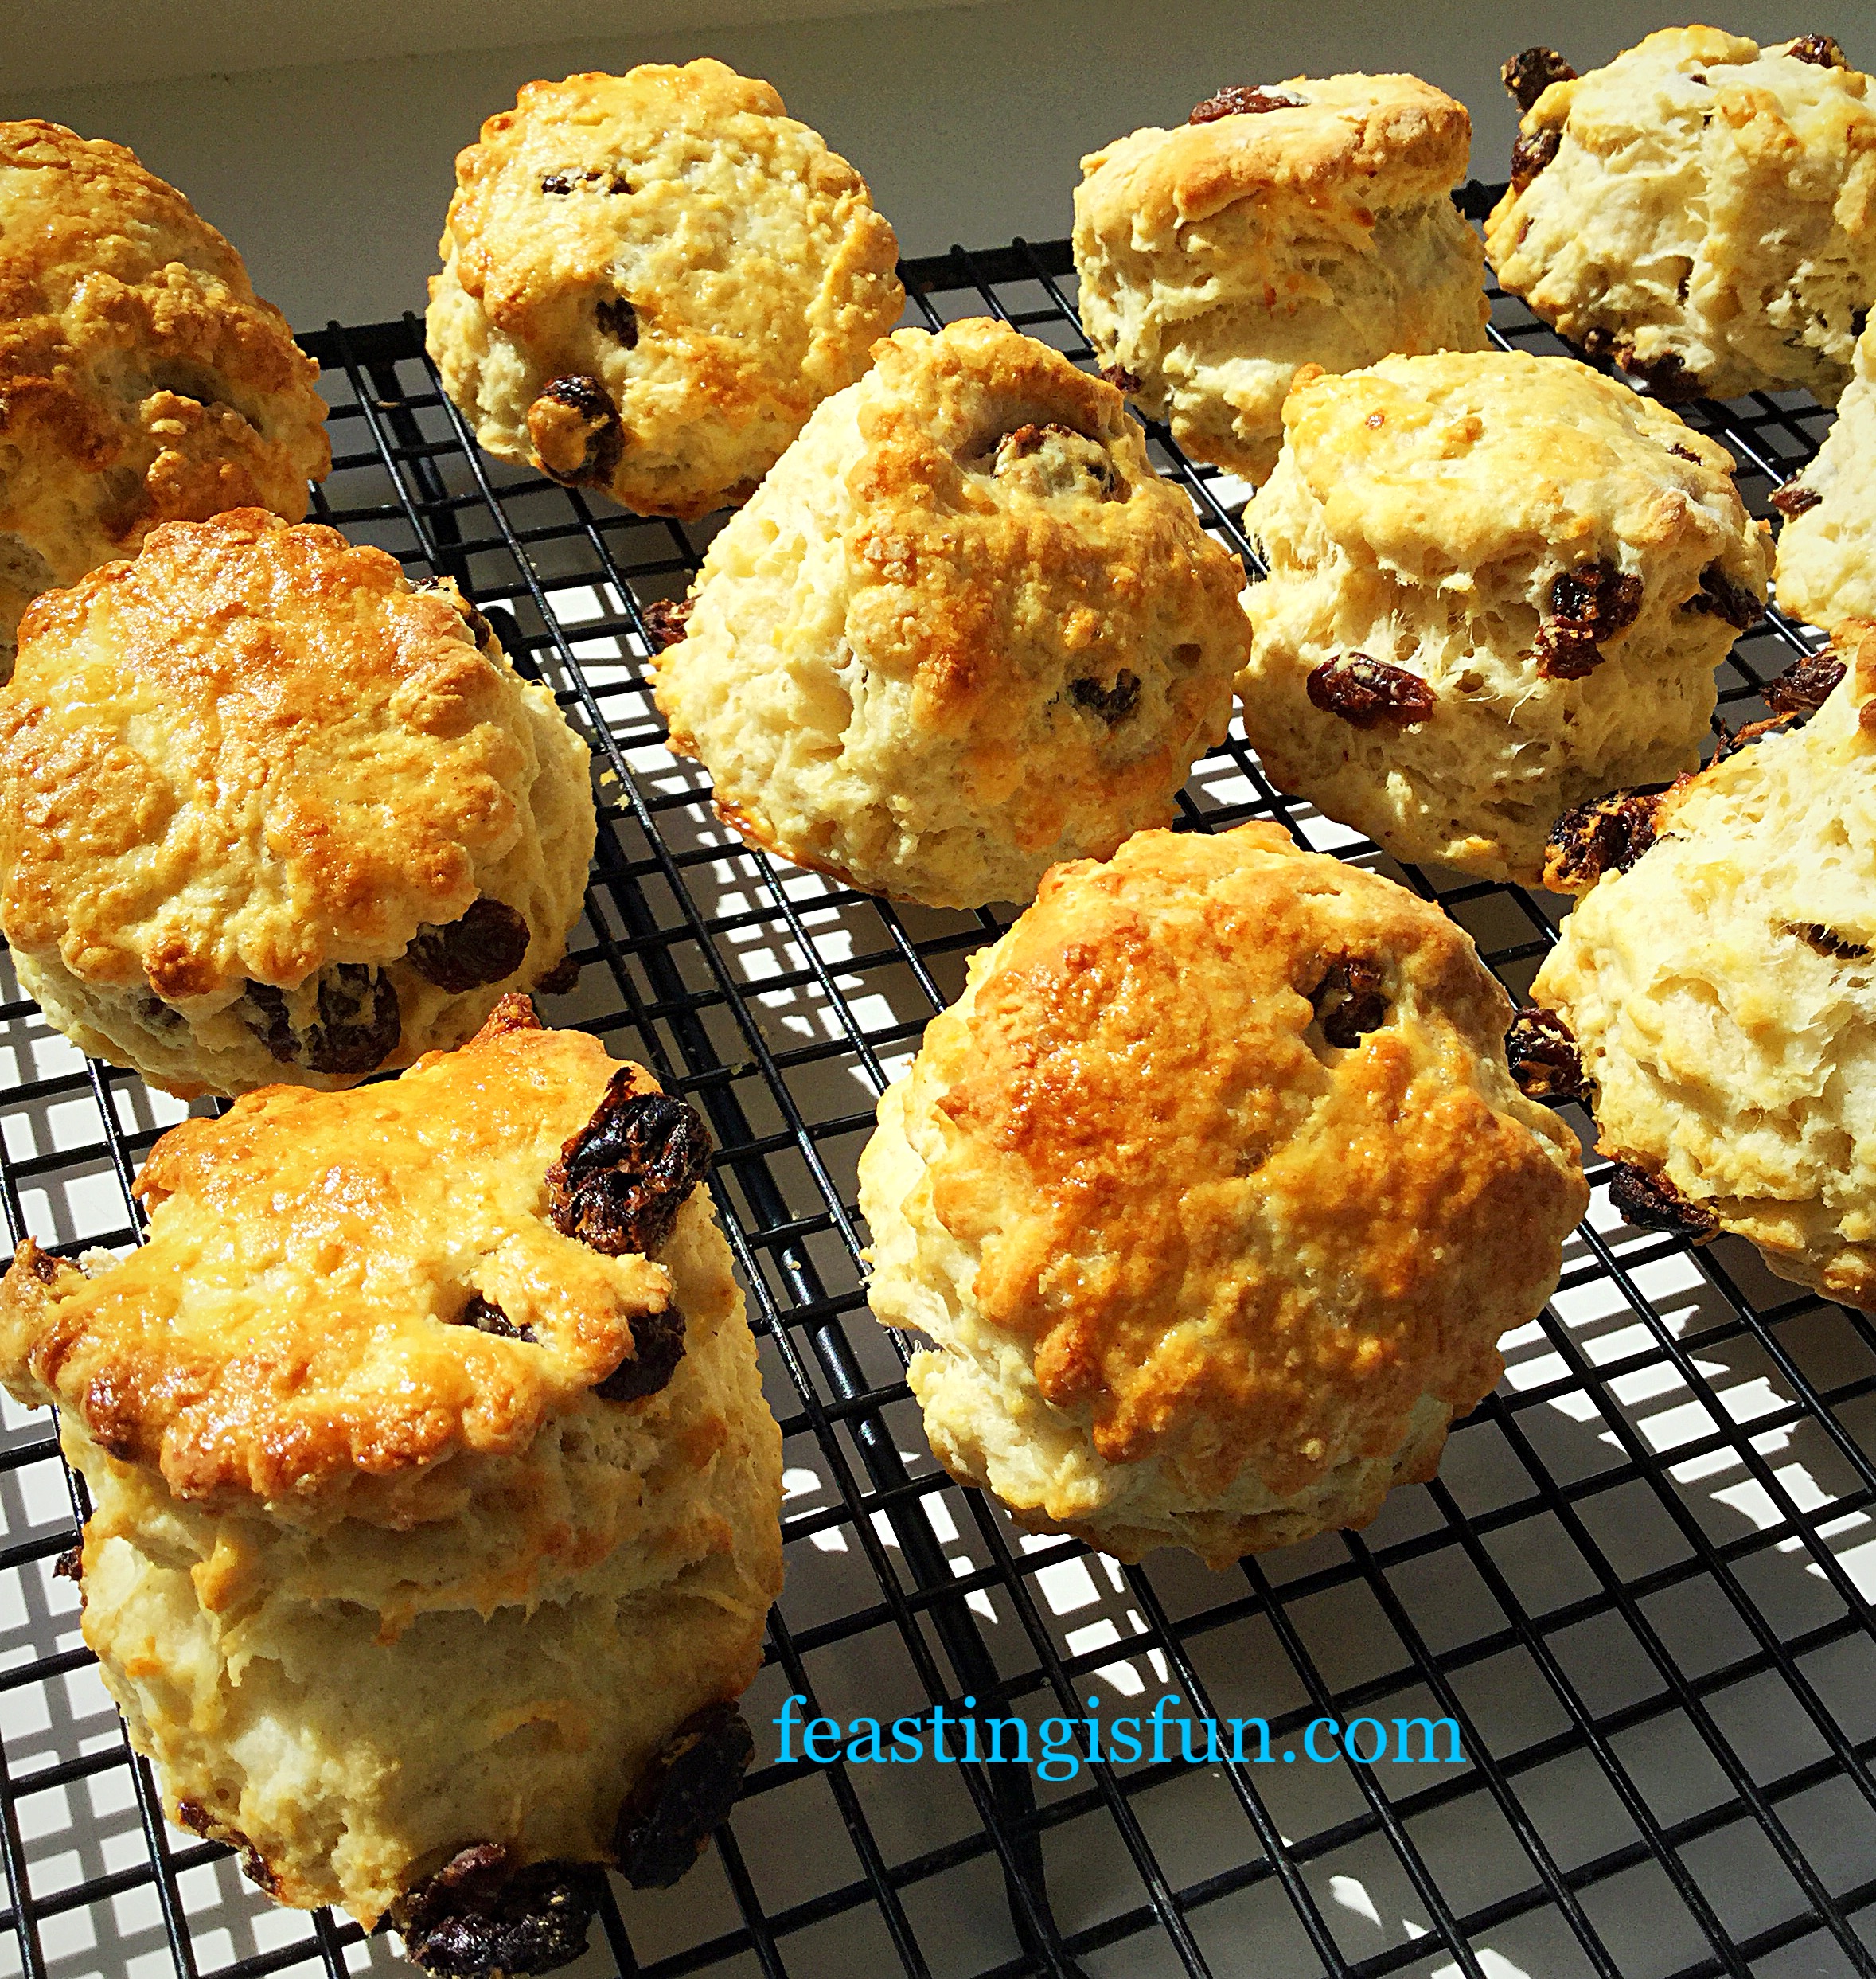
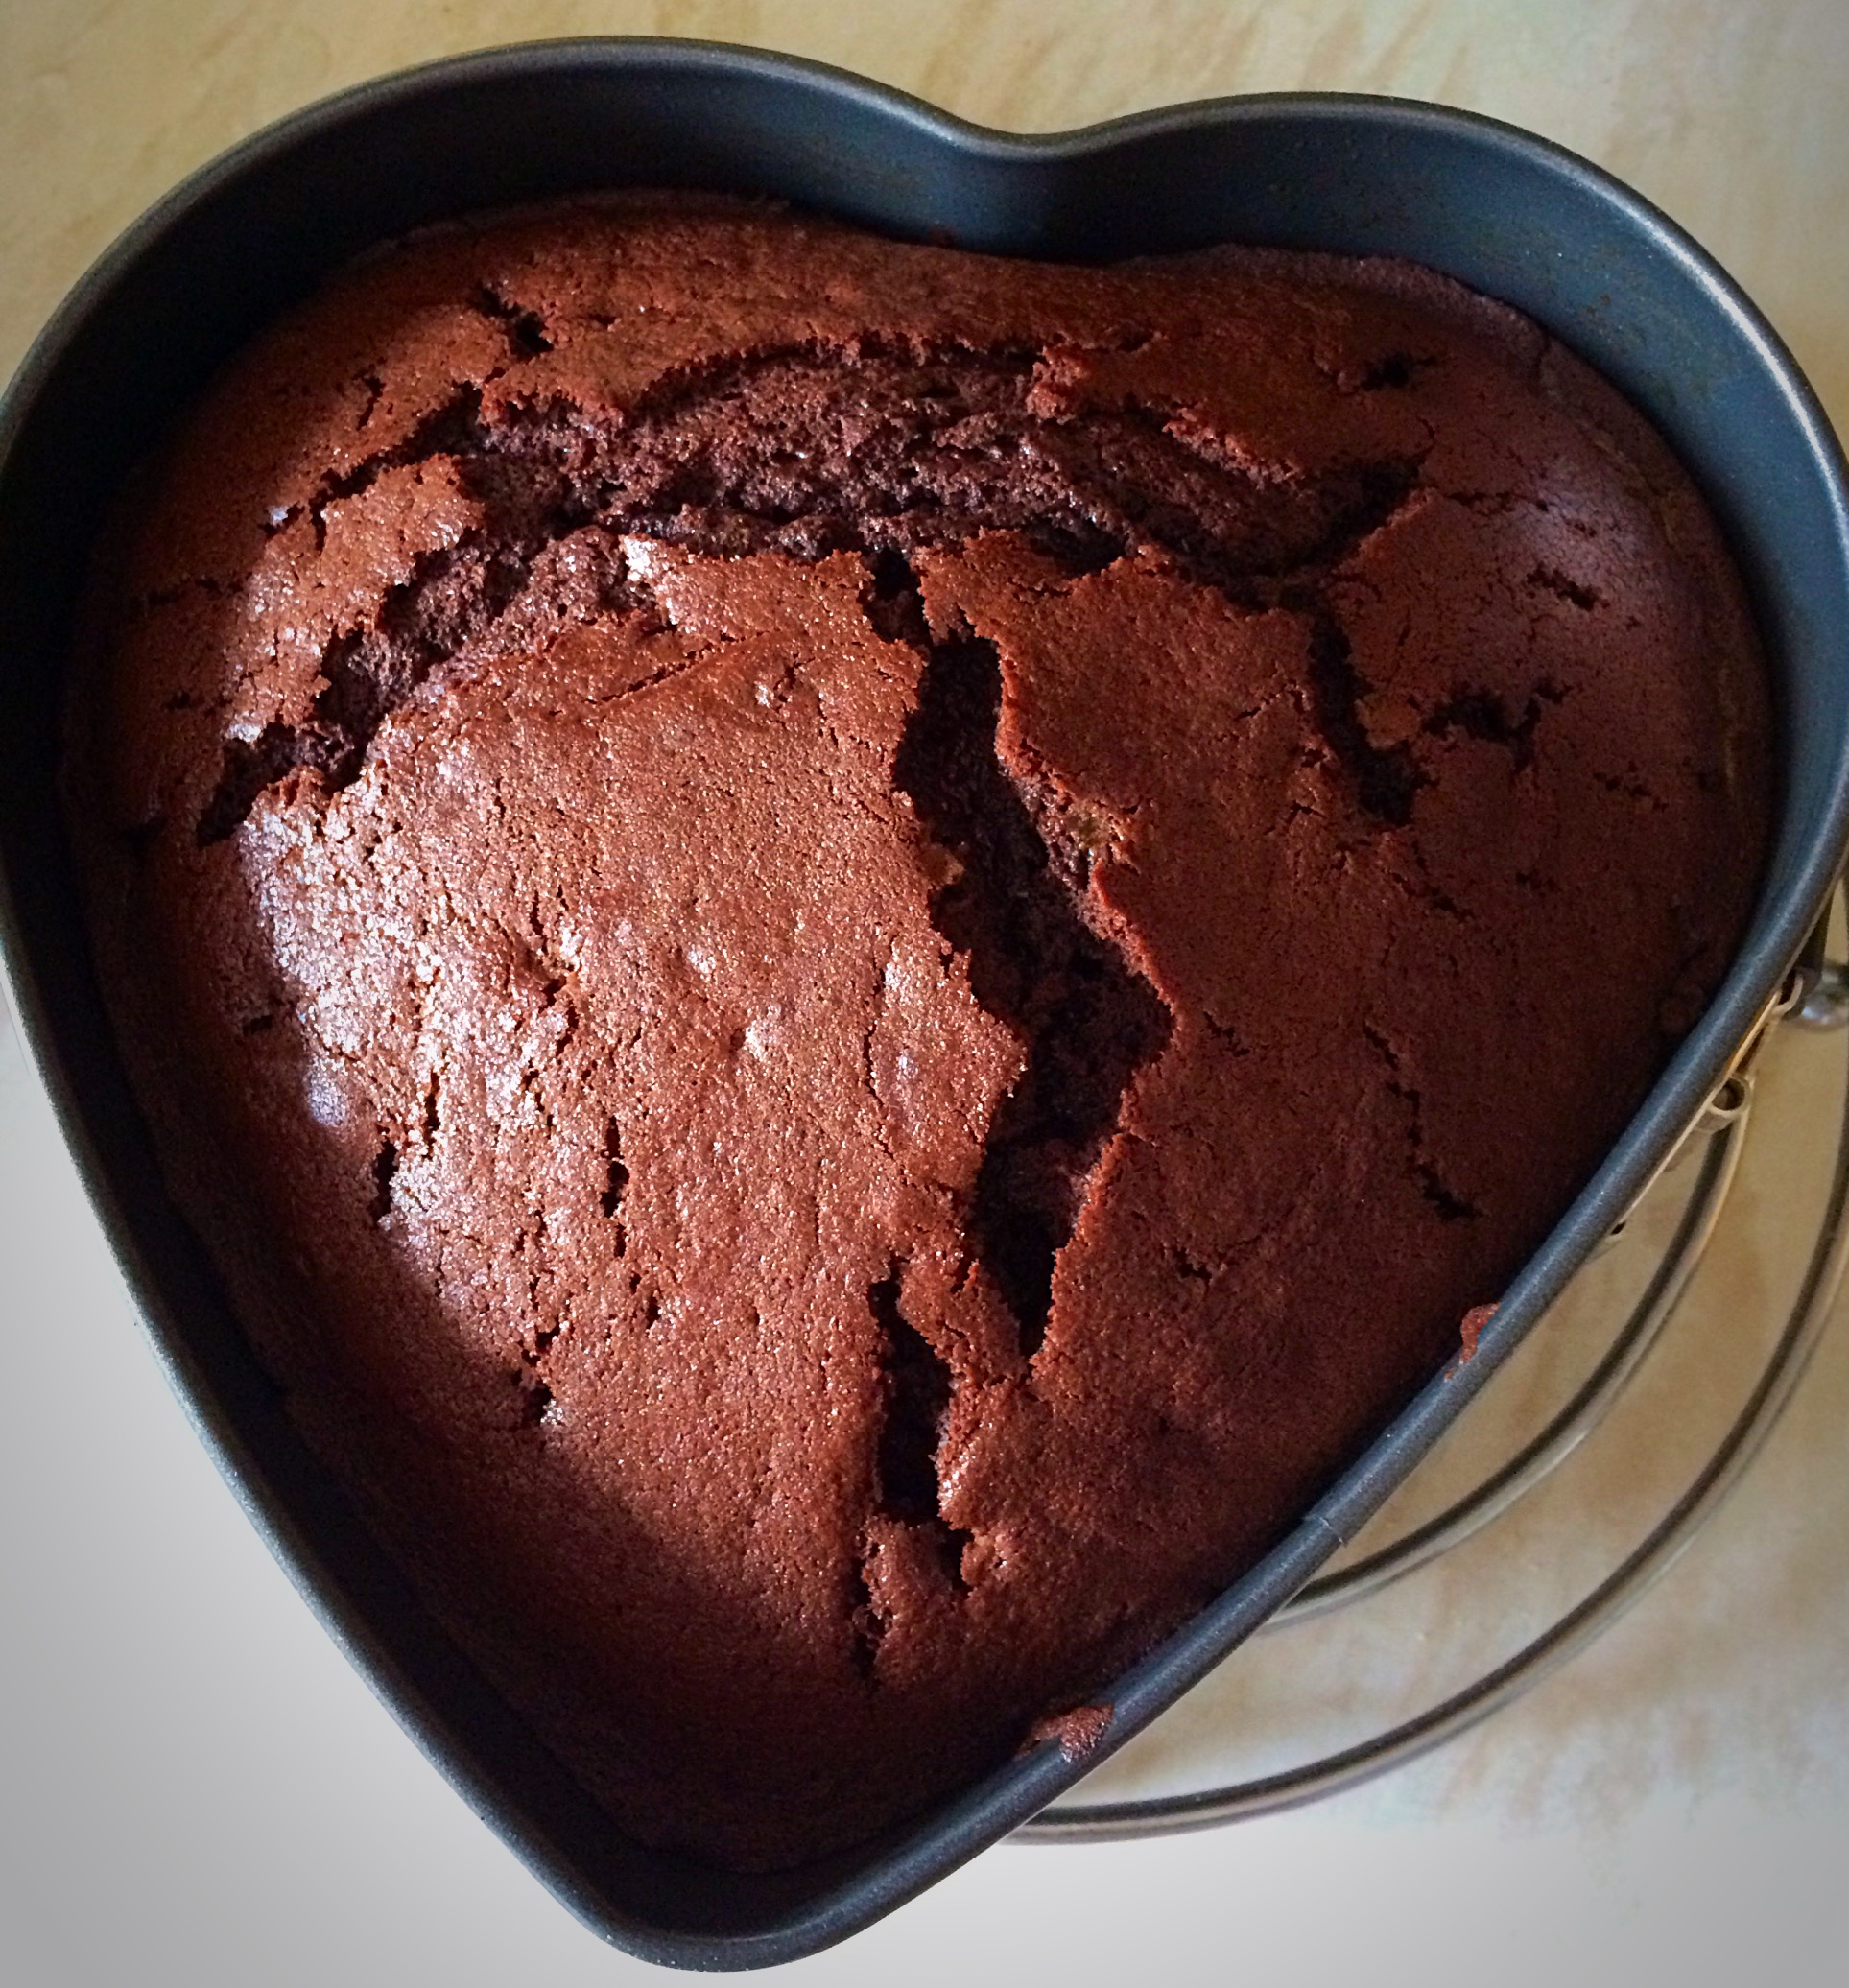
- The cupcakes are baked when they have risen, are golden in colour and spring back from a light touch. An inserted skewer or tooth pick will come out clean.
- As soon as the cupcakes are baked remove from the oven.
- Allow to cool for 10 minutes in the tin and then transfer them to a cooling rack.
- While the cupcakes finish cooling make the buttercream.
Decorating The Cupcakes
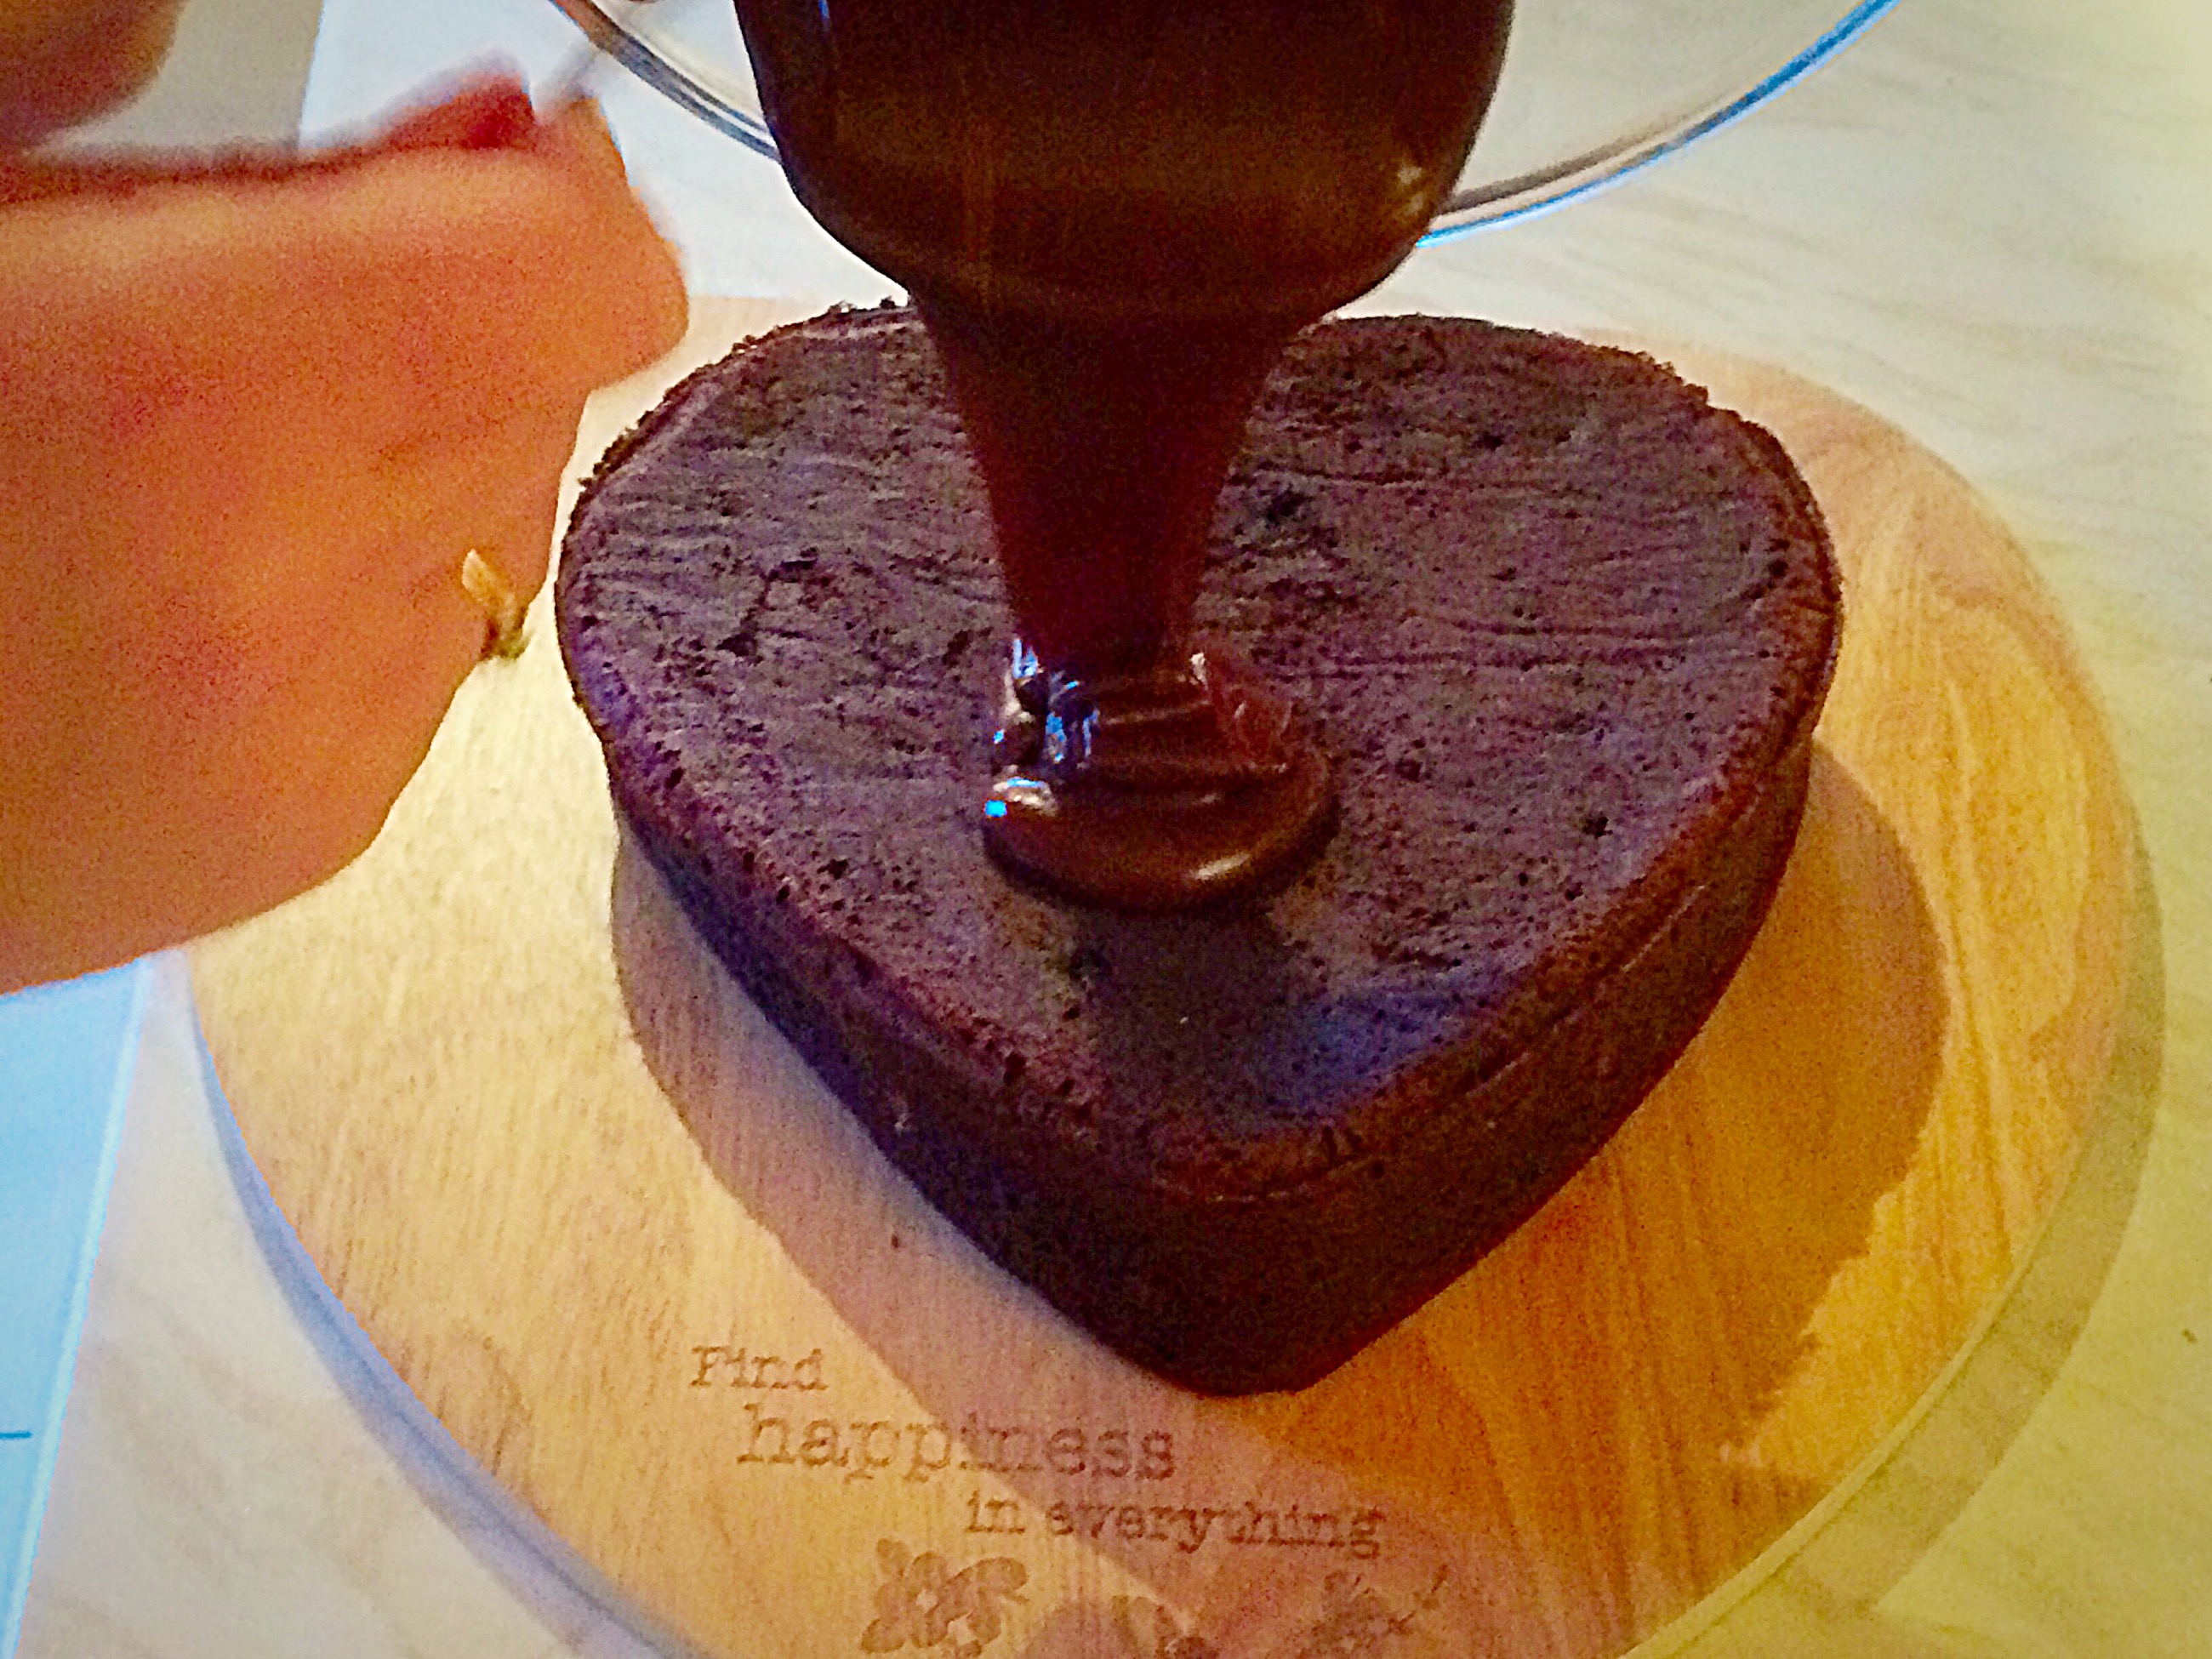
- Break up the white chocolate and place into a heatproof, microwaveable bowl. Heat on medium for 30 second bursts, stirring after. As soon as the white chocolate starts to melt remove from the microwave. Continue stirring until all of the chocolate has melted. Set to one side to cool slightly.
- Place the butter and icing sugar into a bowl. Whisk until just combined.
- Pour the melted white chocolate into the bowl and continue whisking, adding milk, a little at a time, to achieve a good piping consistency.
- Place the piping bag, without a nozzle attached, into a large jug. The piping bag should have an opening of approximately 1cm.
- Fill the piping bag with the white chocolate buttercream.

- As soon as the cupcakes are cold they can be decorated.
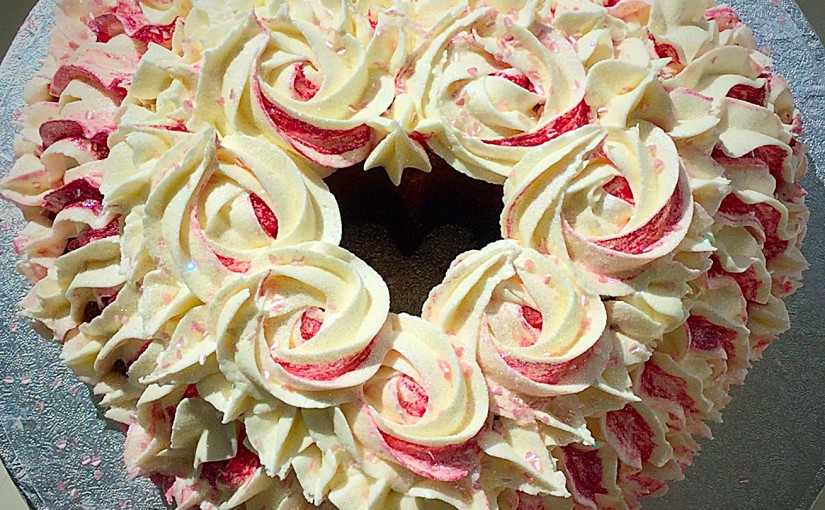
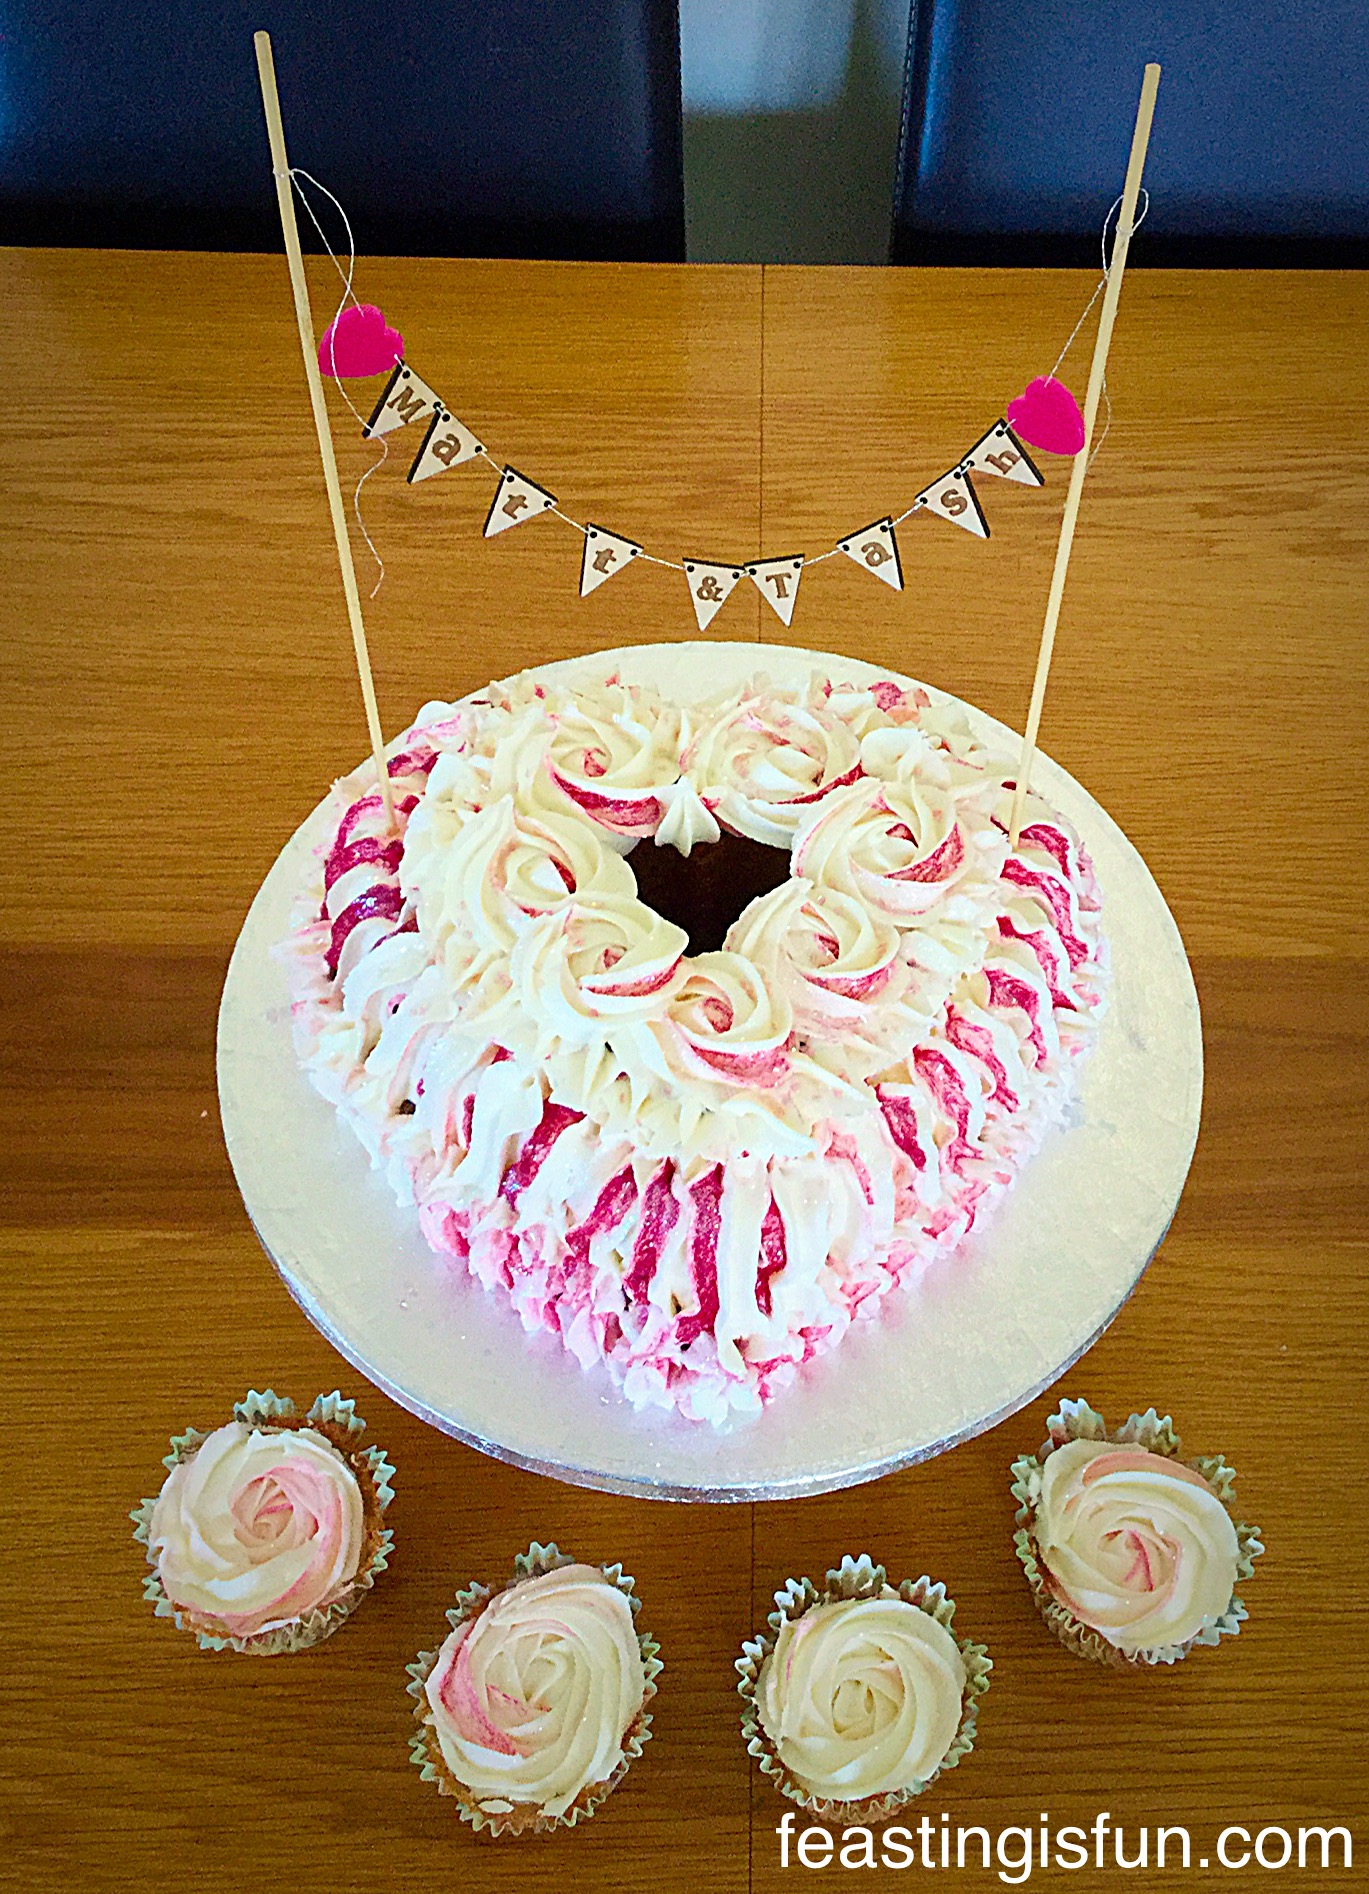
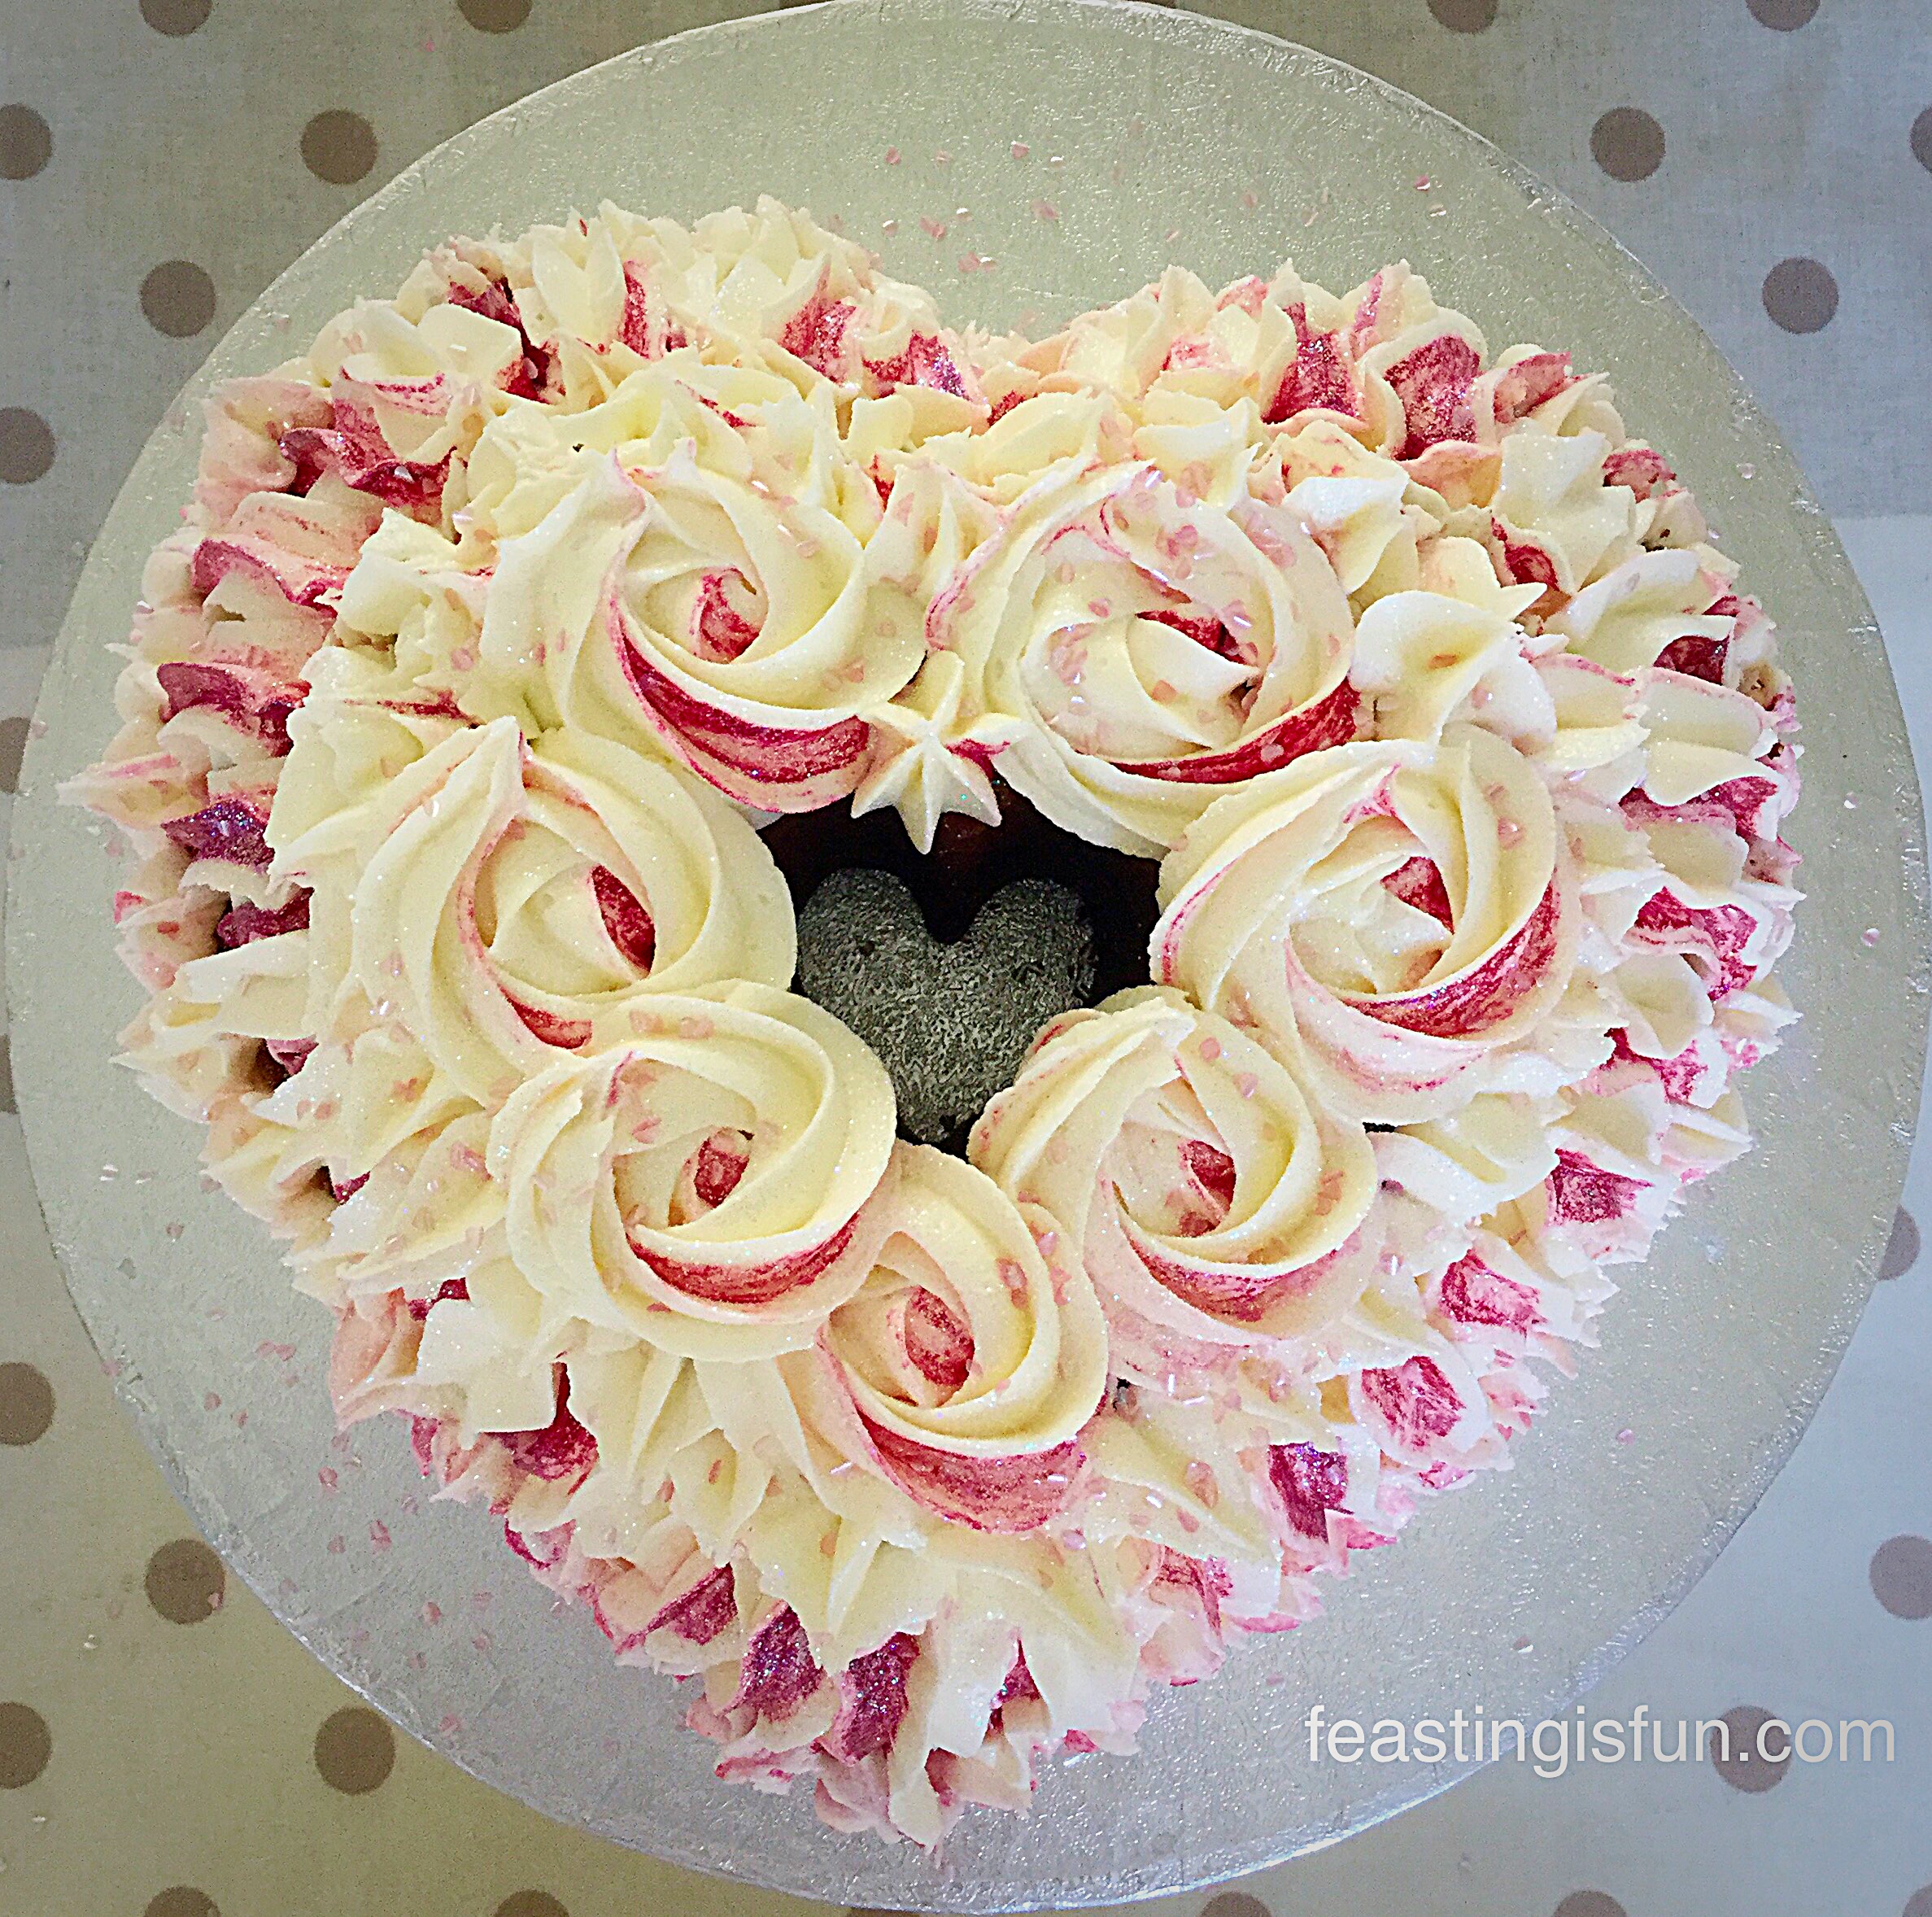
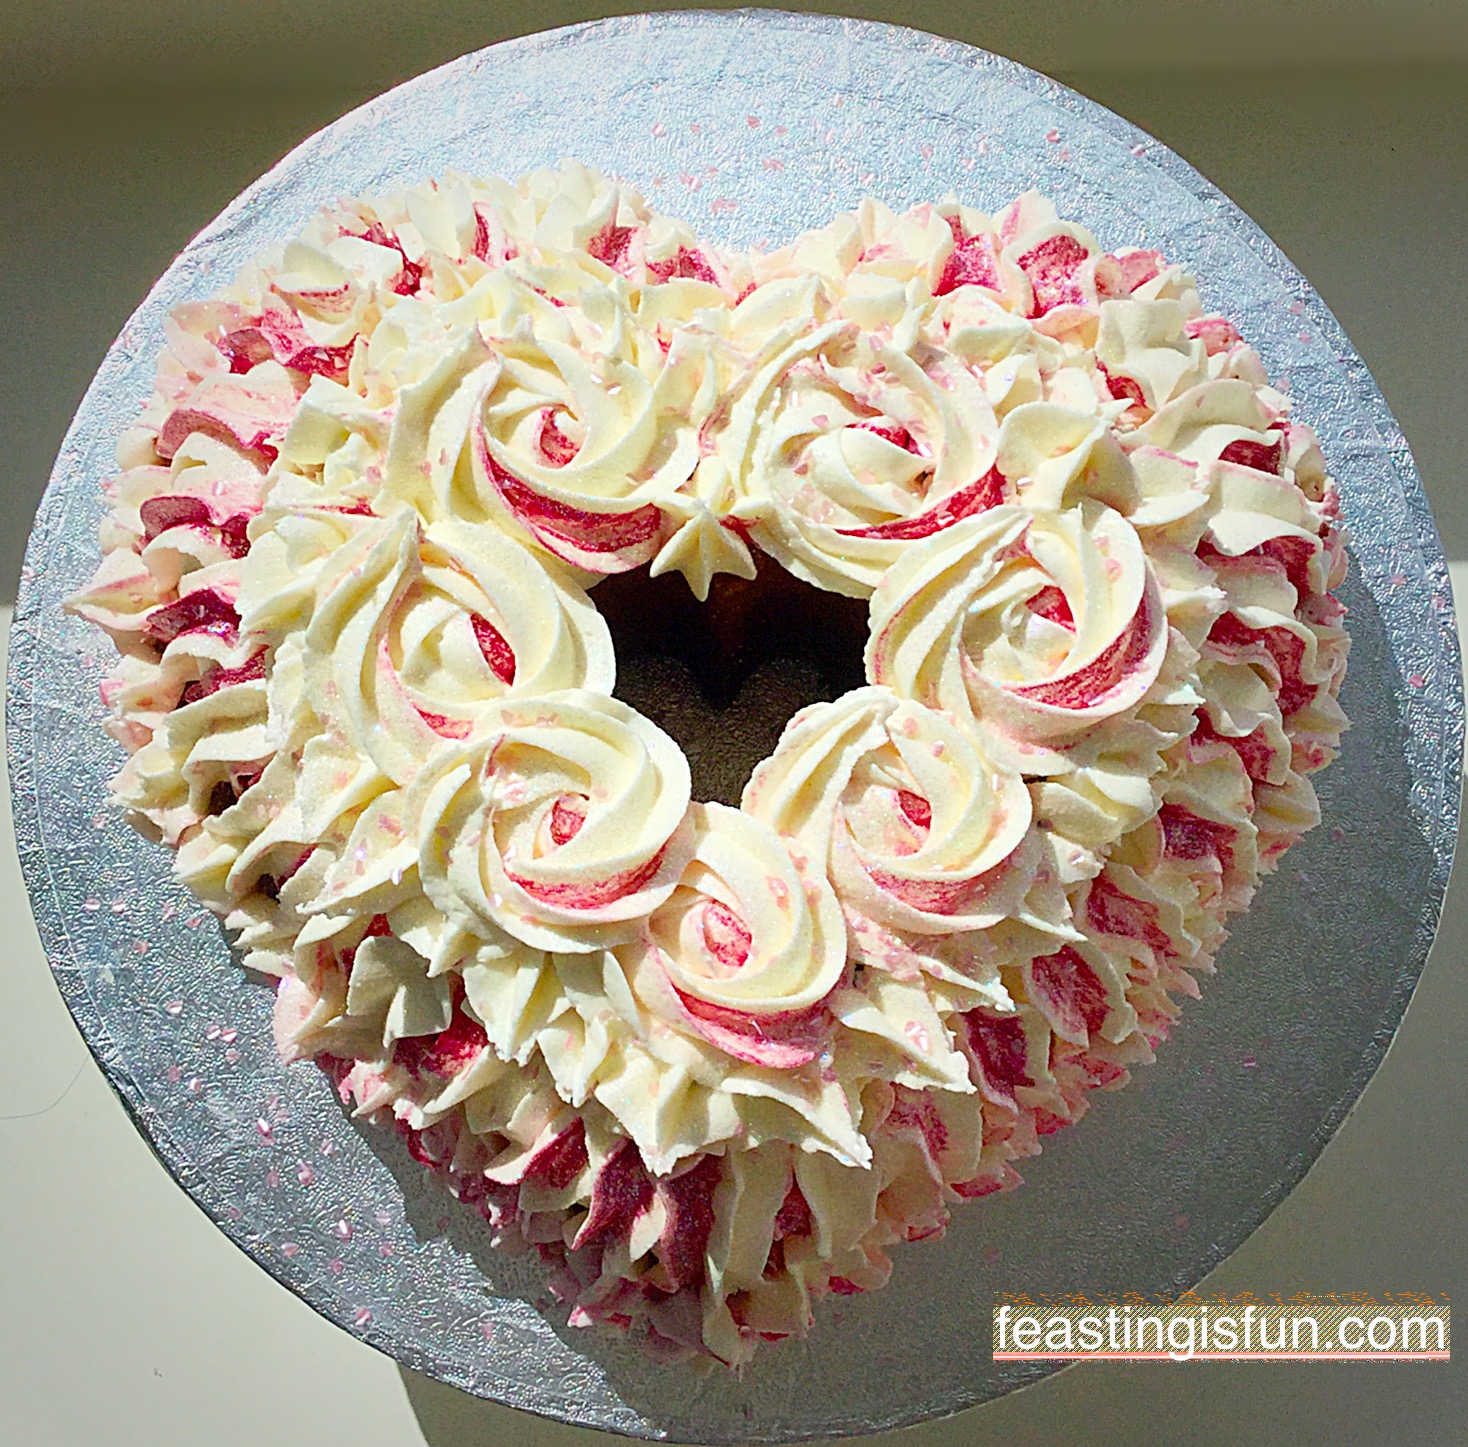
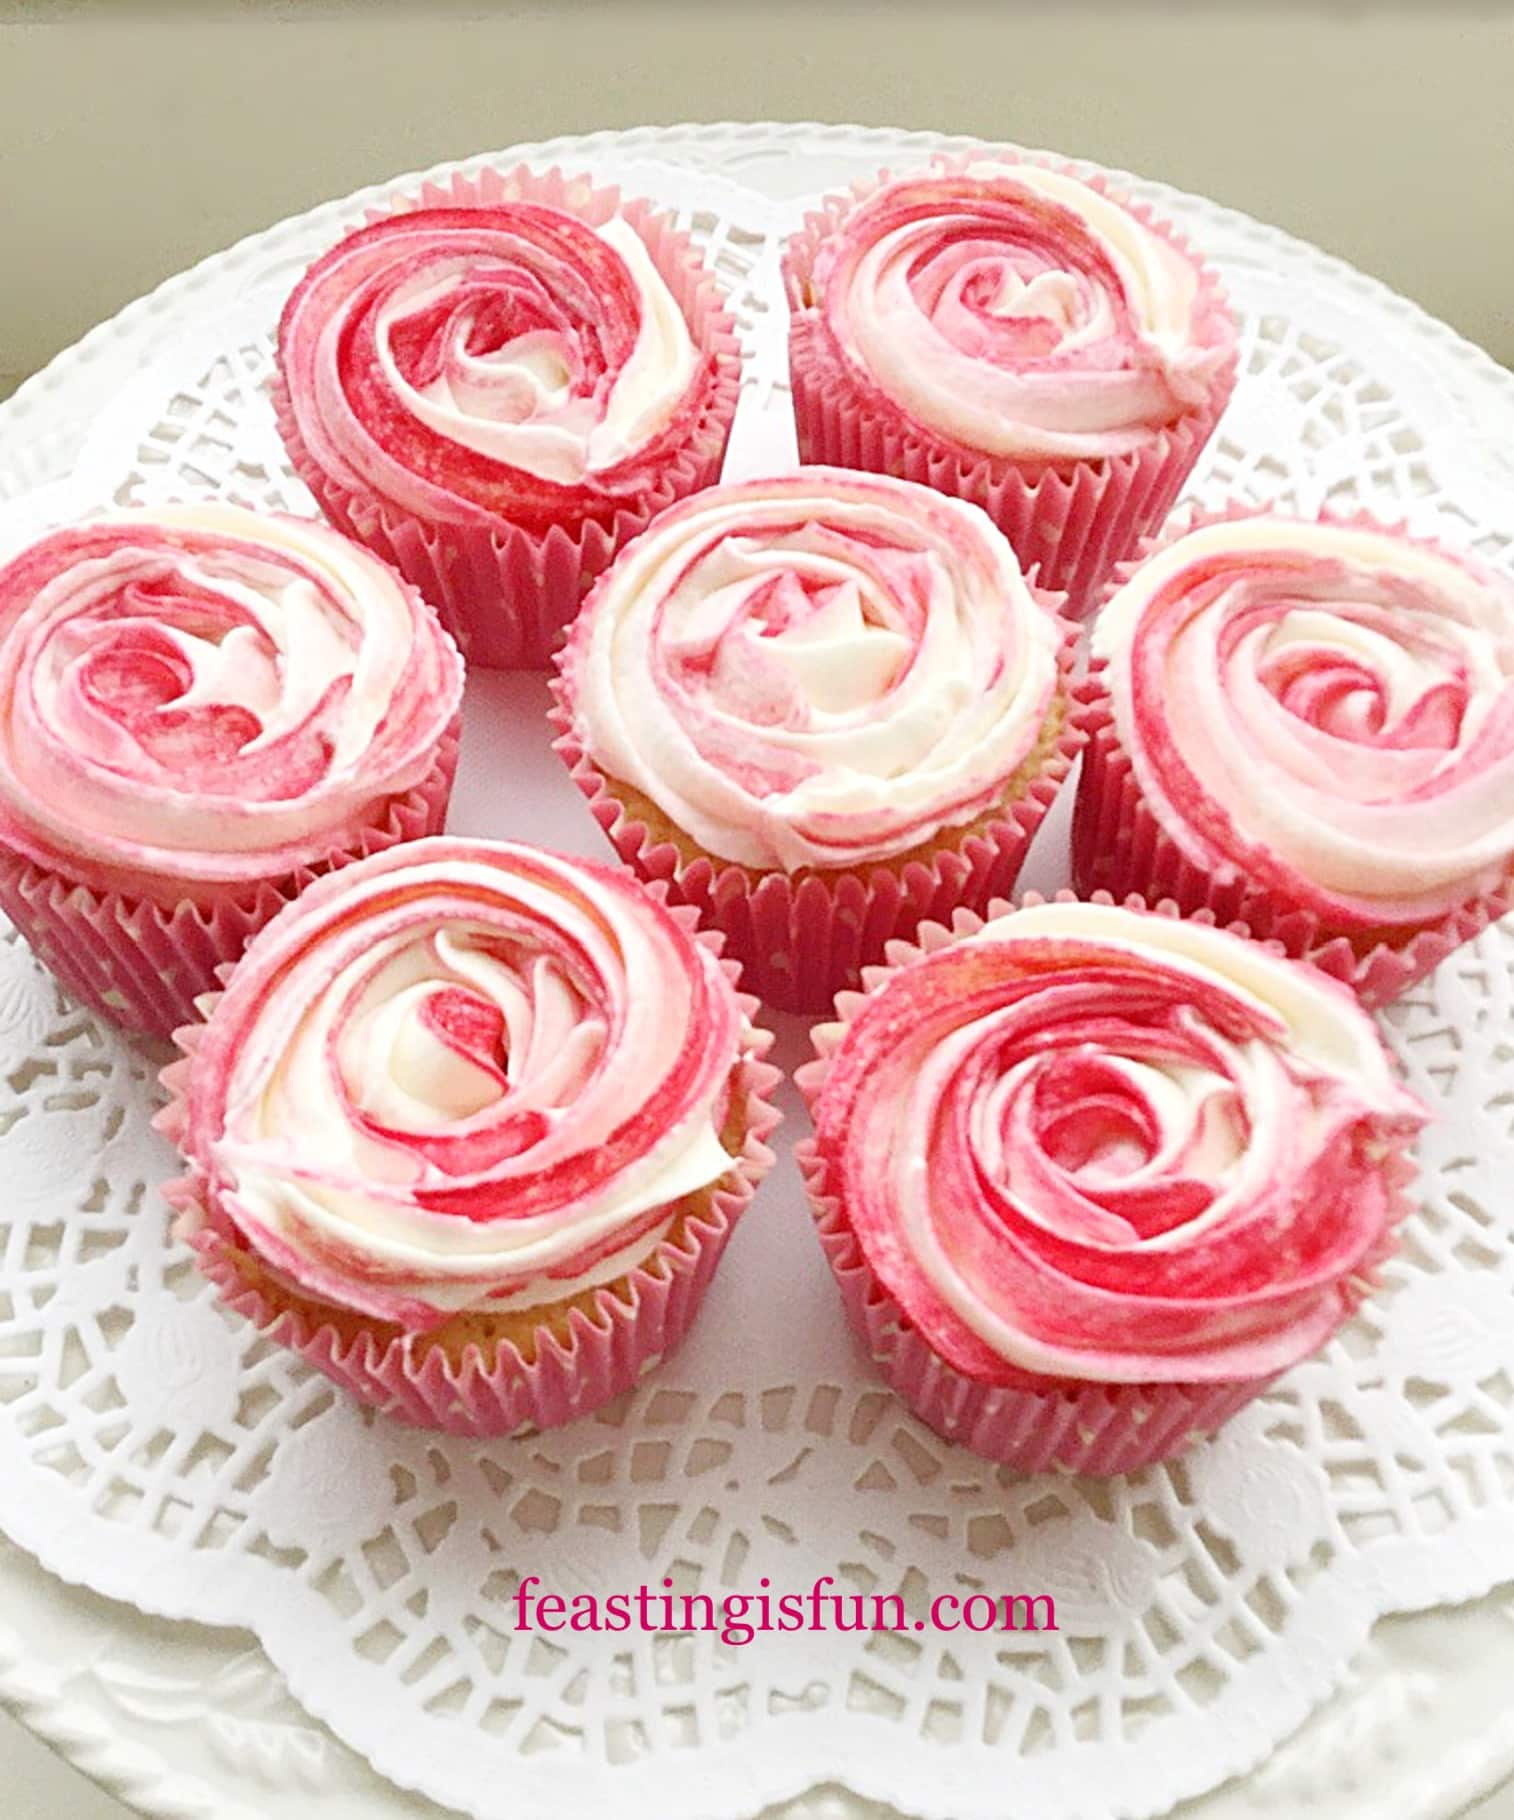
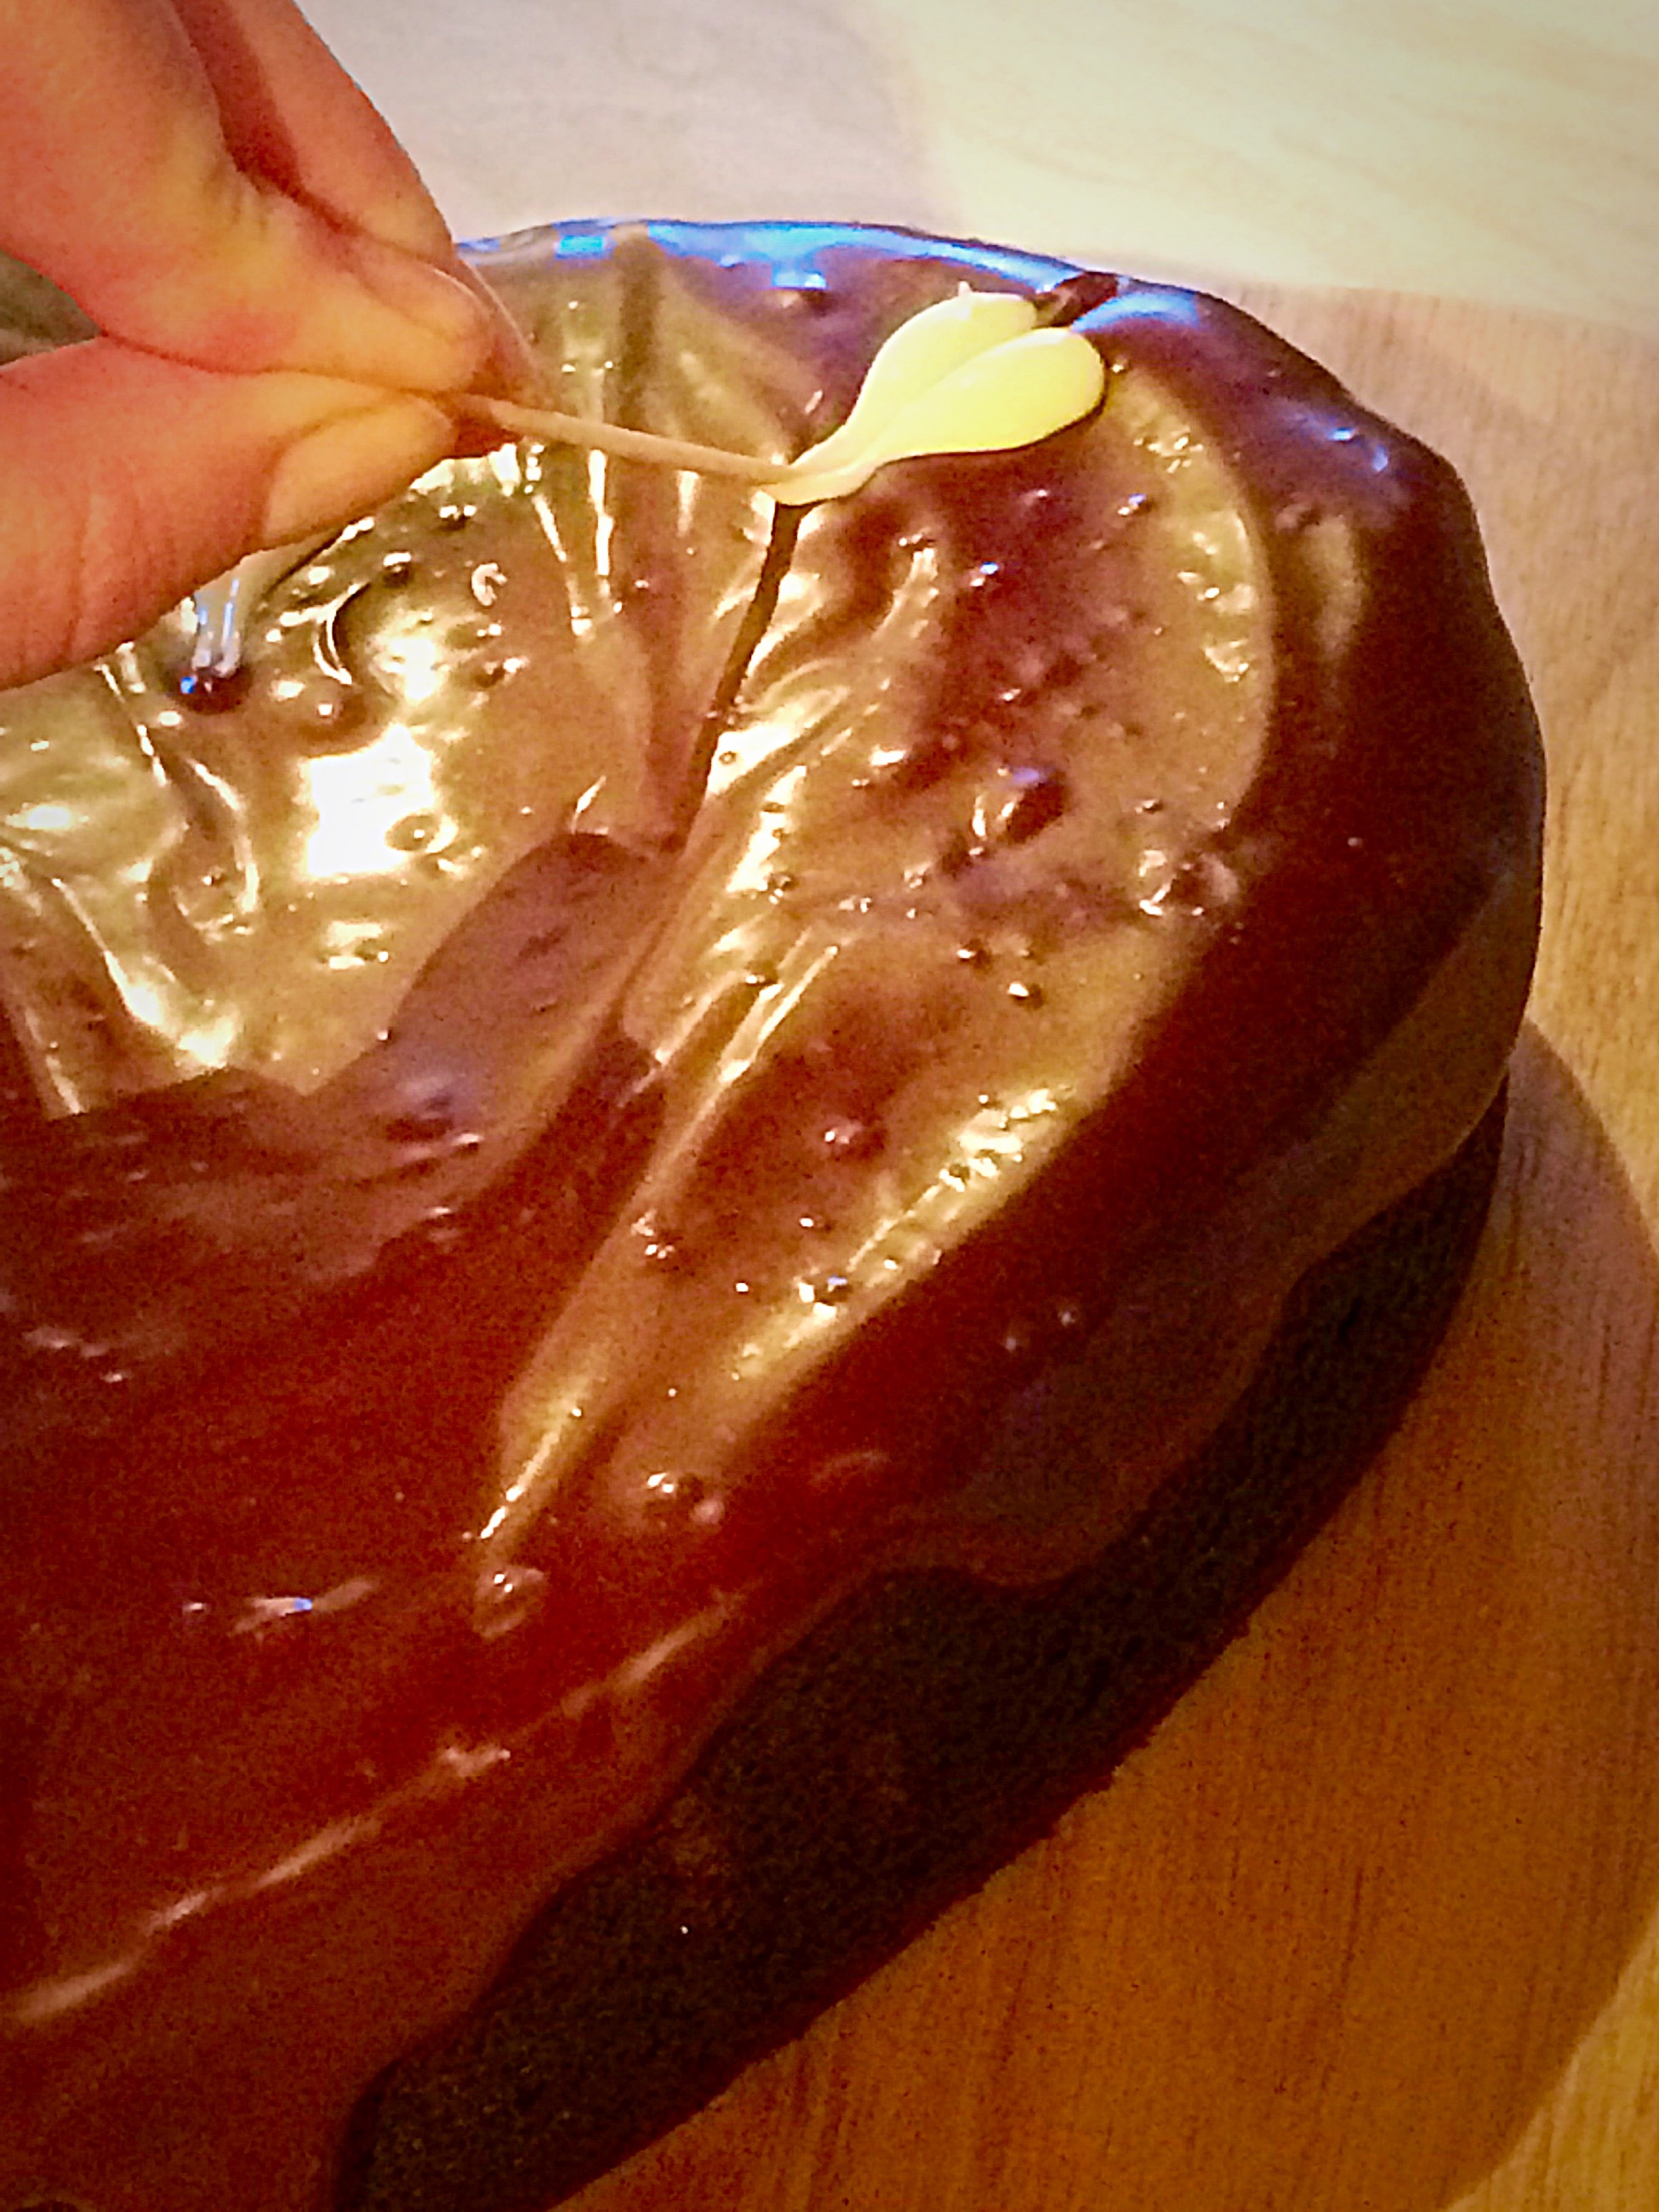
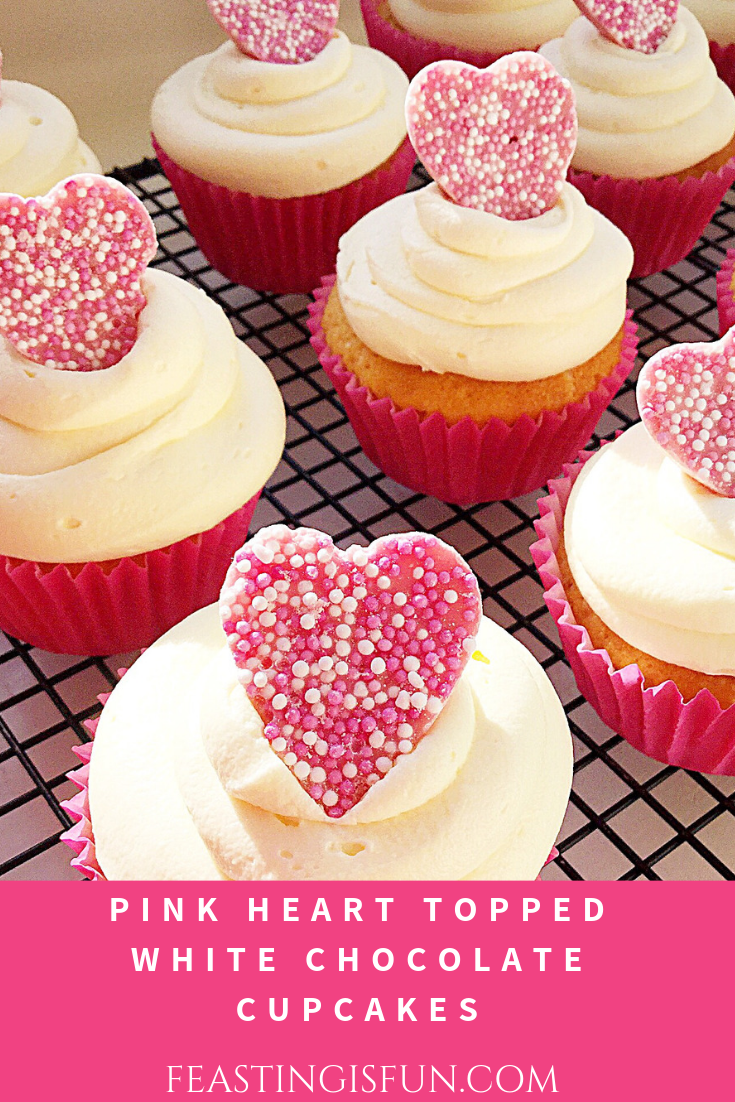
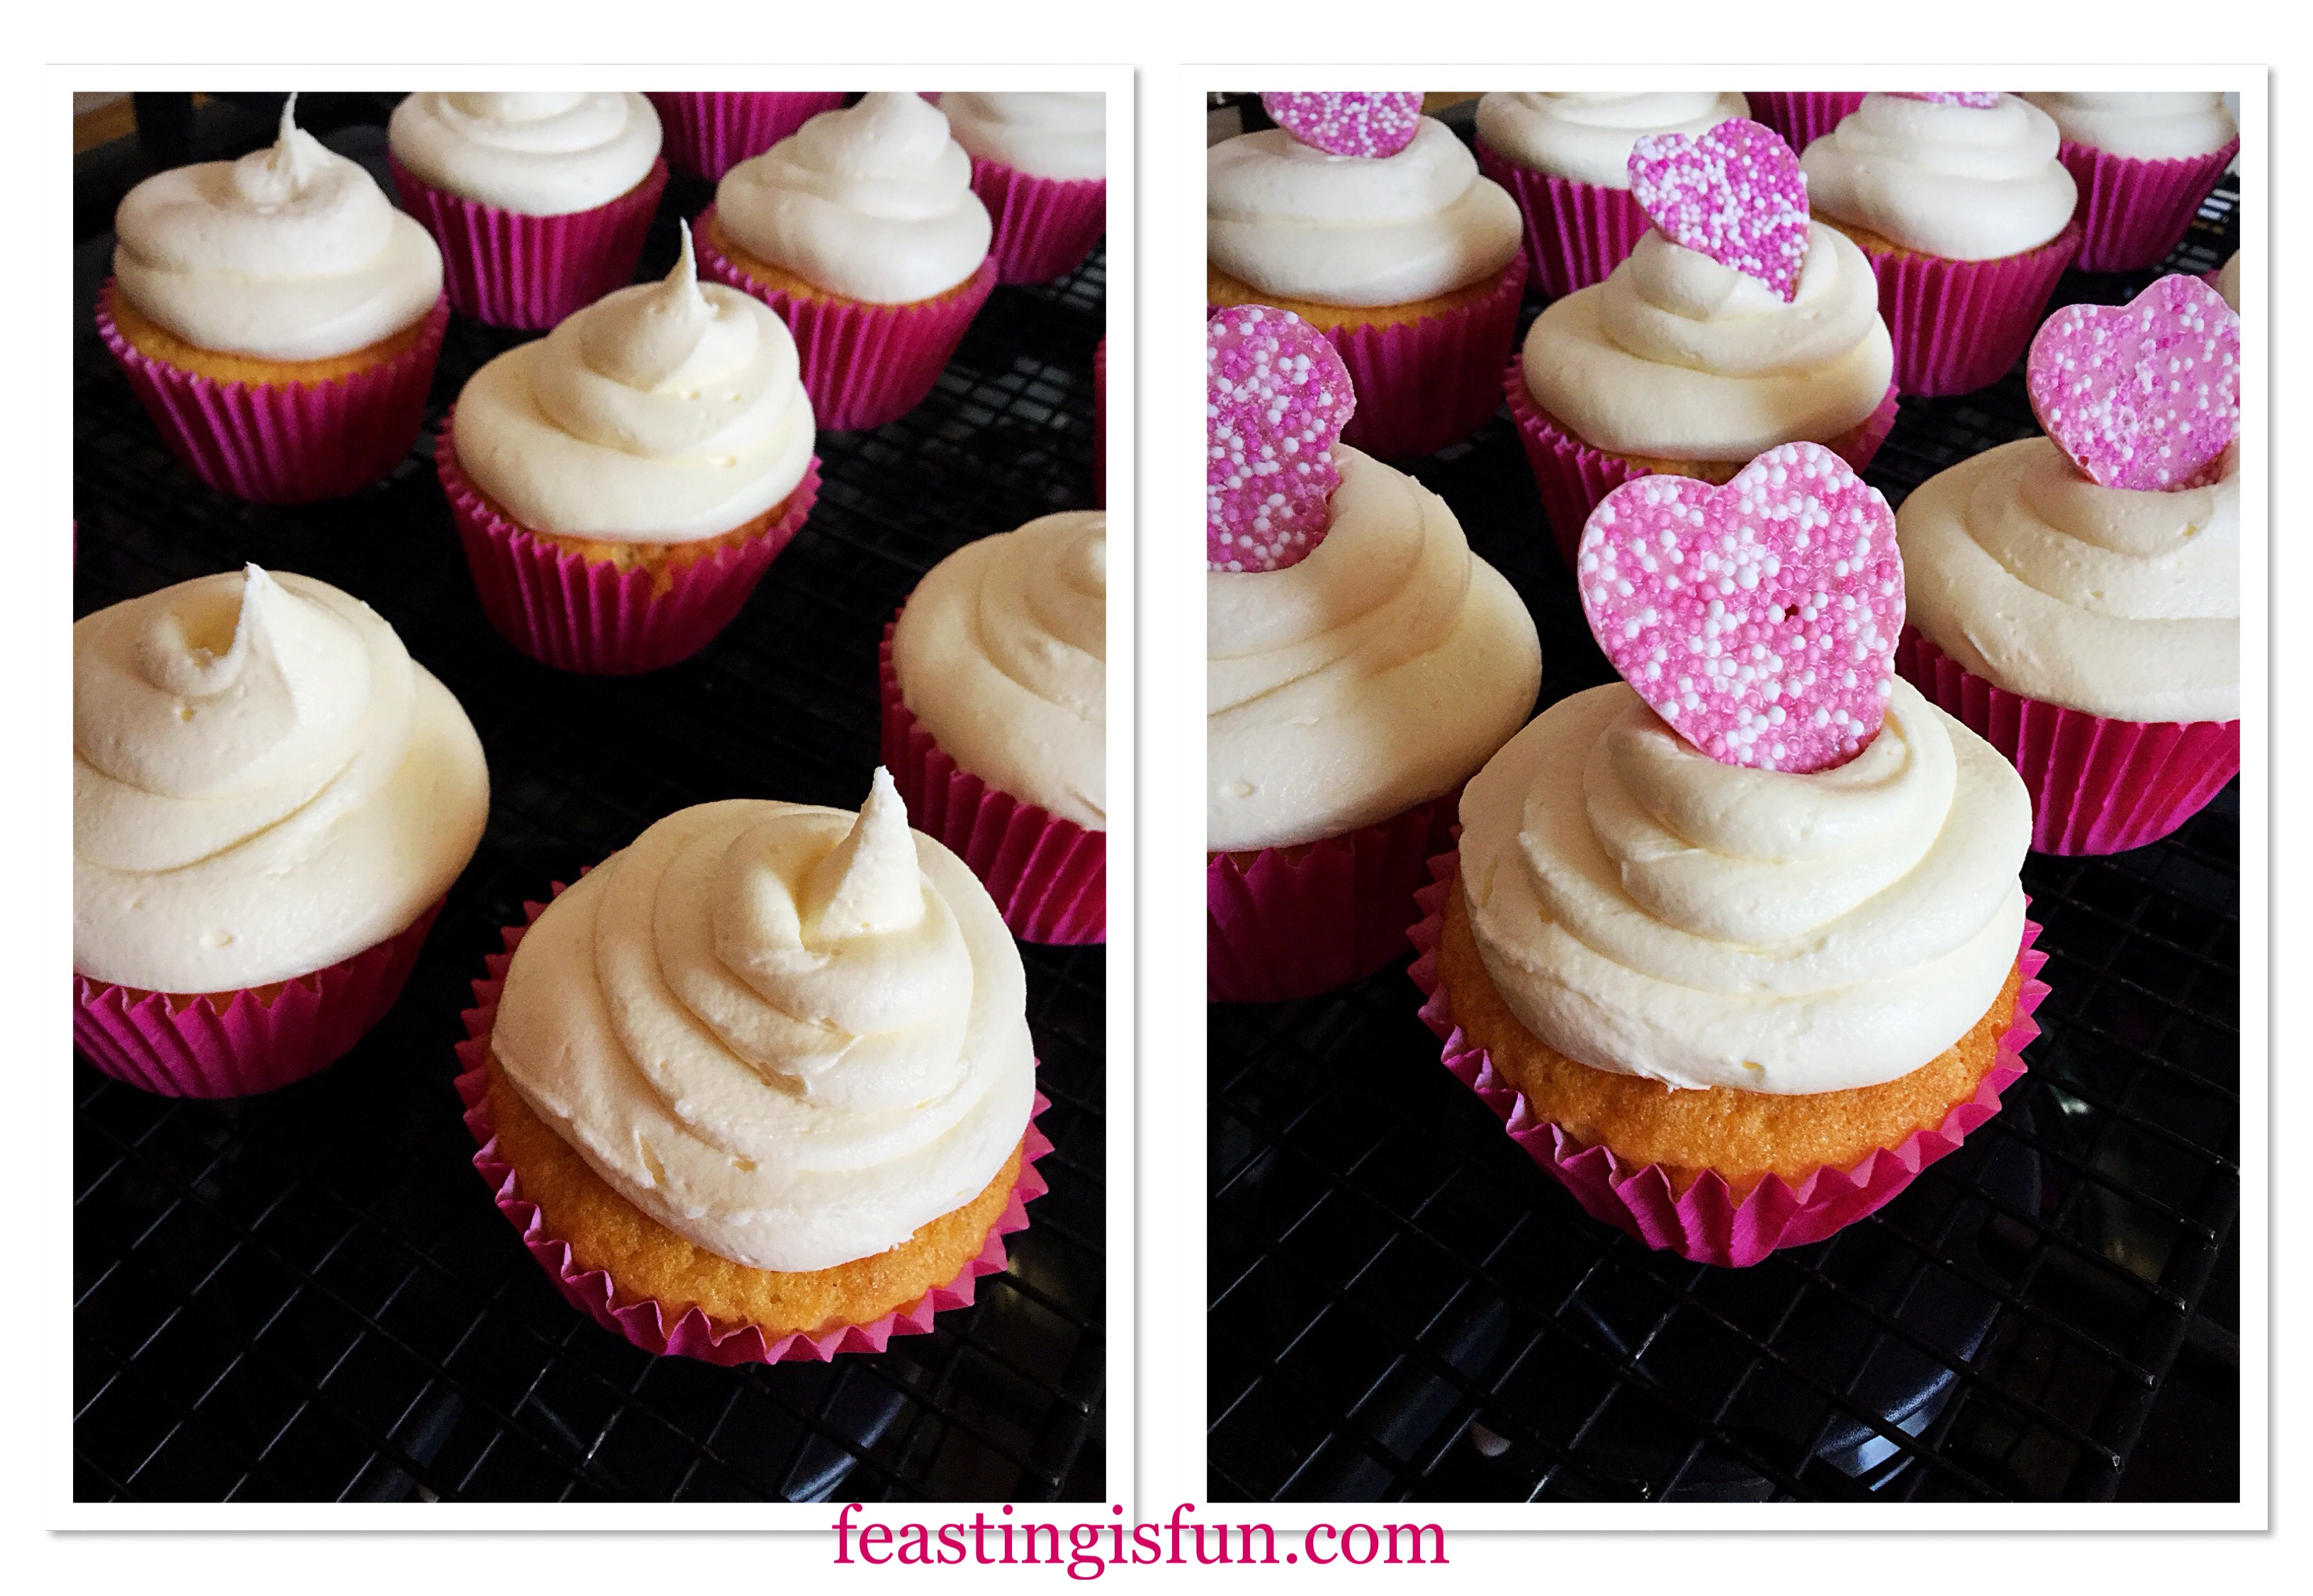
- Keeping even pressure on the piping bag pipe a double swirl on top of each cupcake.
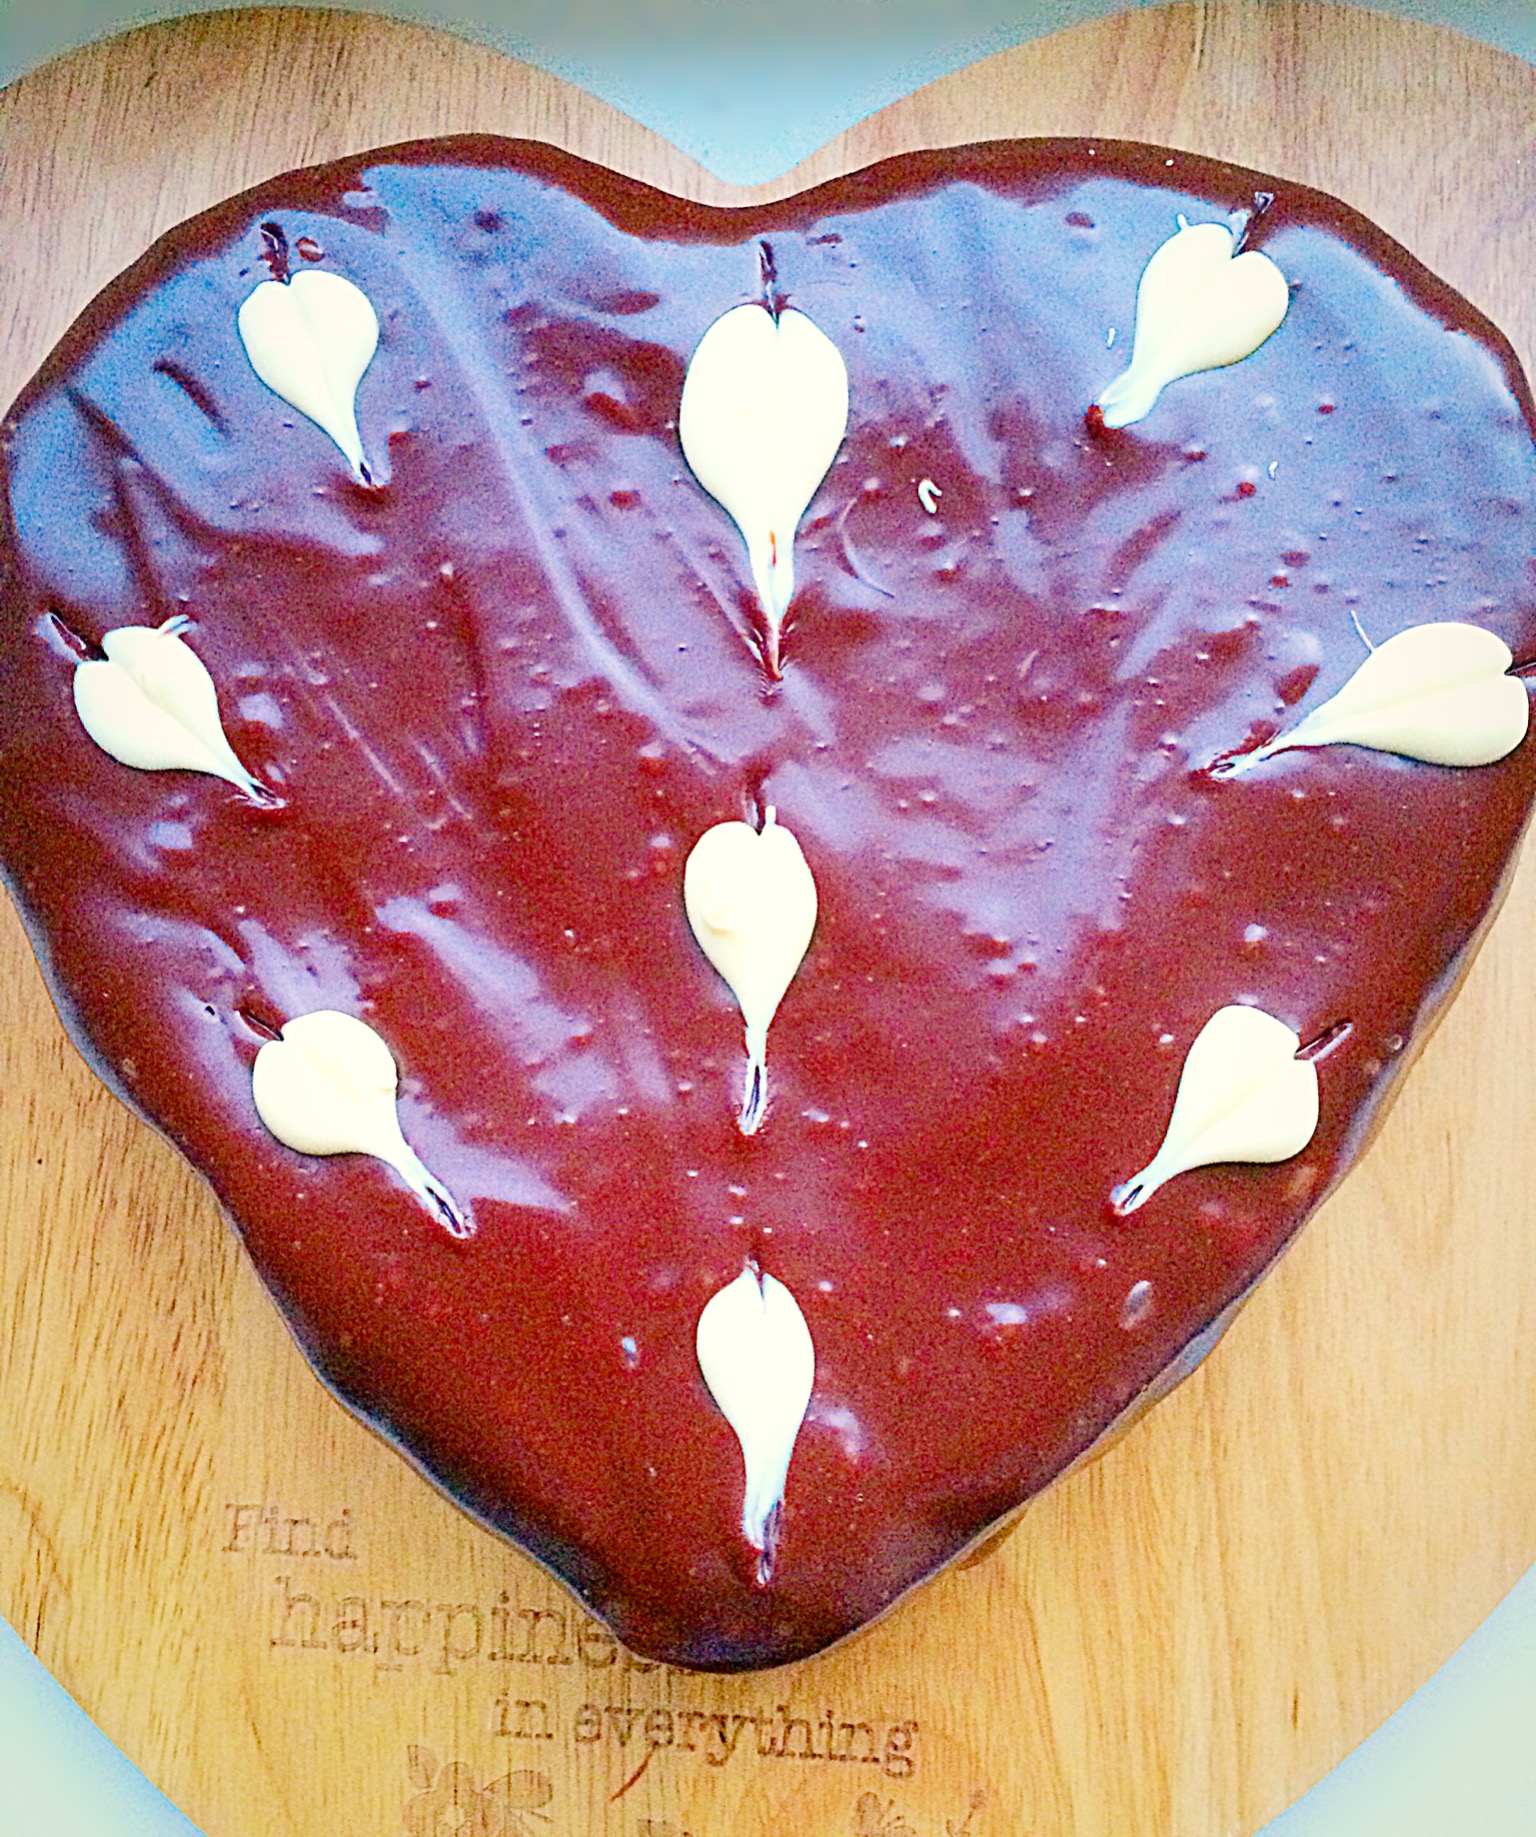
- Top each cupcake with a pink heart and add sugar balls if wanted.
The outside of the buttercream will set slightly. So, if you are adding sugar balls, do so immediately after frosting the cupcakes.
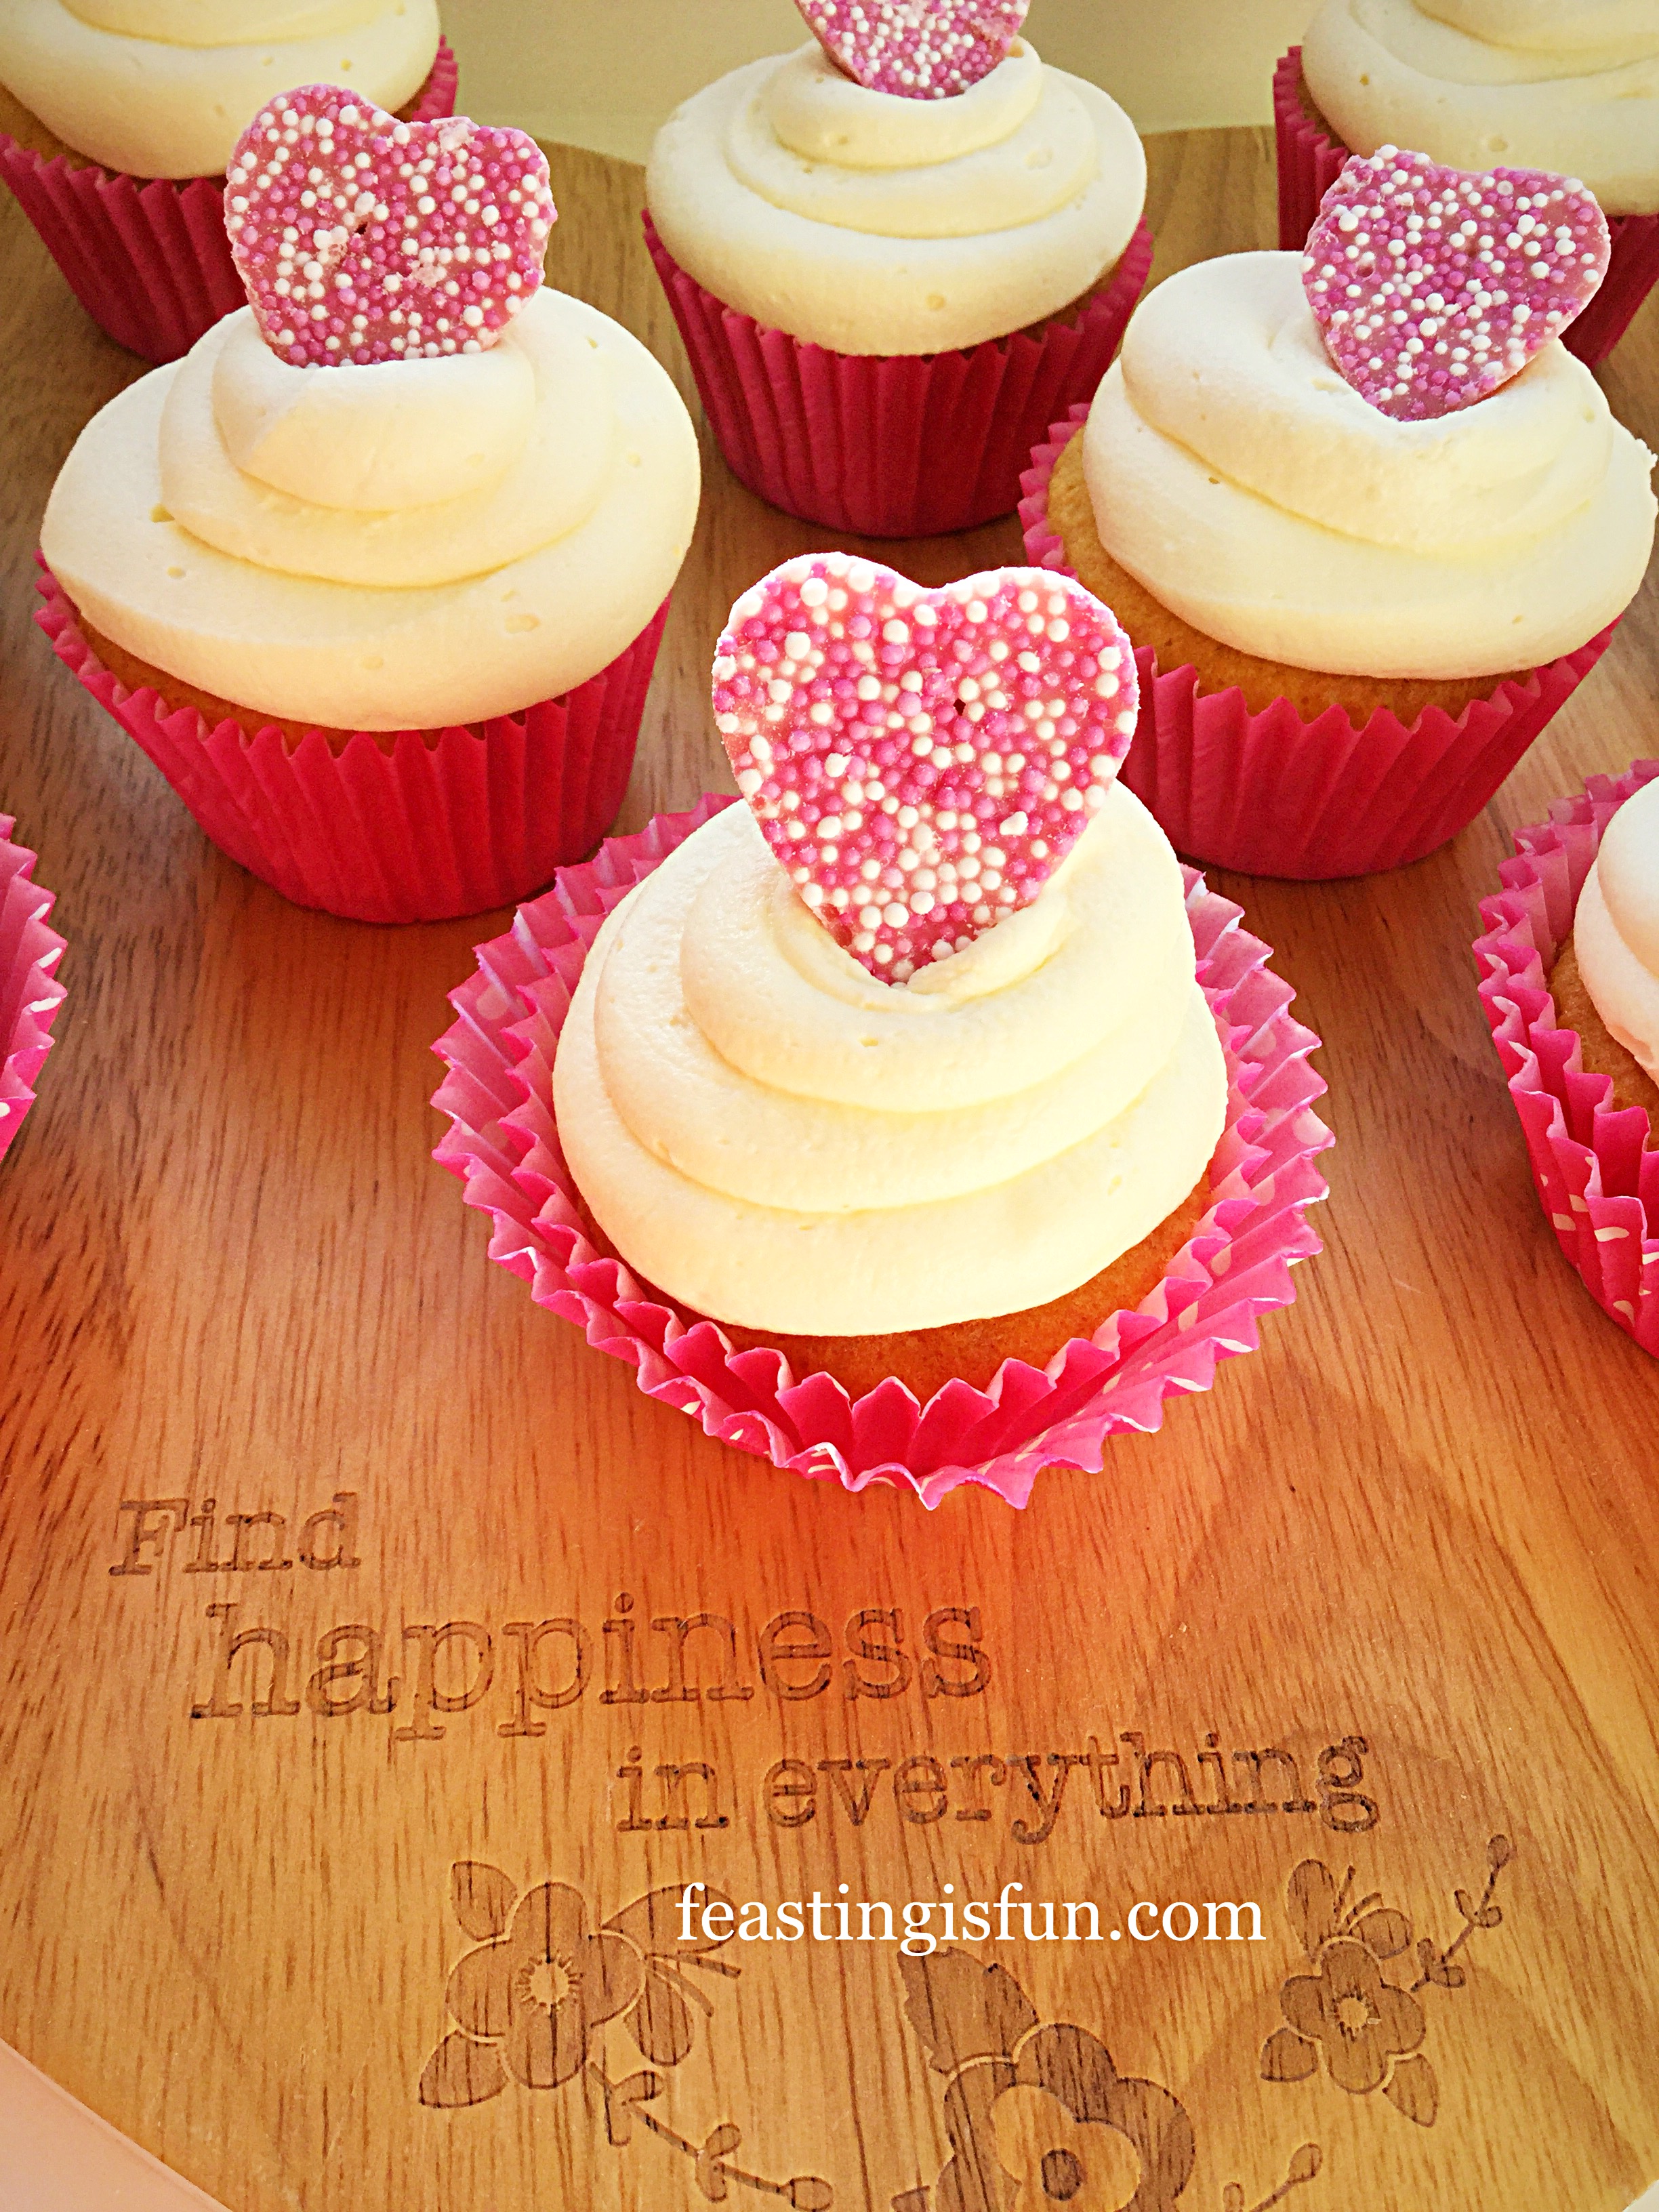
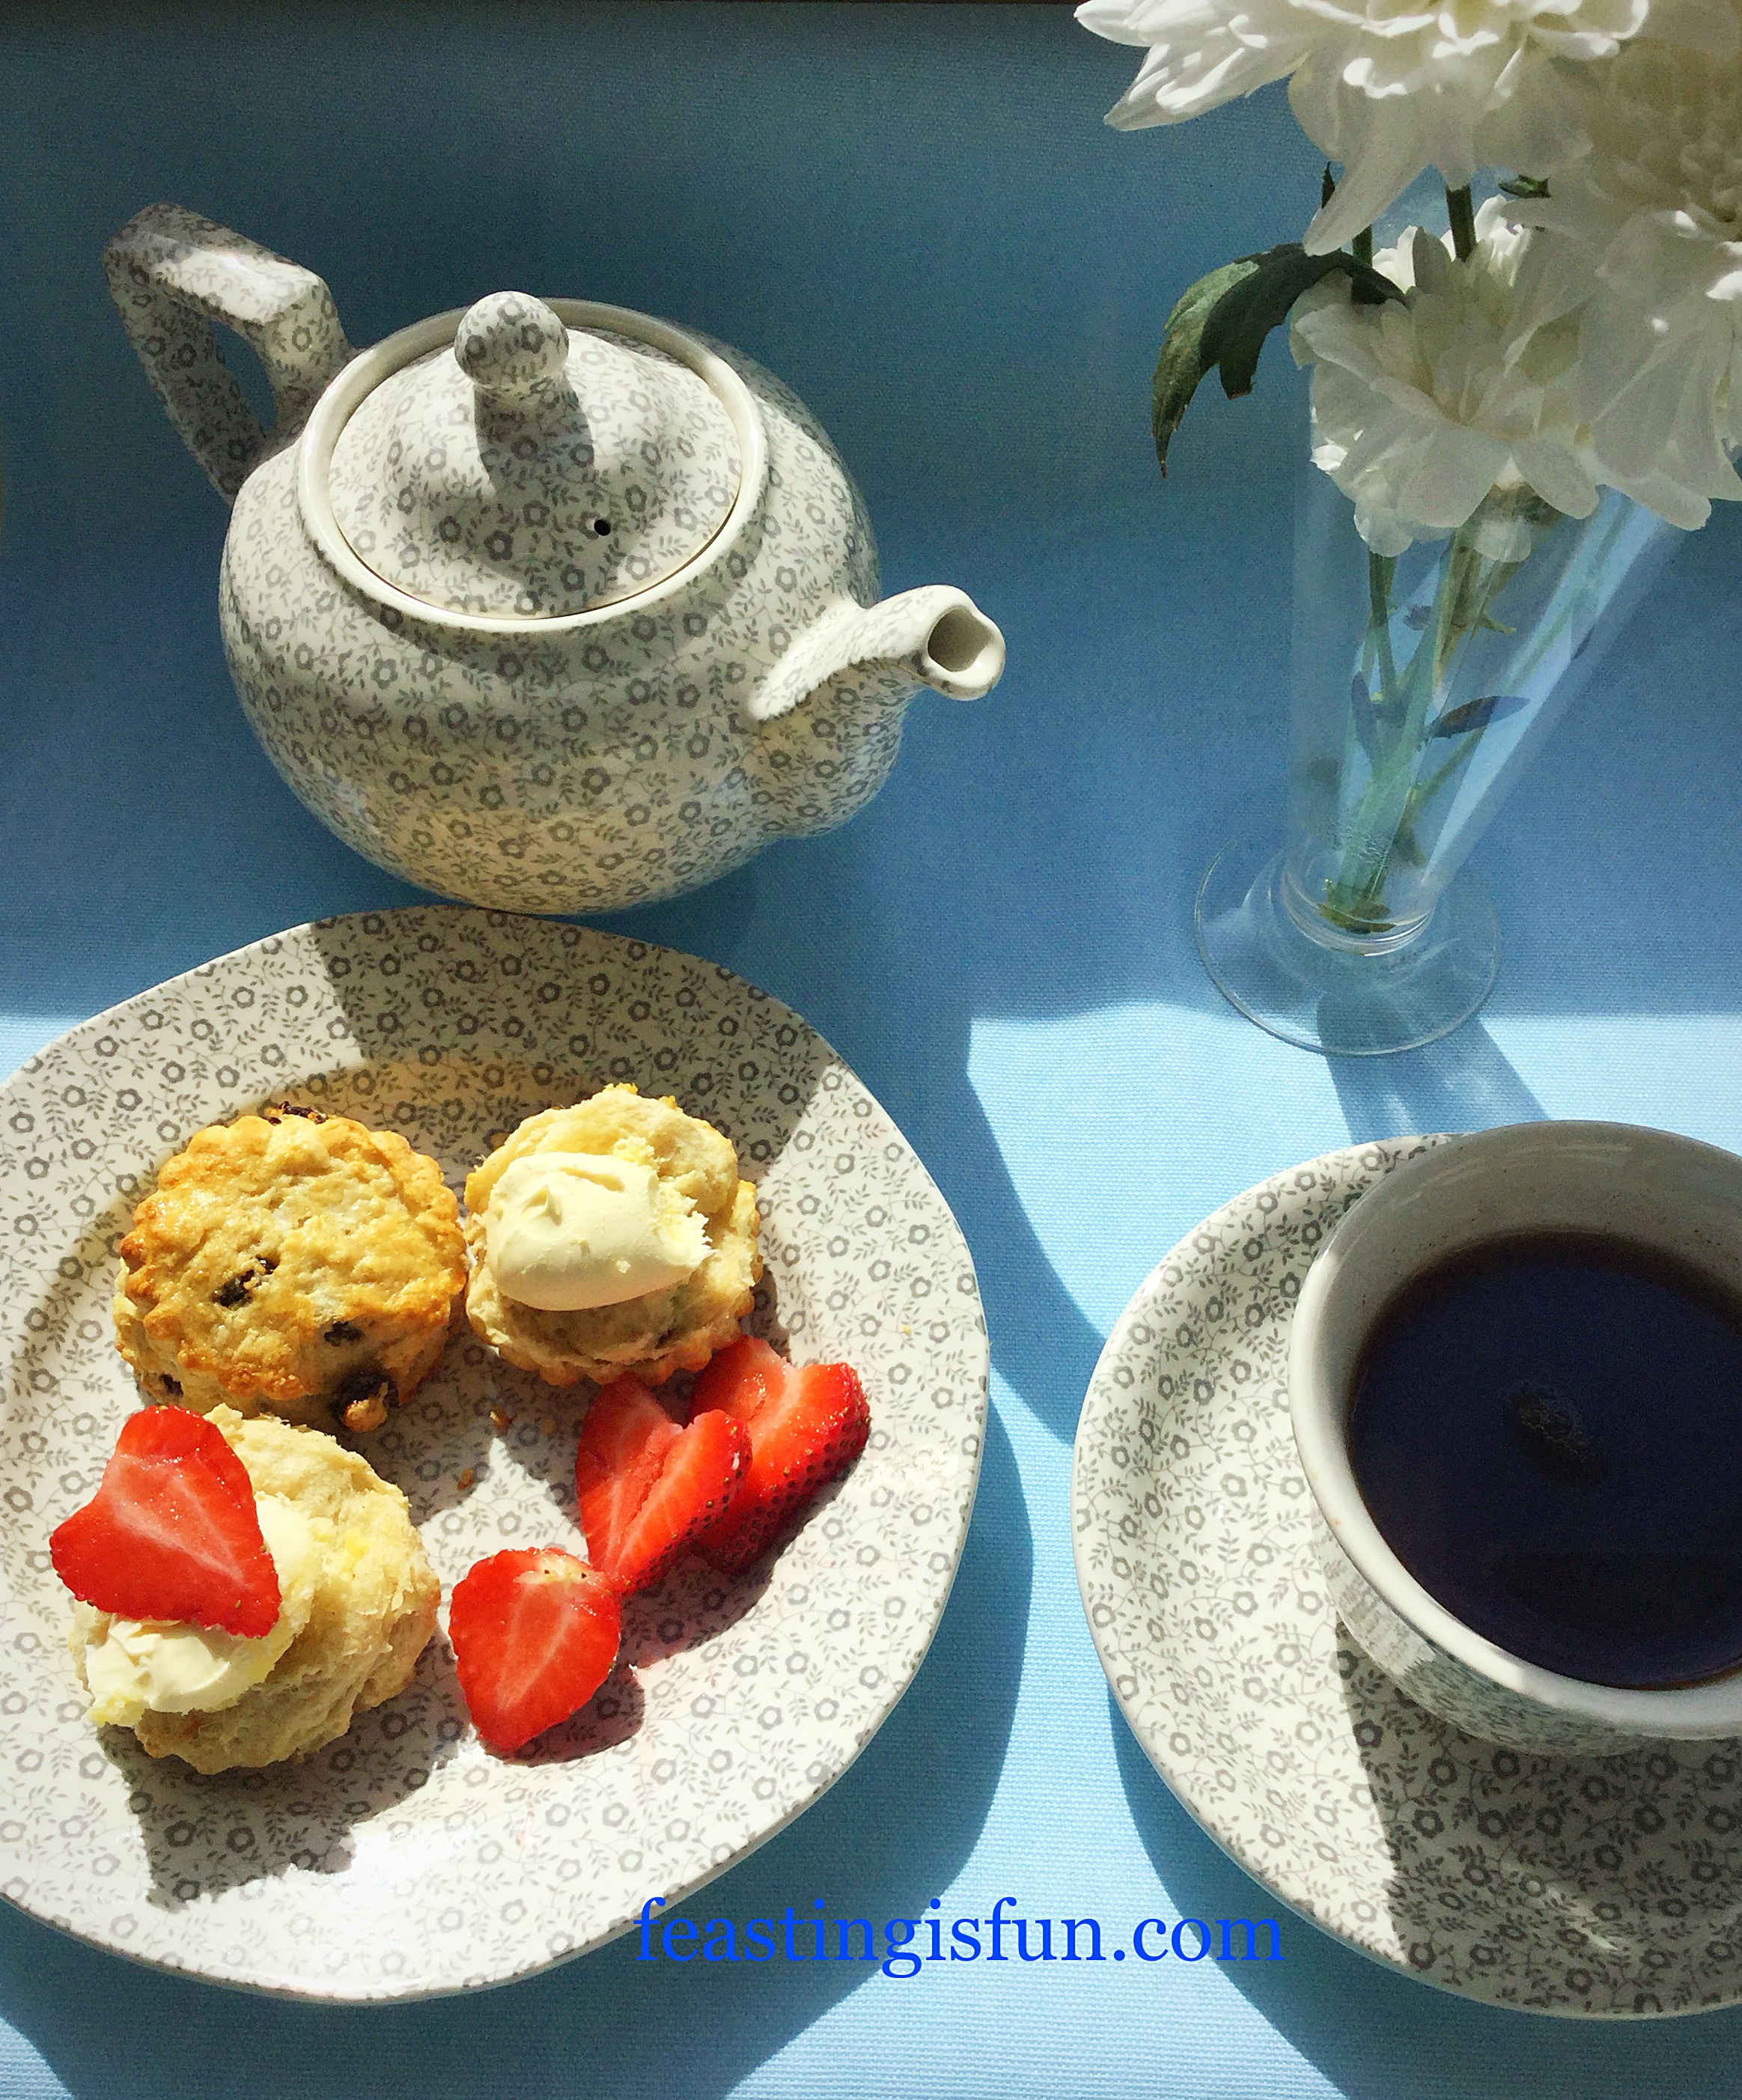
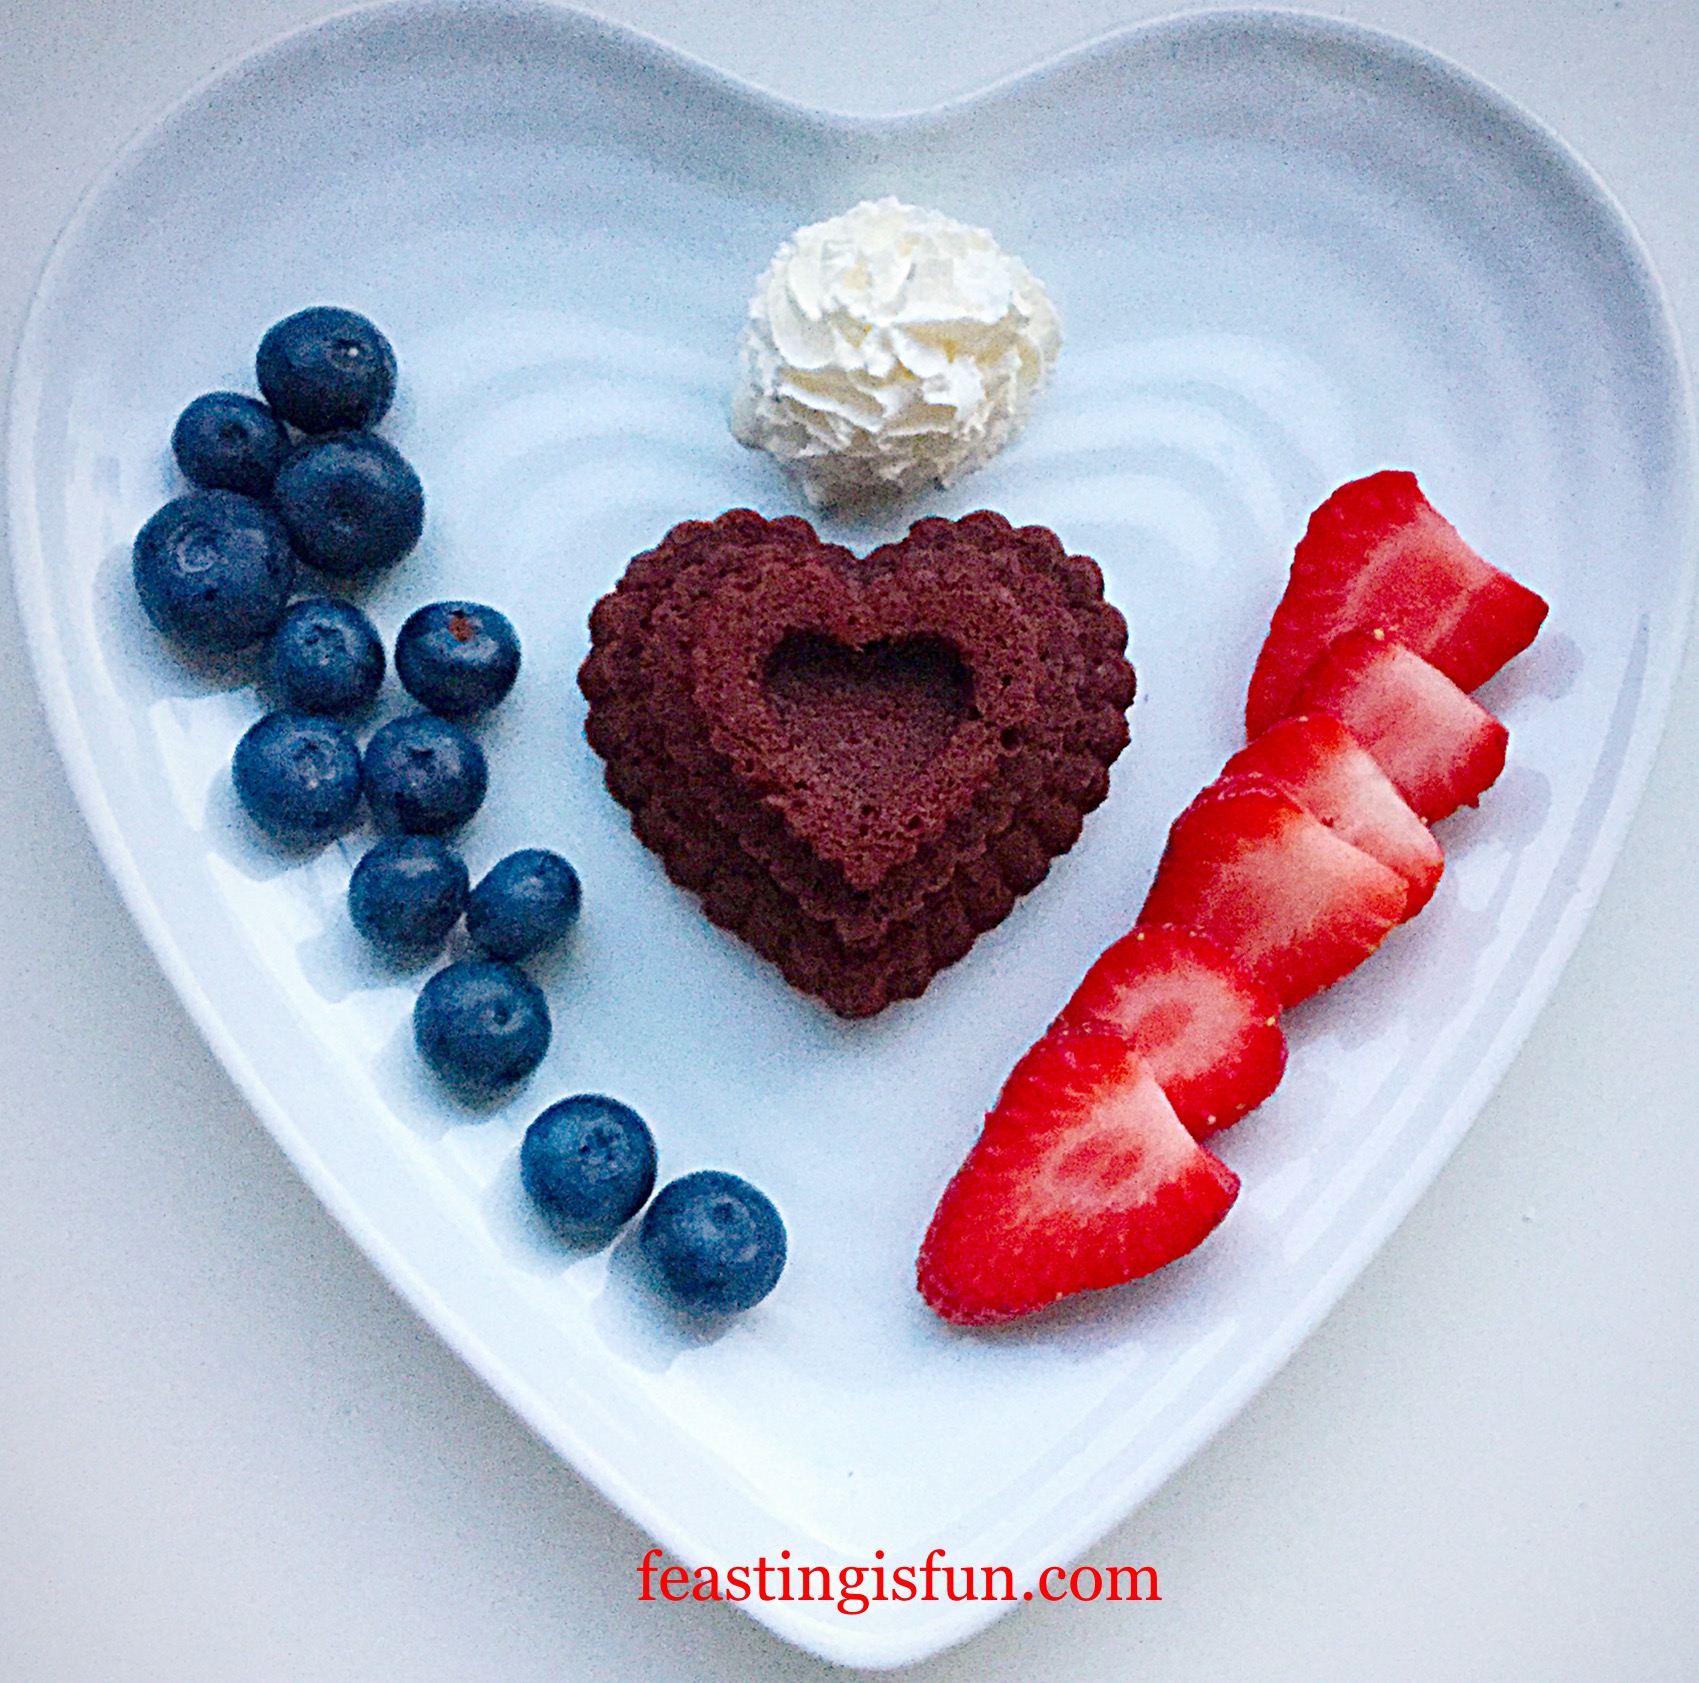
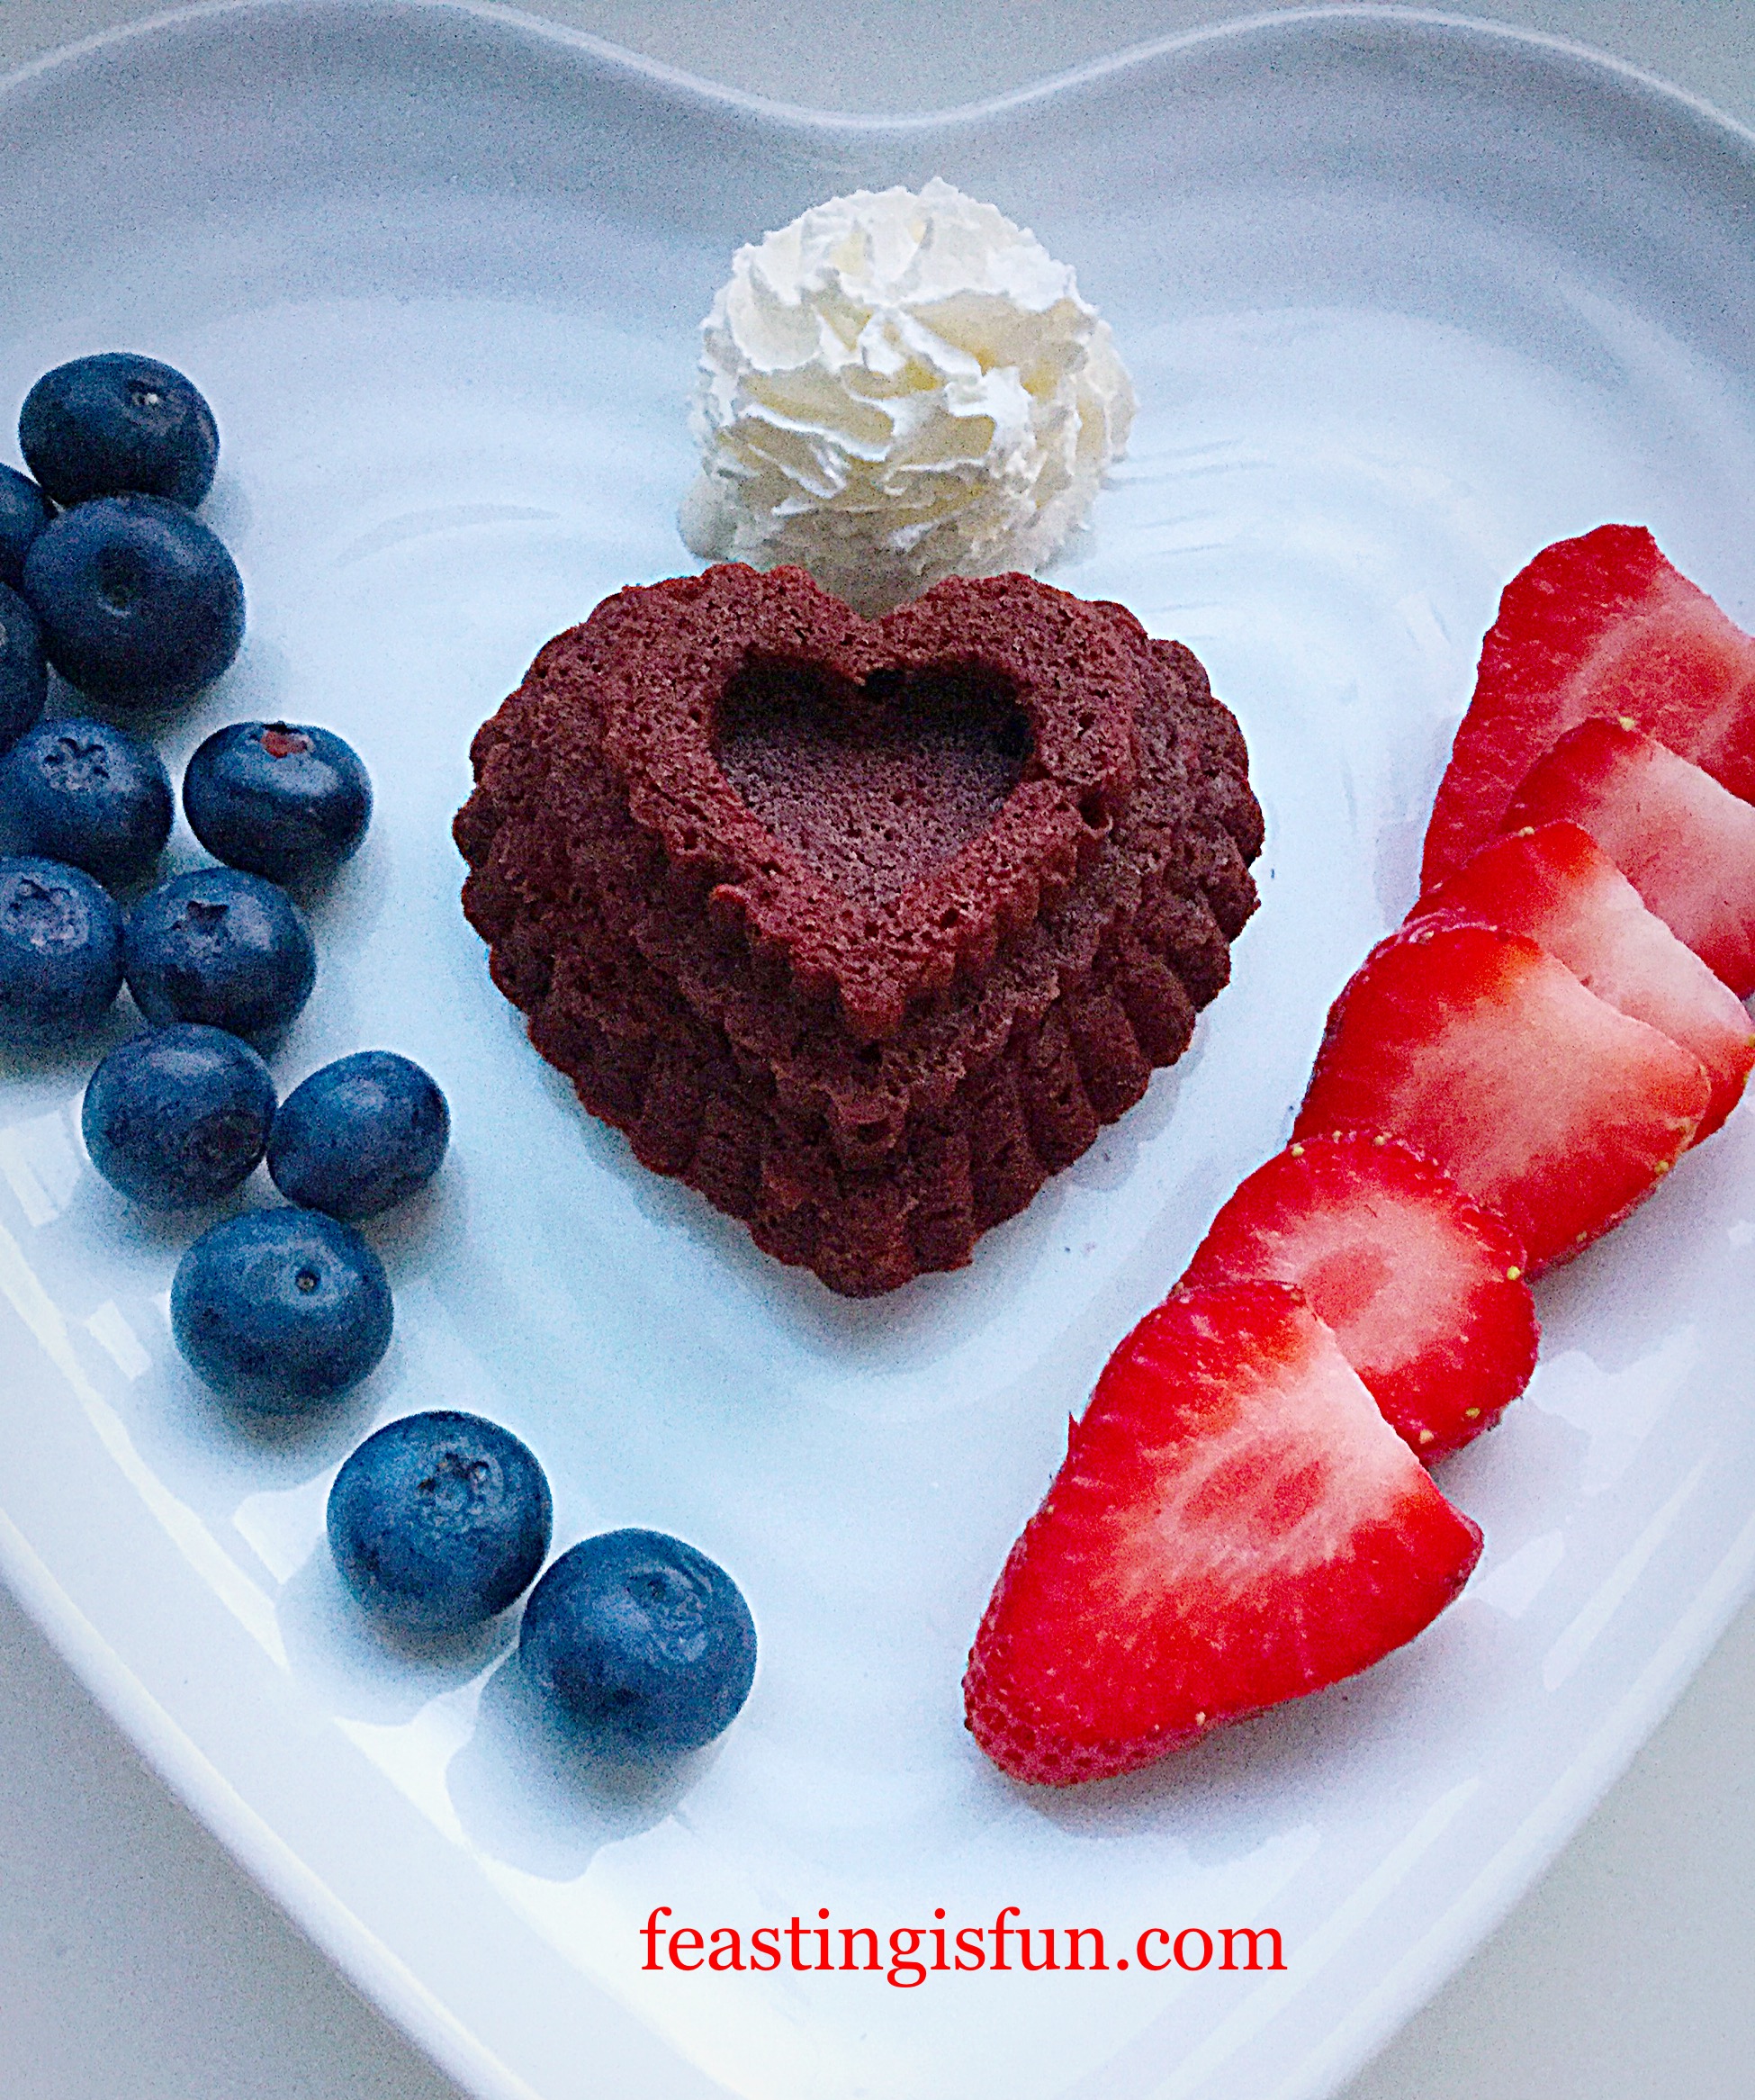
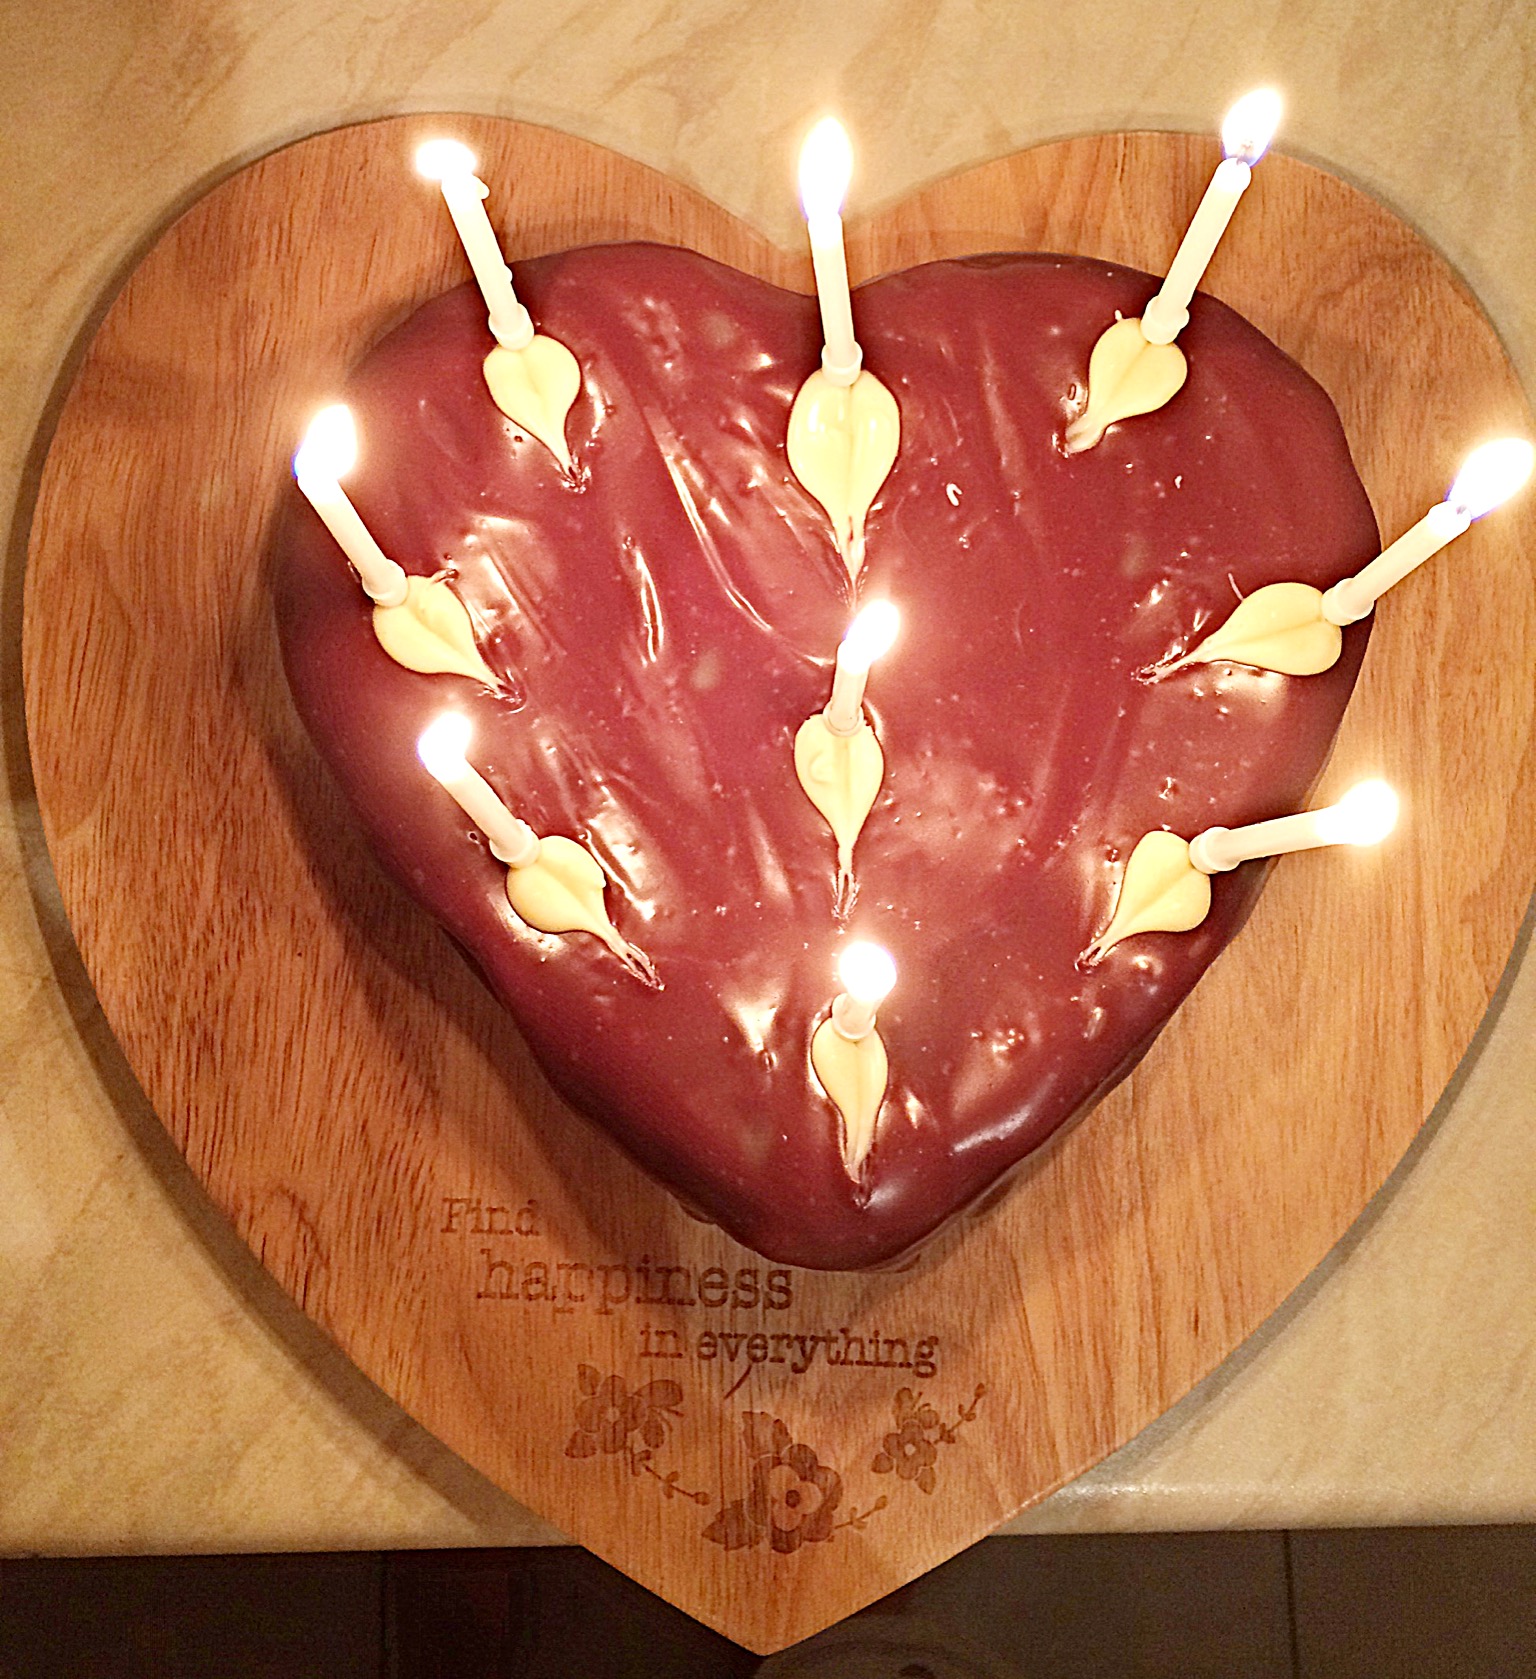
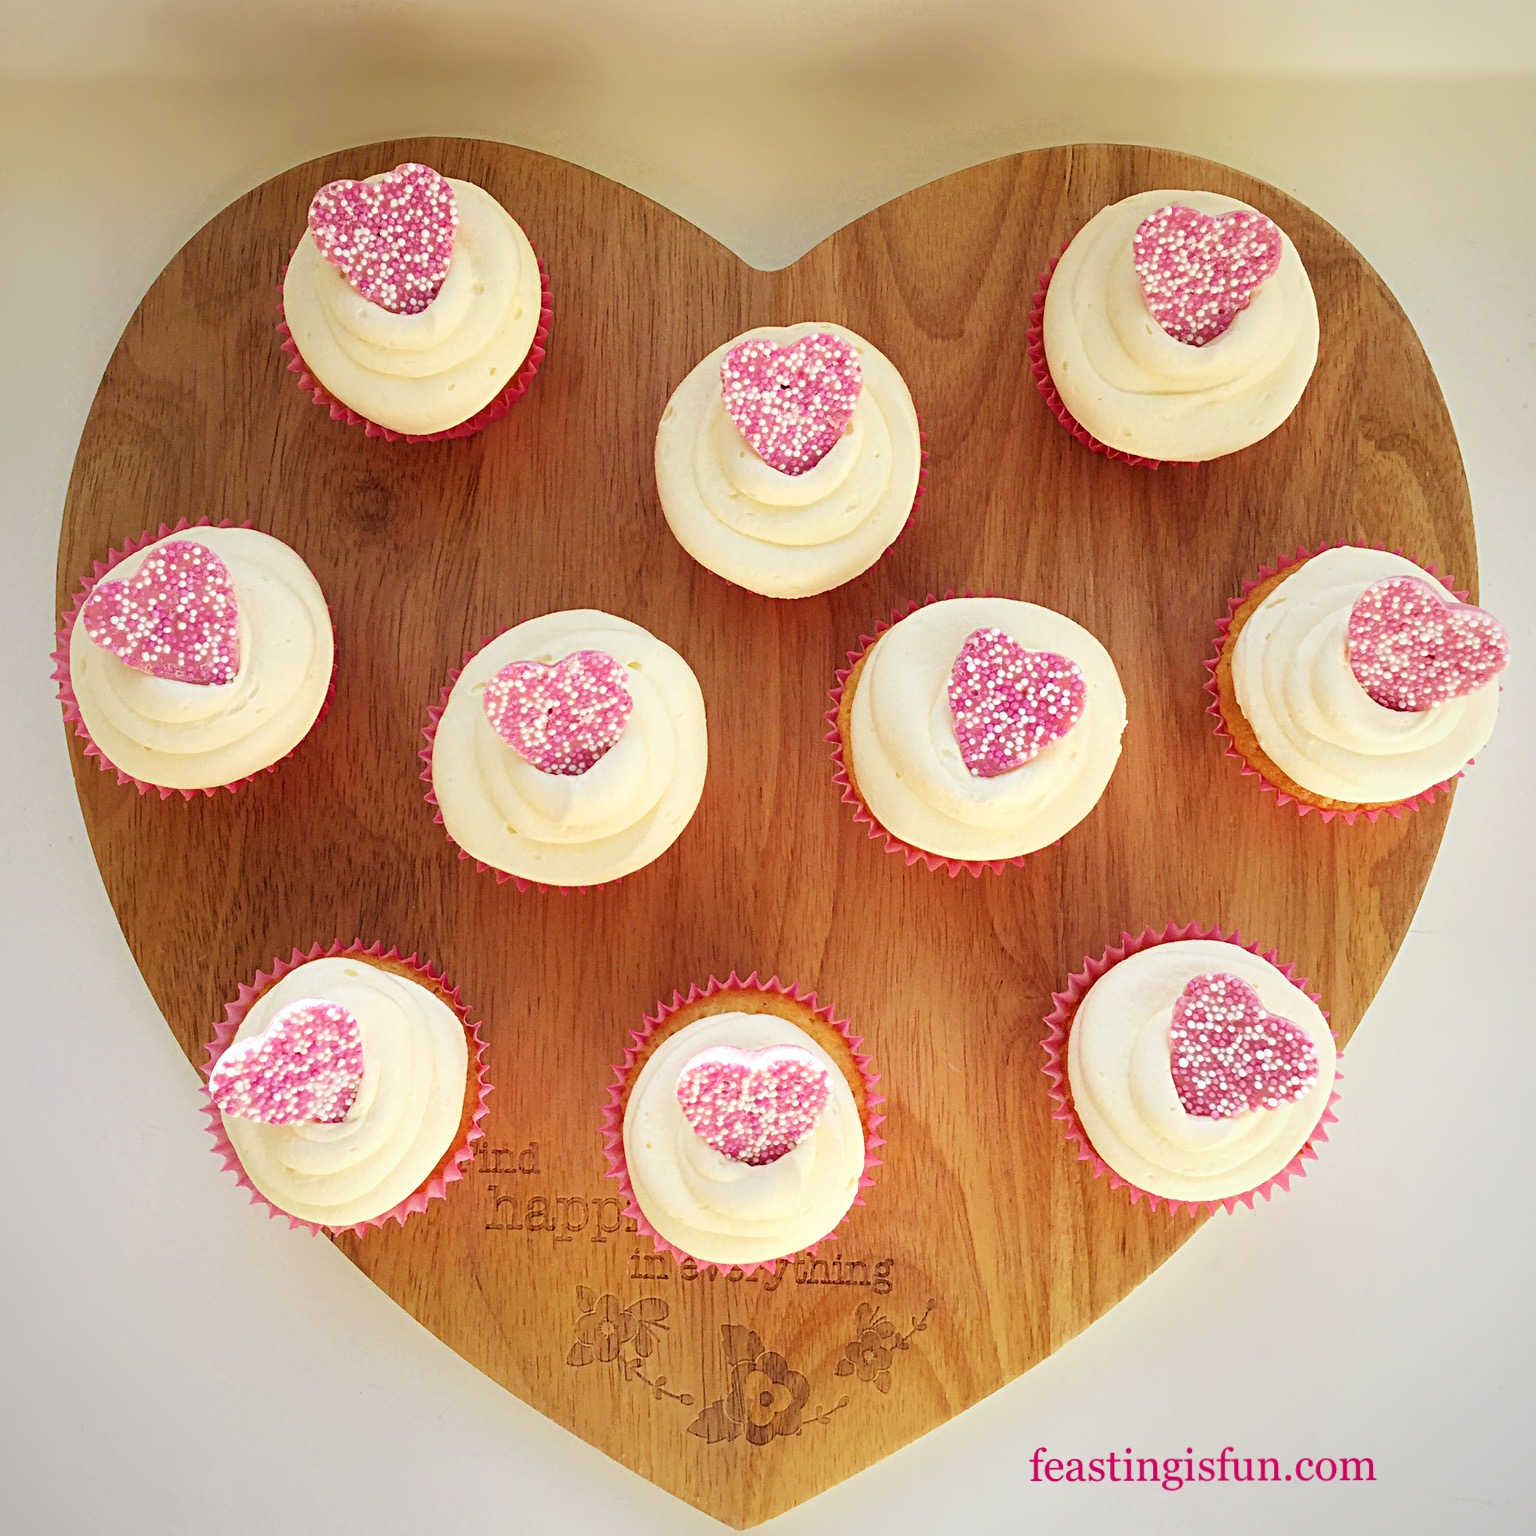
Happiness is found in a delicious cupcake!

Serve the cupcakes to those you love and care about. Also share with those people you appreciate. While photographing the cupcakes our postman came to the door, he went away with a cupcake and a smile on his face.
Store these cupcakes for up to 5 days in an airtight container. Refrigerate during warm weather.
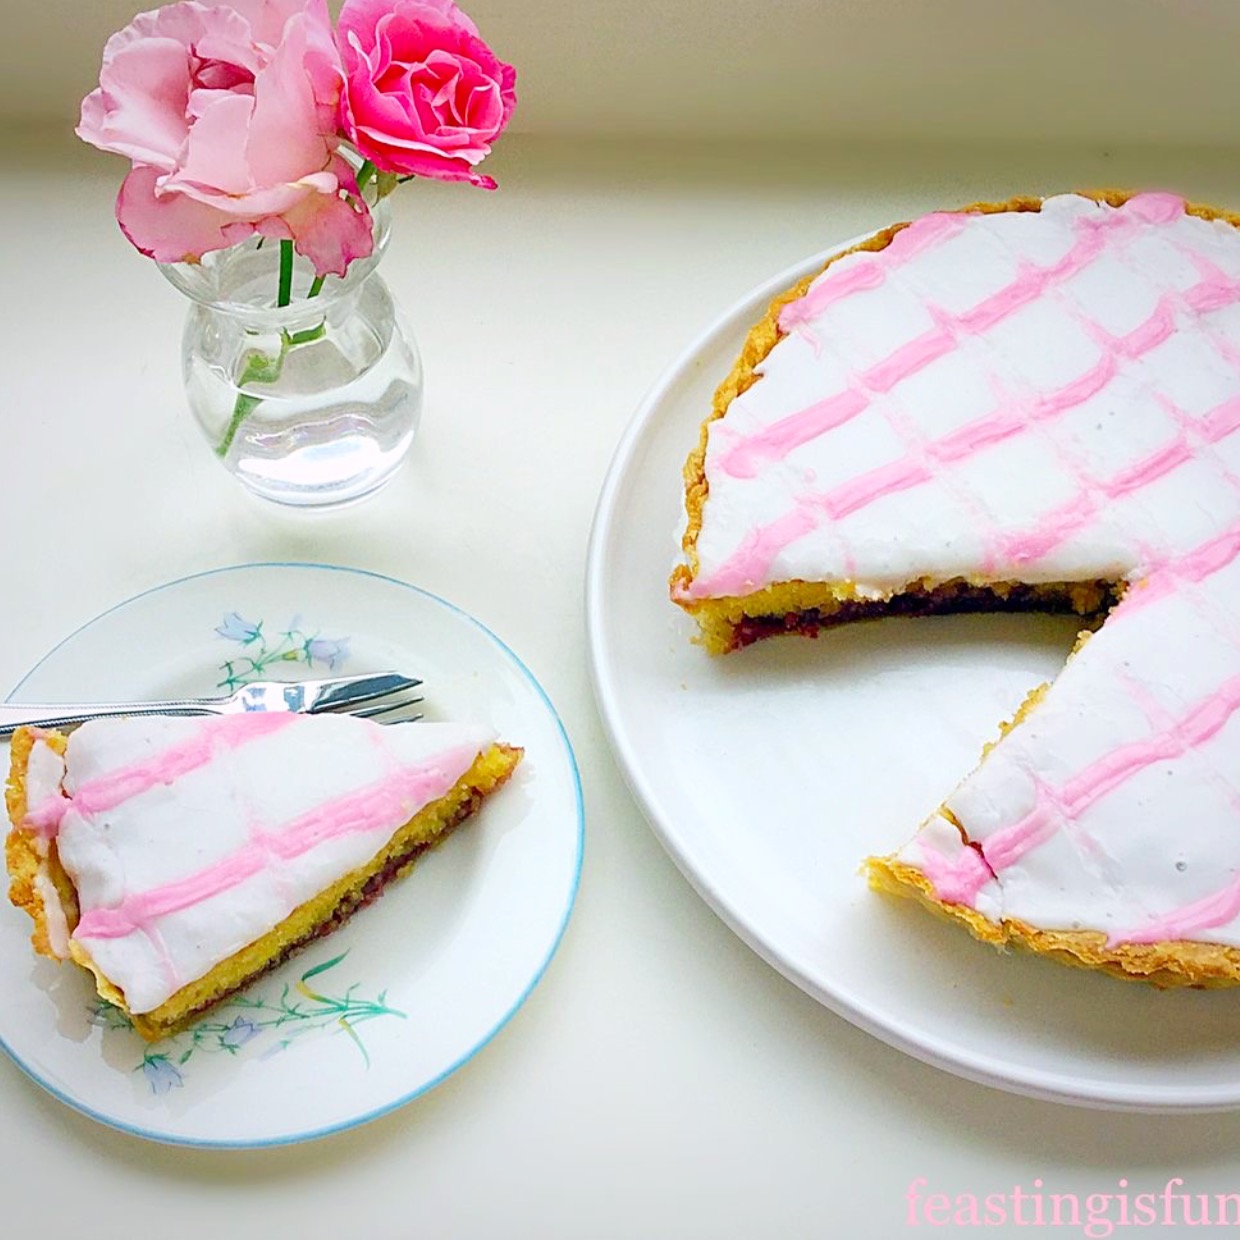
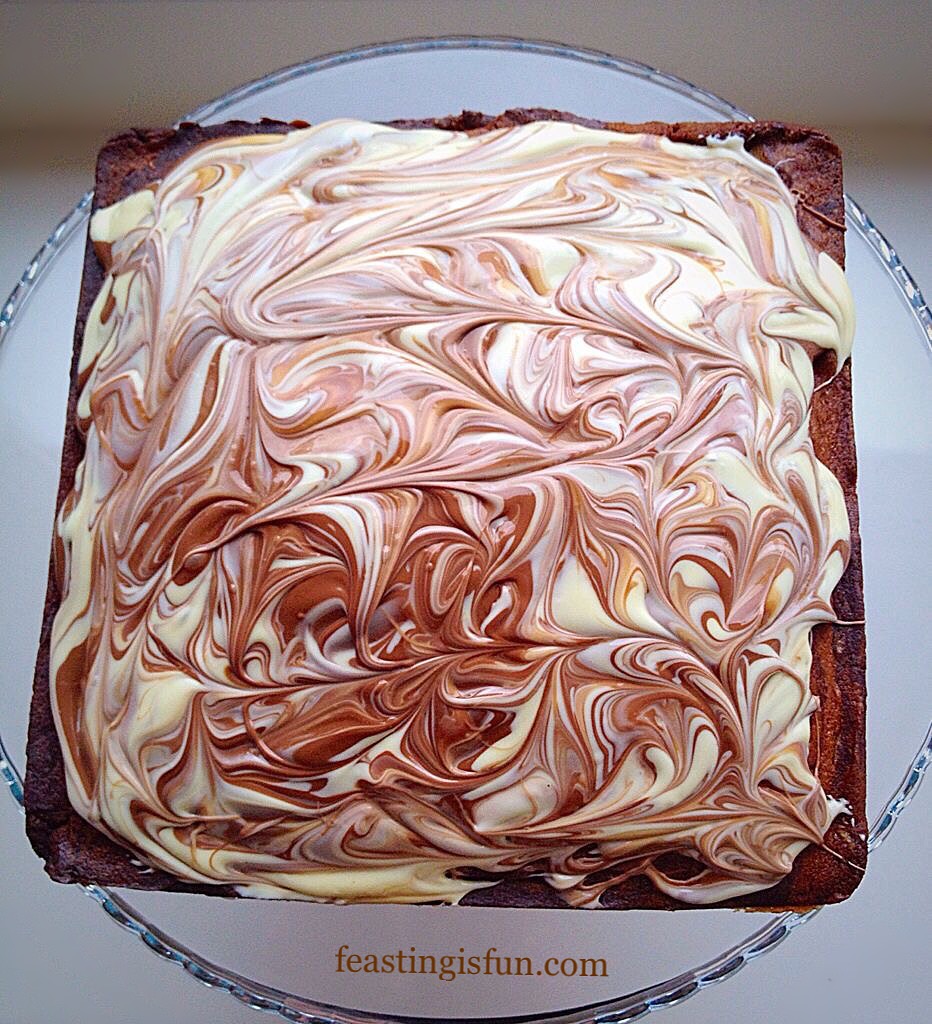
If you have enjoyed this recipe for Pink Heart Topped White Chocolate Cupcakes then you may also like these:
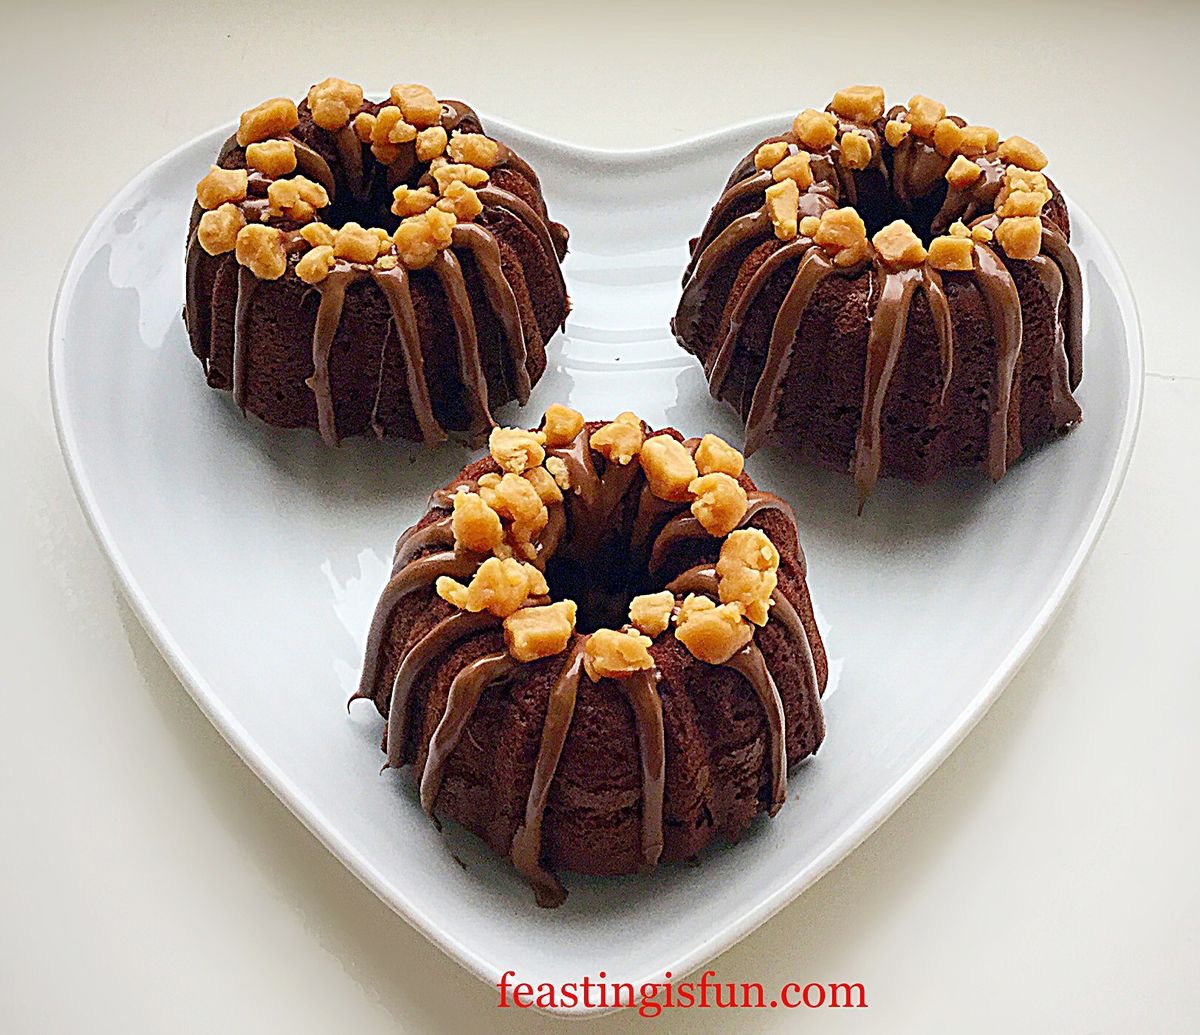
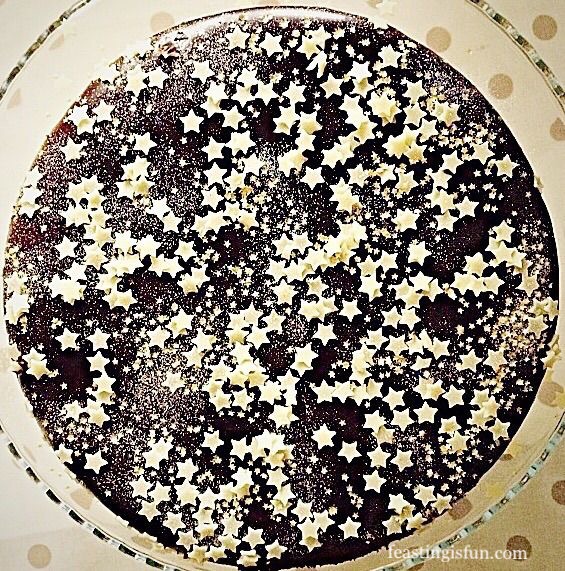
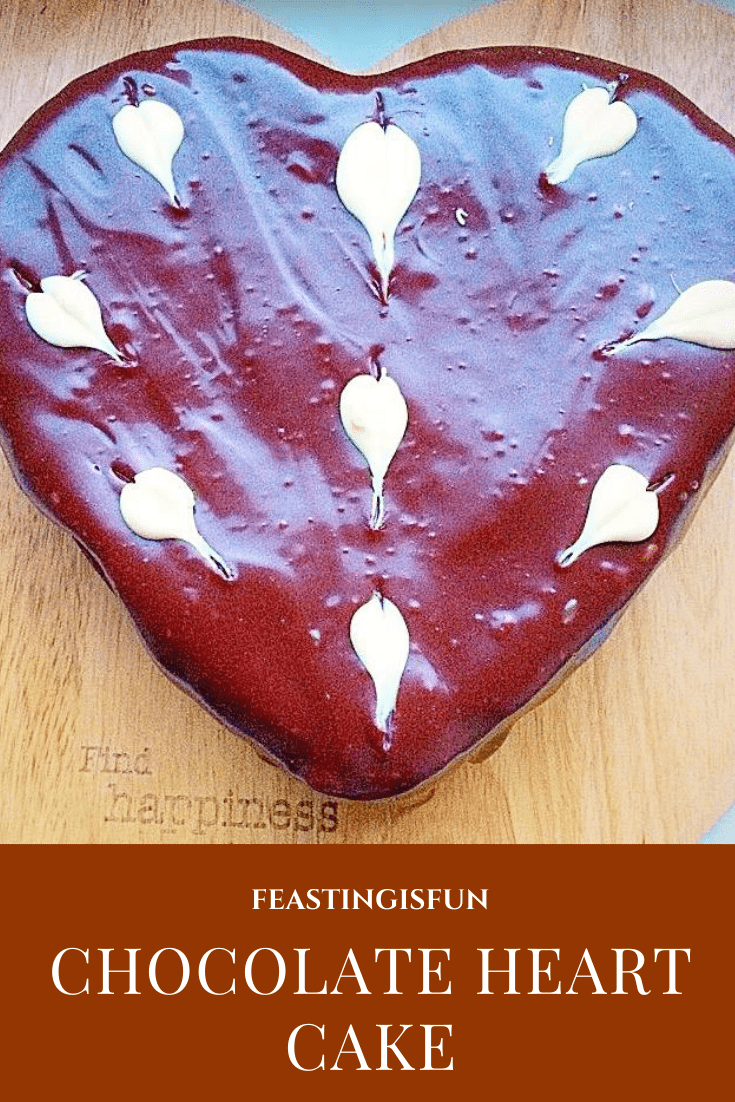
Chocolate Dipped Shortbread Heart Cookies
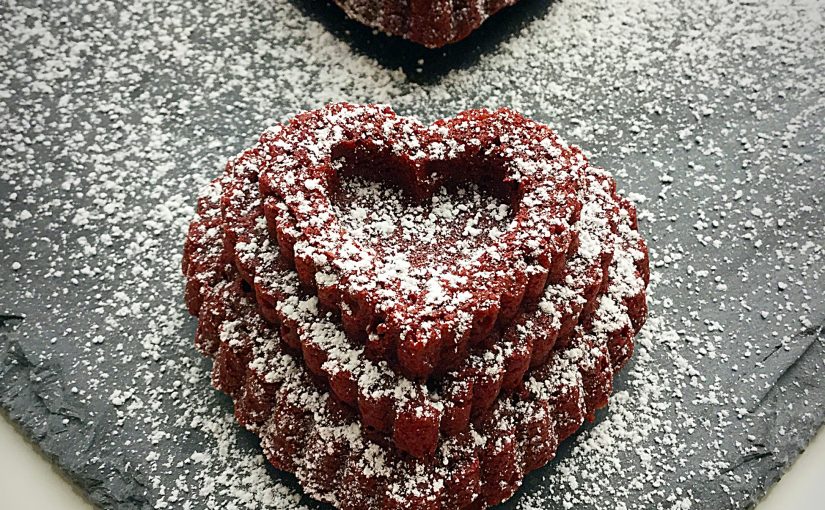
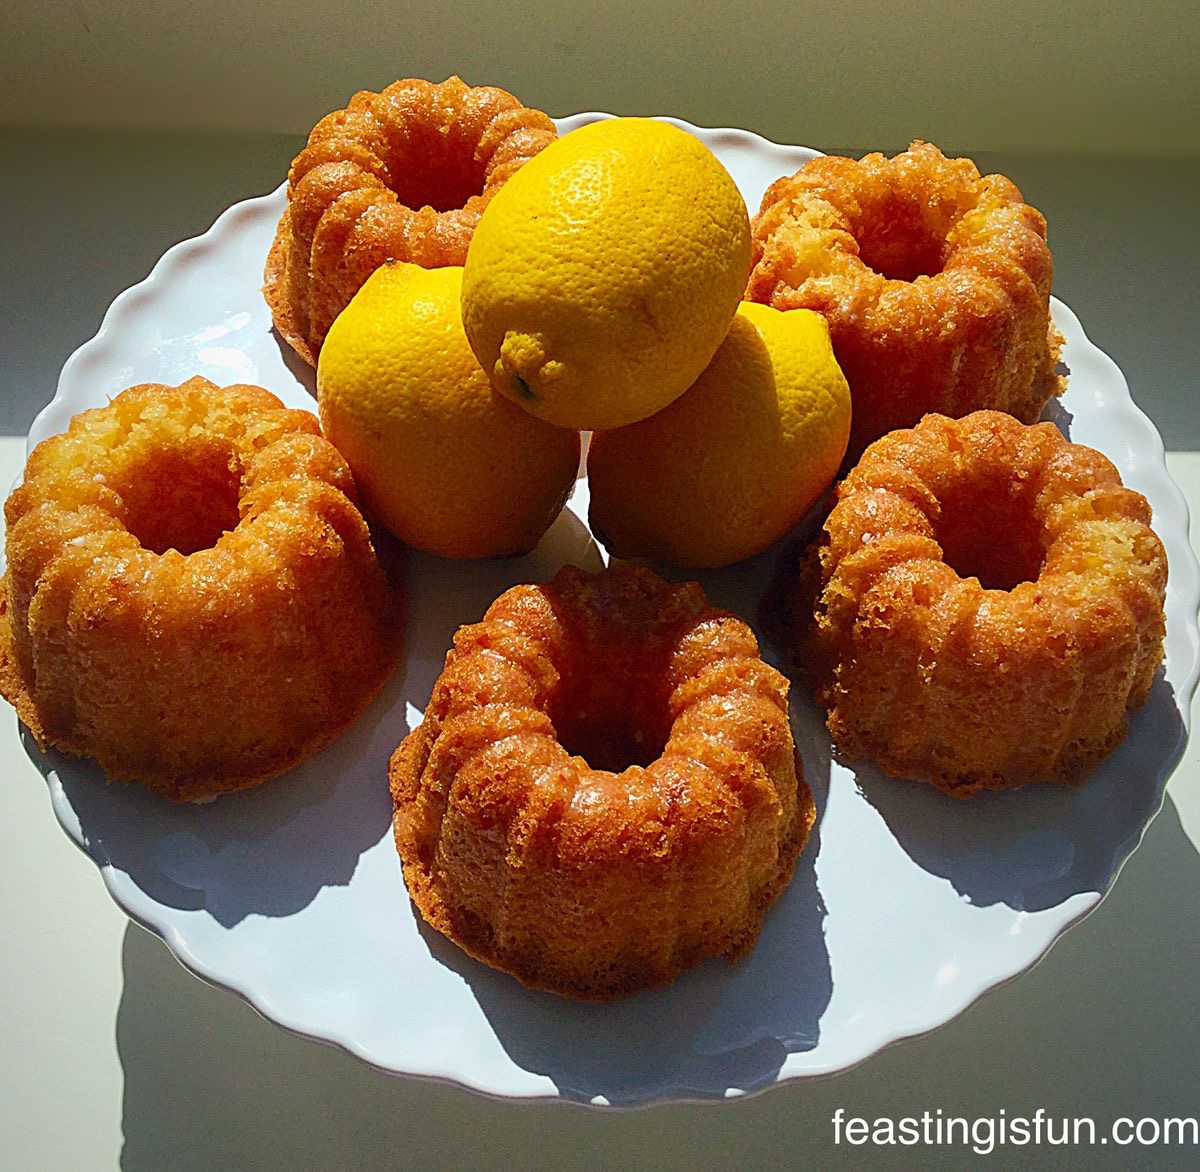
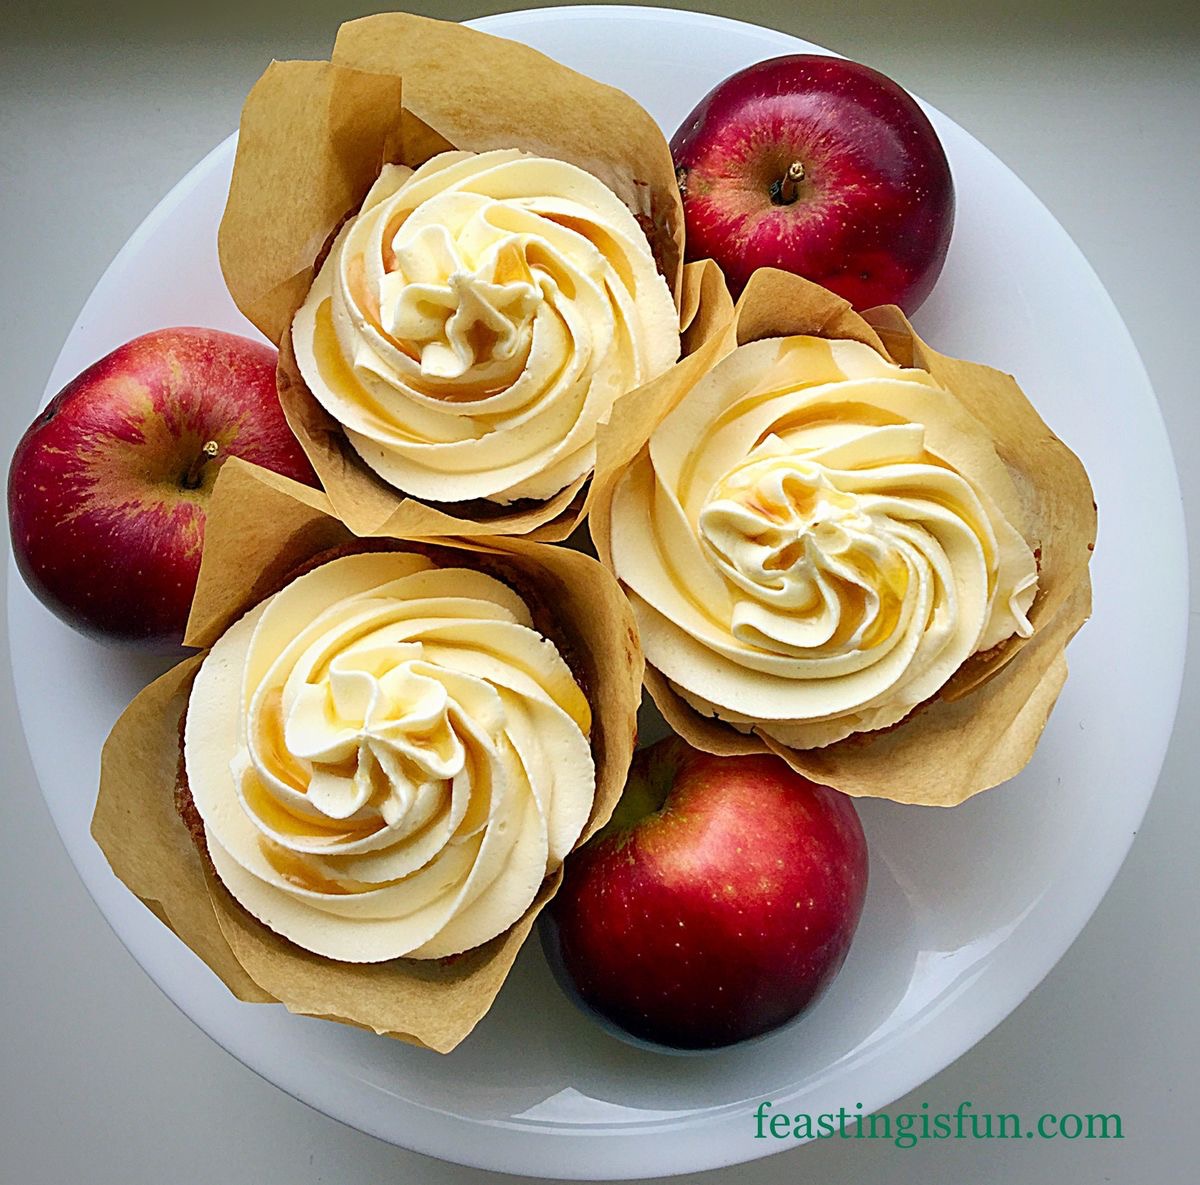
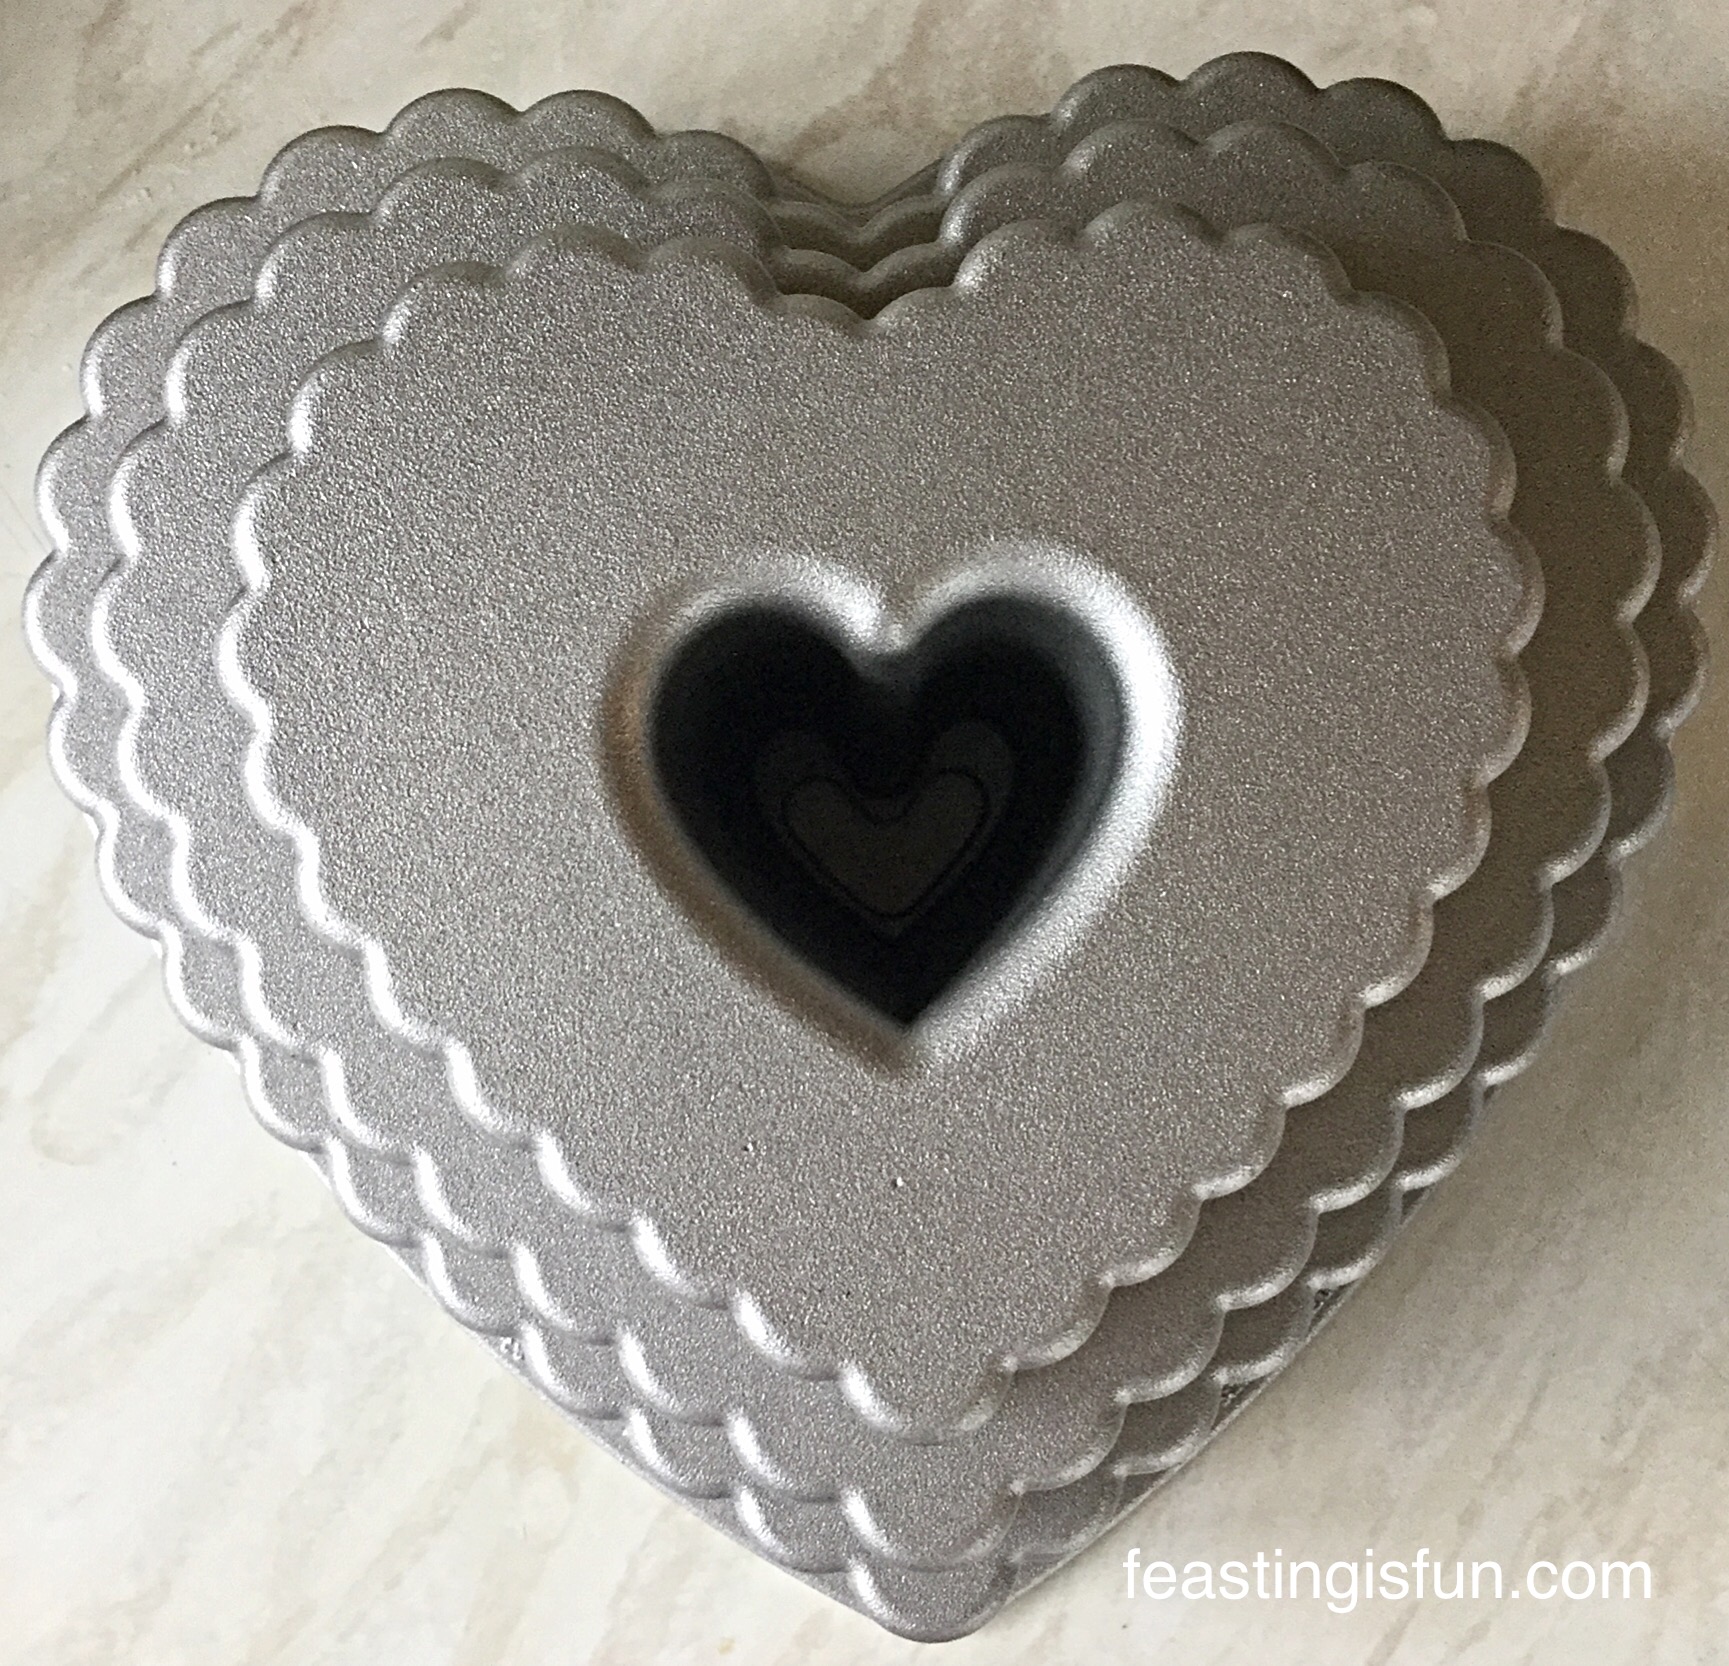
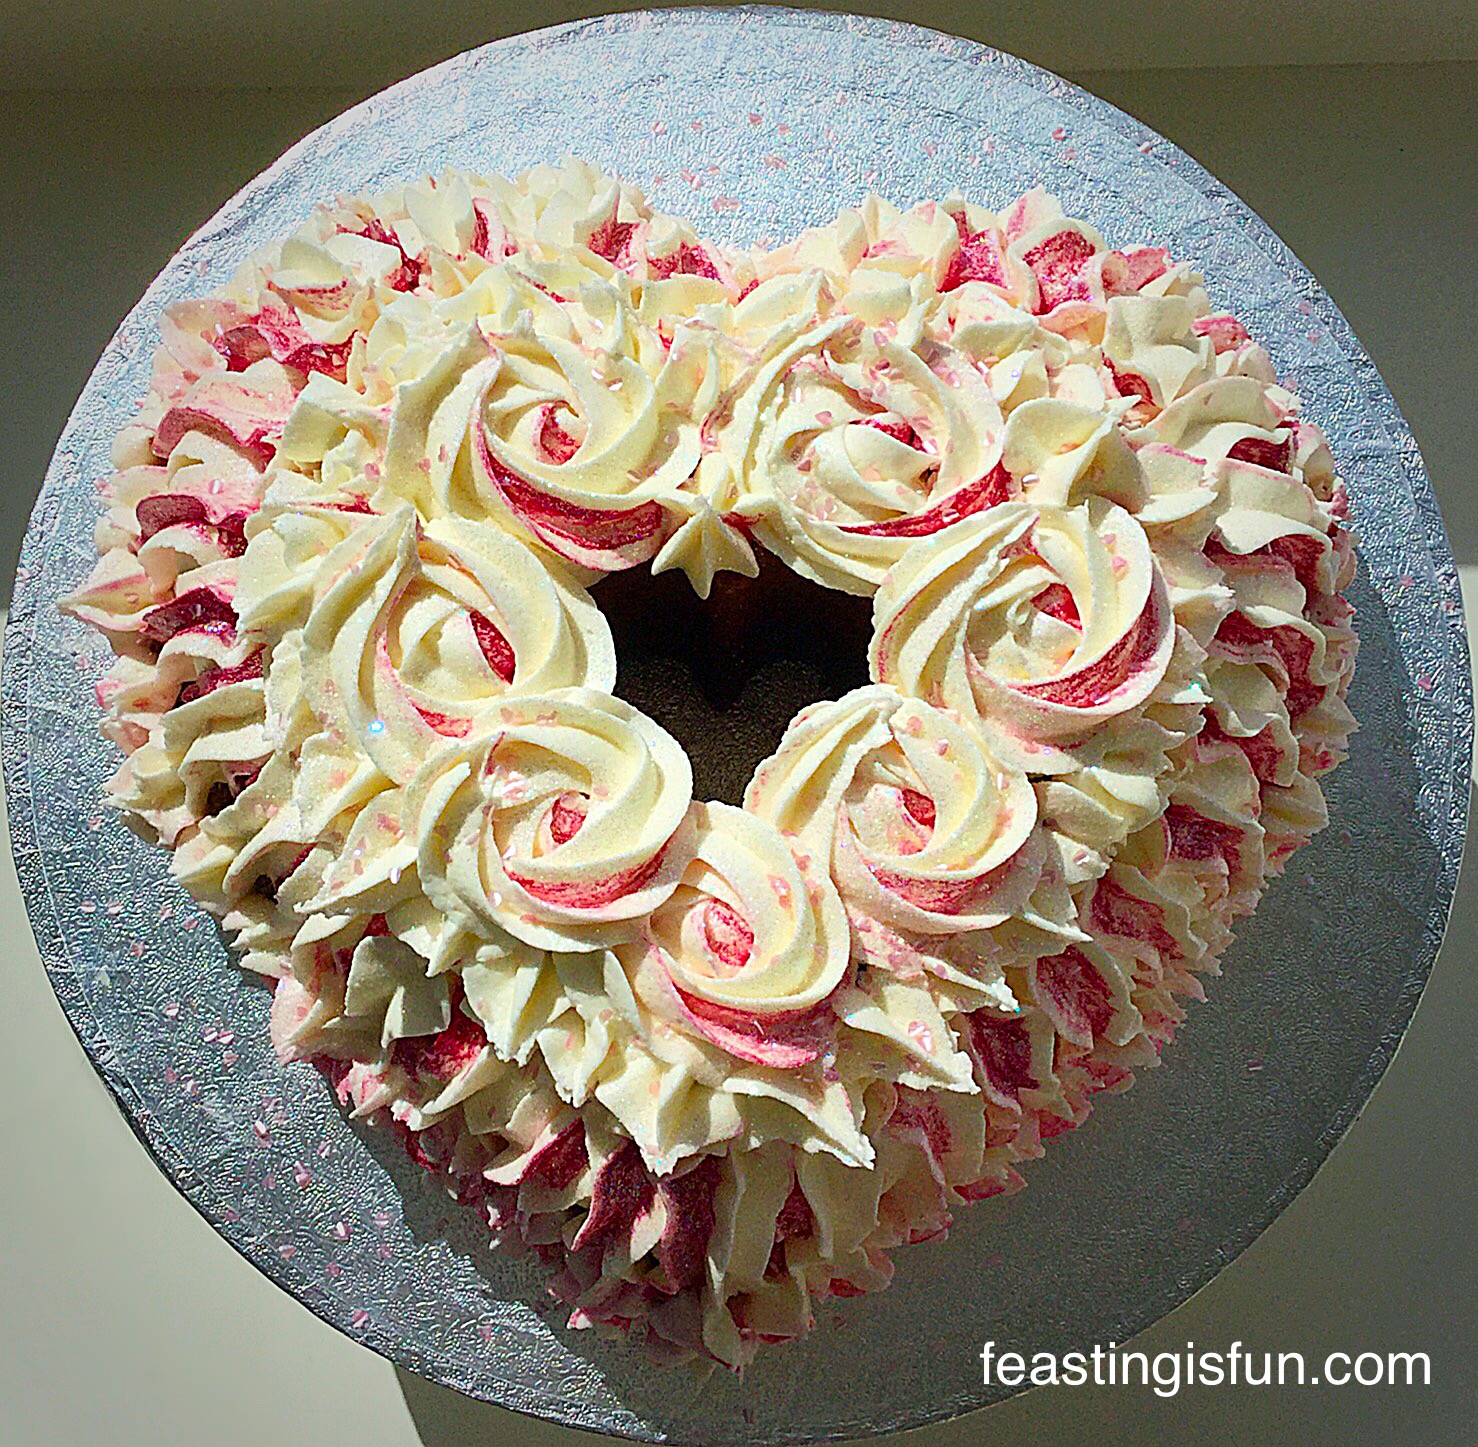
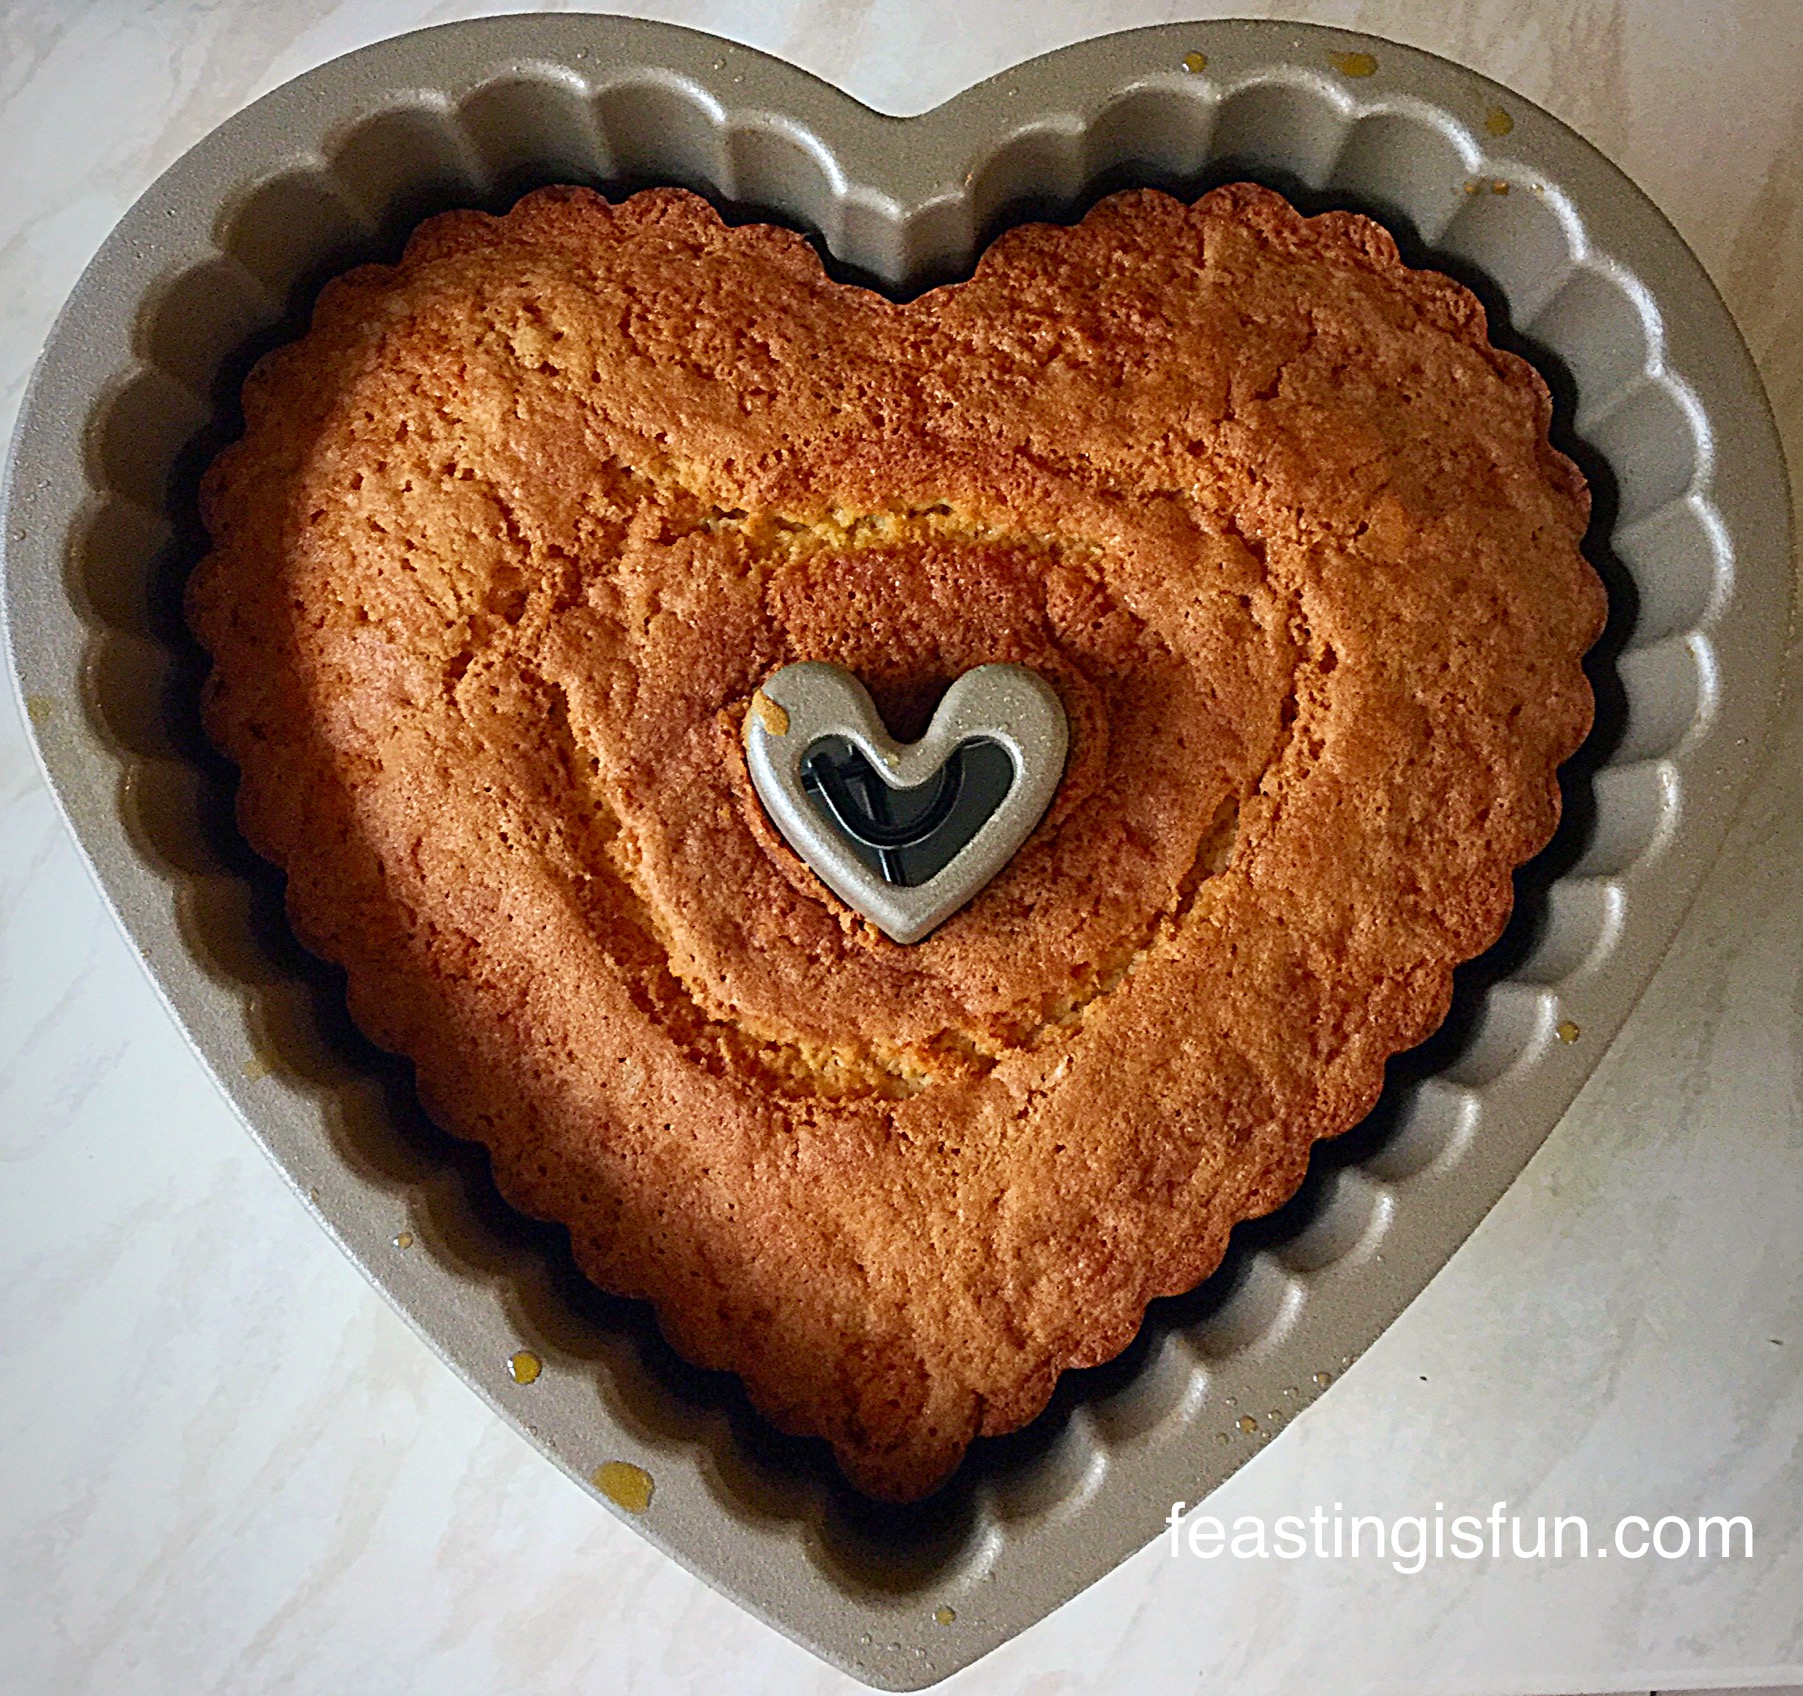
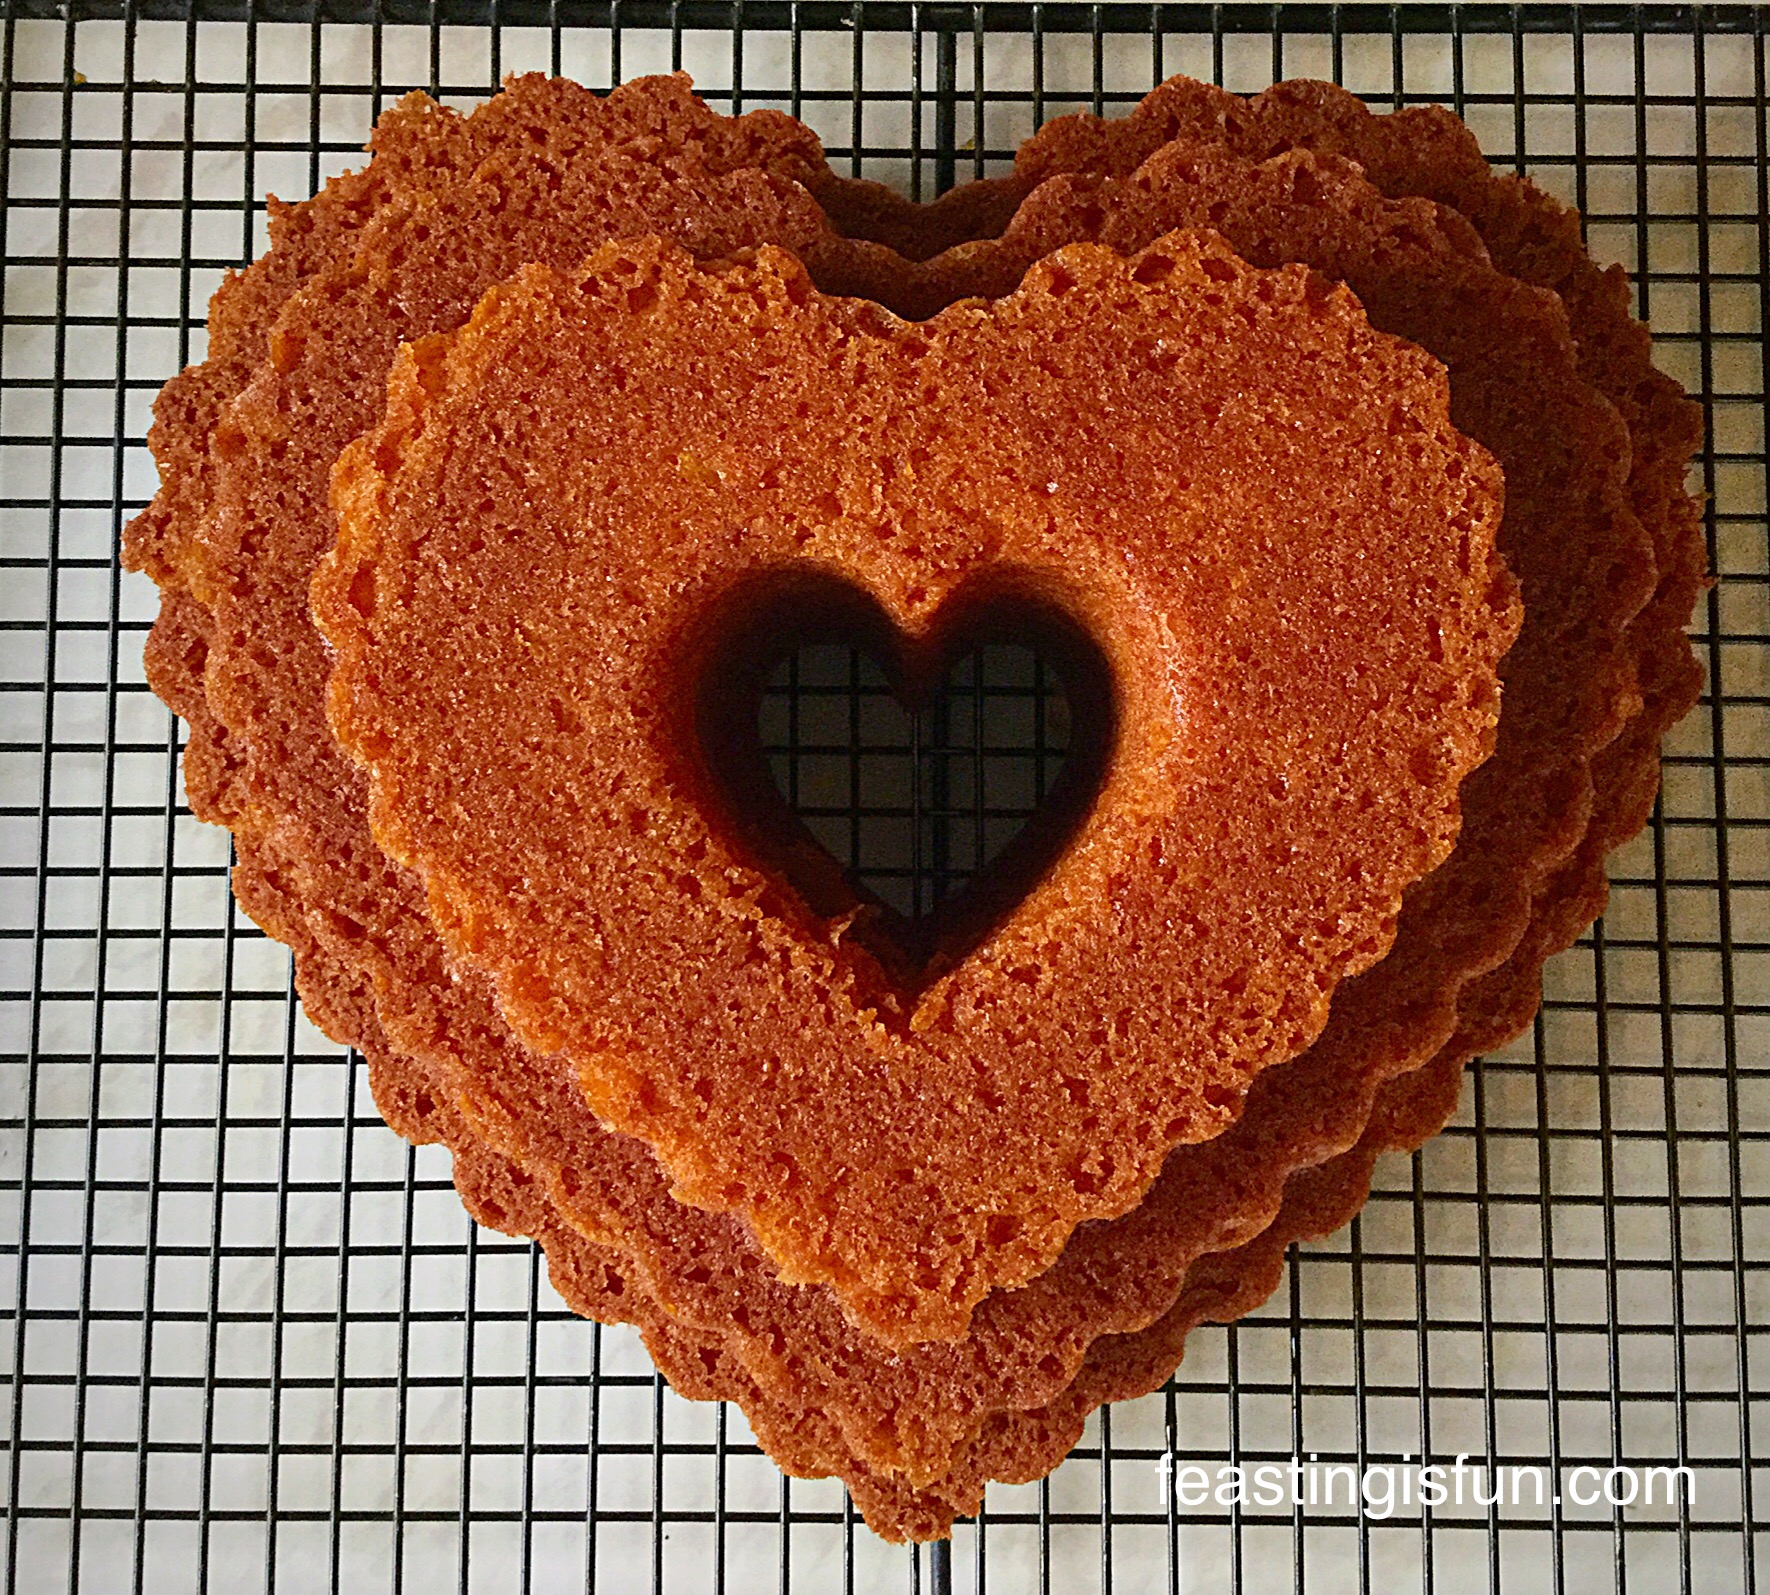
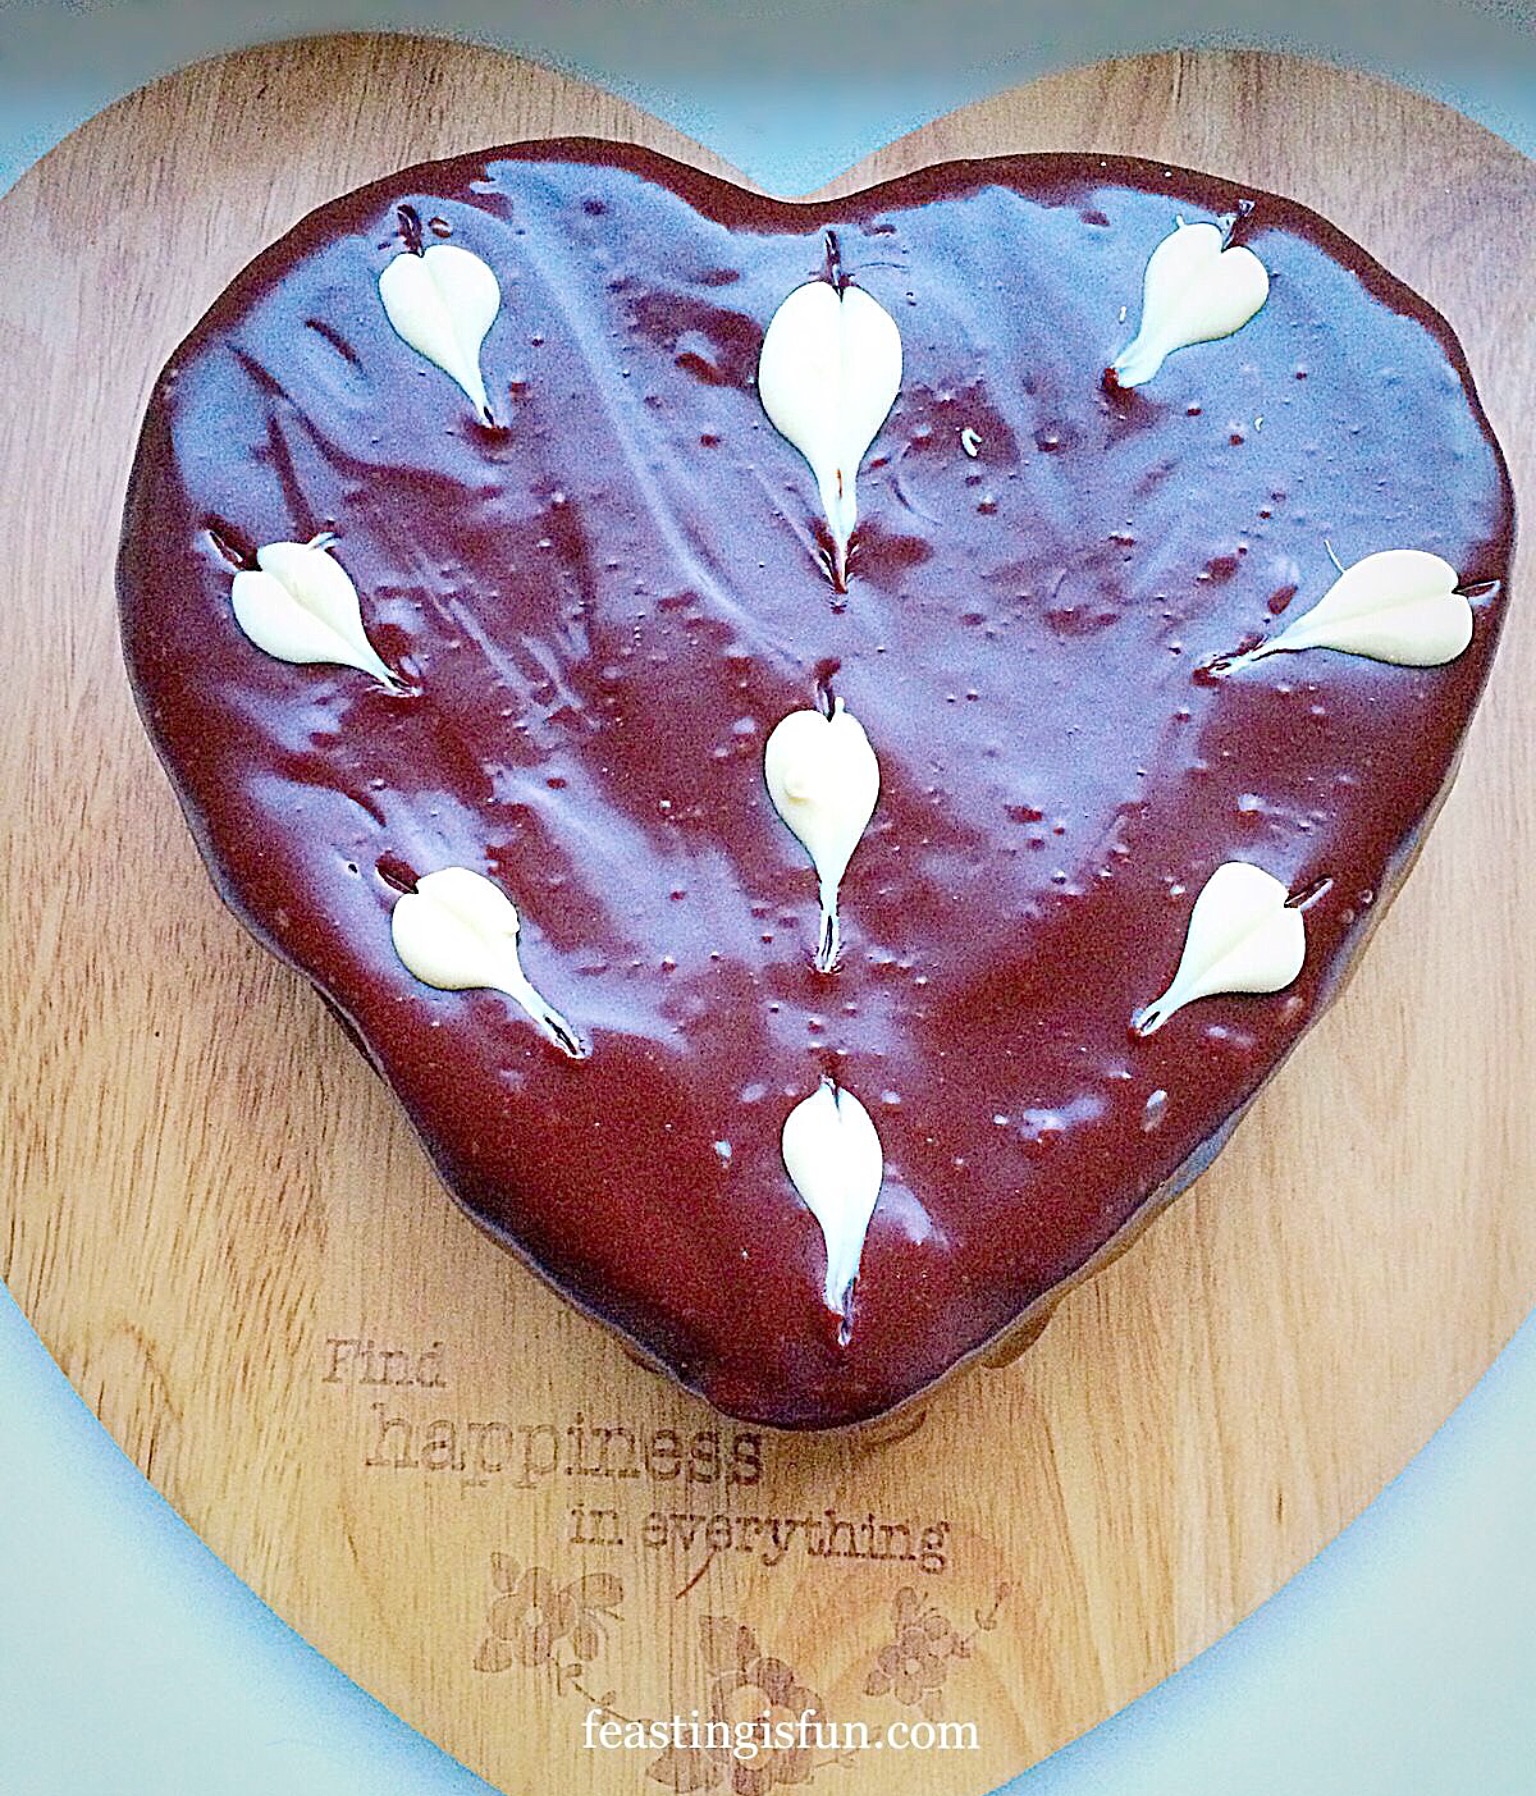
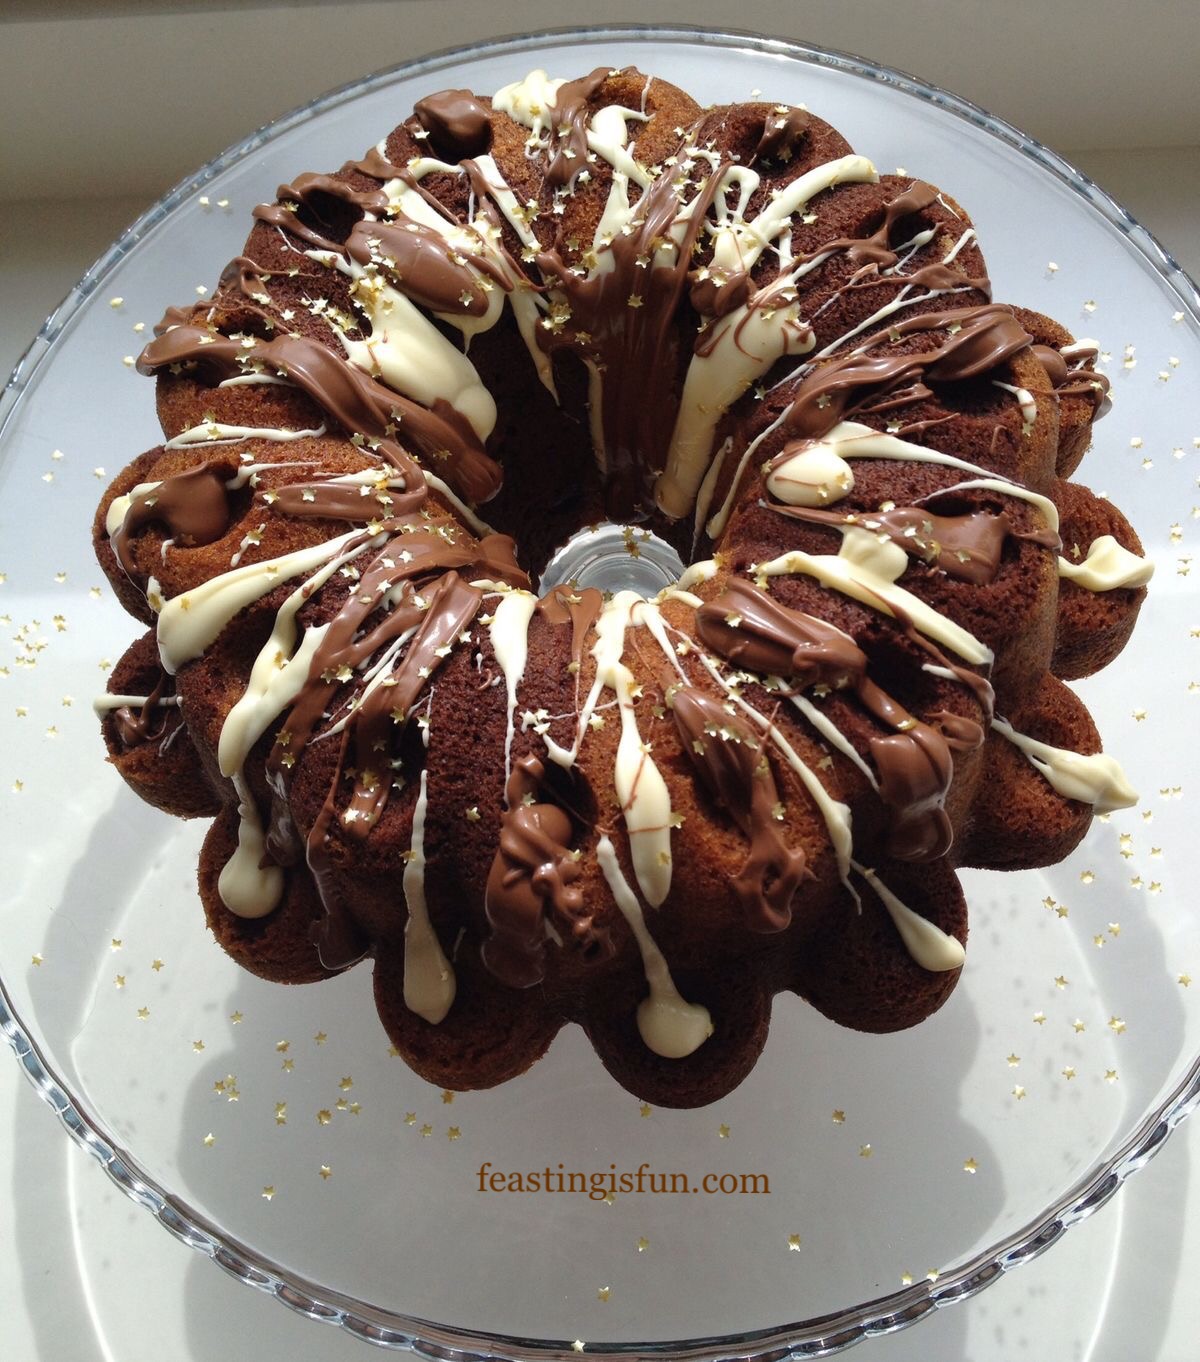
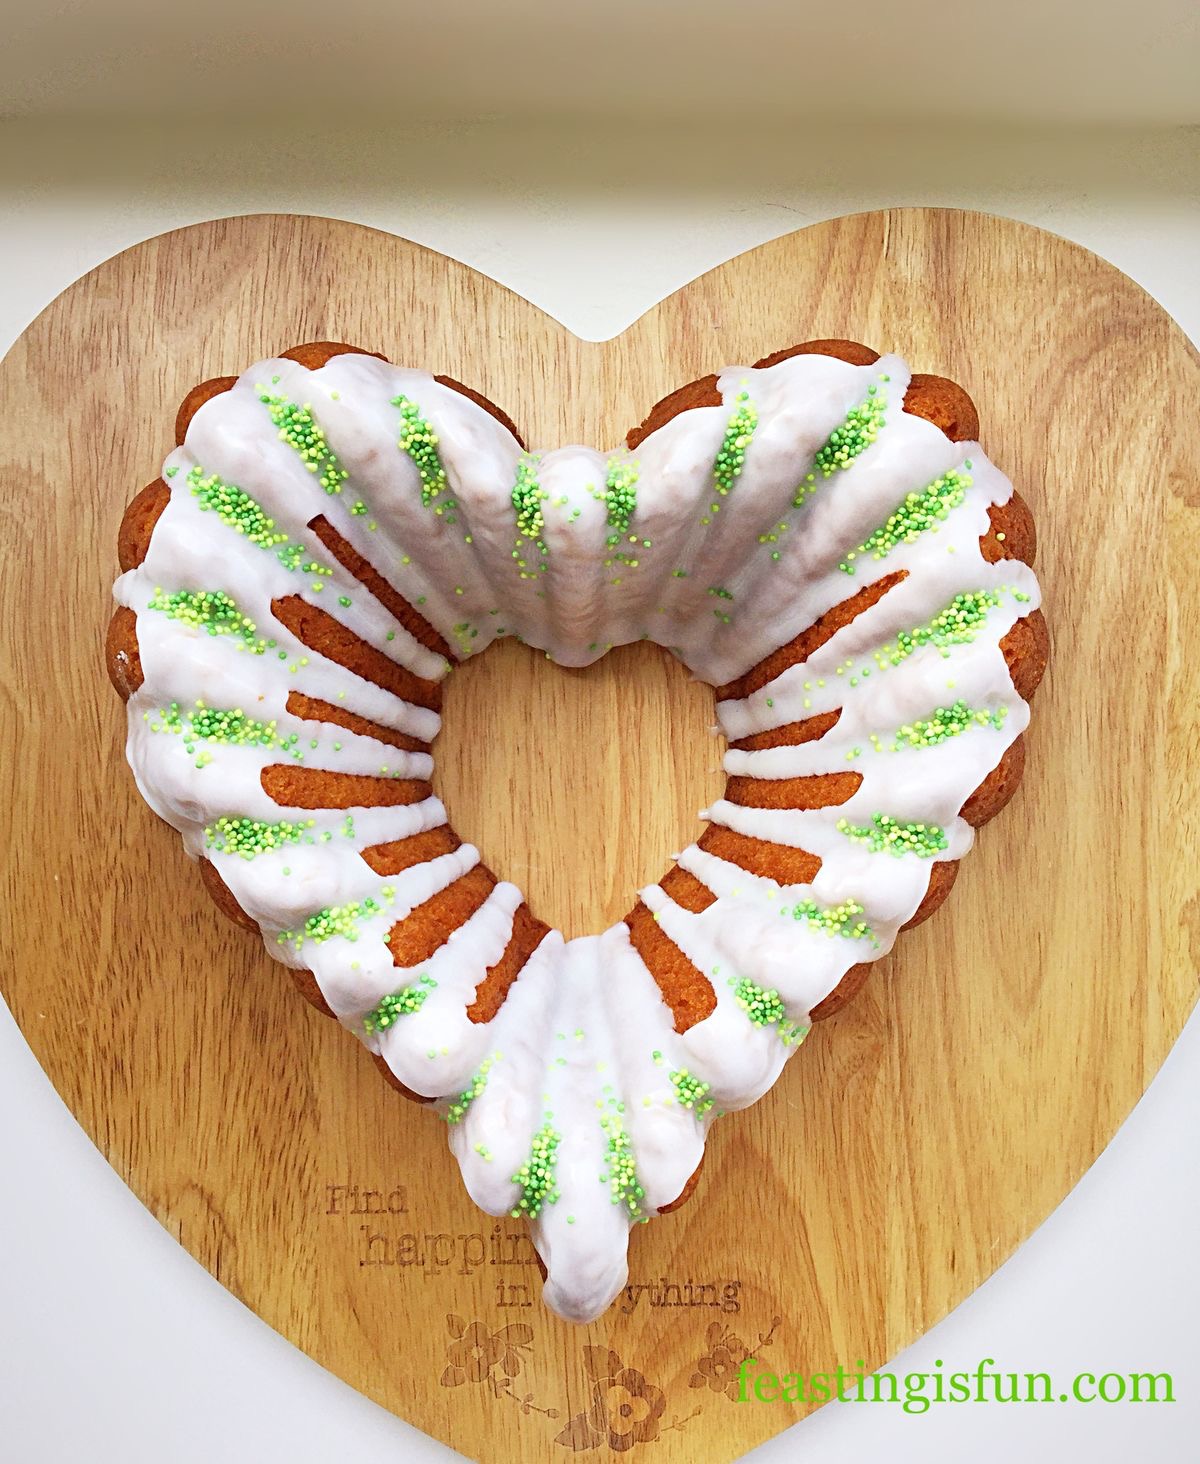
Lemon Lime Gin Heart Bundt Cake
Most importantly these Pink Heart Topped White Chocolate Cupcakes have a simple recipe, available to all bakers regardless of skill level. Because, everyone should be able to create something beautiful and delicious to share with those they love. And, even those who are too shy to say how they feel, or write it in a card, can make a cupcake that says it all. Because, who knows, baking a cupcake could break down awkwardness between someone and their secret love. Ah the romantic in me is running away with itself!
However you spend Valentines Day, I would like to thank each and every one of you who reads, comments and supports Feasting is Fun. Because, you are all very much appreciated, every single day of the year.
So, whatever you are making, baking and creating in your kitchens, have fun creating and sharing your feast.
Sammie xx
No part of this post may be reproduced or duplicated without the written permission of the owner. Please see my Disclosure Policy.