Hello, big apologies for not posting recently. Birthdays (mine included!), Christmas preparation, children breaking up from school, flu bugs etc have simply left me with zero time to write. Finally I was able to decorate our Christmas cake, so I thought I’d let you Meet Our Penguins!
However, I’m back and have been up since 4.30 this morning. So I thought I’d finally get round to icing our Christmas cake.
Today I woke up early and popped downstairs, in the beautiful, peaceful, quiet of a sleeping house and set about decorating our cake. And most importantly, giving our Penguins and Snowman a playground! So that you can Meet Our Penguins!
I will take you through, step by step, the fun I had decorating this years Christmas cake. The cake covered in this tutorial is a traditional Christmas fruit cake. I will try to get the recipe posted in the next couple of weeks. So, please don’t worry, as it’s not necessary to bake your cake 3 months before Christmas. In fact, I’ve baked ours in the week leading up to Christmas before!
Ingredients To Cover An 20cm/8inch Deep Fruit Christmas Cake
3-4tbsp Apricot Jam
500g/1lb 20z Ready Made Marzipan – golden or white
750g/1lb 10oz Fondant Icing also known as Sugar Paste
Coloured fondant for contrast – optional
A selection of Christmas decorations to place on top of your cake
Edible glitter – optional
Preparing The Christmas Cake To Meet Our Penguins
First of all place your Christmas fruit cake on to a cake board or flat cake plate or stand.
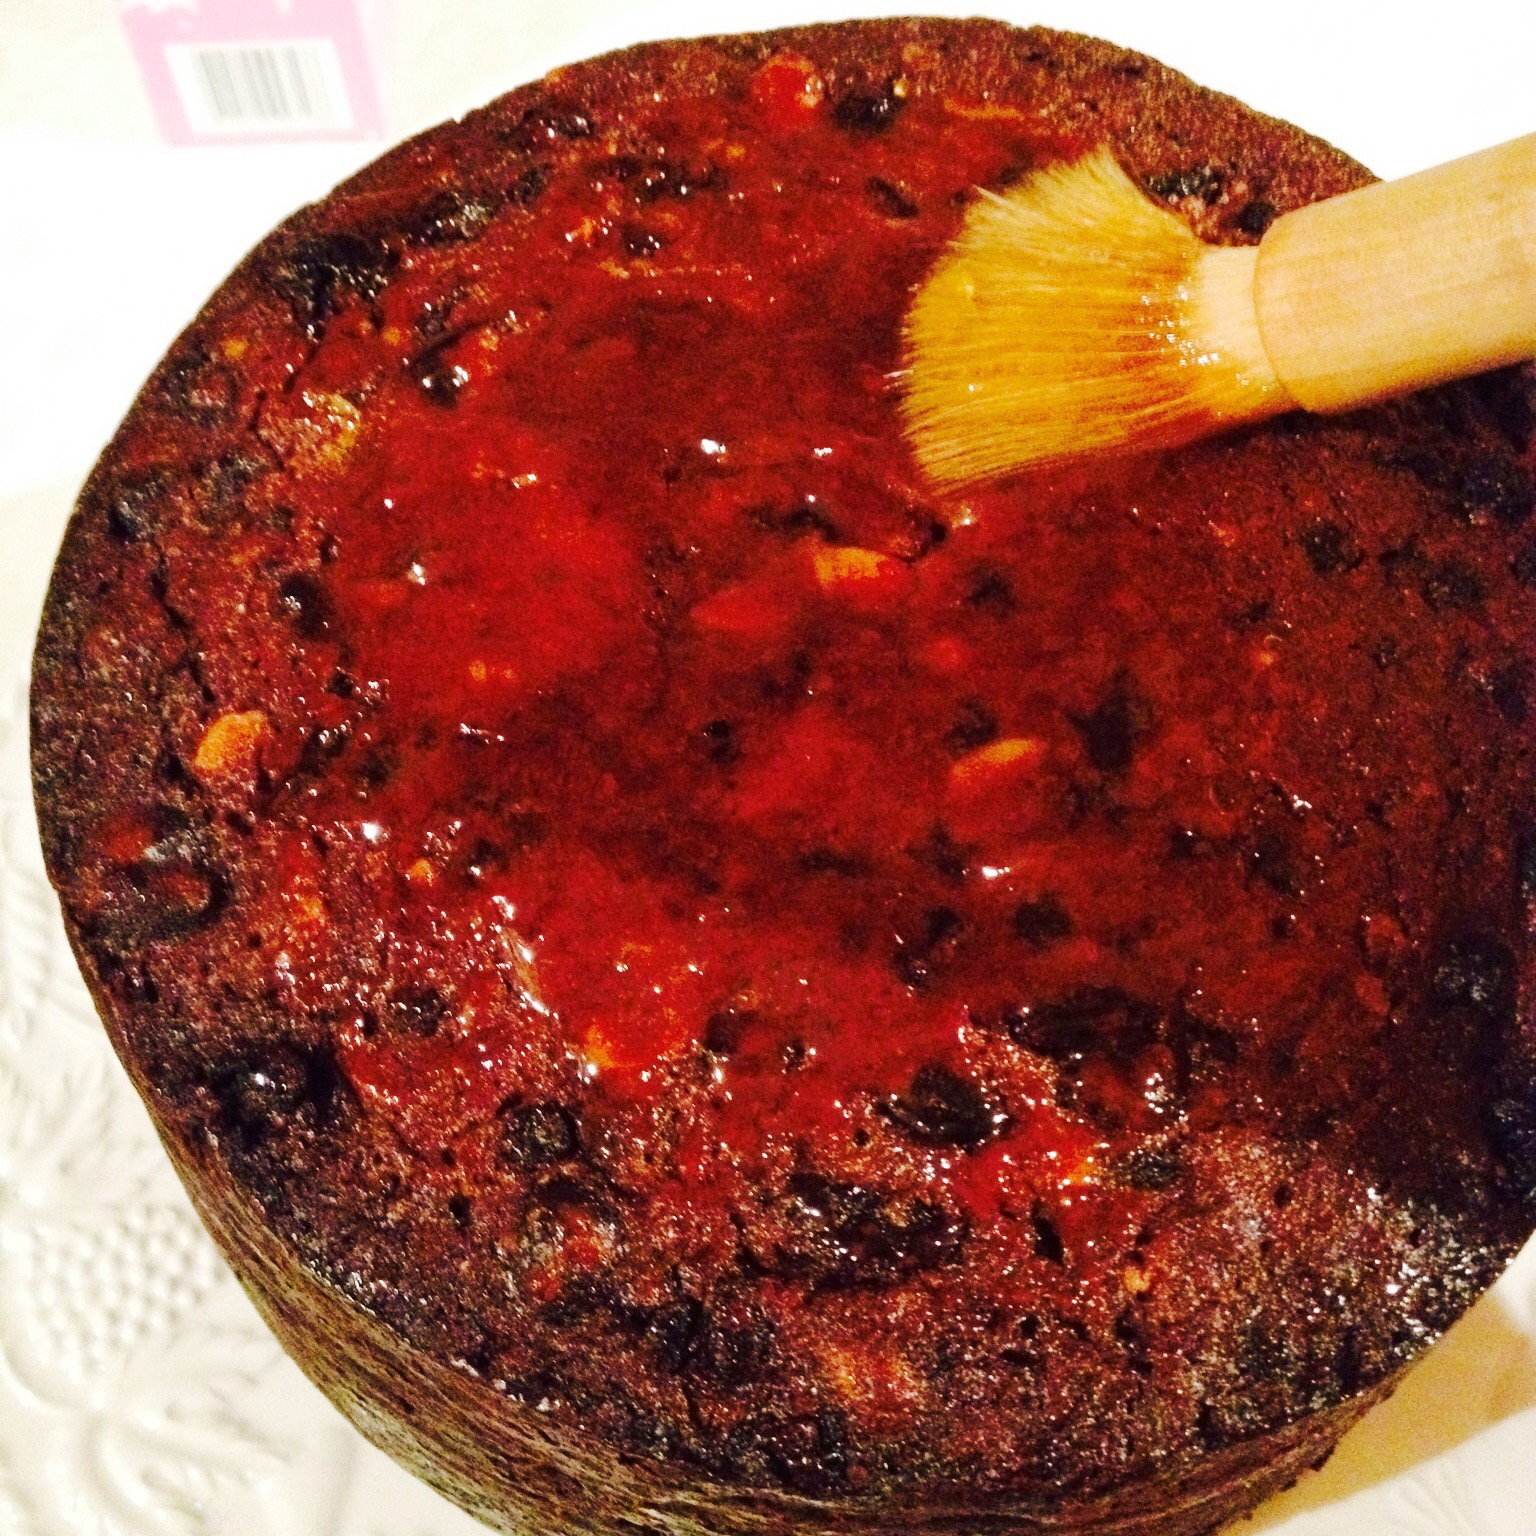
Next, heat 3 tablespoons of apricot jam in a saucepan, on a low heat, until the jam is slightly runny. At this stage you can then sieve the jam to remove any lumps. I didn’t bother as the jam I’d bought was fairly smooth and it was 5am and I really couldn’t be bothered! But feel free to sieve if you want to. Remember, the jam is there as a ‘glue’ for the marzipan to stick to, nobody will see it!
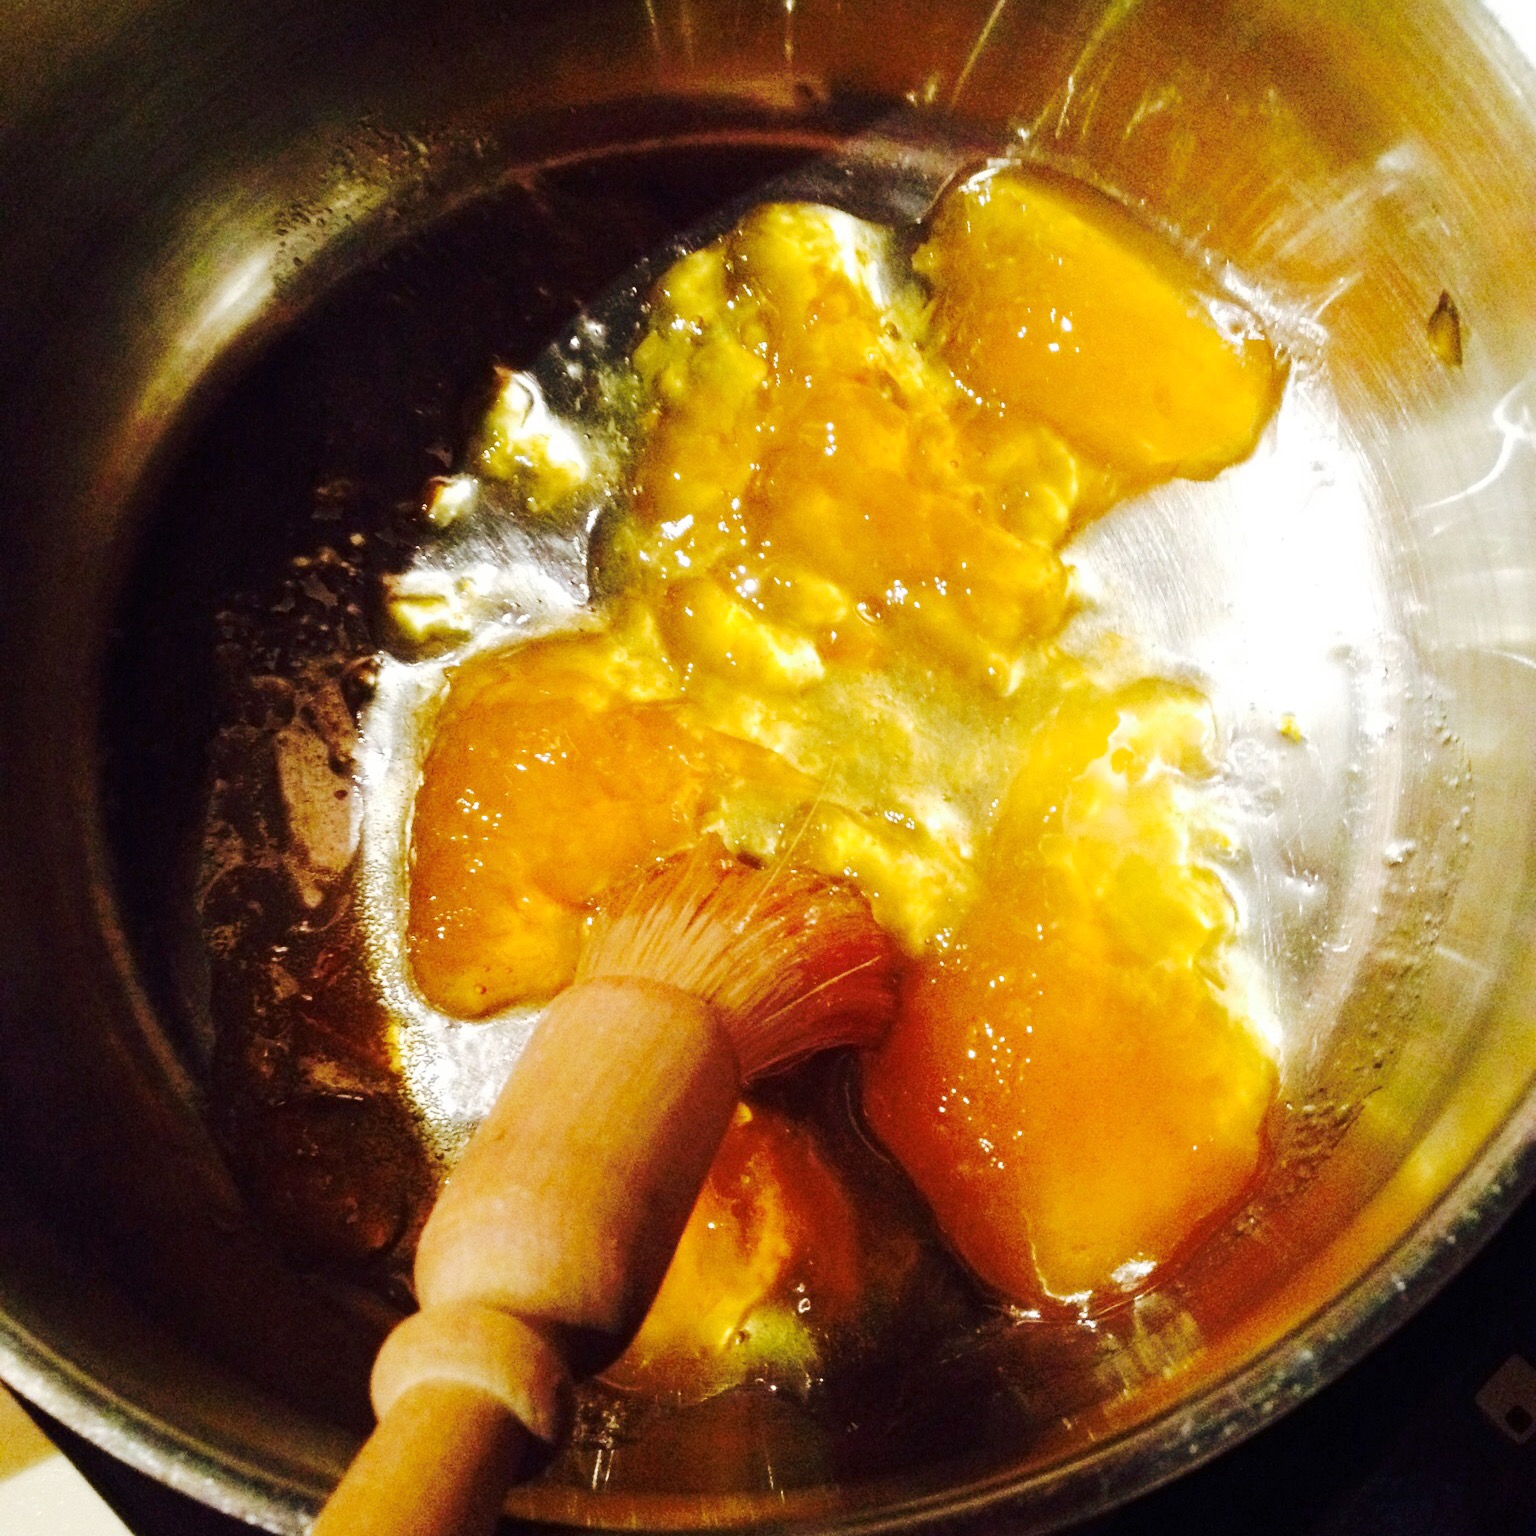
Next, using a pastry brush, completely slather the top and sides of the cake with jam. Don’t worry if some drips on the board as this can be wiped off later. Most importantly is to cover the cake thoroughly as the jam will act as the ‘glue’ to which the marzipan sticks.
Covering A Christmas Cake With Marzipan
Preparing The Marzipan
Unfortunately Marzipan isn’t as flexible as fondant icing. And it has a tendency to tear when rolled into a large disc and draped over the cake, which is the method I use for fondant. Because the marzipan will be covered by the fondant icing, I use a different method.
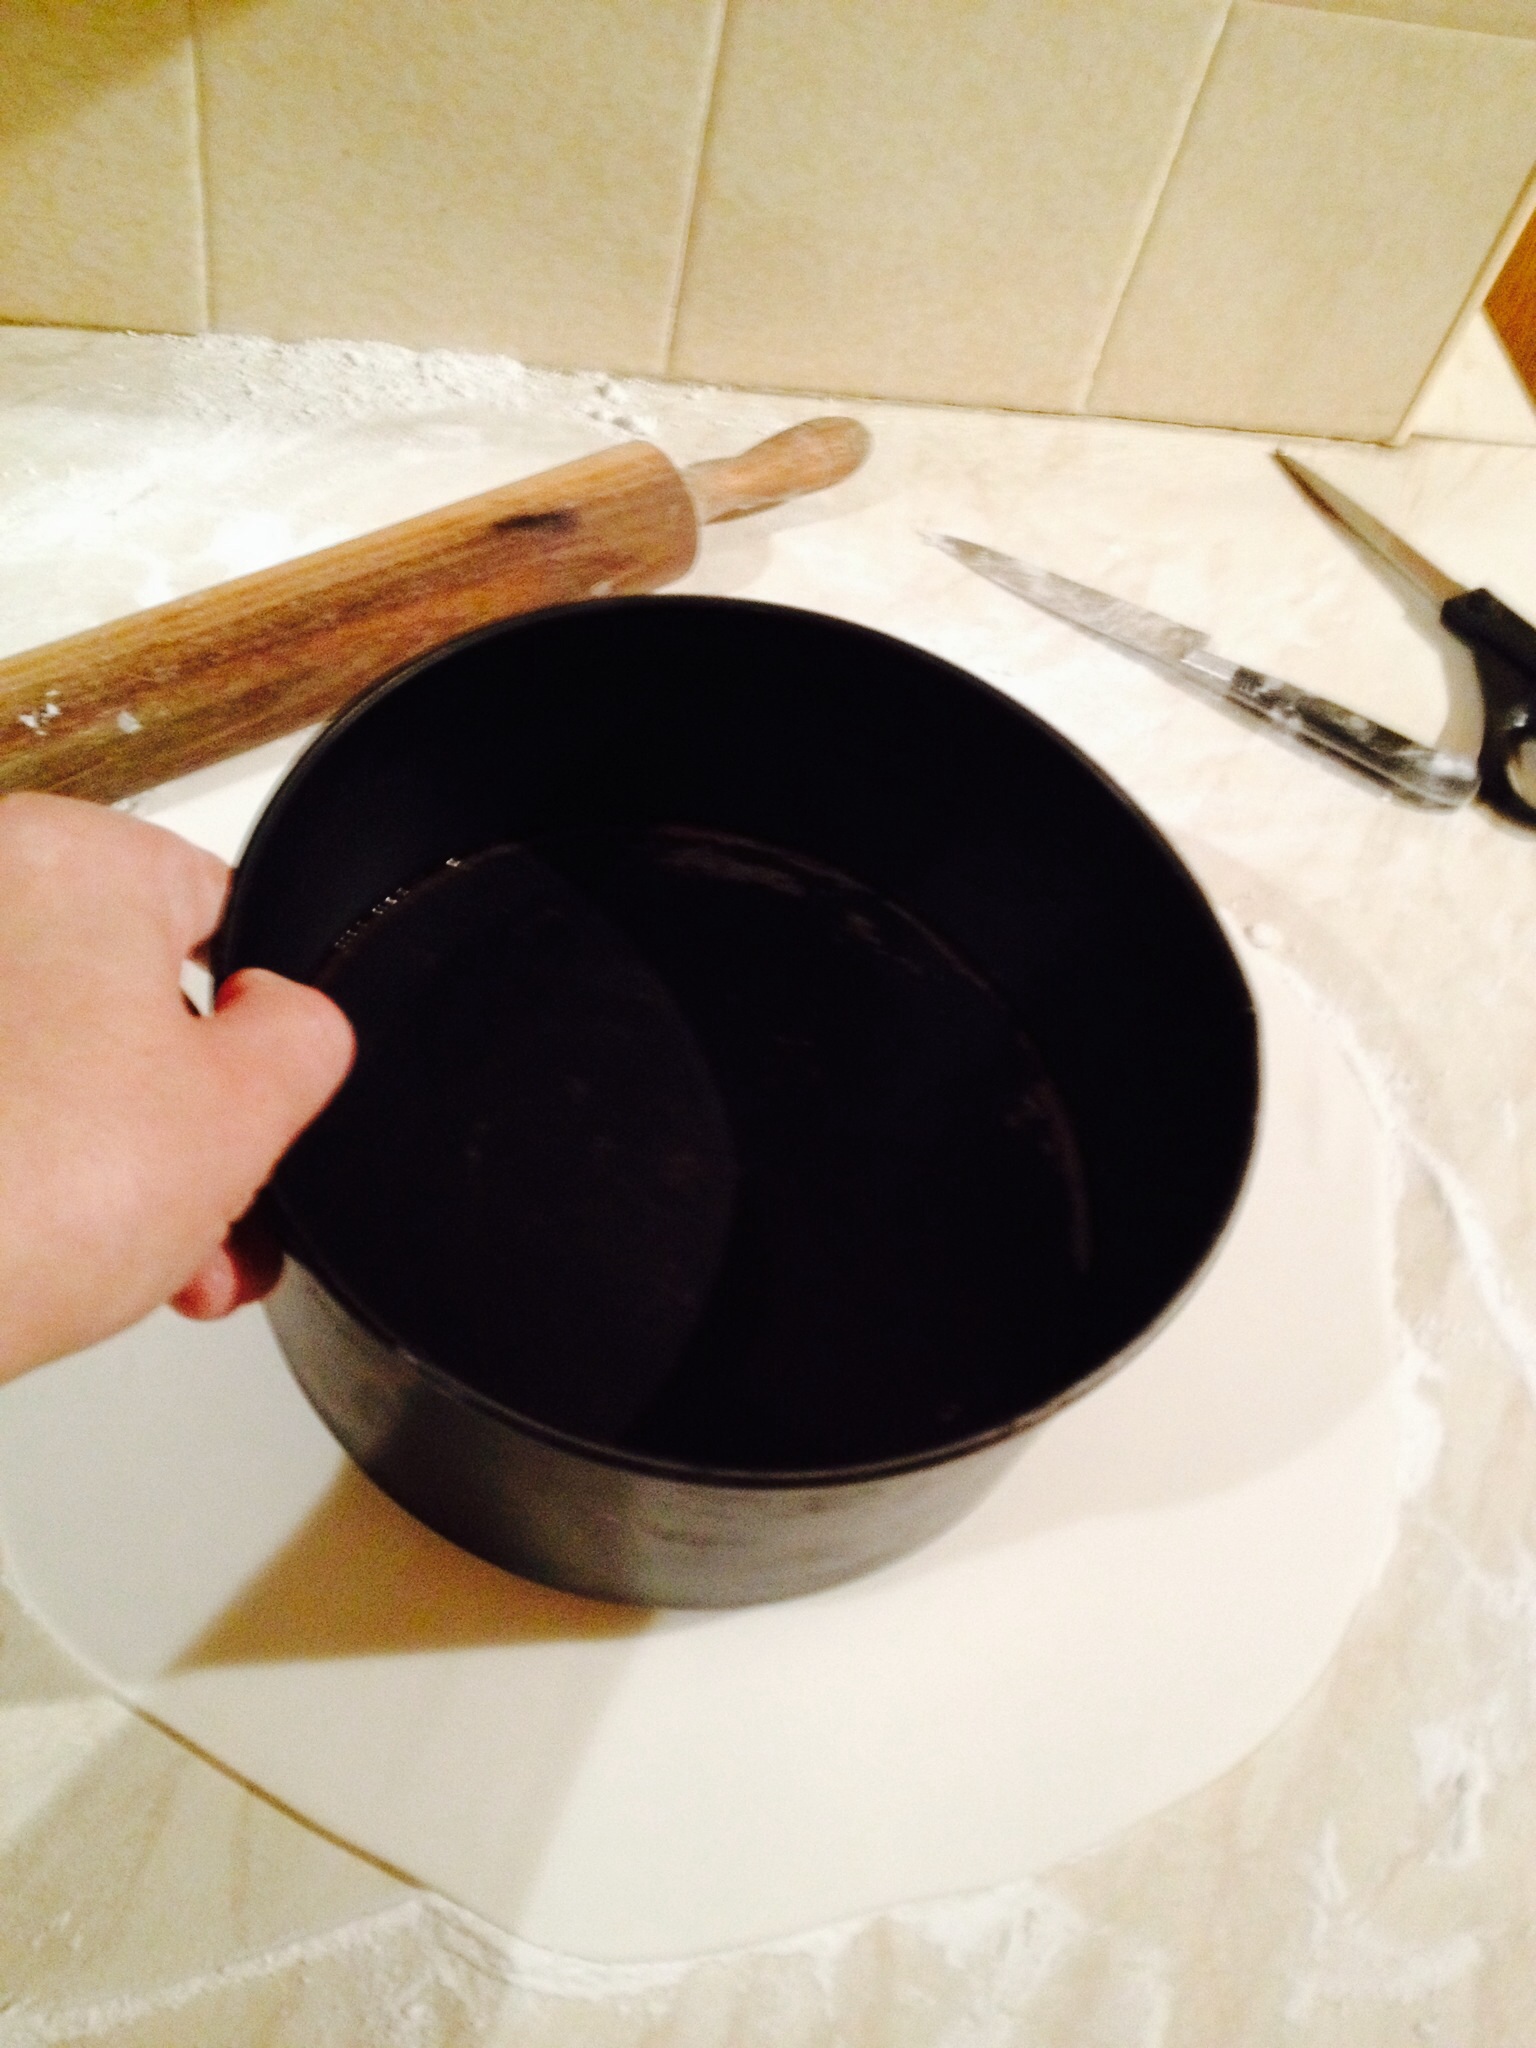
First of all make sure that you have the cake tin in which you baked you cake to hand. As this will be used as a template for the top of the cake and a rough guide for the sides.
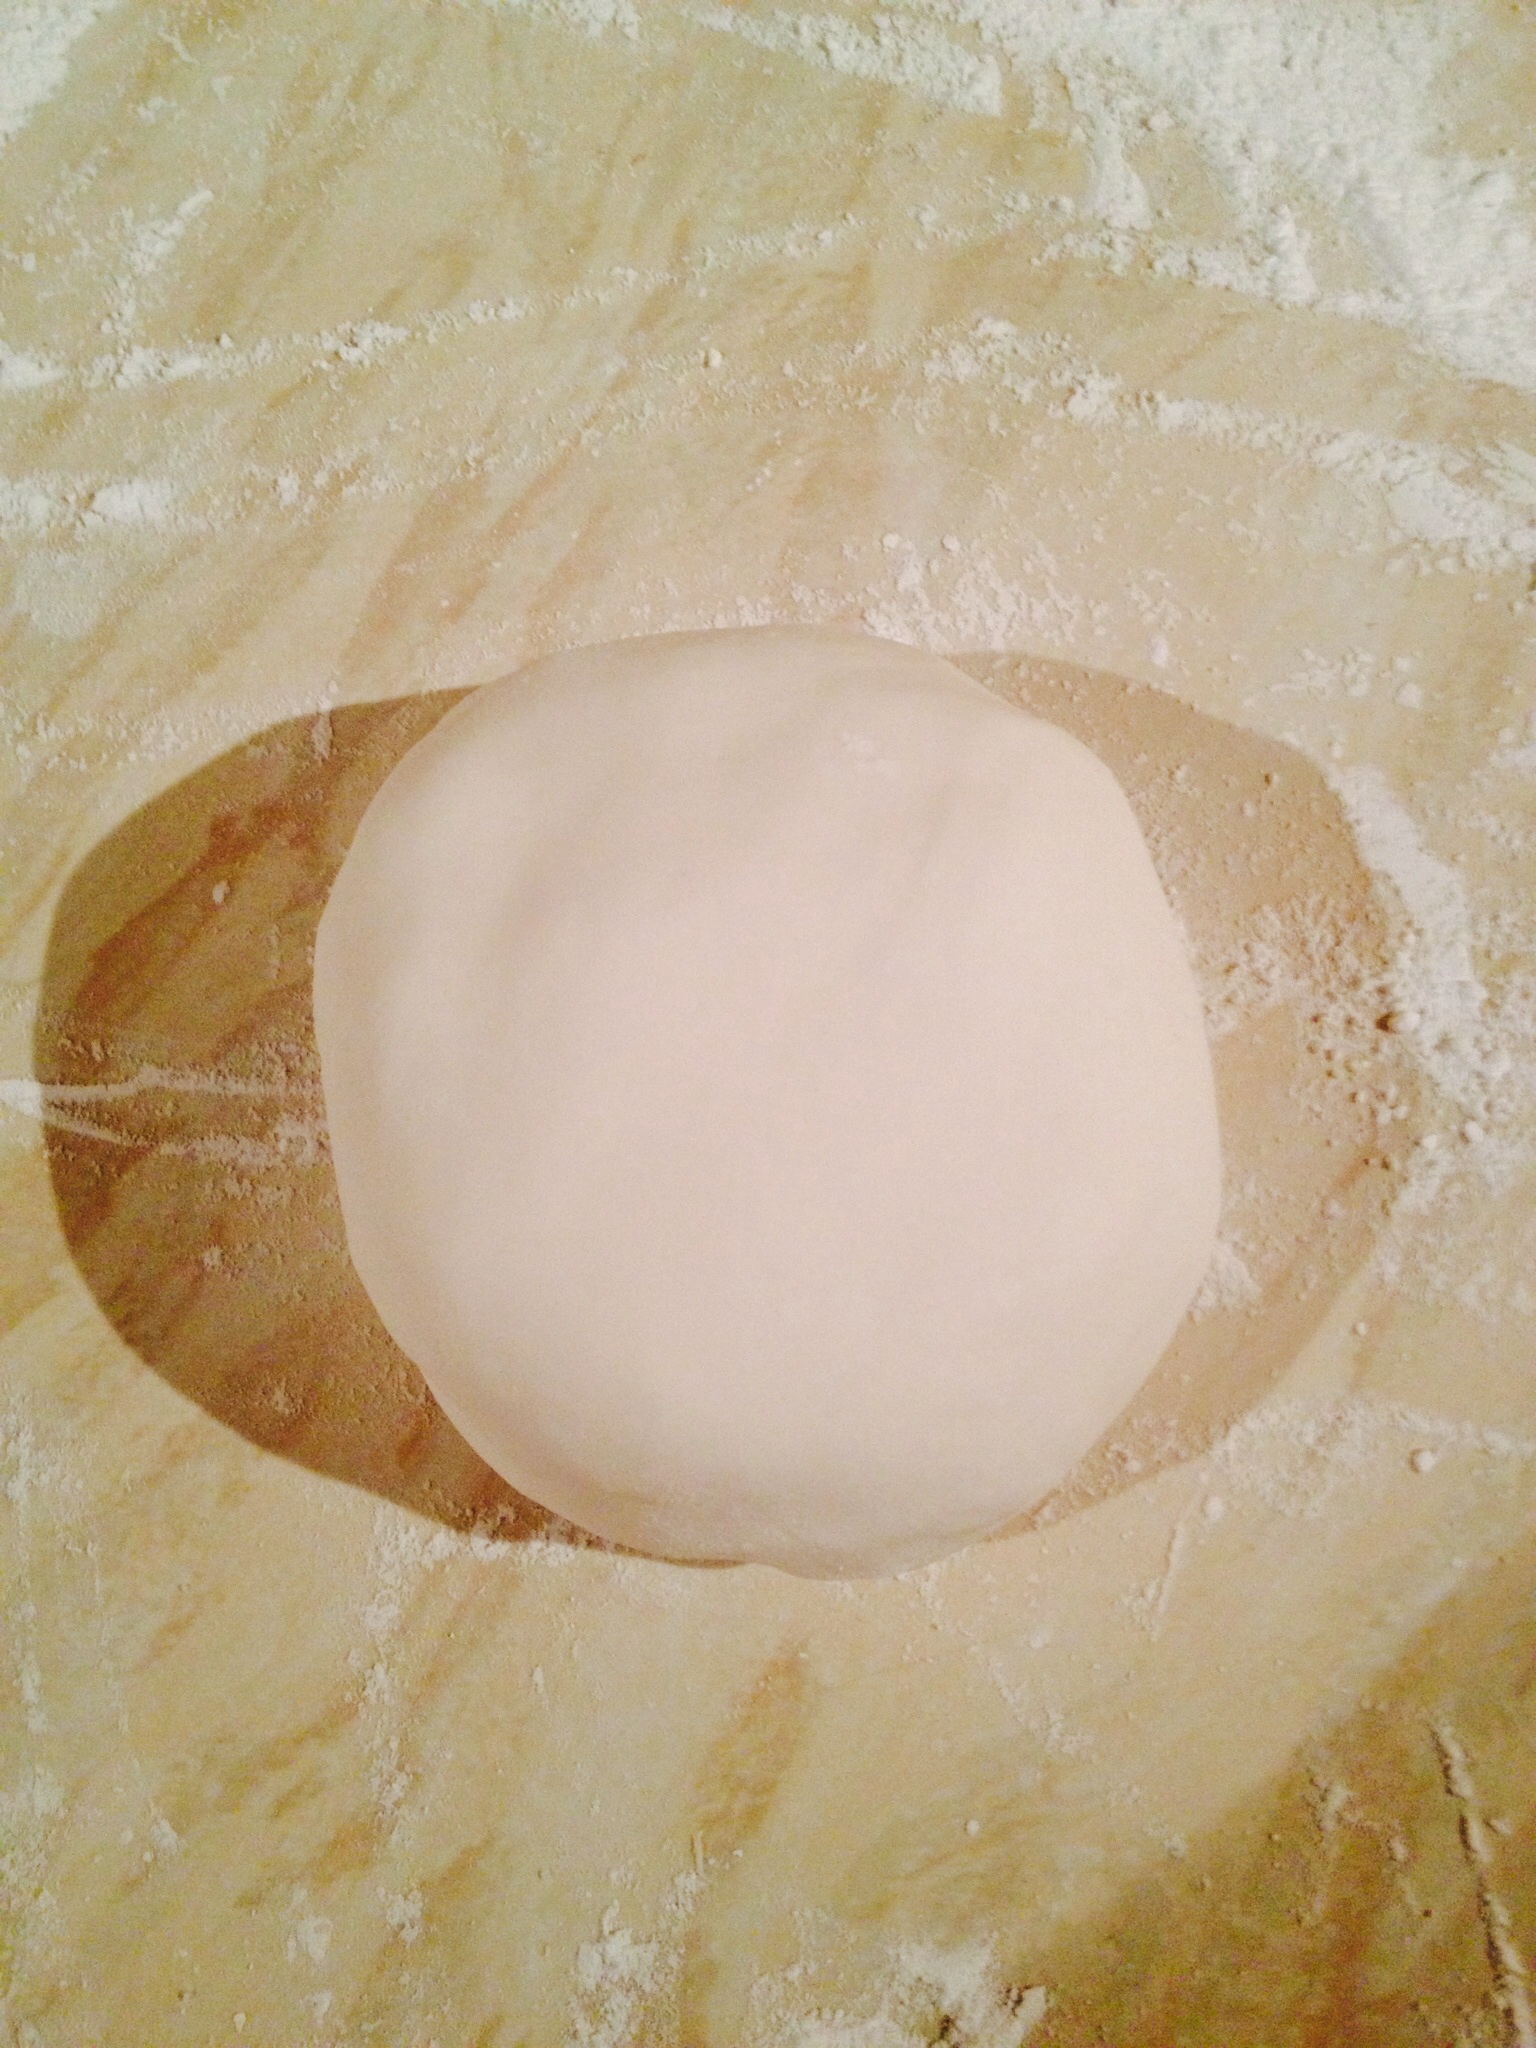
On a clean board or worktop, place a light dusting of corn flour. Also, dust your rolling pin. Take the Marzipan out of the packet. I found a 500g packet suitable for one cake. I bought the marzipan from.Waitrose. Lightly dust your hands with corn flour. Gently knead the marzipan so that it becomes softer and more pliable. As a guide at this point I divide the marzipan into 2 equal balls.
Rolling Out And Placing The Marzipan On The Cake
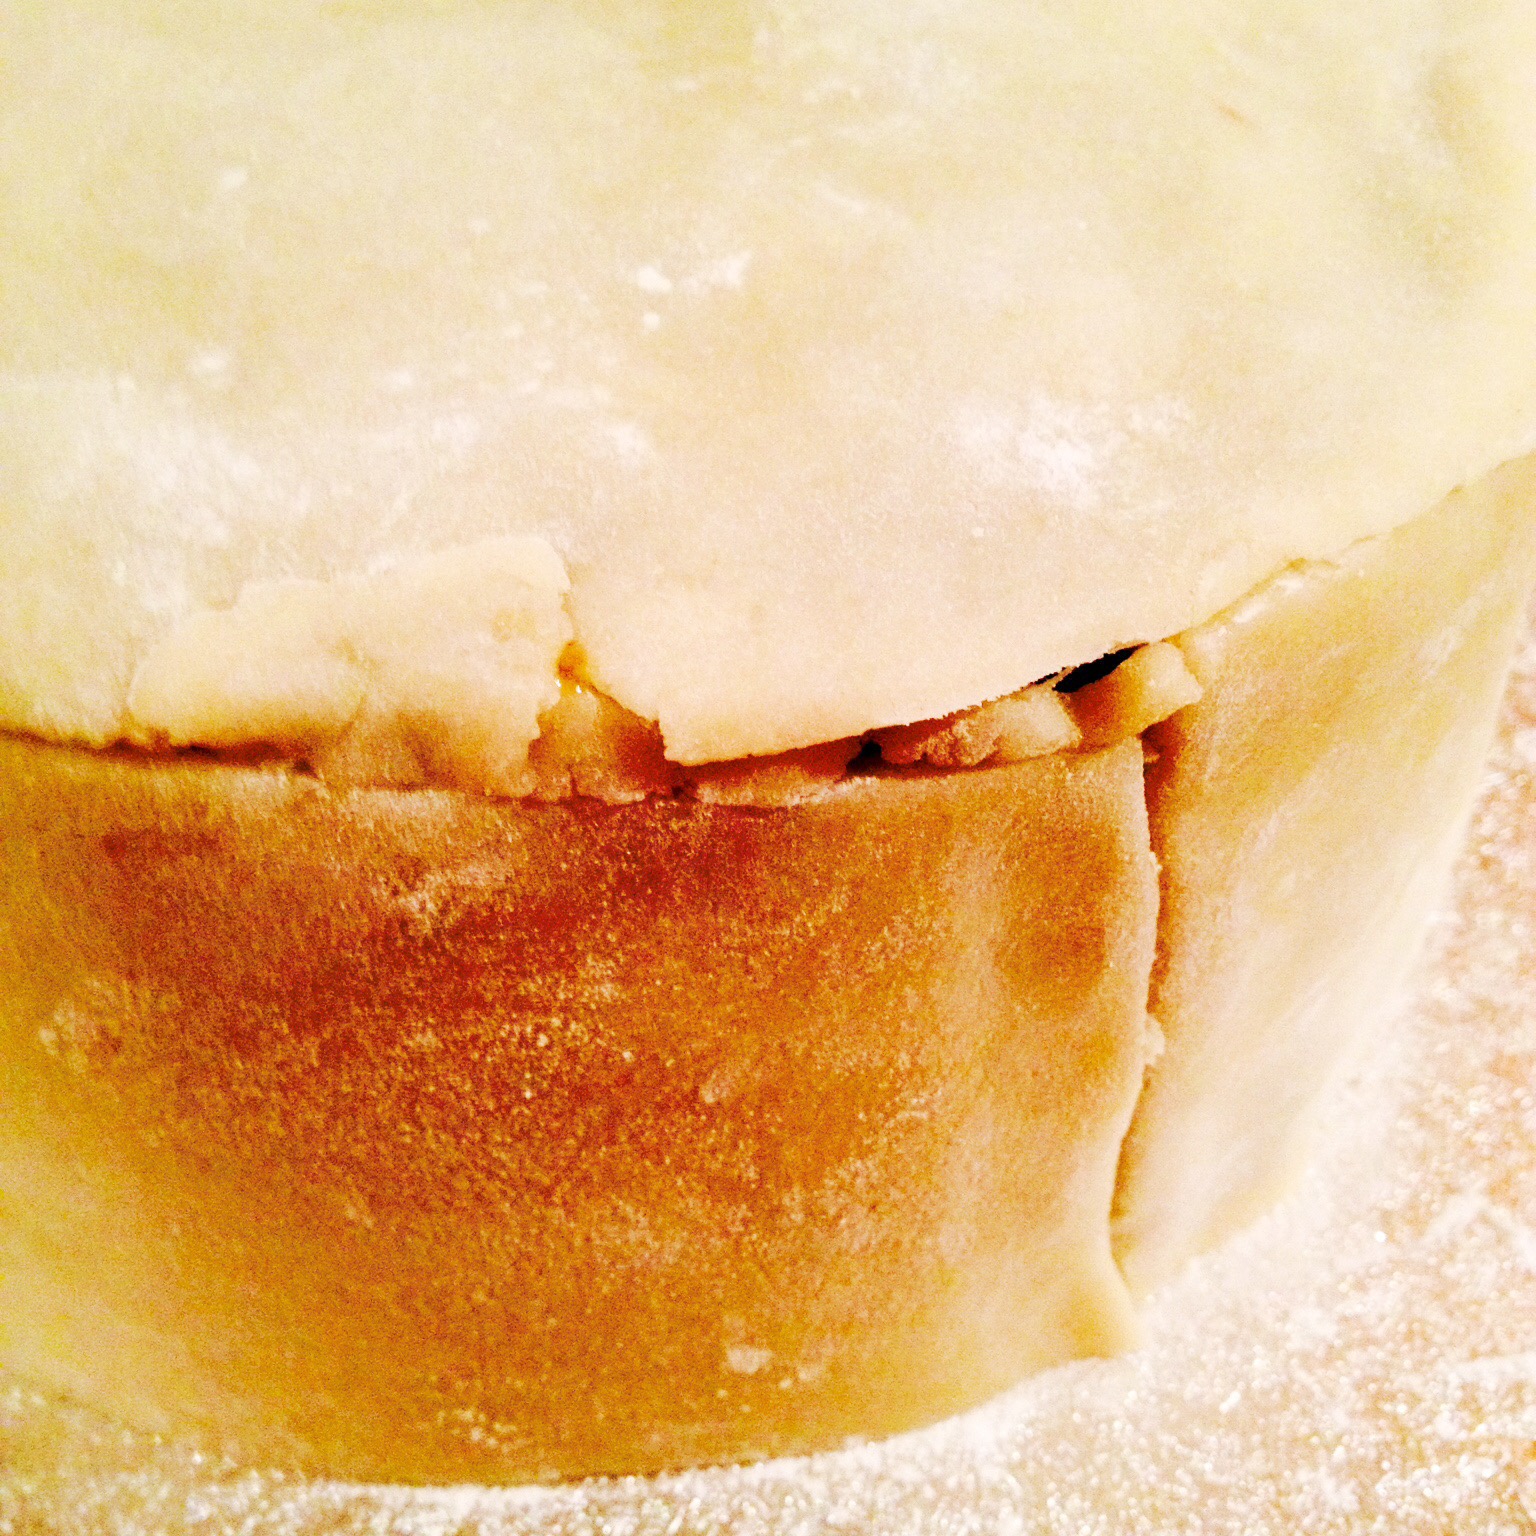
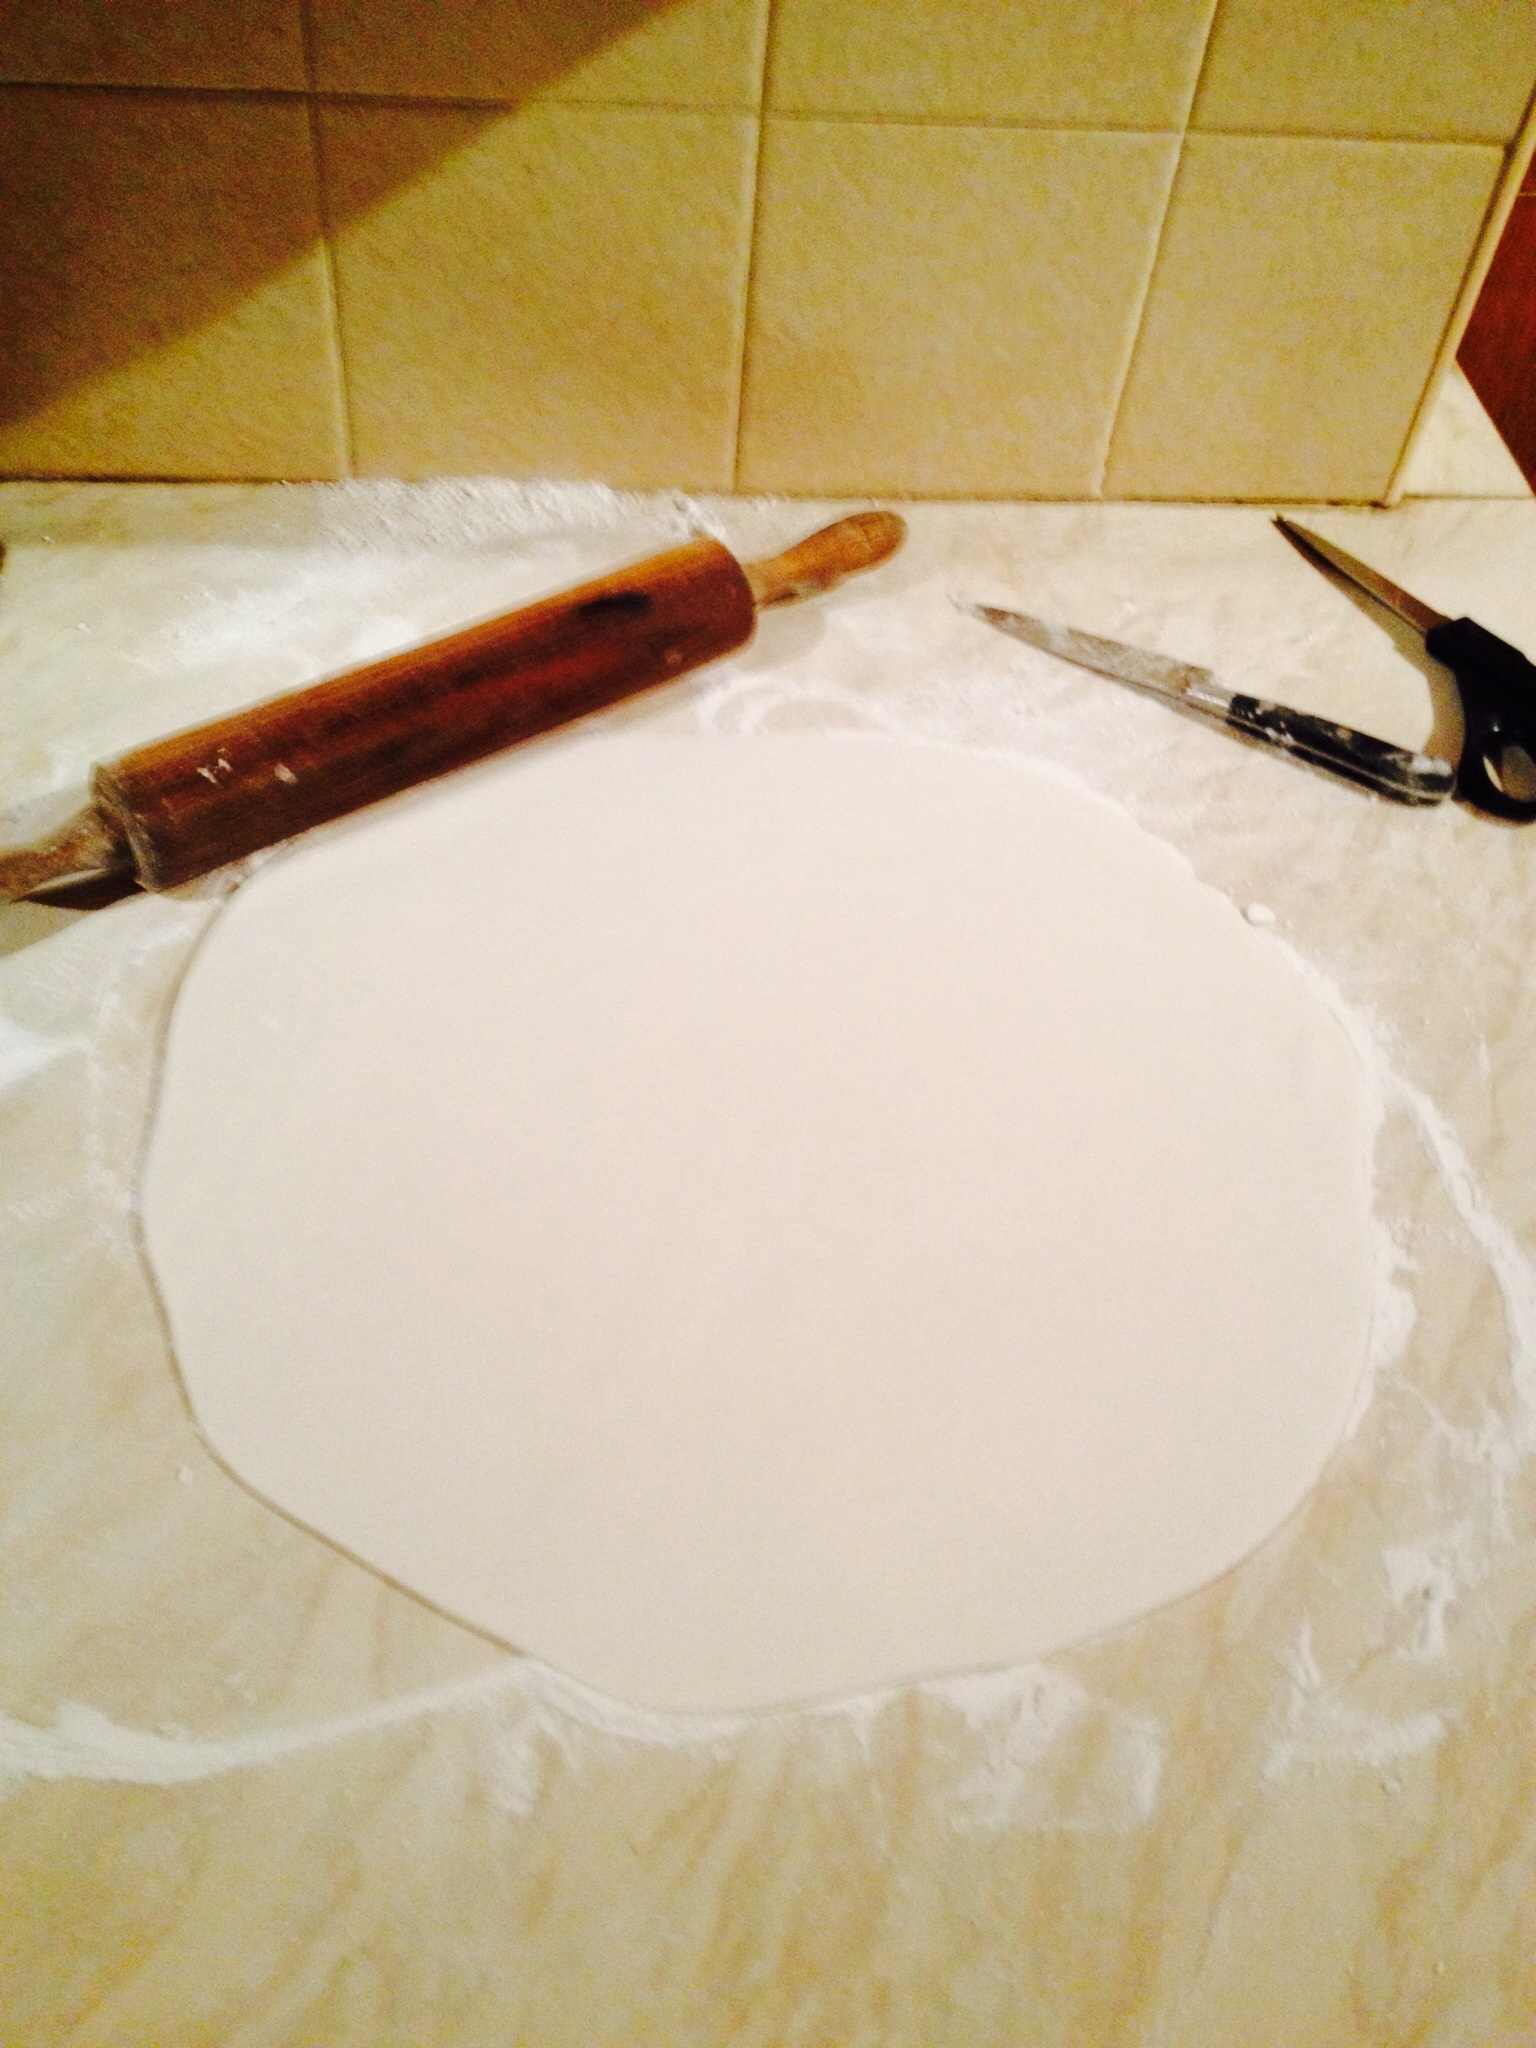
Roll out the first ball, taking care to make sure the marzipan does not become stuck to the worktop. When it looks roughly the size of the top of the cake place the cake tin on top of the marzipan. If it’s not quite big enough roll a little more until you have just over the size of the cake tin. Then using the cake tin as a template, place on top and cut around with a knife.
Using a rolling pin place the marzipan disc on top of the sticky cake.
Tip – if the disc isn’t centralised the jam will make it easy to slide the marzipan into the correct position.
Next shape the other half of the marzipan into a square. Roll until you have a long strip of marzipan, using the side of the cake tin as a guide. It’s very hard to get an even length, but don’t worry you then just trim the sides before placing the strip of marzipan around the side of the cake.

If there are any small gaps, use the off cut pieces of marzipan to fill them.
Covering A Christmas Cake With Fondant
Preparing and rolling out the fondant
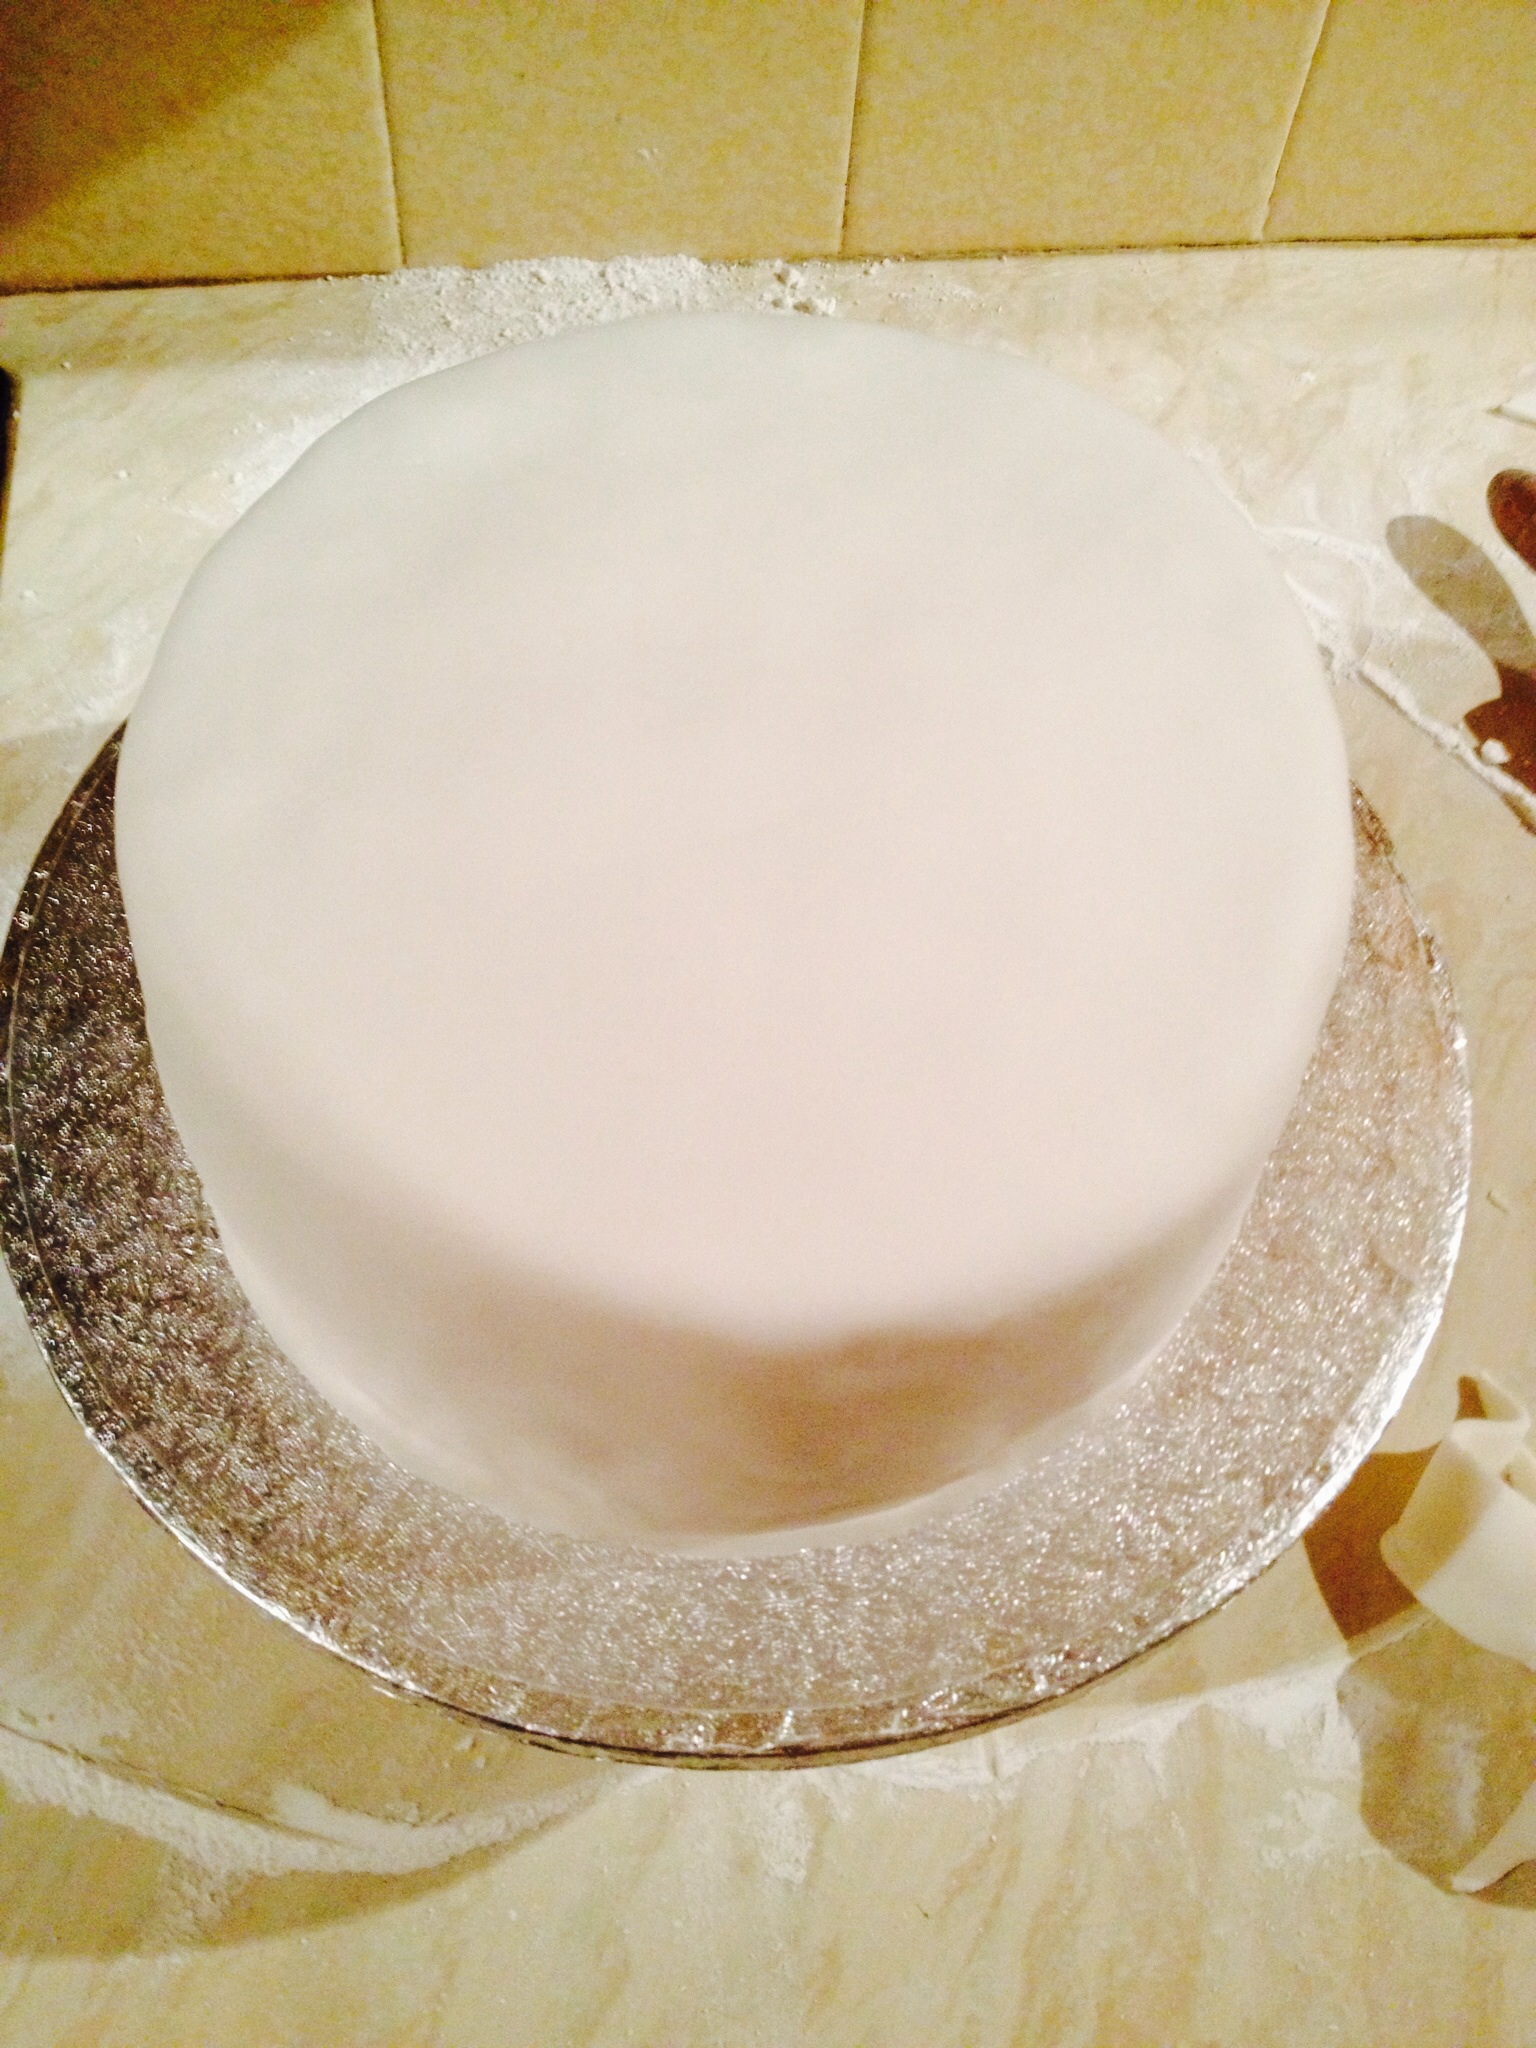
Now that the cake is covered in marzipan, the hard bit is over. Since covering with fondant is going to be super easy.
First of all completely clear and wipe down your worktop or board and rolling pin. When you’re working with white fondant, the tiniest speck of anything will show up. Even so, DON’T STRESS! Decorations can always be used to hide the odd speck!!
To cover the large cake I used 750g of White Fondant icing.
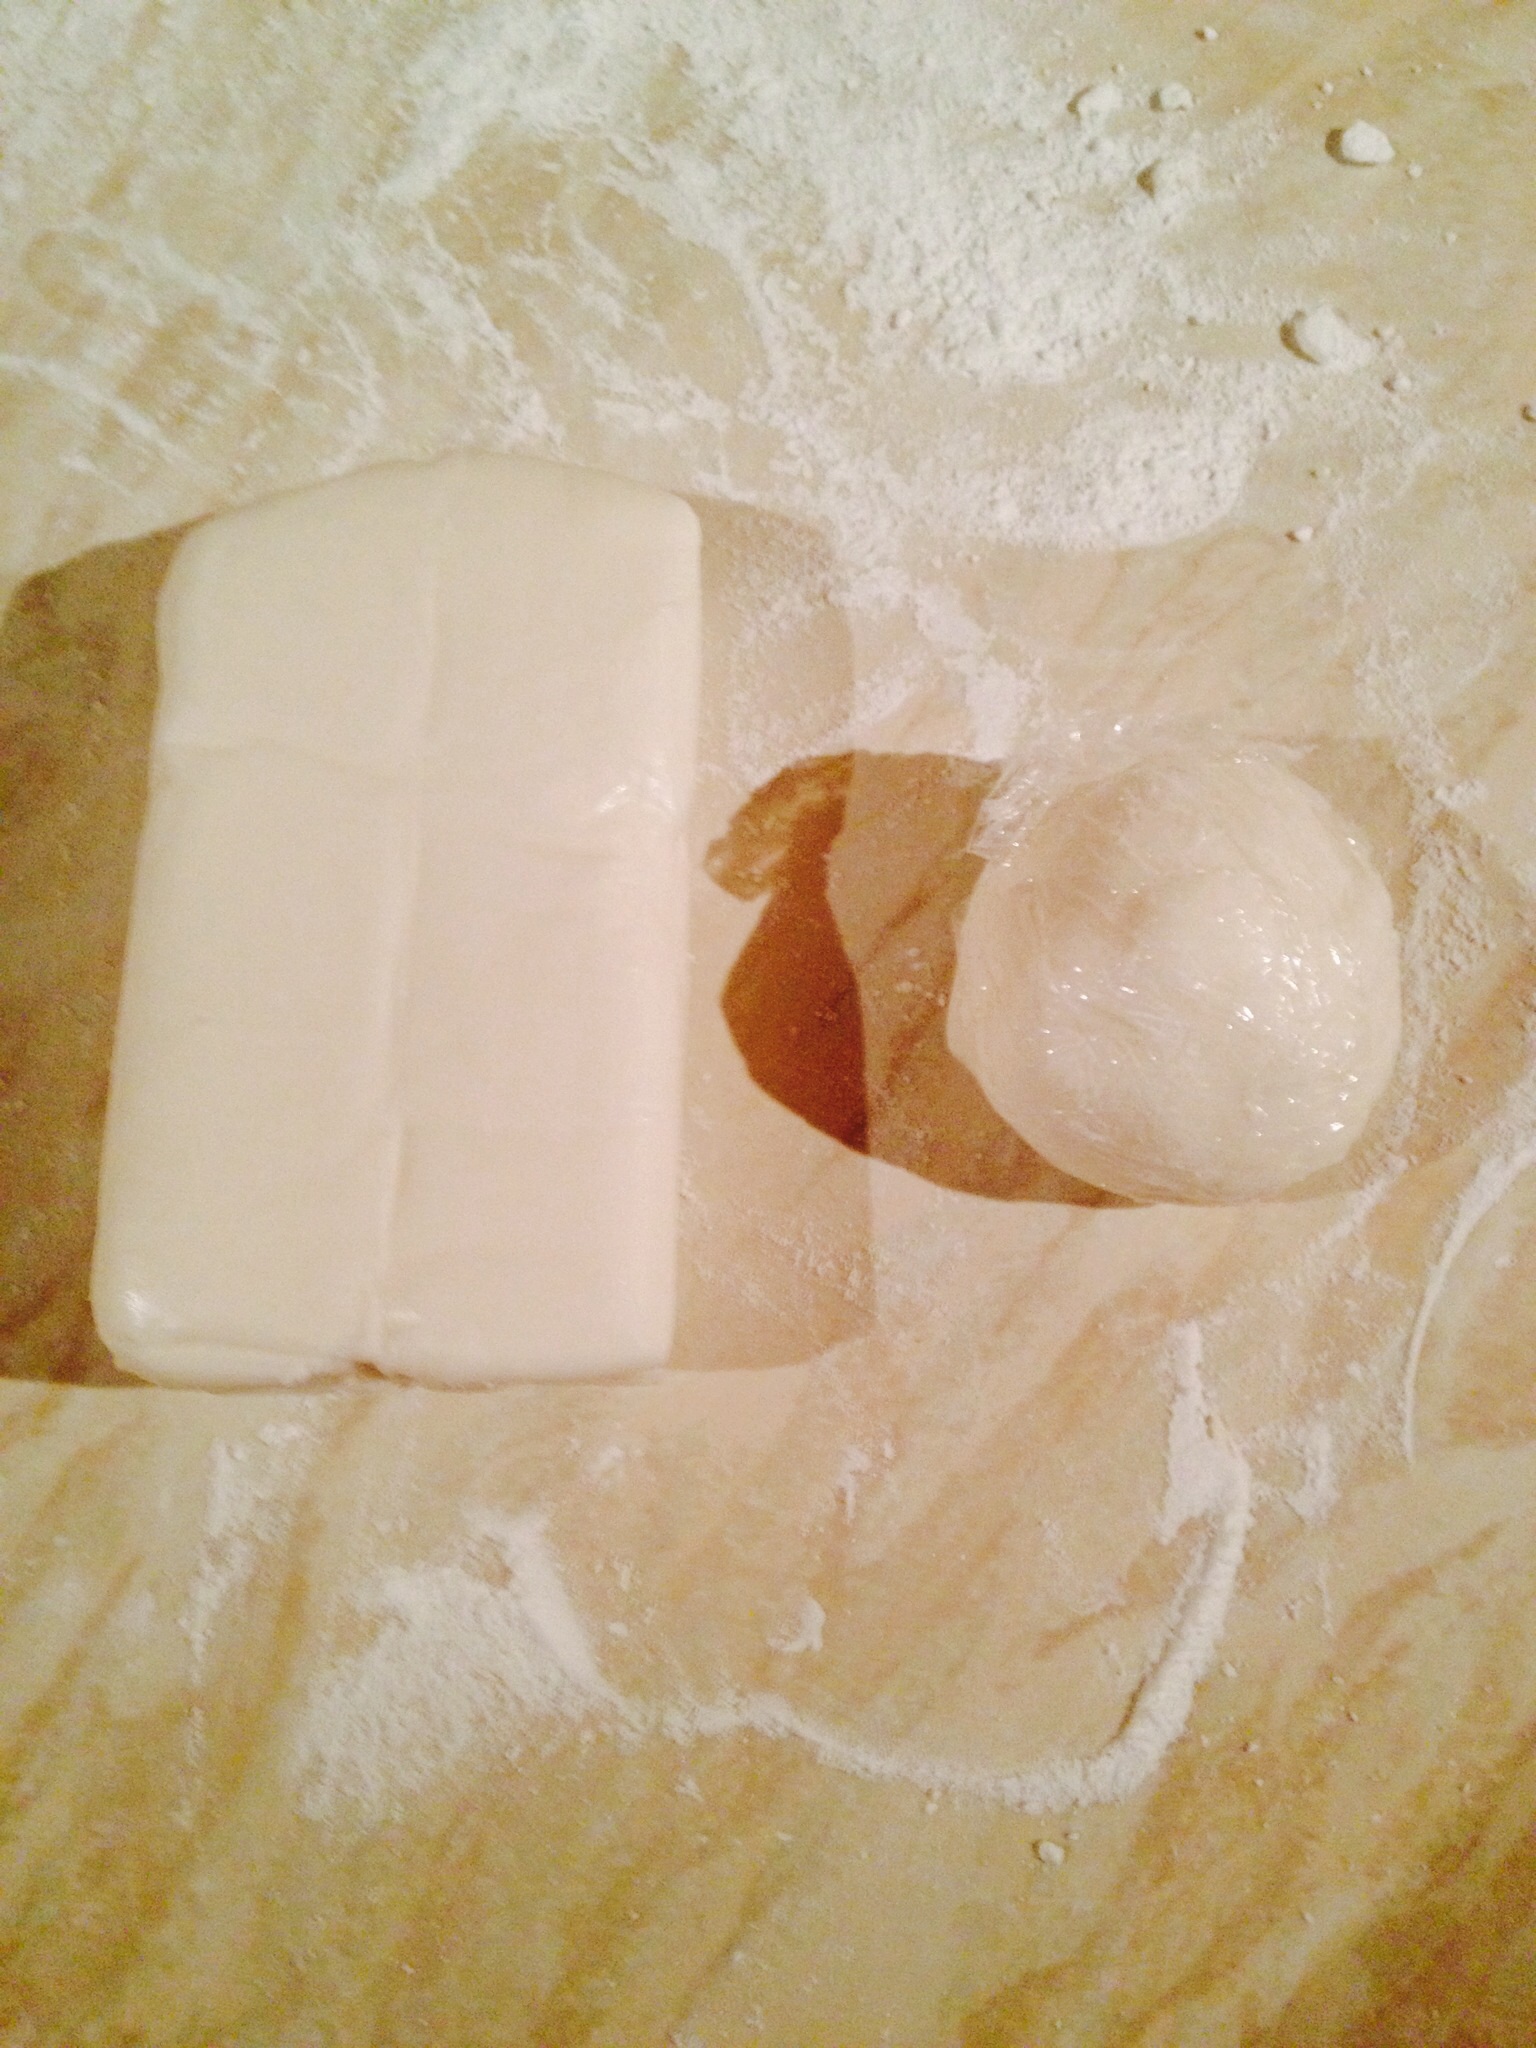
Knead the fondant with hands lightly dusted in corn flour. As soon as it is nice and pliable form into a ball.
Pat the ball into an even disc shape. Using your rolling pin, roll outwards from the centre of the disc, turning the disc by a quarter before rolling again. Ensure there is plenty of corn flour on the worktop so that the fondant moves freely.
Using the cake tin, again, as a guide, roll out the fondant so that it is wide enough to cover the top and sides of the cake, allowing a good extra couple of centimetres all round to allow for the marzipan layer.
If you prefer to be more exact with your measurements, add the width ( diameter = D) of the tin plus 2 x the height (H) of the tin plus 2cm.
D + (2 x H) + 2cm = Total width of rolled fondant.
Placing the fondant on to the cake
Use your rolling pin to drape the fondant over and carefully centralise over the top of the cake. Moving swiftly drape the fondant over the cake.
Note: if the fondant tears badly, remove and start again – the thickness should be that of a £1 coin. Too thick and the fondant will be too heavy and tear. And too thin and the fondant will not be strong enough to take the weight of draping.
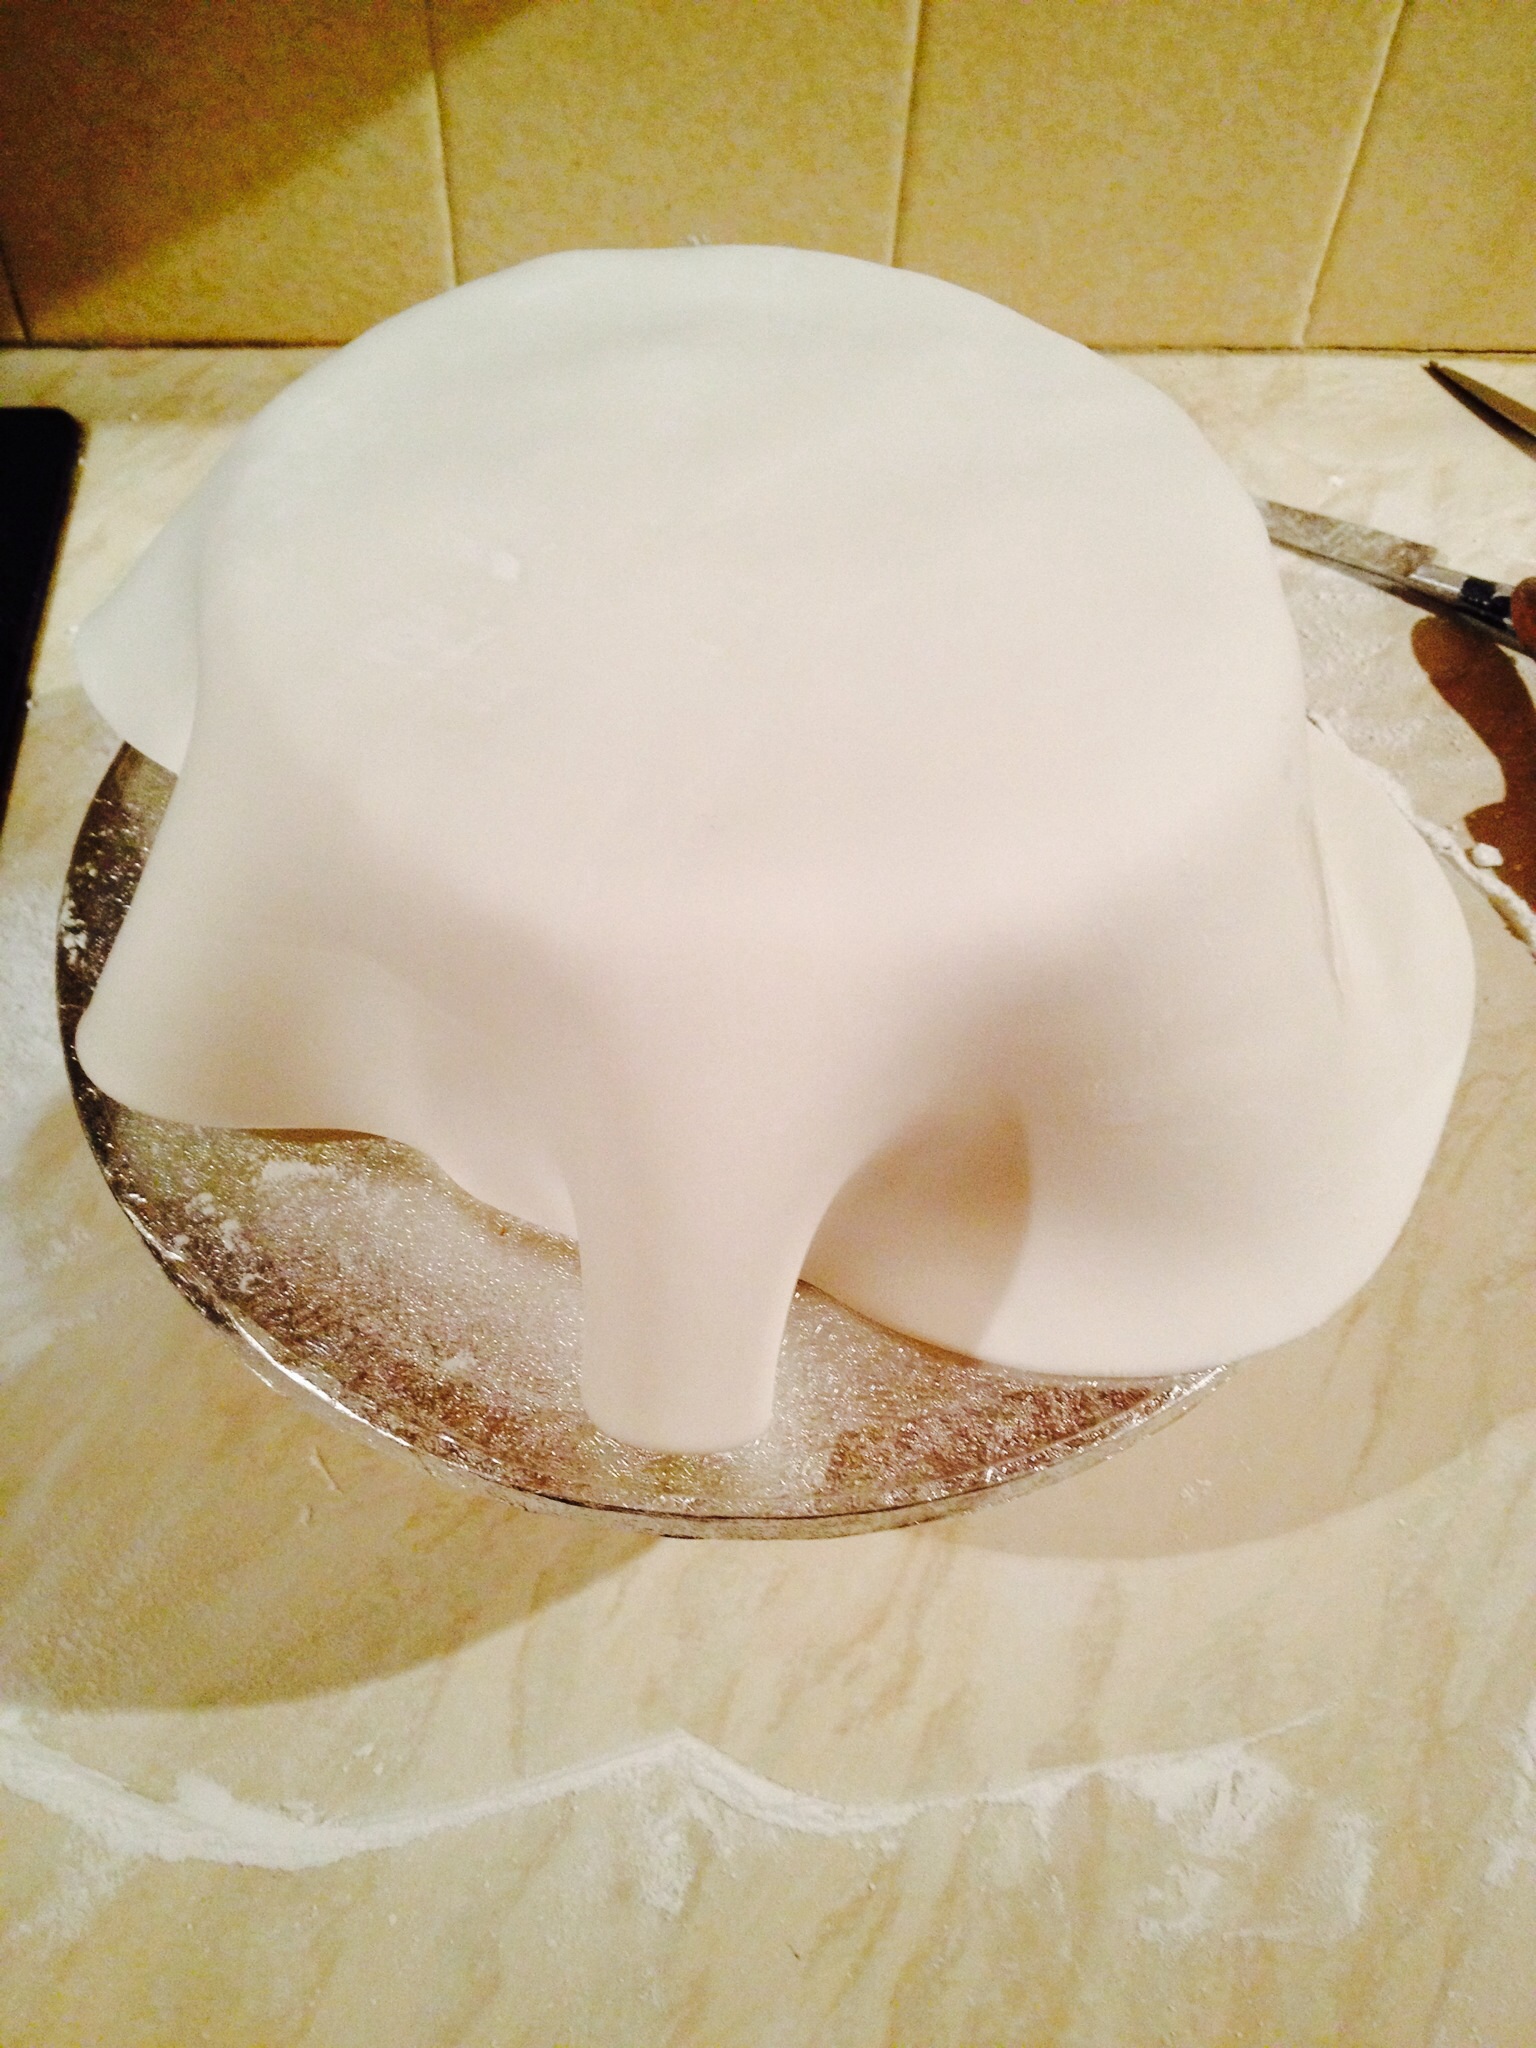
Working swiftly, use your hands to smooth the fondant over the top and sides of the cake. I found I almost had to ‘tuck in’ the sides of the cake. There will be excess around the sides, just keep smoothing and gradually a beautiful smooth, covered cake will begin to appear!
Using a small, sharp knife, cut away the excess fondant from the base leaving a good 1-2 cm of excess attached. Pat and tuck this fondant until the side of the cake is completely covered and using the fondant press down to form a seal with the cake board. This will help to keep your cake fresher for longer. However if, like me when covering my in laws cake, you have an uneven finish around the base, remember you can always cover it with ribbon!
DECORATING YOUR ICED CAKE
Using Fondant To Decorate The Cake
Seeing as I decided to go ‘off piste’ with my icing this year, usually I use Royal Icing, but on a whim, I decided to live dangerously and opt for Fondant icing. Since one of the Christmas cakes was a gift and I’d only ever used Fondant icing once before, I would say that counts as dangerous. But then I like to live life on the edge!
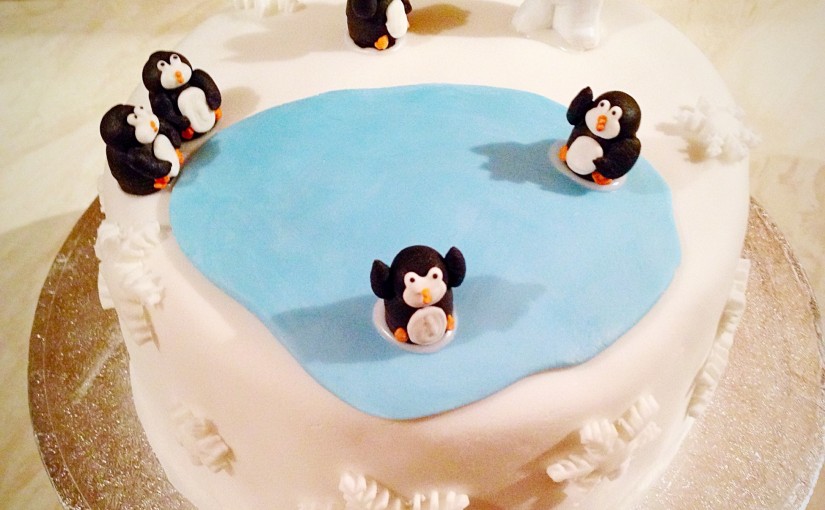
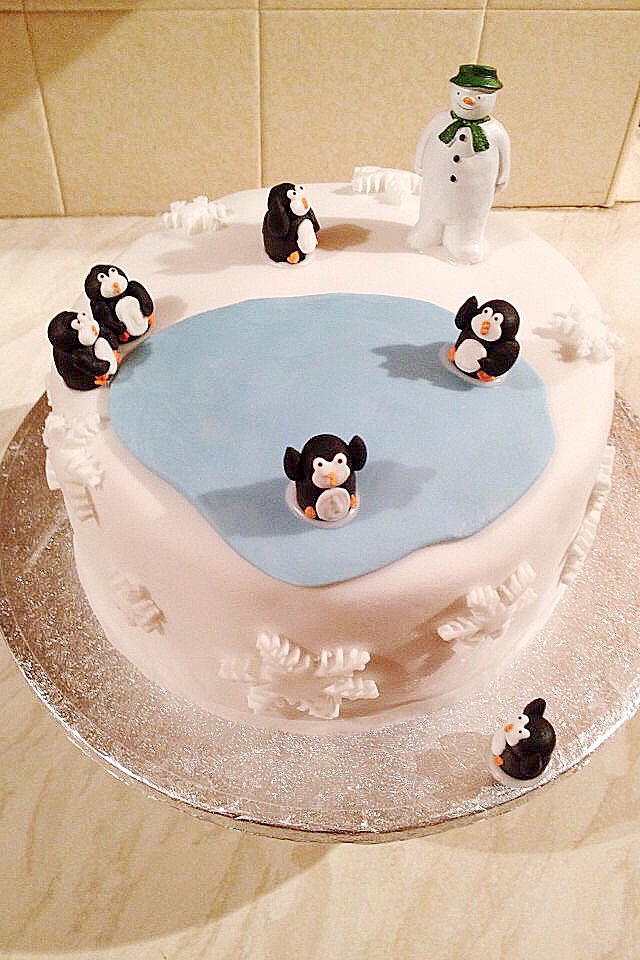
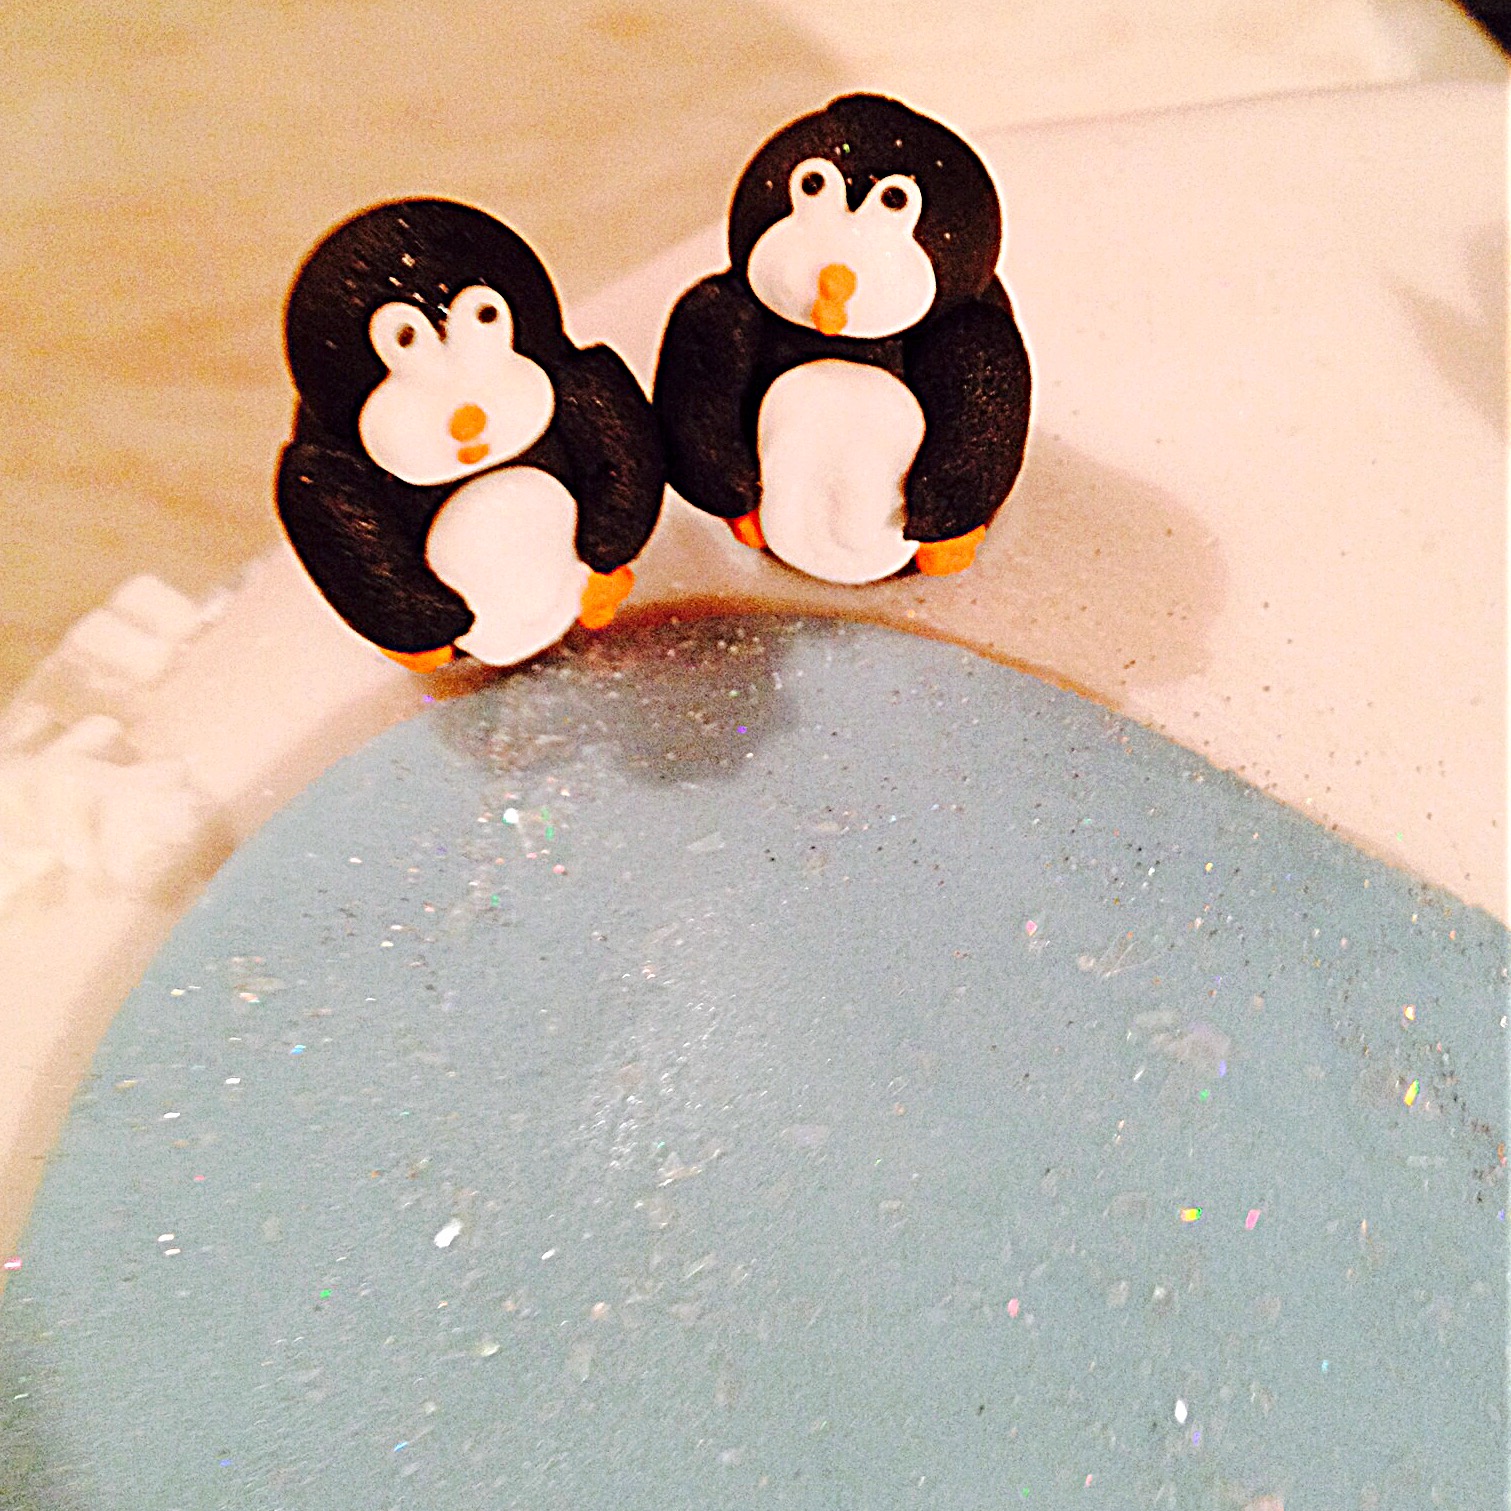
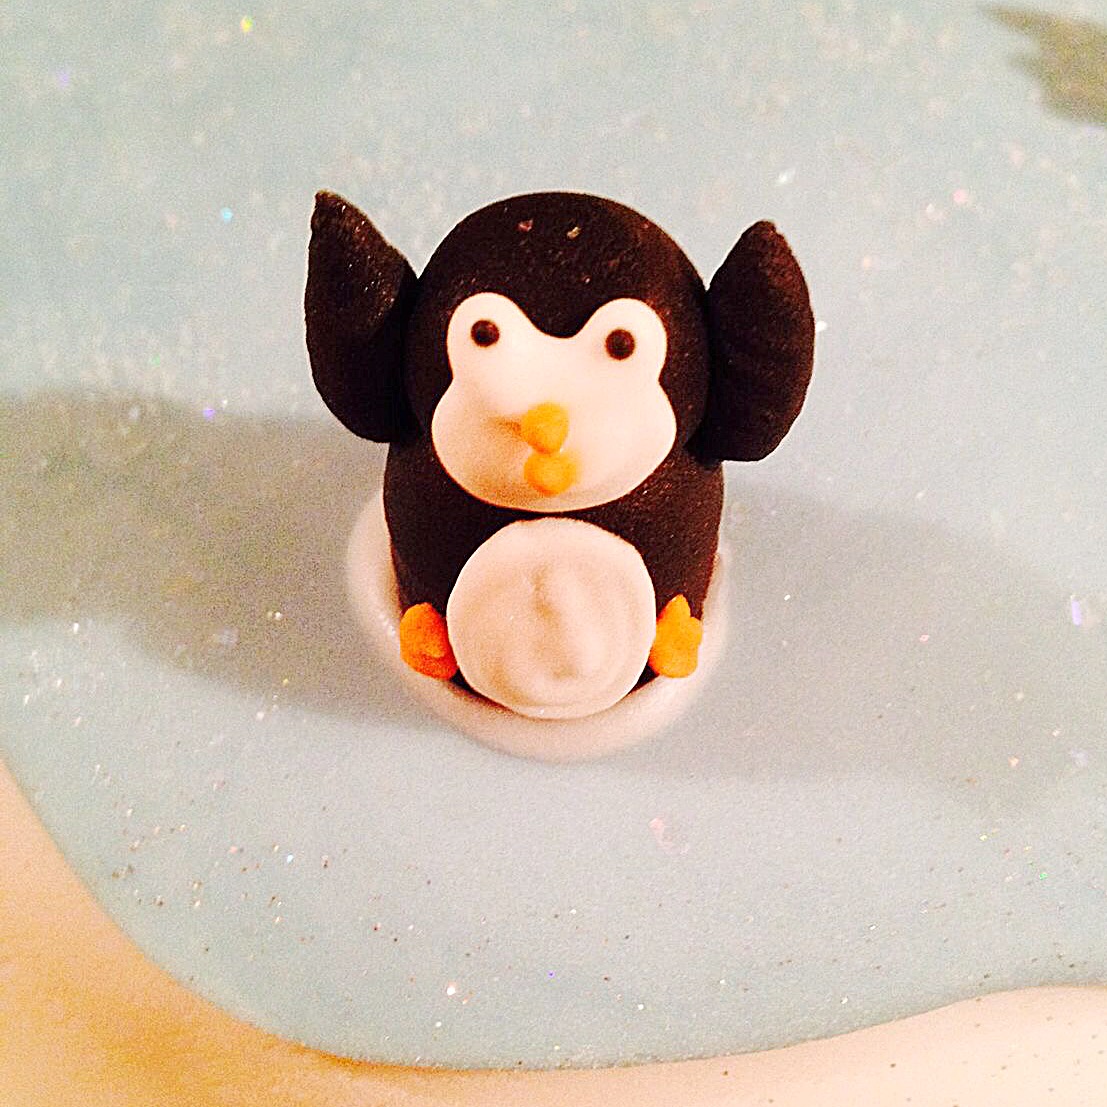
Since I had bought the 6 super cute Penguins and a Snowman decorating the cake centred around them. So I thought it’d be fun to have the Penguins skating on an iced lake with The Snowman watching over. A fantastical, Christmas scene.
So at 6am Christmas Eve my vague idea started to take shape. First of all, I took a blob (approx 70g) of pale blue fondant, kneaded it until soft and formed it into a rough ball shape. Then I rolled it out, a little haphazardly! The shape you see on the cake is literally the shape I ended up with!
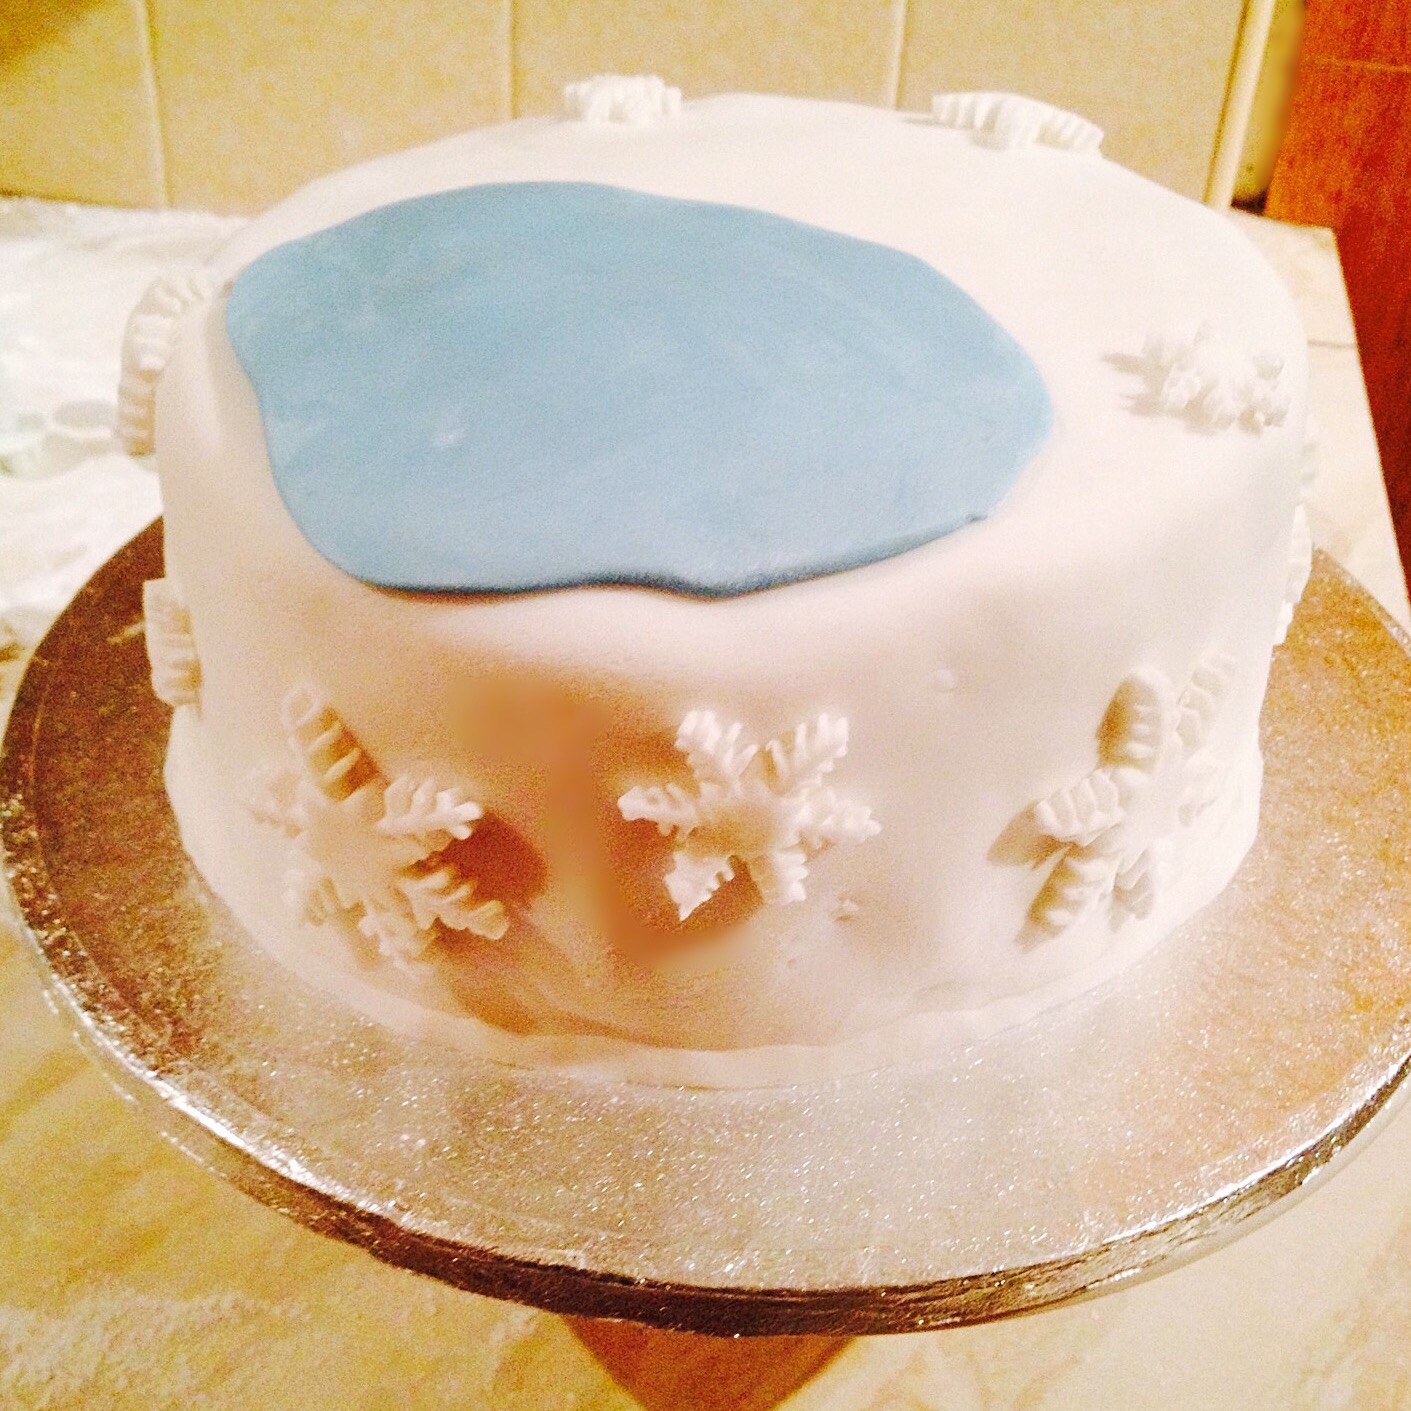
Creating Fondant Snowflakes
Then using 3 different sizes of snowflake, plunge cutters (designed for sugar craft) I cut out different sizes of snowflakes. I attached them and the blue, ice lake using edible glue. Alternatively you could use snowflake or star cookie cutters to create cut out the fondant.
NOTE : Use Corn flour to dust your cutters to prevent the fondant from sticking.
I placed the snowflakes in an irregular pattern around the side of the cake, allowing some of the smaller snowflakes to edge the top, some falling over the edge. As the lake was an irregular shape, visually I think this worked better than a regular pattern.

Meet Our Penguins and The Snowman
I mixed up a thick paste of icing powder, a teaspoon of meringue powder and a little water, to make royal icing. This would ensure the Penguins and Snowman stuck firmly to the cake and board. Alternatively you can buy readymade royal icing.
Using a small knife I pasted a small amount of the Royal icing to the base of the Snowman and Penguins and placed them on the cake. Honestly this was the best bit! As I was adding the Penguins they all seemed to have their own little personalities. Yes I know we are talking about cake decorations, just look at their little faces and you will see what I mean!
Finally I added a sprinkle of edible white glitter (available from Amazon )
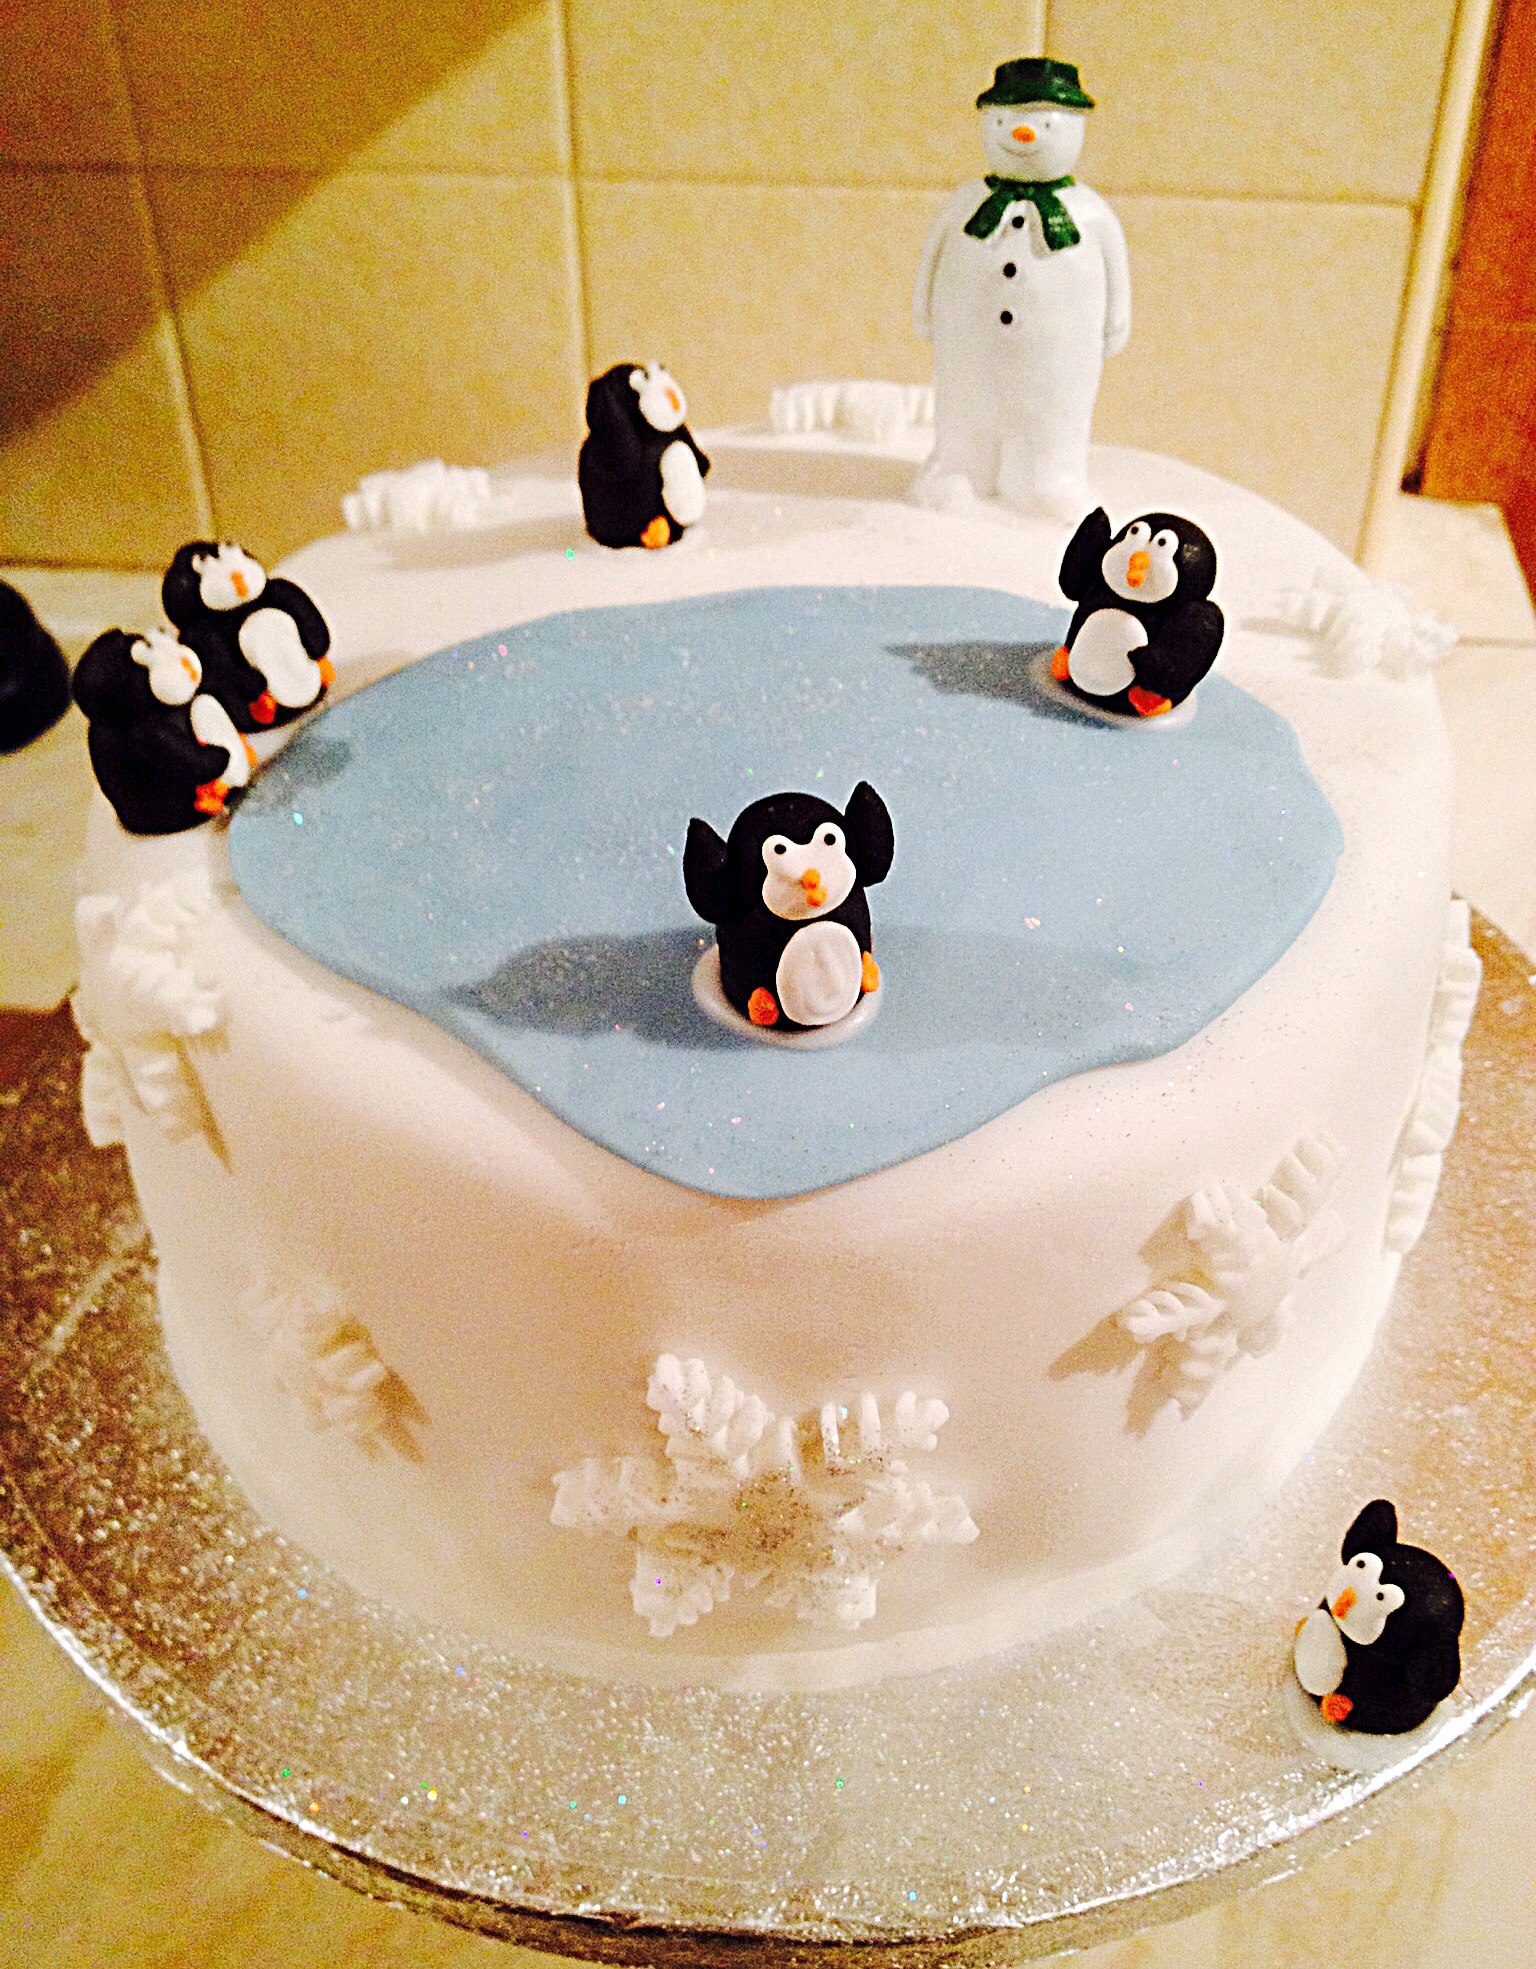
Overall the cake, in my opinion, just has a balance to it. While it isn’t symmetrical it is balanced, but most of all FUN! I’m so glad you got to Meet Our Penguins!
If you have enjoyed this Christmas post Meet Our Penguins you may also like these:
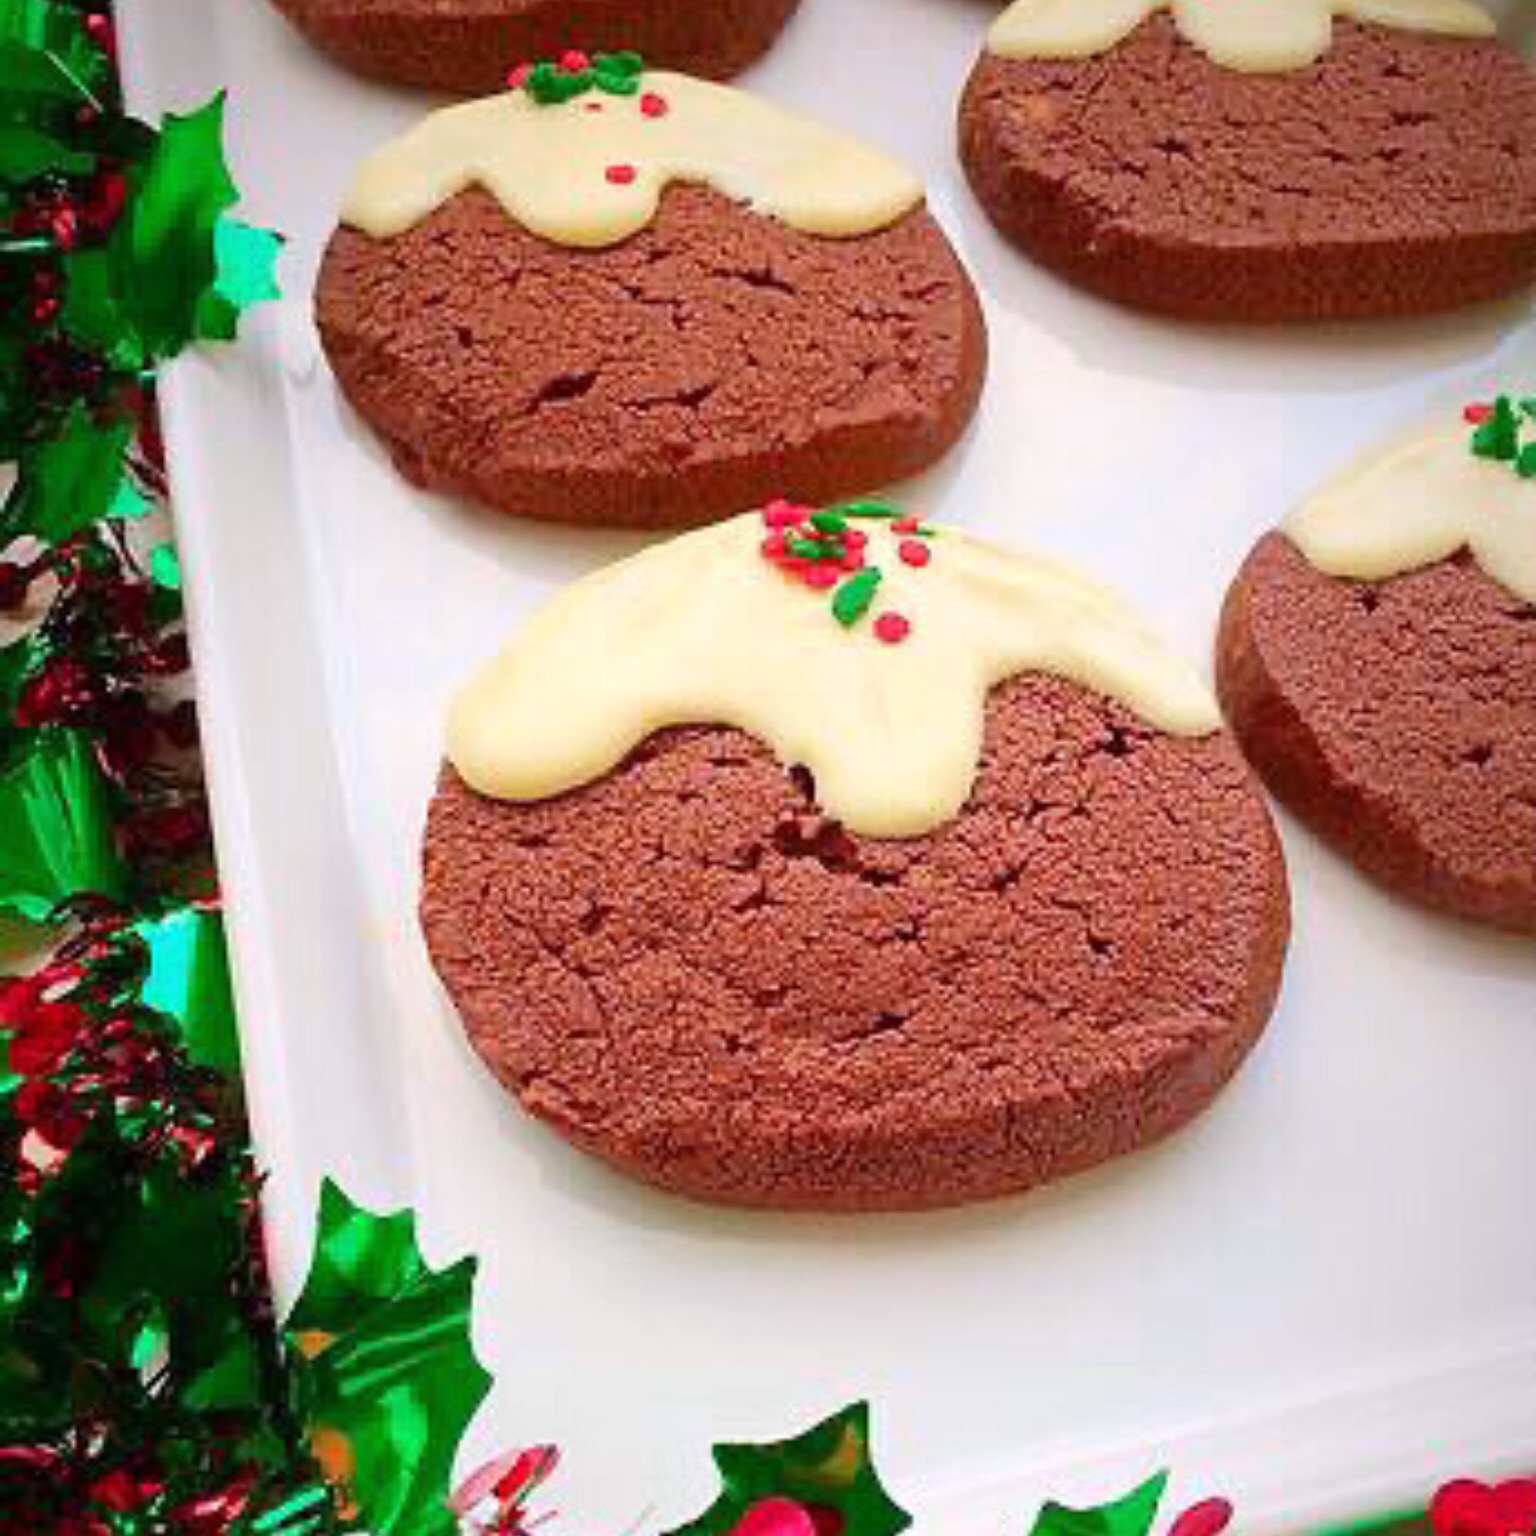
Chocolate Christmas Pudding Cookies
Cream Cheese Pastry Mince Pies

Christmas is a wonderful time to get together with friends and family. And home baked treats make any gathering extra special. Even if you cheat slight, such as buying a fruit cake, you can then decorate it yourself. Most important is the time you spend with those you love, not the time spent stressing in the kitchen!
Wishing you all a wonderful Christmas.
Sammie x
No part of this post may be reproduced or duplicated without the written permission of the owner. Please see my Disclosure Policy.