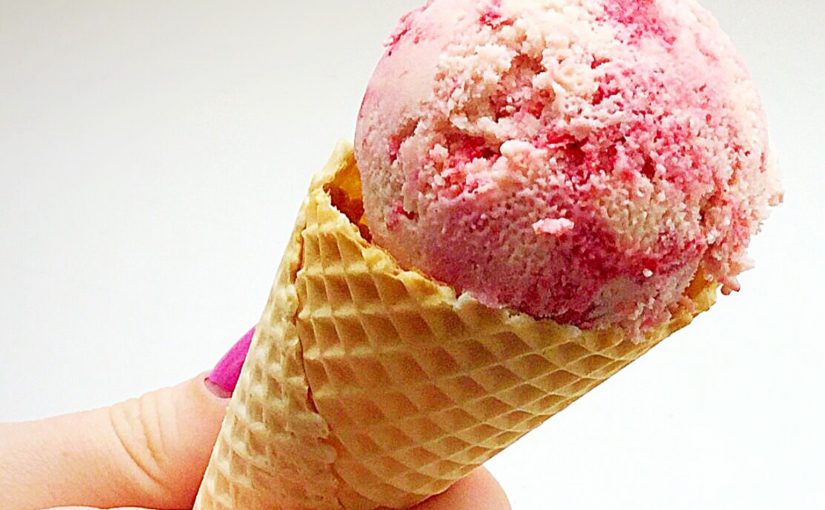
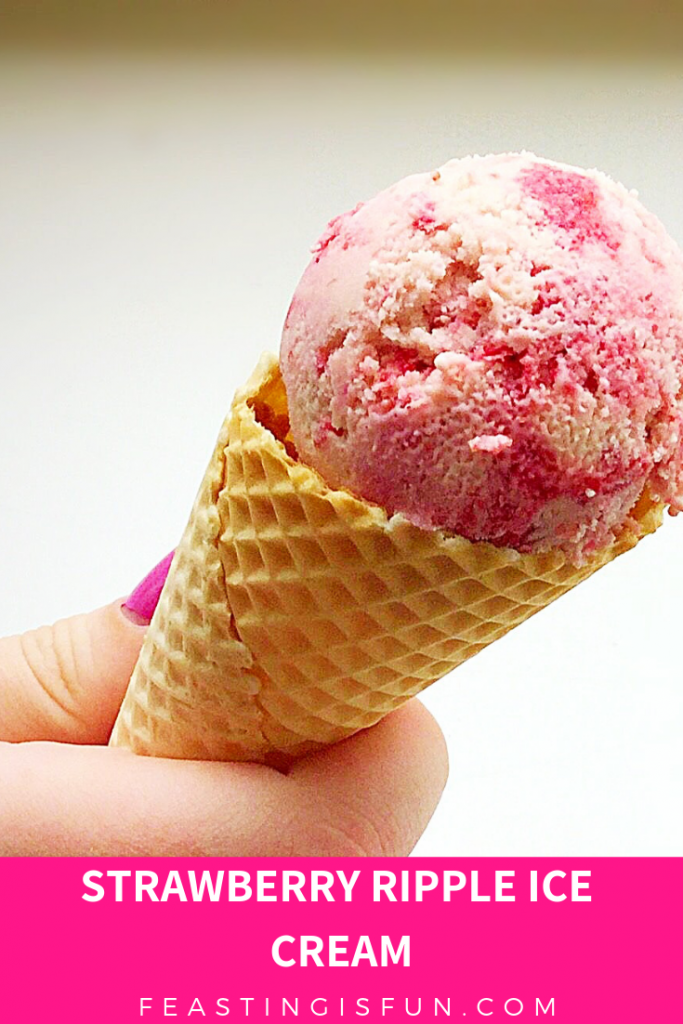
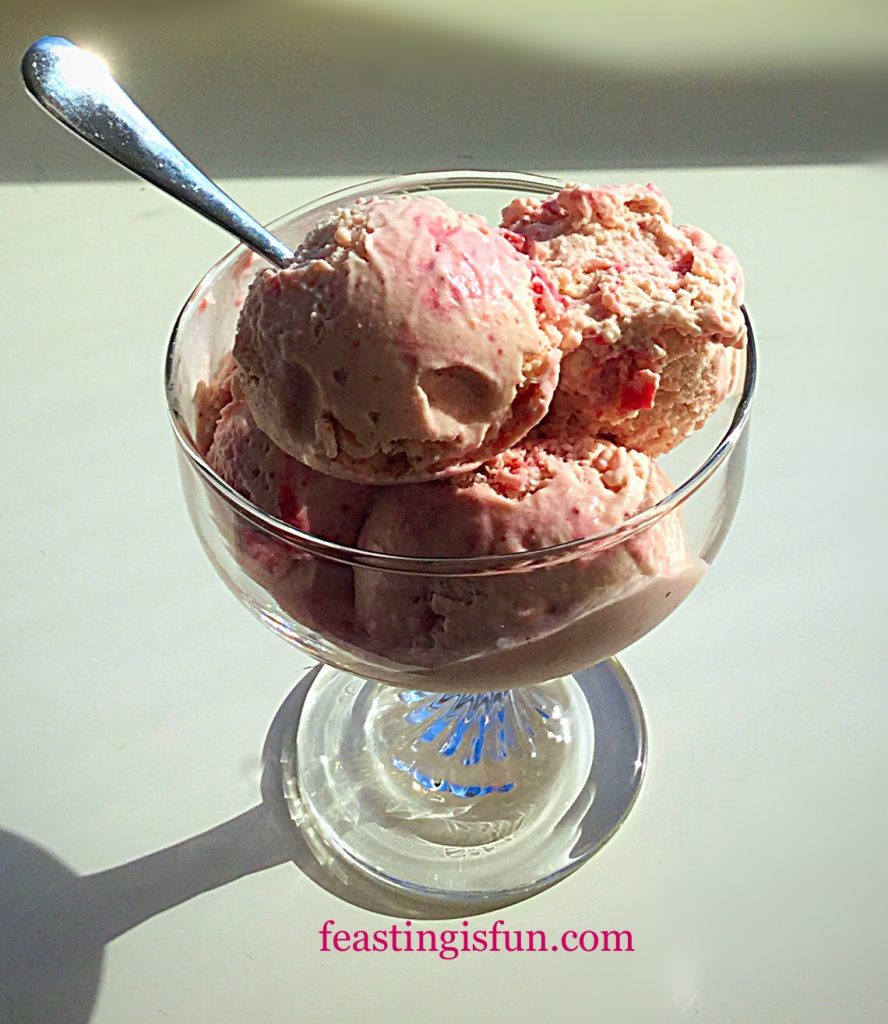
I love ice cream. In fact I love it so much that I really enjoy making my own. There are endless flavour possibilities and combinations AND it’s made with real cream. Also no extra additives are needed. Today I bring you Strawberry Ripple Ice Cream.
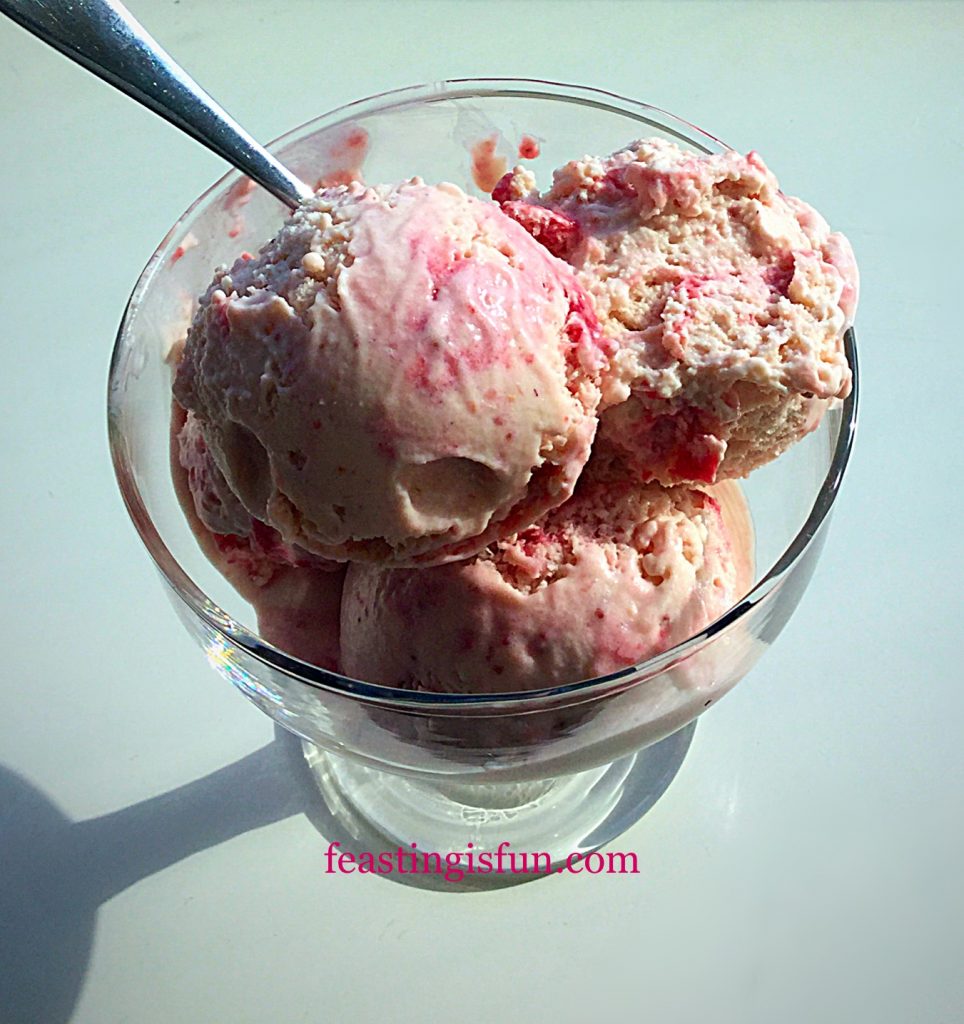
Dreamy, creamy strawberry ice cream, with an intense strawberry syrup rippled through. This isn’t any ordinary ice cream, this is THE best Strawberry Ripple Ice Cream you could ever imagine.
And you too can make it at home. Because it’s so easy!
You make a vanilla custard, make a strawberry coulis, mix, freeze and that’s when the magic happens!
Ok so there’s a tiny little bit more to it than that, but preparation time for this delicious ice cream is about 15 minutes.
Loving My Ice Cream Maker
I love properly churned ice cream, by that I mean ice cream that is mixed whilst it freezes. It allows the ice crystals to stay really small and results in the creamy texture we all associate with ice cream.
As our old ice cream maker is literally on it’s last legs, I have a new one from Andrew James it can be found here and has won a coveted Which Best Buy Award. While I’ve said before that any new piece of kitchen kit needs to earn it’s place in my kitchen, I’d say if you love ice cream, it definitely worth buying an ice cream maker. Since they are fairly small appliances and I keep the ‘frozen’ bowl part permenantly in the freezer, whilst the other parts stay in the box.
Because the ice cream custard base pretty much stays the same and then you can add whatever flavours. The flavour combinations are limitless! Therefore, having an ice cream maker in our kitchen for me, is essential.
Easy Gluten Free Dessert
For those of you on a gluten free diet, ensure the corn flour that you use is certified gluten free, then you can happily make these delicious, dreamy treats. should be able to enjoy ice cream, so for those of you with lactose/dairy/egg intolerance I will be working on some extra recipes so that you too can enjoy this delightful, cooling treat during the summer.
Supporting British And Local Farmers
There is one thing that I do feel passionately about and that is good quality, seasonal produce. And if you grow your own fruit even better! Using British frozen fruit, which I do often during the colder months is a great alternative, as is using tinned fruit. I use tinned peaches to make my Peach and Banana Smoothie in the winter and it tastes utterly delicious. That doesn’t mean I don’t eat some imported produce, but here in the UK we have incredible ‘Pick Your Own’ farms, farmers markets and even some supermarkets that stock local produce.
I guess what I’m saying is, life is about balance. If we can support our Britsh farmers and even grow some of our own fruit and veg (watch out or an exciting new gardening diary, coming soon on this blog) we are not only getting the freshest produce, picked at it’s peak, but also supporting our farmers and local producers too.
Recipe: Makes 1 litre Strawberry Ripple Ice Cream
400g British Strawberries
2tbsp Framboise – raspberry liquer – substitute with apple juice if preferred
1tbsp Fresh Lemon Juice
8tbsp Caster Sugar
300ml Double Cream
300ml Milk – whole or semi-skimmed
1tsp Corn Flour (also known as corn starch) – I use Dove Farm
4 Large Free Range Egg Yolks – the egg whites can be frozen for up to one month (perfect for making Lemony Strawberry Pavlova)
1tsp Vanilla Extract – I use Nielsen-Massey
Method: Ensure the ‘frozen’ part of your ice cream maker has been in the freezer for at least 24 hours – or according to manufacturers instructions.
Making the Ice Cream Custard Base:
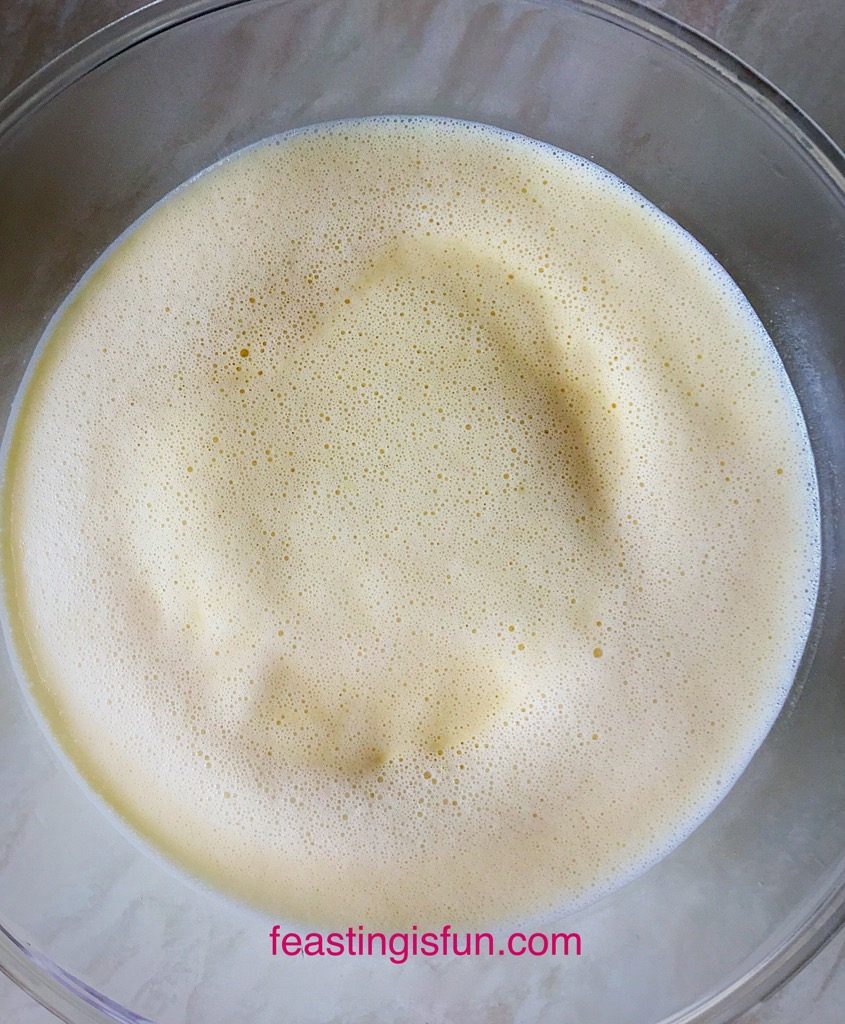
For step by step photographs of how to make the ice ceram custard base please see here
- First of all pour the milk and cream into a heavy based saucepan over a medium heat.
- In a heatproof bowl add the egg yolks, 6 tablespoons of caster sugar, vanilla extract and corn flour. Whisk until pale and frothy.
- As soon as the cream/milk in the pan has reached scalding point, small bubbles appear around the edge of the milky liquid, remove the pan from the heat.
- With the whisk on slow speed gently pour the hot milky liquid into the bowl with the whisked egg yolks.
- Once combined tip the whole mixture back into the saucepan and cook over a low heat until the custard thickens and covers the back of a wooden spoon.
- Pour the hot custard into a heatproof bowl, through a fine sieve
- Place cling film directly on top of the custard to stop a skin from forming.
- Allow the custard to cool slightly before placing the bowl in the fridge to chill.
Making the Strawberry Coulis and Sauce:
- Wash the strawberries and pat dry with a clean tea towel.
- Remove all of the green stems (hull) and place the strawberries into a blender.
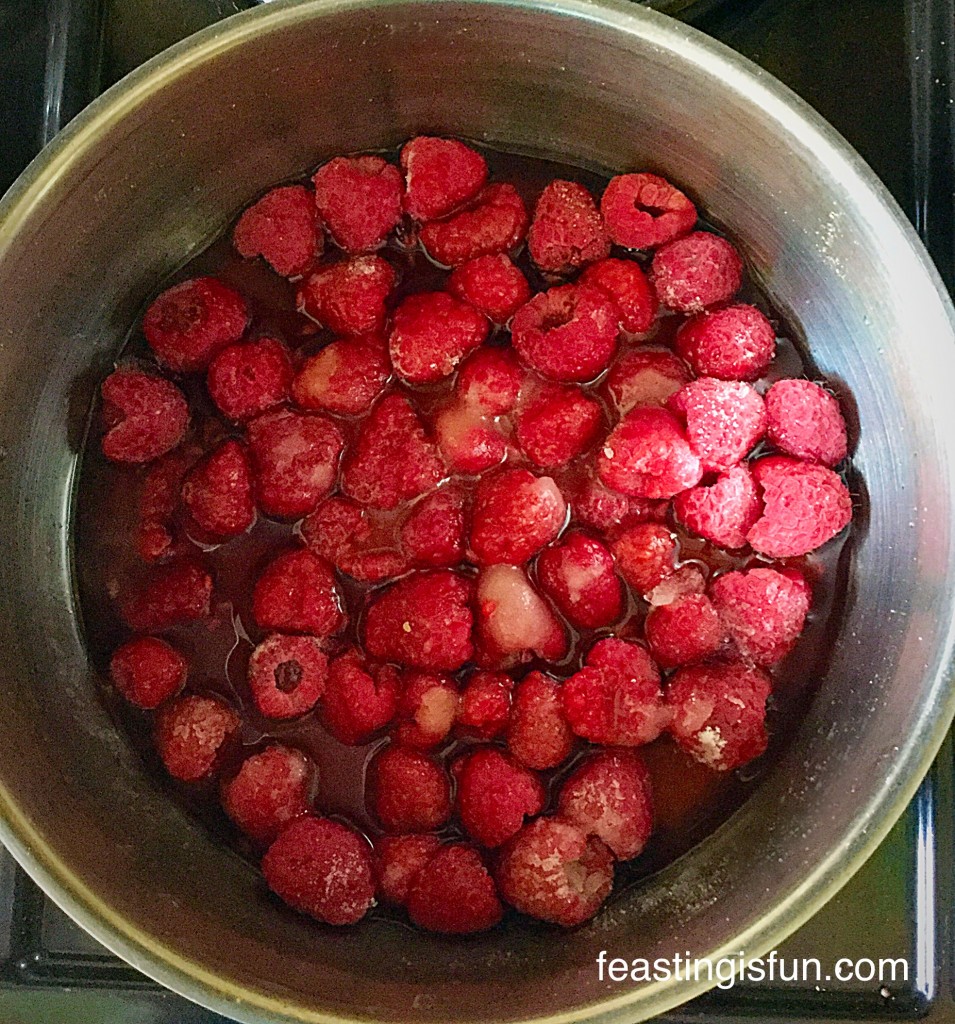
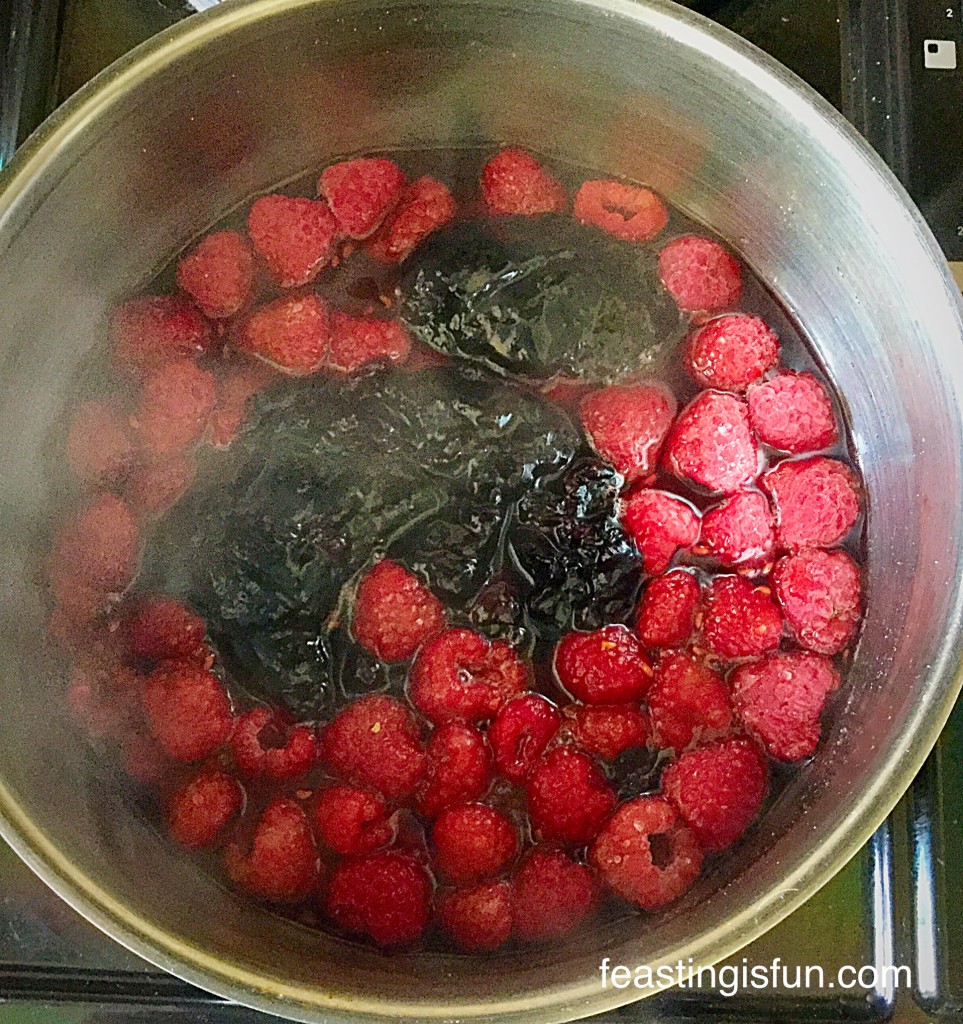
- Add 1 tablespoon of caster sugar, the framboise (or apple juice) and lemon juice.
- Pulse and then blend on a high speed until you have a very smooth purée.
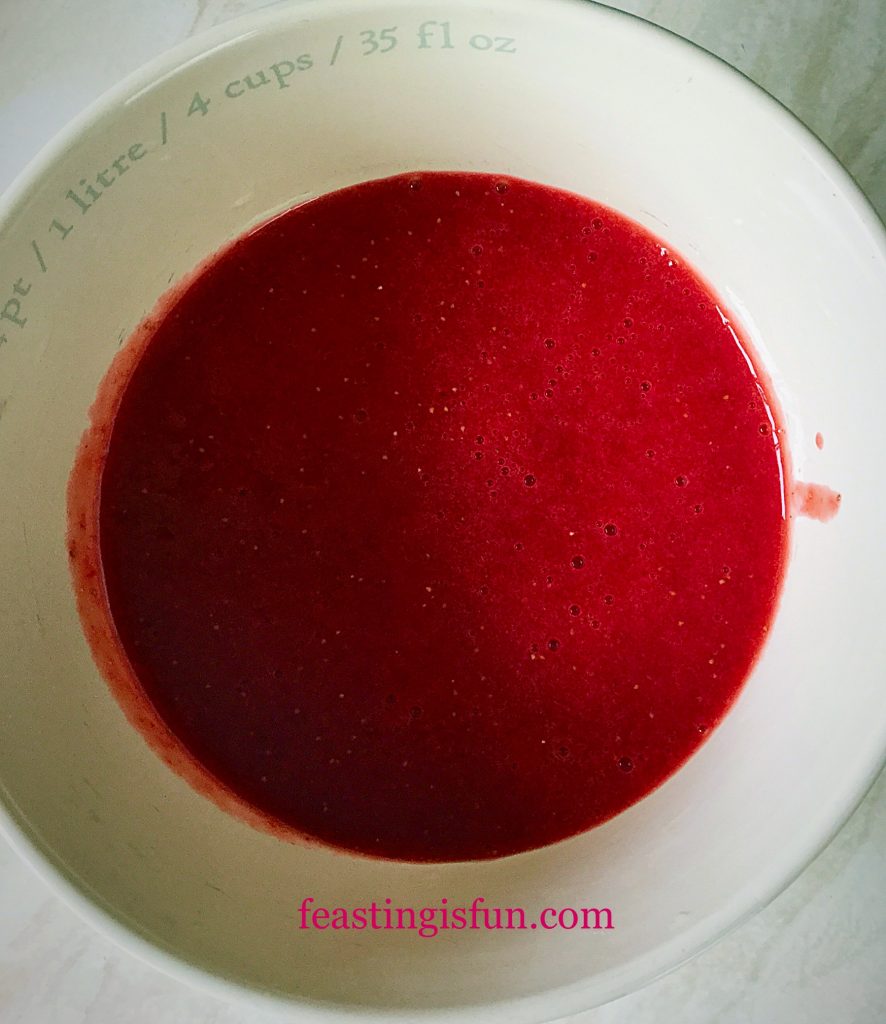
- Pour half of the strawberry coulis into a small saucepan and add 1 tablespoon of caster sugar.
- Cover the other half with cling film and place in the fridge.
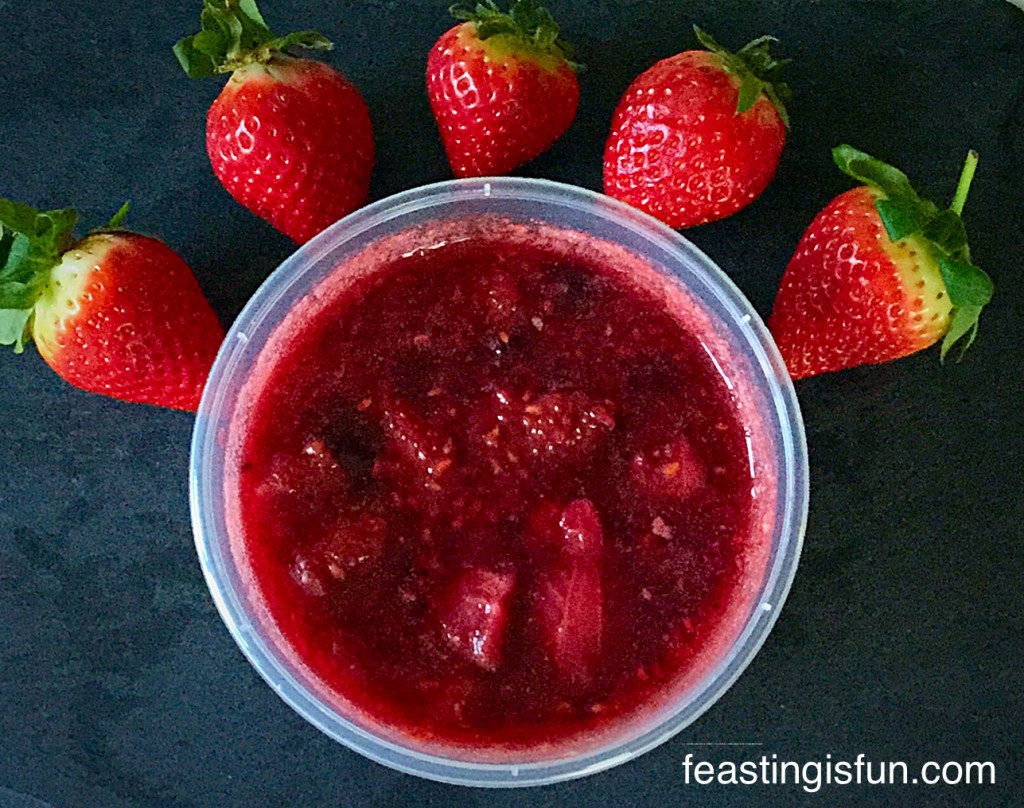
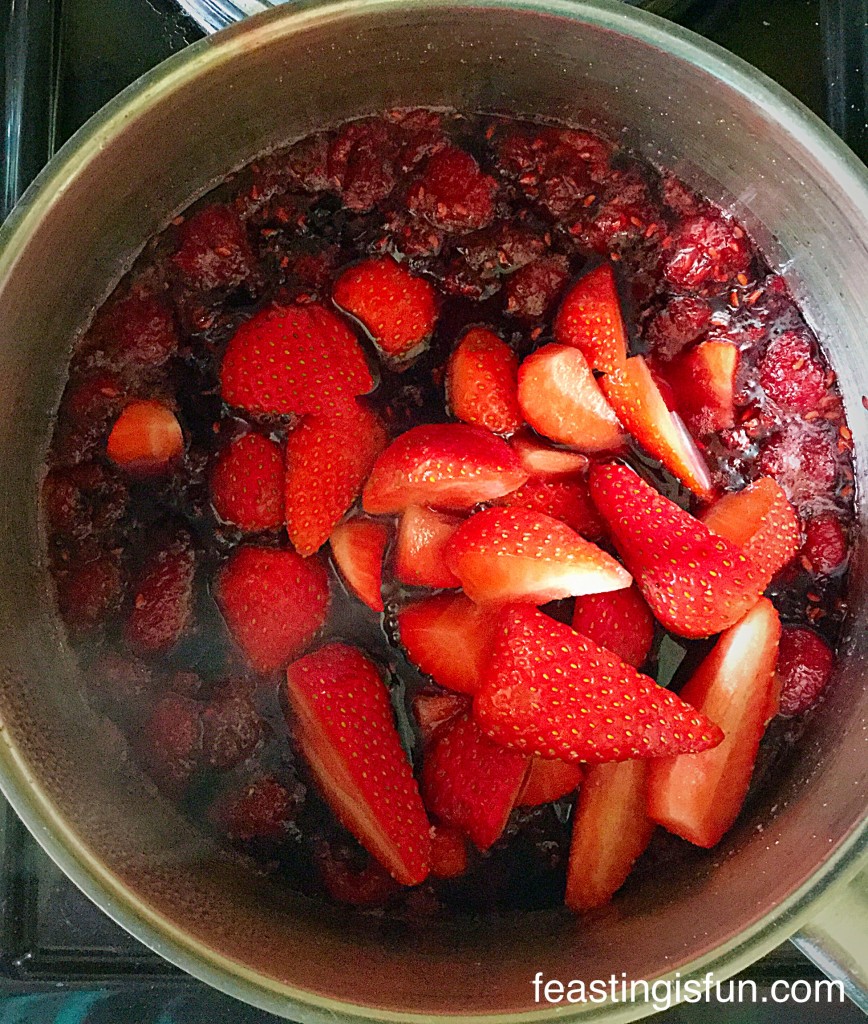
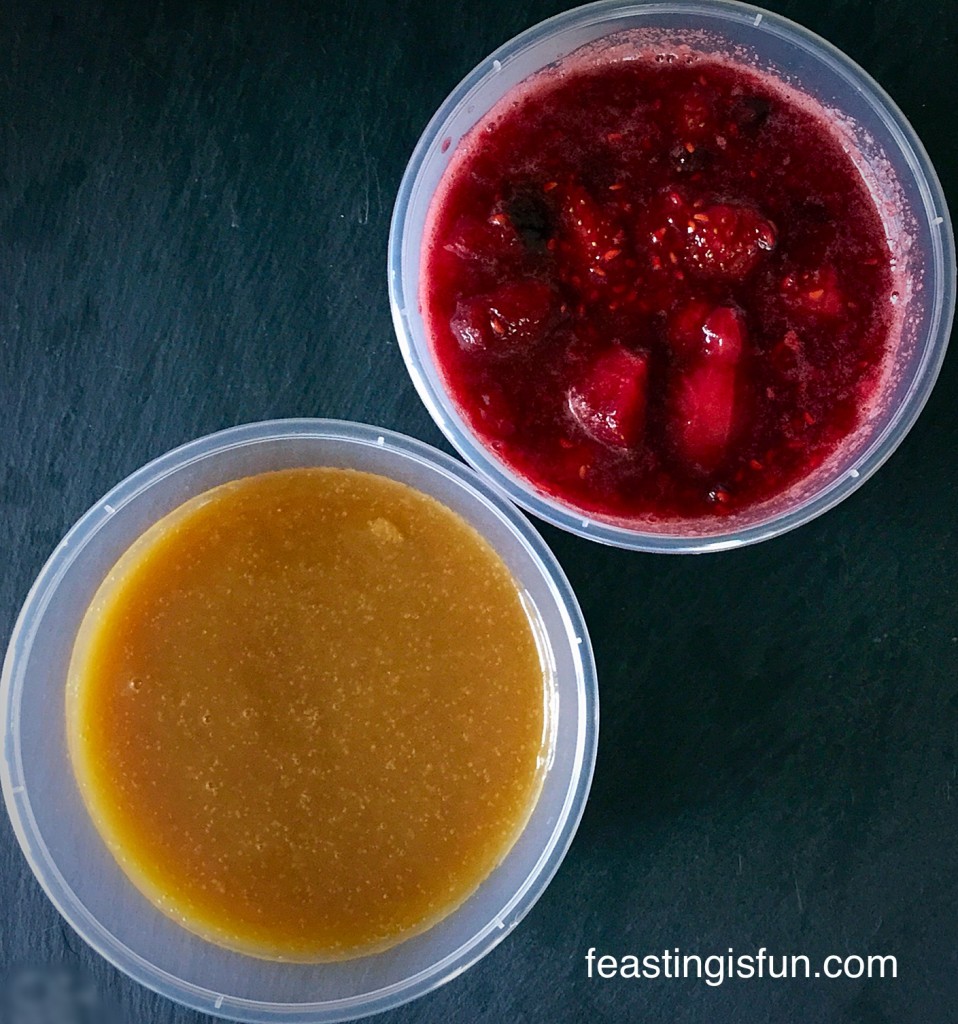
- Gently bring the strawberry coulis in the saucepan up to a boil and continue to let it bubble until reduced by half. You will be left with an intensely strawberry, jam like syrup. Pour into a bowl to cool.
Churning the Strawberry Ice Cream
- First of all, set your ice cream maker up as per the instruction manual.
- Pour the non concentrated strawberry coulis into the custard base and stir.
- The pour the strawberry ice cream base into the machine maker and churn until you have a thick, but not solid, ice cream. Mine took approximately 20 minutes to curn to a thick, yet still soft, ice cream.
- Stop the ice cream maker and remove the lid.
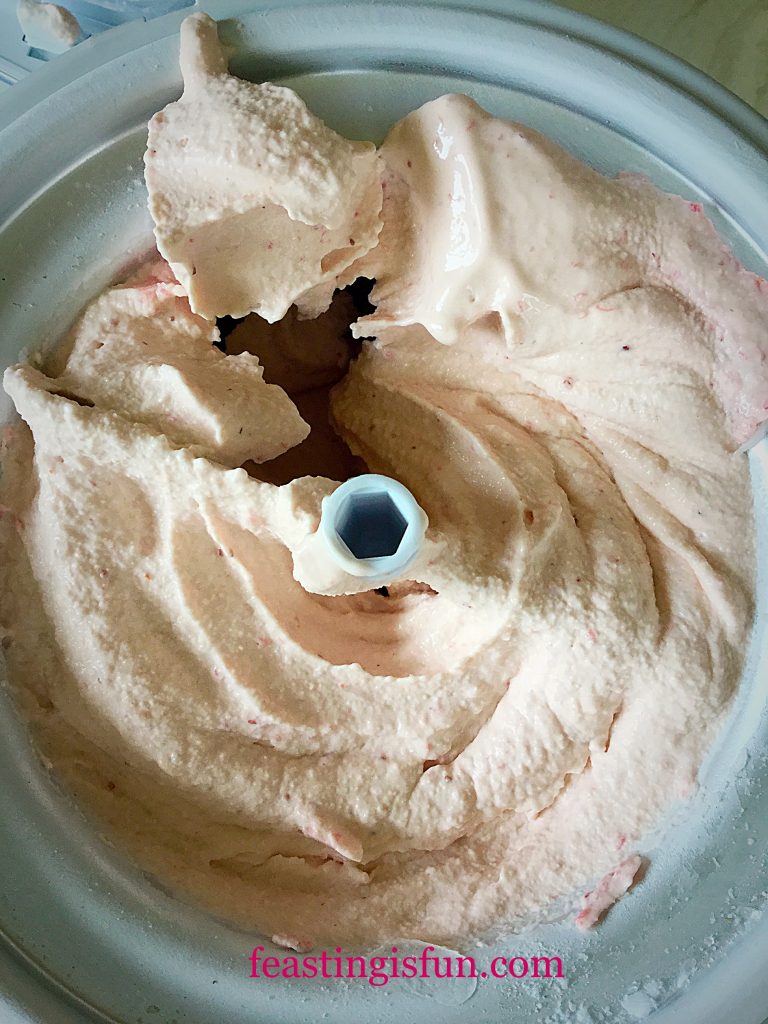
- Remove the plastic churning paddle
and lick off all the soft ice cream to ensure it tastes good! - Using a silicone spatula transfer the ice cream to a suitable, freezer proof, ice cream tub.
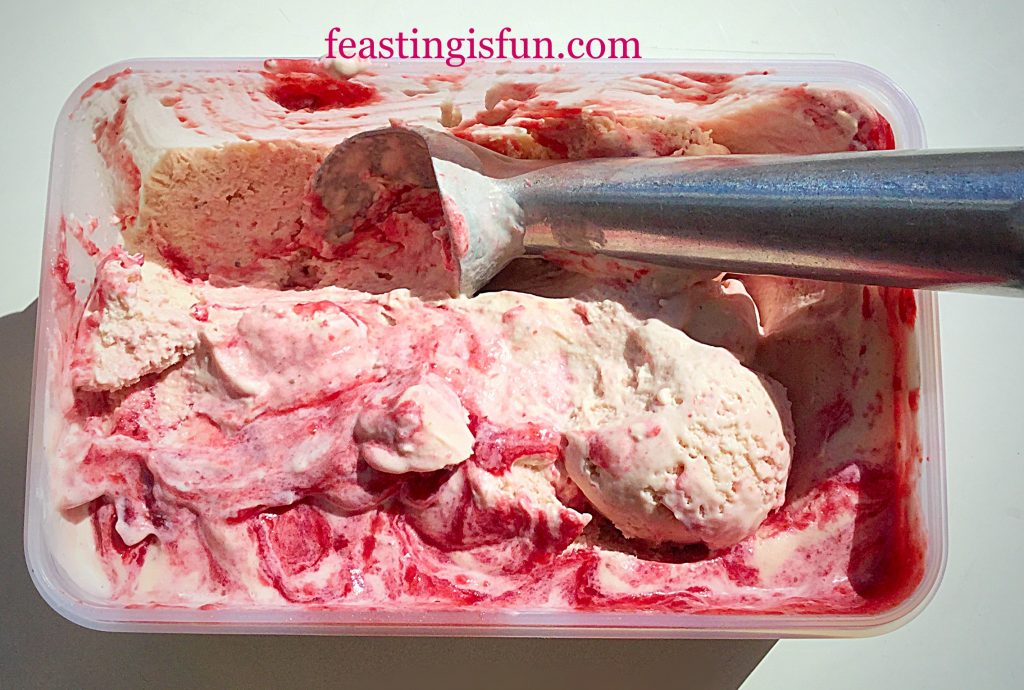
- Pour over the concentrated strawberry syrup and using a wooden spoon handle, ripple the intense strawberry syrup through the ice cream.
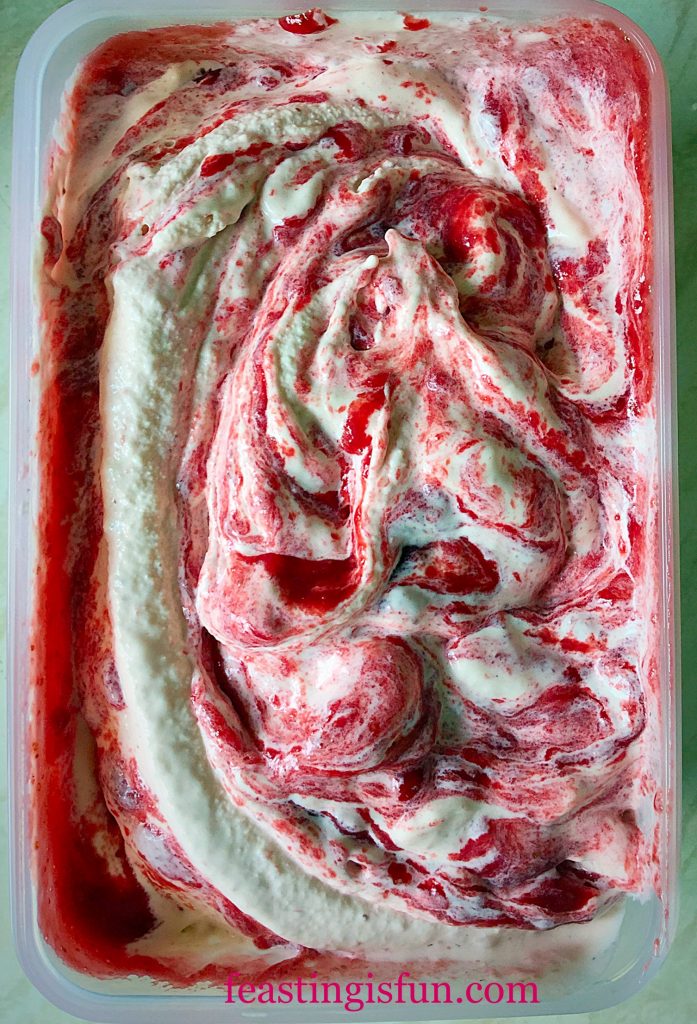
- Finally clip on a lid and place the Strawberry Ripple Ice Cream into the freezer to completely firm up, 4-8 hours.
- To serve, remove the ice cream from the freezer 10 minutes before serving. The small amount of alcohol added, stops this ice cream from setting completely solid.
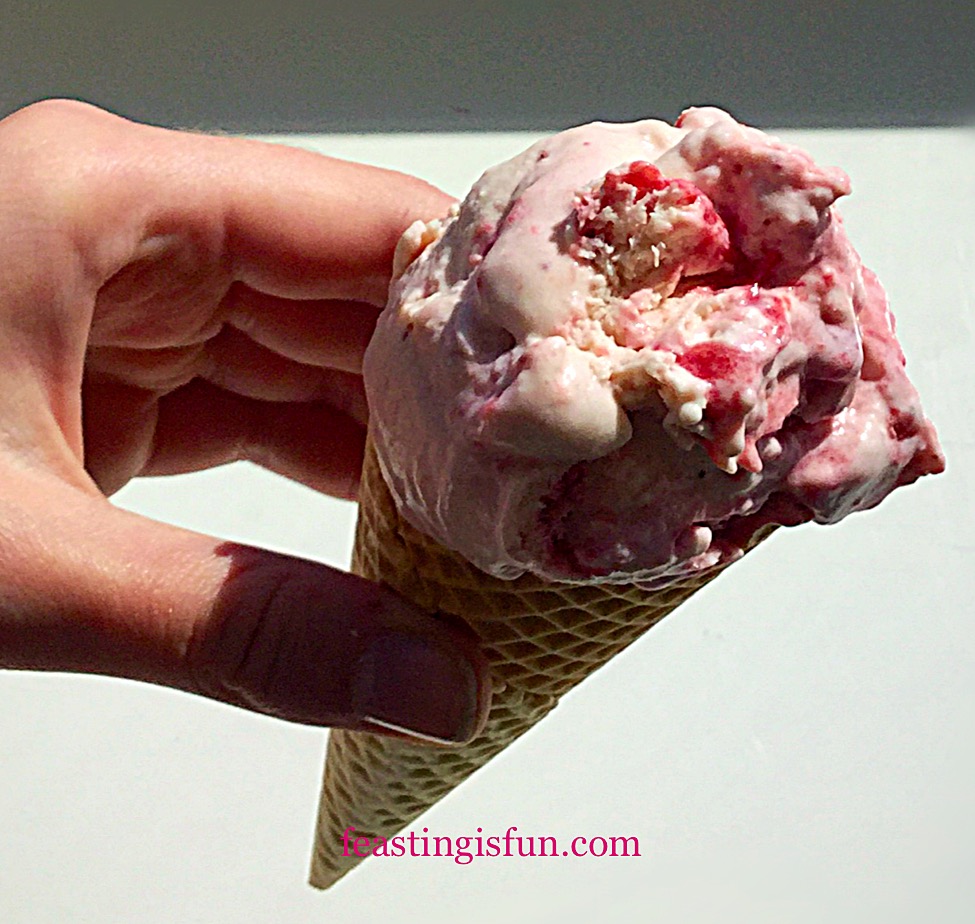
- Scoop into a waffle cone or bowl and enjoy!
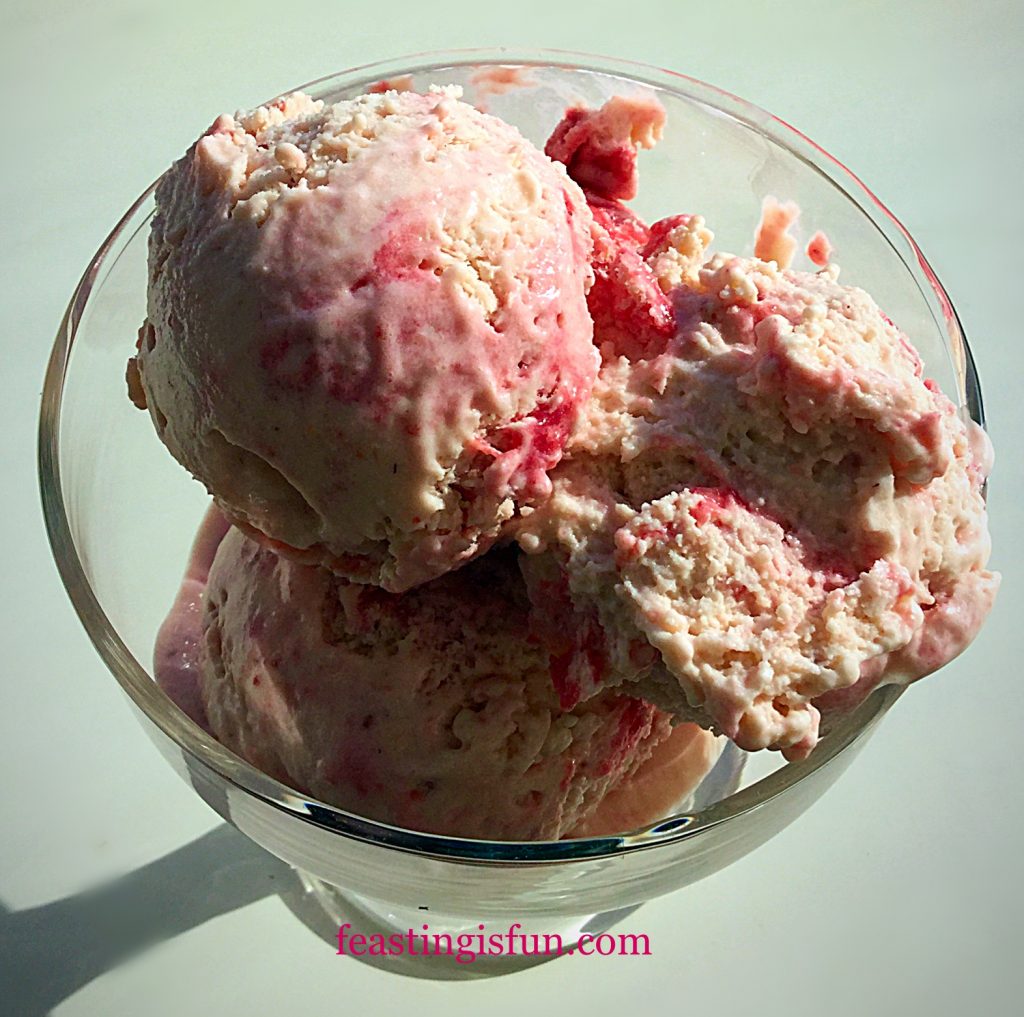
Keeping My Summer Cool With Fruity Ice Cream
Ice Cream has to be right up, at the top, on my list of summer comfort foods. Whether it’s a sweltering hot day and I just want to cool down, or Wimbledon is on telly and I’m dragging out dinner, because the match is too good to miss. A cooling scoop of ice cream, in a cone, hits the spot.
If you haven’t tried making ice cream before, yet love it as much as I do, why not get an ice cream maker? You can play around with flavours, textures and make whatever combination you like!’
If you have enjoyed this recipe for Strawberry Ripple Ice Cream you may also like these:
Blackberry Chocolate Chunk Ice Cream
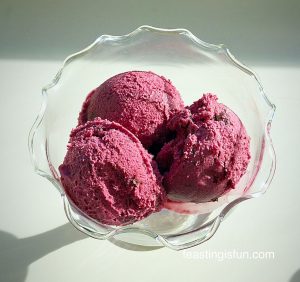
Raspberry Chocolate Ice Cream Sundae


Ice Cream is such a great dessert option for summer barbecues, where people have feasted on deliciously cooked fish and meat. It is portable in cones, and brings out the kid in everyone. As a result it is the perfect dessert for sharing with friends and family. Especially as I have yet to find someone who dislikes ice cream!
Whatever you are making, baking and creating in your kitchens, have fun preparing and sharing your feast.
Sammie xx
Andrew James UK Ltd provided me with this ice cream maker, for the purposes of review. All opinions, views, content and photography are my own. I was not paid to write this post. Please see my Disclosure Policy
