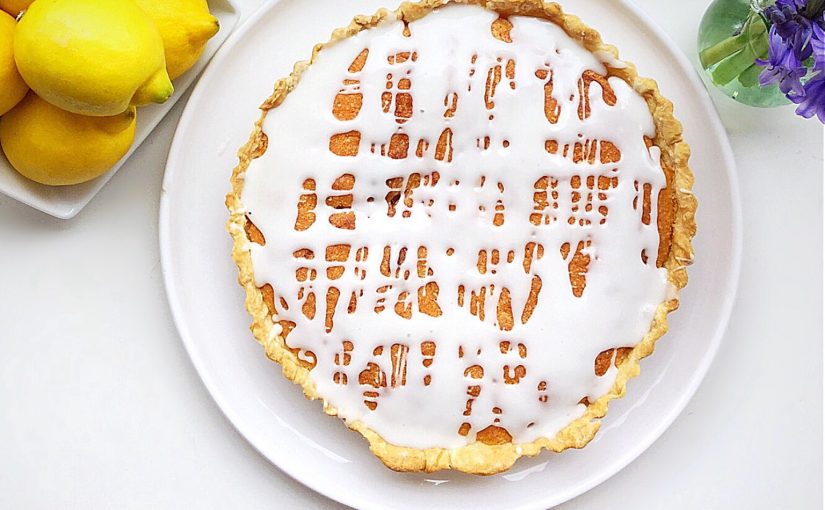
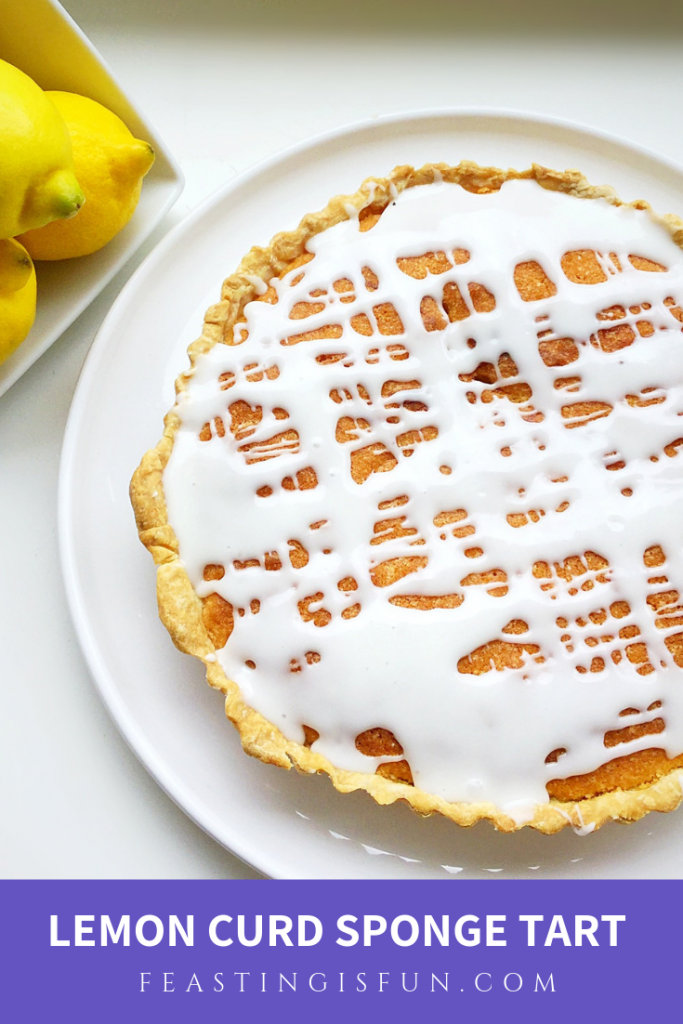
Anyone who has visited this blog before will probably have picked up on my love of lemons. Bright yellow citrus fruits that instantly transport my kitchen and my mood into a sunny day. Whether I use them I sweet or savoury recipes, their impact on flavour is the same. Fresh, juicy, tangy, this fruit knows how to treat your tastebuds to a flavour party! Today I am sharing my new recipe for Lemon Curd Sponge Tart. A sweet celebration of all things lemon.
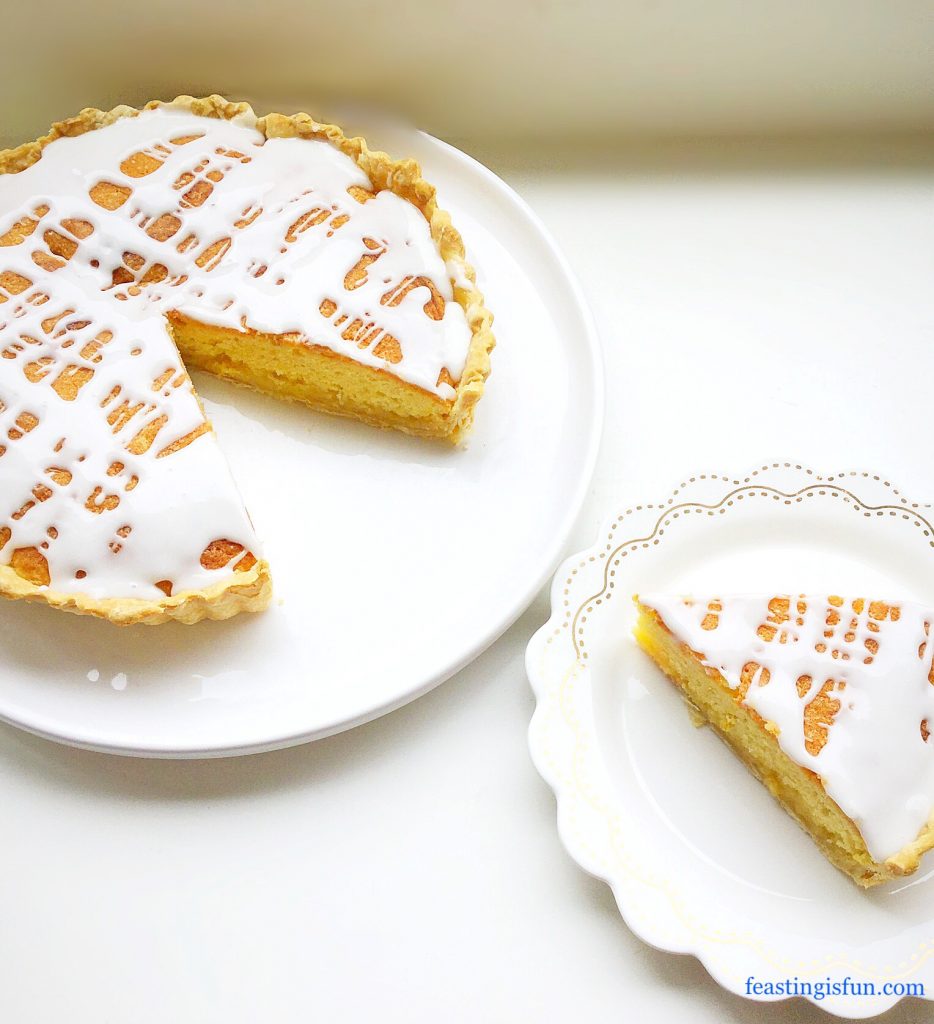
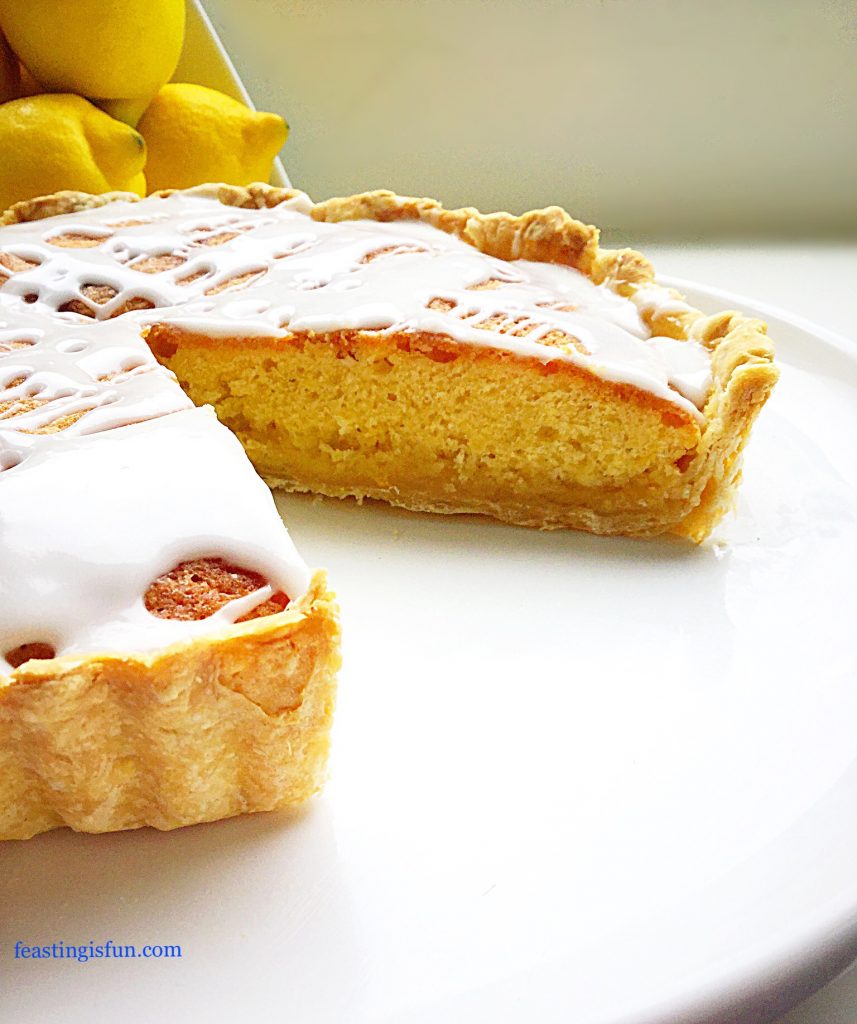
Since I love Bakewell Tart I wanted to create a similar style dessert with lemon as the foremost flavour. And I have been completely successful. While homemade, buttery, shortcrust pastry provides a crisp base for this dessert, it really is all about the layers. So, on top of the pastry is a generous layer of tart lemon curd, followed by a light, lemony sponge and finally topped with a fresh lemon drizzle icing. The resulting tart is more than the sum of each individual layer.
To Drizzle Or Not To Drizzle?
While originally I wanted to create a dessert that could be served with custard, I’m so glad I opted for the lemon drizzle instead. If you do want to serve this warm with delicious Custard that is totally possible too. Simply allow the tart to cool for at least 20 minutes after baking, leave off the drizzle, slice and serve in a bowl with lashings of creamy custard. Also as mentioned previously serving a slightly chilled slice of this tart with a hot cup of tea really allows you to experience all the separate layers as they come together in one mouthful.
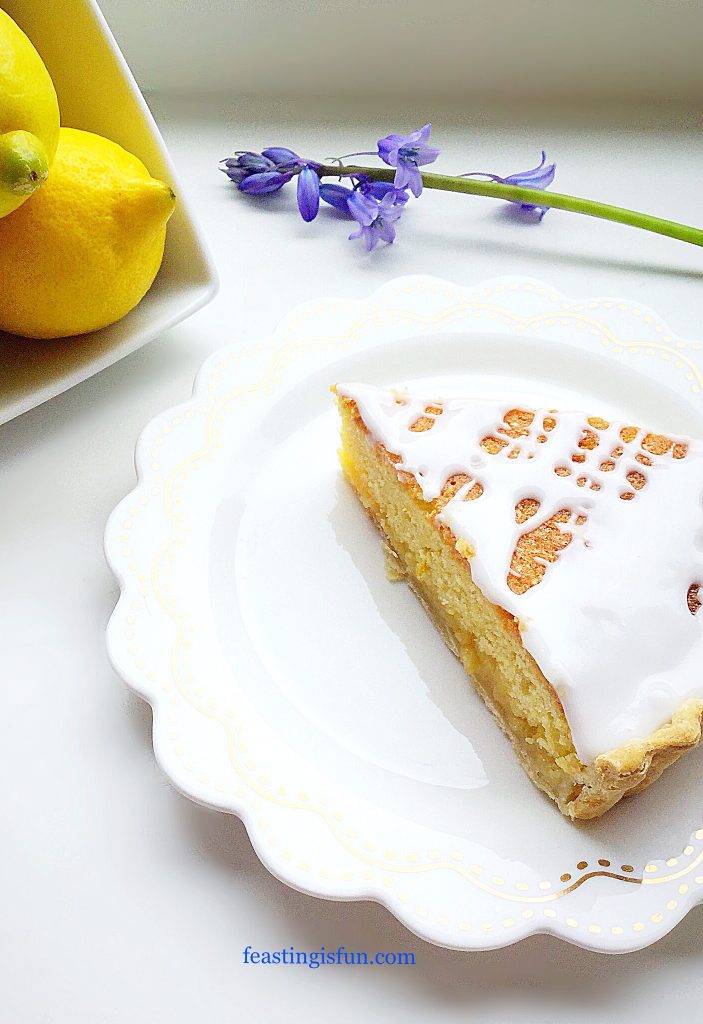
Although I do sometimes have to leave labels on things I’ve made, saying they need to be photographed before eating, this doesn’t guarantee that my family will play by the rules! Fortunately I had finished the photography of this Lemon Curd Sponge Tart before they descended upon it. Nothing makes me happier than to see a bake on the worktop gradually reducing in size as people help themselves to a slice. That tells me more than anything that could be said.
Recipe: Lemon Curd Sponge Tart Serves 6-8
350g/ All Butter Shortcrust Pastry – see my recipe here
4 Heaped Tablespoons Lemon Curd – I use Waitrose own label
For the sponge
100g/4oz Unsalted Butter at room temperature
100g/4oz Caster Sugar
Zest of 2 Lemons – scrub with nail brush under hot water before zesting
1/8tsp Salt
2 Large Free Range Eggs
100g/4oz Plain White Flour – I use Wright’s Baking
1tsp Baking Powder
For the drizzle
75g/3oz Icing Sugar (confectioners sugar)
Juice of 1-2 lemons
Method: Preheat the oven to 200C/180C fan, 400F, gas mark 6.
For this tart you will need a 20cm x 5cm (8in x 2in) round, fluted tart tin with loose bottom.
Note: For full step by step instructions with accompanying photographs for rolling out pastry, filling a tart case and blind baking, please see my recipe for Perfect Butter Shortcrust Pastry.
Making The Pastry Tart Case
- First of all ensure that the pastry has been chilled in the fridge for at least one hour.
- Lightly dust the worktop with flour and roll the pastry out to a circle that is slightly wider than the tart tin.
- Loop the pastry over the rolling pin and allow it to fall gently into the tart tin.
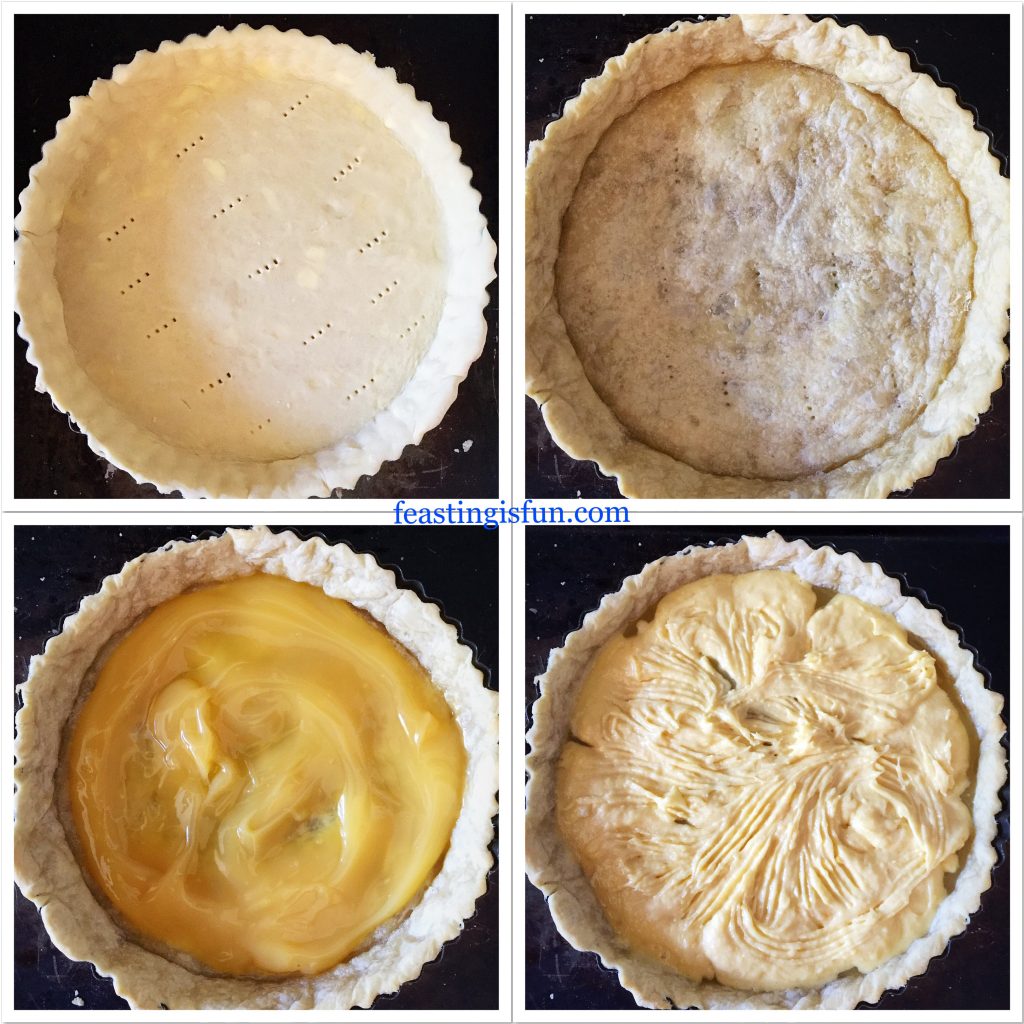
- Carefully press the pastry into the sides and base of the tin.
- Trim away any excess pastry.
- Dock the pastry base with a fork to stop it rising during baking.
- Scrunch up some baking parchment and line the pastry case with it. And then fill with baking beans/ceramic balls.
- Place the tin into the centre of a preheated oven and bake for 15 minutes.
- As soon as the baking time is finished remove the tart from the oven.
- Carefully use the baking parchment to lift the beans out of the partly baked tart shell.
- Return the tart to the oven for a further 5 minutes.
- And then remove the blind baked pastry from the oven and allow to cool.
- Reduce the oven temperature to 180C/160C fan, 350F, gas mark 4.
- While the pastry is cooling make the lemon sponge.
Making The Lemon Sponge And Filling The Tart Shell
- Into a medium sized bowl add the butter, caster sugar and salt. Whisk the ingredients together until pale and creamy.
- Add 2 eggs and sift in the plain flour and baking powder. Whisk until just combined.
- Now add the zest of 2 whole lemons. Stir with a large spoon to mix.
- Spoon the lemon curd into the cooled tart shell and spread to form an even layer.
- Next, spoon the cake batter on top of the curd in small amounts. And then use a fork to spread the cake batter, forming an even layer.
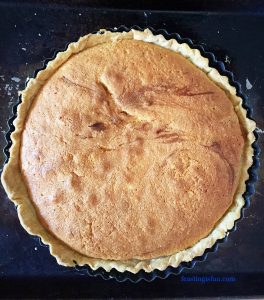
- Place the filled tart back into the centre of the oven and bake for 35-40 minutes.
- The sponge layer is baked when it is golden in colour and springs back when lightly pressed in the centre.
- As soon as the tart is baked remove from the oven and leave to cool completely.
- Once the tart is cool remove from the loose bottom tart tin and place on to a plate.
Making The Lemon Drizzle And Finishing The Tart
- Sift the icing sugar into a bowl.
- Stir as you add the lemon juice until you have a consistency that can be drizzled from a spoon.
- Spoon the lemon drizzle over the top of the sponge, stopping at the pastry edge.
- Leave to set. In warm weather, or to speed up the process refrigerate the tart.
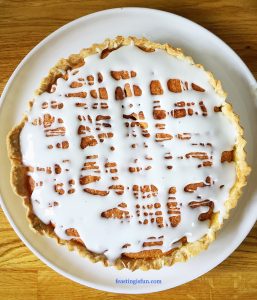
Finally, slice the cooled tart and serve on a plate with a drink of your choice.
Store any leftover tart for up to 5 days in an airtight container in the fridge.
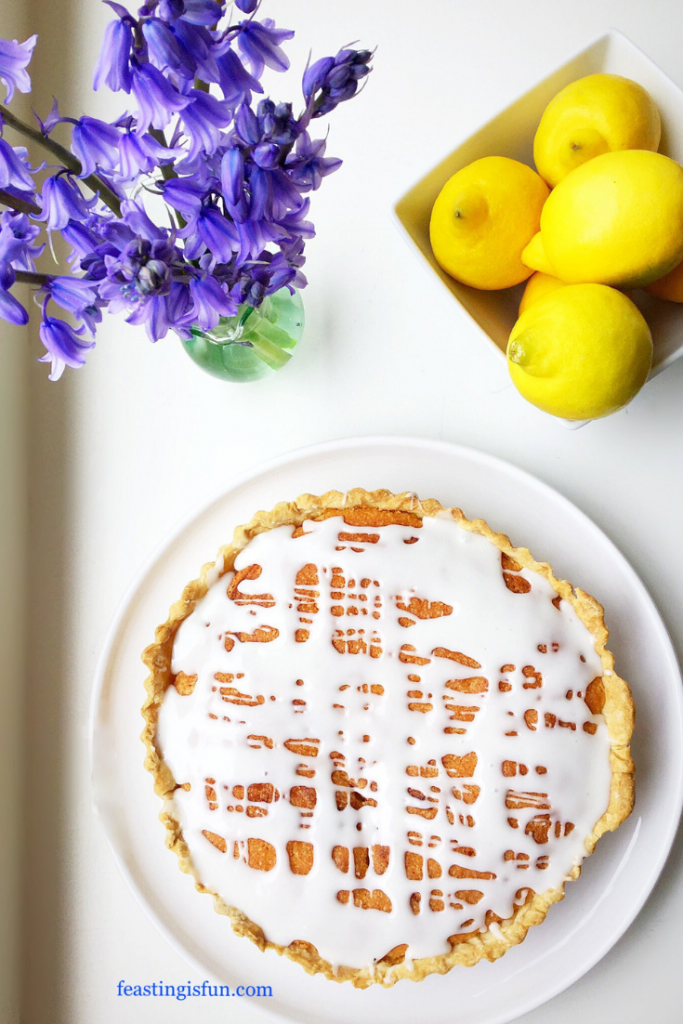
Golden lemon layers set this dessert apart from anything you might buy in the supermarket.
If you have enjoyed this recipe for Lemon Curd Sponge Tart you may also like these:
Raspberry Topped Lemon Curd Pavlova
As well as enjoying baking to feed my family, friends and neighbours, I also find the process relaxing. Even with the health constraints of my body, which can be very frustrating, I am still able to make a beautiful dessert such as this lemon creation. Since I break down the process over 2 days, making and baking the filled tart one day and then decorating and photographing it the next, I am able to still carry out an activity I enjoy and also achieve a sense of satisfaction. Both of which are important in maintaining a sense of independence and uplifting metal well being. Baking is a form of therapy for me.
Whatever you are making, baking and creating in your kitchens, have fun preparing and sharing your feast.
Sammie xx
No part of this post may be reproduced or duplicated without the written permission of the owner. Please see my Disclosure Policy.
Additionally, the bluebells featured in the photos are from our garden, yet THEY ARE NOT EDIBLE. All parts are toxic, do not use to decorate your bakes.
