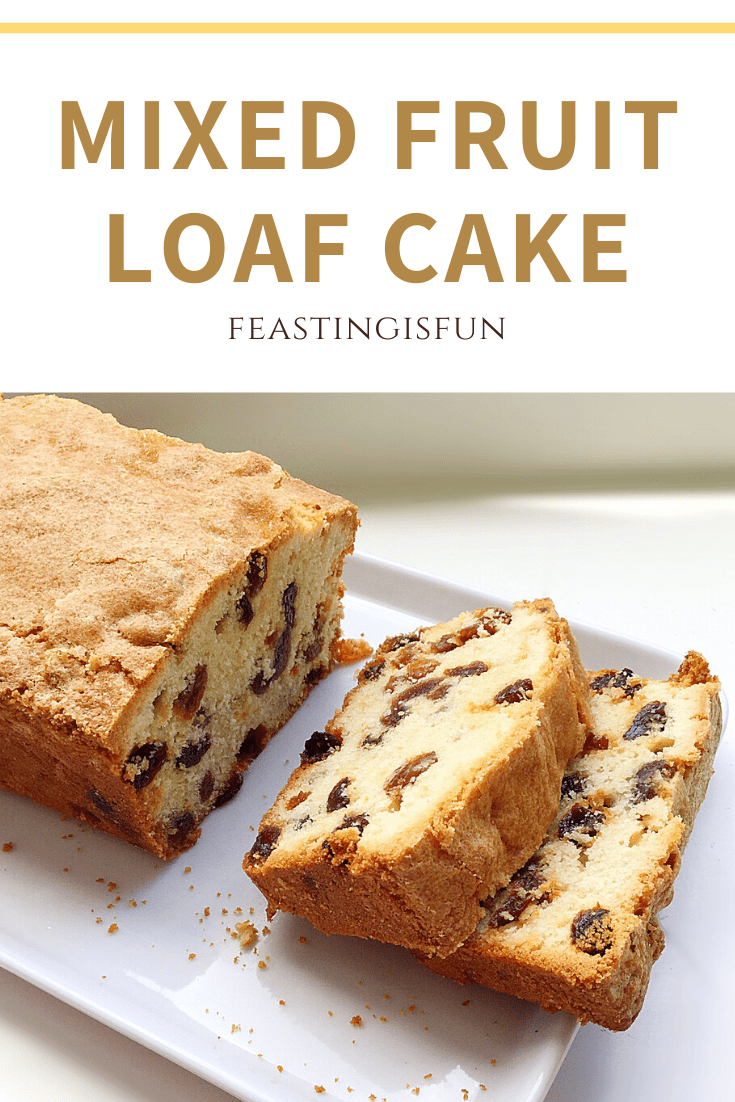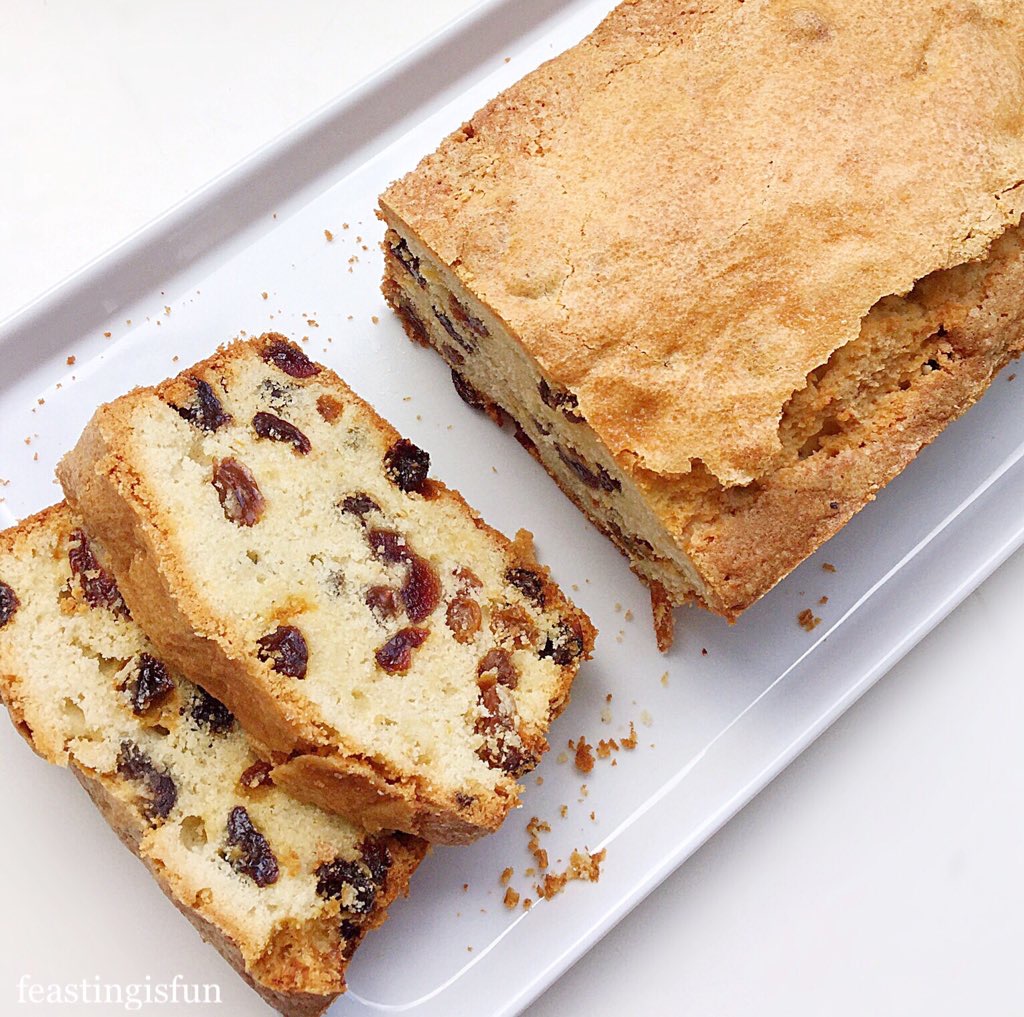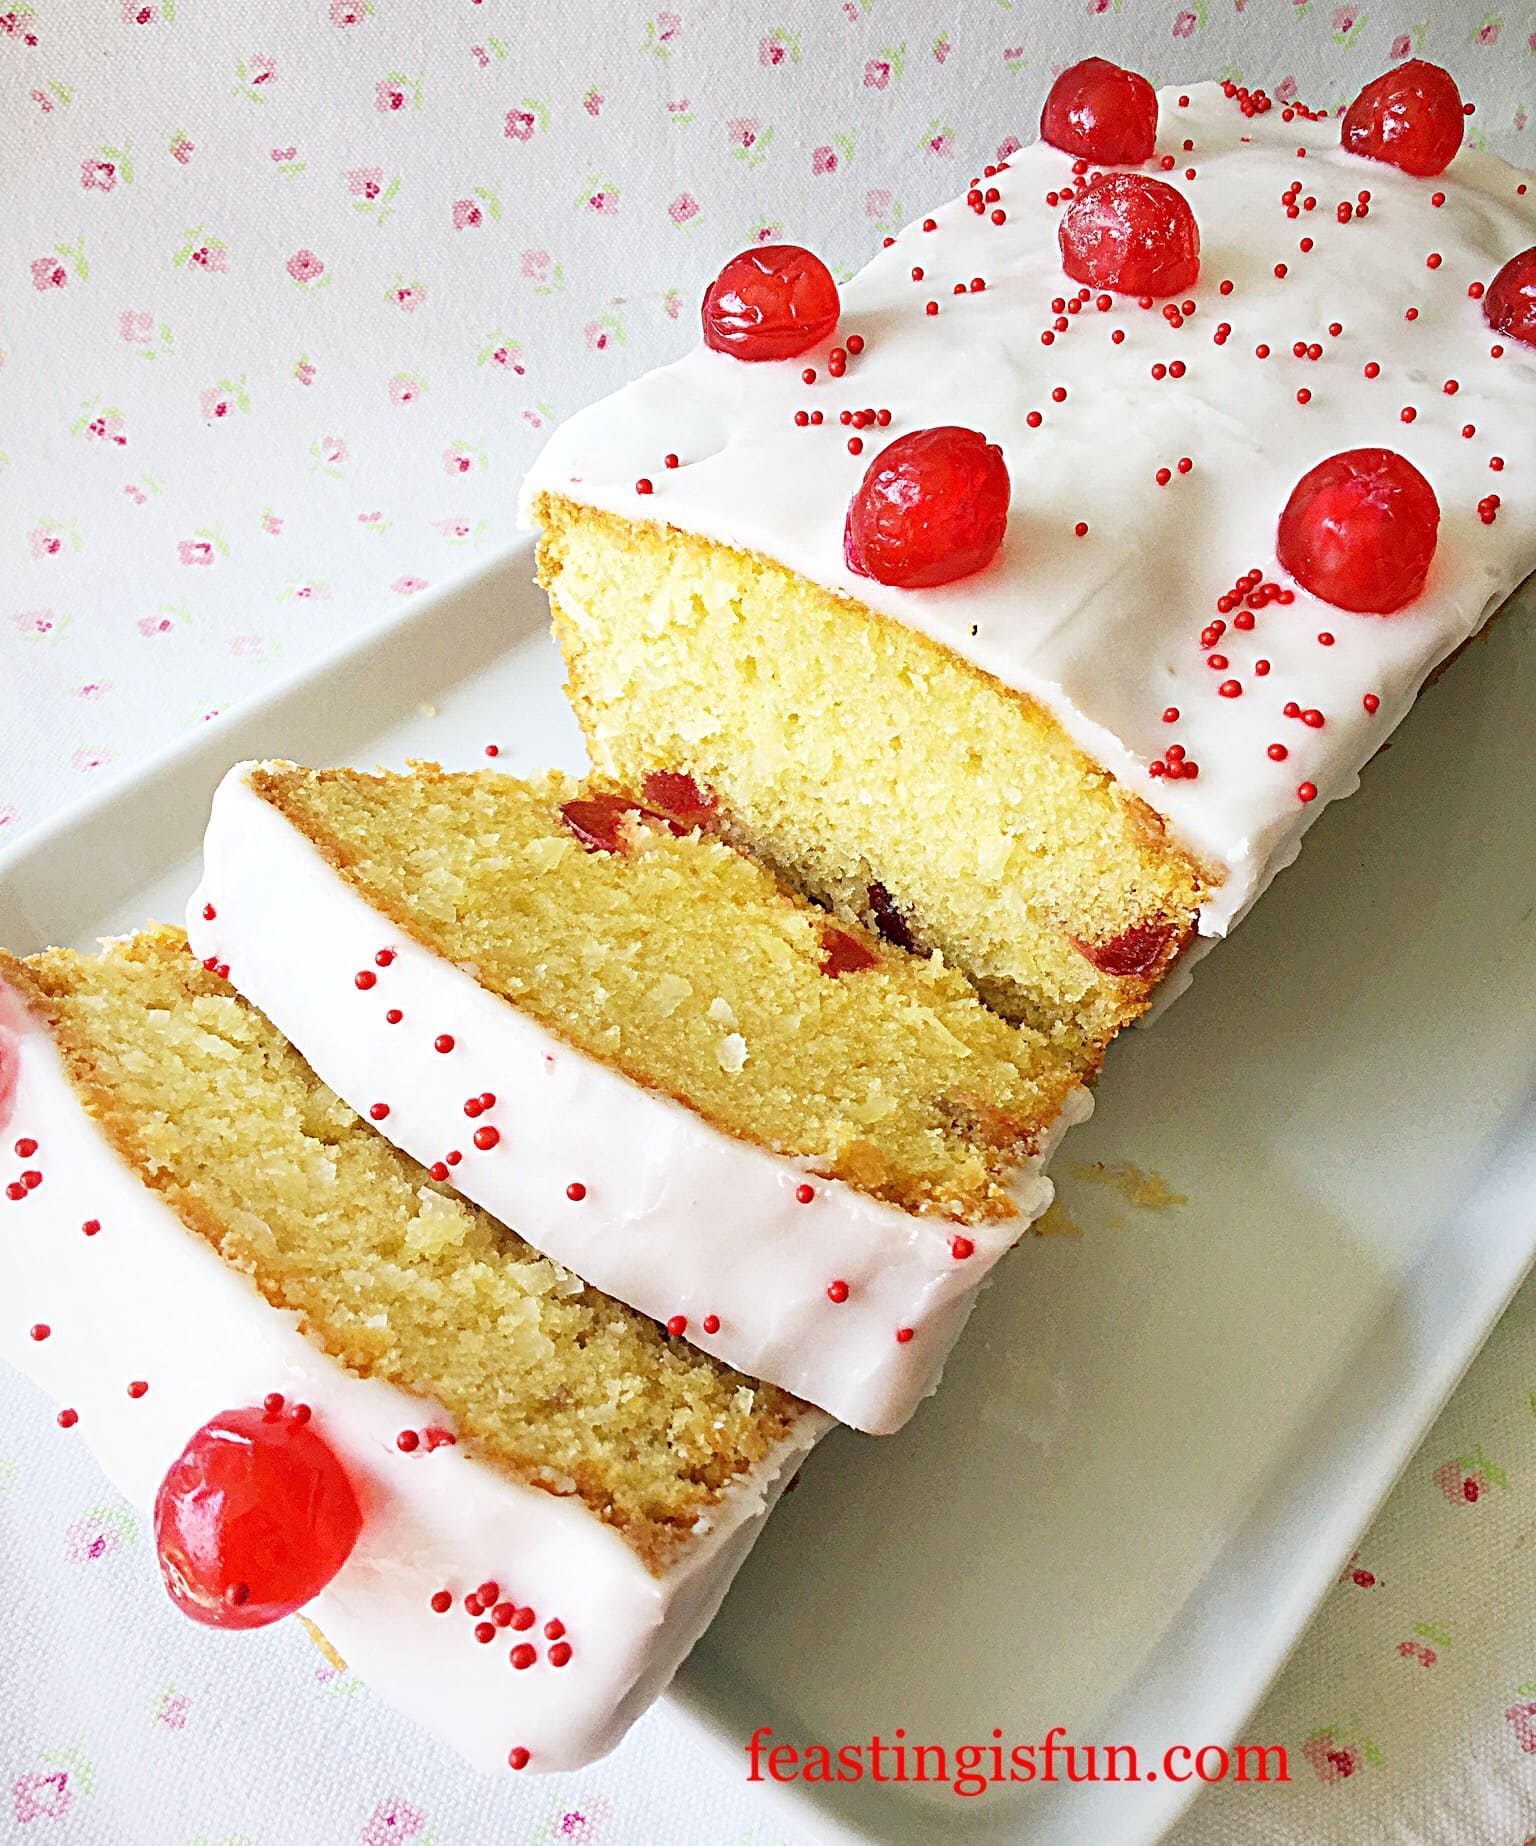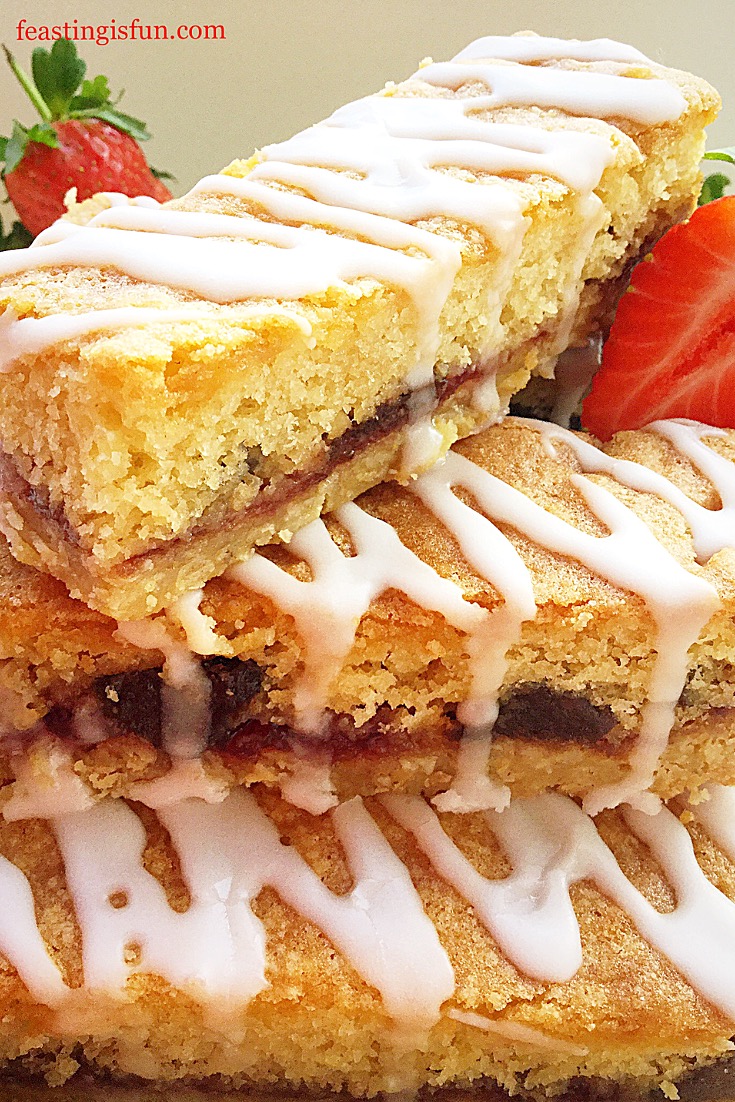
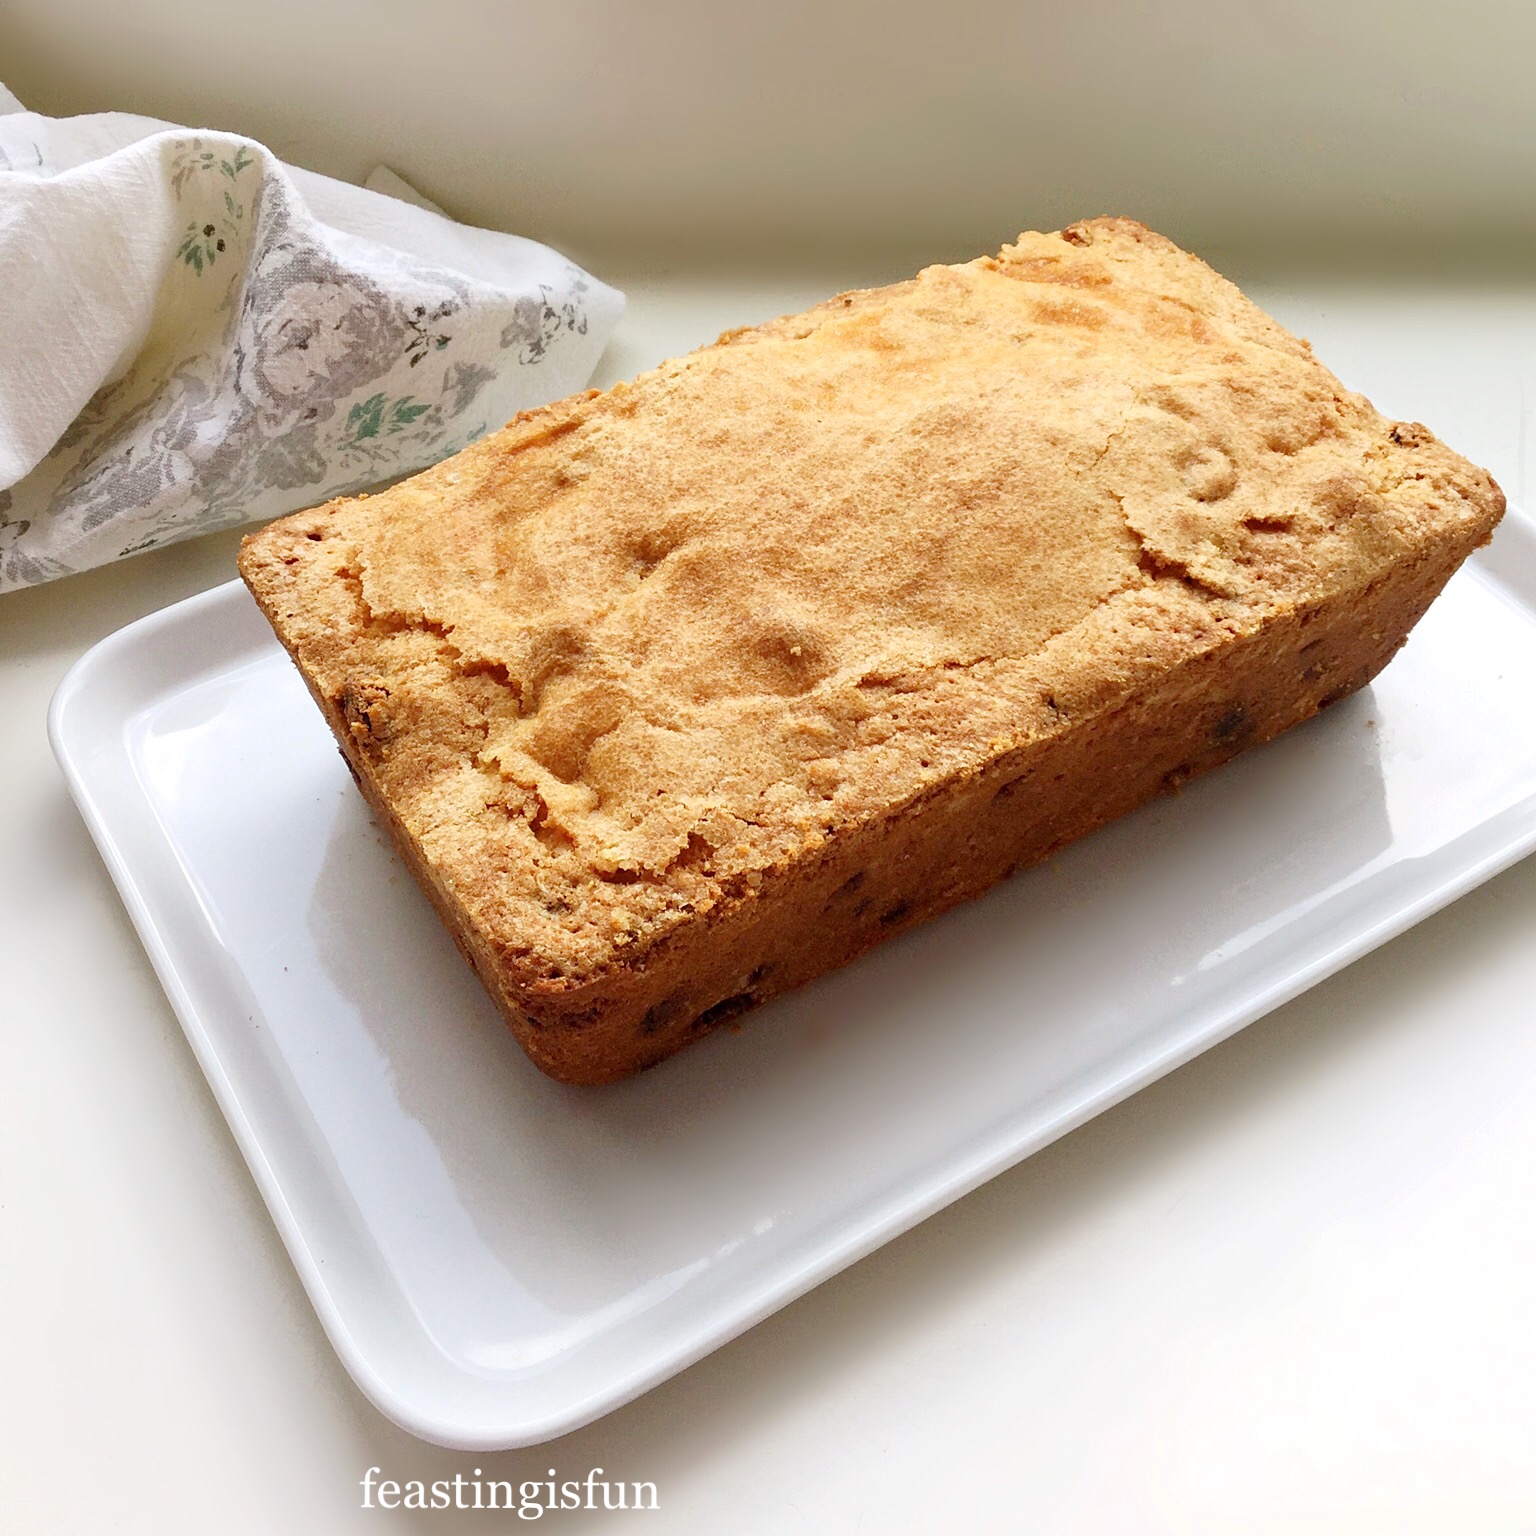
Hello to all my lovely readers. How are you during these worrying and confined times? A coping mechanism that I use during chaotic, out of control times, is to do something soothing and familiar. And for me that’s baking. Whether it’s methodically following a recipe or developing a new one, being creative in the kitchen calms me. And there is the added bonus of a delicious bake at the end of the process! My Mixed Fruit Loaf Cake is the result of a personal craving for exactly this cake, light, buttery and packed full of plump vine fruits and cherries.

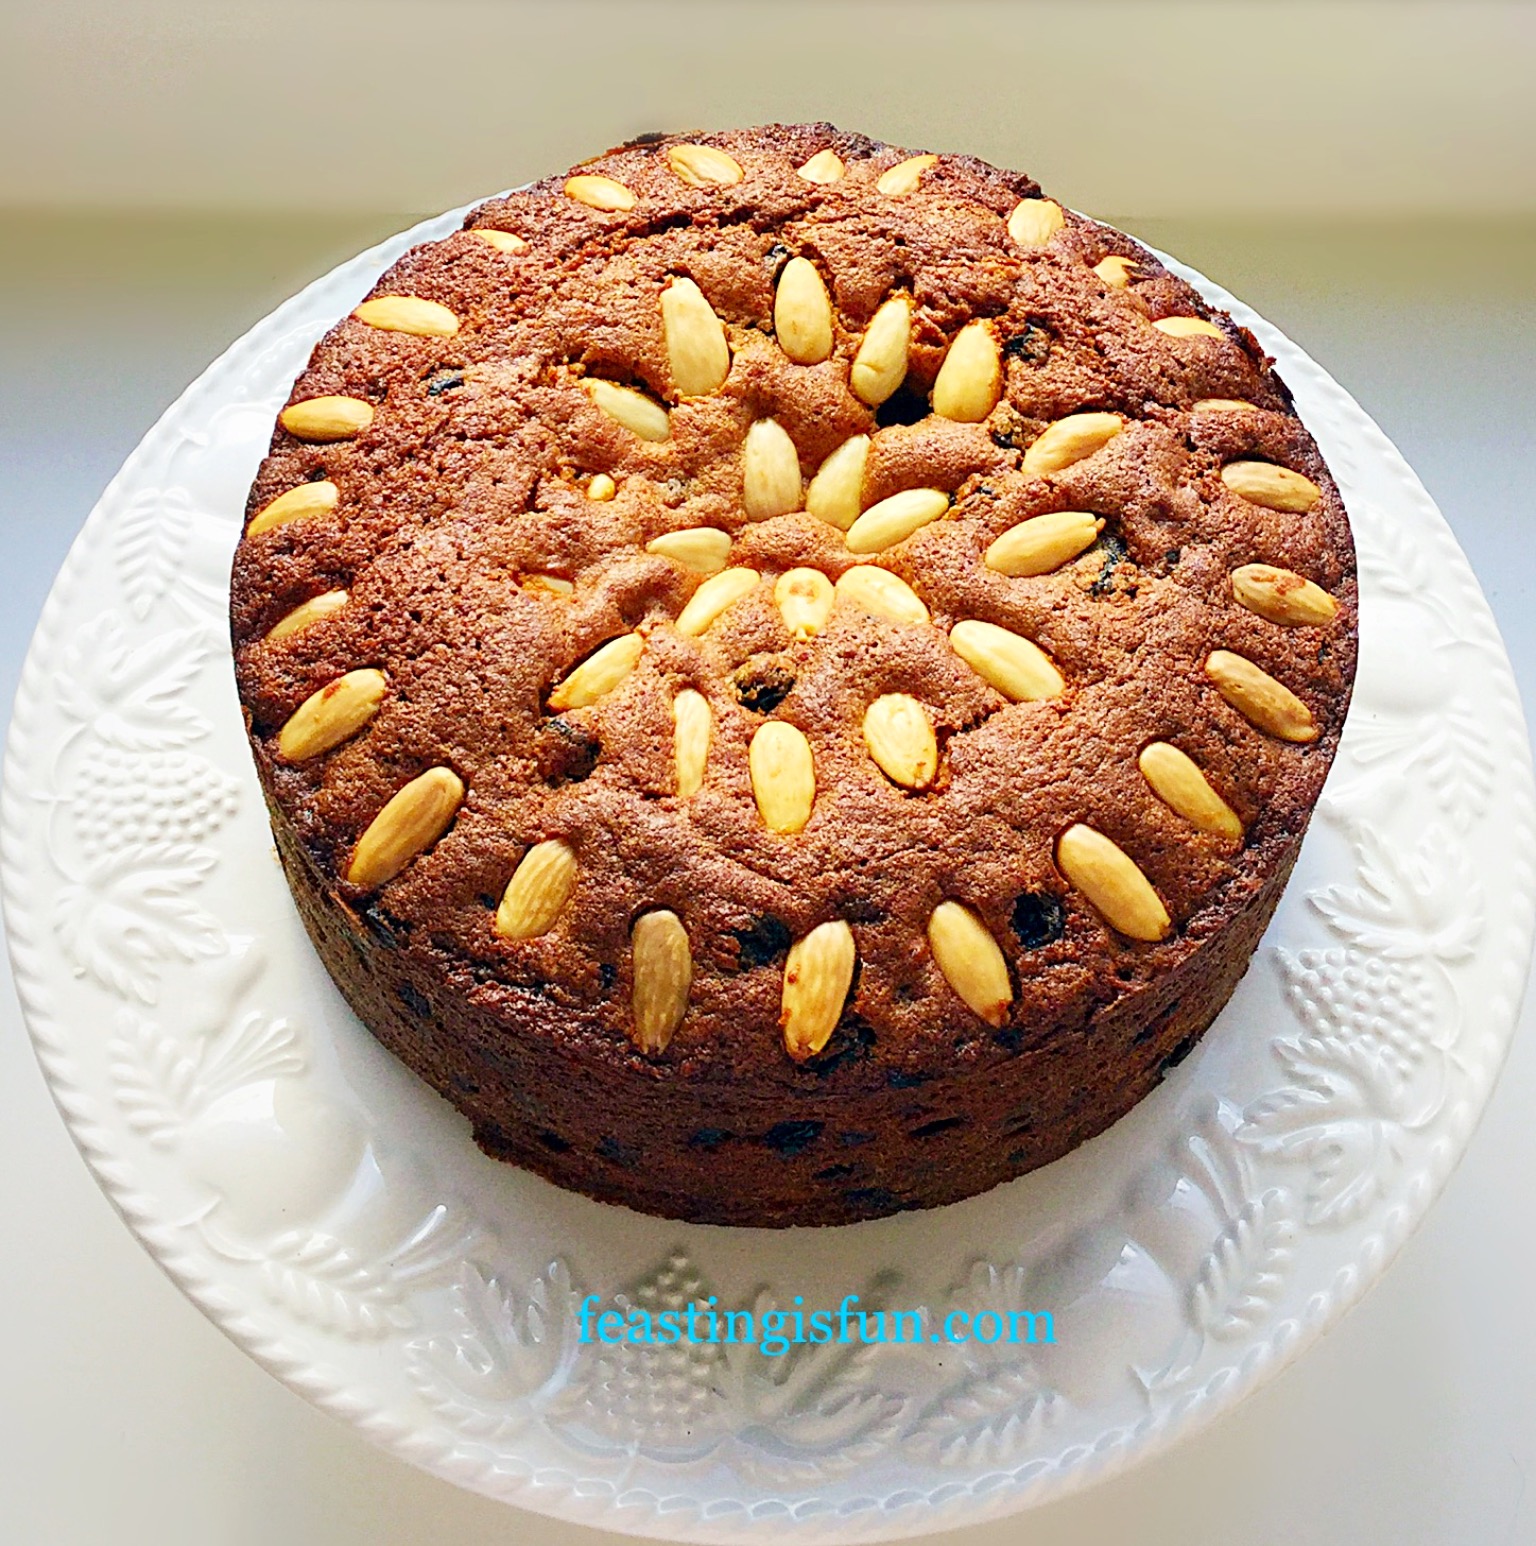
If I’m being completely honest I’m not a big fan of heavily spiced, rich fruit cake. For example Christmas cake. While I make it every year for my hubby and son who adore it, I will only have a tiny piece, primarily out of tradition and also to check the flavour. Yet a lighter, un-spiced fruit cake such as my Dundee Cake, is a completely different story. Pass me a slice, a cup of tea and I’m one happy girlie. And that light, fruit packed, buttery cake is exactly the inspiration behind my Mixed Fruit Loaf Cake.

A Spoonful Of Sugar
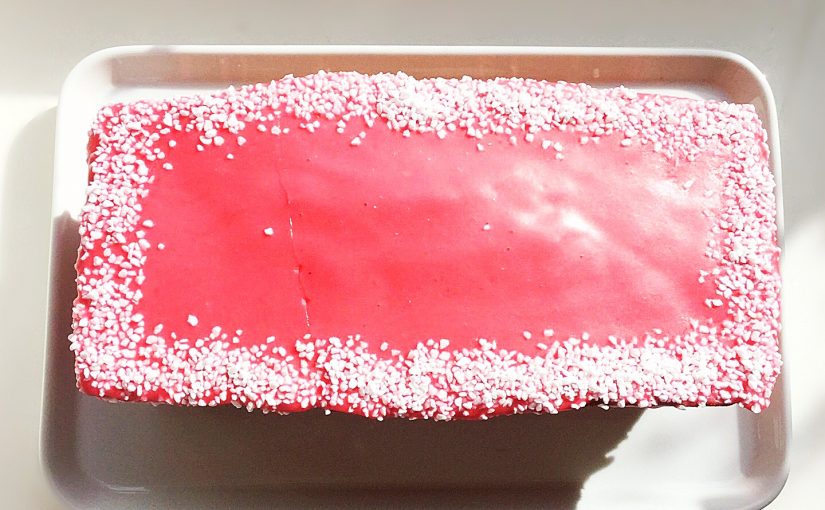
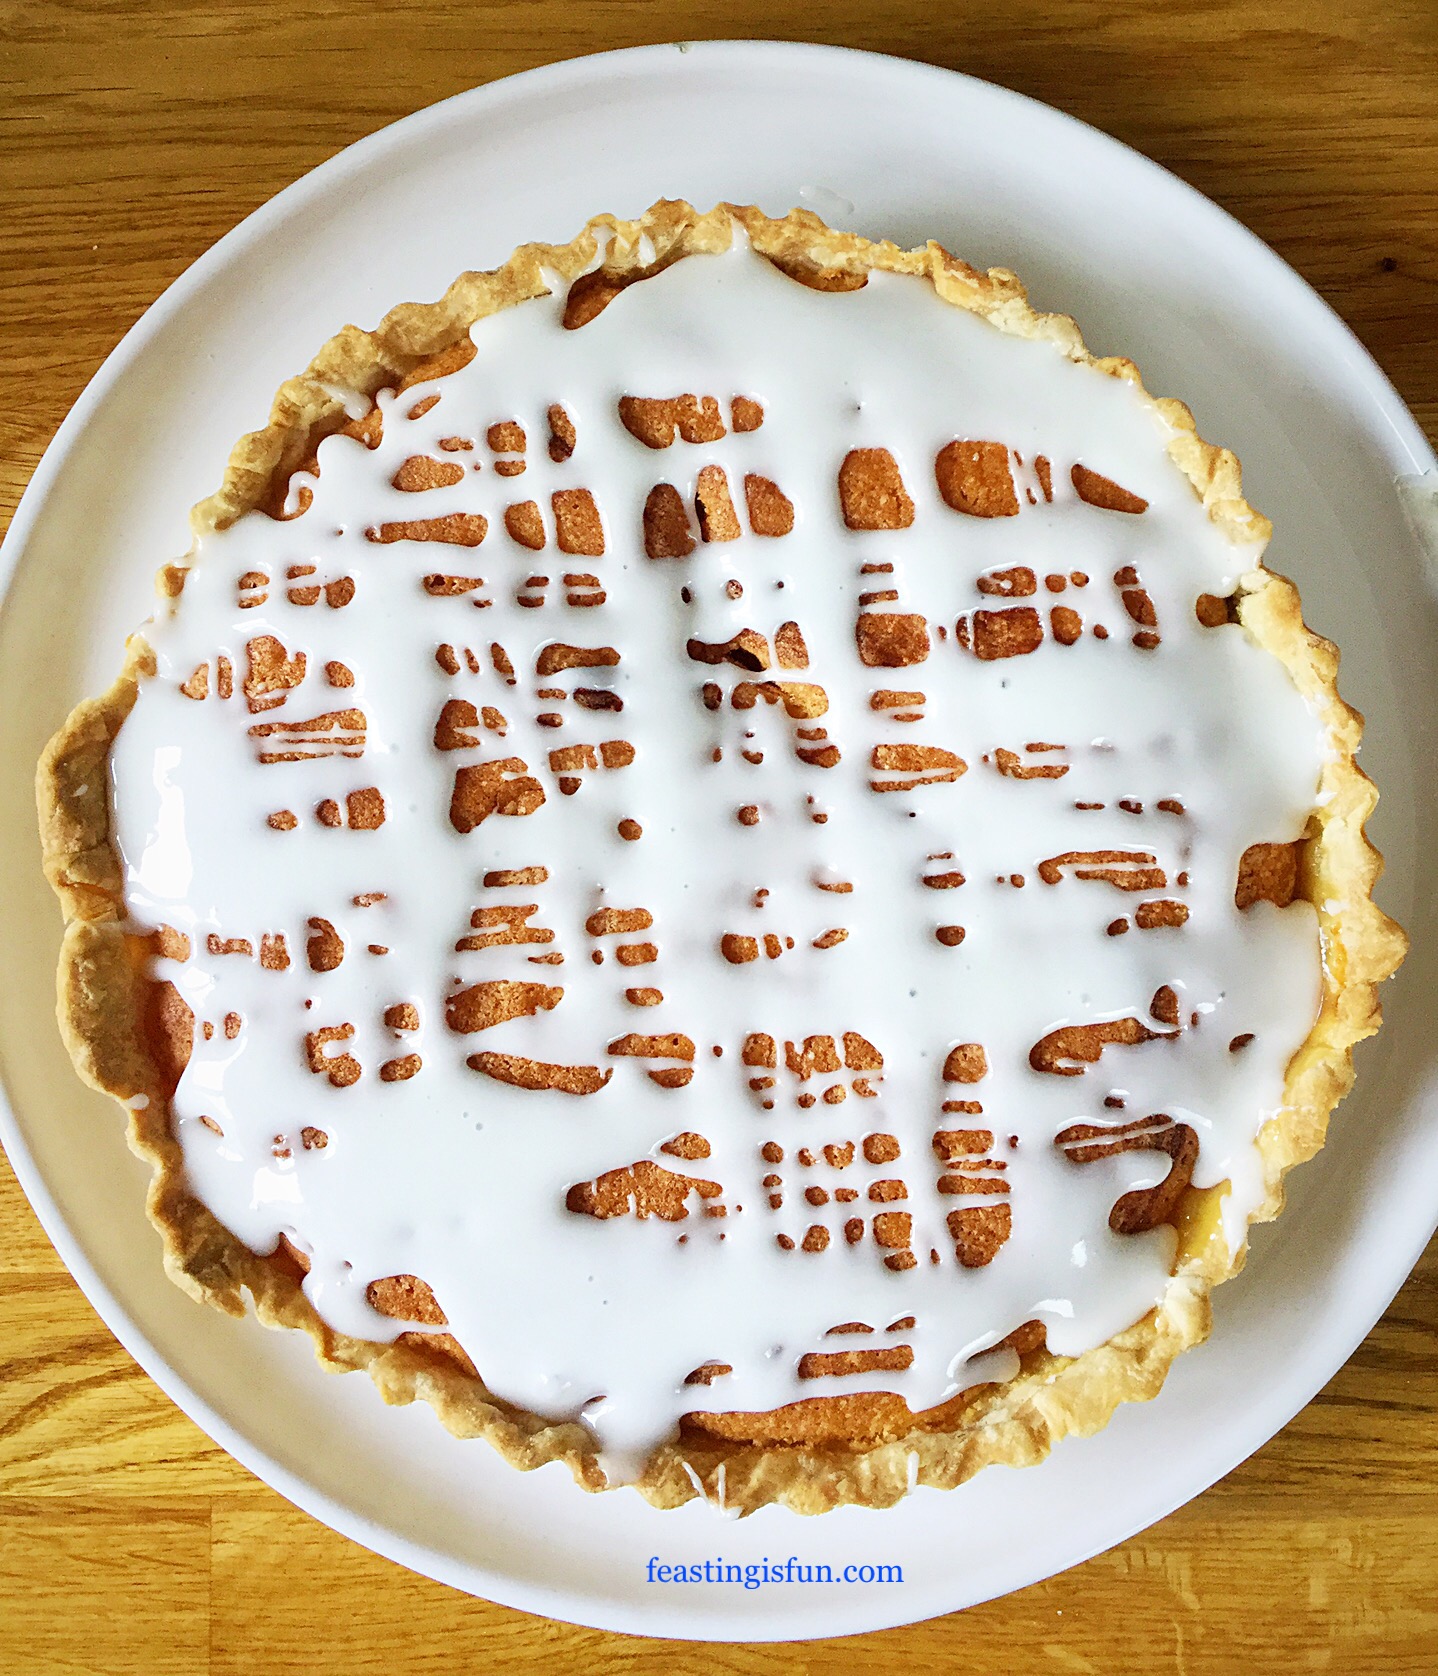
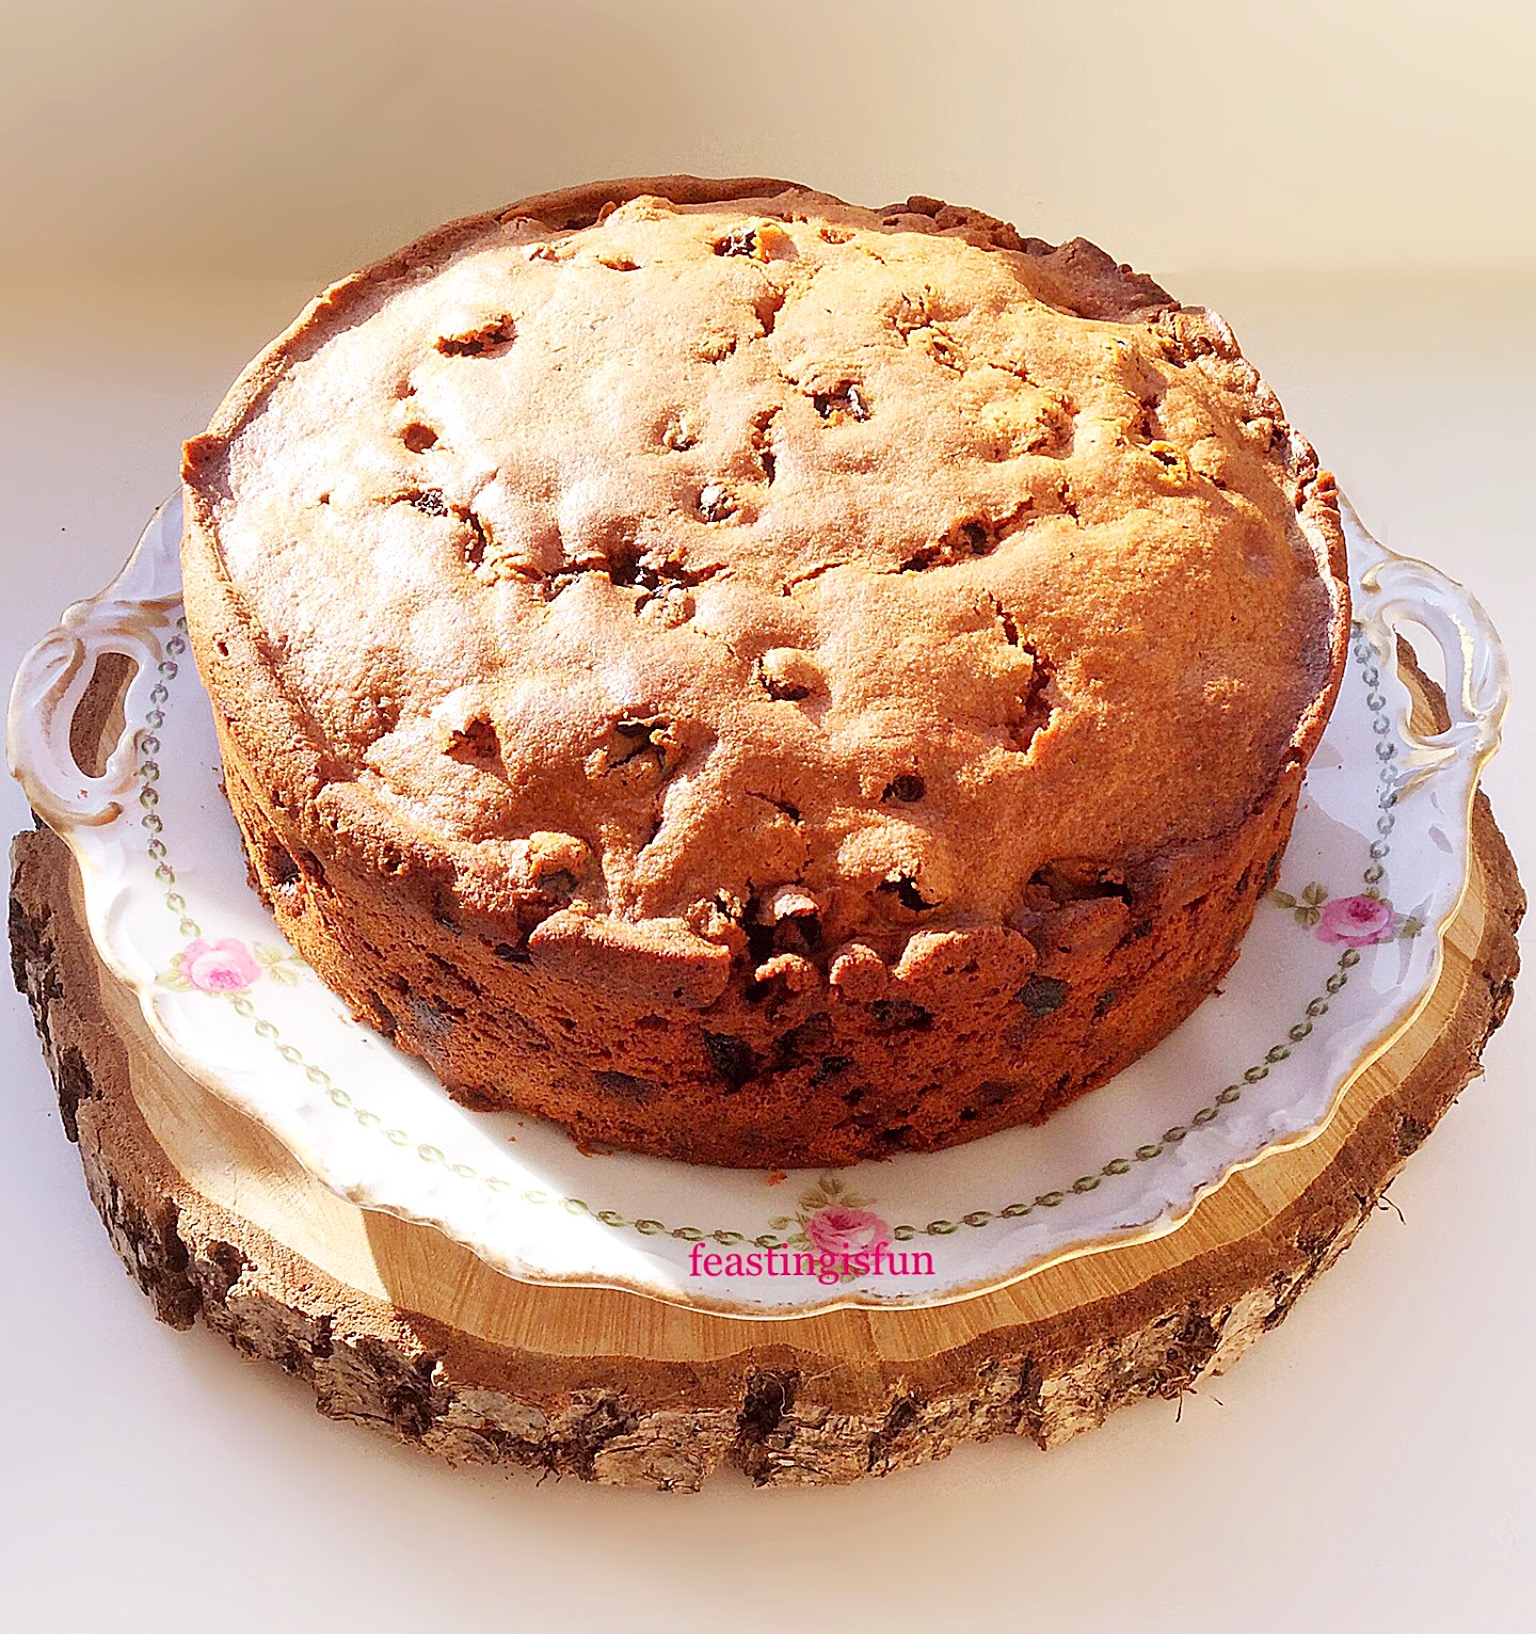
So, what makes this fruit cake extra special is the crunchy sugar topping. Added as a last minute idea, one teaspoon of Demerara sugar sprinkled onto the cake before it is baked takes this cake to another level. The crunchy texture adds an unexpected contrast to the soft, yielding cake without adding excess sweetness. You may of course leave it off, but I’d encourage you to try it once!
Finally, a quick note about making this cake. After baking and cooling wrap the cake, still in its tin, in cling film. The cake firms up and pulls together overnight and, in my opinion, improves in flavour. Although this process isn’t necessary, if you have the time I highly recommend it.
Recipe: Mixed Fruit Loaf Cake serves 8-10
225g/8oz Unsalted Butter at room temperature
225g/8oz Caster Sugar – can be substituted with granulated sugar
1/4 tsp Salt – I use Maldon
1 tsp Vanilla Extract – I use Nielsen Massey
4 Large Free Range Eggs
275g/9.5oz Self Raising Flour – alternatively use the same weight of plain flour and add 1 teaspoon of baking powder
Zest of 1 Lemon
100g/4oz Glacé Cherries – halved
200g/7oz Mixed Vine Fruits – sultanas, raisins and currants – I use Waitrose Luxury Vine Fruits. Alternatively use 300g mix of whatever dried fruits you prefer.
1 tsp Demerara Sugar
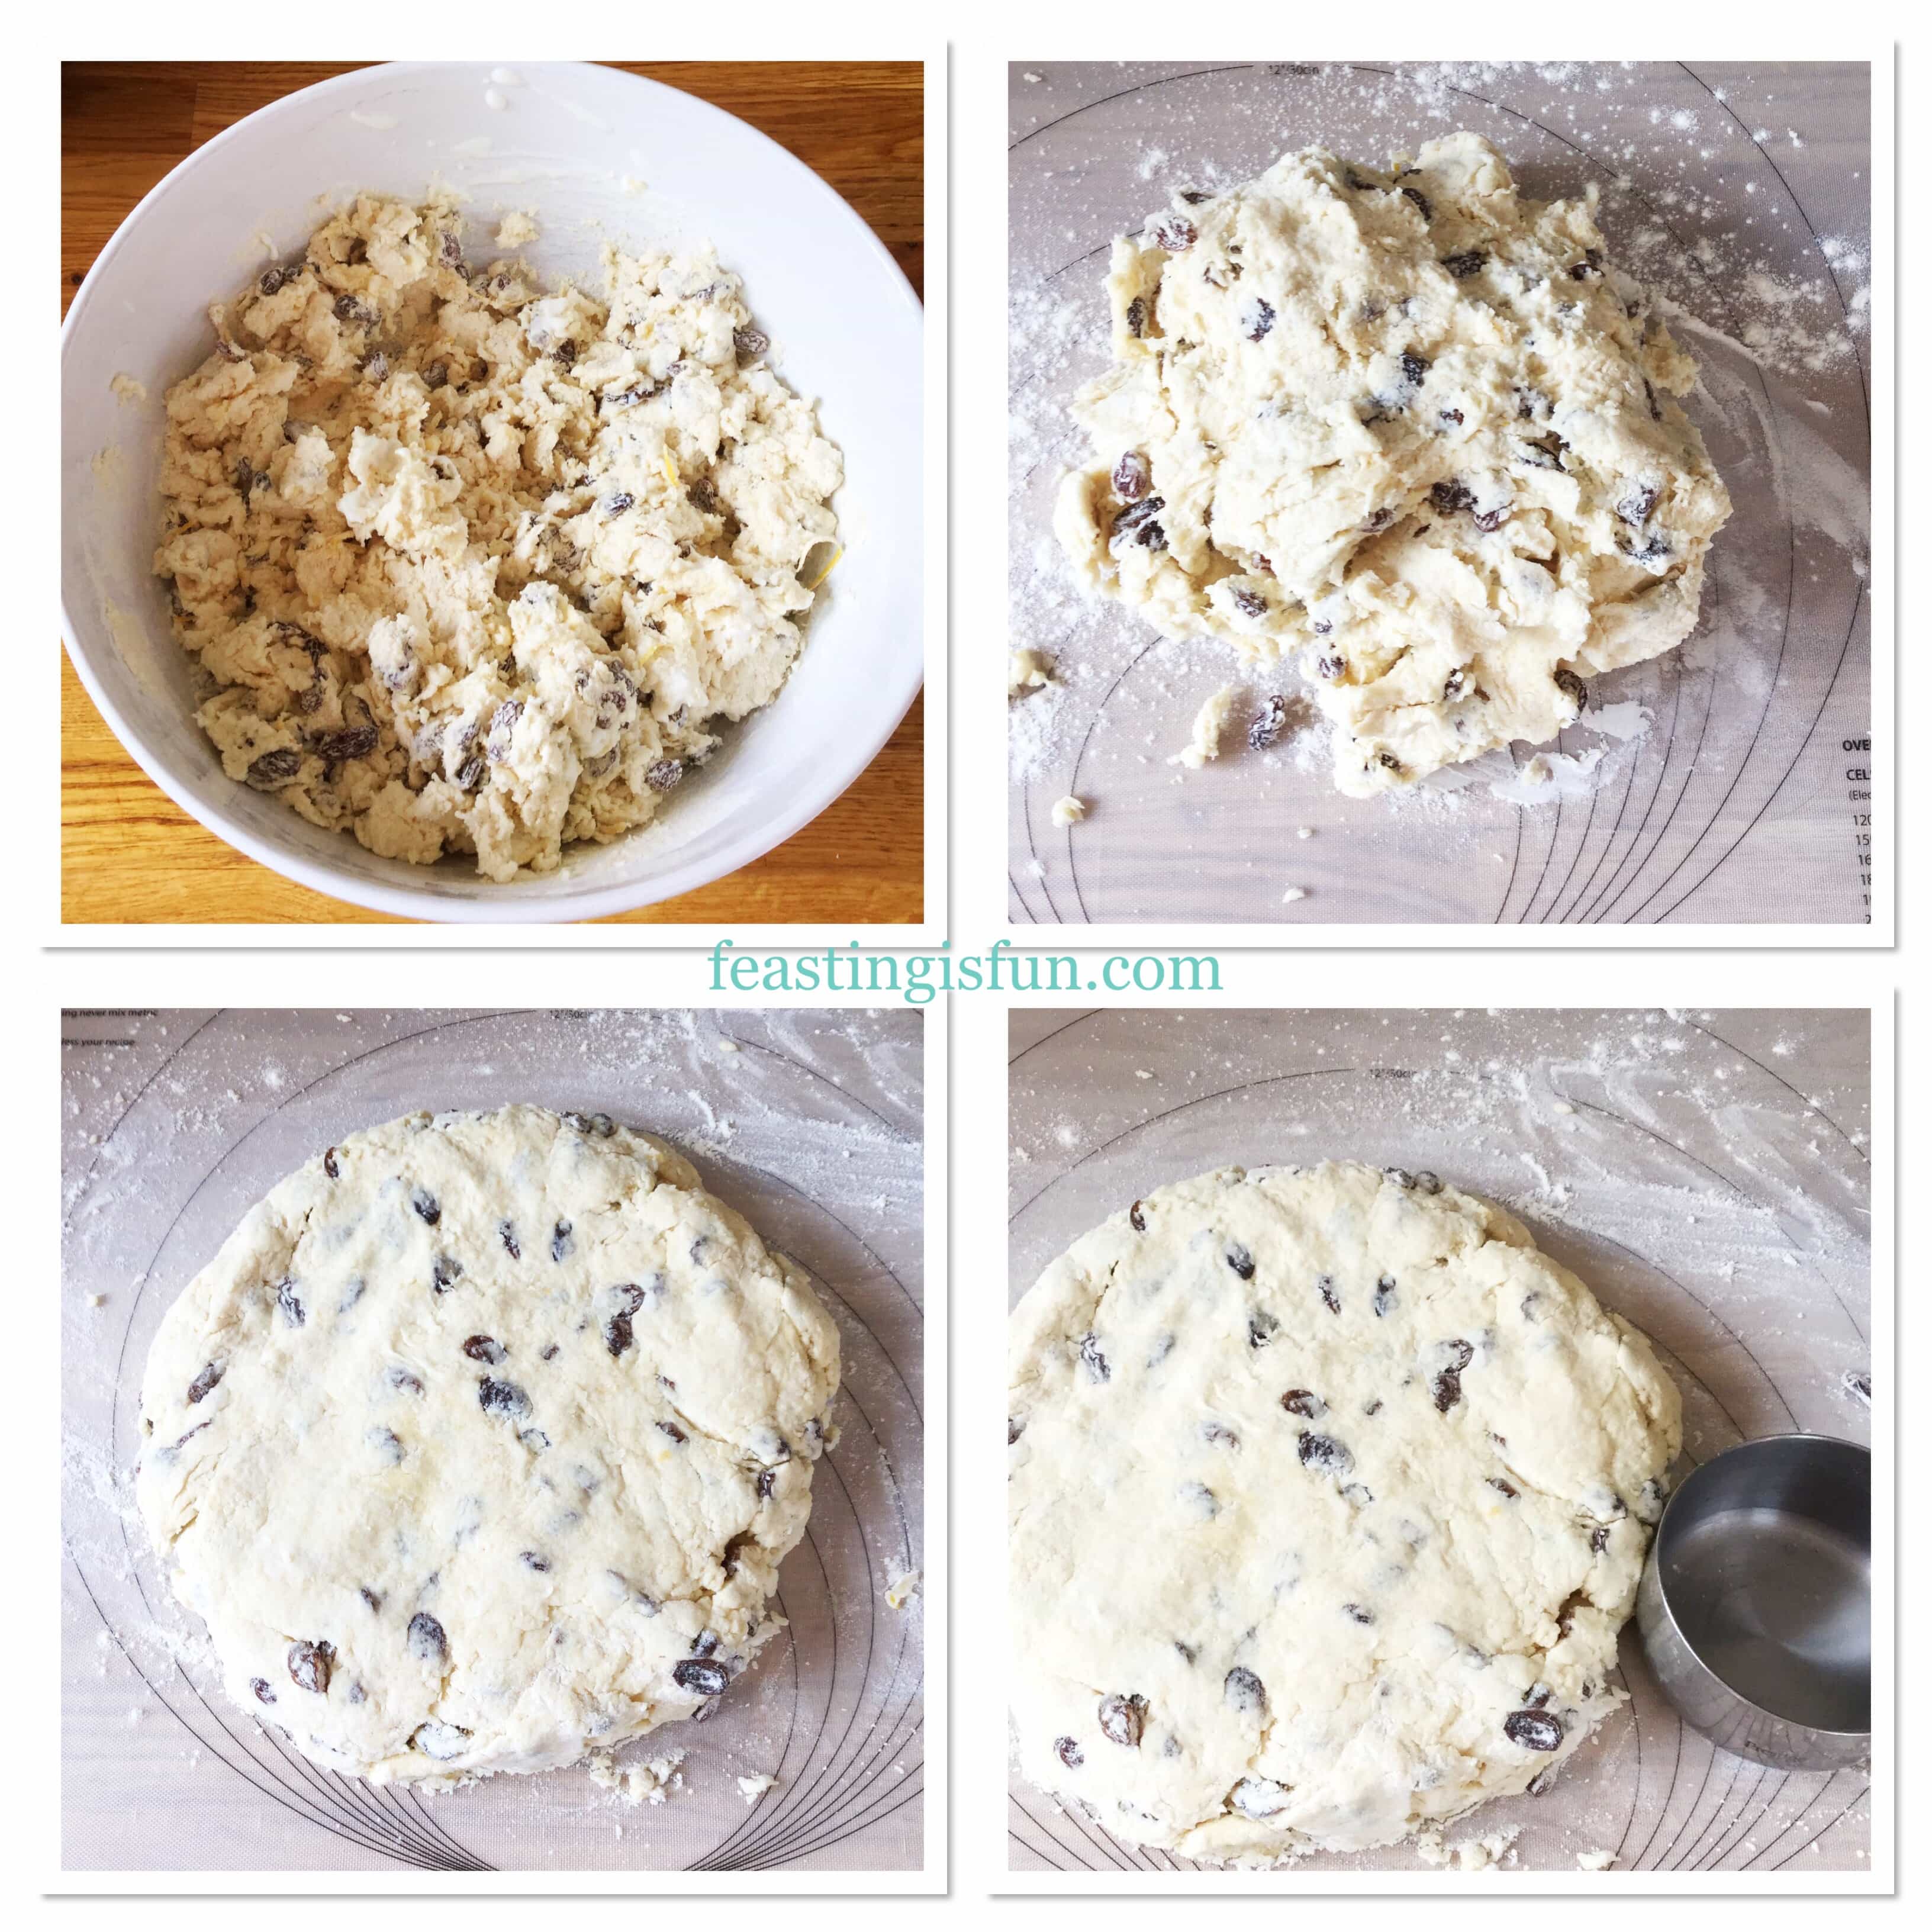
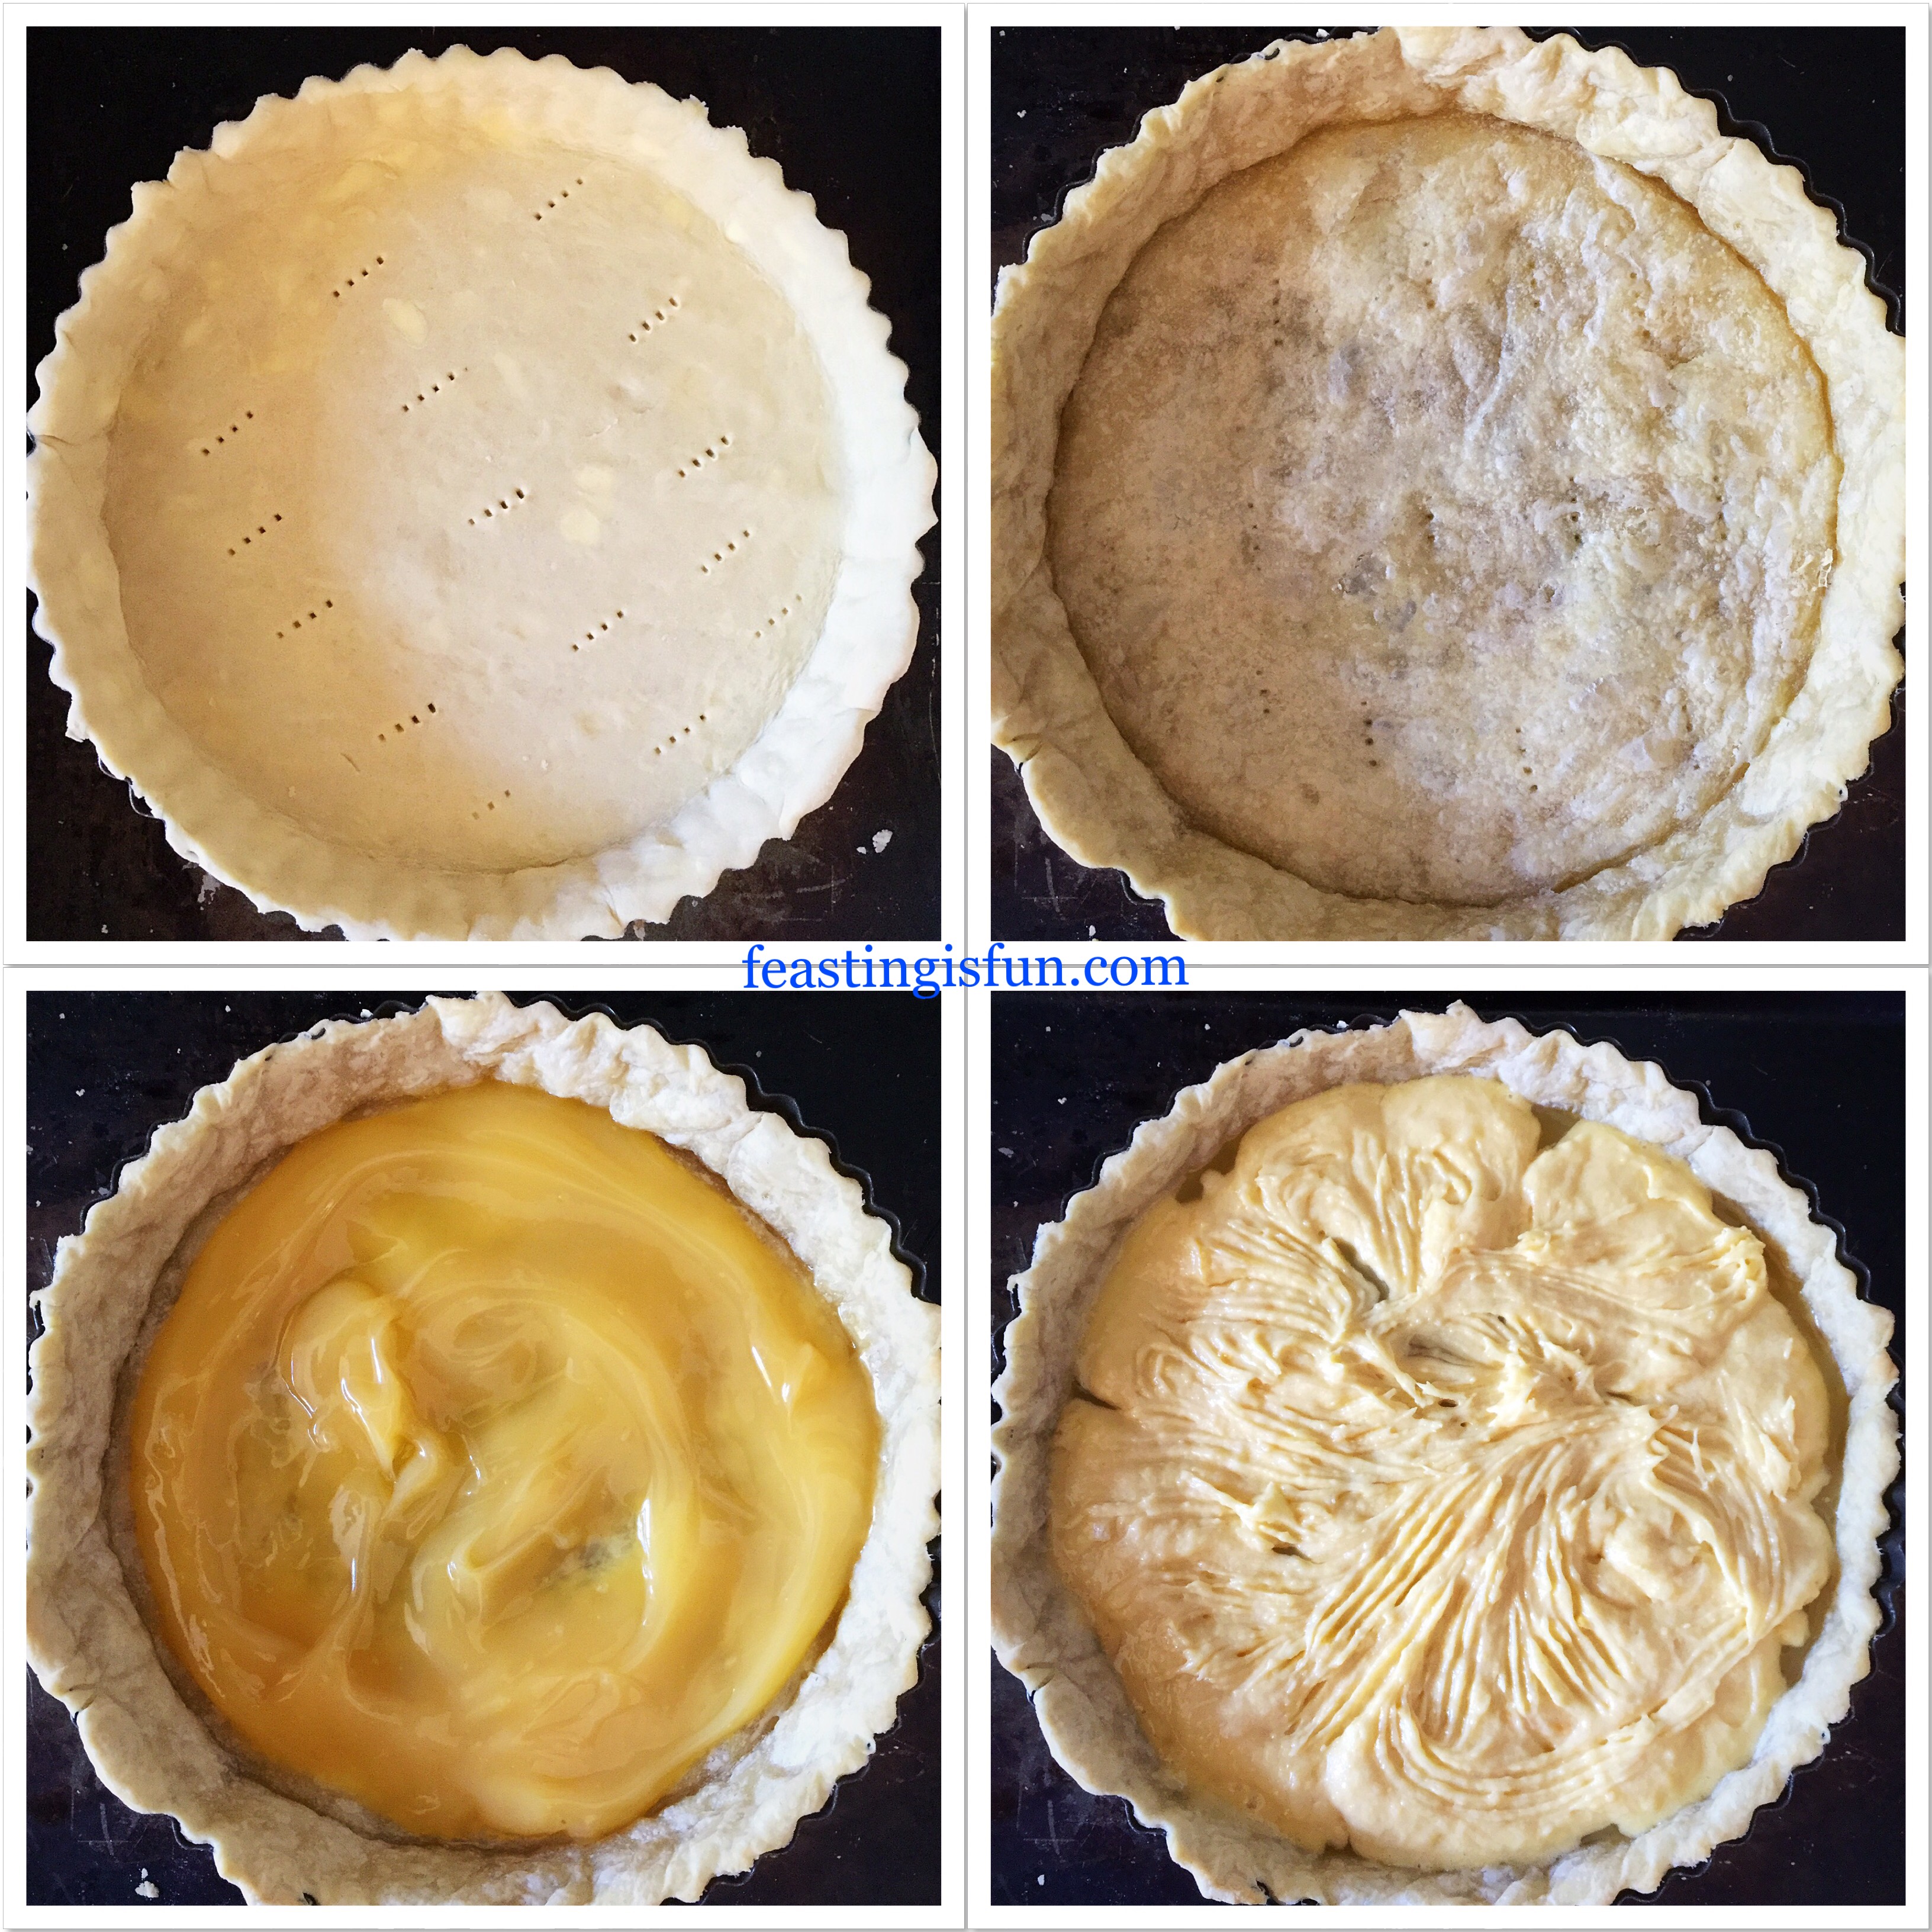
Making The Fruit Cake Batter:
Preheat the oven to 170C/150C fan, gas mark 3, 325F.
- First of all, butter and line the base with baking parchment of a 2lb loaf tin – 24.5cm x 14.5cm x 7cm (10in x 6in x 3in).
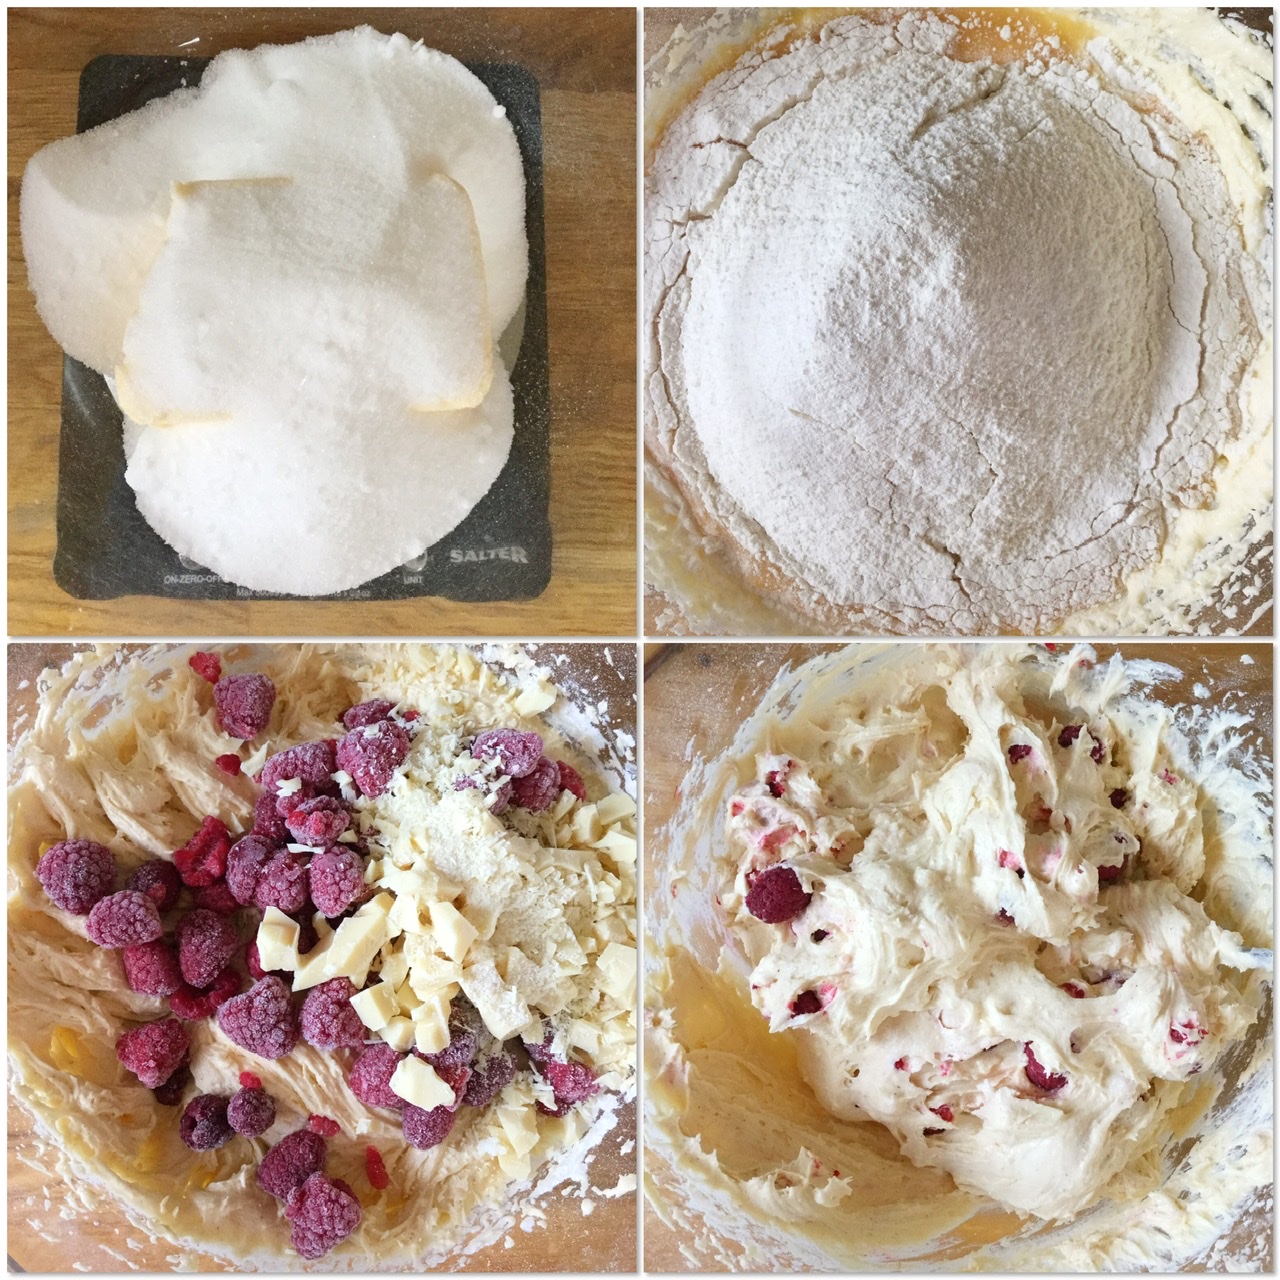
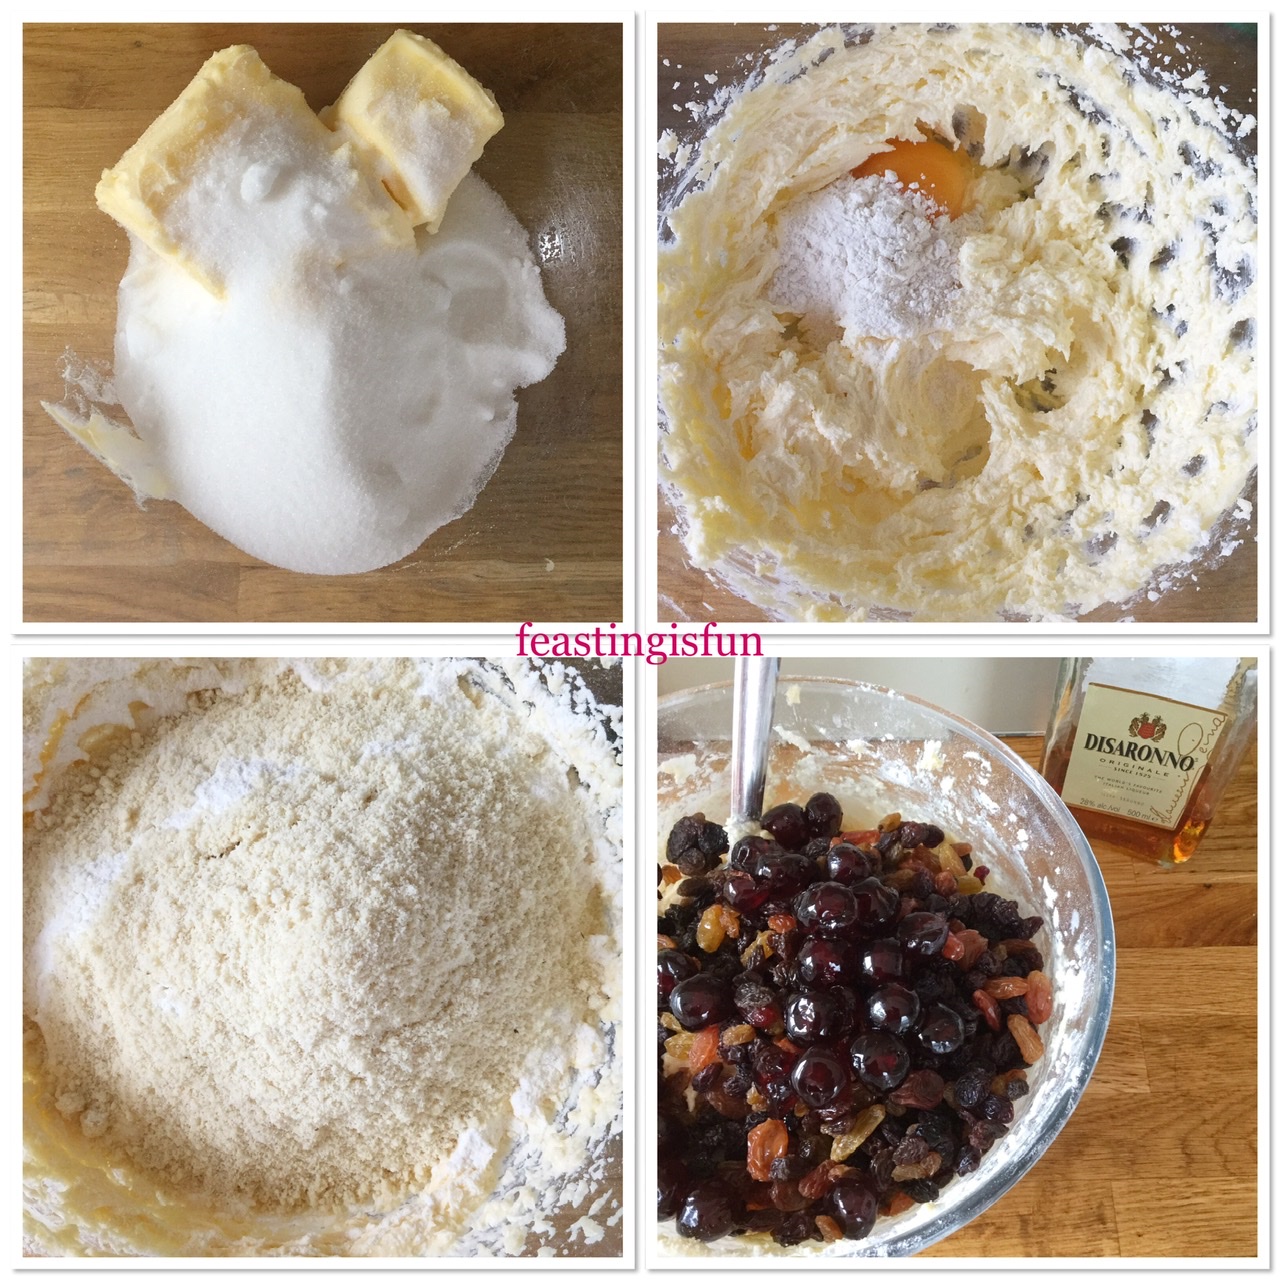
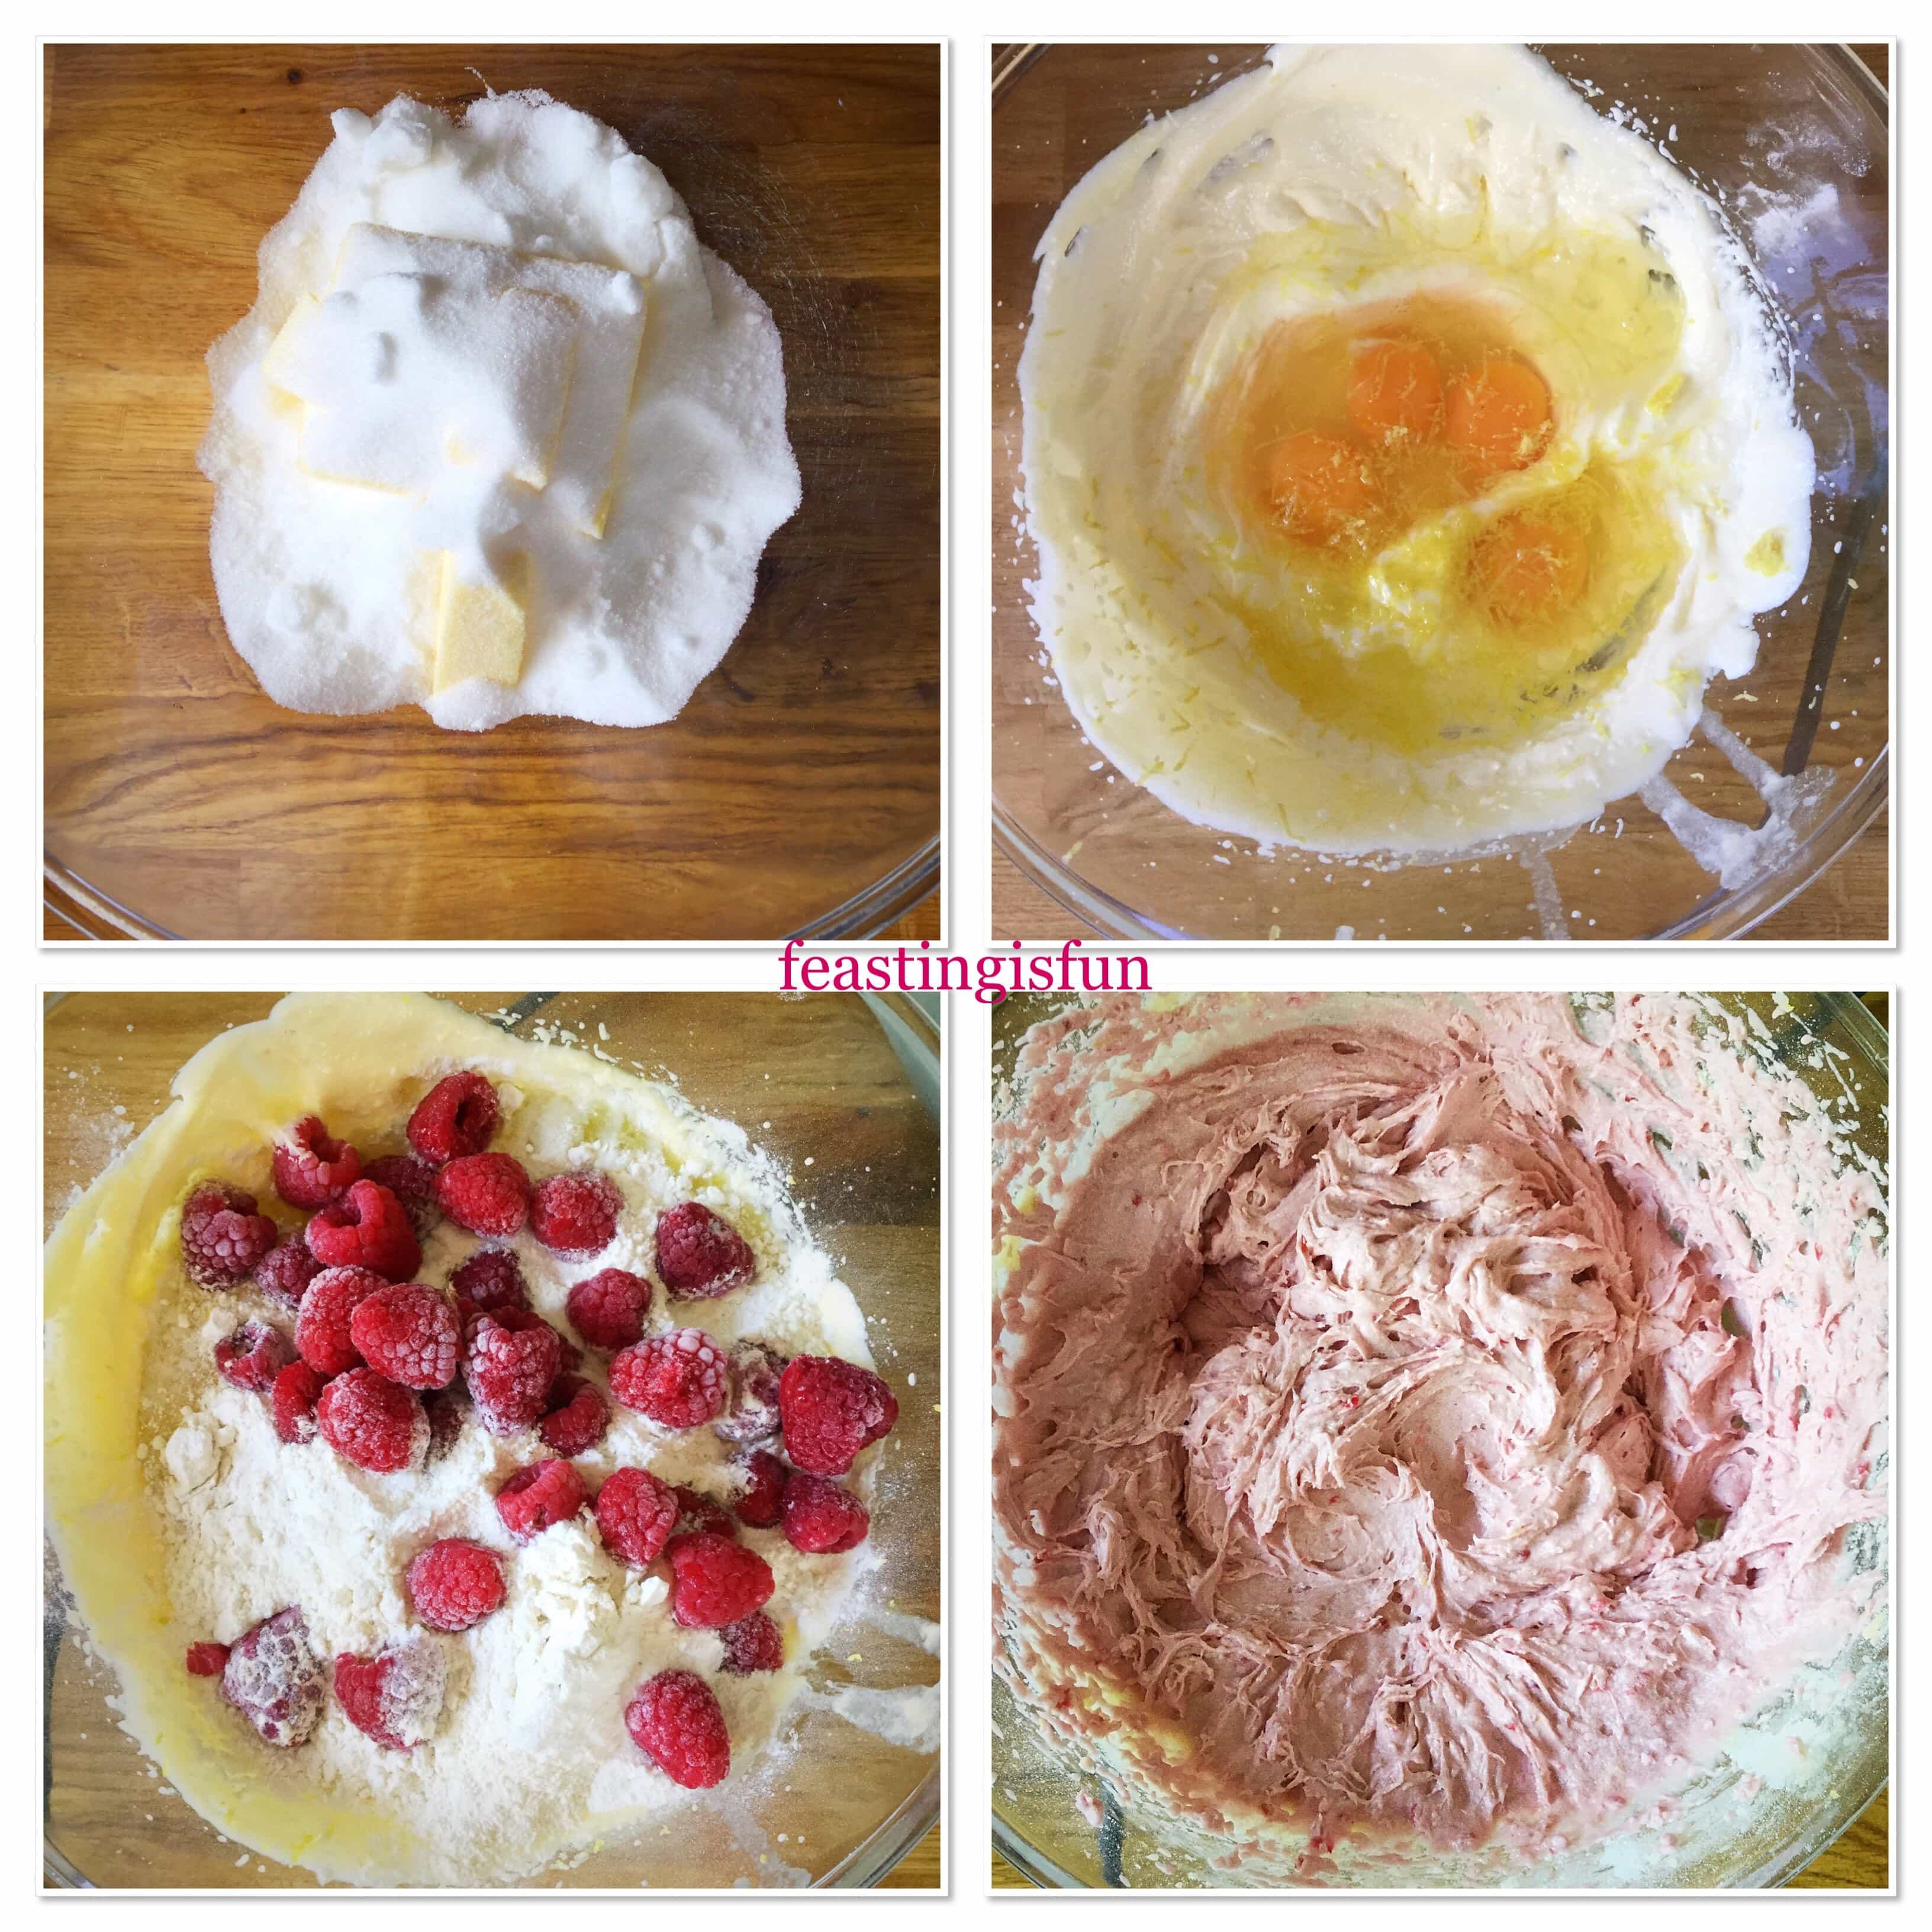
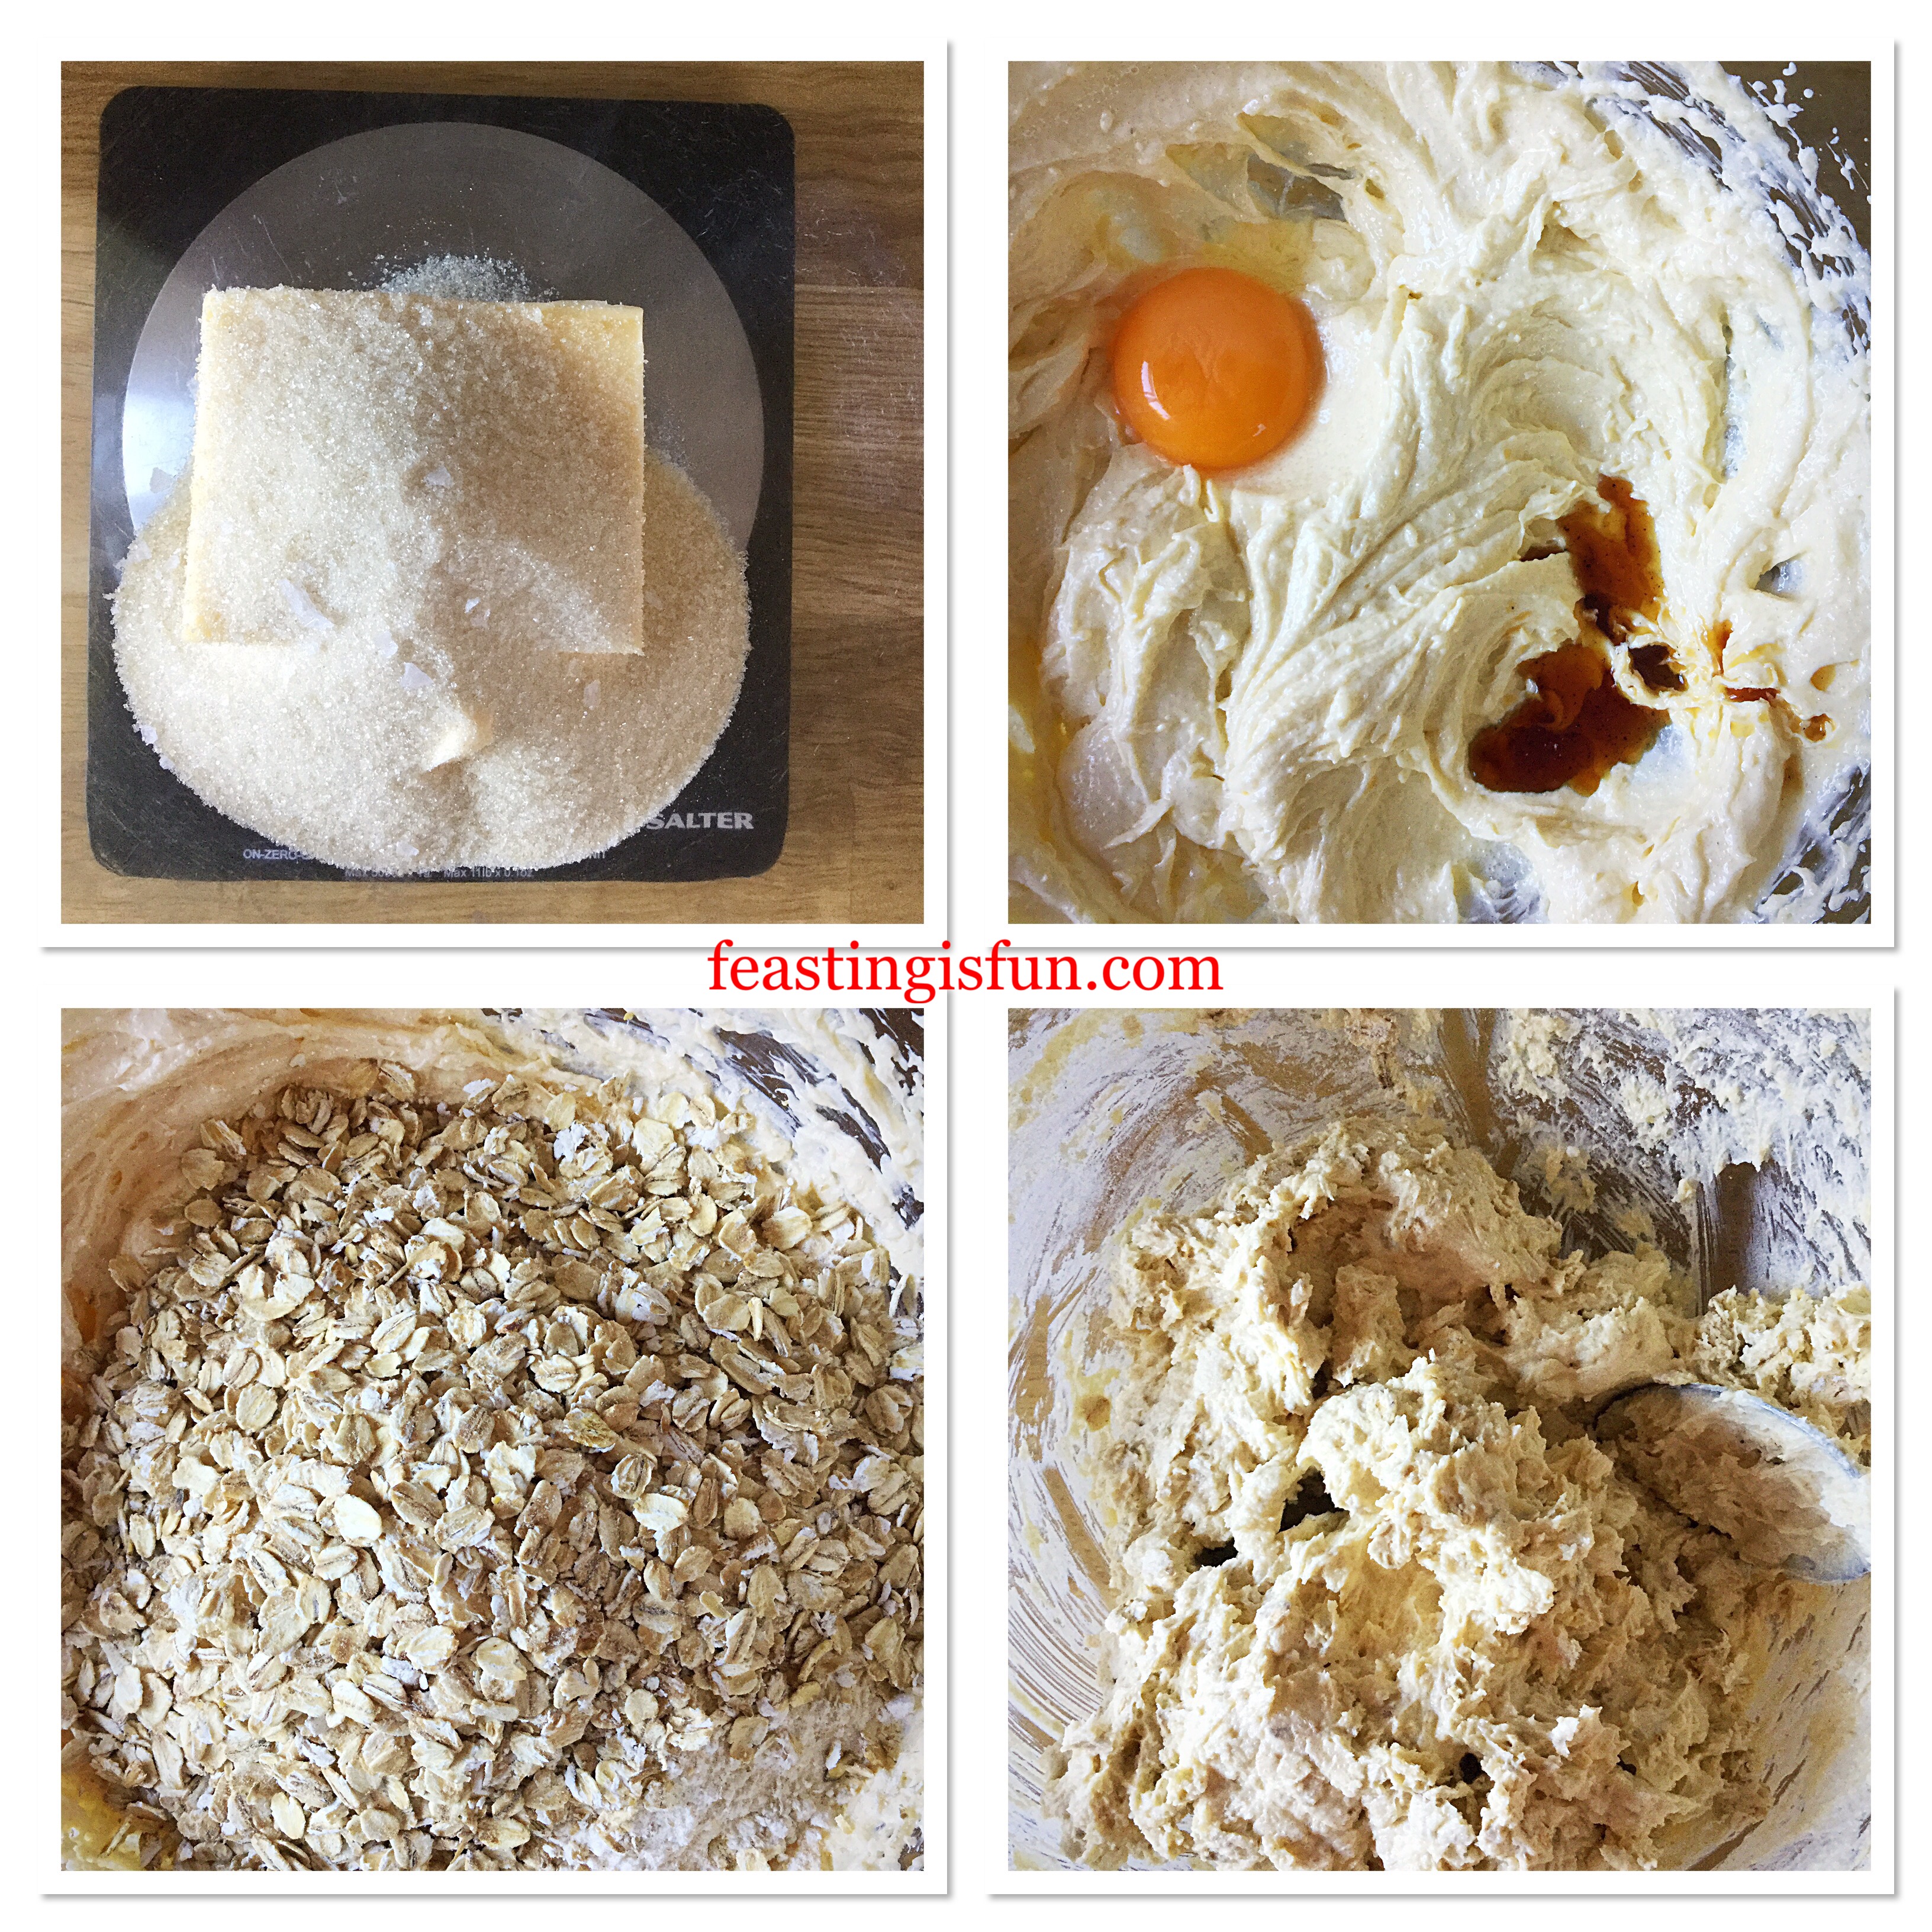
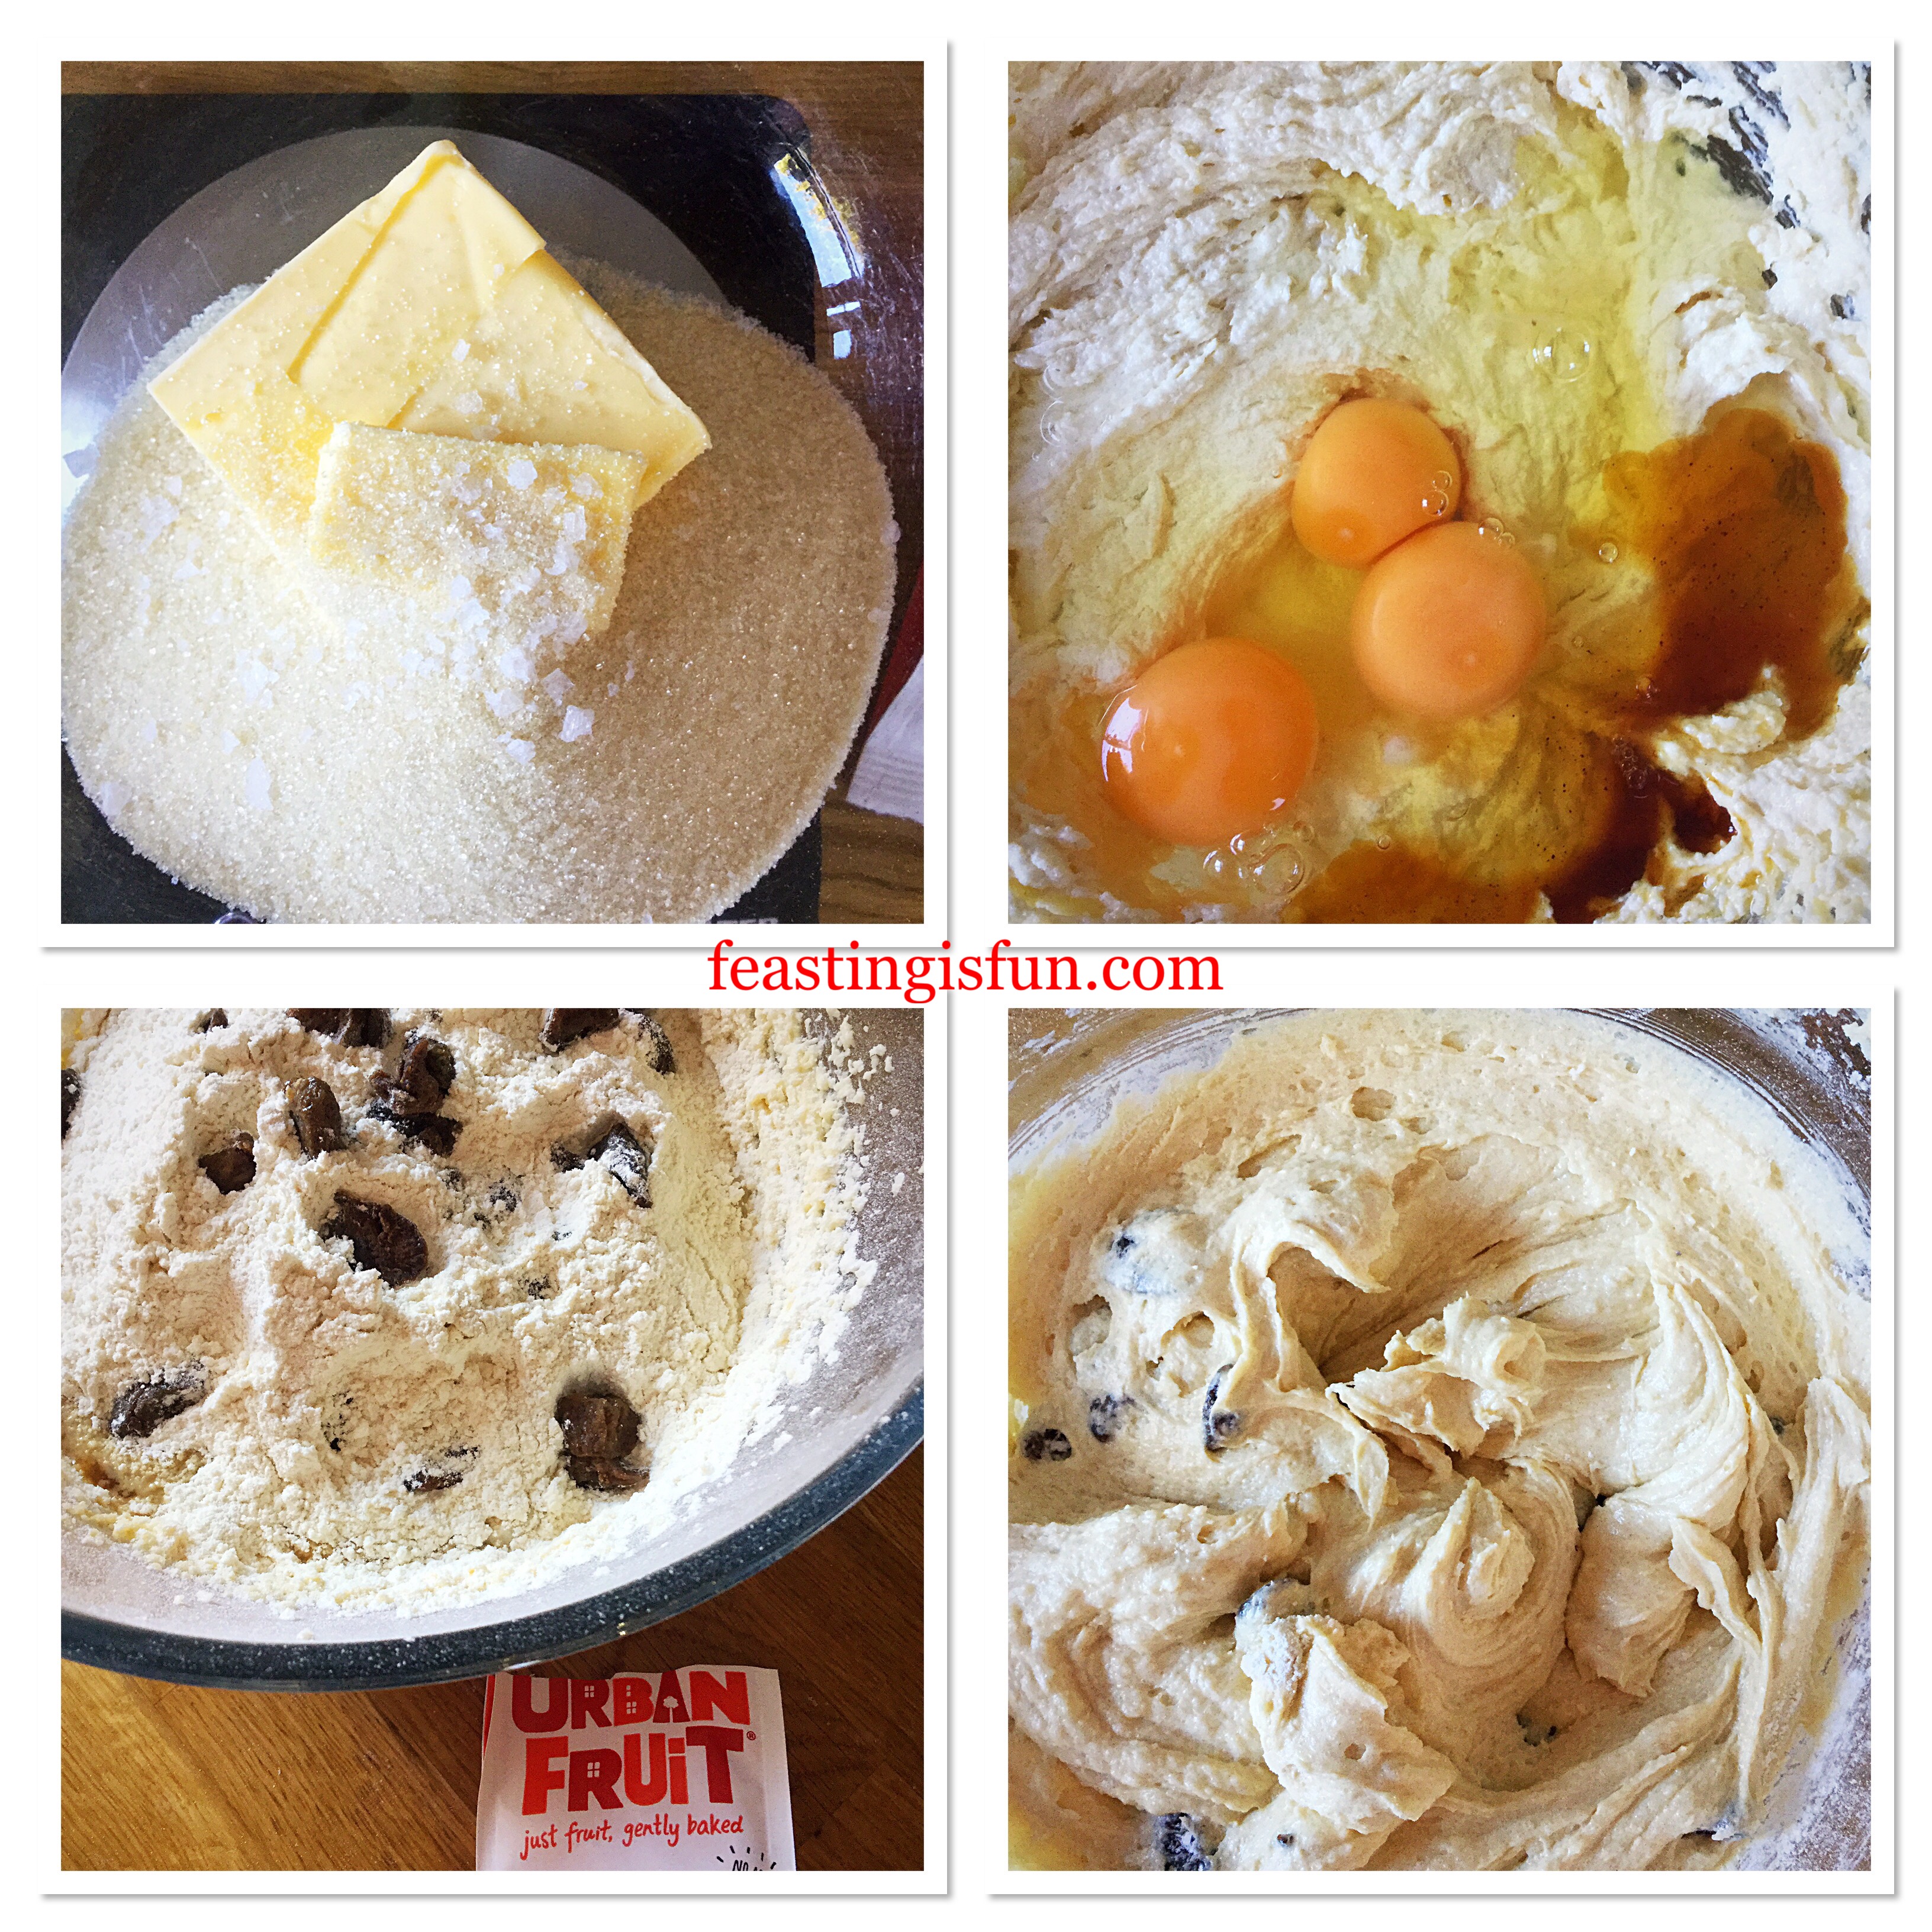
- Into a large bowl add the sugar, butter, salt and vanilla extract.
- Whisk or beat the ingredients together until pale and creamy.
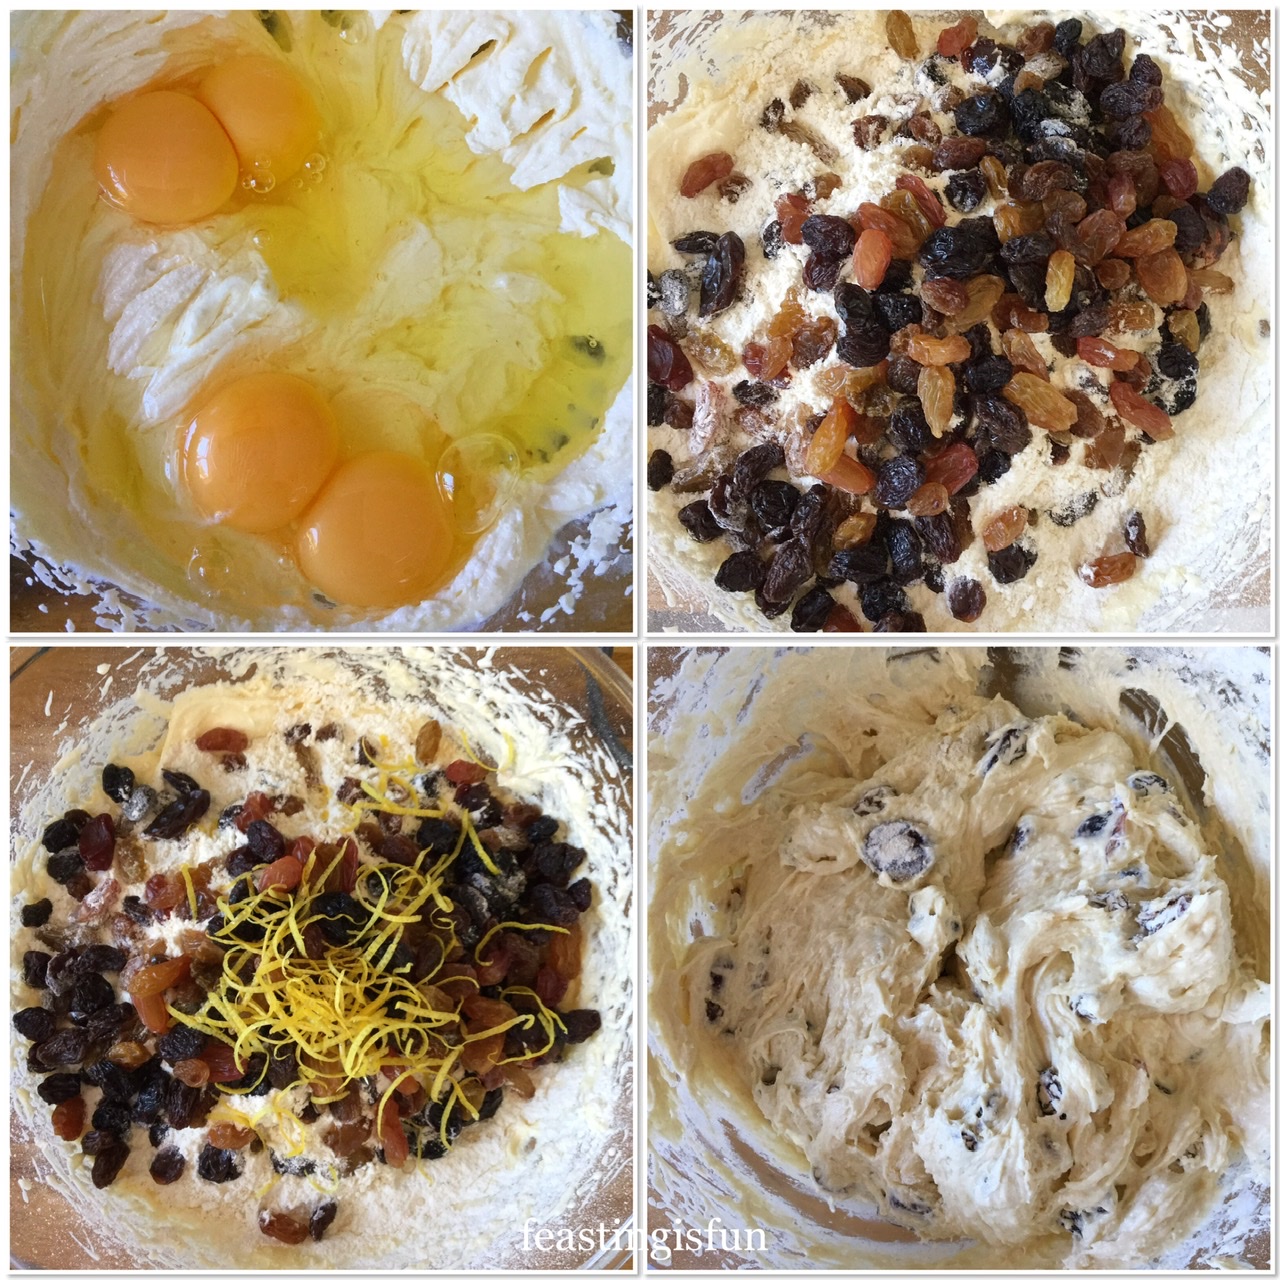
- Add the eggs to the bowl and mix together until combined.
- Sieve the flour into the bowl.
- Add the dried fruit to the bowl and then add the lemon zest.
- Use your hands to lightly toss the fruit in flour, this helps ensure even distribution of fruit through the cake.
- Using a large spoon fold the fruit into the batter, taking care not to over mix.
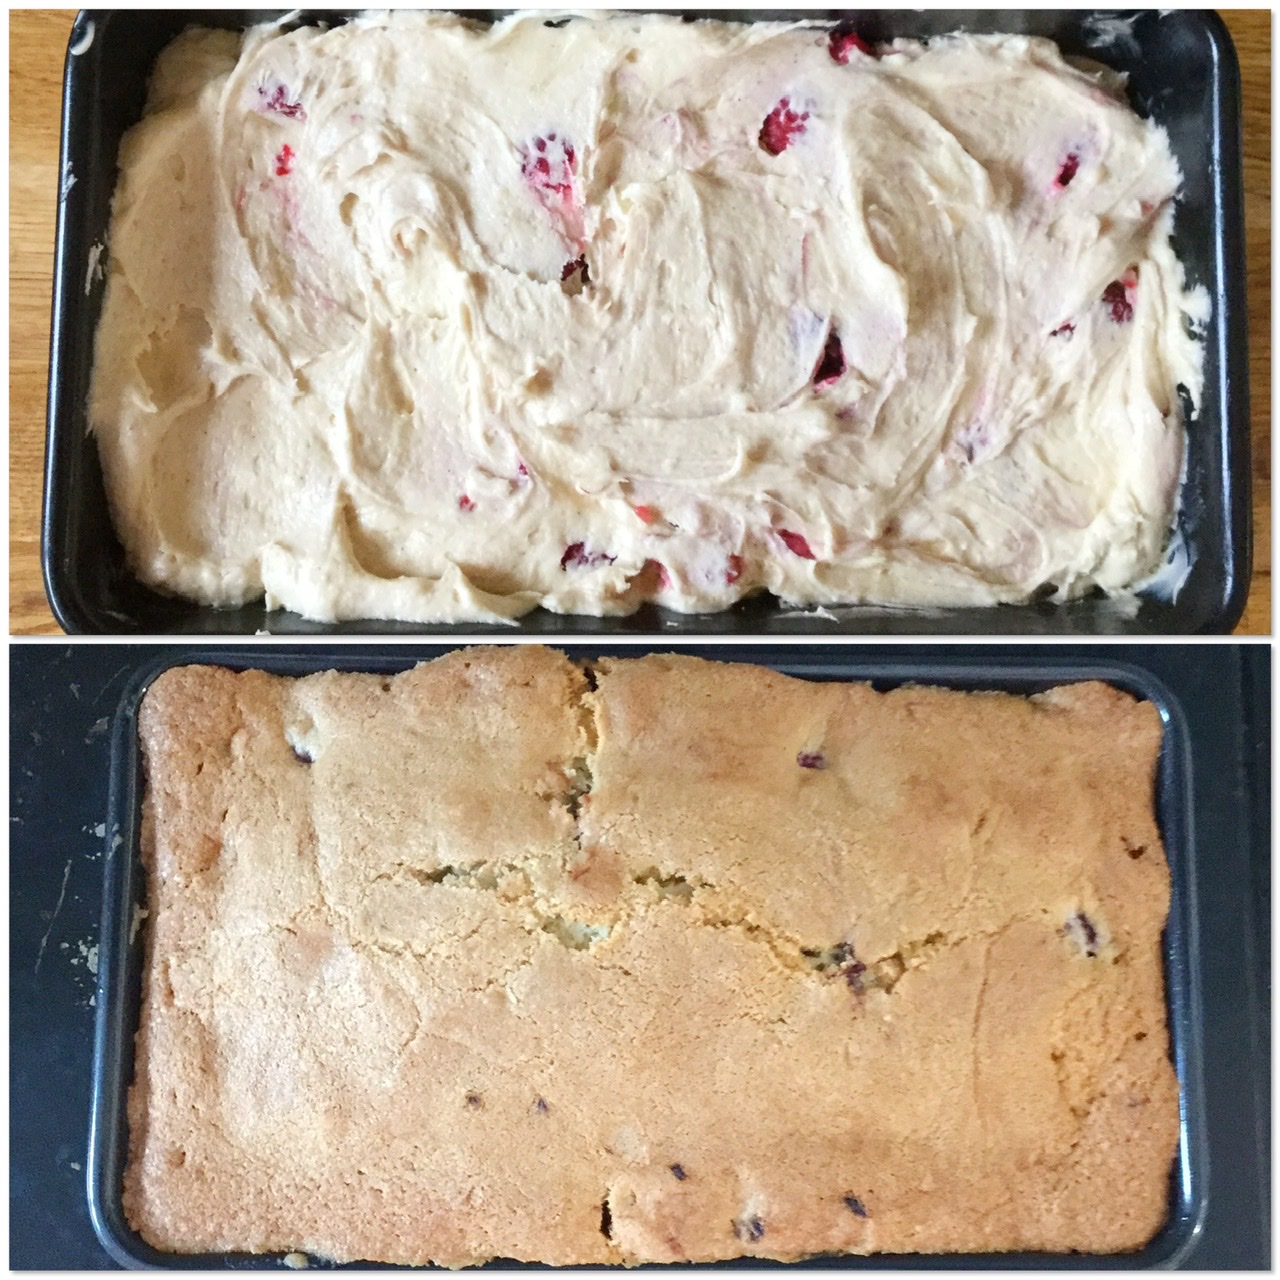
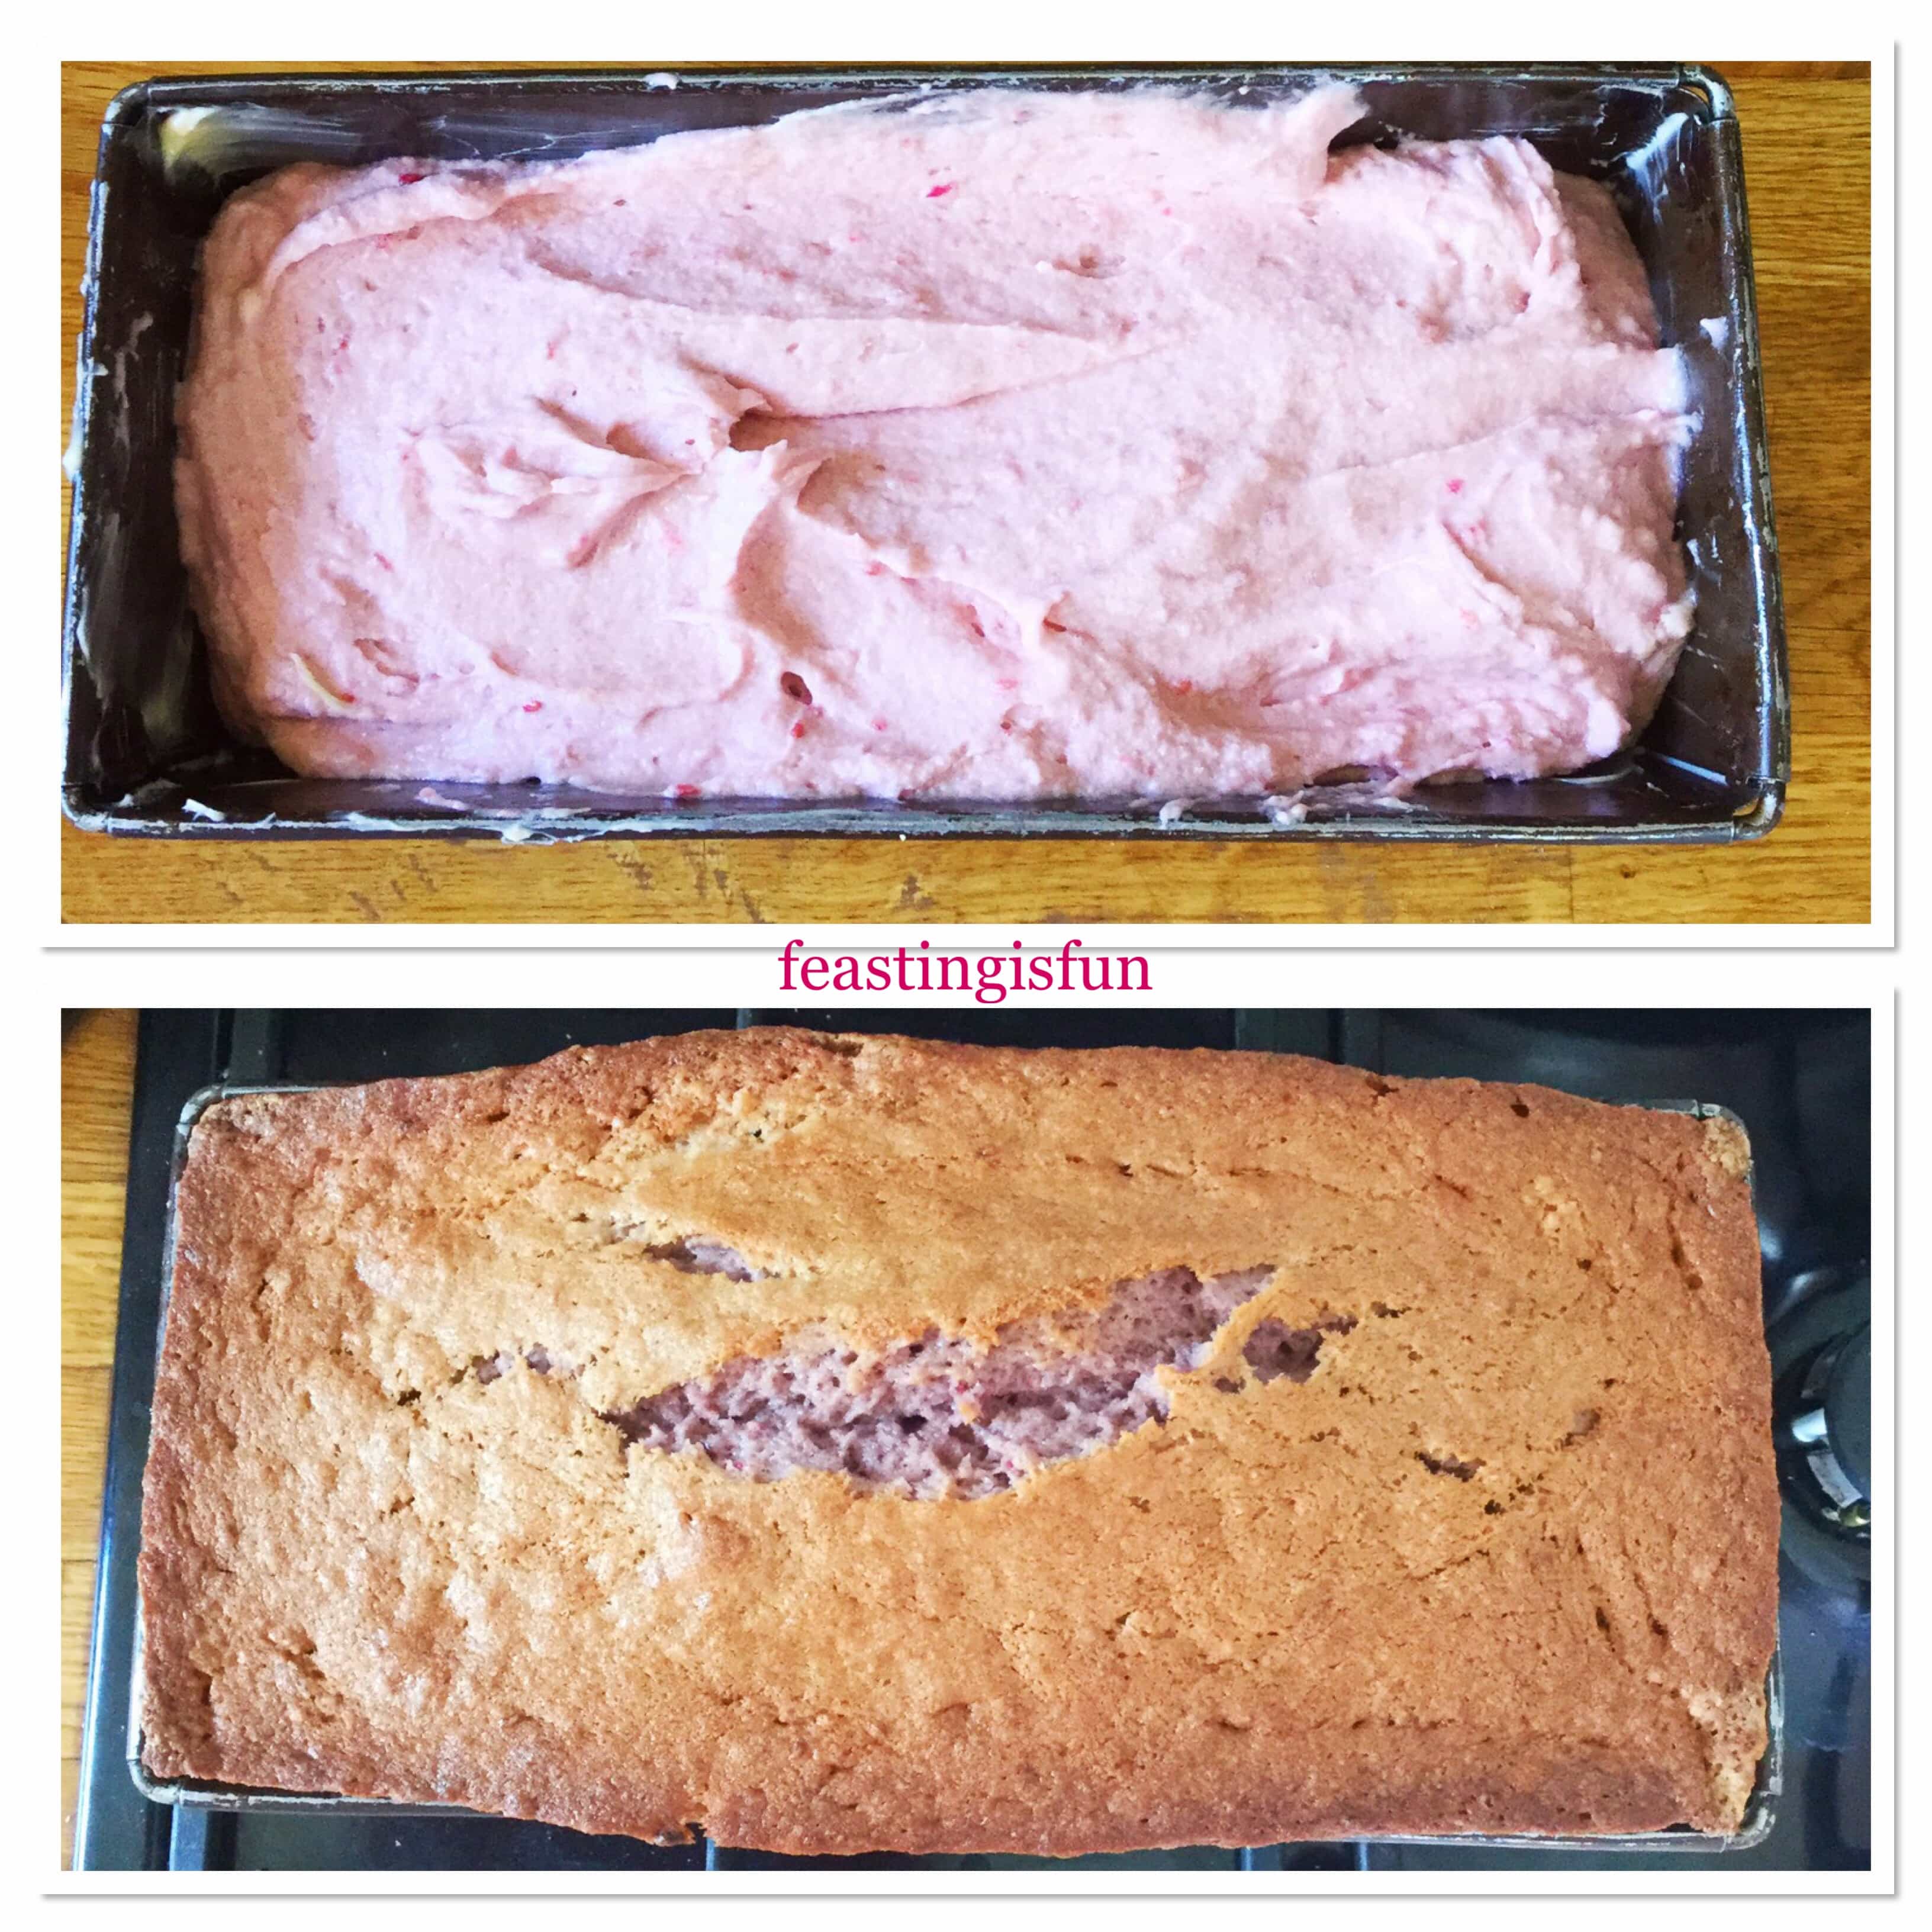
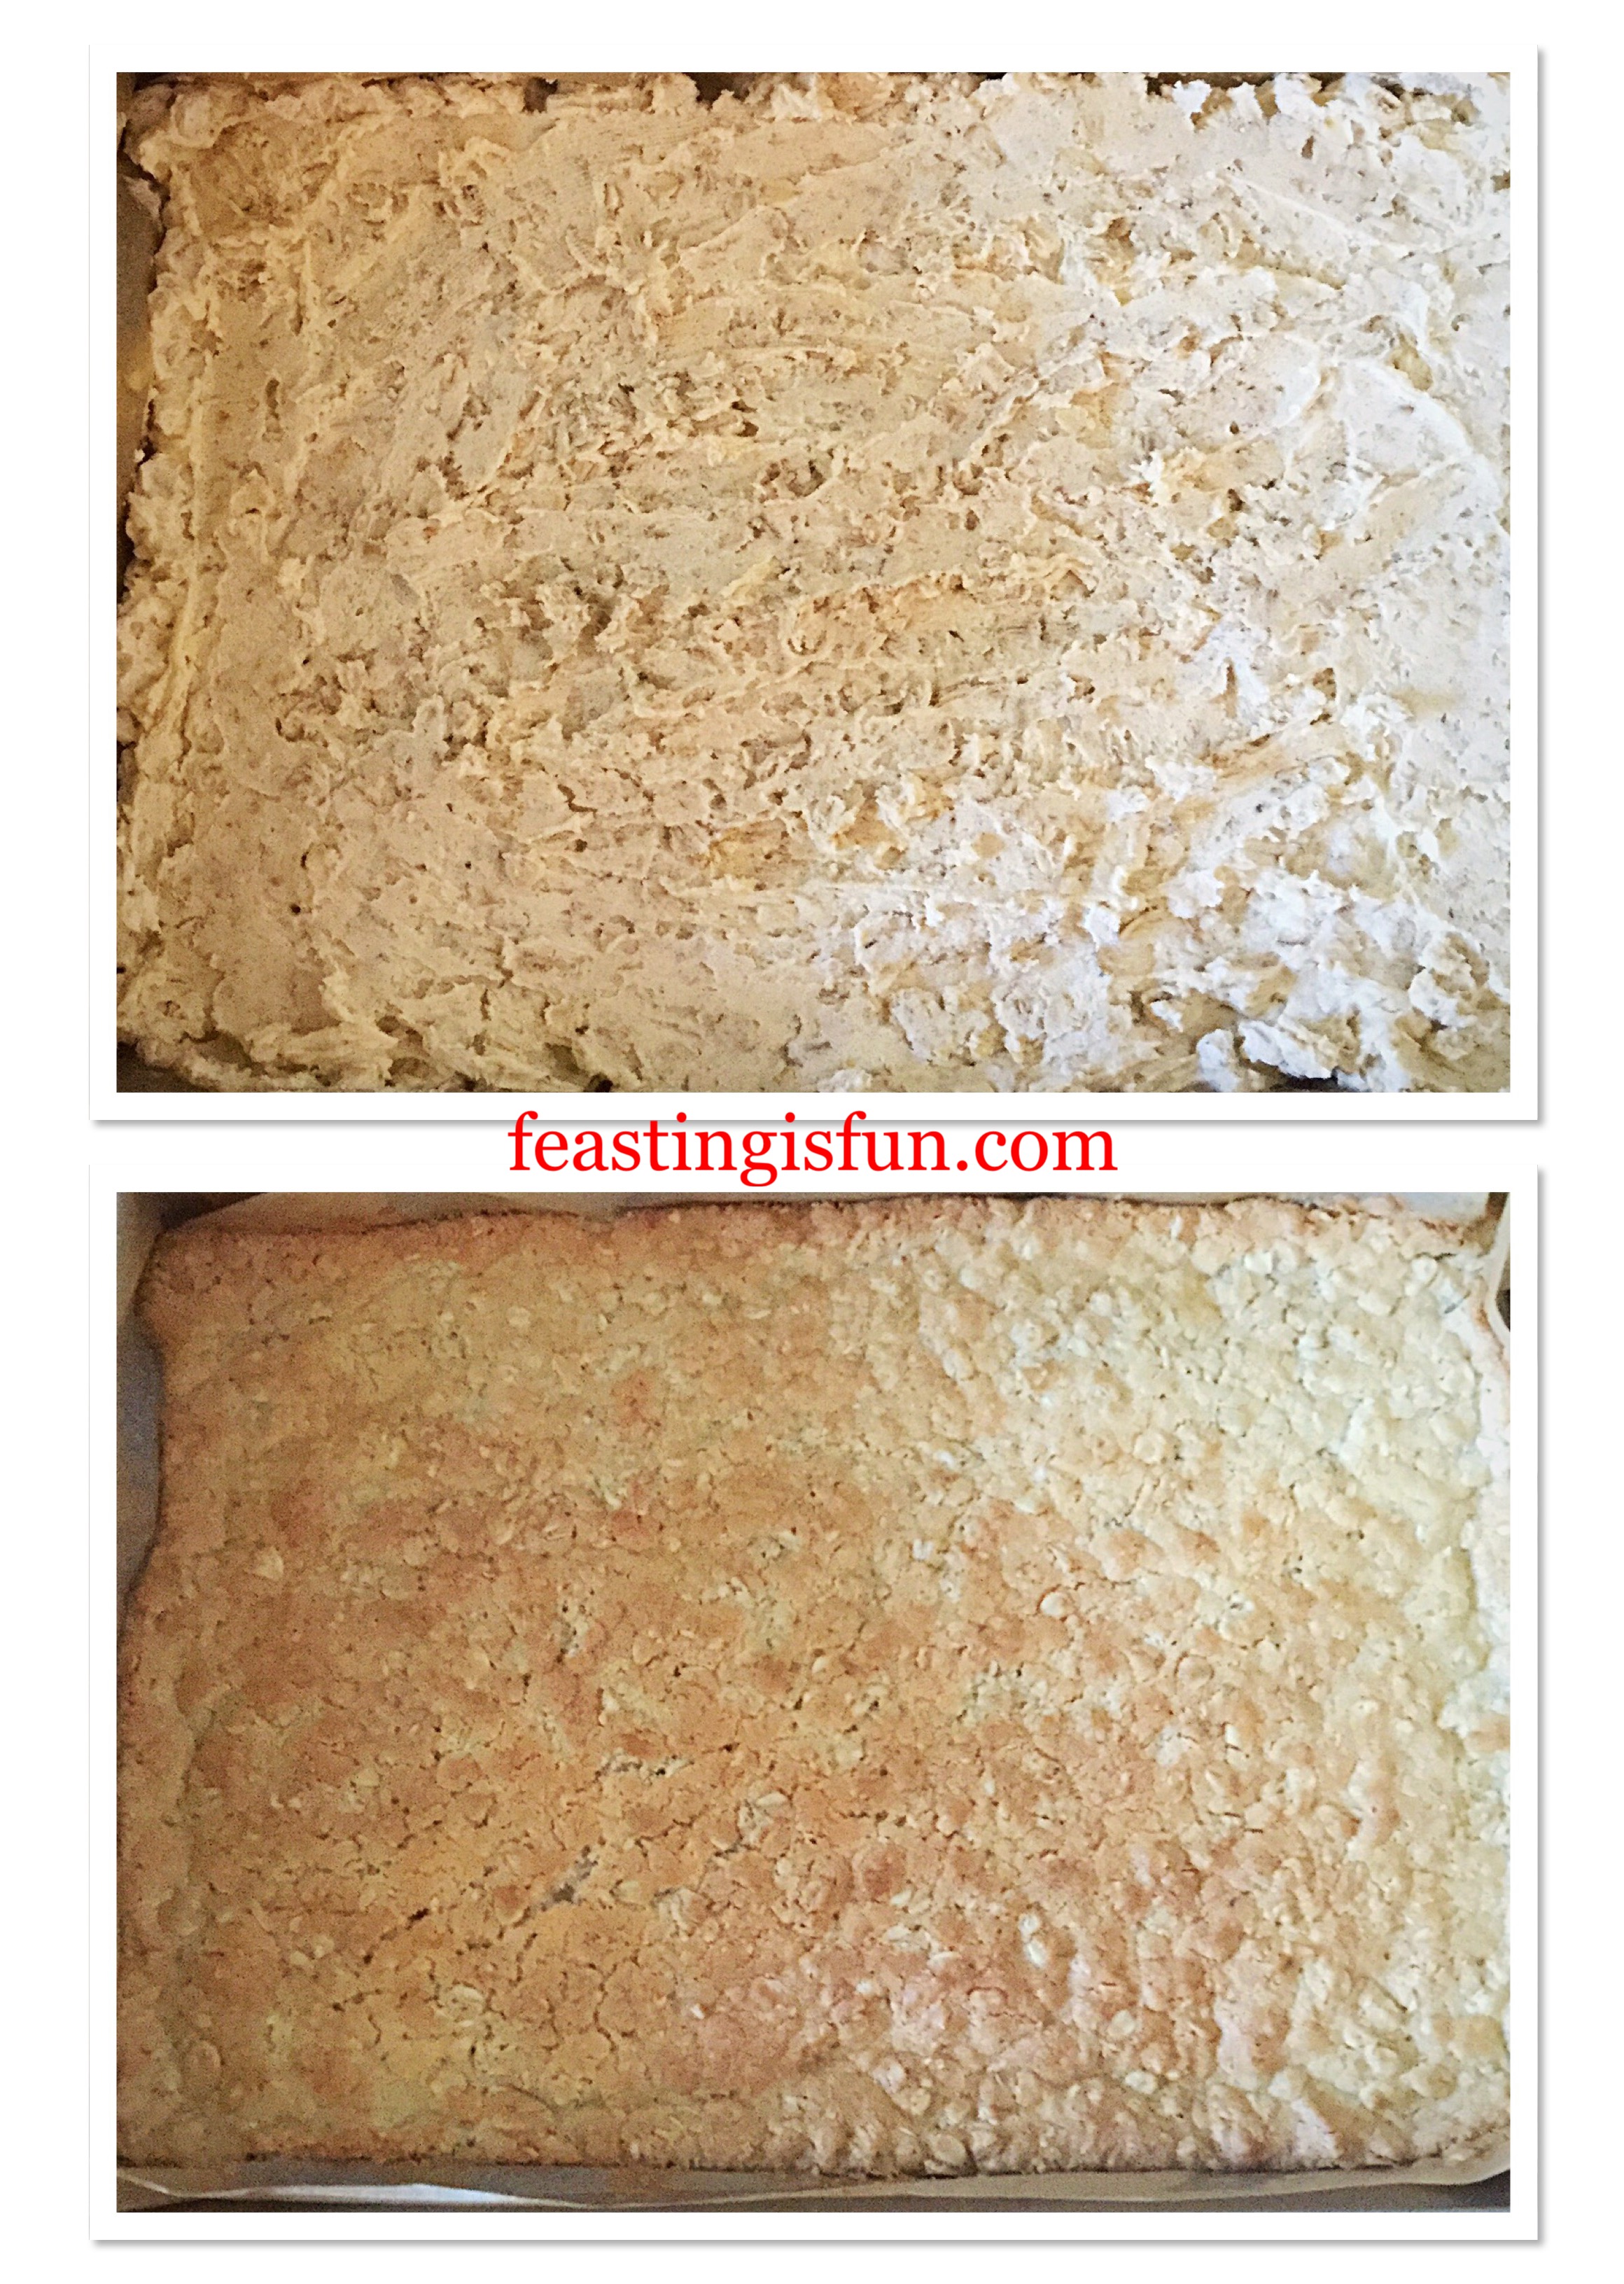
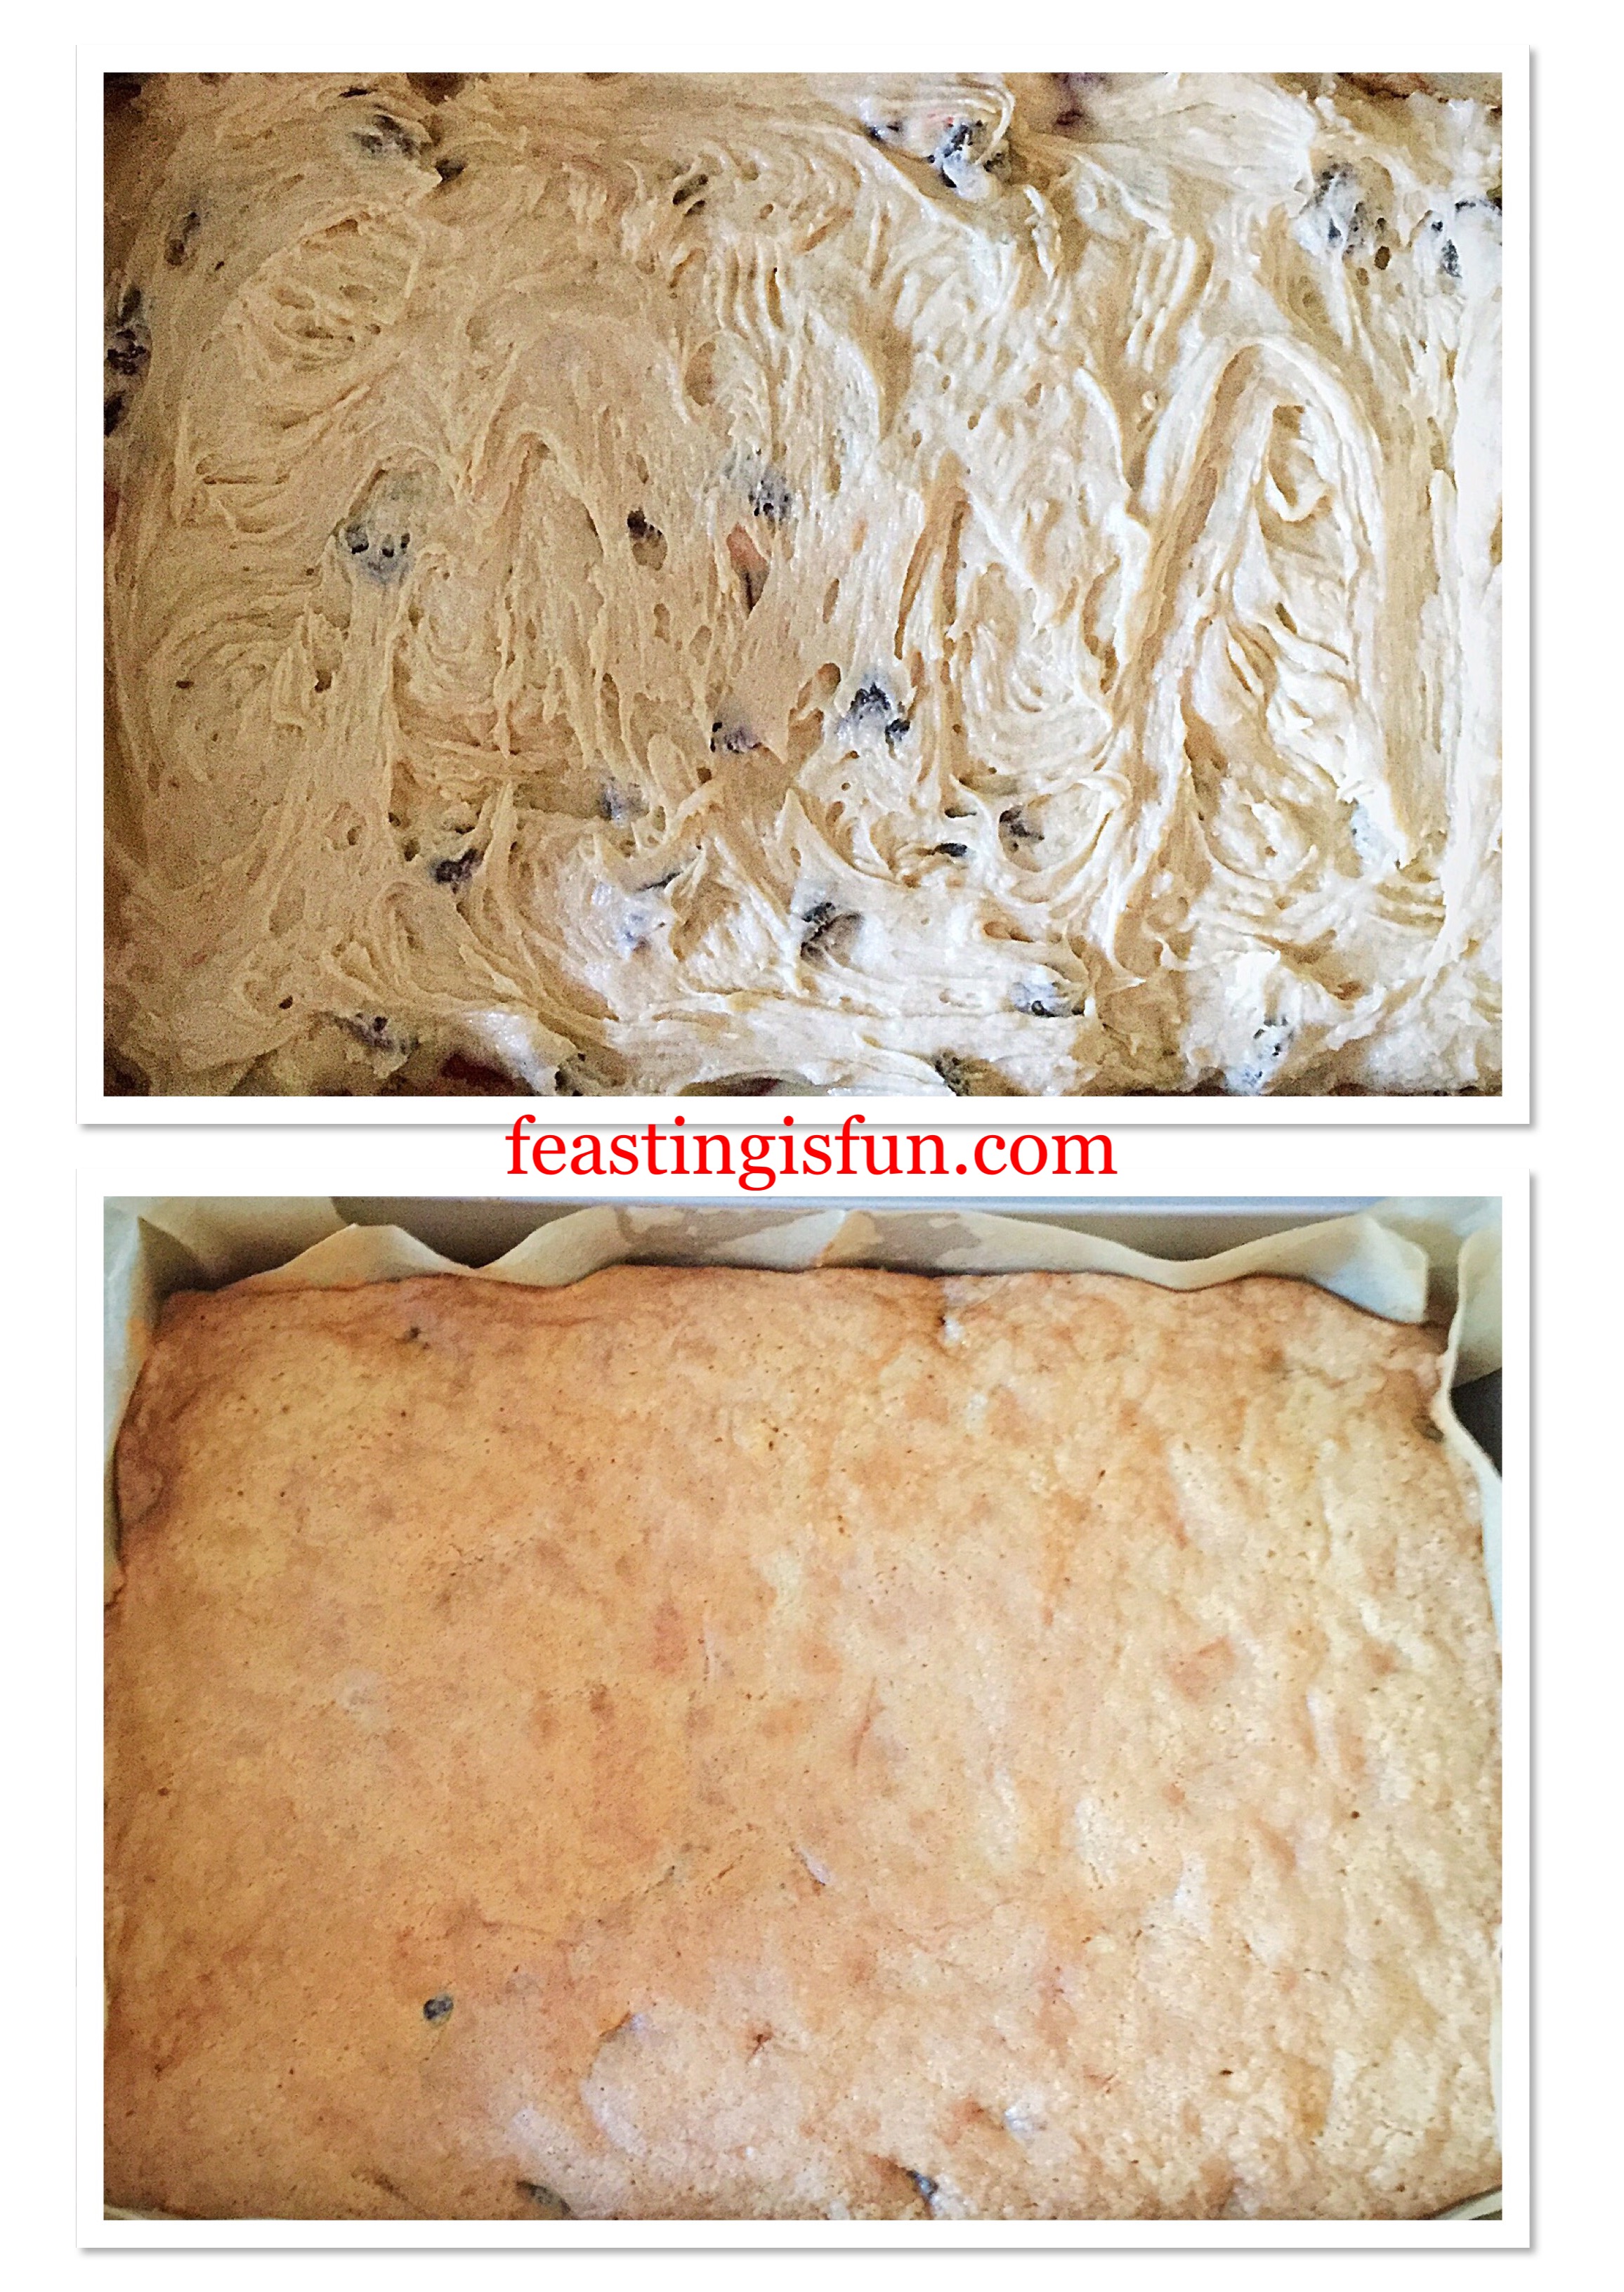
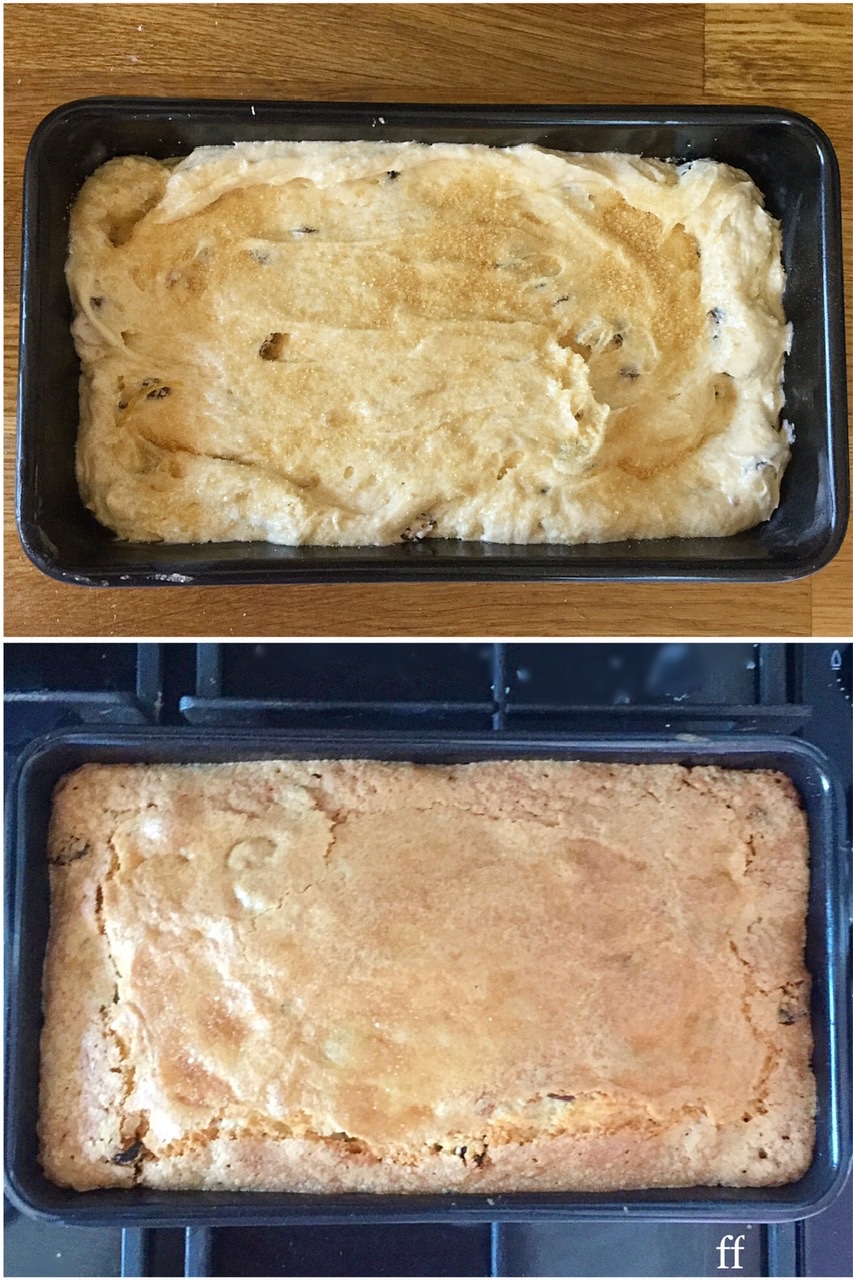
- Spoon the cake batter into the loaf tin and smooth the top.
- Sprinkle one teaspoon of Demerara sugar over the top of the uncooked cake.
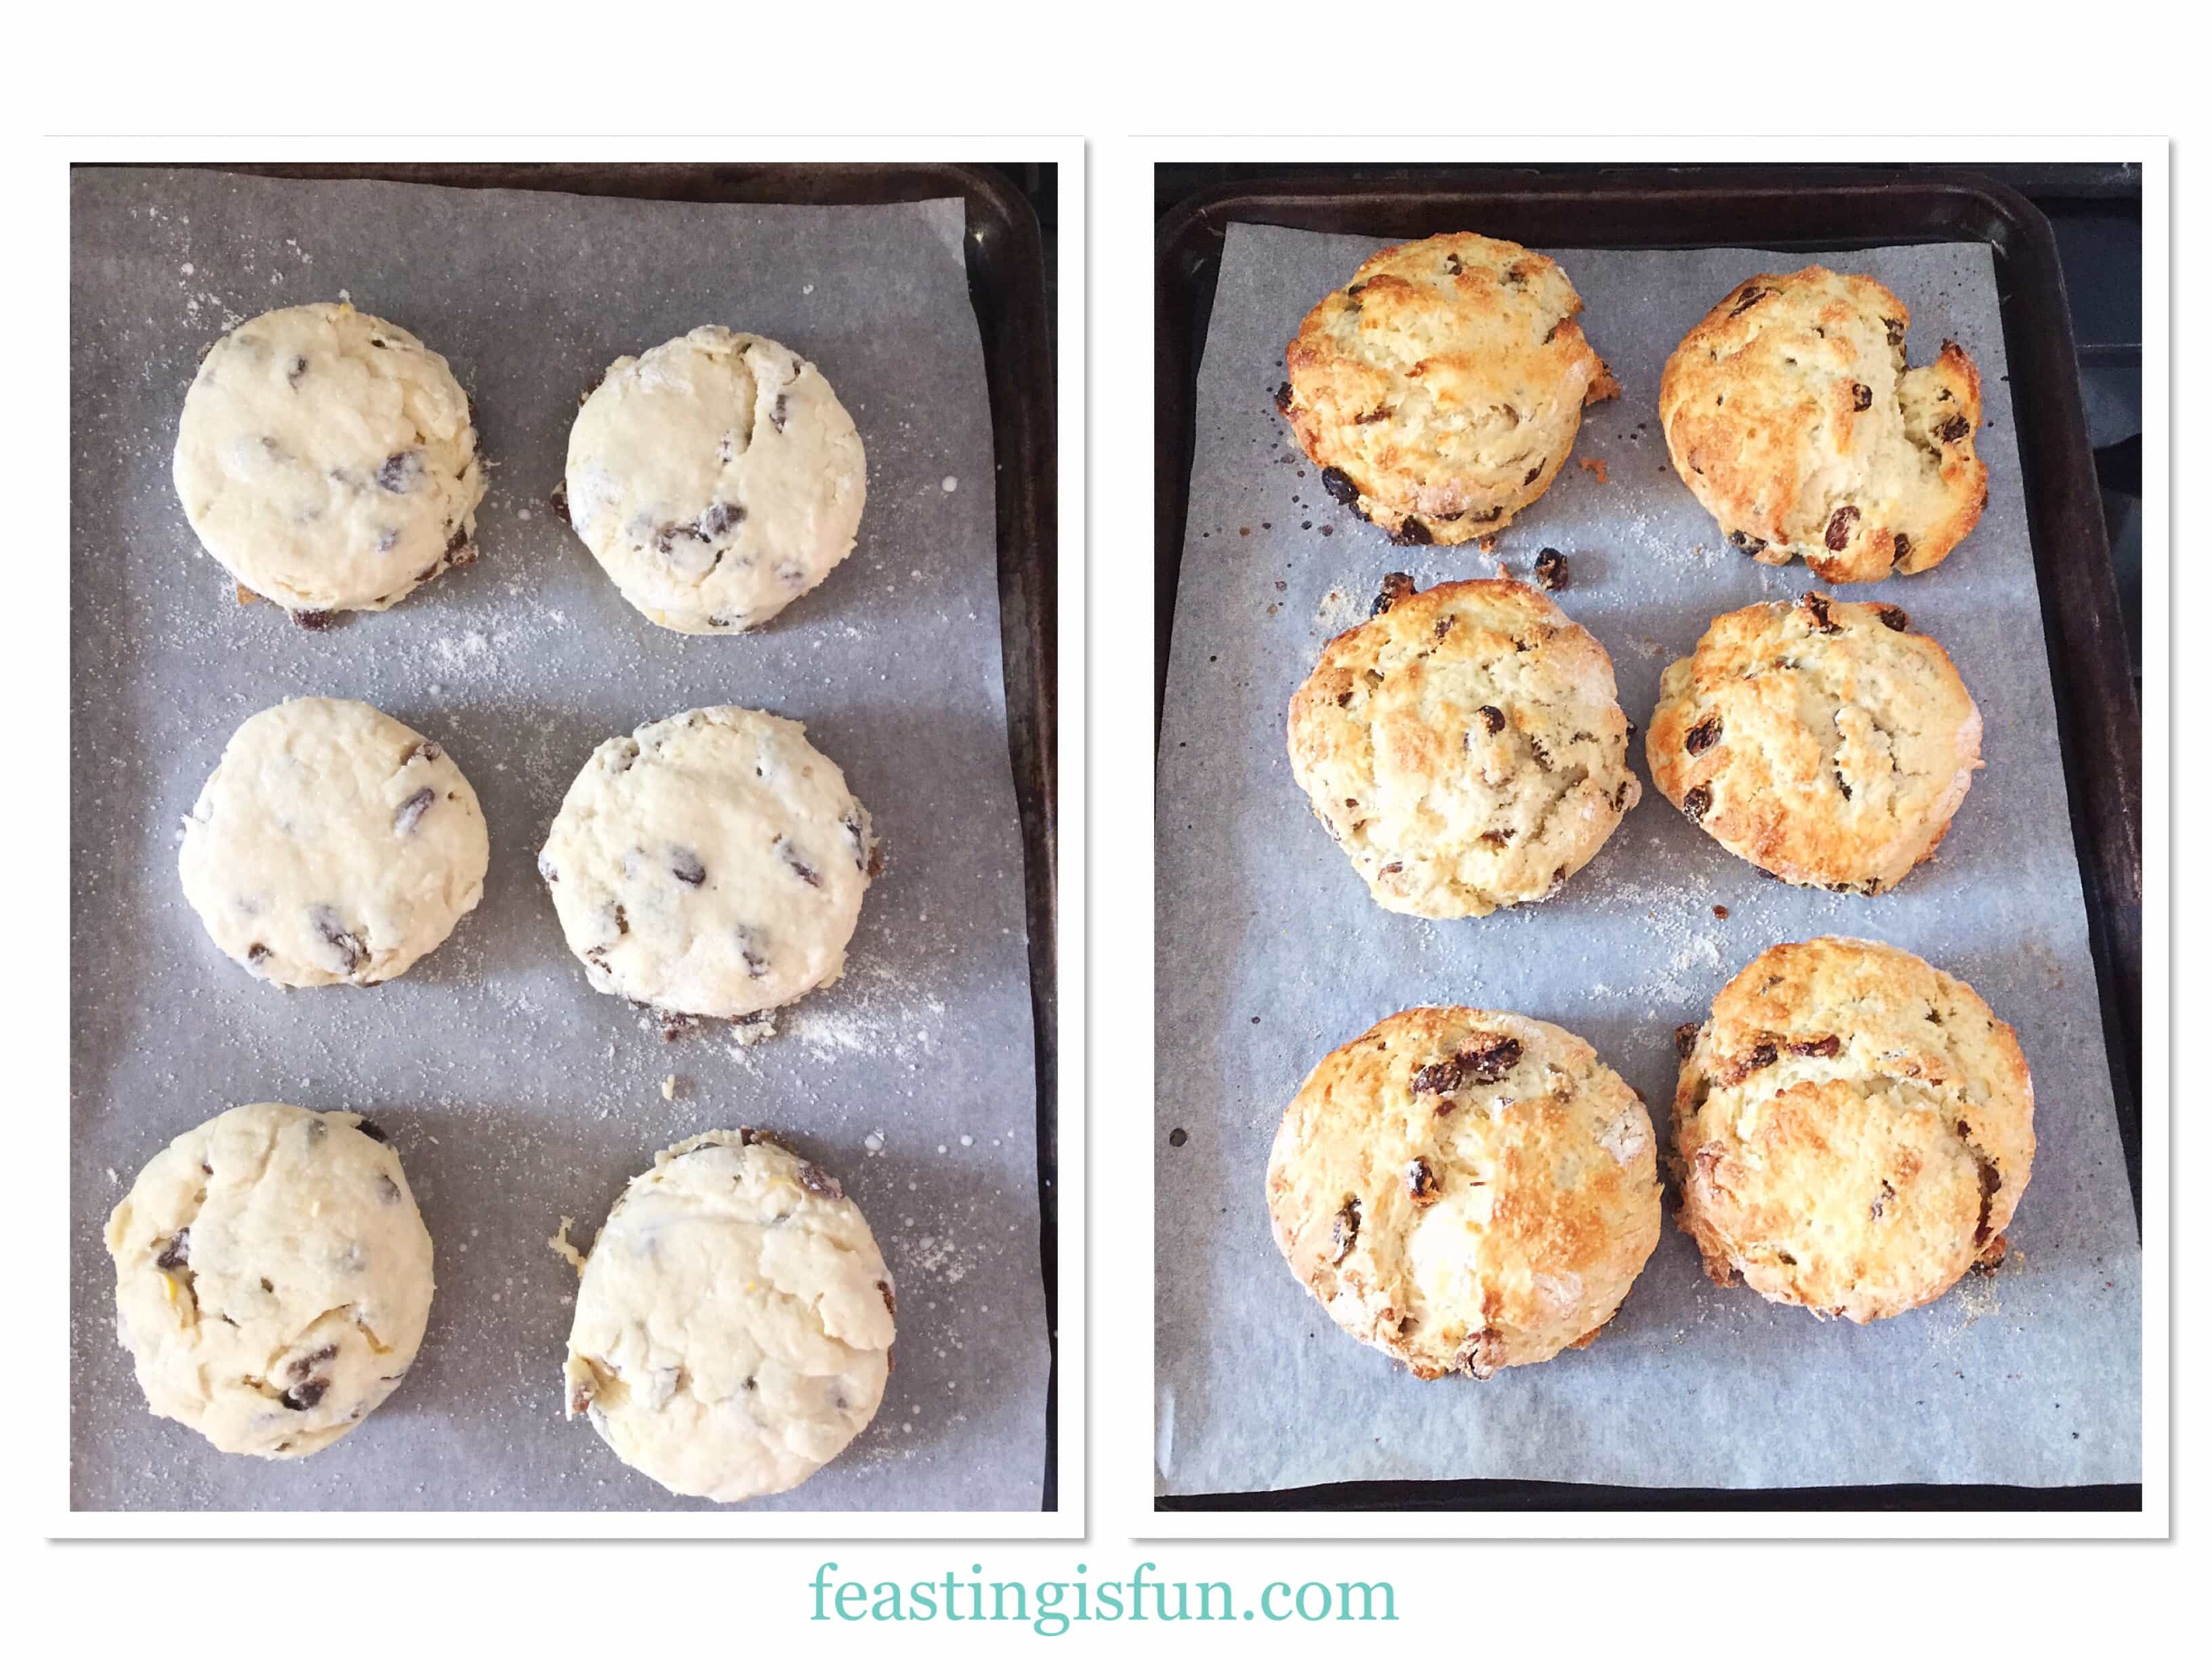
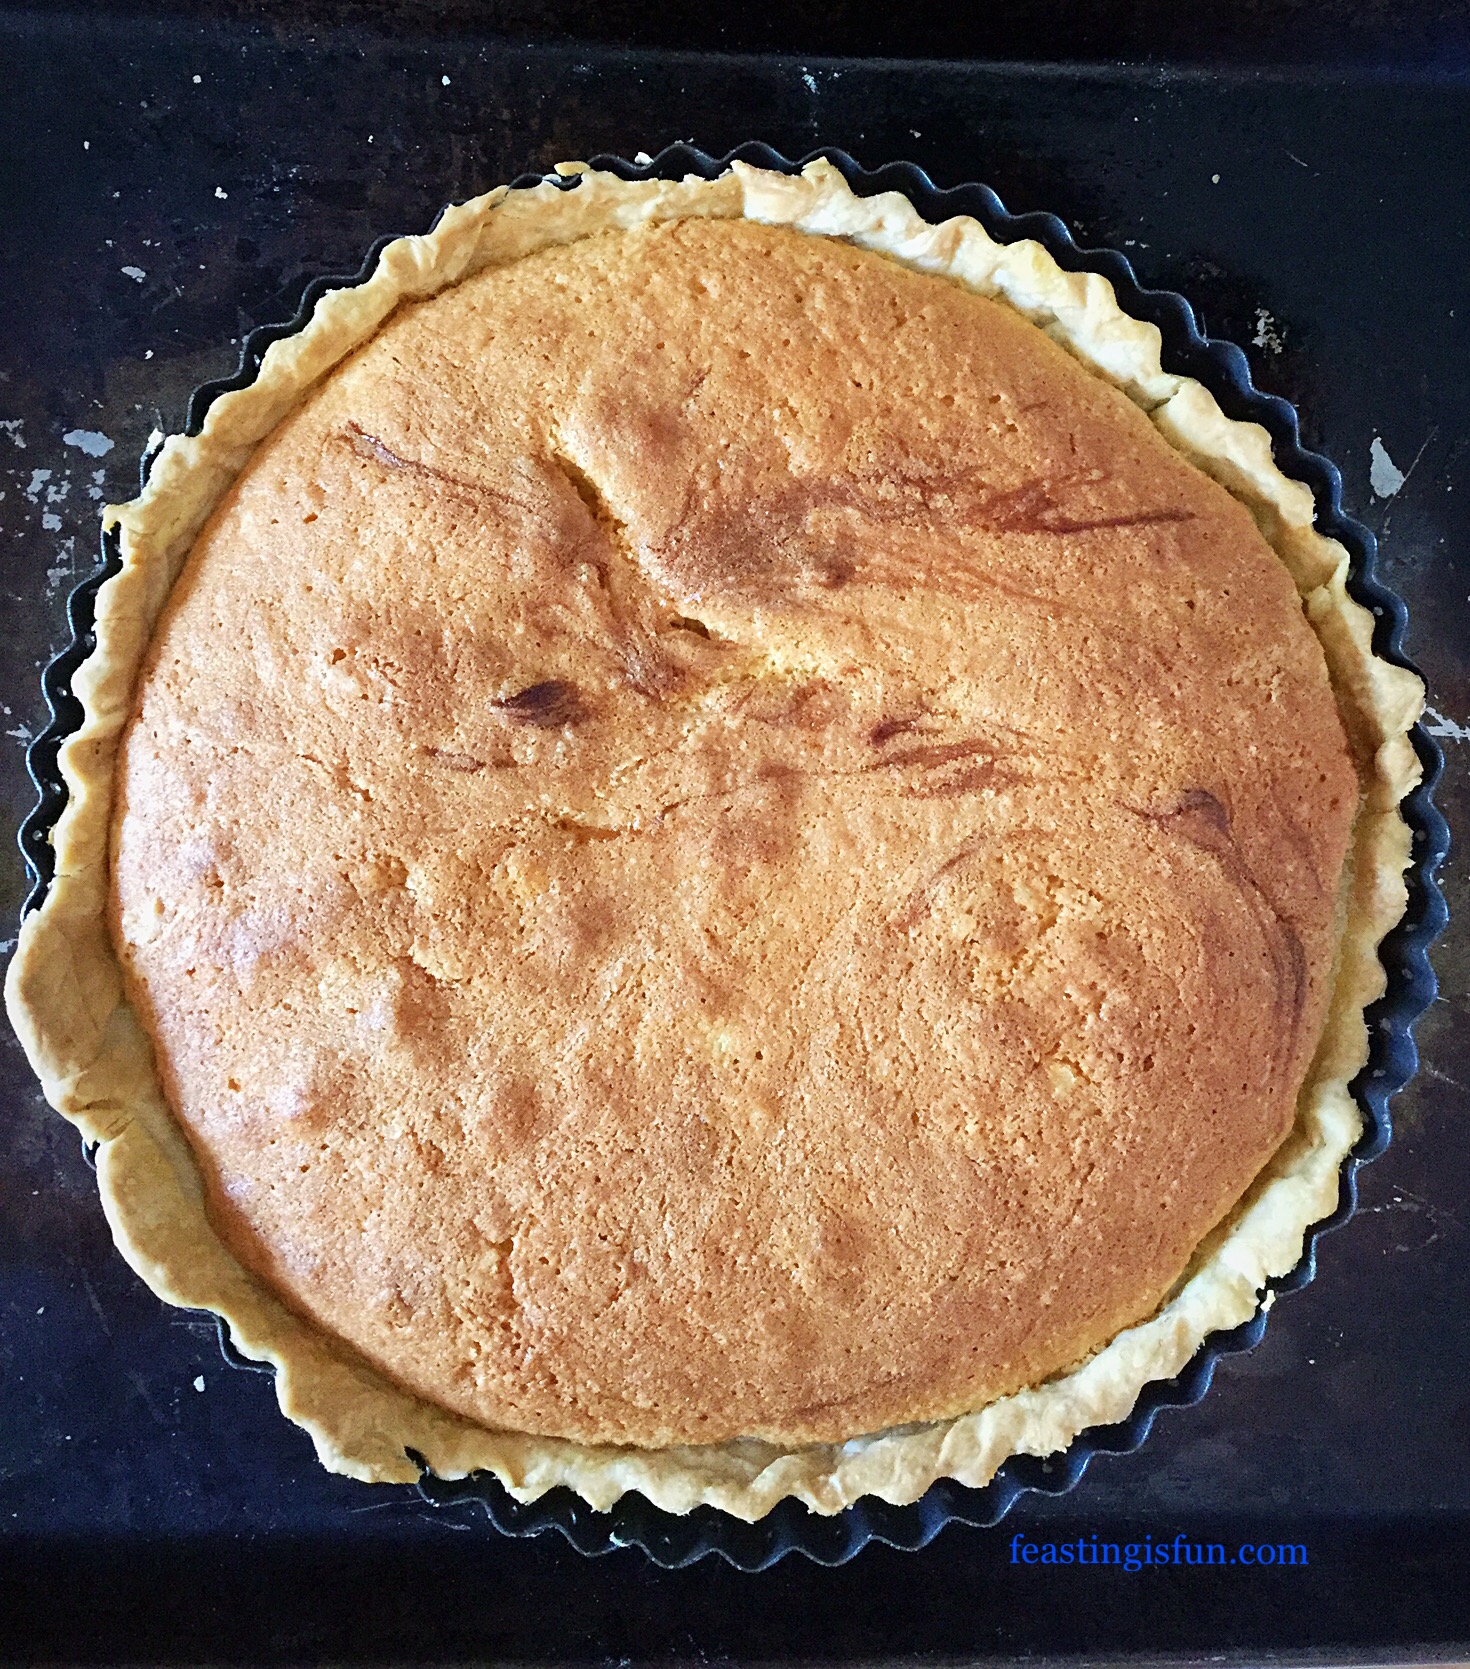
Baking The Cake:
- Place the cake into the centre of a preheated oven and bake for 1 hour 25 minutes.
- Since all ovens vary baking times may be 10-15 minutes either side of this time.
- The cake is baked when an inserted skewer comes out clean.
- As soon as the cake is baked remove from the oven and place the tin on a cooling rack.
- Leave the cake to cool completely in the tin.
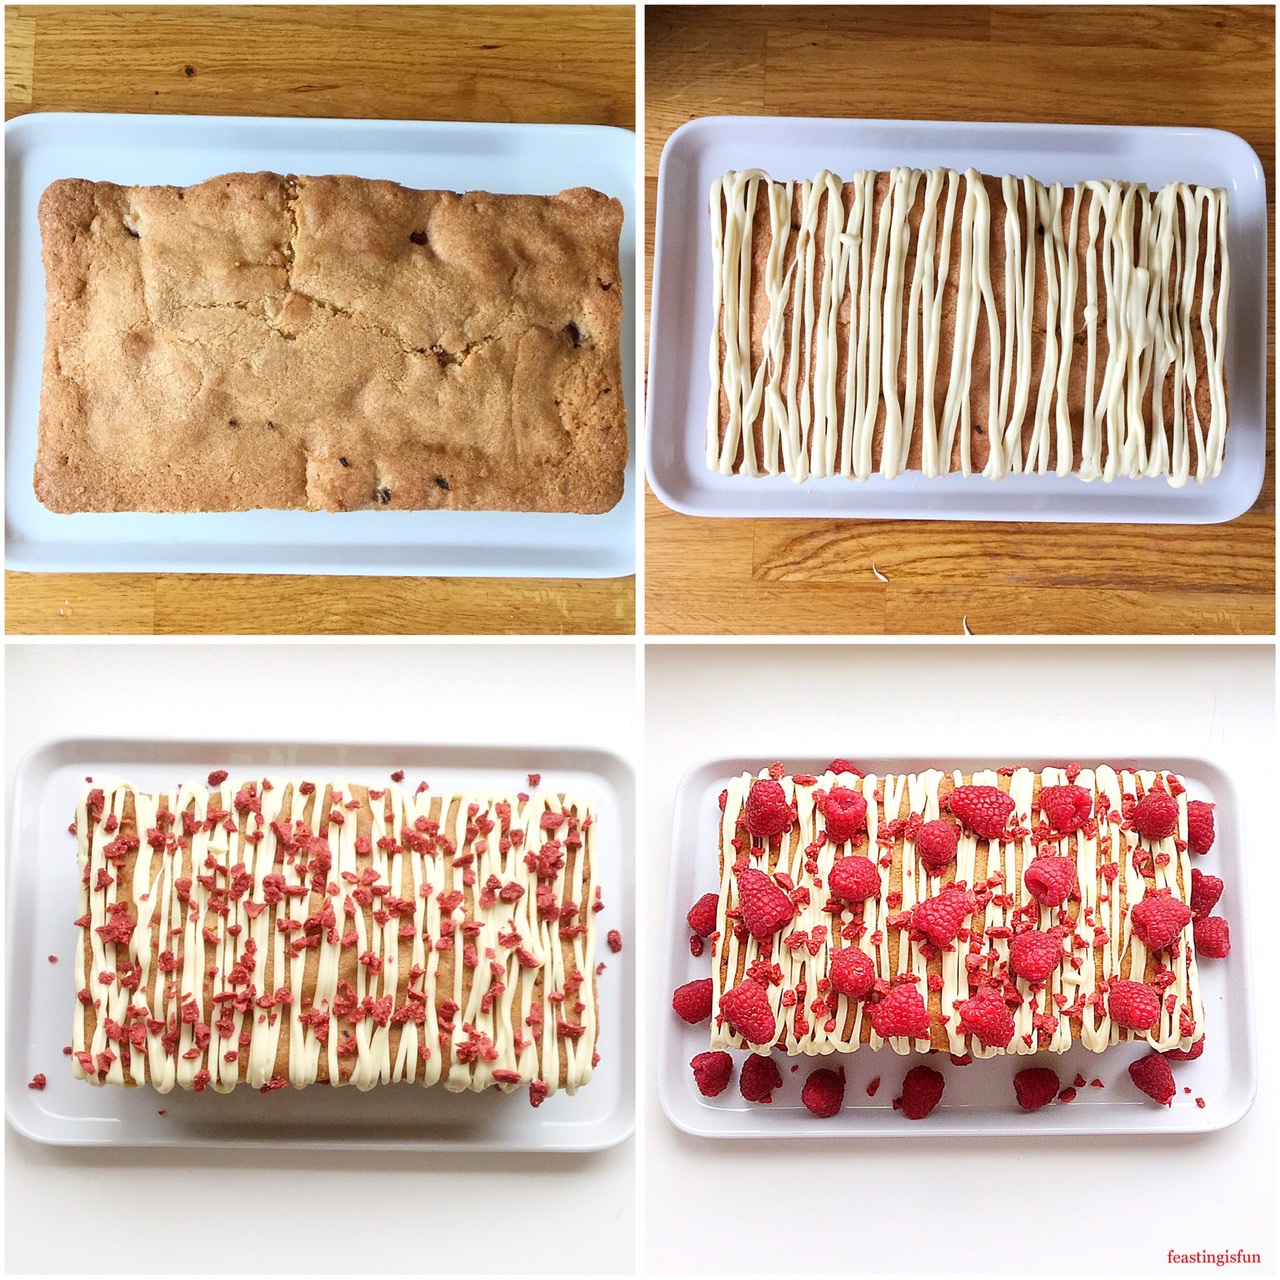
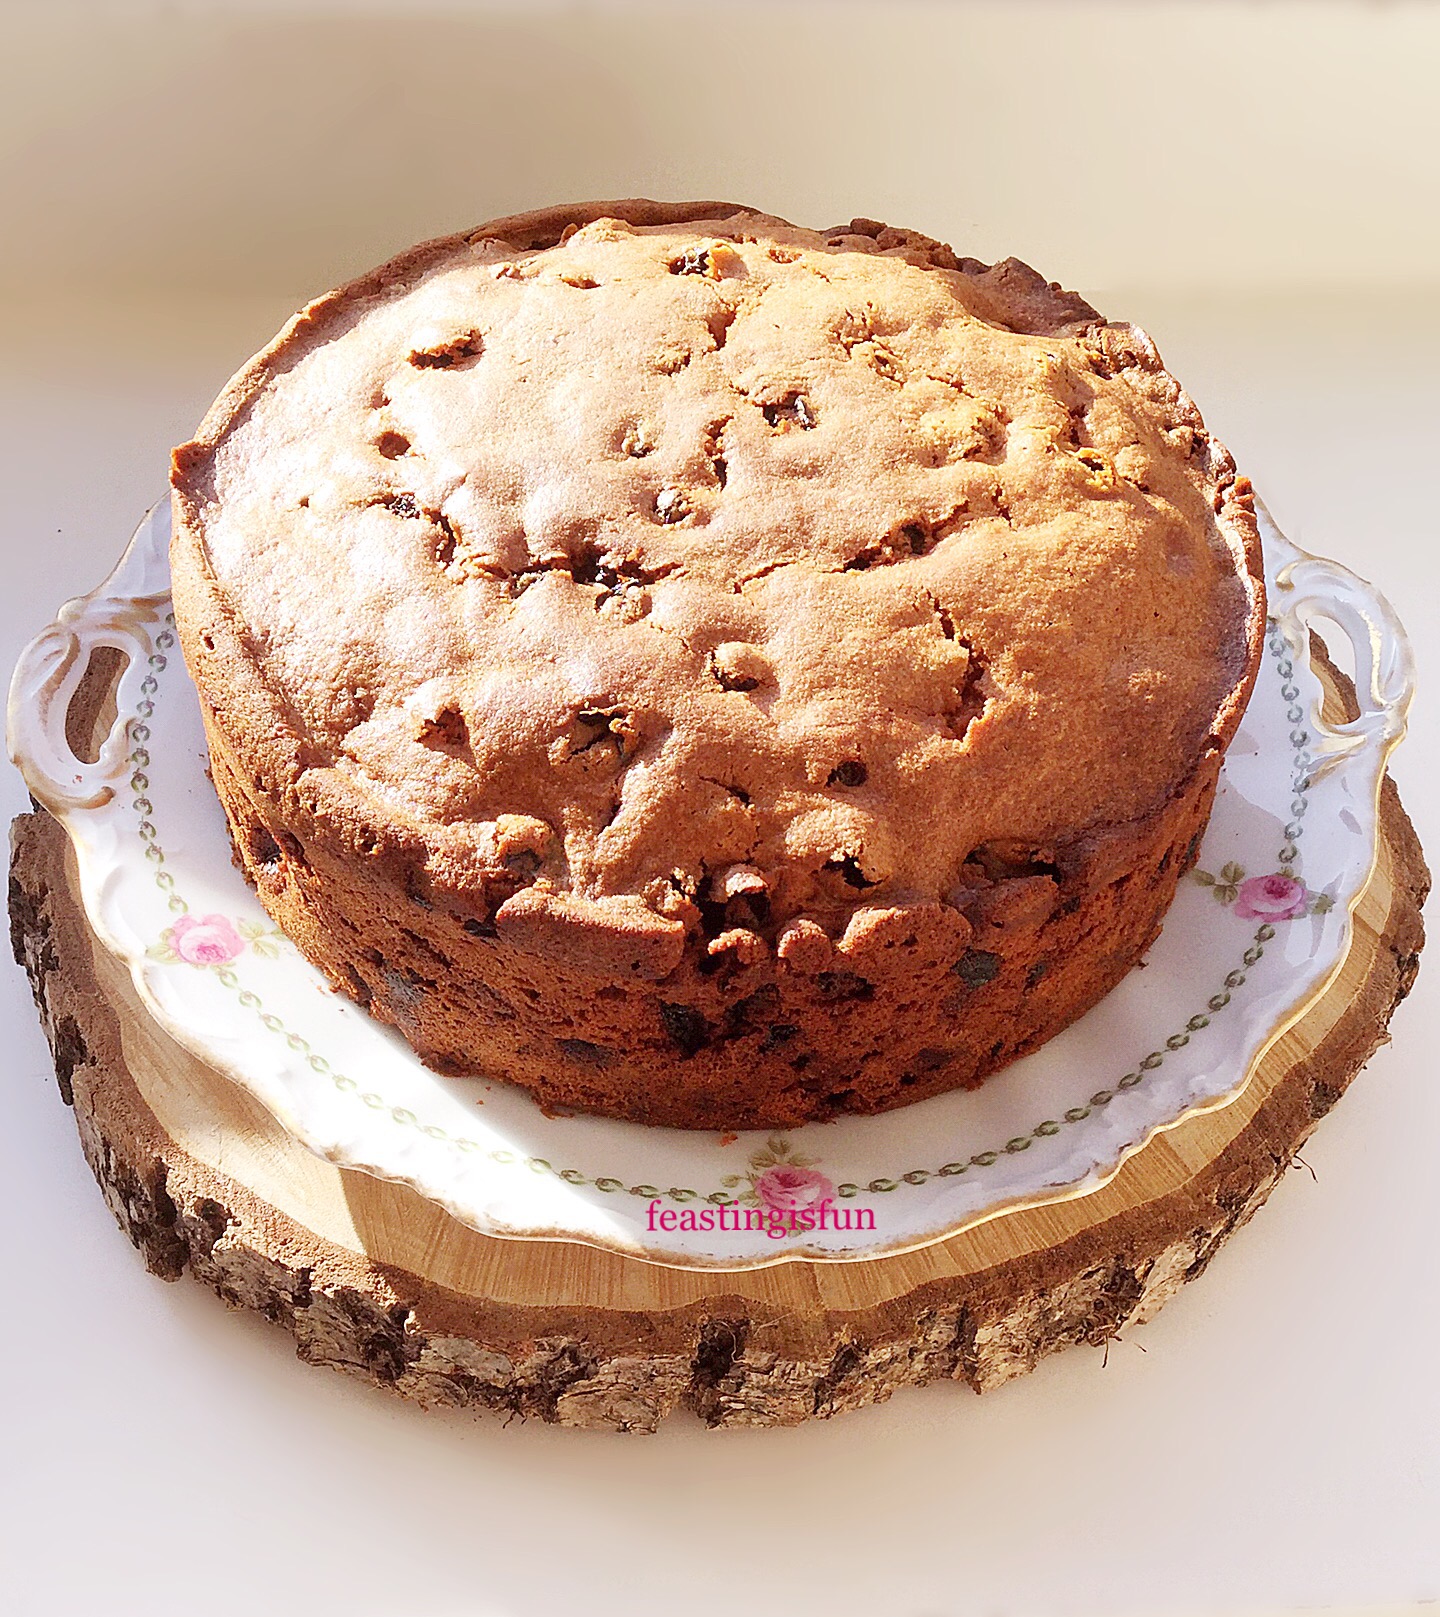
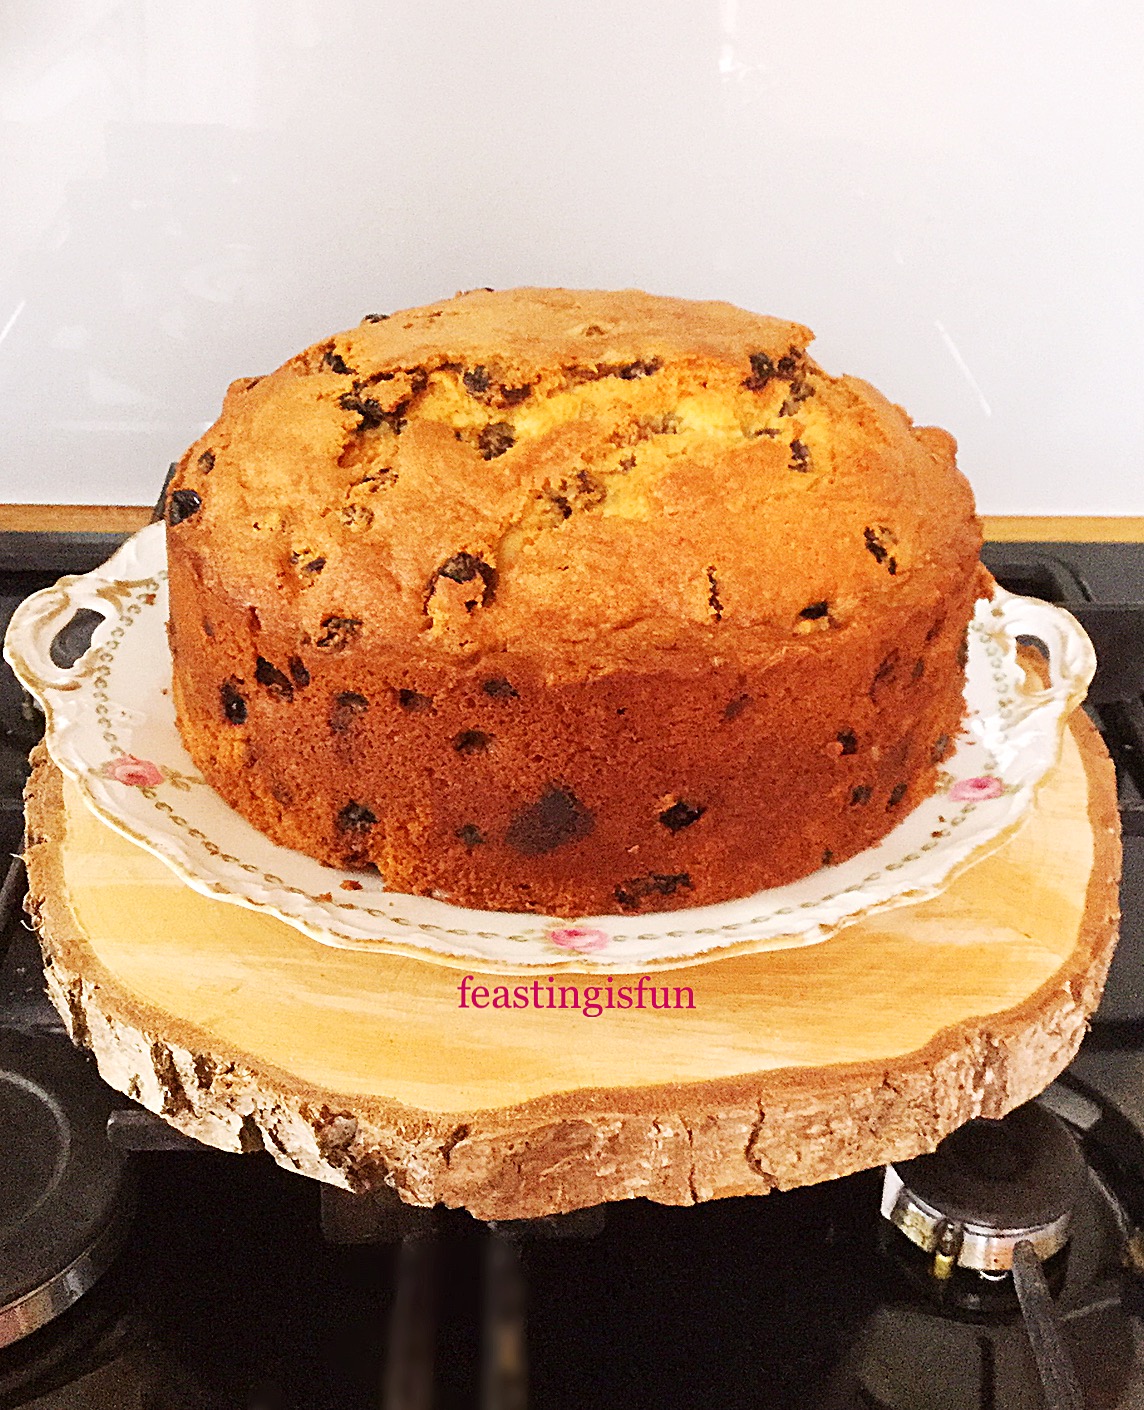
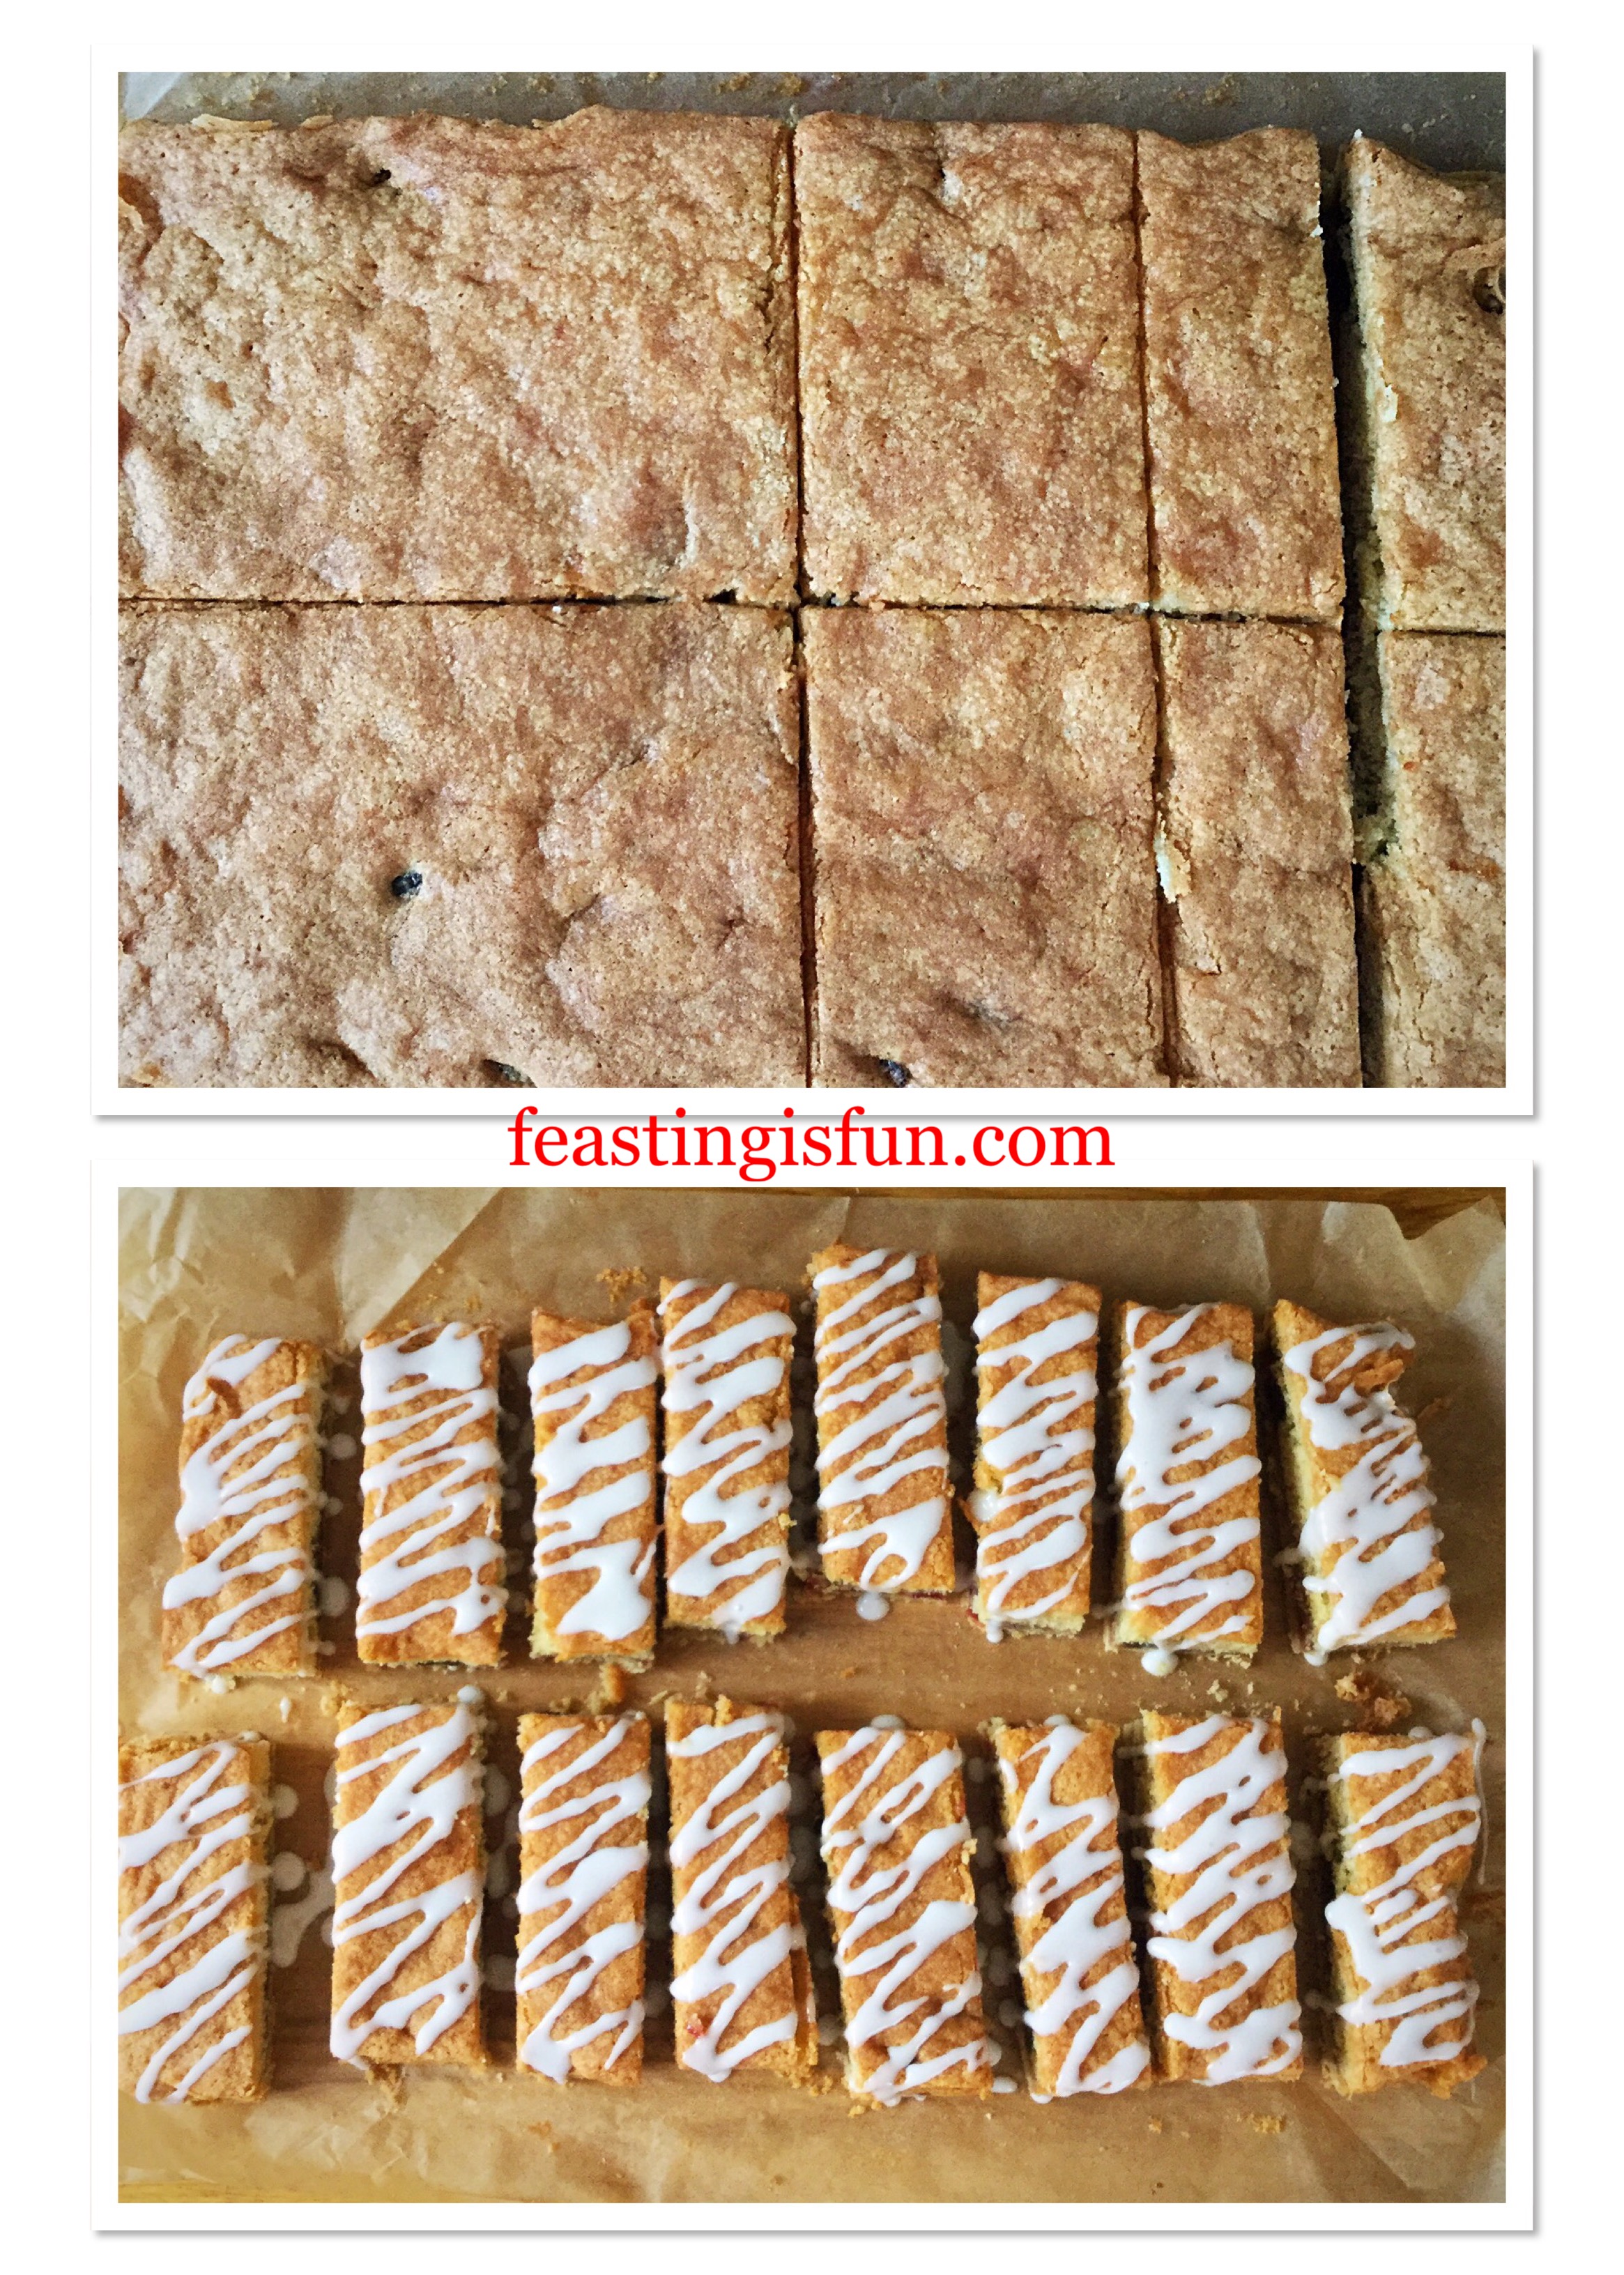
- When the cake is completely cooled run a palette knife around it’s outside edge and turn out of the tin.
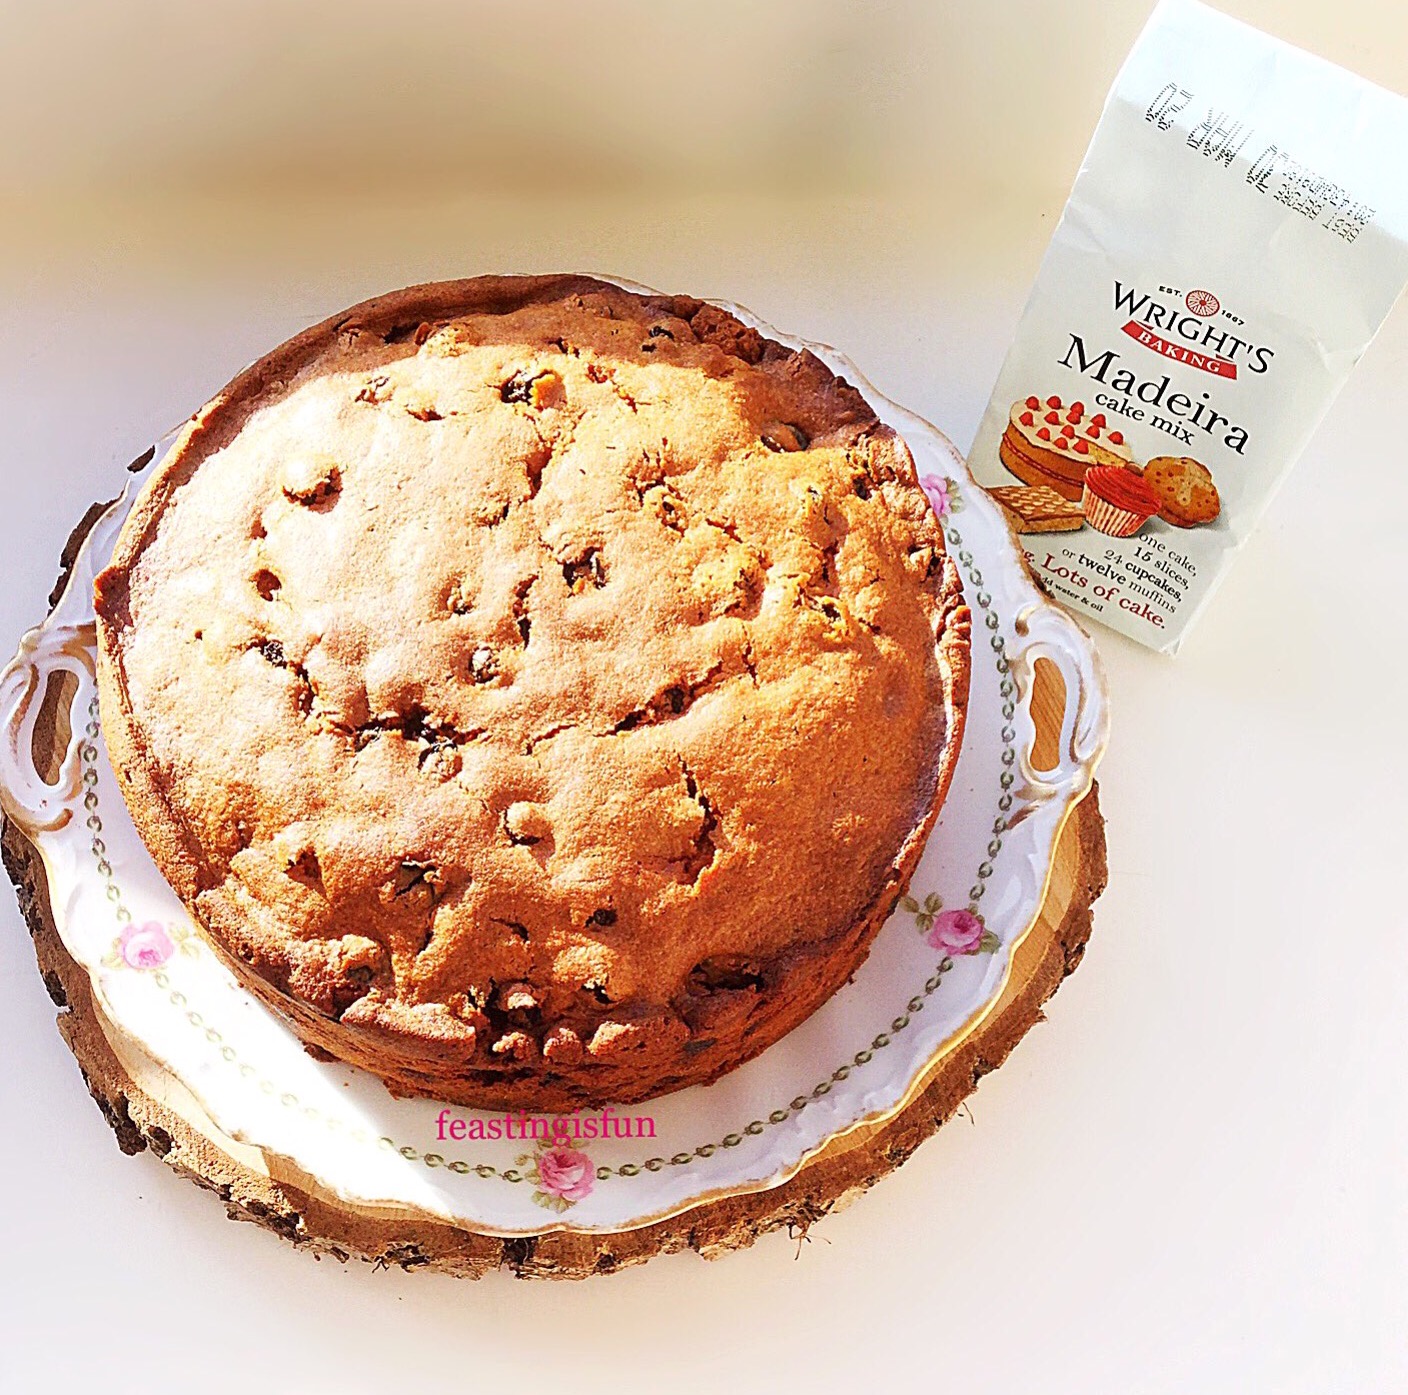
- Remove the baking parchment from the base, place the cake on a plate or board and it is ready to serve.
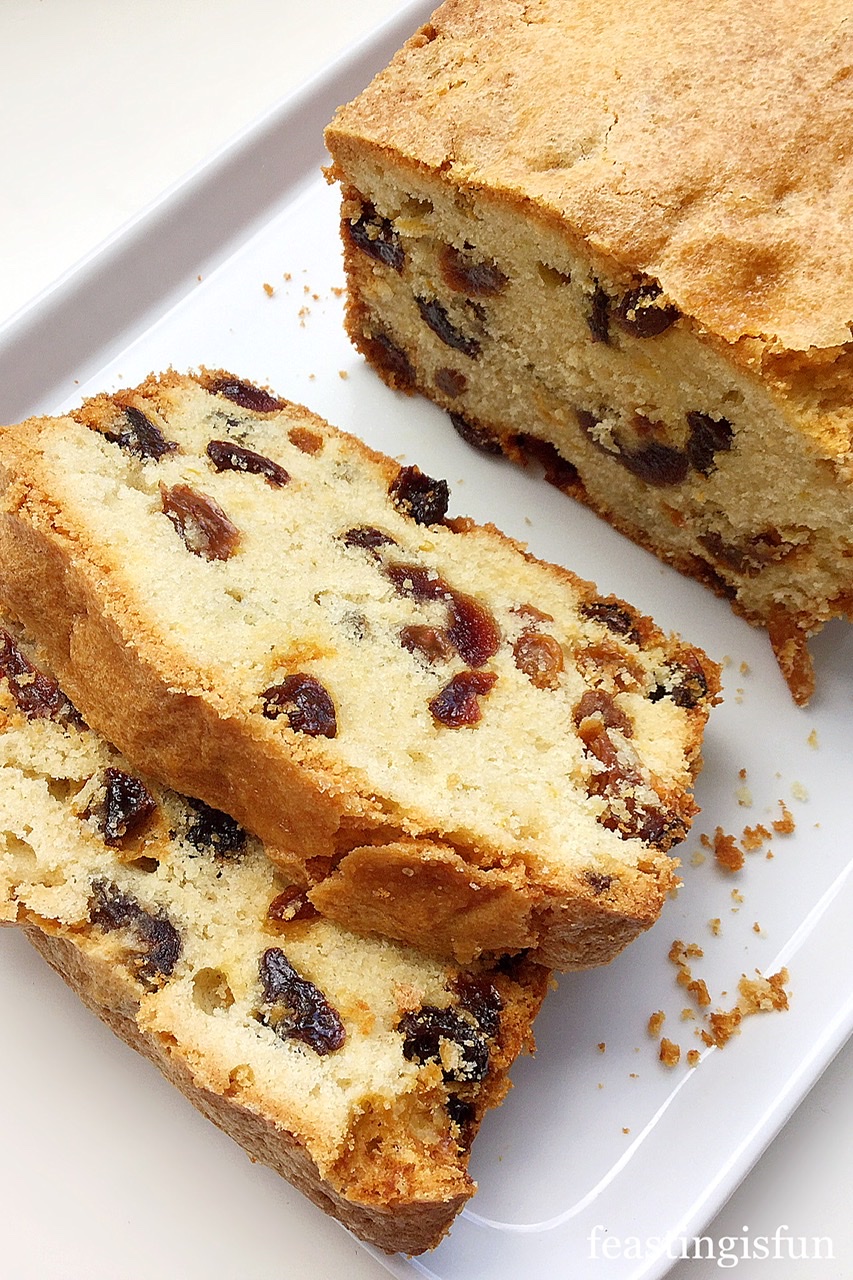
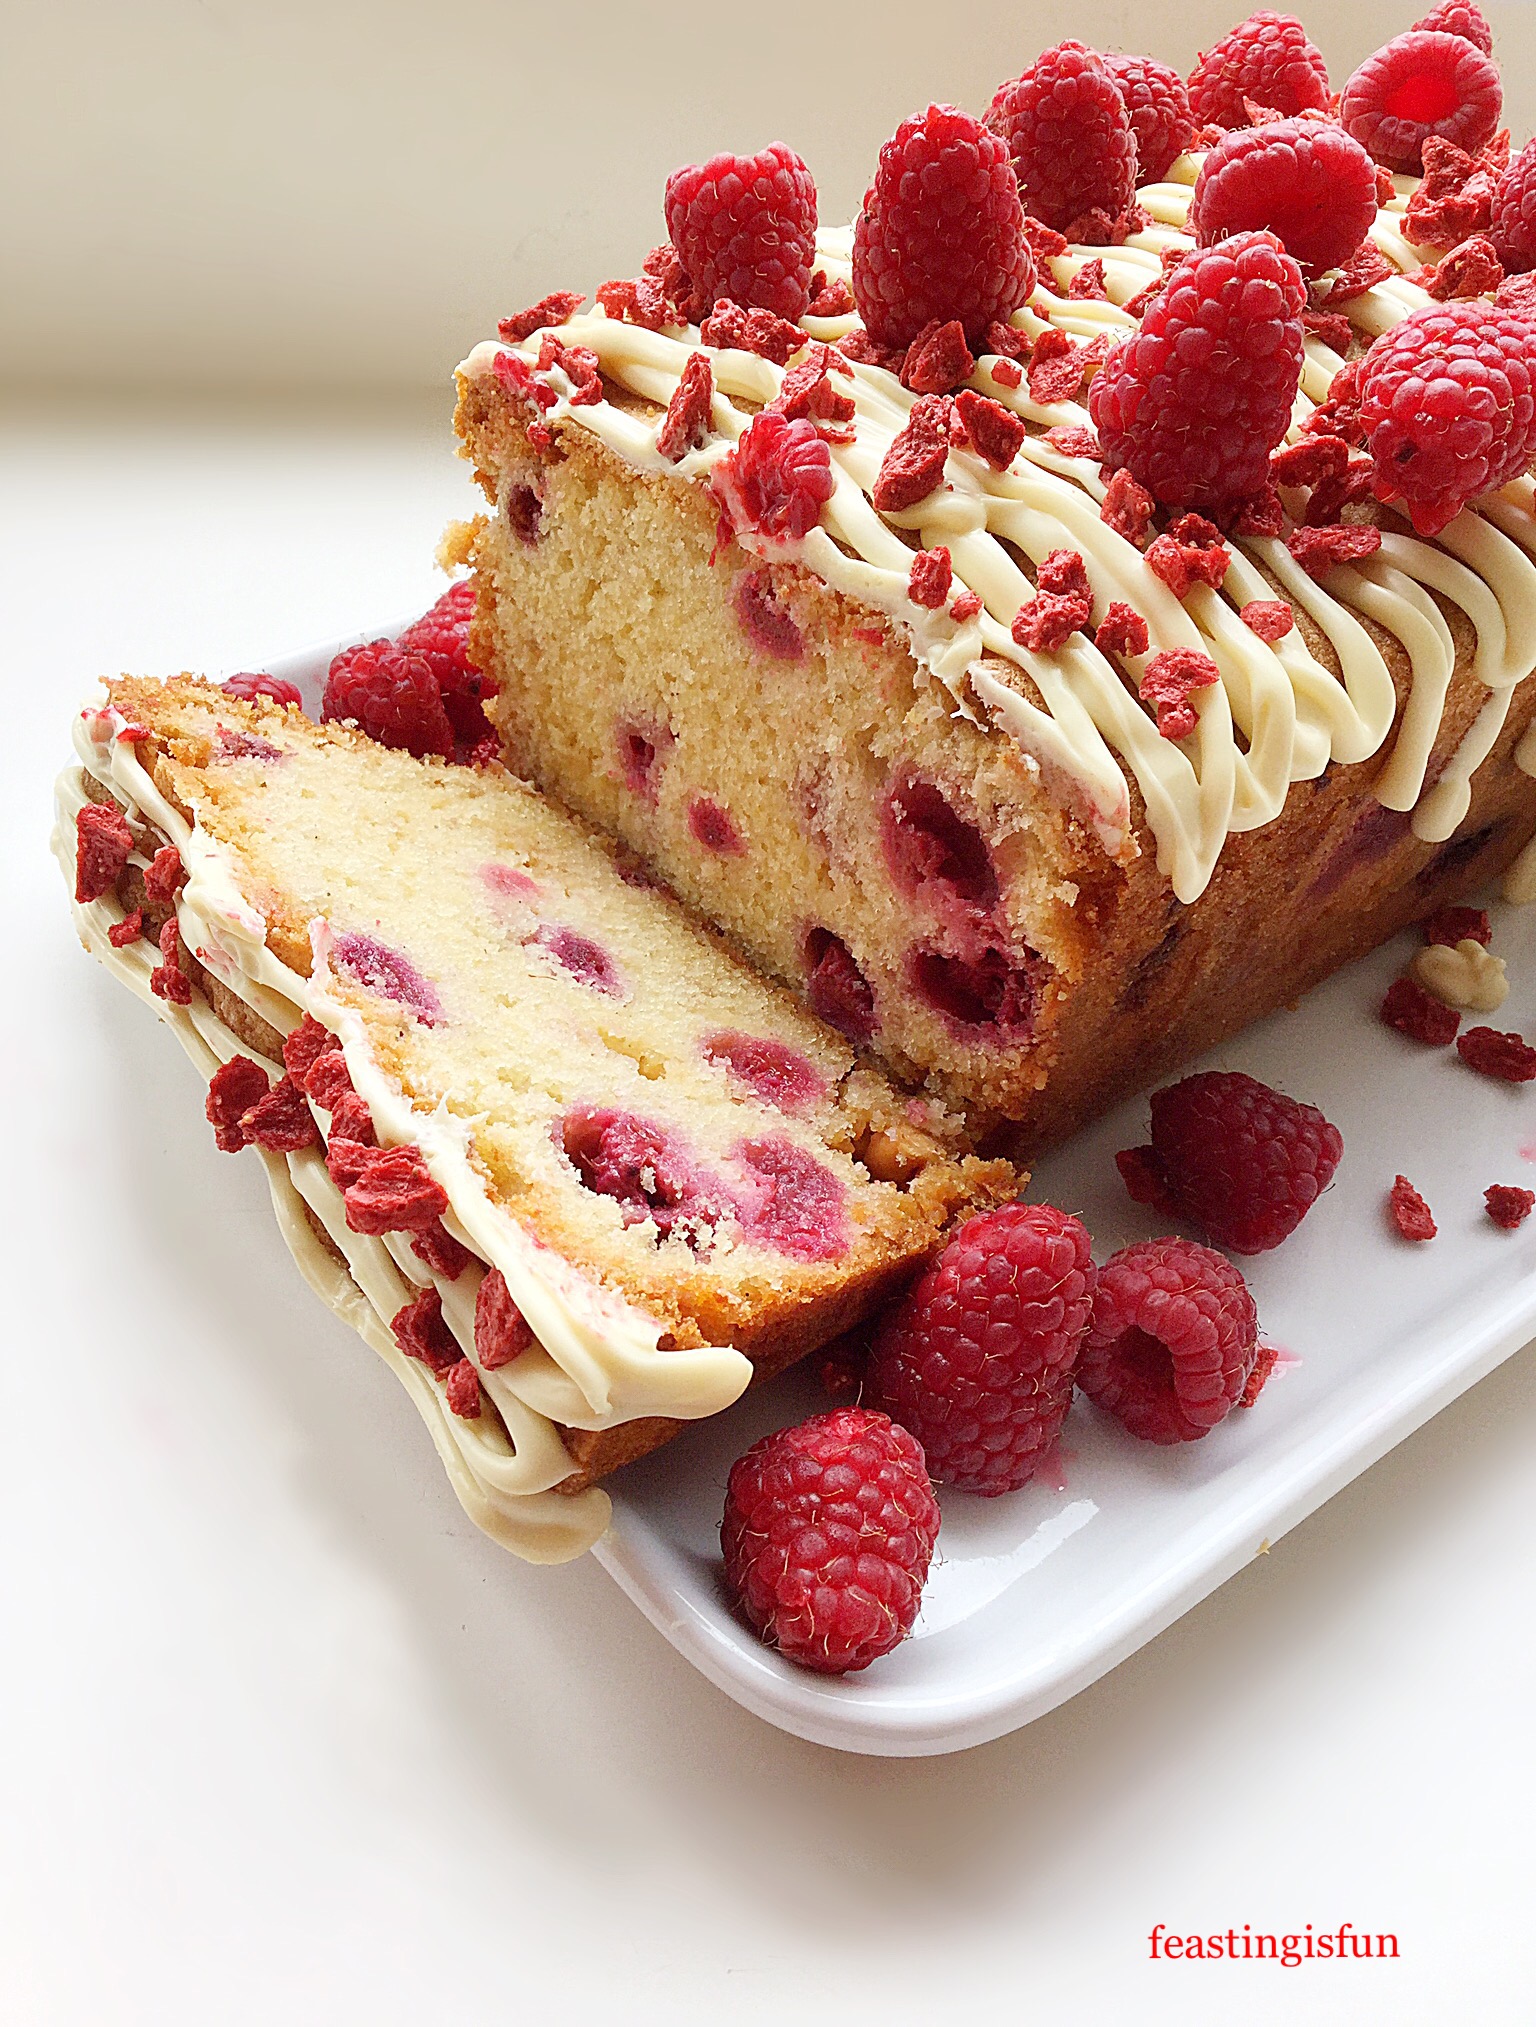
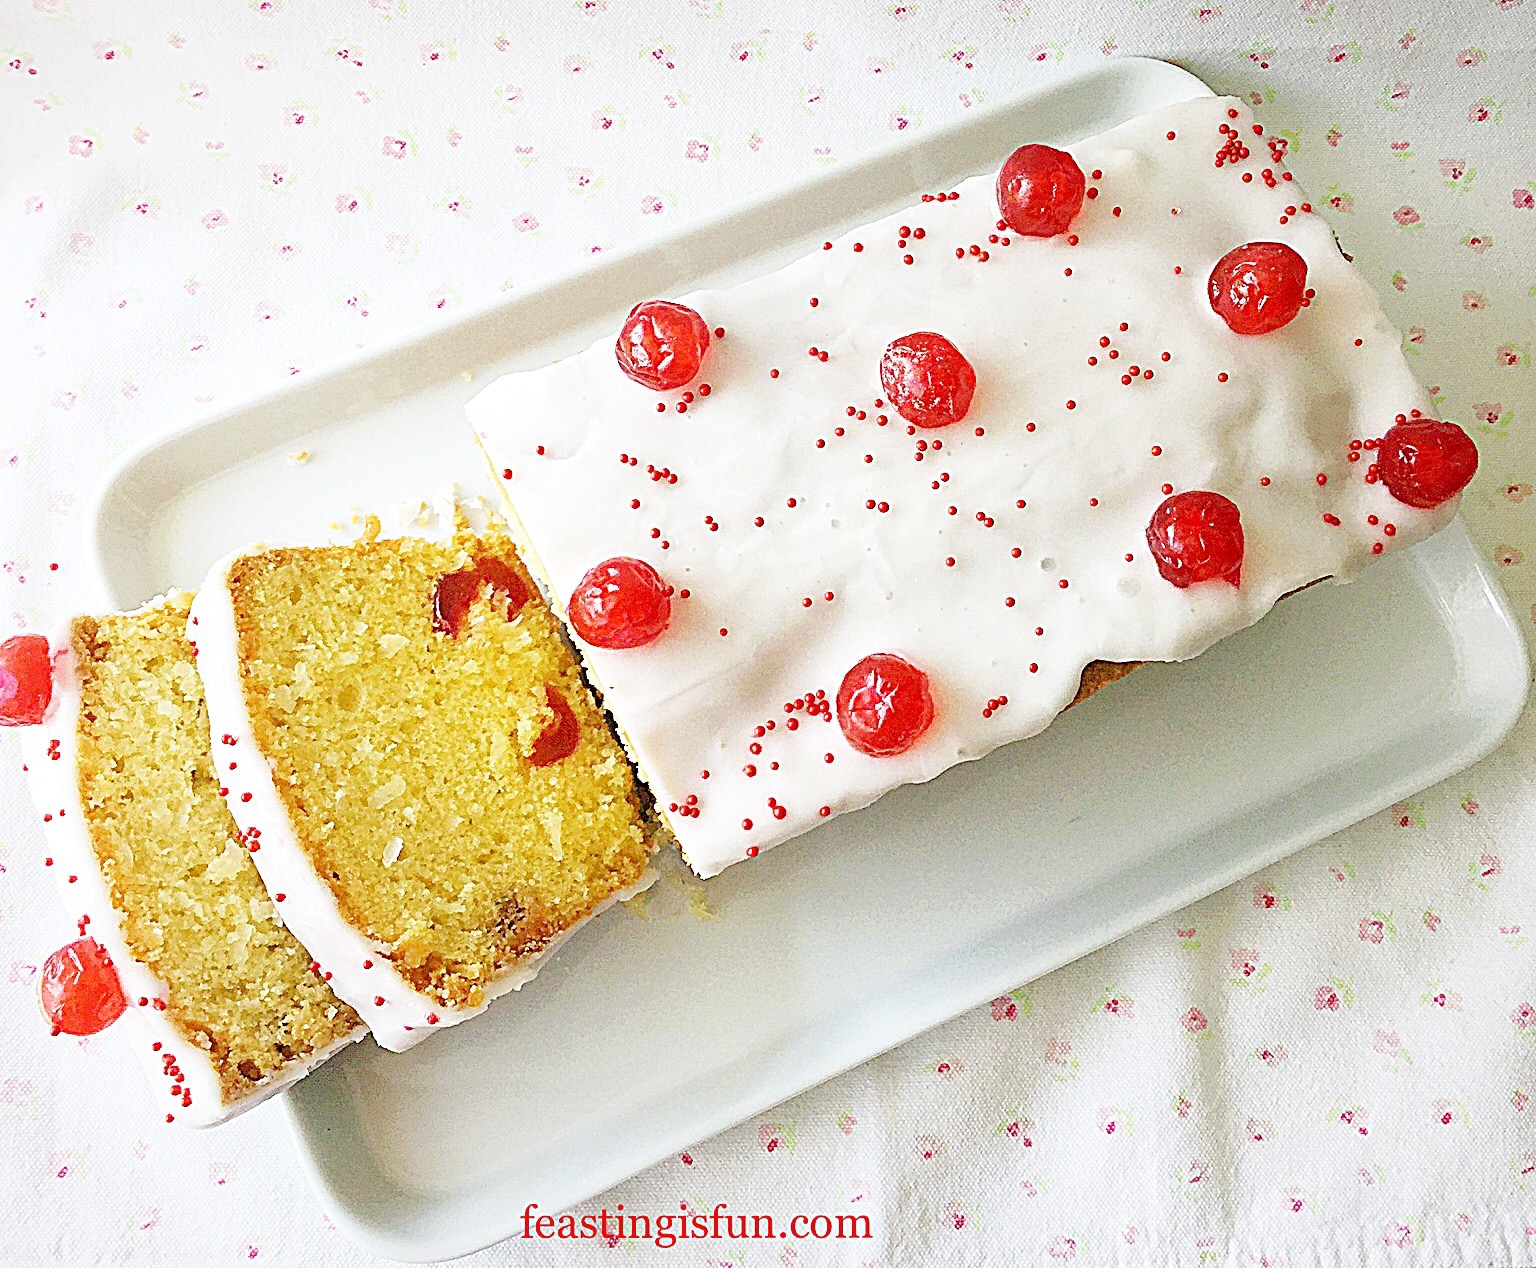
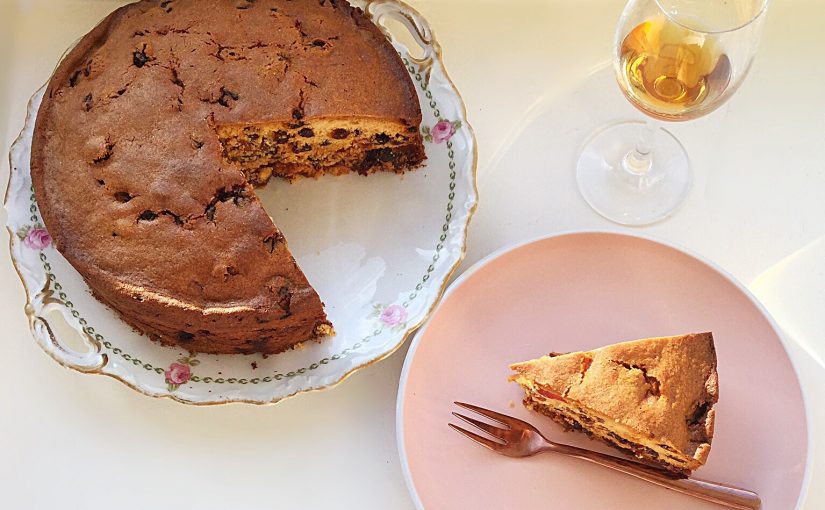
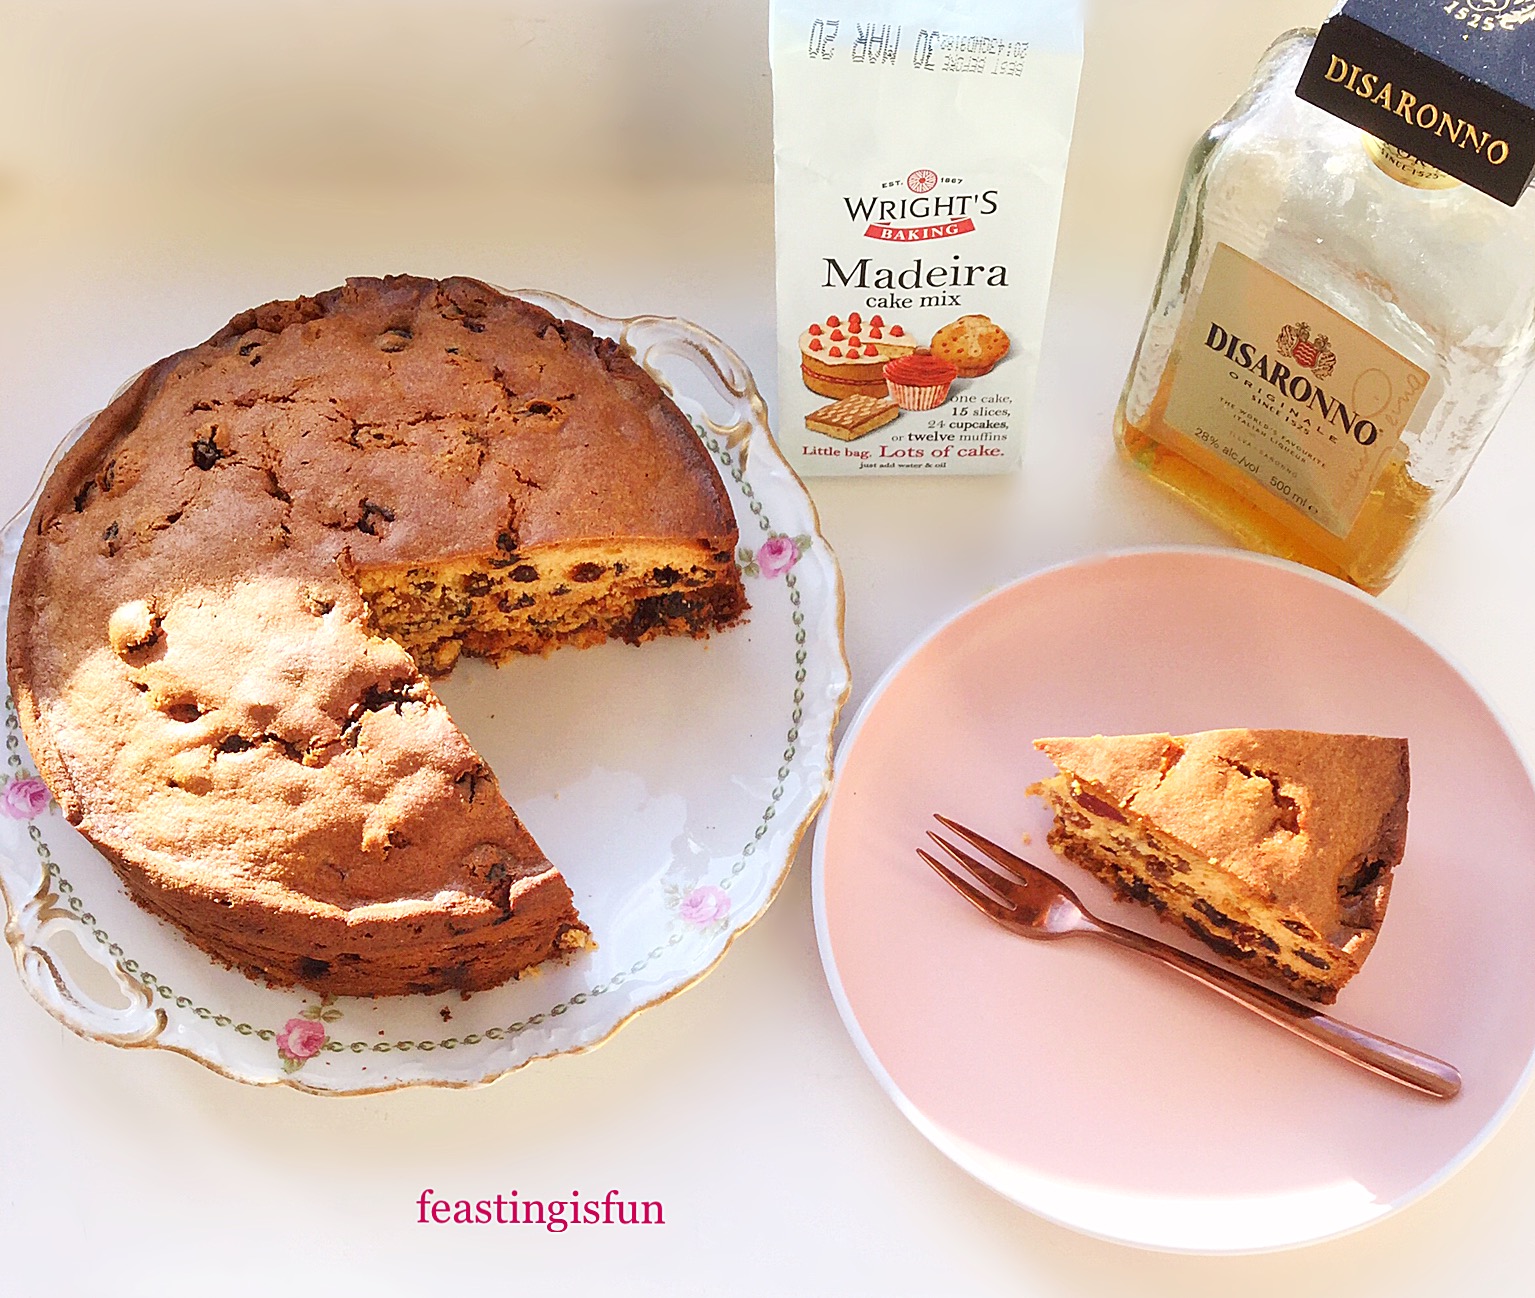
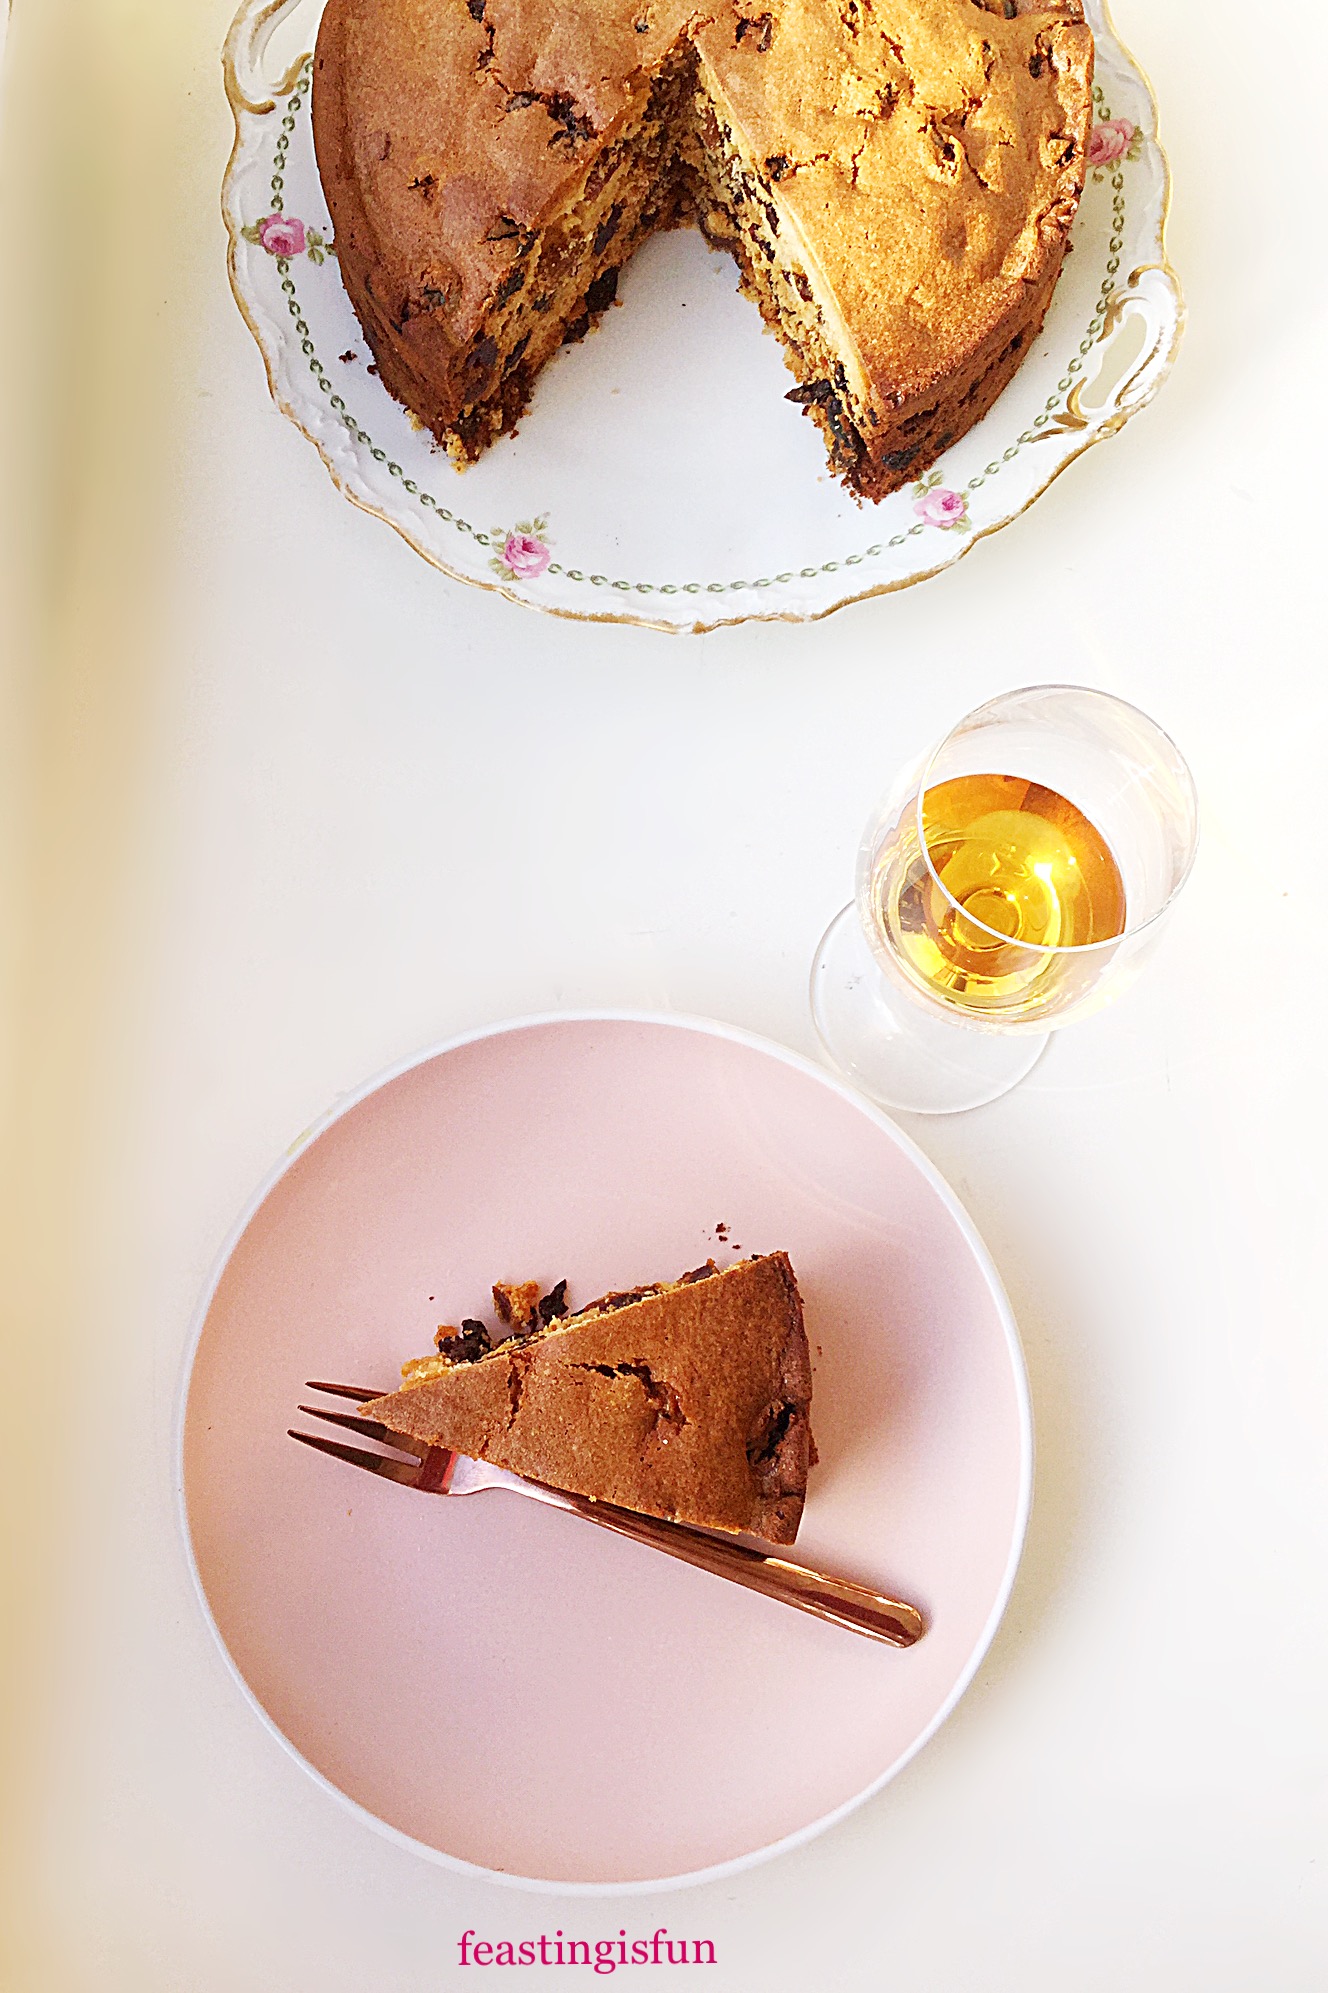
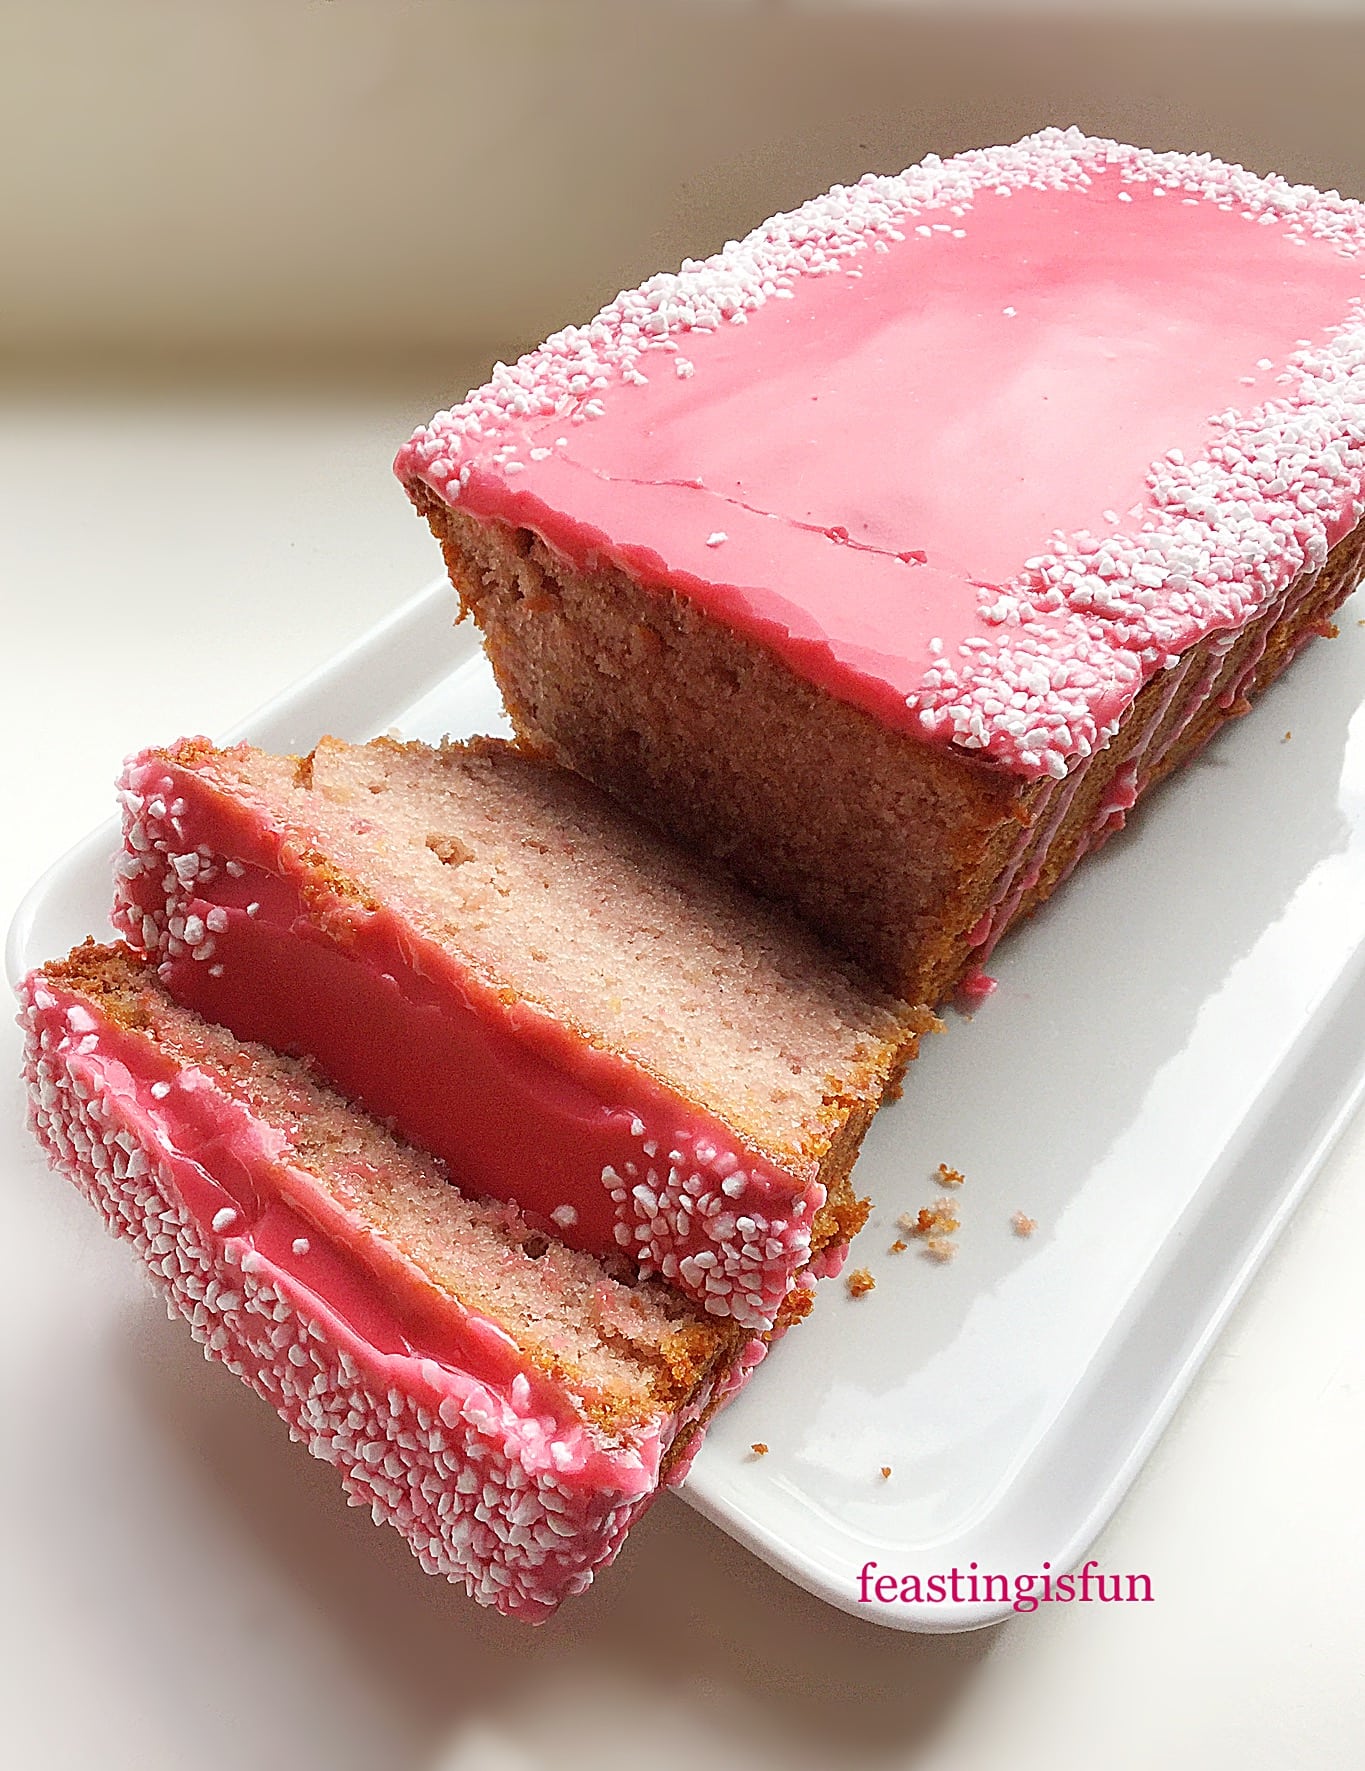
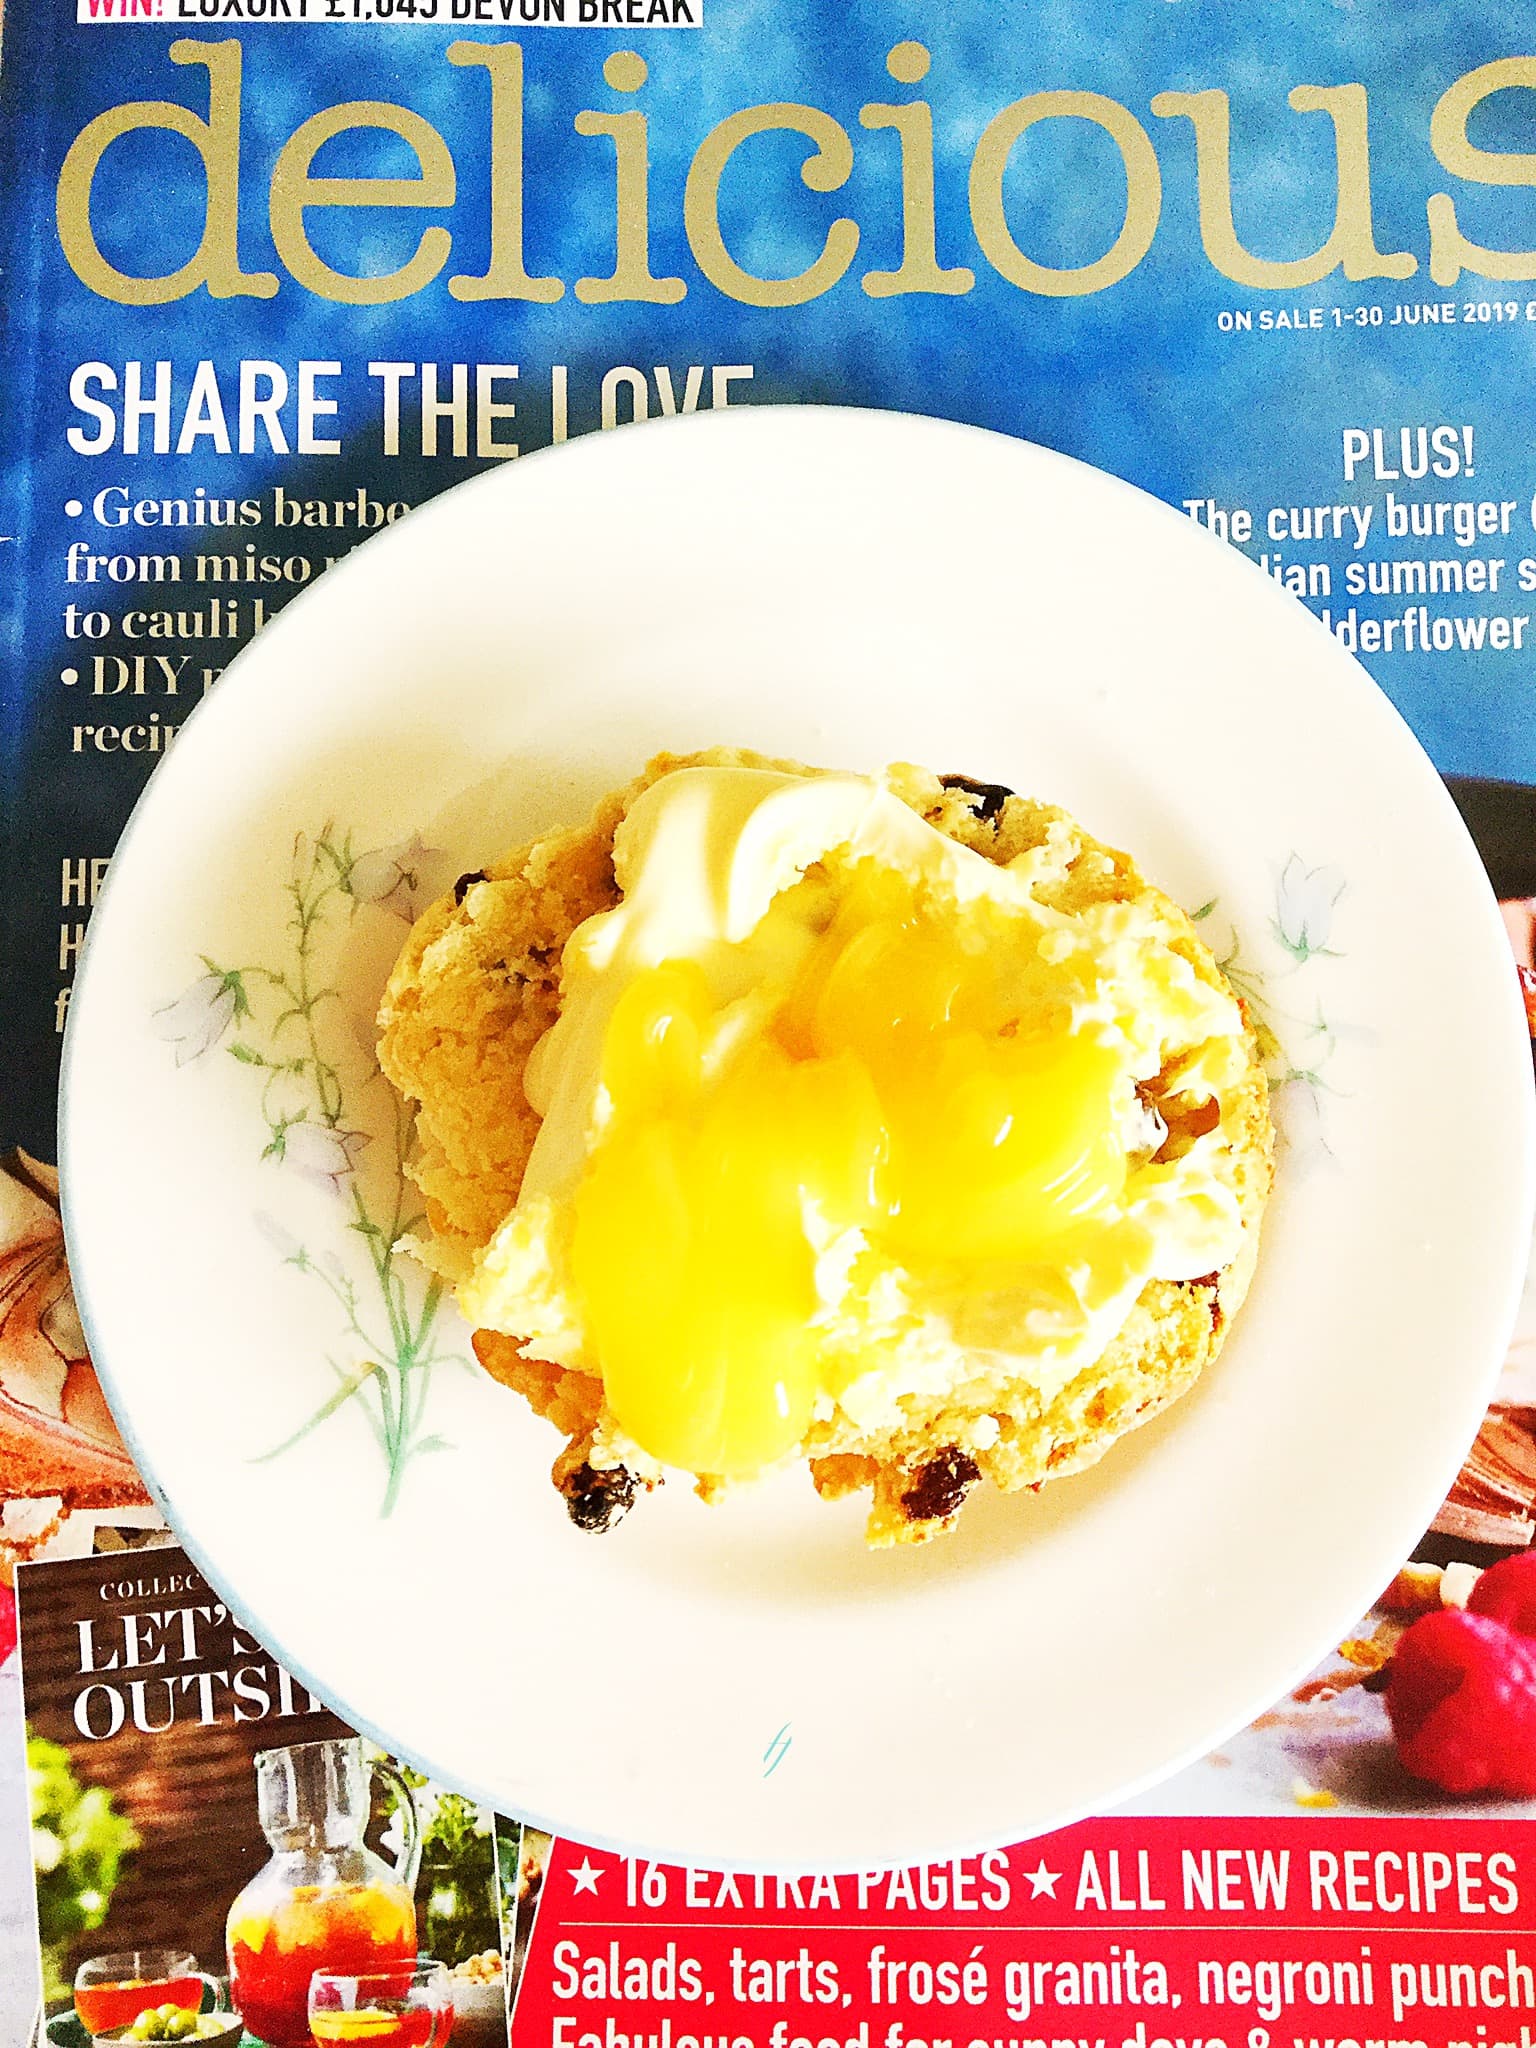
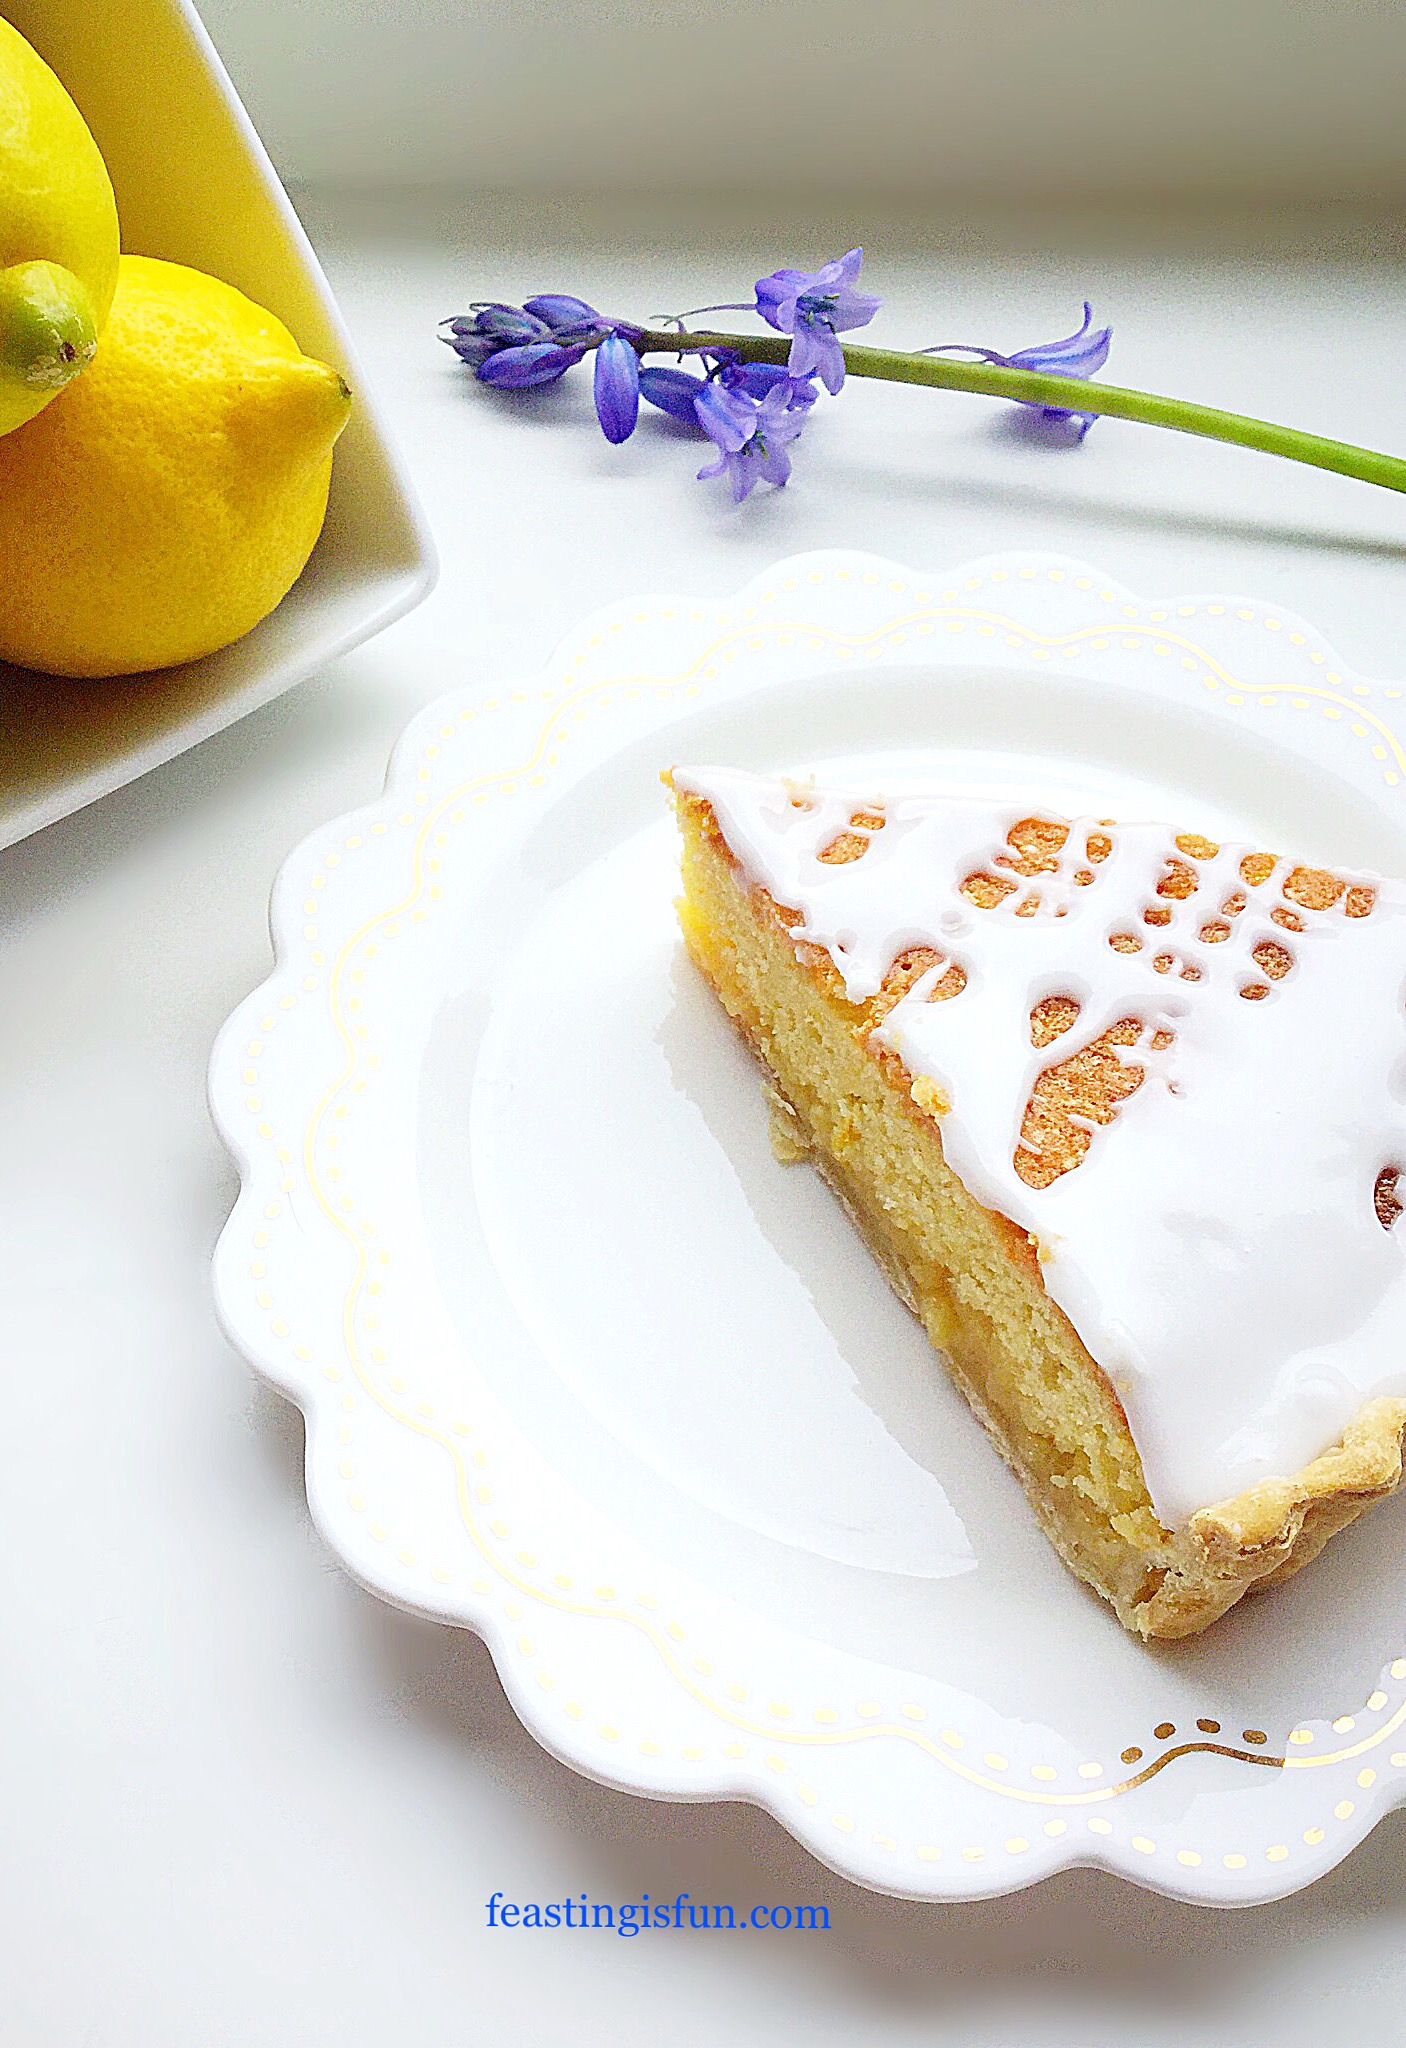
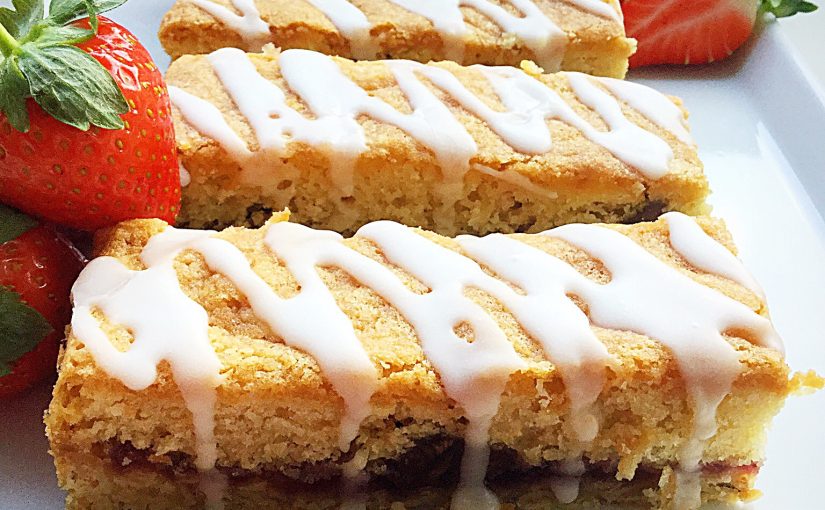
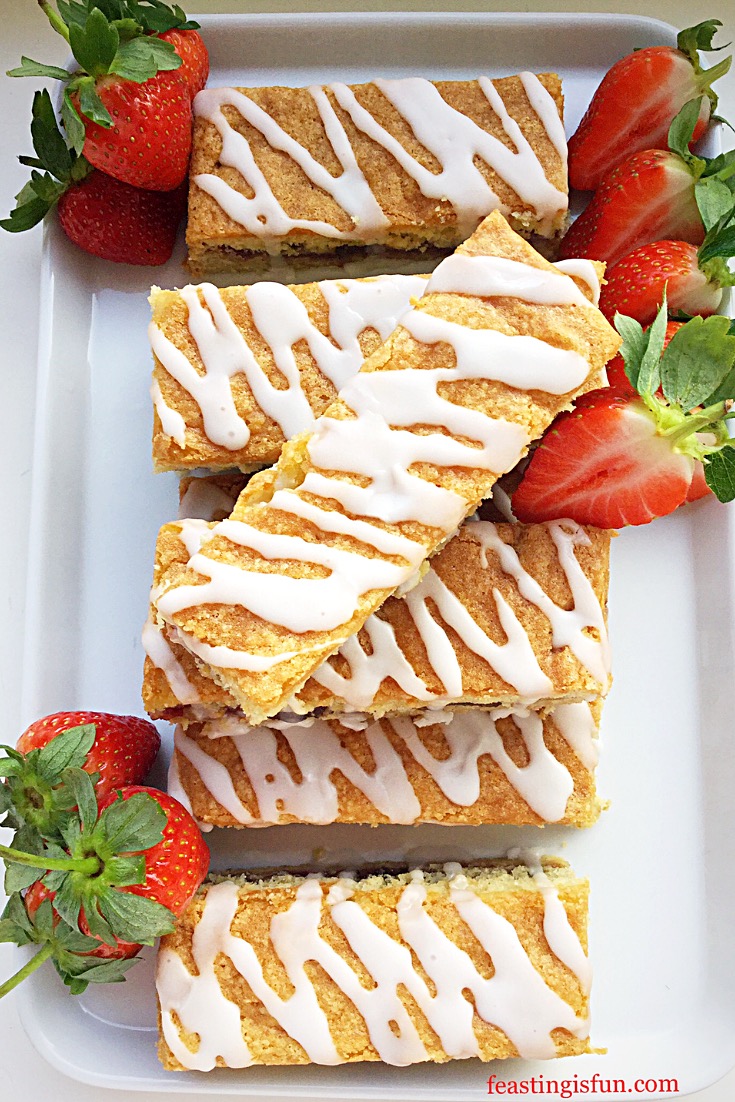
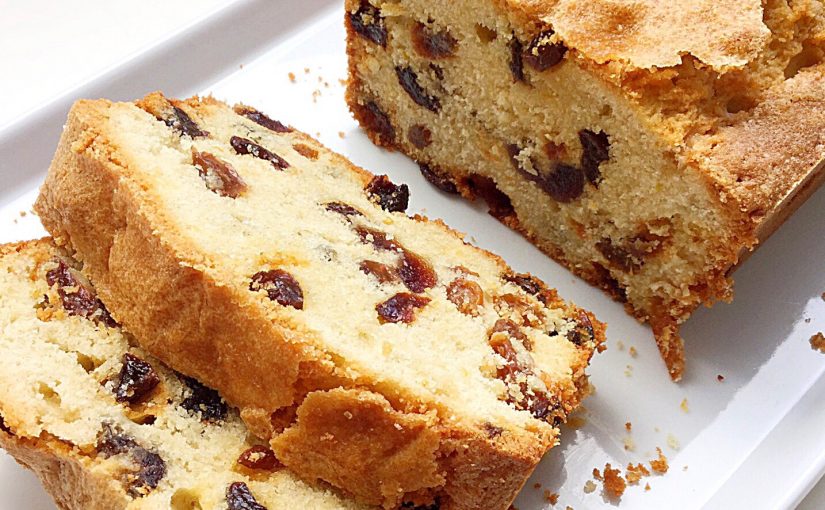
Don’t you want to reach through the screen a grab a slice right now?

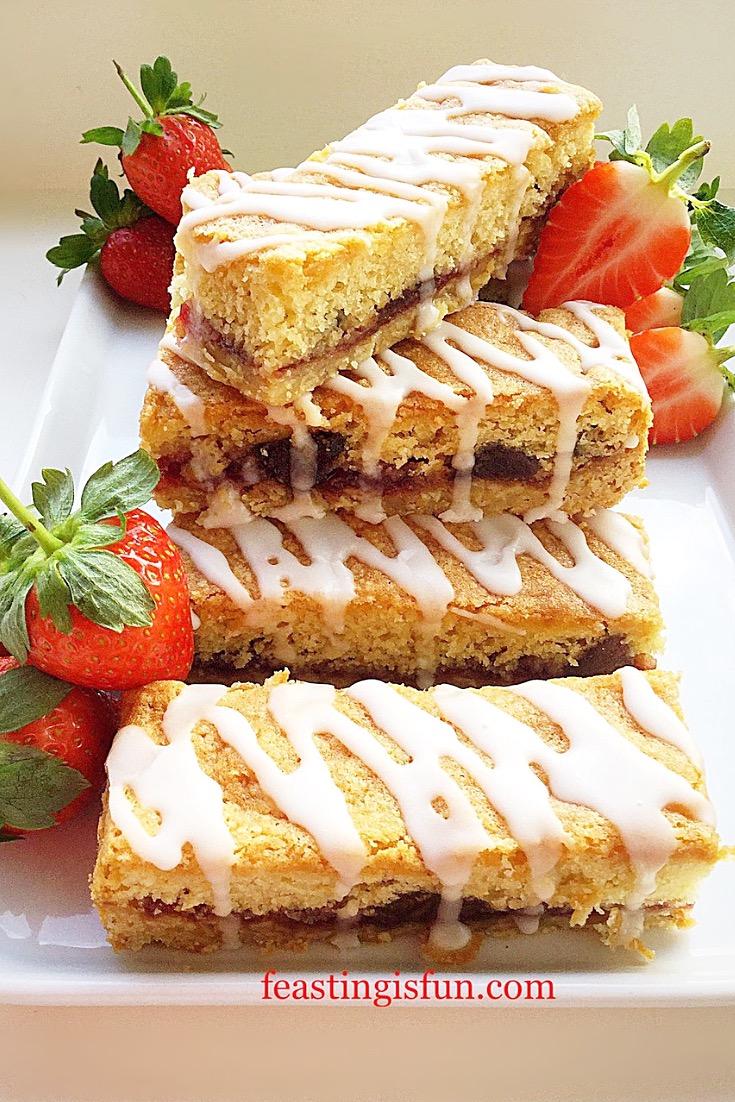
Slice the cake and serve with a cup of tea. A quintessential way to enjoy afternoon tea, preferably with friends and family.
Keep this cake in an airtight container and eat within 4 days.
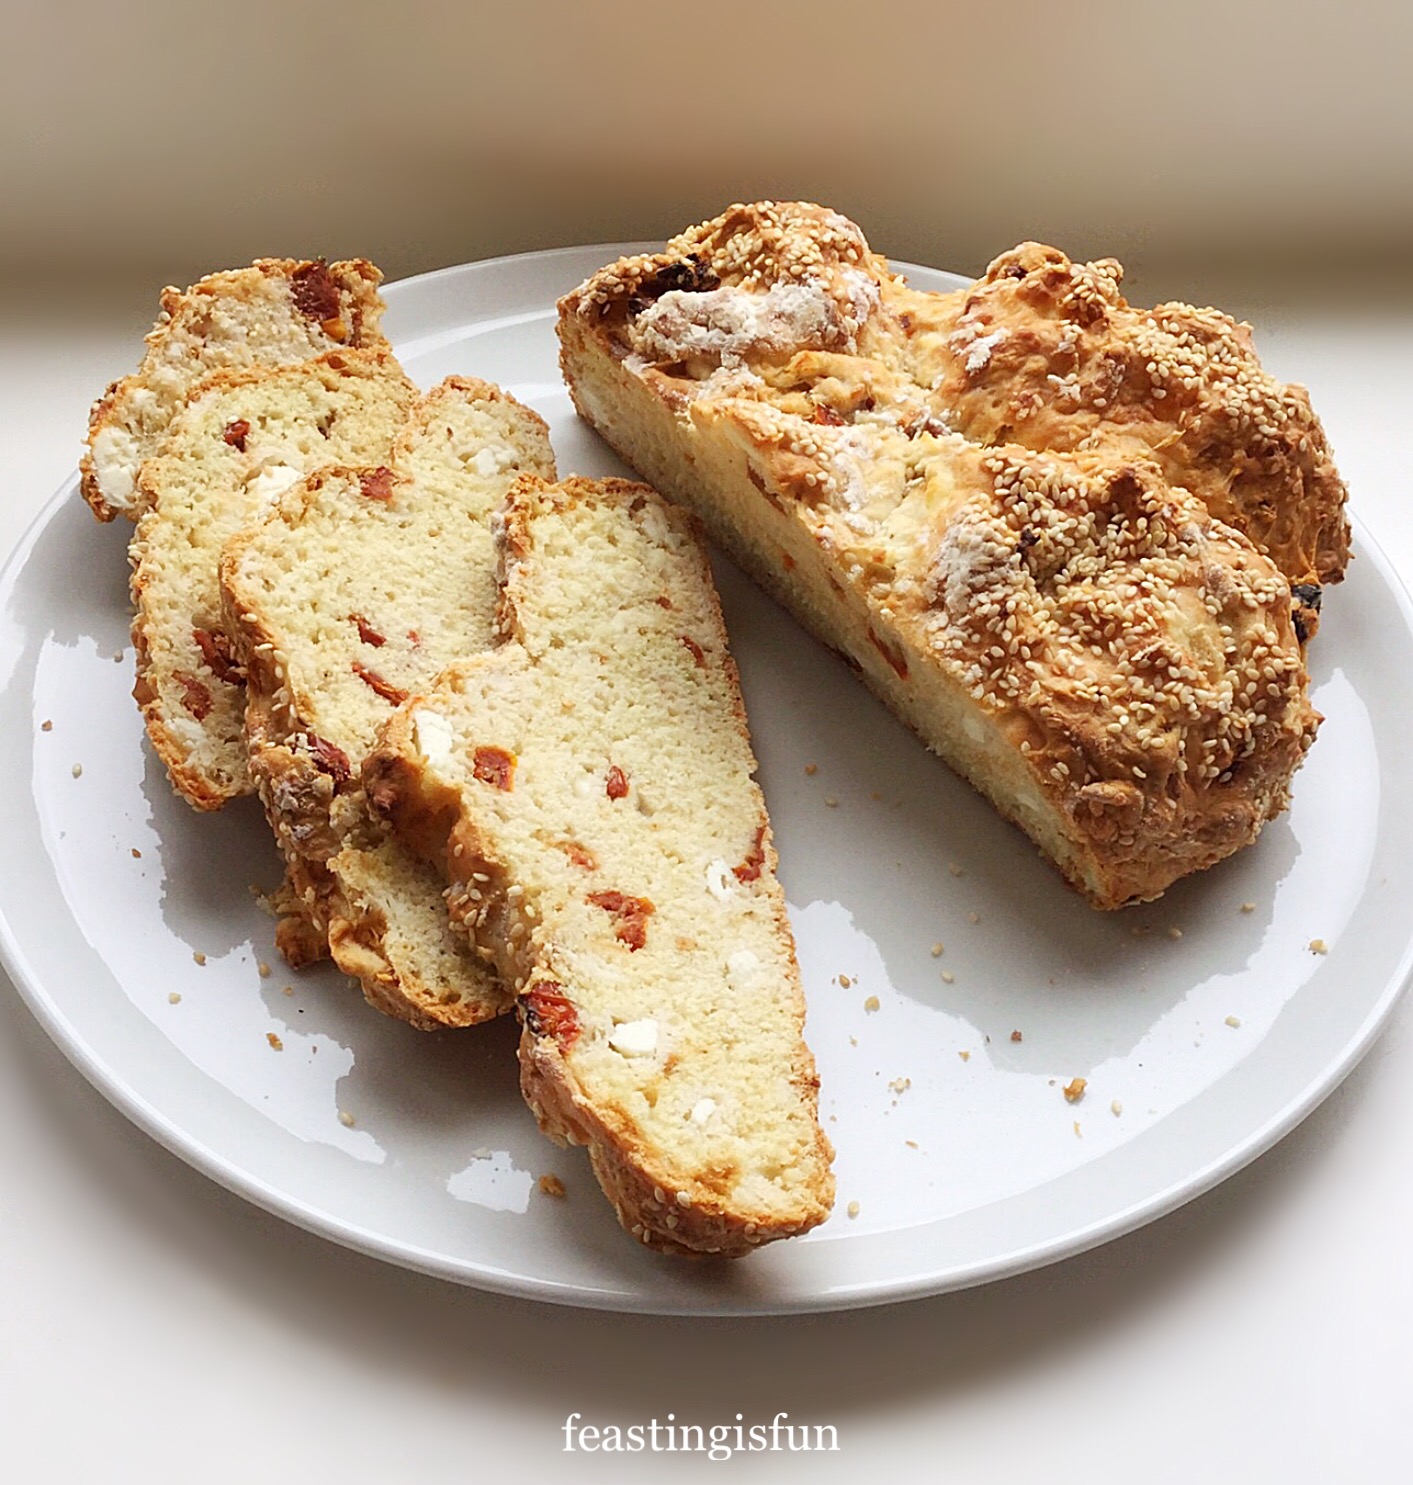
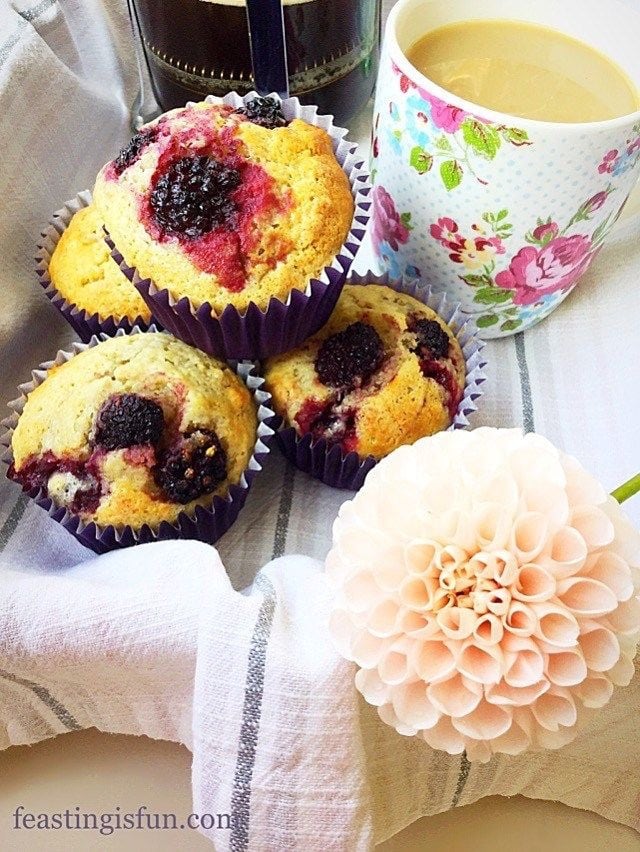
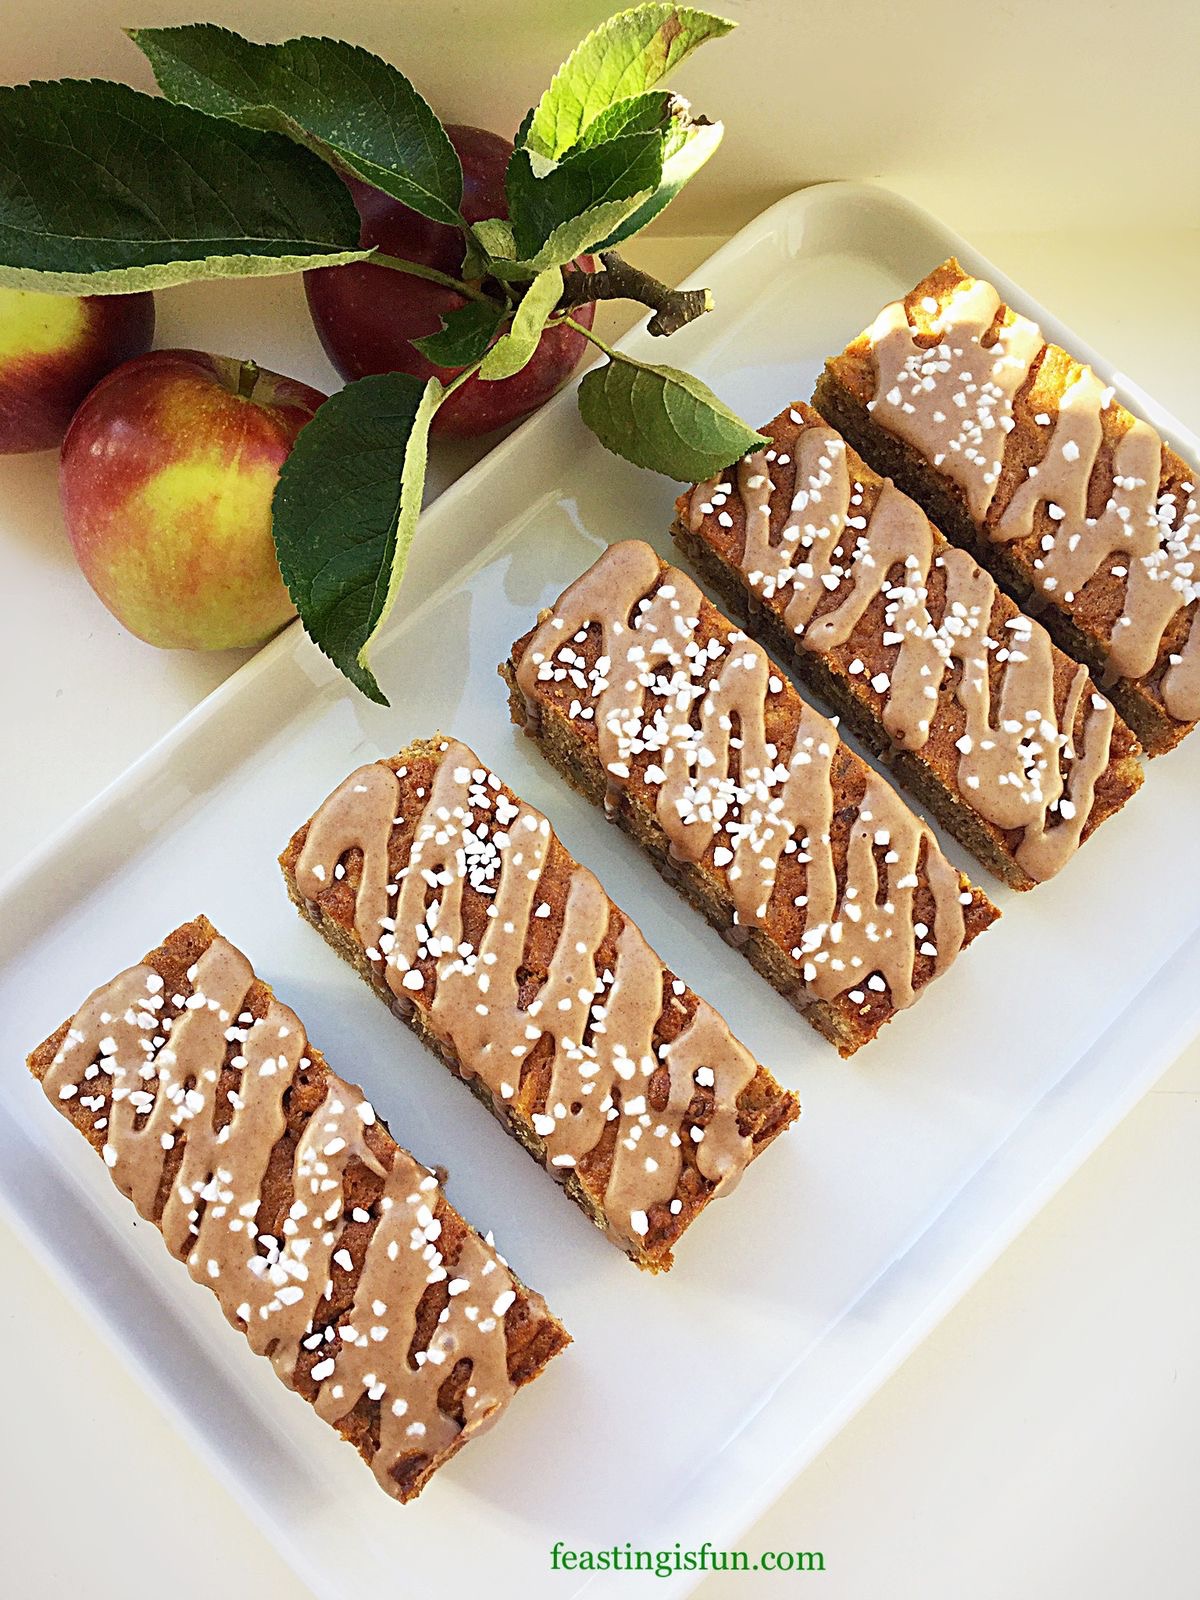
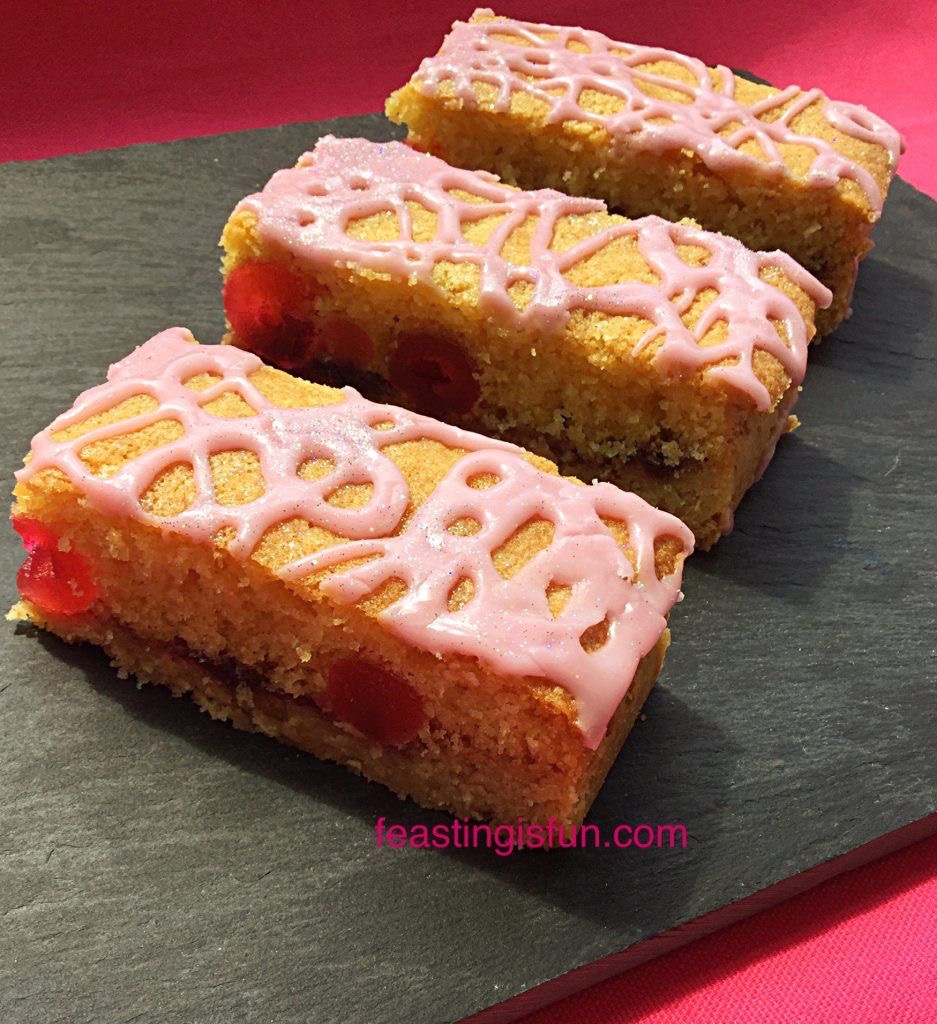
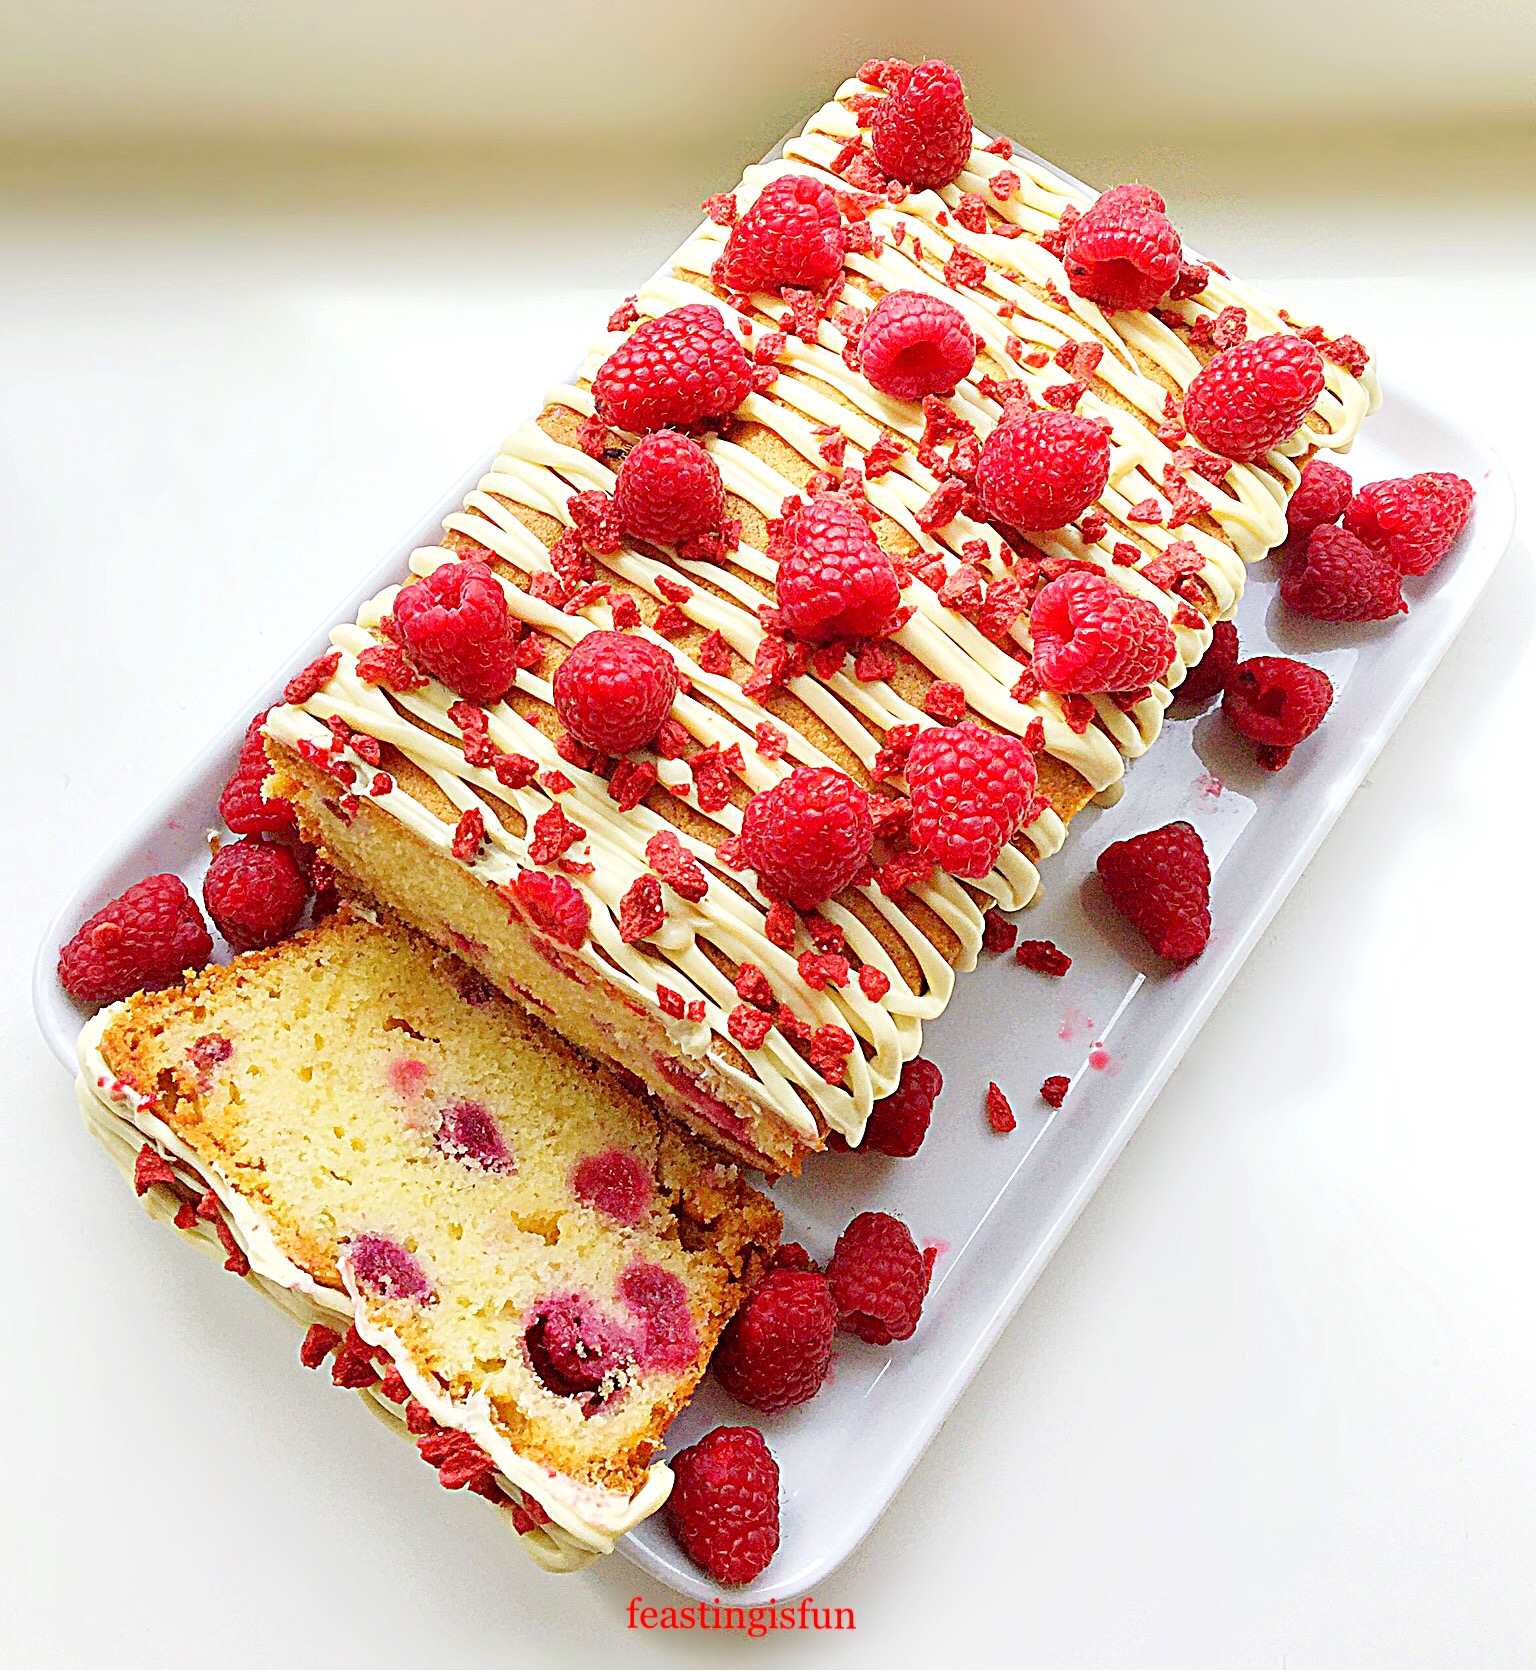
If you have enjoyed this recipe for Mixed Fruit Loaf Cake you may also like these:

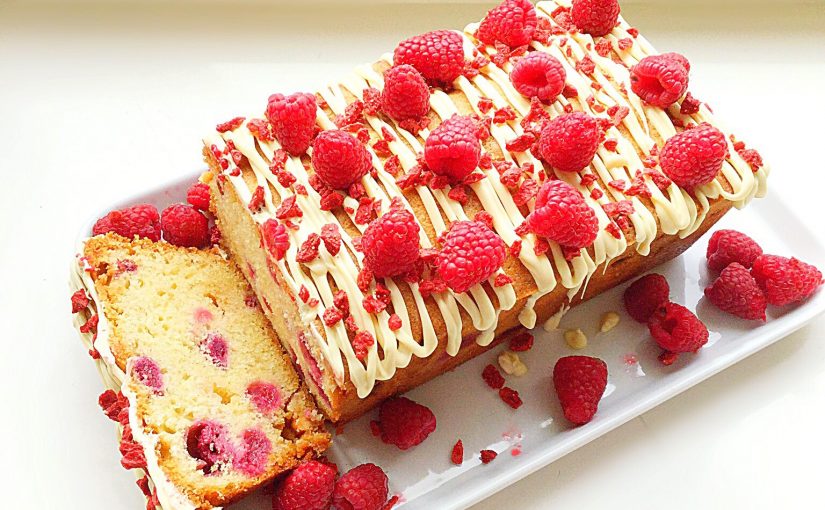
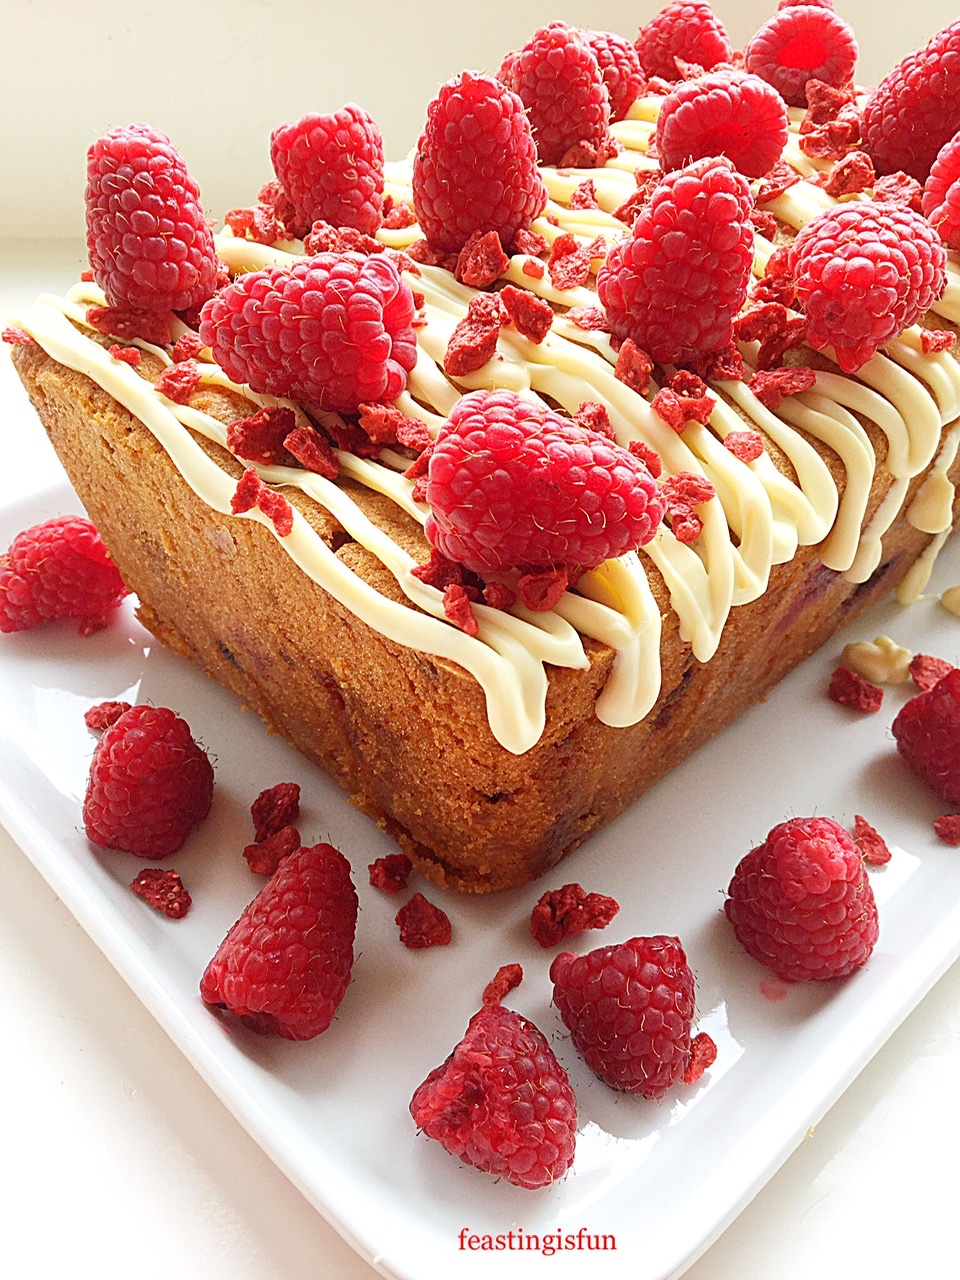
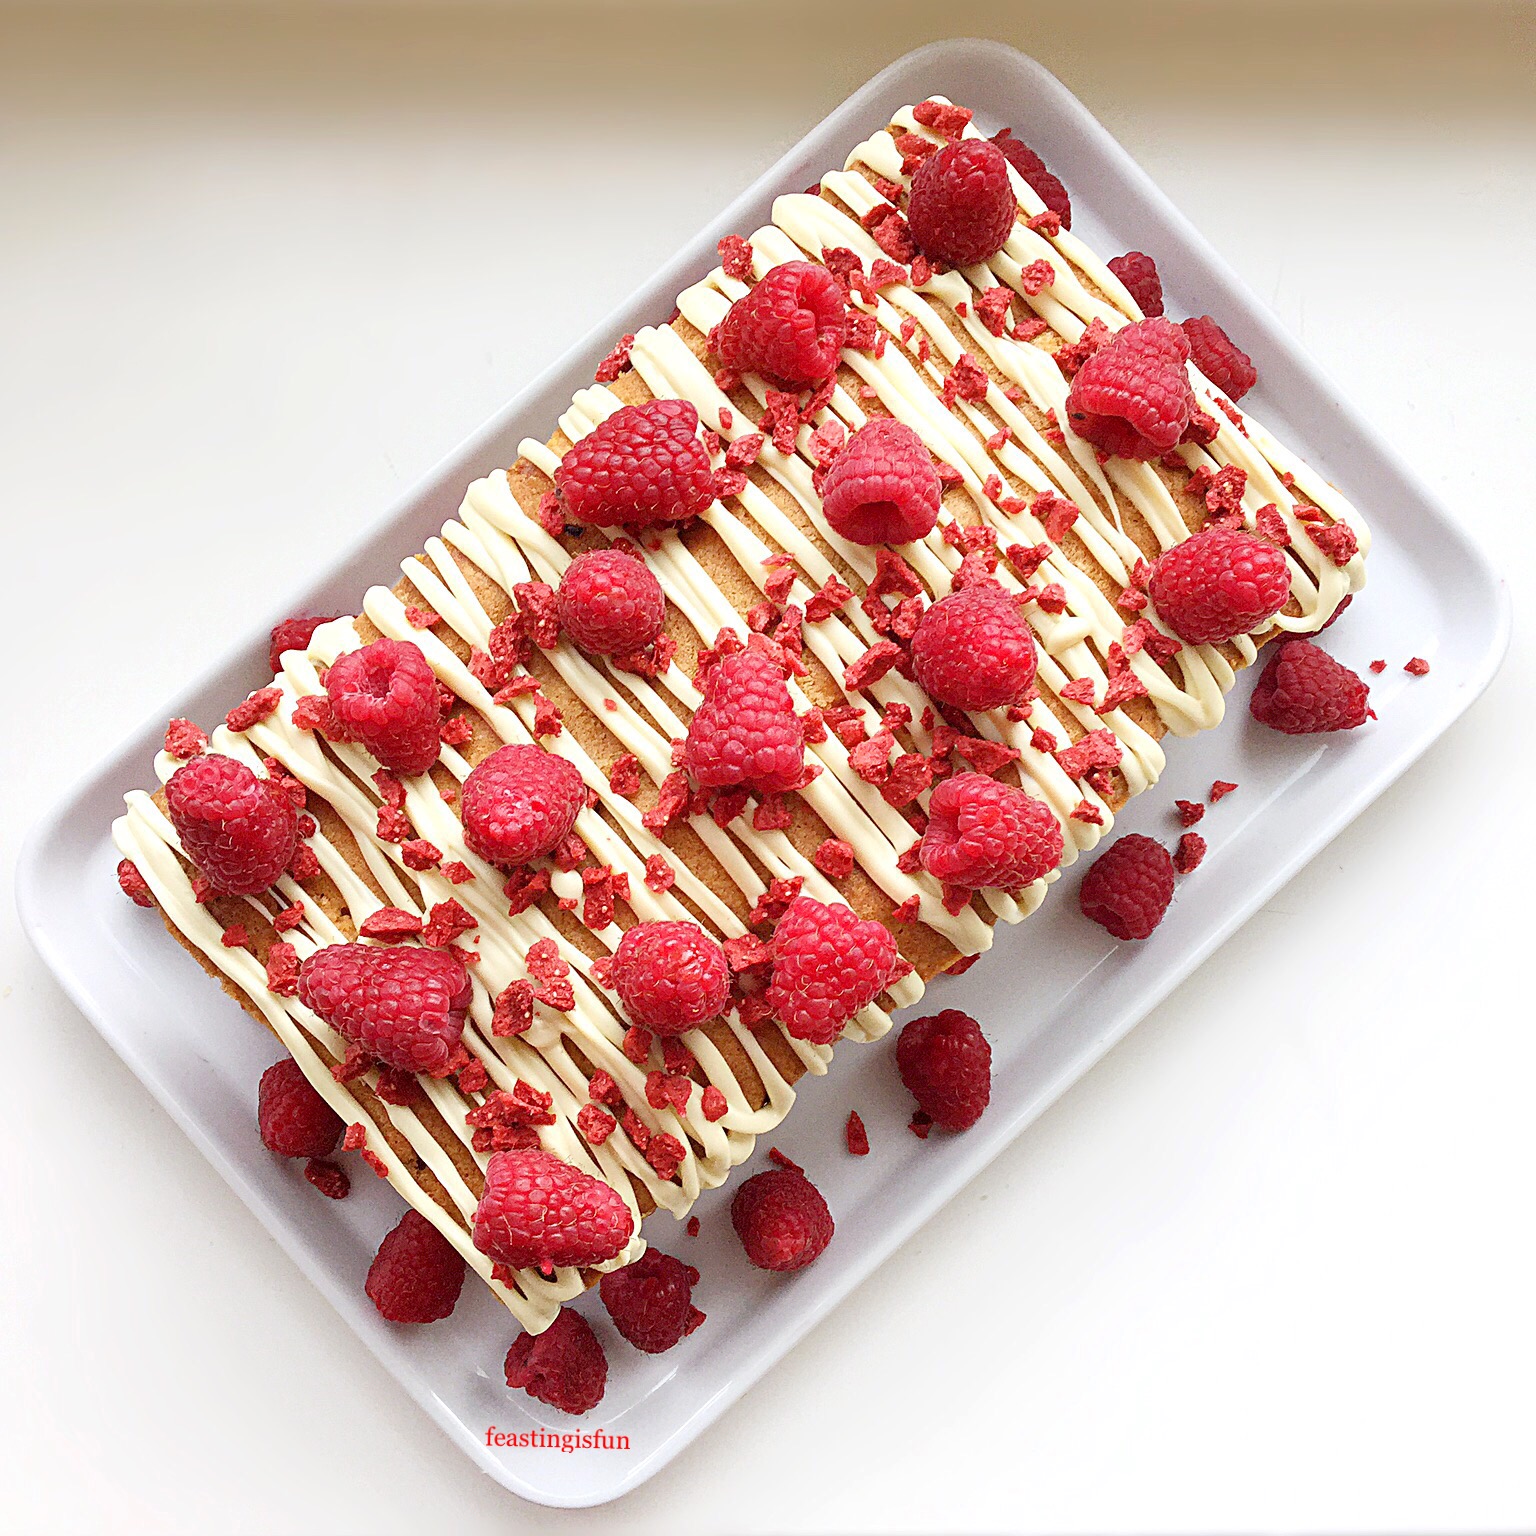
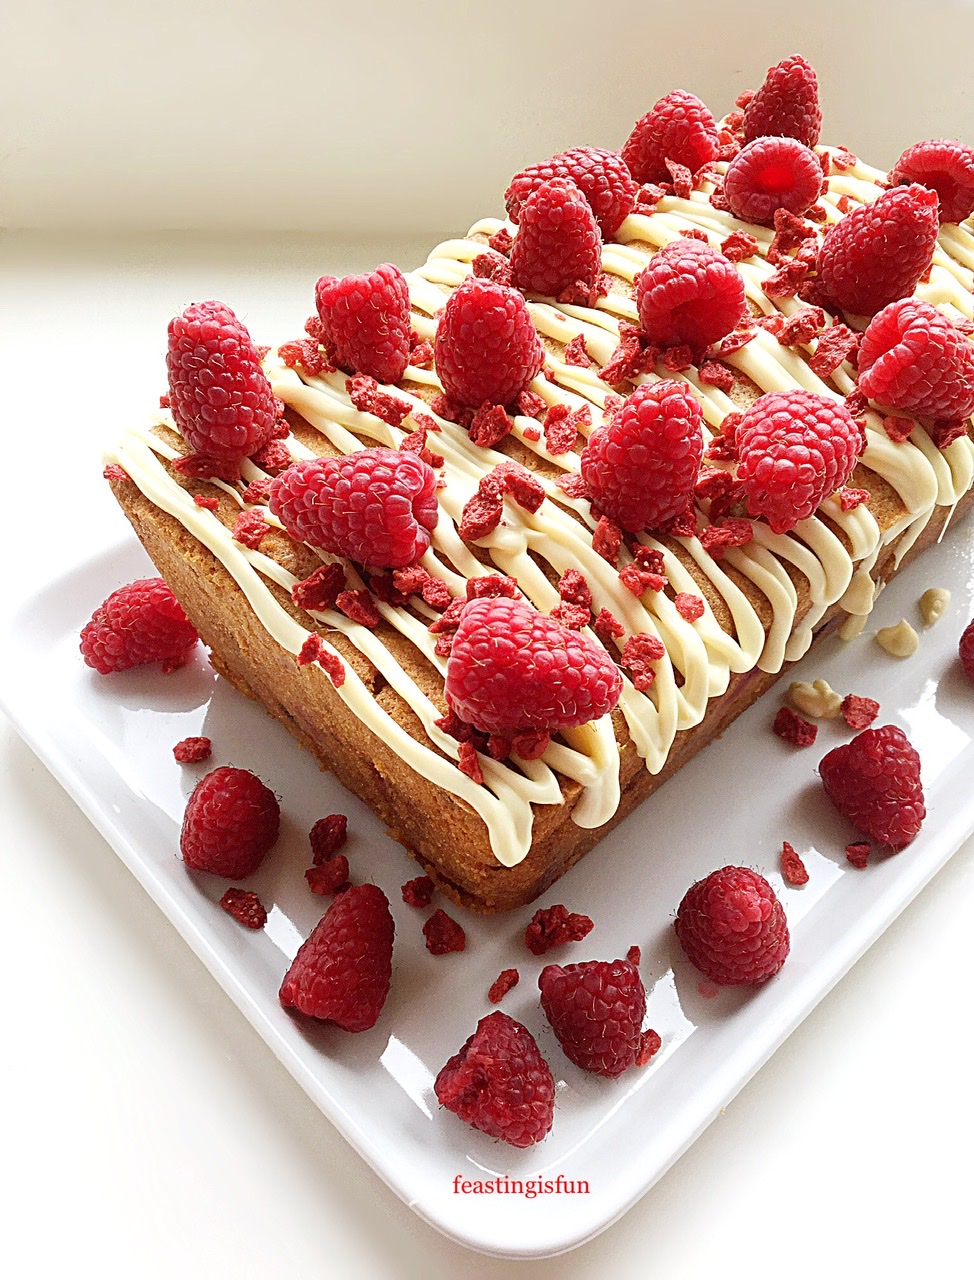
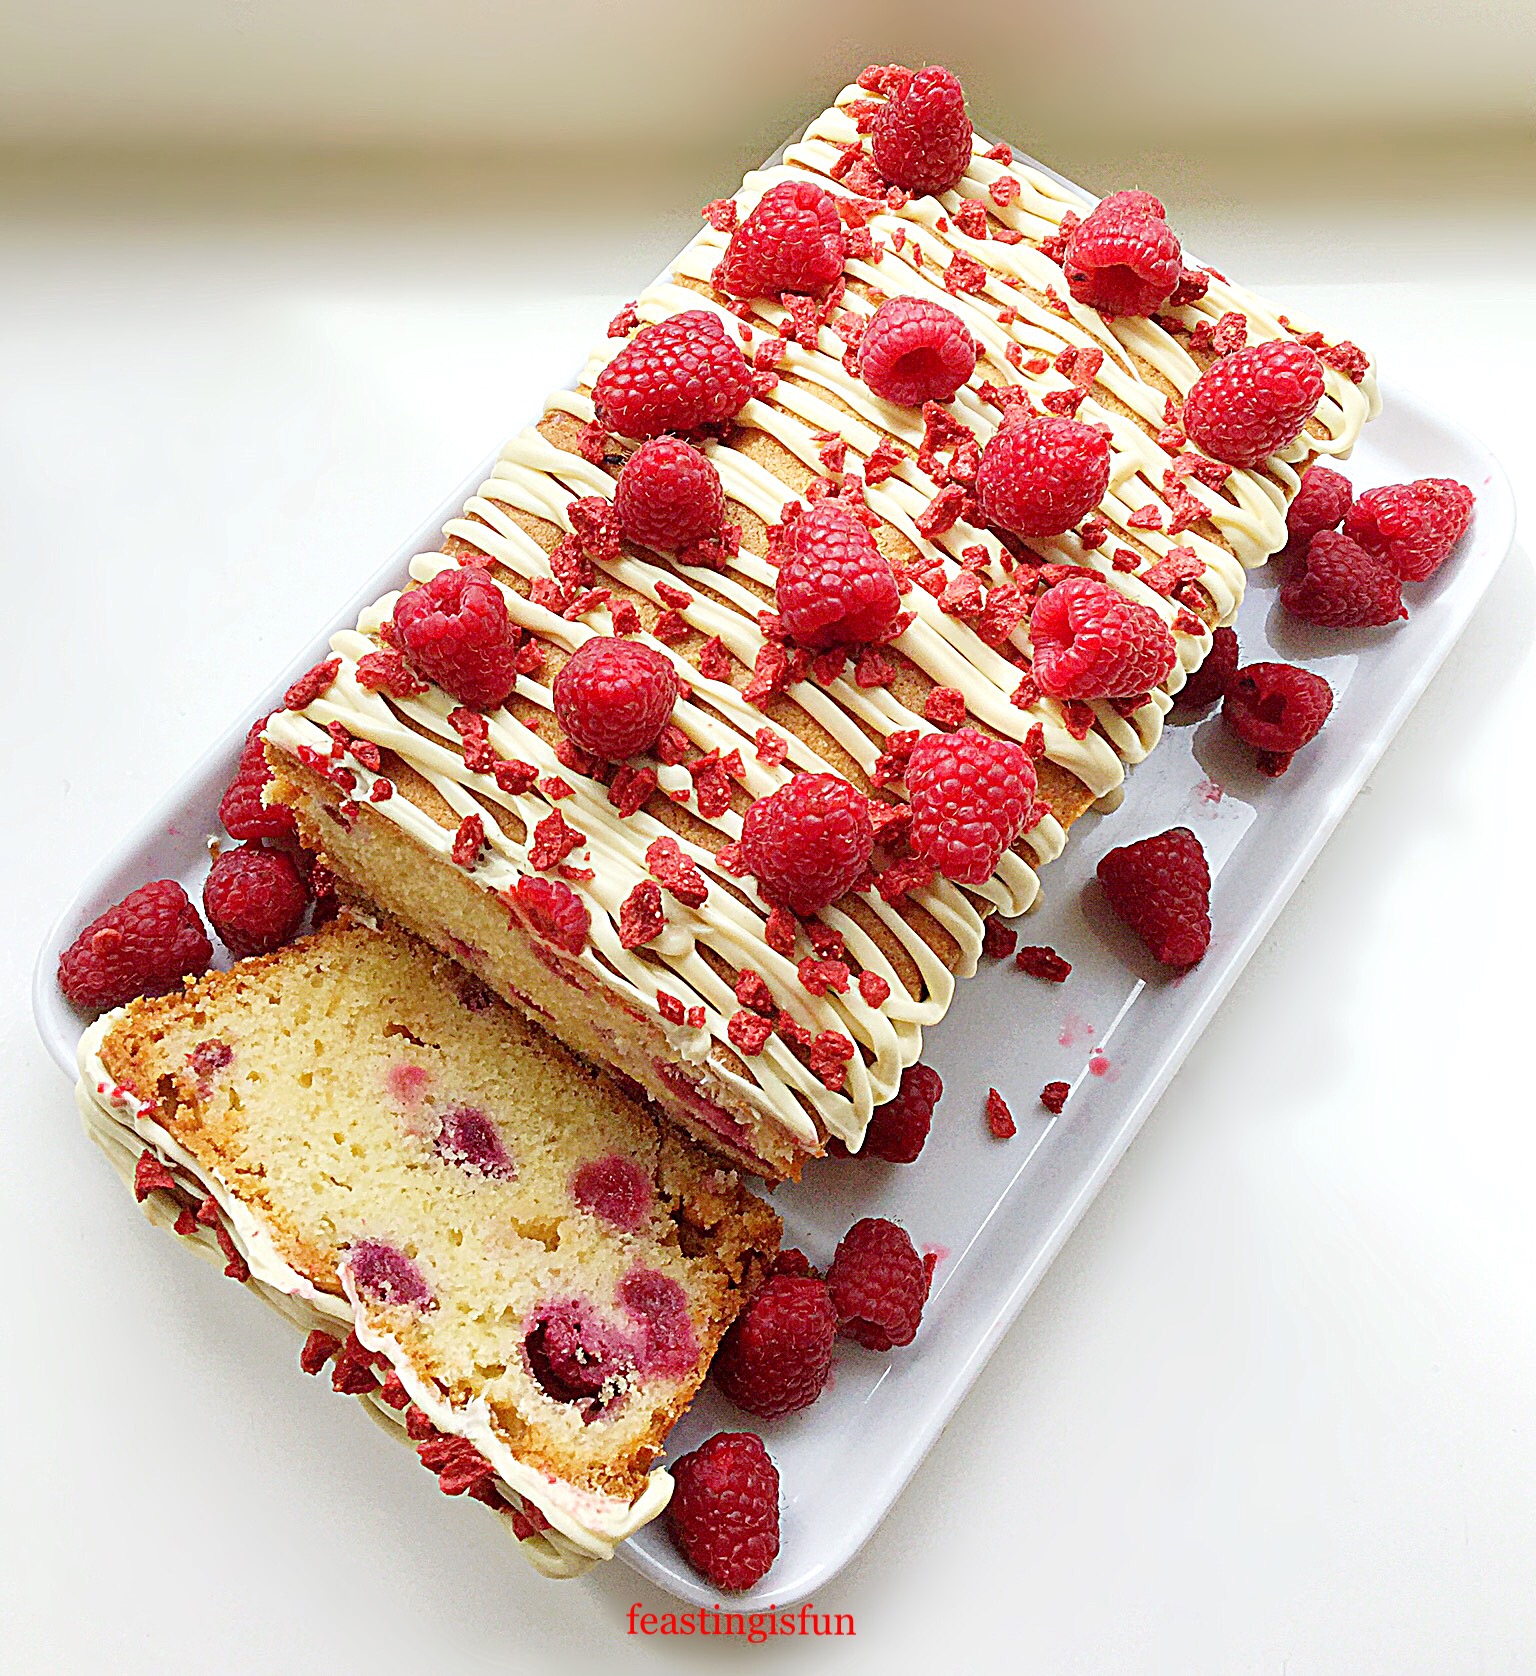
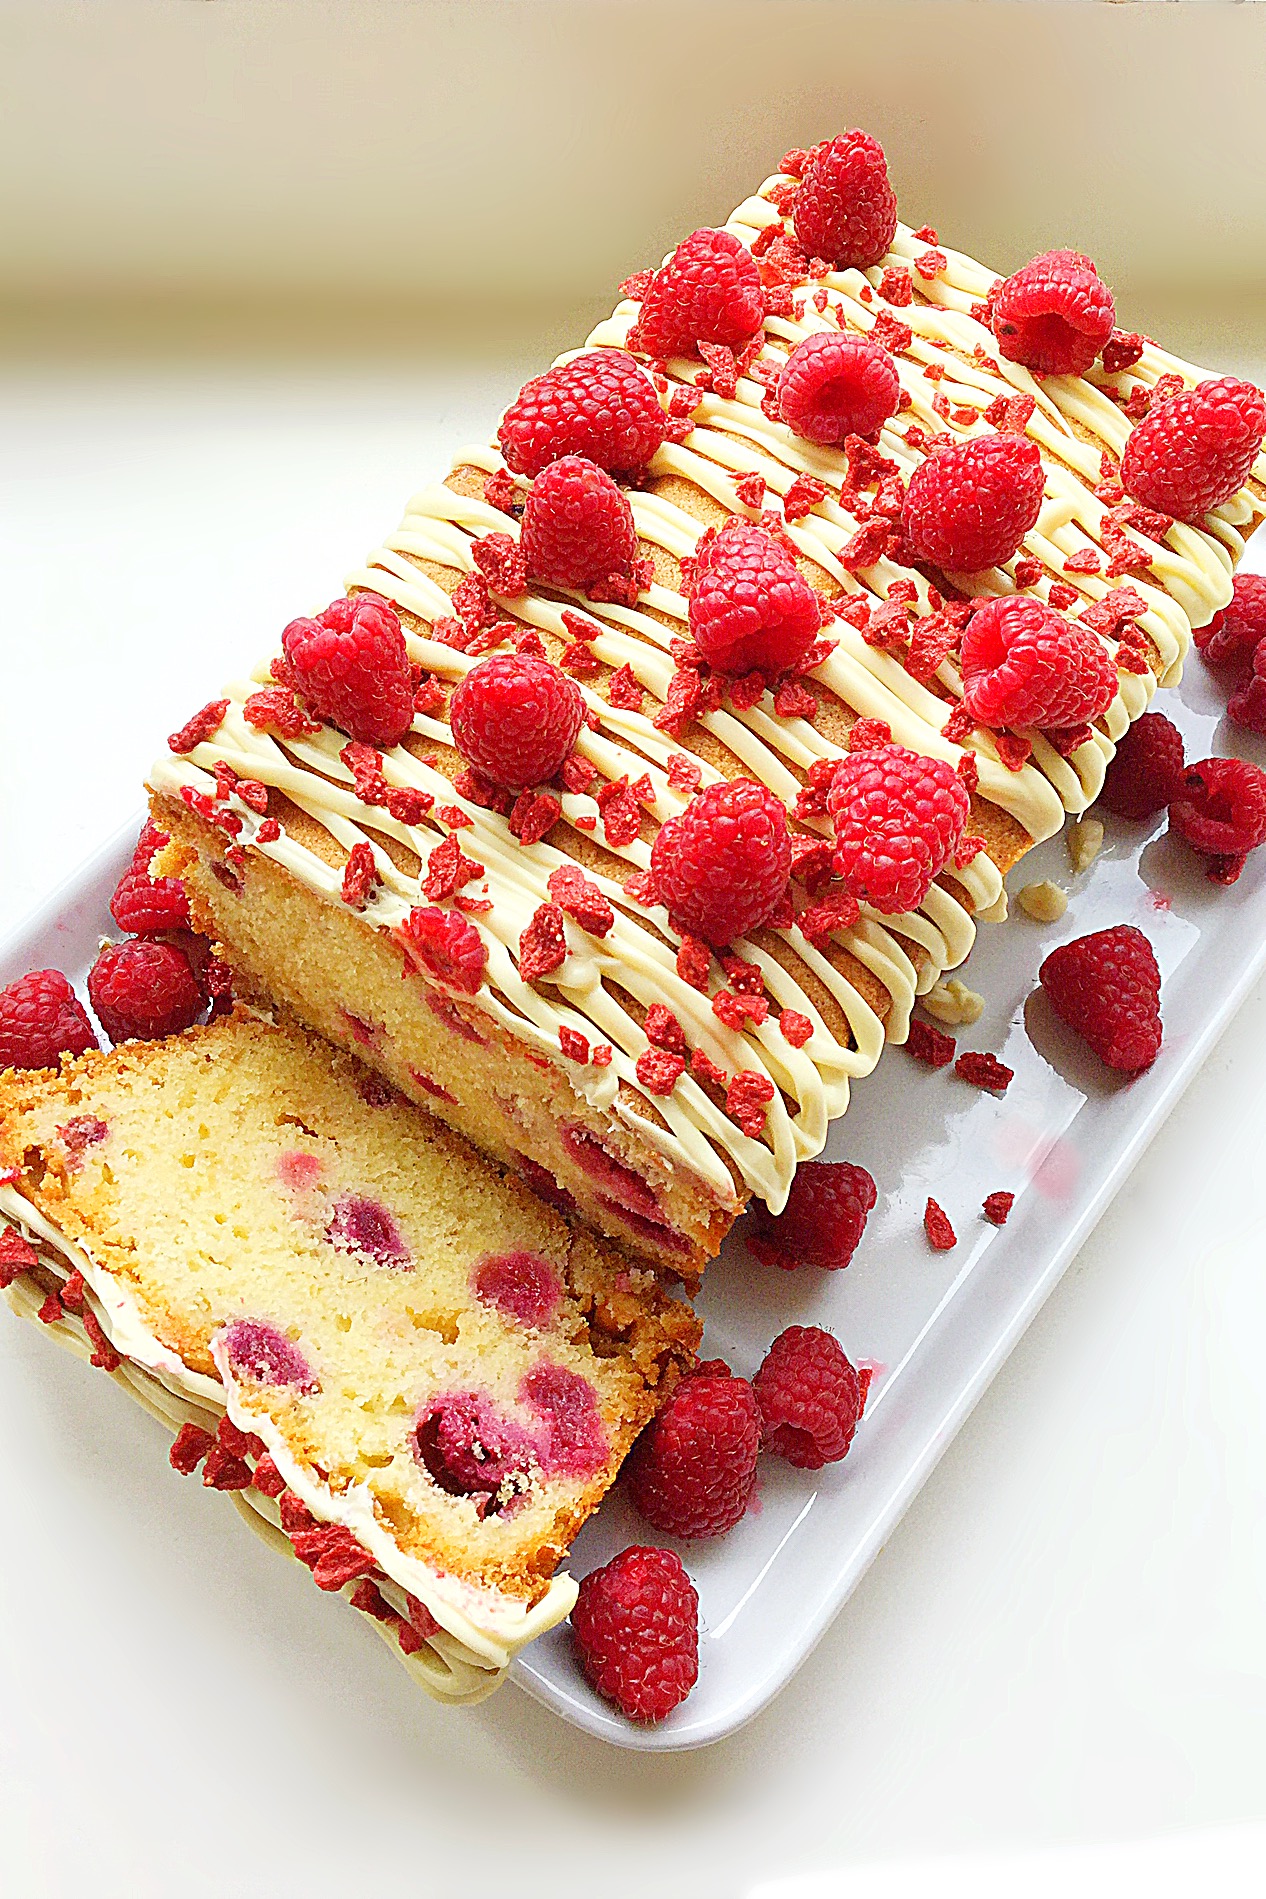
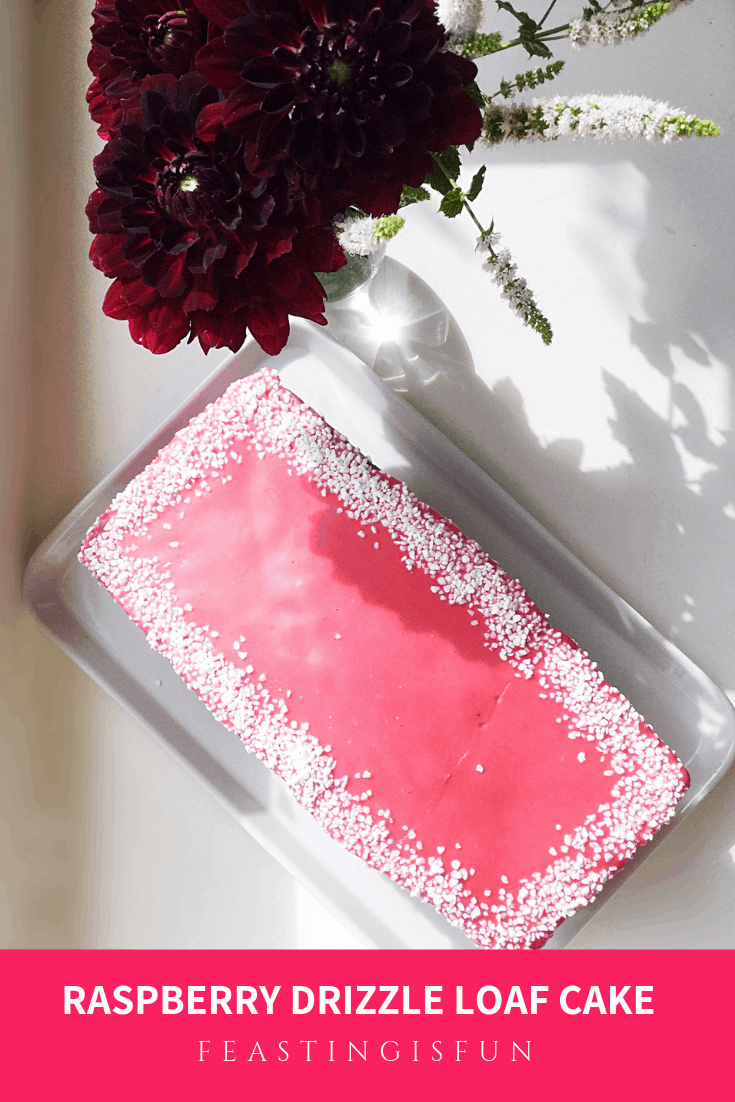
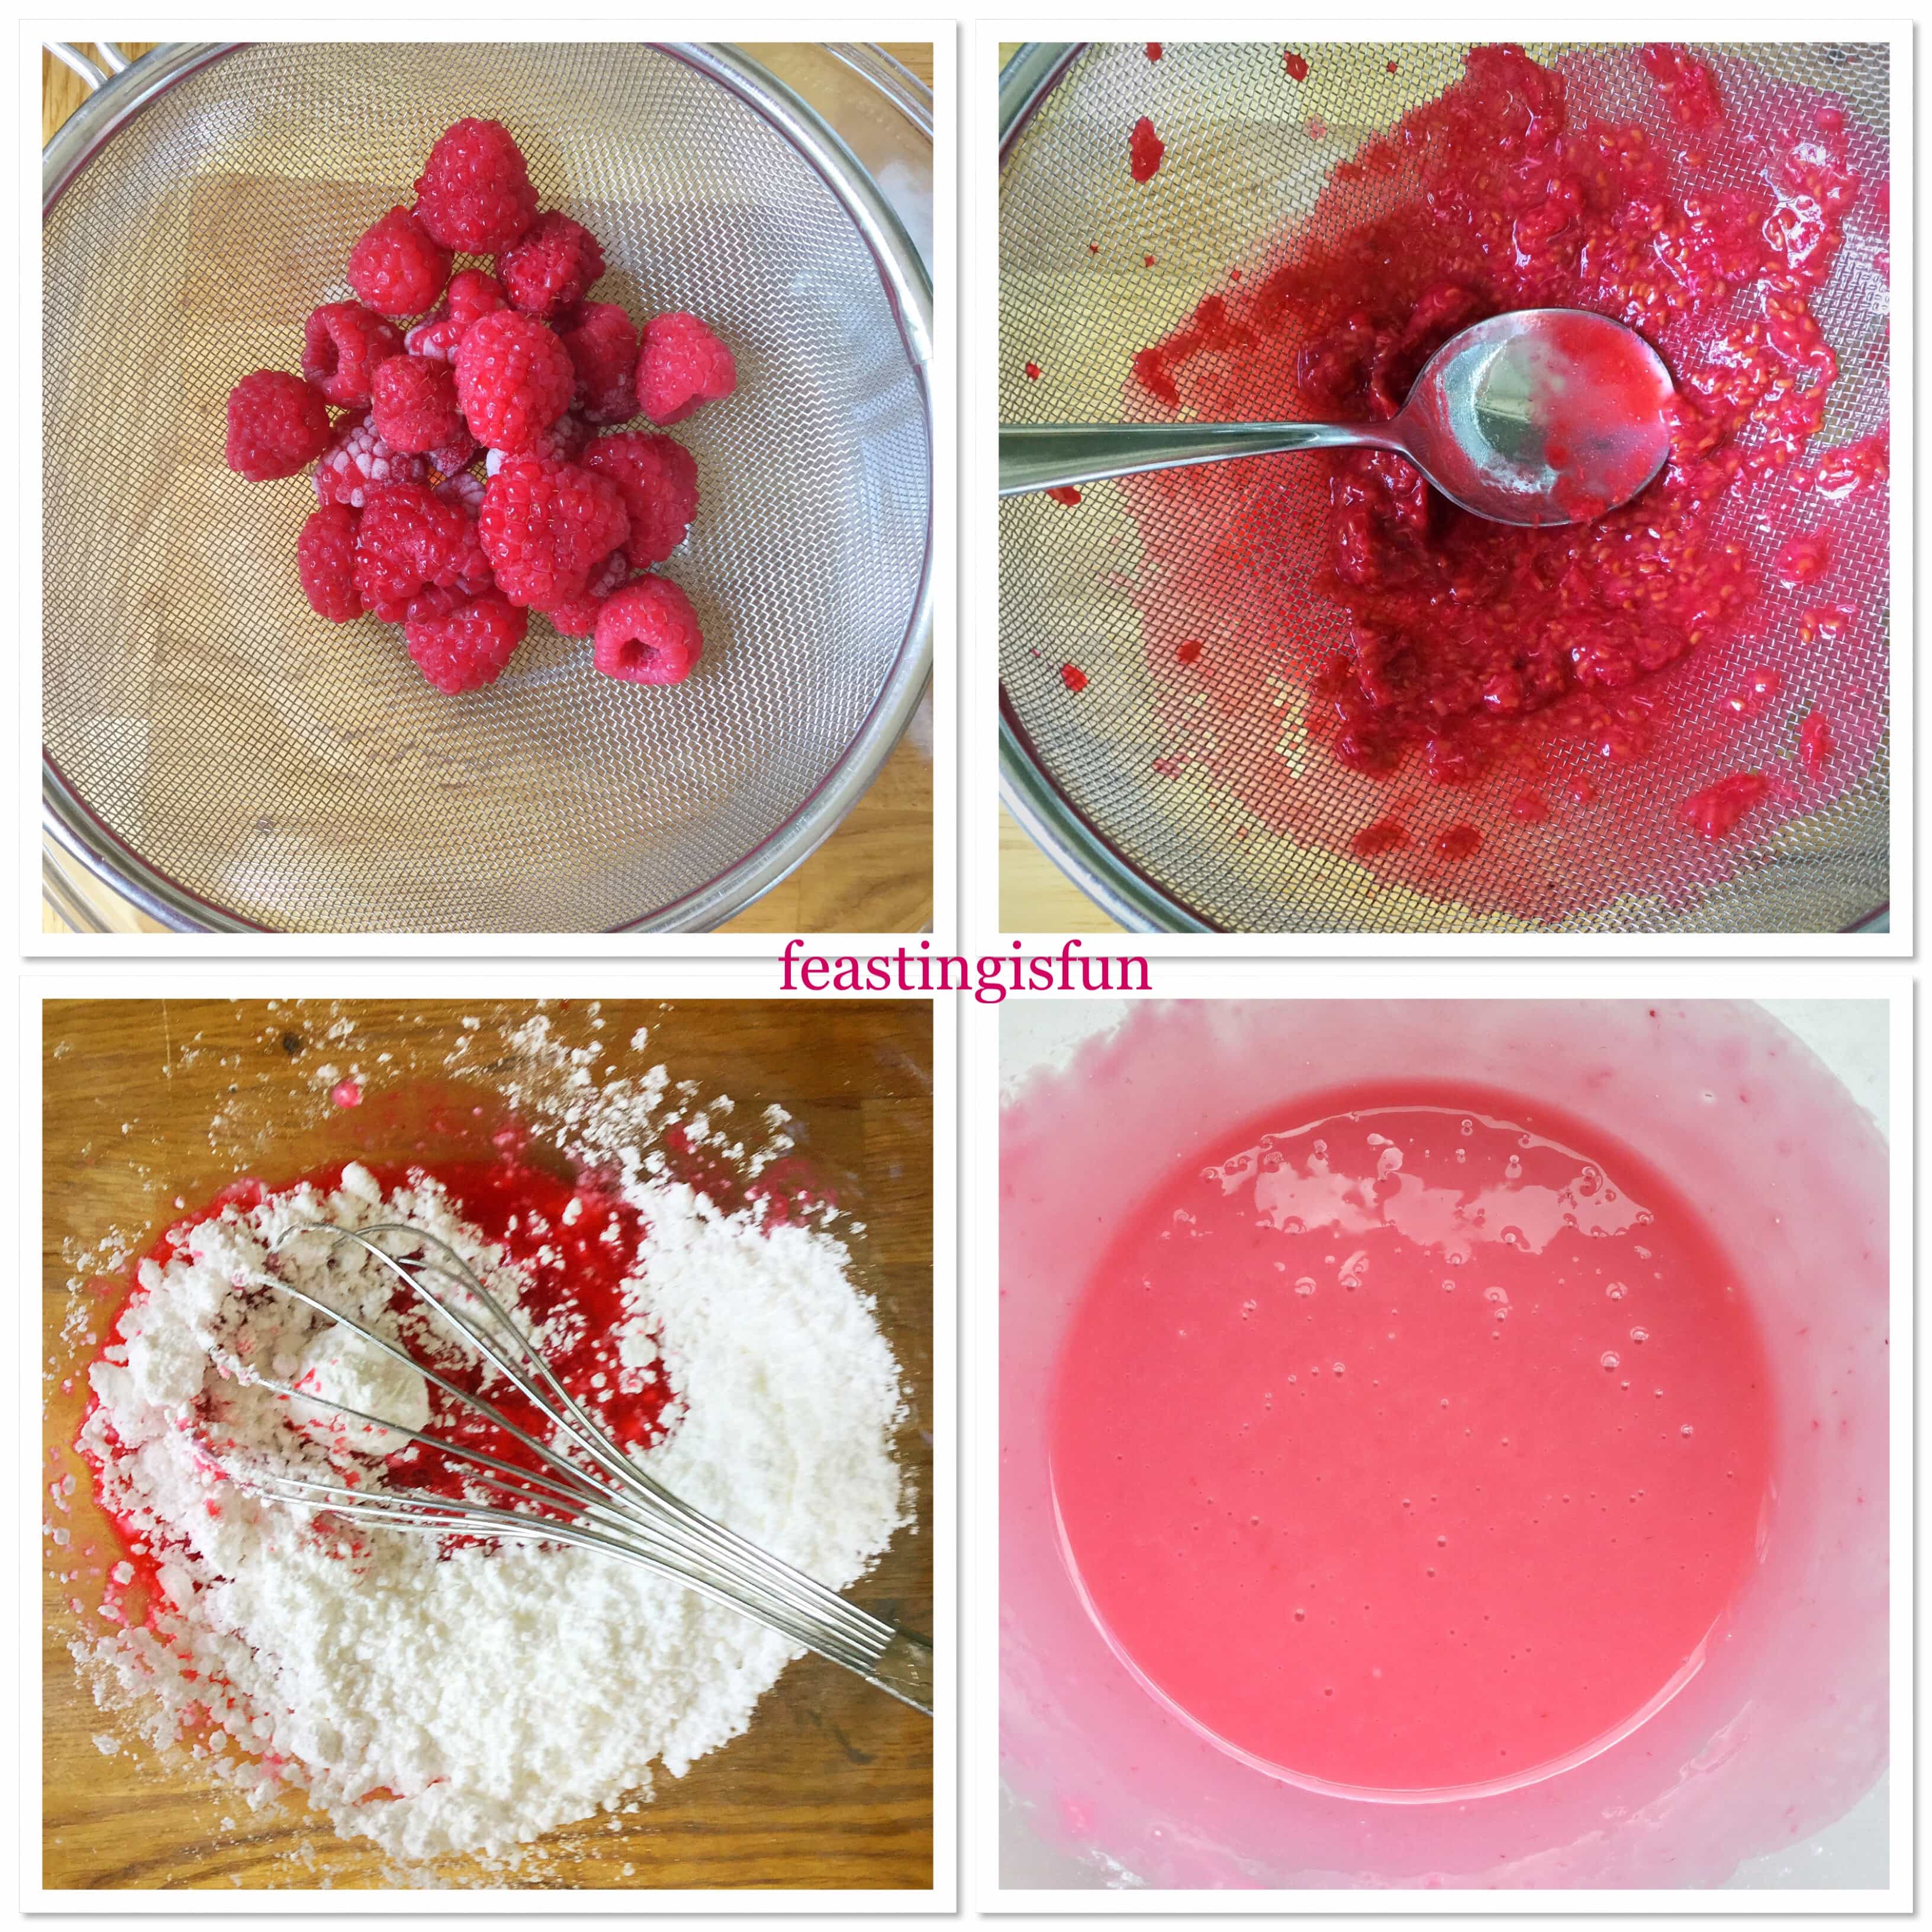
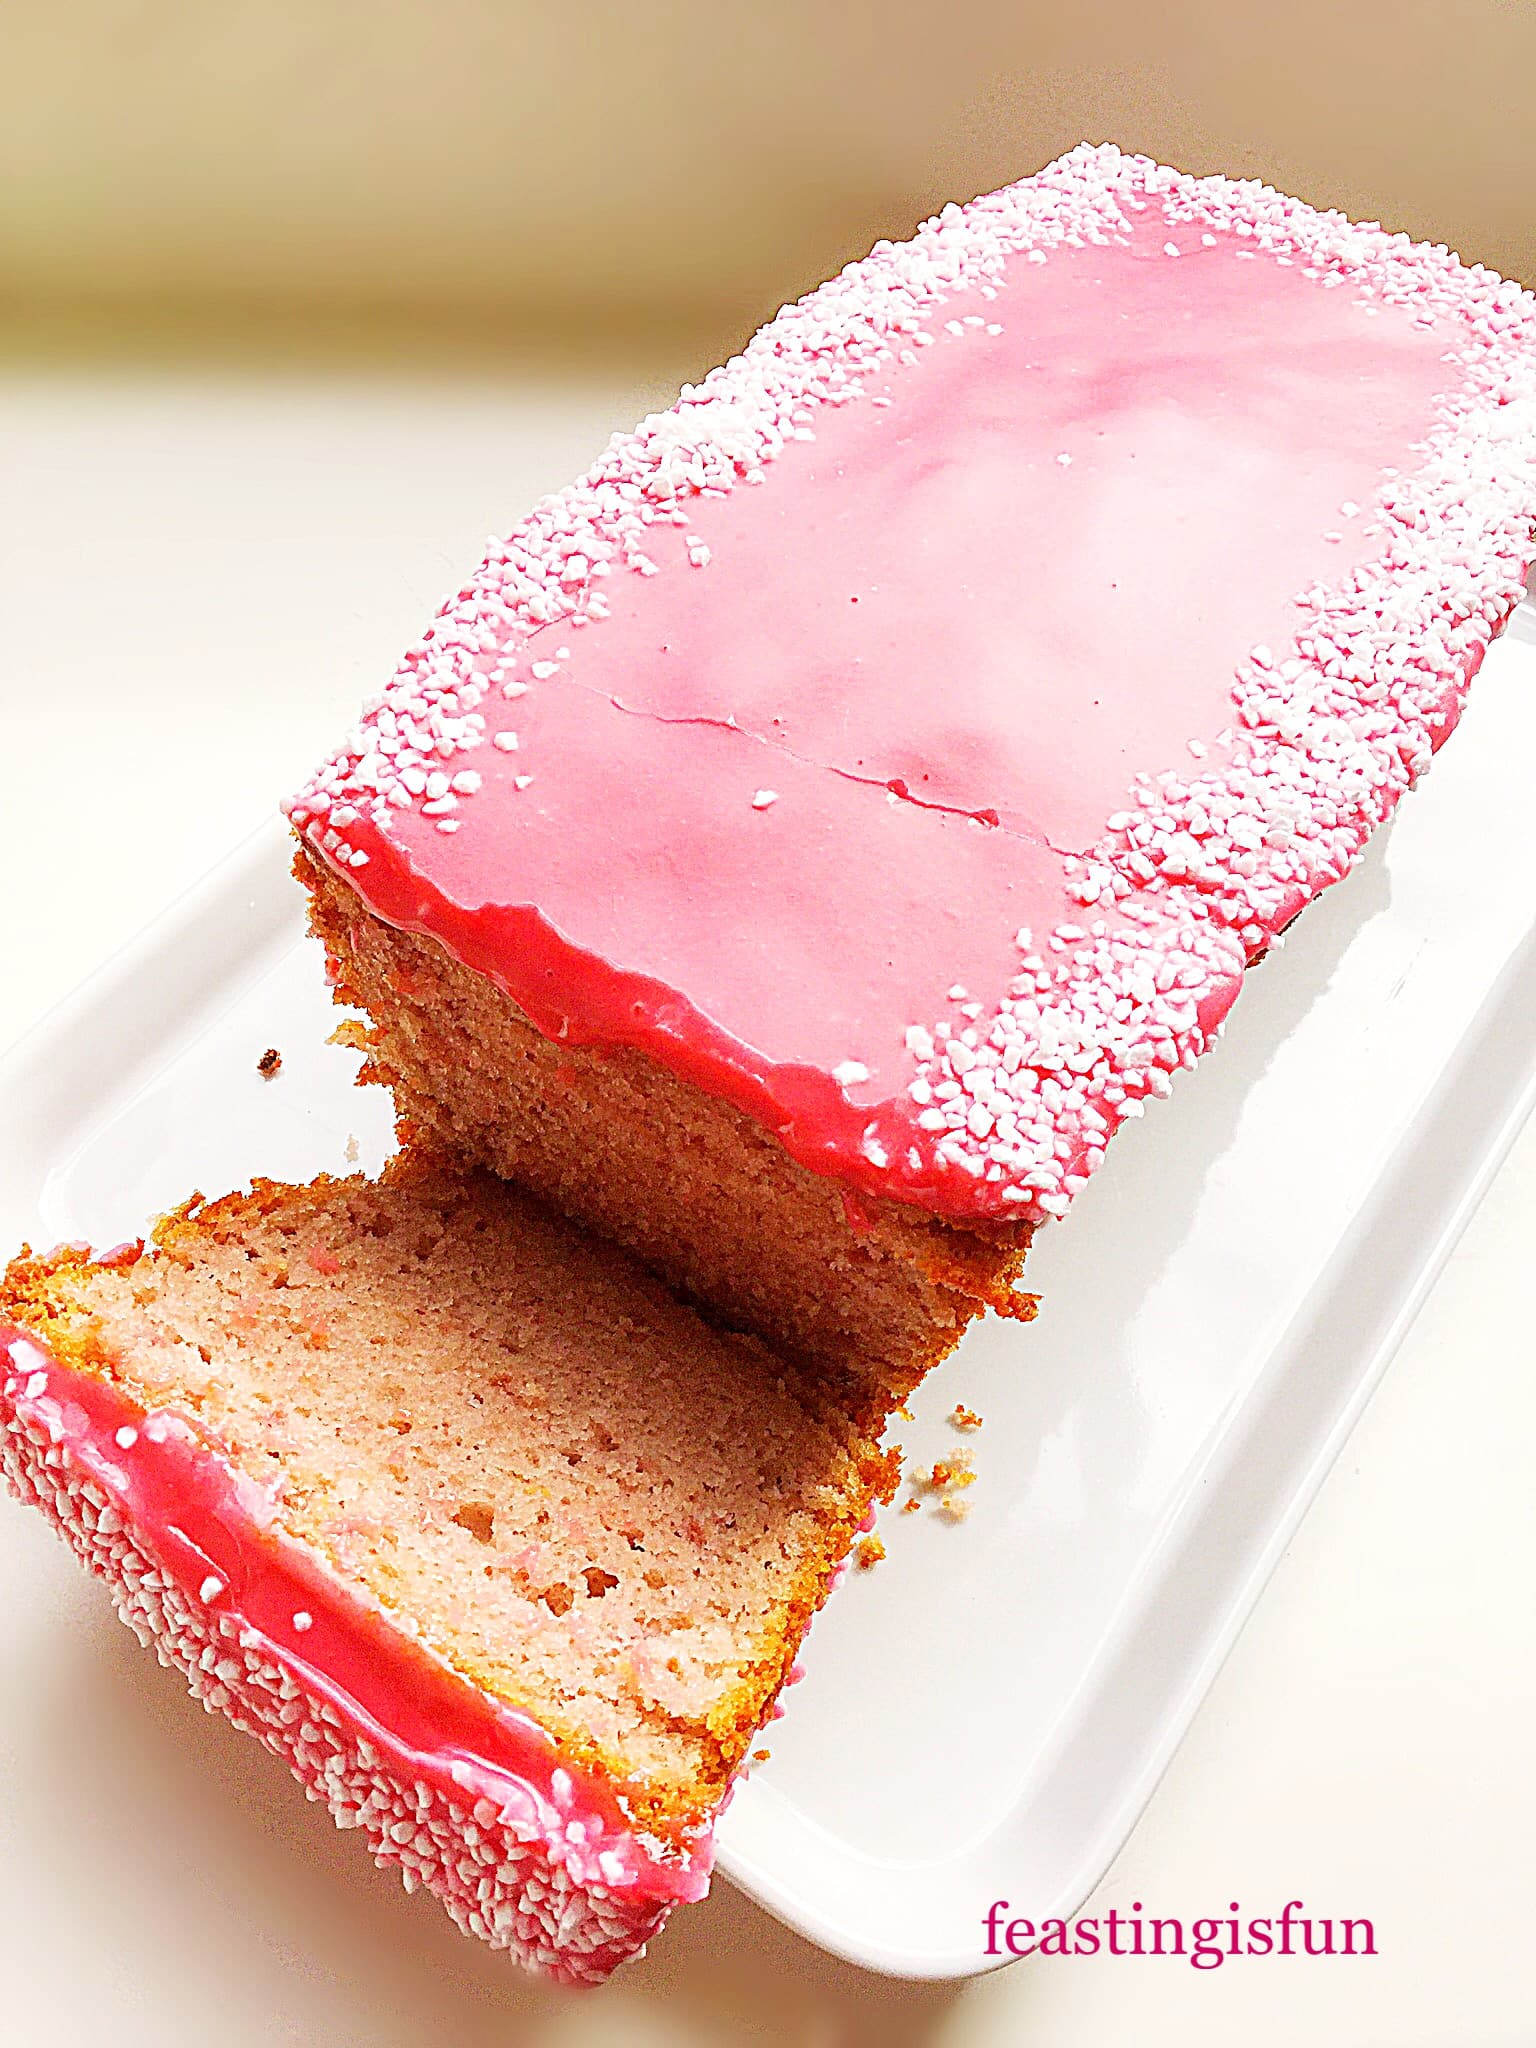
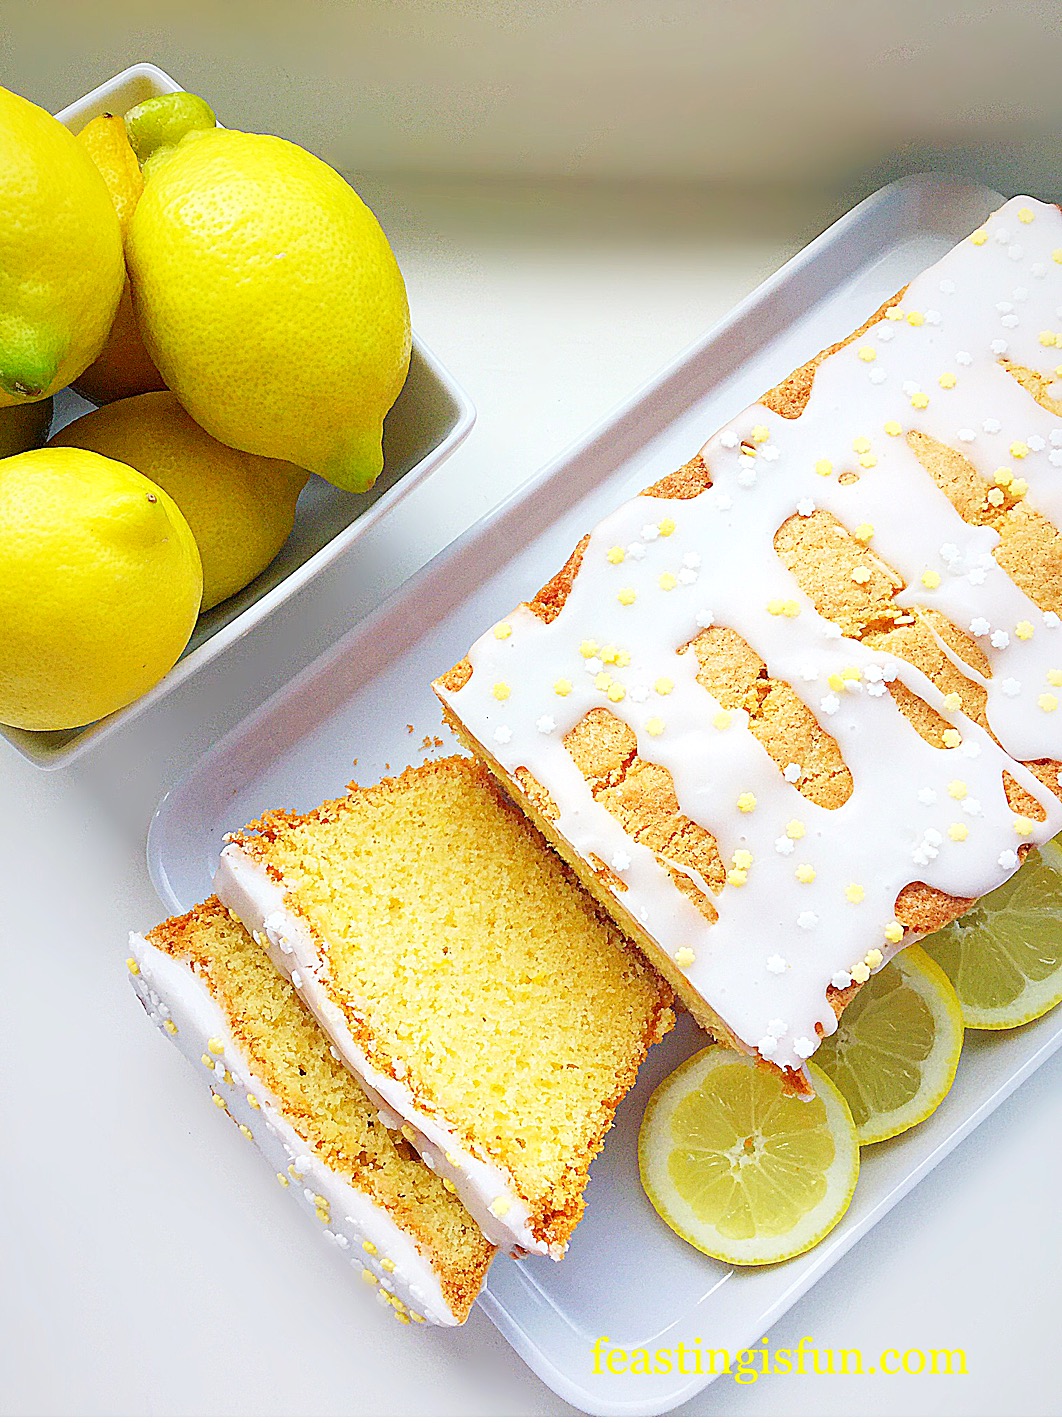
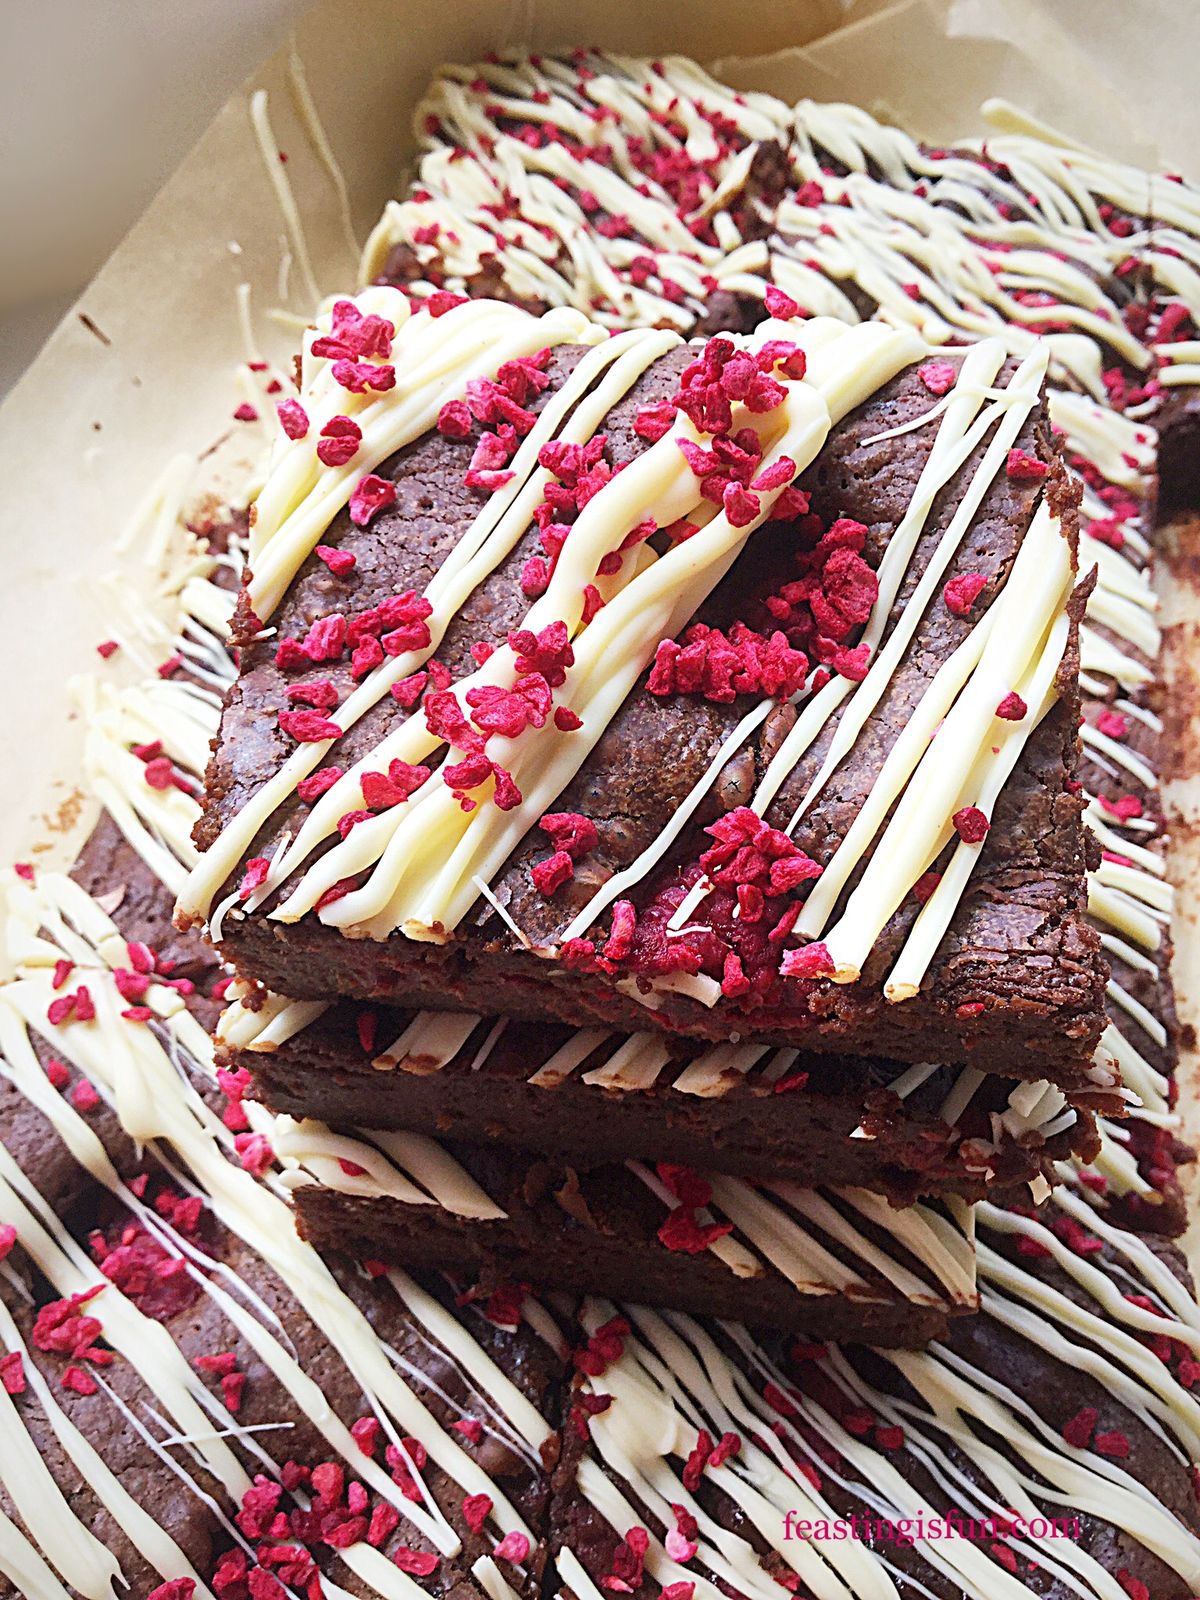
Raspberry White Chocolate Loaf Cake
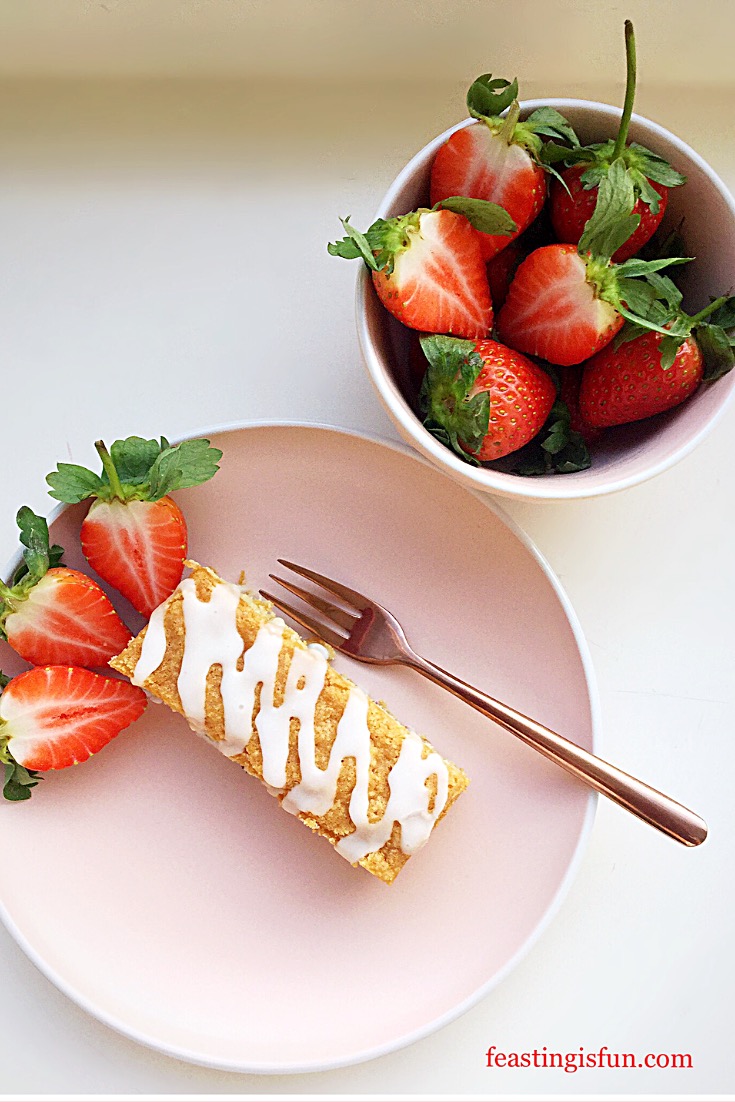
Because of their easy to slice and easy package shape I enjoy making loaf cakes to take to other peoples houses. Since that is not possible at present they’re also great cakes to take on picnics. Especially cakes that don’t have a sticky, wasp attracting icing, such as this Mixed Fruit Loaf Cake. Likewise, each slice can be cut into fingers, ideal for little hands to hold and munch on. Also, they are a delicious addition to packed lunches, for when normality returns!
Whatever you are making, baking and creating in your kitchens, have fun preparing and sharing your feast.
Sammie x
No part of this post may be reproduced or duplicated without the written permission of the owner. Please see my Disclosure Policy.