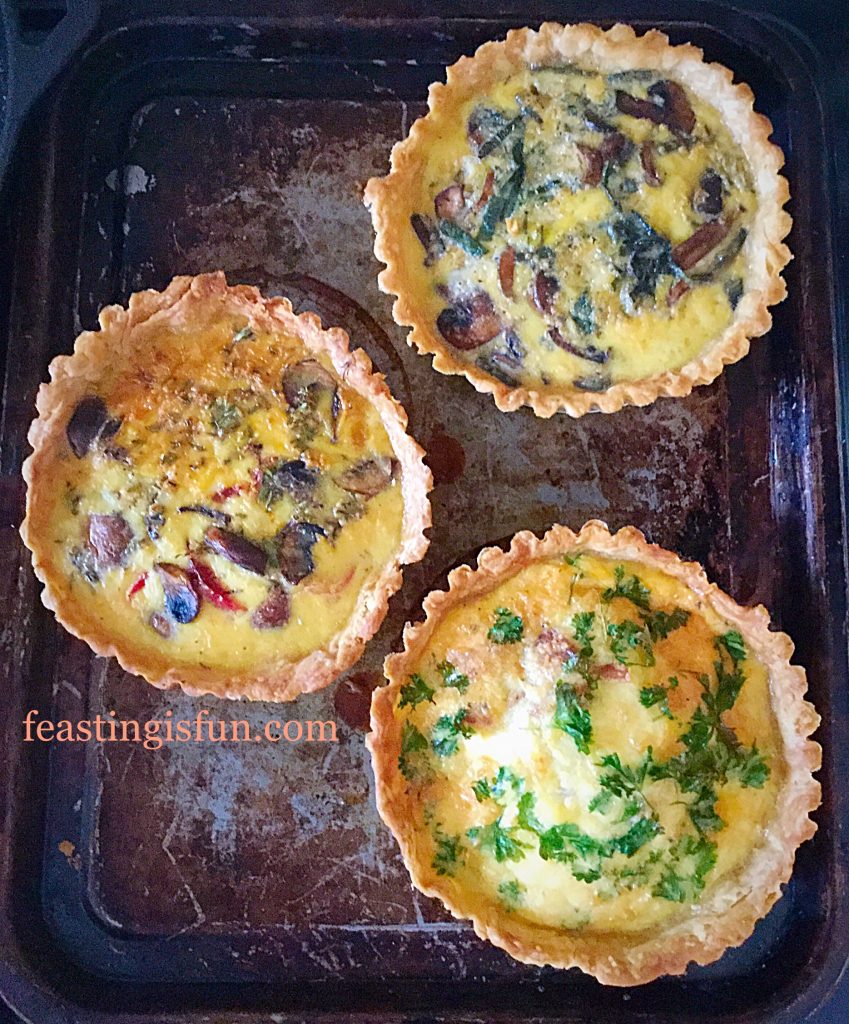
Is the prospect of making your own pastry daunting? Because, for many people it is. Therefore, today I am going to show you how to make foolproof, Perfect Butter Shortcrust Pastry, that works for both sweet such as this Lemon Lime Merigue Pie and savoury bakes like this Smoked Bacon Asparagus Quiche
Since being taught to make pastry from an early age, I wonder if the fear that surrounds making it is simply that the skill is not being passed down, through the generations like it used to be. Another reason could be that Home Economics and cooking are not taught as widely as they once were. Likewise, commercially made pastry is readily available in most grocery shops. Yet nothing compares to the crisp, buttery flavour of homemade pastry.
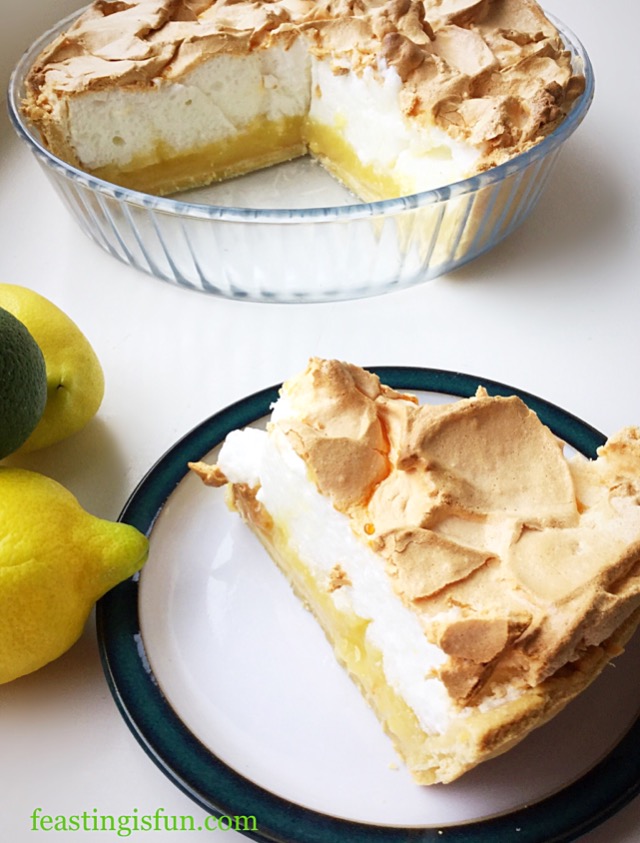
Watching cookery programmes, where they may portray the ‘art’ of pastry making as a complicated process can be off putting. So it is understandable that some people are terrified to make pastry and therefore never attempt it. Today, in this tutorial, you will learn how simple it is to make Perfect Butter Shortcrust Pastry, that turn’s out beautifully every single time.

Keeping Things Simple
First of all, to reassure you, no kitchen machinery is used. Not even a food processor. Because, if I’m being completely honest, setting the food processor up in my kitchen takes longer than actually making the pastry by hand. So I really can’t be bothered with the hassle. Rather, the only two pieces of equipment I use are a dinner knife and pastry cutter.
If you haven’t seen or heard of a pastry cutter, they look like this.
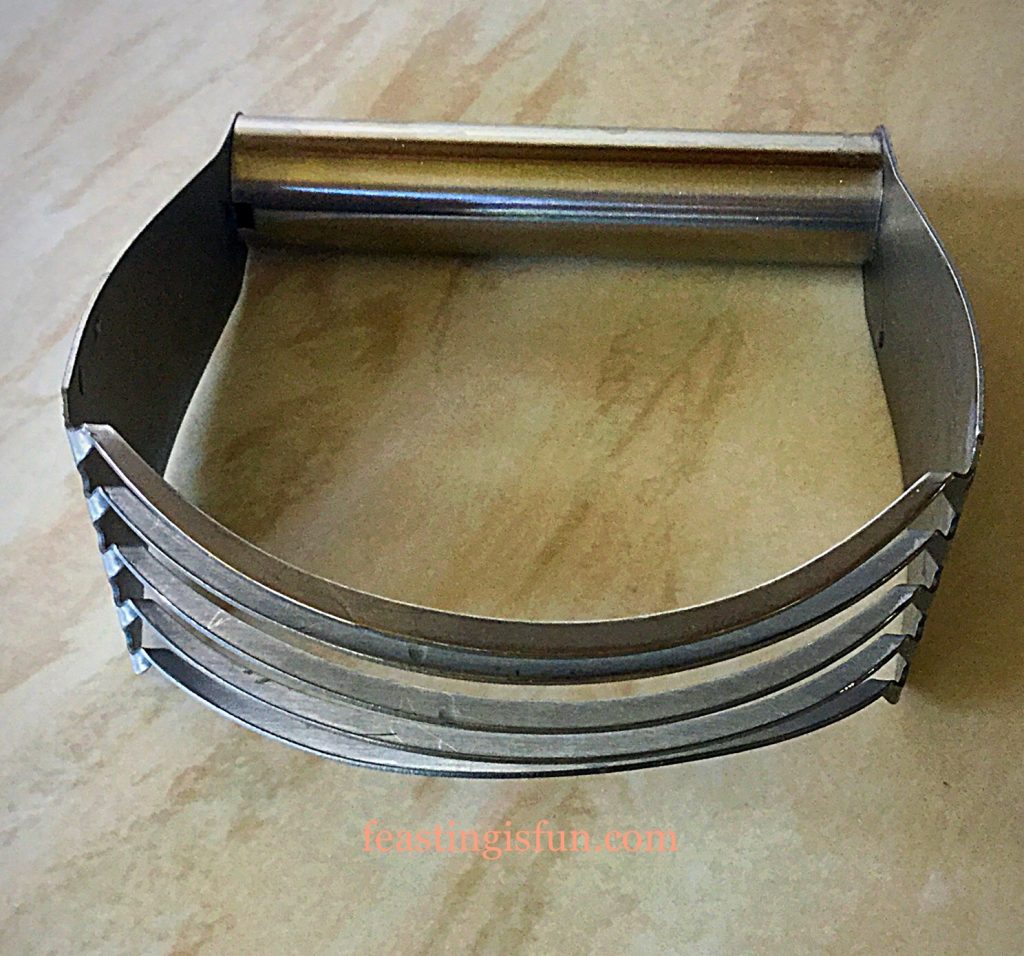
They can be purchased inexpensively from Amazon or kitchenware shops. And a quick glance on the internet has assured me that the cost is £5 or under.
Keeping It Chilled
Most importantly, the simple key to making good pastry, is to work quickly and yet not rush, while keeping everything as cold as possible. Please, please do not become neurotic about it, as I have seen with some people.
Since my personal experience is that whenever I am stressed, rushed or uptight about something, if I bake, it inevetiably goes wrong. Or at least isn’t my best baking. Therefore, making pastry while relaxed and using a reliable recipe should guarentee good results.
Choosing The Best Ingredients
So that’s mindset and equipment sorted, next are ingredients. I use unsalted butter in all of my baking as it tends to be better quality than salted and also allows me to control the amount of salt in the recipe. Organic, stoneground flour and organic or free range eggs will always produce the tastiest pastry. Finally, adding salt is more important than you may think as it enhances the pastry’s flavour. And in comparison, very little is added to commercially available, ready made pastry.
Also, the quantity of cold water added, is a guide, as different batches of flour, butter and the weather, can all affect how much water is needed to bring the dough together. Don’t panic I will walk you through every step.
Recipe: Make 900g/2lb Perfect Butter Shortcrust Pastry
Enough to make 2 x 25cm/10in tart cases.
400g/14oz Plain White Flour
200g/7oz Unsalted Butter – cold from the fridge and cut into cubes
1/4tsp Sea Salt Flakes – I use Maldon
2 Large Free Range Egg Yolks – I use Waitrose own brand
Approx 180-200ml Cold Tap Water
Making The Perfect Butter Shortcrust Pastry Dough
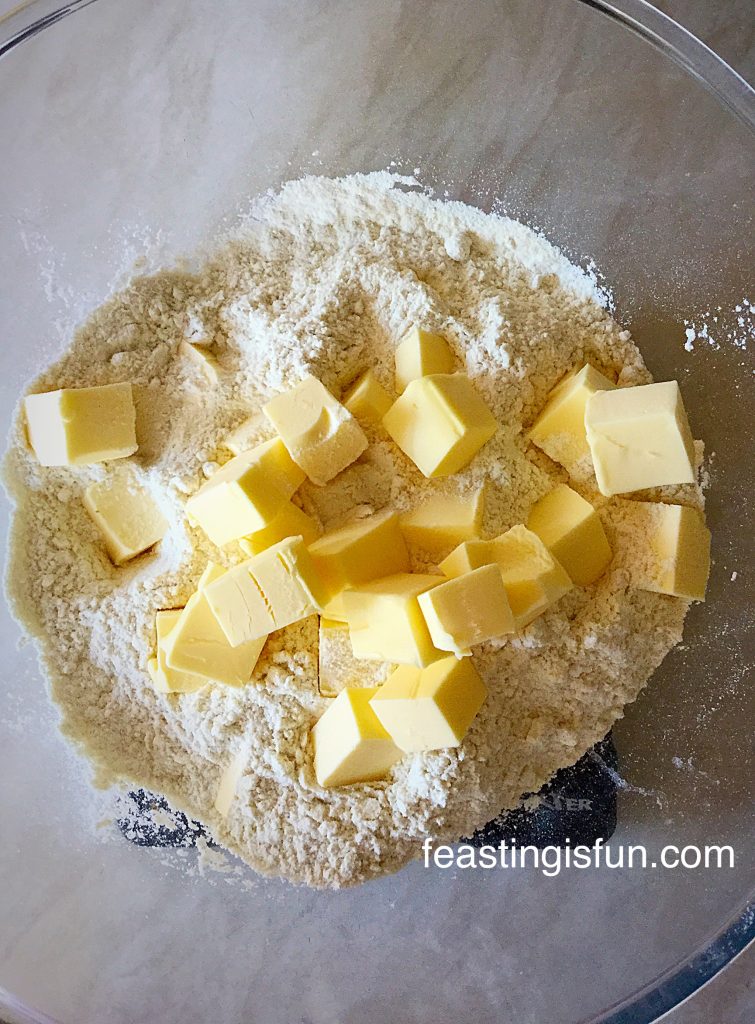
- First of all, into a large bowl add the flour, salt and cold cubed butter.
- Using the pastry cutter, push and twist it into the flour, rotating the bowl occasionally. Scrape any butter that has become stuck on the pastry cutter off using a regular dinner knife.
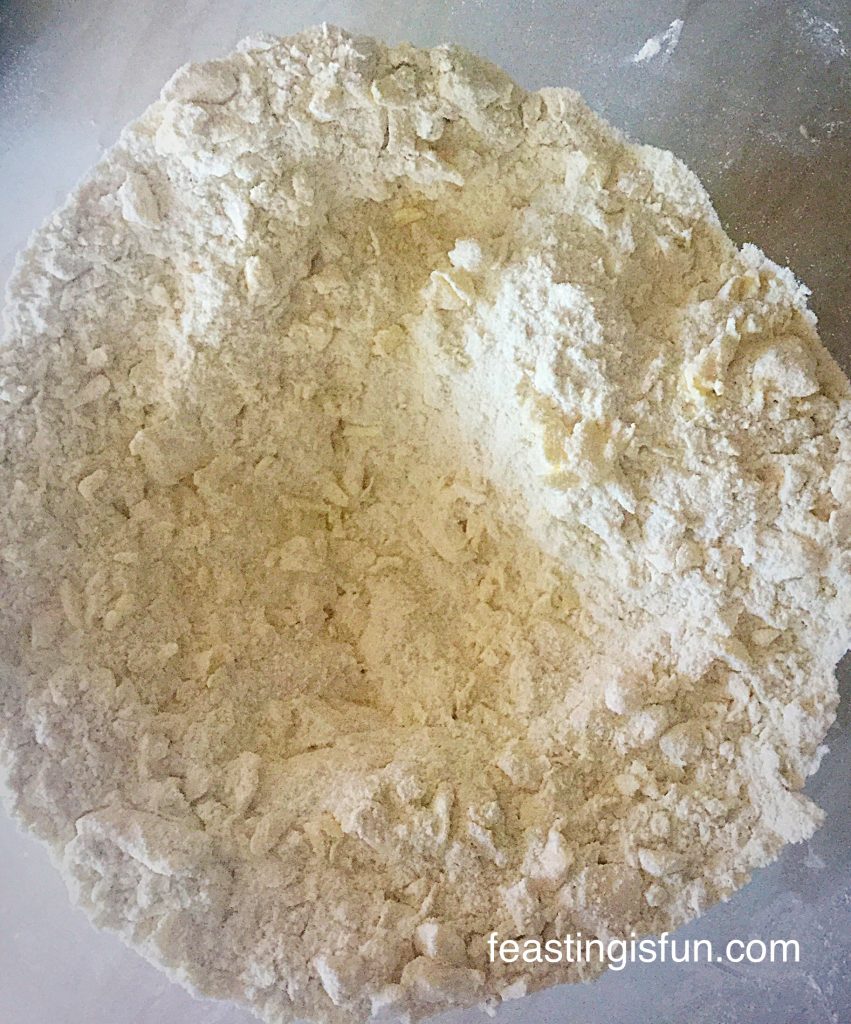
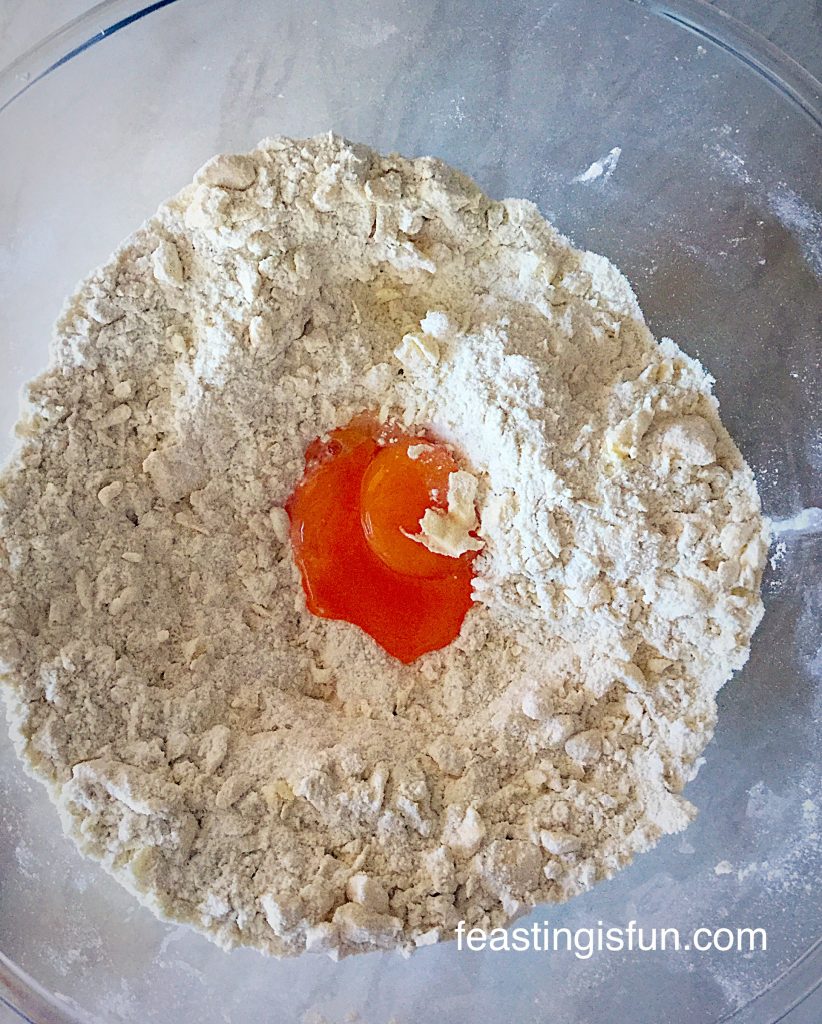
- Keep cutting the butter into the flour until it is about the size of peas.
- Note: the flour does not look like breadcrumbs. Traditionally this is how pastry making is taught, to rub, or cut into the flour until it resembles breadcrumbs. If you do this your pastry will be okat. Yet, if you leave pea sized pieces of butter in the flour you will end up with crisp, Perfect Butter Shortcrust Pastry.
- Next add the 2 egg yolks into the centre of the mix.
- Add 150ml of cold tap water and stir the mixture using a dinner knife.
- Continue adding water, in small amounts, 10mls, at a time, stirring with the knife until the pastry starts to come together.
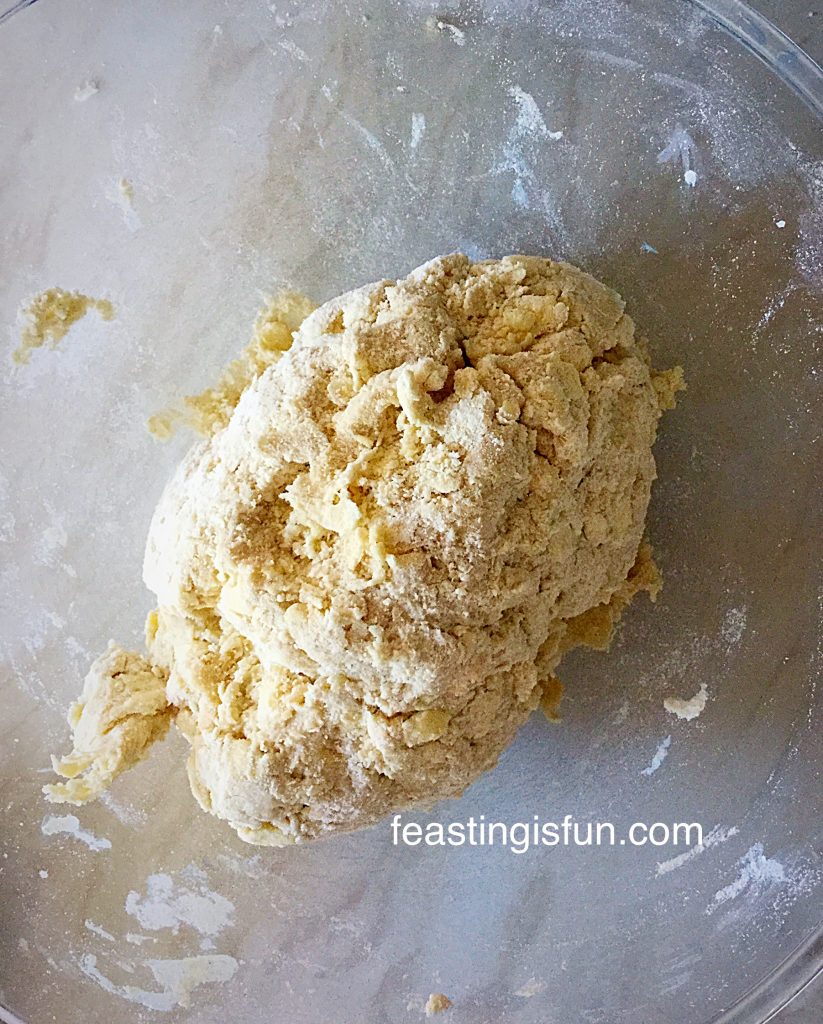
- Now switch to using your hands. Create a claw-like figure with your fingers. Gently bring the dough together, adding a little more water as necessary, until it just holds together in a rough ball shape.
- Wipe the worktop surface with a clean, damp cloth, then lay over a large piece of cling film – the wet surface helps the cling film to stick and not move about.
- Tip out the ball of pastry onto the cling film.
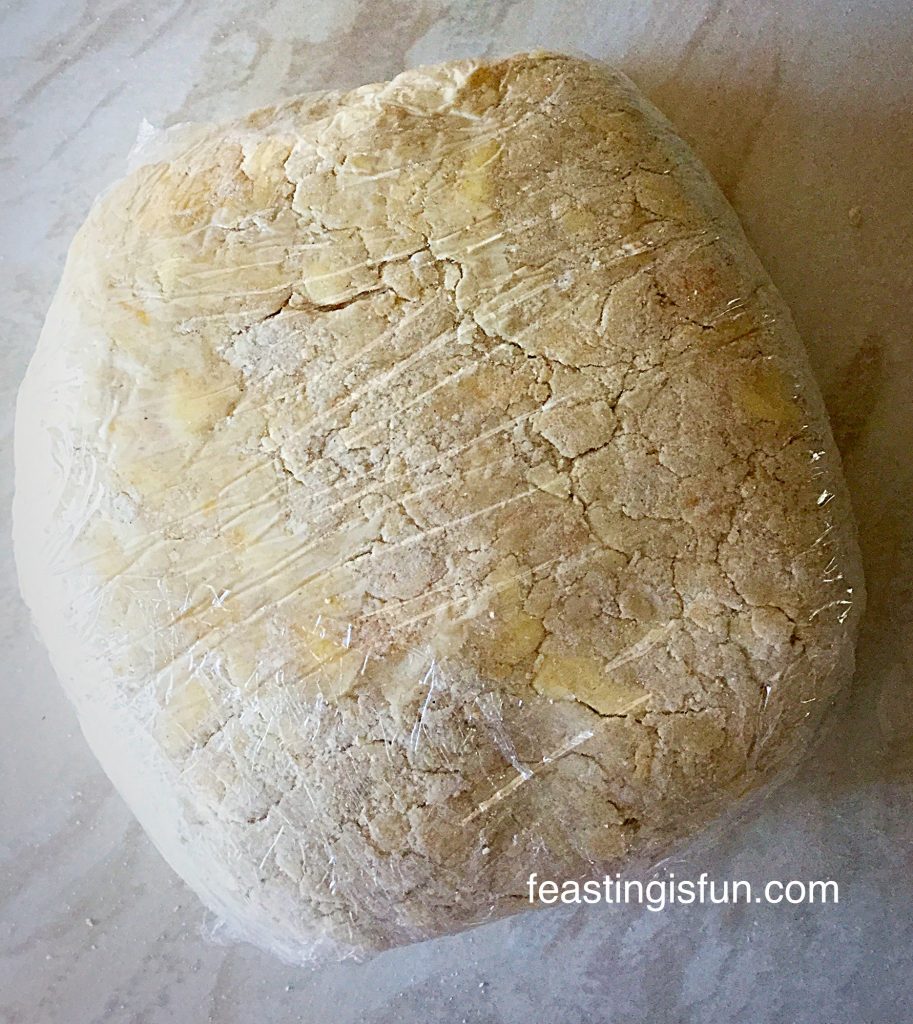
- Wrap and shape into a large disc.
Resting The Pastry
- Place the wrapped pastry into the fridge and chill for at least one hour.
- And now put the kettle on and congratulate yourself on making Perfect Butter Shortcrust Pastry.
This recipe makes enough pastry to bake a 2 x 25cm/10in quiches.
- While the Perfect Butter Shortcrust Pastry is resting in the fridge, it is an ideal time to prepare the filling.
Rolling Out The Shortcrust Pastry
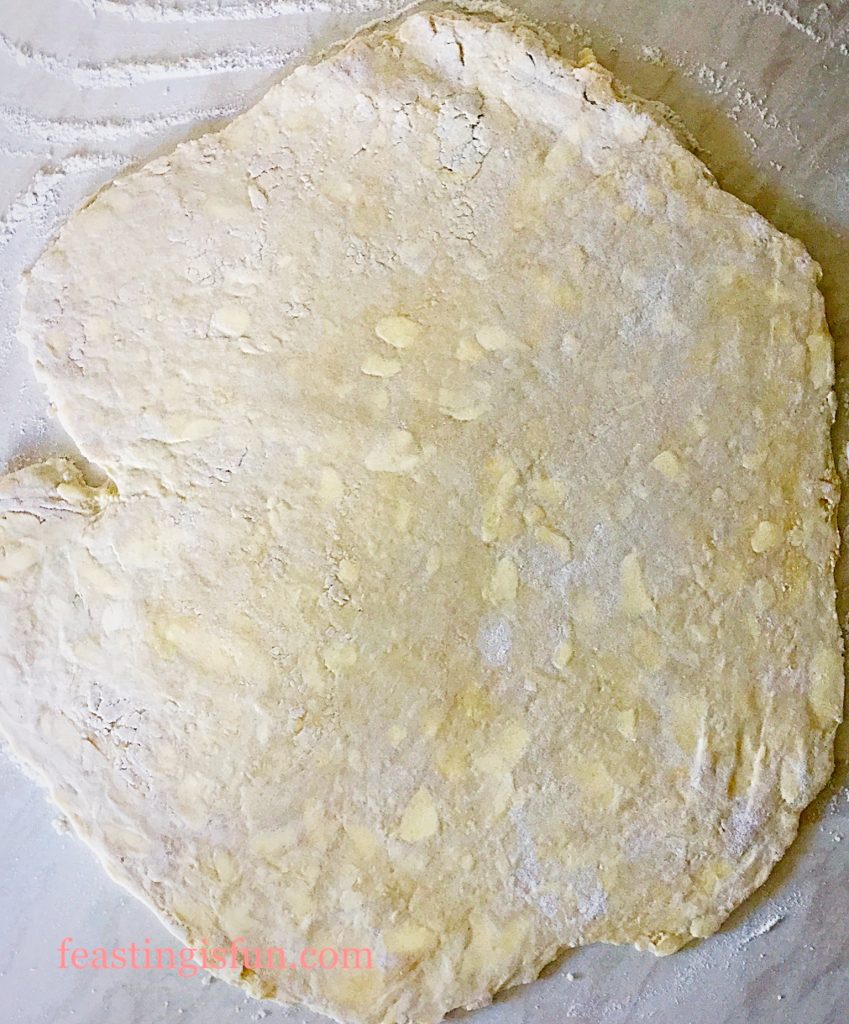
- Remove the pastry from the fridge. Place on a lightly floured surface and knead lightly.
- Weigh the pastry where a recipe calls for a specific amount. Alternatively cut in half when making a quiche.
- Shape one piece of the pastry into a ball.
- Roll out gently from the centre of the pastry to the edge. Ensure the pastry keeps moving by dusting underneath lightly with flower.
- Ideally the pastry should be about the thickness of a £1 coin – approx 1/4 inch.
Lining A Tin With Pastry
- Loop the pastry around the rolling pin, this makes moving it easier and stops it stretching.
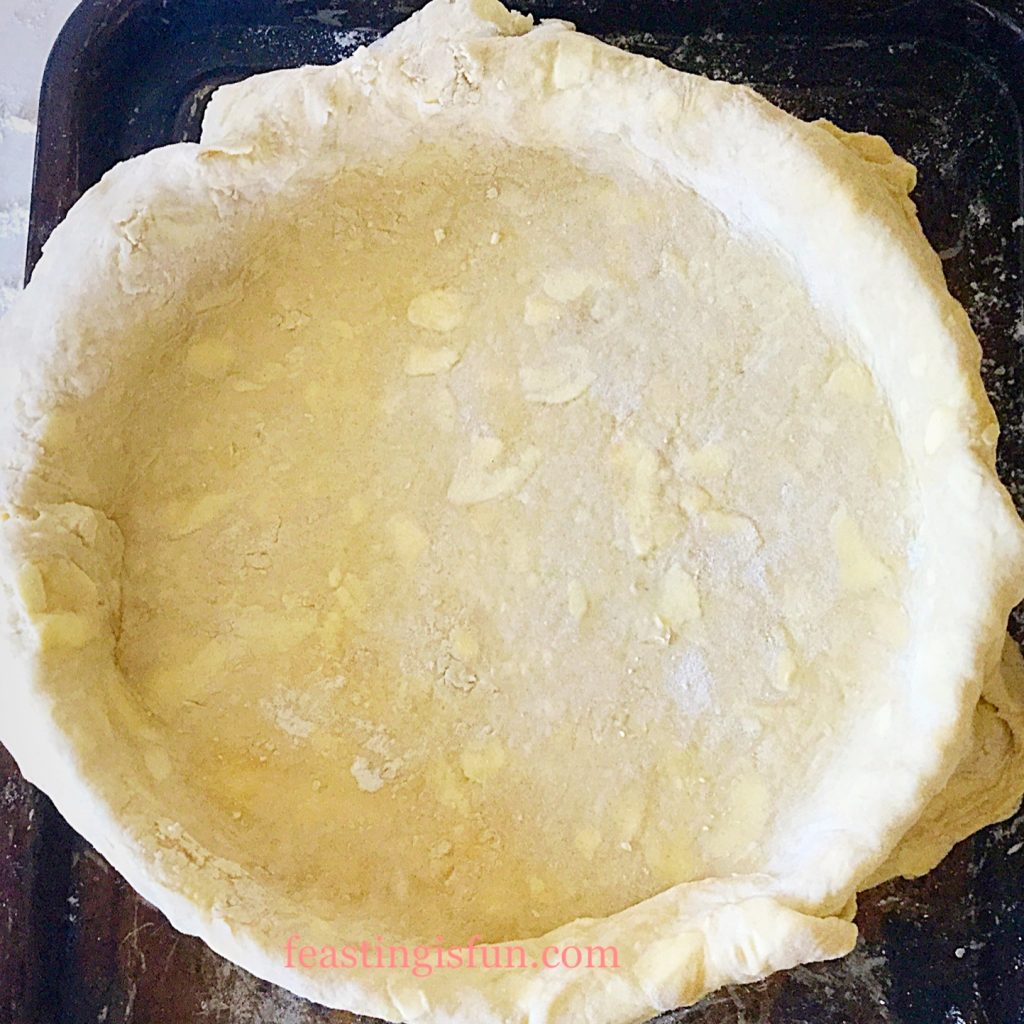
- Gently allow the pastry to loosely fill your tin and then remove the rolling pin.
- Ease the pastry into the tin, if it is fluted be sure to press the pastry into each of the flutes. Most importantly avoid stretching the pastry, as this will result in the pastry shrinking during baking.
- Roll your rolling pin over the top of the tin and it will cut the edge of the pastry perfectly.
- Dock (press with a fork) the pastry base, as this helps steam escape and creates a flat base.
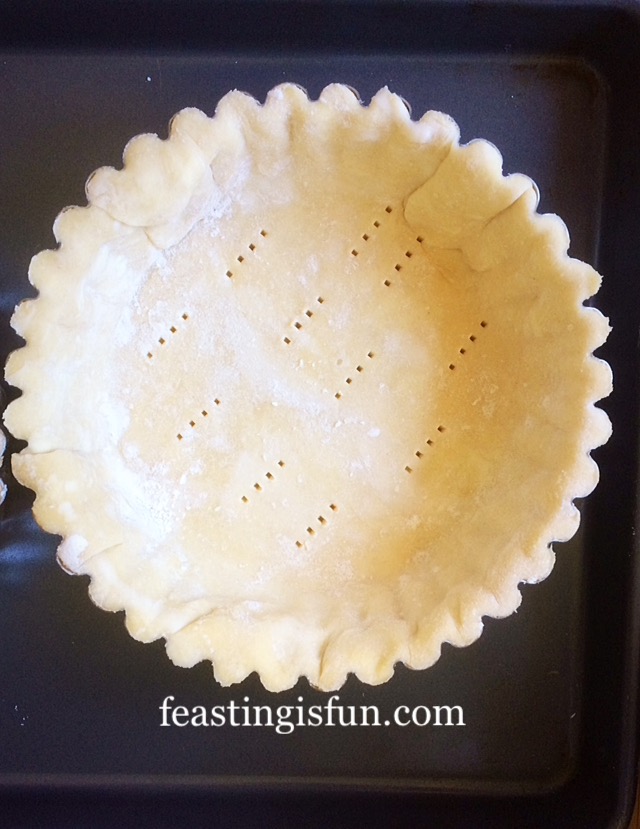
- Place the tart tin back in the fridge for 30 minutes, this really helps the pastry keep it’s shape when being baked.
- Cut some baking parchment larger than the width of your tin.
- Scrunch up and then lay on top of the pastry in the tin. Fill the baking parchment with ceramic baking balls.
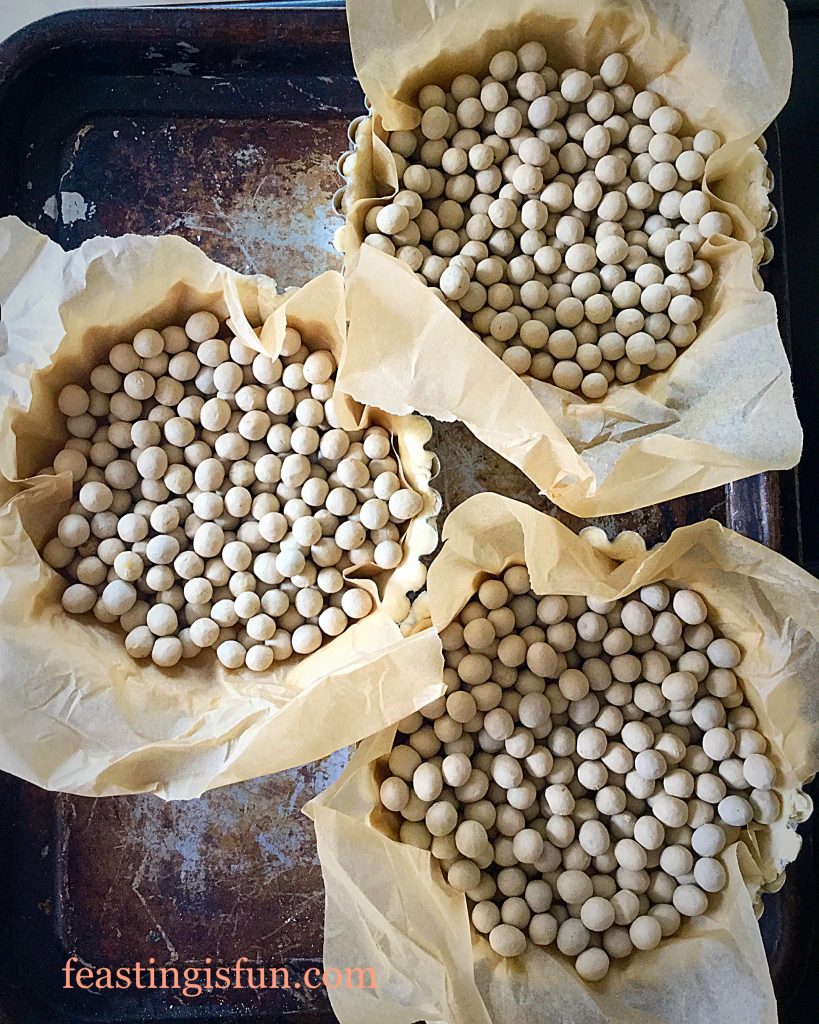
Blind Baking The Pastry
- Place the pastry lined tins onto a baking tray and put in a preheated oven at 200C/180C fan, gas mark 6. Bake for 15 minutes.
- As soon as the baking time has finished remove the tin from the oven.
- Using the baking parchment, lift the baking balls free from the pastry lined tin.
- Place the baking balls in a heatproof bowl to cool.
- Put the tart tins back in the oven and bake for another 5 minutes if using for a filled tart or quiche. If baking the tart shell until cooked, depending on size, bake for a further 15 minutes or until the pastry is golden brown and cooked through.
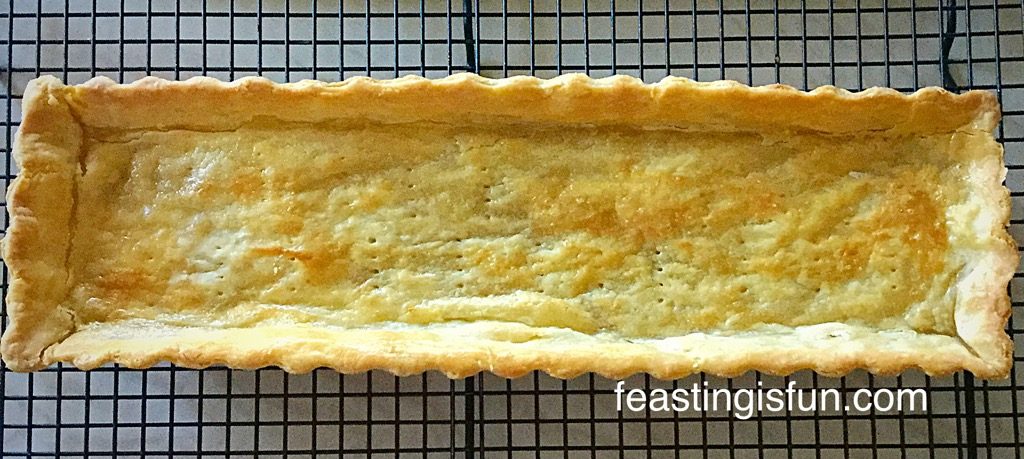
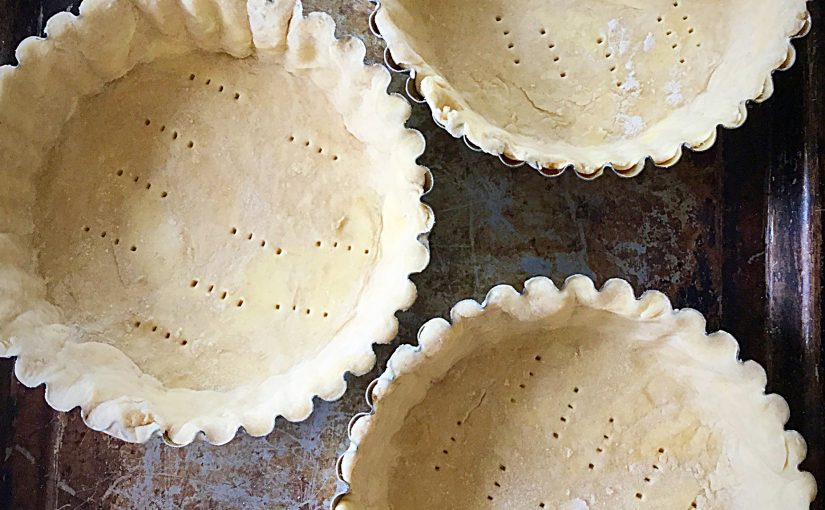
Look at the gorgeous Perfect Butter Shortcrust Pastry crust. Deliciously light, crisp and buttery.
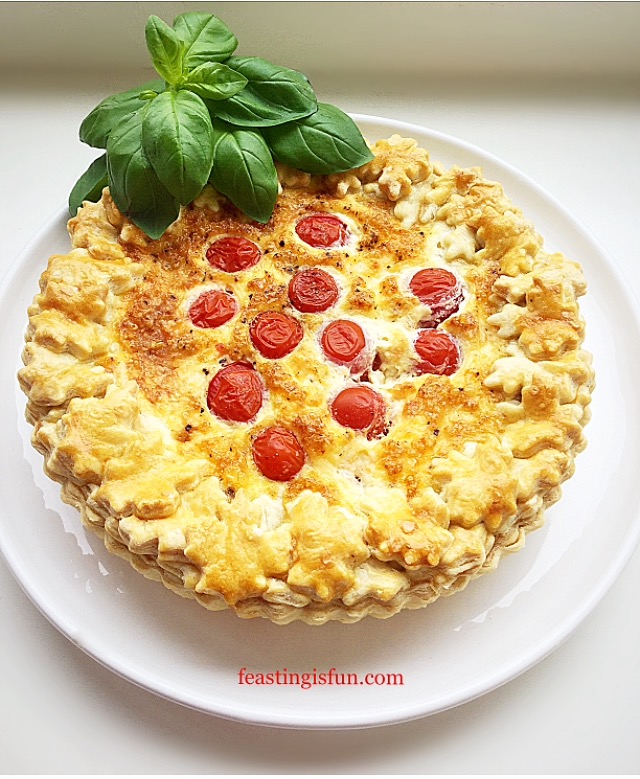
As you can see from the photos this recipe really does produce Perfect Butter Shortcrust Pastry. Also, the pastry has such a delicious flavour of it’s own, becoming part of the dish, not just a carrier of other flavours.
Unused Perfect Butter Shortcrust Pastry can be kept wrapped in cling film, in the fridge for up to 2 days, or it can be frozen, wrapped in cling film and popped into a freezer bag for up to 3 months.
Top Tip: Freeze any leftover pastry and after a while you’ll have enough for a recipe!
If you have enjoyed this Perfect Butter Shortcrust Pastry here are some other recipes you may like to try:
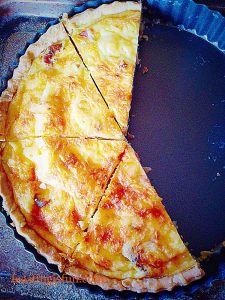
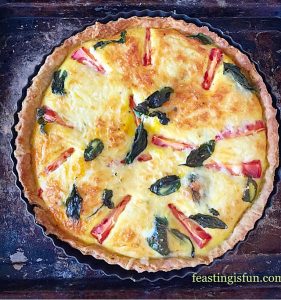
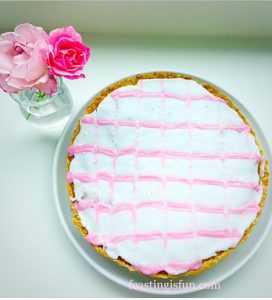
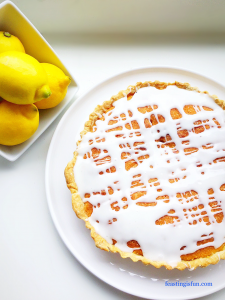
As with anything new, practising will improve your technique and consequently the pastry that you make. Since homemade pastry requires only a few ingredients, it is handy to know how to make your own. Whether it is for sweet or savoury bakes, this pastry recipe works beautifully. Also, it is much cheaper to make your own from scratch compared to buying ready made. And you know exactly what has gone into making it.
So whatever you are making, baking and creating in your kitchens, have fun preparing and sharing your feast.
Sammie xx
No part of this post may be reproduced or duplicated without the written permission of the owner. Please see my Disclosure Policy.
