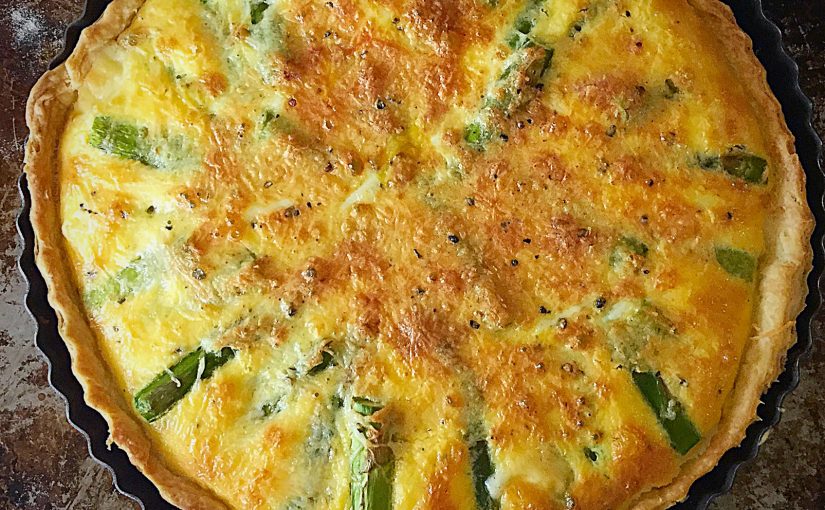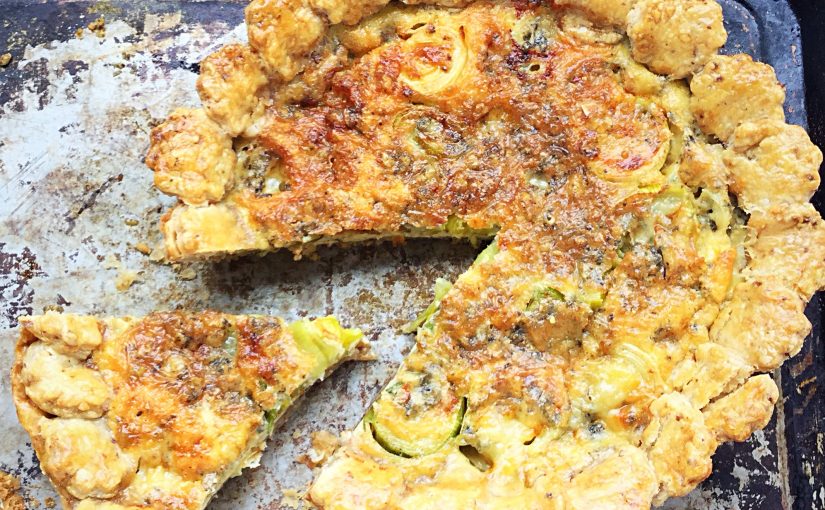
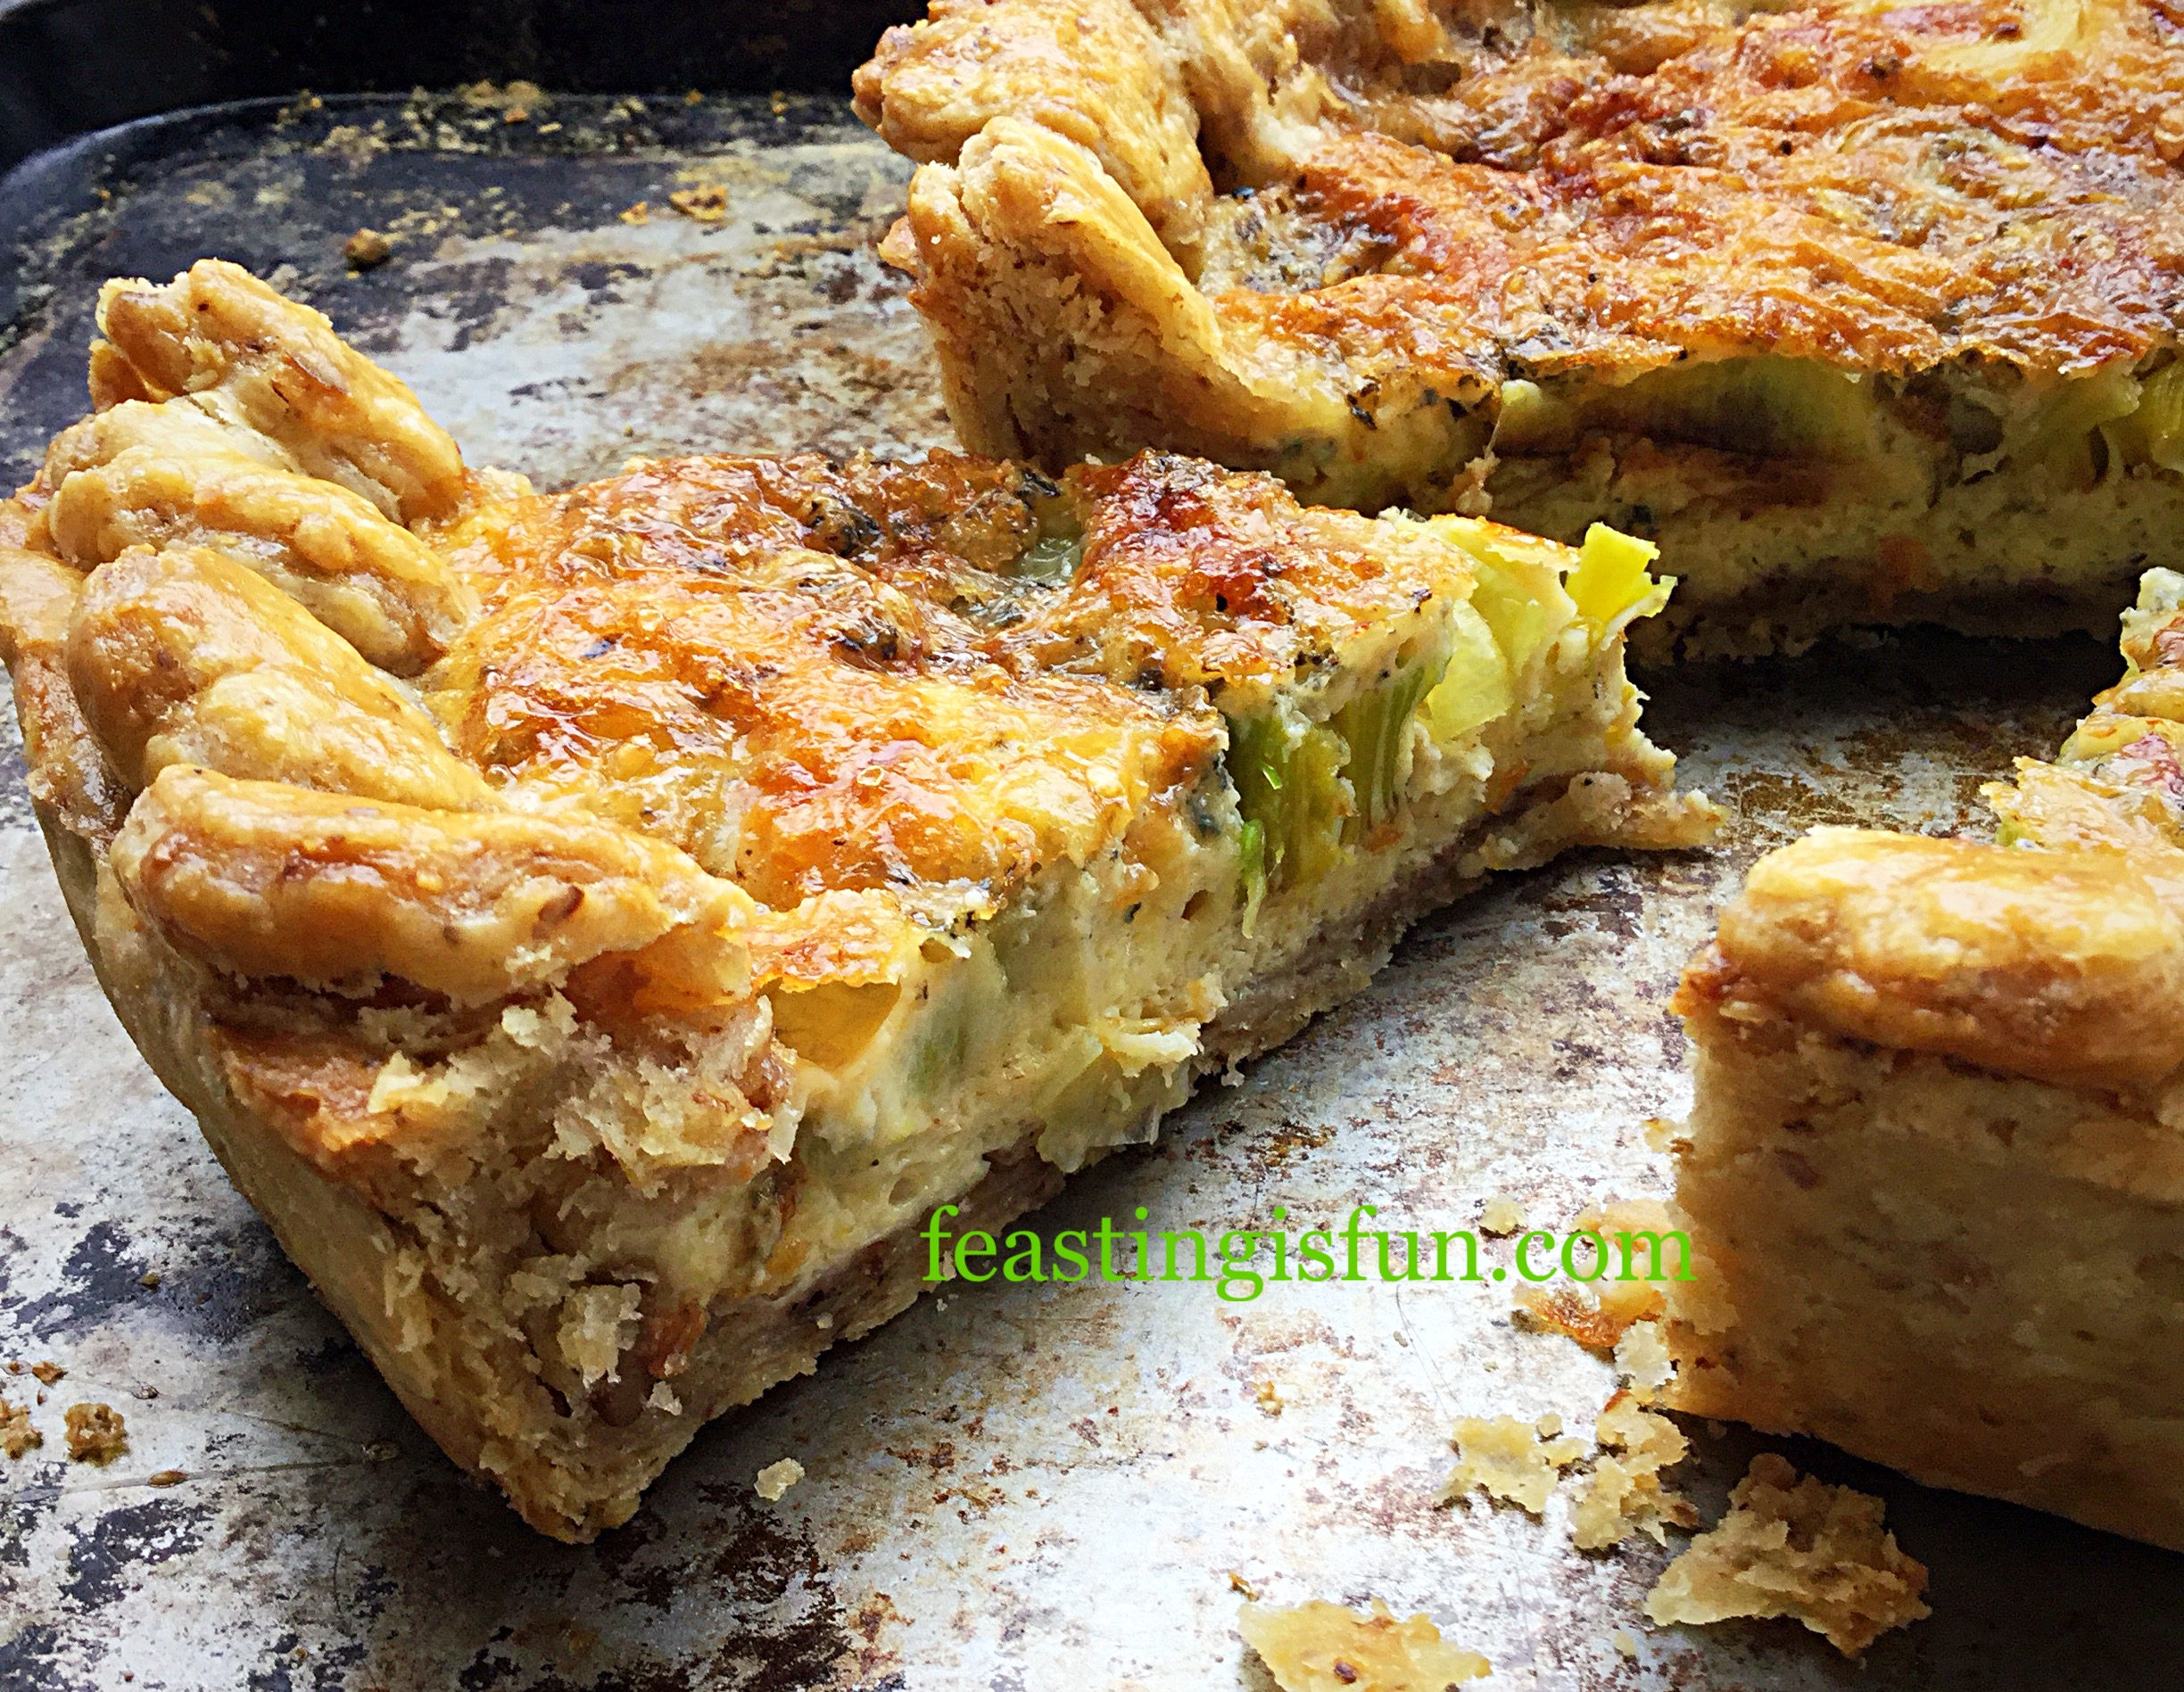
Some ingredients, when cooked together, simply bring out the best in each other. As is the case with this Walnut Pastry Crust Leek Stilton Tart. Also, the leek’s subtle onion flavour is enhanced by the crumbled Stilton cheese, in an egg and cream custard base. The nutty pastry crust provides the perfect crunchy texture and flavour. A delightful balance, that is a treat to our tastebuds.
A marriage of flavours
While the chopped walnuts give the pastry a rustic, wholemeal look, it is, in fact light and crumbly. Adding additional flavour to the finished bake. Likewise, the crumbled Stilton cheese mellows on baking. Providing a salty contrast to the mild egg custard. Surprisingly, the mild onion flavour of the leeks doesn’t get lost in this tart. Rather, it brings everything together and sings on the tastebuds, above the other flavours.

Slices of leek are sautéed gently, before placing in the tart. This not only ensures they are soft in the baked tart, but also concentrates the flavour. While baking, the rings separate and rise up through the tart. Also ensuring that each bite has tasty fresh, green leek in it.
This tart is perfect for a light lunch, with salad, or as a main meal with a hot, buttered jacket potato. Also, it makes perfect picnic or buffet food, as it can be served at room temperature. The added nutmeg is barely noticeable, yet enhances all of the tart’s flavours. Leave it out and the finished bake tastes as though it is missing something. I encourage you to include it, freshly grated, if possible!
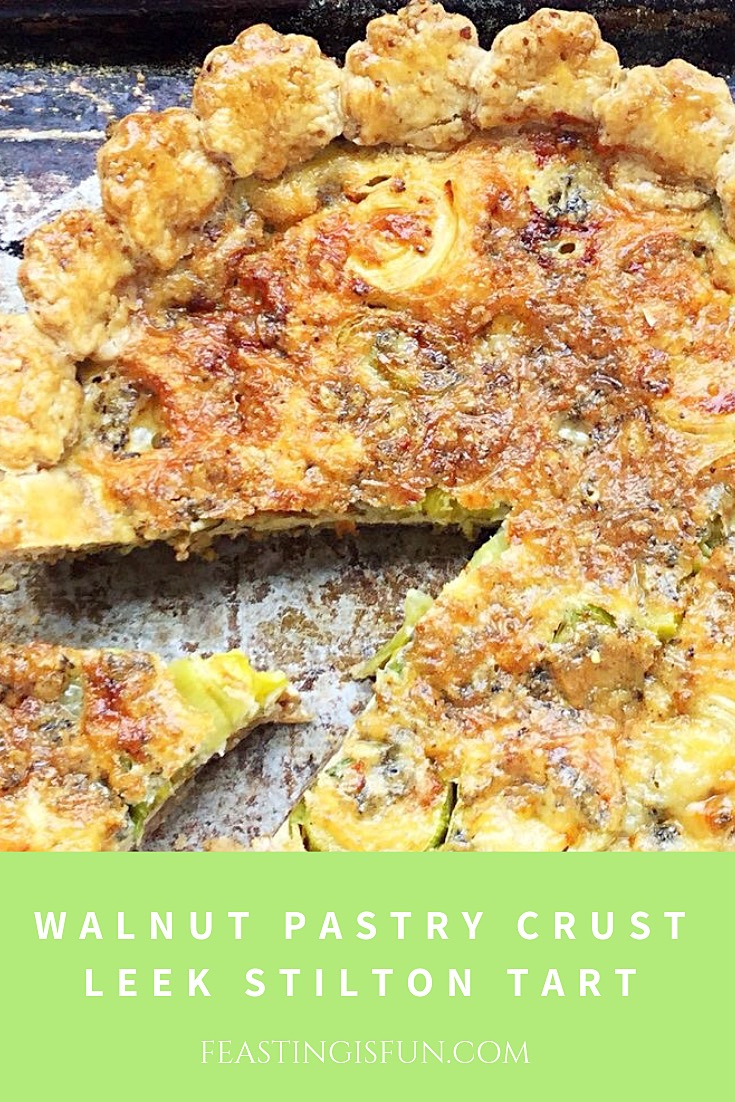
Recipe: Walnut Pastry Crust Leek Stilton Tart serves 4-6
For the pastry
200g/7oz Plain White Flour
50g/2oz Walnuts – finely chopped
1/8tsp Salt – I use Maldon
1/8tsp Freshly Ground Black Pepper
125g/4.5oz Cold Unsalted Butter
60mls Cold Tap Water
For the filling
100g/4oz Stilton Cheese
1 Large Leek
4 Large Free Range Eggs – plus 1 extra for the egg wash
3tbsp Double Cream
1/4tsp Nutmeg
1/4tsp Freshly Ground Black Pepper
Method:
A loose bottom tart tin that is approximately 25cm wide x 5cm deep or 10″ x 2″ is needed for this recipe.
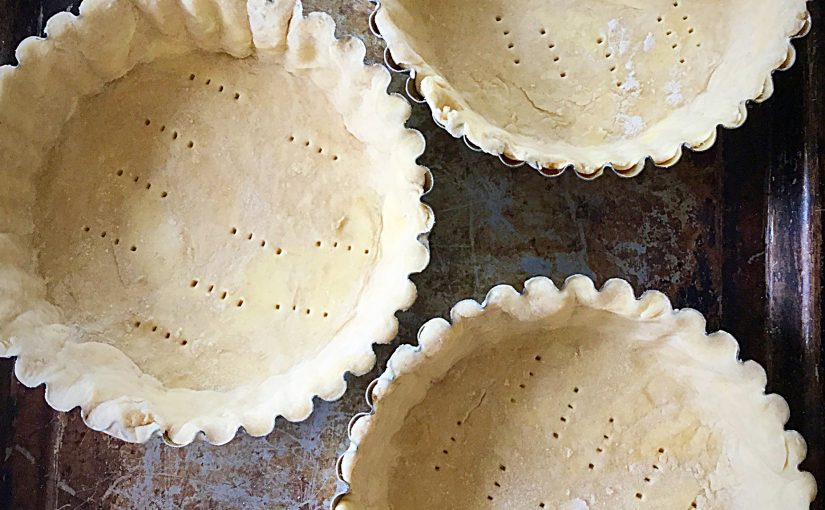
Making The Walnut Pastry Crust
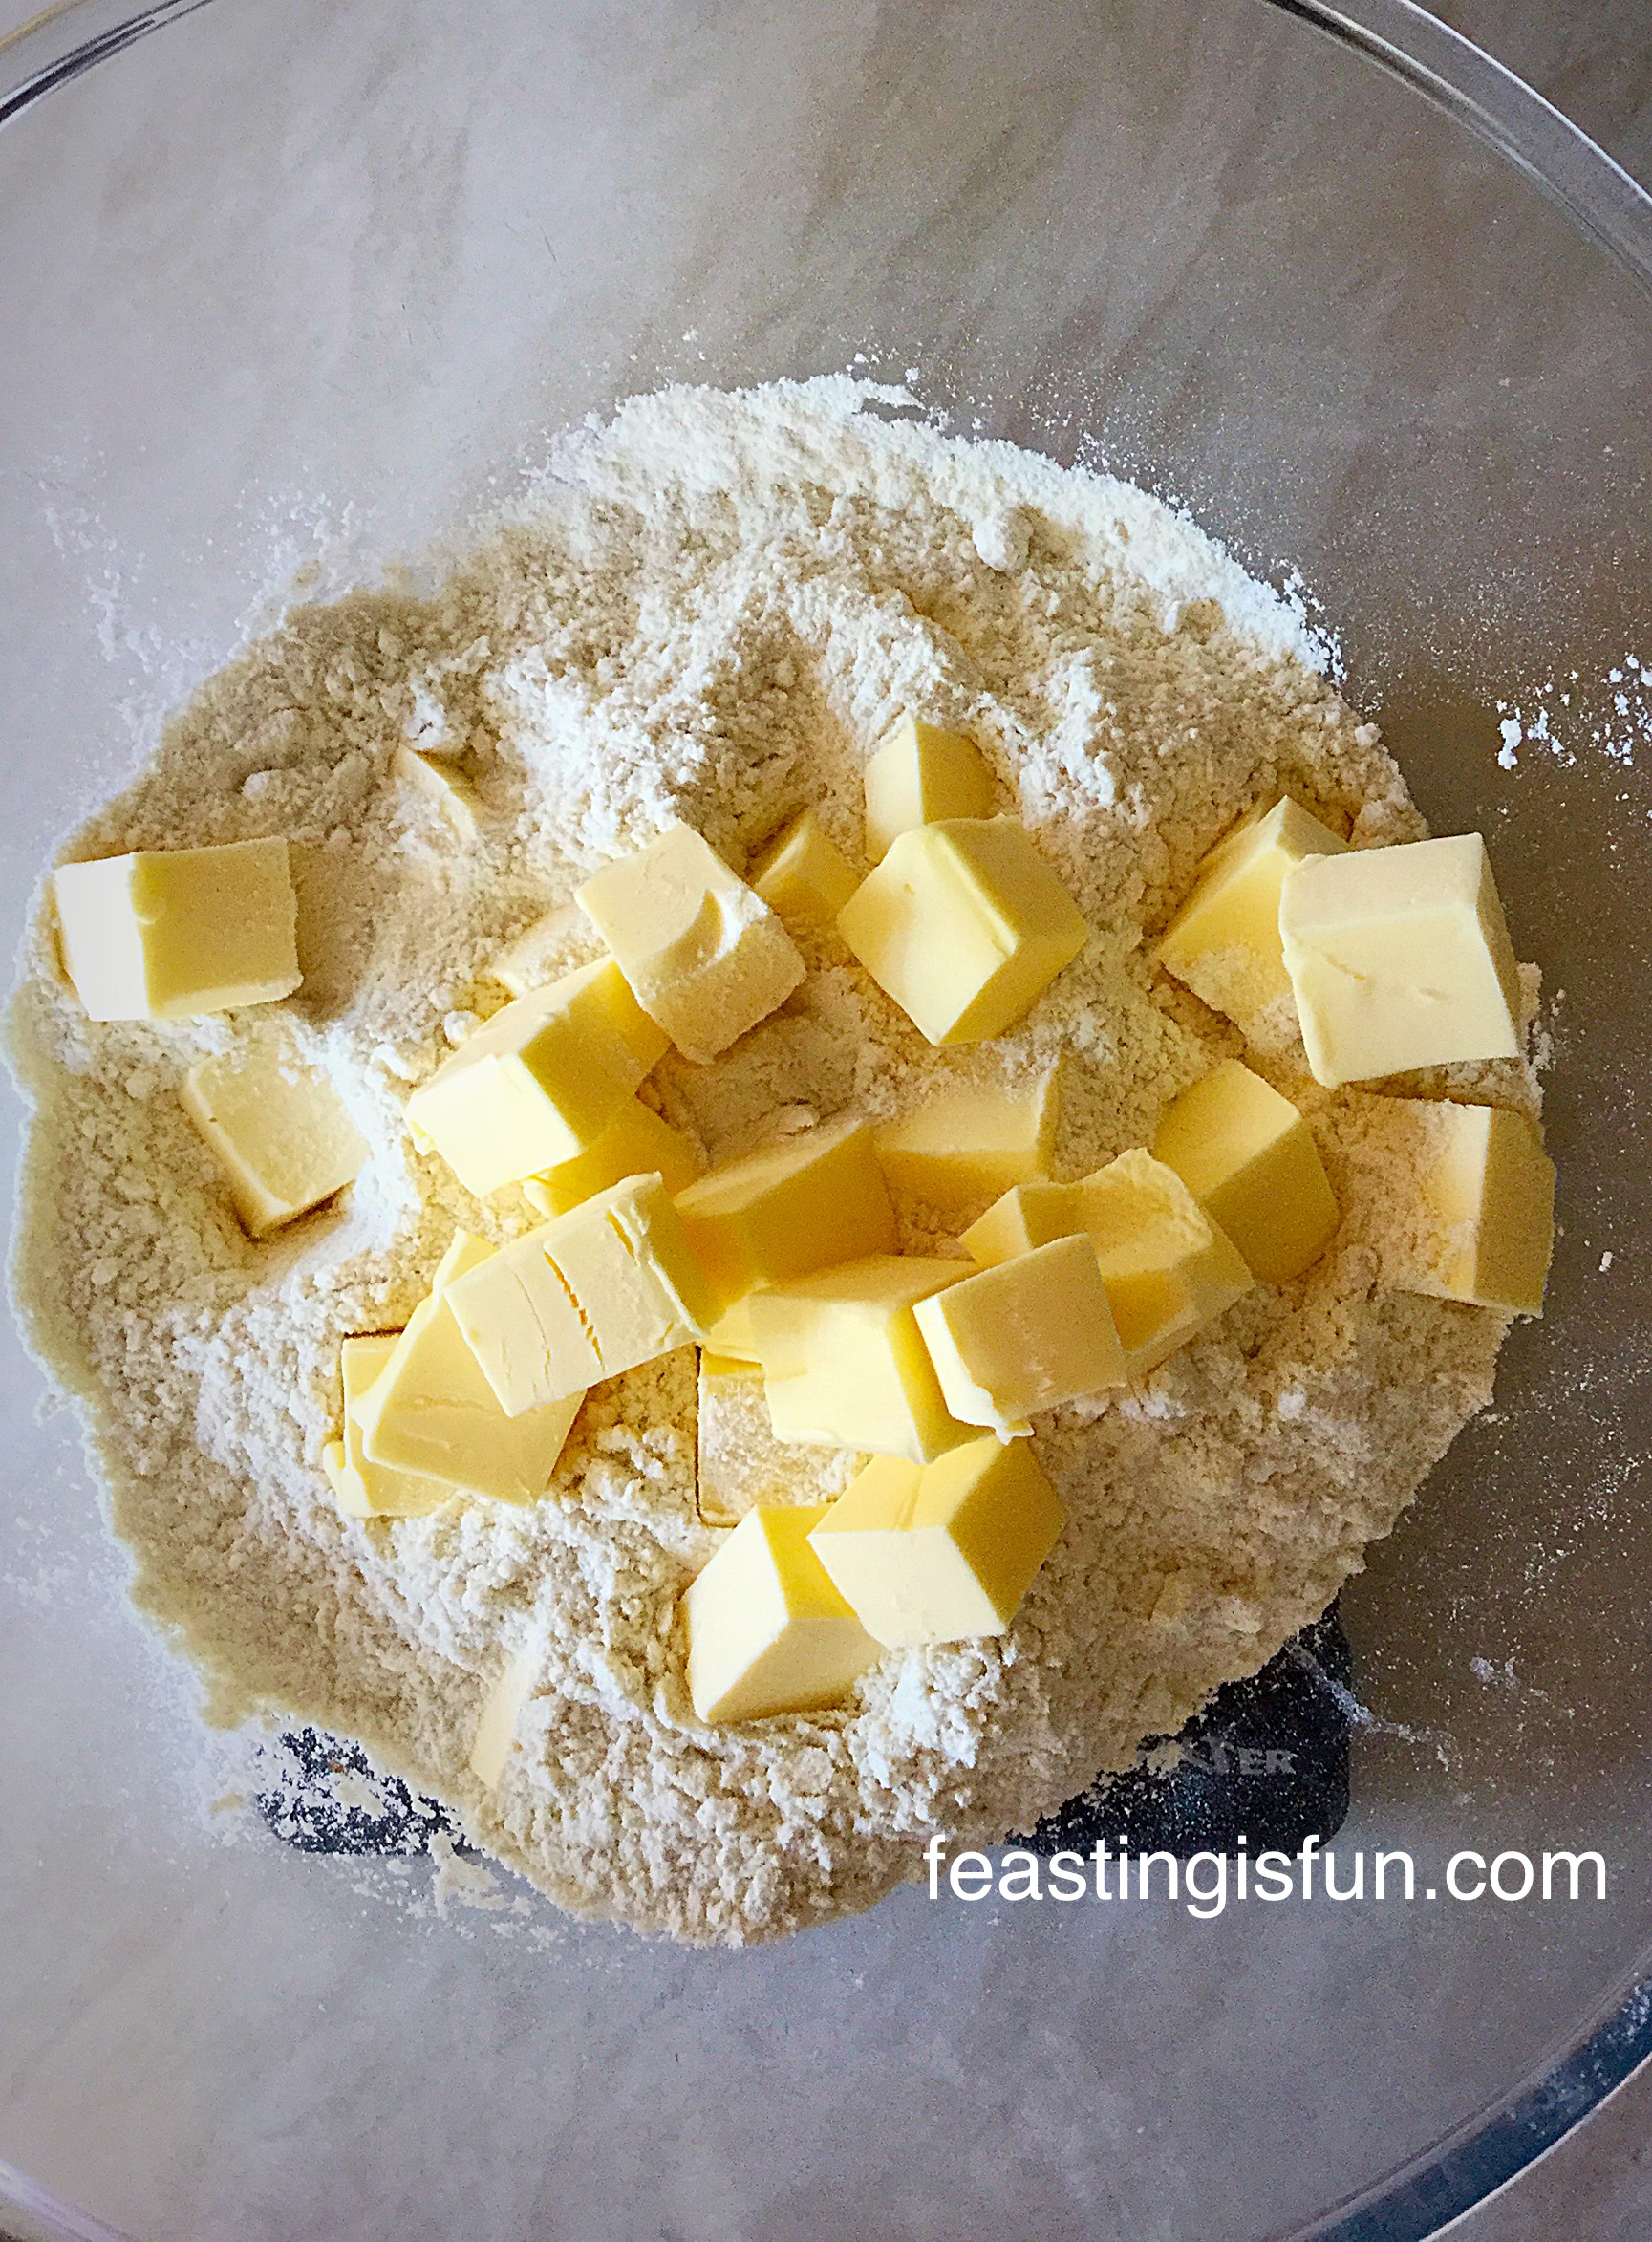
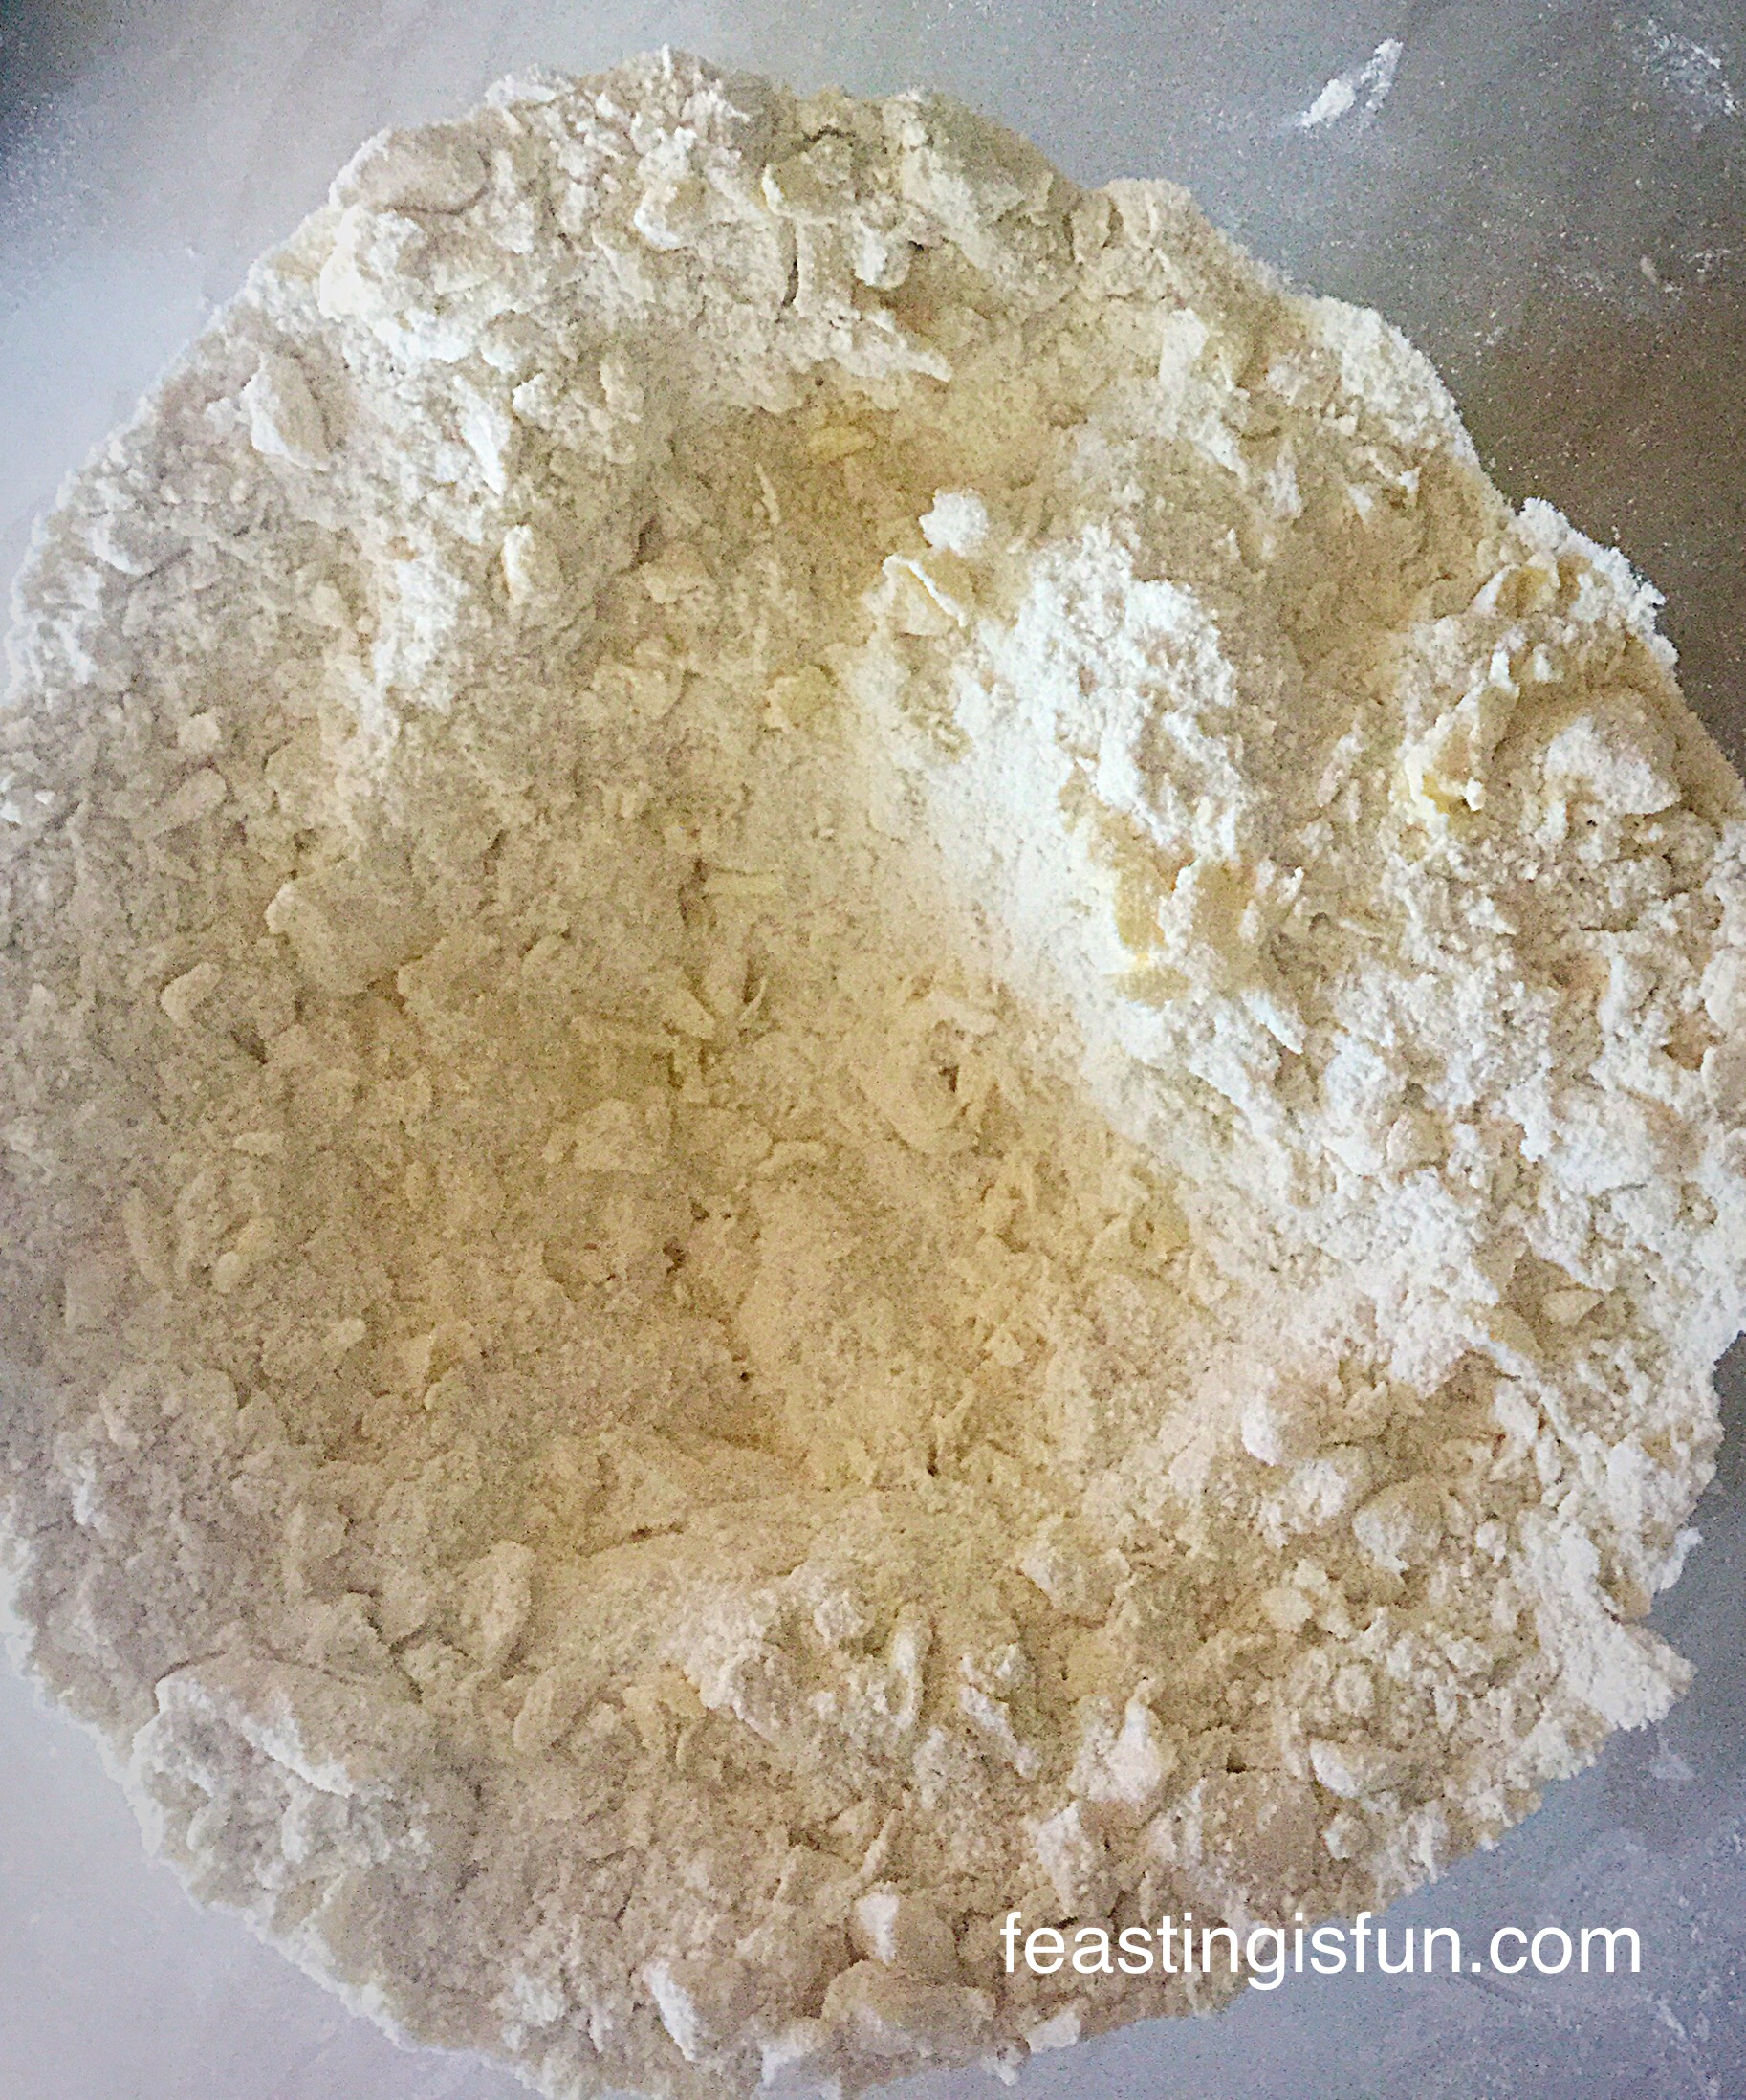
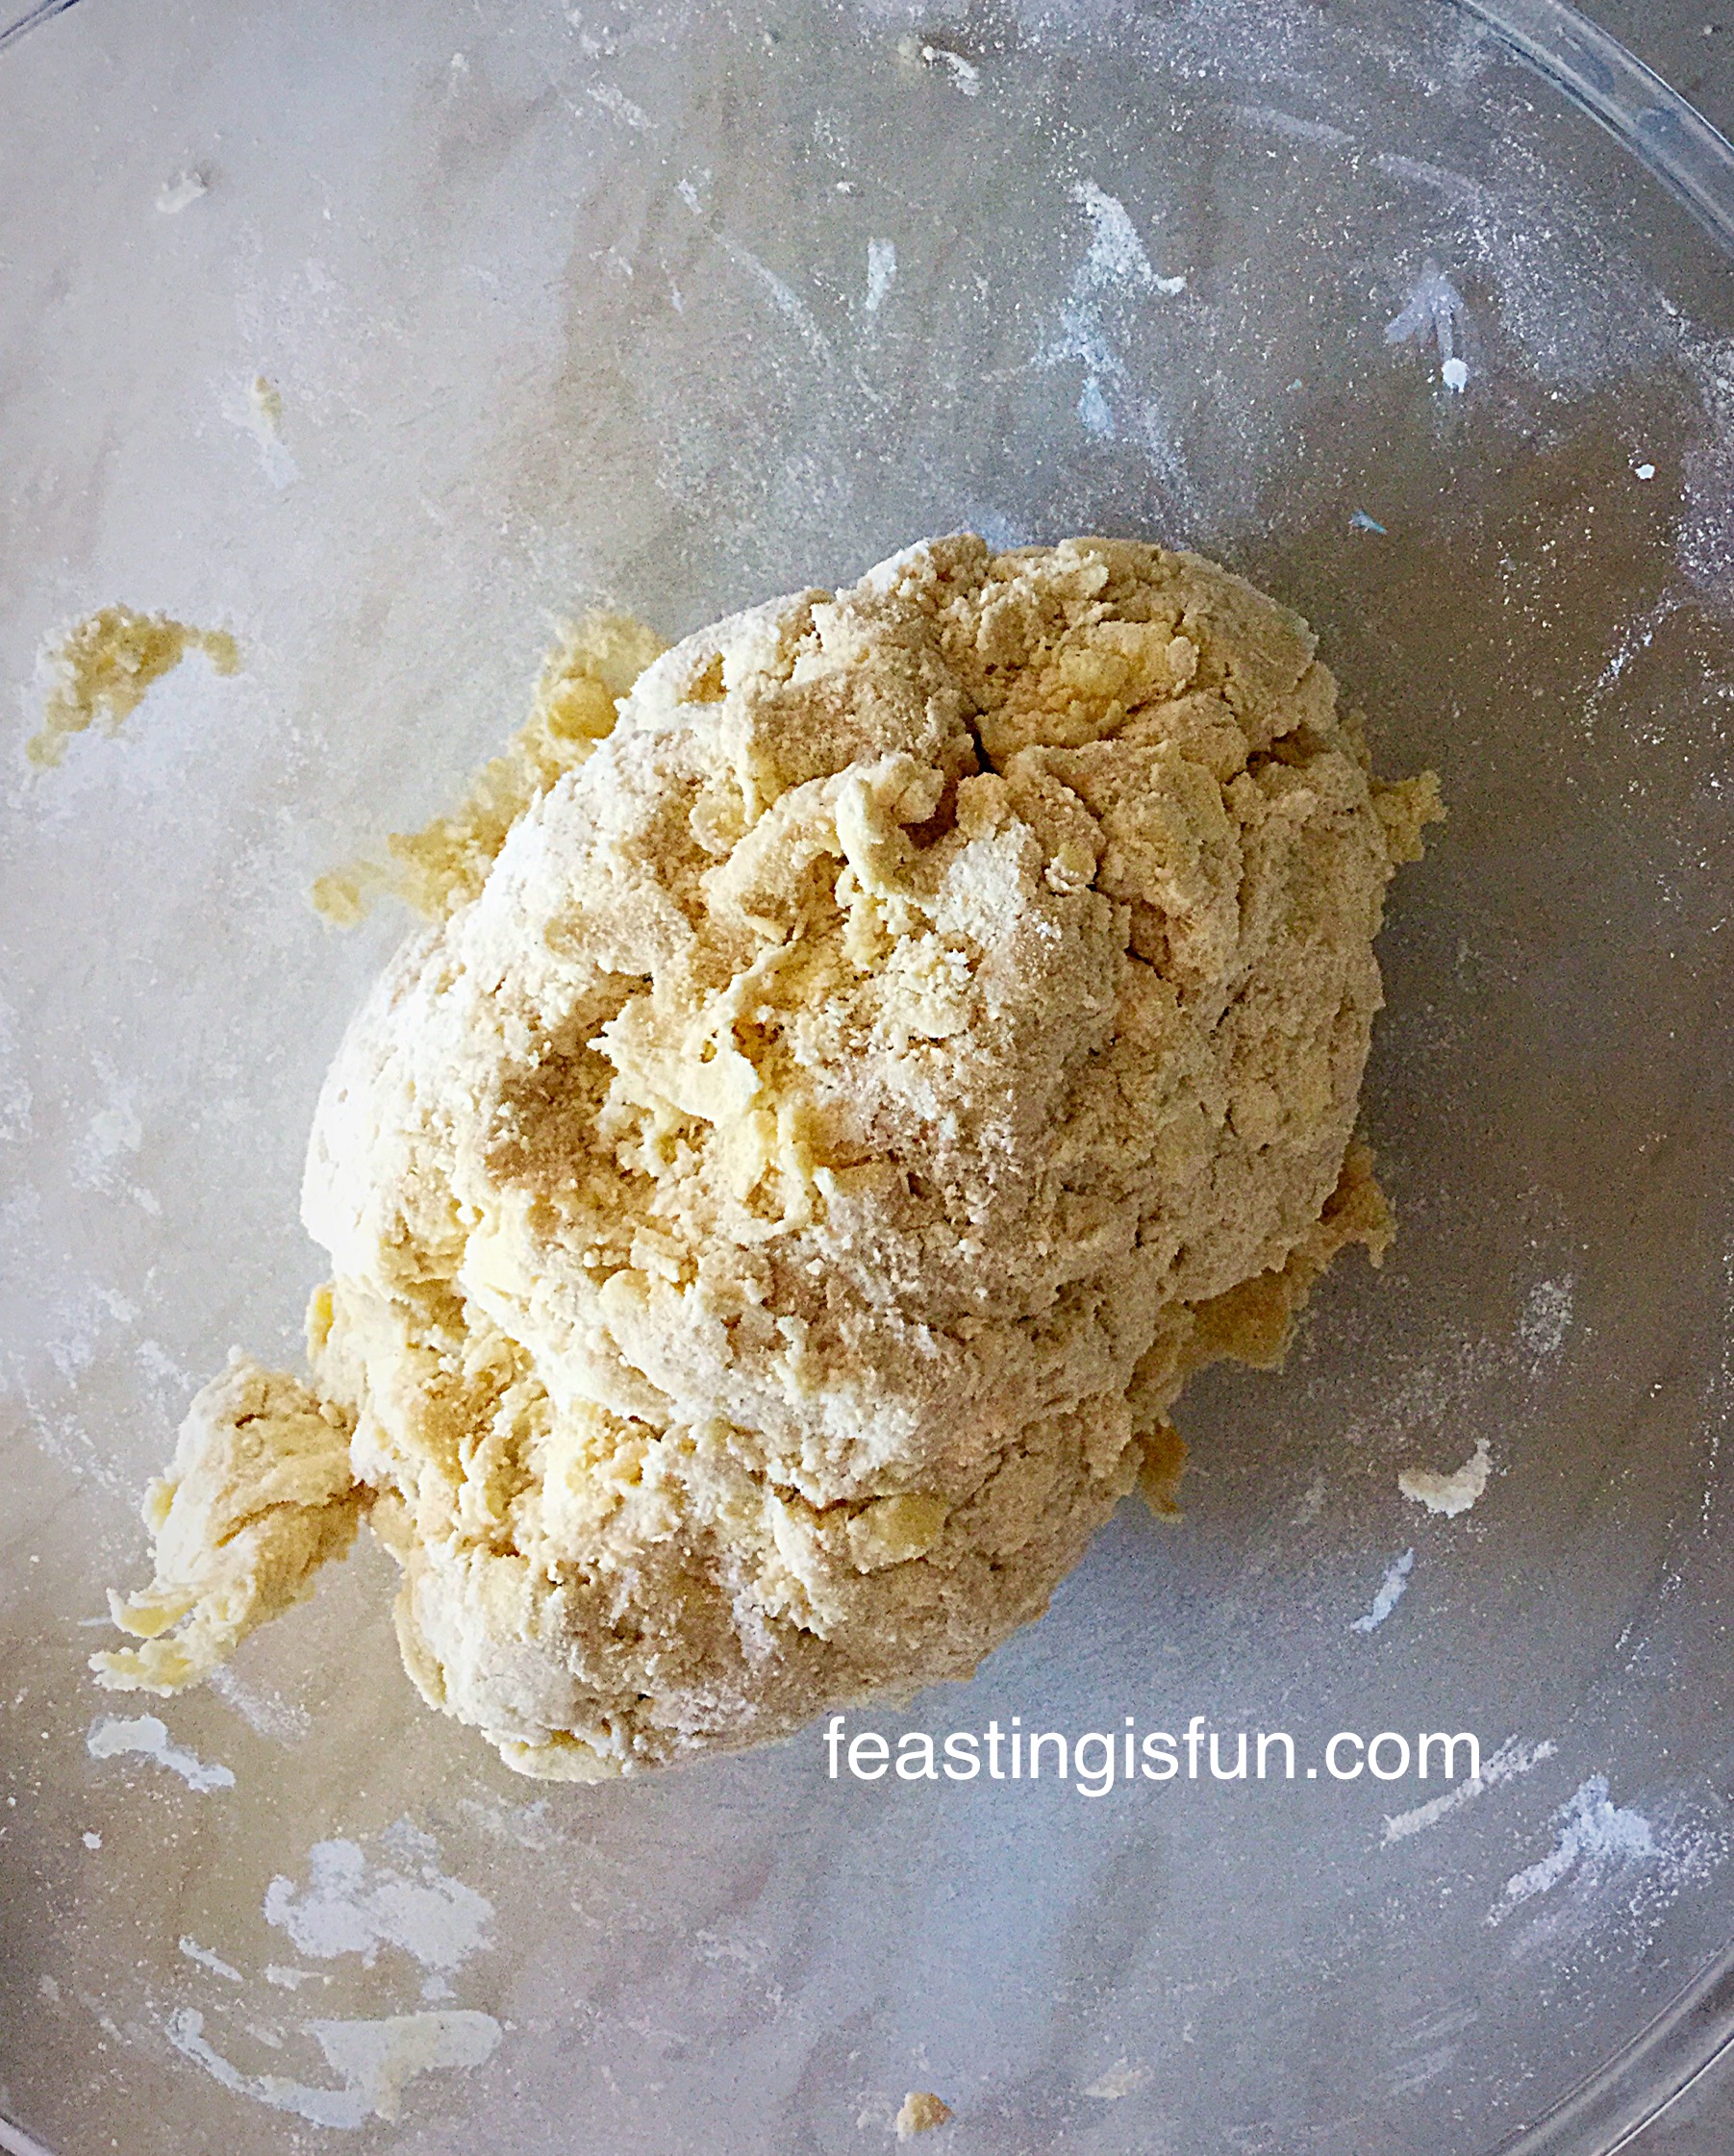
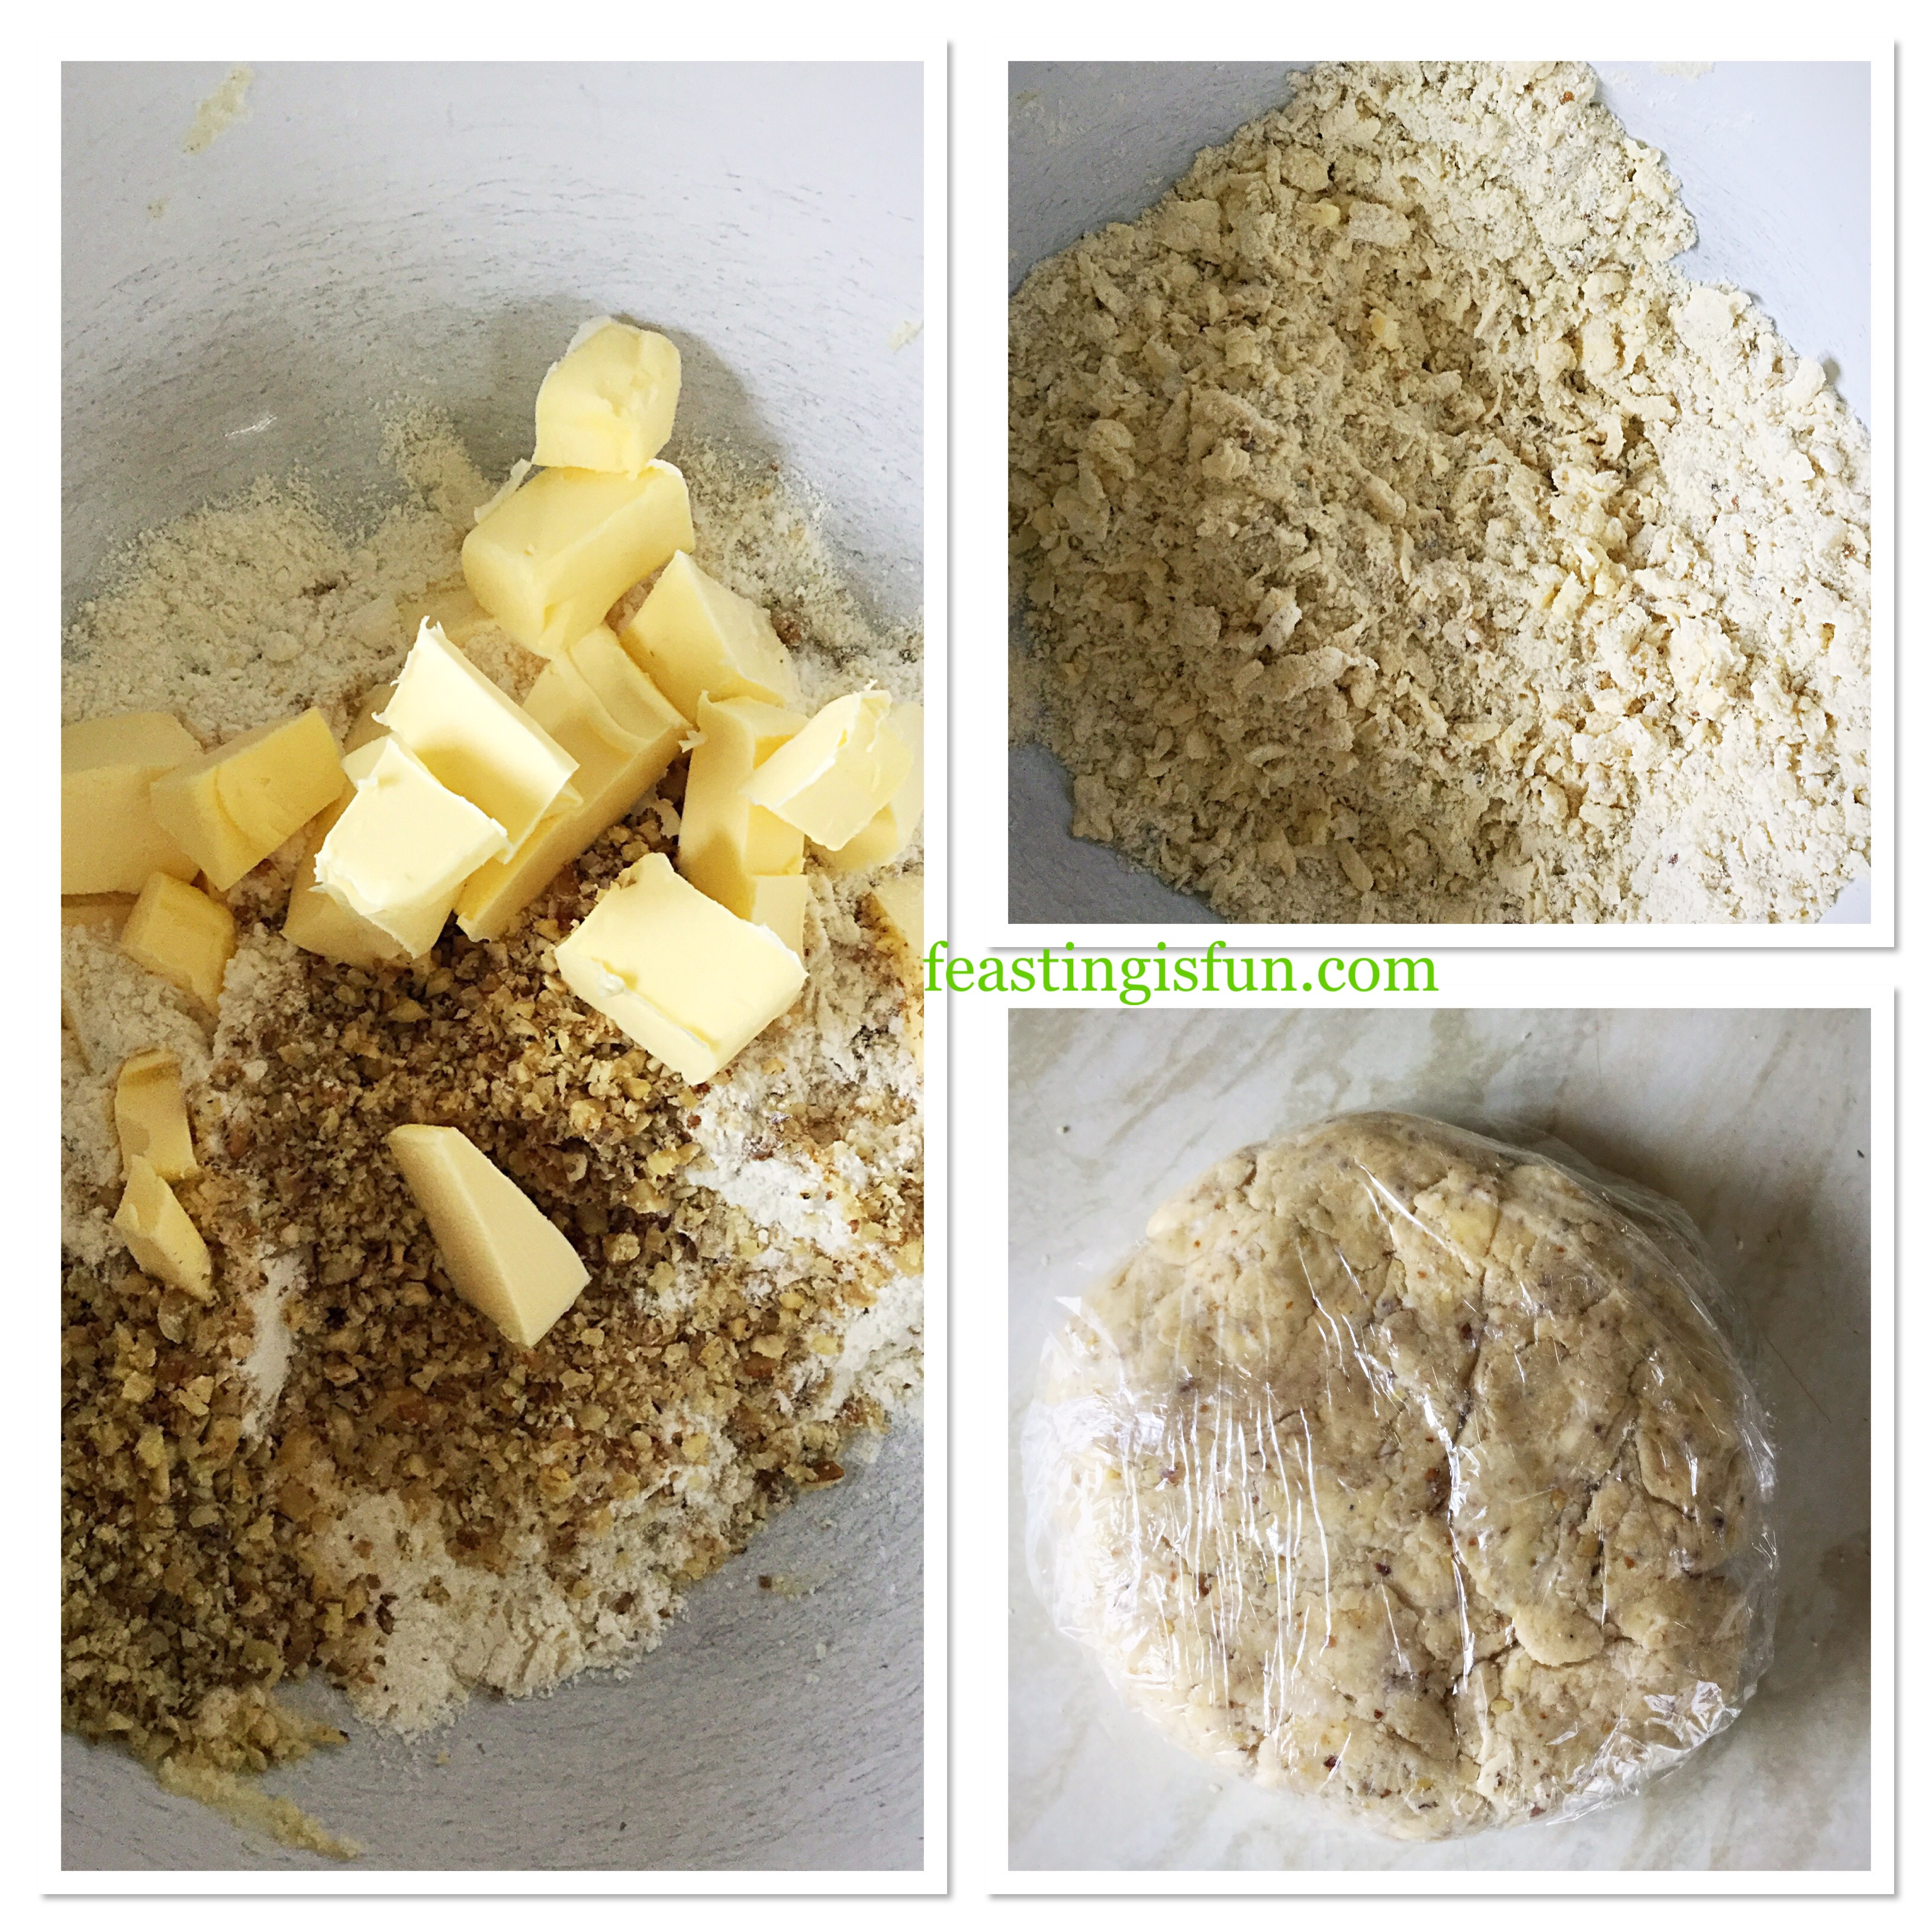
- First of all, in a large bowl add the flour, chopped walnuts, salt, pepper and diced, cold butter. Then using your hands, or a pastry cutter, rub/cut the butter into the flour until the mixture resembles bread crumbs with pea sized chunks of butter present.
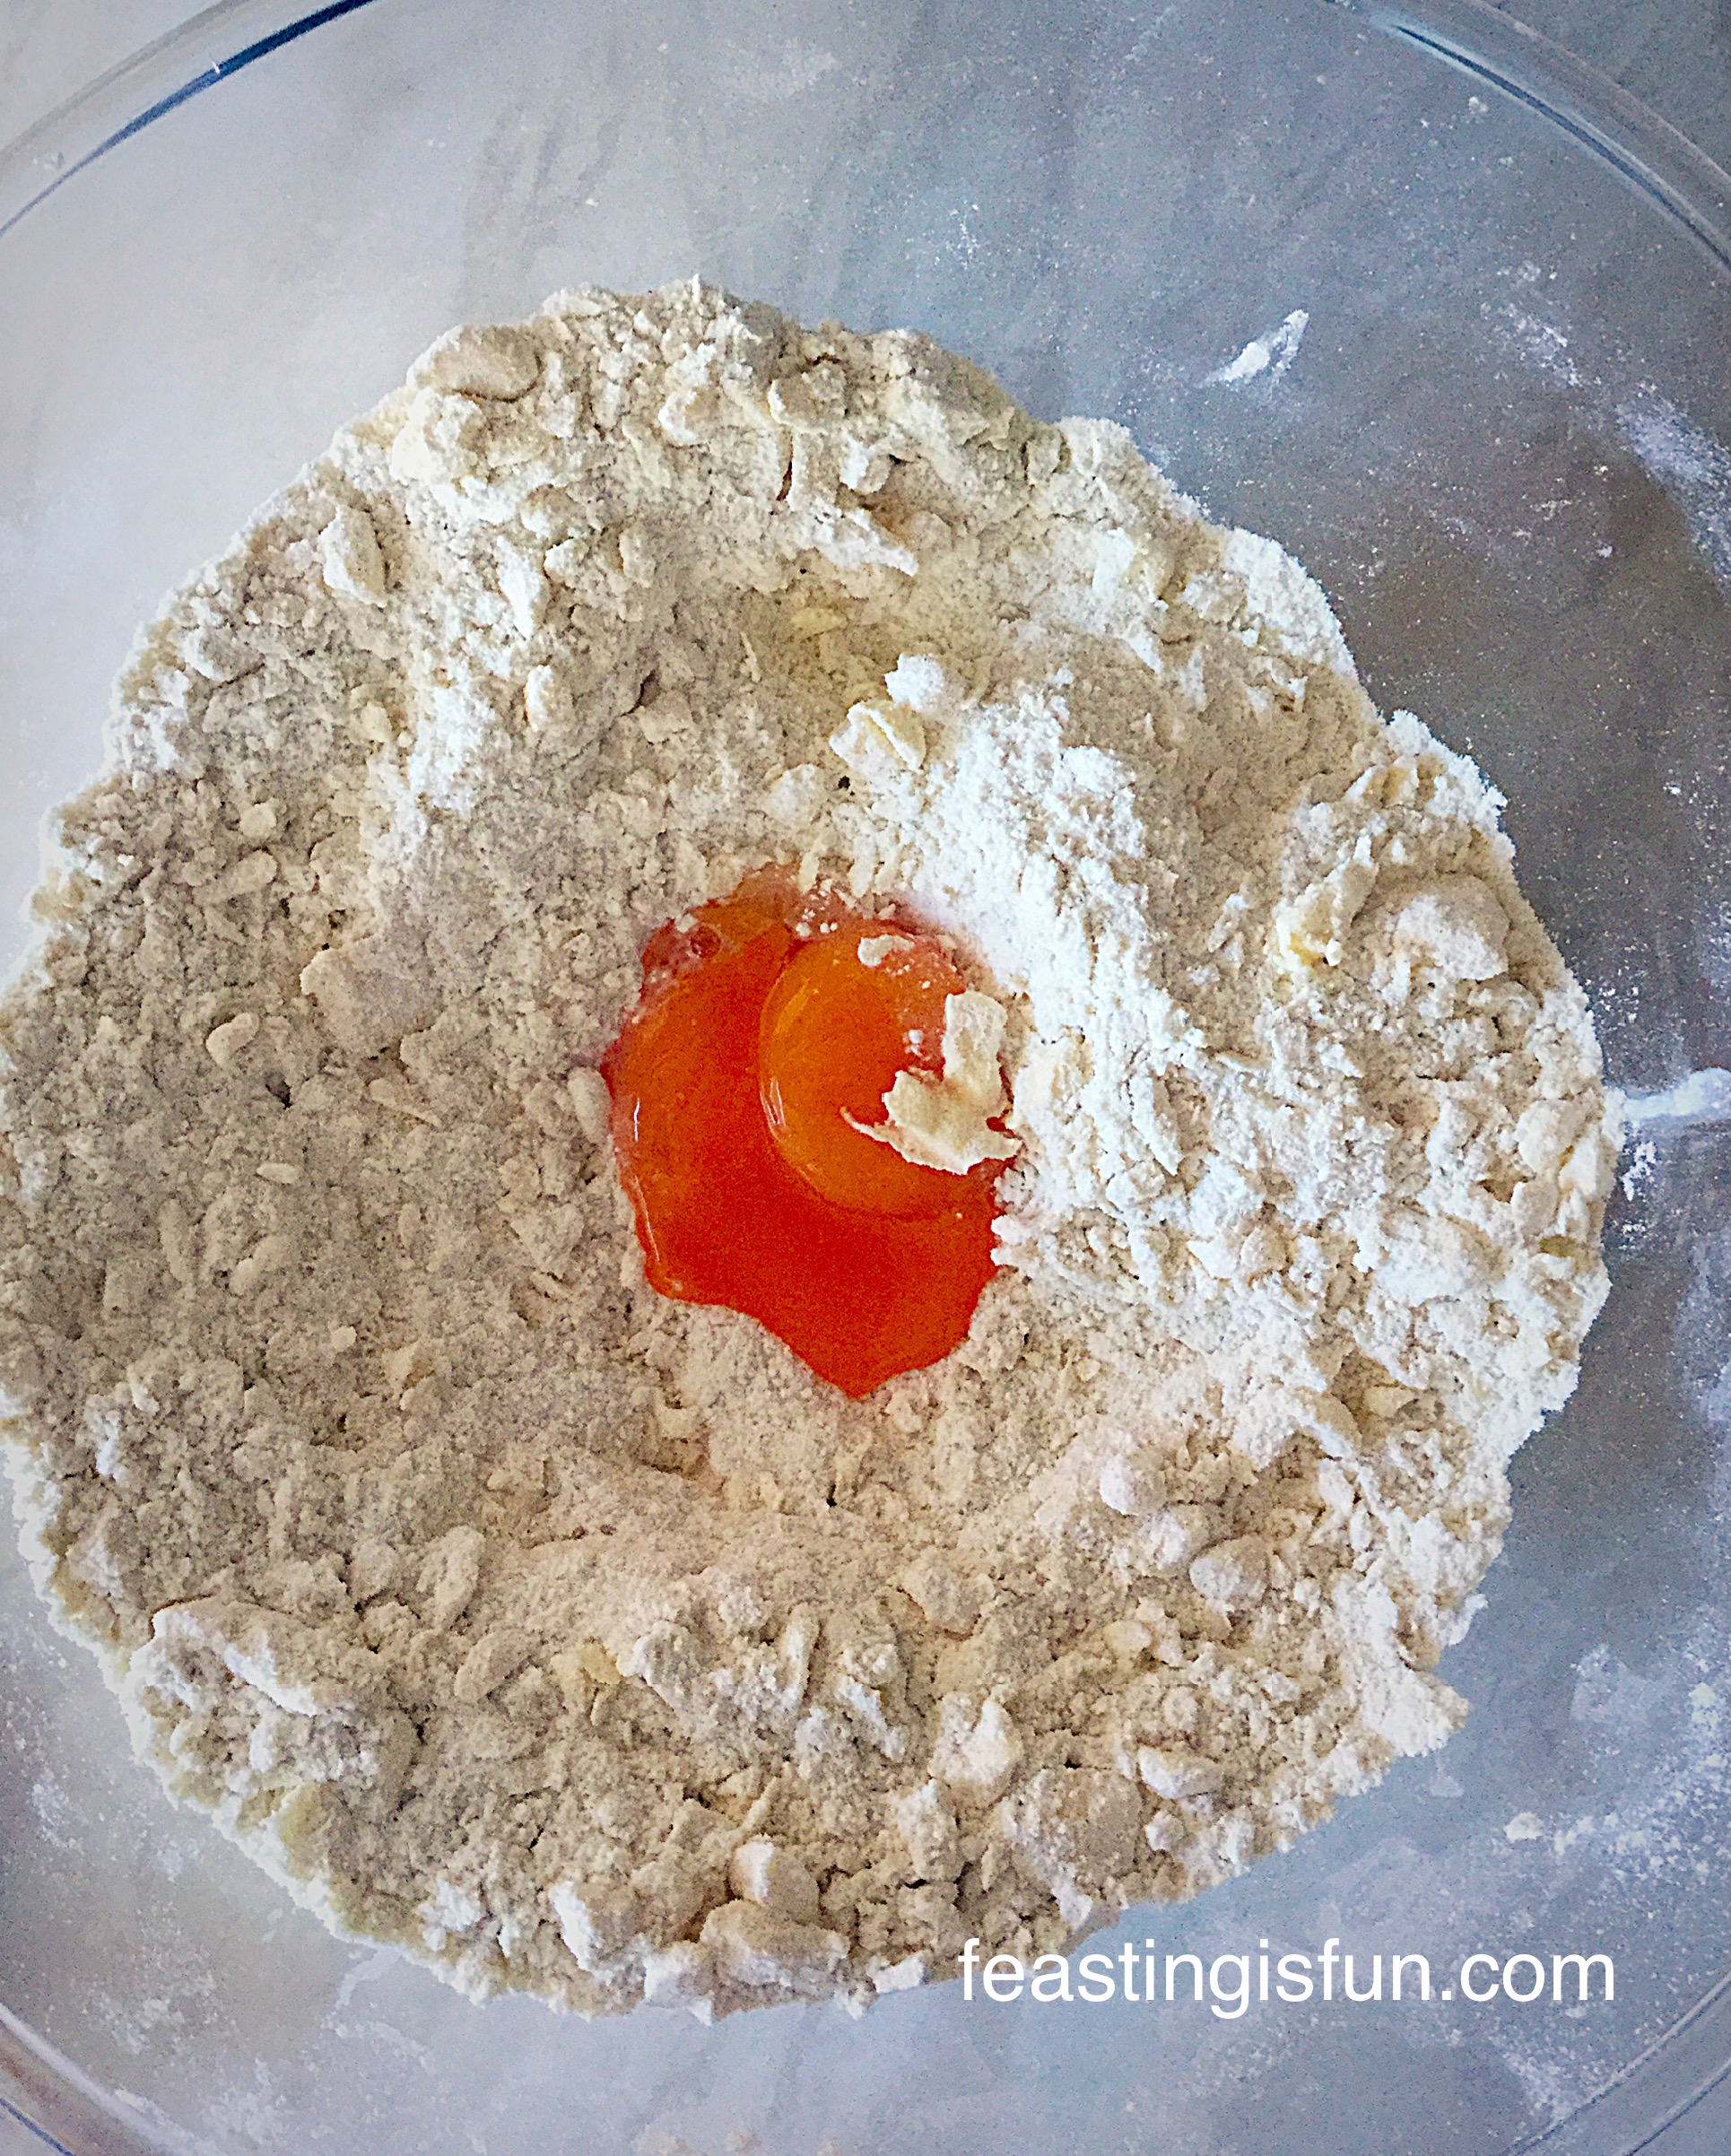
- Now make a well in the centre of the mixture and add the cold tap water 10mls at a time. Using your hand, fingers bent and shaped like a claw, mix the dough after each addition. Work quickly to avoid the dough warming up and becoming oily. You may not need the full amount of water specified. Stop adding water once the dough comes together to form a rough ball. Set the bowl to one side.
- Wipe the worktop with a clean, damp cloth. Then place the cling film (approximately the size of a large baking sheet) directly on to the damp surface. It will ‘stick’ and not move around.
- Finally, tip the walnut pastry dough on to the cling film. Knead the dough lightly into a disc shape. Avoid working the pastry for too long as this will result in a hard, tough, crust.
Chilling the pastry
- Wrap the pastry disc in the cling film and place in the fridge for at least 30 minutes, or until it is chilled. Making pastry the night before use allows it to chill thoroughly before rolling out.
- Making the Walnut Pastry Crust.
- 10 minutes before rolling out the pastry, preheat the oven to 220C/200C fan, gas mark 7, 425F.
- If you wish, lightly butter your tart tin, I never do. Place the tart tin on to a baking tray and put to one side.
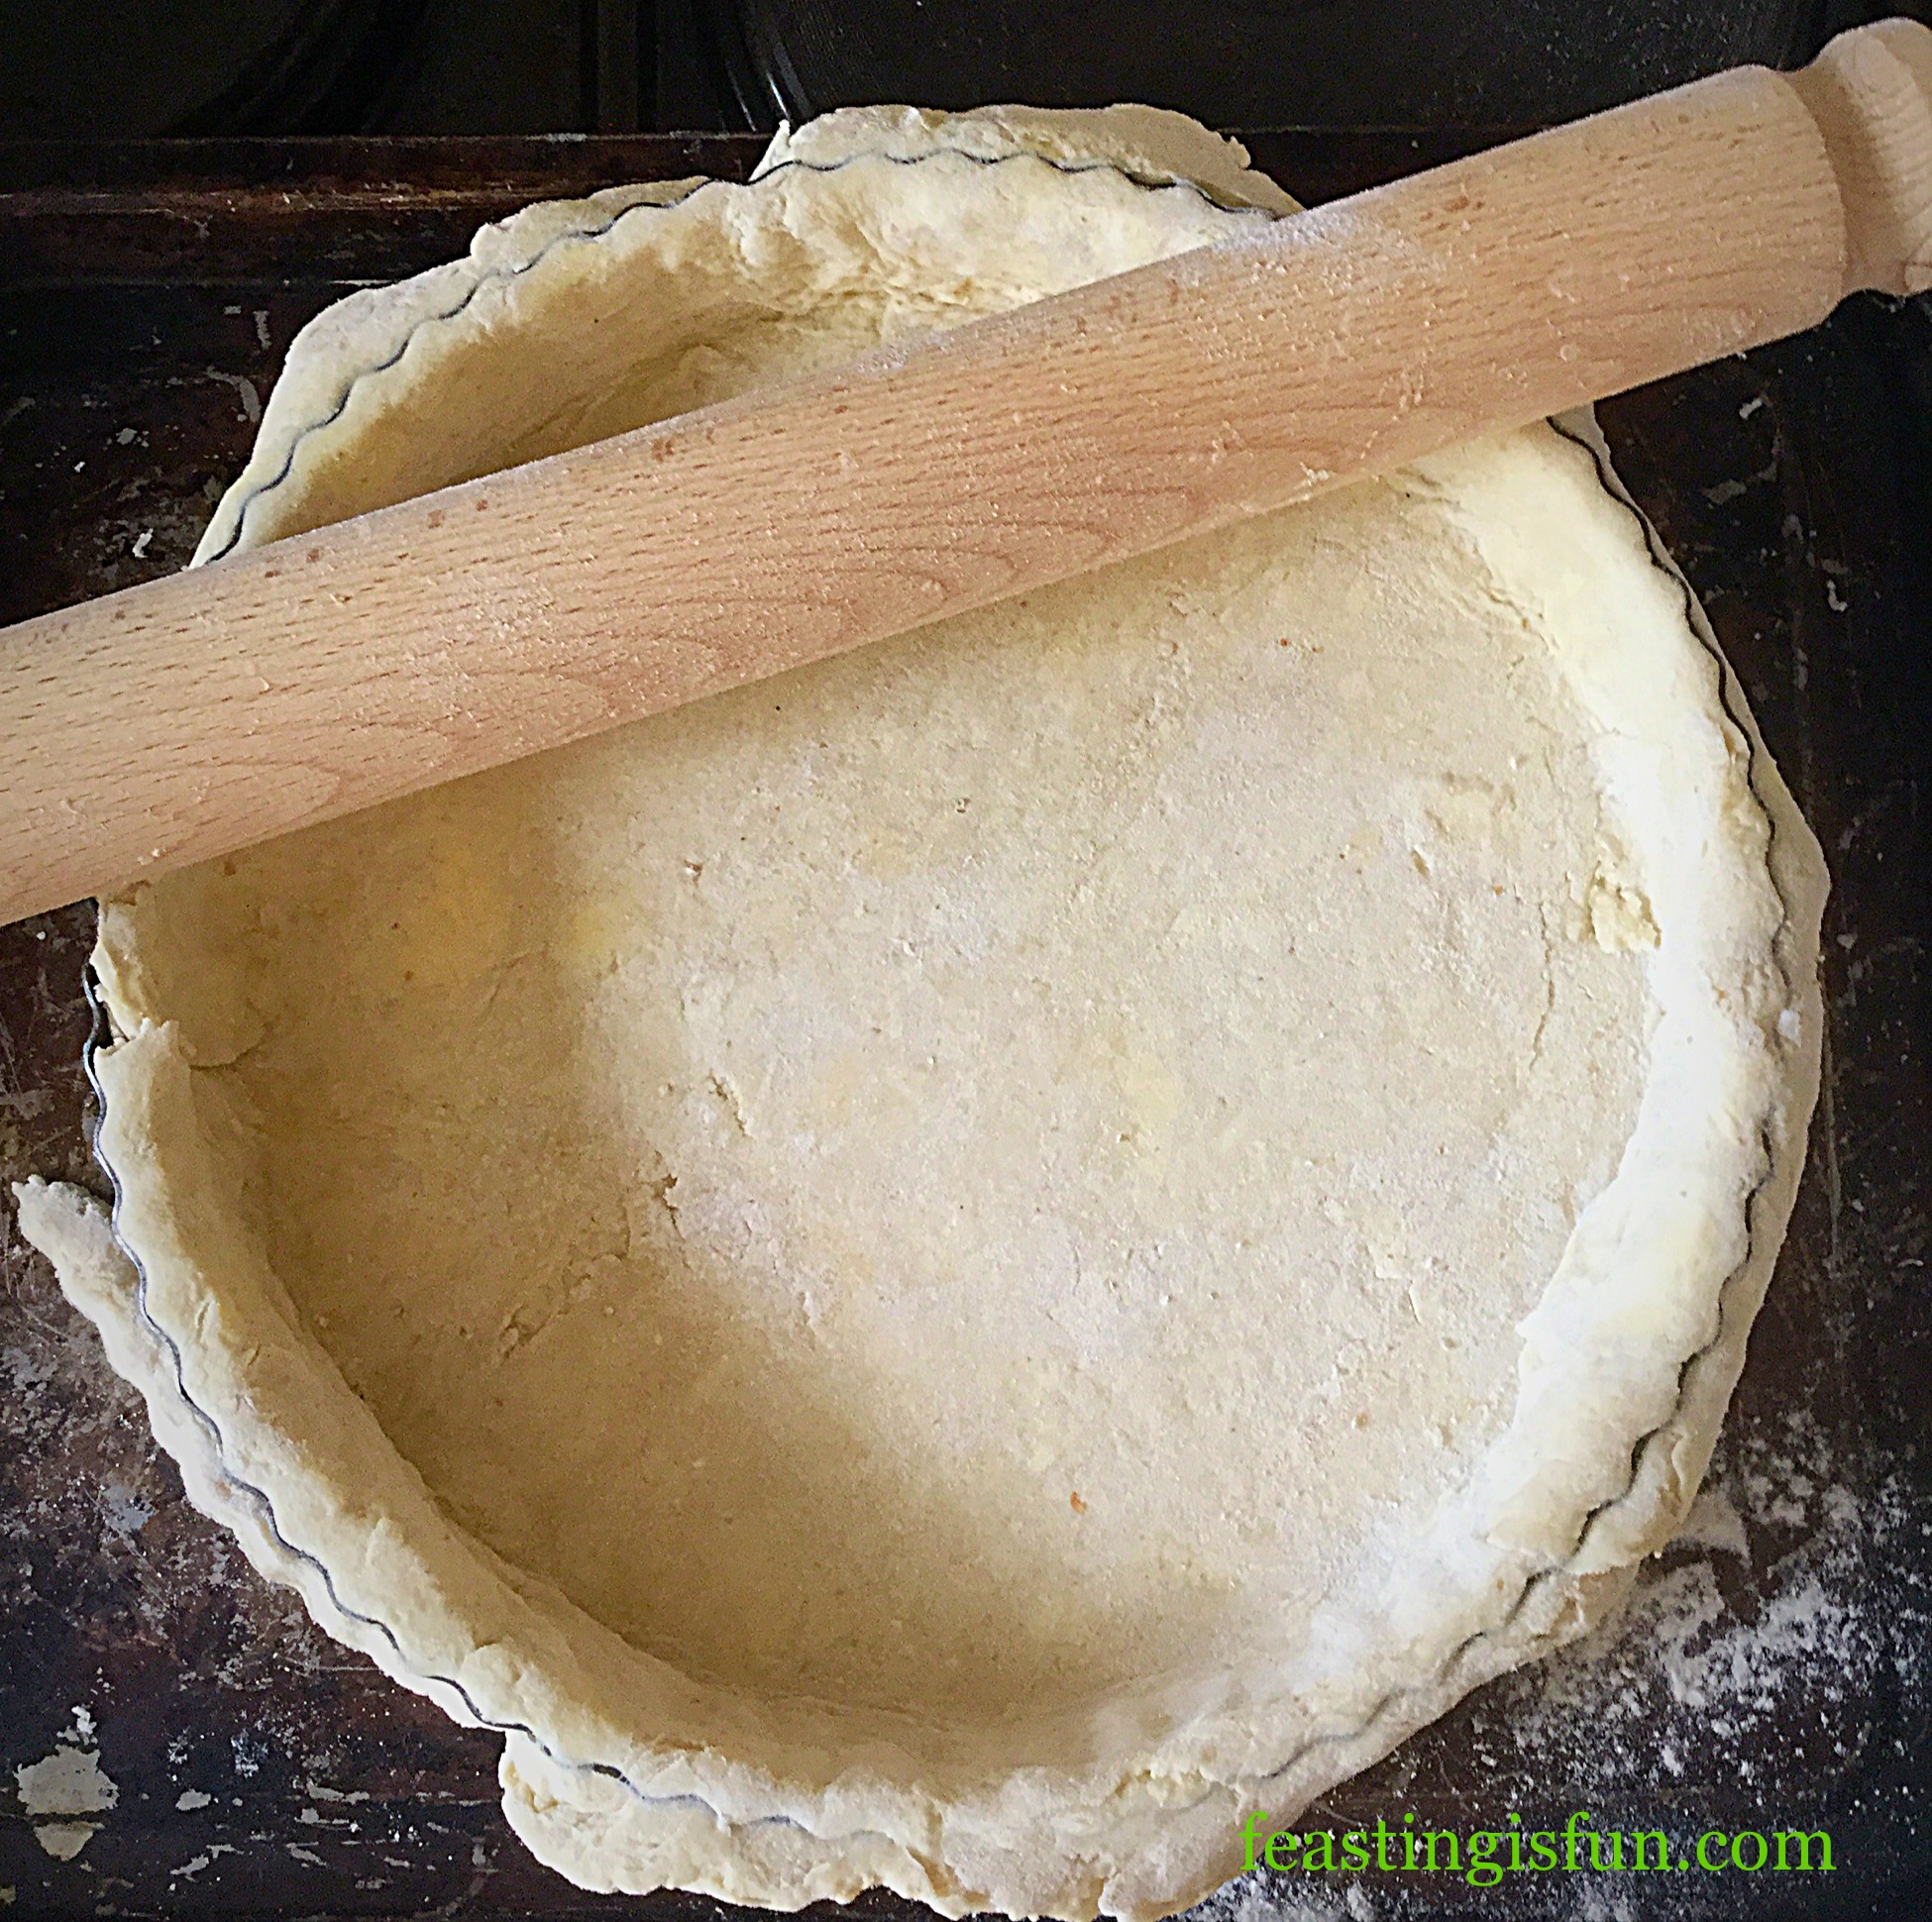
Rolling out the pastry
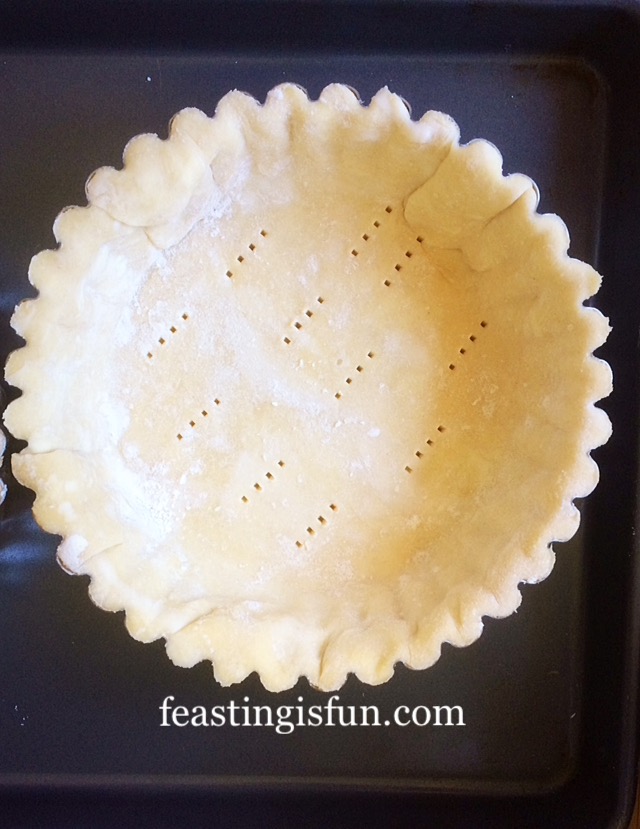
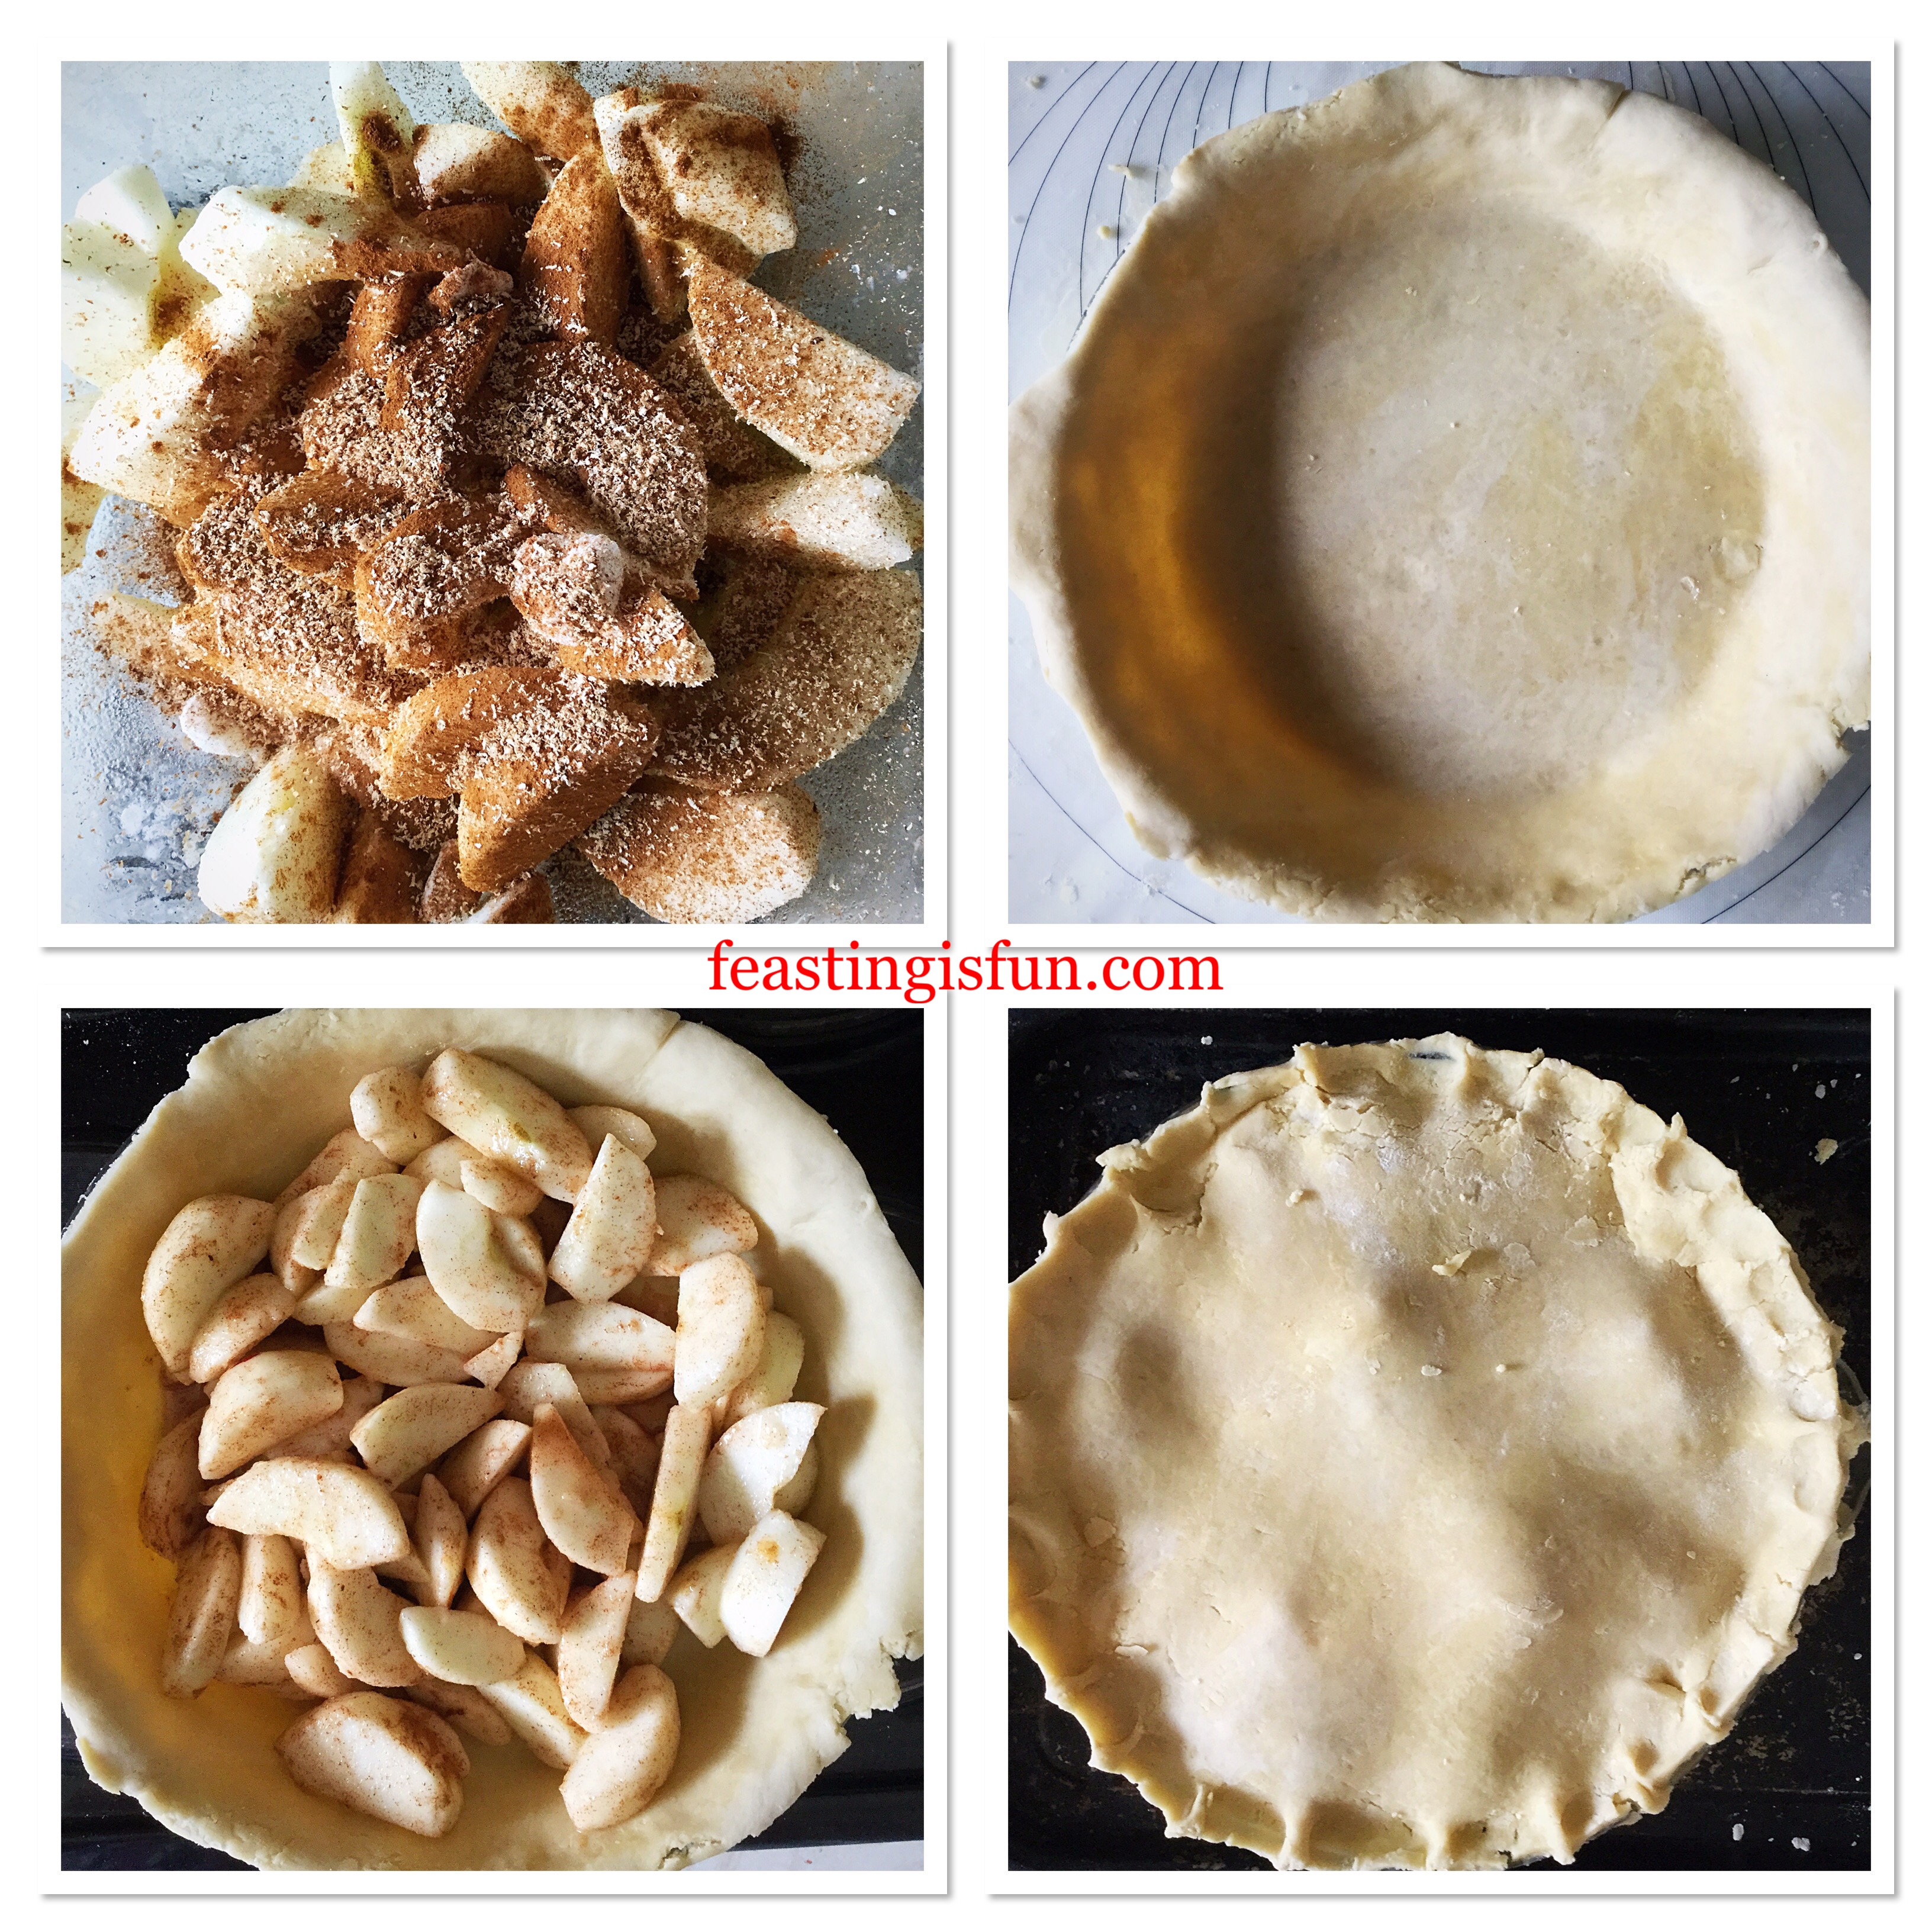
- Place the chilled pastry on to a clean worktop and roll out evenly, until it is a slightly larger circle than the combined width and depth of the tin. Approximately 30cm/11″ in width.
- Roll the pastry around the rolling pin and transfer to the tart tin. Allow the pastry to settle into the tin. DO NOT stretch it as it will only shrink while baking.
- Ensure the tin is fully lined and then trim away any excess pastry.
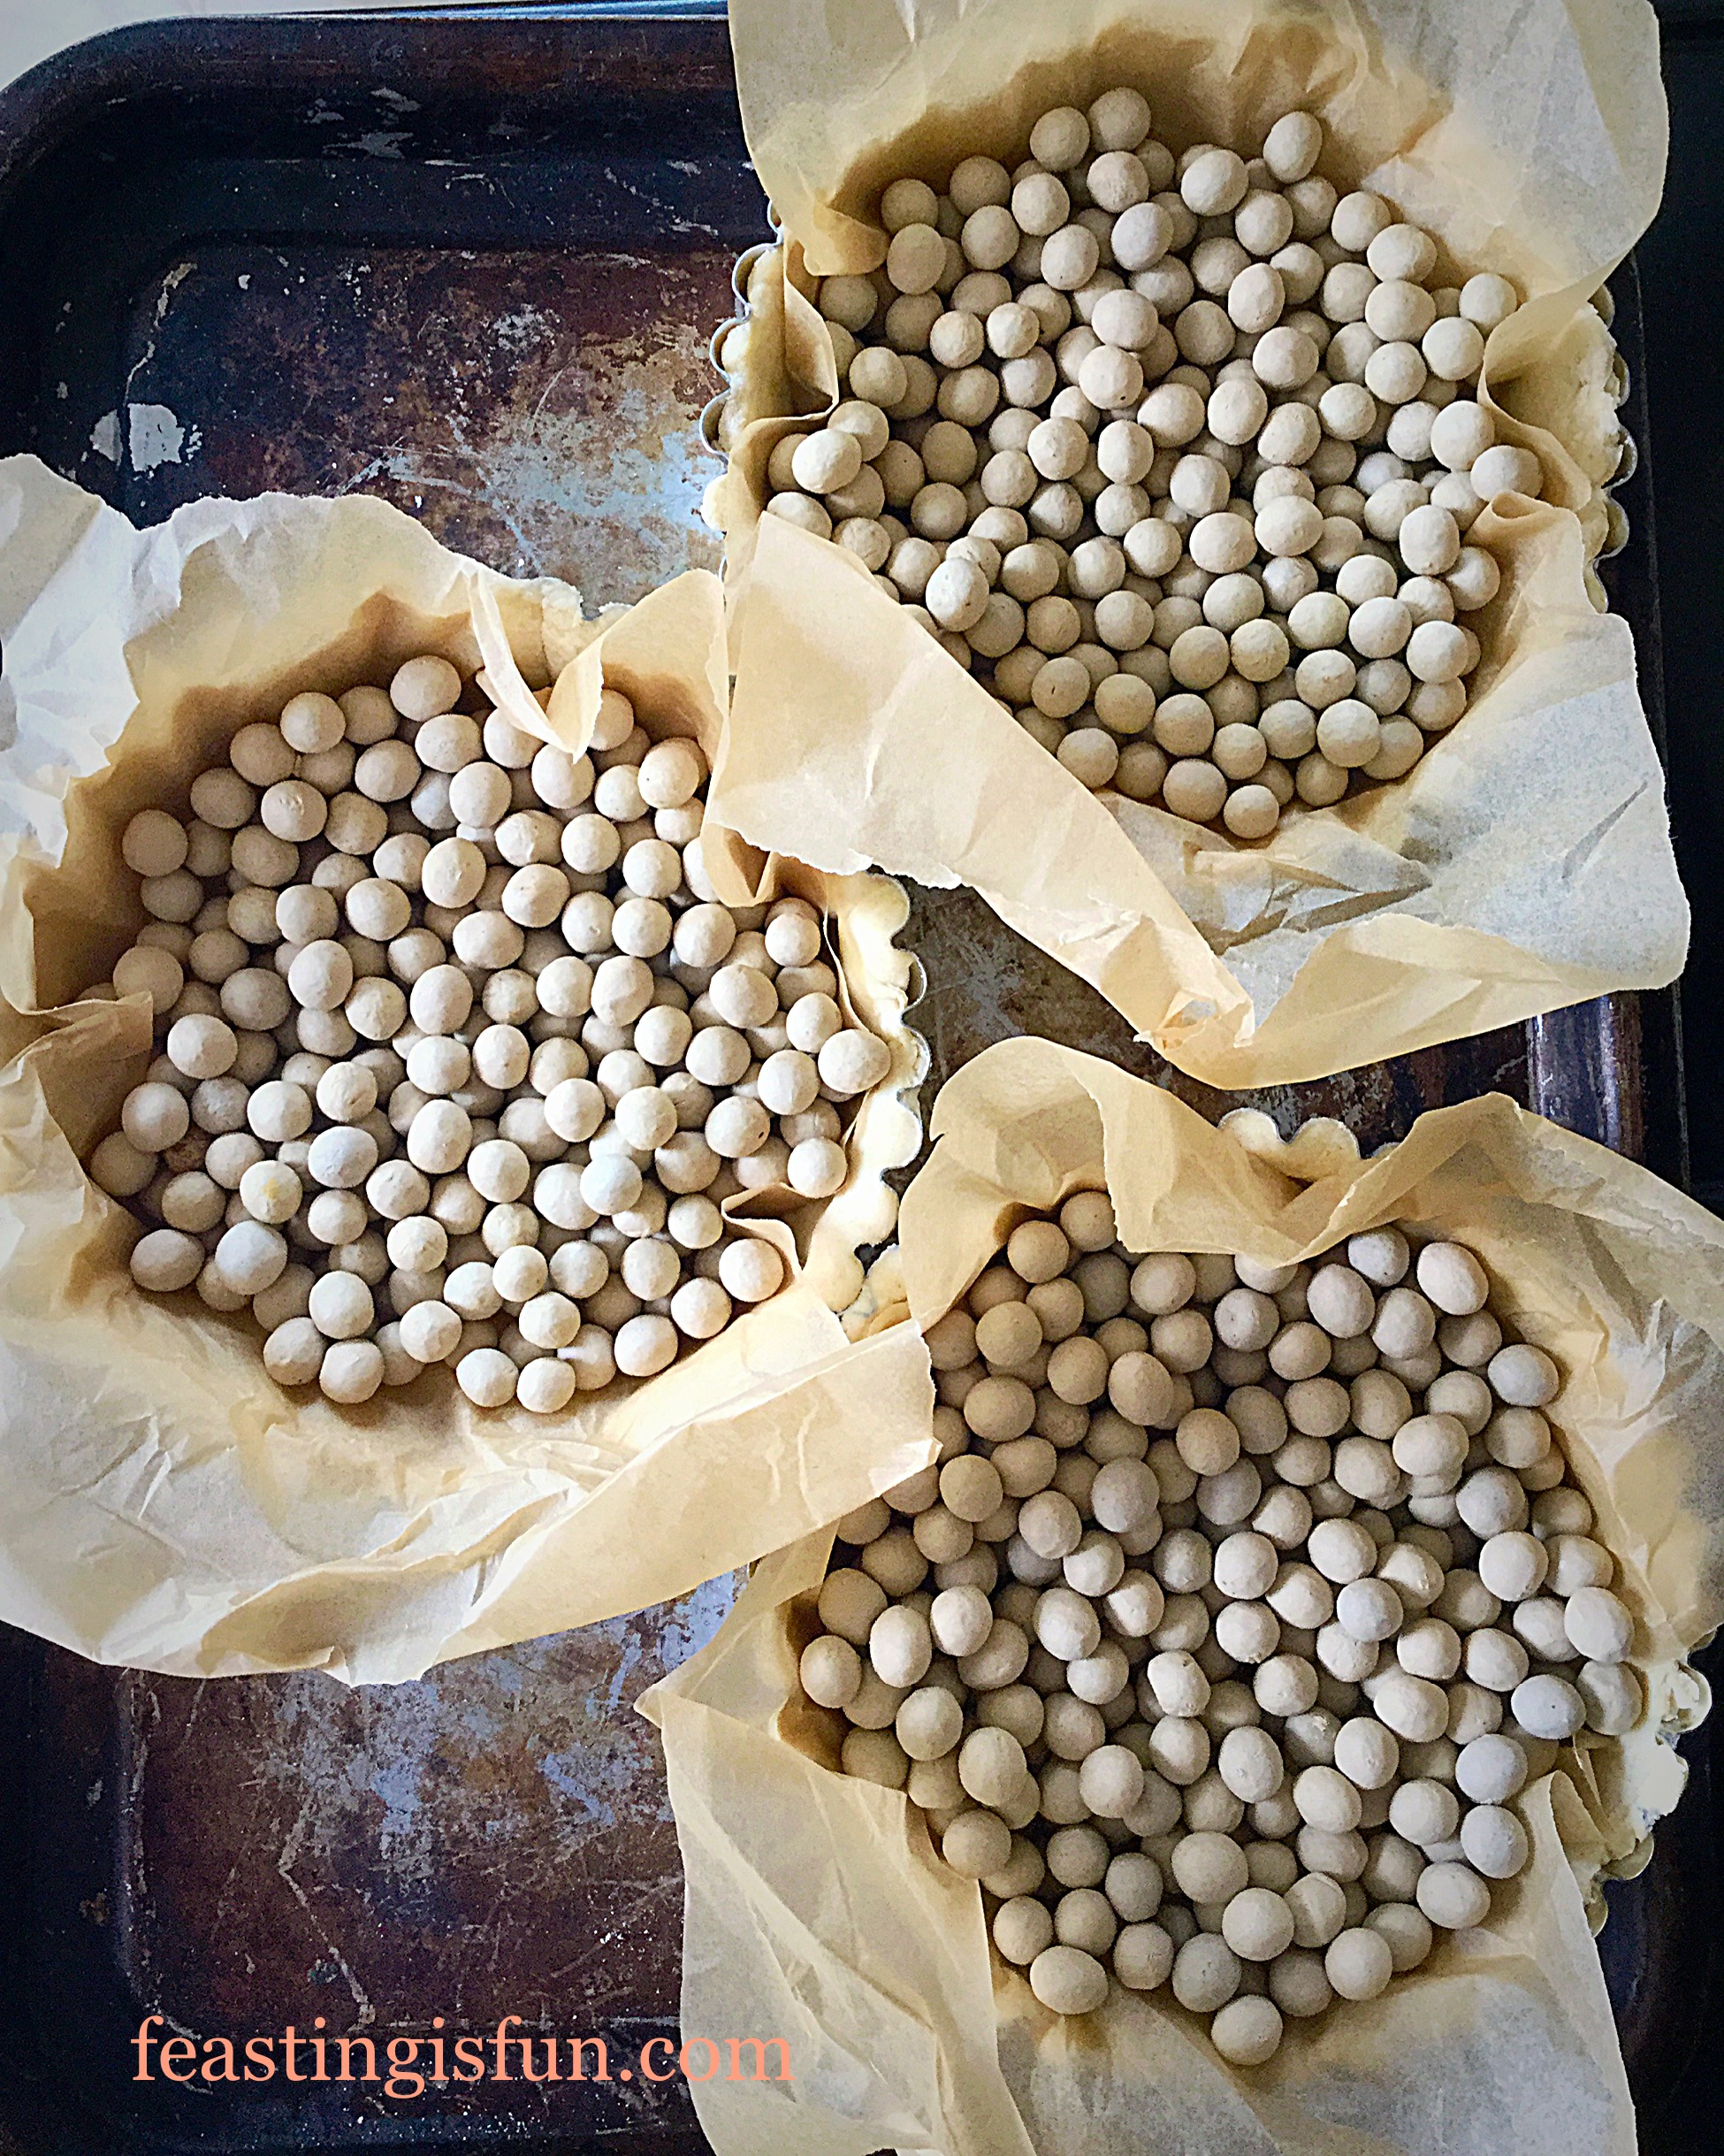
- Dock the base of the pastry tart with a fork and then line with baking parchment. Fill the lined tart with baking beans, or ceramic balls and place into the top of the oven.
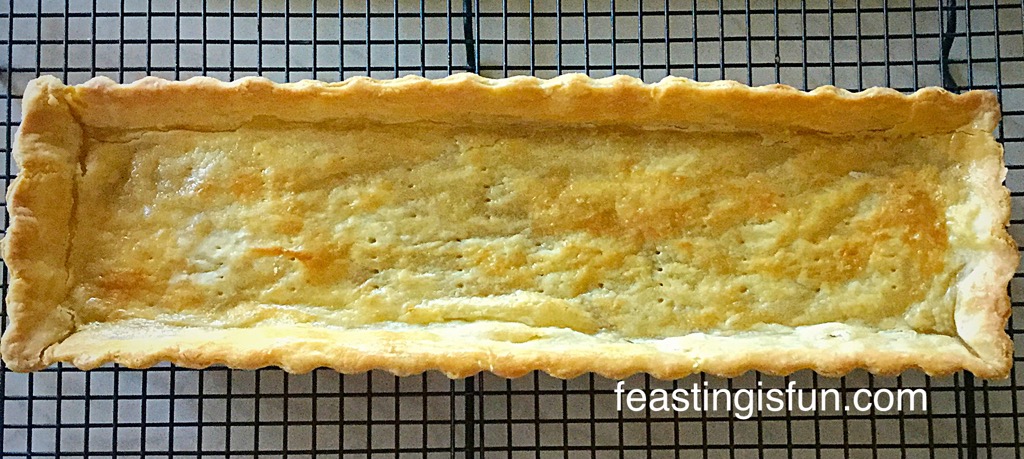
- Bake the pastry for 15 minutes, then remove from the oven and lift out the baking parchment and beans.
- Return the tart to the oven and bake for a further 5 minutes.
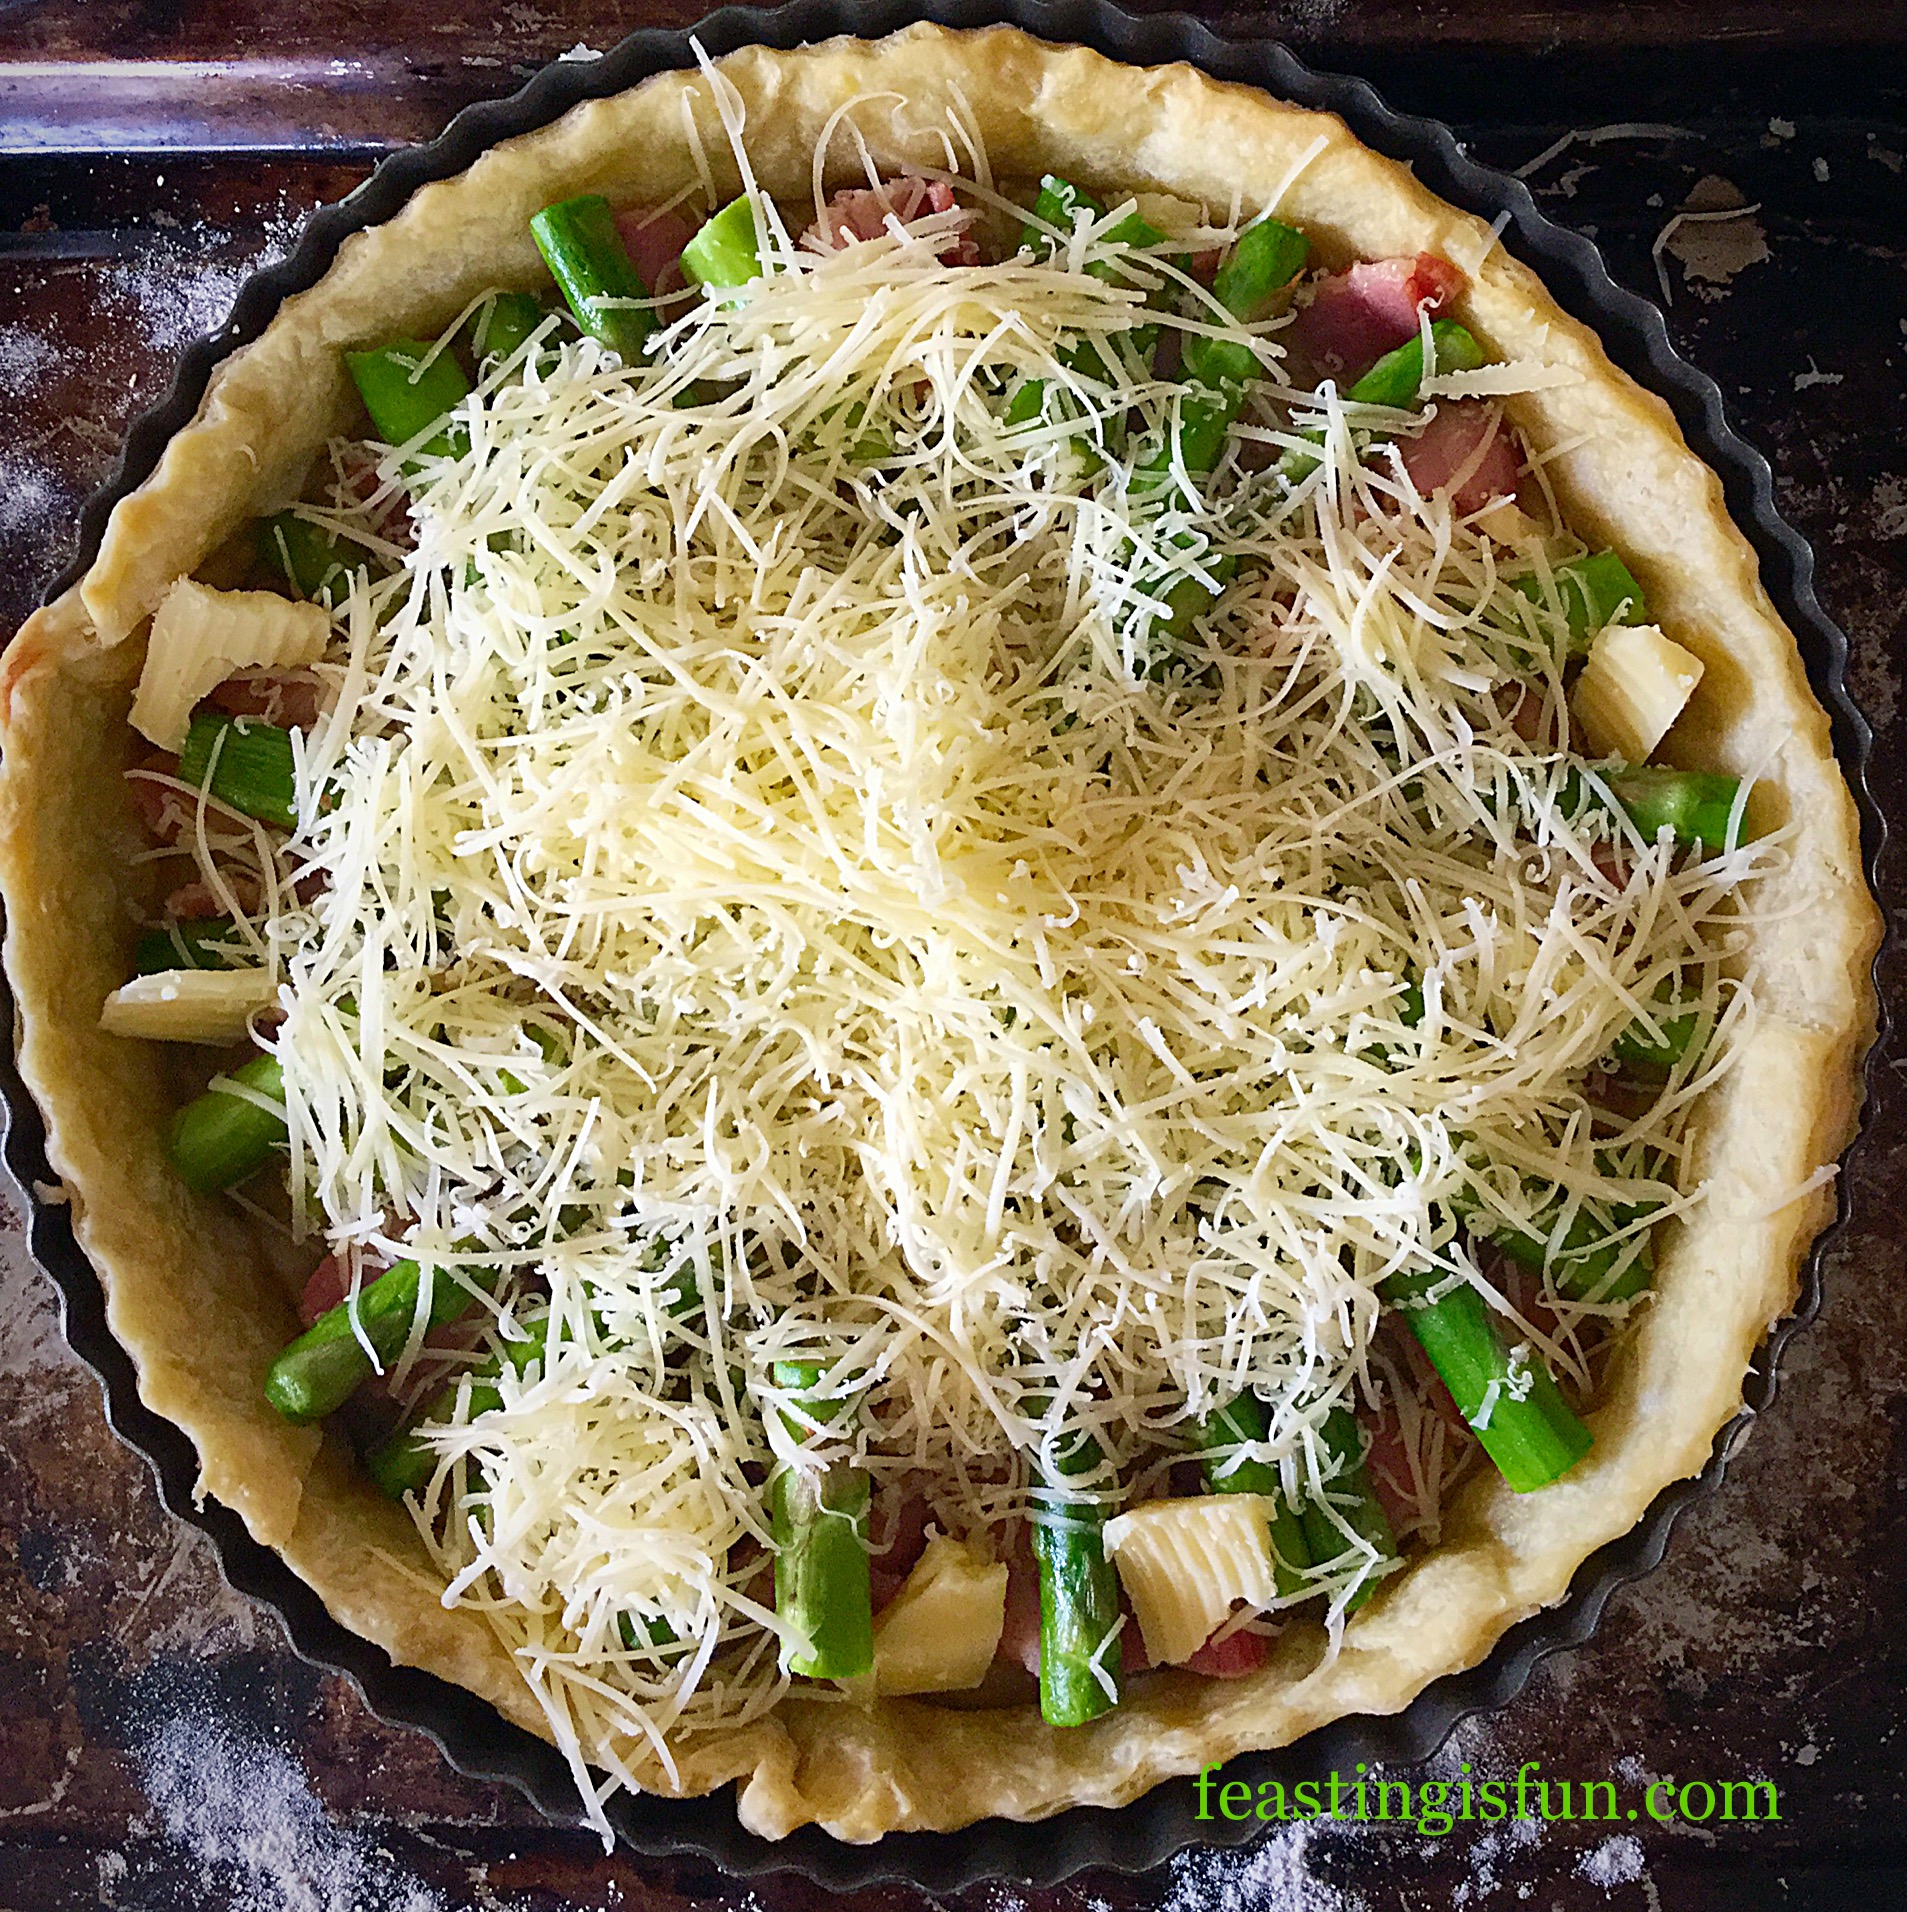
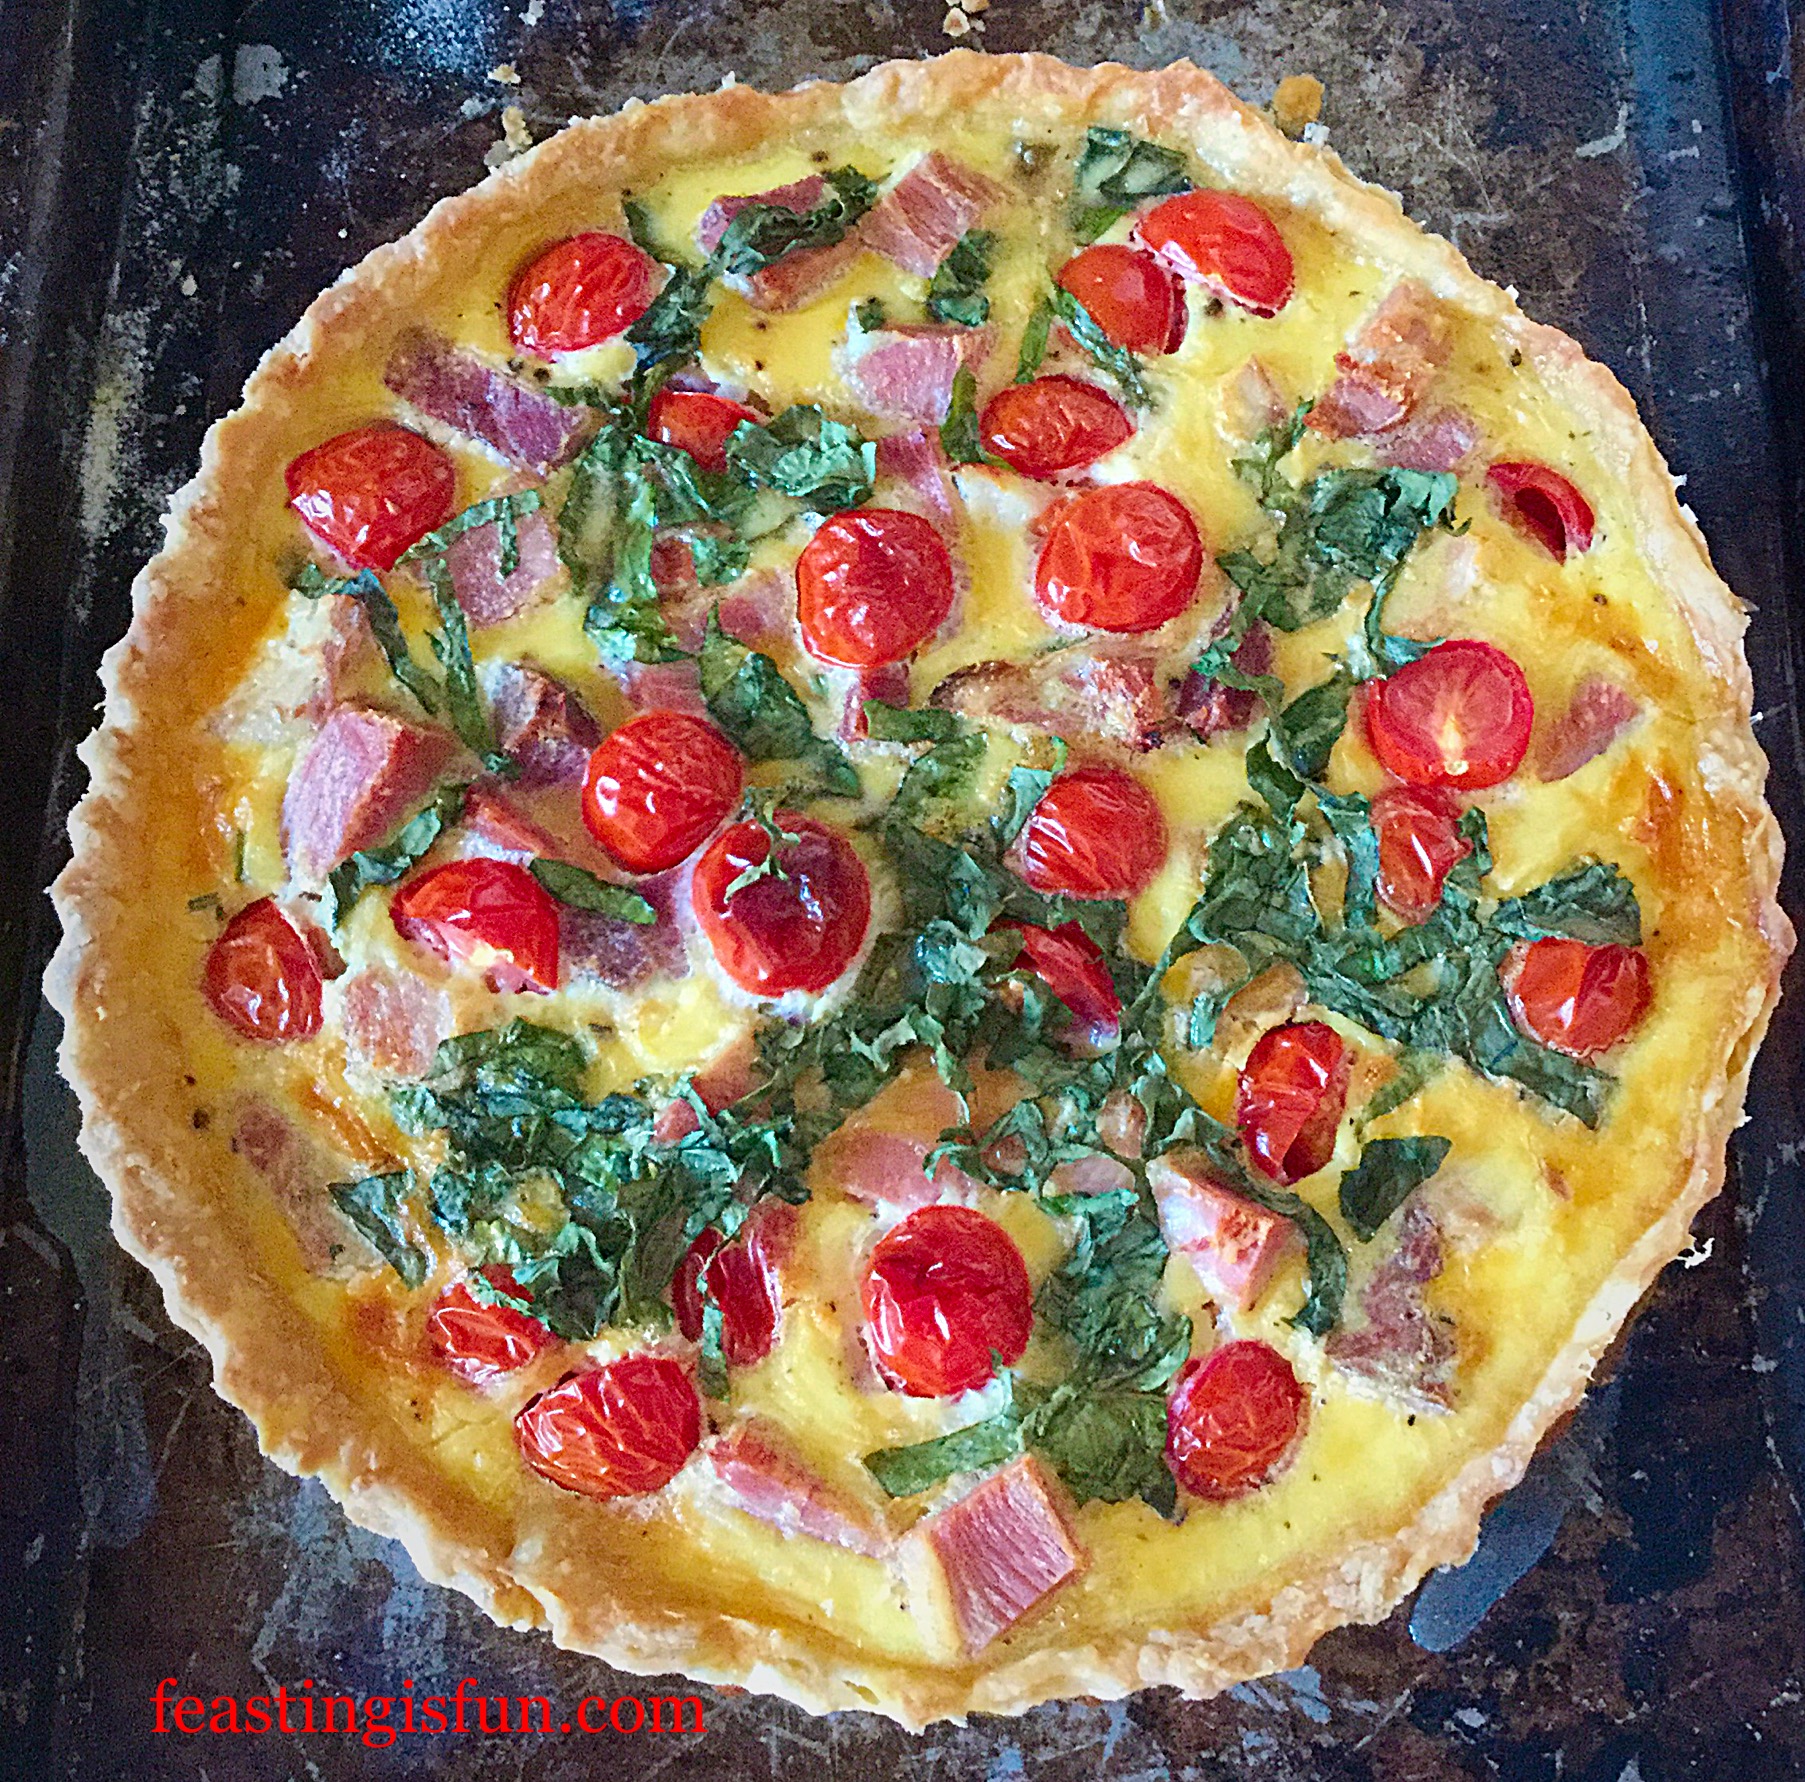
Layering the leeks and Stilton
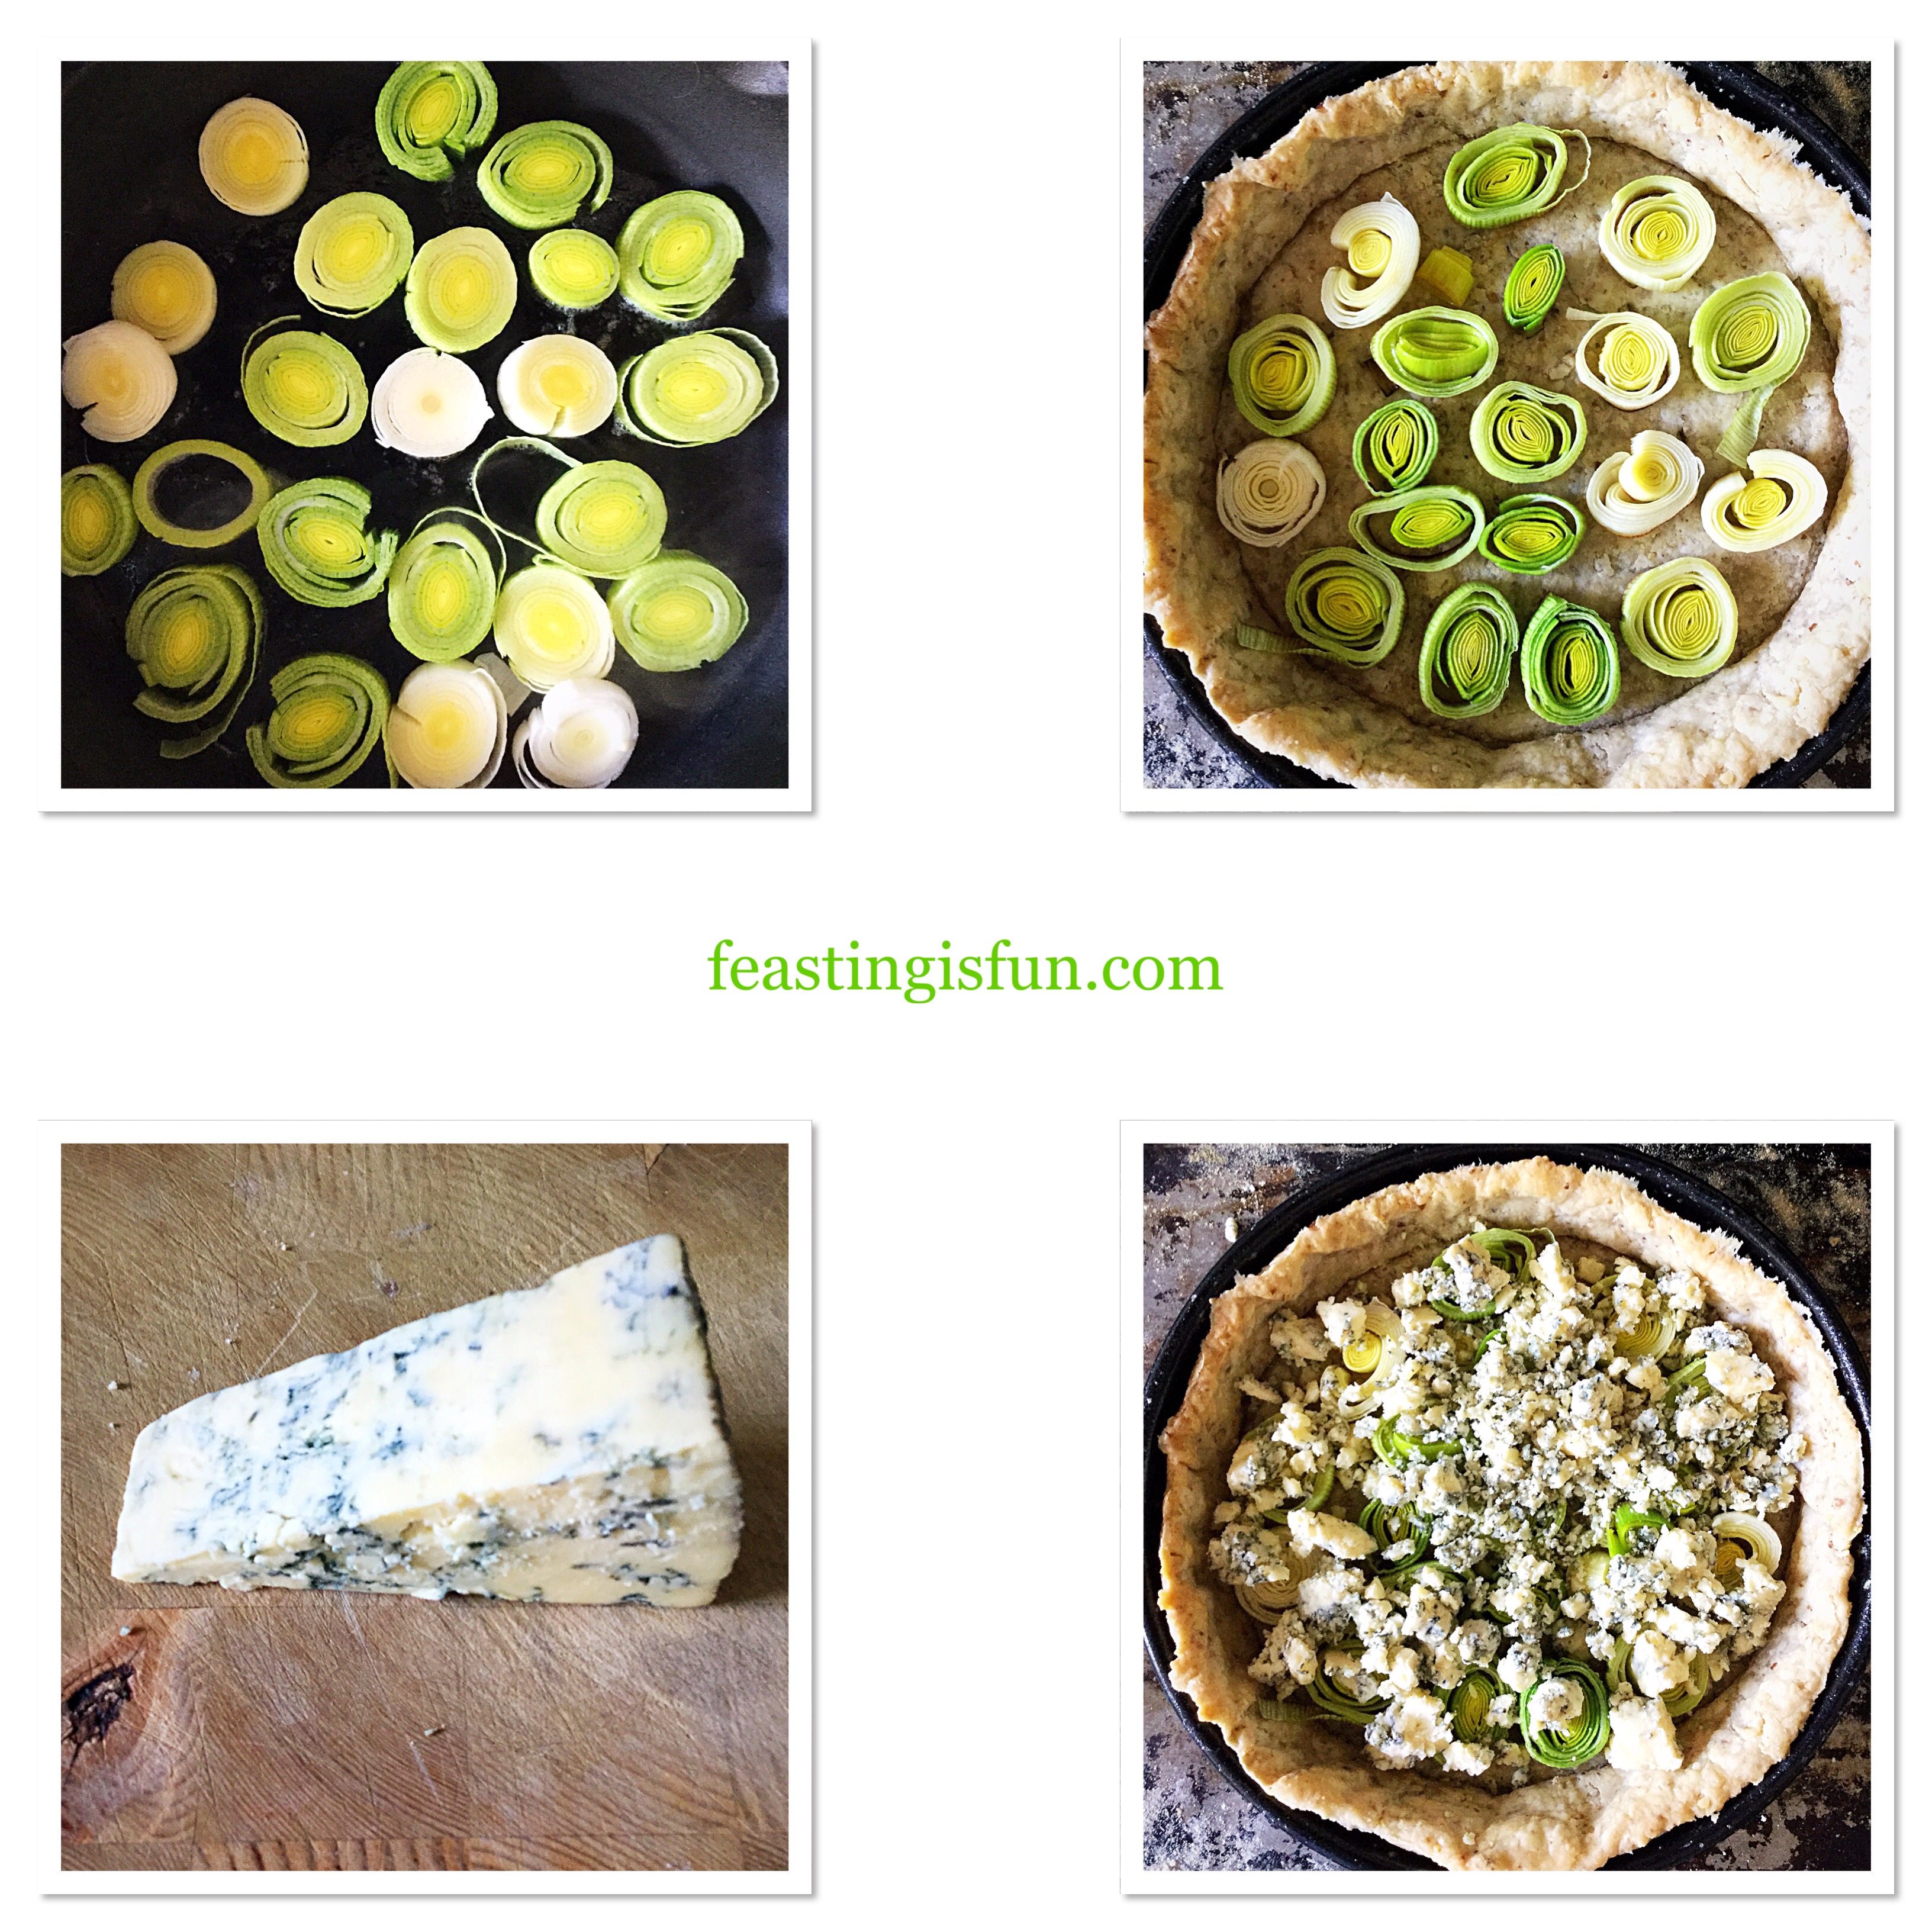
- While the pastry is baking, prepare the leek. Strip the outer 2 layers, cut off the root end and top, then rinse thoroughly with cold water.
- Cut the leek into whole rings, approximately 1cm deep and the gently sauté in a dry pan over a medium/low heat for 10 minutes, or until slightly softened.
- Remove the pastry shell from the oven when baked.
- Carefully transfer the whole leek rings to the tart shell. Add any odd pieces of leek around the whole rings in the tart.
- Cut the rind away from the Stilton. Now, using a fork, break up the Stilton, on a board, into crumbs. Sprinkle the crumbs over the leek in the tart shell.
- Reduce the oven temperature to 200C/180C fan, gas mark 6, 400F.
Making and adding the egg custard
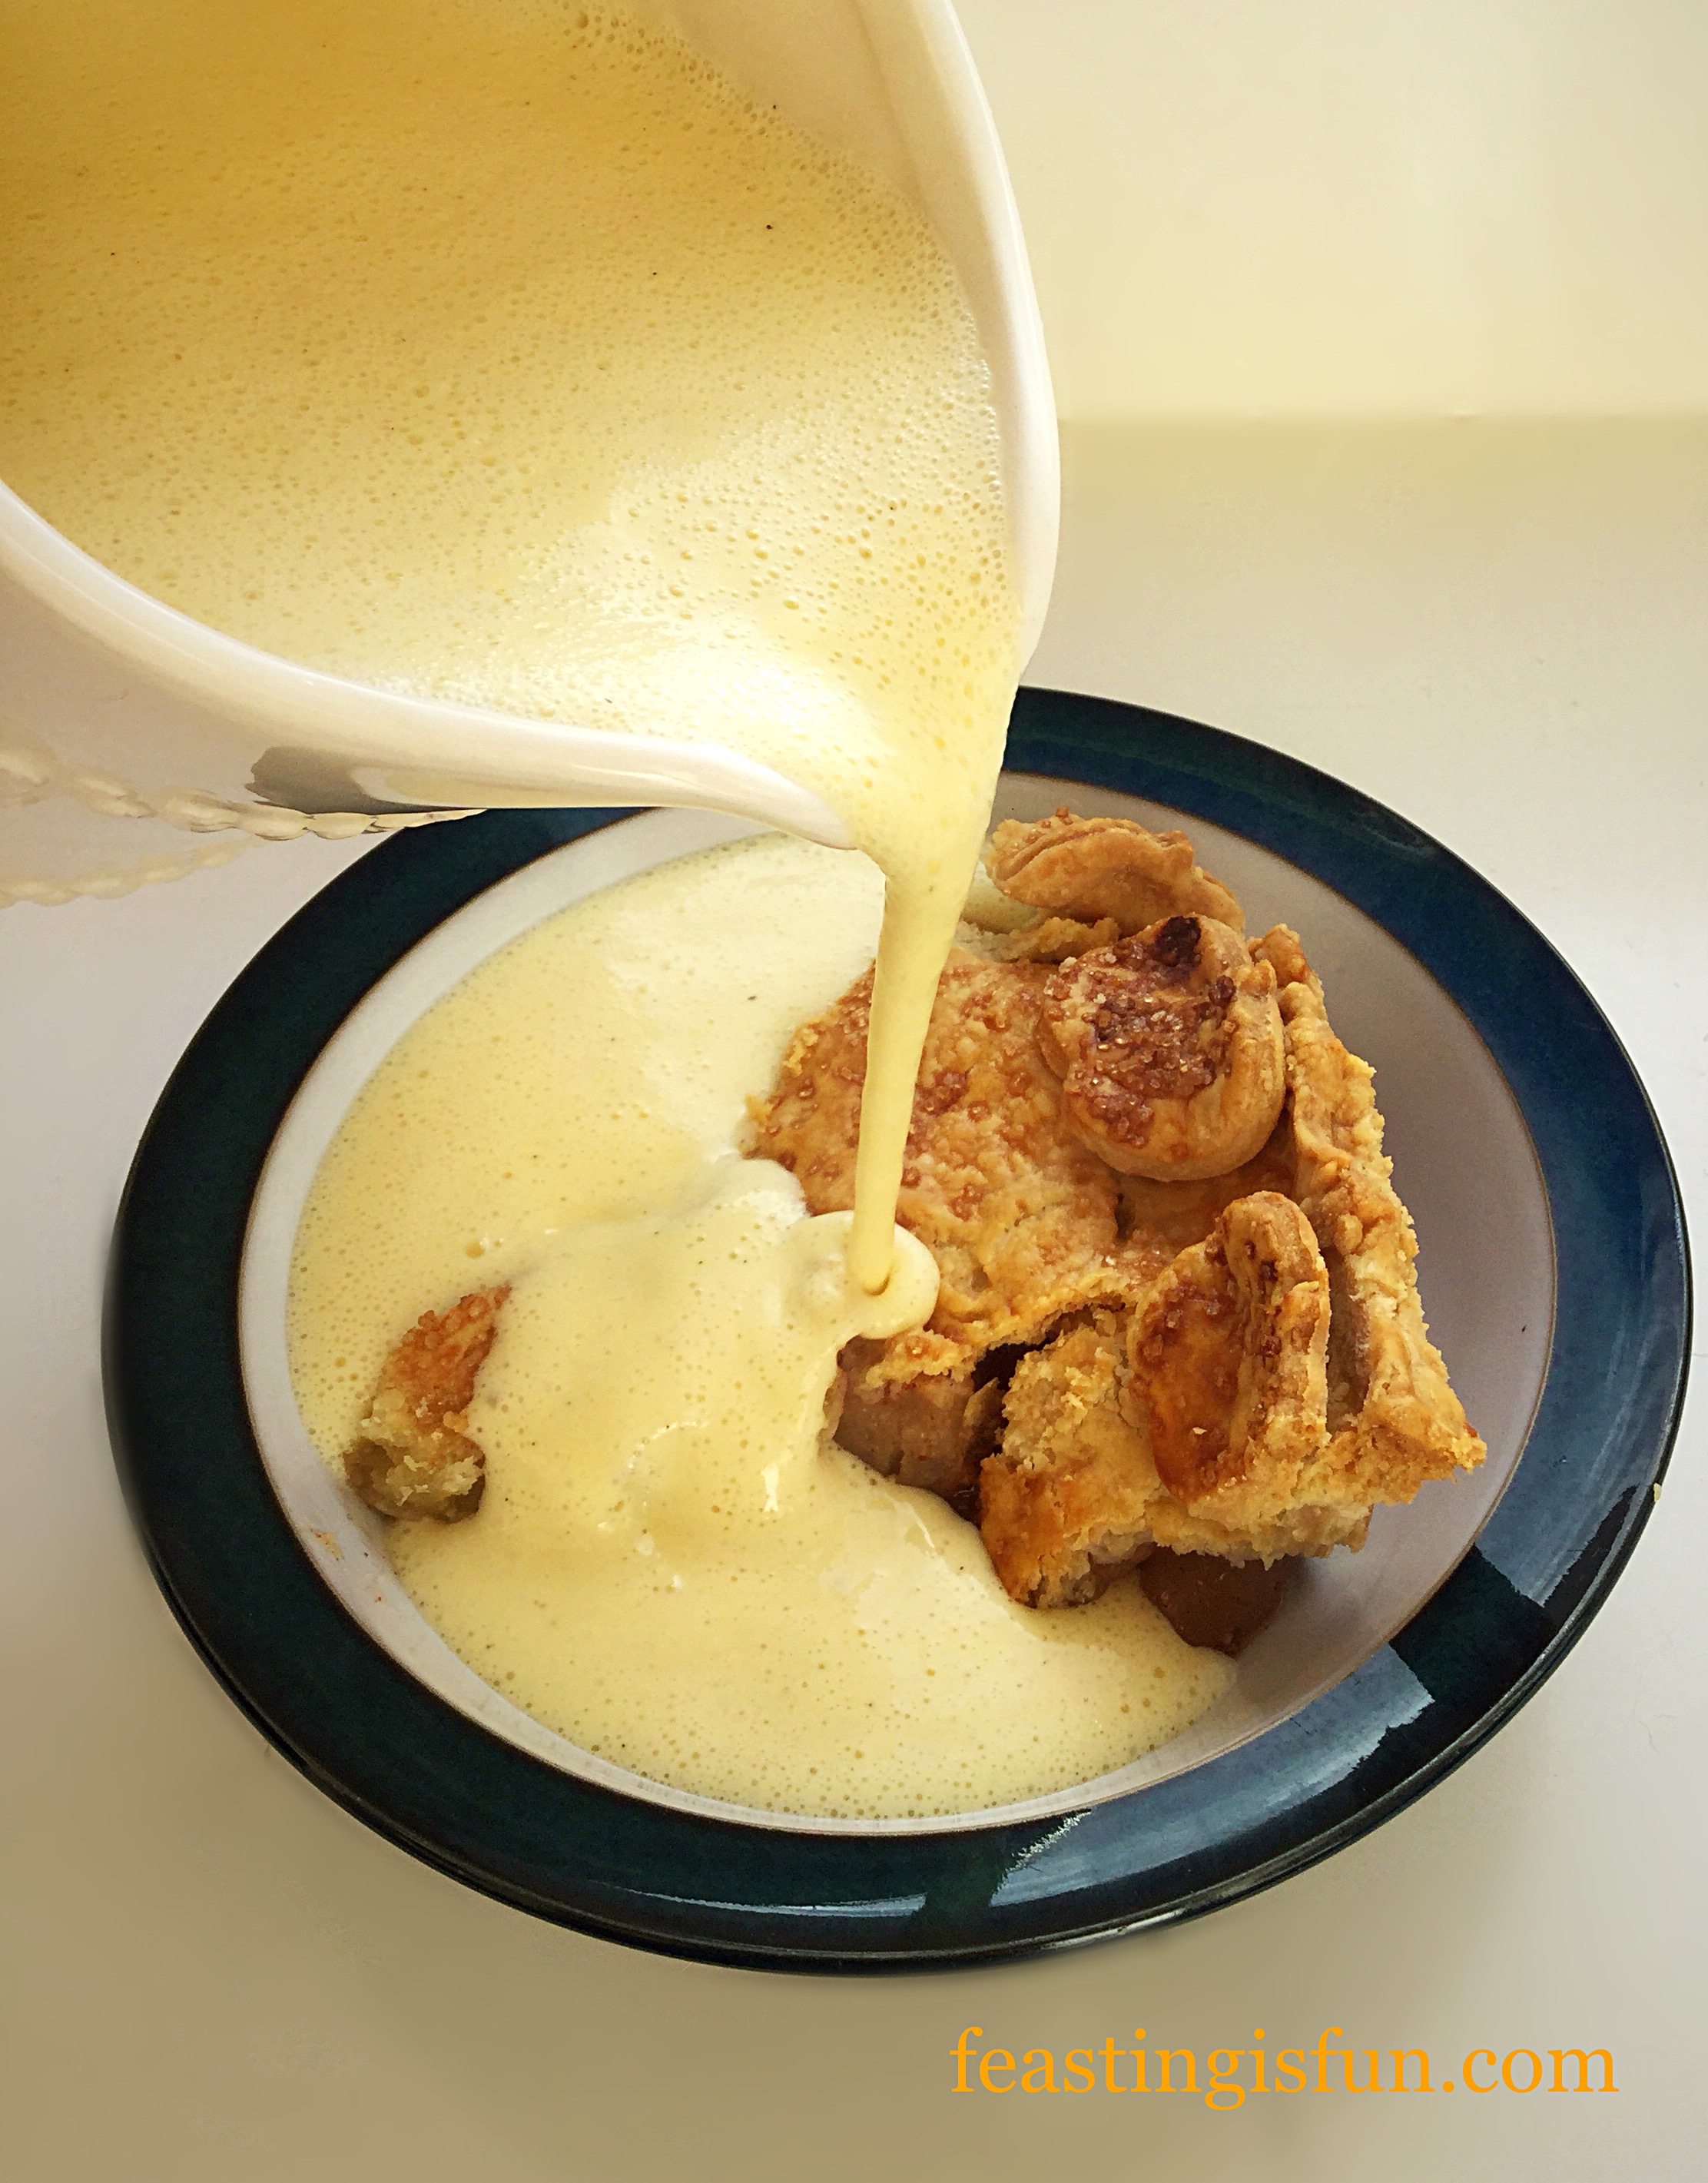
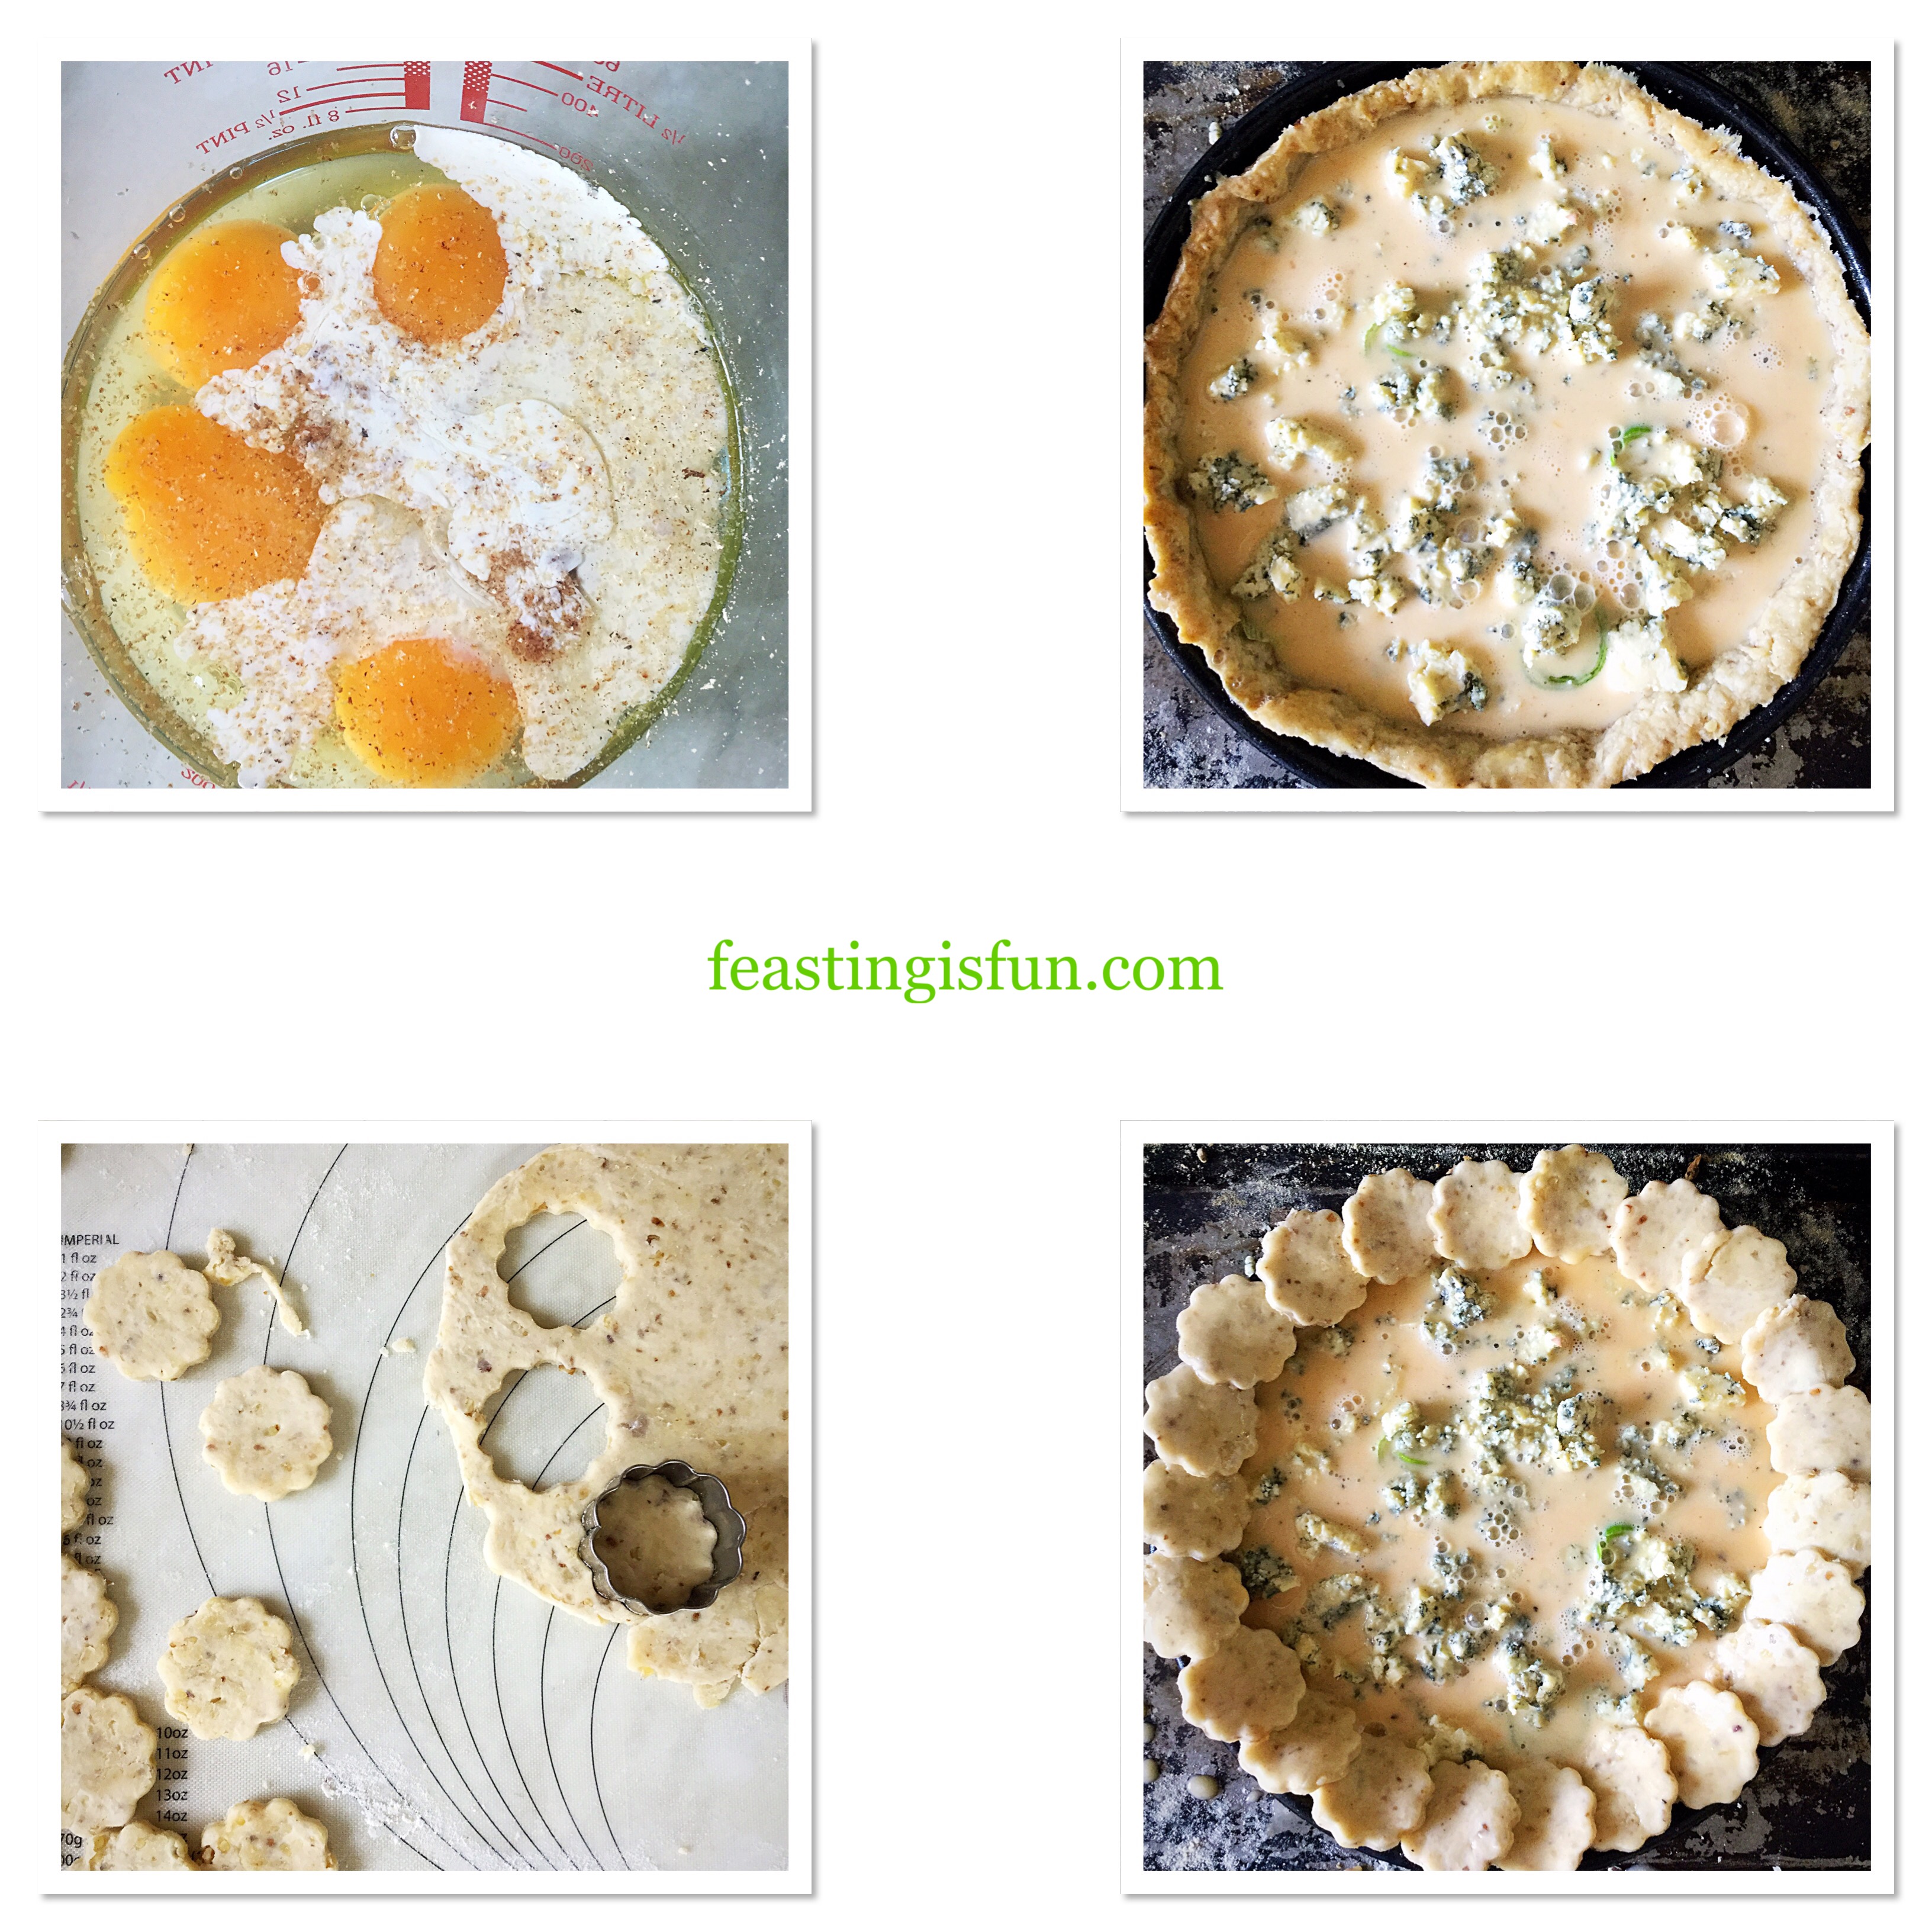
- Crack 4 eggs into a large jug. Add the double cream, nutmeg and pepper. Whisk together using a fork, until the mixture is uniform.
- Pour the egg custard carefully into the pastry tart.
- Carefully, as the tart is still warm, run a piece of butter around the top perimeter of the tin. This will stop any pastry decorations sticking.
- Gather together the pastry offcuts. Roll to the thickness of a one pound coin.
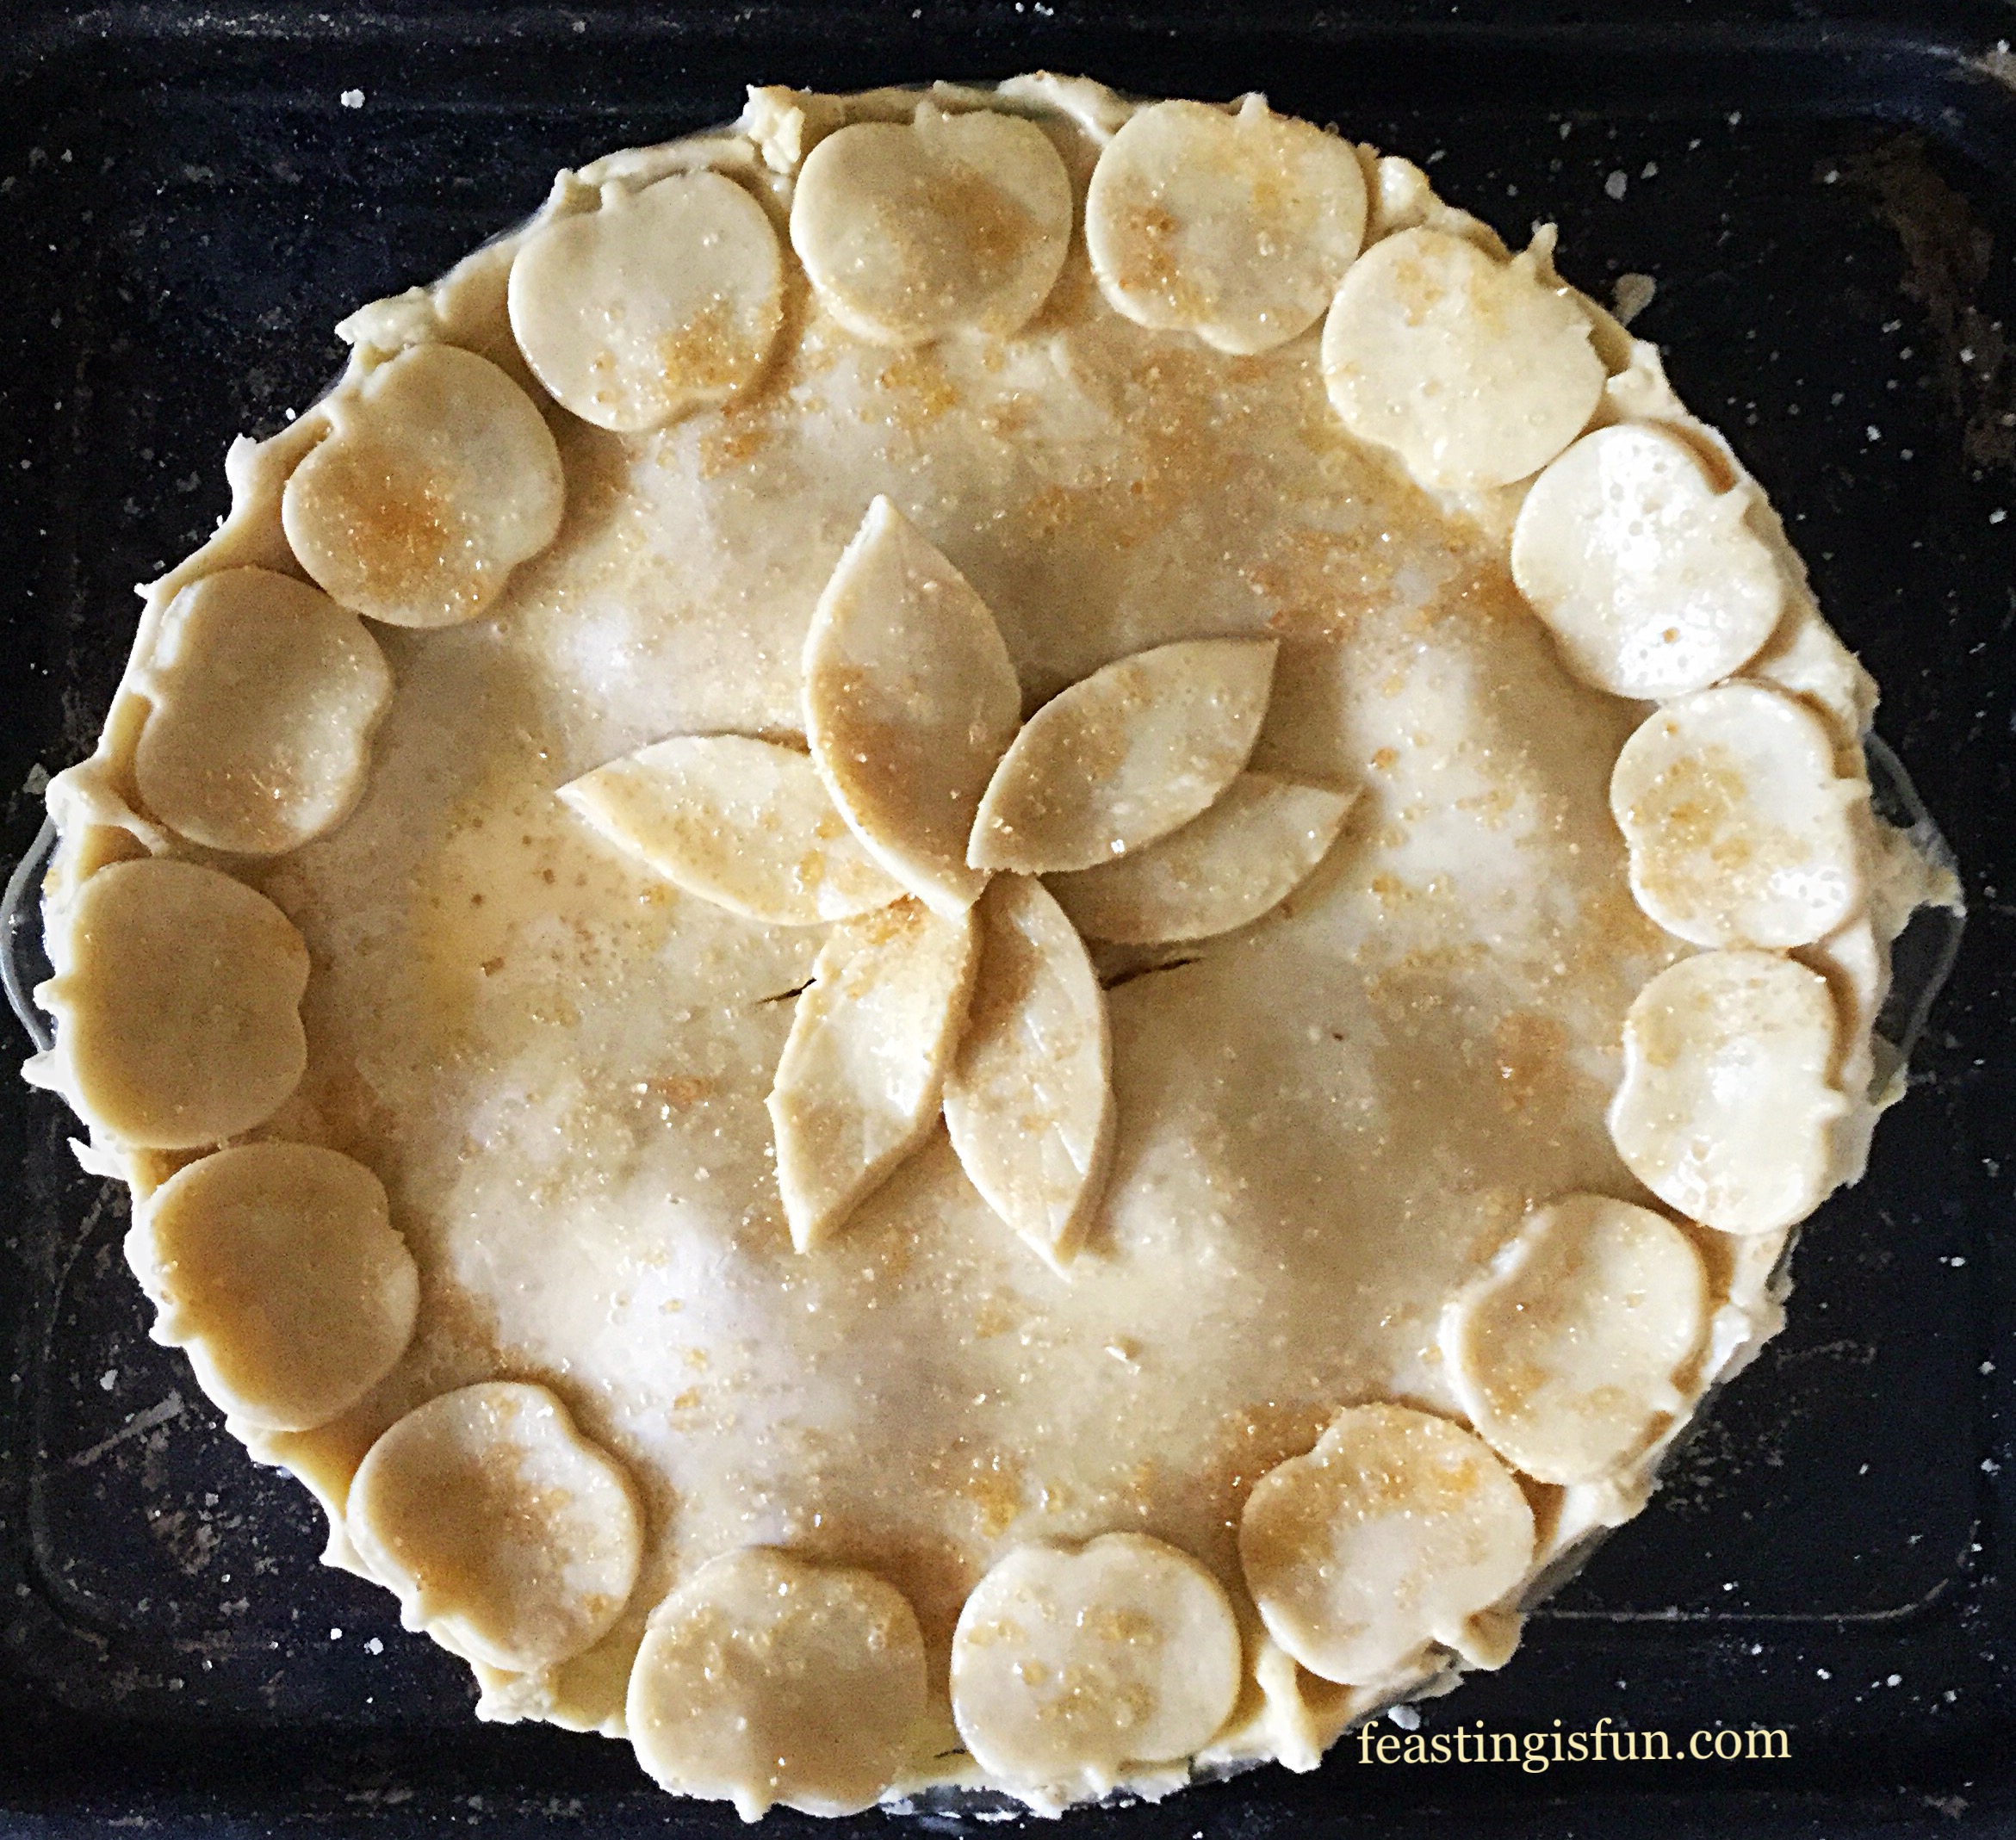
- Use a 1 inch/2.5cm approx. cutter to cut out about 25-30 circles. These will be placed around the edge of the tart.
- Break an egg into a small bowl, add 1tsp of cream or milk and whisk together. This is the egg wash.
- Take the first cutout and with a pastry brush, dipped in egg wash, brush both sides of the circle. Place the circle on to the edge of the tart. The centre of the circle should be in contact with the edge of the tart. Continue, using the same egg wash method and placing the 2nd circle so that just overlaps the first disc.
- Keep going until the whole perimeter of the tart case is covered. I used 22 pastry discs. The number you need will depend on the size of your tart, how much the discs overlap and other variables.
- Finally, when the decorations are in place, pour any leftover egg wash into the tart. As long as there is room.
Baking The Walnut Pastry Crust Leek Stilton Tart
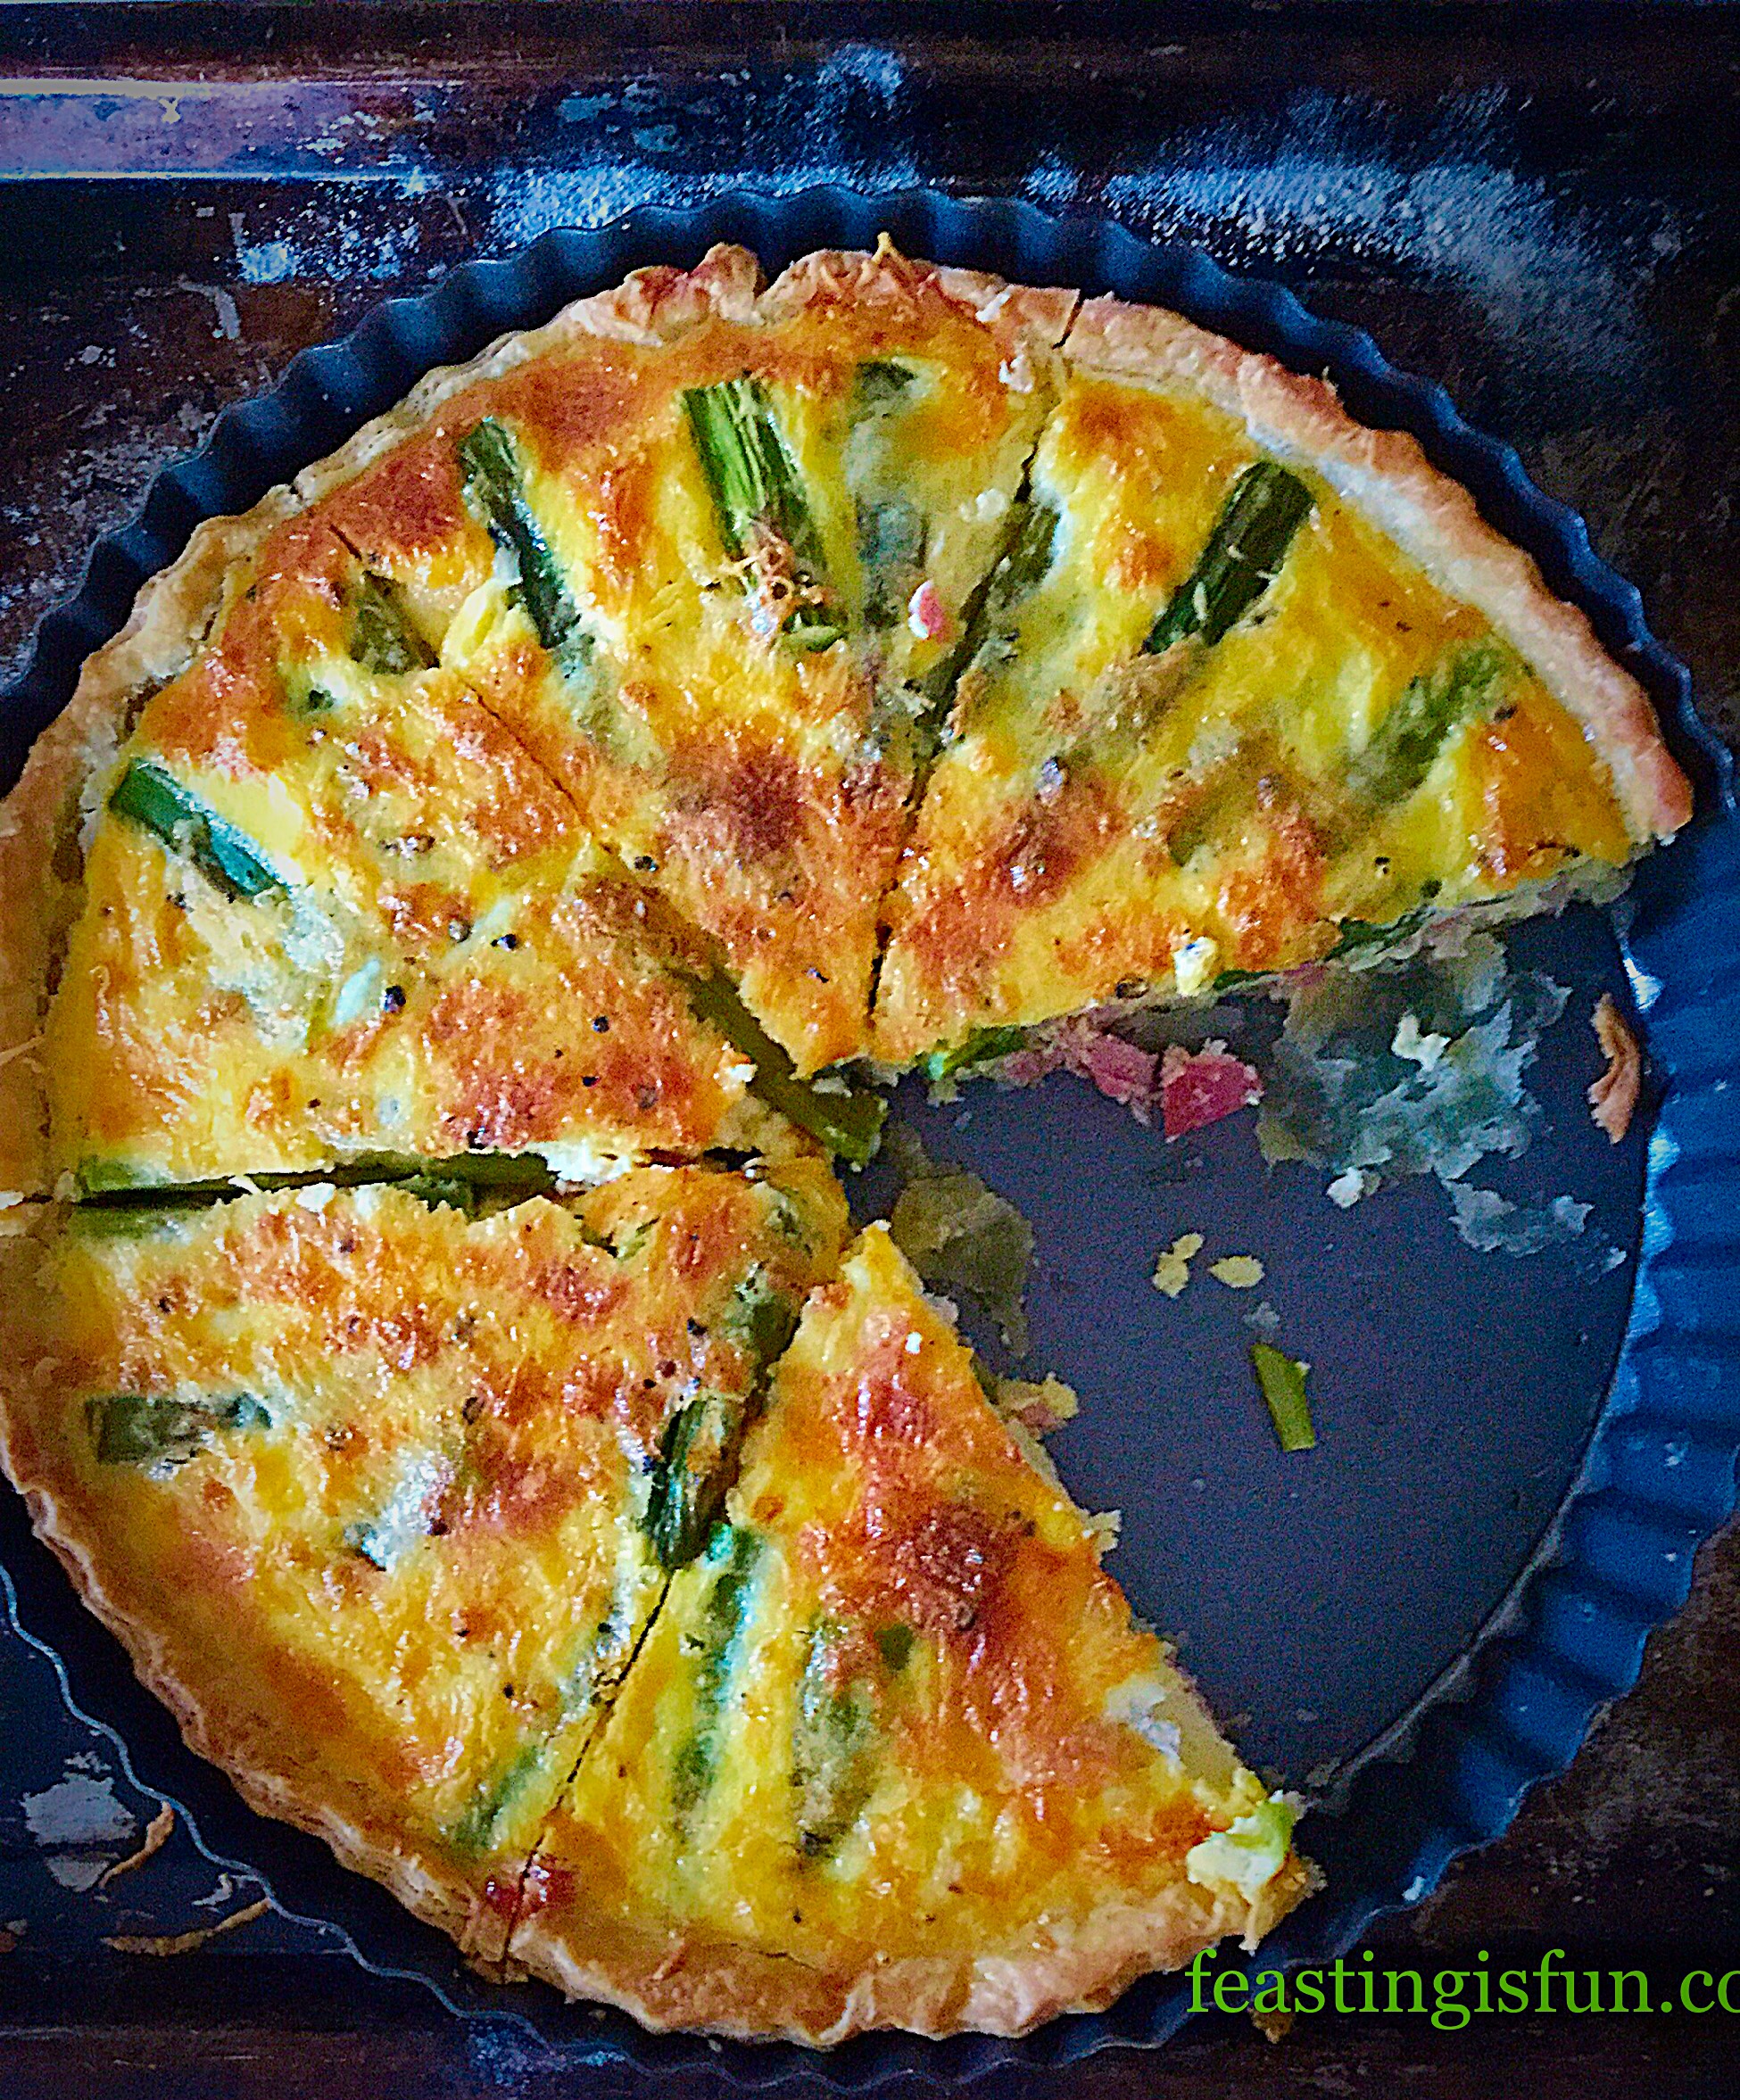
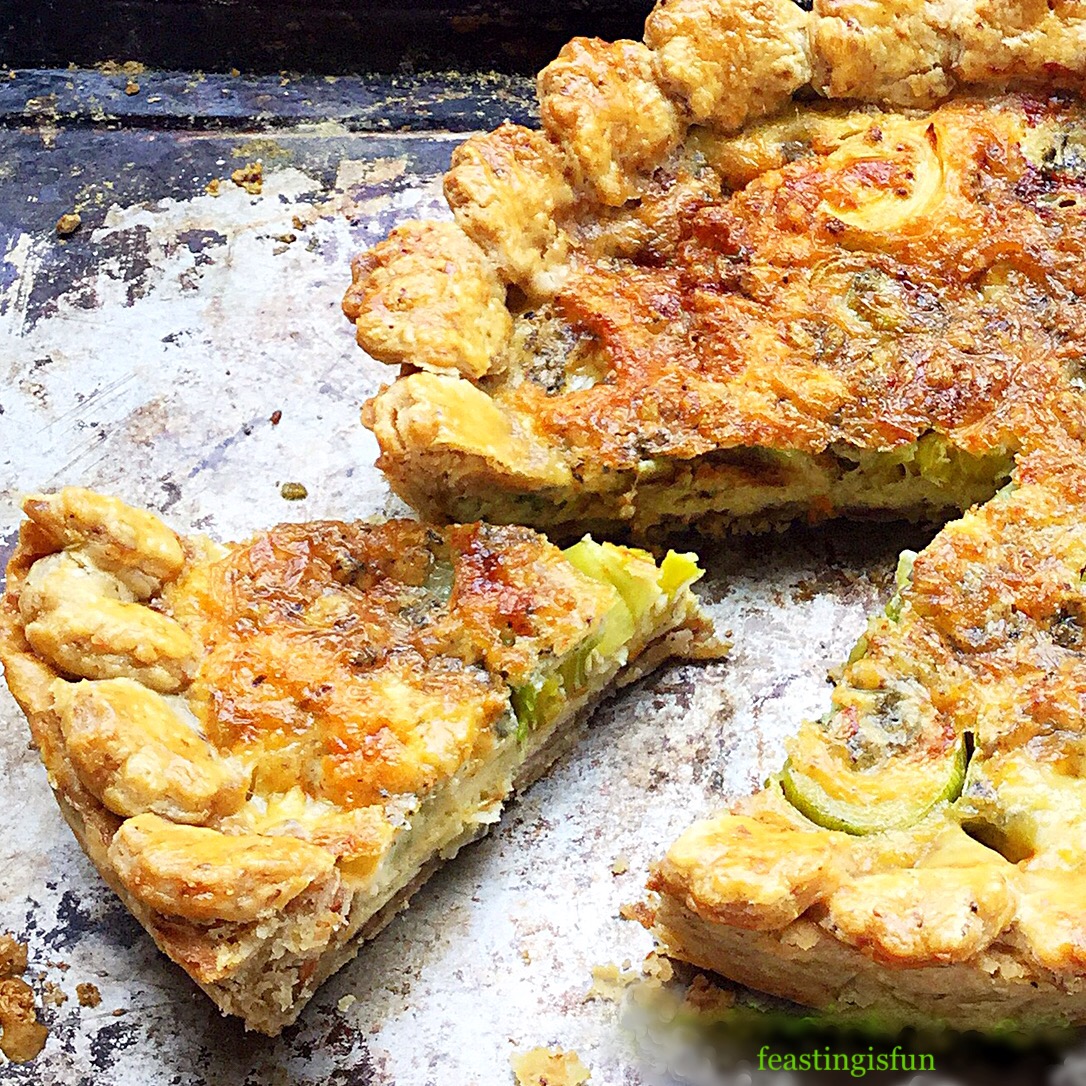
- Place the tart carefully into the centre of the oven and bake for 40-50 minutes. The tart is baked when there is no wobble in the centre, the filling has set and the egg custard is golden.
- When fully baked remove the tart from the oven and allow to cool before removing from the loose bottom tart tin.
This tart is delicious served warm for lunch or dinner, Also is is very tasty eaten cold or at room temperature, making it ideal for summer picnics and buffets.
It will keep for up to 3 days, stored in a container or, wrapped in cling film and kept in the fridge.
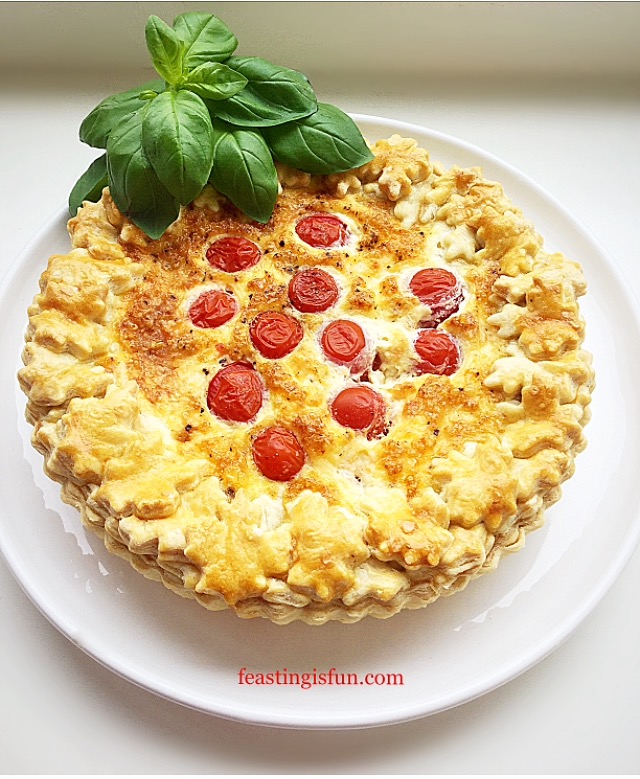
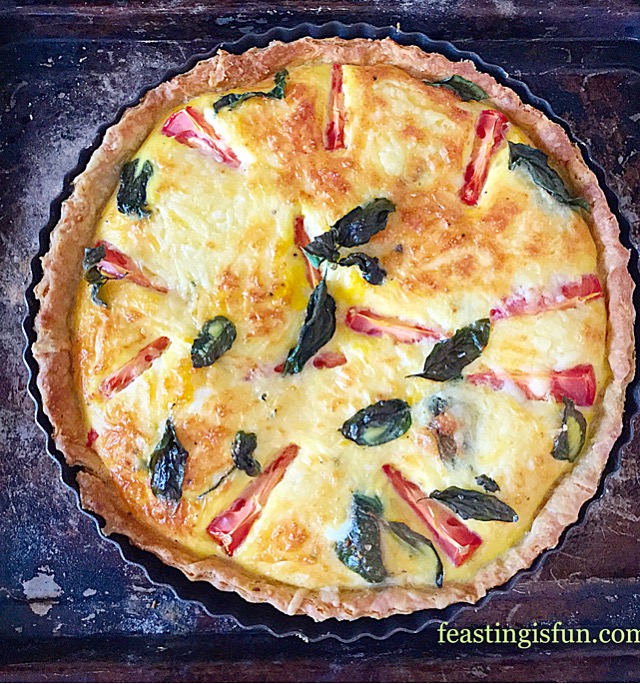
If you have enjoyed this recipe For Walnut Pastry Crust Leek Stilton Tart you may also like these:
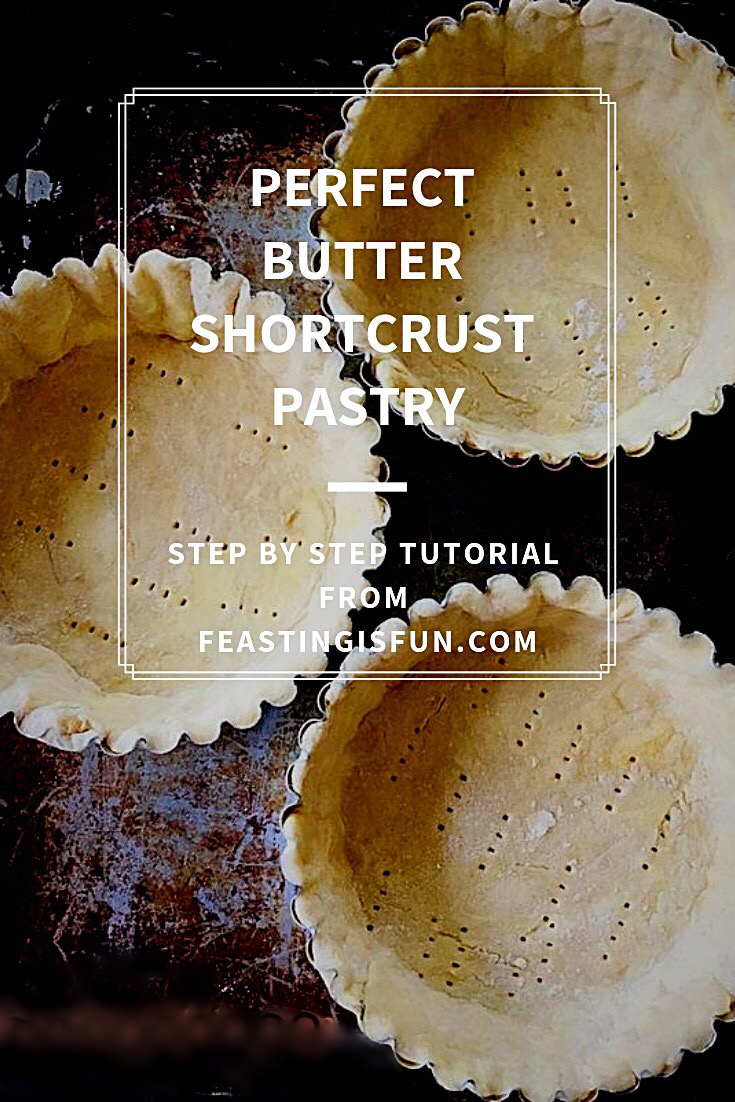
Homemade quiche and tarts taste a million times better than most shop bought varieties available. Seasoning, ingredients and indeed the pastry can all be tailored to our own personal tastes. While I haven’t taken on the challenge of Filo Pastry yet, shortcrust is incredibly easy, see Perfect Butter Shortcrust Pastry.
Whether served with a jacket potato and salad for a substantial meal, or grabbing a slice to eat whilst on the go, tarts and quiches are easy to make. They are also very satisfying to eat.
Do you have a favourite flavour combination for quiches and tarts?
Whatever you are making, baking and creating in your kitchens, have fun.
Sammie xx