Hello there lovely people, regular readers will know just how fond I am of Cookies! So it should come as no surprise that I also love biscuits and all variations in between. Actually what is the difference between Cookies and Biscuits? Anyway I digress, these Chocolate Dipped Viennese Fingers definitely fit in the biscuit category (whatever that is).
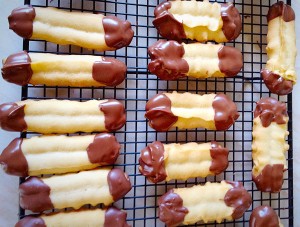
The Chocolate Dipped Viennese Fingers have a light, buttery crumb, which is complemented by the high quality chocolate dipped ends. So, definitely not a biscuit that I would dunk!
Mixing It Up!
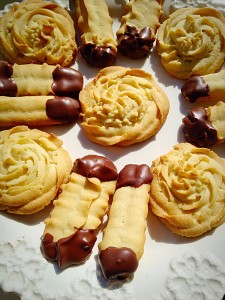
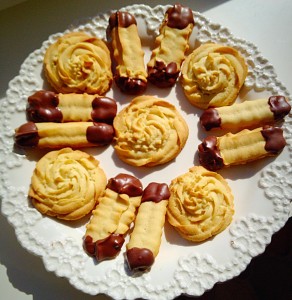
I also made some Viennese Swirls, which had their bases dipped in chocolate. Oh my, the biscuity, chocolatey, deliciousness in the shape of a swirl. Both Viennese fingers and swirls look so pretty. I imagine them adorning high tea cake stands, alongside scones and little triangle sandwiches with their crusts cut off! Oh hang on, is that the Ritz on the phone putting in an order? As if!!!!!
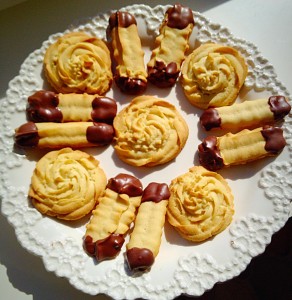
These fingers and swirls are piped, using the largest star tip you can get your hands on! Because they literally take moments to cook and cool, then you can get a-dunking in the gorgeous melted chocolate. And if you have children in the house, you will instantly have them in the kitchen the minute you start dunking! I guarantee it!!!
In fact I made 6 swirls and 19 (so annoying that it wasn’t 20!) fingers yesterday and they’ve all gone. Next time I’ll make a double batch – or hide them!!! That kinda goes against the sharing theme of this blog – oops! Looks like a double batch then.
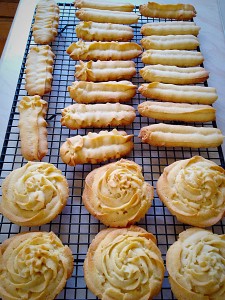
Anyway, let me show you how I made these –
Recipe : Chocolate Dipped Viennese Fingers – Makes Approx 30
200g/7oz Unsalted Butter – very soft
50g/2oz Icing Sugar
15g/ 1/2oz Corn Flour (also known as corn starch)
1tsp Vanilla Extract – I use Nielsen-Massey
1/8tsp Salt – I use Maldon
100g/4oz Self-raising White Flour
100g/4oz Plain White Flour
150g Milk Chocolate – I used Green and Black’s as it has 37% Cocoa, most chocolate bars have 20%-25%
Making The Biscuit Dough
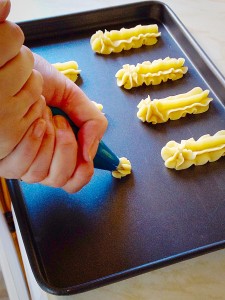
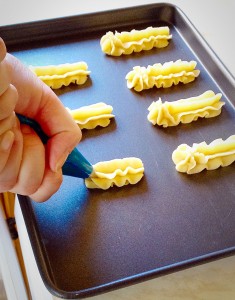
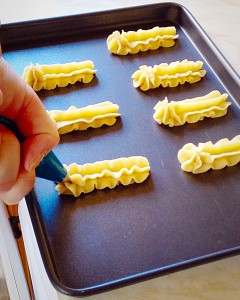
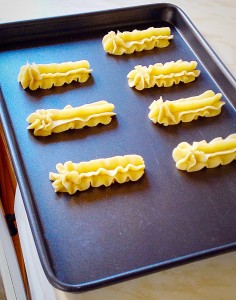
First of all, you will need a piping bag fitted with a large open star tip (Wilton 1M).
Preheat oven to 180C/160c fan, 350F, gas mark 4
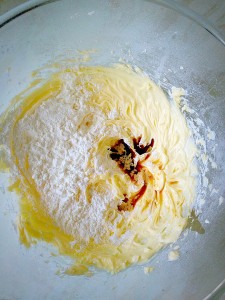
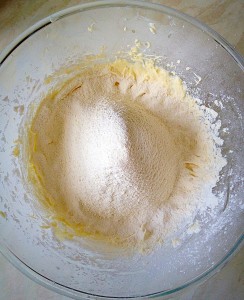
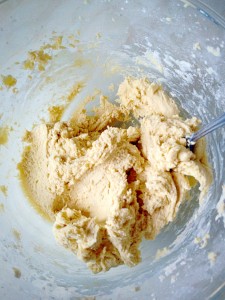
Whisk together the very soft butter, icing sugar and salt until light and fluffy.
Note – as the finished mixture is piped, having very soft butter will make the piping easier.
Piping The Viennese Fingers
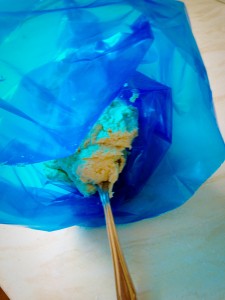
Ensure your piping bag is fitted with a large star tip, Wilton #1M is ideal.
Either use parchment paper lined baking sheets or non stick – I used a combination of both.
Here’s how to pipe the Viennese Fingers in pictures –
And, if you fancy making the Viennese swirls, here is how you do it!
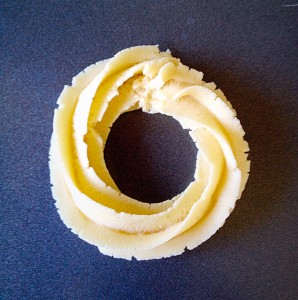
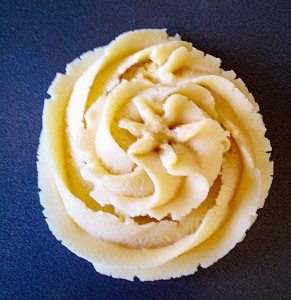
Baking The Viennese Fingers
Place the swirls and fingers in the oven. Bake the fingers for 10 minutes and the swirls for 10-12 minutes. They are cooked when they have turned a light, golden colour.
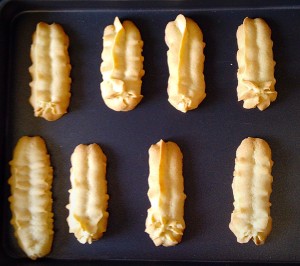
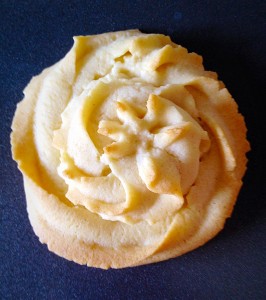
As soon as the biscuits are baked remove from the oven. Leave to cool on the baking sheets for a couple of minutes and then, using a palette knife, move the fingers and swirls to a cooling rack.
Dipping The Viennese Fingers In Chocolate
Once cooled the fingers are ready for dunking in chocolate.
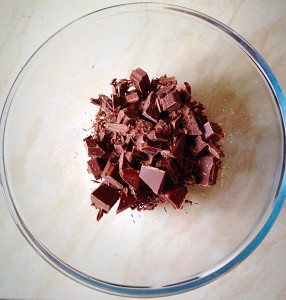
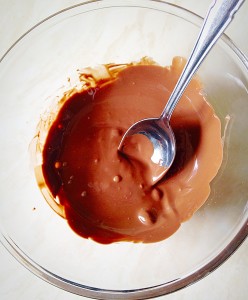
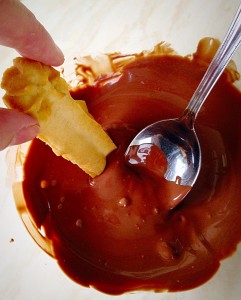
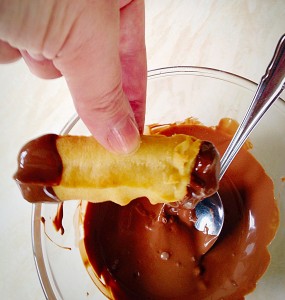
Place the Chocolate Dipped Viennese Fingers onto a baking sheet lined with parchment paper – DO NOT place back on the cooling rack as I did. I’ll show you why later!
And for the swirls, I used a spoon to cover the base of the swirl with melted chocolate and then left them to cool, upside down, on the cooling rack.
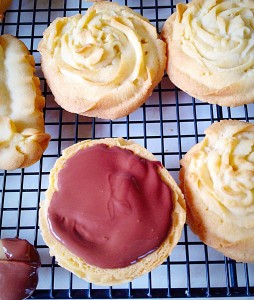
You now can present your Chocolate Dipped Viennese Fingers and Swirls!
I promised to show you what happened when I cooled the Chocolate Dipped Viennese Fingers on the cooling rack…..
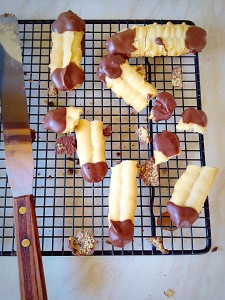
Totally my fault and very embarrassing as my previous post stated the importance of reading through a recipe before you start. Guess what, if I’d read the recipe I’d have known to cool the chocolate dipped fingers on parchment paper. My bad!
If you have enjoyed this recipe for Chocolate Dipped Viennese Fingers you may also like these:
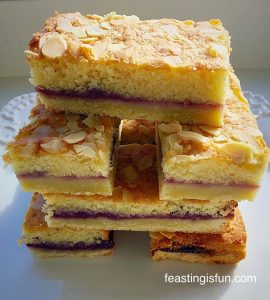
Multi Millionaires Shortbread Squares

Chocolate Vanilla Viennese Finger Biscuits

We had fun eating all of the broken biscuits. Since life isn’t always perfect, I try to make the most of everything. Having a laugh at mishaps, eating the spoils, it all makes memories.
Have you had an memorable baking mishaps??
Sammie x

Gotta love a Viennese biscuit ! Yum – I make mine with stork with butter still got the buttery taste but is nice and soft to pipe with – have you tried it ?
Yours held their shape beautifully too
Thanks Becky, that is a great tip. I have made them since and made sure the butter was softer to start. Using stork is a good idea though. X
What is corn flour? What star tip did you use? Can you provide the number? Was it Wilton?
Hi Mary. Corn flour is also known as corn starch. I would recommend using a Wilton #1M large star tip. At the time of making these I didn’t own one and used a slightly smaller star tip, it was pretty hard work piping the biscuits. Thank you for your comment and I will add theses recommendations to the post. These are utterly delicious biscuits, please send me a photo via Twitter/Instagram @sammiefeasting if you make them? Have fun. Sammie x
They are delicious! Made them today, with my food processor mixing the dough in seconds. Hubby has a hard time keeping his fingers off – the chocolate has not set yet 🙂
Thanks for sharing the recipe!
Thank you Sariba. I’m glad you found them easy to make and bake. They are one of my Hubby’s favourites too. Sammie.
These look so good! I love the photographs of you piping them on. They look so frilly!!
I regularly have baking mishaps. Last night’s experimental banana bread being one of them. I put in too much yoghurt and they look a bit sunken and sorry for themselves. Dropping a tray of cupcakes just as I was about to put them in the oven was another hilarious disaster!
Thanks for your comment Jo. I know, baking mishaps go with the territory!! At least we could eat the broken biscuit!!!
hmmm yummy these look so darn good!! Thanks for sharing
CANDICE | BEAUTY CANDY LOVES
Thanks Candice, they really were yummy and I’m being begged to make more. Thank you for leaving a comment. I’ll pop over to your blog and take a peek! Sammie x
Looks delicious!!
Made in Mauve ☆ Bloglovin
Thanks, let me know if you try them?
Hi dear, you have amazing blog and great post, I followed you on BLOGLOVIN, would you check out my blog and follow me too? thank you. xoxo
My Blog: http://lovjoice.blogspot.com/
Hi Joice, thank you for looking at my blog and enjoying it. If course I will check out you on Bloglovin’.
These look so delicious!
http://www.saltandchic.com // UK Fashion Blog
Thanks Amy. The were all gone within 24 hours!!!
Haha, don’t you hate it when your own advice comes back to bite you?! These look delicious, mishap notwithstanding. The perfect tea cookie!
Oh it soo came back to bite me on the bum!!! Fortunately we had no trouble polishing off the broken bits!!
Quick note I’ve bought a bigger star tip to make the piping easier!! Sammie x
Yum these look delicious!! I nominated you for a Liebster Award. Check out the info here: https://sugarsmilebaking.wordpress.com/2015/05/23/the-liebster-award/
Thank you. They were delicious. Thanks for nominating me. Sammie x
These looks so delicious! I really want to make them 🙂
Sarah
Ooh let me know how you get on if you do try them please? Thank you for leaving such a lovely comment. Sammie x