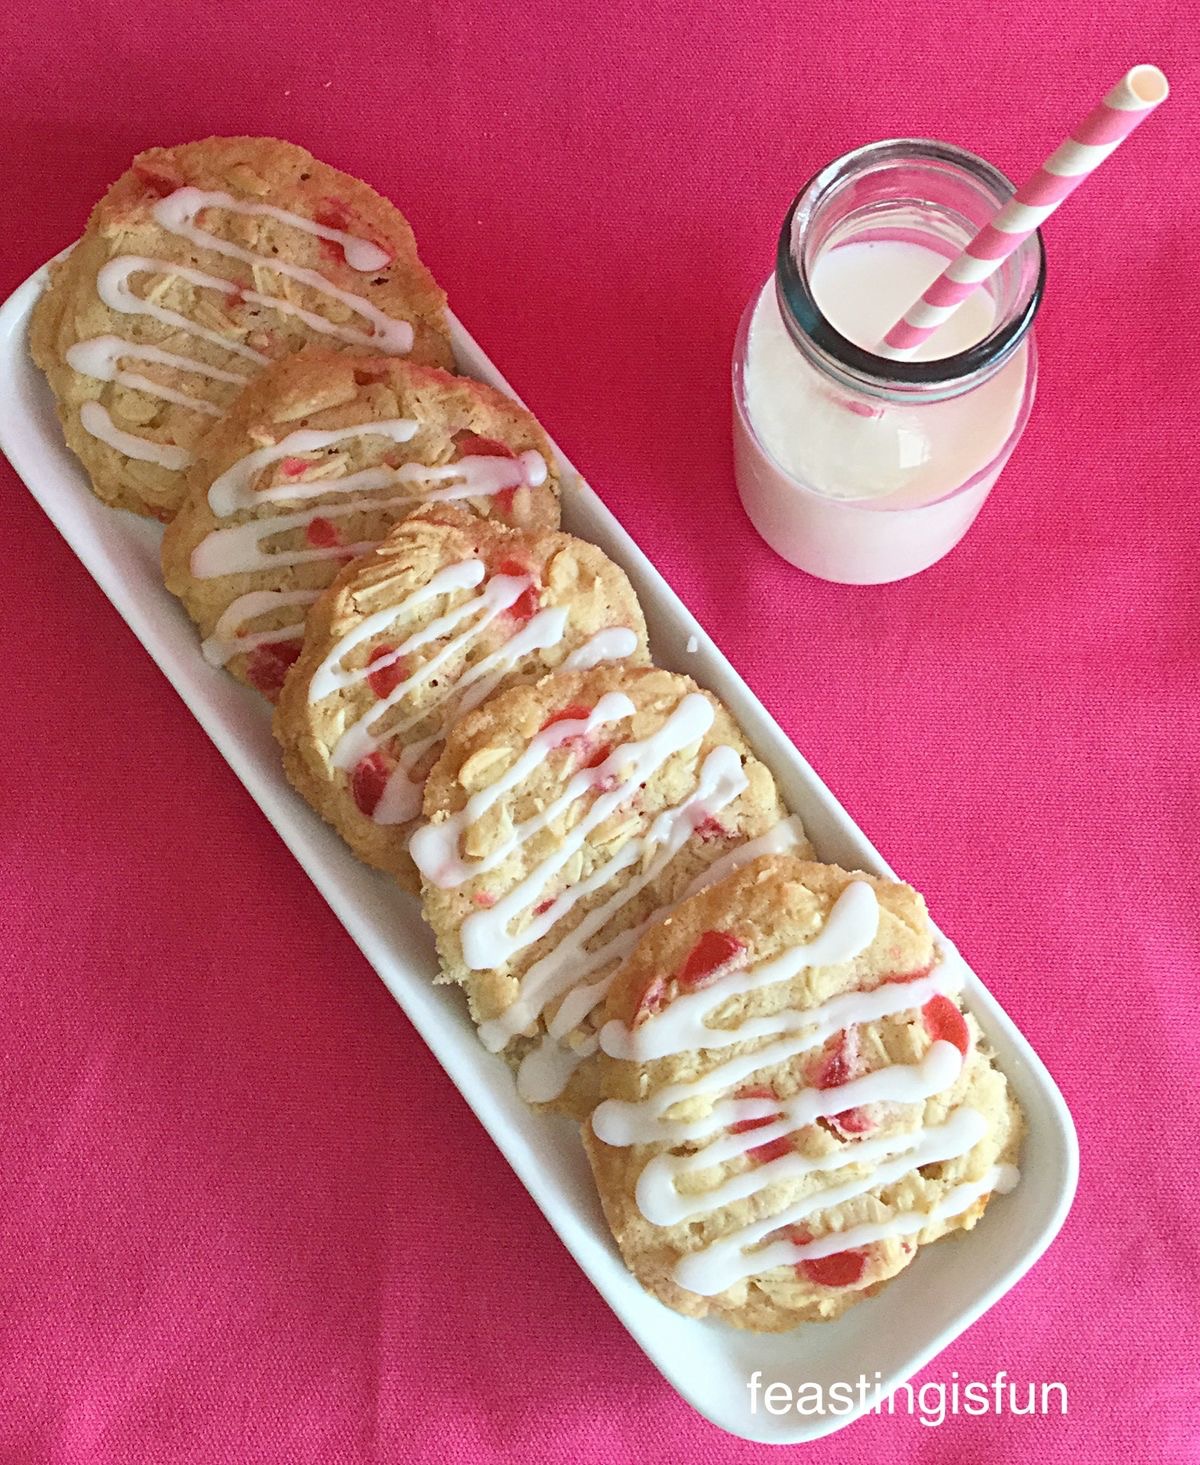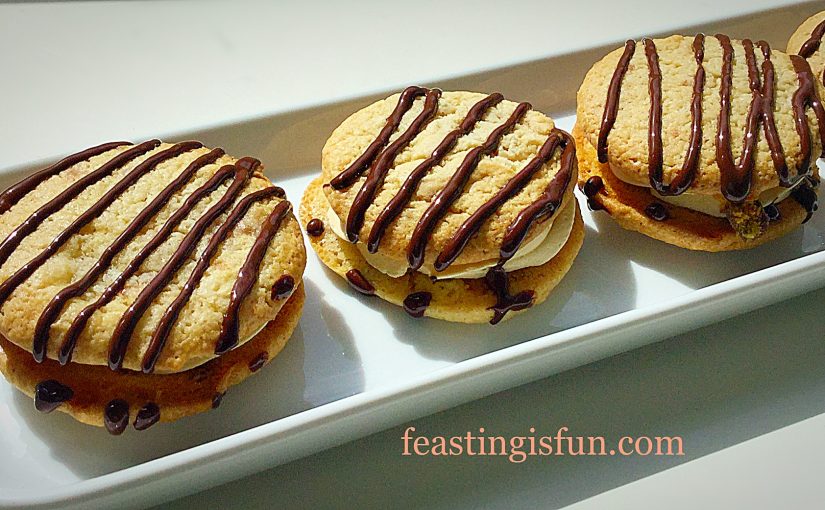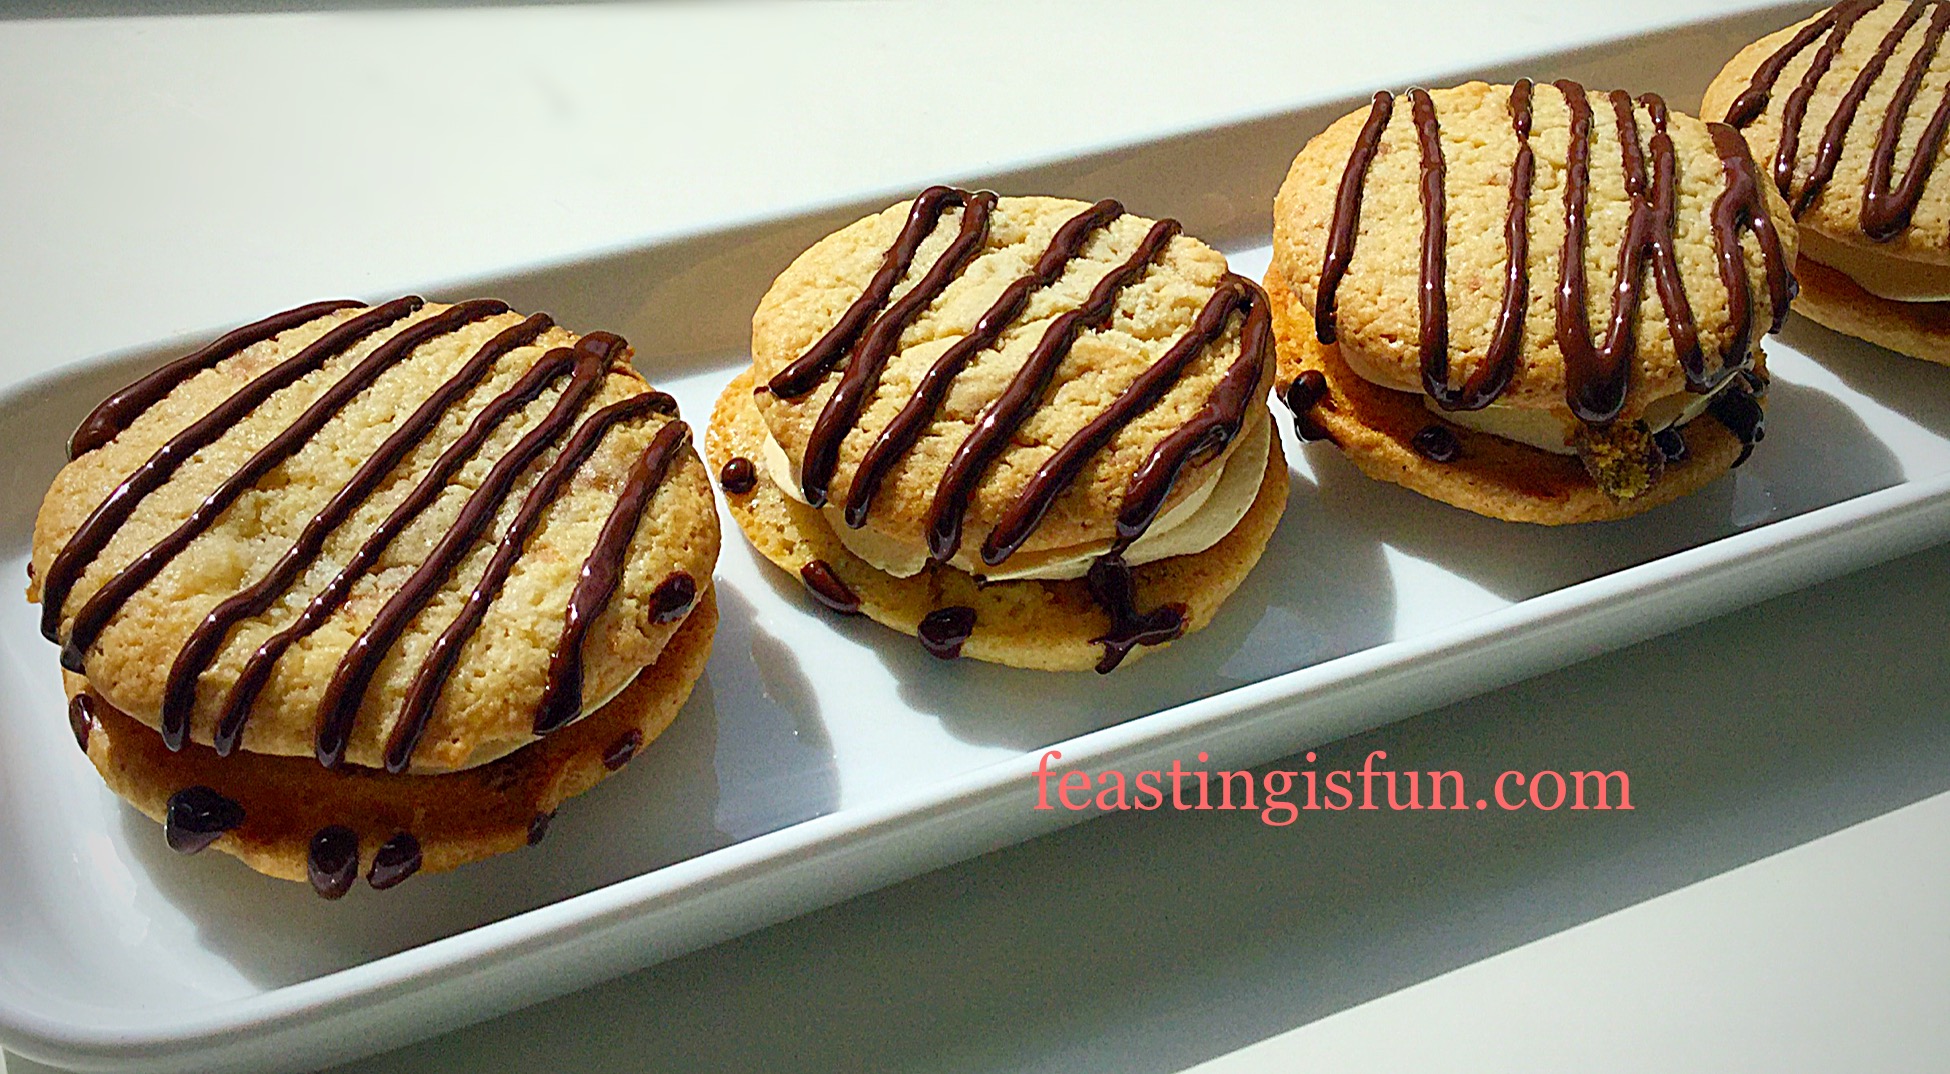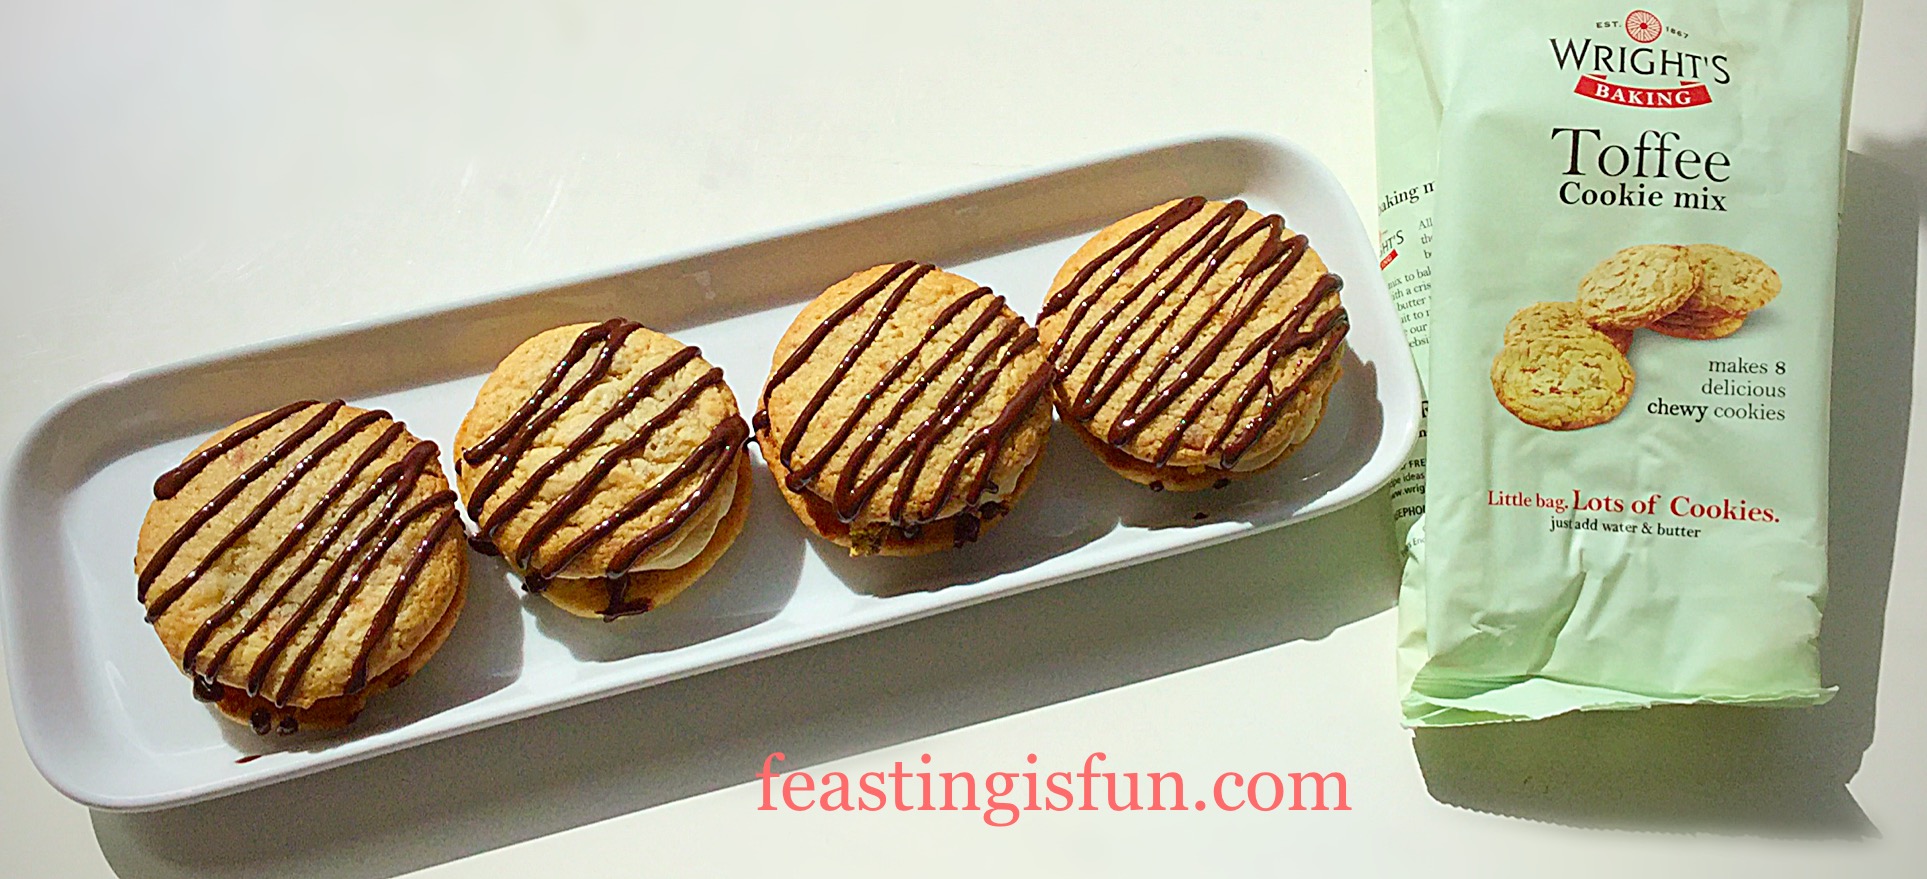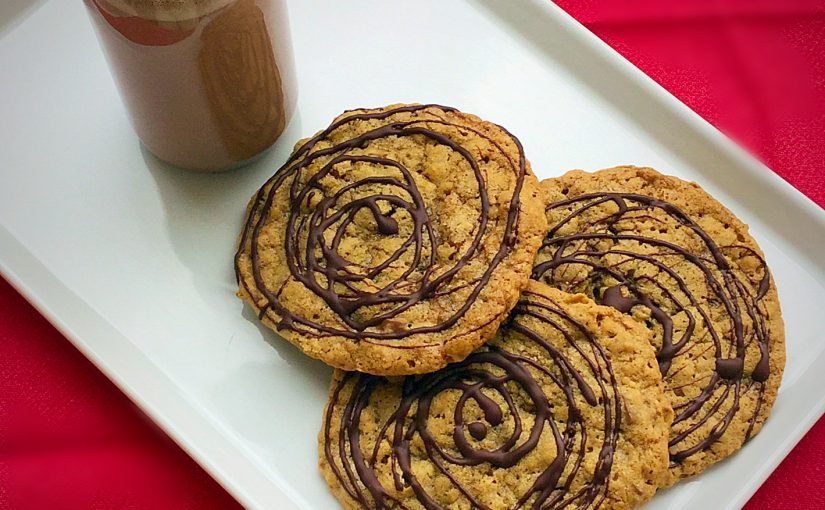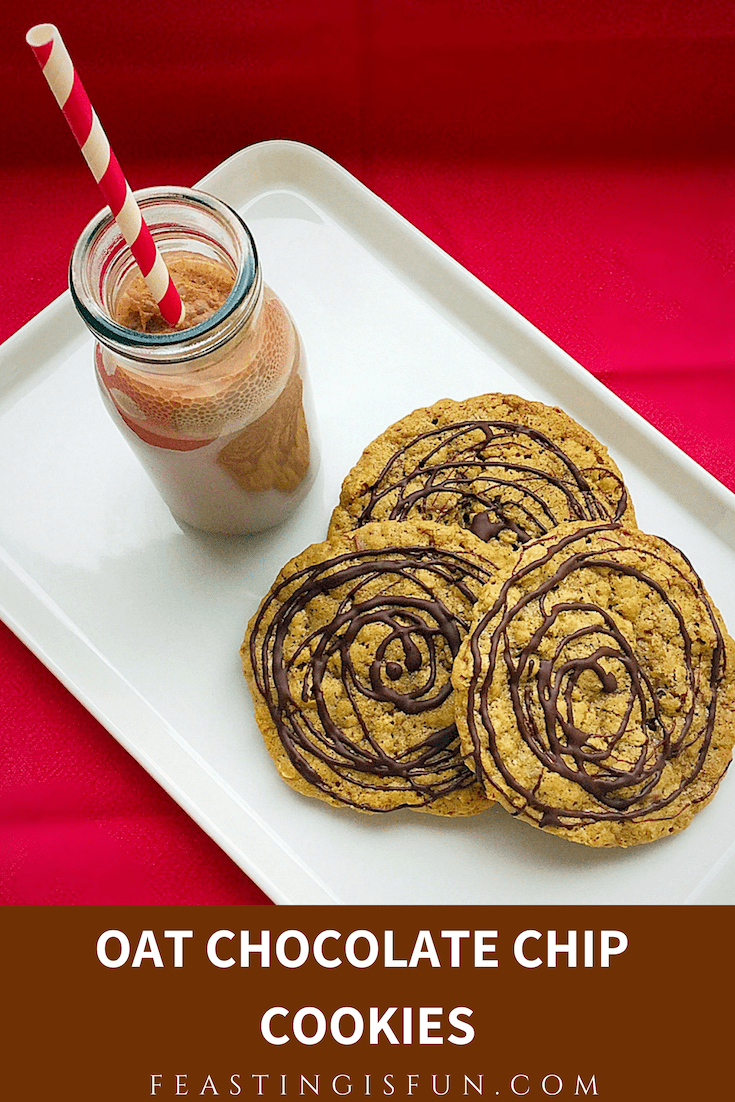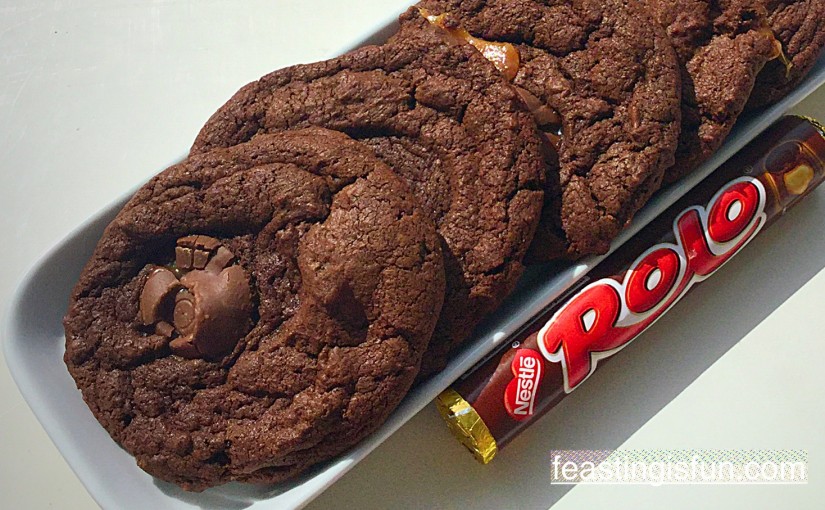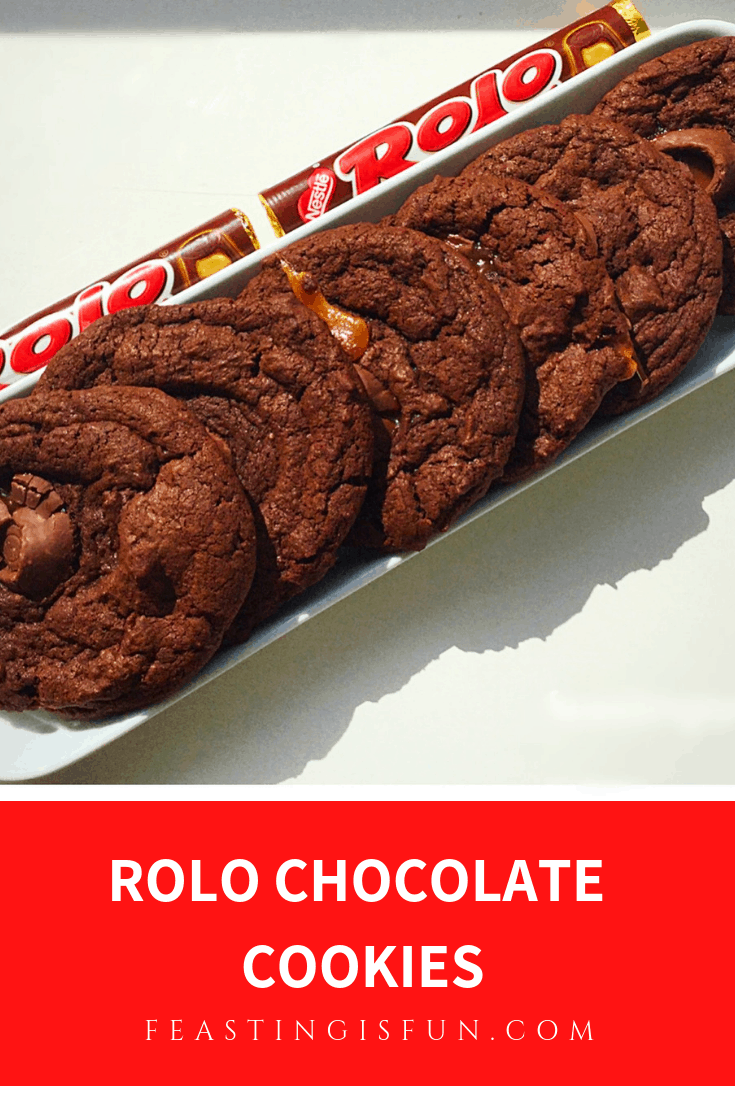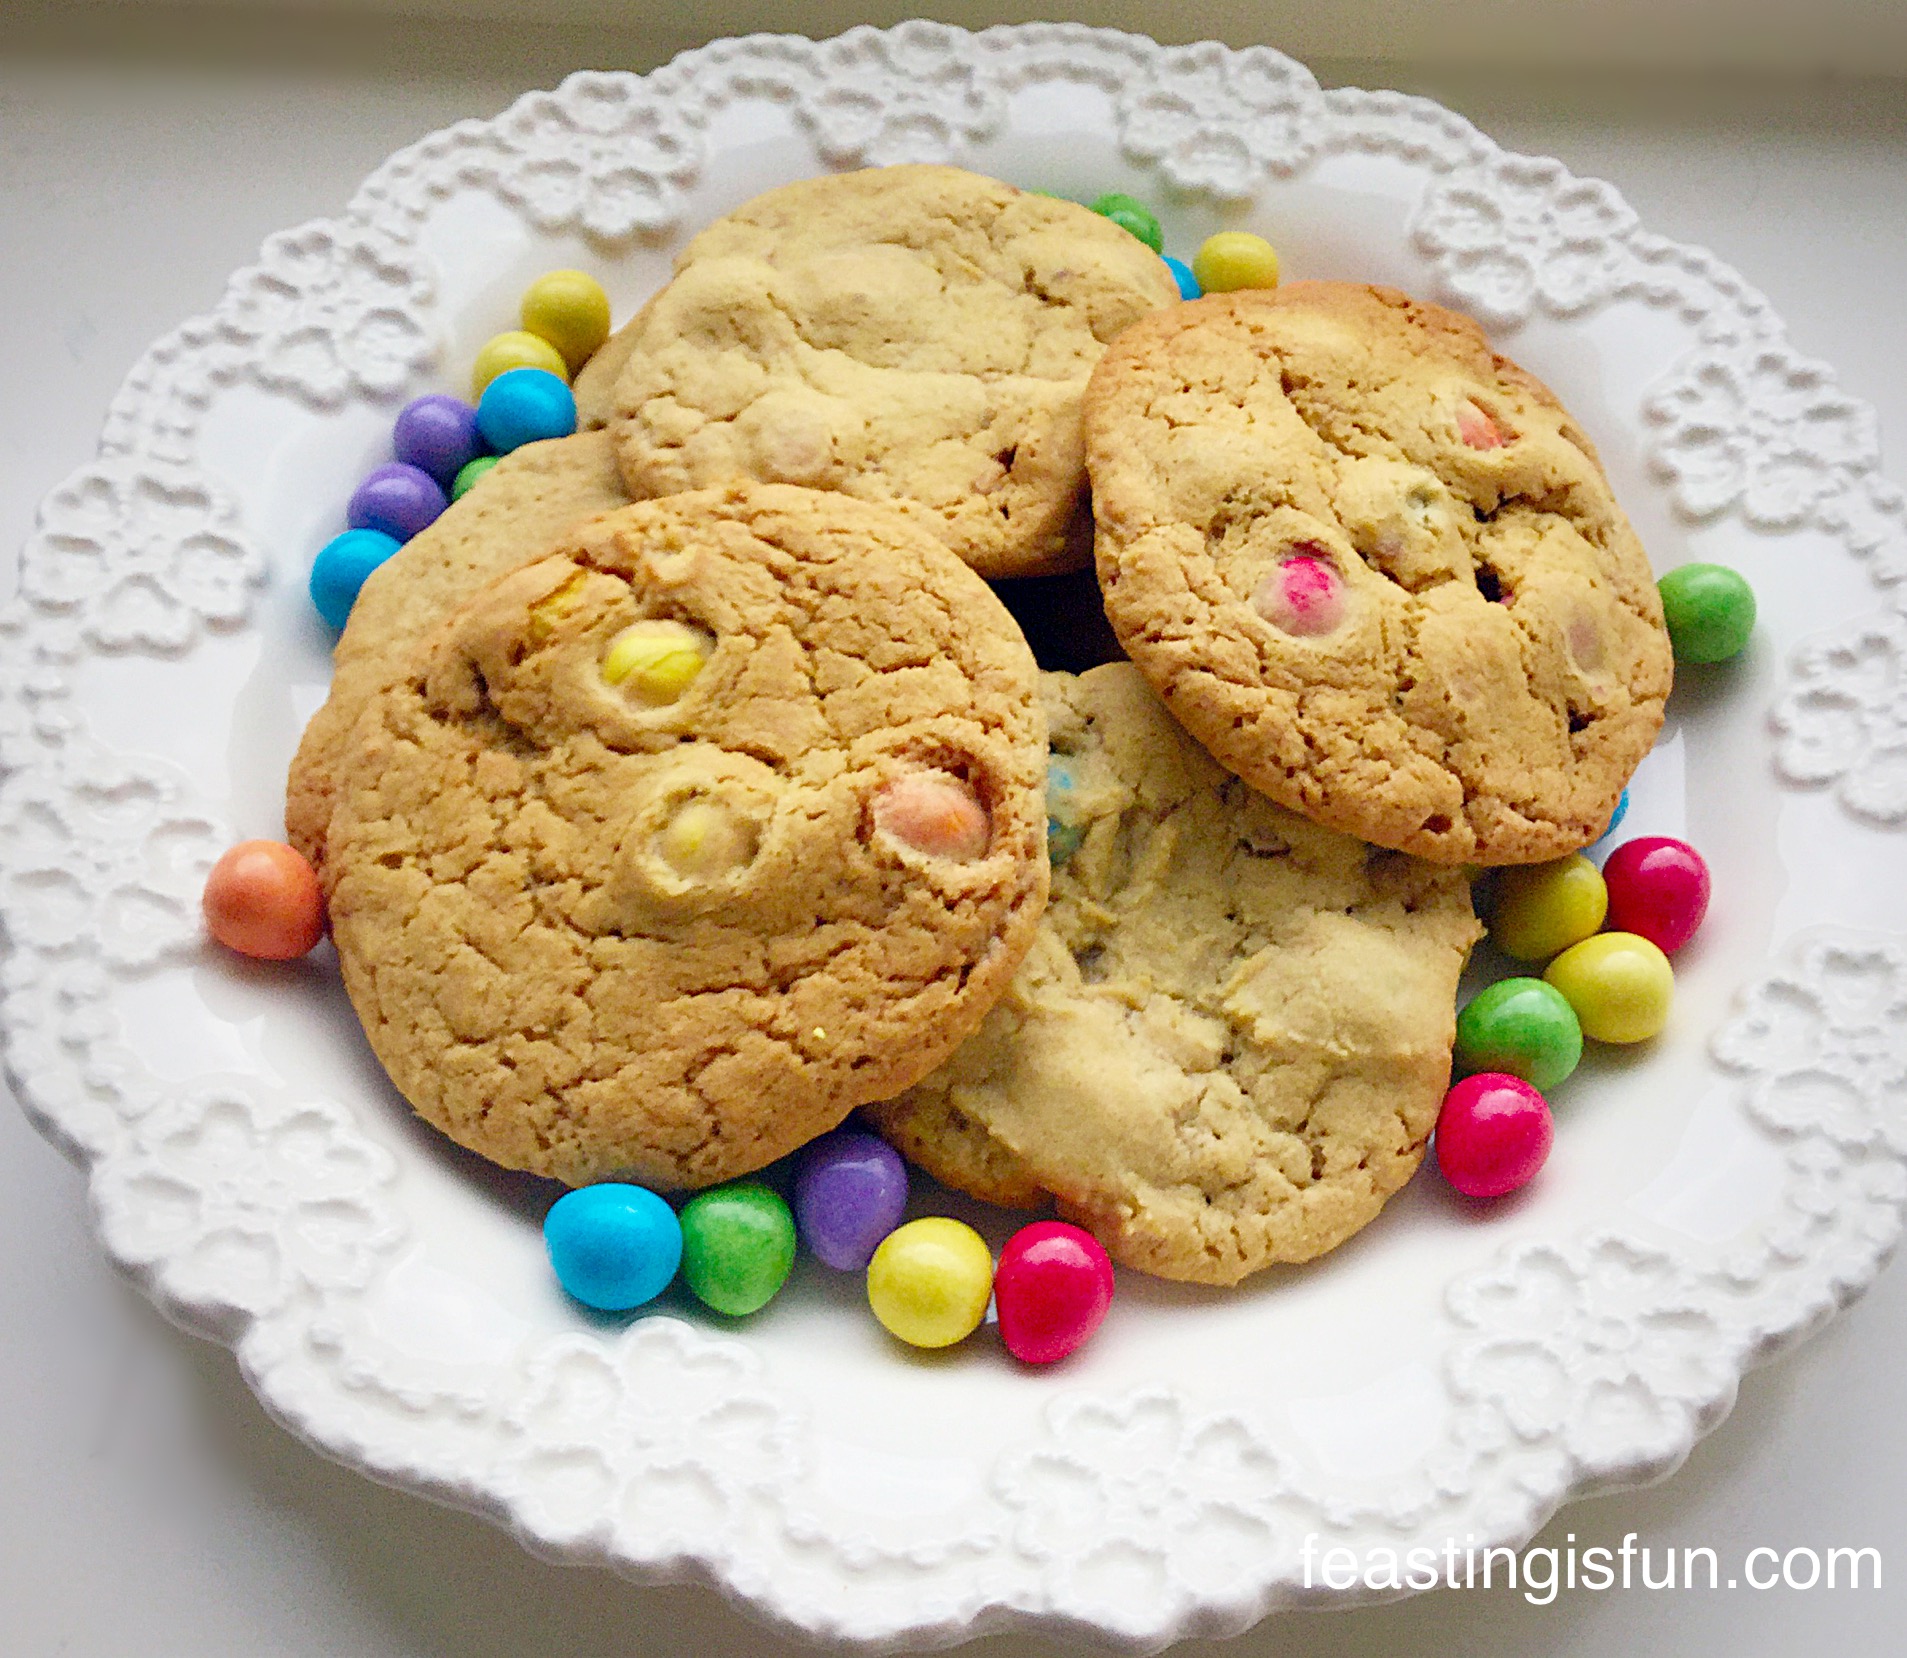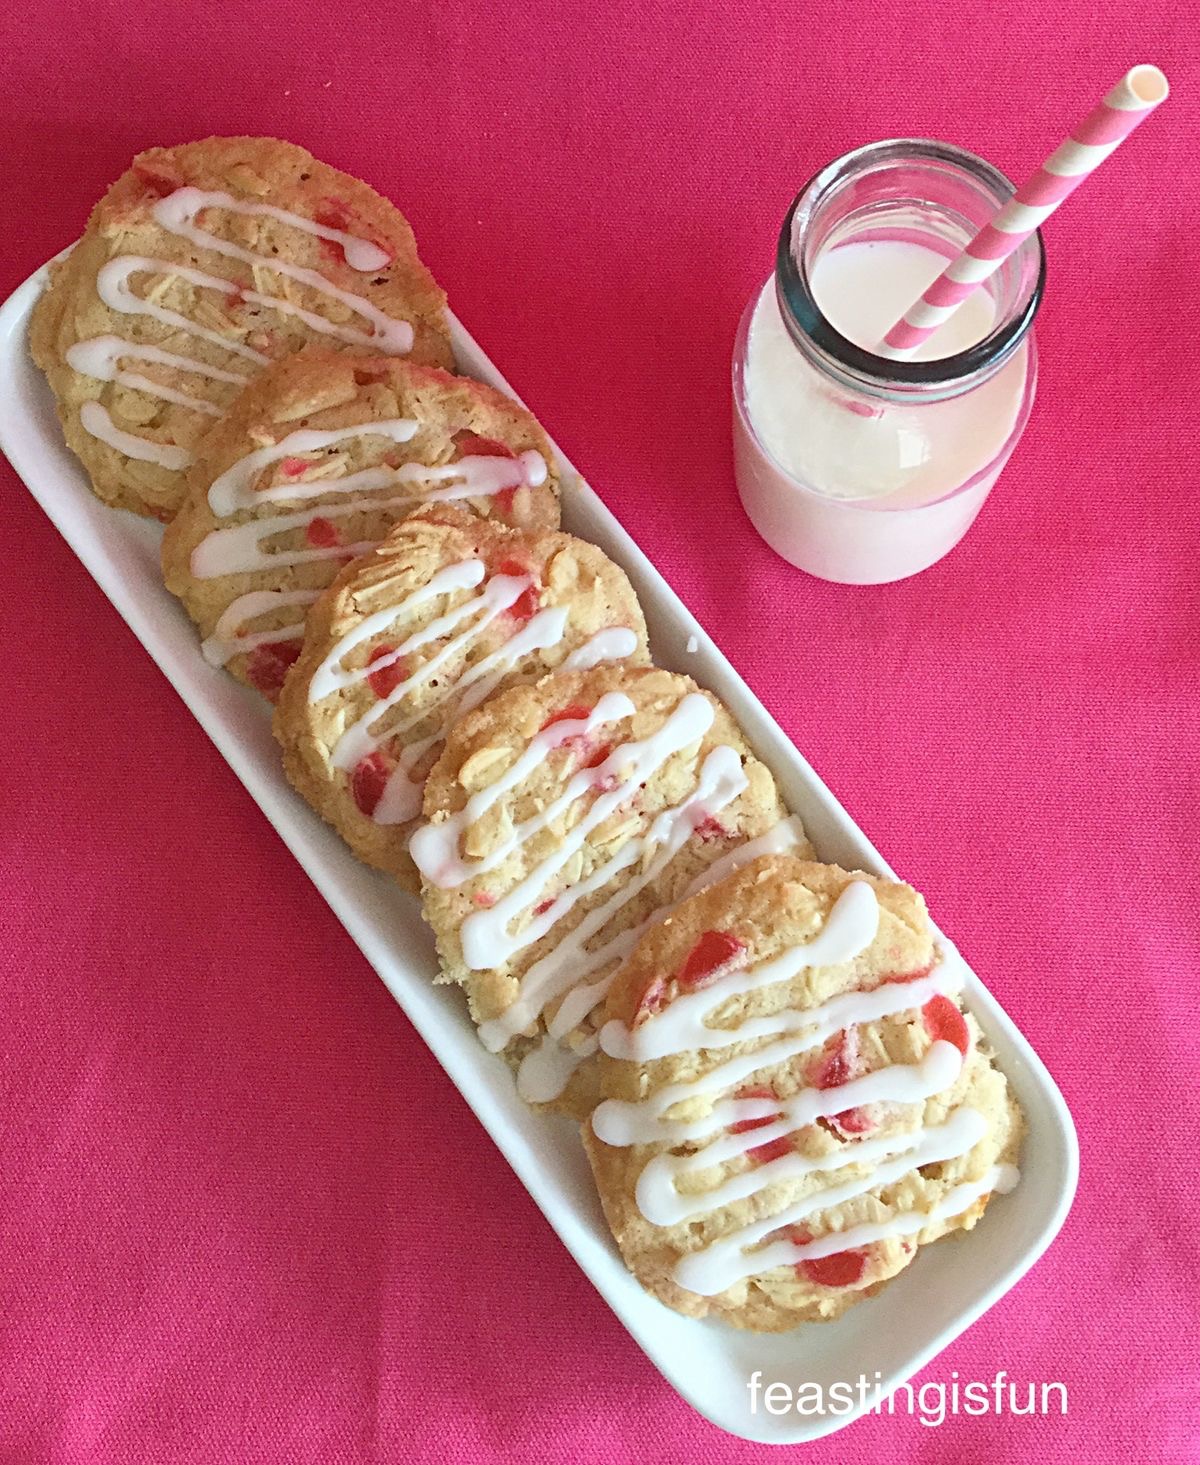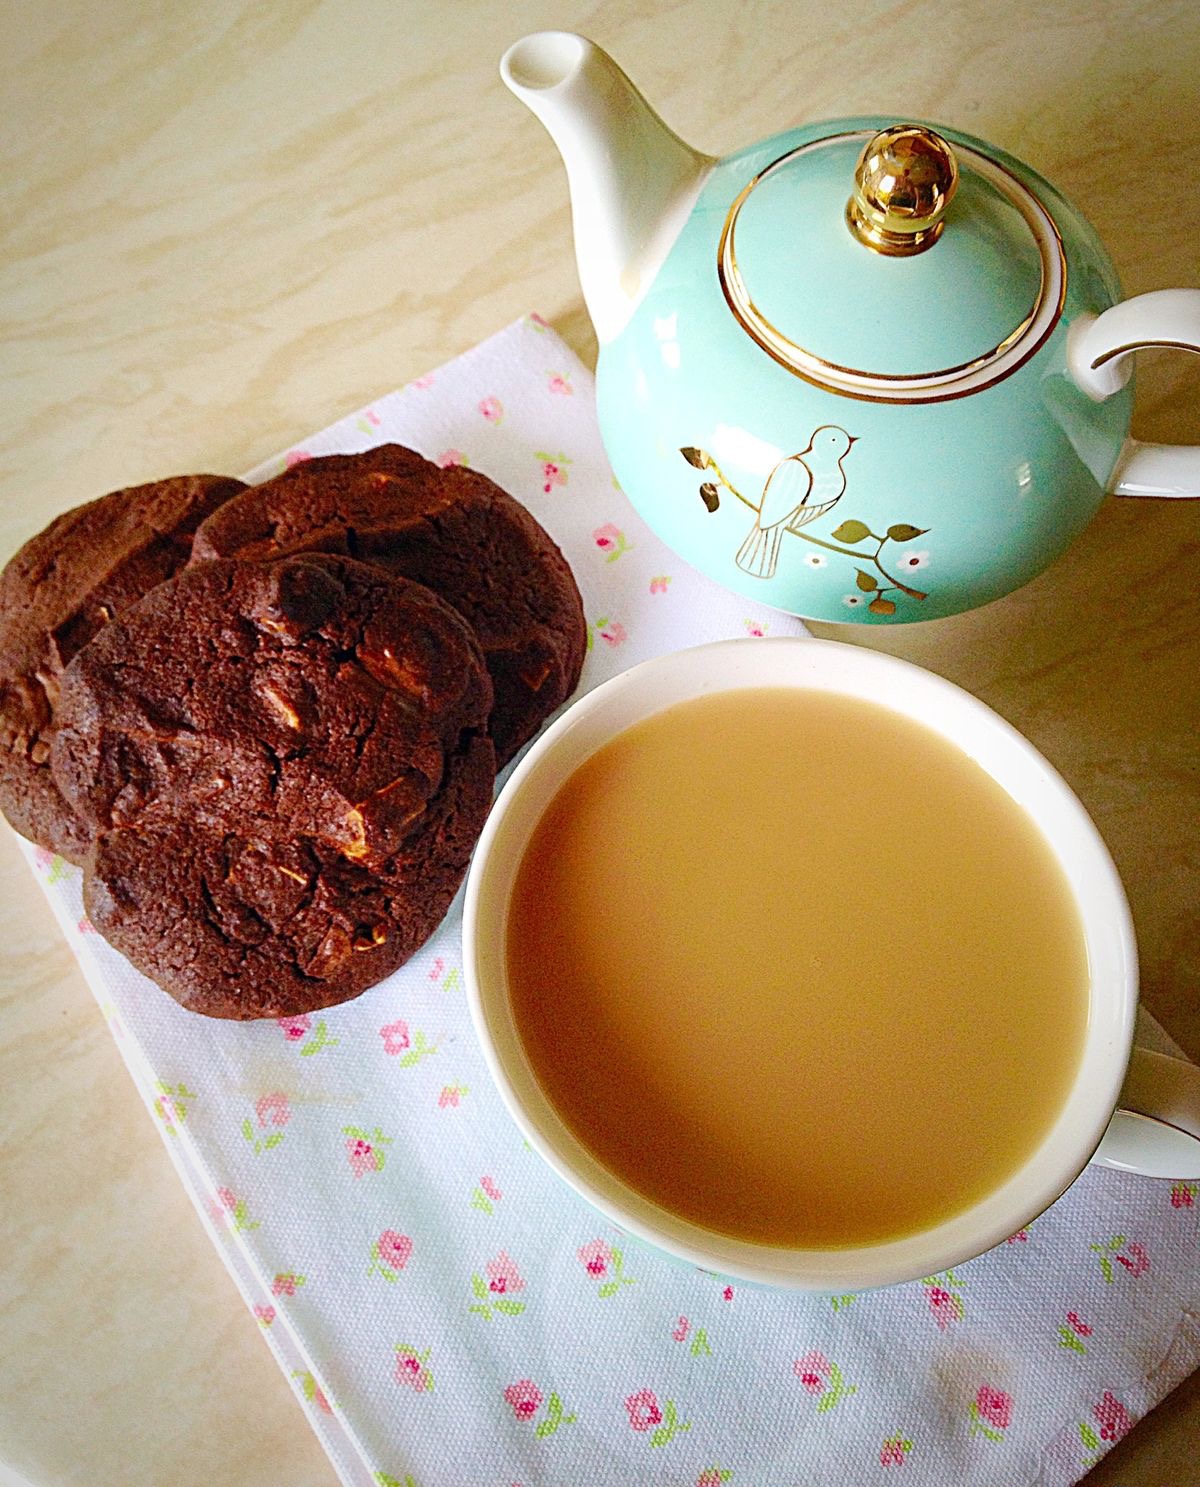
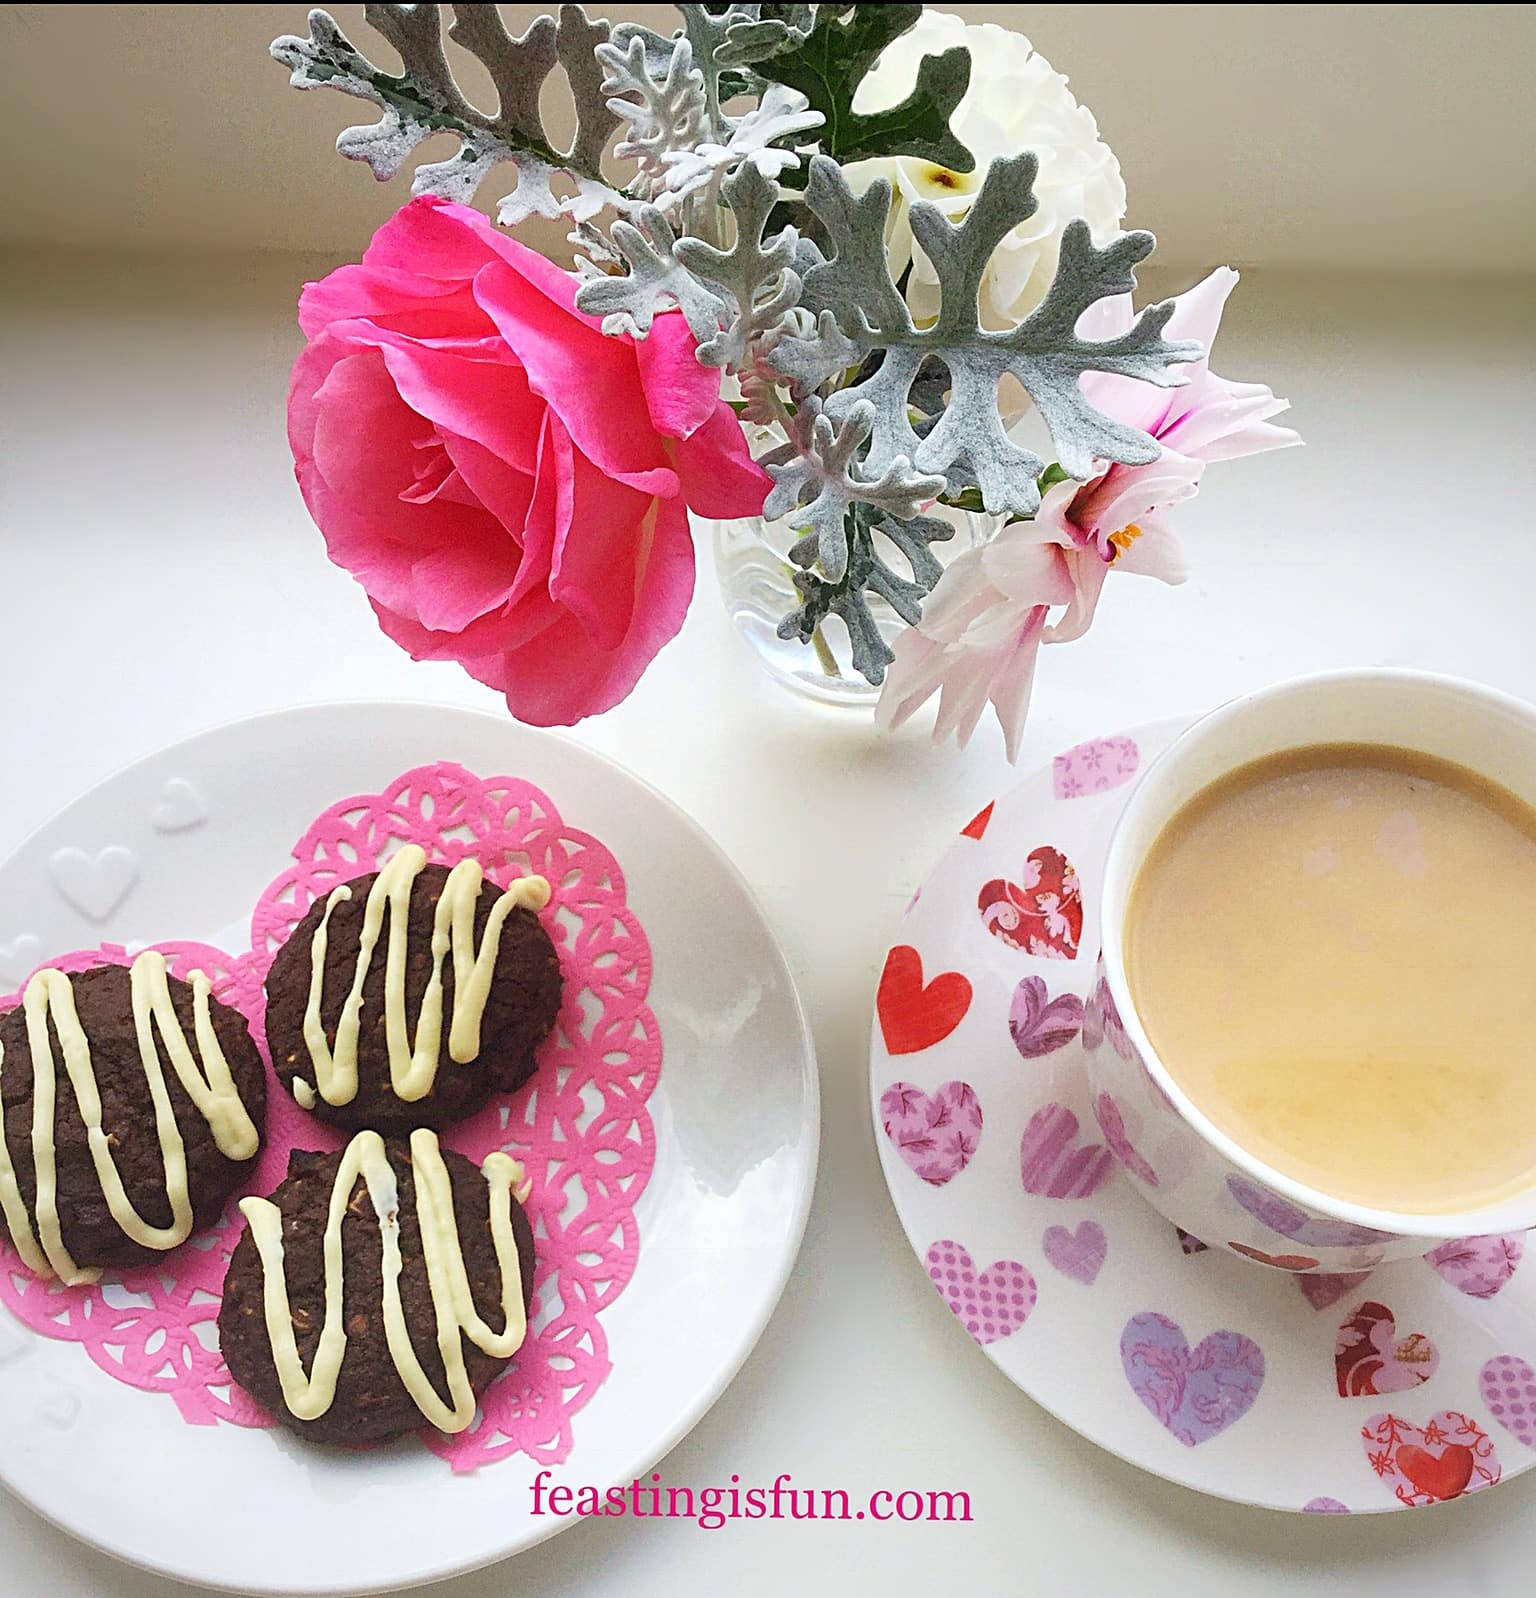
Here, at Feasting headquarters, cookies and biscuits are a food group all of there own. Since, I start everyday with a cup of tea and a cookie. A tradition started by my Grandad ever since I was a little girl. And something that has been carried on with our children. While each of us have our personal favourites, we all agree that these Double Chocolate Nut Spelt Cookies are perfectly delicious.

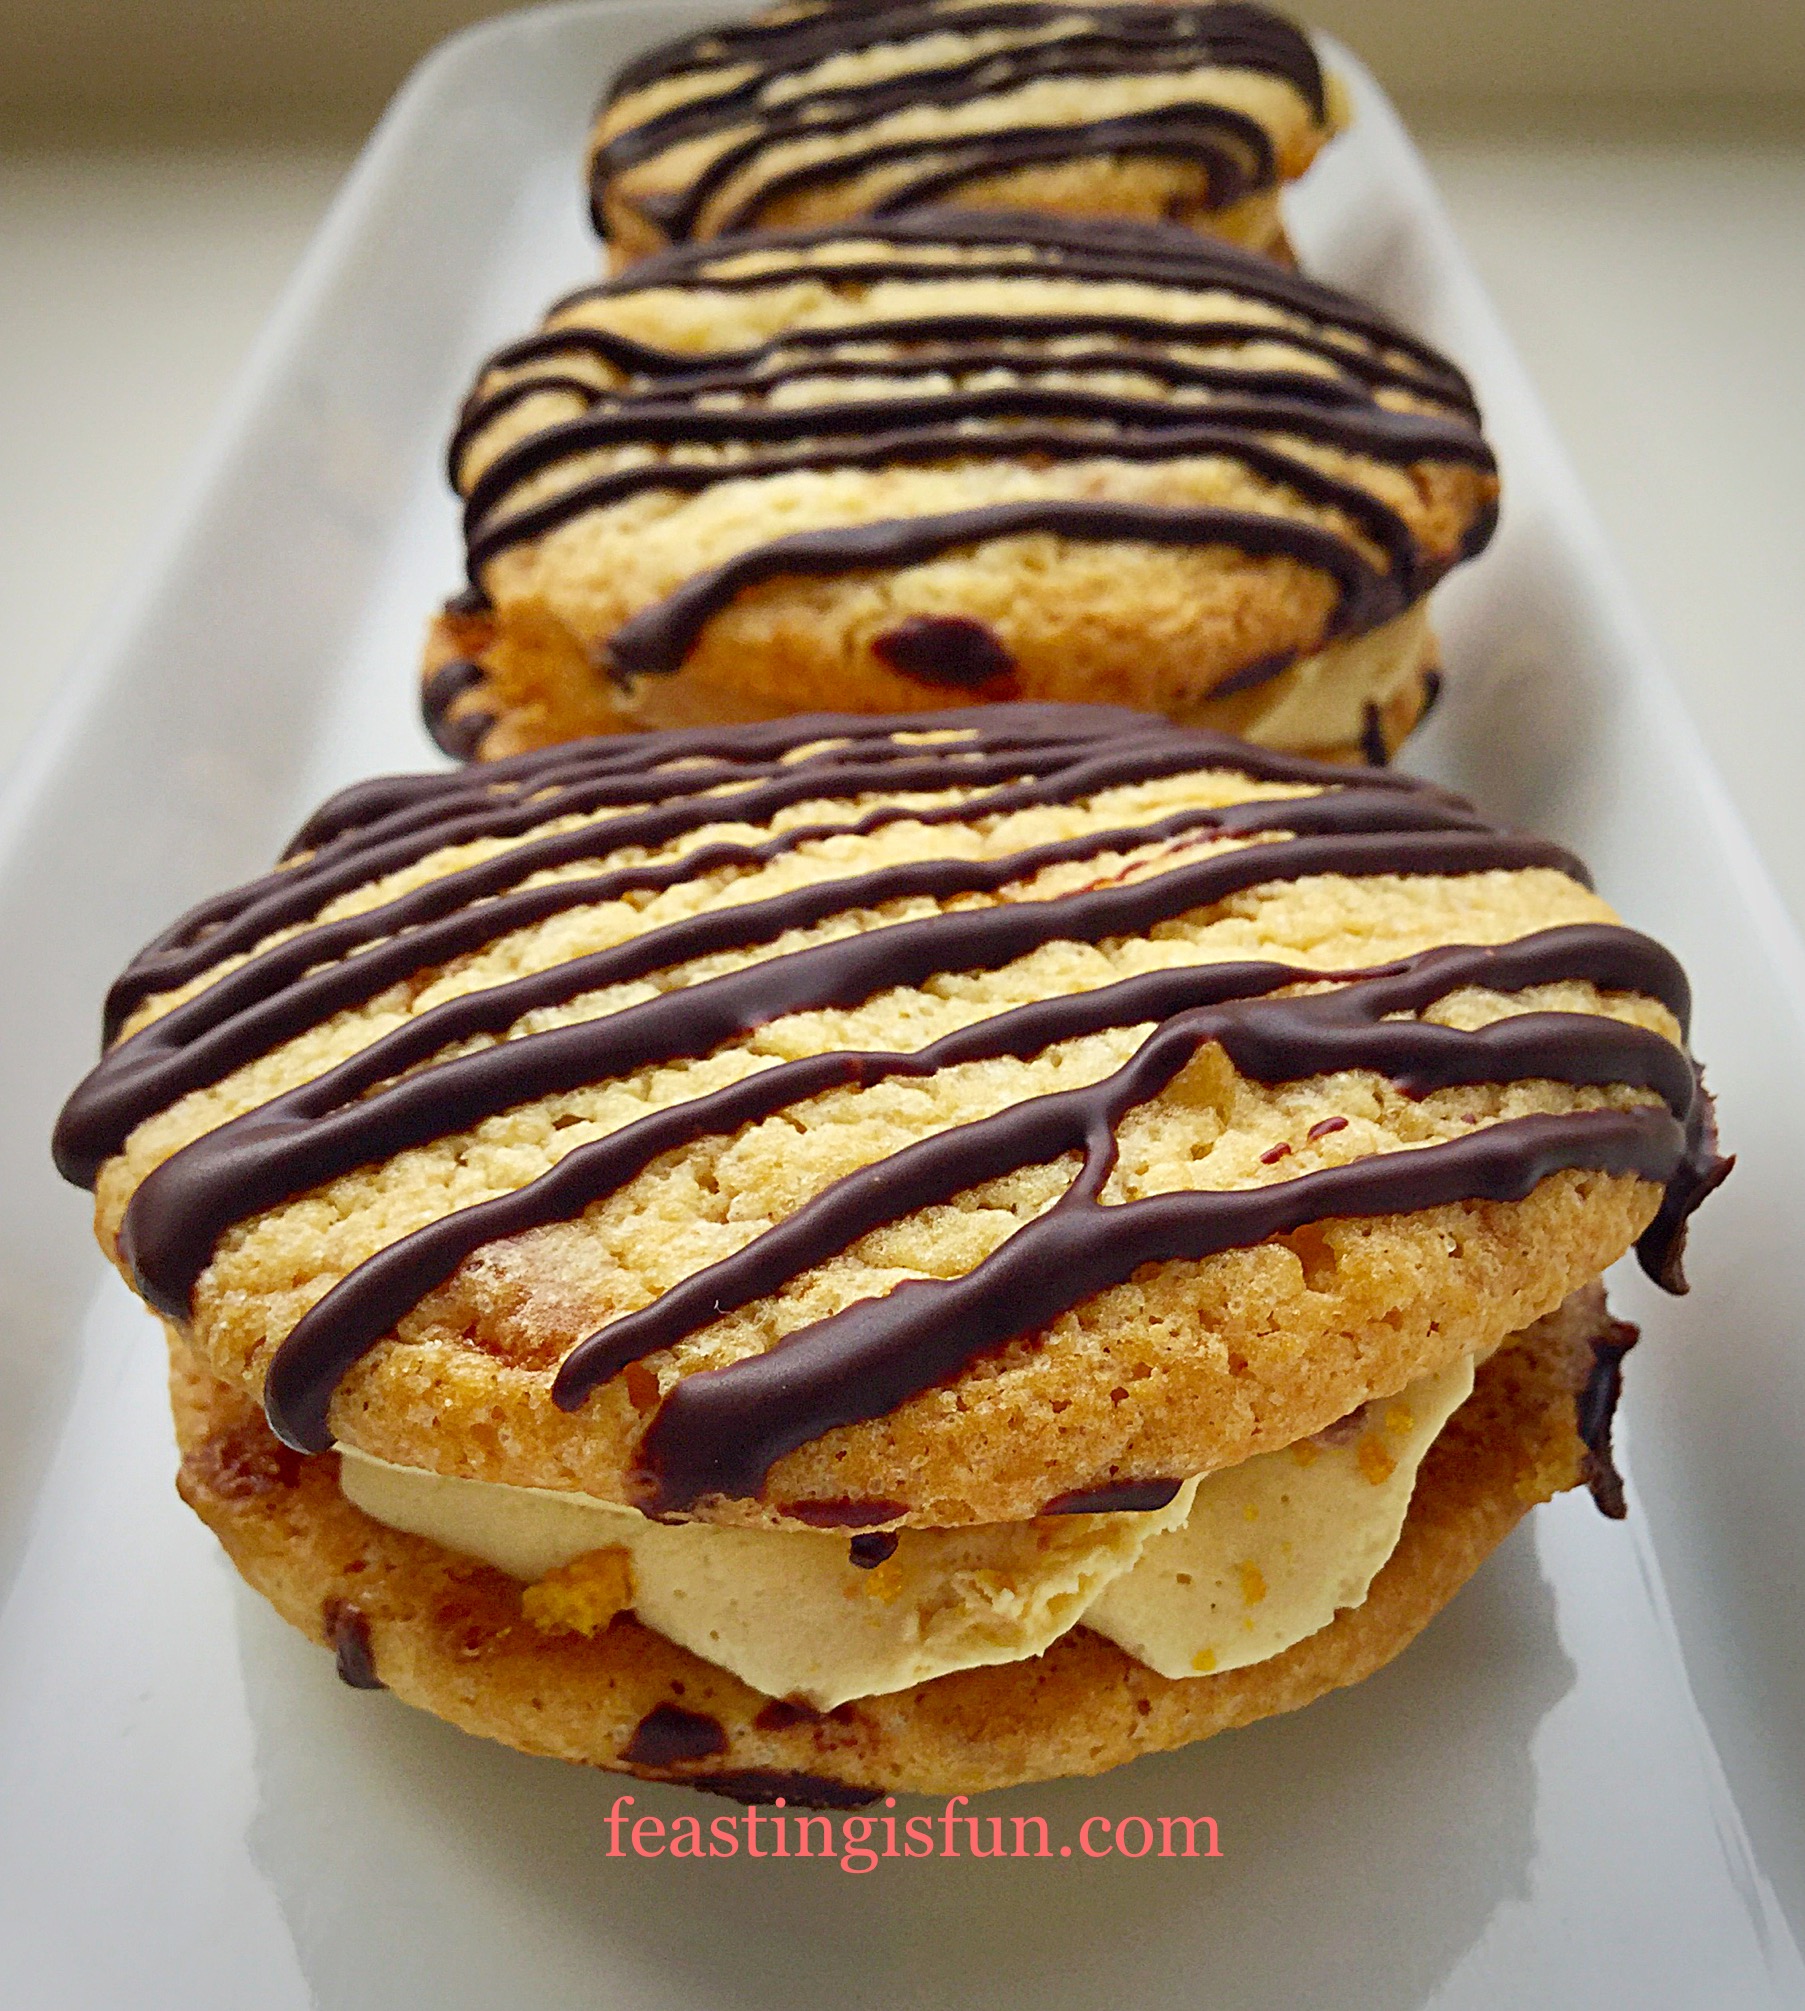
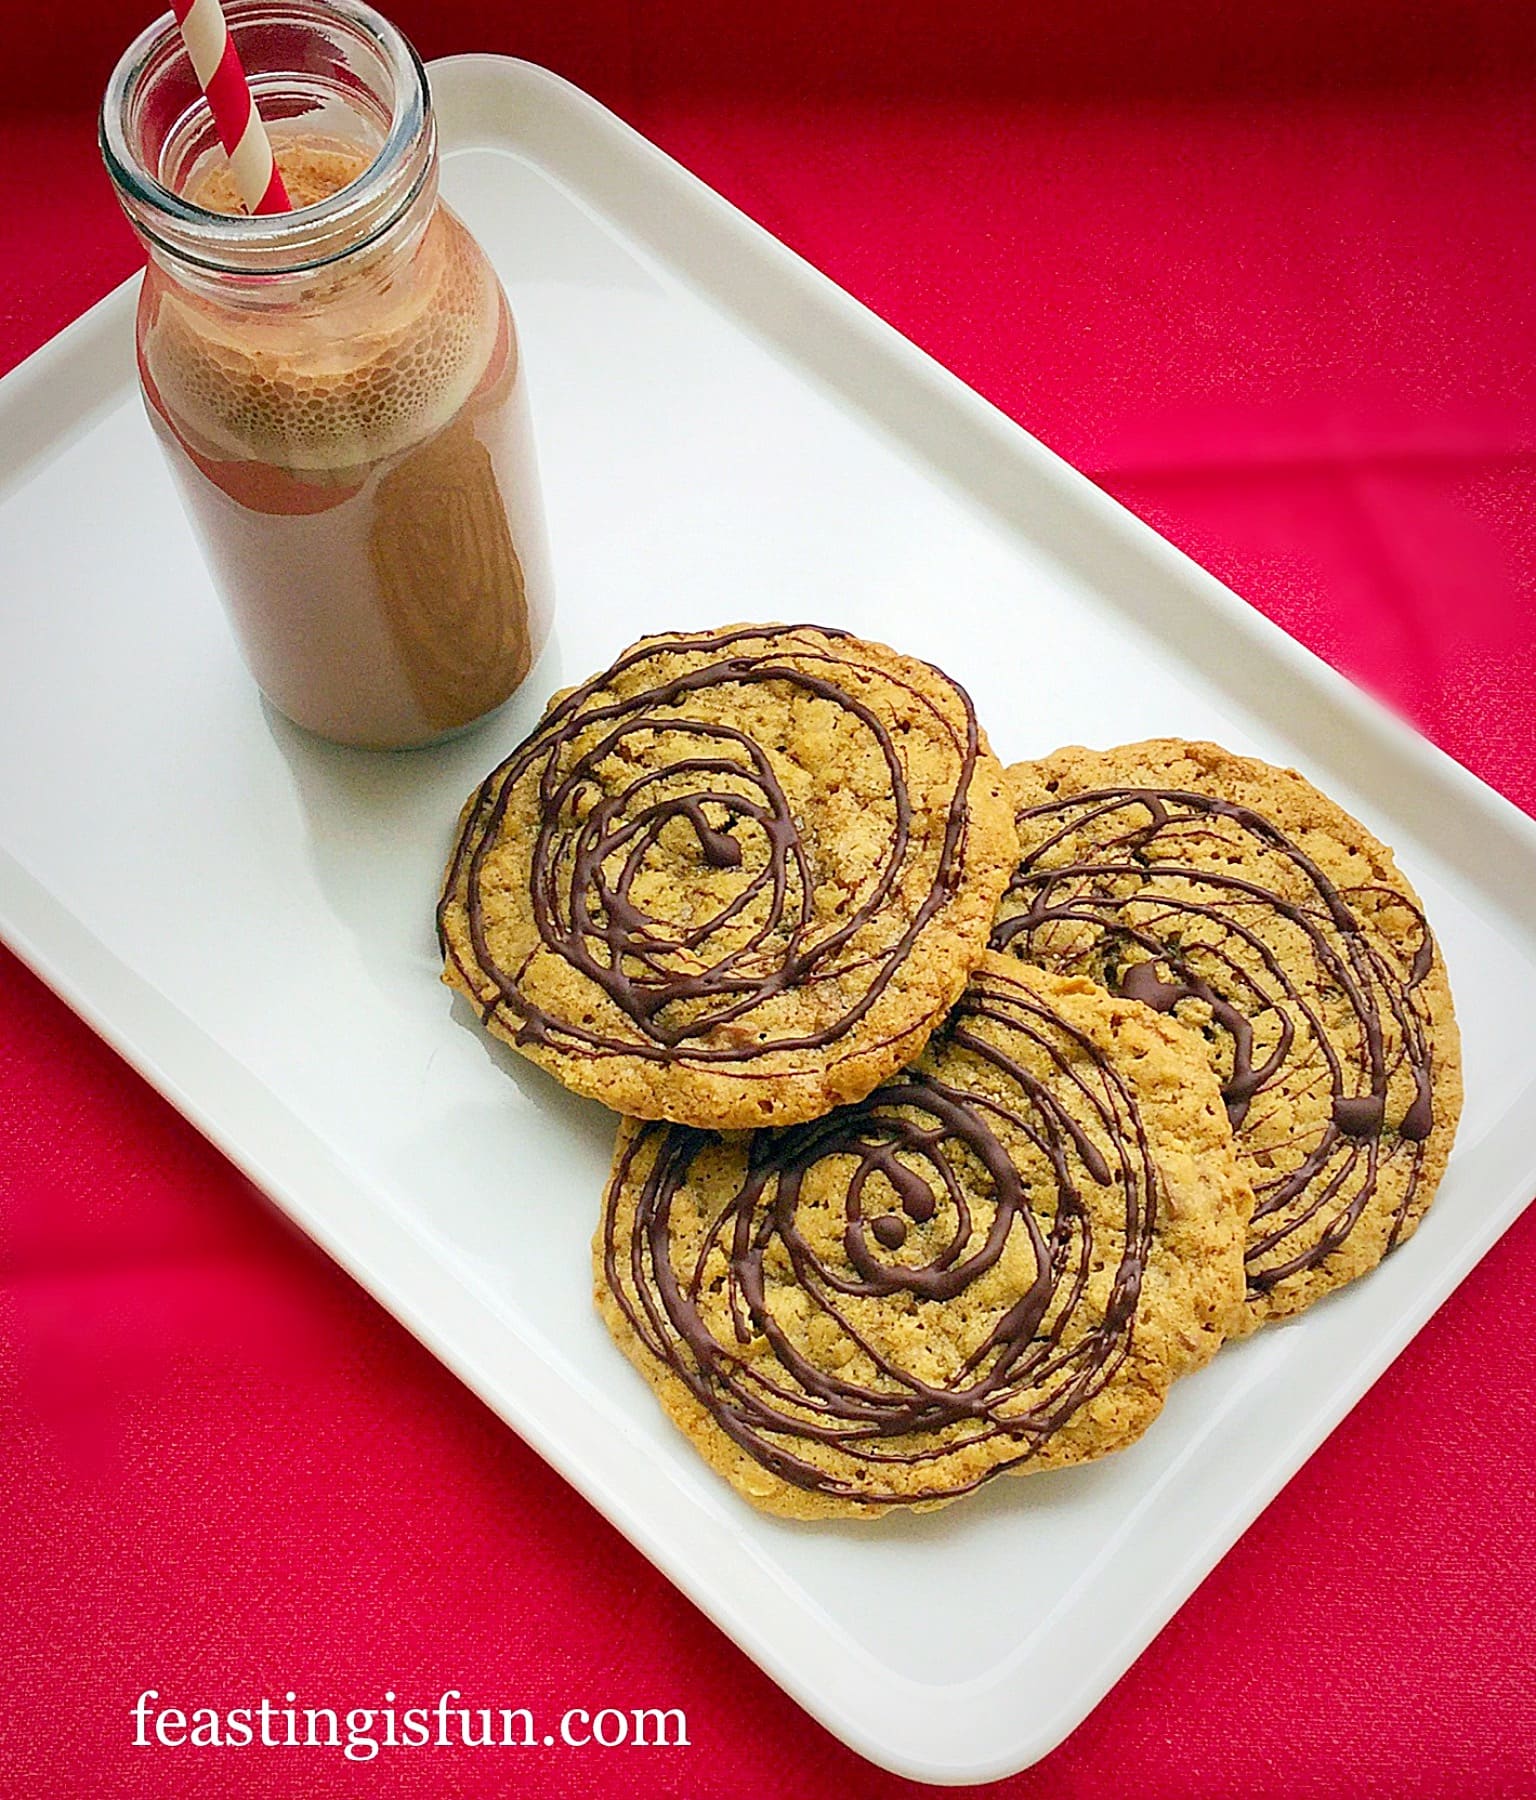
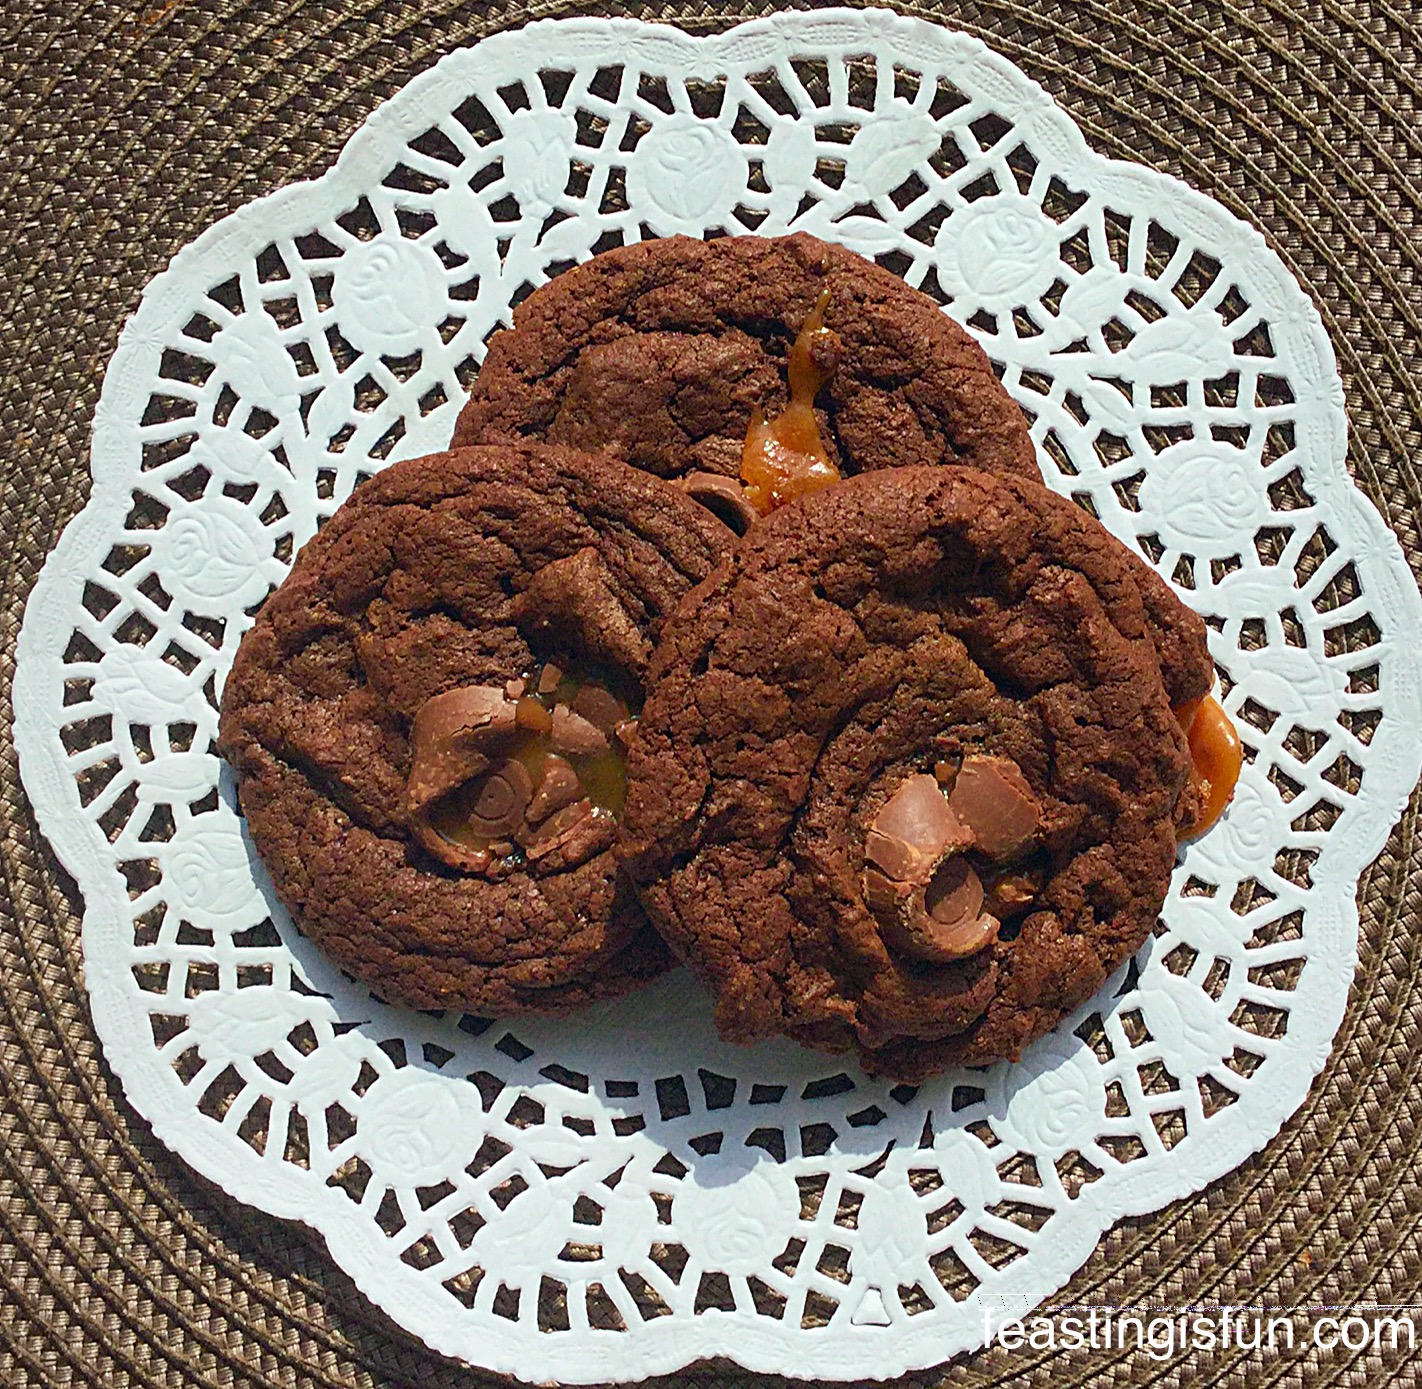
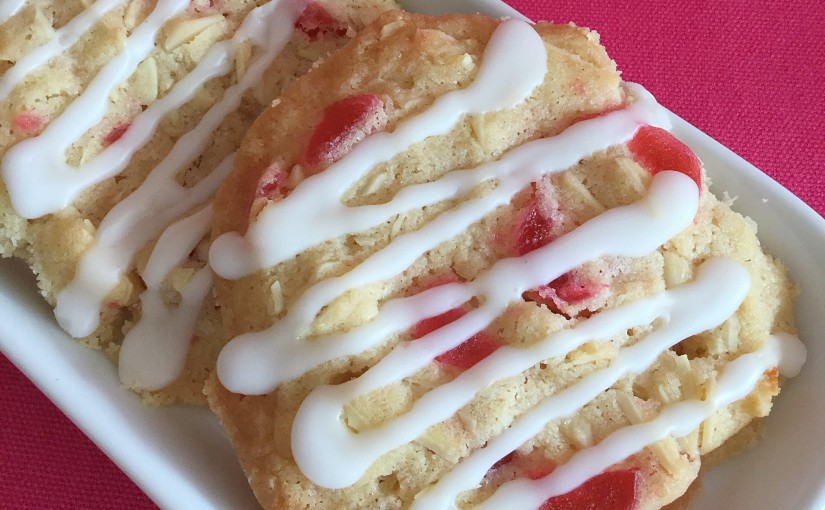
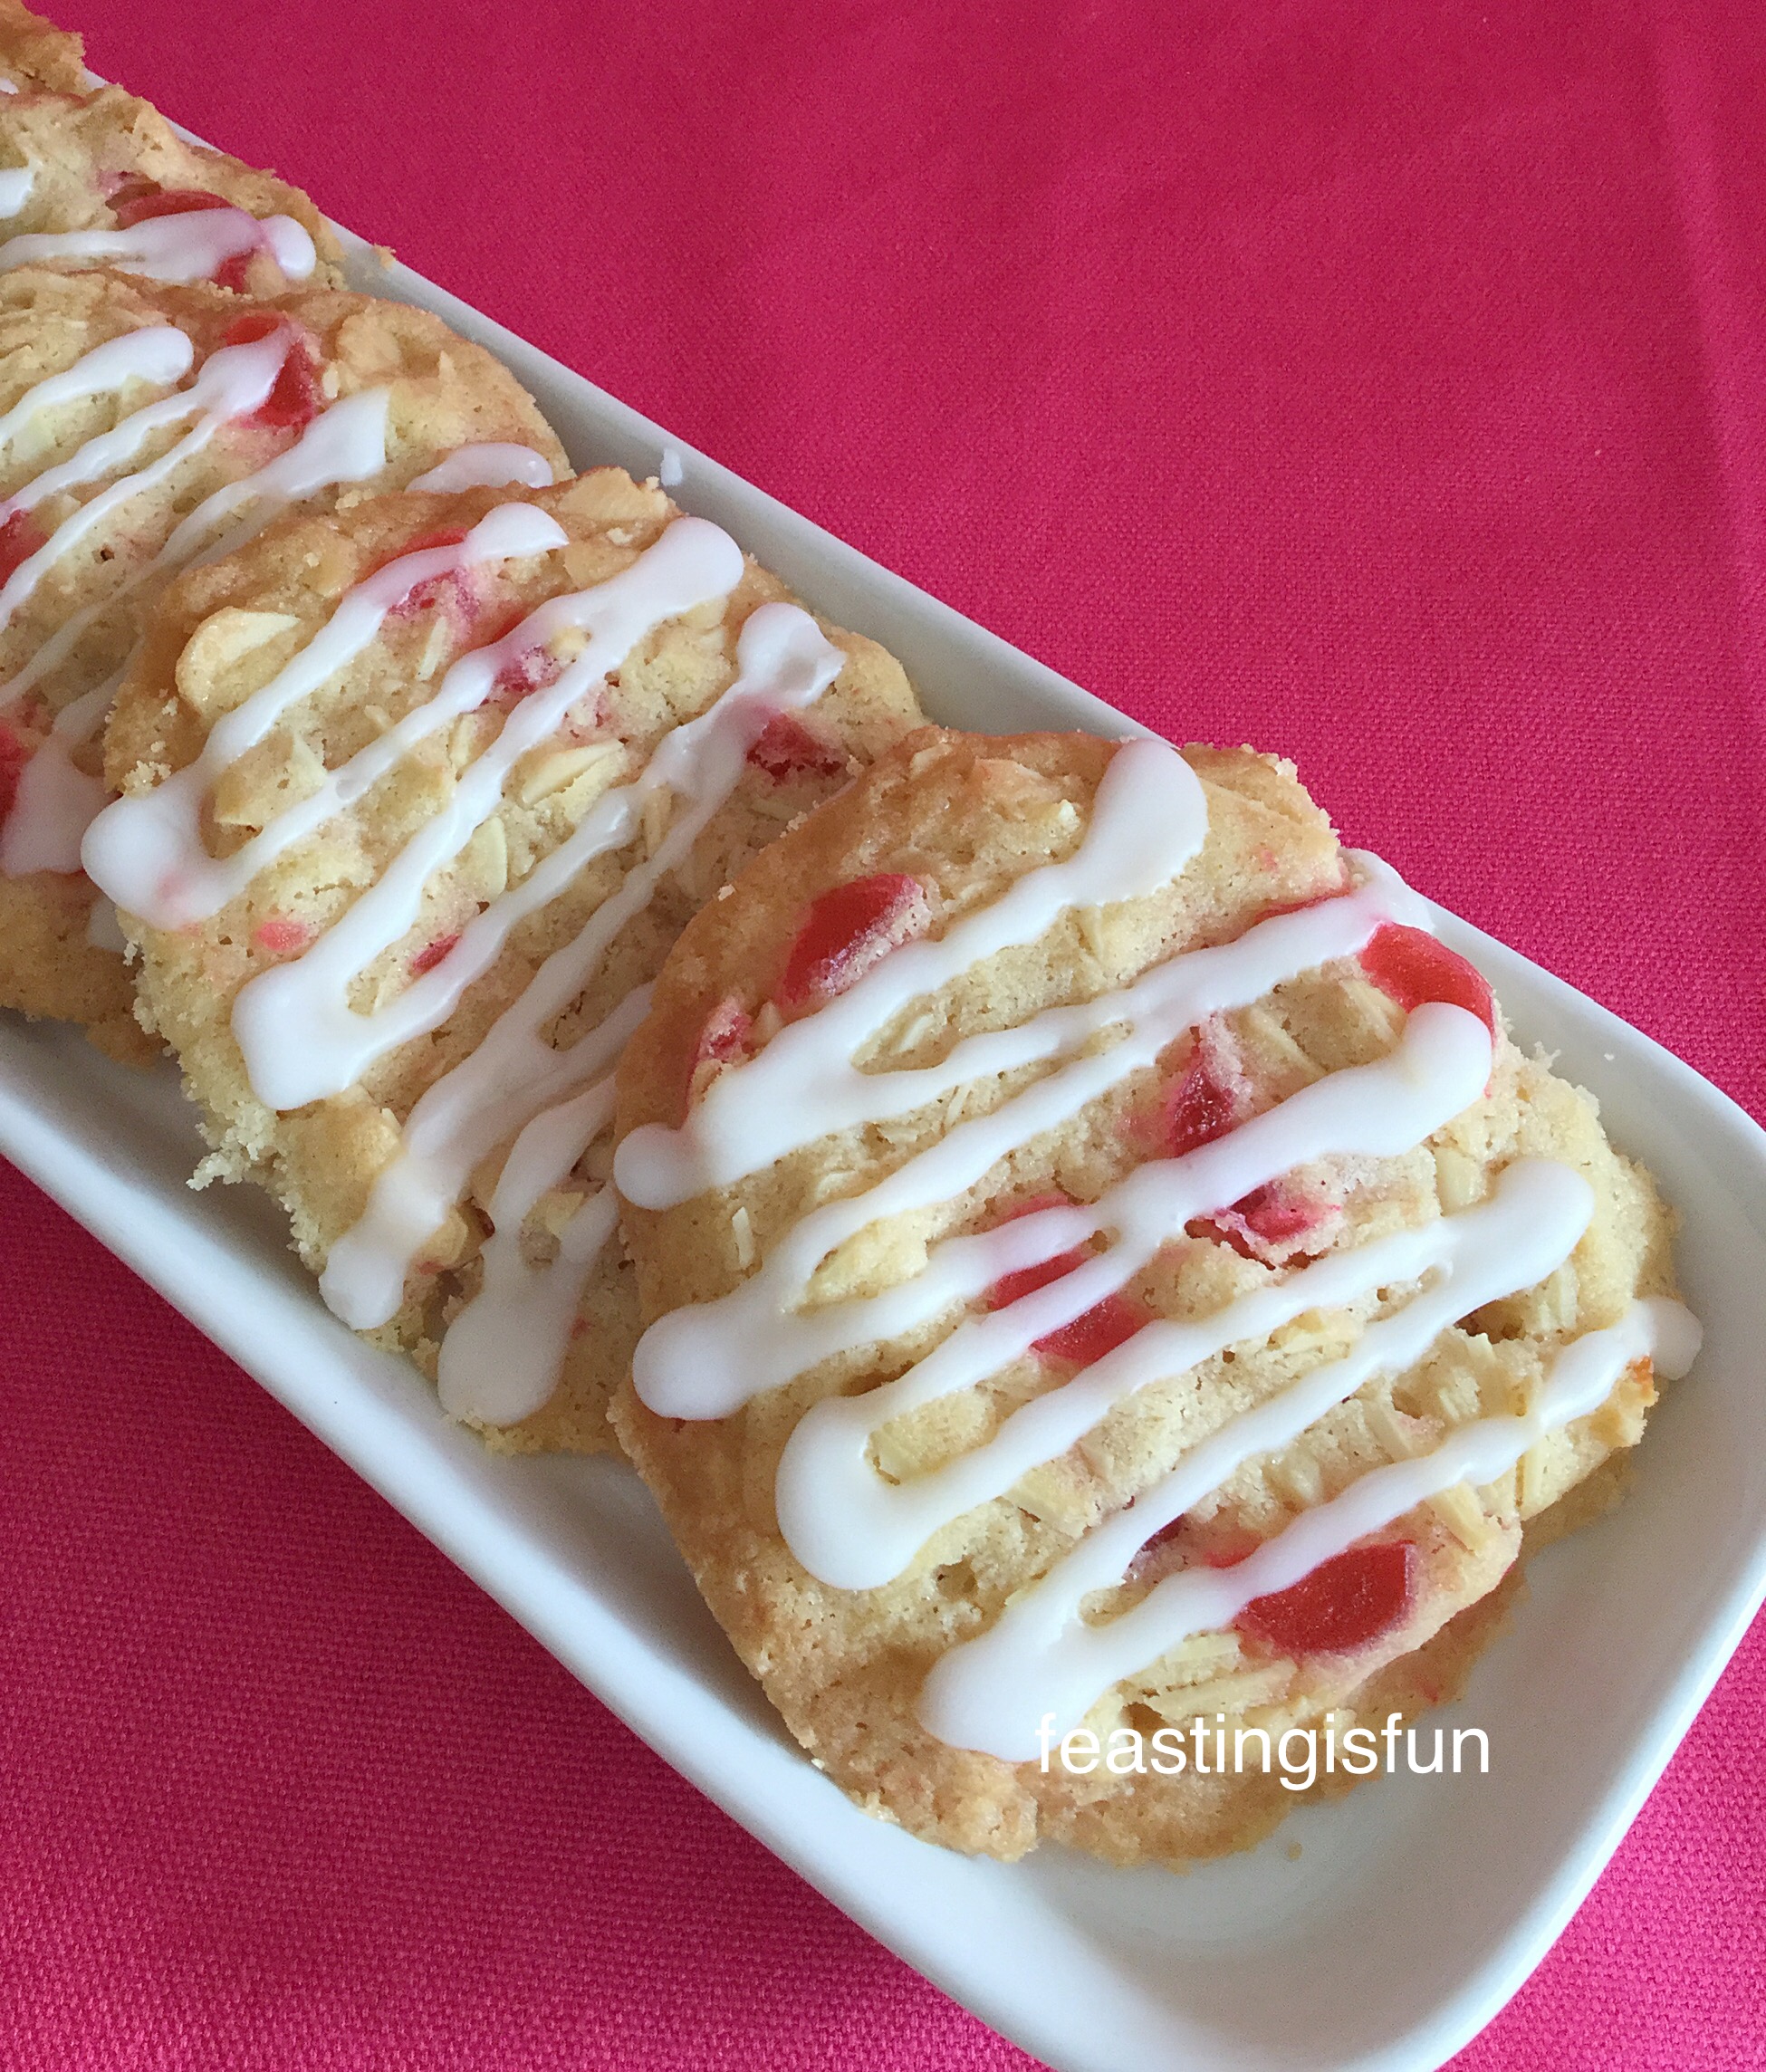
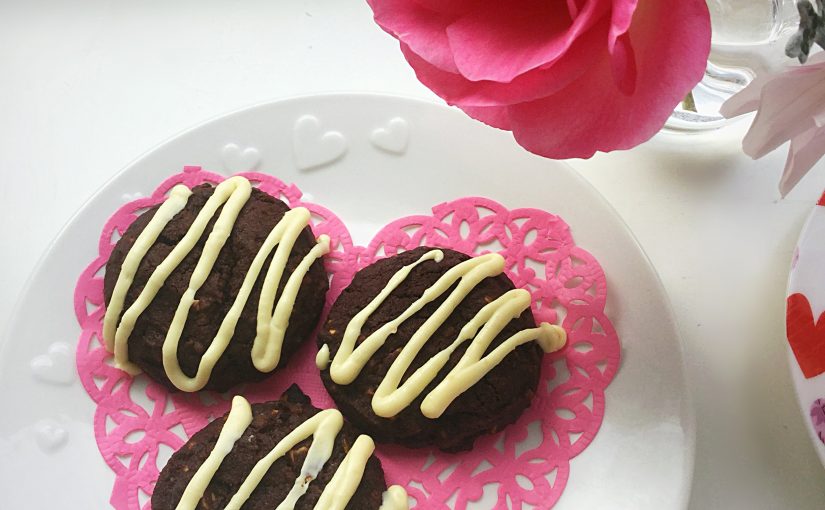
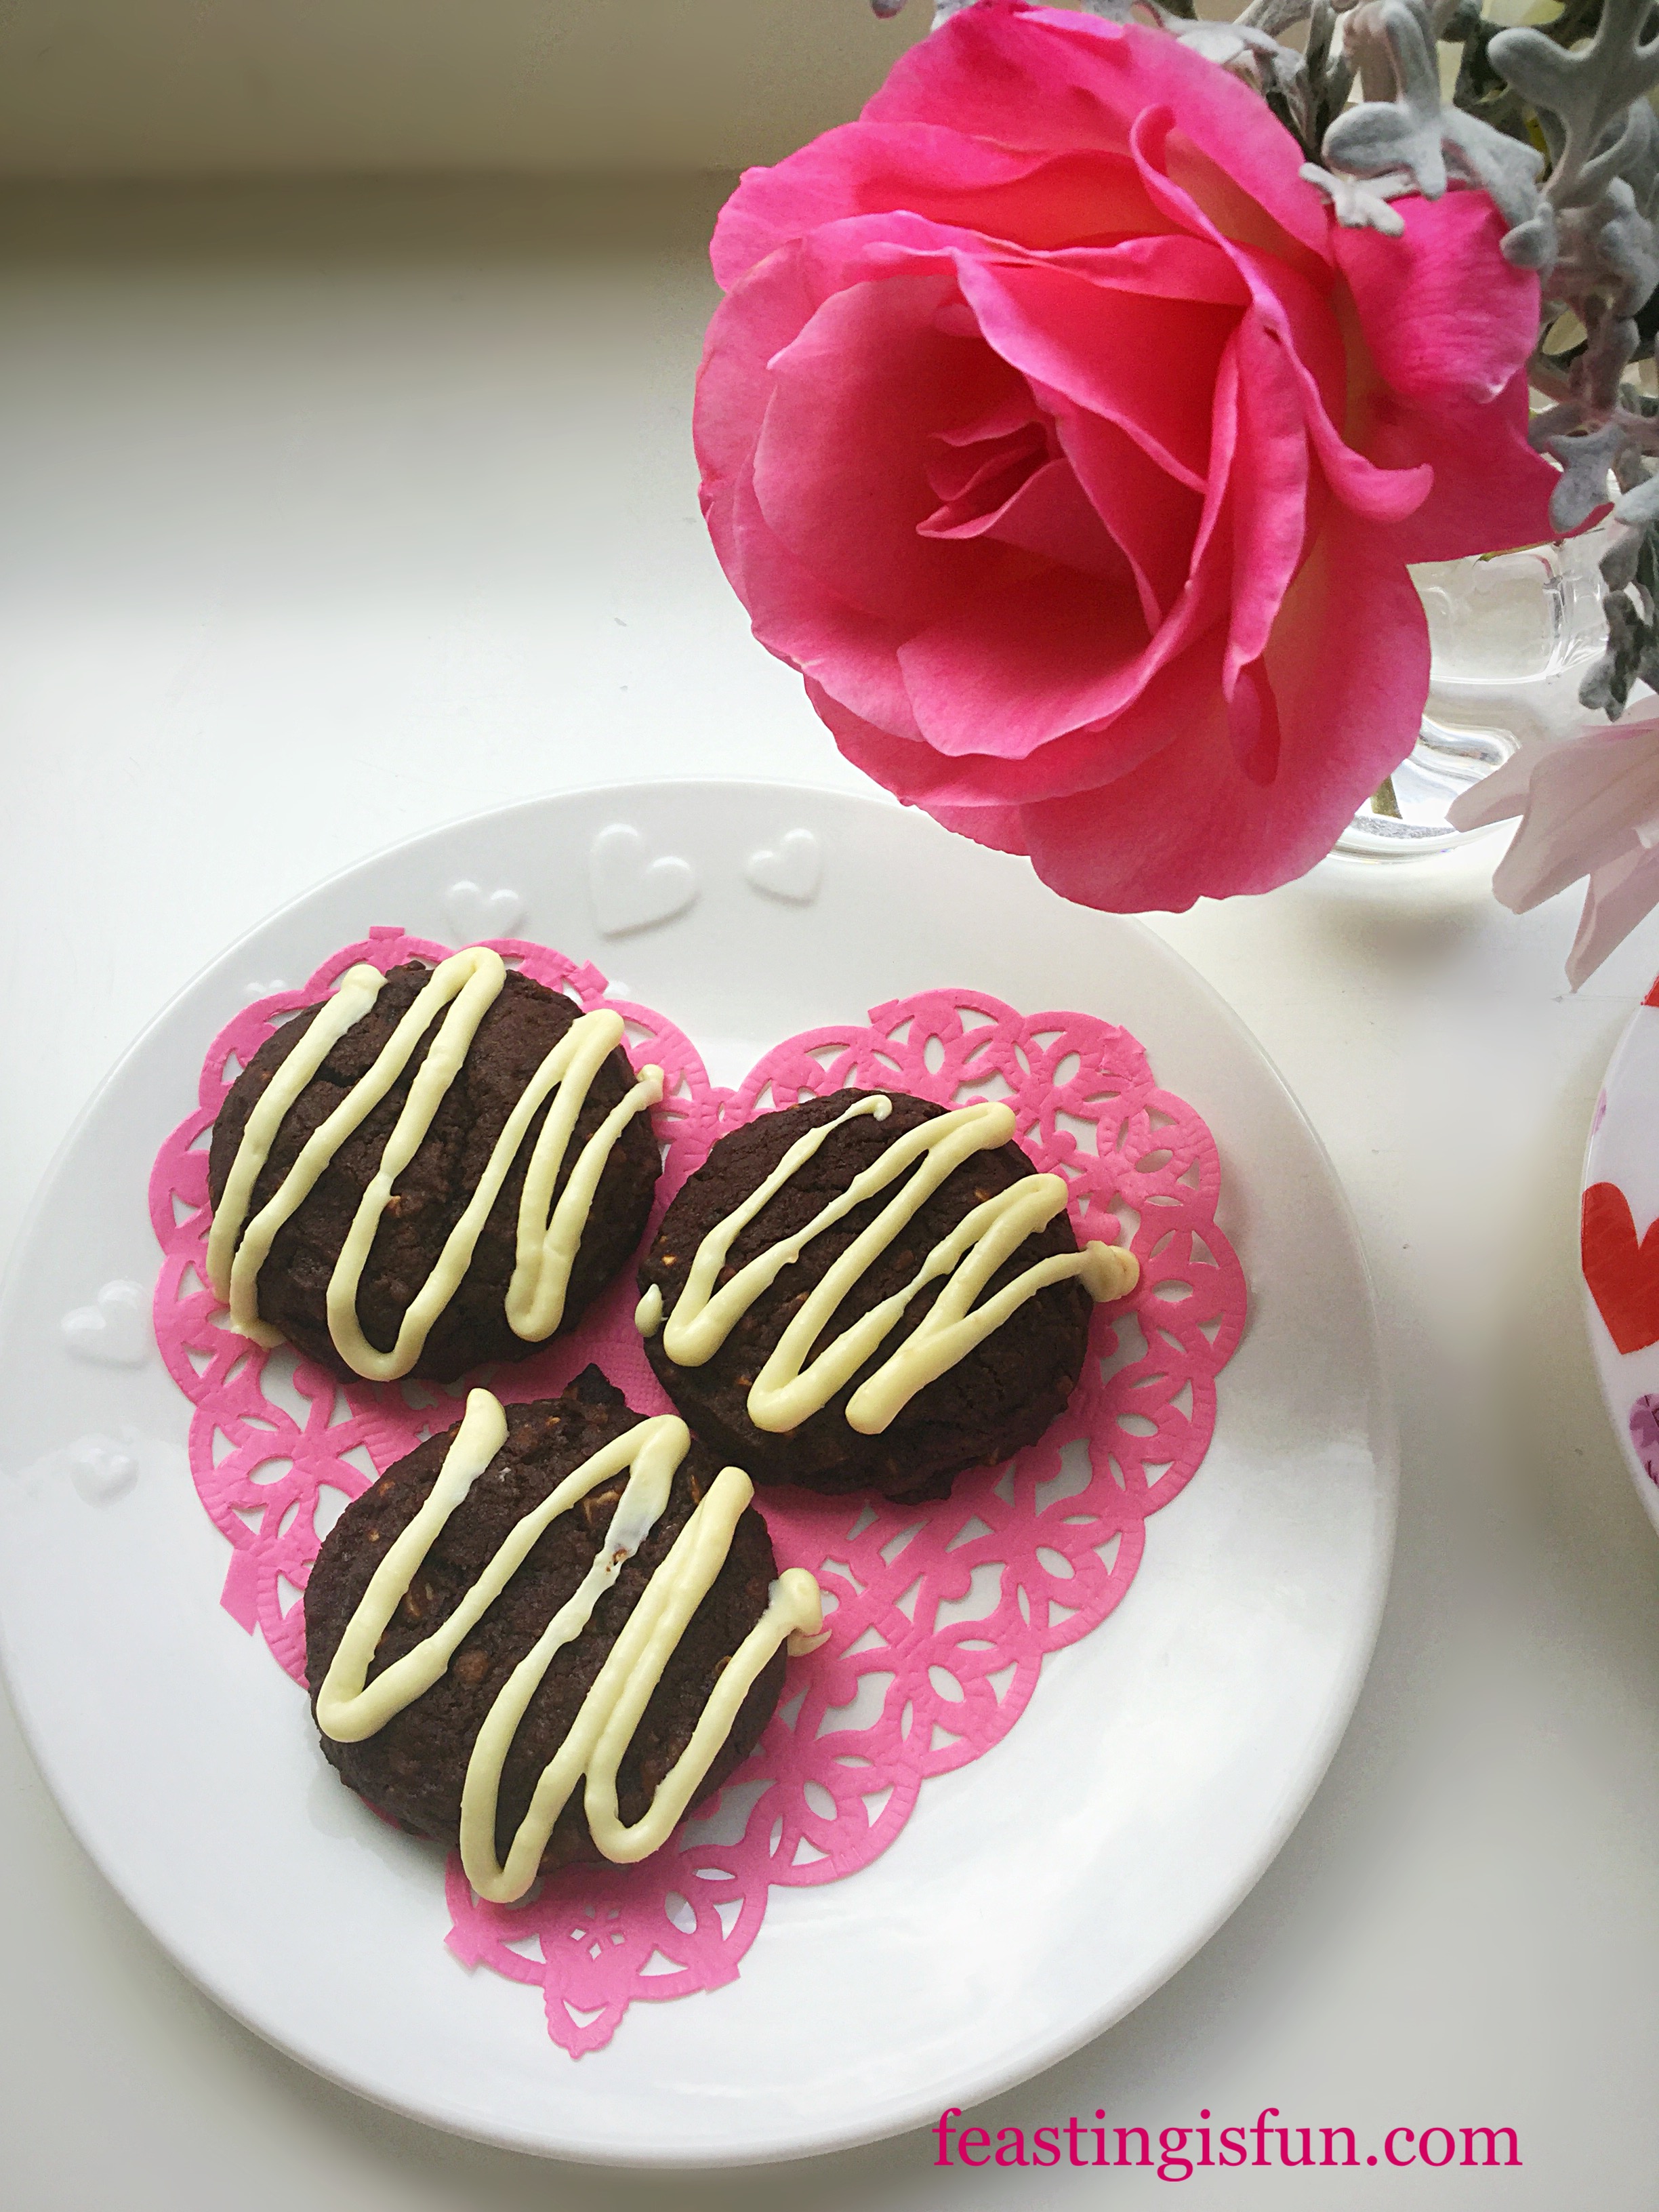
White spelt flour has a slight nutty flavour to it that is accented in these cookies with the addition of toasted hazelnuts. While white chocolate chunks provide pockets of sweetness in the dark chocolate. Also finished with a white chocolate drizzle, giving each cookie that extra special touch. Resulting in a perfectly flavoured, nutty chocolate cookie that satisfies any Cookie Monster craving.

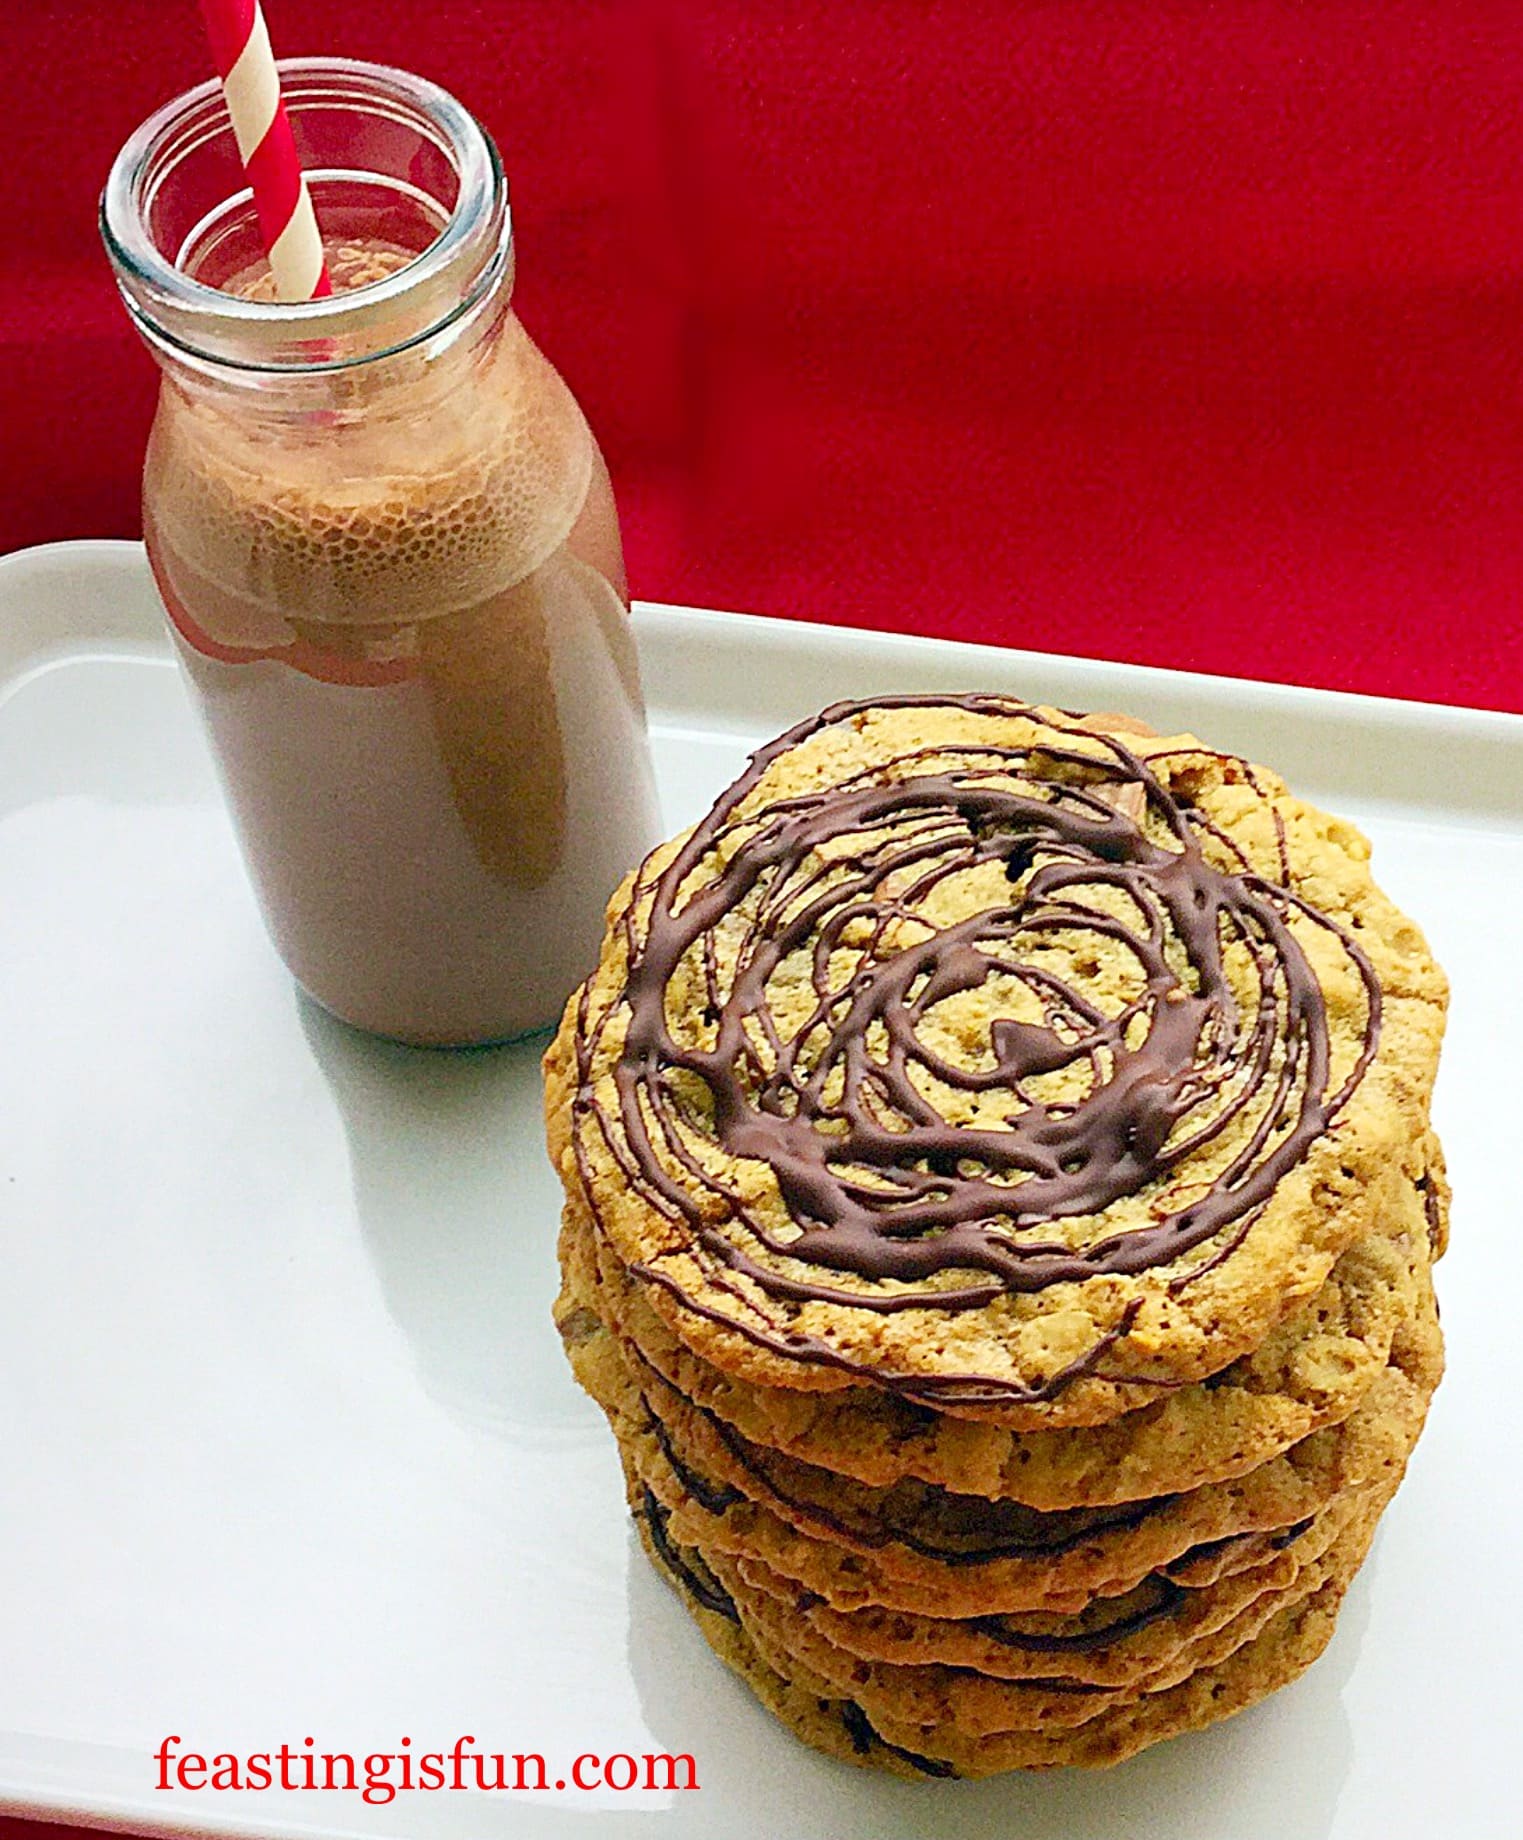
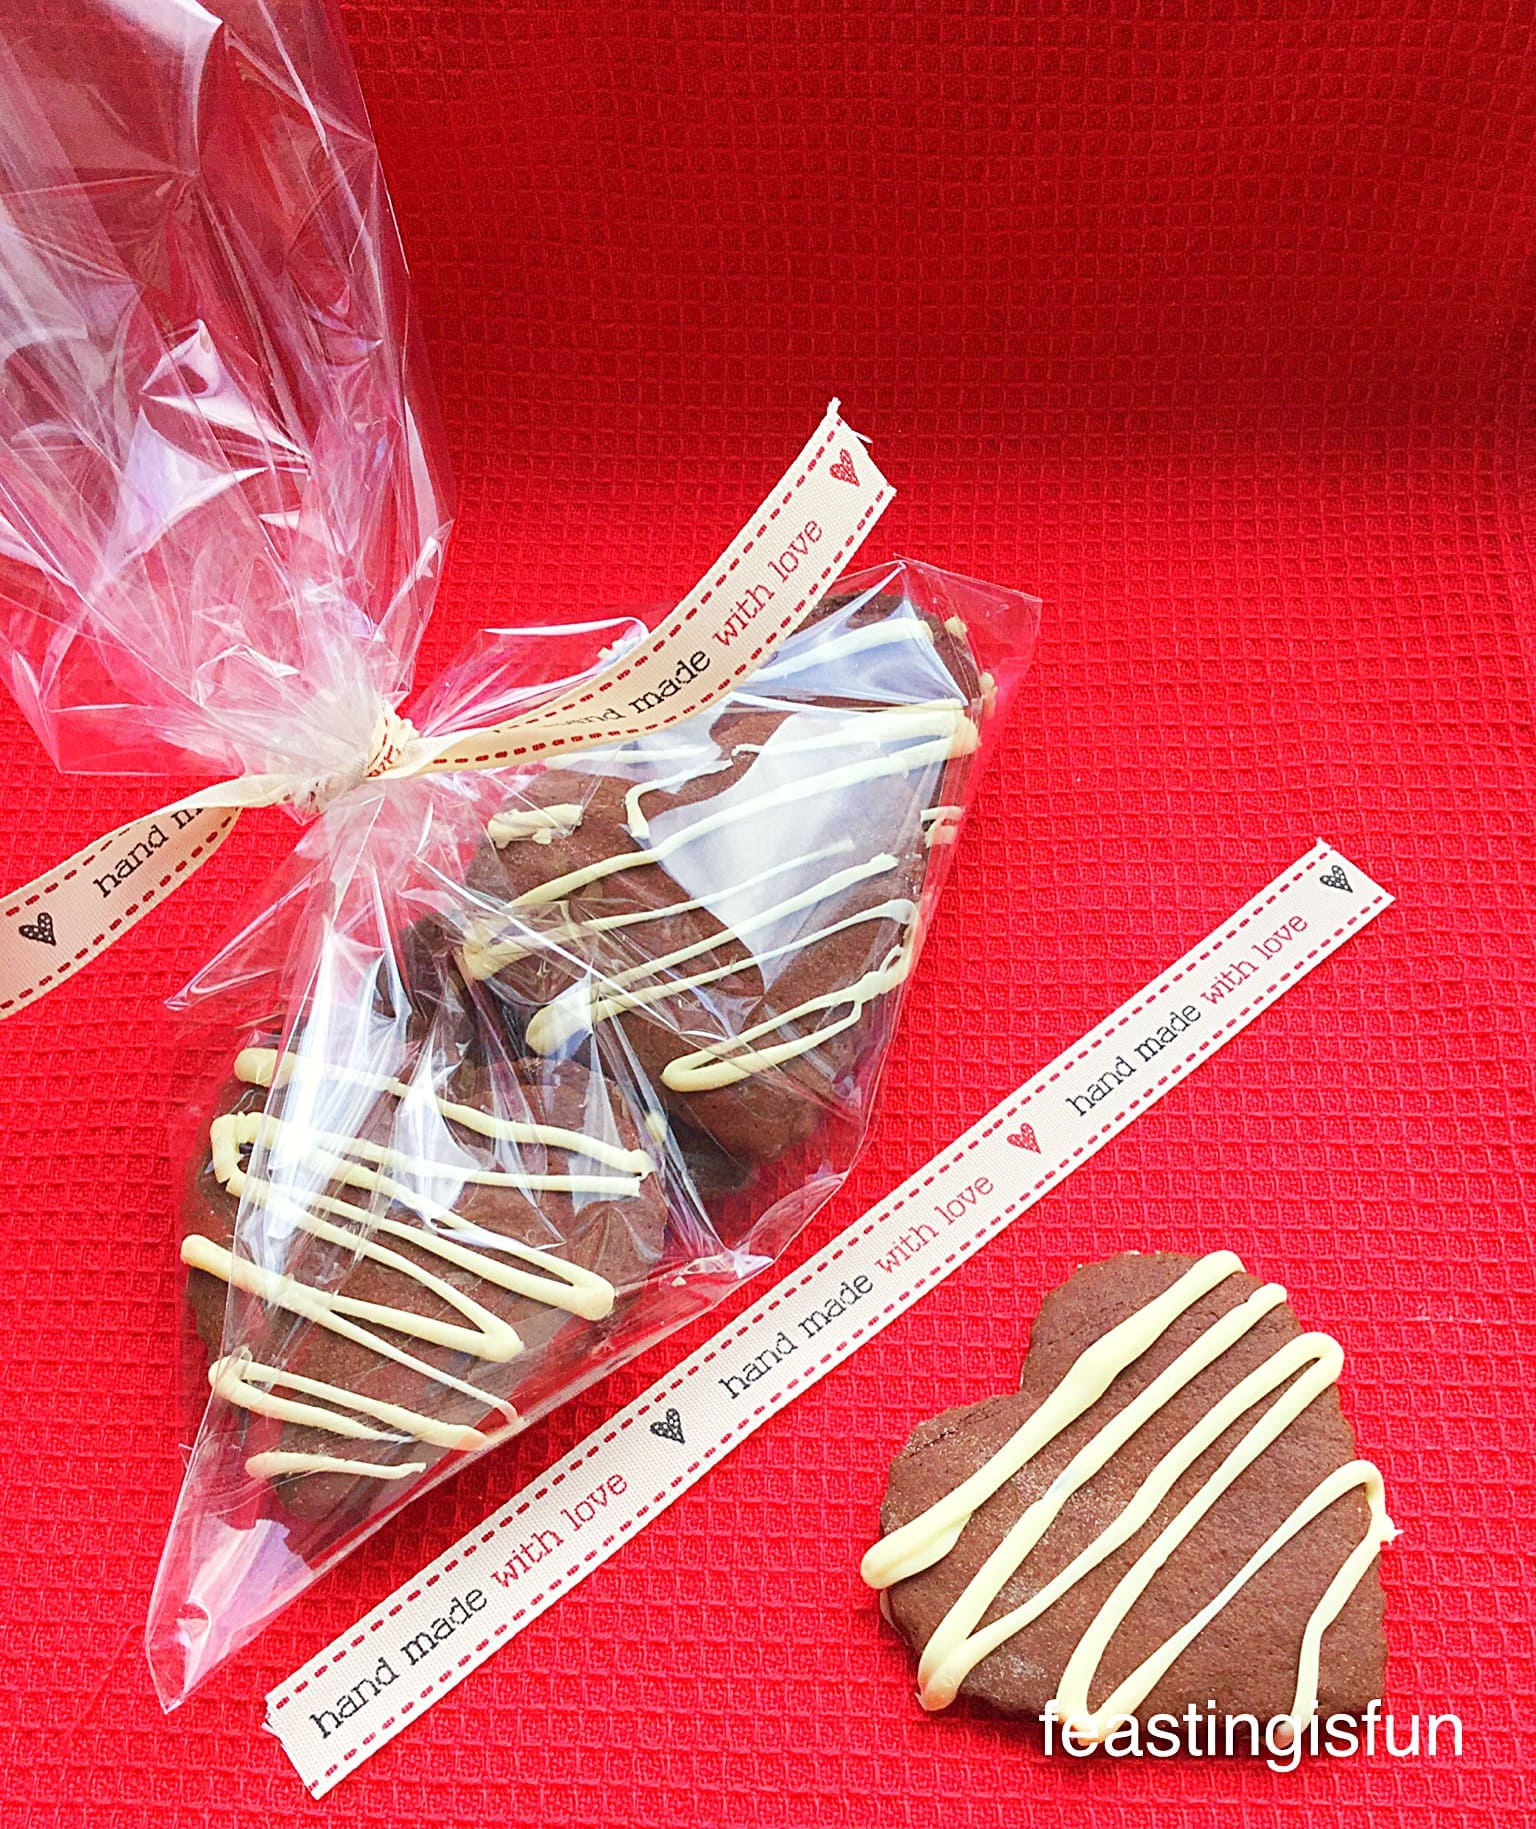
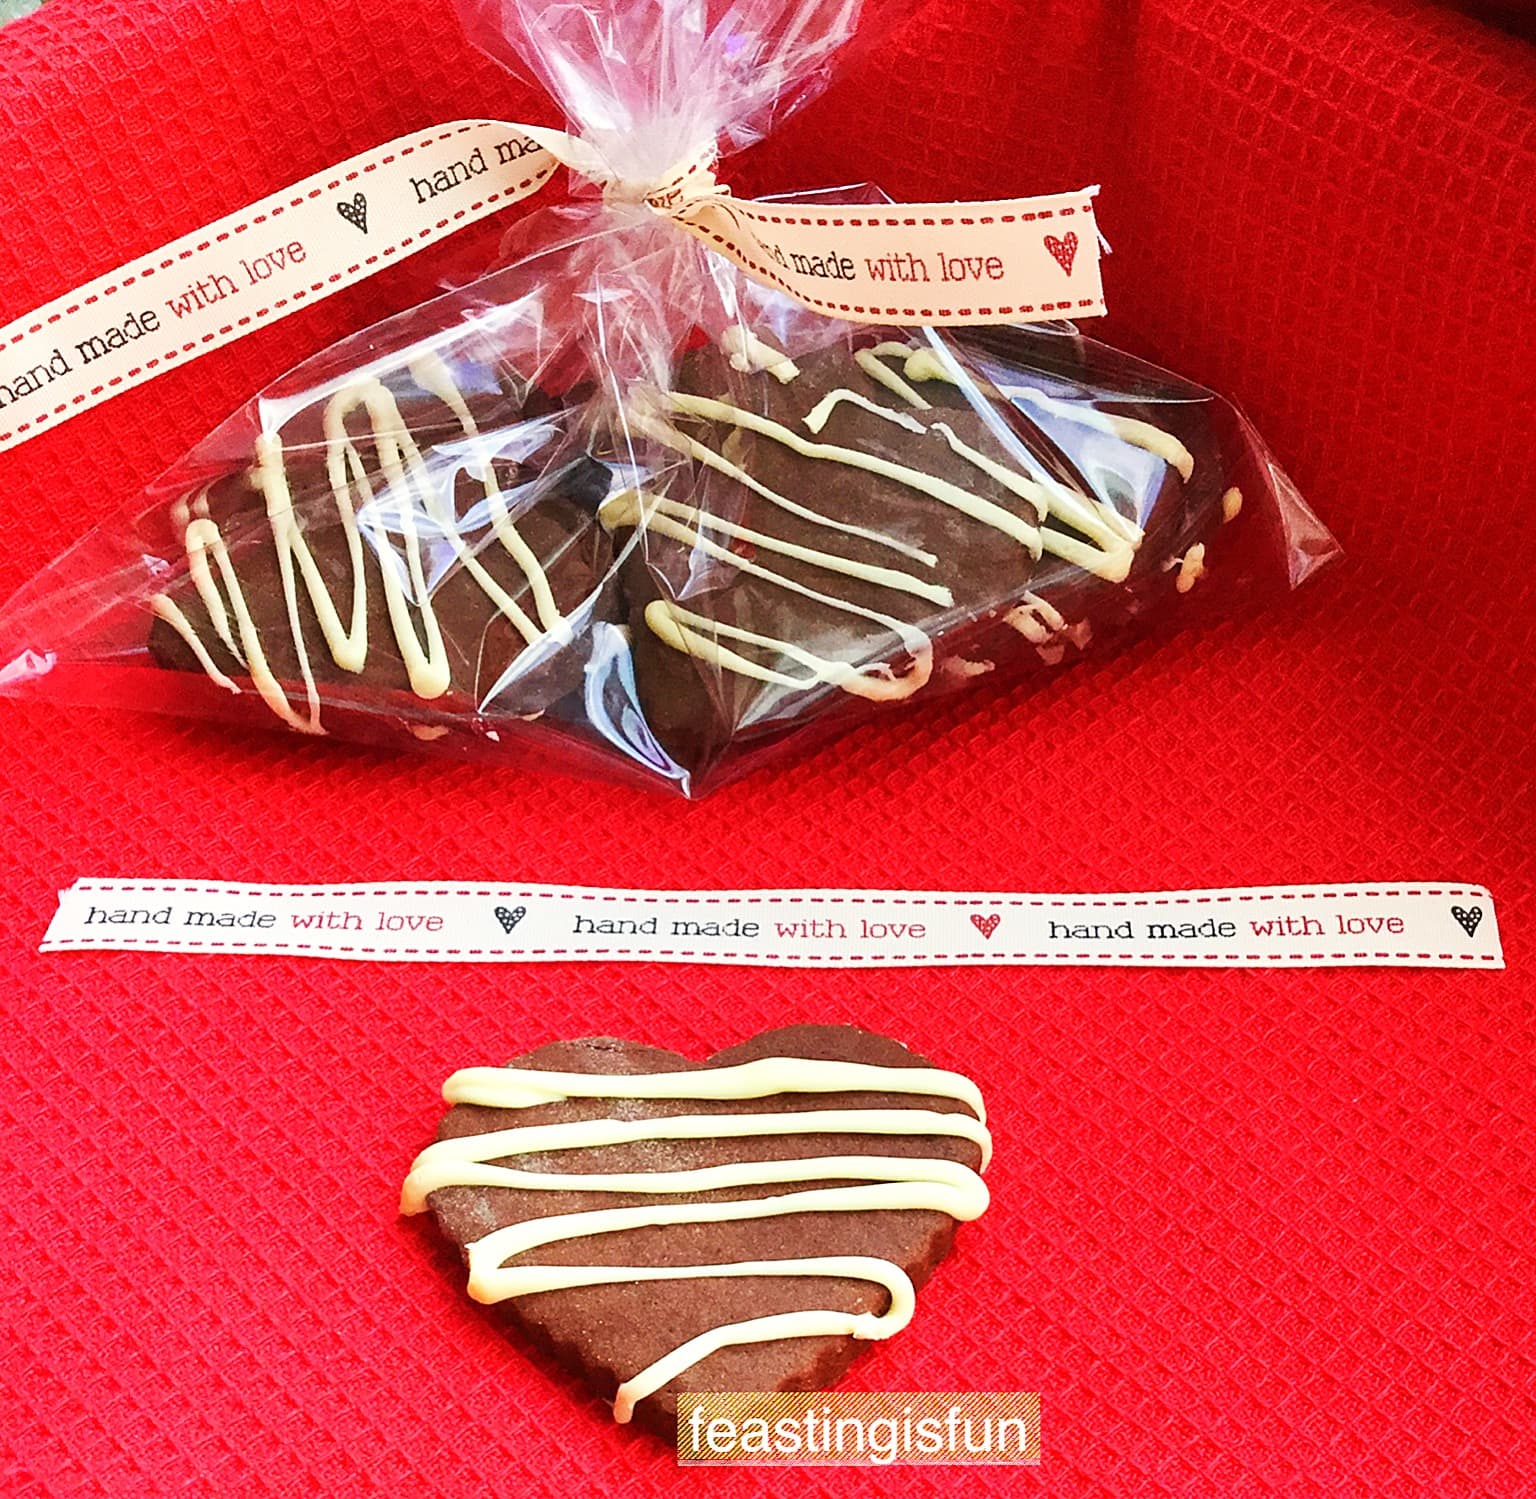
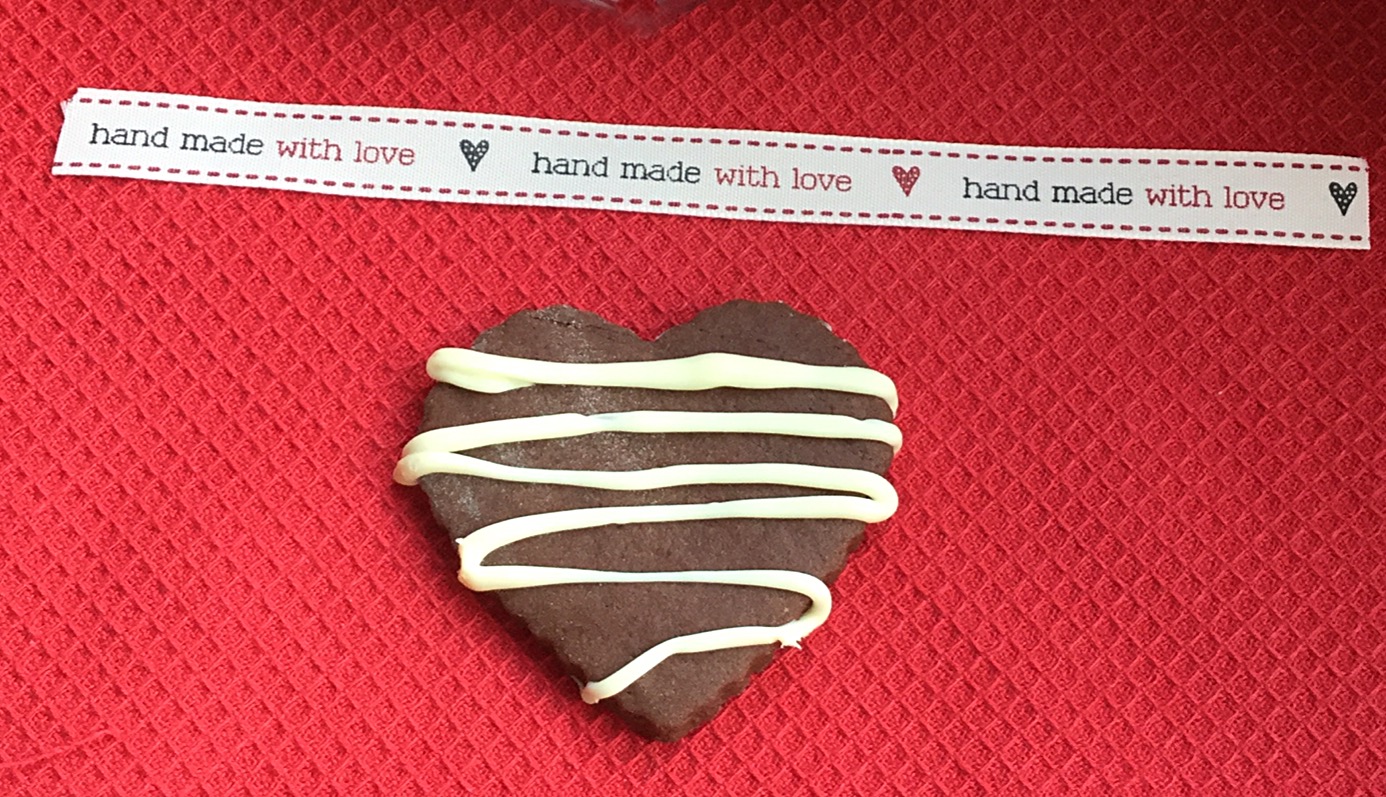
Since these cookies are not only delicious but also easy to make, why not bake a double batch and give some away? Also, a gift of freshly baked cookies would surely be very welcome. A new mum and dad, sleep deprived with their first baby, or elderly neighbours that don’t get out very often. And it isn’t hard to find people that would love to receive a surprise cookie hamper.
Recipe: Double Chocolate Nut Spelt Cookies makes 24-28
150g/5oz Unsalted Butter at room temperature
1/4tsp Sea Salt – I use Maldon
225g/8oz Dark Brown Sugar
1 Large Free Range Egg
1tsp Vanilla Extract – I use Nielsen-Massey
50g/2oz Cocoa Powder – I use Callebaut
225g/8oz White Spelt Flour – I use Craggs and Co. – alternatively you can use the equivalent weight of plain white flour, the cookies will have a slightly subdued nutty flavour yet will still taste good.
1/2tsp Bicarbonate of Soda
100g/4oz White Chocolate Chunks
200g/7oz White Chocolate for melting
100g/4oz Chopped Toasted Hazelnuts
Method: Preheat the oven to 160C/140C fan, 325F gas mark 3
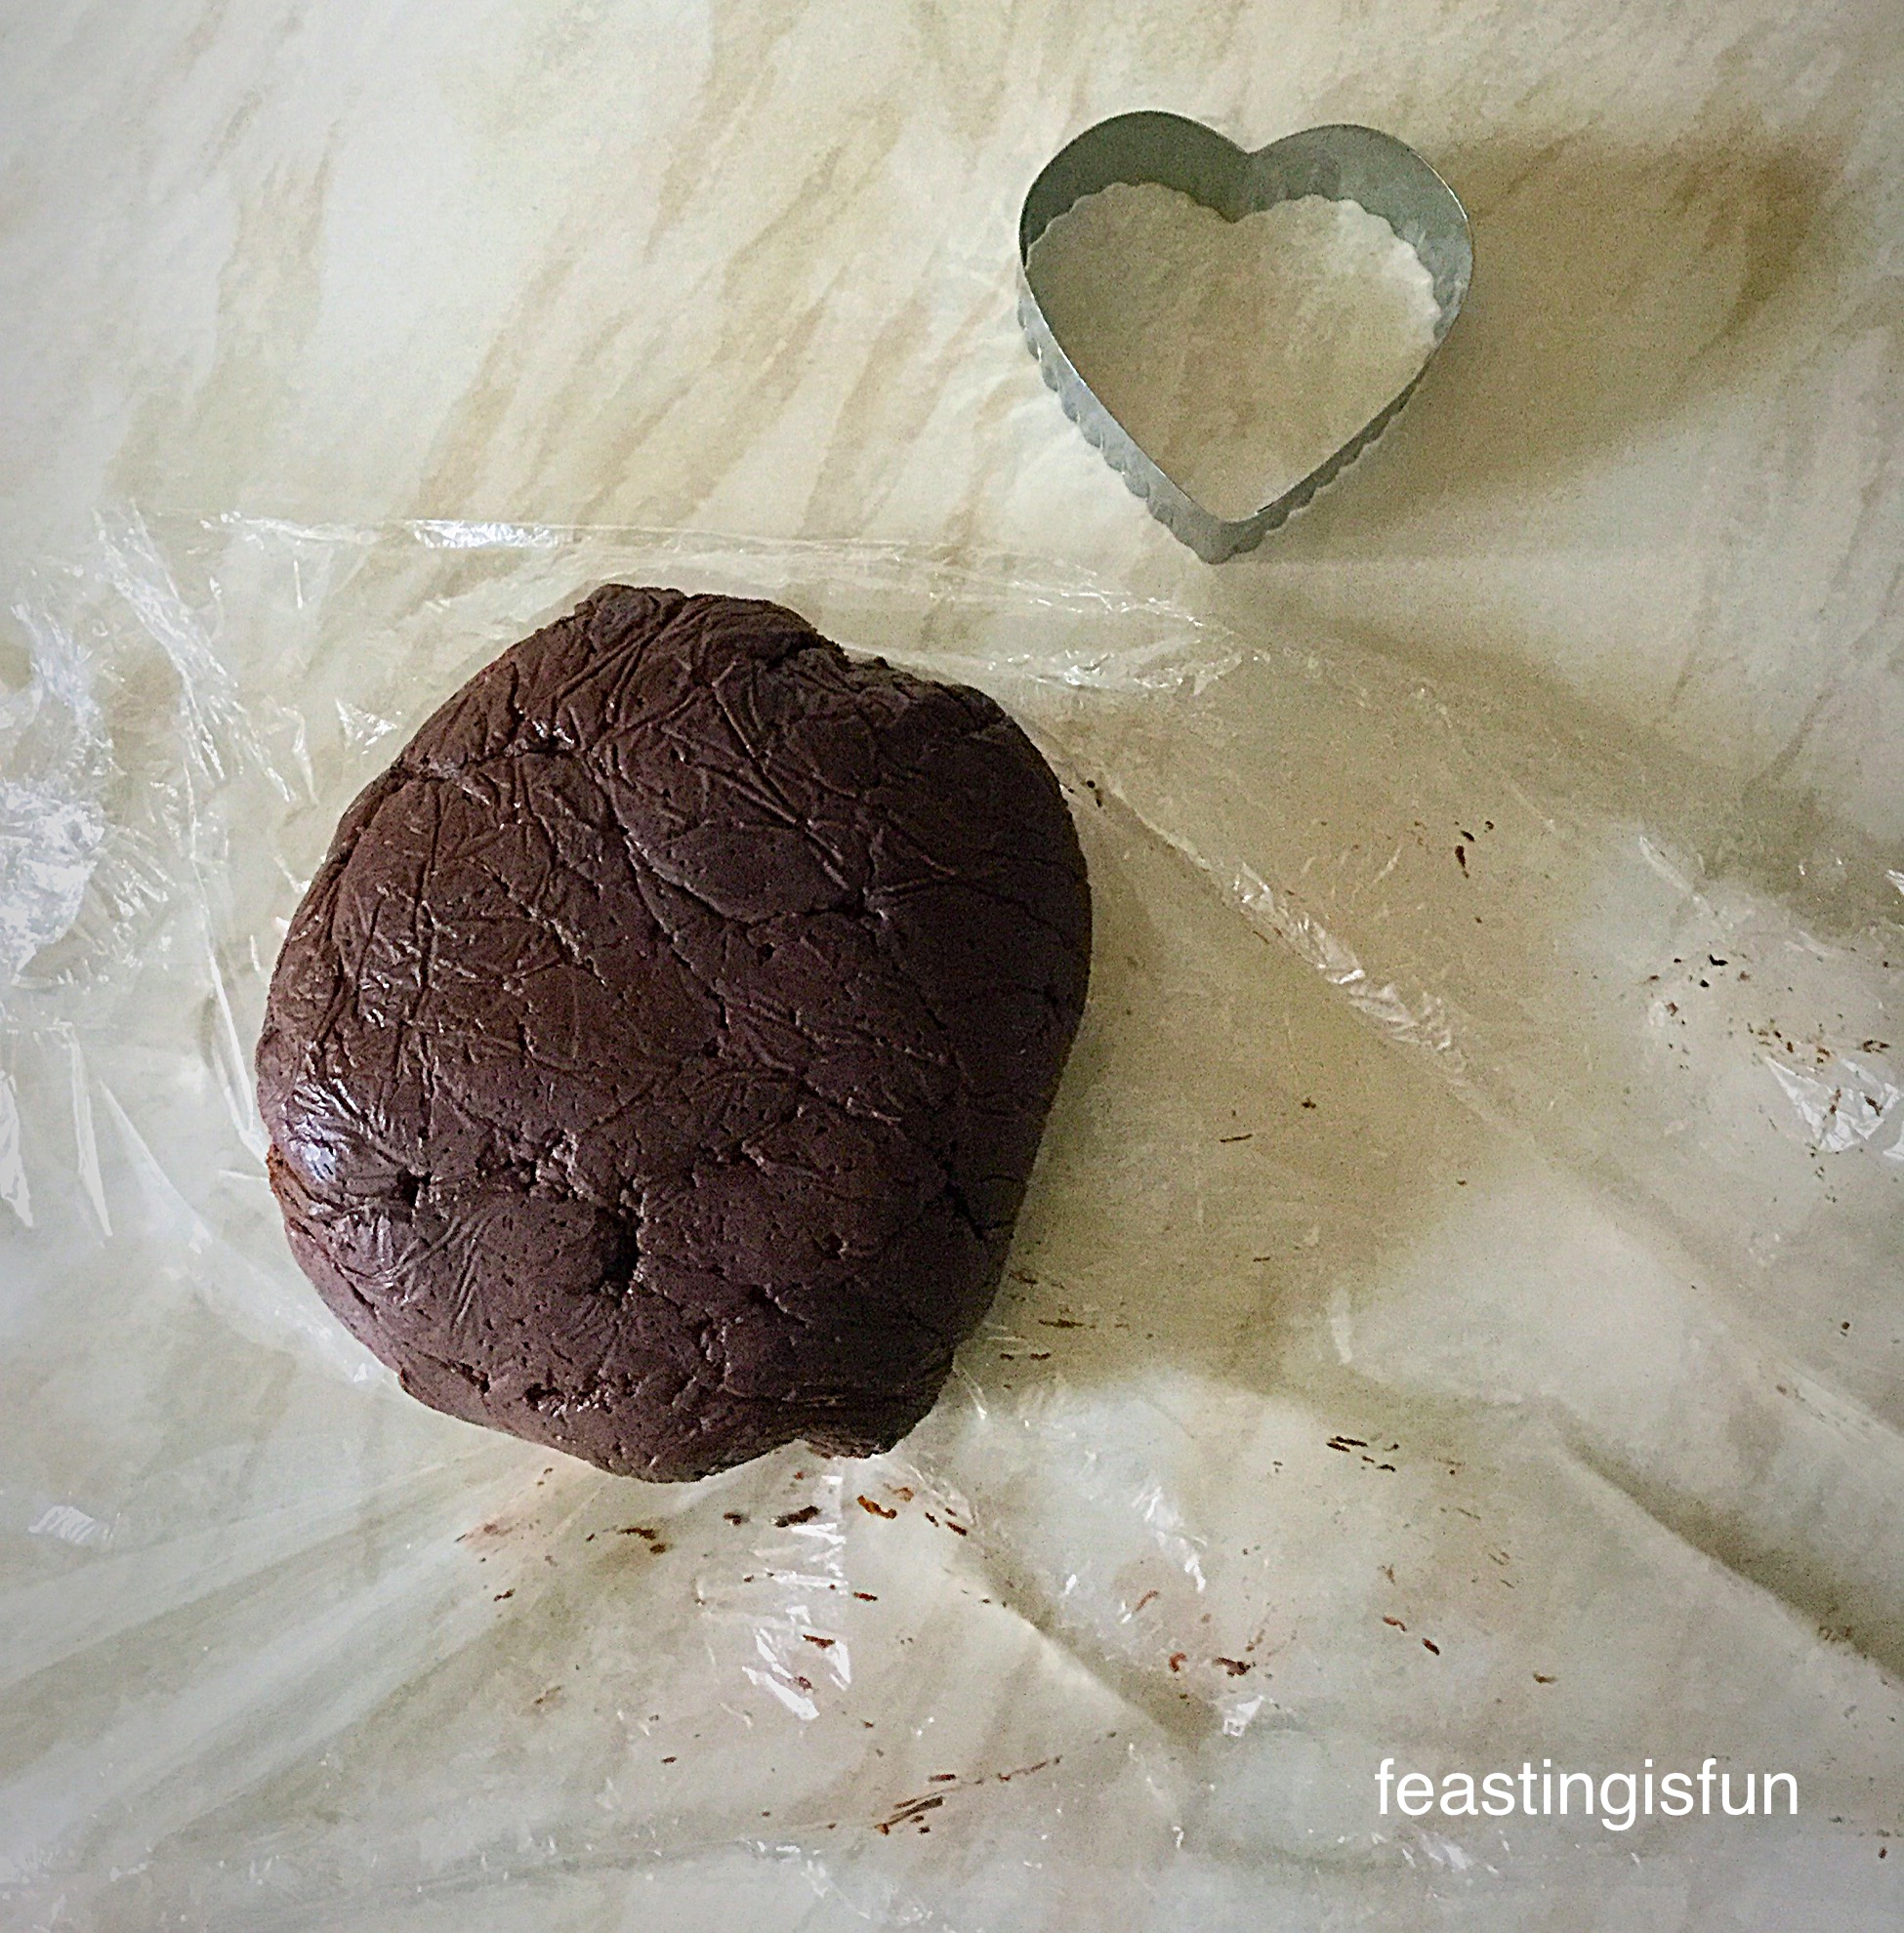
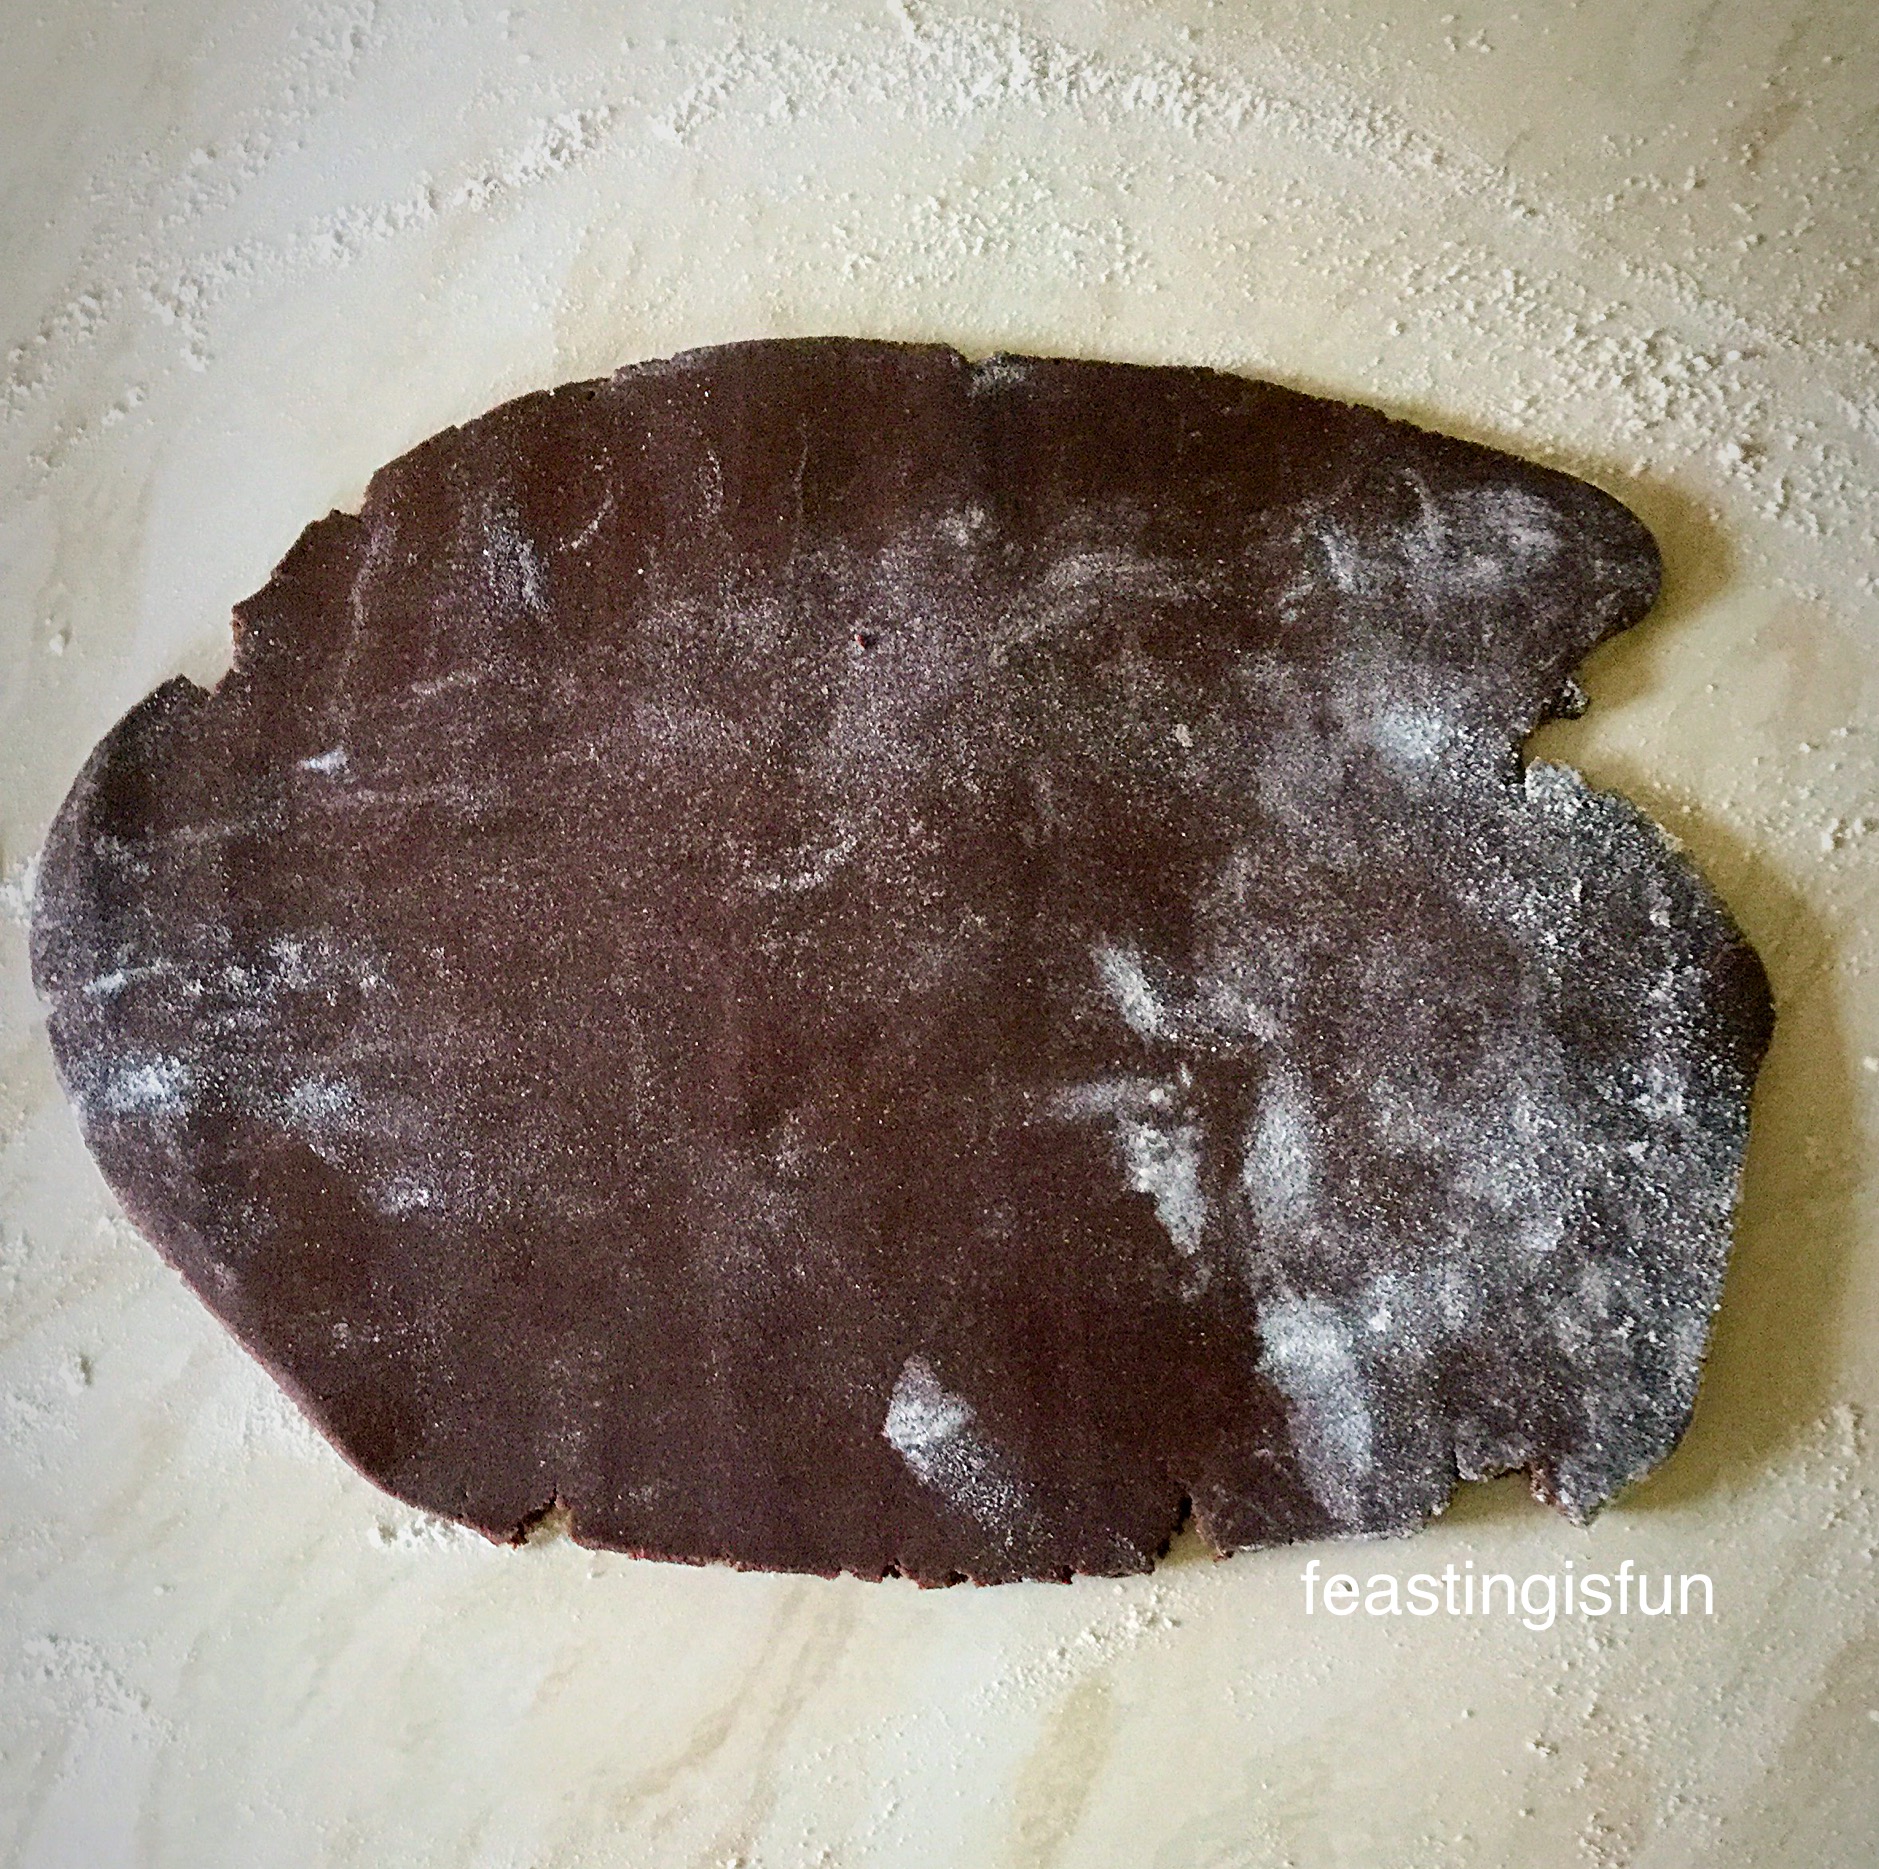
Making The Spelt Cookie Dough
- First of all, line 2 or 3 large baking trays with baking parchment.
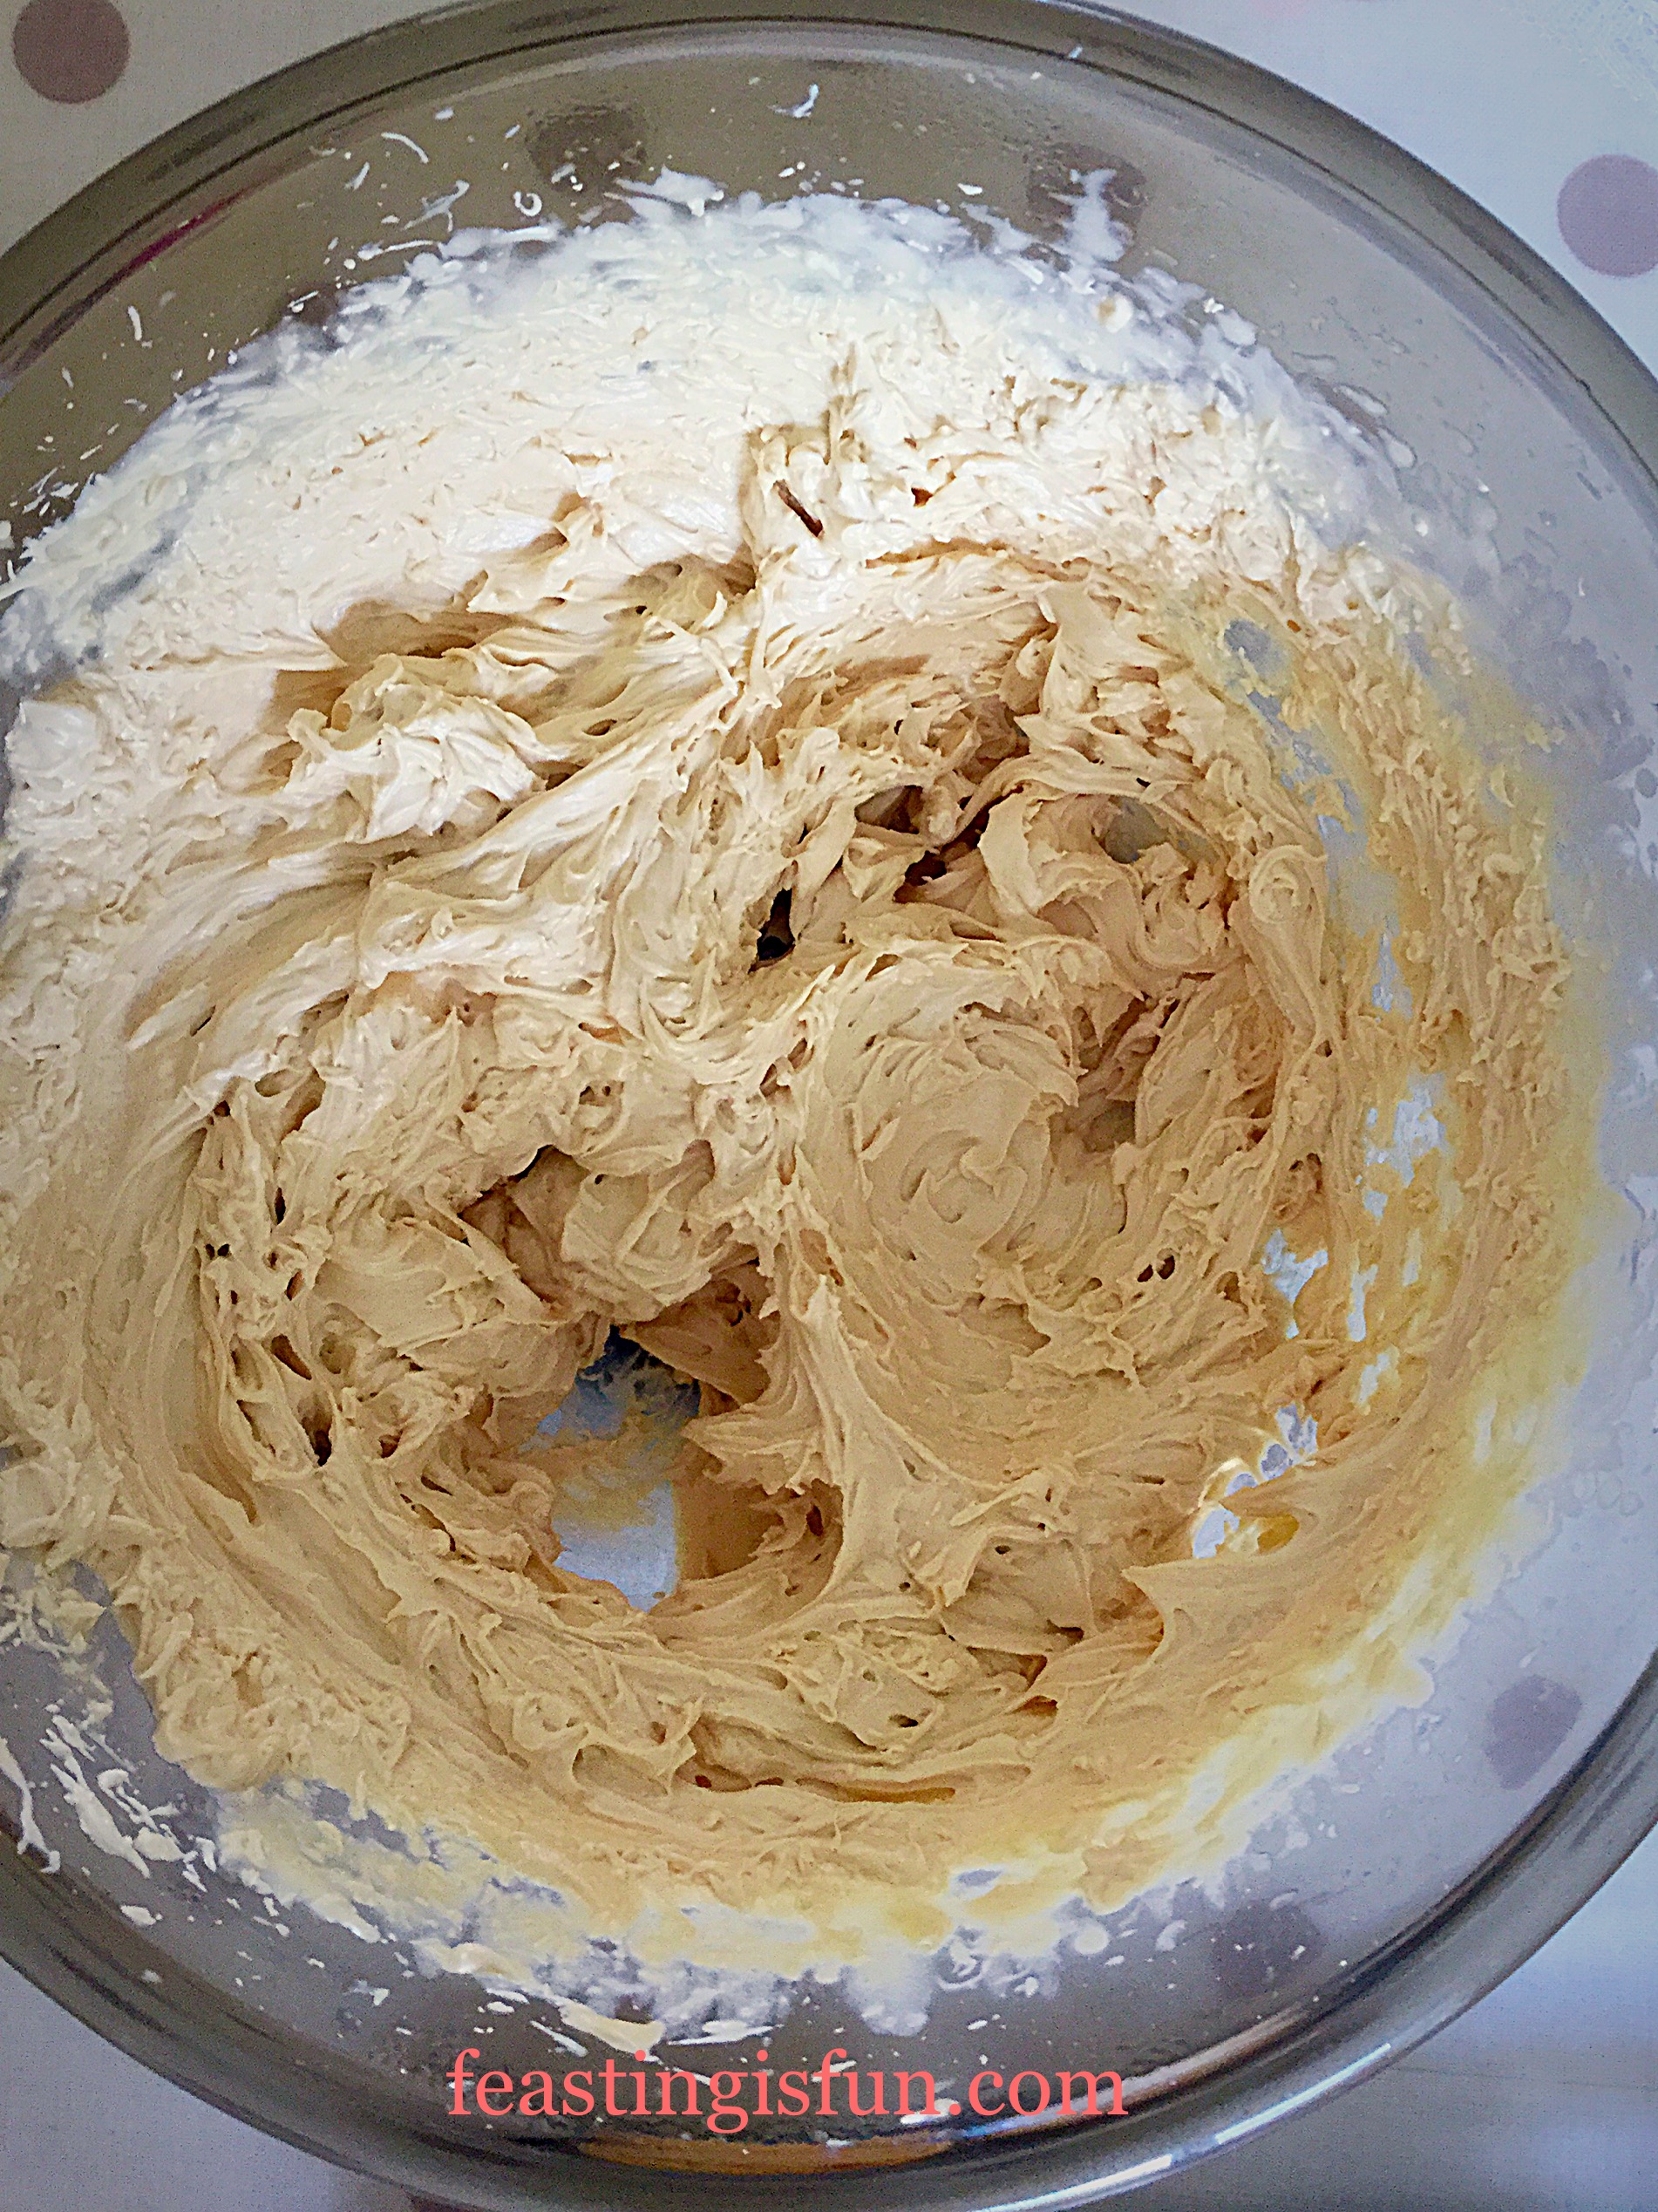
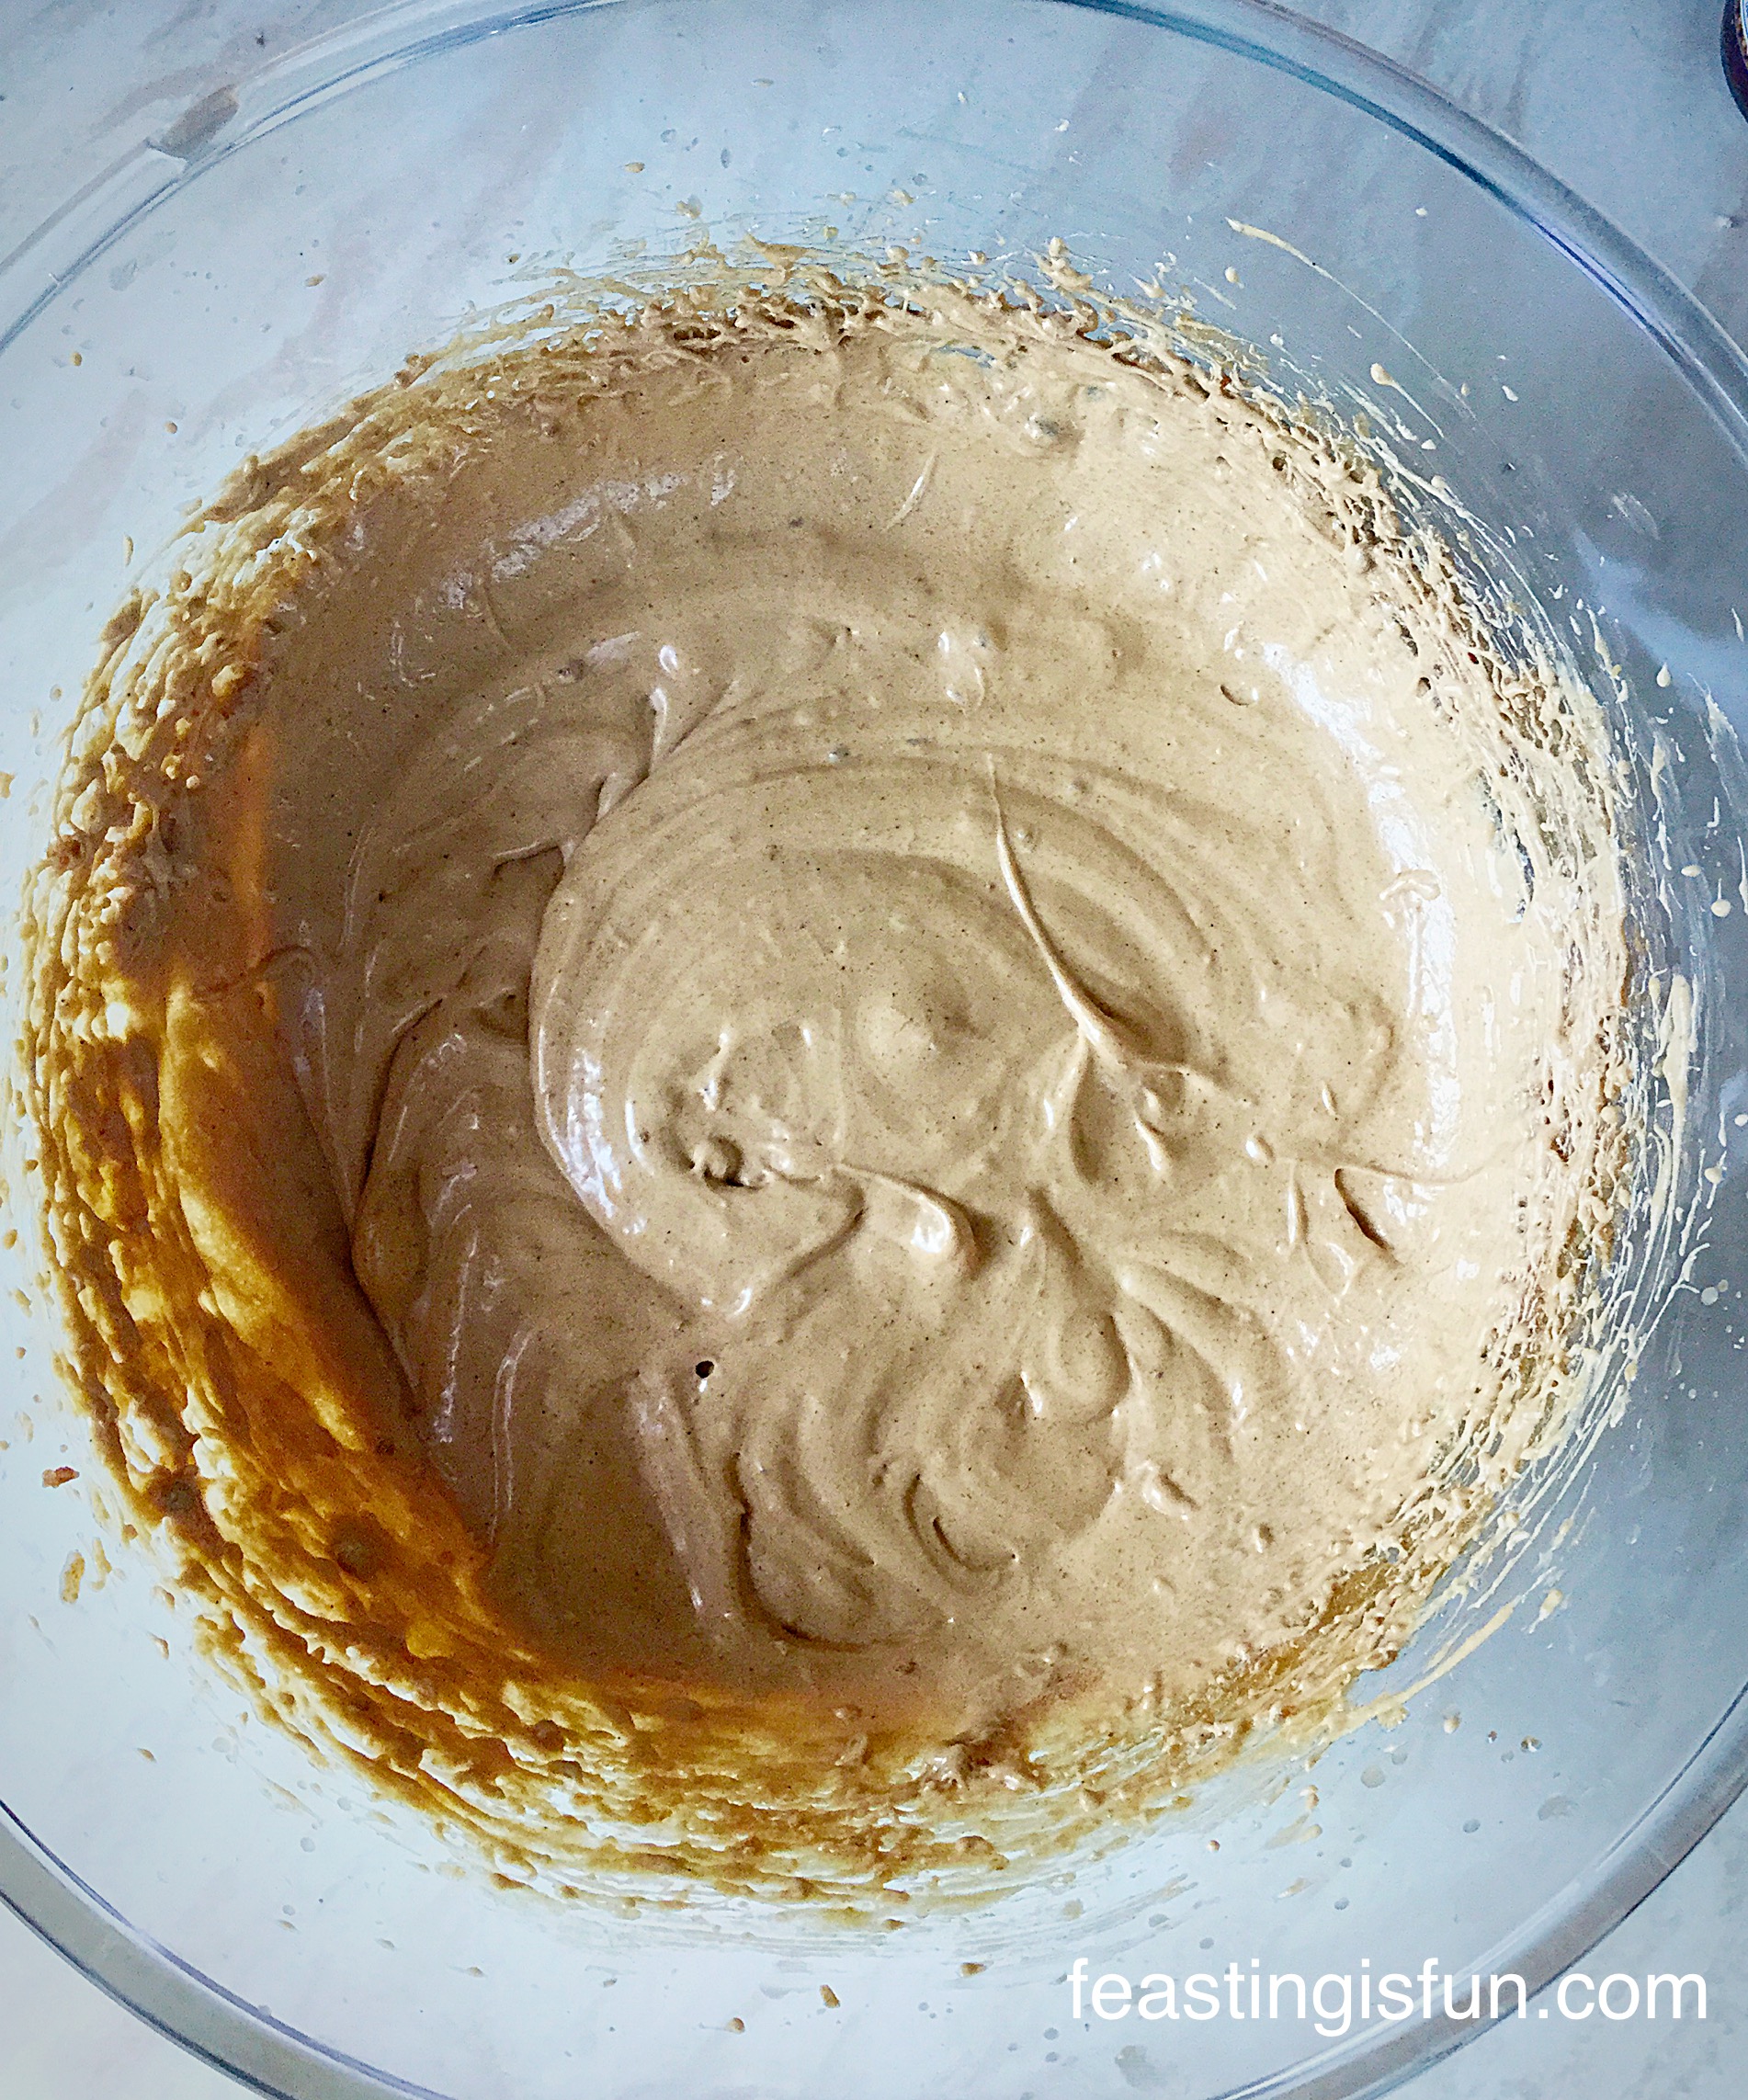
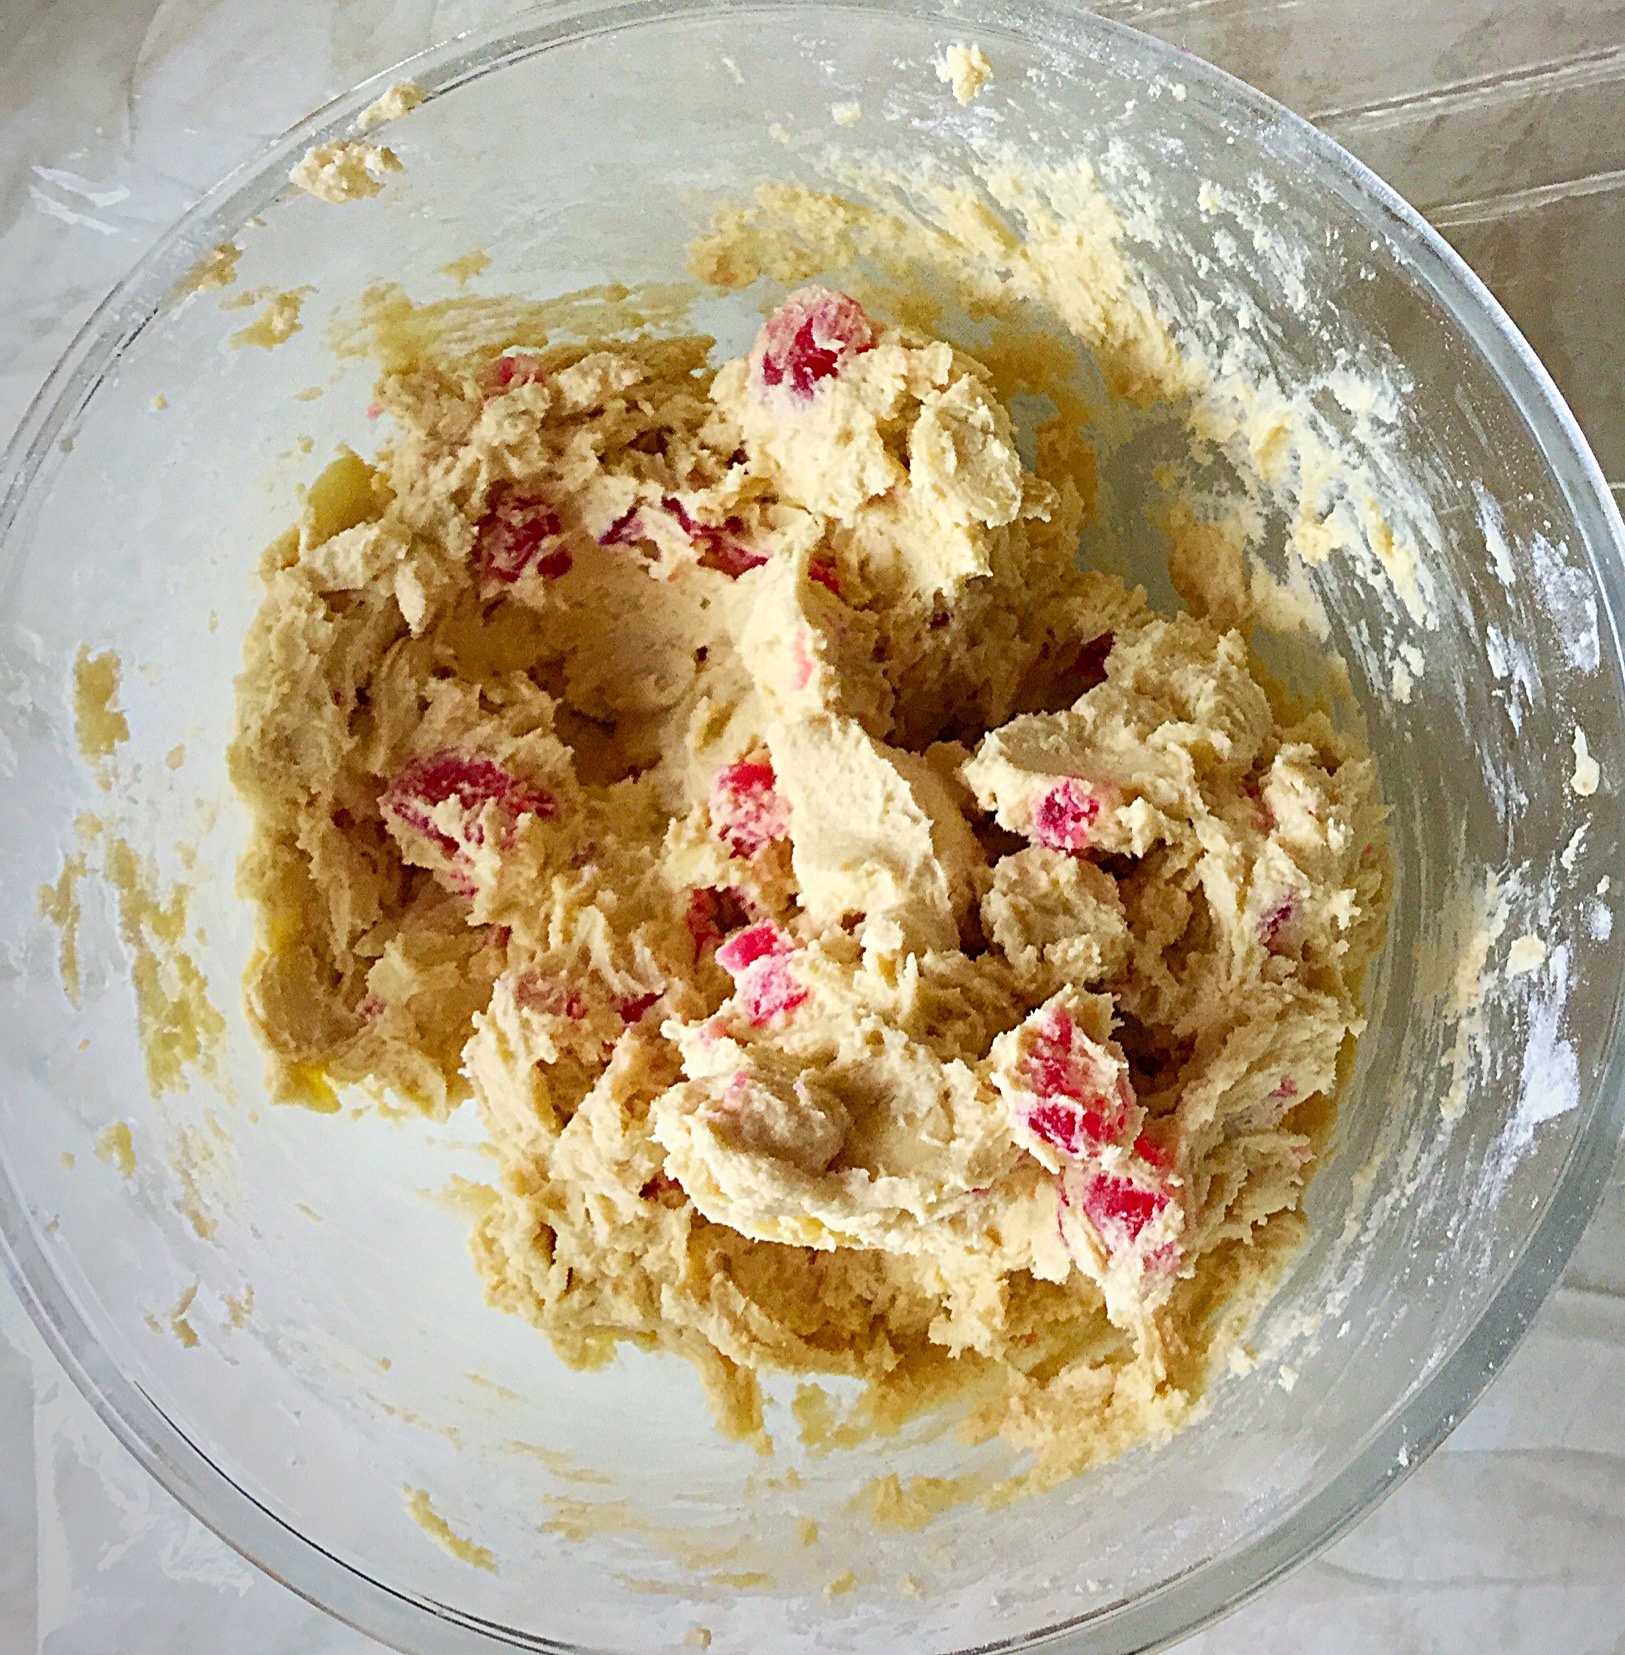
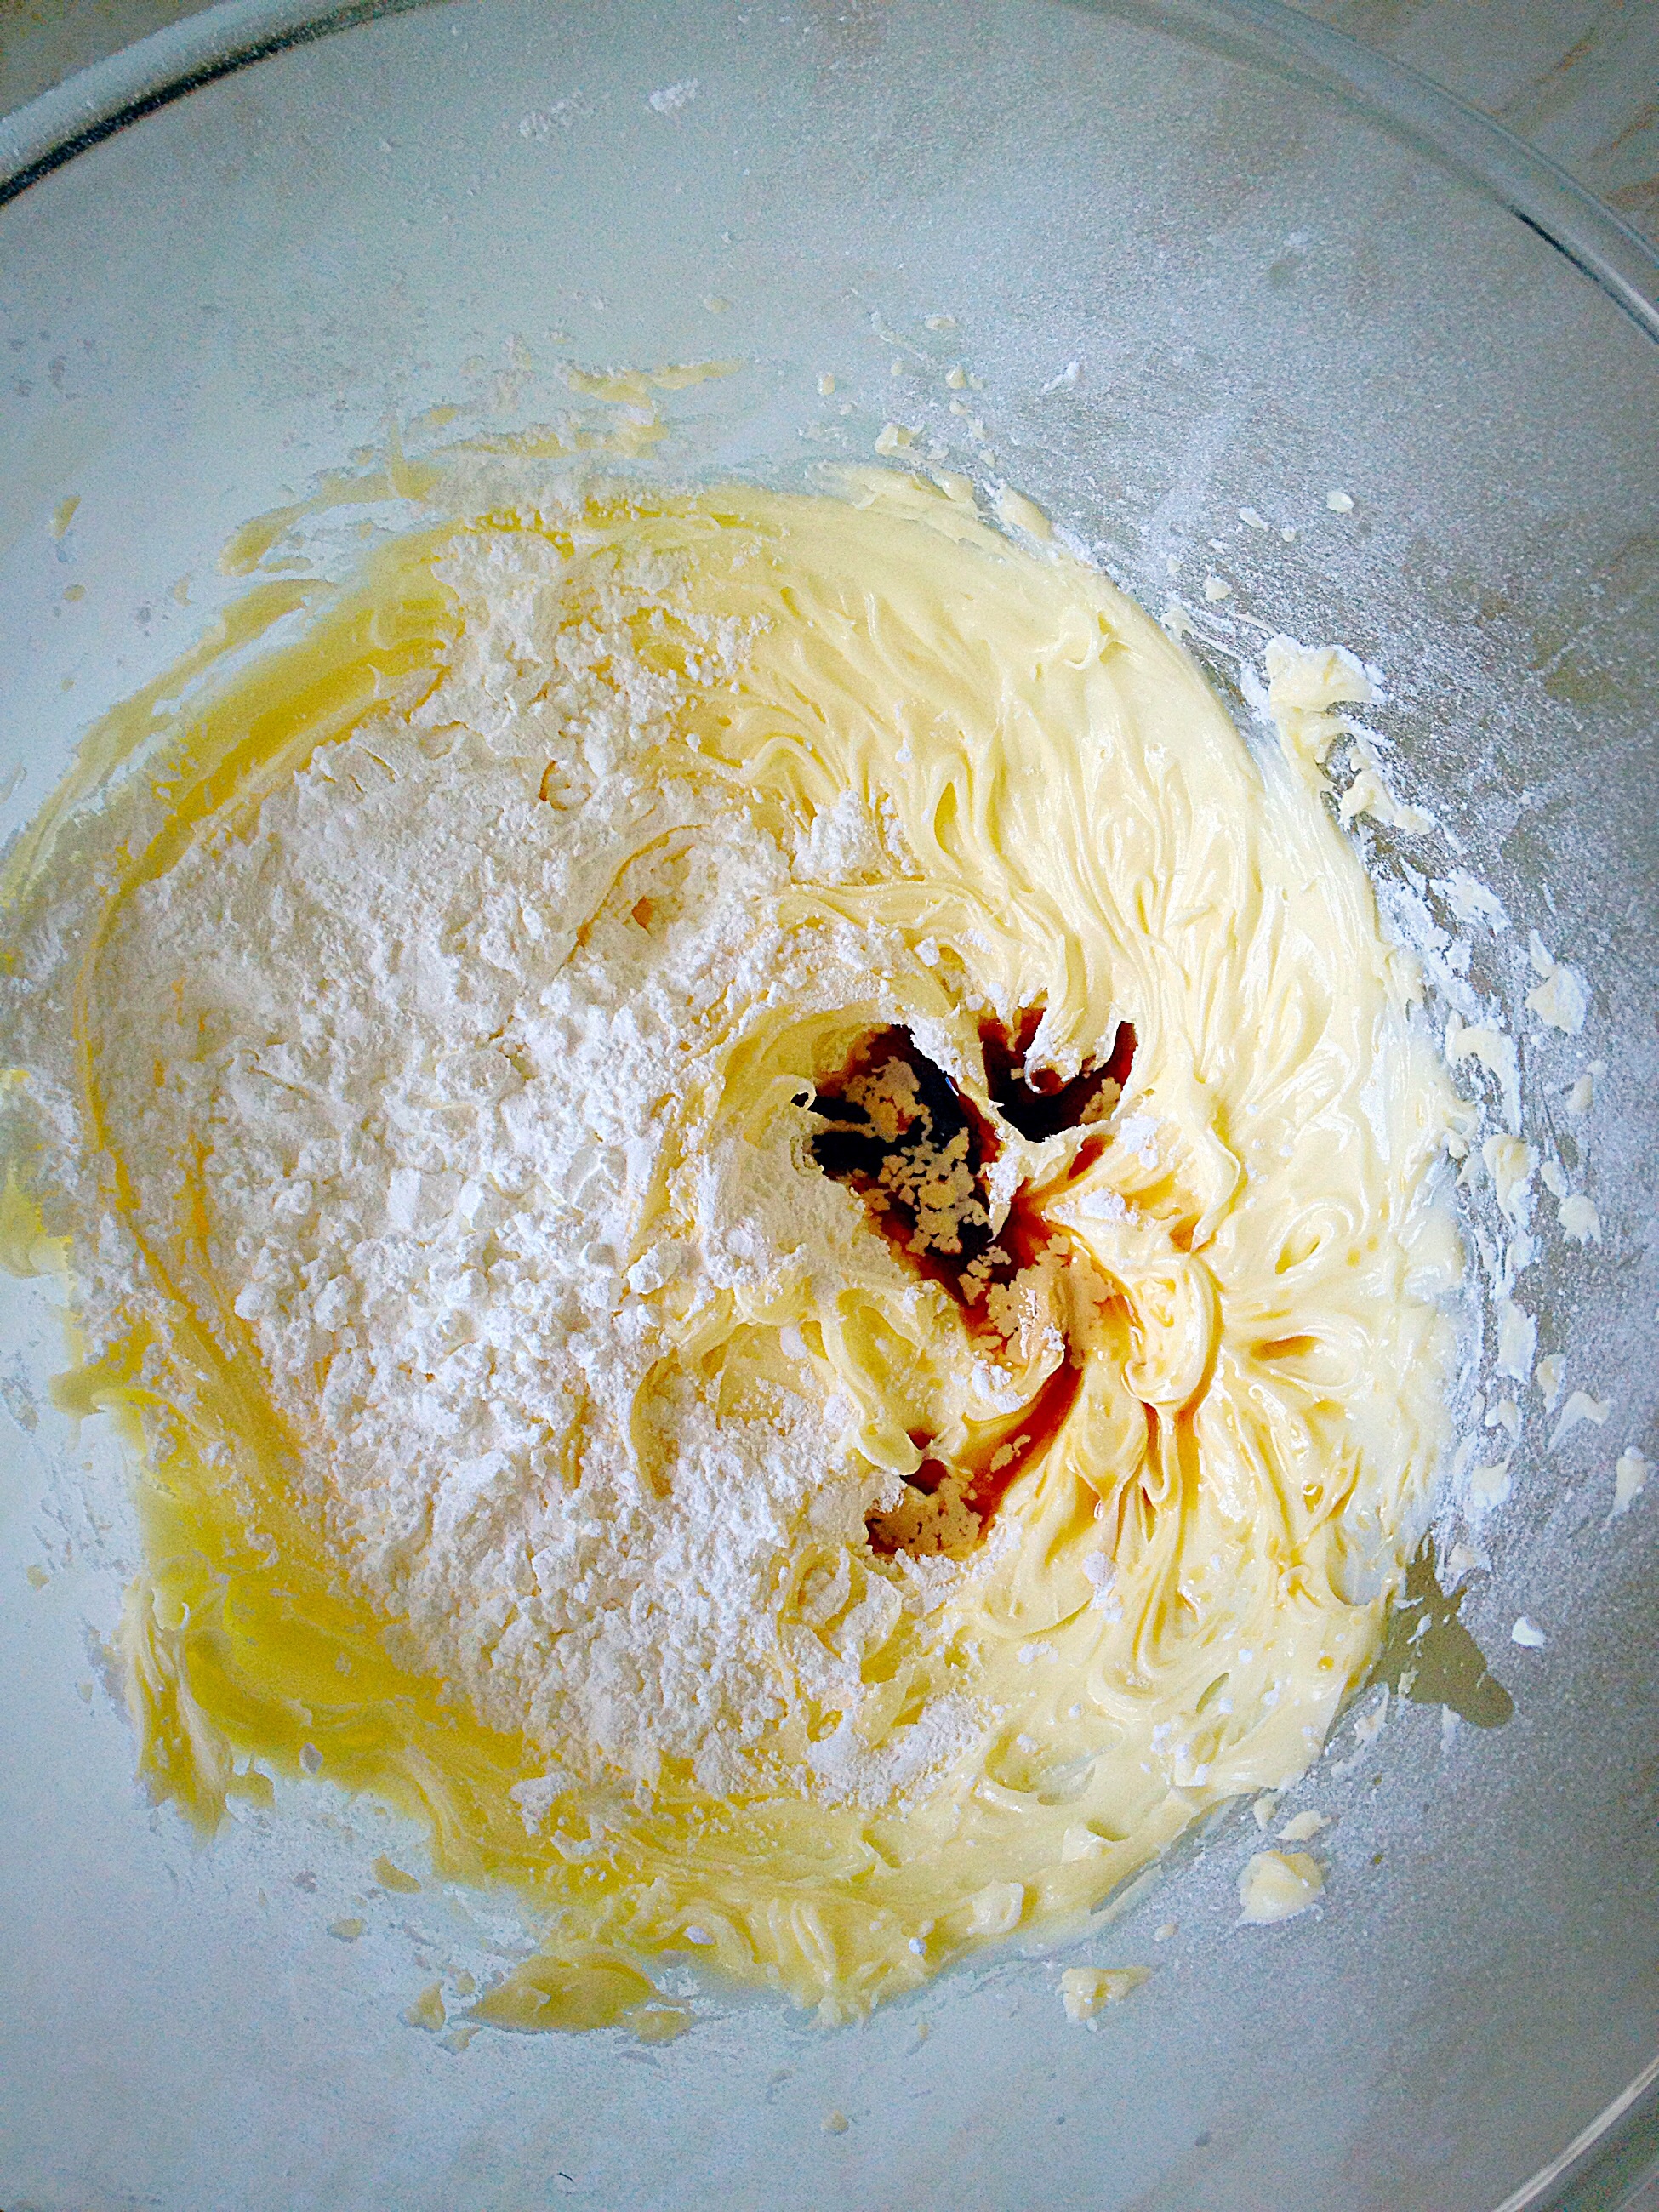
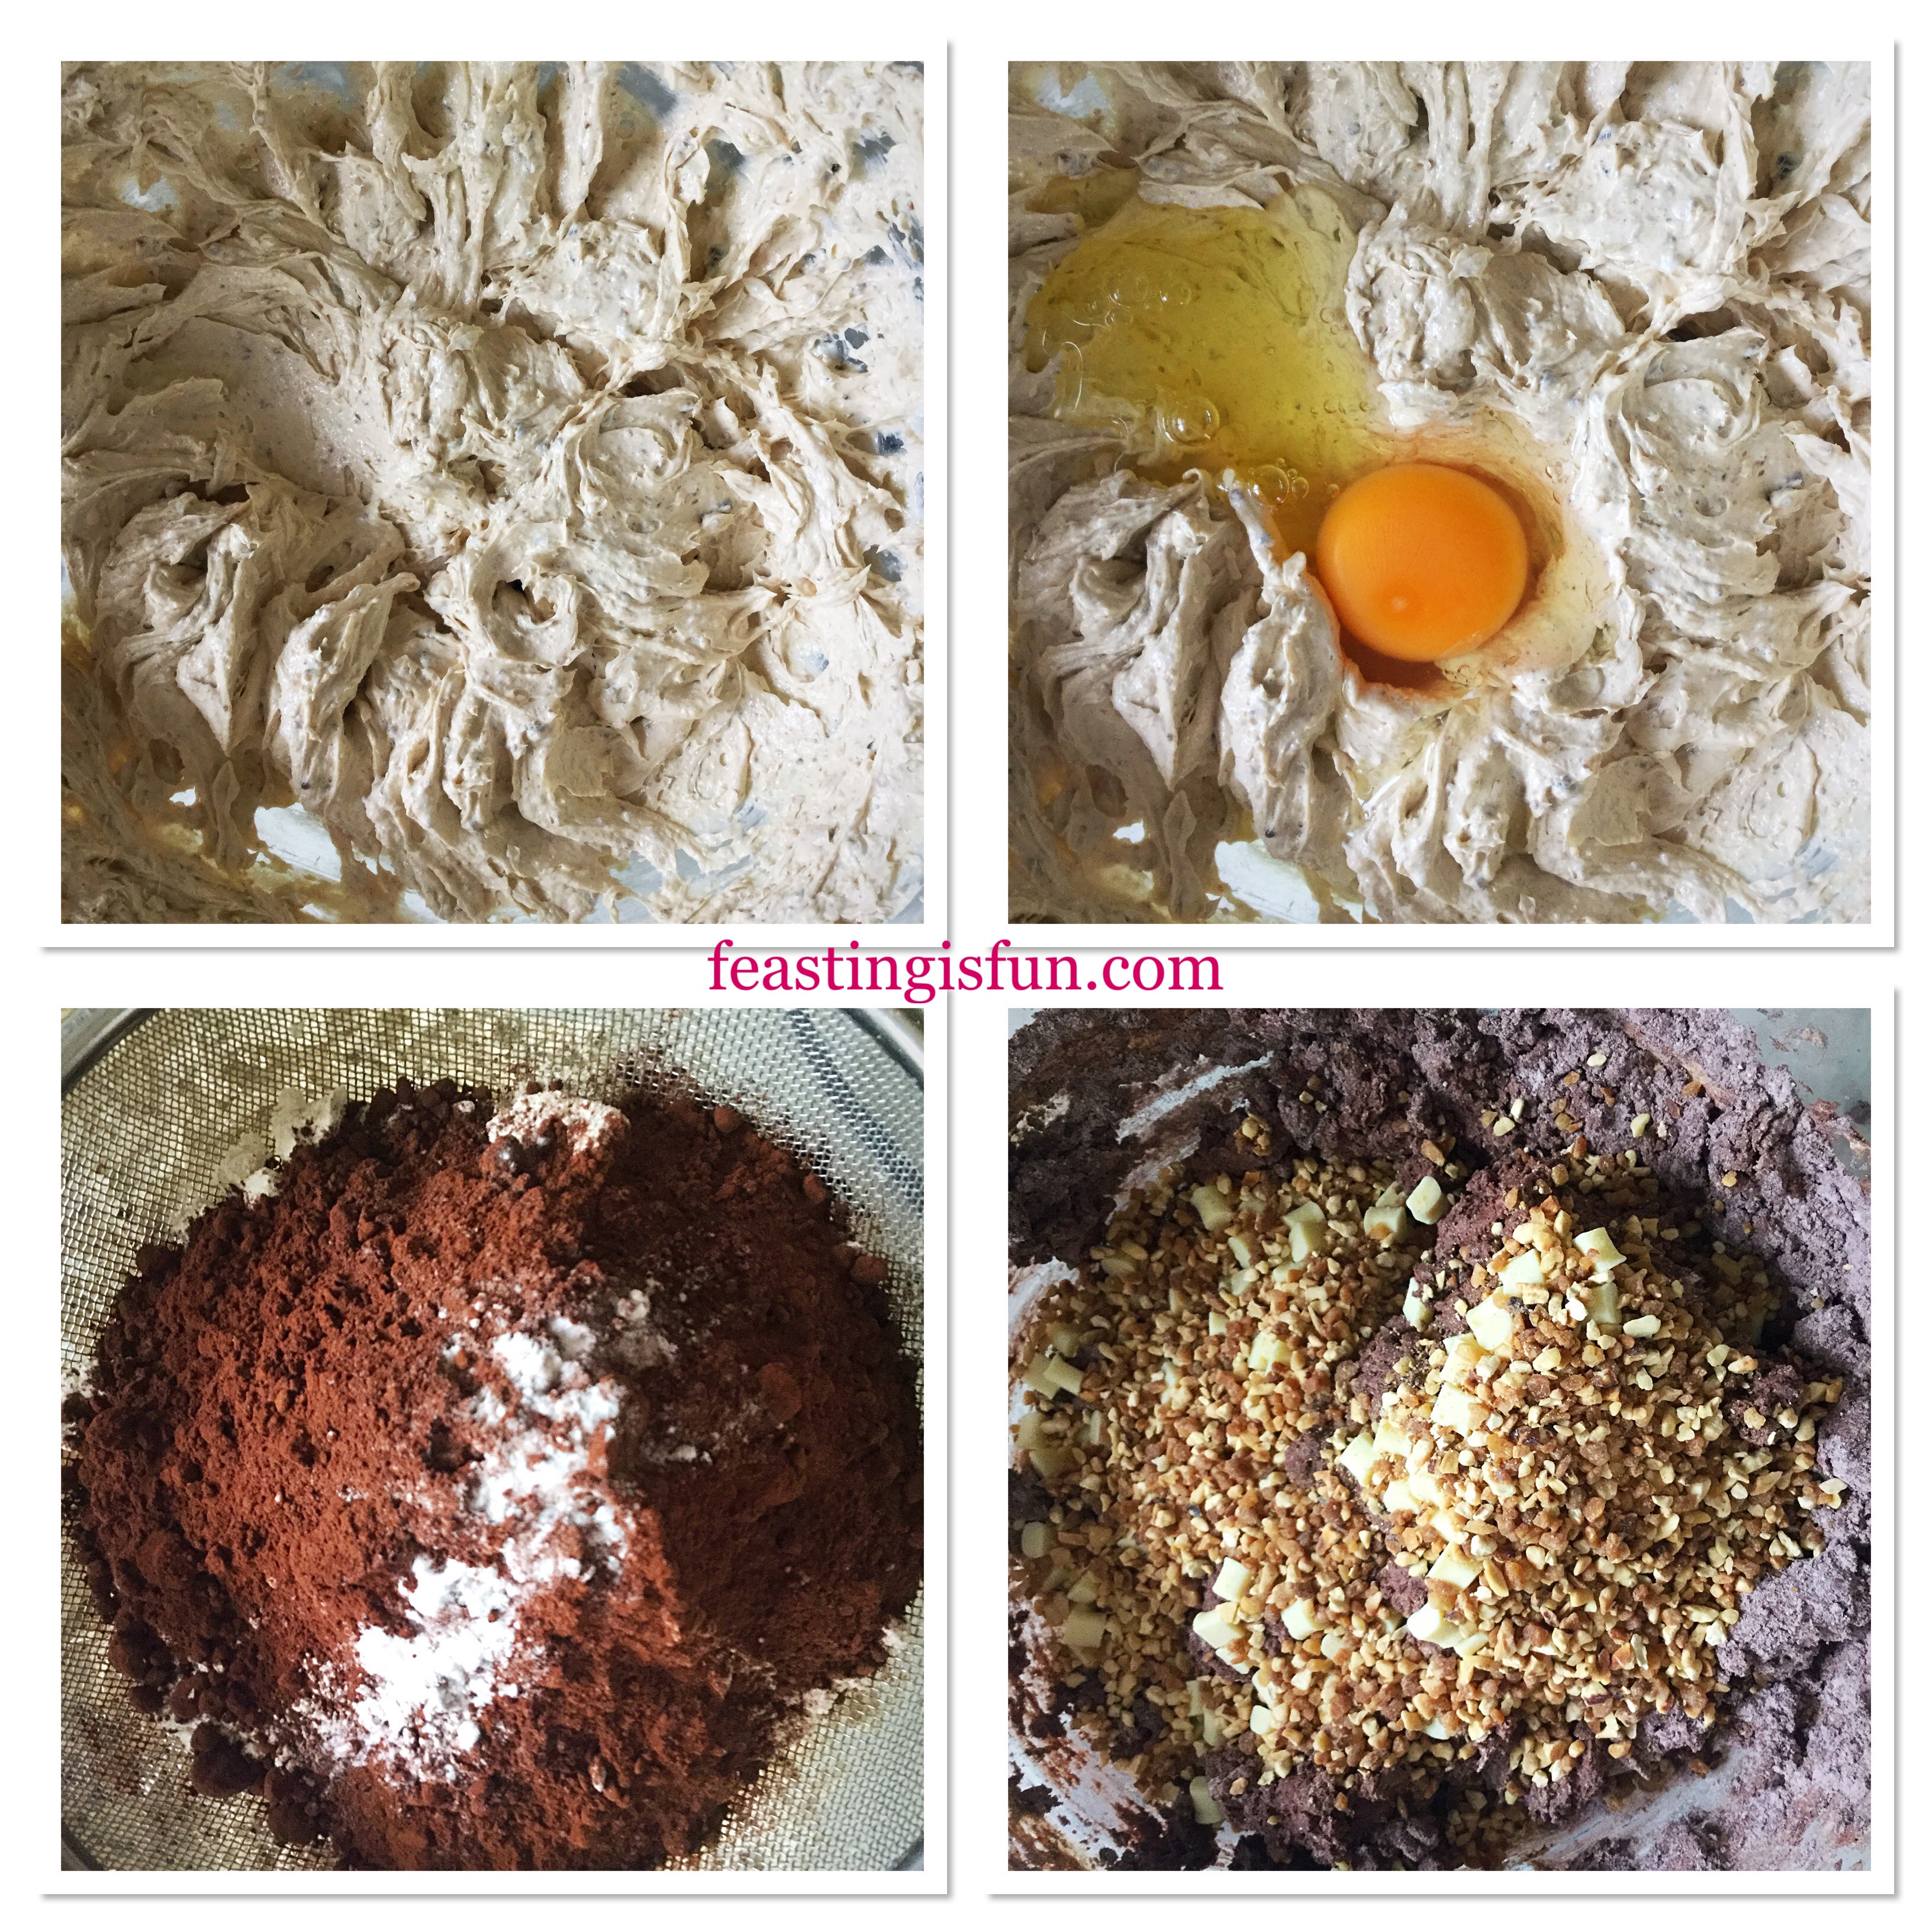
- Place the butter, sugar and salt into a bowl and whisk together until pale and creamy.
- Next add the egg and vanilla extract. Whisk together until combined.
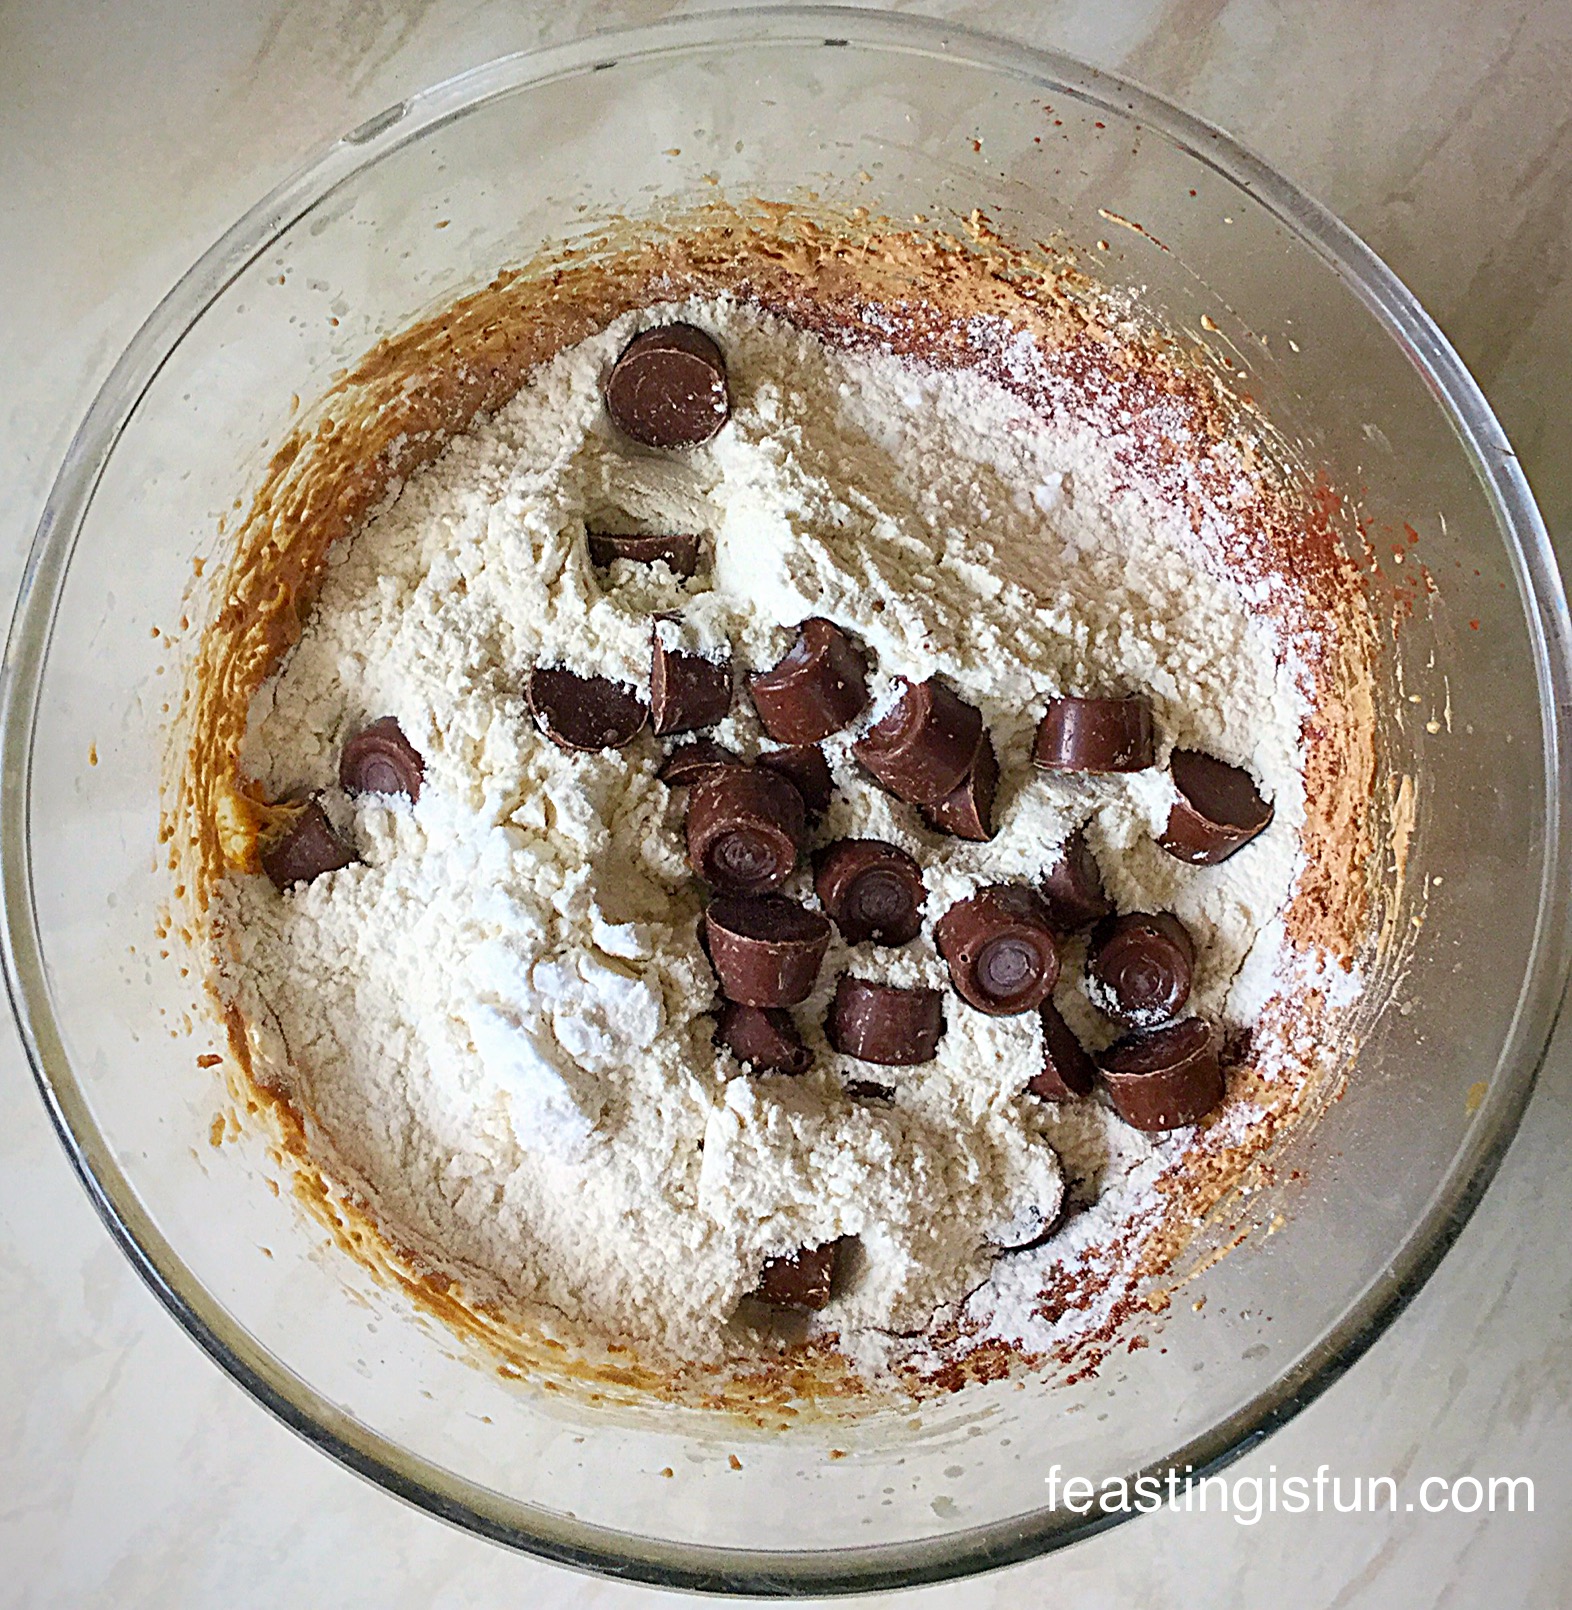
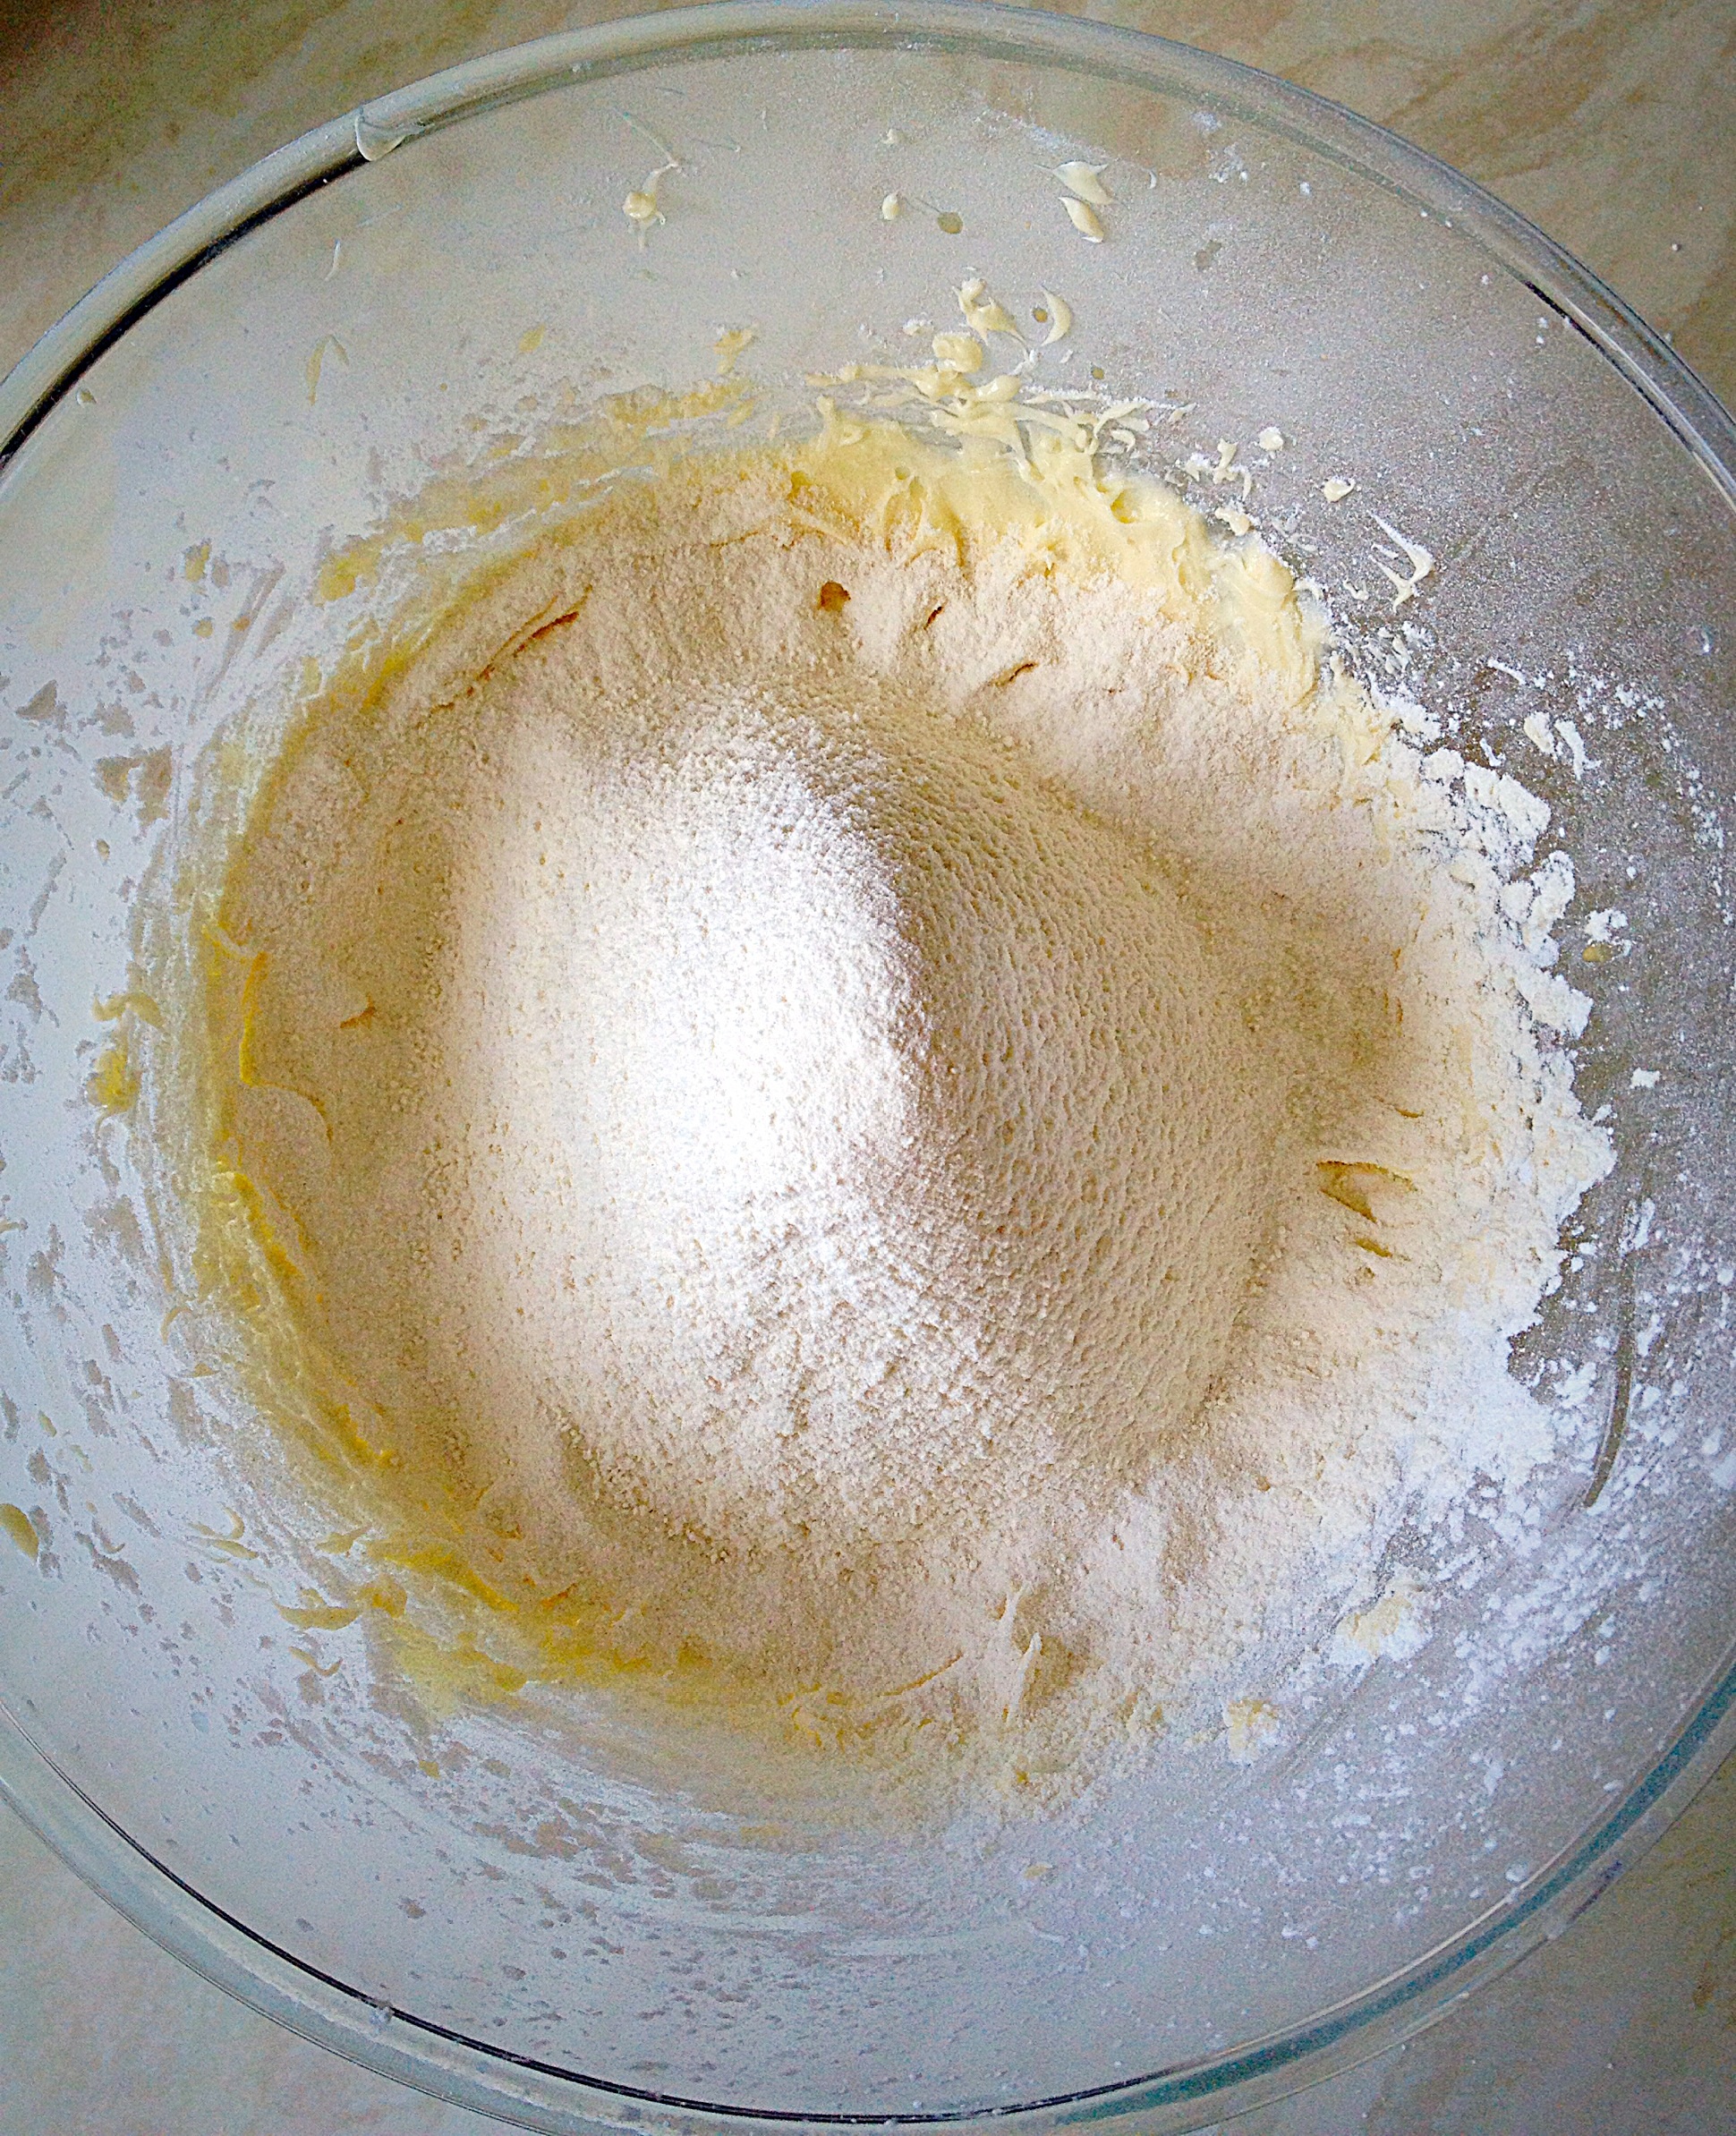
- Sift the spelt flour, cocoa and bicarbonate of soda into the same bowl.
- Add in the chopped, roasted hazelnuts and white chocolate chunks.
- Mix everything together until just combined.
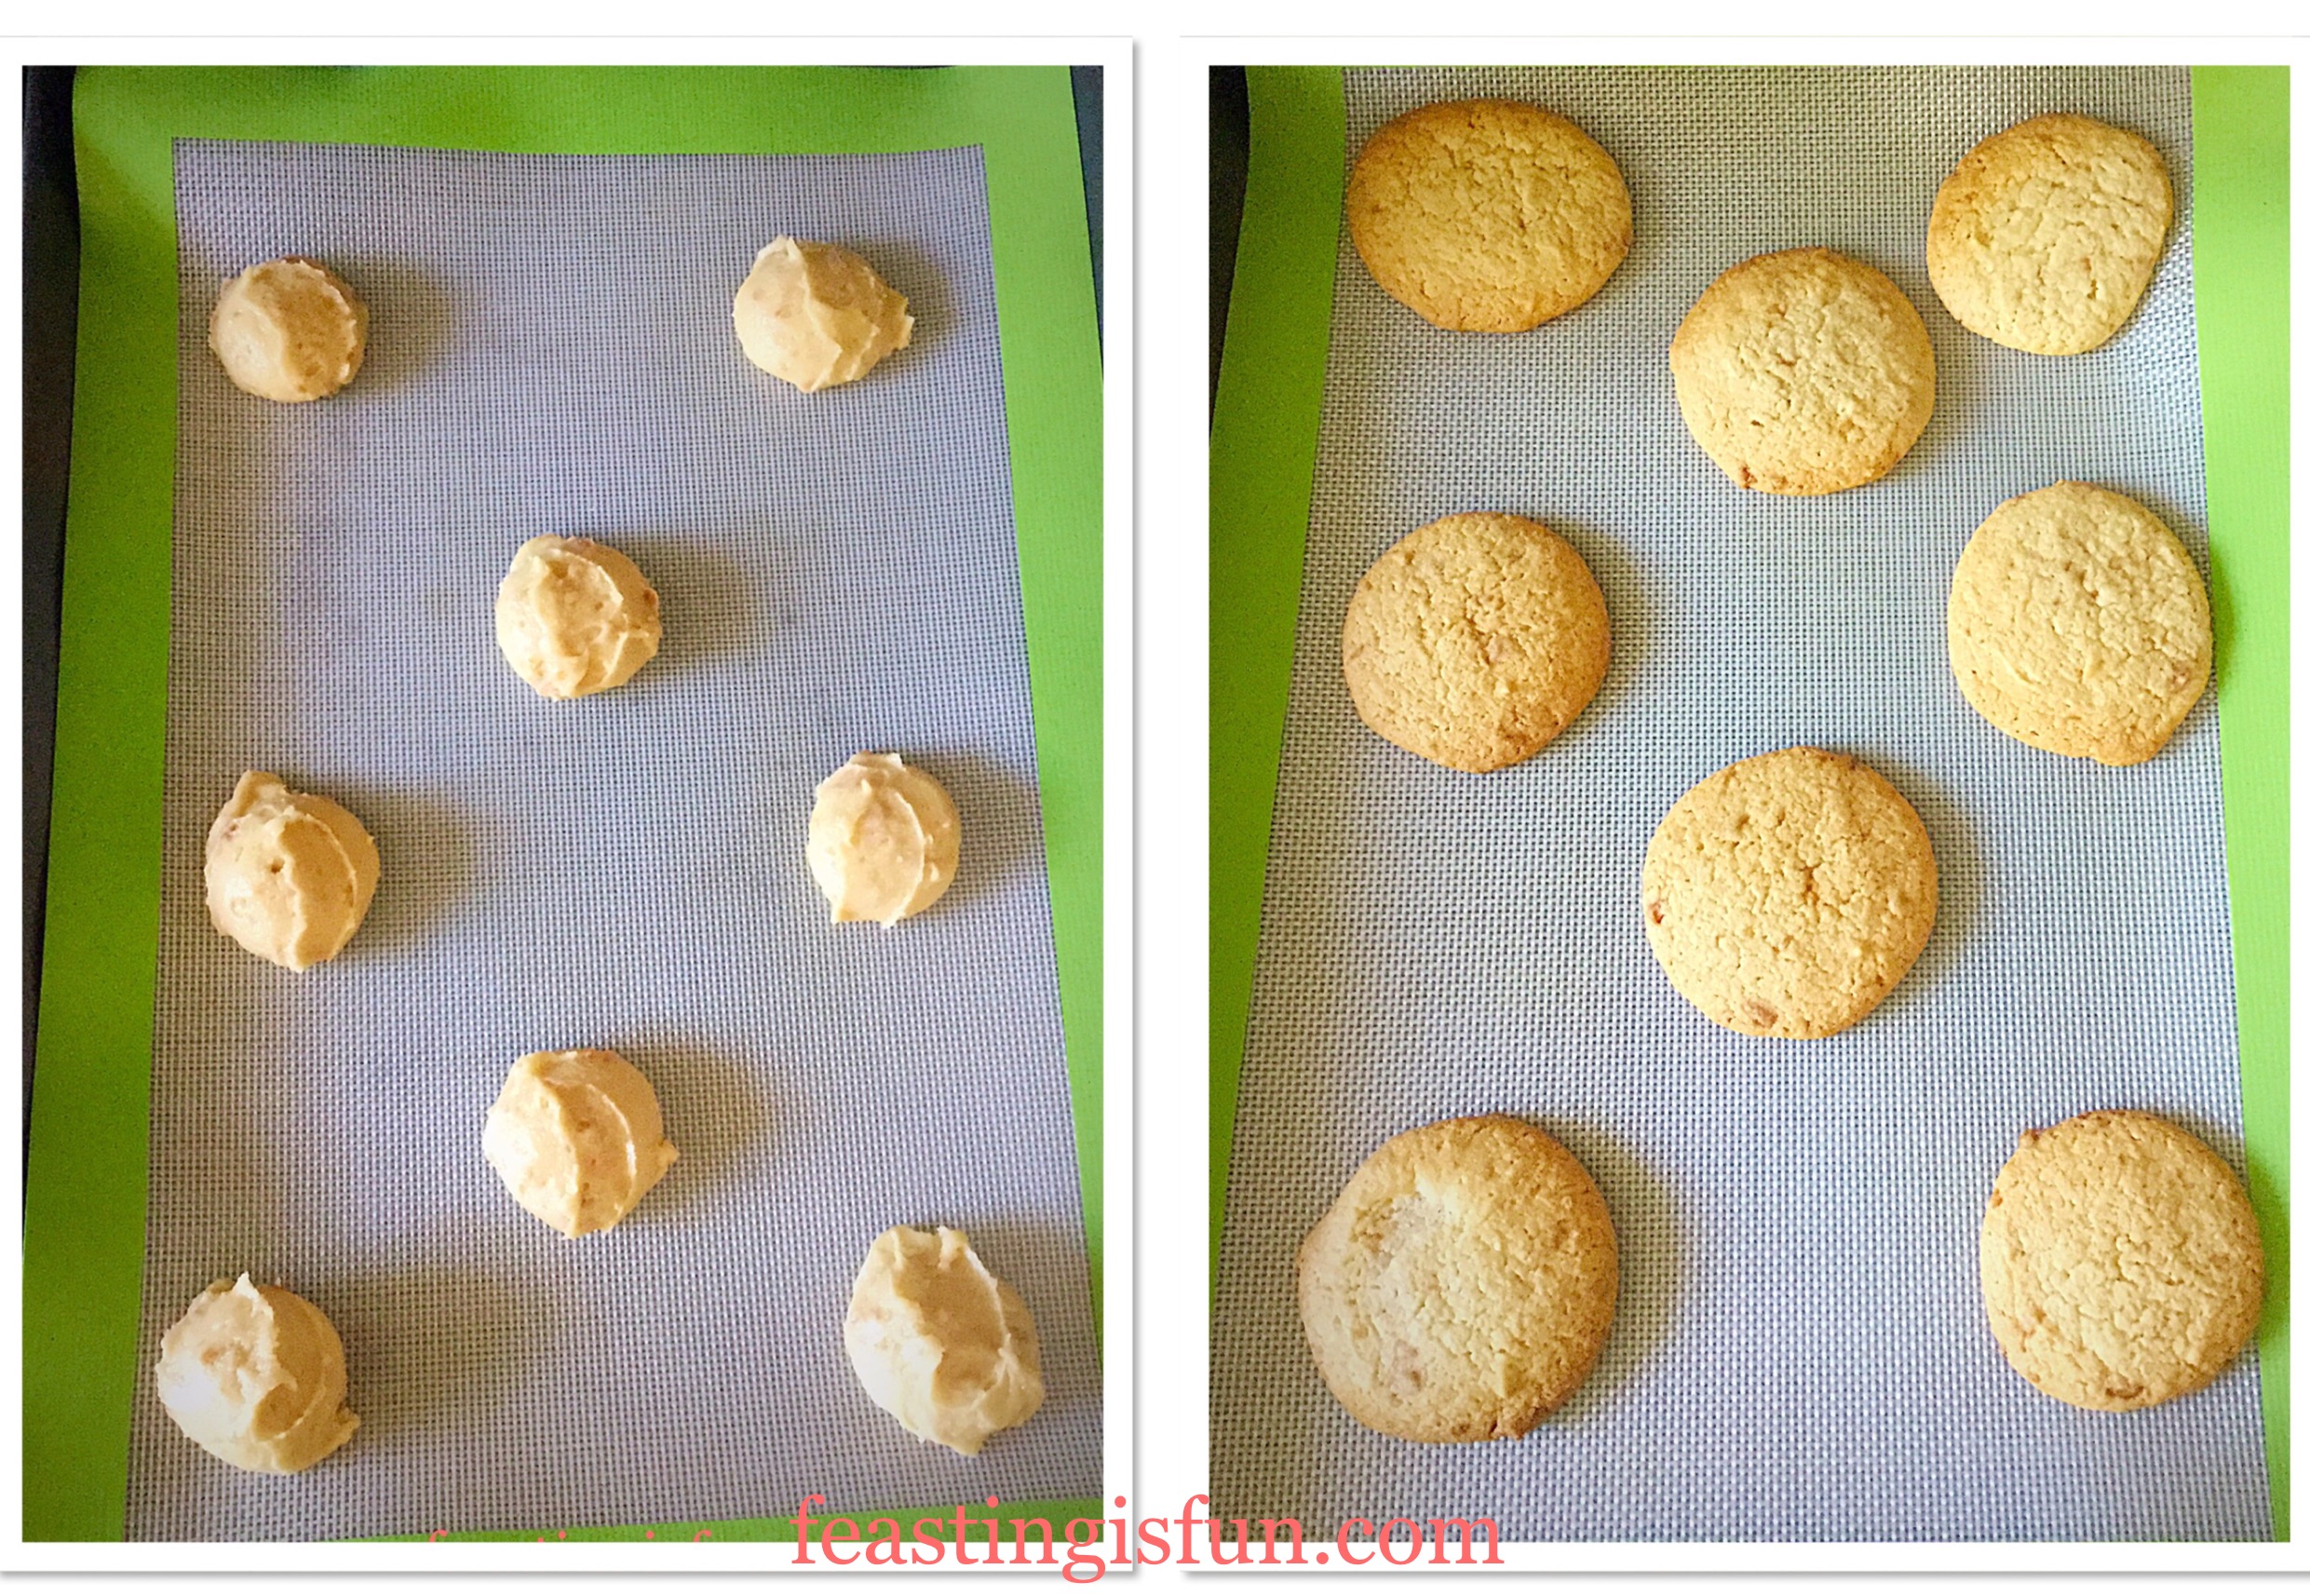
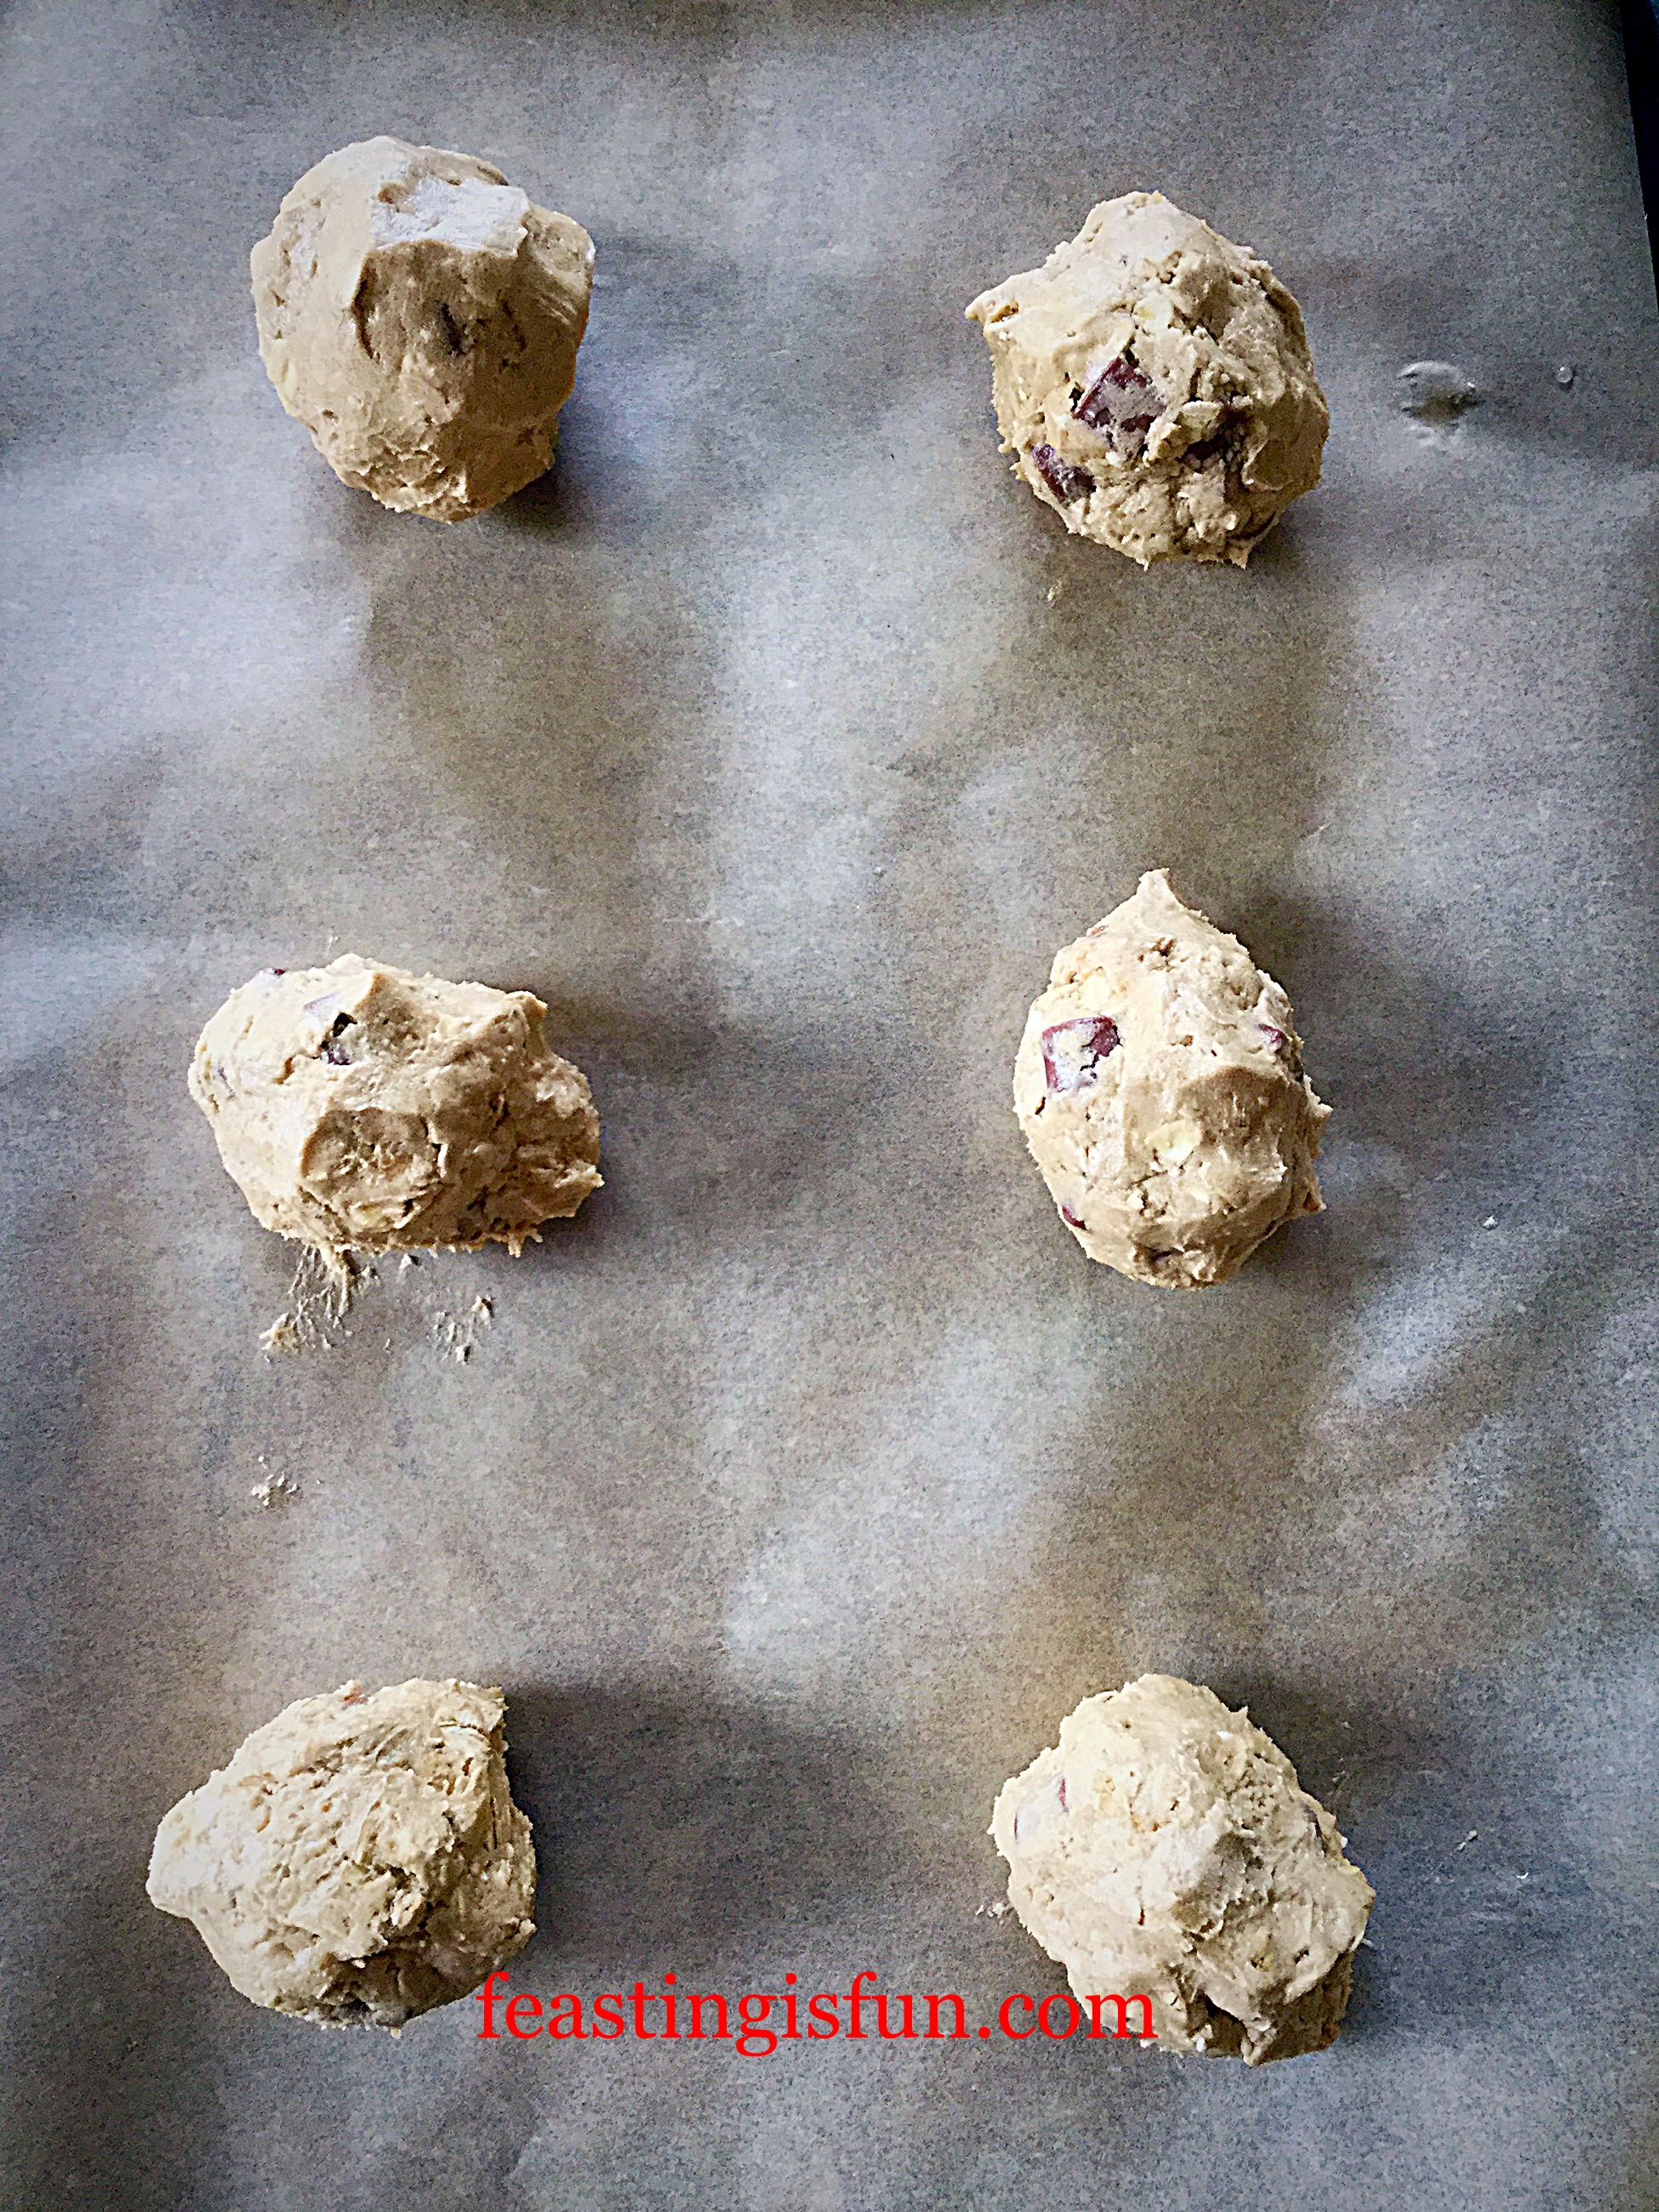
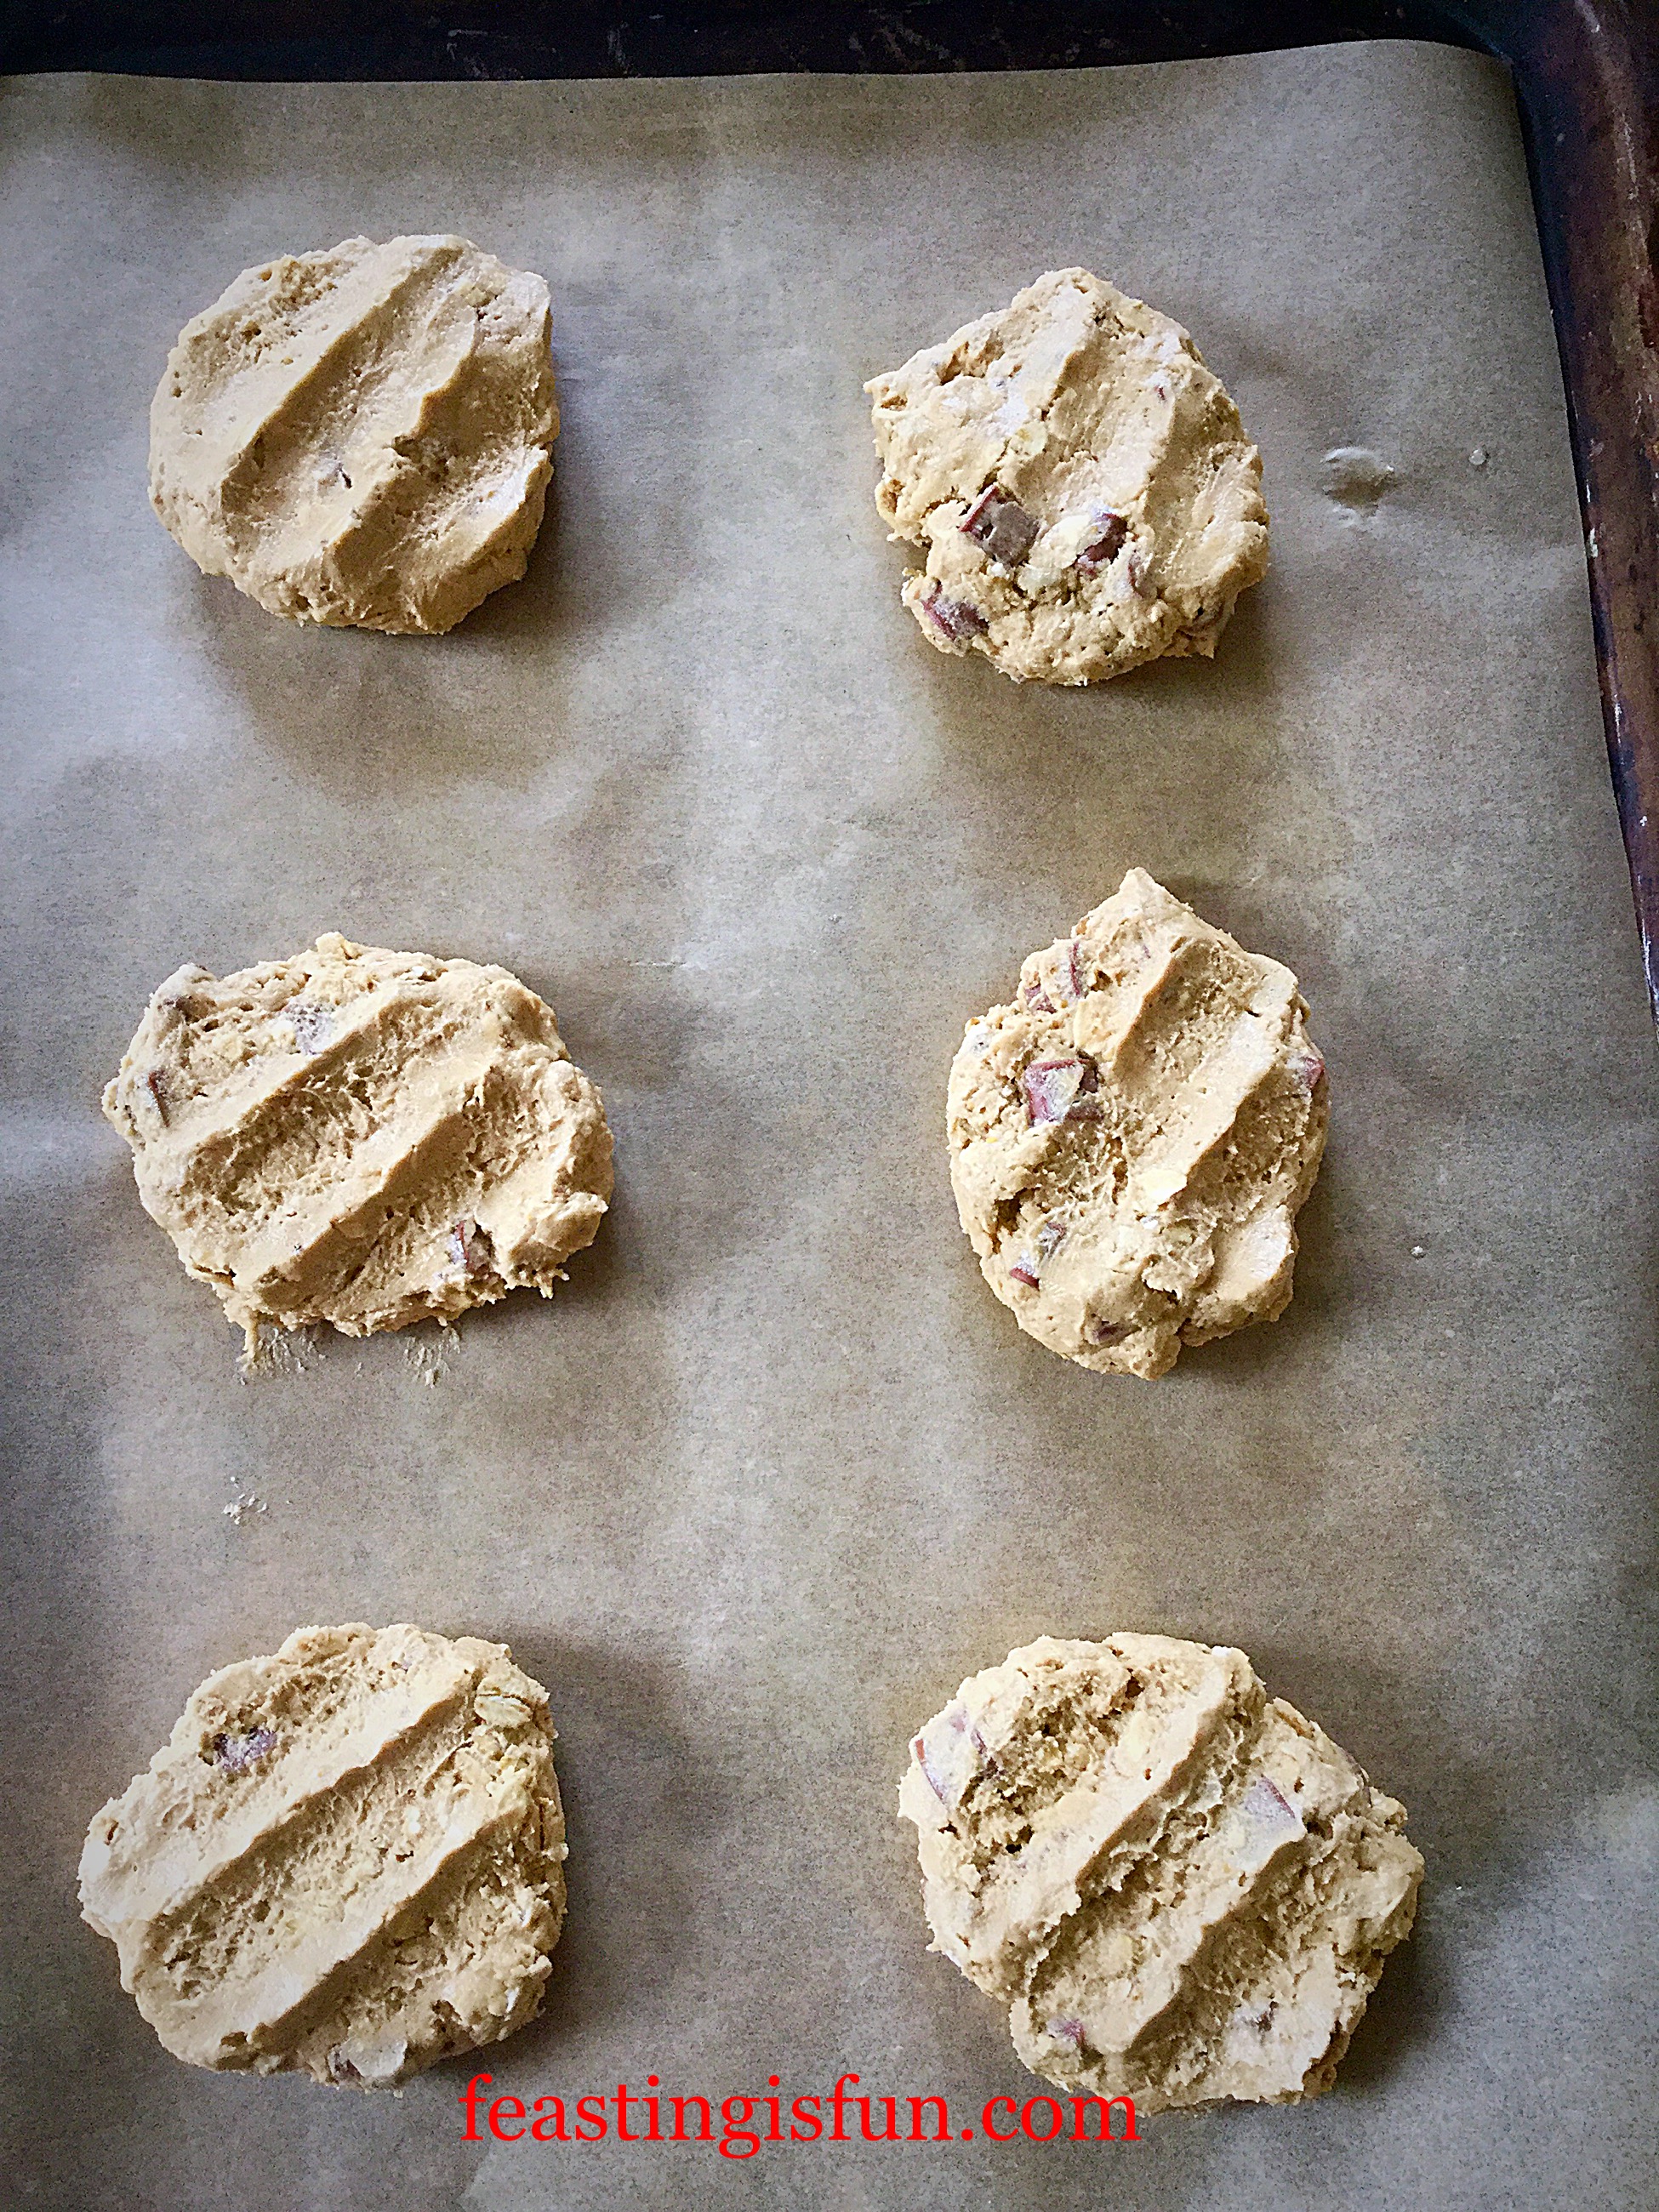
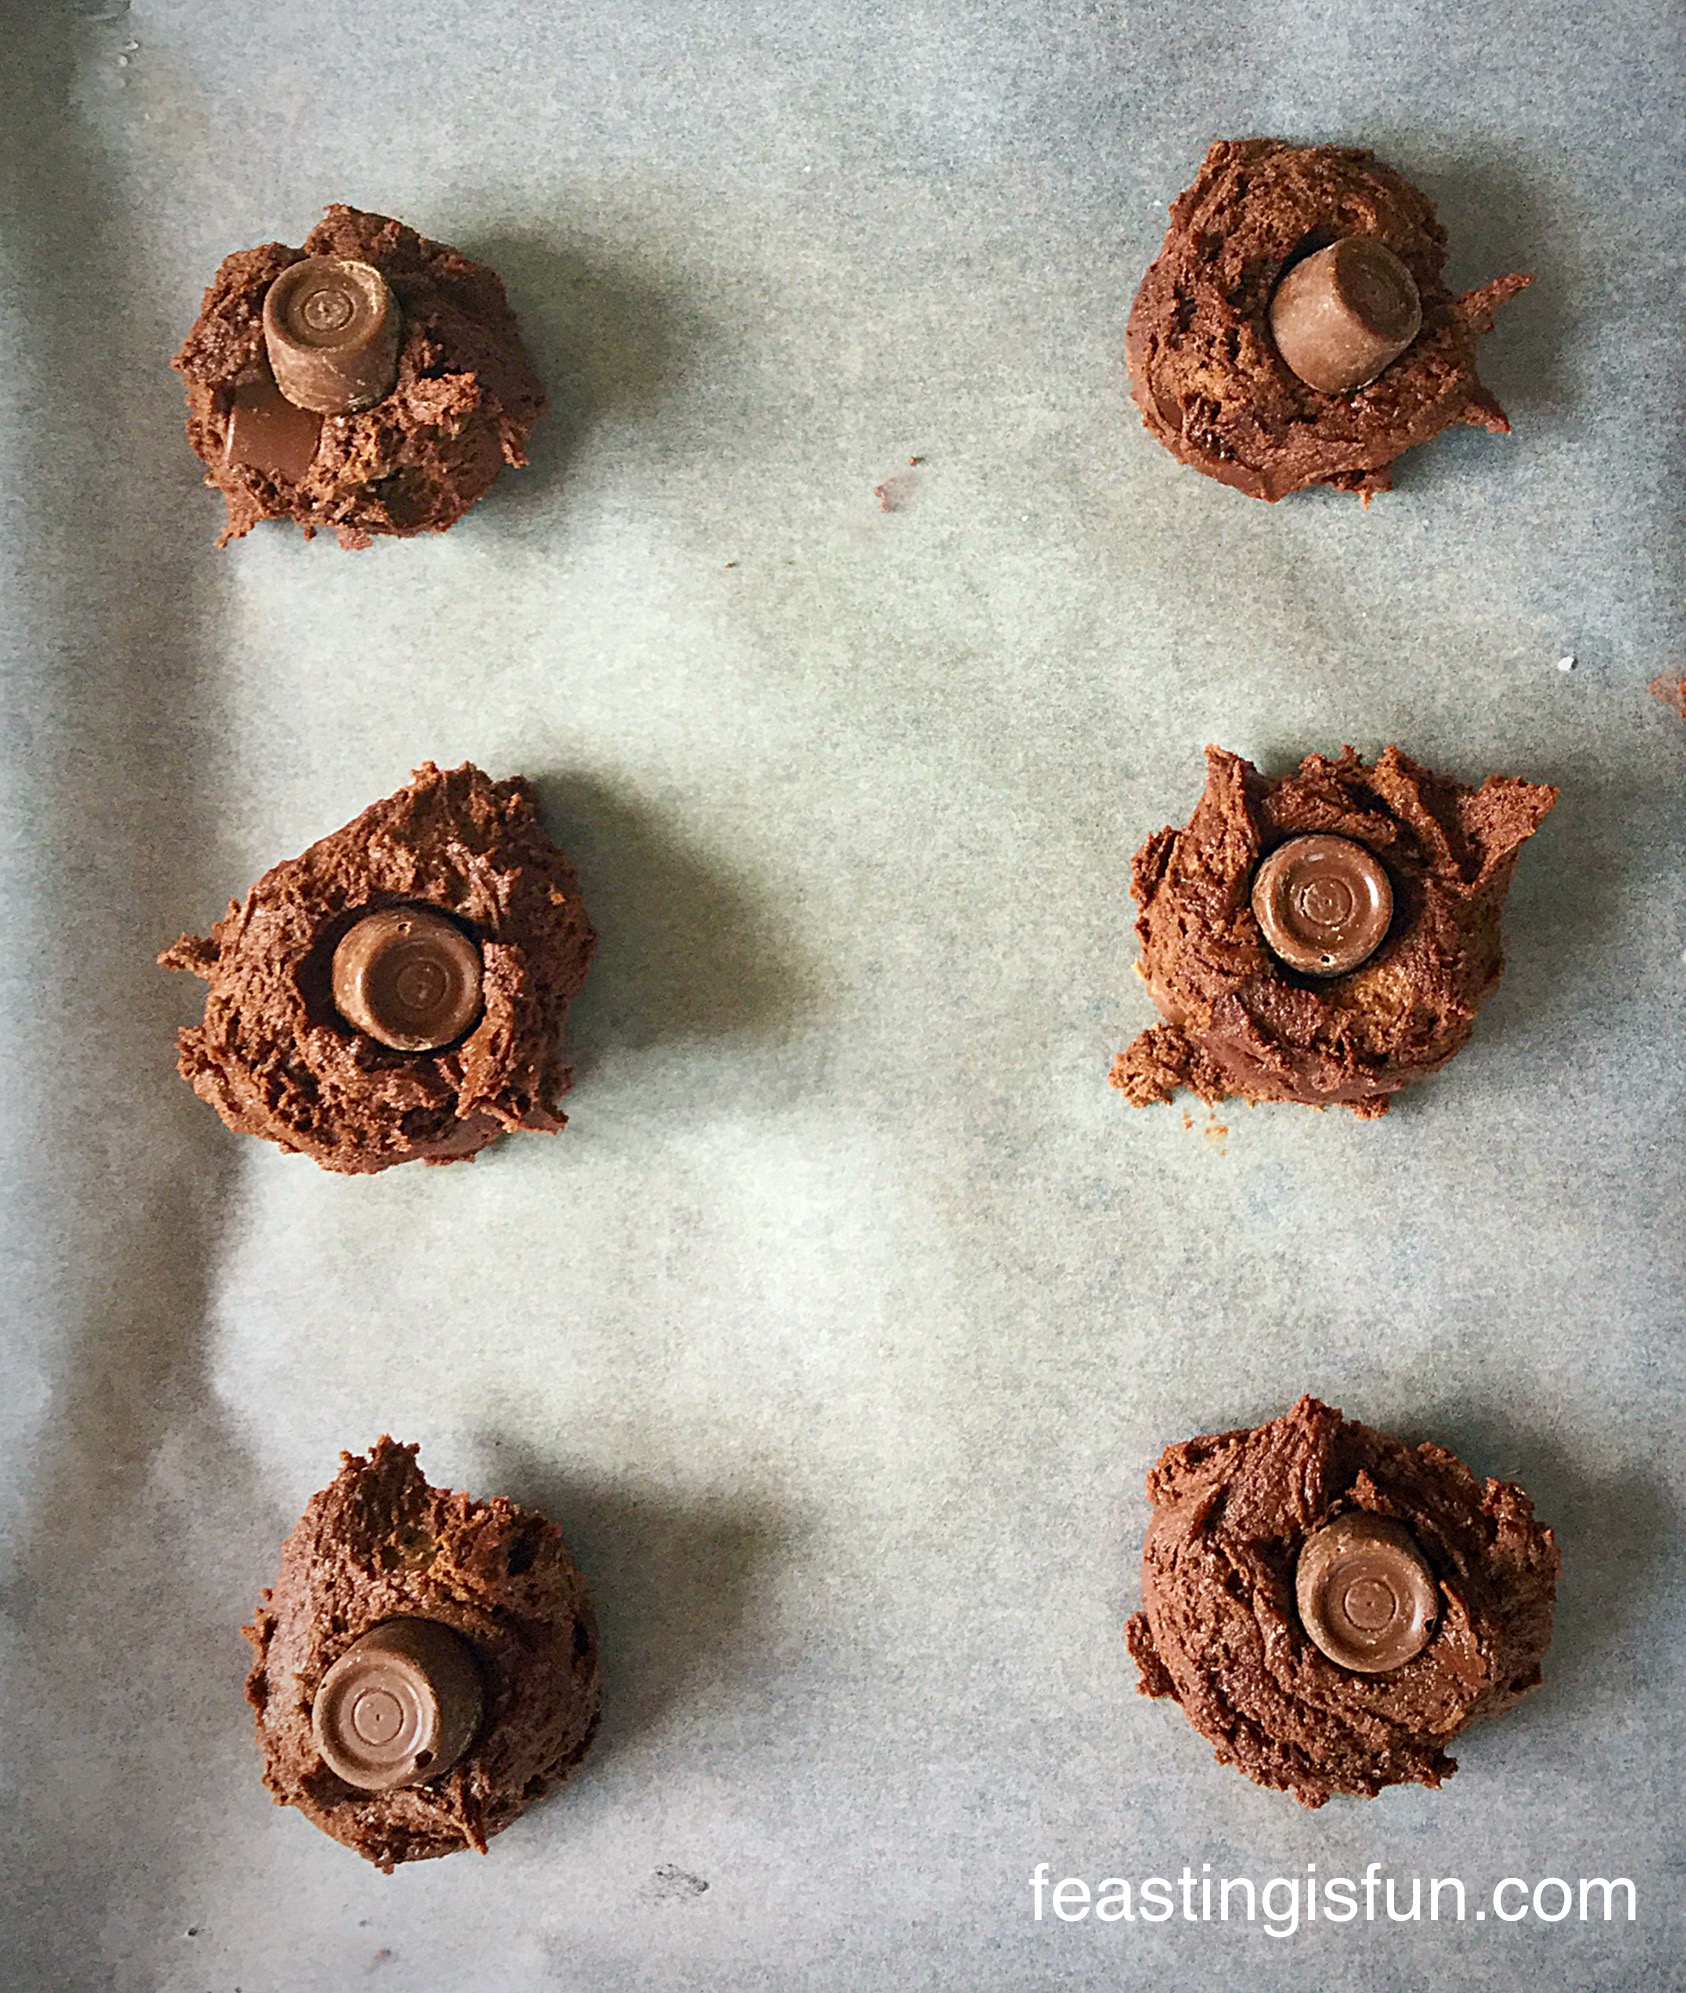
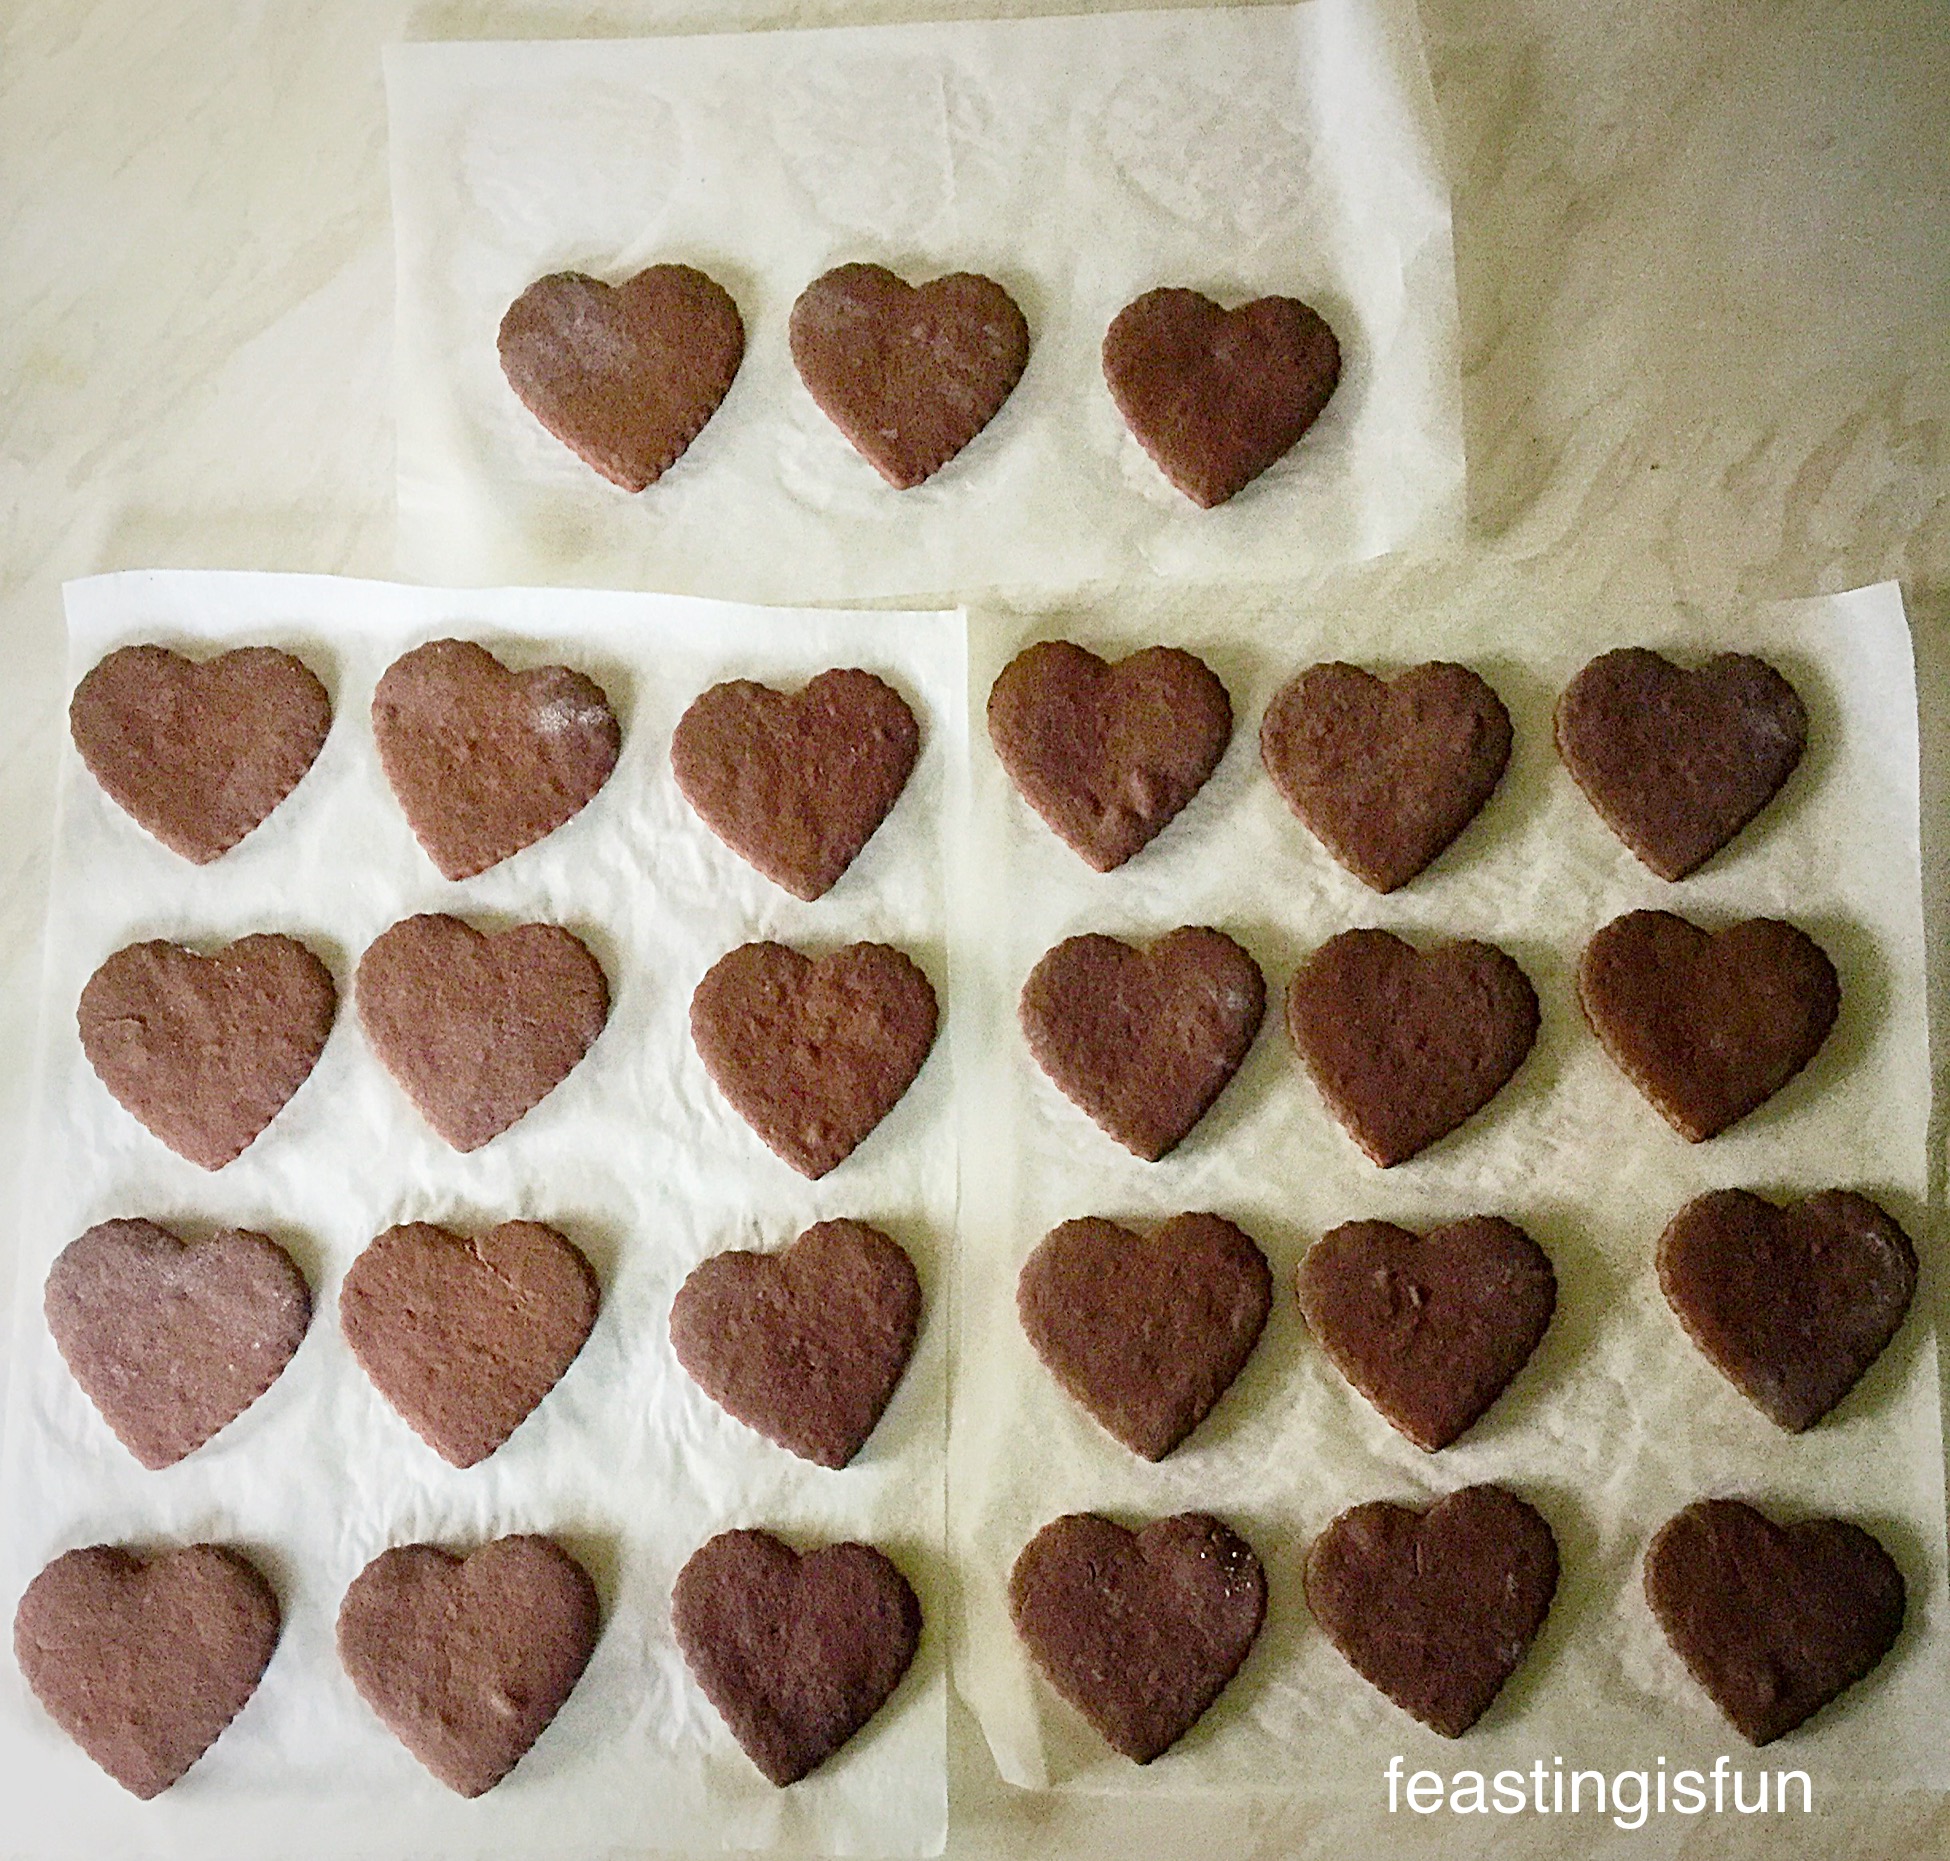
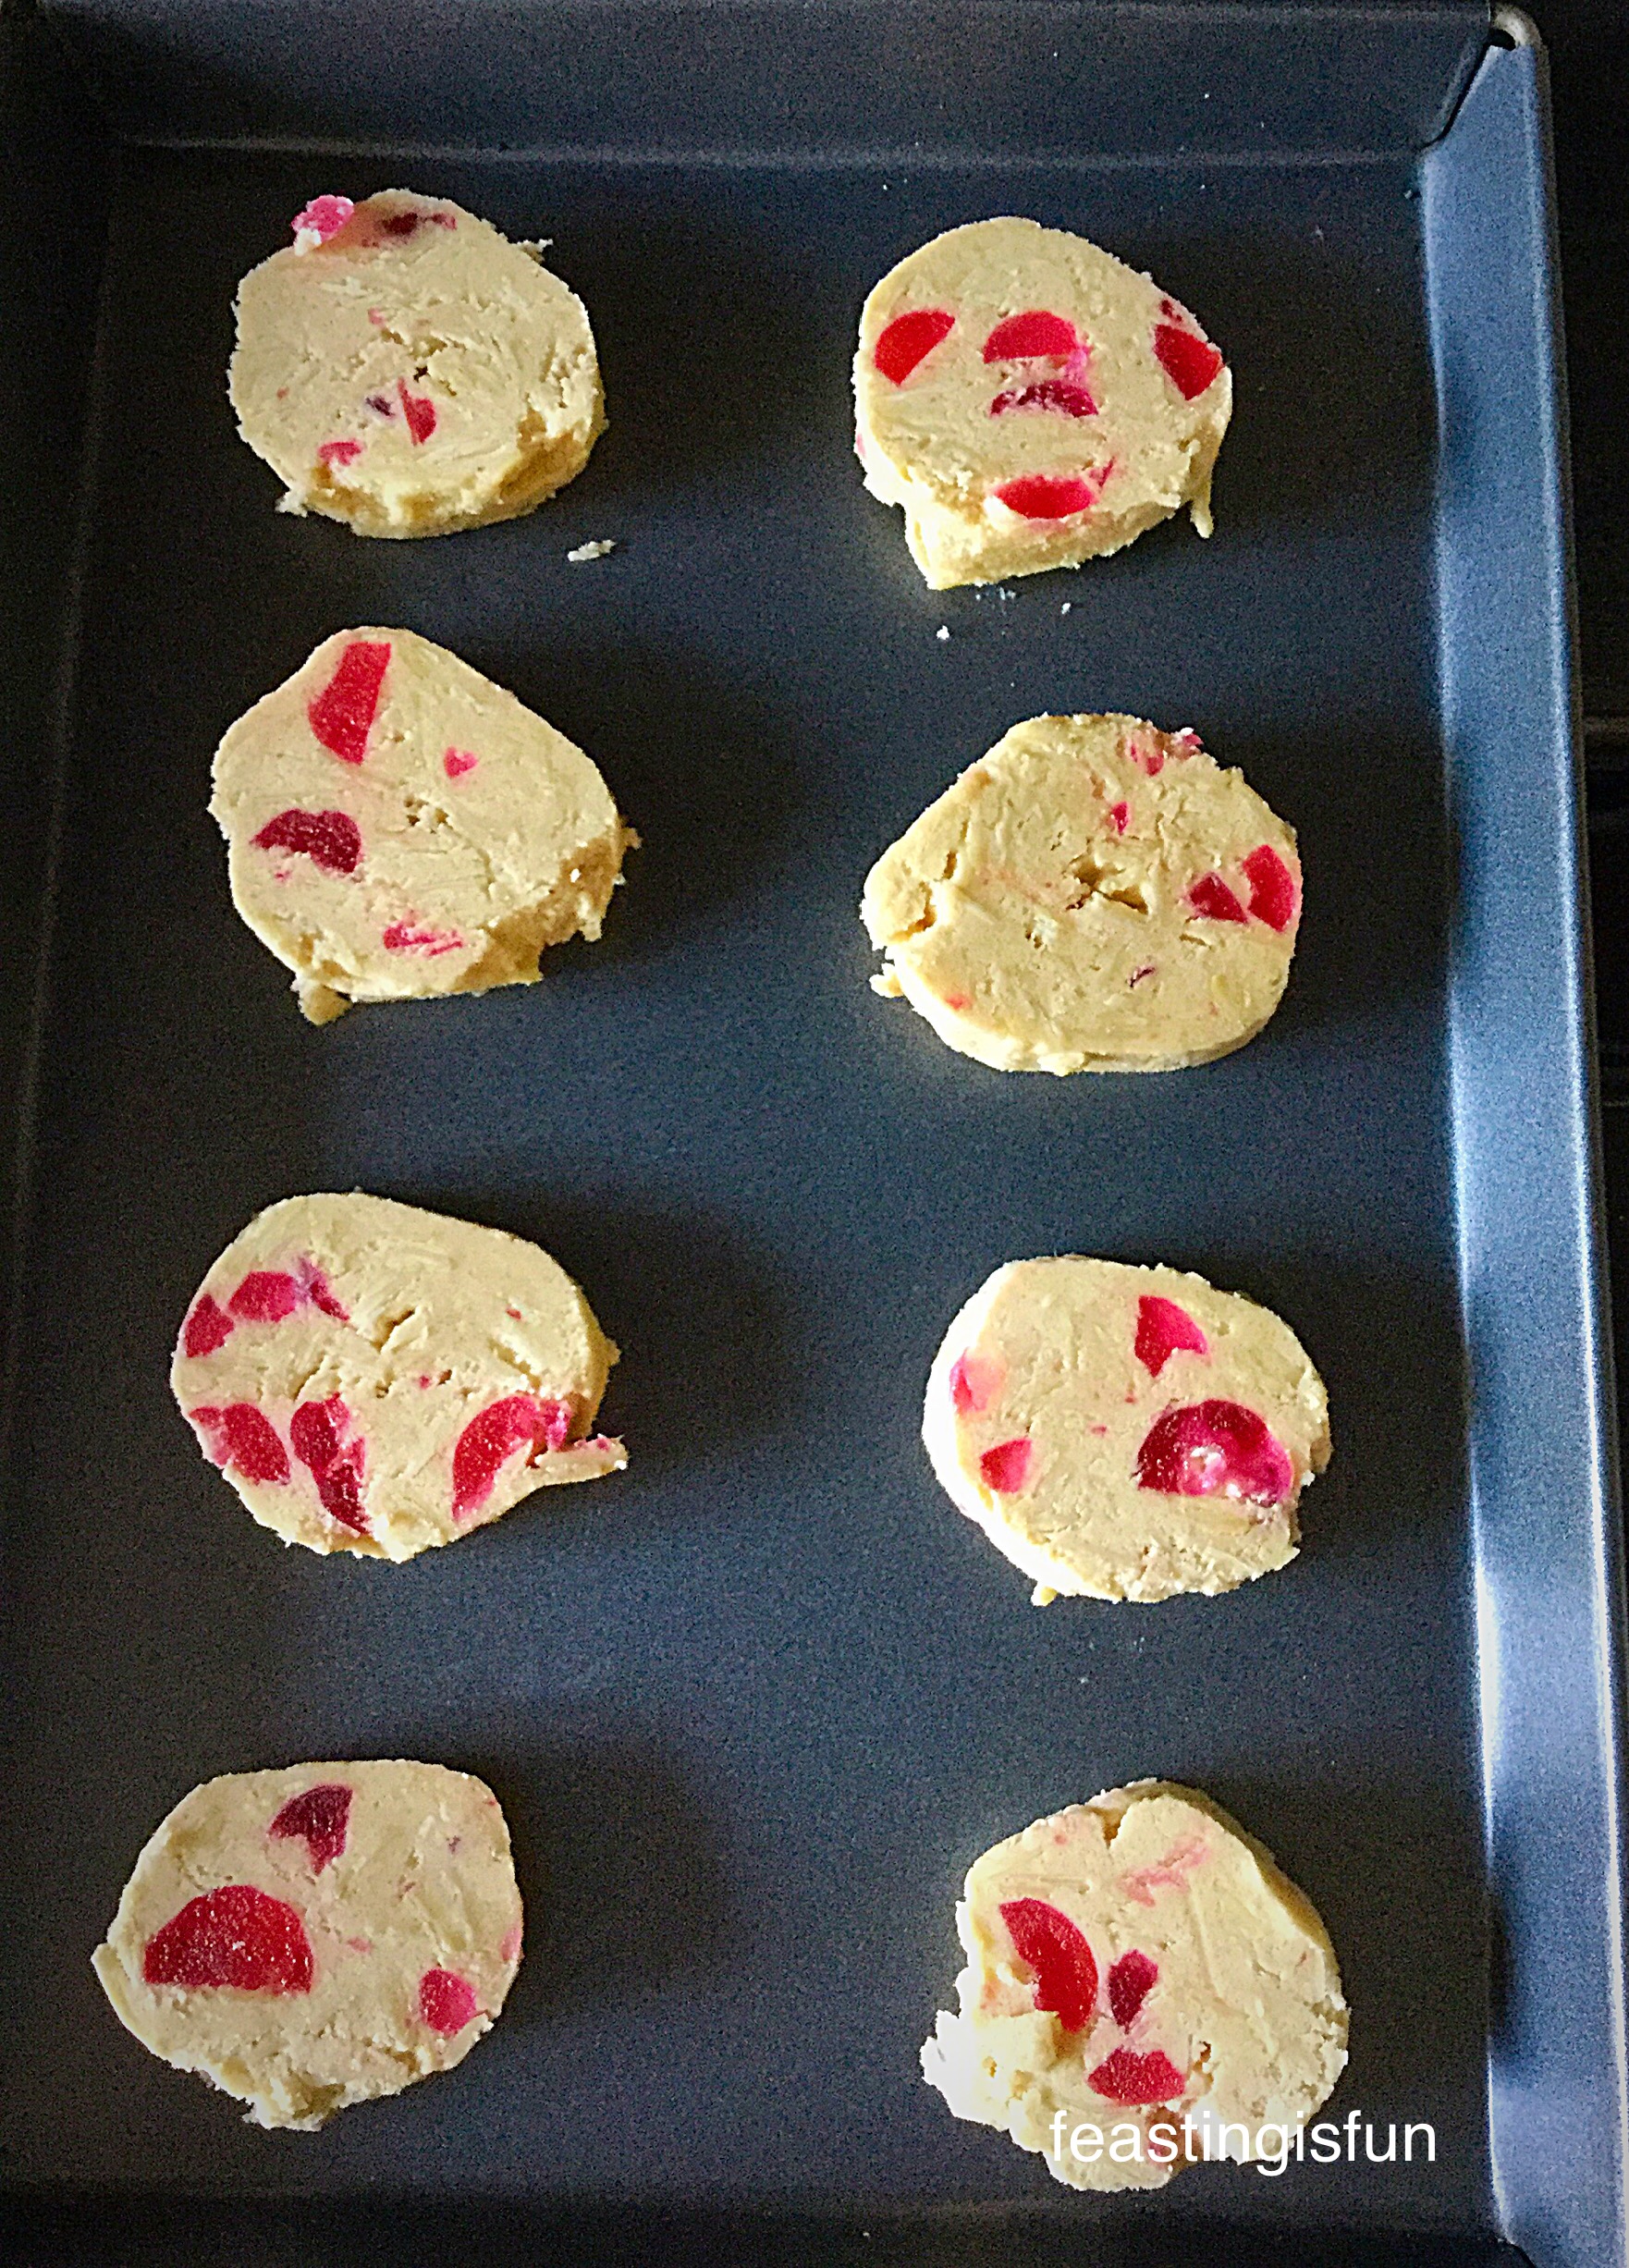
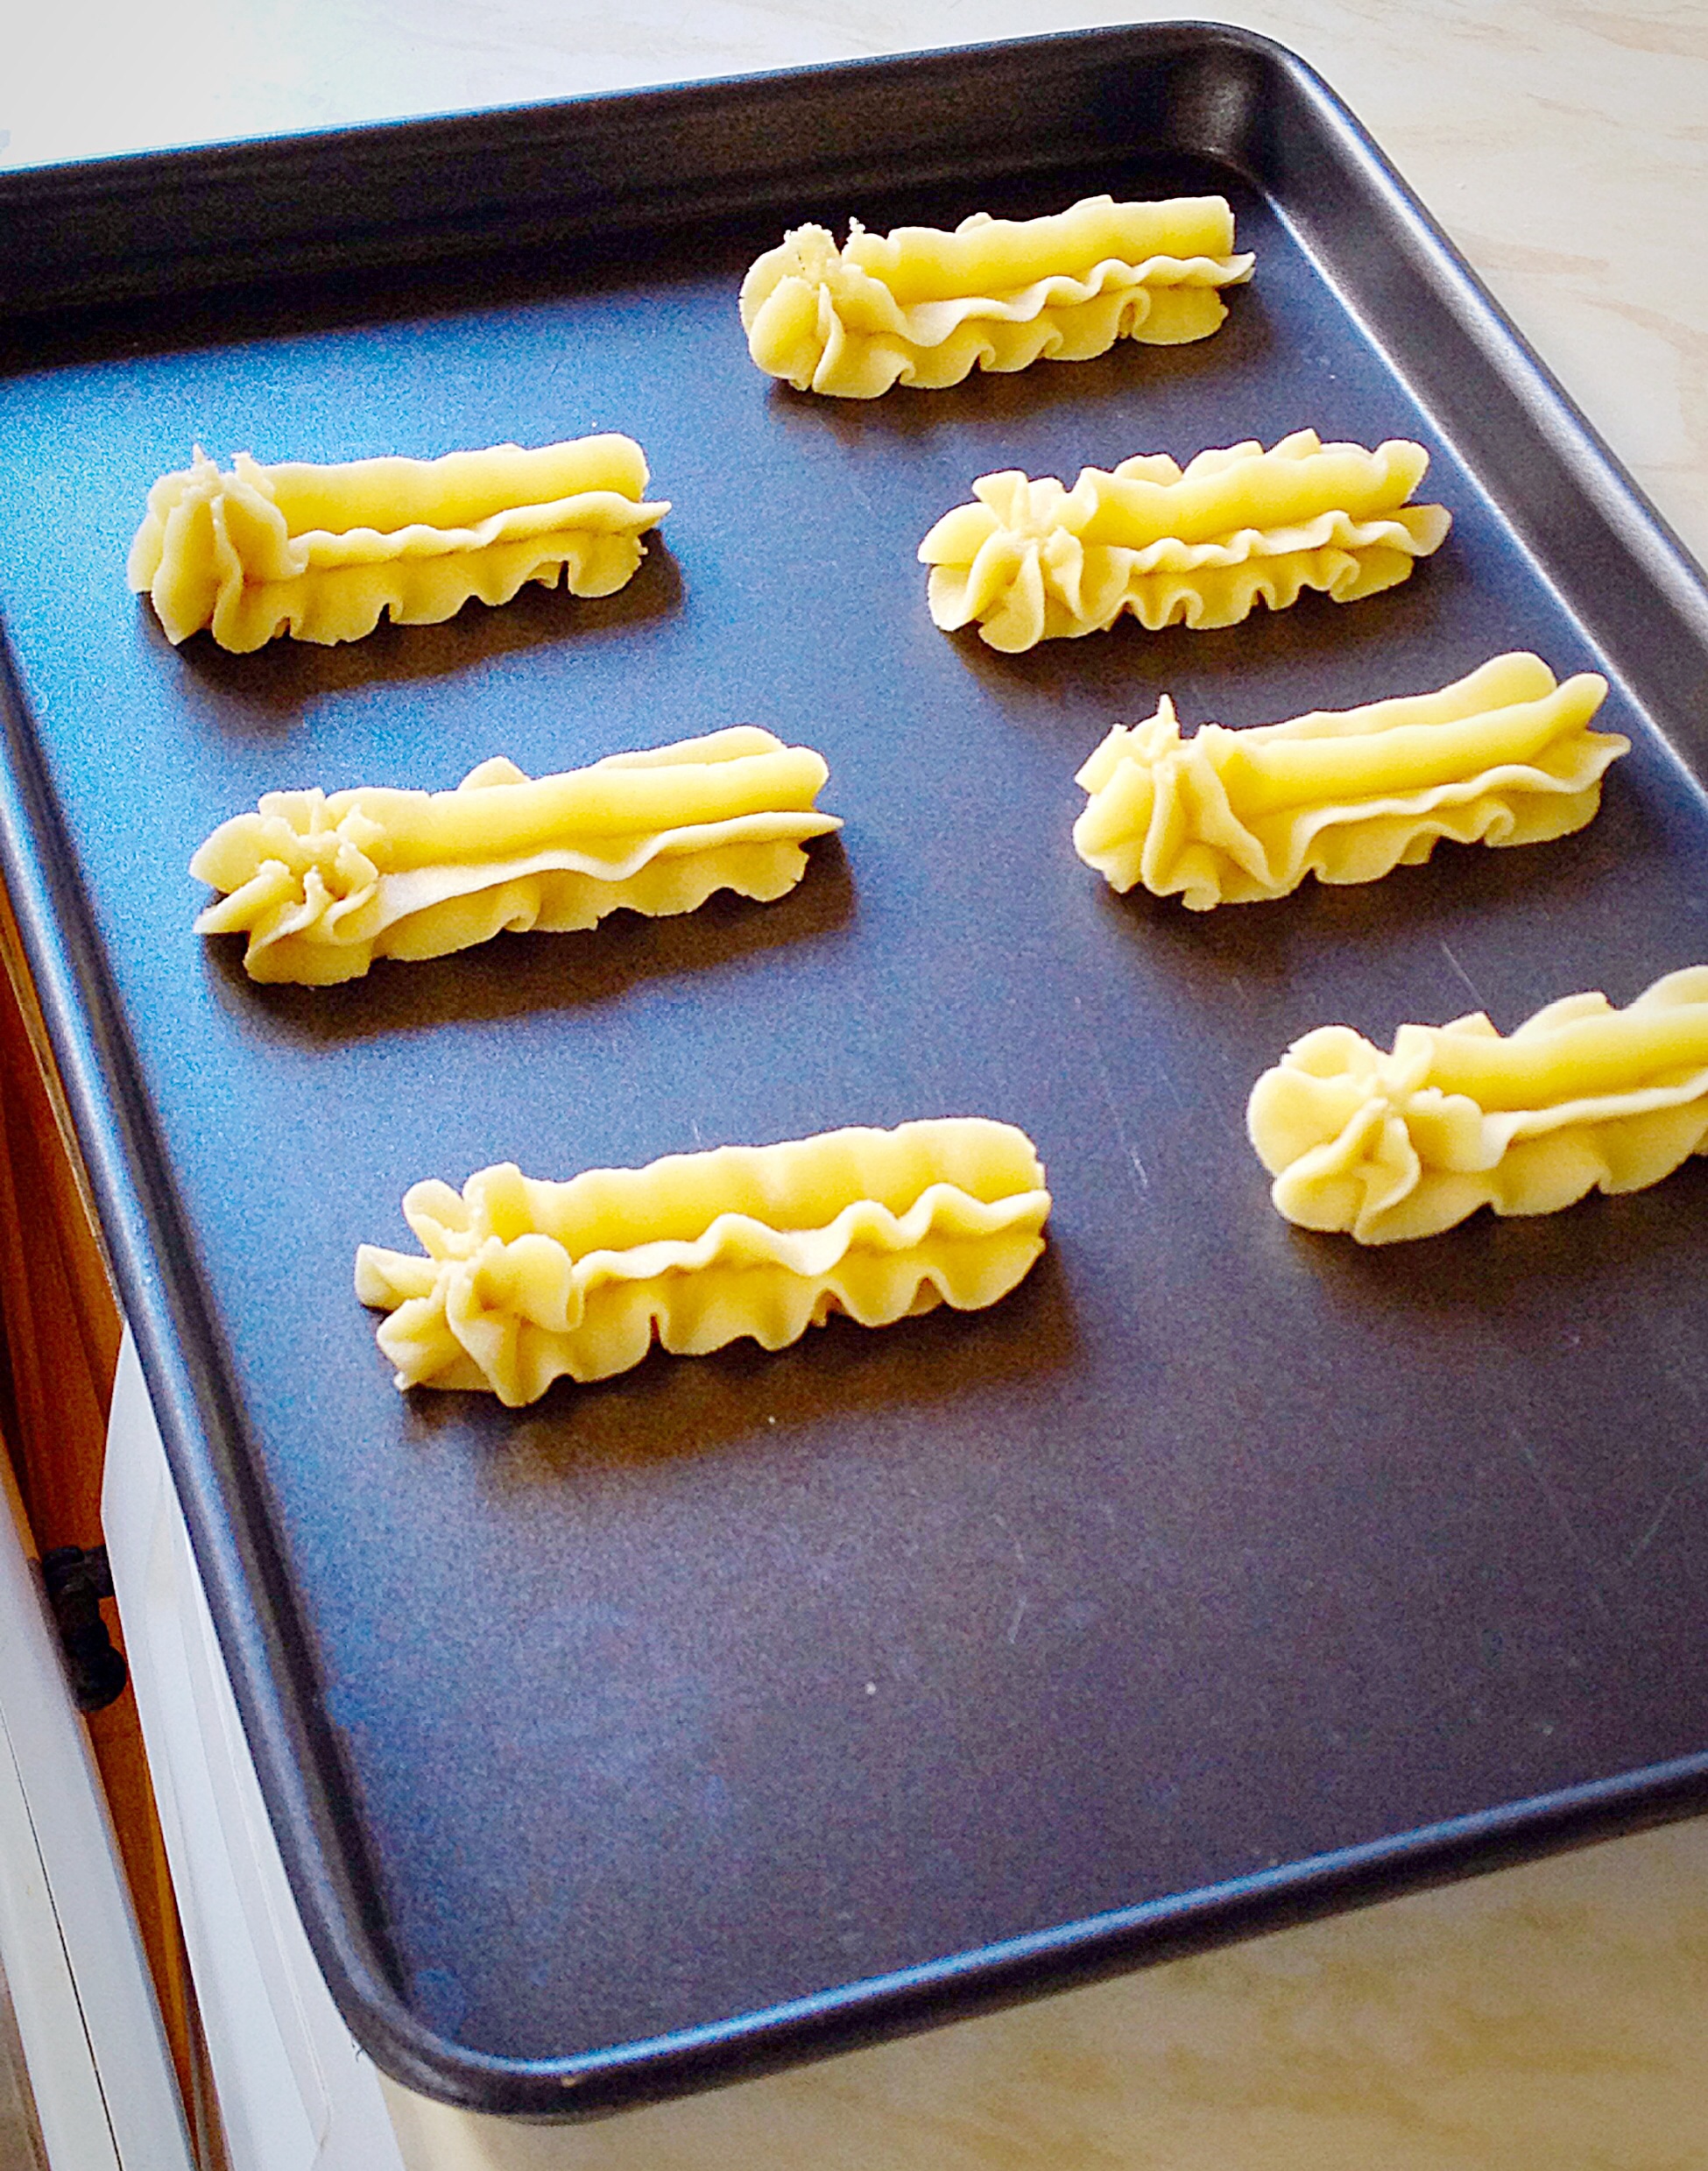
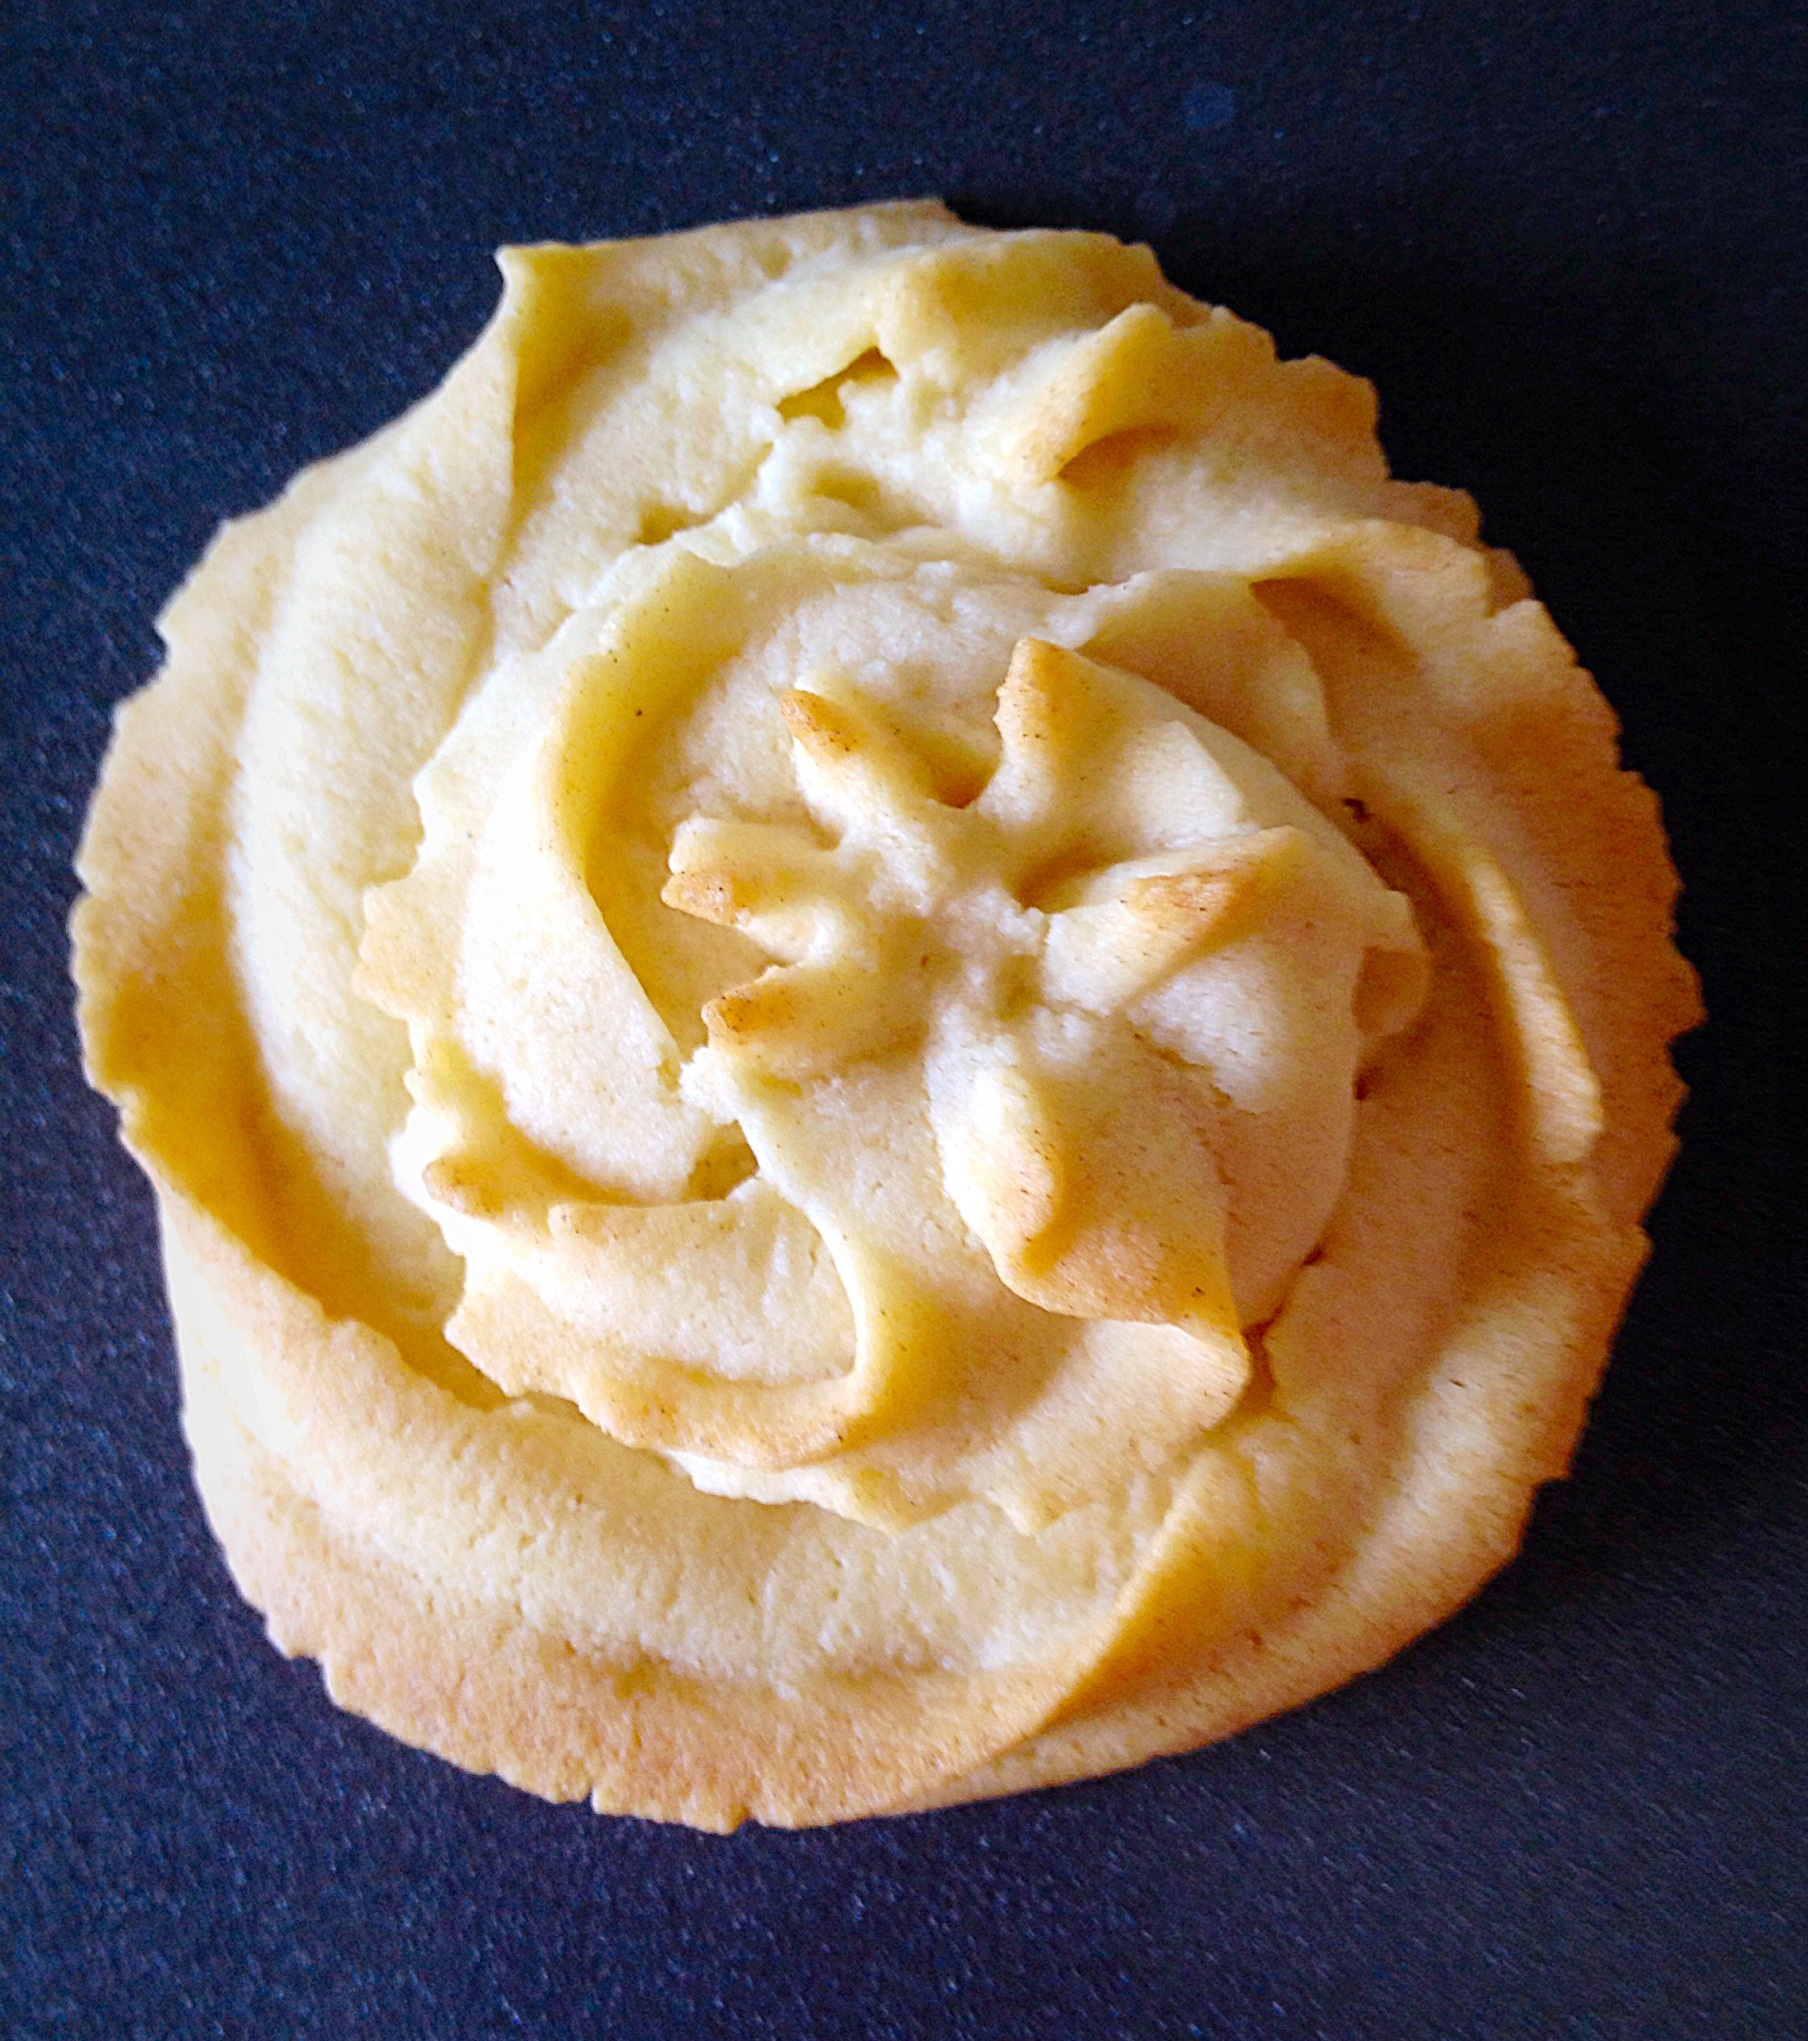
- Use a one inch/5cm ice cream scoop or a dessert spoon, scoop a portion of cookie dough and place on to a parchment lined tray.
- Space each cookie well apart. Finally, lightly press down with clean hands to slightly flatten each cookie.
Baking The Cookies
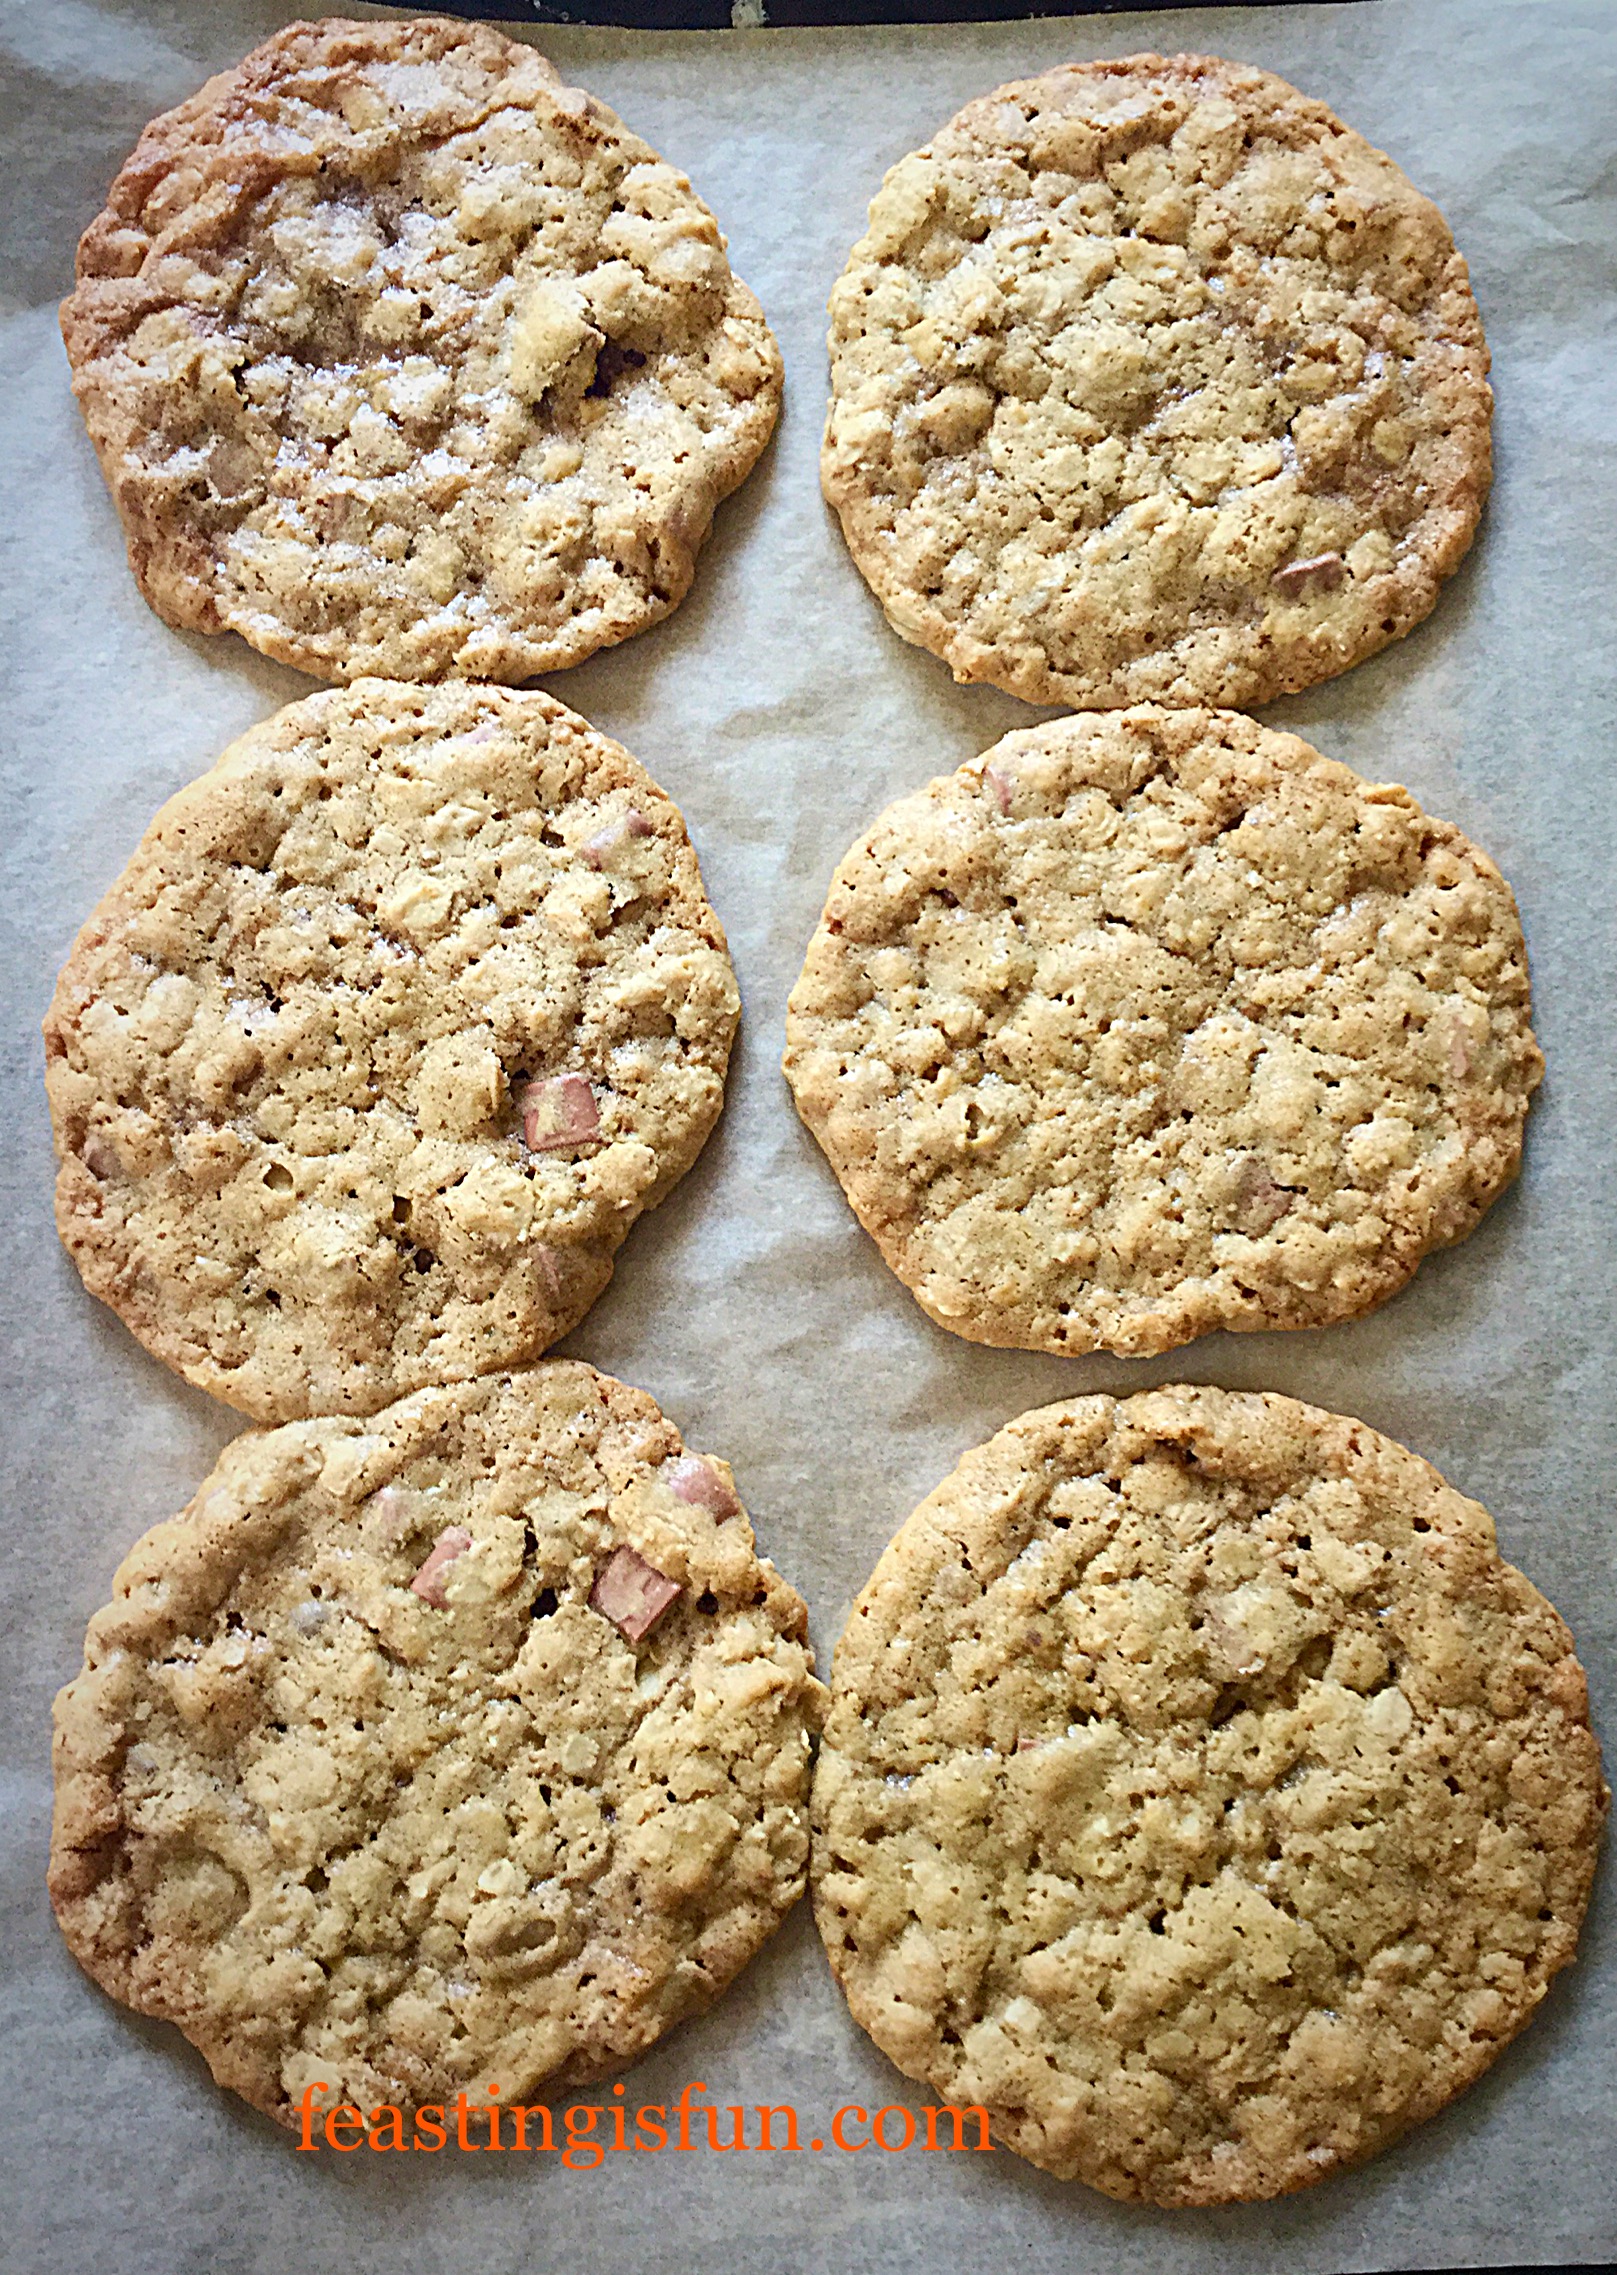
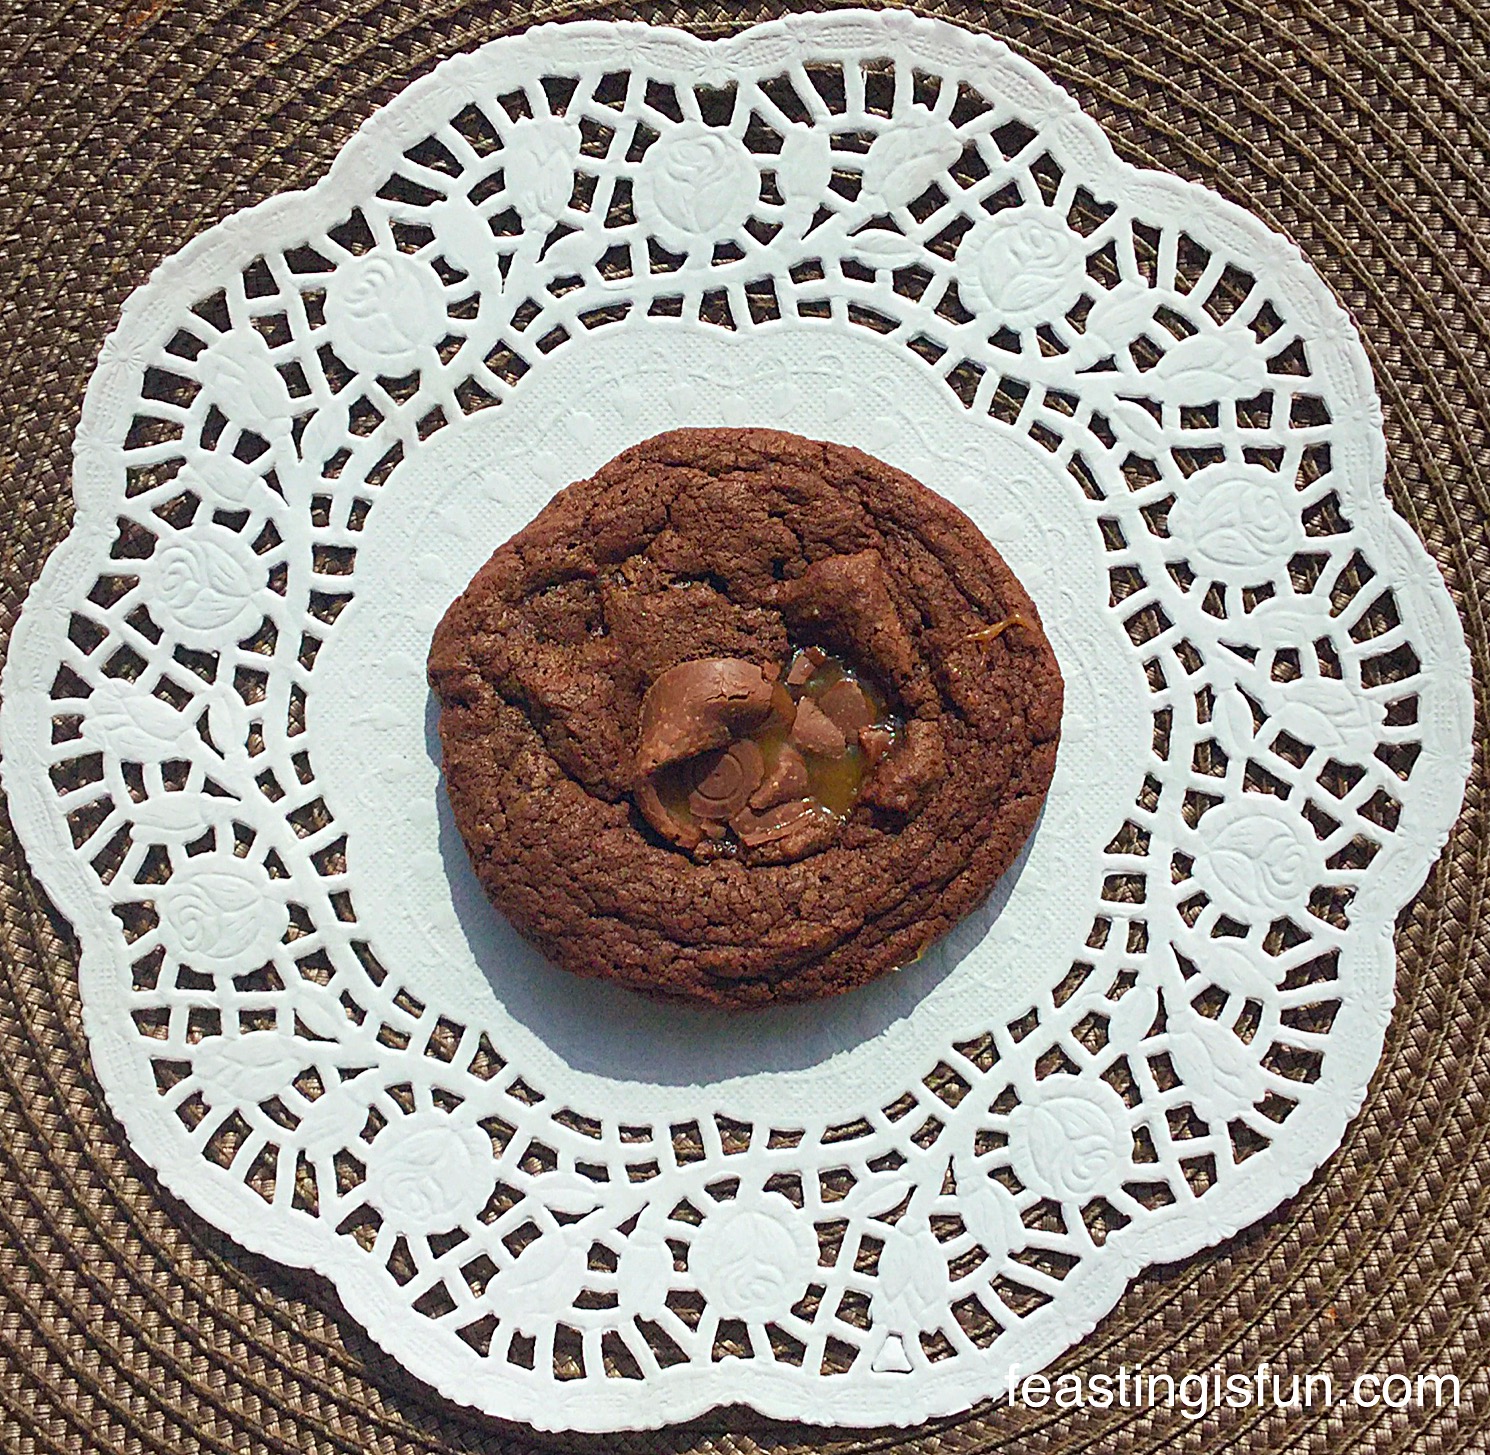
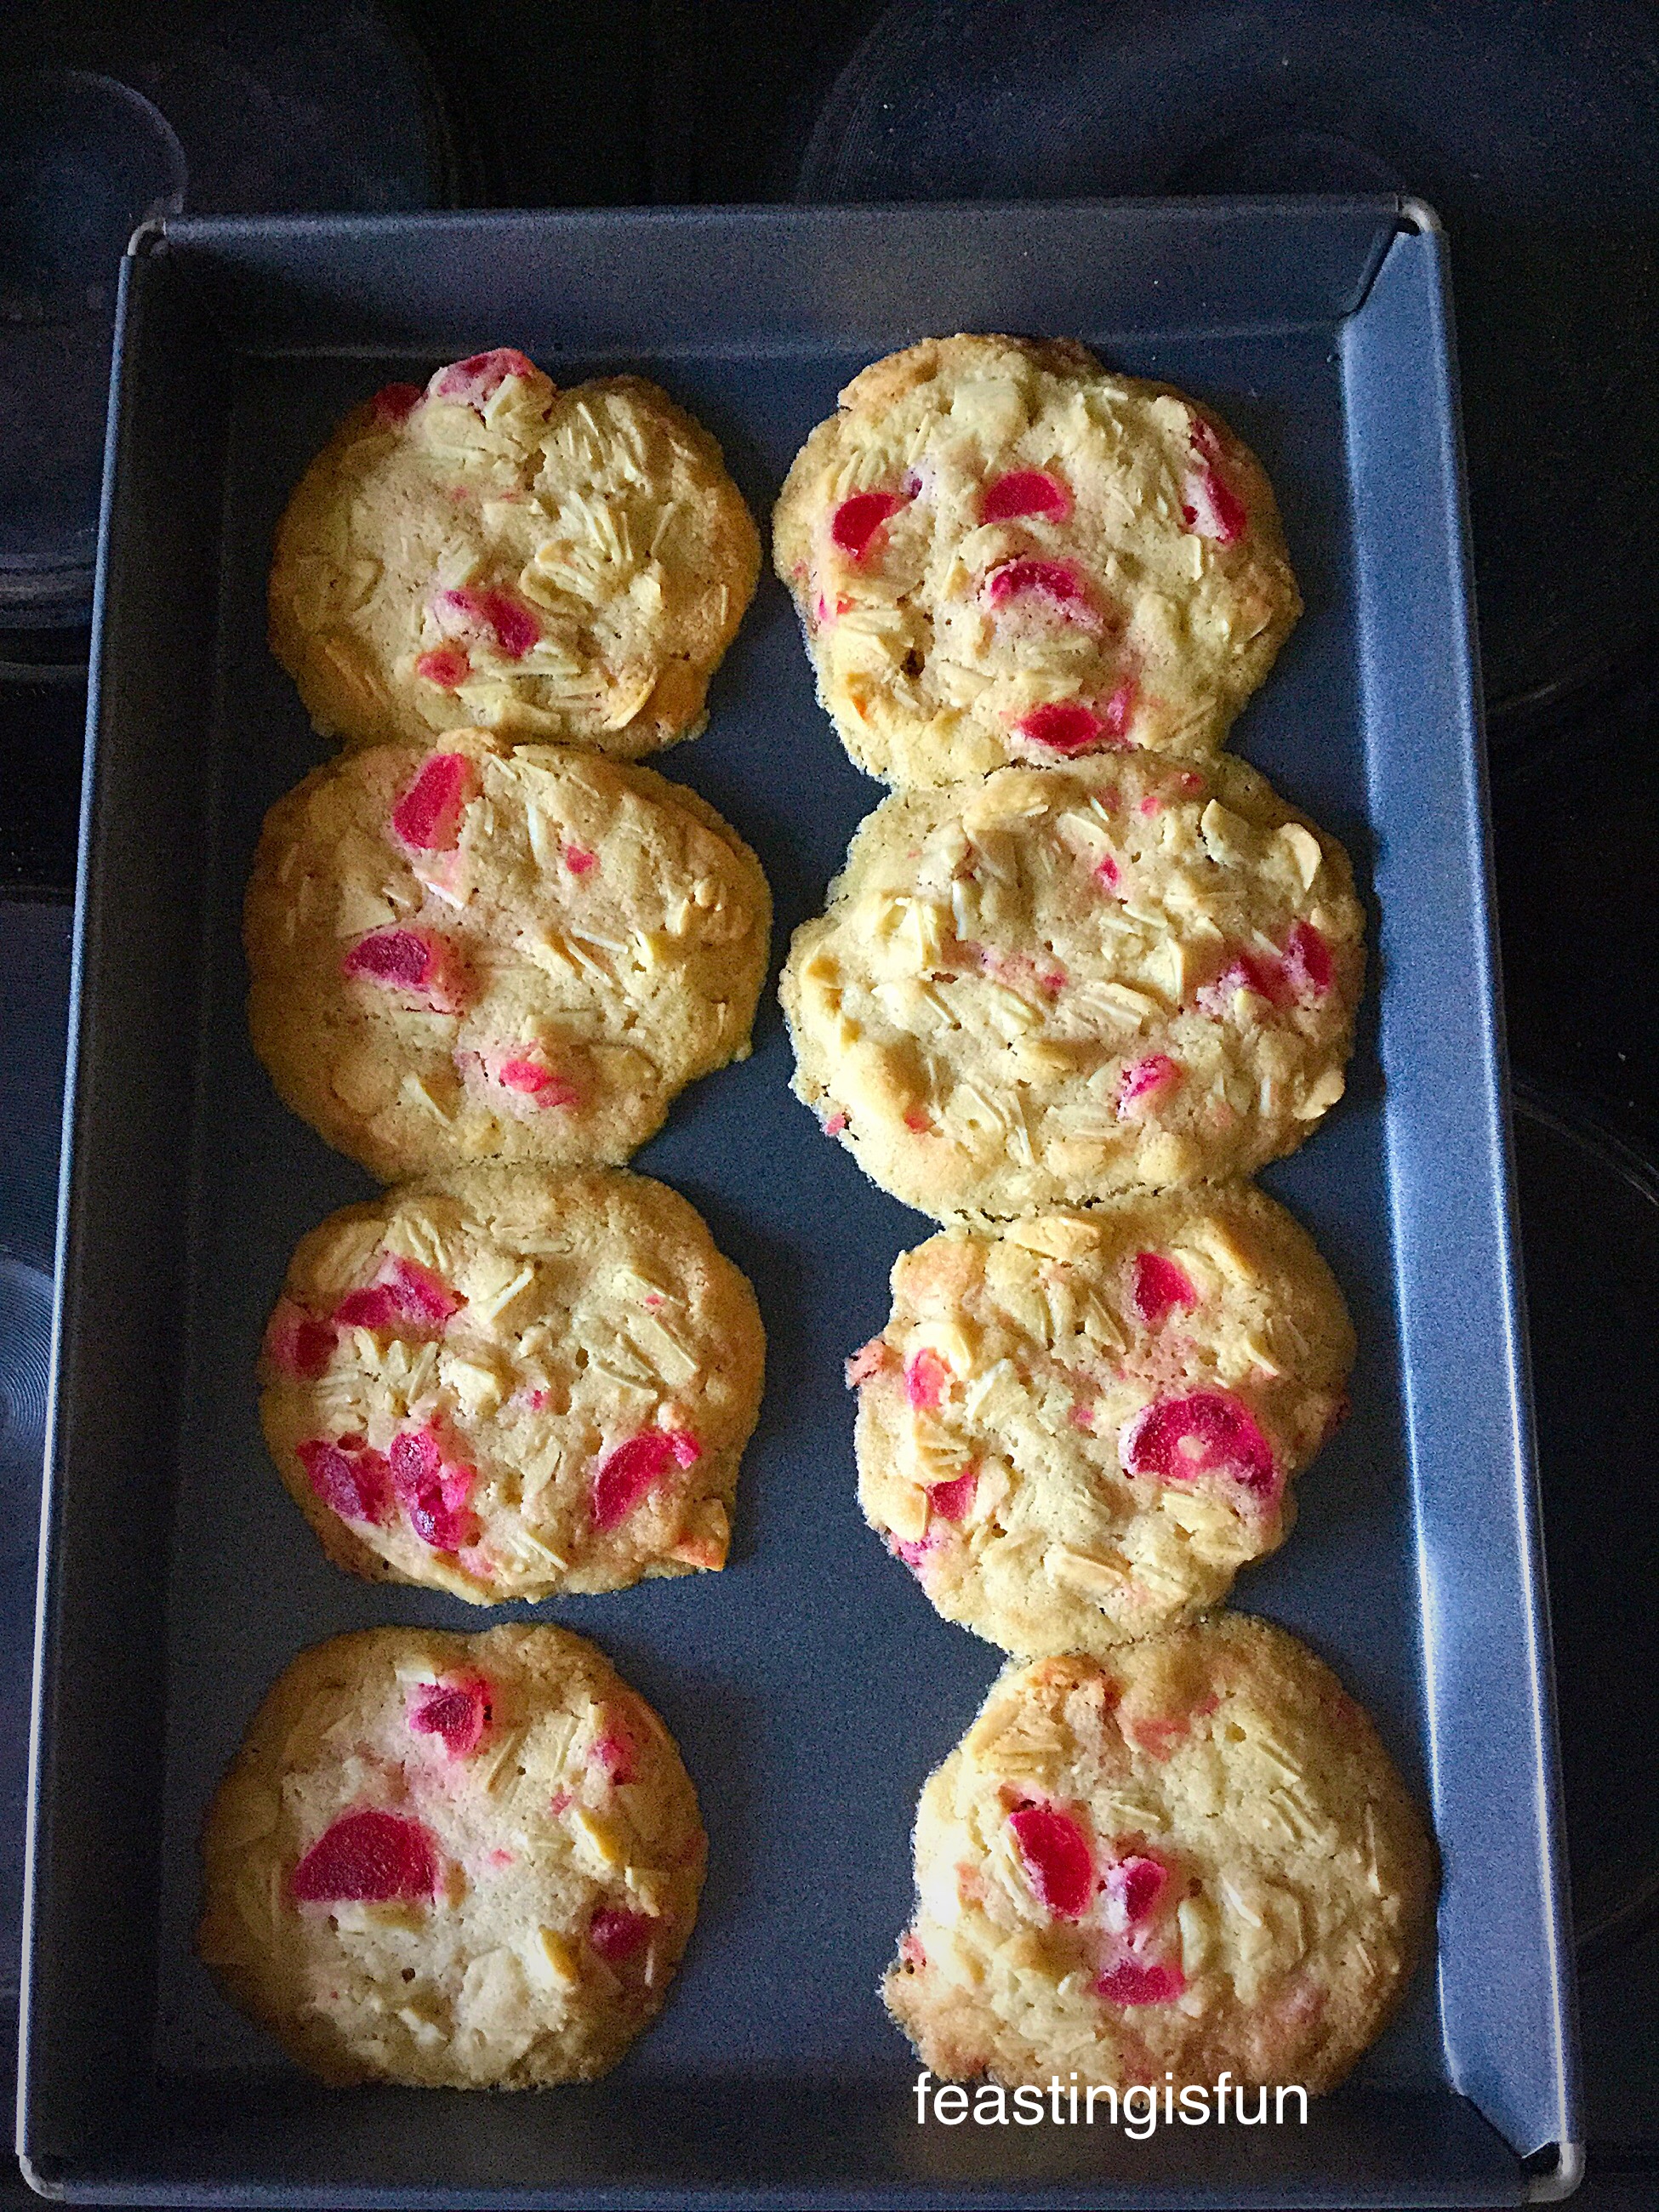
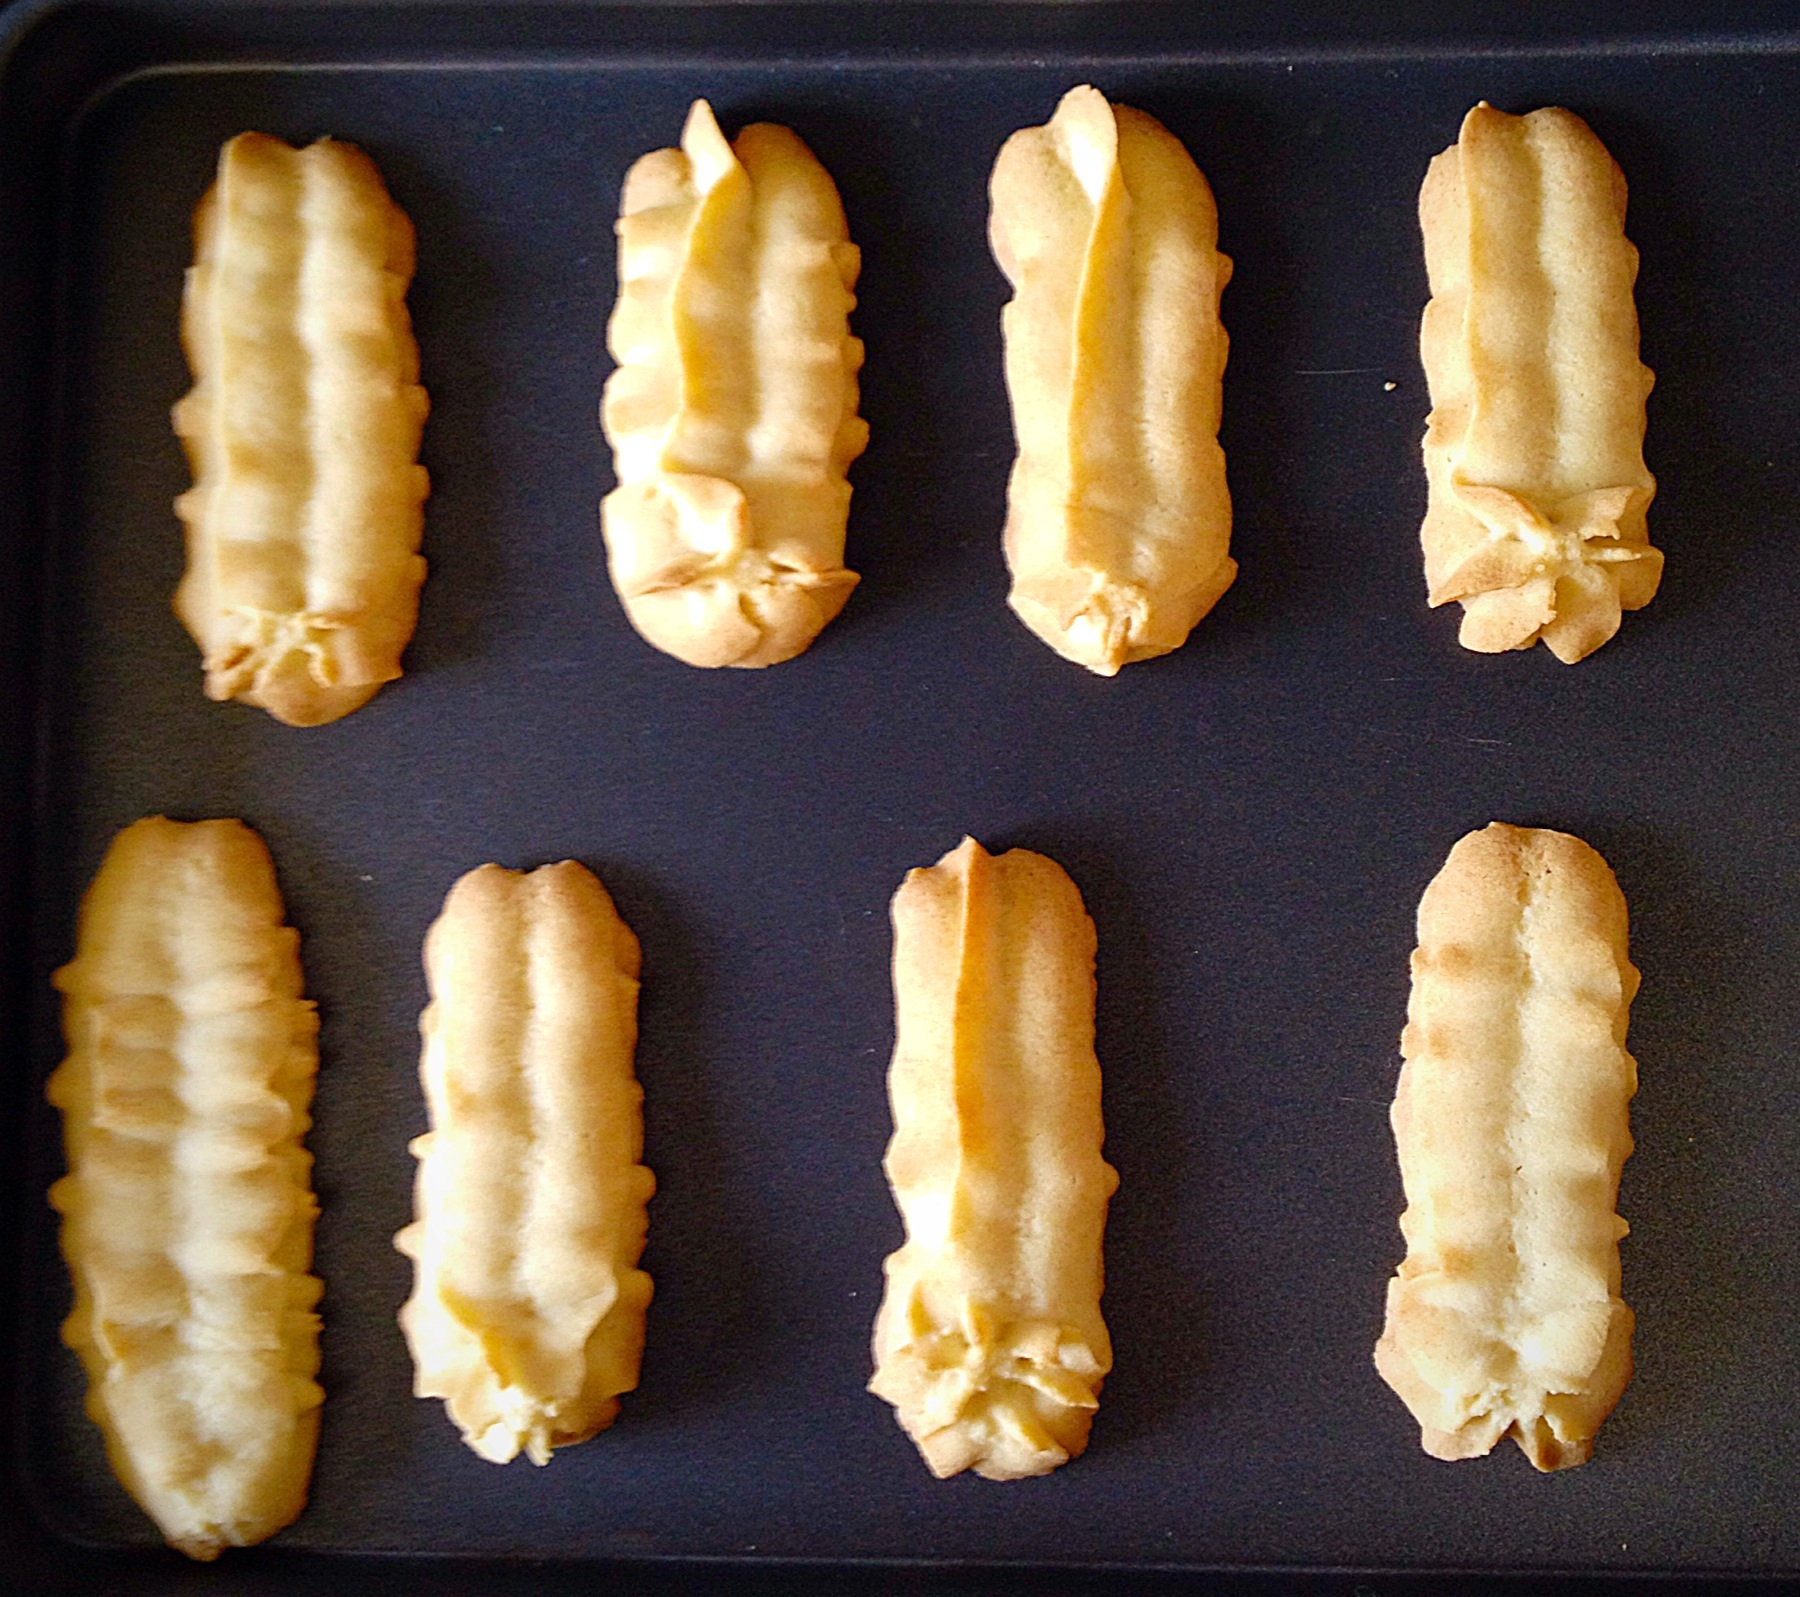
- Place the baking trays into the oven and bake for 20 minutes exactly.
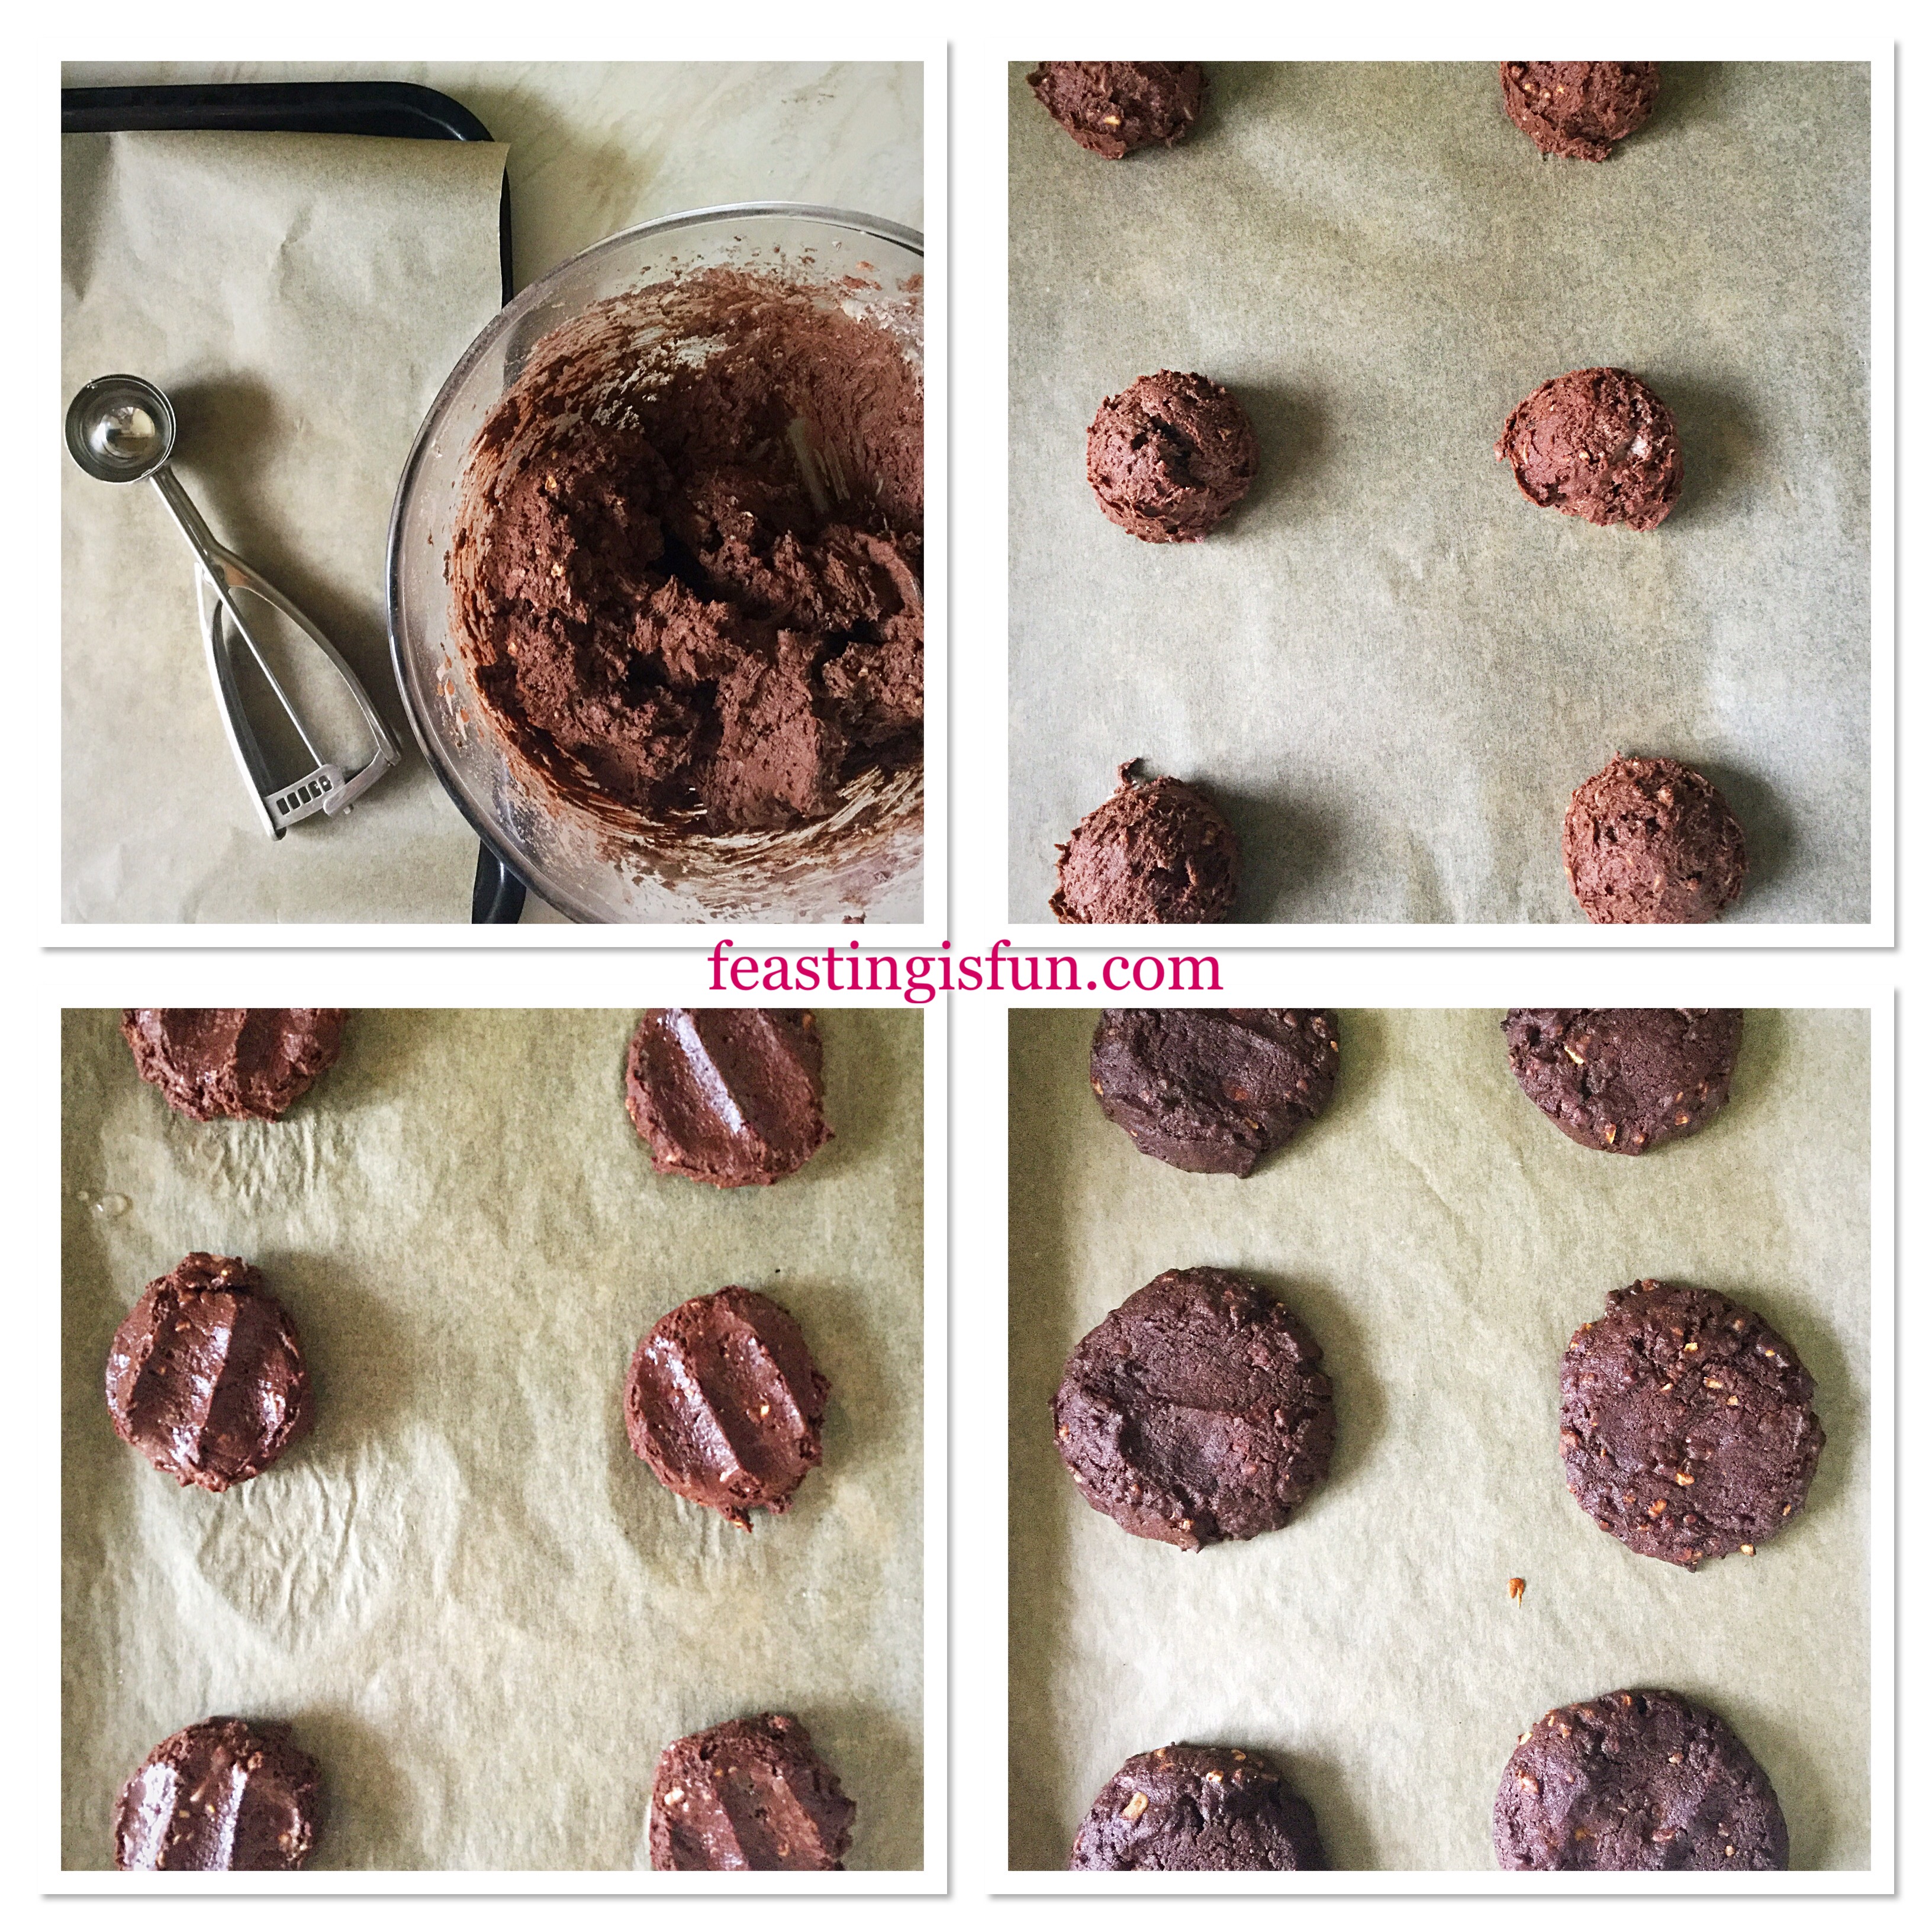
- As soon as the 20 minutes has elapsed remove the cookies from the oven.
- Leave the cookies to cool for 5 minutes on the trays before transferring to a cooling rack.
- While the first batch of cookies are cooling, scoop and bake the rest.
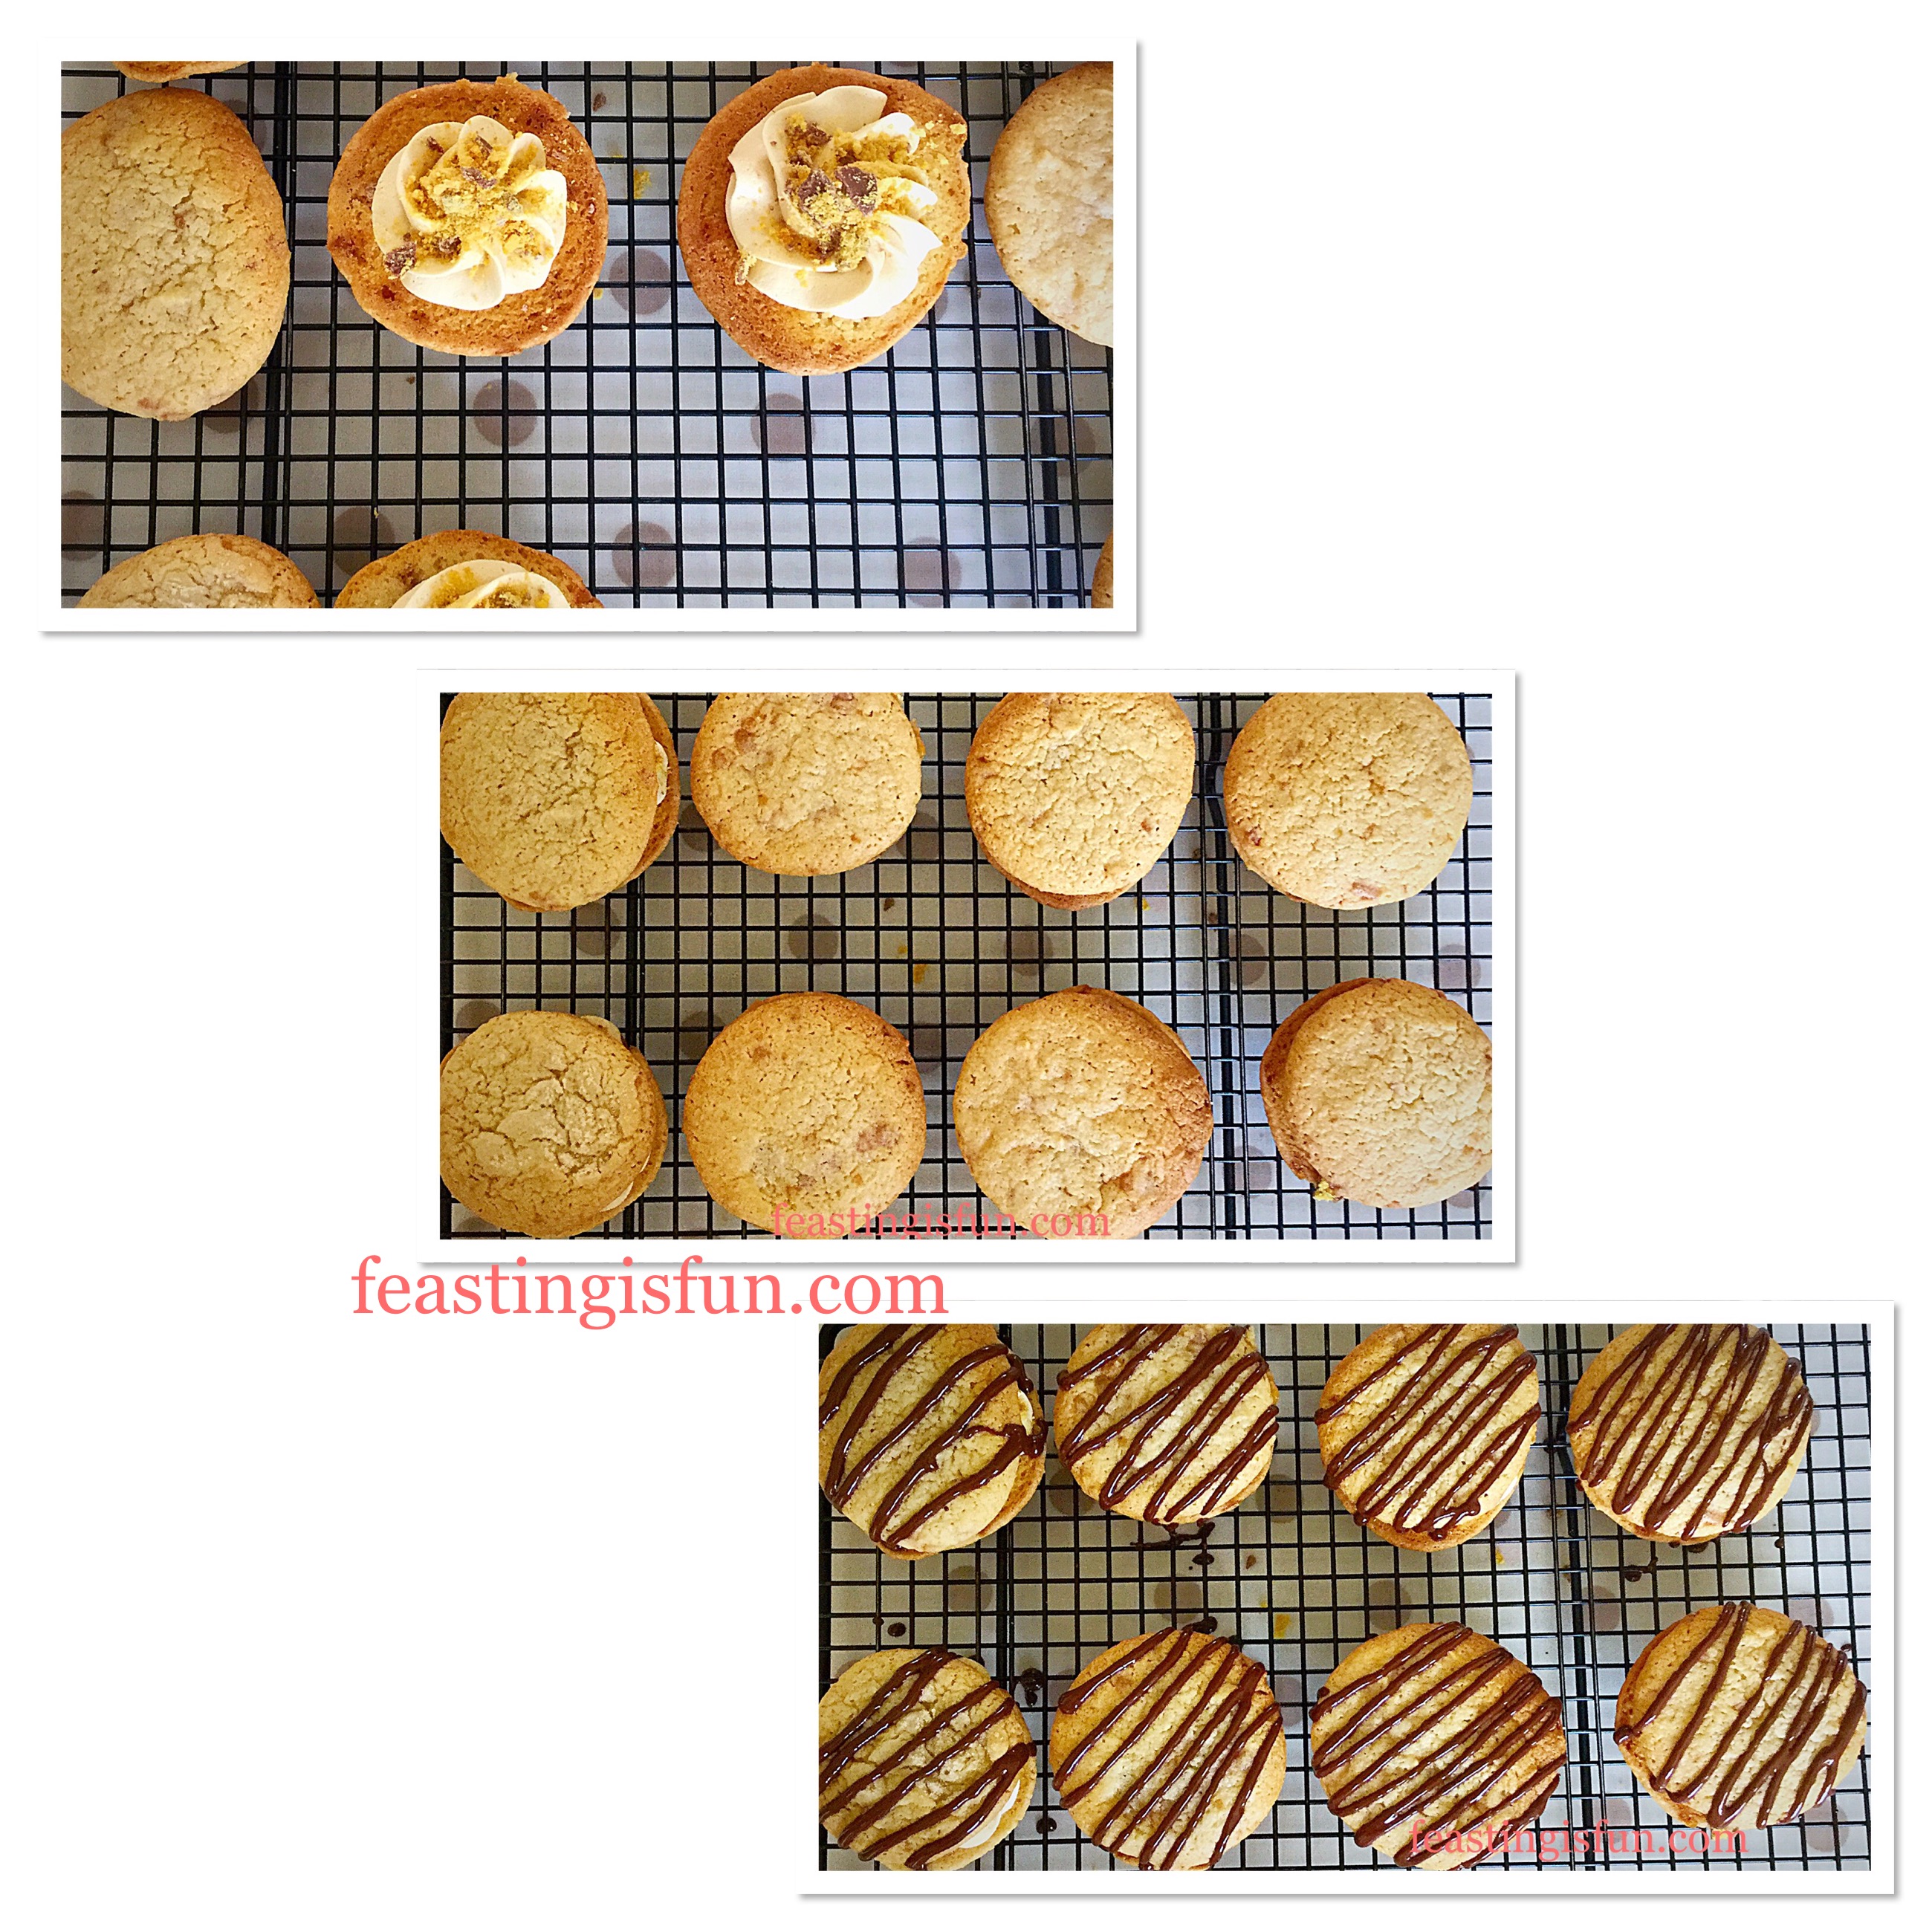
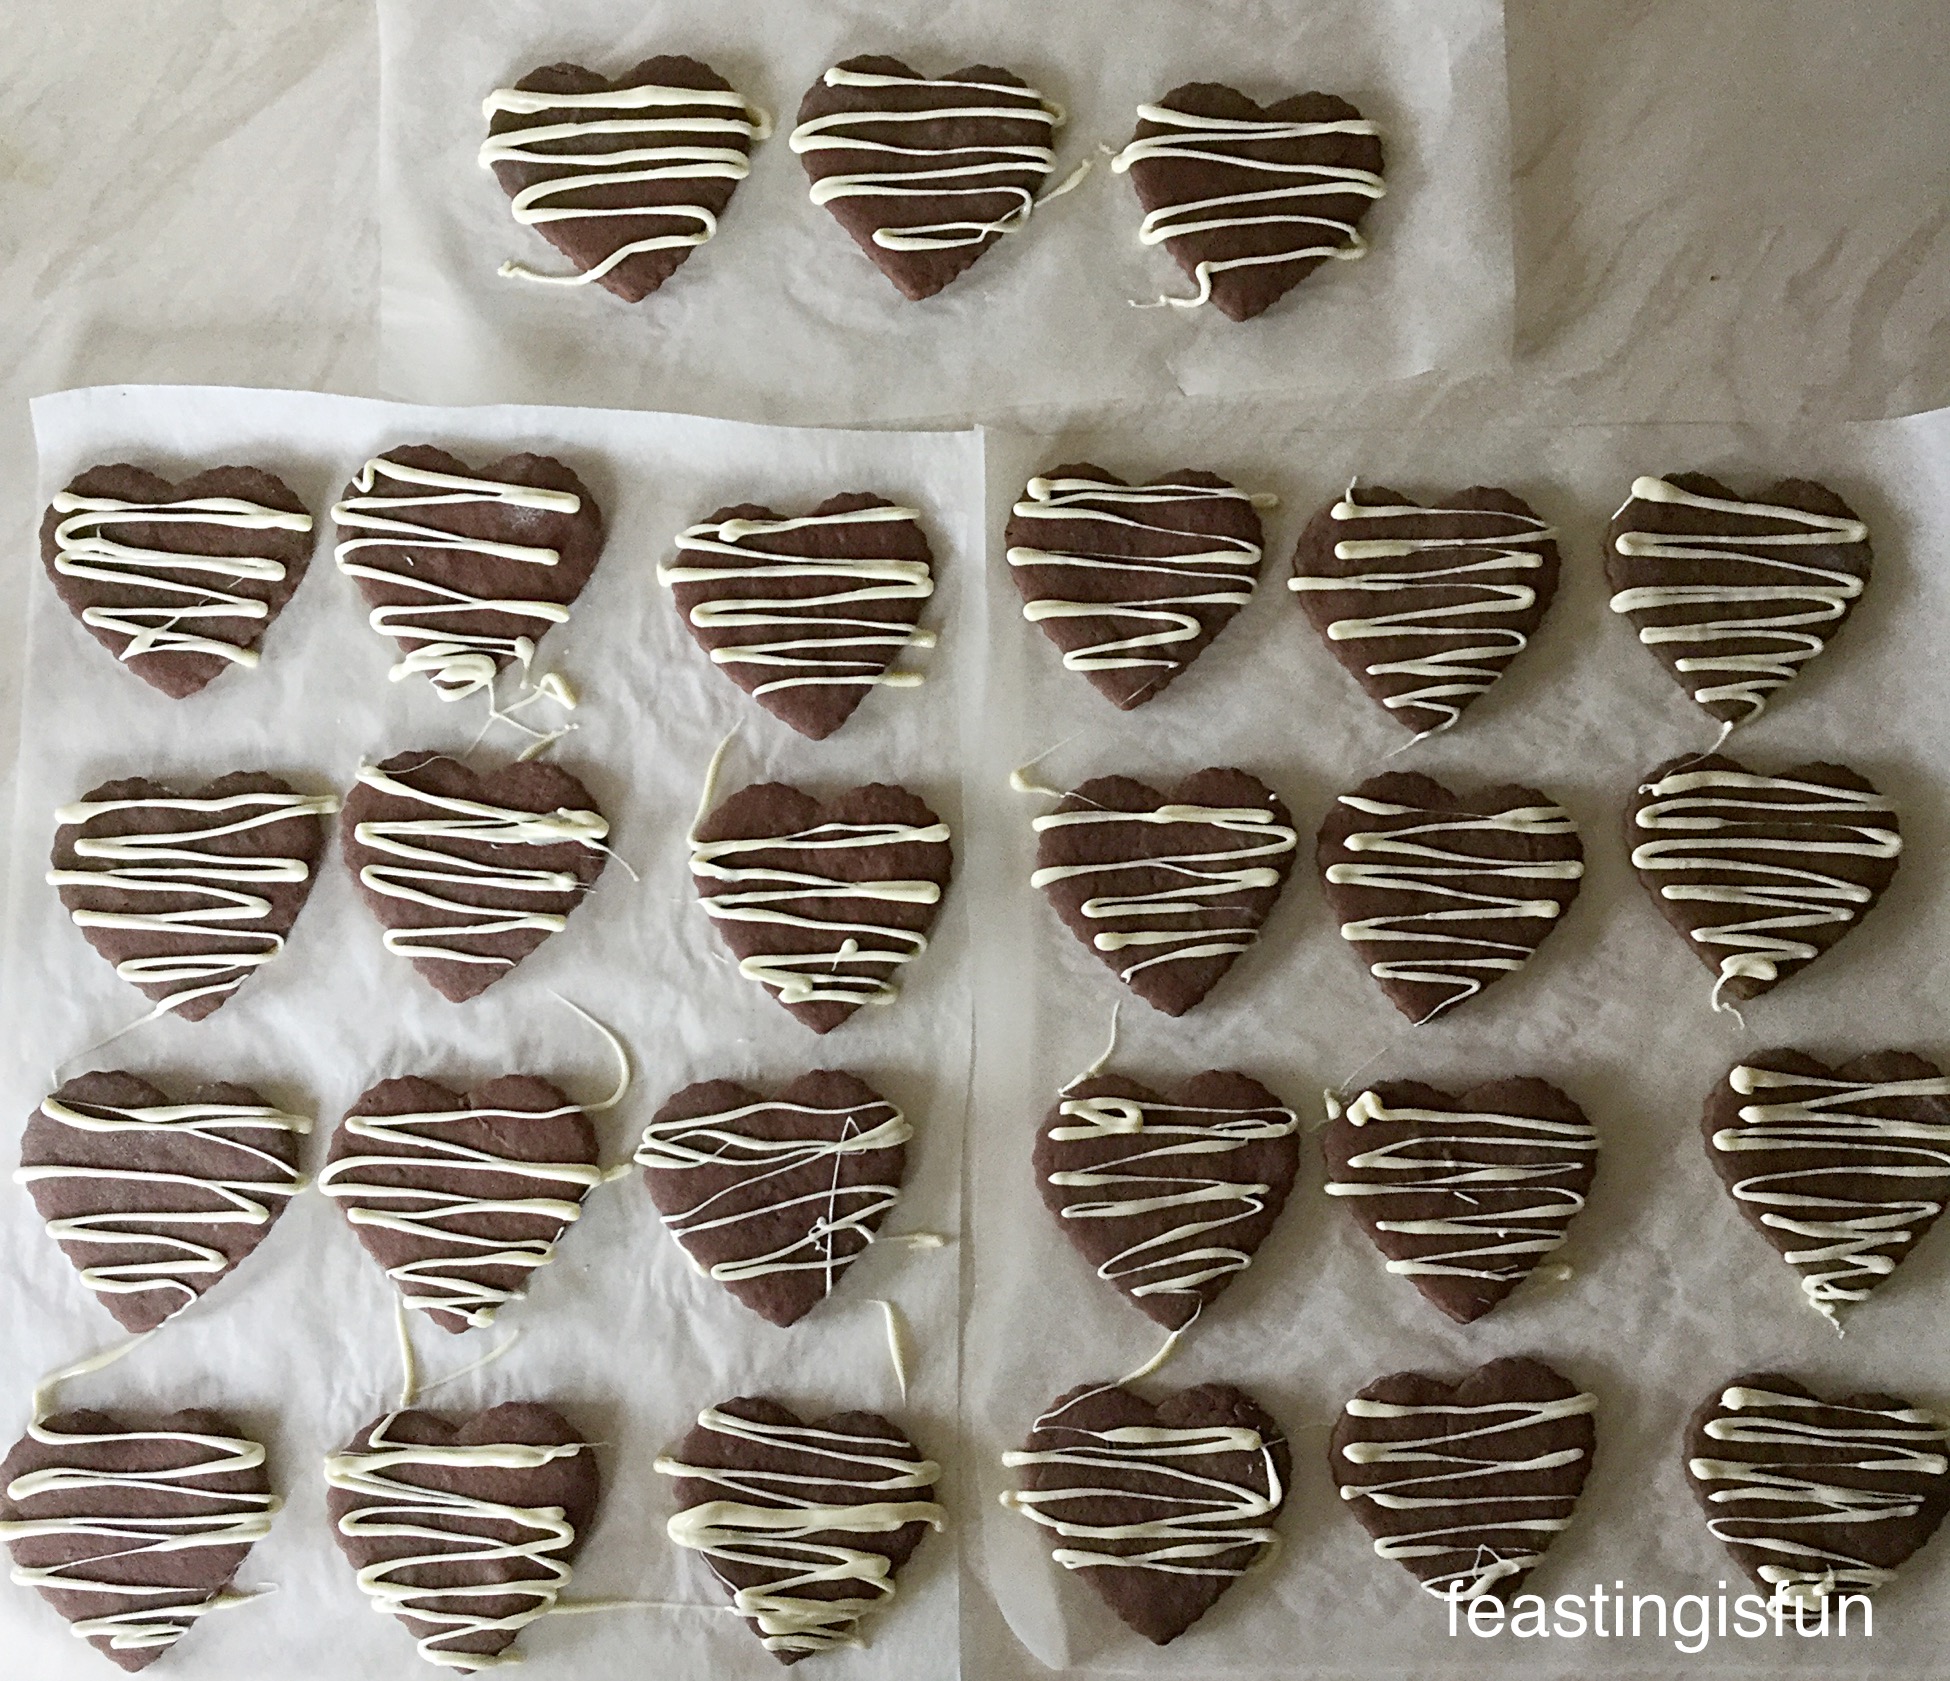
Adding The White Chocolate Drizzle
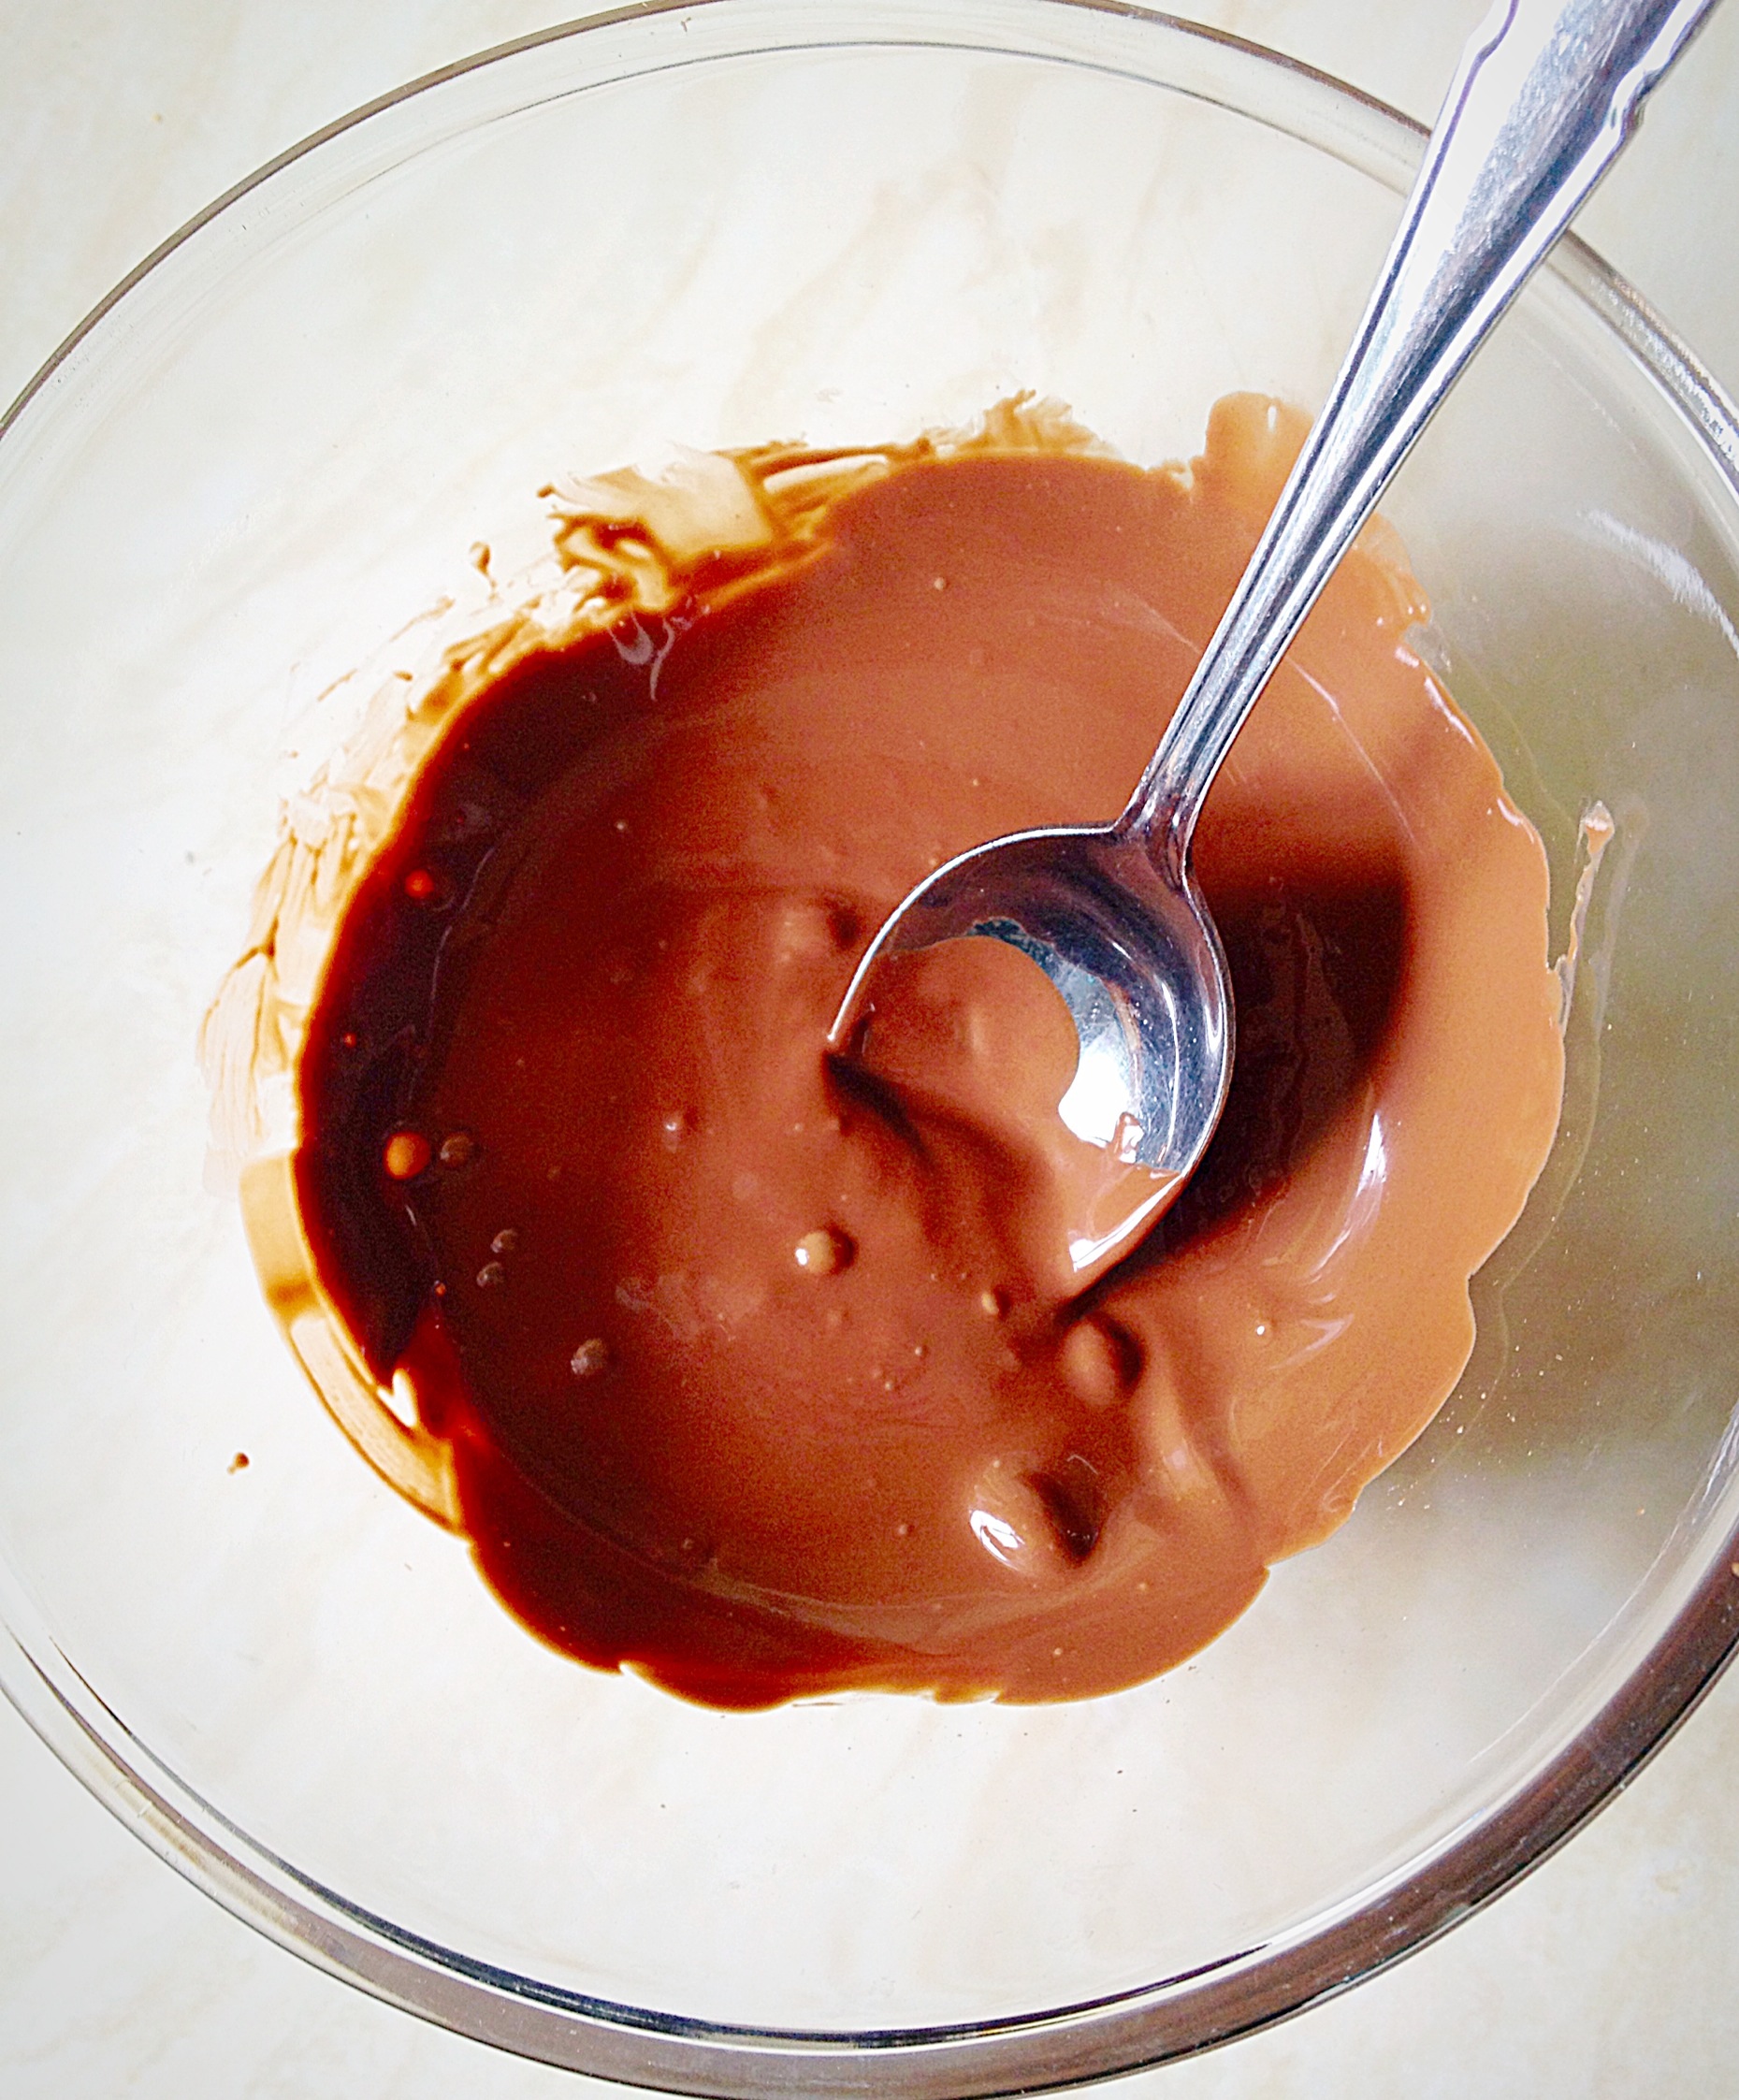
- Chop the white chocolate into small pieces and place into a heatproof, microwaveable bowl. Heat on medium power for 30 second bursts, stirring after each heating session. As soon as the chocolate starts to melt remove the bowl from the microwave and stir until completely melted.
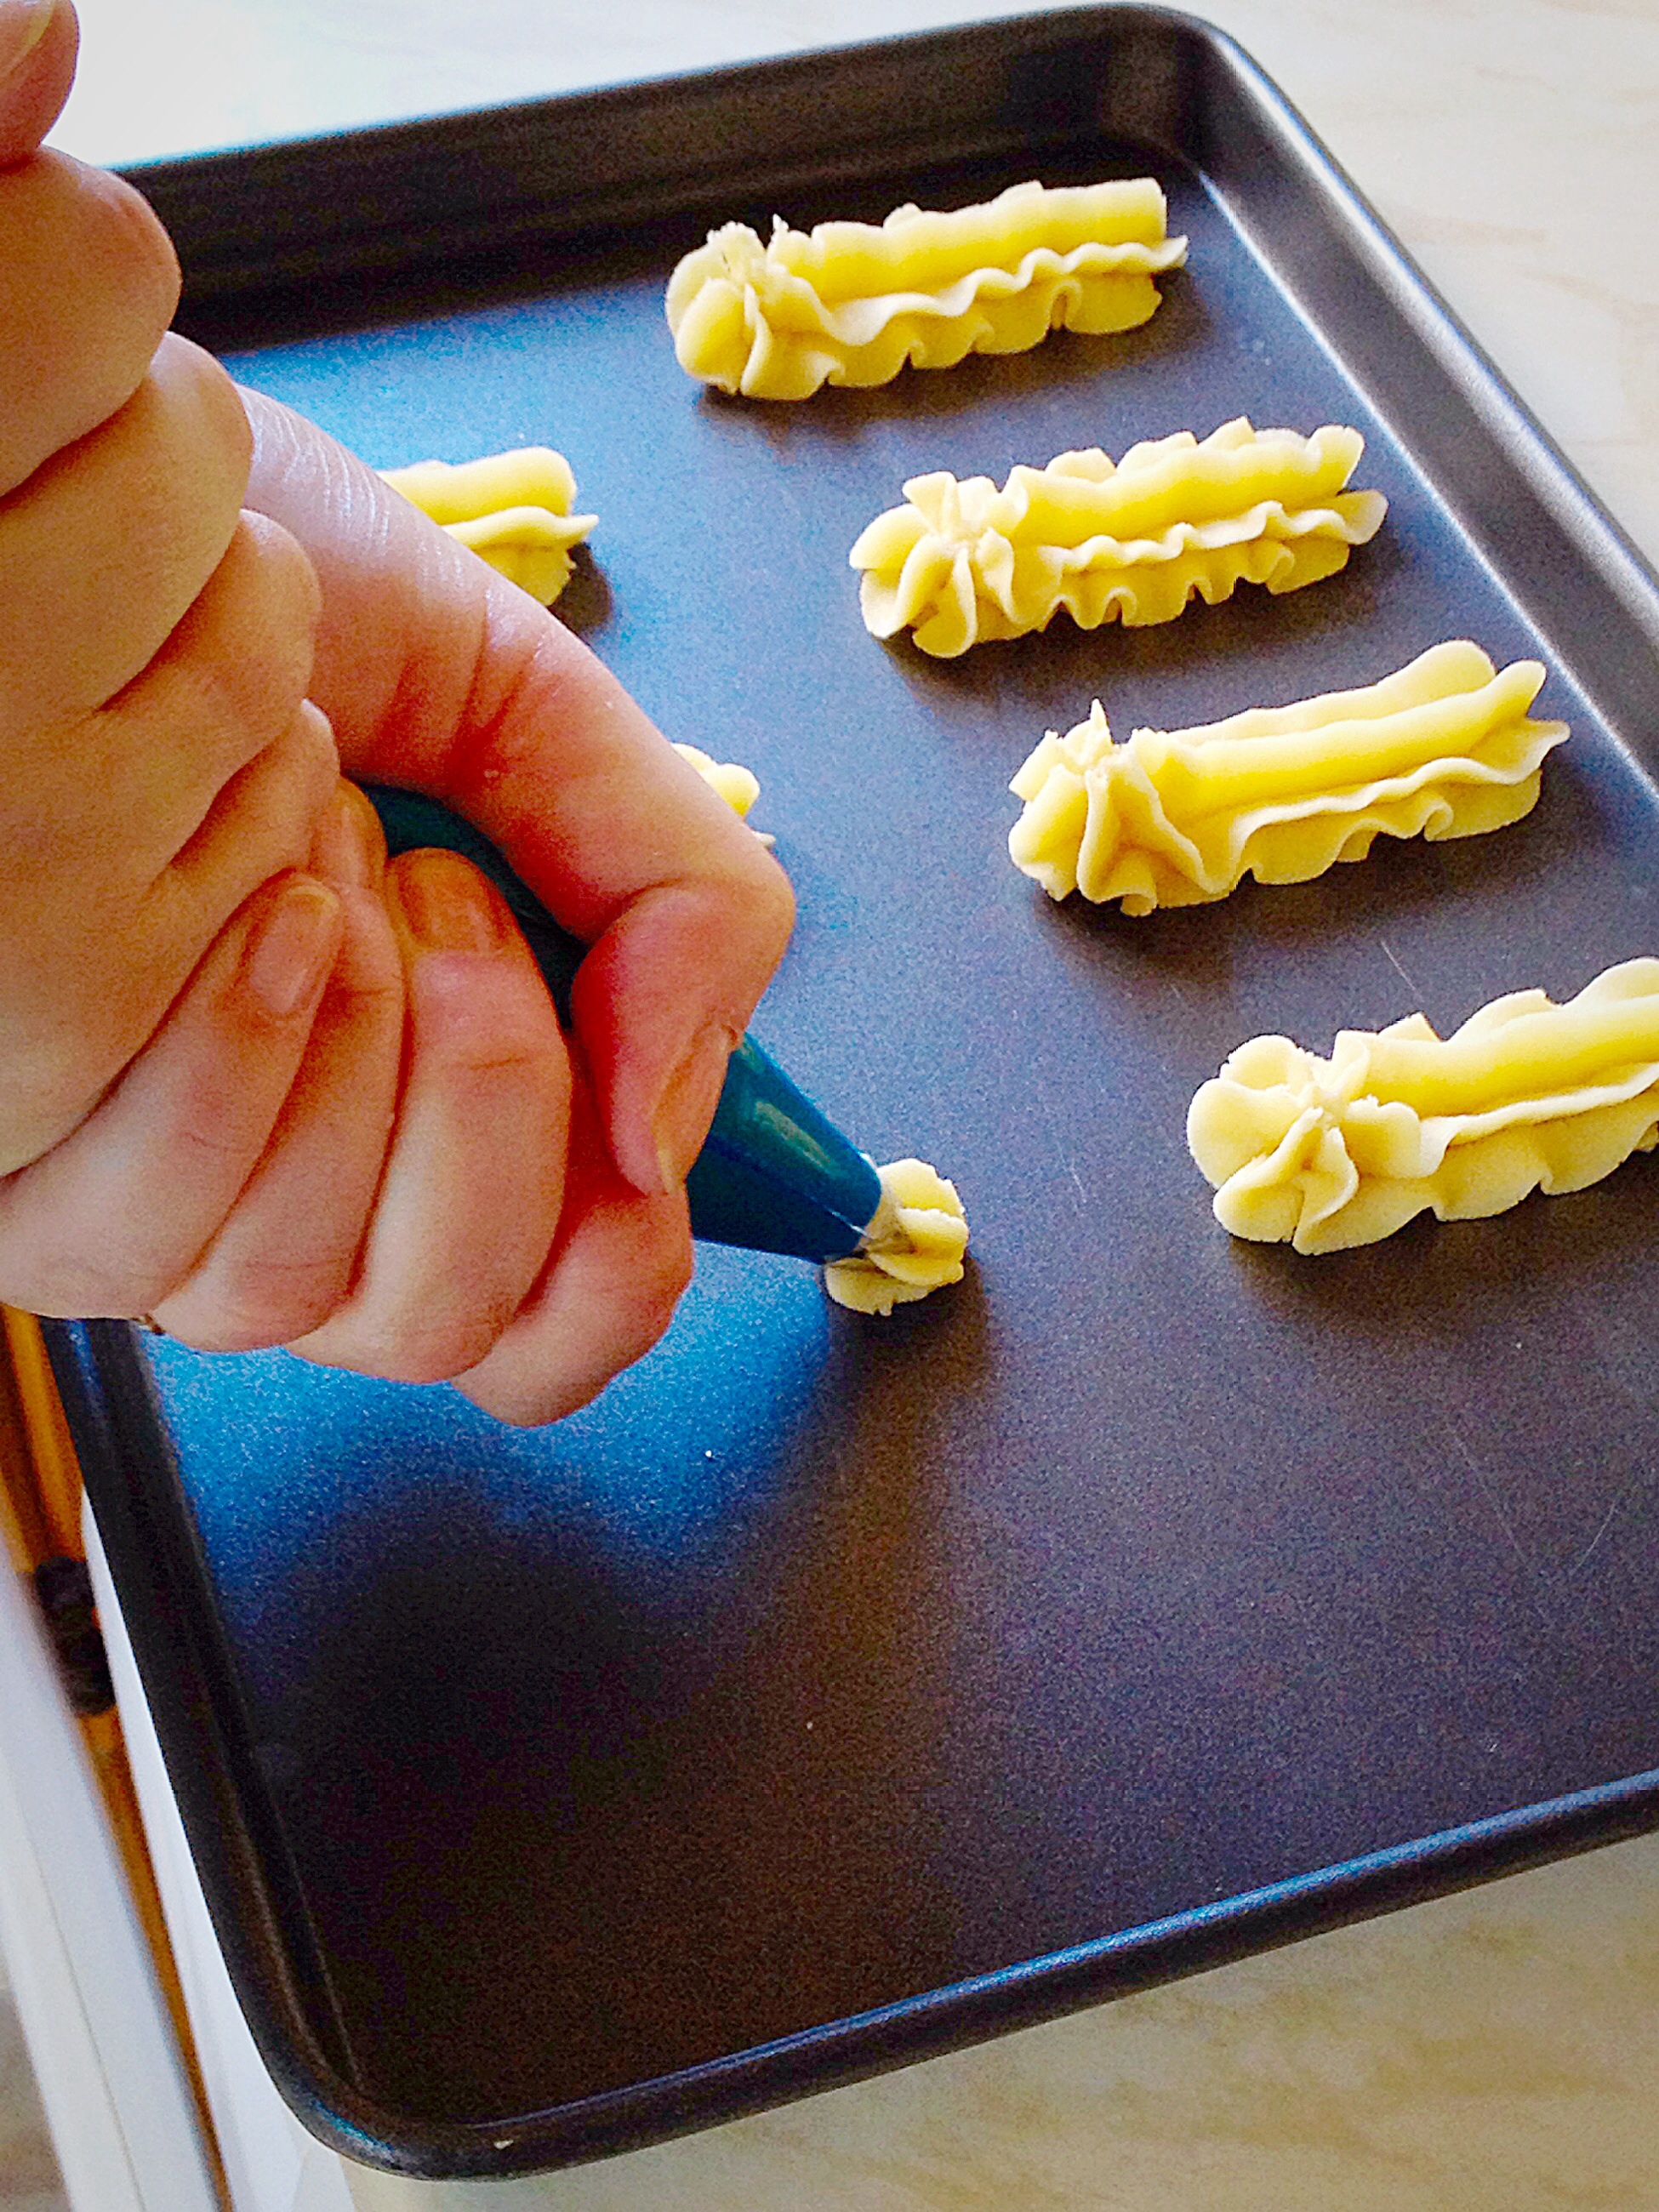
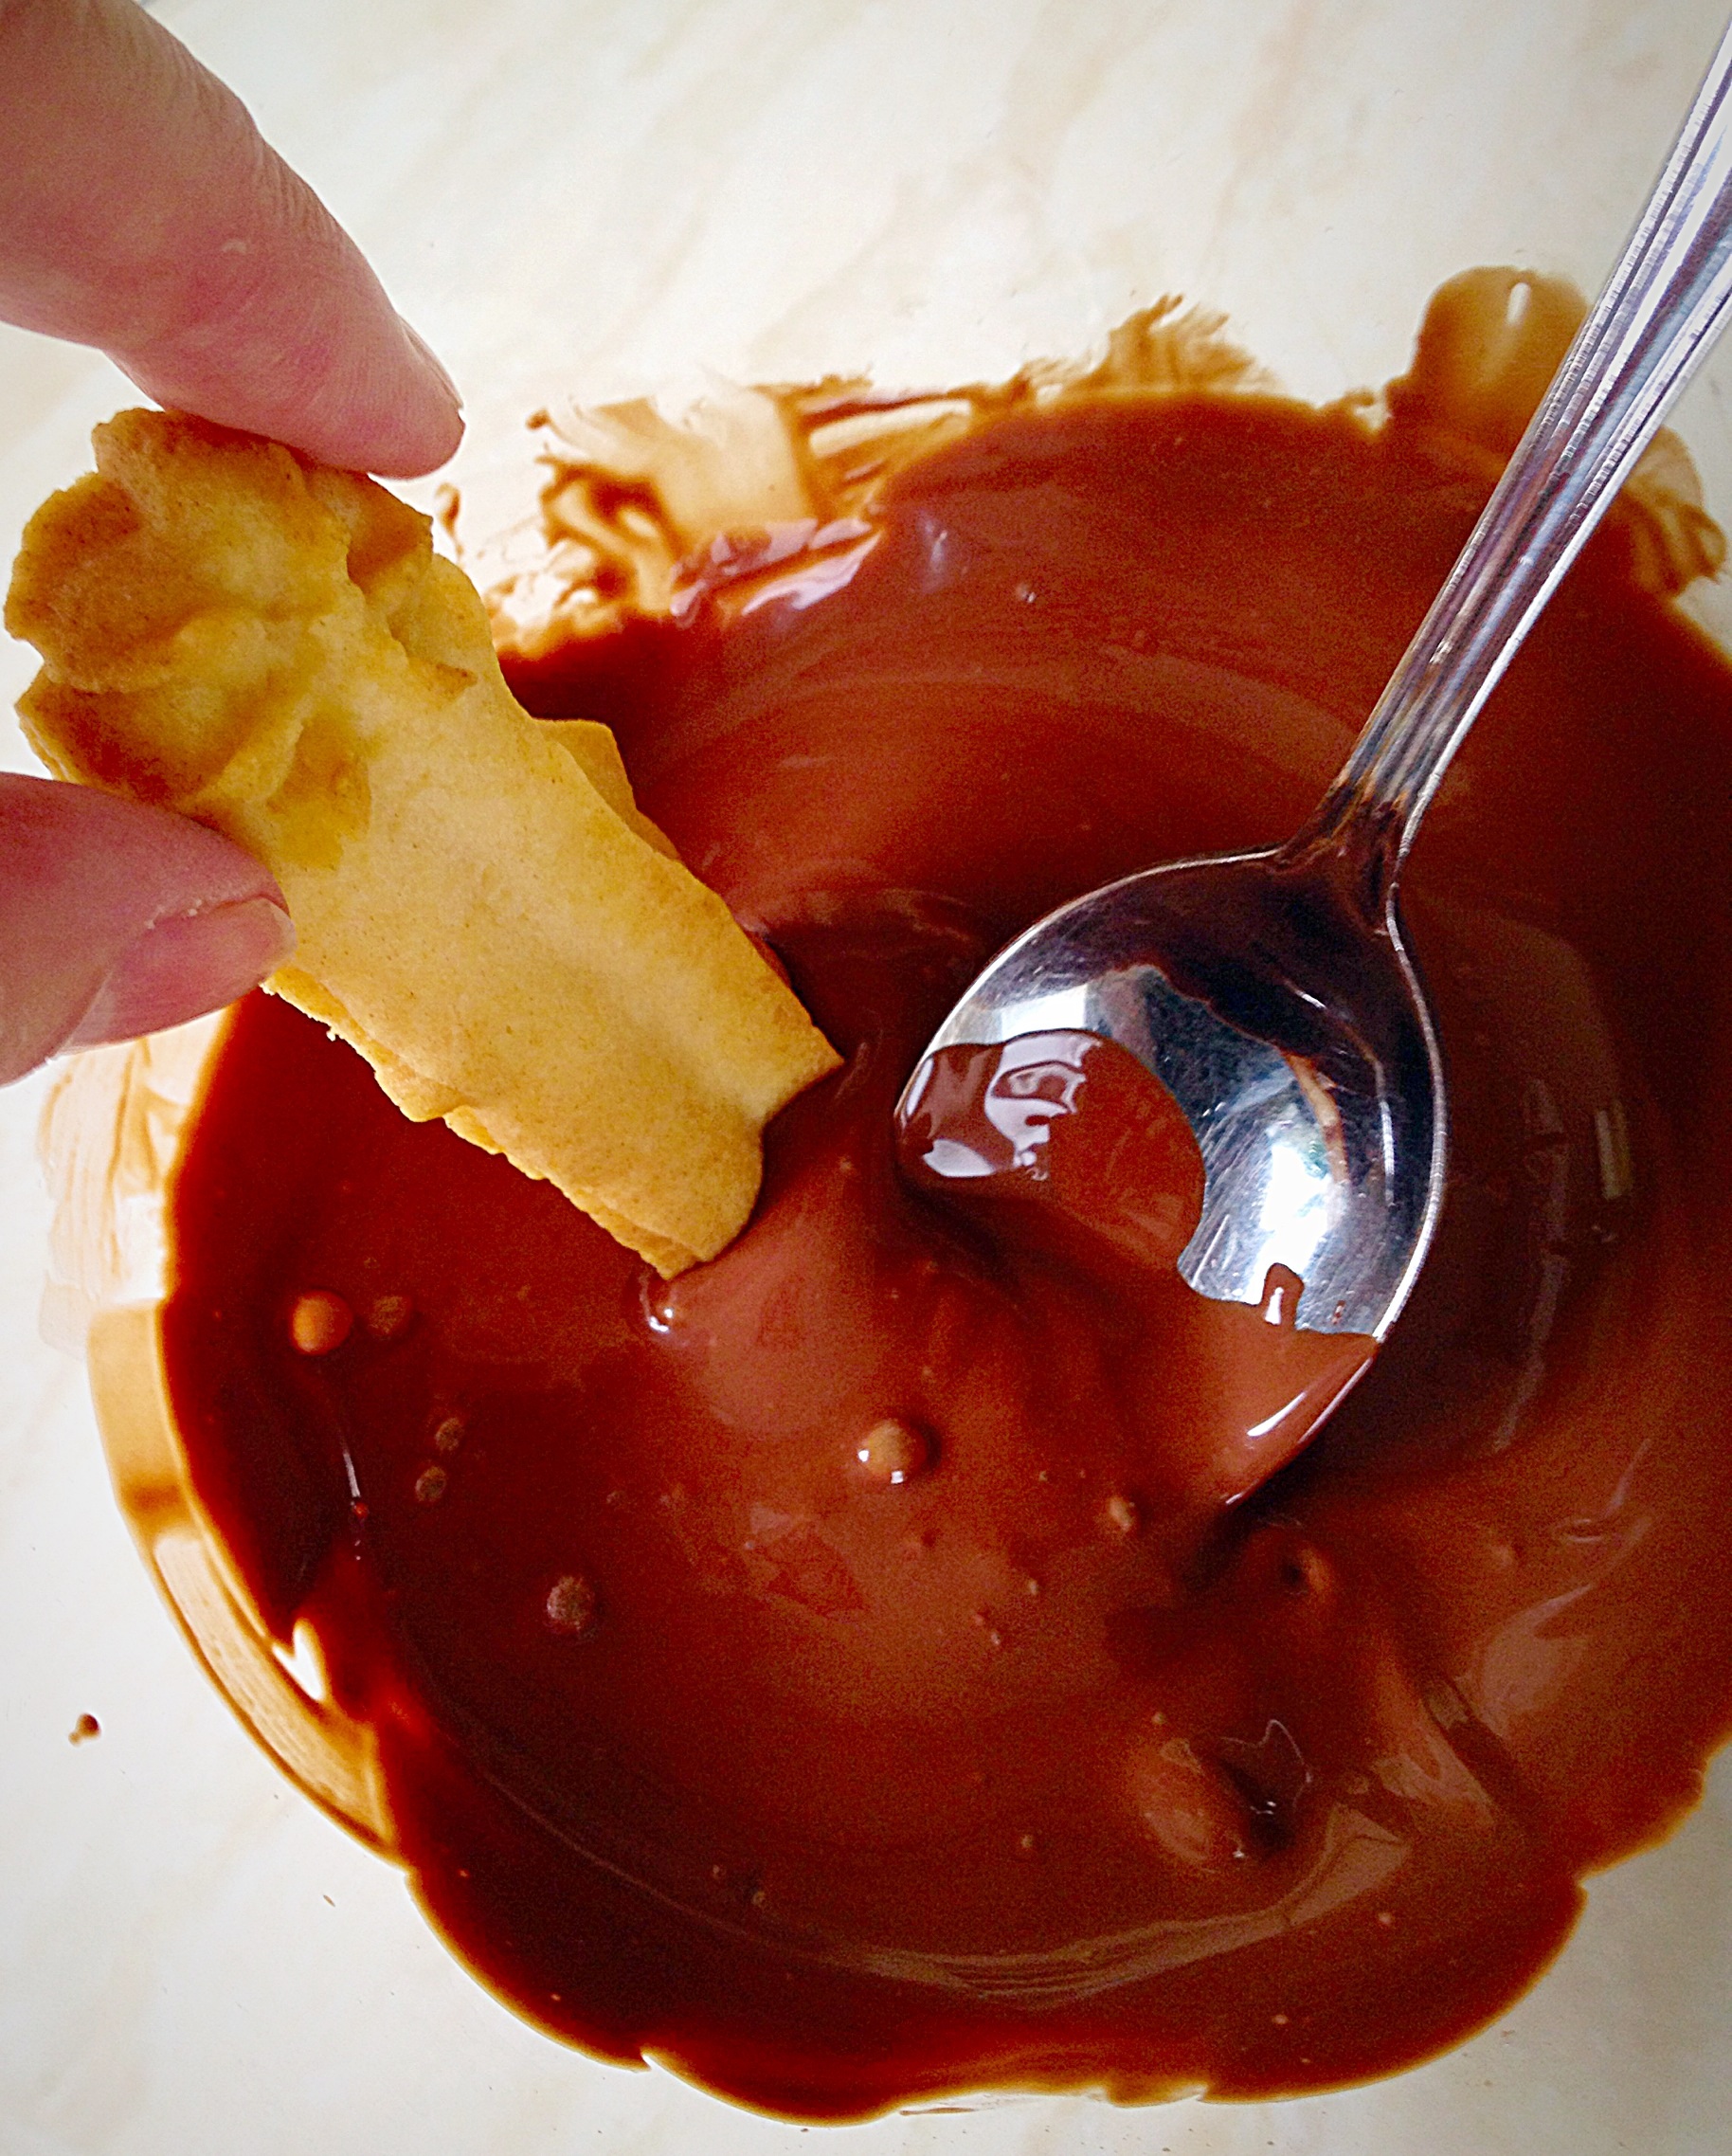
- Spoon the melted chocolate into a small piping bag.
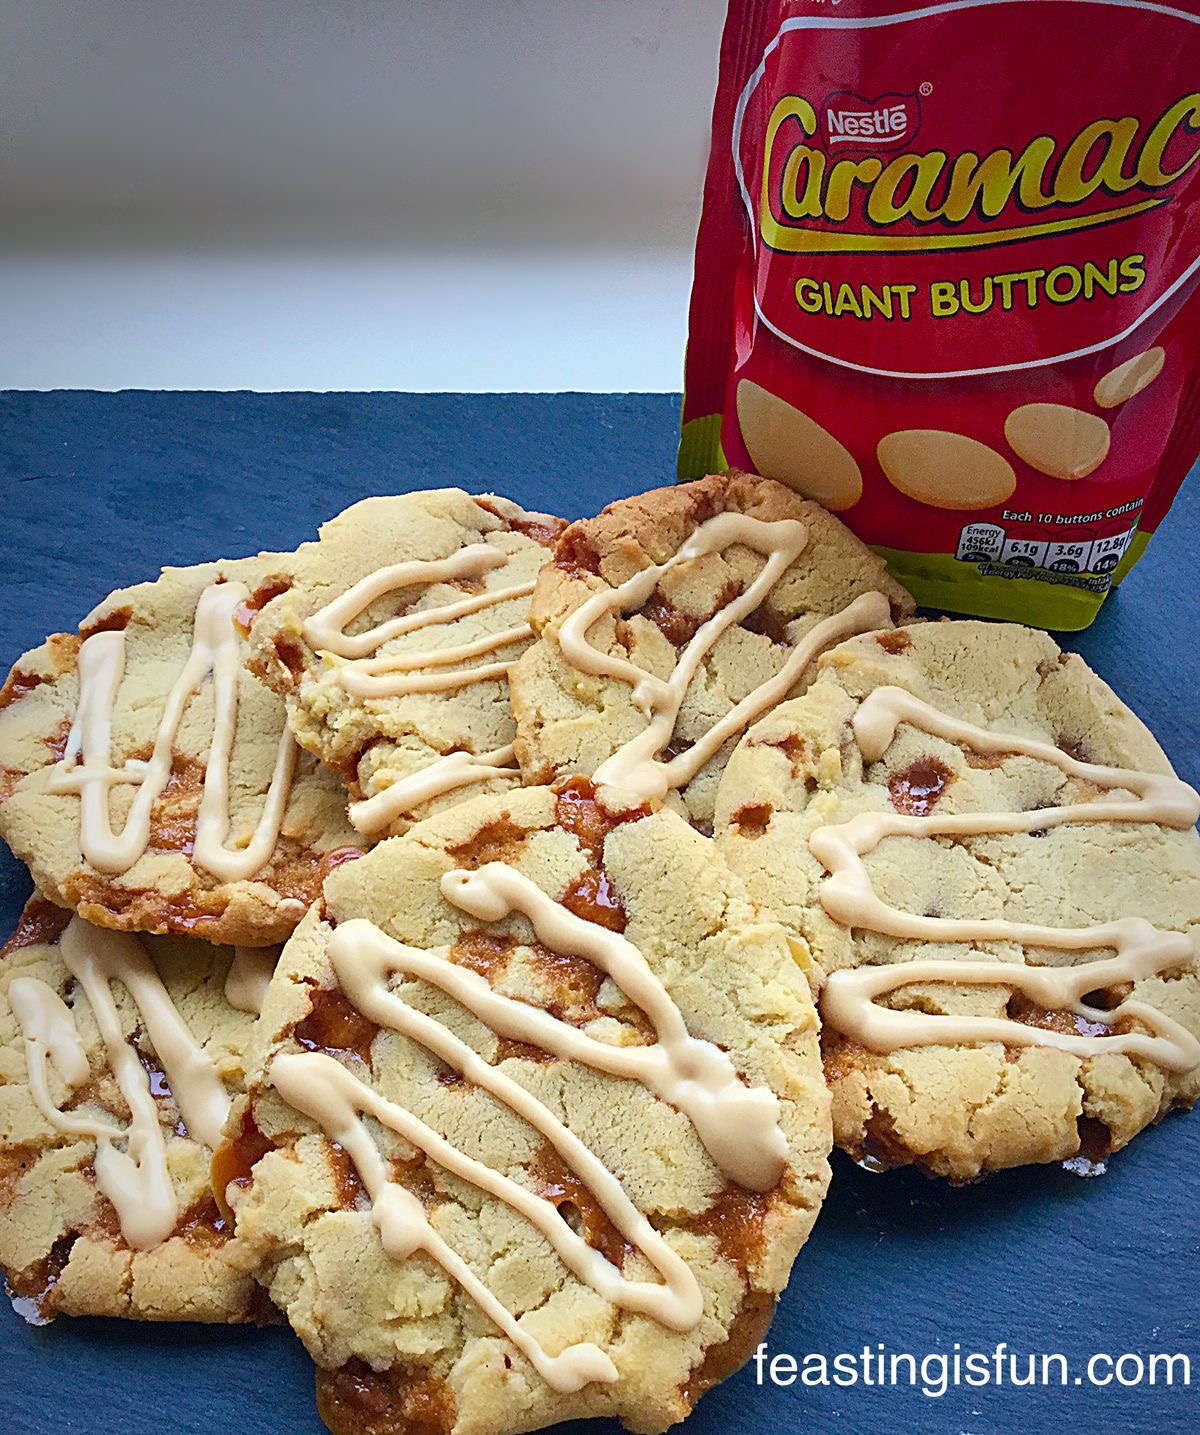
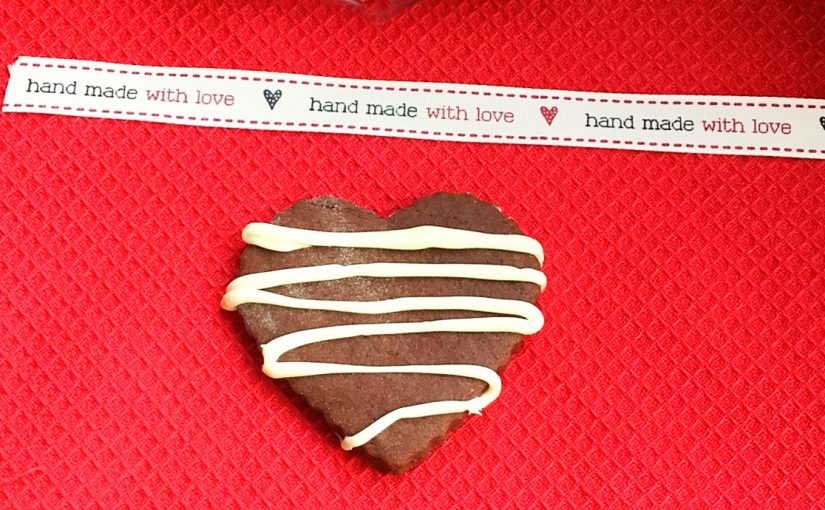
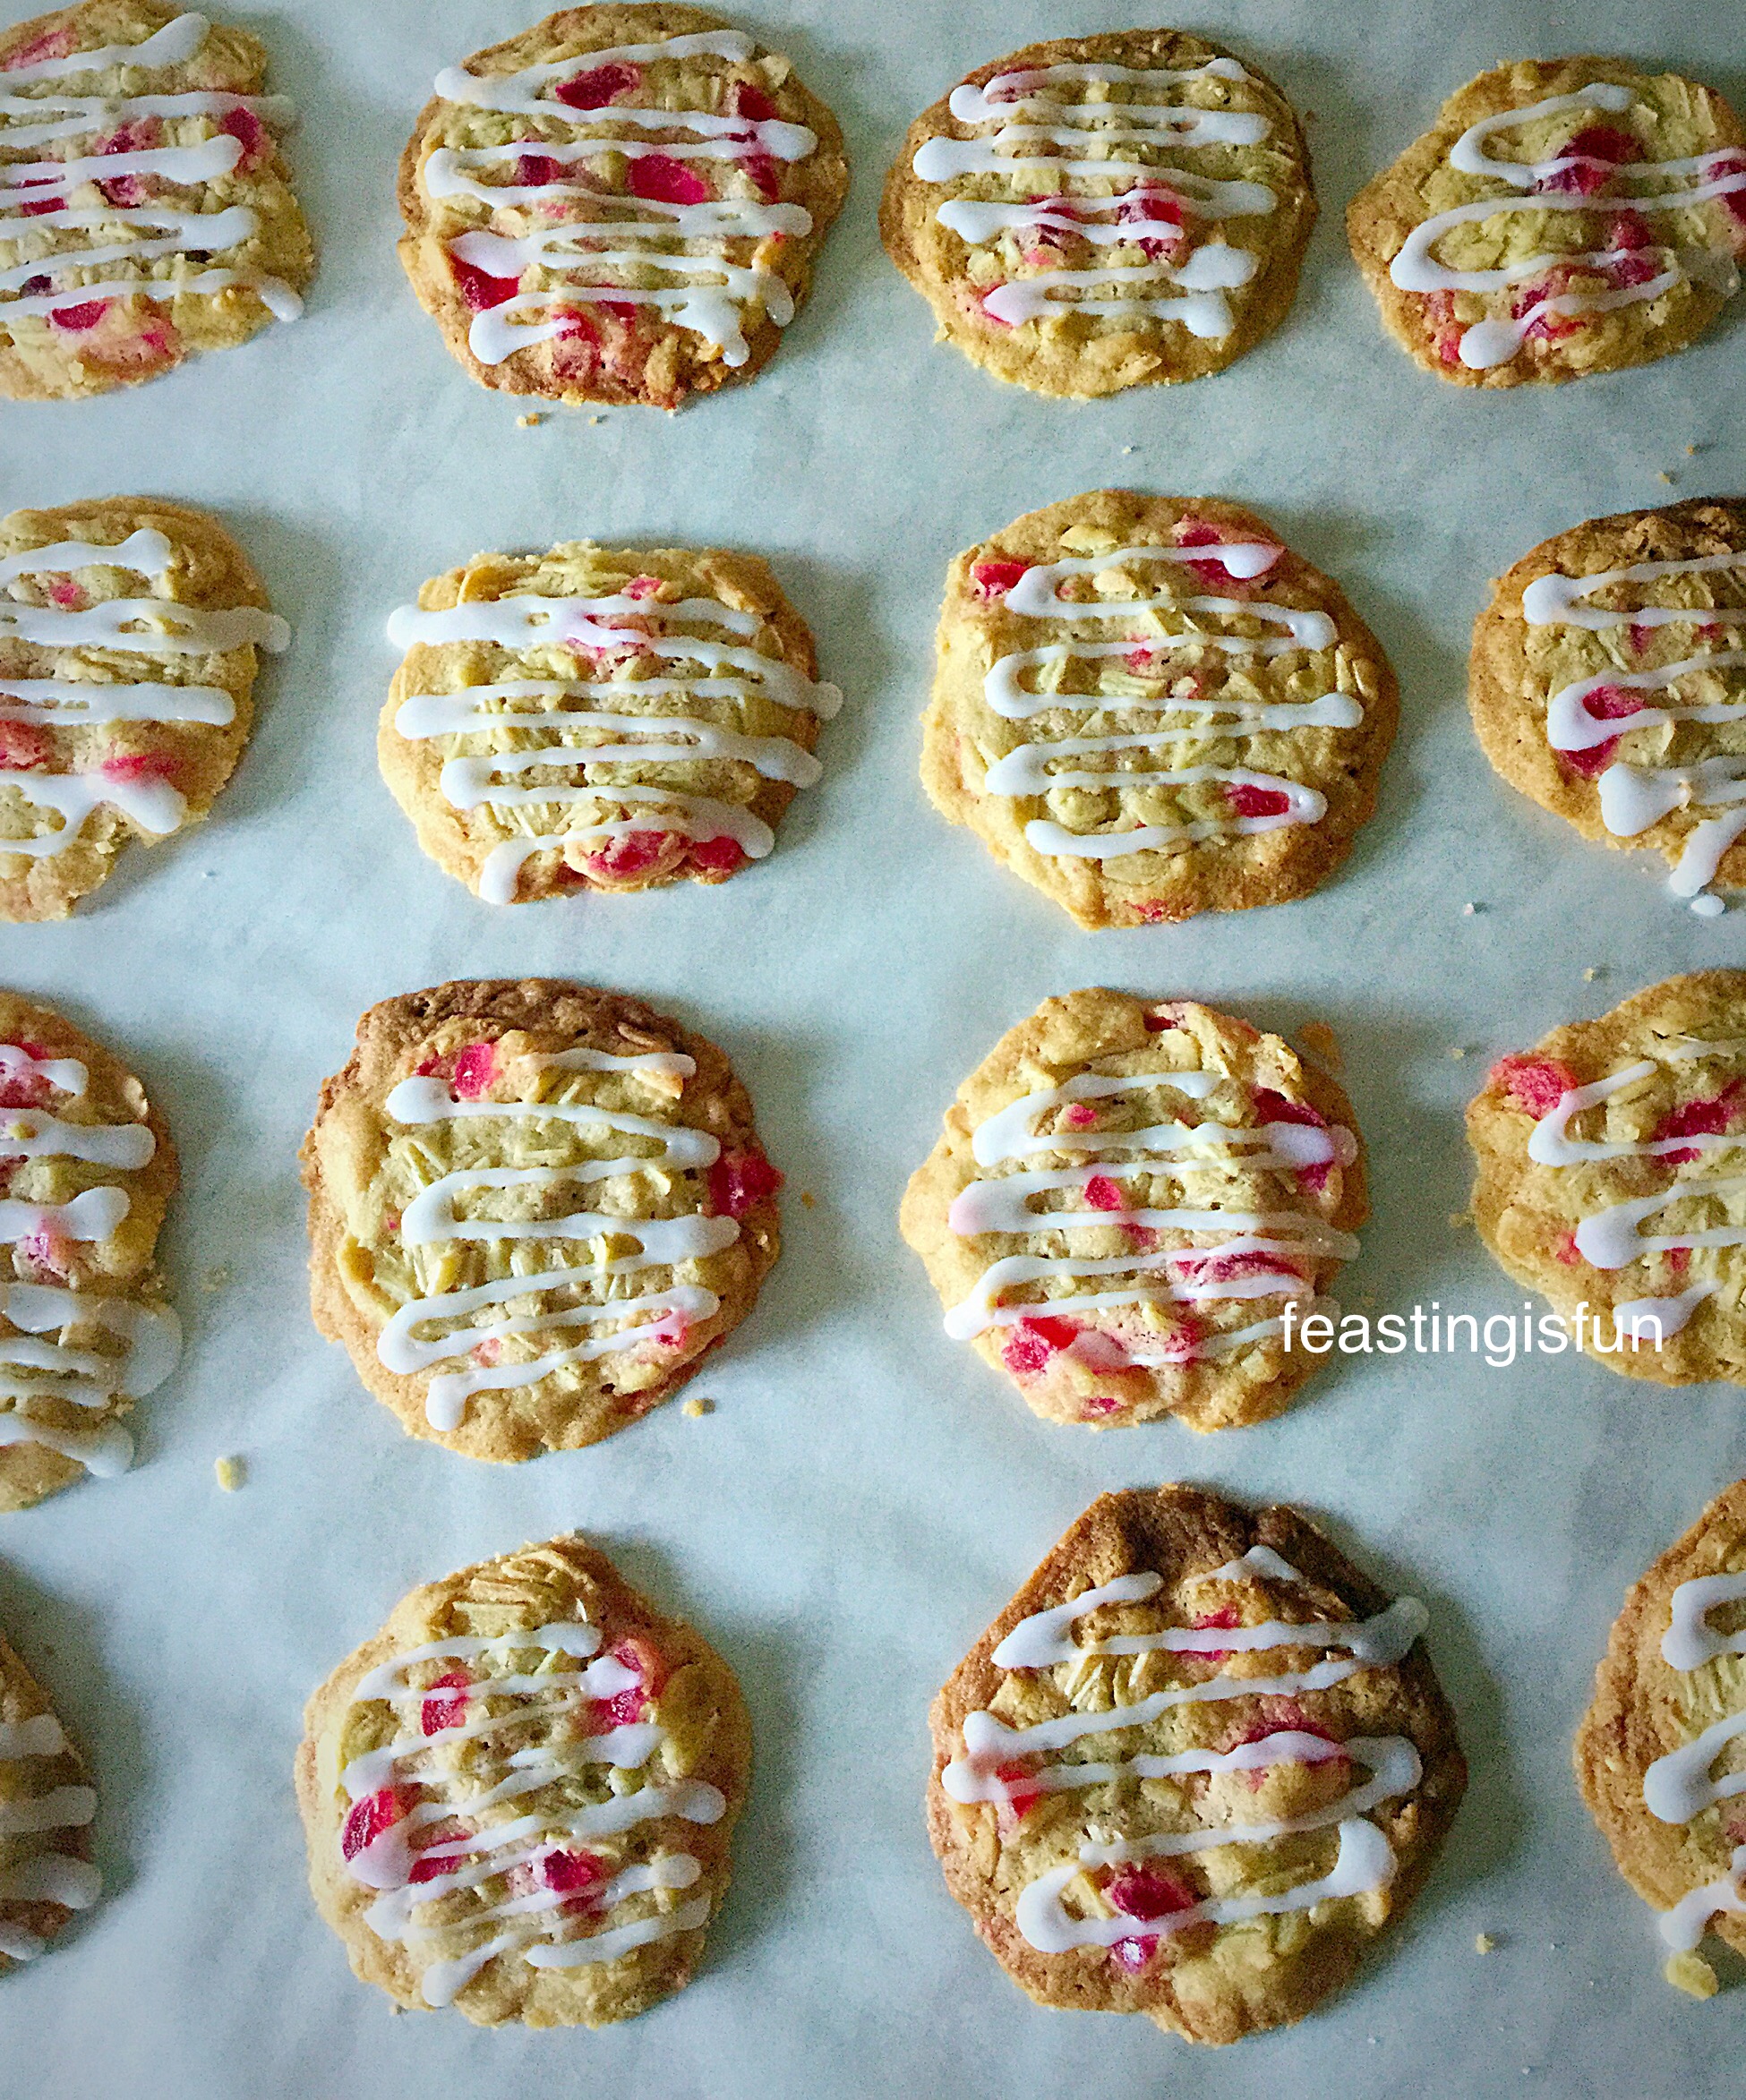
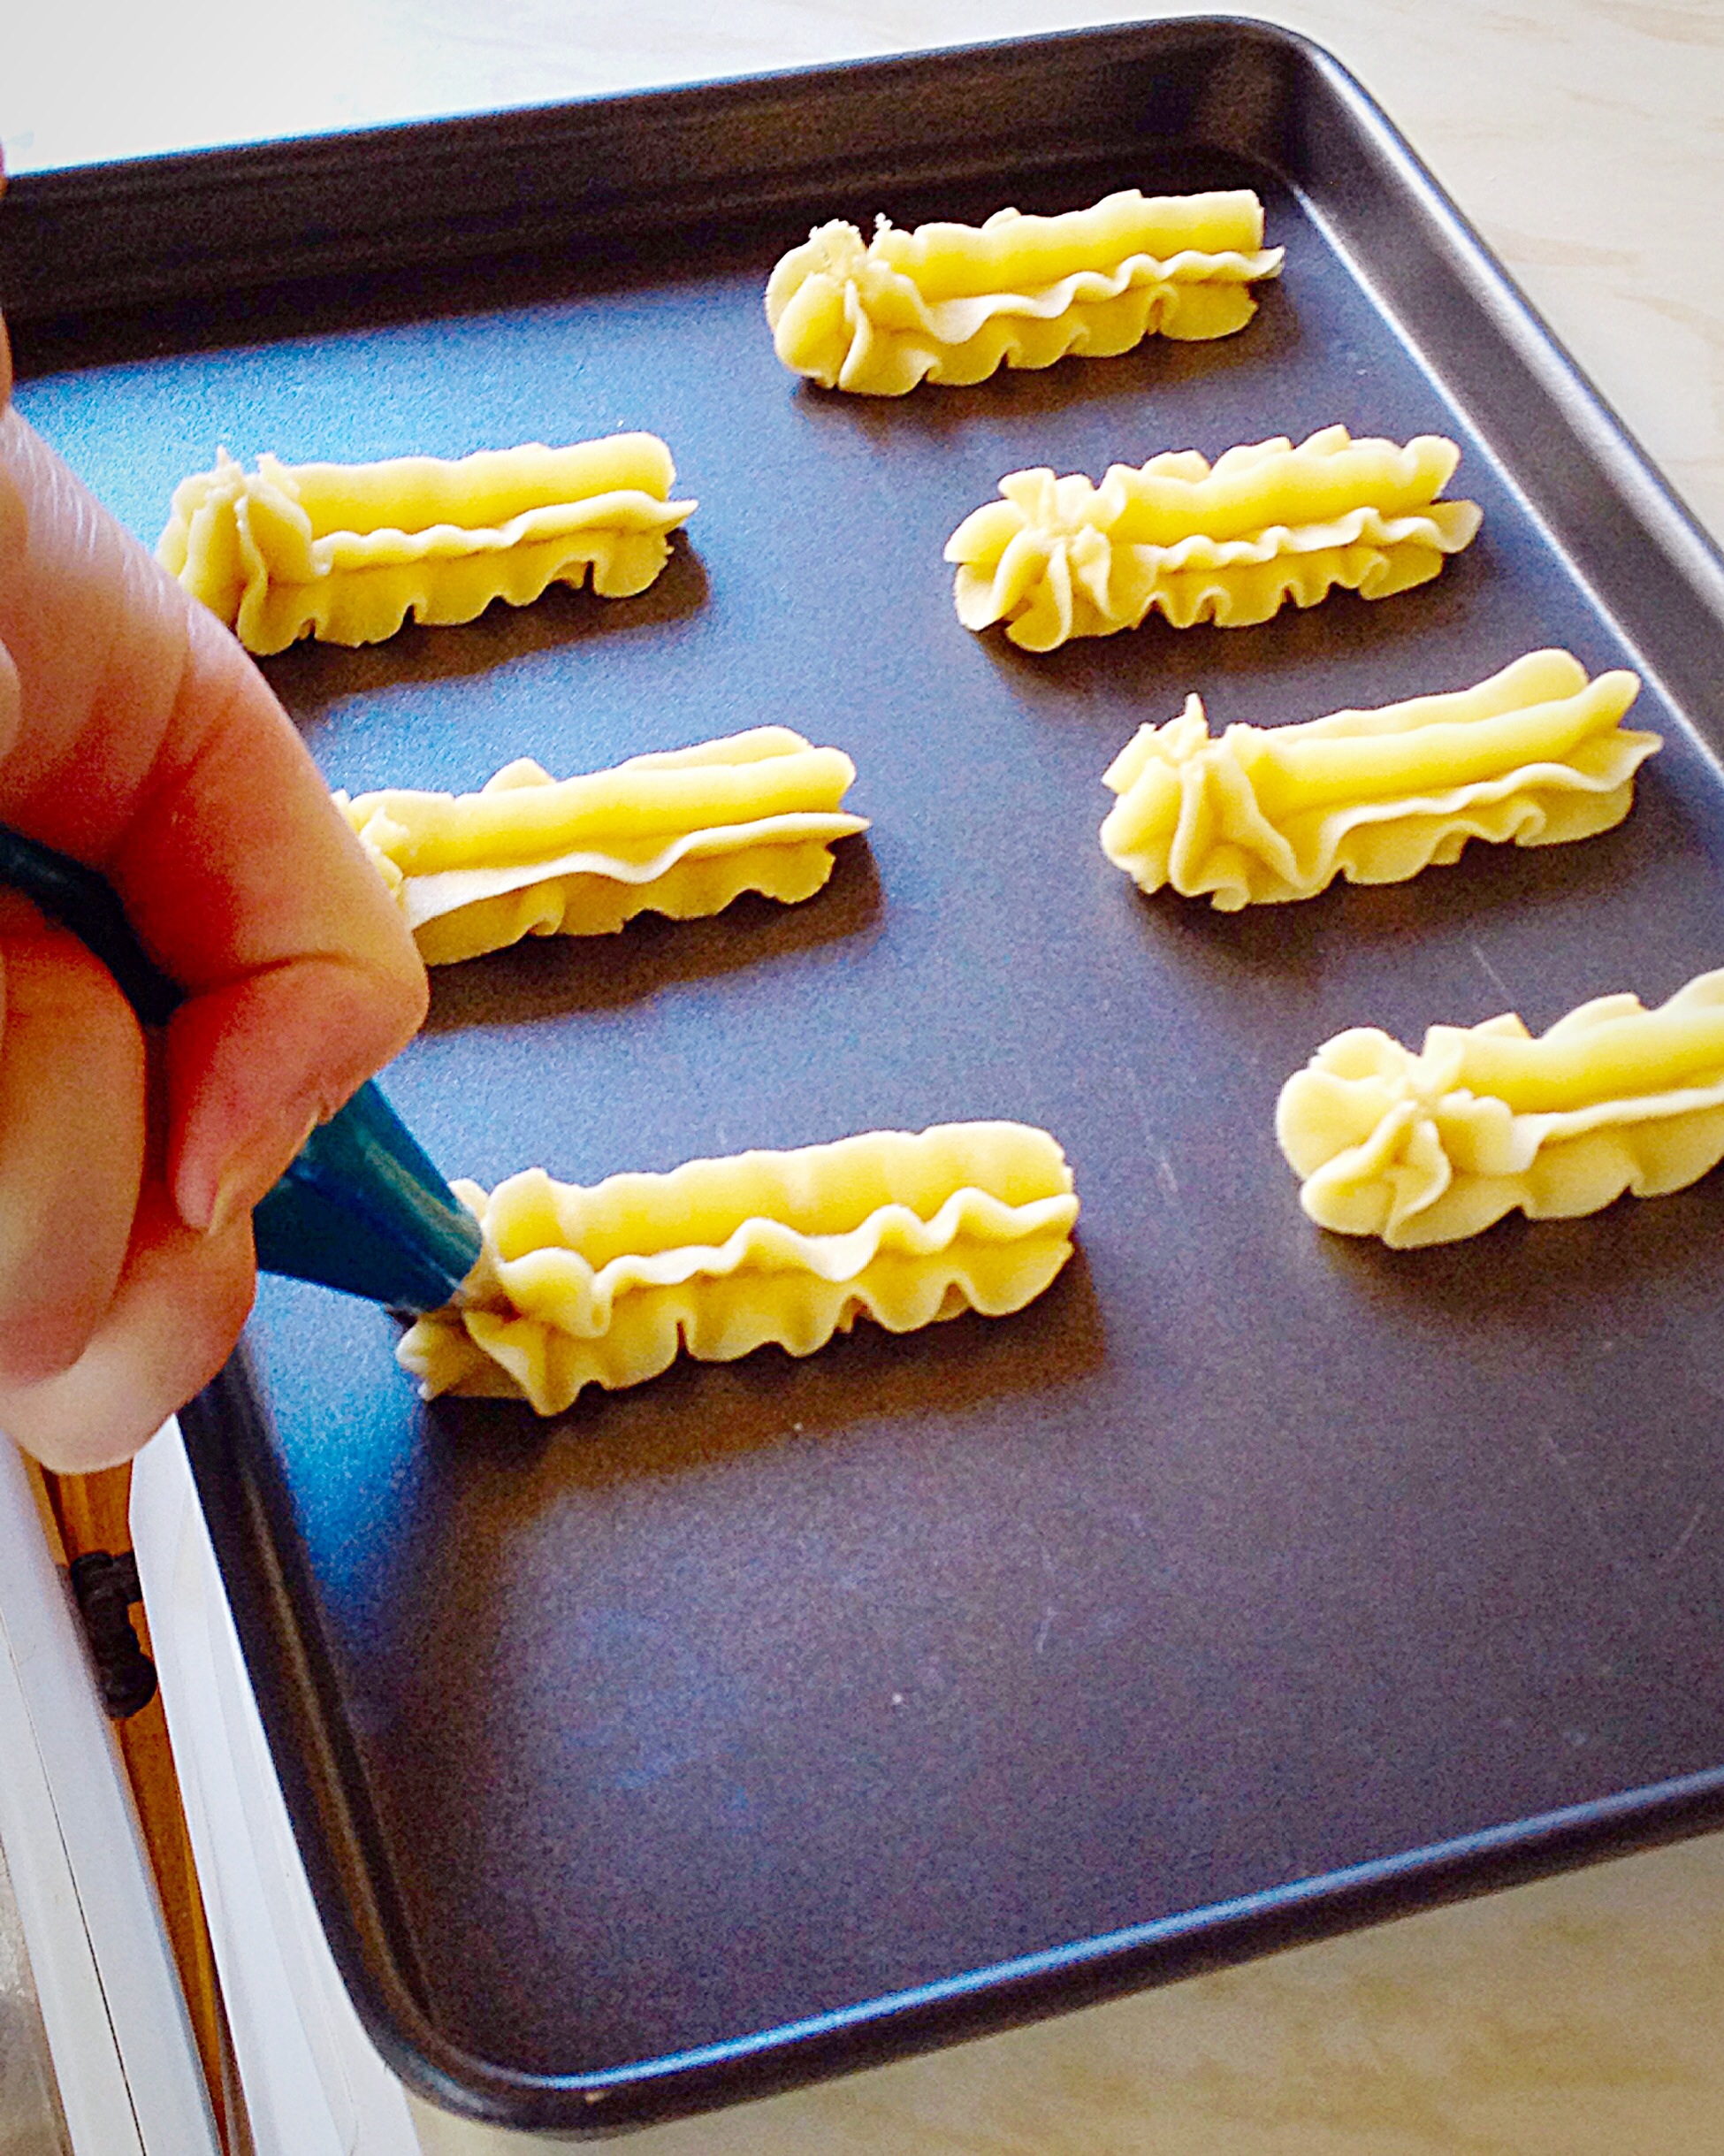
- Snip off the end, leaving a small hole. Pipe white chocolate zig zags across each cookie.

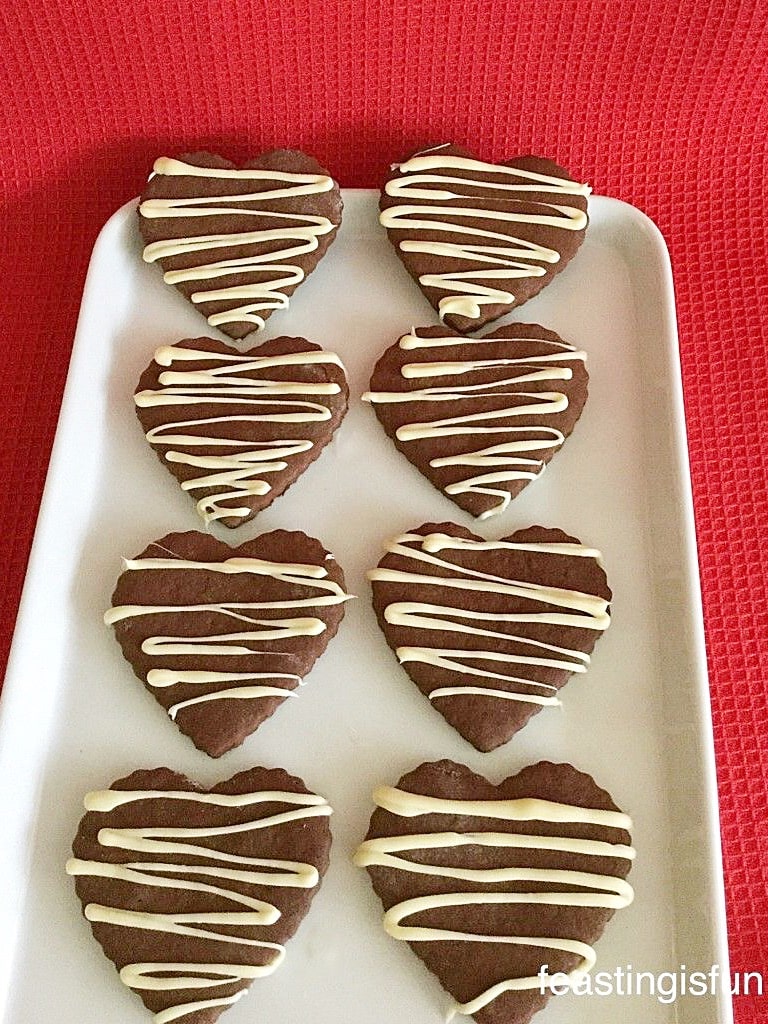
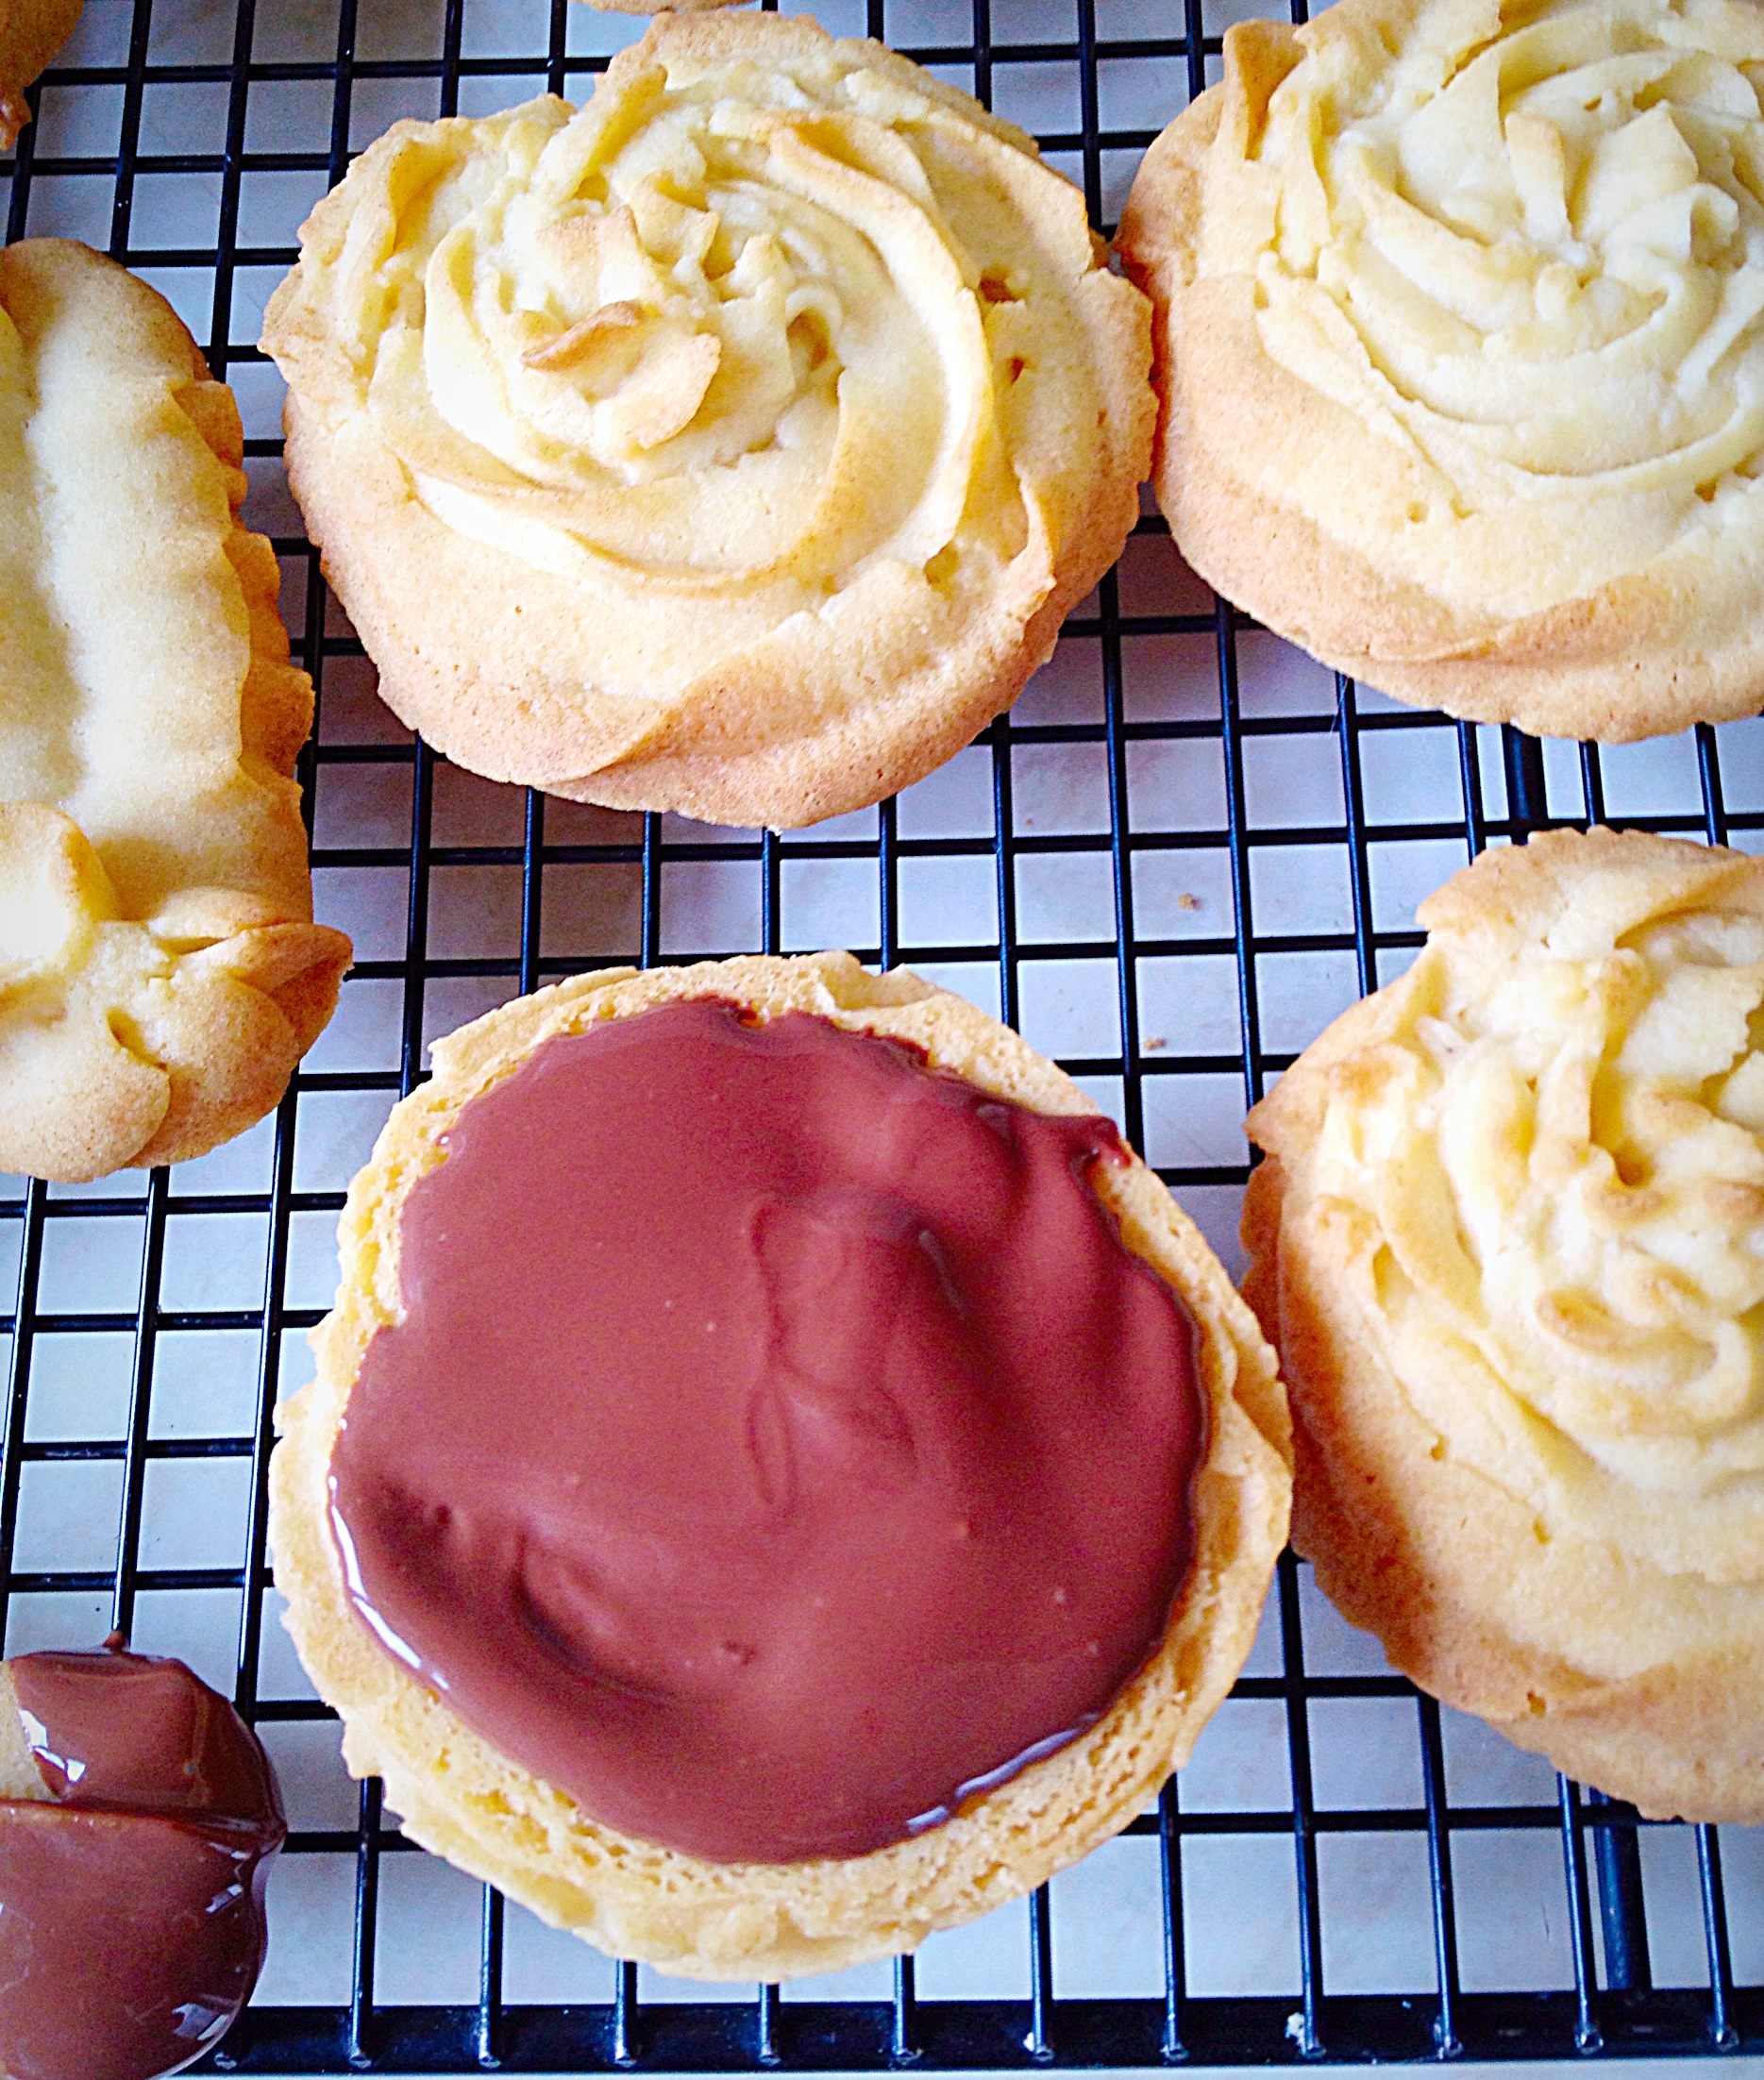
- Once all of the cookies have been decorated, set them aside to allow the chocolate to set.

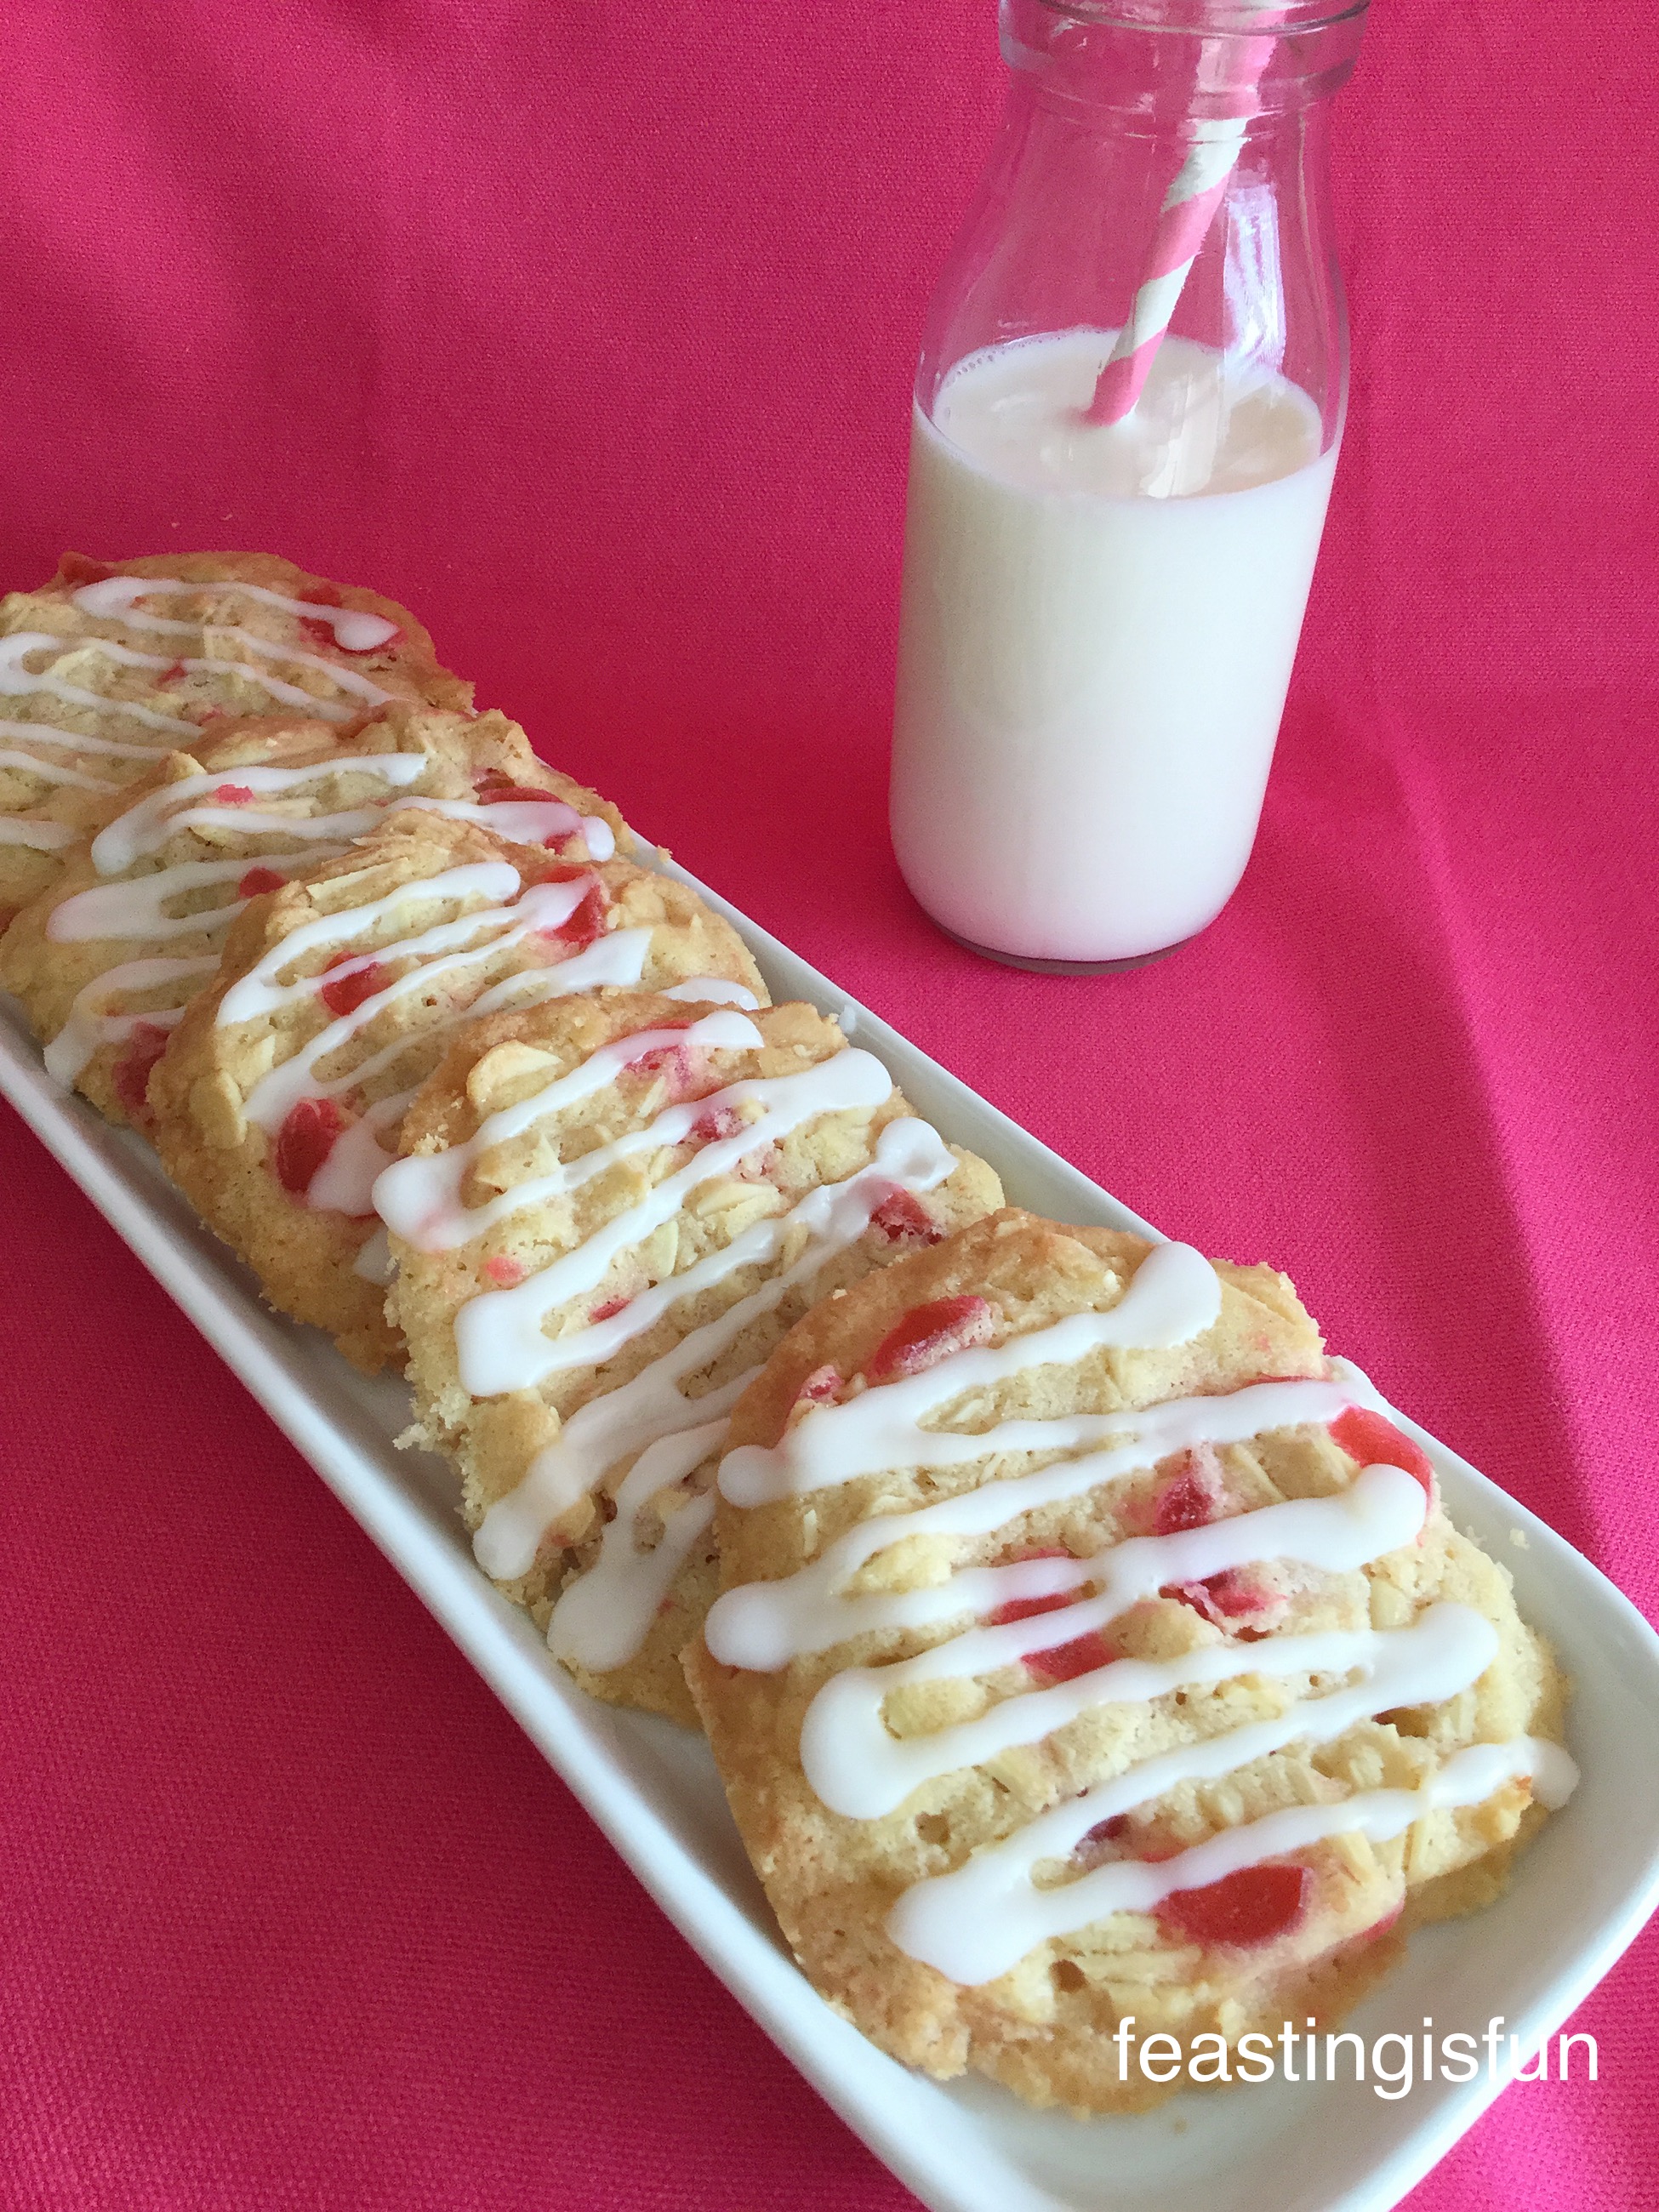
As soon as the white chocolate drizzle has set these cookies are ready to be served.
Store in an airtight container for up to 5 days. Refrigerate during warmer weather.
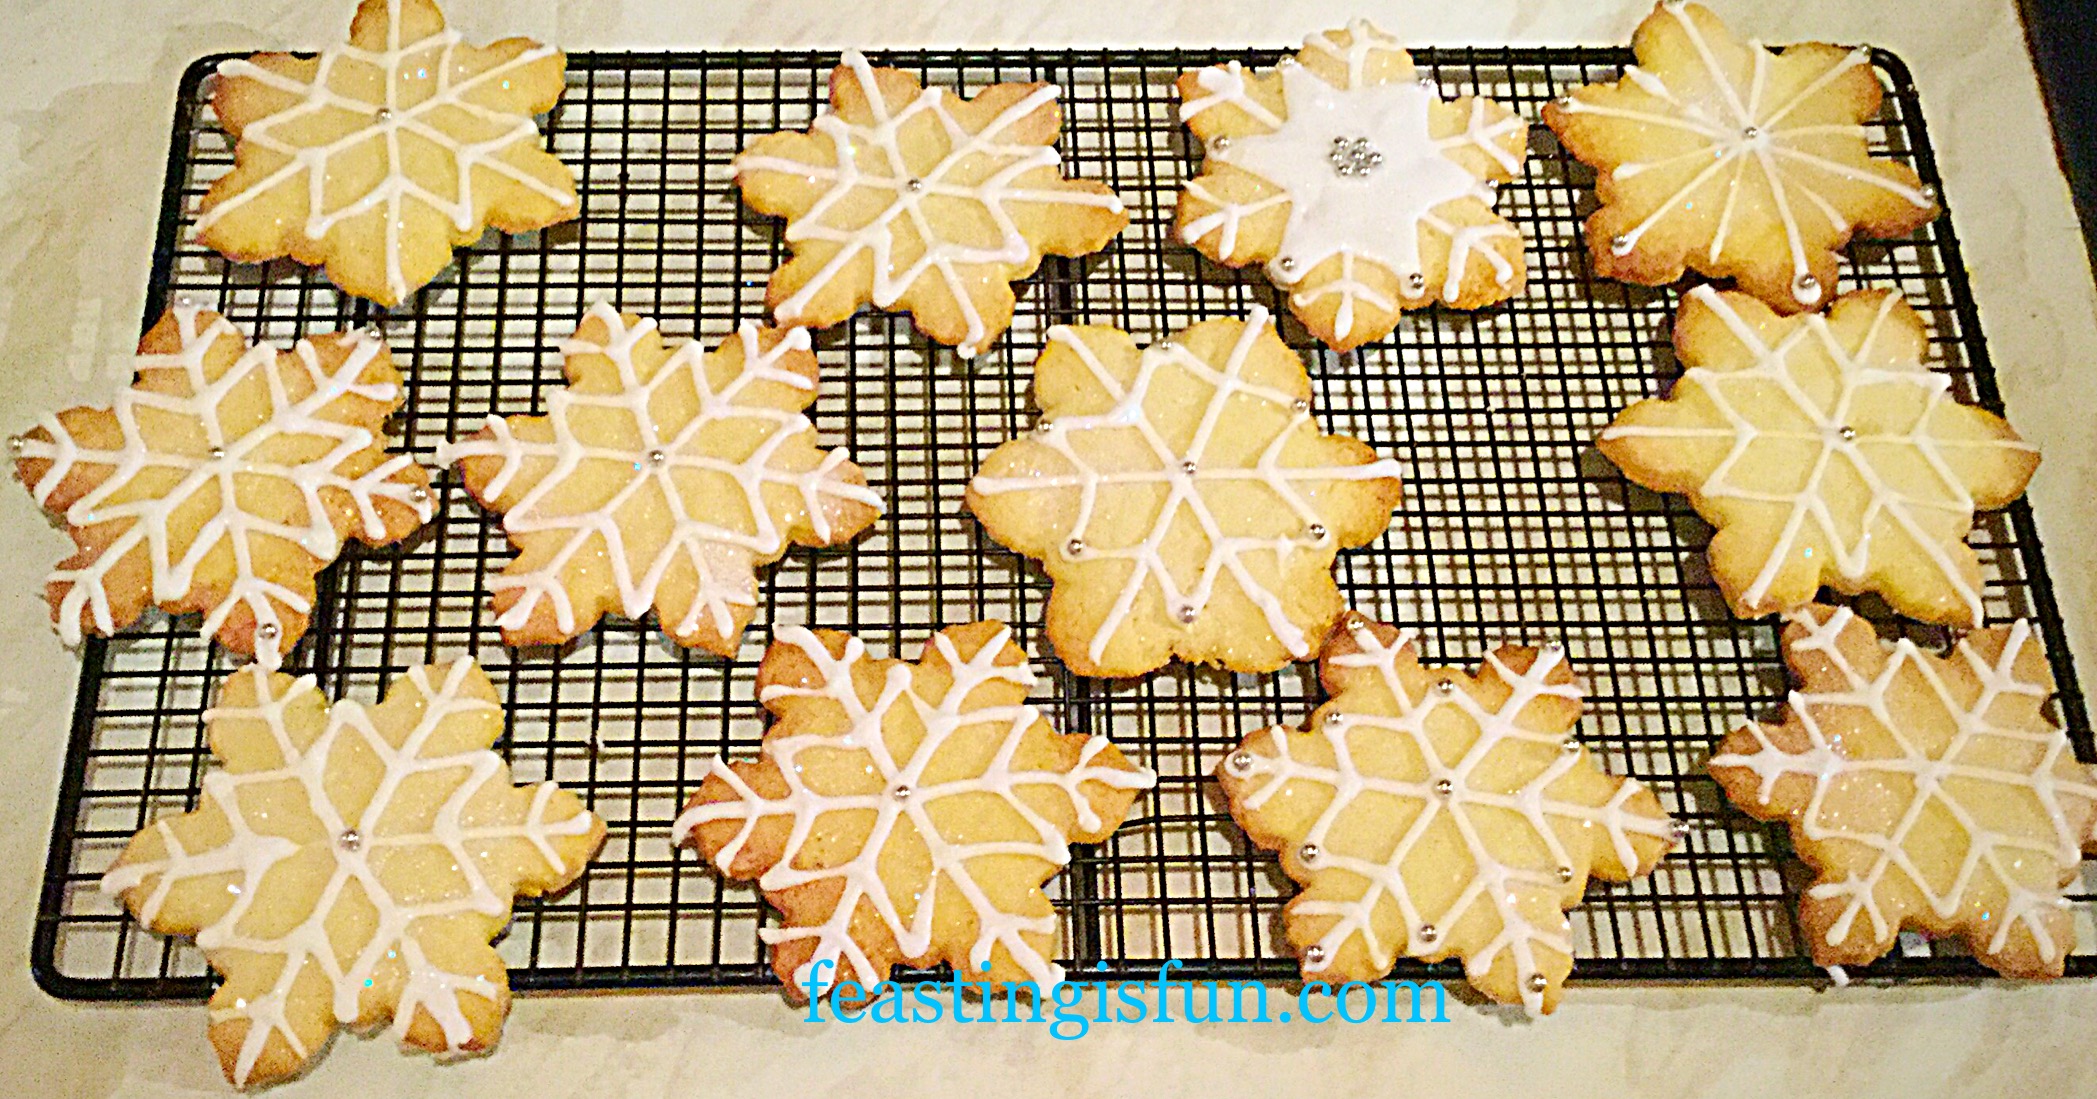
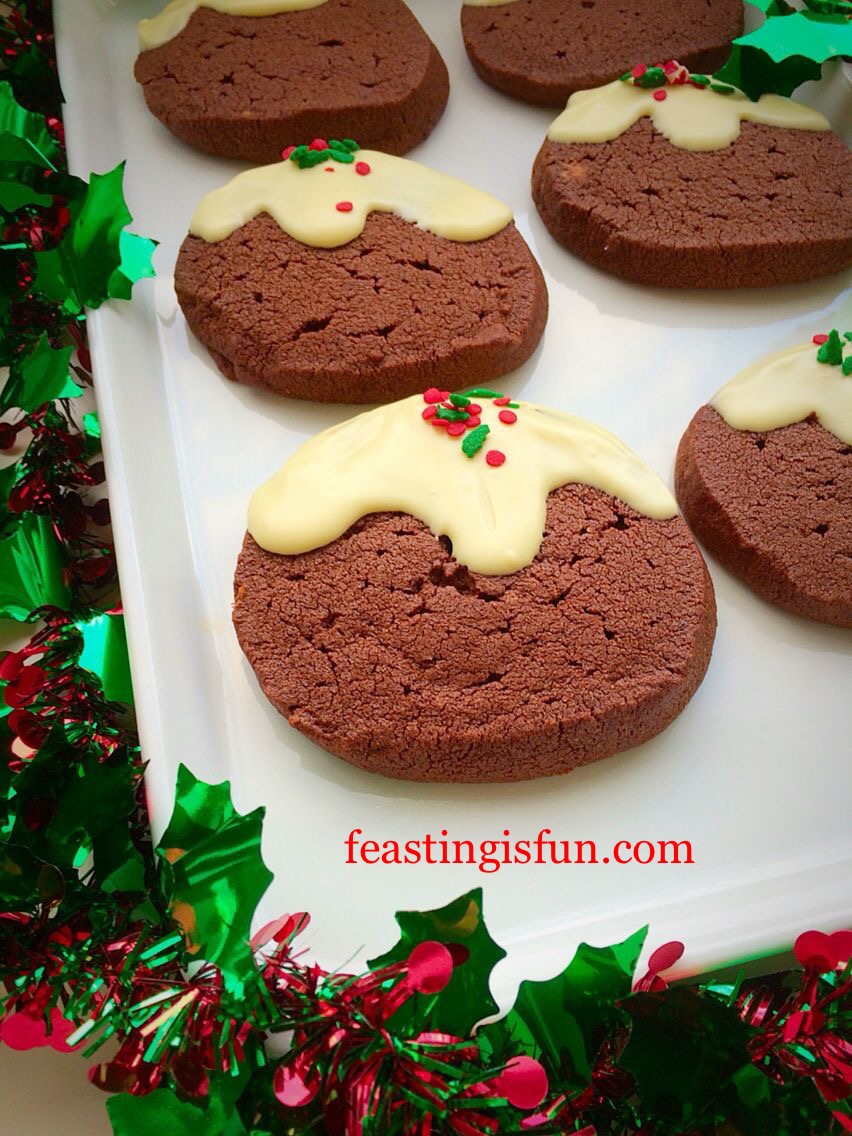
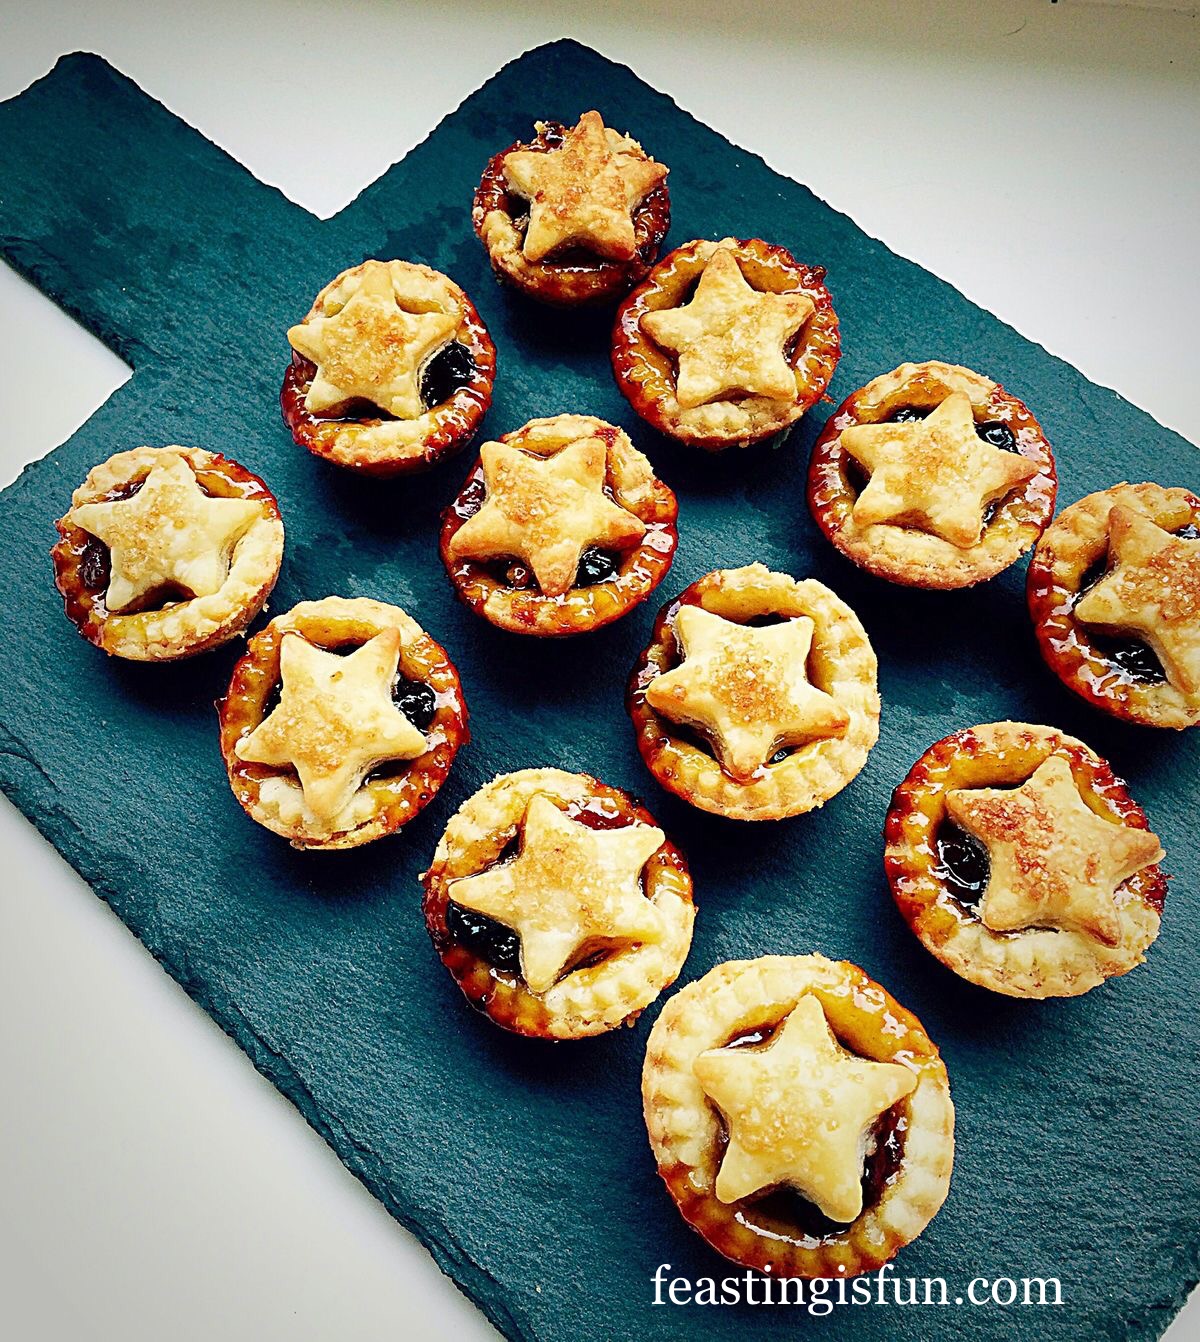
If you have enjoyed this recipe for Double Chocolate Nut Spelt Cookies then you may also like these:
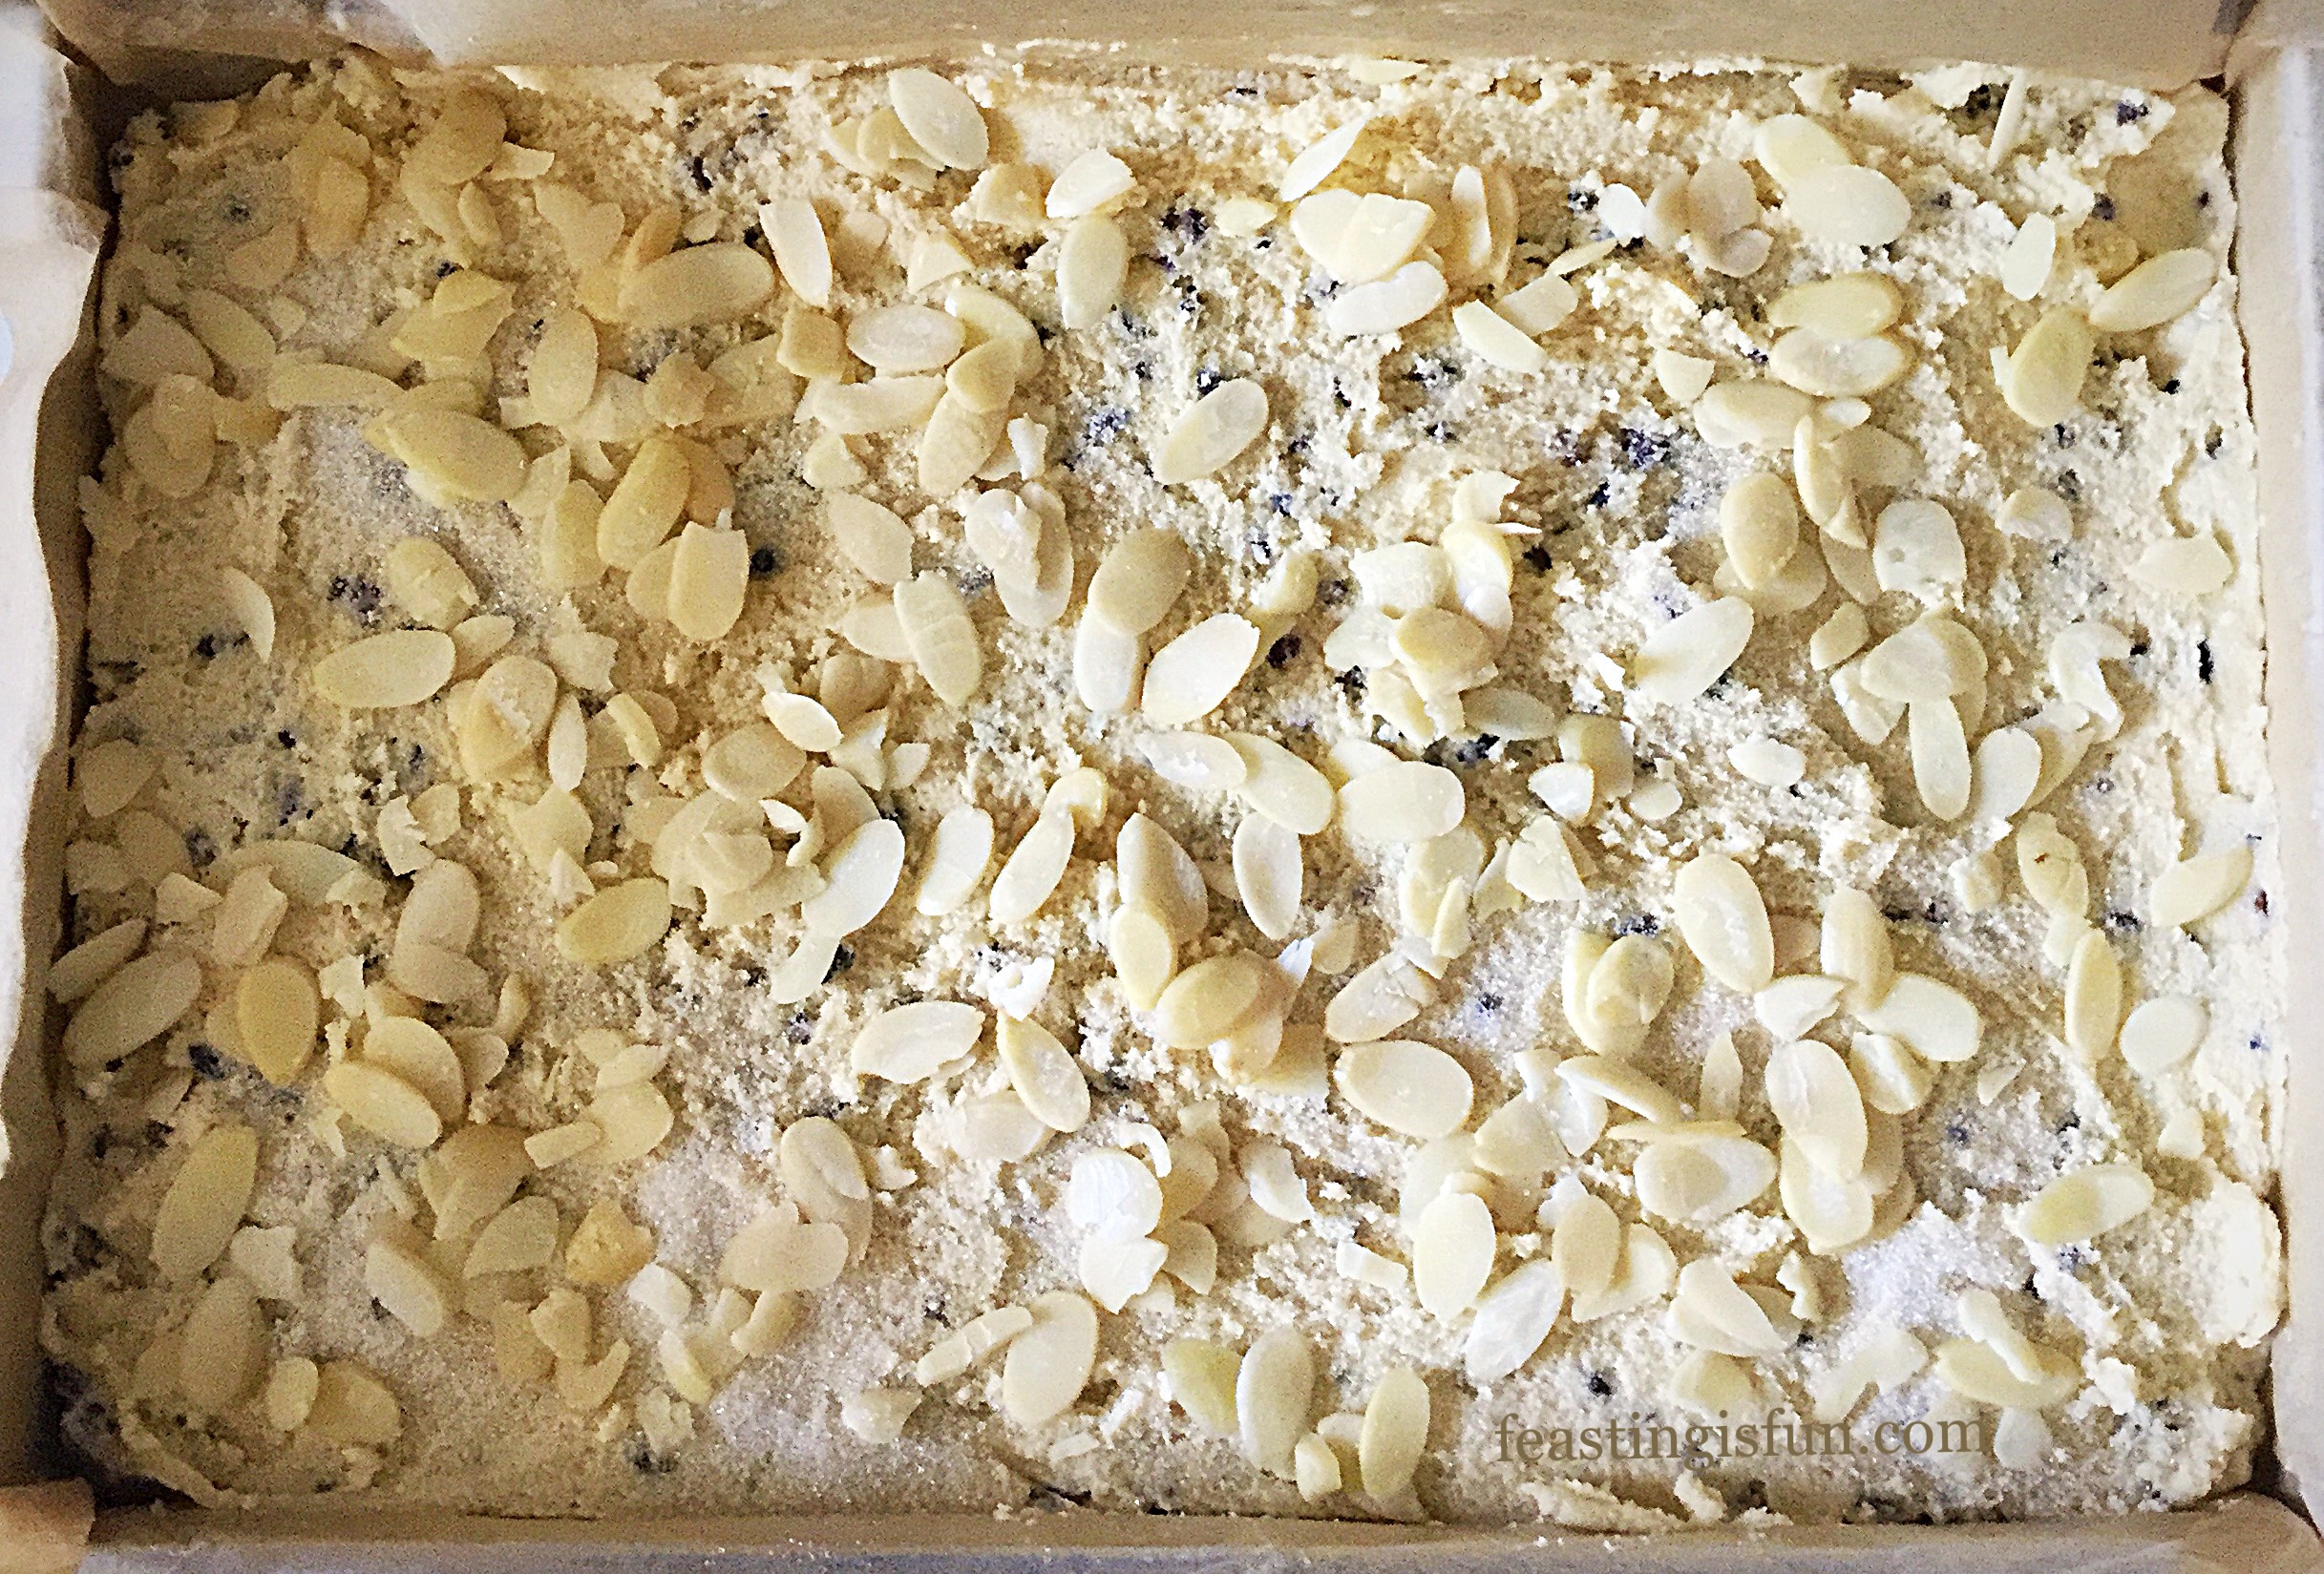
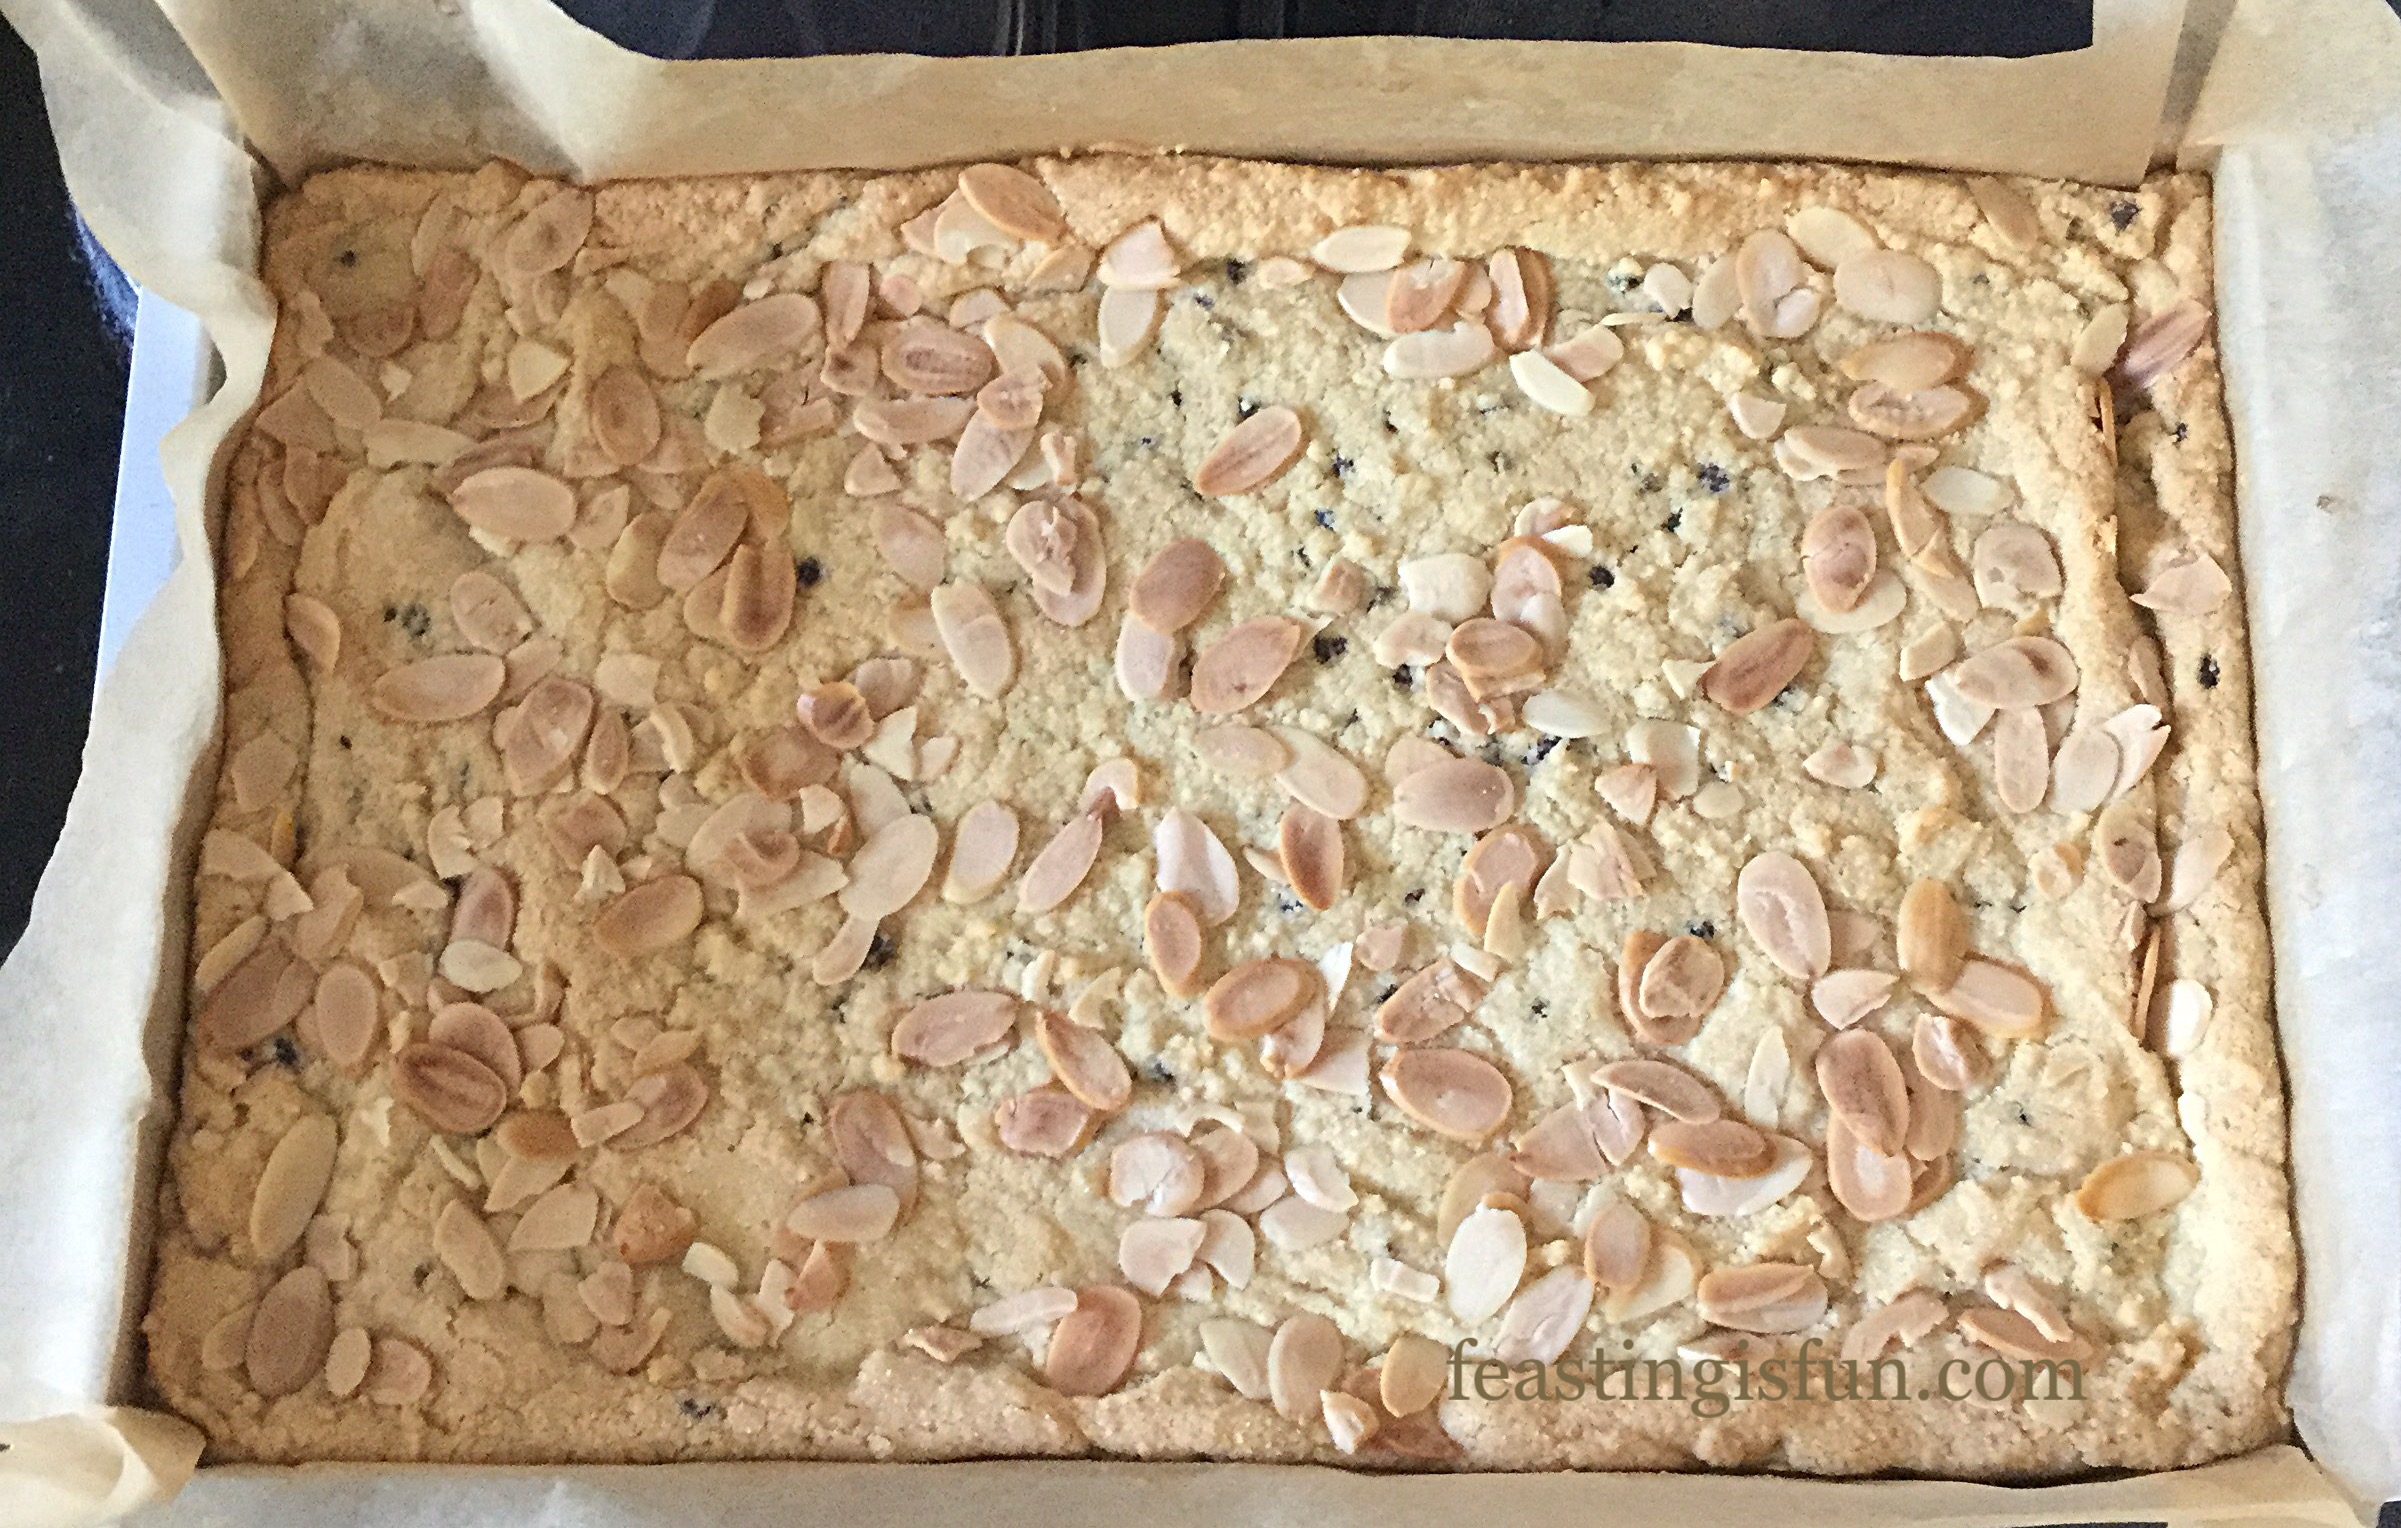
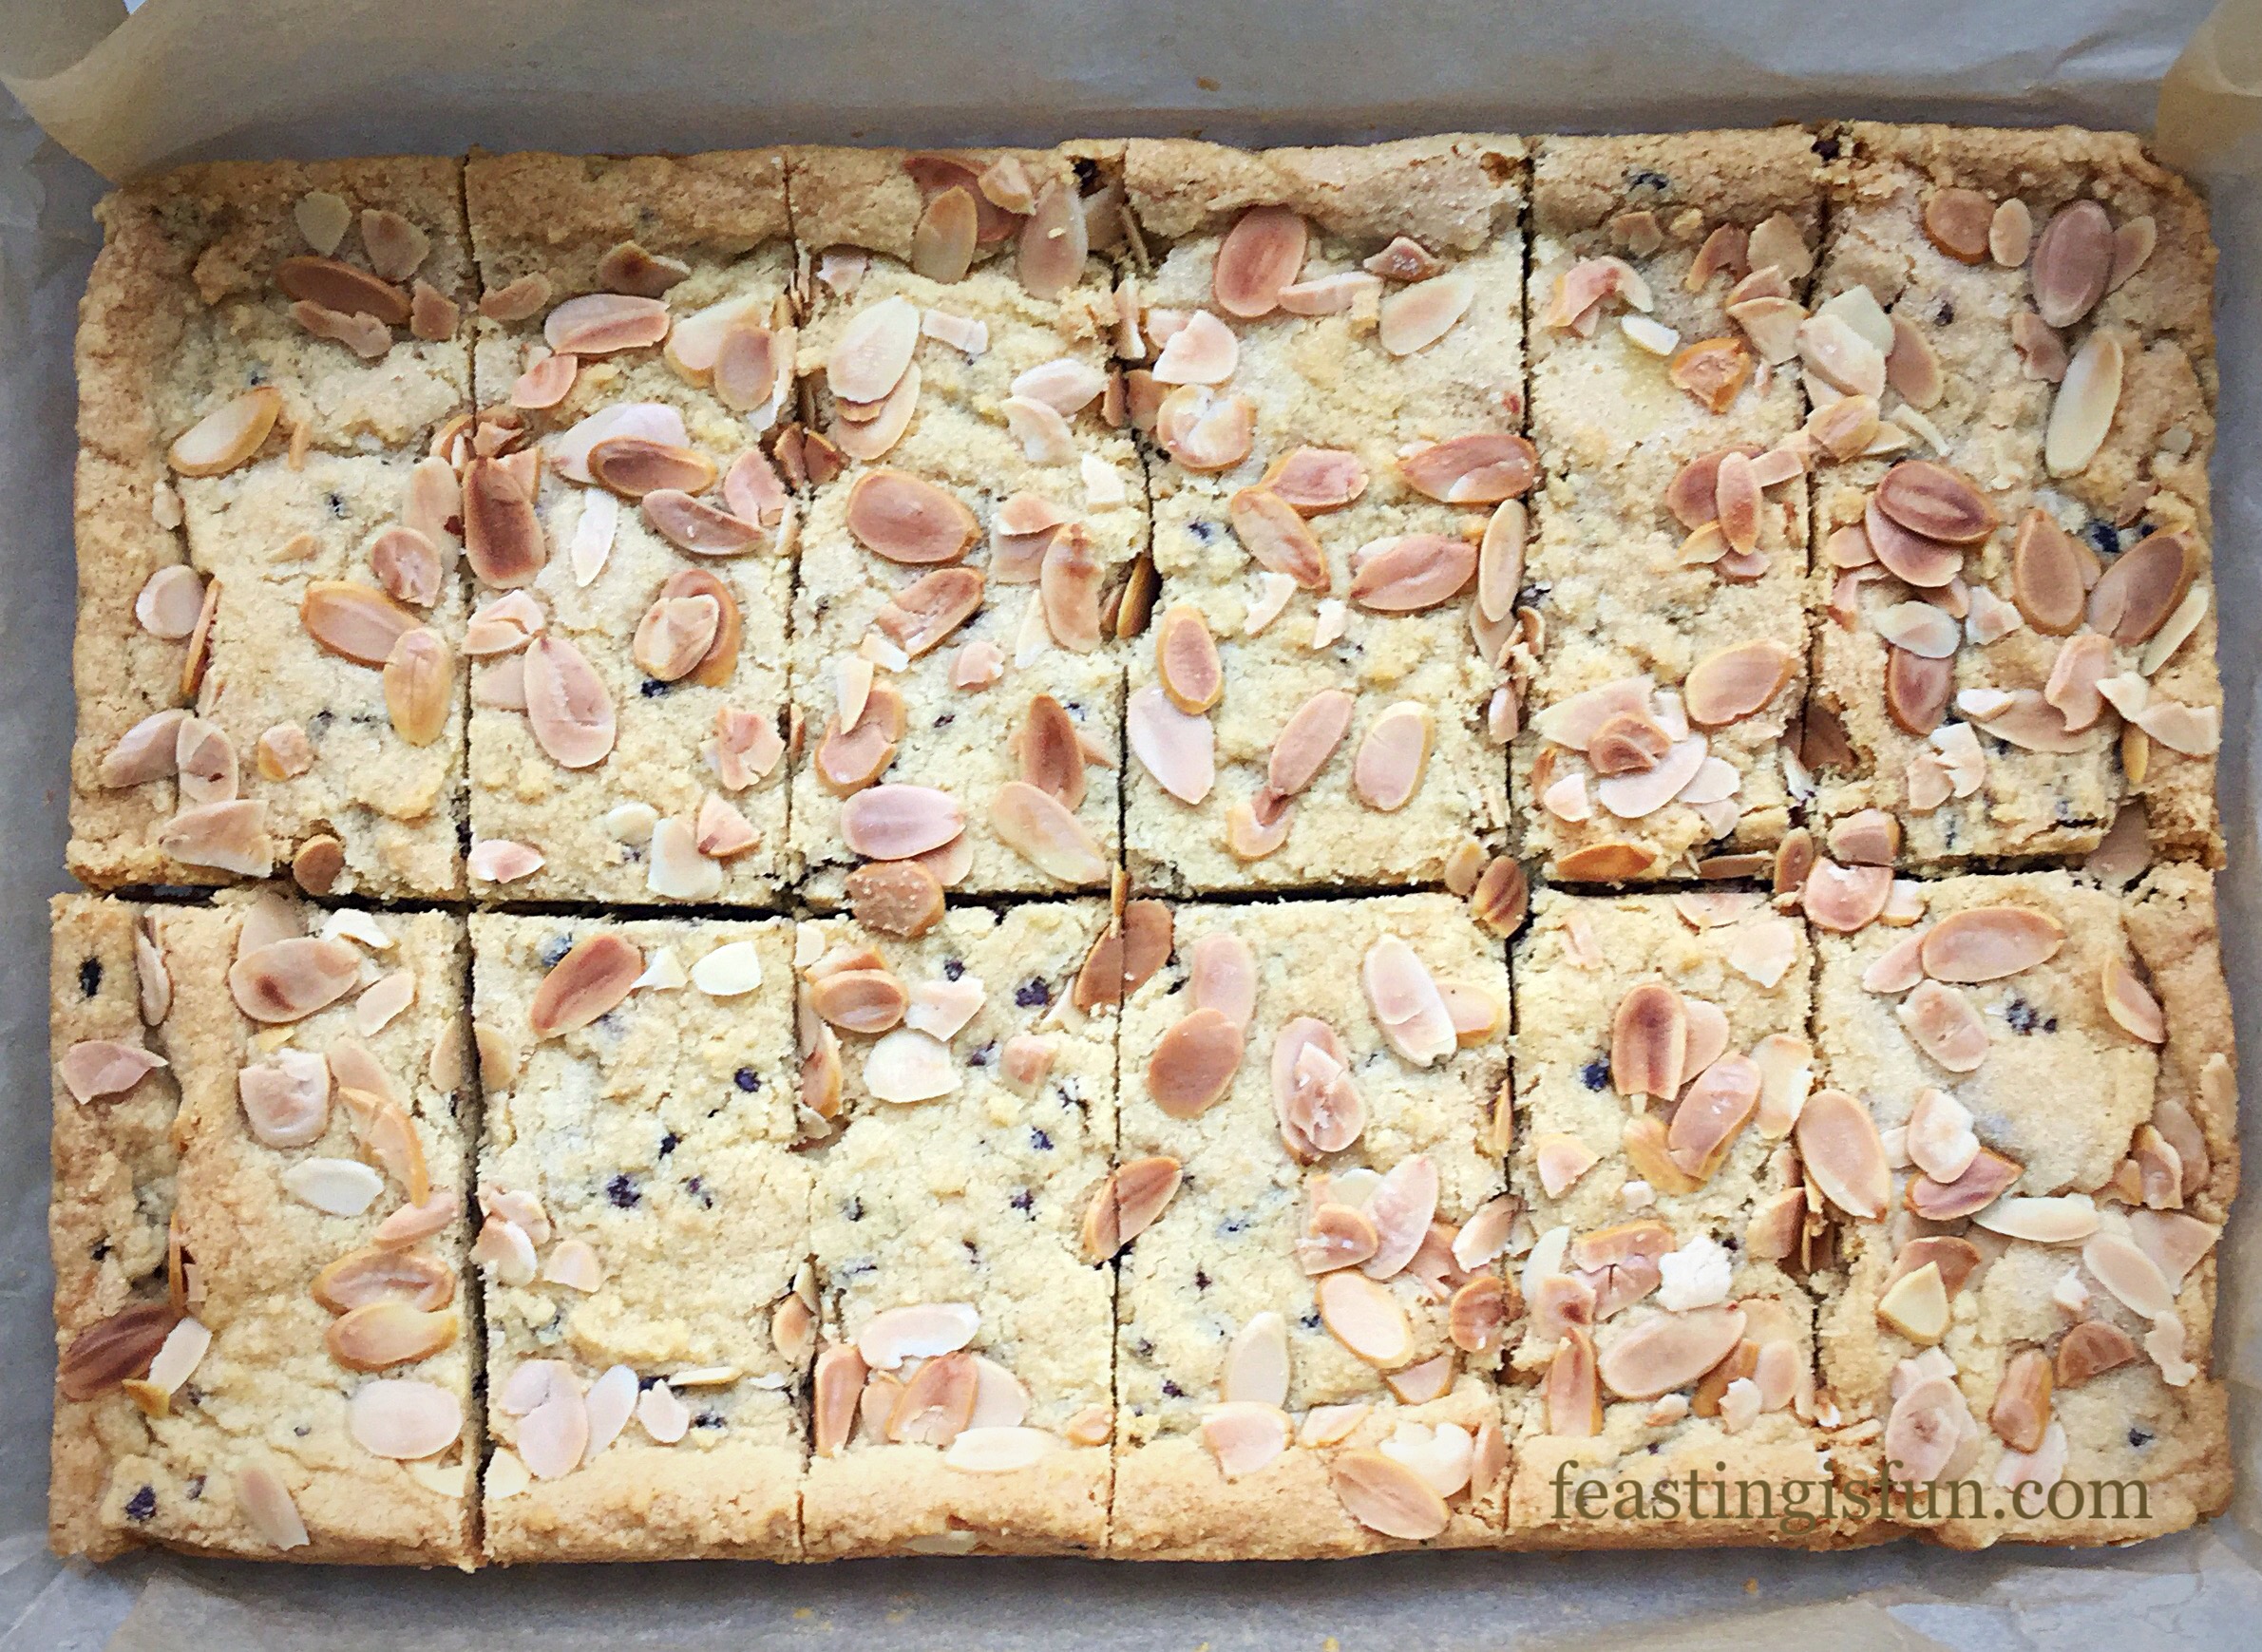
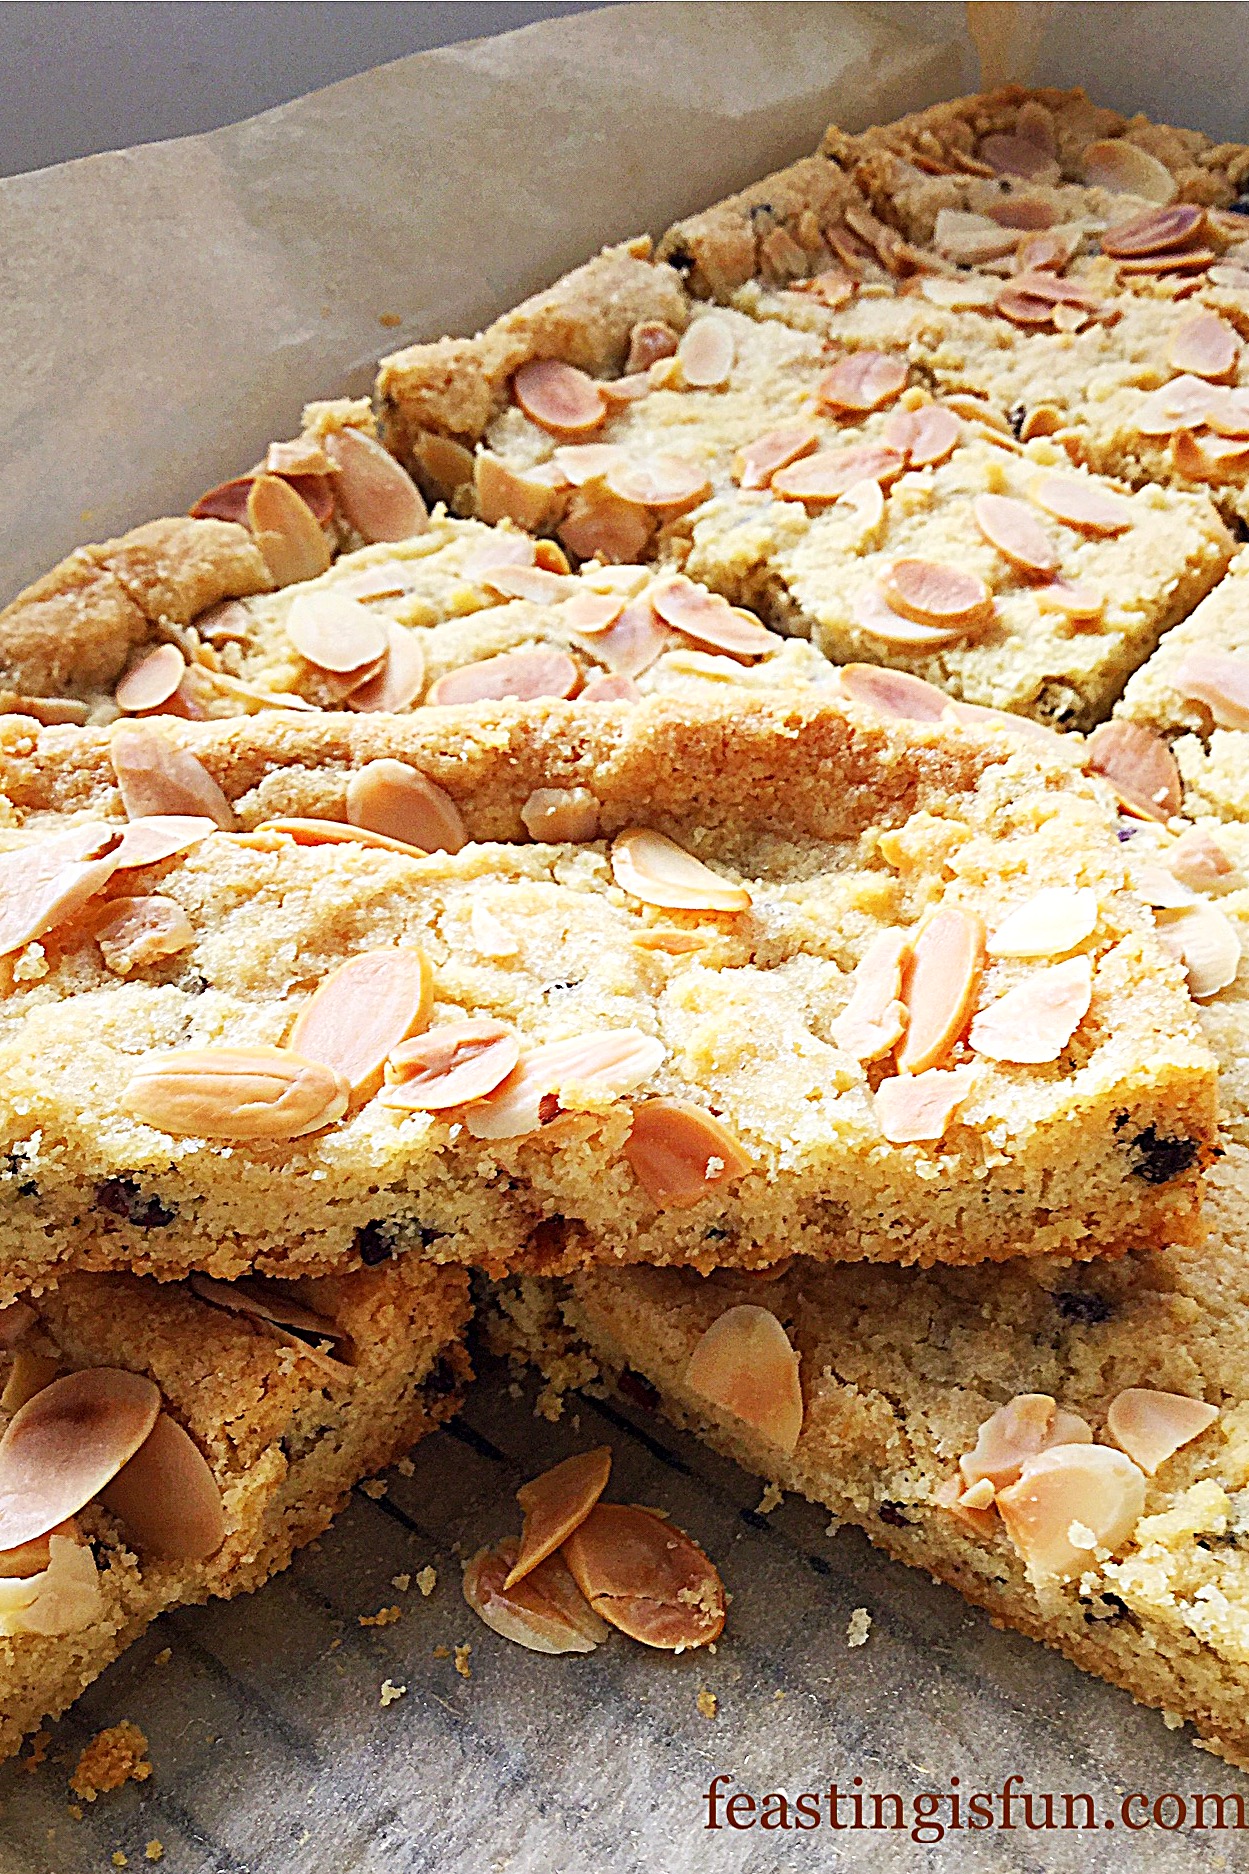
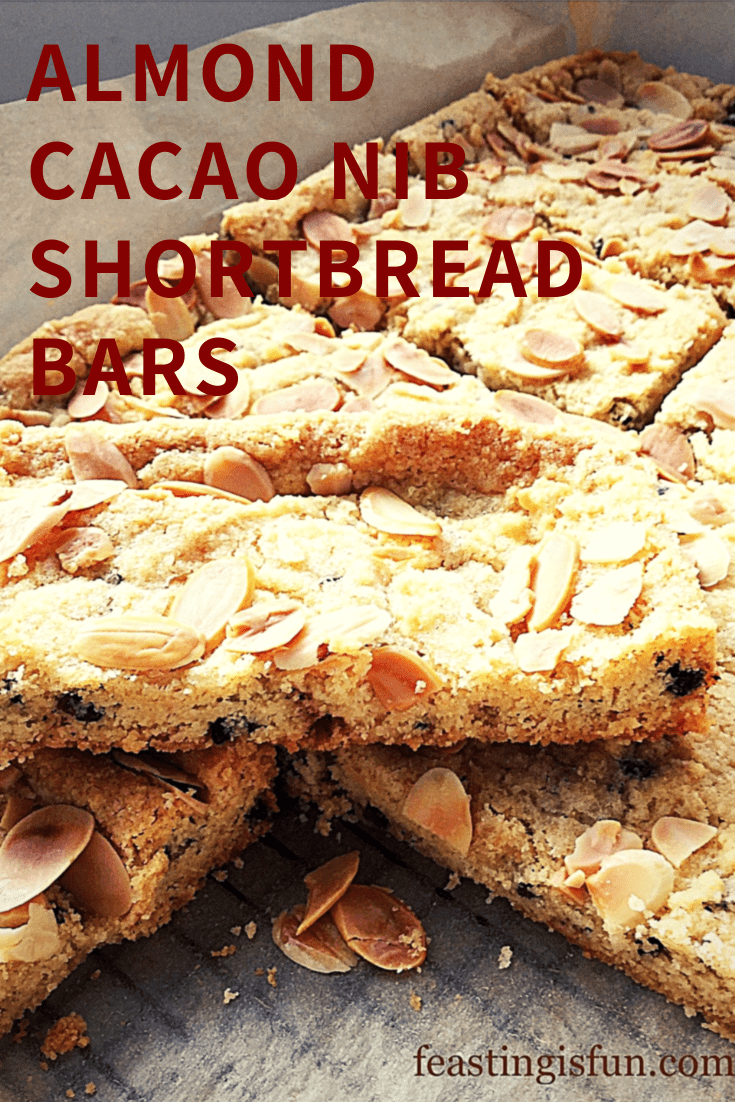
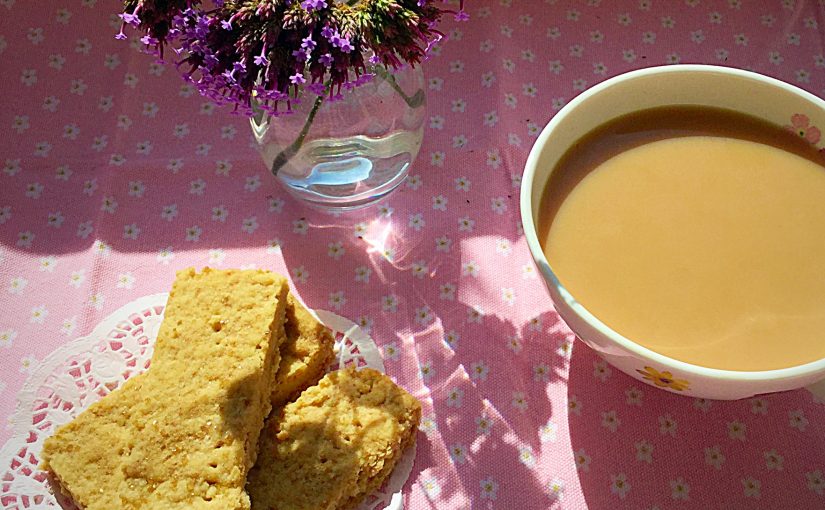
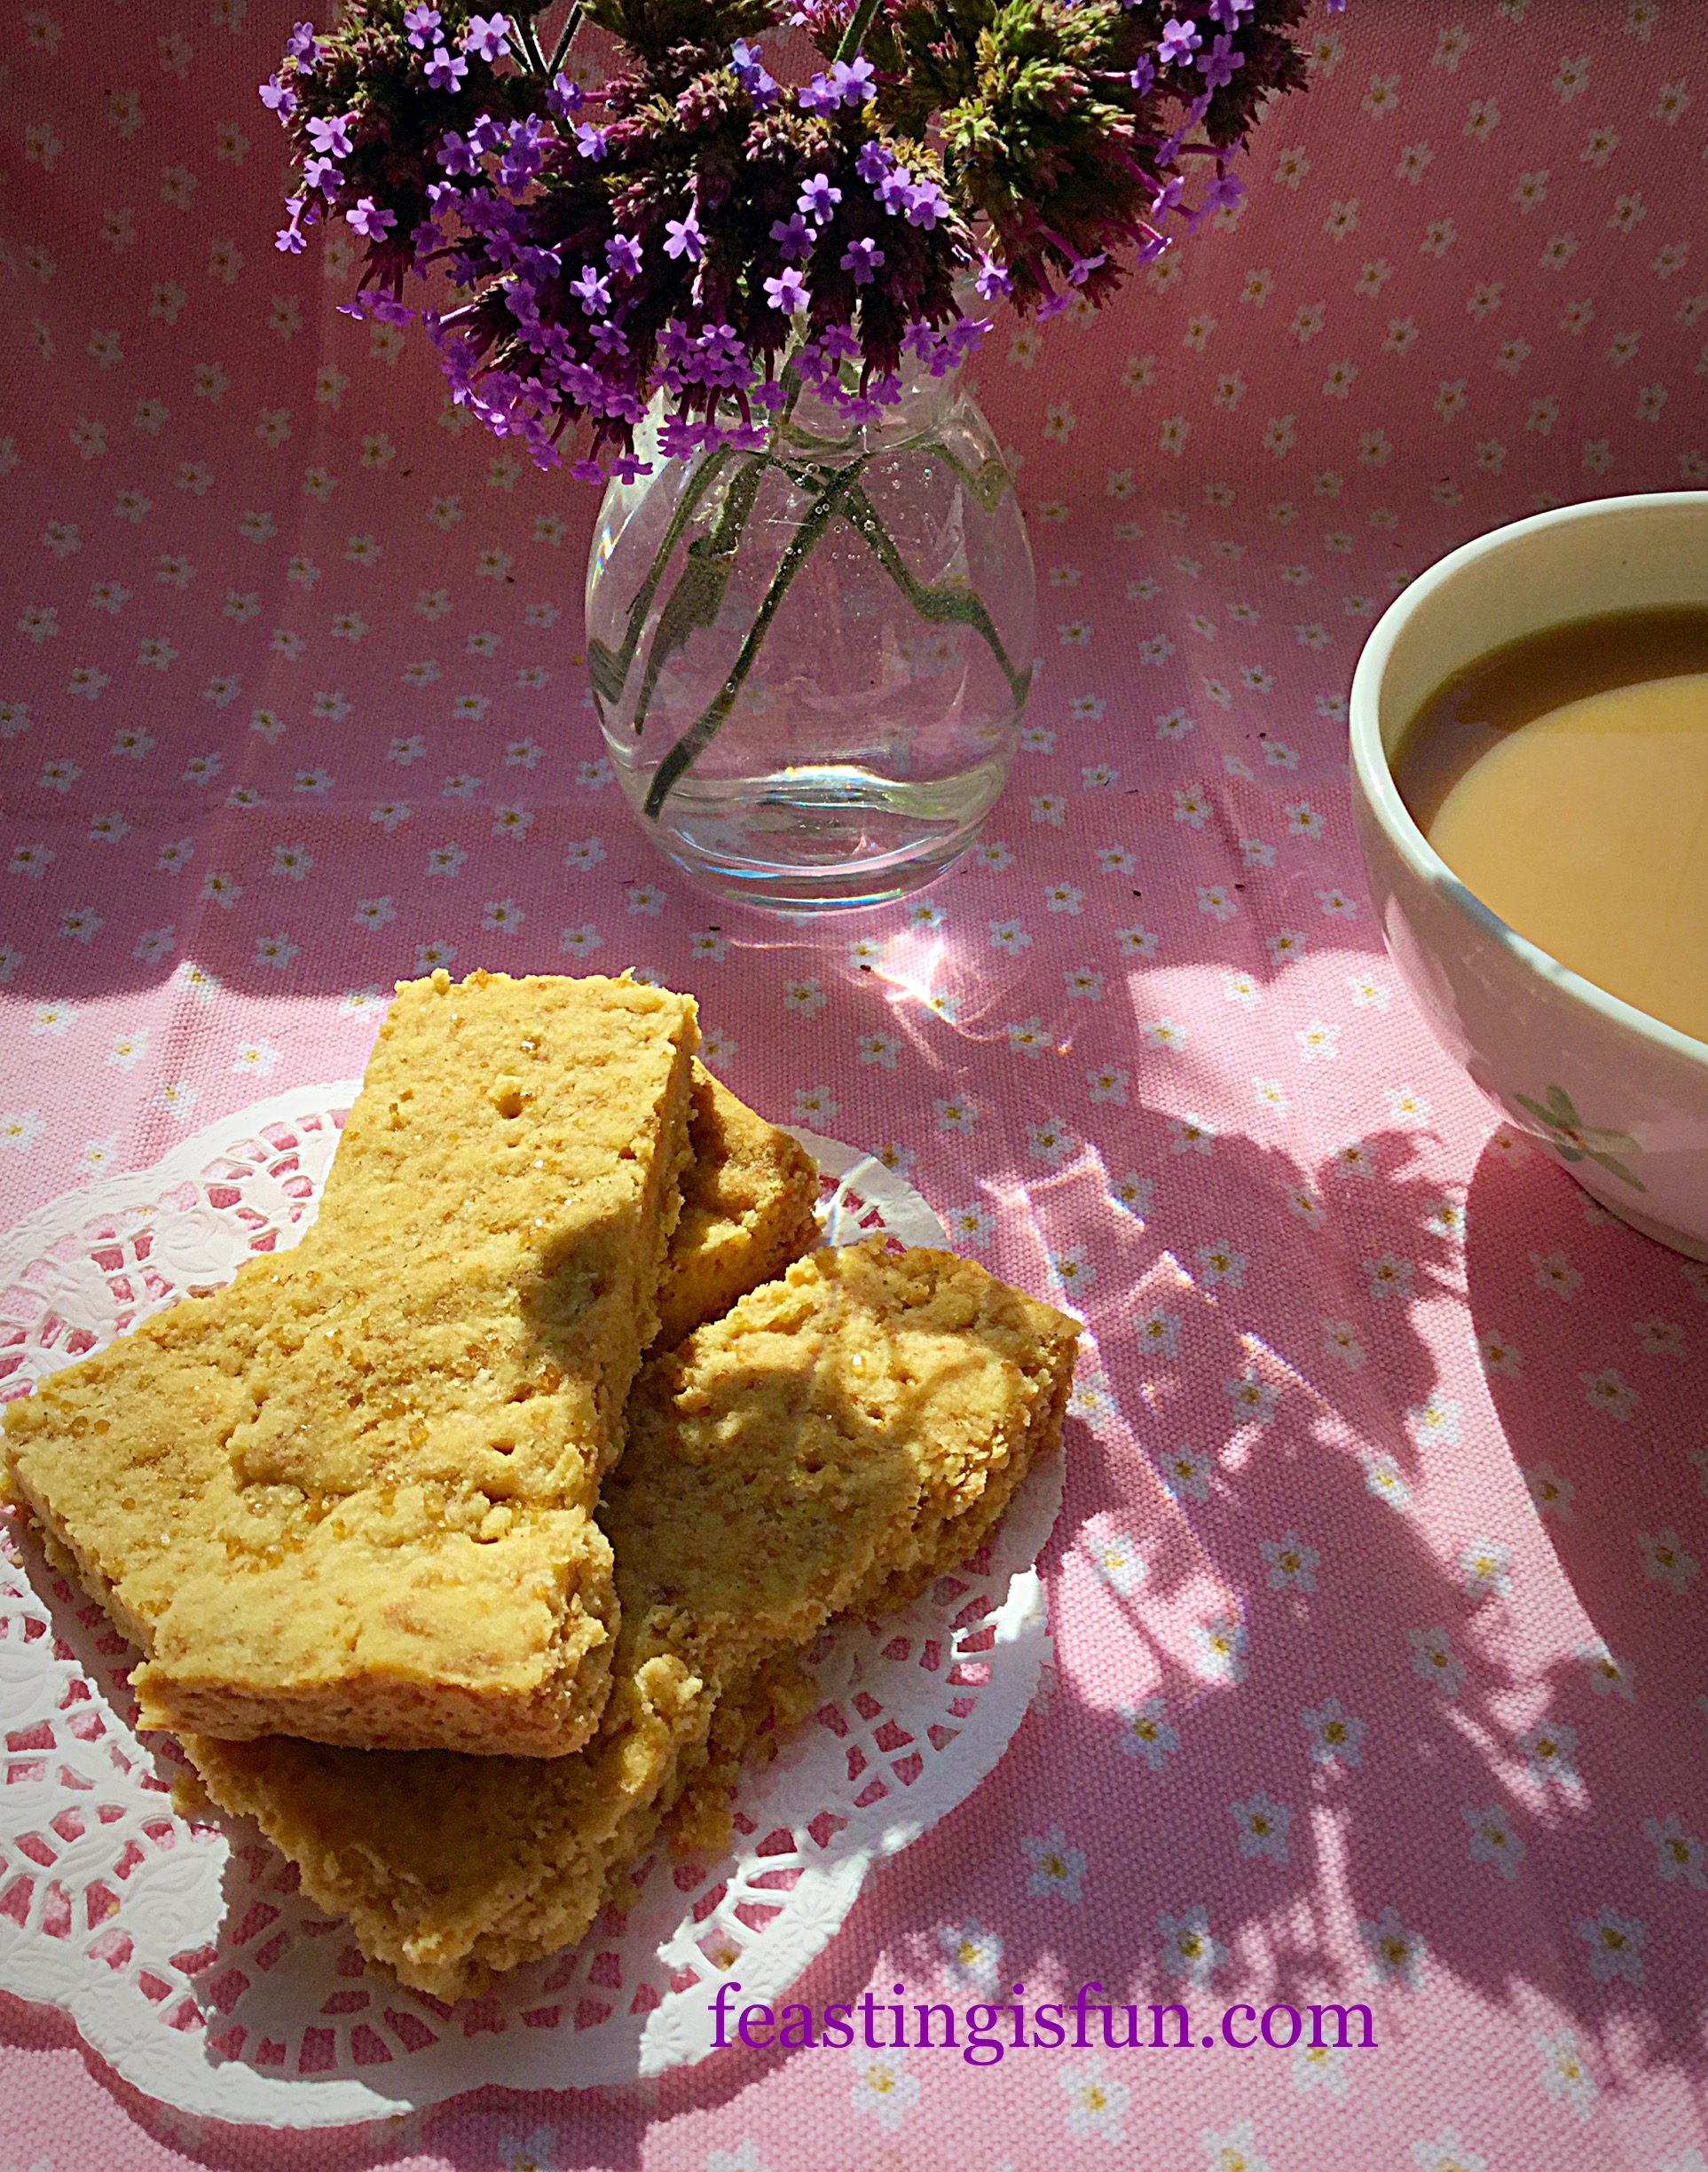
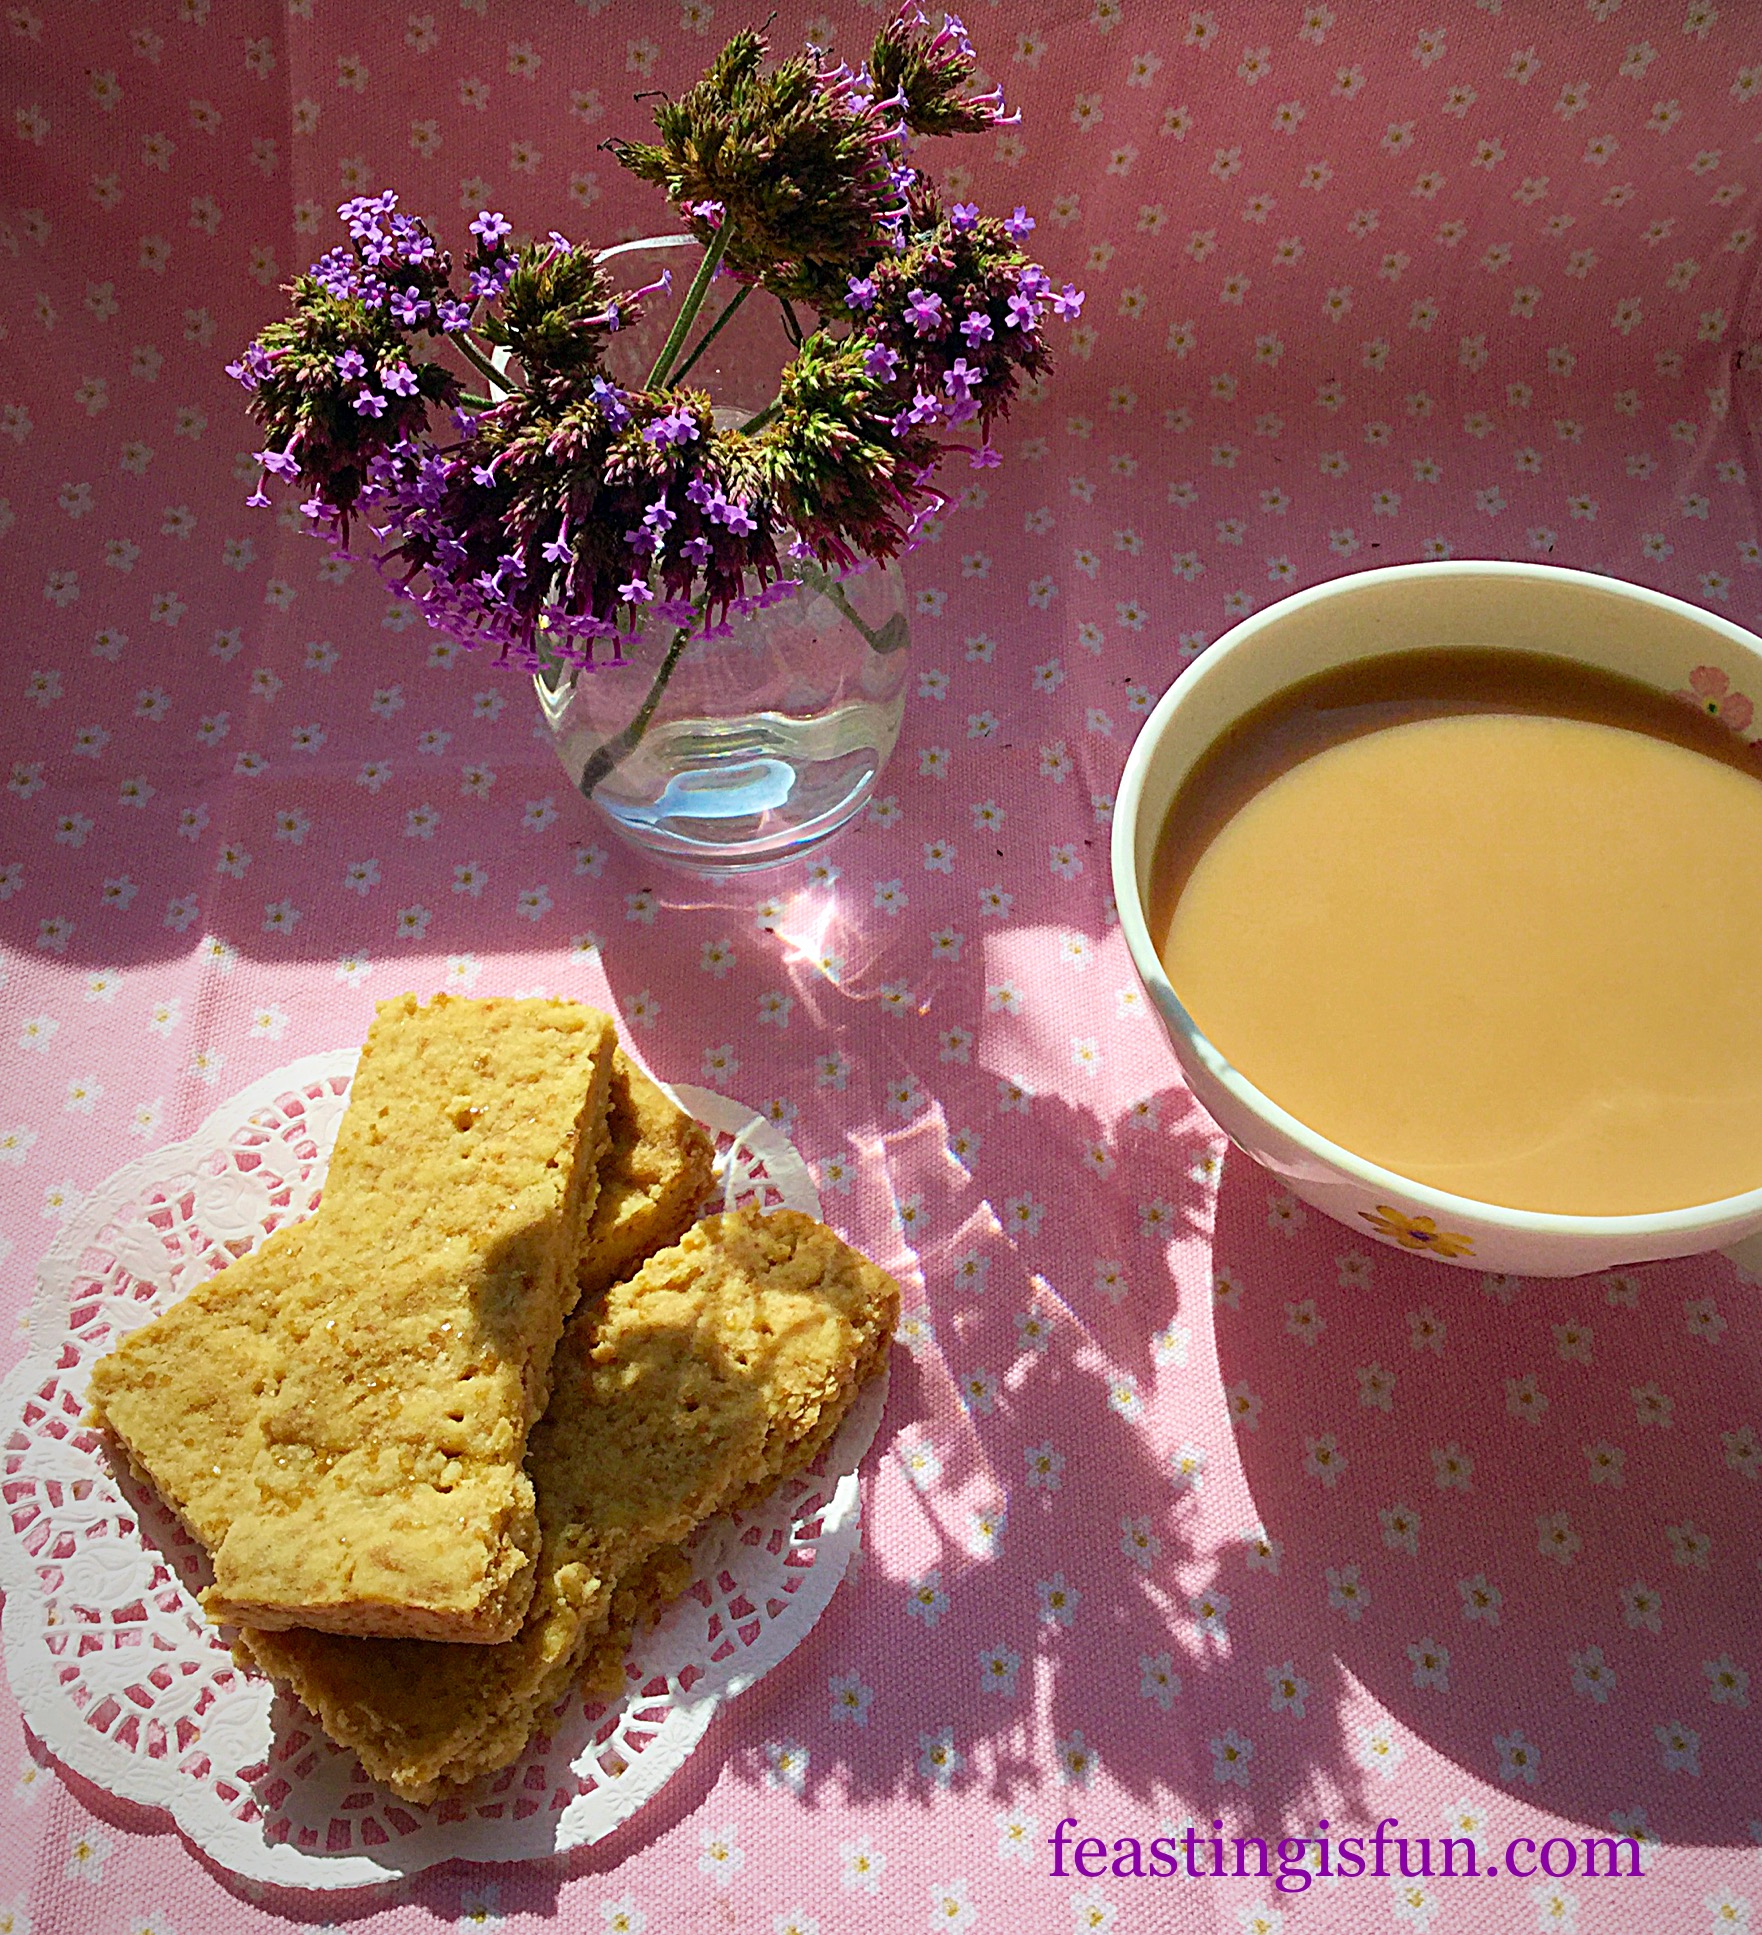
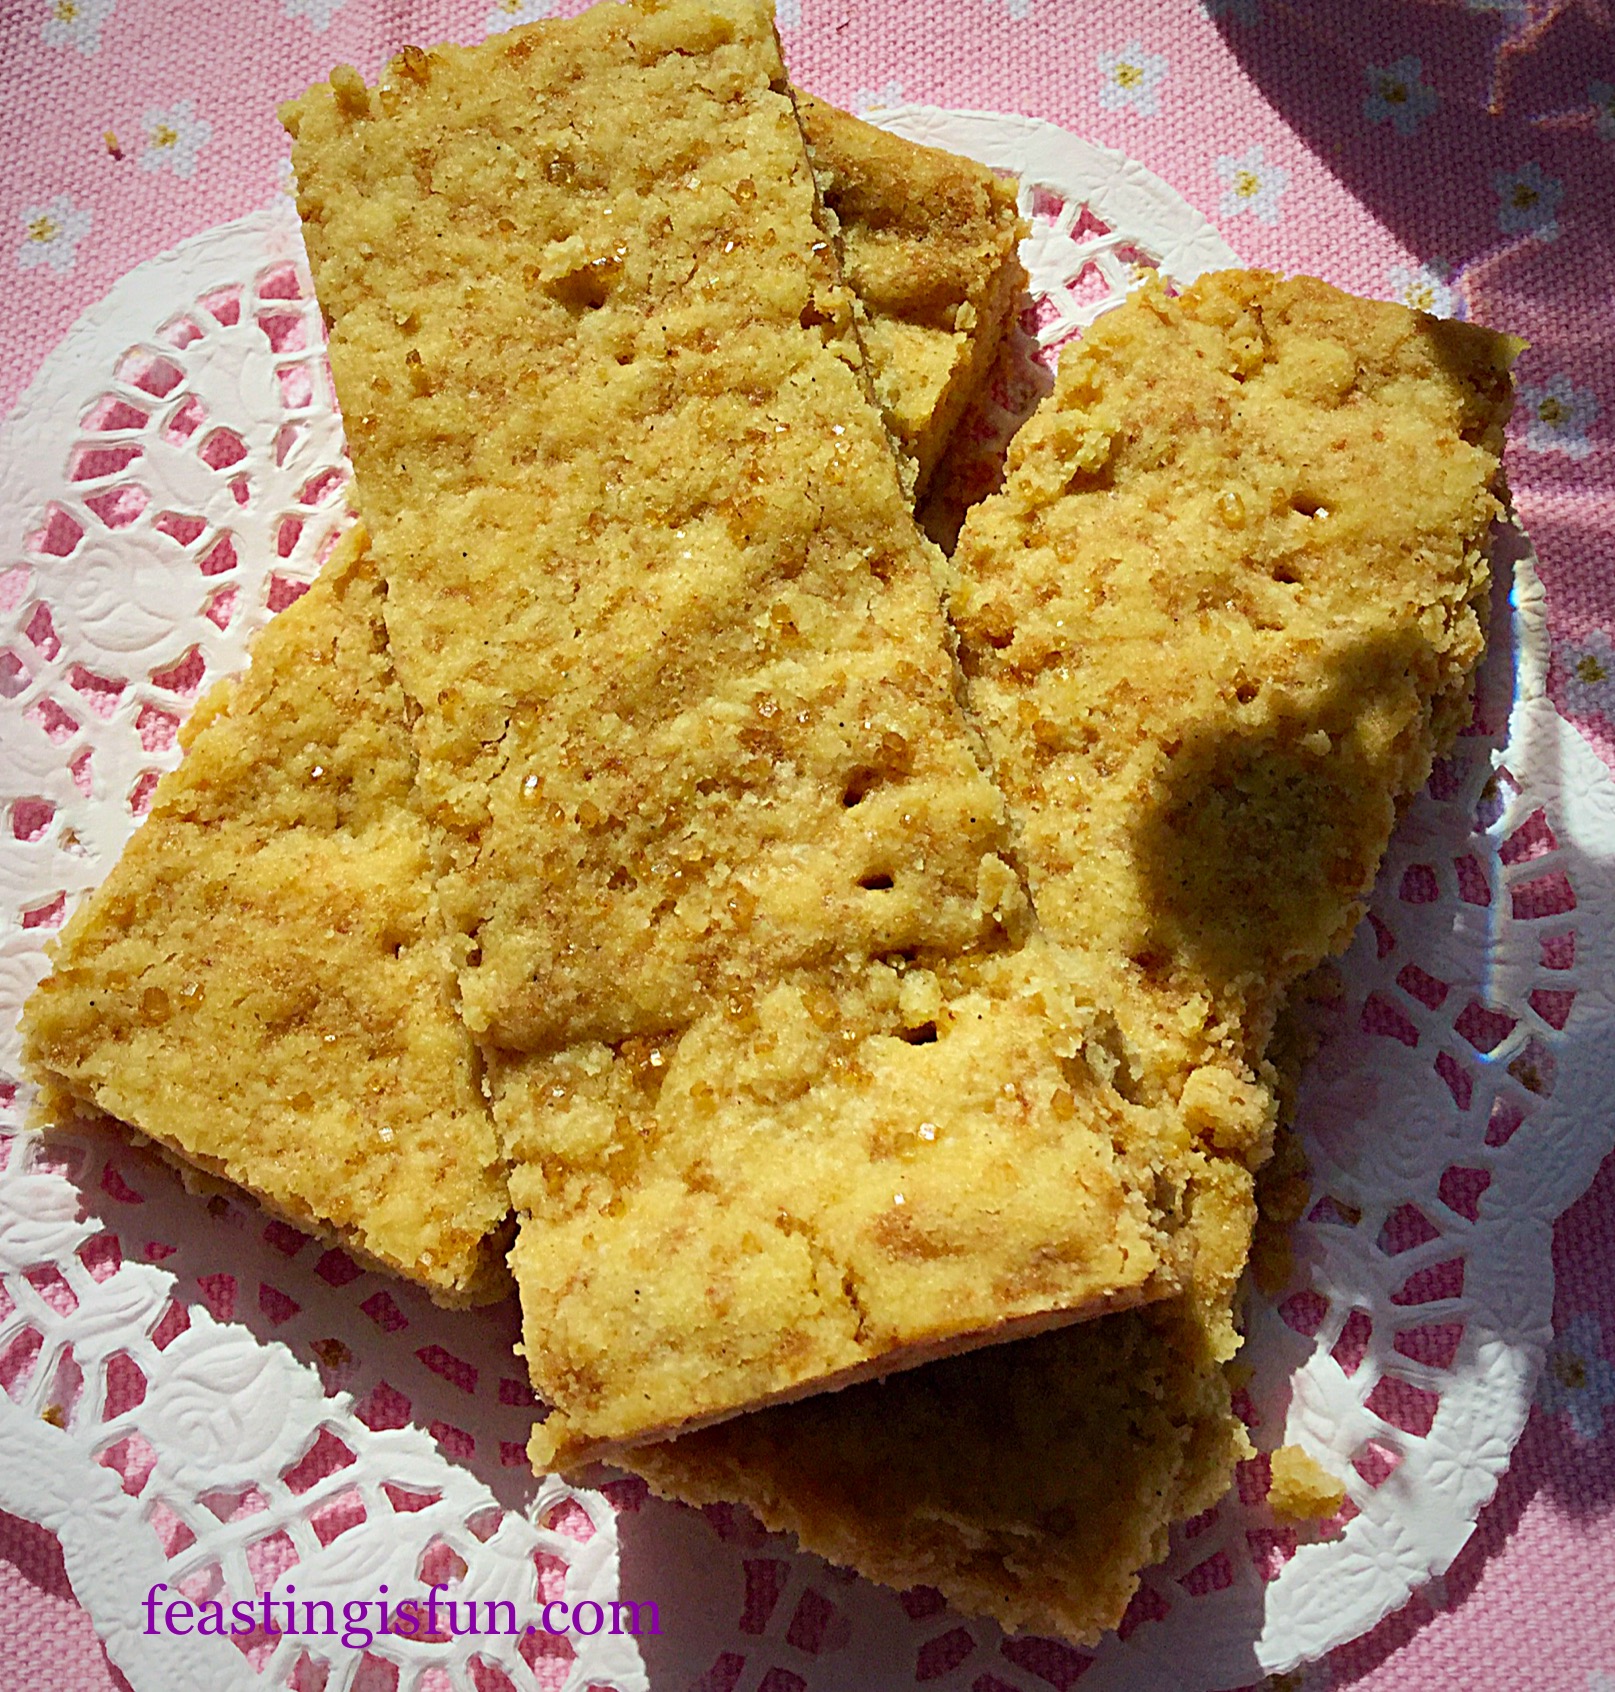
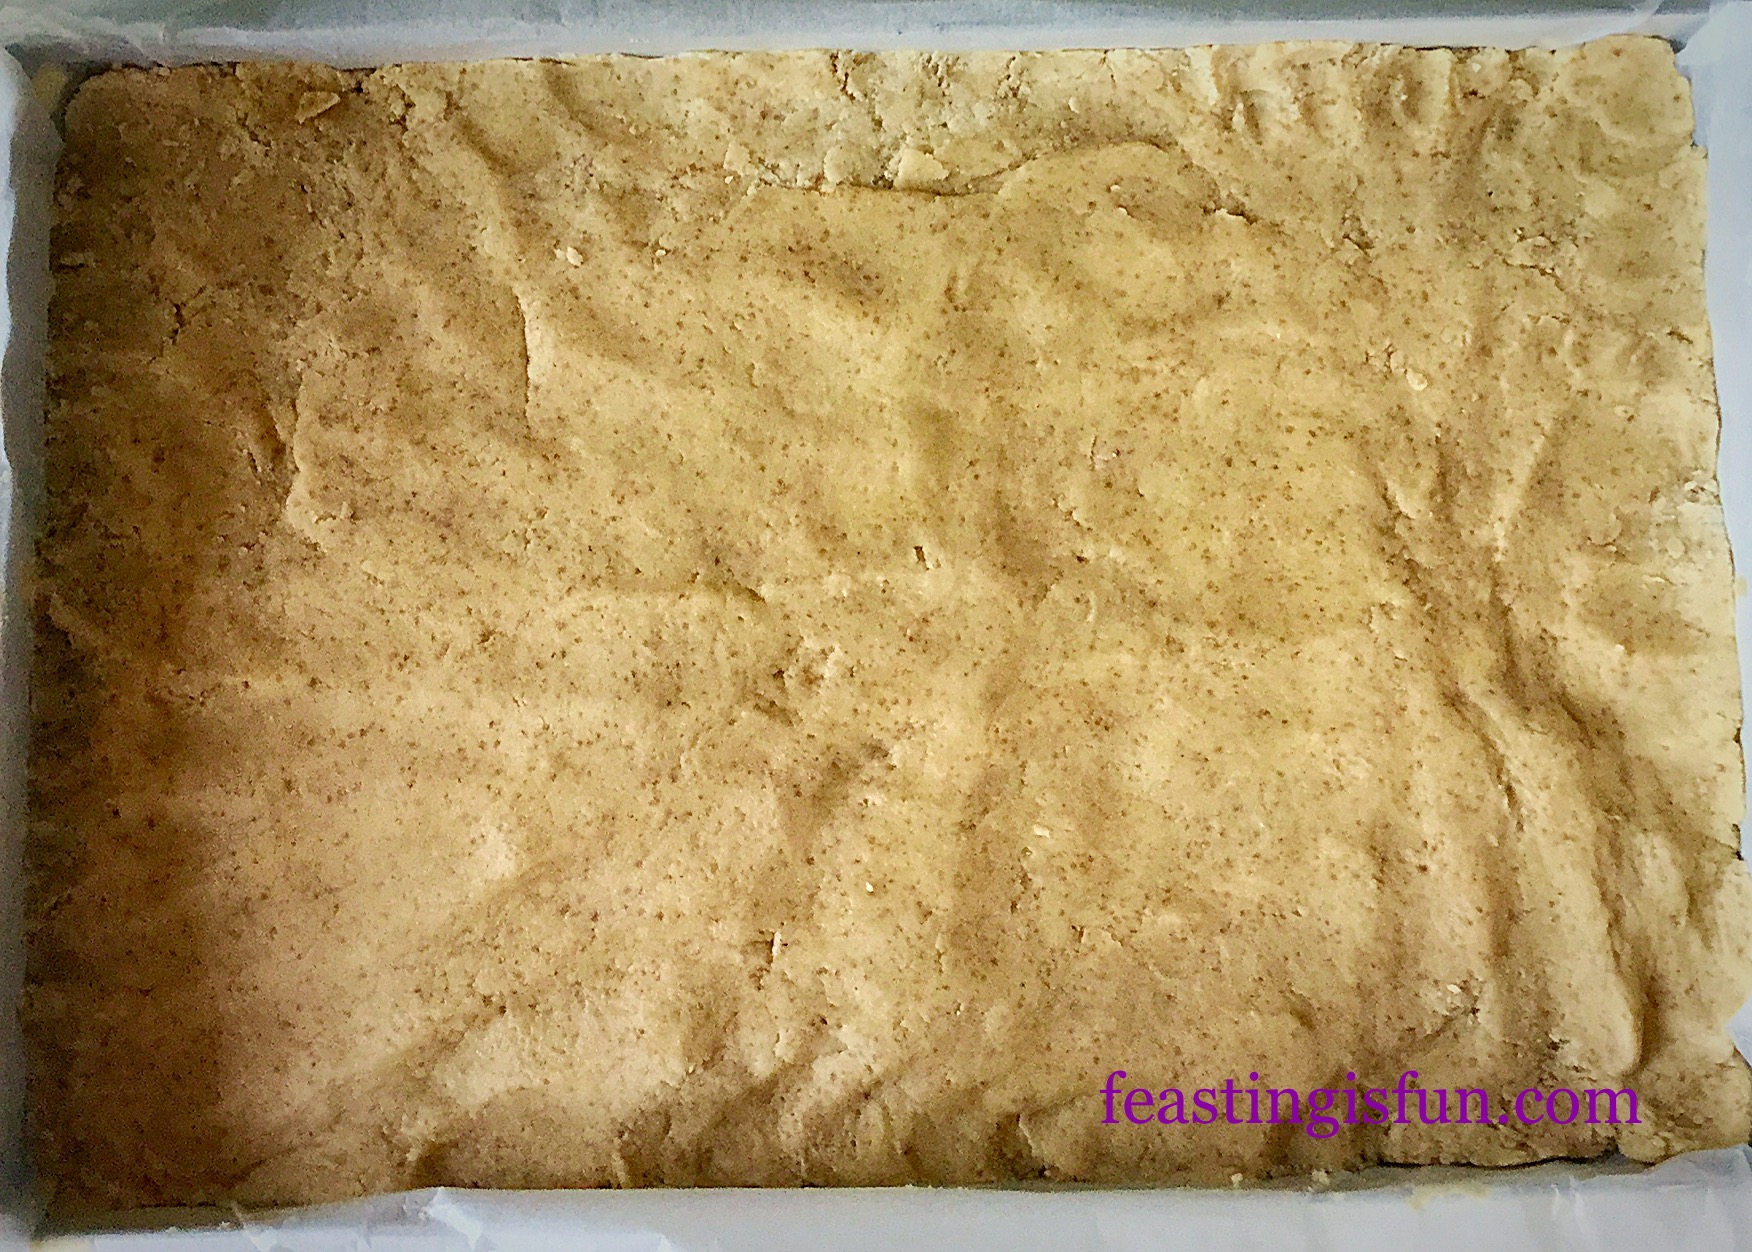
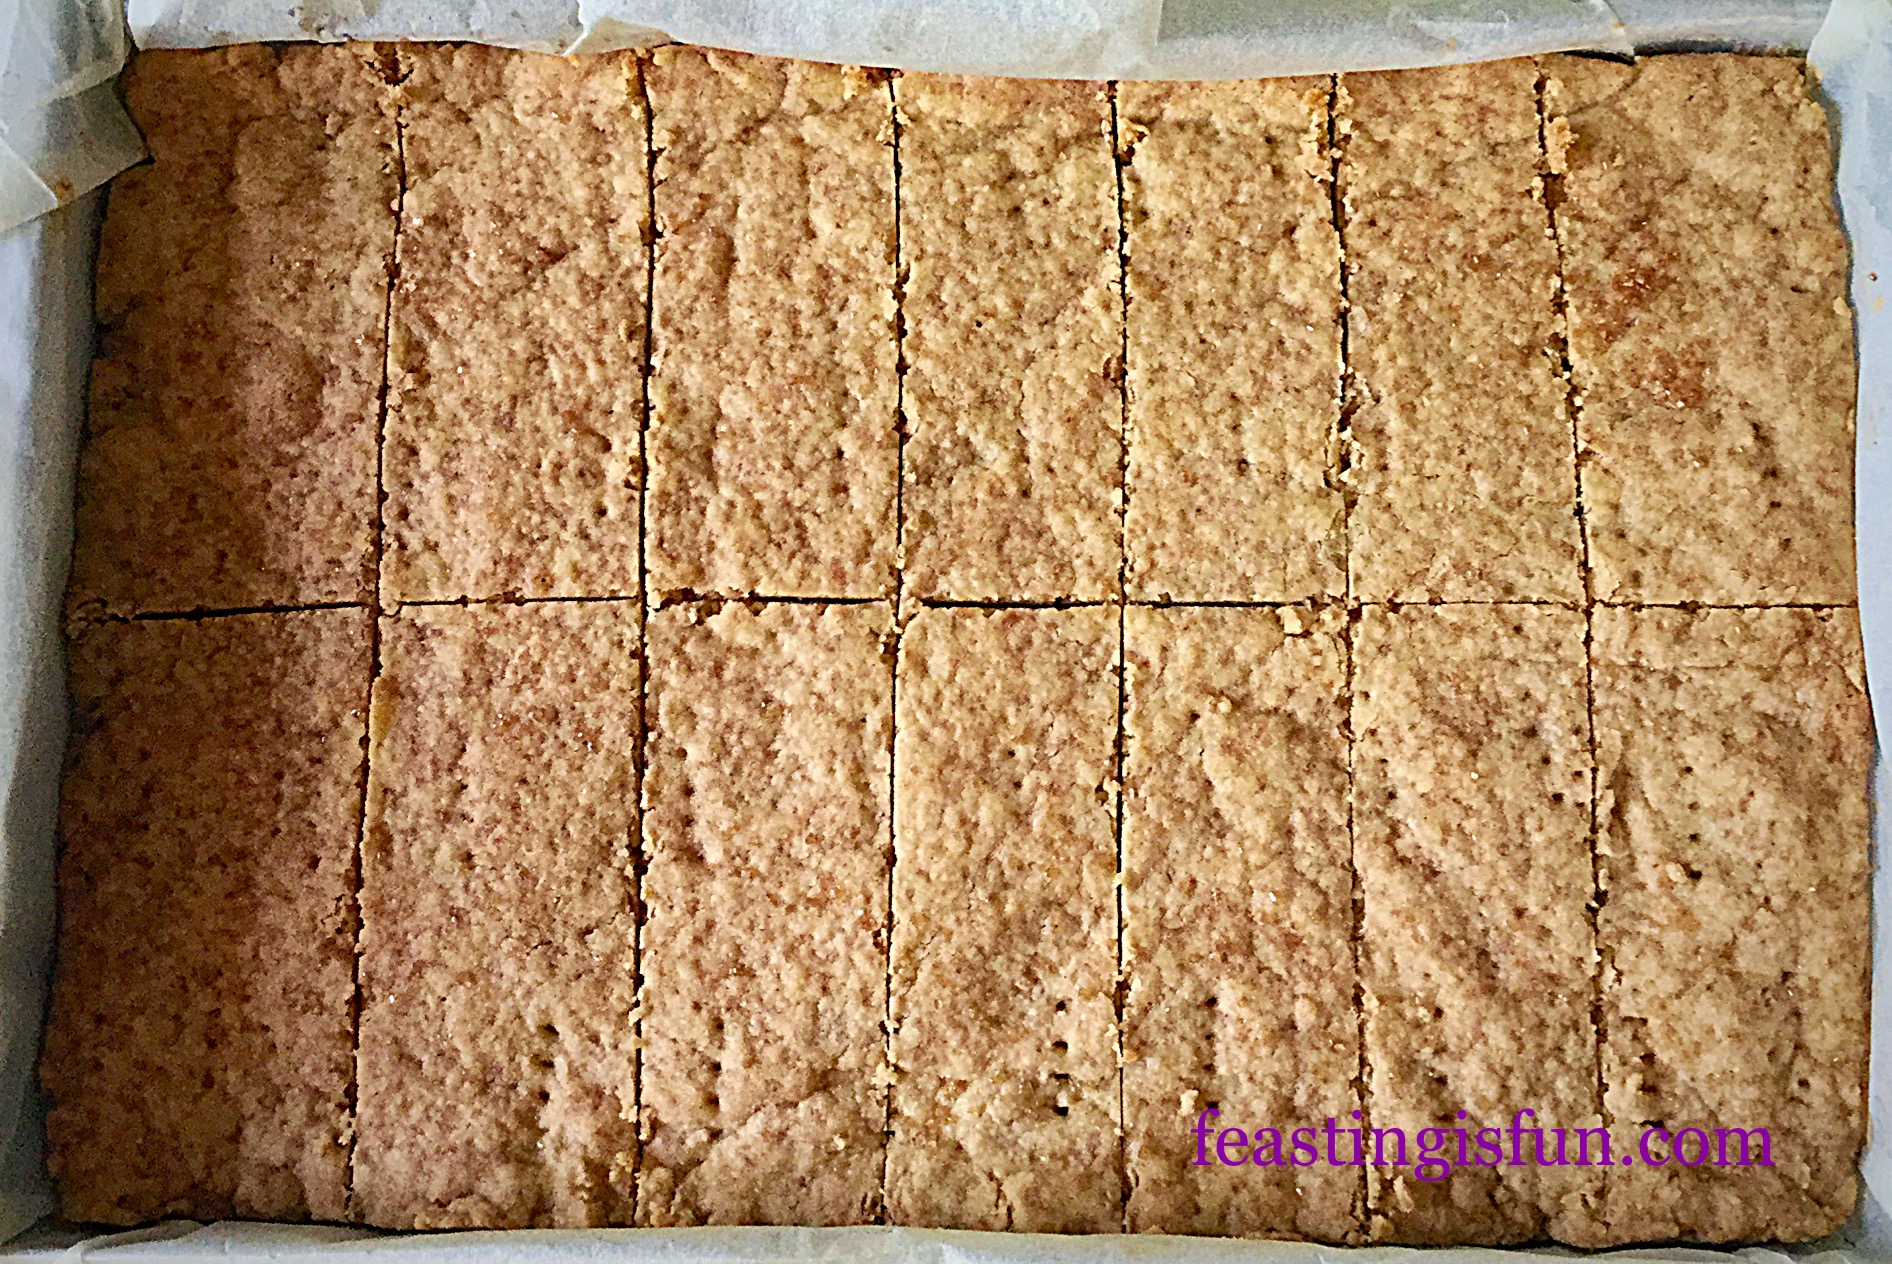
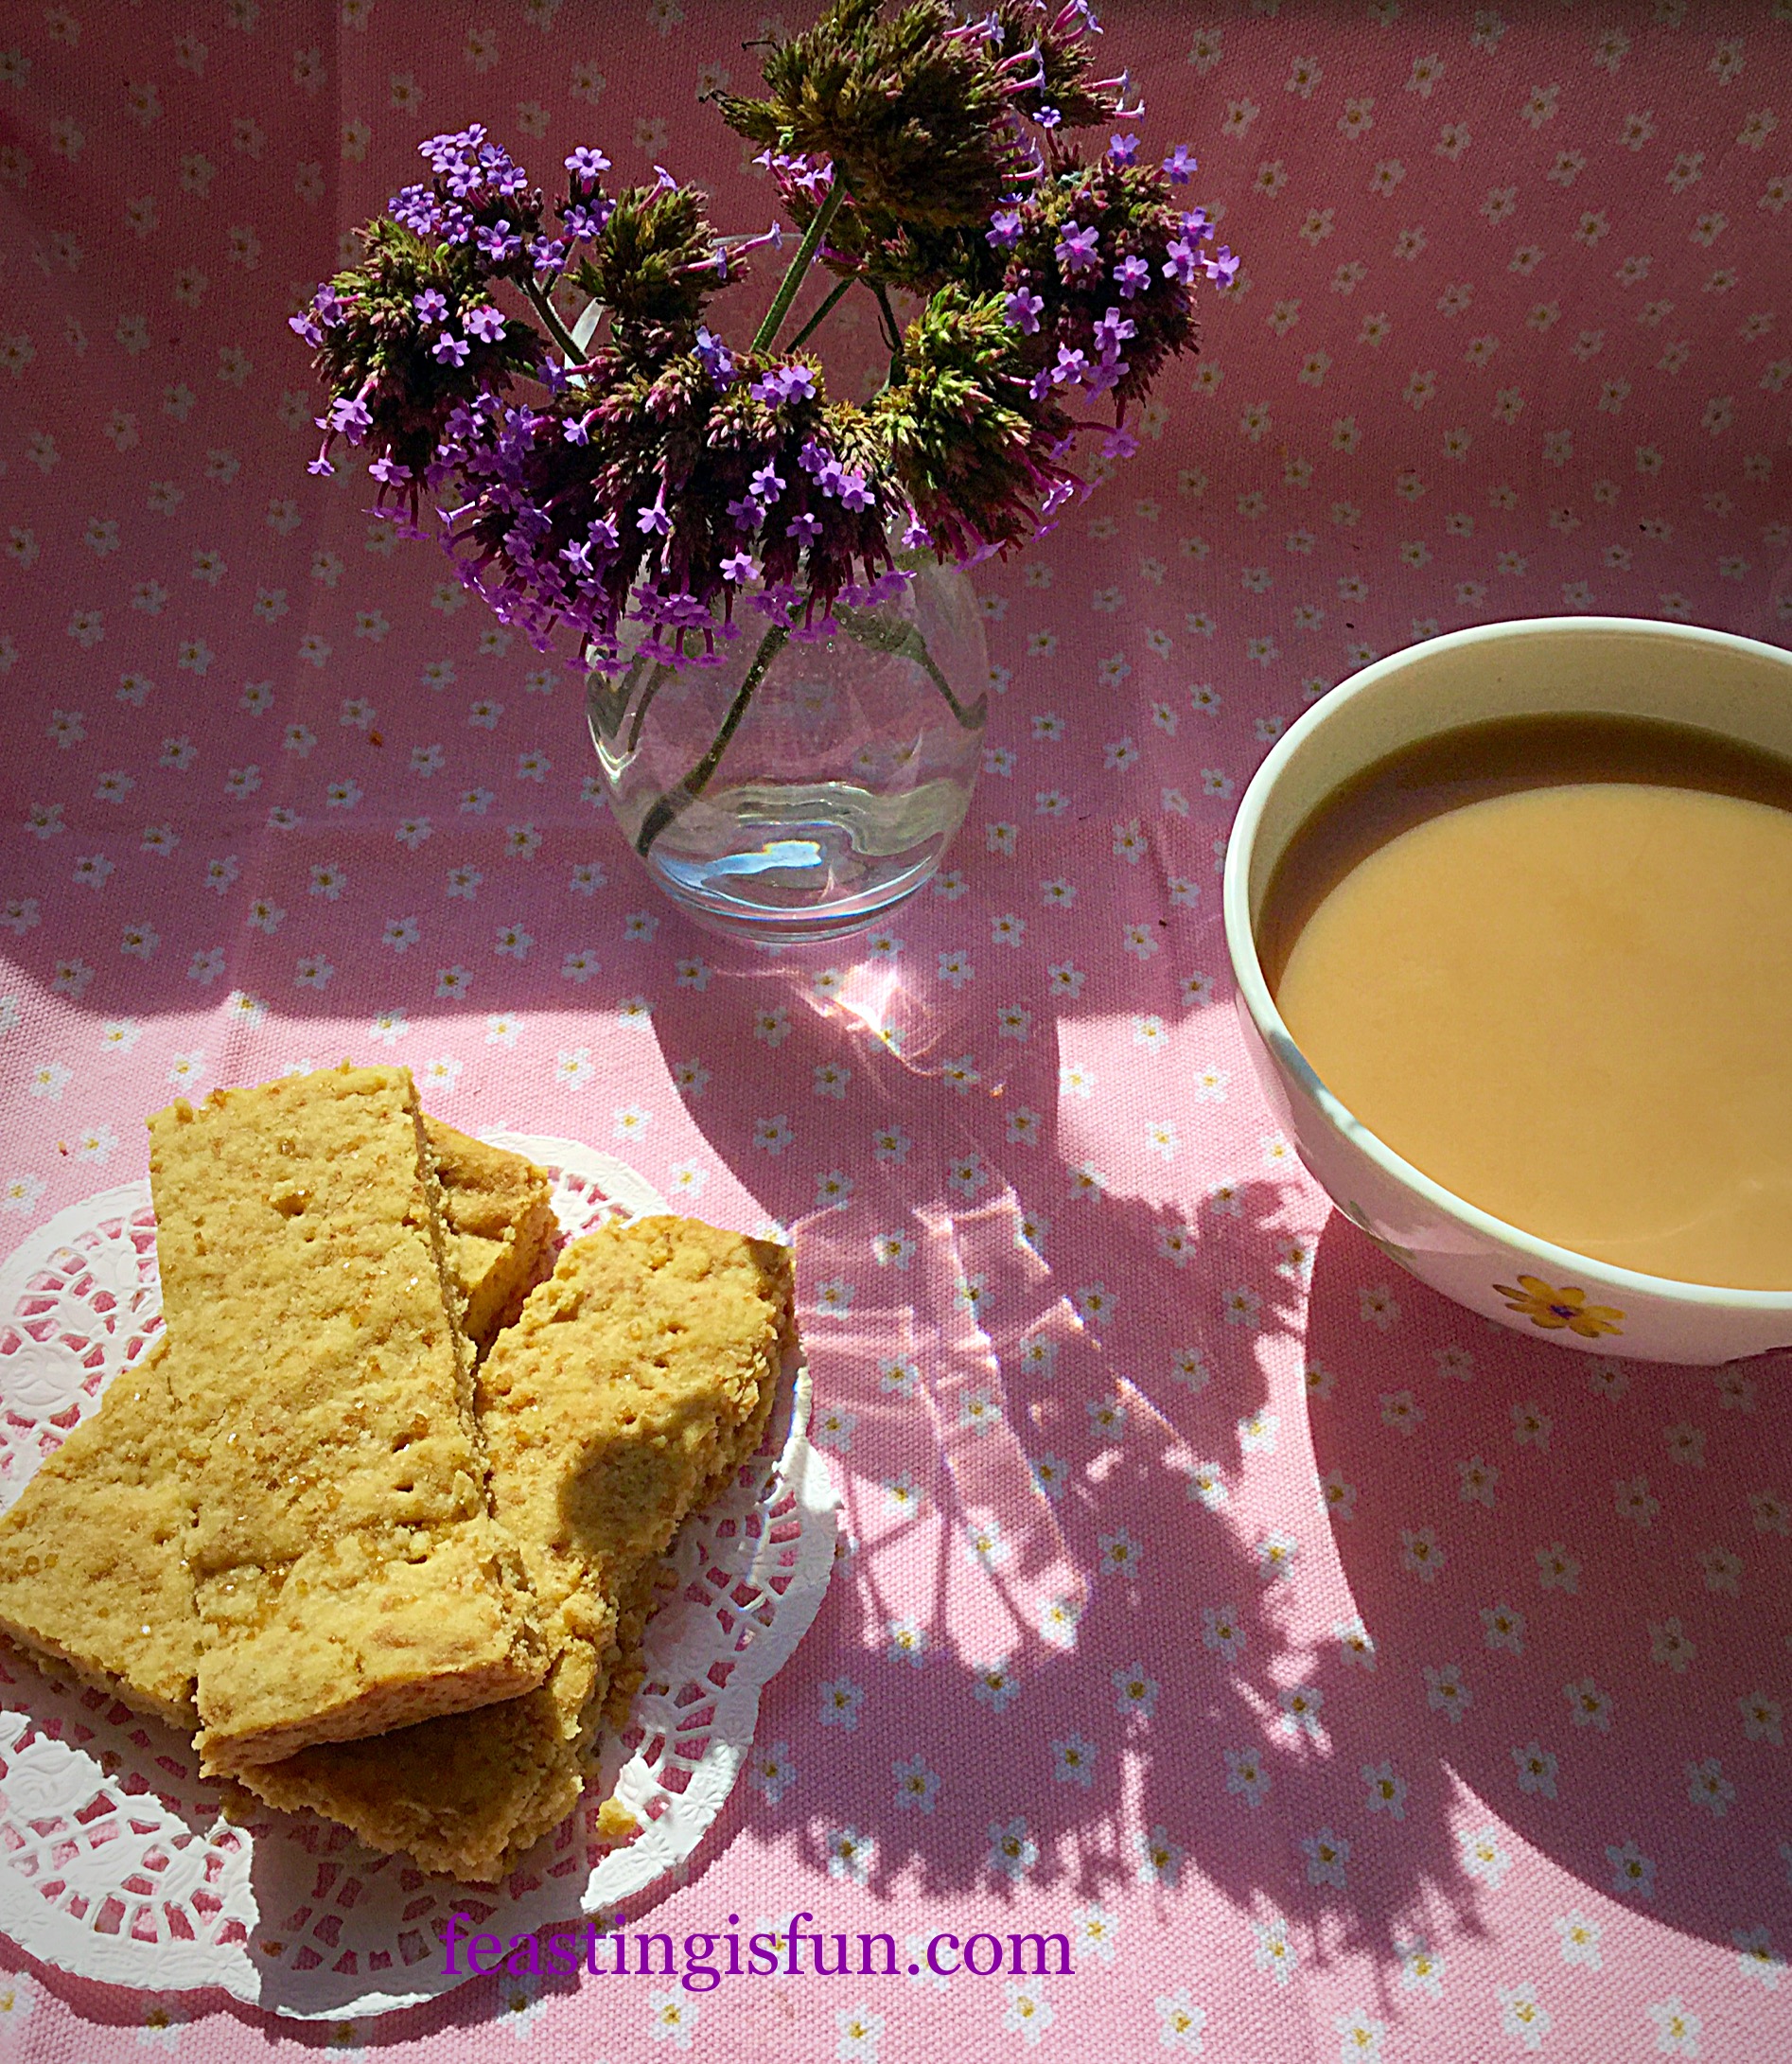
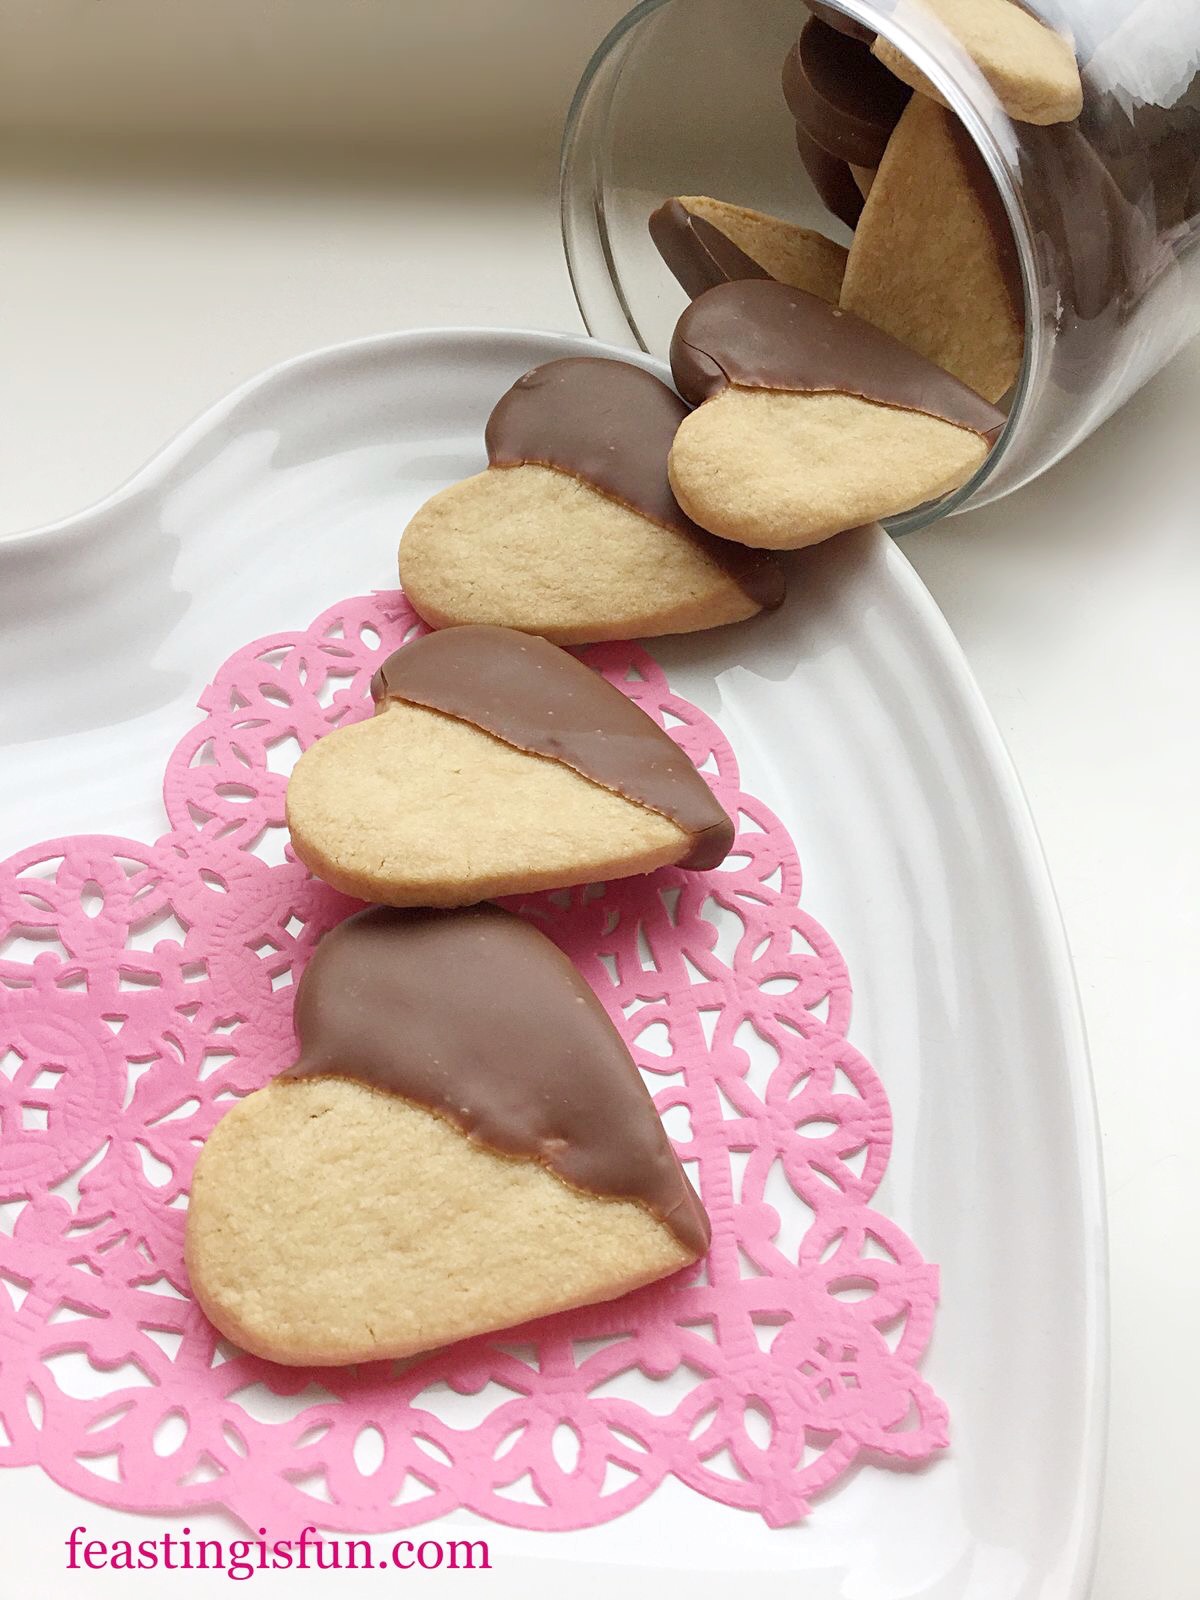
Almond Cacao Nib Shortbread Bars

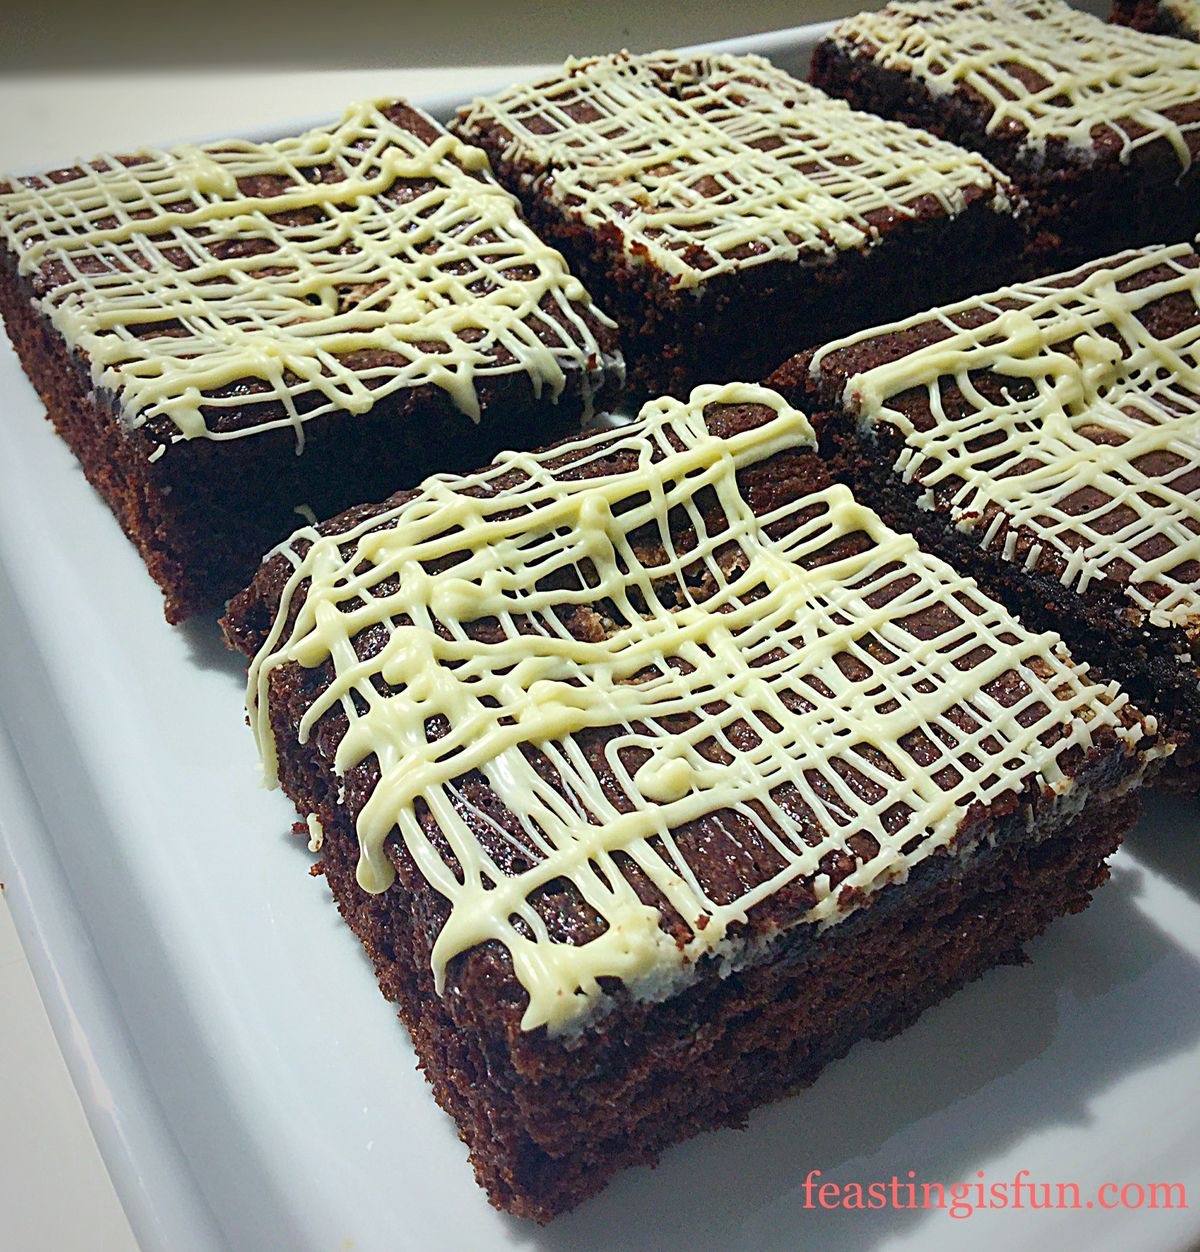
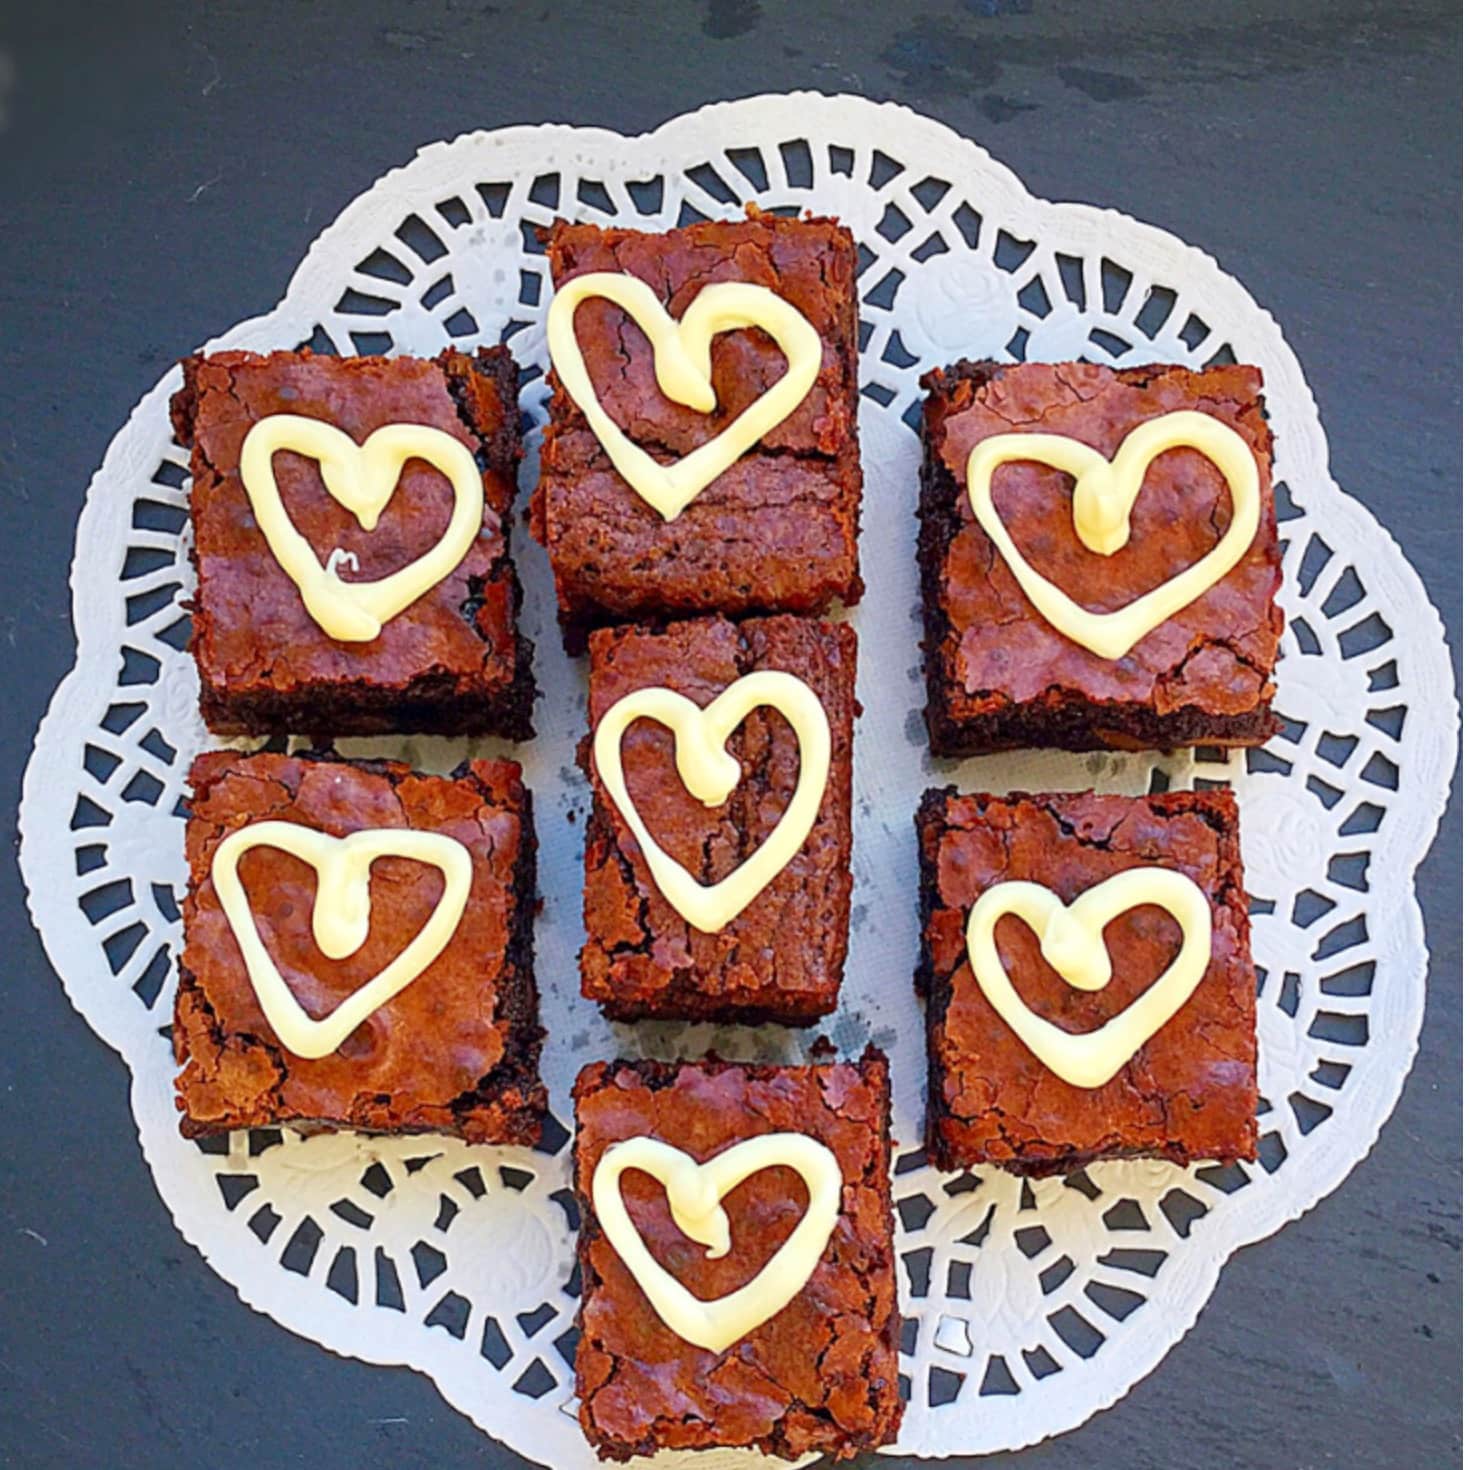
Chocolate Fudge Double Hazelnut Brownies


Baking for others is such a rewarding experience. Especially when you know that the gift will be lovingly received. Although some people may be too proud to ask for help, stopping by, having a chat and handing over a food gift can break down many barriers. Because simply knowing that they have been thought about may brighten someone’s day more than you or I could ever know. And thing I am sure of is that I have never had a well intended food gift turned down.
So, whatever you are making, baking and creating, have fun prepping your feast and remember, food always tastes better when shared.
Sammie xx
No part of this post may be reproduced or duplicated without the written permission of the owner. Please see my Disclosure Policy.