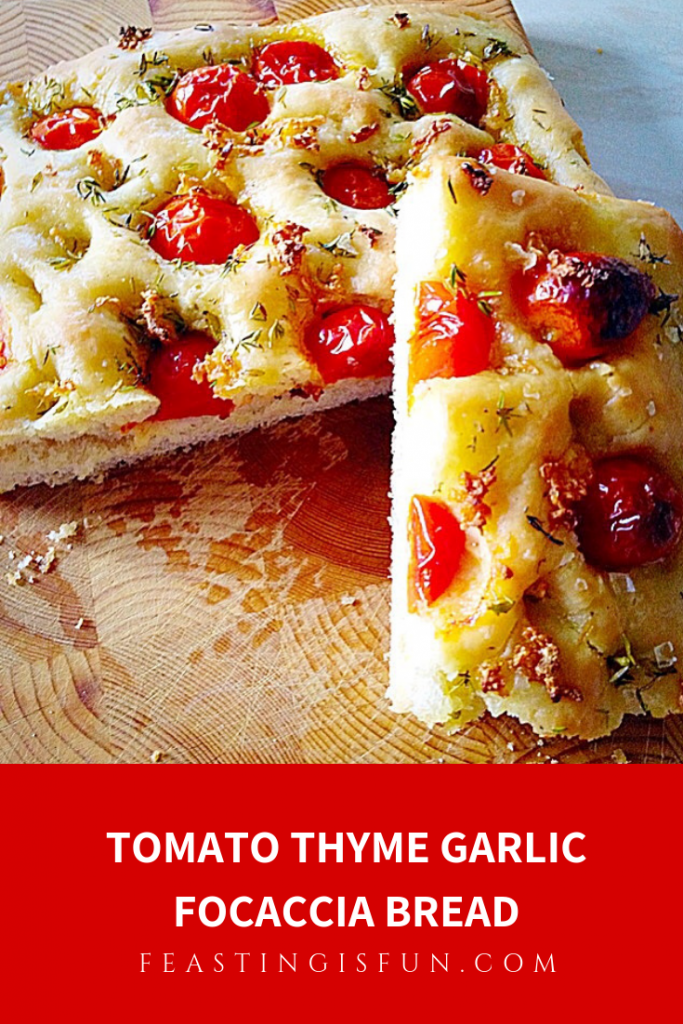
It is no secret, to those of you who have visited here before, that I love baking bread. Whether it’s a crusty loaf for sandwiches and toast, or Knotted Poppyseed Roll the flavour and quality of homemade bread wins every time I make it. Since I do not live near an artisan bakery, I now make pretty much all of our own bread, here at home. Today I have something very special to share my Tomato Thyme Garlic Focaccia Bread.
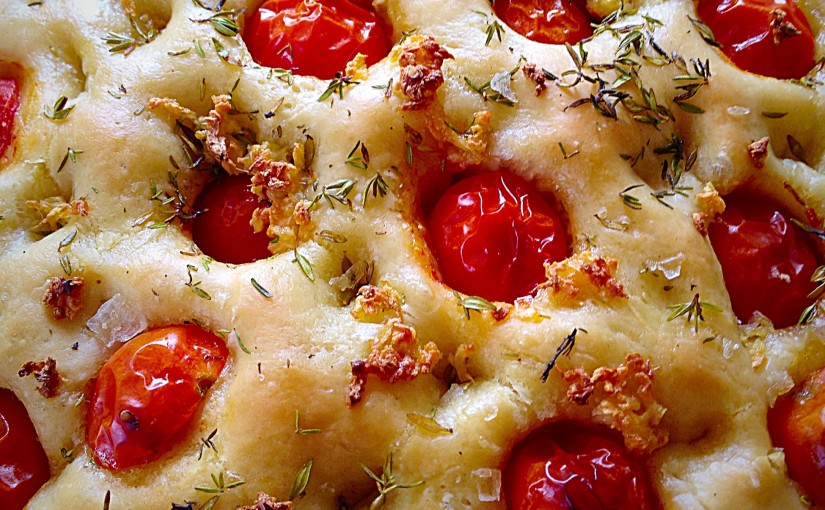
I honestly can’t begin to tell you just how yummy this bread is. It truly is proof that the sum of the parts is greater than the whole. Tomato Thyme Garlic Focaccia Bread is taking bites of bread and then experiencing your taste buds explode with all the flavours, in your mouth.
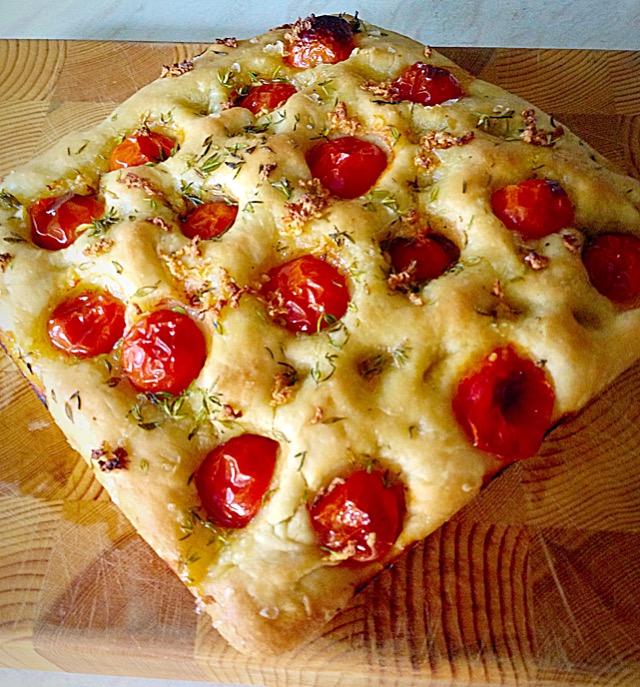
This Focaccia is perfect with pasta (we had it with Lasagne, perfect for mopping up tomato and cheese sauce). I also think it would be great to take on a picnic, served with some good cheddar and a glass of something cold!
Bake Once Eat Twice
I made enough for 2 loaves, so just halve the recipe if only one Focaccia is needed – as the tomatoes won’t freeze well. Alternatively make two and leave the tomatoes off of the loaf you intend to freeze. Double wrap in cling film and the bread will last 3 months in the freezer!
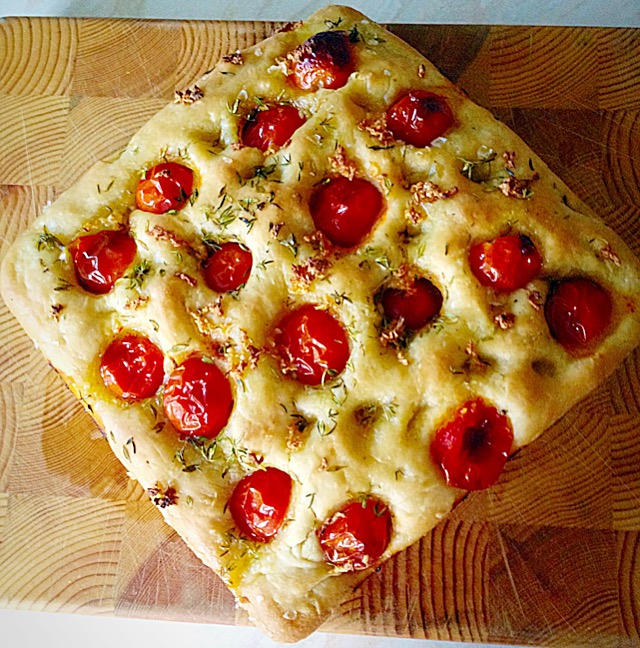
We love any kind of bread with our meals, especially if it has garlic added. This hit the spot big time and Snugs, who can be a little but careful when it comes to ‘different foods’ loved this!! I guess you could even add some shards of sharp cheddar before baking? Might have to try that!!!!
Recipe : Tomato Thyme Garlic Focaccia Bread makes 2
NOTE: Halve the ingredients for one focaccia
500g/1lb 2oz Strong White Bread Flour
10g Fast Action Dried Yeast – I use Allinson
7g Sea Salt – I use Maldon
2tbsp Extra Virgin Olive Oil, plus extra for drizzling – I use Filippo Berio
Approx 300-350ml lukewarm water
16-20 Cherry Tomatoes – halved
2tbsp Fresh Thyme Leaves – halve if using dried thyme
4 Cloves of Garlic
Method : Using bread maker or stand mixer with dough hook attached.
Making The Focaccia Dough
Place 300ml of water into the bowl of your mixer.
Add the yeast and then the flour.
Add 2tbsp Extra Virgin Olive Oil
Now add the salt.
Set the bread maker to the mix/prove cycle.
If the dough seems dry add extra water 20mls at a time until the dough has a smooth elasticity, while being mixed. If the dough is too dry either machine will be clunking!
With a stand mixer mix on medium speed until the dough is soft and elastic. Using Olive oil on your hands to stop the dough sticking, roll the dough into a tight ball, place back into the mixer bowl, cover with cling film and leave to double in size.
Shaping The Focaccia Dough
Using either method, once the first proof is finished, knock back, restarting the mixing on the bread machine and removing the cling and mix for a further 10 minutes.
Oil 2 x 20cmx20cm (8″ x 8″) square tins.
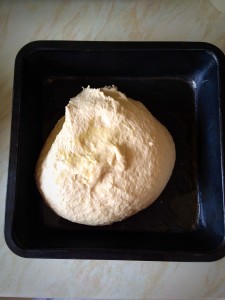
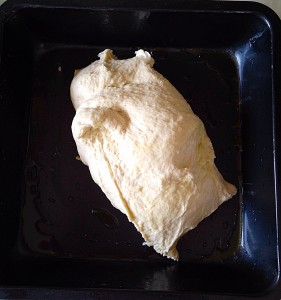
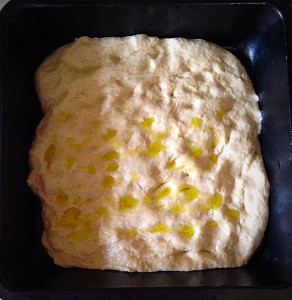
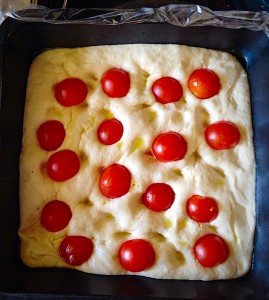
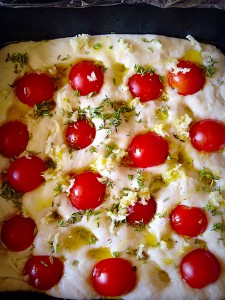
Cover and leave to double in size.
Baking The Tomato Thyme Garlic Focaccia Bread
While the bread is proving, preheat your oven to 220C/200C fan oven, gas mark 7, 425F.
As soon as your dough is doubled in size place in the centre of a preheated oven for 25-30 minutes.
Breathe deeply. Mmm, that smell coming out of the oven is your Tomato Thyme Garlic Focaccia Bread. Enjoy, it smells and tastes amazing!
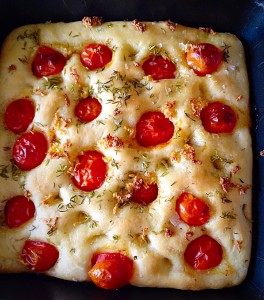
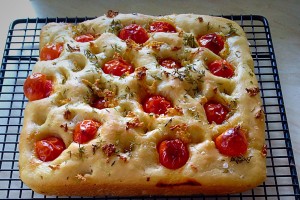
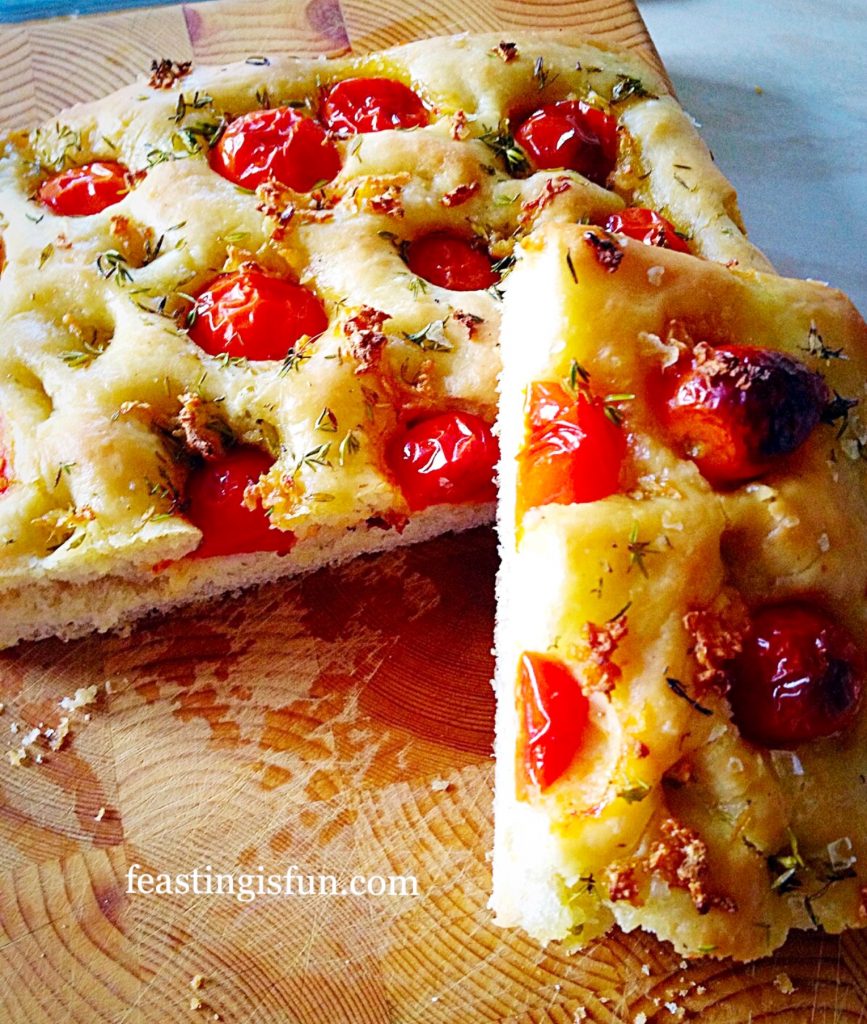
Allow the focaccia to cool so that it is just warm before serving. Cut into squares to serve.
If you have enjoyed this recipe for Tomato Garlic Focaccia Bread you may also like these:
Garlic Rosemary Focaccia Bread
Sundried Tomato Olive Focaccia Bread
Baked Cheese Olive Ciabatta Bread
I almost always use a stand mixer and dough hook to knead any dough that I’m making. While I really love the feel of dough in my hands the combination of a bad back and now arthritis in my thumbs joints means it’s painful. Yet by using the mixer I can still make fresh bread for us as a family and I get to shape it by hand. Resulting in a happy me, as I can still bake bread and a happy family who really enjoy fresh, home baked bread.
Whatever you are making, baking and creating in your kitchens, have fun preparing and sharing your feast.
Sammie x
No part of this post may be reproduced or duplicated without the written permission of the owner. Please see my Disclosure Policy.
No bread machine or stand mixer here so maybe some time! Giving it a go anyway as looks delicious
Oh fabulous Debra, I hope you enjoy the process of making bread and the finished result? If you are on Twitter/Instagram please pop up a pic of your finished bread, it would be wonderful to see. Xx
This looks so delicious <3
Nati xx
http://www.simplyartdicted.com
Thank you Nati, it was!!!
Hmm looks delicious!!
CANDICE | BEAUTY CANDY LOVES
Thanks Candice for your great comment. It was delish x
This looks amazing!! My dad loves baking his own bread so I’ll definitely be showing him this post! Fab!
Katie | http://what-katie-did-next.blogspot.co.uk/ xxx
Thanks Katie. I hope your Dad enjoys the Focaccia. I’d love to know what he thinks?
Looks delicious! Thanks for sharing the recipe 🙂
Thanks Zoe just so glad u finally got it on my blog at last!! It is delish.