As soon as Winter hits, there is one thing I crave. Soup. It’s warming, almost insulating properties feel like a hug on the inside. Whether it be a smooth, blitzed soup or a chunky textured version, it is my food of choice, seeing me through the short, wind blown days of our coldest season. Today I share with you my Warming Winter Vegetable Soup.

While, if needed to ease sore throats, this soup can be blitzed, the soft, gently cooked vegetables are easily swallowed. Although I prefer to use fresh vegetables, using frozen vegetables is a good way to bulk out this dish. Especially adding any that will work with the slightly sweet, spicy flavour.

Seasonal Winter Vegetable Flavours
Winter root vegetables have a natural sweetness, more so after the first frosts. While deep green, leafy brassica’s, rich in iron, provide a more meaty, sometimes slightly bitter taste. And in this Warming Winter Vegetable soup, the flavours come together and perfectly compliment each other. Finishing with the warmth from the chili.

Since this soup is a comforting and warming, adding freshly sliced mild red chili and spring onions to the top provides a burst of freshness. Almost a zesty burst hits the tongue when warming and cold hits. Not only does the addition of fresh parsley look good, it also provides extra Vitamin C!
Recipe: Winter Warming Vegetable Soup serves 6-8
1tbsp Olive Oil
1 Large Onion
3 Celery Sticks washed and trimmed
1/2tsp Sea Salt – I use Maldon
2 Leeks trimmed and washed
1 Large Potato
2-3 Large Carrots
100g/4oz Green Beans trimmed (frozen is fine)
1/2 Savoy Cabbage – Kale, sprout tops, other cabbage (except red or white) can be used
Small Swede/Turnip
2tbsp Pearl Barley
4tbsp Lentils – I used orange
2 Garlic Cloves
1tbsp Tomato Puree
Fresh Thyme – approx 1tsp chopped
Vegetable Stock Cube – I use Knorr
Pinch Chili Flakes – depending on preference
1tsp Black Pepper – to taste
Cold Water
Fresh Mild Red Chili and Spring Onions finely sliced to top
Fresh Parsley
Preparing The Vegetables And Cooking The Soup
A large, heavy bottomed pan is needed for this recipe.
- First of all, place the pan on the hob and add the oil.
- All of the vegetables in this recipe should be cut into small dice, starting with the onions and leeks.
- Turn the heat to medium, allow the oil to warm, add the chopped leeks and onion. Also add 1/4tsp salt, sauté until softened but not browned.
- Next add the carrots and celery, again cook until softened.
- Now add the garlic and fresh thyme. Pour over enough water to cover the vegetables.
- Cut the cabbage into thin strips and chop the beans into thirds, then add these to the pan. Also prepare both the potato and swede and add to the soup.
- Finally add the lentils and pearl barley, top the pan up with water so the vegetables are just covered. Crumble in a stock cube and add a good grinding of black pepper. And also add chili flakes to your preference.
- Bring the soup up to a simmer, place a lid on the pan.
- Simmer until the root vegetables are tender – approximately 30 minutes.

Serve in warmed bowls with freshly sliced mild chili’s, spring onion and sprigs of parsley. Also serve thick slices of warm, crusty bread such as Seeded Cob Loaf to create a hearty meal.
To store, cool the soup completely. Spoon into sealable containers and refrigerate for up to 4 days. Alternatively, place in the freezer and eat within one month.
If you have enjoyed this recipe for Warming Winter Vegetable Soup you may also like these:
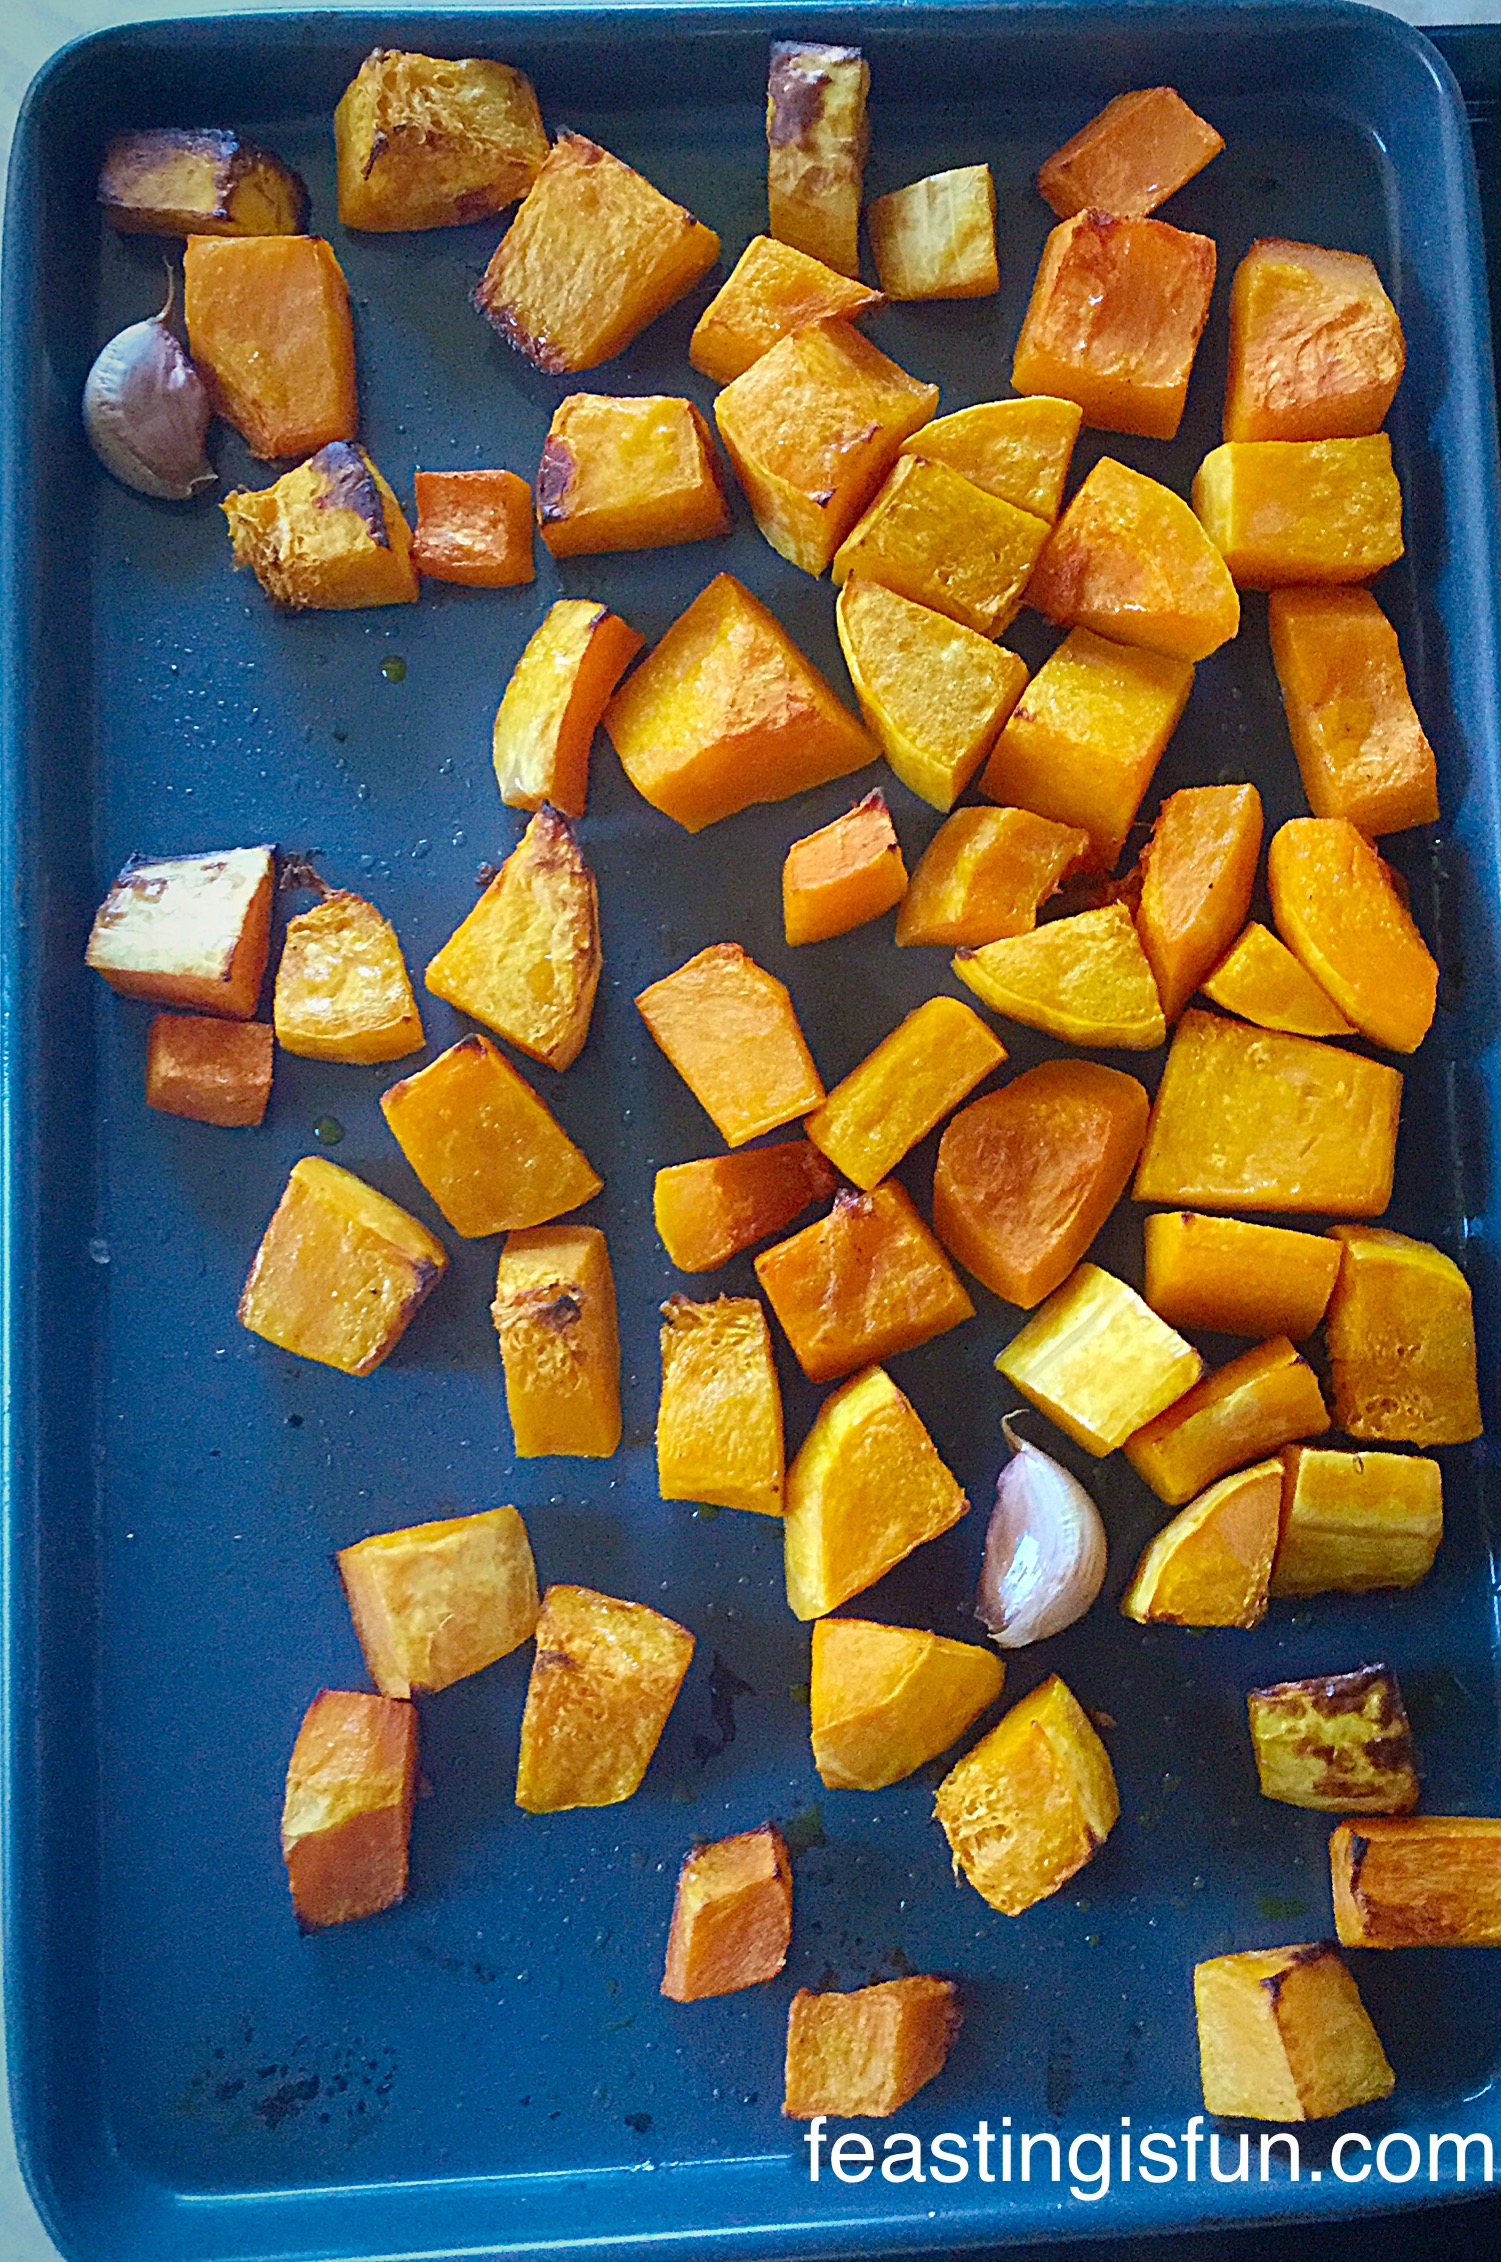
Roasted Garlic Butternut Squash Soup


Since this soup is so easily made, making a big pot of it and then stashing it in the freezer gives me real satisfaction. Knowing that a warm, tasty meal is only moments away relaxes me. And, as there is always fresh, homemade bread in the kitchen, I can ensure a hearty meal for all.
Whatever you are making, baking and creating in your kitchens, have fun preparing your feast.
Sammie xx
No part of this post may be reproduced or duplicated without the written permission of the owner. Please see my Disclosure Policy.