Oat Topped Lemon Shortbread Bars

Share
Facebooktwitterpinterestlinkedintumblr

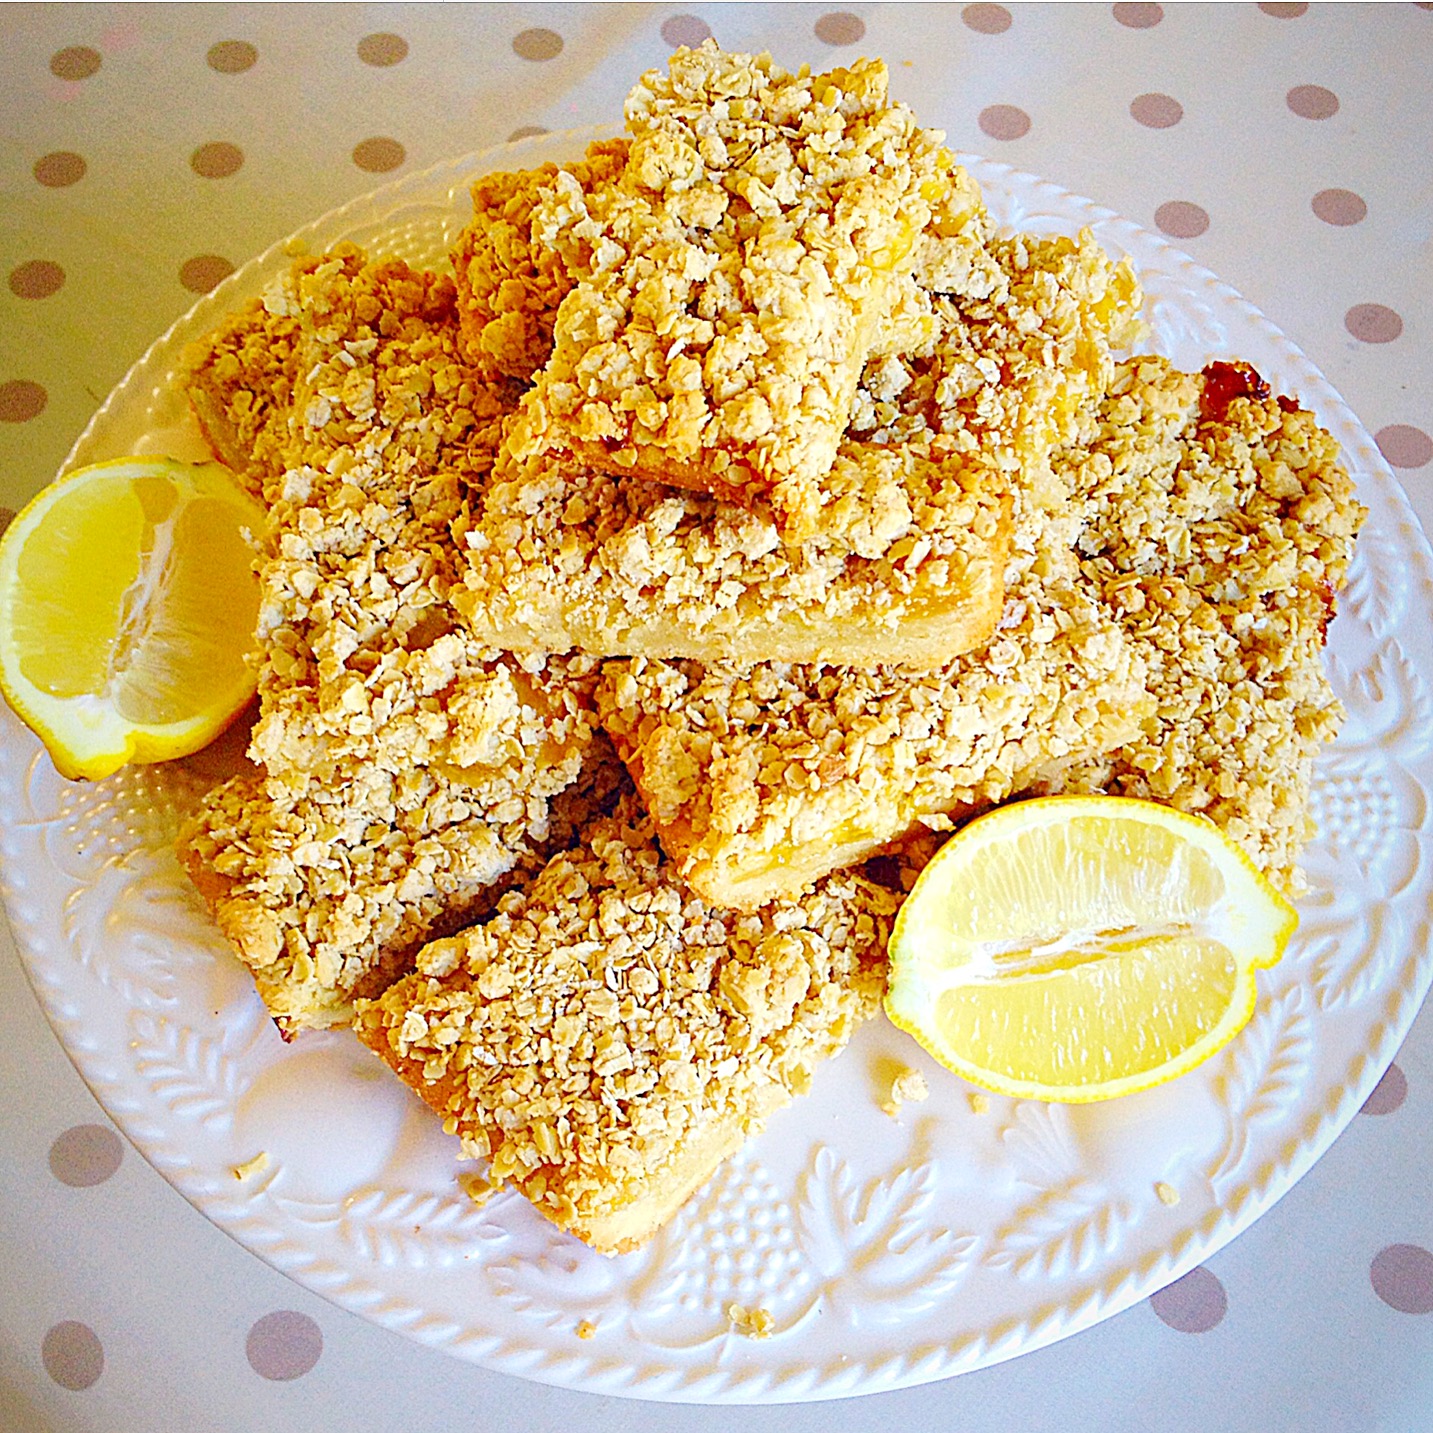
Hi and thank you for dropping by. I have a delightful treat for you today, my – Oat Topped Lemon Shortbread Bars.

Oat topped lemon shortbread bars
Oat Topped Lemon Shortbread Bars


The other day I spotted a jar of Lemon Curd (unopened) in the cupboard. My brain started whirring with all the possibilities of how I could incorporate the Lemon Curd into my next bake. I didn’t fancy making pastry, let’s be honest, sometimes it seems like too much effort – even though it is really easy – anyhow, wasn’t feeling the pastry thing. Then I thought about a cake, but that wasn’t doing it for me either, I must’ve been having a funny day? Then I thought shortbread. But not as a biscuit, as a base. Yippee, I was finally getting somewhere. Everything good so far, shortbread base, slathered with lemon curd and then oats. Wasn’t quite sure how I was going to use them in the topping, just knew I needed oats – and that’s how these Oat Topped Lemon Shortbread Bars were born!


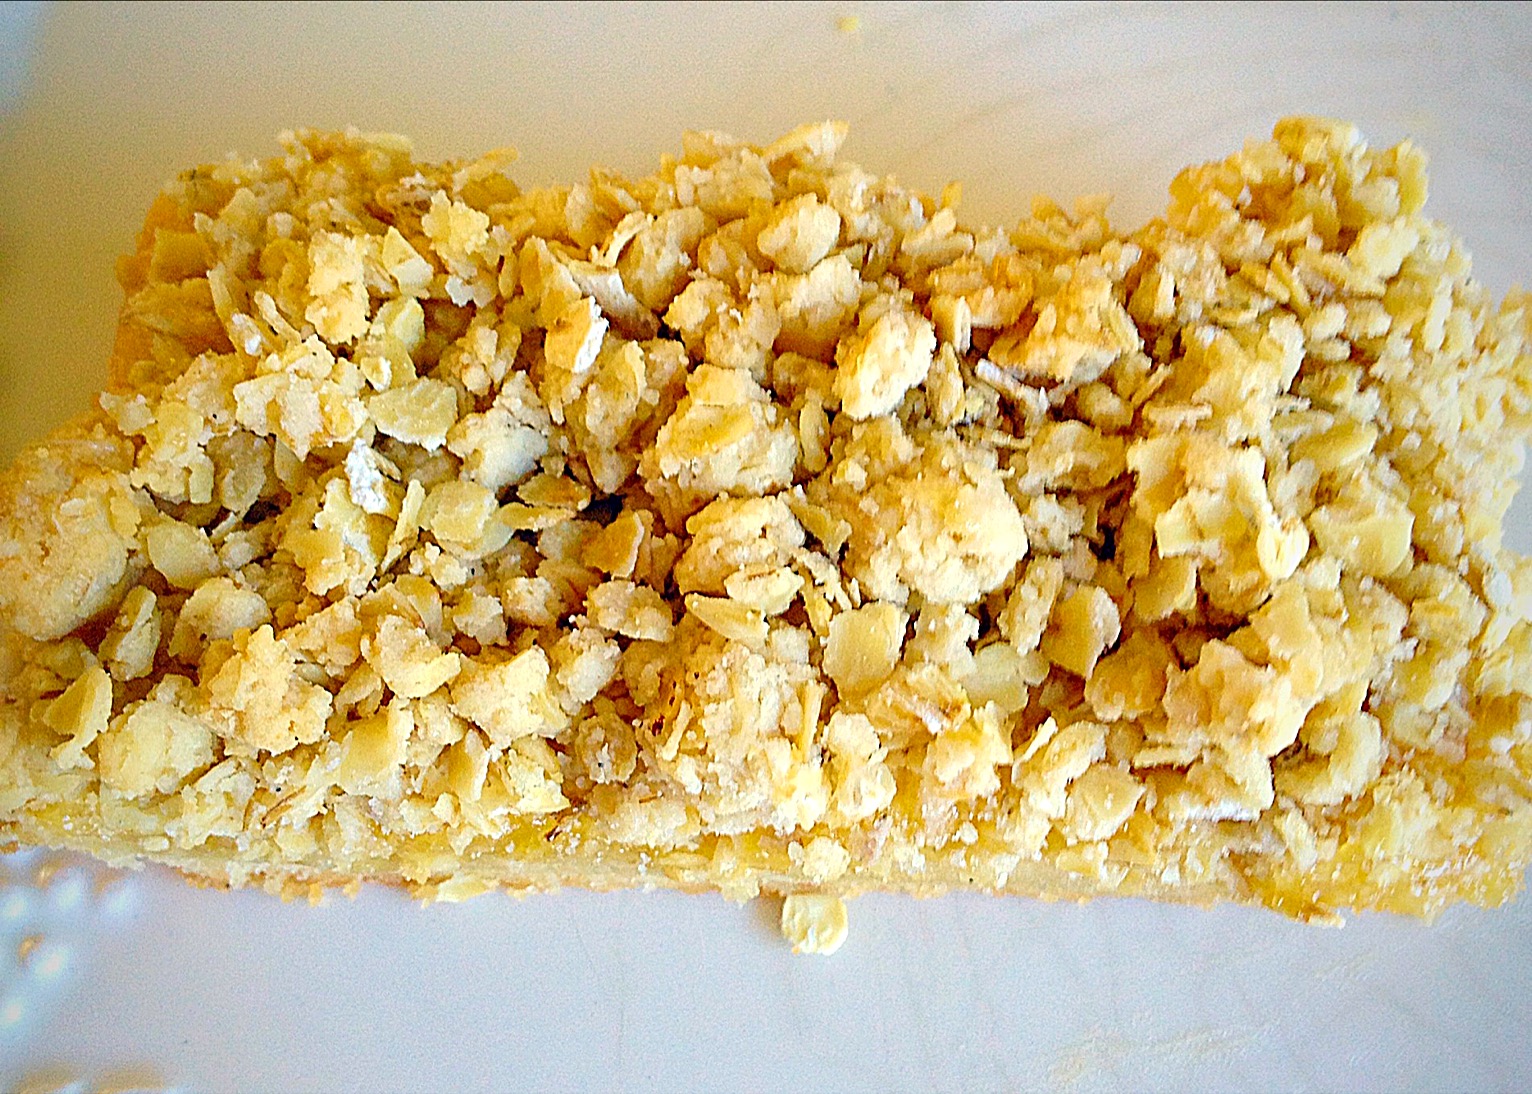
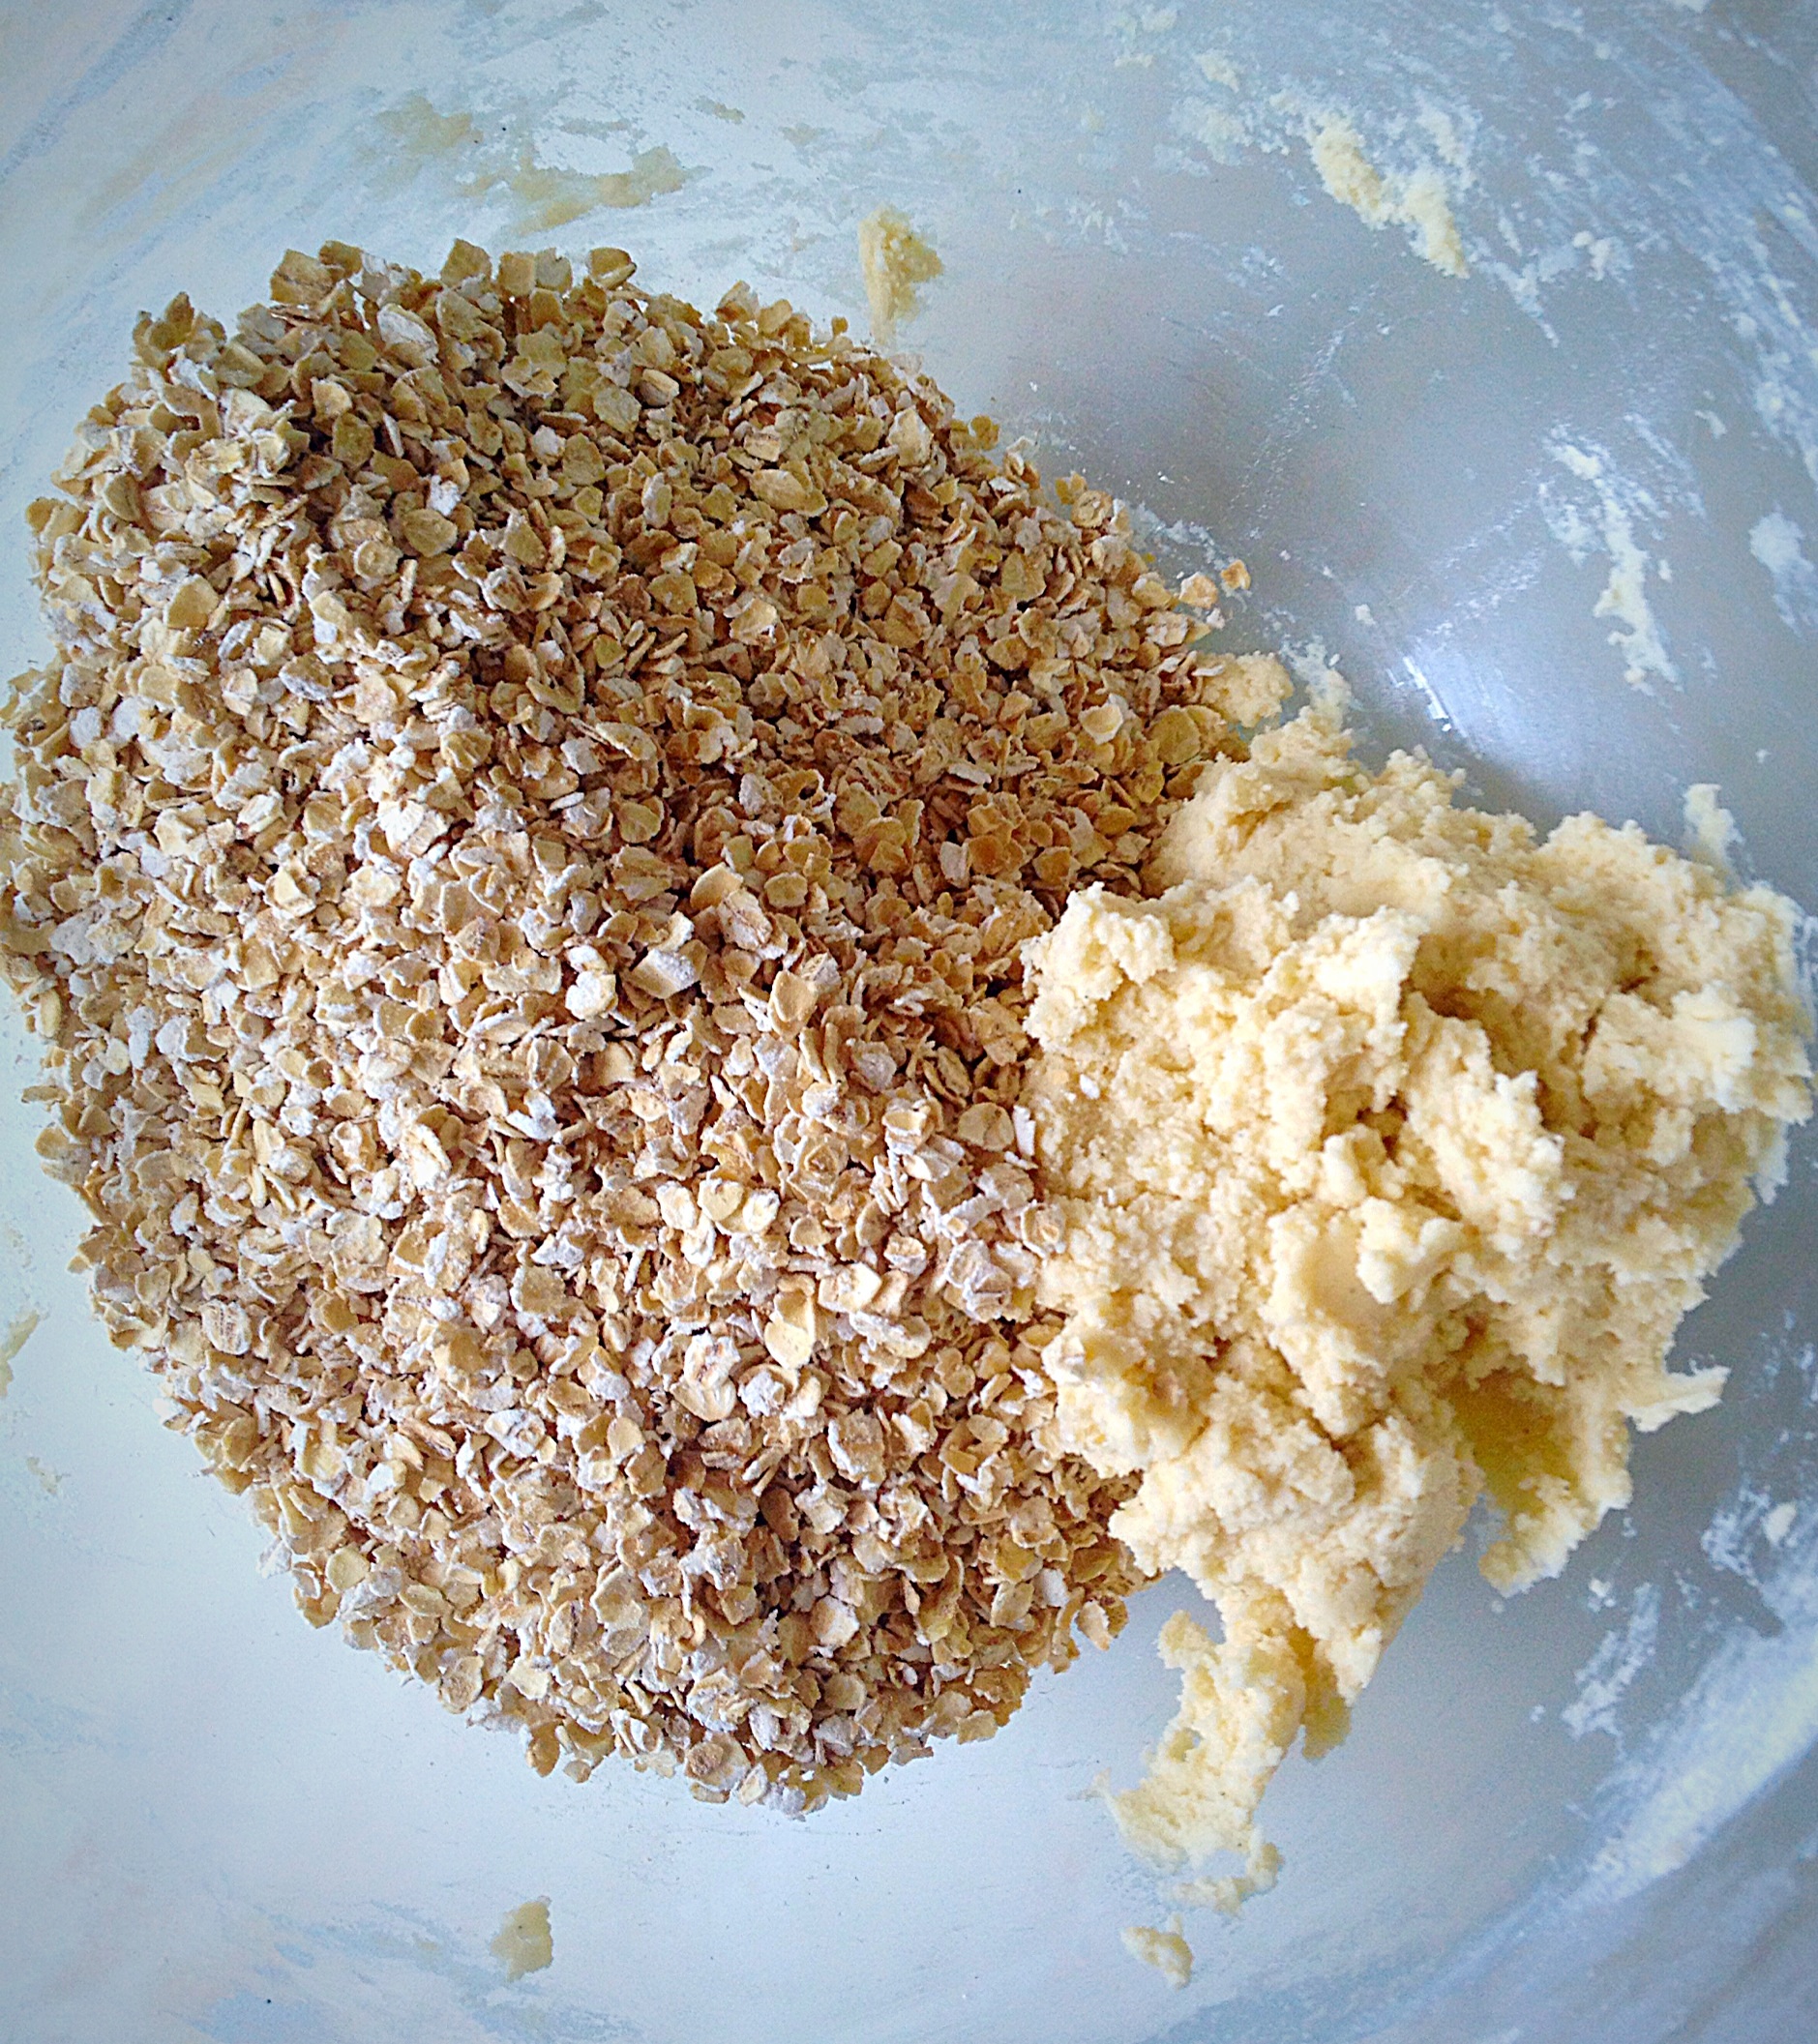
With the oat topping I decided to keep back a quarter of the shortbread dough and then crumble with the oats and pray that it would work – am not joking. It did! Although in all honesty, the bars were quite crumbly when I cut them up. Next time I would leave the whole tray bake intact, for at least a few hours, or even better overnight. The bars had firmed up beautifully by the next day.


Recipe : Oat Topped Lemon Shortbread Bars – makes 12

225g/8oz Unsalted Butter – room temp

150g/5oz Caster Sugar

1/4tsp Salt – I use Maldon 

1tsp Vanilla Extract

1 Large Egg Yolk – room temp

275g/10oz Plain White Flour

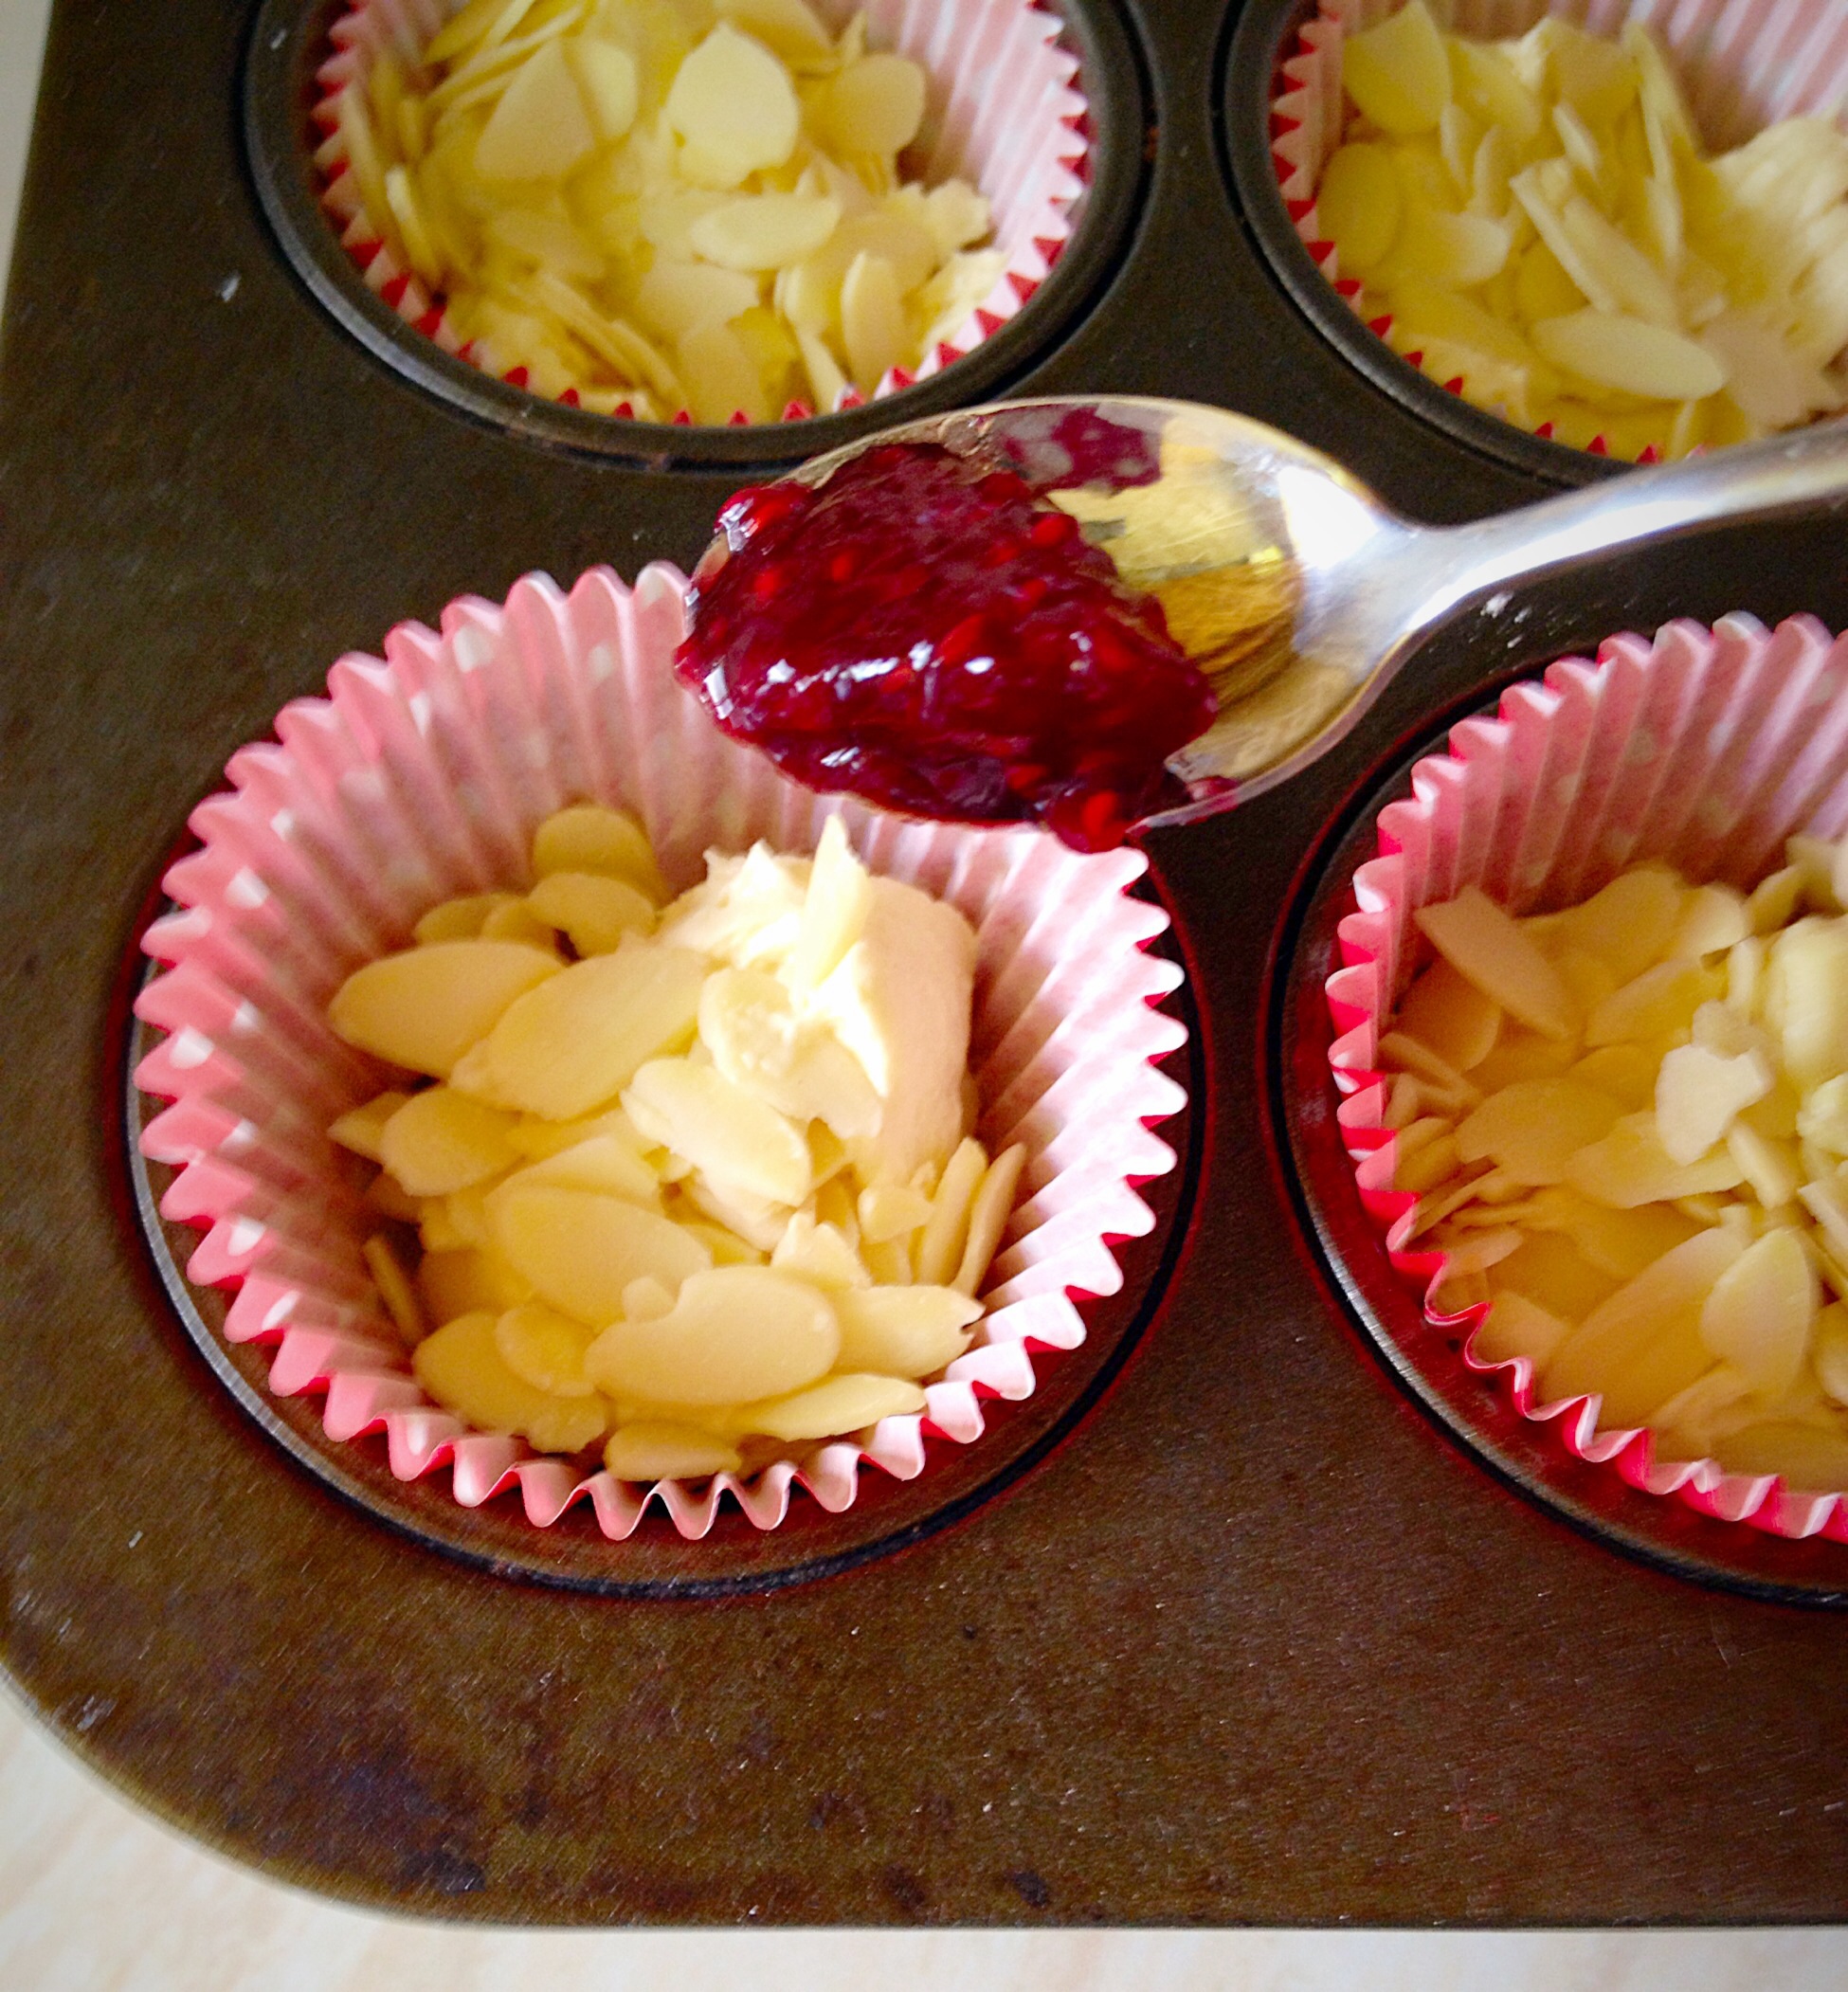
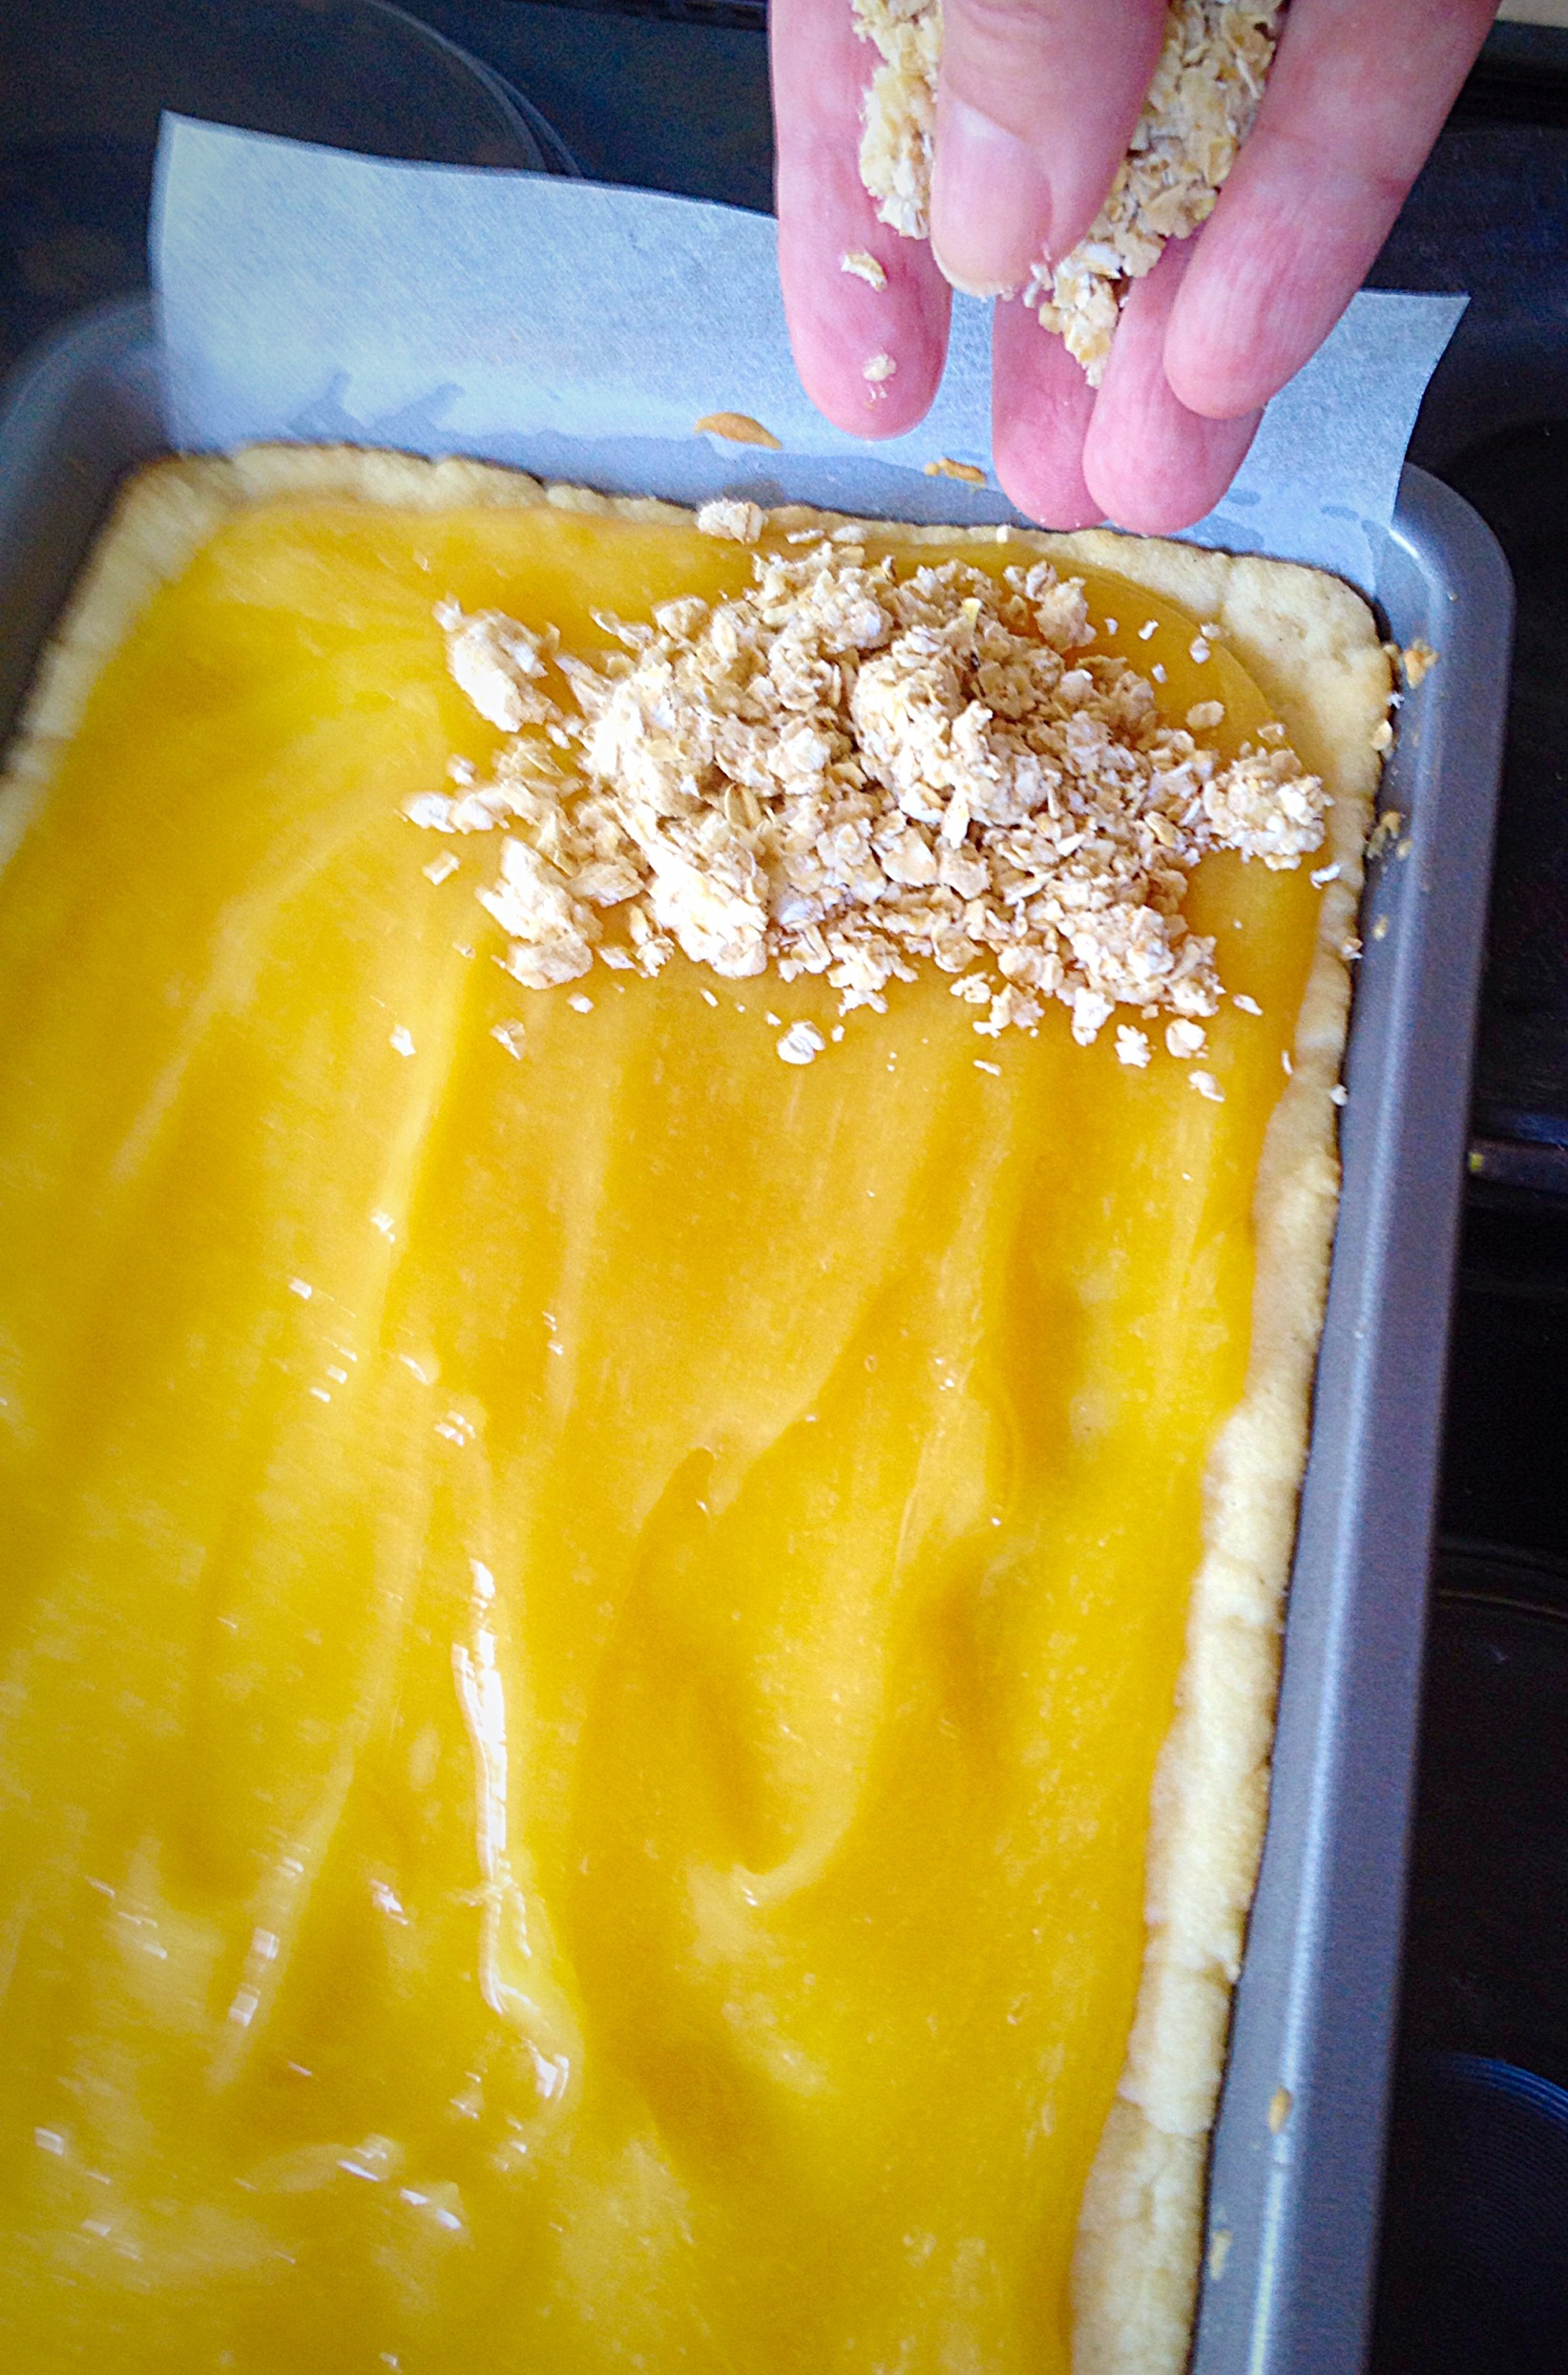
310g/11oz Jar Lemon Curd

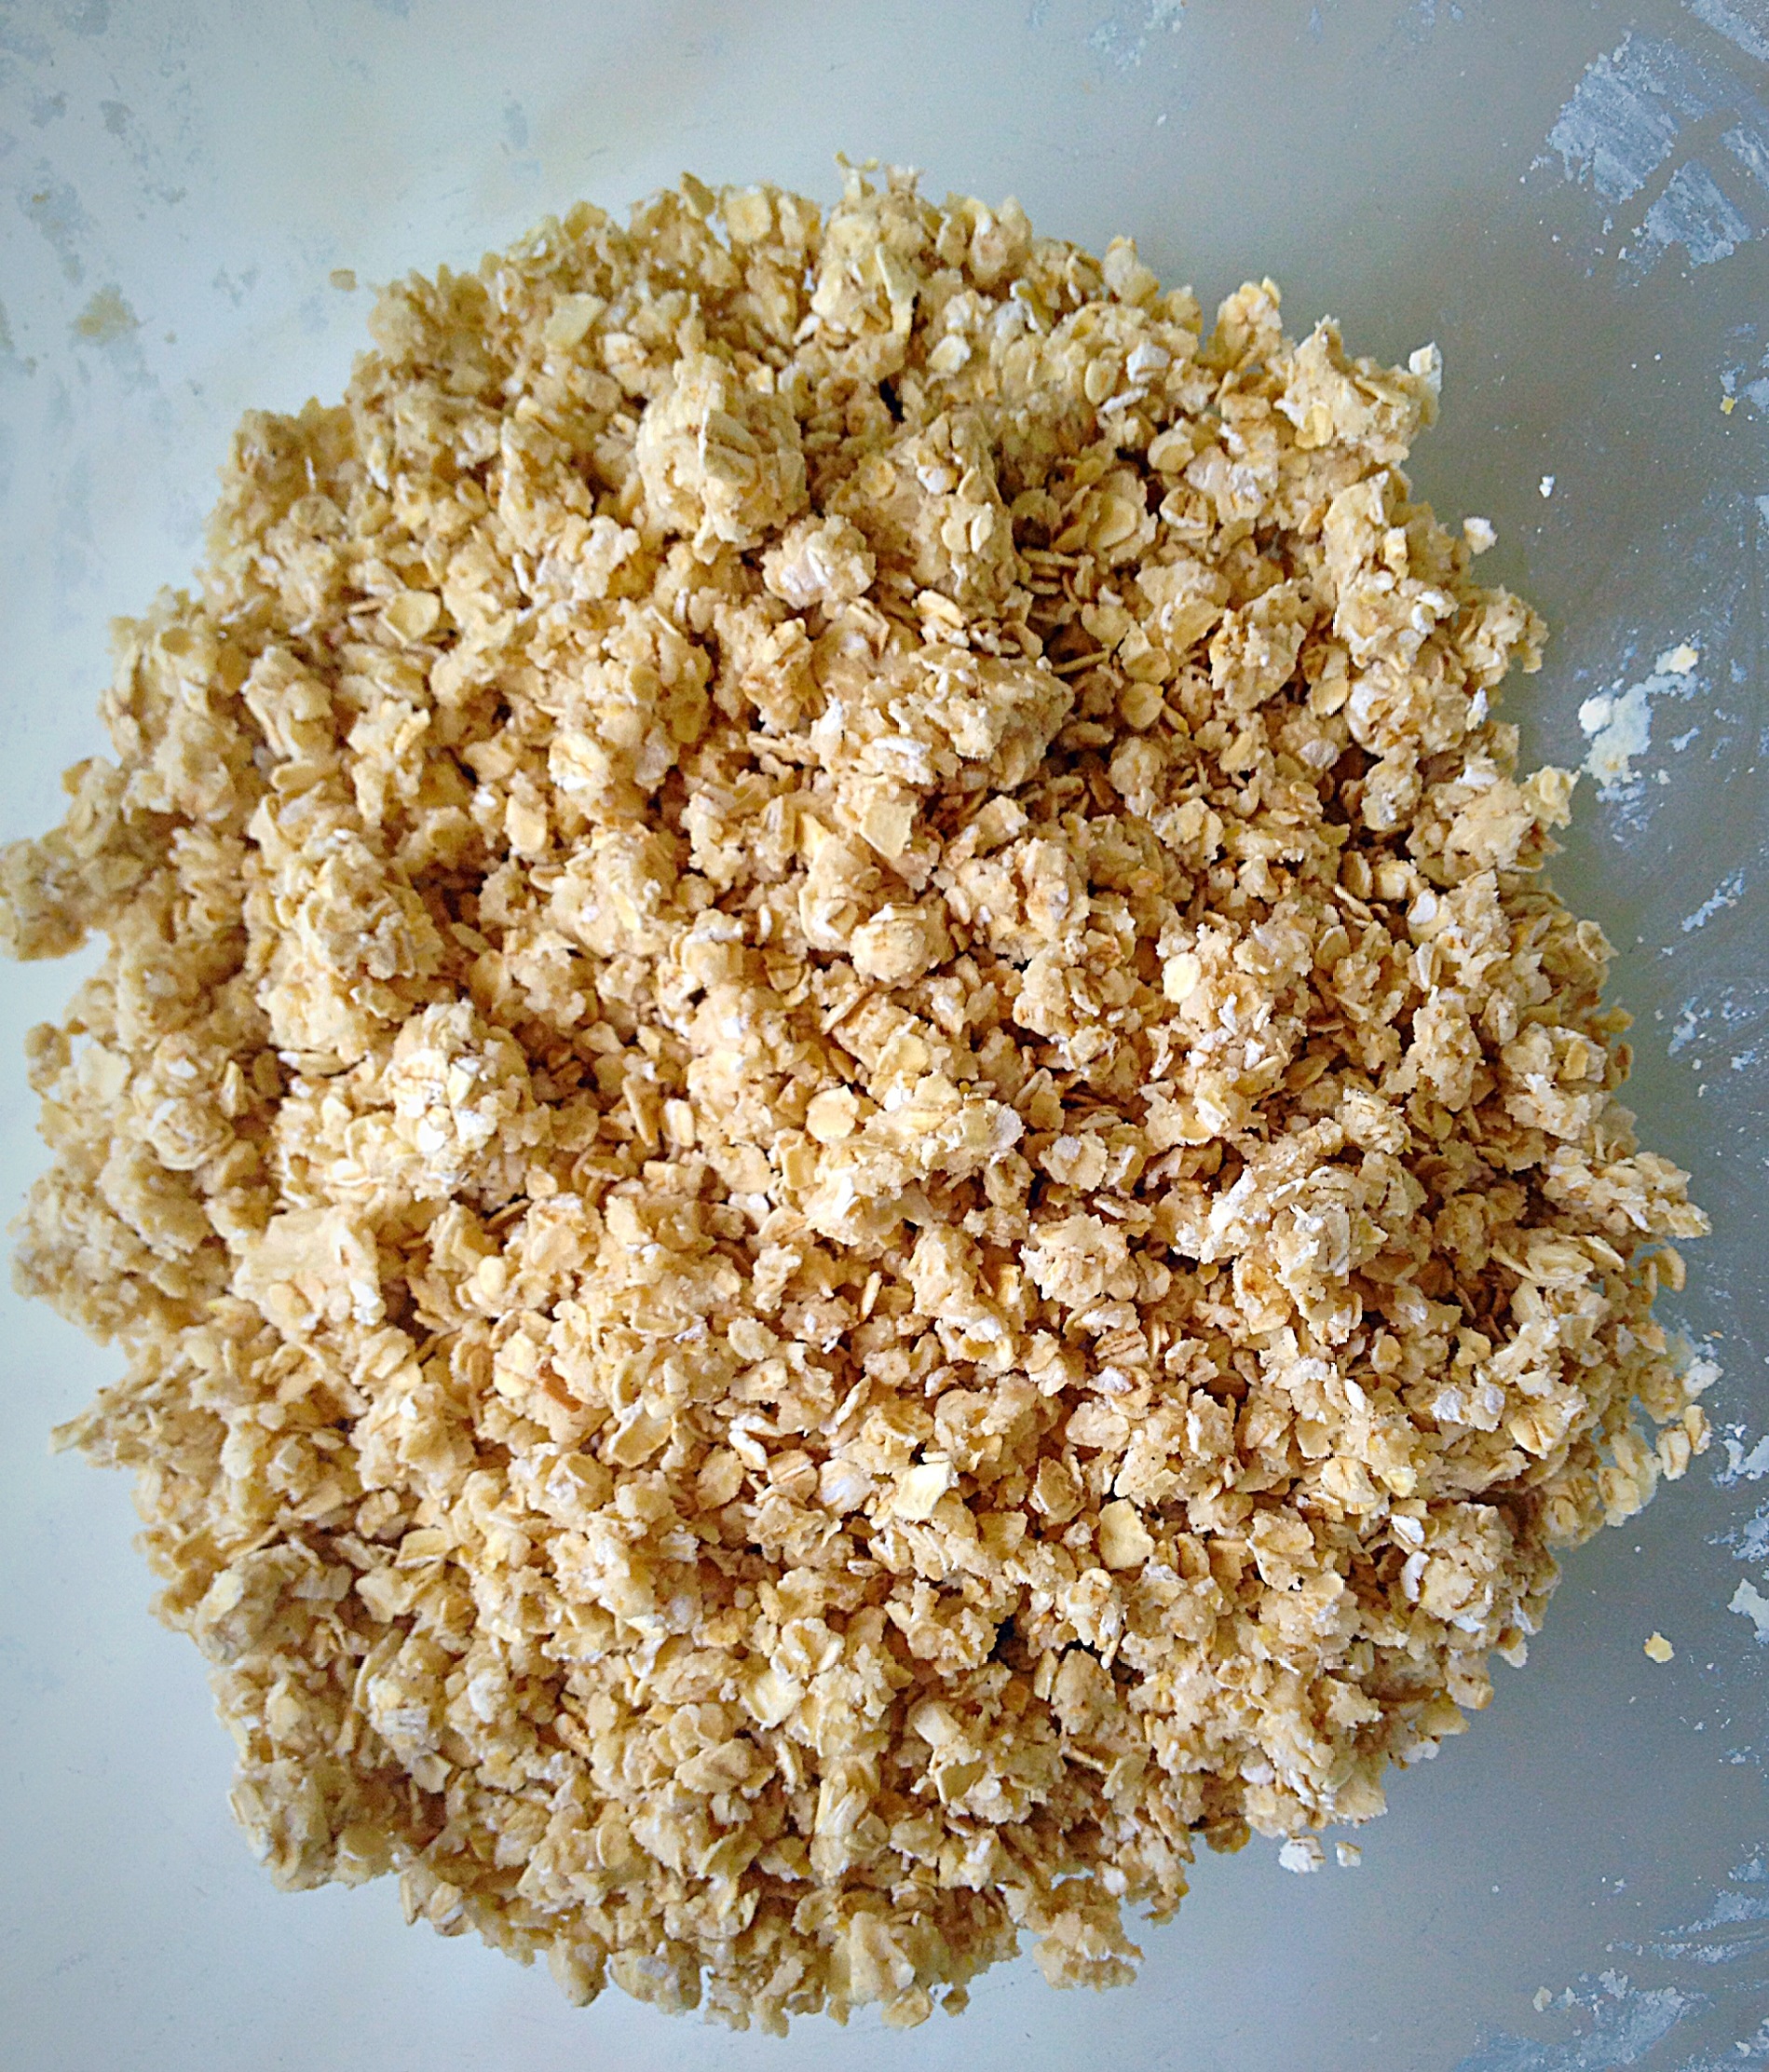
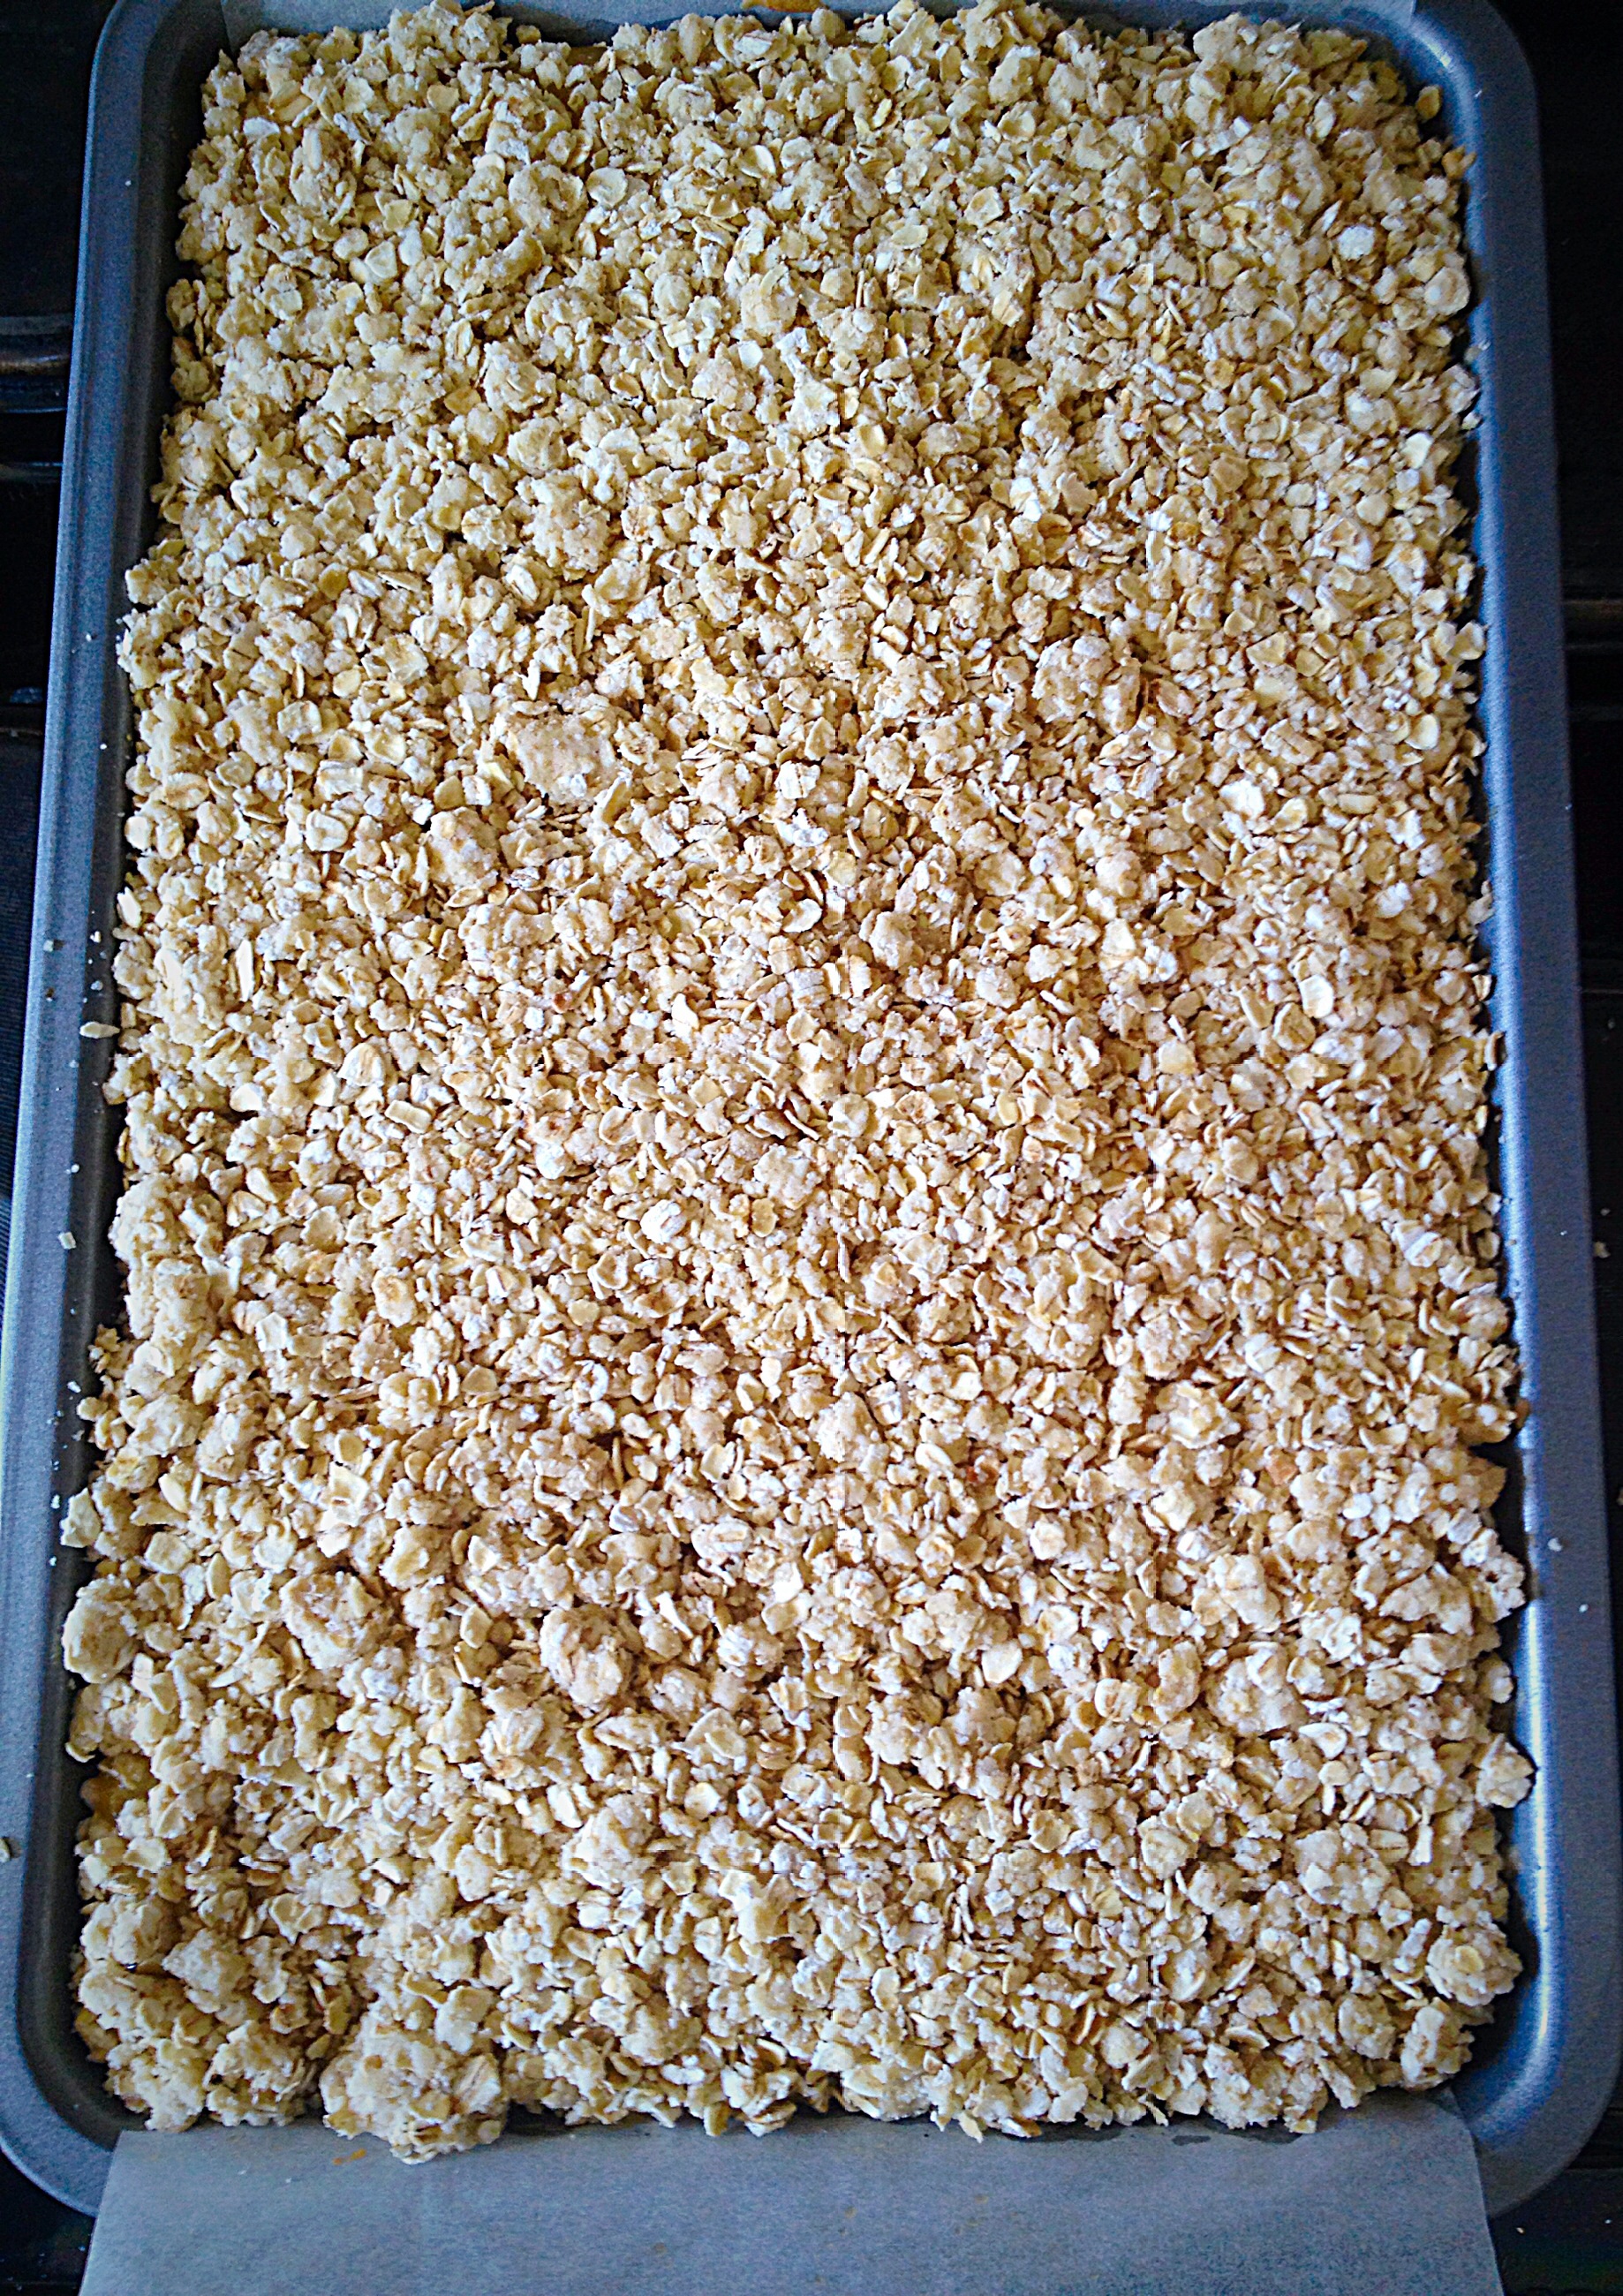
175g/6oz Rolled Oats – not quick cook

Making The Shortbread Layer

Preheat the oven to 180C/160C fan, gas mark 4, 350F.

Butter and line with parchment paper a 30cm x 20cm (12″ x 8″) at least 4cm (1.5″) deep tin.

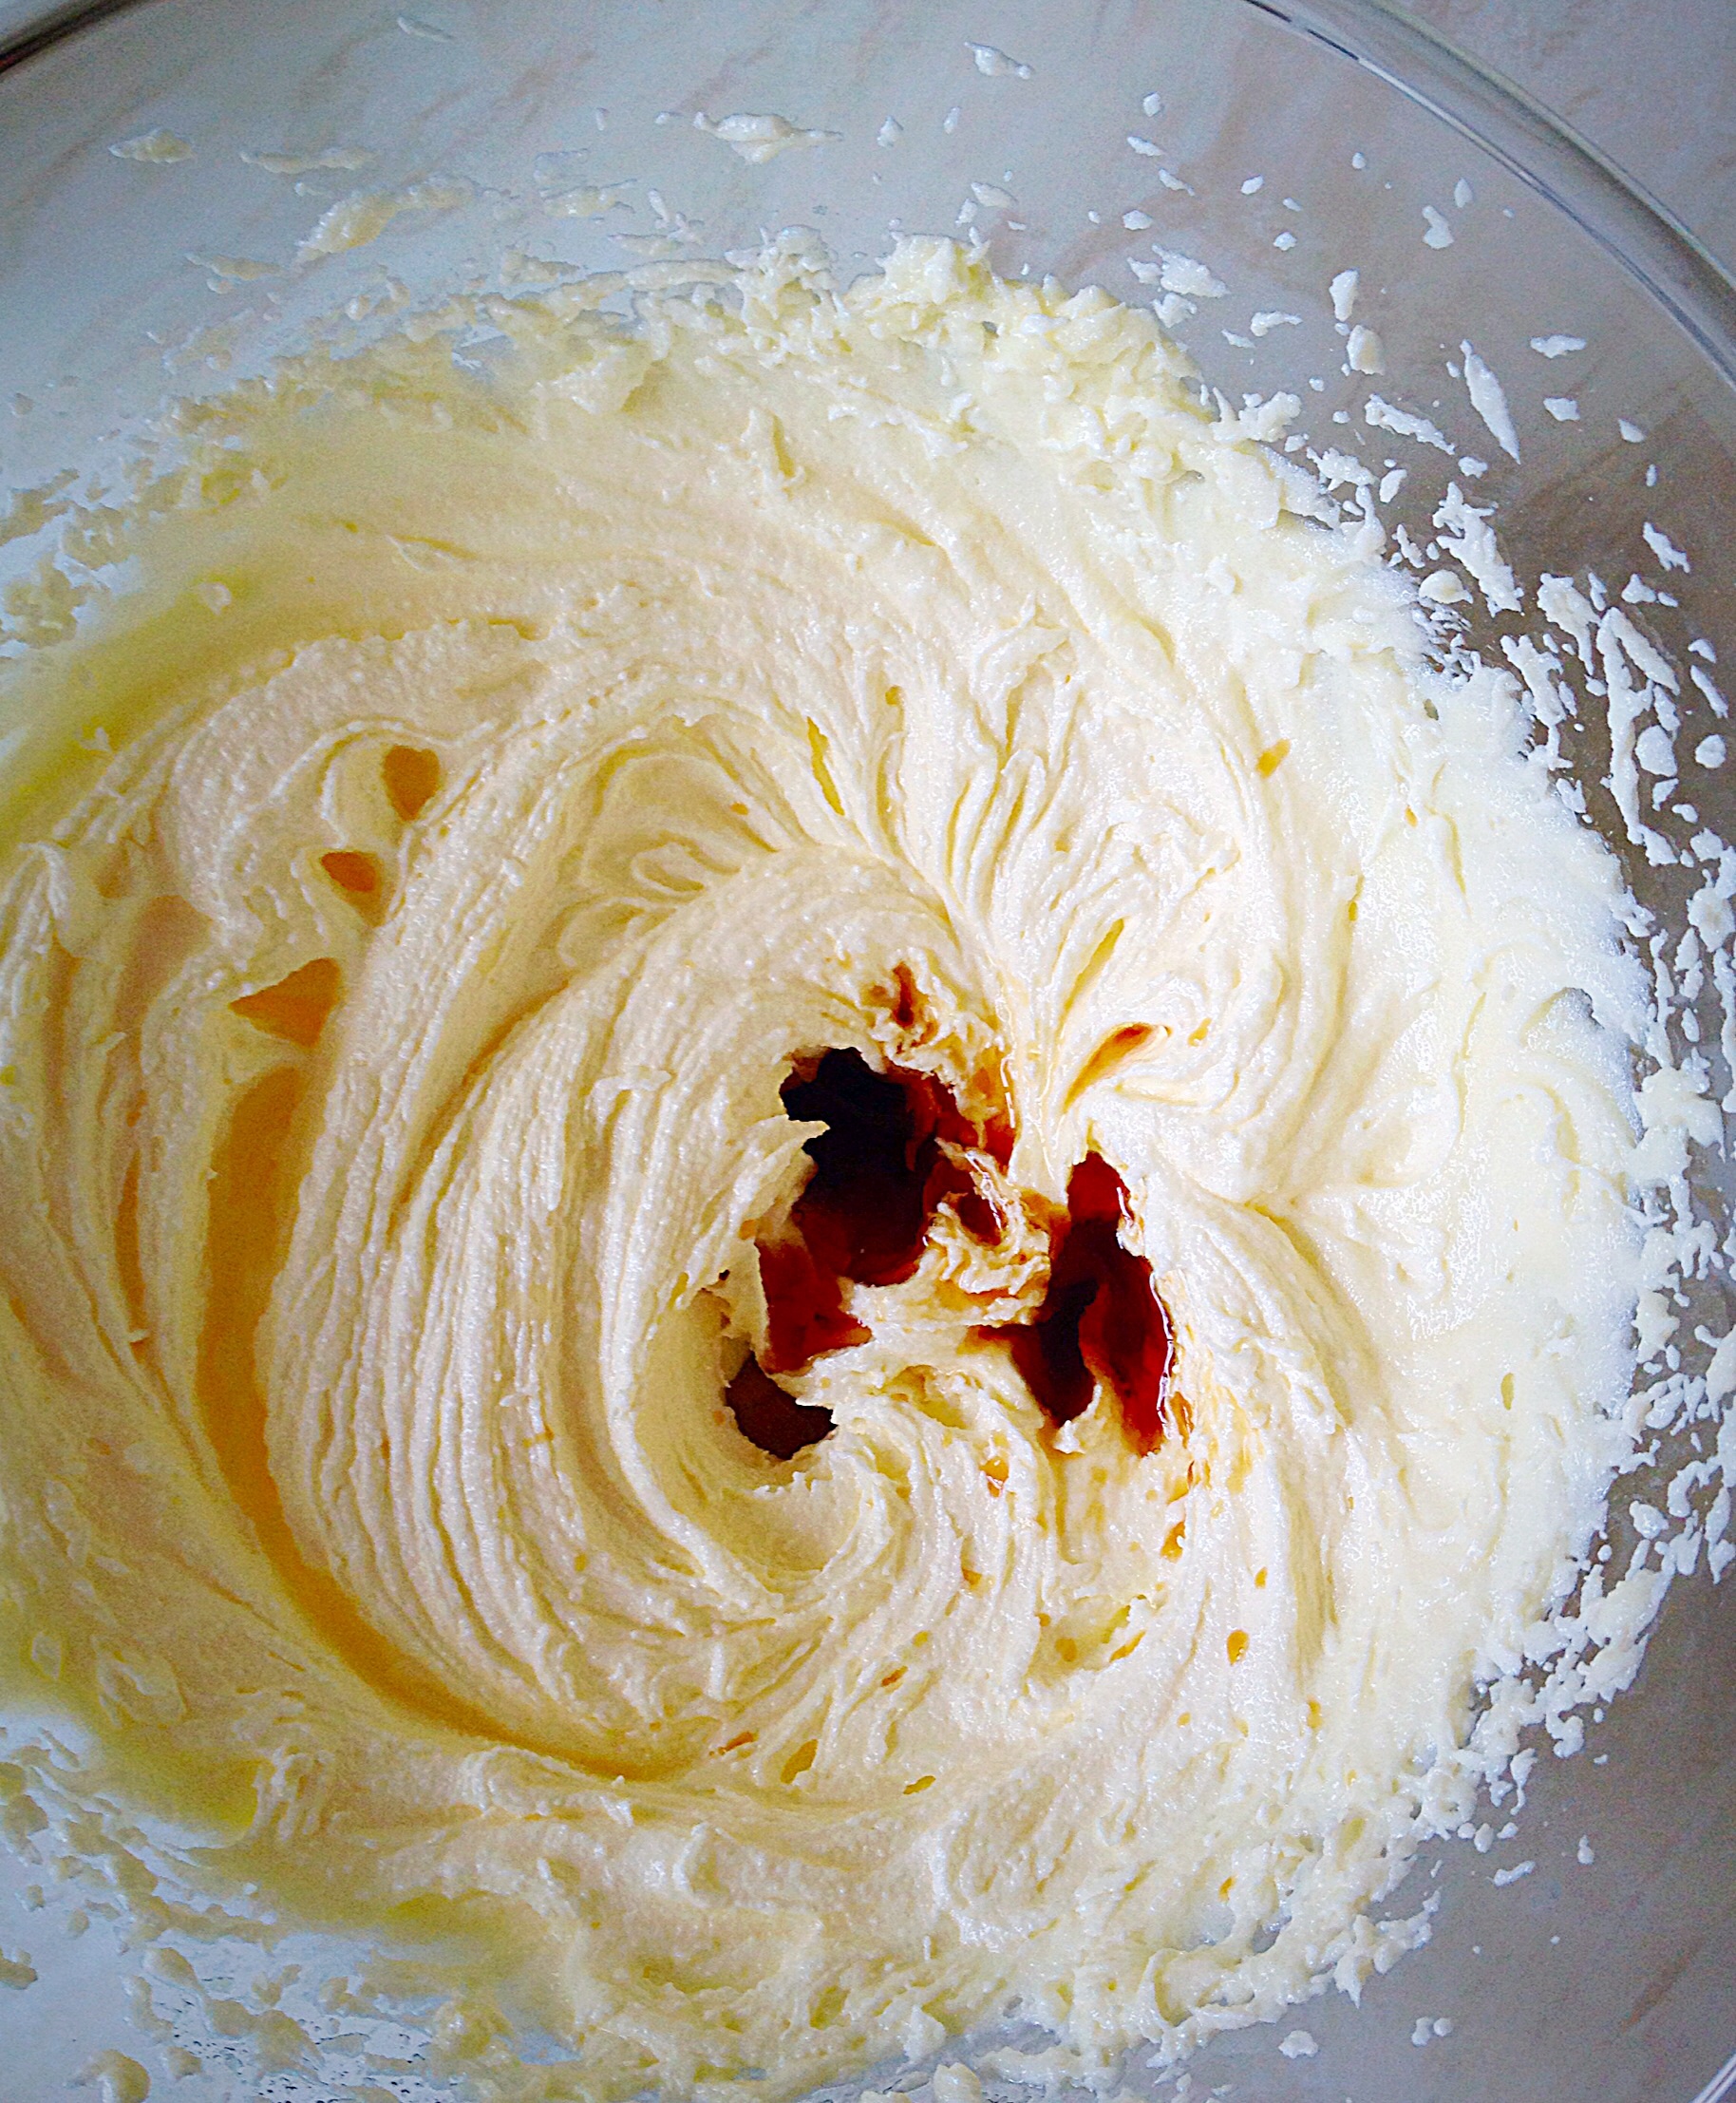
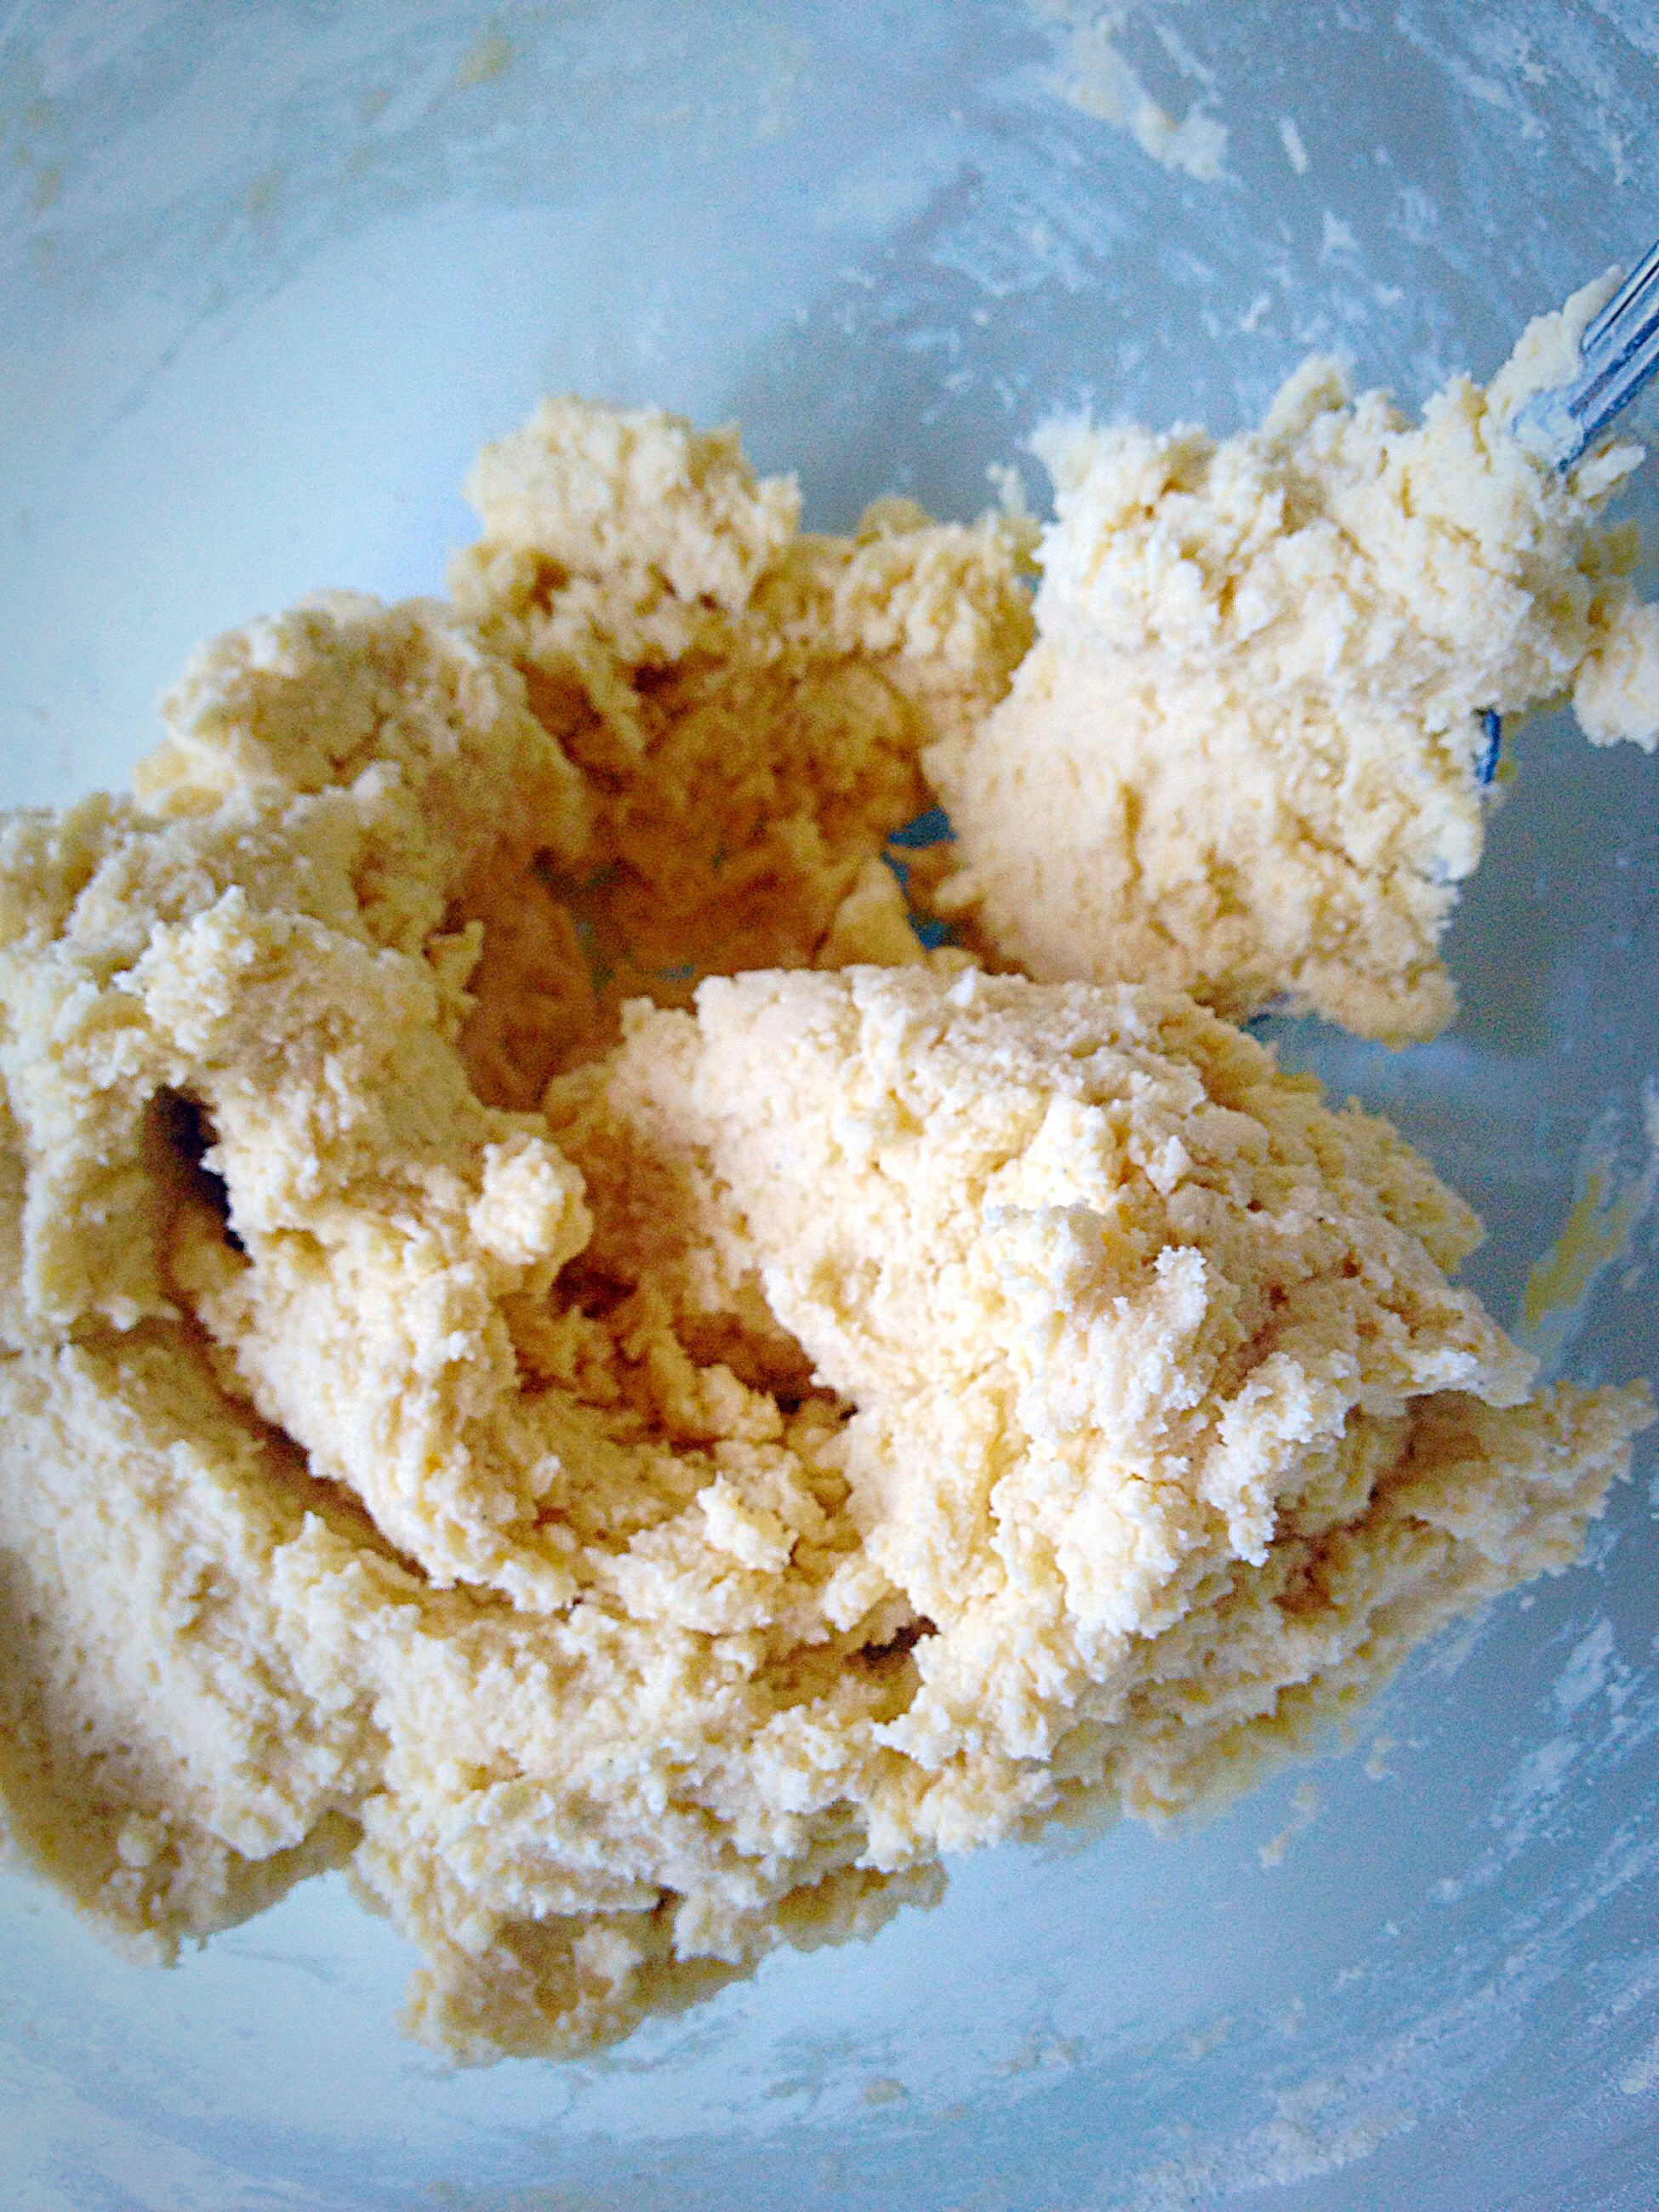
Into a large bowl whisk the butter, sugar and salt until light and fluffy.

Add the egg yolk and vanilla extract, whisk until fully incorporated.

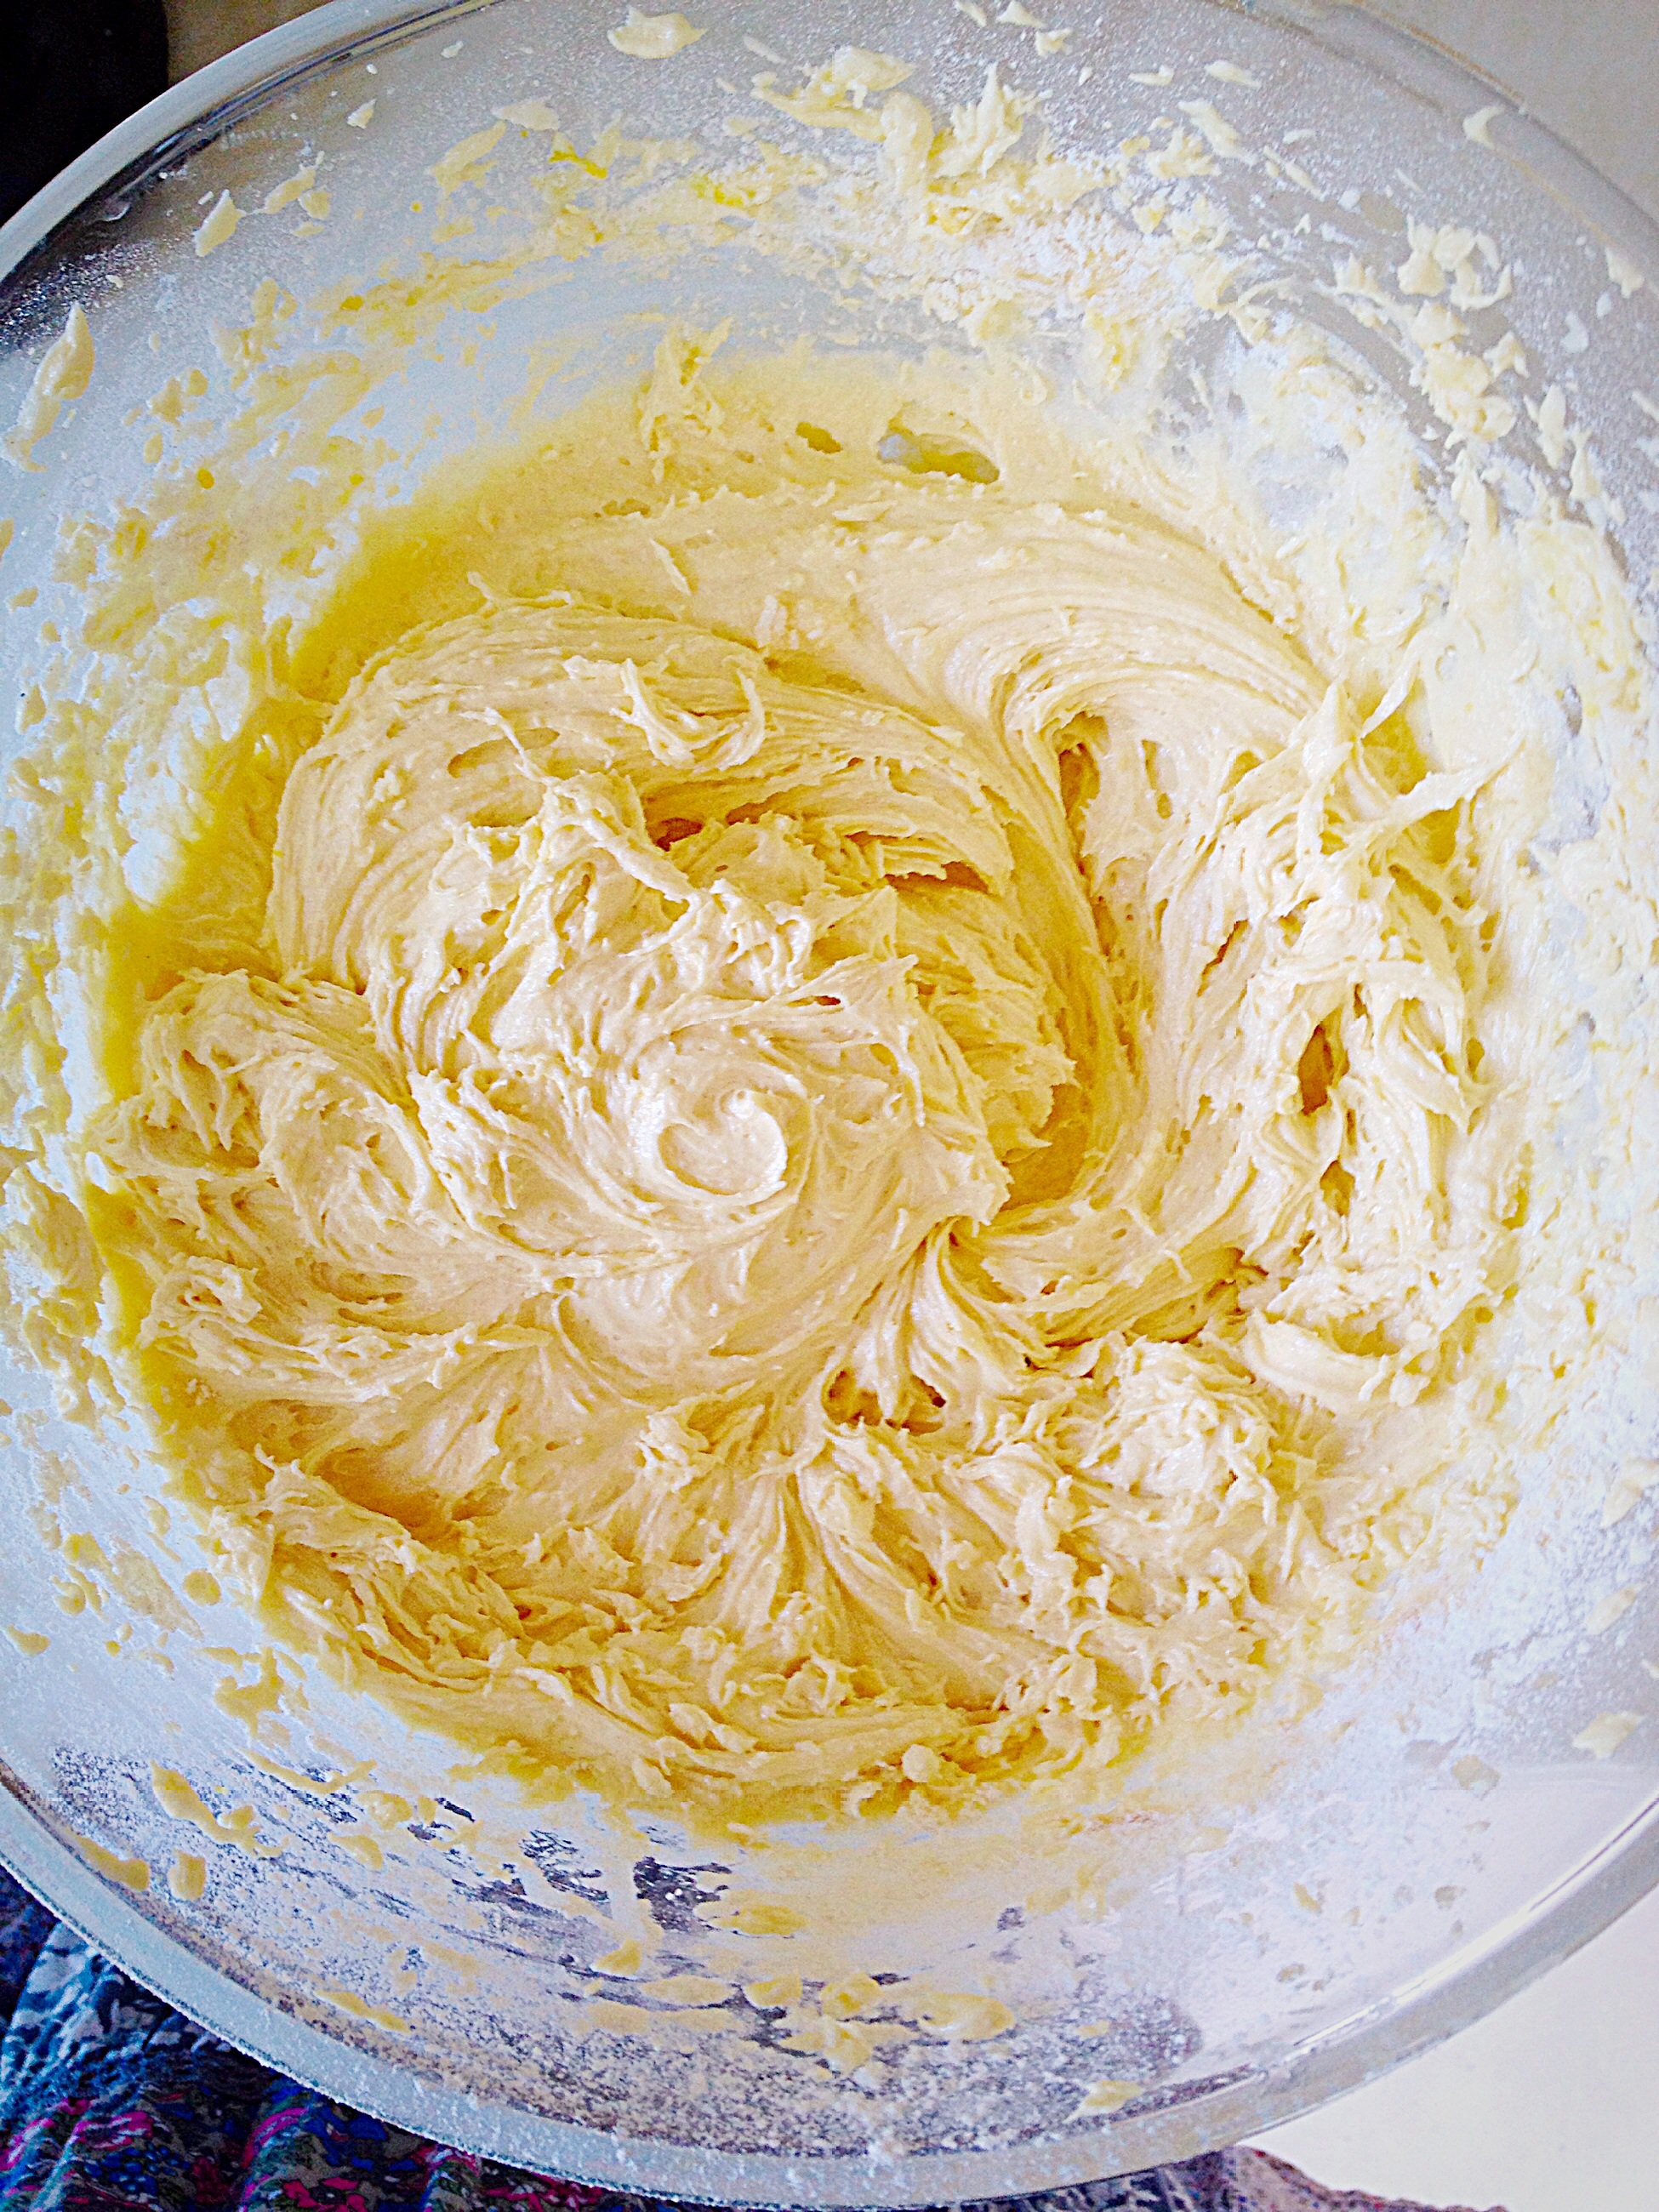
Next add the flour and stir with a spoon until just combined.

This is how your shortbread dough should look.


Reserve a quarter of the shortbread dough (for the topping).

Using the remaining shortbread dough, press lightly into the pan, so it forms an even layer.
Using the remaining shortbread dough, press lightly into the tin, so it forms an even layer.


Pop the tin into the oven for 10 minutes. This will form a light crust on, but not fully cooked, the shortbread. After 10 minutes remove from the oven.

Adding The Lemon Layer

Immediately start spooning the Lemon Curd over the shortbread base
Immediately start spooning the Lemon Curd over the shortbread base.
Cover the entire shortbread base, just inside the edge.

Making And Using The Oat Crumble Topping

Set to one side whilst you make the oat topping.

Add the oats to the remaining shortbread dough.
Using your fingers rub the buttery shortbread dough through the oats until you have an even crumble mix.
Starting at one corner sprinkle the oat crumble topping...
Starting at one corner sprinkle the oat crumble topping…
...until the entire top is covered. Very gently press down on the topping to slightly compact it.
…until the entire top is covered. Very gently press down on the topping to slightly compact it.

Baking The Oat Topped Lemon Shortbread Bars

Place in the oven for 25-30 minutes, until the oat topping is golden in colour, then remove from oven.

Oat Topped Lemon Shortbread Bars - allow to cool completely in the pan.
Oat Topped Lemon Shortbread Bars – allow to cool completely in the tin.


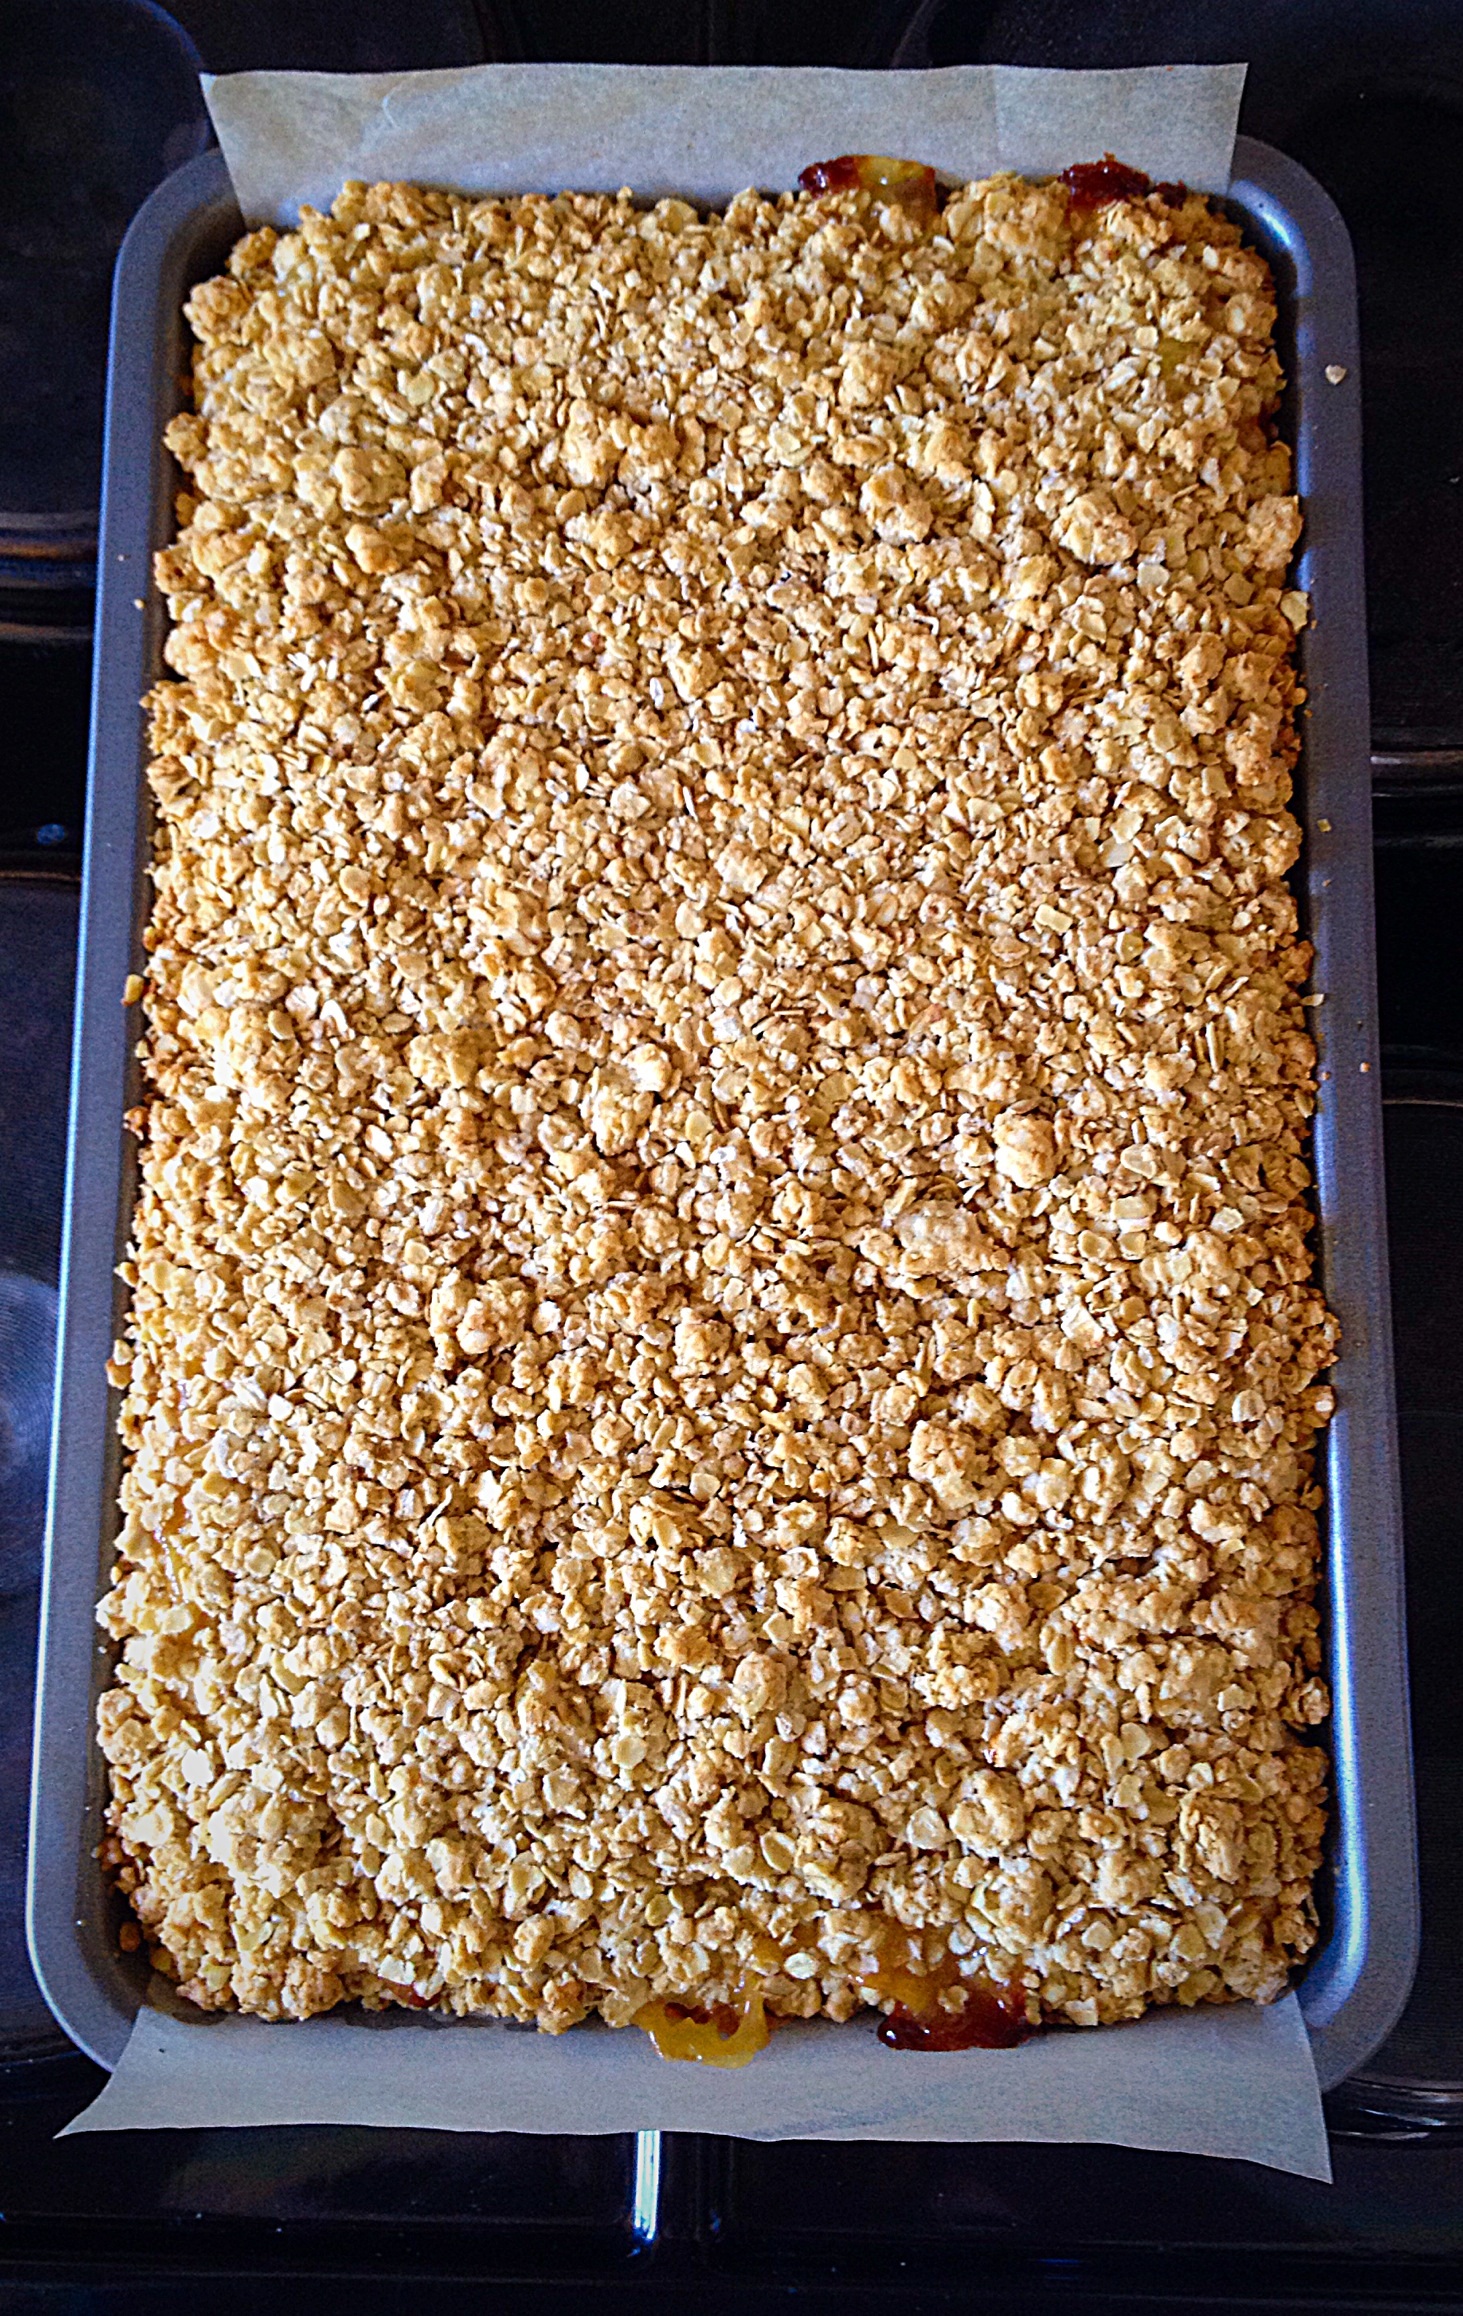
Once completely cooled, cut lengthways down the middle of the bake. Then cut into bars. Remove and store in an airtight container.

Oat Topped Lemon Shortbread Bars - pre-cooking the shortbread layer ensures it is cooked through with a lovely golden bottom.
Oat Topped Lemon Shortbread Bars – pre-cooking the shortbread layer ensures it is cooked through with a lovely golden bottom.


I really cannot emphasise how gorgeous these Oat Topped Lemon Bars are. The buttery shortbread, topped with good, tangy, lemon curd and then the crunch from the oat crumble topping.


Everyone who has tried these has loved them! That’s definitely a winner in my book (or blog!!!).

Perfect for sharing!

Please let me know what you think?

Sammie x

Share
Facebooktwitterpinterestlinkedintumblr

Raspberry Banana Ice Cream Smoothies

Share
Facebooktwitterpinterestlinkedintumblr

Finally it’s Friday – YAY. I have the perfect, cooling down drink, especially if you are  under exam pressure in hot weather. Or just fancy a delicious, fruit packed drink at the end of a long week. Let me introduce you to my Raspberry Banana Ice Cream Smoothies!

Raspberry Banana Ice Cream Smoothies - the perfect way to cool down in a hot day.
Raspberry Banana Ice Cream Smoothies – the perfect way to cool down on a hot day.


Only 4 ingredients are needed to make this yummy, thick, ice cream smoothie. I made these for us last night, after the children had finished another long, hot day, at school, sitting exams. They absolutely loved them, as did I – obviously I have to check what I make just to ensure it tastes good/won’t poison them/cos I wanted to!!!!!

Raspberry Banana Ice Cream Smoothies - pretty, pink, cool, drink!
Raspberry Banana Ice Cream Smoothies – pretty, pink, cool, drink!i


This ice cream smoothie is the perfect treat during a long day of revision, after returning home from school or the office – any reason to celebrate Friday!!!

Now let’s get on with how to make this luscious smoothie!

This Raspberry Banana Ice Cream Smoothie may just be my favourite flavour yet!

Recipe : Makes 4 Large Smoothies

3 Ripe Bananas

300g/11oz Frozen Raspberries

500ml/1 pint Vanilla Ice Cream – I use Mackies Organic Vanilla Ice Cream

250ml/1/2 pint Milk – I used Whole milk

Break up the bananas and place in a blender. Add the frozen raspberries, ice cream and milk - then BLITZ until completely smooth.
Break up the bananas and place in a blender. Add the frozen raspberries, ice cream and milk – then BLITZ until completely smooth.


Pour your Raspberry Banana Ice Cream Smoothies into tall glasses, add a straw and slurp!

One very happy child, slurping his smoothie!!


These really are delicious, using frozen raspberries is much cheaper, however if you have an abundance of fresh berries, by all means use them.

If you have enjoyed this recipe for Raspberry Banana Ice Cream Smoothies you may also like these:

Fresh Strawberry Simple Syrup 

FF Raspberry Banana Ice Cream Smoothies
Fresh Strawberry Simple Syrup

Blueberry Banana Superfood Smoothies 

FF Raspberry Banana Ice Cream Smoothies
Blueberry Banana Superfood Smoothies

Lemon Ripple Ice Cream

FF Raspberry Banana Ice Cream Smoothies
Lemon Ripple Ice Cream


While they may not be super ‘healthy’ matcha tea green smoothies, they are packed with fruit. Since eating and drinking is all about balance I have no problem making these as an occasional treat. Especially when the weather is as hot as it is today!

Since I am already thinking of other flavour combinations, I’d love to hear your ideas?

Sammie xx

No part of this post may be reproduced or duplicated without the written permission of the owner. Please see my Disclosure Policy.


Share
Facebooktwitterpinterestlinkedintumblr

Bakewell Cupcakes

Share
Facebooktwitterpinterestlinkedintumblr

Hello people, do I have the perfect picnic Cupcake for you to make and enjoy this sunny day here in the UK today? I think so. So, let me introduce these delicious Bakewell Cupcakes. All the yumminess of a Bakewell Tart in Cupcake form.

Bakewell Cupcakes topped with white icing and a red glacé cherry.
Bakewell Cupcakes

Since I love Bakewell Tart, the raspberry jam layer, enveloped in an almond  sponge or frangipane, so I set about turning one of my favourite tarts into a cupcake. Resulting in the creation of these Bakewell Cupcakes.

A cooling rack packed with red cherry topped Bakewell Cupcakes.
Bakewell Cupcakes

While you have to admit, these cupcakes even look cheerful. Maybe it’s the bright red cherry on top of the almond glaze? And when you bite into these Bakewell Cupcakes your mouth is filled with an assortment of tastes and textures.  Since the hidden raspberry jam and almonds flakes in the centre are a wonderful surprise.

A Bakewell Cupcake with a bite taken out of it.
Bakewell Cupcakes layers of flavour.

Also, the use of flaked almond in the centre is two-fold, firstly they provided a delightful crunch, secondly they stop the Raspberry jam from sinking to the bottom of the cupcake. So, when you bite through the glorious almond glaze into the moist cupcake sponge, your mouth is then filled with tart raspberry jam and crunchy almond flakes. Resulting in the perfect cupcake flavour and texture balance.

Finally, enough of me telling you how scrummy these are, let’s get on with how to make them!

Recipe :  Bakewell Cupcakes makes 18

For the cupcakes:

18 Cupcake Cases

225g/8oz Unsalted Butter – at room temperature

225g/8oz Caster Sugar

1/4tsp Salt – I use Maldon

4 Large Free Range Eggs

1 tsp Vanilla Extract

1/2tsp Almond Extract – I use Nielsen-Massey 

225g/8oz Self Raising White Flour

1/2 Jar Raspberry Jam

175g/6oz Flaked Almonds

For the topping:

400g/14oz Icing Sugar

1/2tsp Almond Extract

18 Red Glacé Cherries

Making The Cupcake Batter

Preheat Oven to 180C/160C (fan), gas Mark 4, 350F.

First of all line the muffin tins with the cupcake cases.

Add the butter, sugar and salt to a large bowl.

Whisk together until light and fluffy. Then add the Vanilla and Almond Extract. Whisk to combine.
Add half the flour and 2 eggs, whisk together to combine.

Add the remaining flour and eggs, whisk until combined.

Light, fluffy, Almond flavoured cake batter.
Place approx 1 teaspoonful of the batter into the bottom of each cupcake case.
I used the end of a desert spoon as it was easier! Continue until each case has cake batter in the bottom.
Add a good pinch of flaked Almonds to each case, pressing the cake batter flat as you add them.
Place 1/2 a teaspoon of raspberry jam on top of the Almonds.
When the jam has been added then place a heaped teaspoon of cake better on top.
The batter will naturally spread out during the cooking process, sealing in the hidden jam centre!


Baking The Cupcakes

Place the Bakewell Cupcakes into a preheated oven and bake for 15-20 mins, until the top is golden brown and springs back when lightly pressed.

Remove from the oven and allow to cool for 10 minutes in the tin before transferring them to a cooling rack.
Allow to cool completely before icing.

Making The Almond Glacé Icing

To make the icing, sift the icing sugar into a bowl, add 1/2tsp of Almond Extract and enough water to make a thick, fluid icing. It should be able to hold a figure of eight.

Almond flavour glaze that's just the right consistency.
Almond flavour glaze that’s just the right consistency.

Decorating The Cupcakes

Use a teaspoon to cover the top of the cupcakes with the icing.
Now pop a cherry on top and leave to set for a couple of hours - if you can wait that long??
Now pop a cherry on top and leave to set for a couple of hours – if you can wait that long??


Bakewell Cupcakes are not only pretty and delicious, they also make perfect, portable, picnic food. Likewise, they are ideal for sharing with friends, family or someone you know, who needs a little pick-me-up!

If you have enjoyed this recipe for Bakewell Cupcakes you may also like these:

Iced Bakewell Tart

FF Bakewell Cupcakes
Iced Bakewell Tart

Bakewell Shortbread Bars 

FF Bakewell Cupcakes
Bakewell Shortbread Bars

Cherry Bakewell Cookies 

FF Bakewell Cupcakes
Cherry Bakewell Cookies


Because I adore the combination of flavours found in a traditional Bakewell Tart I am always looking to incorporate them in other bakes. Since creating these cupcakes I have also made Cherry Bakewell Hot Cross Buns which have been featured in The Guardian newspaper! Also, I’ve made these very delicious Cherry Bakewell Rocky Road Bars which are a great no bake treat. So, if you enjoy all things Bakewell, be sure to check out my other recipes.

Whatever you are making, baking and creating in your kitchens, have fun preparing and sharing your feast.

Sammie xx

No part of this post may be reproduced or duplicated without the written permission of the owner. Please see my Disclosure Policy.

Share
Facebooktwitterpinterestlinkedintumblr