Birthday season is upon us in the Feasting family. Cakes, bakes, canapés and celebration continue from now, right through to the New Year. Therefore, making this Orange Lemon Ombre Piped Rose Cake with family in mind, resulted in a beautifully decorated, delicious cake, perfect for guys and girls of all ages.

So the cake itself is made using Wright’s Baking Orange Cake Mix, to which lemon zest is added. Baked as a single cake, it is then sliced into three layers which are sandwiched back together using tart lemon curd. The result, a balanced citrus flavoured cake, that wakes up your tastebuds ready to party!

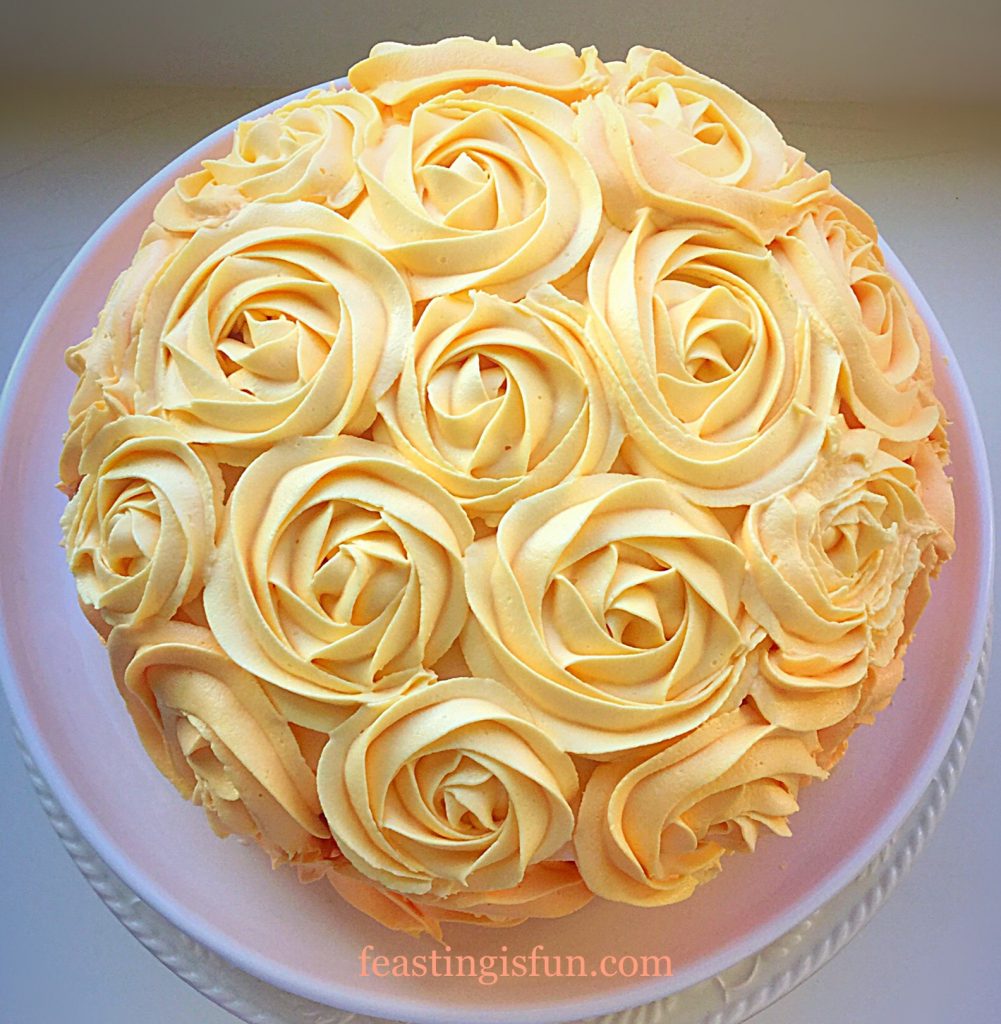
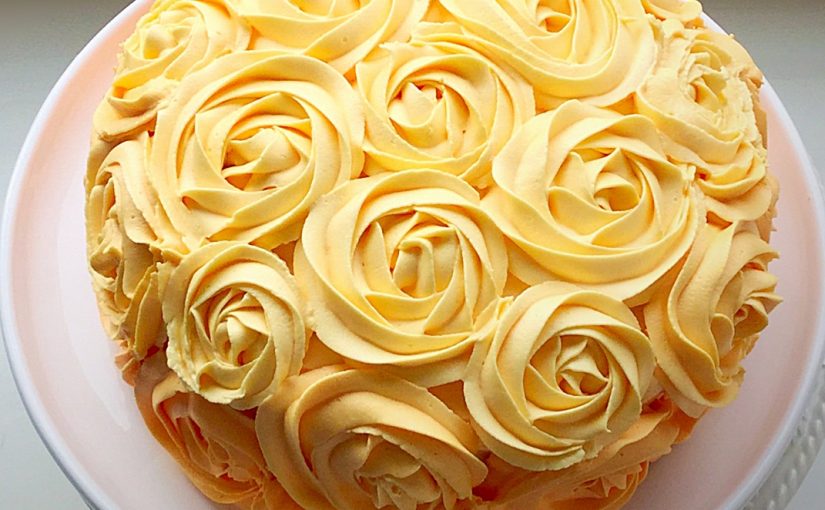
In addition, the decision to decorate the cake with piped buttercream roses, shows an increase in confidence with regard to piping. Creating an ombré effect, from pale lemon swirls to deeper tangerine lends a modern finish to this cake.
Since piping this Heart Engagement Bundt Cake, crumb coating, covering the whole cake in a thin layer of buttercream, was not an option, it was a must. Resulting in a cake that looks much cleaner, more professional, as well as any gaps between the roses are already covered.
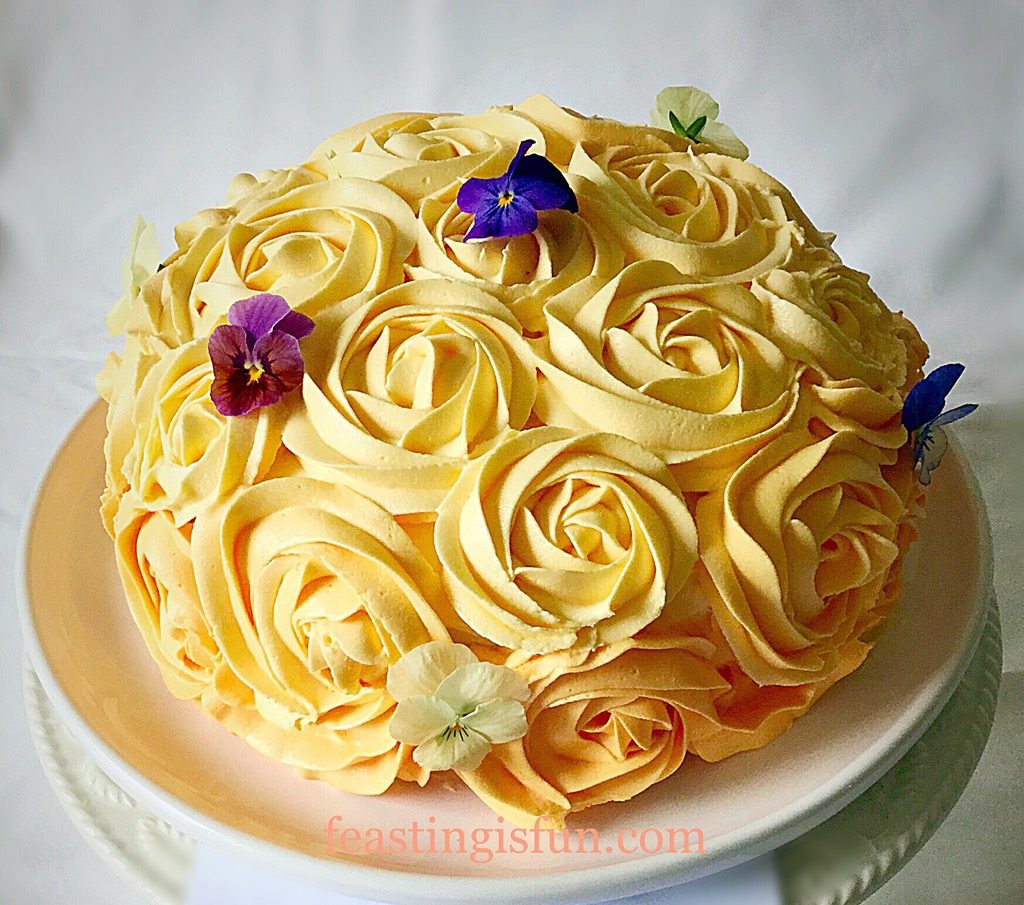
While not absolutely necessary, the added edible violas give the finished cake an elegant, yet natural touch. Their presence hints at the floral, citrus flavoured cake hidden by the piped roses.
Recipe: Orange Lemon Ombre Piped Rose Cake serves 12-14
2 Packets Orange Cake Mix available from Wright’s Baking online shop you will need 1 1/2 packets of mix for this recipe
90ml Vegetable Oil – I use sunflower oil plus a little extra for greasing the cake tin
300ml Water
1 Large Free Range Egg
1tsp Lemon Zest – the zest of one regular lemon
Approx 1/2 jar Lemon Curd
For the ombre buttercream:
700g White Icing Sugar
350g Unsalted Butter – softened to room temperature
2tbsp Very Hot Water
Gel Food Colouring – Red and Yellow, or Orange – I use Wilton
1tsp Lemon Extract – I use Nielsen-Massey
Optional – pesticide free viola flowers
Method: Preheat the oven to 170C/150C fan, gas mark 3.5
You will need a 20cm/8″ diameter 8.5cm/3.5″ deep tin to bake this cake.
- Starting with the cake tin, grease the entire tin and also line the base with parchment paper.
- Into a large bowl add the water, egg, oil and one packet of the orange cake mix. Weigh the other packet of cake mix and divide in half. Add half of the packet contents to the bowl – it was approximately 260g. Please check the weight for yourself.
- Whisk the ingredients together according to the instructions on the packet.
- Finally add the finely grated zest of 1 lemon, approximately 1tsp, to the bowl. Whisk to distribute and combine.
- Pour the citrus cake batter into the prepared tin.

- Place the cake tin in the centre of the oven and bake for 1 hour 30 minutes. Test the cake at 1 hour 20 minutes with a skewer. The cake is baked when an inserted skewer comes out clean.
- As soon as the cake is baked remov from the oven, place on a rack and allow the cake to cool completely in the tin.
- When the cake has cooled turn it out of the tin. Also if necessary, run around the outer rim of the cake with a palette knife. Doing this will loosen any slight sticking, that said Wright’s cake mixes are excellent and always turn out of the tin easily.
Preparing the cake for decoration:
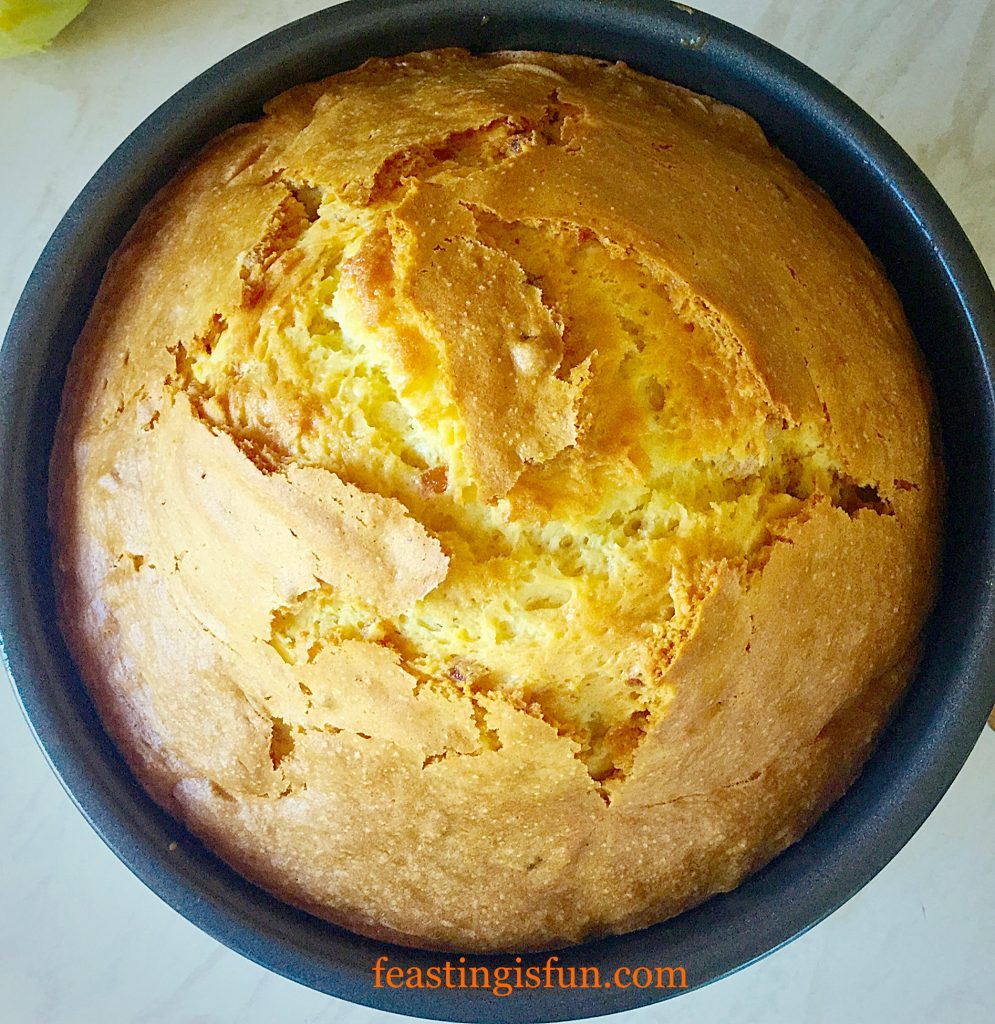
- During baking the cake rose slightly more in the centre. The cause may have been the addition of an egg to the cake mixture, or, baking at a slightly higher temperature.
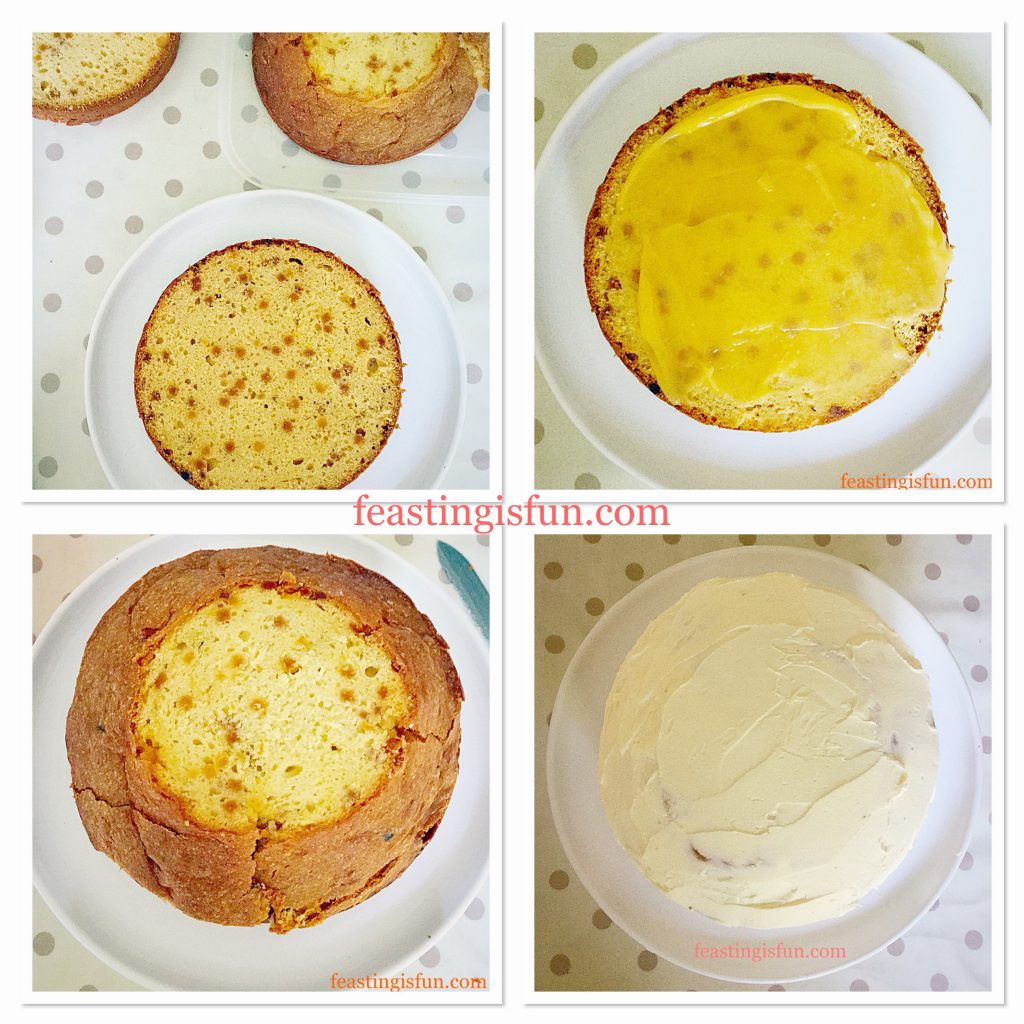
- First cut off any dome on the top of the cake. Having a small rise in the centre is an advantage with the finished cake.
- Slice the cake evenly into 3 layers. A serrated knife cuts cleanly through the cake, minimising crumbs.
- Place the bottom layer, cut side up, on a board or cake stand.
- Spread the bottom layer with an even, thin layer of lemon curd, so that it almost reaches the edges.
- Next, place the middle layer on top of the bottom layer, matching up the sides.
- Again, spread a thin, even layer of lemon curd on to the cake, keeping just inside the edges.
- Finally place the top of the cake on to the middle layer.
Preparing the cake:
- Place the softened butter into a large bowl.
- Sift the icing sugar into the same bowl.
- Next add the very hot water and lemon extract.
- Finally whisk the ingredients together, starting on a slow speed and increasing the speed, until you have a pale, fluffy, lump free, buttercream.
- Remove 3 heaped tablespoons of the buttercream and set aside to crumb coat the cake. First place the buttercream on the top of the cake. Use an offset spatula to spread the icing across the top of the cake, gently pushing it over the sides. Rotating the stand, or board, gradually cover the sides of the cake with a thin layer of buttercream. Finish by dipping a palette knife into hot water, drying and running the hot knife over the cake, this will produce a smooth finish. Place the cake in the fridge for 30 minutes to allow the crumb coat to set slightly.
Colouring the buttercream:
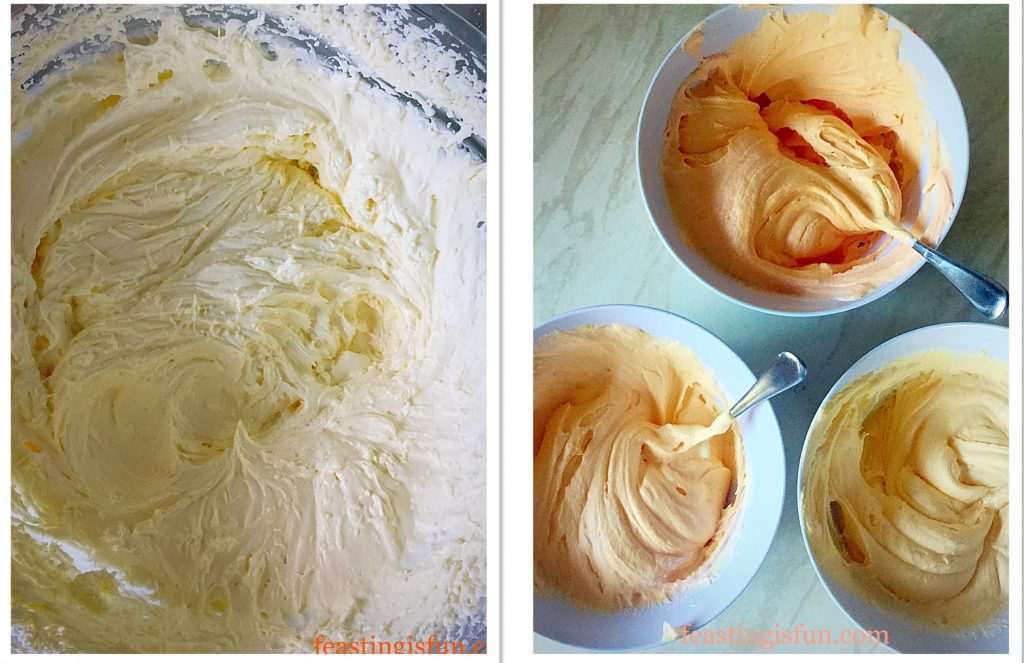
- Divide the remaining buttercream equally, between 3 bowls.
- Use cocktail sticks, gel food colouring and a teaspoon to stir, start colouring the icing. It is easier to achieve the lightest colour, which is piped on to the top of the cake, first. Doing so sets the shade and tint of the icing.
- Following on, add more colouring to the next bowl, until the shade is correct. Finishing with the last bowl and deepest colour, add extra red and yellow gel until the desired deeper colour is obtained.
- To pipe the buutercream, fit 3 large, disposable piping bags with large star piping nozzles – Wilton #1M. Fill each bag with a separate shade of buttercream. Label the piping bags light, medium, dark, so they are distinguishable.
Decorating the Cake:
- Starting right in the centre, on top of the cake, using the lightest shade, pipe the first rose. Begin in the centre of the rose, keeping pressure steady on the bag pipe a star, continuing into an e shape, then continuing round to form a rose swirl.
- Continue working evenly around the centrally piped rose, piping more rose swirls. Carry on until the top of the cake is covered, or almost covered, in evenly piped rose swirls.
- Following on, use the next shade darker, pipe rose swirls around and inbetween the lighter shade, then pipe evenly around the side of the cake.
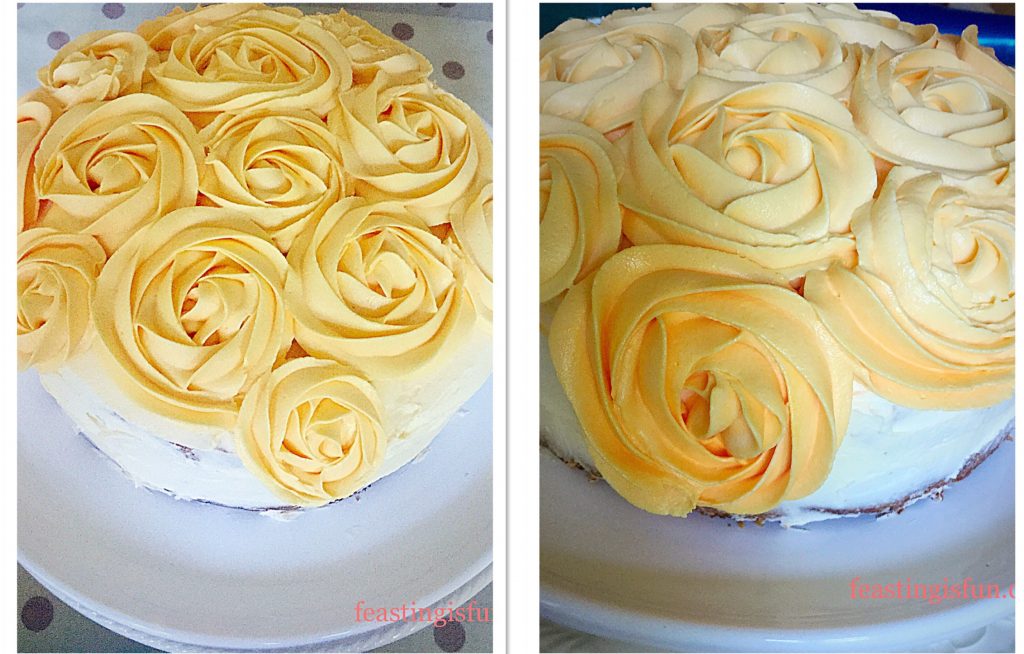
- Complete the cake by piping the darkest shade around the base of the cake. The full ombré effect is then complete.

- For the very best results place the piped cake into the fridge, or somewhere cold, for 30 minutes.
- Just prior to serving add the edible violas.

Beautifully baked, evenly distributed fruit, decorated with rose swirls, this Orange Lemon Ombre Piped Rose Cake demonstrates how easy it is to create a sensational cake using a mix.
Because of my health limitations, creating this cake from scratch would be too much for me. Of most importance, my aim, to show how the ombré piping effect is achievable, at home, with a little practice. Secure in the knowledge that the cake underneath is reliably good. A couple of badly piped roses were removed, using a butter knife and re-piped. Practice and making mistakes is how we learn to improve our skills.
If you have enjoyed the recipe for this Orange Lemon Ombre Piped Rose Cake you may also like these:
Strawberry Chocolate Vanilla Drip Cake

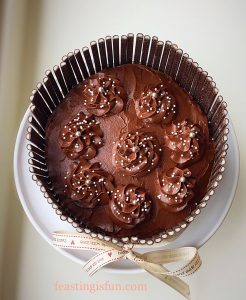
Fluted Chocolate Lemon Marble Cak

Beautiful cakes do not have to be difficult to create. Since I am most definitely not an accomplished cake decorator, I have learned a few decorating techniques that enable me to finish a cake to a good standard.
Most of all I hope you have been inspired to try out a new technique? Also homemade cakes taste infinitely better than their supermarket counterparts. While they are convenient, no amount of love, has, at any stage been added to the cake. Whereas baking at home creates a unique, delicious cake that will prompt huge smiles from the recipient and those who share in the celebration and cake!
Sammie xx
Share
Looks delicious! They all do.
Thank you Lizzie. As I’m not a cake decorator by nature, I’ve learned a few tips and tricks to dress up a delicious cake. X
I wish I could pipe roses! Yours looks great, I’m not to bad with a piping bag, but just can’t get the technique right for these!
Thank you Kevin. I learned by watching @kuskus1 pinned video tweet and then practicing. I really hope that helps? Sammie x.